JohnB
-
Posts
7,296 -
Joined
-
Last visited
Content Type
Profiles
Forums
Events
Gallery
Everything posted by JohnB
-
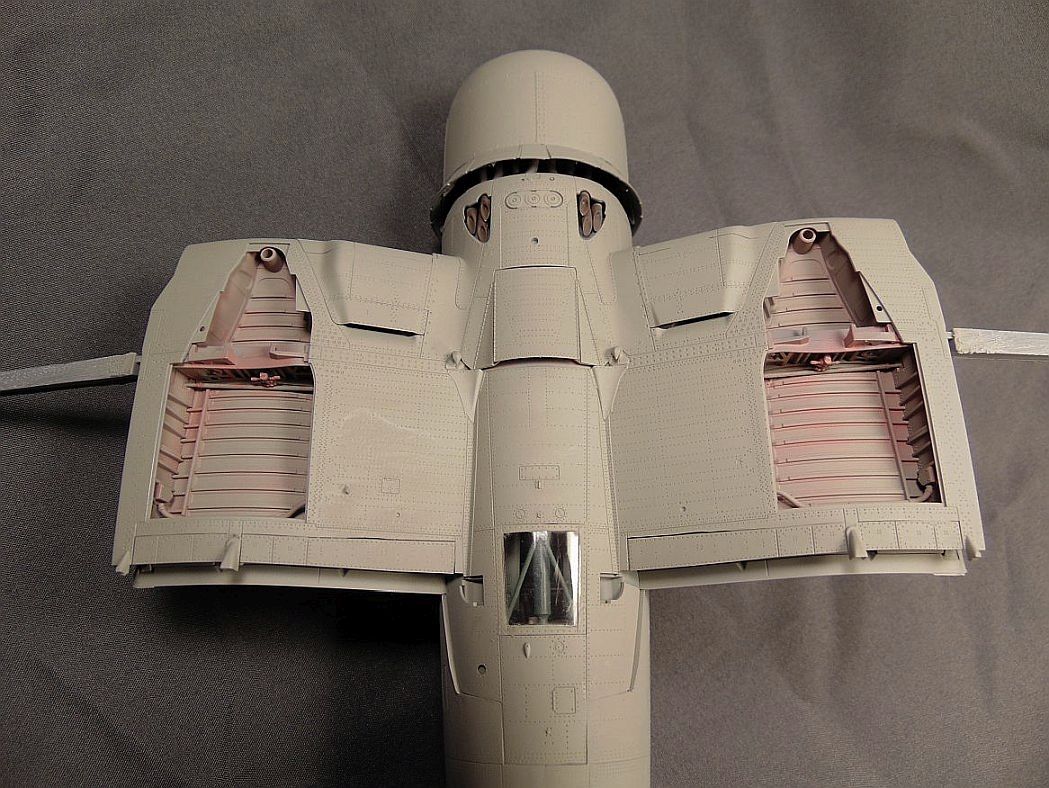
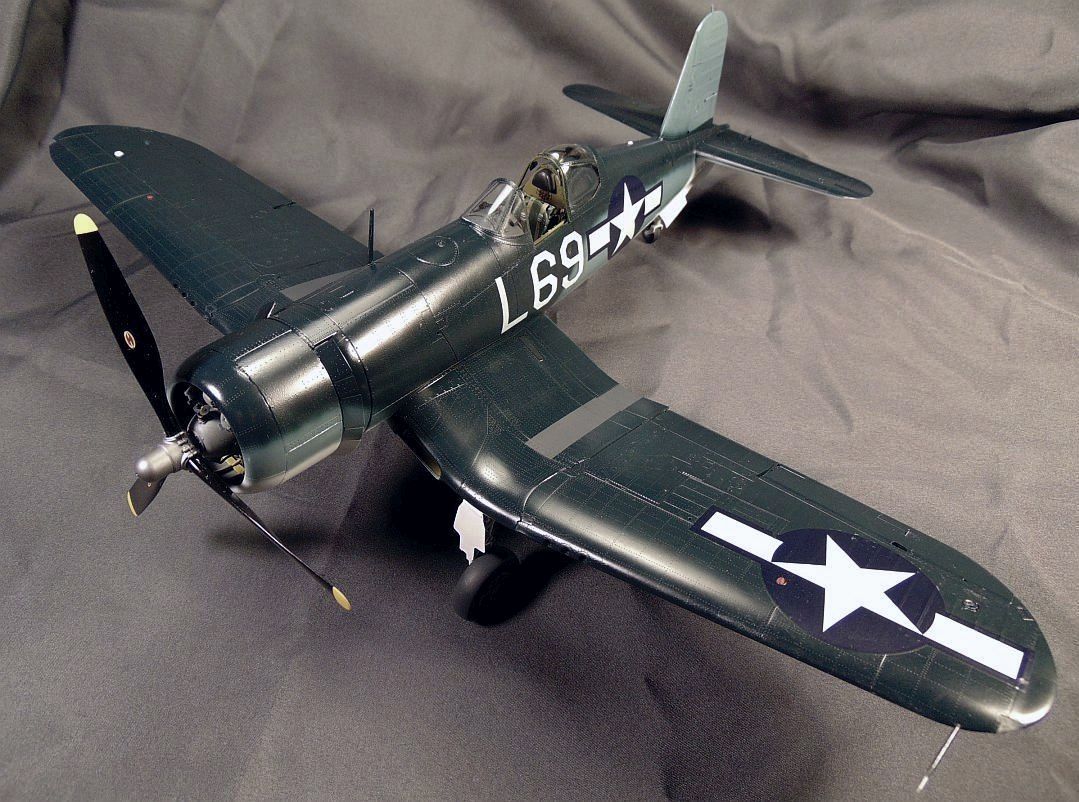
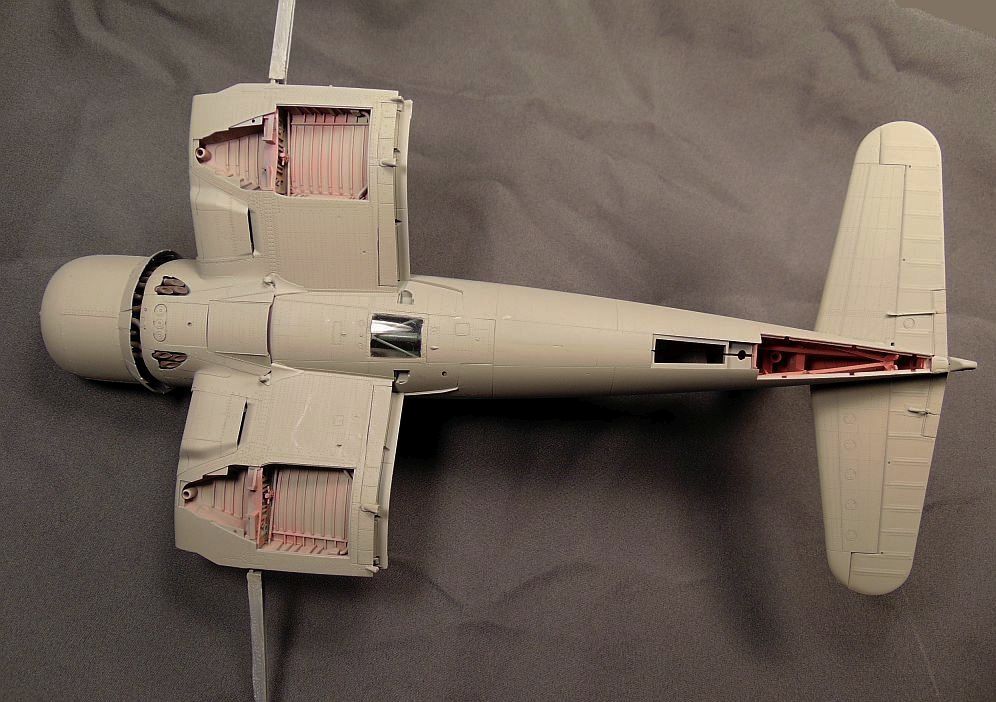
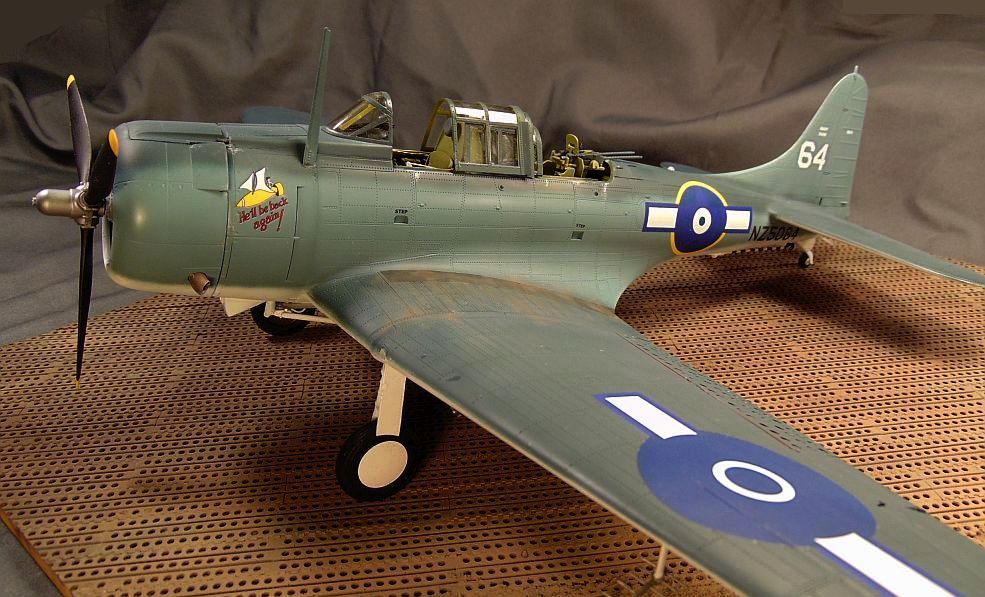
I decided to go on and paint the undersides. I tried to show some wear/weathering in the wells that allows the salmon primer to show through. Later on I'll do some additional work there with a wash of either dark gray or black.

-
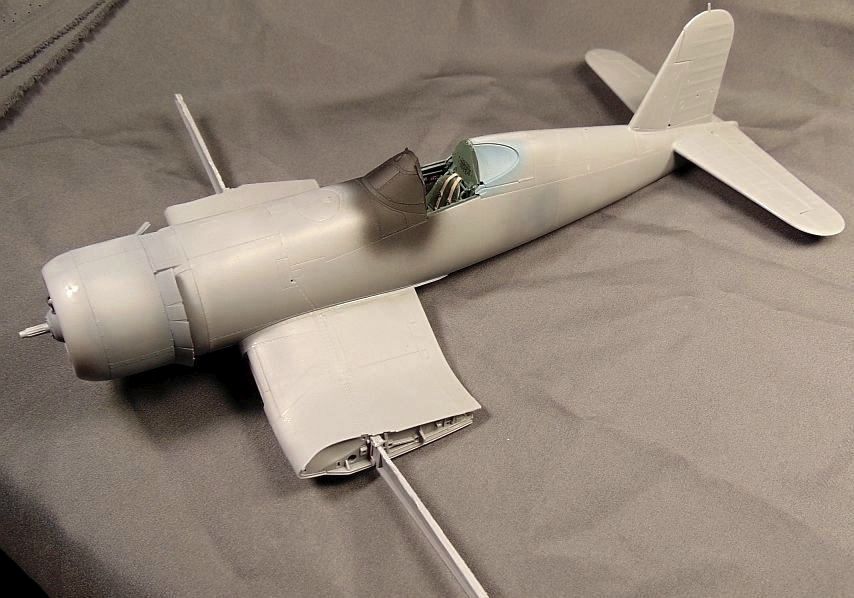
LOL Rob. I've built the Mossie too and it IS very nice but I'm prejudice that the Corsair is a bit better. 🤣
-
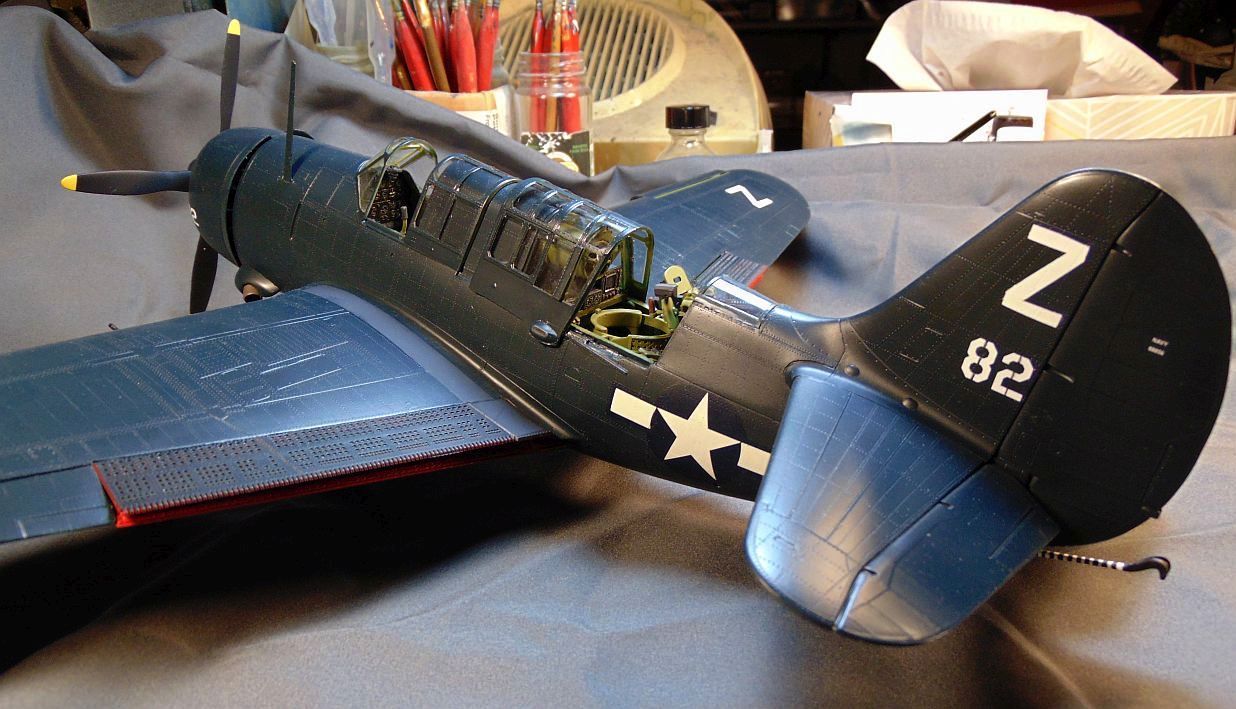
Making more progress. Wings will not be folded.
-
Thank you Rob! I do stay busy at the bench. LOL
-
LOL Phil. Thank you.
-
That's a bunch alright Peter! LOL Thanks.
-
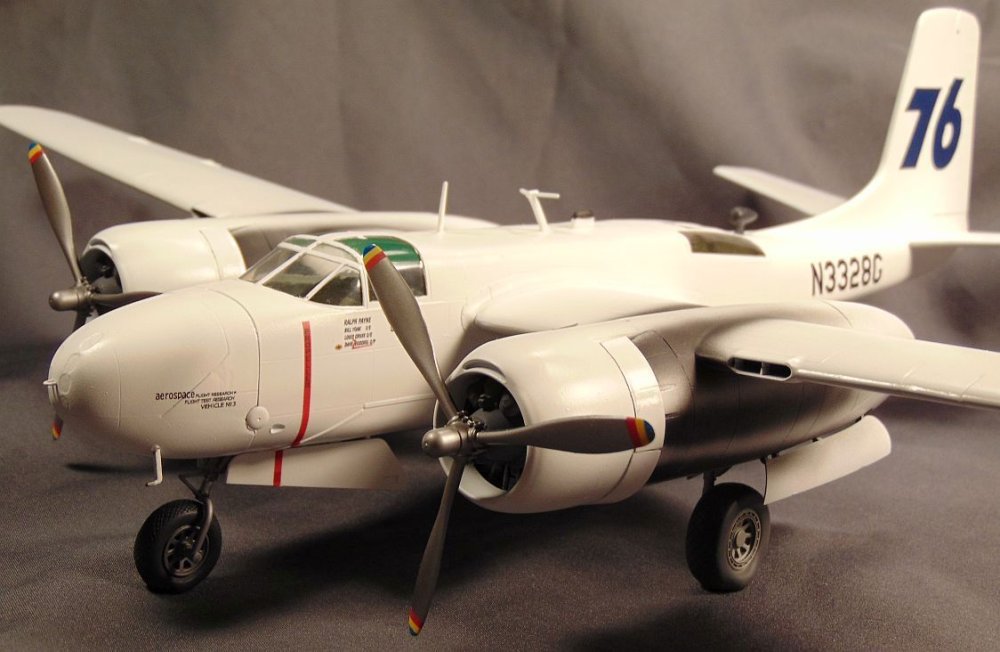
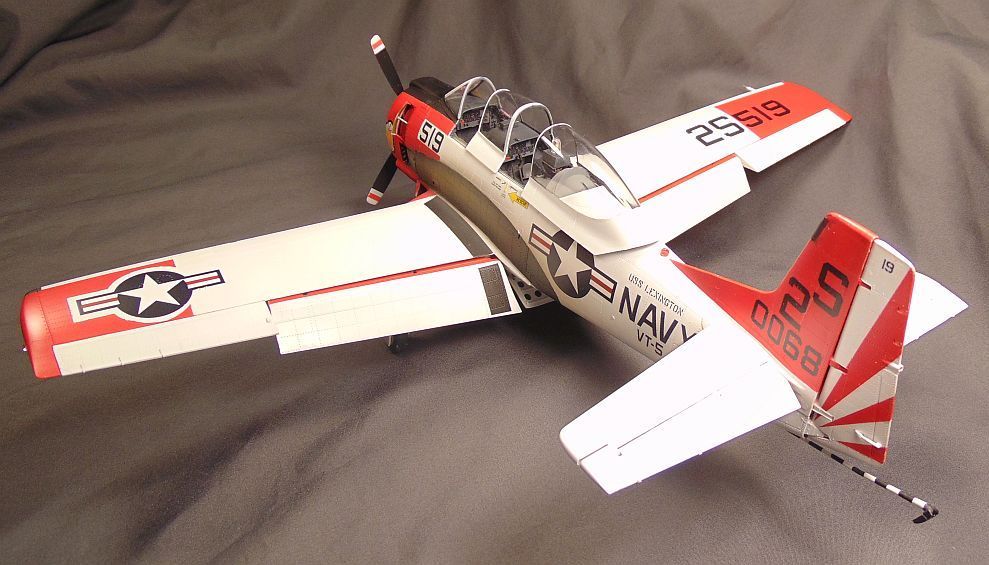
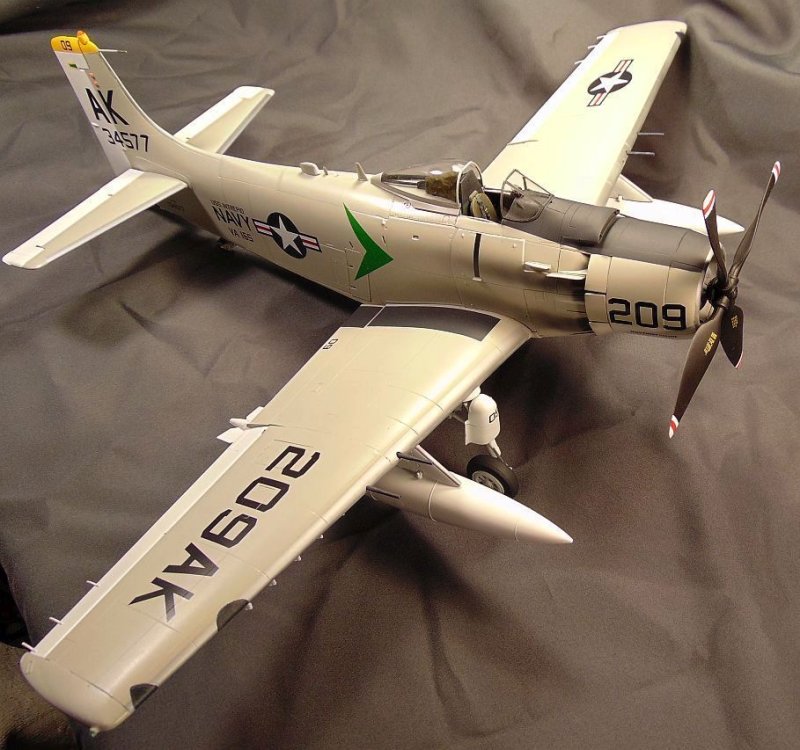
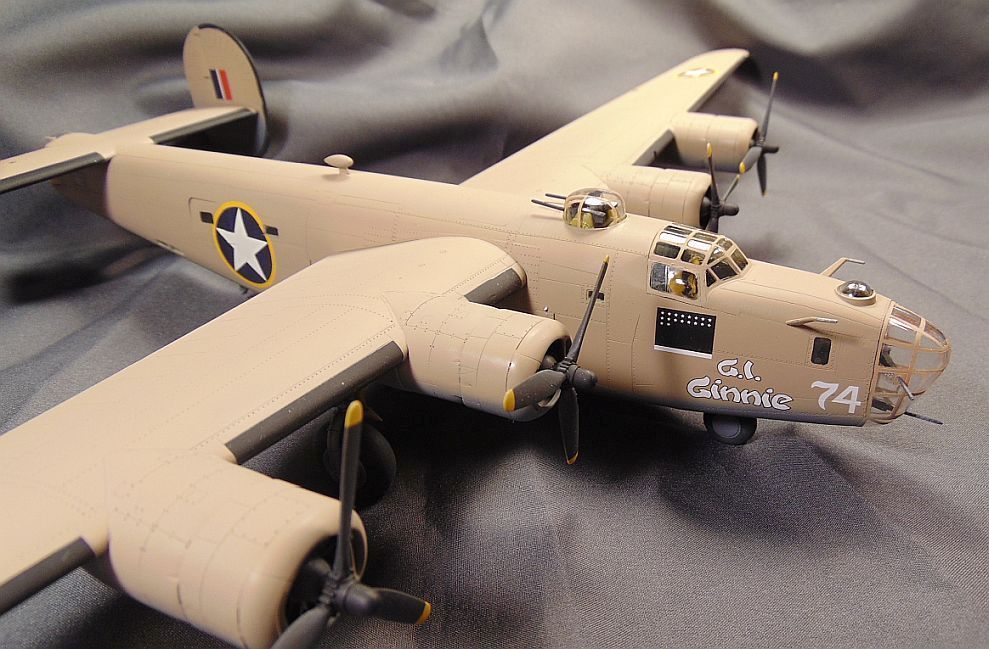
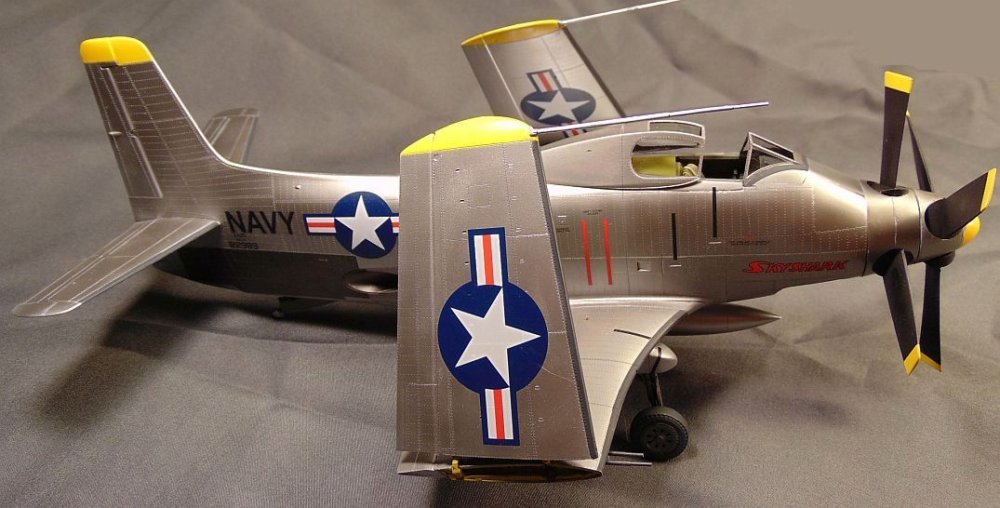
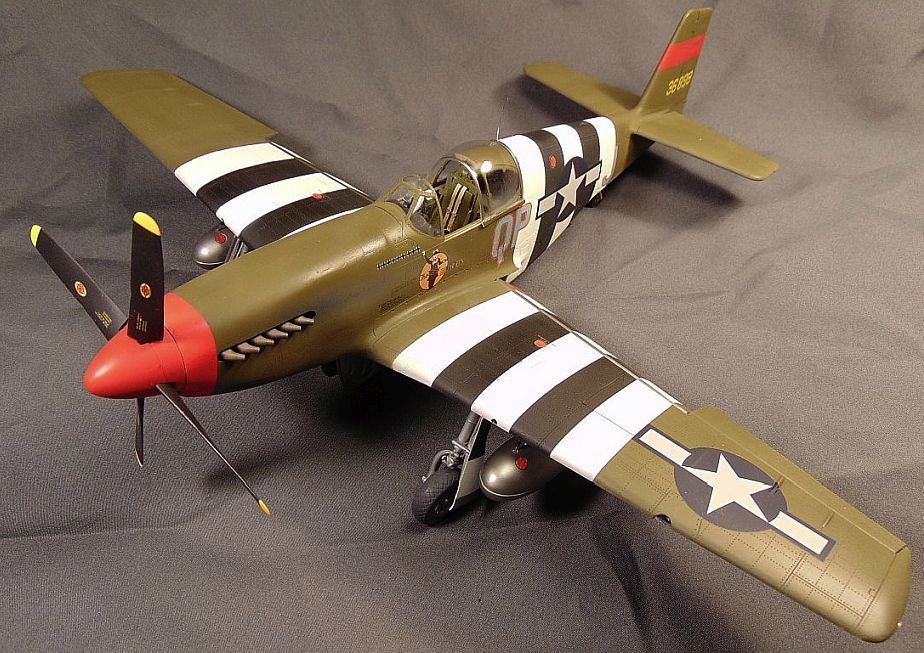
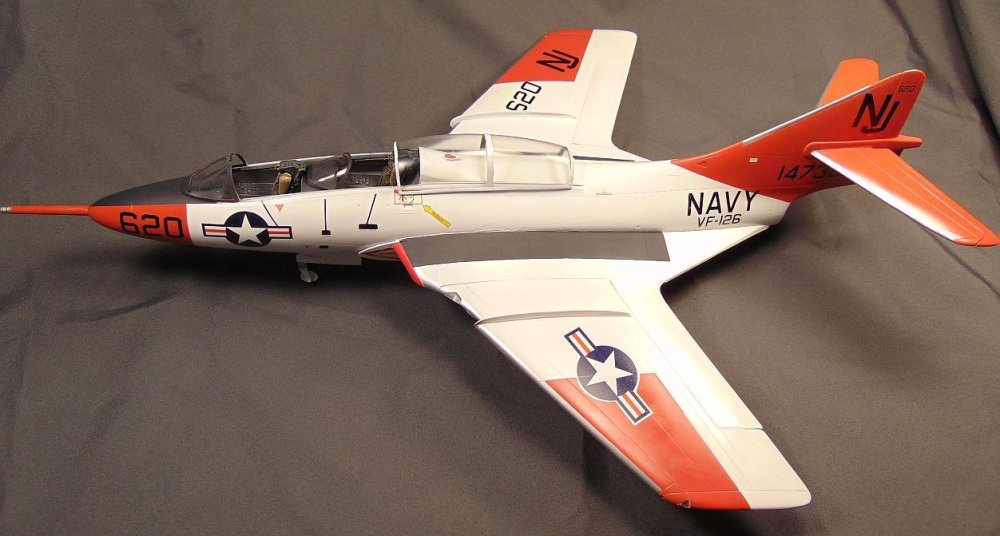
Photos of this year's builds. Seems to be 26 instead of 25. LOL


- 27 replies
-
- 10
-

-

-

-
That's a good many at any rate. You'll be catching up to me before you know it! LOL
-
Thanks Kevin. I was somewhat surprised at how many myself. Obviously I stay busy building models.
-
LOL Peter. There are a few 1/48 models in the total so they are not ALL 1/32. Six 1/48 and one 1/72. The rest are 1/32.
-
25 not counting the Corsair I'm working on now. Phil (Balugawhaleman) asked me about that earlier. I have to say, I'm surprised at how many it is!!! Oh well, keeps me off the streets LOL.
-
Making some progress!

-

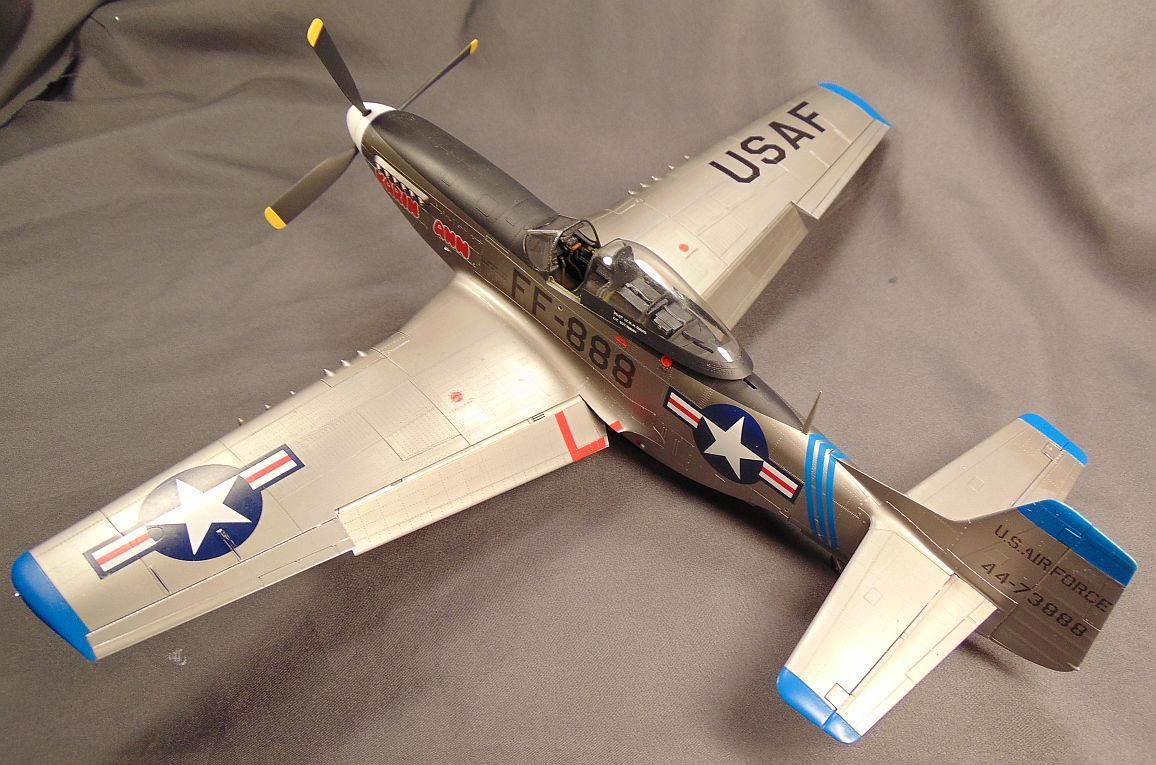
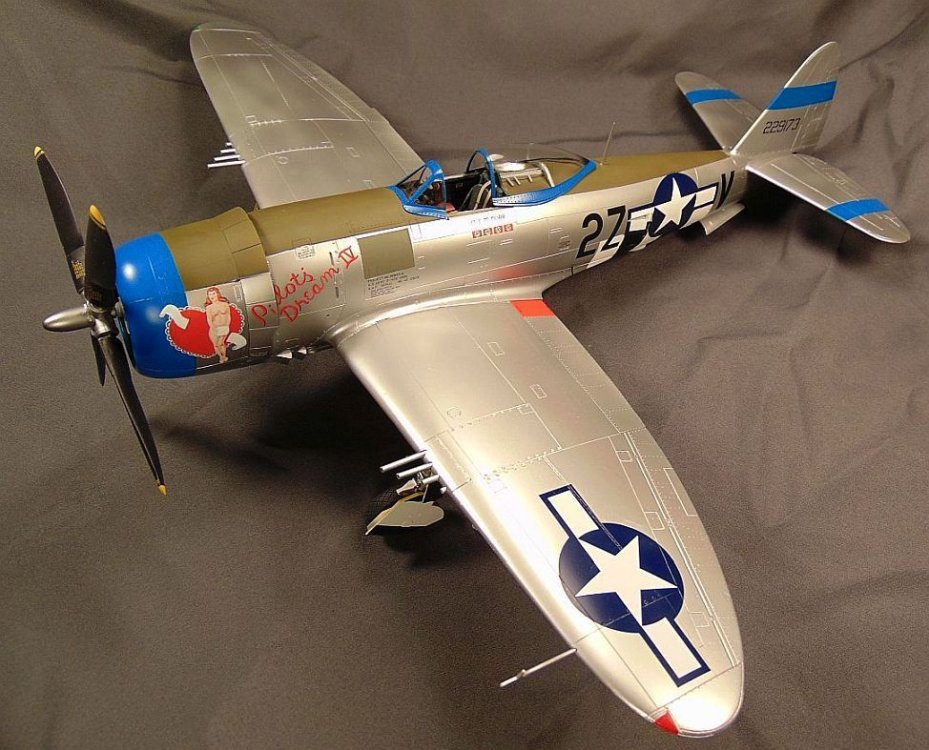
Hasegawa P-47D finished
JohnB replied to JohnB's topic in LSM 1/32 and Larger Aircraft Ready for Inspection
Thanks again Phil! I don't have a total for 2022 but I know it's a bunch! LOL -
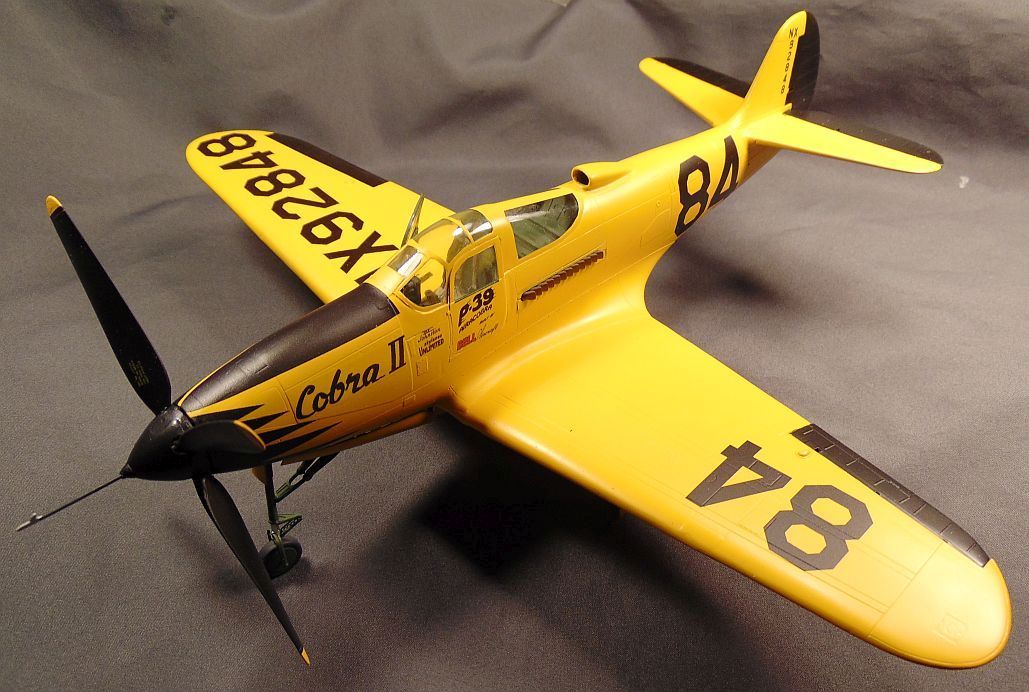
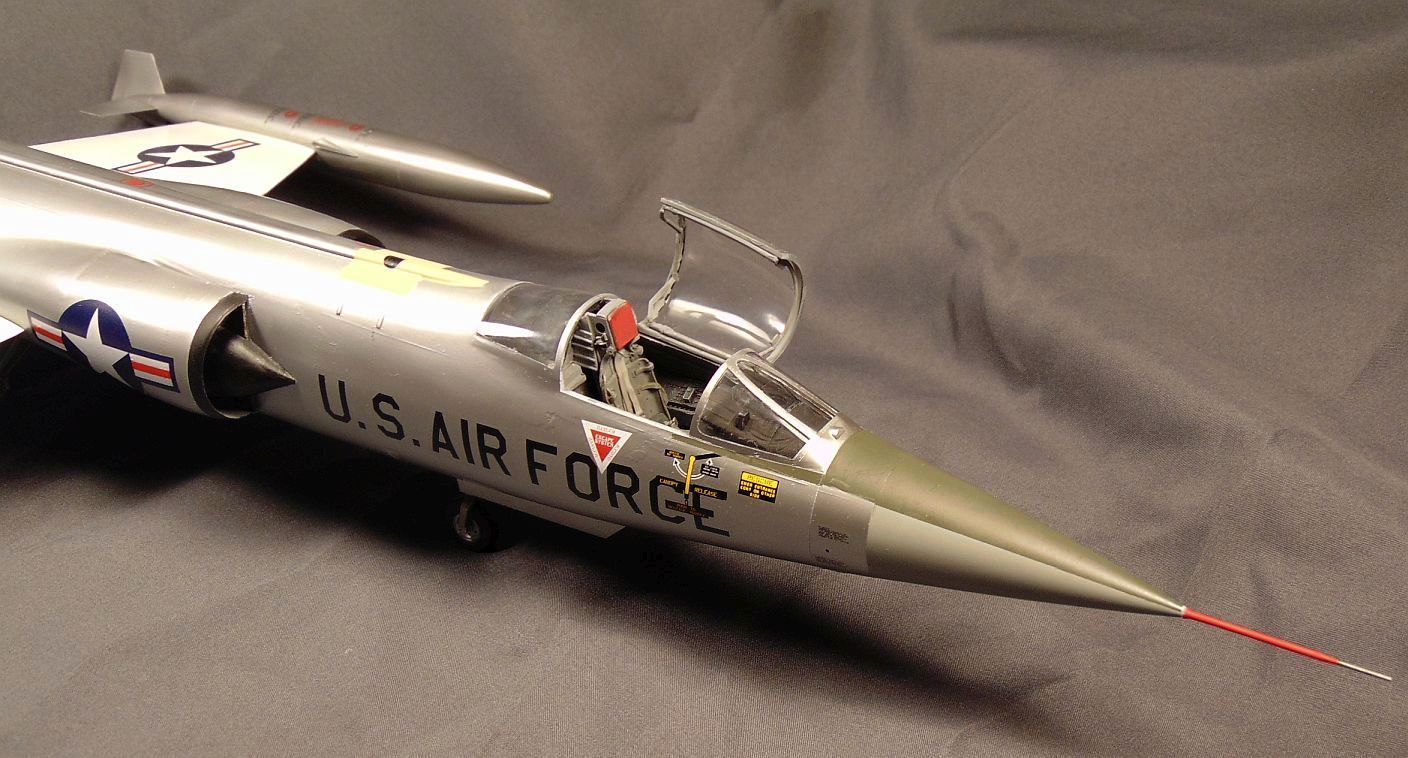
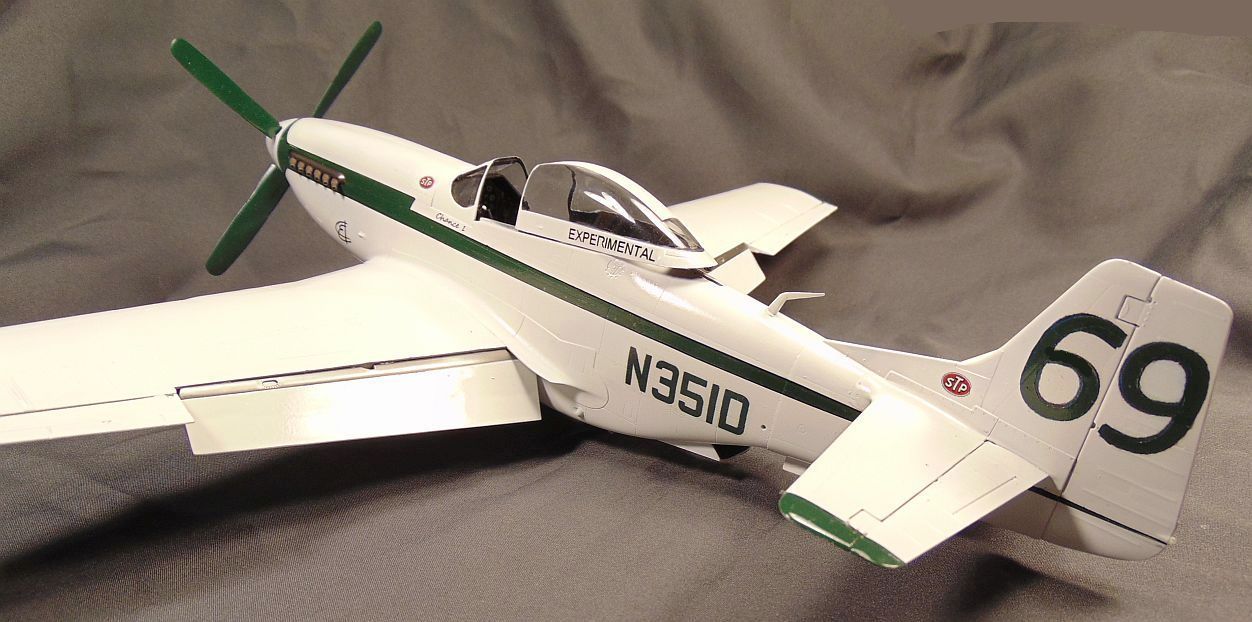
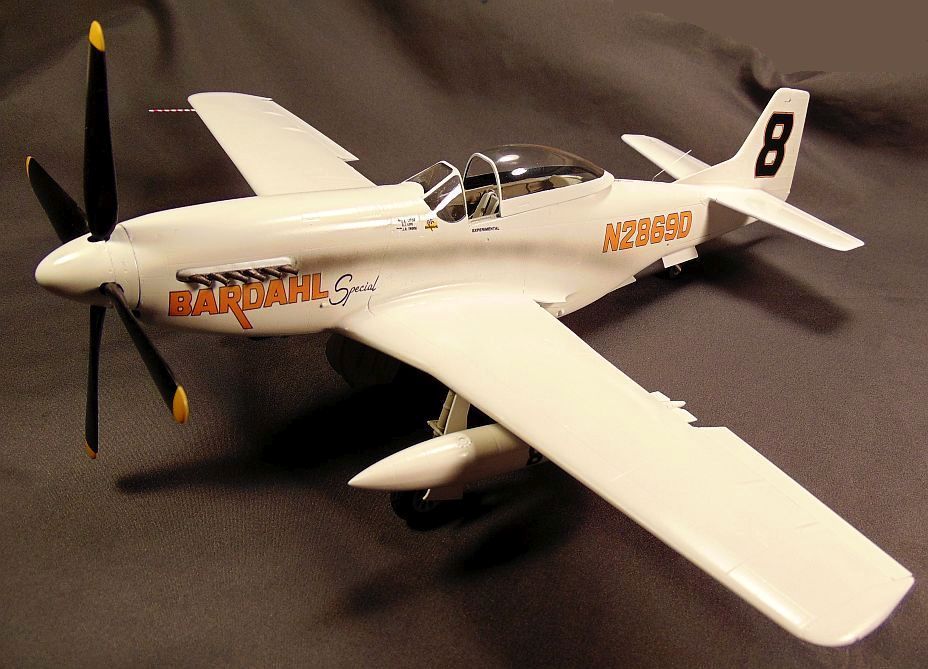
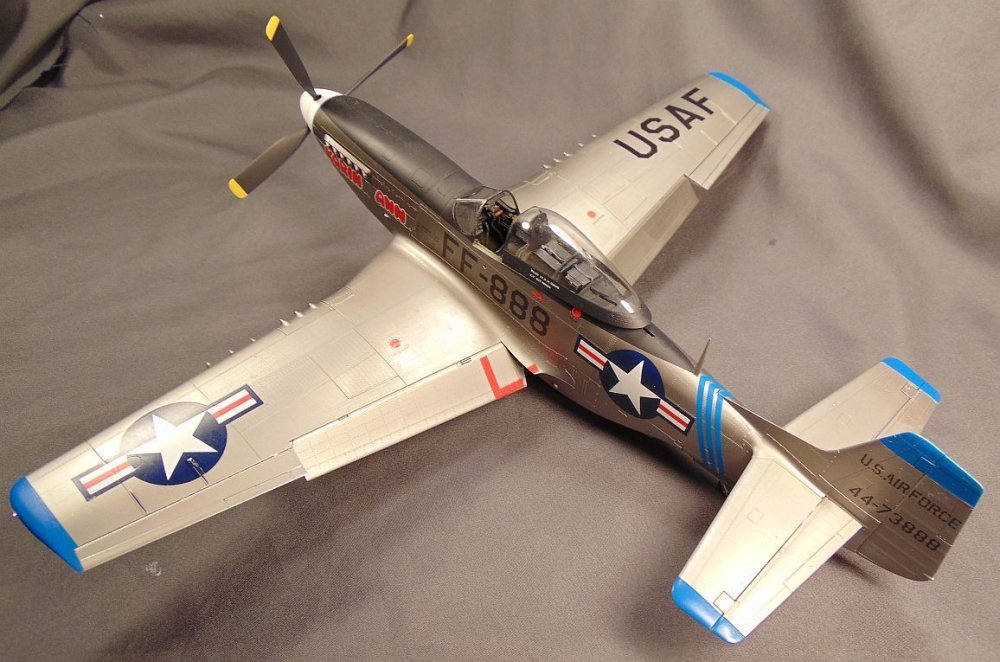
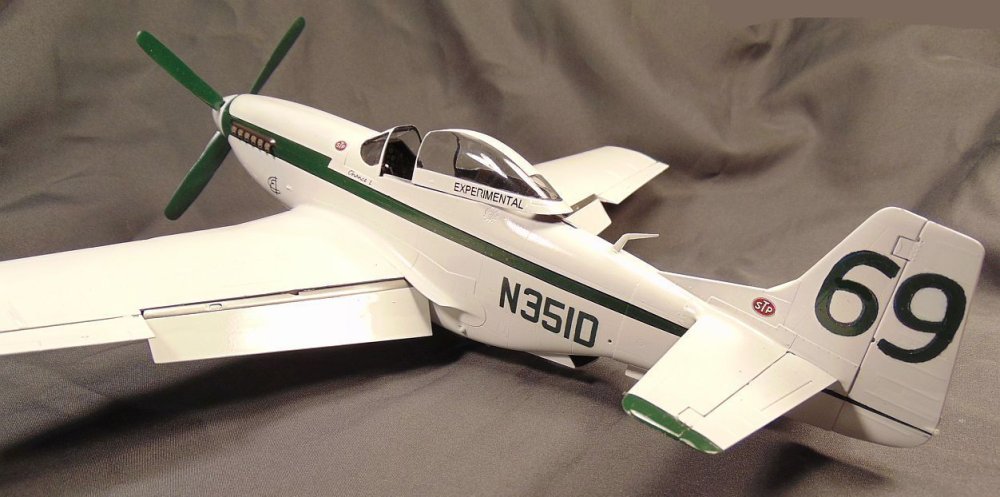
Revell P-51 racer #69 done
JohnB replied to JohnB's topic in LSM 1/32 and Larger Aircraft Ready for Inspection
Thanks Phil! -
Revell P-51 racer #69 done
JohnB replied to JohnB's topic in LSM 1/32 and Larger Aircraft Ready for Inspection
Thank you Paul! -
Glad to help Phil.
-
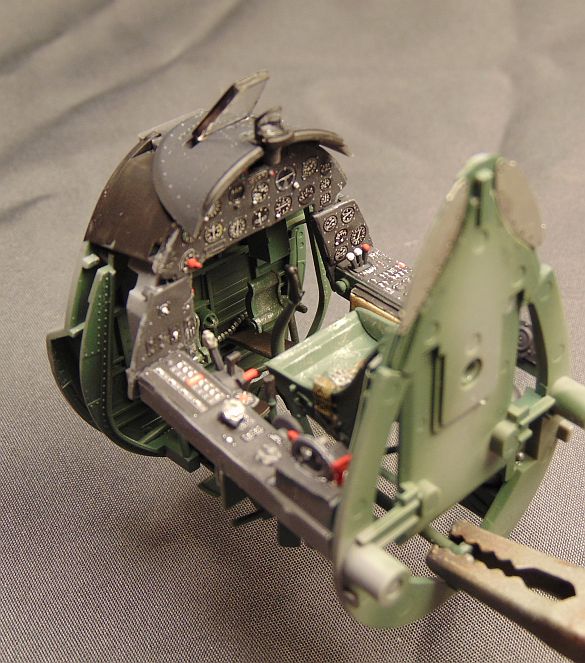
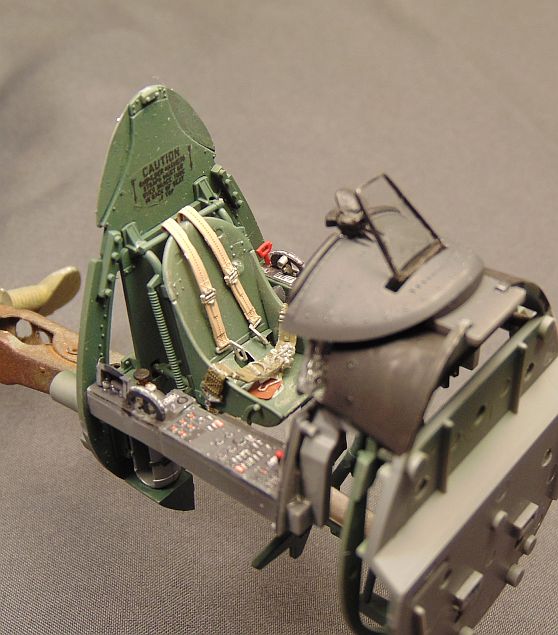
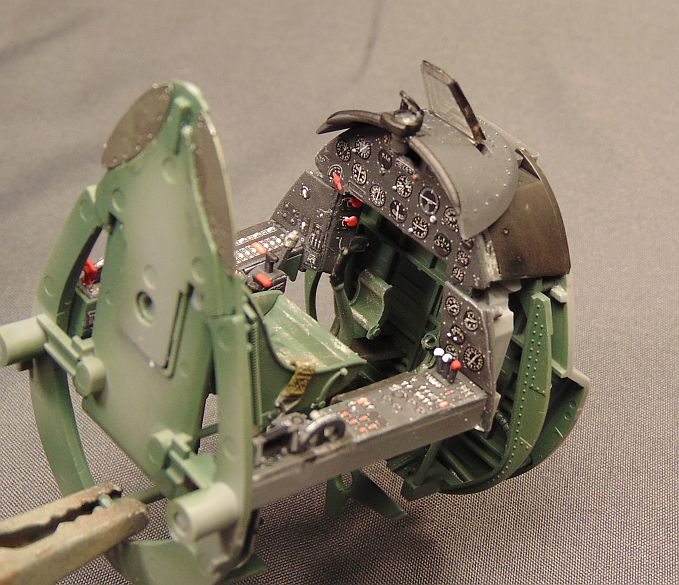
Thanks Kevin. I agree, the Quinta details are very nice and add a lot to any model.
-
Thanks Phil. That's easy peasy. Here ya go. I hope this is what you need.
-
Thanks Peter. Yes, I think it will do just fine.
-
Thank you Gaz.
-
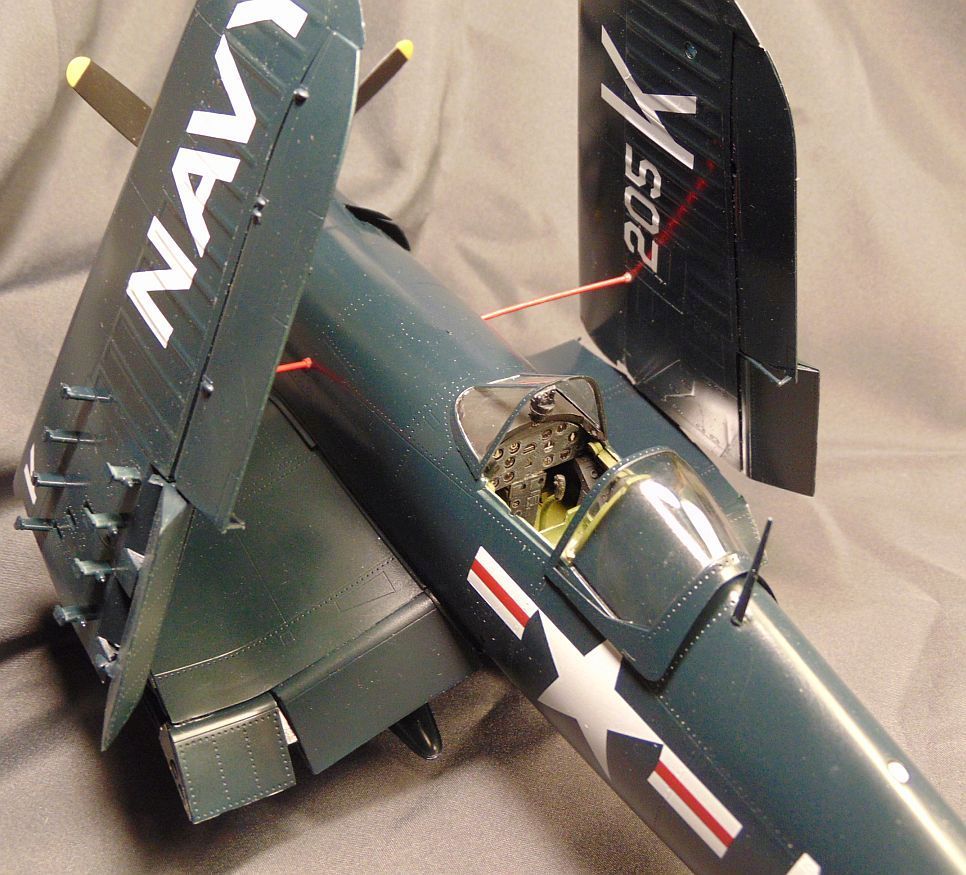
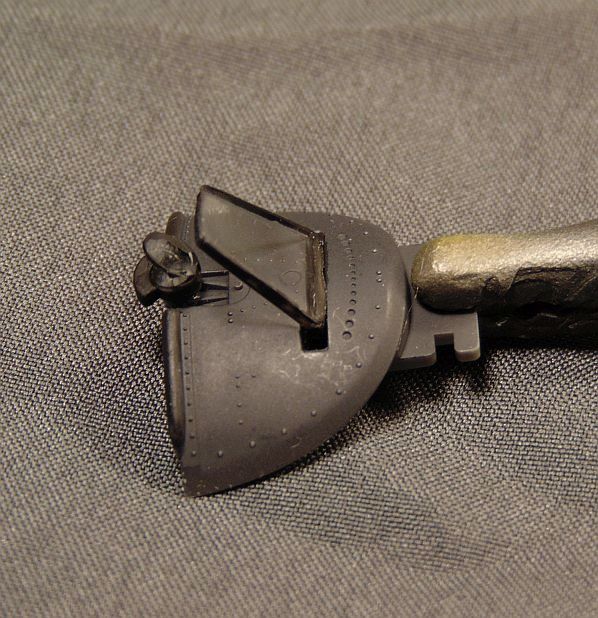
Since the armored glass piece was lost I had to make my own using parts from my stash of unused parts. I got lucky and found a part that was close to the one lost. A little trimming and painting and there you have it!

- 66 replies
-
- 12
-
-
-
EXCELLENT work on the Corsair Rob! Certainly looks the part. Used but not abused. I really like the Tamiya Corsairs as they are the best.
-
Good luck with the HGW stuff Peter!
-
Thanks for the input Rob. It's too bad those HGW transfers are so hit and miss as I have several sets for the birdcage and later Corsairs. I'll sell 'em off if anyone is interested as I think I'll stay with the "sure thing" transfers. Your Corsair looks really good!!!
-
Thanks. Quinta takes the credit!