JohnB
-
Posts
7,206 -
Joined
-
Last visited
Content Type
Profiles
Forums
Events
Gallery
Everything posted by JohnB
-
Thanks Andy. I'll look around and see where I can snag one.
-
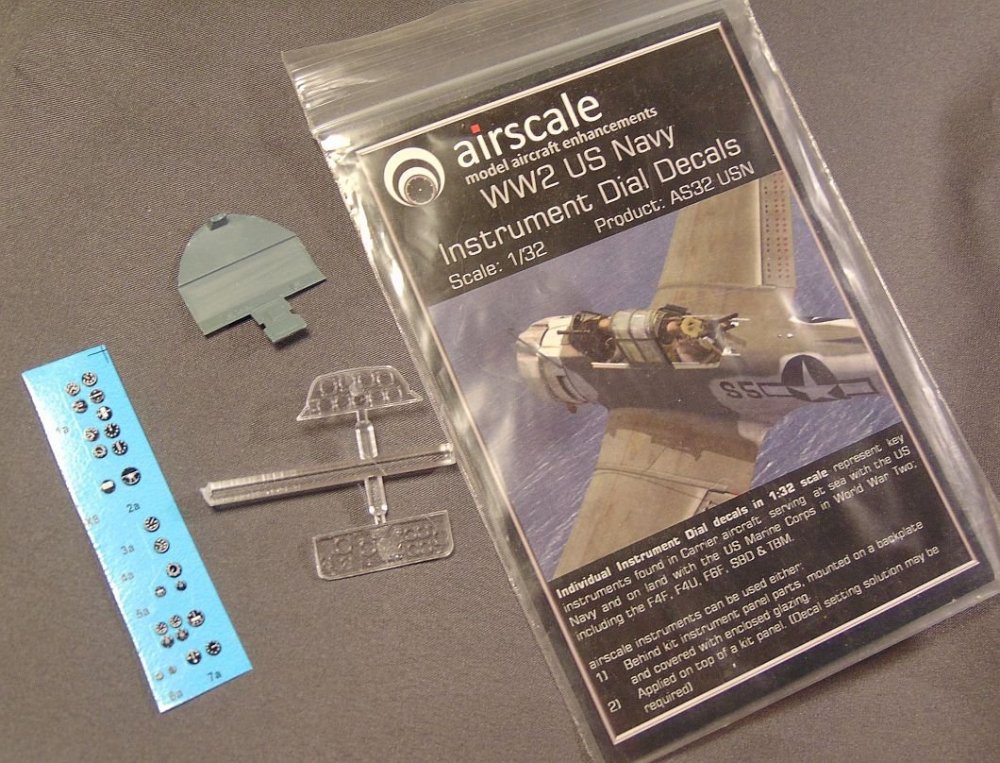
I'm about to start on the instrument panel. I'm not too sure about the kit decals so, as a backup, I have some AirScale one's I can use. It seems to me the approach they took on the panels is assbackwards. Why mold the panels in clear when you have to paint the fronts?
-
Thanks for the info. I had considered getting the rear gunners set but haven't done anything toward that as of yet. Still considering it though. John
-
You've done a nice job so far Andy. The cockpit, etc look great! We'll see how mine goes but I do anticipate a bit of a cuss factor (or factors!) as I go along. Have you done anything with the flaps? I assume you will be using the PE ones. Something I don't look forward to! LOL
-
Agreed Gaz! Interesting likely puts it mildly LOL.
-
Thanks Paul. We'll see how it goes.
-
Thanks Carl. I have high hopes for this build. 😉
-
The preliminaries should be easy peasy. We'll see how the rest goes!
-
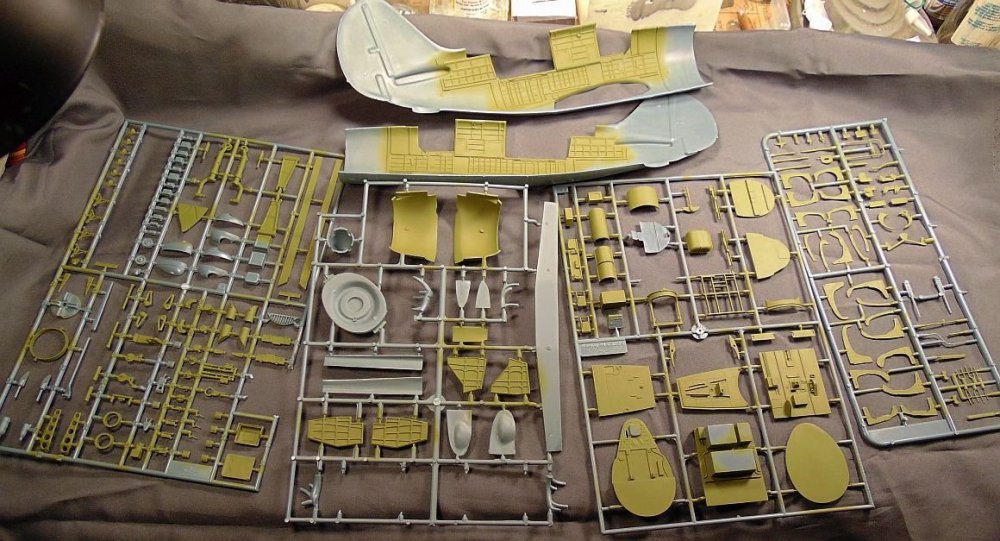
As is my usual procedure I painted all the interior parts prior to starting assembly. Still have others to paint (black, etc) but I have most all of the Interior Green done.
- 267 replies
-
- 10
-

-
We'll see Phil LOL.
-
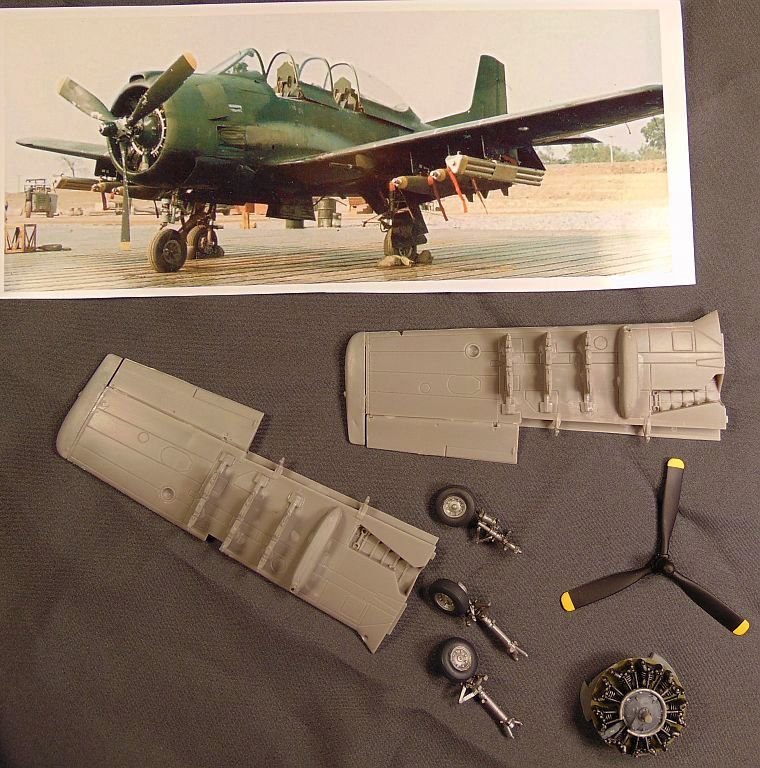
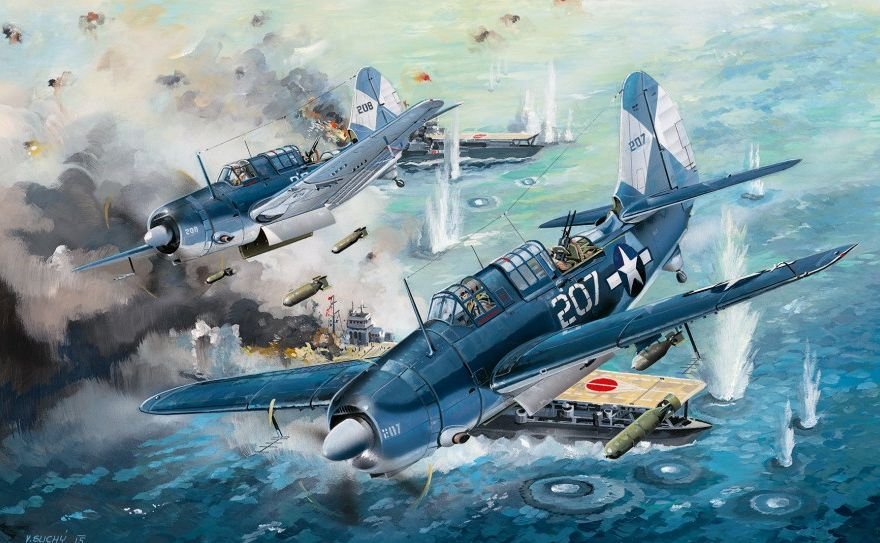
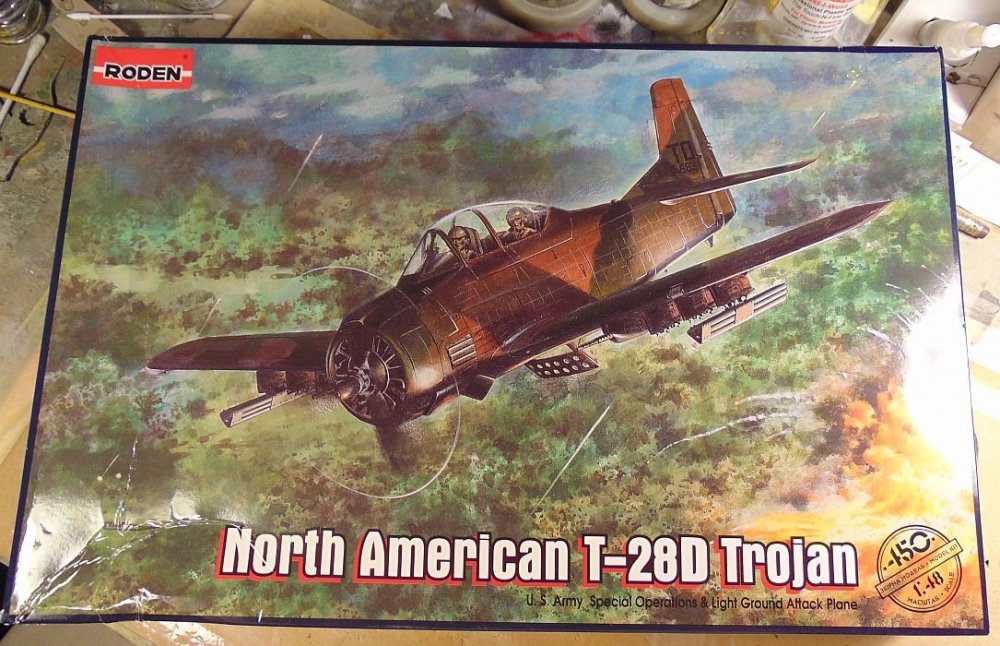
For better or worse I'm getting started on this kit. It has been on my shelf for a good while and now I think it's time to get with the program. The only add-on I bought for it is the PE dive flaps and they look to be a real bear. I'll cross that bridge when I come to it. Meanwhile I'll get started on the fuselage, etc. I intend to do a overall GSB a/c but exactly which one is undetermined right now. Shouldn't be a problem though.
-
 Looks like it's coming along fairly well despite the decal problems. Will be a colorful model for sure!
 -
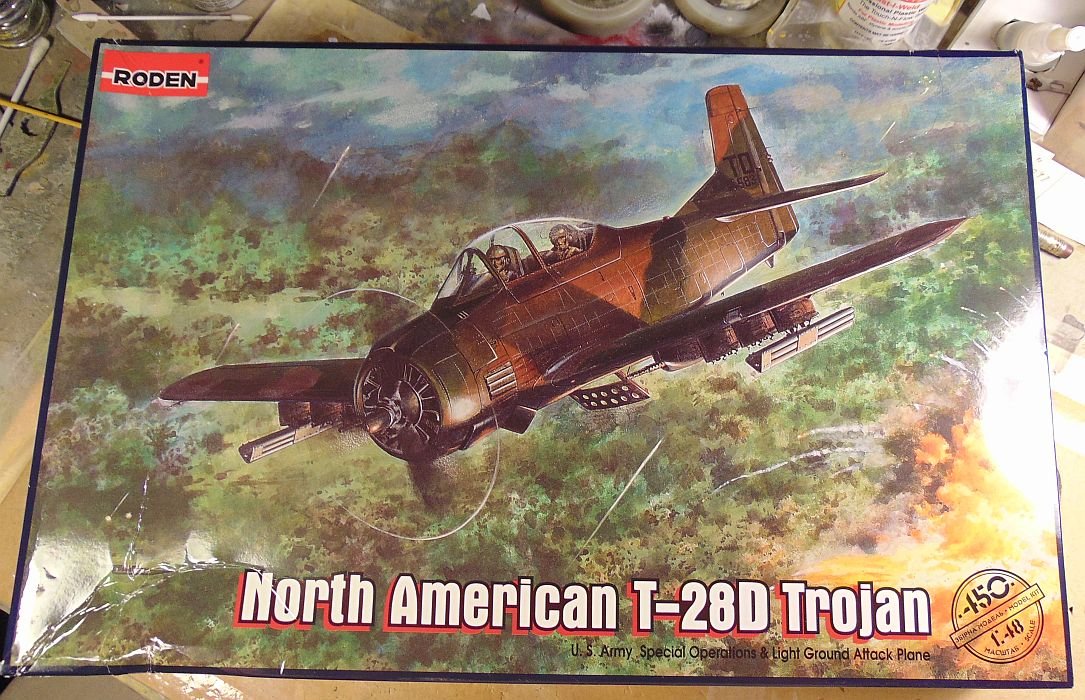
I'm no longer in for a Roden 1/48 T-28D
JohnB replied to JohnB's topic in Everything Ukraine Group Build
Made a little progress. For some reason I'm finding it difficult to get enthused about this build. 🙄 I'm going to set it aside for now. Maybe later on, etc.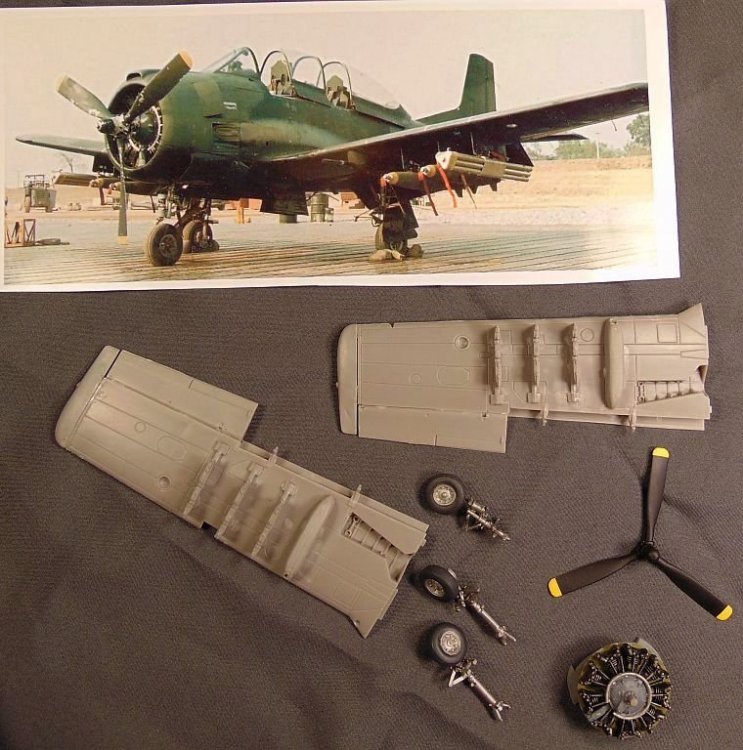
-
I'm no longer in for a Roden 1/48 T-28D
JohnB replied to JohnB's topic in Everything Ukraine Group Build
Better late than never I suppose. -
I'm no longer in for a Roden 1/48 T-28D
JohnB replied to JohnB's topic in Everything Ukraine Group Build
Agreed Kevin. Heavy panel lines don't do much for the model but I'll just have to work around that. 🙄 -
-
KH T-28C finished
JohnB replied to JohnB's topic in LSM 1/32 and Larger Aircraft Ready for Inspection
https://www.facebook.com/groups/999706333830374/posts/1354836618317342/?comment_id=1354840754983595&reply_comment_id=1355081654959505¬if_id=1653765199982822¬if_t=group_comment_mention -
KH T-28C finished
JohnB replied to JohnB's topic in LSM 1/32 and Larger Aircraft Ready for Inspection
Thanks Peter. As coincidence would have it, I'm a member of a T-28 Group on FB. I posted a couple of shots of this model there and lo and behold the guy that owned and restored the a/c is a member also. He sent me a nice message and a little info. Pretty cool I think! -
KH T-28C finished
JohnB replied to JohnB's topic in LSM 1/32 and Larger Aircraft Ready for Inspection
Thank you Gaz! I'm pleased that you like it. -
KH T-28C finished
JohnB replied to JohnB's topic in LSM 1/32 and Larger Aircraft Ready for Inspection
Ya just never know Hubert! LOL Thanks!!! -
KH T-28C finished
JohnB replied to JohnB's topic in LSM 1/32 and Larger Aircraft Ready for Inspection
I'm glad you like it Harv! Thanks. -
KH T-28C finished
JohnB replied to JohnB's topic in LSM 1/32 and Larger Aircraft Ready for Inspection
Thank you Phil! No idea at this time as to what is next. 😉 -
Another Kitty Hawk T-28 build!
JohnB replied to JohnB's topic in LSM 1/35 and Larger Work In Progress
All done! Go here.....https://forum.largescalemodeller.com/topic/16252-kh-t-28c-finished/ -
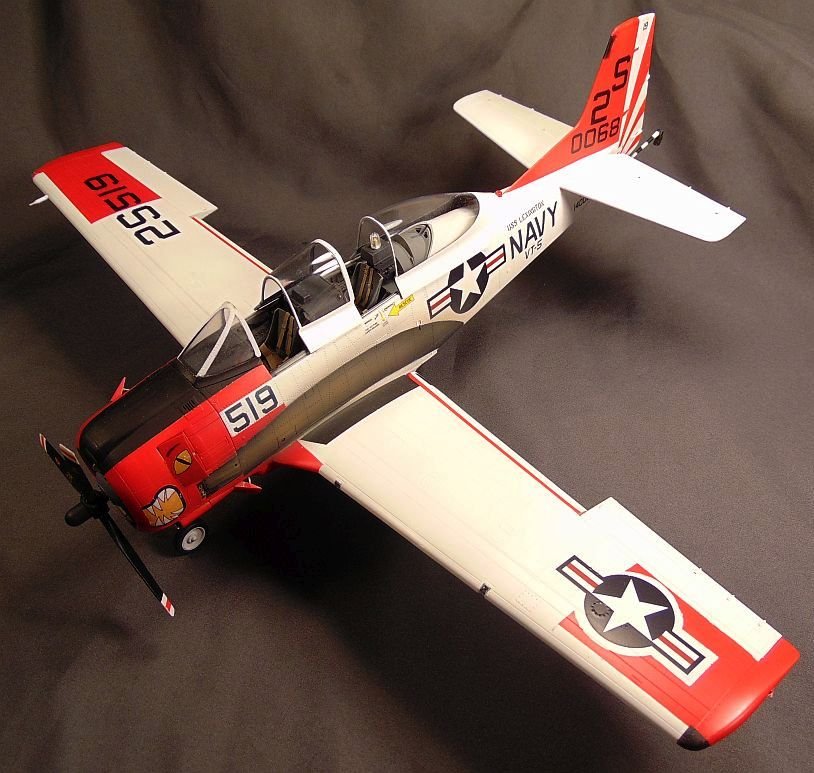
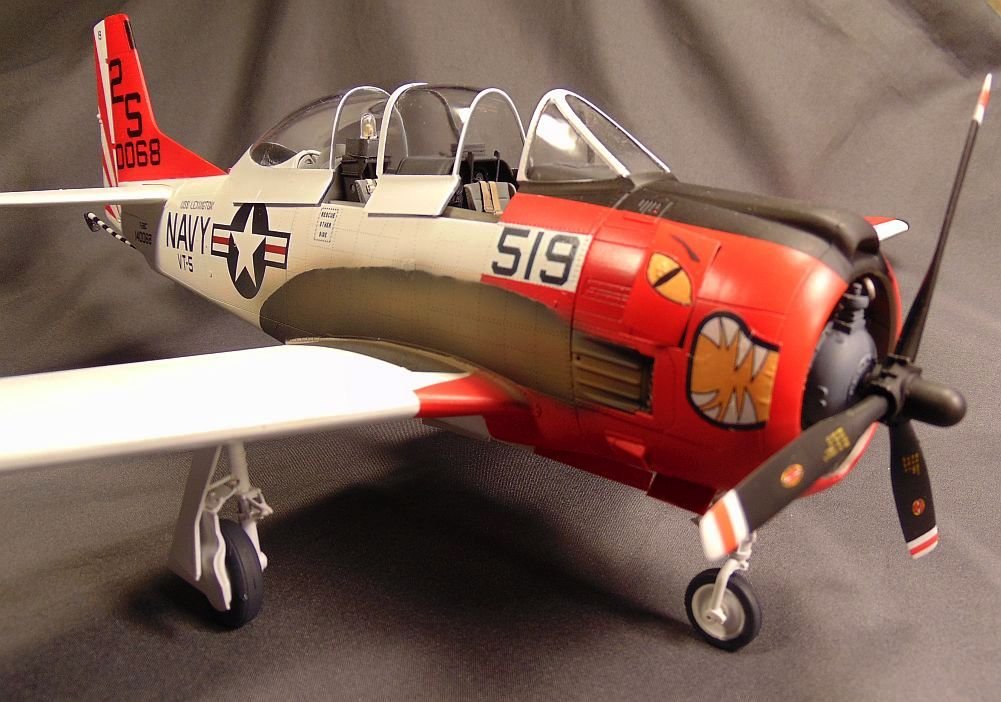
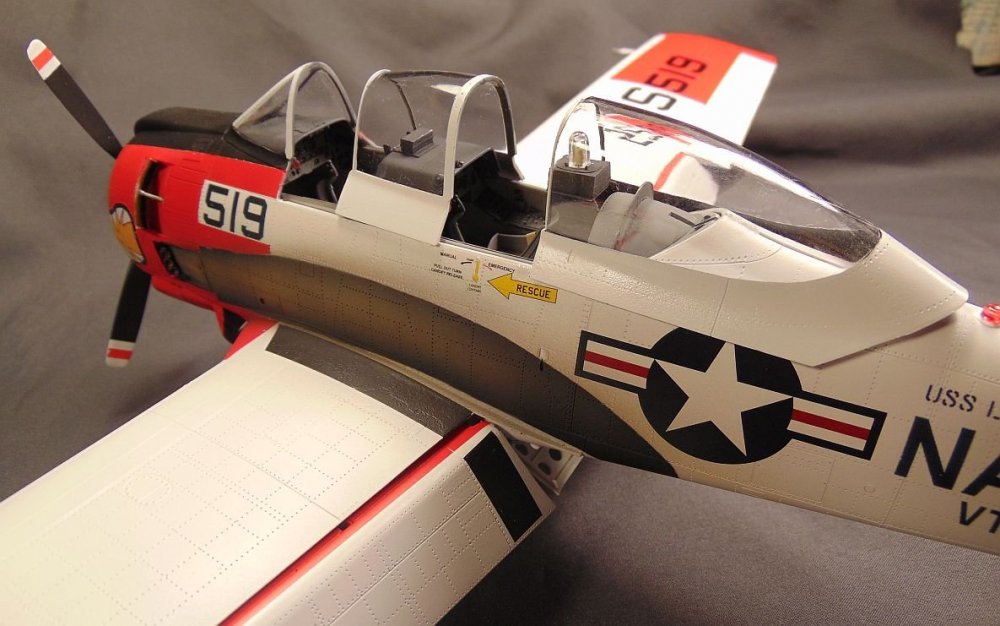
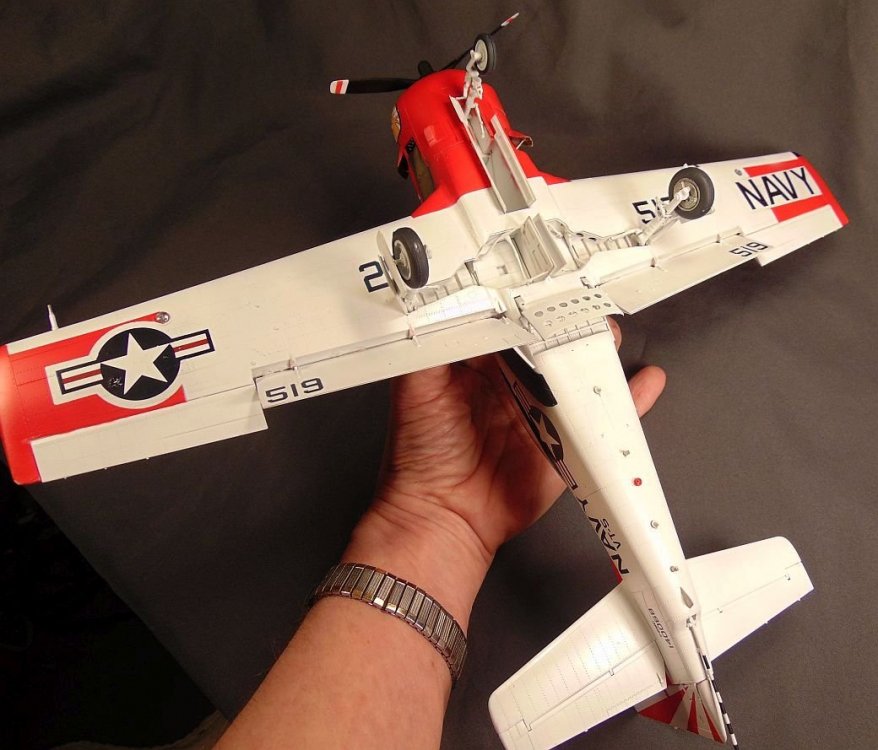
Finished with this one! My 3rd (and likely last) KH T-28. The thing about T-28's is there were so many colorful schemes on those a/c. I painted it with Testor's throughout. The decals I made by re-scaling a 1/48 Aeromaster sheet to 1/32 and printing them out using my laser printer. I used a Aires cockpit set as the kit supplied parts leave something to be desired. You may notice the green starboard wingtip light is not in the usual "A" & "B" position but far forward on the leading edge tip. The reason for this is that the "C"s were used for carrier landing training and it made the airplane's attitude more visible to the LSO when doing night landings. You'll note there is a crack on the rear canopy. I don't know when that happened but the kit clear parts ARE very thin and fragile. Remember guys, click on the 1st photo for best image resolution and to view the pics as a slide show. I'm very happy with the way this one turned out and I hope y'all are too!


- 15 replies
-
- 10
-
-

-
Another Kitty Hawk T-28 build!
JohnB replied to JohnB's topic in LSM 1/35 and Larger Work In Progress
Agreed Phil! LOL