JohnB
-
Posts
7,283 -
Joined
-
Last visited
Content Type
Profiles
Forums
Events
Gallery
Everything posted by JohnB
-
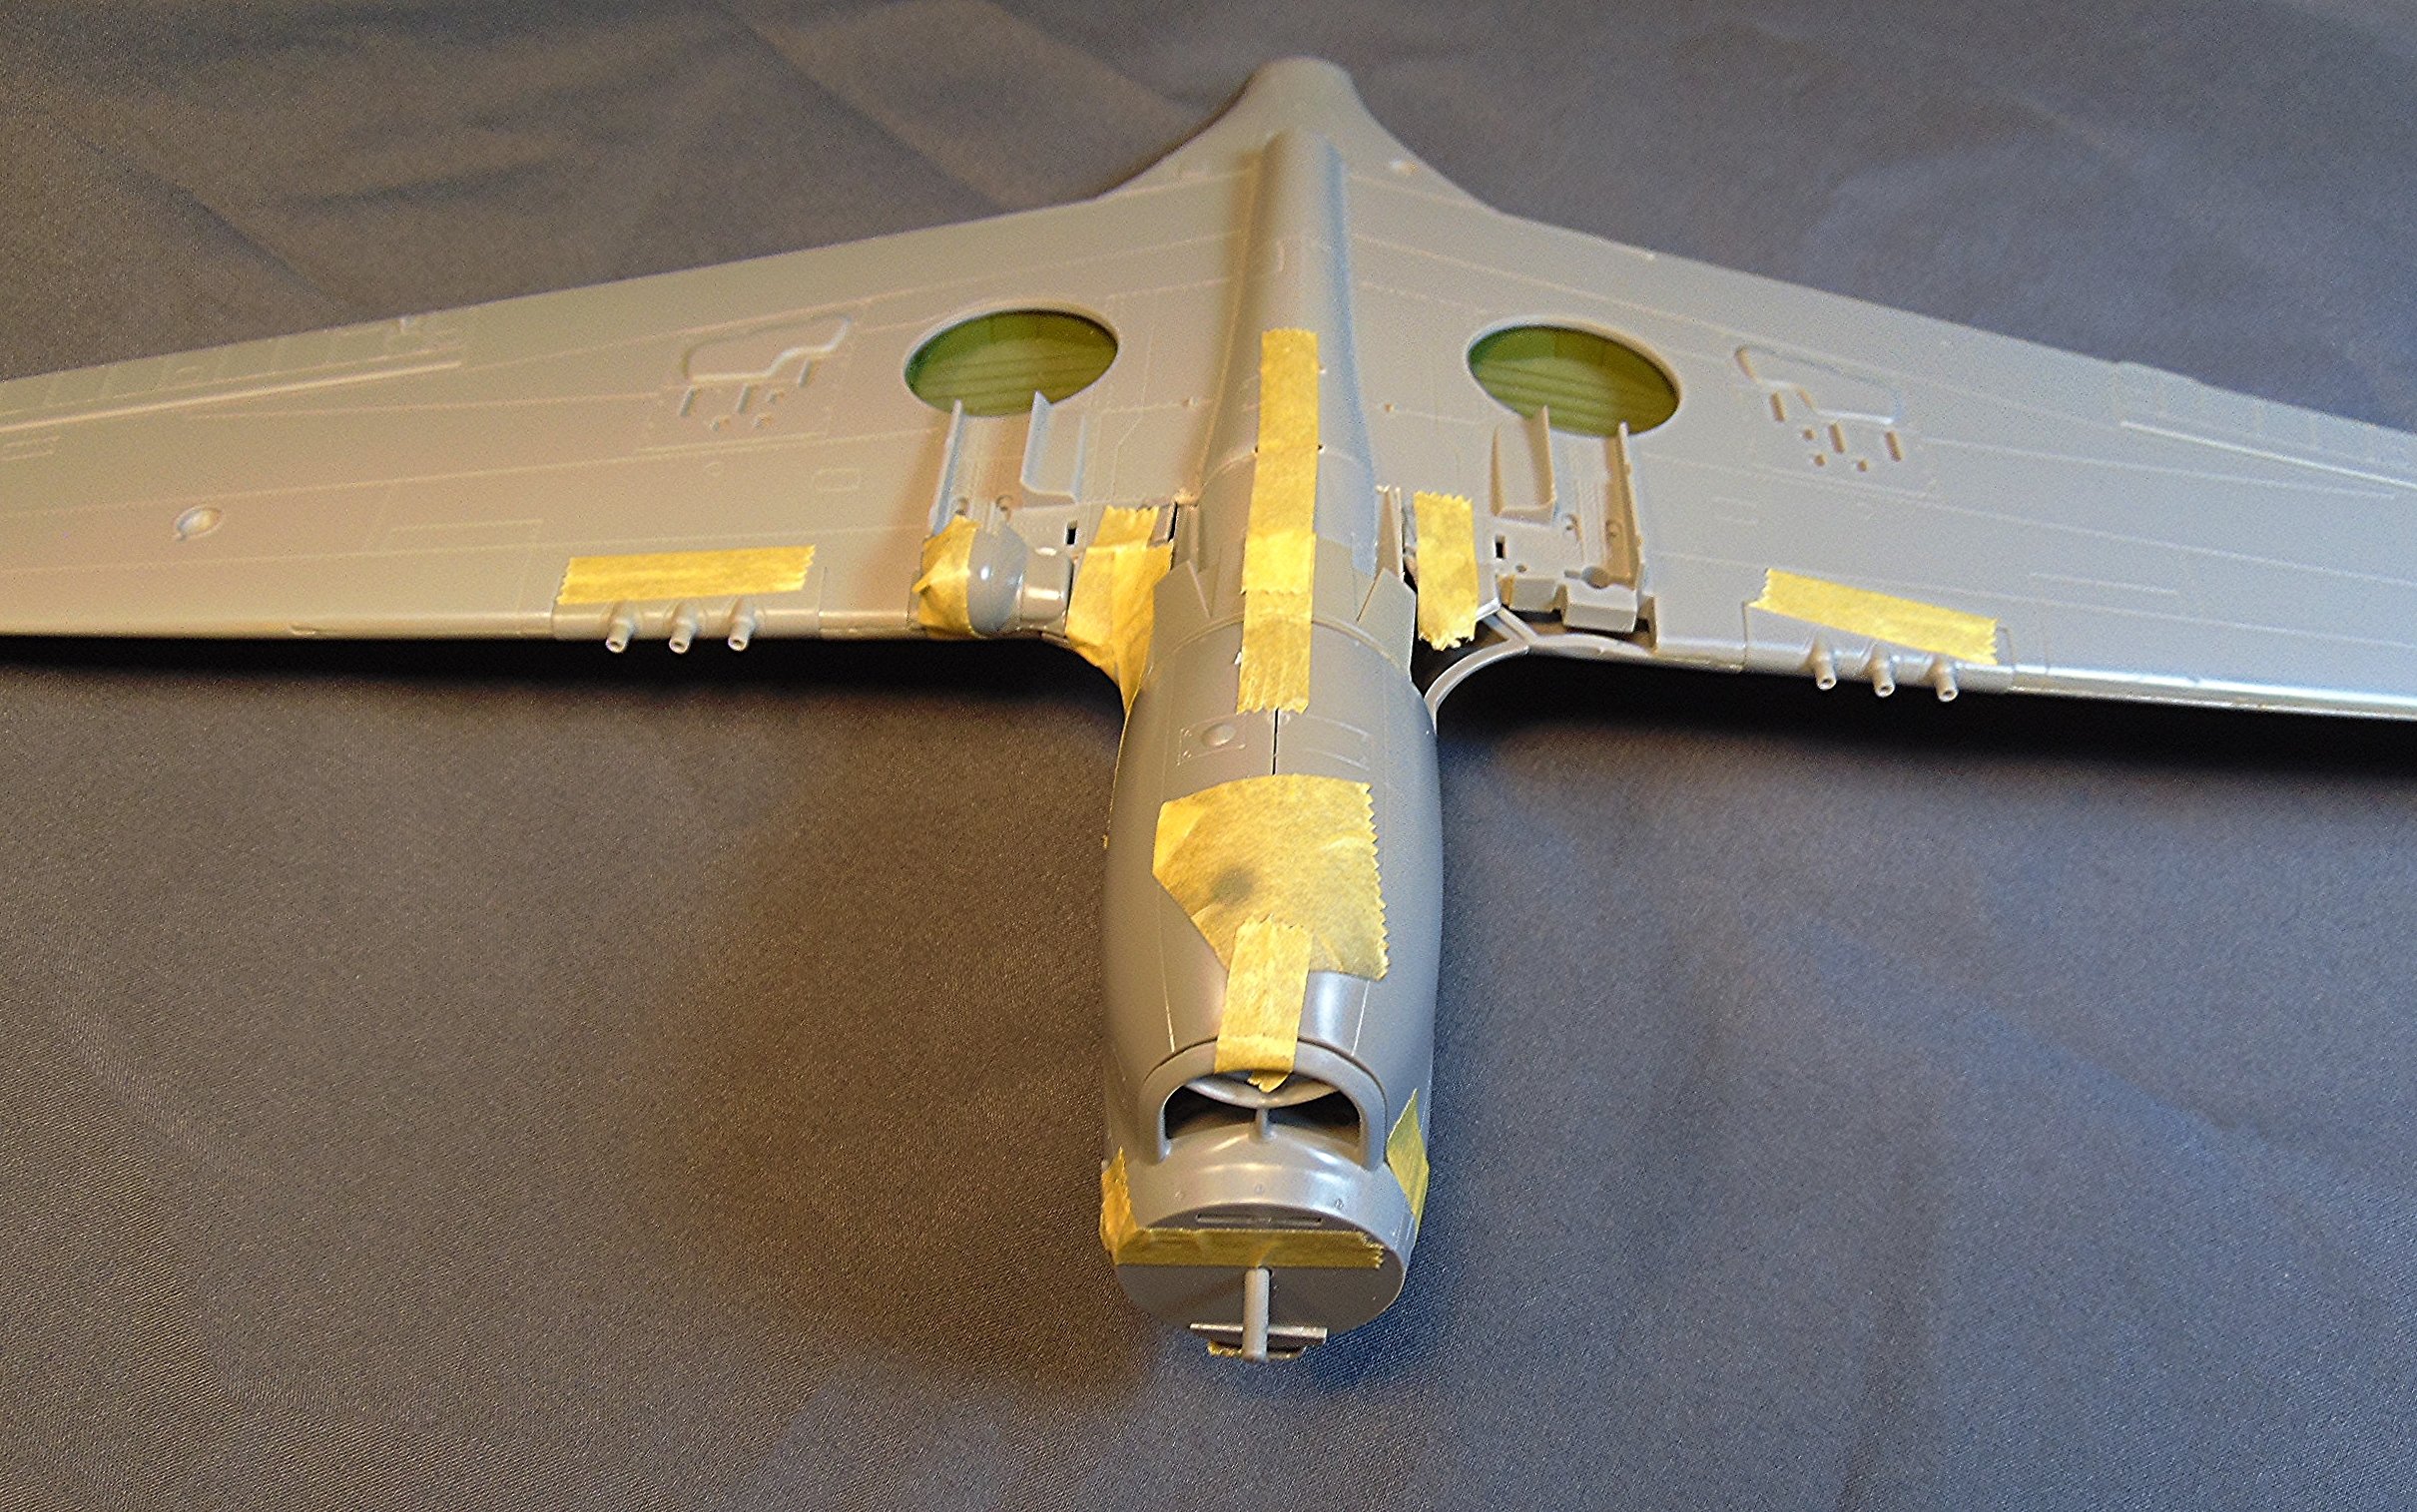
So far it's working out fairly well. If I can find something to use for the right wing LG knuckle cover I think it will do alright. Fingers crossed!
-
I hope you have a happy birthday Peter.
-
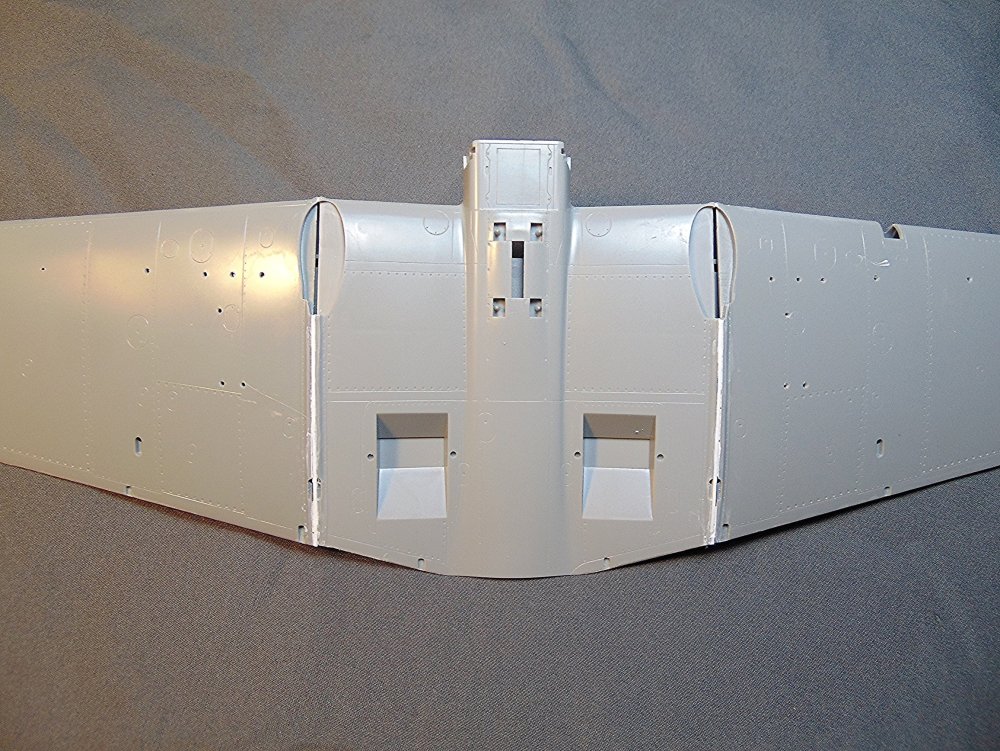
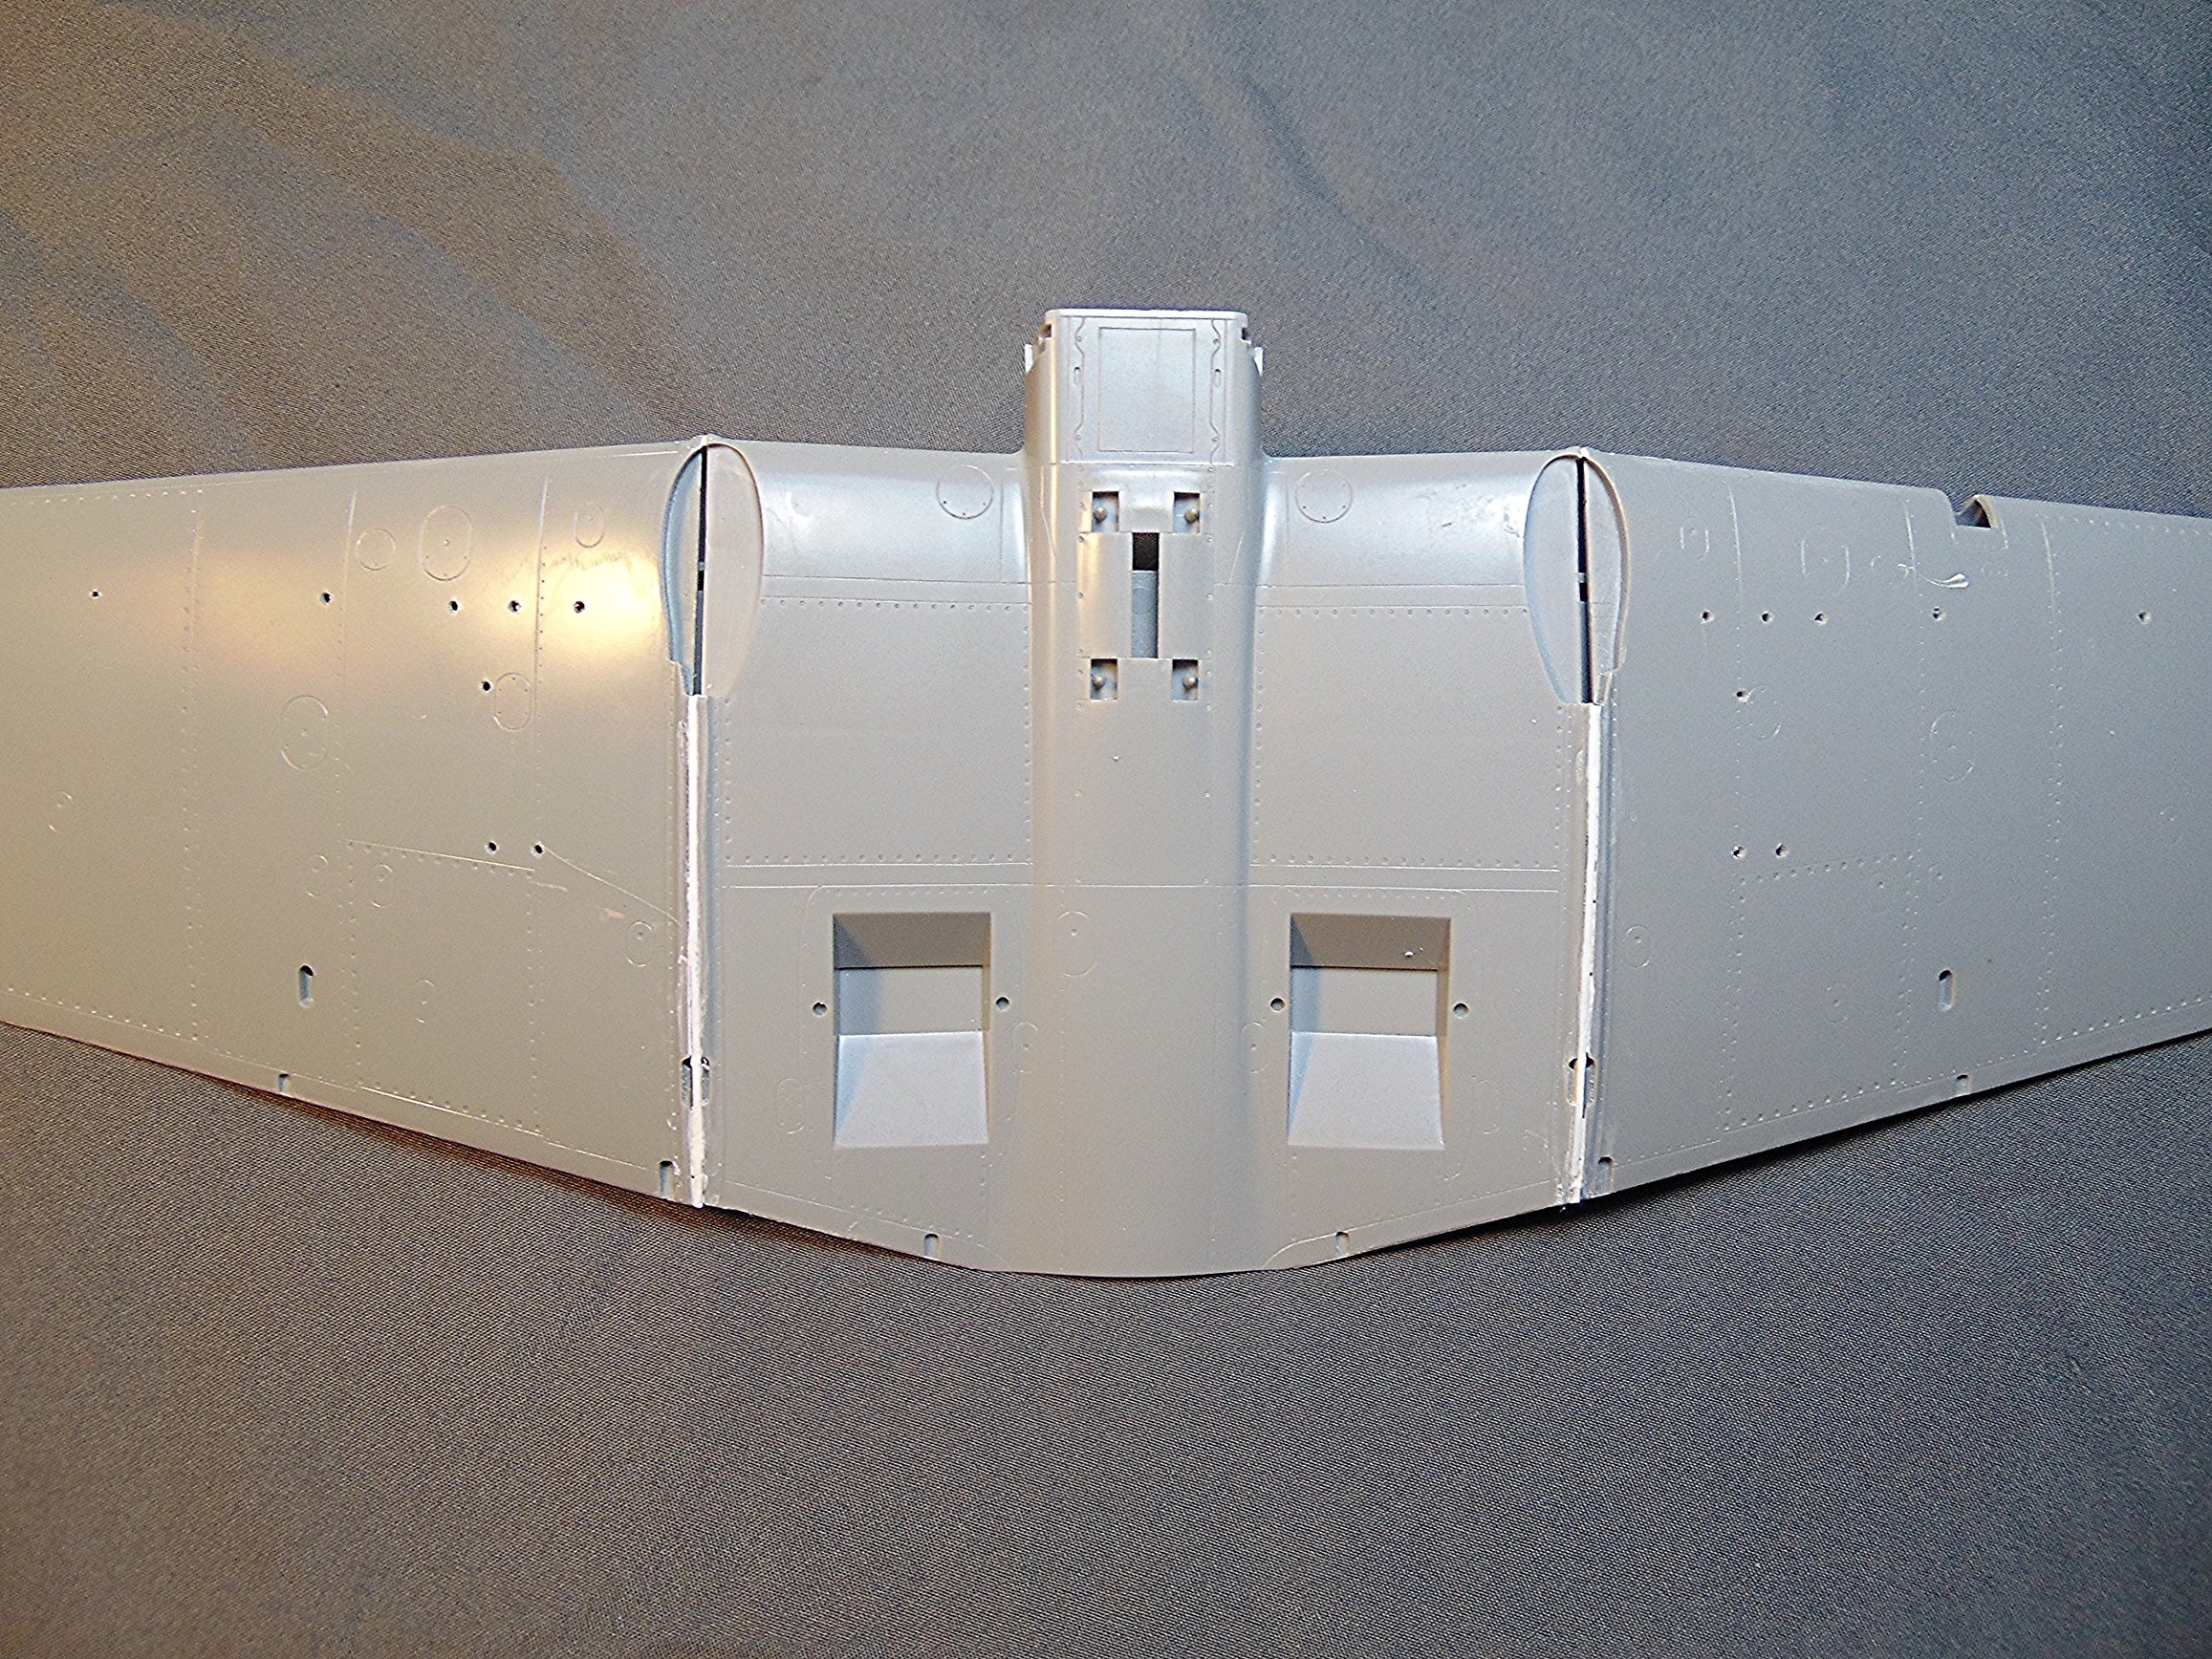
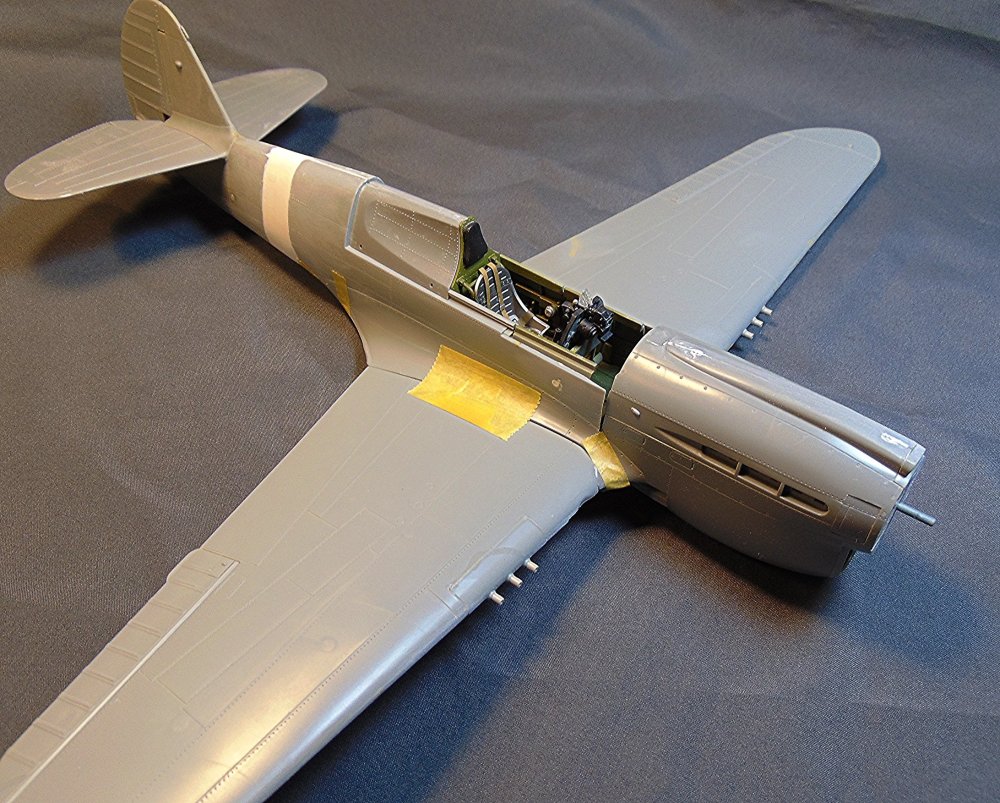
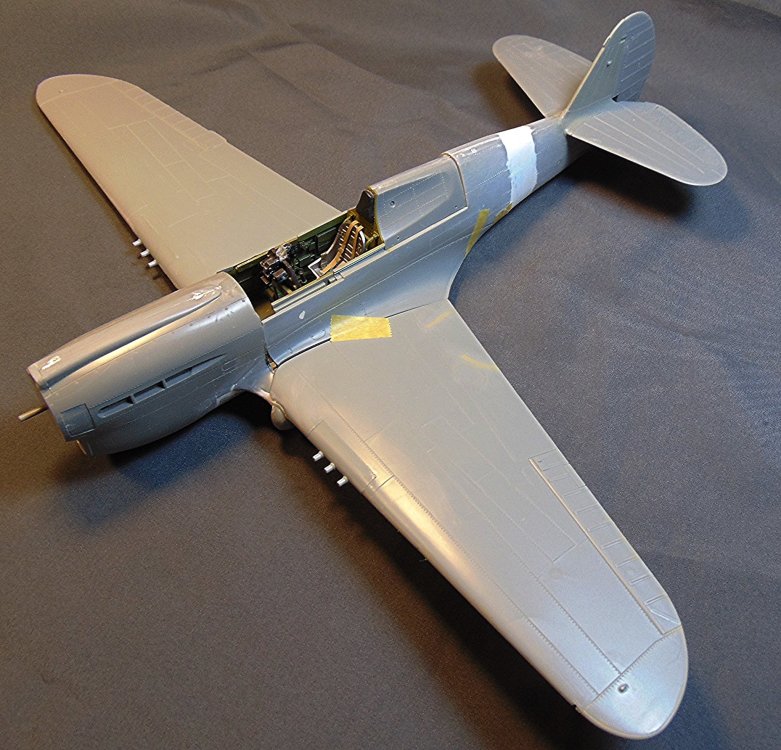
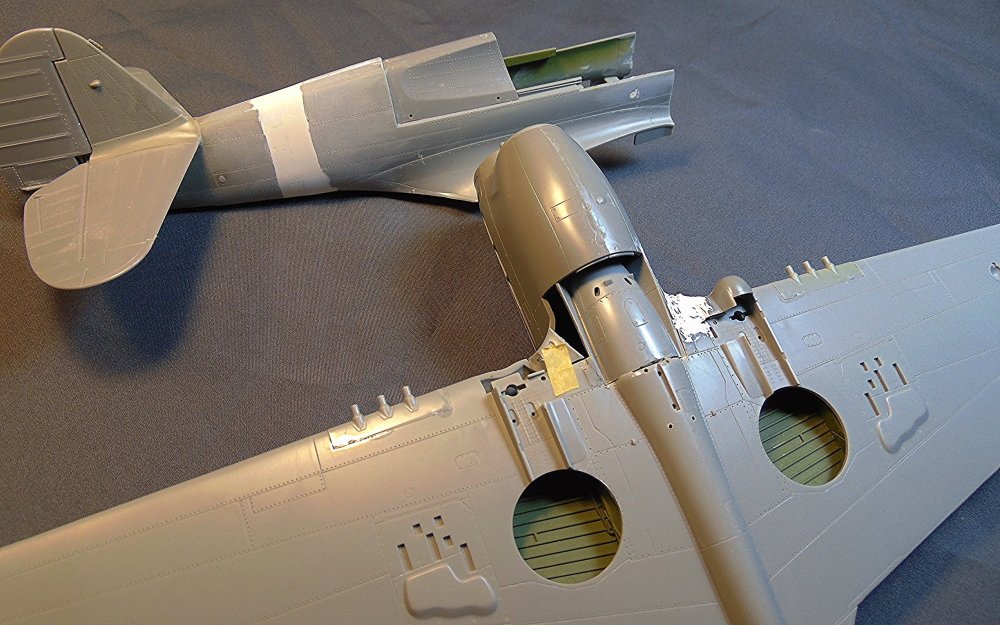
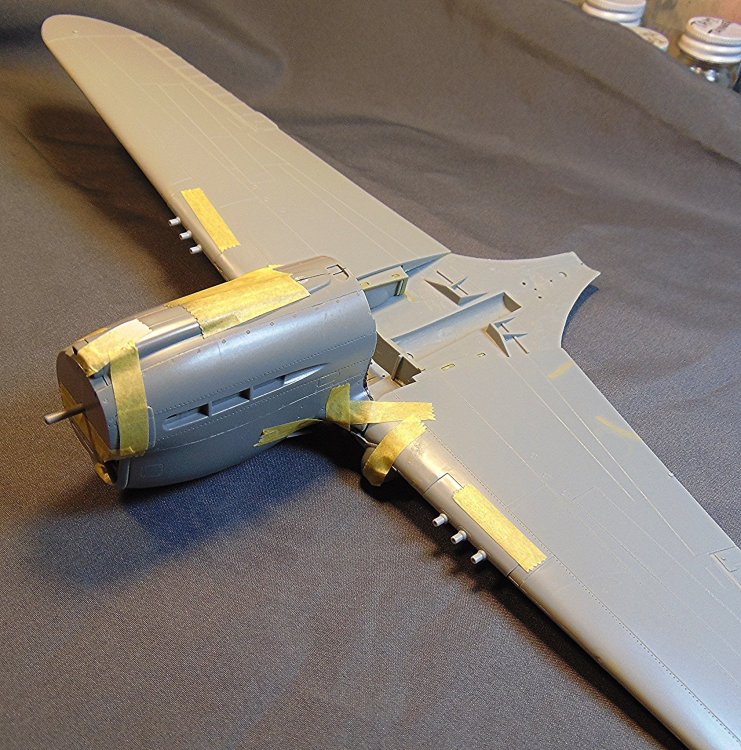
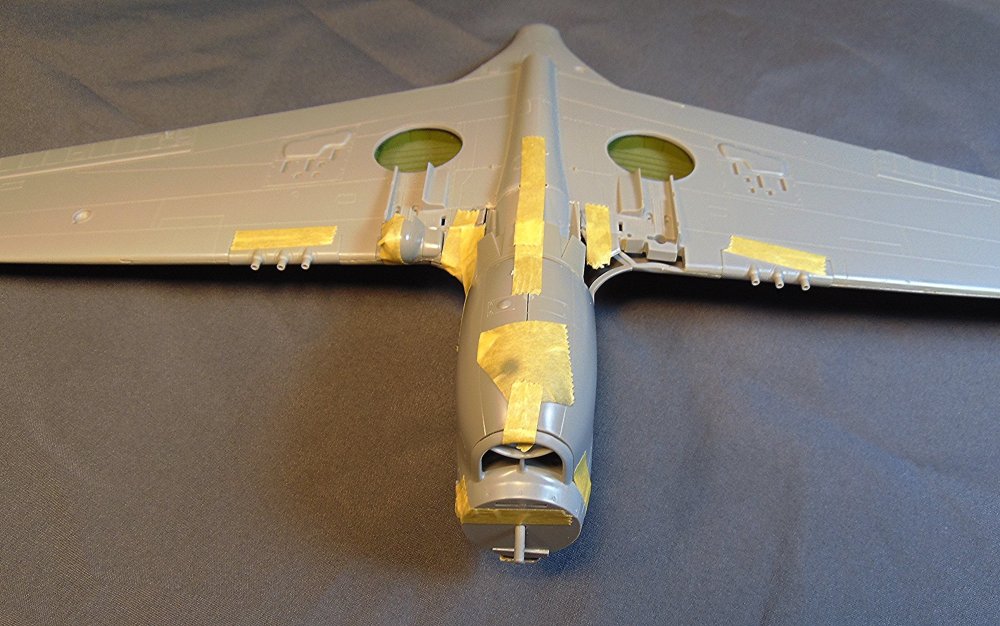
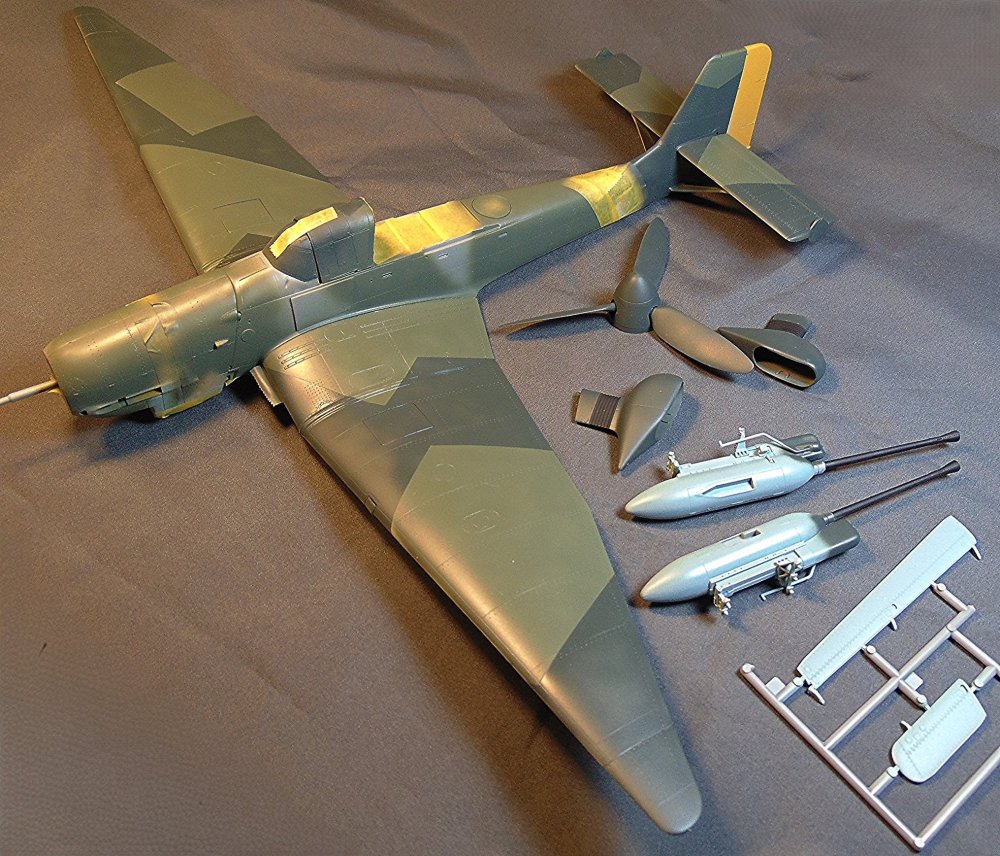
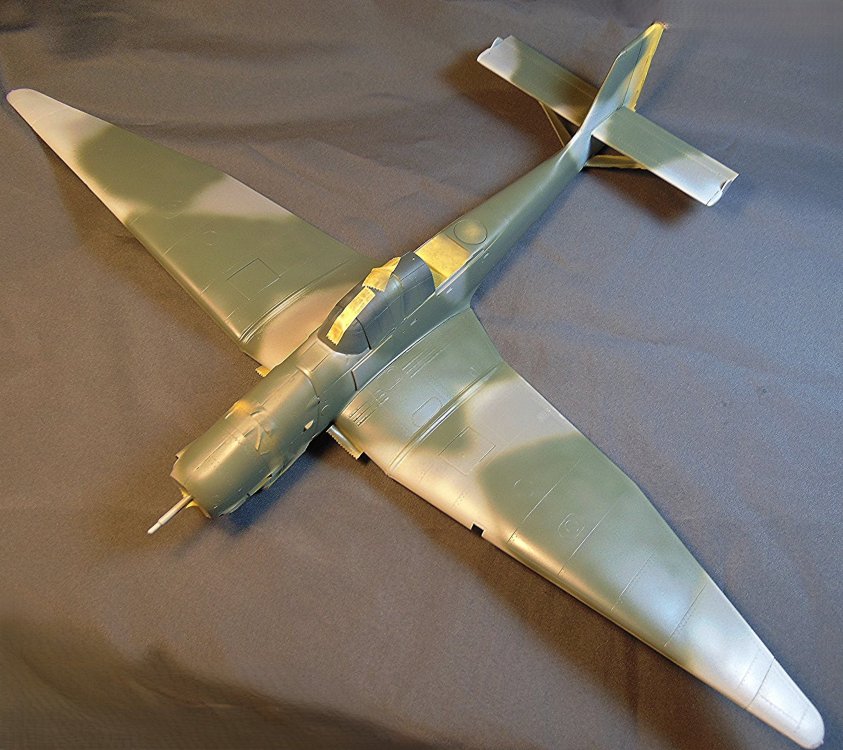
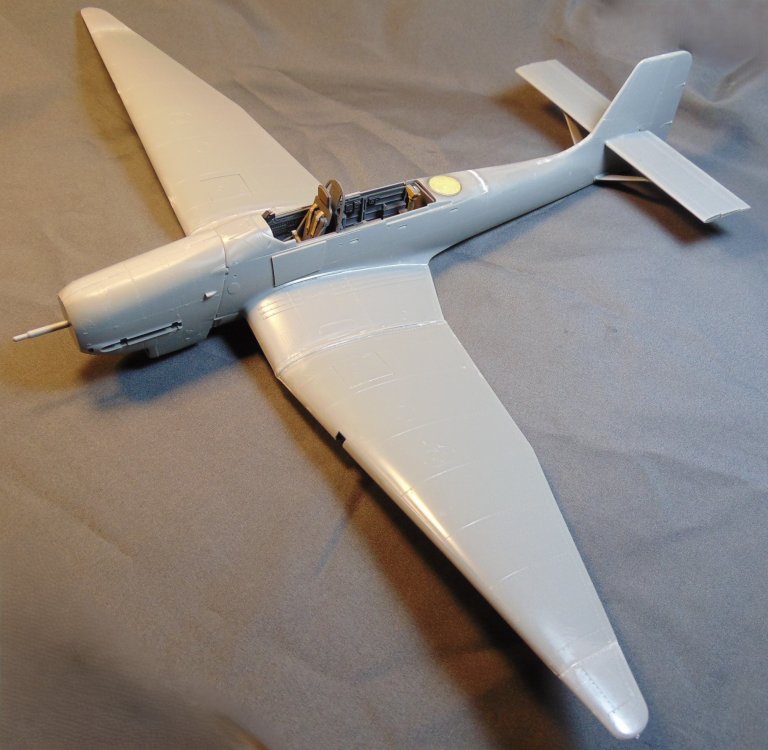
Making some nice progress but still a long way to go.
-
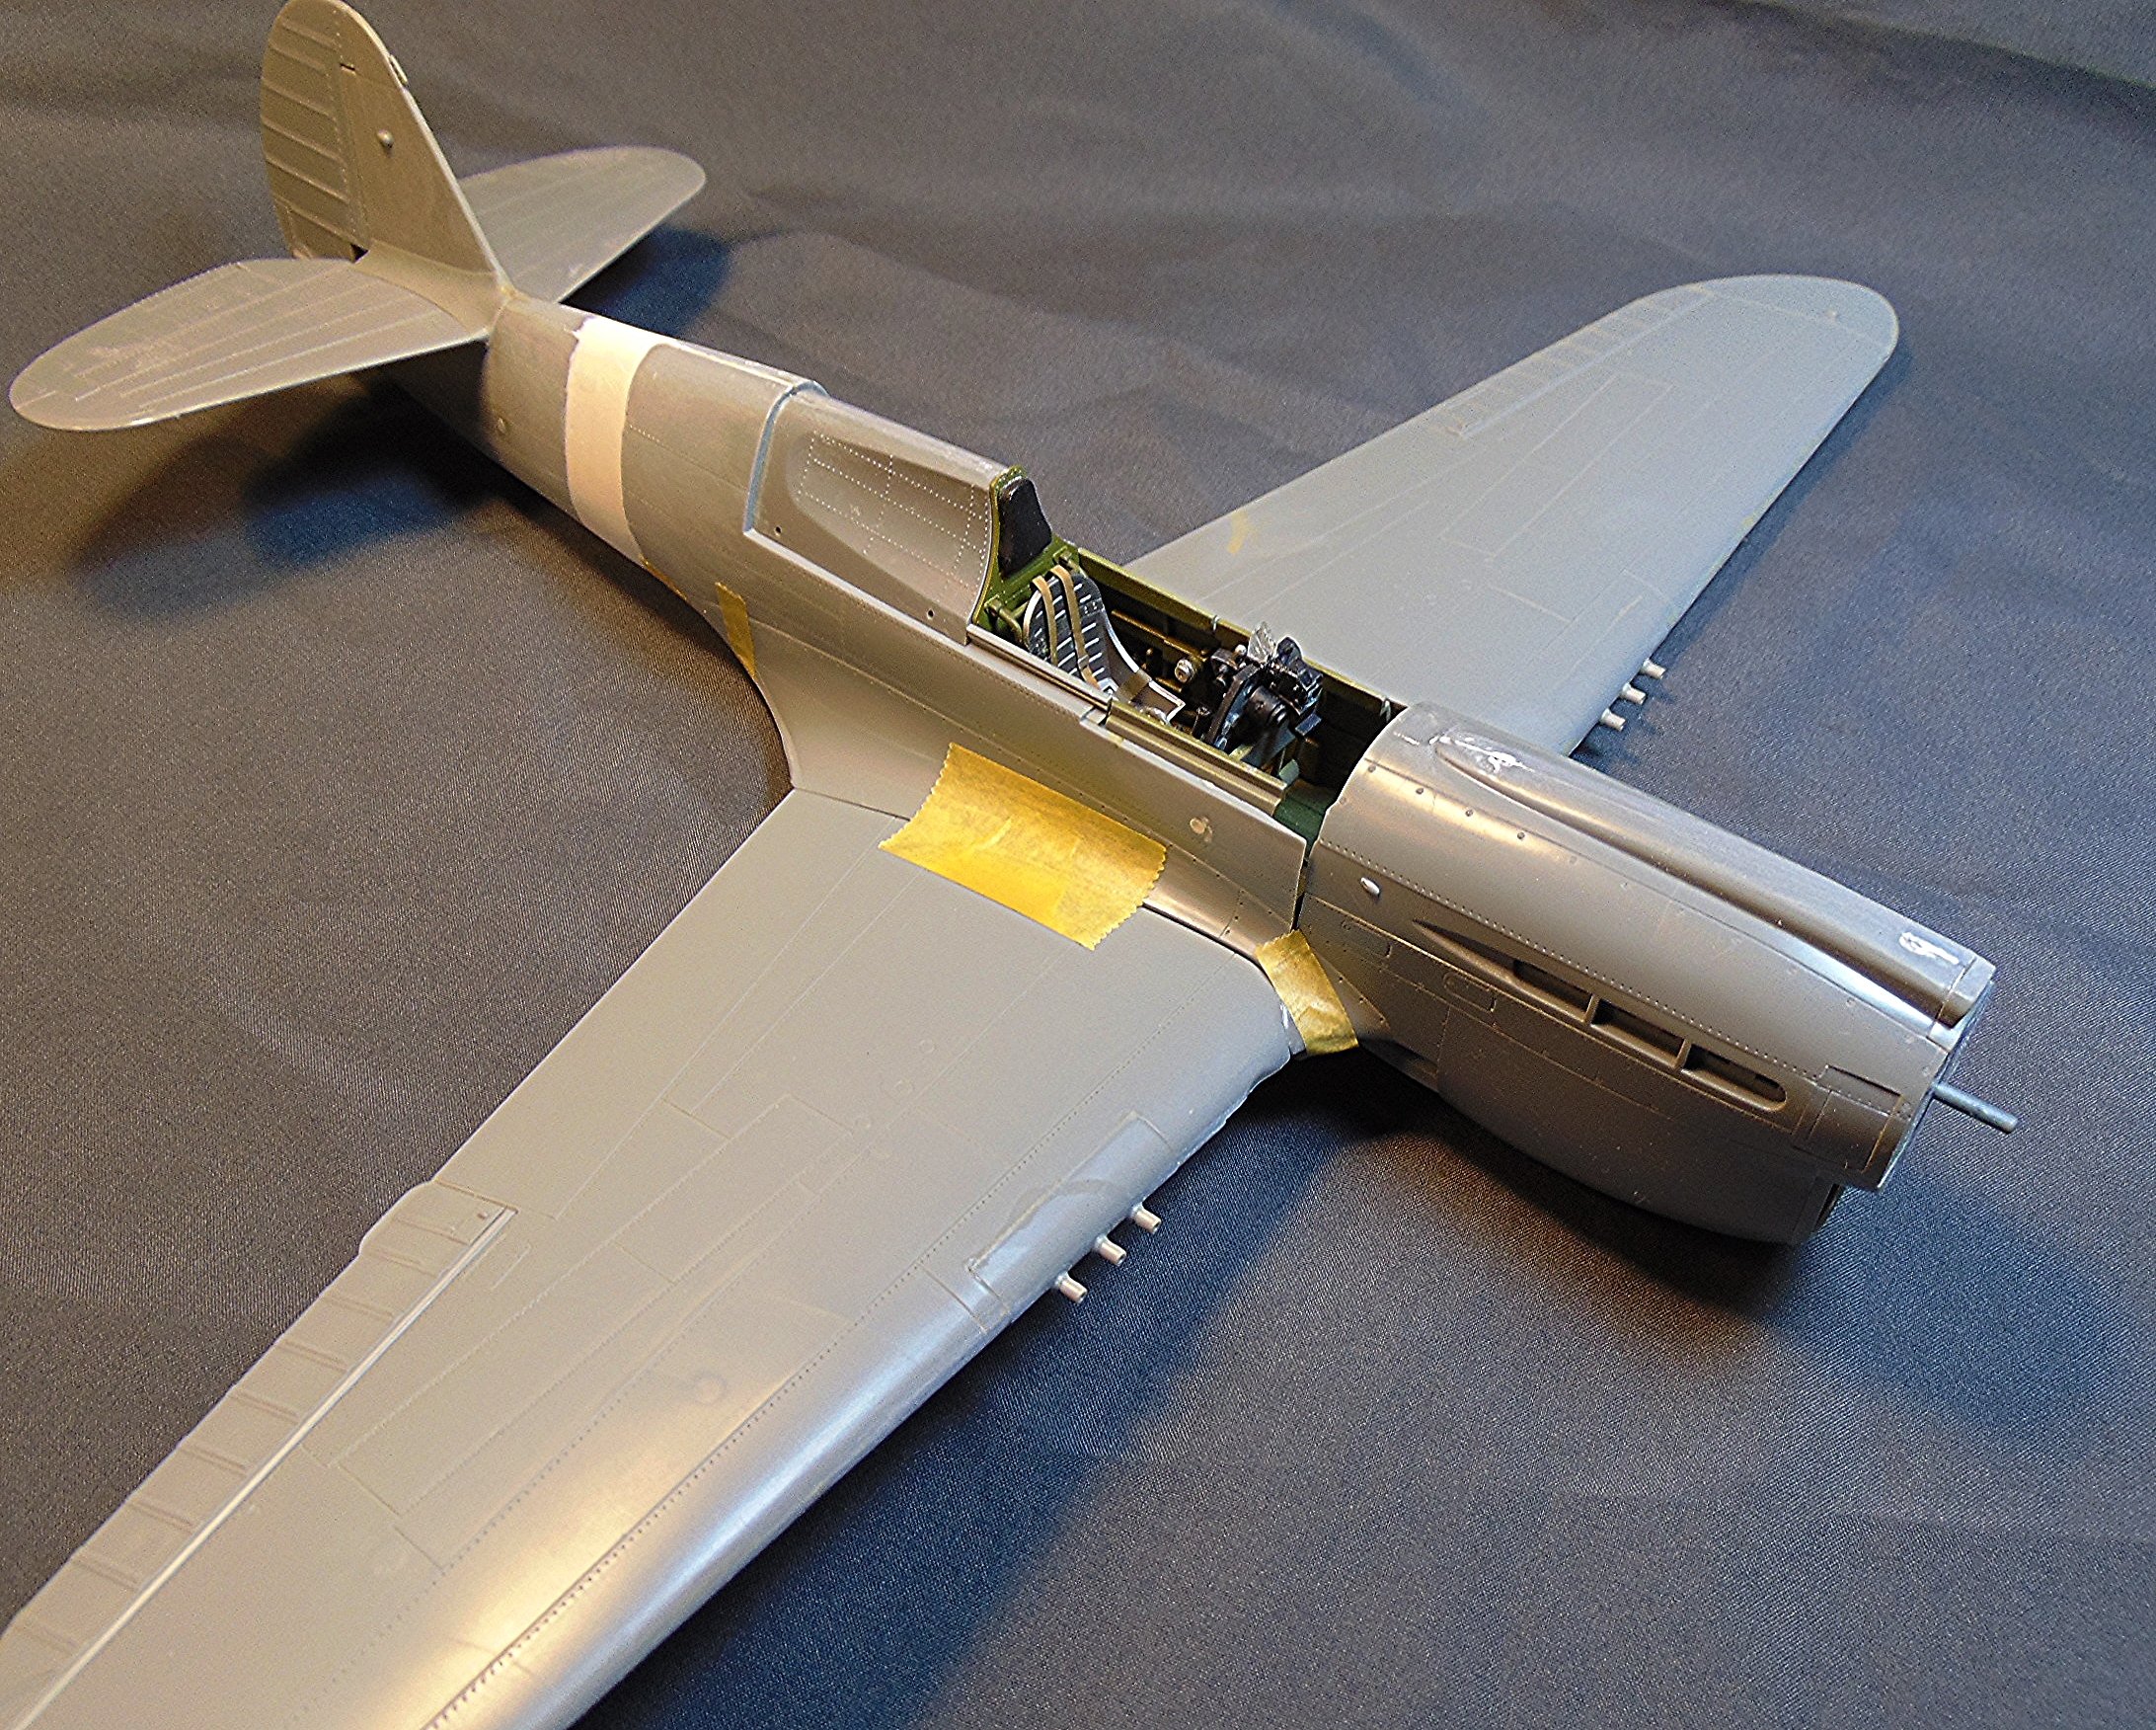
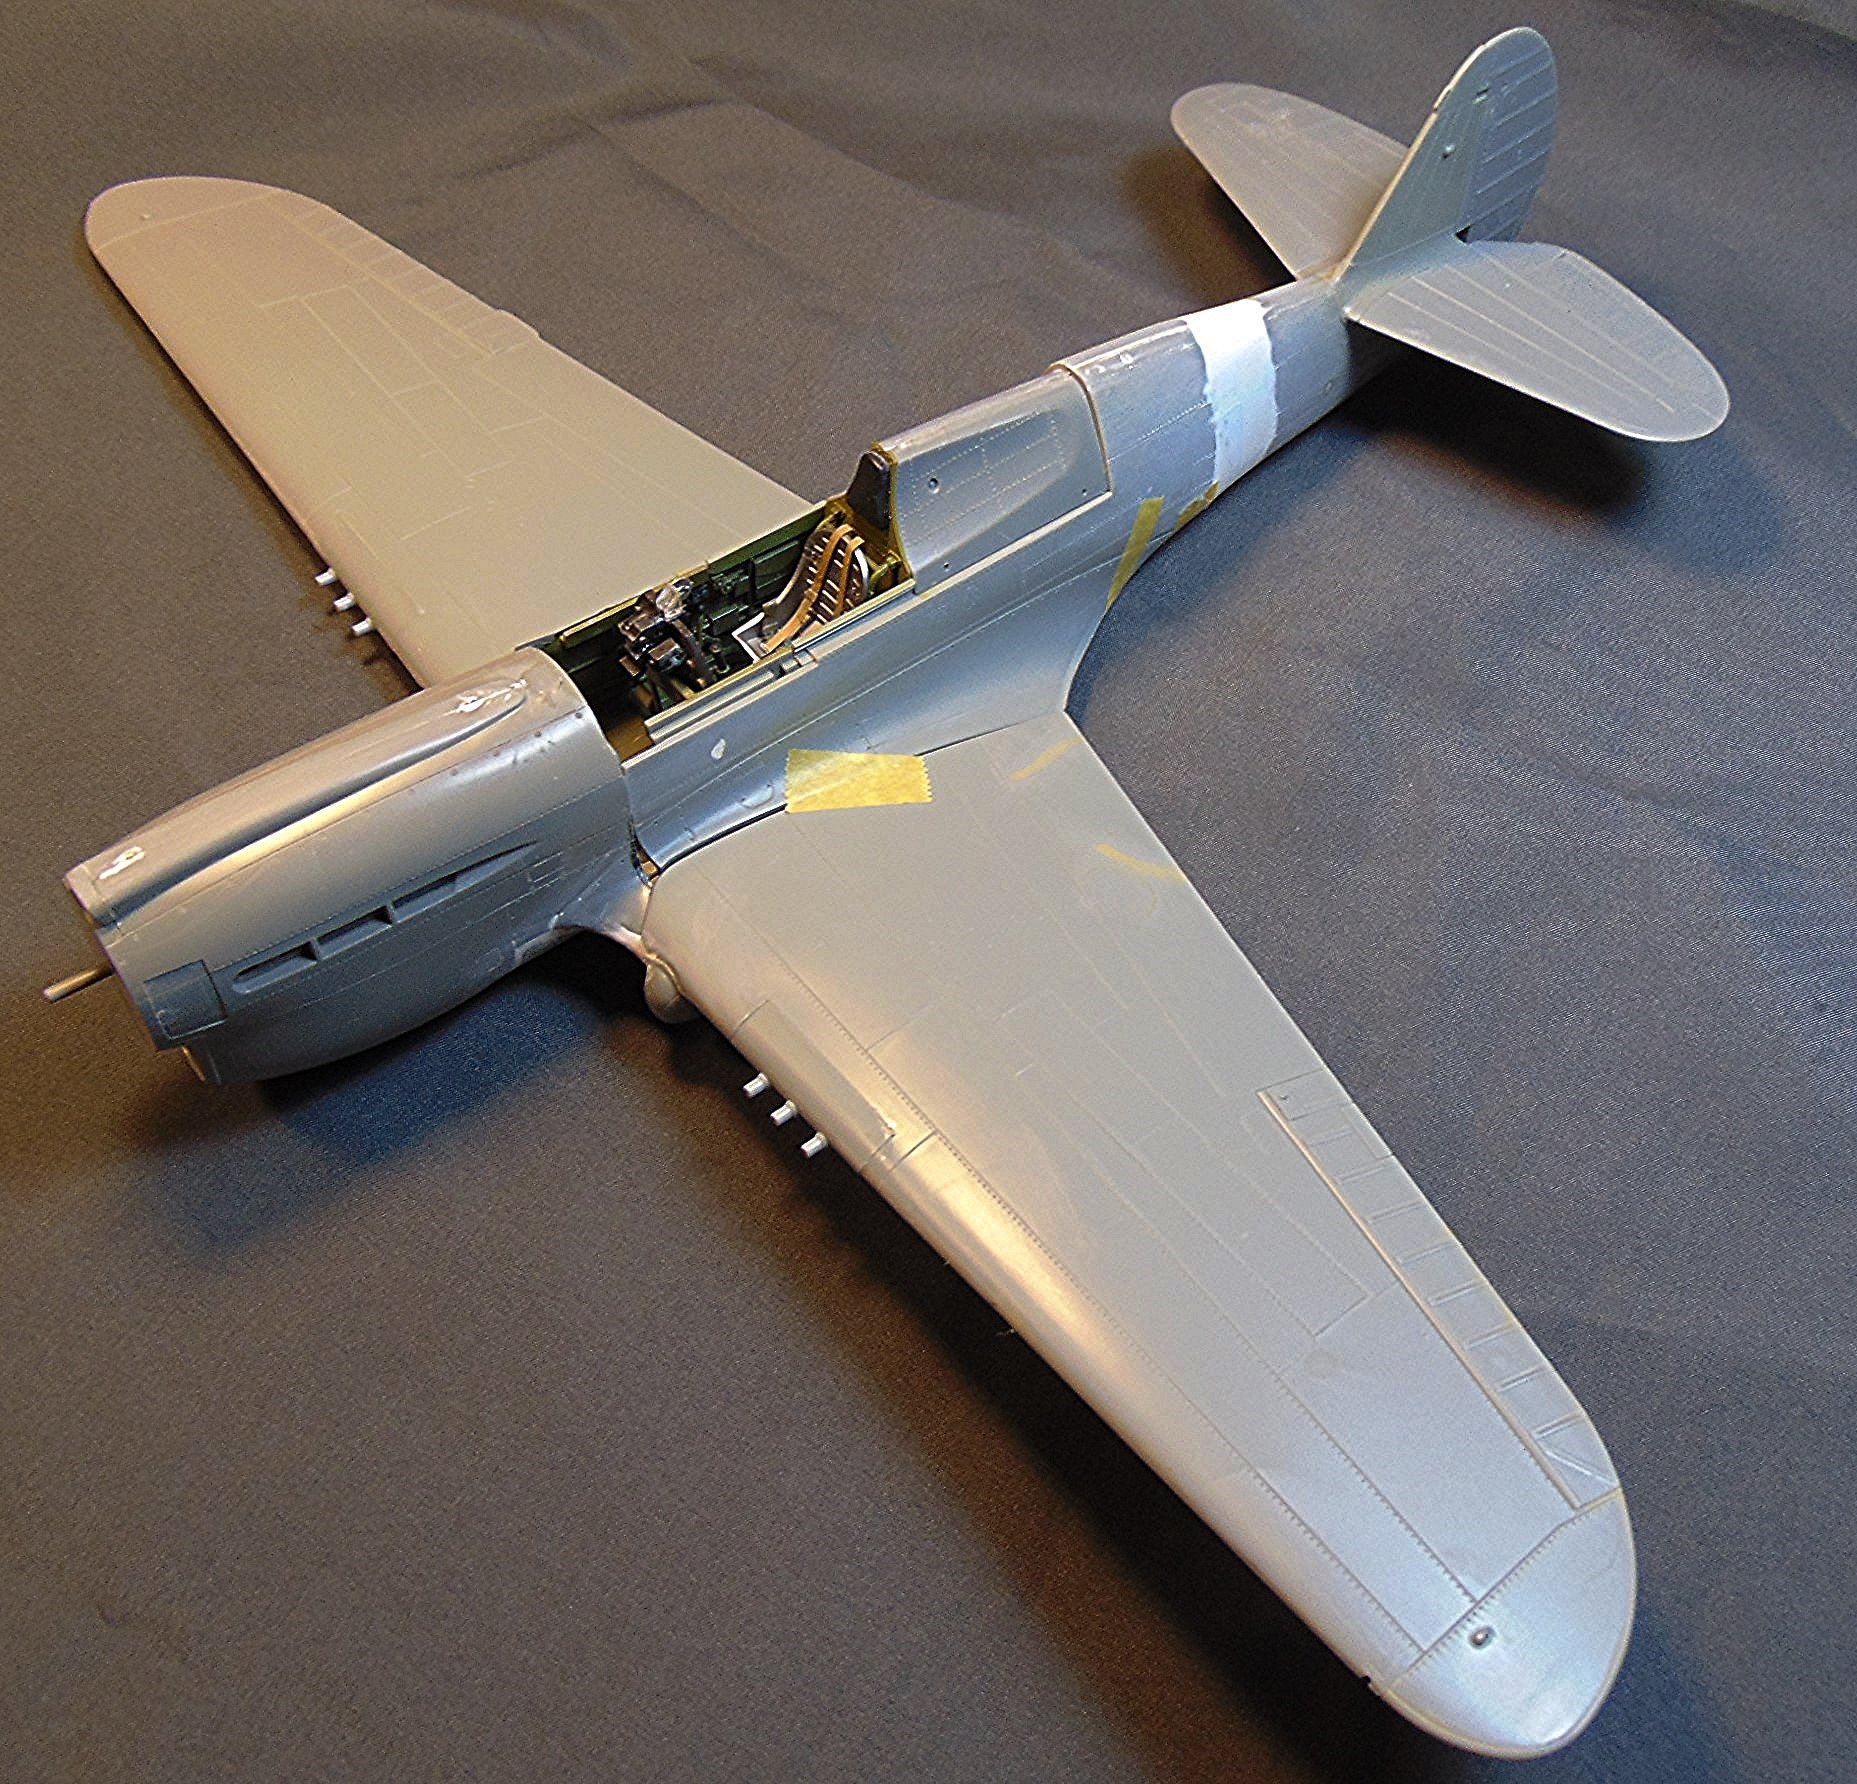
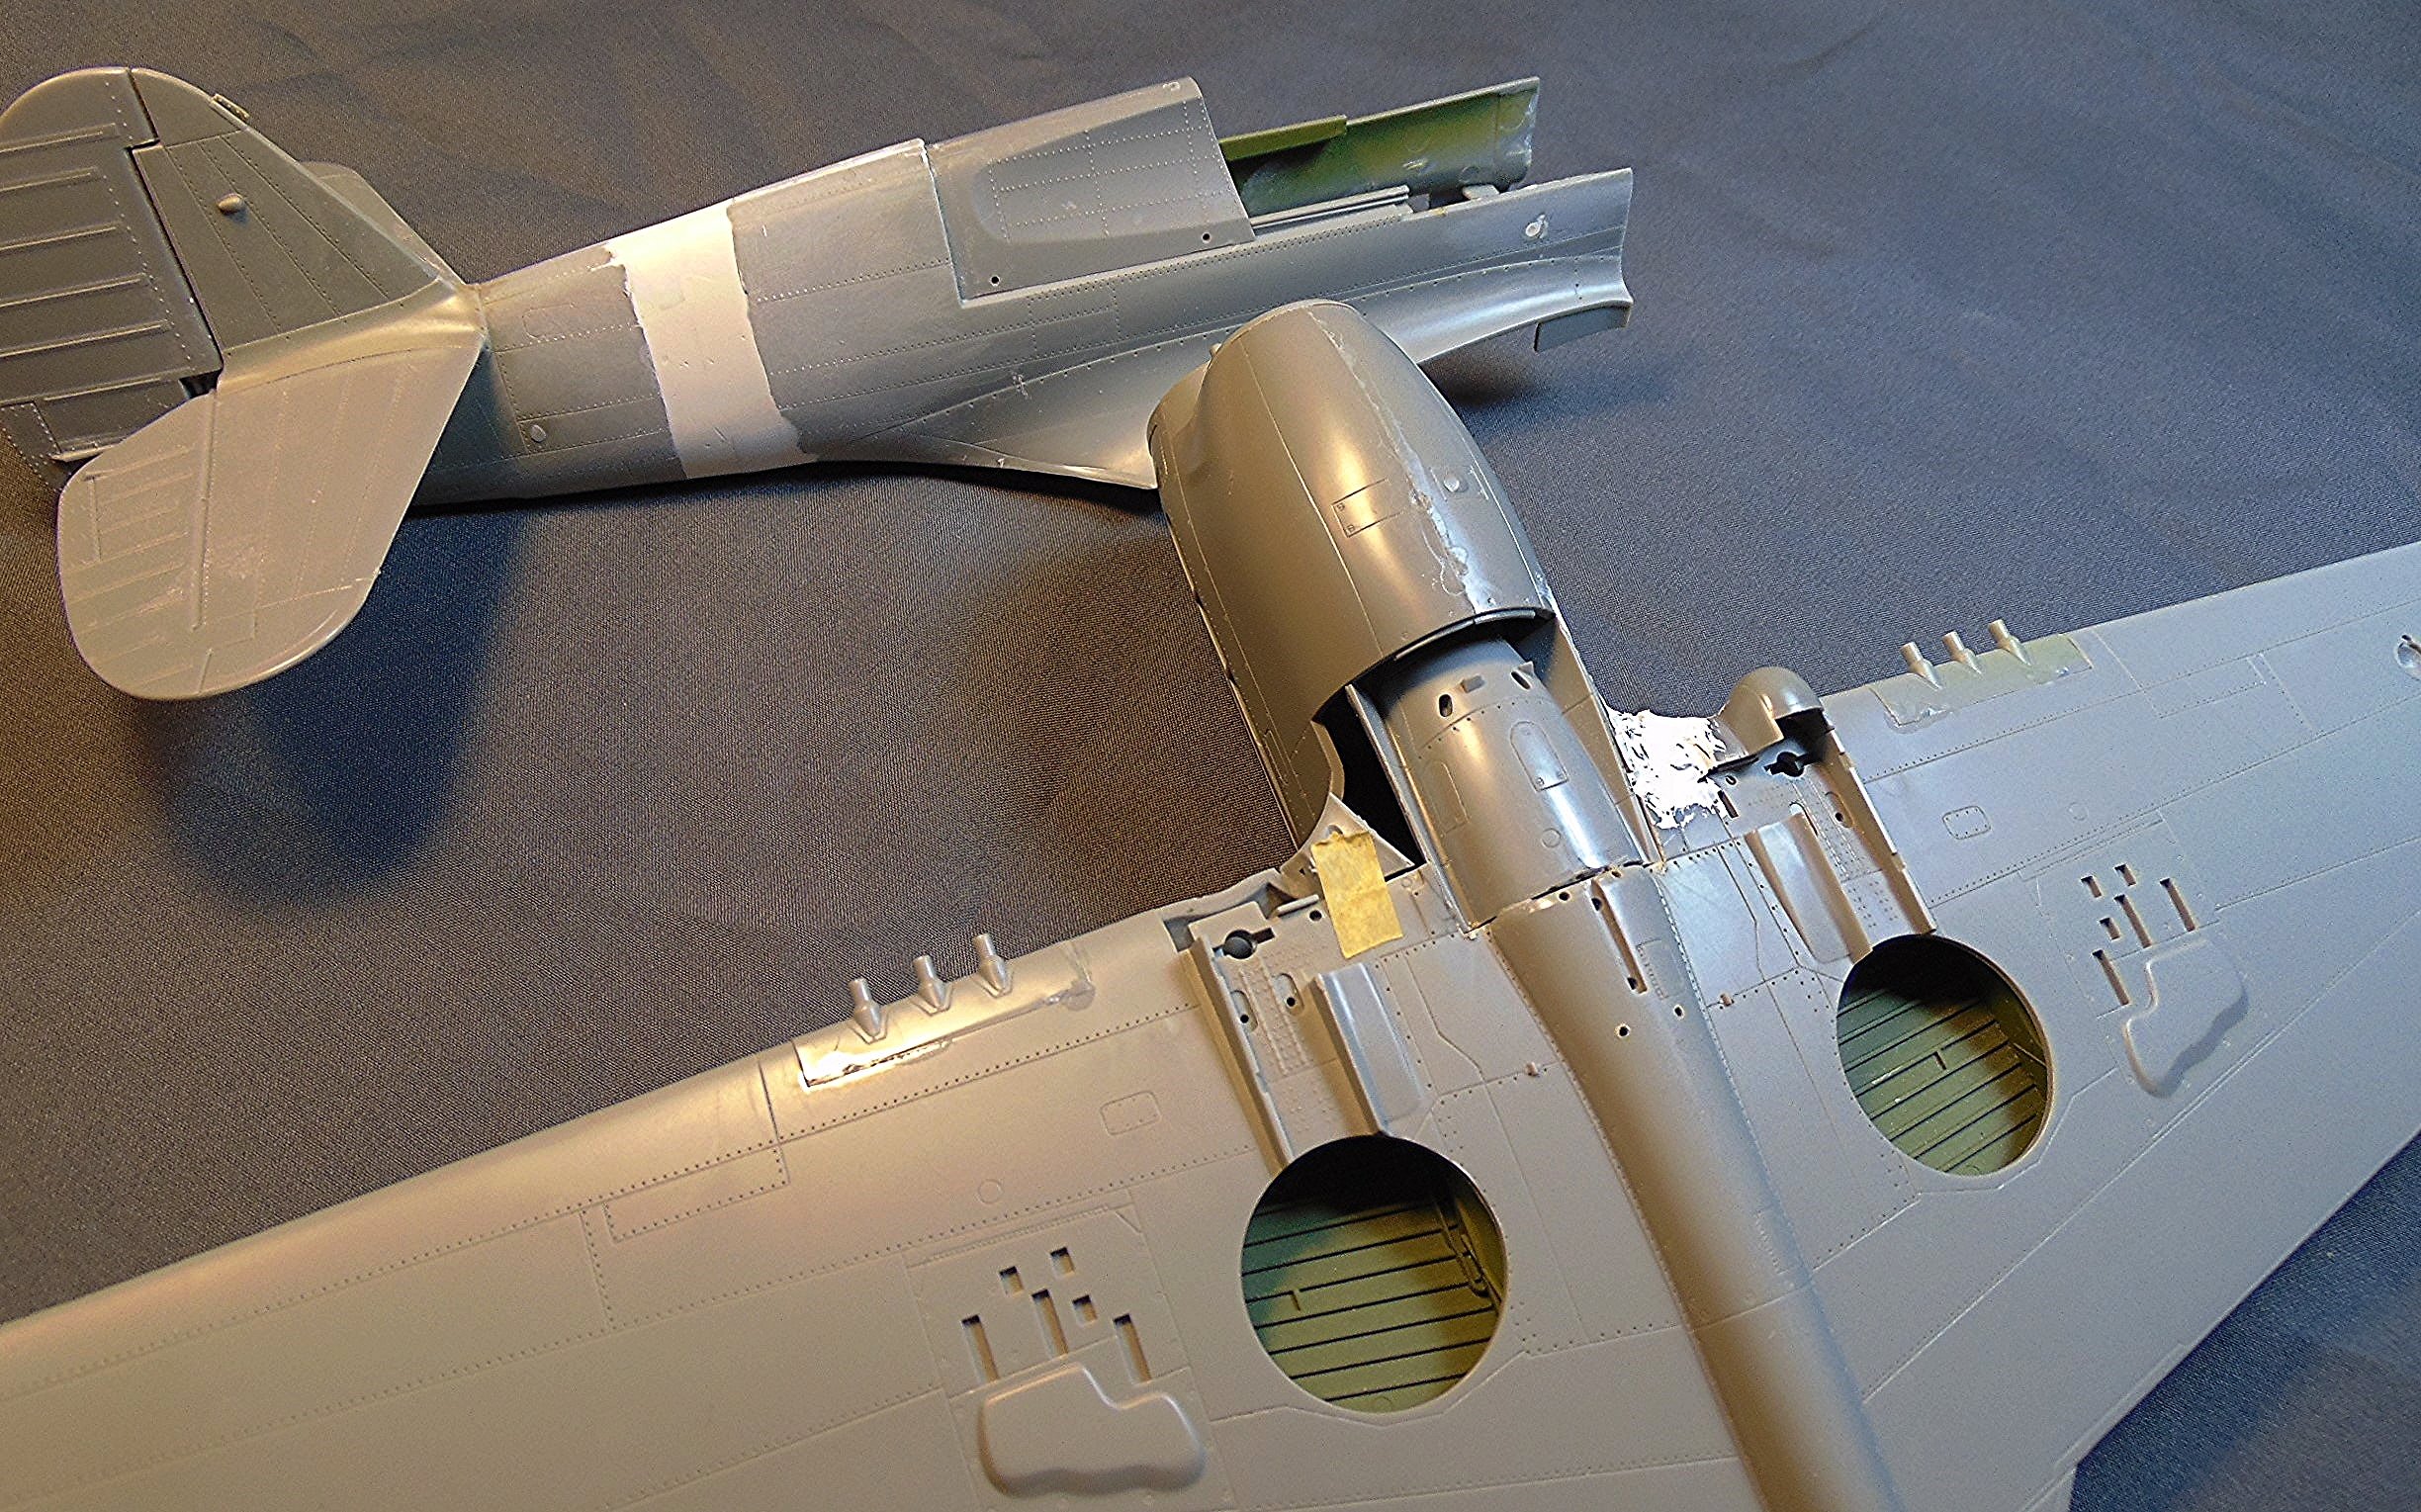
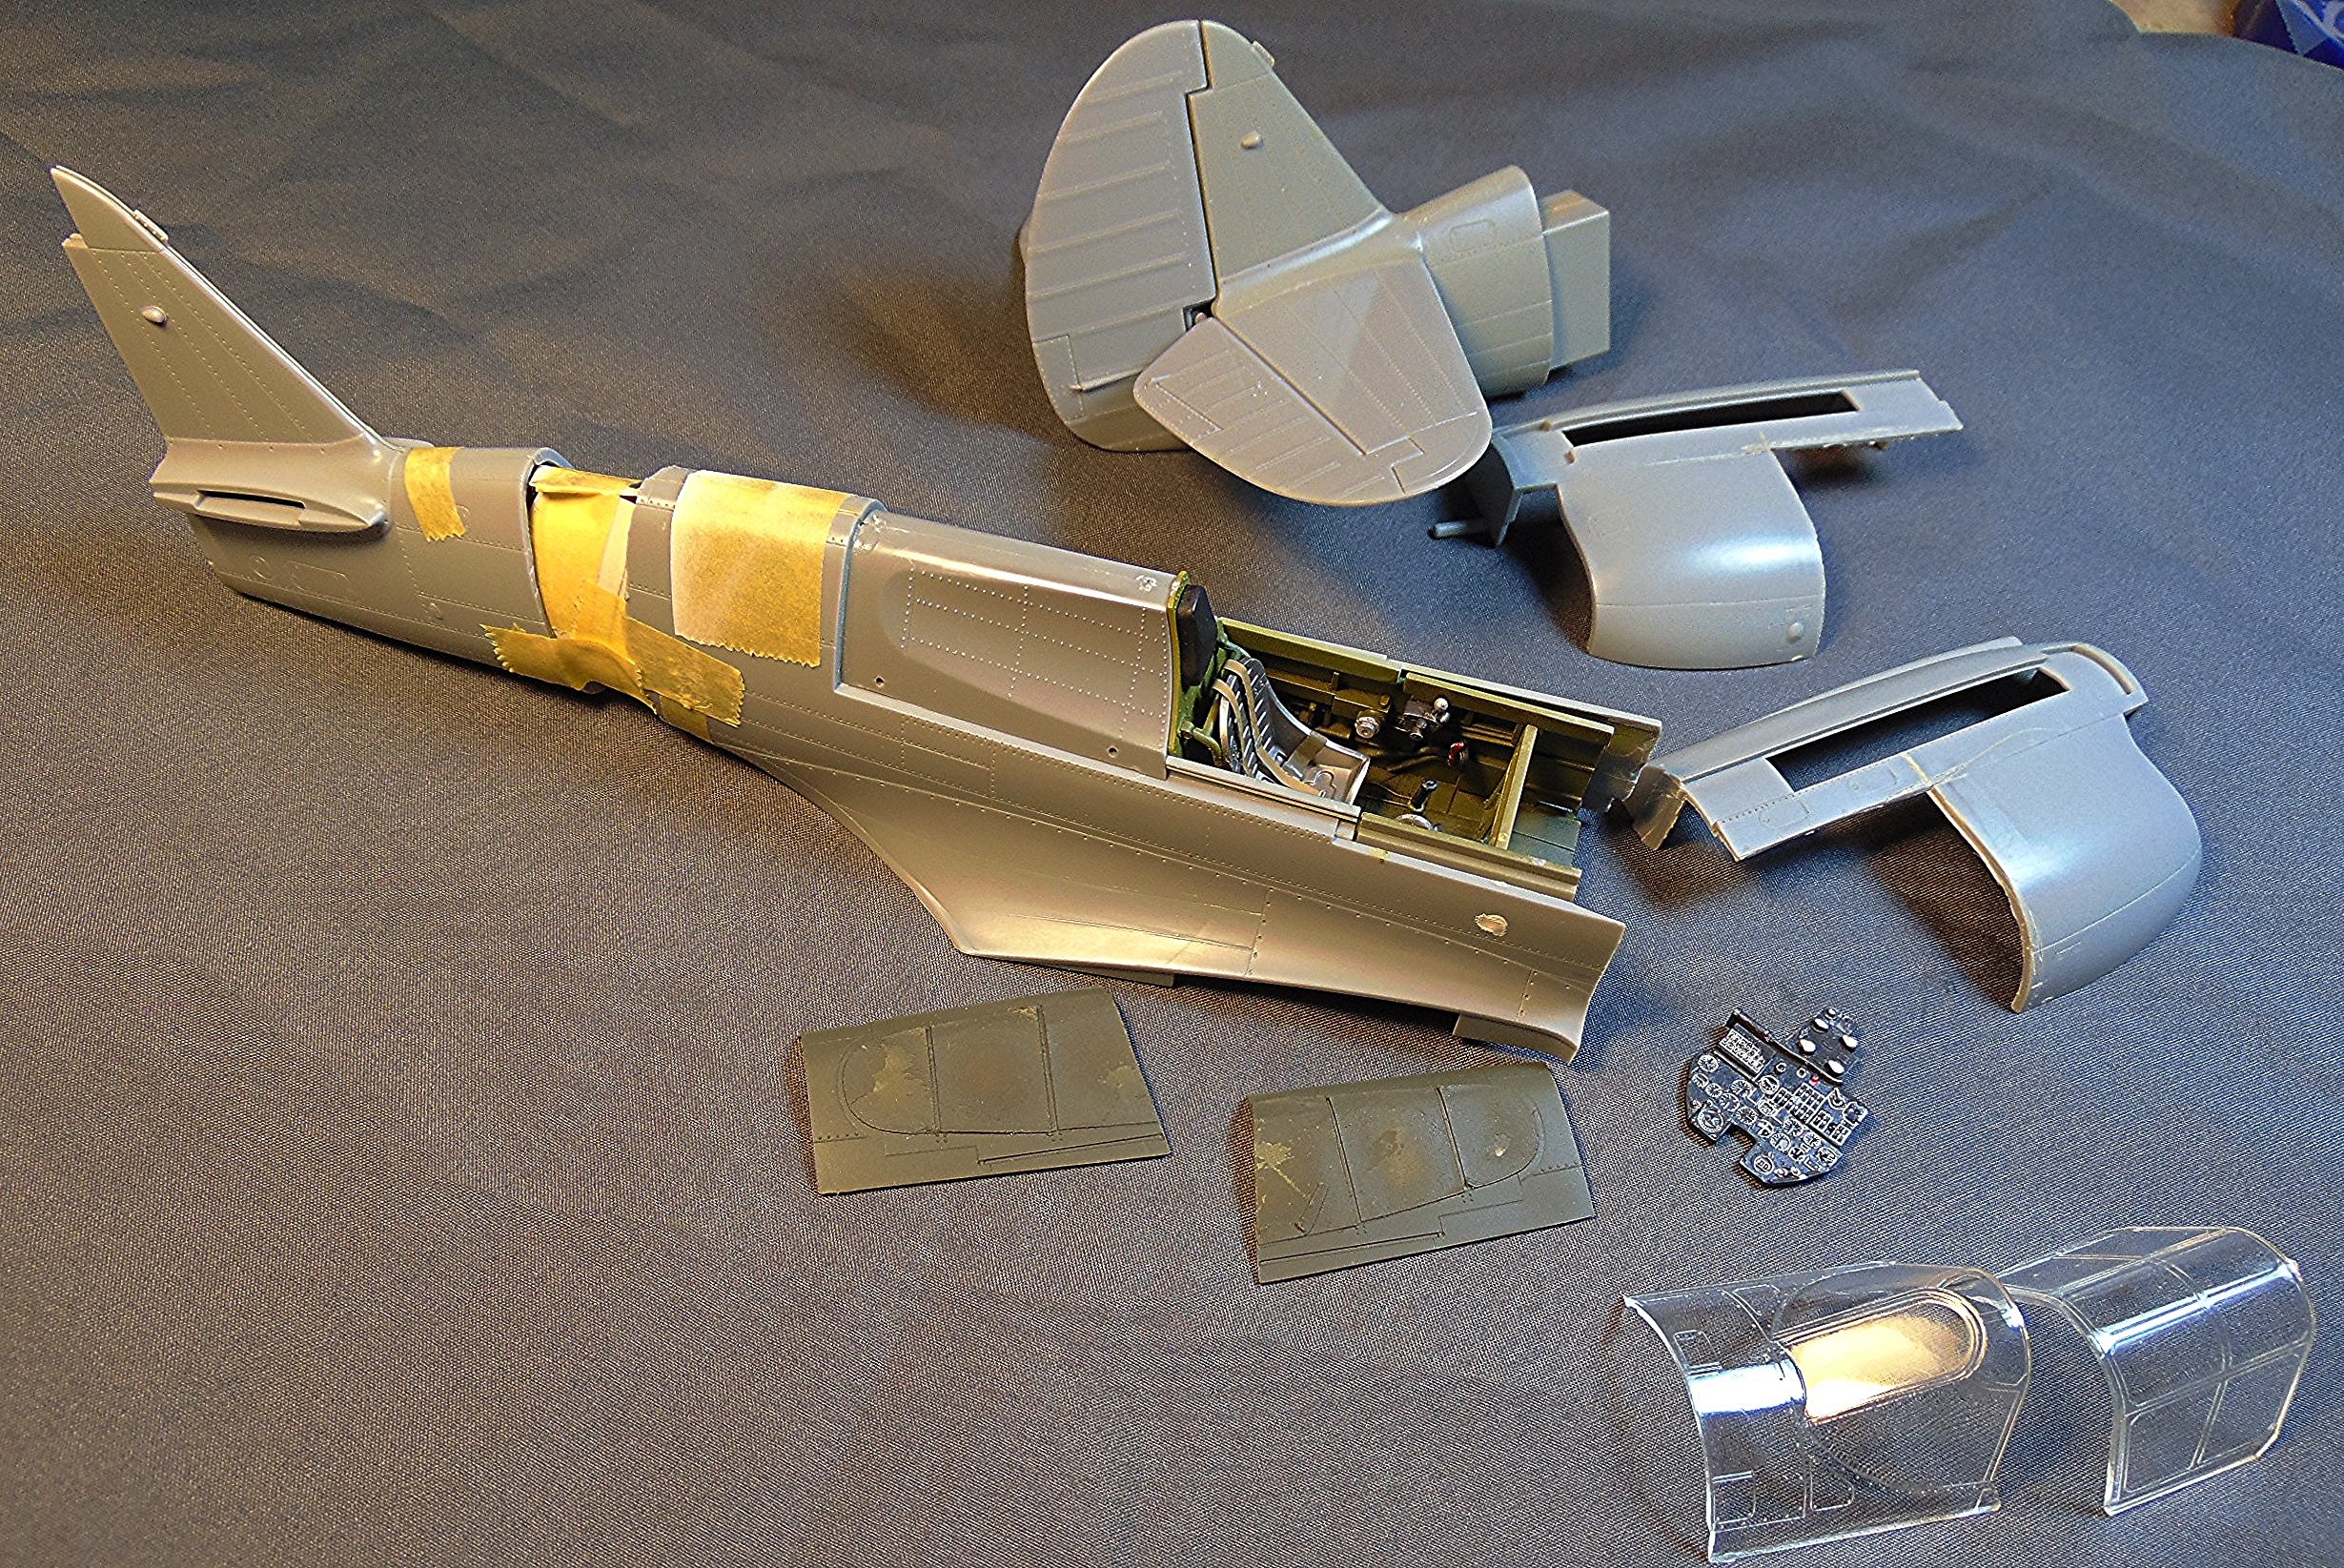
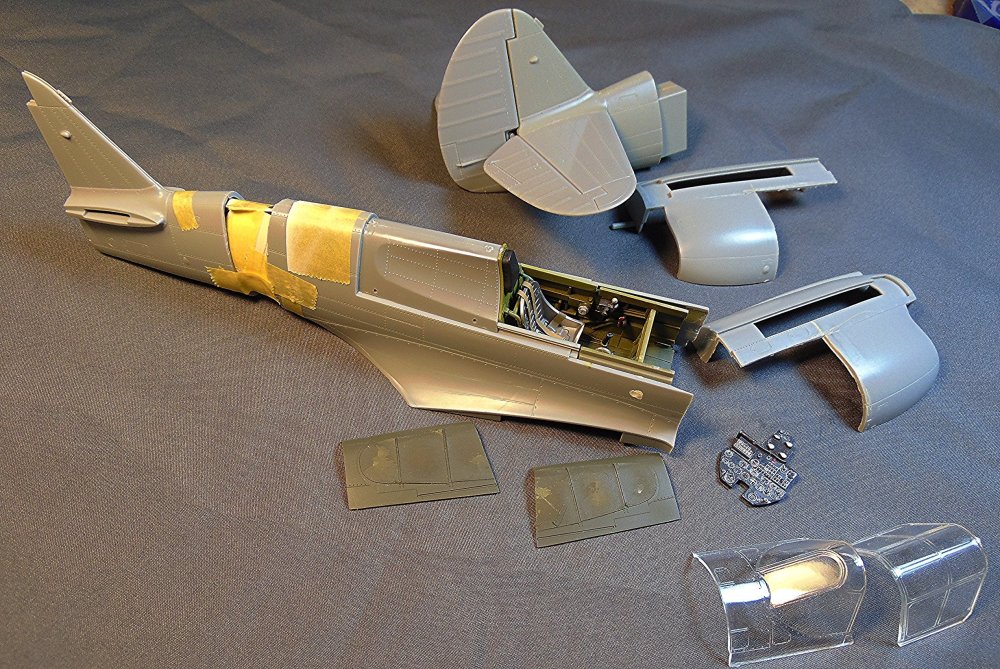
Rear fuselage "fix" nearly done. It just needs a little more smoothing out in spots. I think the next move is to put the cockpit back in and then attach the fuselage to the wing/nose assembly. I looked on ebay to see if I could find someone selling the sprues that have the needed parts on them. No luck.
-
That's a good idea. I hadn't thought of that and will check it out. Thanks!
-
LOL Thank you Hubert. I'll figure something out.
-
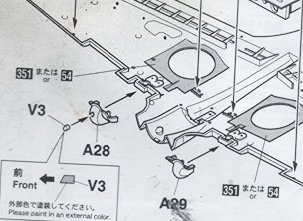
I've never tried to do this before so we'll see how it goes. I think it's likely I won't be able to come up with some of the needed parts but I'll carry it as far as I can. The main part I haven't been able to dig up so far is the gear/wing knuckle piece (part #A28) for the right wing. Maybe someone here can send me one? 🙄
-
LOL I do have a lot of Corsair leftovers but nothing usable for that.
-
We'll see how it goes. 🙄
-
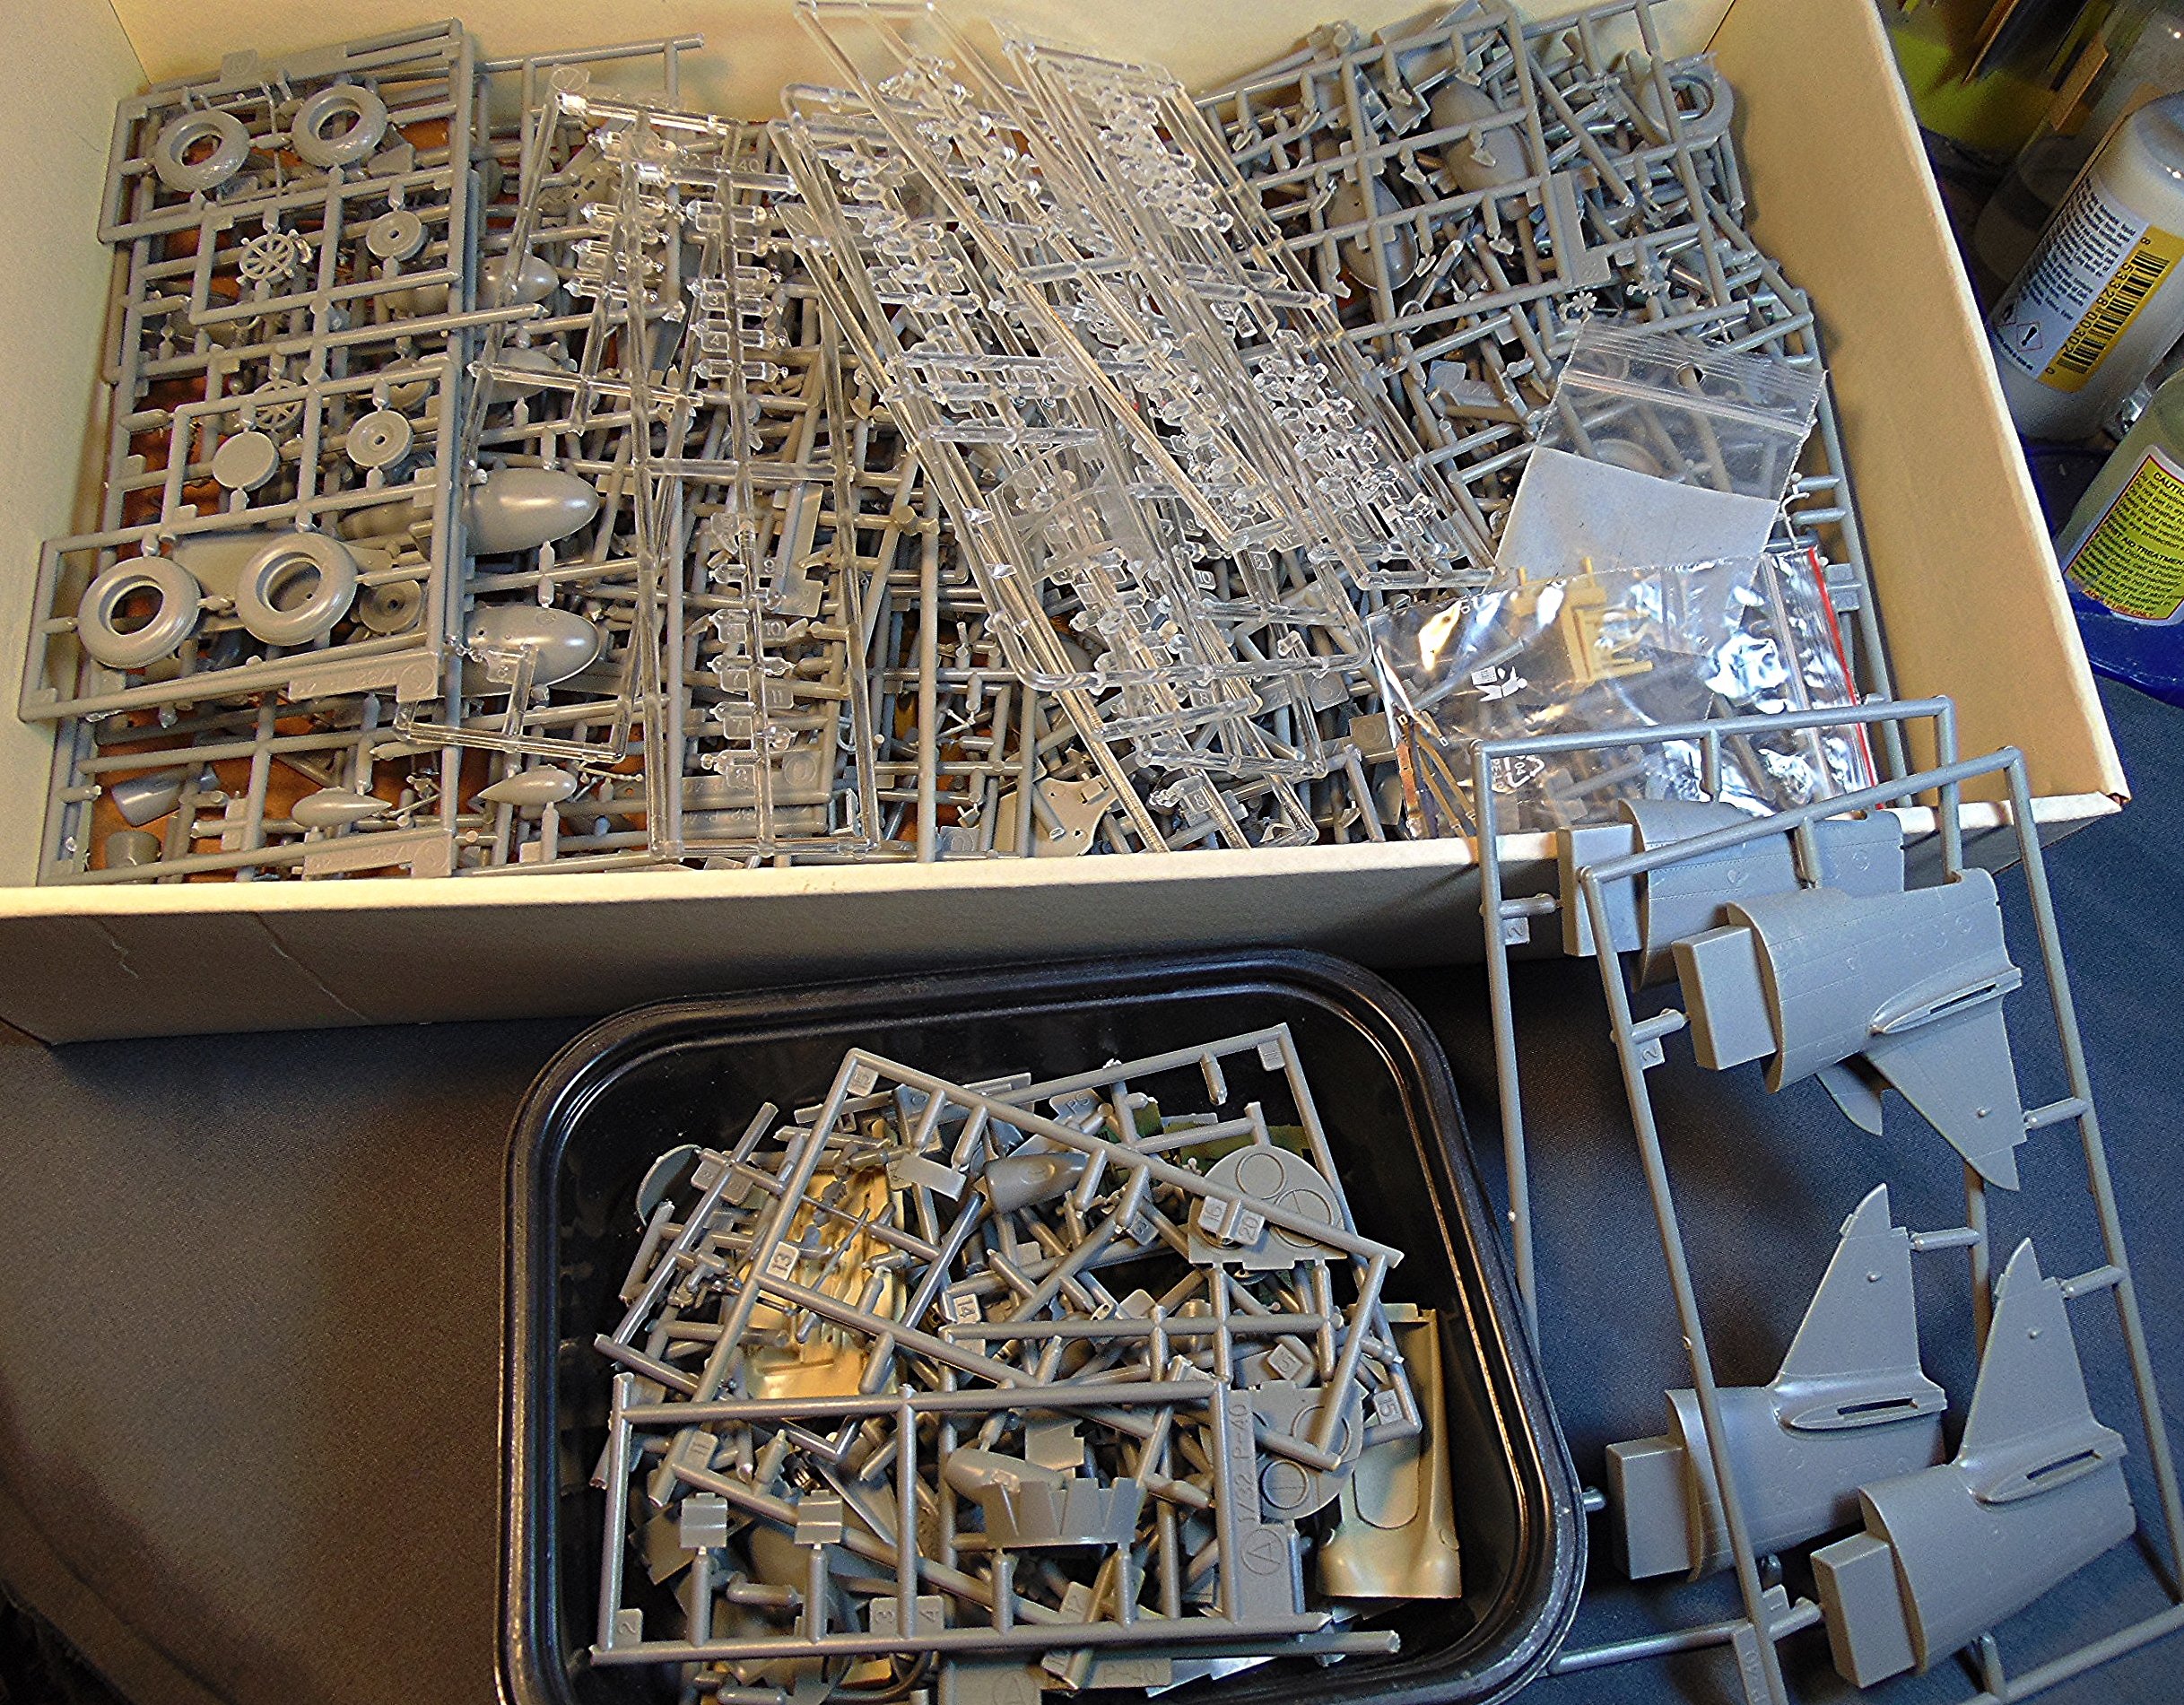
Just for grins, I decided to see if I could come up with enough leftover parts from my Hasegawa P-40 builds to try to assemble a near complete model. I've been able to get together most of what's needed but am still missing a few pieces but I'll cross that bridge when I come to it. I was surprised that I had so many parts left over that I could use! I'll have to construct a rear fuselage "plug" to get the tail piece to attach. Oh what fun!!! LOL

-
Complete. $125.00 plus shipping from N. Louisiana. PayPal okay. PM me if interested.

-

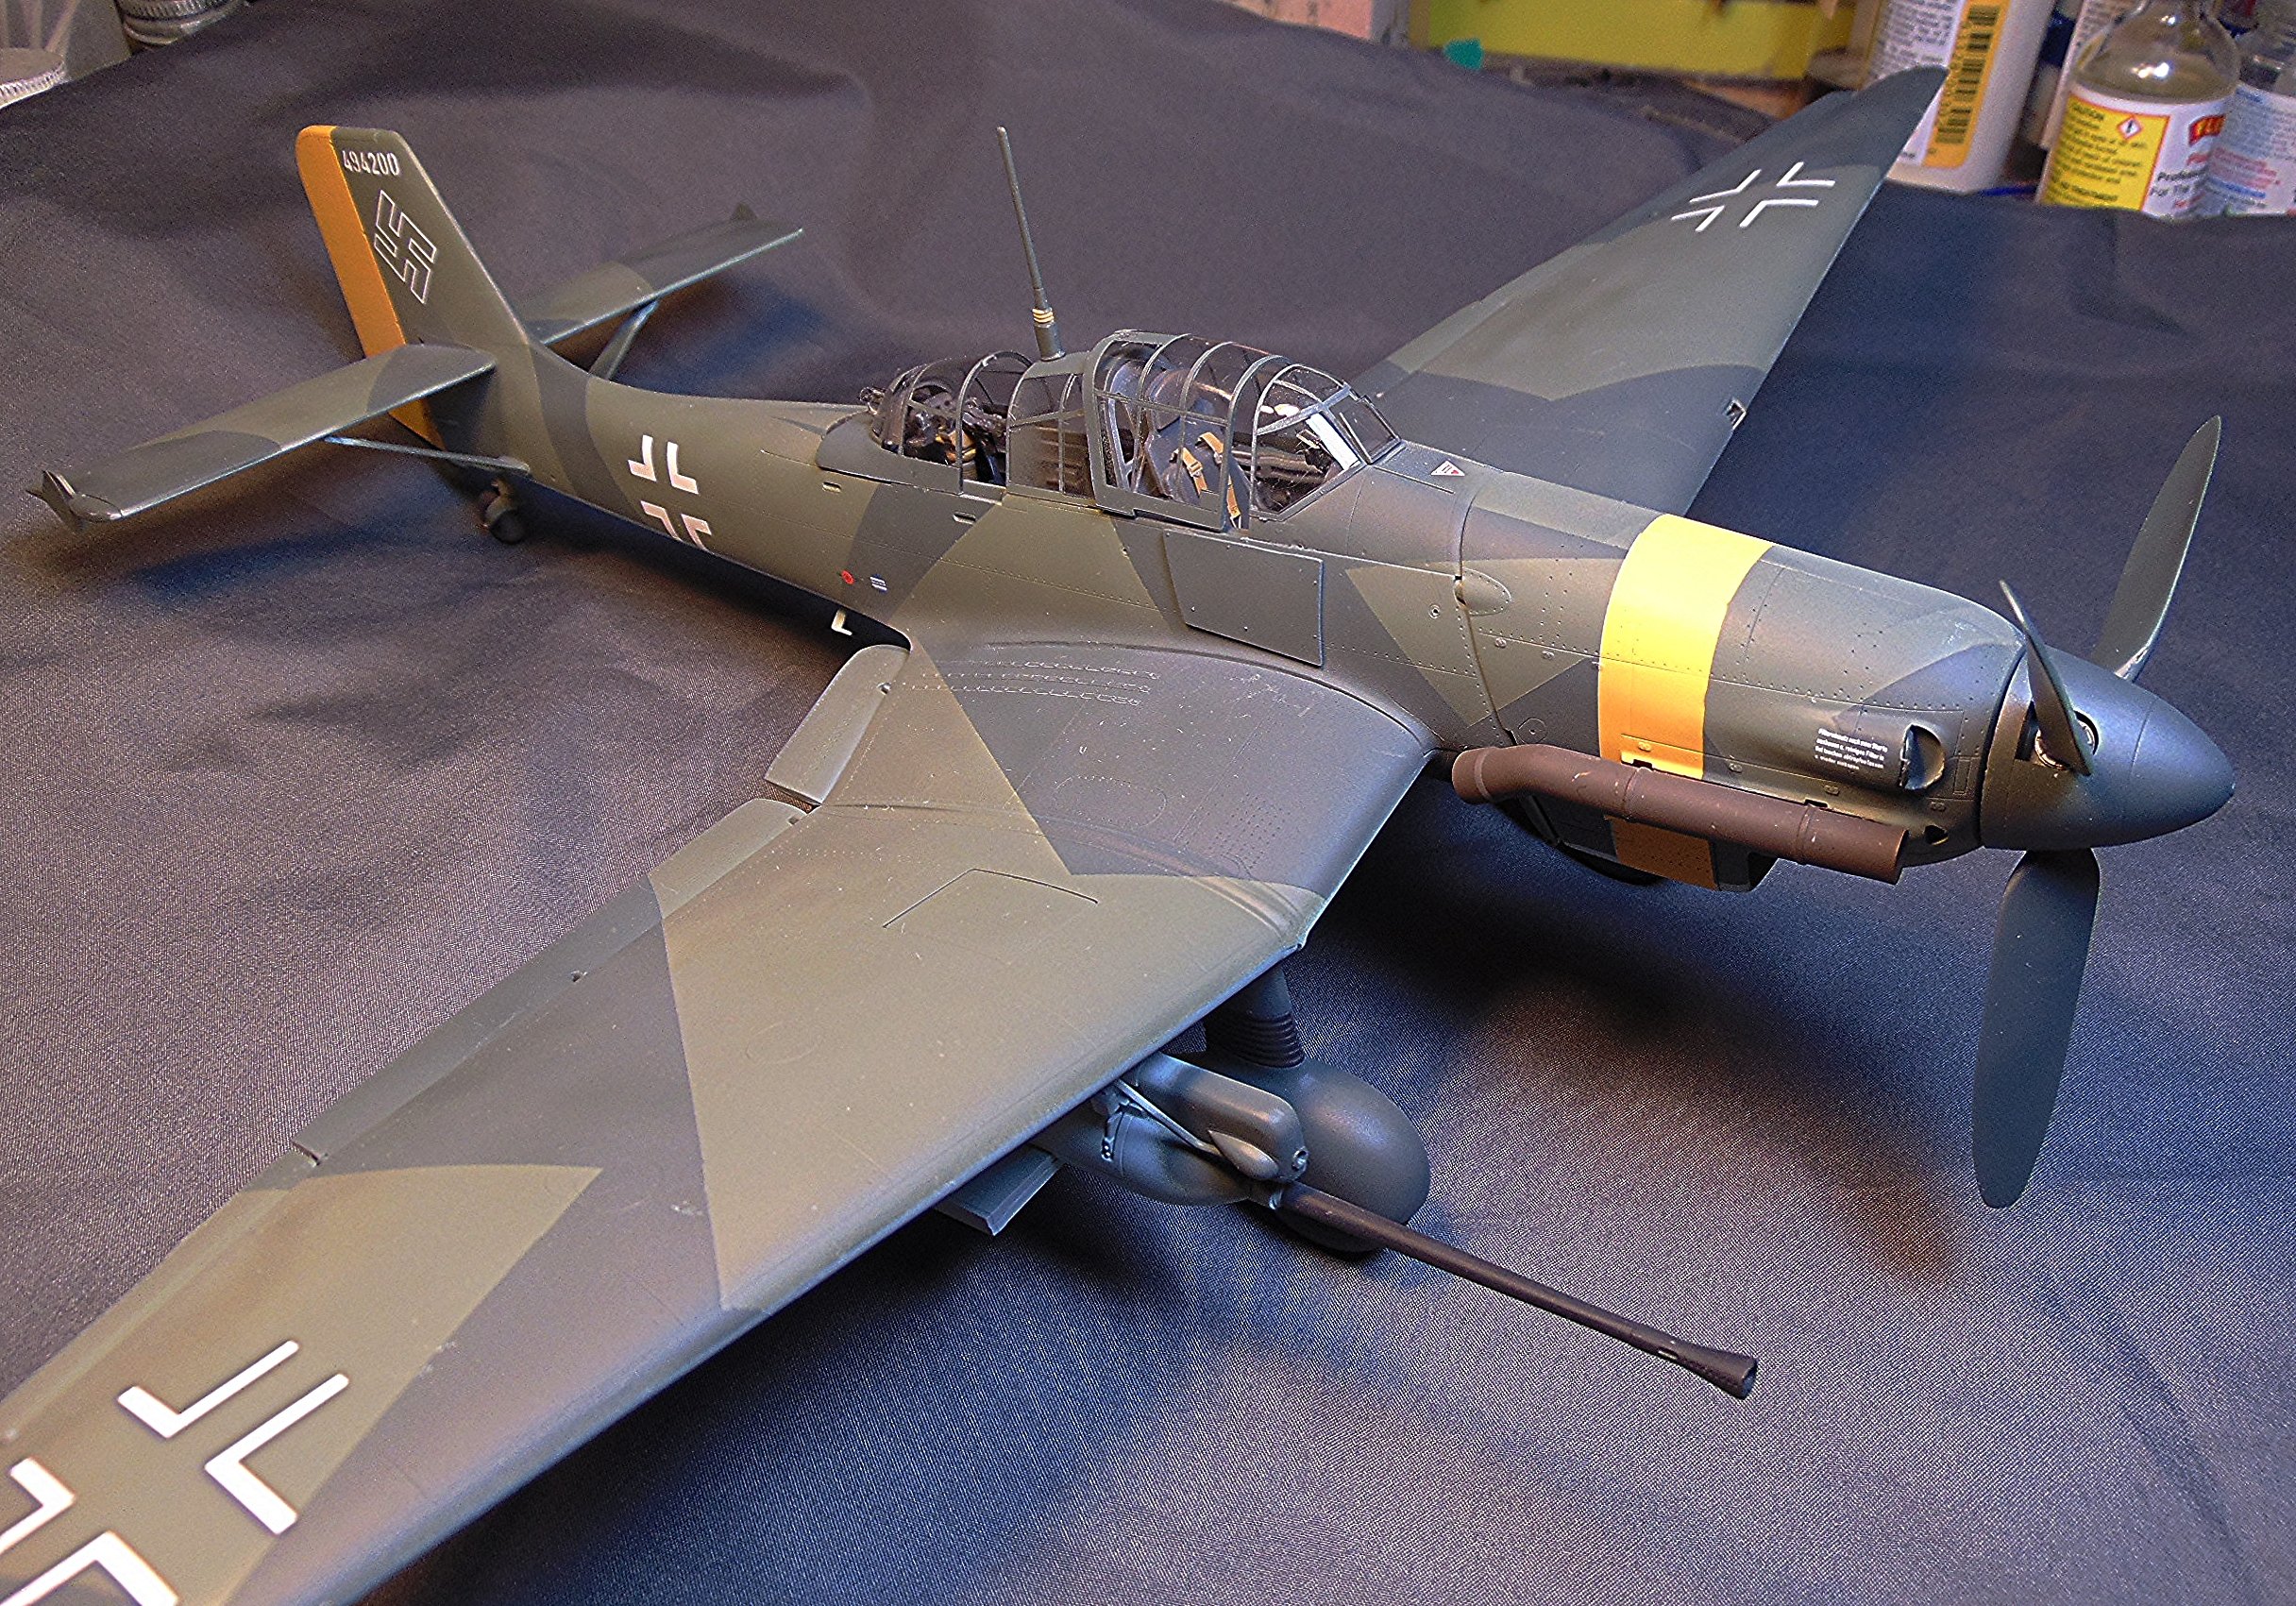
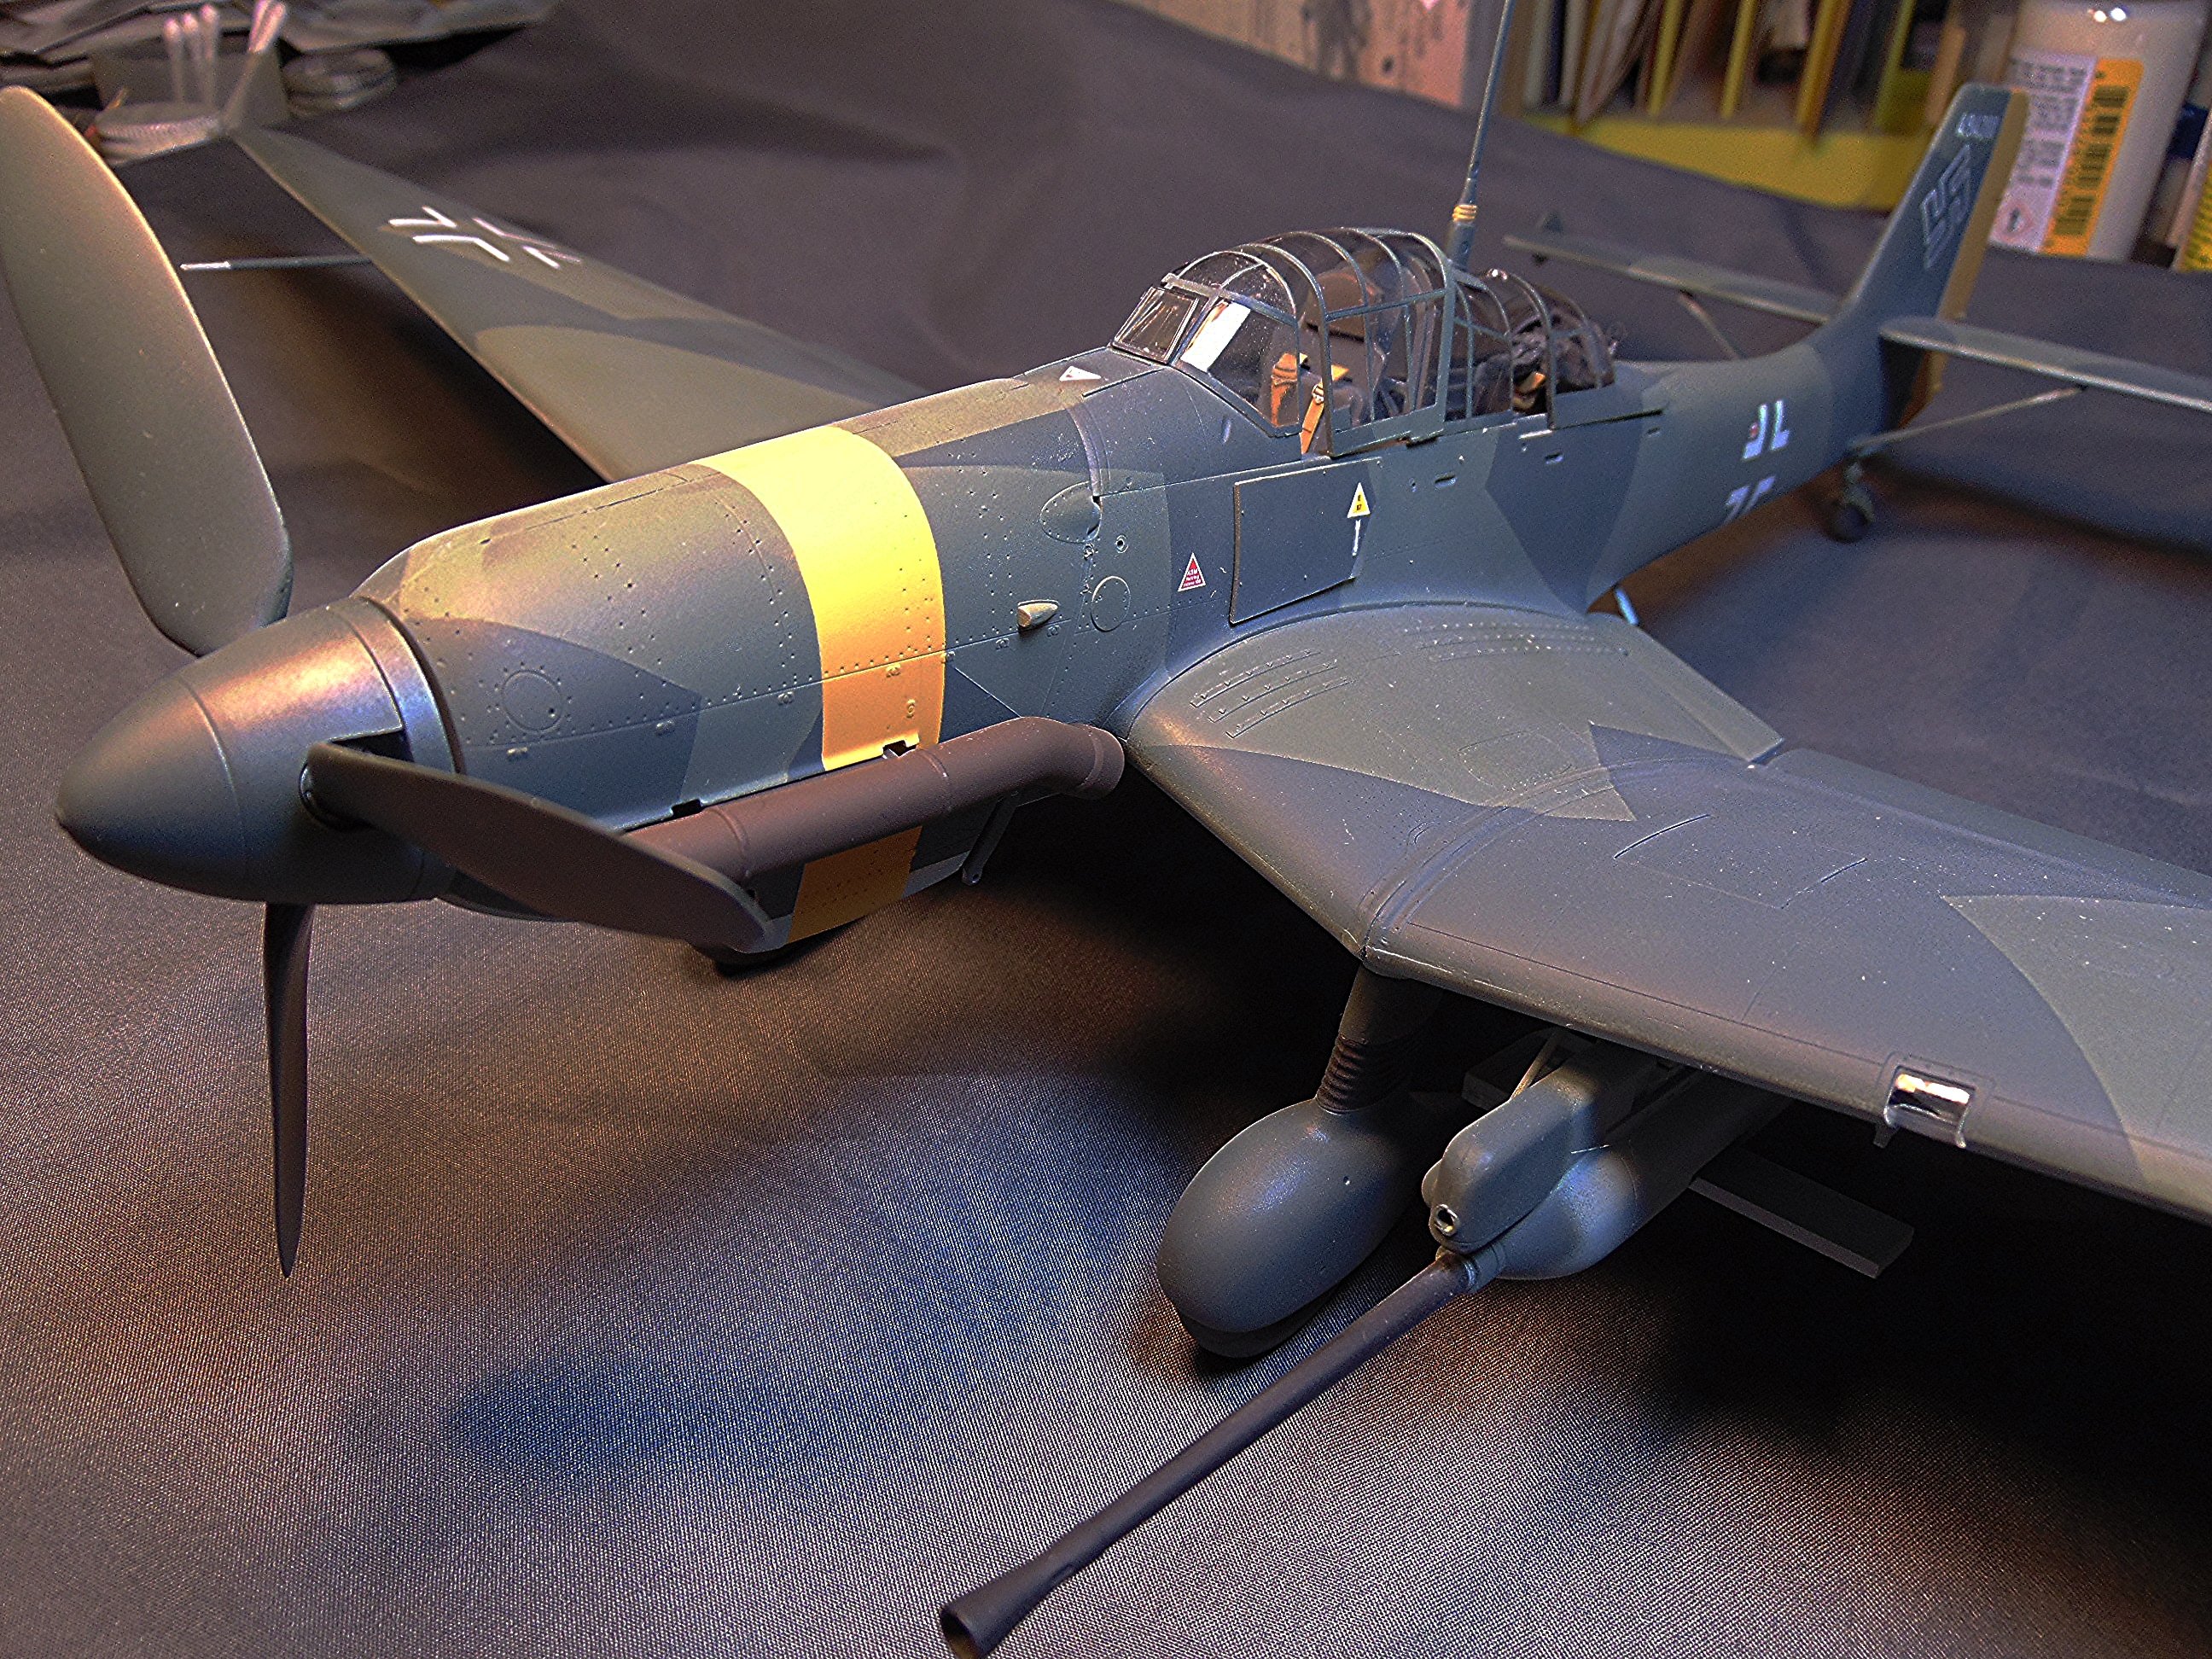
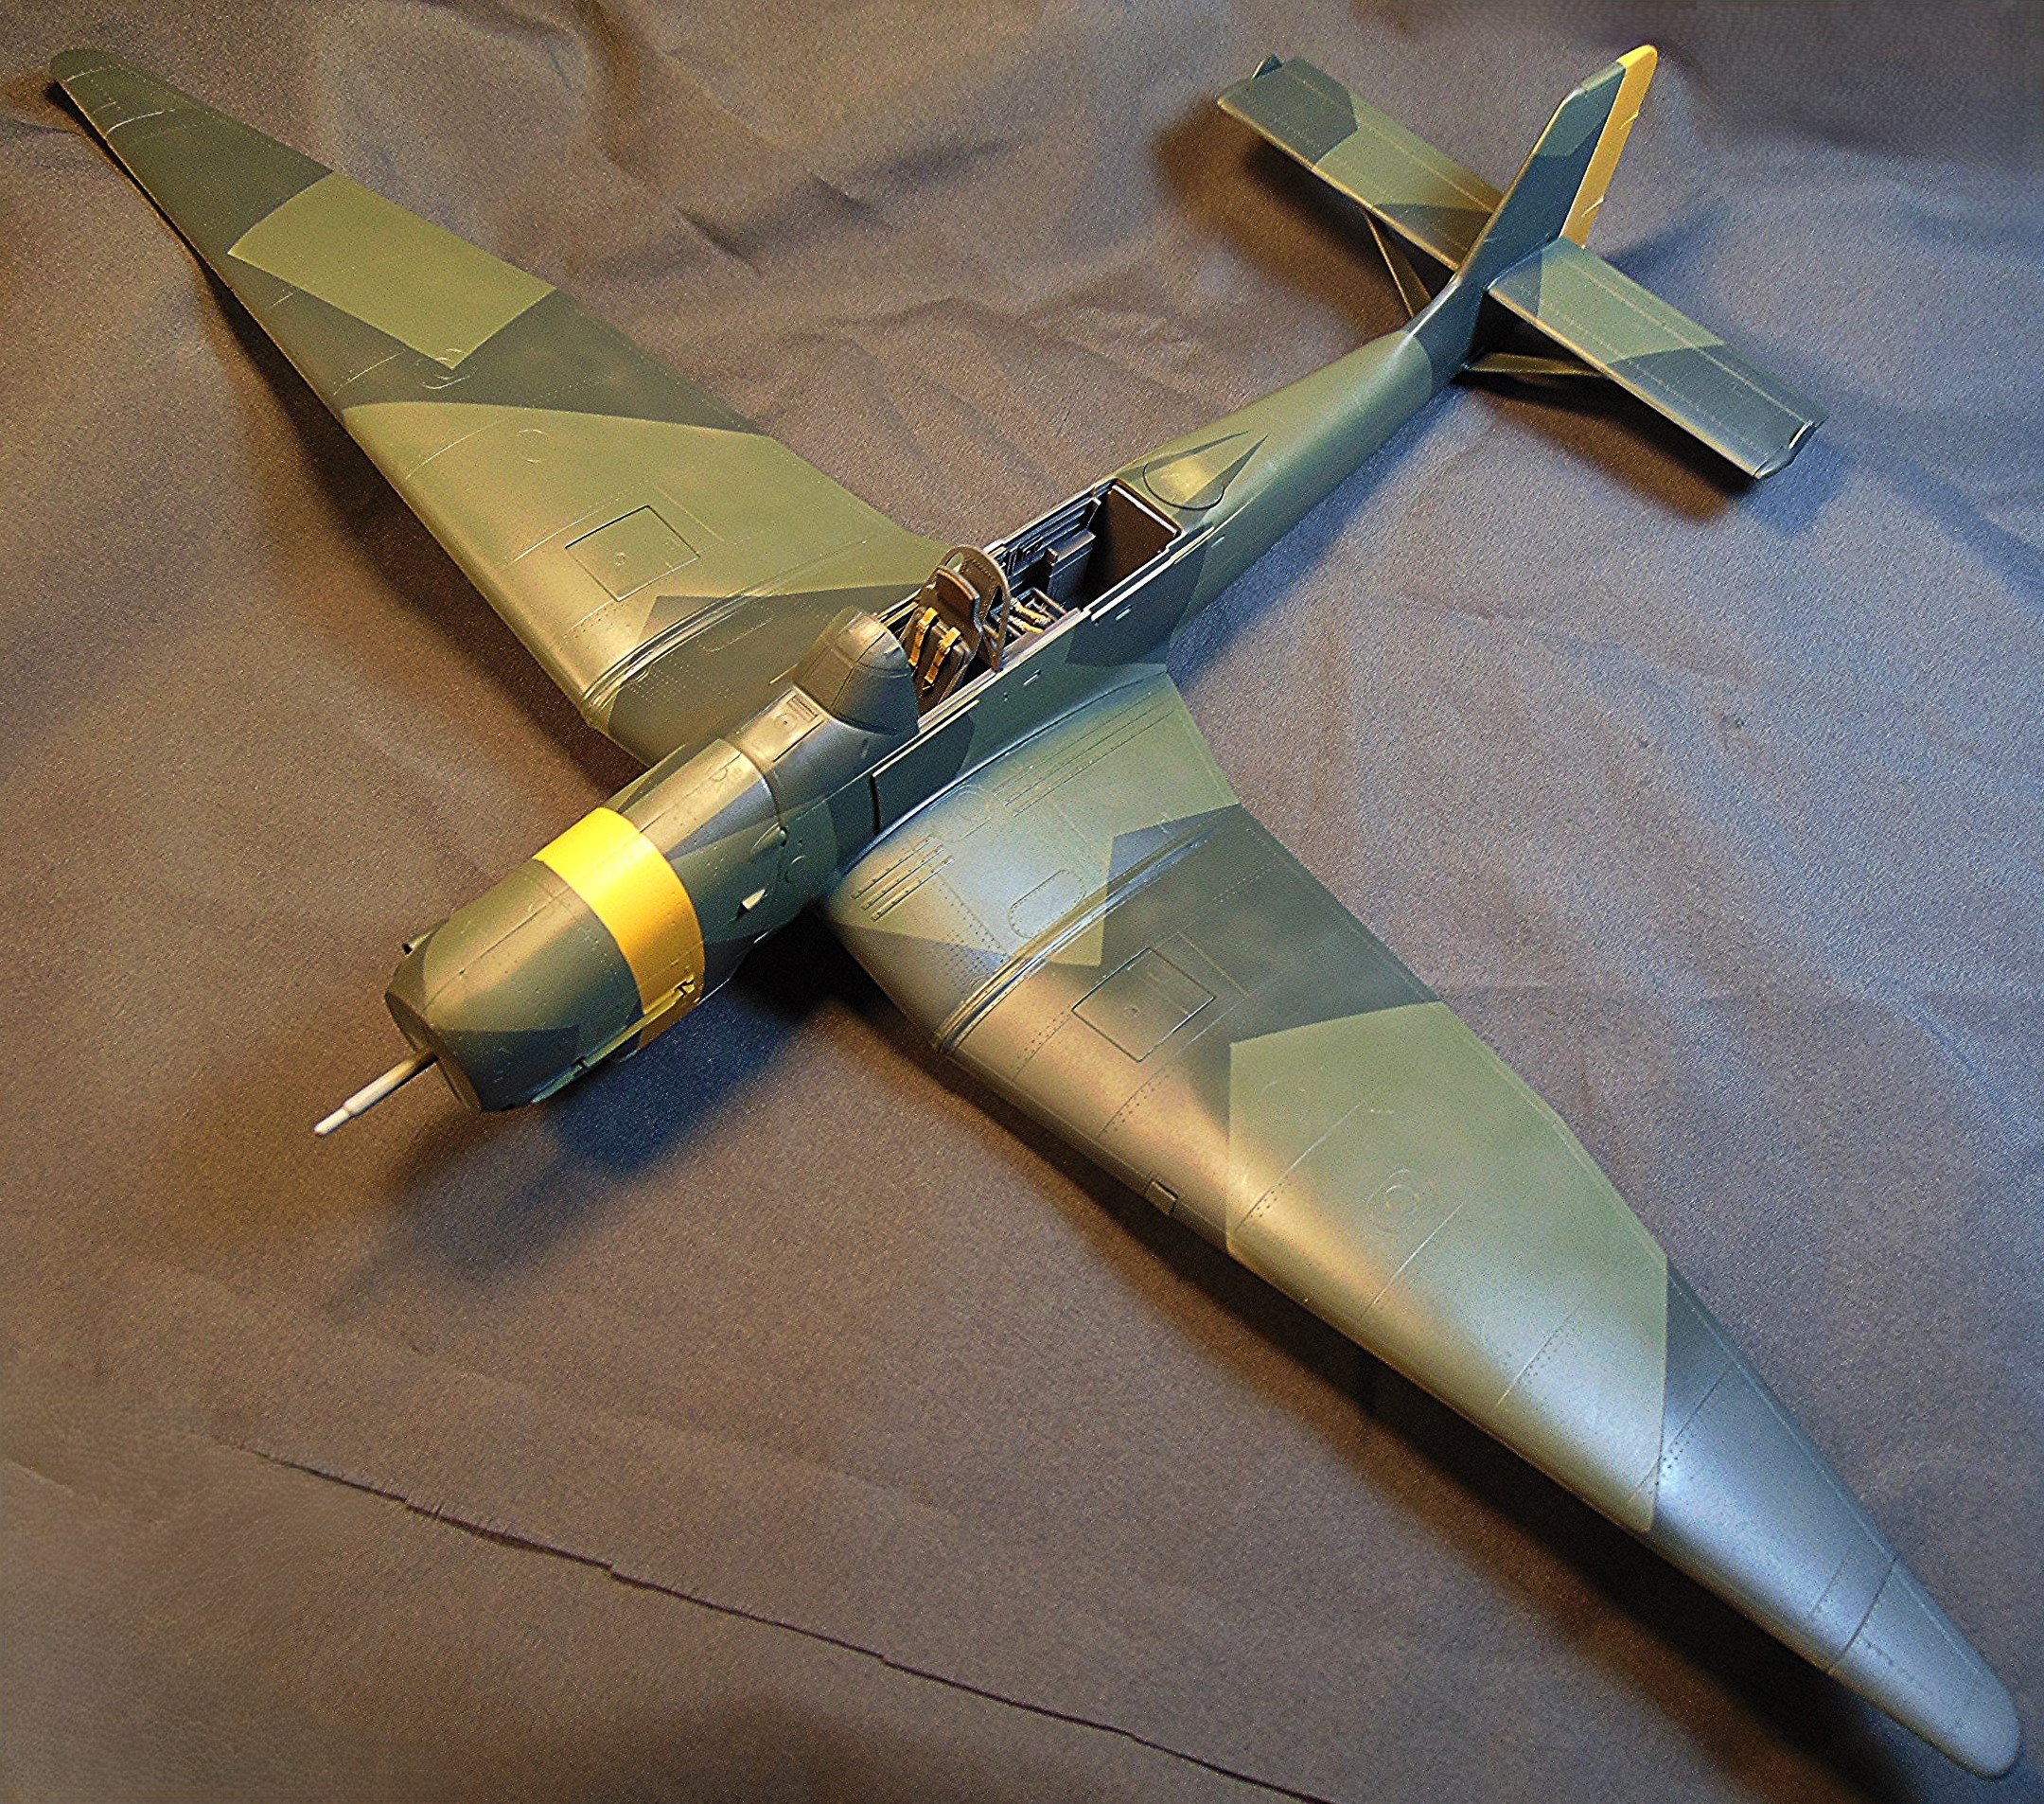
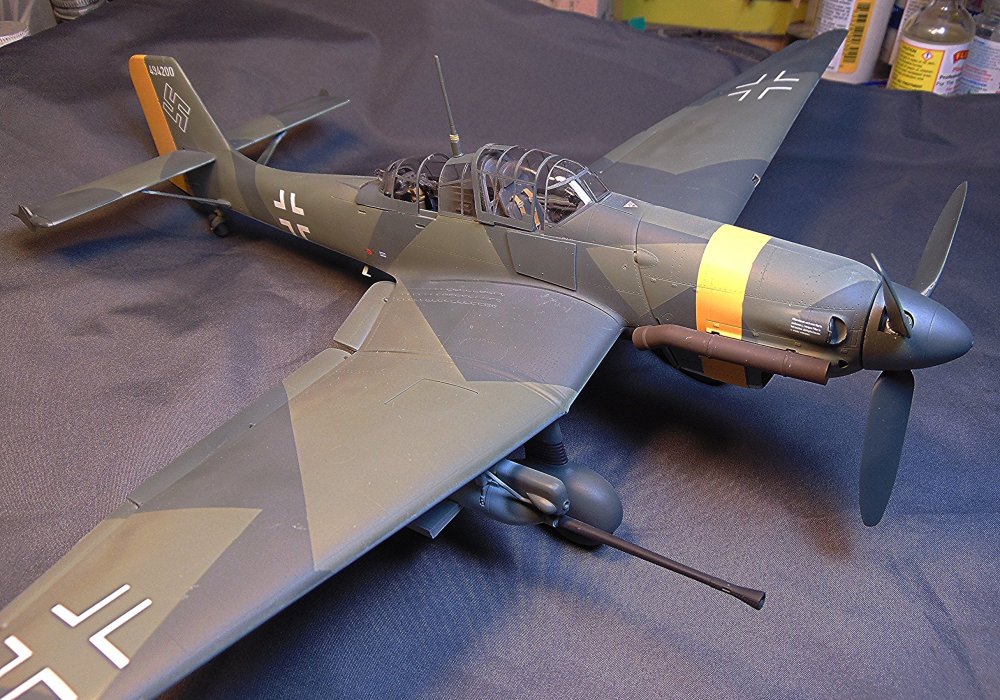
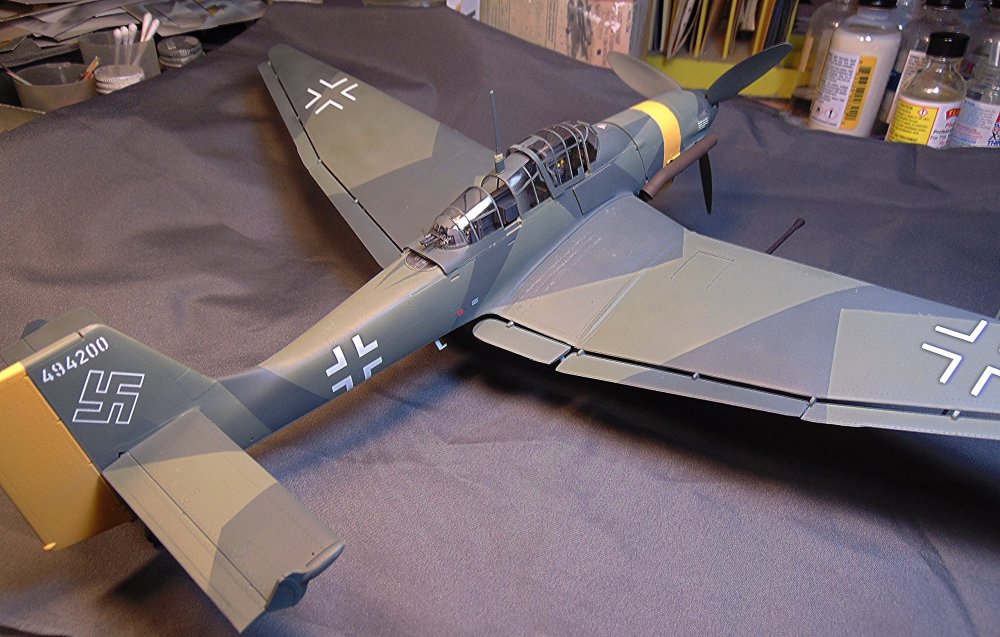
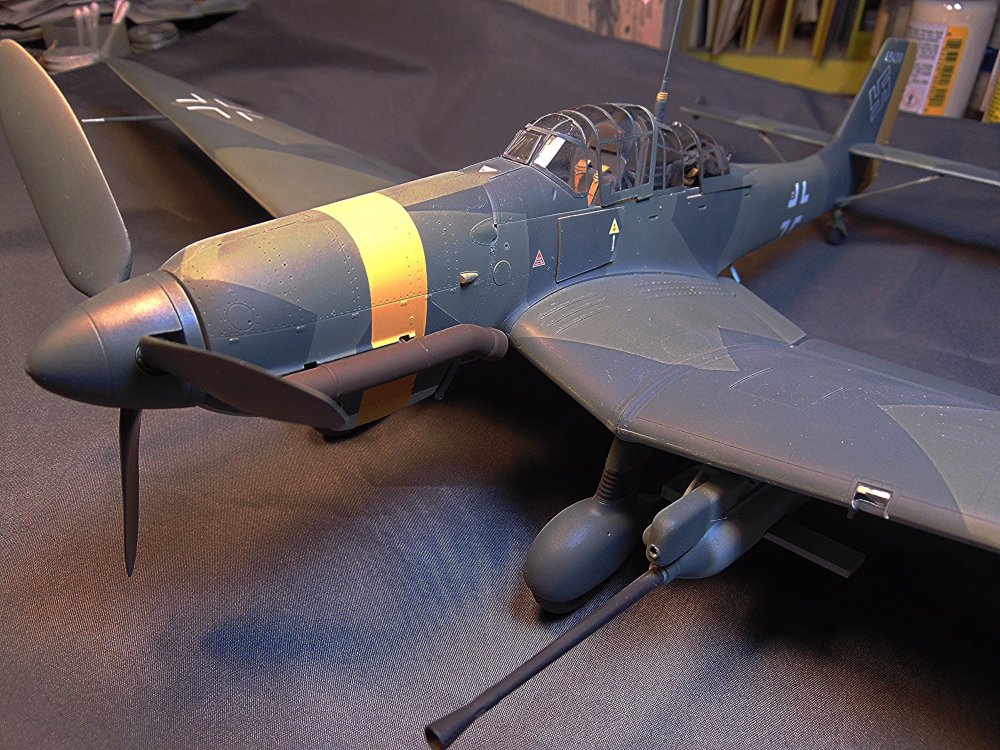
Ju-87G completed
JohnB replied to JohnB's topic in LSM 1/32 and Larger Aircraft Ready for Inspection
Thank you Carl. I appreciate the nice comment. 🙂 -
Ju-87G completed
JohnB replied to JohnB's topic in LSM 1/32 and Larger Aircraft Ready for Inspection
Thanks Paul! I'm happy you like it. Sure is a awkward model to handle while working on it. I must have bumped the wing tips on something half a dozen times! LOL 🙂 -
Ju-87G completed
JohnB replied to JohnB's topic in LSM 1/32 and Larger Aircraft Ready for Inspection
Thank you Kevin. I'm pleased that you like it. 🙂 -
Ju-87G completed
JohnB replied to JohnB's topic in LSM 1/32 and Larger Aircraft Ready for Inspection
Thanks Scott! Very much appreciated the nice comment. I'm glad you like the results of my efforts. 🙂 -
Finished! https://forum.largescalemodeller.com/topic/20445-ju-87g-completed/
-
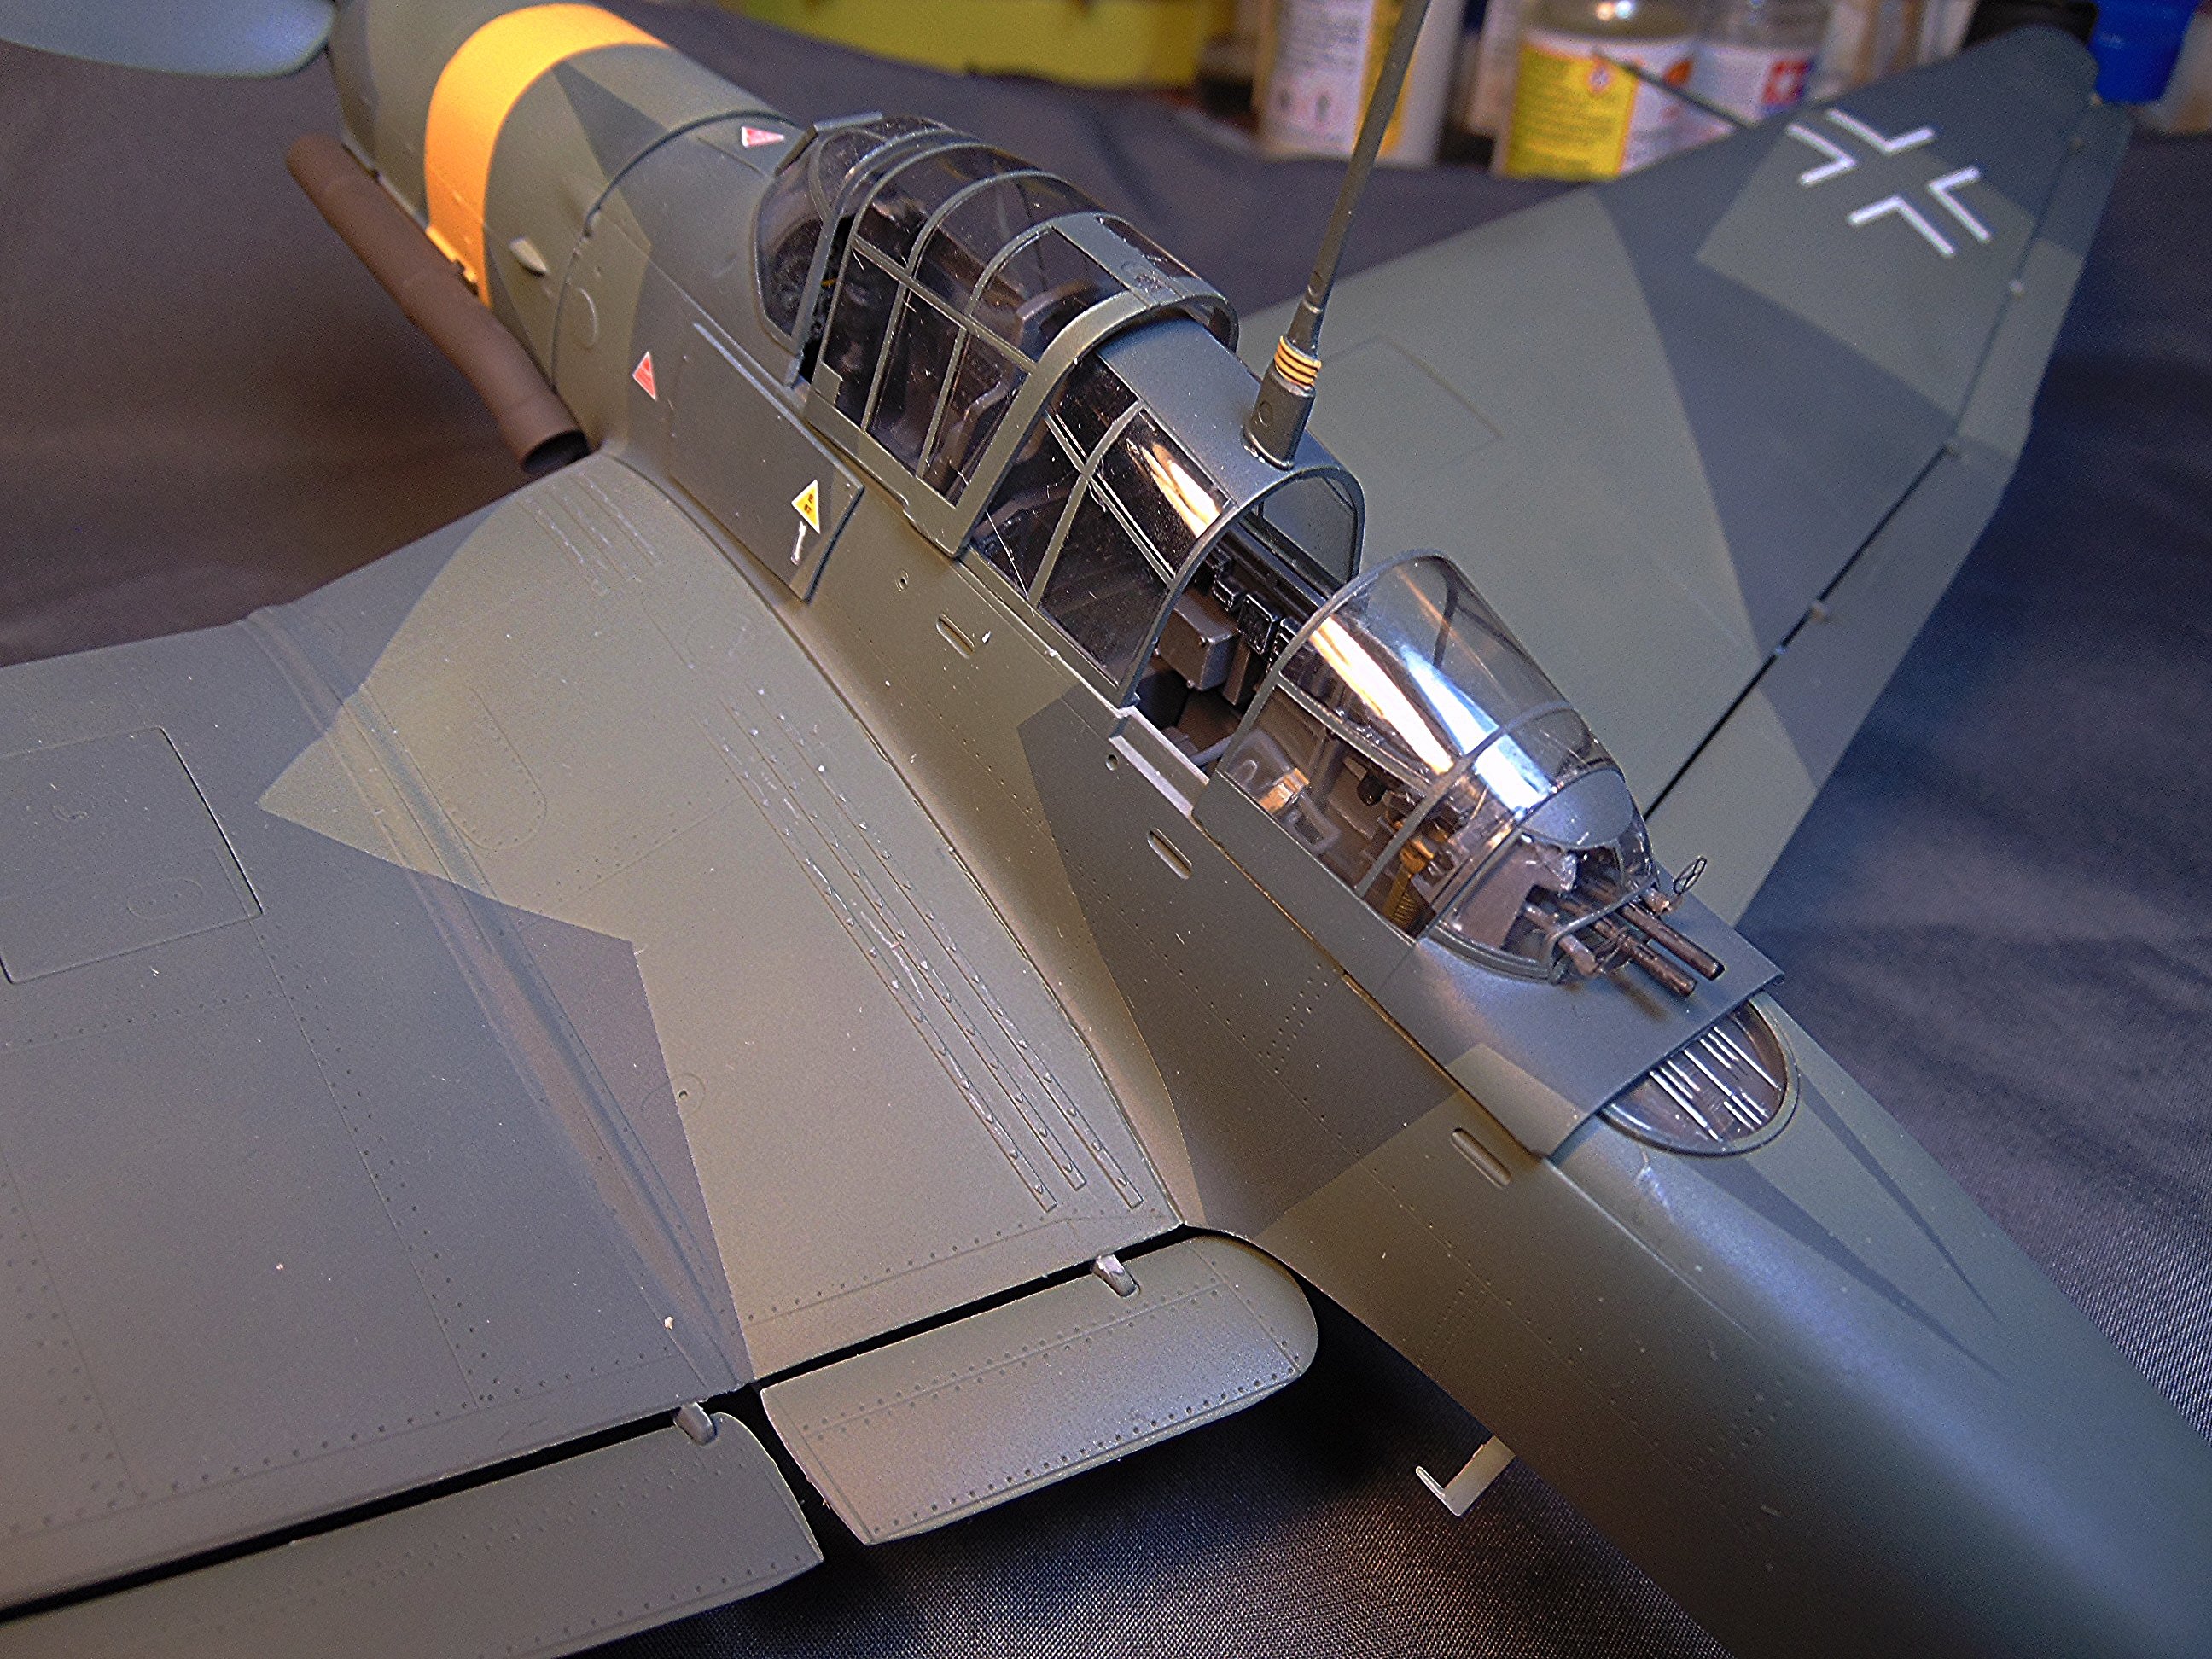
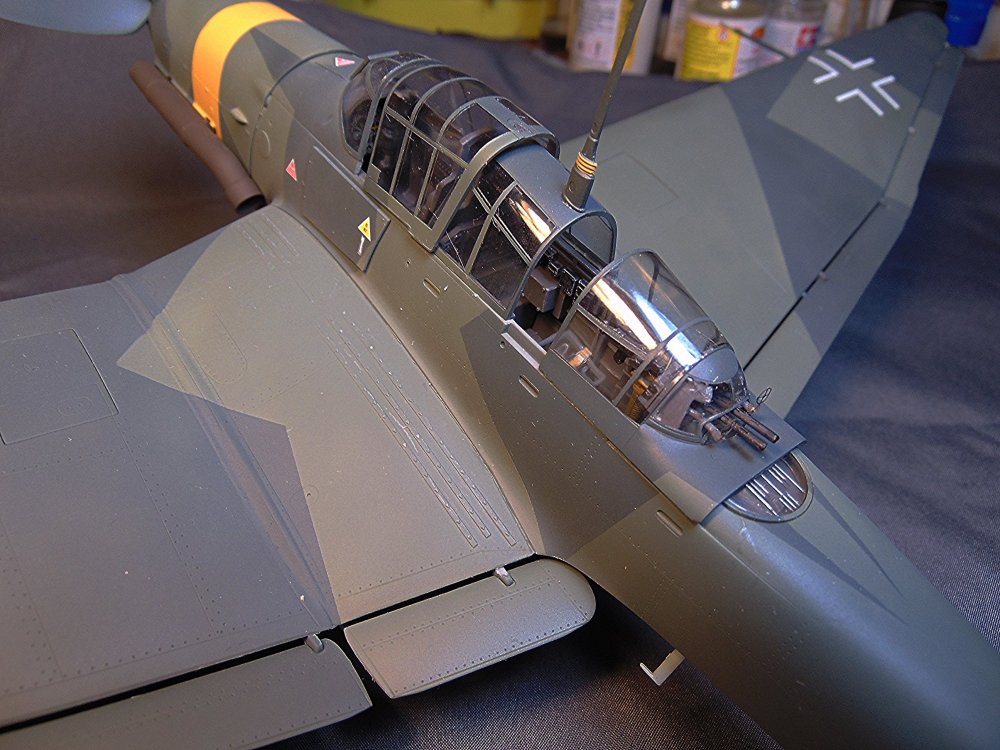
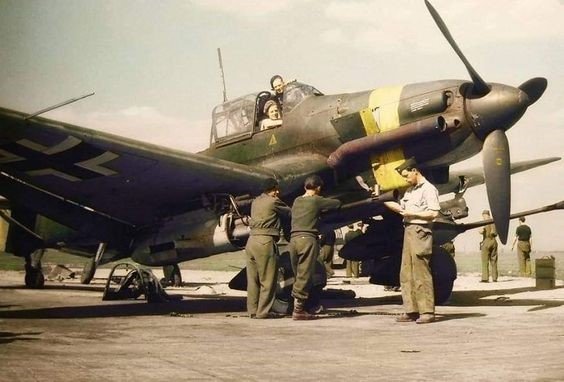
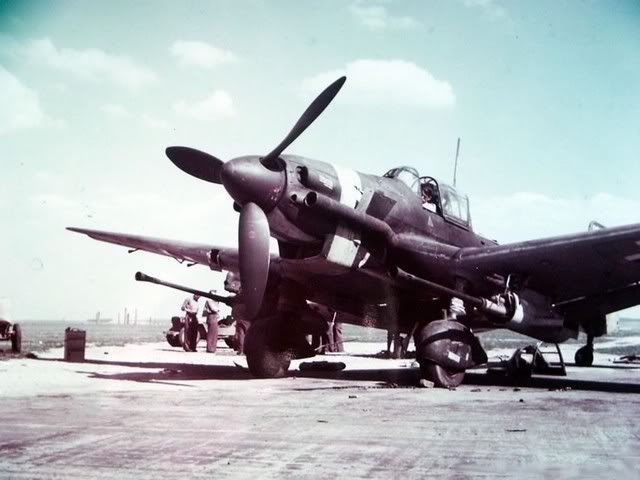
Calling this one DONE! It's a very nice Hasegawa kit that has great detail and fit. The after market items are the seat belts and the PE sights on the rear guns. Decals are by EagleCals. I painted the model with Testor's Model Master enamels, inside and out. It's a pretty big model and is awkward to handle (I kept knocking the wing tips on something!).
- 10 replies
-
- 10
-

-

-

-
Coming right along Paul. The painting has to be done in sections since it's such a big model (and awkward to handle). 🙂 Thanks for commenting! I appreciate it.
-
Painting coming right along.
-
-
Good progress today.
-
Thanks and thanks for the tip.
-
Yes indeed. The RAF fighter pilots had no problem with them.
-