Ryan
-
Posts
1,012 -
Joined
-
Last visited
Content Type
Profiles
Forums
Events
Gallery
Everything posted by Ryan
-
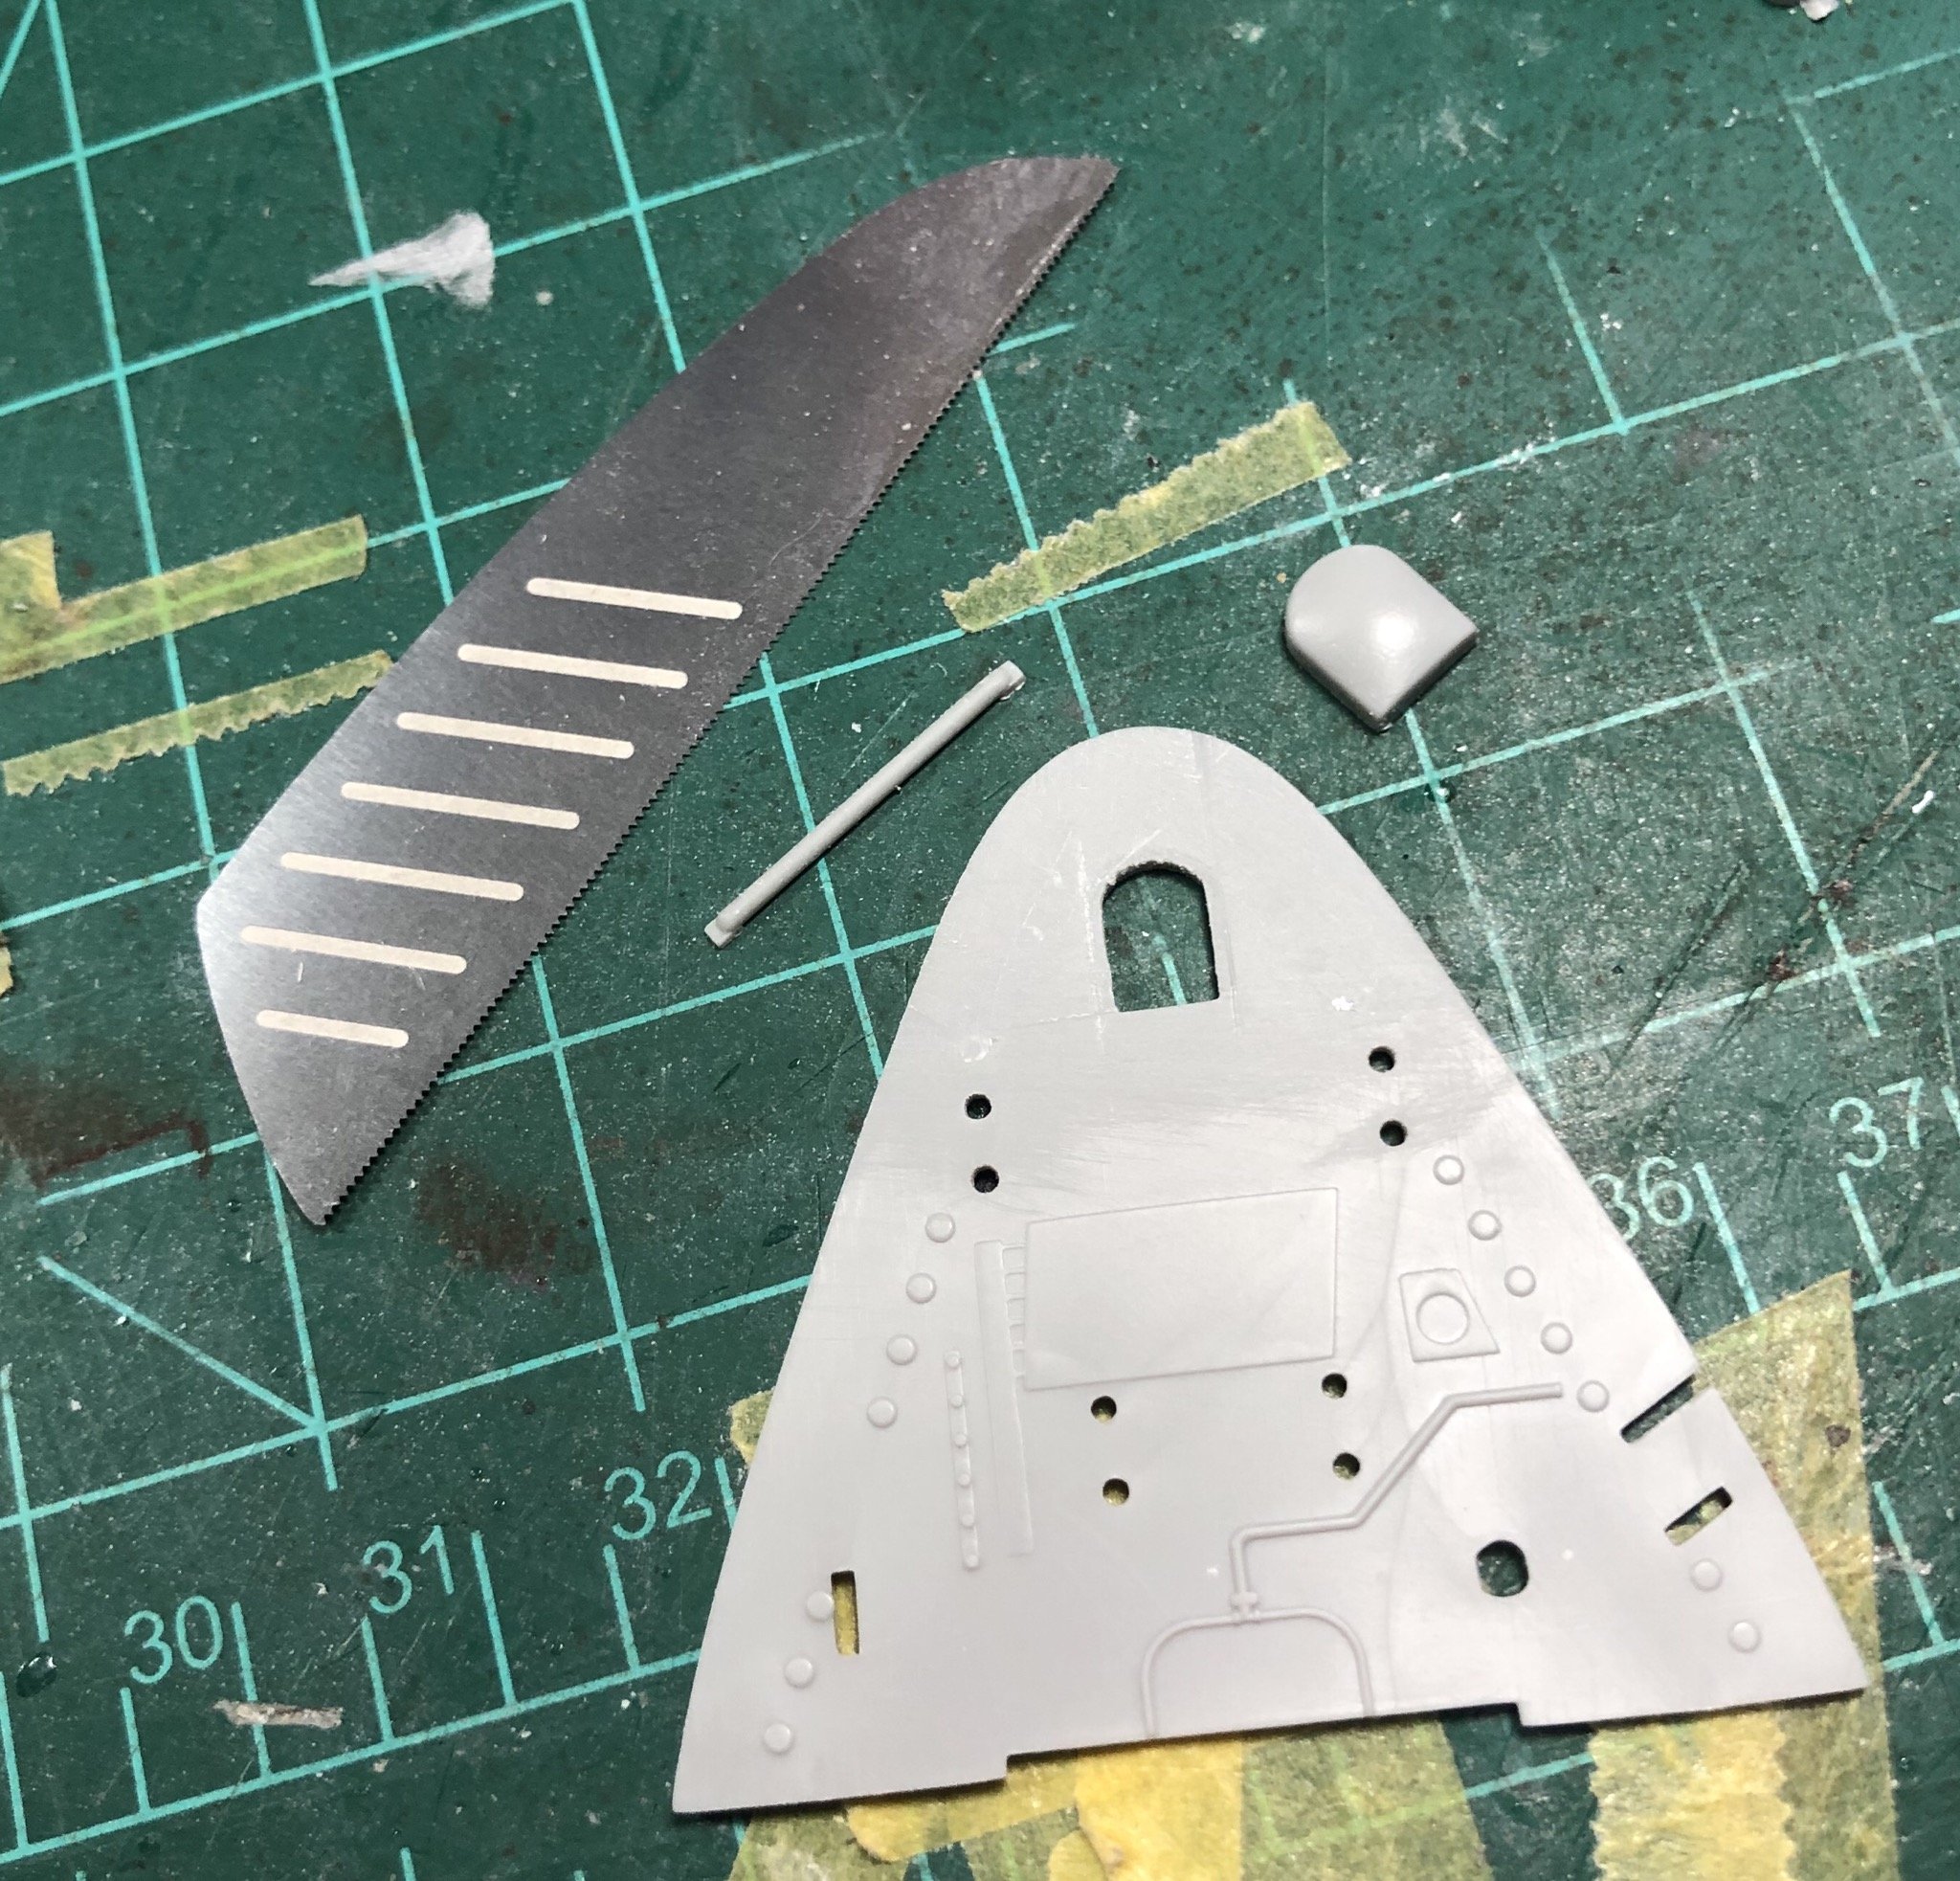
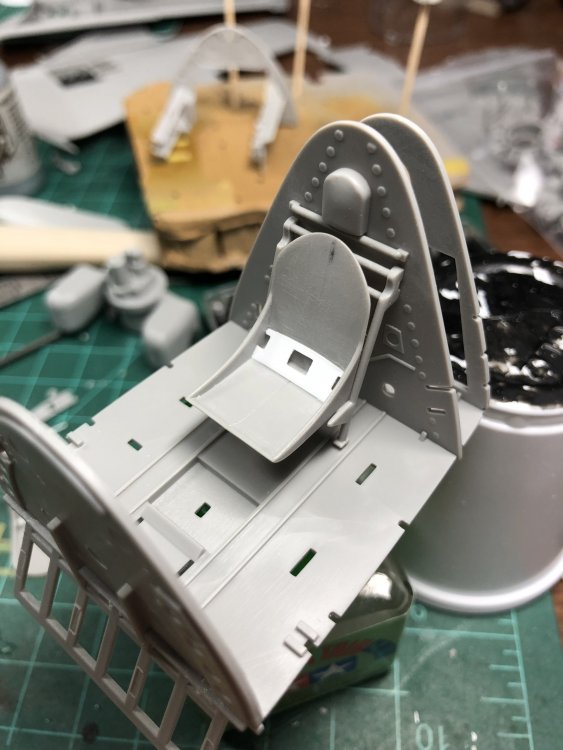
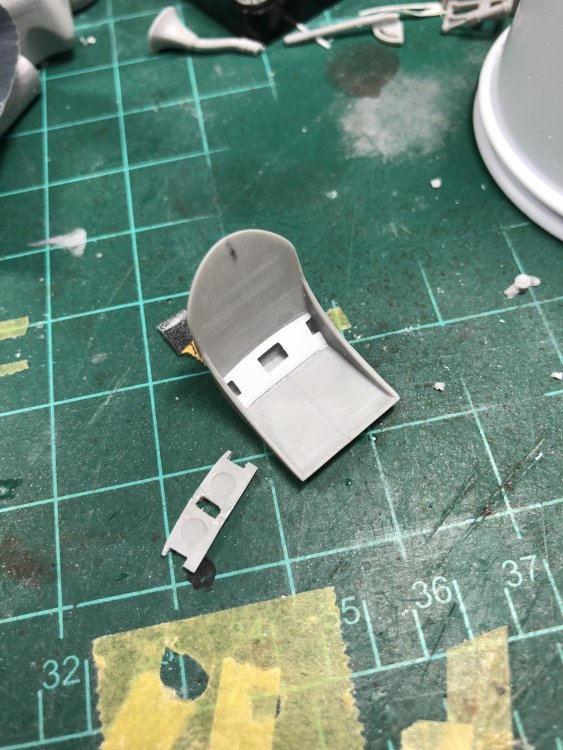
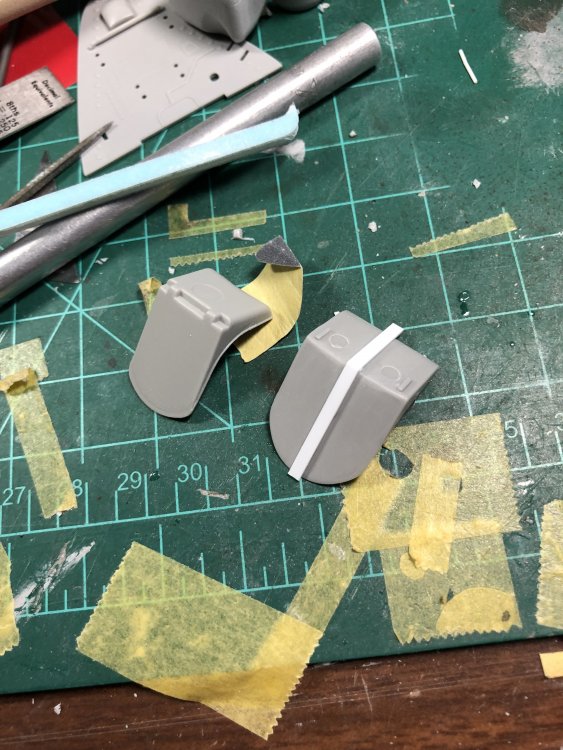
Ok down the armored headrest rabbit hole we go! first up was to saw off the head rest and seat belt bar, this was done with a Techstar product. I wanted to retain the kit parts to stick in my new armored plate.

-
leave em". Ryan
-
Ahh, I am not up on my Trumpeter P-40 ding list.
-
John is this the release (F) with the shallow cockpit?
-
Excellent detail found here. https://www.cybermodeler.com/aircraft/f6f/f6f_pit.shtml Ryan
-
A few punches and flat styrene is no big deal, but yes.
-
Looks like I need to address that head rest location and armor plating......
-
Many thanks 1 to 1.
-
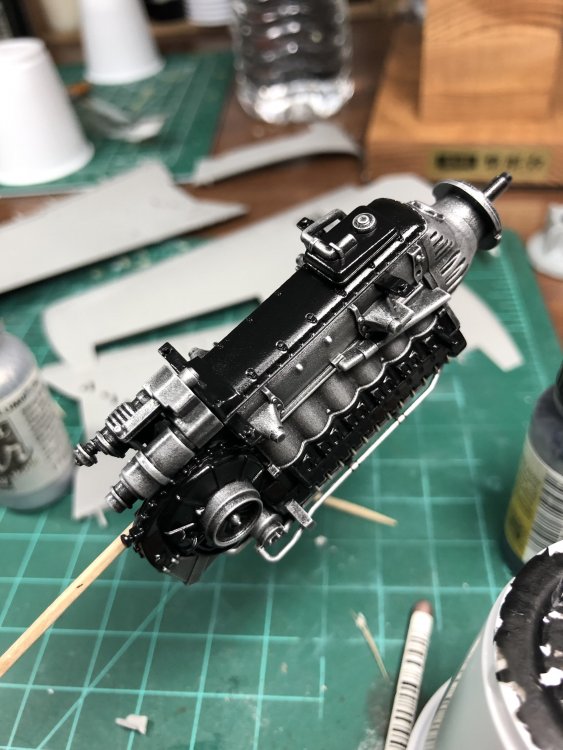
A crap update, but engine is glossed awaiting decals and a pin wash.
-
Thanks BC, its a solid kit.
-
Yes, some details I just can't let go....
-
Thanks Carl, it probably is still a little plump, but it's in better proportion to the rest of the cockpit.
-
Anyone have any good cockpit or restoration links for the Hellcat? Ryan
-
Thanks folks, it’s been pretty enjoyable. Ryan
-
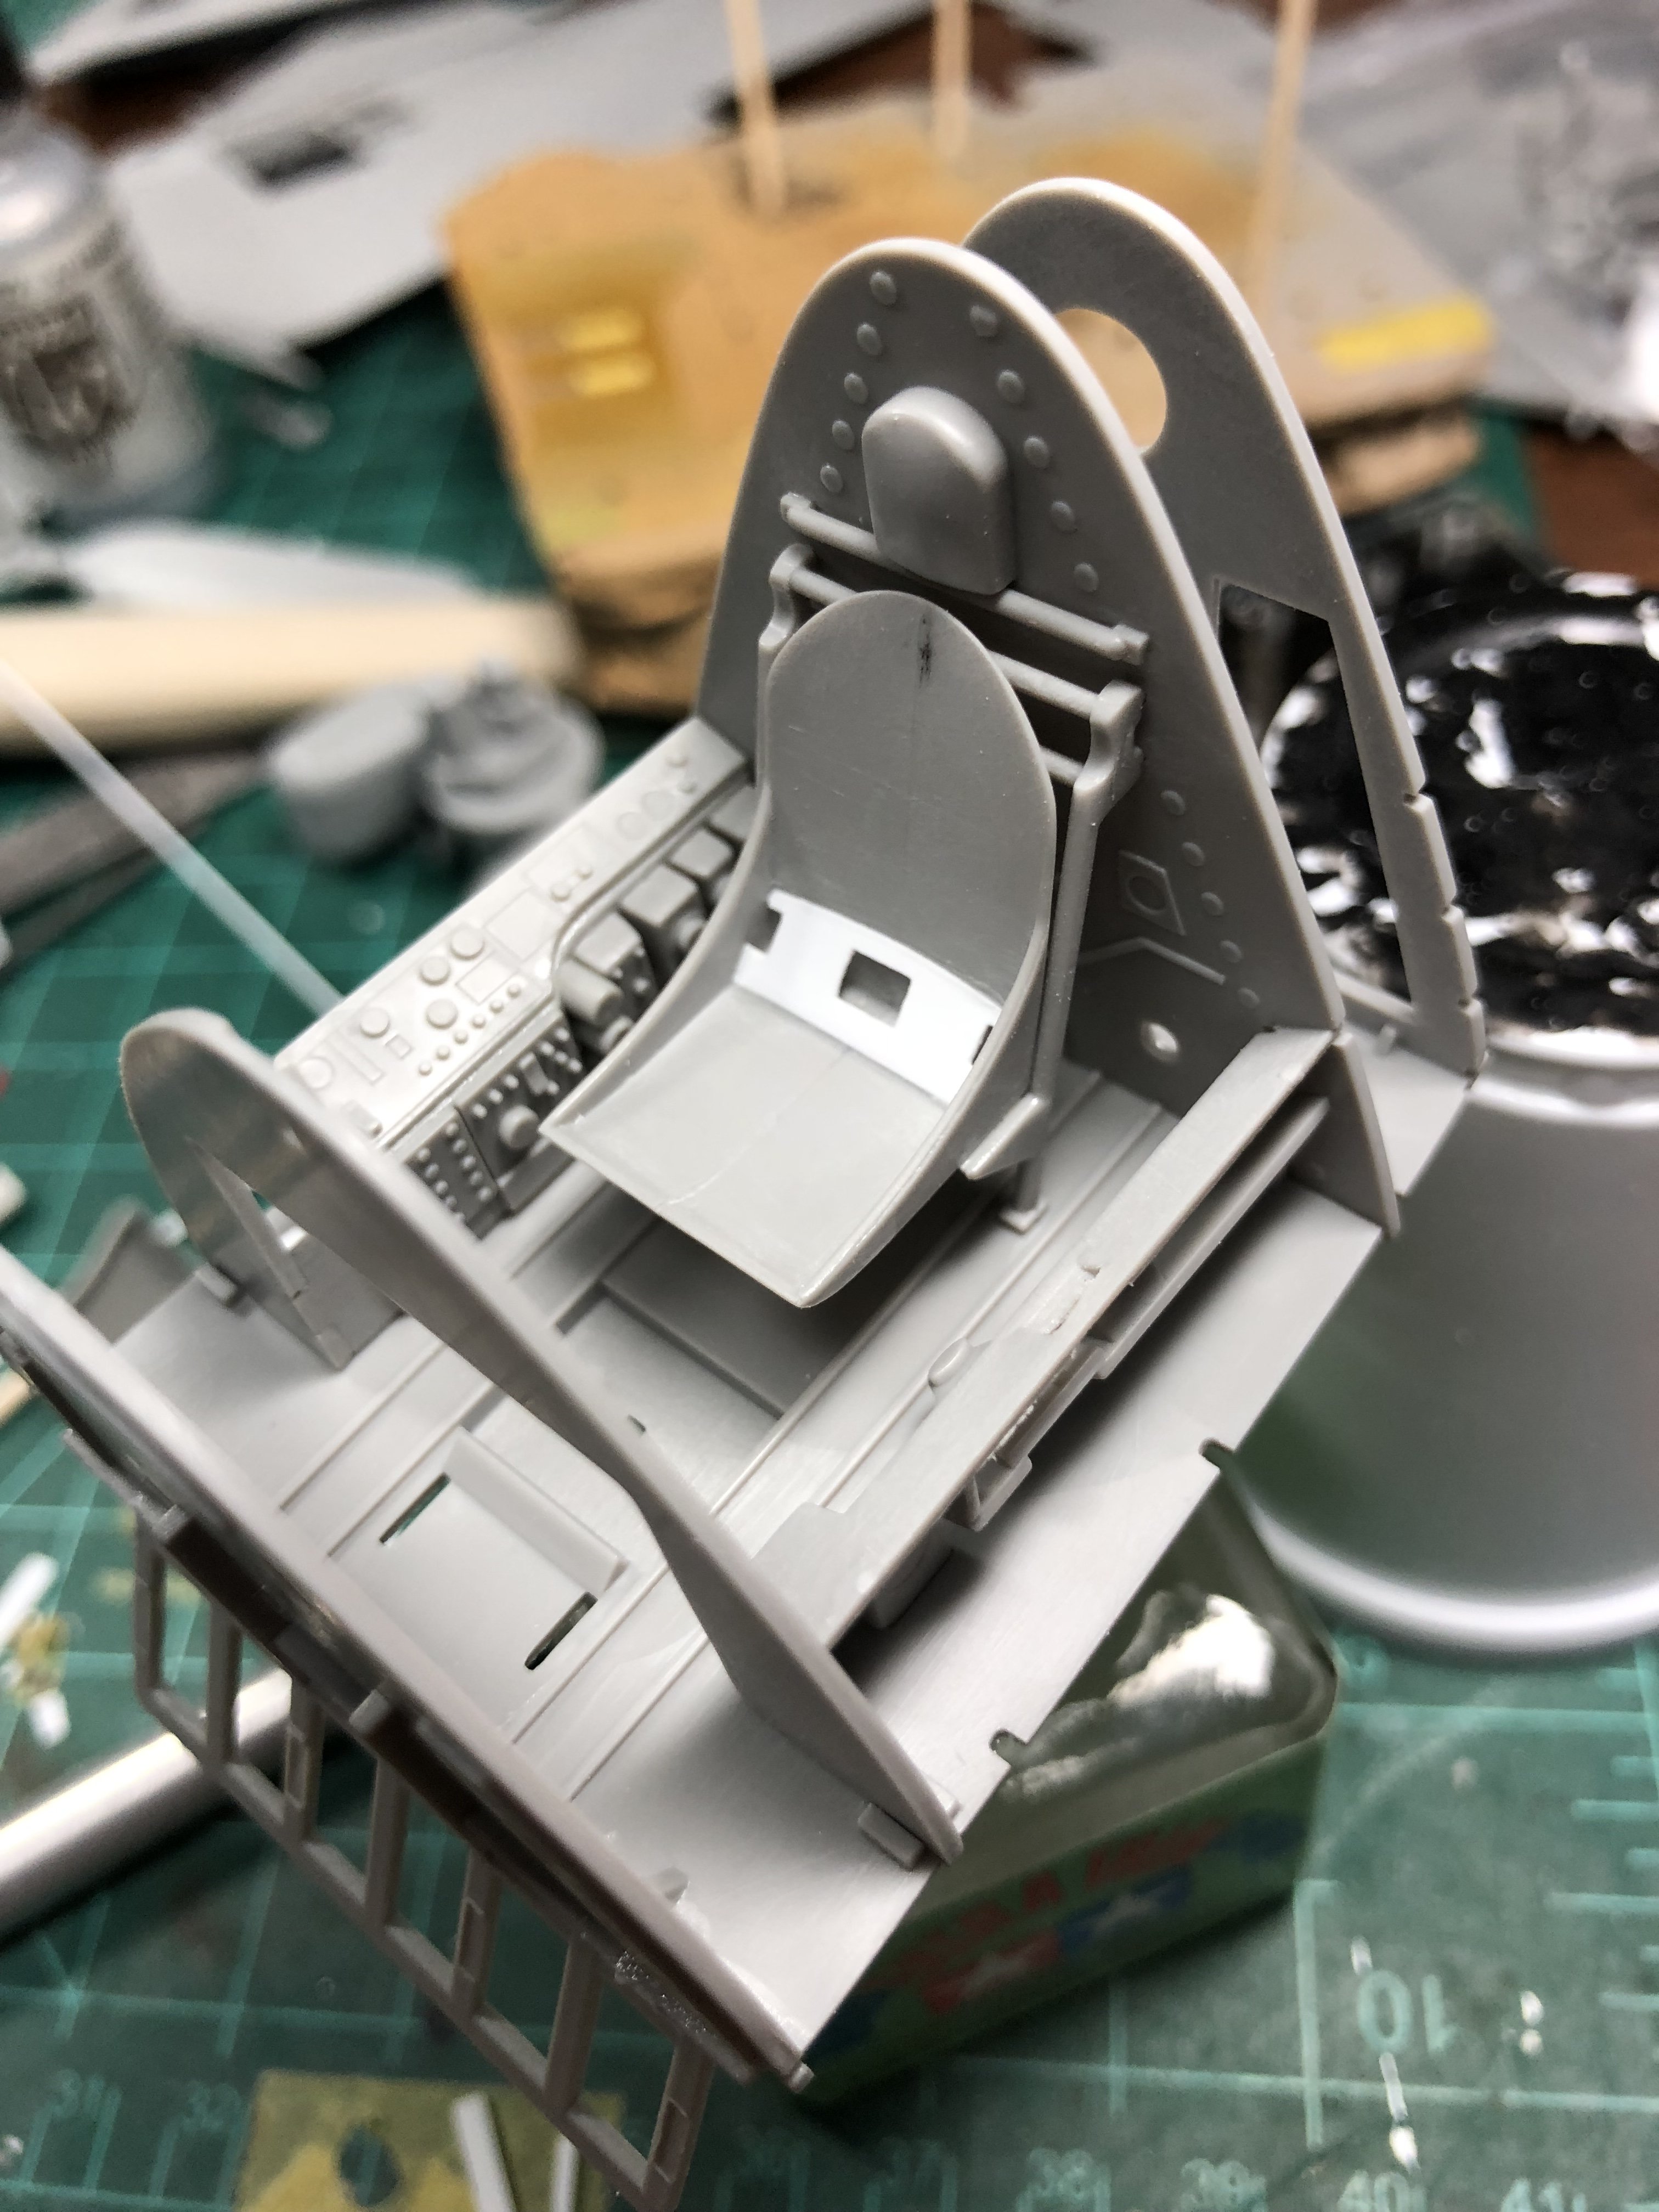
Seat is looking good now, or at least better.

-
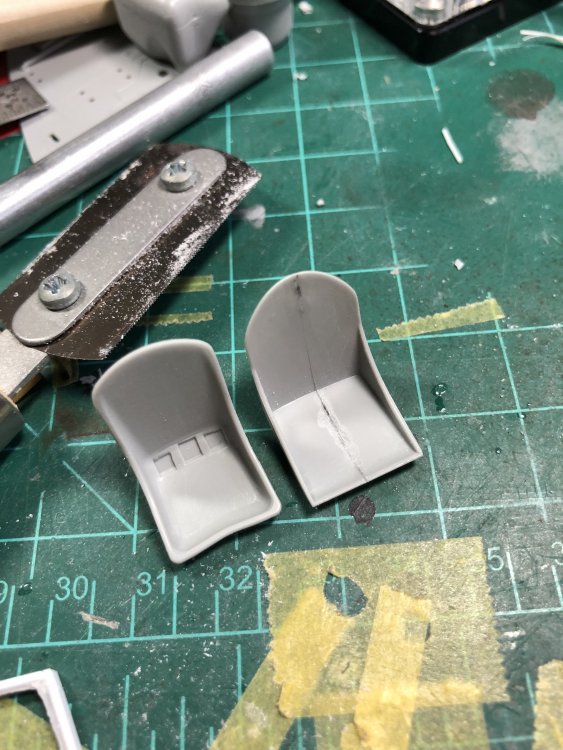
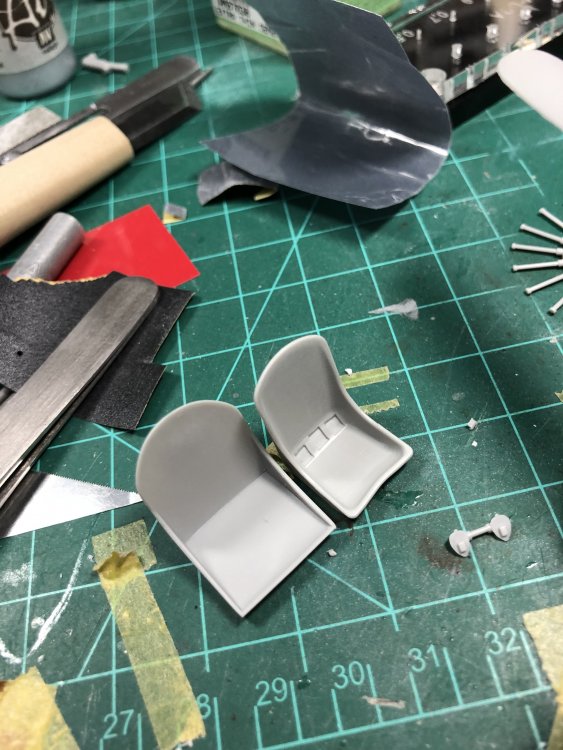
Back to the seat again, I had to scratch the reinforcement plate on the seat bottom. It came out ok, but may enlarge the lightning holes.
-

GUY ON A BUFFALO - I will be out for a while.
Ryan replied to Martinnfb's topic in General Discussion
If you see a squirrel, shoot to kill. -
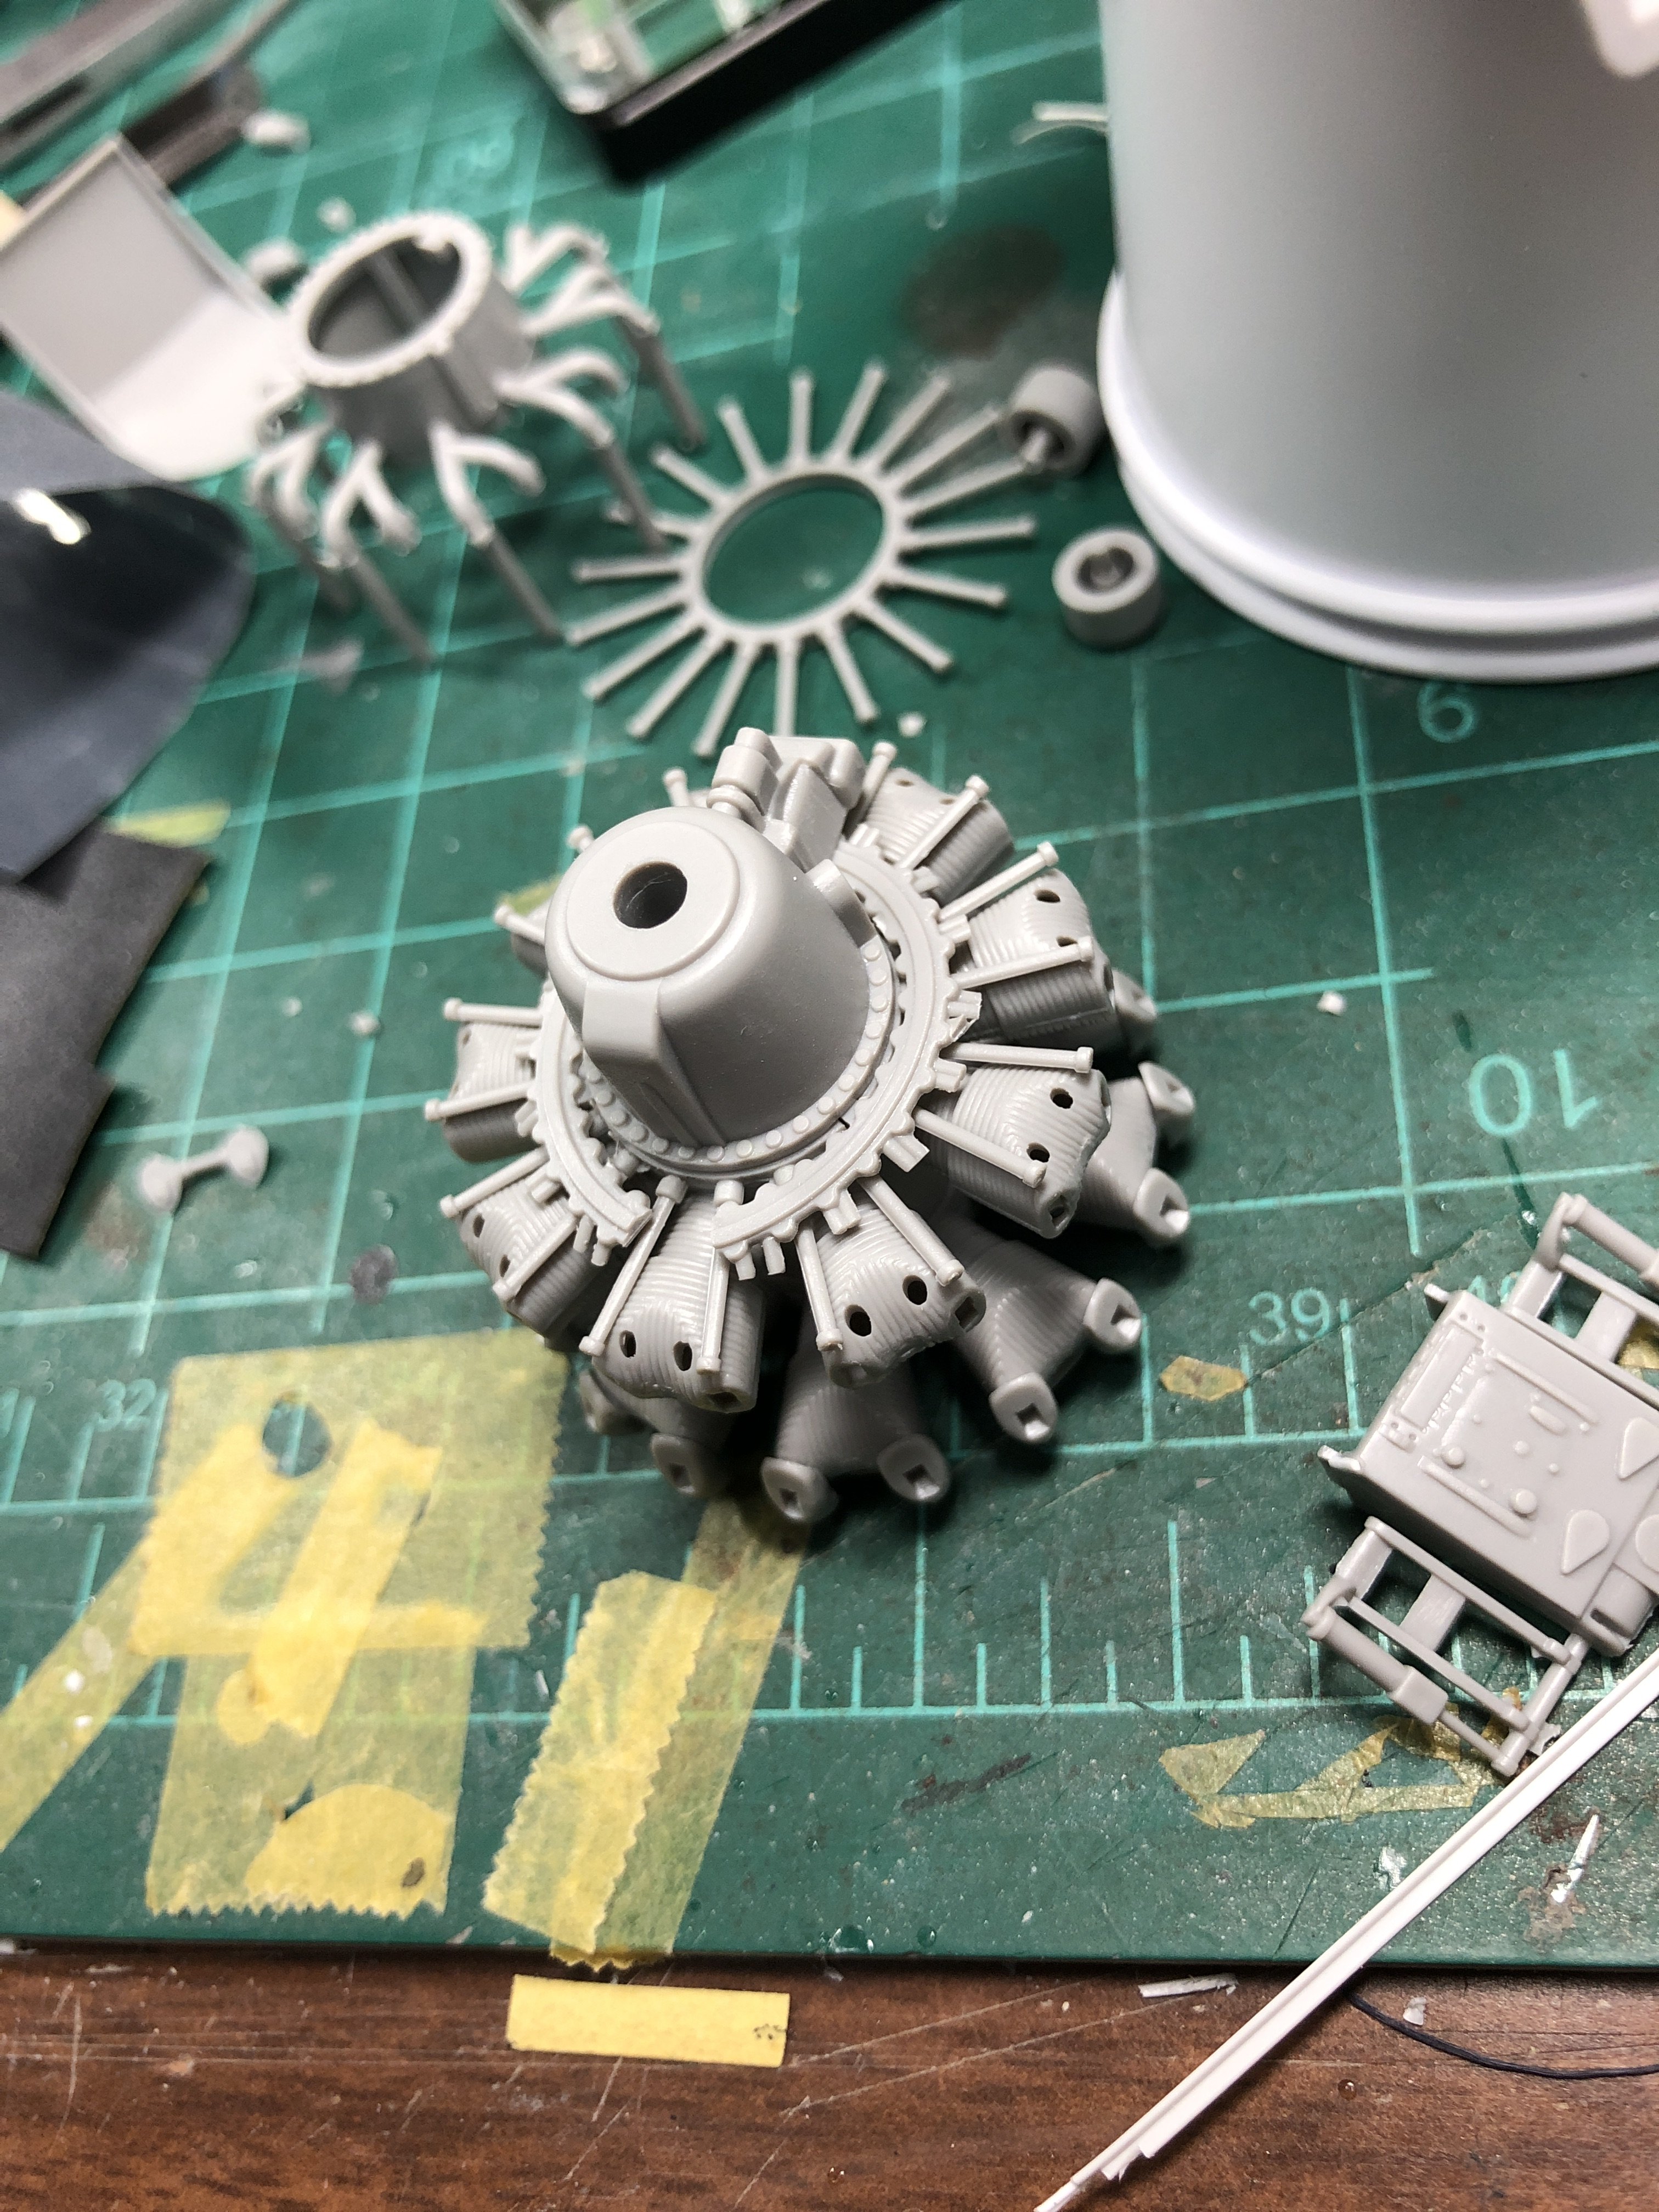
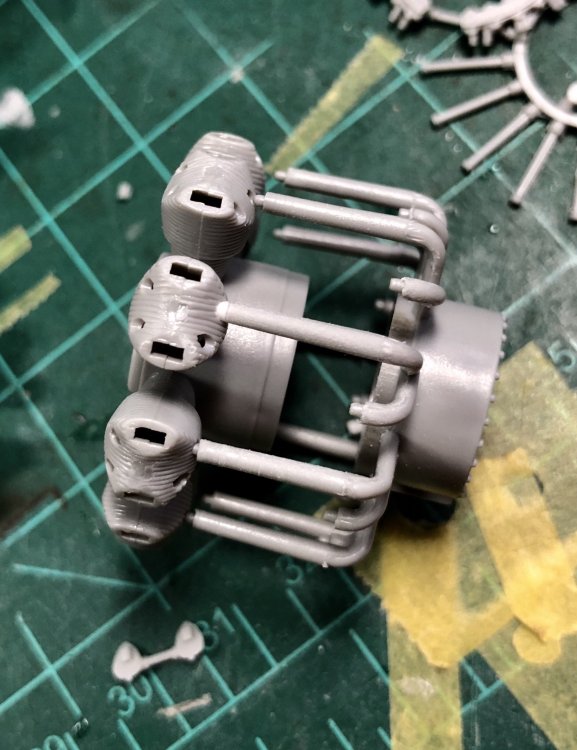
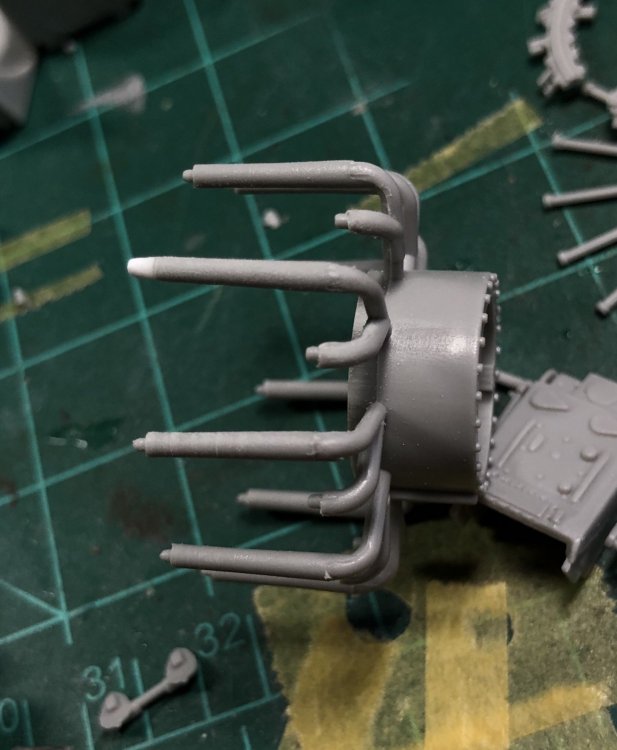
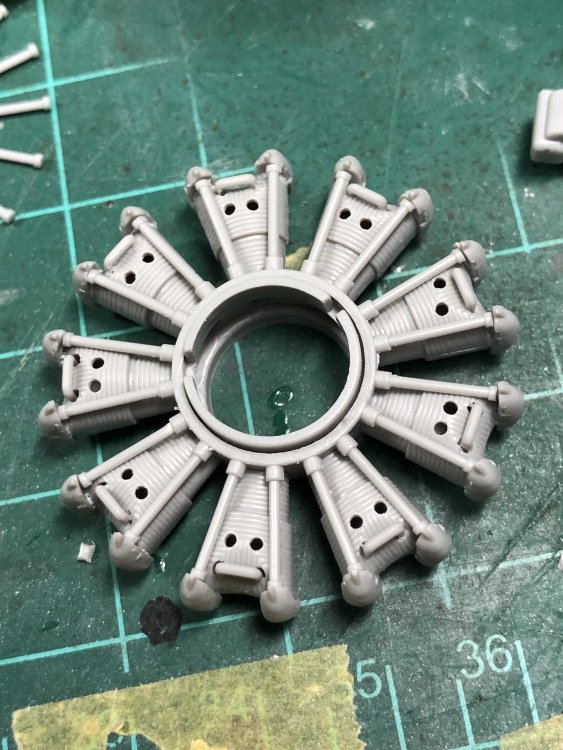
Jumping around again, I loose fit the intake pipes to the cylinders and was not impressed. The locating pins really don’t provide a strong join. The fix was to snip off the pin and glue scrap rod to the end. The last step was to file the end into a cone shape that will wedge itself into the cylinder.
-
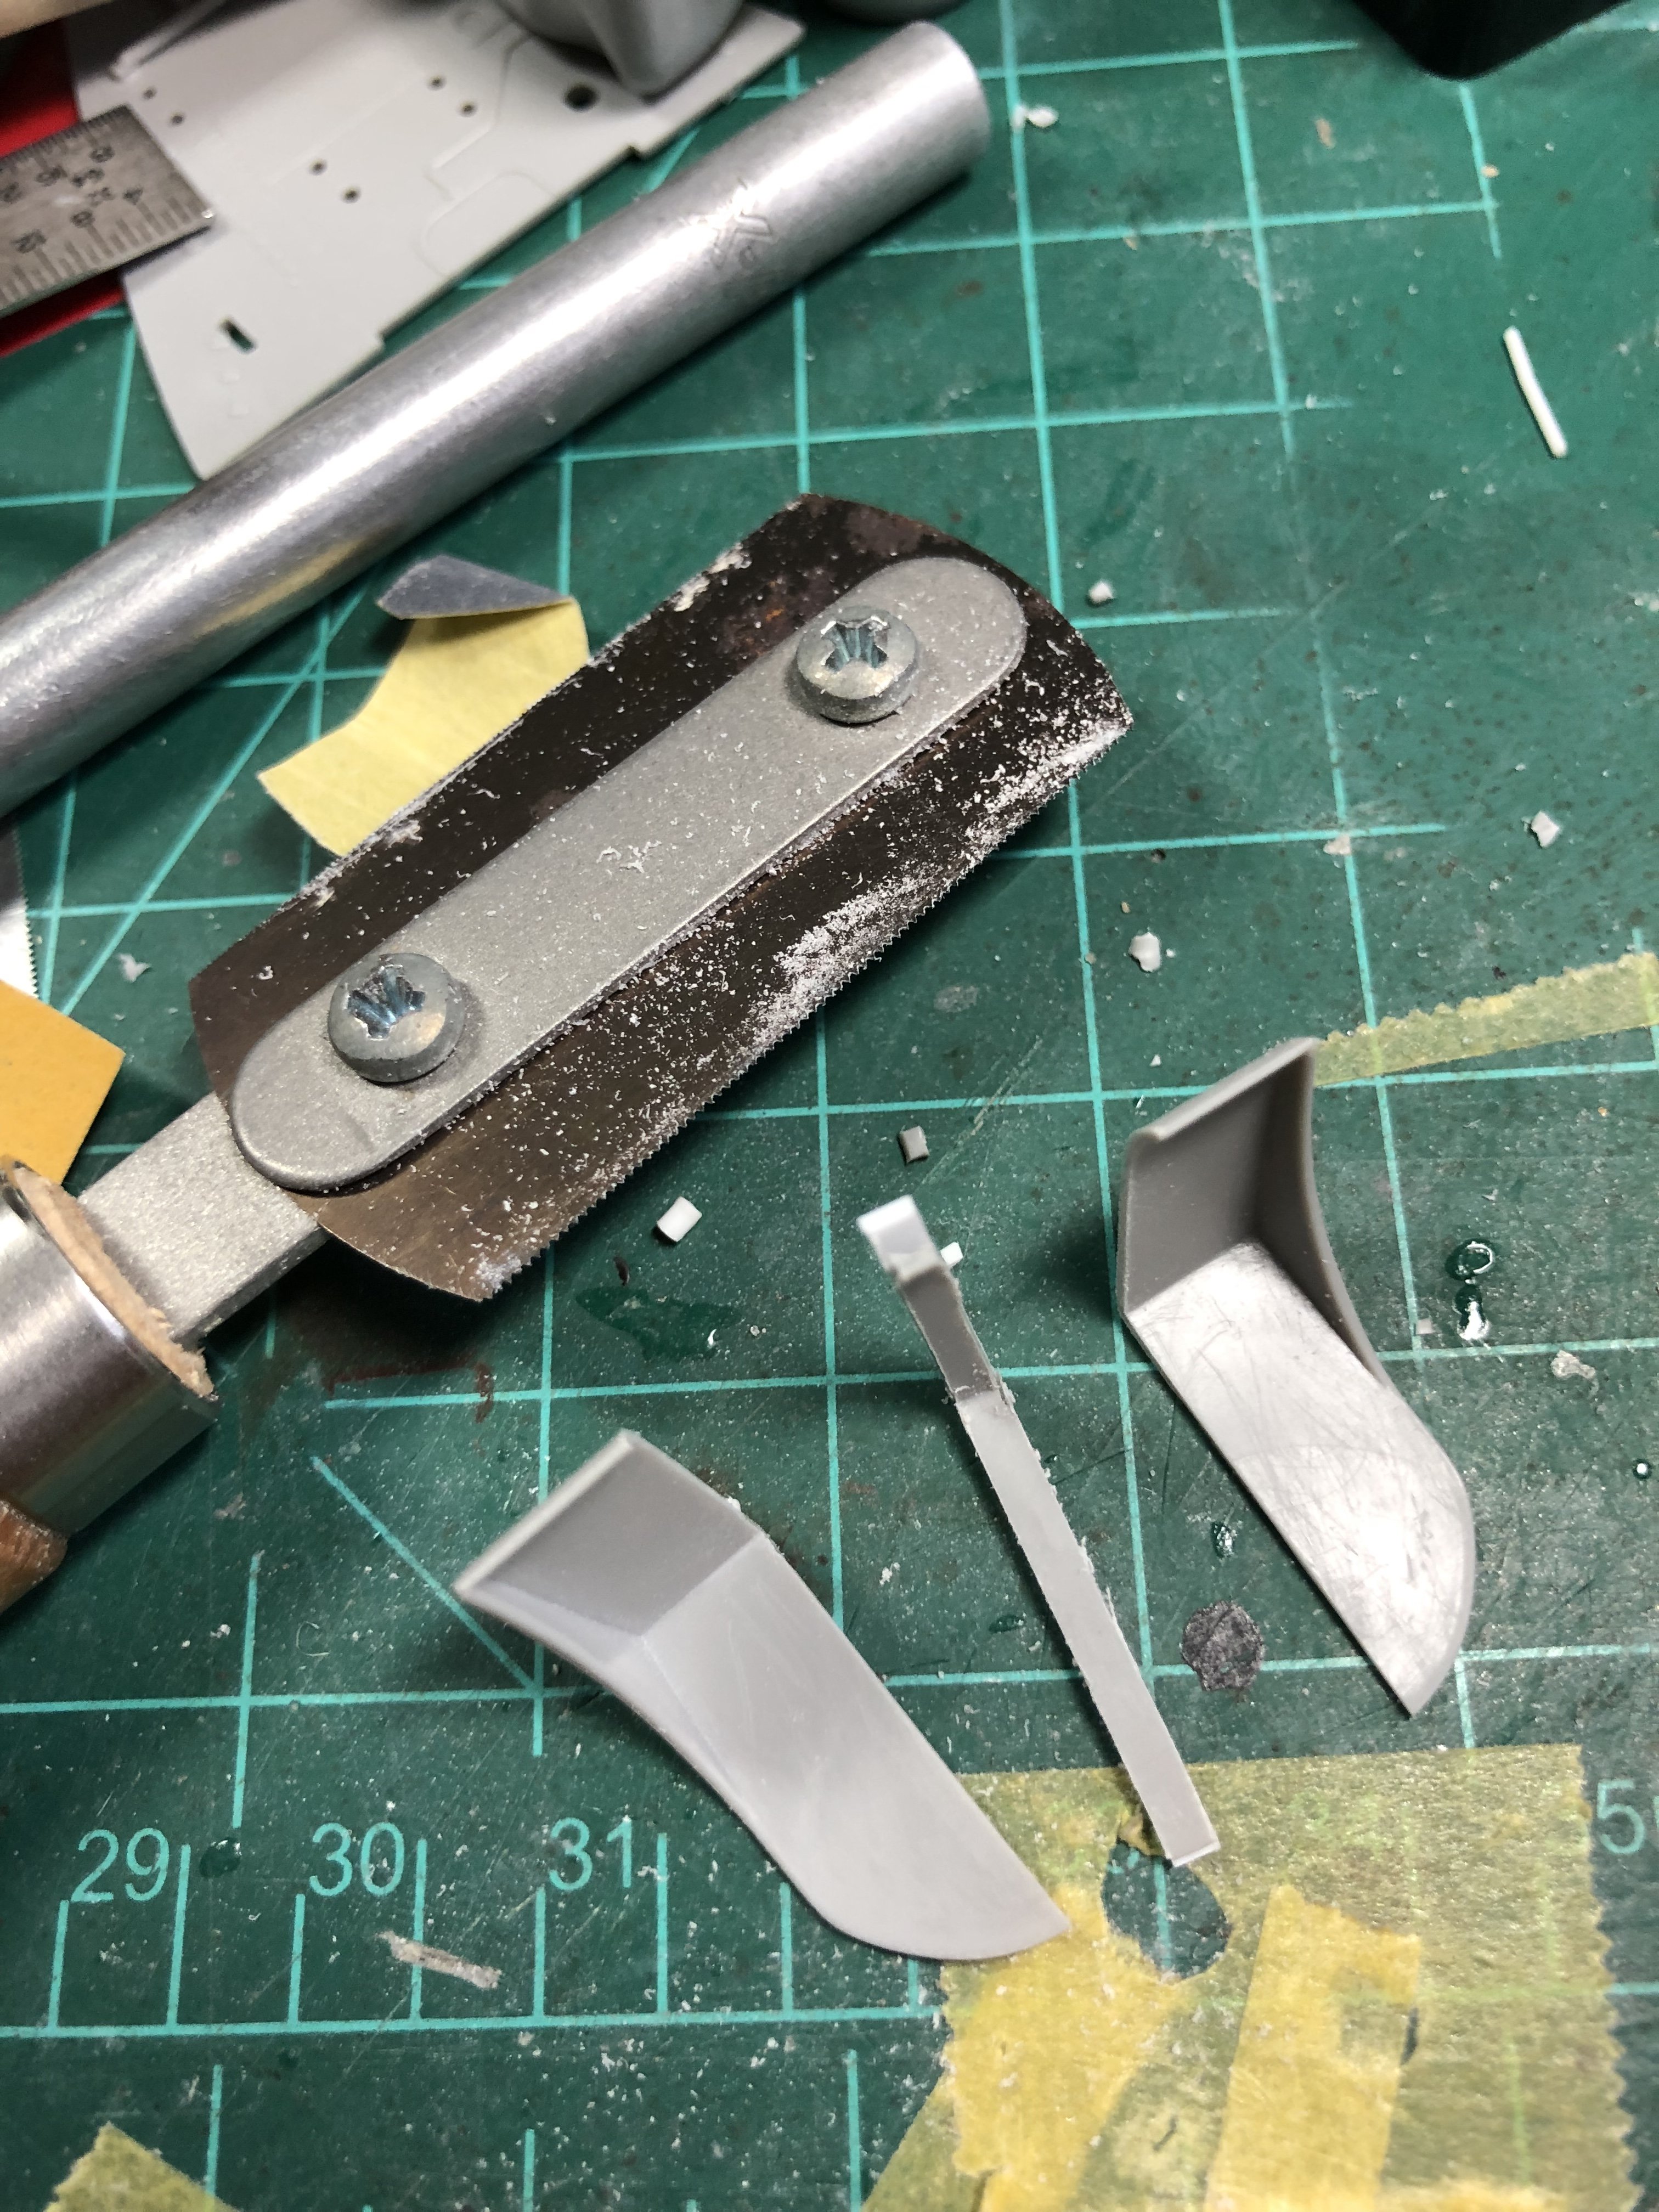
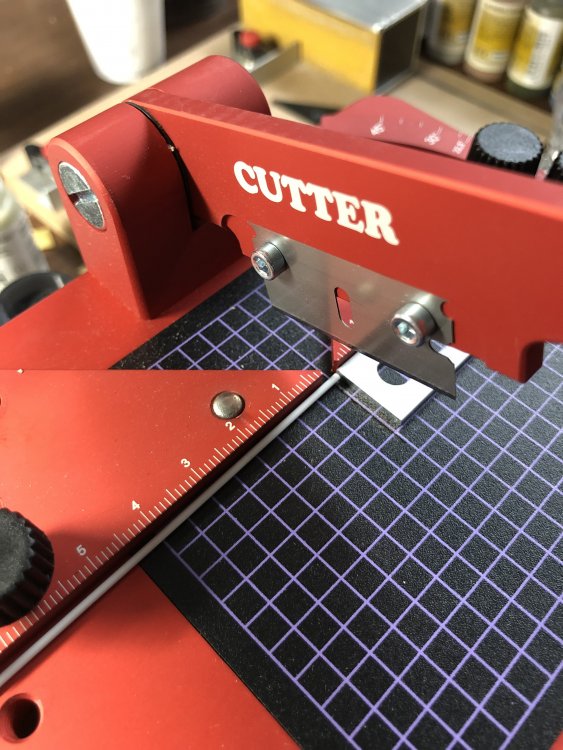
The seat surgery went on without issue, the pics tell the story. The strip stock was glued on to keep the blade straight.

-
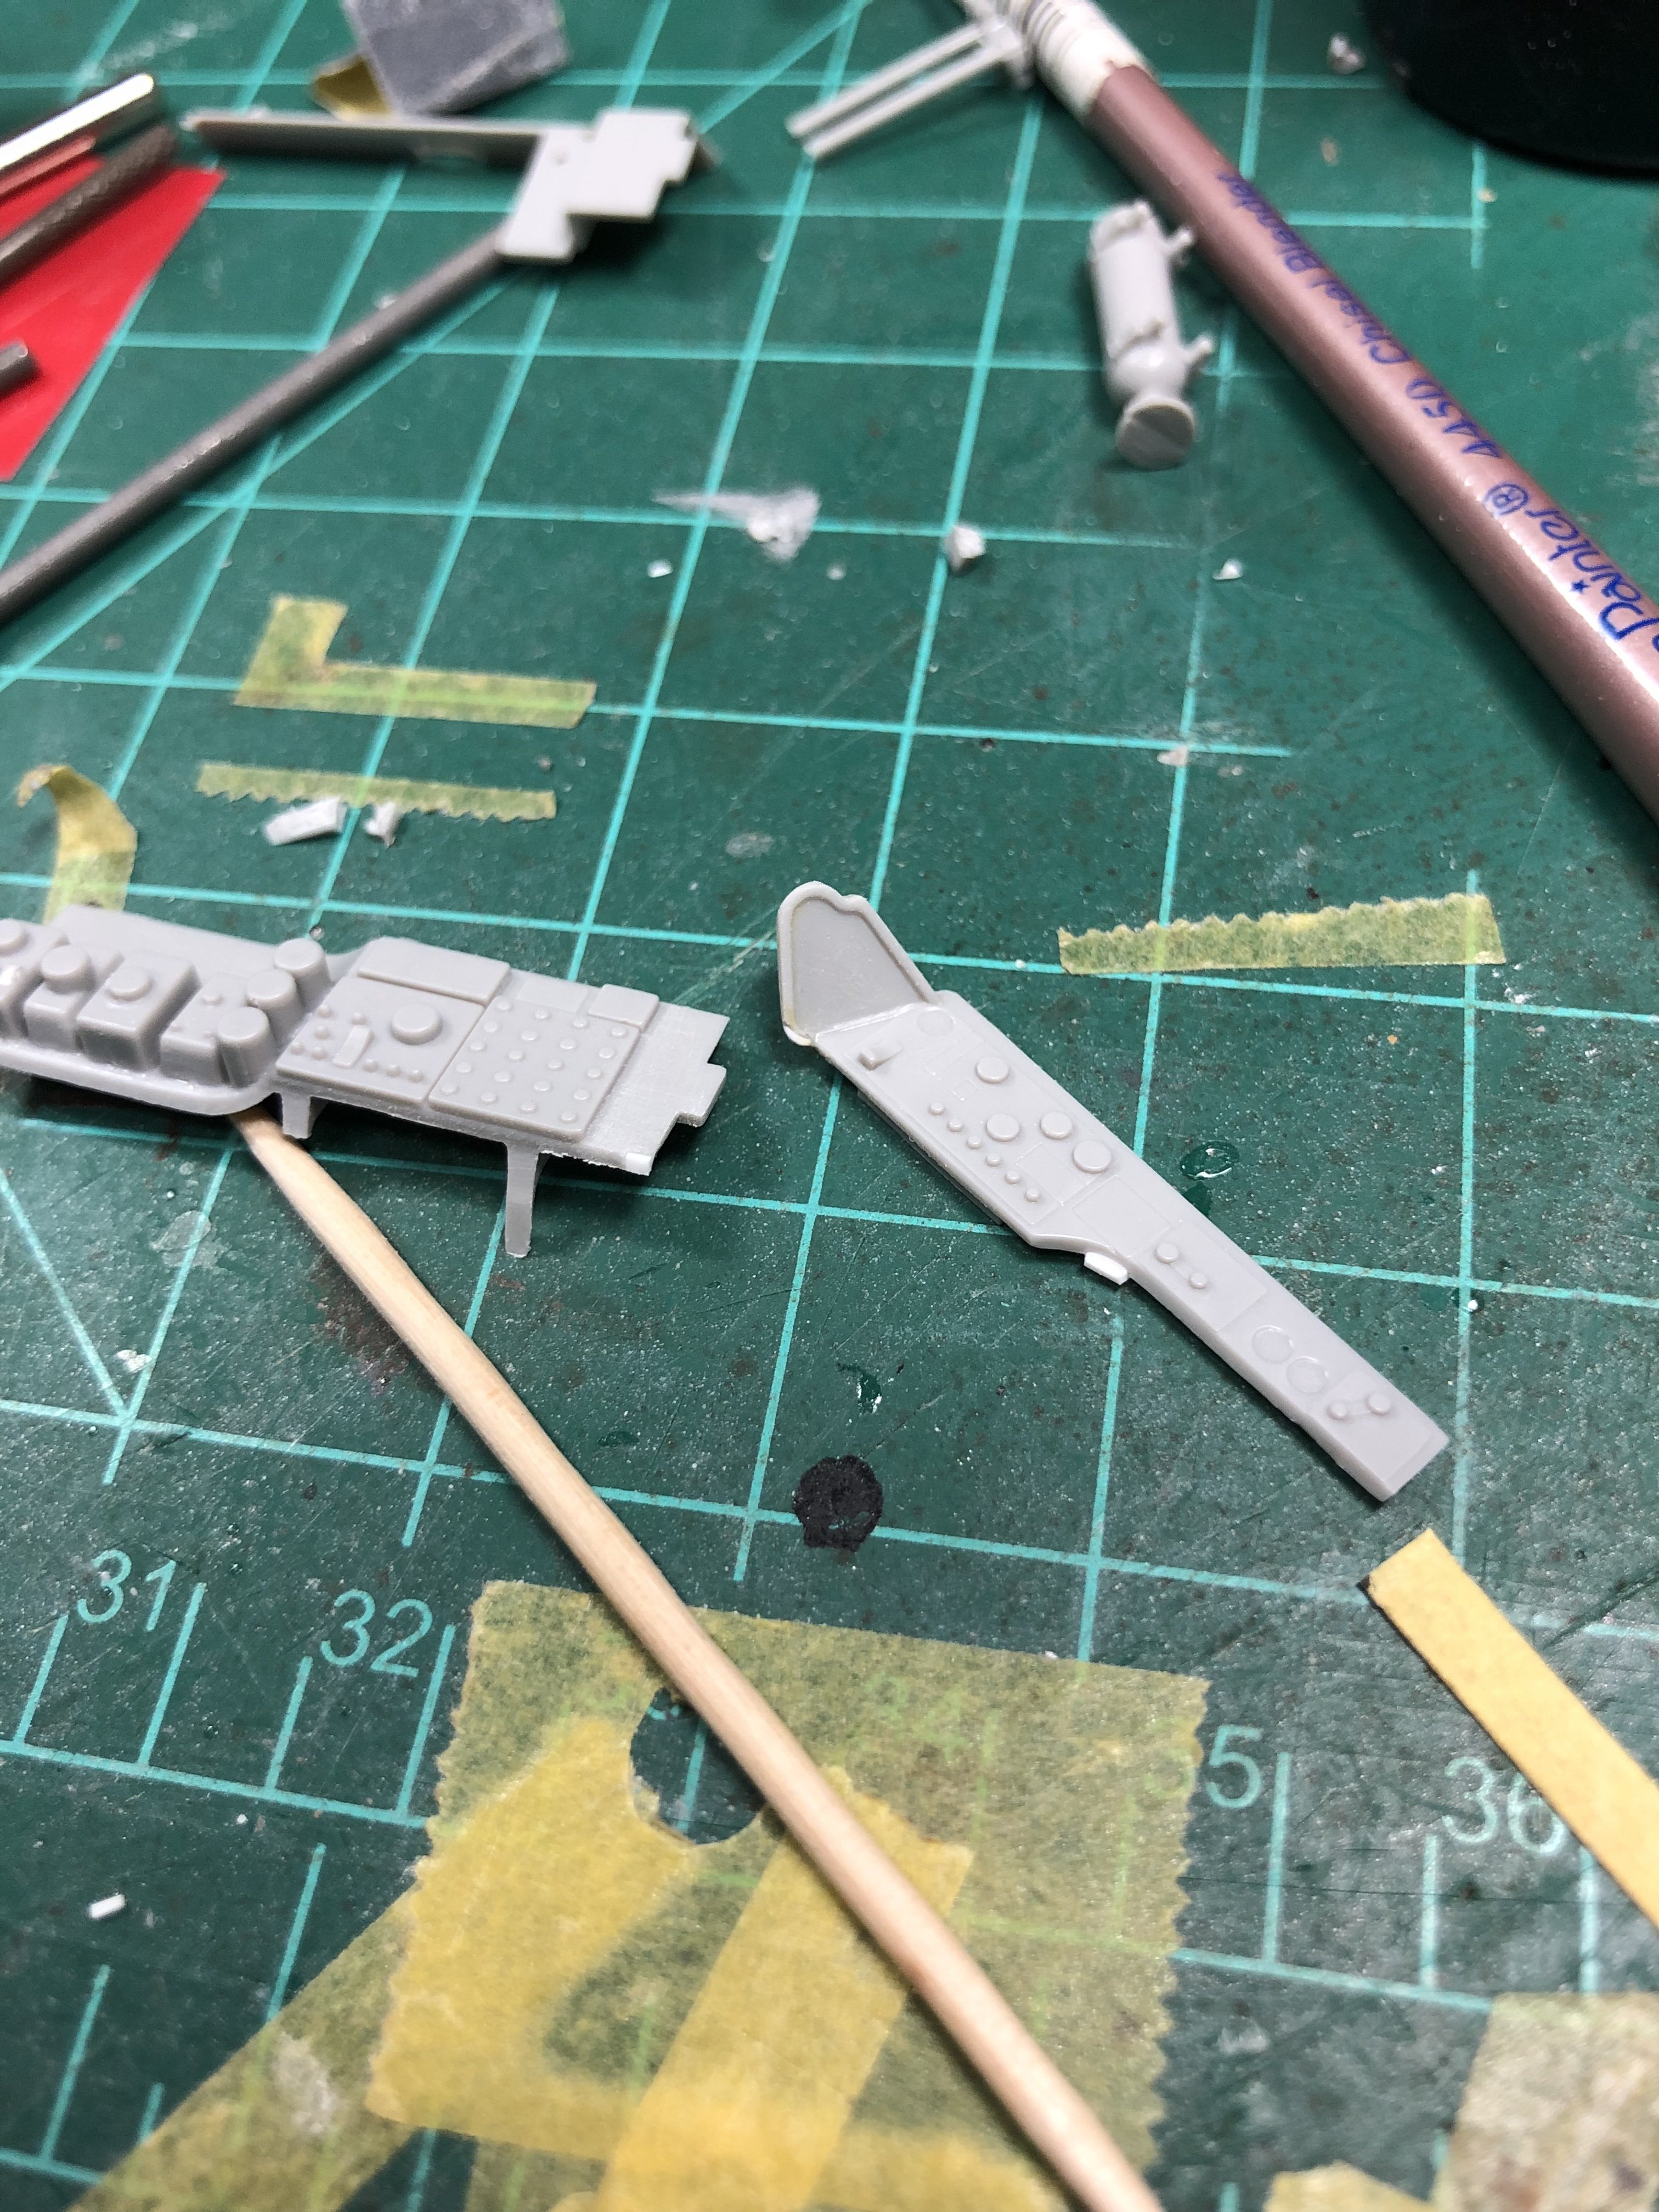
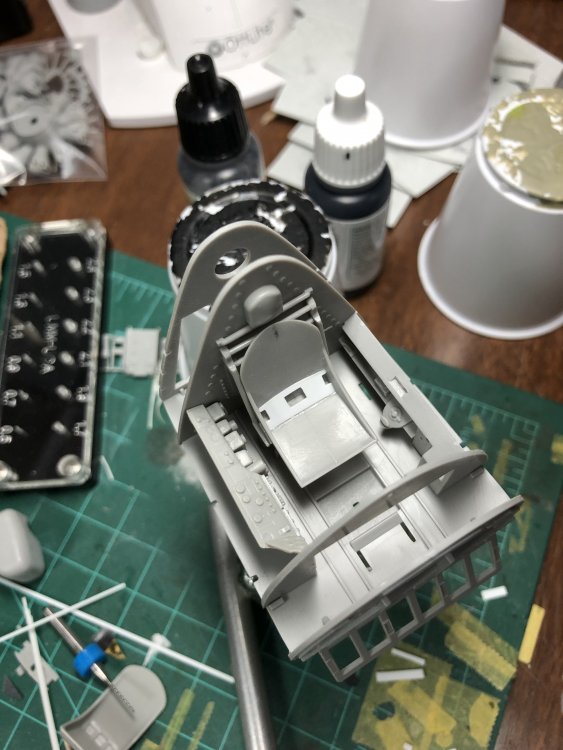
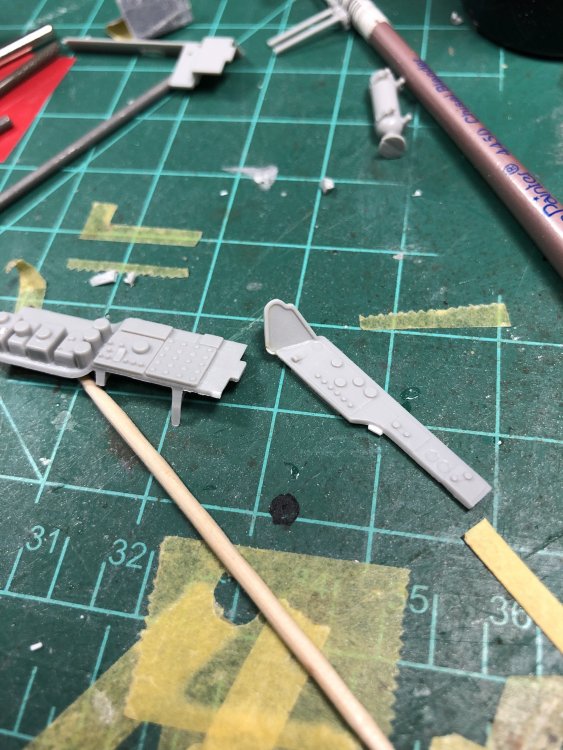
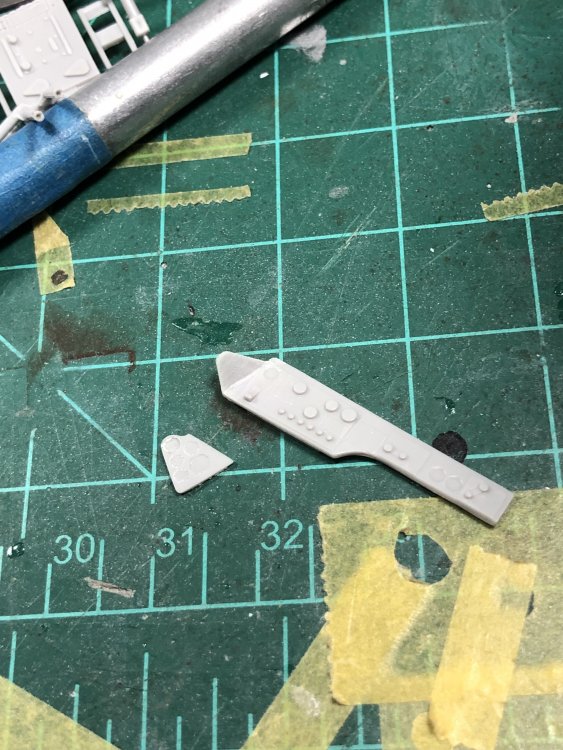
Sorry I’m jumping around here but I got some work done on the pit too. Many of the parts needed sharped up or fixed with strip plastic. It was then I saw another mod I wanted to do. There is a small cluster of instruments set in a tray shaped spot on the console. This tray arrangement will really make the panel look thick and toy like, so I cut down and thinned the tray to act as a hidden bracket to mount the thinned cluster panel to.
-
I found it wise to glue the rocker covers on and while they set, insert the push rods to check clearance. This turned out correct because many of the covers needed adjusted so the rods would fit. Here it is setting up.
-
The engine is nice but a little clunky in assembly, I’m practicing on the rear bank first.

-
I think the thing to do is cut it in half and reassemble at a more correct width. of course when I do that the brackets won’t work any more, but I can remedy that. the seat is too comical for me to use unmolested.
-
Hmm, me thinks the seat is too big, here next to the P-47 seat.
-
Hobbycraft F6A D-Day - Ready for inspection!
Ryan replied to 1to1scale's topic in D-Day 75th Anniversary Group Build
Keep up the fight, good idea on the the little scratch items. My problem is I don't know where to stop with scratch details!