Ryan
-
Posts
1,012 -
Joined
-
Last visited
Content Type
Profiles
Forums
Events
Gallery
Everything posted by Ryan
-

HPH B-36 Peacemaker A truly LARGE scale model.
Ryan replied to Clunkmeister's topic in LSM 1/35 and Larger Work In Progress

-
You know what might be the next rabbit hole. The engine cylinder spacing.....hmm.
-
Alice made the same comment.
-
Here are some goodies that arrived. F6f-5 by The 3rd Placer, on Flickr F6f-5 by The 3rd Placer, on Flickr And I really need to prime that hideous clear cowl! F6f-5 by The 3rd Placer, on Flickr Ryan
-
Here is a link to their Type N monoplane I have been off and on with. https://forum.ww1aircraftmodels.com/index.php?topic=9834.0
-
What is on your bench right now ? Share a picture :)
Ryan replied to Martinnfb's topic in Modelling Discussion
Do it man, it will be a great WIP. -
Thanks Harv. Damn models
-
Ok going to bed.
-
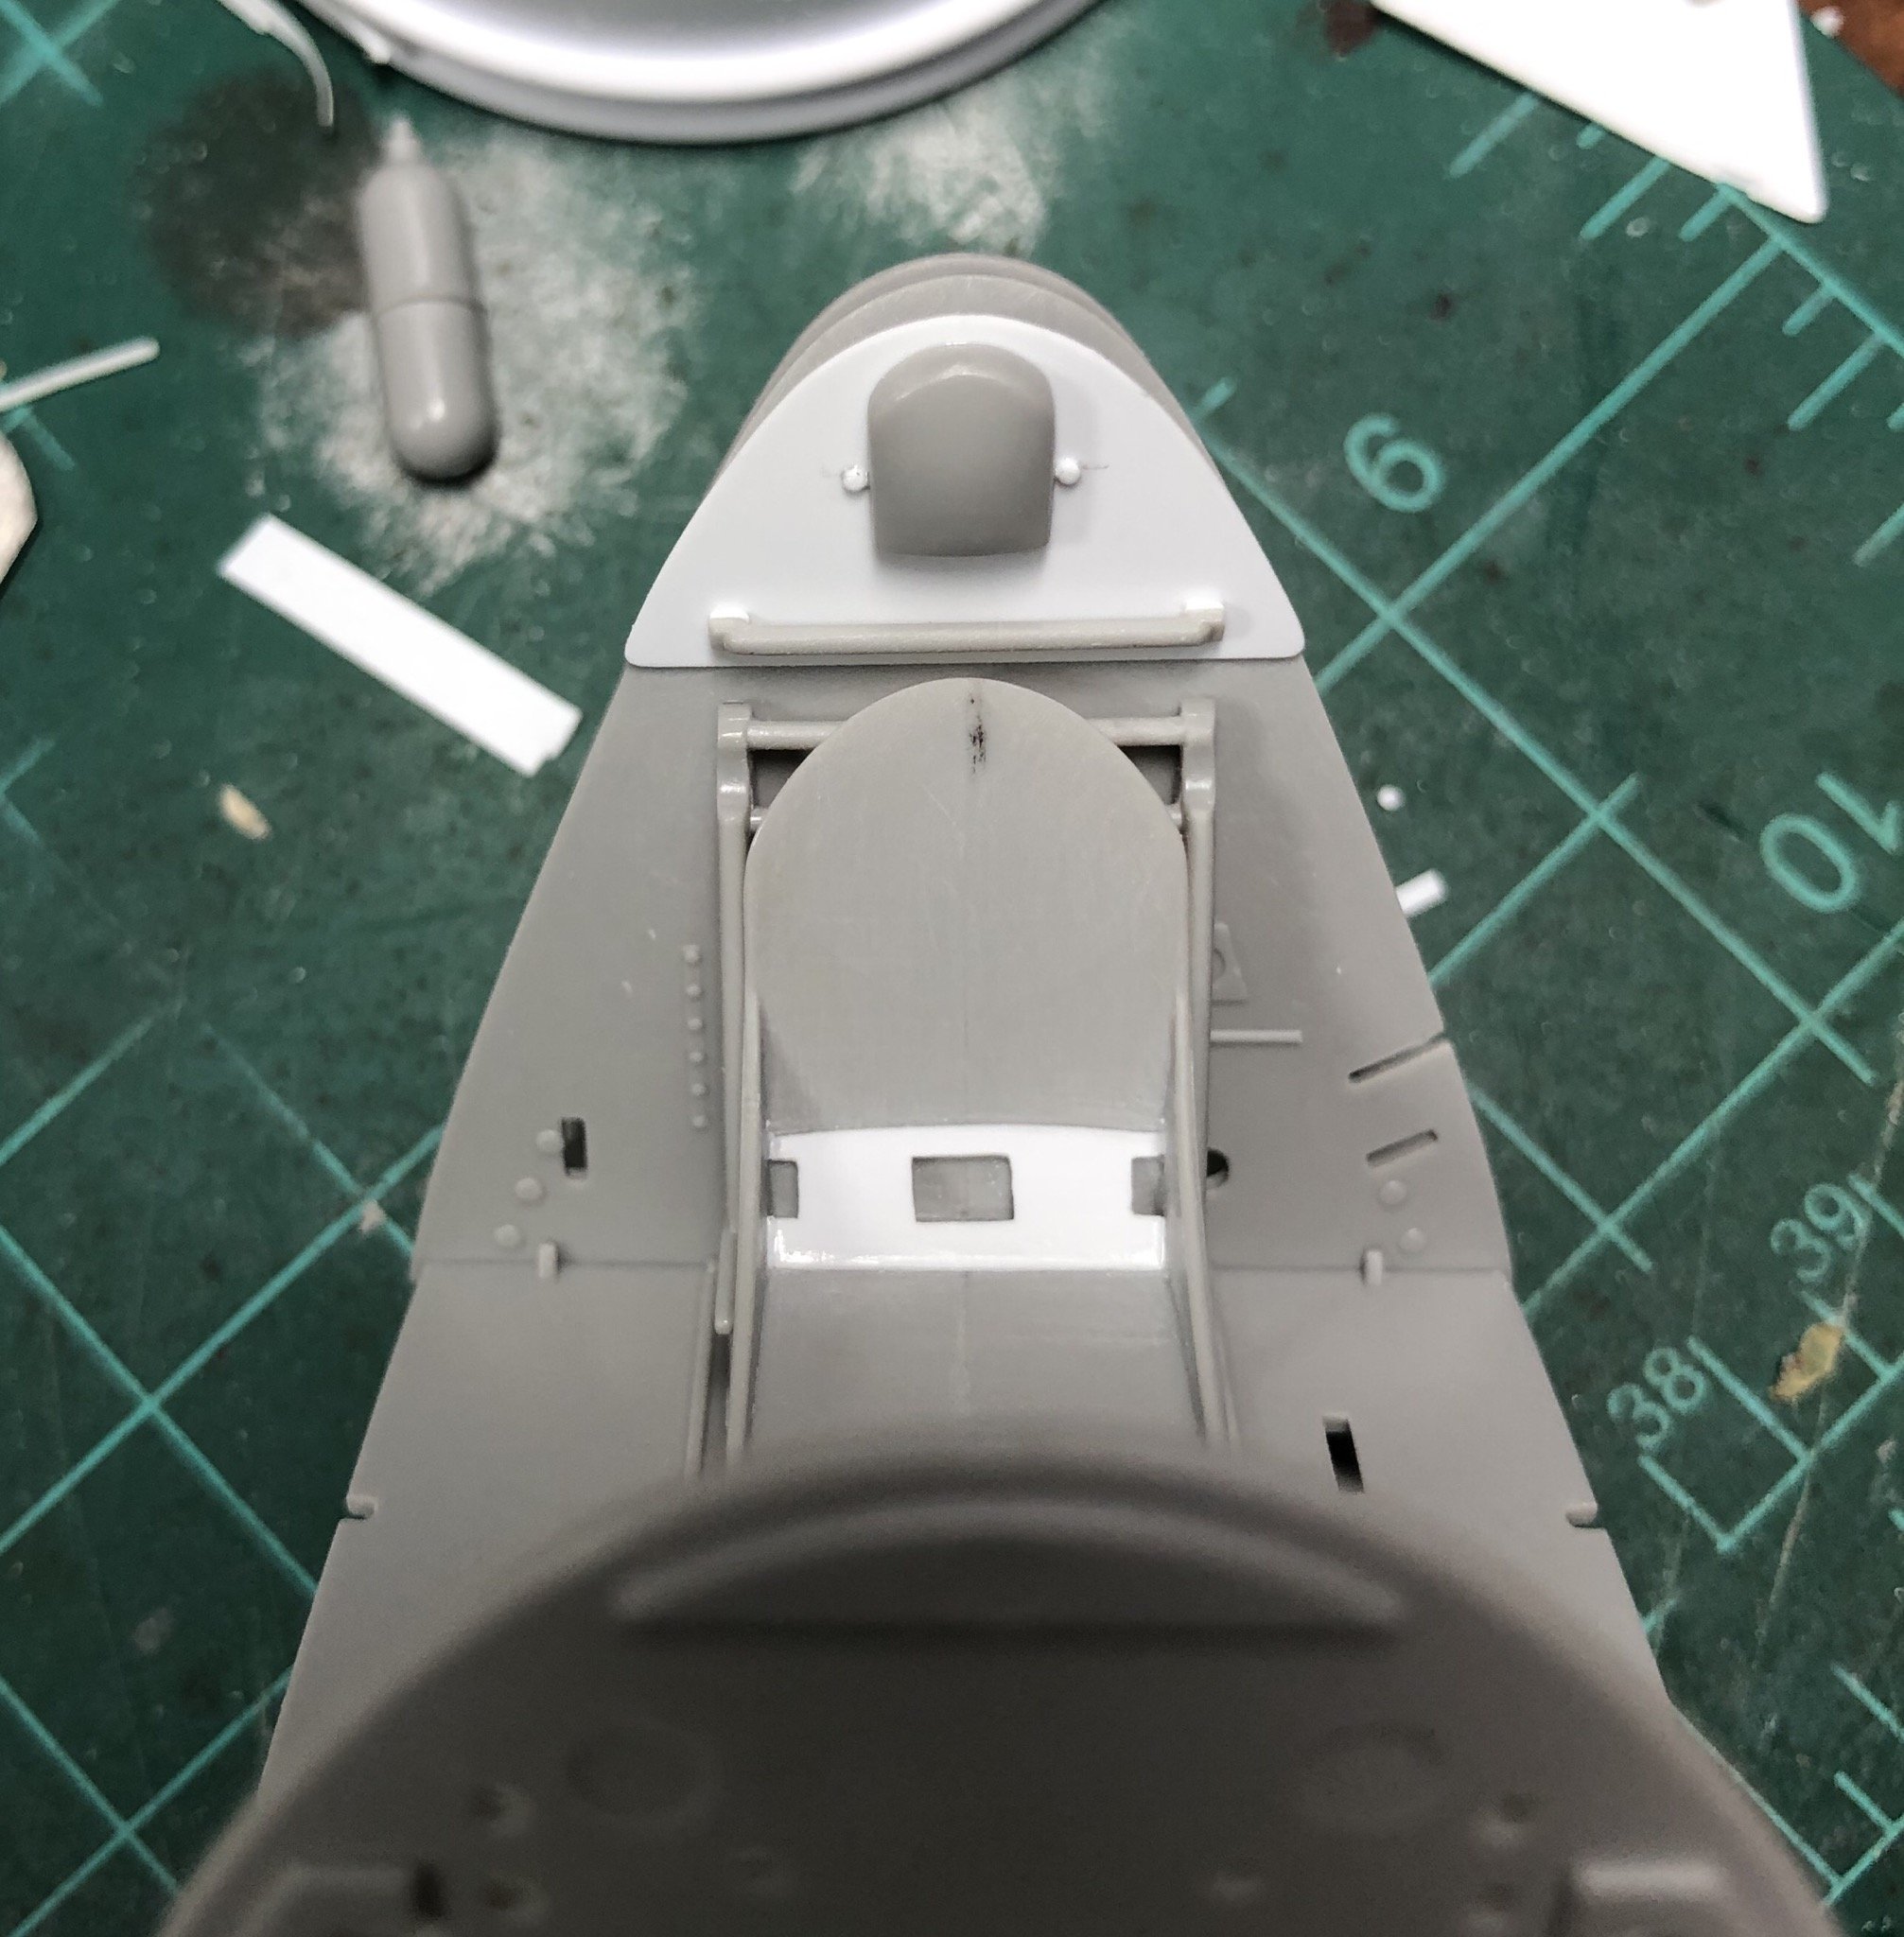
More shots.
-
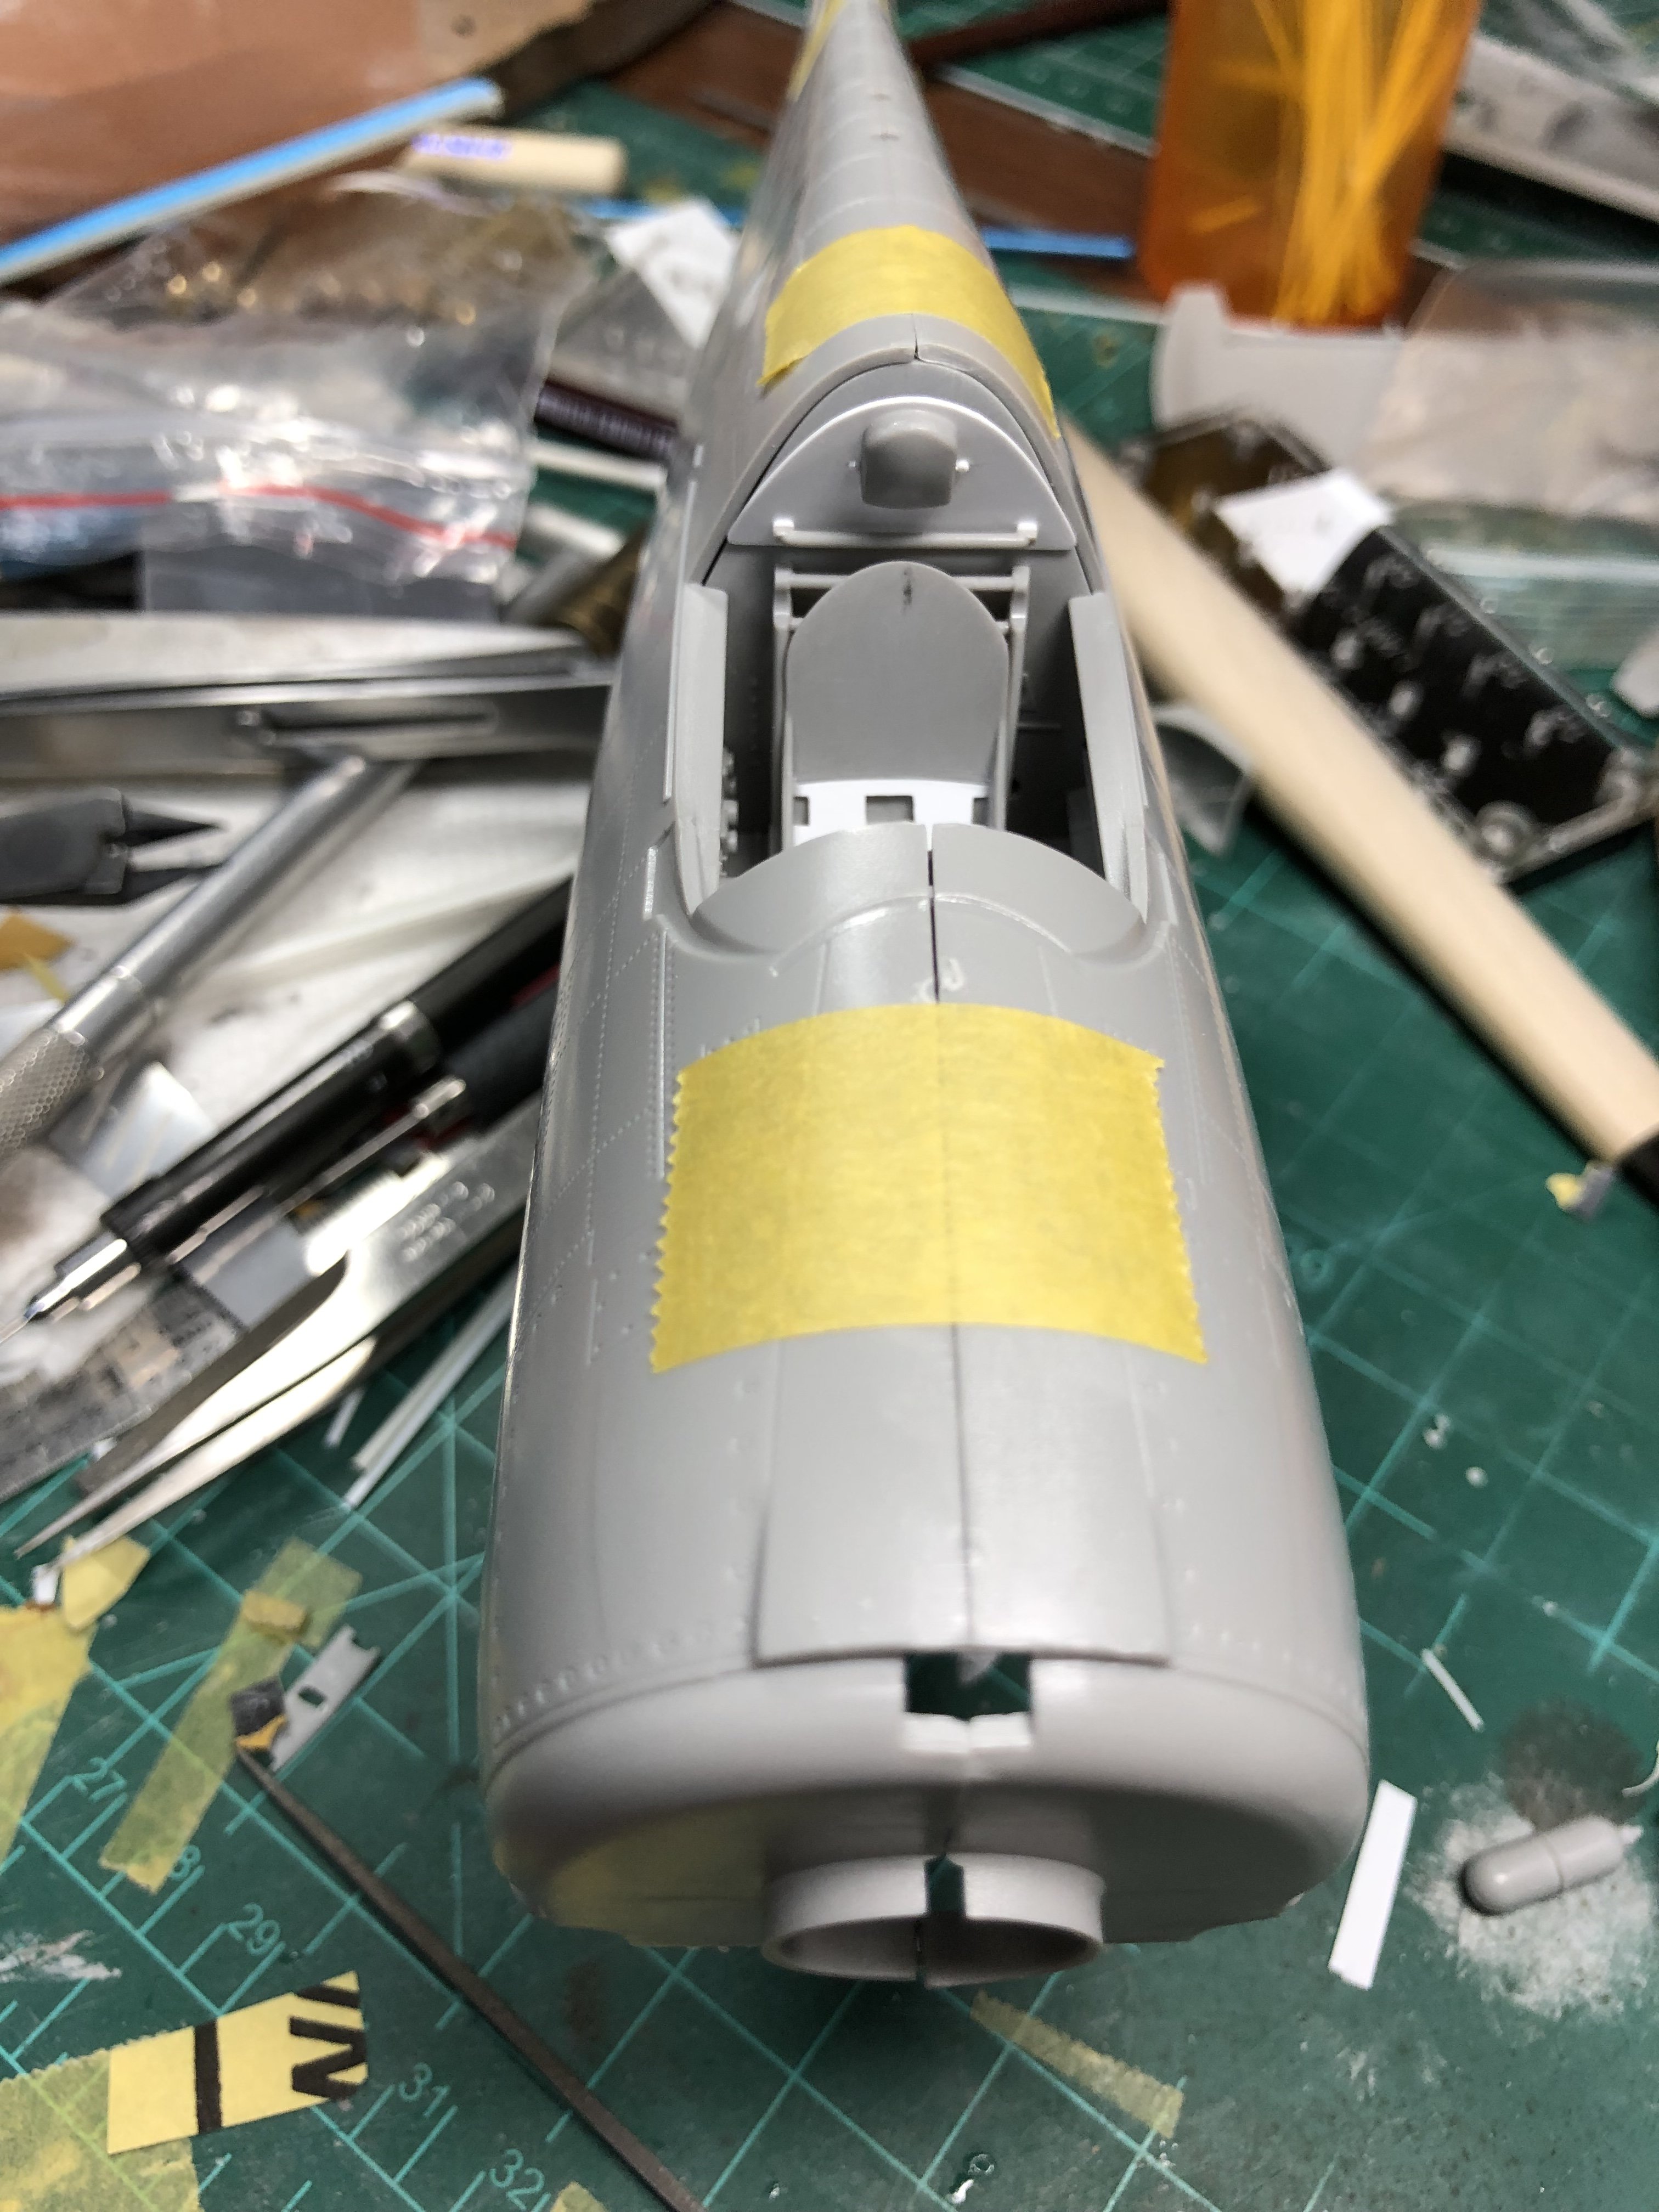
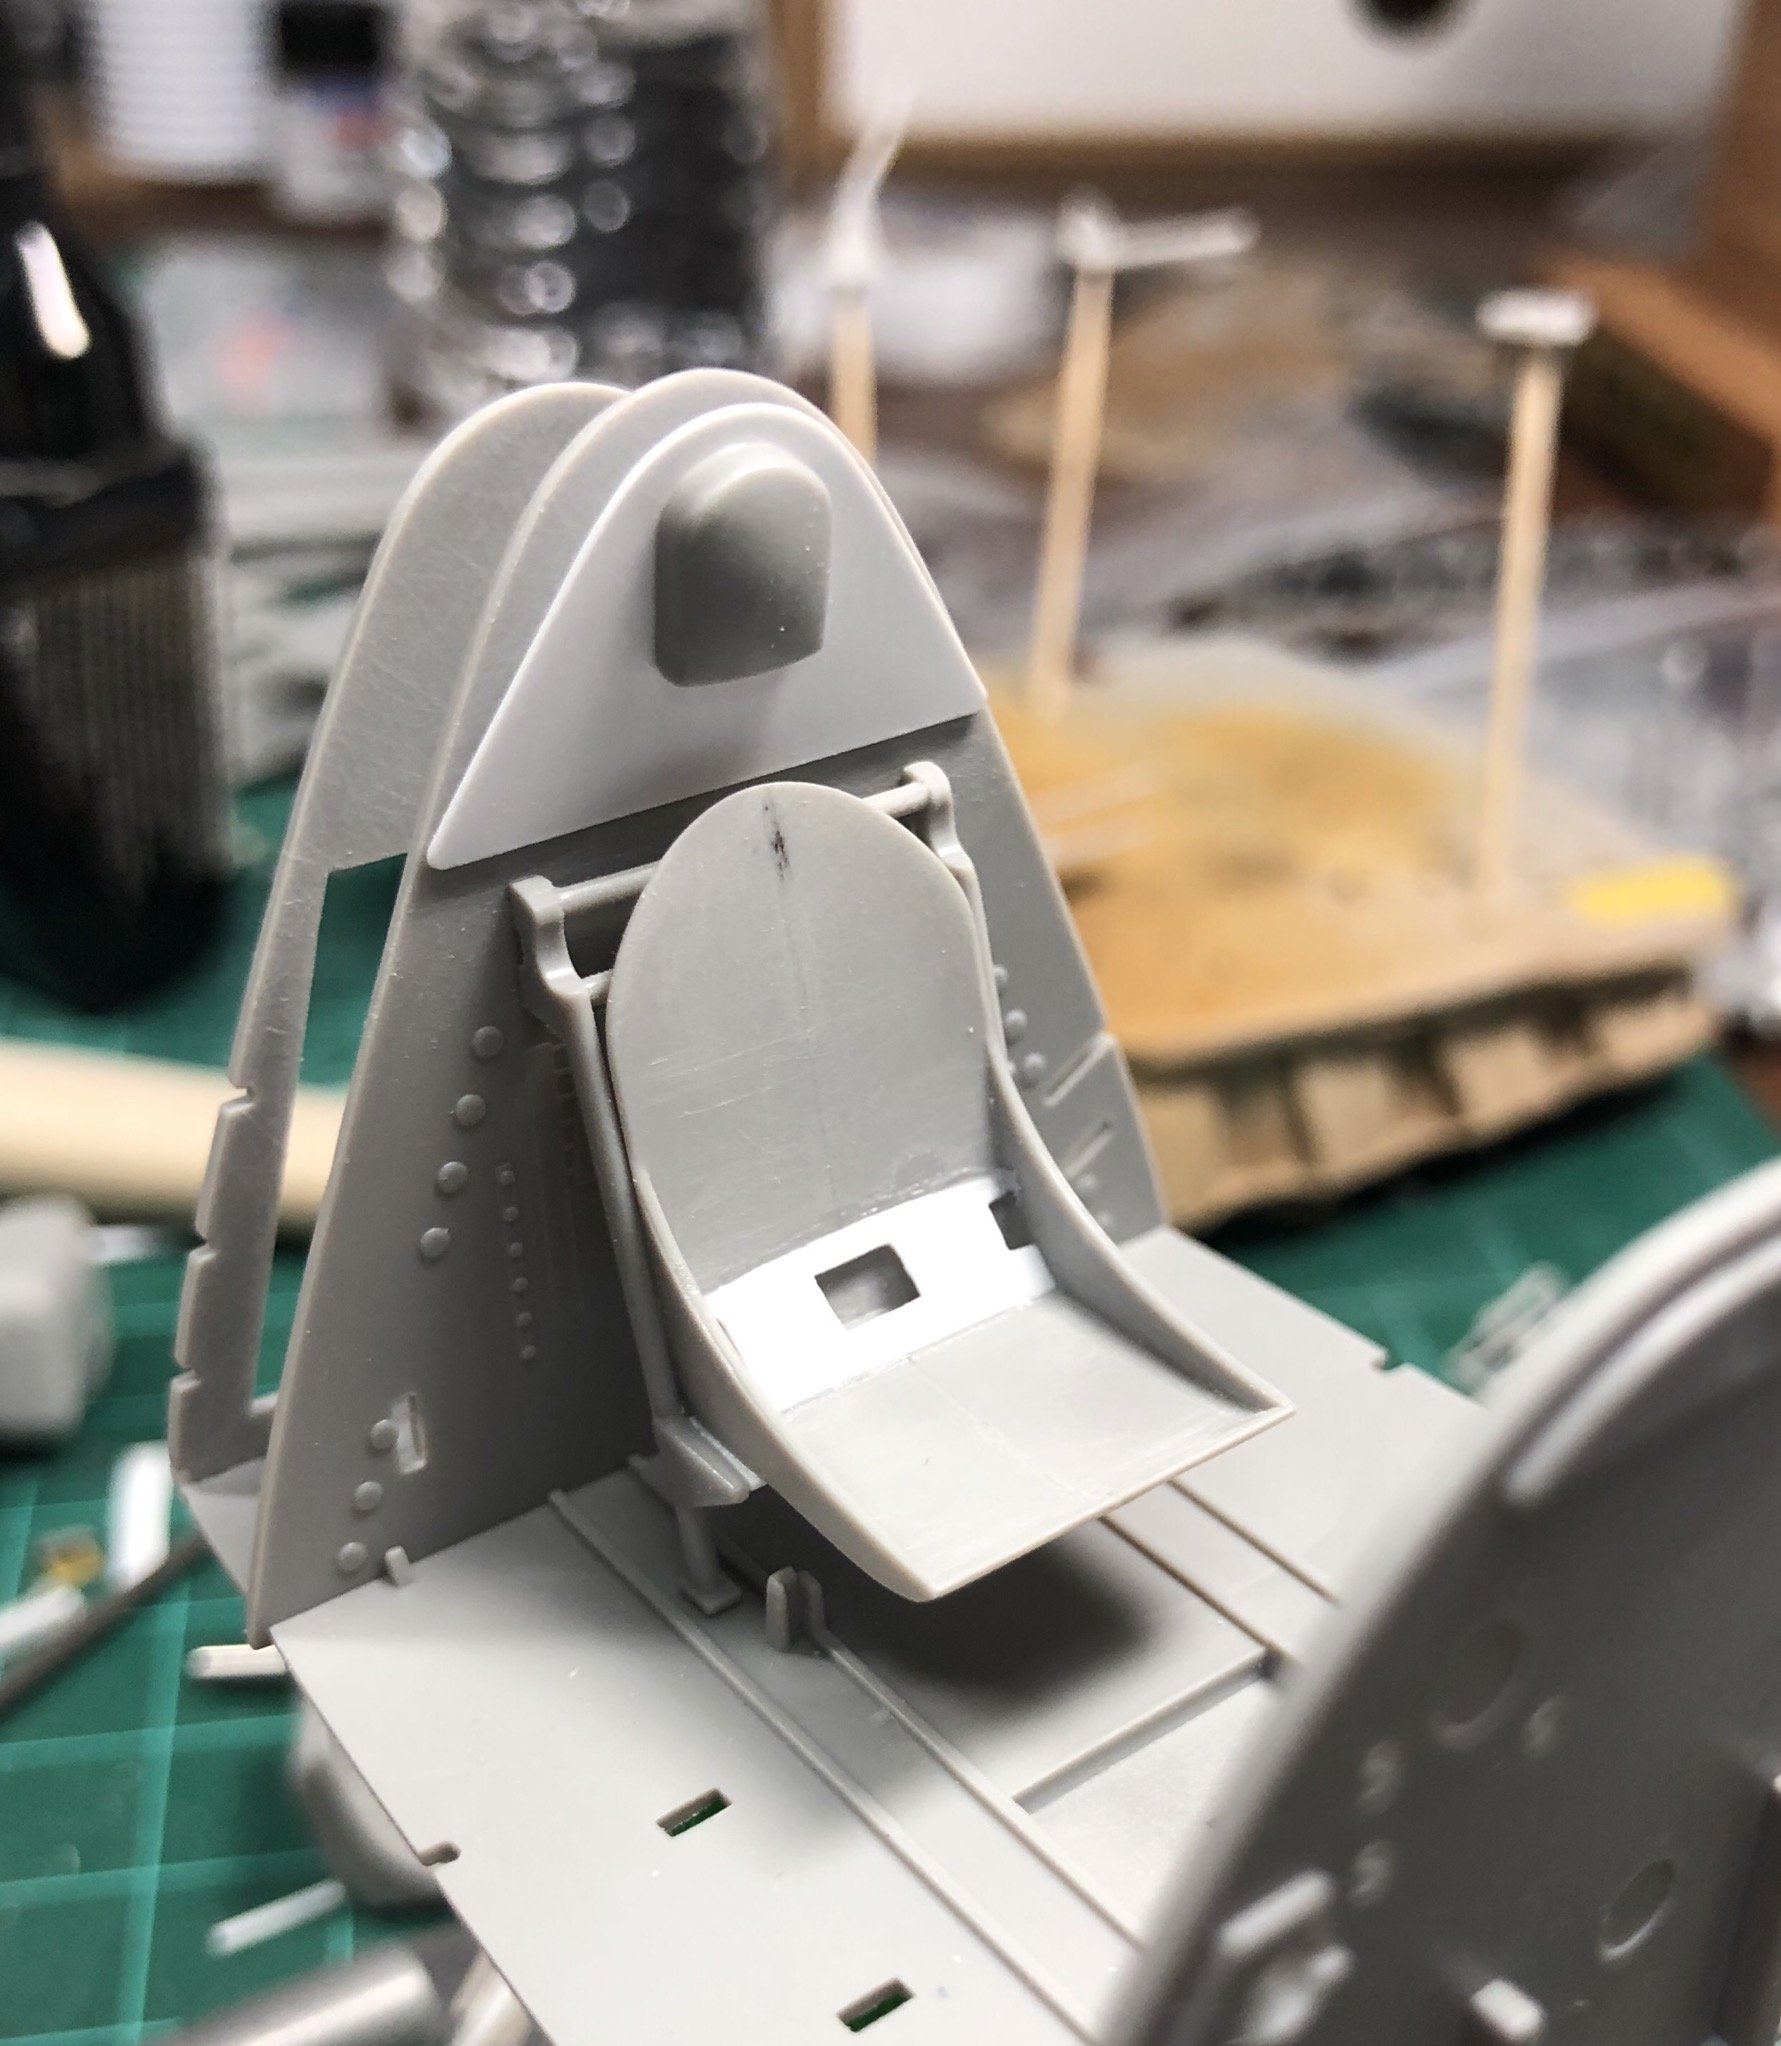
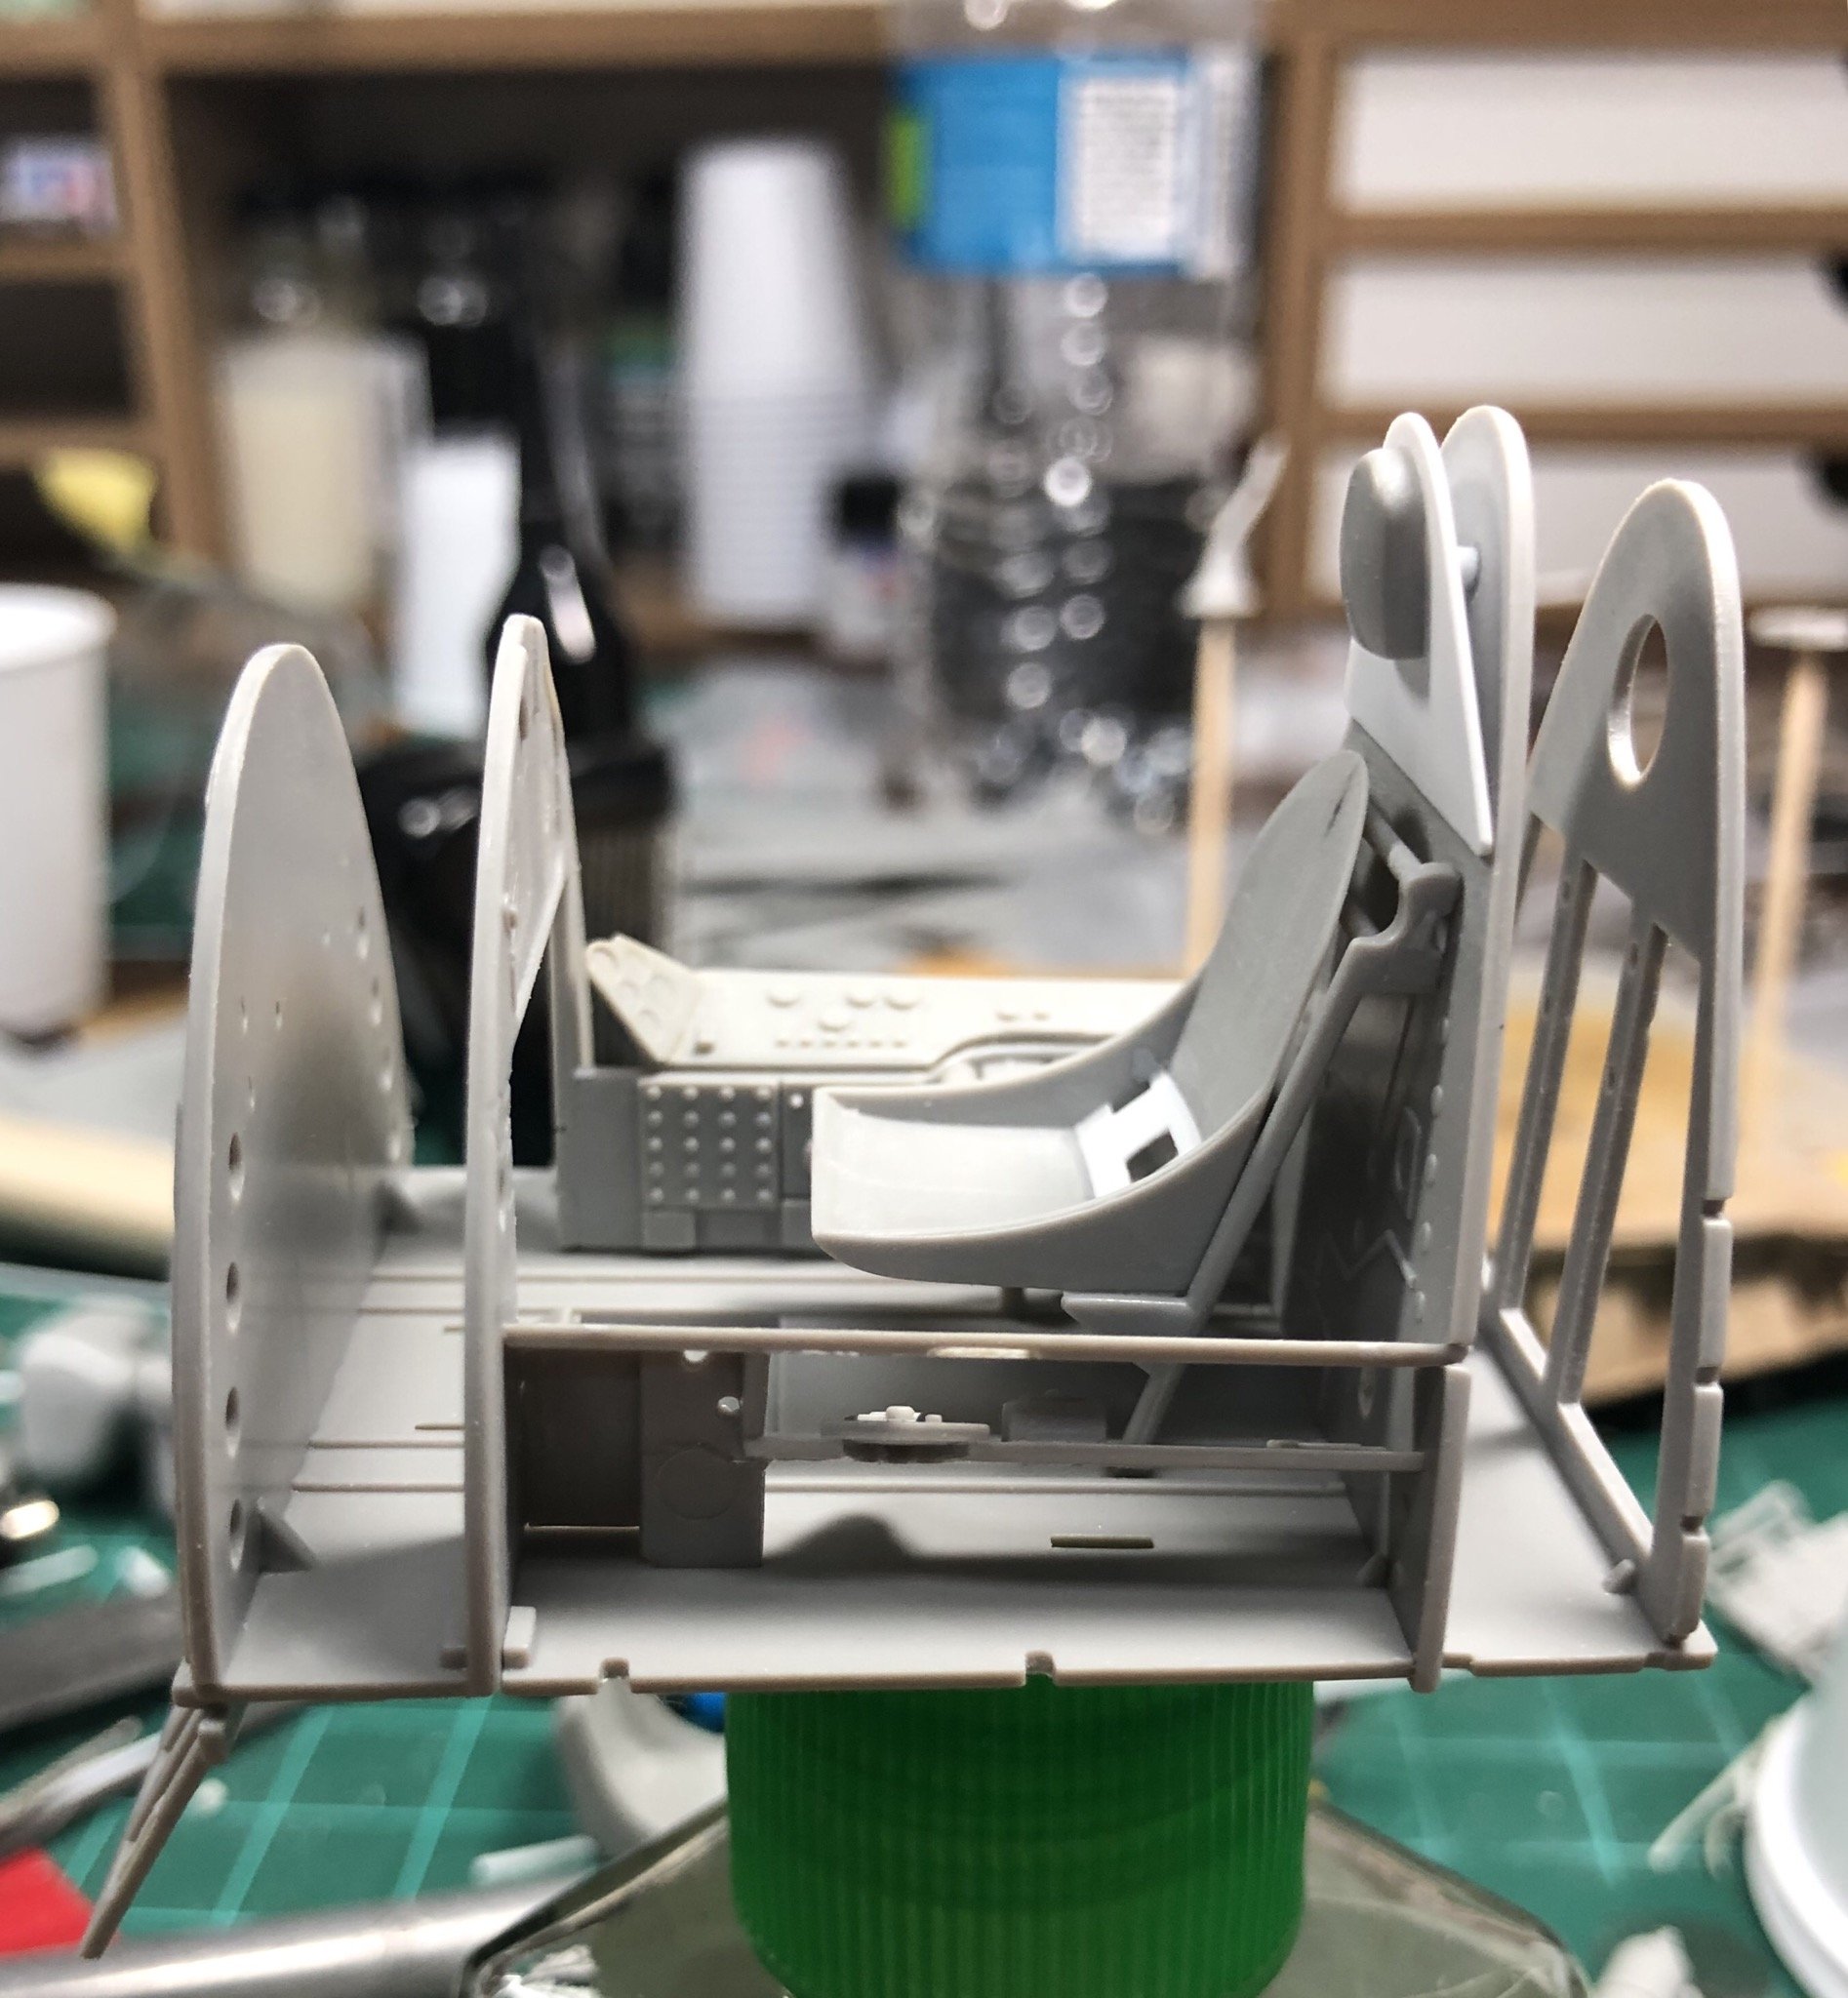
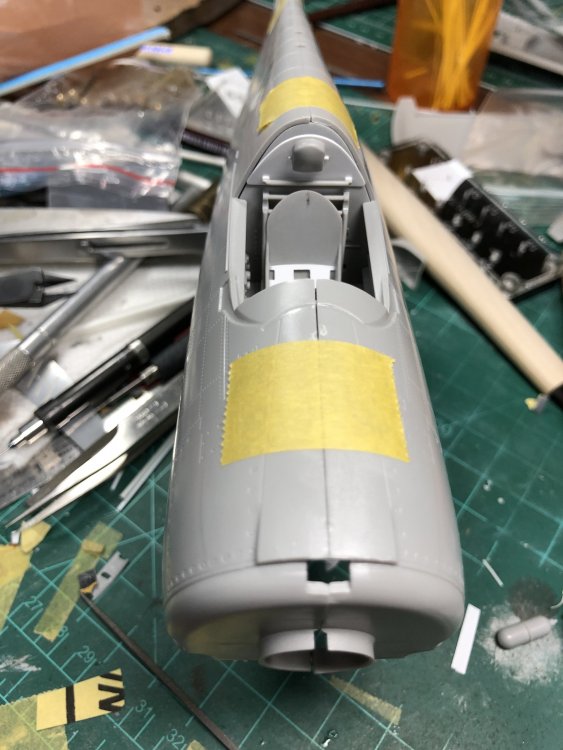
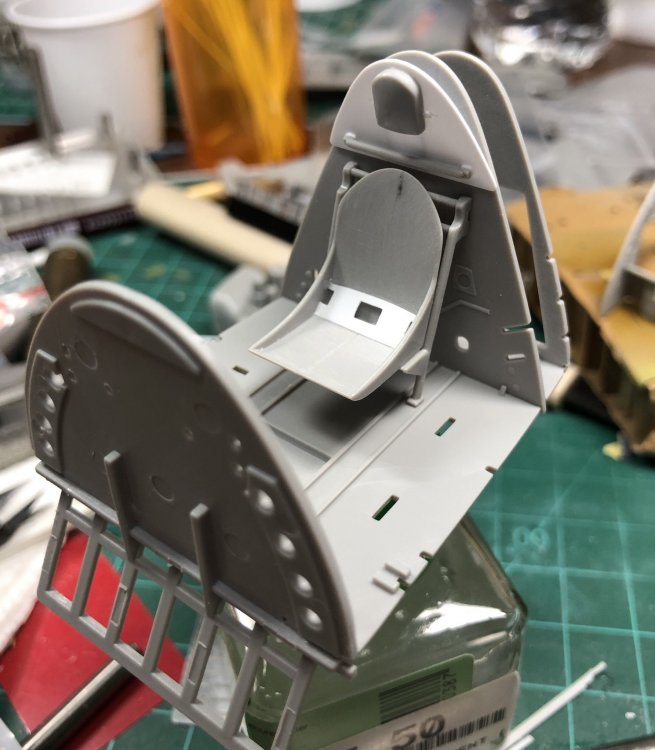
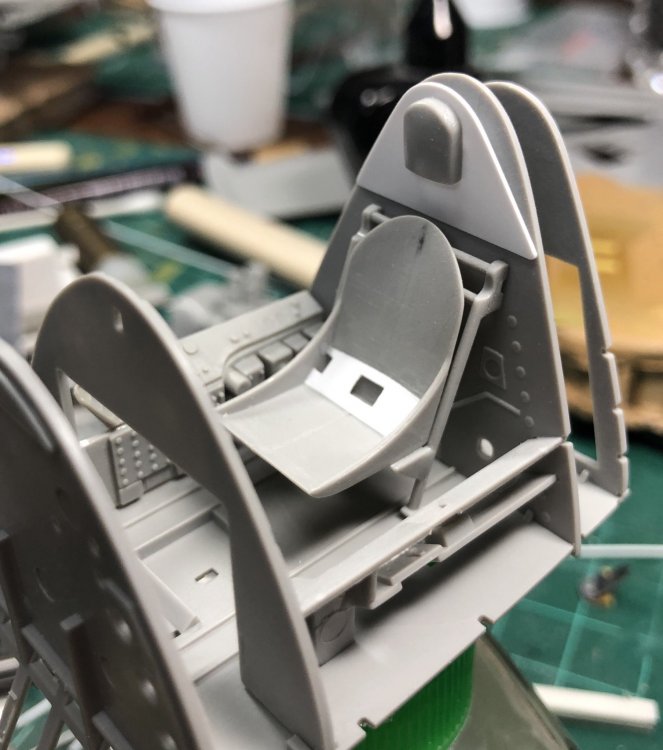
Ok bear with me, but I reworked the headrest, this time 100% satisfied! It’s finished and I’m climbing out of the rabbit hole. You’ll note I also added the towel rack and some bolt heads.

-
That a good one, how about the ones that land in your shoe or slipper to be found later...
-
Thanks Gaz, I need to fix my backer mounting points, I hadn't noticed they were off center. This will be visible and bug me, but an easy fix. Hellcat by The 3rd Placer, on Flickr
-
Guys my wife got me a neck mounted LED light that is perfect for hunting dropped parts, get one you wont be disappointed. https://shop.snapon.com/product/ECHDC038 Ryan
-
I like the way you have stored your Evegreen.
-
Took me a sec to realize what SOD meant.
-
Nice and clean sir, looks the part.
-
Thanks Clunk.
-
I found this video of a Airfix build that would be useful.
-
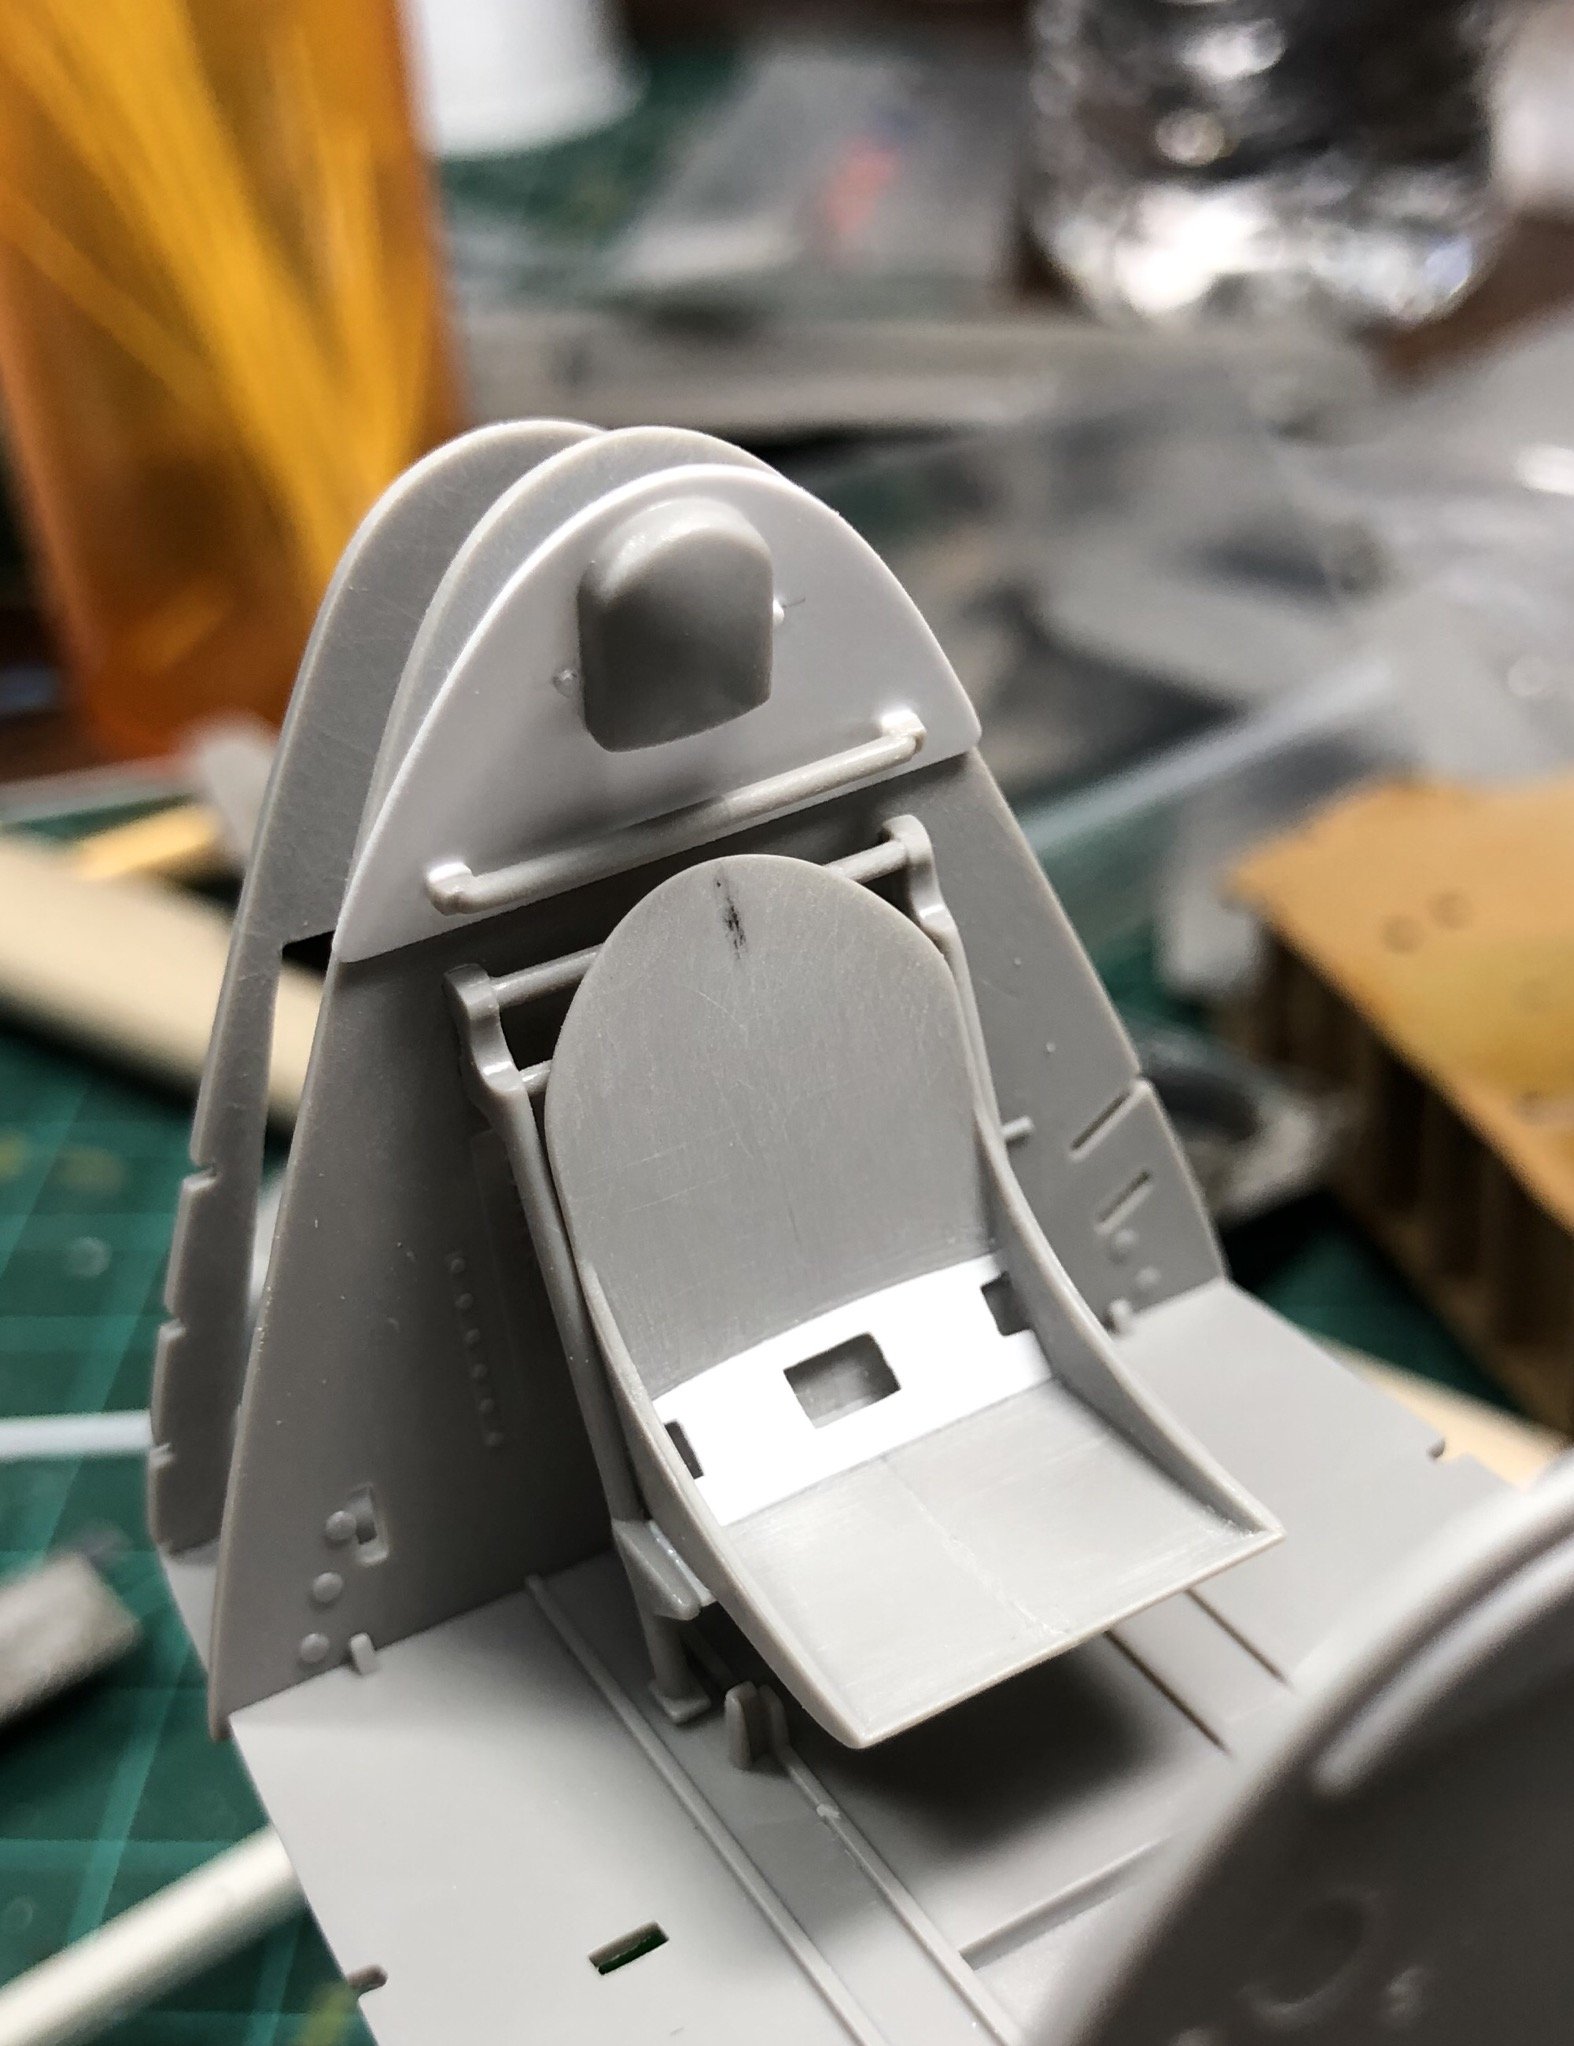
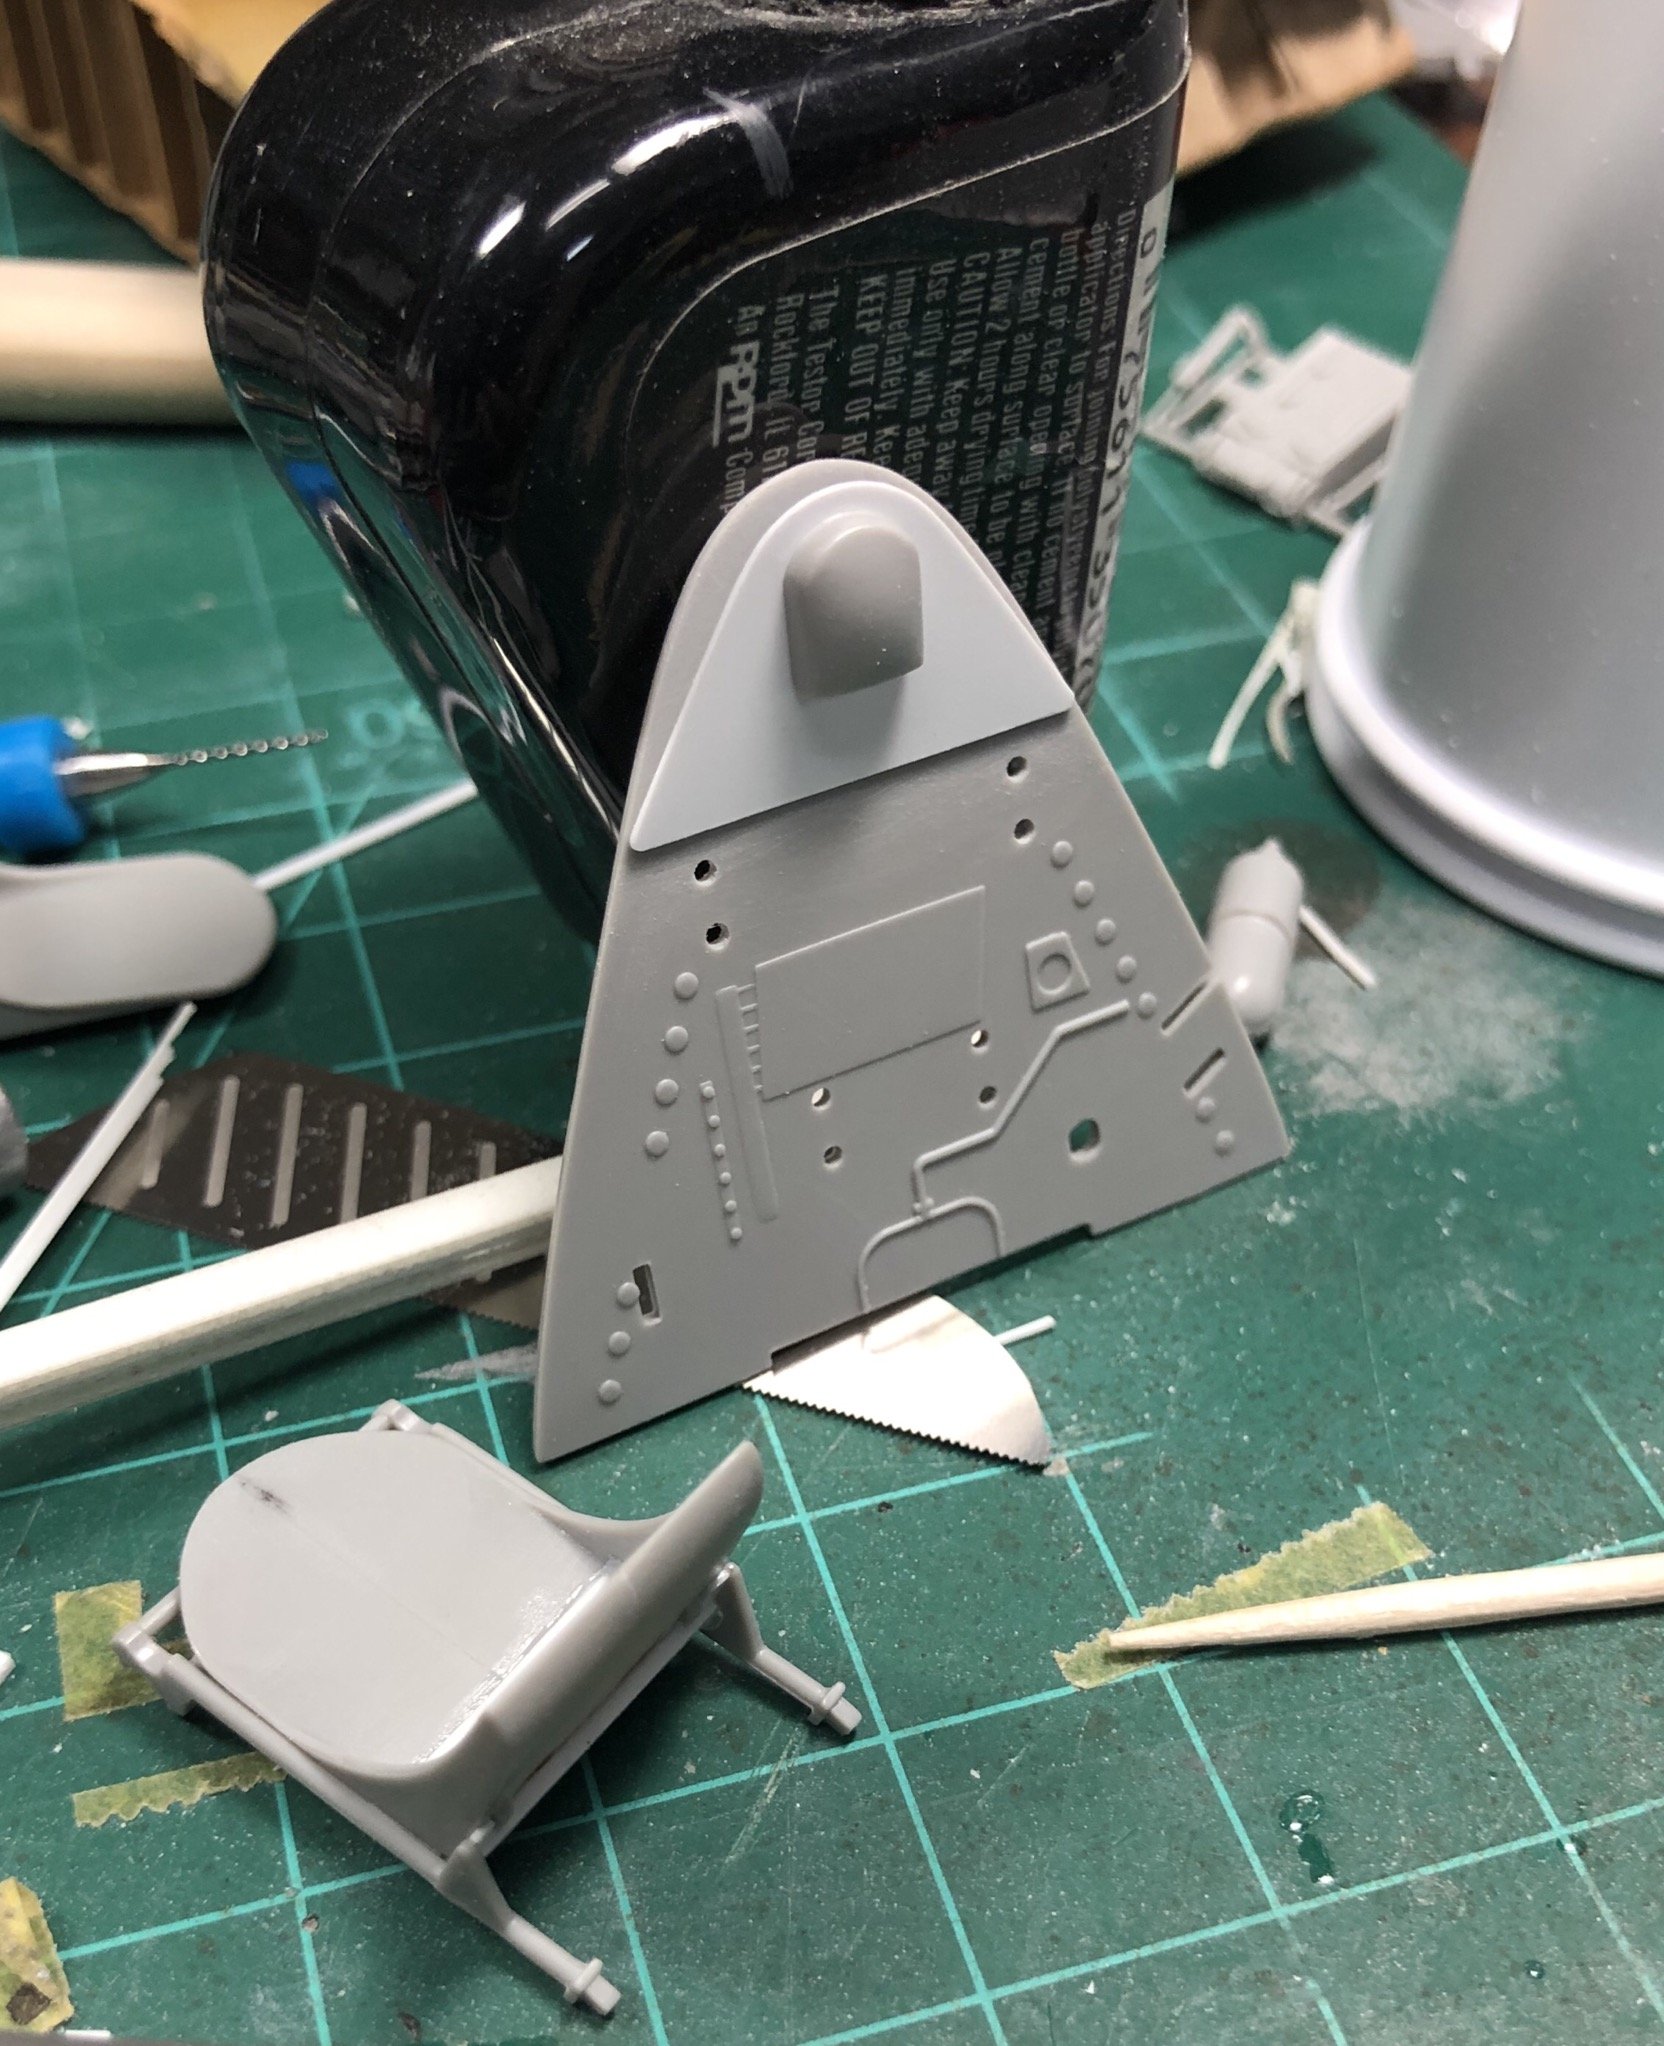
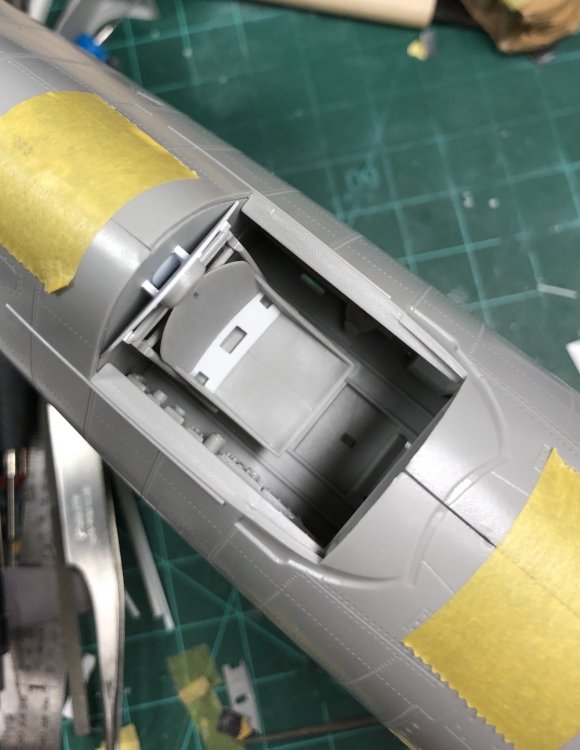
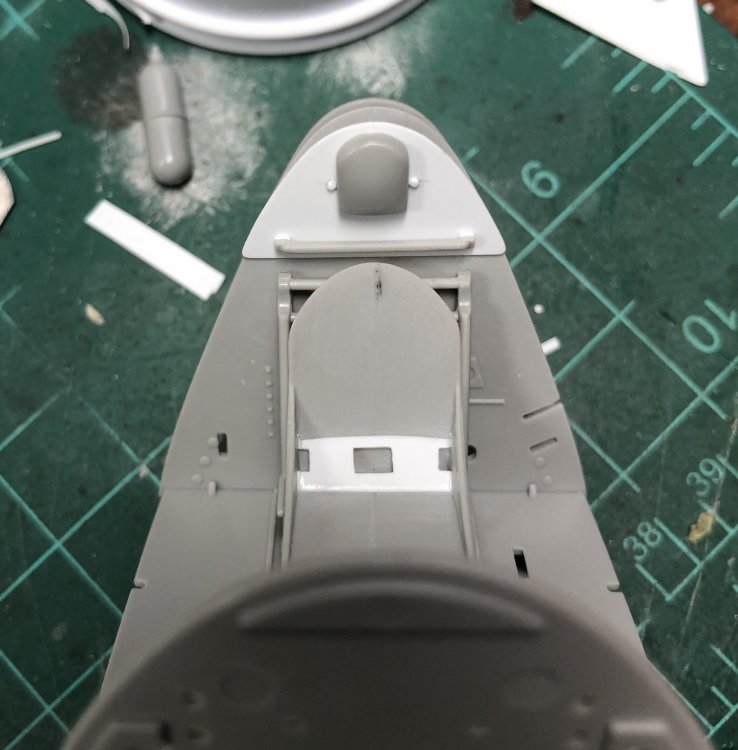
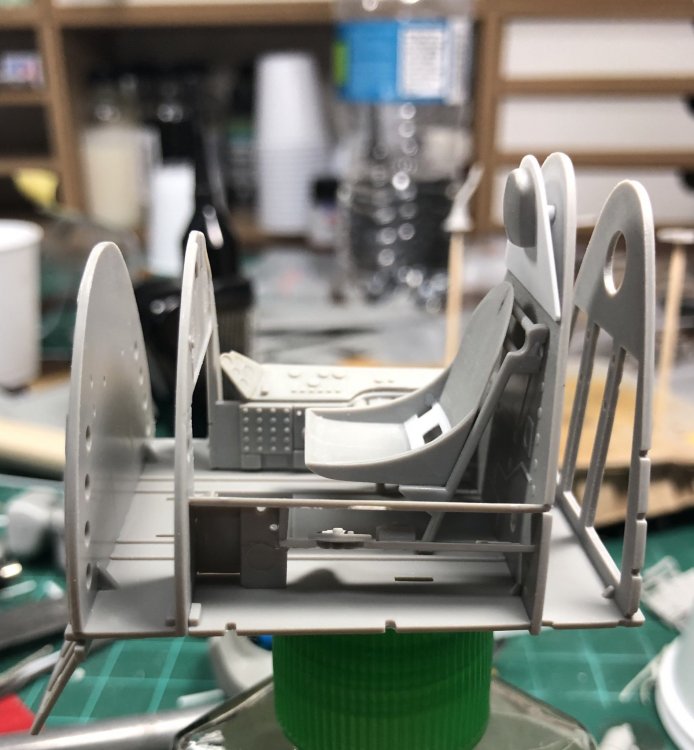
Probably should of asked this before I glued things up but is there a pic around of what structure holds that armored panel at that angle? Anyone got the Airfix kit and can see if there is any thing behind it? Thanks for any help.
-
Hobbycraft F6A D-Day - Ready for inspection!
Ryan replied to 1to1scale's topic in D-Day 75th Anniversary Group Build
Already seen her today. -
Fantastic Jeroen, that’s one of the best models I have seen. your skills are way above mine.
-
Hobbycraft F6A D-Day - Ready for inspection!
Ryan replied to 1to1scale's topic in D-Day 75th Anniversary Group Build
Talk about a rabbit hole! looks really nice and busy. Ryan -
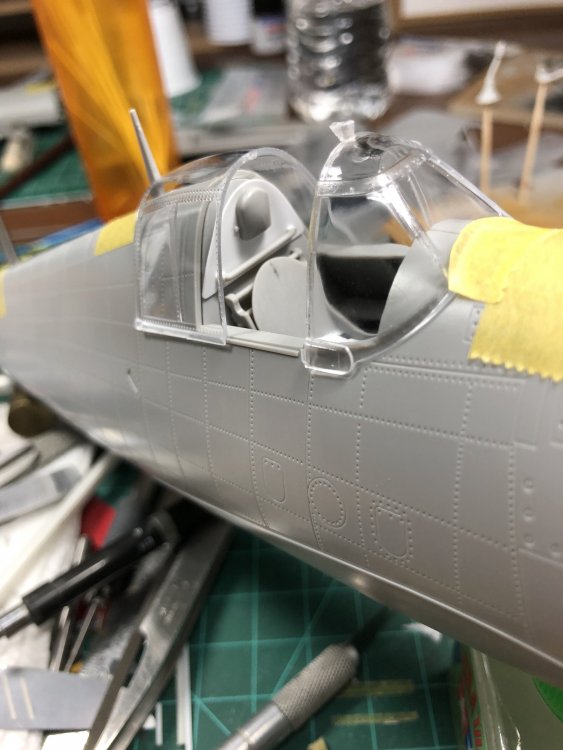
I like the effect, with the canopy pulled back it will look good. Ryan
-
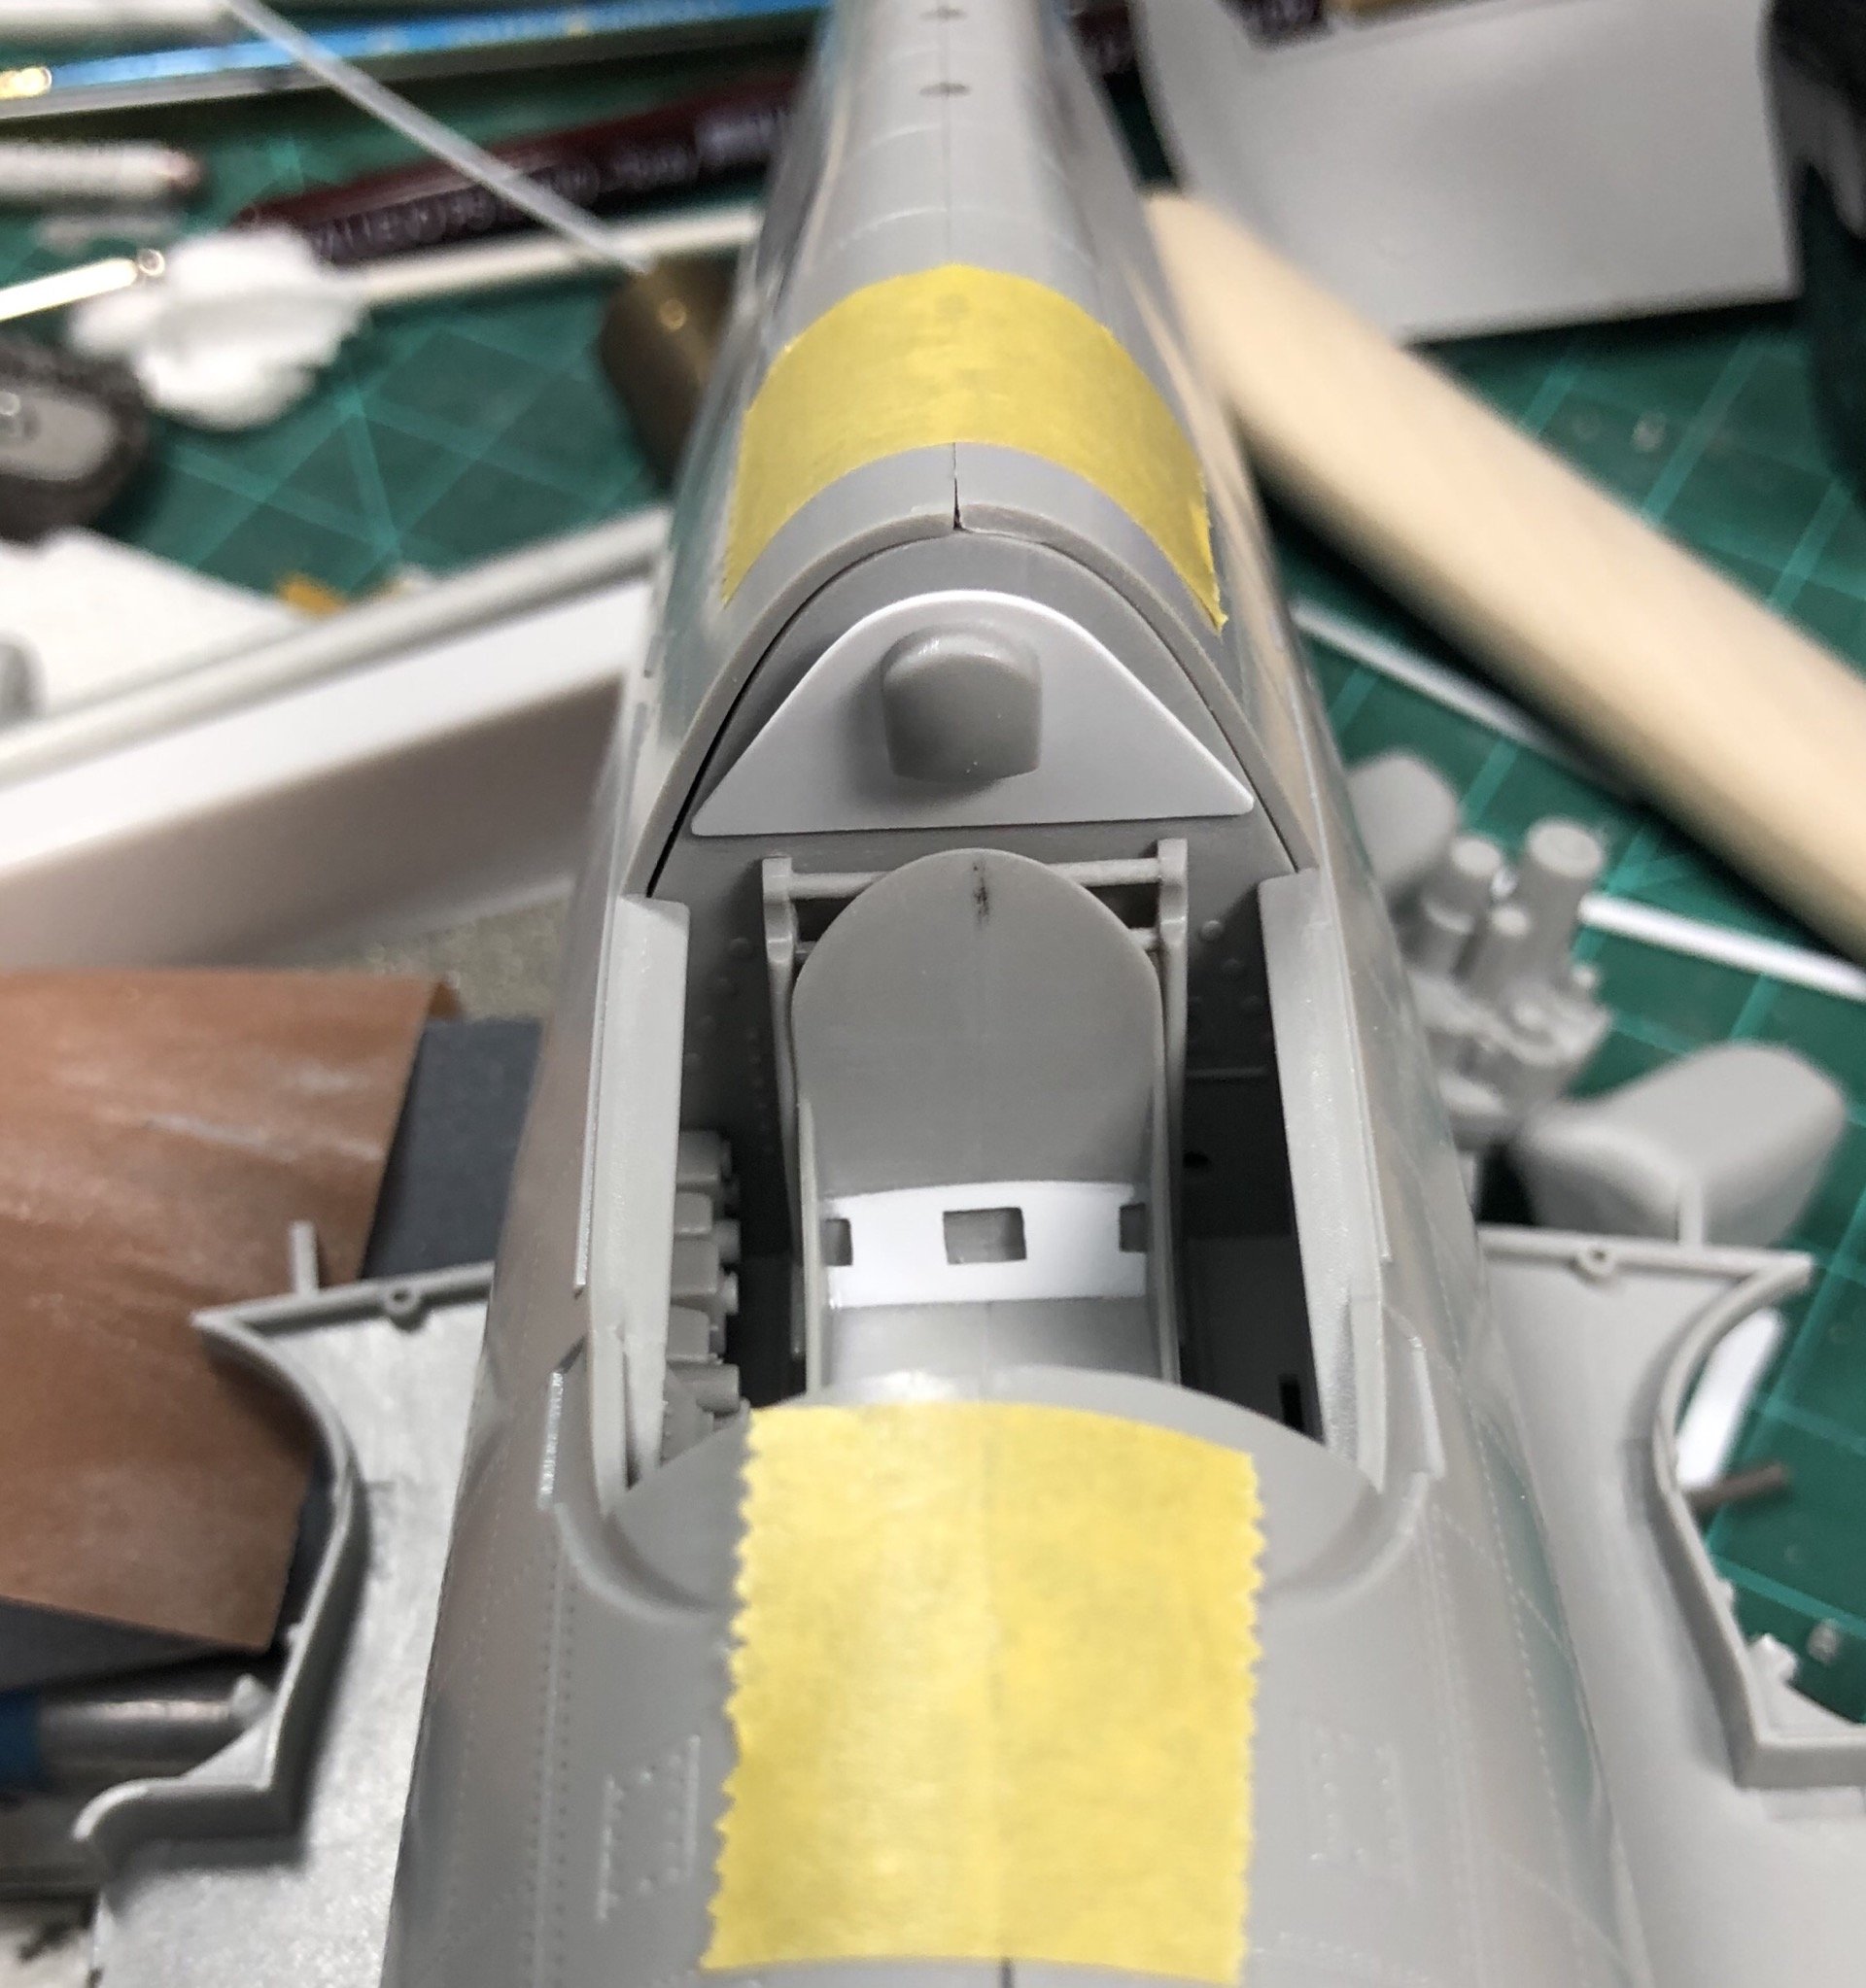
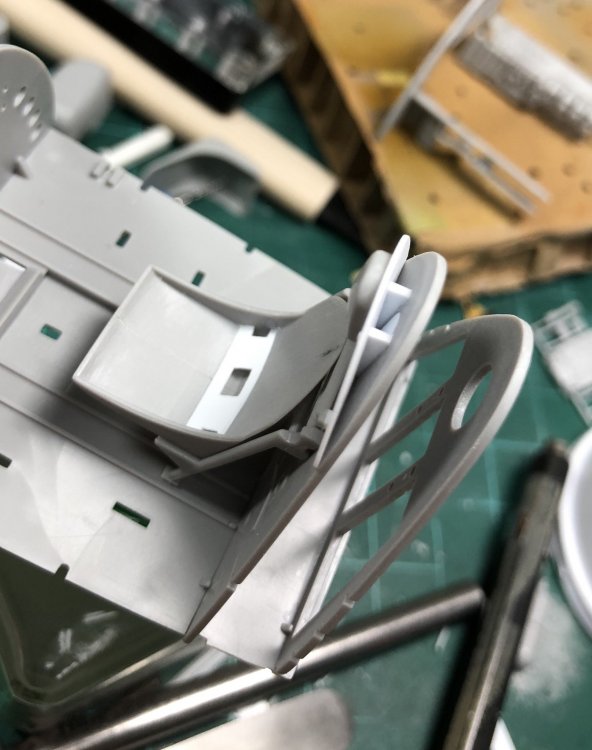
Almost done, but ran out of time, it looks ok for what it is, I had to make concessions and work with the parts at hand. Next I’ll attach the towel bar below the headrest and move on.


-
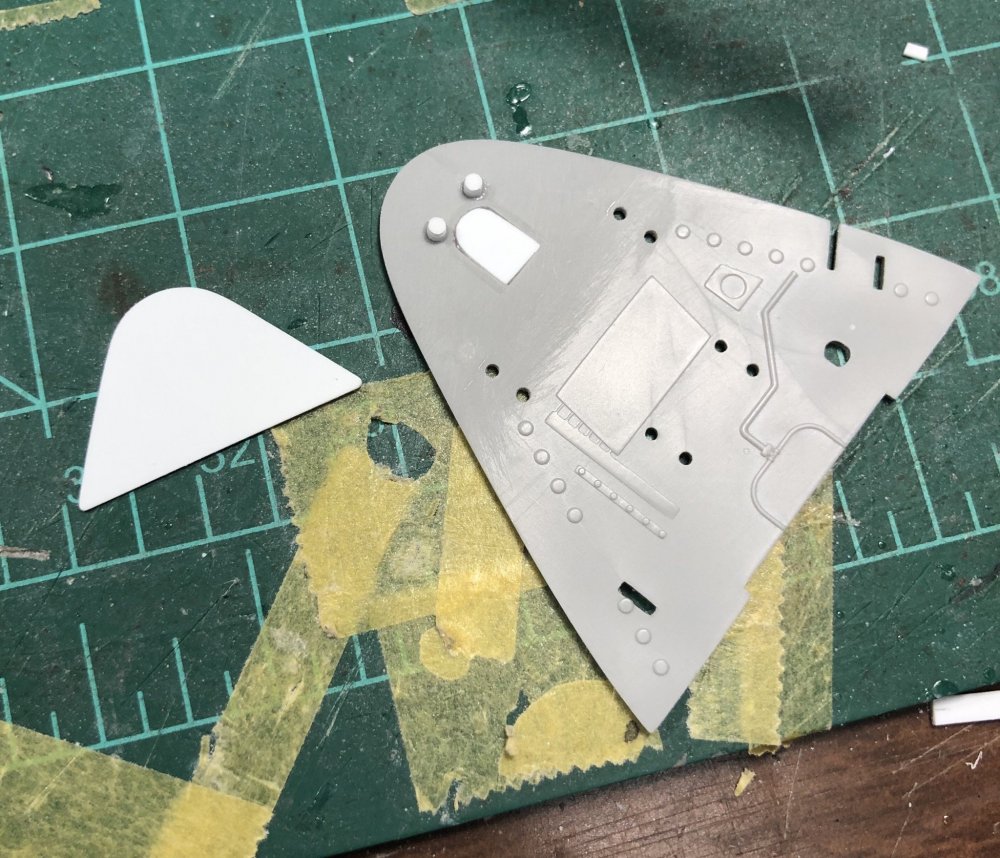
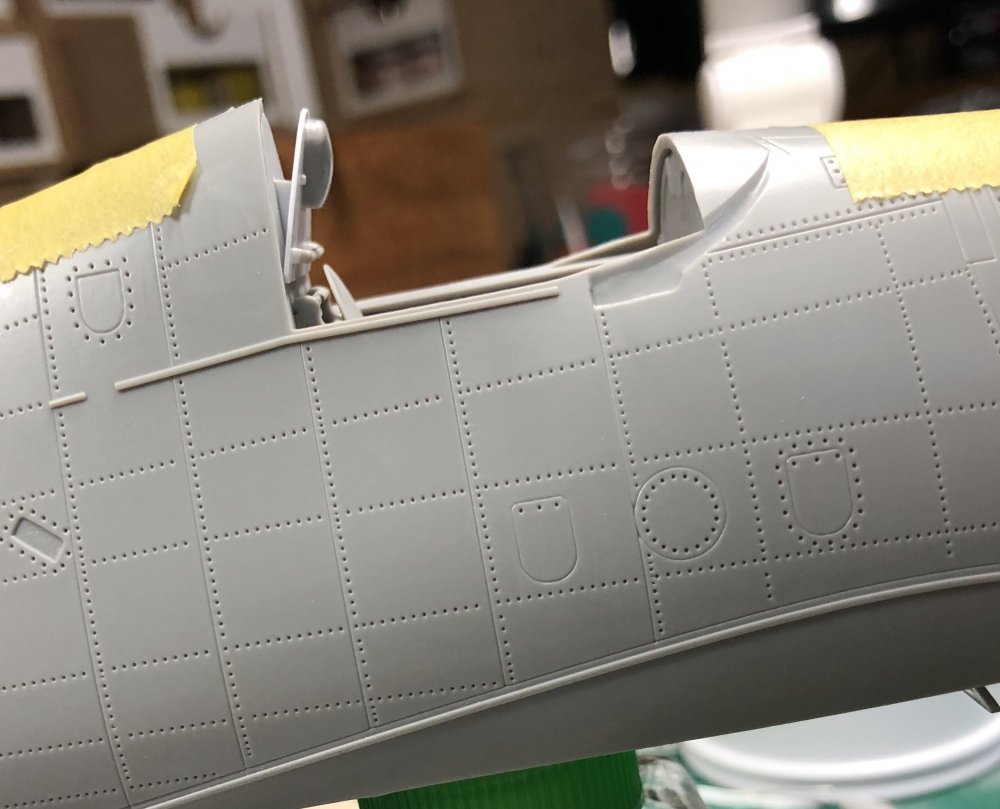
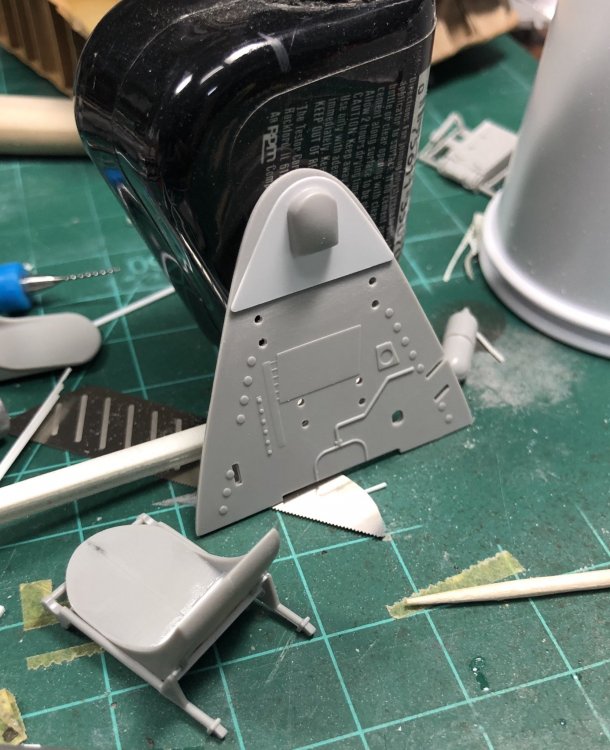
Next I filled the hole and fabricated the new mount. I cheated a little and sharped the outboard corners to hopefully give a illusion the top fuselage wasn’t so pudgy.