


GazzaS
-
Posts
6,396 -
Joined
-
Last visited
Content Type
Profiles
Forums
Events
Gallery
Posts posted by GazzaS
-
-
6 hours ago, Peterpools said:
Gaz
Nice work on the parachute - looks mighty good. Agree that the lawn chair is a bit more intricate.
Keep 'em comin
Peter
Thank you, Peter. Yes... the lounge chair is a bit of work. Some pieces might not be true to scale.
-
 3
3
-
-
10 hours ago, Kaireckstadt said:
Skat is still played in Germany bit more in the north where I originally come from. I knew how to play it but have meanwhile forgotten.
In the south where I live now since 1981 they play Schafkopf (Sheephead) which I never learned and which had special cards totally different from the ones used for Skat.
I‘m really curious to see your chair!
And don’t forget to continue with the 109…
")

Thank you, Kai. With all of the card games in the US, I've never given much consideration to what other card games there might be. Even in reading the memoirs of German veterans, skat is the only one I've seen mentioned.
I have ordered some plastic strip .7mm X 3.16MM (or something like that) to build the chair with. The construct as it is now looks rather pathetic. I still have hopes of achieving a decent looking lounge chair. The only thing that could be better would be a smiling pilot in the lounge chair. I will do more to the 109 this weekend. My club has a meeting Saturday so I won't be working on it during the meeting.
I hope to have a relatively lazy (i.e., lots of modelling) sunday.
I have to do a little work around the windscreen as I needed to do a bit of work to get it plumb. Once that and masking the clear parts is done, I can do some test painting.
-
3
-
-
16 hours ago, HubertB said:
Hey Gary,
I don’t want to
 (well in fact, maybe a little
 ") ), but it seems Zoukei-Mura got the underbelly shape right on their future 109 …
), but it seems Zoukei-Mura got the underbelly shape right on their future 109 …
Oh well, by the time it’s released, your scars from this one will have healed
…
Great work and admirable persistence

Hubert
Thank you, Hubert. I'll be looking forward to the ZM product. This build was supposed to be a special, all-in build that I was going to do my best to achieve a perfect result. But Revell drew a moustache on my Mona Lisa. But I will continue as I am close on the aircraft itself.
-
1
-
 2
2
-
-
1 hour ago, Kaireckstadt said:
Great looking parachute Gary! No need to take one out of the set you ordered!
You are really taking the long way: Nice idea to scratch the chair too. Will be a stunning little diorama in the end!Looking forward to seeing the next update!
Thank you, Kai.
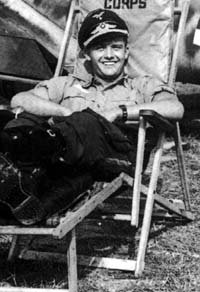
I think Herr Weiroster deserves a full diorama... at the least. And the lounge chair was a common item to German pilots at readiness near their aircraft, so maybe there'll be a reason for future lounge chairs.
I had to order some styrene for the chair. The materials I have here just won't work.
I have an E7, too. Someday, I would like to remember these men at their game of Skat in plastic.

Is it still played in Germany? I have no idea how it's played. The only card game I'm any good at is hearts. I suck at poker.
-
2
-
-
17 hours ago, Bomber_County said:
I’d be very happy with it Gaz……..the lawn chair is going to be a tad more of a challenge….
OMG... you're right! I'm about ready to commit seppuku in frustration. Balsa just isn't the answer. Gonna see what BNA has in strip form. I have some thin sheet... but no way it is rigid enough to stay straight after cutting.
-
2
-
-
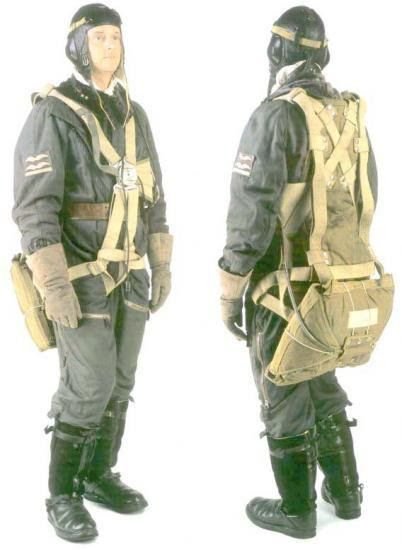
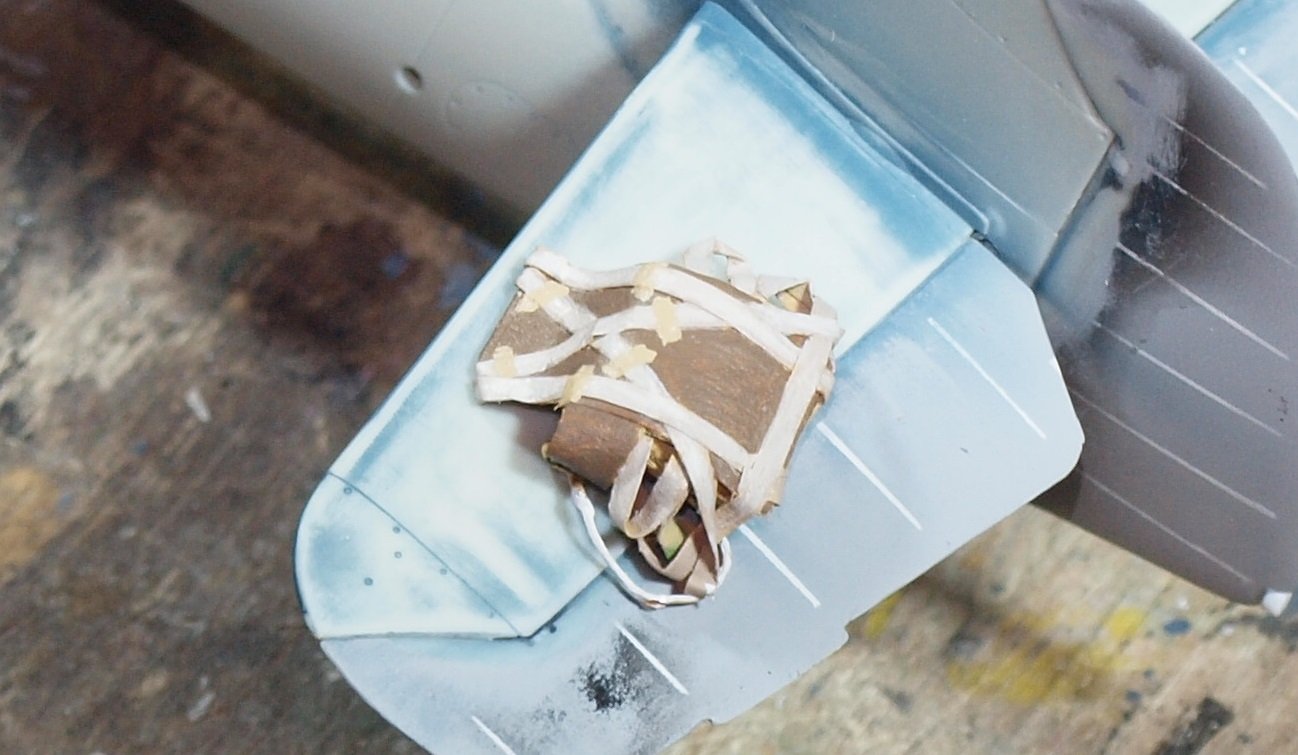
Well.... don;t say I didn't warn you. I don't know that it will ever look like a leather and canvas creation... Here is the basis of my construct. A small piece of balsa wood trimmed and sanded to represent the casing and silk folds inside.
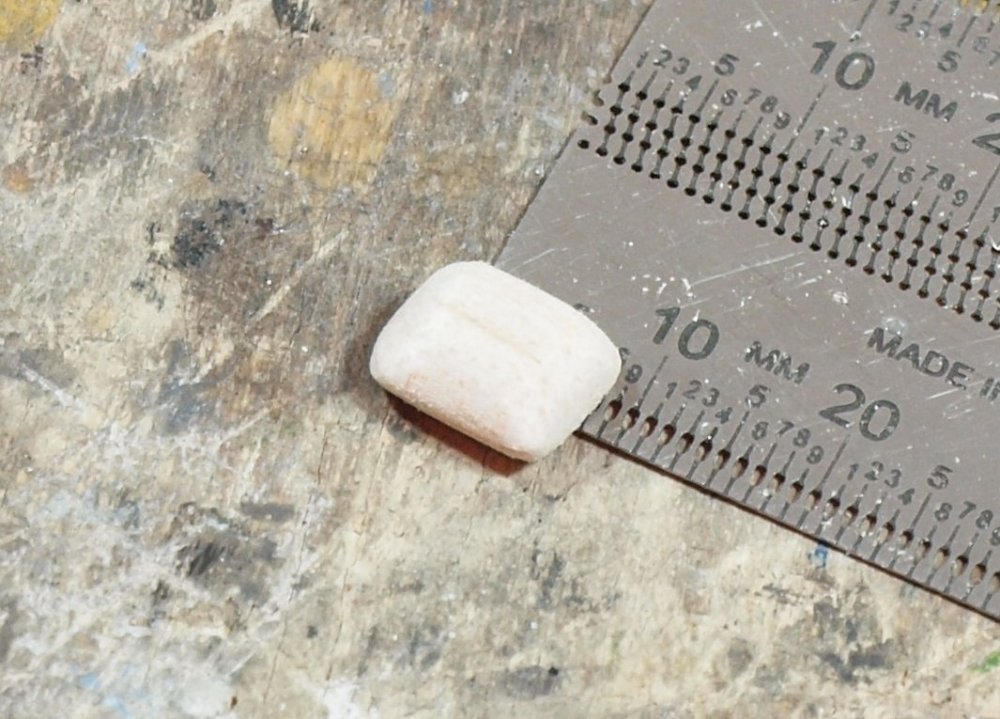
Now... I don't have all of the things that would have been useful. I didn't have any lead foil so I used masking tape to make the straps and cover the backpiece. I also used a small piece of aluminum sheet to form the backpiece before it was encased in tape.
Now... I built the entire thing, strap for strap. And then I folded it in a way that I think it might have been laid on the tailplane. Then I painted it.
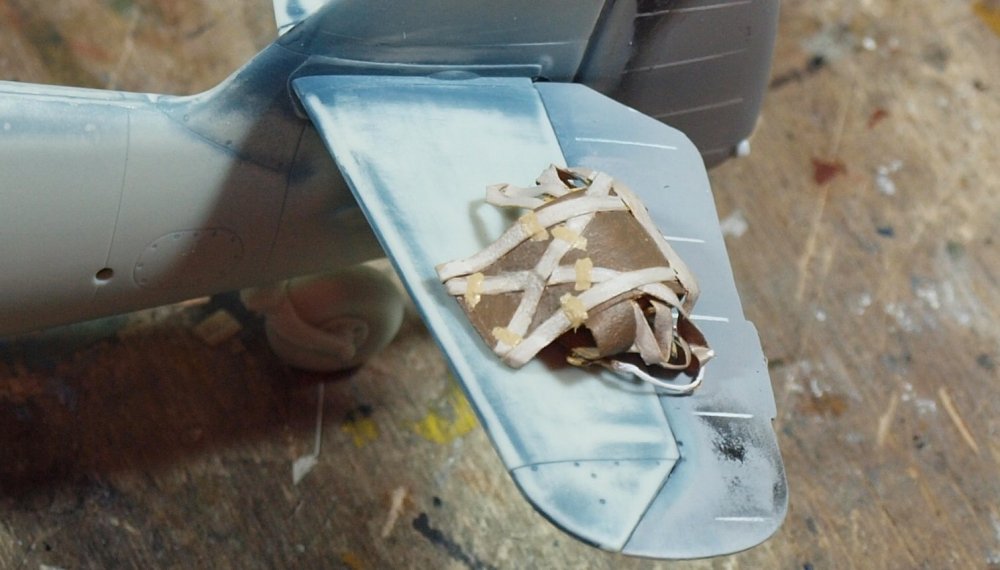

There will have to be weathering to give shadows and shape to the straps. But who knows what it will look like when done.
Another thing will be required... Herr Weiroster's lawn chair:
I can fabricate it from balsa, wire, sheet, and maybe milliput. Who knows.
-
5
-
-
Peter... Lovely missiles! They look sharp, precise, and deadly.
-
2
-
-
Thank you Kai, that is a great recommendation. I just ordered a set. I can use them on future builds as I already have a pilot for this one. I started on the parachute last night. I don't know how realistic it will look once finished. But it is an interesting thing to try to make.
-
3
-
-
16 hours ago, Kaireckstadt said:
I am really curious to see your scratched version!
Though I have some ideas, I'm curious about how it will look, too. I want to think of how the man on the ground will have it placed, so that he can pick it up to place the straps over the pilots shoulders with a minimum of effort and messing around with crossed straps etc. I don't want it to look like a bundle laying atop a Tintenfisch.
-
1
-
1
-
-
-
Yay! Congratulations on a splendid finish, Kai! It;s a beautiful looking build!
-
2
-
-
17 hours ago, DocRob said:
These are the most important days in modelling, they are the foundation to cash in at the previous work the next day and have great results.
Like Kai said, the gunsight looks perfect.Cheers Rob
Thank you!
16 hours ago, Peterpools said:Gaz
It's the details, as some might be so small, that raise the level of the build and added together, brings the model up to a whole new level. Gun sight looks amazing and even the yellow fuel plumbing on the cockpit wall adds to the over effect - everything works together so well. Fantastic work.
Keep 'em comin
Peter
Thank you!
-
3
-
-
19 hours ago, Kaireckstadt said:
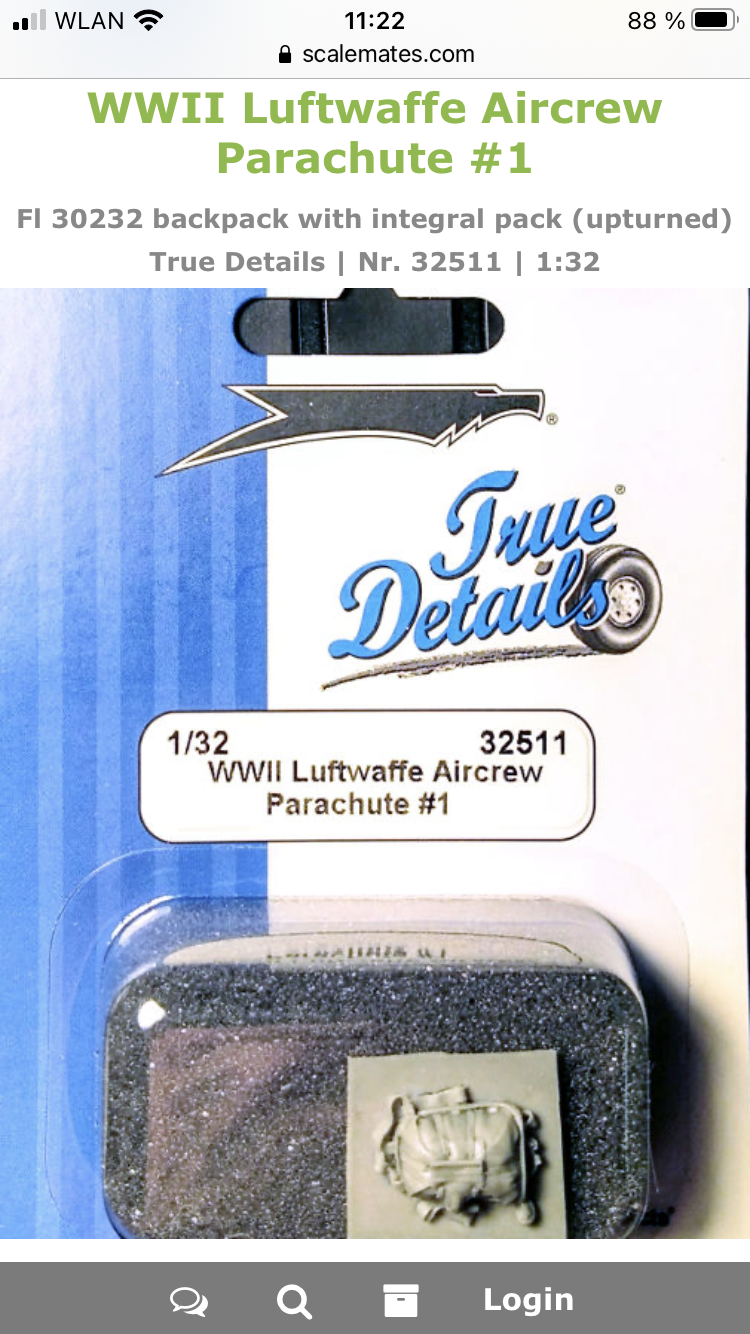
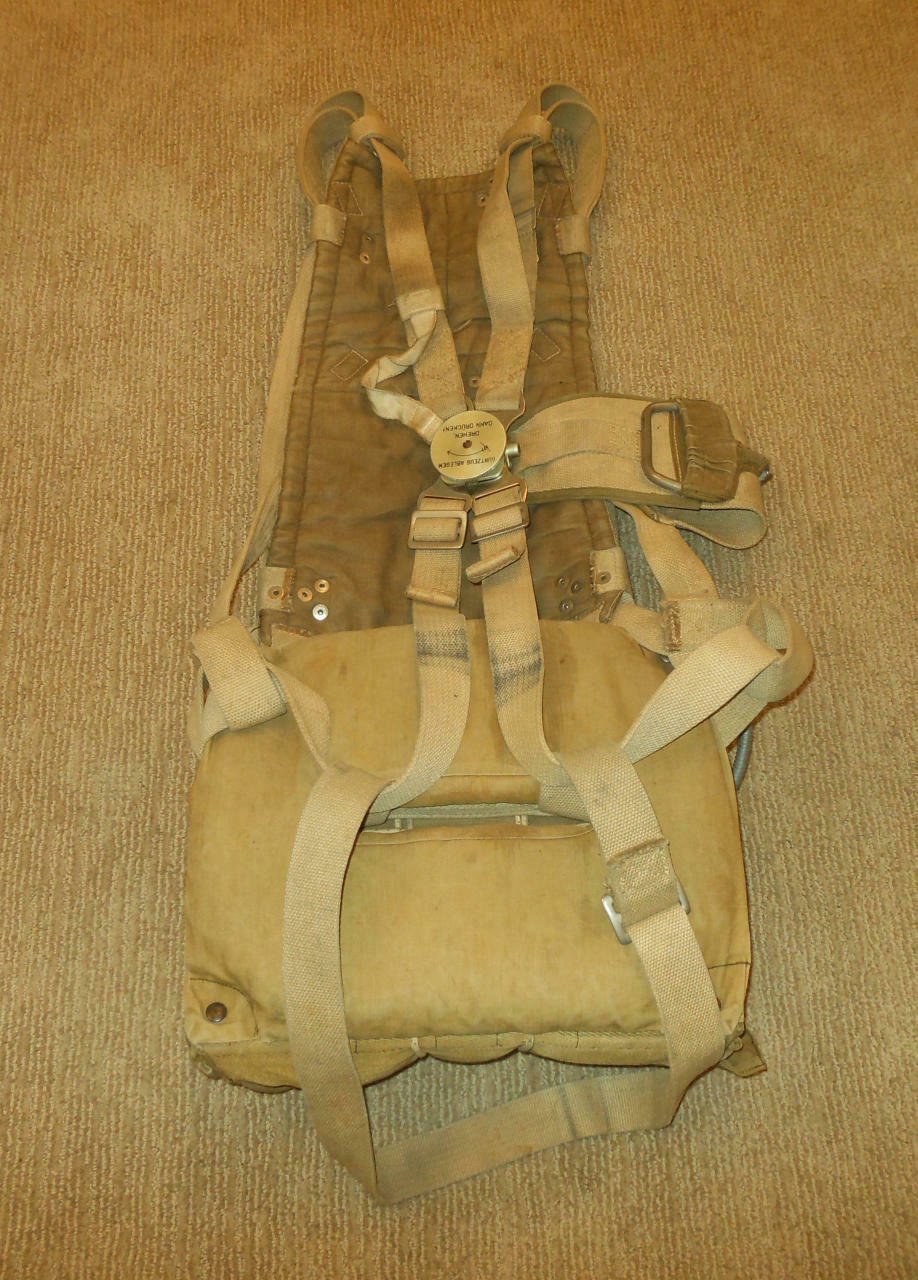
I found a parachute for you Gary:
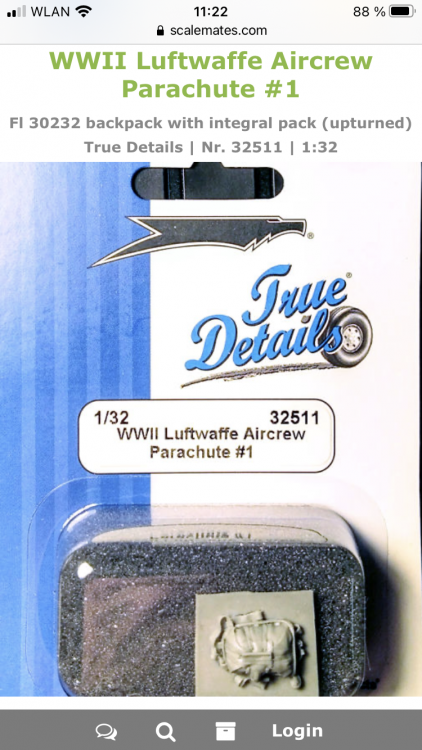
It’s still available: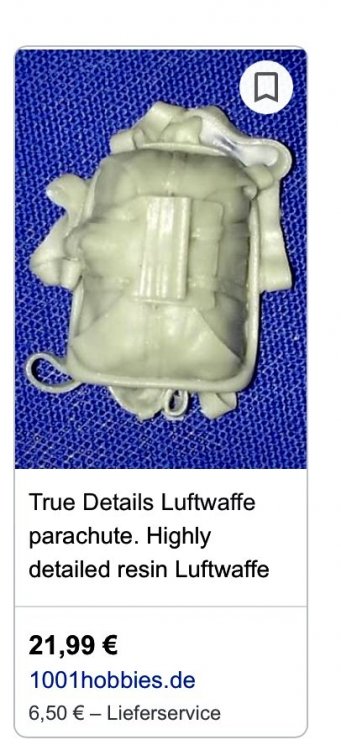
Kai
Thank you for the recommendation, Kai. Is that a FW190 chute? The description says backpack, while the 109 used a seat parachute.

Though there is some resemblance.
I was just going to make mine with putty and aluminum foil.
-
2
-
 1
1
-
-
Happy birthday and happy modelling!
-
1
-
-
19 minutes ago, Kaireckstadt said:
Curious to see how the finished drop-tank will look like!
Thank you, Kai. As this is my fist time trying it... I am curious how it will look, too.
-
1
-
-
Today was one of those days spent doing little things that results in looking like you've done nothing at all. I assembled, dented, painted, and applied decals to the external fuel tank. Unfortunately, in the process I burned a hole in it.
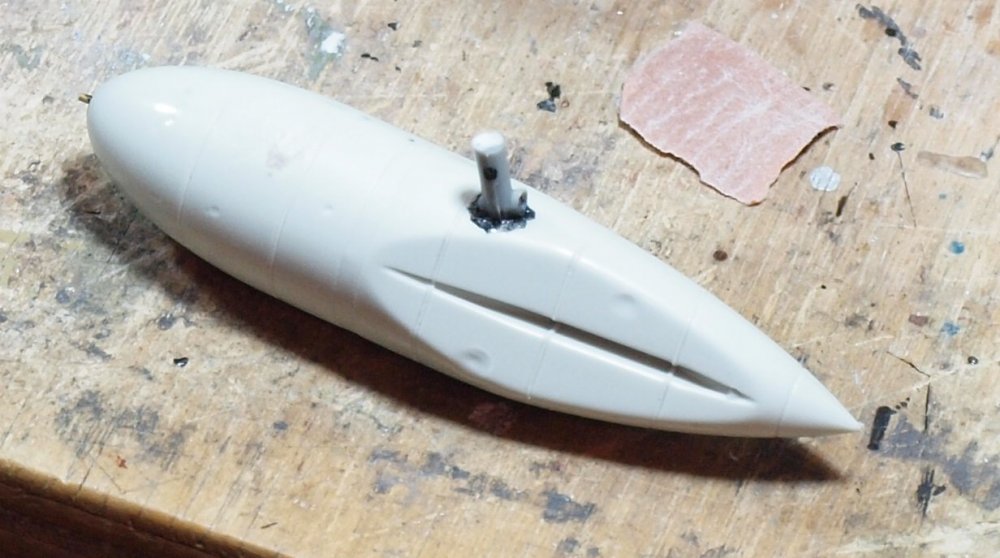
So, I plugged the hole with sprue and CA. I'll show the drop tank again once it's weathered.
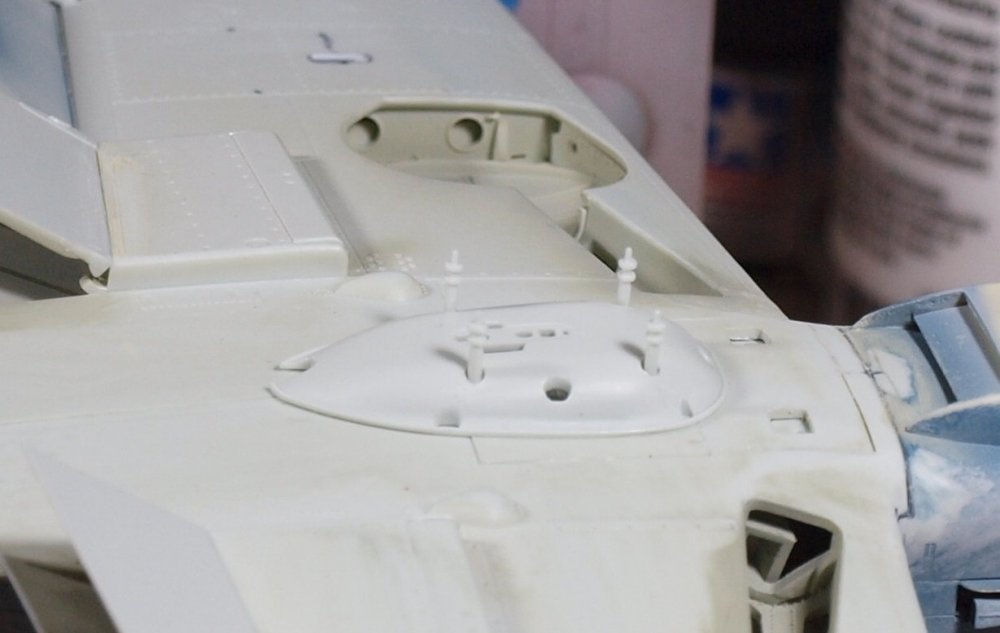
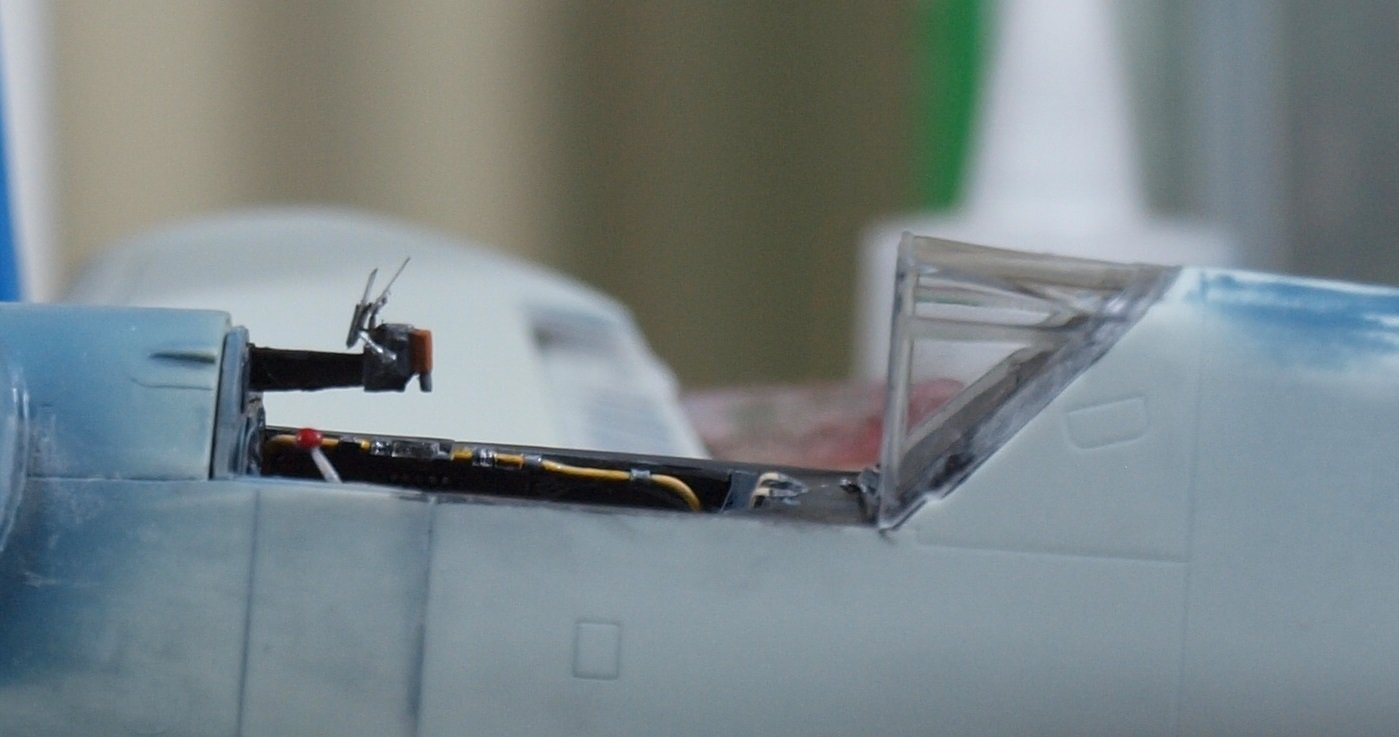
I also did some work getting the canopy ready for installation. But there aren't any photos of the tiny little PE parts stuck in an ugly fashion to clear parts. I do have my shame, after all. Hopefully all of the ugly joins will be hidden by canopy framing.
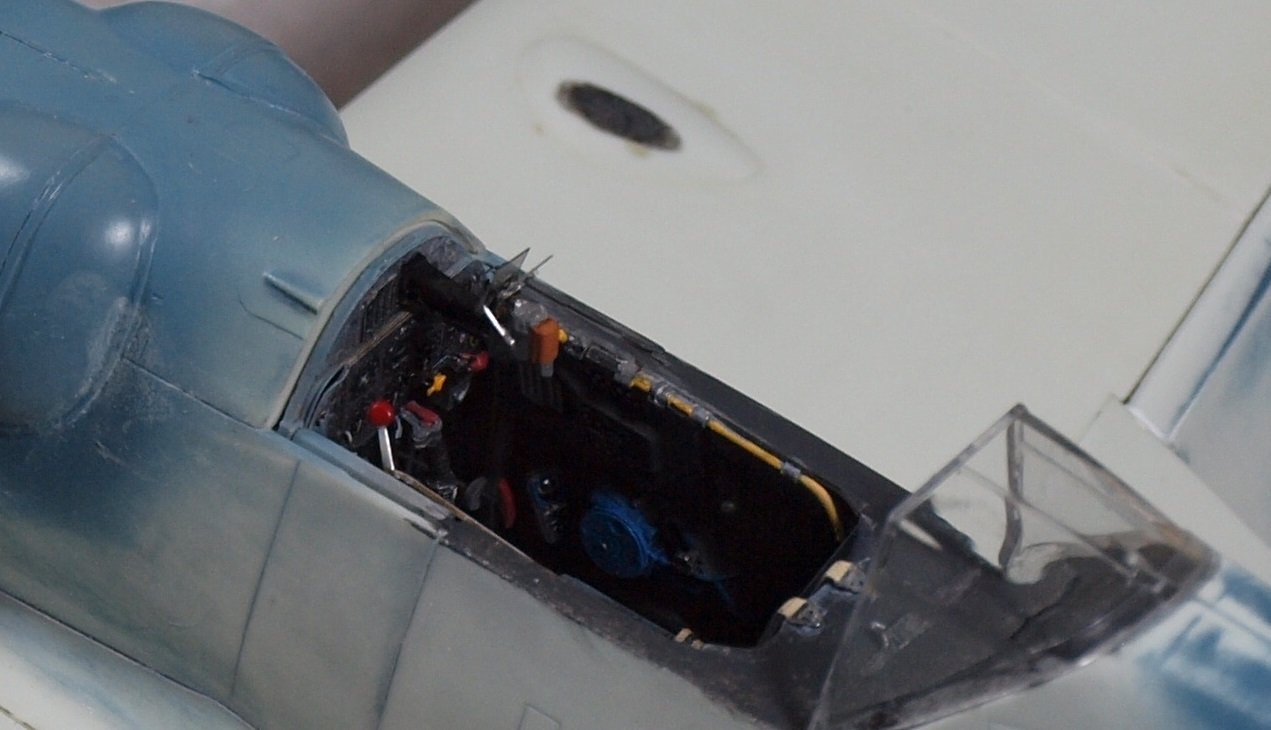
The one thing I can show you photos of is the Revi reflector site fully installed. Well... I guess you get a bonus... I've attached the rearmost portion of the canopy.


I don't know if I mentioned it.... but this will be an open canopy display. As the pilot is nearby, at readiness...
I still have to fabricate his parachute... which will end up sitting on the empennage where it could be grabbed quickly.
Happy modelling!
-
6
-
-
This is a very pleasing model to look at. The painting is just perfect and everything is just crisp;
-
4
-
-
Mighty fine work, Phil! Have you experimented much with 'sponge' chipping? It's a great alternative when you don't want to paint a coat underneath your topcoat.
-
2
-
-
Phil,
Schurtzen wearing vehicles provide a lot of extra challenges. All relating to weathering and when you should assemble. Personally... I don't like gluing after painting. But like biplane models, these demand it unless you have no weathering plans between schurzen and tank. Tanks always look best with most of the schurzen missing...lol
I'm sure you'll do fine!
-
3
-
-
Great work, mate! Love the details. Tell me... where did you find the US Air Corps decals?
-
3
-
-
9 hours ago, Bomber_County said:
Gaz, your tolerance to adversity is amazing …..looking very good indeed……and then you want a G10……..is that more pain?
Thank you, Phil. "Want" is becoming a measurable term regarding these Revell kits. I've already invested in it. So it's either build it or sell it.
8 hours ago, Peterpools said:Gaz
Right with Phil - nothing the kit can throw at you has kept you from overcoming the issues and moving on. You're mighty lucky no bleeding issues from the engraver hitting your finger. I know if it were me, it always turns into a medical mess 😷
Keep 'em comin
Peter
Peter, Fingertip skin is pretty thick, and the engraving bit is pretty benign. I have a Dremel drill press which holds the tool in shape... so the bit pushes me aside if we meet.
5 hours ago, Kaireckstadt said:Big progress on the 109 Gary.
Gorgeous work and I especially like how you imitated the leather cover of the tailwheel strut.You are not the only one to have accidents with tools. I always have a box with sticking plaster close to my workbench…
Thank you, Kai. Yes, I've been pretty lucky. Once, my knife rolled of the bench... but it was a glancing slice that didn't produce much blood from the side of my foot.
-
4
-
-
My condolences. I'm sorry for your loss.
-
5
-
-
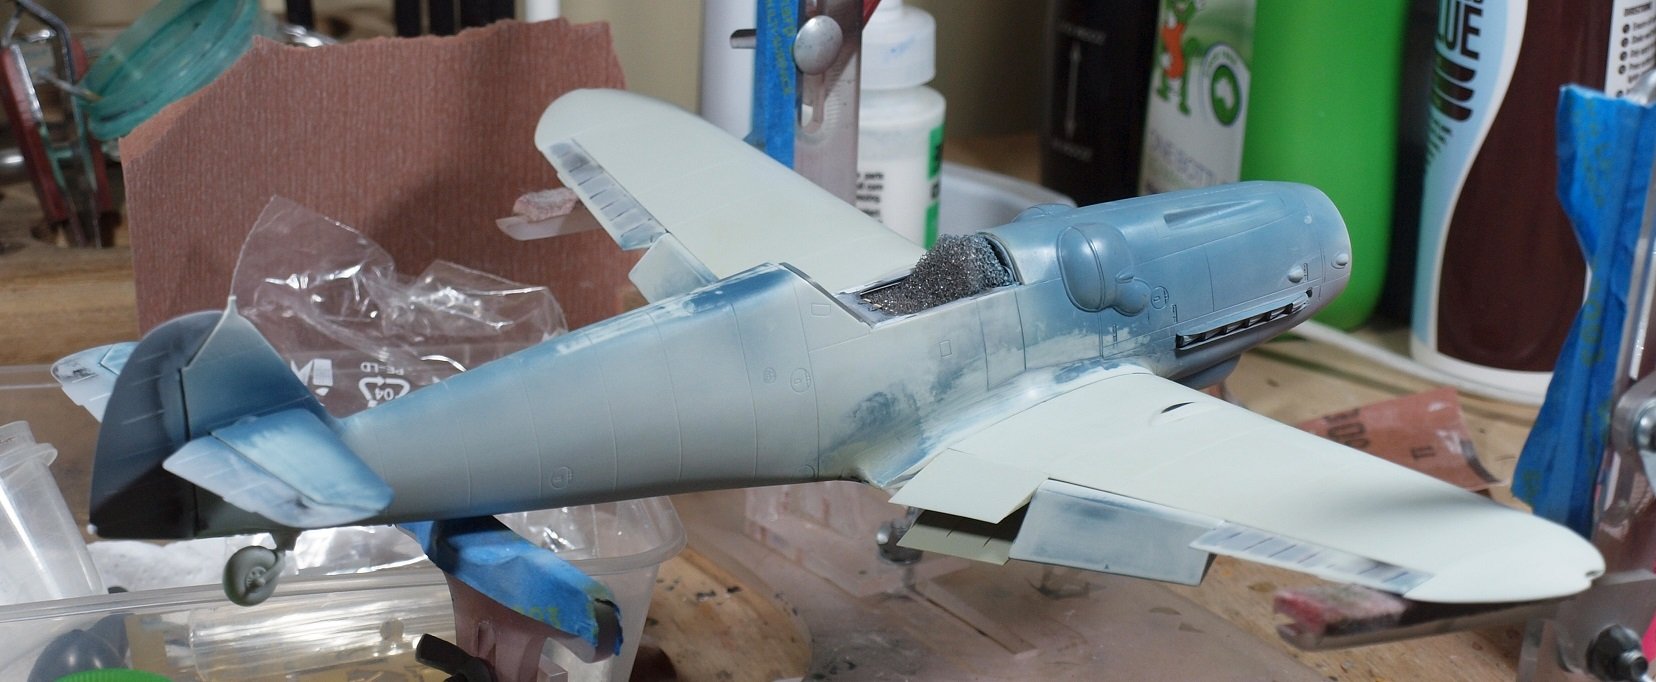
Thank you friends for your kind support. It has helped me get back to work on this project. I was at an aimless point for the last couple days. Here is the current status:
Wing control surfaces glued into place and wings nominally cleaned/filled/scribed. I will check again with another coat of paint, soon. But don't expect me to make any major fixes due to the recent revelations.

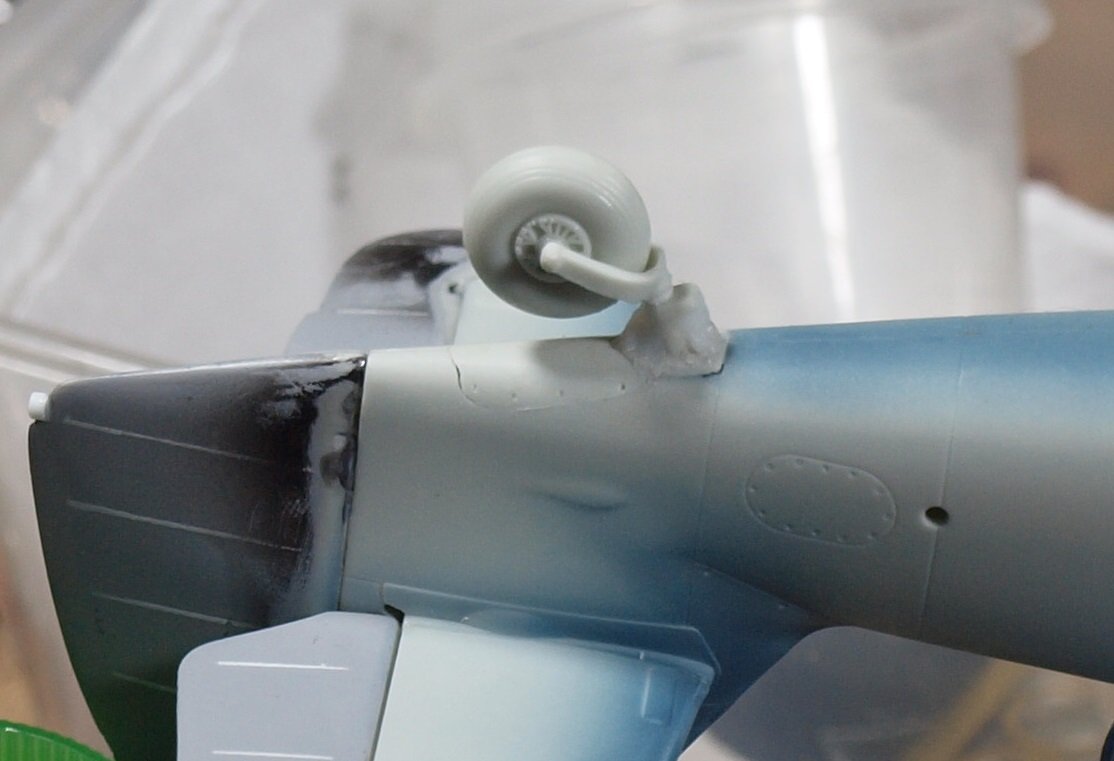
I've also added the tailwheel... and made a toilet-tissue 'leather-boot' around the tailwheel oleo.

I used toilet paper and PVA glue to make the shape. It needs to dry overnight.
I also assembled and partially attached the ETC 50 rack under the fuselage. The pins don't fit snugly into place, so they are drying before I move on.
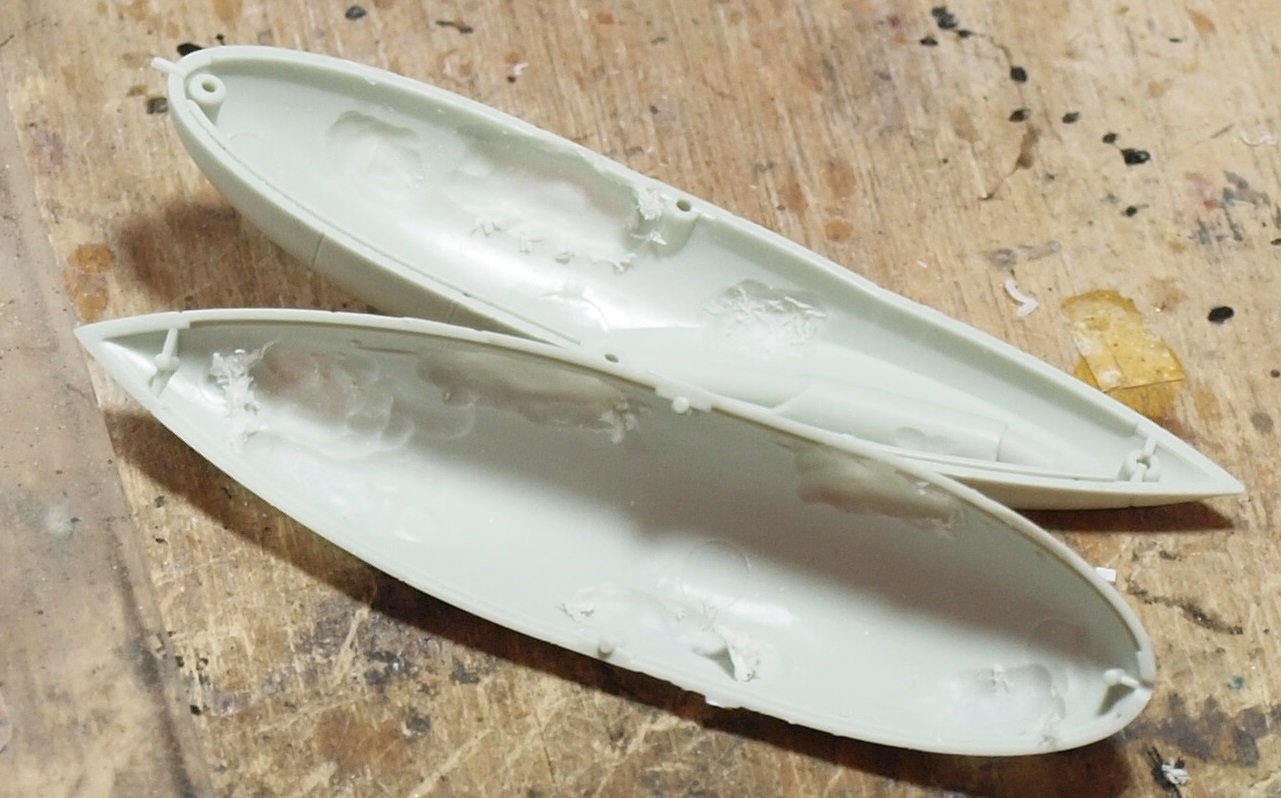
No Reichsluftverteidigung 109 would be complete without it's external drop tank. On mine, I have used my Dremel to mill out sections of the inside so I can dent from the outside. I used a 4mm engraver bit at 5k RPM until I could see the pink of my flesh through the plastic. I have hit my fingers with the engraver before without bloodloss.

So... in the future I must consider my Revell Bf 109G-10. I've already bought AM for it. What ever should I do?
-
6
-
-
Looking good, Phil!
-
2
-


HORRIFIC FLOODING AND STORM DAMAGE
in General Discussion
Posted
I'm glad you've been spared, Peter.