


GazzaS
-
Posts
6,396 -
Joined
-
Last visited
Content Type
Profiles
Forums
Events
Gallery
Posts posted by GazzaS
-
-
That's very nice John. I'd love to see more. I'm reading "Blood Red Snow" right now. The author was a machine gunner on the Eastern Front using the MG 42. Great book if you ever want one to read.
Please show more.
-
 4
4
-
-
16 hours ago, Peterpools said:
Gaz
Awesome progress and little each night adds up to a mountain of completed work over time. Love the parachute and you are so right, the standing figure adds so much to scale. Tge rocket launchers and drop tanks look perfect and all the work paid off. I never heard of using clear nail polish but if it survives the abuse of woman wearing it and not chipping off, it has to be strong. I did a quick google search and a good percentage of clear nail polish:
"Basic clear nail polish can be made from nitrocellulose dissolved in butyl acetate or ethyl acetate. The nitrocellulose forms a shiny film as the acetate solvent evaporates."
I not sure how this works with clear parts but after your results, well worth testing.
Photography is a a passion of mine and there is a huge difference between macro and closeup work. Macro work from my understanding on a cell phone isn't macro work at all but works by digital manipulation and zoom lenses that claim to also do macro, unfortunately don't. A true macro lens allows the small object to be reproduced on the camera sensor up to 1:1 (full size) and close up work just just that, allows you move closer to the subject and maintain focus but not 1:1 magnification. In either case, both reduce the working Depth of Field; what is in focus and what isn't. For the wing tip lights, macro would be perfect as a shallow depth of field is all that is needed plus the wing tip light would fill the frame. For model photography I very rarely use my Micro Nikkor lens (Nikon always has called their macro lenses micro - I have no idea why) just for the depth of field issues. I don't want to get to technical but the easiest way to reduce the depth of field issue for model photography is shooting at the smallest F apertures (F22, etc). if you're into photography, focus stacking is the answer but completely not necessary - just way too much work. Sorry for the long winded explanation.
Keep 'em comin
Peter
Thank you, Peter!
I don't mind the long explanation. I just wish I had known about cameras when I was younger... In my family they just appeared at holidays or birthdays and disappeared soon after.
-
1
-
 2
2
-
-
18 hours ago, DocRob said:
Vielen Dank mein Herr, your detail work looks splendid. I use Revell contacta clear for clear parts, which seems to be similar to white glue for wood. Since last week, I feared, that the bond could be not strong enough, but then I had the canopy fogging issue with my KI-61 (not caused by the glue) and I was not able to remove it, without using brutal force.
For the position lights, I use the same technique, but for a newer looking plane use a silver coat on the backside of the clear part.Cheers Rob
Thank you, Rob! I have "canopy glue" which seems like an extra tacky white glue. But it dries to a rubbery texture which doesn't help if you are sanding. I often use it for PE as it's extra tackiness is a desirable trait when dealing with the stuff.I wish I had painted the insides of the position lights silver. I have done it before, but thought it wouldn't matter. Guess I'll do it next time.
-
3
-
-
20 hours ago, Wumm said:
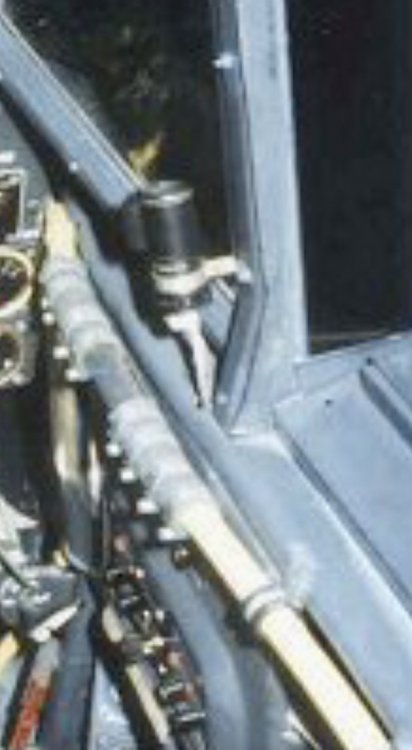
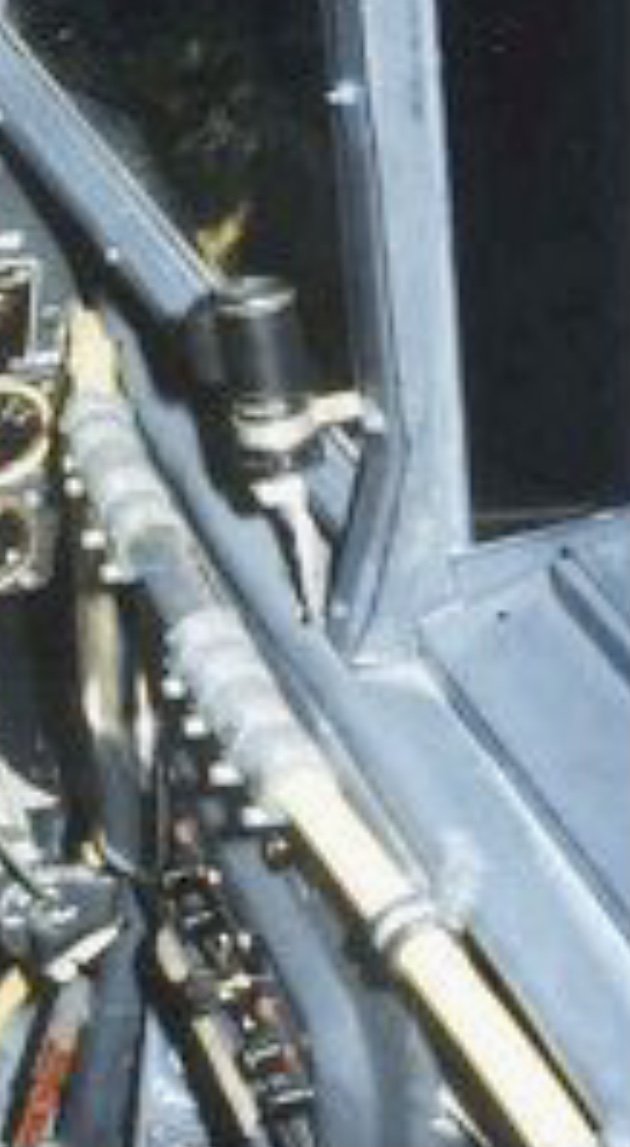
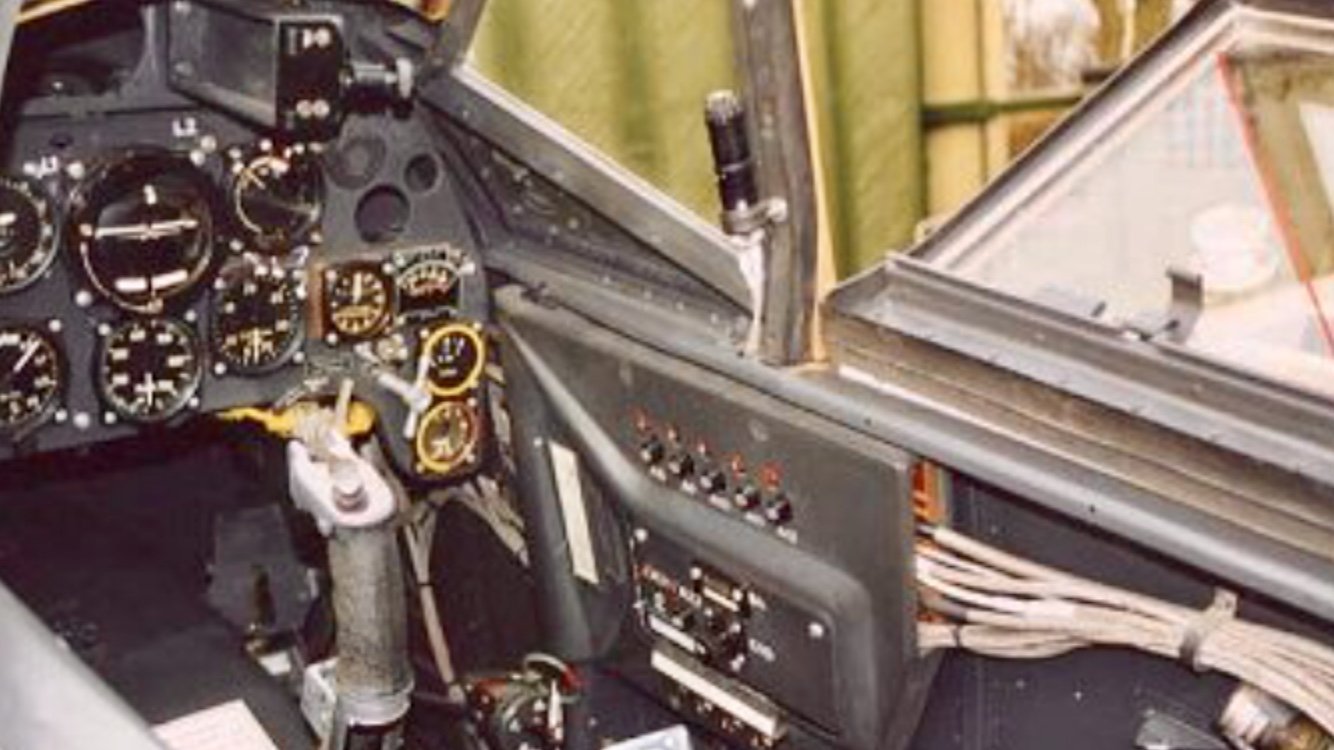
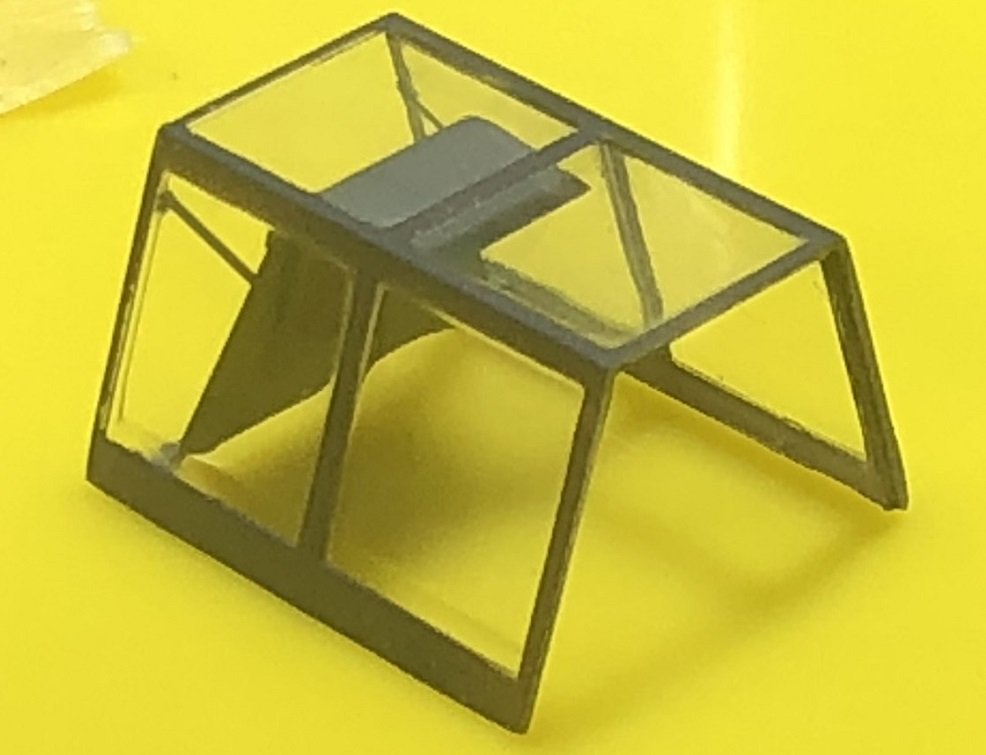
You could cover the notches with strip styrene on the inside of the canopy, as the bottom horizontal bezels were hollow inside...
I have a few photos to explain the Bf109 G canopy system, just checking as I didn't want to dump a lot of info without prior consent.
S
Steve,
I am an infomaniac. I would love to see whatever you can share about the 109's canopy system.
-
1
-
-
Very impressive looking work, Rob!
-
2
-
 1
1
-
-
4 minutes ago, Kaireckstadt said:
Great detail work Gary! Especially the parachute is a real highlight and well done.
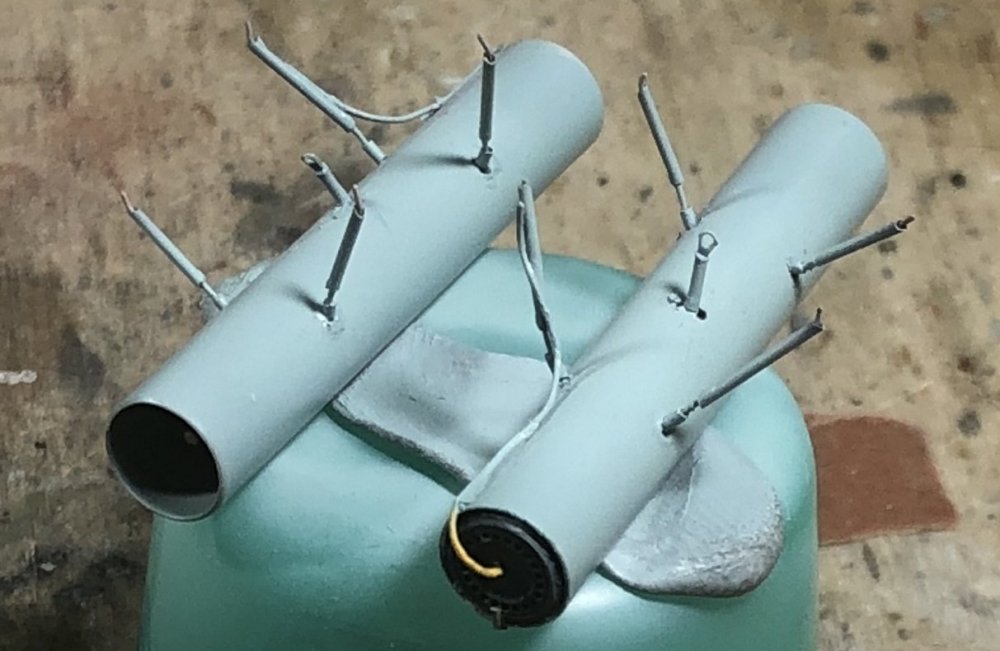
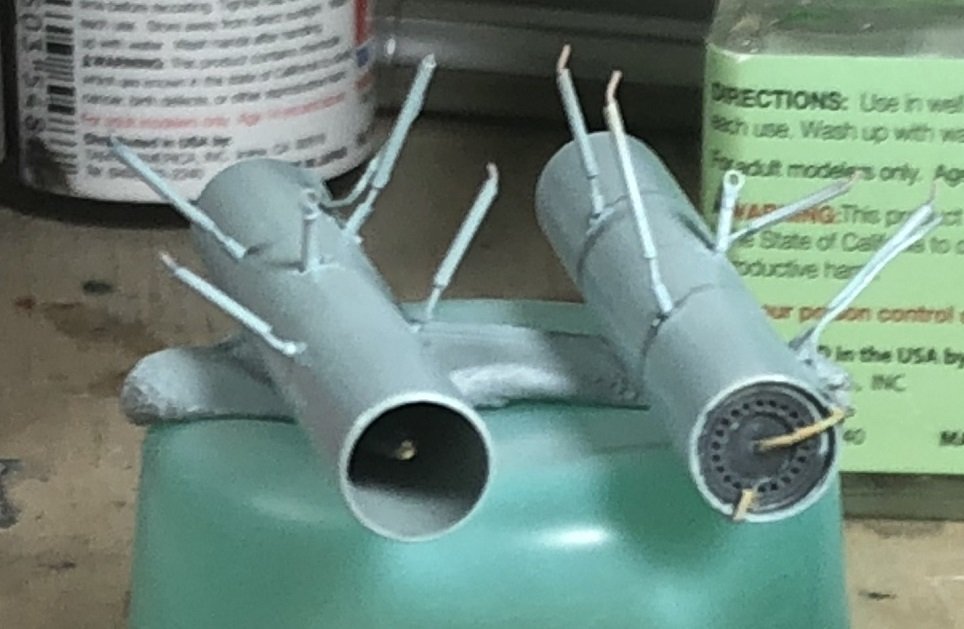
Thanks also for the fotos of the rocket-launchers. They look awesome!I‘ve found 3 fotos and a film on YouTube in which you can see how the canopy is hinged.

And here is the link to the video:
HTH
and keep up with the excellent work!
Kai
BTW: The german sentences are fully correct…
Thank you, Kai!
It seems the hinges are hidden. I'm not sure if that is a bonus or not as I have tiny square notches to fill in the canopy framing. The kit hinges aren't hidden, unfortunately. Another detail I might add are the small lights inside the windscreen on both sides.
-
3
-
-

If I only had the slightest interest in whirlybirds.
-
3
-
-
3 minutes ago, HubertB said:
Beautiful detail work, Gary.
And the great tip of clear nail varnish is duly filed in my memory 👍Hubert
Thank you, Hubert.
-
2
-
-
Guten Abend, liebe Freunde!
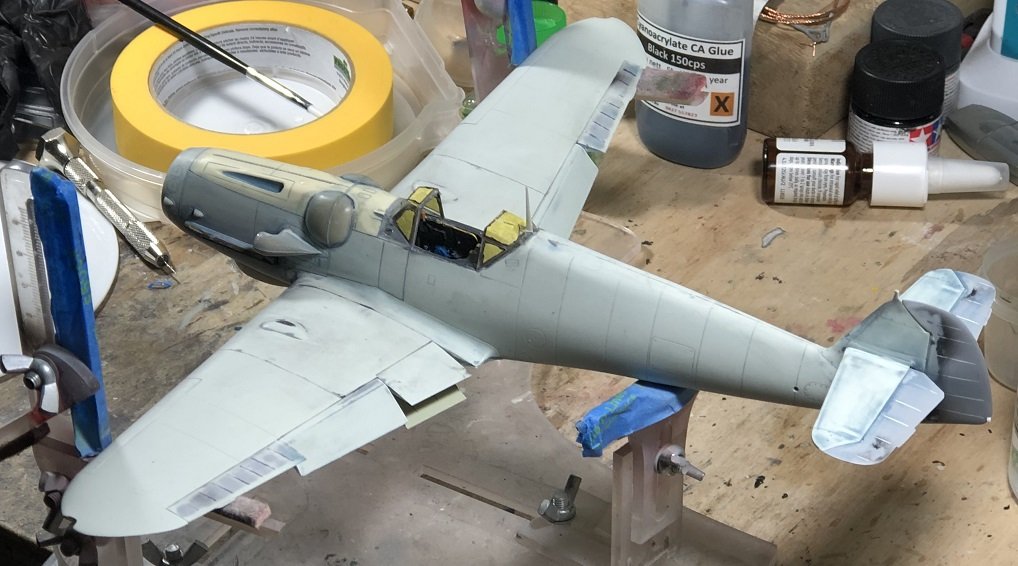
Through my short evening periods each night, between when I have a few minutes here and there for modelling, I have not been idle.
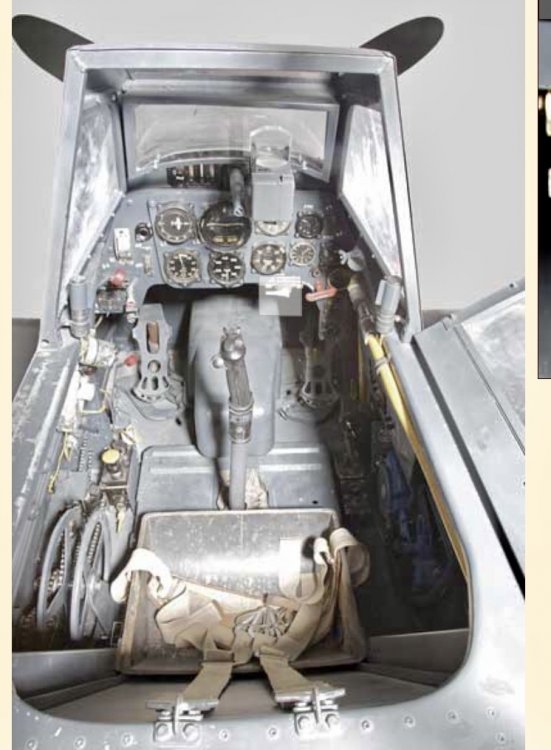
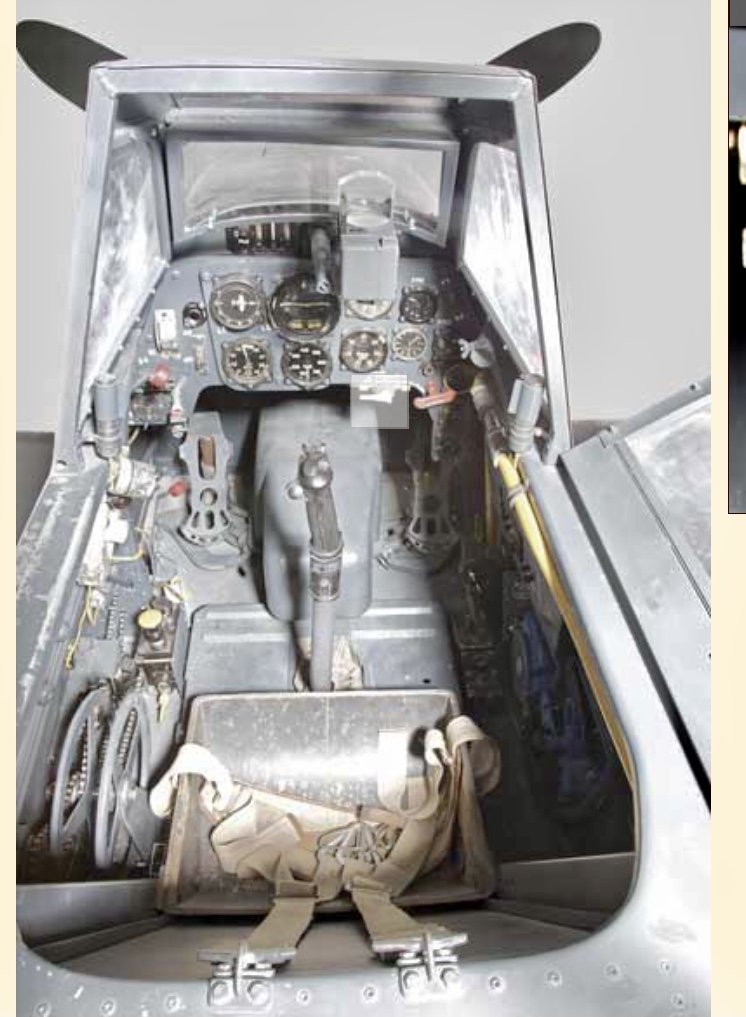
I assembled the Eduard PE armor head shield and masked and painted the canopy parts.


Now... I heard this phrase at my club meet the other day: "One of the best adhesives you can find is Clear Nail Polish". I've had some for some time that I was going to use for another project.... but never used. So, instead of worrying about CA fumes, I decided to attach the shield with clear nail polish. It works! And feels less fragile than a CA joint. It's not very tacky as you start to use it, but once it dries, it's very rigid.
Now... I have a special request: I need a pic or three of the hinges on a 109 canopy. I have no idea what they should look like.
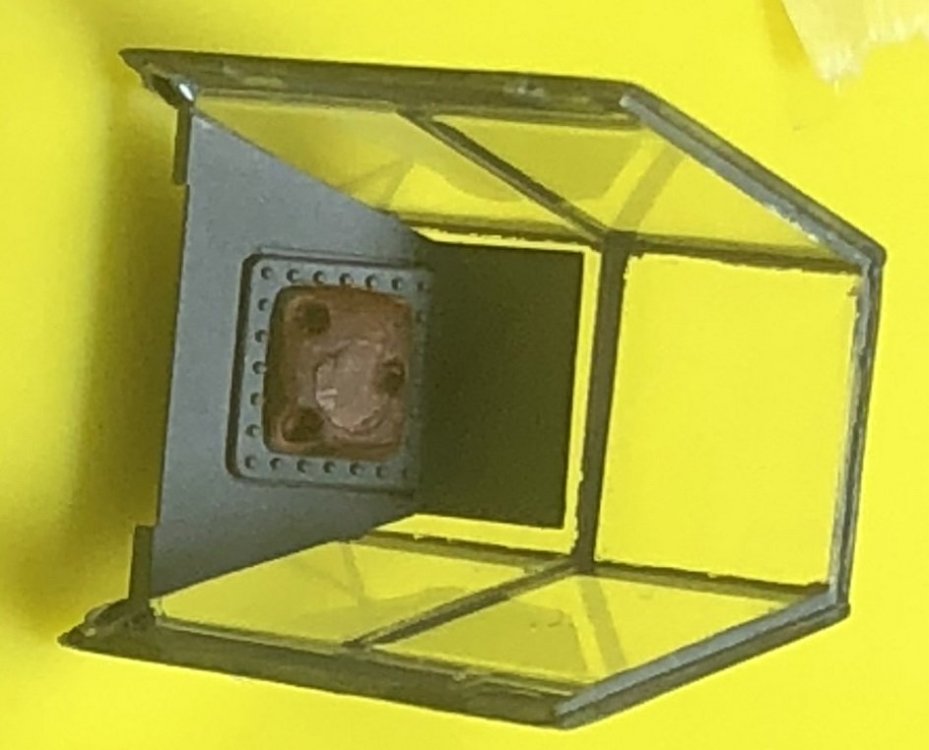
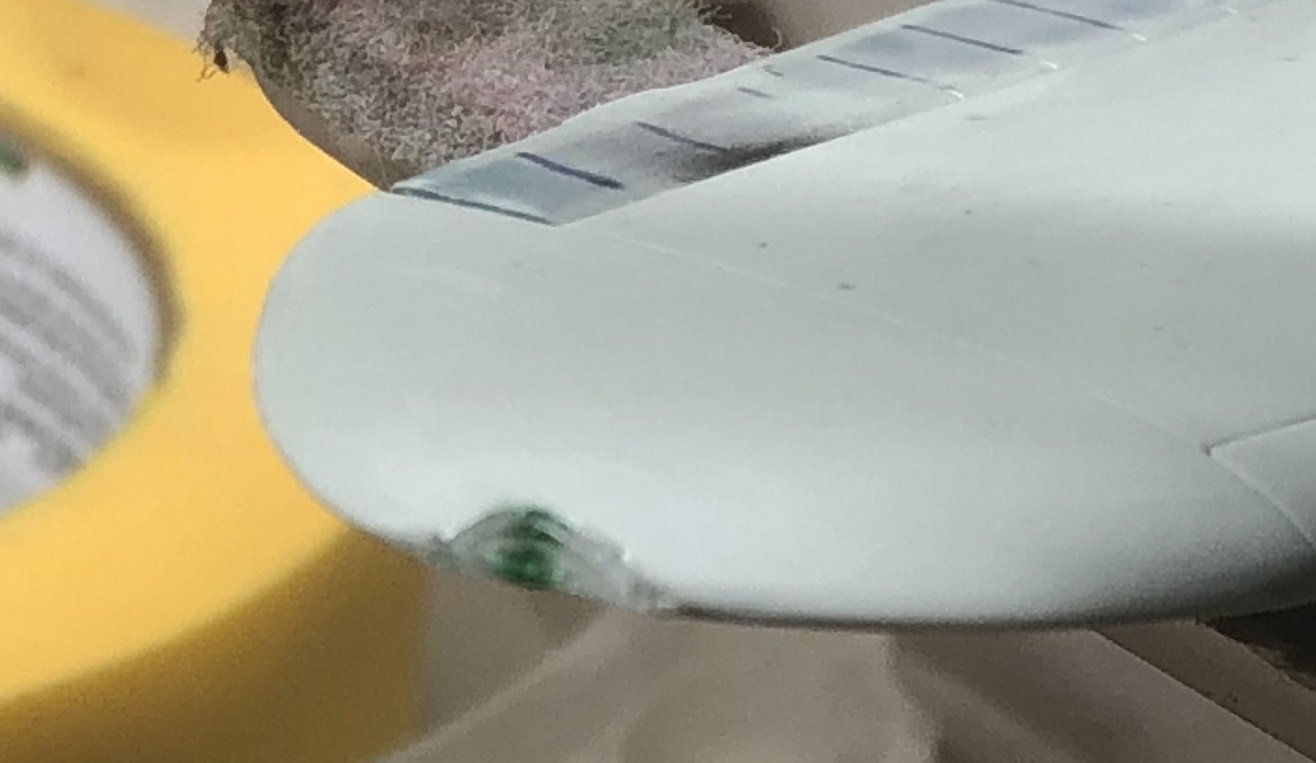
I also used the same nail polish for attaching the wingtip light covers:

I drilled small holes in the clear plastic and inserted some paint 'light bulbs'.
Kai... I'm sorry it's taken so long to produce the requested photos:
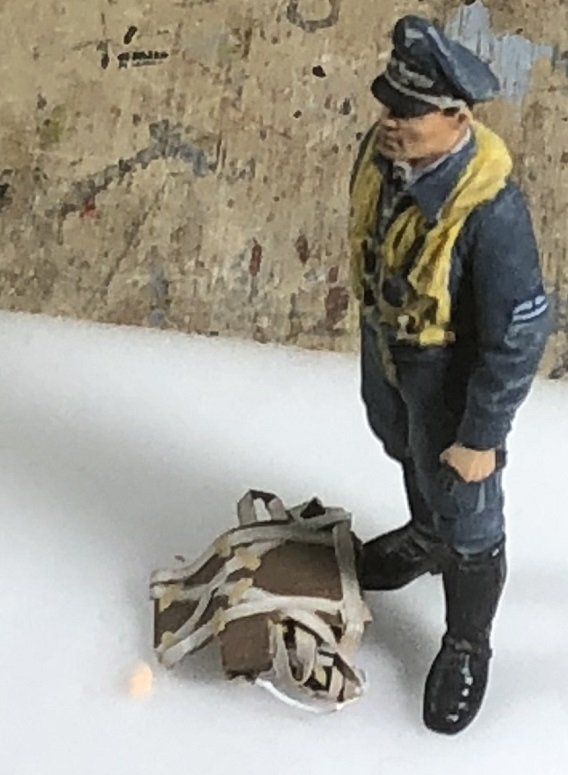
Our intrepid pilots provides some scale for the parachute.
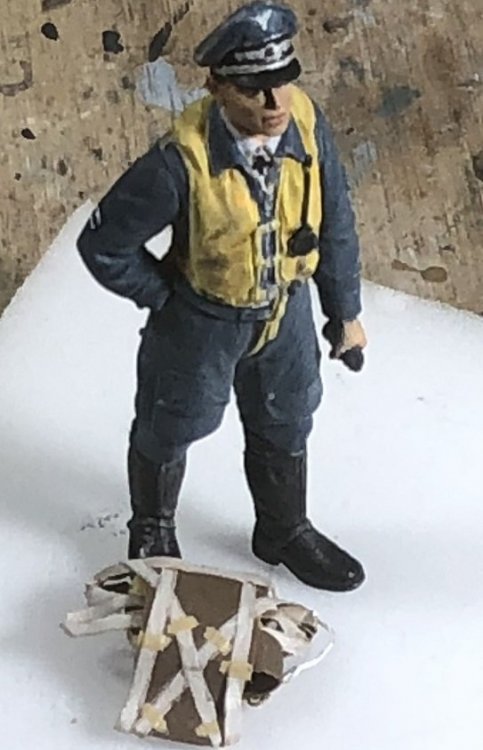

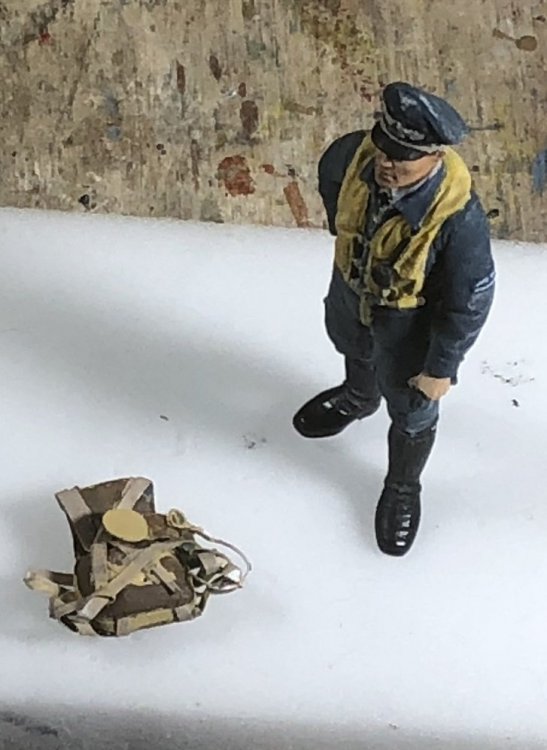
This is the reverse side of the parachute pack. As you can see, I constructed every detail before I folded it into a small parcel.
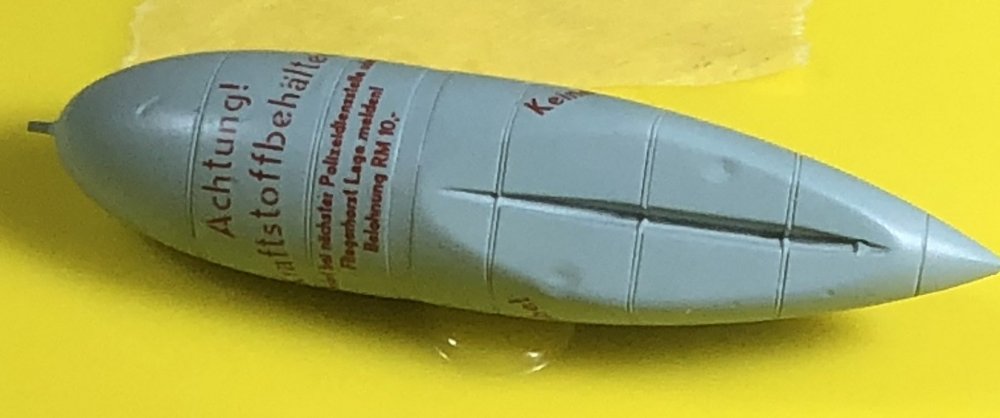
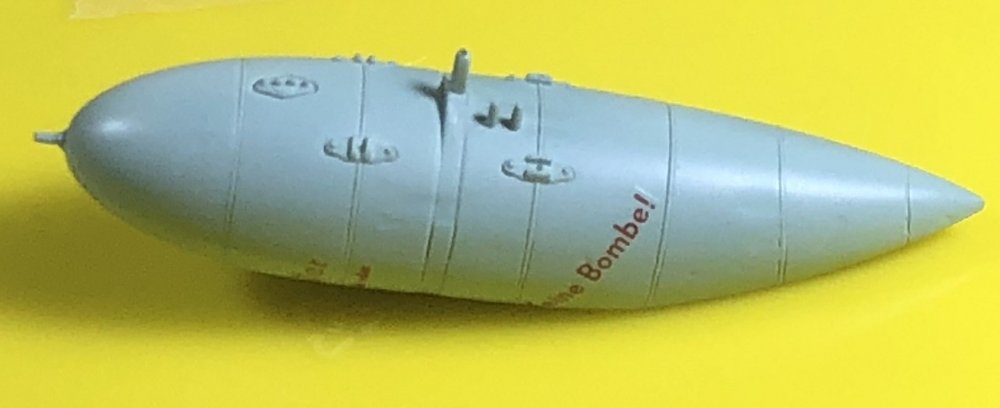

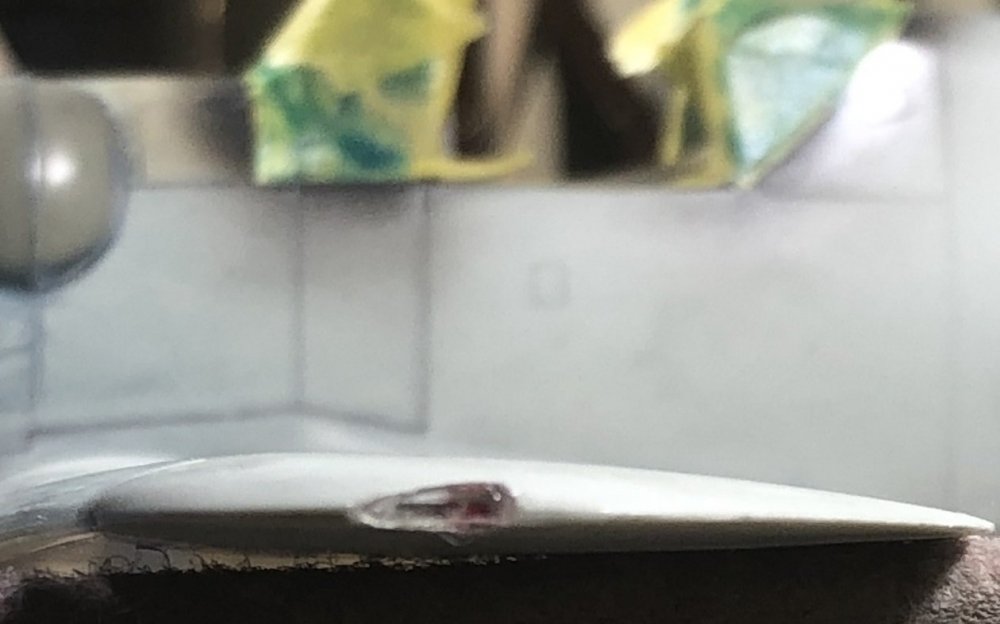
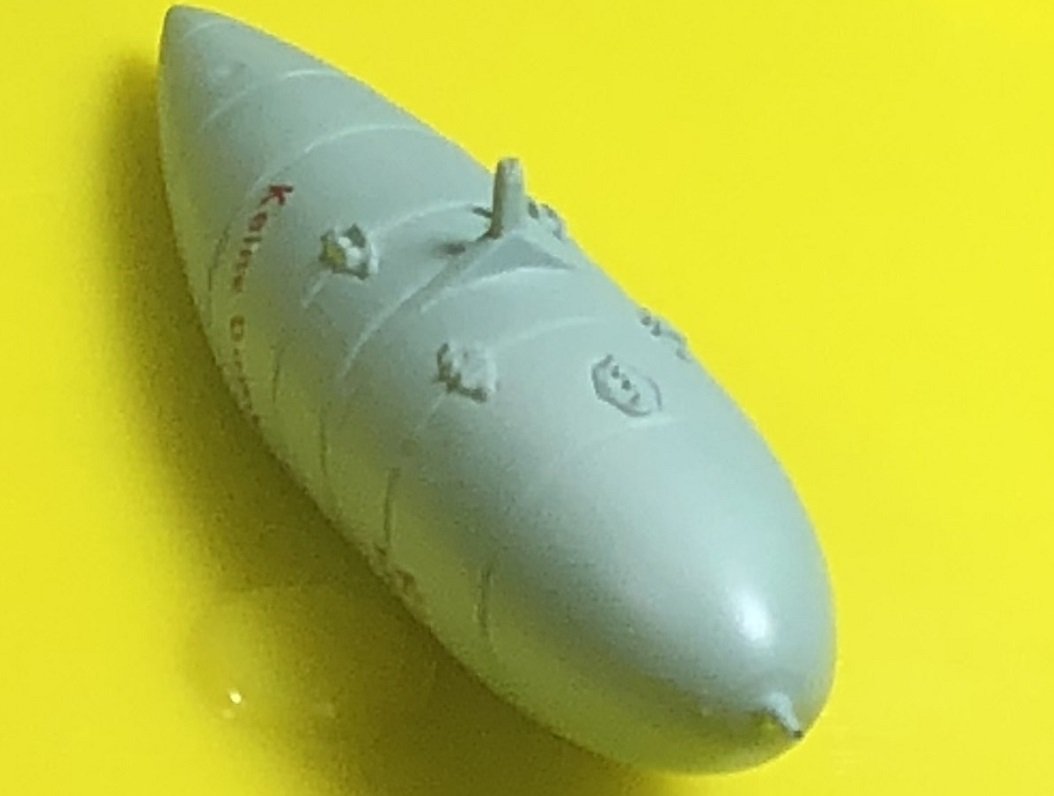
I inserted a small brass tube at the forefront of the fuel tank to emulate the real thing. Most of the dents are pretty hard to see.
Also... these macro photos illustrate the limitations of the new phone's camera. I'll have to go back to the Canon Olympus.
Viel Spaß beim Plastikmodellbau, meine Herren!
Translations provided by Google translate. If they're wrong... please let me know.
-
7
-
-
-
Love the intricate work!
-
3
-
-
I used to like wargaming. I can play cards, but it really doesn't thrill me as much. But PC games get old and AI's are never very bright. I did some online stuff, but I never had much success. Perhaps it was quicker hands and better internet connections... but I haven't wargamed in years. I miss competition on a person to person basis with a historical twist.
Anyway... that's my other, dormant hobby.
-
3
-
-
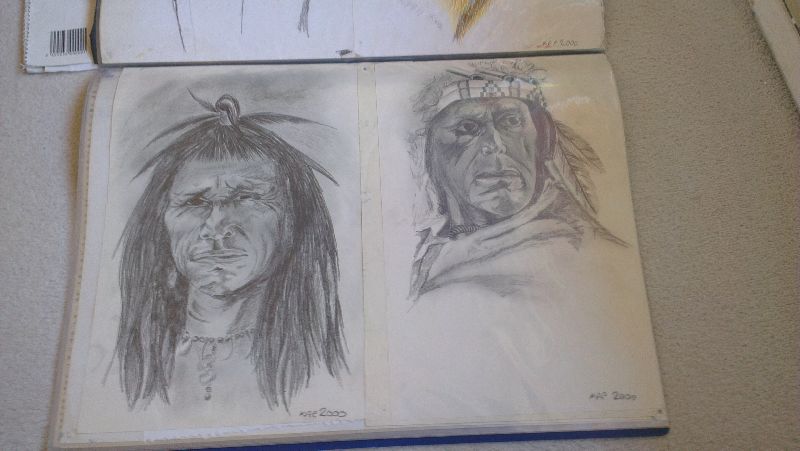
On 4/11/2021 at 5:45 AM, Kpnuts said:
Hi all I do a bit of drawing and painting.
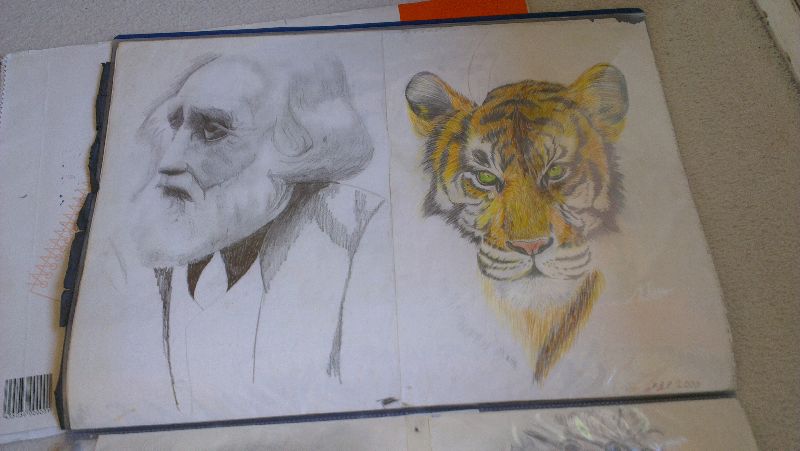
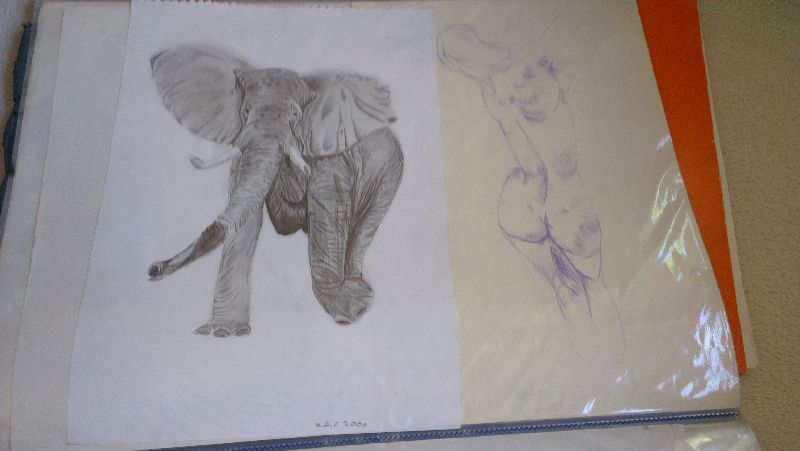
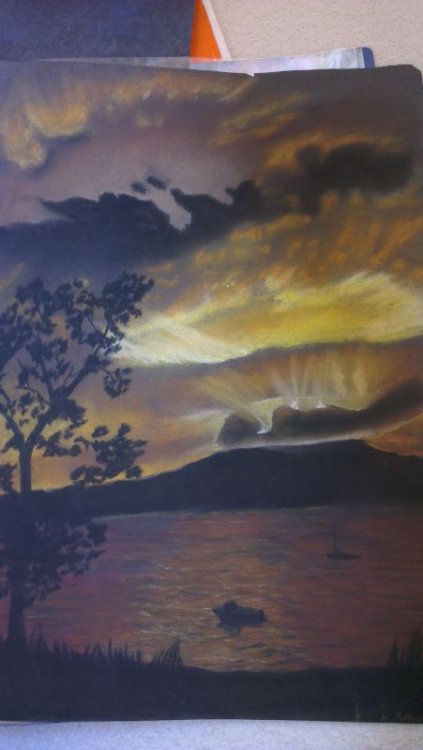
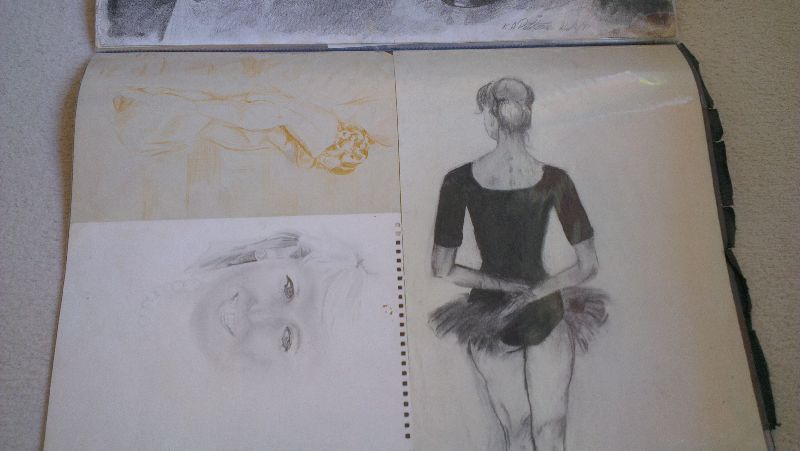
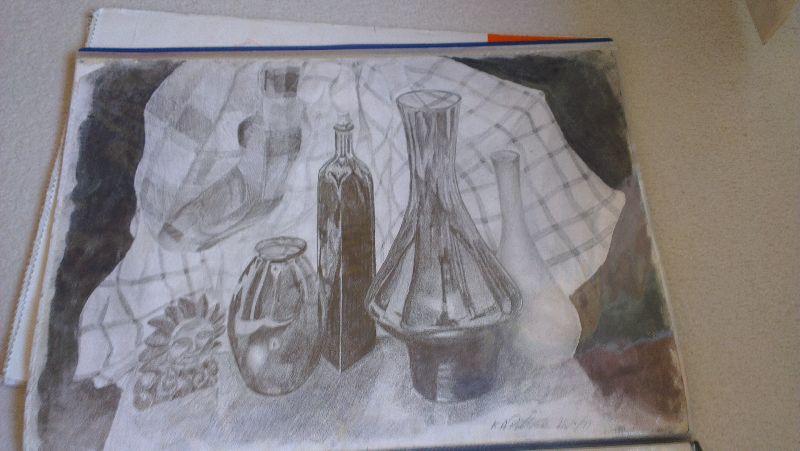
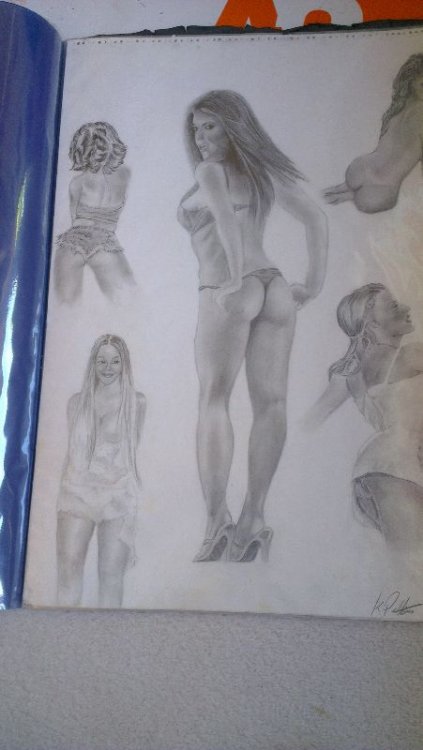
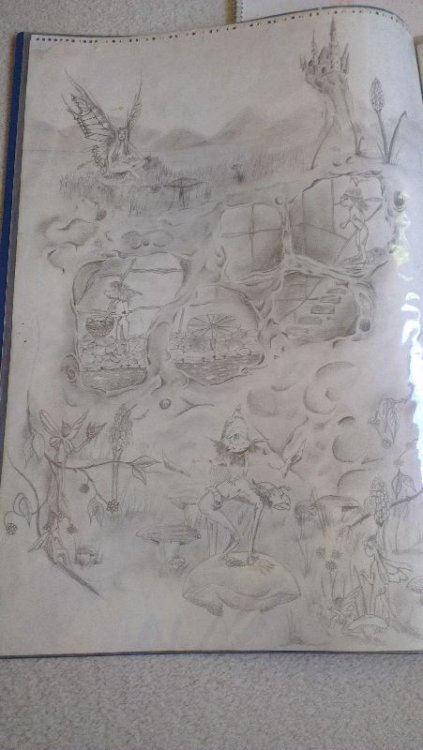
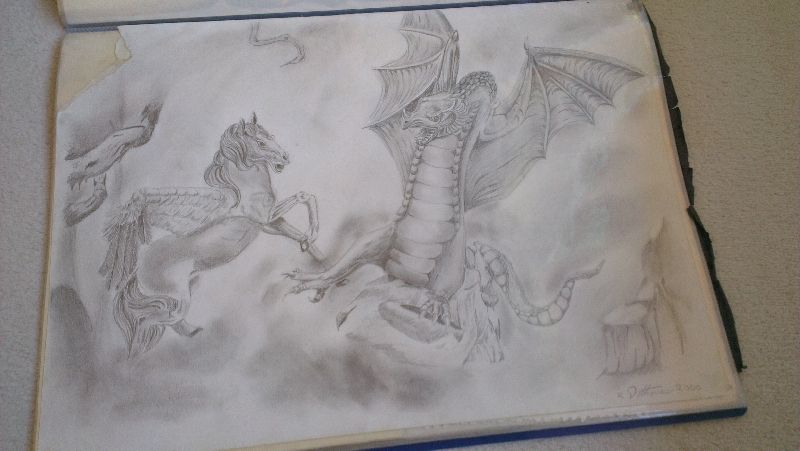
Nice!!
-
2
-
-
Looks nice, Ern.
-
3
-
-
Peter,
It's a bummer you have to go through this on the eve of completion. Hopefully you'll be able to resolve the issue satisfactorily.
Thank goodness for great customer service.
Because of clear-parts-issues, I've been modelling with open canopies whenever possible. My issue is always some tiny piece of dross that always materializes clinging to the inside of the canopy once the model is closed up. I don't put anything on the glass as I expect some tiny spot will always require some polishing effort after unmasking.
-
3
-
-
-
Ok, just a mini sort of update. and the status of various parts:
1. Droptank. Dented. Painted and decaled. Awaiting oil staining and weathering.
2. Parachute. Assembled. Painted, awaiting weathering.
3. Pilot. Ready to go.
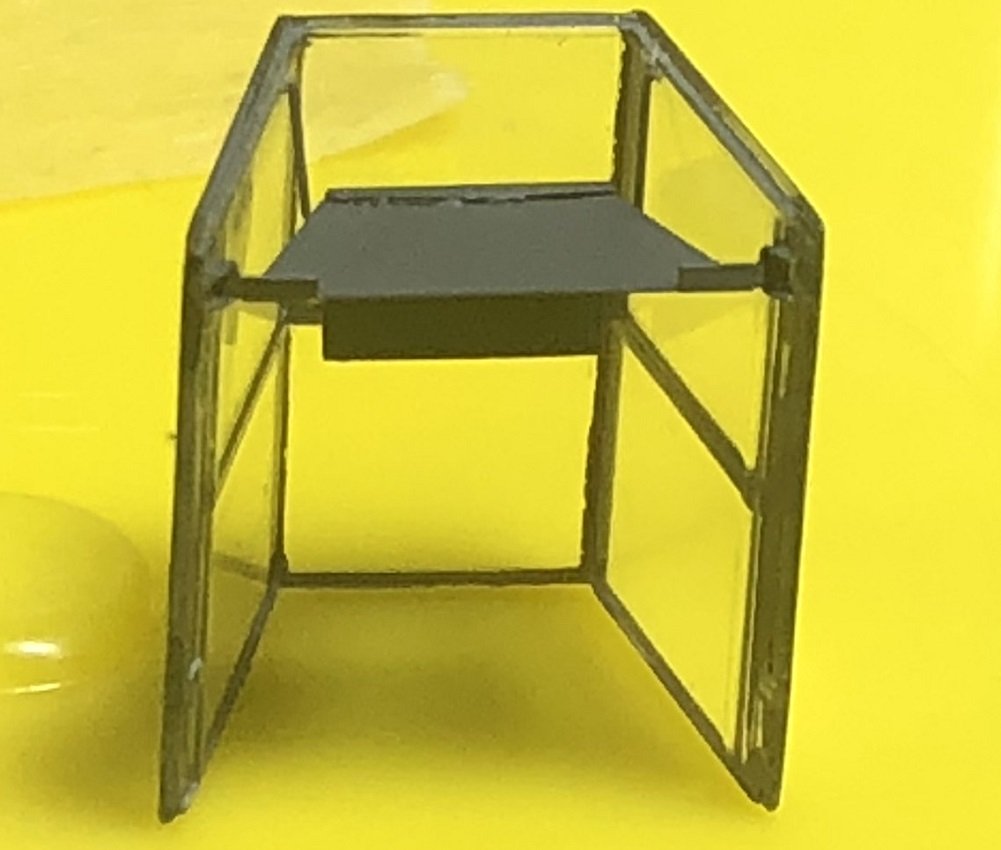
4. Deck Chair. First attempt an abysmal failure. Found a drawing and measurements. Ordered plastic strip for second attempt.
5. WfGr 21. Ready for detail painting and weathering.
6. Base. Not even started, yet.
7. The aircraft. (Hopefully) have the surface worked clean. I've cleaned off as much test paint as possible. Masked fore and aft canopy parts and added antenna mast. Took pics with different phone as I now have a new secondhand phone passed by the missus.

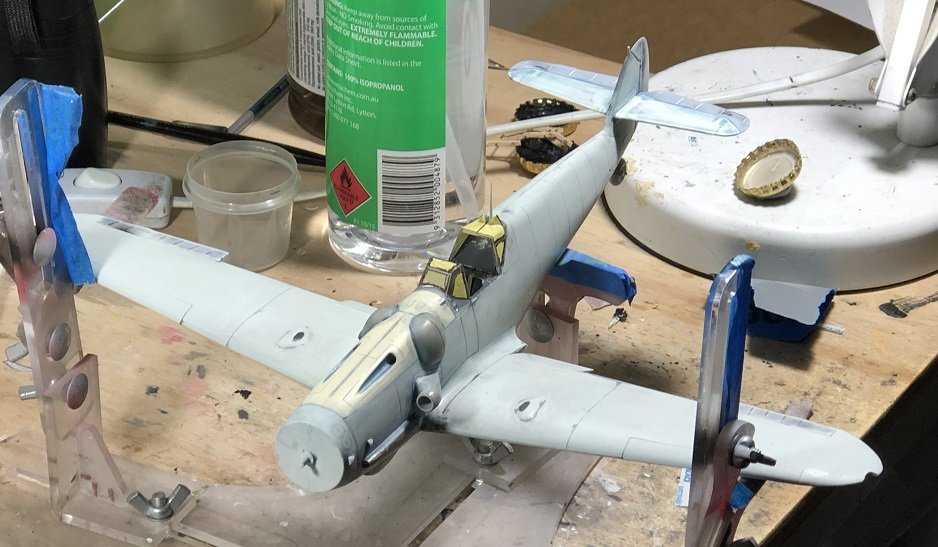
Happy modelling!
-
5
-
-
Looking good, John!
-
3
-
-
Great chain and gears, Rob!
-
3
-
-
36 minutes ago, Kaireckstadt said:
Great article you wrote for Large Scale Planes Gary. Really enjoyed it and it’s nice to see that you make this beauty visible to a greater public:
For all interested: Here you can find it:
https://www.largescaleplanes.com/articles/article.php?aid=3605Thank you, Kai! It wasn't really an article. They just copied and pasted my RFI notes.
-
1
-
-
Praying for you, Harv!
-
2
-
1
-
-
18 hours ago, Clunkmeister said:
I’ve grown stale on WW2 Luftwaffe stuff, simply because everybody does them.
If I’m going to build WW2 Luftwaffe, I want something unique and different. The A-3/4 190 might be that model. But a new 109 to me is a yawner, although I get it, it’s easily the most popular WW2 aircraft subject ever kitted.
The HS.129 is a cool kit for me, as is their Ki-45. Unique and different.
The problem, Ern. Is guys like me. Only re-started building models 5 years ago after a 35 year break. While you've been suffering with 109's, I've been without models full stop. There are others like me, too.
But guys like me have a problem. Most of the 109 molds are shit. Trumpeter, Eduard, and Revell... are all shit. They all have something wrong requiring major body changes that haven't been addressed by AM. The Hasegawa kits are better shape-wise, but really just enlarged 1/48 kits.
And regarding the 190A... the PCM is a bit of a monster... unless you like sanding. The Hasegawa A5 is vaporware...unless you break into Rog's house. There are a few A8's, but still leaves a lot of versions untouched unless you wanna buy a multitude of the PCM kits... and do more filling and sanding for hours.
There are really no Luftwaffe fighter counterparts to the nice stuff done by Tamiya. Our choices are simply over-large 1/48 kits, or wildly inaccurate kits.
The only respectable 109 1/32 kit is the Dragon E. ...which has also been re-released by HGW in limited numbers.
-
5
-
1
-
-
Like everyone else I love the intake. But the rest looks great, too.
-
2
-
1
-
-

She is a beauty, Kai! No need for any more weathering as you have captured everything perfectly. I'm really glad you persevered with this kit and made it into a stunning example of the Mirage. You should be very proud of your accomplishment.
Now... tell me about the Tornado.... I've been thinking about a Luftwaffe Tornado recently, myself.
-
1
-


Gottfreid Weiroster Bf 109G6 R6 Revell 1/32
in LSM 1/35 and Larger Work In Progress
Posted
Hahah.... I'd probably never, ever say it to anybody IRL. I work with people who have no interest in 109's... or anything further in the past than their last beer or wager made on sport or horses.
Thank you for those excellent illustrations and detailed explanations. All very new stuff to me.