


GazzaS
-
Posts
6,396 -
Joined
-
Last visited
Content Type
Profiles
Forums
Events
Gallery
Posts posted by GazzaS
-
-
Can;t say I blame anyone avoiding the AZ.
-
 1
1
-
-
That is some impressive spaghetti!
-
4
-
-
OOh... this will be cool! A very interesting vessel.
-
6
-
 1
1
-
-
Good solution, John! sometimes we must find our own method even if it is contrary to the instructions.
-
5
-
-
Once the wife was partially pacified, my bench would be set up and ready to go.
Priorities, man!
-
 3
3
-
-
8 hours ago, Bomber_County said:
Gaz, absolutely stunning, haven’t stepped up to 1/16 yet…..great weathering…….you will love RFM, quality of the moulding is excellent, fit is great to, be interested in your observations……
Thank you, Phil. This will be the end of my 1/16 scale soiree. It's all about cost really. The only person making great 1/16 figures if Jeff Shiu. But due to shipping costs I'd be looking at well over 100$ just for a figure.
-
2
-
 1
1
-
-
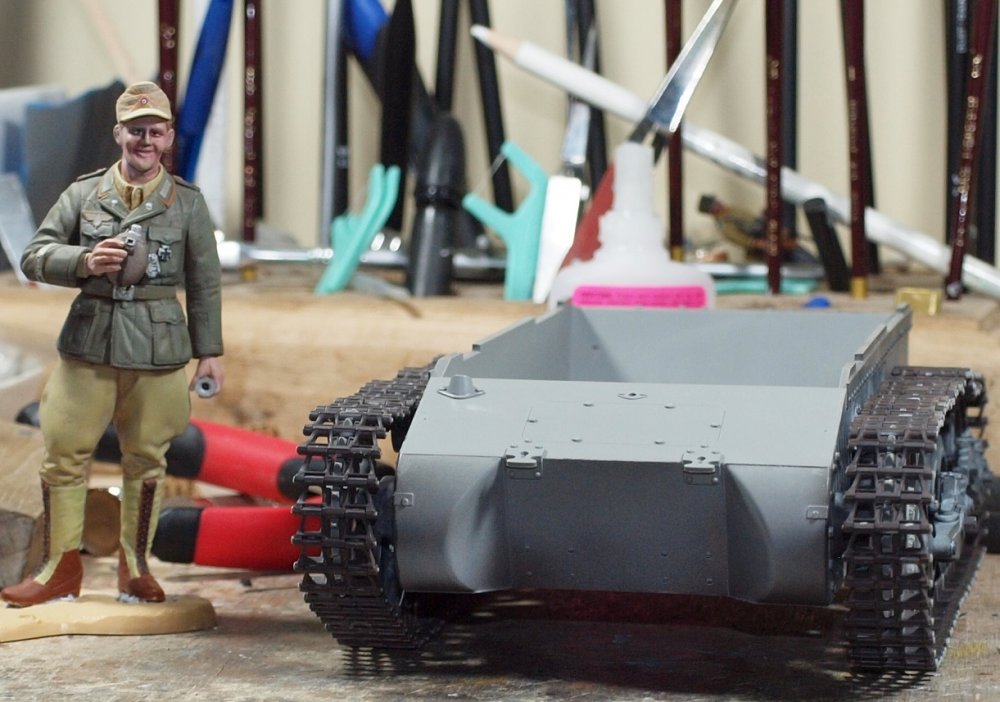
Hola Senores Y Senoritas!
Thank you Rob! I must at this time admit that some of the gap was my fault. I had to go back and redo it after a silly omission. Anyway....
Today's work:
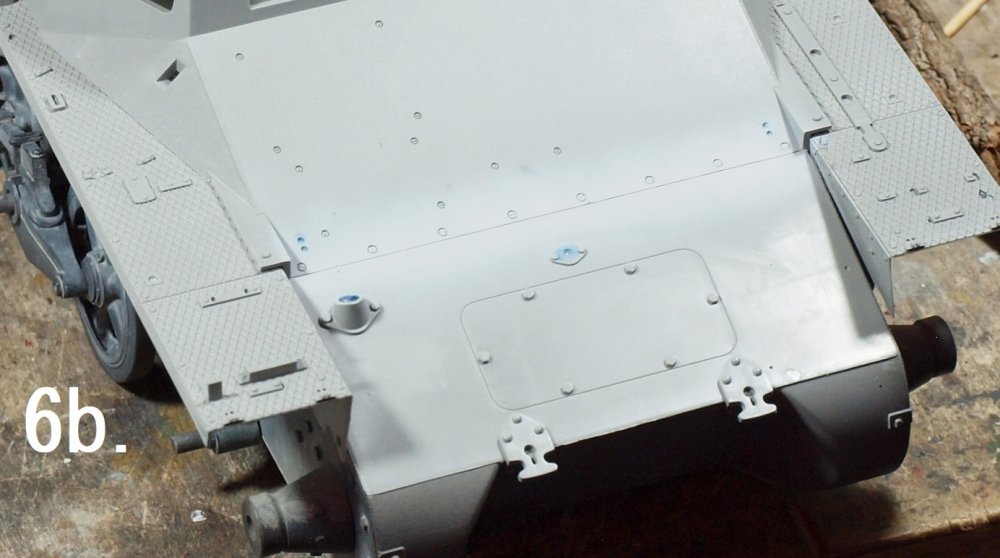
The first pic.... with the red arrow's is from a friend's build. He doesn't come here that I know of.
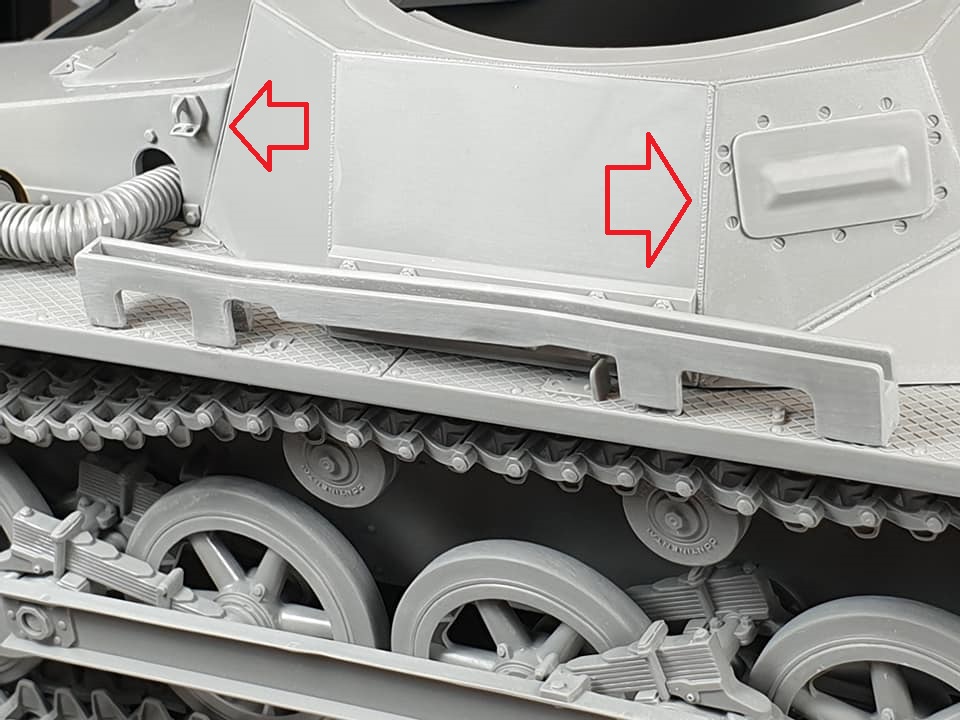
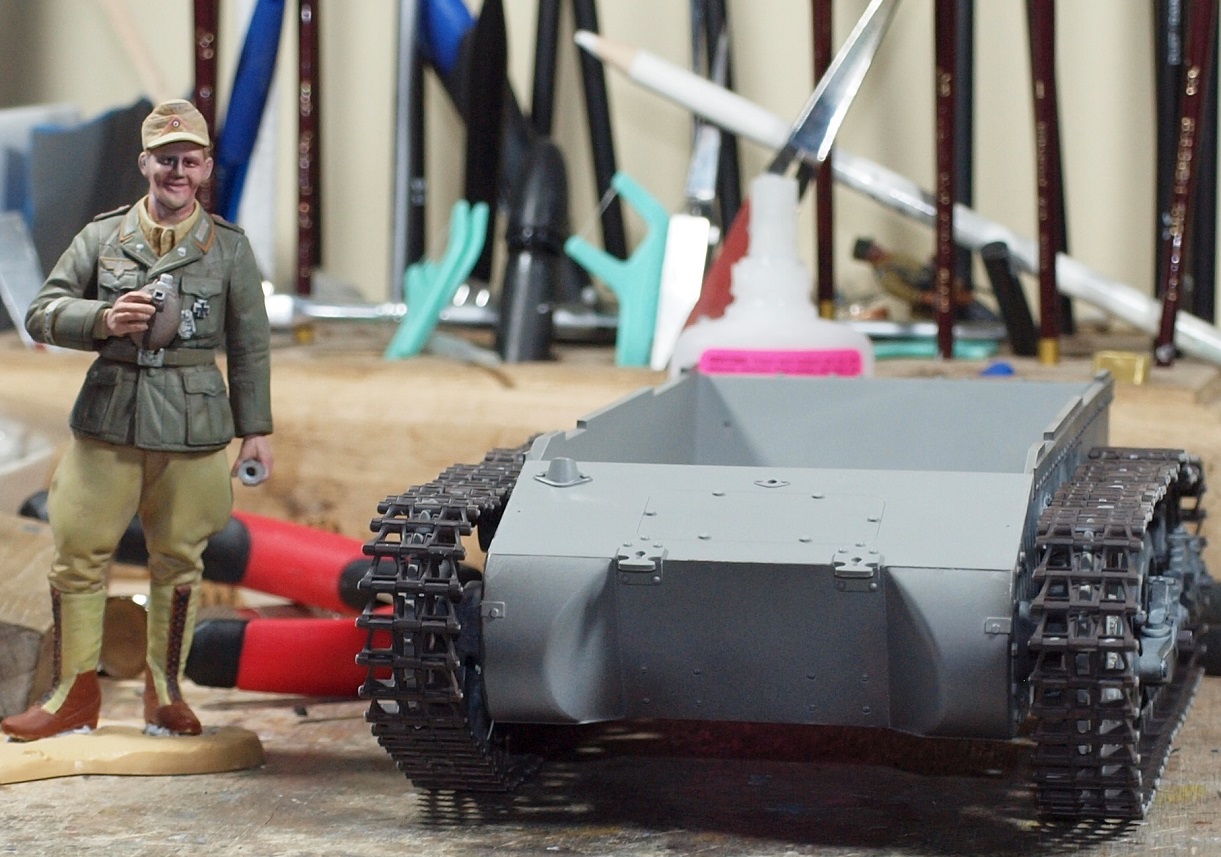
There are 9 plates to fit to the carapace or upper hull. One on top and 8 on the sides. Faux weld lines are provided, but unfortunately, as the red arrows illustrate... there are still edges to be seen that don't look natural between two pieces of steel welded together.
I committed a significant of modelling time today filling the seams with stretched sprue, sanding away the faux sprue, and creating my own welding lines. This is what it looked like before I cleaned it up:
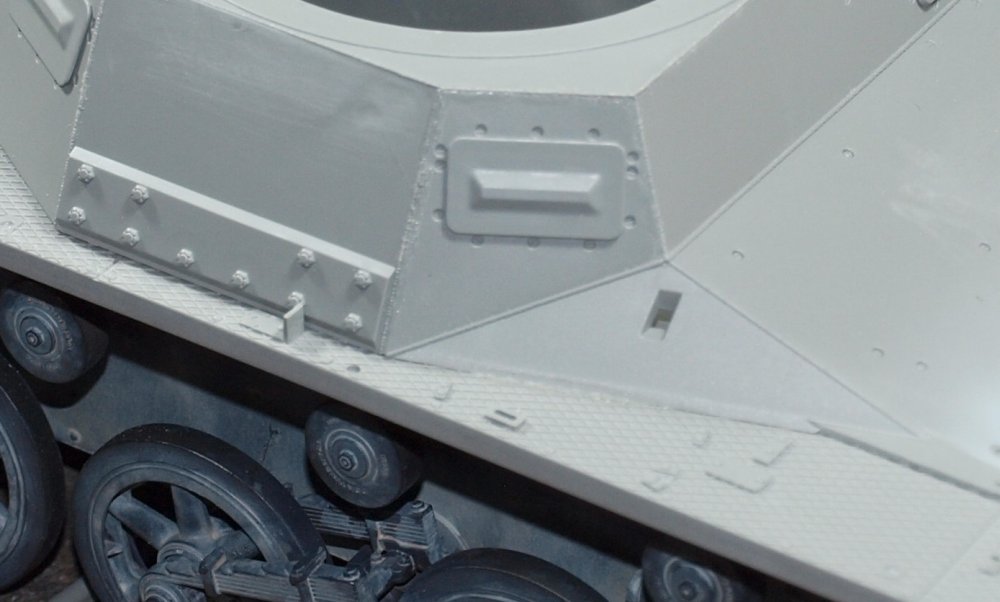
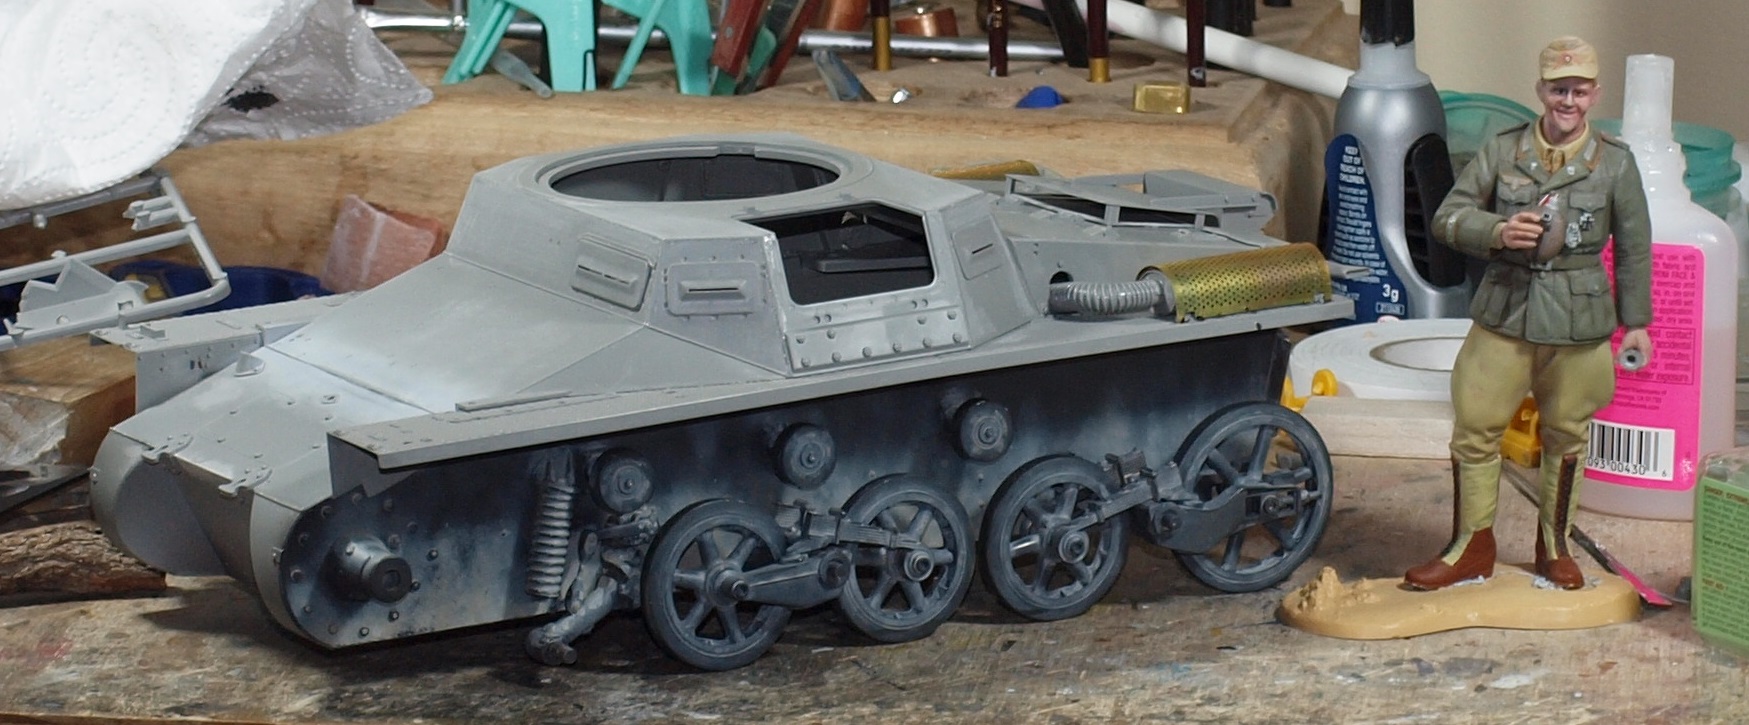
Finally, late in the evening I added the only PE in the kit, the muffler covers.

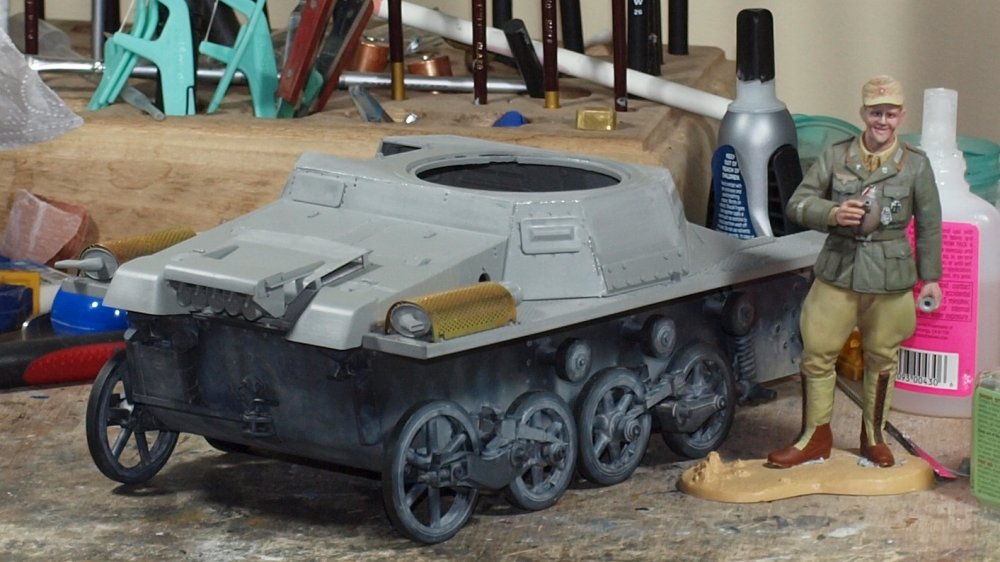
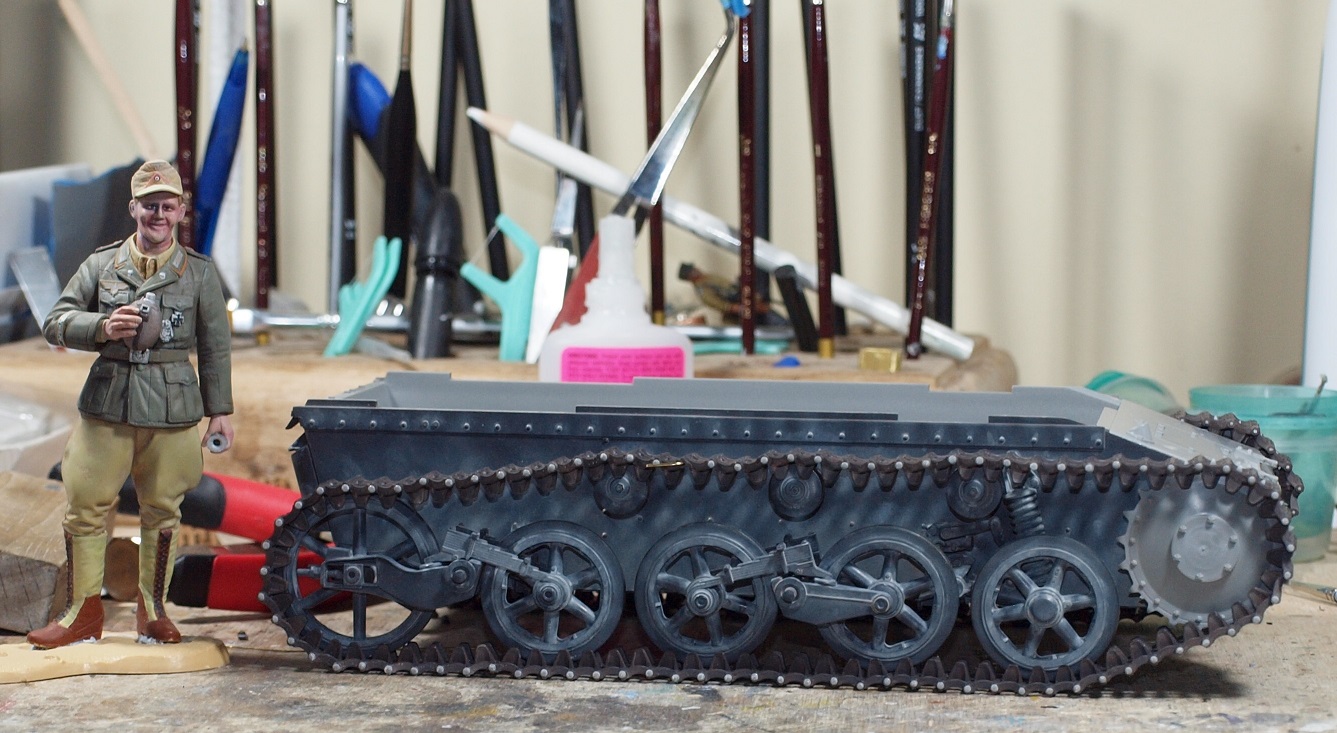
Although I've decided to go Euro with the paint scheme, the figure is handy to add some scale to this WIP.
Happy modelling!
-
6
-
-
1 hour ago, Kaireckstadt said:
Great stuff, great problem solution and perfect instructions how to do it!
You should write a modeling tipps and tricks guide, Gary!
The black CA is really a helpful invention for us modelers!Thank you, Kai. Clear CA works the same, really. Once you sand it, the large gaps appear dark, anyway.
-
2
-
-
Wow, Mark you're really making this look sharp!
-
3
-
-
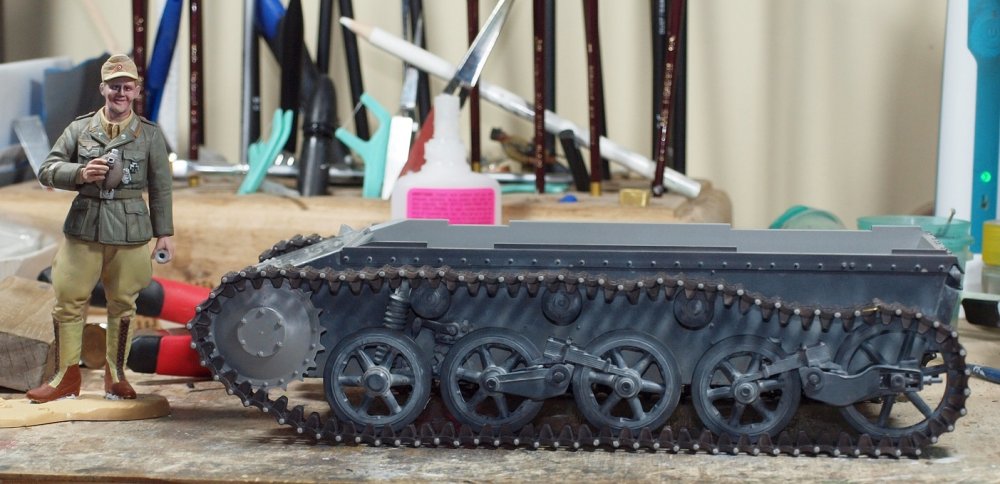
Well... what's new....
I decided to go European and ordered this figure:

He is by SOL model in Korea but was fortunately in stock at BNA Model world.
Also.... I kicked a bit of ass in the filling and seam department.
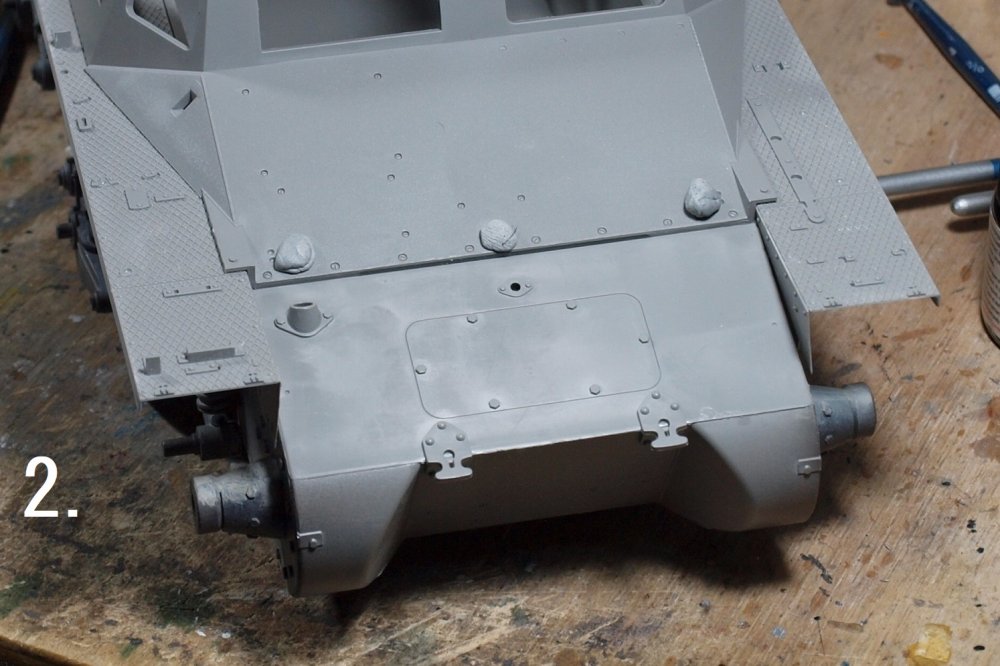
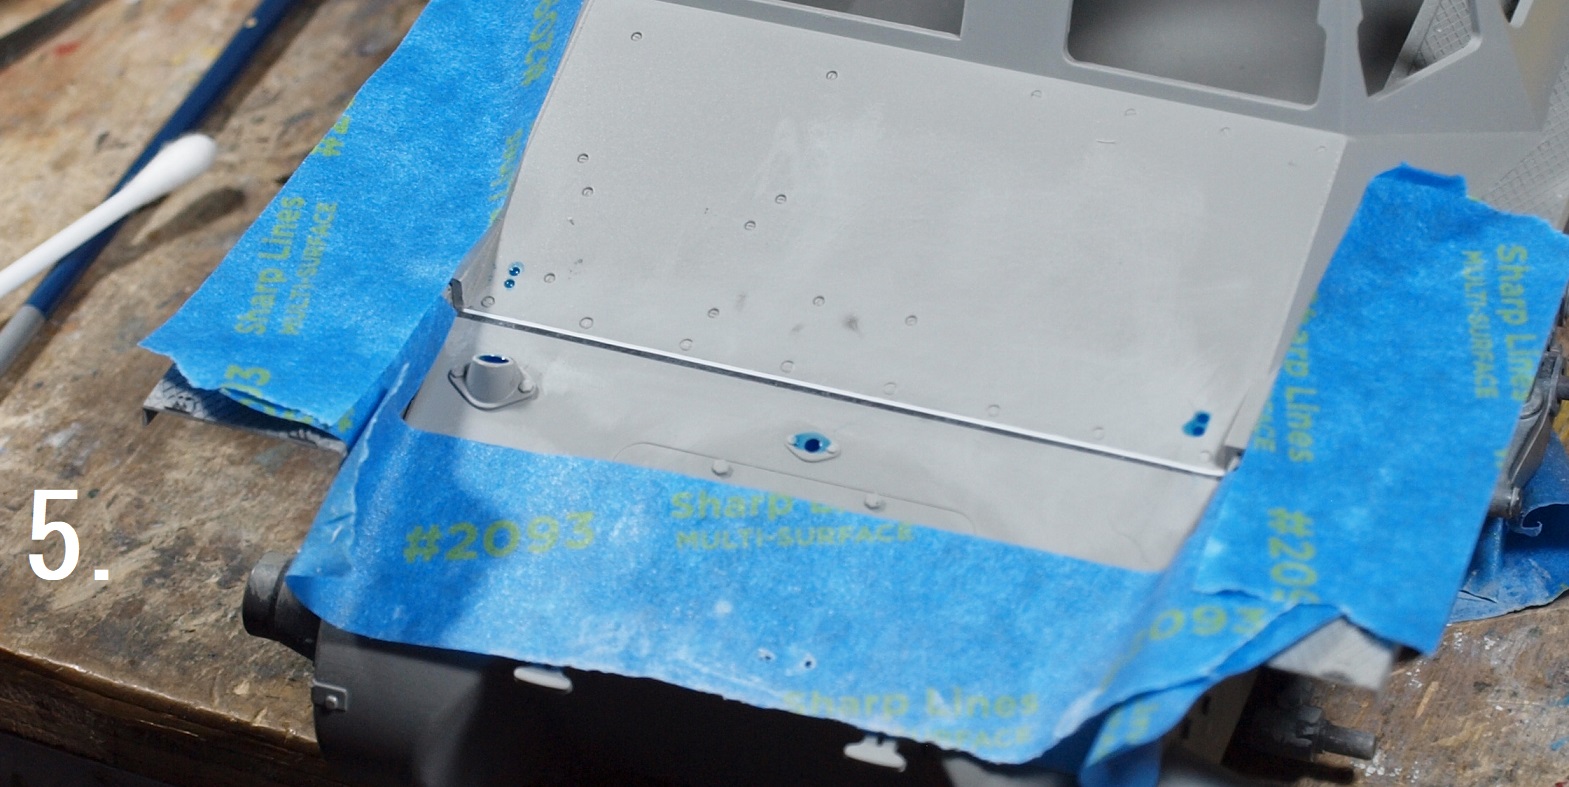
It's not too bad filling a gap, we all do it with almost every model we touch. But special difficulty comes when you have a gap where a panel line or other detail should be. The usual answer is rescribing. But I hate rescribing. I hate it because my scribe lines are nowhere near as sharp, neat, nor straight as factory lines.
I had a 2mm-ish gap to fill in pic 1.
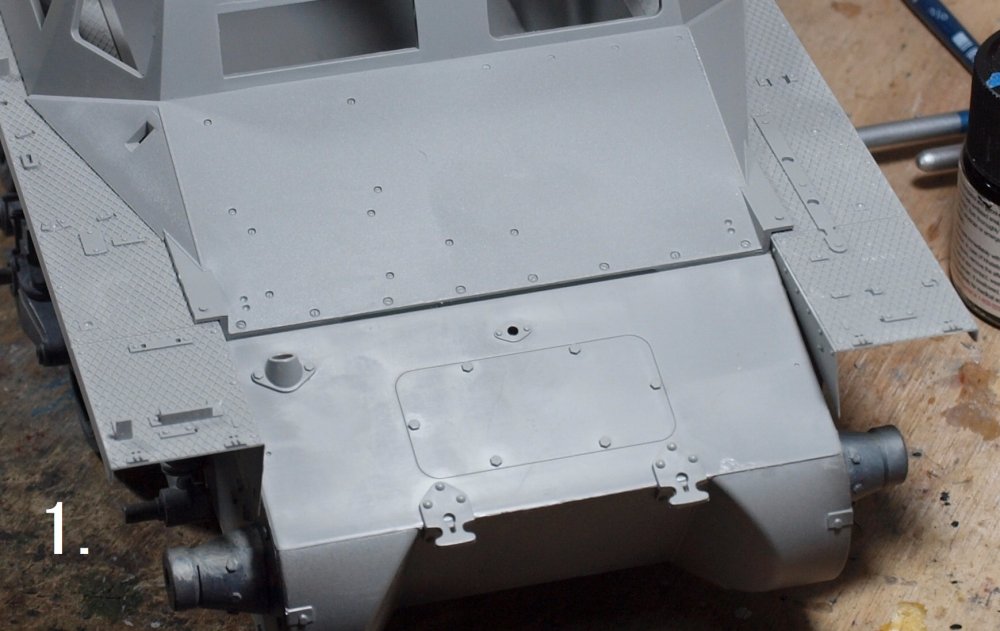
In pic 2, I placed some gobs of blutack to hold some evergreen styrene sheet.
In pic 3, I inserted the too tall strip of sheet and used the blutack to hold it to one side of the gap.
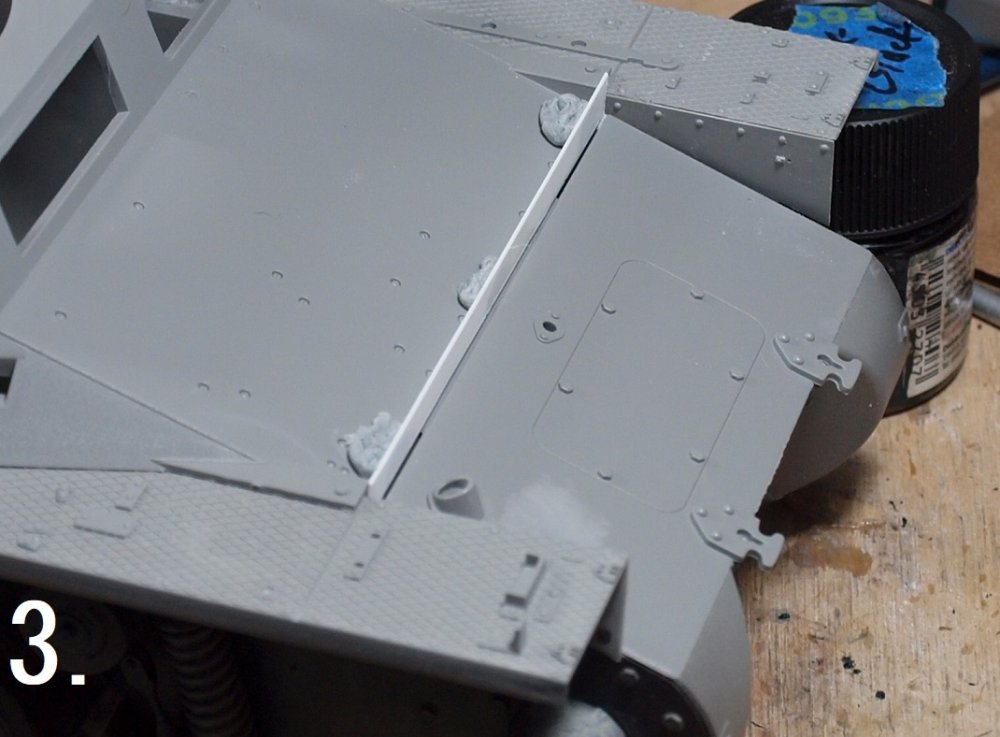
I also jammed a couple toothpicks in the front to keep everything stable, but avoided getting CA near them.
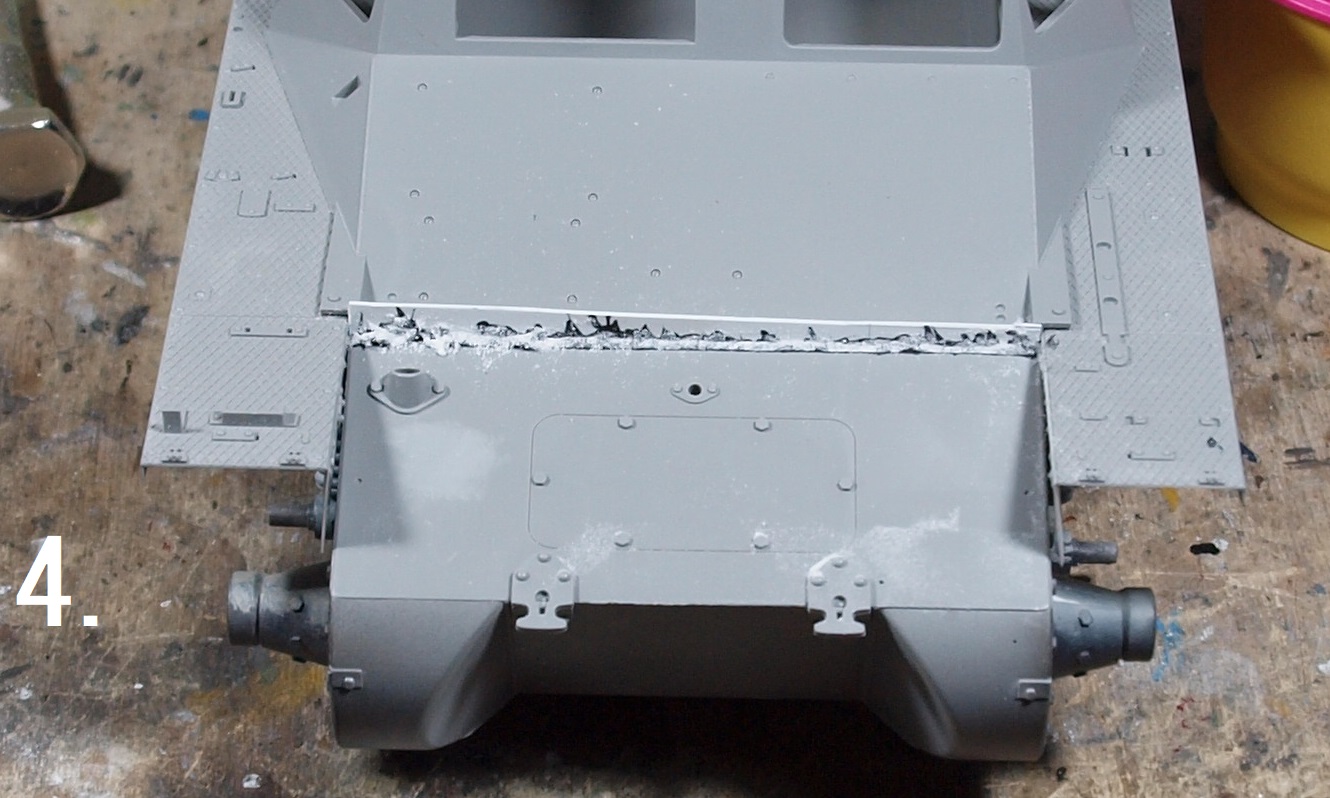
Then I filled the gap with black CA and sprinkled baking soda over it liberally.

Then, I reduced everything with files, knives, and sanding, keeping all raised detail protected... pic 5... finally sanding it smooth with 1200 grit paper.
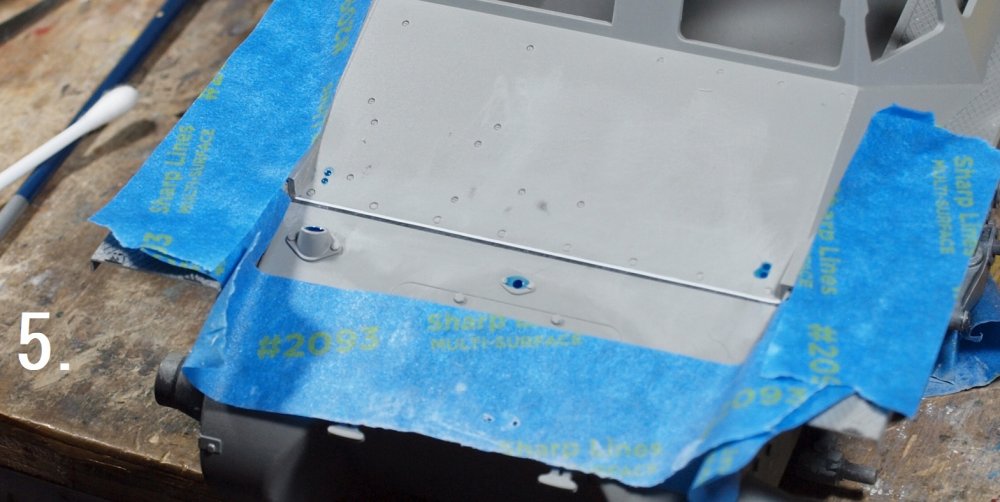
The black CA shows clearly here.
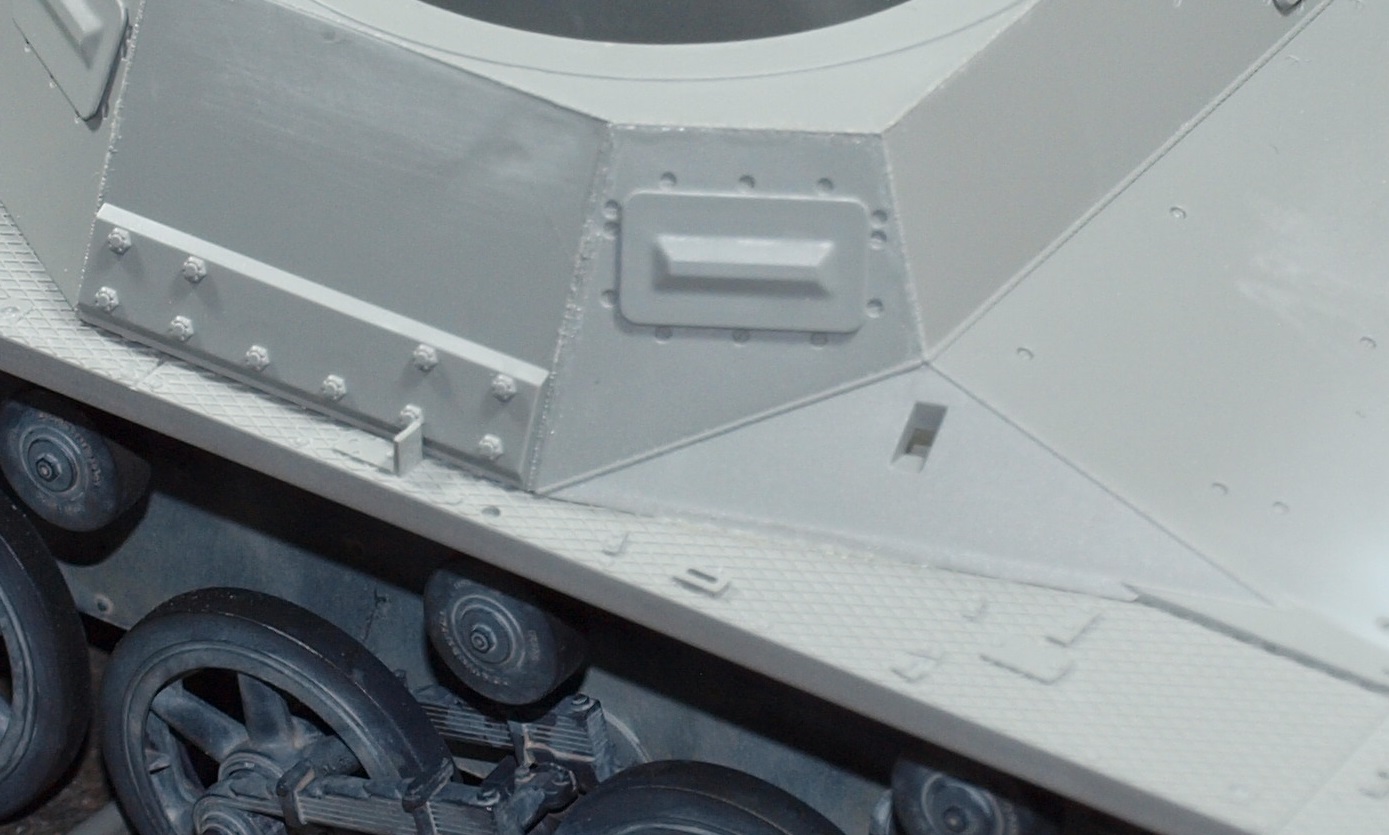
Finally... two shots of the result being tested with gray primer.
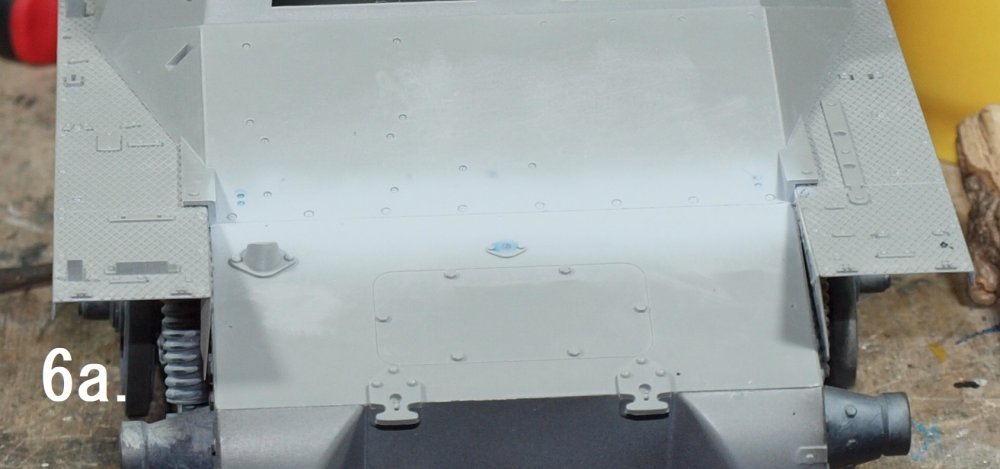
The best damn panel line I ever did make.
Happy modelling!
-
7
-
1
-
-
Cricket?? I suppose it beats listening to real crickets. Especially that single cricket that's hidden in your house on a summer night that doesn't care whether you have to get up the next morning or not. That's an American phenomena I haven;t missed since moving to Australia.
Trying to watch test cricket = ZZZZZZzzzzzzzzzzzz......... if the batsmen are playing defensively. 20/20 is more fun.
-
3
-
-
Peter,
I feel your pain, but I know you will overcome as you have so far. You've done well so far! My PCM 190 took a lot of work and filler... and scribing to get done.
As far as KH goes... I just think it's a self-inflicted wound. The P-39 is a great airframe. I was going to buy this kit until everything anyone wrote about it was bad. I know it's "buildable". But if you look around the modelling world, you'll see that a stack of thick paper can be made into any model you like as long as you have the time and will. I only have so much time and will to devote to things I don't want to do.
Keep up the great work, my friend!
-
3
-
-
10 hours ago, DocRob said:
I will keep your warning about being cautious with the pins in mind, for when I start my Spanish Breda incarnation. I definitely will not spend more than 100 Euros for metal replacements from Aber.
Cheers Rob
Part of it is my blame, really. I didn't want the pins loose, so instead of boring them, I wiggled the pins in. But when I got to the last 1/3rd of the tracks, I started boring them with a drill bit that fit without much struggle, so that I actually wasn't drilling, I was just pushing the bit in and pulling it out. Hopefully the pins won;t wiggle out as I've given each a tiny shot of Tamiya Extra thin.
There is no need for AM tracks on this kit. While I haven;t noticed any casting numbers... they are detail enough and should look quite spiffy unless you coat them with viscous Ukrainian mud.
Today, I'll give them their final spray of 'track brown' and begin detail painting them.
-
5
-
-
42 minutes ago, DocRob said:
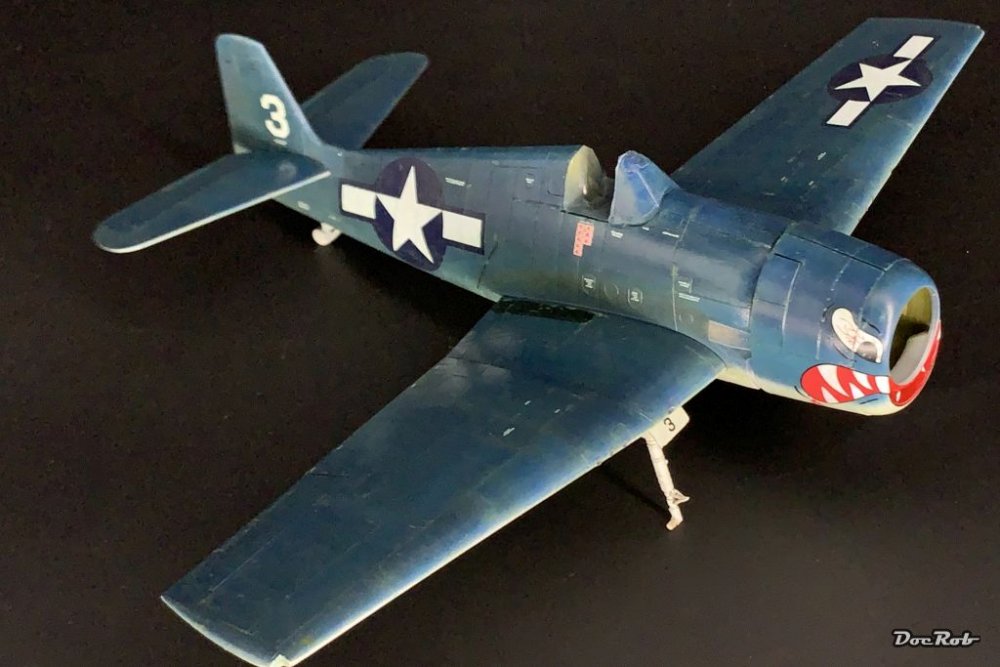
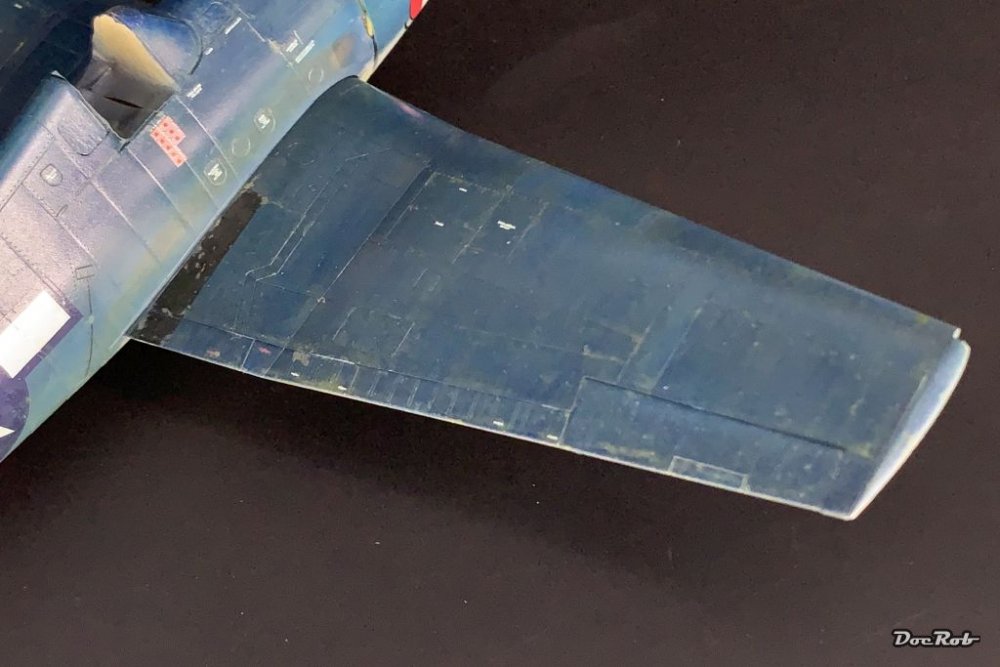
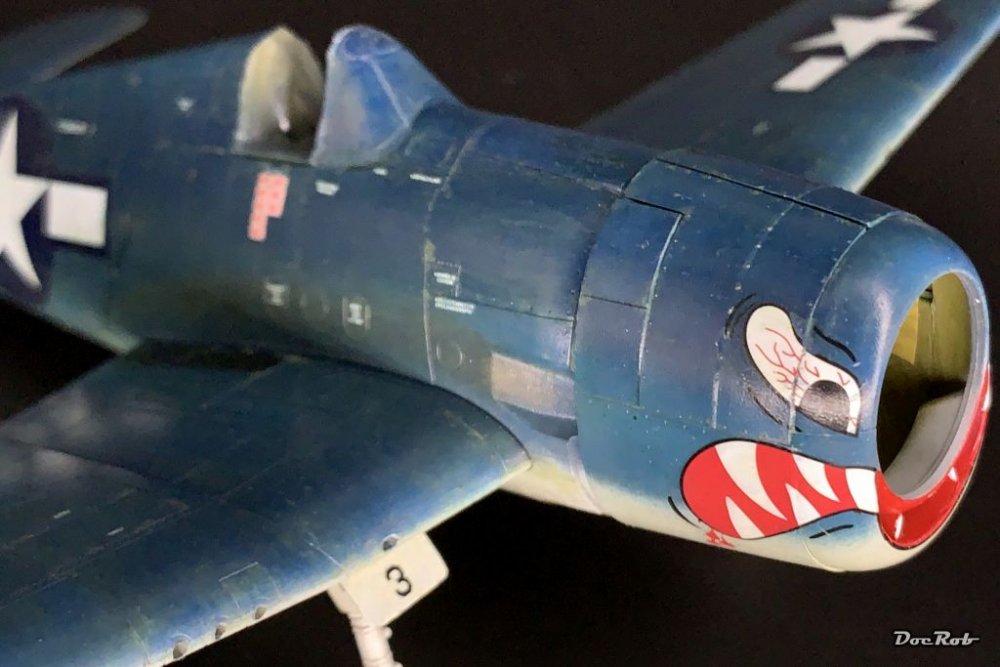
The painting and weathering is mostly finished and will be sealed with a matte coat after adding the engine. After gloss coating the decals, I brush chipped with different grey/blue tones and some more with interior green as primer color.
Then it was time for oil colors heavy diluted with thinner, first in blue and then in a color similar to interior green, which were spreaded and partly removed with a saw brush and some thinner. For effect, I used different brushes with the oil thinner mix and dabbed carefully to break the uniform appearance of the panels.Cheers Rob
Rob,
The oils have added some great variation to the skin of the machine. Well done!
-
6
-
1
-
-
1 hour ago, DocRob said:
Tub and wheels look really convincing, I like it to have a monochrome paintjob made to look interesting. That's exactly how yours turned out.
Cheers Rob
Thanks Rob. Due to the desert figure... this will have some sand colored paint on it, but only on the upper hull. Making dust is tedious business, anyway.
today I finally have the tracks together. I broke a few pins and only have 2 spare.

-
7
-
-
1 hour ago, Kaireckstadt said:
Sounds nice Gary but sending is no option. Would be better if I picked them up at your homeplace. I always wanted to visit Australia and the Gold Coast.
Great place where you live. I‘m really envious!The quality of the RFM-kits is really good. Crisp details. Do you have more RFM-kits in your stash in addition to the one you won? Did you already build a RFM-kit?
You would be welcome! Make sure you come in November through March to enjoy our warmest weather.
This is my first RFM kit. I had four kits to choose from: Tamiya StuG IIIB, Asuka Sherman, Takom Blitz PzIIIm, and the t-34/85... Having recently completed a StuG and a Pz IIIM, the Sherman and t-34 had some novelty interest as kits from makers I haven't built yet.
-
2
-
1
-
-
Every time I see this title I'm reminded of the dangers of mixing bourbon and typing. Anyhow....
Hopefully ICM will step up with some P-39's and P-63's in large scale now that Kitthakk is gone.
-
6
-
-
10 hours ago, krow113 said:
'nuff said:
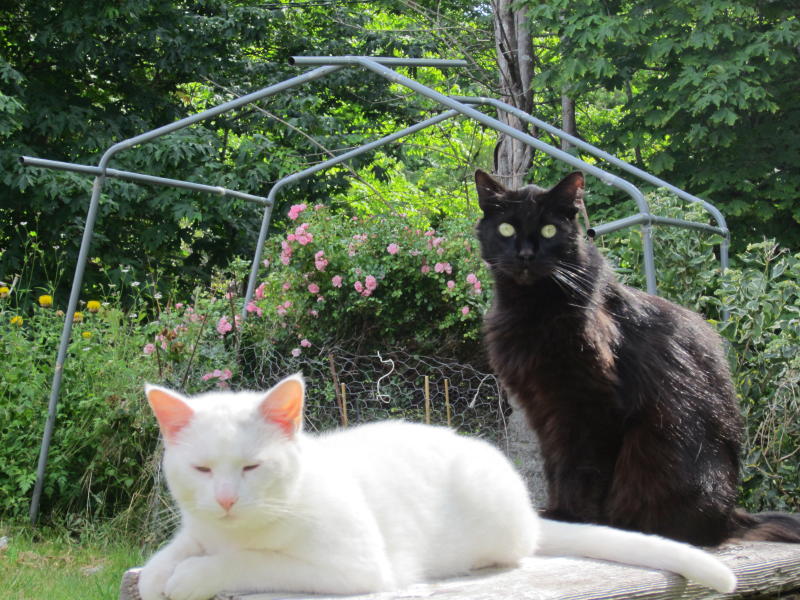
There are enough cats roaming the neighborhood at night here. Our cat only gets out when she is lucky enough to escape. Cats tend to kill everything around them... not just rats and mice.
-
4 minutes ago, belugawhaleman said:
I wonder what the Ausie police would have made of policing my parents pond of snapping turtles with my '71/'84 Mauser? Something was killing their Coi , and action
needed taking! ....... Just kidding, or am I ?
You wasted 71/84 ammo on turtles? I used to have a 71/84 and ammo was not easy to get. I found one box and shot off half of it for fun... but kept the rest just to have it.
BTW... it's not totally gunless. But the cops have the right to come to your house and show them all of your guns so that they can be sure that they are there, and secured properly. I have a friend who was a gun collector and wouldn't turn in all of his stuff. Periodically the cops come by to make sure that all the guns are under lock and key, chained to their fixtures, with the bolts (they are all military, non-auto rifles) removed.
As for killing animals... everything is protected here... except for kangaroos when the want to cull them and wild pigs.
-
1
-
-
Nice work on the engines, JohnnyB!
-
4
-
-
That bench area is coming together nicely.
-
5
-
1
-
-
4 hours ago, Kaireckstadt said:
Thanks for explaining your track-painting method Gary!
At first glance I wasn’t able to tell if the second picture was from the real thing or a model. Looks stunning! Can’t be done better in my eyes.
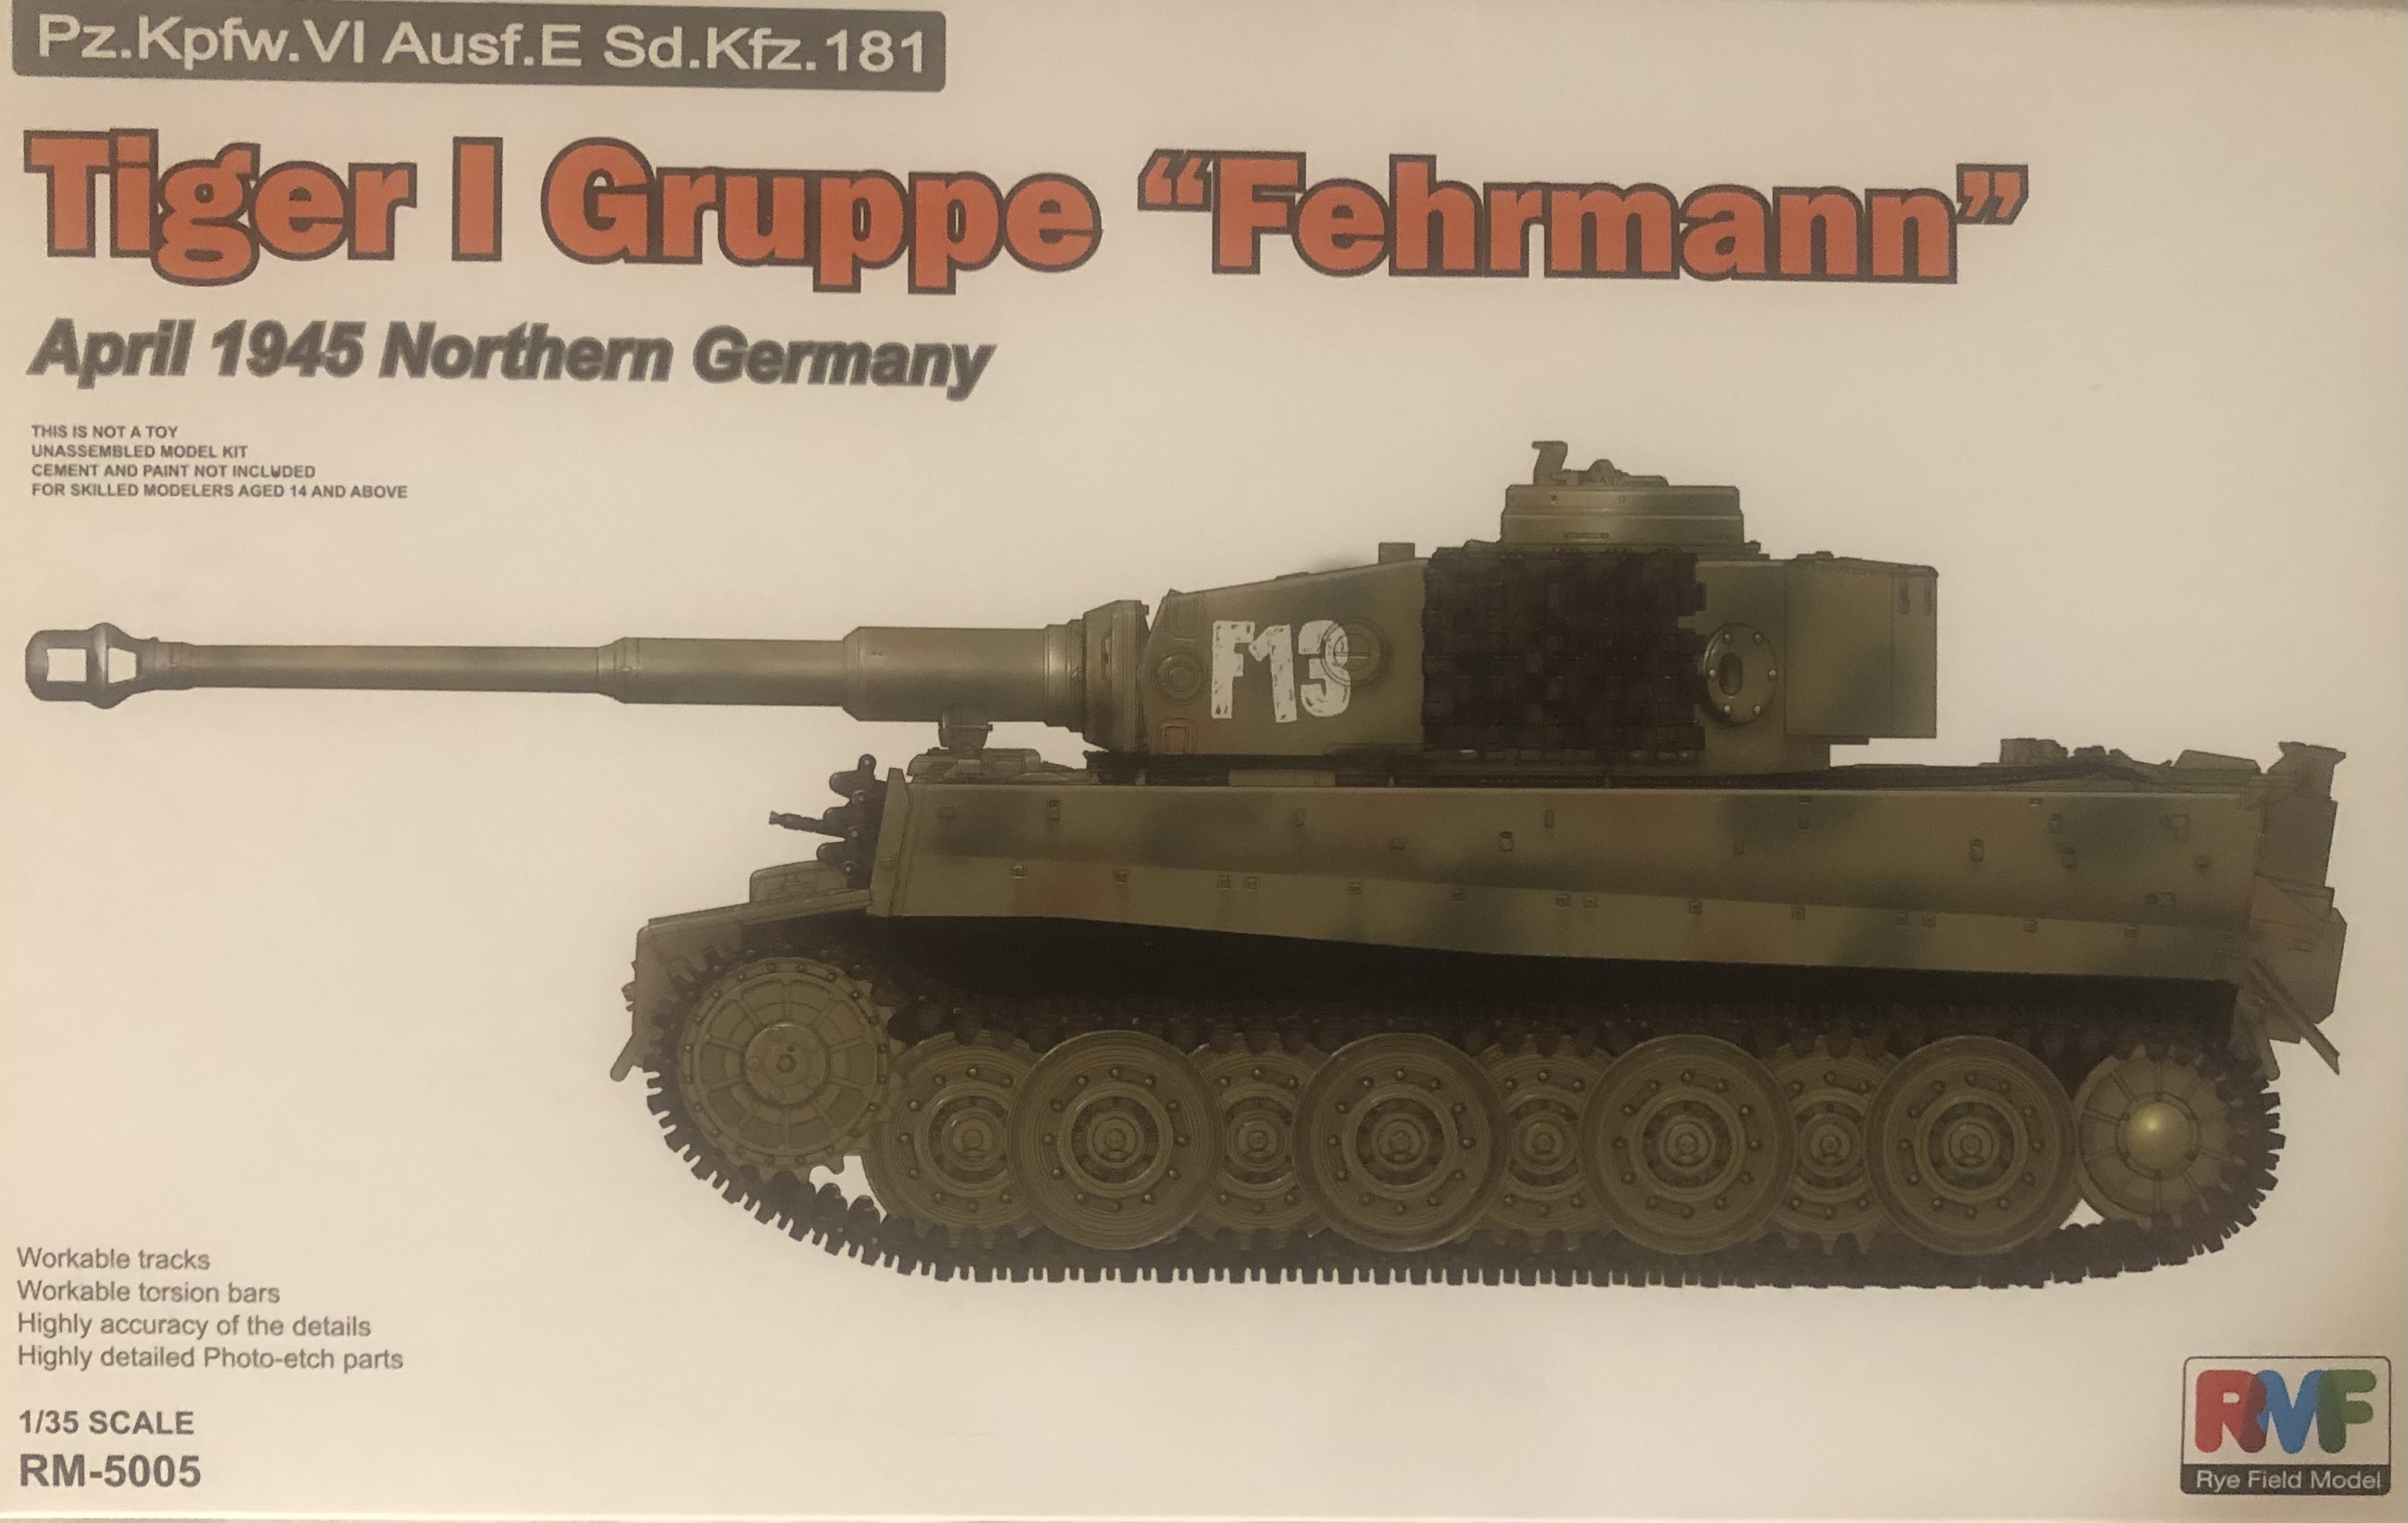
I will for sure use your method for the only tank I have in my stash. It’s a RFM Tiger I Gruppe Fehrmann:

Thank you, Kai.
The only tank?? Do I need to send you a couple? At any rate.... if you're going to have just one... you want it to be a Tiger I.
I just won an RFM t-34/85 postwar variant at my club's meeting. The moldings look sweet! The best thing about armor, is that you rarely have to fill a seam.
-
3
-
-
Very nice!
-
2
-
-
10 hours ago, Kaireckstadt said:
Didn’t think they were plastic. Looks like treated metal. Great painting!
Will you replace the pins by metal ones?Curious how they will look like when finished!
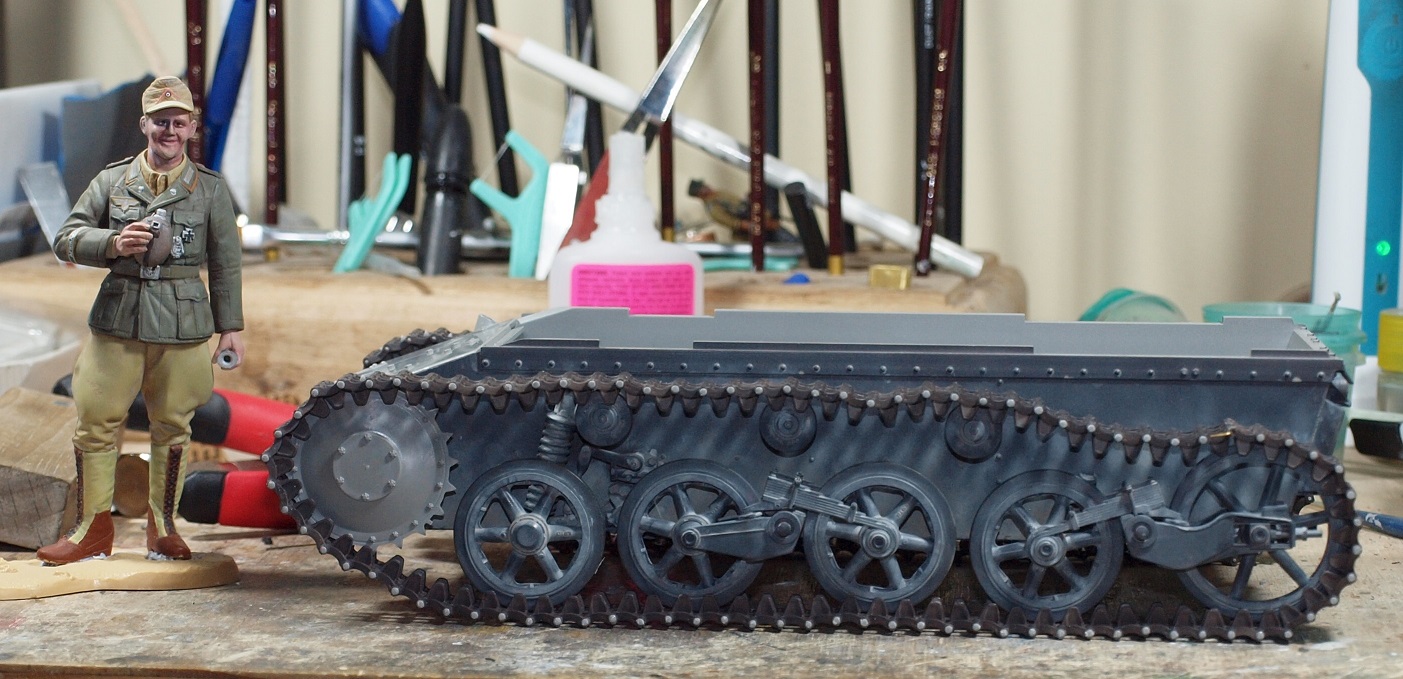
Thank you, Kai. The pins and tracks fit well together... it just takes a little patience. There's no need for metal pins. I'm forever trying to improve my tracks. I've theoretically divided those into zones.
1. Dirty zone - weather according to the rest of the model
2. Steel scrubbed by rubber zone - I've been using a dull metallic paint with blue and brown washes to make it look like steel
3, Metal on metal zone - shiny white metal paint
4. Metal scoured by earth - these are the most raised areas and will get dry-brushed with a metallic color, then rubbed with graphite last to effect a sheen.
My inspiration came during a recent build of the Leopard 2a4: Here are some slightly weathered Leopard tracks:
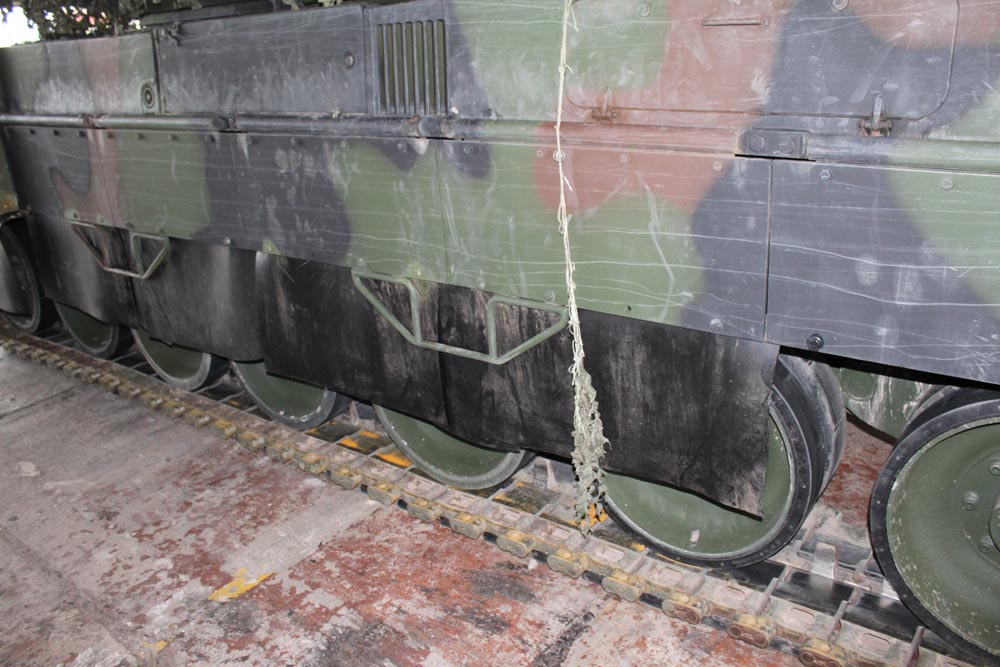
And here is how mine turned out:
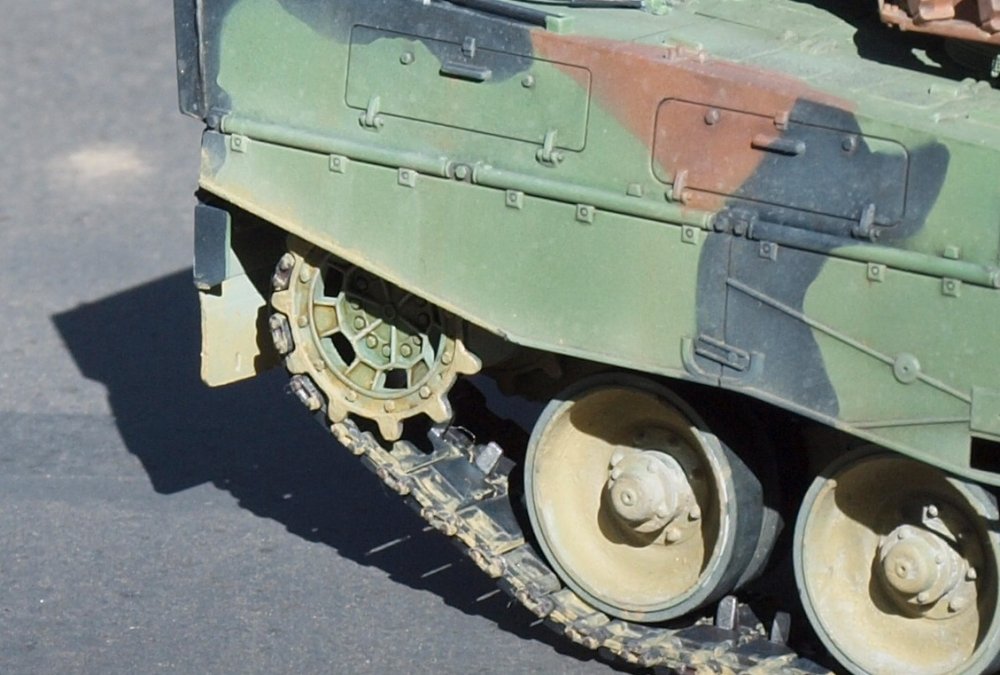
I was trying to show a tank just returning from the sandy Bundeswehr training areas.
It's an exhausting process. And even though most of it remains unseen, I feel like I have done the right thing.
-
4
-


Israeli Mirage III C with Atar9C
in LSM 1/35 and Larger Work In Progress
Posted
Yes, fixing all of those booboo' s is a PITA ... Is there a German phrase or colloquialism for that? Anyway... still hanging for that first splash of color.