


GazzaS
-
Posts
6,396 -
Joined
-
Last visited
Content Type
Profiles
Forums
Events
Gallery
Posts posted by GazzaS
-
-
1 minute ago, DocRob said:
Love the silk thread work, Gaz. I consider shaving away the chord on my next WNW build and use your method as it looks more real.
Cheers Rob
Thanks Rob,
I never even considered it when I built my (3 so far) WNW kits. Never even entered my mind. Sometimes there is something to be said for easy steps. But I can see that it is one more way to improve on an already fabulous kit.
-
 5
5
-
-
21 minutes ago, Kaireckstadt said:
Nice work and beautiful pics Gaz!
Whenever I build my only WWI plane in my stash (Fokker D VII WNW) and have problems I will come back to you...
Thank you. I'll be glad to help.
-
3
-
 1
1
-
-
Morning update:
Oh... rude of me... Hello everyone!
Anyway... the color scheme affords me the rare WWI-modelling luxury of attaching the LG legs prior to main painting. It's a complicated process as you try to bring angles and materials into line with your way of thinking.
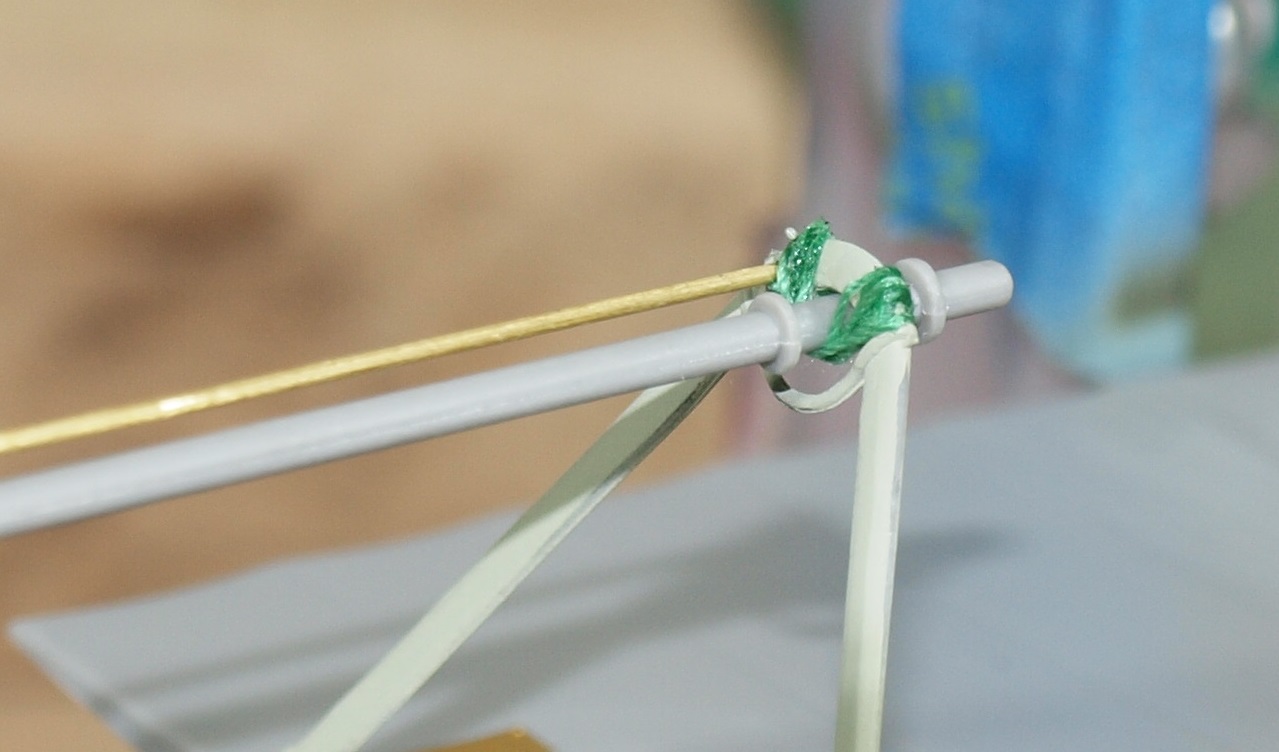
One interesting material is silk Thread.
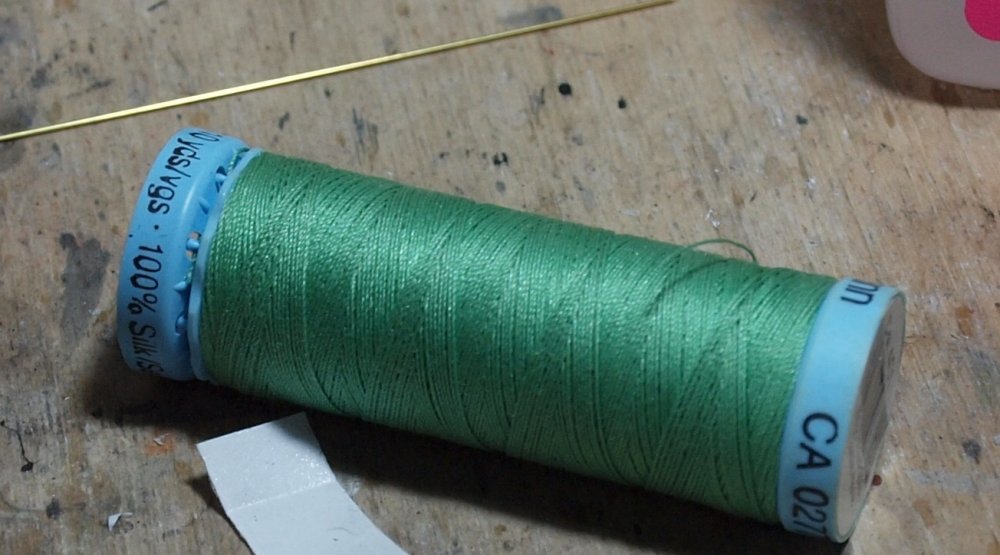
Silk is less fuzzy than cotton, and any frizz can be quickly burnt of with the quickest lick of flame. And you have to be quick! CA hates flame, and you know about styrene already.
WWI aircraft were very simple. The shock absorber of the day was bungee cord. It was looped around the axle and LG struts to soften the shock of landing and taxiing. On a WNW kit, the bungee is represented with some wavy plastic with a hole for the axle. On the Roden kit, nothing is supplied, and there isn't even a spot in the directions telling you what you must do.
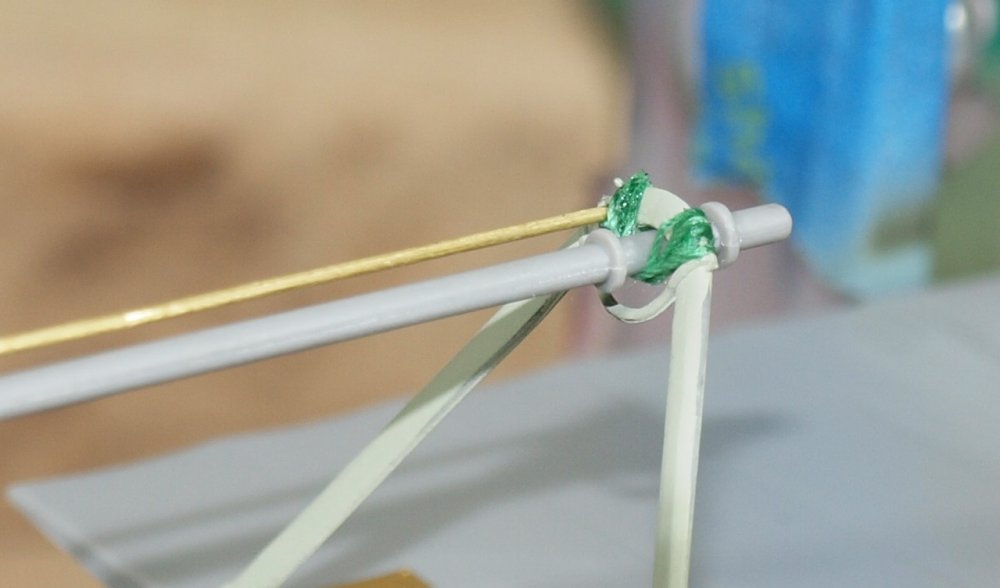
However, a good result with the technique shown does look better than the WNW way. But nobody really notices...lol
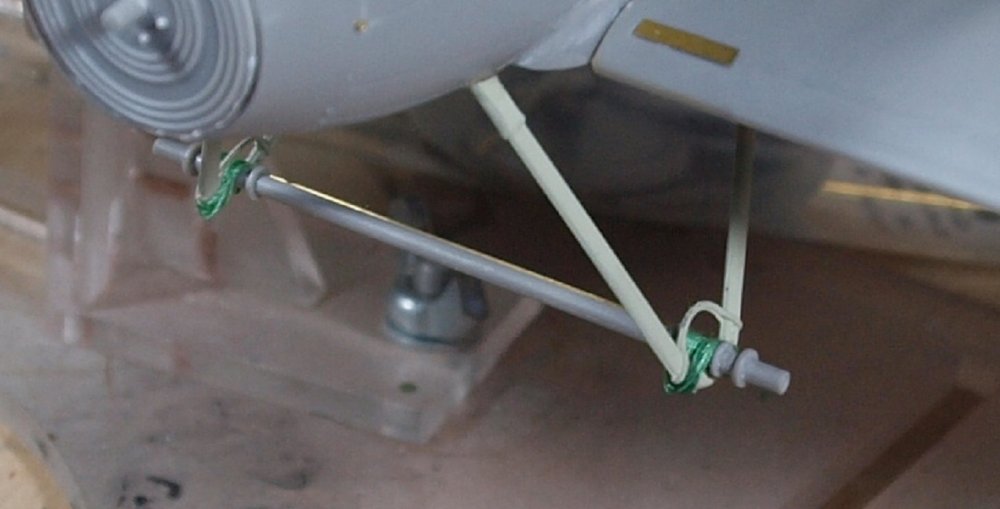
The end result is a rock-solid structure if you used as many brass pins as I have. If you don't pin it... it will eventually collapse.
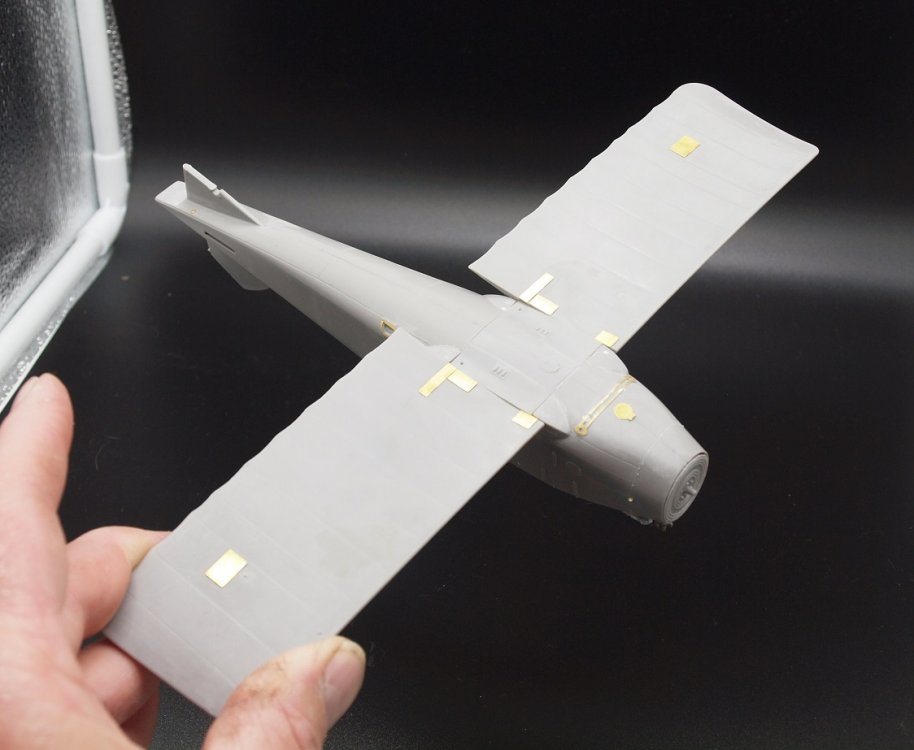
I also worked on the empennage.
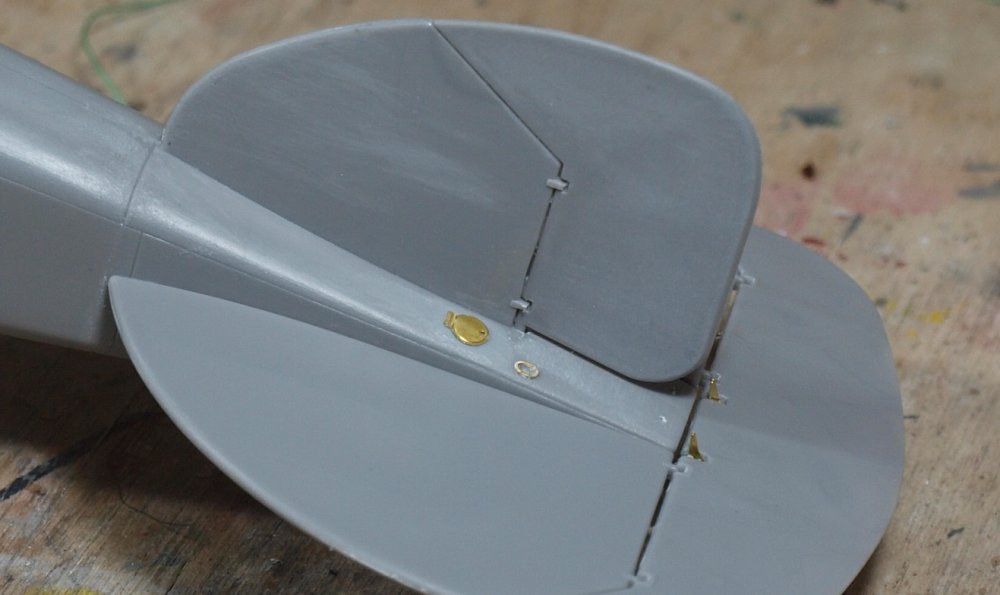
And finally, she can sit on her own. Now we can start thinking about paint... Glorious paint!

Now... the paint plan: I have to place the white areas for kreuzen and skull markings. I could try the decals. But I'm never really confident about Roden decals.

-
5
-
-
Nice details, Kai. A dark wash will set everything into relief.
I remember being under the Wheel Well of an F4 Phantom. As a modeller, we see these as small parts. But IRL... they are quite massively thick.
-
4
-
-
1 hour ago, Peterpools said:
Gaz
Beautiful work and looking brilliant!
Right with you and the guys on PE. Big is wonderful and tiny: at the bottom of the ladder. I've lost my share, even to the part of ordering a replacement fret
 . I've seen videos where builders are using a wax pencil to pick up and hold the PE parts for placement. Haven't tried it yet but I'm going to give it a shot.
Keep 'em comin
Peter
HI Peter, Thank you!
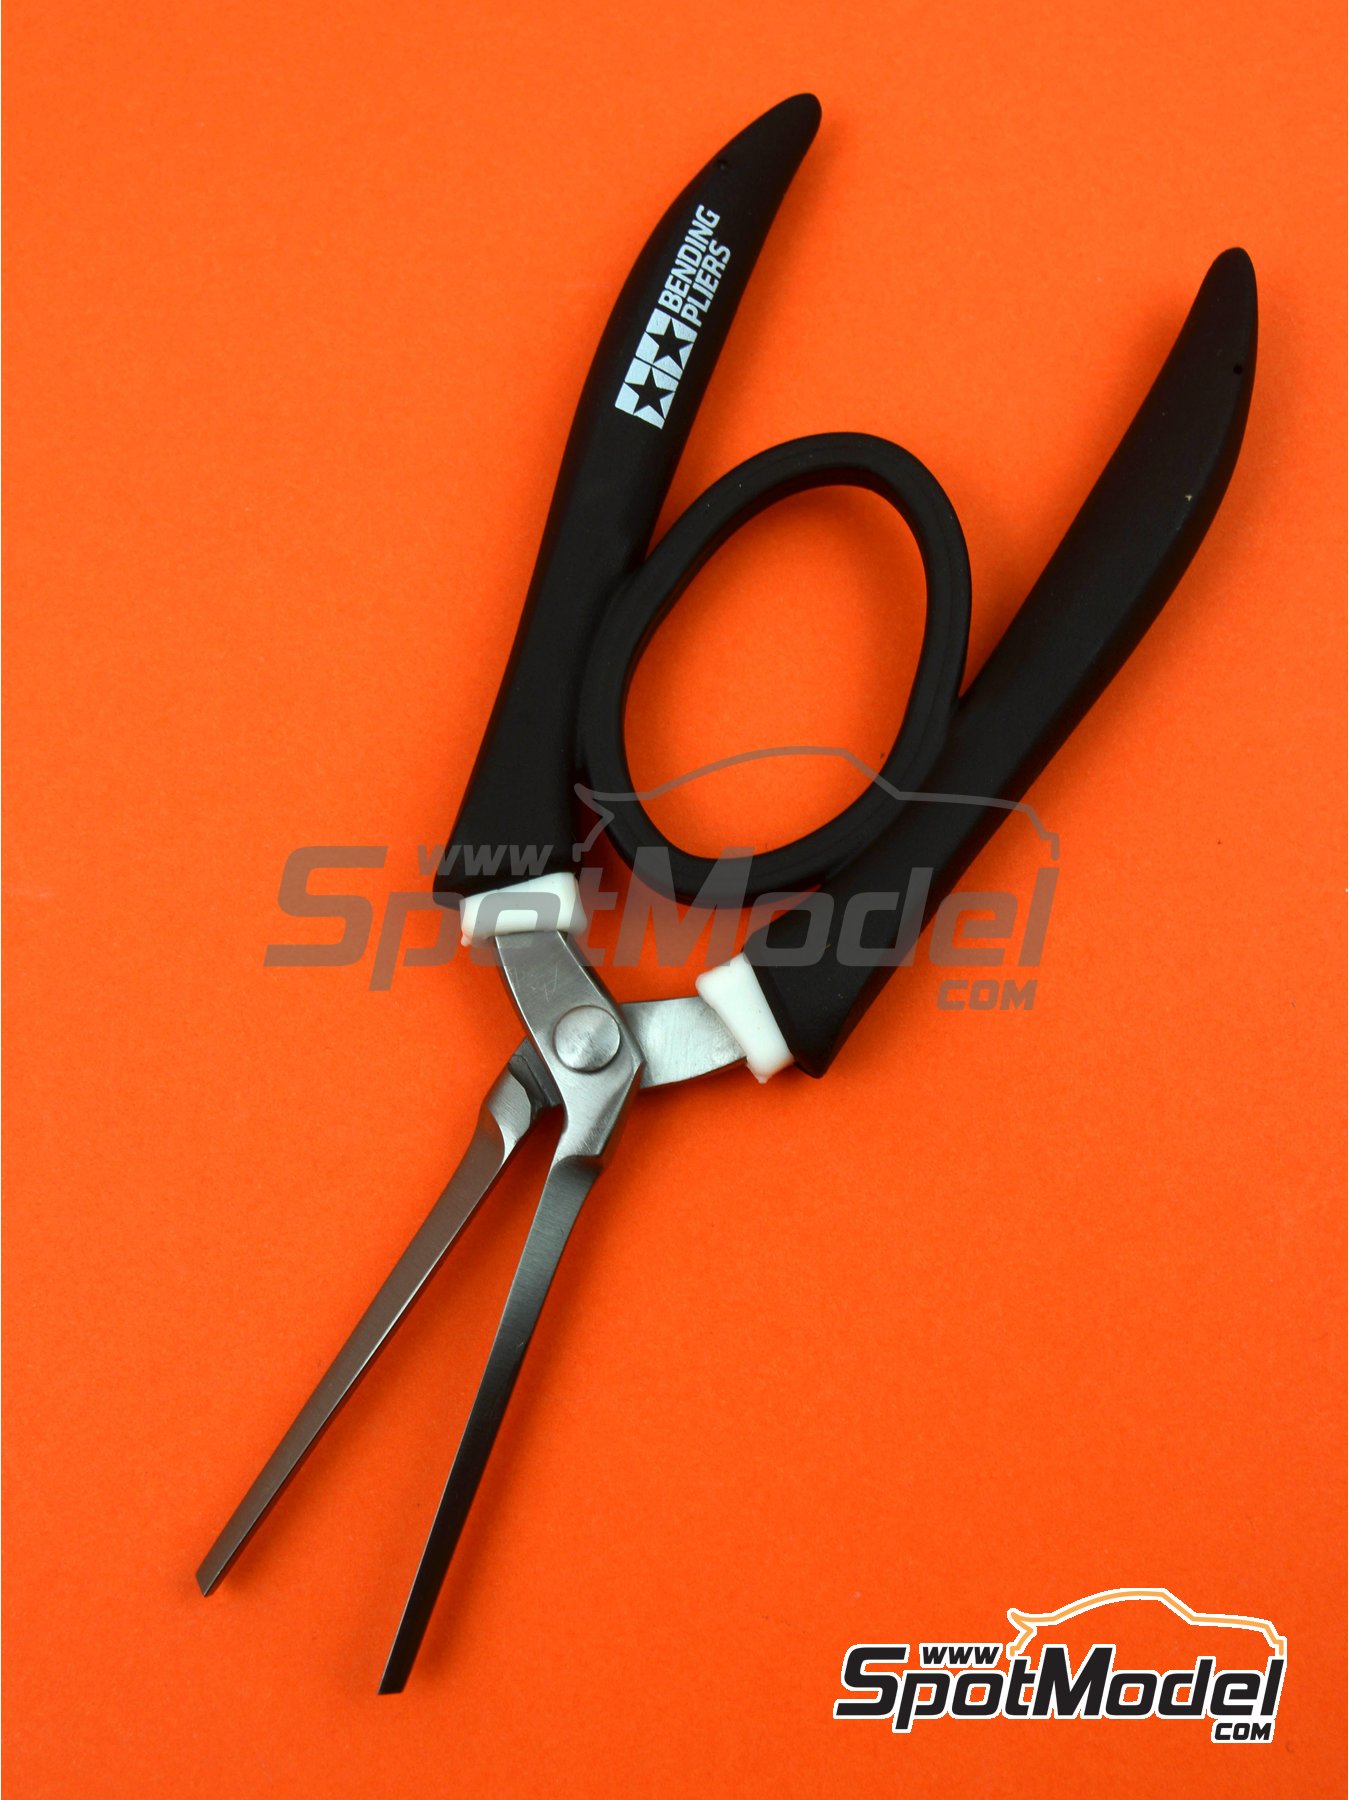
Here are a couple tools I have learned to use to make things easier:
Sticky toothpick: A toothpick with a tiny gob of blue-tack on the end. Much more dependable/sticky than a wax pencil.
Electric toothbrush with 2-sided tape and sandpaper: I use this to sand of the tiny bit that I can't cut off with a blade. I find it helps me avoid twisting the part... and it's damn fast!
Tamiya PE pliers: I use these to hold the part and keep it flat while sanding away the excess with the toothbrush.
-
3
-
2
-
-
5 minutes ago, Folkwulfe said:
Sorry for the small print...it reads:
U-995 German Type VII C/41 U-boat circa Late 1944,
Endlich fast zu Hause...Almost home at last.Build started (2011) by Robert W. Clark Sr...Build finished (2021) by Ralph E. Jeffries.
Danke!
-
2
-
1
-
-
1 minute ago, Kaireckstadt said:
The PE parts you chose to install really improve the model.
I like your statement about these little bastards. Can only underline it!
I have a little trick for them:
I use white glue to place them on the model. So it is possible to even move them a little or even remove them if necessary. Also removing of the white glue from the part is easy.
When alignment is correct I apply a little bit of superglue with a needle to the edge and let it dry. The capillary effect tears the glue under the part. Then I do this for the rest of the edge.
Works really nice.Thank you, Kai! I will give that method a go!
-
4
-
-
Very nice, indeed! Damn my eyes... can;t read the plaque.
-
2
-
1
-
-
11 minutes ago, Martinnfb said:

Hah! Had to go back to realize it was the same squirrel.... he gets around!
-
2
-
 2
2
-
-
17 hours ago, Peterpools said:
Gaz
Excellent work on filling the turtle deck gap and the MG's look great.
Keep 'em comin
Peter
Thank you, Peter!
And they are coming. Tons of Time on PE. I find the big parts easiest because they want to stick. But the little bastards... They're the opposite.
The stern:
Amidships:
These two pics remind me I need to do a little work with clear yellow in the pit.
Abaft the beam:
Of course.... gotta see the guns as often as possible....
And finally... below the waterline...
I used whichever parts I thought would enhance the build (regardless of size) and didn't use the rest. I even built both ear radiators. One with CA and the other with solder. The one built with CA might be passable after some clean up. However, the one I attempted to solder got all twisted as I struggled to hold the joints together whilst operating the soldering iron.
In some ways, the Eduard and WNW PE is nicer. However the Part sets have much more to them. Including wiring harnesses, spoked wheels, and every conceivable detail you might want to replace. I think all I have left for PE is the rudder and elevator control tabs... or whatever you call them things that the control cables hook up to.
Happy modelling!
-
4
-
1
-
-
13 hours ago, Jeff said:
Gaz, do you have a link to "Part" pe site by chance?
Easy as:
-
1
-
1
-
-
-
Never had one.
-
3
-
 3
3
-
-
Kai,
The improved LG look great! I'm not surprised about the fuel tank. The kit is a lemon.
-
3
-
-
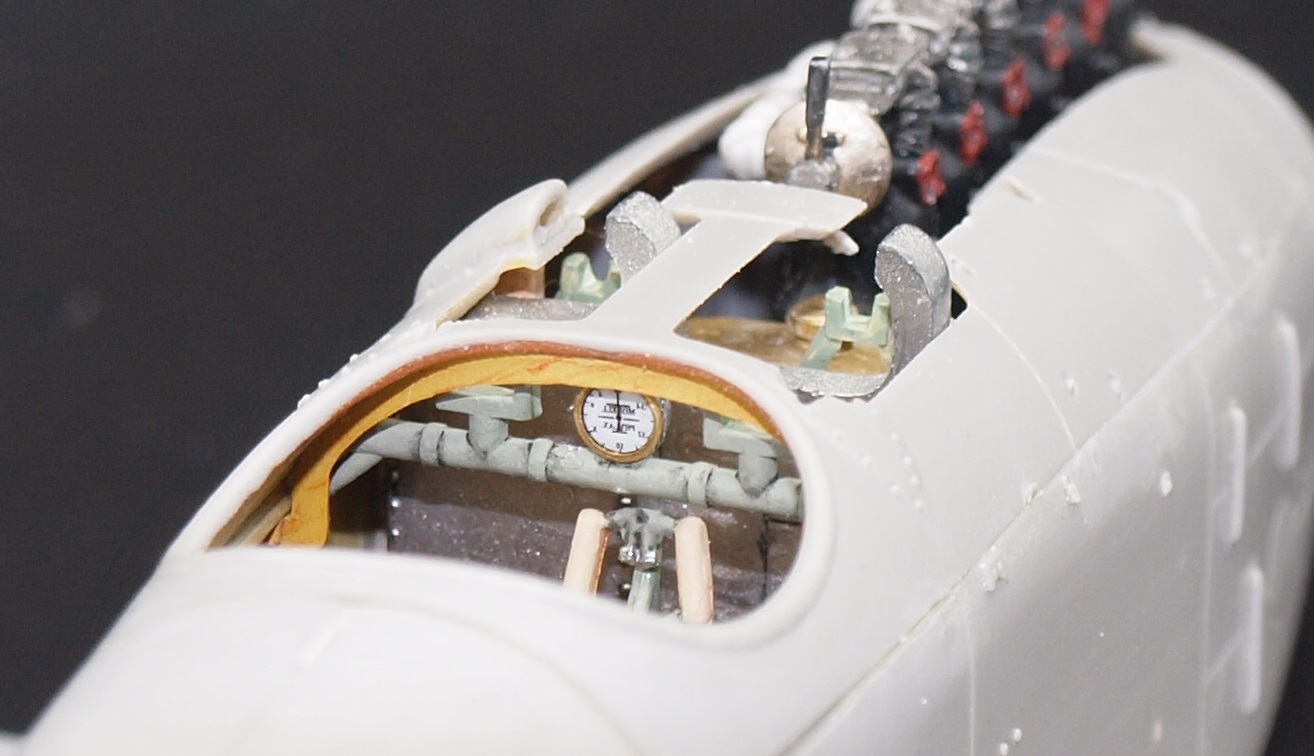
3 hours ago, krow113 said:
Decent work going on...
A little late but thin wall tubing of the right diameter with a sharpened edge can be used to fabricate guage lens'.
Heat the end of the tube and it will go through the clear material easier.
That's a great idea!
-
4
-
-
4 hours ago, DocRob said:
Nice and delicate work, Gaz. The Spandaus's will look good with a matte black coat and the fuselage with it's innards looks great. I also think, it's a good decision not to use all PE possible. I went the same way with my WNW Pfalz. If I would have used all the PE, handling the plane would have been challenging. I always opt for a bit more durability, which pays off while painting, masking, decaling and rigging these fragile birds.
Cheers Rob
Thanks Rob. There is still quite a lot of PE to do. It's not just about this model. It's about subsequent models, too. Practice, Practice, Practice. I have a 109 I want to do with a lot of PE in the cockpit and canopy. I don't want that build to be flawed.
-
4
-
-
10 hours ago, Kaireckstadt said:
I can’t see any weekness when I look at the guns. They look perfect from my point of view!
Also the result of the fairing in looks absolutely convincing.Good decision not to use all photoetch parts. When they are so small that you can’t even hold them with tweezers I do not install them.
Thanks Kai. Hopefully someday I'll be good at these ultra tiny parts.-
3
-
-
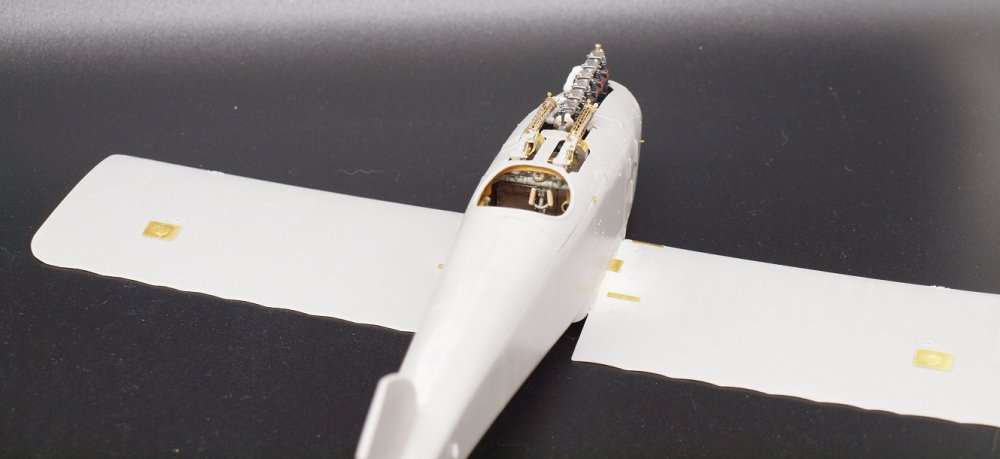
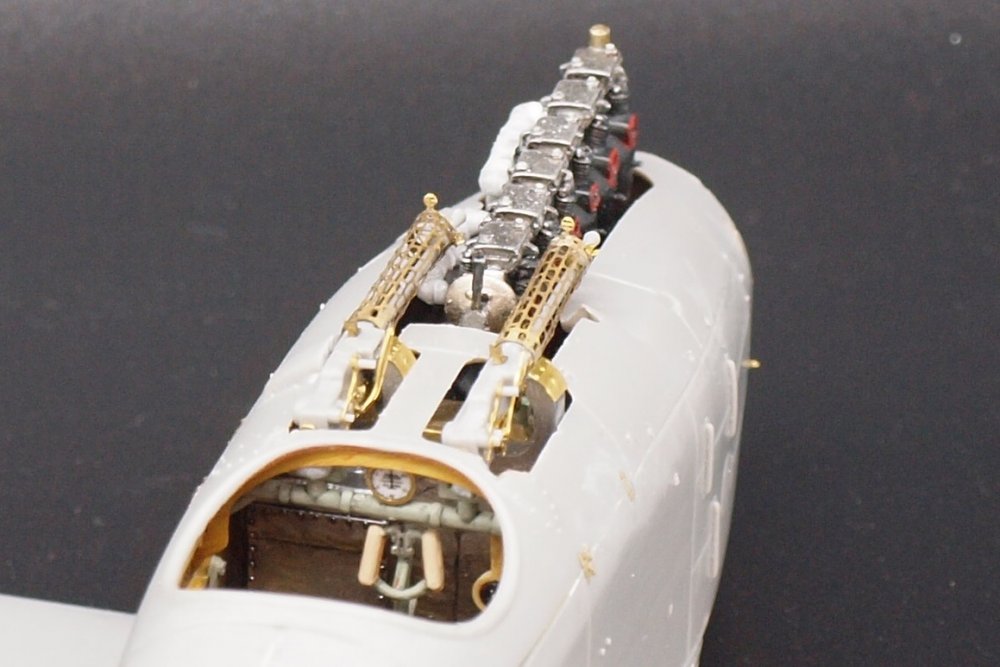
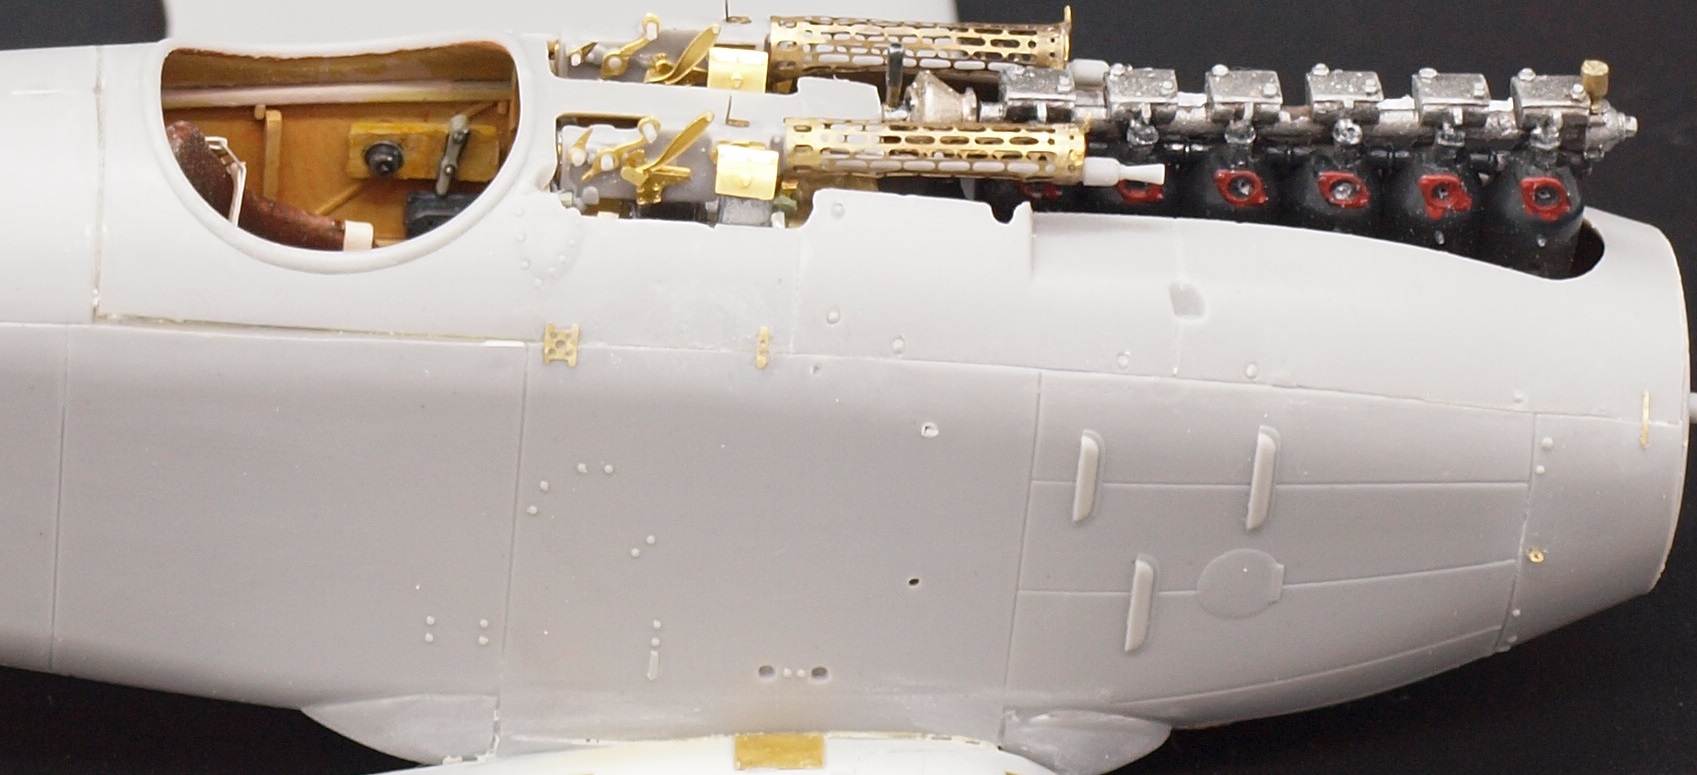
Well.... here we are again.
On small sessions this week, I faired in the turtleback. Then, last night... Friday evening I decided to adress my greatest weakness. Photo etch.
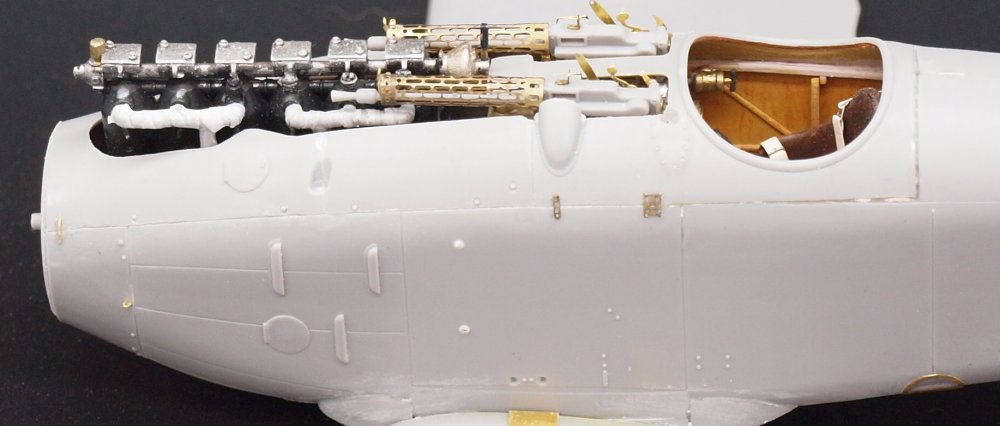
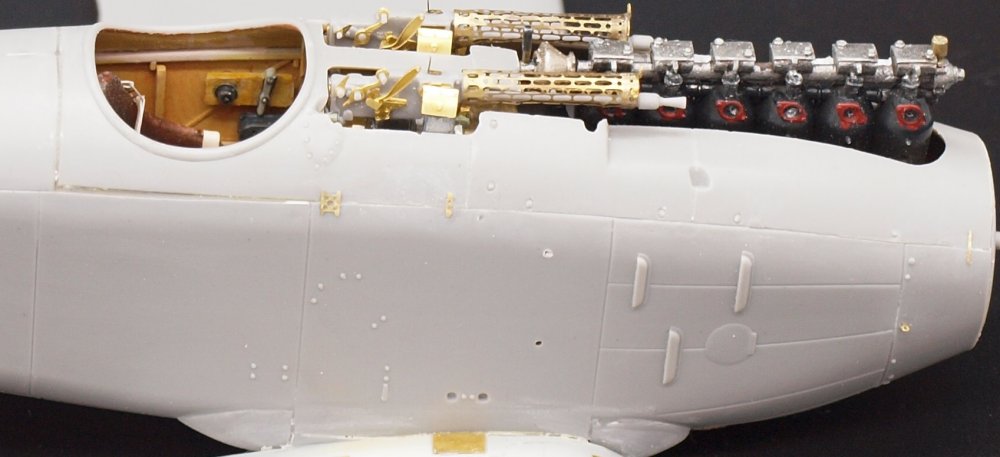
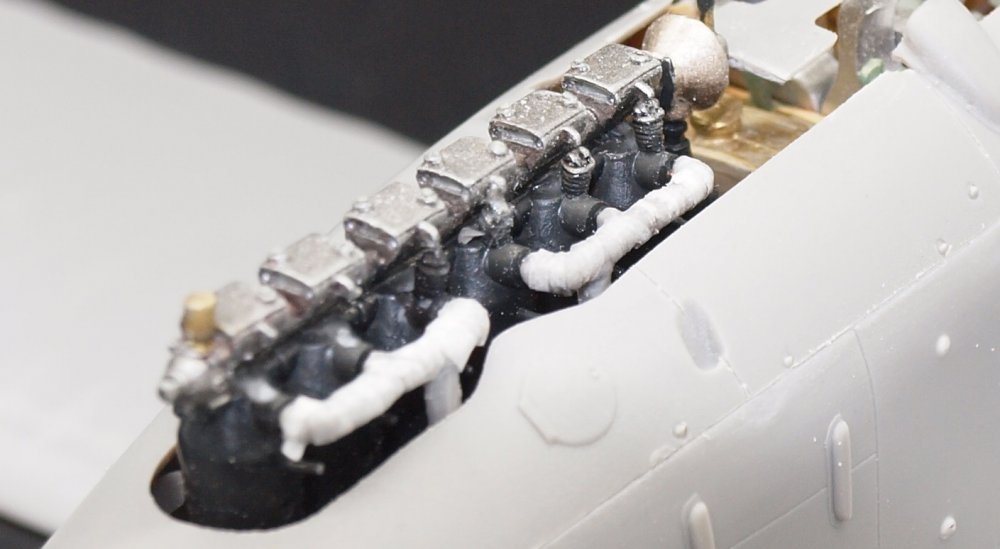
What WNW did with a couple pieces of plastic and two pieces of PE, Roden and Part did with many pieces of PE and some so-so plastic. The part directions weren't totally clear, and whilst completing the second gun, I realized that the directions omitted an important part. But by then... I didn't feel like tearing apart the guns.
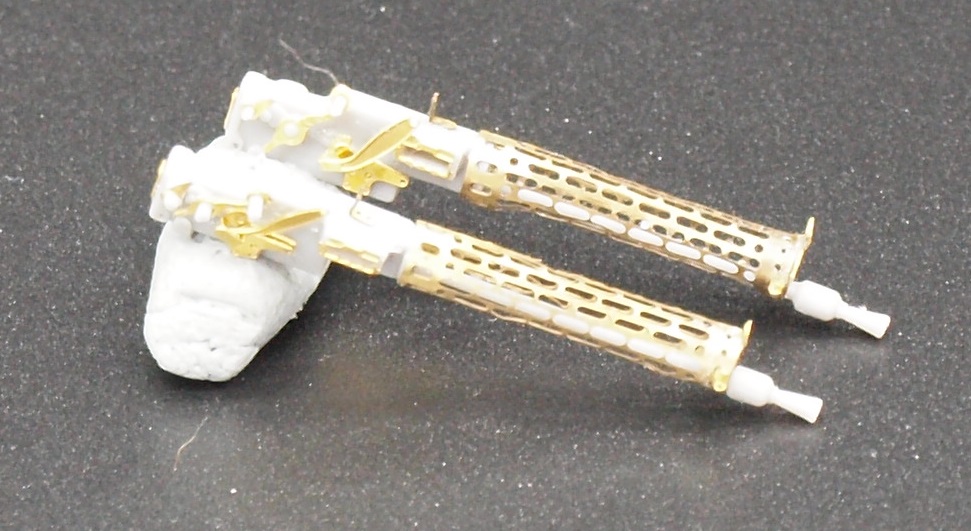
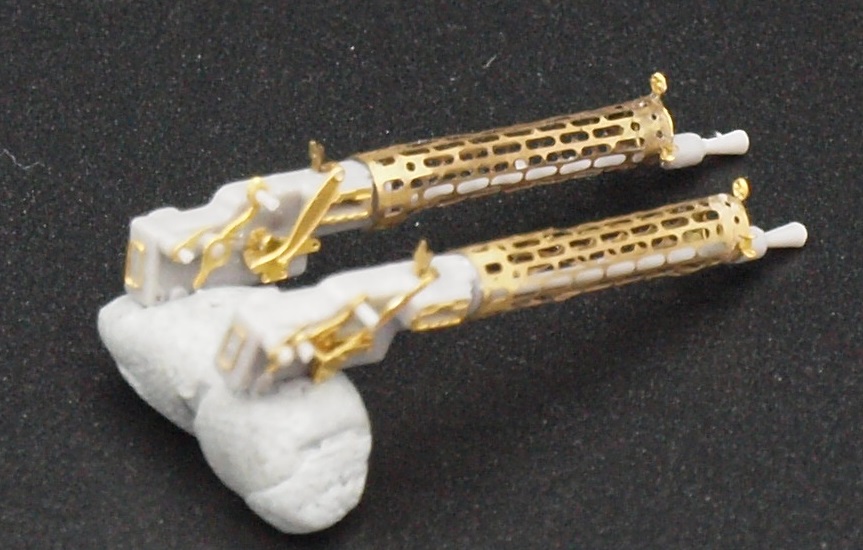
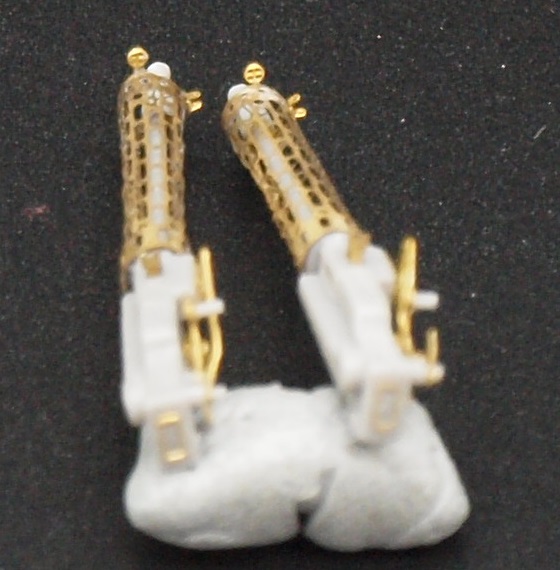
The photos are pretty bad, but hopefully, there is enough good in each to show you the parts. Sadly... due to the extended amount of handling, the jackets of the guns look like hell. But there is really no going back to fix them without major disruption. You see, even the ring sites are separate pieces.
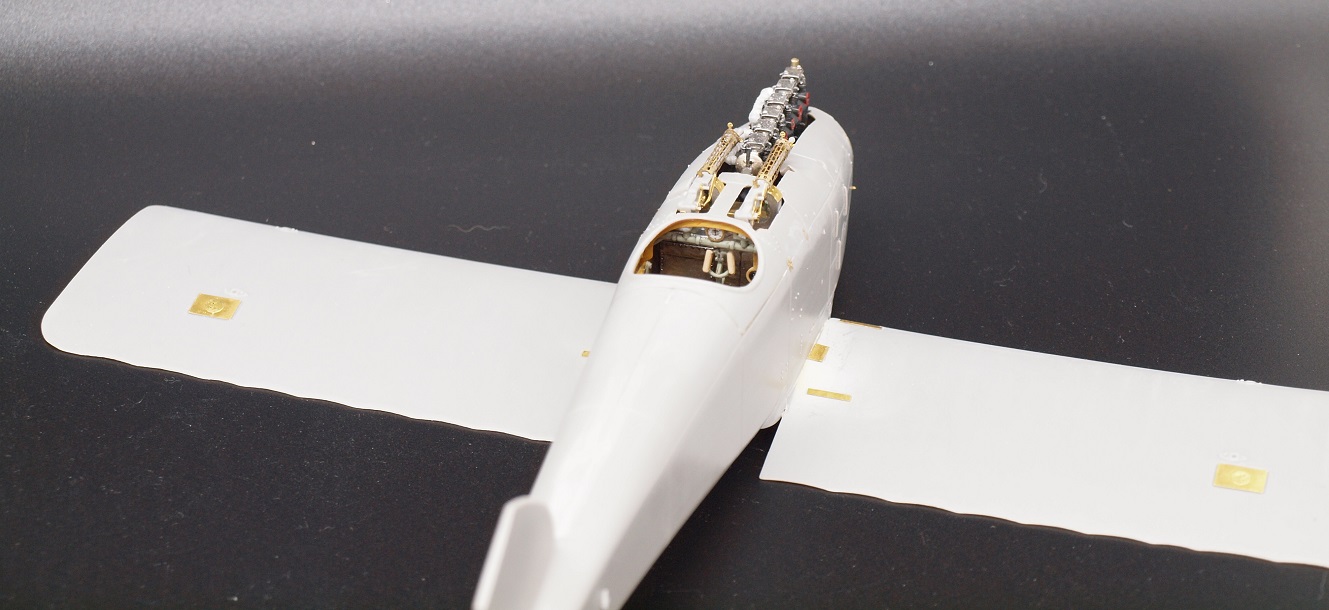
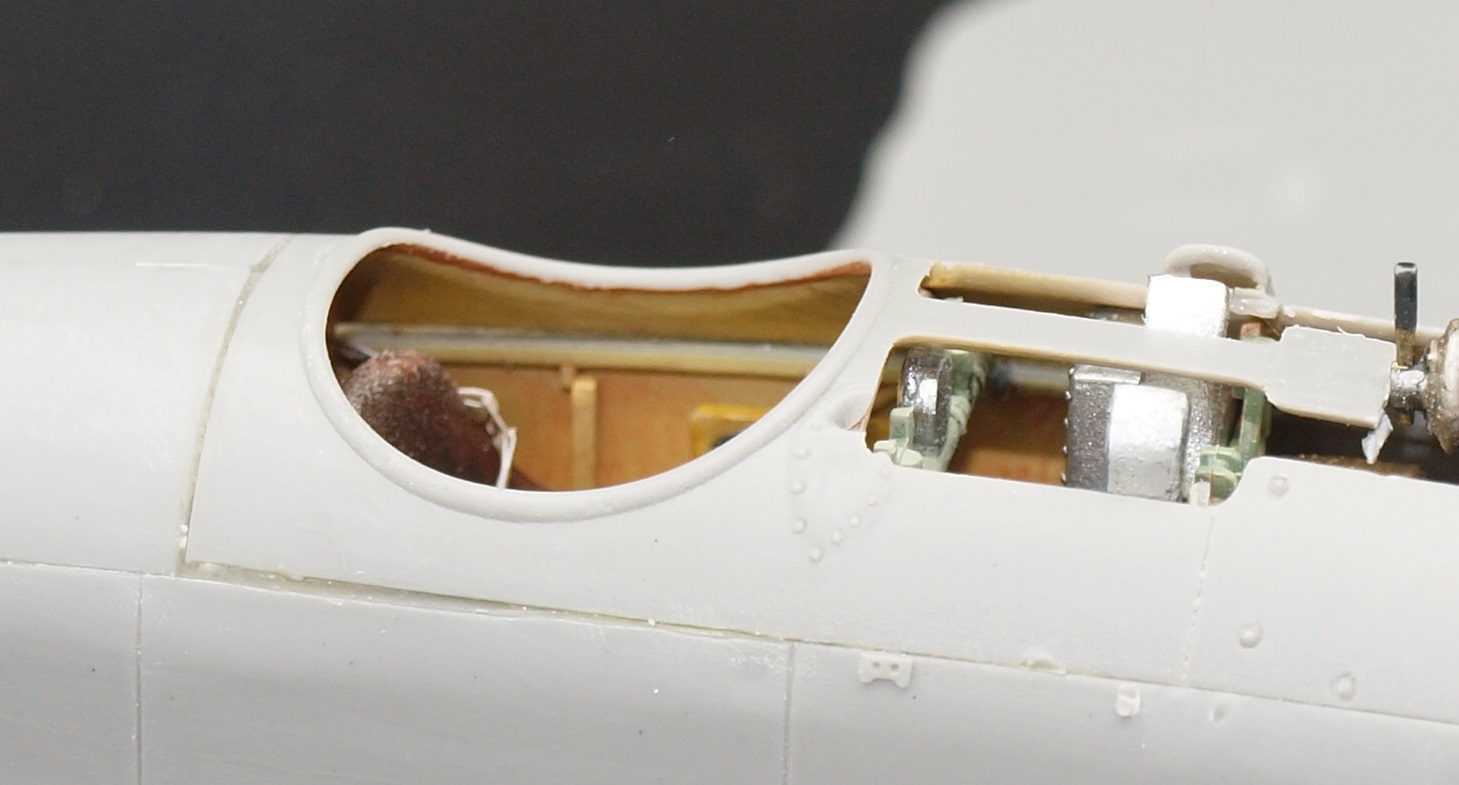
Fairing in the fuselage went well.
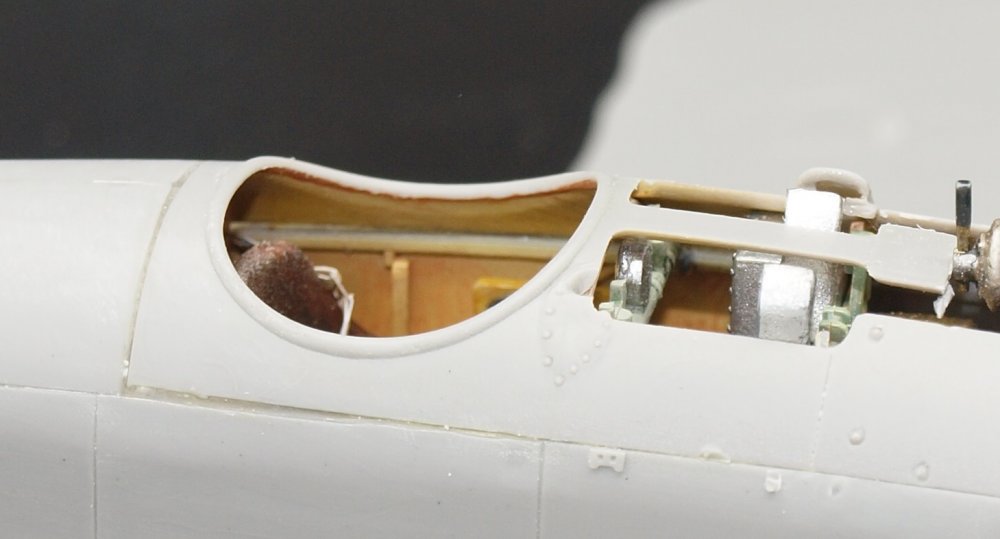
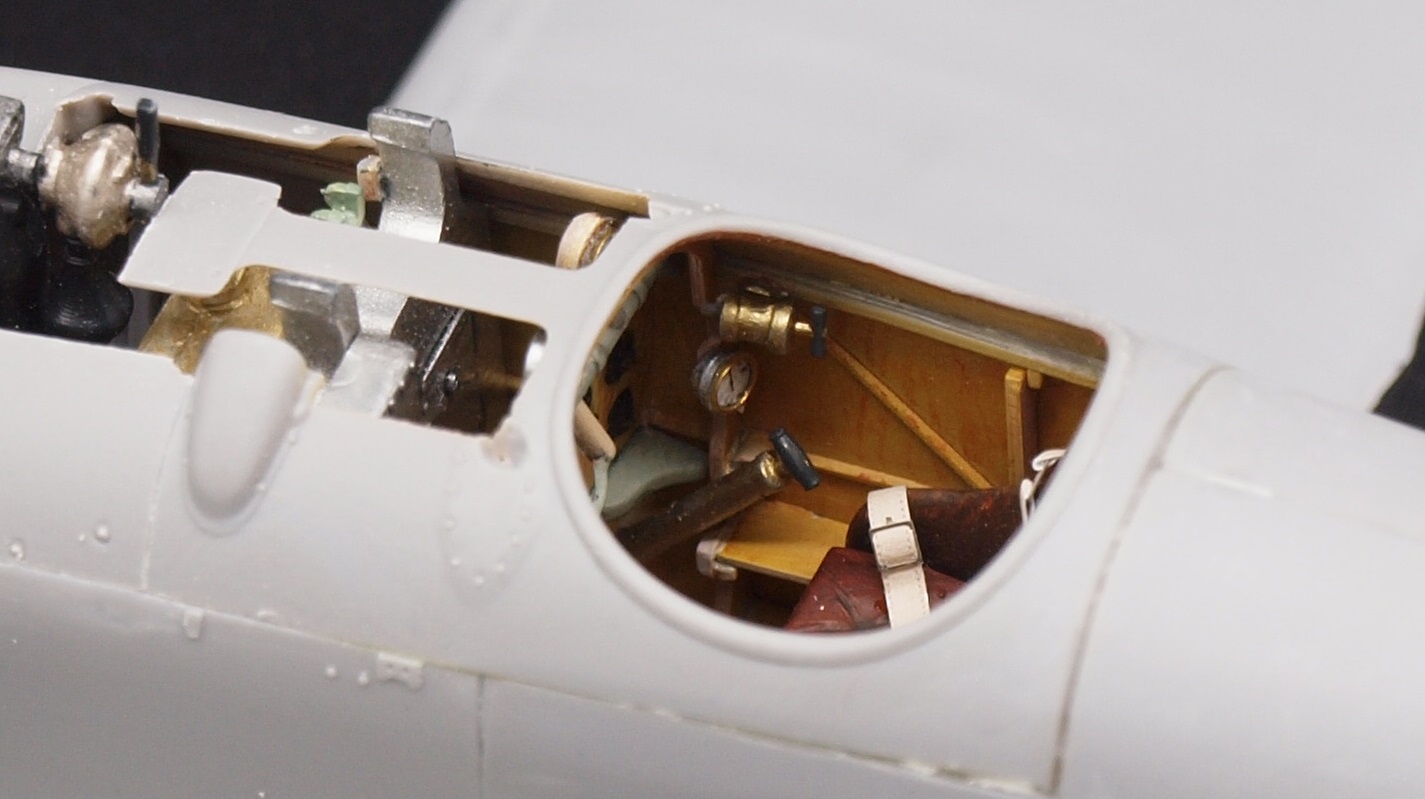
I didn't have to lose any plastic material. I will need to use a bit more interior color, though.

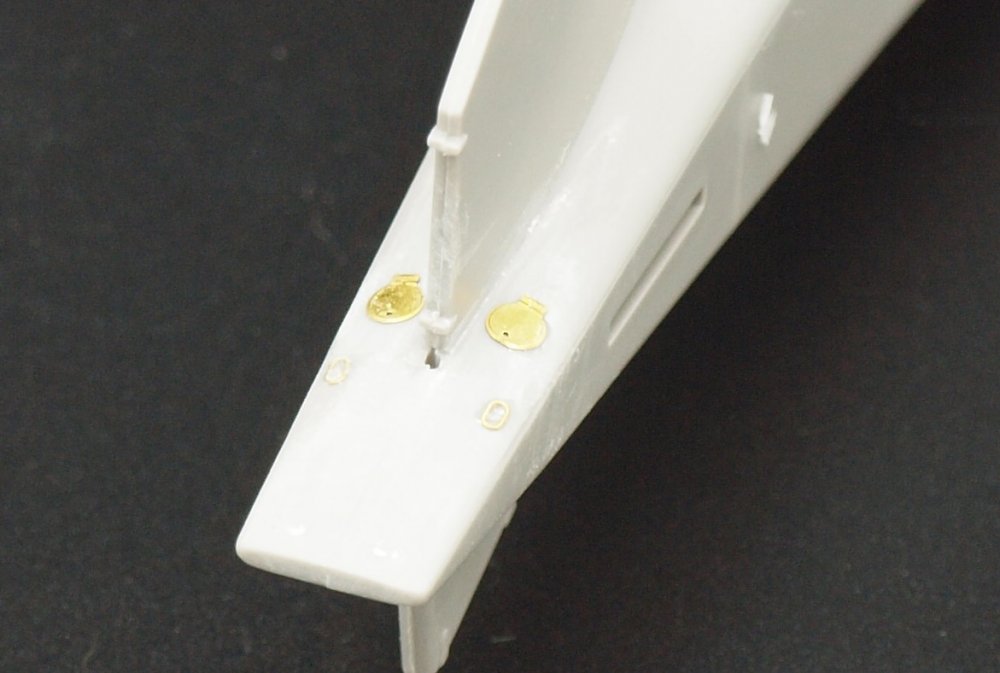
I rescribed as necessary, but I think the kit is missing a line or two in places.
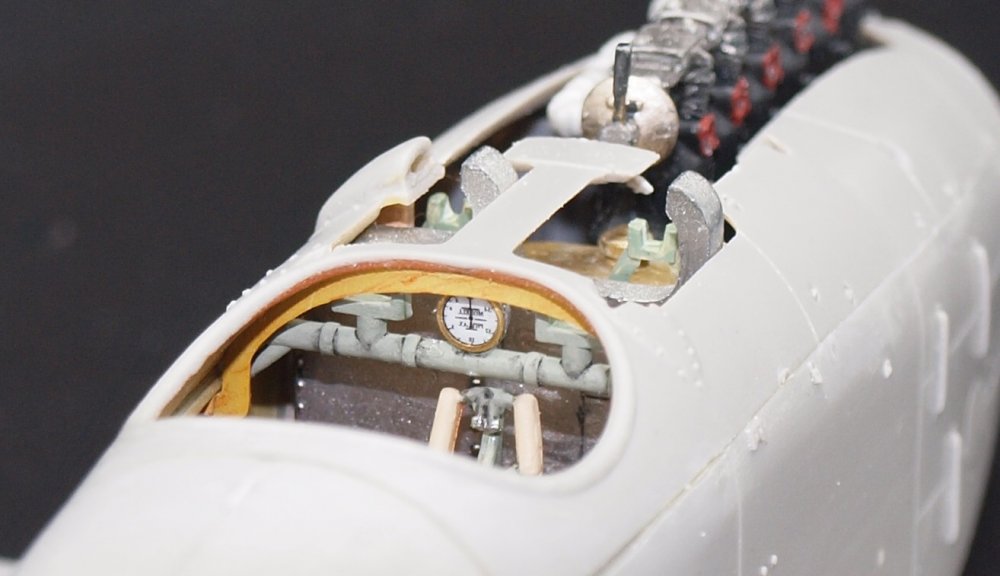
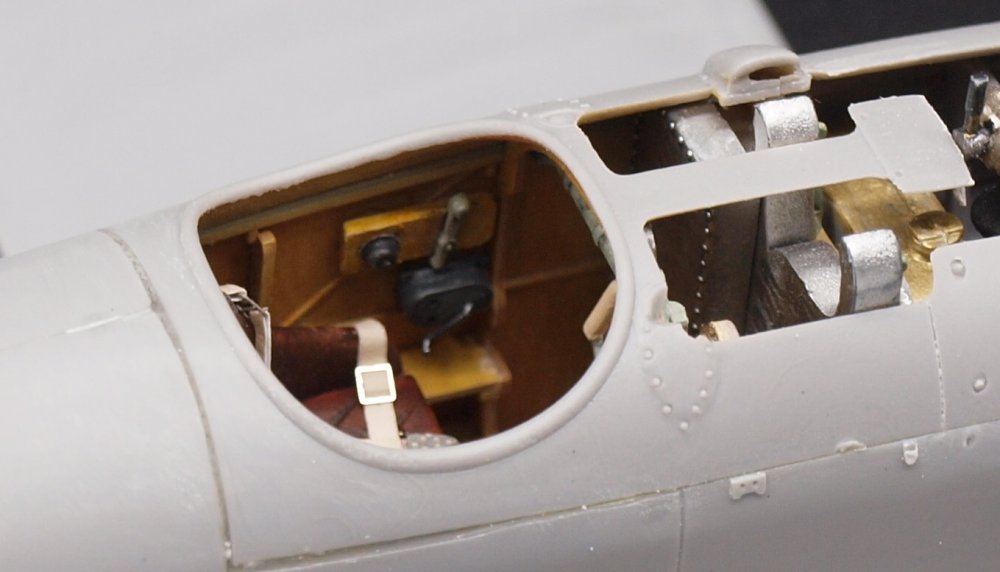
I supplied a few more closeups. Every surface detail you can see could be replaced by a PE part. But I will use them judiciously.
some parts are just too difficult to get right.
-
4
-
1
-
-
Fantastic!
-
3
-
-
Your exterior looks great! I really like the guns and dampeners. Good luck with not knocking off that pitot tube.
-
3
-
2
-
-
-
Looks fantastic, John!
-
4
-
-
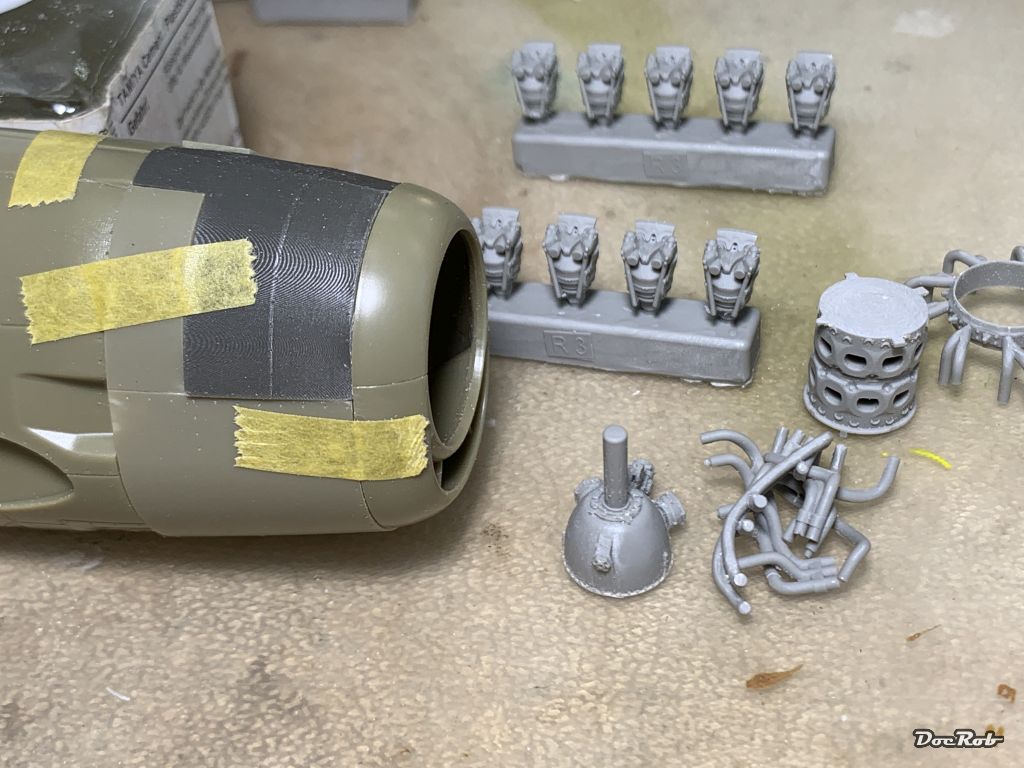
On 4/28/2021 at 8:35 PM, DocRob said:
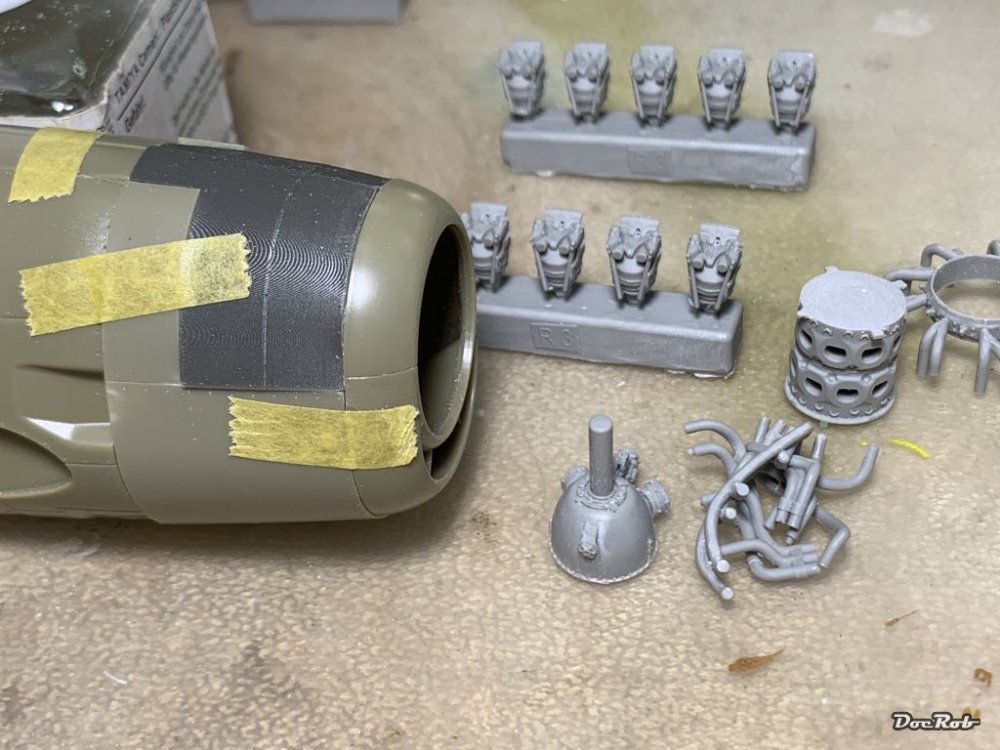
I started a little side project, as a mojo refueler. It's an Eduard 1/48 F6F3 Hellcat almost oob, beside the juicy Brassin engine and some HGW wet transfers.
As always, surgery first, I cut the cowling panels according to the resin substitutes and cleaned all the resin engine parts. For panel cutting, I used my new razor saw and I really don't know, how I could have lived without one. There is nearly no sanding necessary after cutting and the cuts are so precise and fine, I could use the removed parts as a substitute again.Cheers Rob
No picture of saw?
-
2
-
-
12 hours ago, harv said:
Wow Gazz, just found this. Really nice work.....harv

Thank you, Harv!
-
4
-


Roden Albatros D.I
in LSM 1/35 and Larger Work In Progress
Posted
Thank you, Peter. I am amazed that a plane after WWII still used bungee cords.
Already done. I also made the masks in the Silhouette software. I'll cut them tomorrow.