-
Posts
6,396 -
Joined
-
Last visited
Content Type
Profiles
Forums
Events
Gallery
Posts posted by GazzaS
-
-
Holy shit! Please... please tell me you're not going to hold on to that "USA only" limitation. I'll pay the postage!
-
 1
1
-
-
Nice work, John!
If I might suggest....
I got some custom made reading glasses for rigging. They are X4.82. If you use X5, the working distance is too short. X5 is what watchmakers use. X4.82 gives you a working distance of 8 inches. Got them made at Specsavers here in AUS. Love them for the ultra-fiddly work.
-
 5
5
-
 1
1
-
-
Liking this mucho, mucho!
-
 4
4
-
-
Yay! It's always good to see a splash of color! I hafta admit I like most IDF color schemes. Especially with those big triangles!
Gaz
-
 2
2
-
-
14 hours ago, Jeff said:
That's really good info for me as well, Gaz, I have some art store oils as well, but was a little apprehensive on using them.... now I know they will work just fine.... I want to try my hand at oils as well..... I REALLY need to step out of my comfort zone, and your information will certainly help me do that..... I LOVE what you're doing here.....
Glad to be of help, Jeff. I try to avoid expensive hobby brands when I suspect I can save some dosh. I've even painted models with tube acrylics with no troubles. All of the models below were painted with student grade acrylic tube paint.
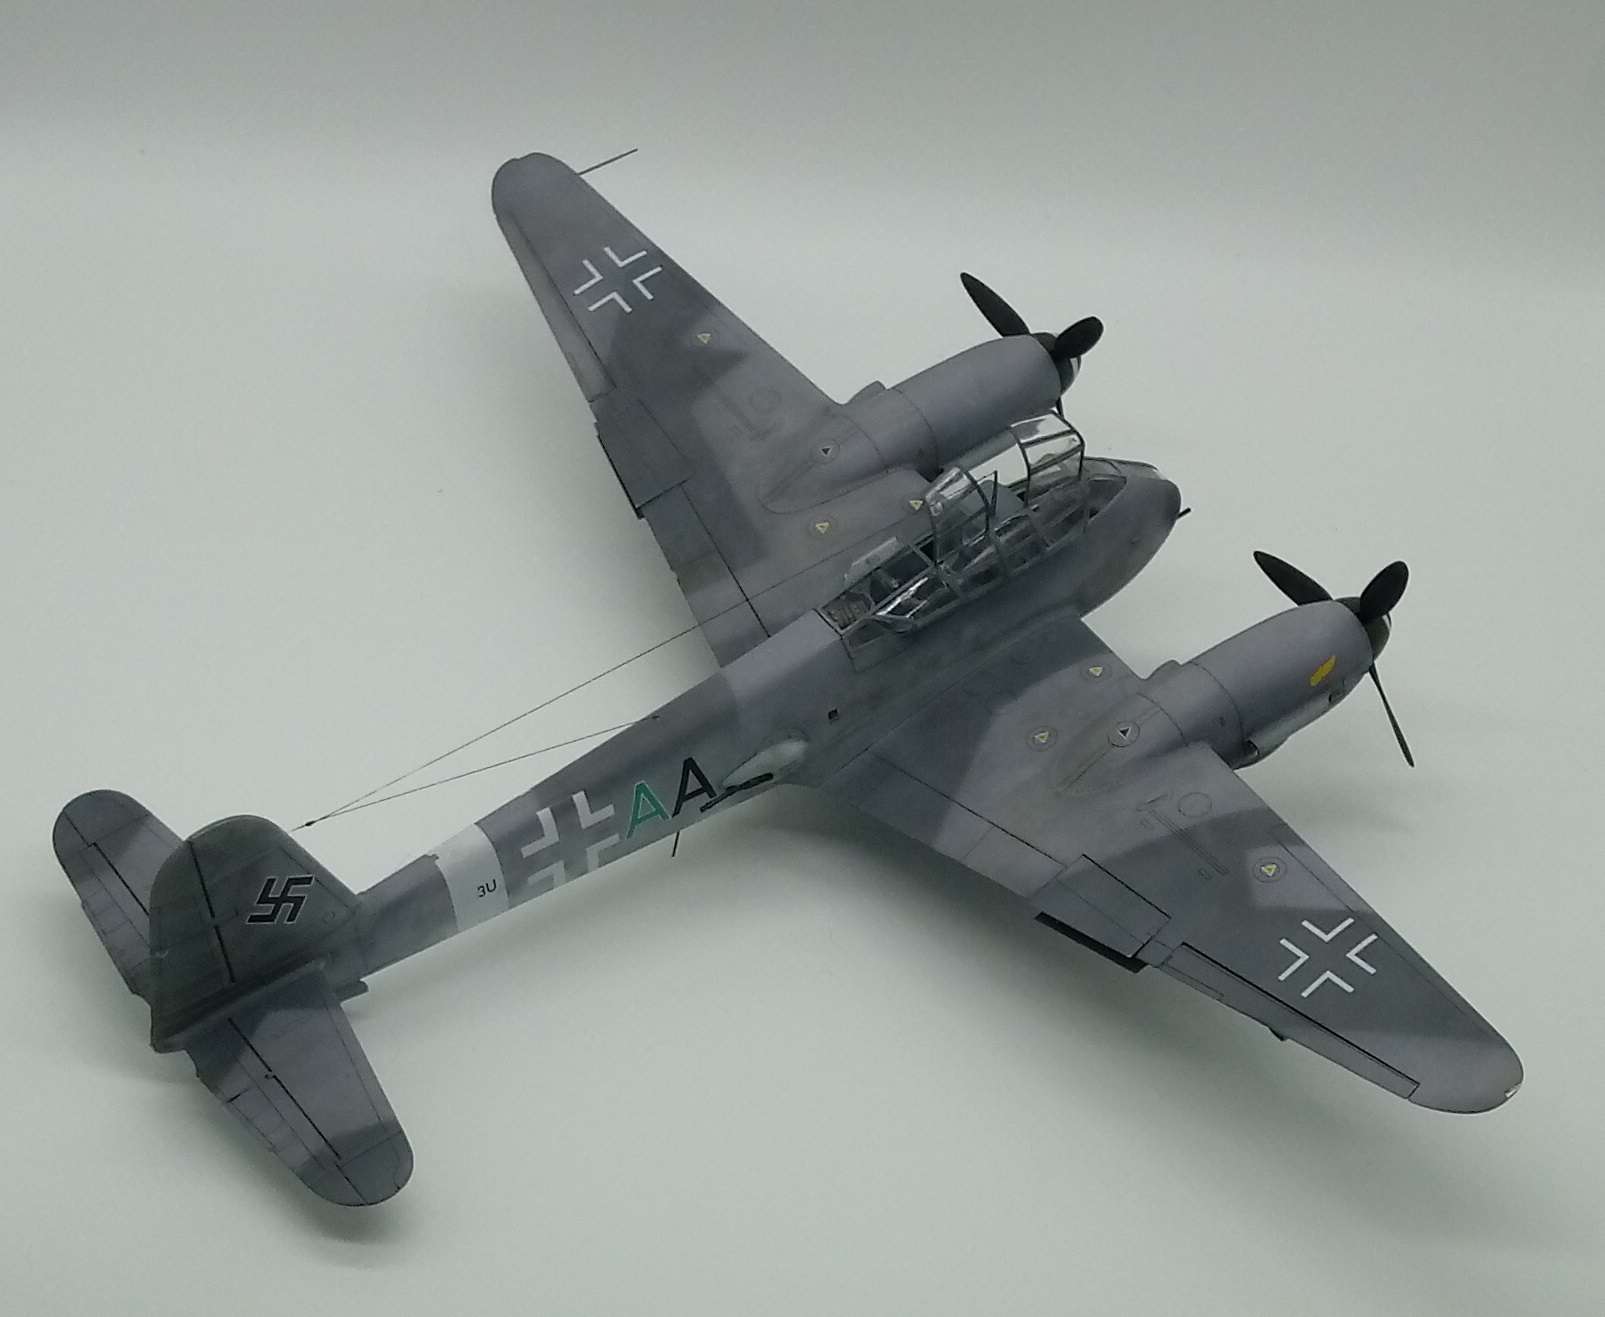
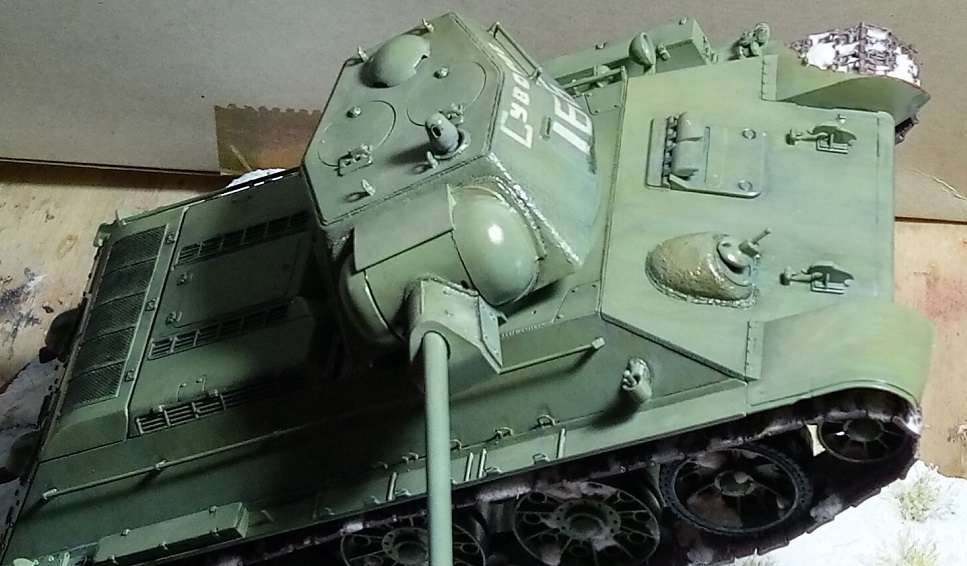

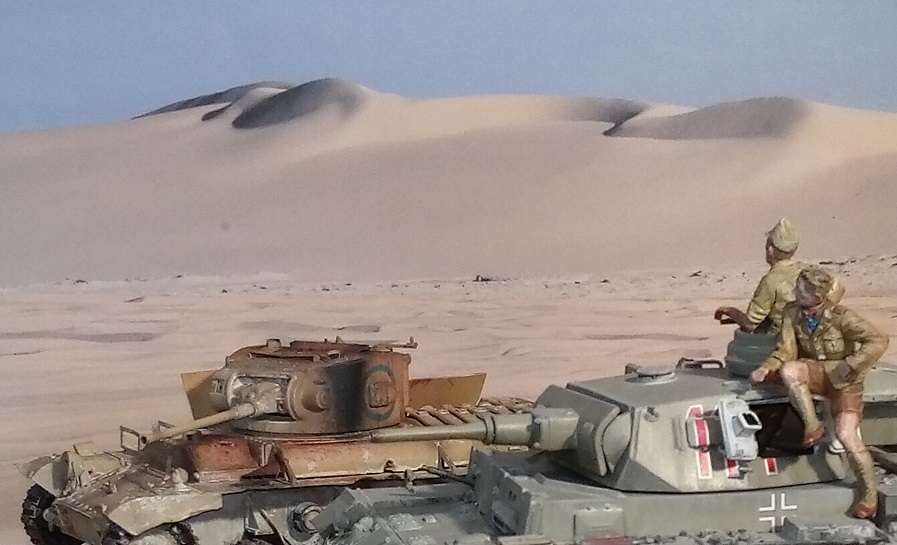
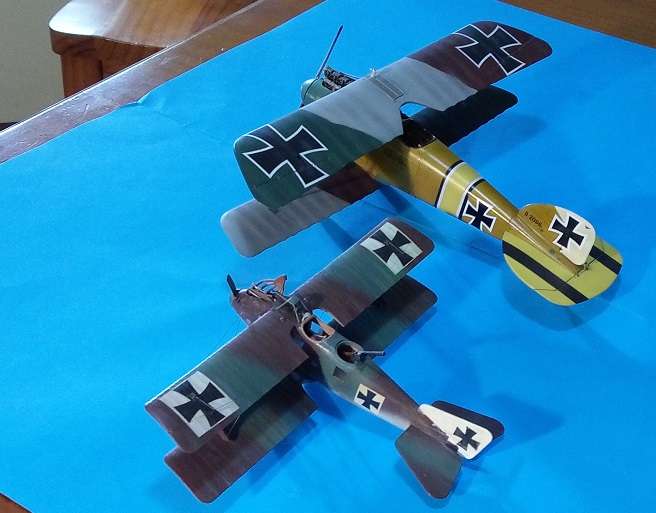
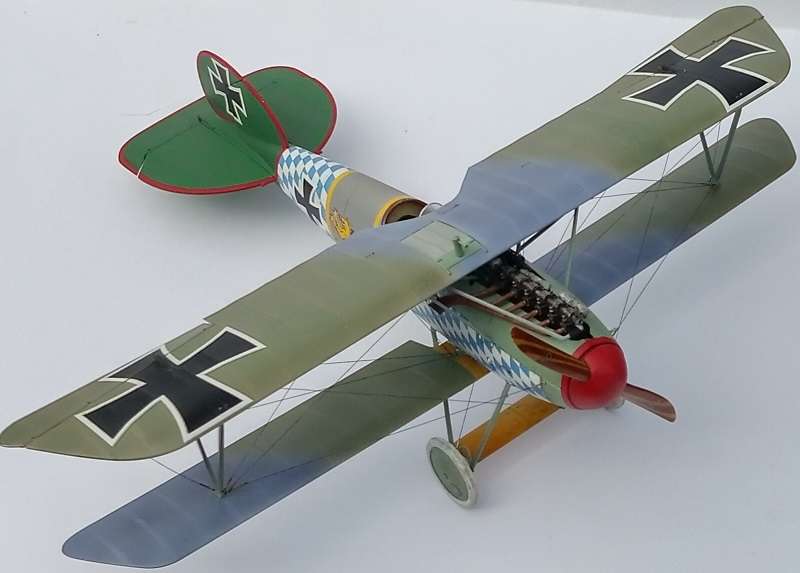
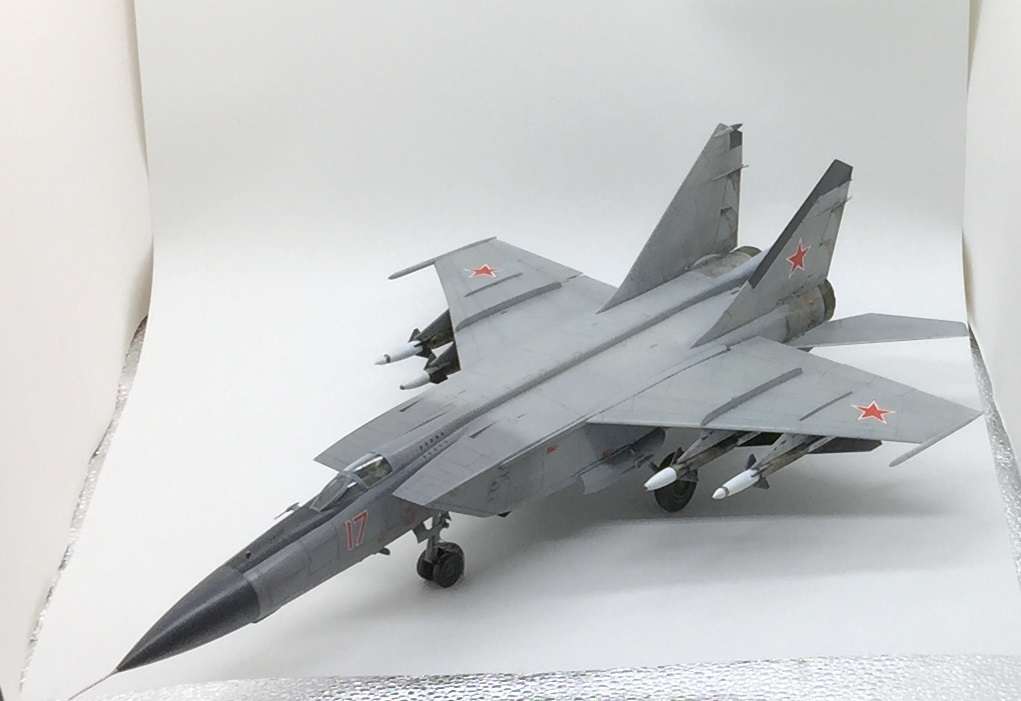
While using tube acrylics might not be the most time efficient method, it allows the modeller to create any color while spending pennies per model. The only 'extra' purchases required were some cheap stuff to make flow enhancer and a color recipe book.
The T-34 was my first really big step into oils. I'd done some timid stuff with oils before. And I eventually over-weathered this T-34 losing some of the color modulation you see in this pre-RFI shot.
Sorry... thread drift. My apologies.
-
 3
3
-
-
-
Kai,
You've done a great job fitting everything together. It's a shame that the resin part fit so poorly. Hopefully cleaning up the join won't cost you too much surface detail.
It is starting to look like a jet fighter, though!
Gaz
-
 4
4
-
-
15 hours ago, Bomber_County said:
 pulling up a chair Gaz......
13 hours ago, Kaireckstadt said:
pulling up a chair Gaz......
13 hours ago, Kaireckstadt said:Wow, nice start with your strut-strengthening!
Will sit back and enjoy your posts.
BTW: Beautiful looking Albatros D.III !
Glad to have you both along! Thank you!
-
 3
3
-
-
13 hours ago, Kaireckstadt said:
Awesome progress Gaz. Looks absolutely stunning after the last 2 steps you did!
Which oils for you use for the hands and faces (supplier and colors)? I want to give it a try! Thanks in advance!
Thank you Kai, I have only used burnt sienna by Holcroft (an art store brand) for the man's face. The base color is tamiya flesh. I only have art store oils... I don't imagine that Mig or AK are any better.
-
 1
1
-
 1
1
-
-
My next aircraft on my list to build is Roden's Albatros D.I in 1/32 scale. It's a nice kit with only a couple weaknesses that trouble me. Those troubles inspired me to to address them before I get on to the fun stuff.
My first Roden Albatros was a D.III version which turned out like this:
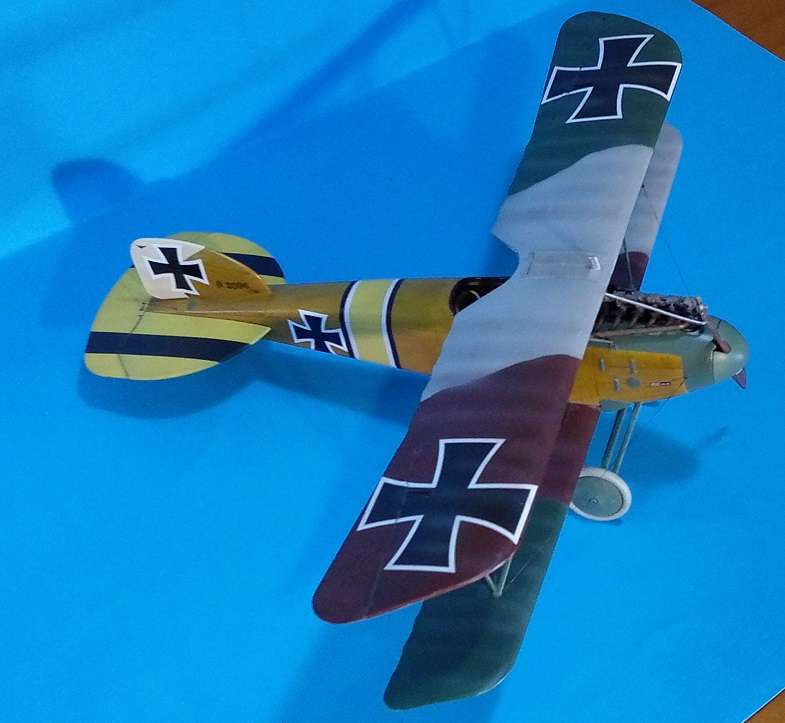
I will tell you the most important difference between a Roden kit and a WNW kit. If you were to build both OOB with no modifications and perform a barrel roll with each, the Roden kit will most likely lose it's upper wing. That is because the gluing surface on the Roden struts is so much smaller than on a WNW kit. This caused me much heartache while completing the D.III.
So, on my next Roden build I decided I would start by reworking the struts first. Unfortunately, none of my brass or copper tube was the right size to flatten into nice struts. So, I tried a couple other methods with metal parts, but found that they would take longer than I wanted to invest. So, I decided to modify the existing parts with some brass .5mm rod.
I used various scribing tools and small files to make the troughs. I ran out of time. but will complete filling in around the rod with black CA then sand smooth. BTW... Roden plastic is a bit softer than WNW plastic so the LG struts are a bit wobbly. I will pin them at the top before I glue them to the fuselage after I have modified the joint angle appropriately.
Otherwise.... this should be an enjoyable build.
Happy Modelling!
Gaz
-
 8
8
-
-
Hi Ho, Hi Ho!
Today's stuG action was the third layer of mud... done with oils. The pinwash... also oils. And the first oils on the gunner's face and hands. I'm happy with the pinwash. Less so with the third mud layer. I've decided I'm going to have to get some wet effects. Please pardon the reflection from the Future. Shiny stuff.
-
 4
4
-
-
Holy shit that's a lot of work. You're doing great, Martin! Glad to see you at it.


My last Trumpeter P-40... got sold for the cost of postage.
-
 5
5
-
-
A model in the hand is worth two on a website. That being said, the latest ICM kits are pretty nice, but definitely not Tamiya quality. I'd at least have a good look at the kit you already have first... maybe dry fit the main parts.
-
 3
3
-
-
-
-
14 hours ago, BlrwestSiR said:
Great progress Gaz. The tracks, winter wash and weathering look fantastic. Can't wait to see it all tied together along with the figures.
Carl
Thank you, Carl!
-
 1
1
-
-
16 hours ago, Kaireckstadt said:
Thanks for all the information, Gaz!
I will have a look at the videos from Nightshift on YouTube, thanks for the tipp.
Did you already adapt the figure? Fits very well!
Starting crank really is a useful tool...

I did some chopping and shaving to get them to fit. I still have to add some left shoulder to the gunner and rotate his right hand a bit.
15 hours ago, Bomber_County said:Gaz, this is stunning, love your systematic progression of the weathering, this going to be awesome.......congrats...
Thank you Phil. I owe a lot of what I'm doing to Nightshift. Happily, he happened to be doing mud this week and I've watched the video twice already.
15 hours ago, DocRob said:The bluish oils add a great touch and make your winter camo even better than before. It's always interesting to see, how a filter or a wash, even in relatively bright color, can make the difference.
For blackening, which I often do with PE, brass barrels (can't beat that) and white metal tracks. The key is cleaning the parts entirely with alcohol, before putting them in the chemicals and move the bath, to hinder bubbles settling in corners. Residues of CA will also be visible on the tracks. To stop the process with the desired effect, I put the parts onto a paper towel and rinse them with water rapidly.
I use ready mixed black patina for brass and copper, which can be bought by the half liter on big A for Tiffany lamps. It's cheap, lasts for years and can be diluted with water, to have a better control over the effect.Cheers Rob
Thanks Rob. Living in Australia makes getting some chemicals problematical. Plus... I just spent $1,300.00 on the swimming pool. I've been trying not to buy anything at all. That's why I'm using infantry figures instead of the ones you showed me.
8 hours ago, JohnB said:Looking good Gaz. Great winter camo!

Thank you, John!
6 hours ago, Peterpools said:Gaz
Awesome - your track blackening procedure results look might good and so realistic
Keep 'em comin
Peter
Thank you, Peter!
-
 3
3
-
-
Kai,
Your efforts look good. You've done great to reach this point. Should be a smashing looking model.
Re-scribing is one of my most hated tasks. It not the doing that I hate. It's the failure. The only positive aspect to me is using CA as a filler because every time I mess it up, I can re-fill and re-scribe in only a few minutes. My favorite scribing tool is a half of a razor saw blade.
Gaz
-
 4
4
-
-
2 hours ago, Kaireckstadt said:
Wow Gaz I‘m deeply impressed!
The method to blacken the tracks is stunning and simple! Is it your invention? Looks absolutely realistic!
The same applies for the mud. Looks really convincing!
The wash is the thing I like most. It really brings the white to life. And it is subtle what I really like (as on your 190). Good choice to use blue-grey.
I‘m really curious how this all will look after treatment with oils. I‘m also a fan of oil washes because you can really play with color-tone variations and do it subtle.
You should really add some figures and put it on a small vignette. Will look awesome!
Happy Easter and happy modeling too!
Cheers
Kai
Hi Kai,
Thank you. The track blackening method was a deductive reasoning from an early soldering attempt. I realized that when I dipped my recently soldered part into the heated solution (called "pickle" in American parlance) I noticed the lead solder had turned black.
The mud and the wash I credit to "Nightshift". He makes modelling videos on armor. He's as entertaining as he is informative. Check him out on Youtube if you haven't already.
I don't have a huge plan for oils up top. A pin wash and maybe a little white touch ups if required.
Regarding figures... I don't have any panzertruppen in winter clothes. Only infantry. So, they will have to do:
You'll also notice that the diligent crew has recovered the tools that were attached to the missing fender. A StuG without a starting crank handle is not very useful.
Gaz
-
 5
5
-
 1
1
-
-
Hey everyone,
Heavy work on the StuG over the weekend. A lot of time was devoted to assembling and blackening the Friul Ostketten. To blacken them, I sunk them into a heated vinegar and salt solution and then dropped in pieces of brass that I had just annealed with a torch. The solution and heat caused the copper sulfate on the annealed metal to instantly plate the white metal tracks. This was about 90% effective requiring only a little painting. The un-blackened 10% were recessed areas where (I'm guessing) release agent was still in place.
I also worked on the body of the StuG using some weathering effects.... with mud. To make textured mud, I used this formula:
What I hope to show here is two layers of mud. Dry mud and damp mud. Both layers are acrylic.
The final layer will be in oils, so the two acrylic layers must be left to dry completely.
I also did two layers on the roadwheels...
And the tracks. The white spots are from modelling paste that wasn't thoroughly mixed. They'll be hidden later.
Weathering the hull has continued, too. I gave the white parts a wash in gray blue and I think it really made a difference.
I also did some sponge chipping. ...but I wanted it very subtle.
This blue wash was done with oils, so I'm giving it a day to rest and dry before I hit it with a layer of future.
I really need to get onto some figures, too.
Happy Easter and Happy Modelling!
-
 6
6
-
-
Love the doors!
-
 2
2
-
-
Fabulous! Starting to look like an airplane!
-
 4
4
-
-
This is a GD vehicle. Though if they had any at Kursk... I couldn't tell ya.

....I still need to build mine.
-
 1
1
-
 1
1
-
-
That is big! But more worrying is the 'puffiness' in the moldings.
-
 4
4
-


What is on your bench right now ? Share a picture :)
in Modelling Discussion
Posted
Bravely modified!