ScottsGT
-
Posts
2,767 -
Joined
-
Last visited
Content Type
Profiles
Forums
Events
Gallery
Everything posted by ScottsGT
-
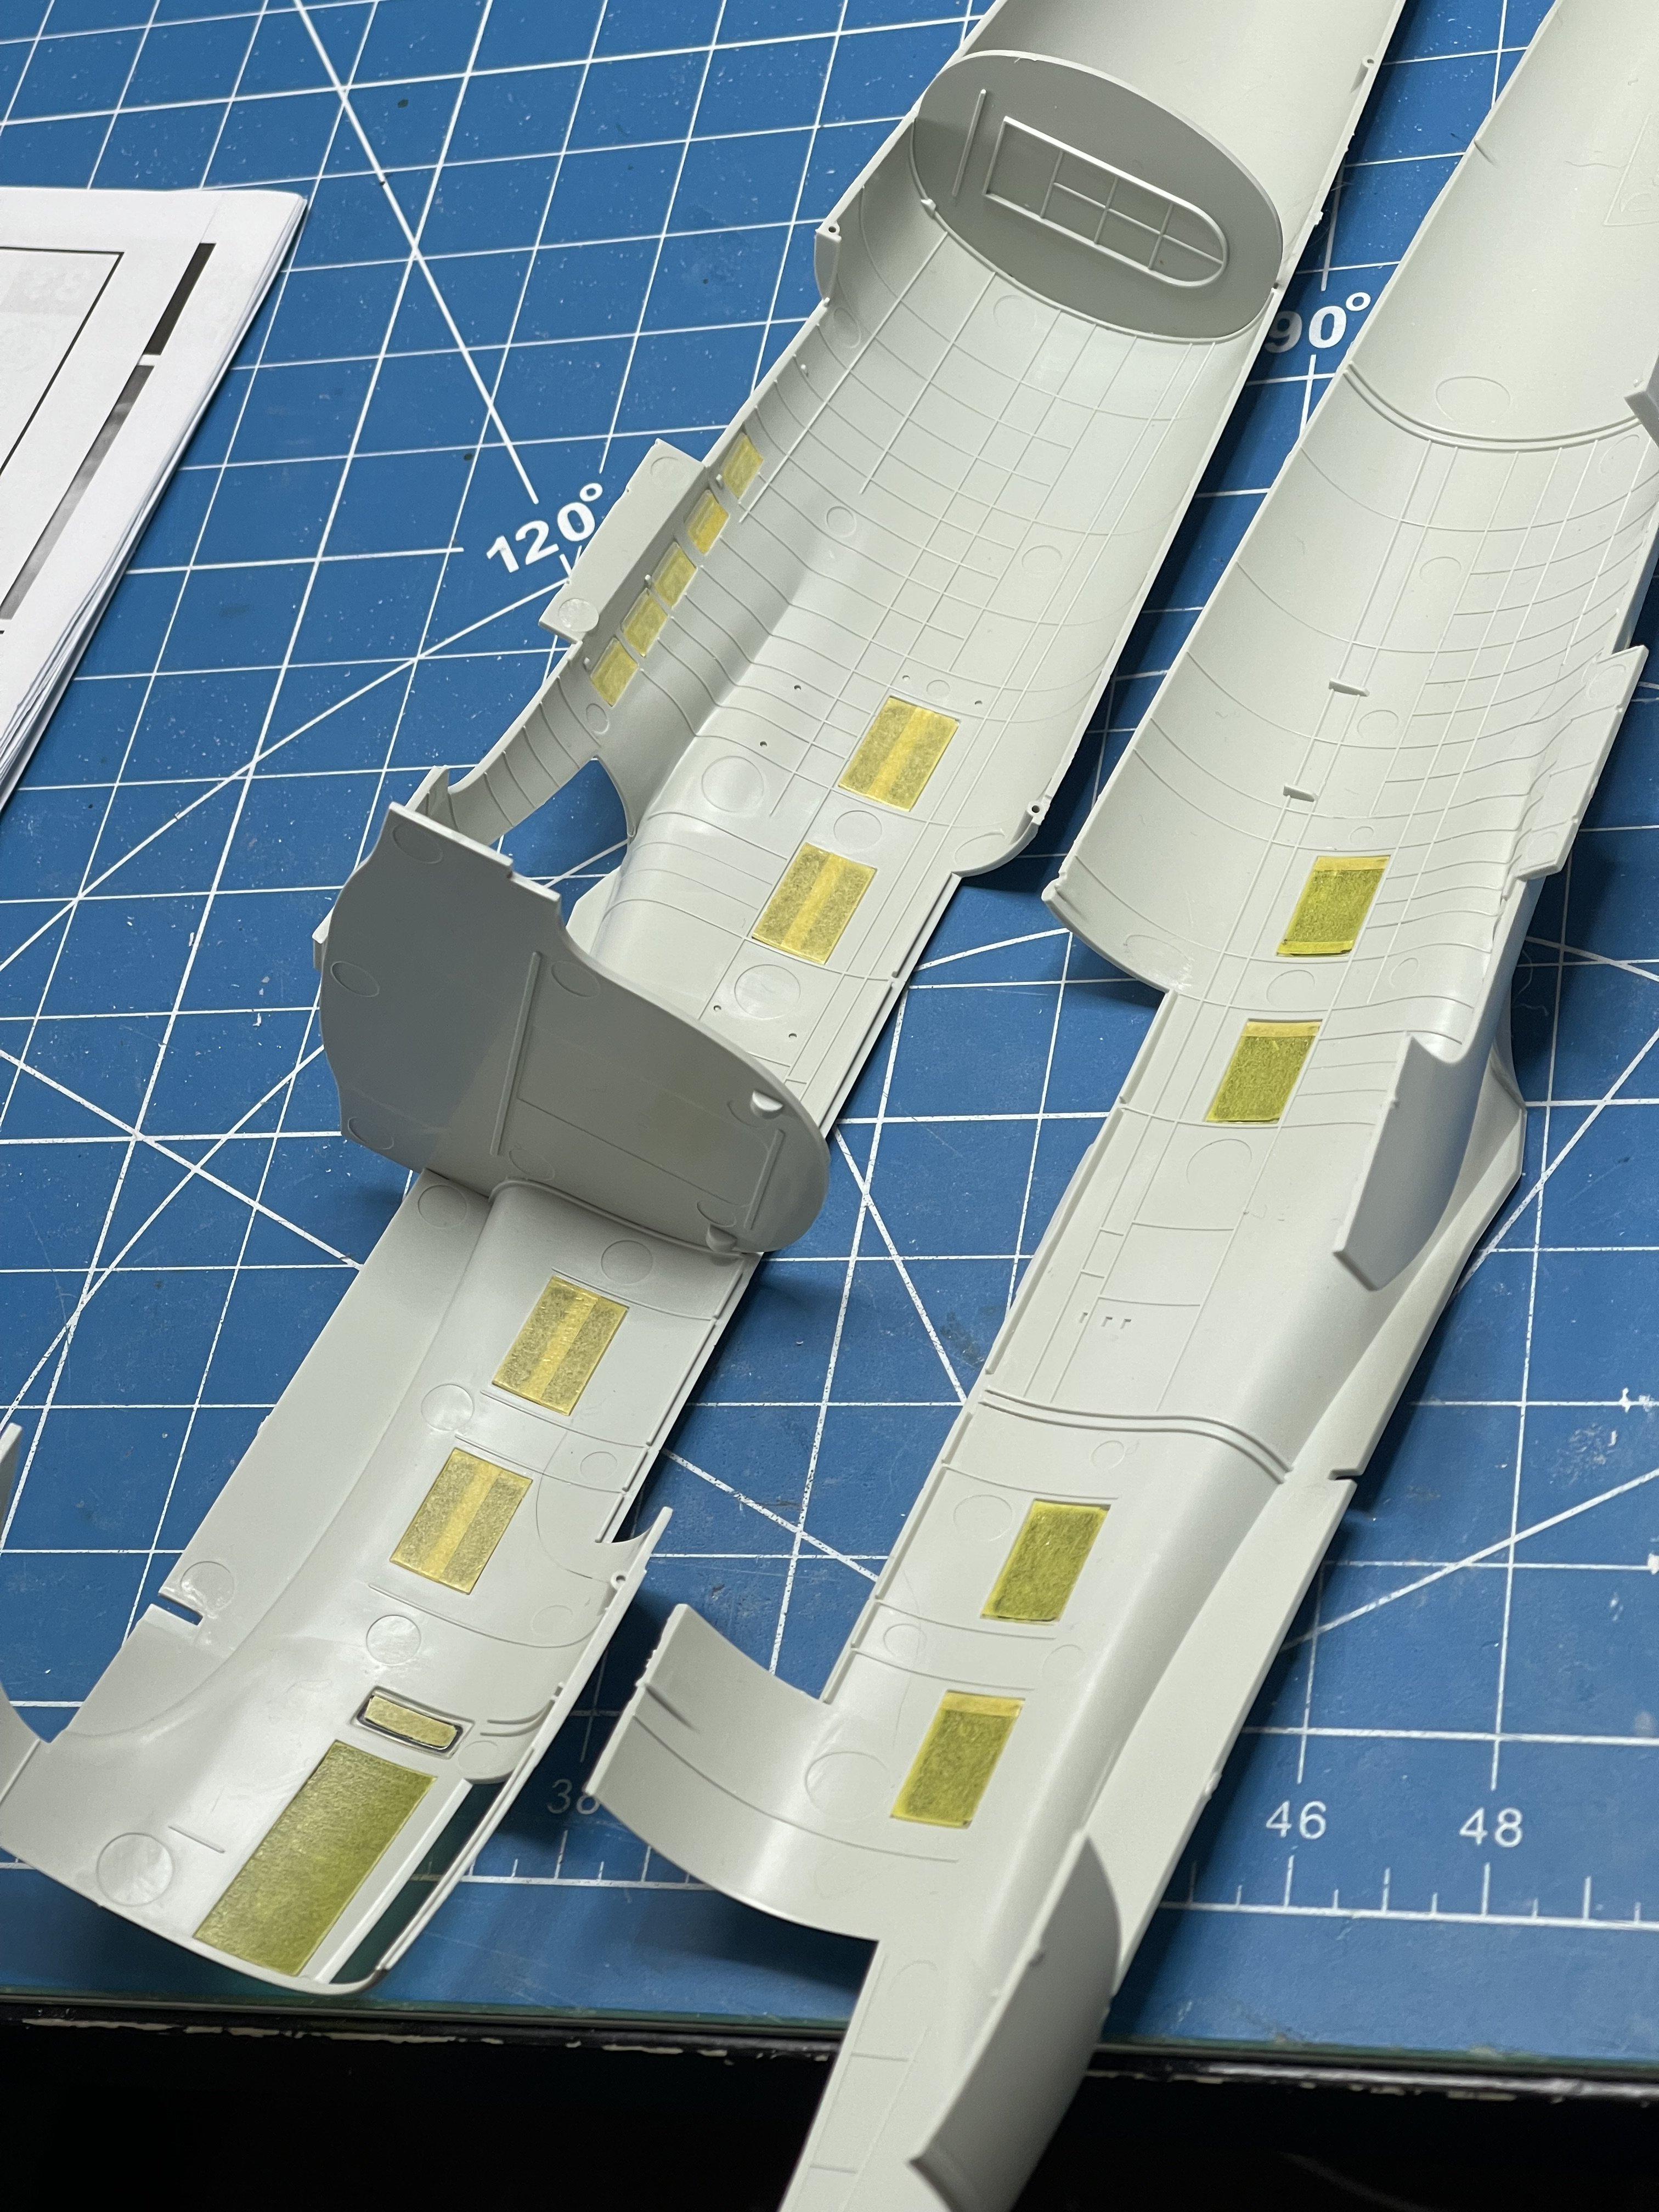
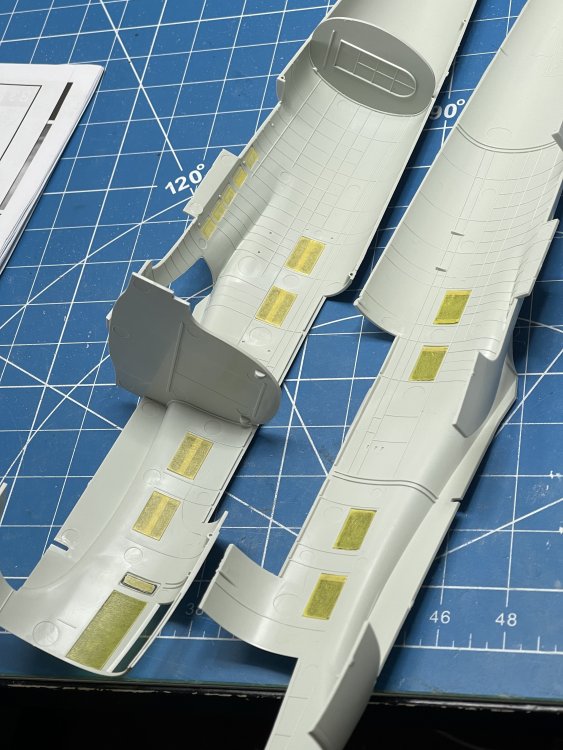
I tell you what, if you go down the correction path like Thierry Laurent has posted over on LSP, you will be at it for a while. That guy has an eye for detail and I just did a pick and choose of the most obvious boo-boos. The battle damage patches are the biggest. Aftermarket intakes are a must. EDIT: I see you have them already. Laminar Flow Design just released what looks like a great set. I have one EJ kit, and it’s getting the yellow and blue panther squadron treatment. Almost pulled it off the shelf for the twin build. But just finishing up the J, I needed a change of pace. Verify the EJ externals like slatted wings and stabilizers match your subject. EJ was different than a regular E. I think it’s more like a late model E?? I’ve found it easier to assemble the back end of the fuselage after painting. Stabs, lower half behind engines and the vertical stab. Once that’s done I add exhaust. I only have one of each, E & EJ, in Tamiya. But I stocked up on Revell kits like I was trying to corner the market.
-
I got busy today!
-
Now the wife is up to….Now a cancer thread.
ScottsGT replied to ScottsGT's topic in General Discussion
You’ve met her?? -
Now the wife is up to….Now a cancer thread.
ScottsGT replied to ScottsGT's topic in General Discussion
Thank you brother! Then again, right now I can run from her and I don’t think she would kill her caretaker, cook, housekeeper, driver and all around whippin’ boy. -
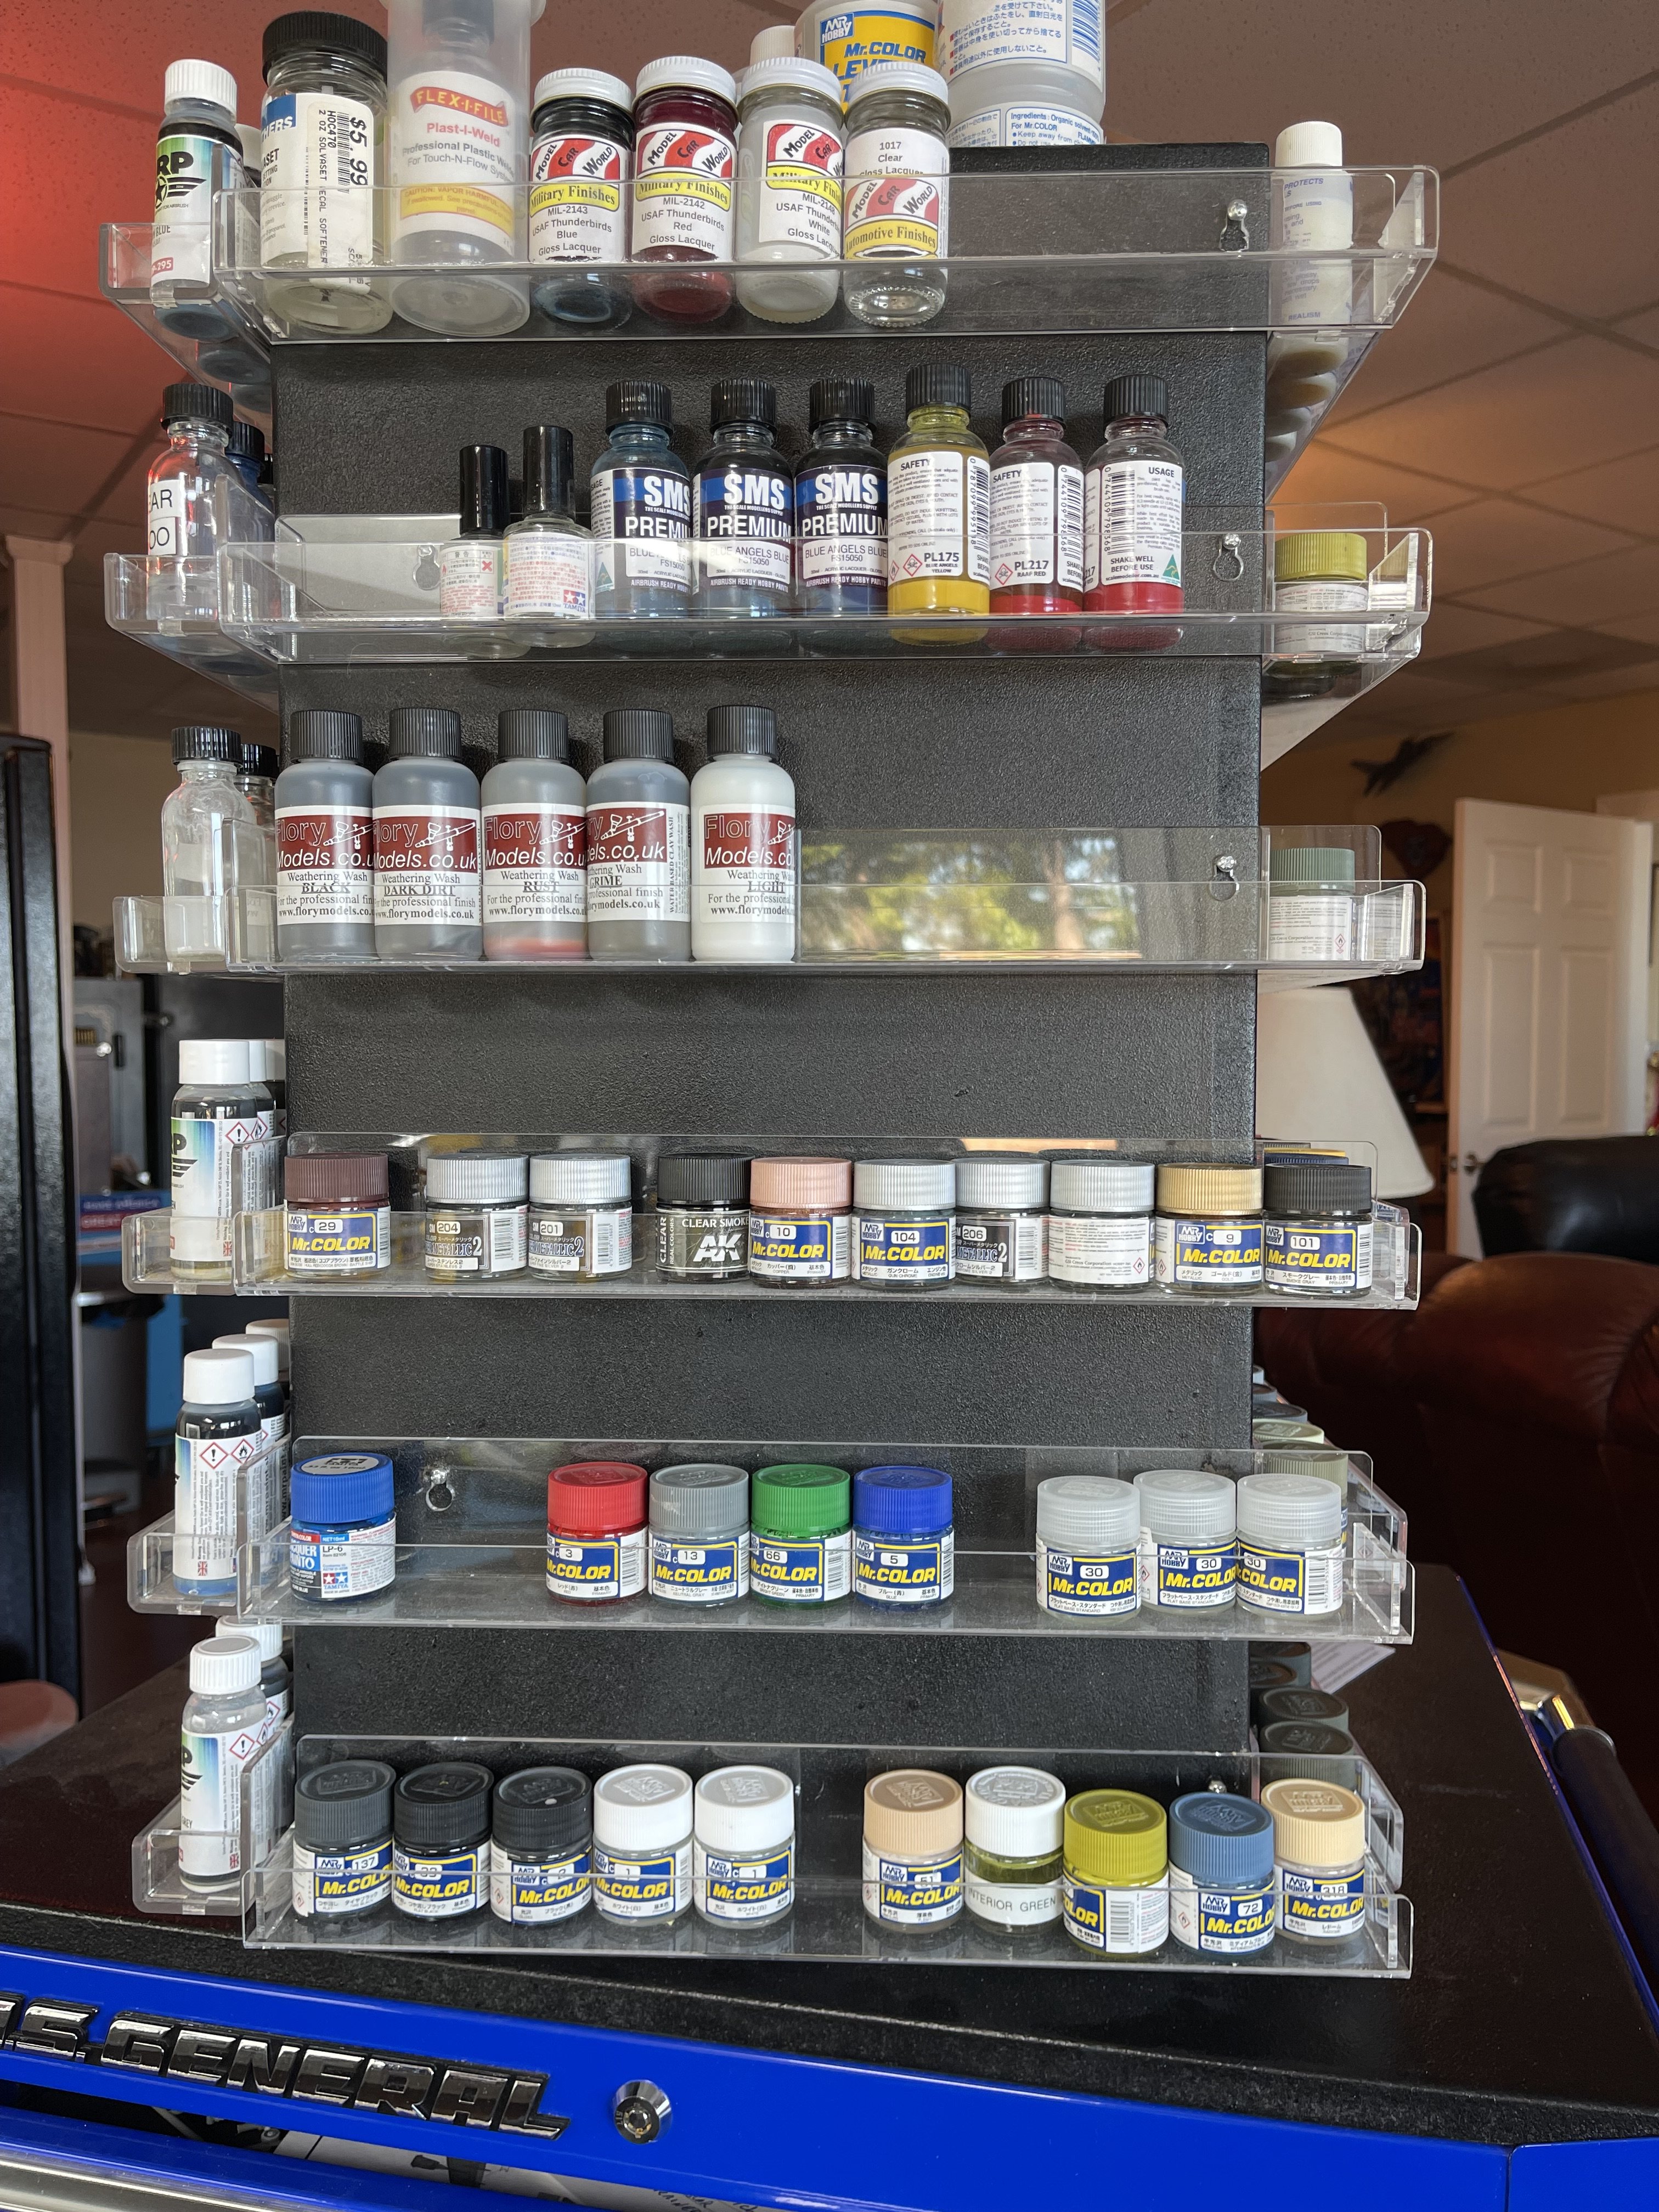
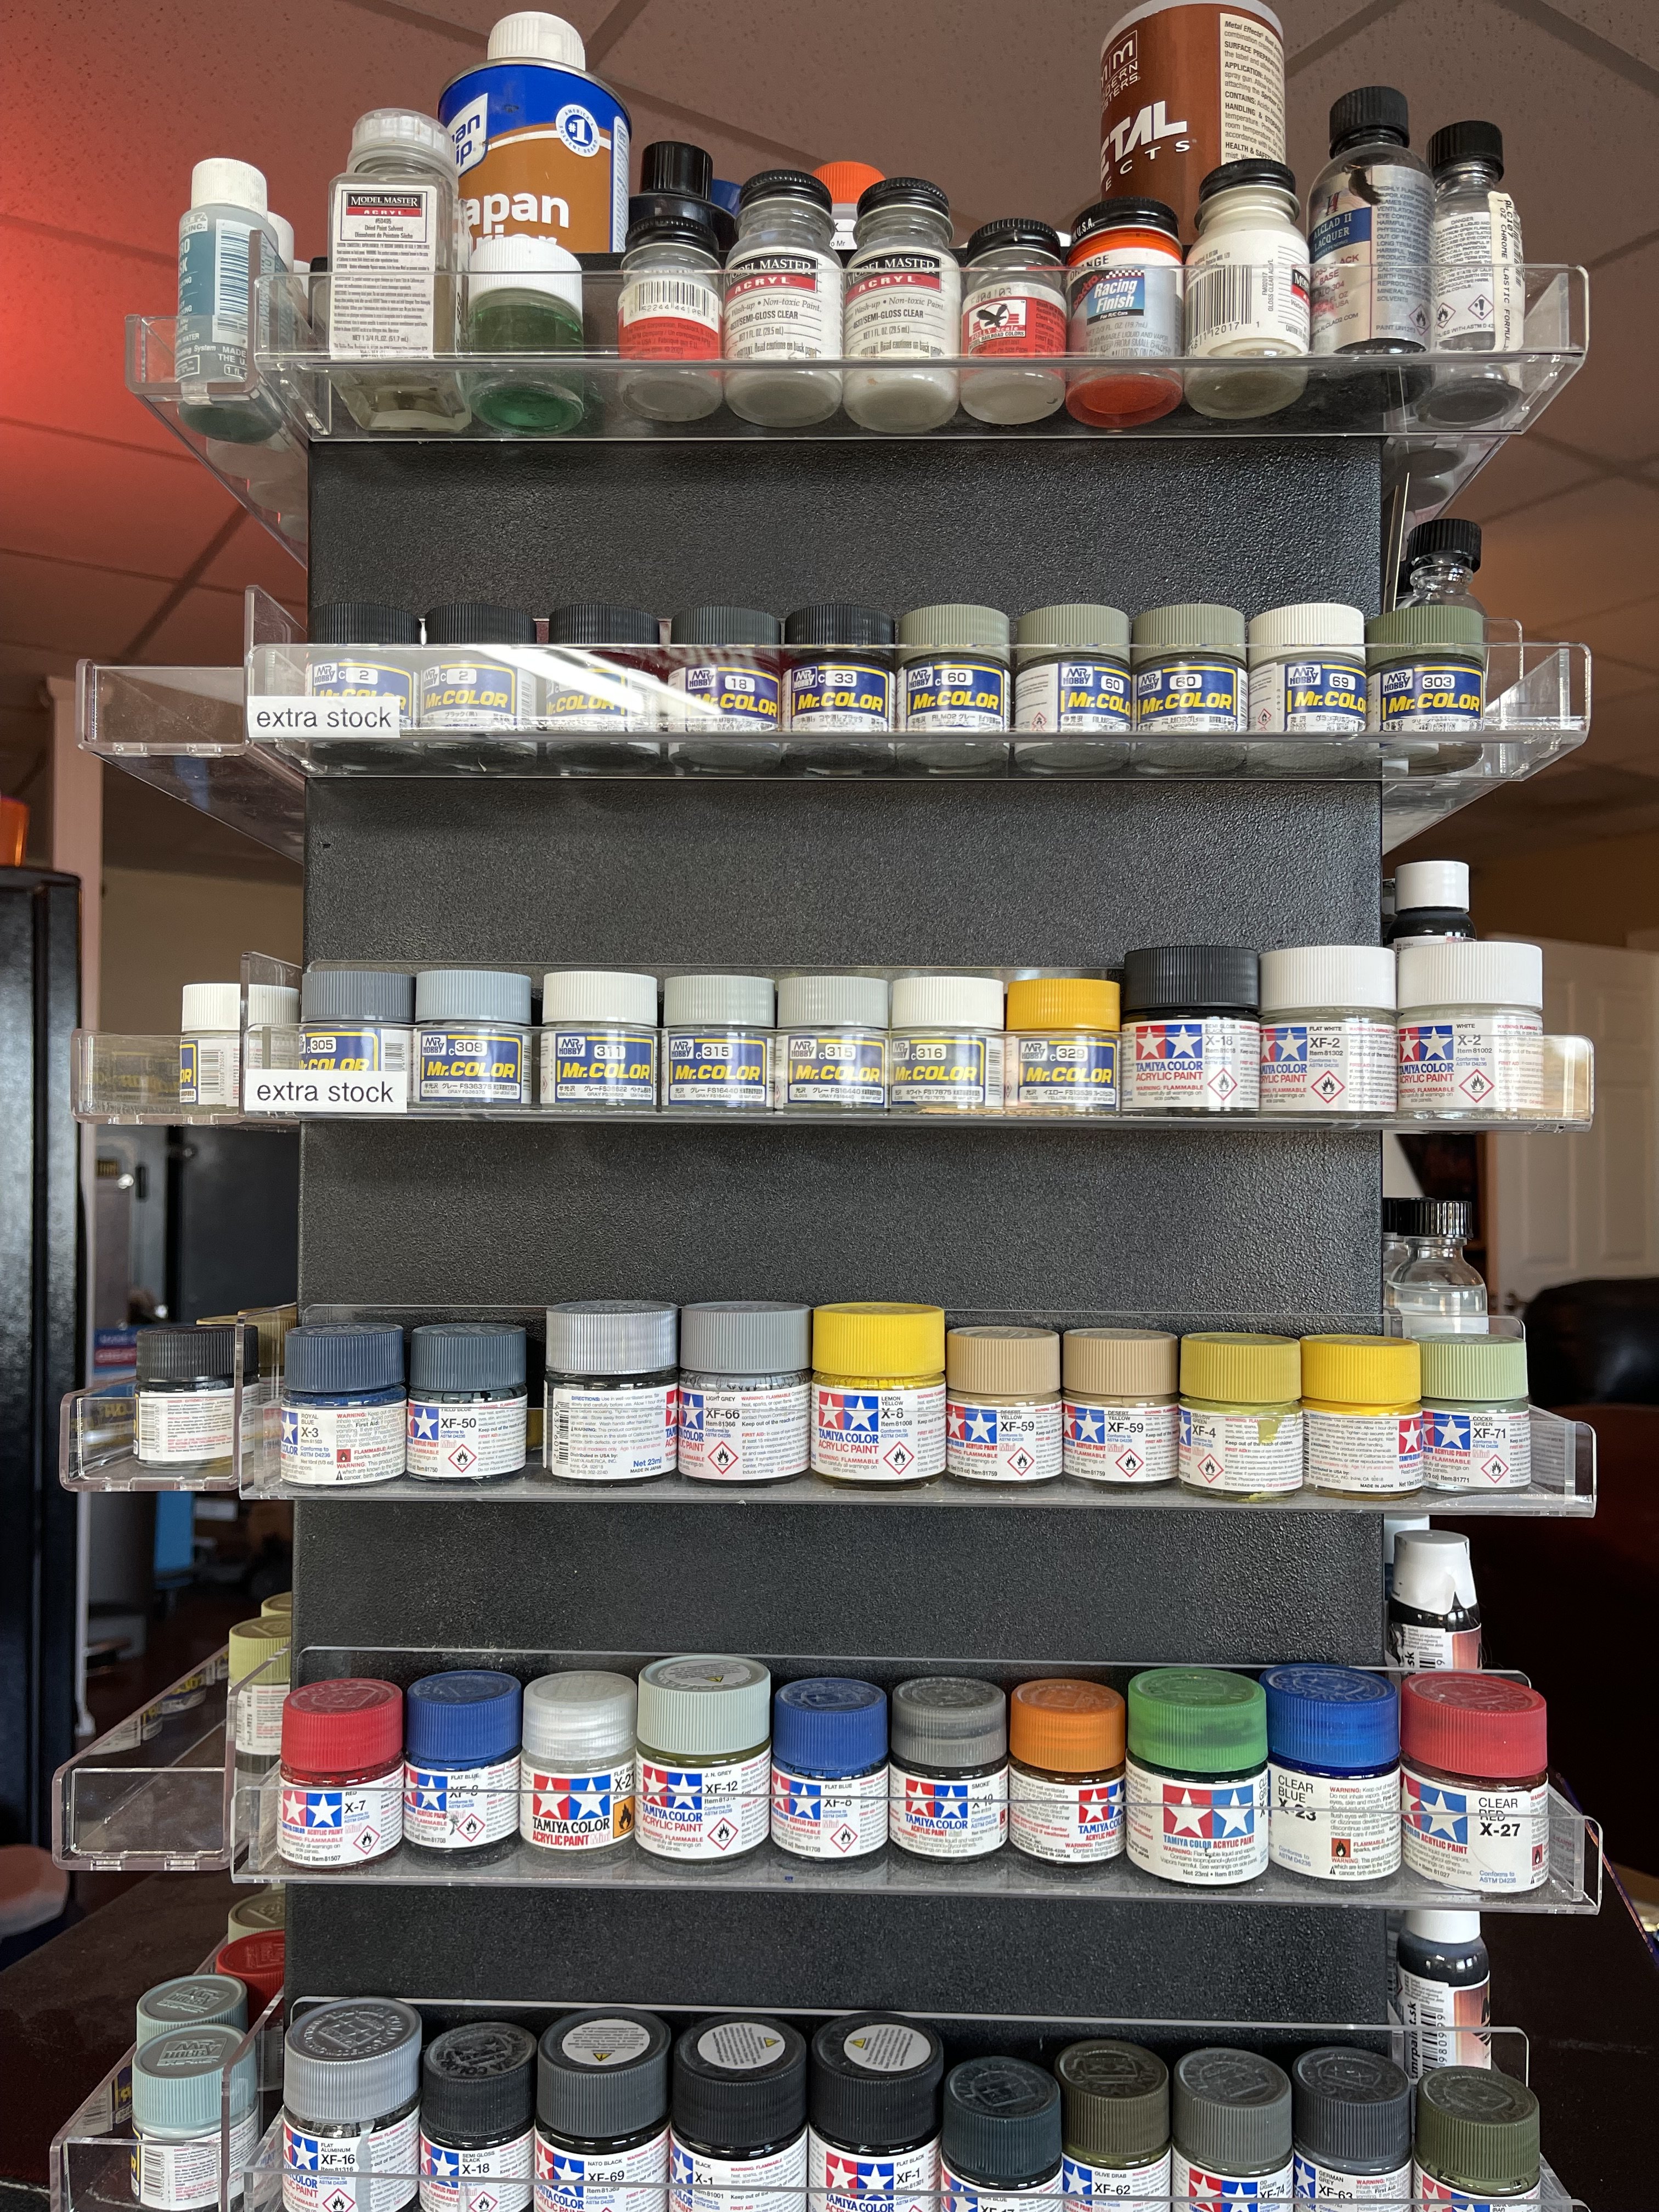
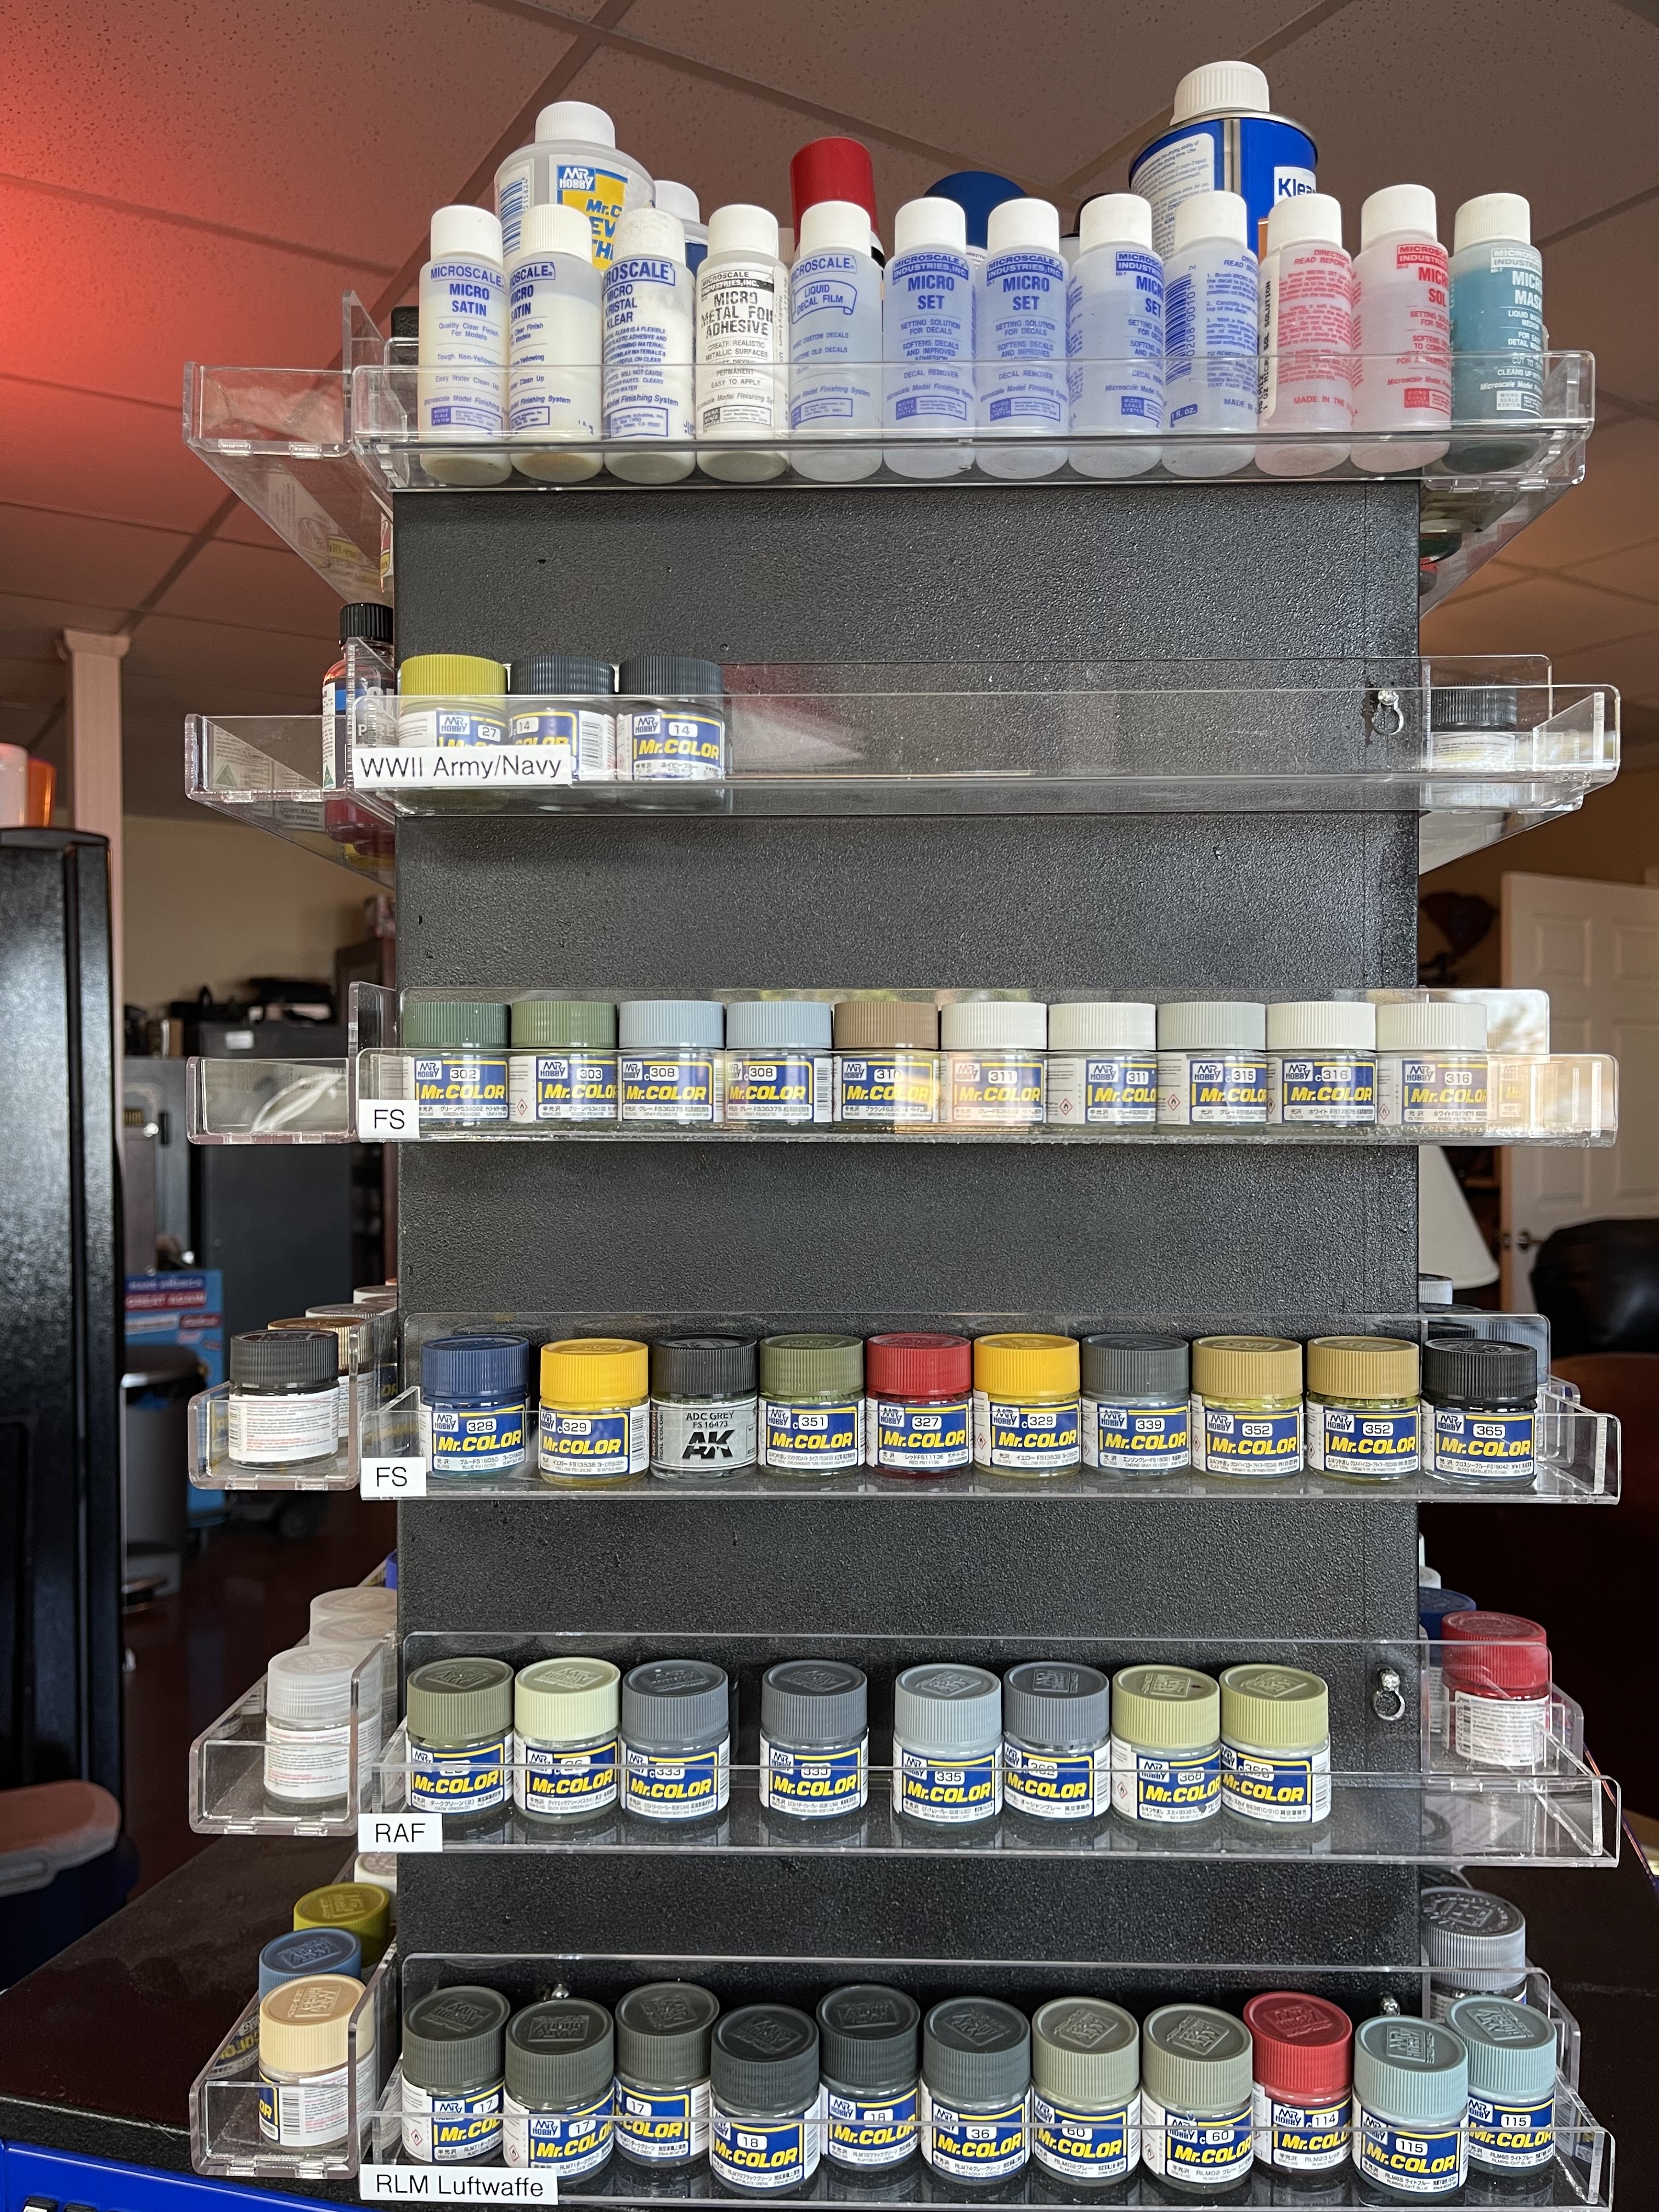
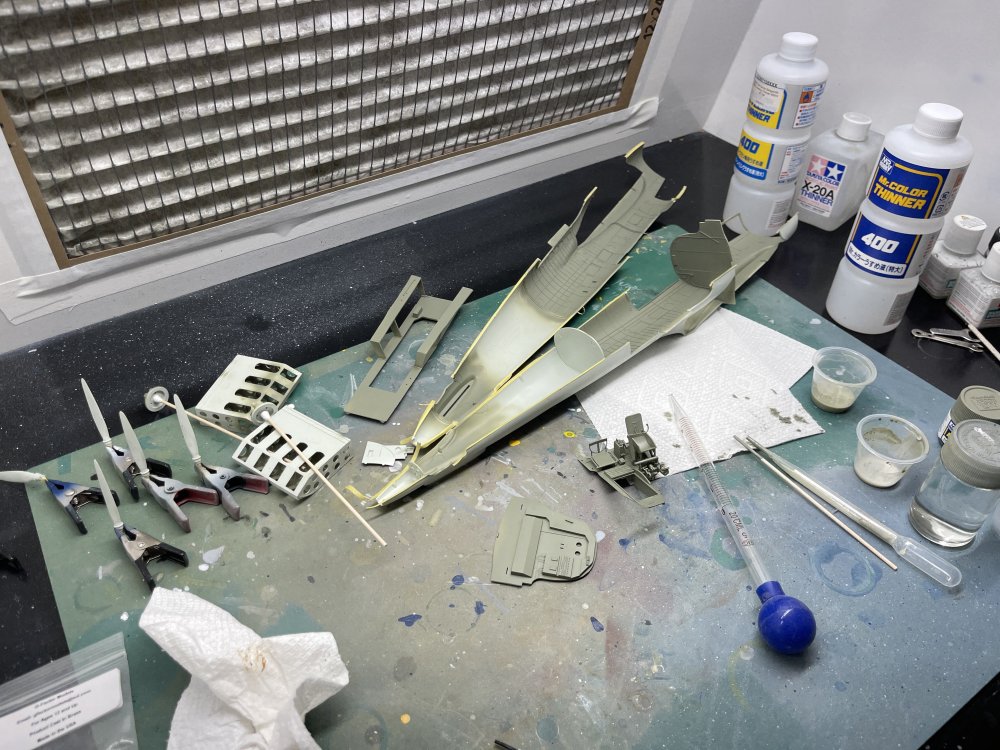
With my latest order of paint arriving for my He 111 build I realized I can no longer just toss the bottles up on my rack and go hunting for the needed color when time comes. I just spent a little over an hour rearranging my paint shelves. I now have dedicated shelves for FS/RAF/RLM and WWII Army/Navy colors. Also made space for “extra stock” because I was not keeping track of how many extras I’ve been tossing in with order I’ve placed since I built this system and switched over to lacquer. We’ll see how this works out for now. But I do need some projects to burn through all this Tamiya acrylic I still have. Is it obvious that I have not built any WWII Army/Navy models yet?


-
Now the wife is up to….Now a cancer thread.
ScottsGT replied to ScottsGT's topic in General Discussion
She’s actually not experiencing any pain as long as she doesn’t put pressure on it. Kind of odd. I think she’s enjoying me being her servant a little too much though! But we’re still not cleared on the no surgery. We go back next Wednesday to get another healing progress X Ray and then we’ll know. Im playing in “my space” downstairs right now while she’s binging HGTV to come up with new ideas for me. -
Rob, yes please. Reach out anytime to one of us if you need parts like this. As long as there are no export regulations I’ll gladly help out. I know sometimes chipped devices can be sketchy. I remember a story of a guy in the US that got in hot water for selling a Sony PlayStation out of the US on eBay of all places. Apparently it has a chip set that the military decided they needed in guided missiles and that model of the PS could only be sold in the states.
- 2,036 replies
-
- 4
-

-

-
- car related stuff
- anything about cars
- (and 6 more)
-
Now the wife is up to….Now a cancer thread.
ScottsGT replied to ScottsGT's topic in General Discussion
Yea, just told her that I hope she doesn’t expect me to wait 6-8 weeks before I get back in the hot tub. -
Mark, I’m not sure which pylons the the Tamiya C/D kit comes with, but if you need a set from a J let me know. I just finished the Blue Angels bird and didn’t use them.
-
I did some googling and one of the biggest differences I could find was the Air Force was using Navy style pylons. https://cs.finescale.com/fsm/modeling_subjects/f/2/t/133928.aspx
-
Now the wife is up to….Now a cancer thread.
ScottsGT replied to ScottsGT's topic in General Discussion
Ernie, you know that brings up an interesting point. She borrowed ski boots from some friends that they stayed with. And she said they were a size too large. Might have saved her leg from a worse break. -
Now the wife is up to….Now a cancer thread.
ScottsGT replied to ScottsGT's topic in General Discussion
Oh trust me. I leaned year ago when not to tangle! As the old saying goes, pick your battles. There are no battles you can win with her so I give up and just roll over for belly rubs. -
Eduard A-20G main wheels to be recalled.
ScottsGT replied to Clunkmeister's topic in Modelling Discussion
Demand a new kit so you can start over! 🤪 Or just pick up the J/K when it comes out. 😁 Seems like a reasonable excuse to buy a new release. -
Now the wife is up to….Now a cancer thread.
ScottsGT replied to ScottsGT's topic in General Discussion
Well Mary Catherine managed to get home from Colorado. When the plane landed she drove 110 miles straight to an ortho doc she knows from work. They rushed her in since she’s well known by all. After 6-7 hours with her foot down swelling is up. As I’m typing this out she just texted “No surgery!!!” That’s great news. That foot is about twice its normal size.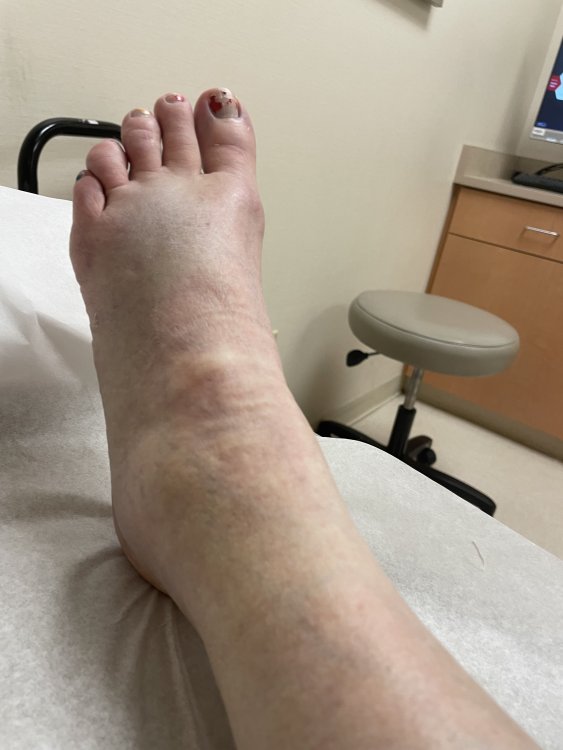
- 76 replies
-
- 10
-

-
-
-
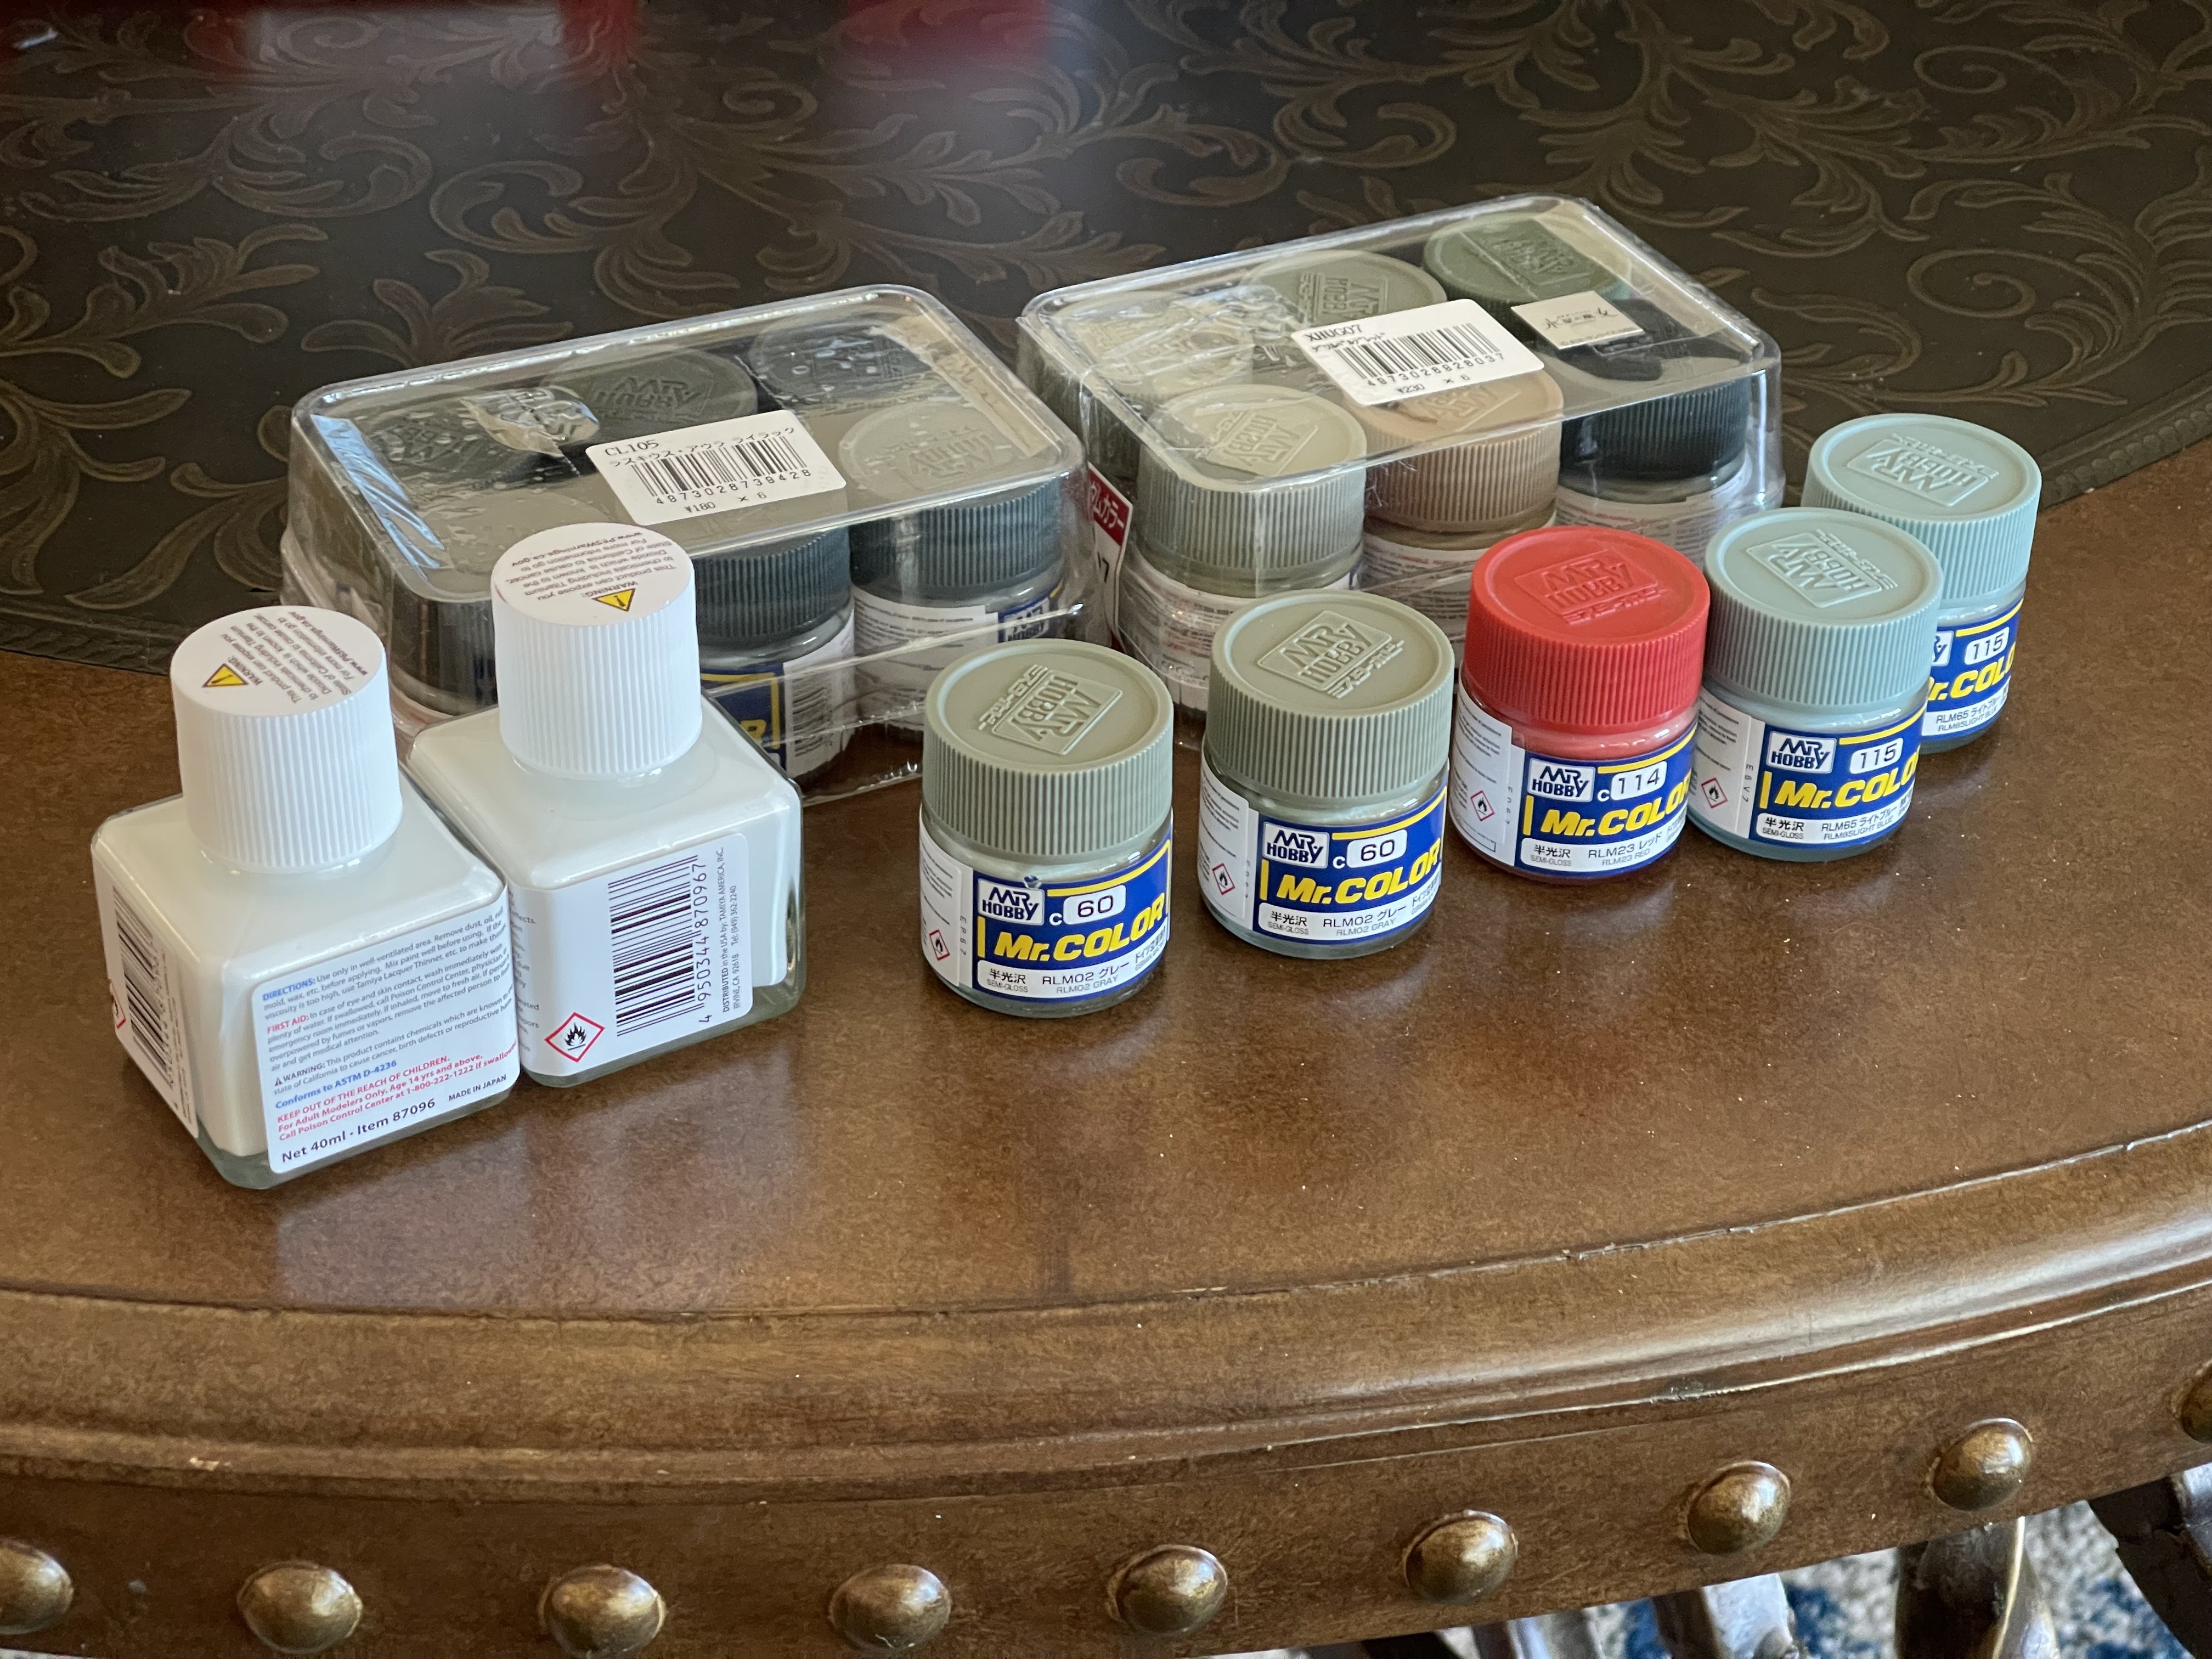
Woohoo! All of my RLM colors arrived today with a white primer restock. Now I’ll be playing nurse for the nurse with the broken foot for the next few weeks. Hopefully they’ll give her some good drugs to knock her out so I can get some bench time.

-
Just go in the spring when it’s beautiful outside.
-
Now the wife is up to….Now a cancer thread.
ScottsGT replied to ScottsGT's topic in General Discussion
Yes, my old F-250 is a beauty, isn’t it? 🤪 -
My oldest took his second test (failed his first test in moms car) in my 1995 Mustang GT convertible. He got in the car, buckled up, started the car and asked the lady which way. “Uh, young man, you gotta put the top down first, then I’ll tell you which way we’re going.” He aced that test.
-
According to USPS tracking, I should have paint tomorrow. I still cannot figure out how or why the USPS logistics works the way it does. Both my orders shipped at the same time. Gundam Store out of ATL came straight to the Columbia processing center. USA Gundam from FL went to Charleston and then to Columbia processing center. Both arrived in Columbia yesterday. The ATL delivery says tomorrow. FL package says Tuesday. They’re both on the way to my local PO right now. Oh, and the FL delivery originally had Monday delivery. Two best jobs in the world to have would be logistics guy for delivery companies and a weatherman. You can screwup 100% of the time and keep your job. Anyhow, taped up the inside of the windows this morning so I can start blasting paint after delivery. Well, maybe. Unpredictable with the wife’s situation now. I’ll be chauffeuring her around town for a while it looks like.
- 164 replies
-
- 14
-
-
Yesterday I heard the distinctive growl of a radial overhead. Went and looked and all I could see was a yellow dot in the sky. Nothing on Flightradar. Being yellow, probably a Stearman or a Texan. We do have a guy that lives out here that flies a blue and yellow Stearman low and slow over the lake on occasion. He also has a Gloster Meteor.
-
Now the wife is up to….Now a cancer thread.
ScottsGT replied to ScottsGT's topic in General Discussion
I tried to convince her to upgrade her flight home to first class just so she has a little more leg room. Nope. Hard headed, “I’ll be fine.” We do have a 4 day cruise booked for March. This will change the dynamics a little. No pool, no hot tub and since we’ve been to Nassau two or three times already we’ll probably just stay on the boat while in port. -
Uh oh. You now have a teen in the house. Drink up buddy! Those hormones are going to start kicking in and life is going to be interesting. Congrats?
-
That AEG would look awesome!
-
Now the wife is up to….Now a cancer thread.
ScottsGT replied to ScottsGT's topic in General Discussion
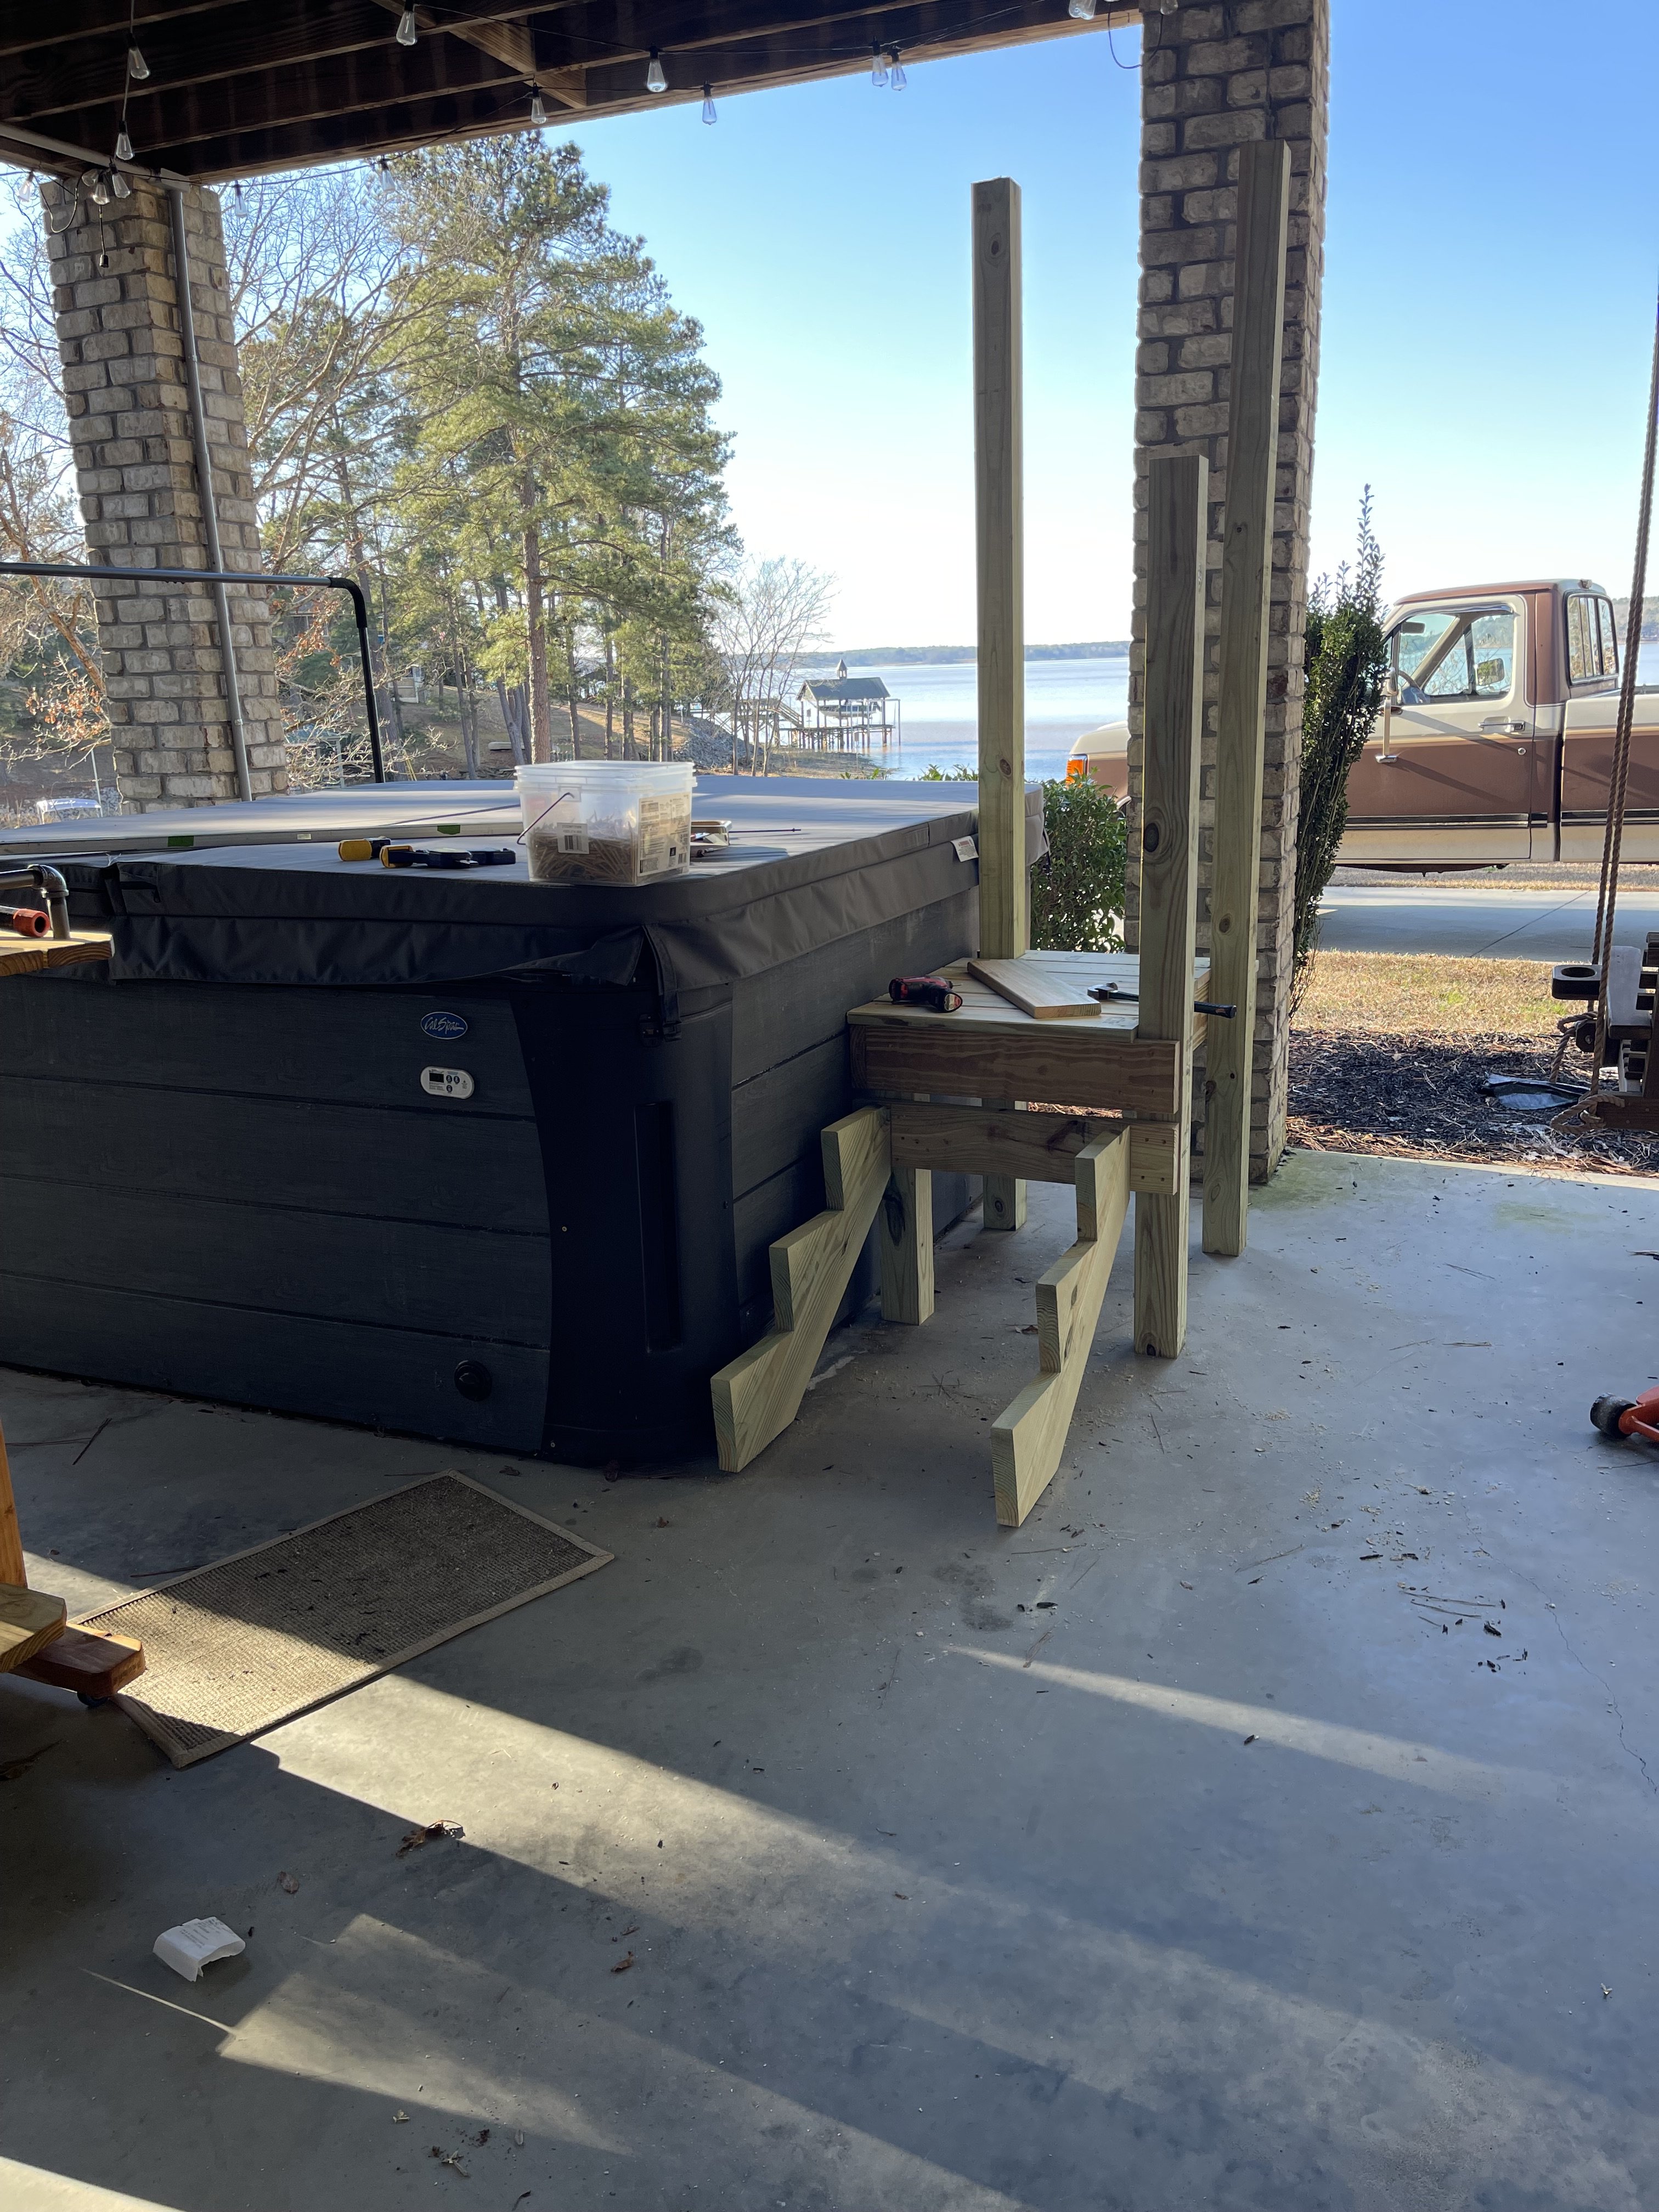
Funny thing is, I’ve spent my weekend while she’s away finally getting around to building the stairs/platform to enter/exit the hot tub without straddling the edge like you’re climbing on a horse. And now she’s 8-10 weeks out from being able to get back in it. 😢 Pay no attention to the pole heights. Those will be adjusted accordingly.
- 76 replies
-
- 10
-
-
Now the wife is up to….Now a cancer thread.
ScottsGT replied to ScottsGT's topic in General Discussion
Really! You get it man!! Carl, after 35 years, she isn’t training this old dog with new tricks.