ScottsGT
-
Posts
2,767 -
Joined
-
Last visited
Content Type
Profiles
Forums
Events
Gallery
Everything posted by ScottsGT
-
Weathering pencils. Hmmm….I should add those to my arsenal of build tools.
-
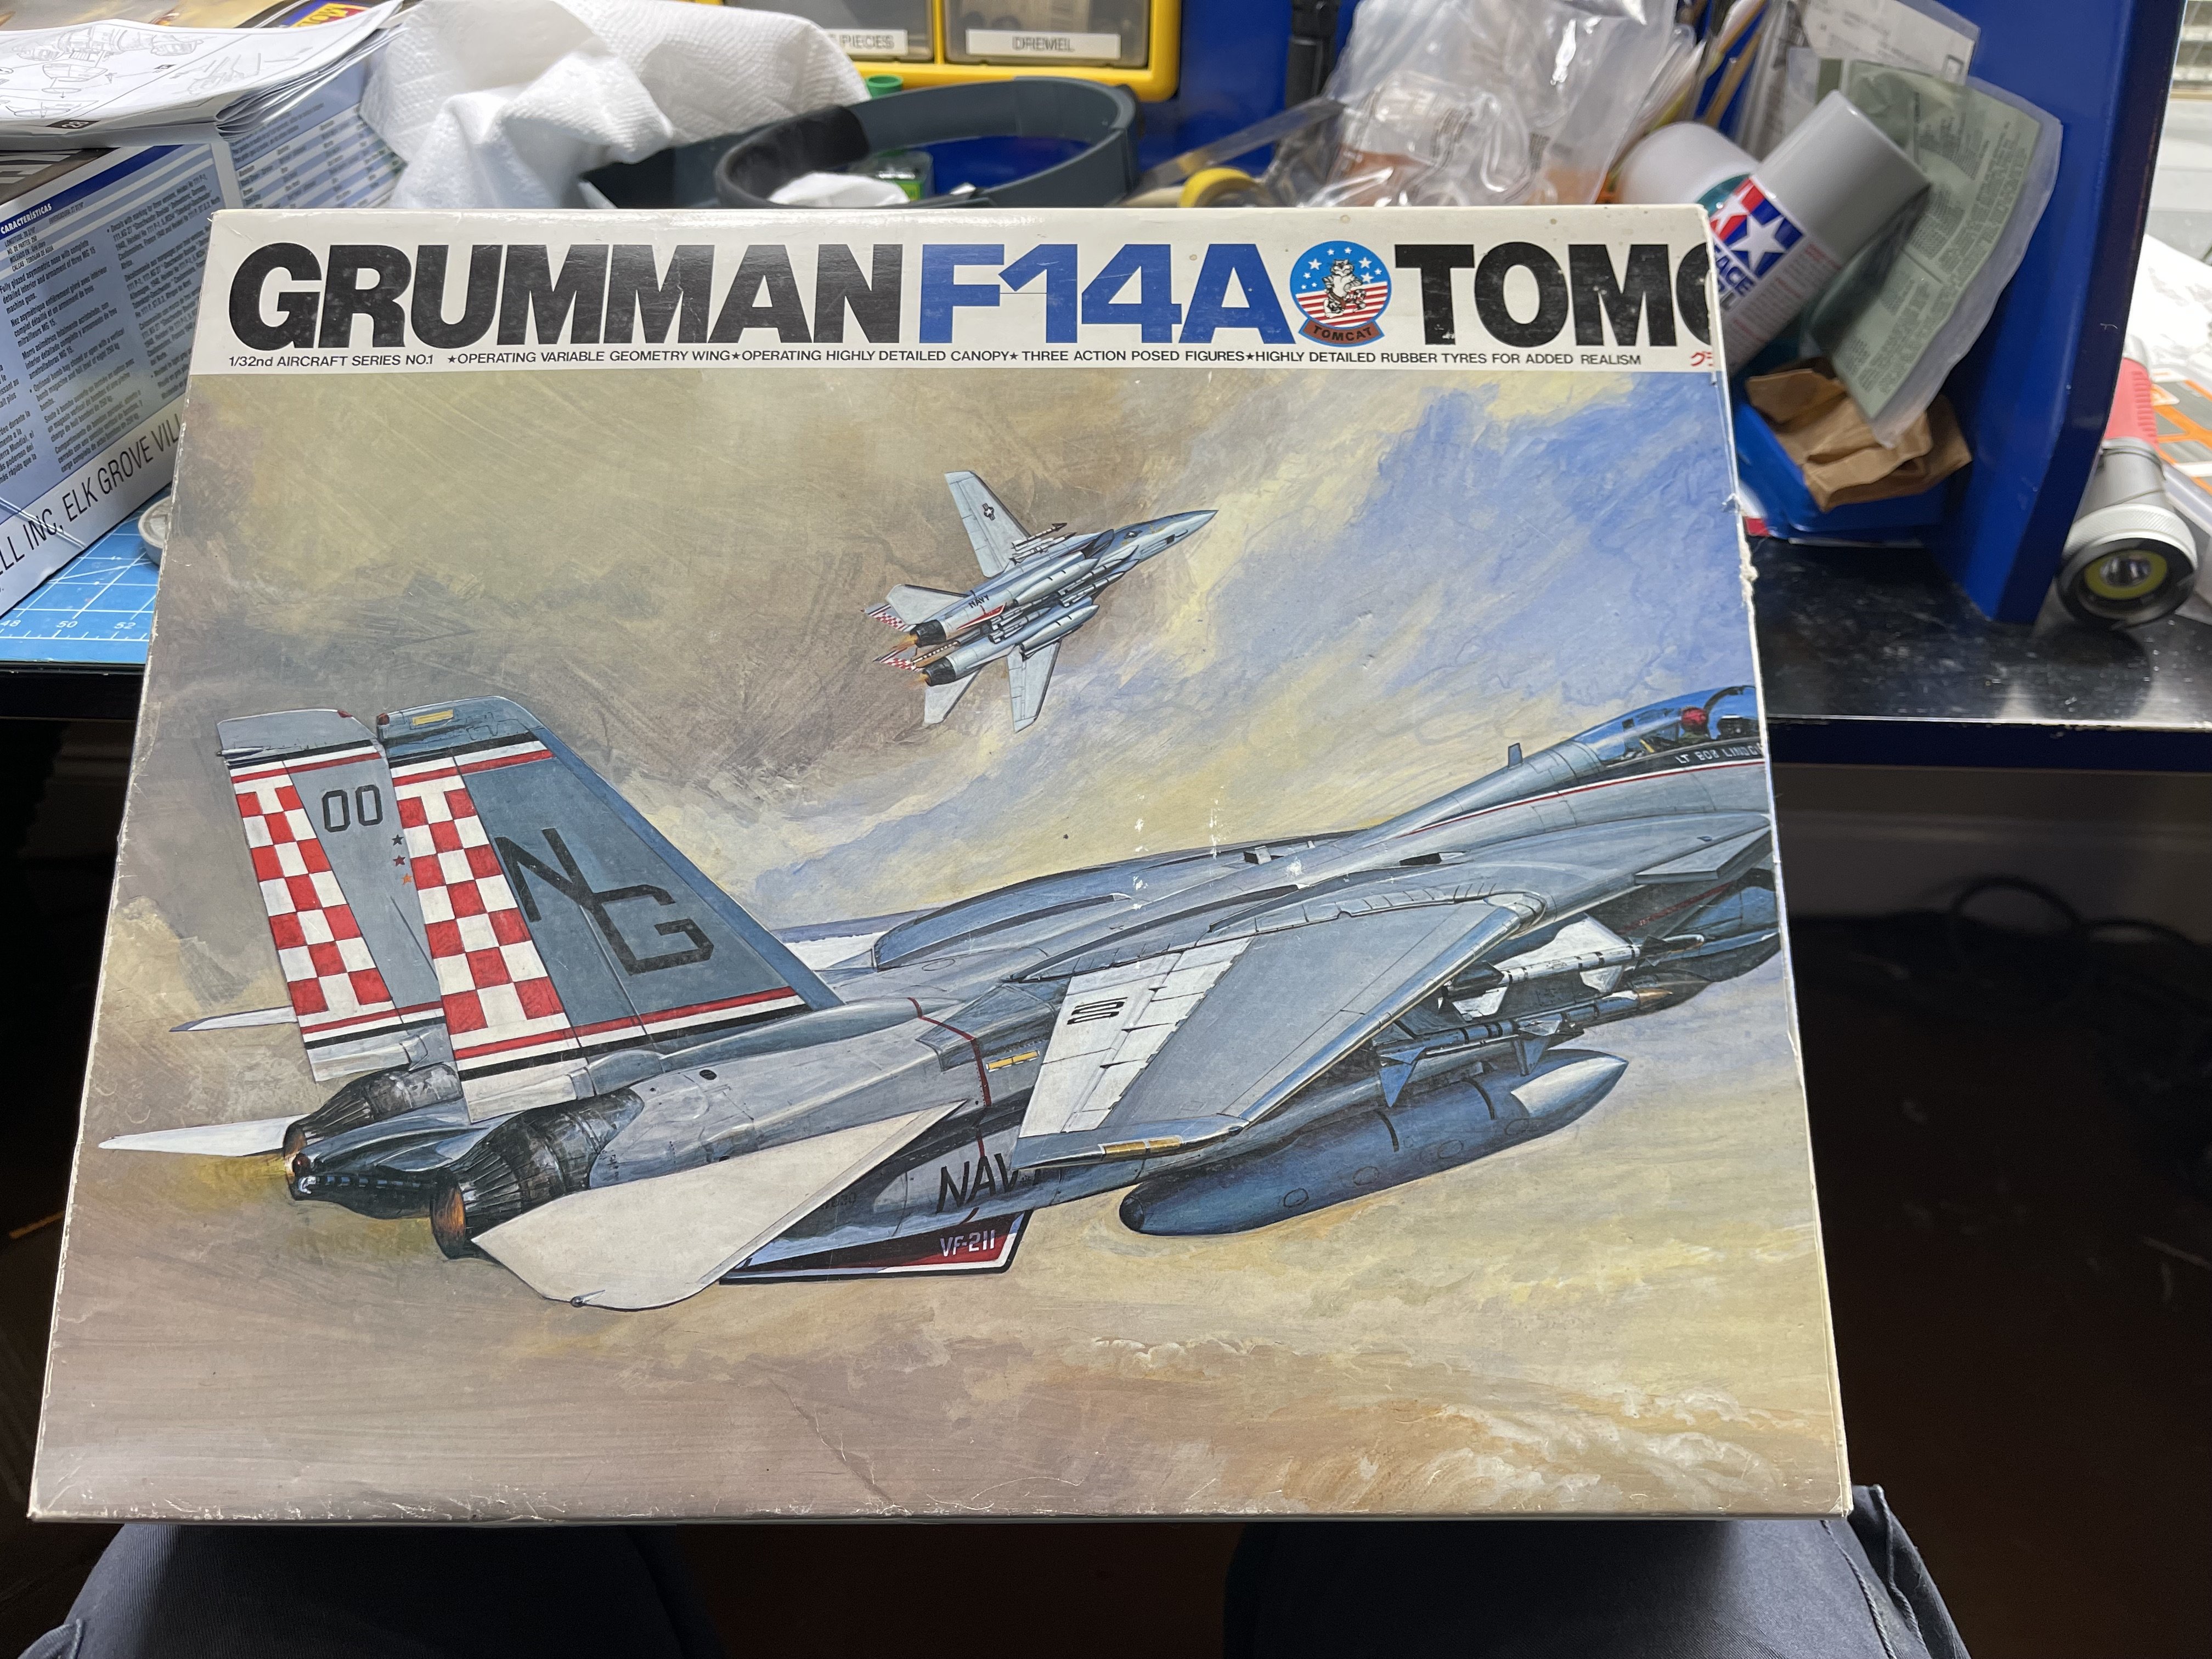
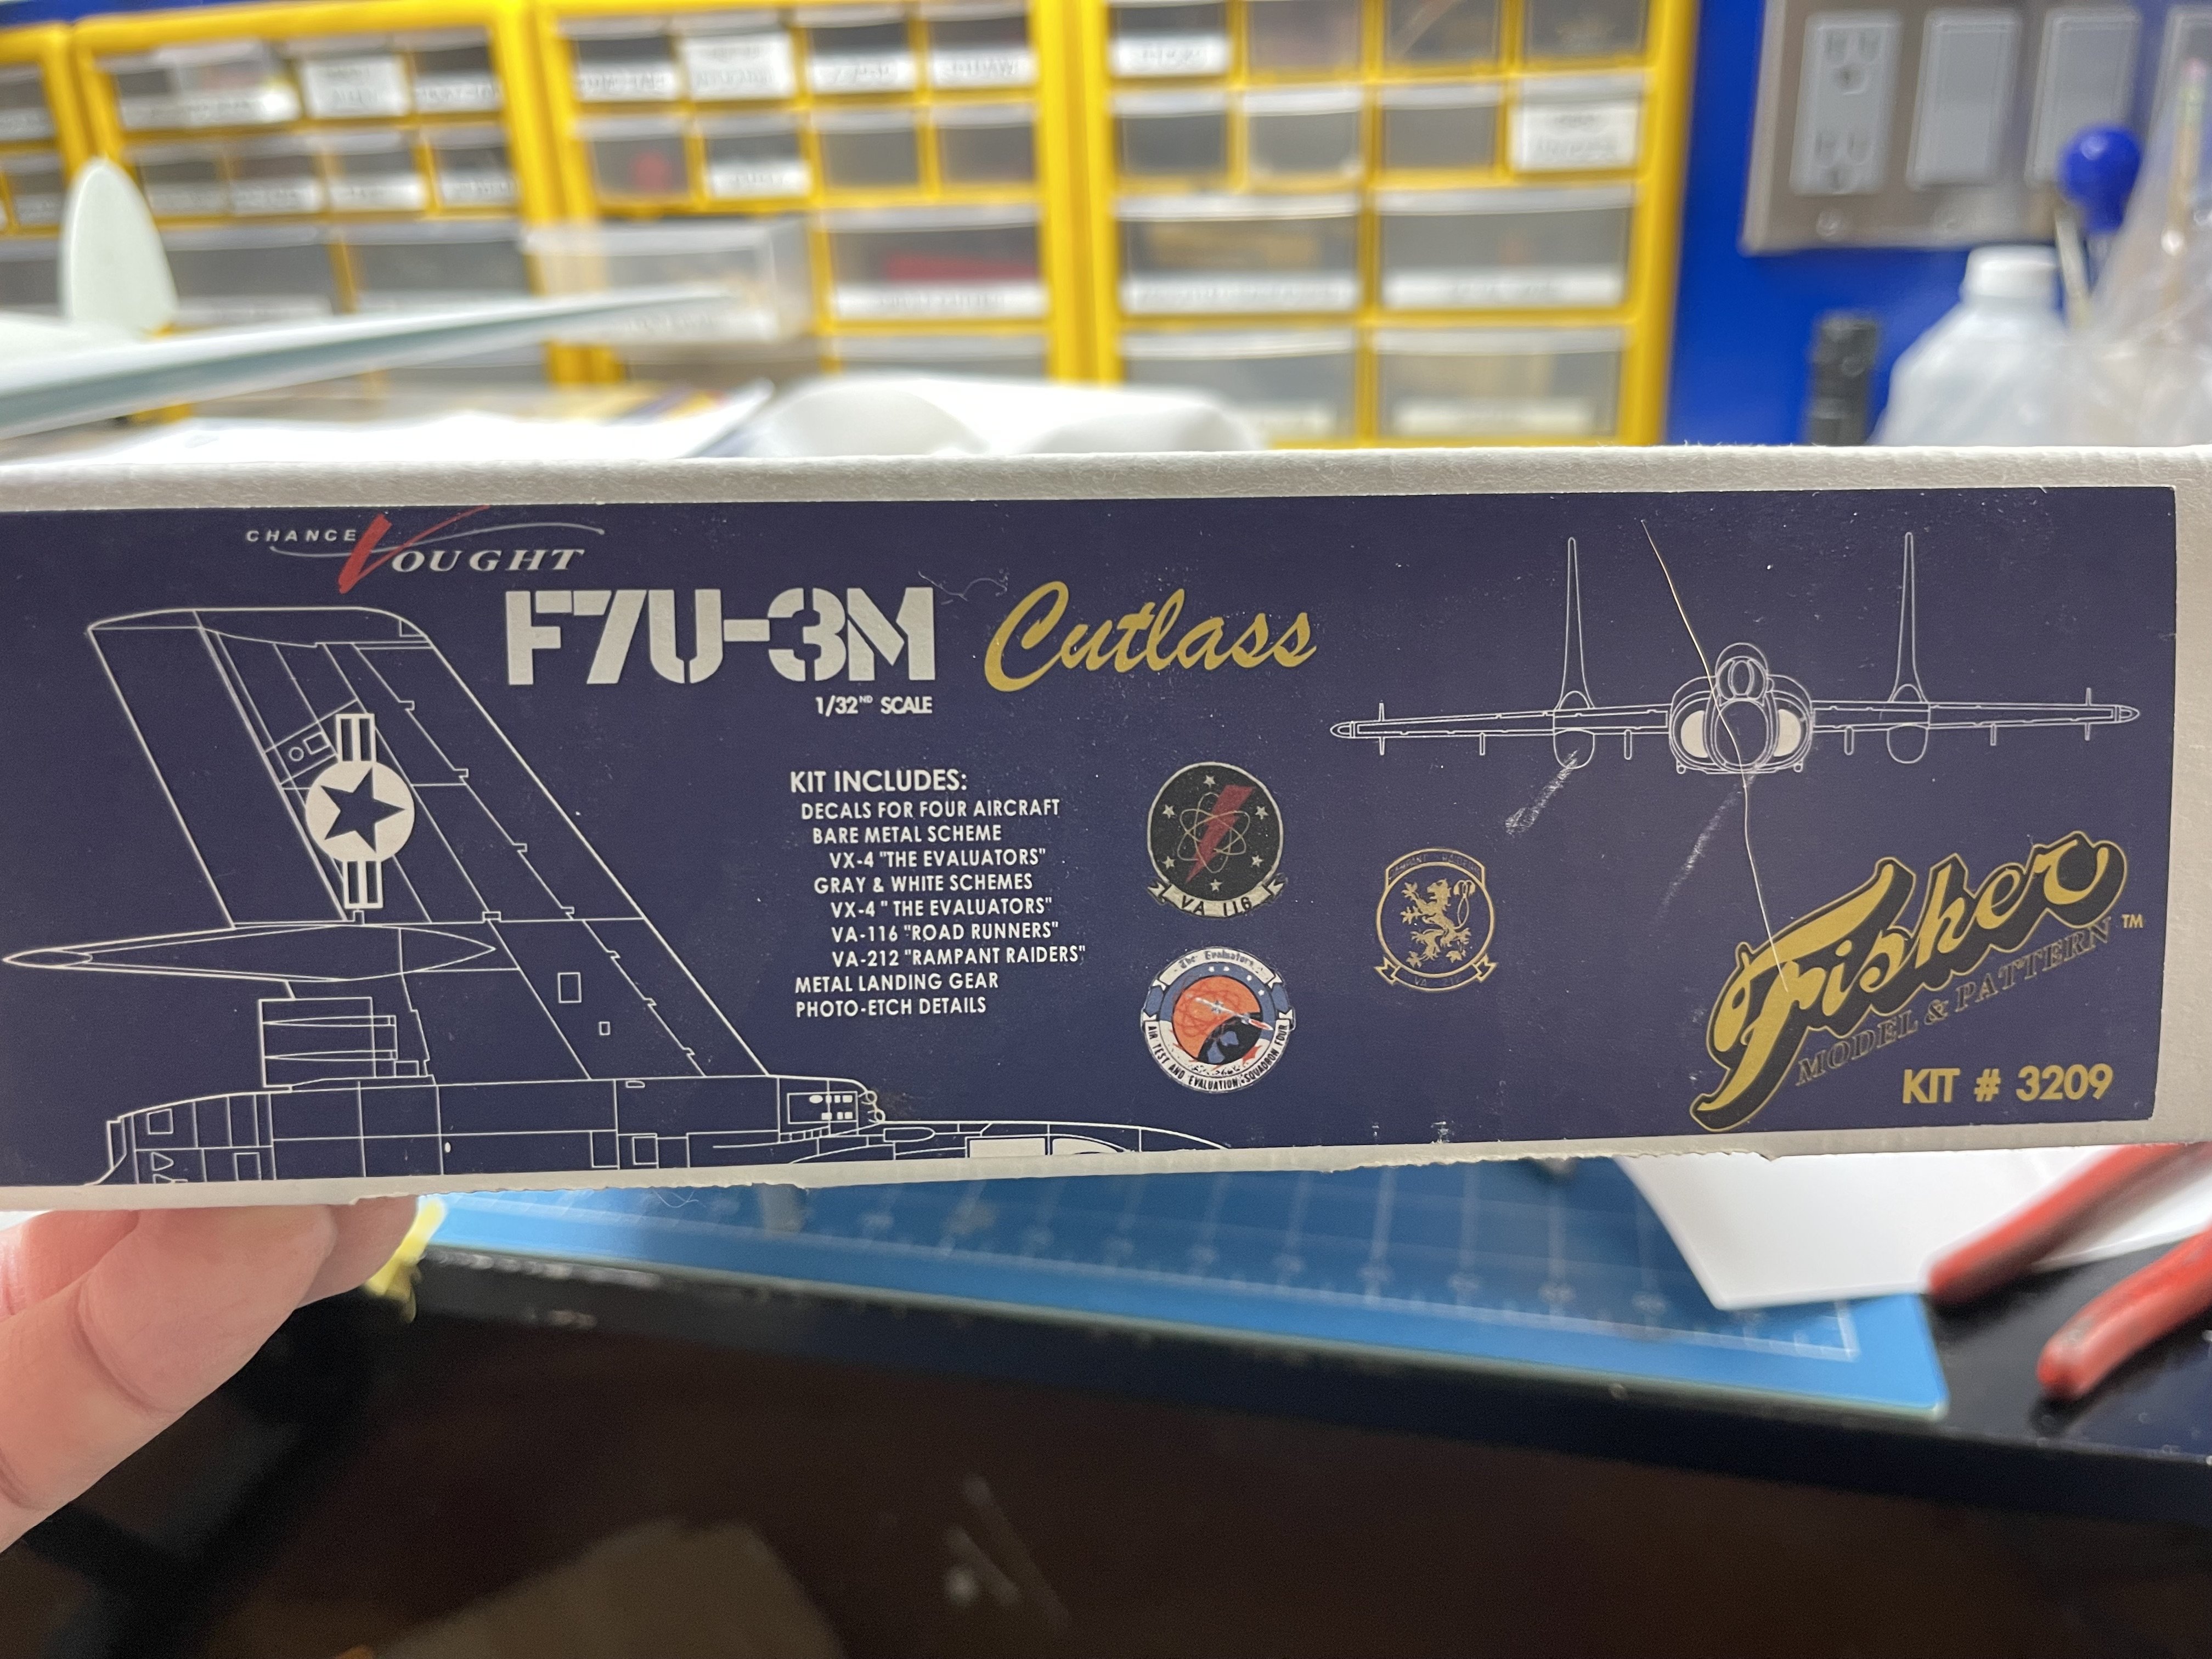
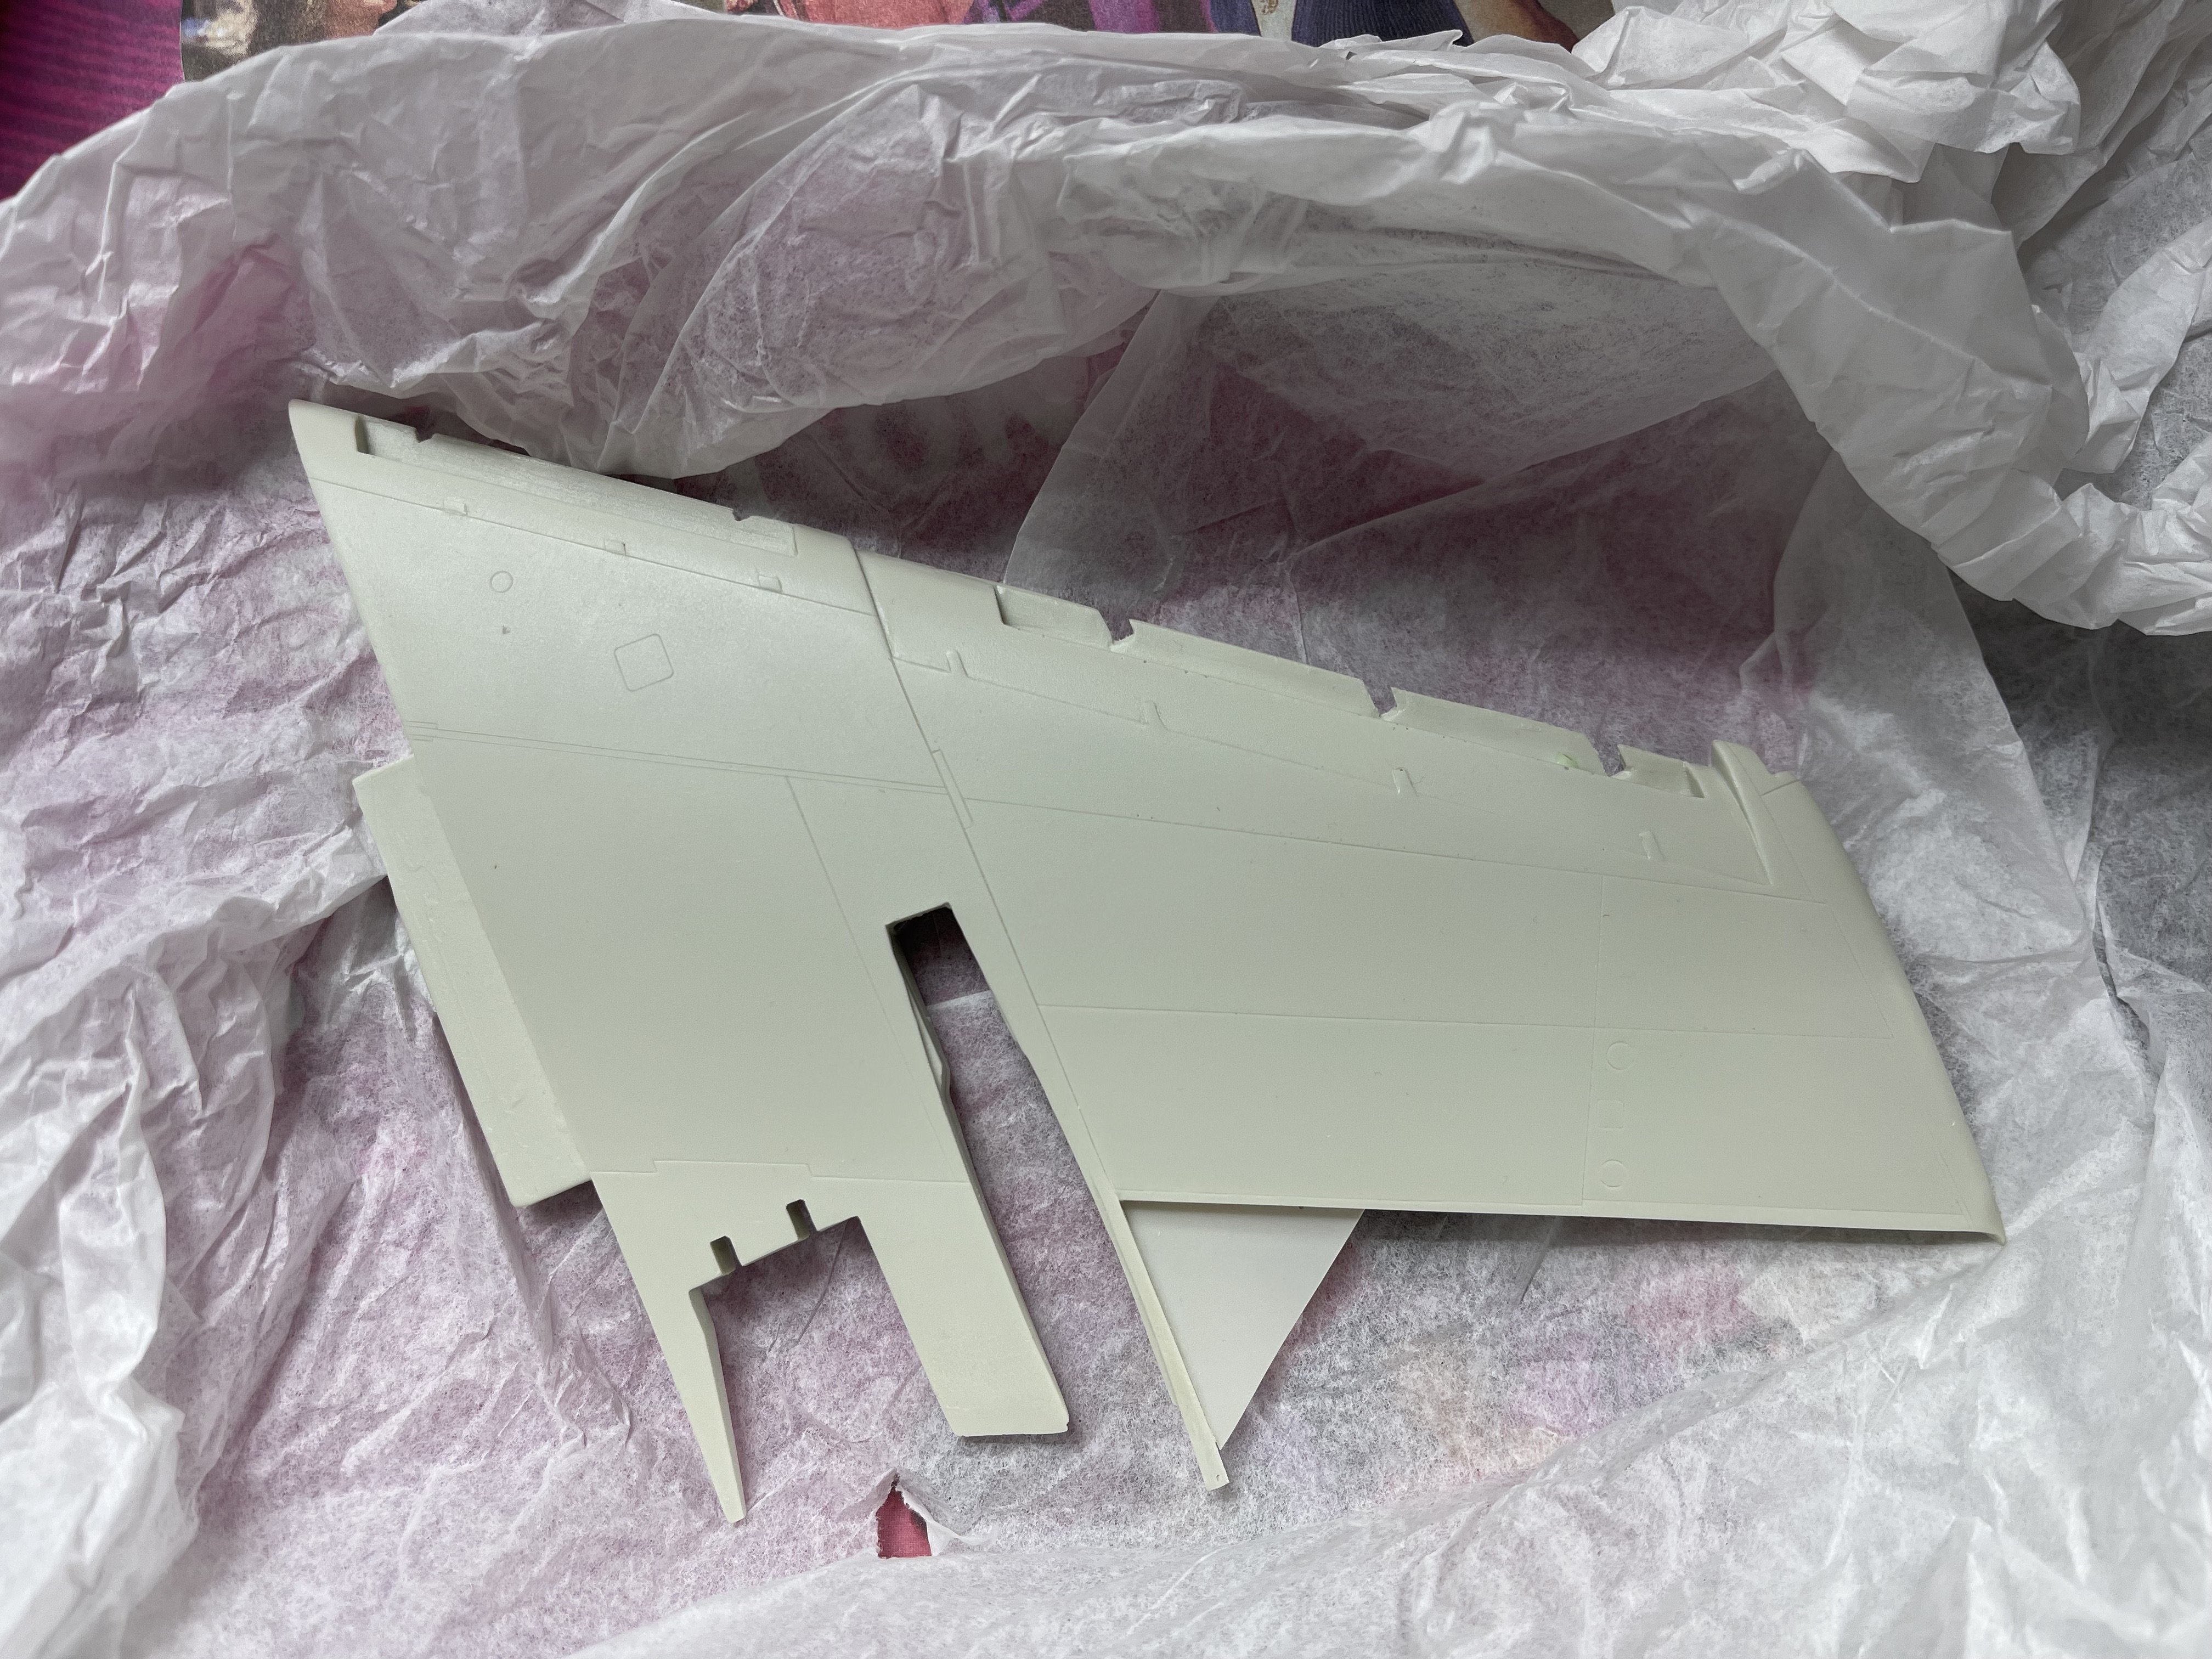
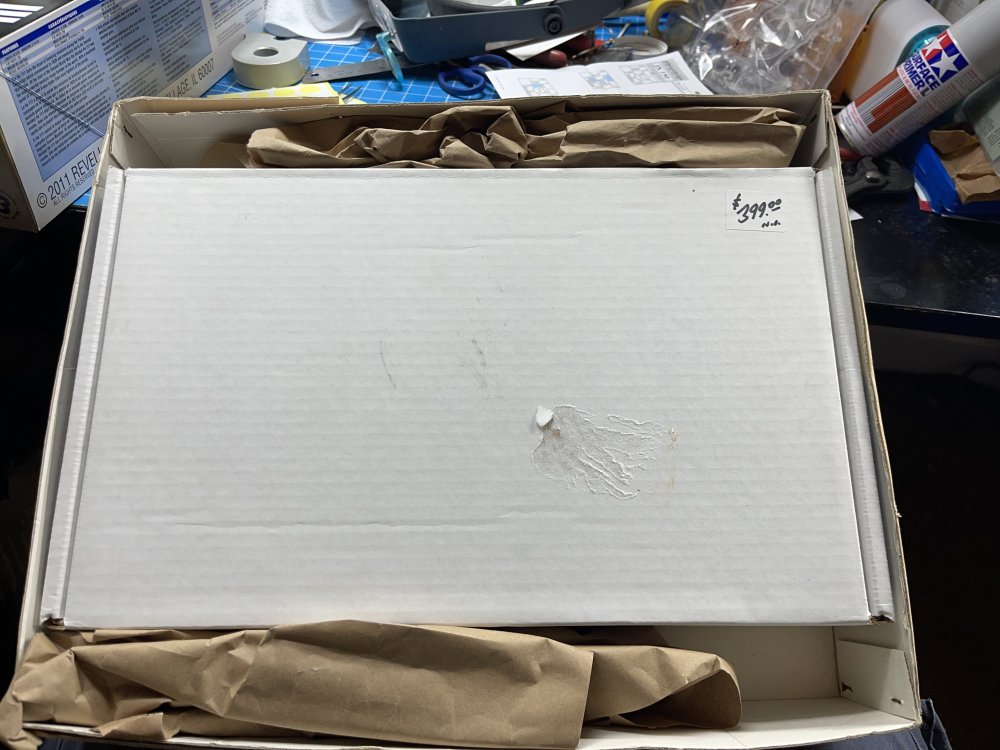
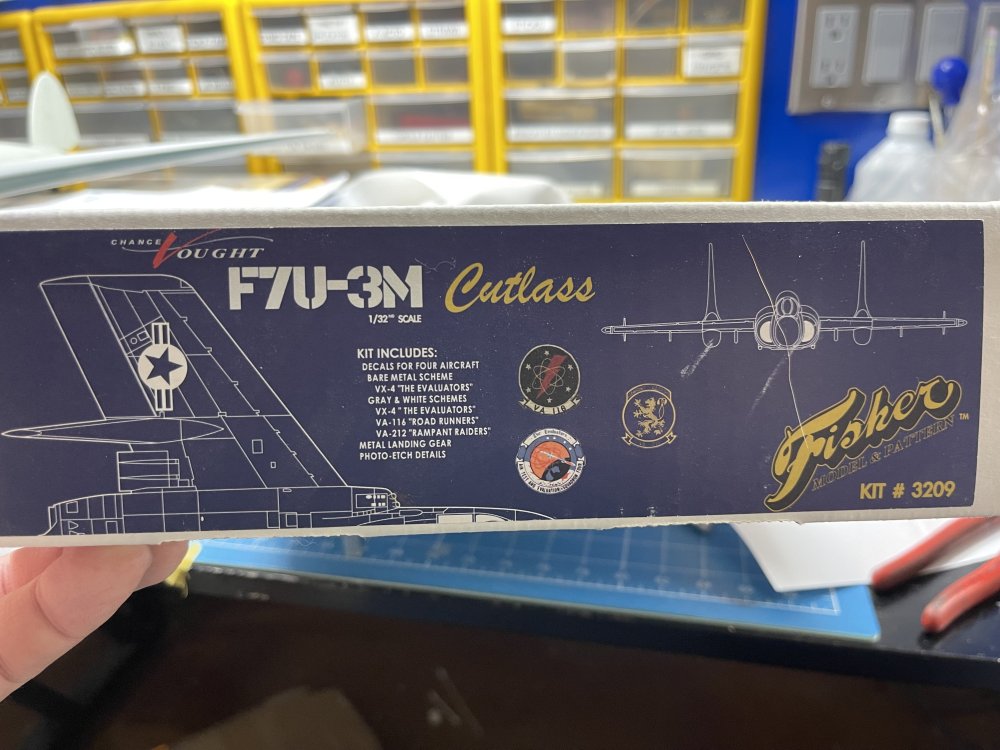
Hey Peter, just a slightly used Tomcat box used to ship the Cutlass. I’m thinking the Cutlass may push back the Me 262 and Stuka I was going to do next. It’s starting to look like it’s going to be a slow build year with the wife’s health issues going on, so I might as well make it quality time for a unique build.
-
Yea, we high rollers baby!!
-
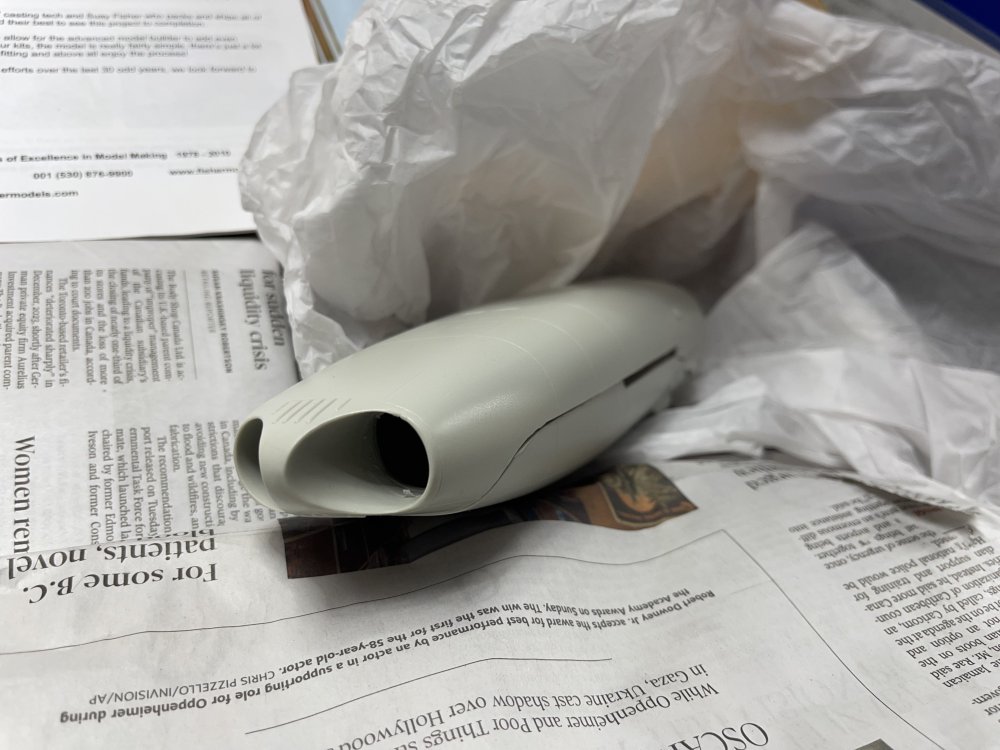
Had another slide in under the radar today! I’ve learned to shut off all the ring doorbell notifications when I’m expecting a package. LOL! But what’s this? An F-14 Tom? Is this a short Tomcat? Well, from the front it resembles a Tomcat! Oh man…all that resin goodness! Cannot wait to start this ugly ass gutless Cutlass beauty! A big thanks to Carl for thinking of me when he decided to liquidate it from his collection.


-
Welcome! A few of us are into Sci Fi as well. Check out the old “wet” group build for my “Science Fusion” build with Voyage to the Bottom of the Sea’s Seaview and the Nautilus from 20,000 Leagues. You’ll fit right in!
-
No pics, but got home from taking the wife for another biopsy and a Revell 1/32 Messerschmitt Me-262B-1/U1 I ordered was sitting there up on the porch. All I could think was “Oh man, I’m busted. Caught red handed.” As we pull in the driveway she tells me she’s going to catch a nap in the car. Go on in without her. Yes!
-
Wait!? Isn’t that a Bullitt edition? And you want to ditch the Bullitt wheels? 😱 Maybe staggering Bullitt wheels? Nevermind. Just looked at American Muscle. Doesn’t seem that they set up 2005-2009 with staggered fit wheels. My ‘95 had staggered 17” FR500 wheels. I loved the look of those.
- 2,036 replies
-
- 2
-

-

-
- car related stuff
- anything about cars
- (and 6 more)
-
On my old ‘95 GT I used Eibach springs and on my ‘15 I’m running Steeda progressives. I’m very happy with both. Just did the 1” drop and no more.
- 2,036 replies
-
- 3
-
-

-
- car related stuff
- anything about cars
- (and 6 more)
-
Both. 🤪 Carl, you just have “Squirrel!!” issues. I honestly thought you would have been done by now.
-
Benchmark Abrasives has felt polishing flap wheels you can put on that grinder. Those and a little polishing compound and you’ll be the hit of the corral!
- 2,036 replies
-
- 3
-
-
-
- car related stuff
- anything about cars
- (and 6 more)
-
Impressive builds there. Now get busy on that Fisher Sea Fury!
-
I like light beers. Since the Bud Light debacle, I discovered Yuengling Light and Flight. It’s all I buy now. use to love a stout beer in my younger days, I guess old age does funny things.
-
The purest are a dying breed. Had a discussion yesterday with my son about this. They won’t touch a numbers matching car to restomod because A. Too rare and valuable these days. And B, just too much to buy one to sink another $150k-$200k into. They did get a line on someone that has collections of basket cases they can buy. All they want is the body with the VIN and a title. They resell or trade back the OEM frames, drivetrain, and any other parts they pull off and replace with custom aftermarket. And this helps out the guys restoring vette’s back to original. But they are focusing on ‘67 and ‘63 cars right now. They have a split window at another body shop and a ‘67 vert in a different shop.
- 2,036 replies
-
- 4
-
-
- car related stuff
- anything about cars
- (and 6 more)
-
Yes…as my son put it, “The reserve price just went higher.”
- 2,036 replies
-
- 1
-
-
- car related stuff
- anything about cars
- (and 6 more)
-
Now the wife is up to….Now a cancer thread.
ScottsGT replied to ScottsGT's topic in General Discussion
Please make sure she stays on top of her mammograms. Our situation is a perfect example of how medical professionals make the worst patients. She got a call yesterday morning from the imaging center wanting to cancel her appointment for the scan Monday morning because they didn’t have insurance approval yet, and they wanted to slot someone else to keep the $$$ rolling in. Wife went ham on them and told them that under no circumstances are they to reschedule this. We’ll pay out of pocket if we have to. Come to find out, the imaging center sent the results to her surgeon and not the doc (our GP) that requested the mammogram in the first place. The same doc has to write the order for the advance scan. It was good to hear her chew someone else’s butt for once. 🤣 -
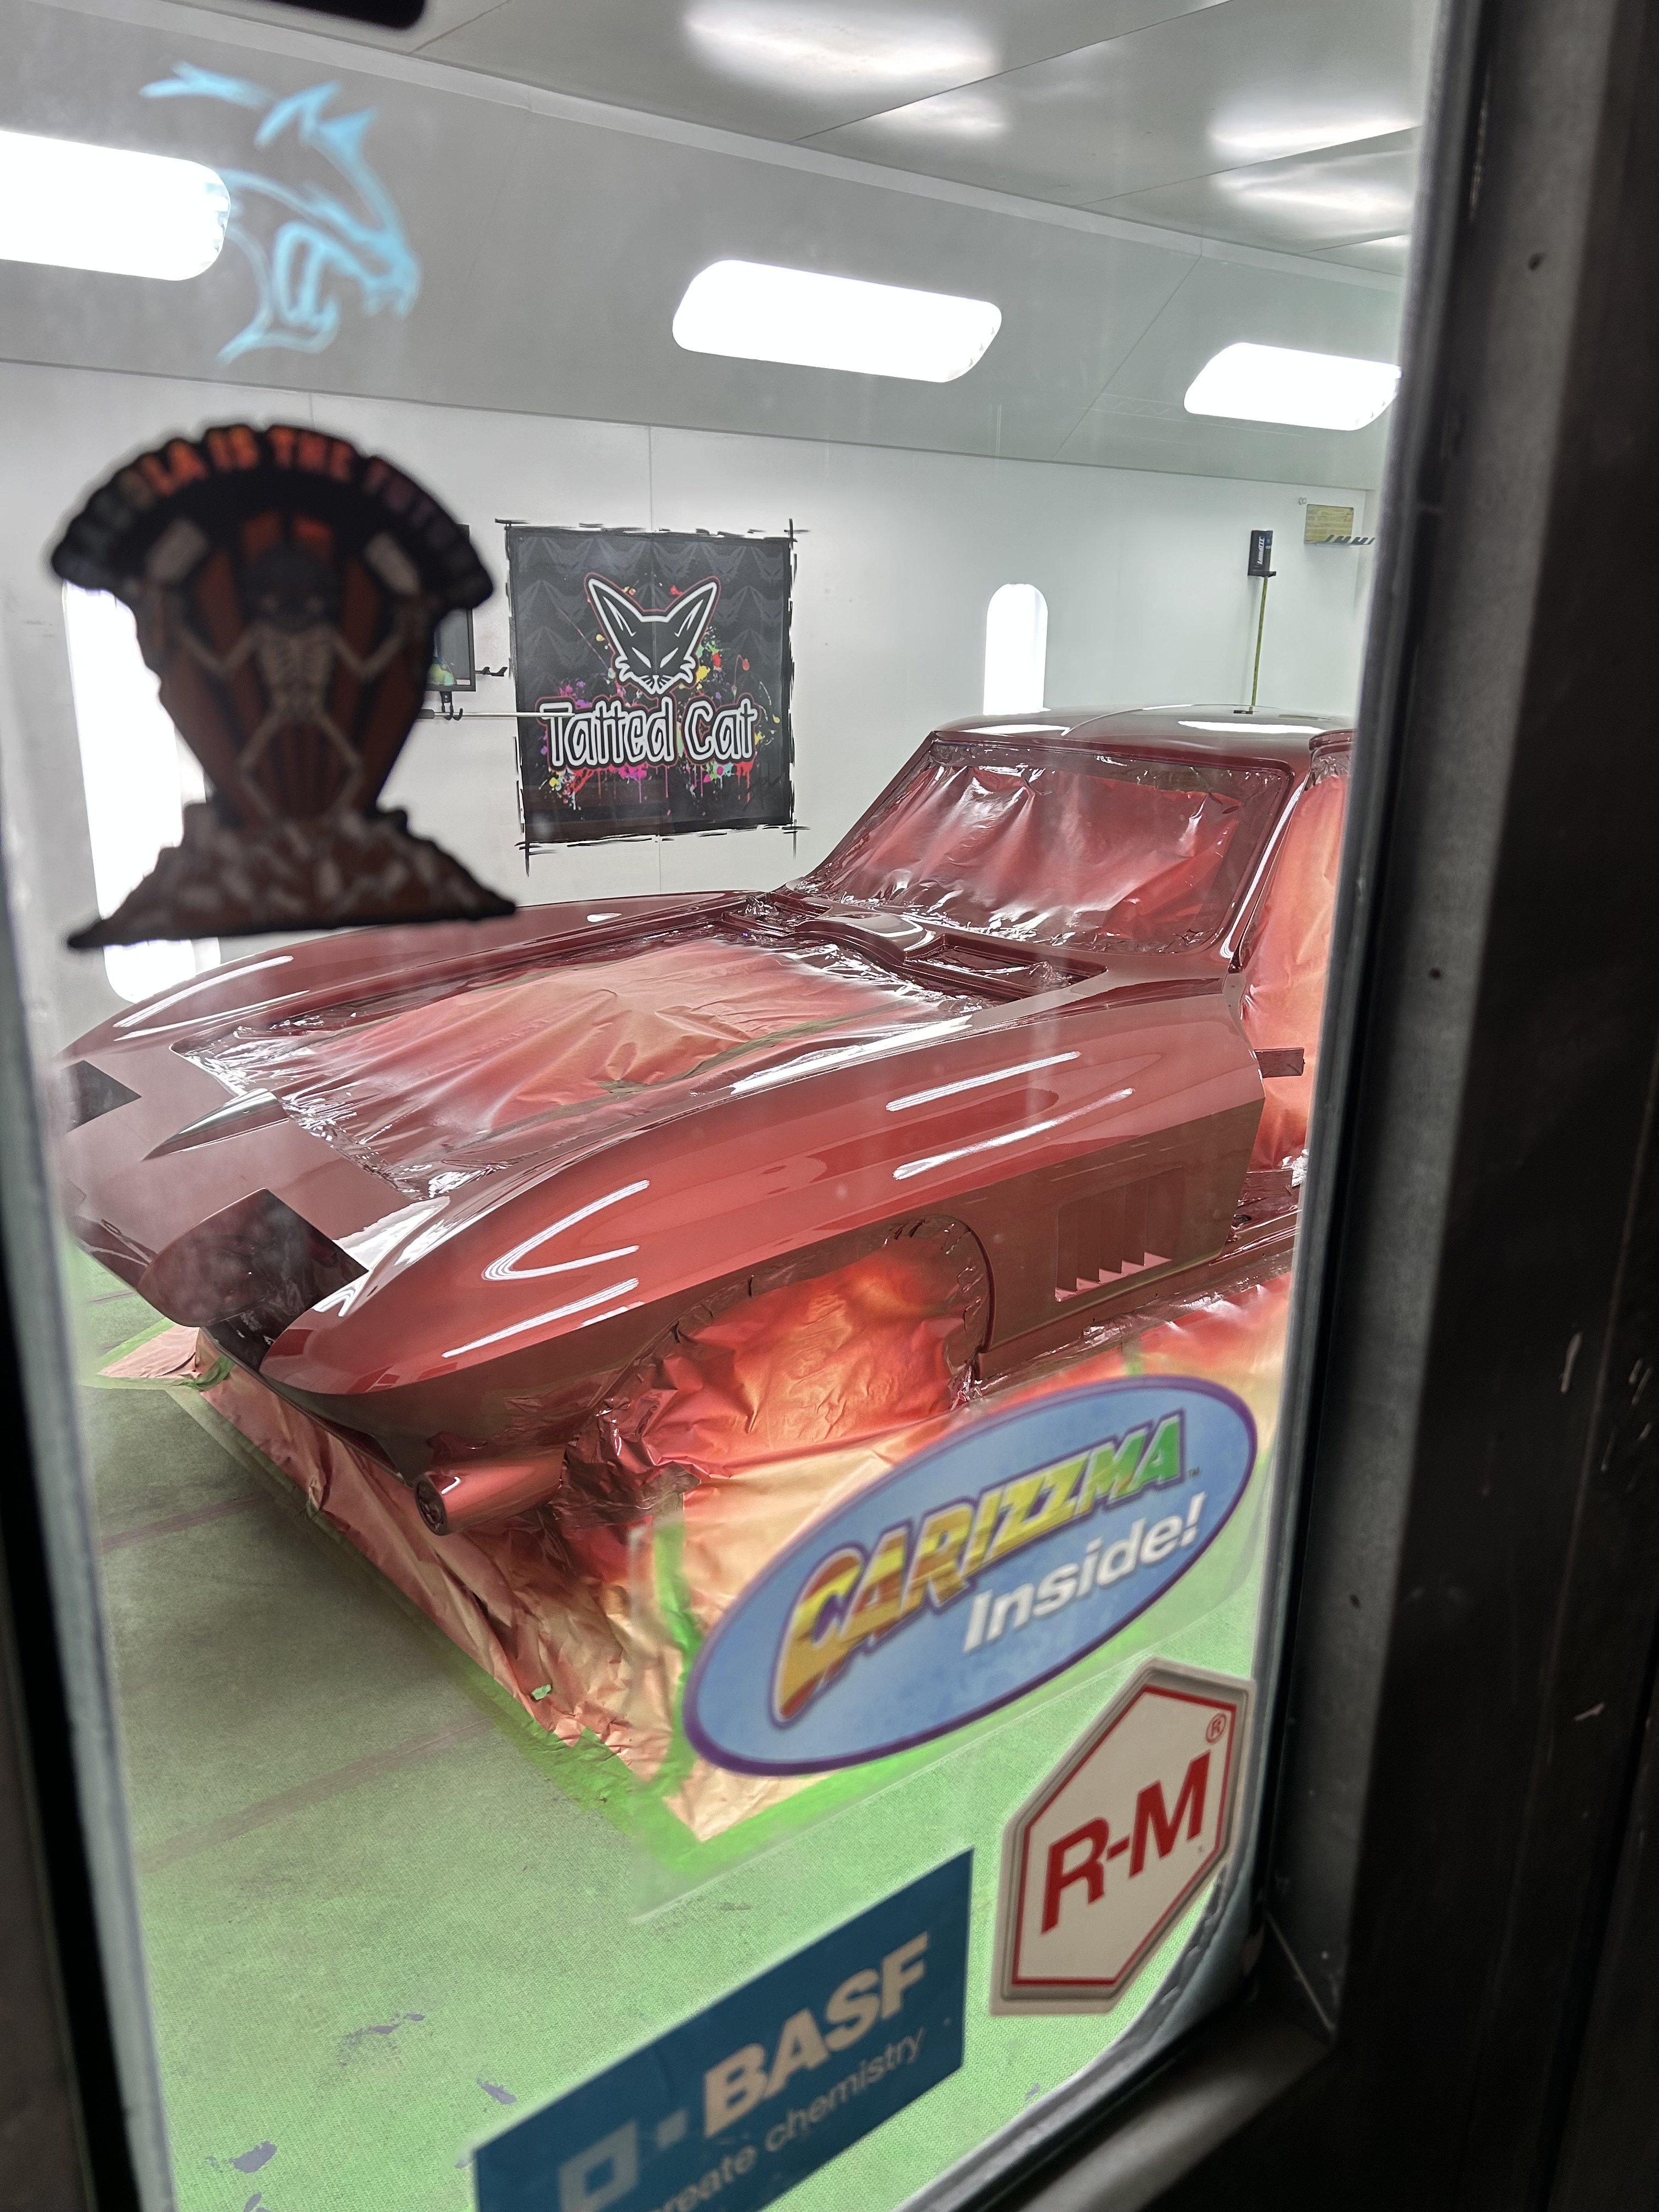
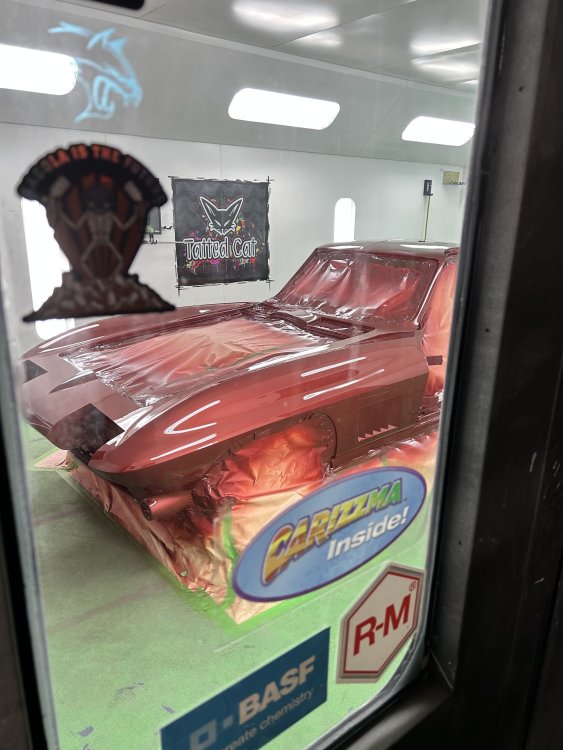
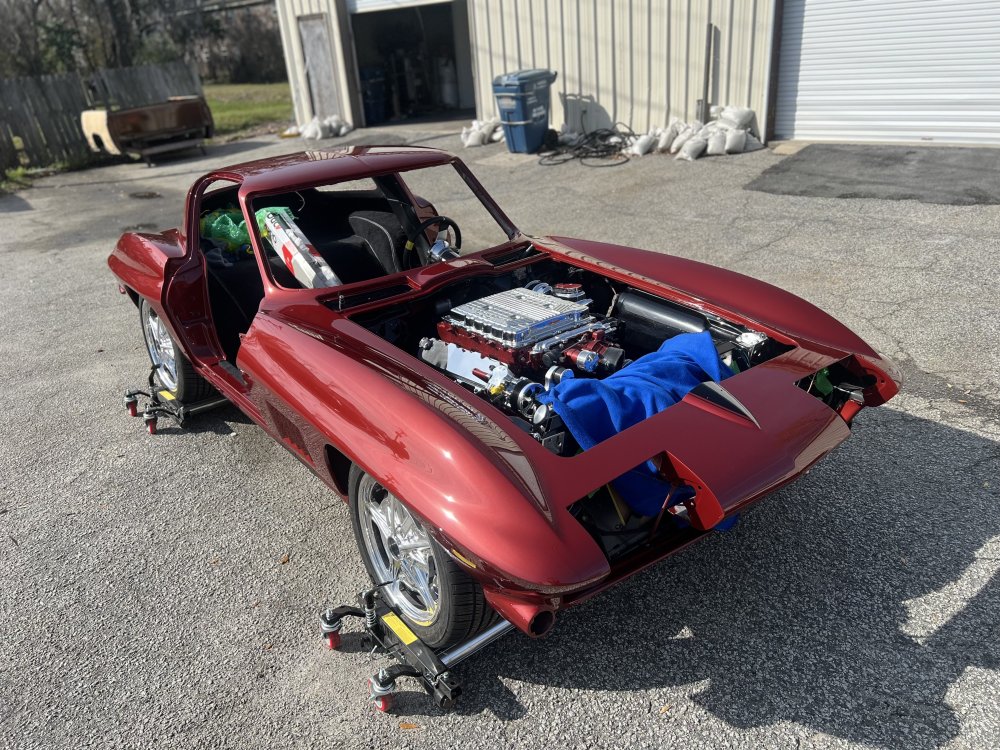
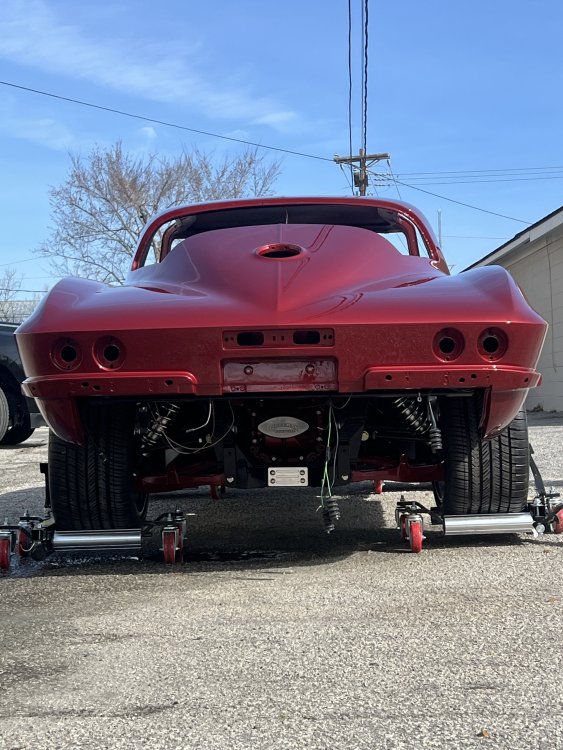
A few updated pics on the ‘67 Corvette my sons building. It’s a the painters right now, and she is awesome! outside this is the BOTTOM of the hood. Between the painters Instagram and the suppliers he’s buying parts from posting it on their website and social media, and his Instagram as well, this build is getting a lot of attention. Their talk of it being on display at the next SEMA in Vegas at the Mecum Auction booth.


- 2,036 replies
-
- 8
-
-
- car related stuff
- anything about cars
- (and 6 more)
-
Now the wife is up to….Now a cancer thread.
ScottsGT replied to ScottsGT's topic in General Discussion
Sorry guys, I cannot in clear conscience drop a bomb like that and walk away. But I’ll keep it short because we’re in the discovery phase and lining up appointments and meetings and testing. But Mary was diagnosed with breast cancer on Tuesday of this week. It’s tearing me apart right now just typing this out. Mainly because we don’t know if it was caught early since her last mammogram was 2.5 years ago. We’re trying to live a normal life until the work starts, which will be real soon. She has a wonderful support staff at work at the hospital she works for. Her surgeon knows her from working side by side and he has taken charge and running the show coordinating everything like a wedding planner would at a wedding. She knows the cancer type, I cannot remember details like that, but it is a common breast cancer. Golf ball size lump up high. I’ll update throughout the process.- 76 replies
-
- 10
-

-
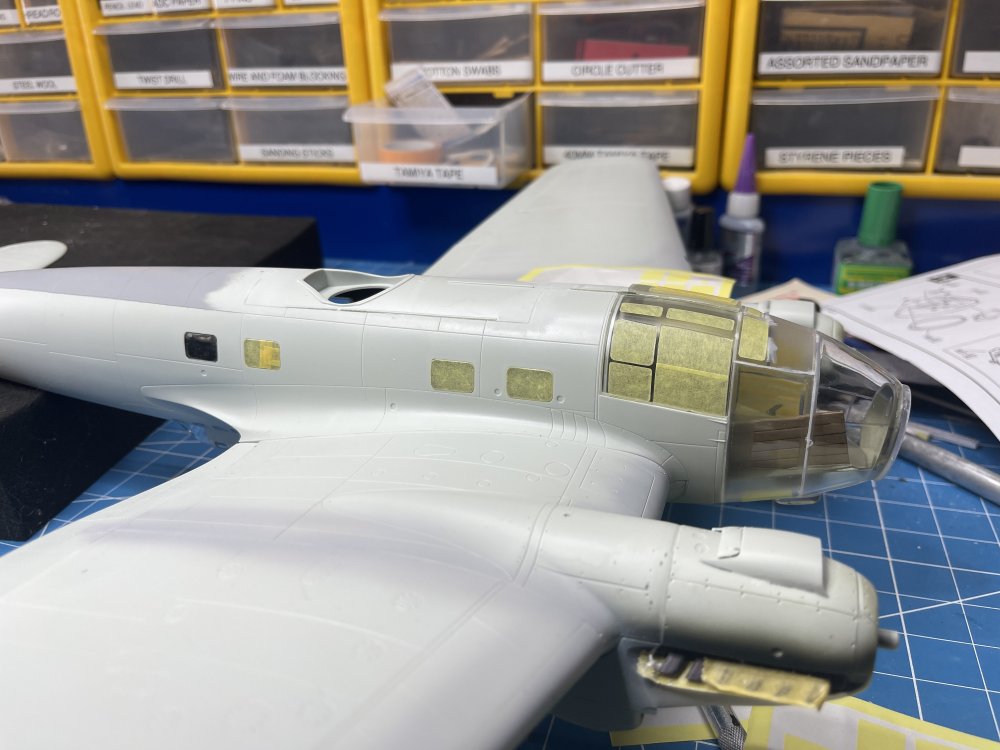
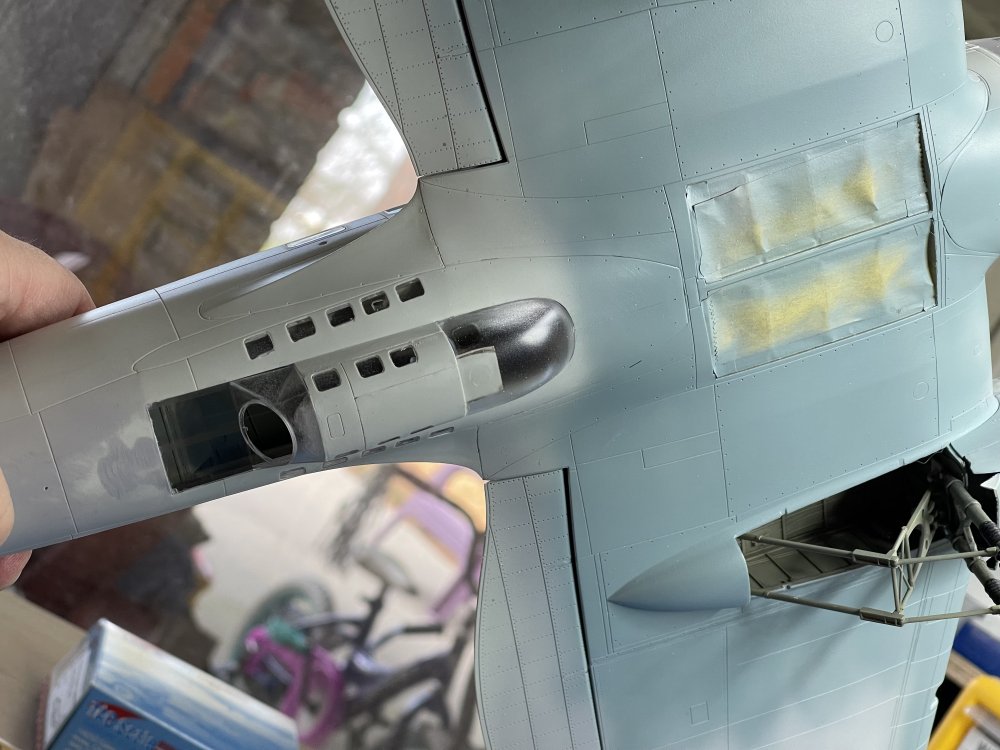
You know, this would have been a hell of a lot easier if I had ordered the correct Eduard mask set. My dumbass self ordered the He111H-6 set and not the He 111 P.
-
Now the wife is up to….Now a cancer thread.
ScottsGT replied to ScottsGT's topic in General Discussion
Martin, leg is healing up great. Unfortunately other very serious health issues have cropped up. Not quite ready to discuss it yet. -
Welp! Too late.
-
I think I’m finally ready to start applying all those Eduard masks now.

- 164 replies
-
- 10
-
-
Dang it Carl! This is looking so good I picked up a kit off LSP. Still waiting to get shipping costs, but with the He 111 and the Stuka kit I picked up, I’m on a Luftwaffe roll.
-
Happy to report that I’m not having anymore issues from my SI joint area! Let’s hope it lasts. He’s put me on a weekly schedule for now since I board a cruise ship in the morning. Related story, my son the Corvette builder called as I was on the way to today’s appointment and he’s now having really bad upper back issues. My chiropractor hooked him up with a guy in his area and he goes for his first adjustment in the morning.
-
.38 ACP? Same as .380 ACP? Odd choice of round for a rifle. Must have been built for a country that does not allow military calibers in the common folks possession.
-
Gotta be photoshopped, but funny.