CrankyCrafstman
-
Posts
1,350 -
Joined
-
Last visited
Content Type
Profiles
Forums
Events
Gallery
Everything posted by CrankyCrafstman
-

This is for Jeff
CrankyCrafstman replied to CrankyCrafstman's topic in LSM 1/35 and Larger Work In Progress
Thanks guys -
This is for Jeff
CrankyCrafstman replied to CrankyCrafstman's topic in LSM 1/35 and Larger Work In Progress
Hey Jeff I think it's from Detail Masters and it's 0.024" diameter which is around 9/16" 1/24 scale. Jeff I have a question that maybe you can answer. Do you know how many air tanks were on a 1985 -1993 Mack Superliner II? I know there is one under each battery box 12" dia. x 19"-22" long. Primary tank on the left secondary tank on the right. My question is where is the supply tank? And what size is ut? If you can help I would be extremely grateful. I'm working on the wiring as we speak. Getting ready to start on the front. Another question, did I plumb the power steering correctly? I think I did it wrong. Thanks Ron G -
This is for Jeff
CrankyCrafstman replied to CrankyCrafstman's topic in LSM 1/35 and Larger Work In Progress
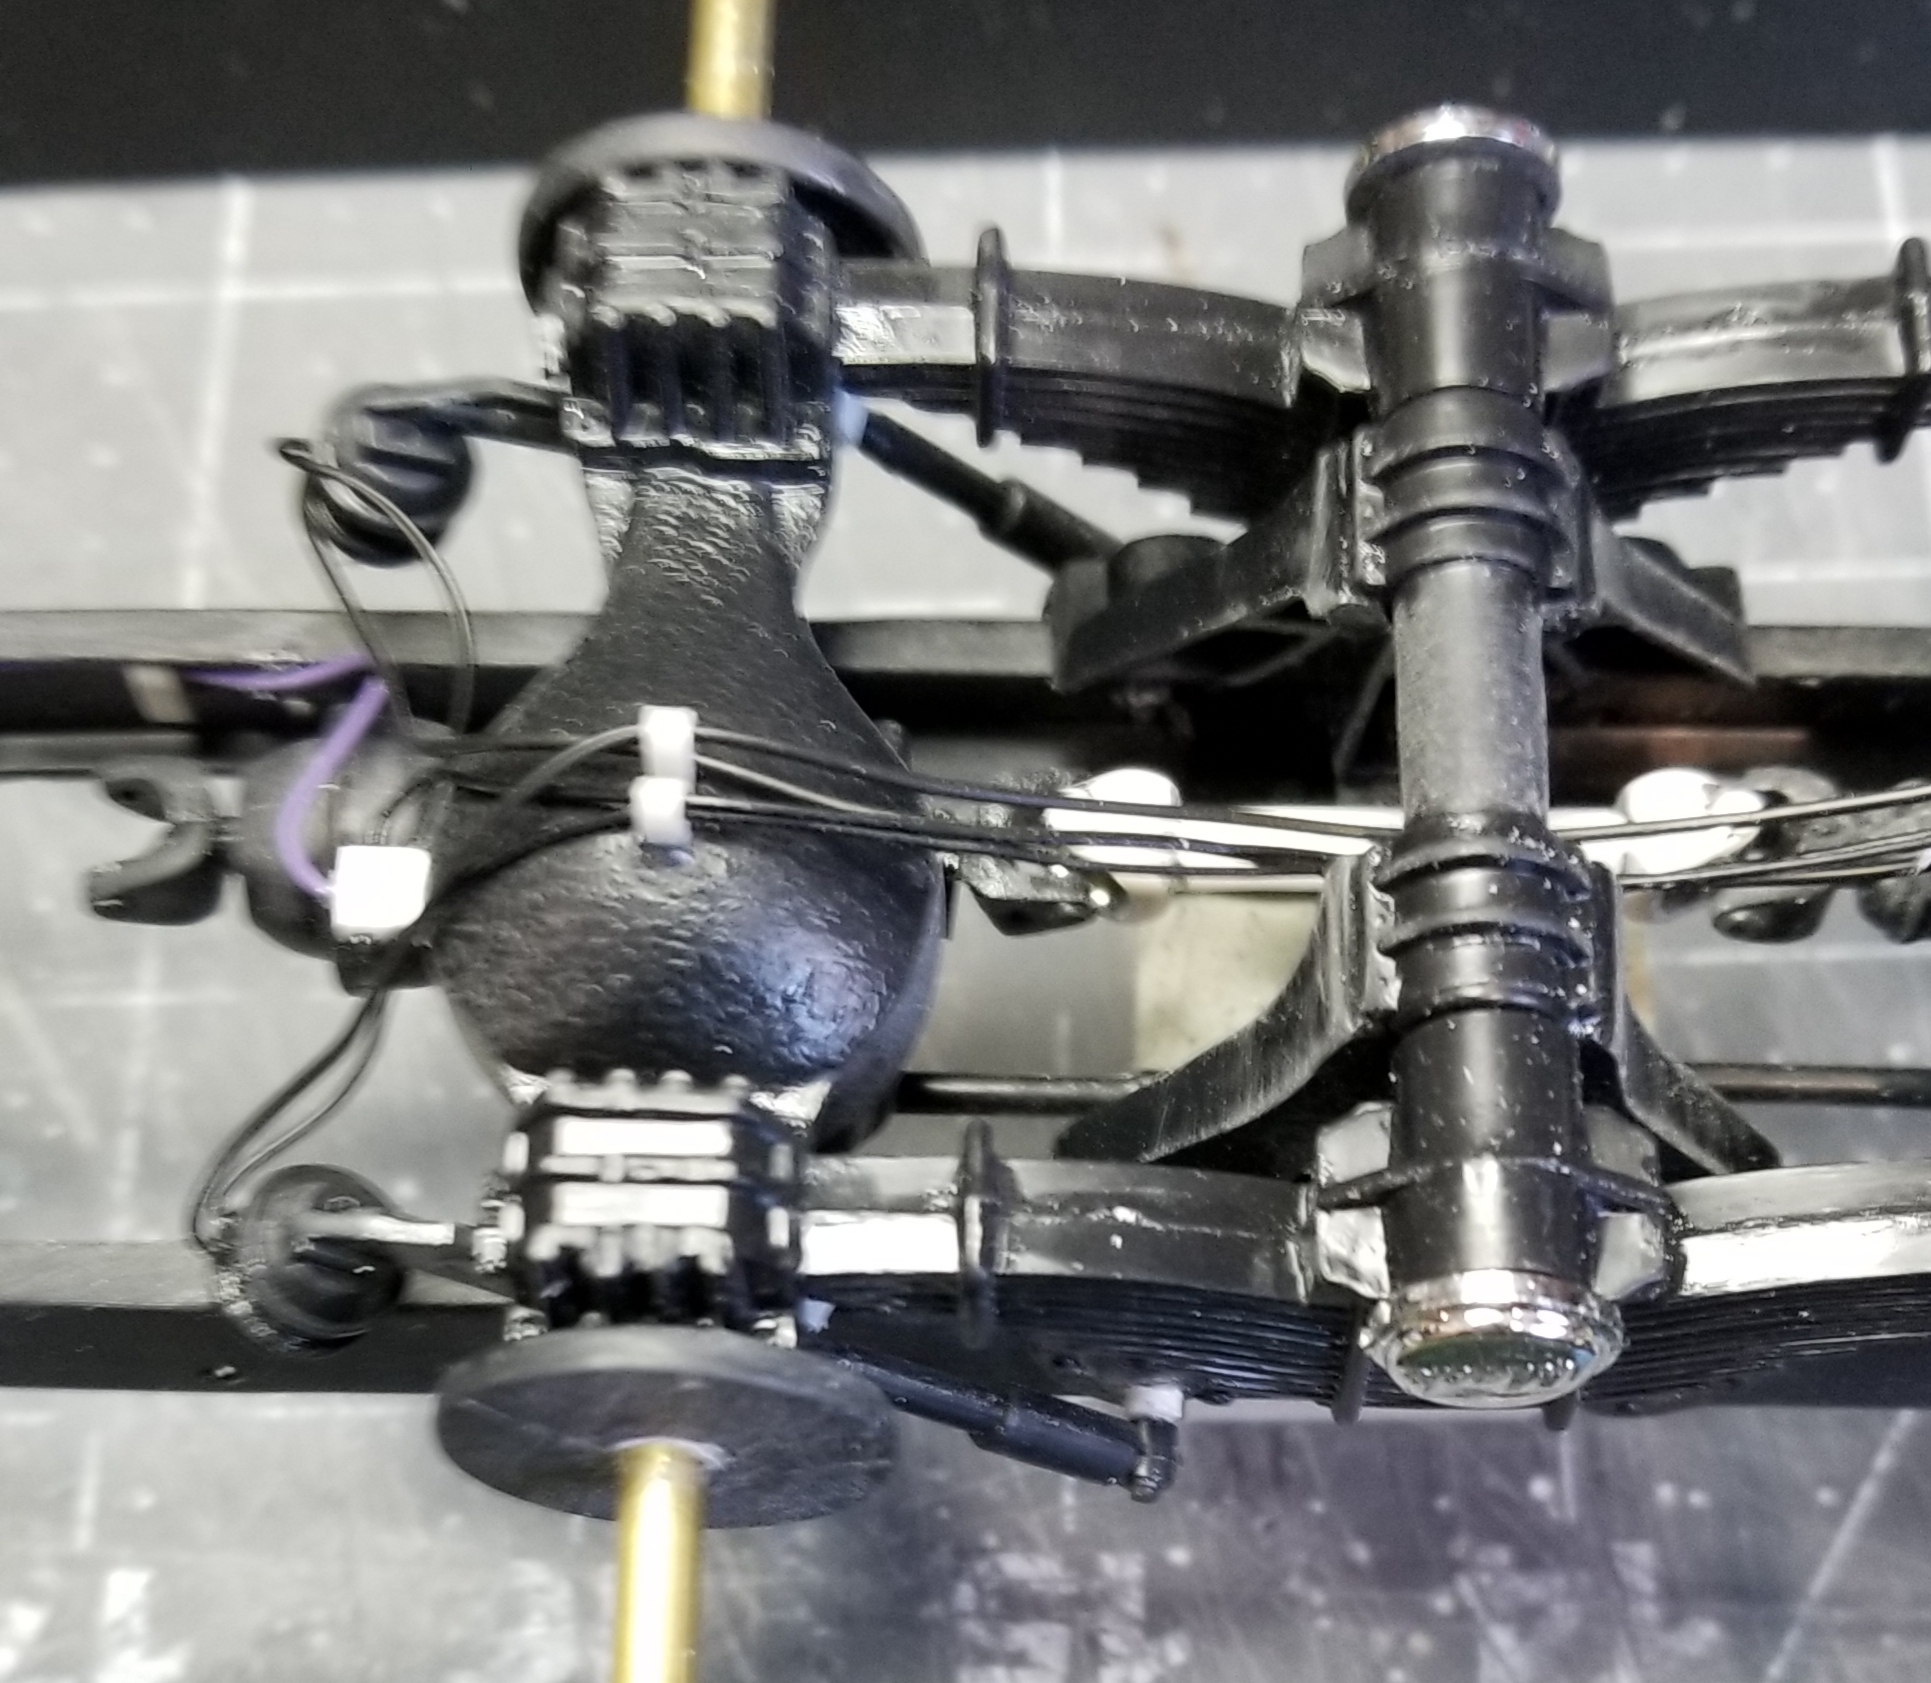
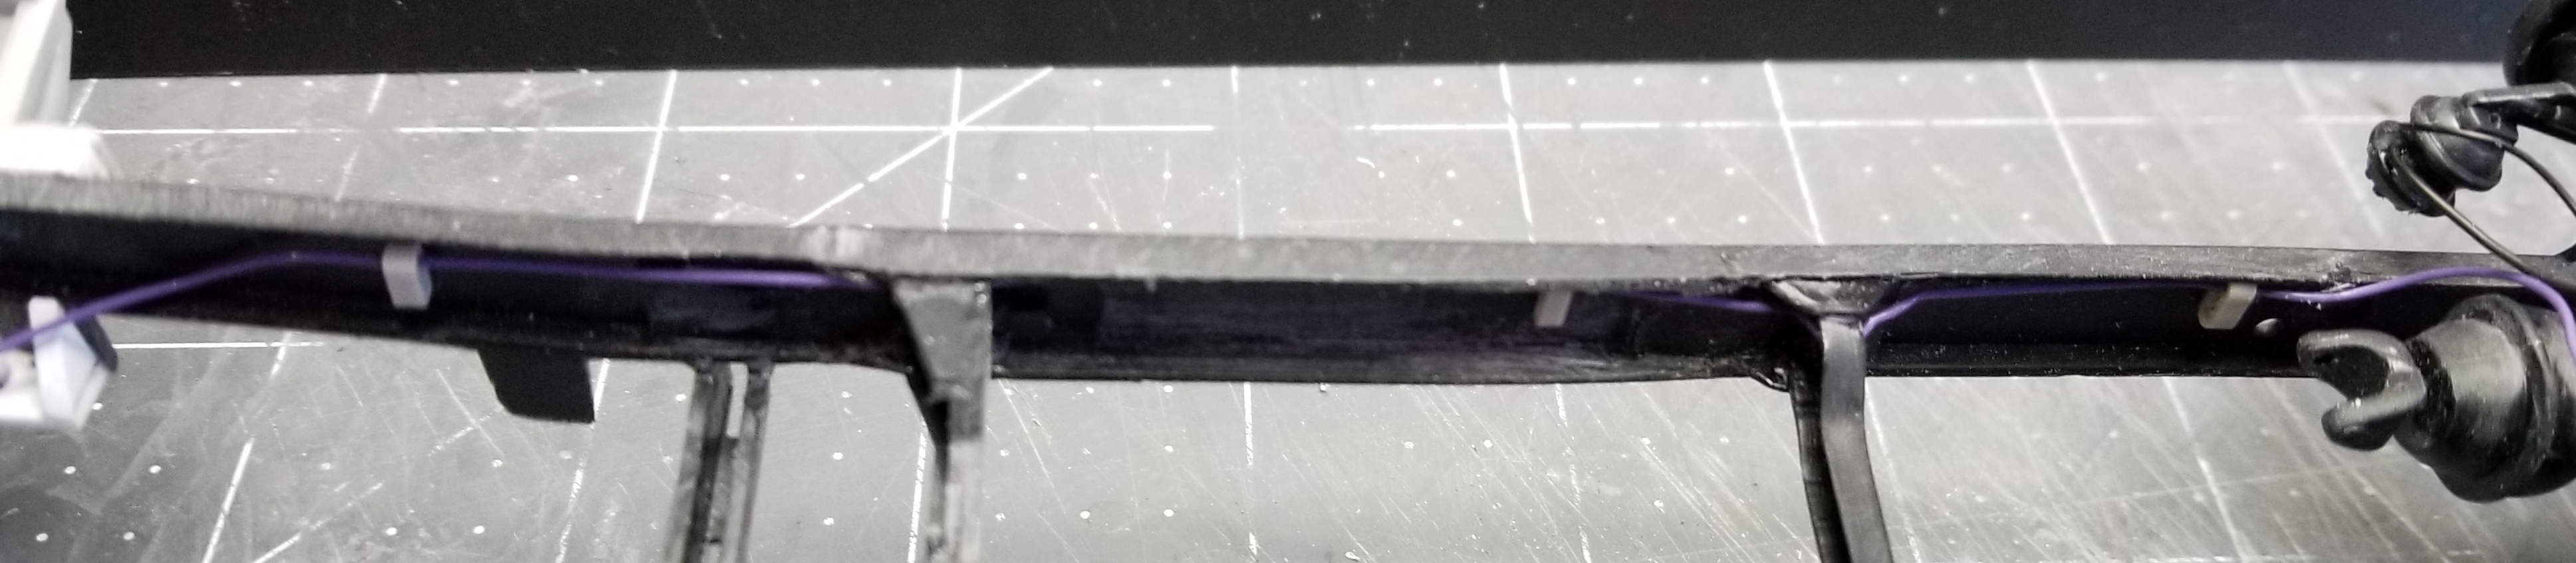
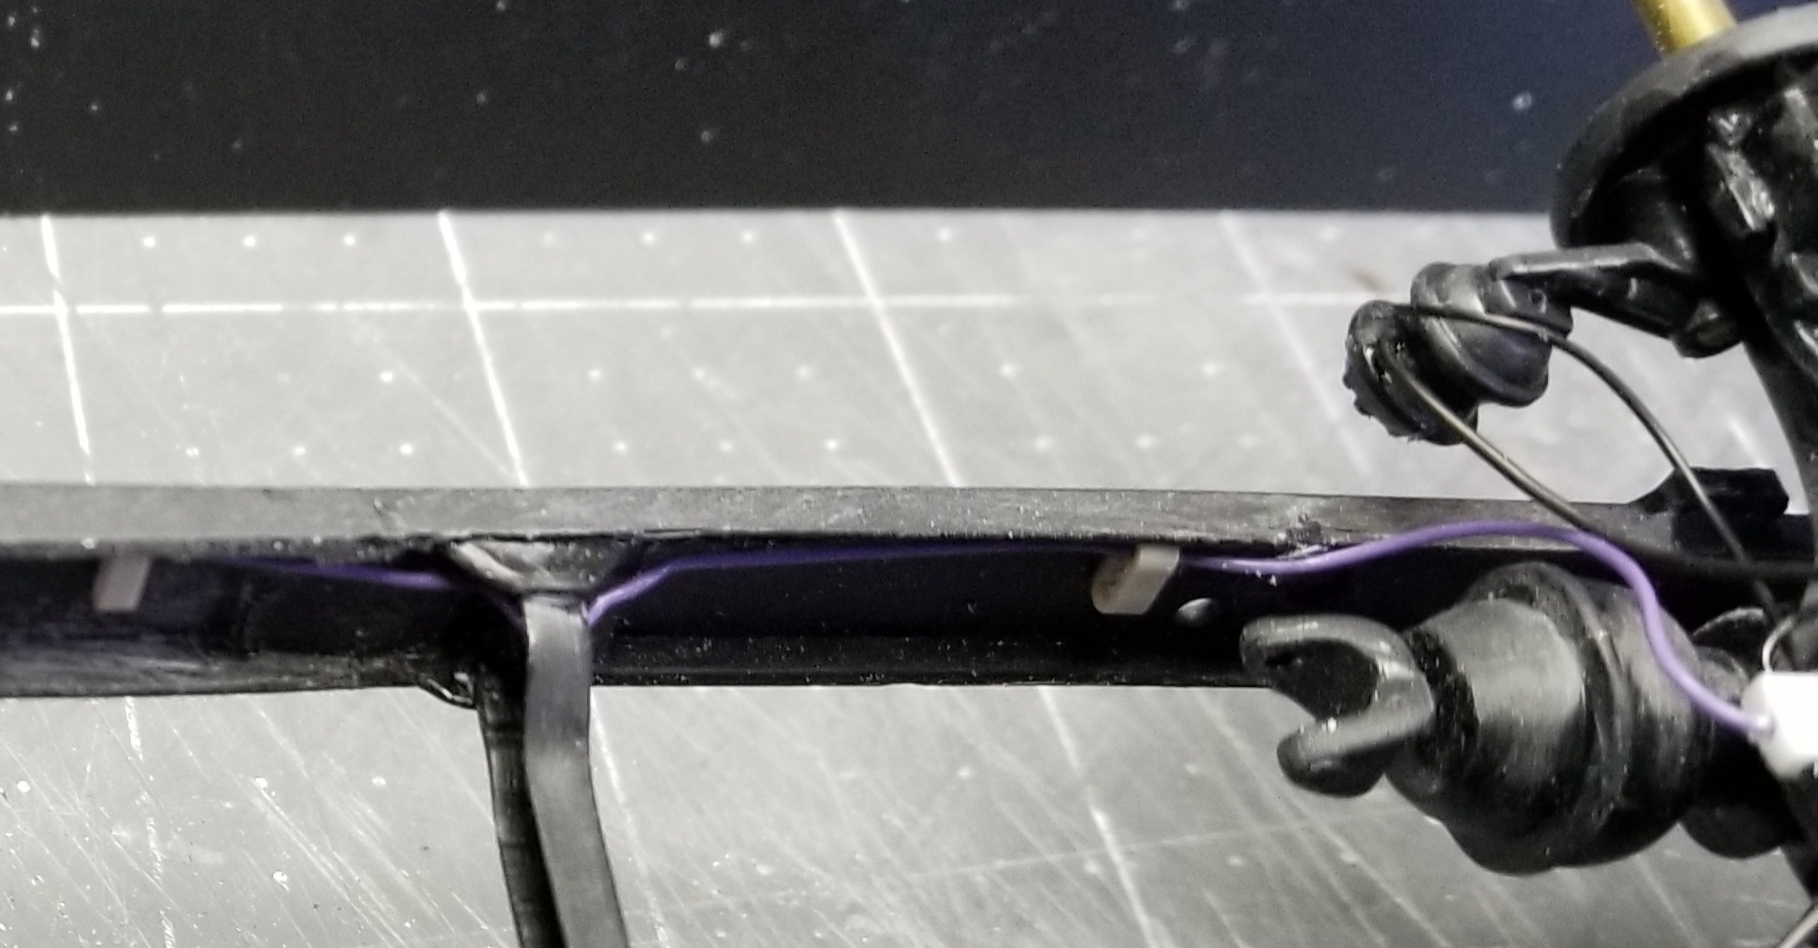
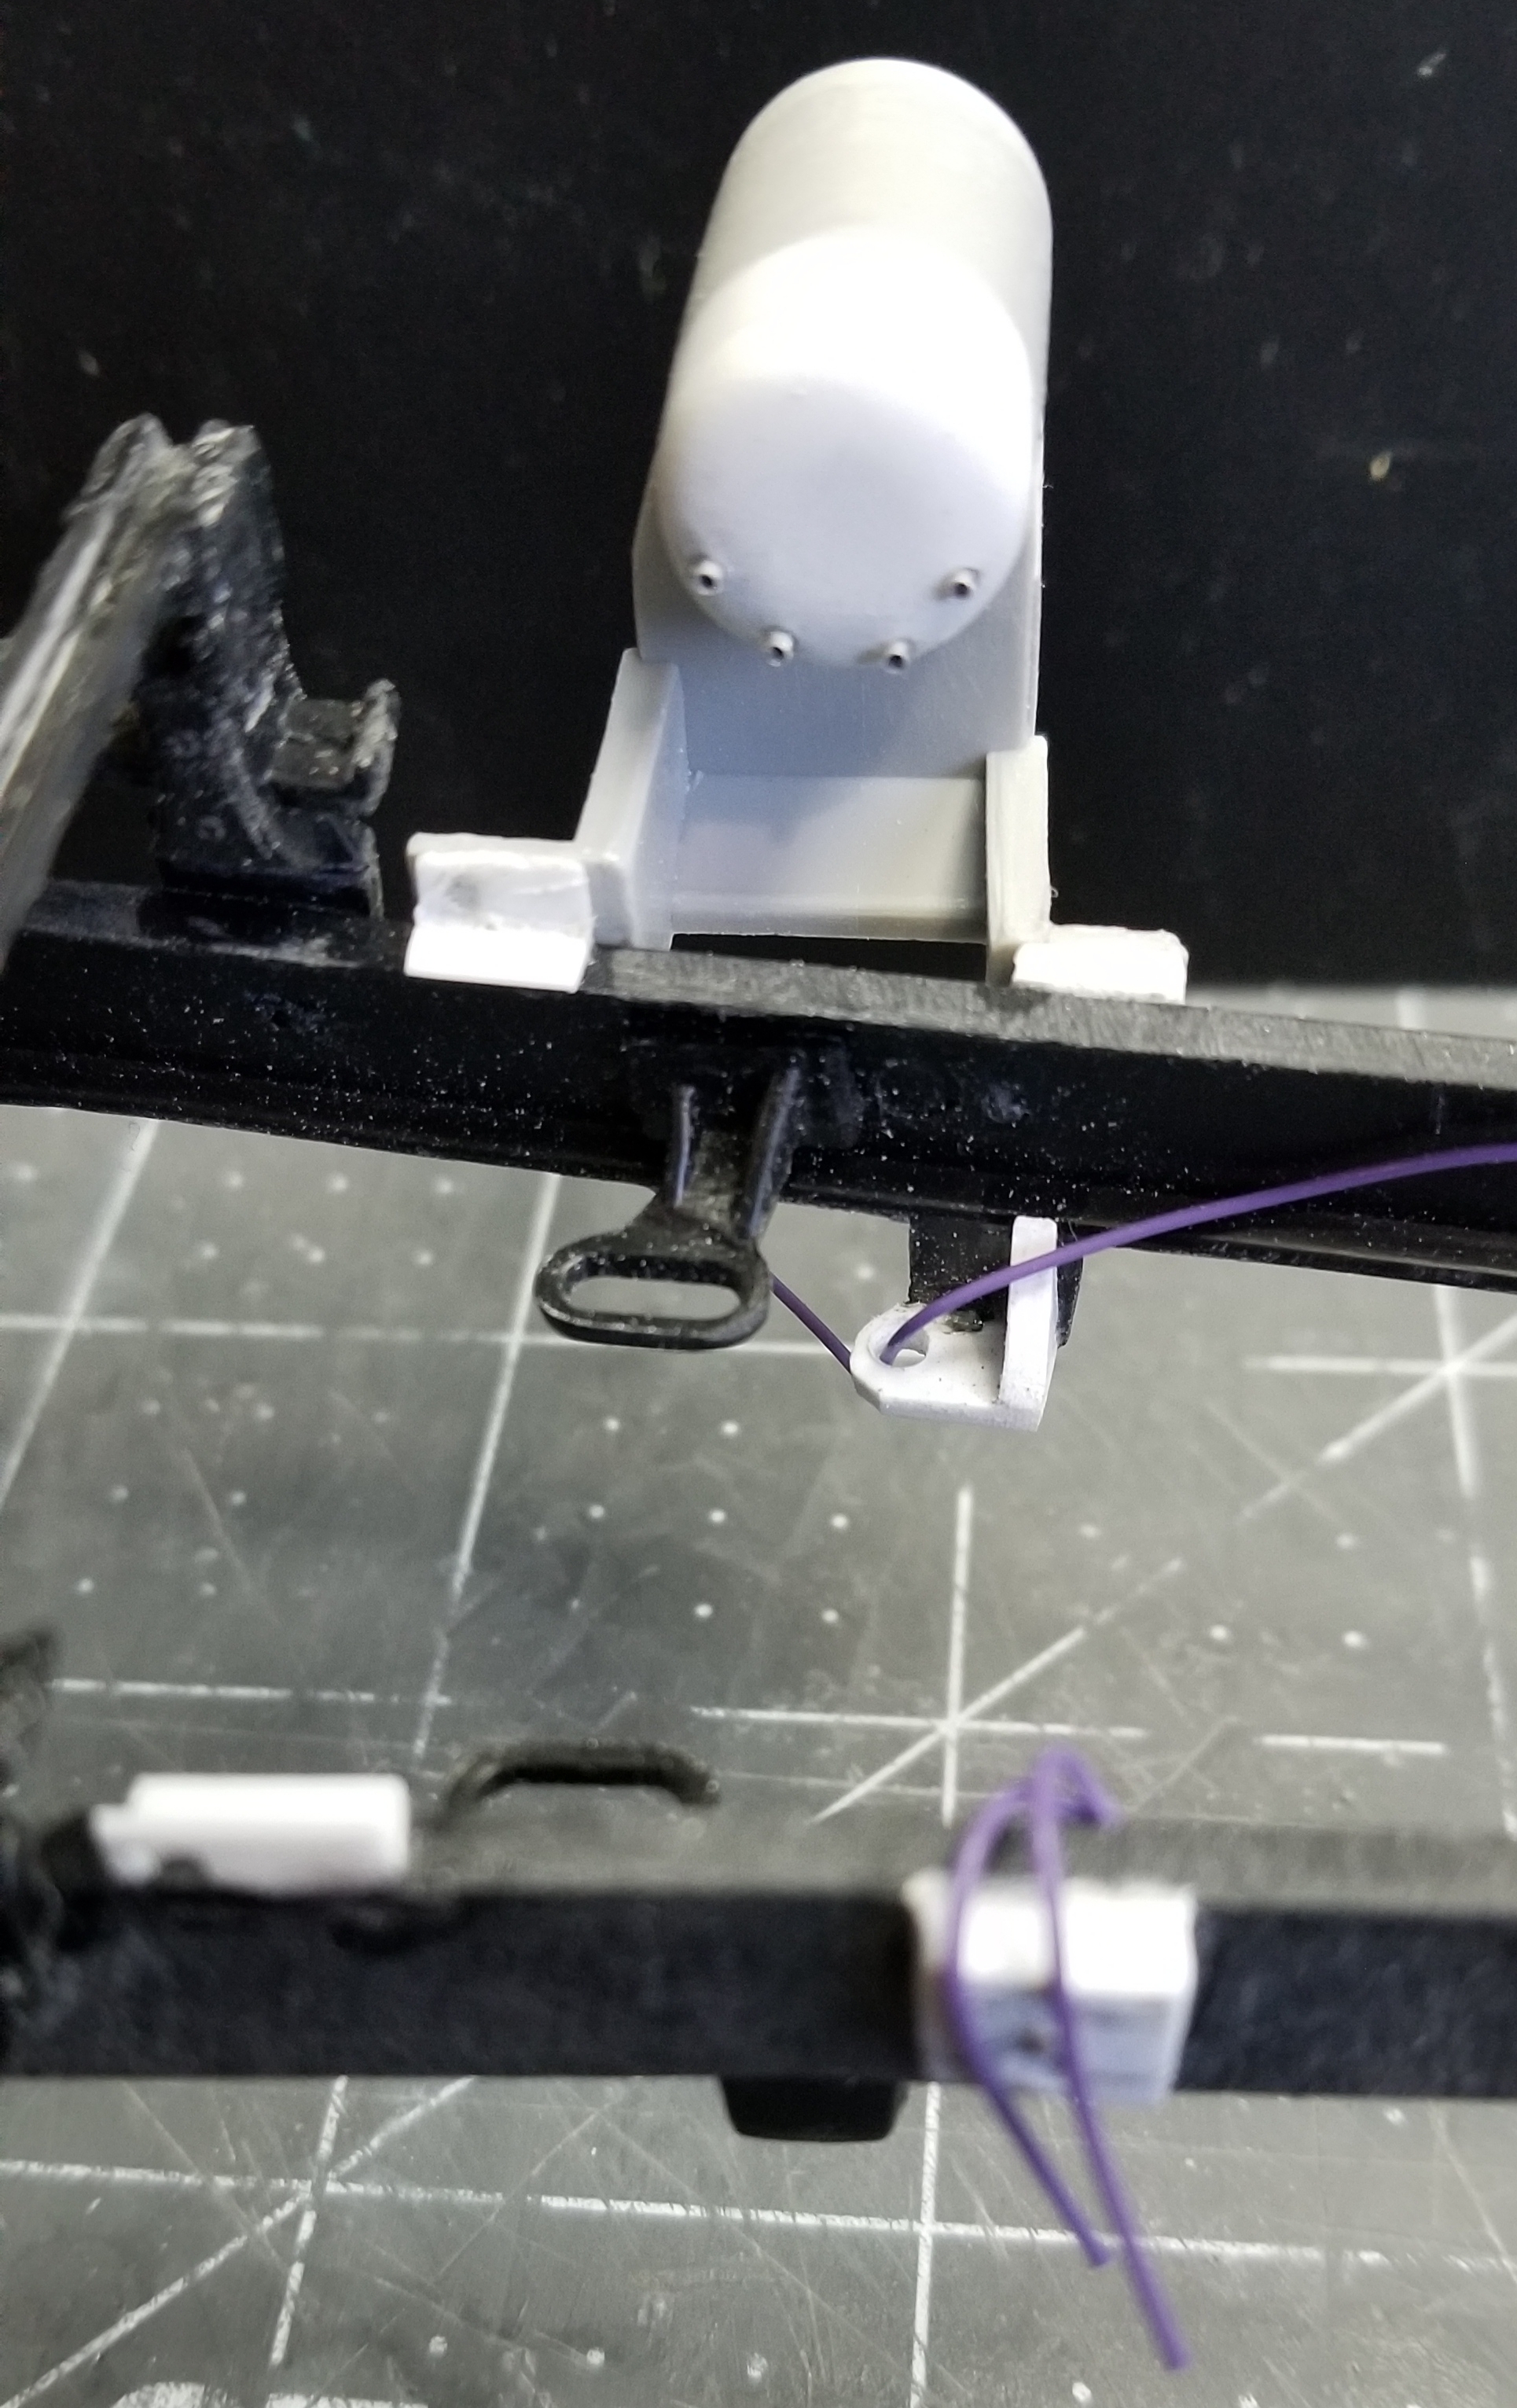
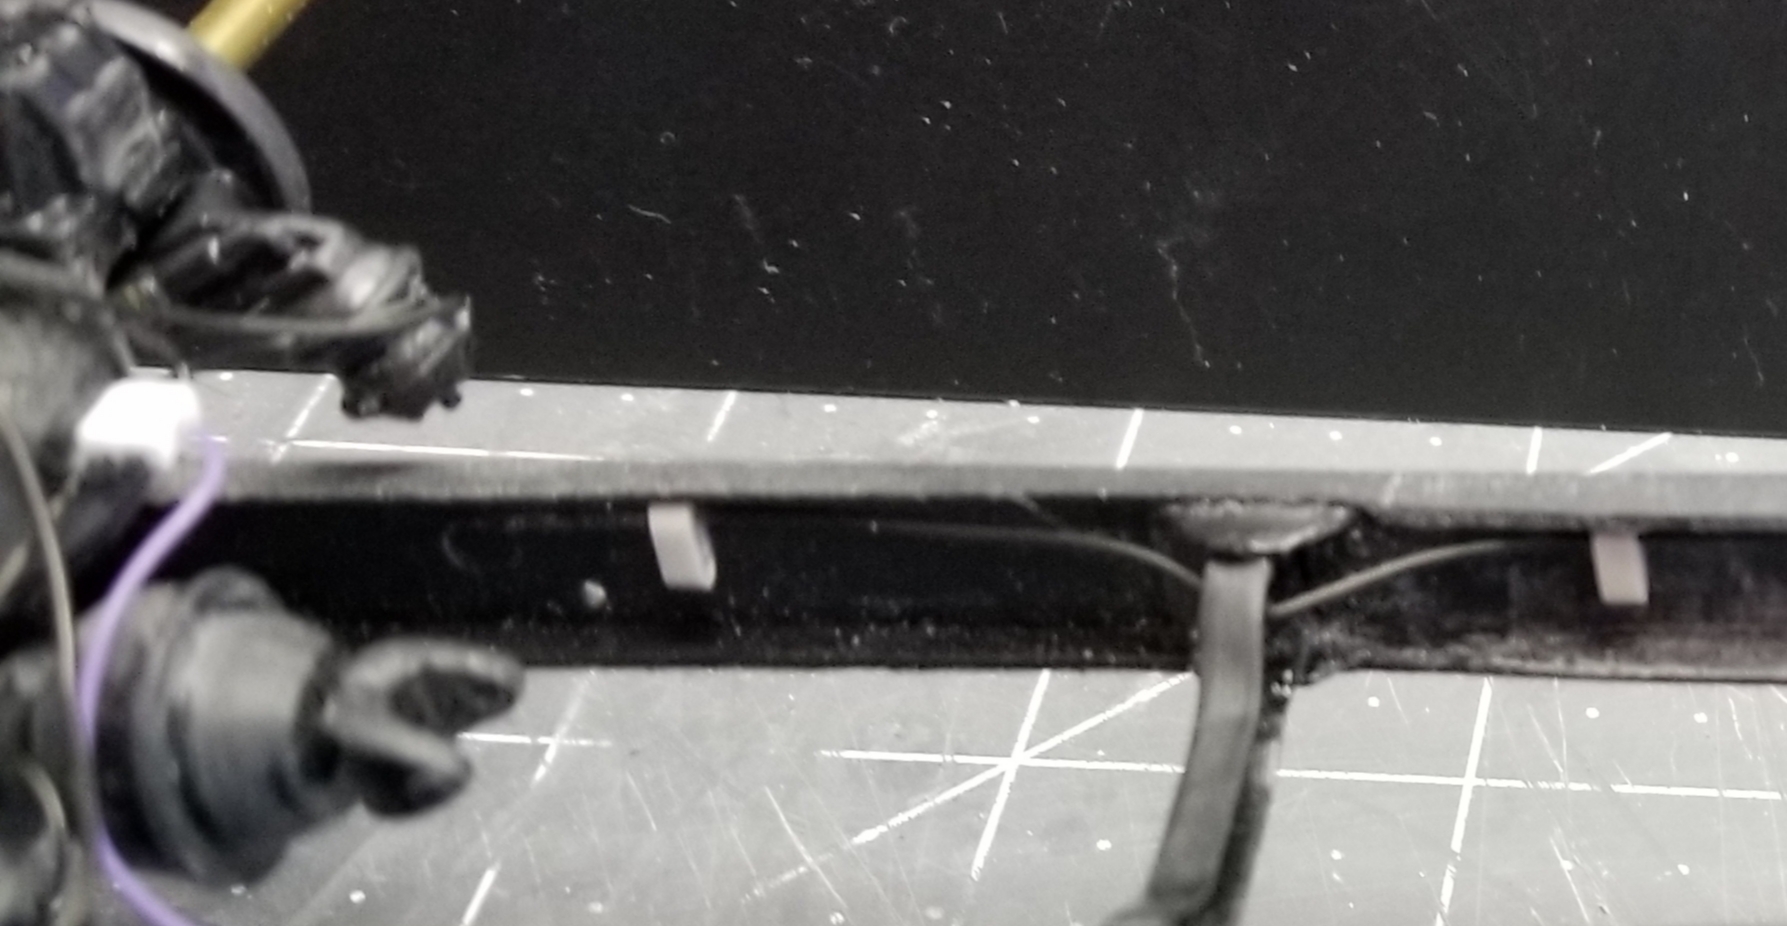
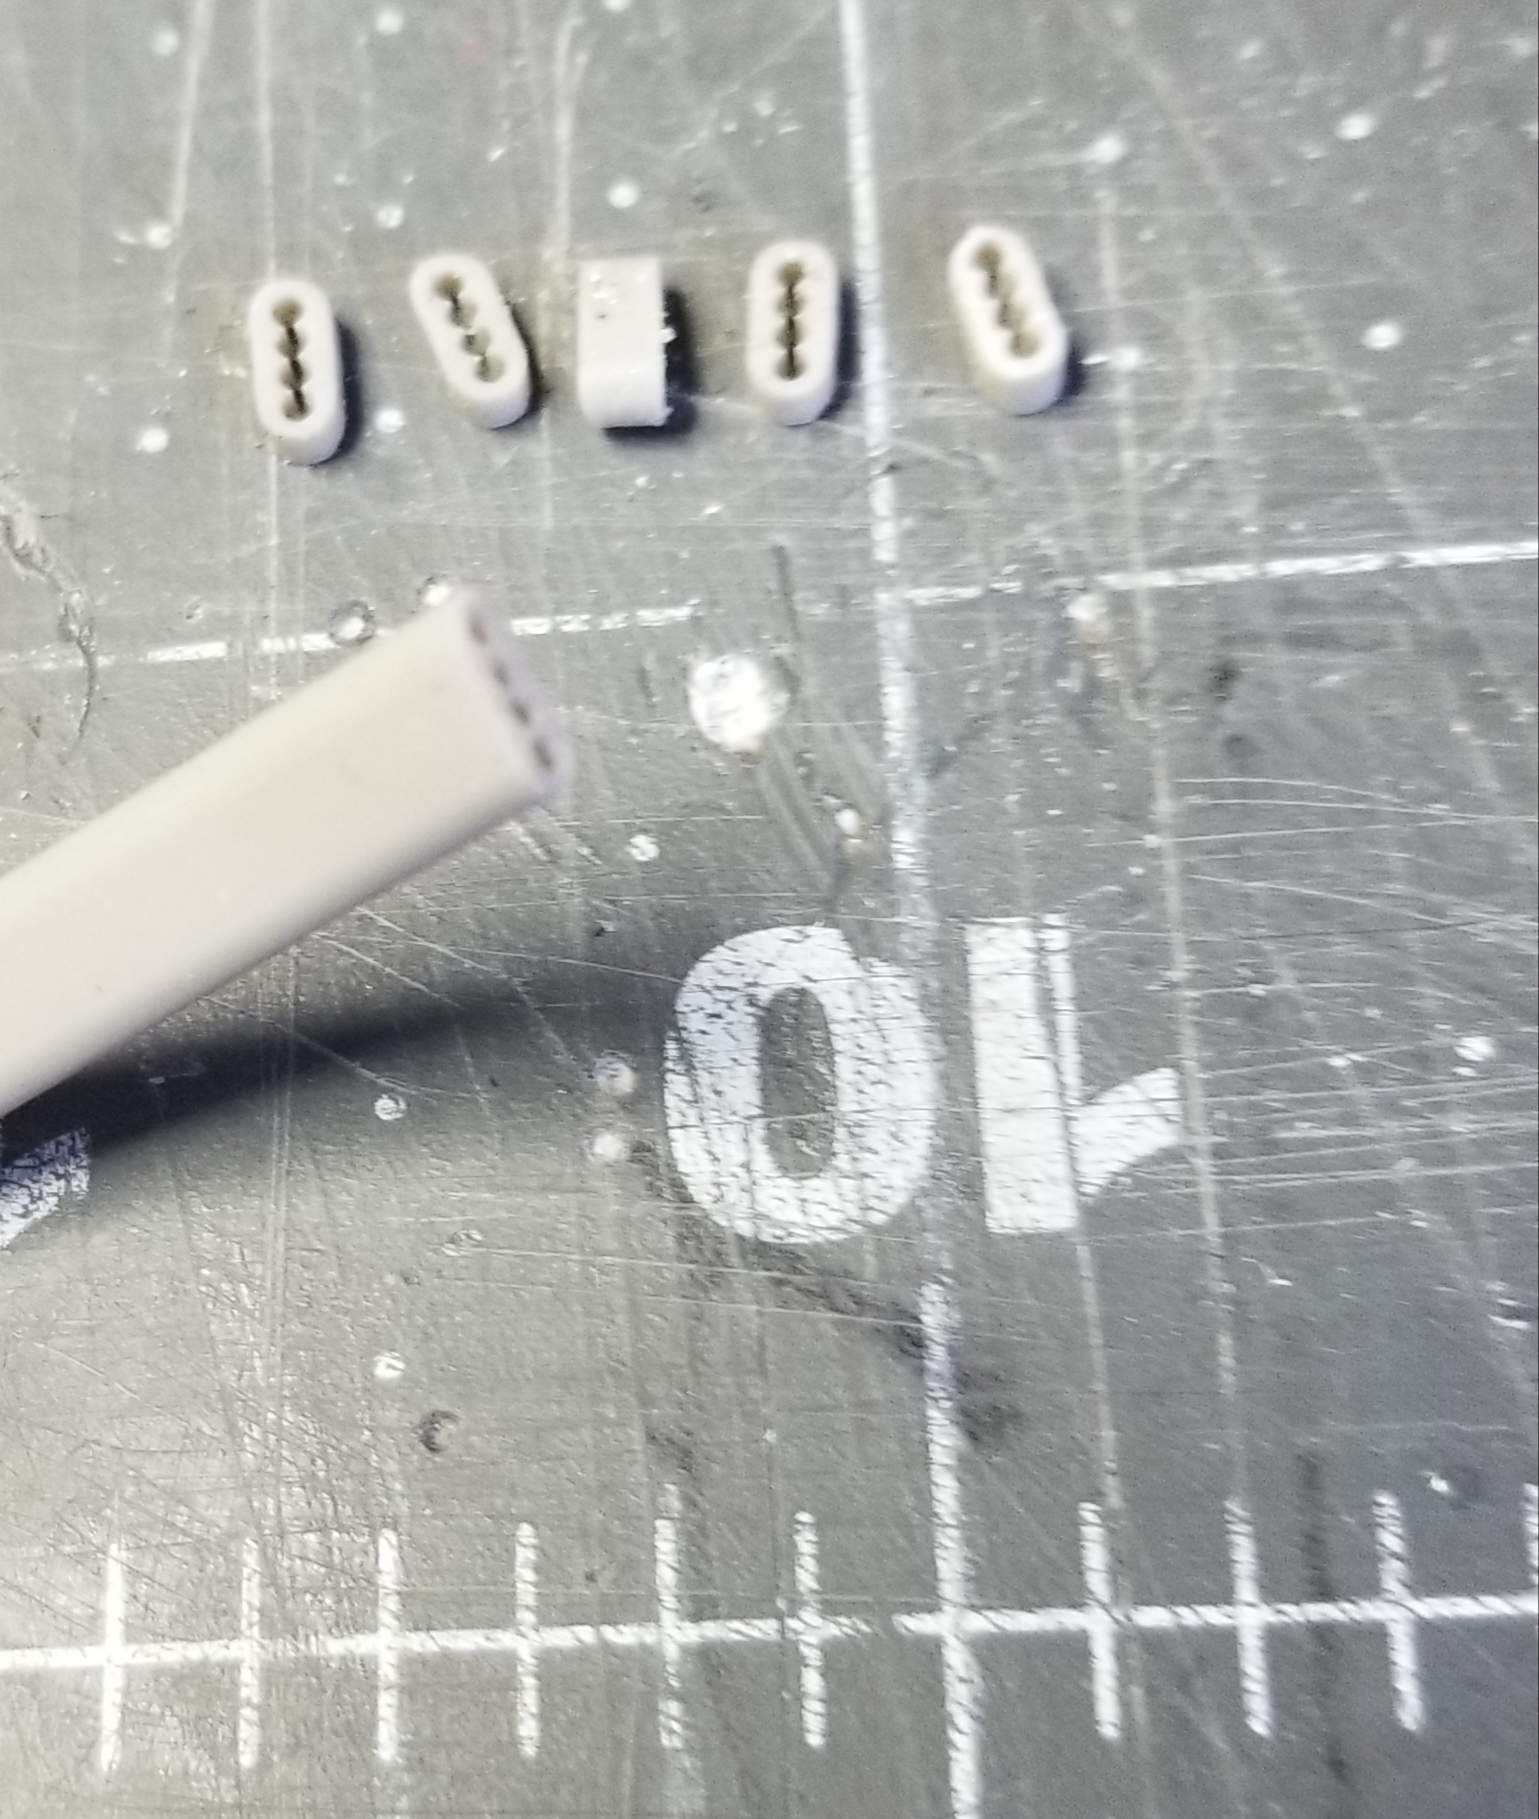
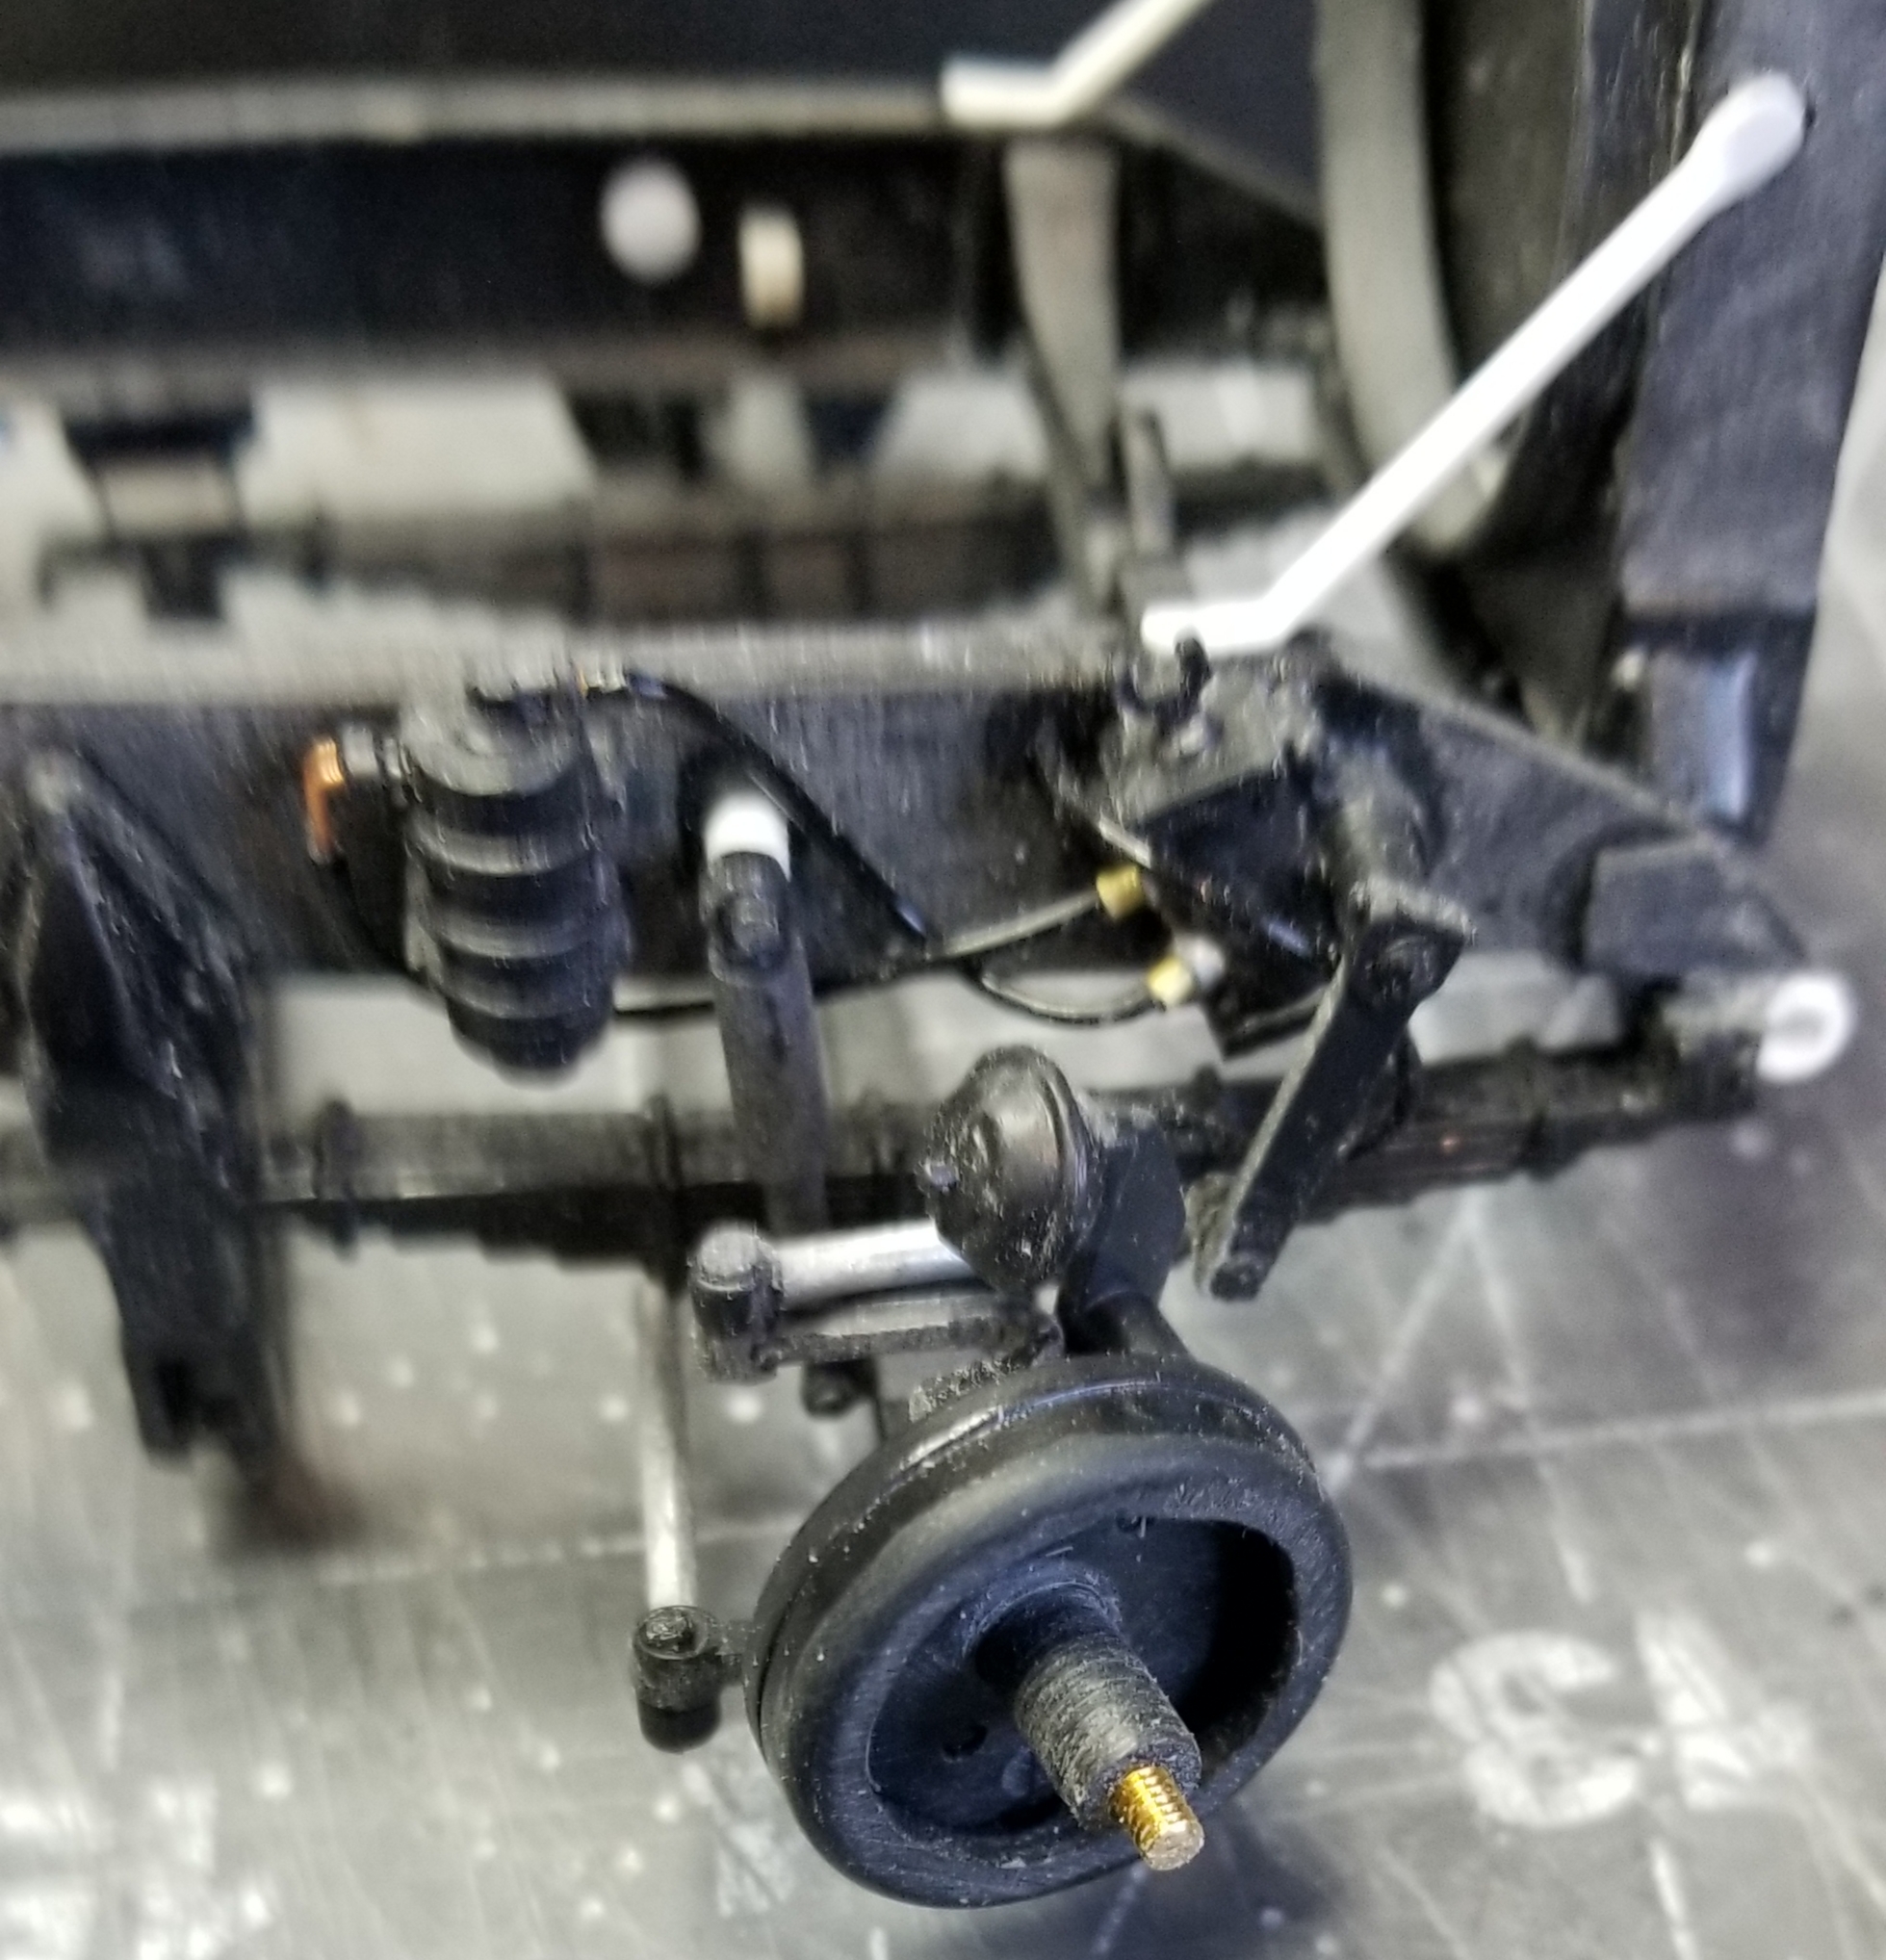
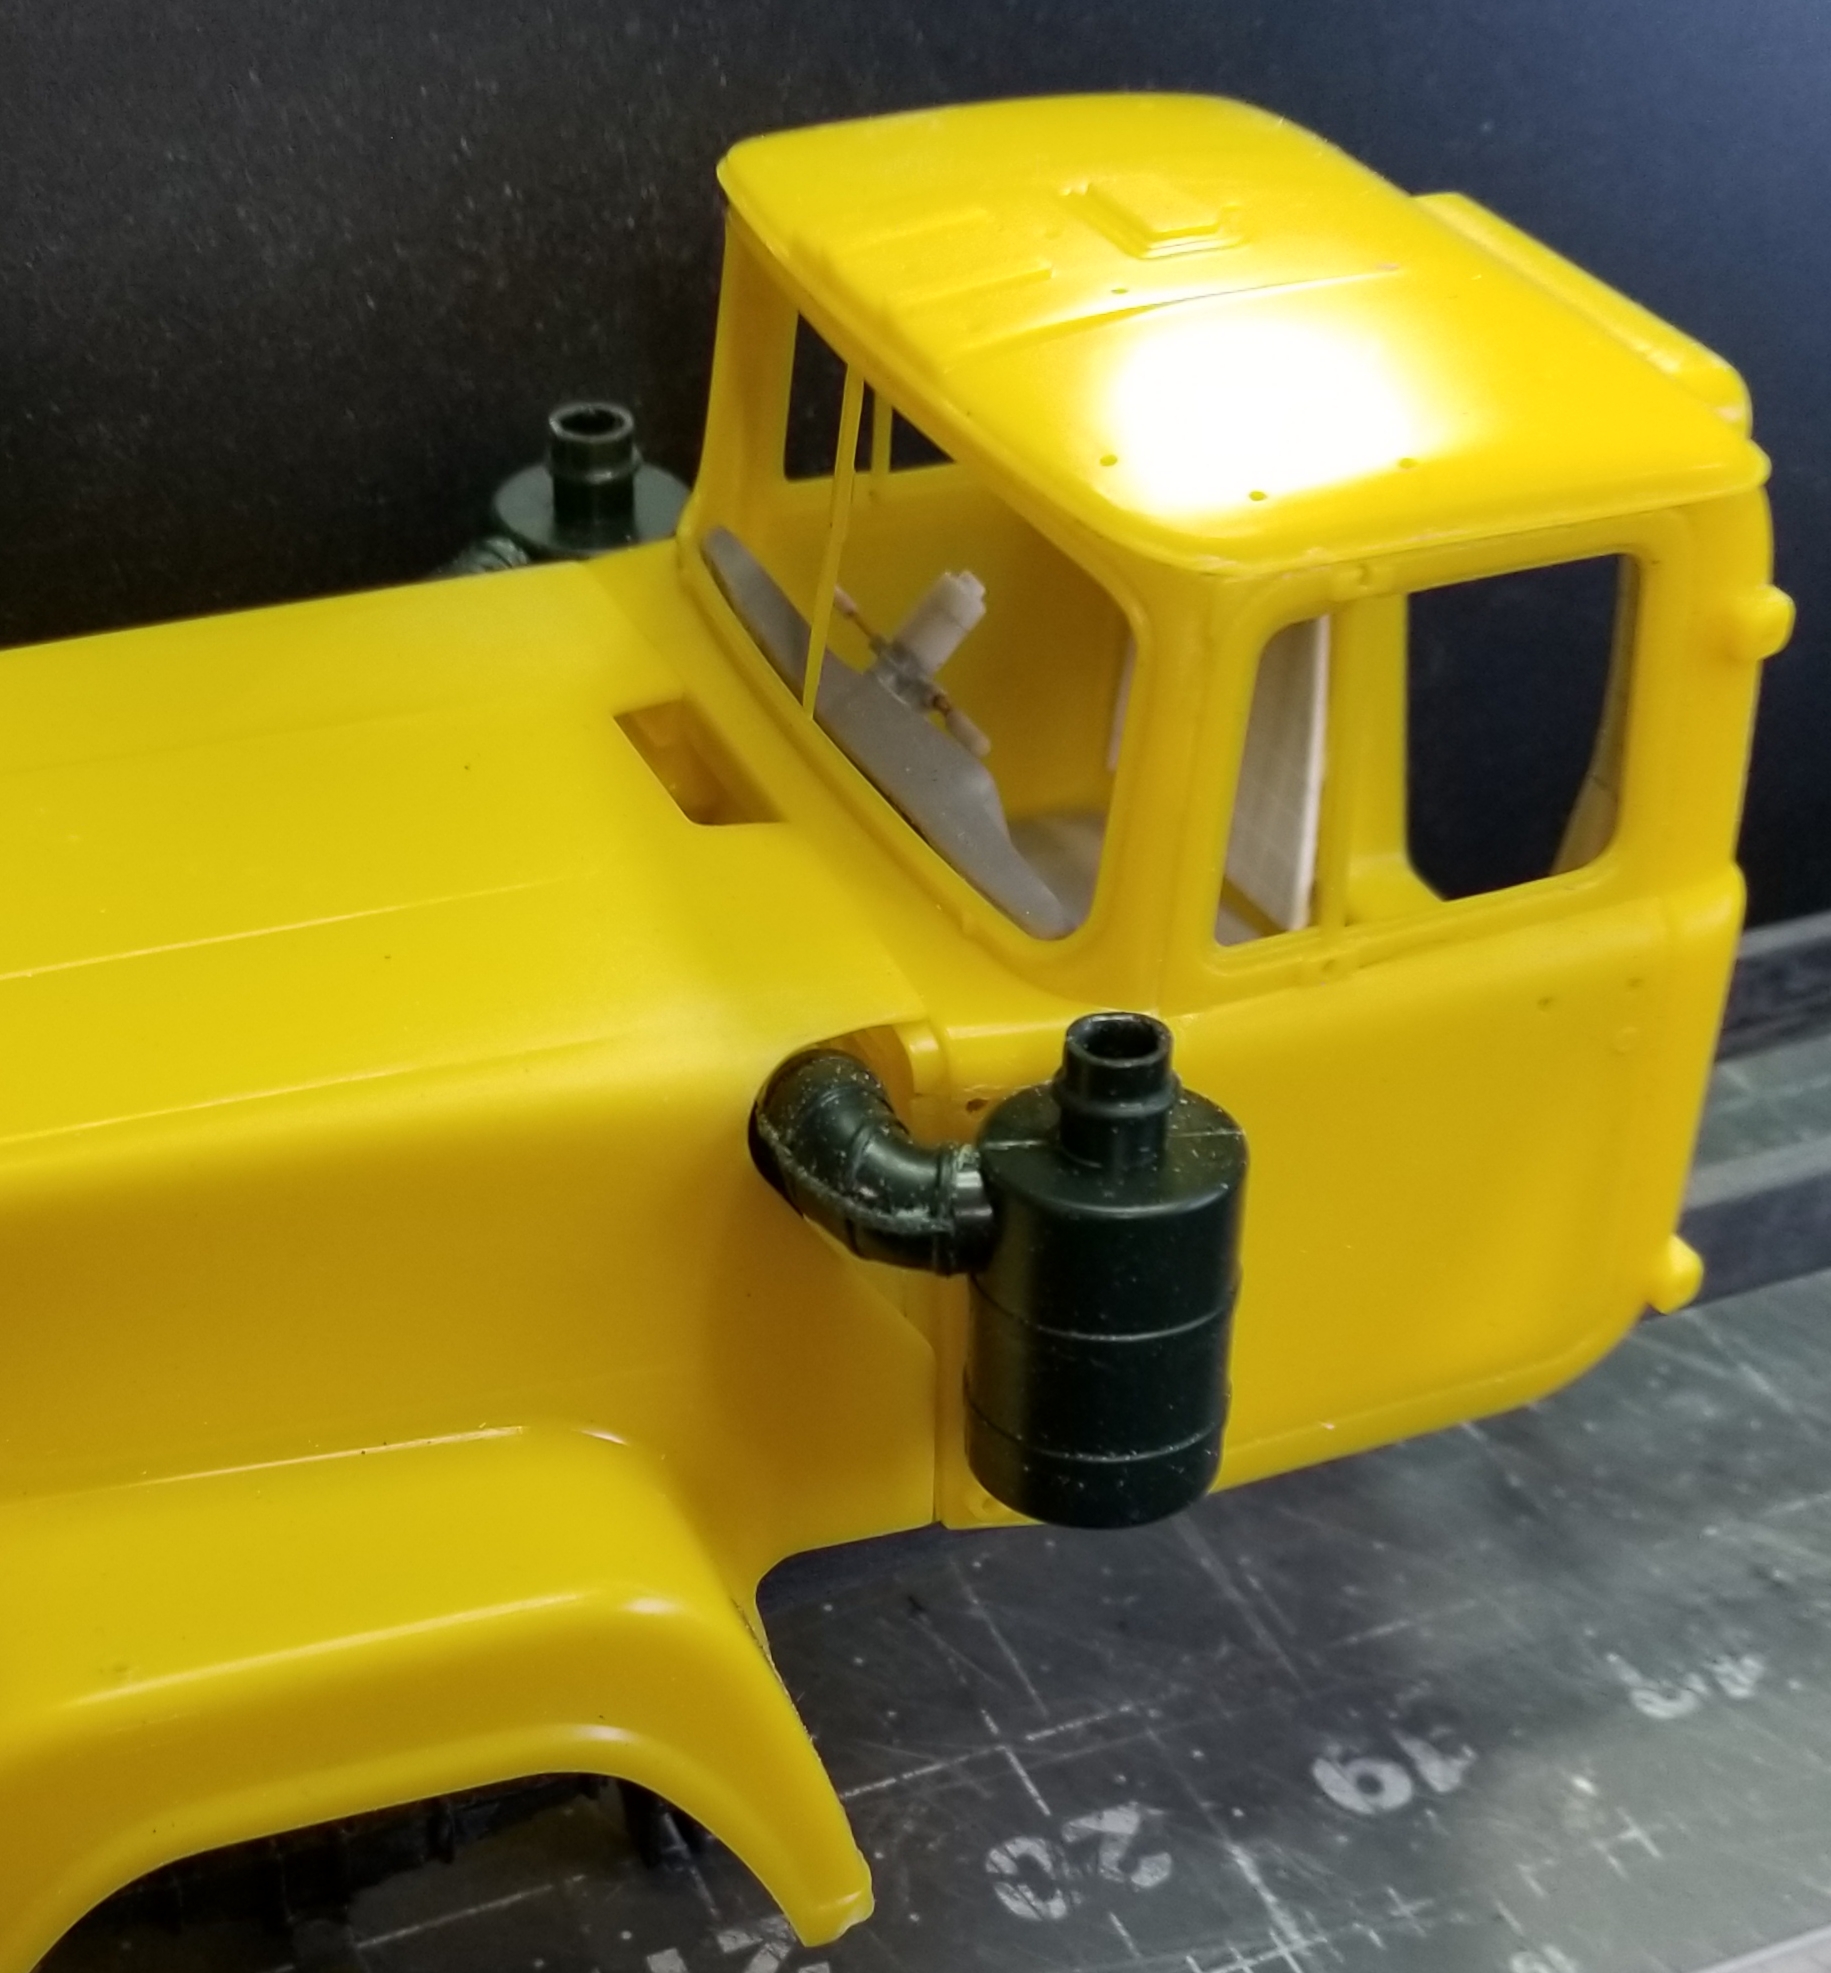
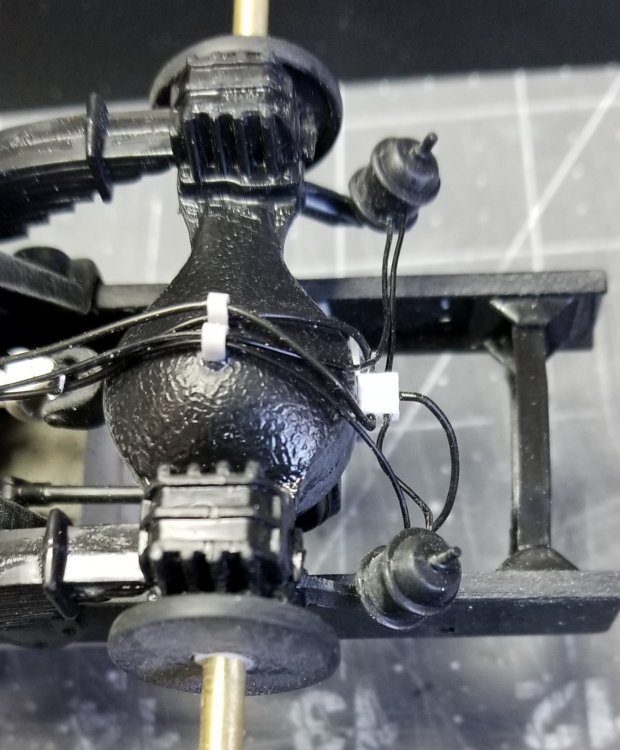
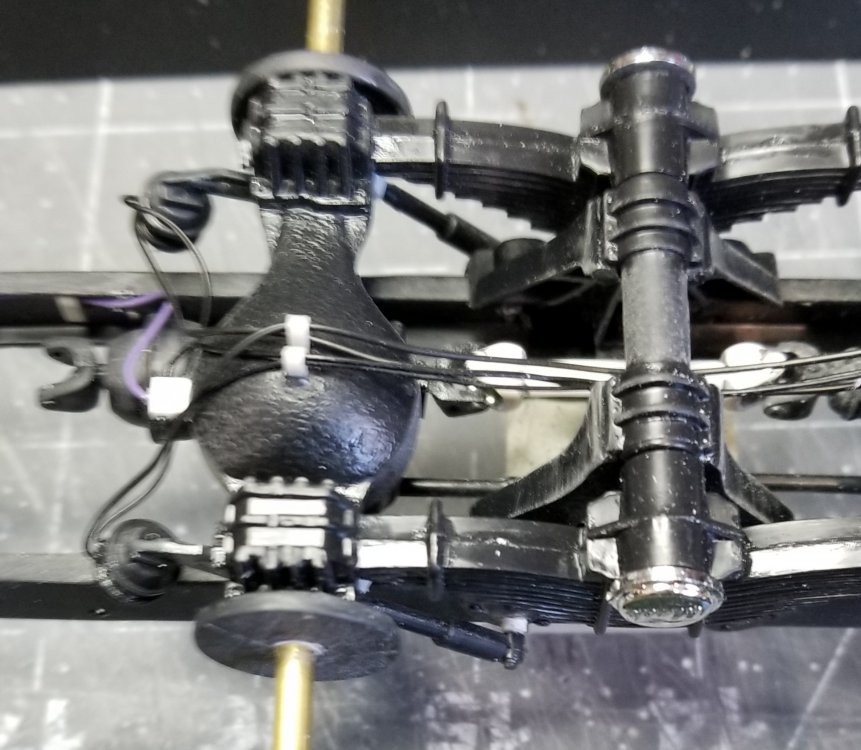
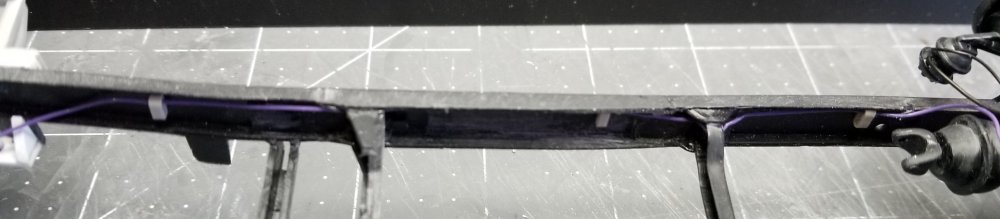
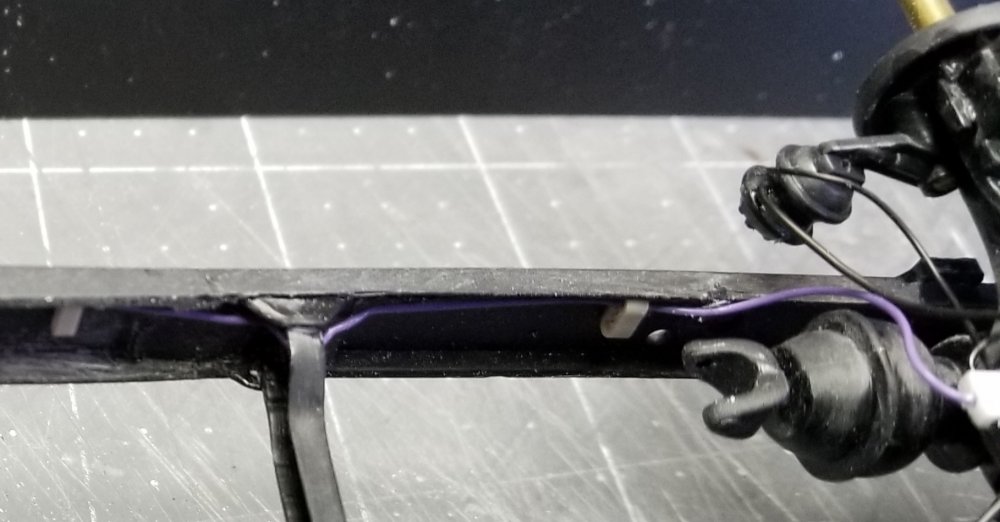
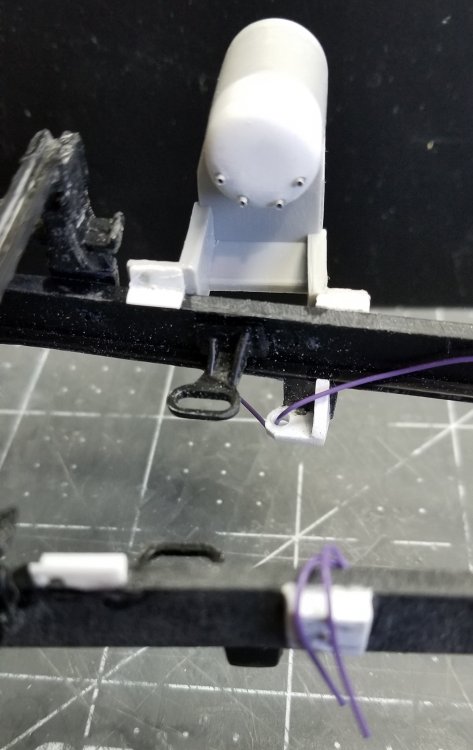
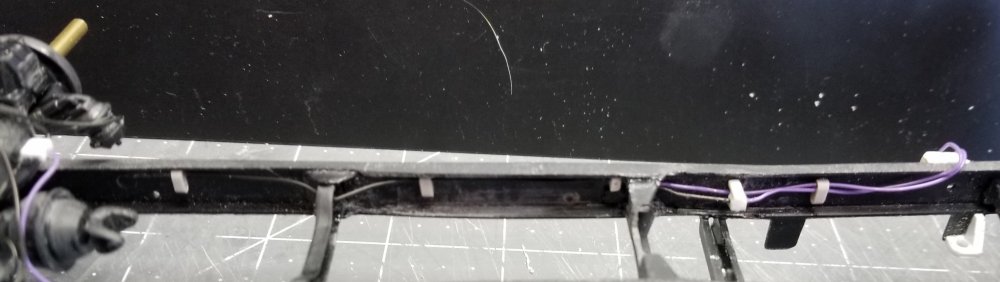
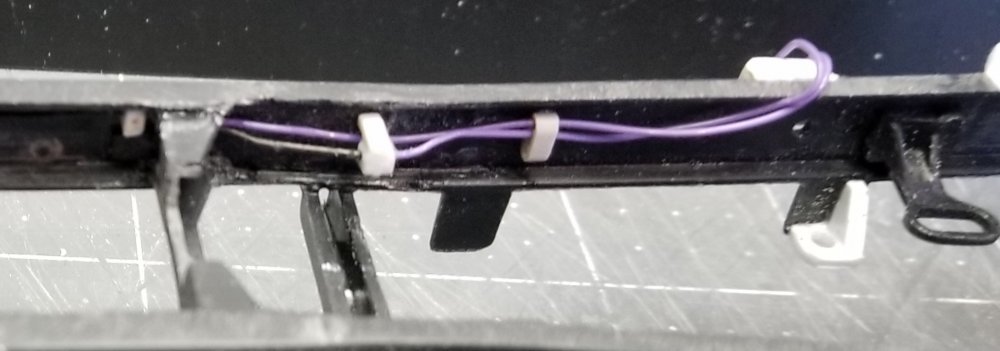
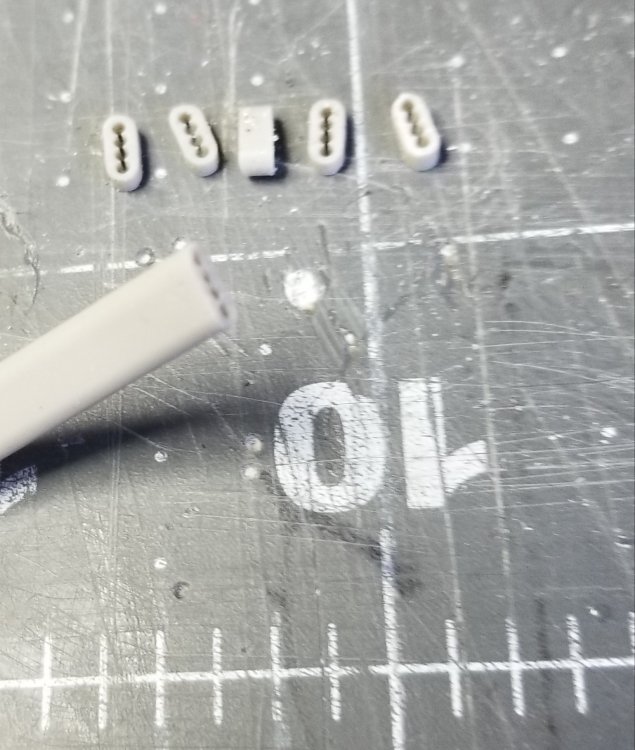
Hey guys Did some more work on the Superliner II. I started doing all the plumbing, air lines, power steering lines, fuel lines, etc. This is a real pain in the a$$! It's almost getting to the point I can't see this small detail, even with readers and opti-visor! But I'm plugging along...lol this view shows the rear brake chambers. this view shows the diagram I'm using to plumb the Mack. this view shows the front brake chambers. this view shows the air lines running along the frame rails. Little hard to see. closer view of the air lines at the rear. this view shows the air lines at the front and the LH primary air tank. I scratch built the rear area of the tank, it came as a open hole in the kit..dahh! this view shows the air lines running along the other frame rail. this view shows some of the scratch built air fittings and lines. this view shows the air lines and the small wire looms I made. this view shows the wire/line looms I made from a piece of 4 wire insulation cut to size. this view shows the front brake chambers and air lines. Also the power steering lines. this view shows the radiator braces I scratch built from plasti rod. Well that's it for now be back with more updates soon. Ron G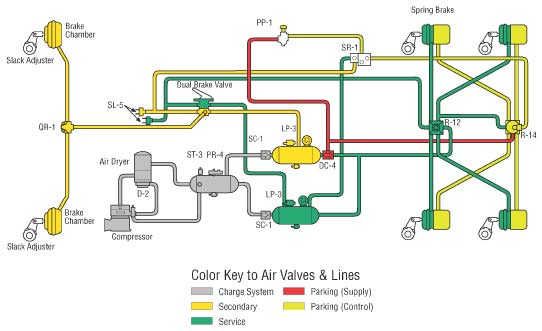


-
This is for Jeff
CrankyCrafstman replied to CrankyCrafstman's topic in LSM 1/35 and Larger Work In Progress
Thanks guys -
This is for Jeff
CrankyCrafstman replied to CrankyCrafstman's topic in LSM 1/35 and Larger Work In Progress
Thanks guys -
This is for Jeff
CrankyCrafstman replied to CrankyCrafstman's topic in LSM 1/35 and Larger Work In Progress
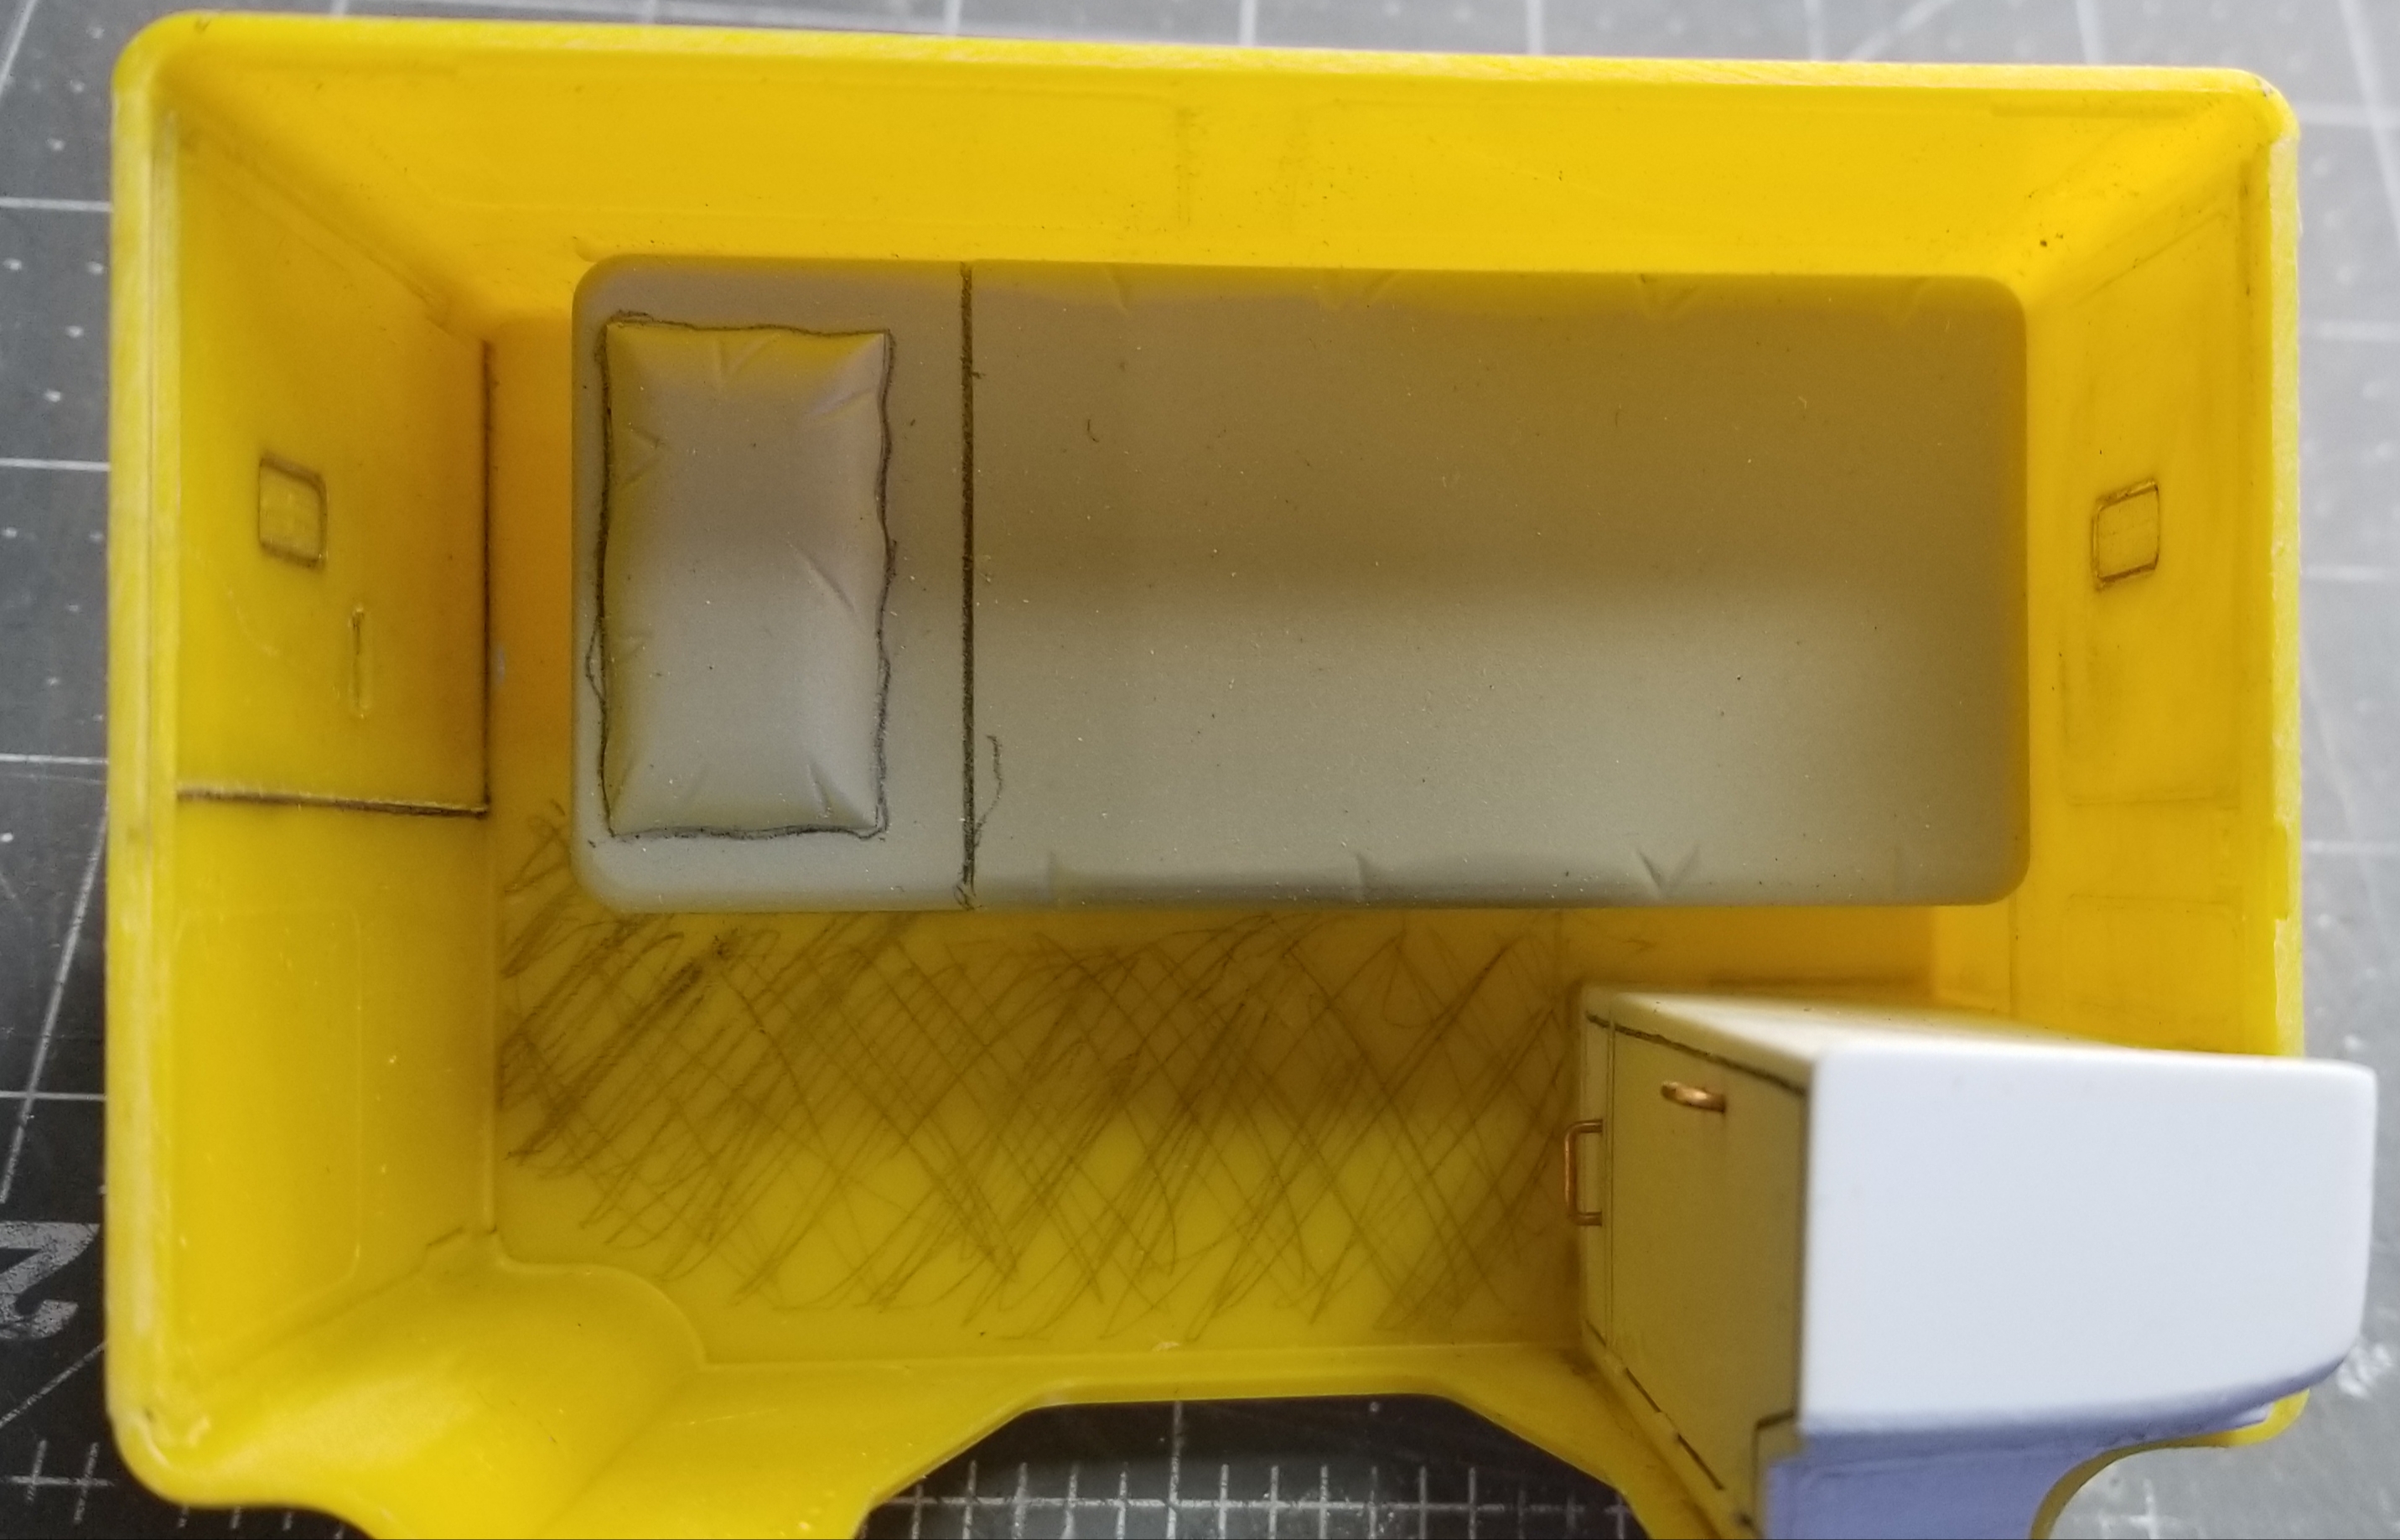
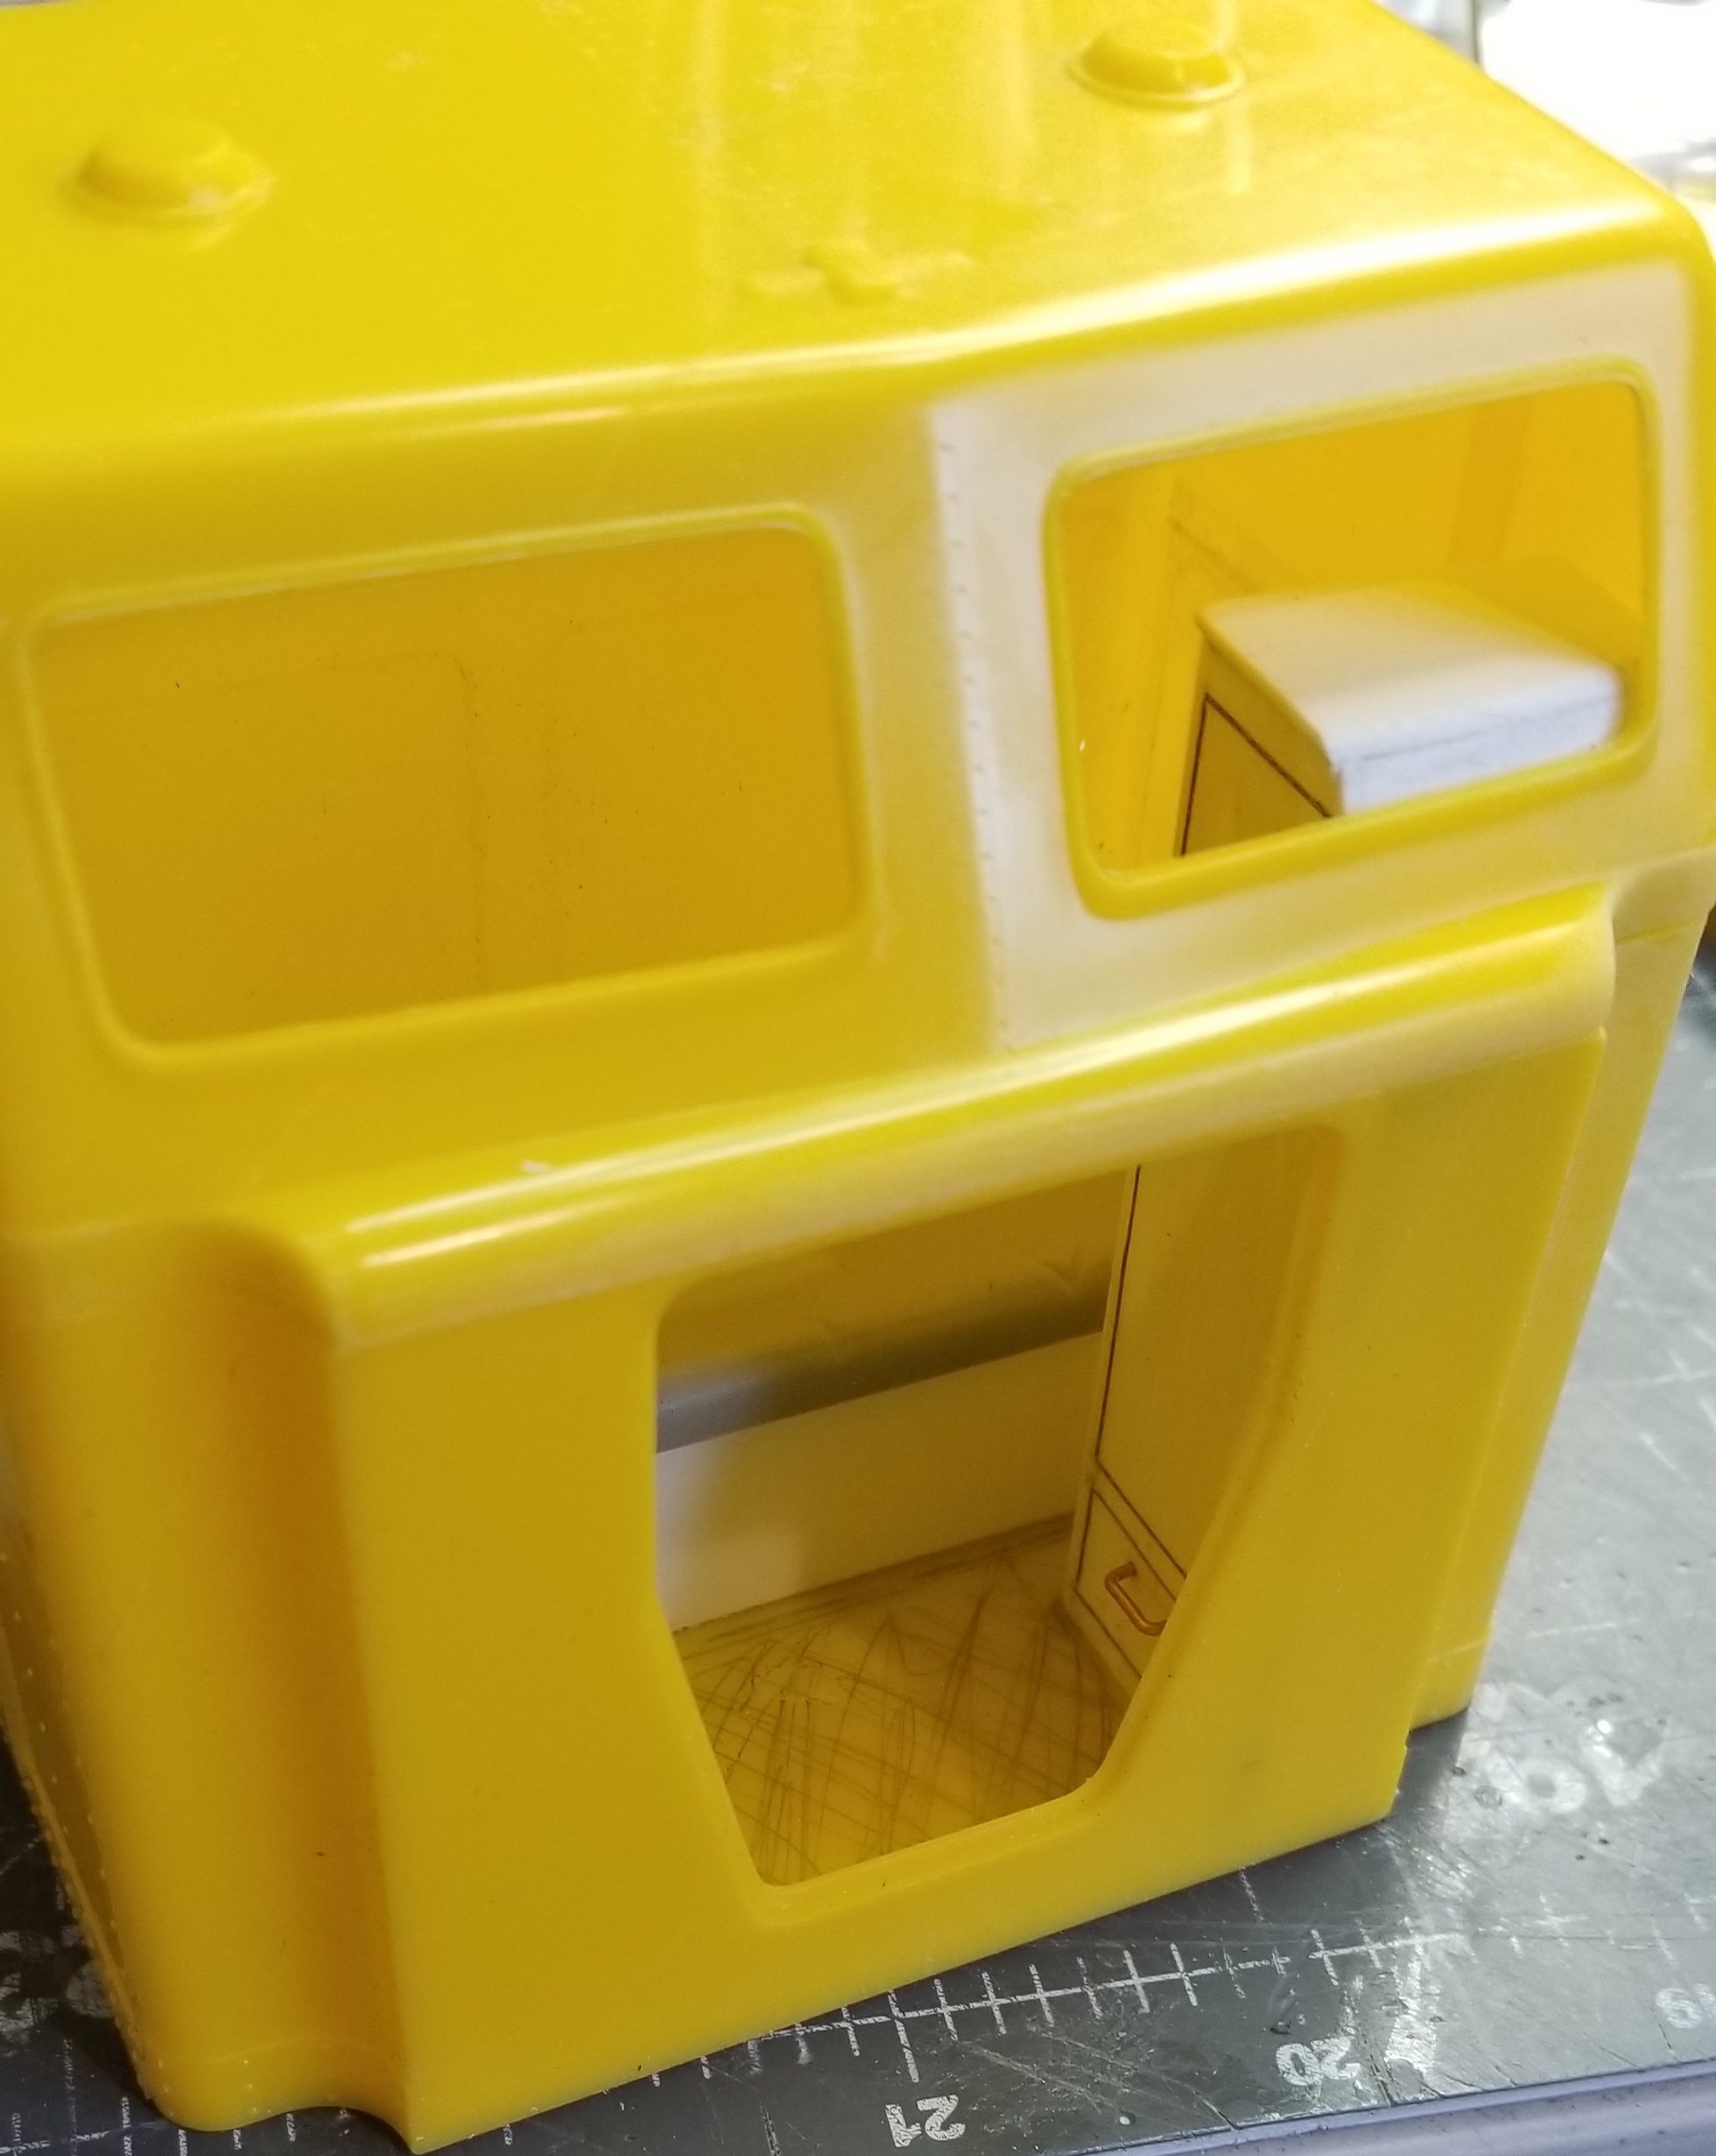
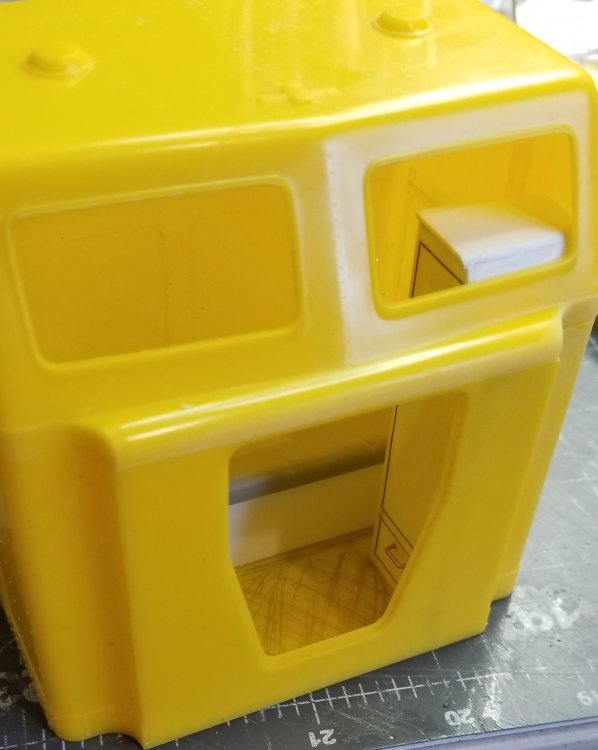
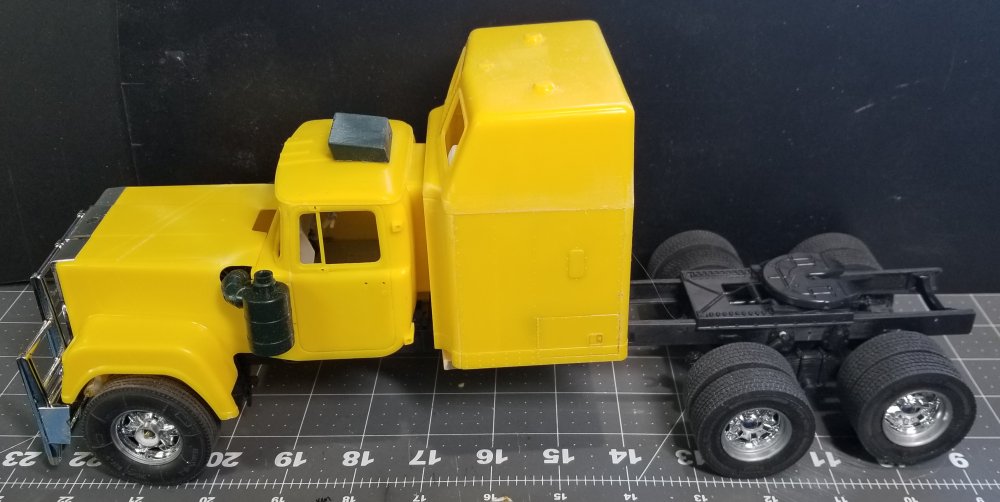
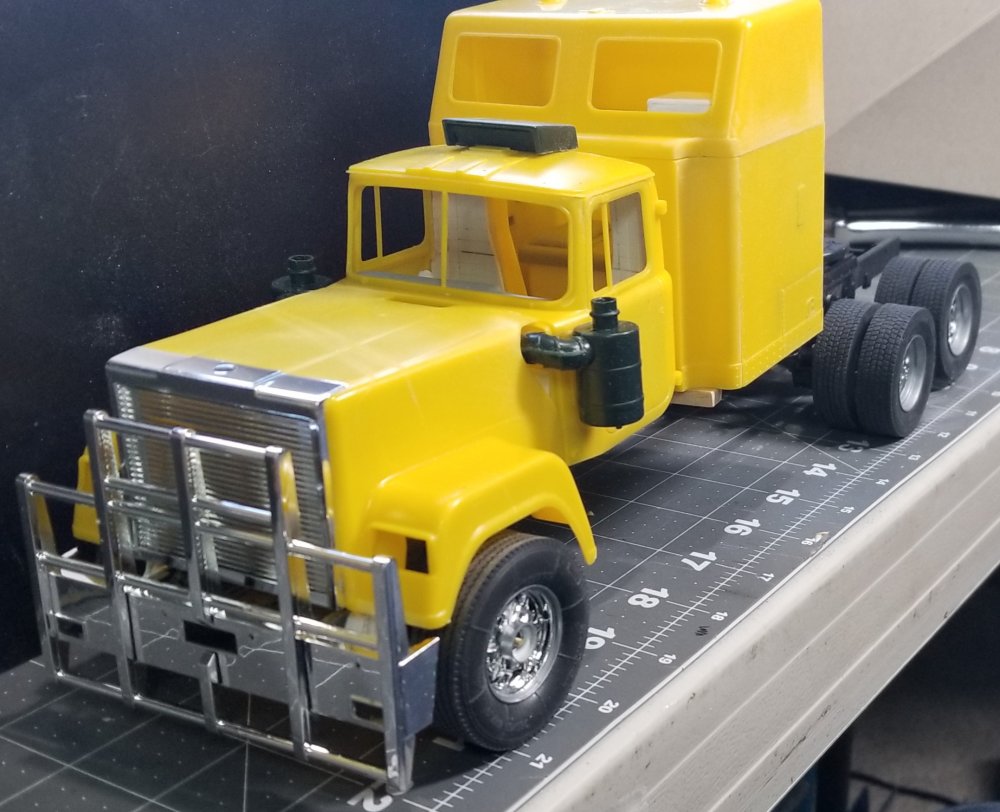
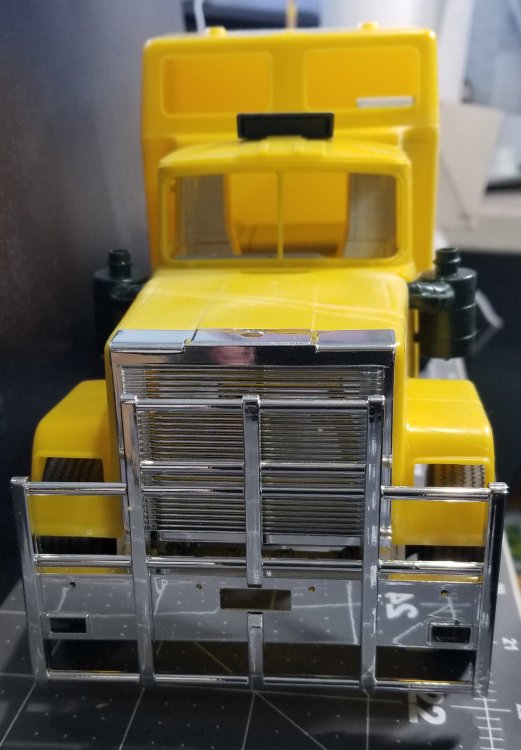
Hey all I did some more work on the Mack. I'm detailing the interior of the sleeper. You will be able to see this through the two upper windows. this view shows the close closet I added to drivers side. It has a drawer at the bottom. I also made a complete support for the bed. top view of the bed and closet. There will be a refrigerator and small TV on the opposite side plus miscellaneous stuff to make it look real. this view is looking through the sleeper at the bed and closet. this view shows the whole thing temporarily assembled for pictures. this view shows the Roo bar and grill mounted to the hood. front view of the Roo bar, bumper and grill. this view shows the hood in the open position. this is my final version of the mural that is going on the back of the sleeper. Well that's it for now be back with more soon. Ron G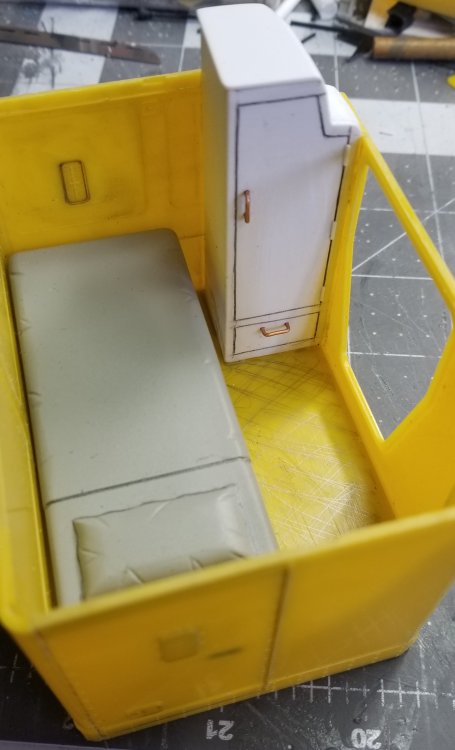


-
Tamiya 1/12 Porsche 934
CrankyCrafstman replied to Kpnuts's topic in LSM 1/35 and Larger Work In Progress
Can't see your pictures -
Keep em coming
-
You sir are doing some AMAZING WORK!!! Fantastic scratch building skills. Ron G
-
This is for Jeff
CrankyCrafstman replied to CrankyCrafstman's topic in LSM 1/35 and Larger Work In Progress
Thanks Jeff -
This is for Jeff
CrankyCrafstman replied to CrankyCrafstman's topic in LSM 1/35 and Larger Work In Progress
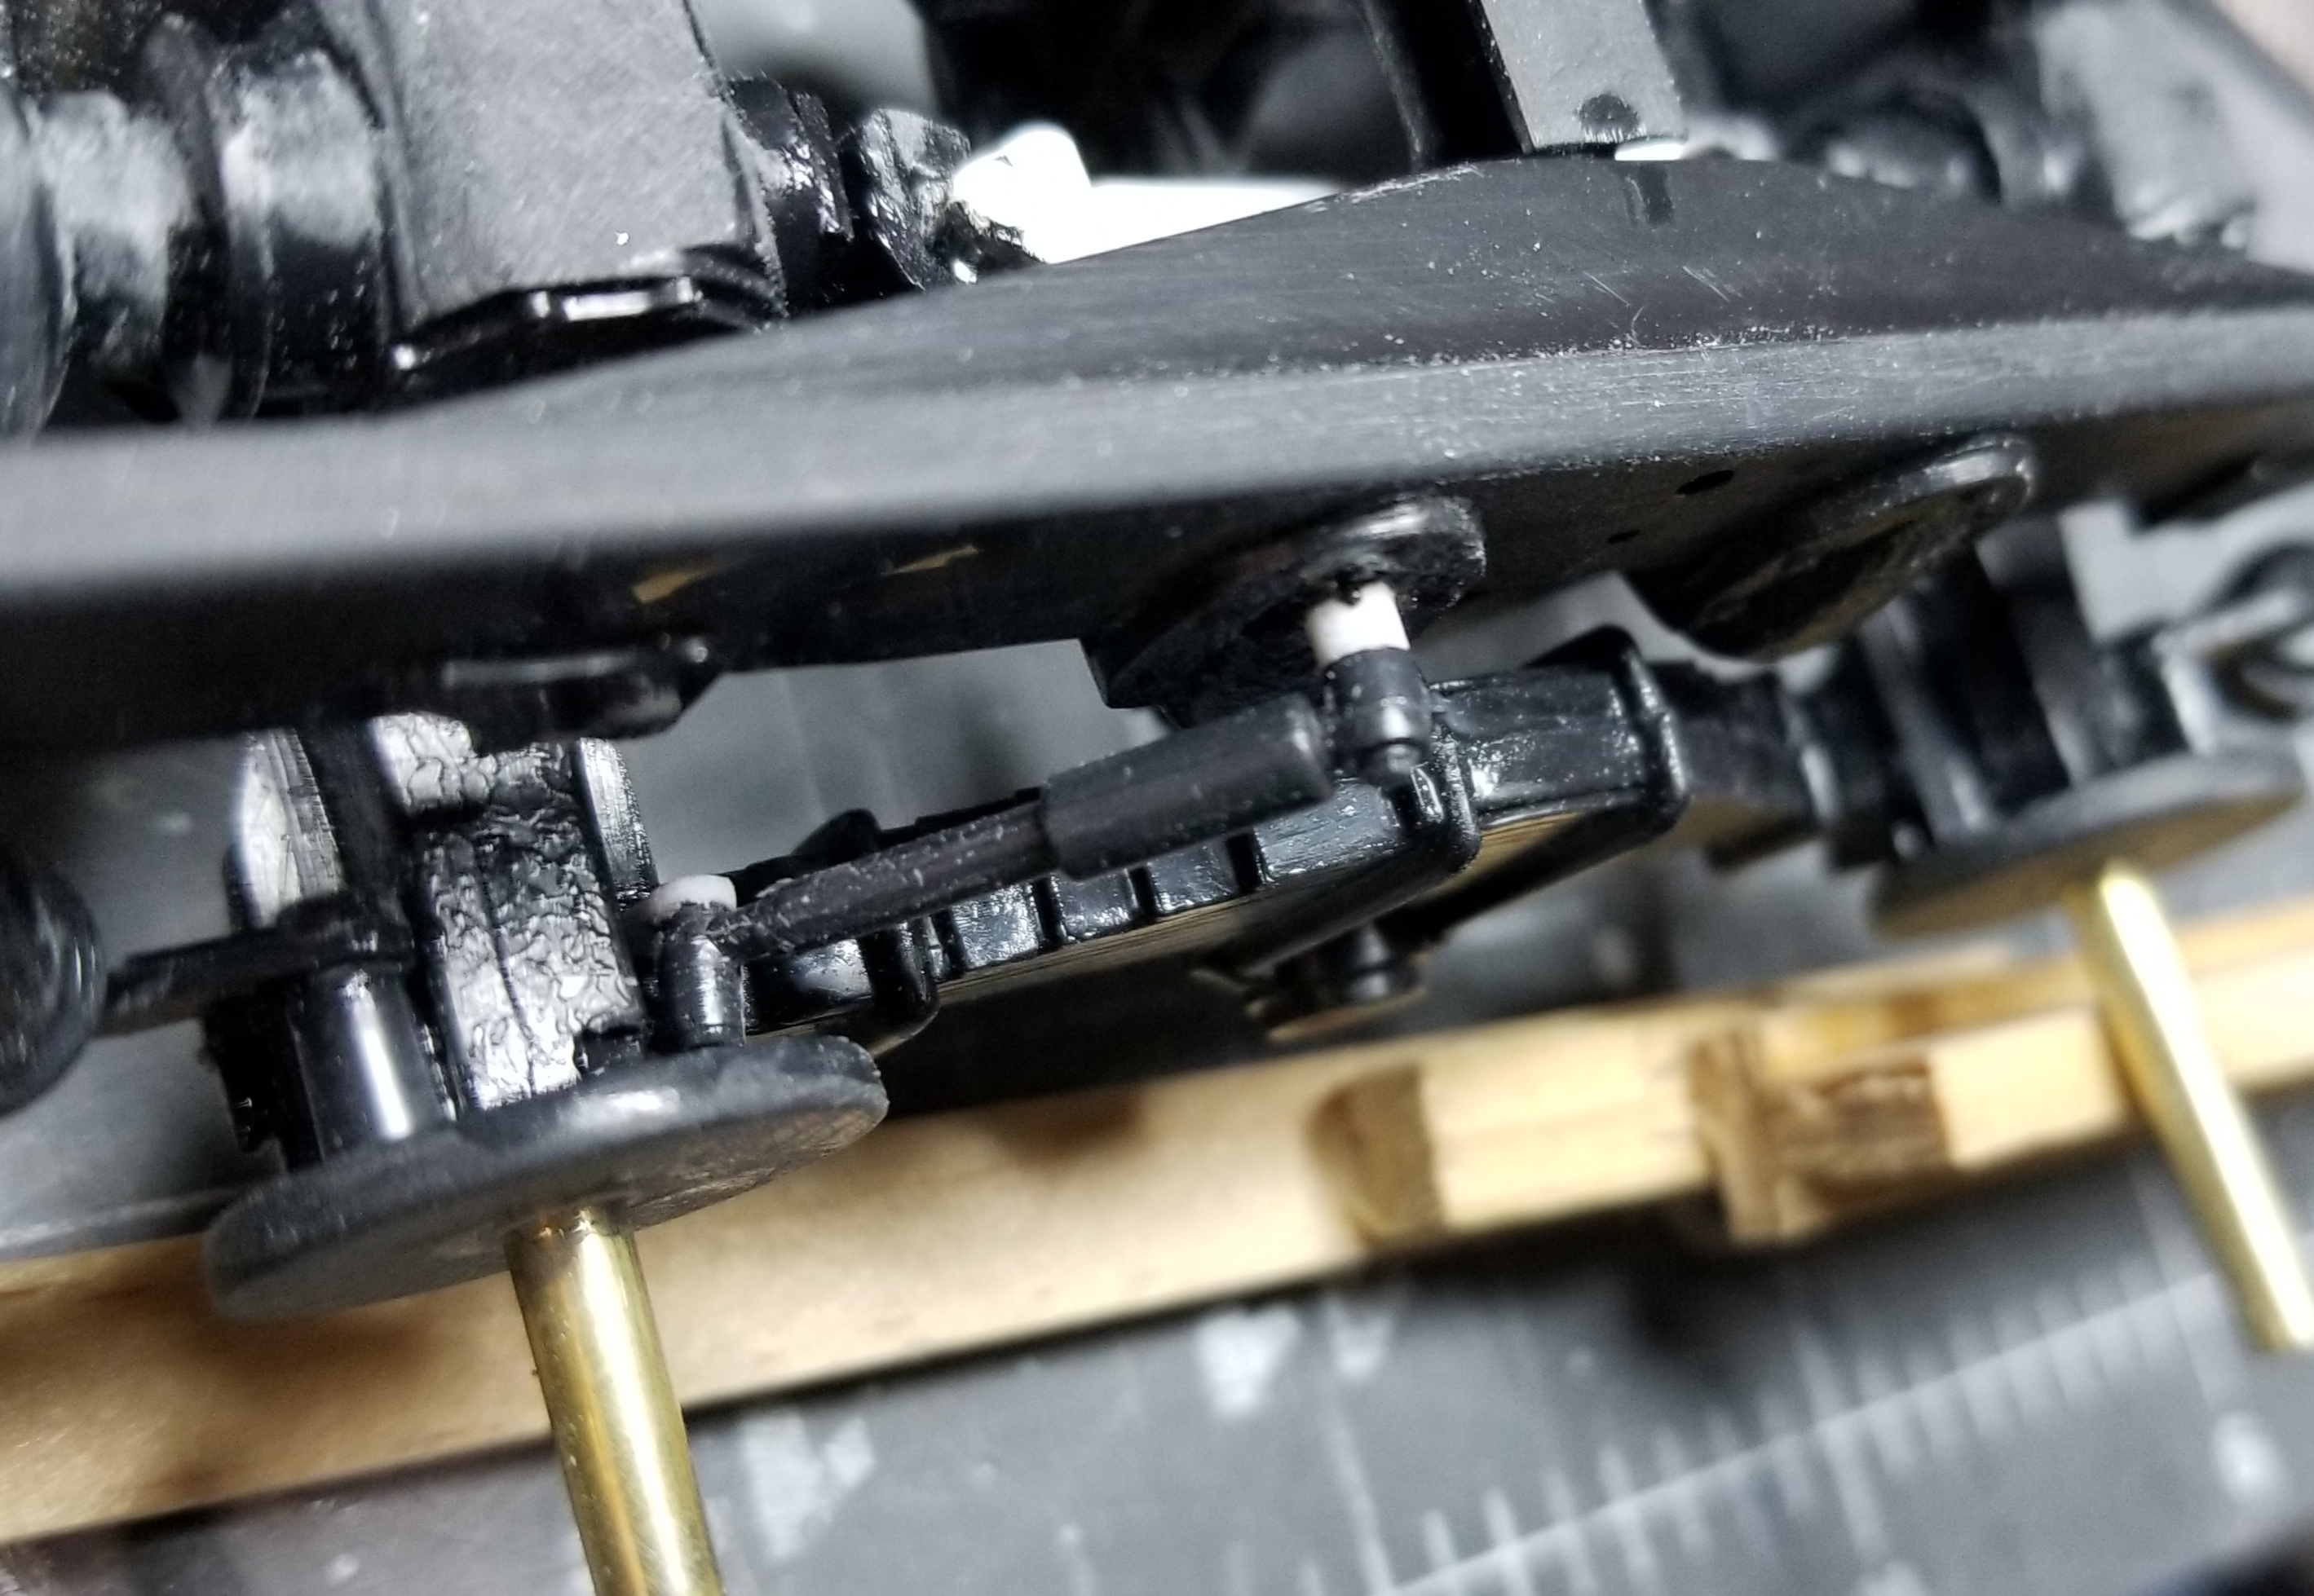
Hey Jeff I found a picture on the internet of a Mack camelback suspension with a shock going from the front axle at an angle rearward to the front mounting bracket. It looked like this. this view shows the front shock and how it attaches to the axle and frame. this view from the top shows a little better how the shock mounts. Ron G

-
This is for Jeff
CrankyCrafstman replied to CrankyCrafstman's topic in LSM 1/35 and Larger Work In Progress
Thanks buddy, just what I needed. Ron G -
This is for Jeff
CrankyCrafstman replied to CrankyCrafstman's topic in LSM 1/35 and Larger Work In Progress
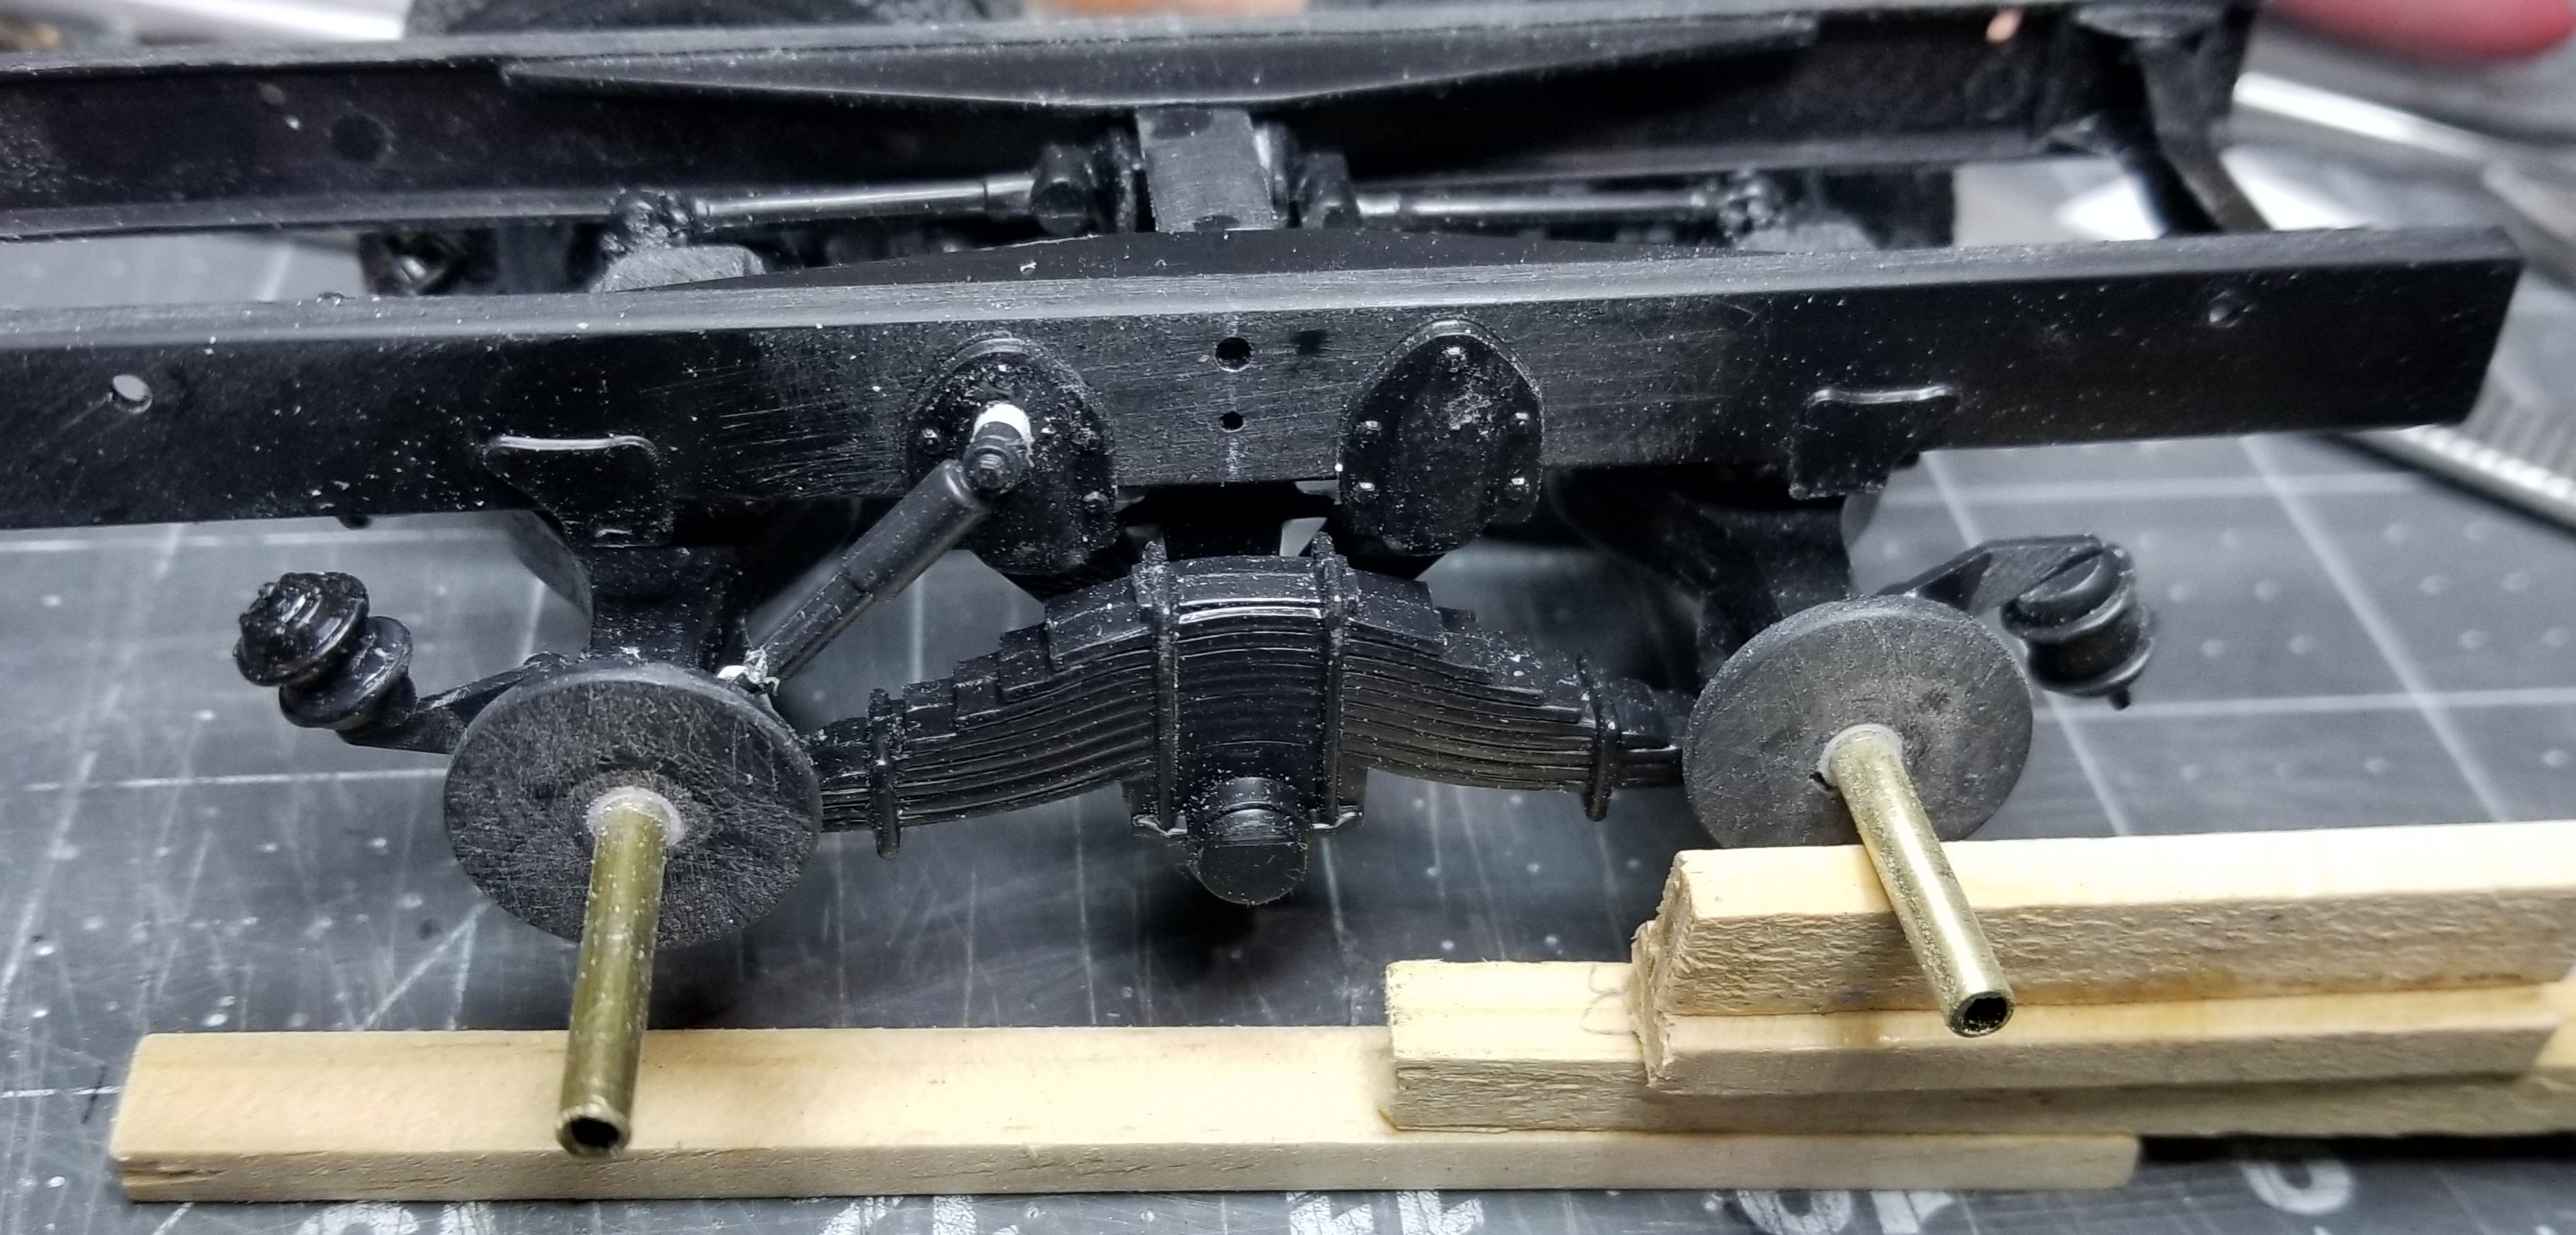
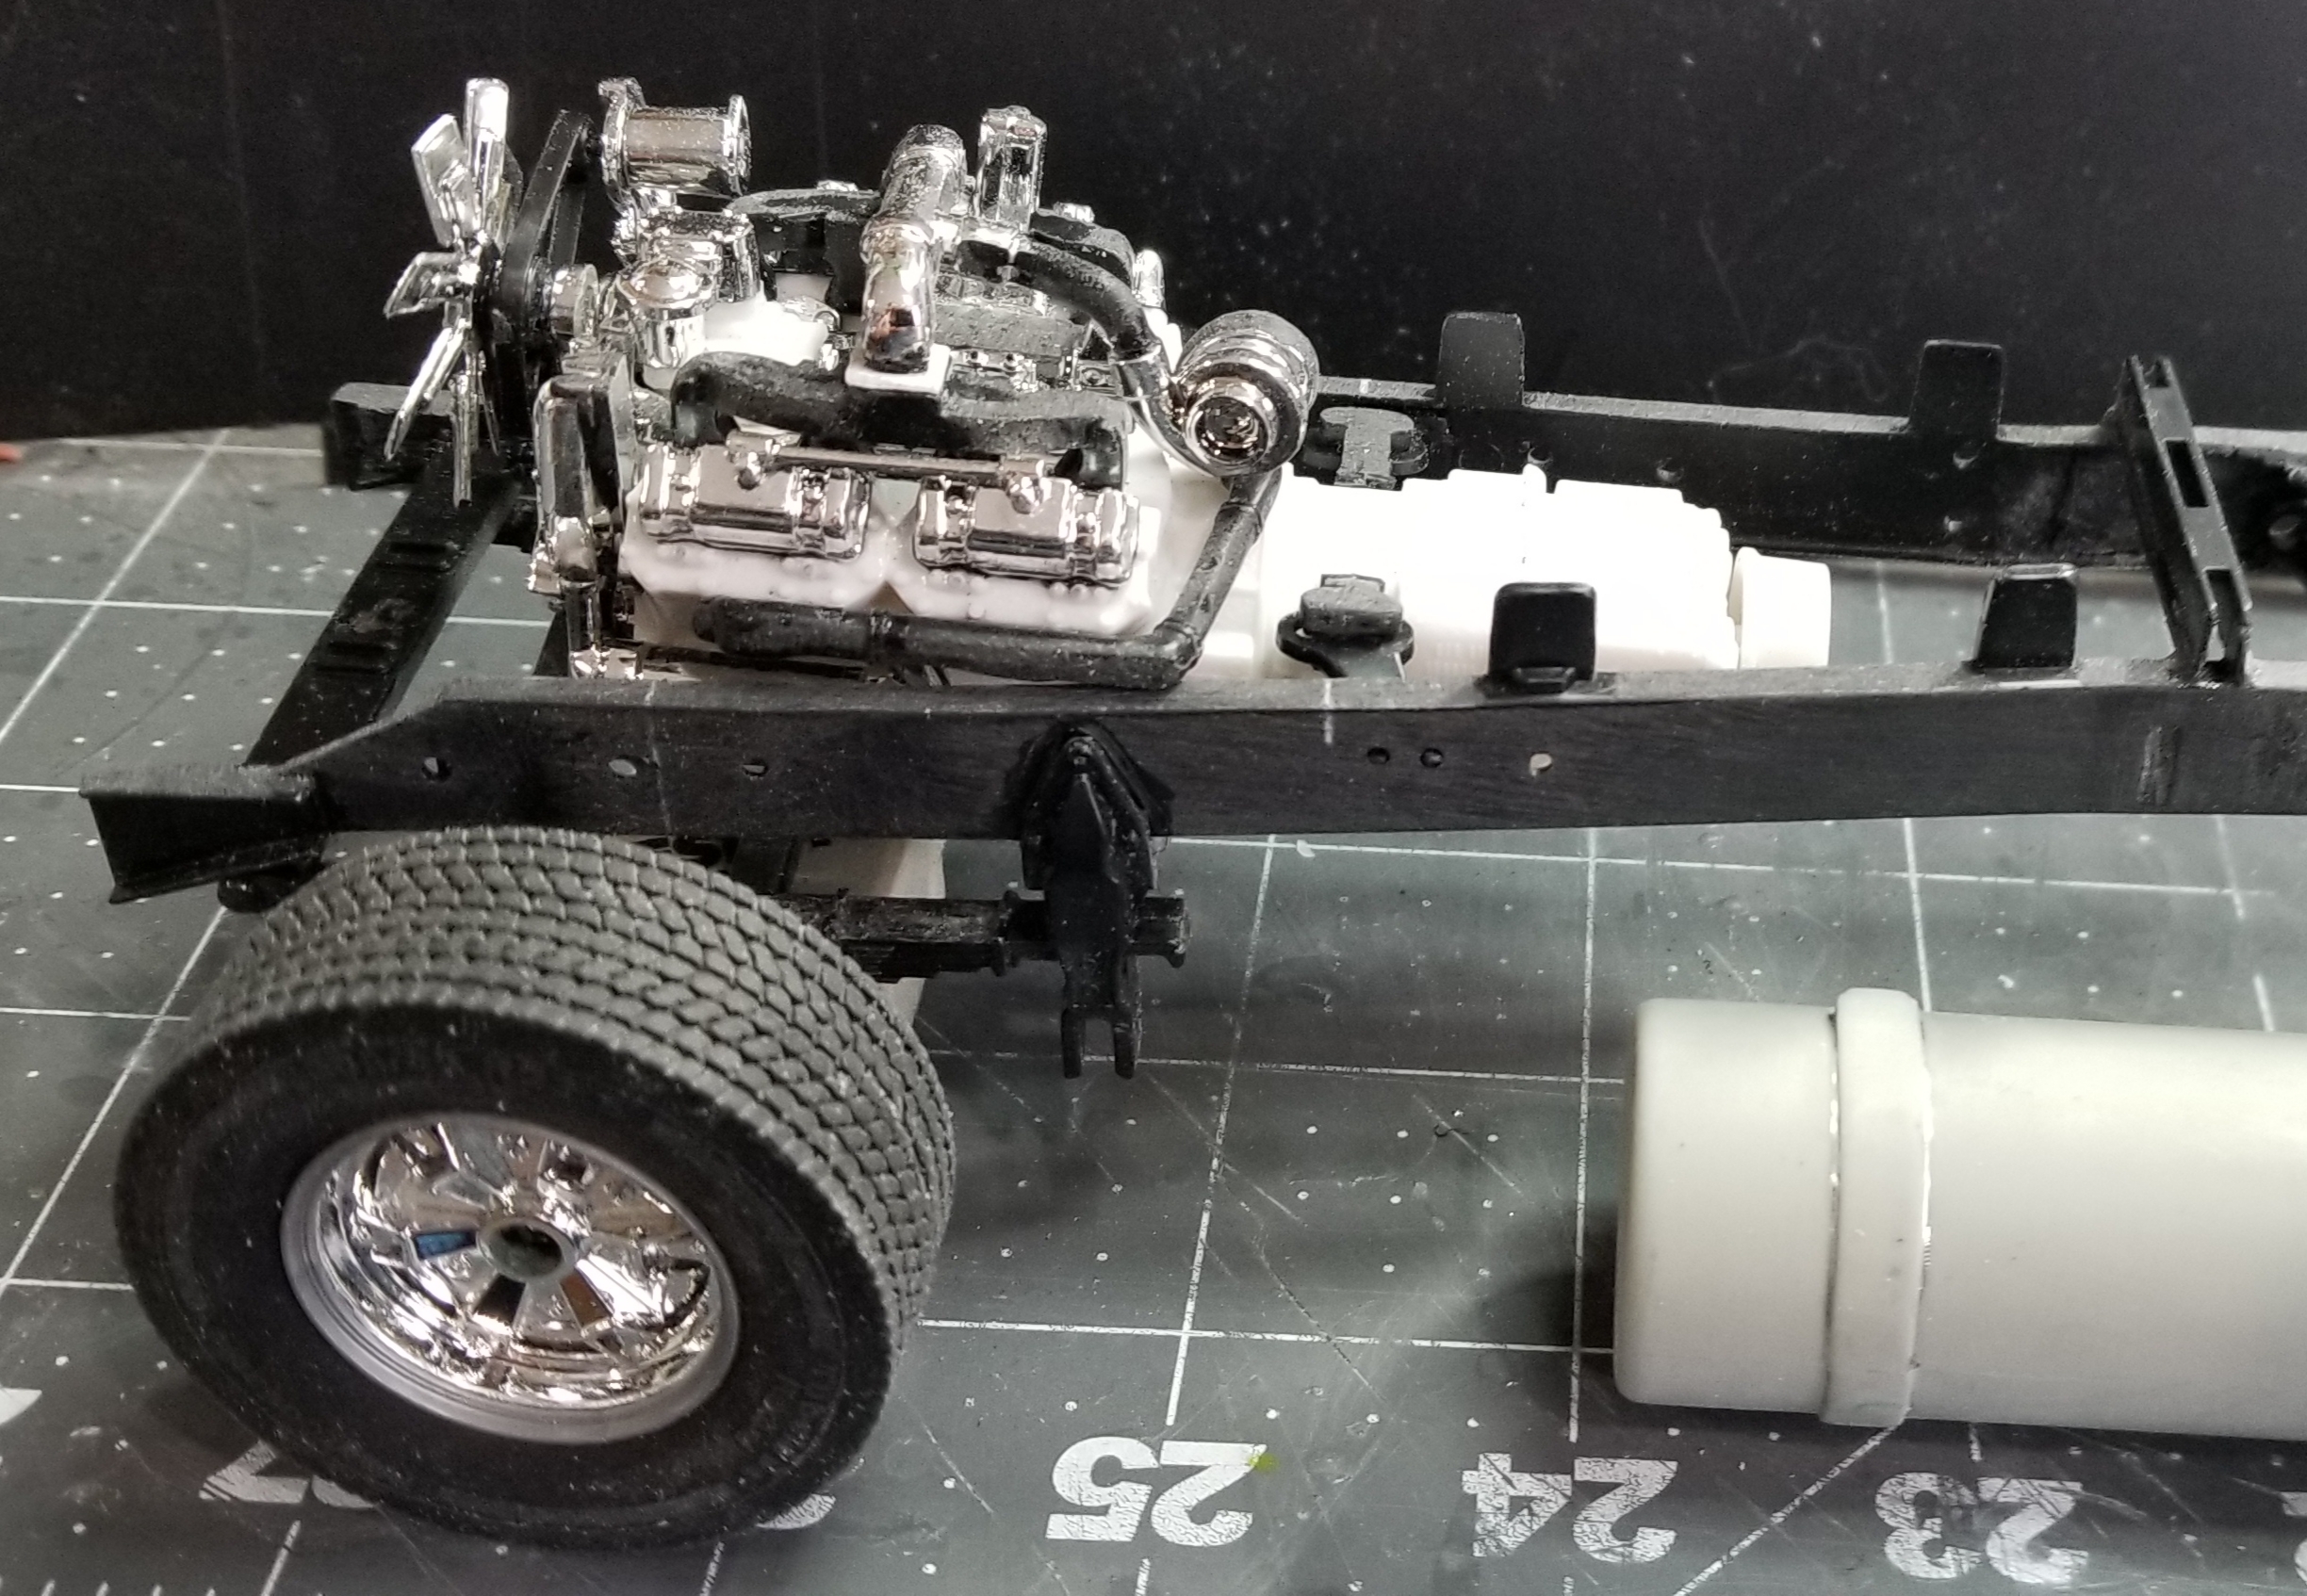
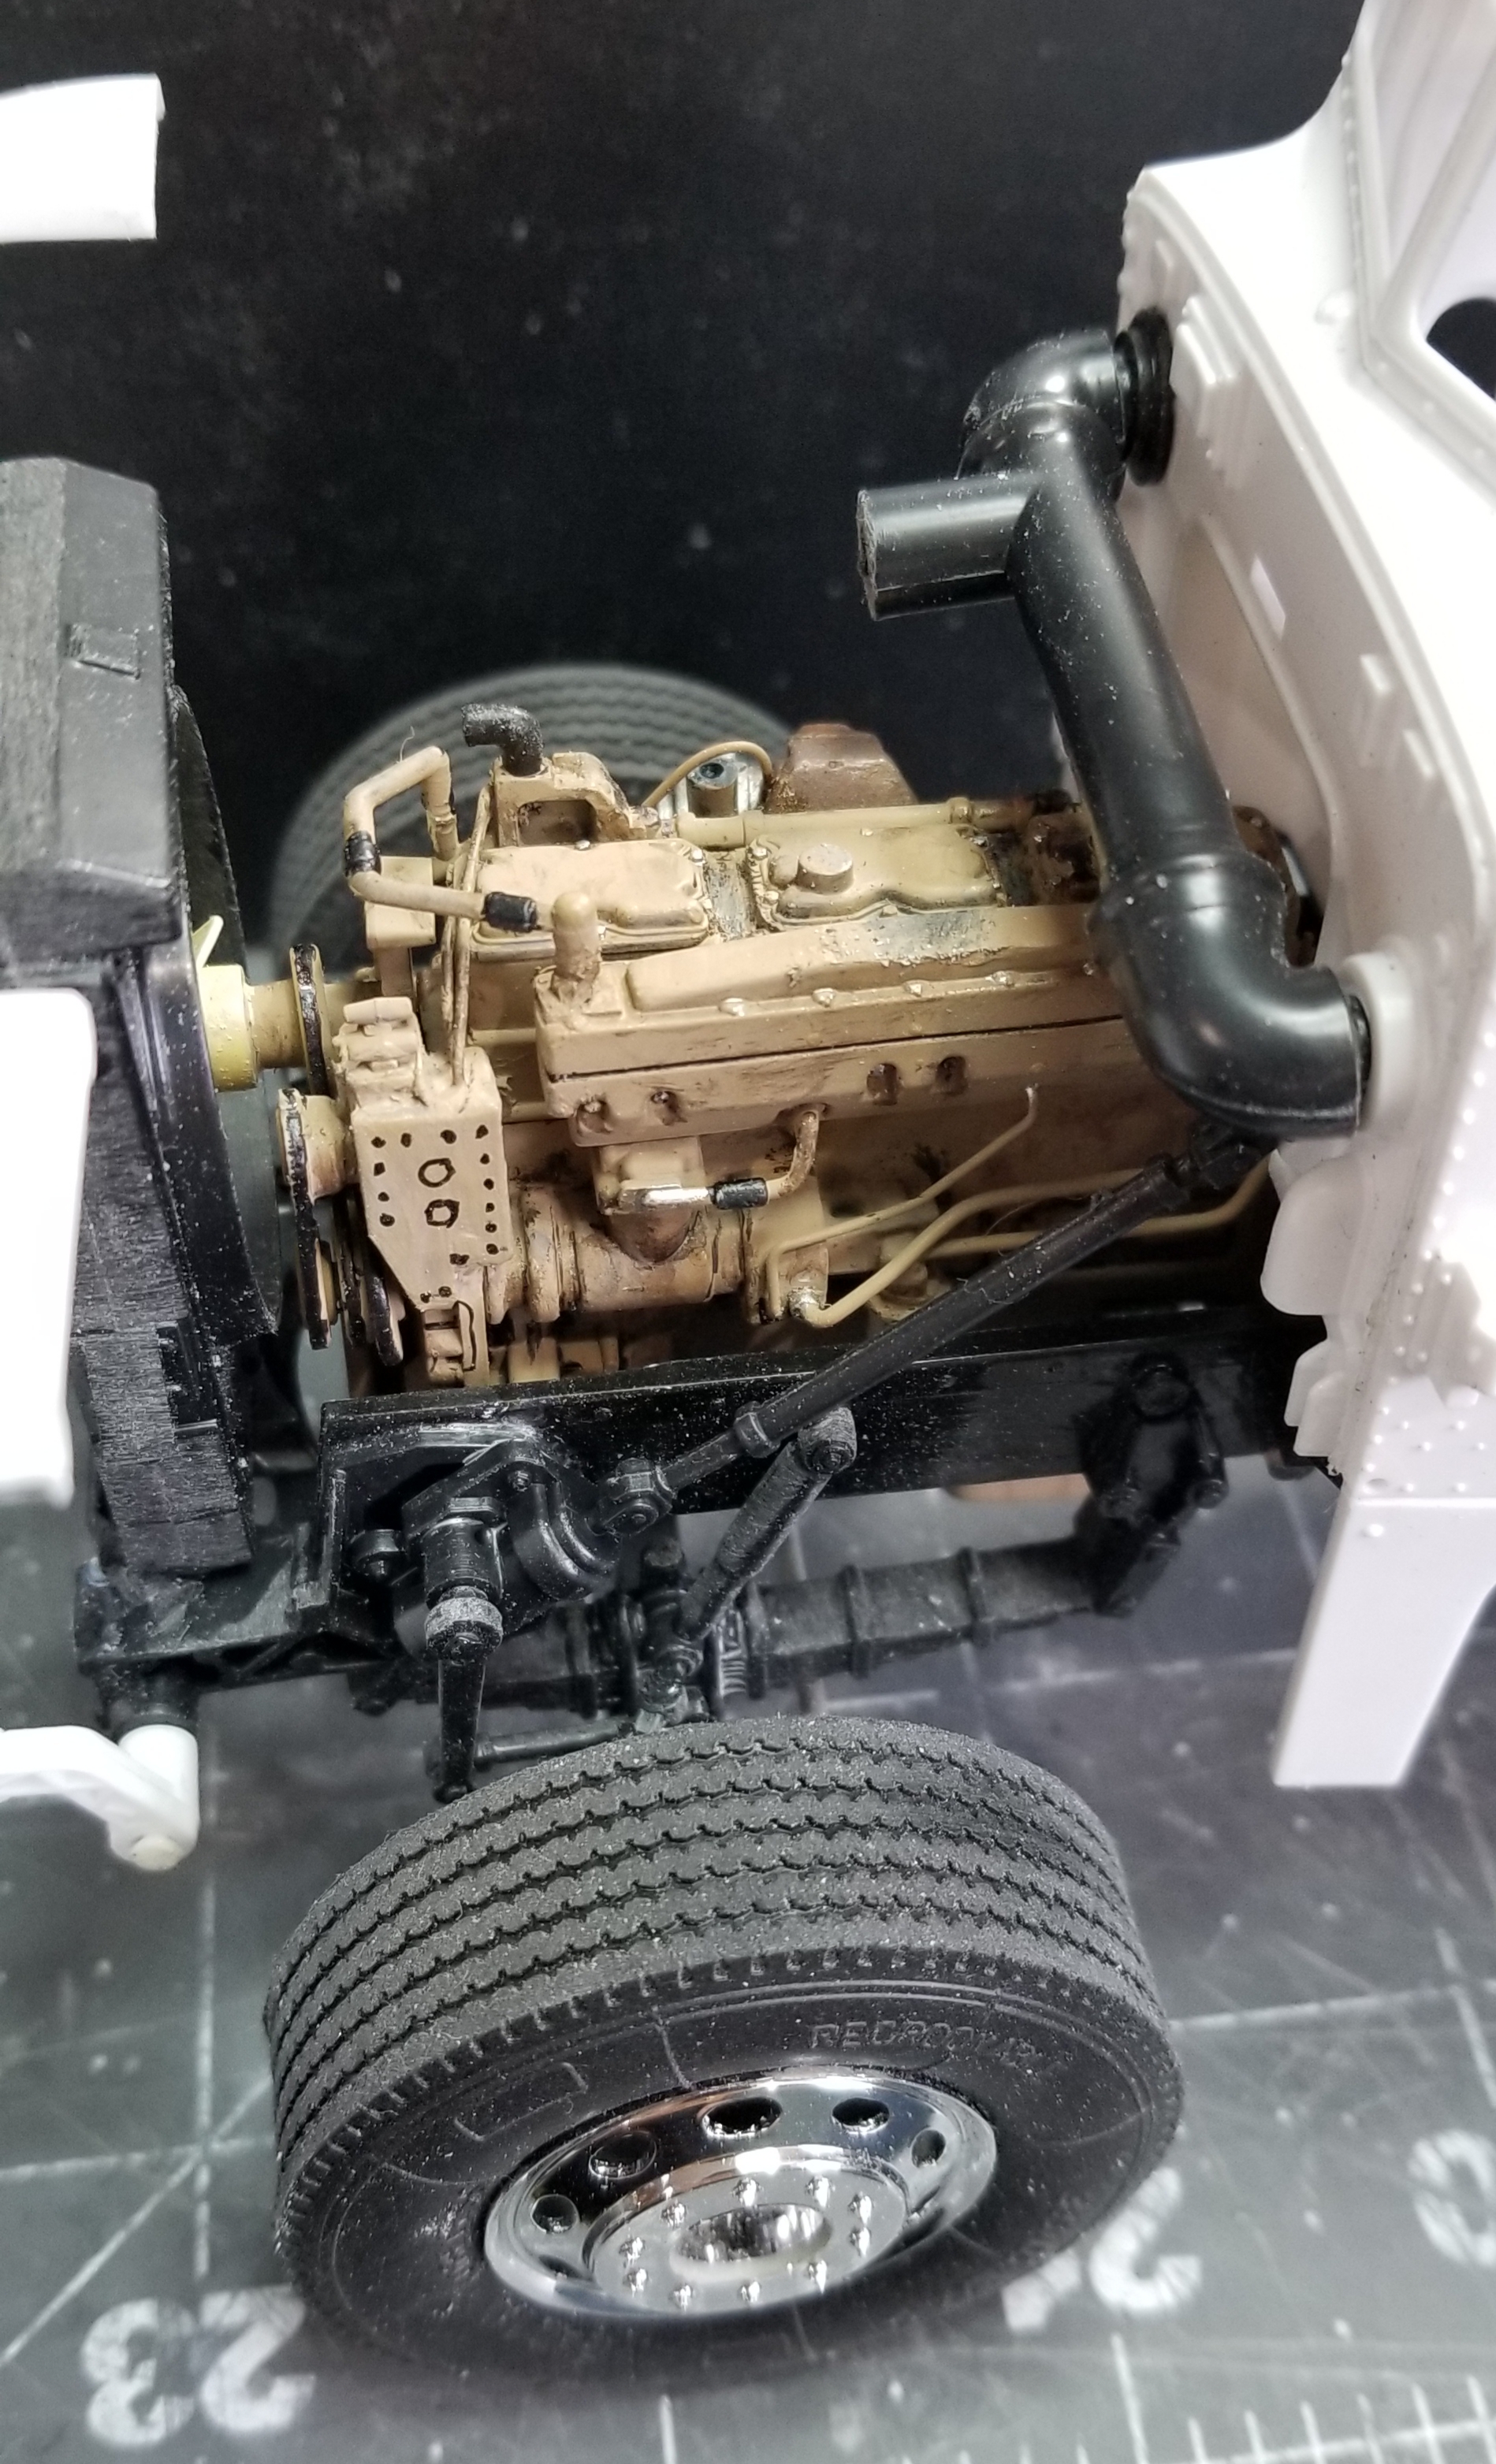
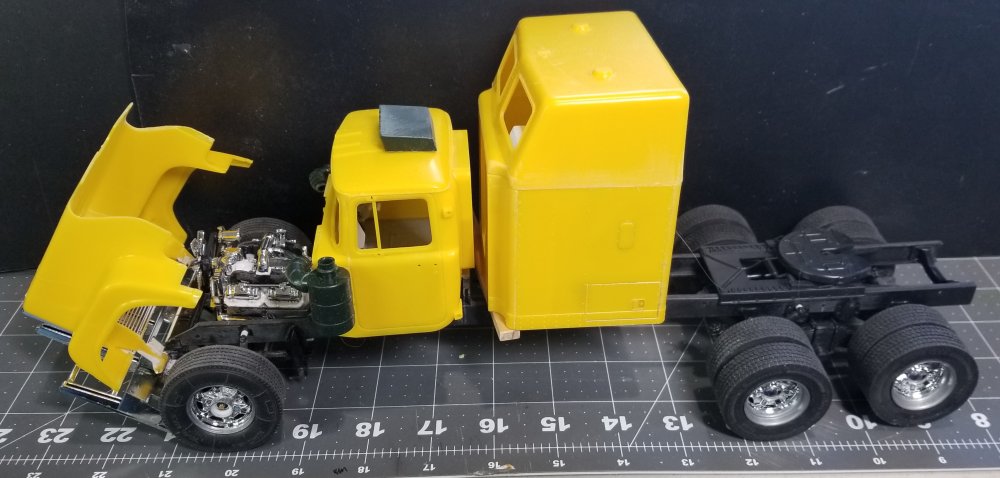
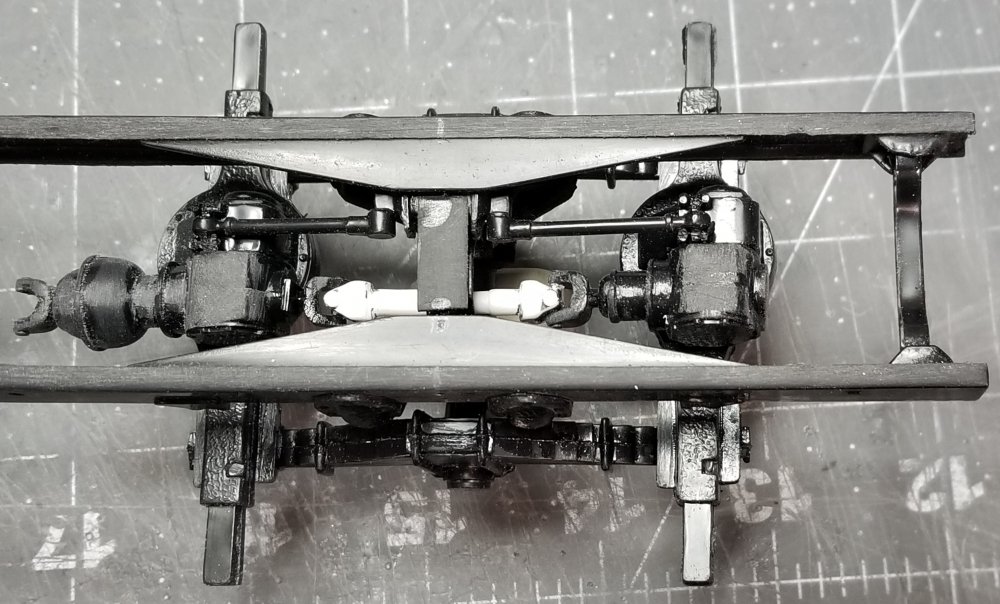
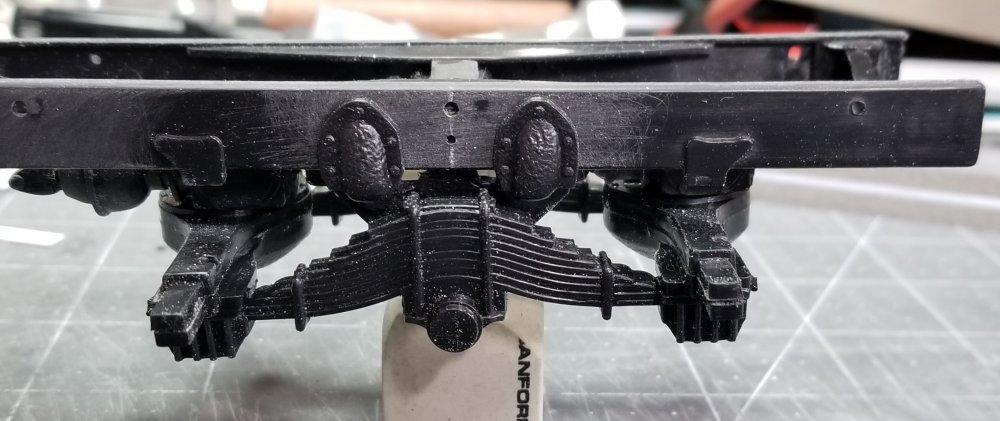
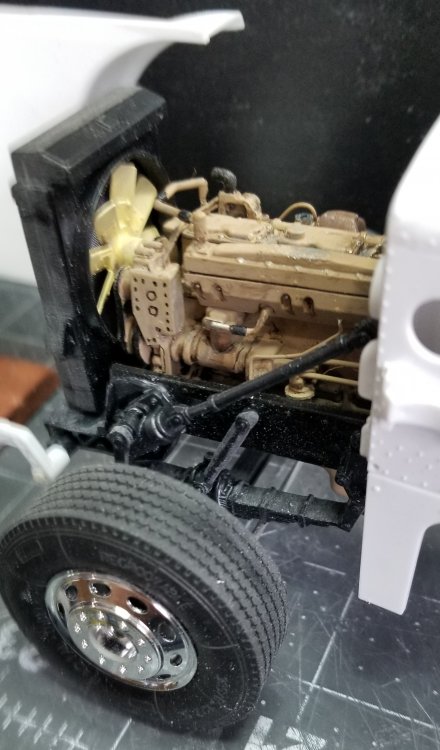
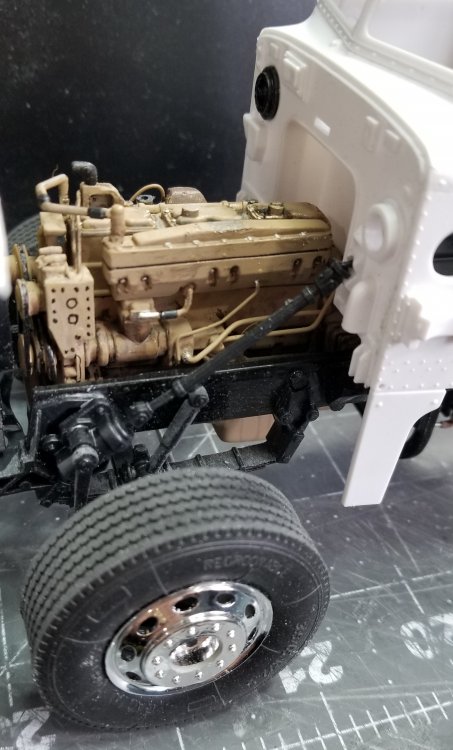
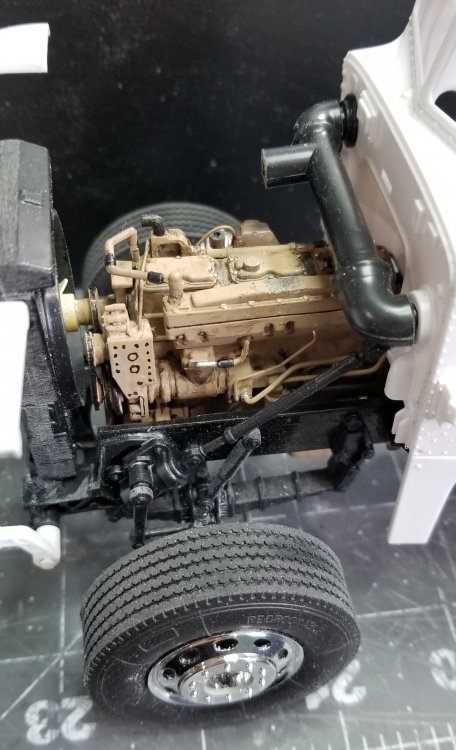
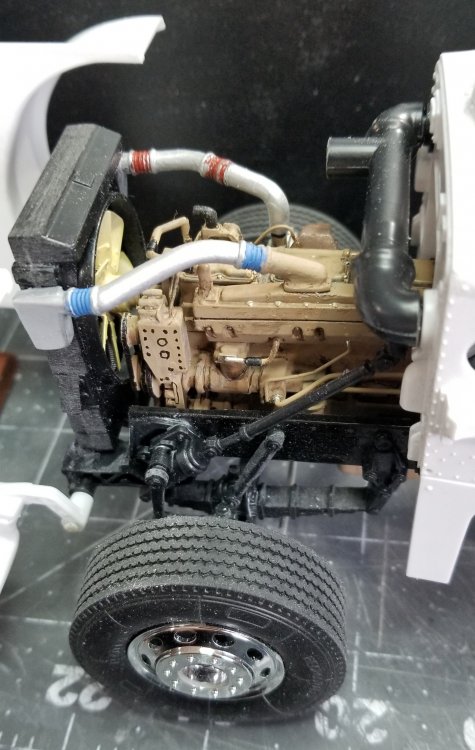
Hey all Did some more work on the Superliner. I have the engine that came in the MPC Mack DM800 put together. It's a Maxidyne ENDT-865 V8. They were, from what I understand a pretty good engine. Thay were the predecessor to the Mack E9 V8. It has a 5 or 6 speed transmission, I'm not really sure. this view shows the cab & hood along with the sleeper, fuel tanks and the wheels/tires that will go on this build. this view shows a top view of the Mack camelback suspension & Mack drive axles. side view of the Camelback suspension. this view shows the Mack ENDT-865 from the MPC DM800 kit. Its about the same size as the E9 so I'm using it for fit purposes. top down view of the ENDT-865. this is a picture of the real thing. It's painted in Mack gold. Well that's it for now be back soon. Ron G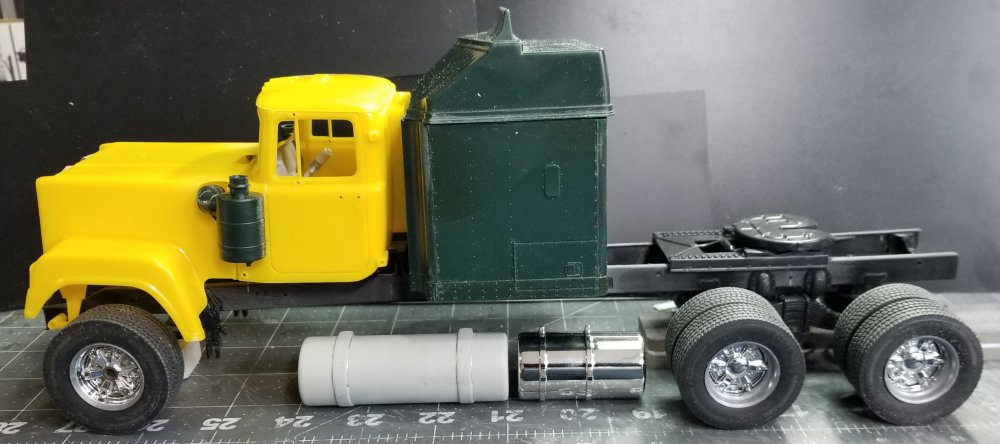


-
This is for Jeff
CrankyCrafstman replied to CrankyCrafstman's topic in LSM 1/35 and Larger Work In Progress
Hey Jeff do you know if they have shock absorbers on the Camelback suspension? Also do they have them on the front suspension? Ron G -
This is for Jeff
CrankyCrafstman replied to CrankyCrafstman's topic in LSM 1/35 and Larger Work In Progress
I'm confused? What is it that you don't like about there black plastic. I don't find any problems with it, it's very similar to Evergreen black plastic sheet. Ron G -
This is for Jeff
CrankyCrafstman replied to CrankyCrafstman's topic in LSM 1/35 and Larger Work In Progress
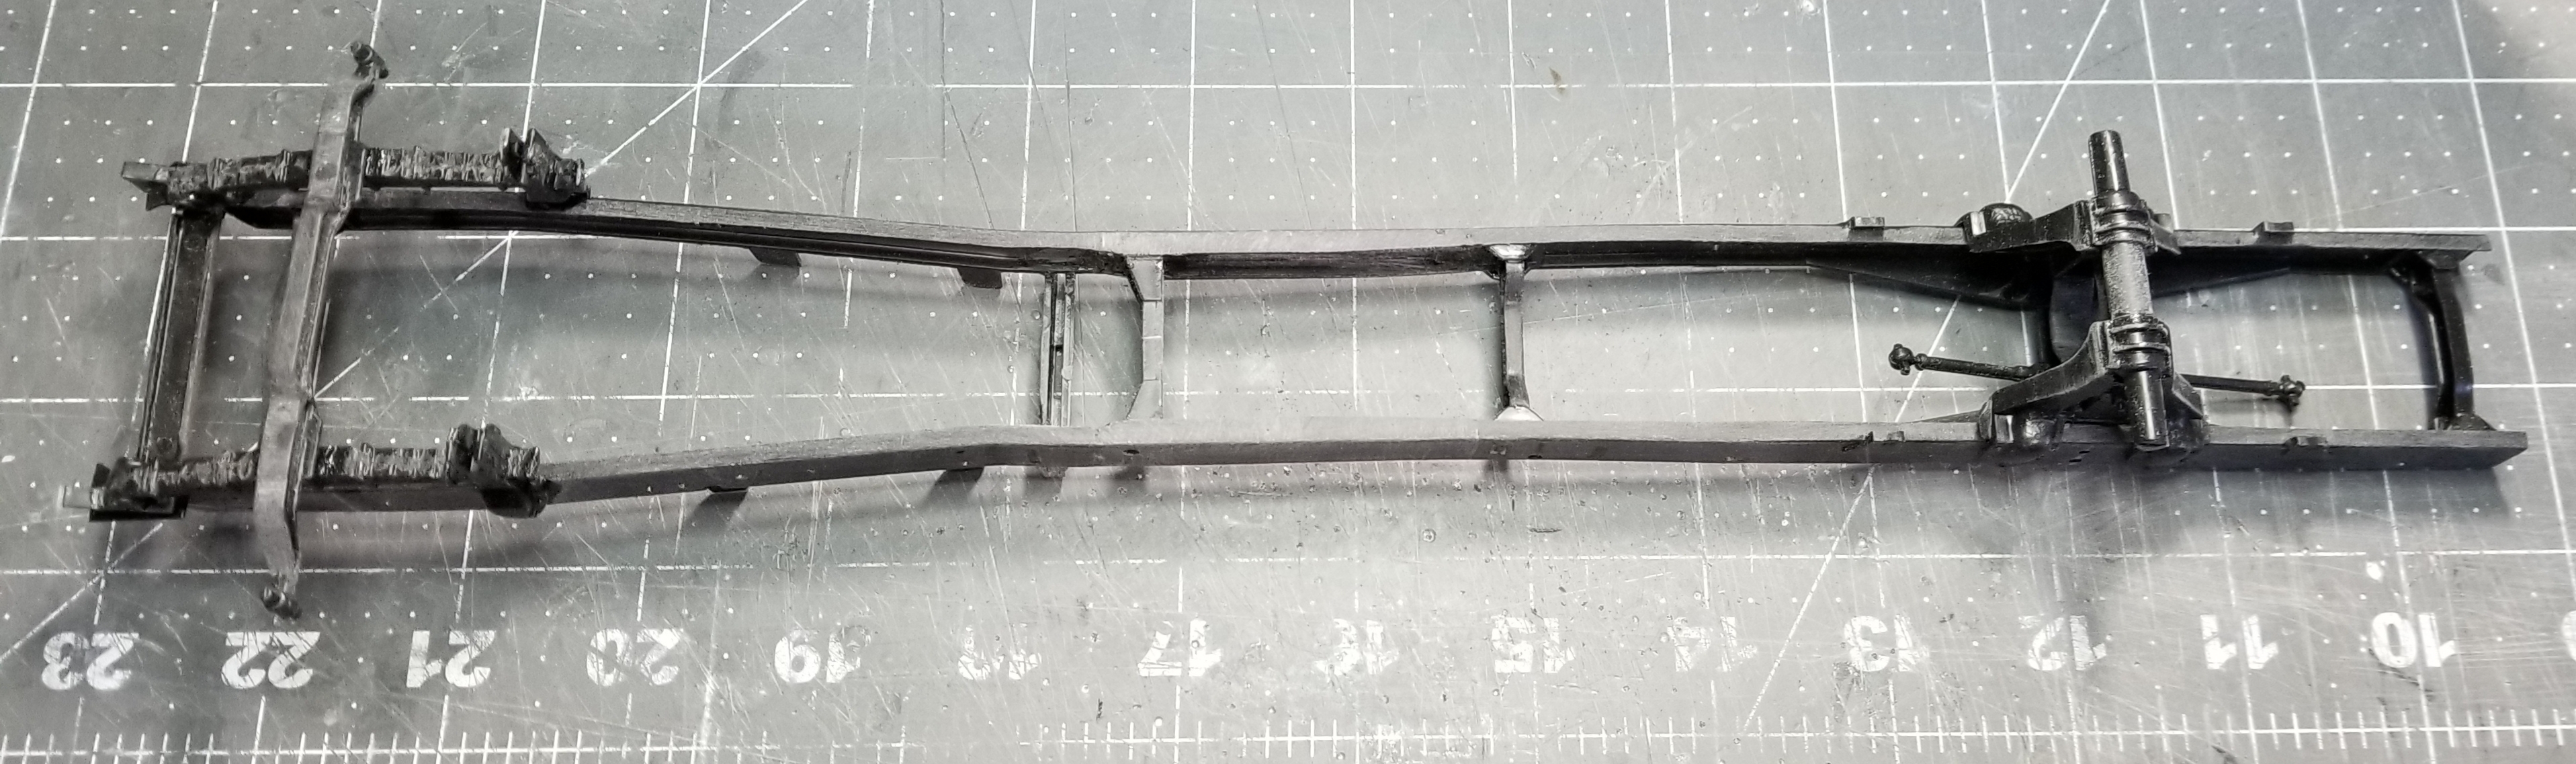
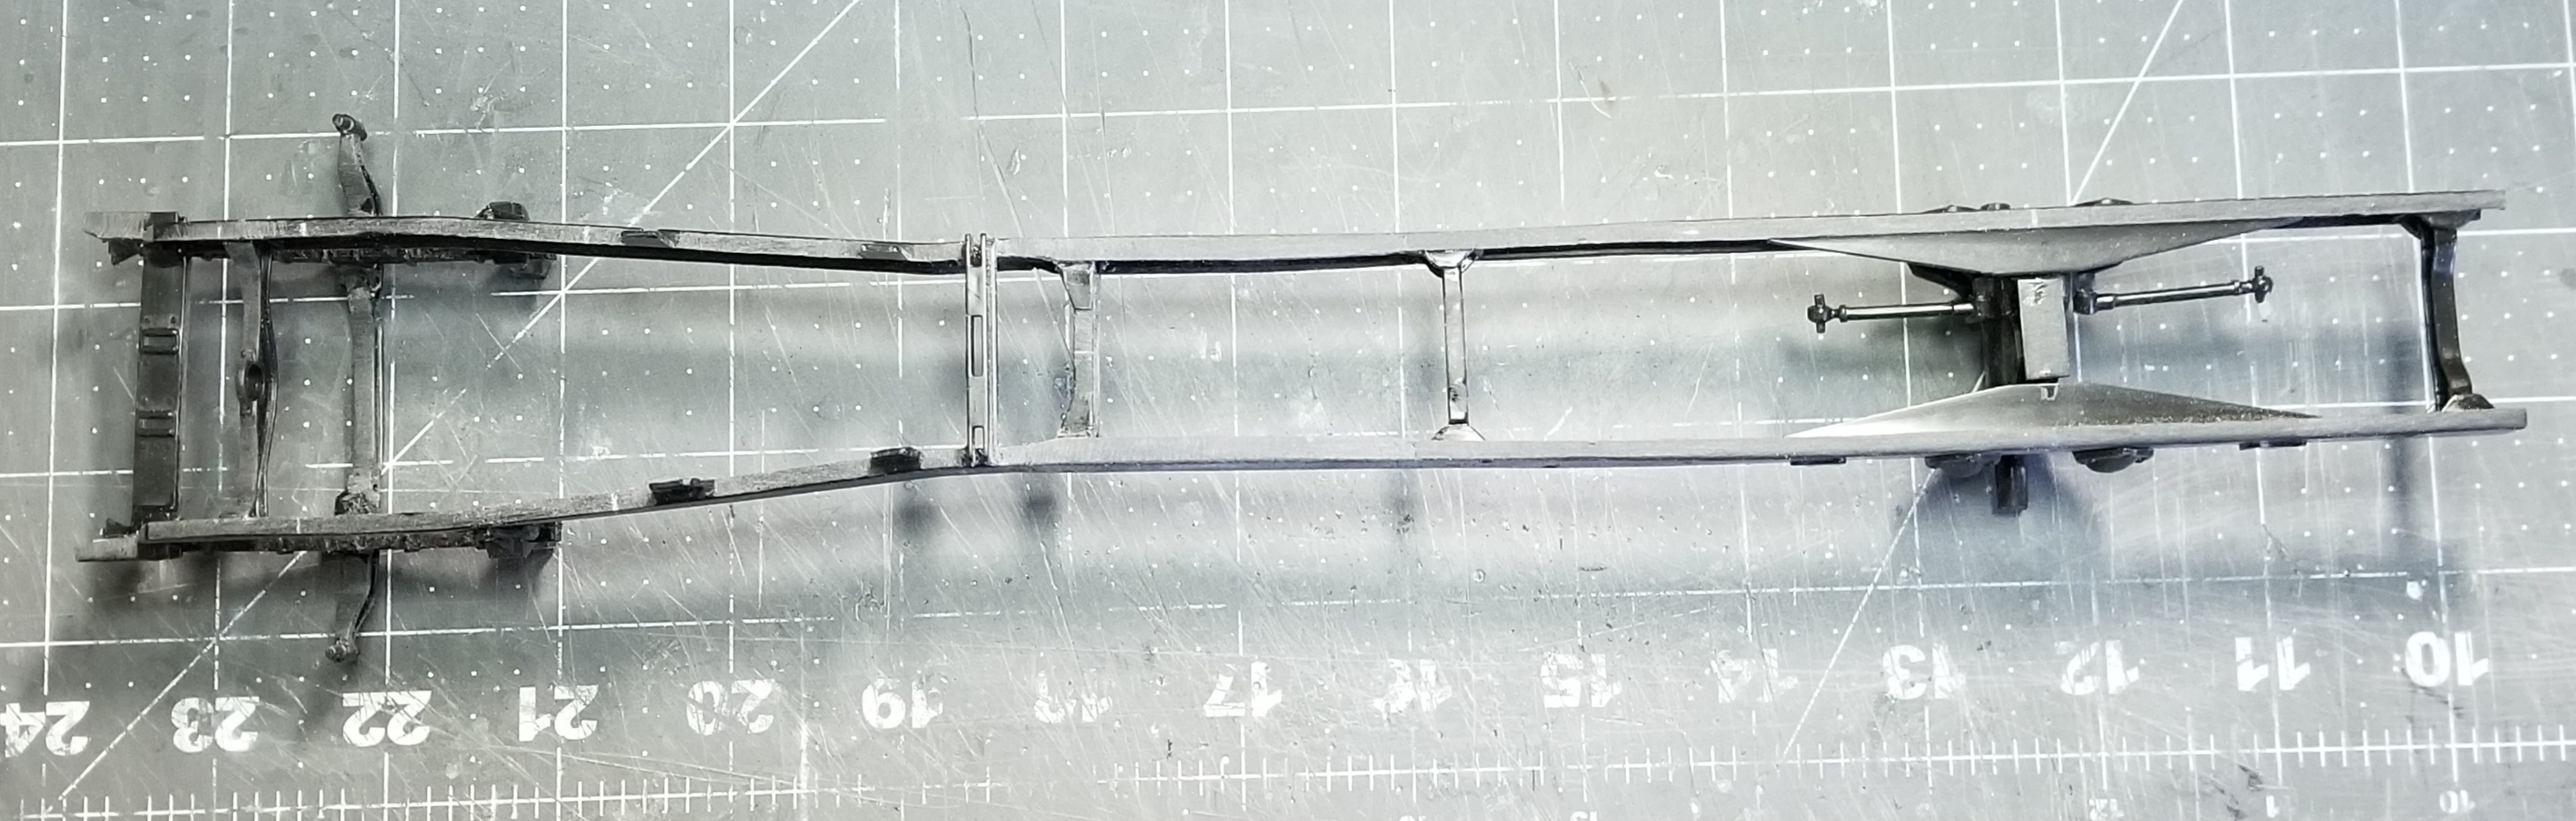
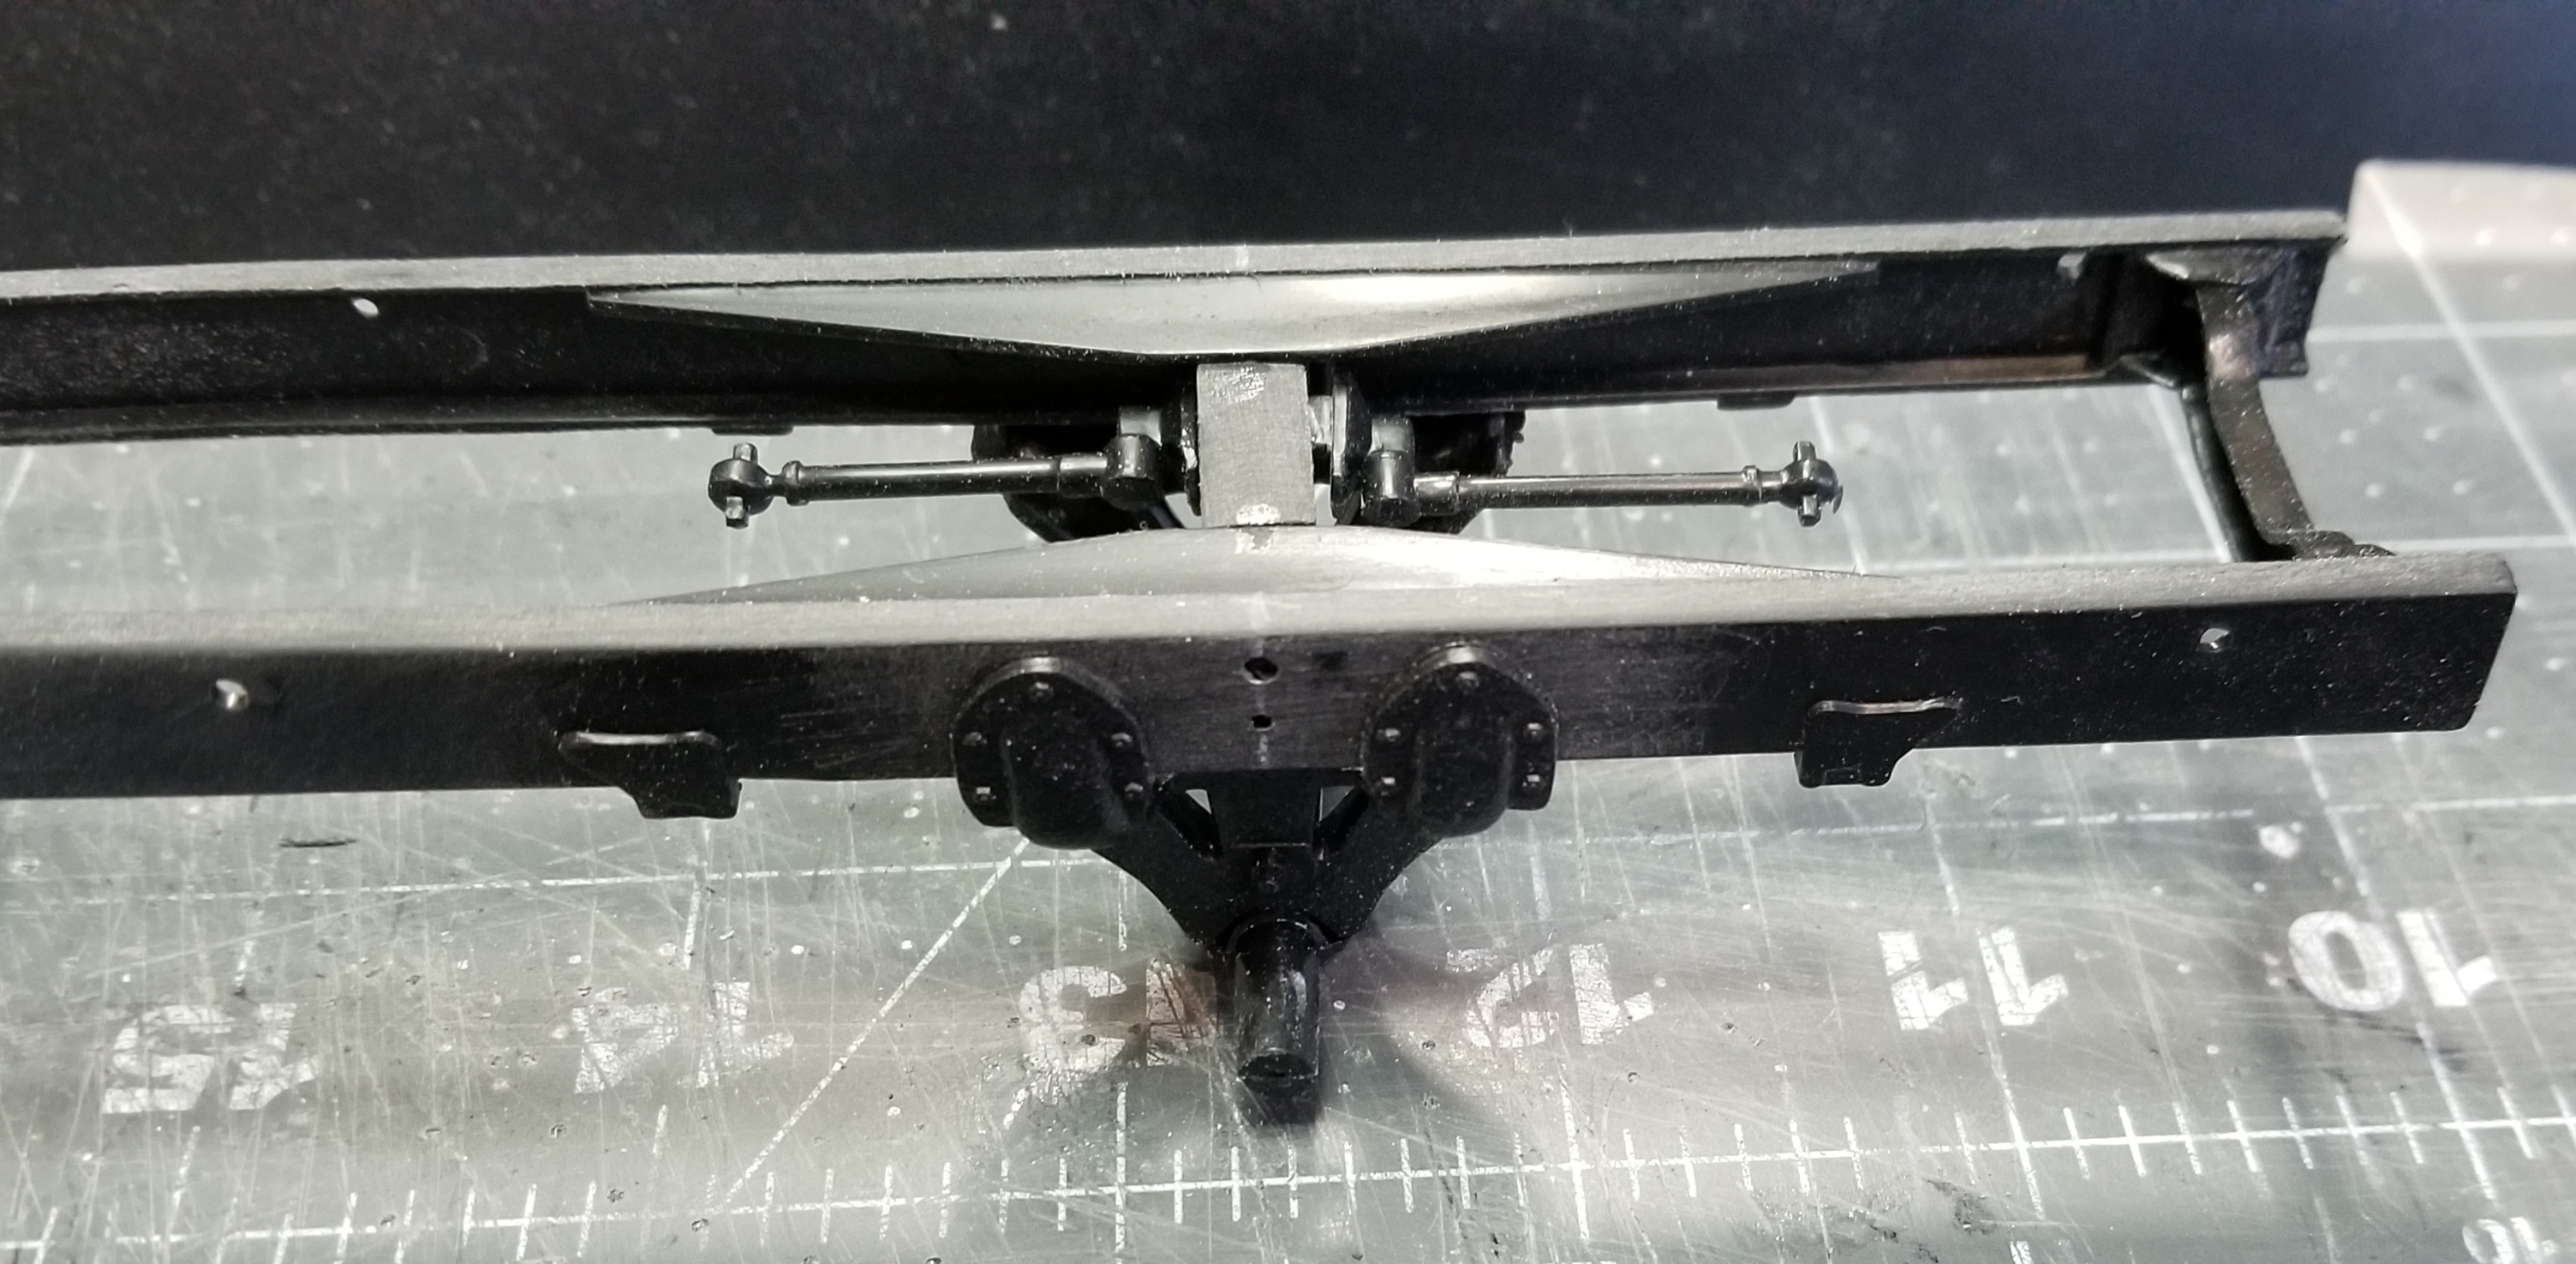
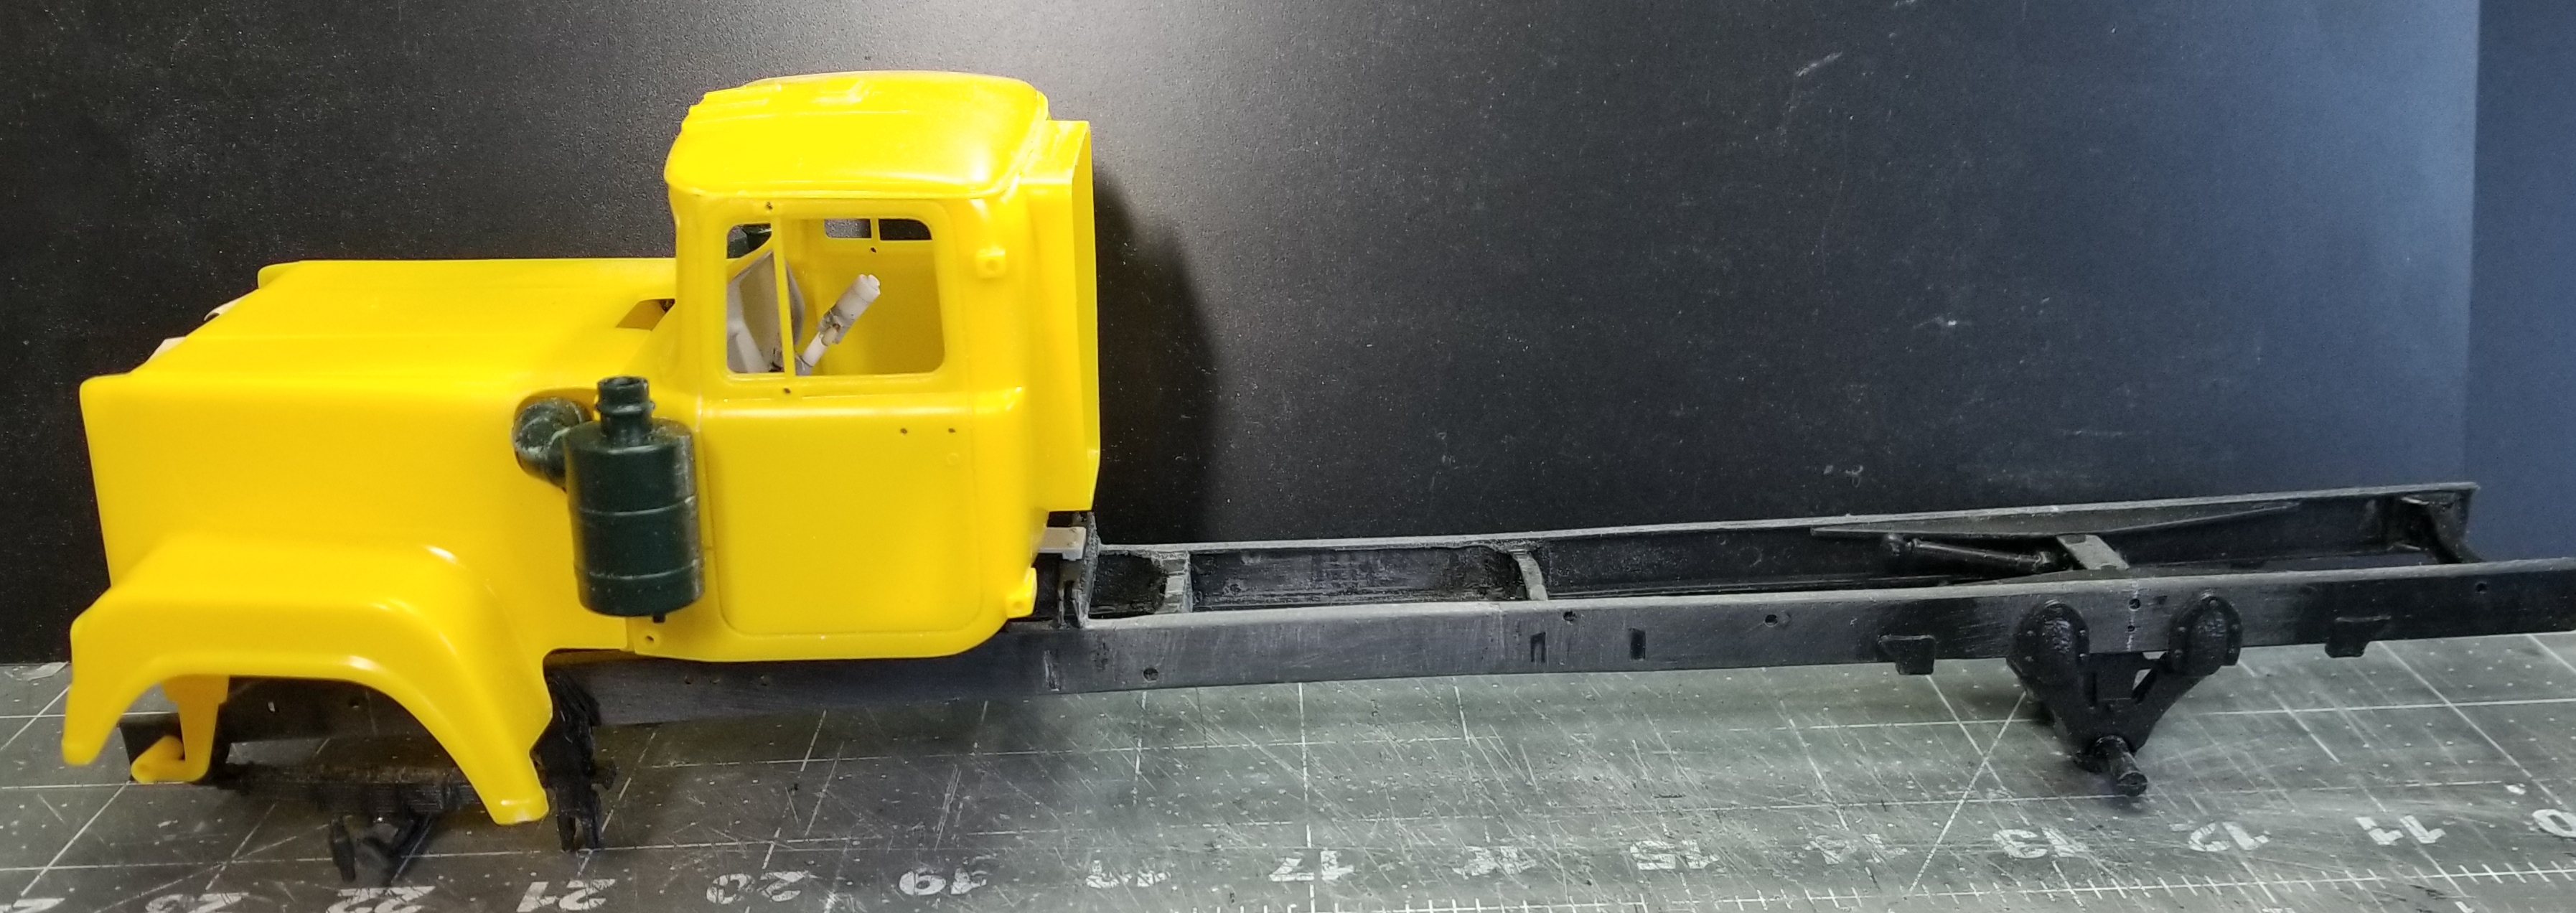
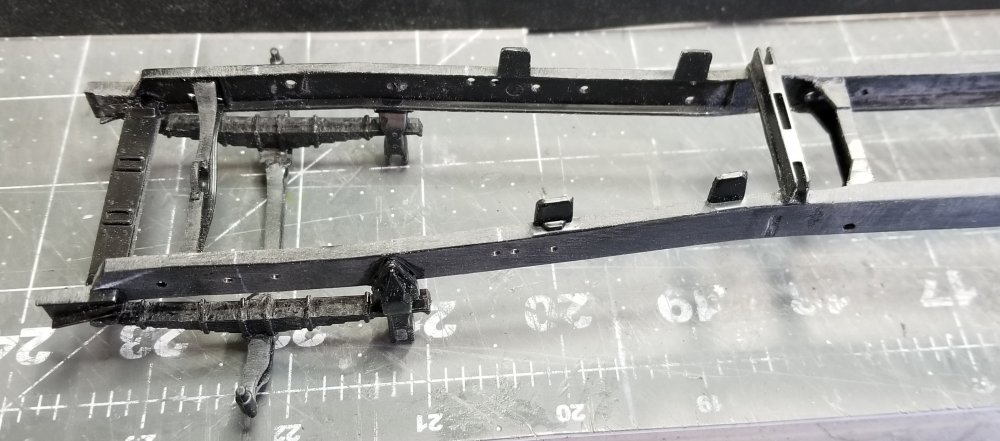
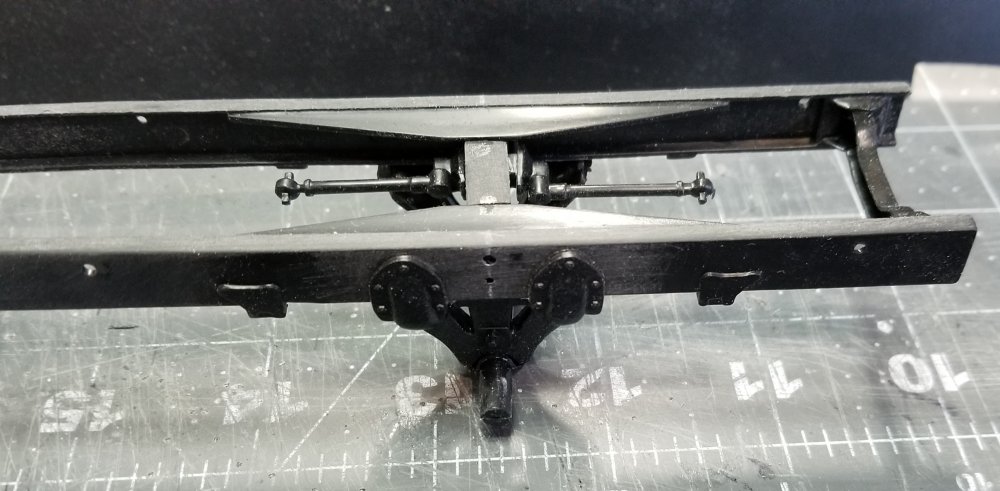
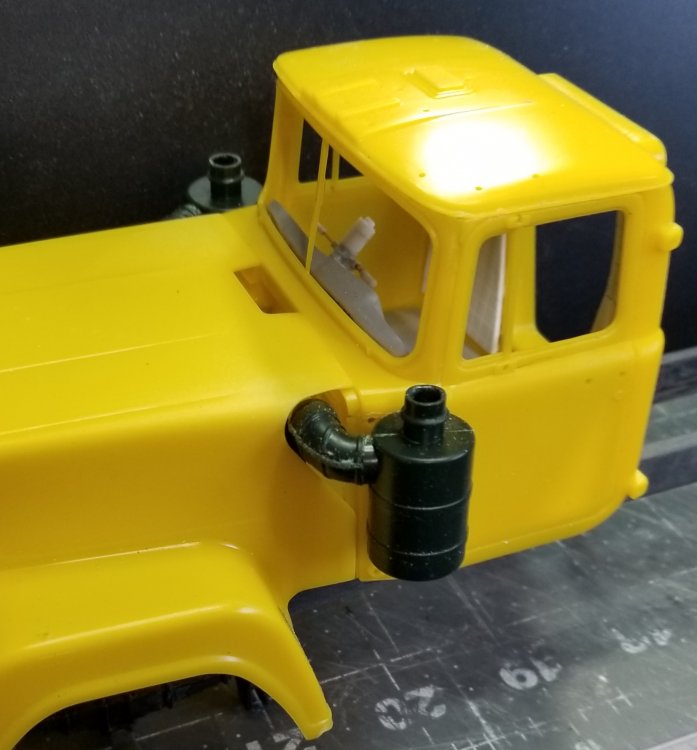
Hey all I got a MPC 1/25 Mack DM800 for some parts to use on my Aussie Mack Superliner build. I spliced the front and rear sections of the DM800 frame with a section out of the Italeri 1/24 Mack Superliner frame to make a proper Superliner Ii frame that's a 230" W.B. I modified the front axle from the Superliner kit along with a piece from the DM800 front axle and got a 4" (scale) wider drop center Mack axle, kind of. It's not perfect but it's good enough for me. Here are some pictures. this view shows the bottom of the completed frame. this view is of the top of the frame. close up view of the front of the frame and front suspension. close up view of the rear of the frame and the support pivot bracket for the camel back rear suspension this view shows the modified front axle. I had to modify the DM800 front springs to get them in the correct position for a Superliner II frame. this view shows the cab and hood sitting on the frame. this view shows the modifications I had to make to the hood to fit the external Aussie air cleaners. They are from the Western Star Australian truck kit by Italeri. Well that's it for now be back soon with more updates. Ron G


-
Here's a picture of the truck. I had to fix the joint in the frame where I spliced in the third axle portion, so I filled it with some sprue goo and While I'm waiting for it to set up I took this picture. Ron G
-
Mind blown!!!! Ron G
-
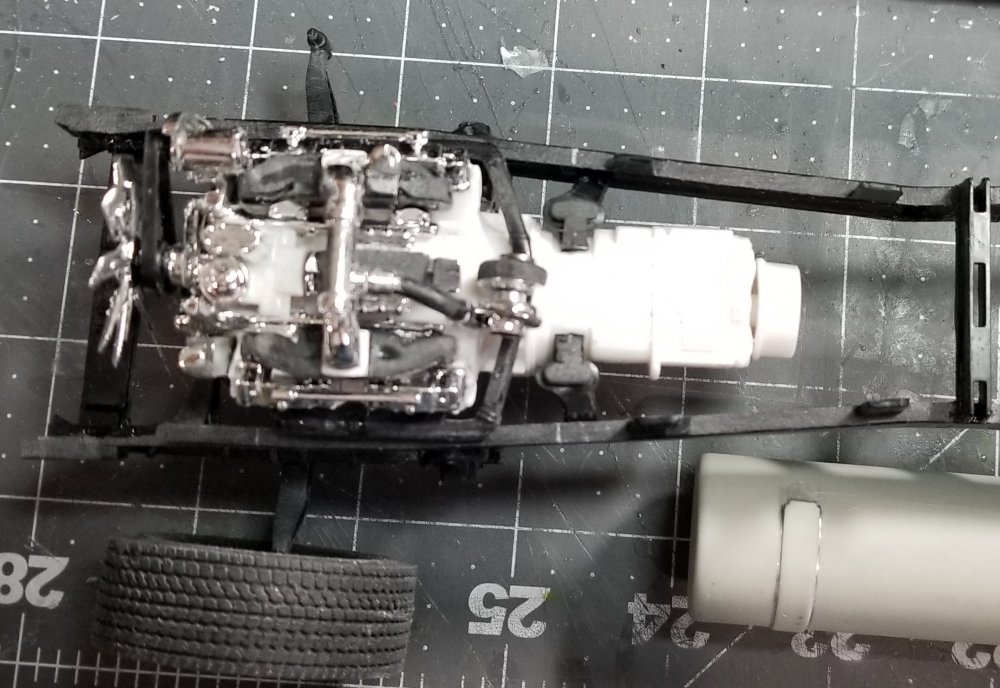
Ok I have the frame for the Peterbilt 378 primed, waiting to see if I have to make any fixes to it. I primed with Vallejo white primer. Ron G
-
Thanks guys
-
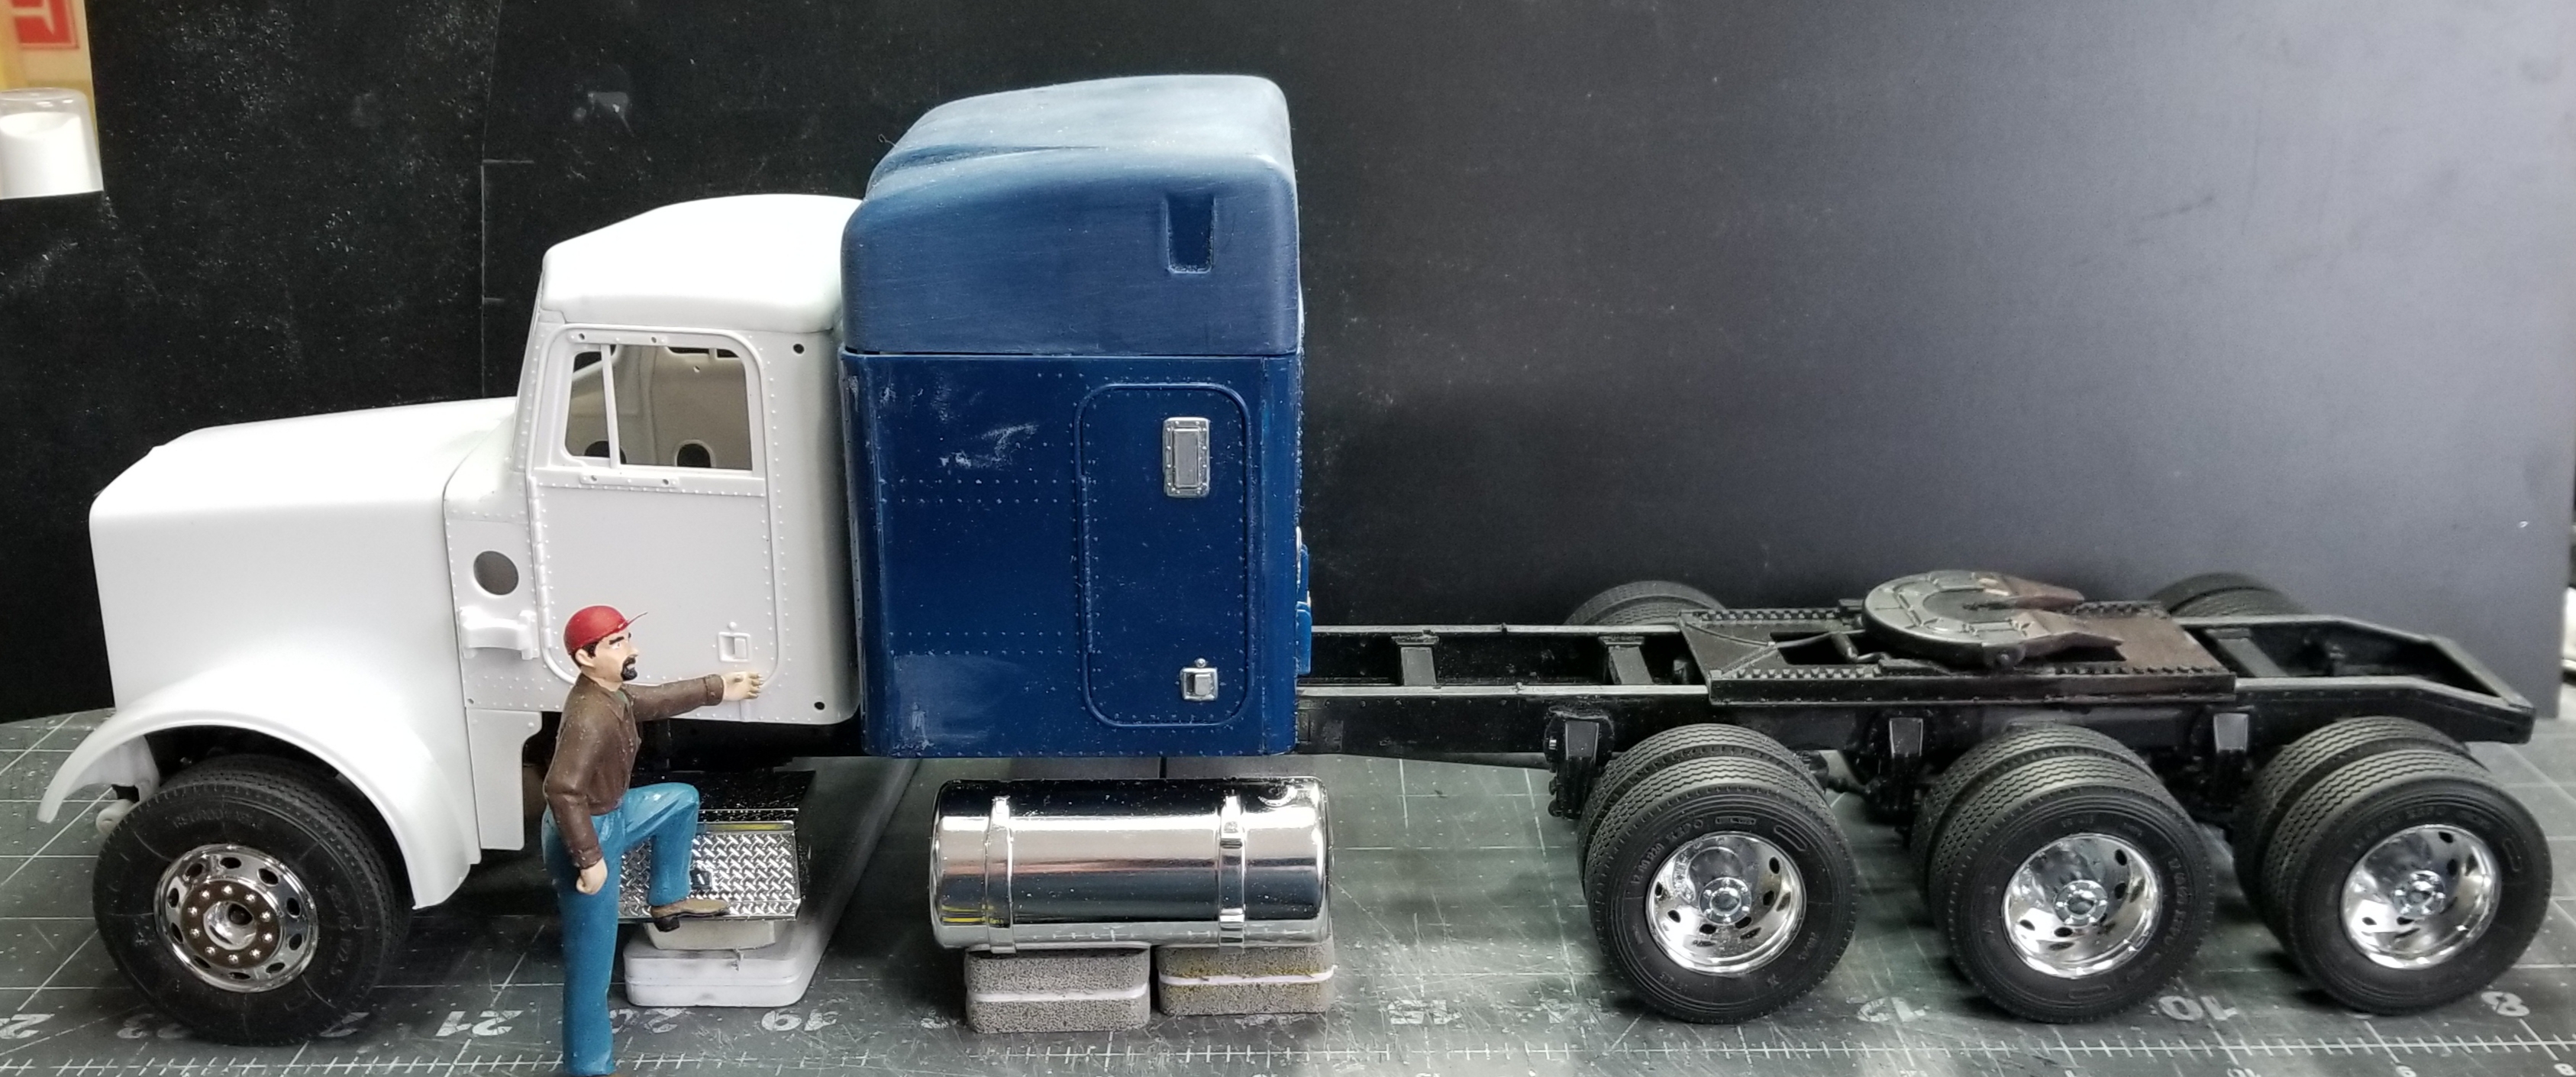
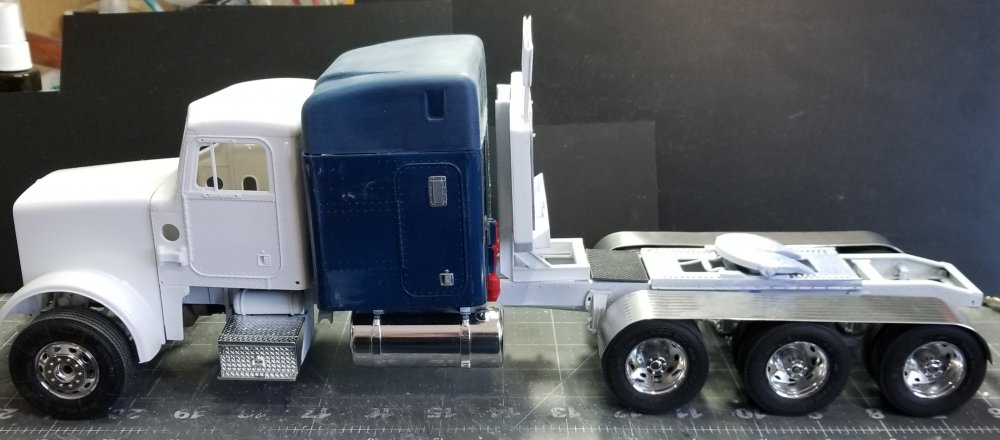
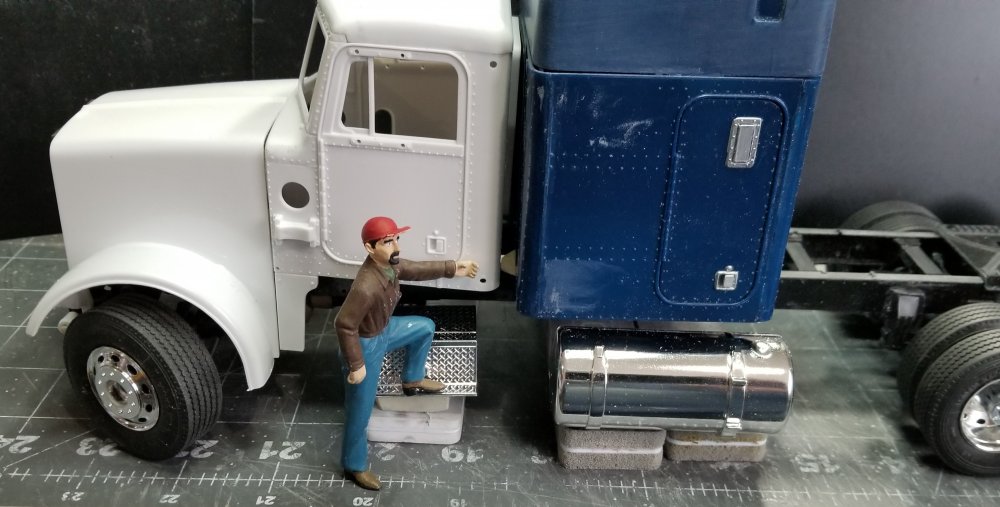
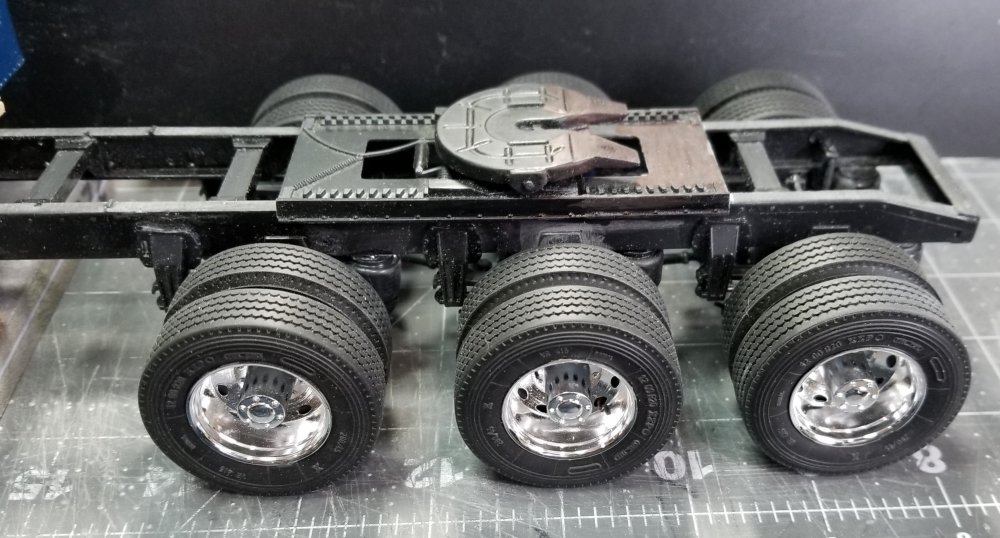
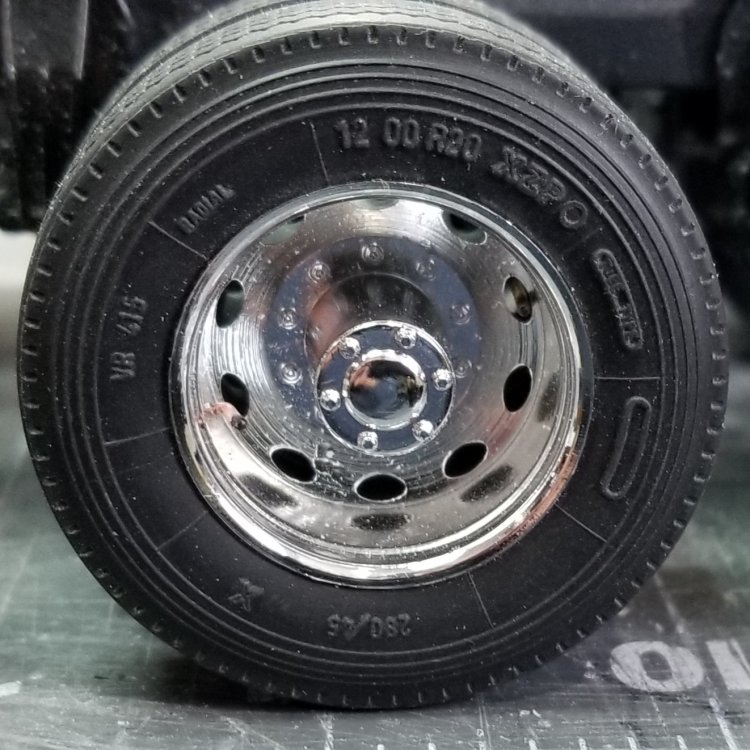
Hey all I did a little more work on the Peterbilt 378 Tri-drive. I'm still waiting on parts for the 6 axle trailer. this view shows the Pete with the correct cab on it. It has 385/65R22.5 tires from the Italeri trailer tyre kit on the front for floats. I put my driver figure in there for perspective. this view shows the front floats turned to the right. this view shows the Tri-drive set up. And tge stretched fifth wheel plate. this view shows the valve stems I added to the inner and outer rims, I still need to do the rest of the rears and the fronts too. this view shows the front floats a little better, also the Cummins NTC-400 I'm using instead of the kit supplied Detroit series 60. another view of the Cummins NTC-400. this view shows the intake air cleaner pipe in place. this view shows the modified (from the Detroit series 60) intercooler pipes. The radiator is the Cummins NTC-400 radiator from the Western Star kit. Well that's it for now be back with more soon Ron G

-
Airfix 1/24 Typhoon
CrankyCrafstman replied to GusMac's topic in LSM 1/32 and Larger Aircraft Ready for Inspection
Yeah Gus, but different things take different skills. I suck at painting and weathering. Ron G -
Airfix 1/24 Typhoon
CrankyCrafstman replied to GusMac's topic in LSM 1/32 and Larger Aircraft Ready for Inspection
She looks great mate Ron G -
This is for Jeff
CrankyCrafstman replied to CrankyCrafstman's topic in LSM 1/35 and Larger Work In Progress
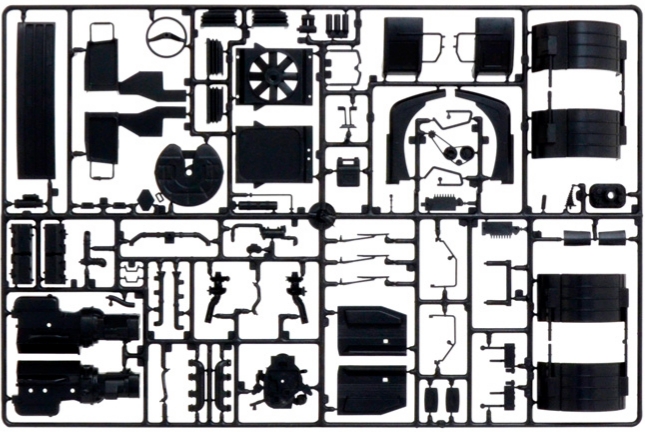
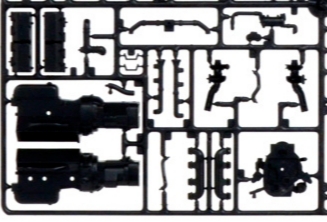
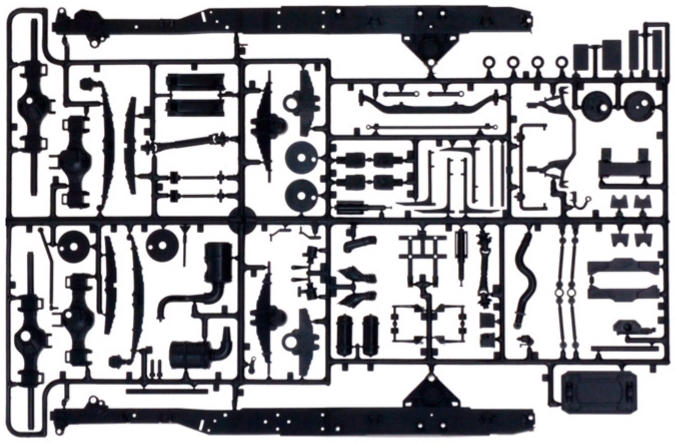
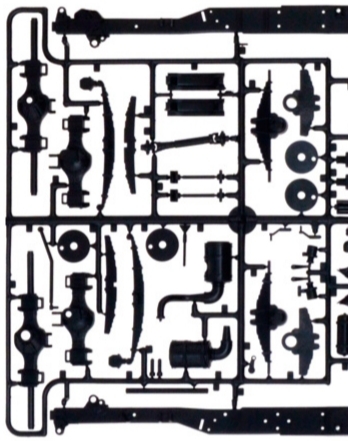
Hey Jeff I just purchased this for parts on the Mack Superliner build. I just found out after some deep research on the net that Renault used Mack E9's in there trucks and French military vehicles. Makes sense since they owned Mack at the time. this view shows the sprue from the 3902 kit. As you can see, poorly I admit, heres my Mack E9 engine, not sure about the trans, I don't know what they used. closer view of the engine block and heads. Mack also collaborated with Scania on there V8 engines, but they use individual cylinder heads (8 total heads) where Renault/Mack have twin heads (4 total heads). this view shows that they used Mack suspension, or one almost identical to it. closer view of the suspension. That's it for now be back soon with more. Ron G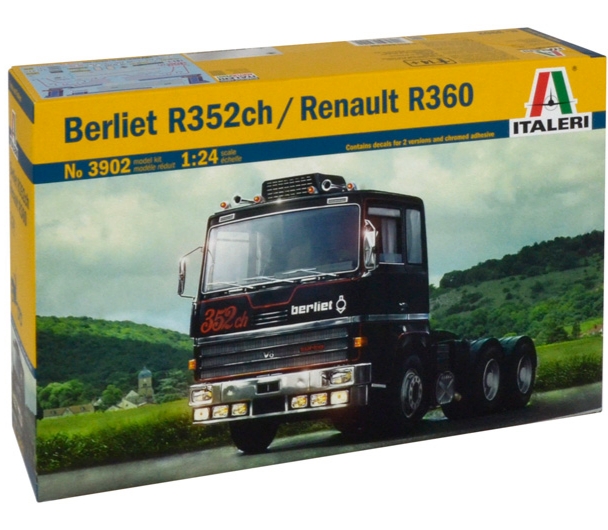
-
This is for Jeff
CrankyCrafstman replied to CrankyCrafstman's topic in LSM 1/35 and Larger Work In Progress
Thanks guys