CrankyCrafstman
-
Posts
1,358 -
Joined
-
Last visited
Content Type
Profiles
Forums
Events
Gallery
Everything posted by CrankyCrafstman
-
Hey all Anyone here have pictures of the colors of the various types of 20mm cannon shells. Cant find anything really good on the net. Ron G
-

Hobby Boss P-61 re-started
CrankyCrafstman replied to JohnB's topic in LSM 1/35 and Larger Work In Progress
John you are definitely a glutton for punishment...lol. It looks good, I wanted one of these till I saw all the problems people were having with it. Ron G -
What is on your bench right now ? Share a picture :)
CrankyCrafstman replied to Martinnfb's topic in Modelling Discussion
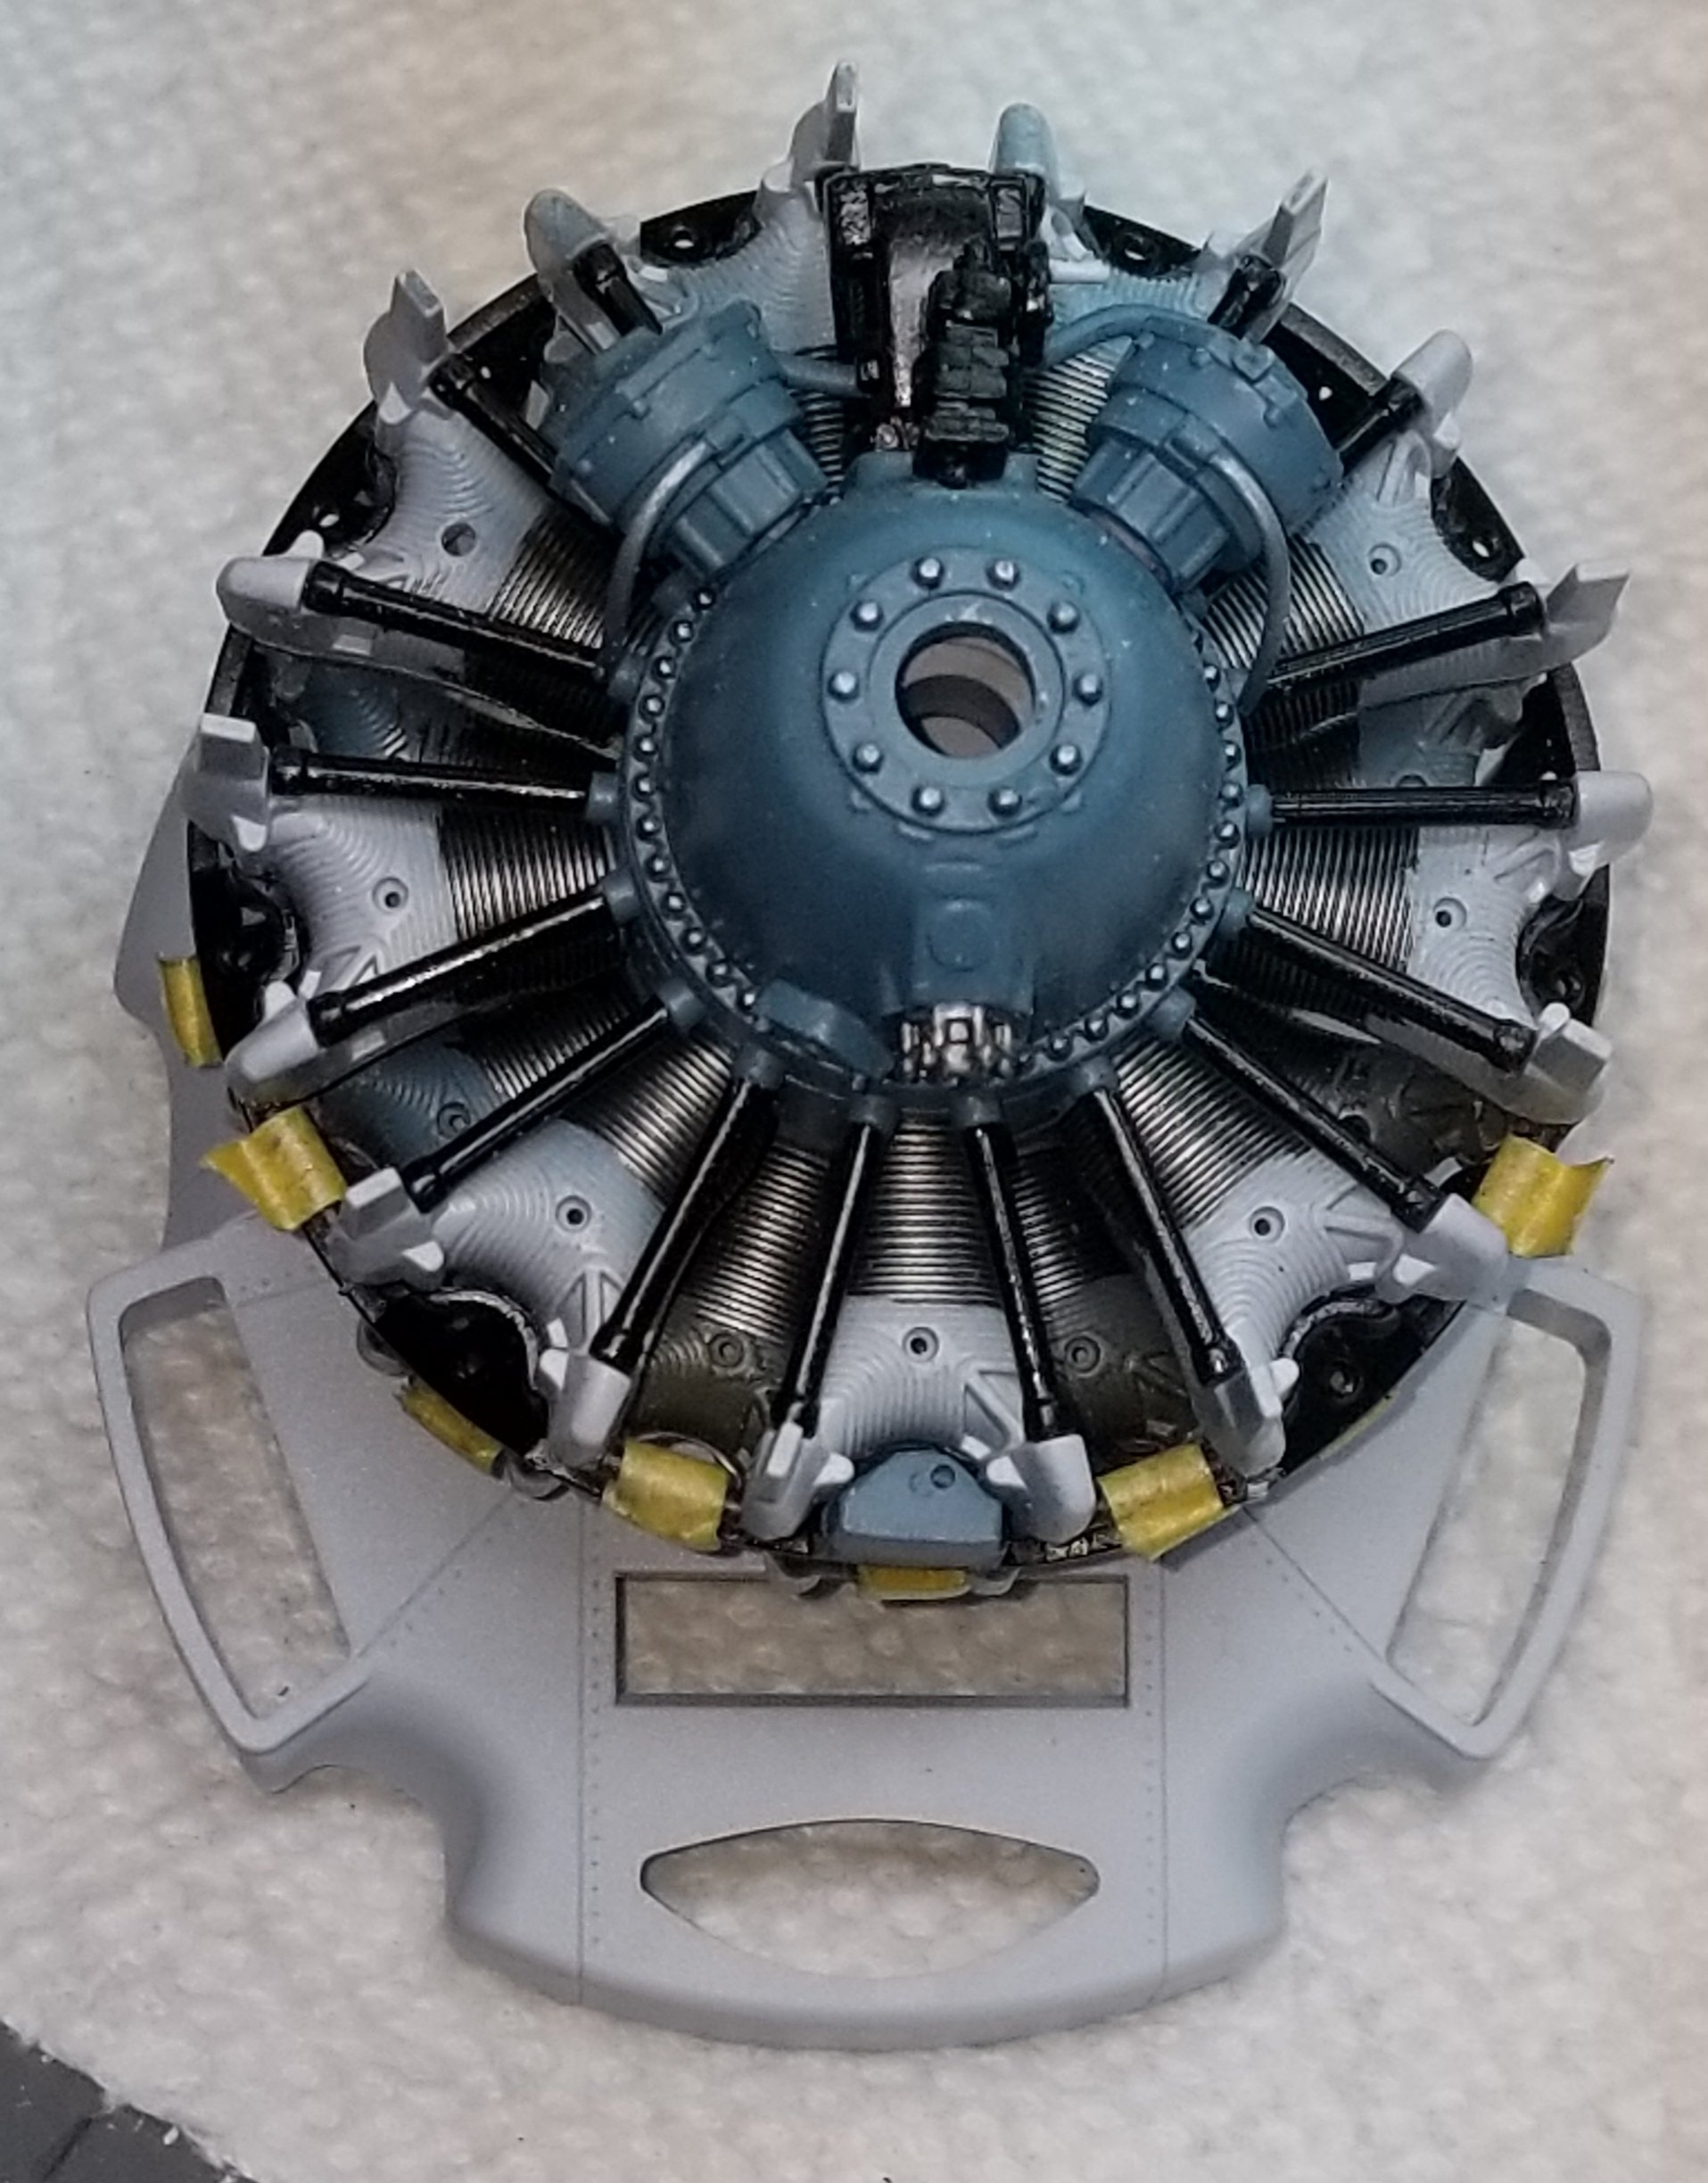
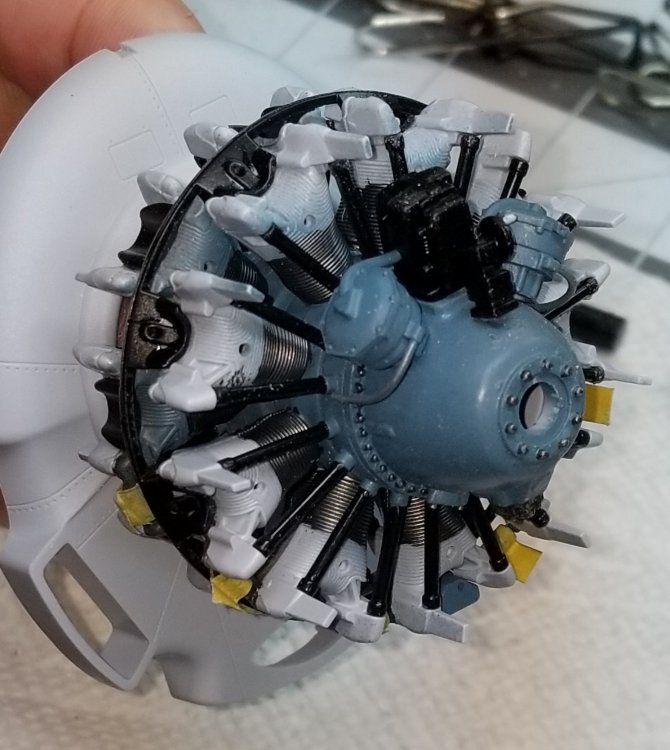
Working on this beauty. Airfix F6F-5 Hellcat (converting it to a F6F-3 in the tri-color paint scheme) Here's a shot of the P&W R-2800-10W engine. Still needs a lot of detail work. Ron G

-
Ok everybody stop! I've found another error from Airfix. On page 39 from the instruction manual in SEC. <153> it shows installing part J7 (quantity is 9) on the front of the rear engine cylinder bank, they need to go on with the bow on the bottom or you won't be able to get part J2 in the next section to go on. Airfix kind of forgot to explain that. So don't screw up like I did and put em on with the bow up It's the same on the front cylinder bank. I have to fix that too...damn. I really need to be more diligent and not rush...my bad Ron G
-
Airfix 1/24 Hellcat
CrankyCrafstman replied to Trigger's topic in LSM 1/35 and Larger Work In Progress
Looking good Trigger Ron G -
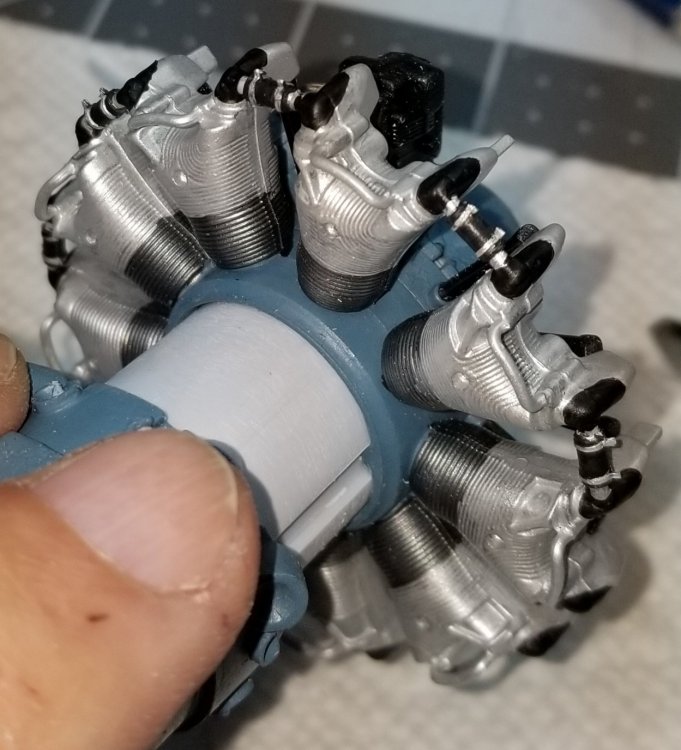
Ok some more pictures after I painted the front engine cylinder bank. Everything still needs to be touched up, but I'm getting closer to finishing this engine. Well back to work still have a lot to do. Later all. Ron G


-
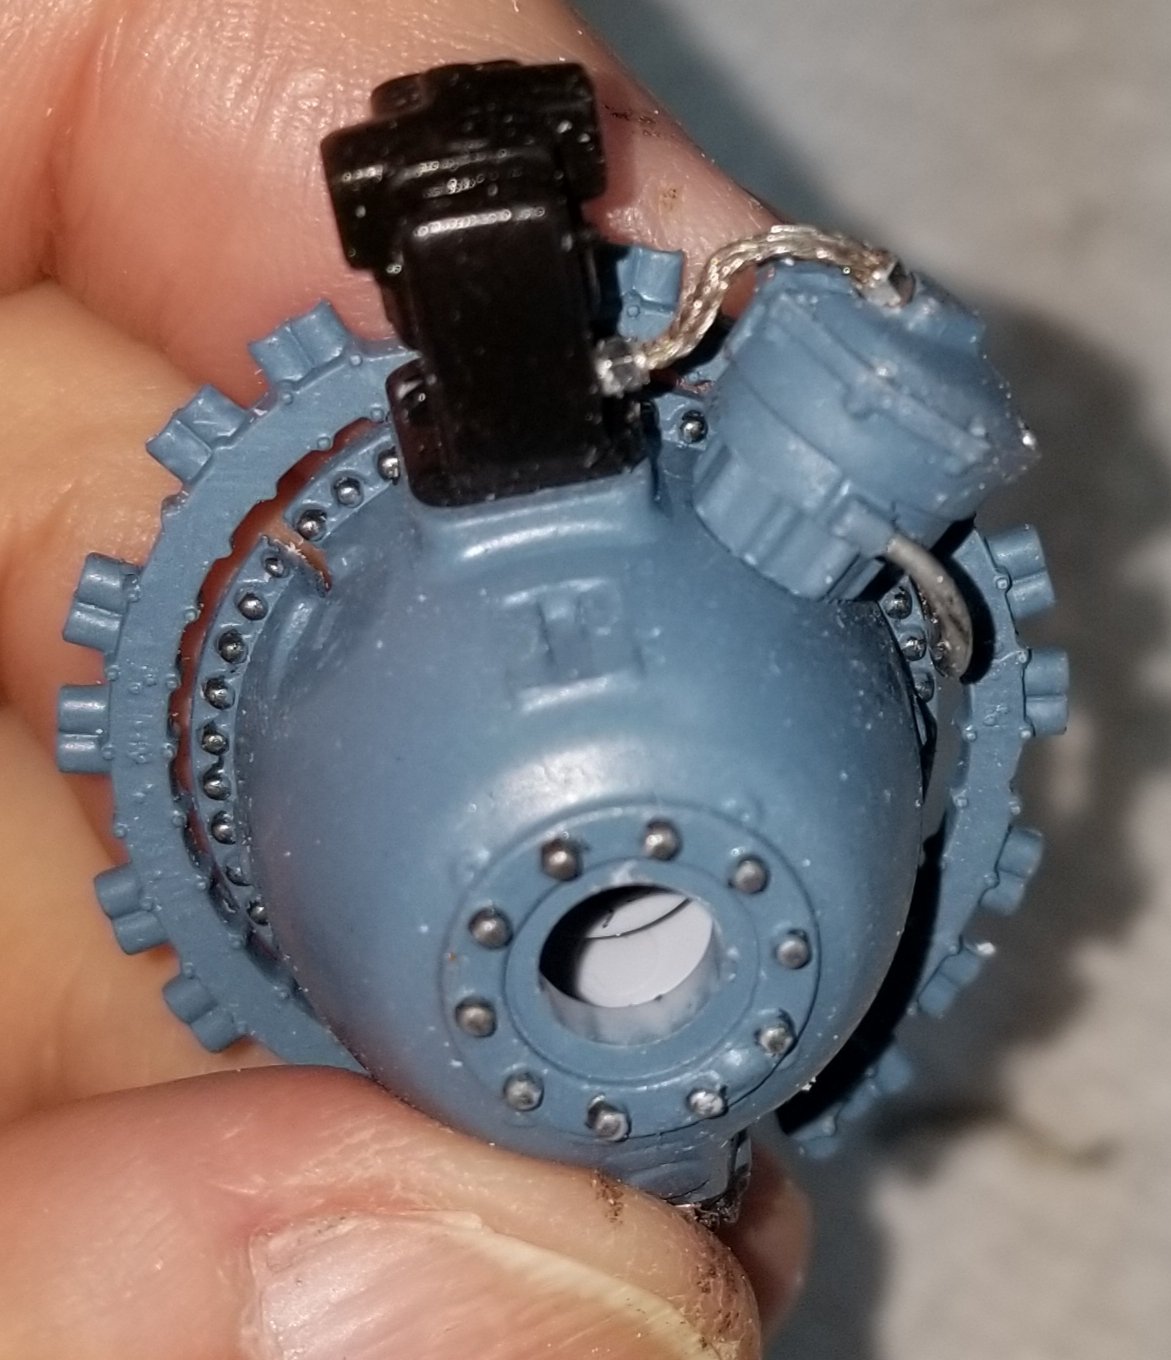
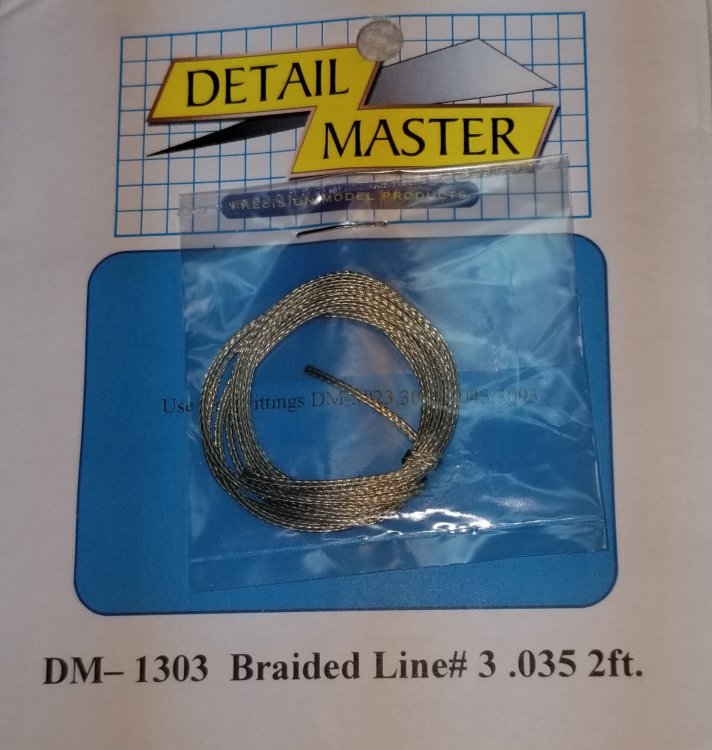
Hey Jeff You still have to add the fittings to the braided wire, which is a real pain in the ass, very difficult and tedious. The spark plug wires are going to be even harder to do, but will look really cool. Ron G
-
What to do, what to do...HELP!
CrankyCrafstman replied to CrankyCrafstman's topic in Modelling Discussion
???? -
What to do, what to do...HELP!
CrankyCrafstman replied to CrankyCrafstman's topic in Modelling Discussion
Well I stopped in to the local HS to pick up some paint, and there on the shelf was the 1/24 Airfix Typhoon 1b (bubble top). I looked at the wife and she said go ahead and get it. $139.95 US what a steel! She's the absolute best!!! Ron G -
Airfix 1/24 Hellcat
CrankyCrafstman replied to Trigger's topic in LSM 1/35 and Larger Work In Progress
Sweet!!! -
The funny thing about 3d printing at home...
CrankyCrafstman replied to seiran01's topic in General Discussion
Yup...printing them is varily easy, it's designing them that's the hard part. How do I know you ask, 35 years as a design engineer the last 15 years designing on Unigraphics NX. Ron G -
The funny thing about 3d printing at home...
CrankyCrafstman replied to seiran01's topic in General Discussion
Hey Mike What wojld really be nice is some 1/32 scale support vehicles. Tow tractor, trucks, jeep mavbe a staff car. All the little support carts and trolleys etc. ...etc. -
Airfix 1/24 Hellcat
CrankyCrafstman replied to Trigger's topic in LSM 1/35 and Larger Work In Progress
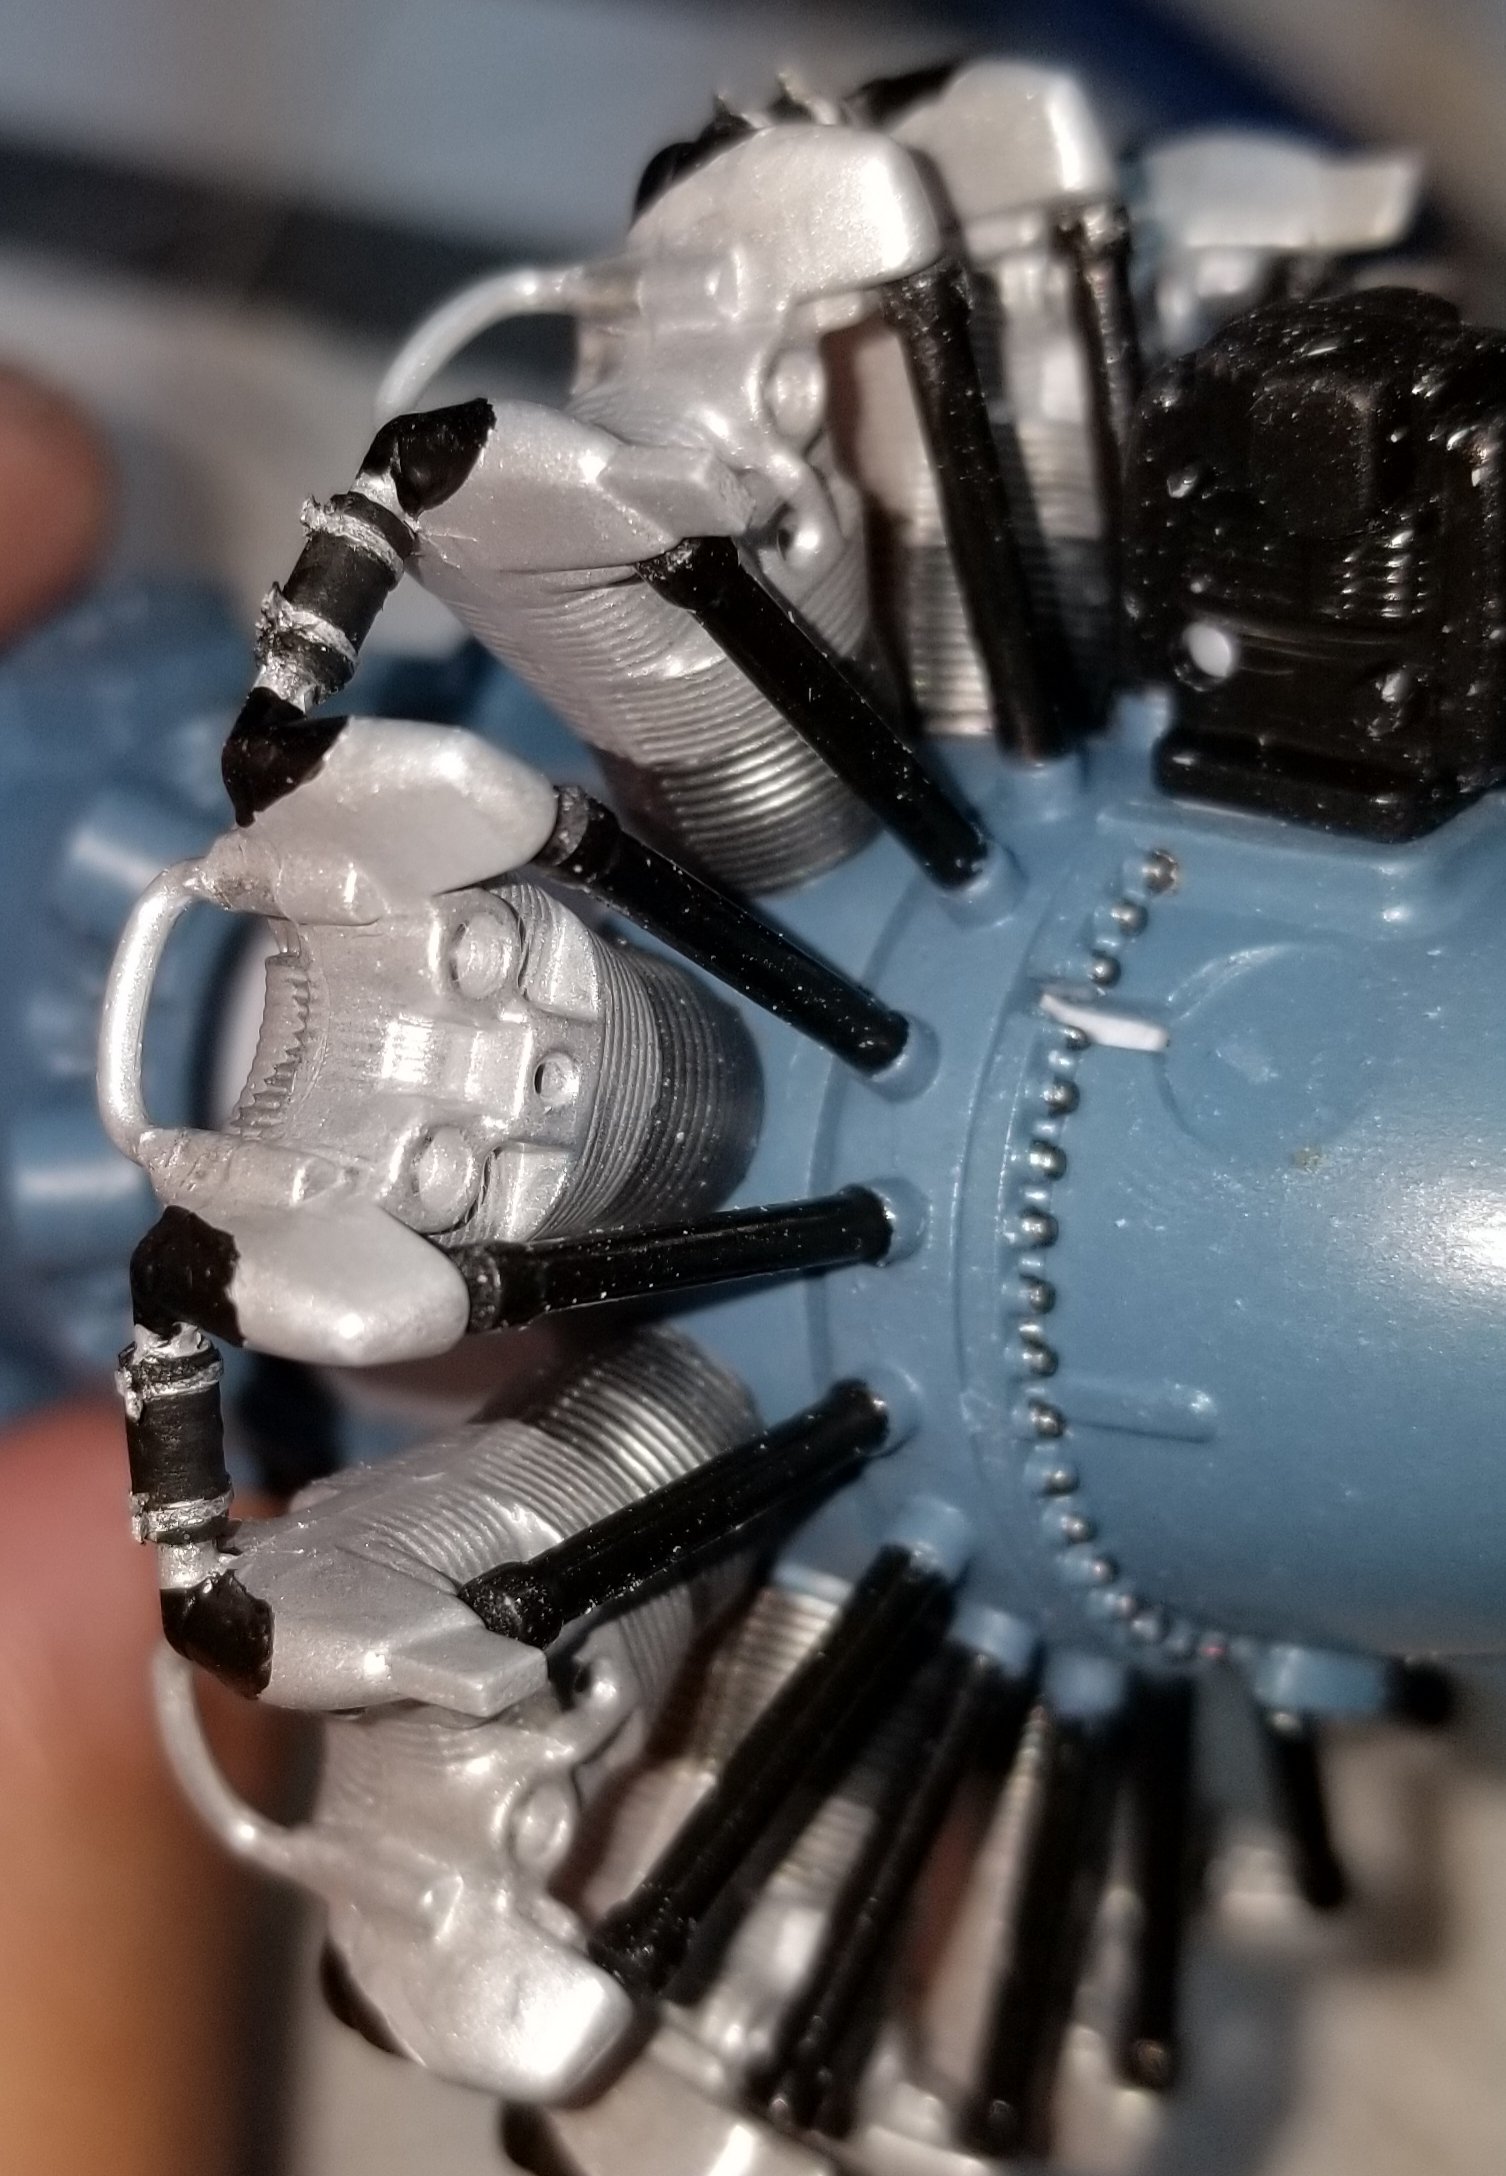
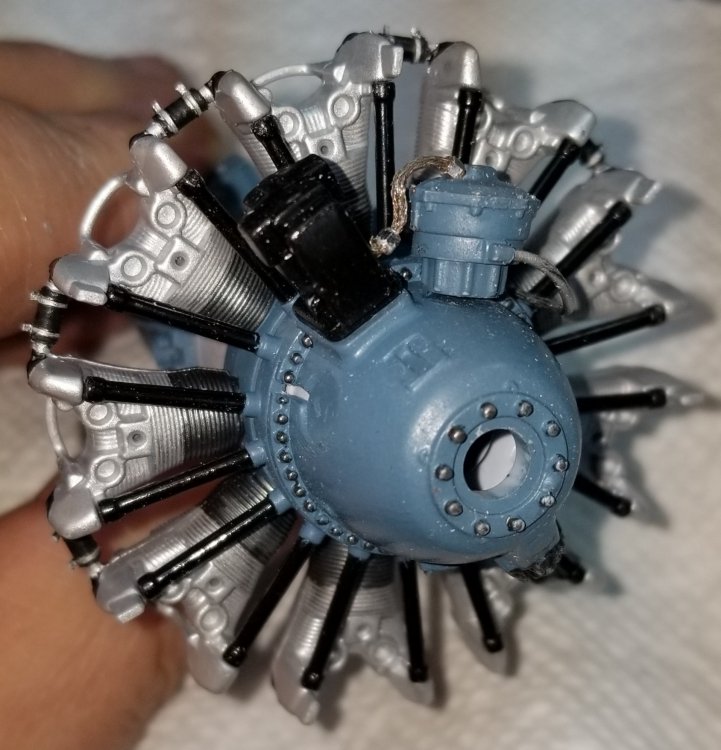
Great job on the engine Trigger. Just a few pointers...the pipes or tubes that you have painted blue with silver tops on the rear should be semi-gloss black like the front ones, these are the push rod tubes. The ring that you have painted silver on the rear of the engine should be the same color as the rest of the engine crankcase/supercharger a Grumman engine gray. The little copper colored pipes on the top of the cylinders should be painted silver like the rest of the cylinders. Not trying to be critical, just some observations to help improve your modeling skills. Everything else likes spot on. Ron G -
Finally a Float Plane thread...lets post some pics
CrankyCrafstman replied to Jeff's topic in General Discussion
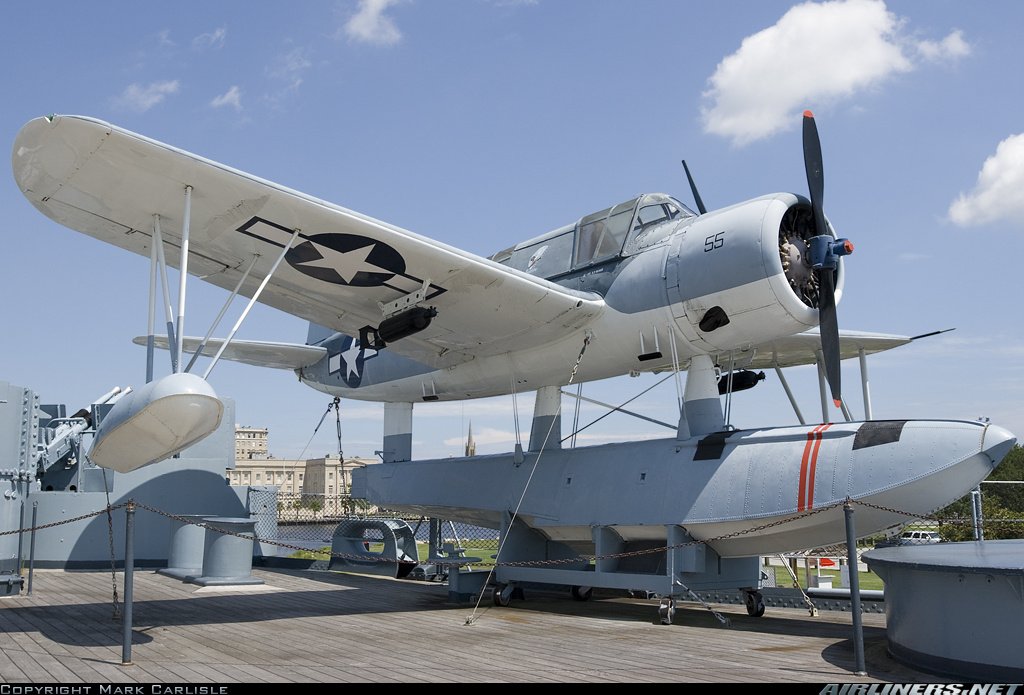
This is my idea of a float plane.

-
Hey Jeff Yeah I really only need the 1/32 and 1/24 scale ones. I would probably just resell the other scales on Ebay. He is sending me a partial portion of the last one he has in stock at the moment, the 1/24 & 1/18 ones. Not what I really wanted, but better than nothing for now. Ron G
-
Hey Jeff The name of the place is "fundekals" maybe if we all ask him for them he will start printing them again. They went for $9.00 US. Ron G
-
Hey Jeff I am using Detail Master fittings, but you have to put them on the braided wire, which is a royal PITA...lol
-
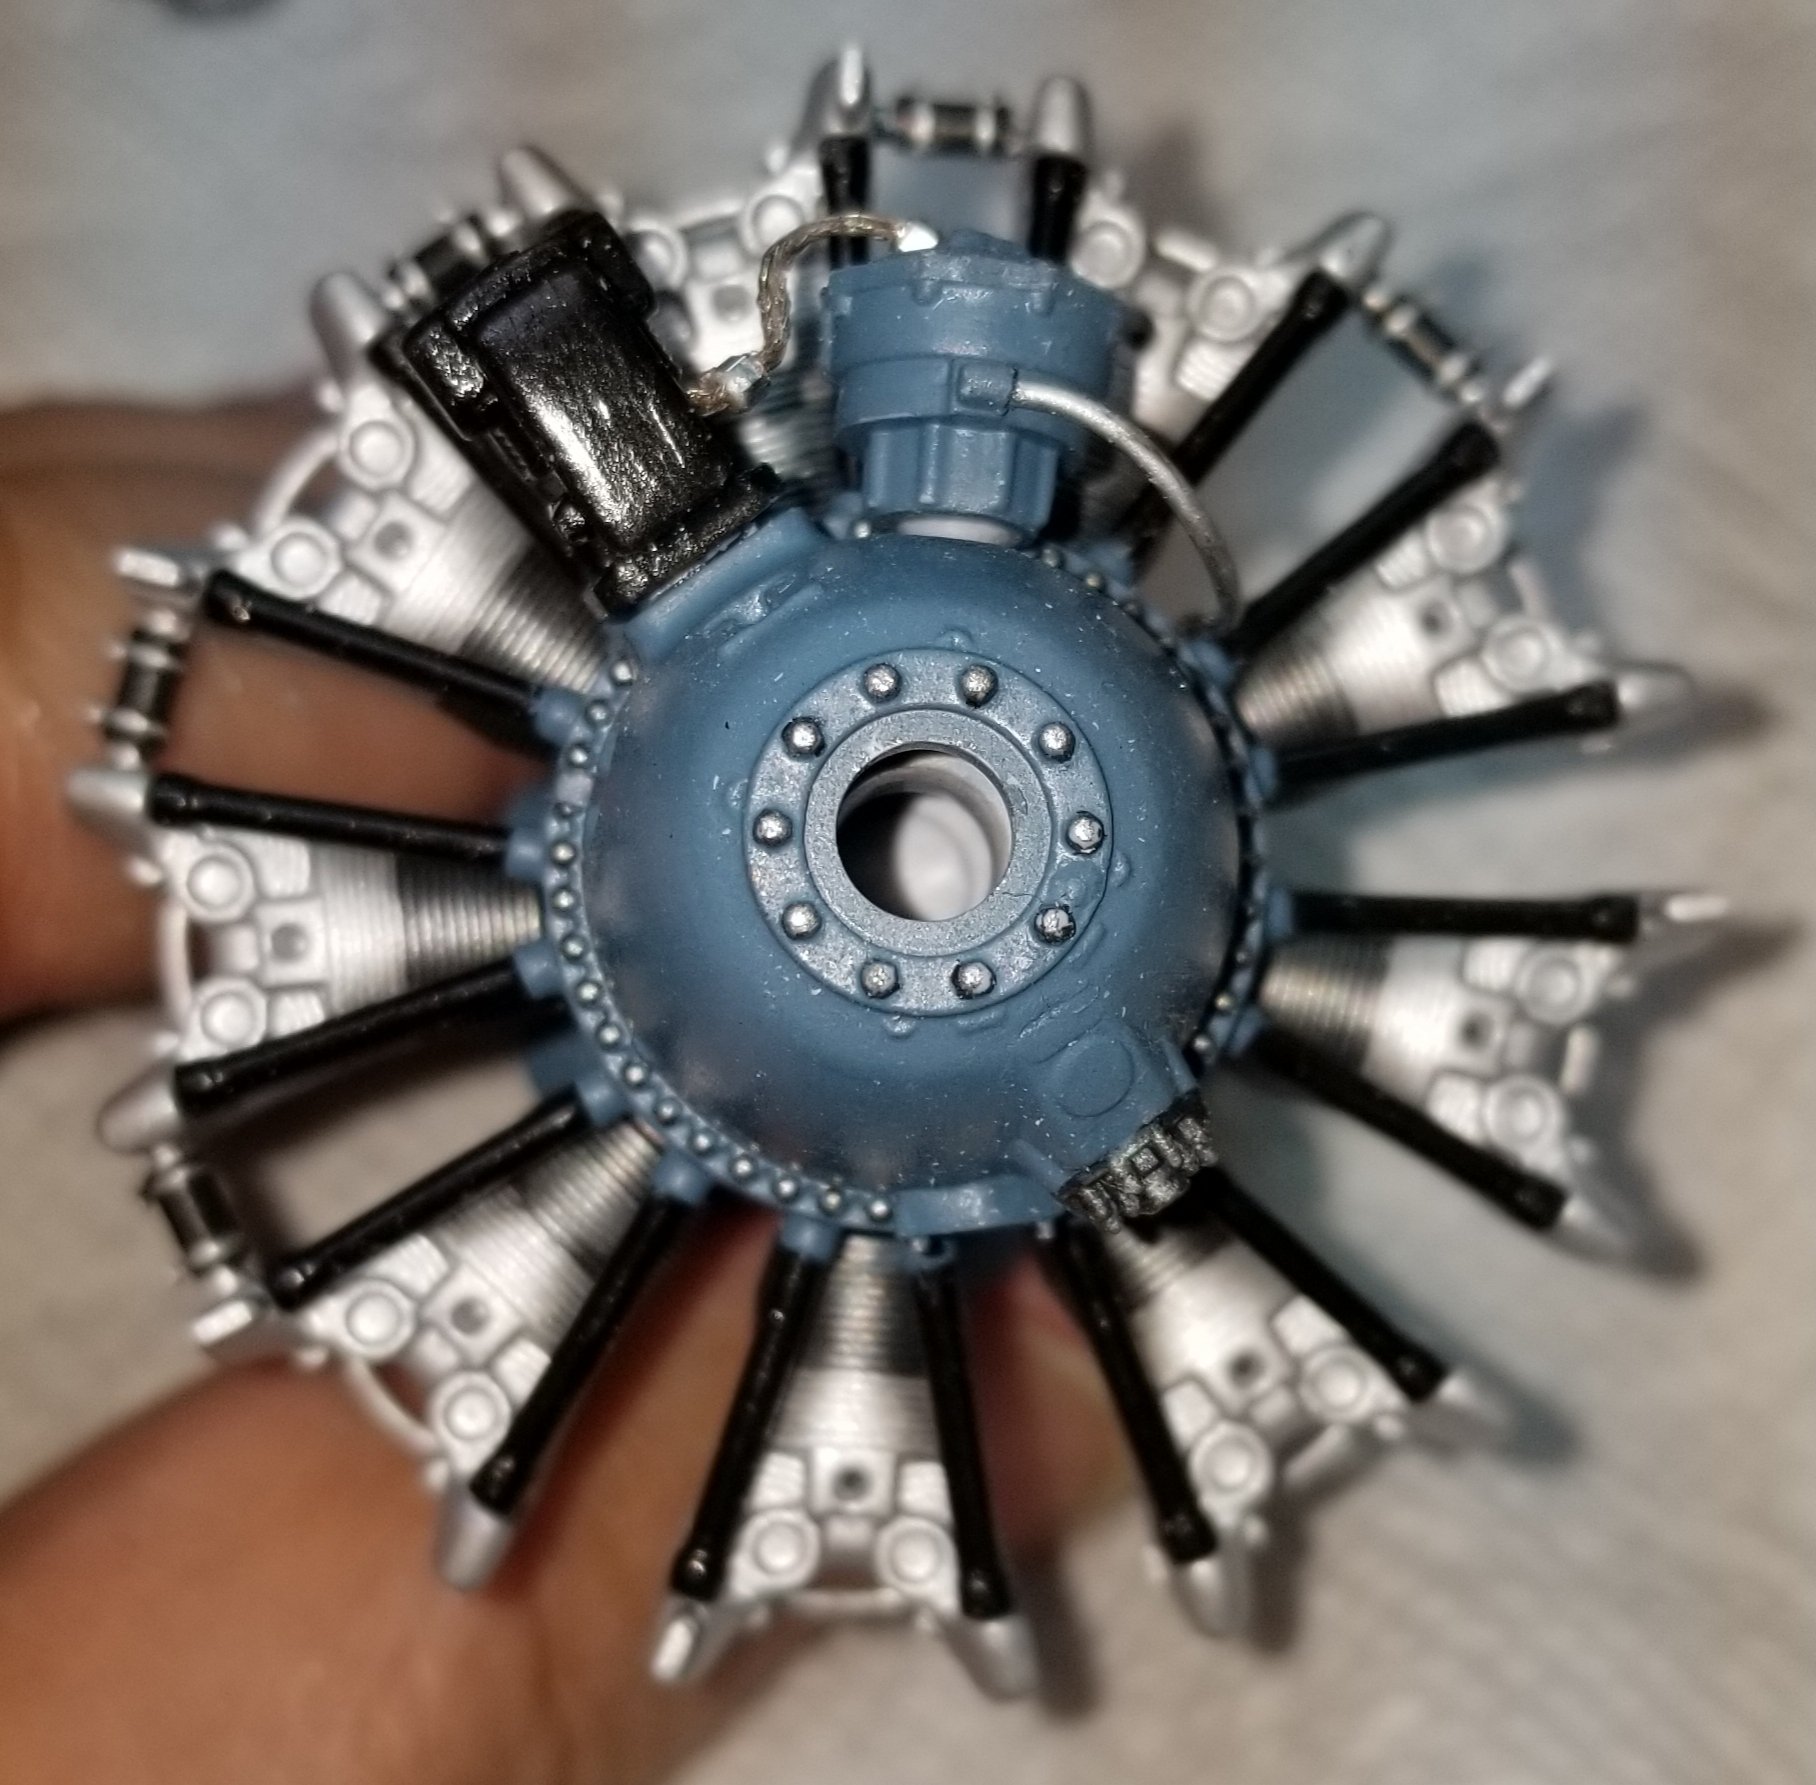
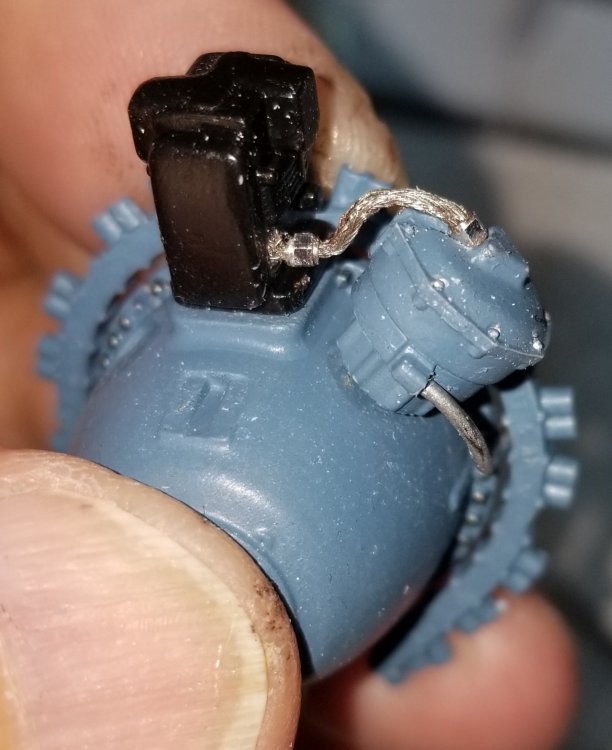
Hey all Small update, a couple of pictures of the front gear case with the magneto and port distributor and the braided wire with hex fittings that I made.

-
Super duper cool Ernie!!!
-
Stuff for the Airfix F6F-5 Hellcat
CrankyCrafstman replied to CrankyCrafstman's topic in Modelling Discussion
What for Eduard to put them out, or for me to gobble em up...lol -
I'm in contact with someone that is going to be doing the logo decals in 1/72, 1/48, 1/32, 1/24 and 1/18 scales all on 1 sheet, keep your fingers crossed he comes through.
-
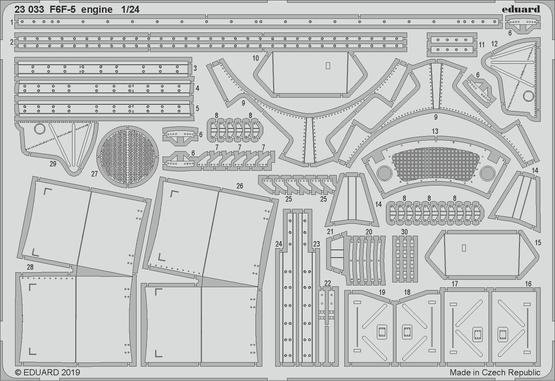
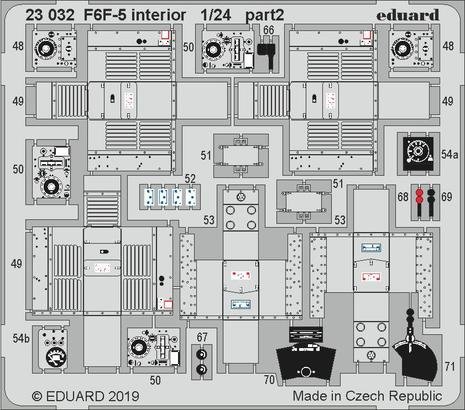
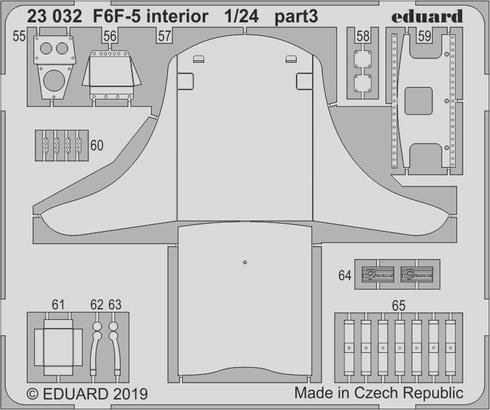
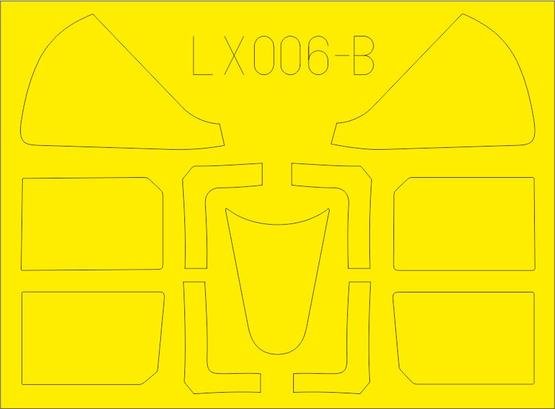
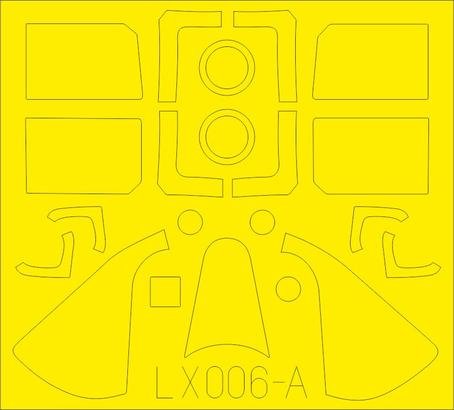
Hey all Eduard has some sets out for the new Airfix f6f-5 Hellcat. Instrument panels and interior (photo etch) Rear radios (photo etch) Seat (photo etch) Engine cowl flaps (photo etch) Seat belts (photo etch) no photo Canopy masks one for outer and one that is inner and outer with wing tip light and rear wheel masks Here are some pics.


-
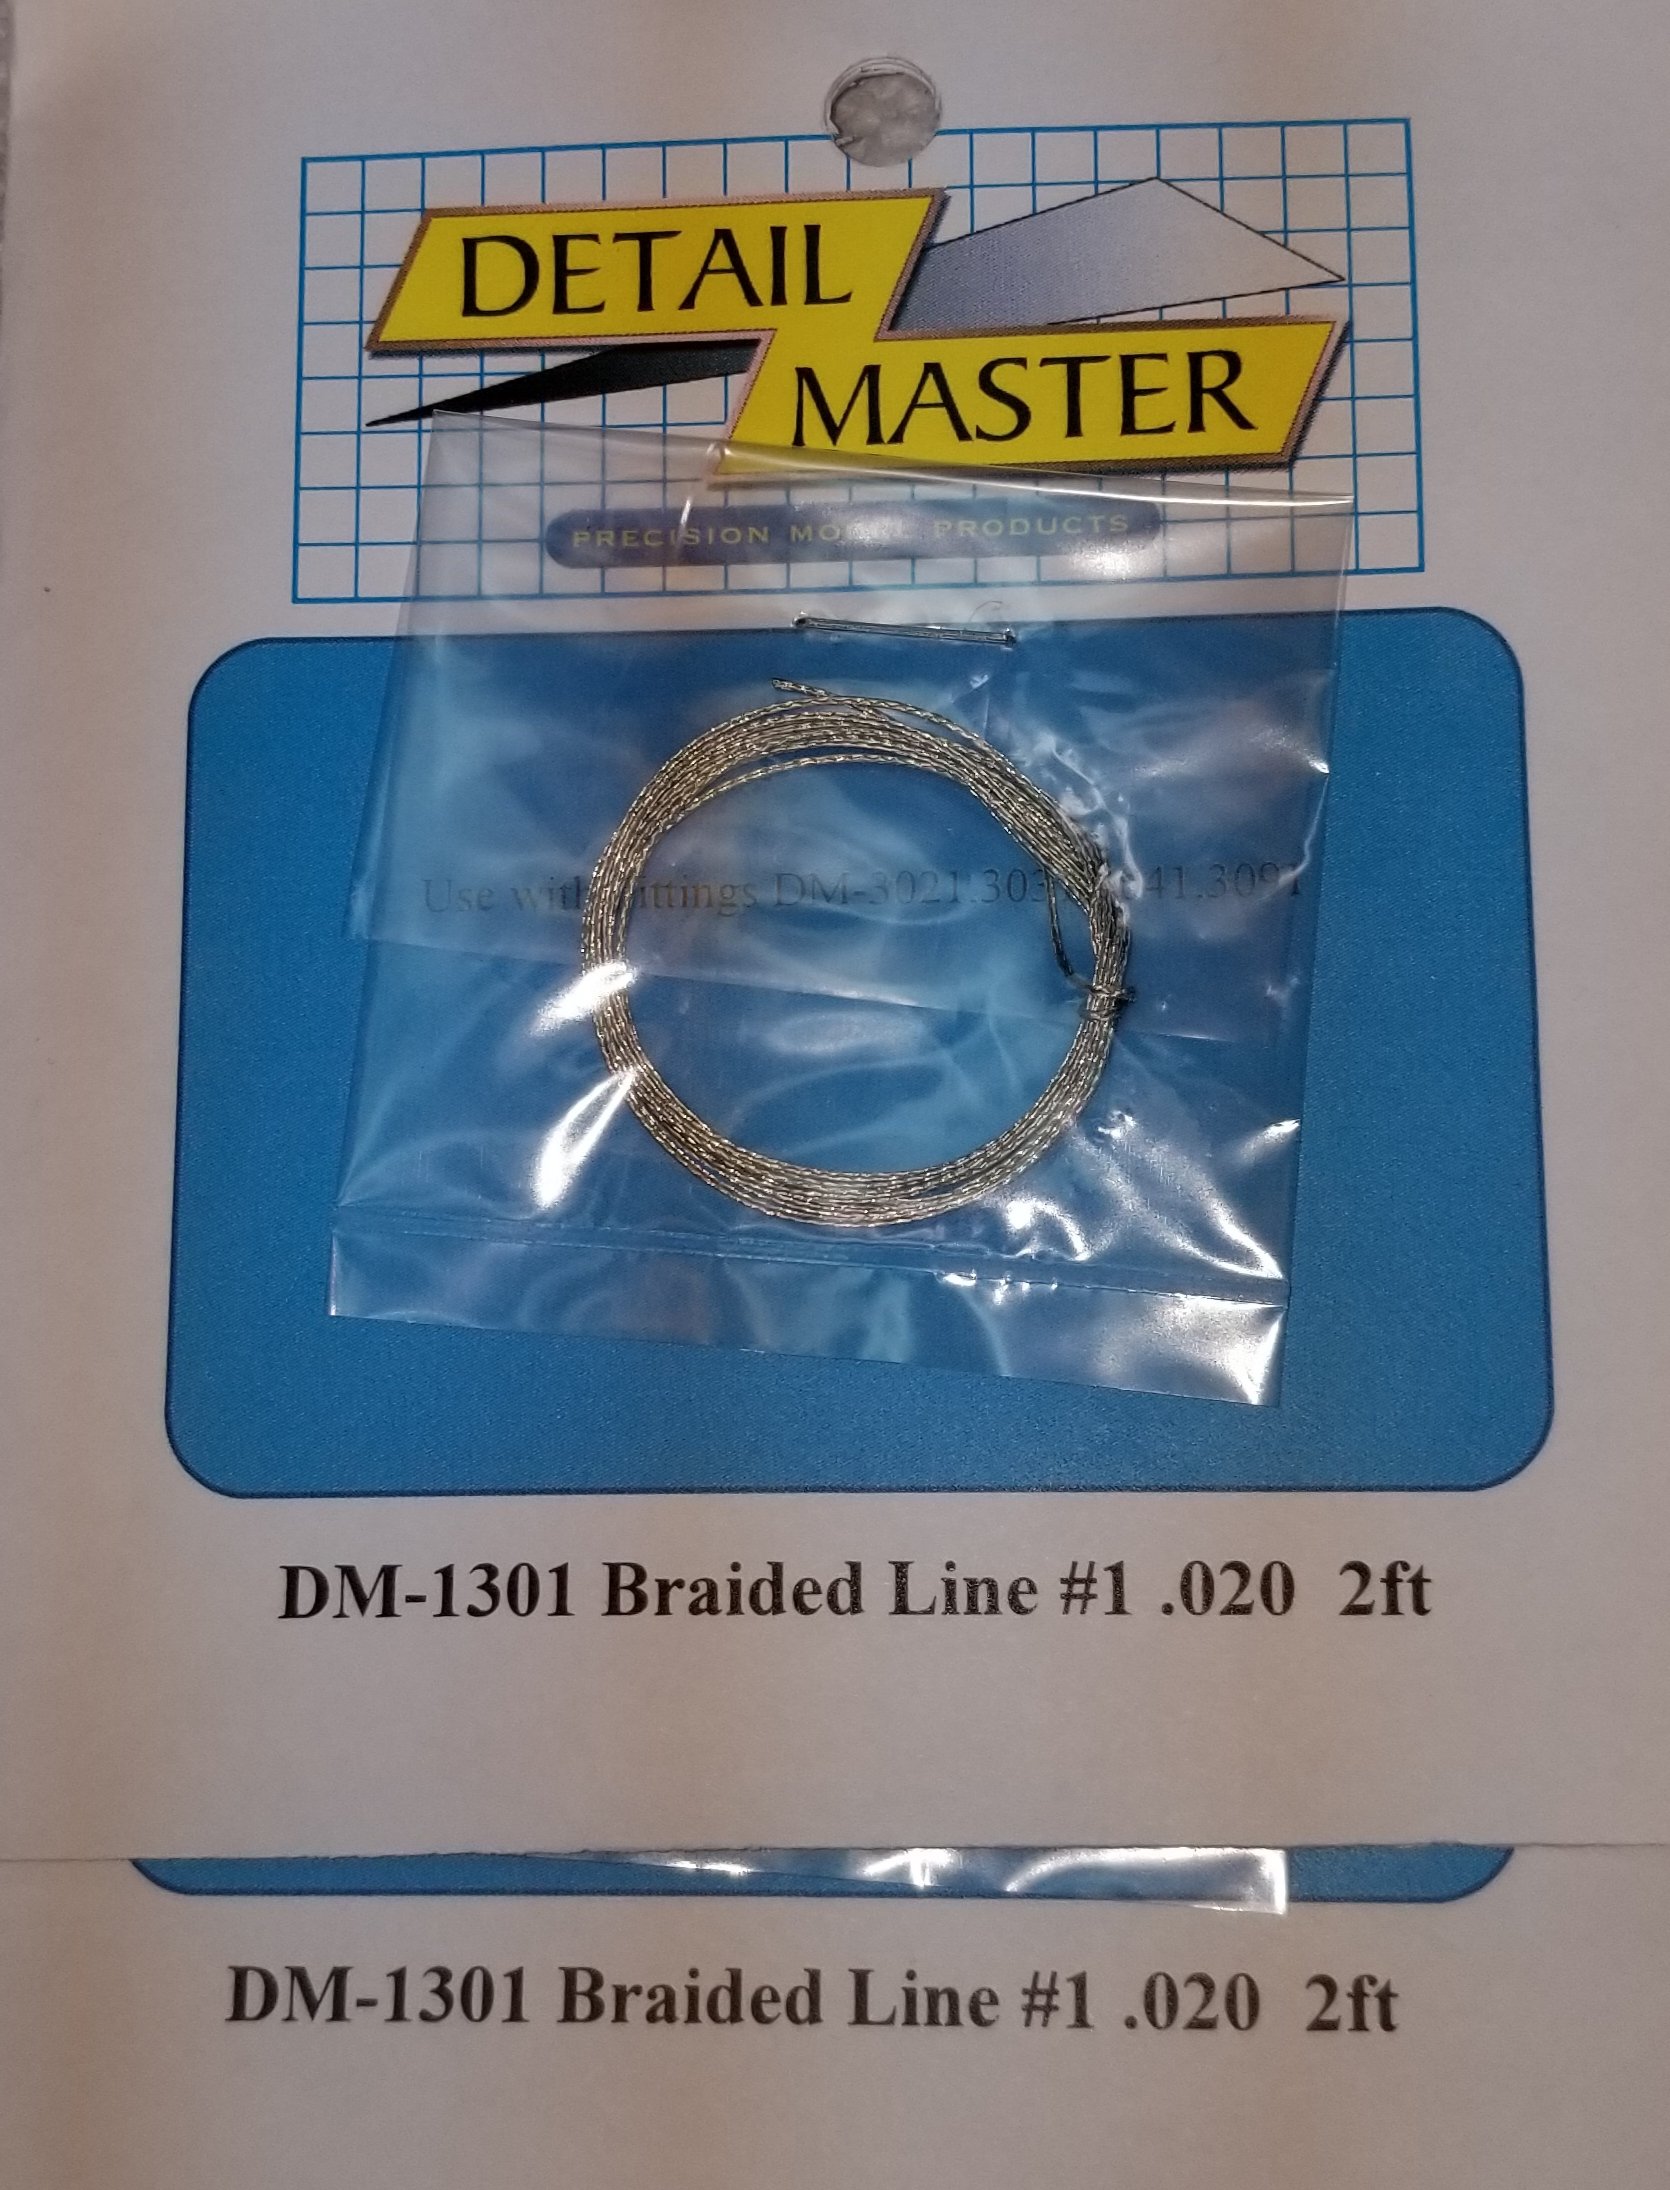
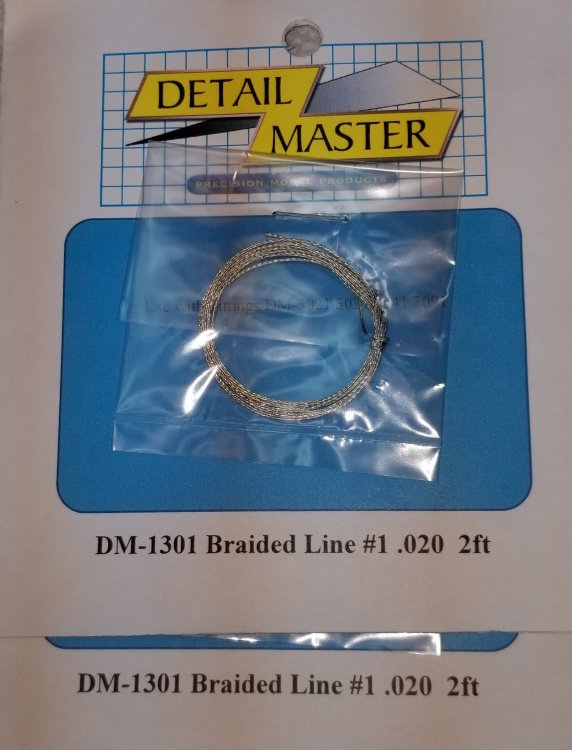
Ok here are some more teaser photos. Front view Front side view Rear view These are just temporarily put together, they still need to be finish painted and detailed. Here are some more photos of whats available from Eduard for this kit. This is Eduards instrument panel and interior. This is Eduards rear radio components. Not sure why Eduard did these silver. I'm pretty sure they should be black. This is Eduards F6F-3/5 seat. This is Eduards engine Flaps and duct parts. This will really spruce up the Ol' engine bay...what. (little British hummer there...lol) This is Eduards inner & outer canopy masks. This is the second half of Eduards mask set with masks for the tail wheel and wing tip lights. I still like Airscales instrument panel set better and I have it, but I do like the rear radios and the seat. I have the masks and engine ones on order waiting for them to come in the mail. I received my braided wire from Detail Masters that I plan on using for the ignition leads and wires from distributors to magnetos. Here are some pictures of them. This is the larger wire for the wires from the distributors to the magnetos. There is way more then you need, but extras are always nice. these are the ones for the ignition leads (2) packs required to do the whole engine with some left over. I have scale spark plugs and some AN fttings on order, waiting for them to come in the mail. Well thats it for now. I'm going to do some modeling. See you later with the next installment. Ron G


-
Hellcat F6F-5 Fleet Air Arm
CrankyCrafstman replied to Grunhertz's topic in LSM 1/35 and Larger Work In Progress
Hey Grunhertz Don't forget to check out my post #2 on how to build that big P&W R-2800-10W that comes in this kit. You can find out what colors to use for painting it because Airfix got it wrong. Also some custom detailing options. Post #1 explains what all the different parts of the P&W R-2800-10W are and I coordinated it with the kit parts. It seems like this kit is selling pretty good I see builds everywhere. Ron G -
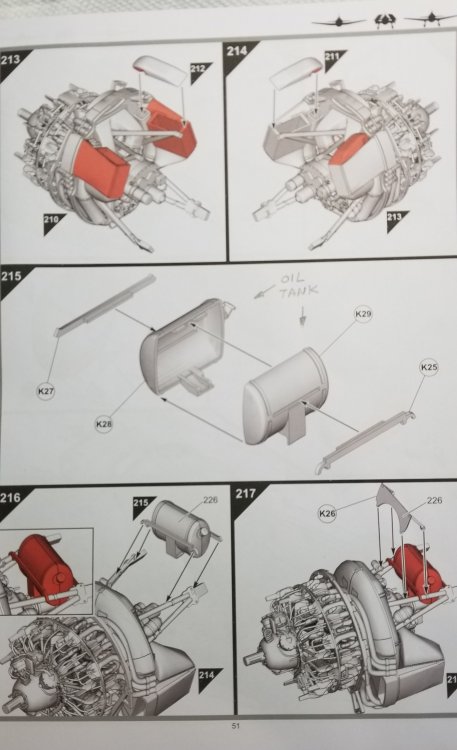
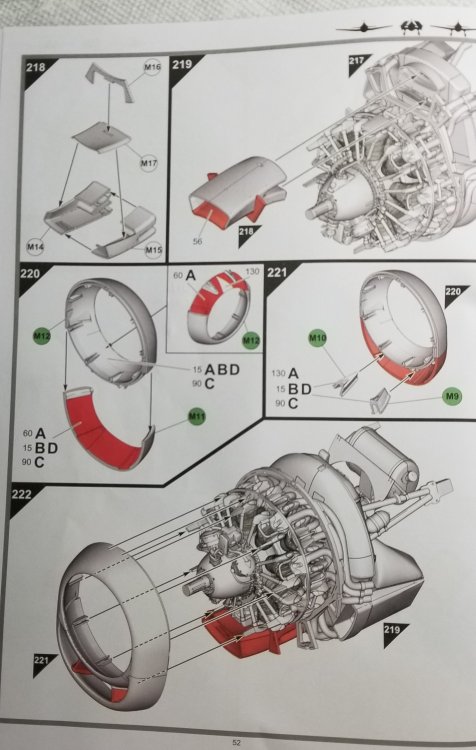
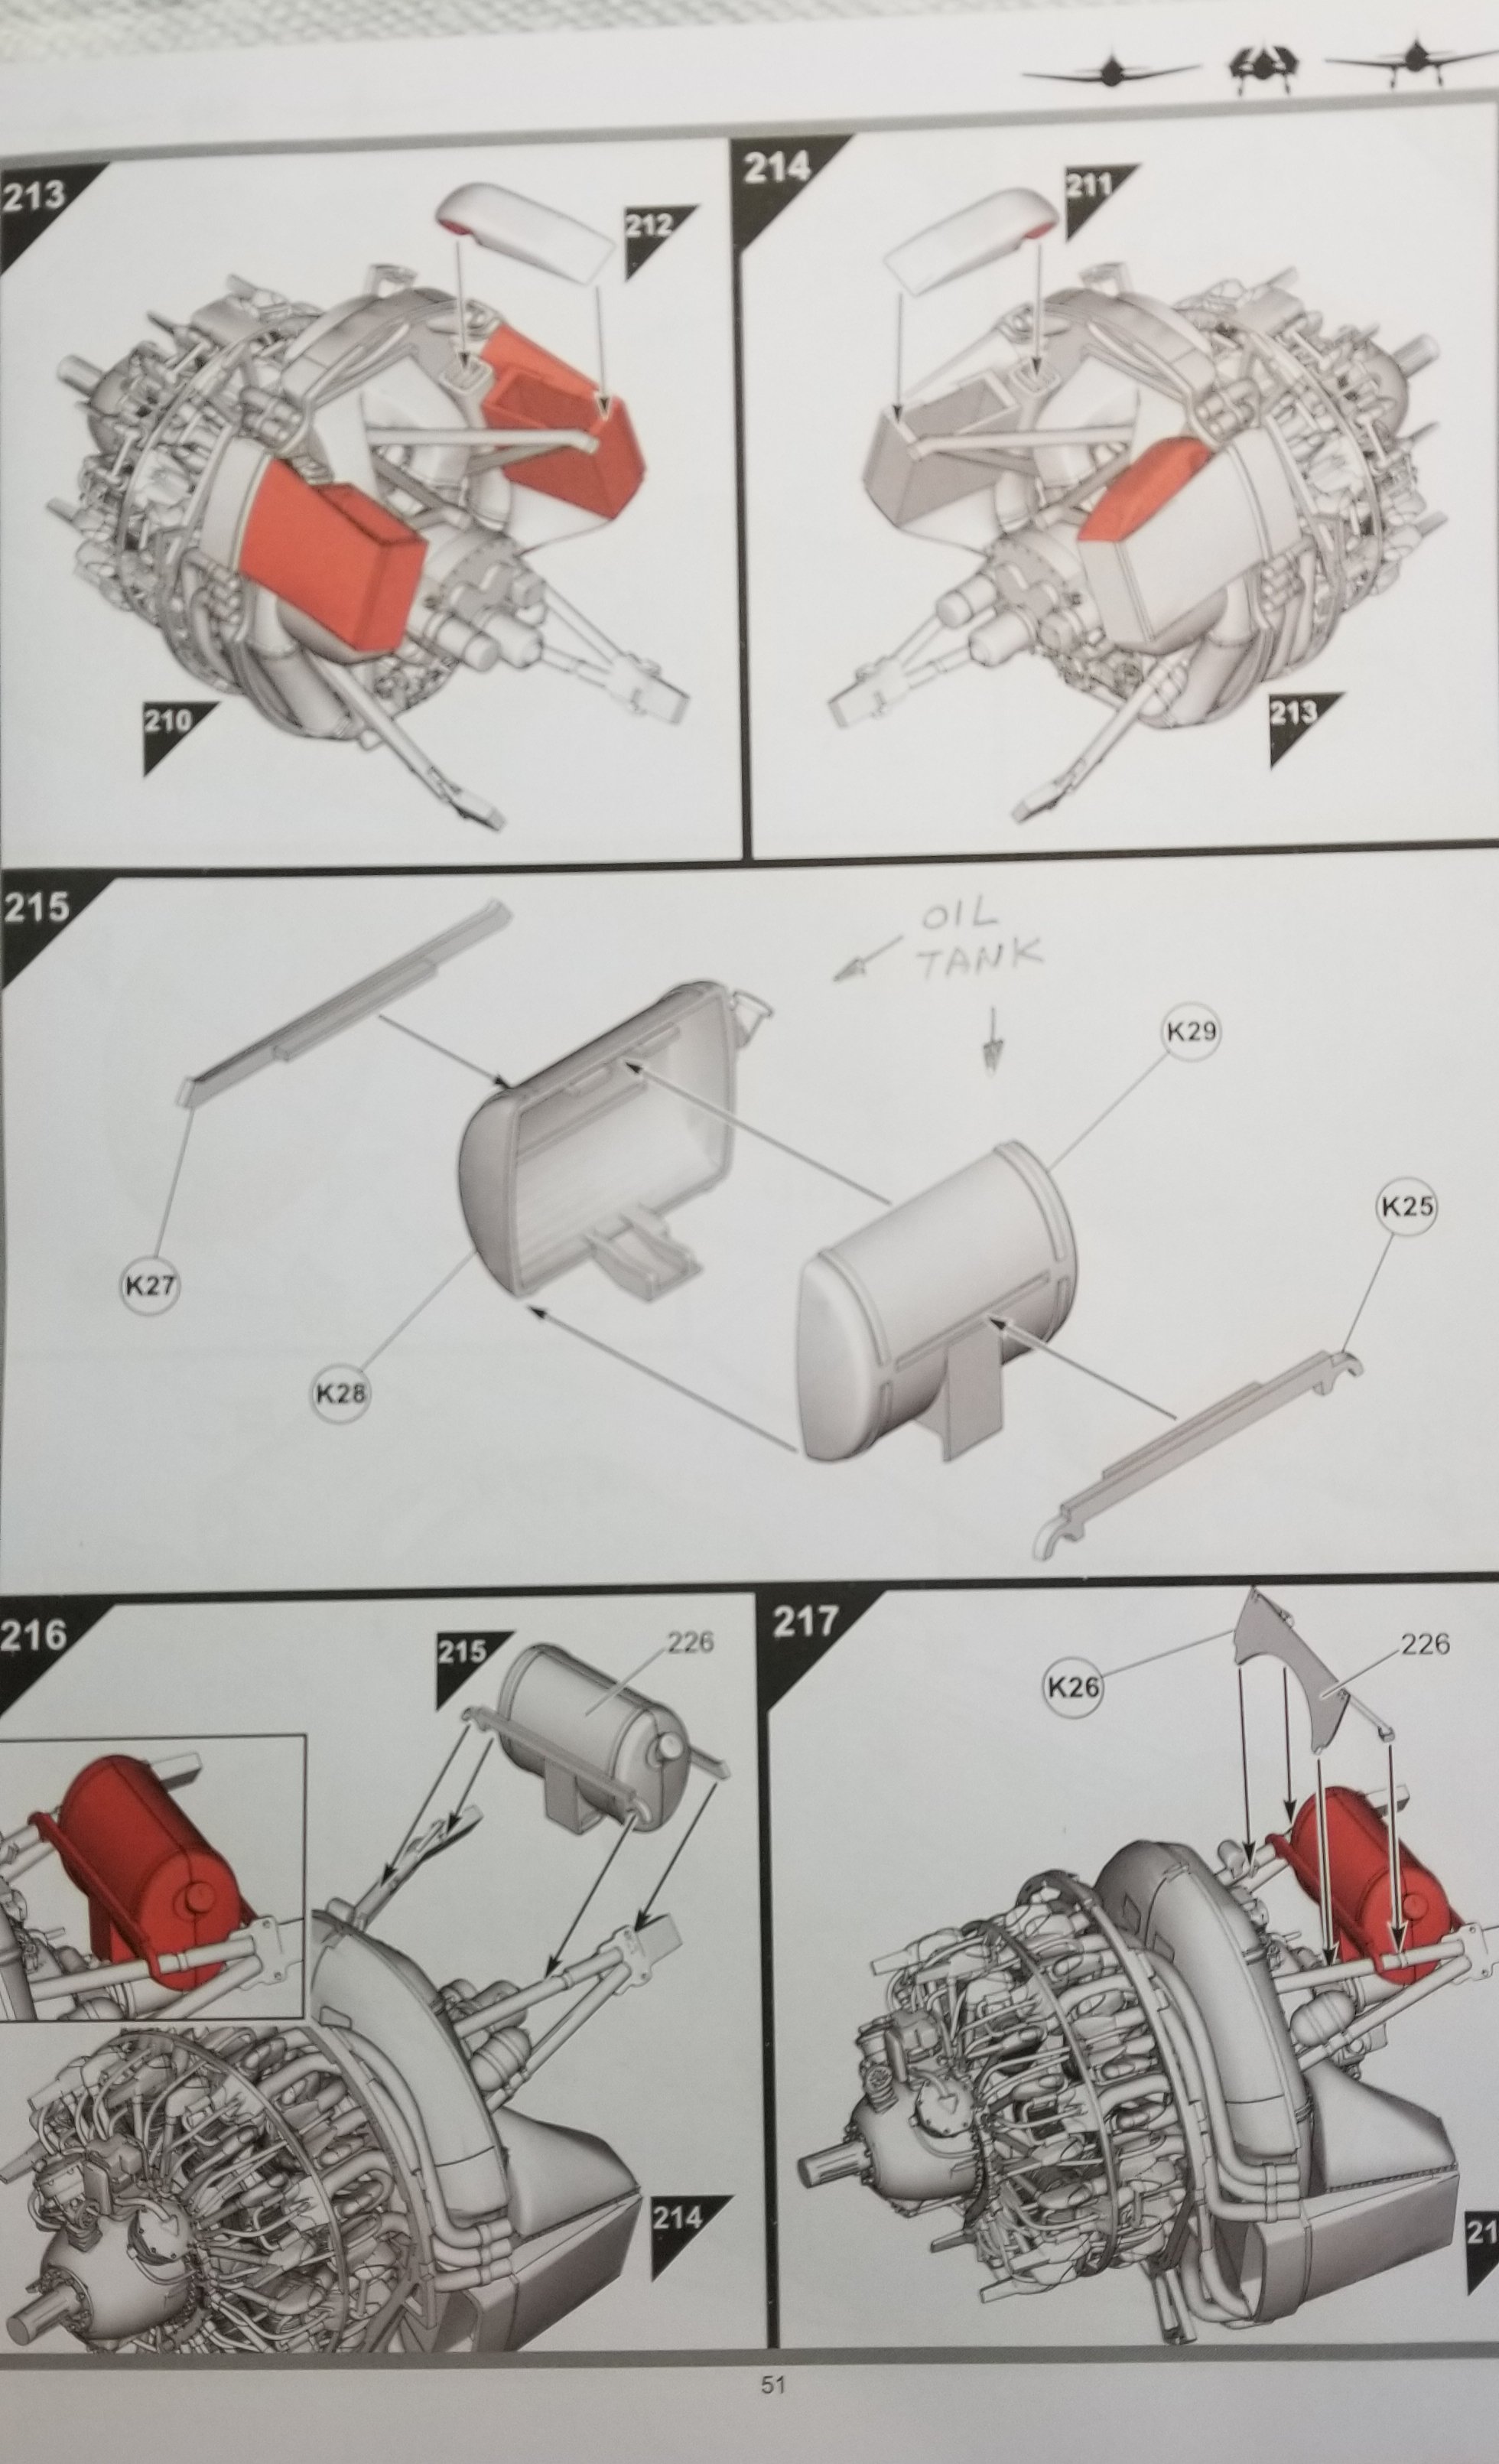
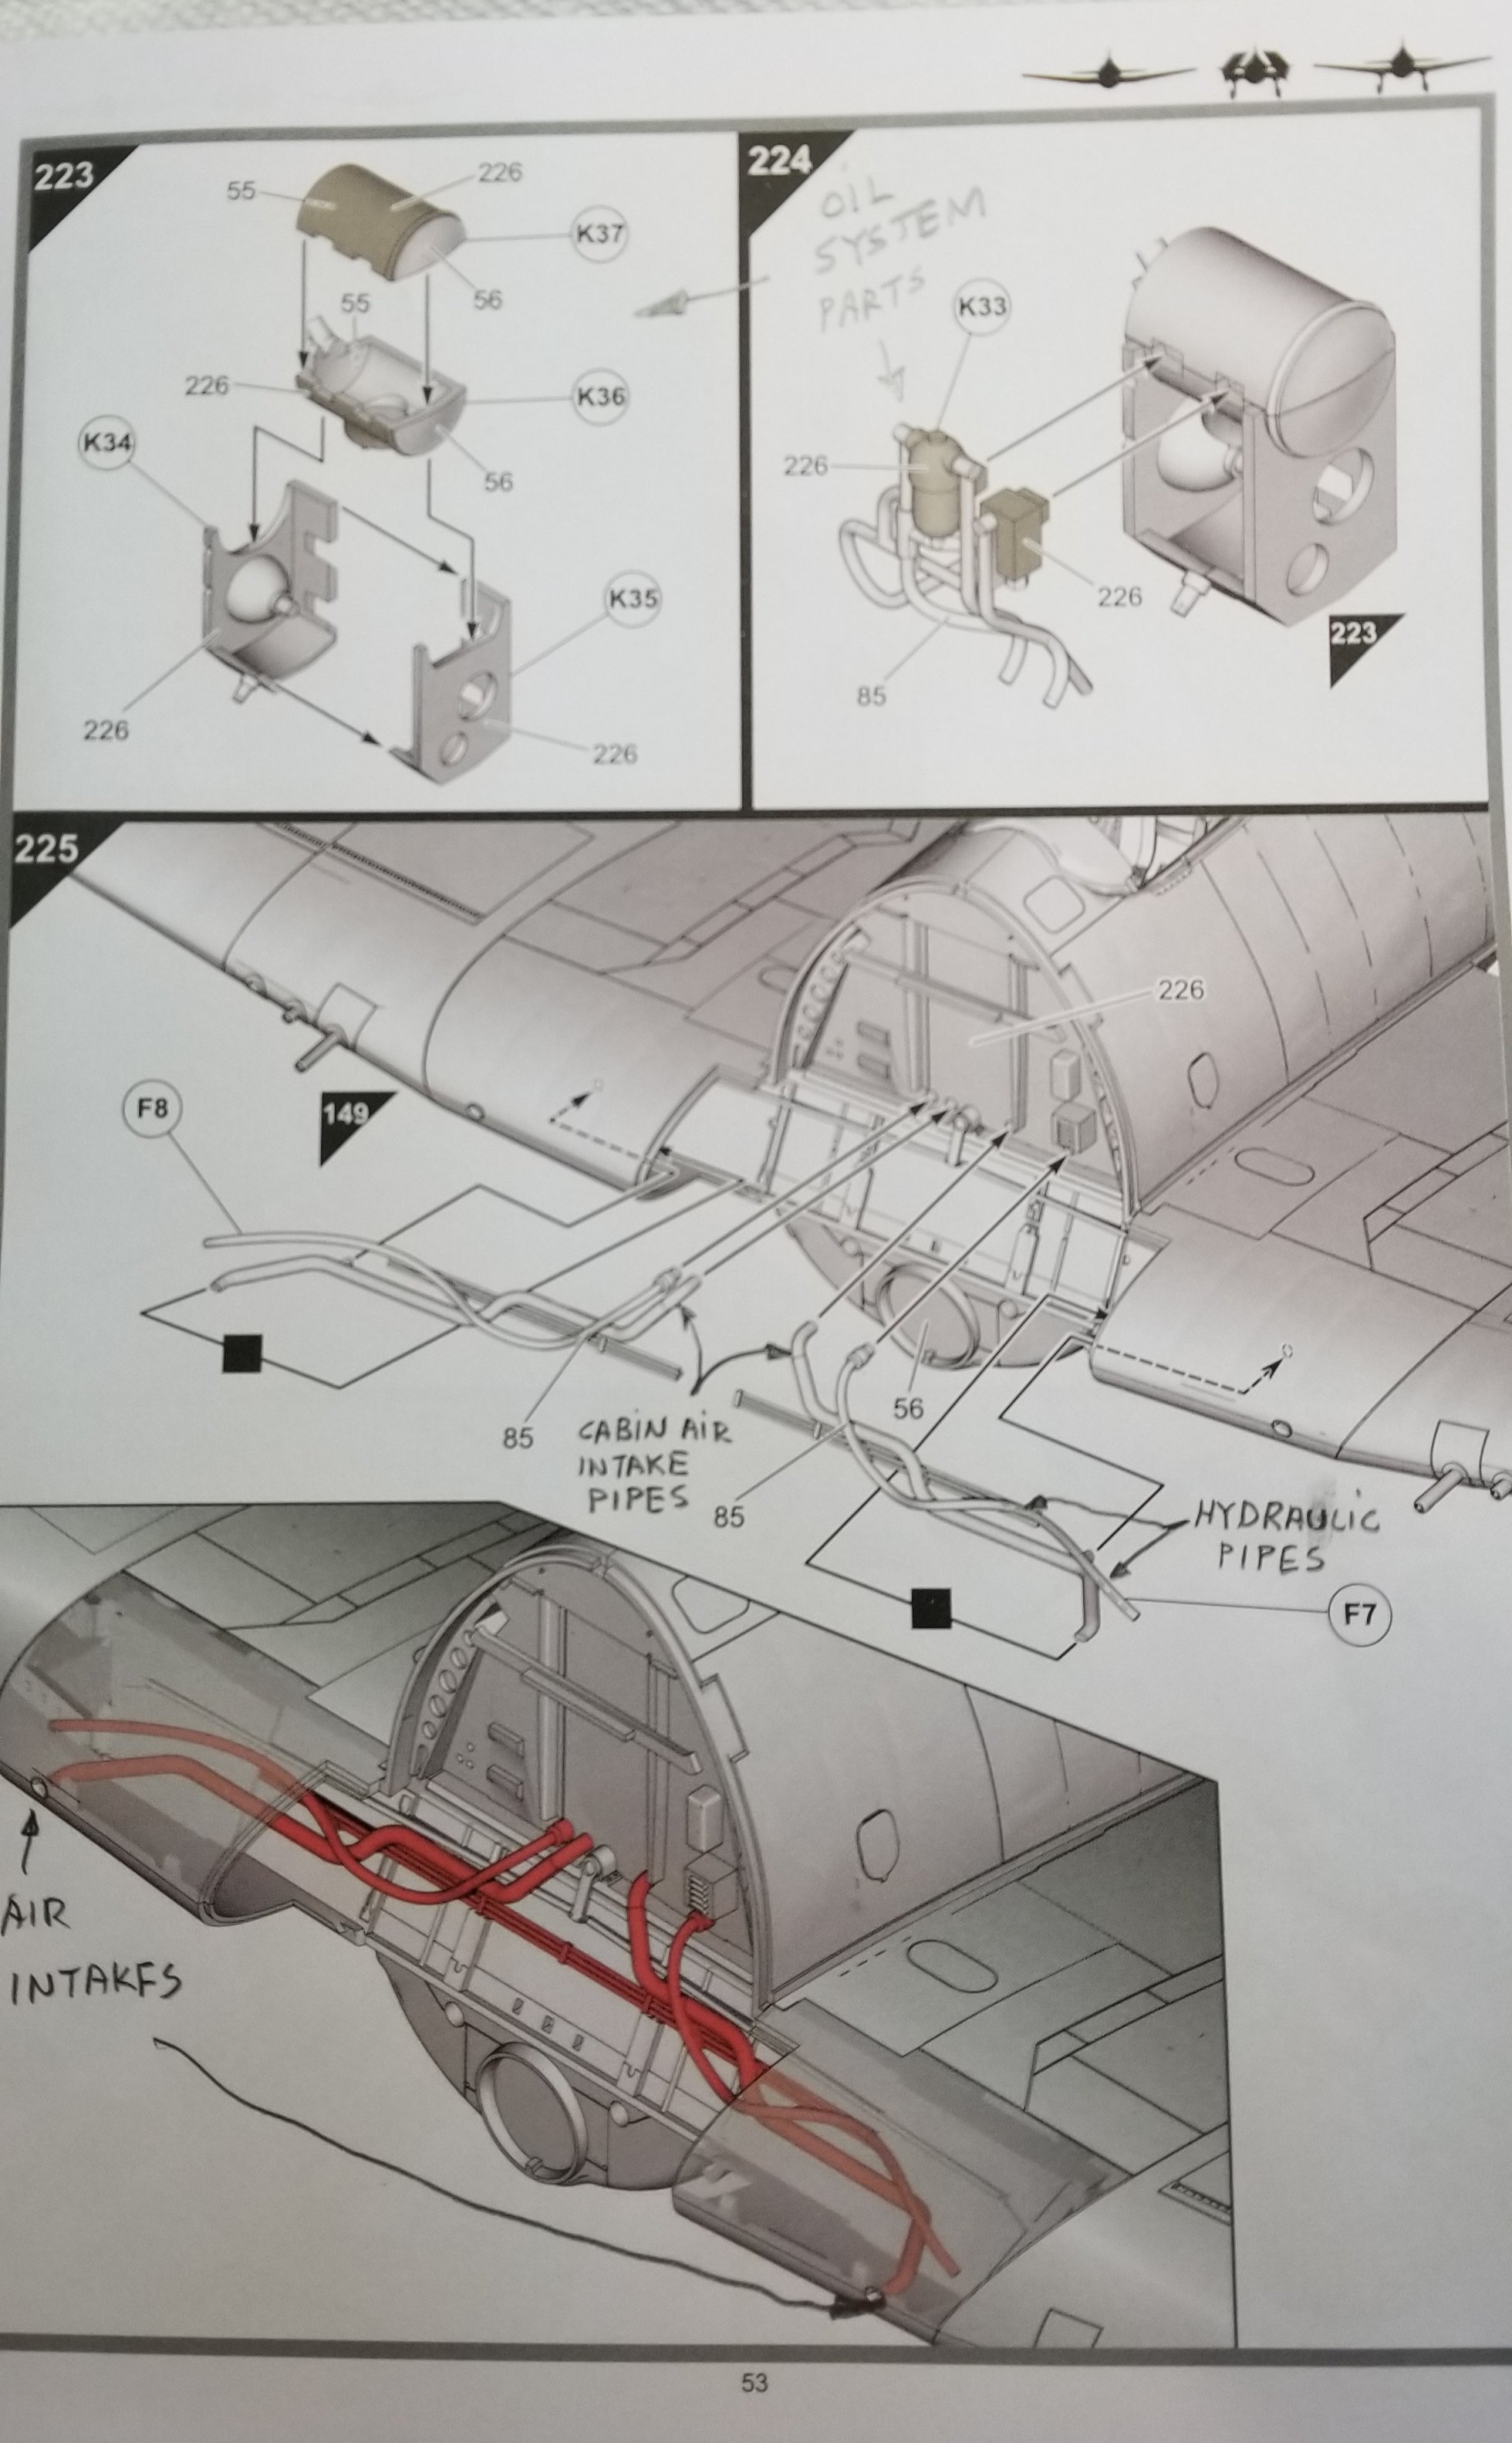
Ok final set of pages This page shows assemblies 210 and 212 from page 50 being added. It also shows parts K25, K27,K28 and K29 that make up the main oil tank. It also shows part K26 which is a armor plate for the oil tank. This page shows parts M14, M15, M16 and M17 that make up the lower intake duct from the cowl nose to the supercharger and the oil cooler. It then shows parts M9, M10, M11 and M12 that make up the cowl nose piece. This page shows parts K33, K34, K35, K36 and K37 that make up part of the oil collection system. It also shows parts F7 and F8 which are cabin air intake tubes and various hydraulic lines. Ok that pretty much covers this fantastic engine. If anyone has any questions please feel free to ask I'm always up to helping. Thanks Ron G