Axeman
-
Posts
172 -
Joined
-
Last visited
Content Type
Profiles
Forums
Events
Gallery
Everything posted by Axeman
-
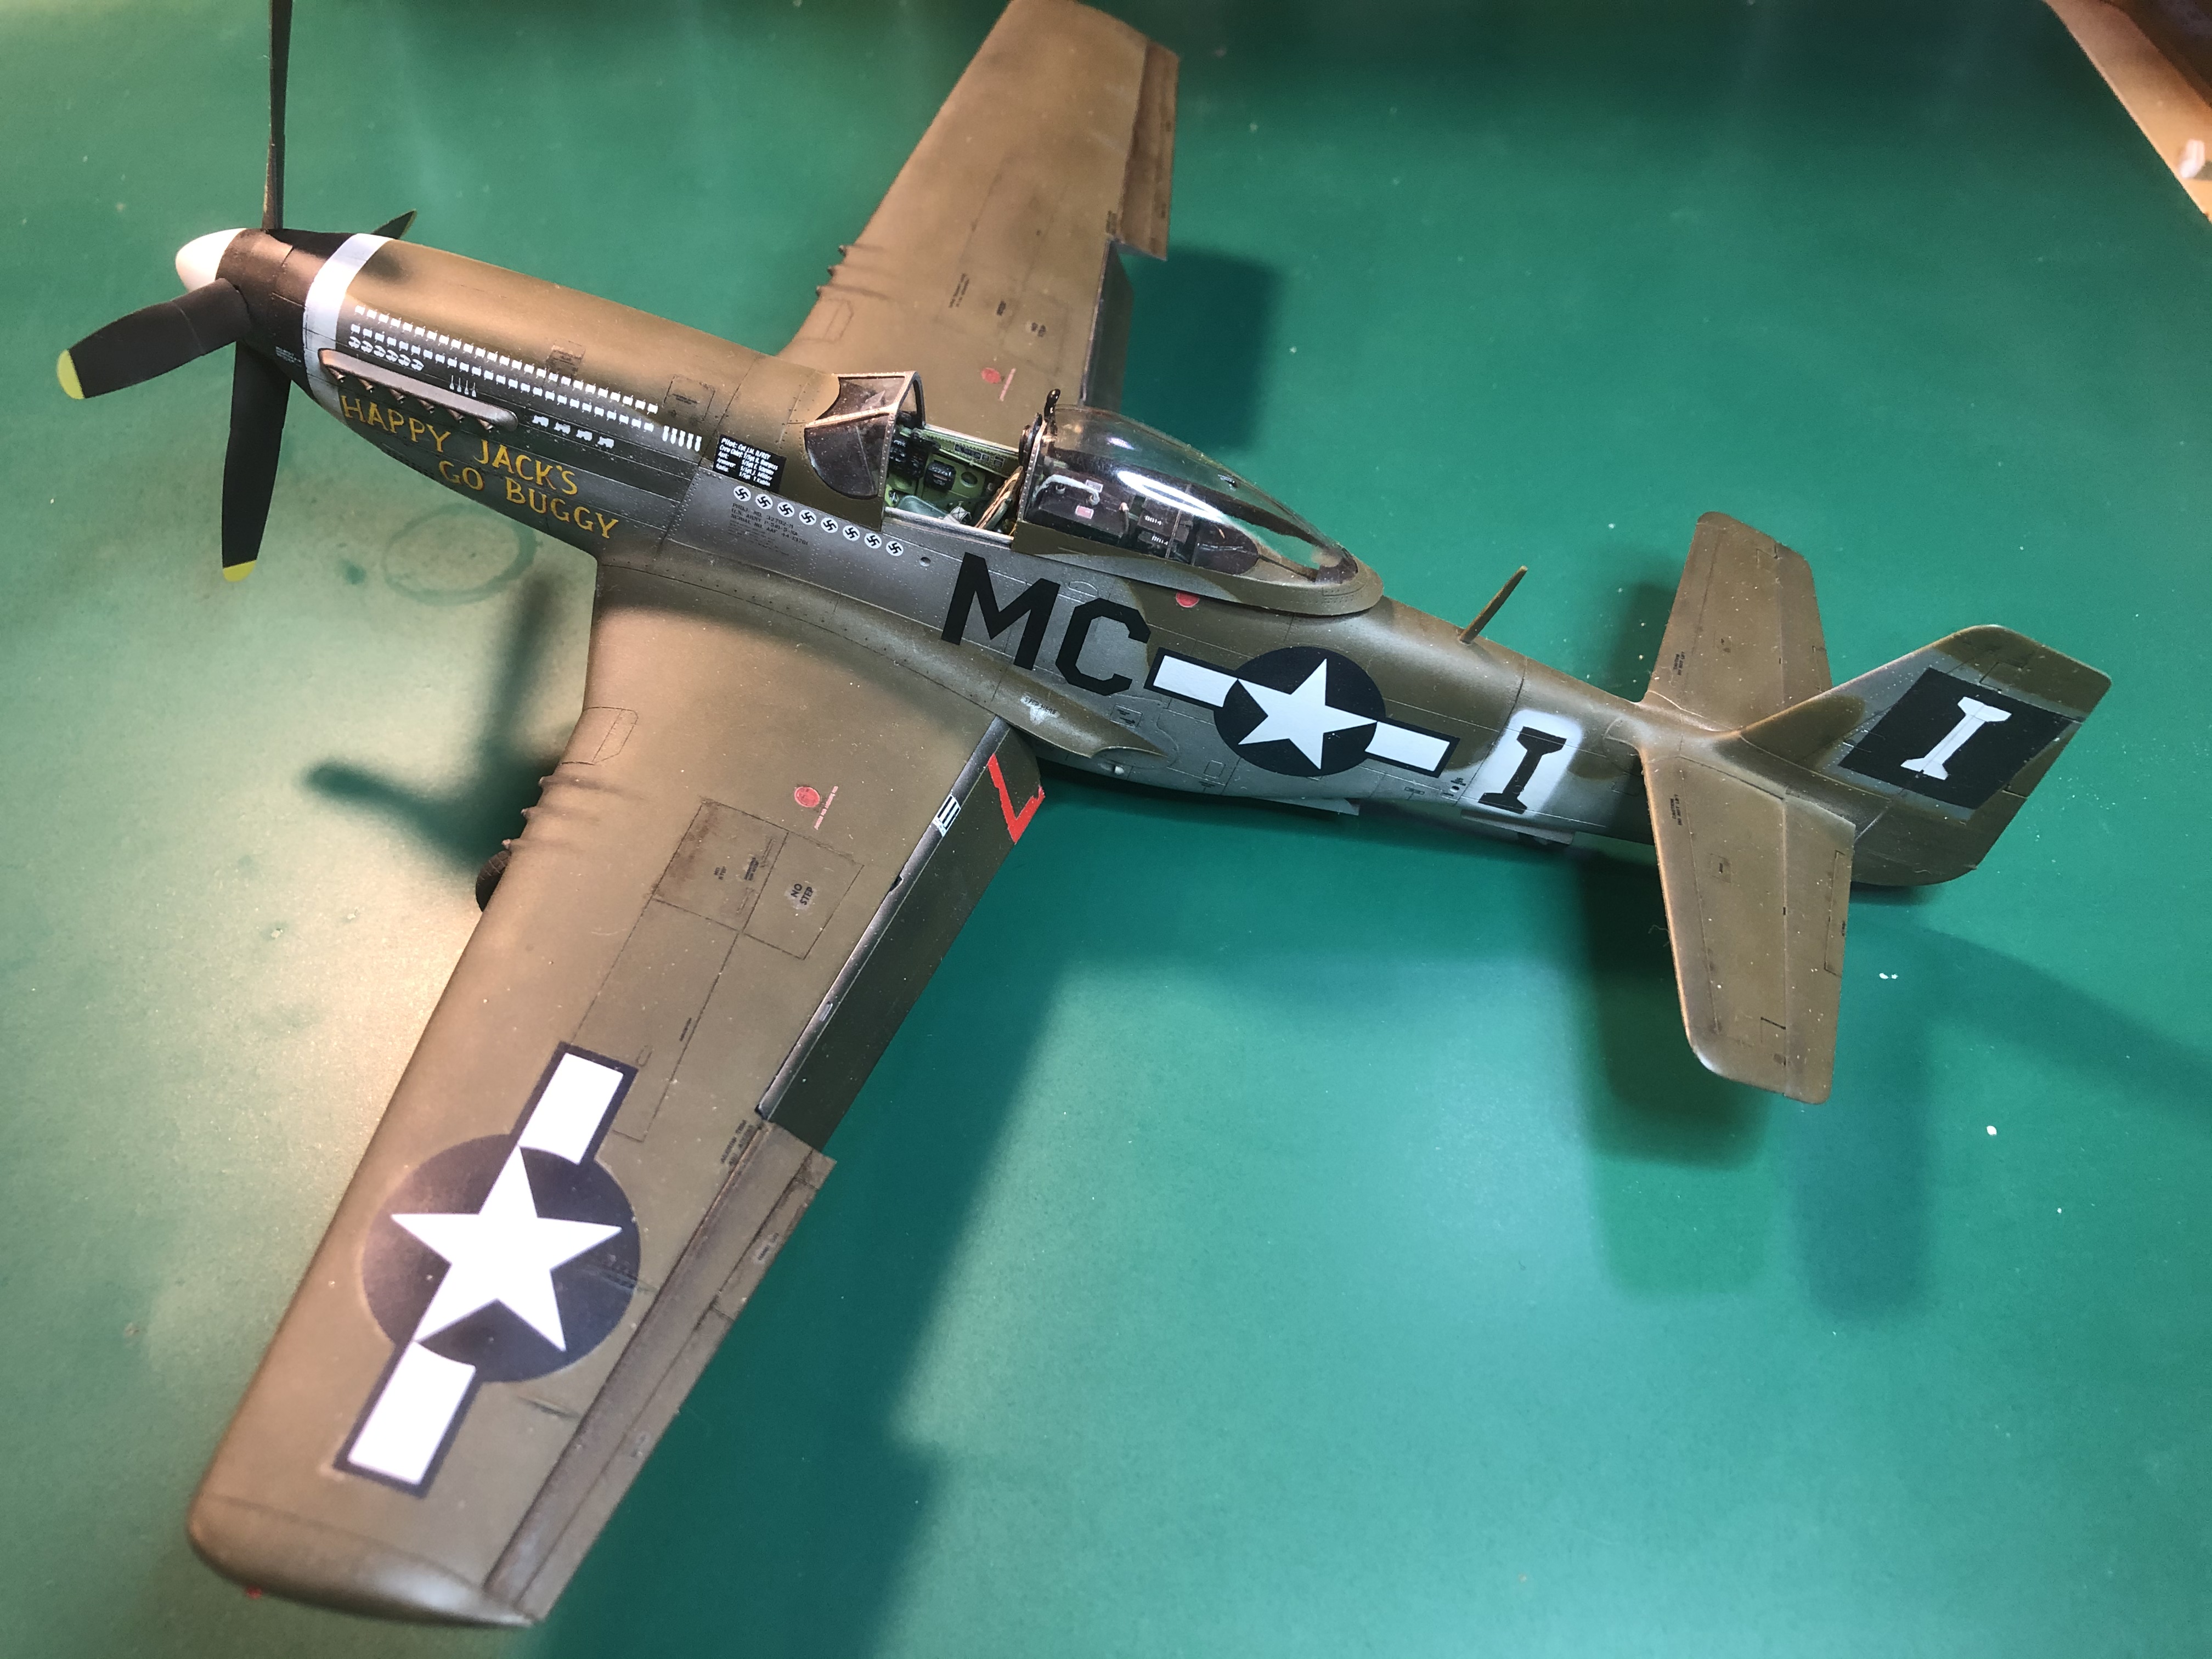
Zoukei-Mura P51D Mustang SWS No 4.
Axeman replied to Bomber_County's topic in LSM 1/35 and Larger Work In Progress
How is the fit of the Zoukei-Mura kit? I have not built one yet. -
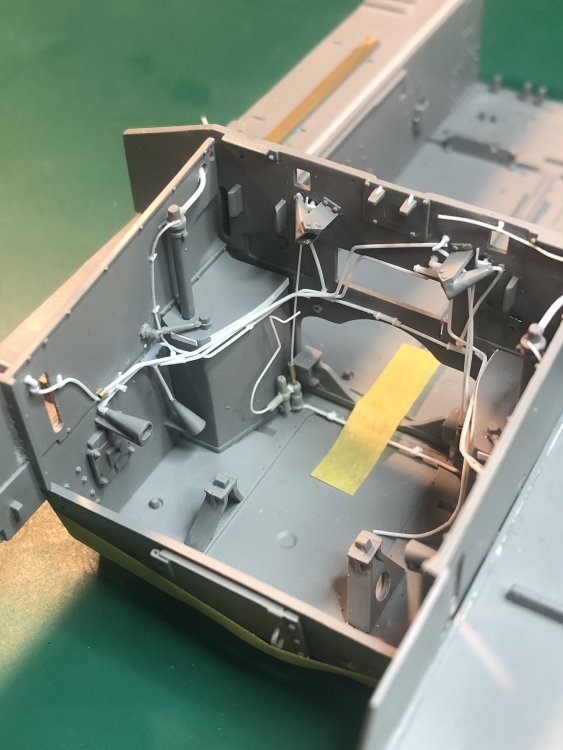
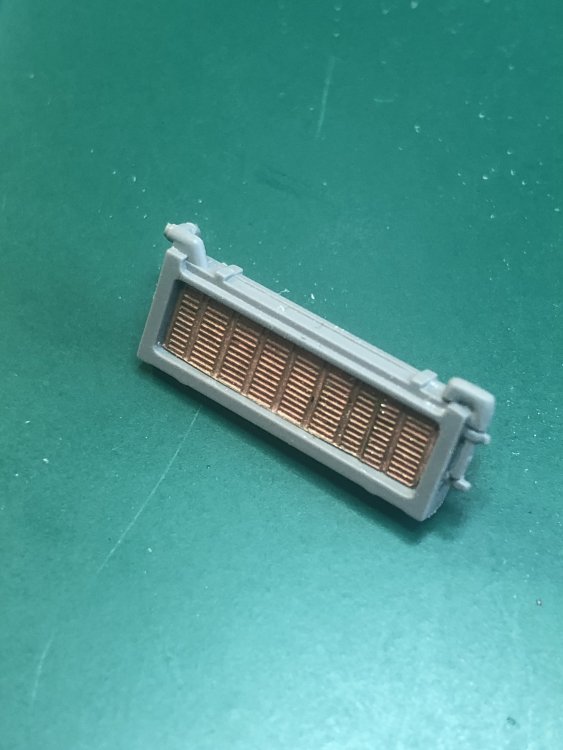
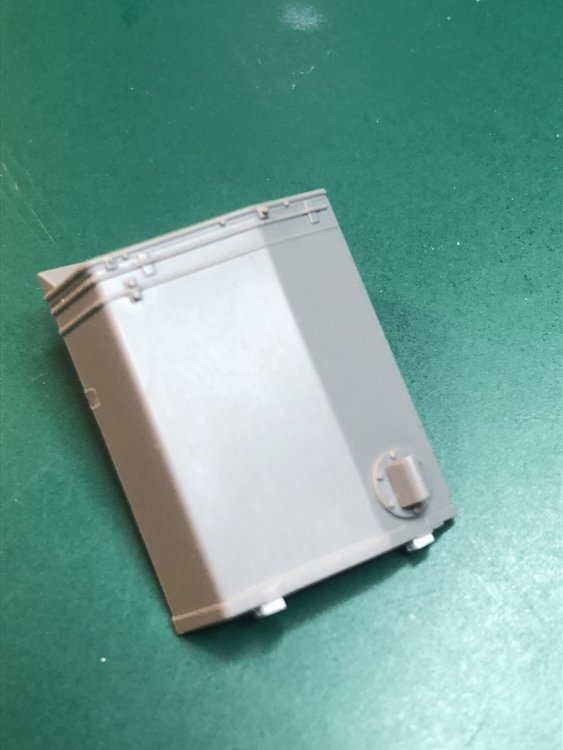
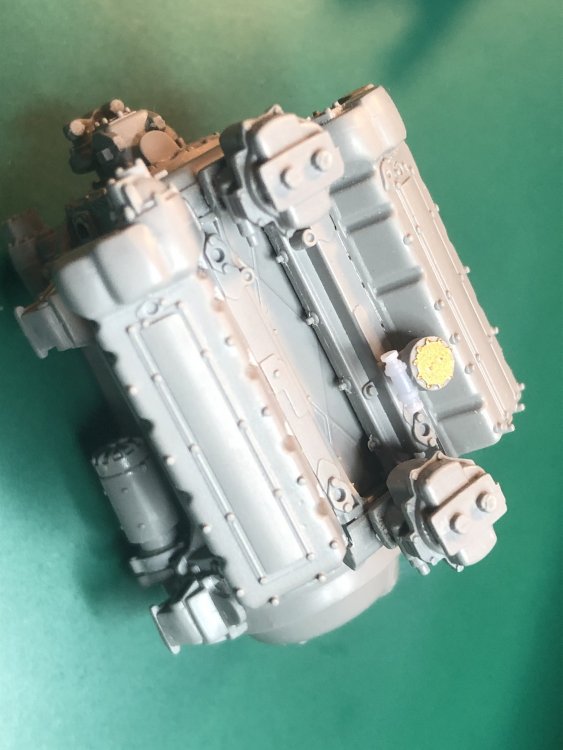
Most of the engine bay electrical, fuel and fire extinguisher system wiring/plumbing is done. Only ones left that I will connect after the engine is installed. added some photo etch to the back of the oil cooler. That was extra I had for the P-51 I was working on previously. The pattern of the photo etch is better than bare plastic. Also did some work on installing the electrical lines in the fighting compartment. That is all for now.

-
This looks great! What color of green did you use? I see a light green bottle.
-
Thanks. Looking forward to seeing your work on the RFM Pz IV H.
-
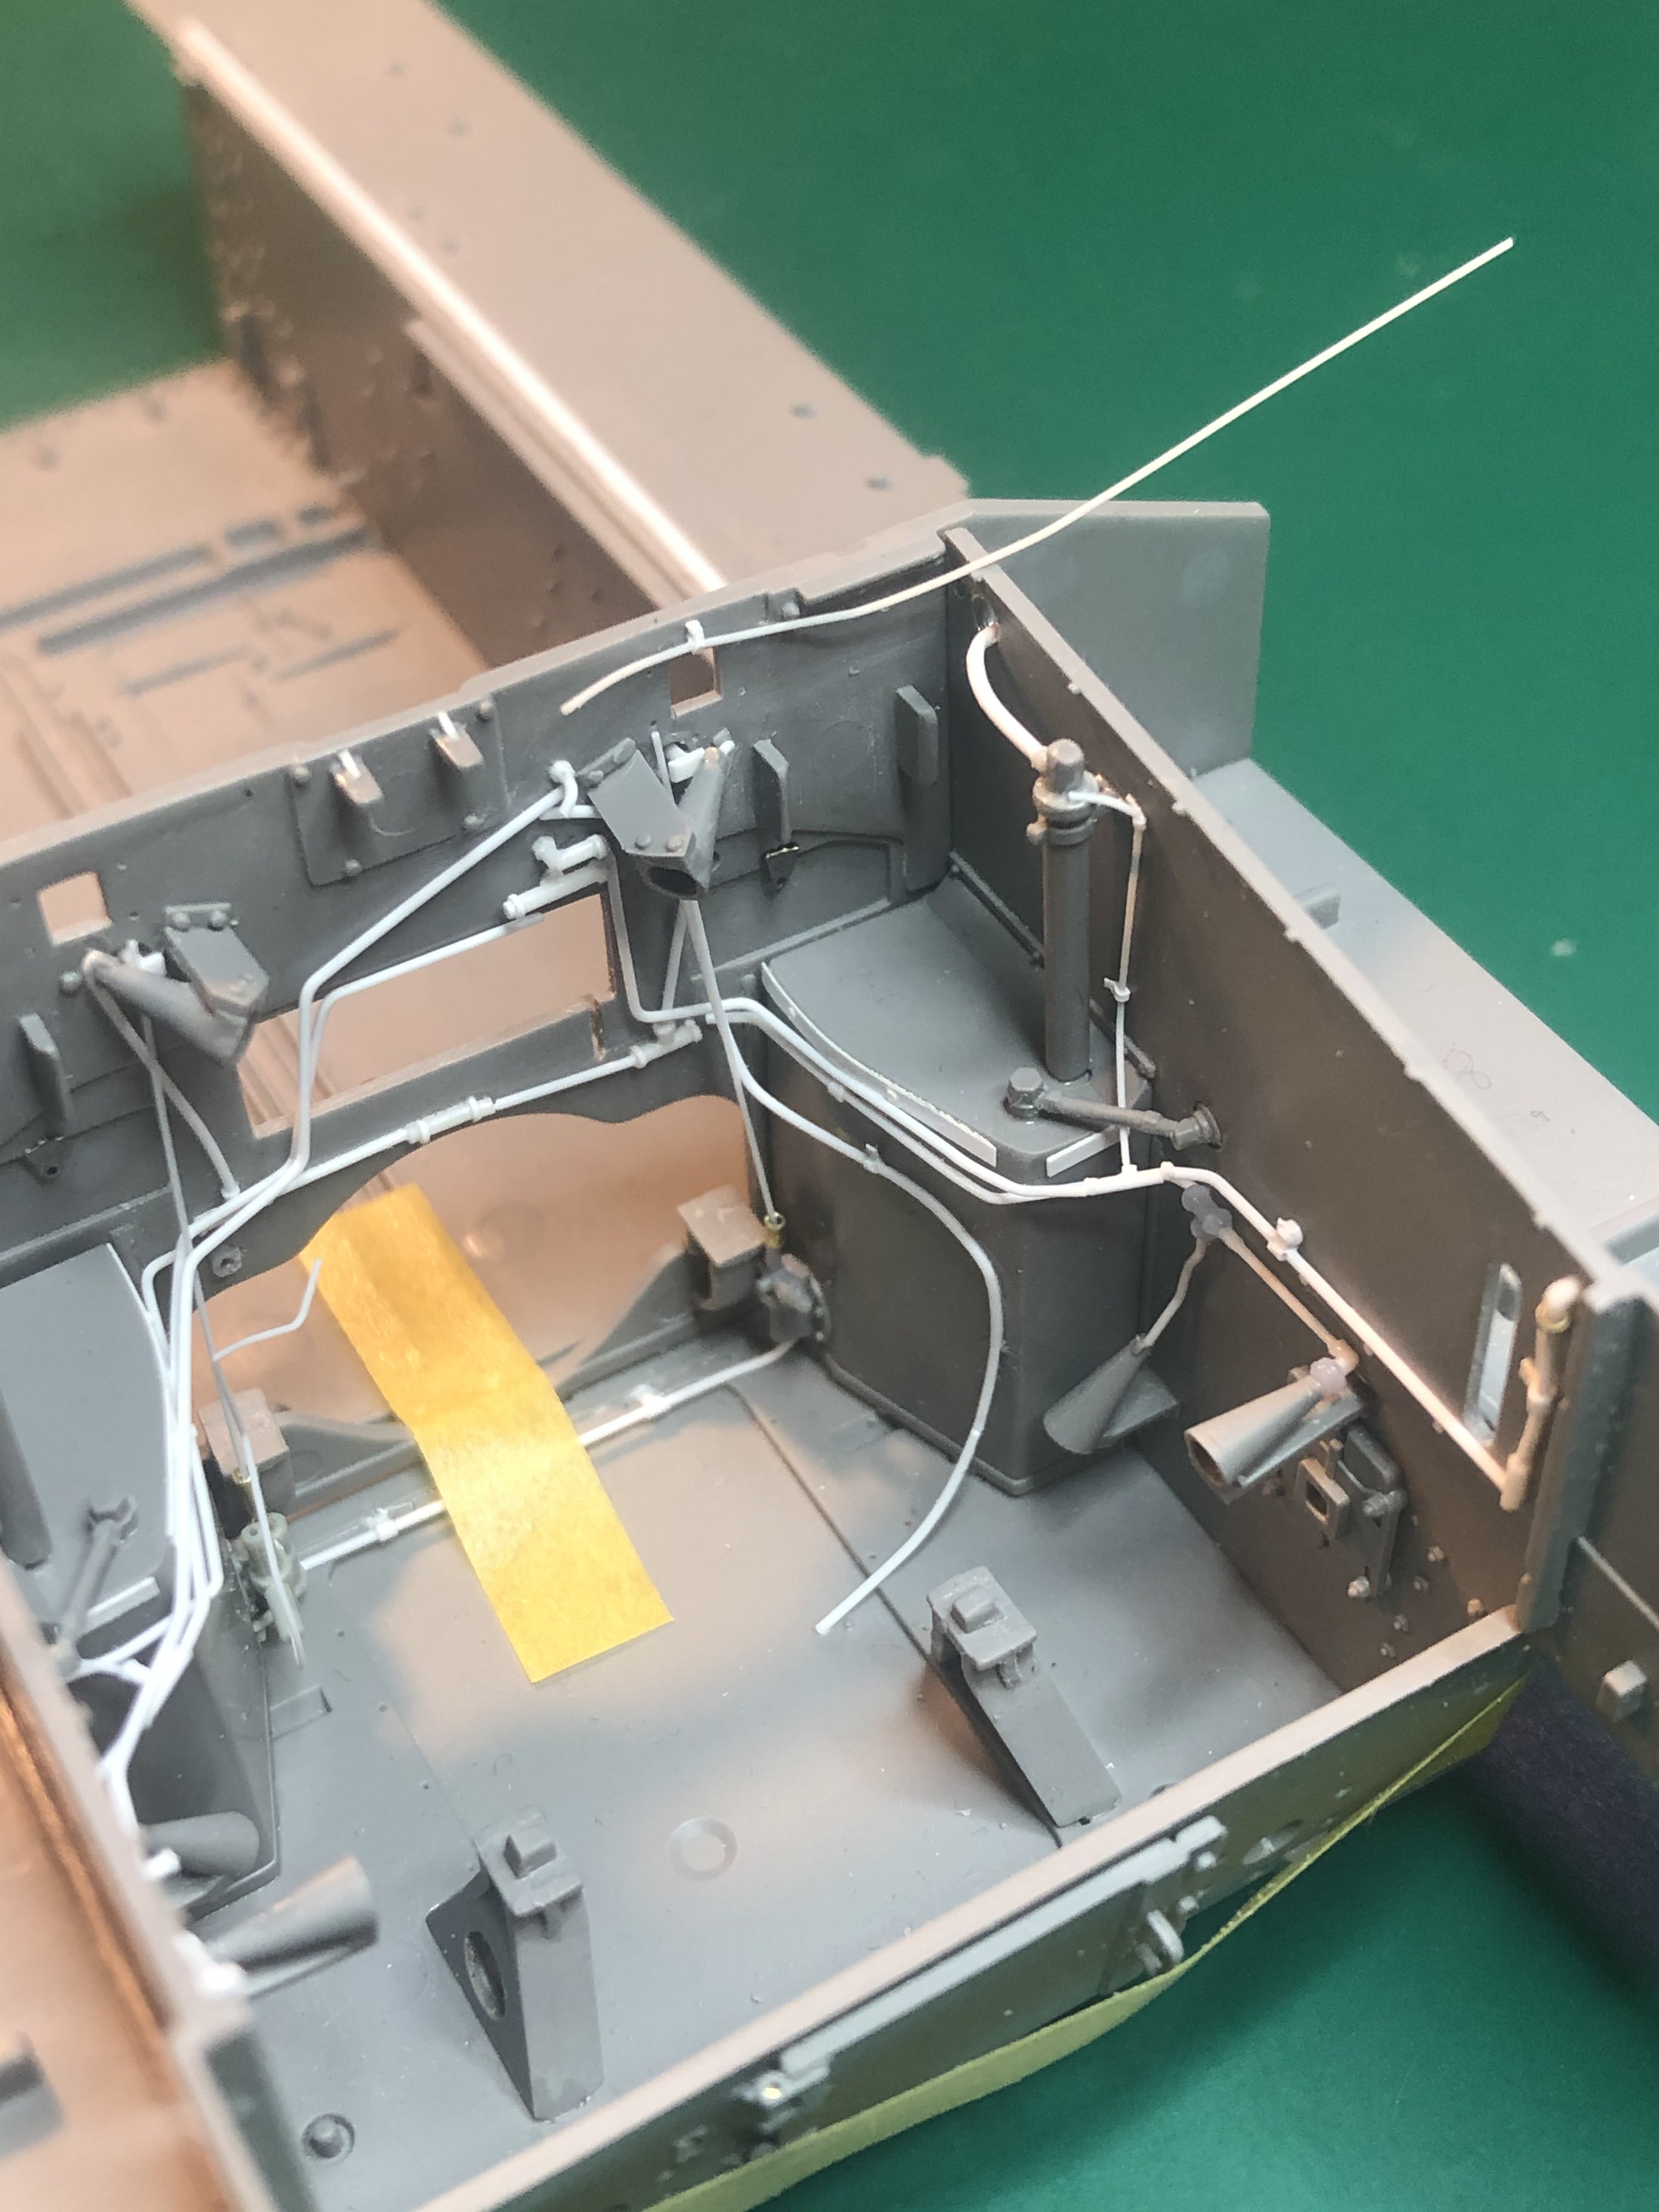
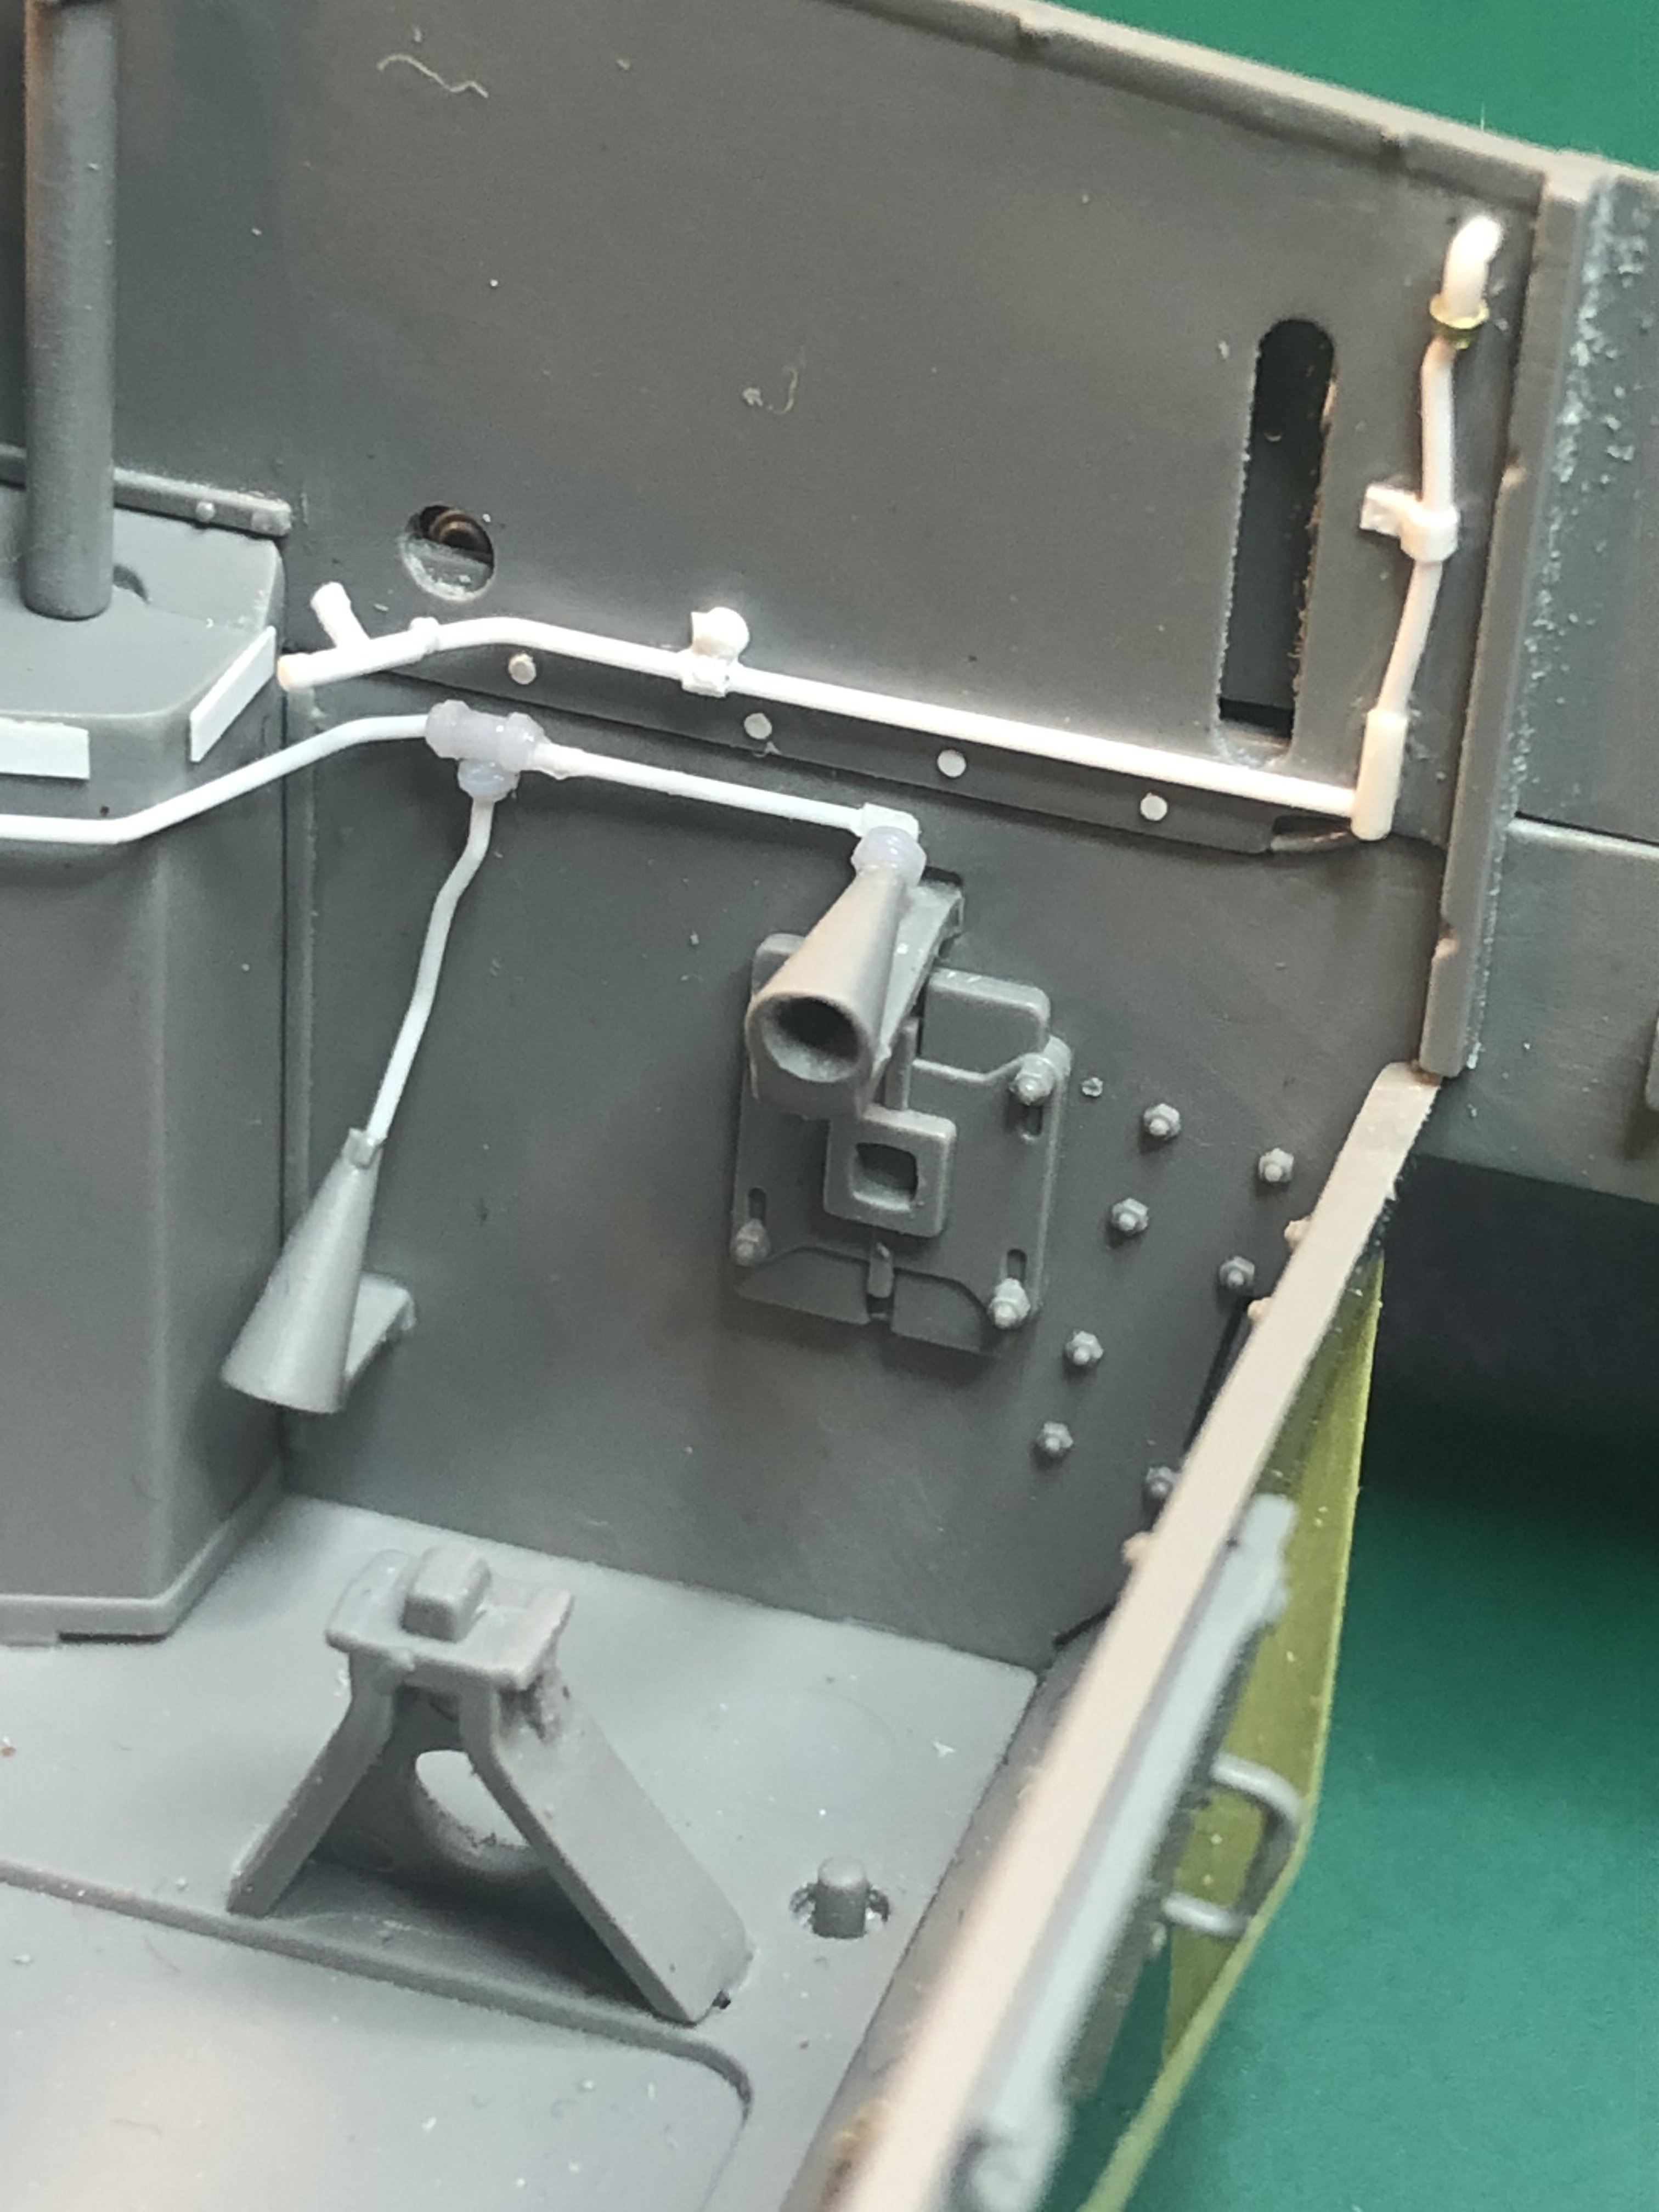
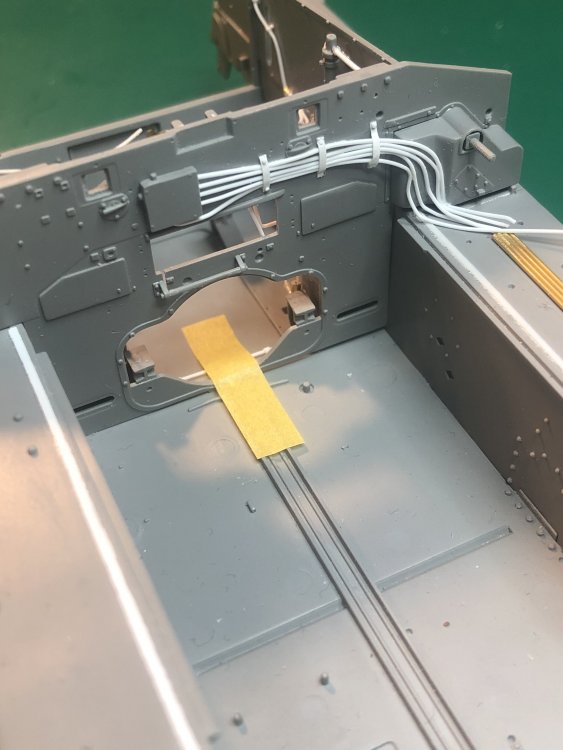
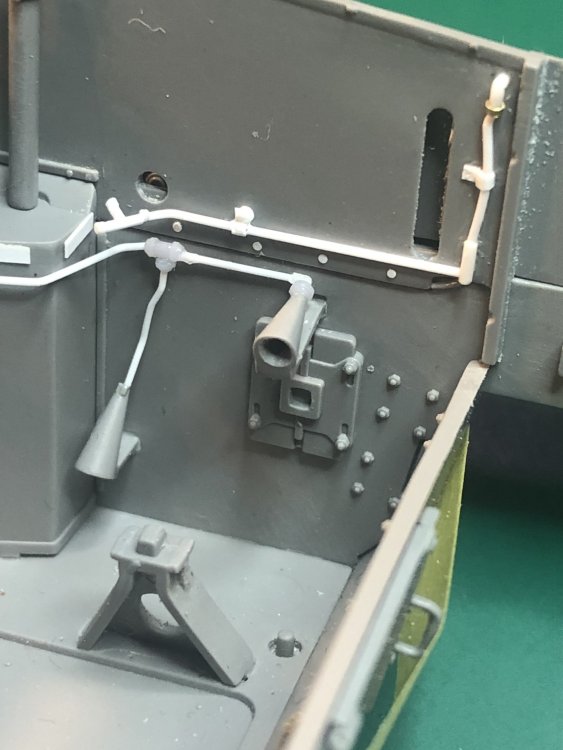
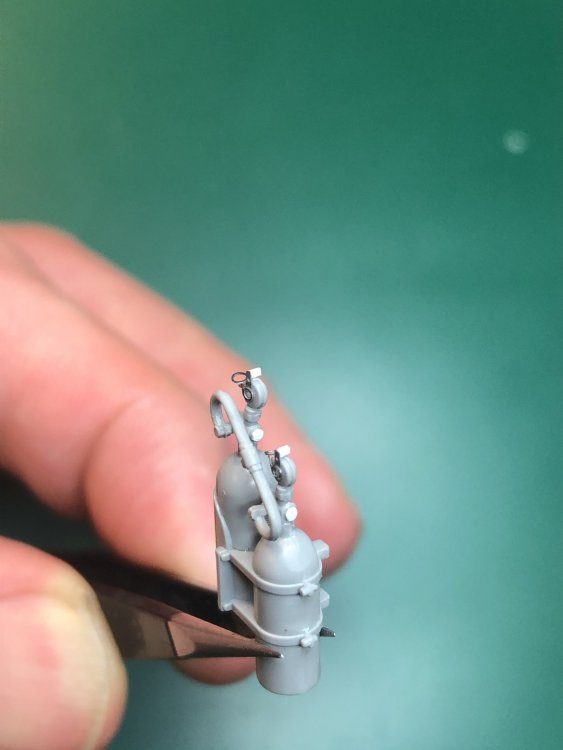
Progress is slow. Trying to work through how to connect the “electrical lines”, fire extinguisher system, and fuel lines but at the the same time keeping the fire wall removable. Drilled out the fire extinguisher nozzle openings, and added lines back the the fire wall. Bottom of the compartment is part of the fuel lines and then the electrical line on the sponson cover plate wall. Added a few details to the fire extinguisher cylinder heads. That’s it for now.


-
Looking forward to how this goes together. Great progress
-
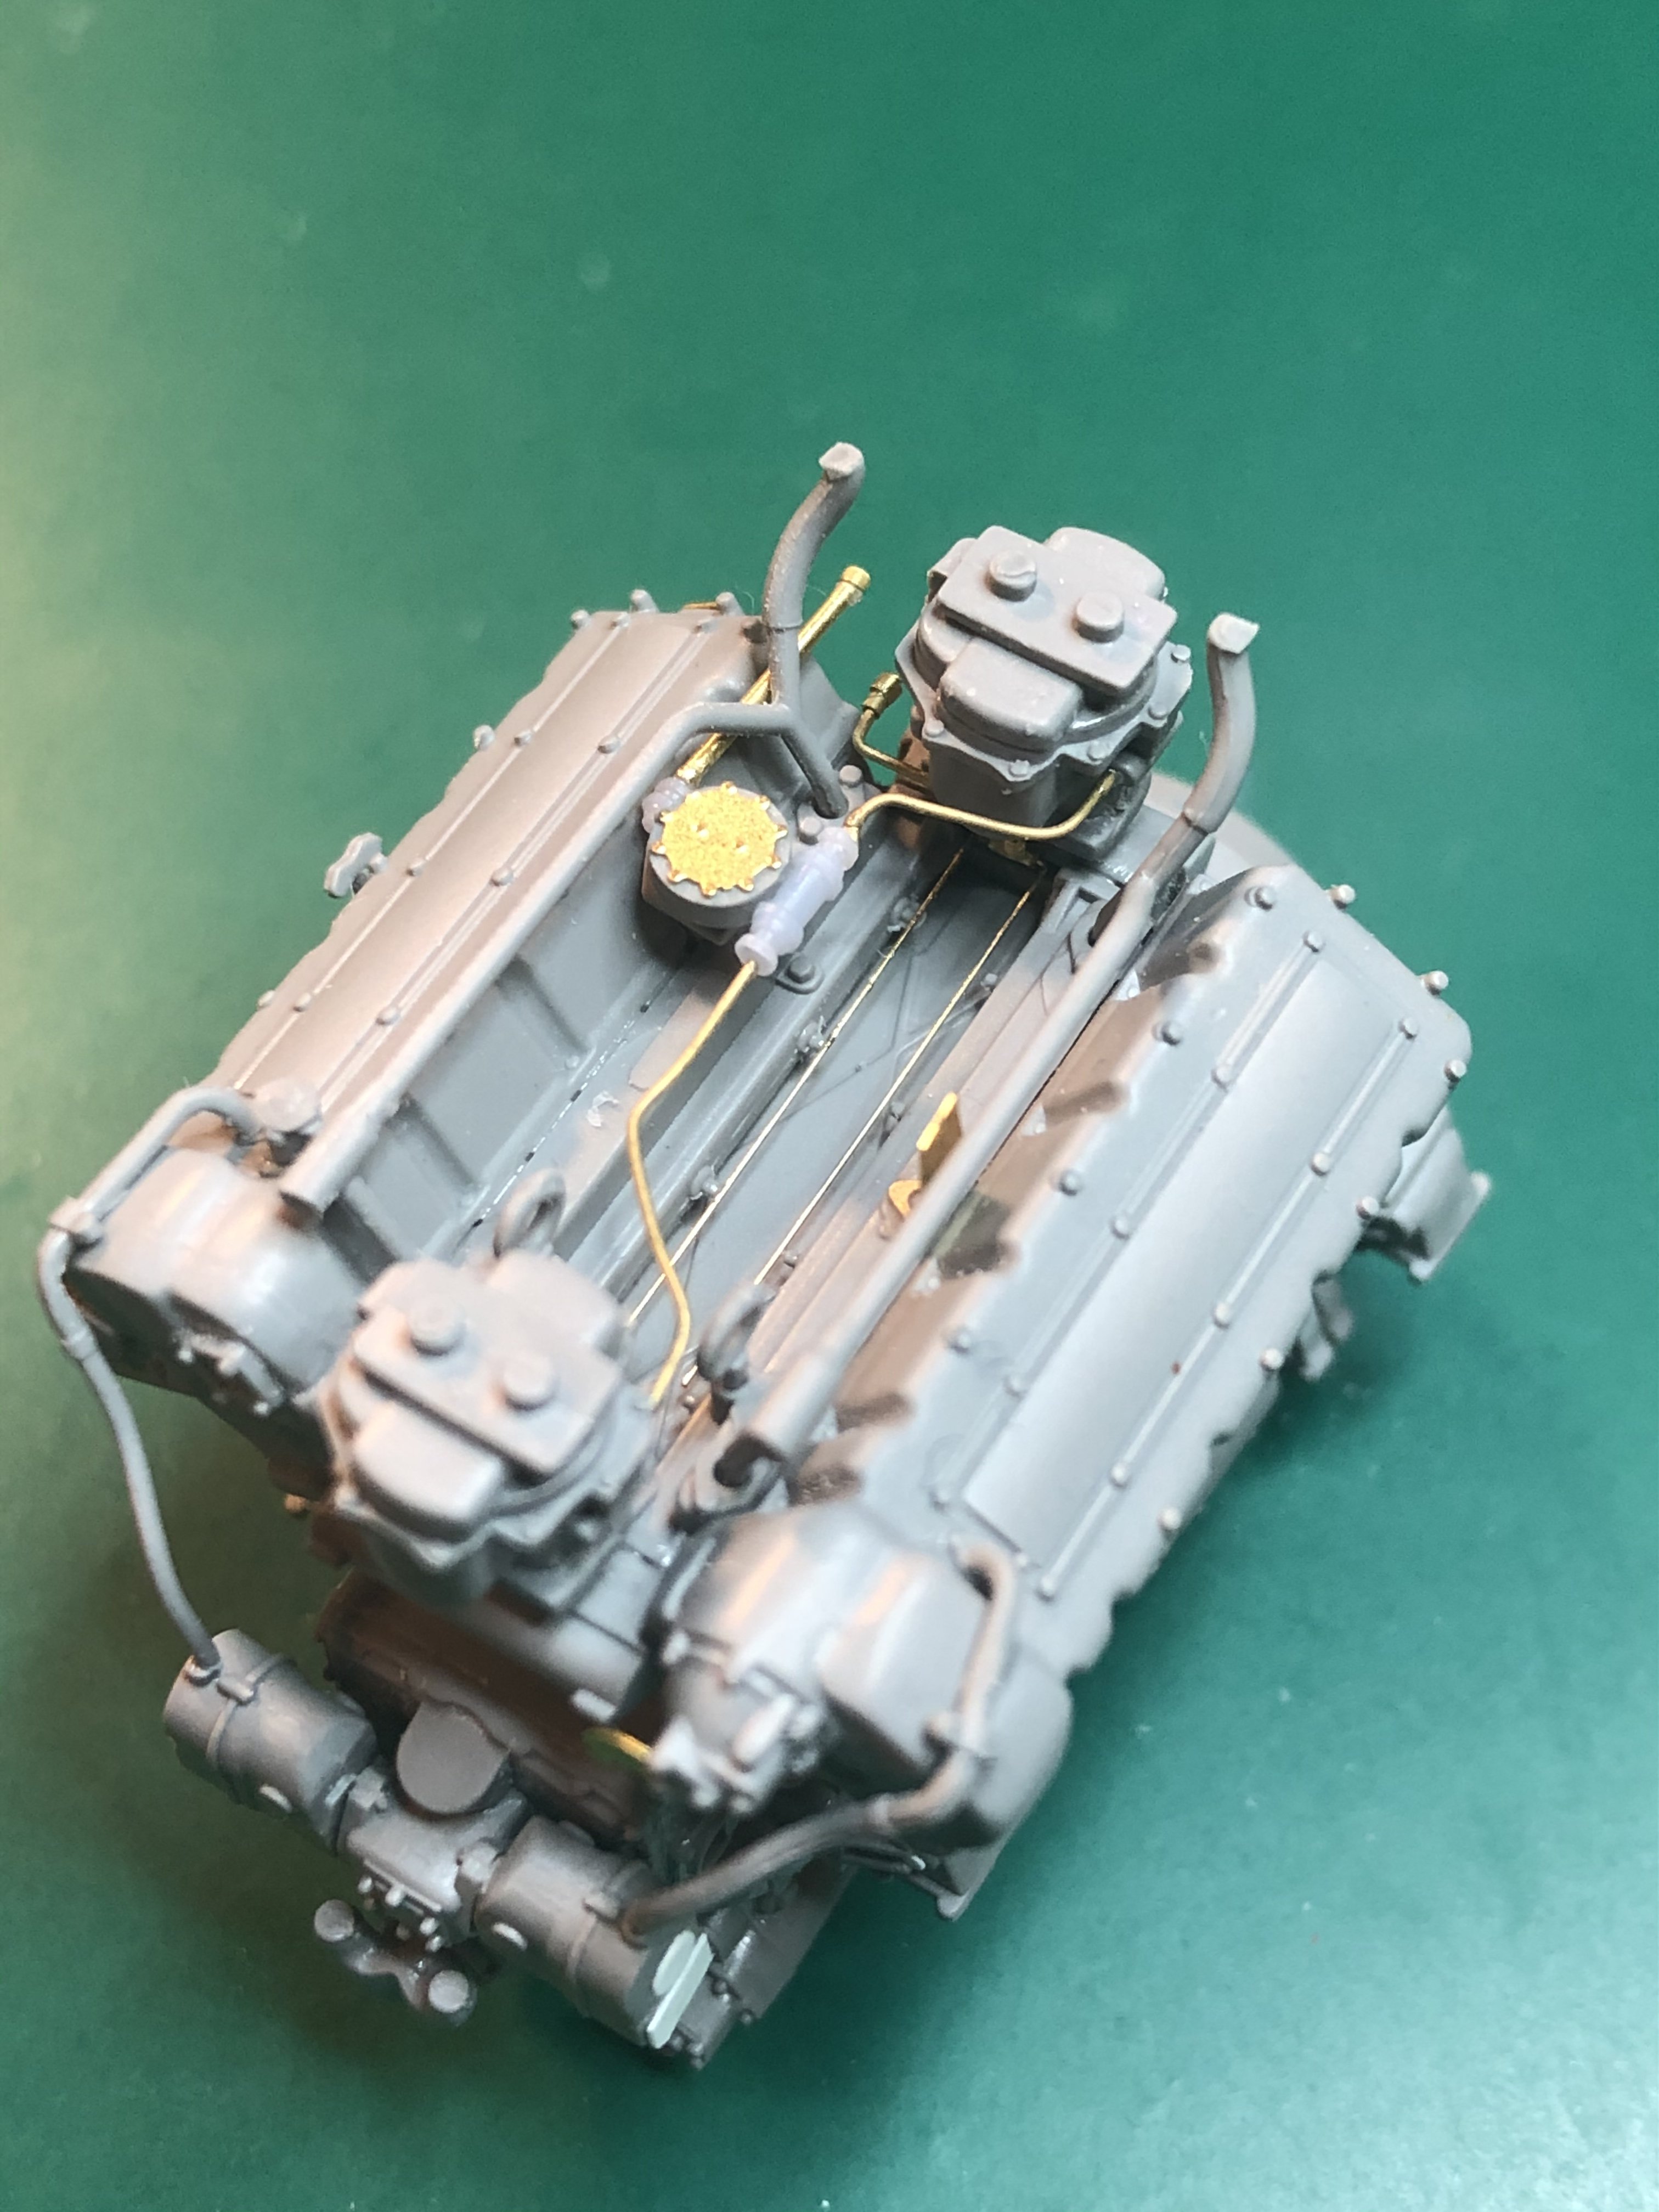
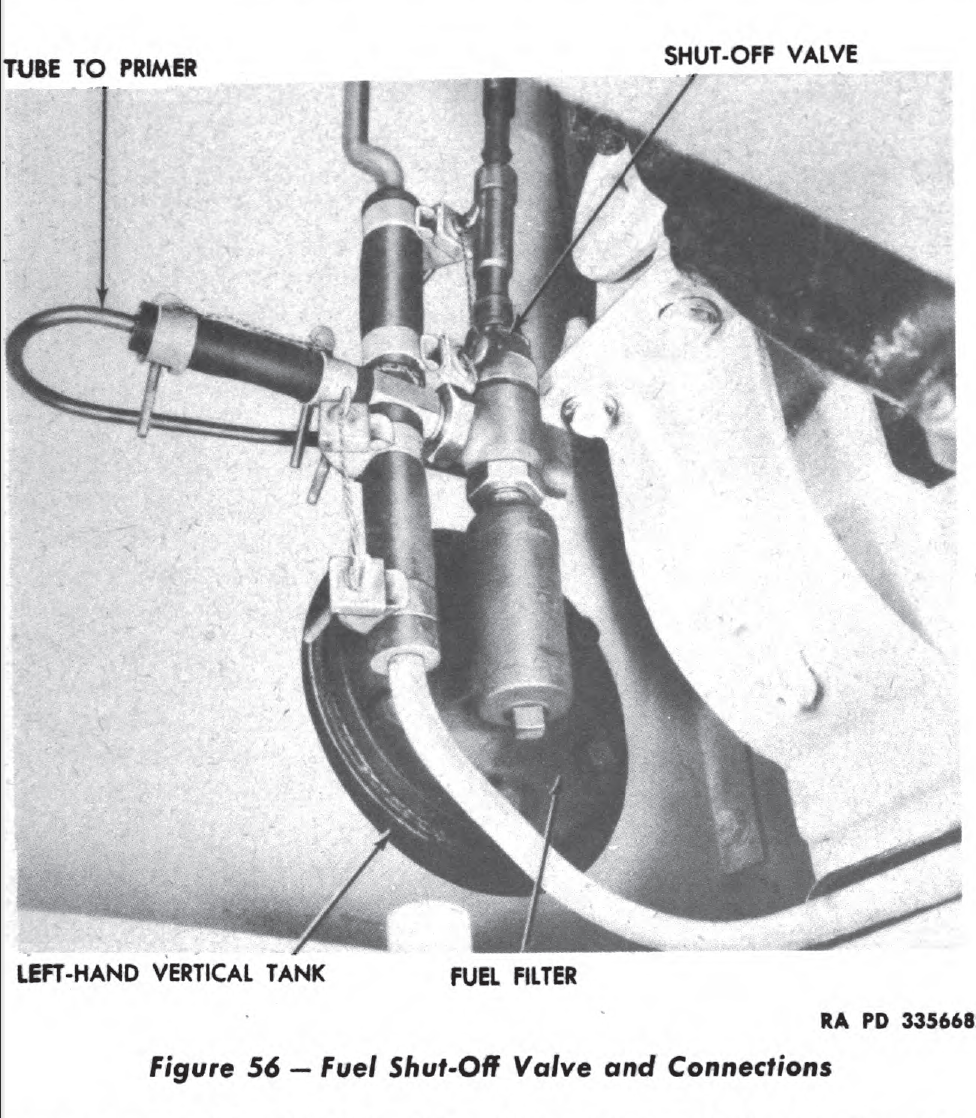
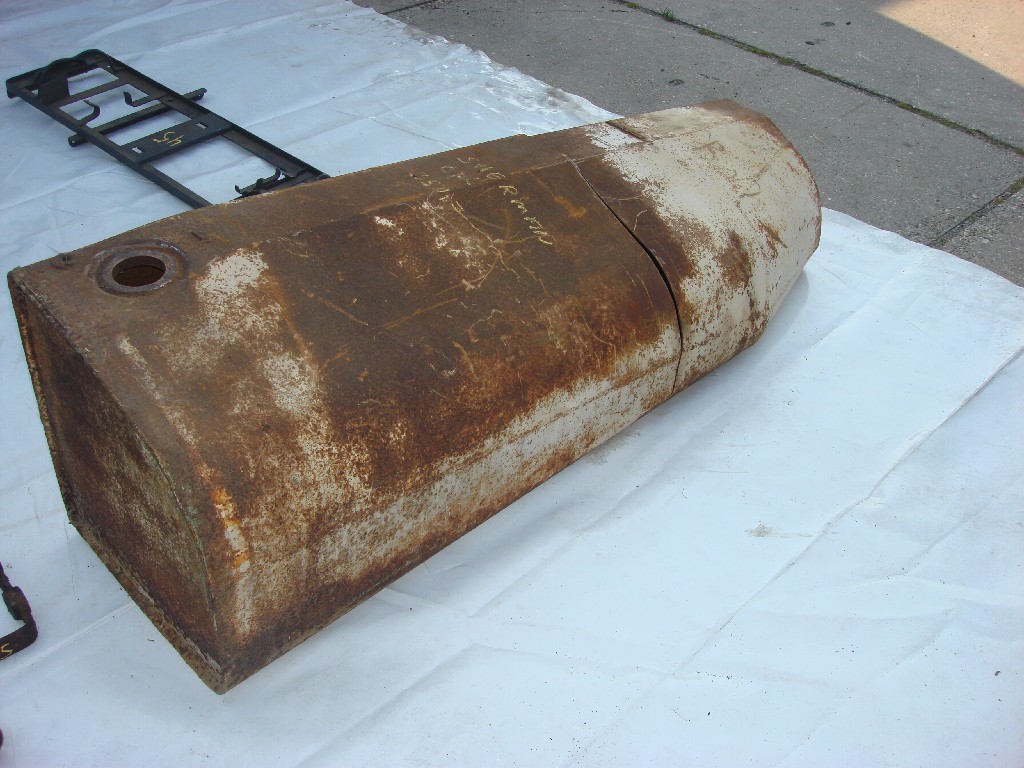
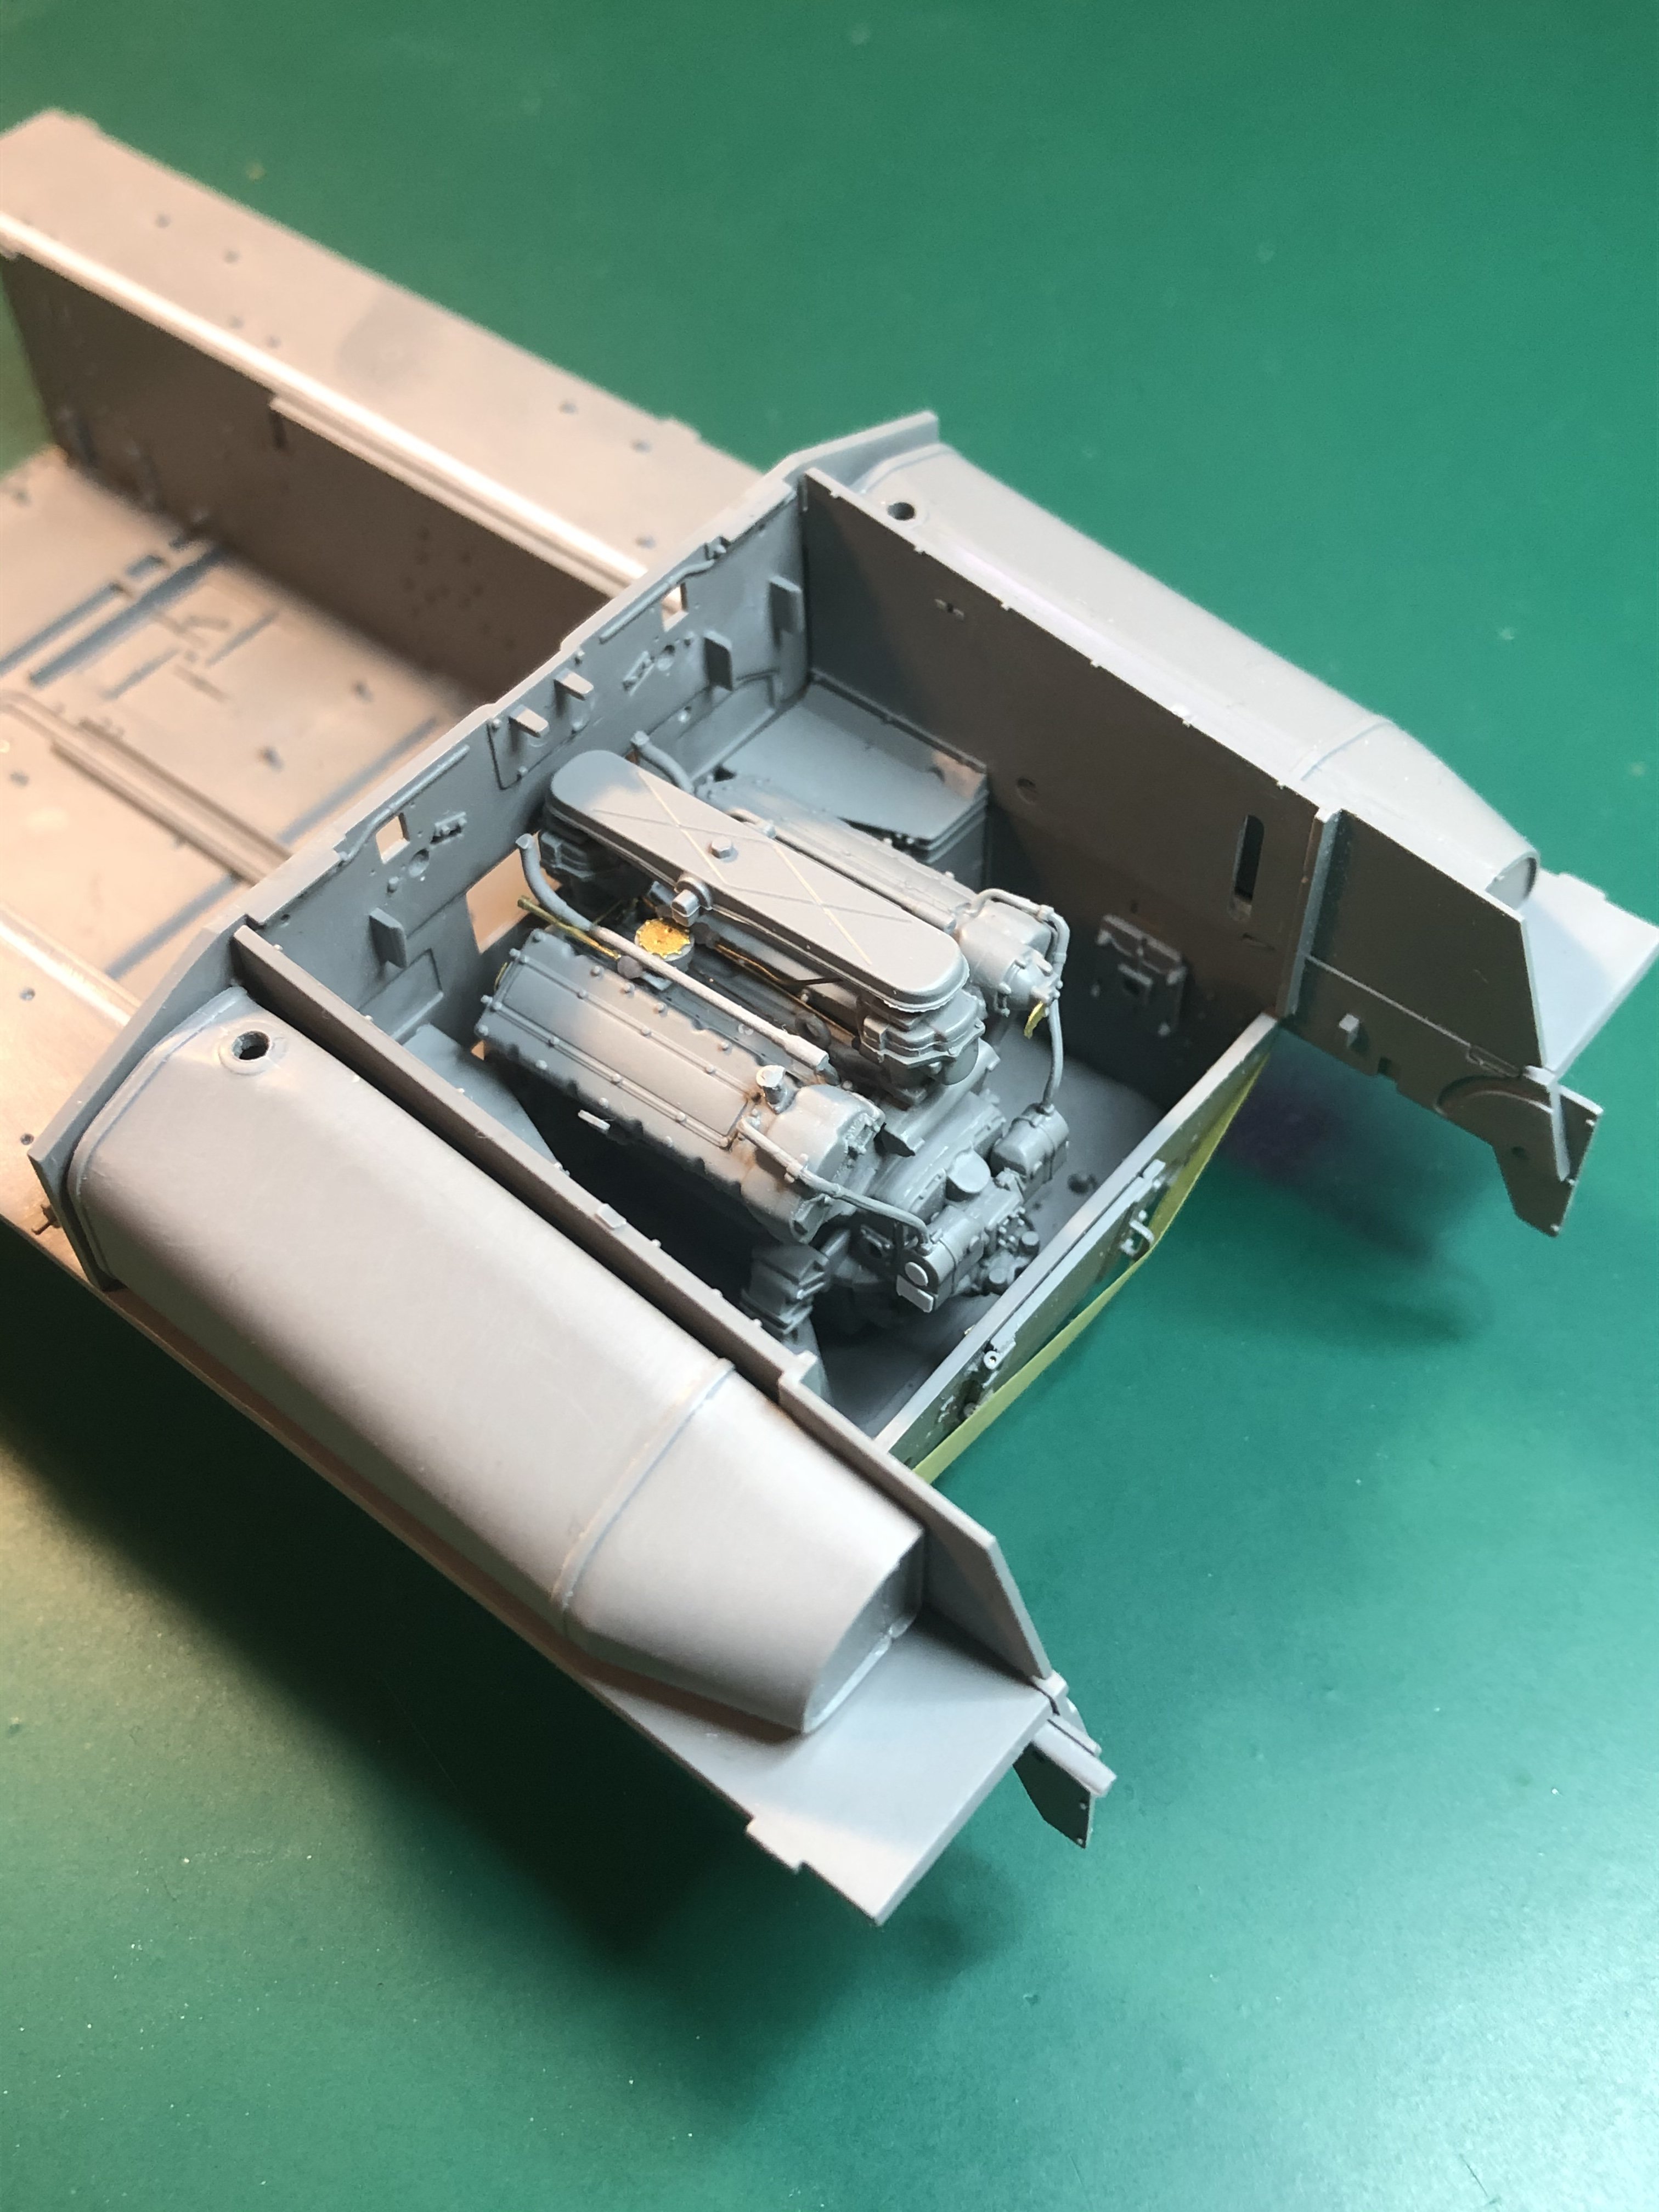
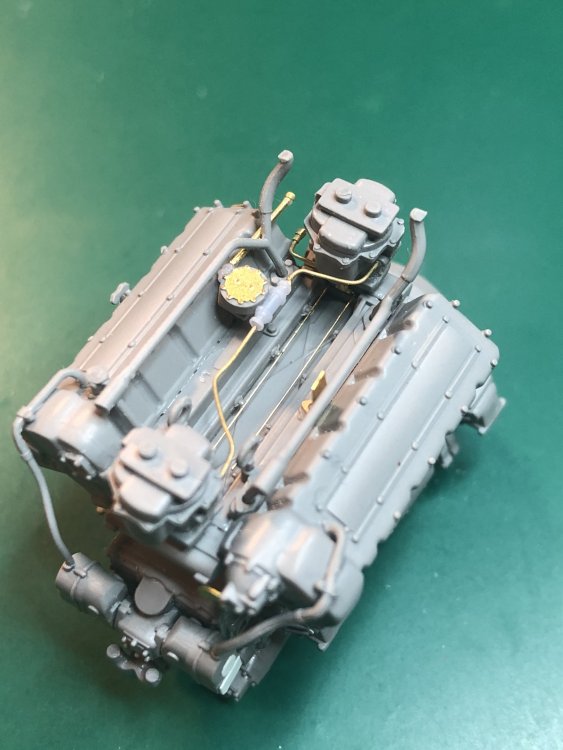
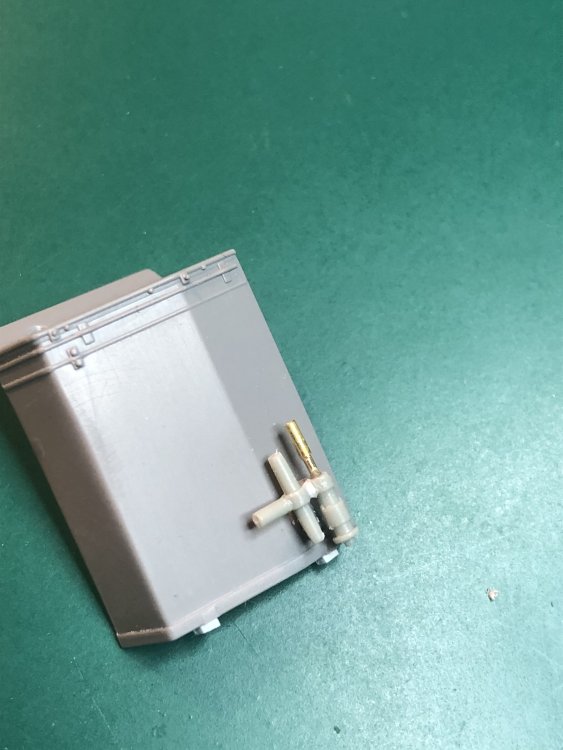
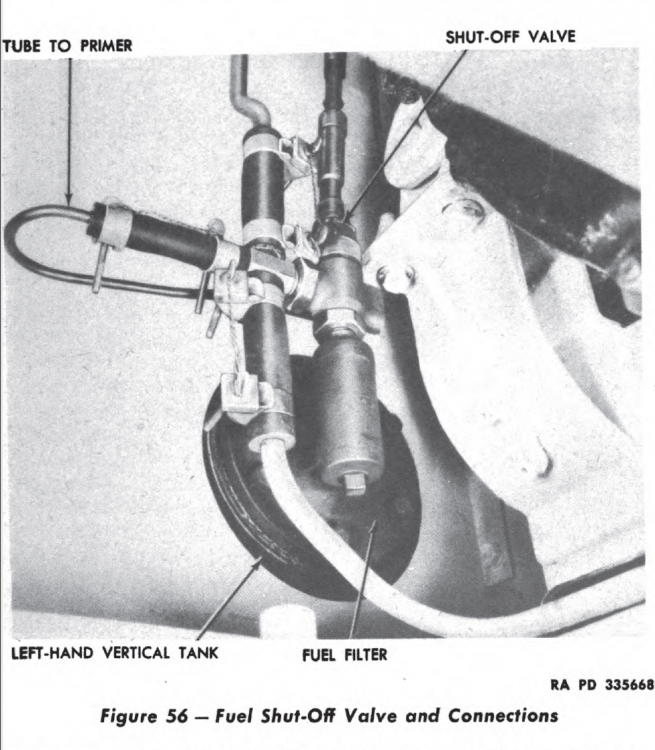
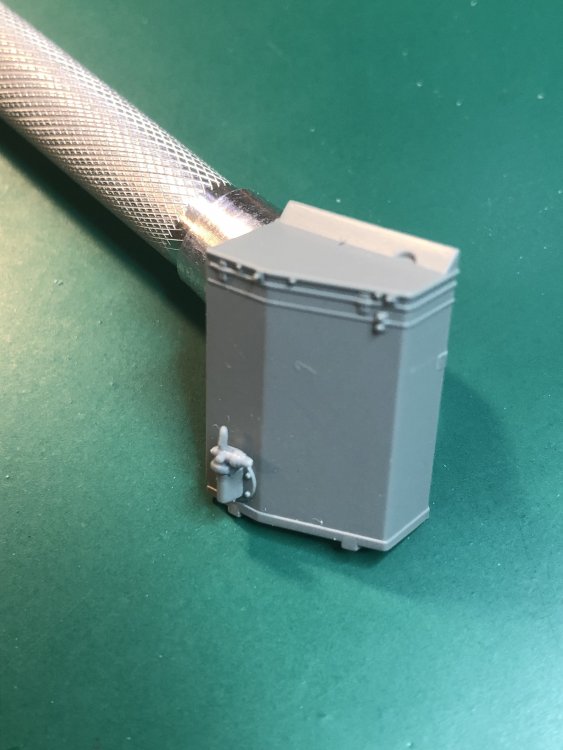
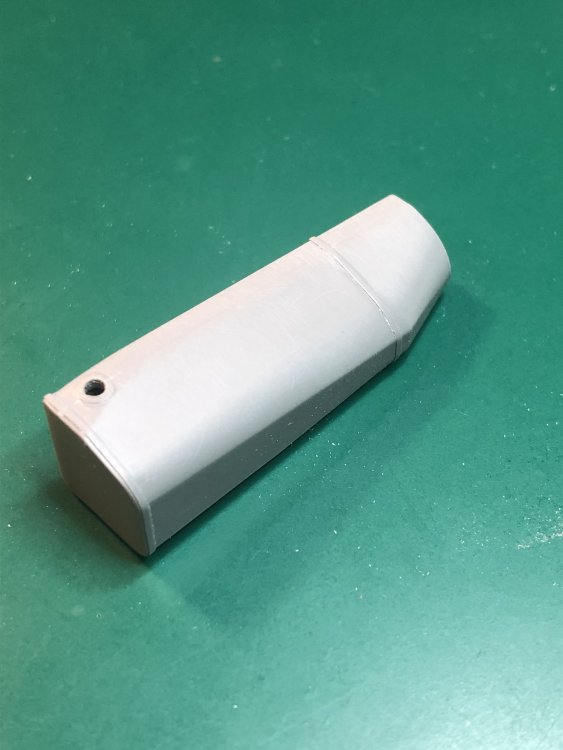
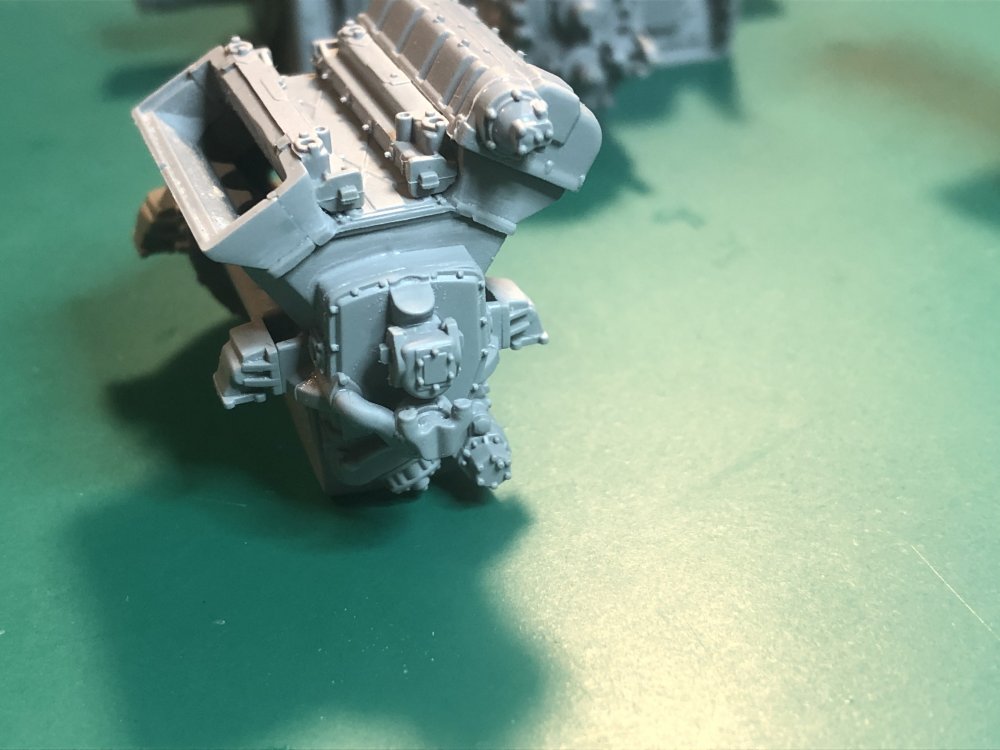
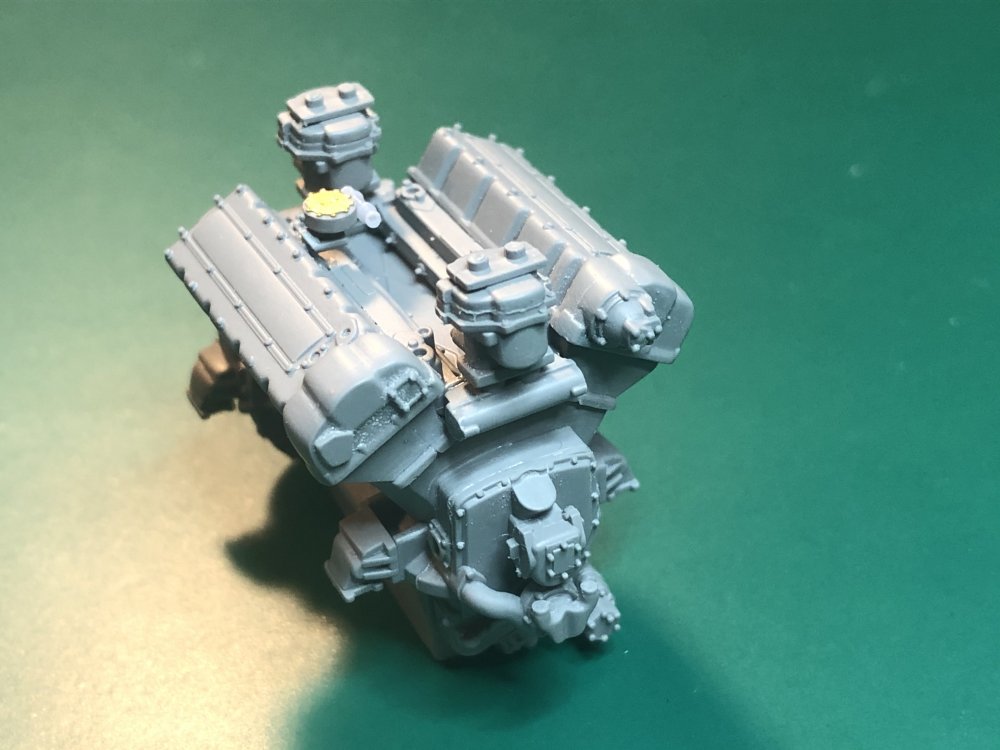
More engine and engine compartment work this week. Added the fuel lines between the front and rear carburetors via the fuel pump as well as the primer lines. Most of the engine is together. Added the engine supports and the fuel filters. The first picture of the vertical fuel tank shows the molded in filter which was the same on both sides. I replaced it with a more accurate representation of the filters. The filters have holes drilled to add the lines. Fuel tanks are together and look like the real thing. Test fitted the engine. That’s it for now.


-
I was thinking of building either a clear stand to hold the turret or a stand you might see in the factory to hold it so I can remove it and display it with and without the turret.
-
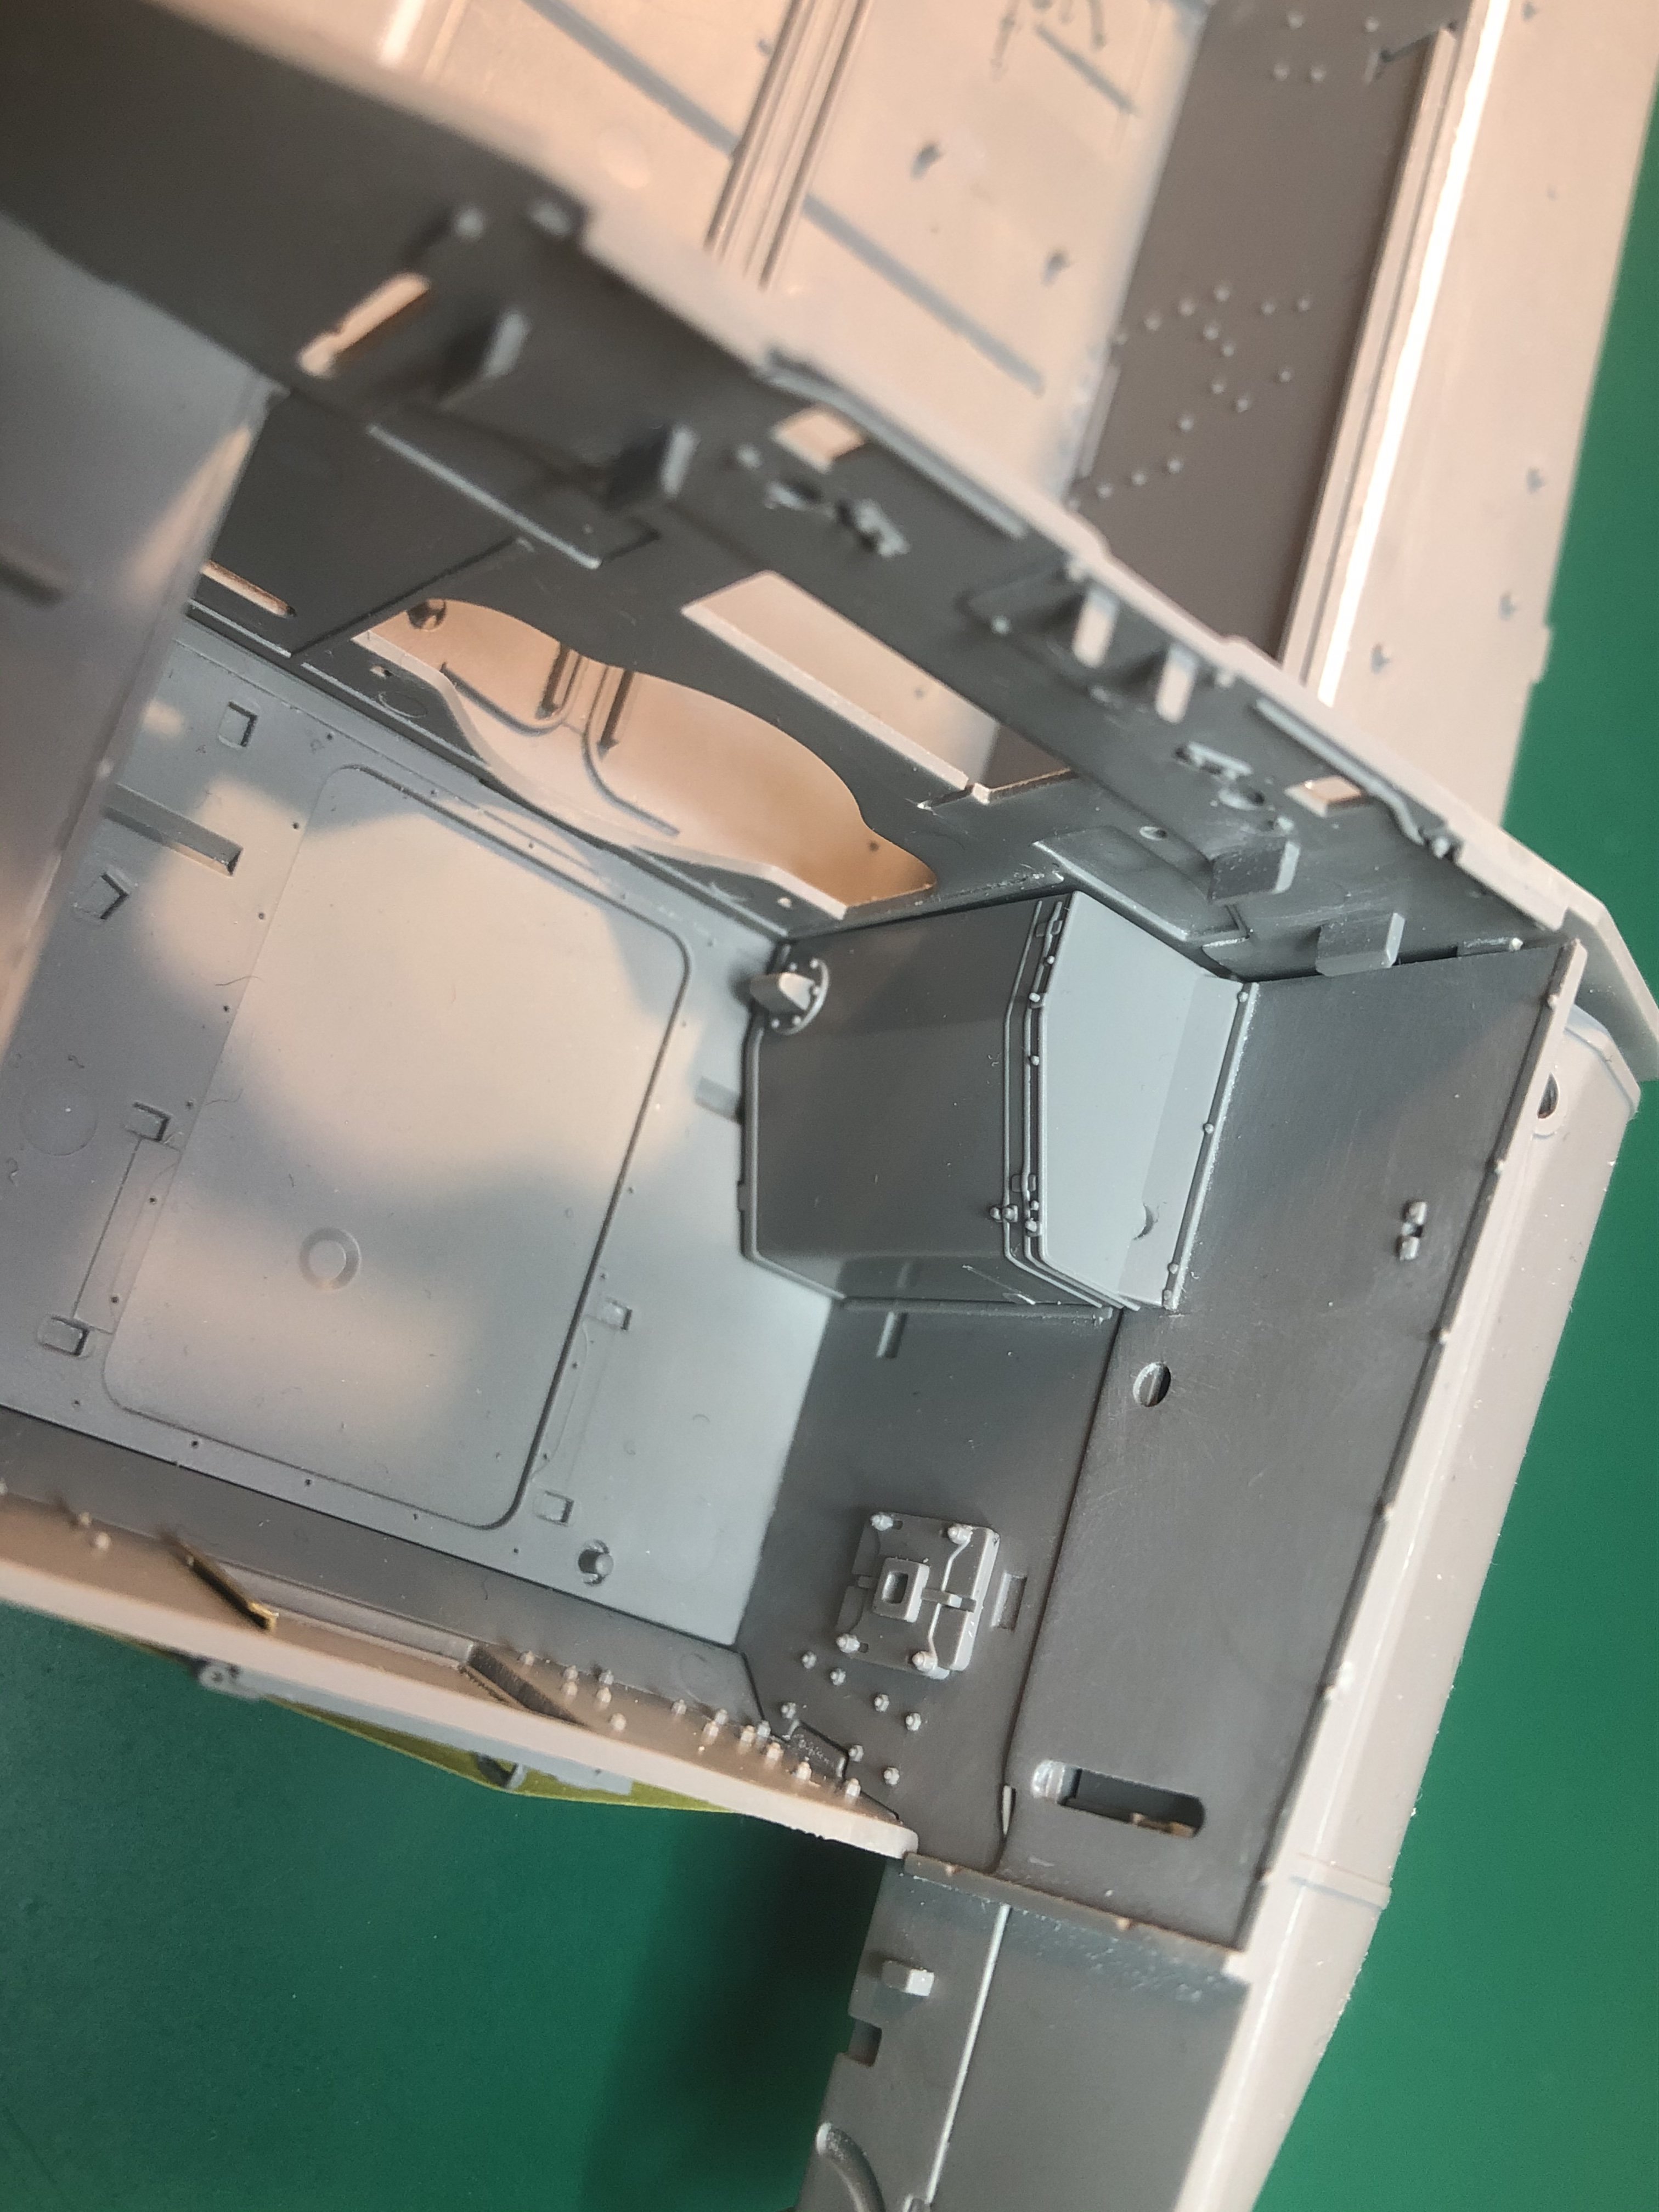
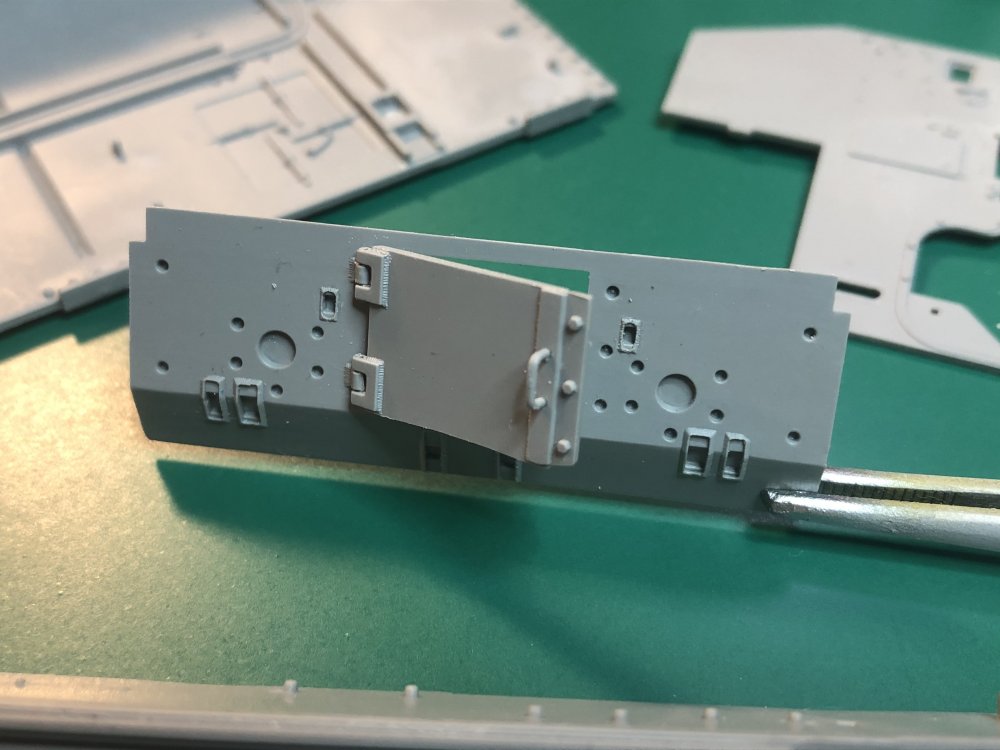
Did some more work this week. Glue to tub side walls only tapping the rear engine door and inserting the transmission at the front to ensure the fit is good. removed the molded wiring from the upper engine walls and the fuel tanks for test fitting. finally did work on the engine. Added an Anyz line connector to the fuel pump (item with the photo etch) as I want to add wiring between front and rear carburetor. More to do this week.


- 137 replies
-
- 11
-

-

-
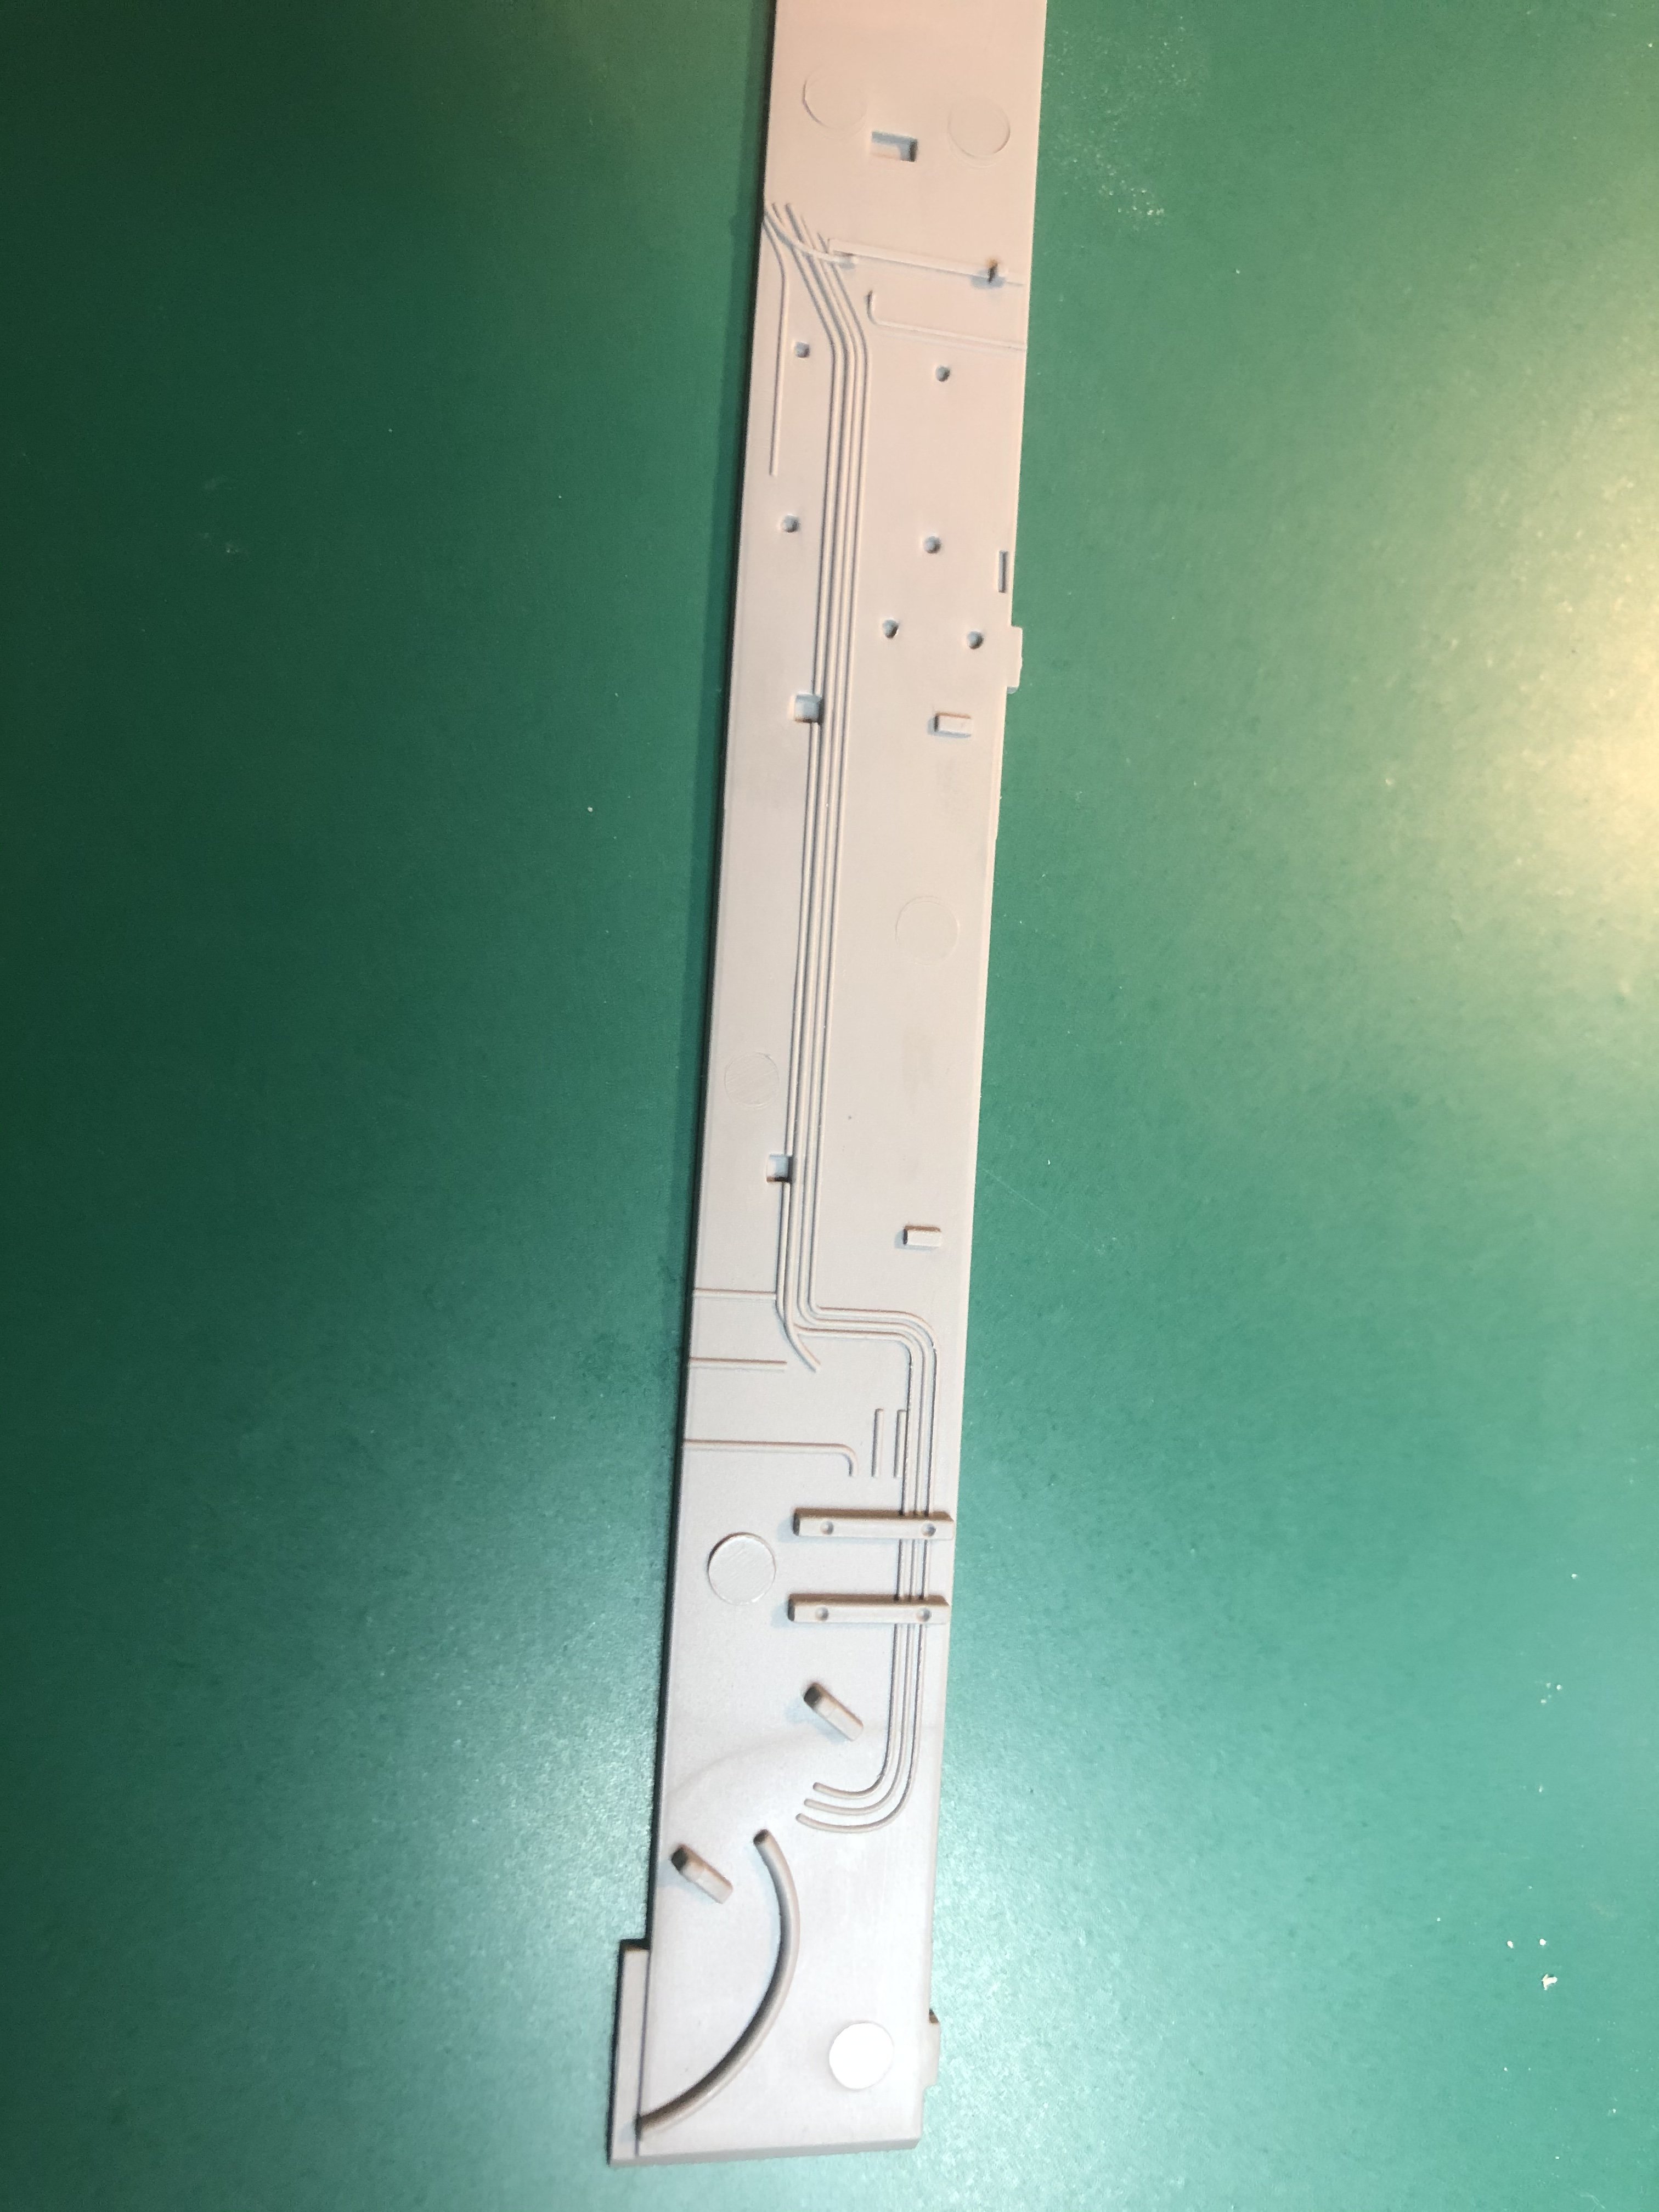
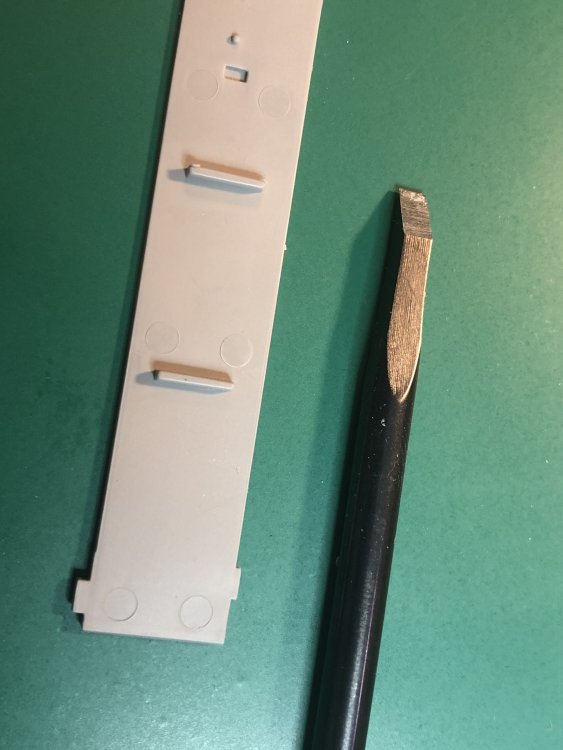
The detail is great and is accurate. Just a lot of the mold release marks in the middle of big pieces. I am sure they need those to get the detail. It has not been bad removing them just time consuming.
-
Also have some additional detail to add and try, MJ Miniatures light guards and us clamp tool set, ammo tool clamps, and friulmodel T-66 type tracks.

-
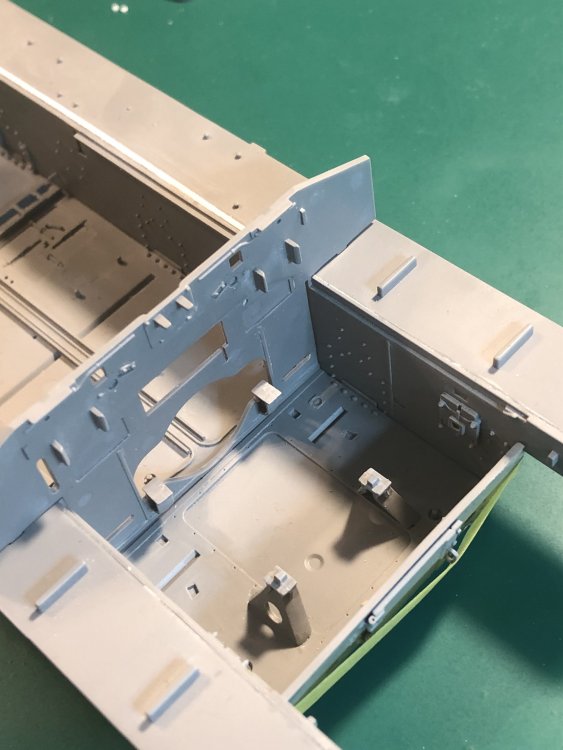
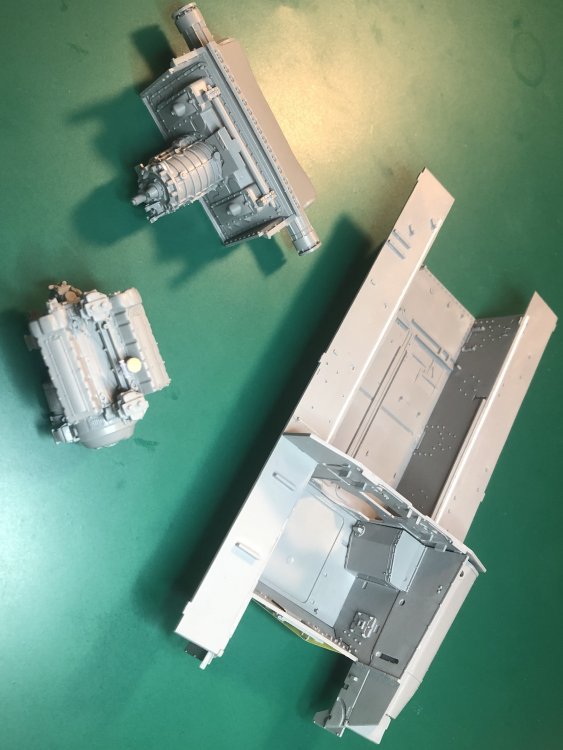
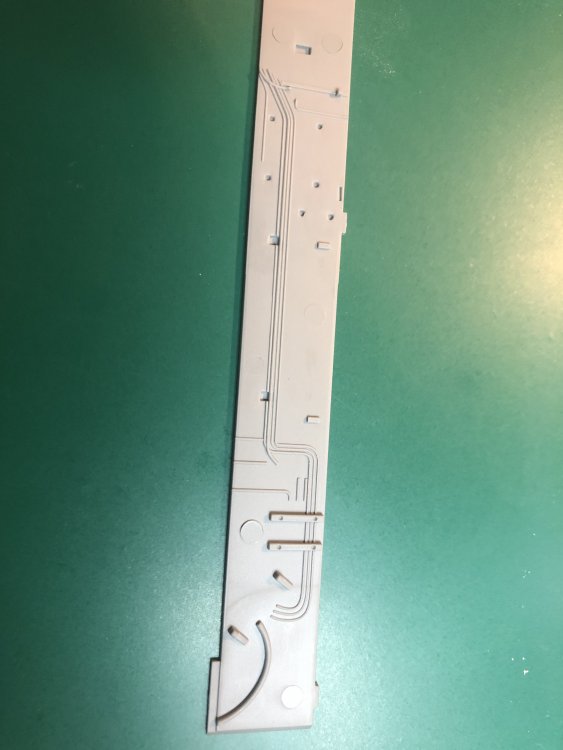
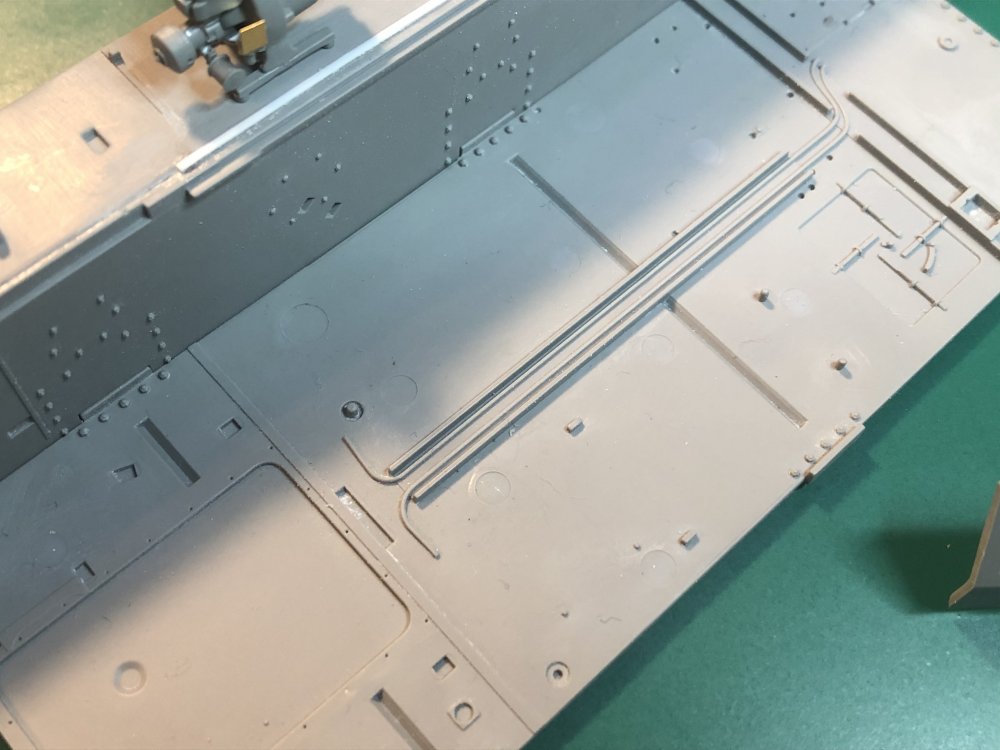
It has been several months since I posted on my D7. I was working on the Eduard 1/48 P-51D-5, one photo below. But I am back and working on a new kit. Some of you may remember I was working on an M4A3 Sherman and scratch building the interior. Well now we have it in kit form. I will probably bring back some comparison pictures from my original build. I started on this kit by removed a lot of circular mold markings as well as the molded in wiring which I am planning on scratch building. Also the rear engine hatch I drilled holes and added wire so the door opens and closes. That is it for now.


-
Thanks Jeff. Waiting to see your D7 next.
-
Thank you. It took a lot longer than I anticipated.
-
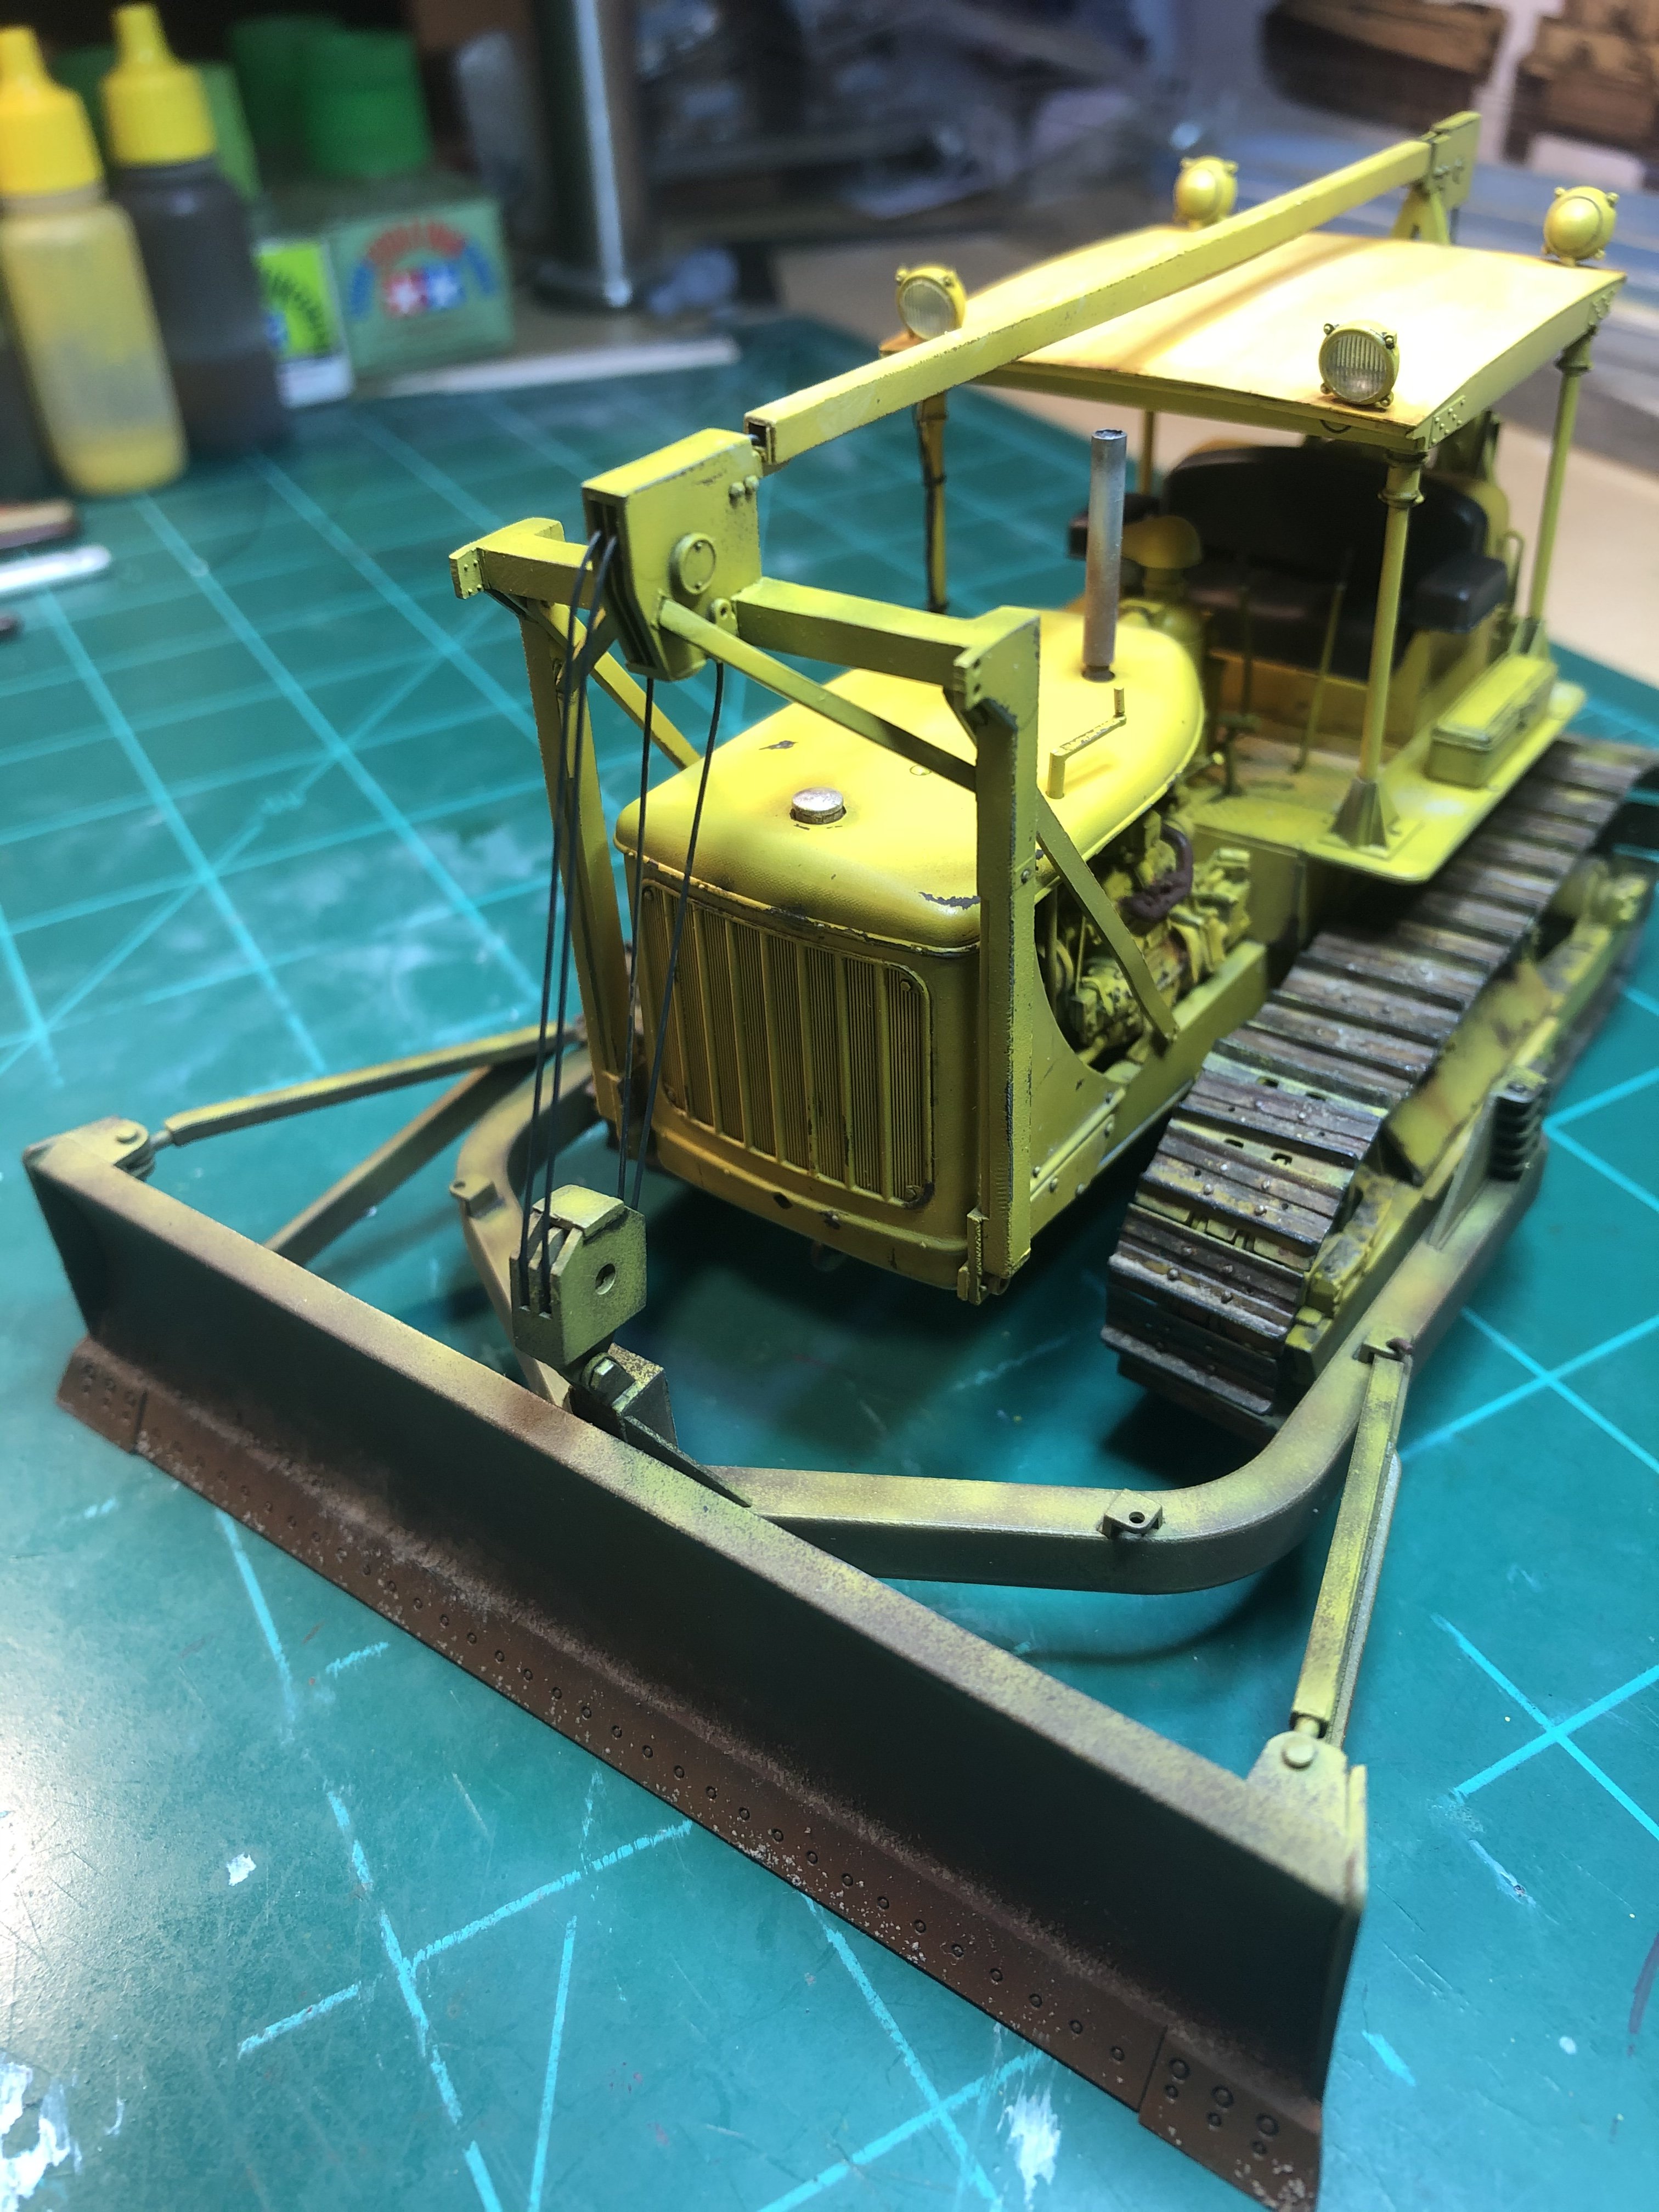
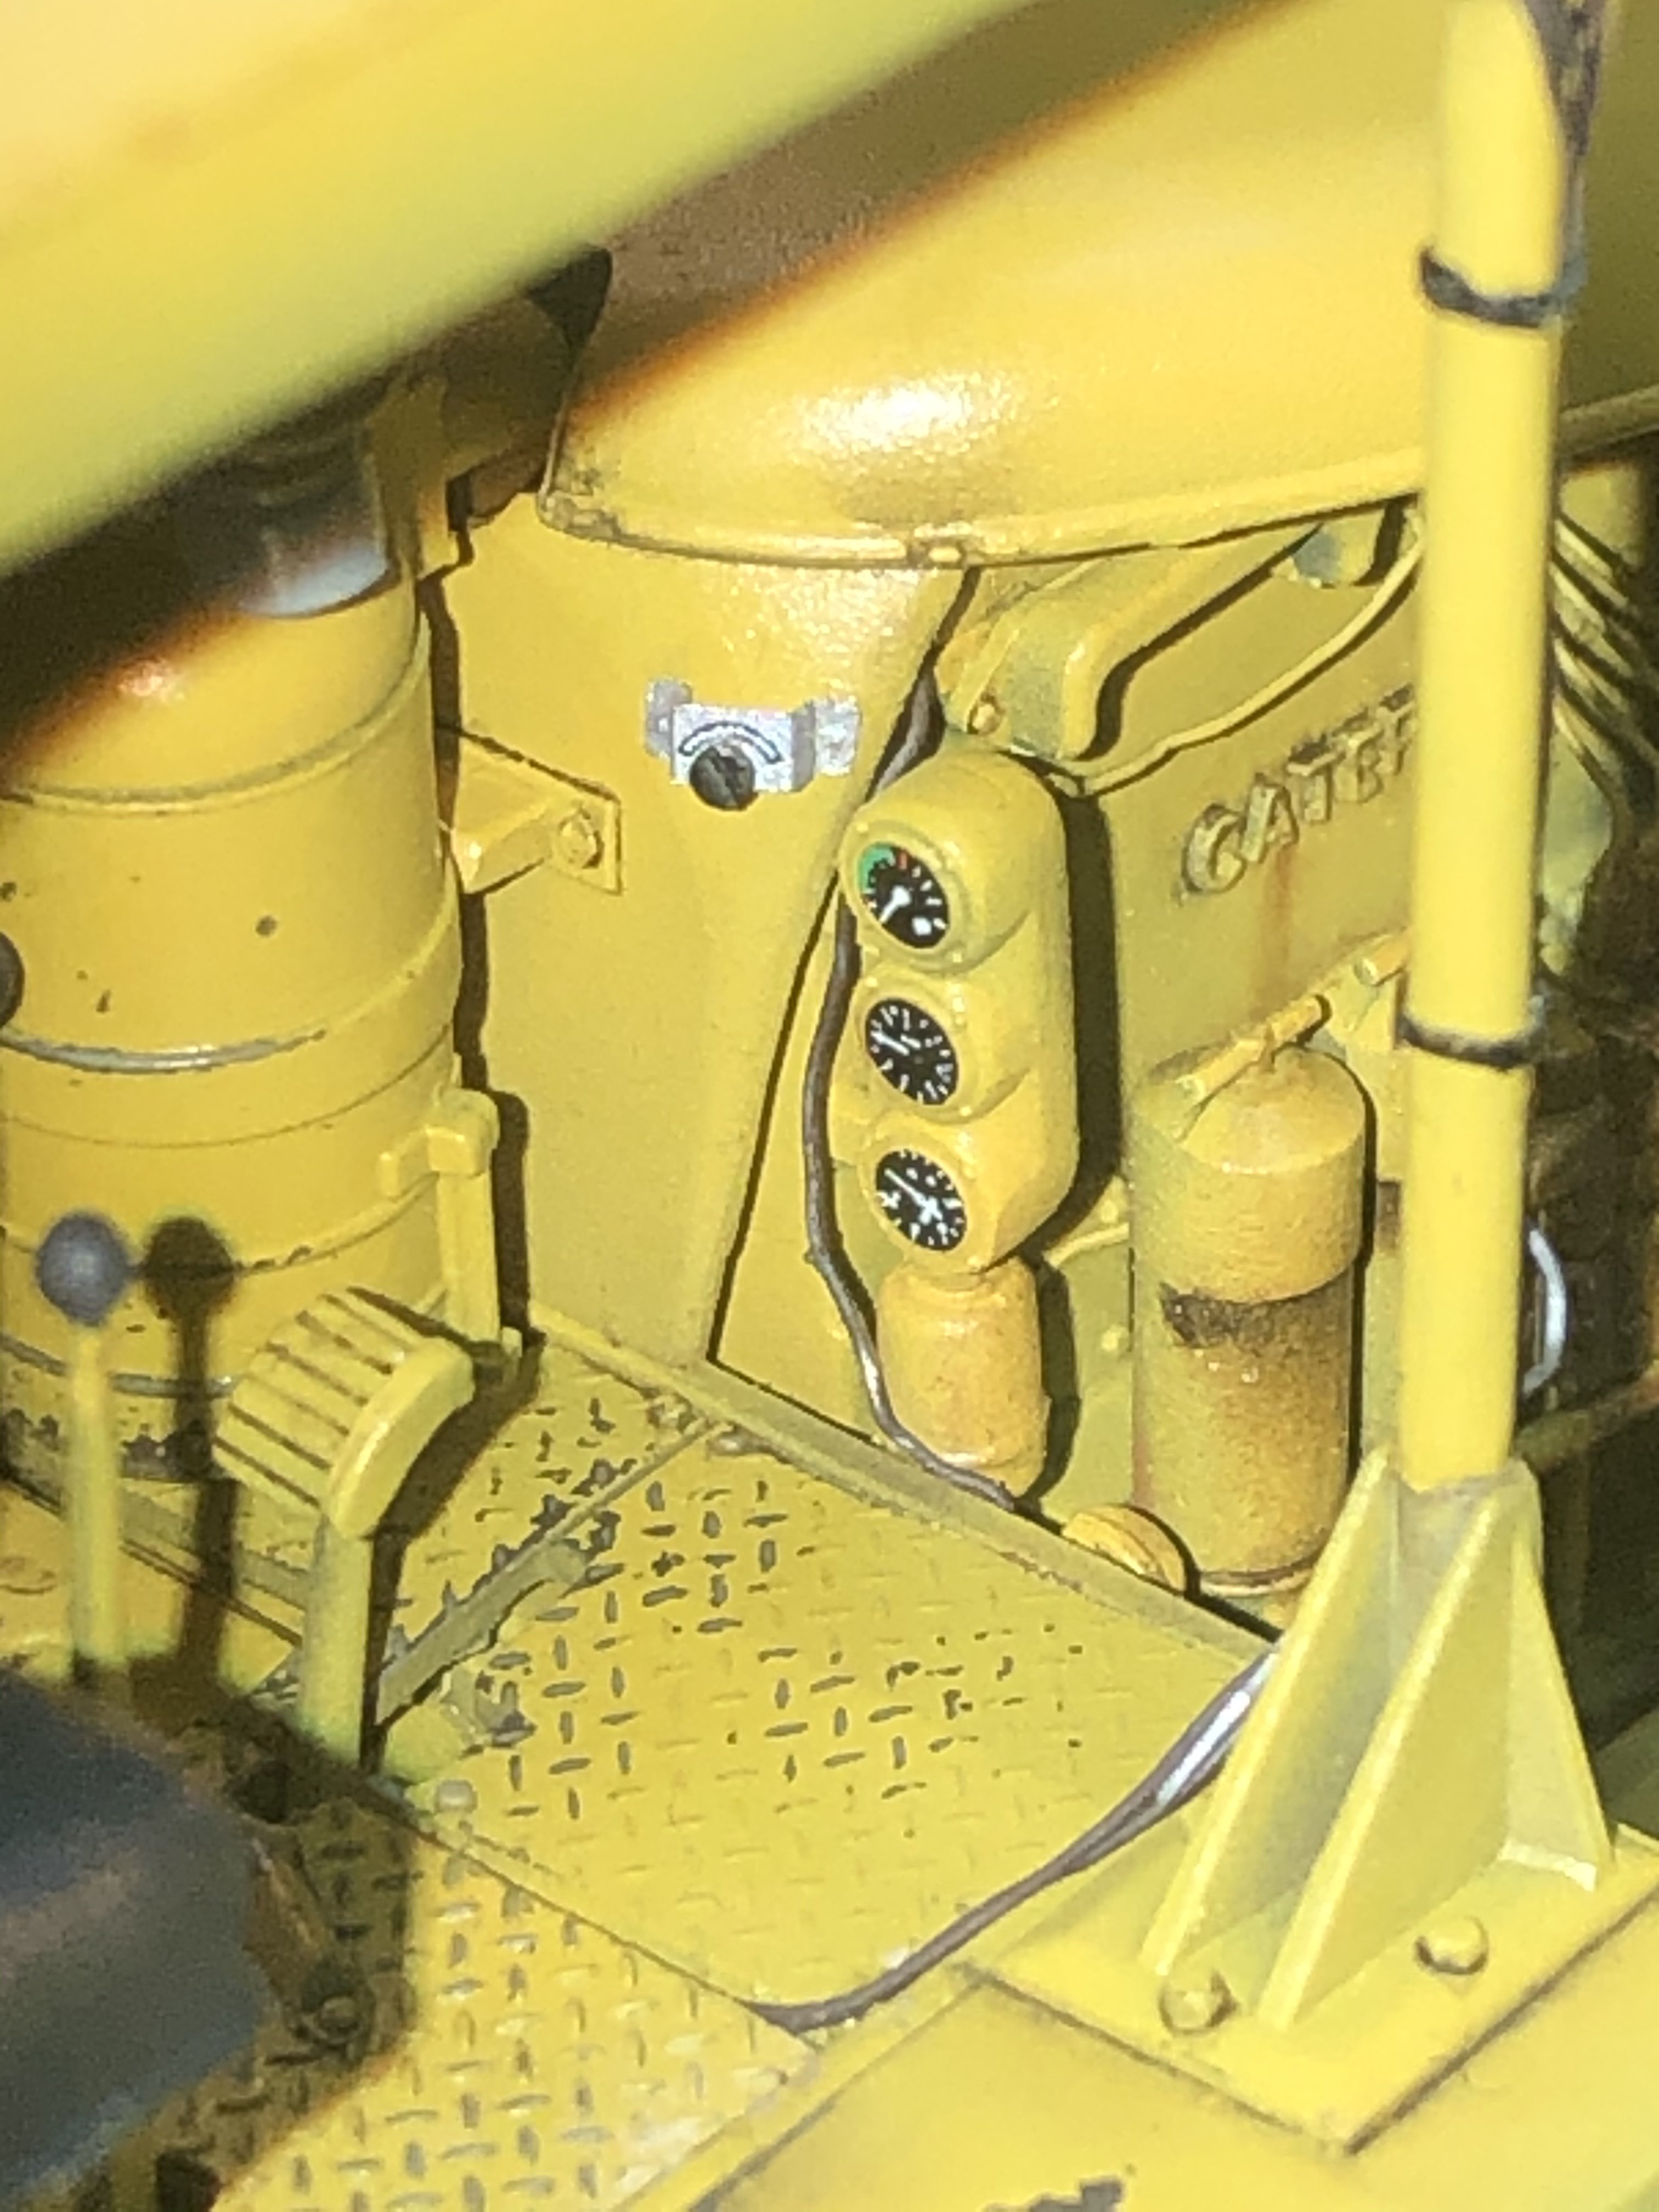
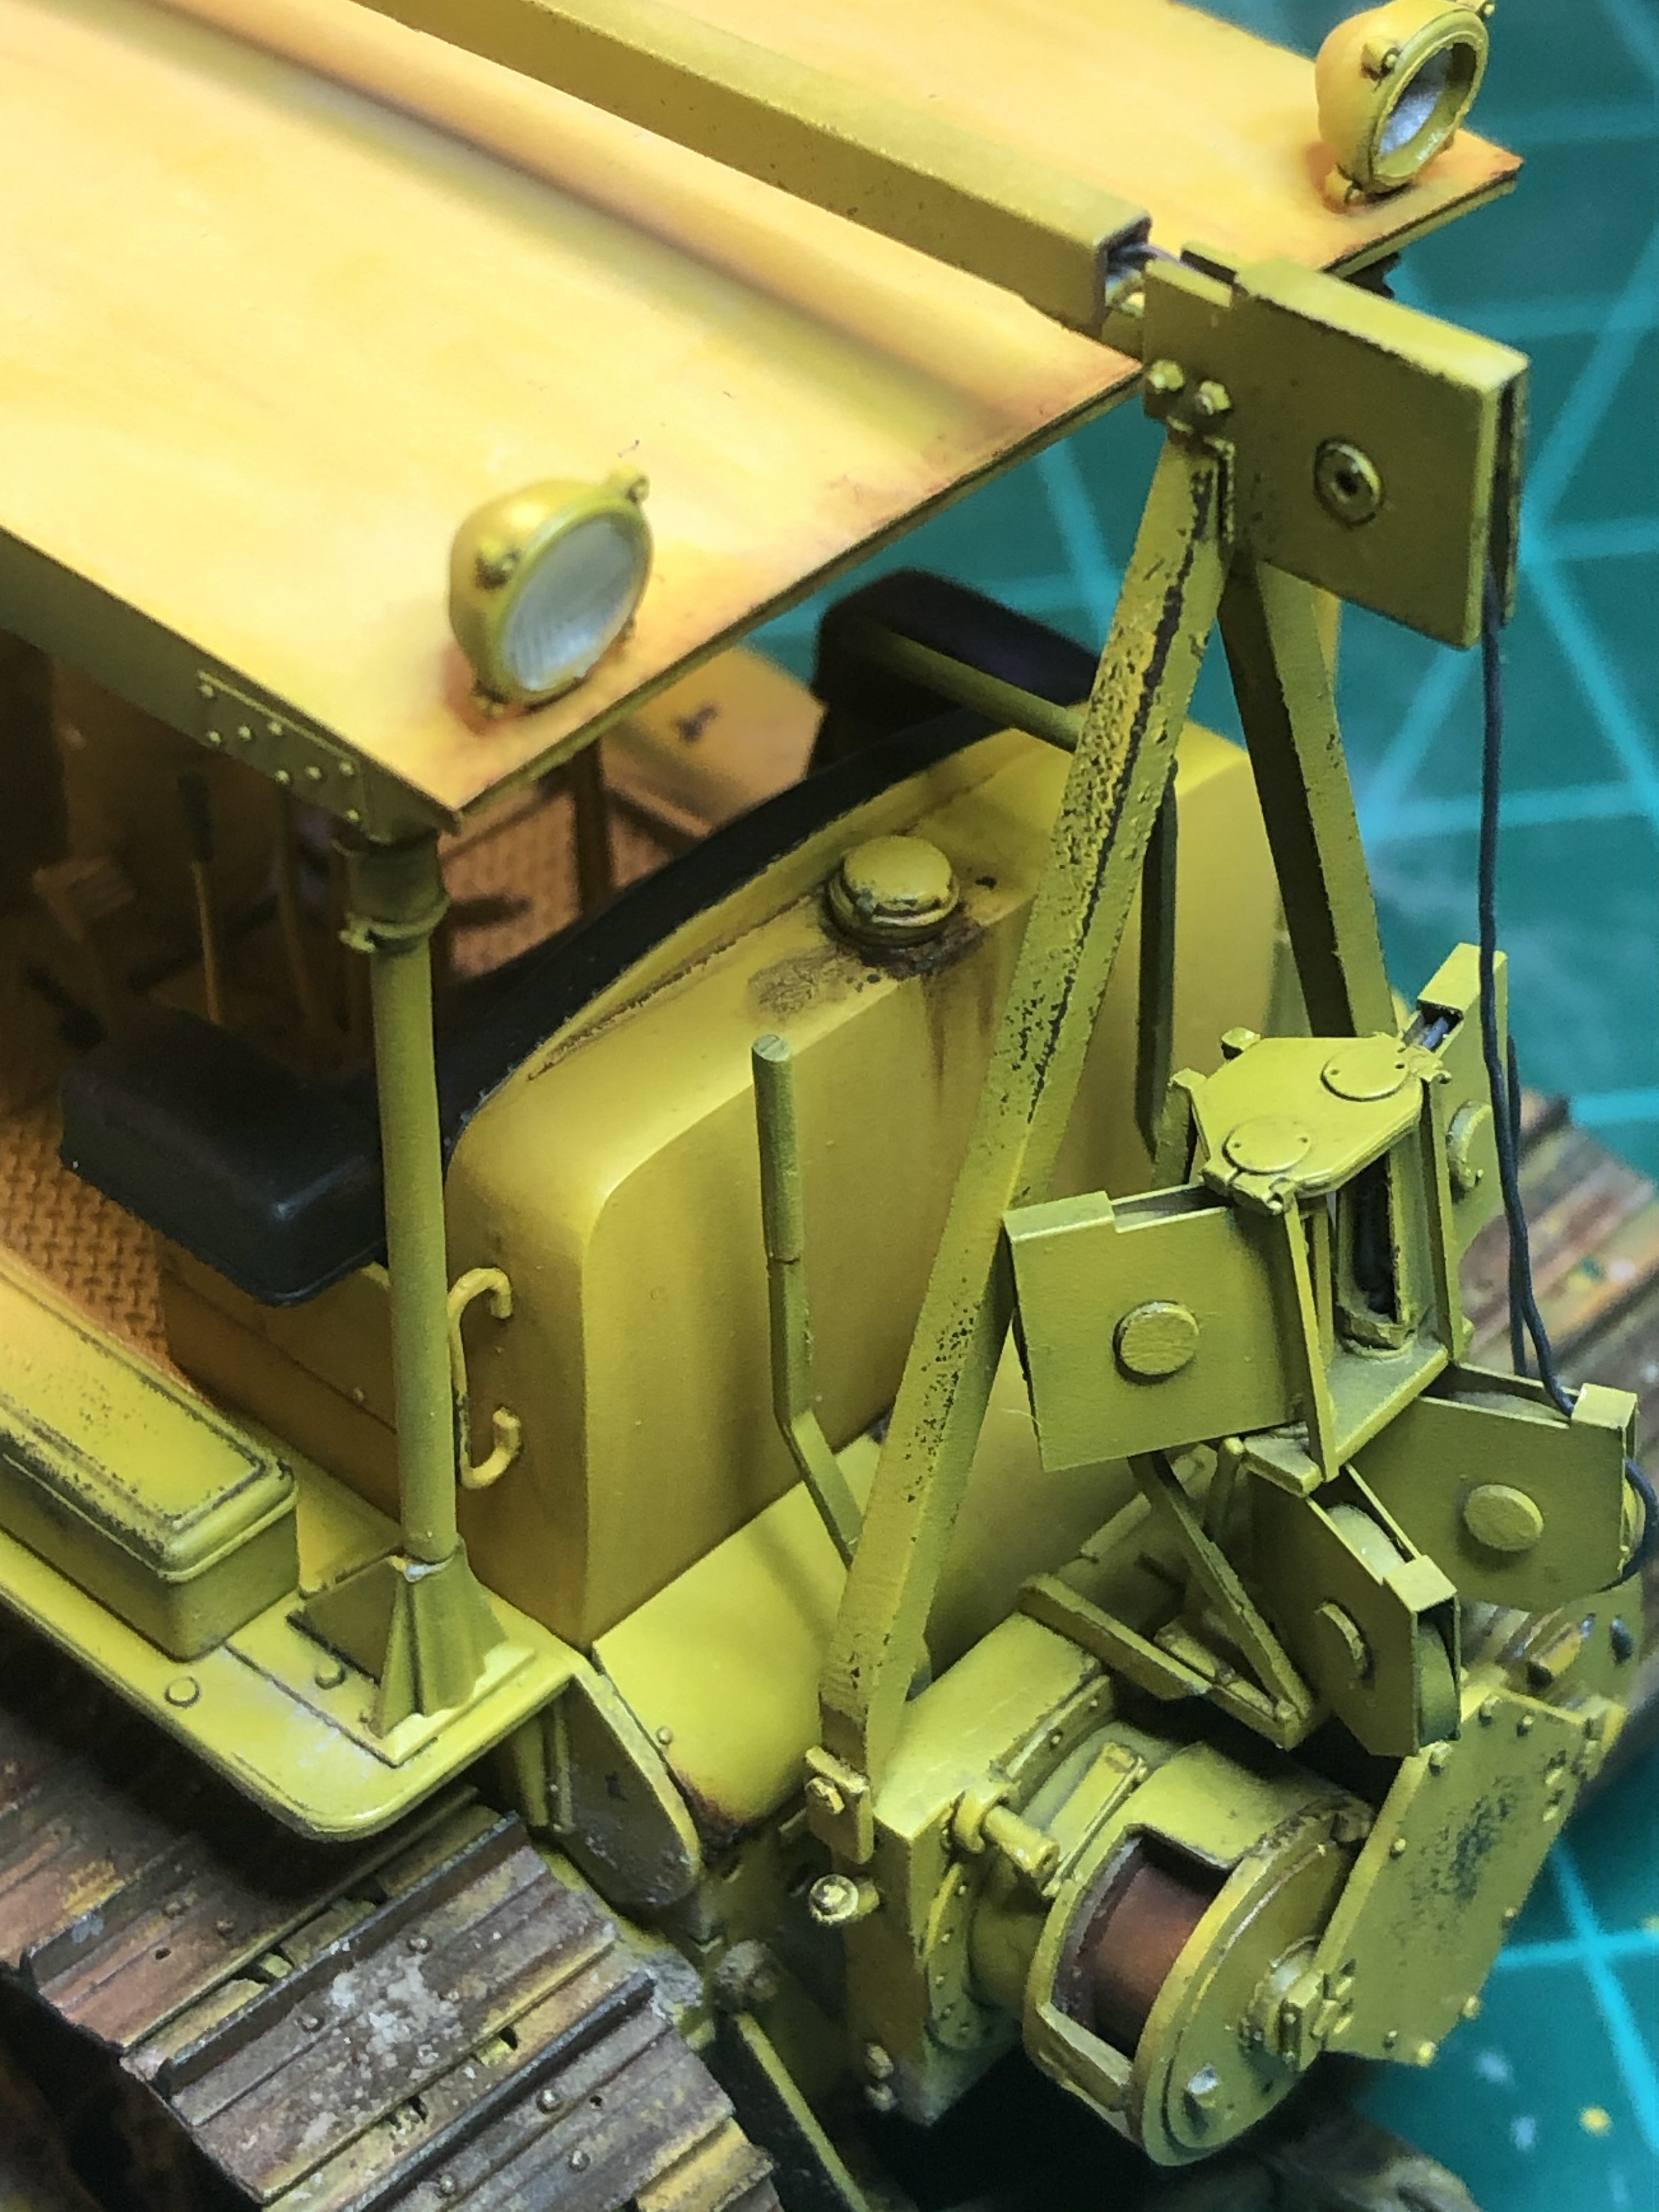
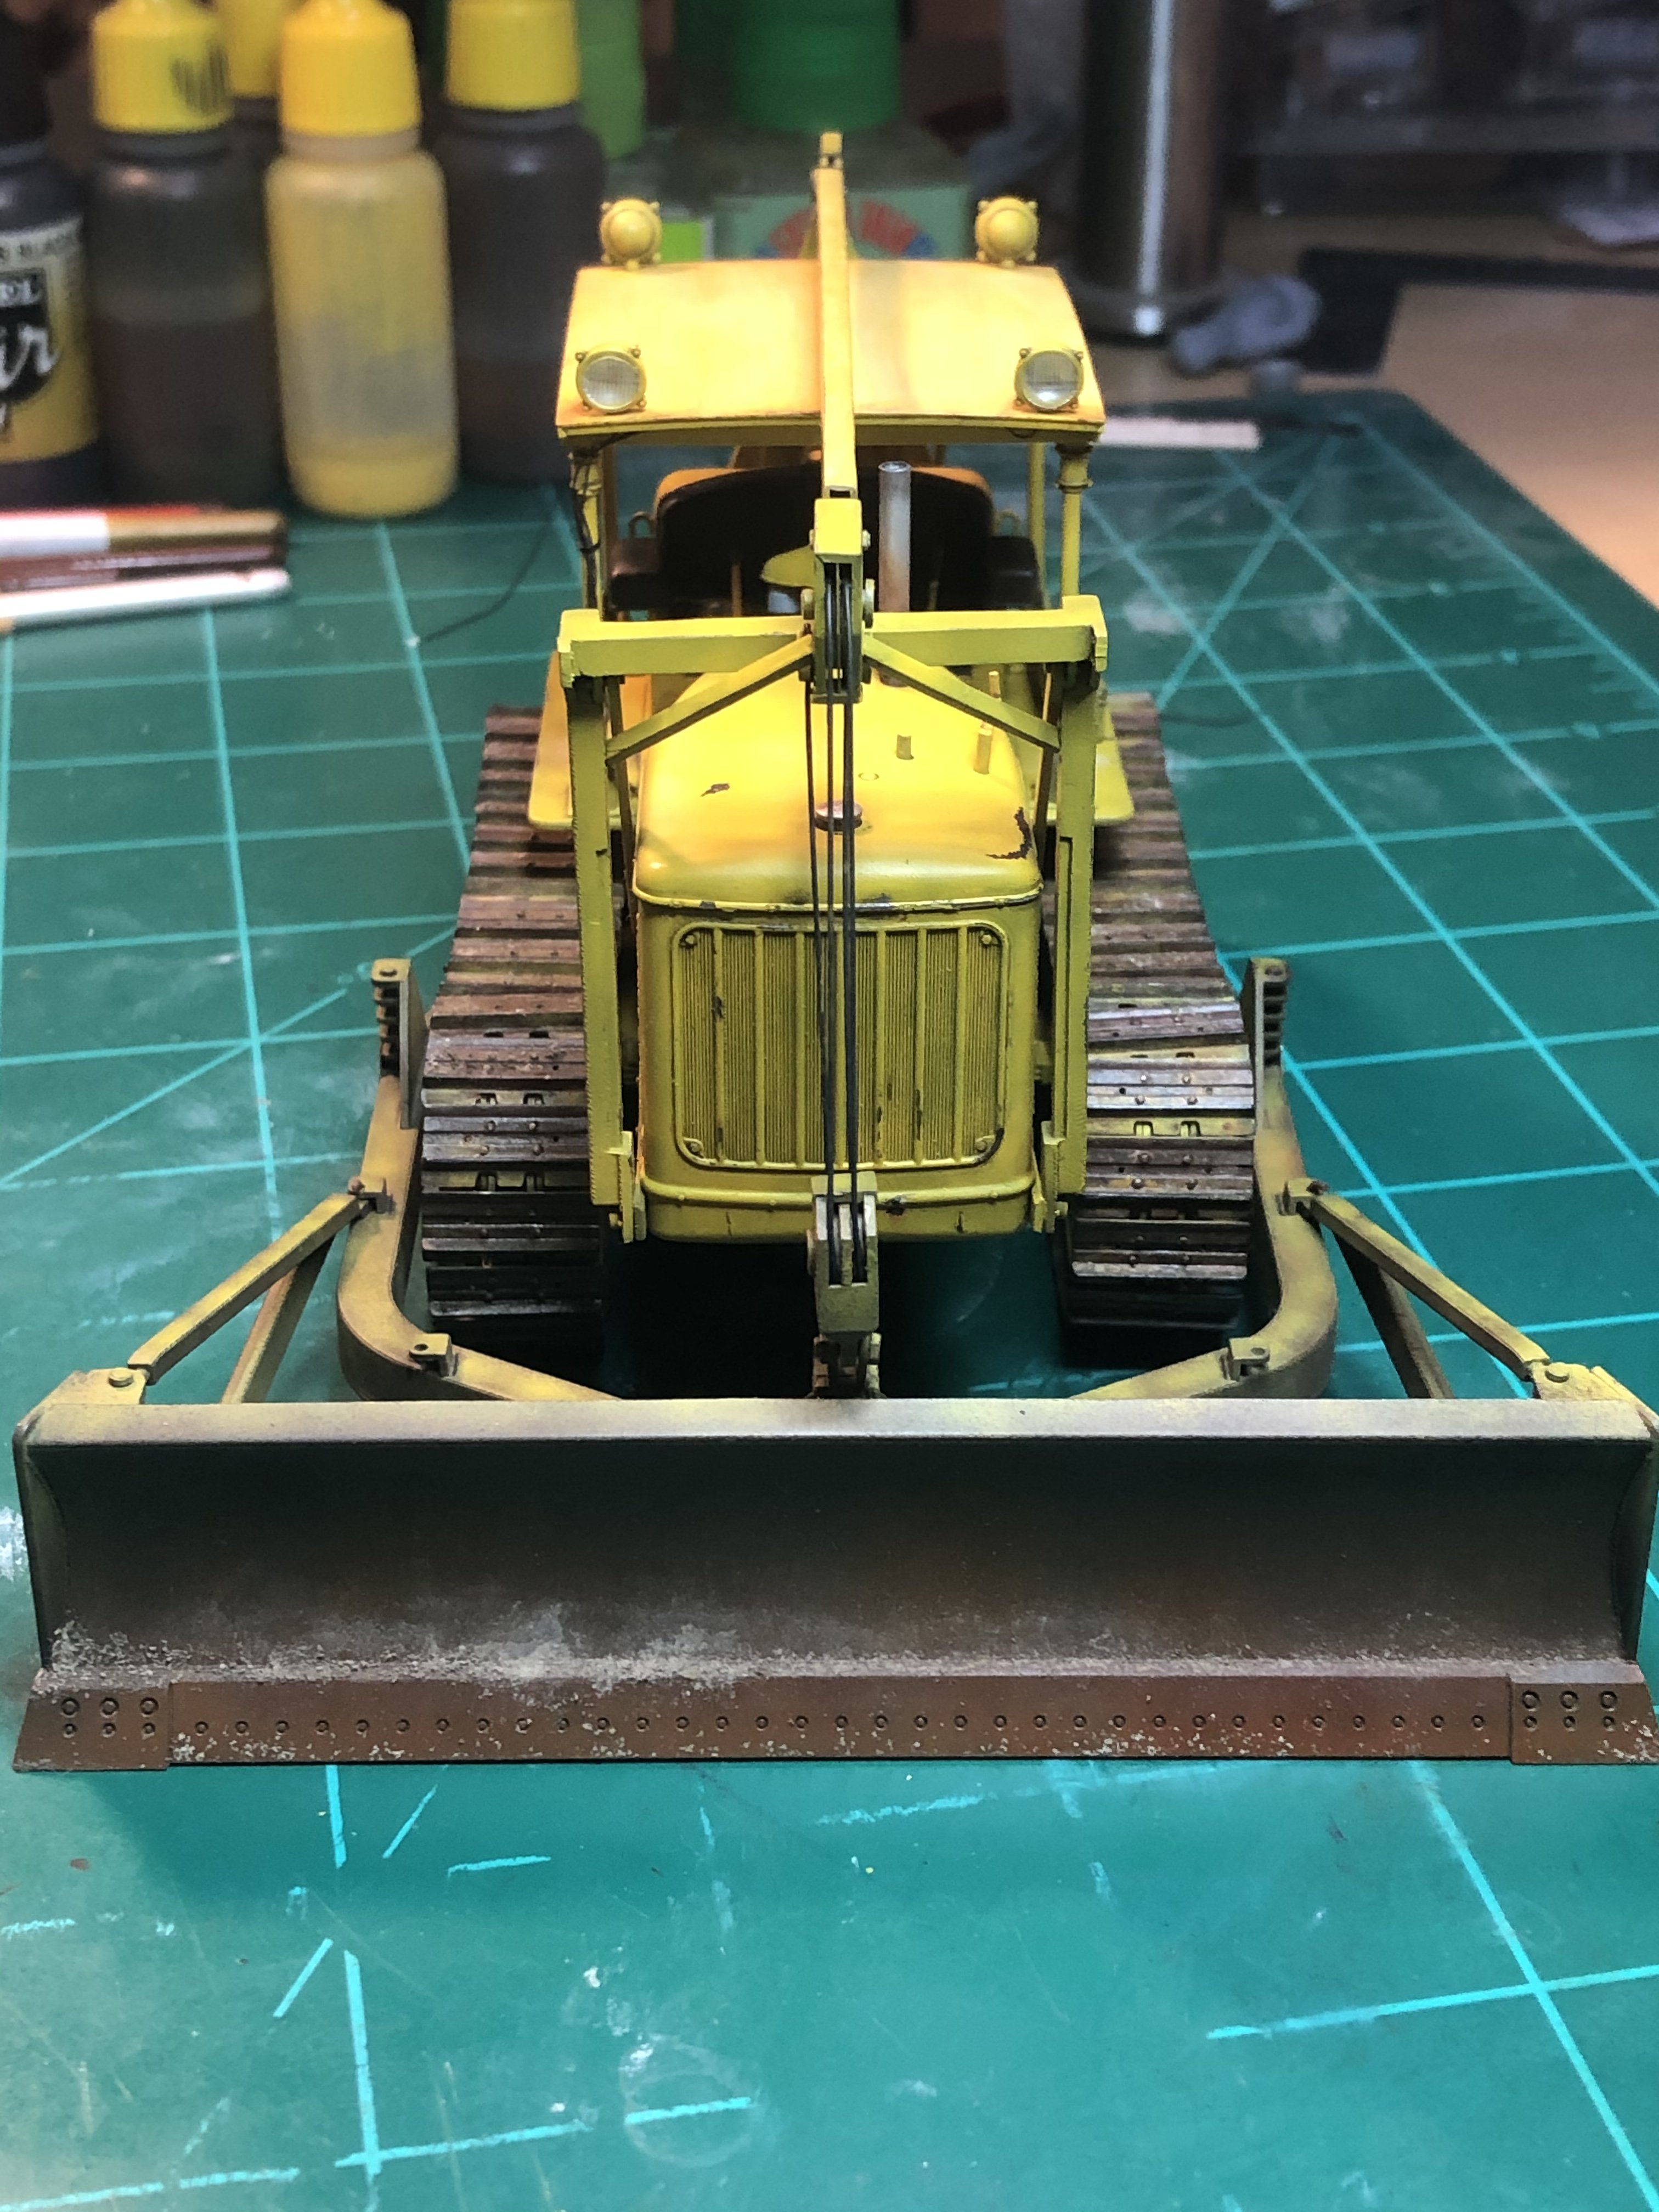
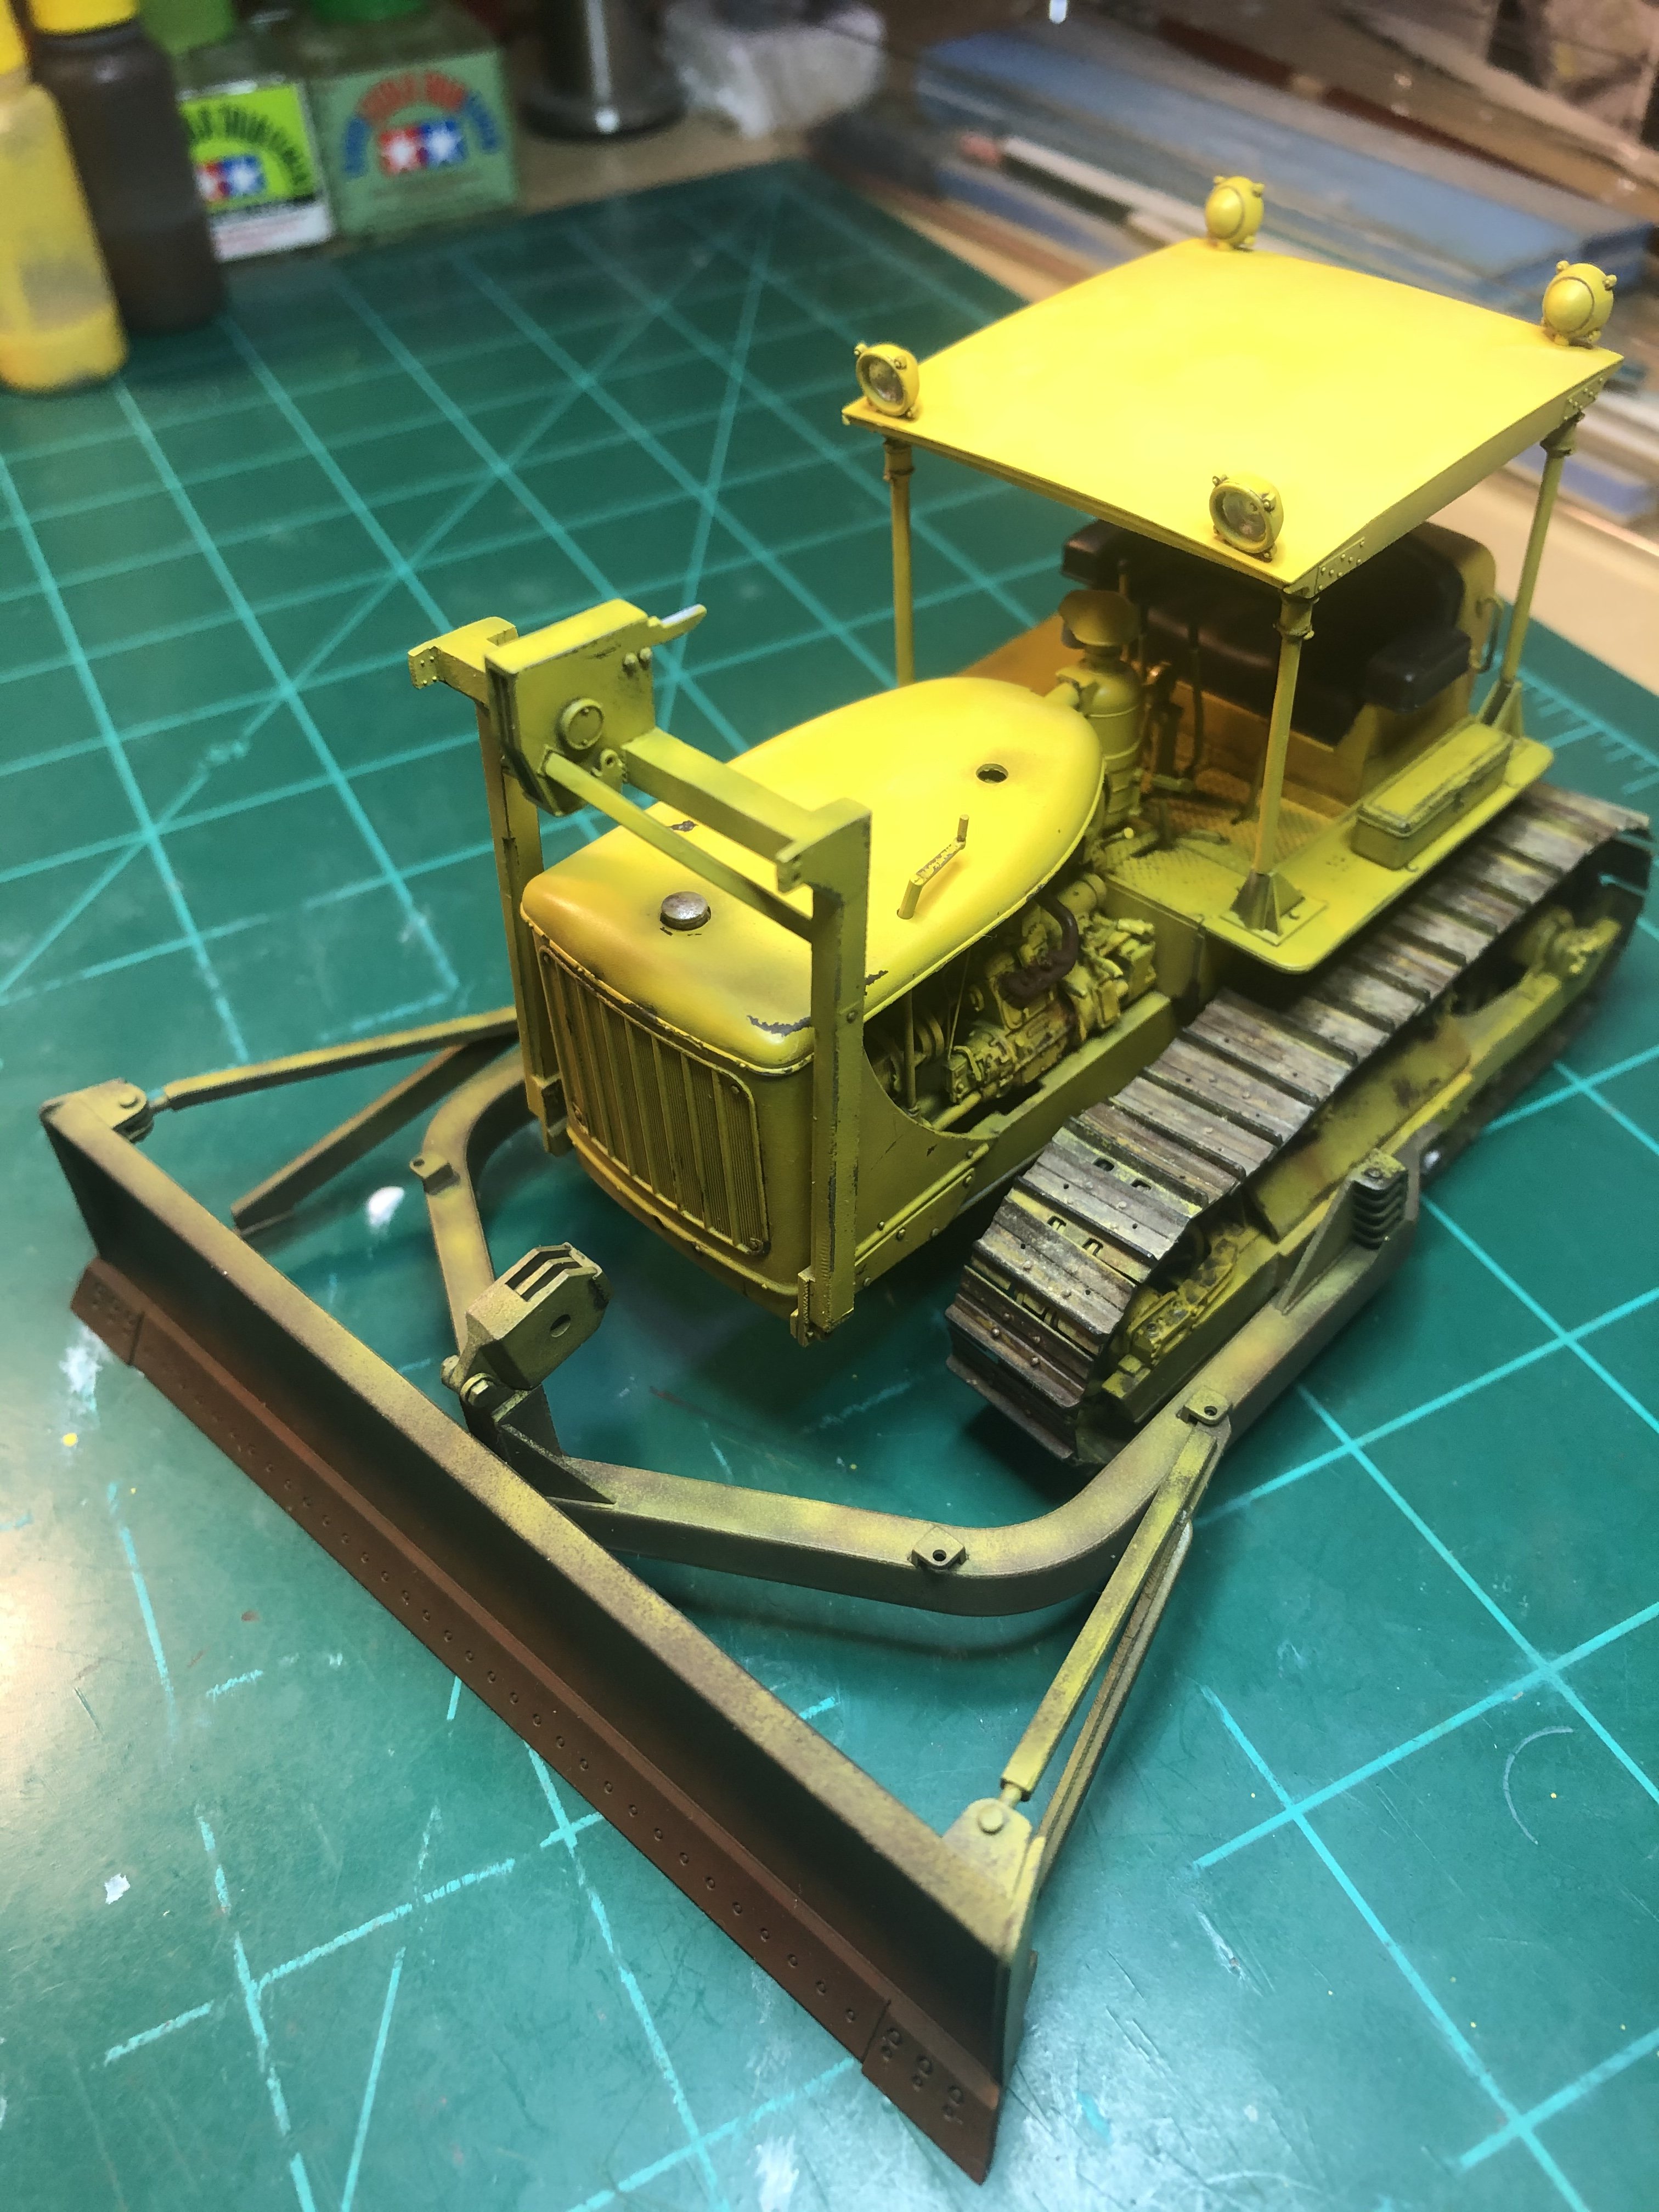
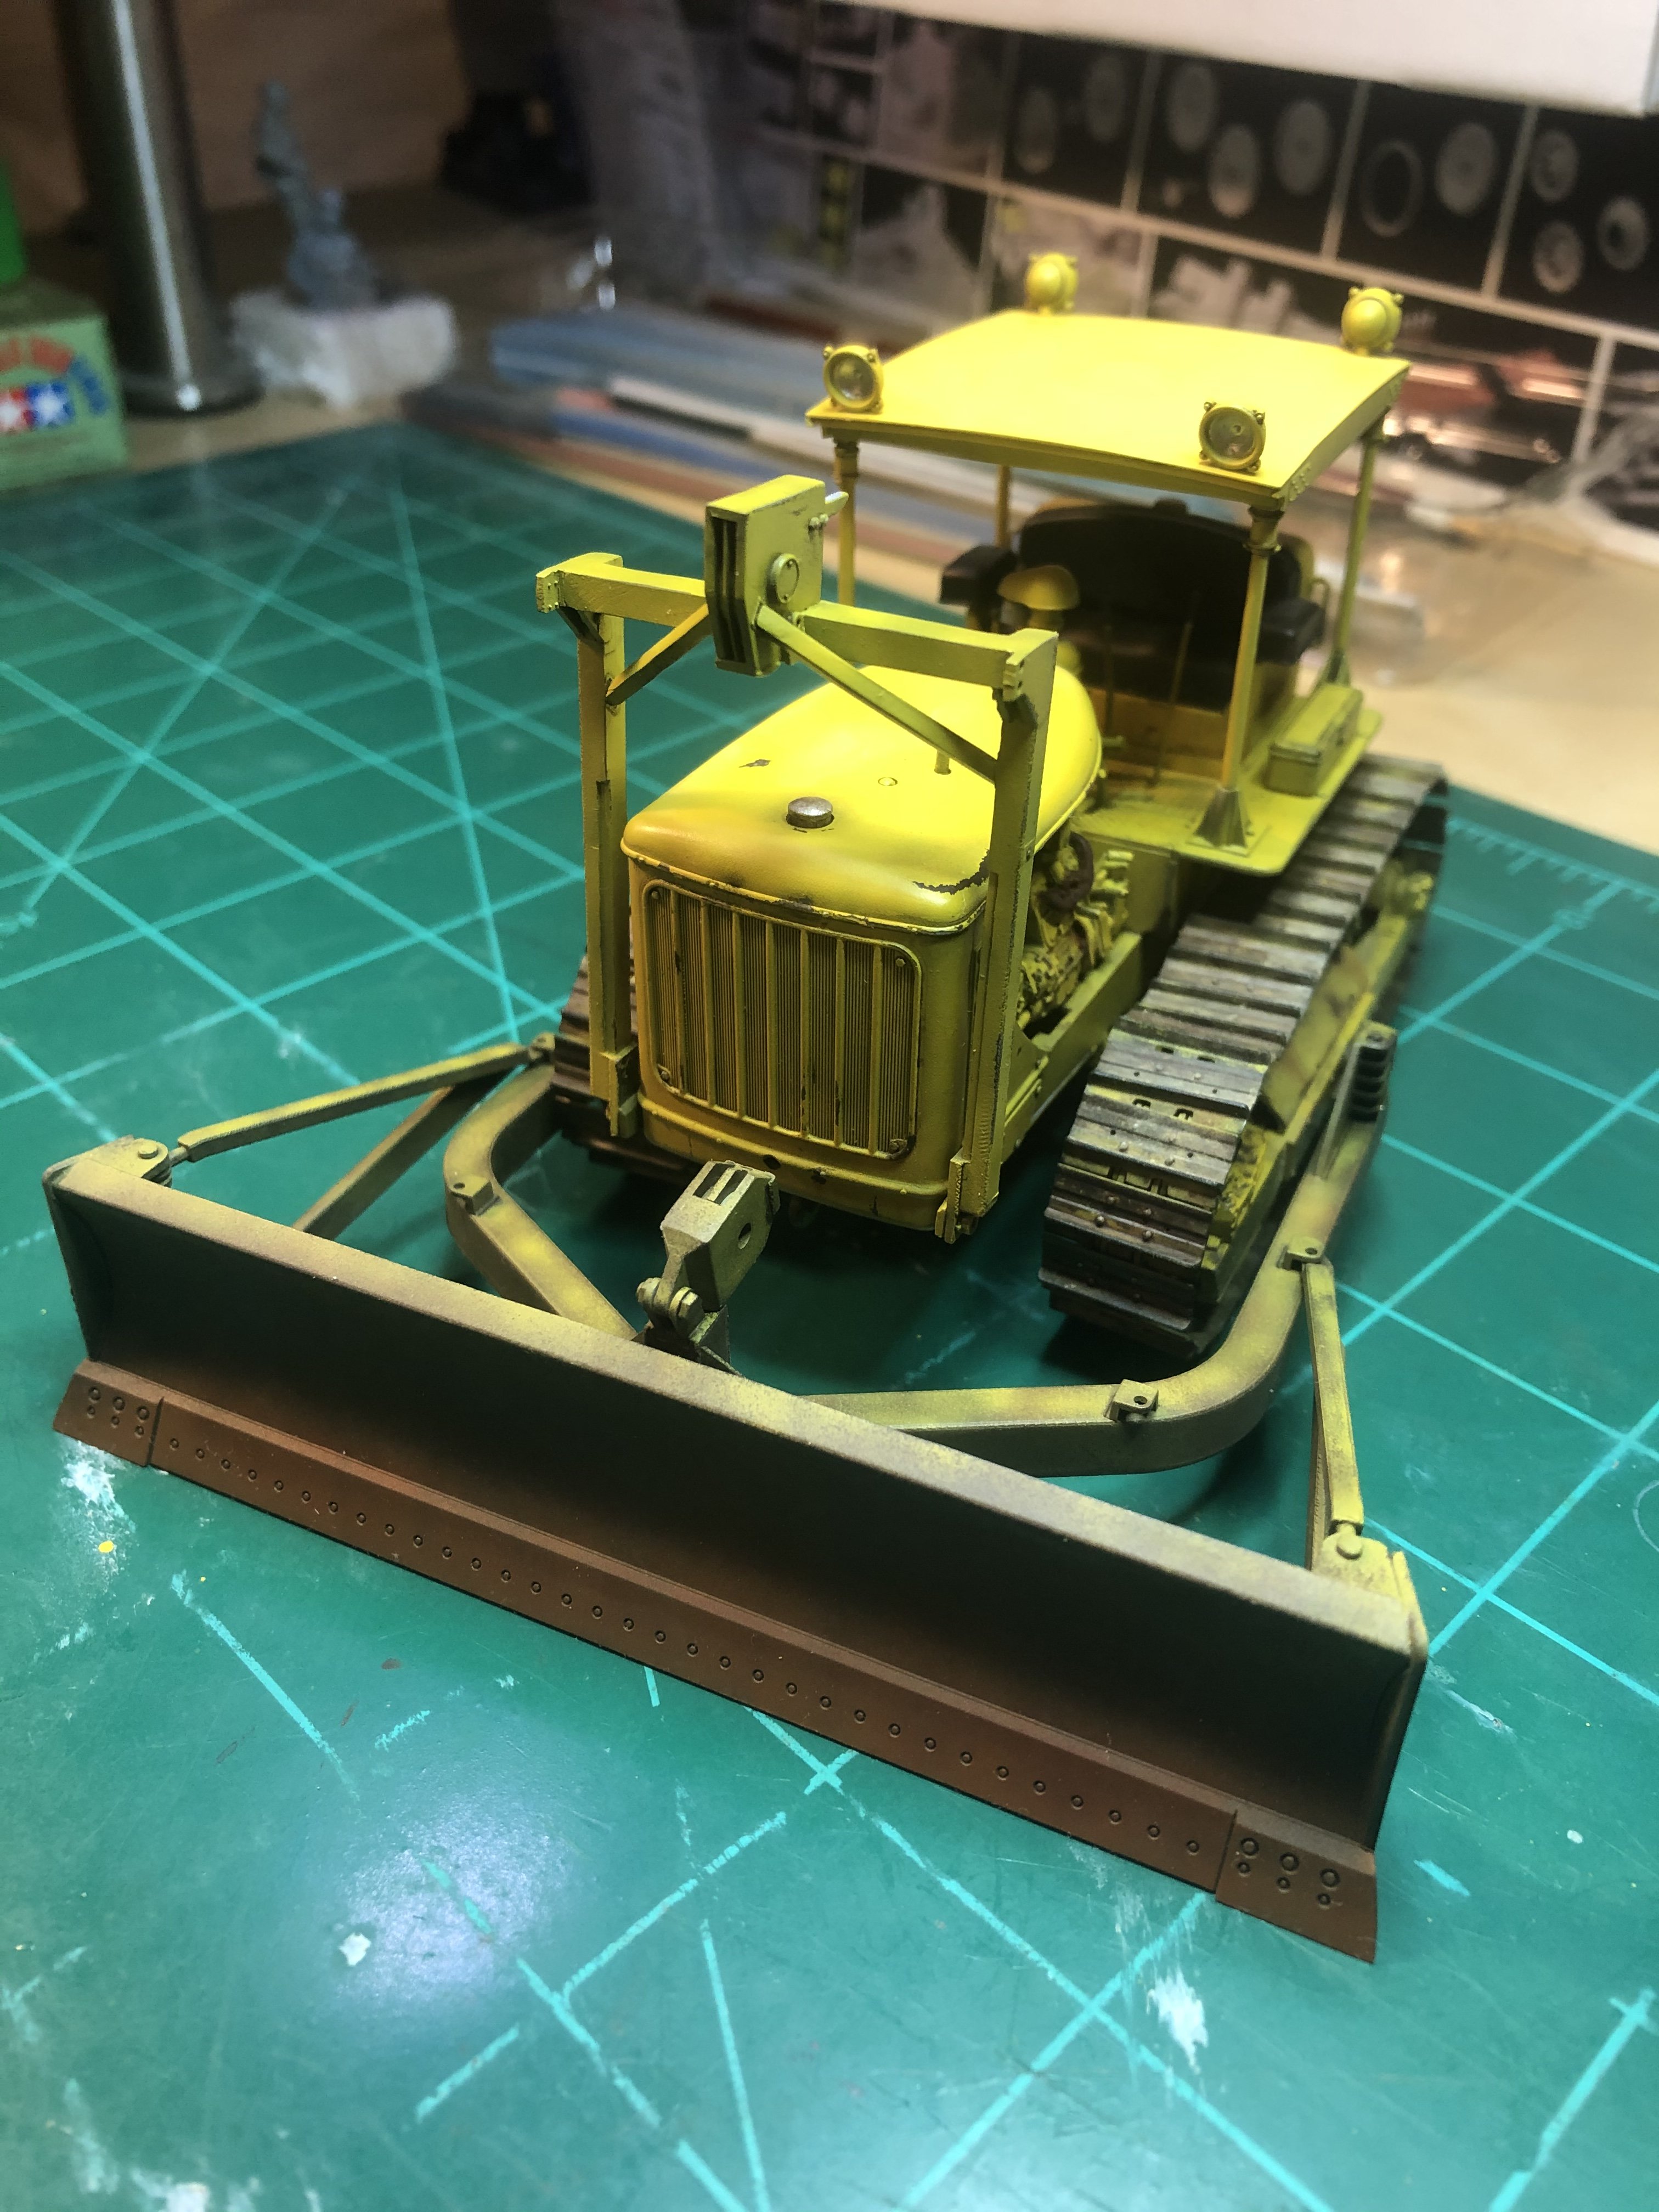
Well, it is finally done. Created my own exhaust stack. Added wiring for the lights running the wiring under the floor plate and have it connected to an on/off switch. Added dirt to the tracks and dozer blade. Here are some pictures of end result. Tim


-
Do you think the wiring for the lights went down the inside of the poles or outside. I have not found any pictures with the lights as they have them in the kit.
-
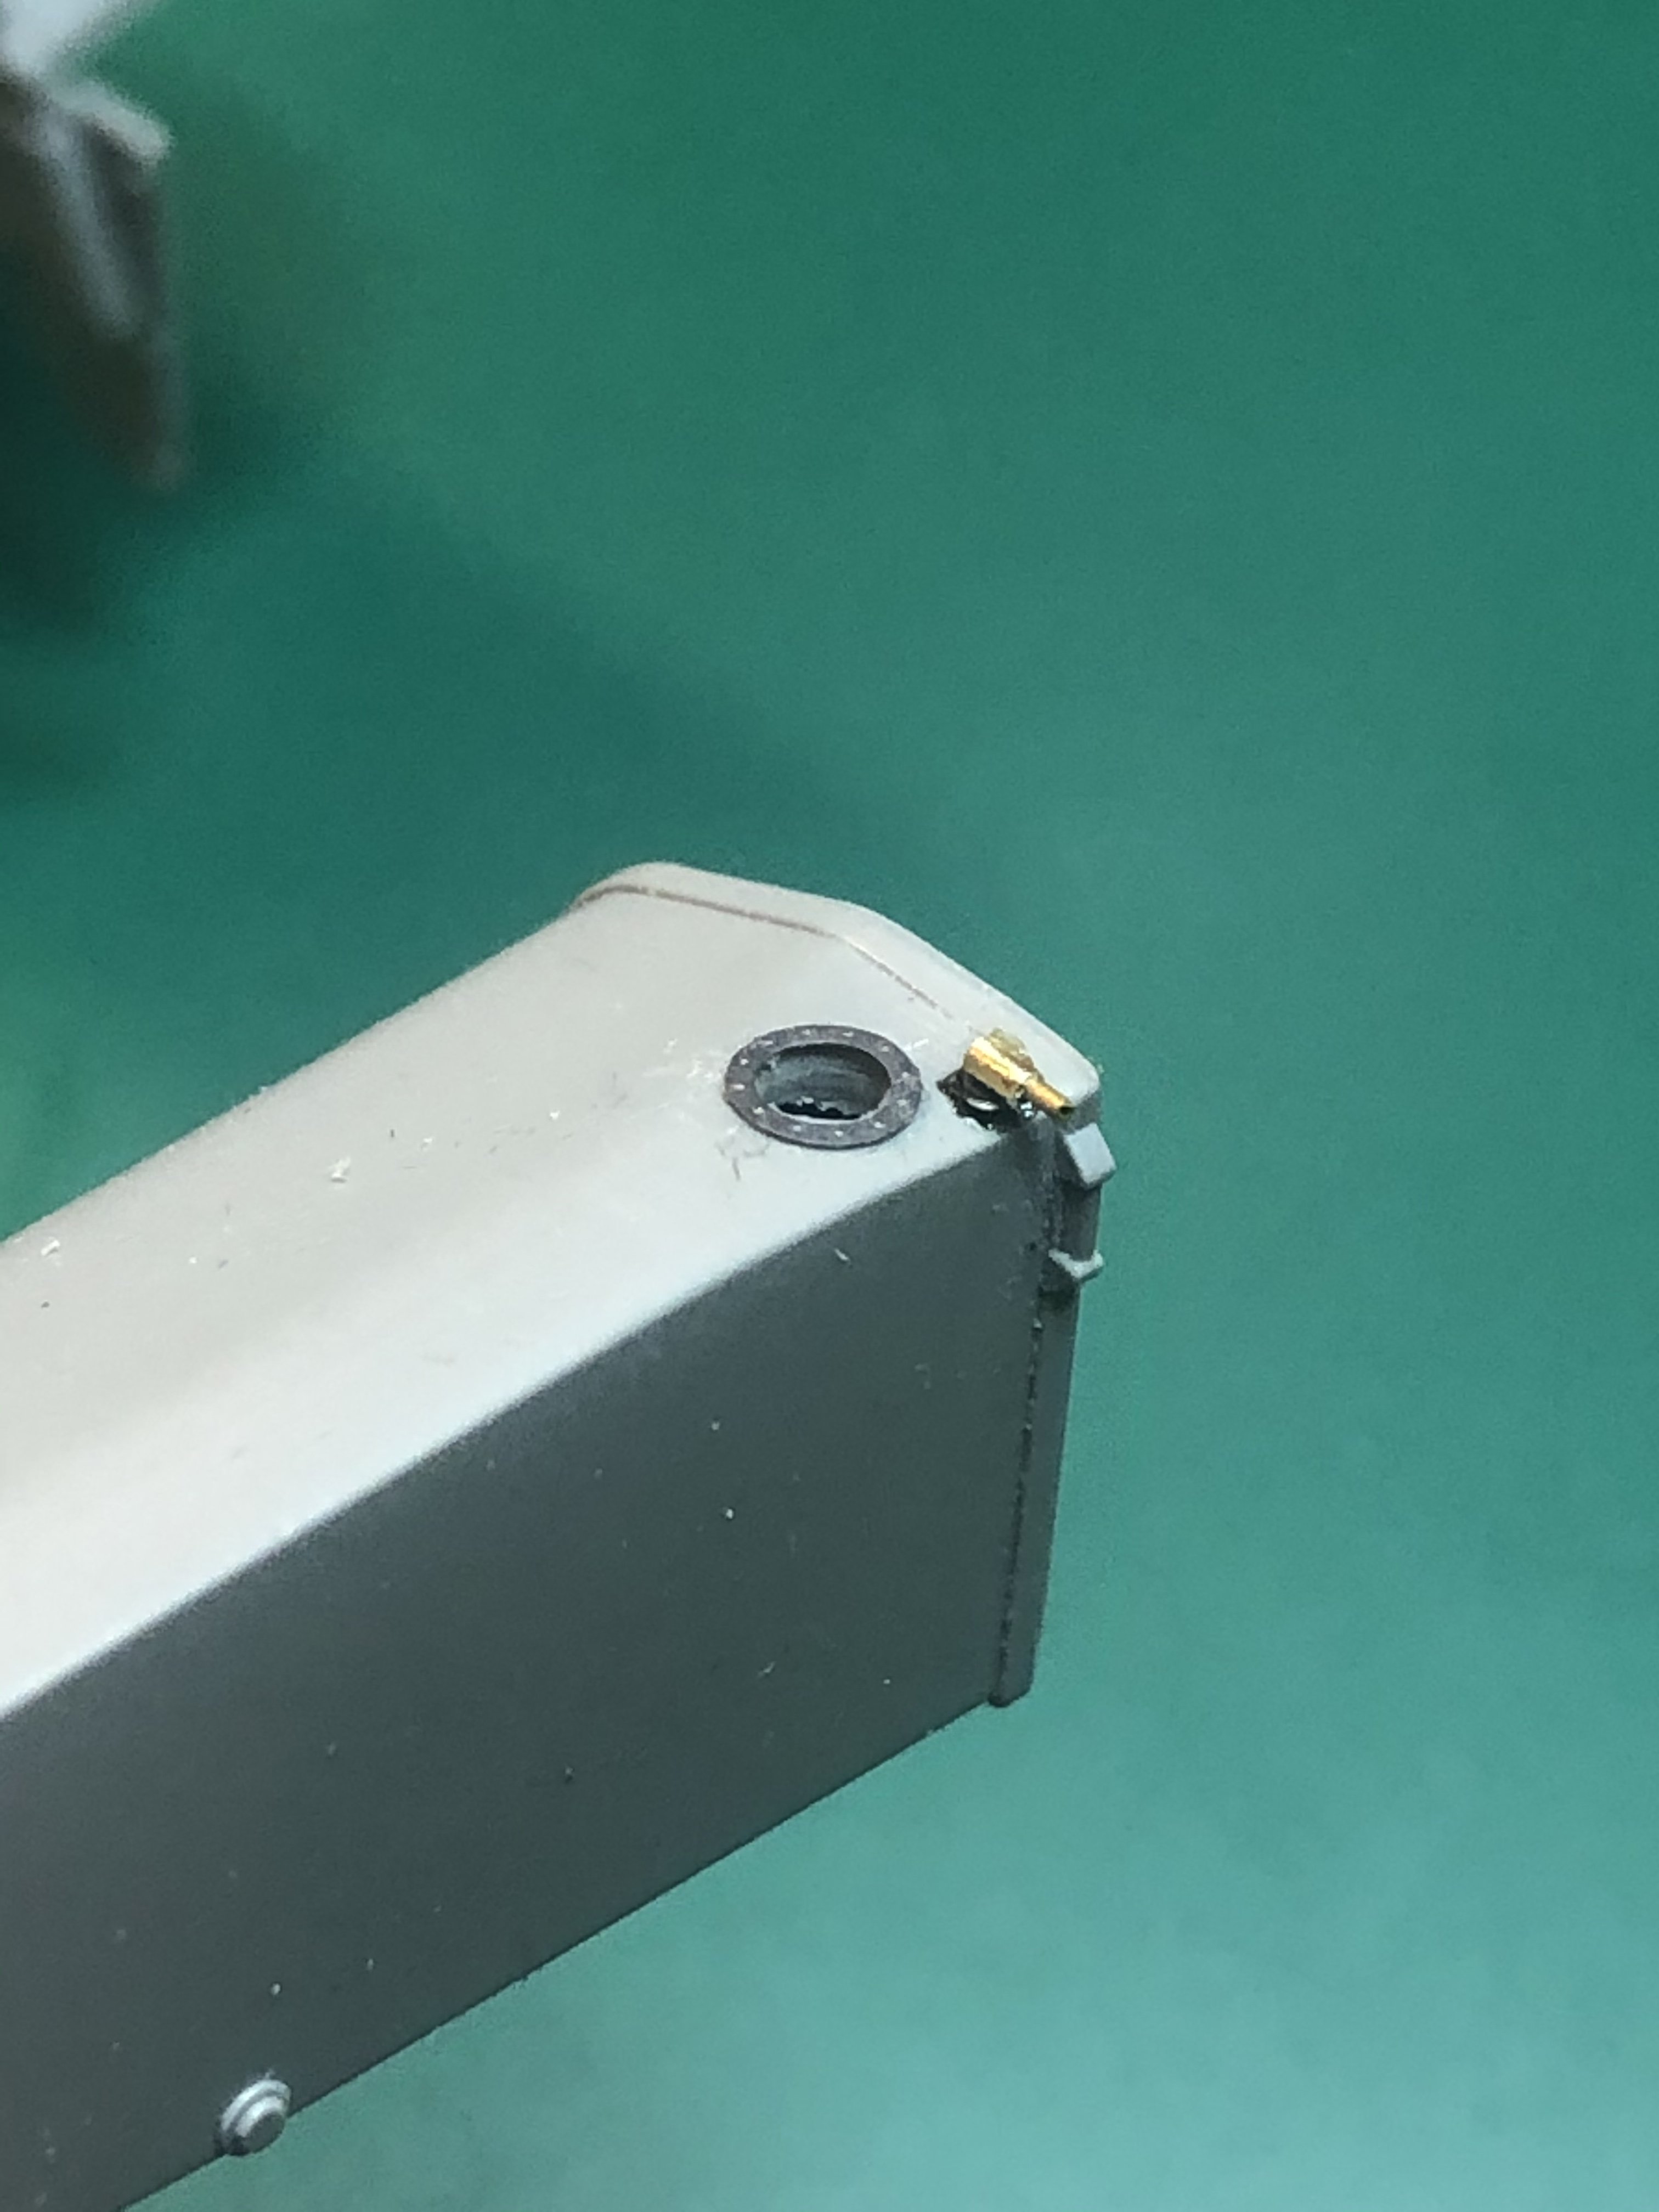
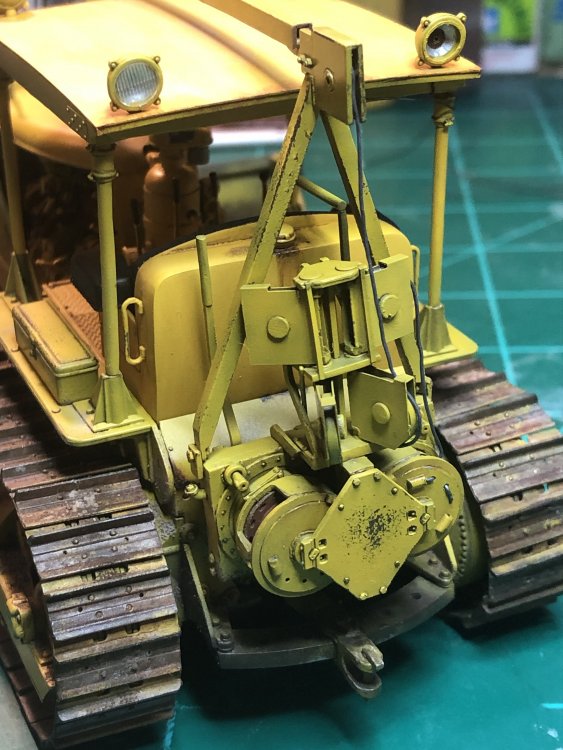
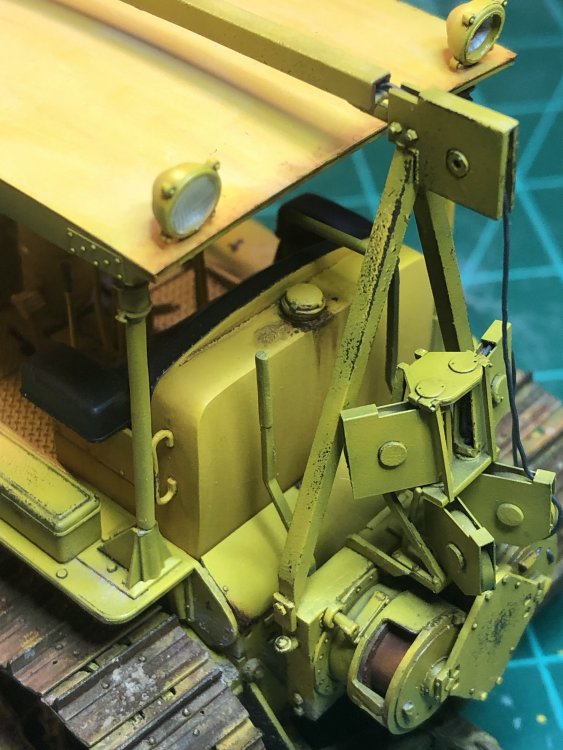
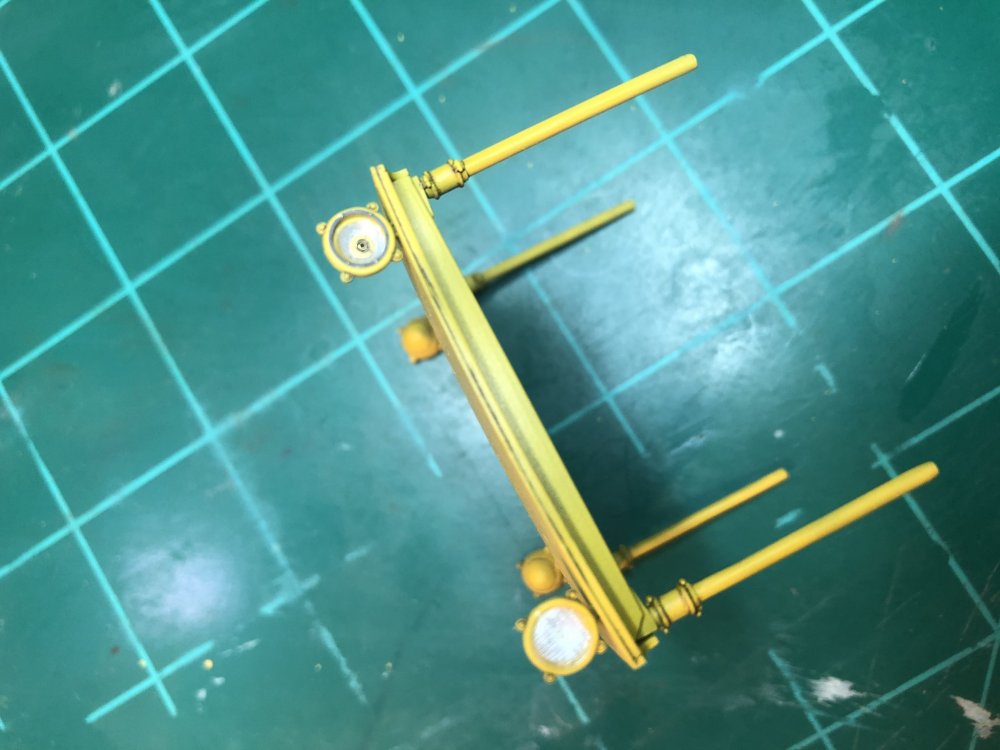
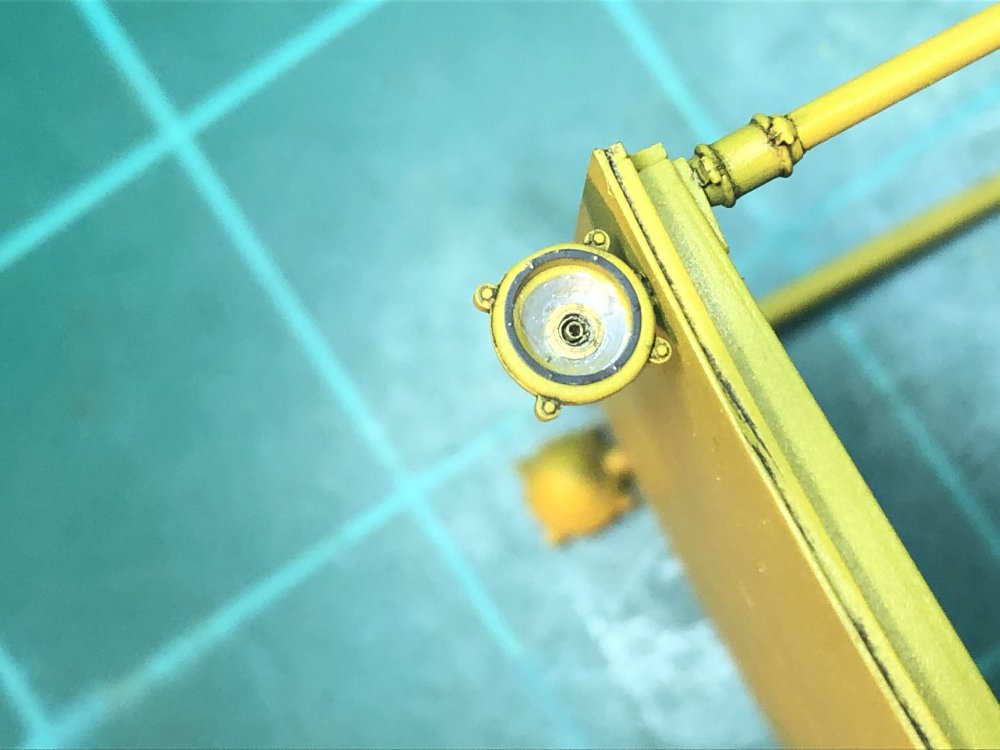
Well, the carpet monster struck. I lost one of the clear plastic head light covers leaving only 3. Developed an alternate plan to show it as damaged. Use brass tubing to make the socket where the light would go and fittings around it. Also found a photo etched ring that fits the outer rim of the housing. Just need to paint it. Glued the cabling supports in the front and rear and tested the cross beam bottom.
-
1/25 scale AMT Caterpillar D8H build
Axeman replied to CrankyCrafstman's topic in LSM 1/35 and Larger Work In Progress
-
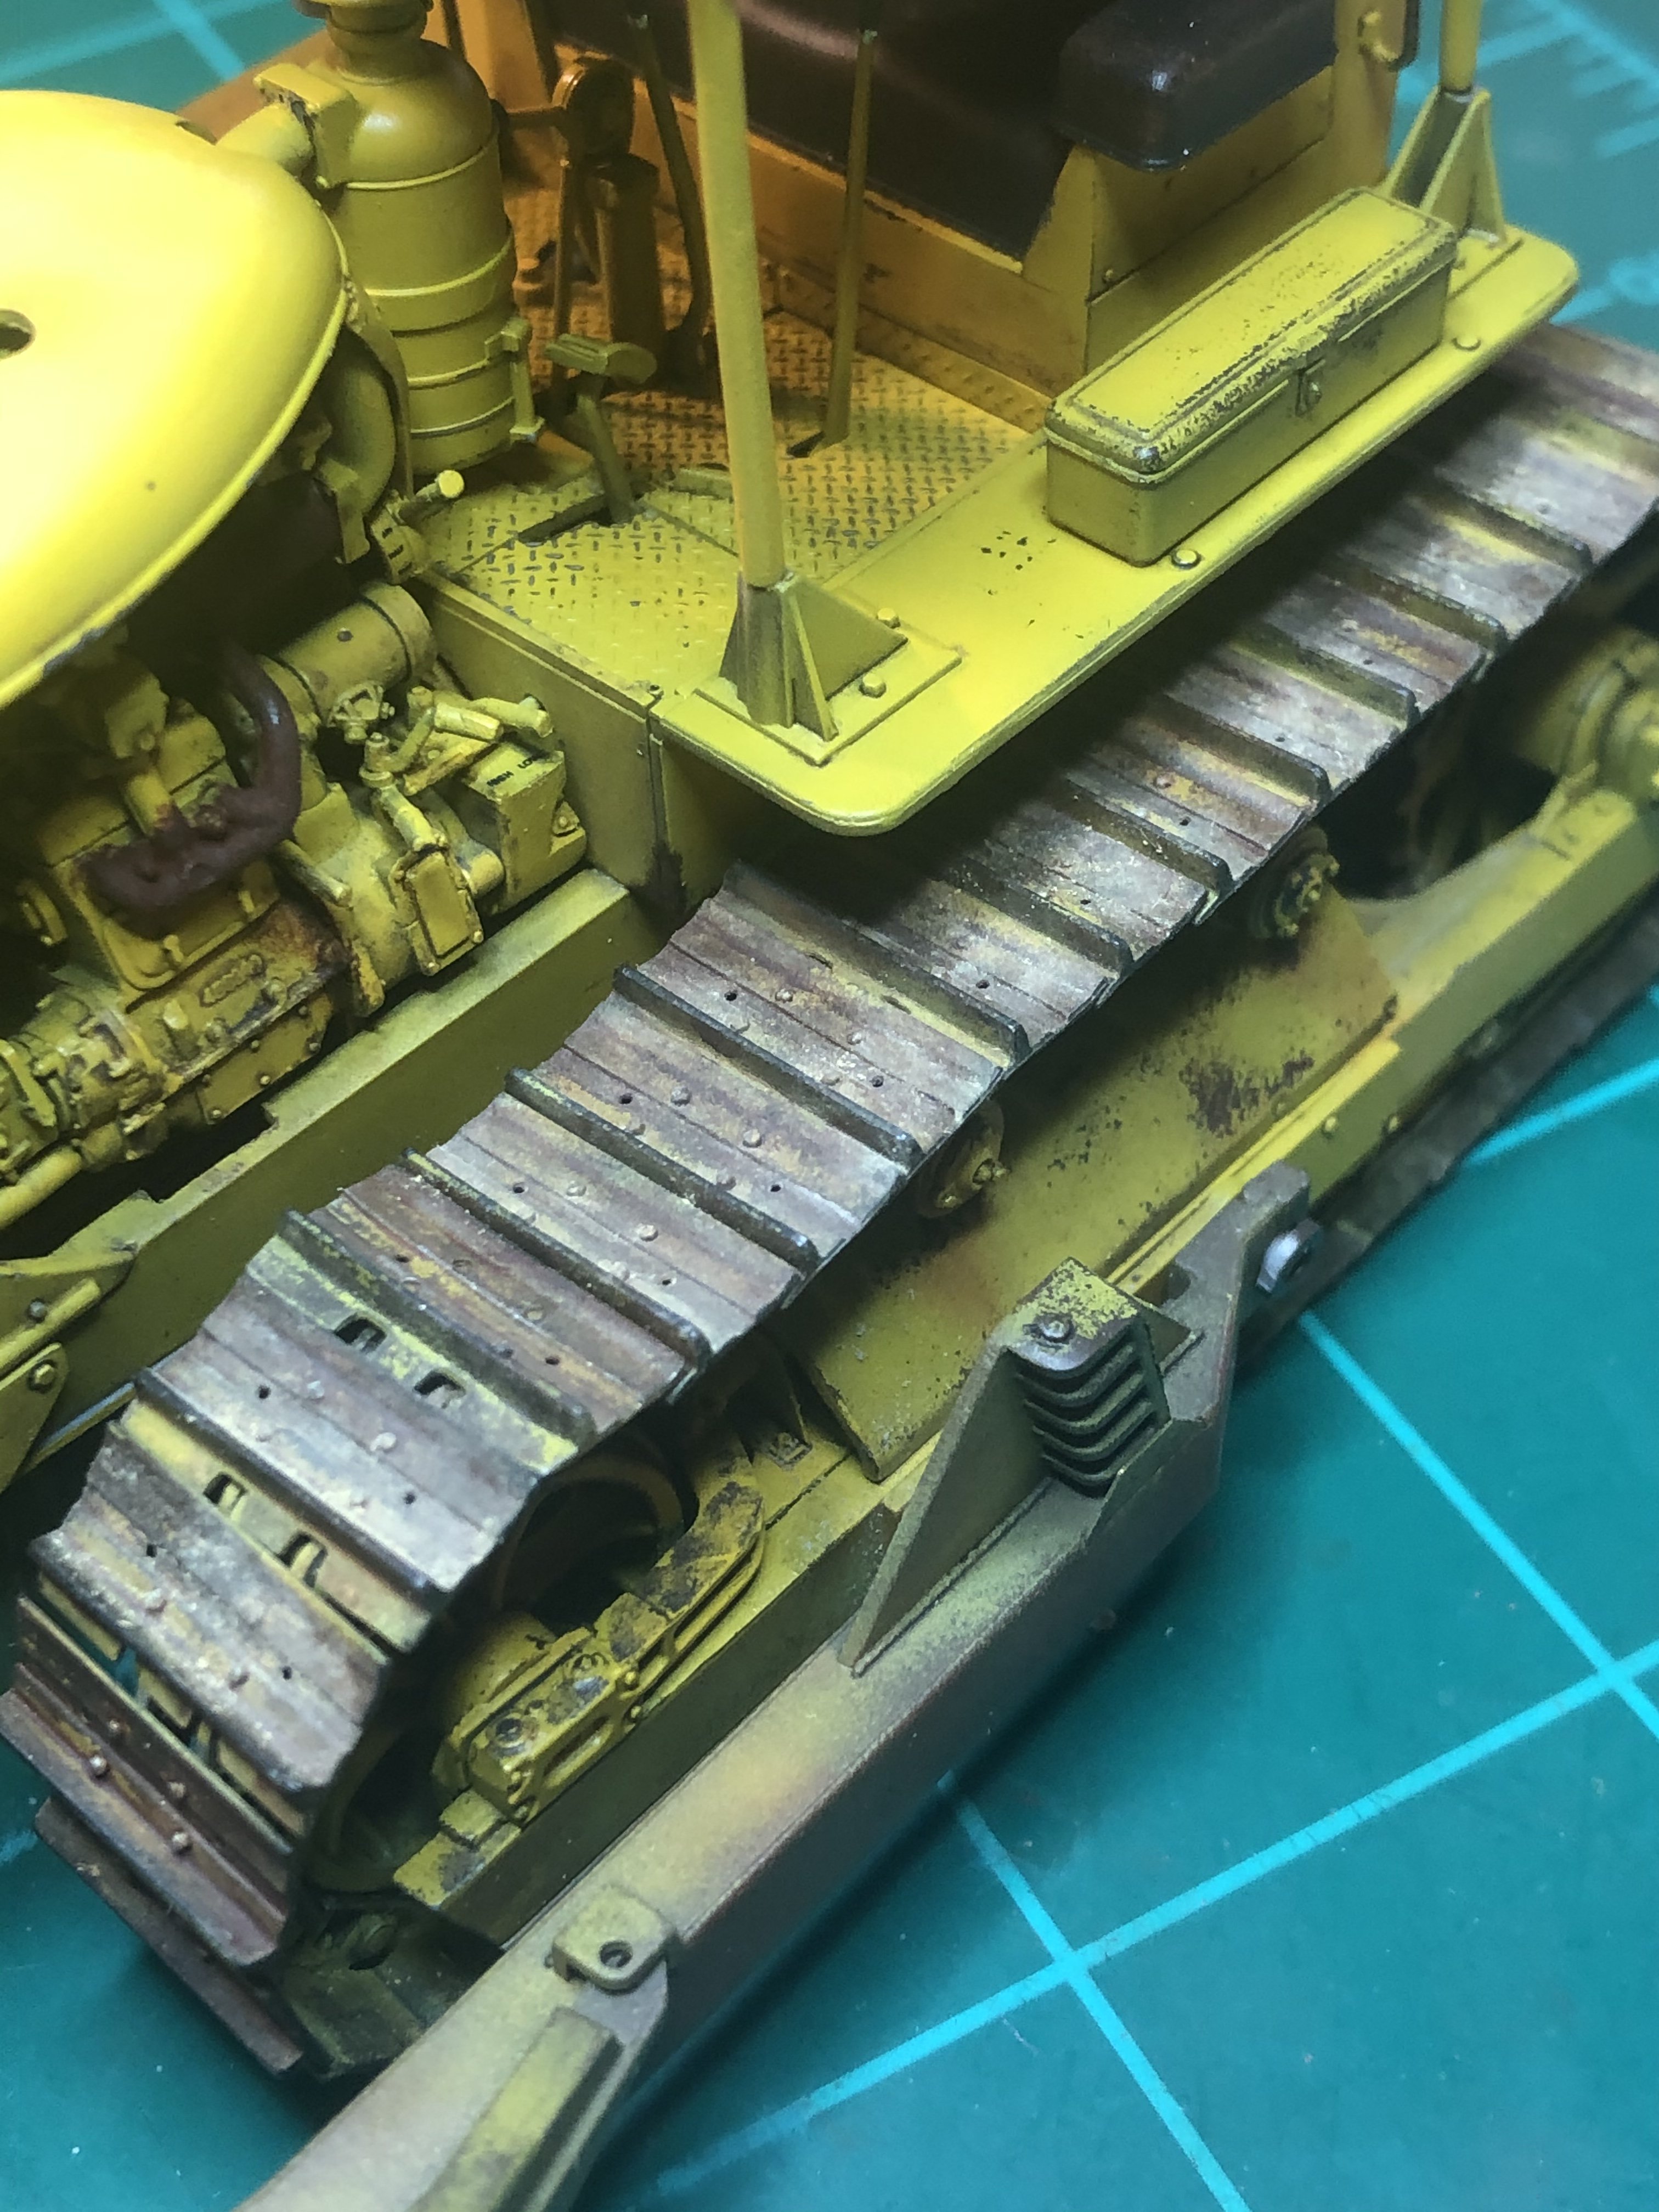
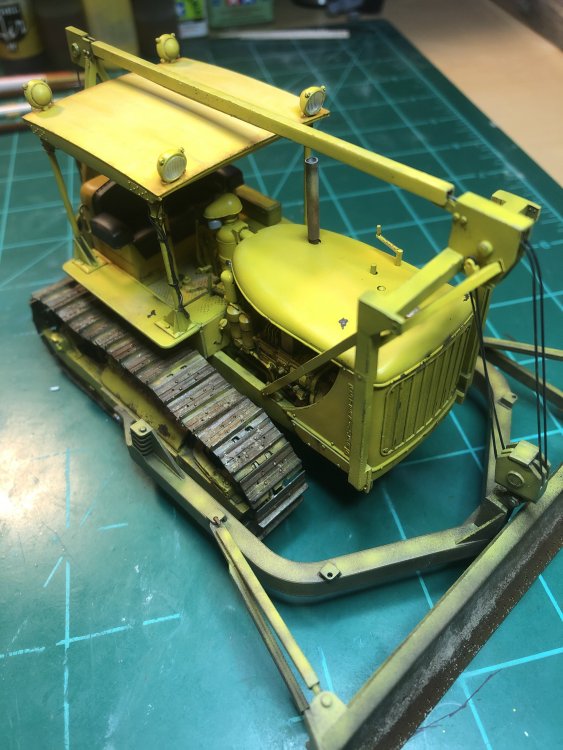
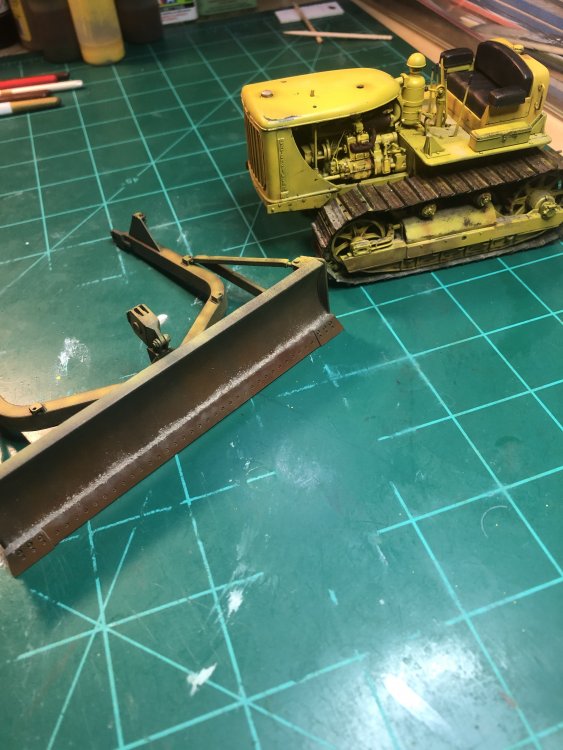
Building my own exhaust stack. Looks better that the kits. added some weather with pigments around the tracks and the blade.

-
1/25 scale AMT Caterpillar D8H build
Axeman replied to CrankyCrafstman's topic in LSM 1/35 and Larger Work In Progress
Amazing work. Love the scratch built items. When I do that and add the wires etc and show my wife she rolls her eyes and says “so it Actually runs now?” . Tim -
Hi Ron, glad I can help. More weatherIng to come with pigments
-
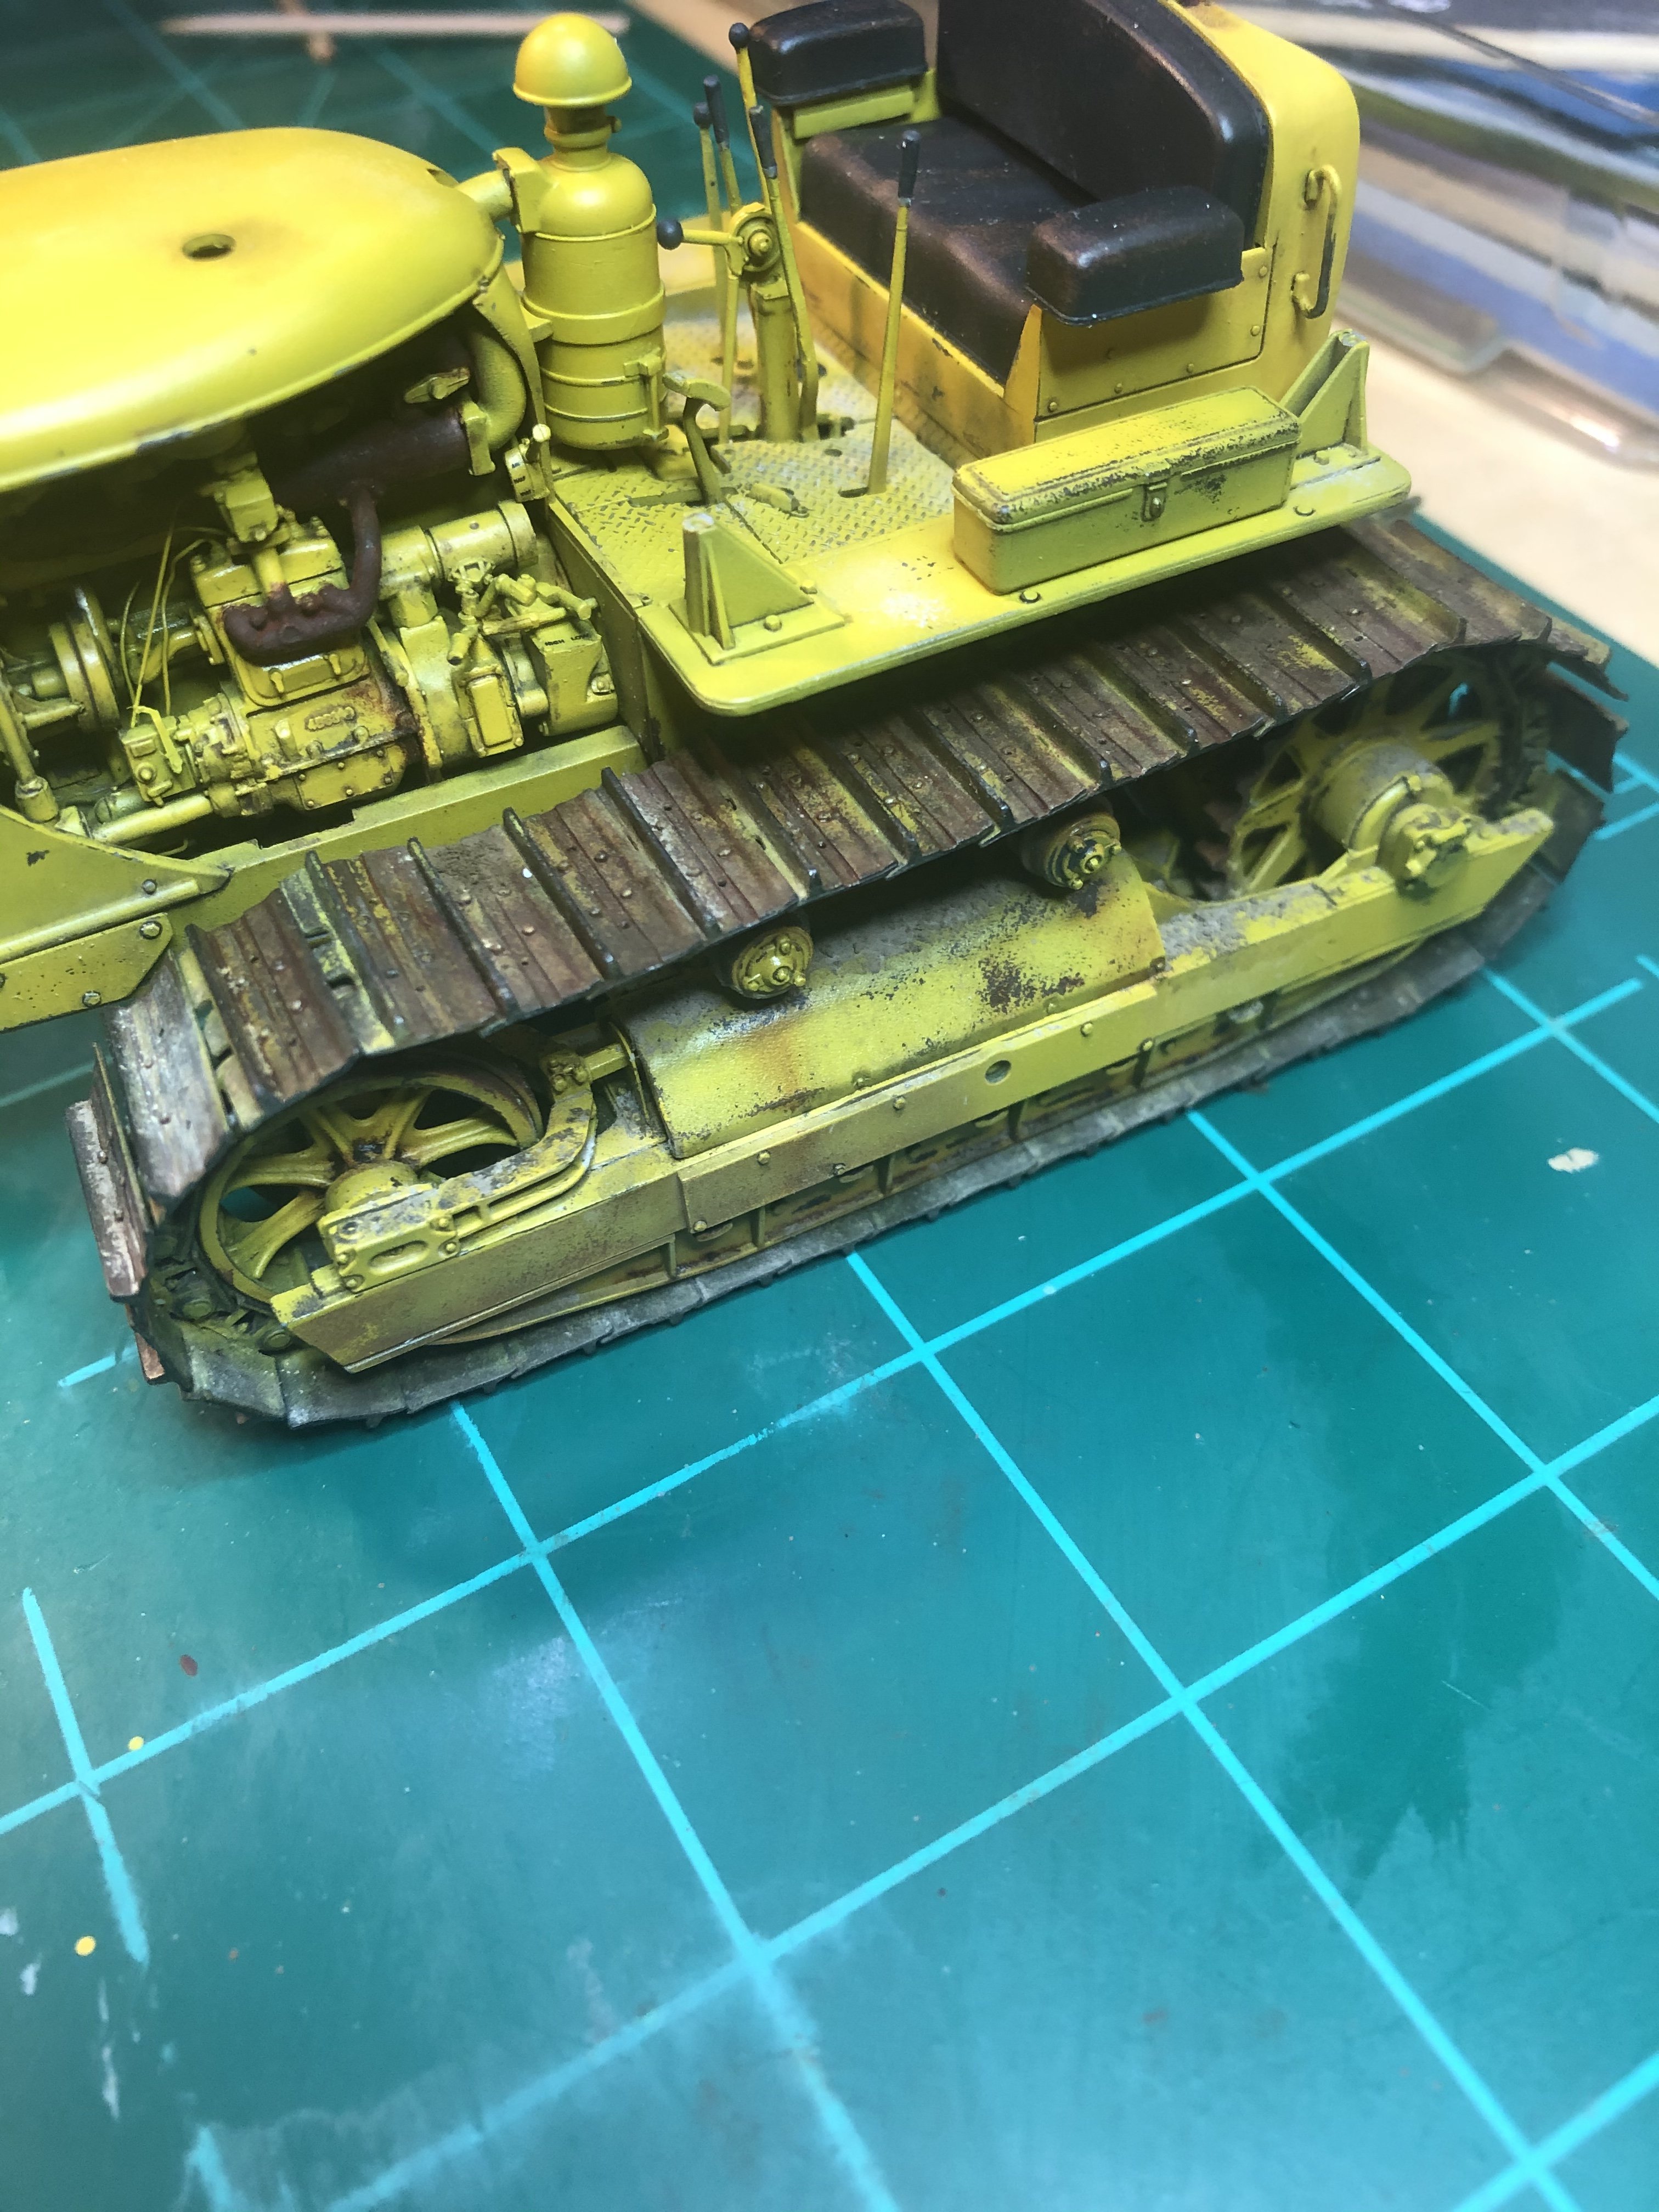
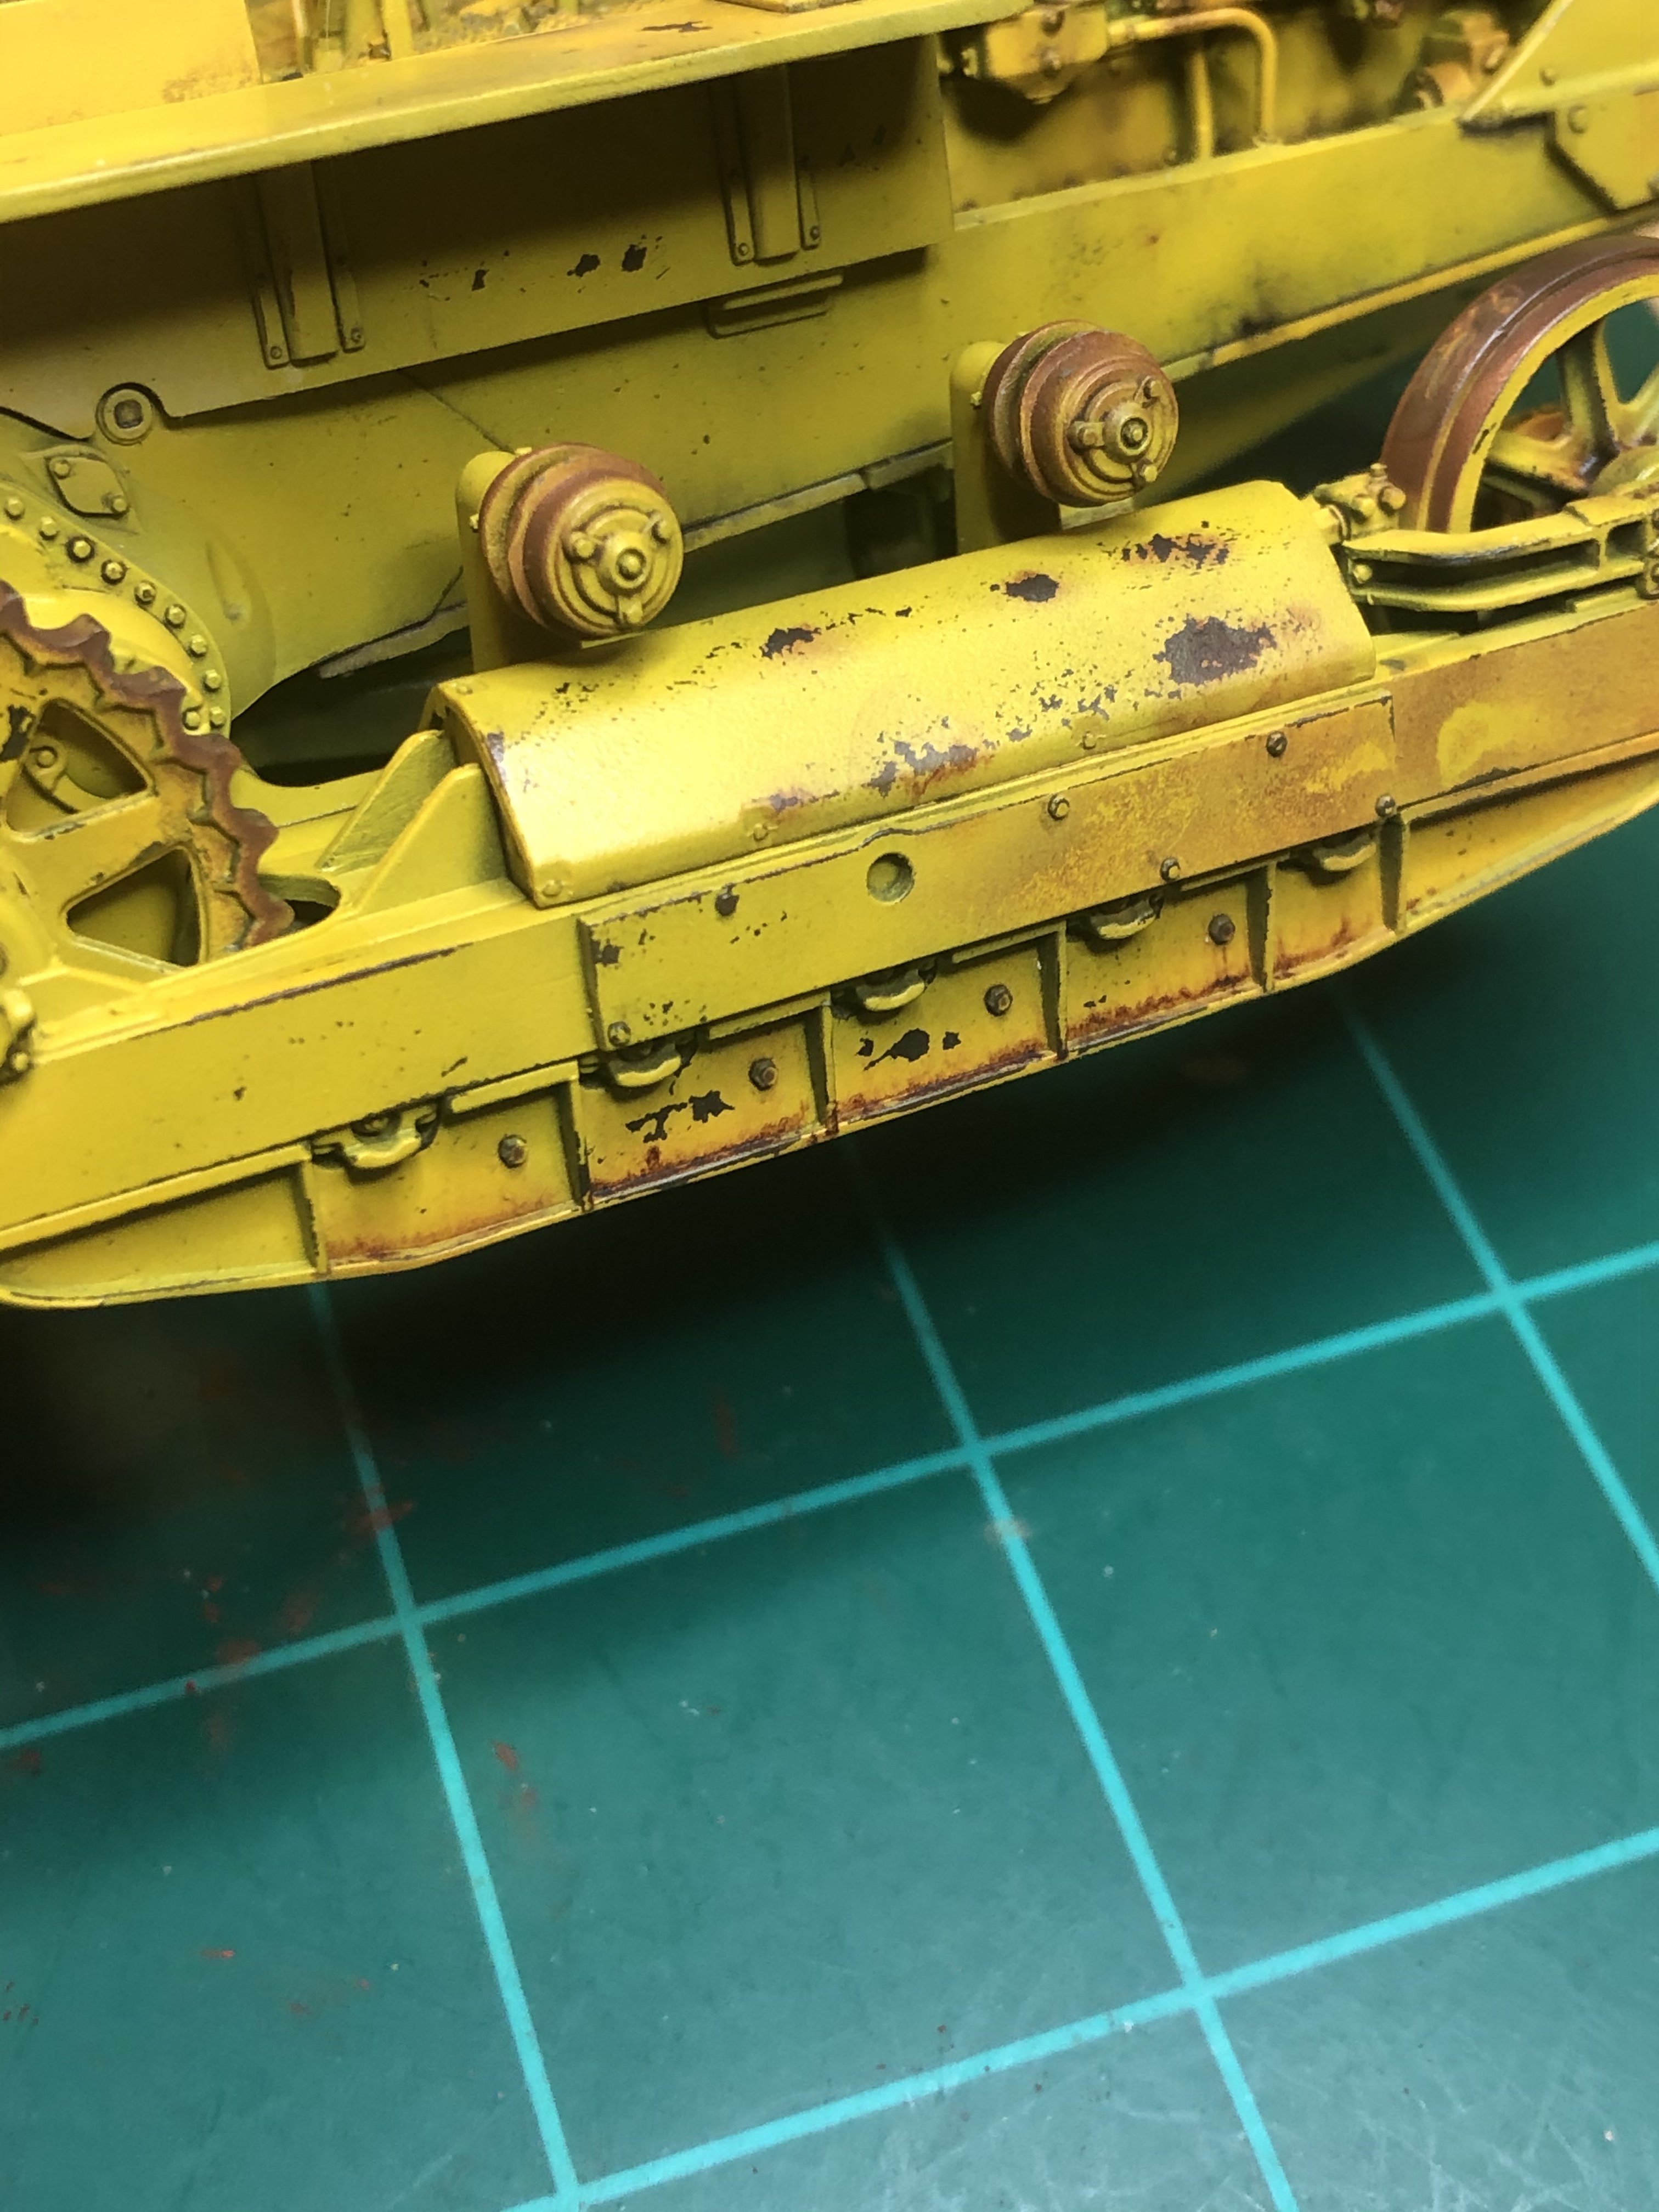
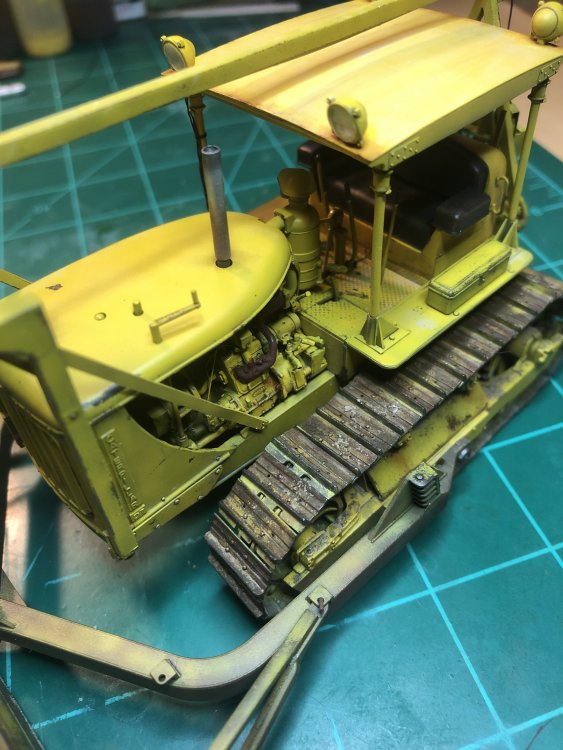
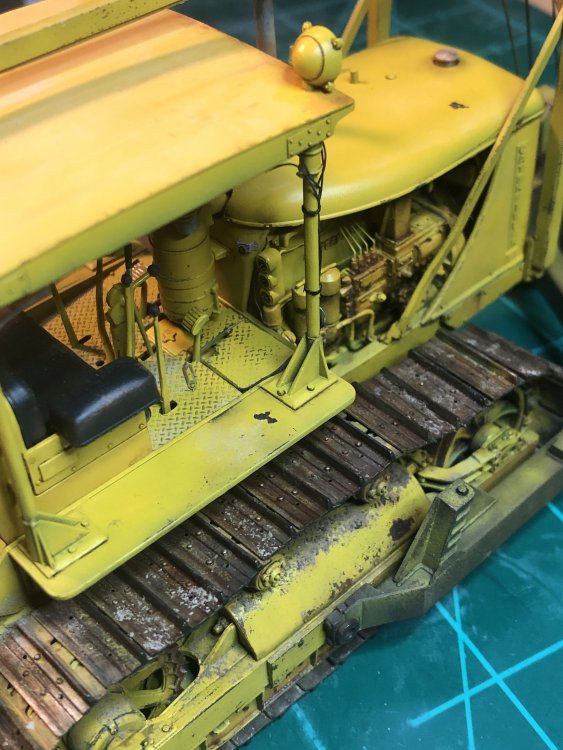
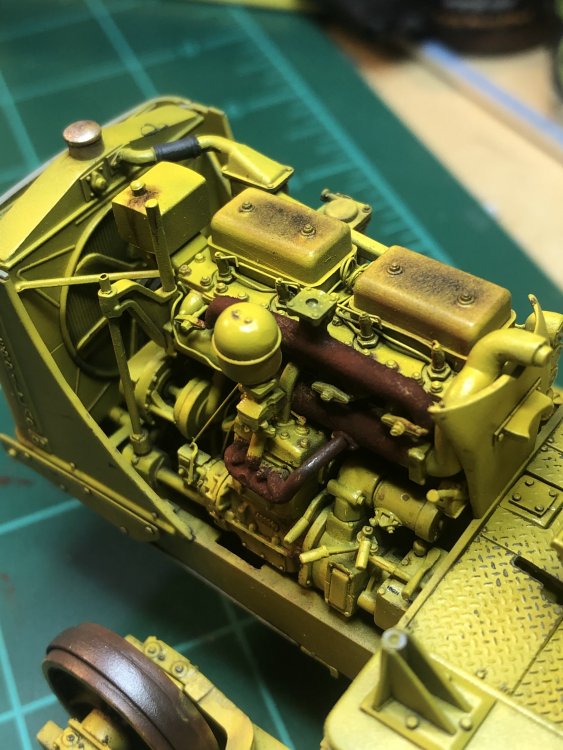
Hi Jeff, I used a mix of XF-3 yellow and a little XF-64 NATO brown. Mission models has a construction yellow that I tried to get close to. I did not use it as I was afraid of to big of chips using that paint. The chipping color was the nato brown and black. If I would do the chipping color again I would you just red brown or the nato brown. The cover on the engine and the roof cover I used a lighter yellow oil paint trying to get a faded affect.
-
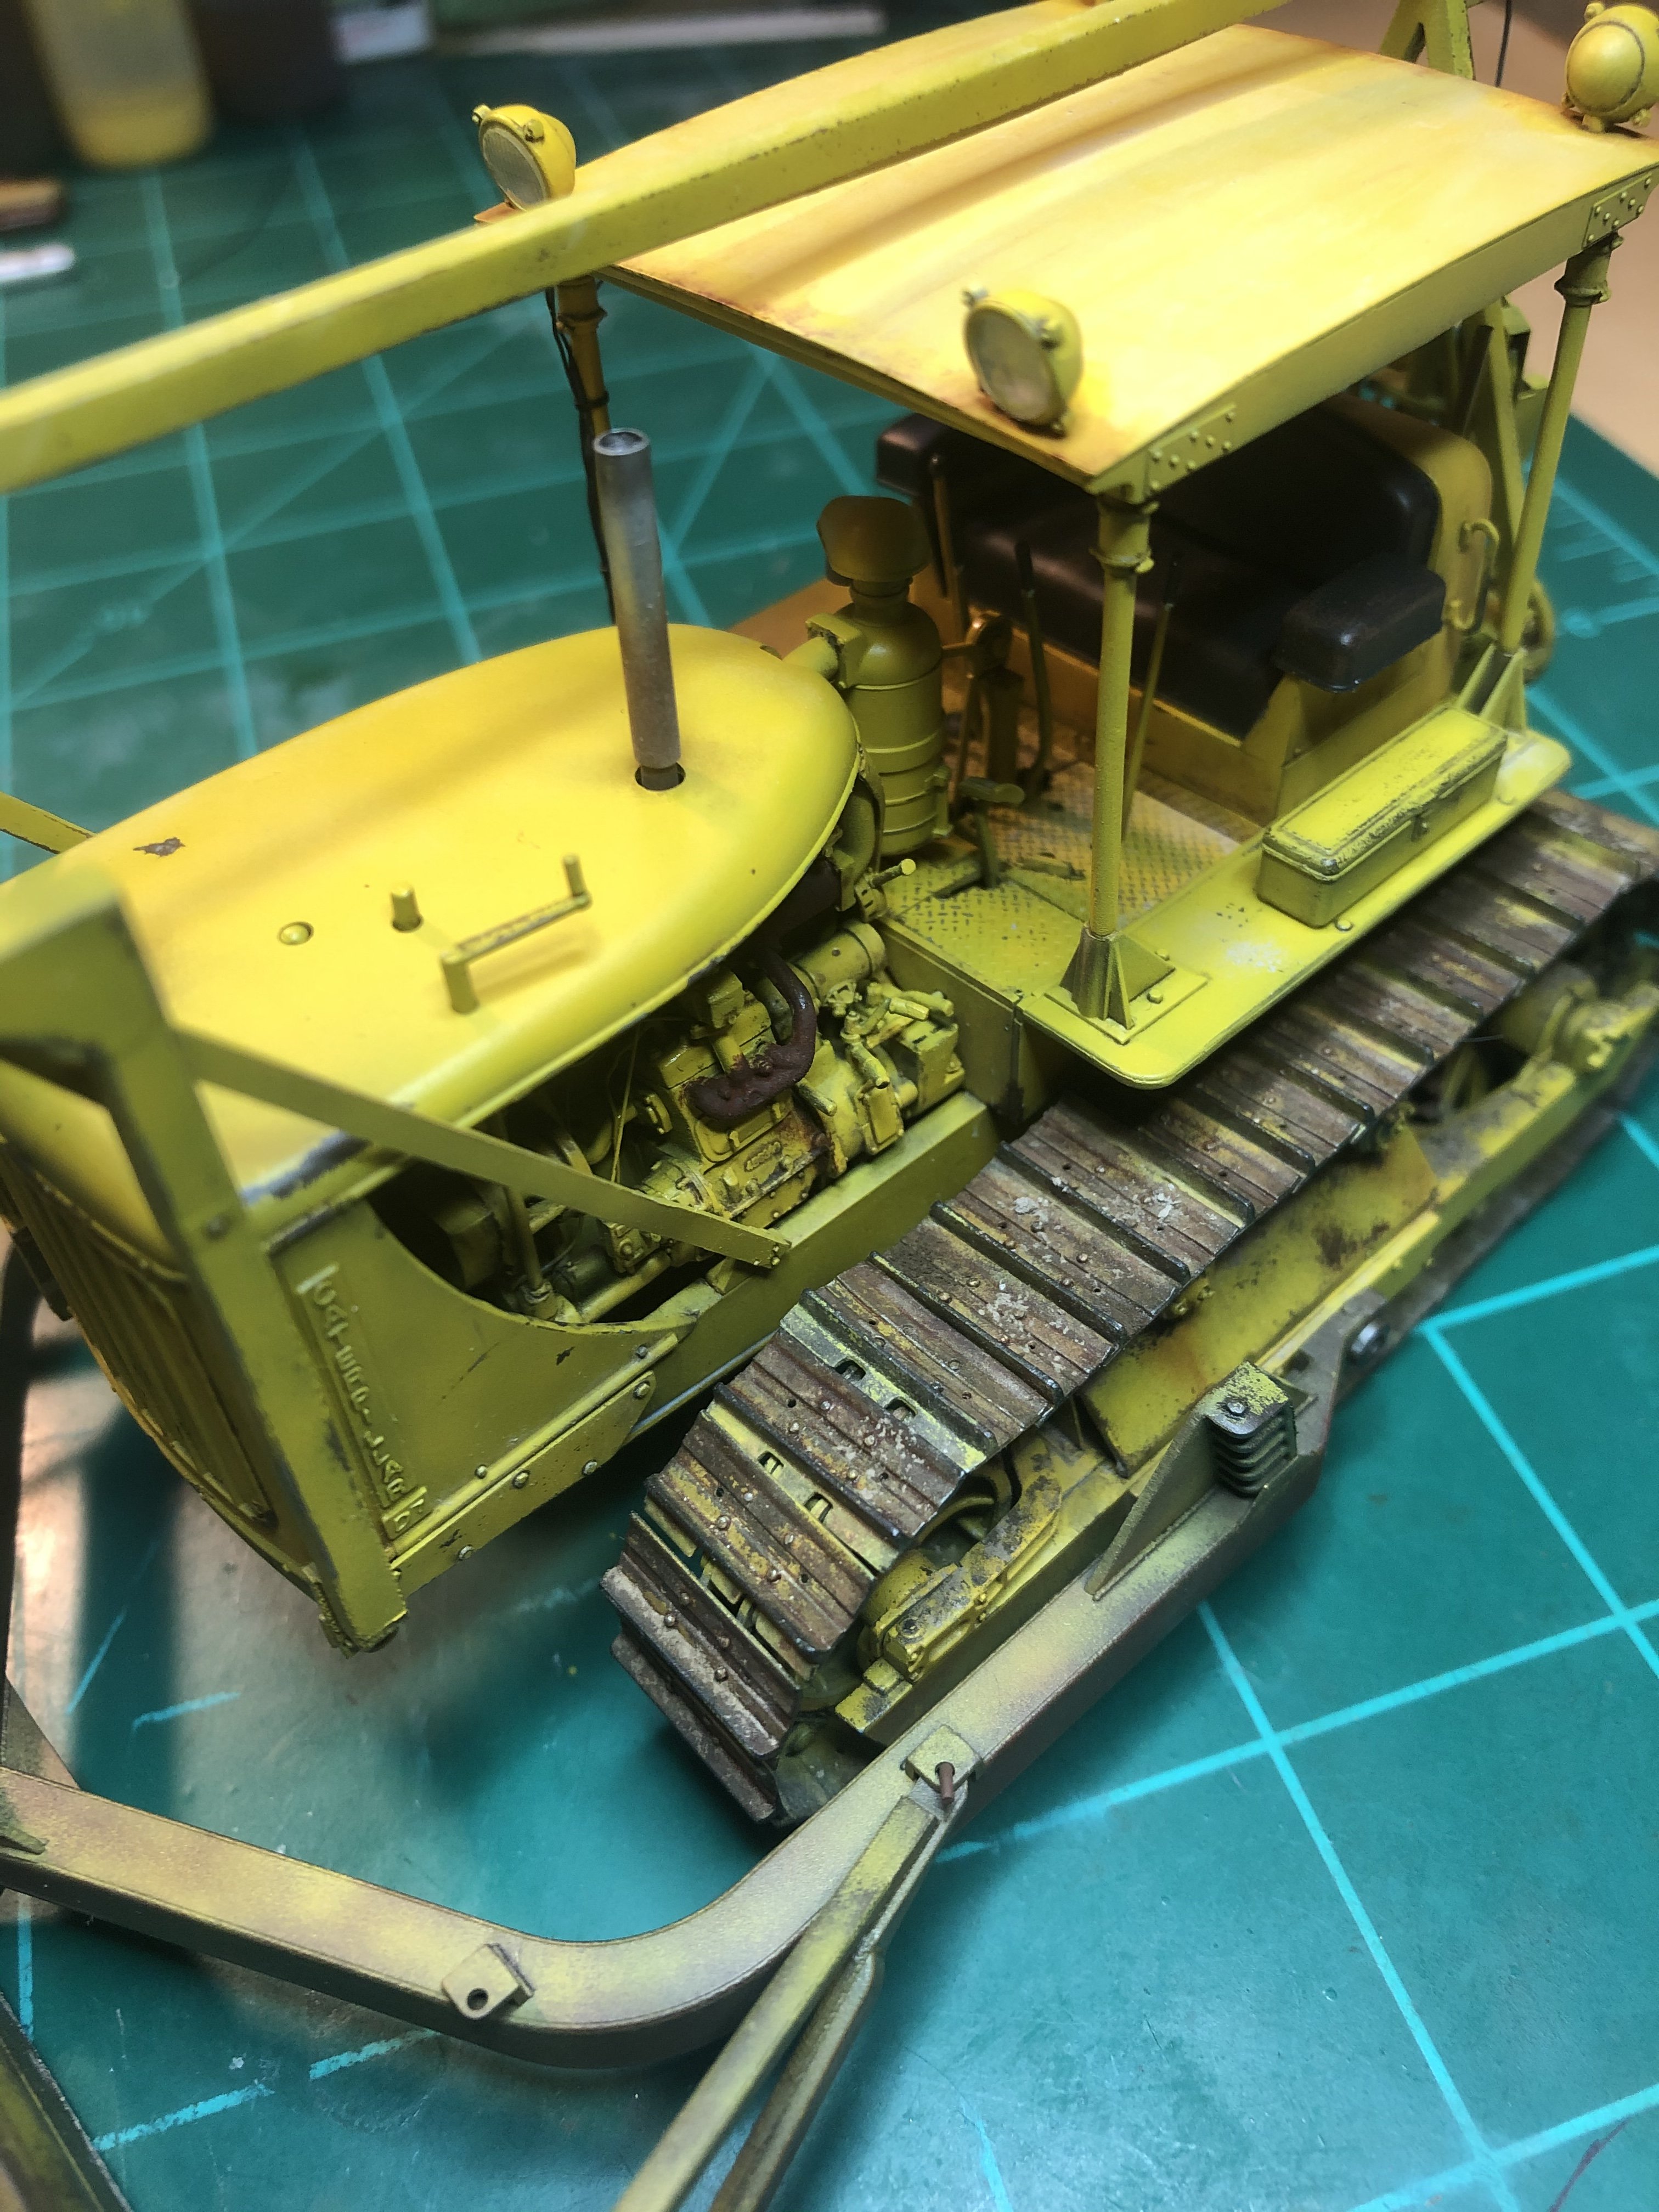
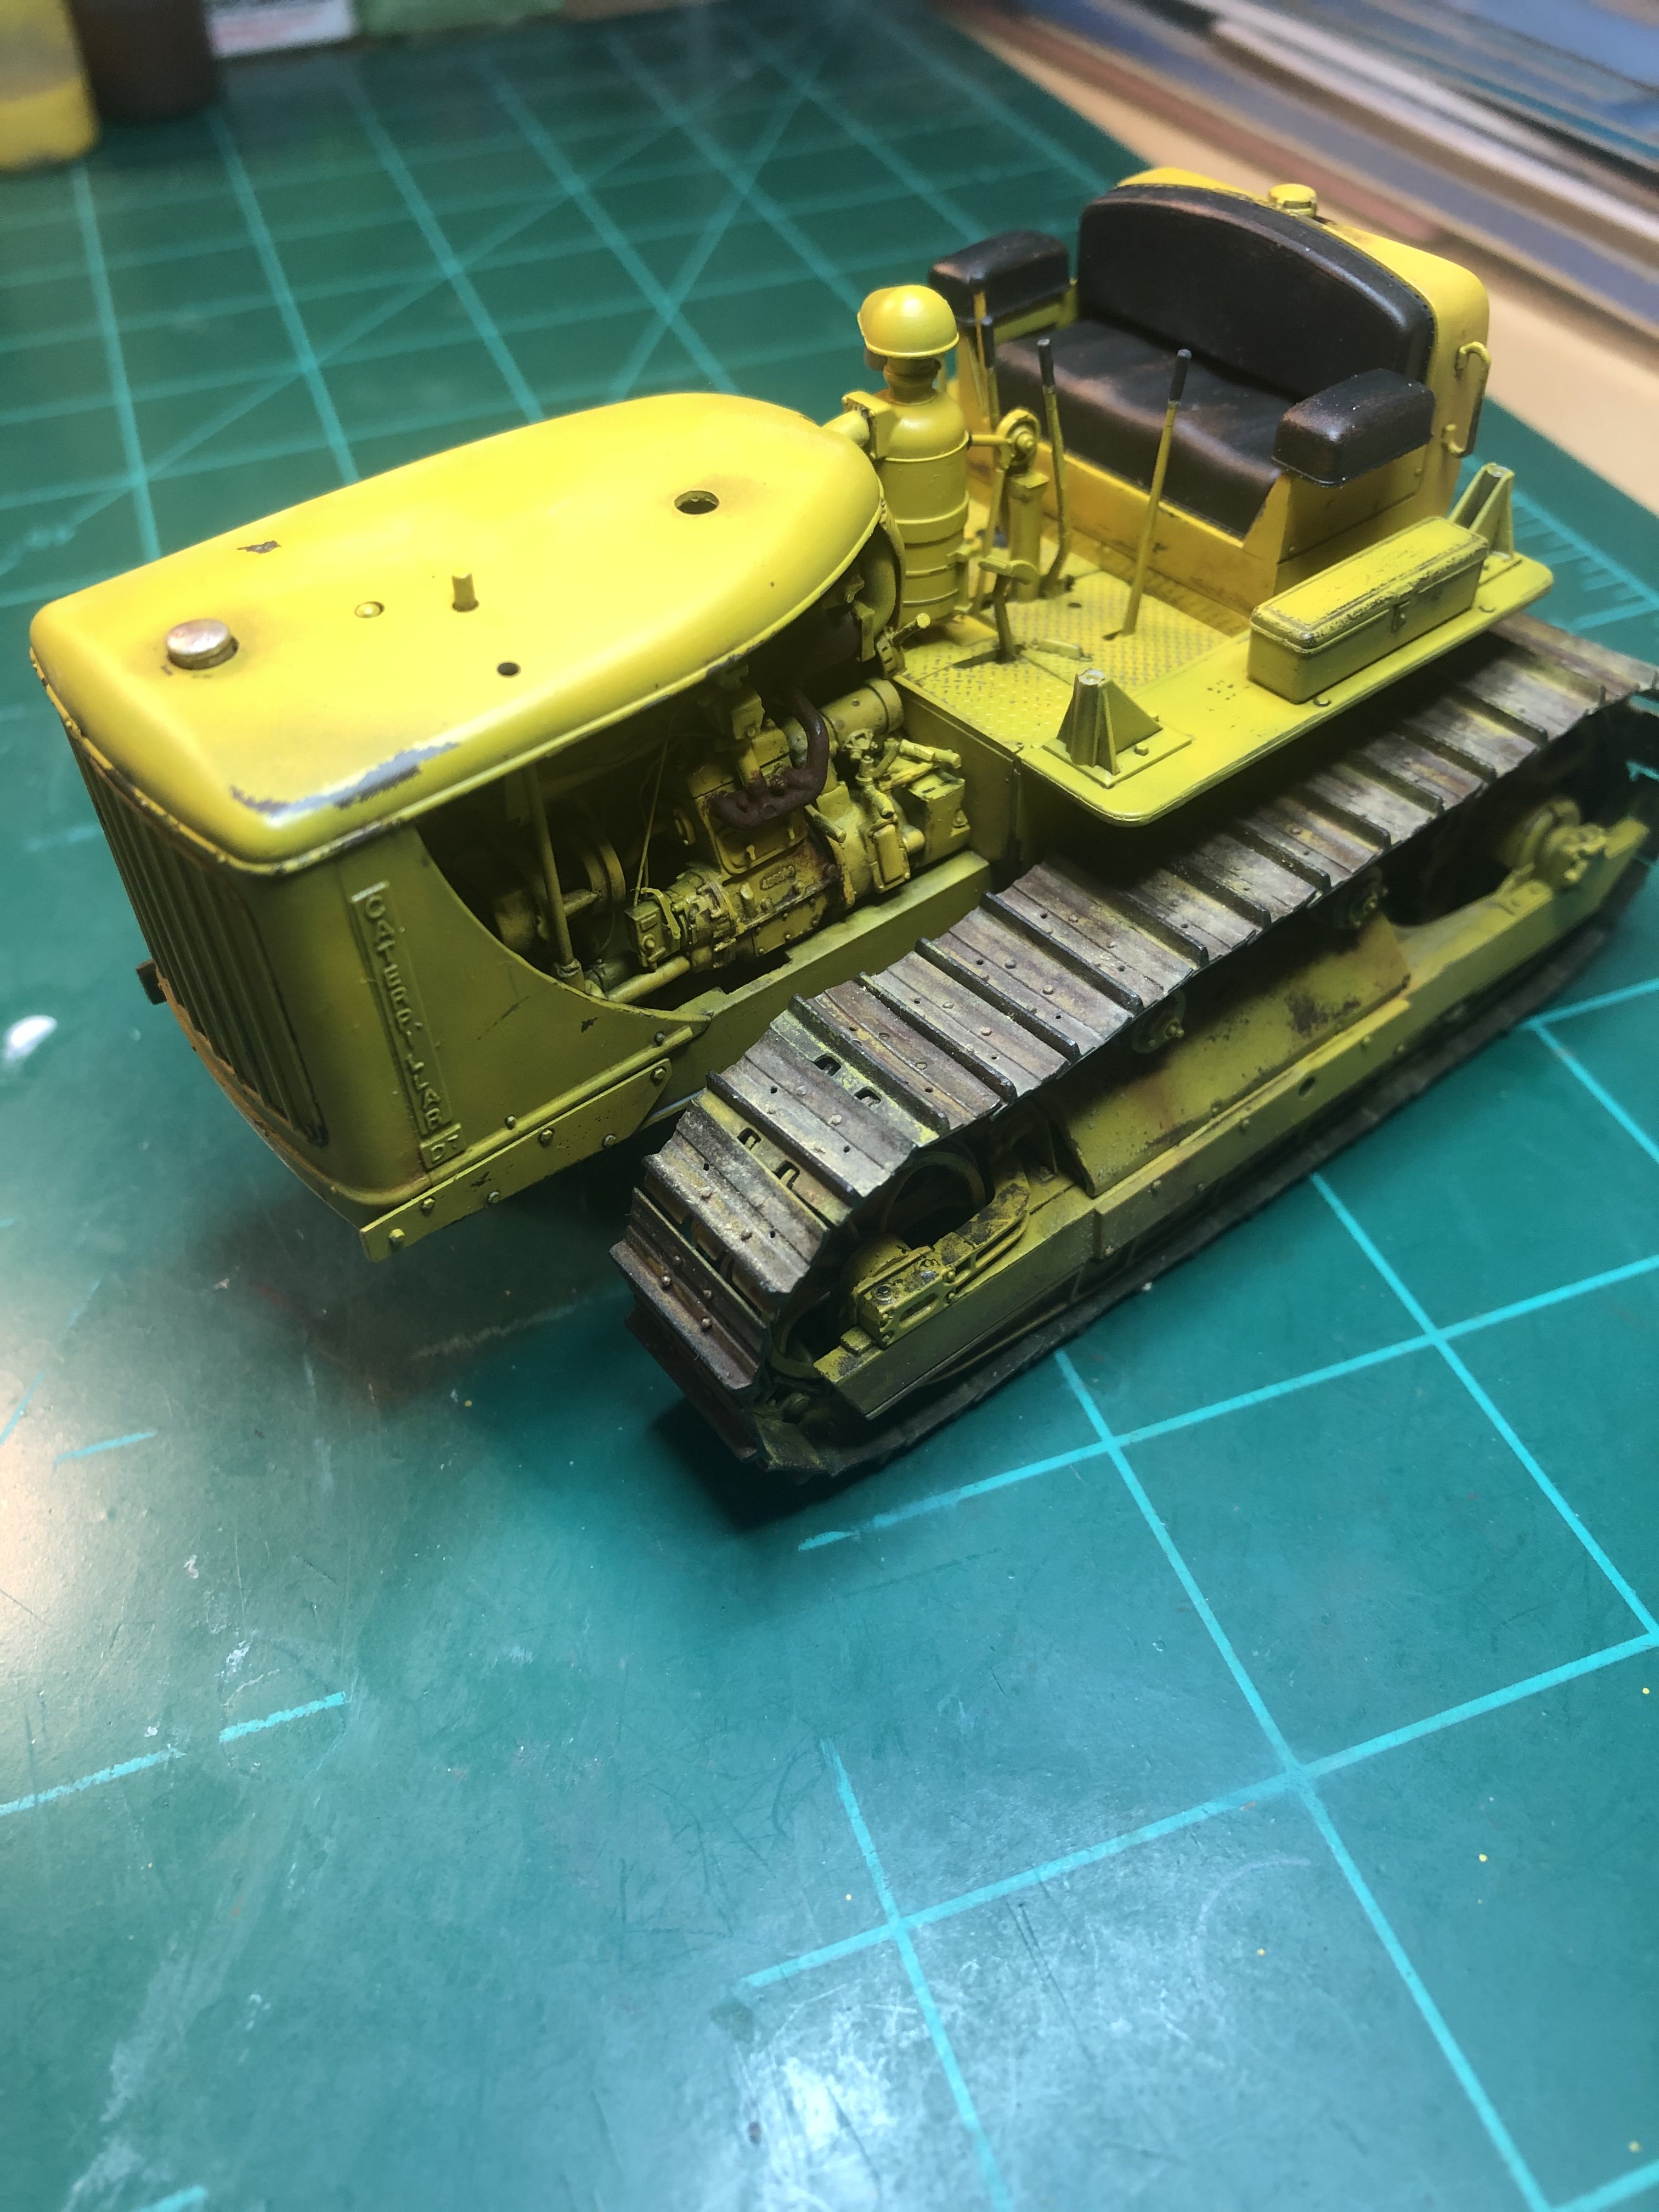
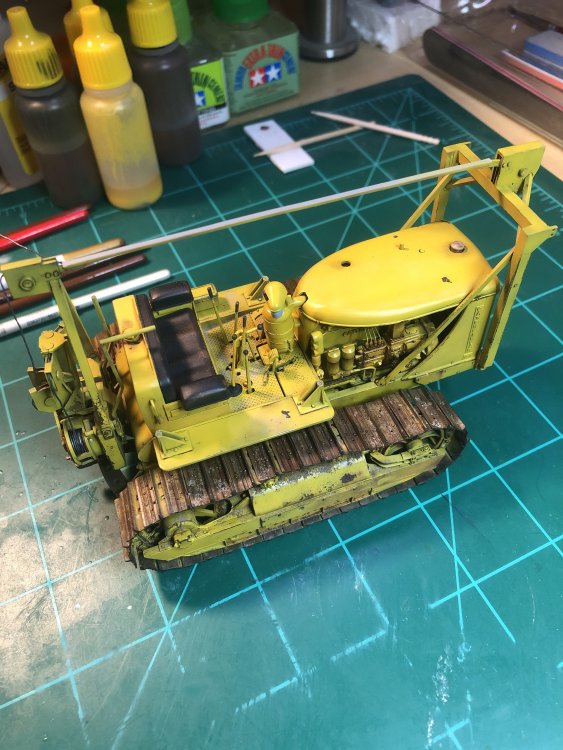
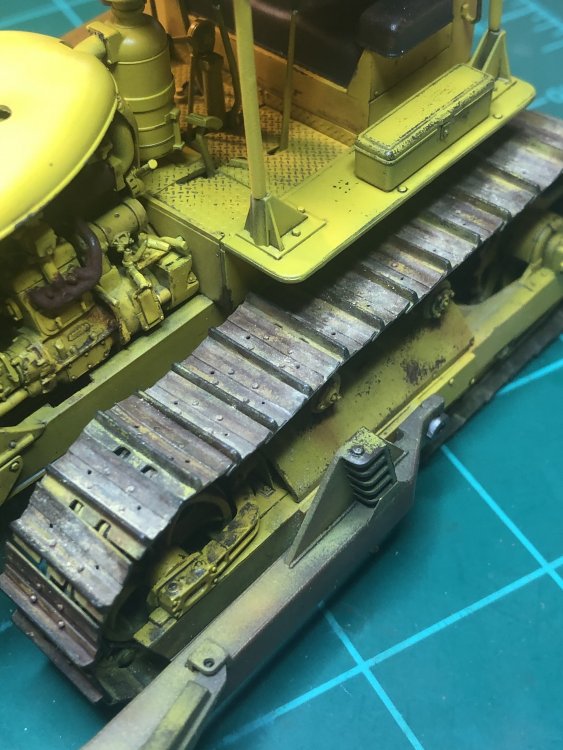
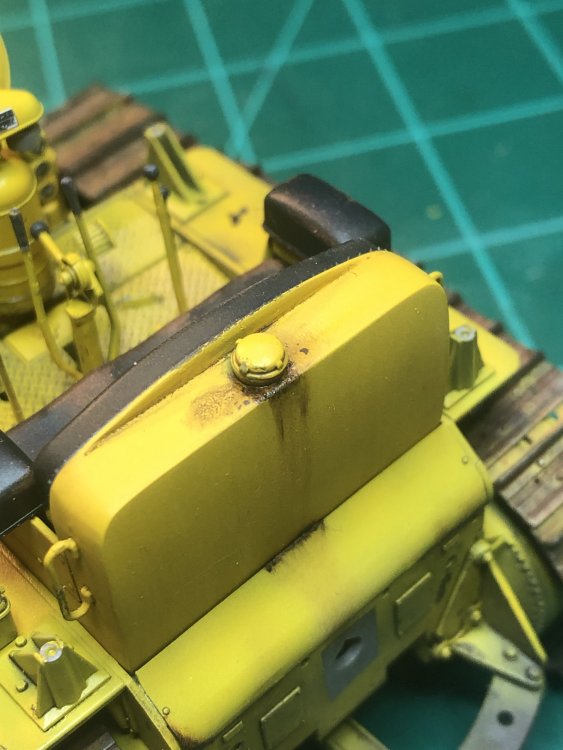
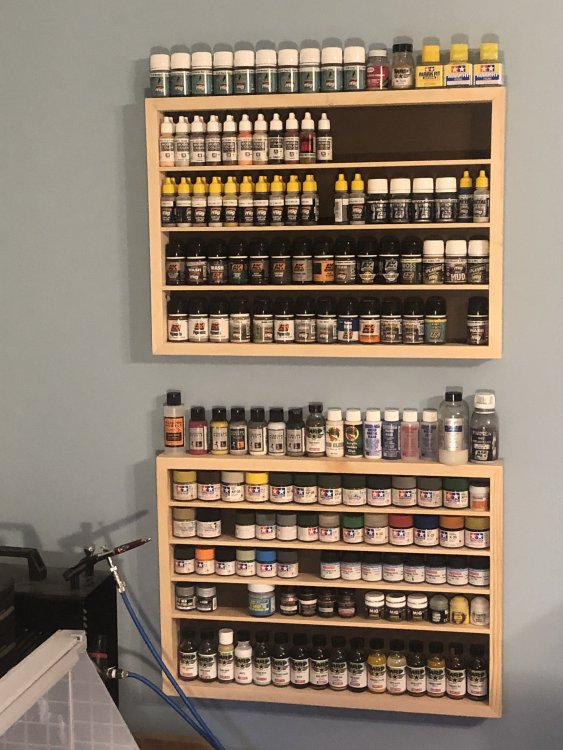
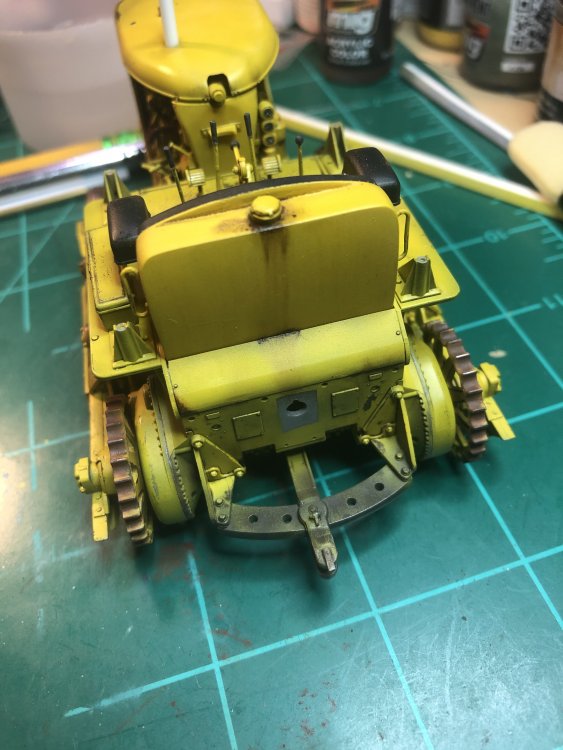
Did some more weathering around the engine and fuel stains around the fuel cap. Glued the cover for the engine, attached the tracks and tested the blade and driver cover. I keep testing different ways to apply the pigments. Getting near the end of the build. Also, finally put up the paint racks this weekend. Gives me more space around the desk.


-
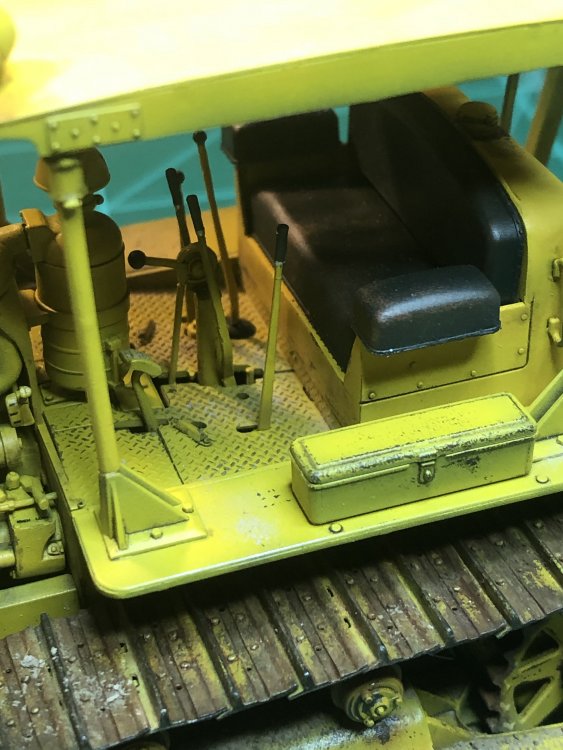
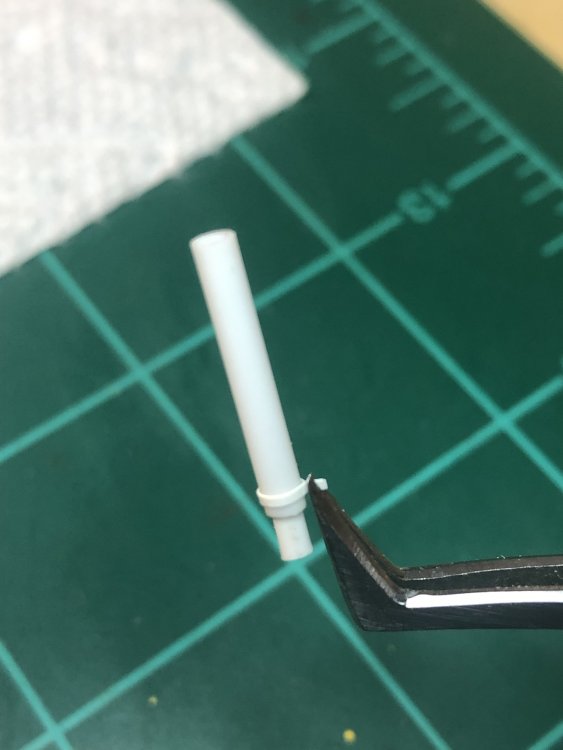
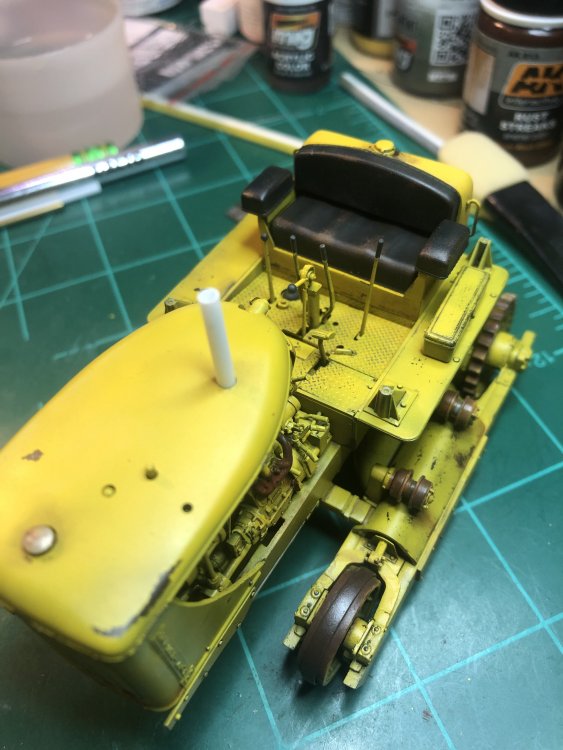
Did more weathering on the engine. Still more to do by the fan. Next I finished up the seat as well as the weathered the back of it. The exhaust stack (white styrene) I am planning on replacing. The kit part is not that good for detail. Did some more weathering at the bottom of the track area and around the inside of the front wheel. That is it for now more to come. Still have some dirt to add as well as the cabling between the front and the back.

-
1/25 scale AMT Caterpillar D8H build
Axeman replied to CrankyCrafstman's topic in LSM 1/35 and Larger Work In Progress
Looking forward to seeing this one, especially the tracks.