BlrwestSiR
-
Posts
9,207 -
Joined
-
Last visited
Content Type
Profiles
Forums
Events
Gallery
Everything posted by BlrwestSiR
-

What is on your bench right now ? Share a picture :)
BlrwestSiR replied to Martinnfb's topic in Modelling Discussion
I hope that means you're enjoying The Expanse. -
What is on your bench right now ? Share a picture :)
BlrwestSiR replied to Martinnfb's topic in Modelling Discussion
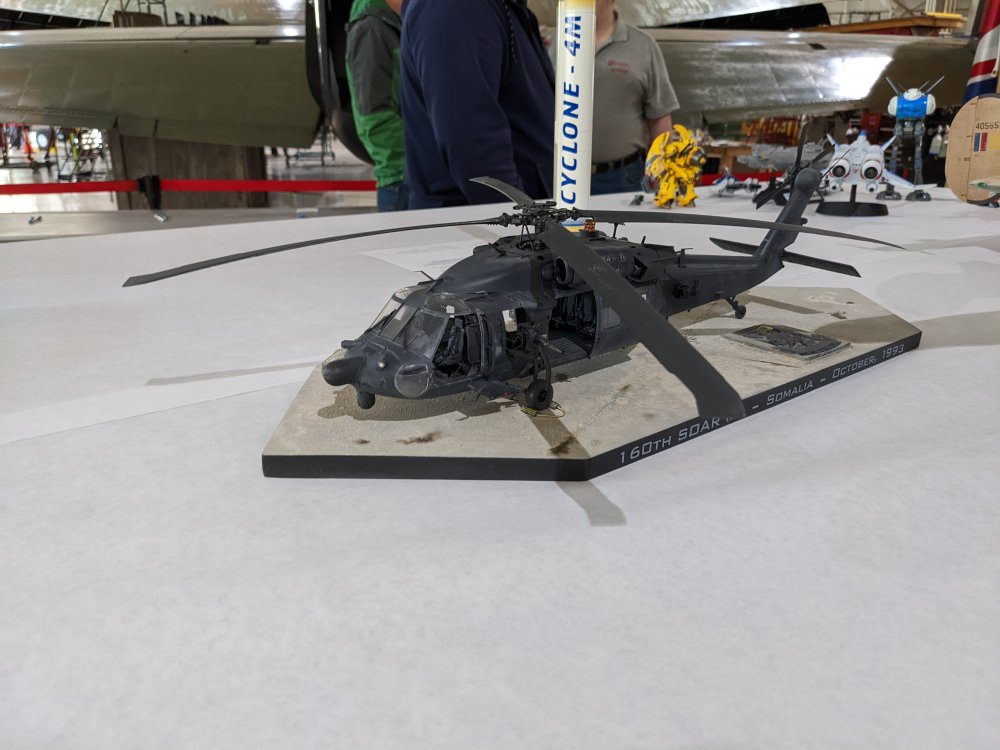
Wednesday to today! And I thought I was making good progress on the AH-1. Carl -
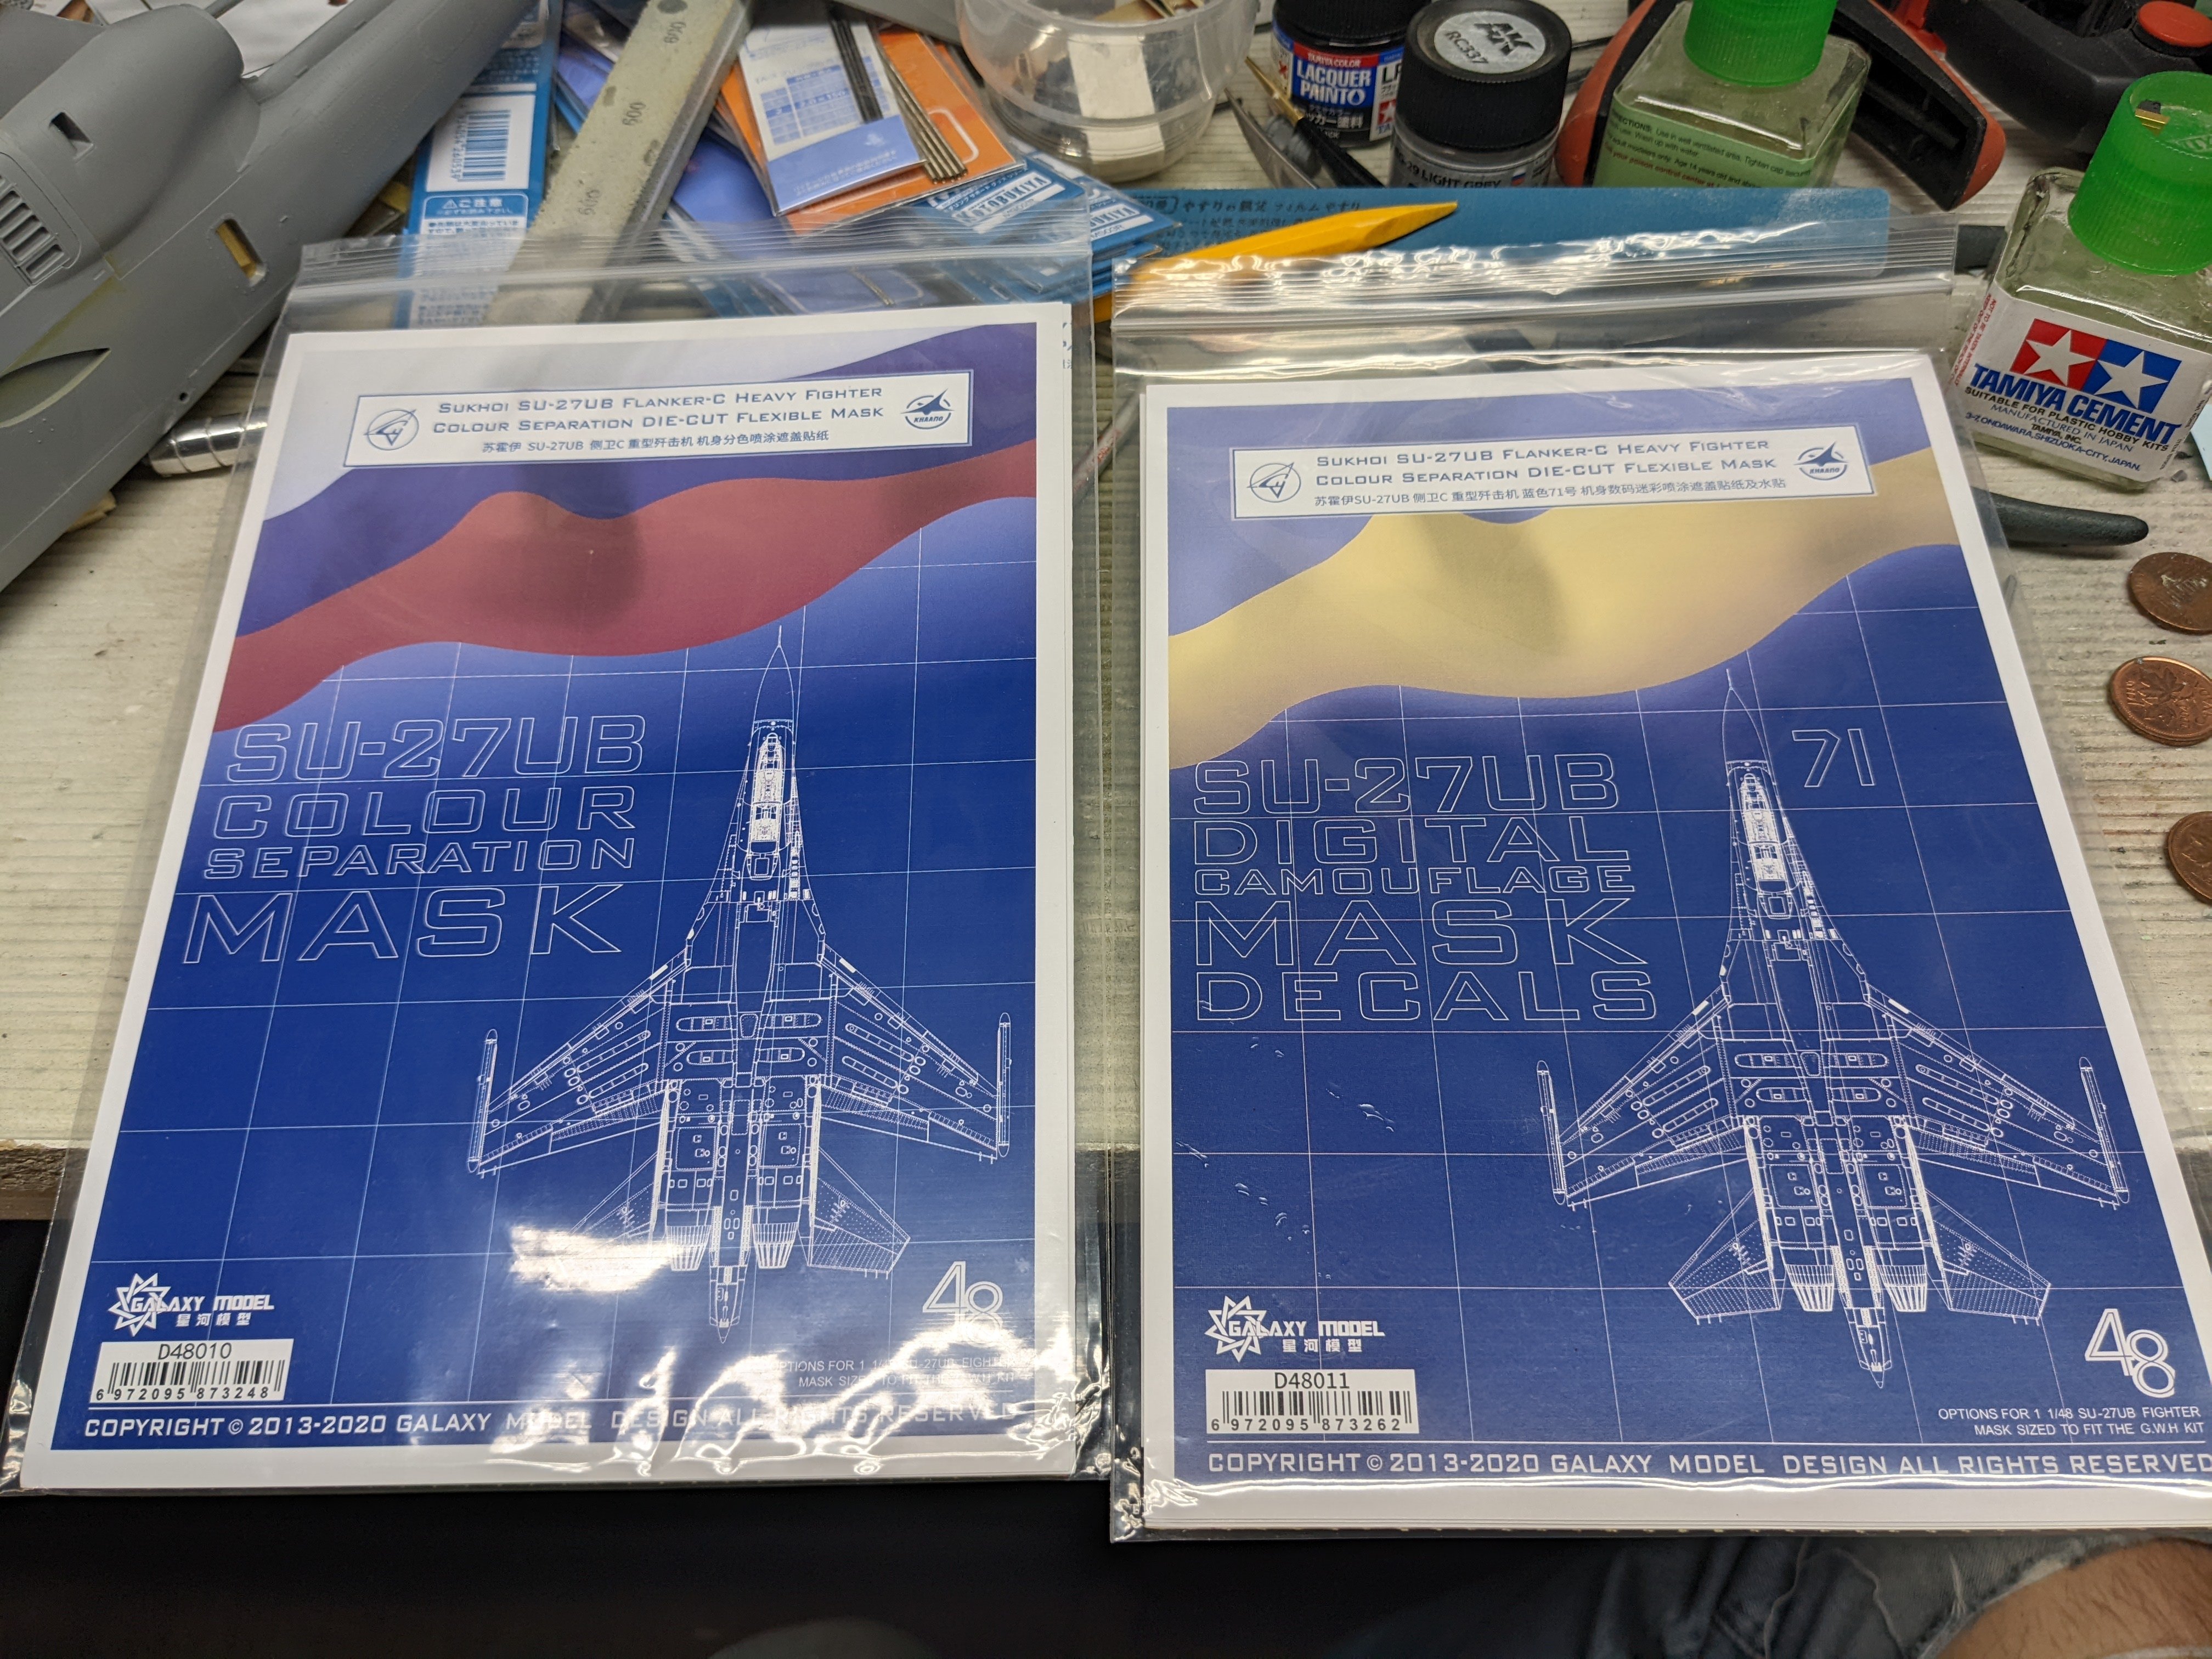
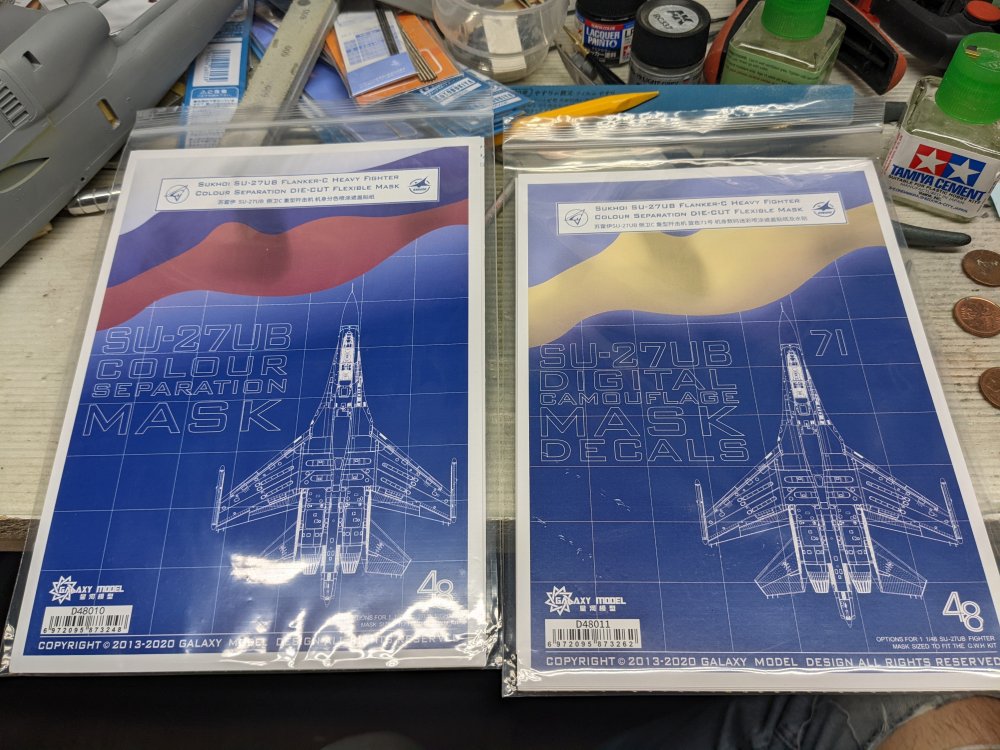
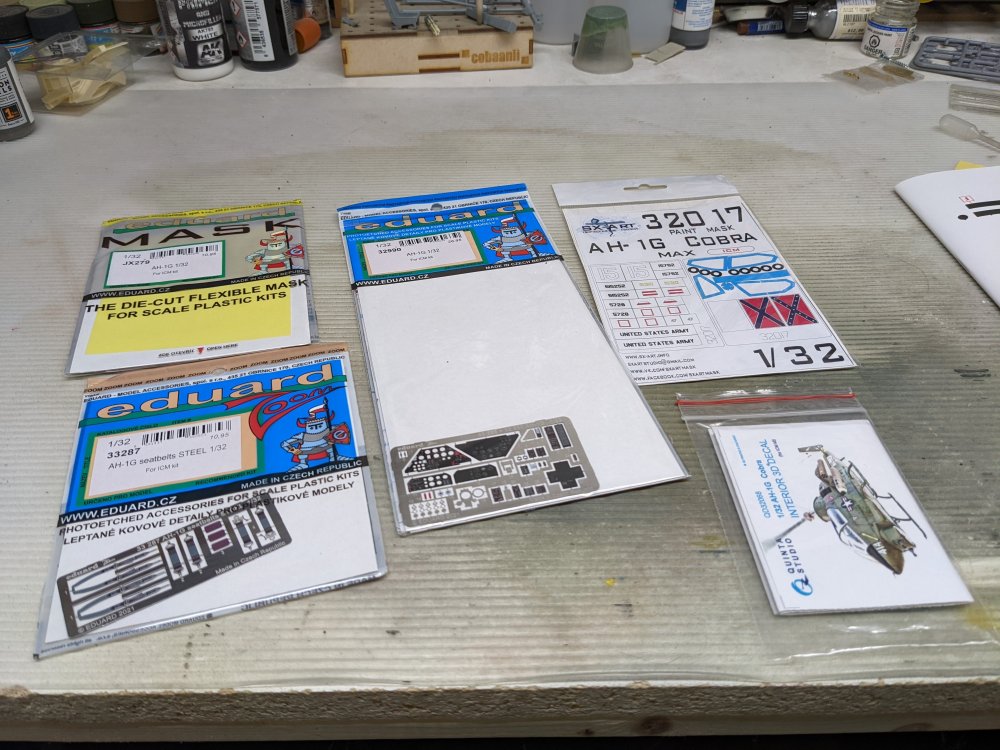
Thanks Harv. I took a quick look at the masks. The instructions seem fairly comprehensive and they include a sheet of transfer film to help position the masks.
-
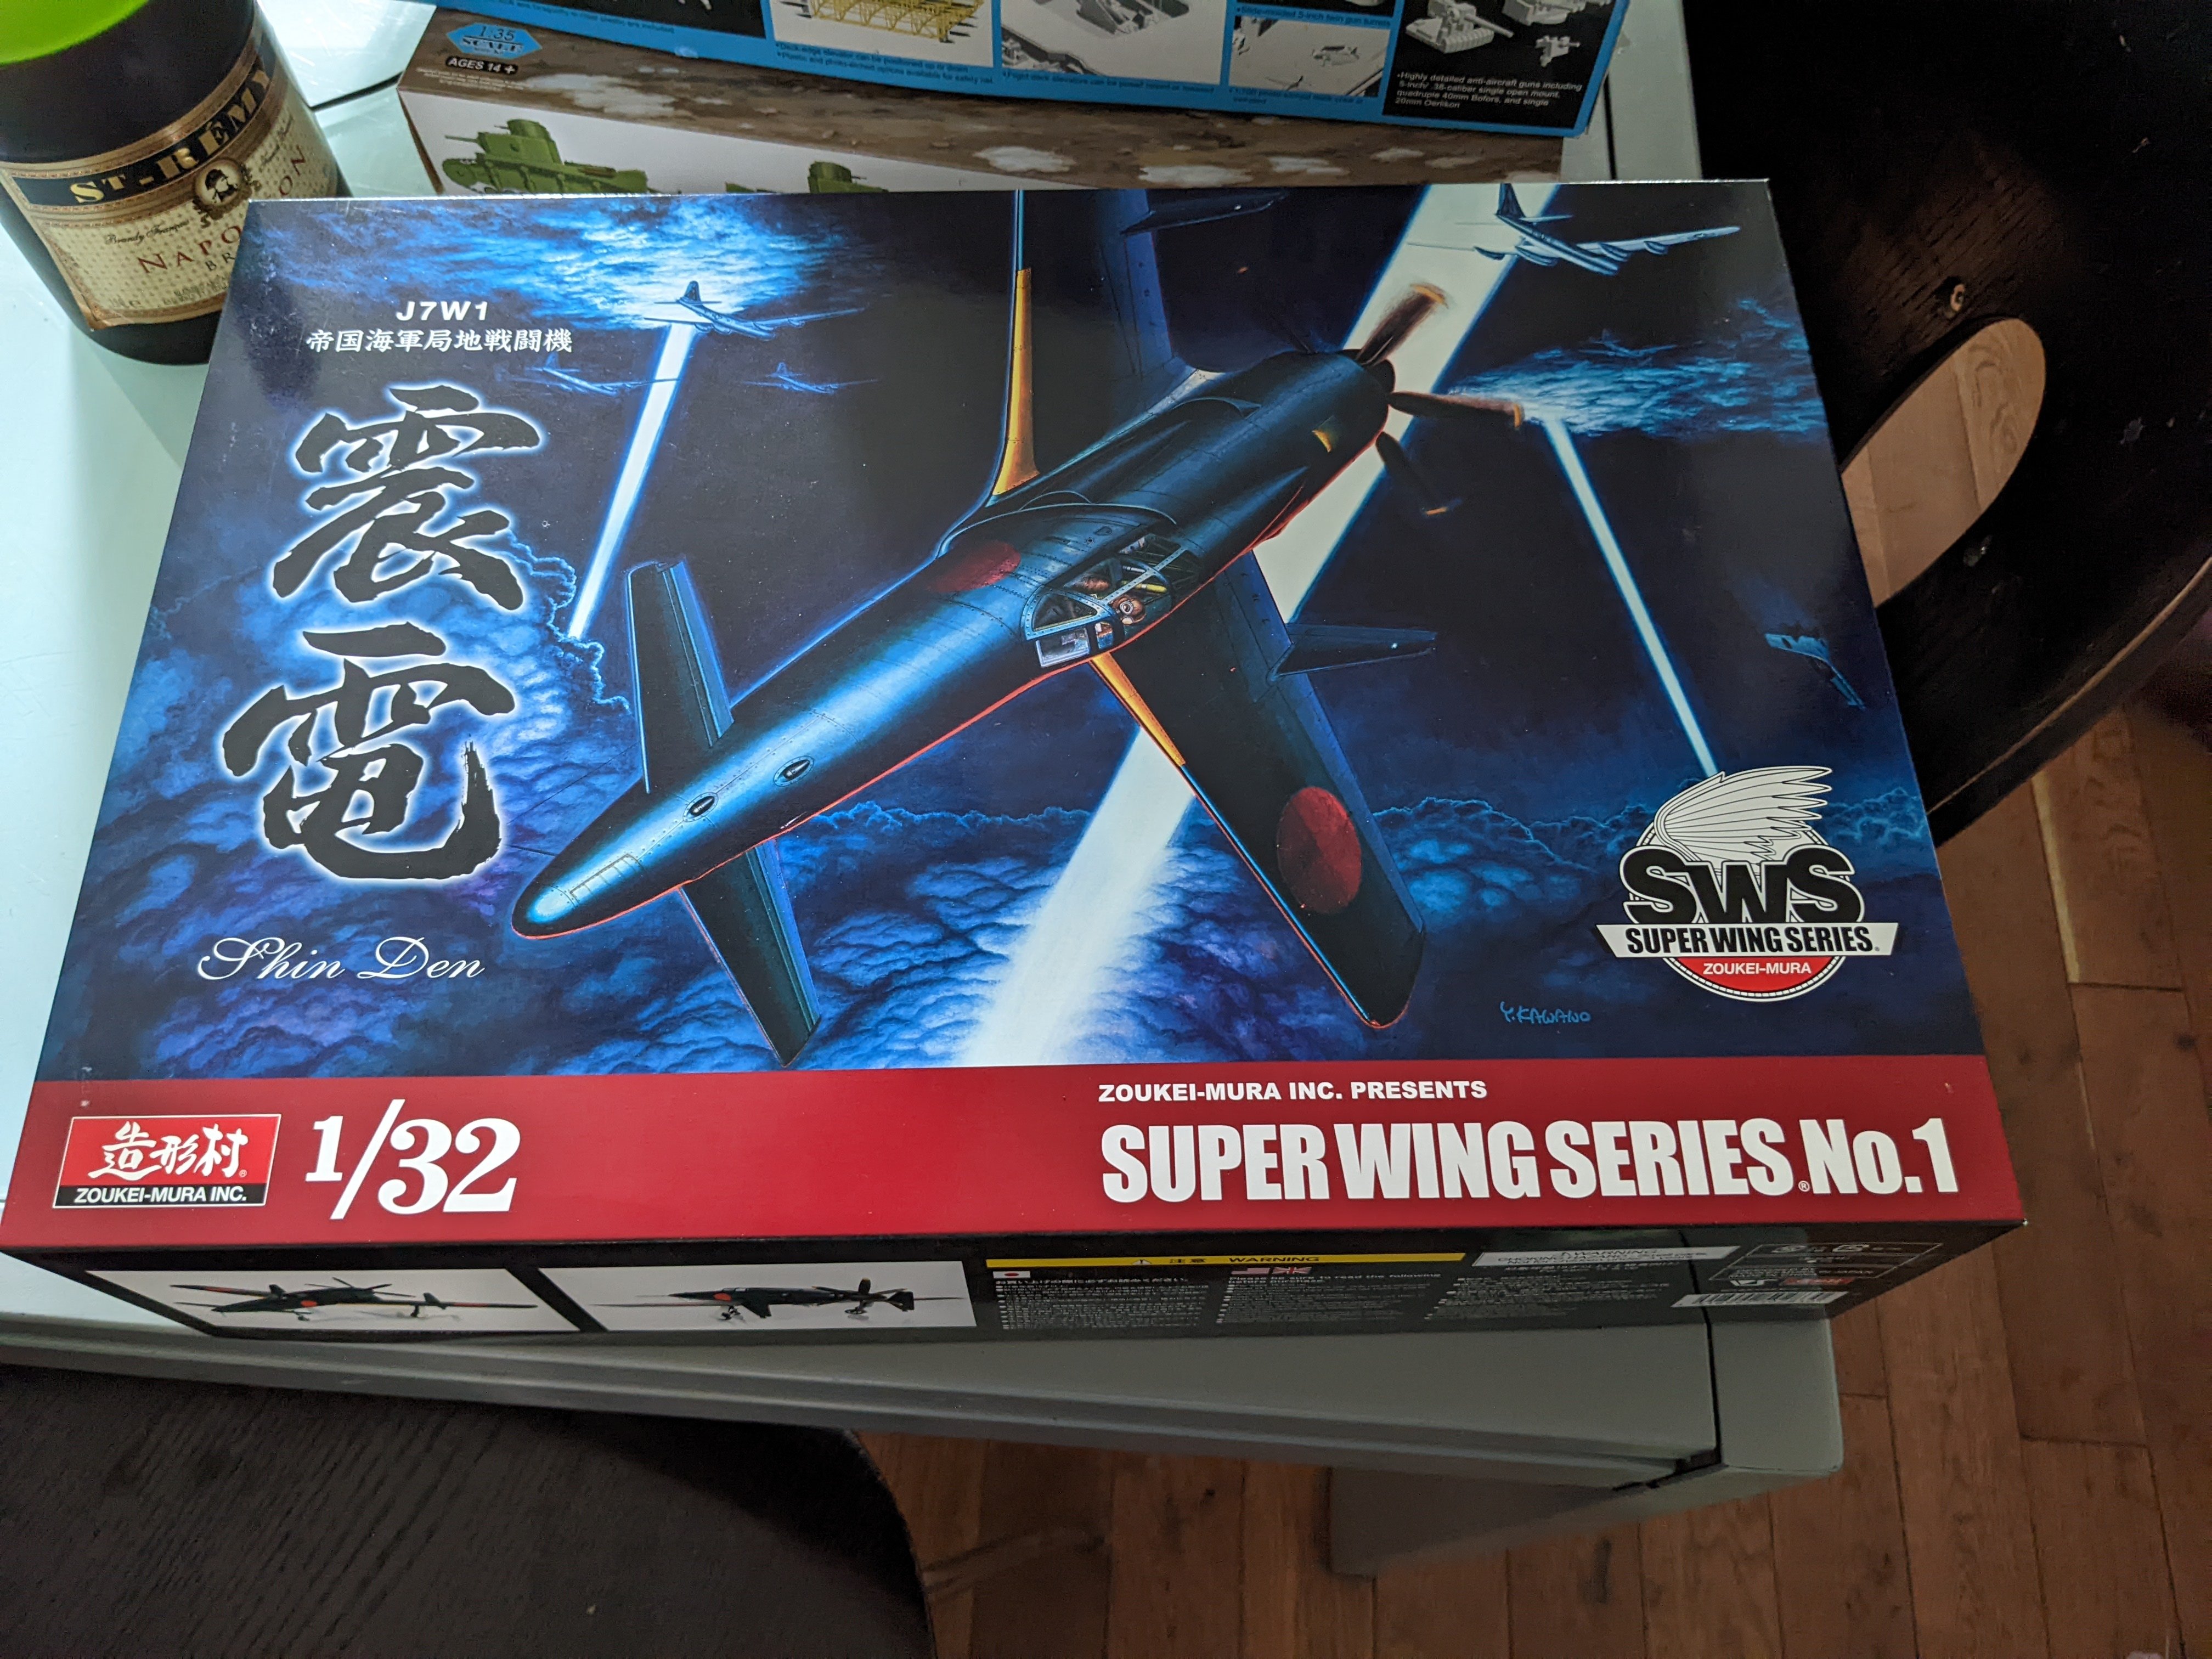
Just arrived today. Now for the kit to arrive.
-
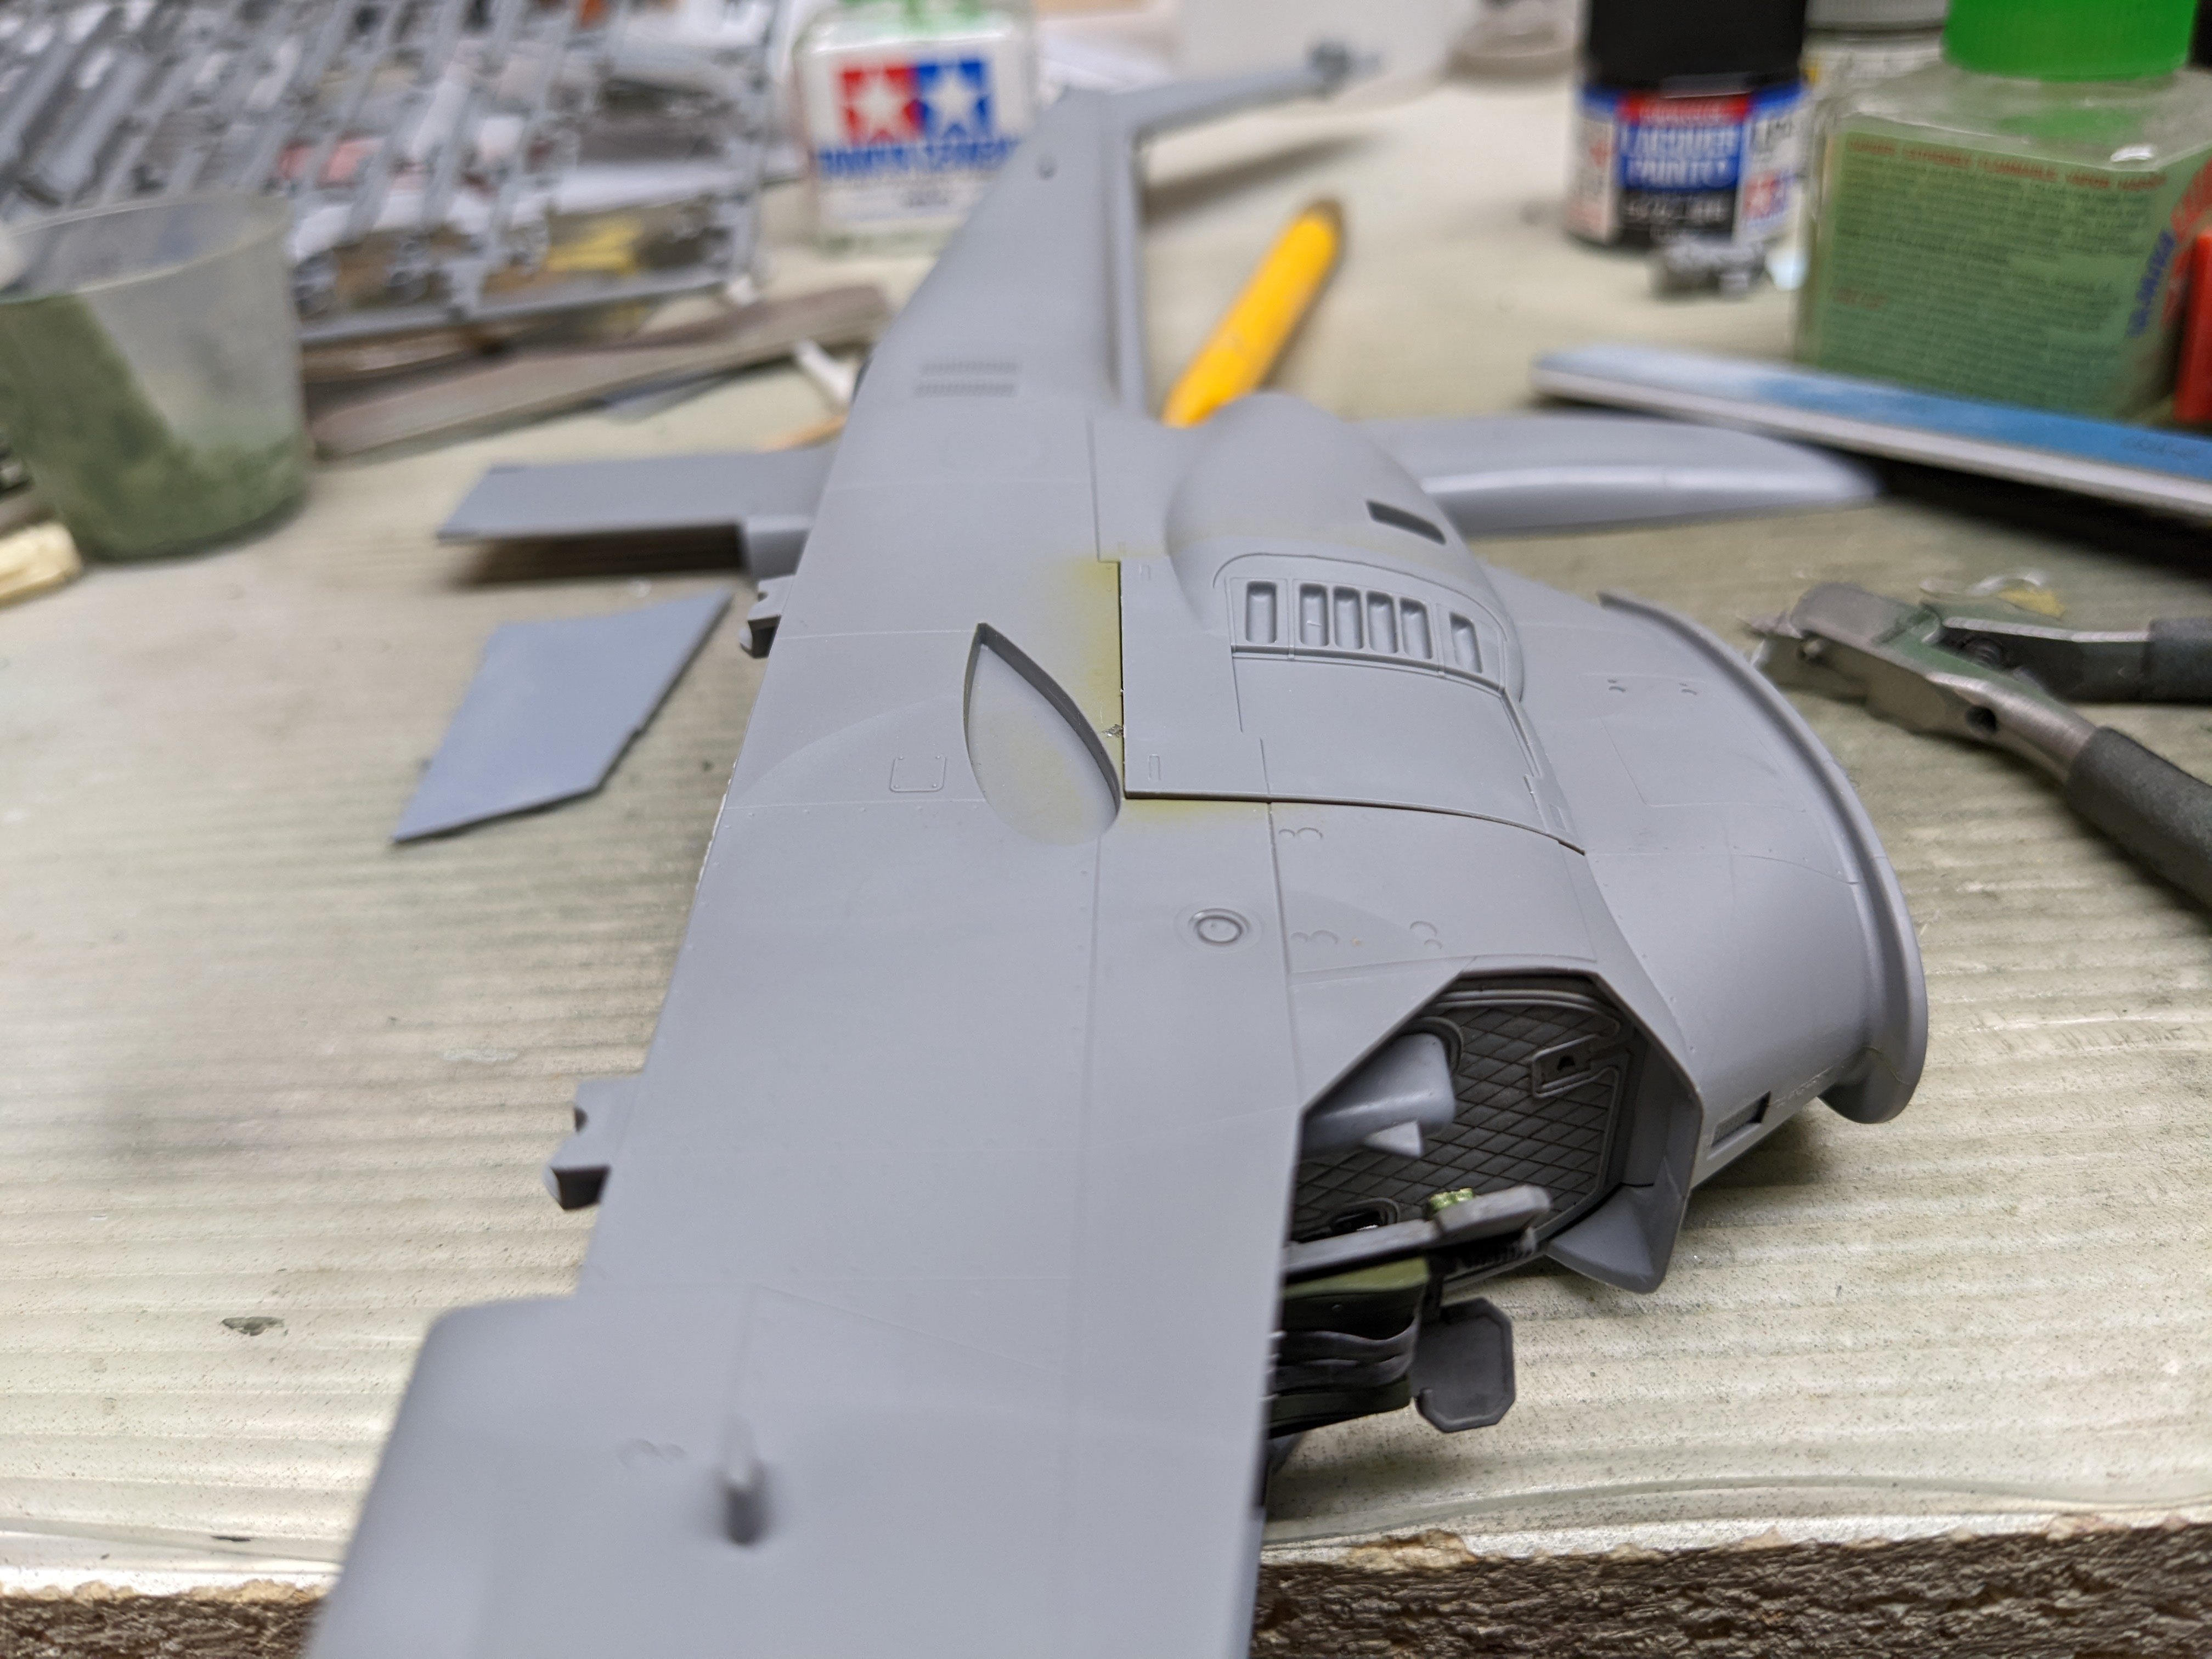
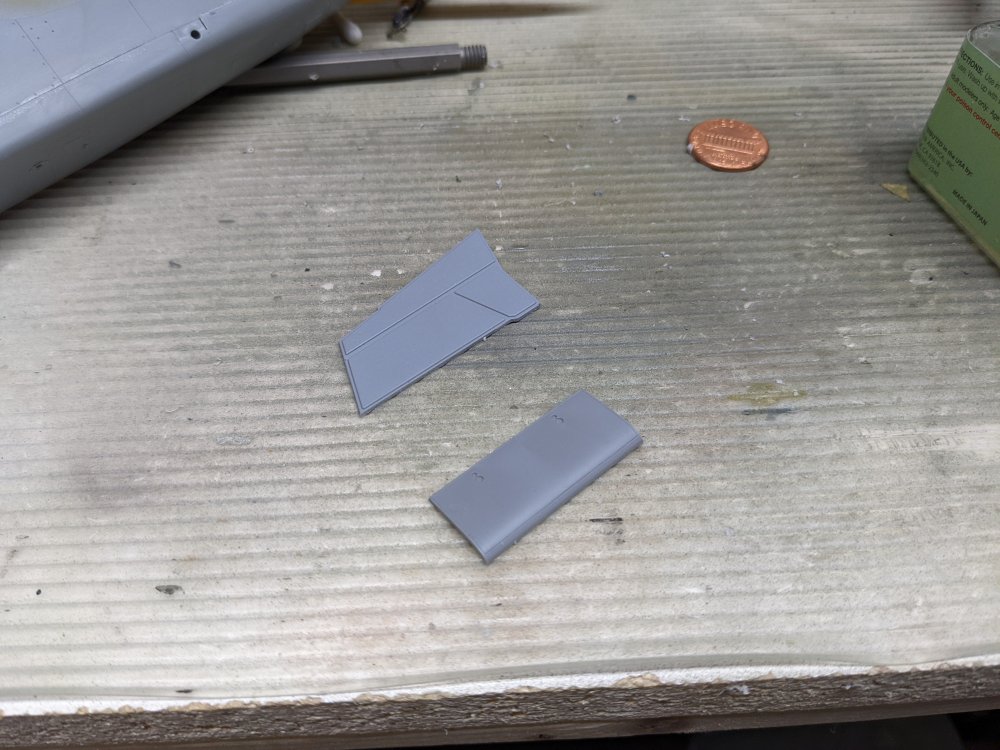
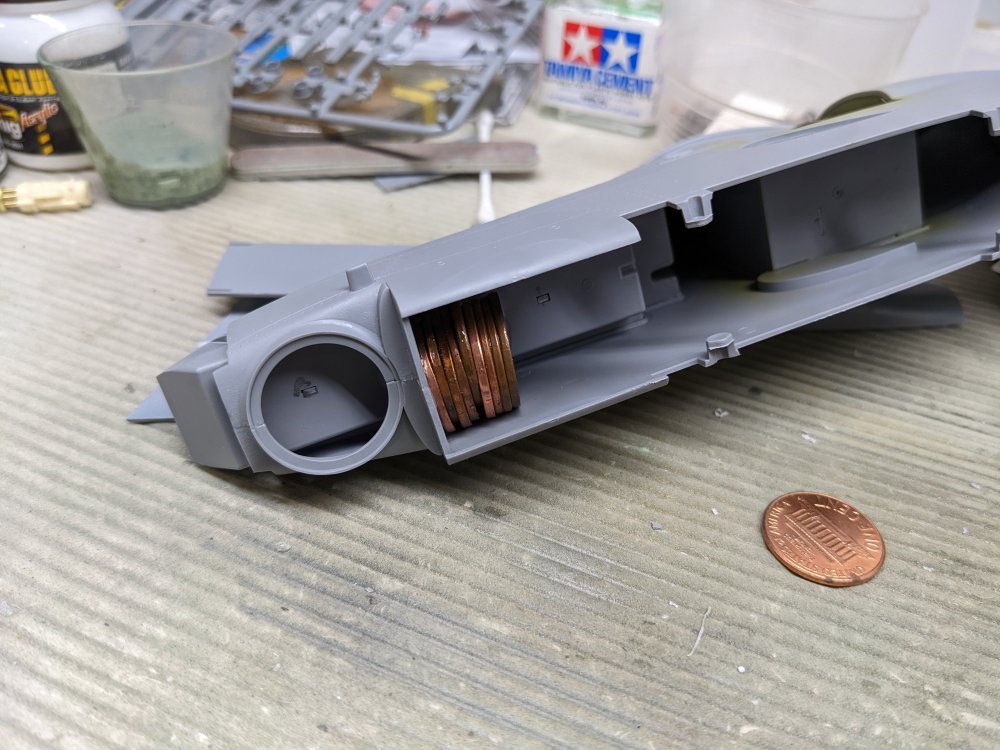
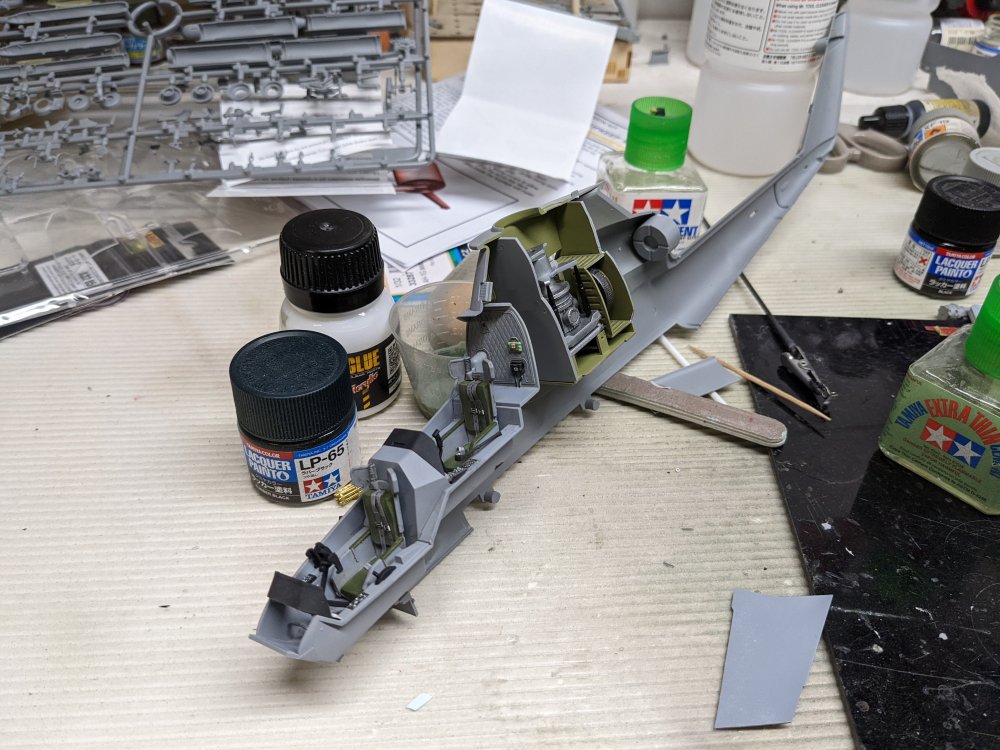
I got some more work on the fuselage done. The transmission covers need a small tweaks to fit better. They sit a bit proud of the surface. There's a tab and corresponding recess on the panel. When I deepened the recess the panel dropped in better. I repeated this on the other side. The fuselage needed some nose weight so I epoxied in some pennies in the nose under the cockpit.. 9¢ deemed about right as there's nothing in the instructions about adding nose weight. I then attached the lower fuselage panels. The fit was again fantastic. Lastly I added the applique armour fitted to the port side. I suspect this is due to the cannon on the inboard station.

-
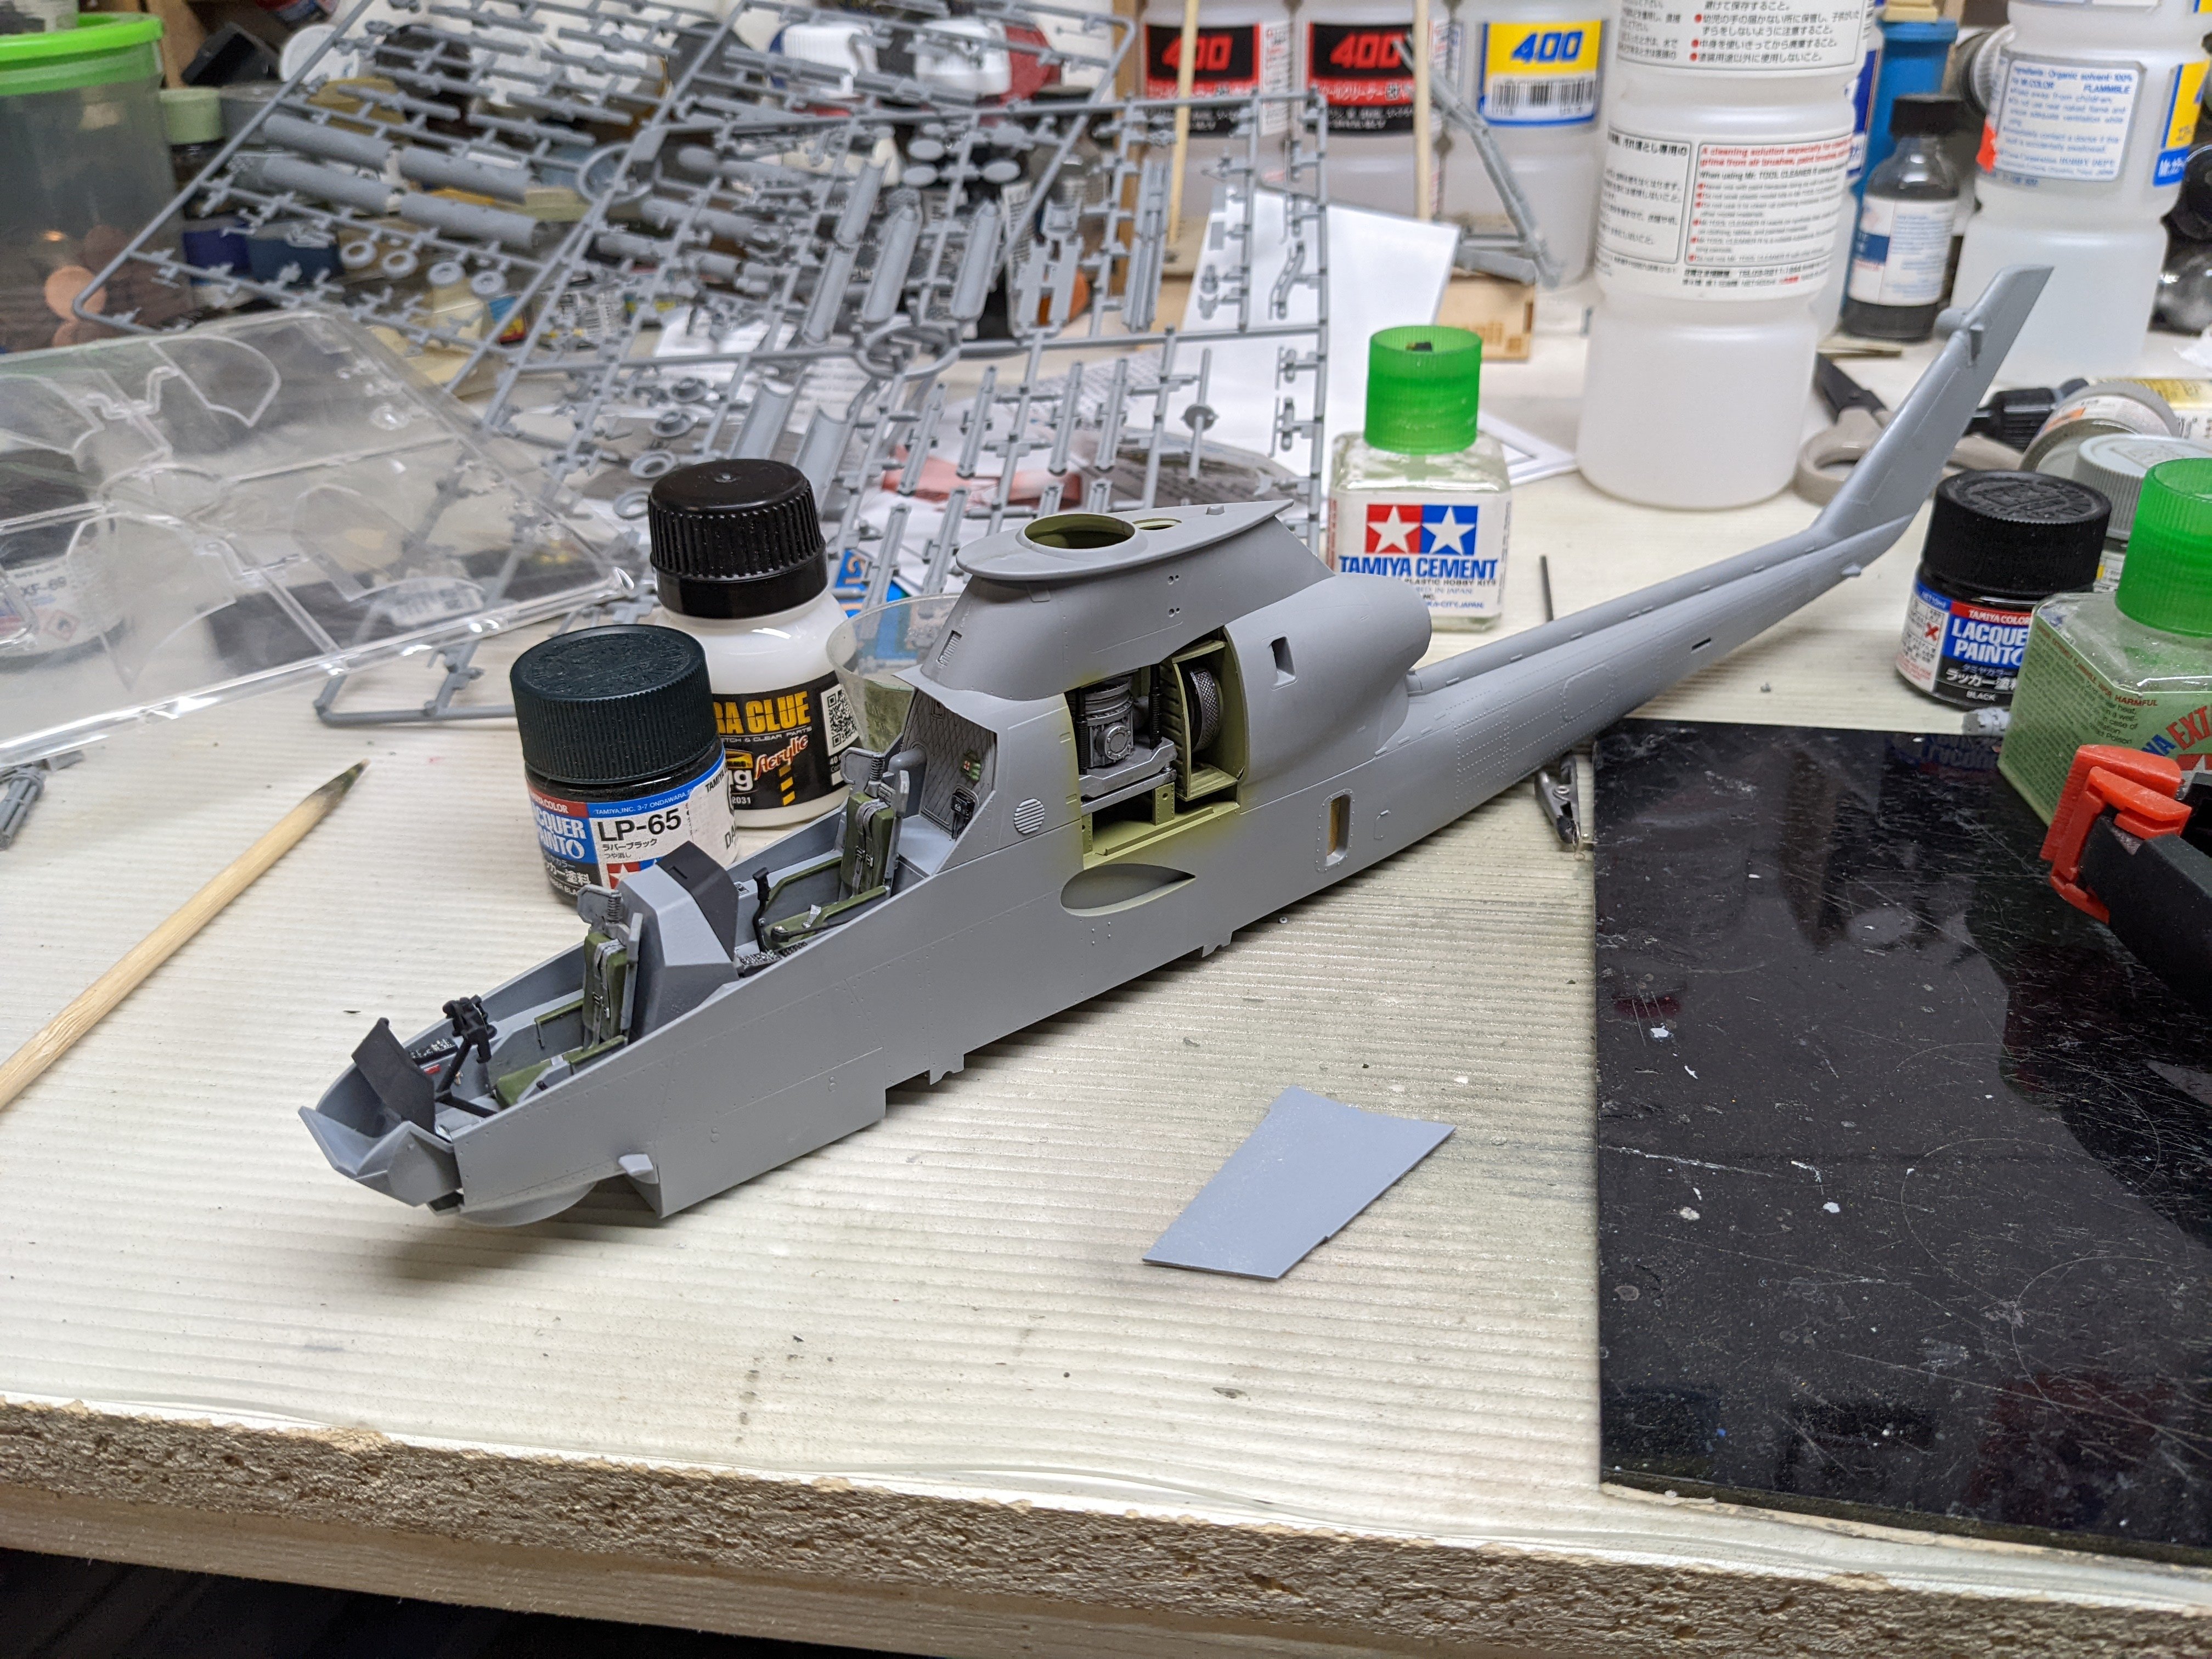
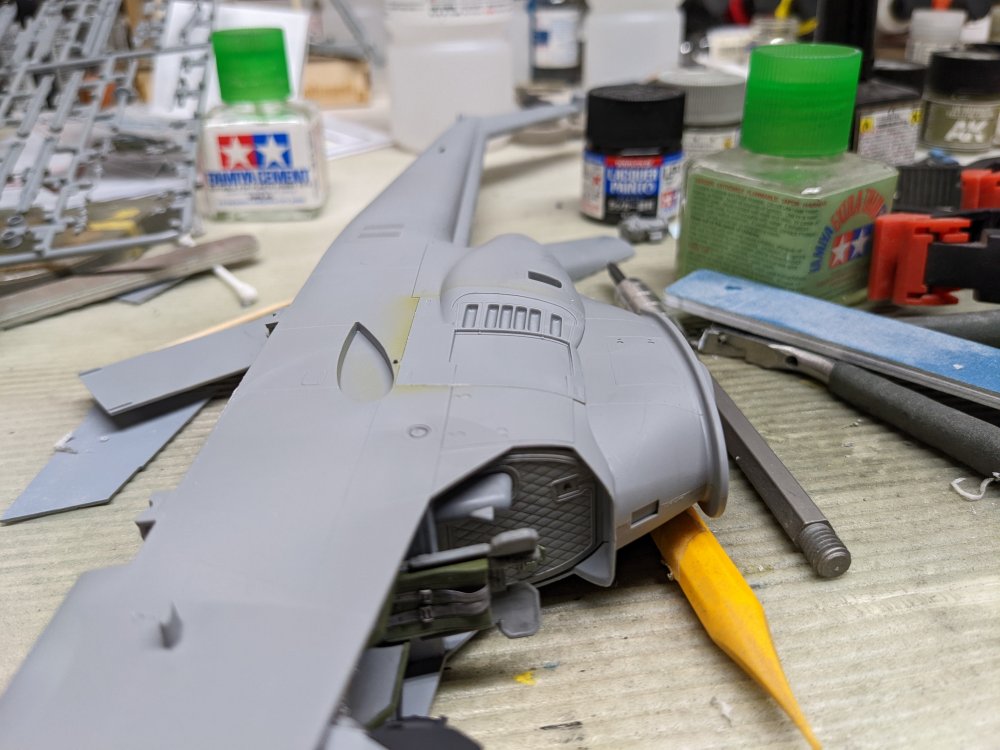
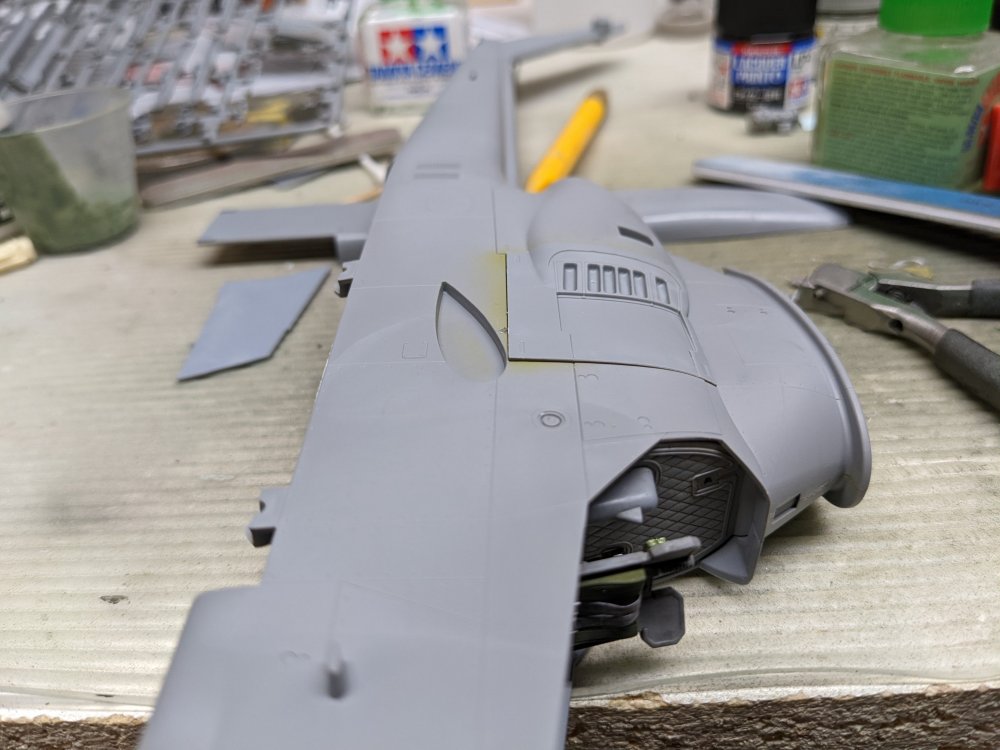
Thanks Rob! It's definitely going together nicely. Speaking of which, I got the cockpit in place. And the fuselage closed up. You're supposed to install the tail rotor at this point but I'm leaving it off to make painting easier.

-
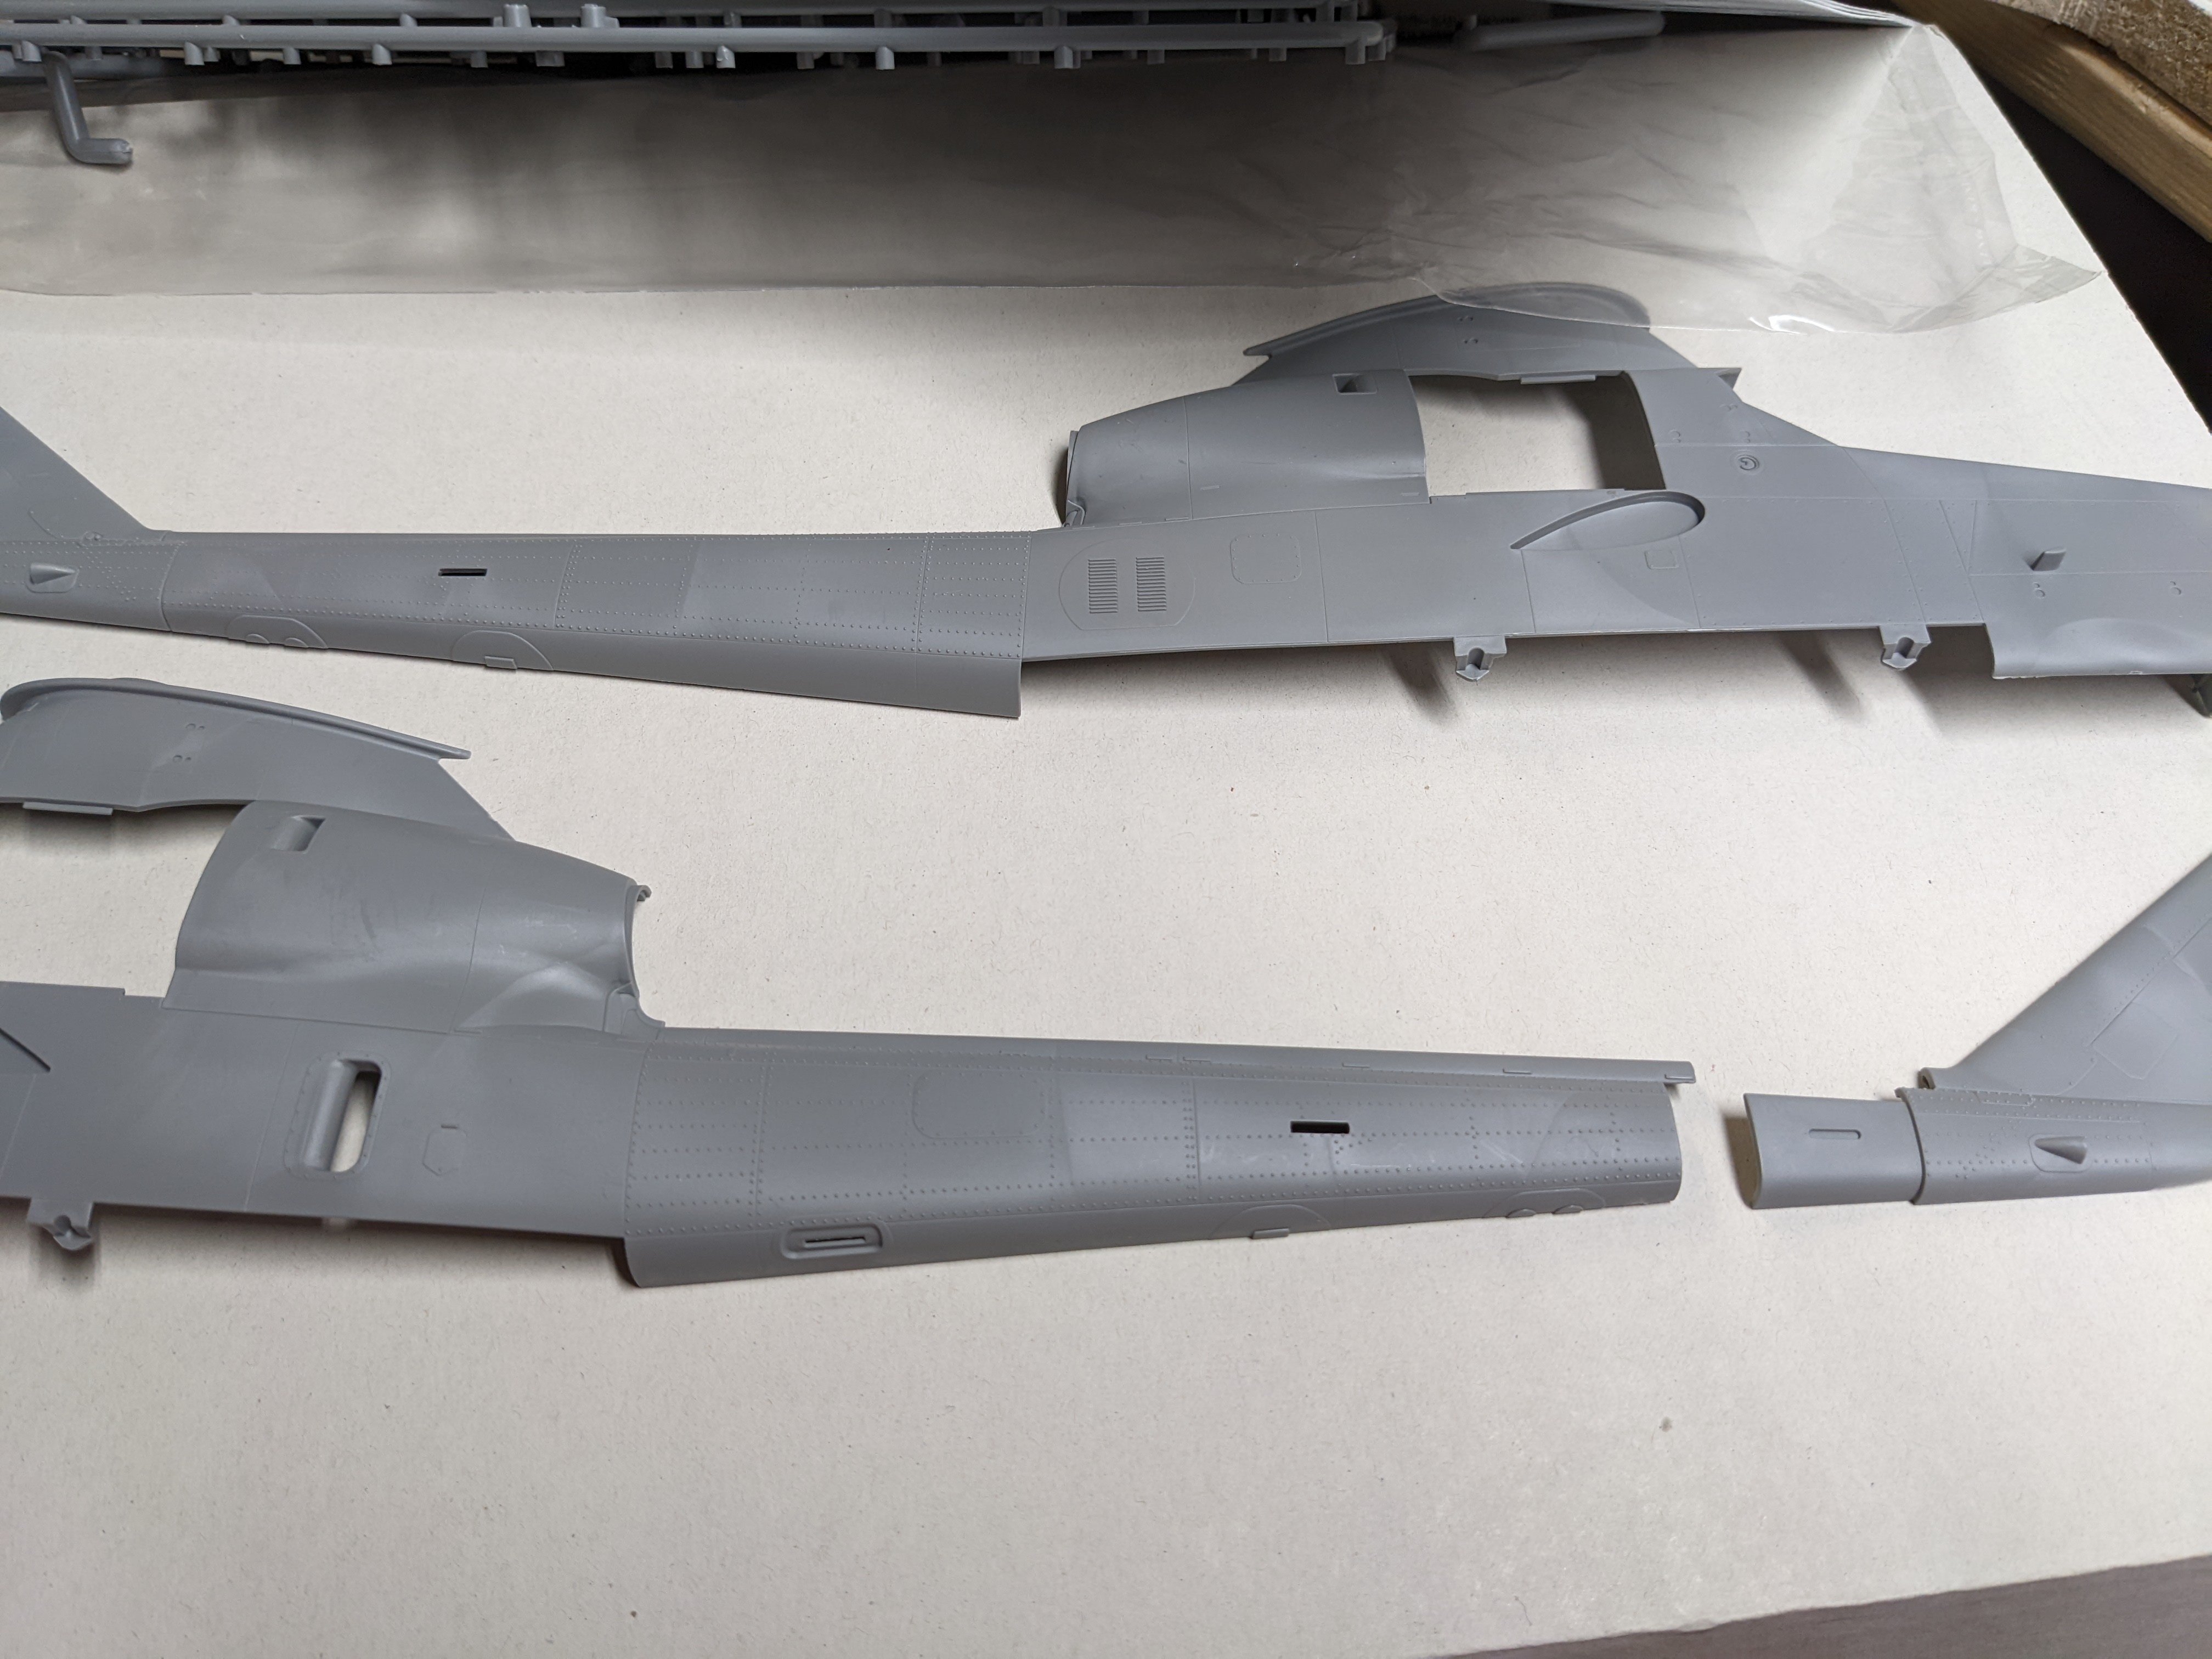
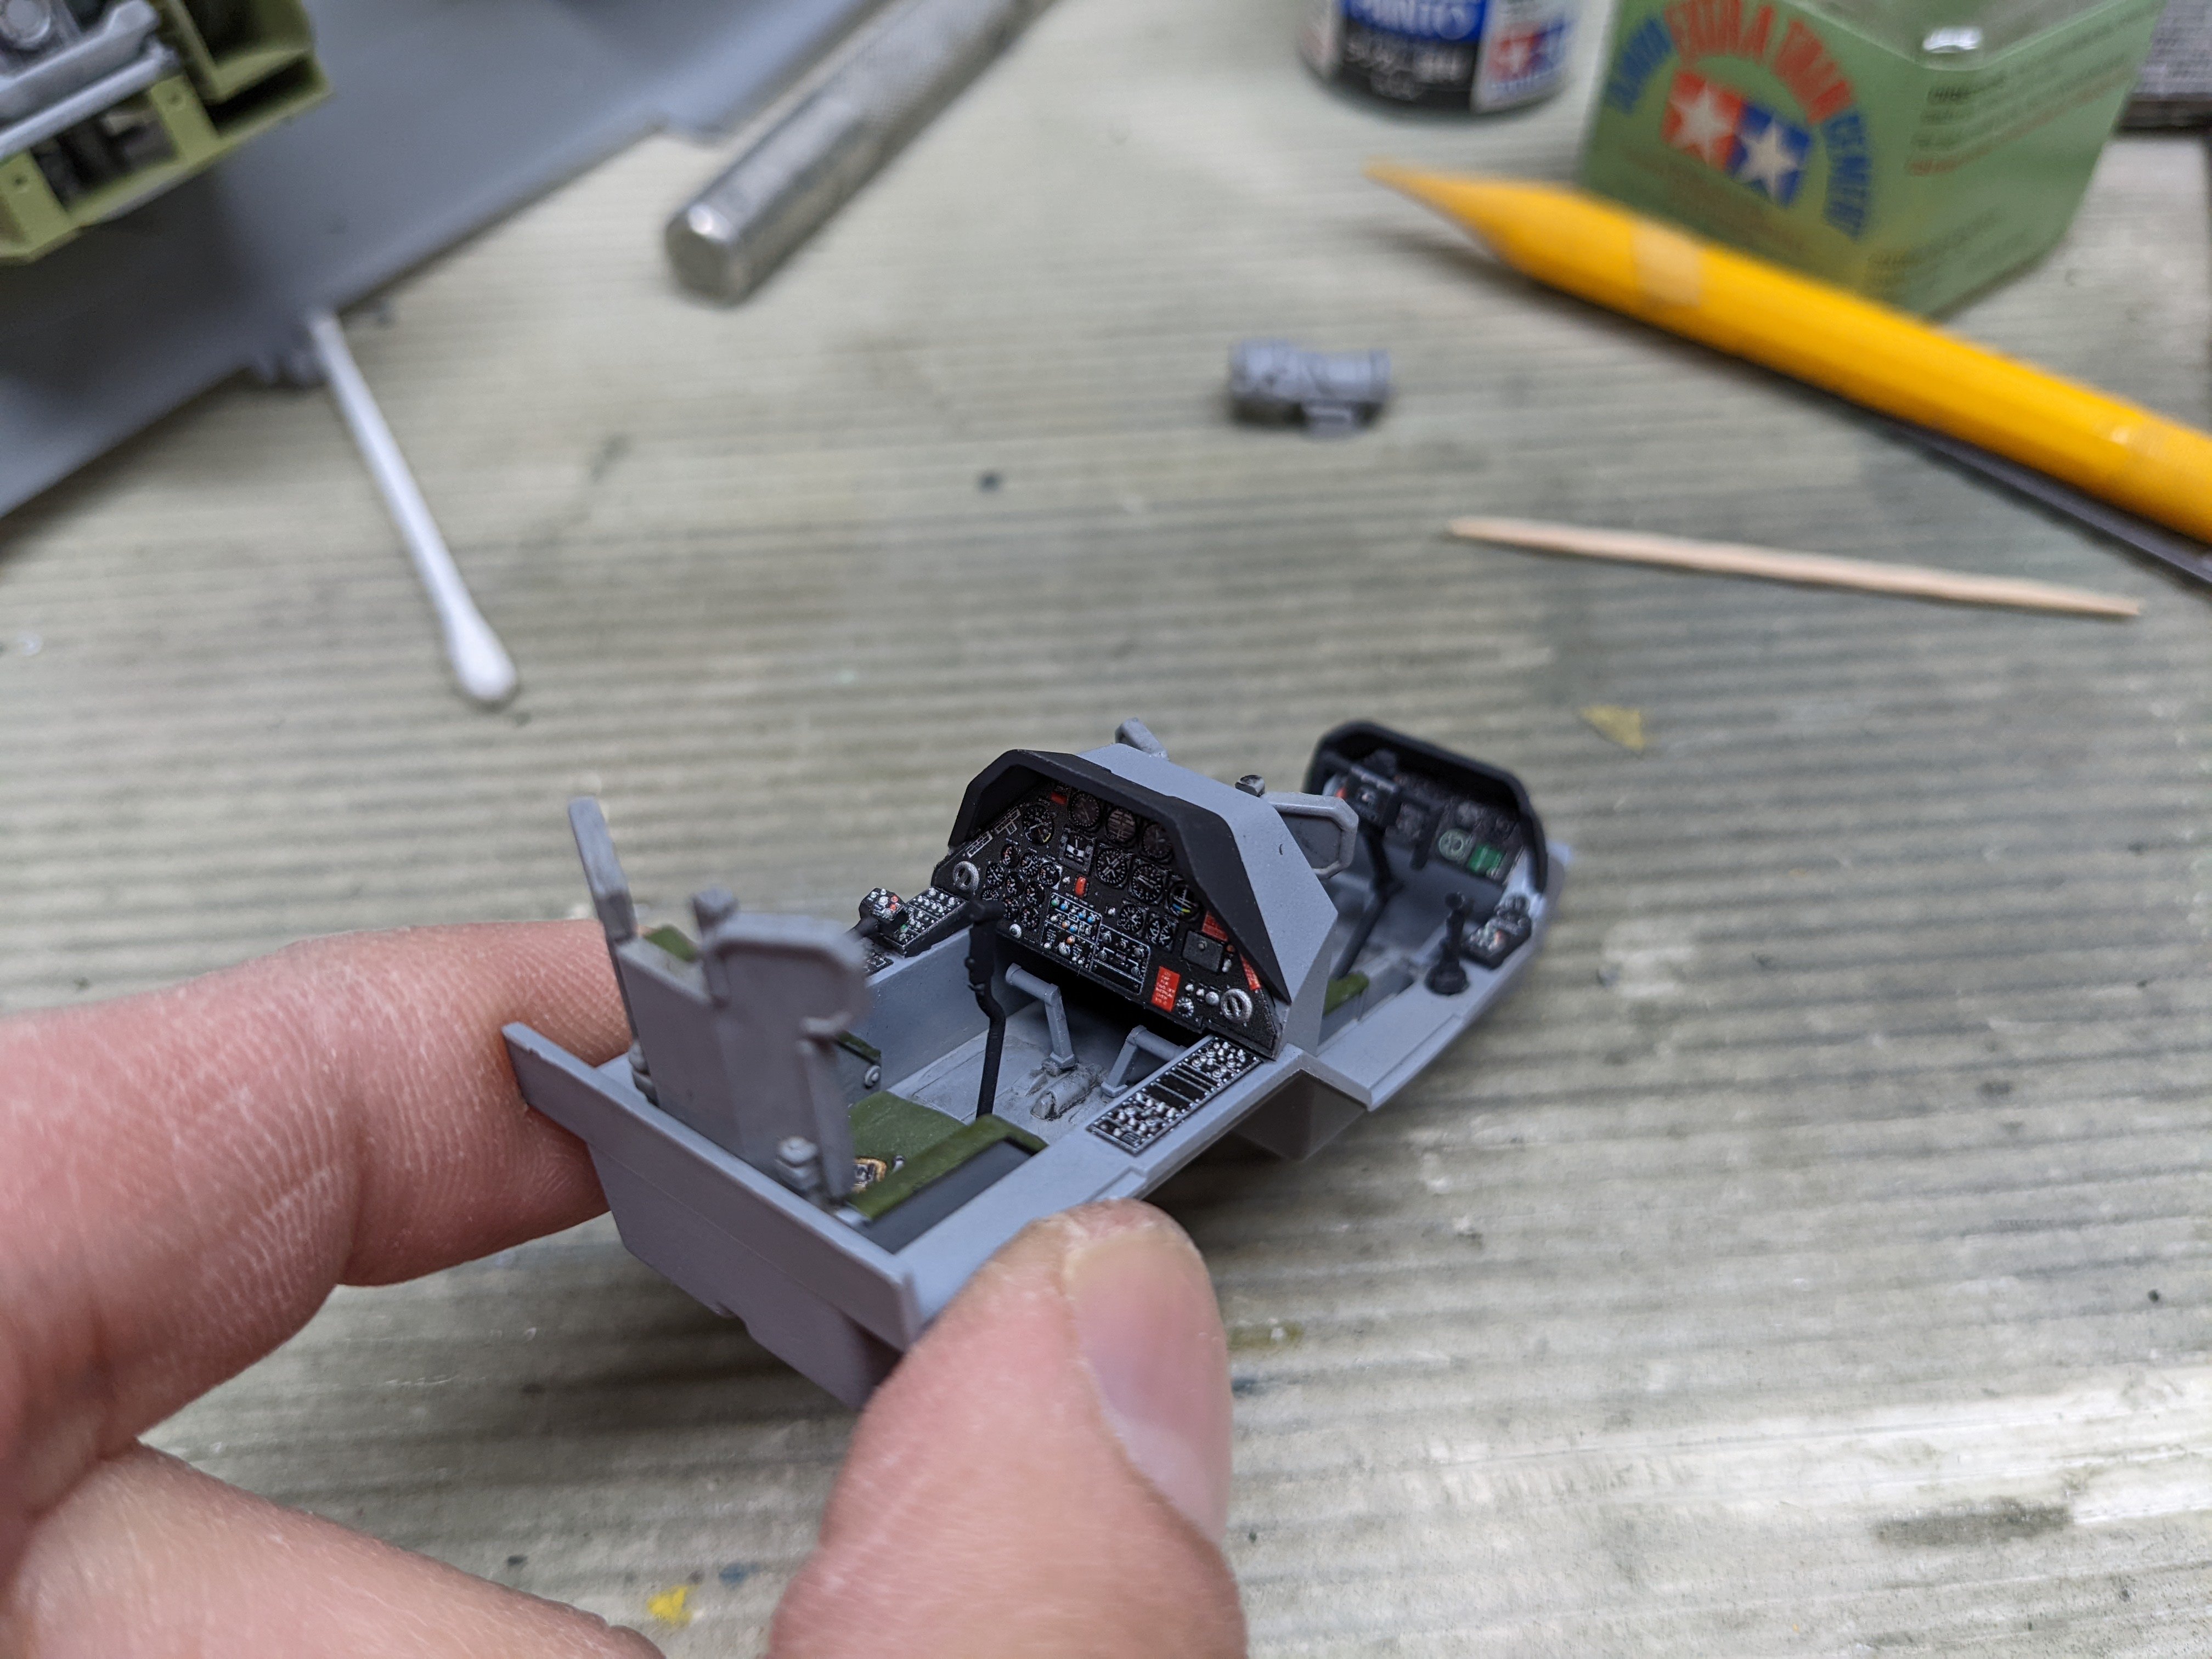
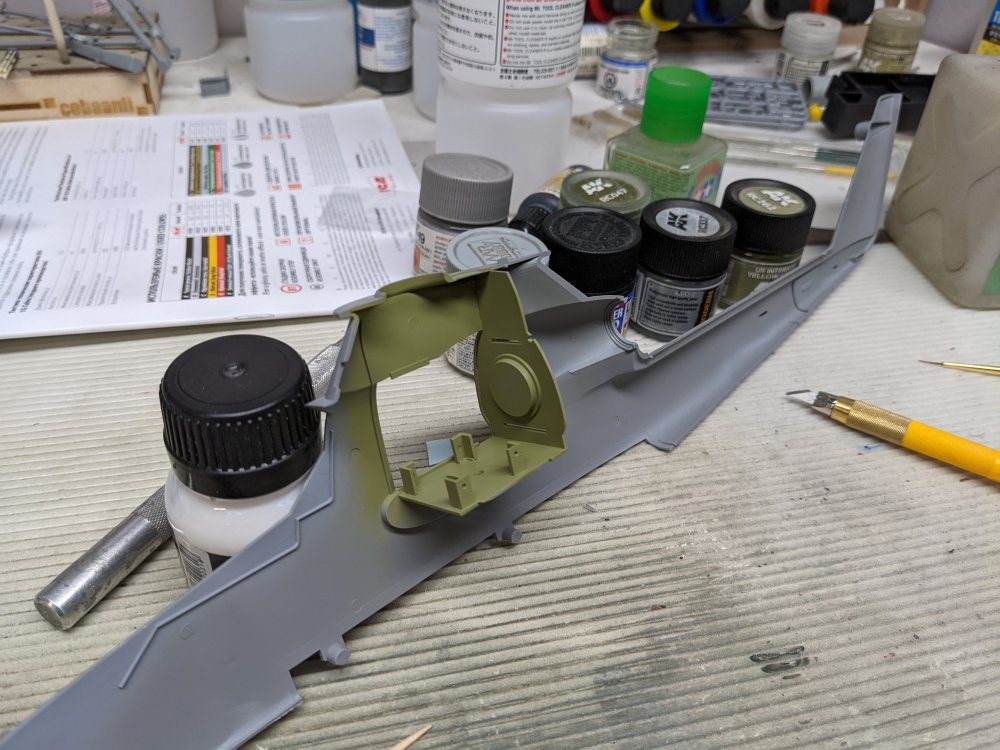
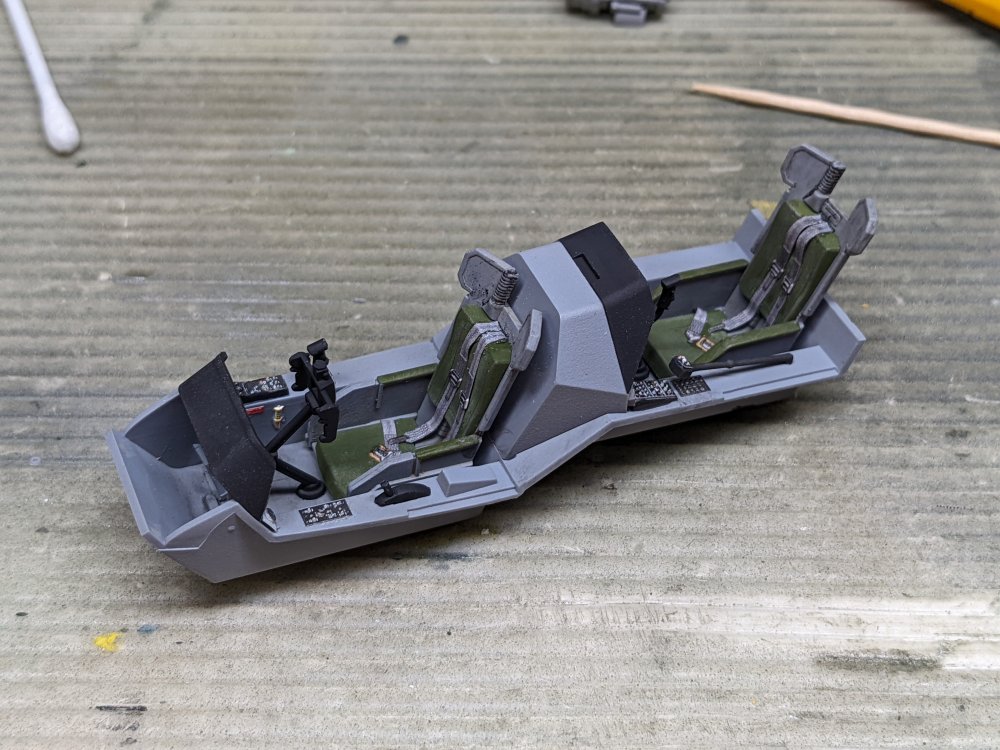
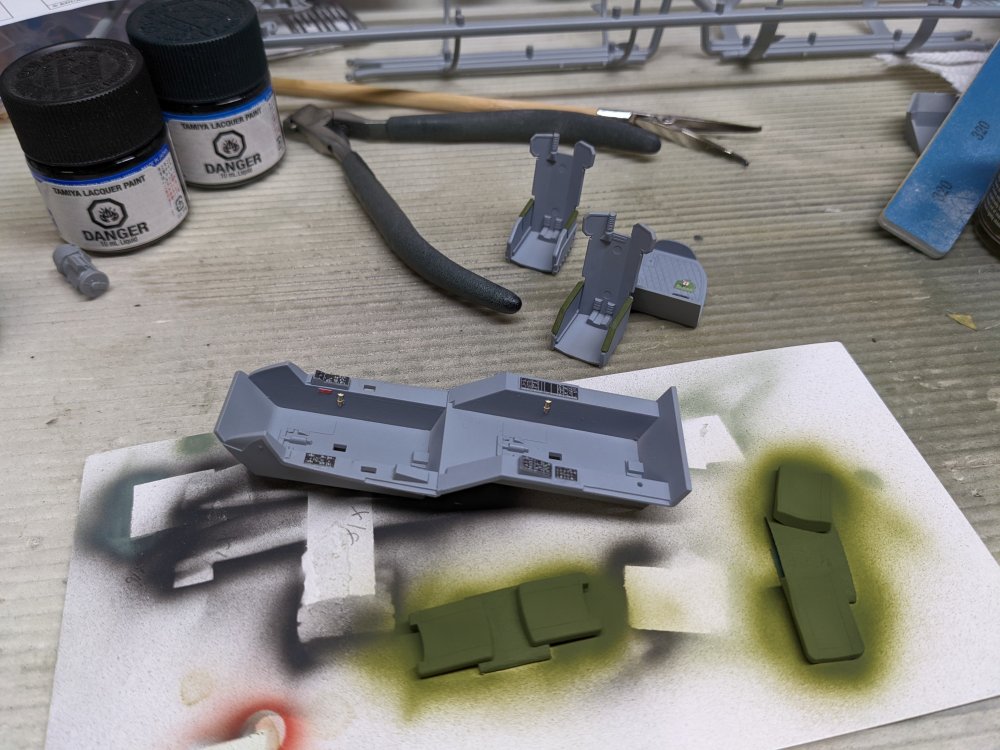
Here's an example of the great fit. There are separate tail sections to reflect the change in the early and late versions of the tail rotor. ICM made sure to use a suitable overlap so the join is strong and aligned easily. I installed the engine bay into one side of the fuselage and then painted it interior green. I then added the gearbox(?) after painting all the bits. Back to the cockpit, I tried the Quinta seatbelts and they worked out nicely. Then I added the remaining cockpit details. I'm getting nearer to closing up the fuselage.


- 51 replies
-
- 11
-

-

-
This is my first ICM kit as well. I'm really impressed by the fit and overall quality as well. I've got the Special Hobby version as well. The paint instructions are much better in the Special Hobby kit than the ICM so I've been using them on the build.
-
What is on your bench right now ? Share a picture :)
BlrwestSiR replied to Martinnfb's topic in Modelling Discussion
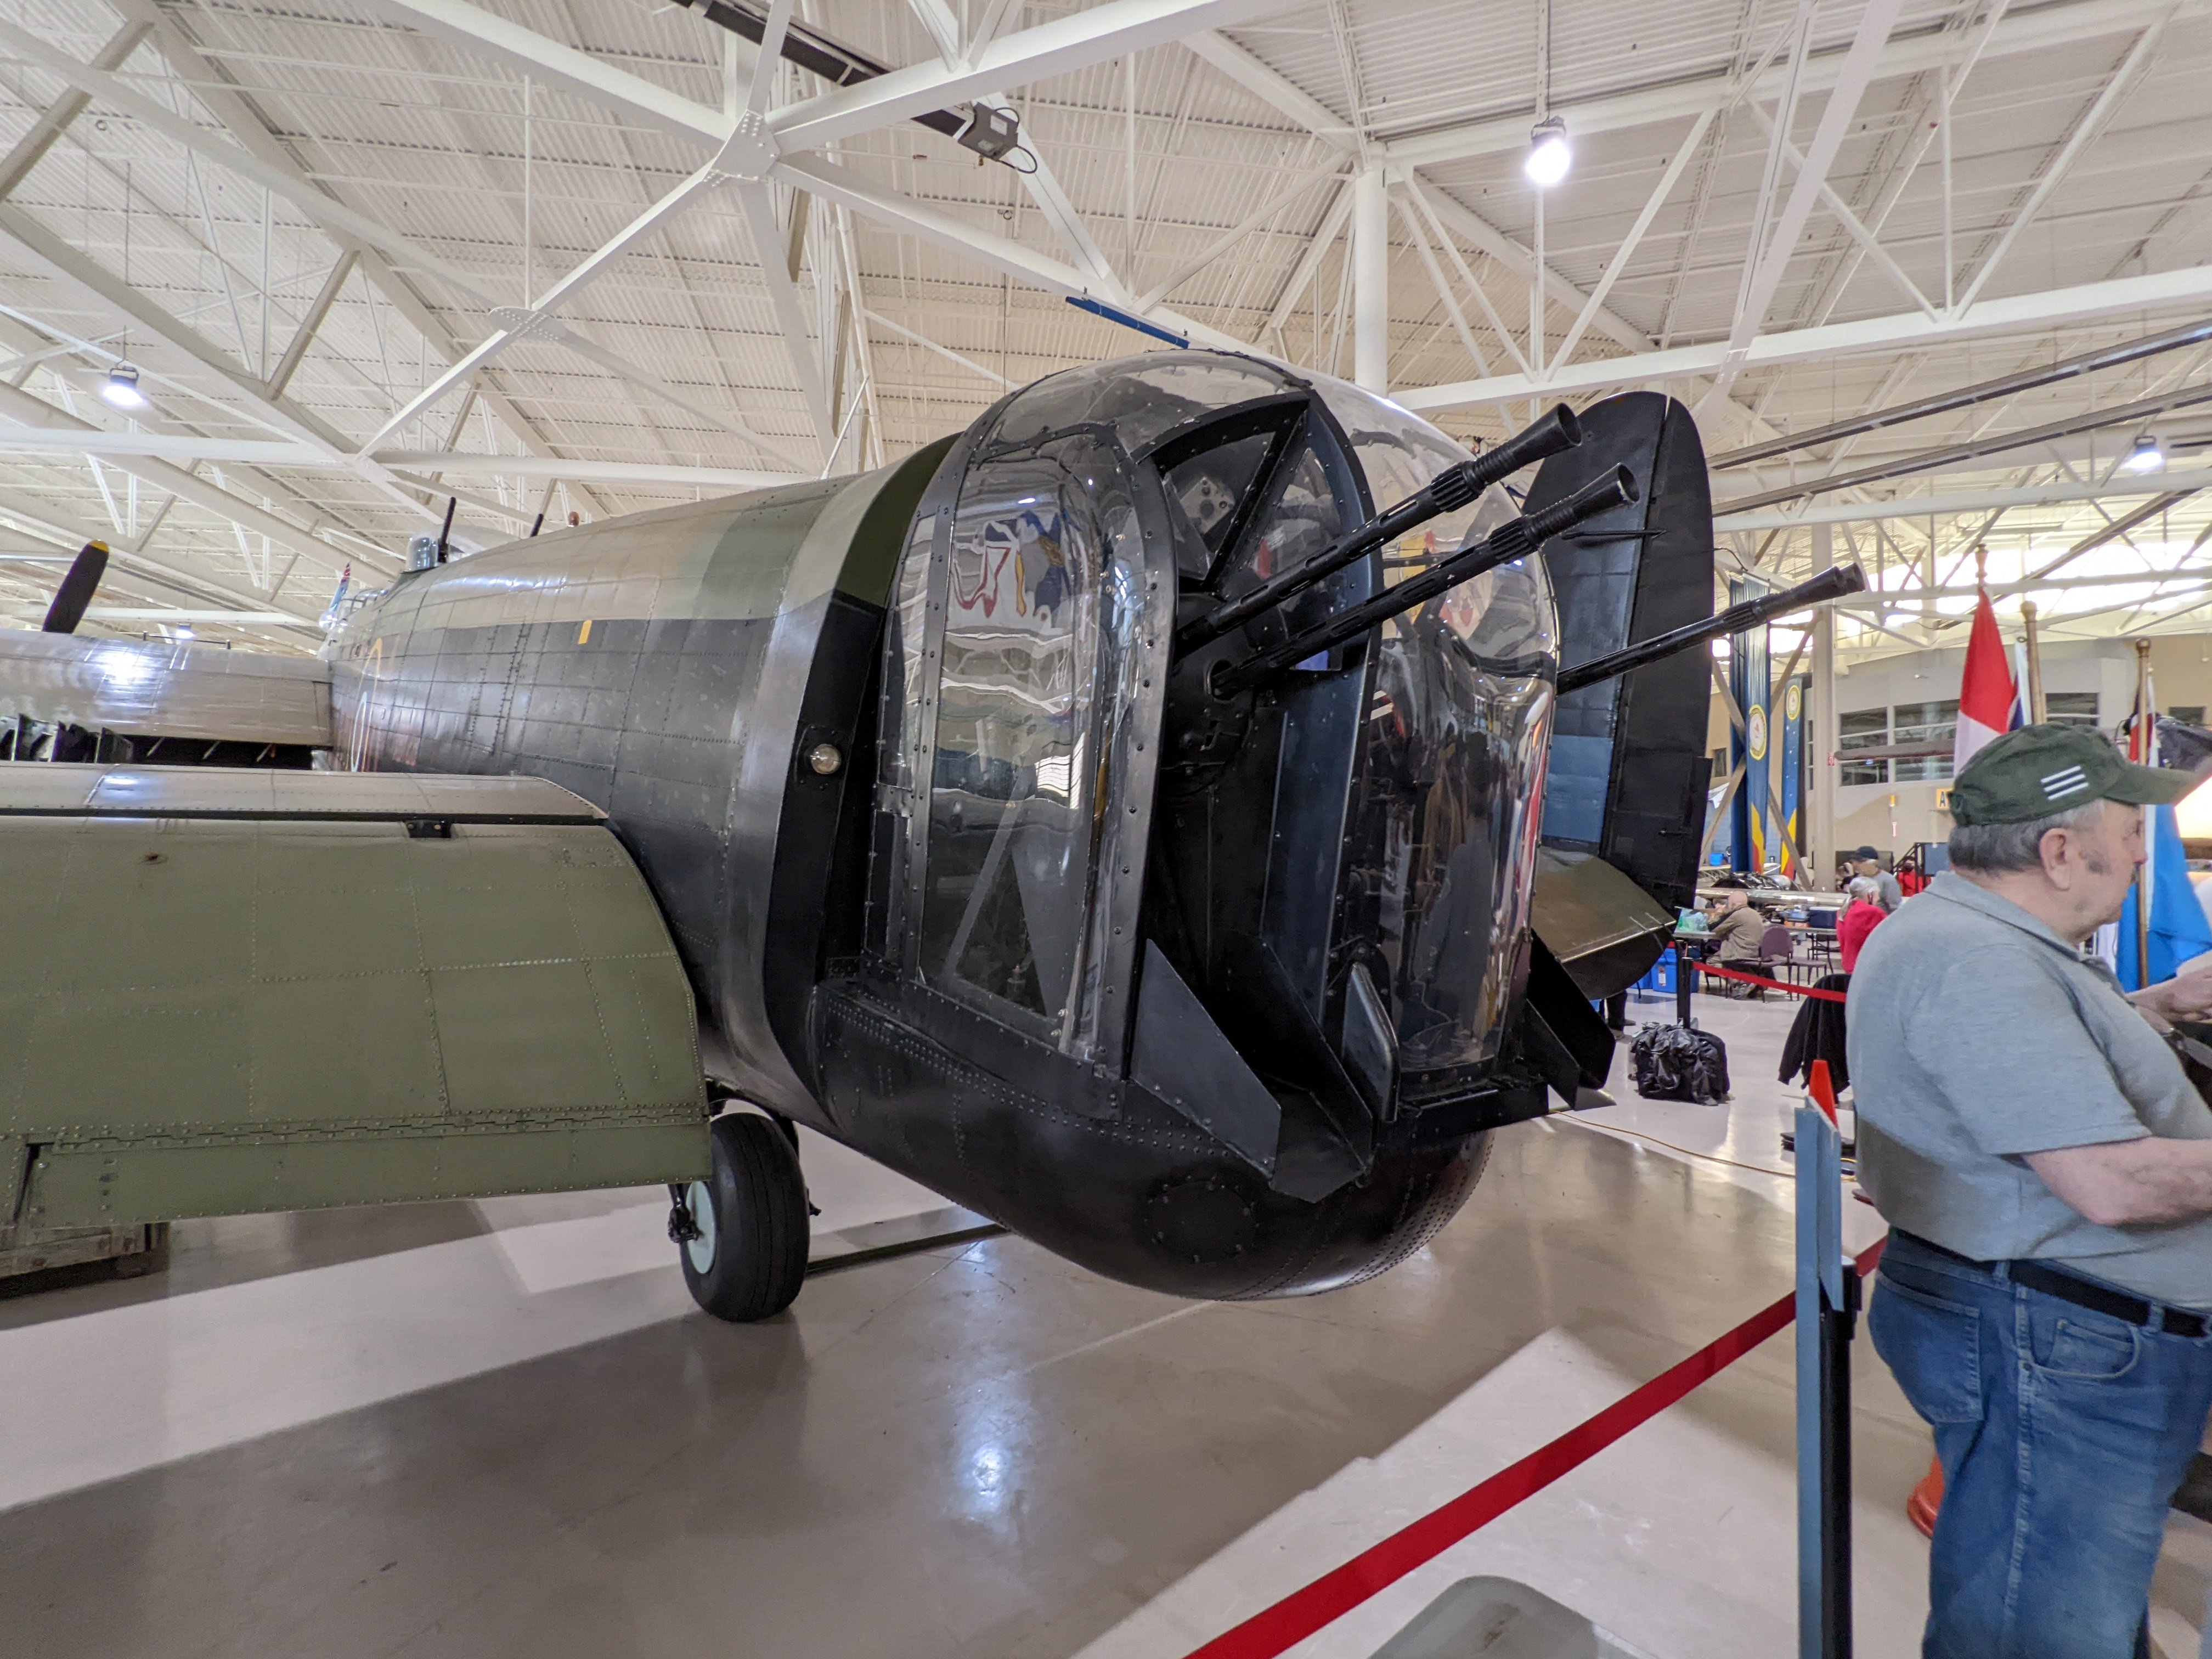
Next to a B-24, a Lancaster actually looks kind of small...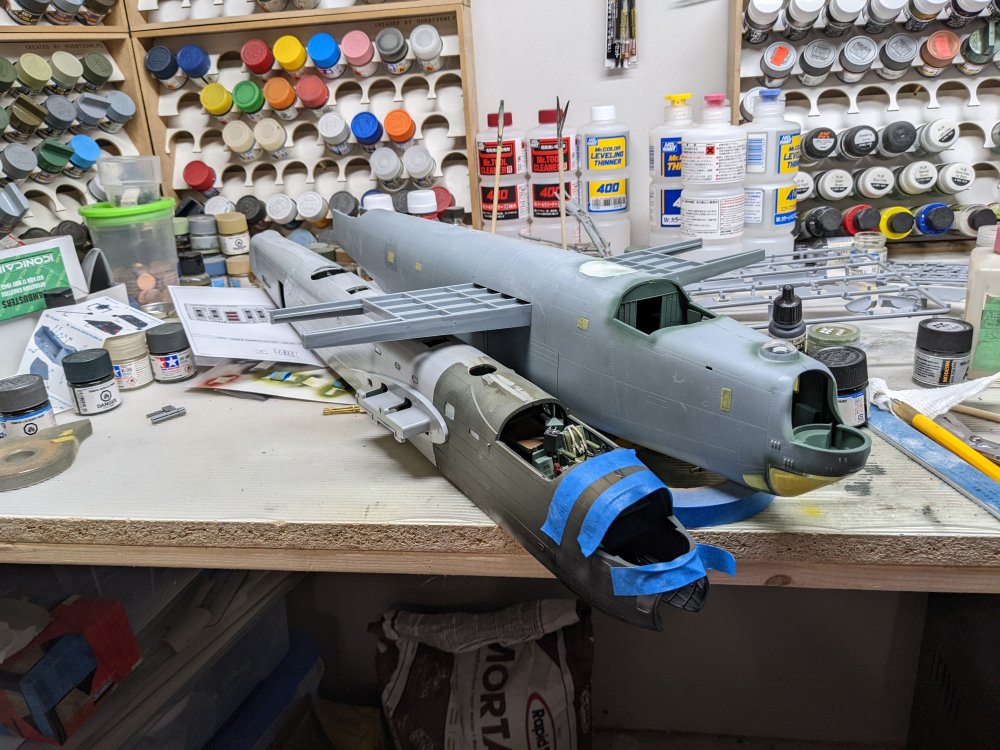
-
Their sprue cutters are very nice but don't drop them. They're easily broken if dropped. I snapped off one tip after dropping them. I ended up grinding down the other side to match and they're now usable but a bit short. I keep them for back up after replacing them. They're also sold by Meng but are the same piece. Sometimes the Meng ones work out to be cheaper. Carl
-
It's too bad we missed each other Richard. Nicely done Mustang. Carl
-
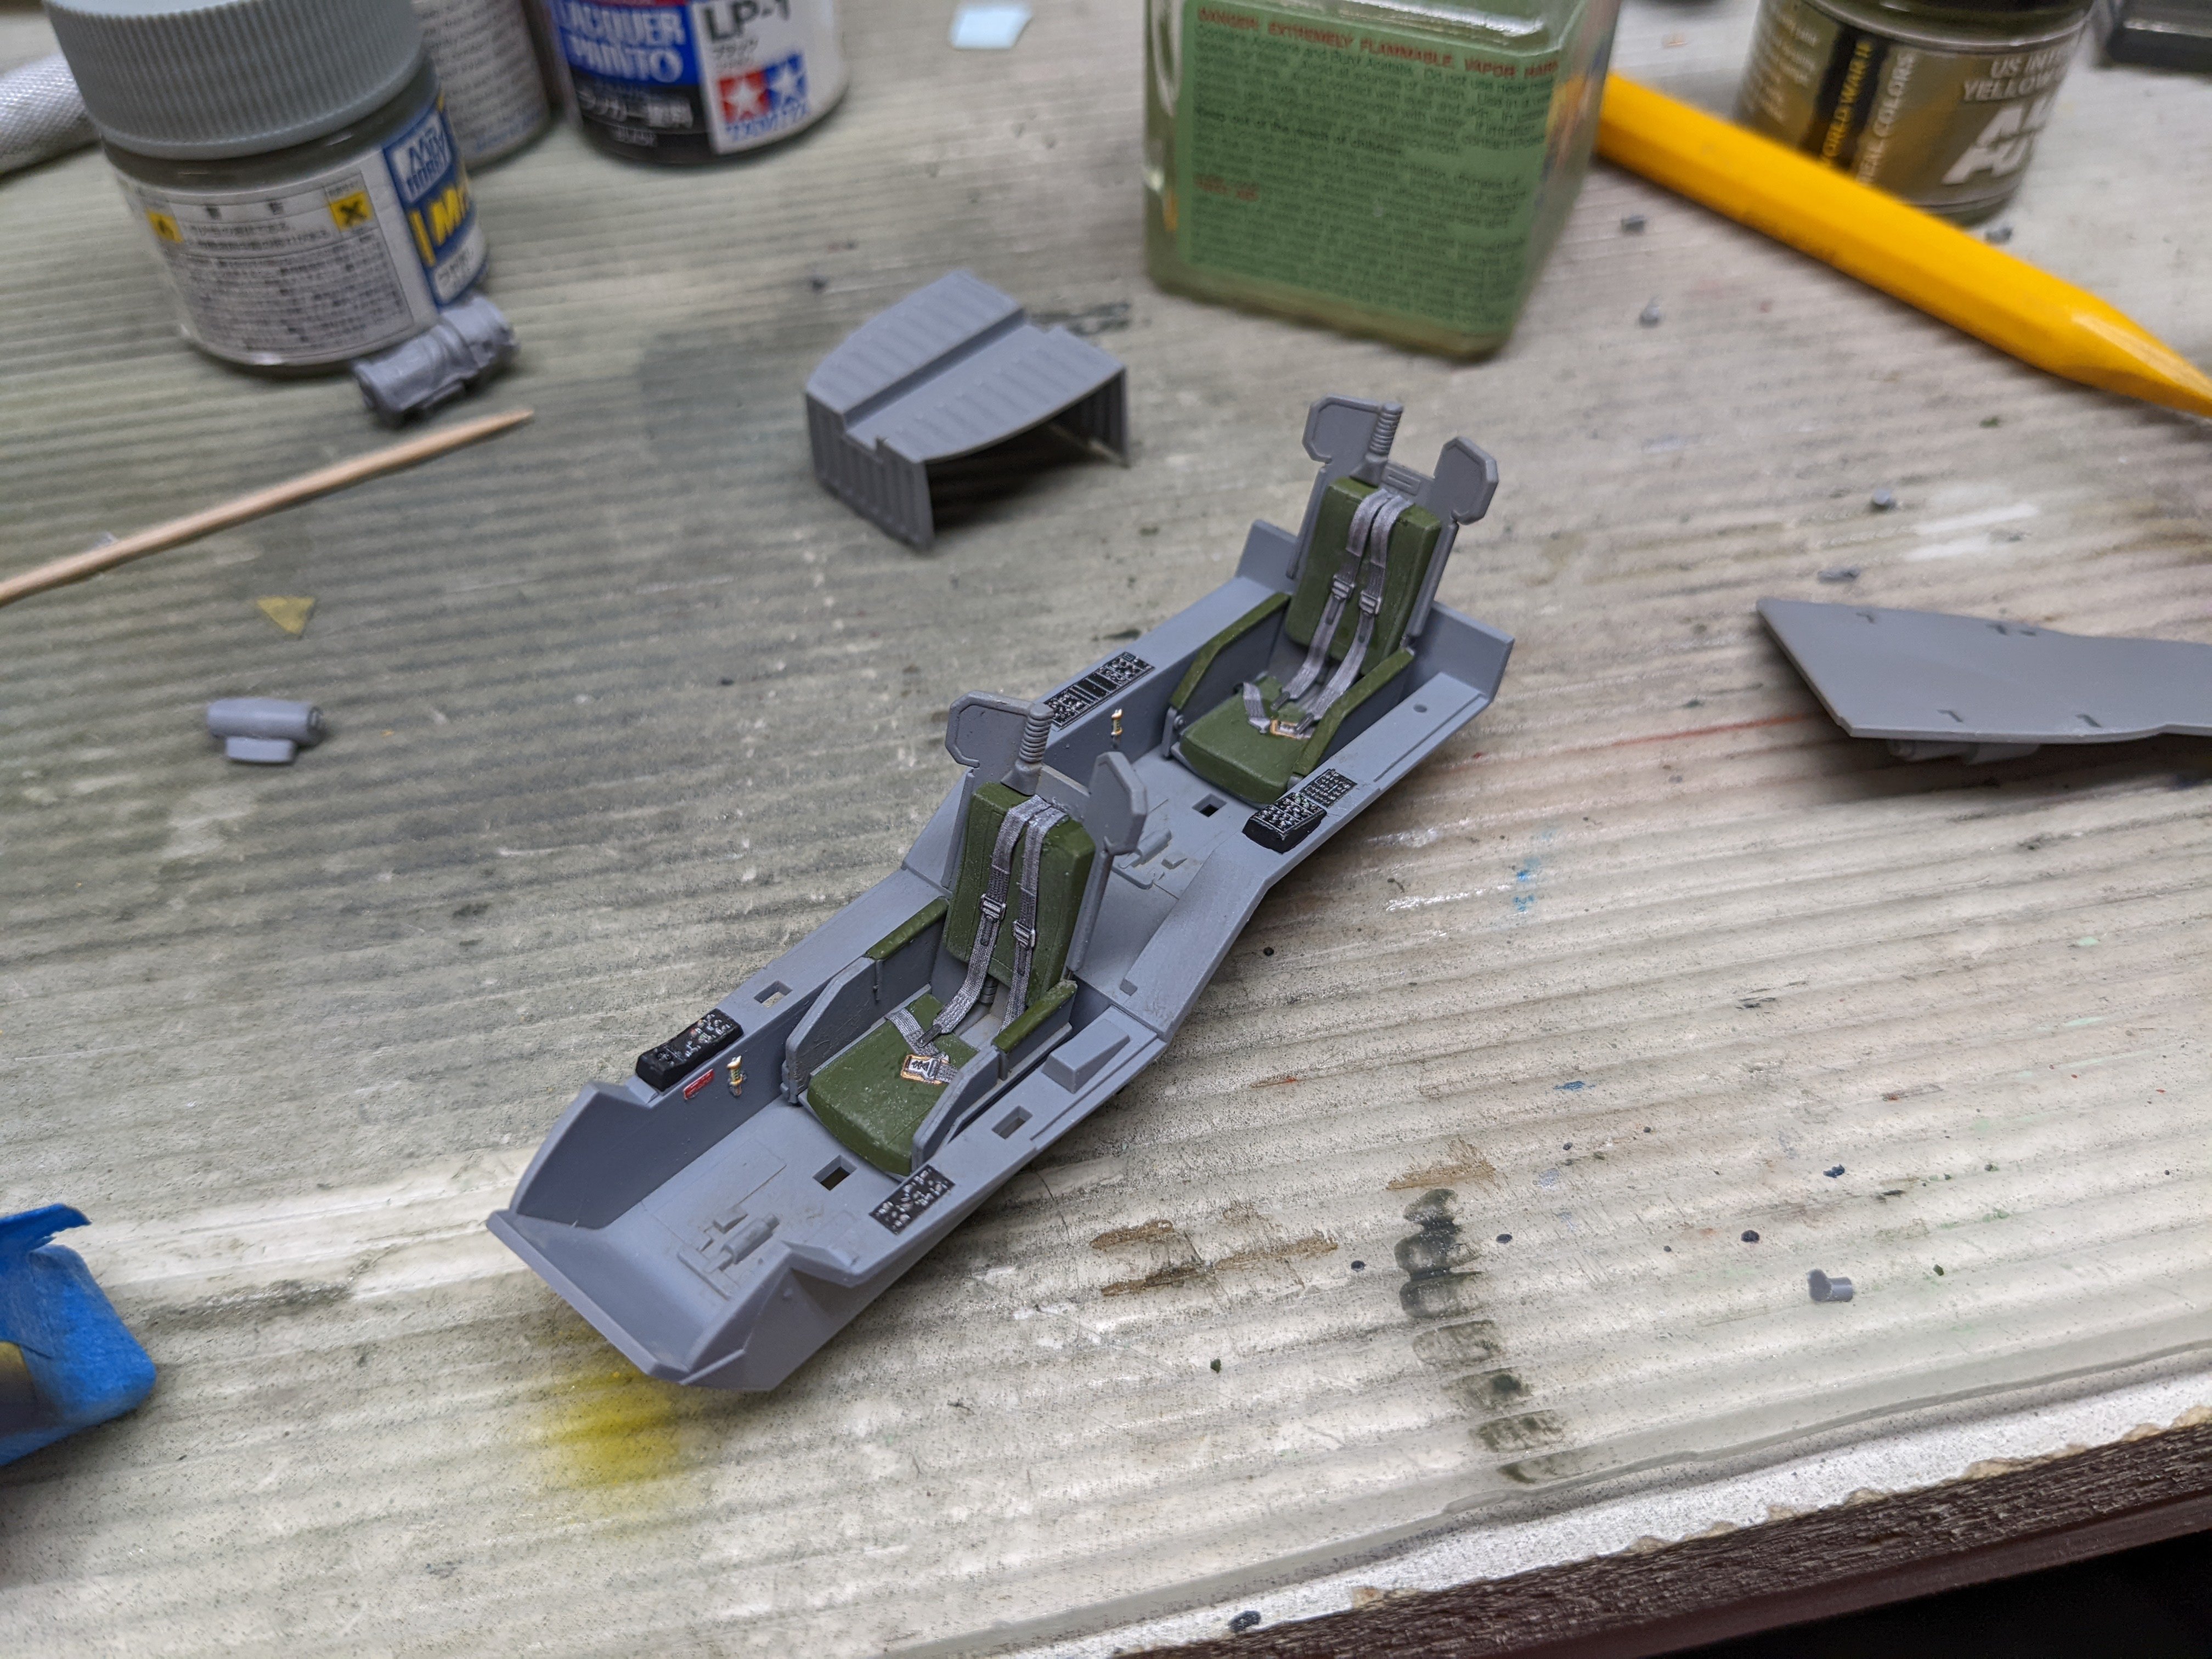
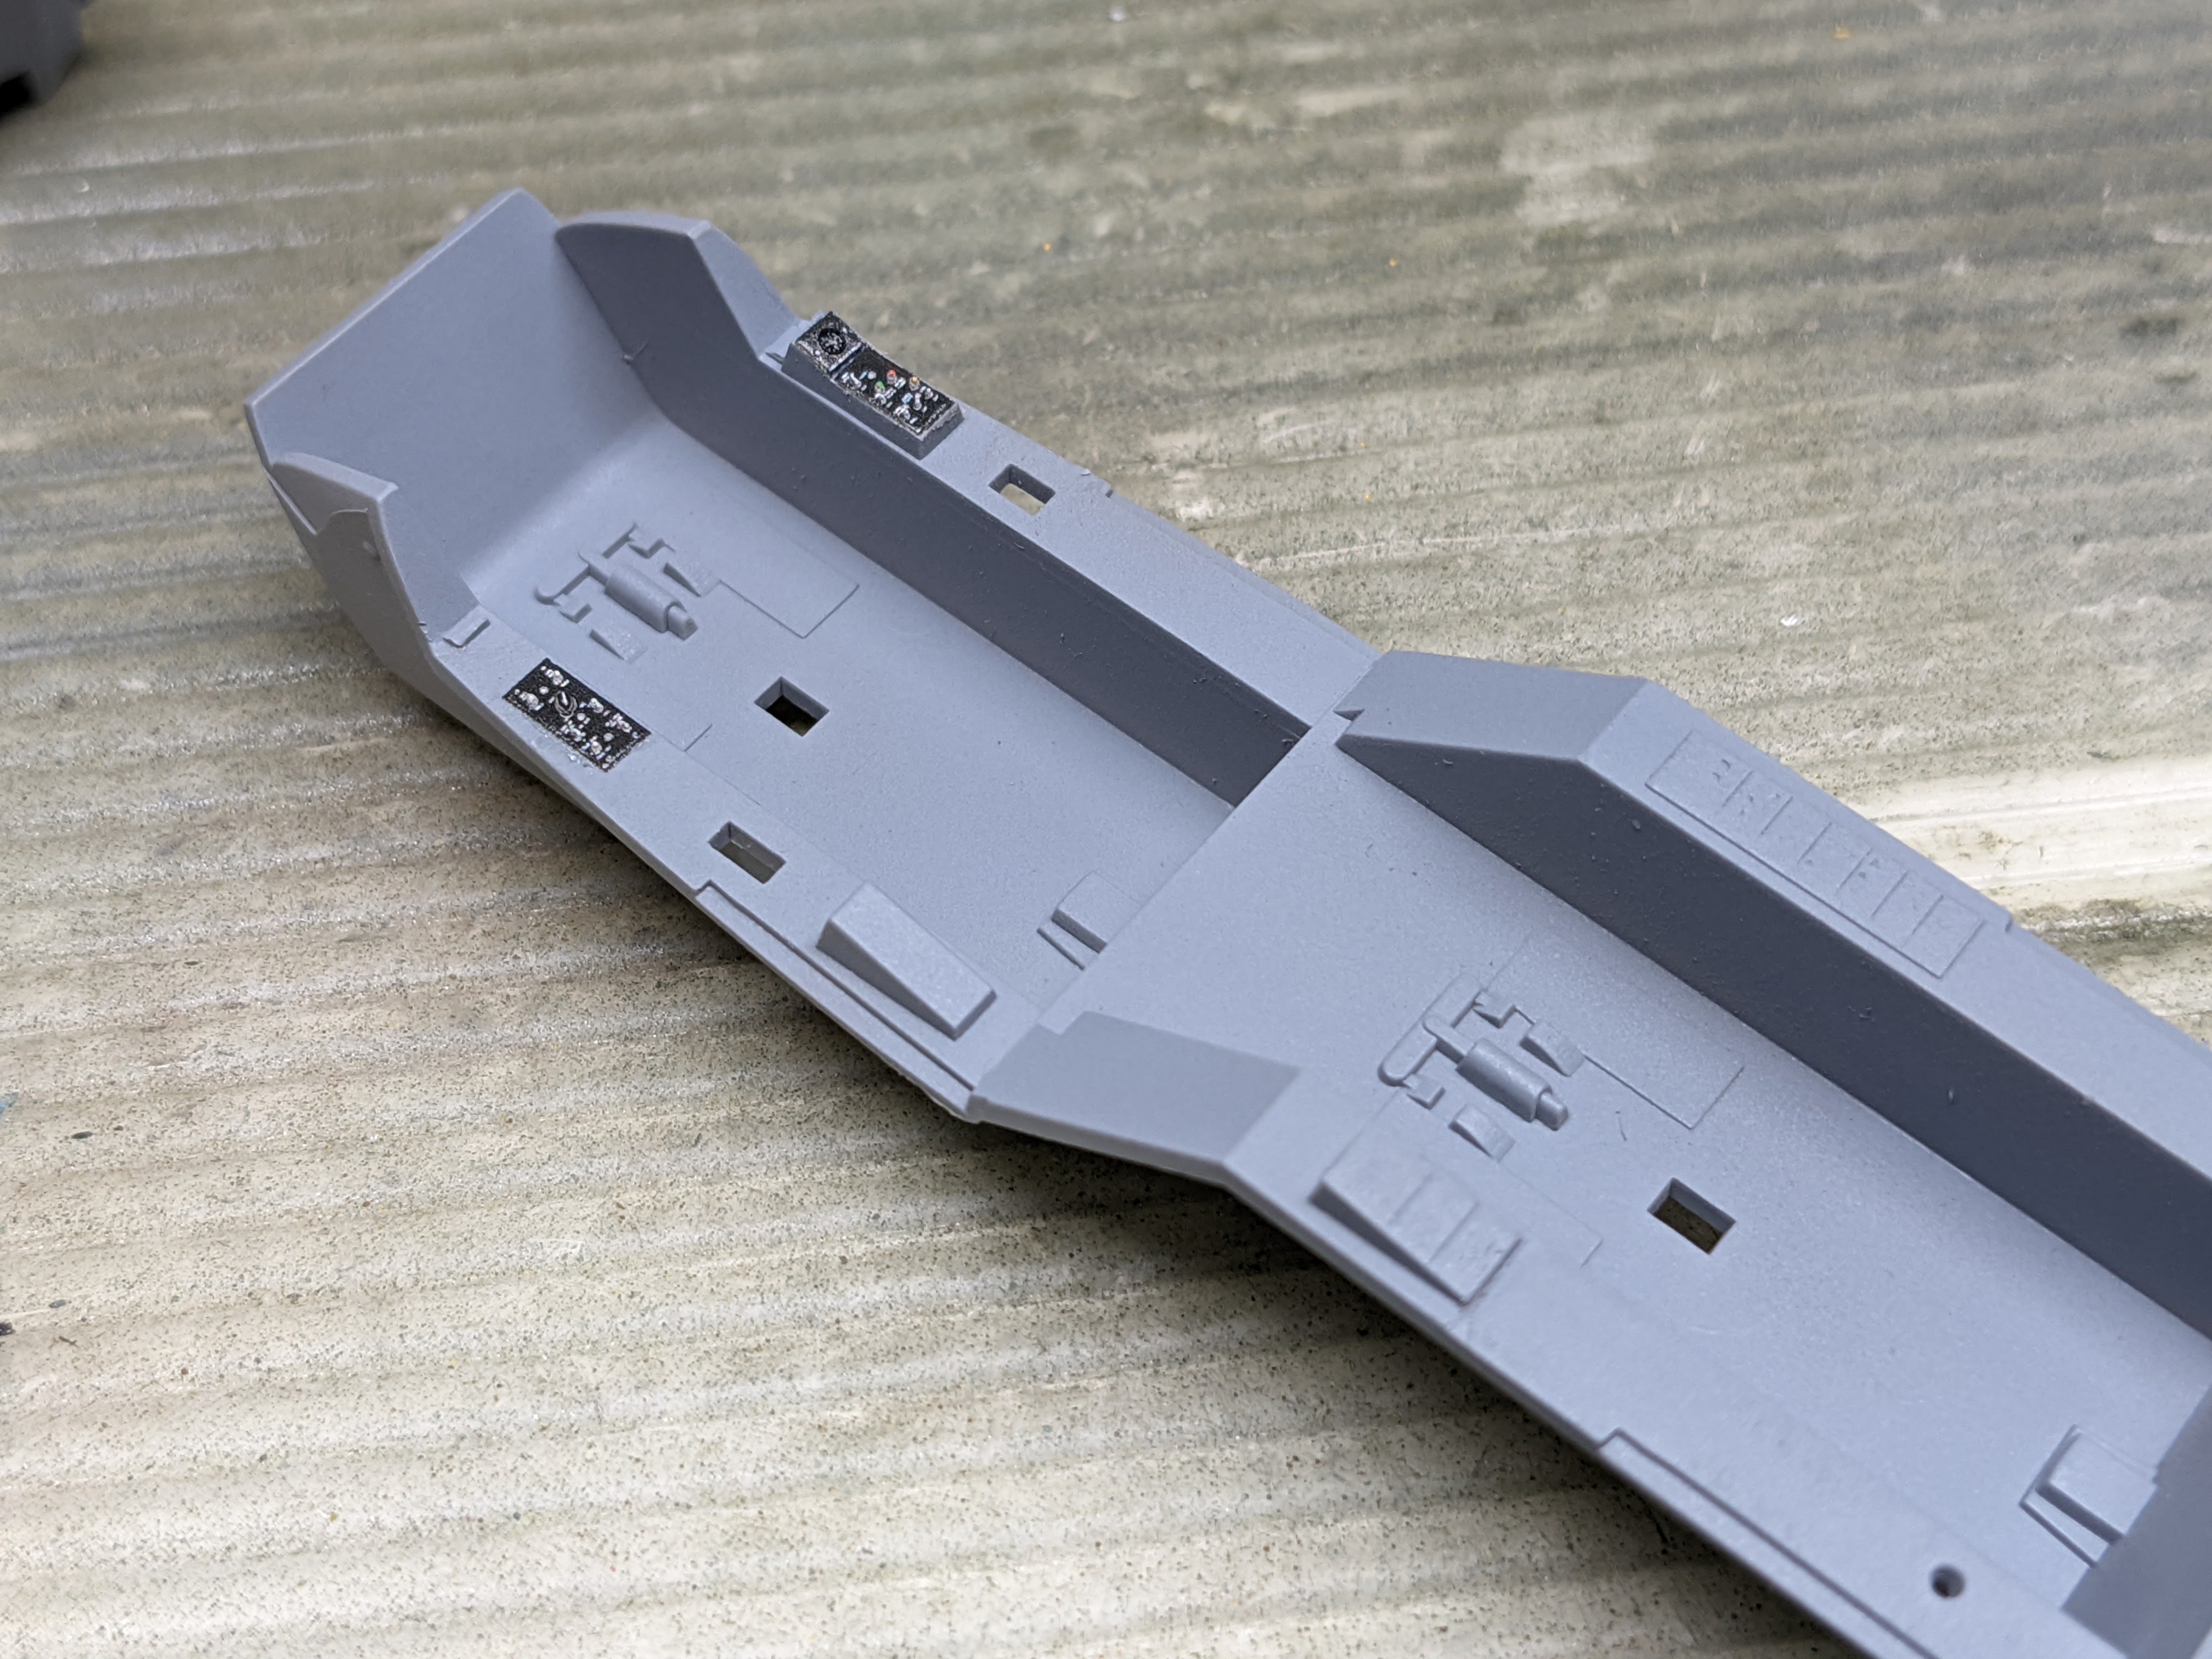
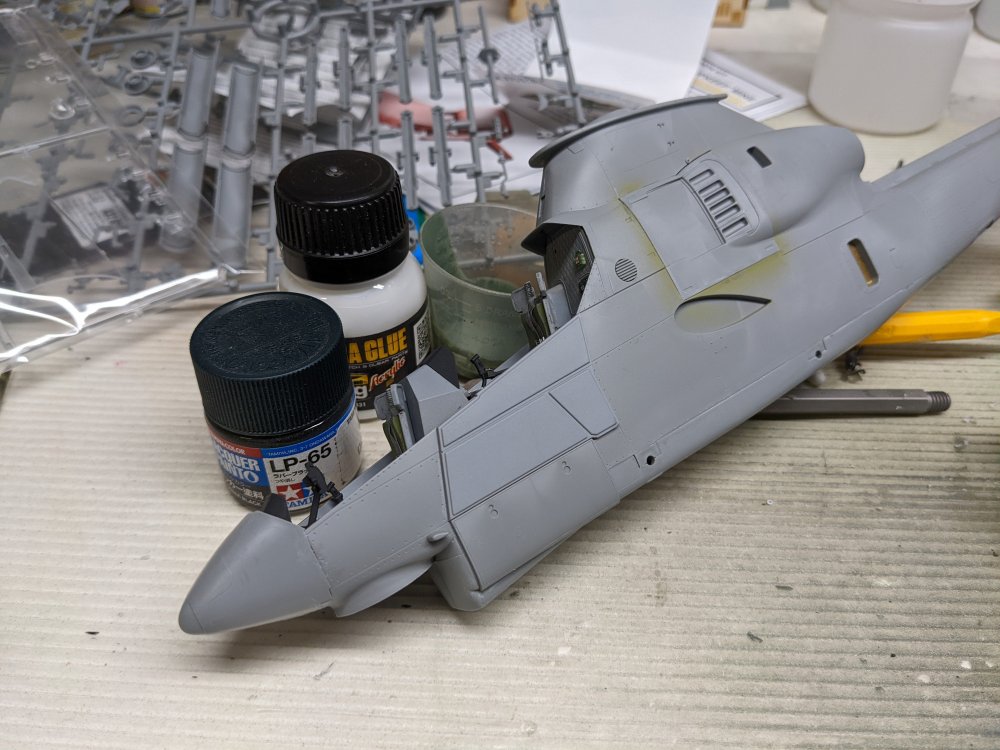
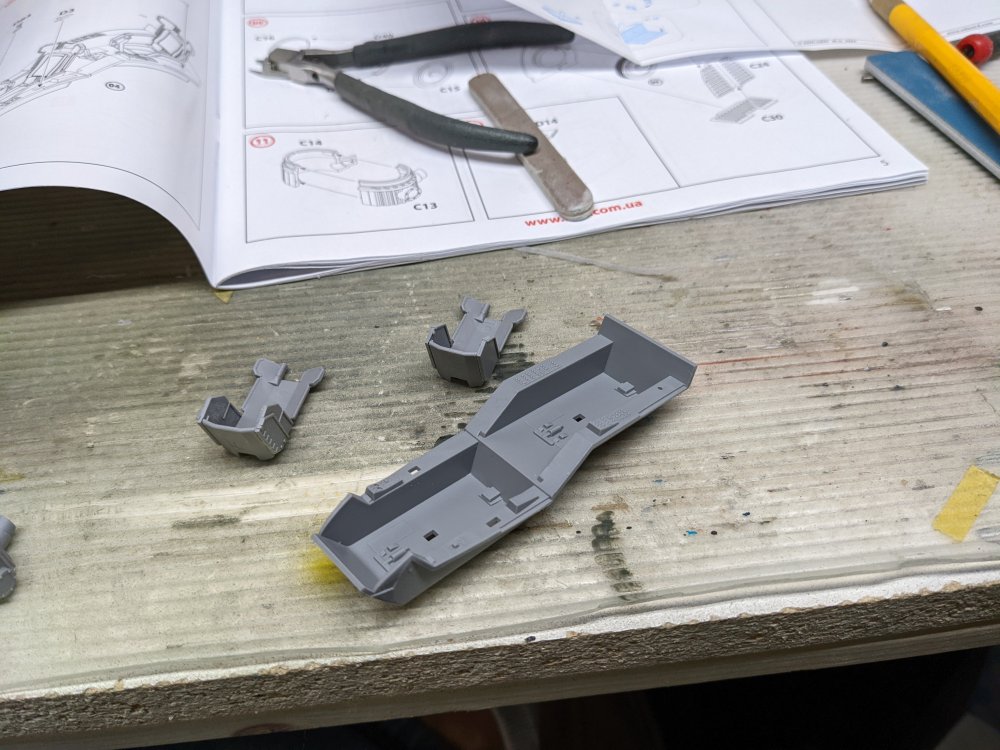
I had the afternoon off so got to work on the cockpit. I removed the raised details from the cockpit tub and then painted it grey. I then started on the Quinta panels.

-
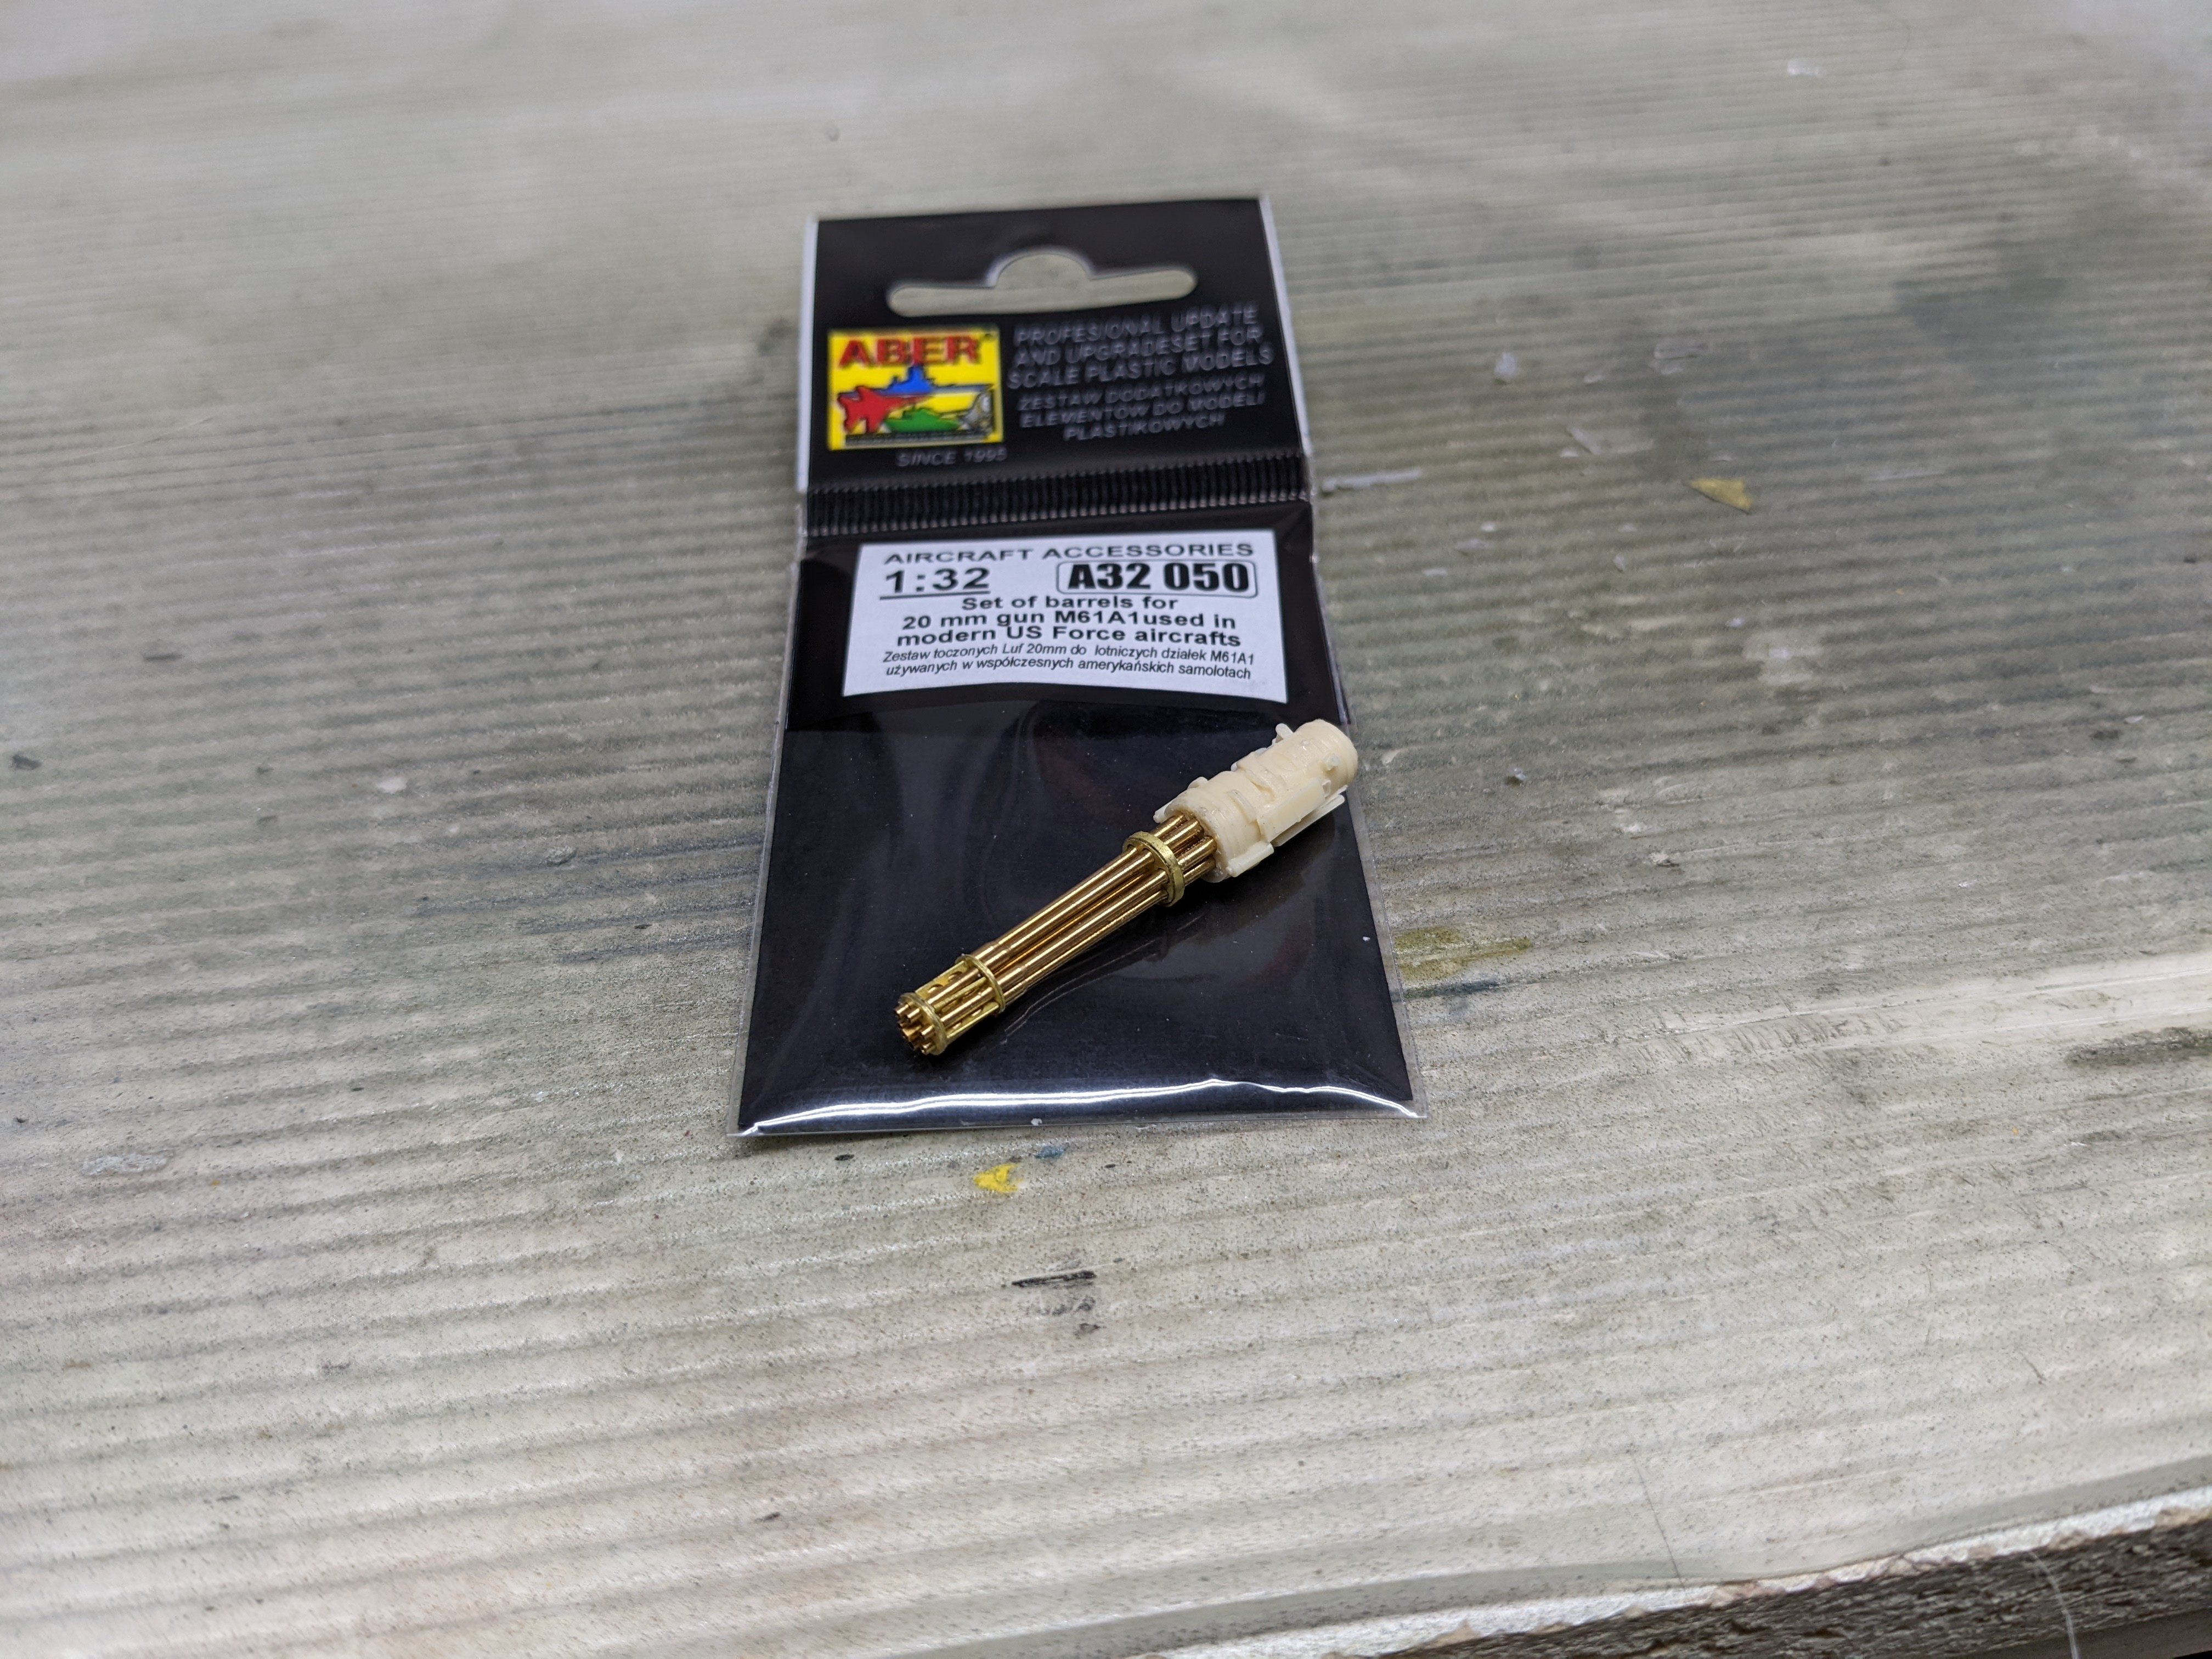
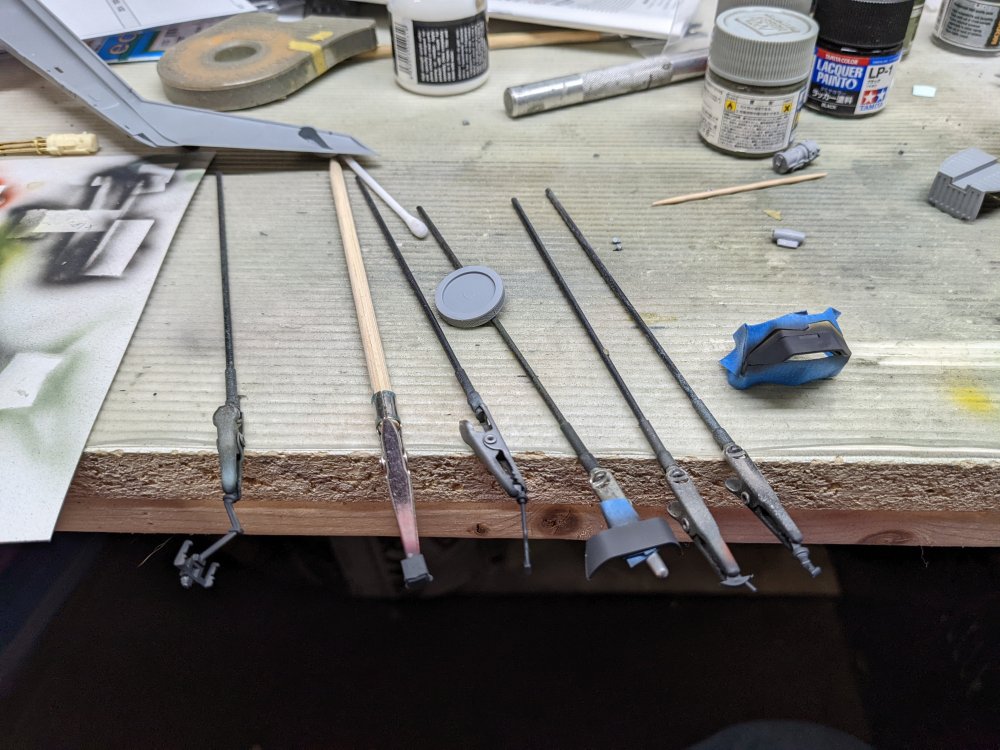
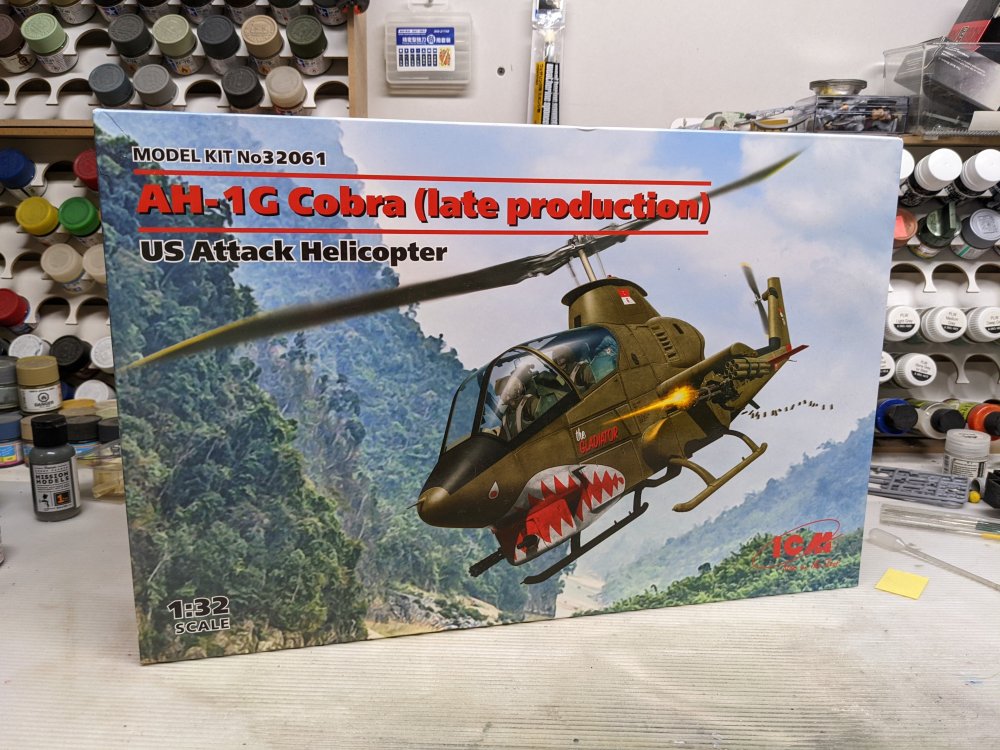
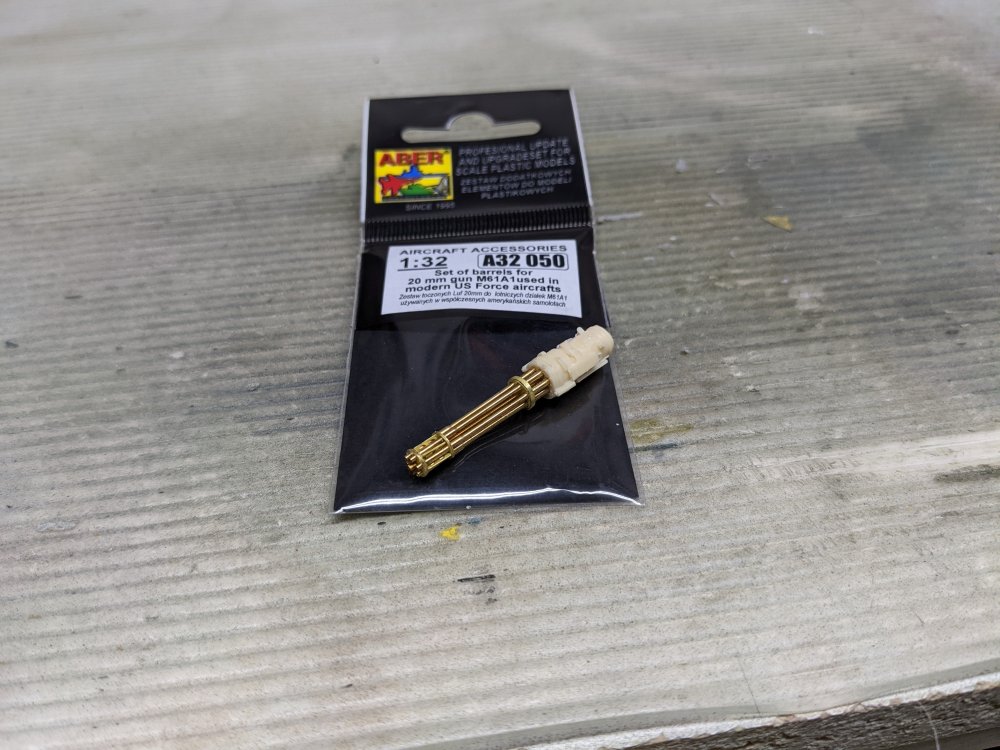
I was planning to sit until I was further along with the Lancaster before starting this but decided my bench wasn't cluttered enough. This is the recent ICM kit. I've got a bit of AM for it, primarily the Eduard PE set and the Quinta cockpit details. I've also got an Aber M-61 brass barrel set that I've cut down to better approximate the length of the one on the gun pod. This I had assumed earlier.
-
They actually said pretty much that to Sue when she asked how much stuff they'd bought.
-
It's a great tool. I've had one since they first came out. There's an add-on that lets you cut concentric circles with the same centre point. So it's easy to make roundels. Carl
-
Tamiya 1/12 Ferrari 312T
BlrwestSiR replied to Peterpools's topic in LSM 1/35 and Larger Work In Progress
Peter, I've gone through similar debates on my McLaren. It's nice to show off some of that lovely detail but it also spoils the look of the car. I've got the added problem that the tires in my kit have rotted from age and only one pair is usable. MFH at one point made replacement tires for the Tamiya kits but they're now around $350 a set which is almost double the kit itself! -
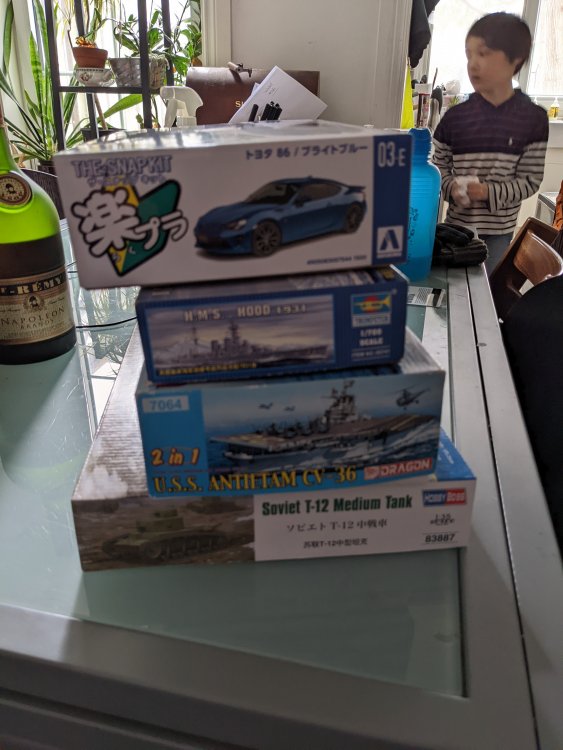
Thanks Peter! Findlay likes ships and occasionally armour kits. He prefers battle wagons and I suggested the Tamiya 1/350 New Jersey which someone had for $50 ($35ishUSD) but he thought it was too big. Edward builds a bit more of everything but was fixated on getting an aircraft carrier. He thought my suggestion of the Trumpeter 1/200 Hornet might not go well with Mom and bought the Antietam. Man, my kids are too rational...
-
Our “Everything Ukraine” Group Build
BlrwestSiR replied to Clunkmeister's topic in Modelling Discussion
I keep going through the stash to see what I've got Ernie. I'm going to go with your suggestion and do the AH-1 but I want to get the fuselage on my Lanc closed up first. That should be sometime this week and then I'll start. Carl -
Yes! Missed posting that pic. Also these.

-
Tamiya 1/12 Ferrari 312T
BlrwestSiR replied to Peterpools's topic in LSM 1/35 and Larger Work In Progress
Peter, if you're looking for any of the Porsches (934 and 935), they were all re-issued within the last 18 months so shouldn't be too hard to find. I picked up the 935 but not the 934. Tamiya changed the mould slightly on the 934. The original release you could build as a road car but with a bare interior. Those parts are no longer in the kit and the instructions have been changed. The most recent car they did in 1/12 is the Porsche Carrera GT. That one has a partial metal chassis in it and pre-formed mesh screens for the engines. If you really want one near and dear to Mr Tamiya, find a Caterham Super 7. They supposedly used Mr Tamiya's personal 7 as the reference for the model. That was re-issued about 2-3 years ago but may be harder to find. It's a gorgeous kit with aluminum body panels that you bolt onto a chassis. Here's mine from the original release. Carl -
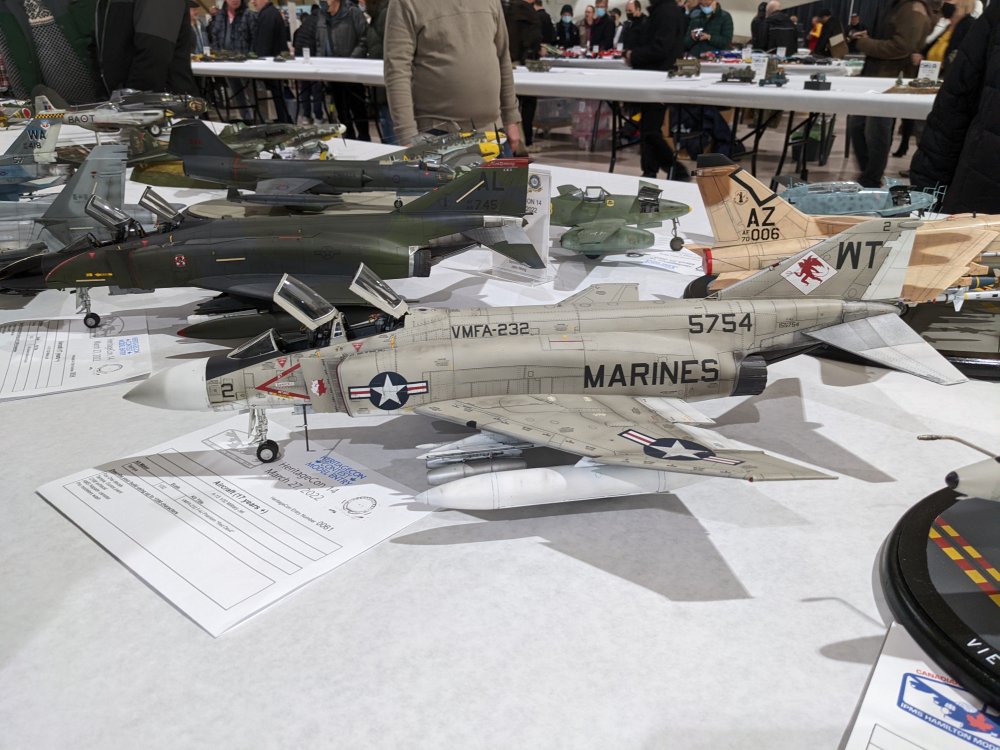
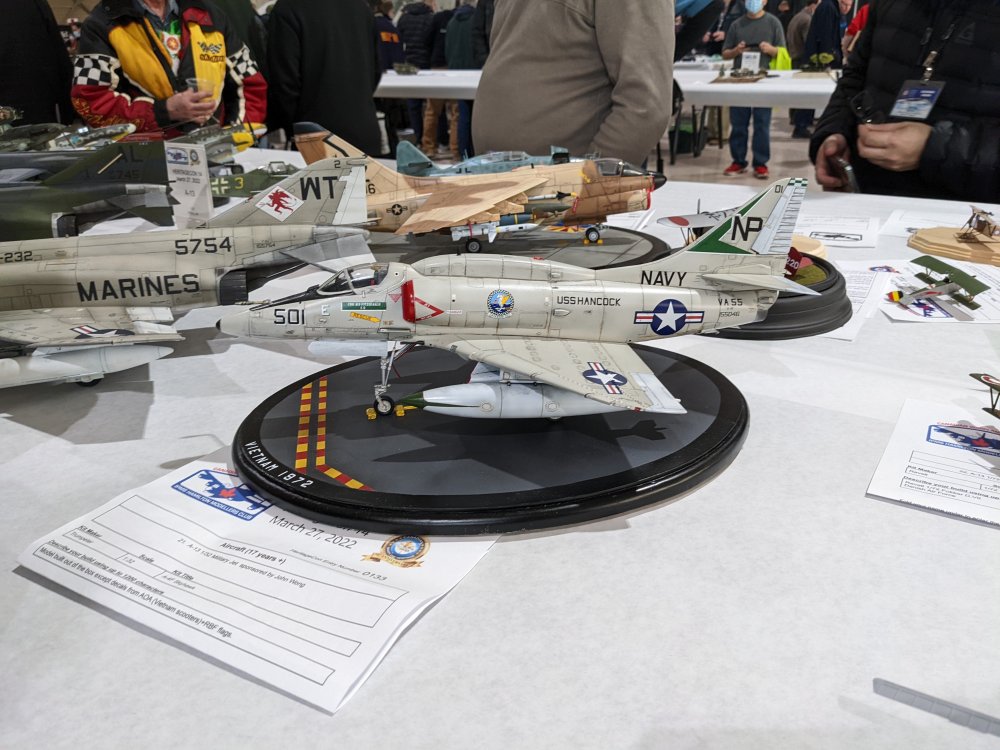
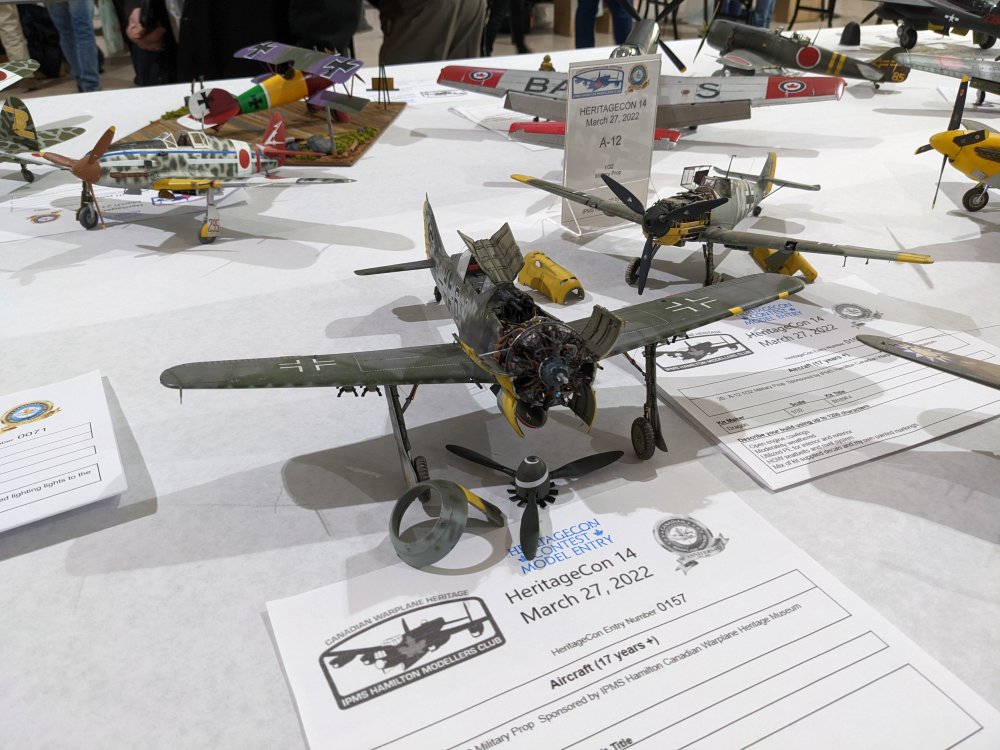
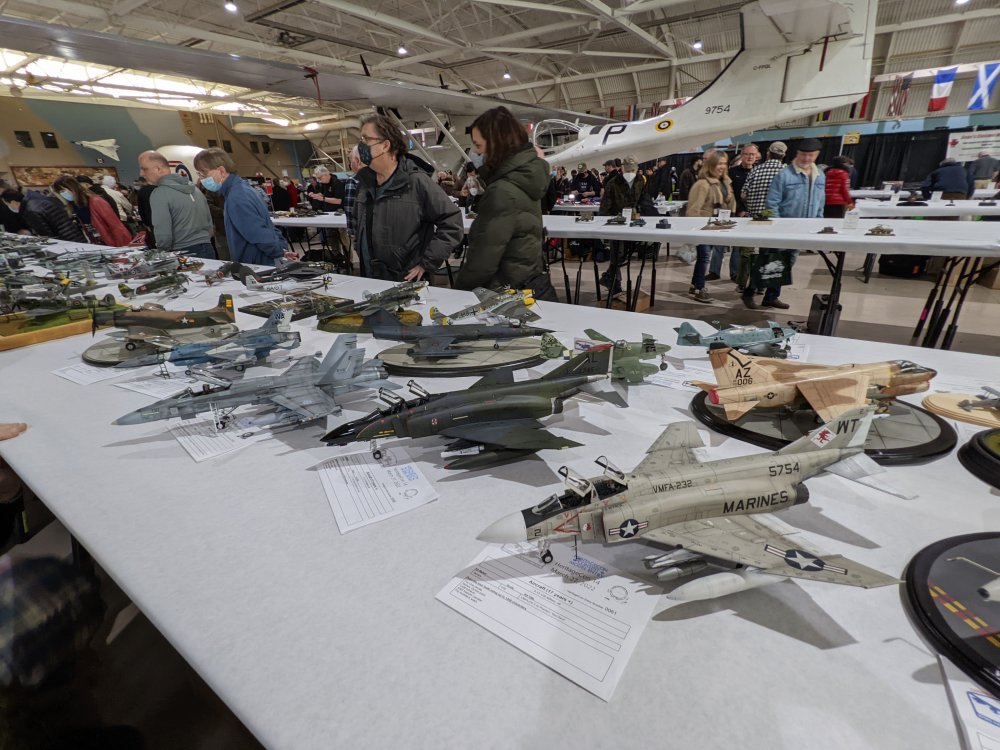
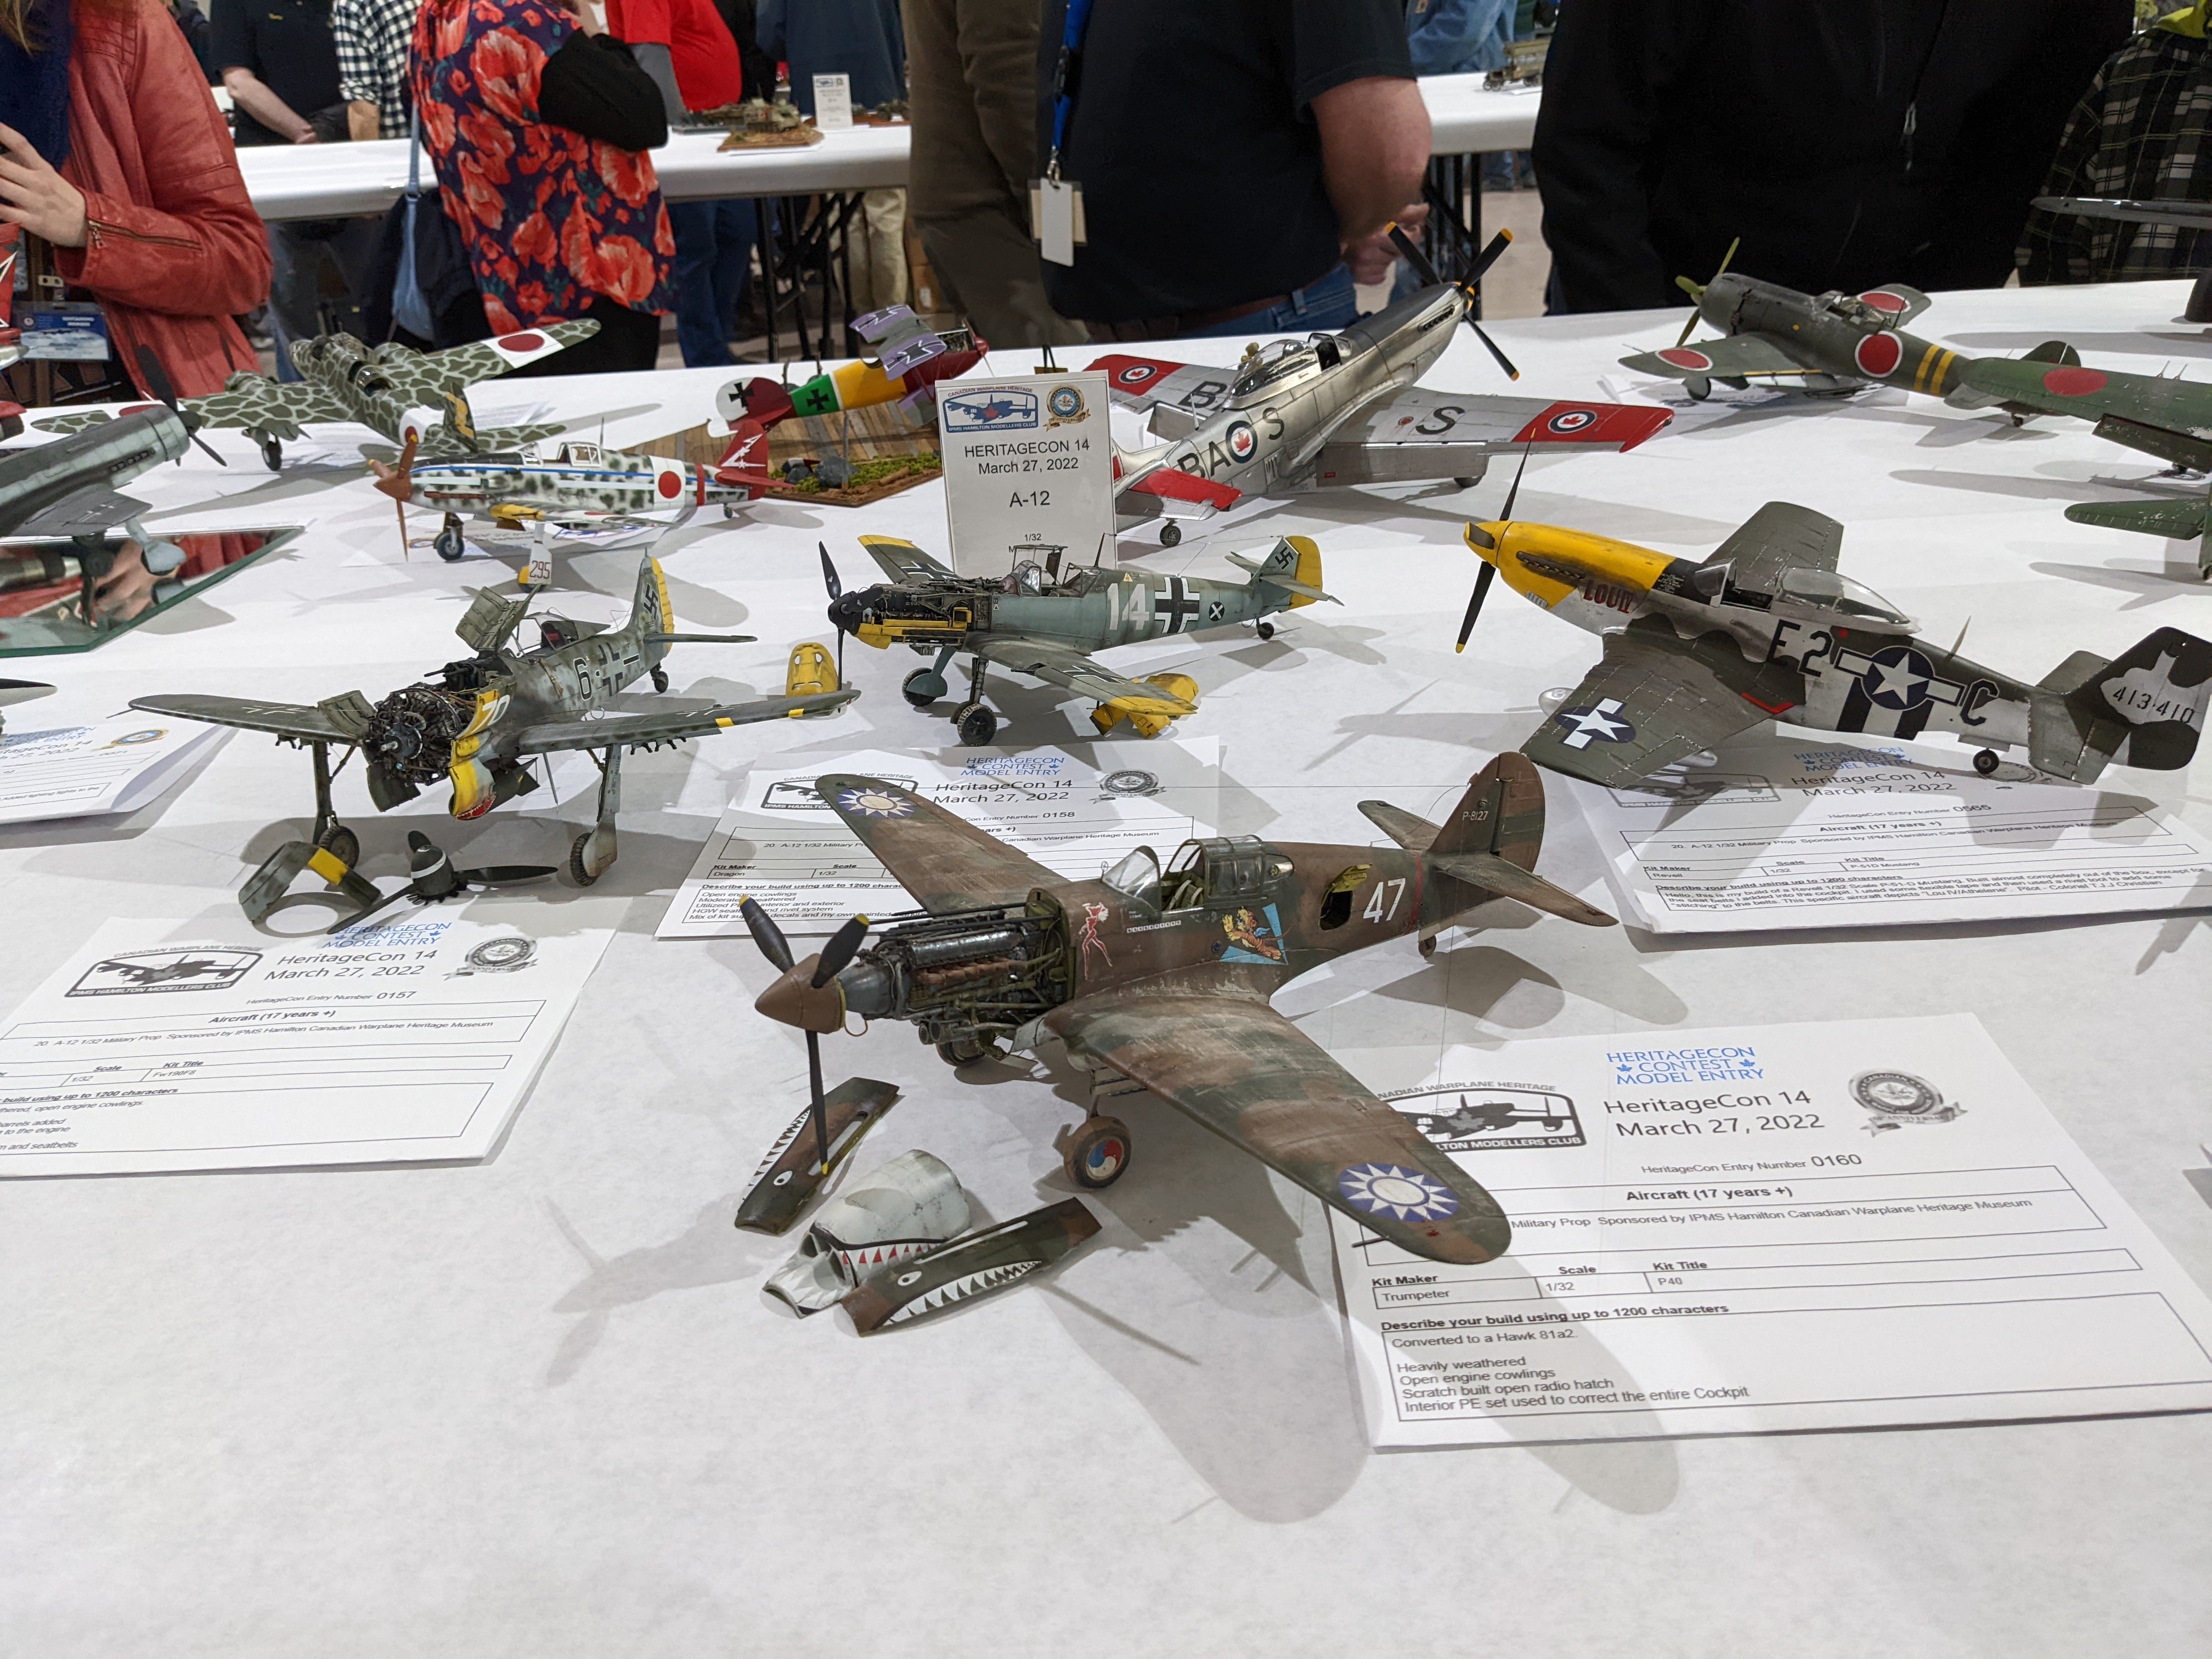
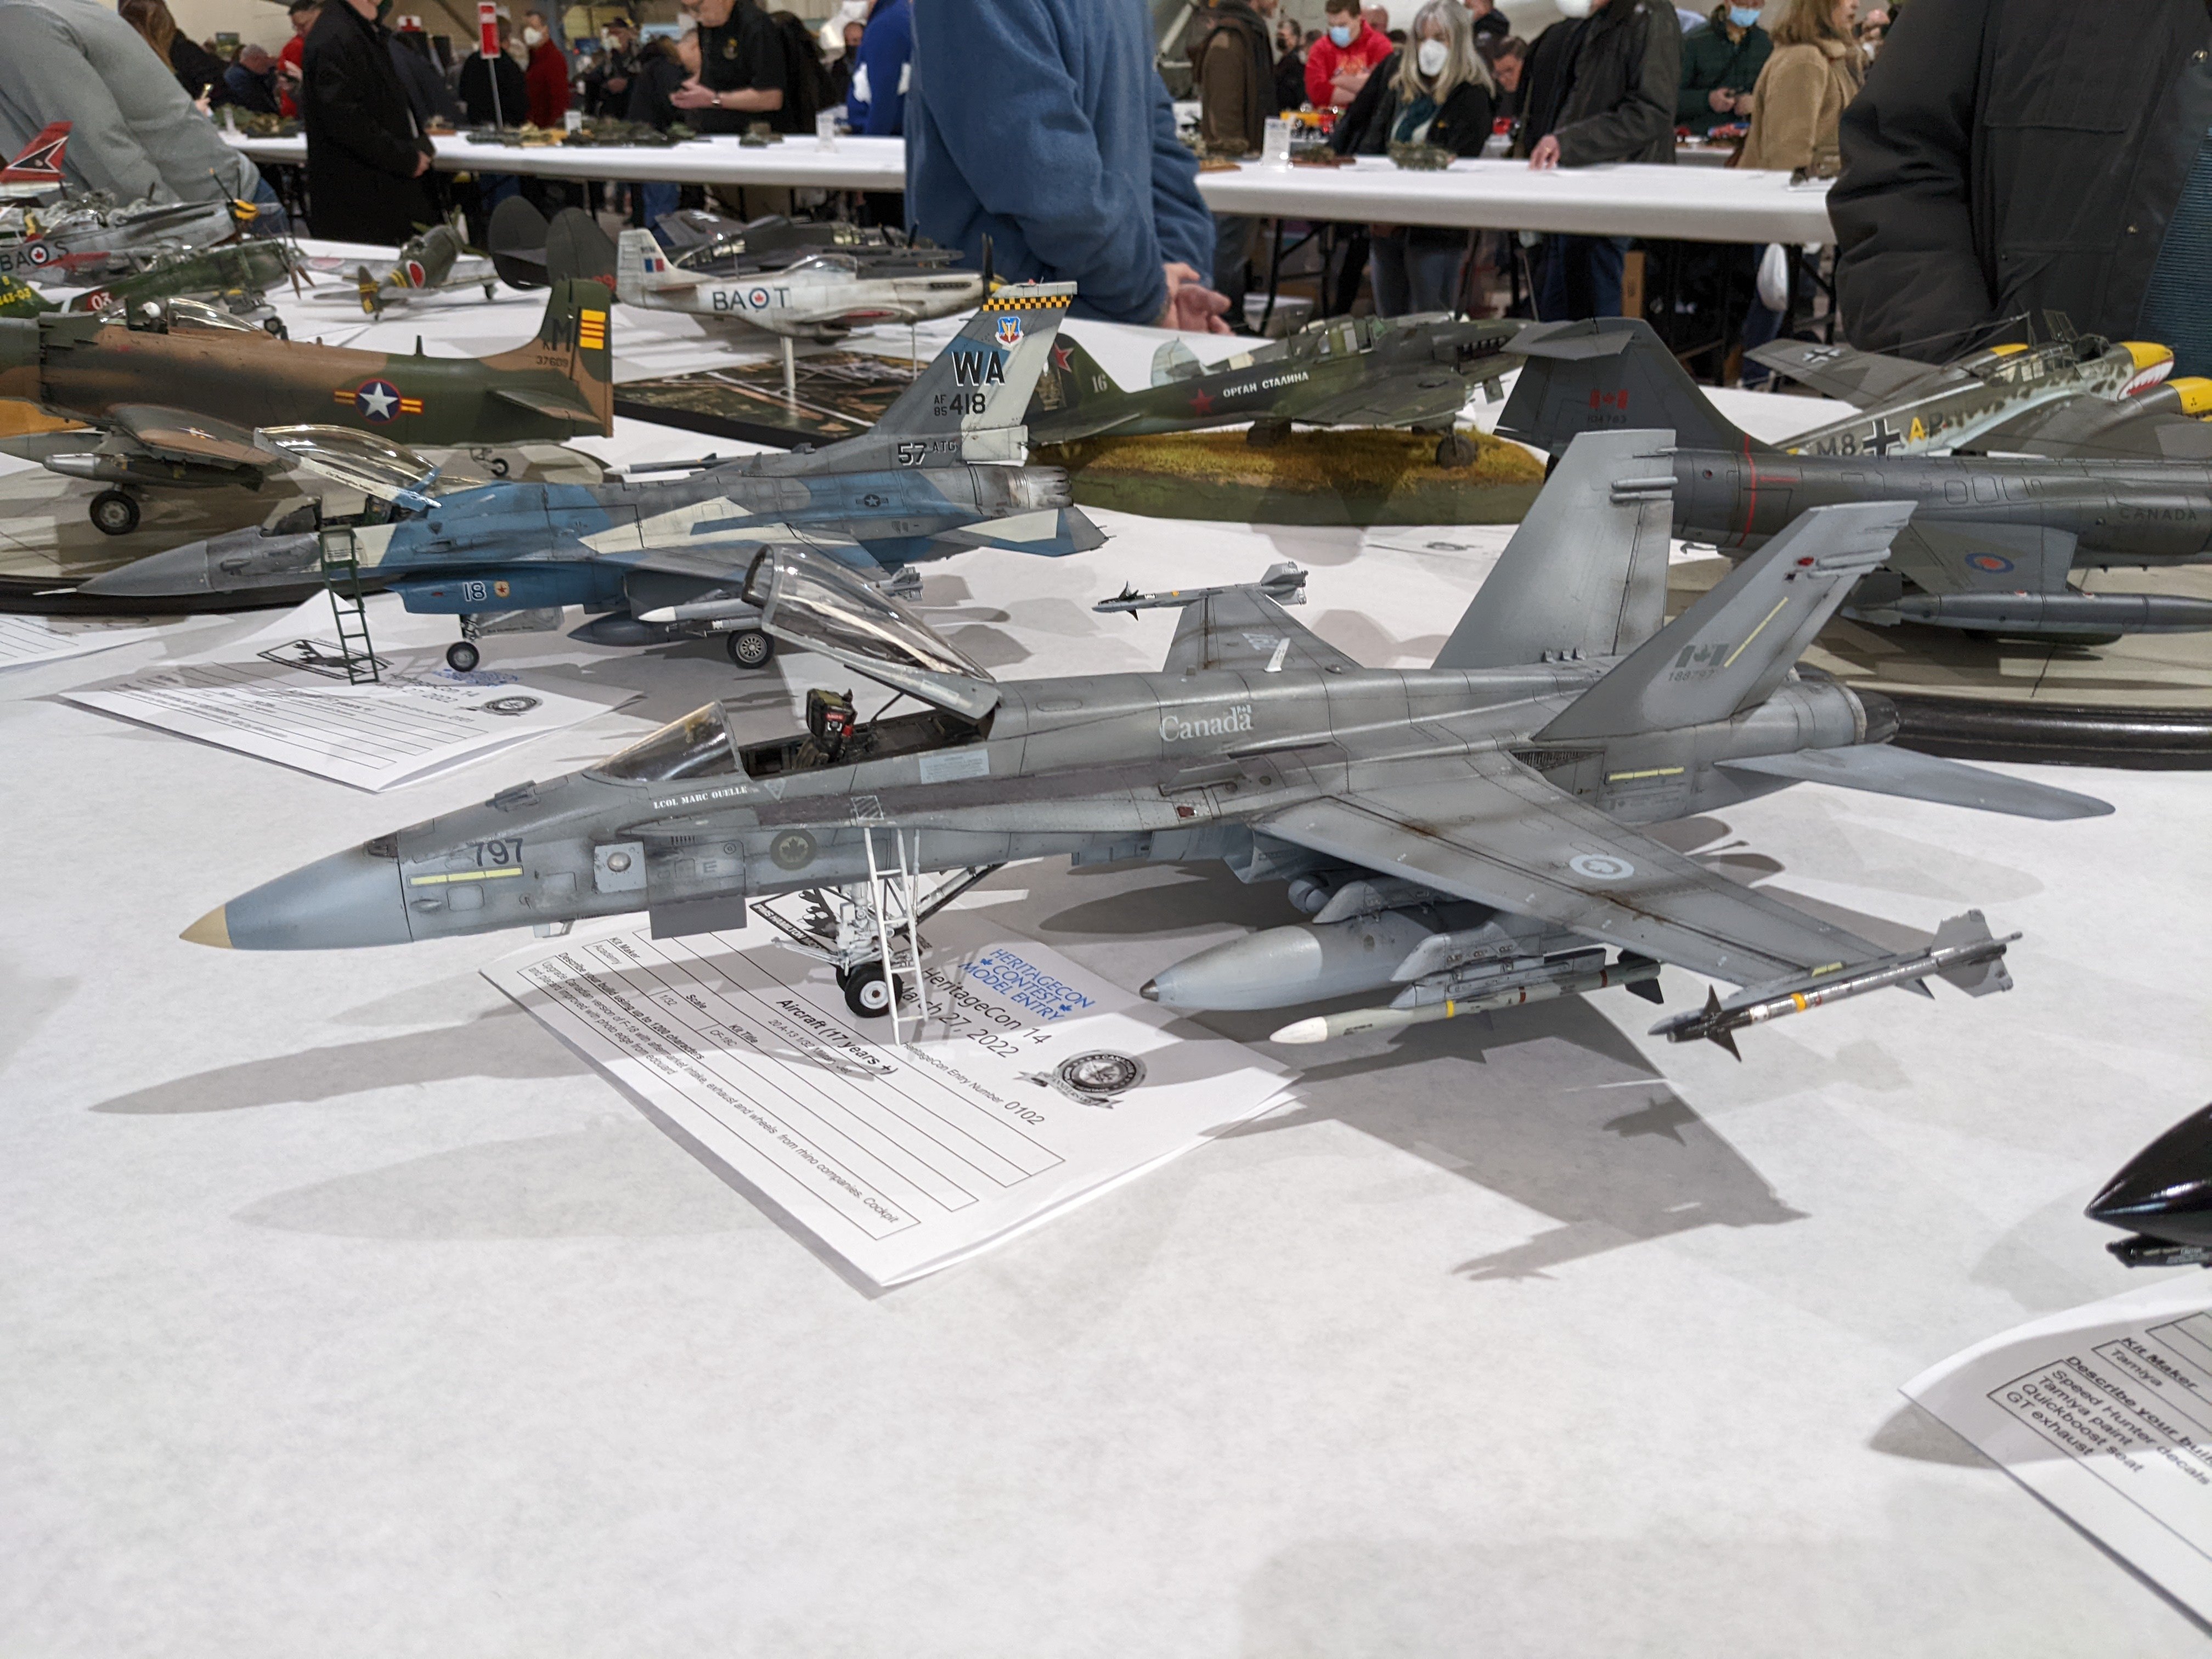
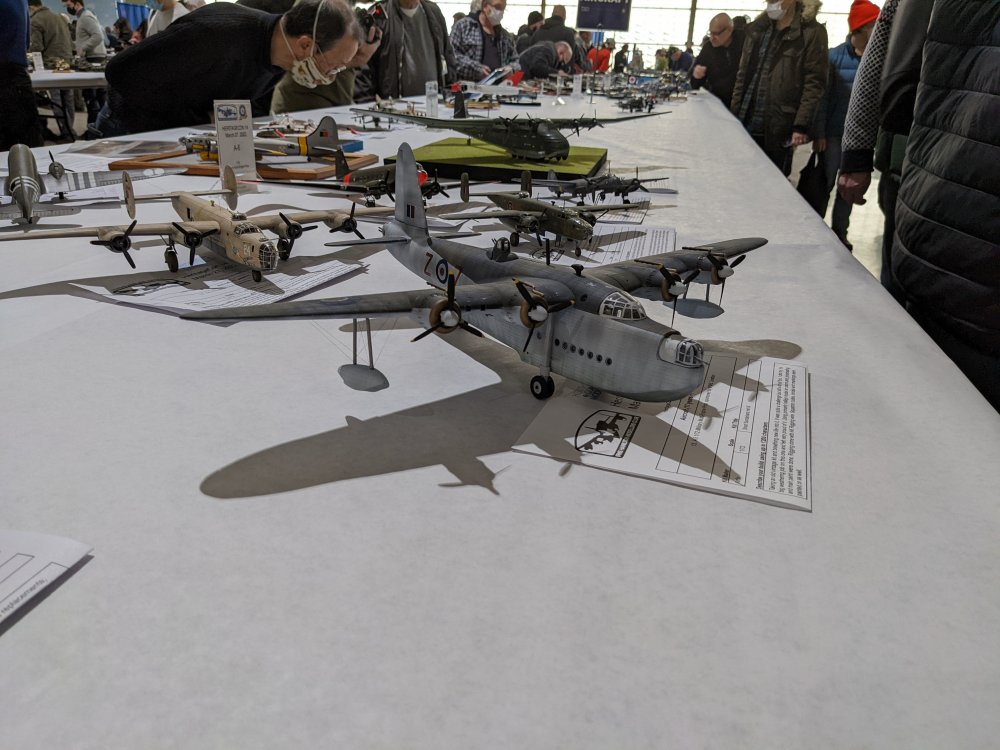
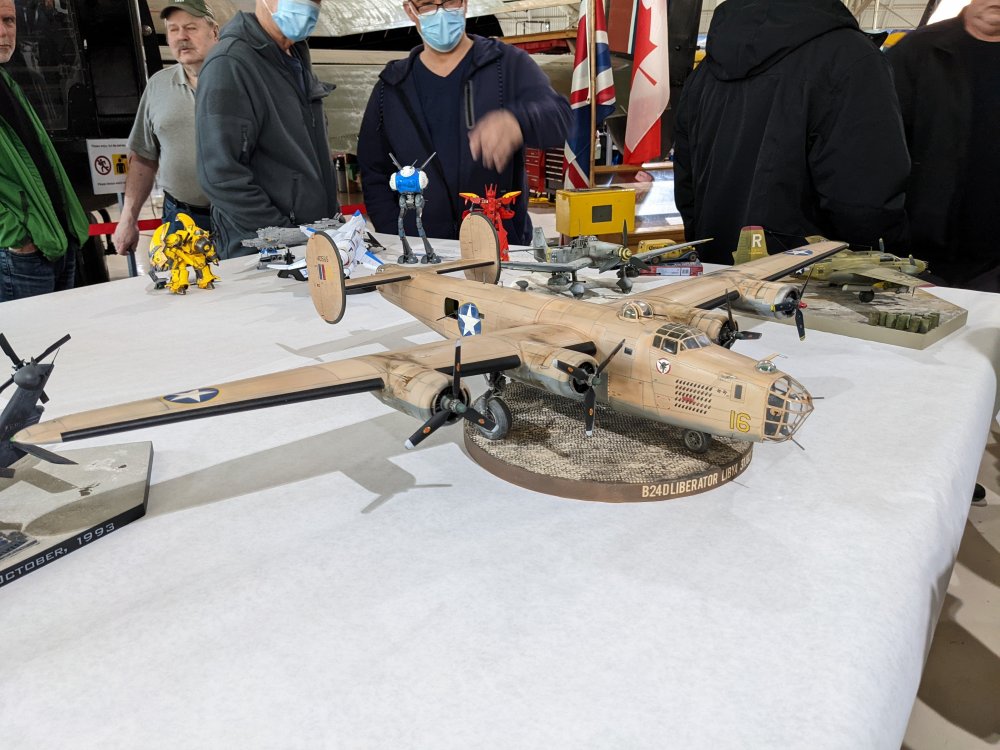
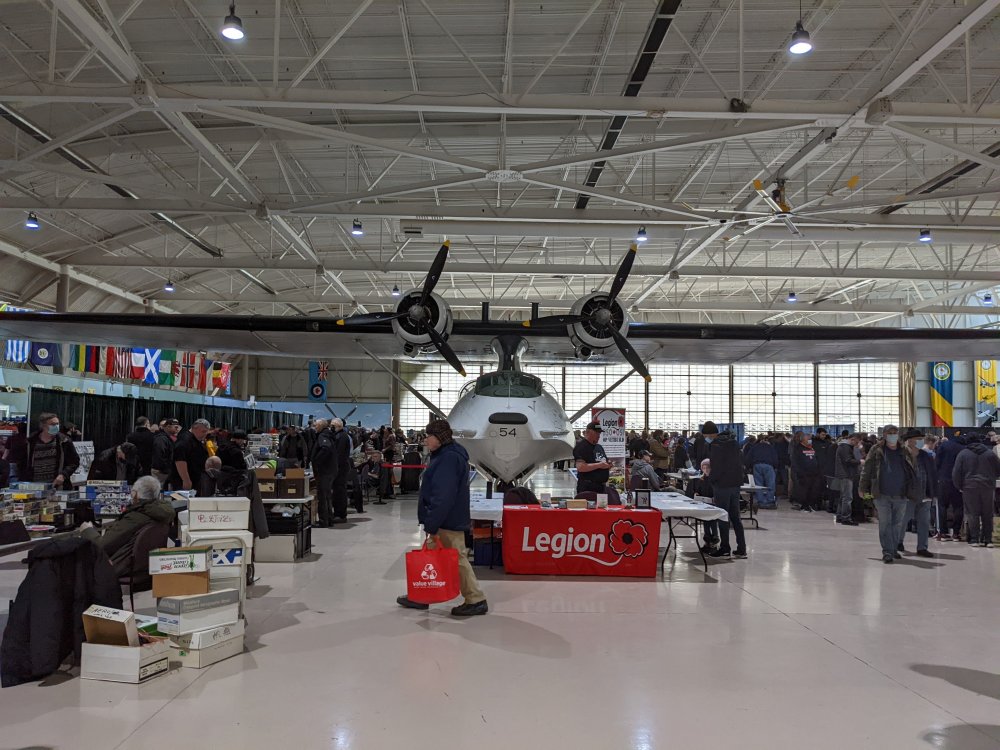
With the various vendors, there were many deals and some hard to find stuff available. My boys had a great time and added to their stash. I just picked up one kit: Overall, it was a nice return to normal. It was pretty much as I remembered the last one I went to. Well worth the hour drive from our place. Carl

-
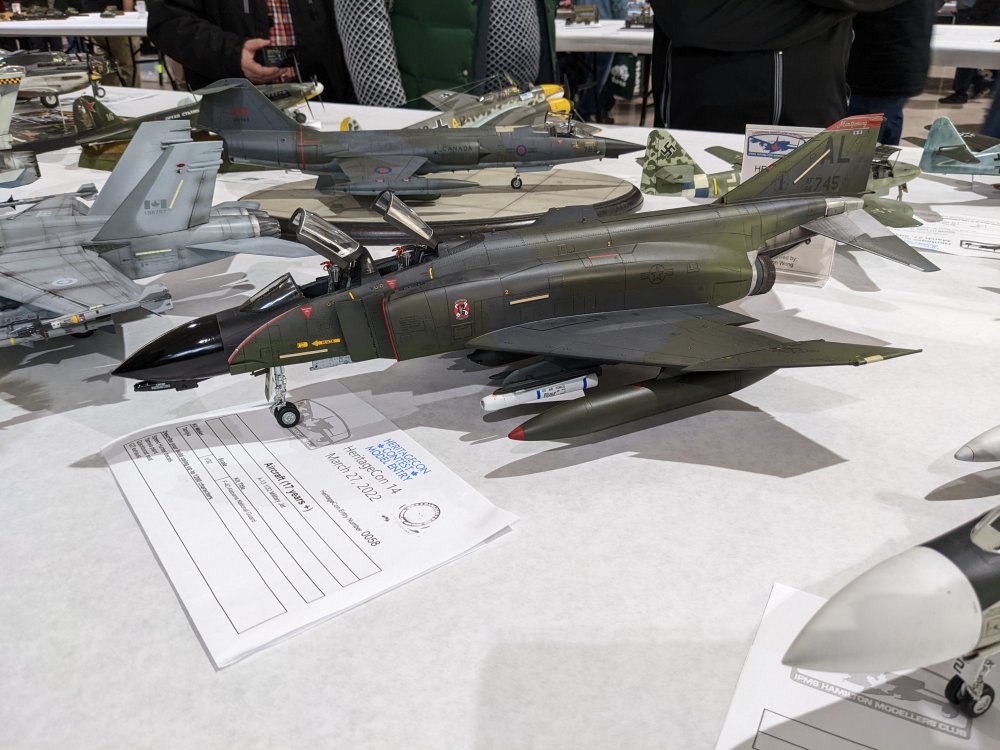
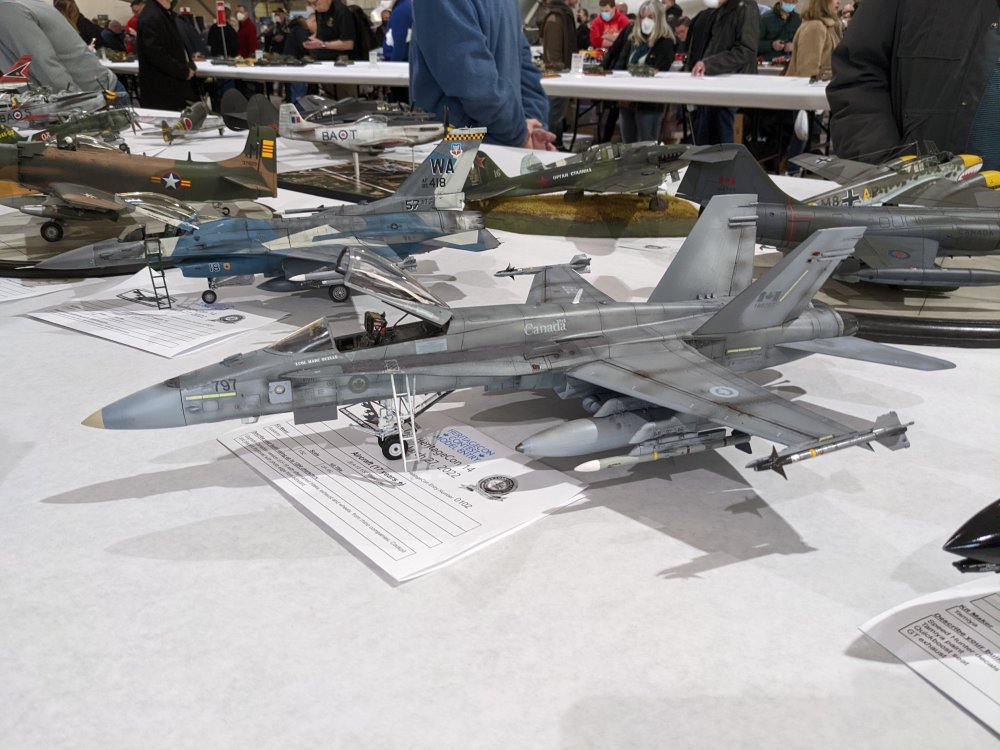
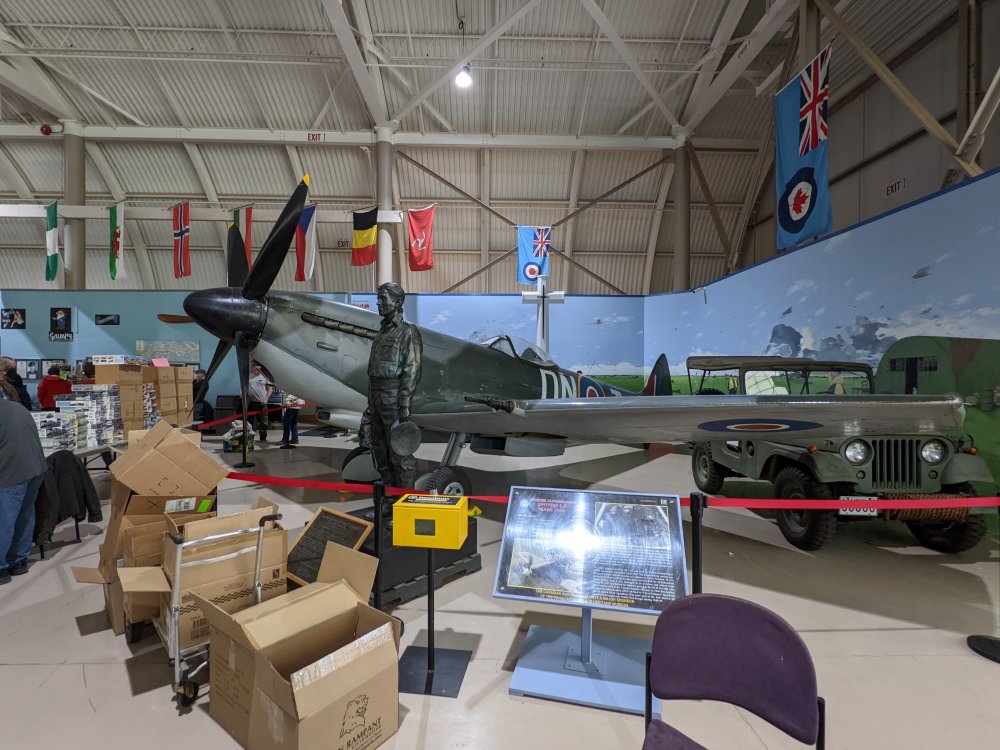
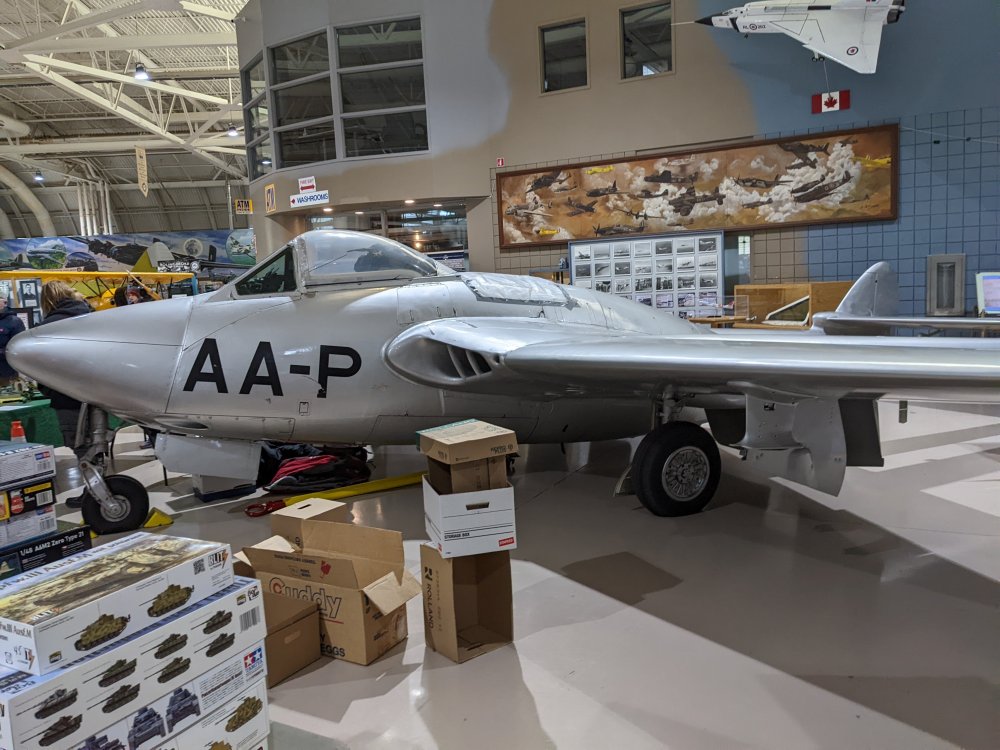
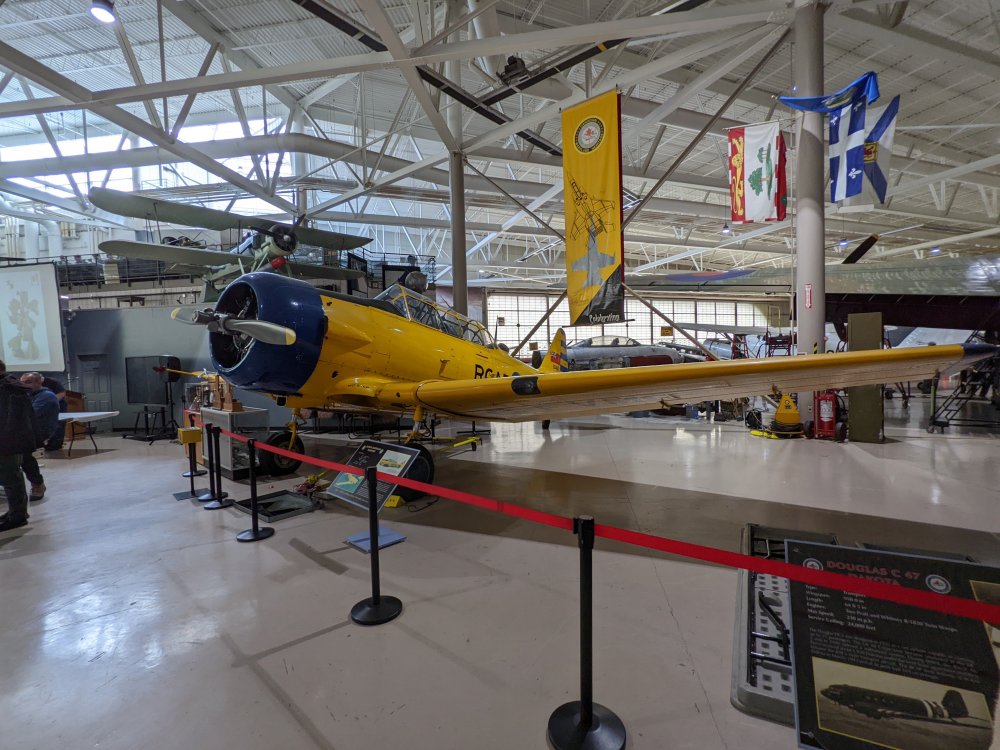
Nothing like being surrounded by a bit of history.


-
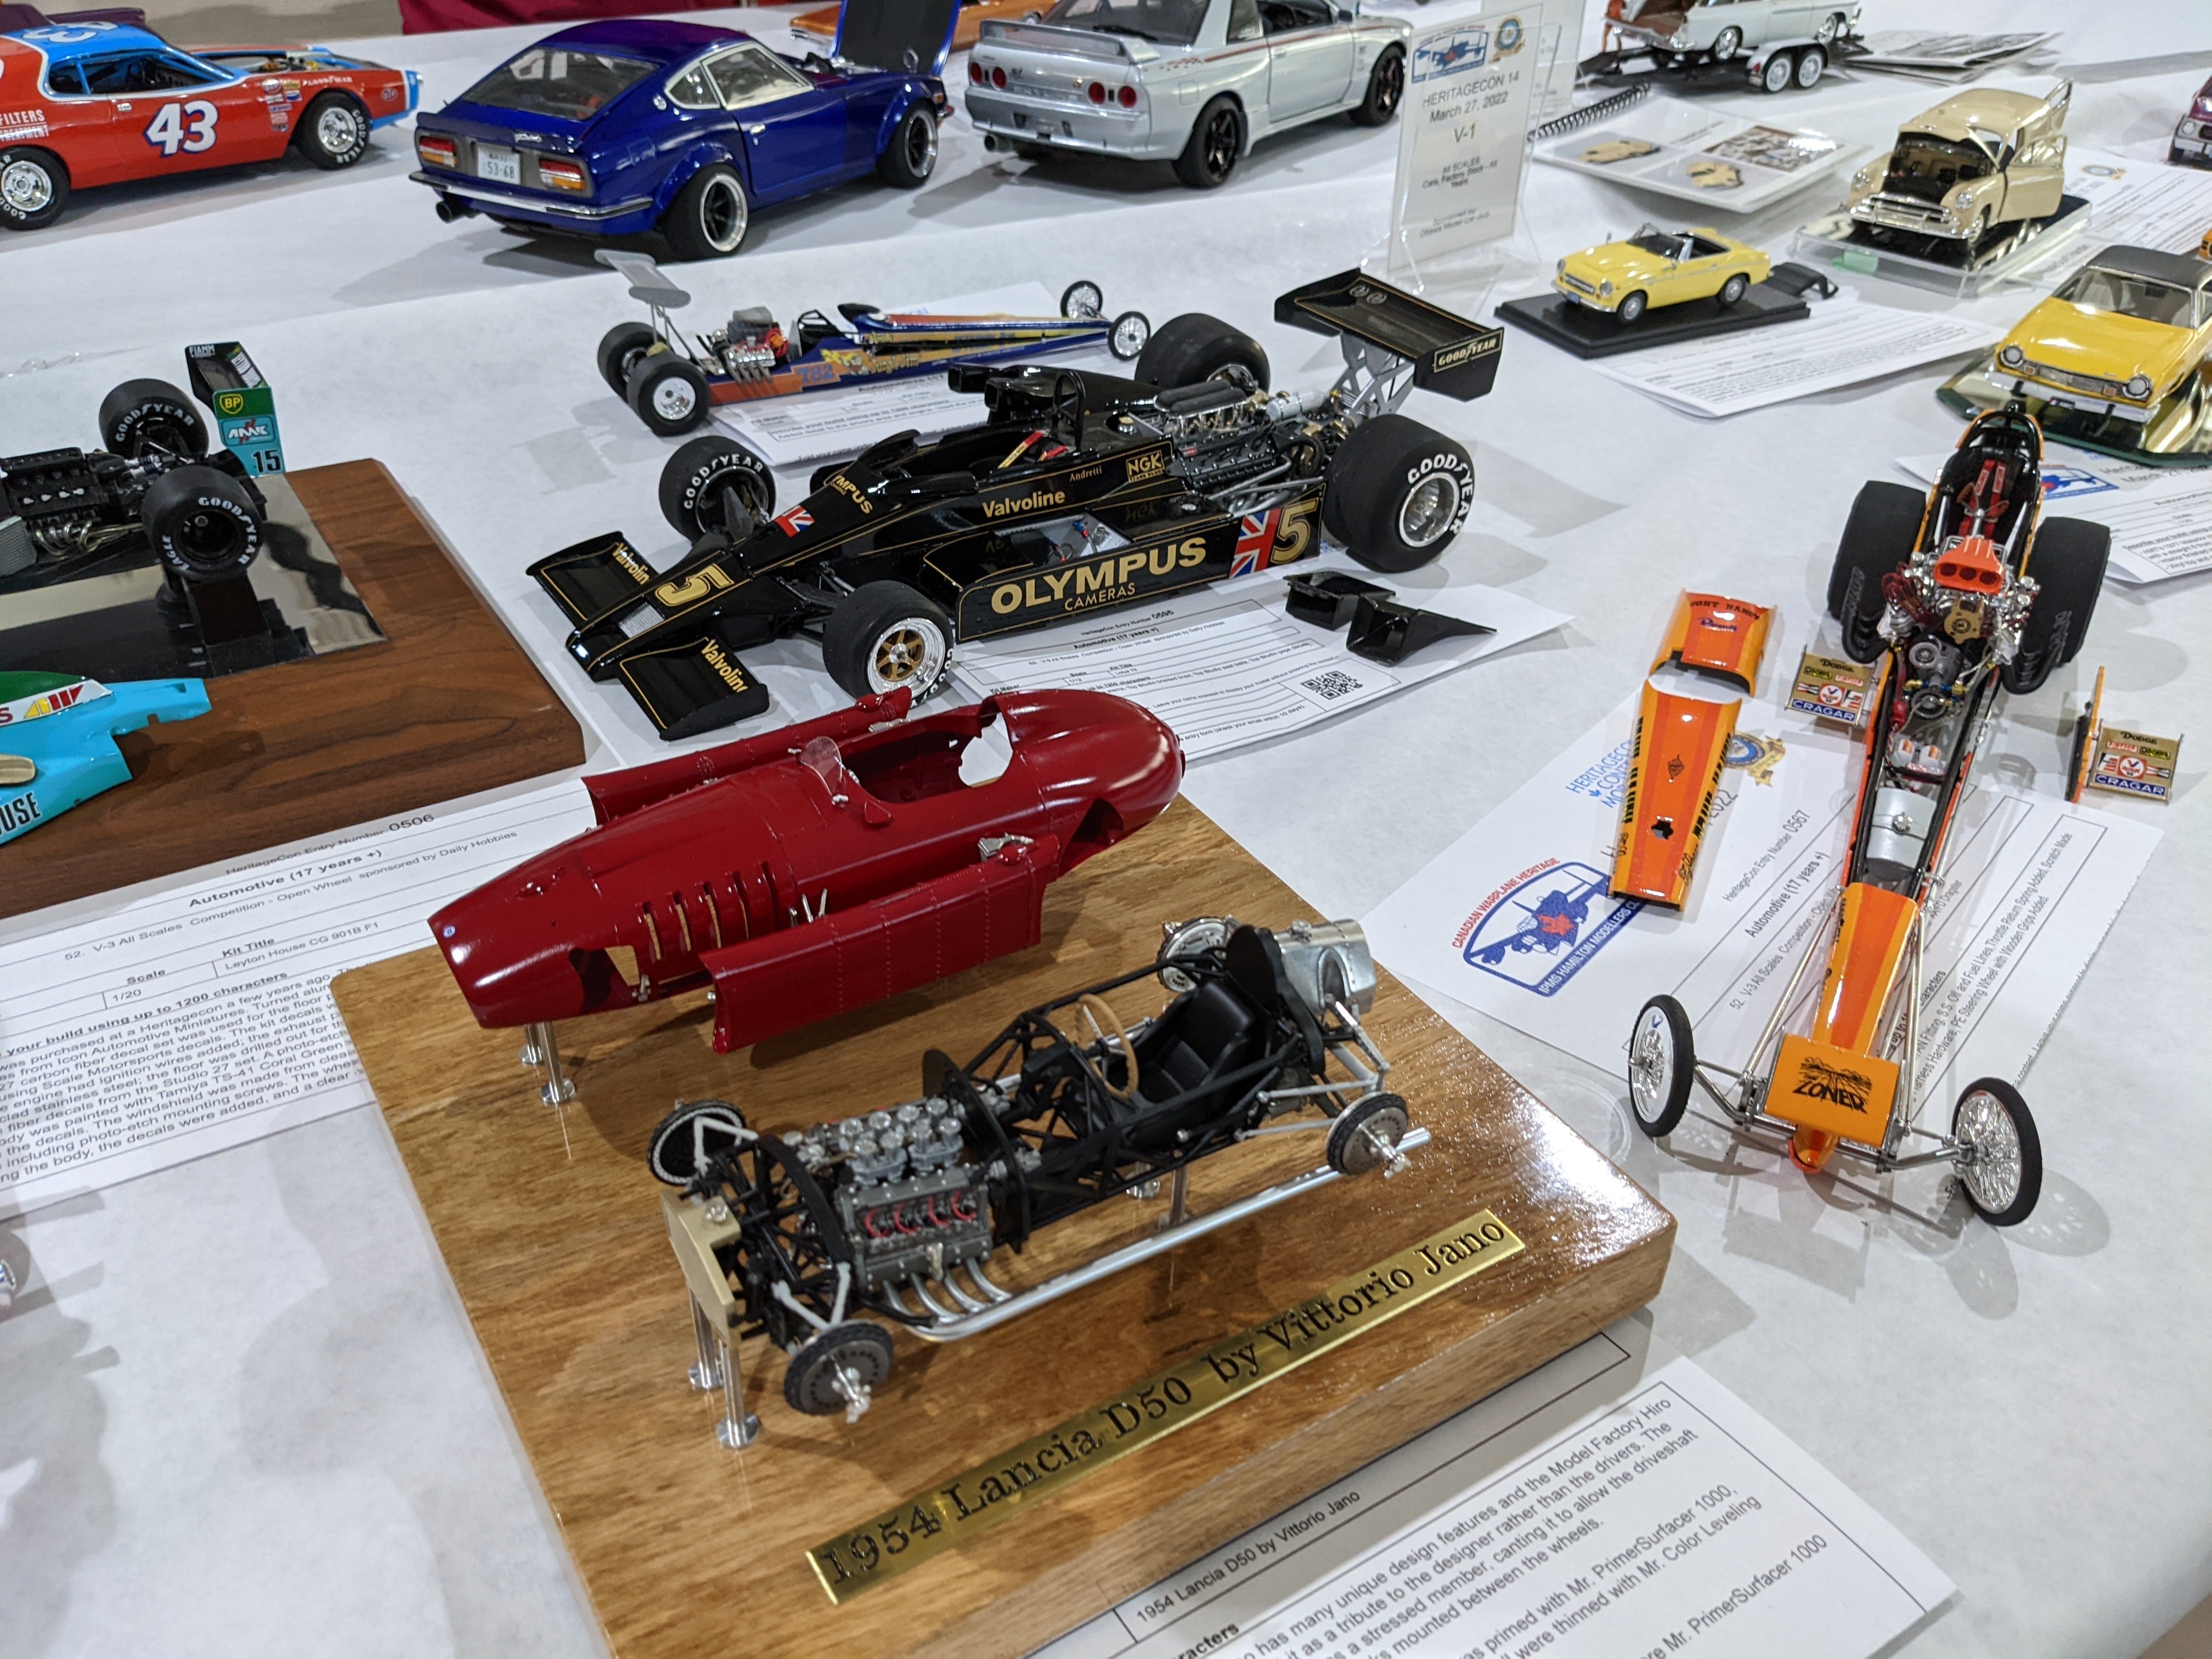
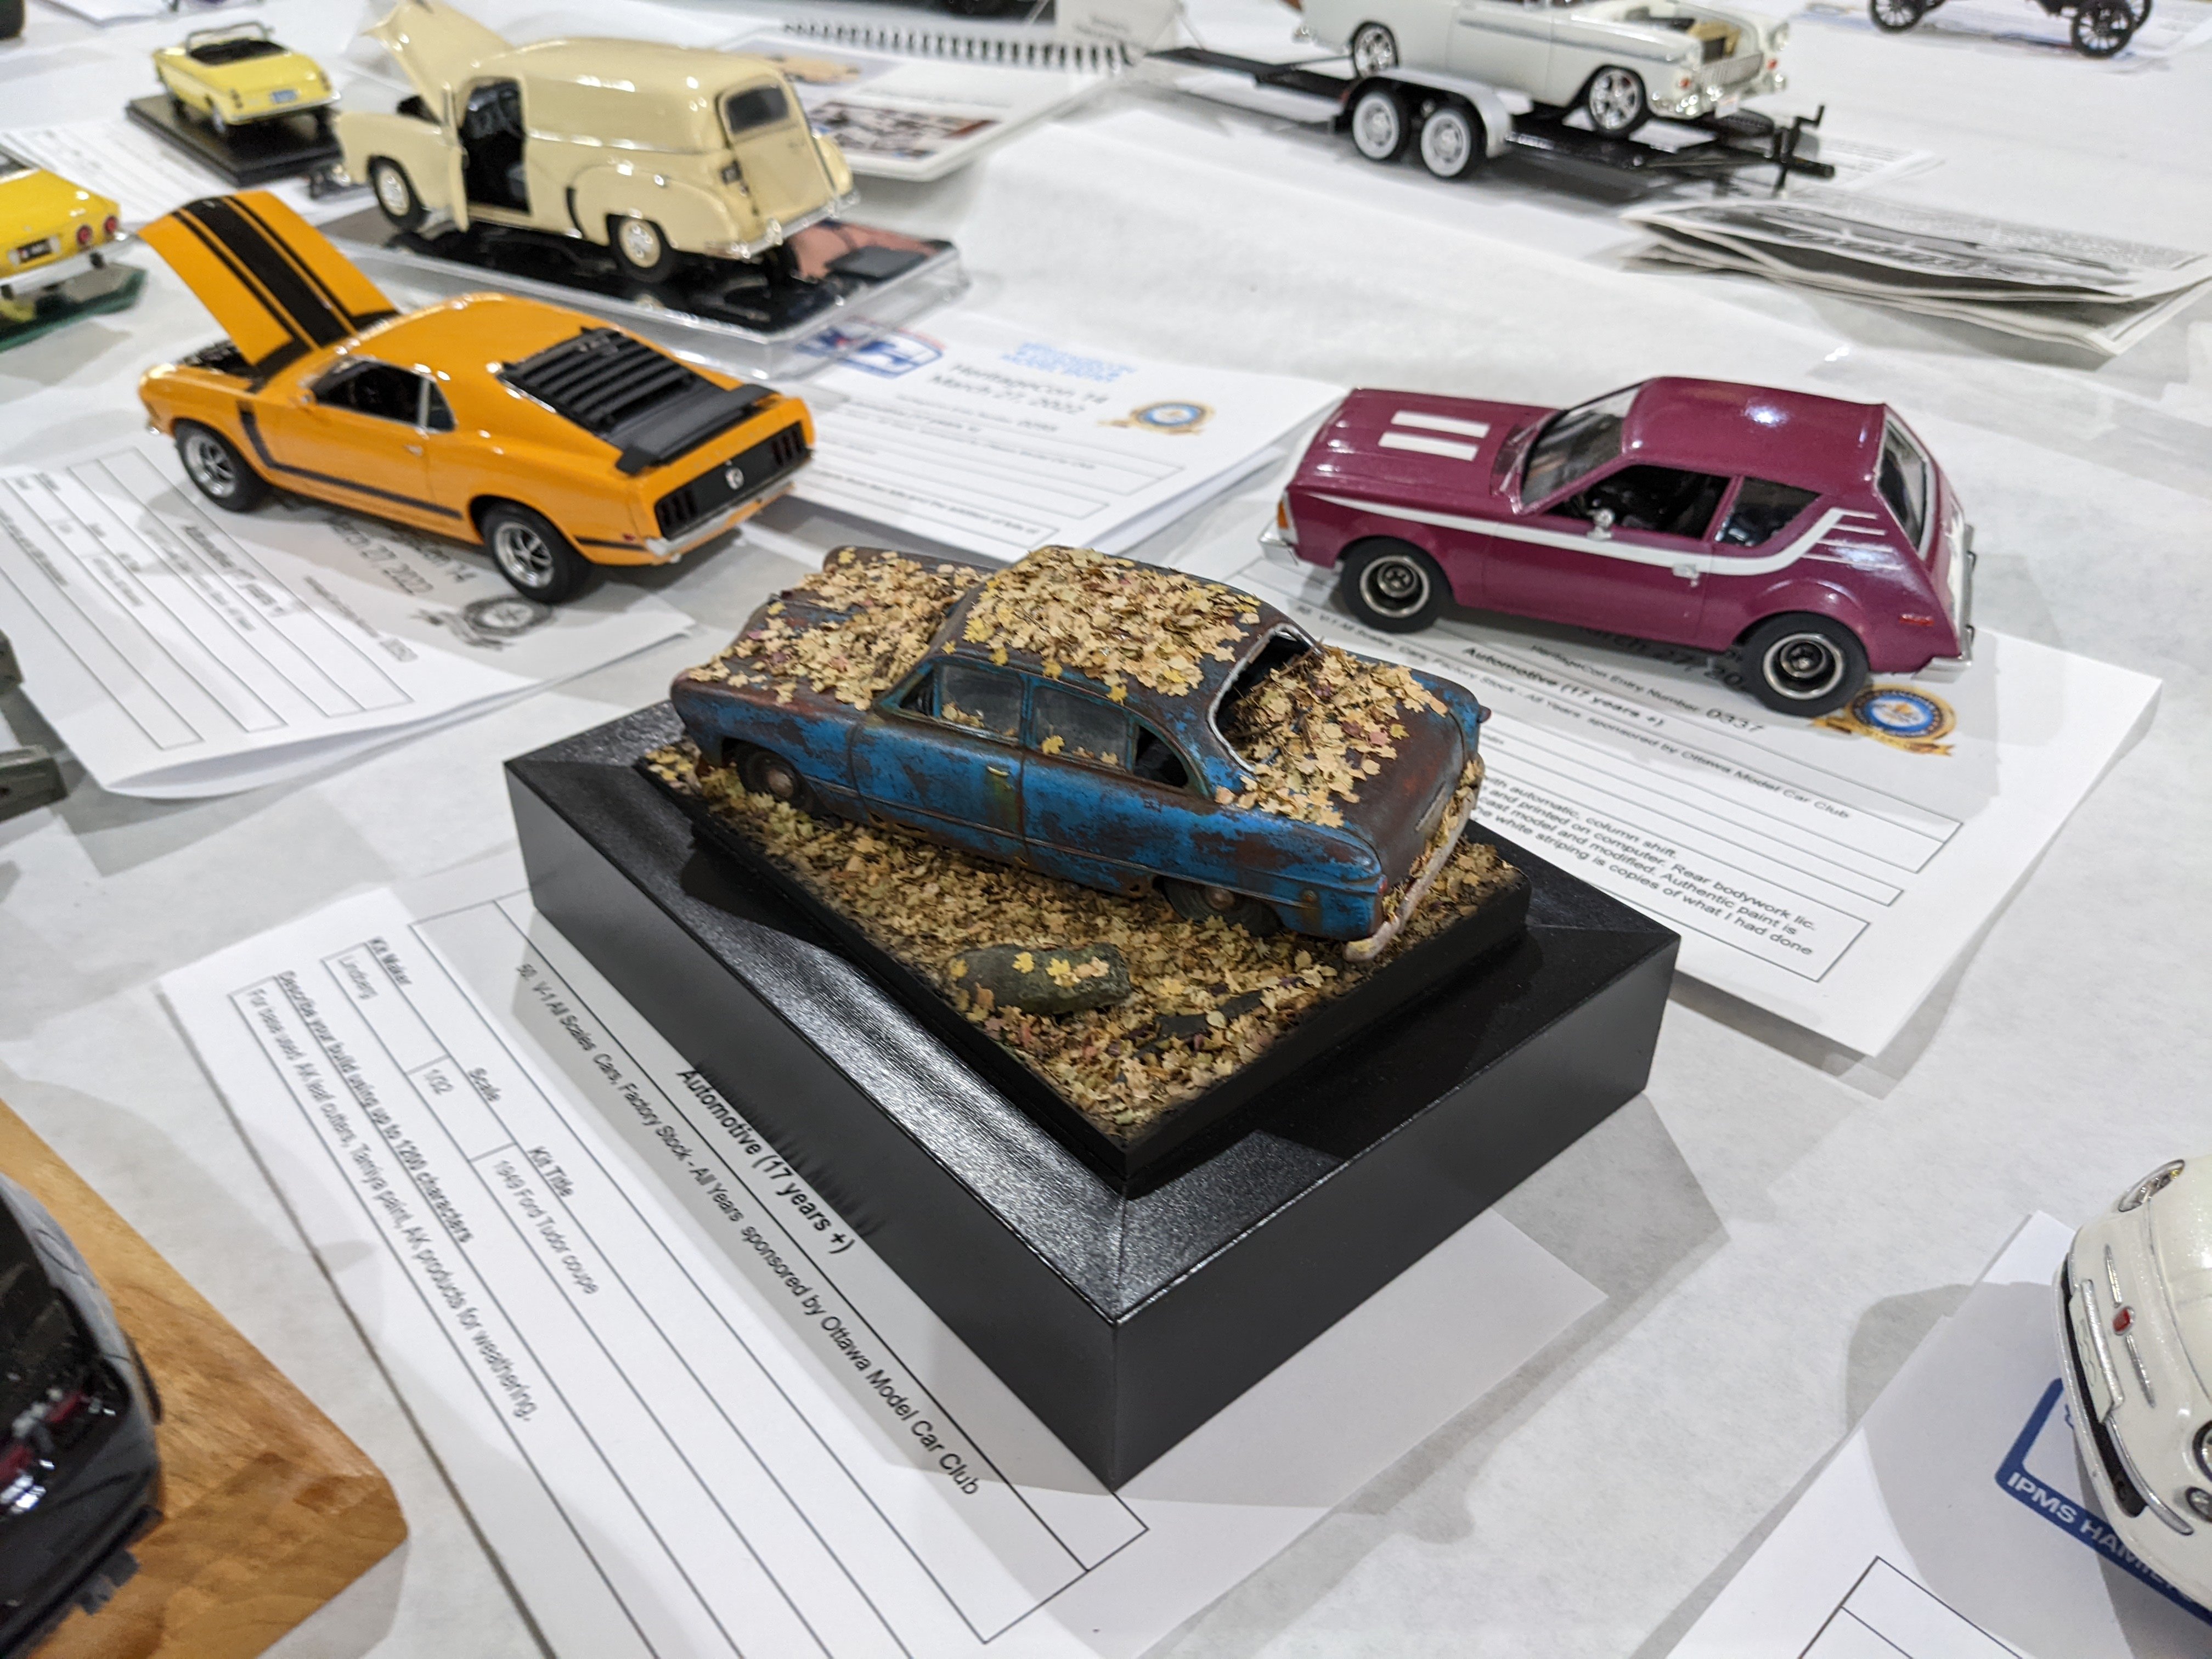
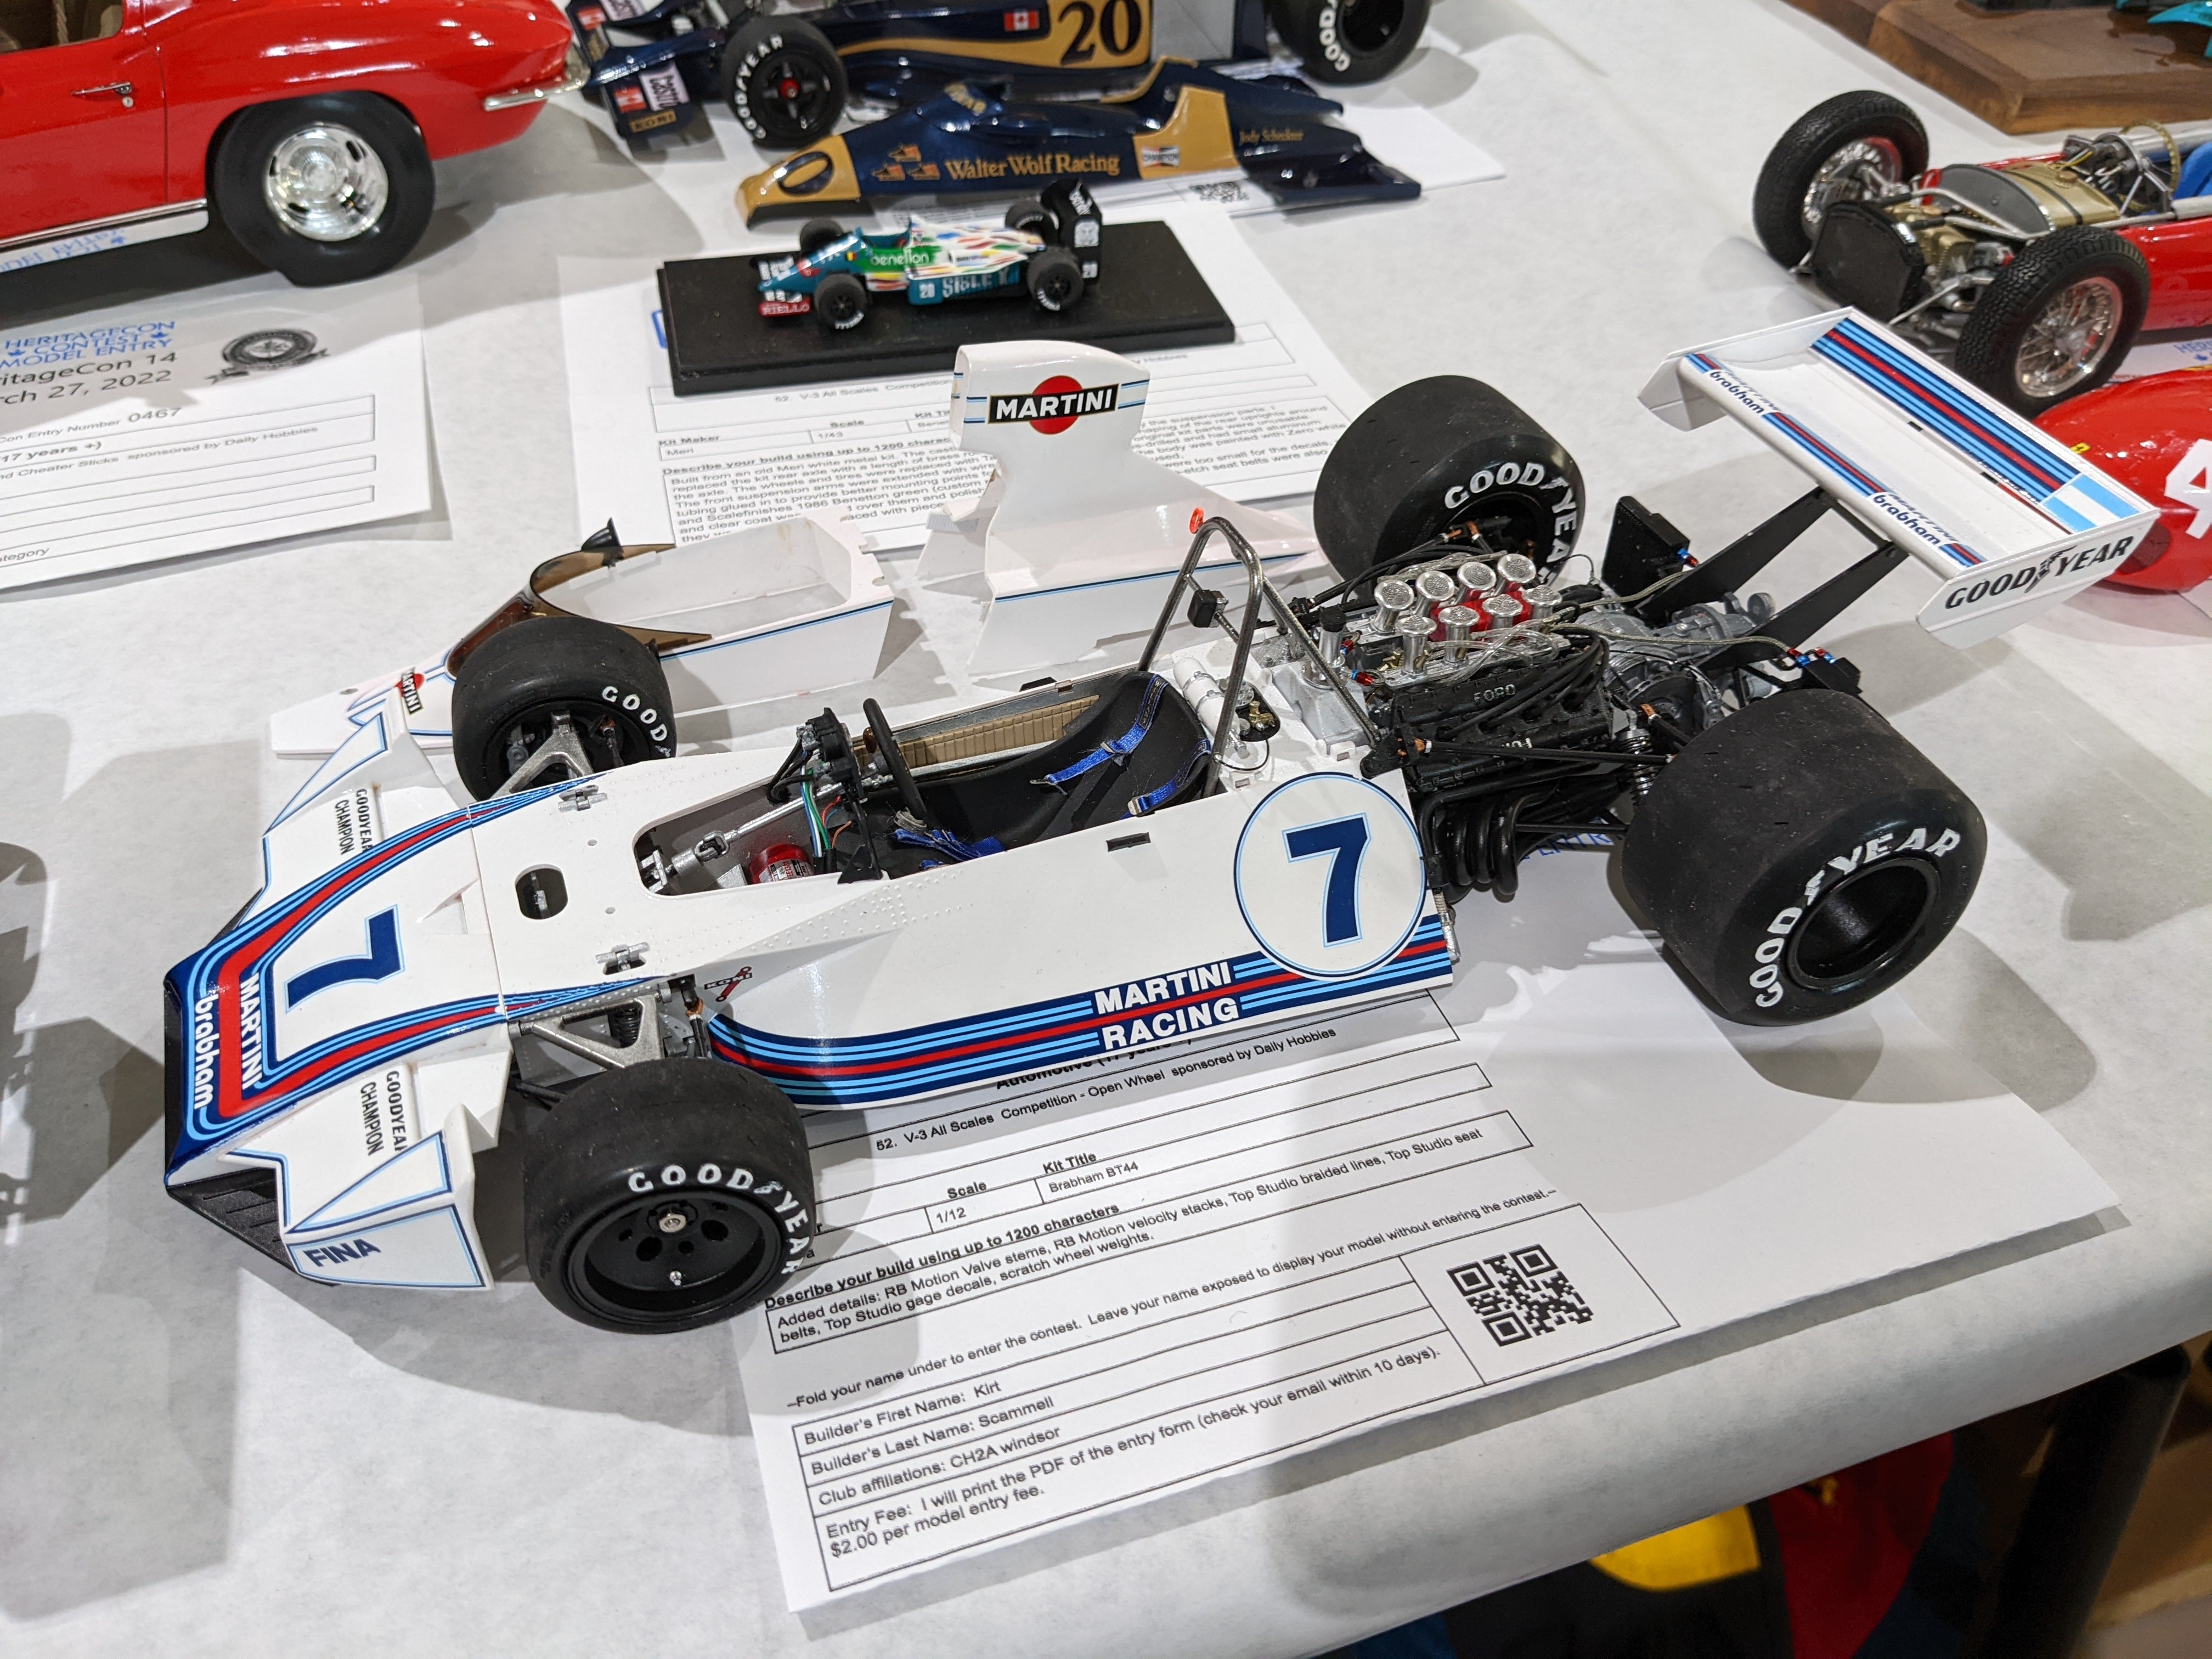
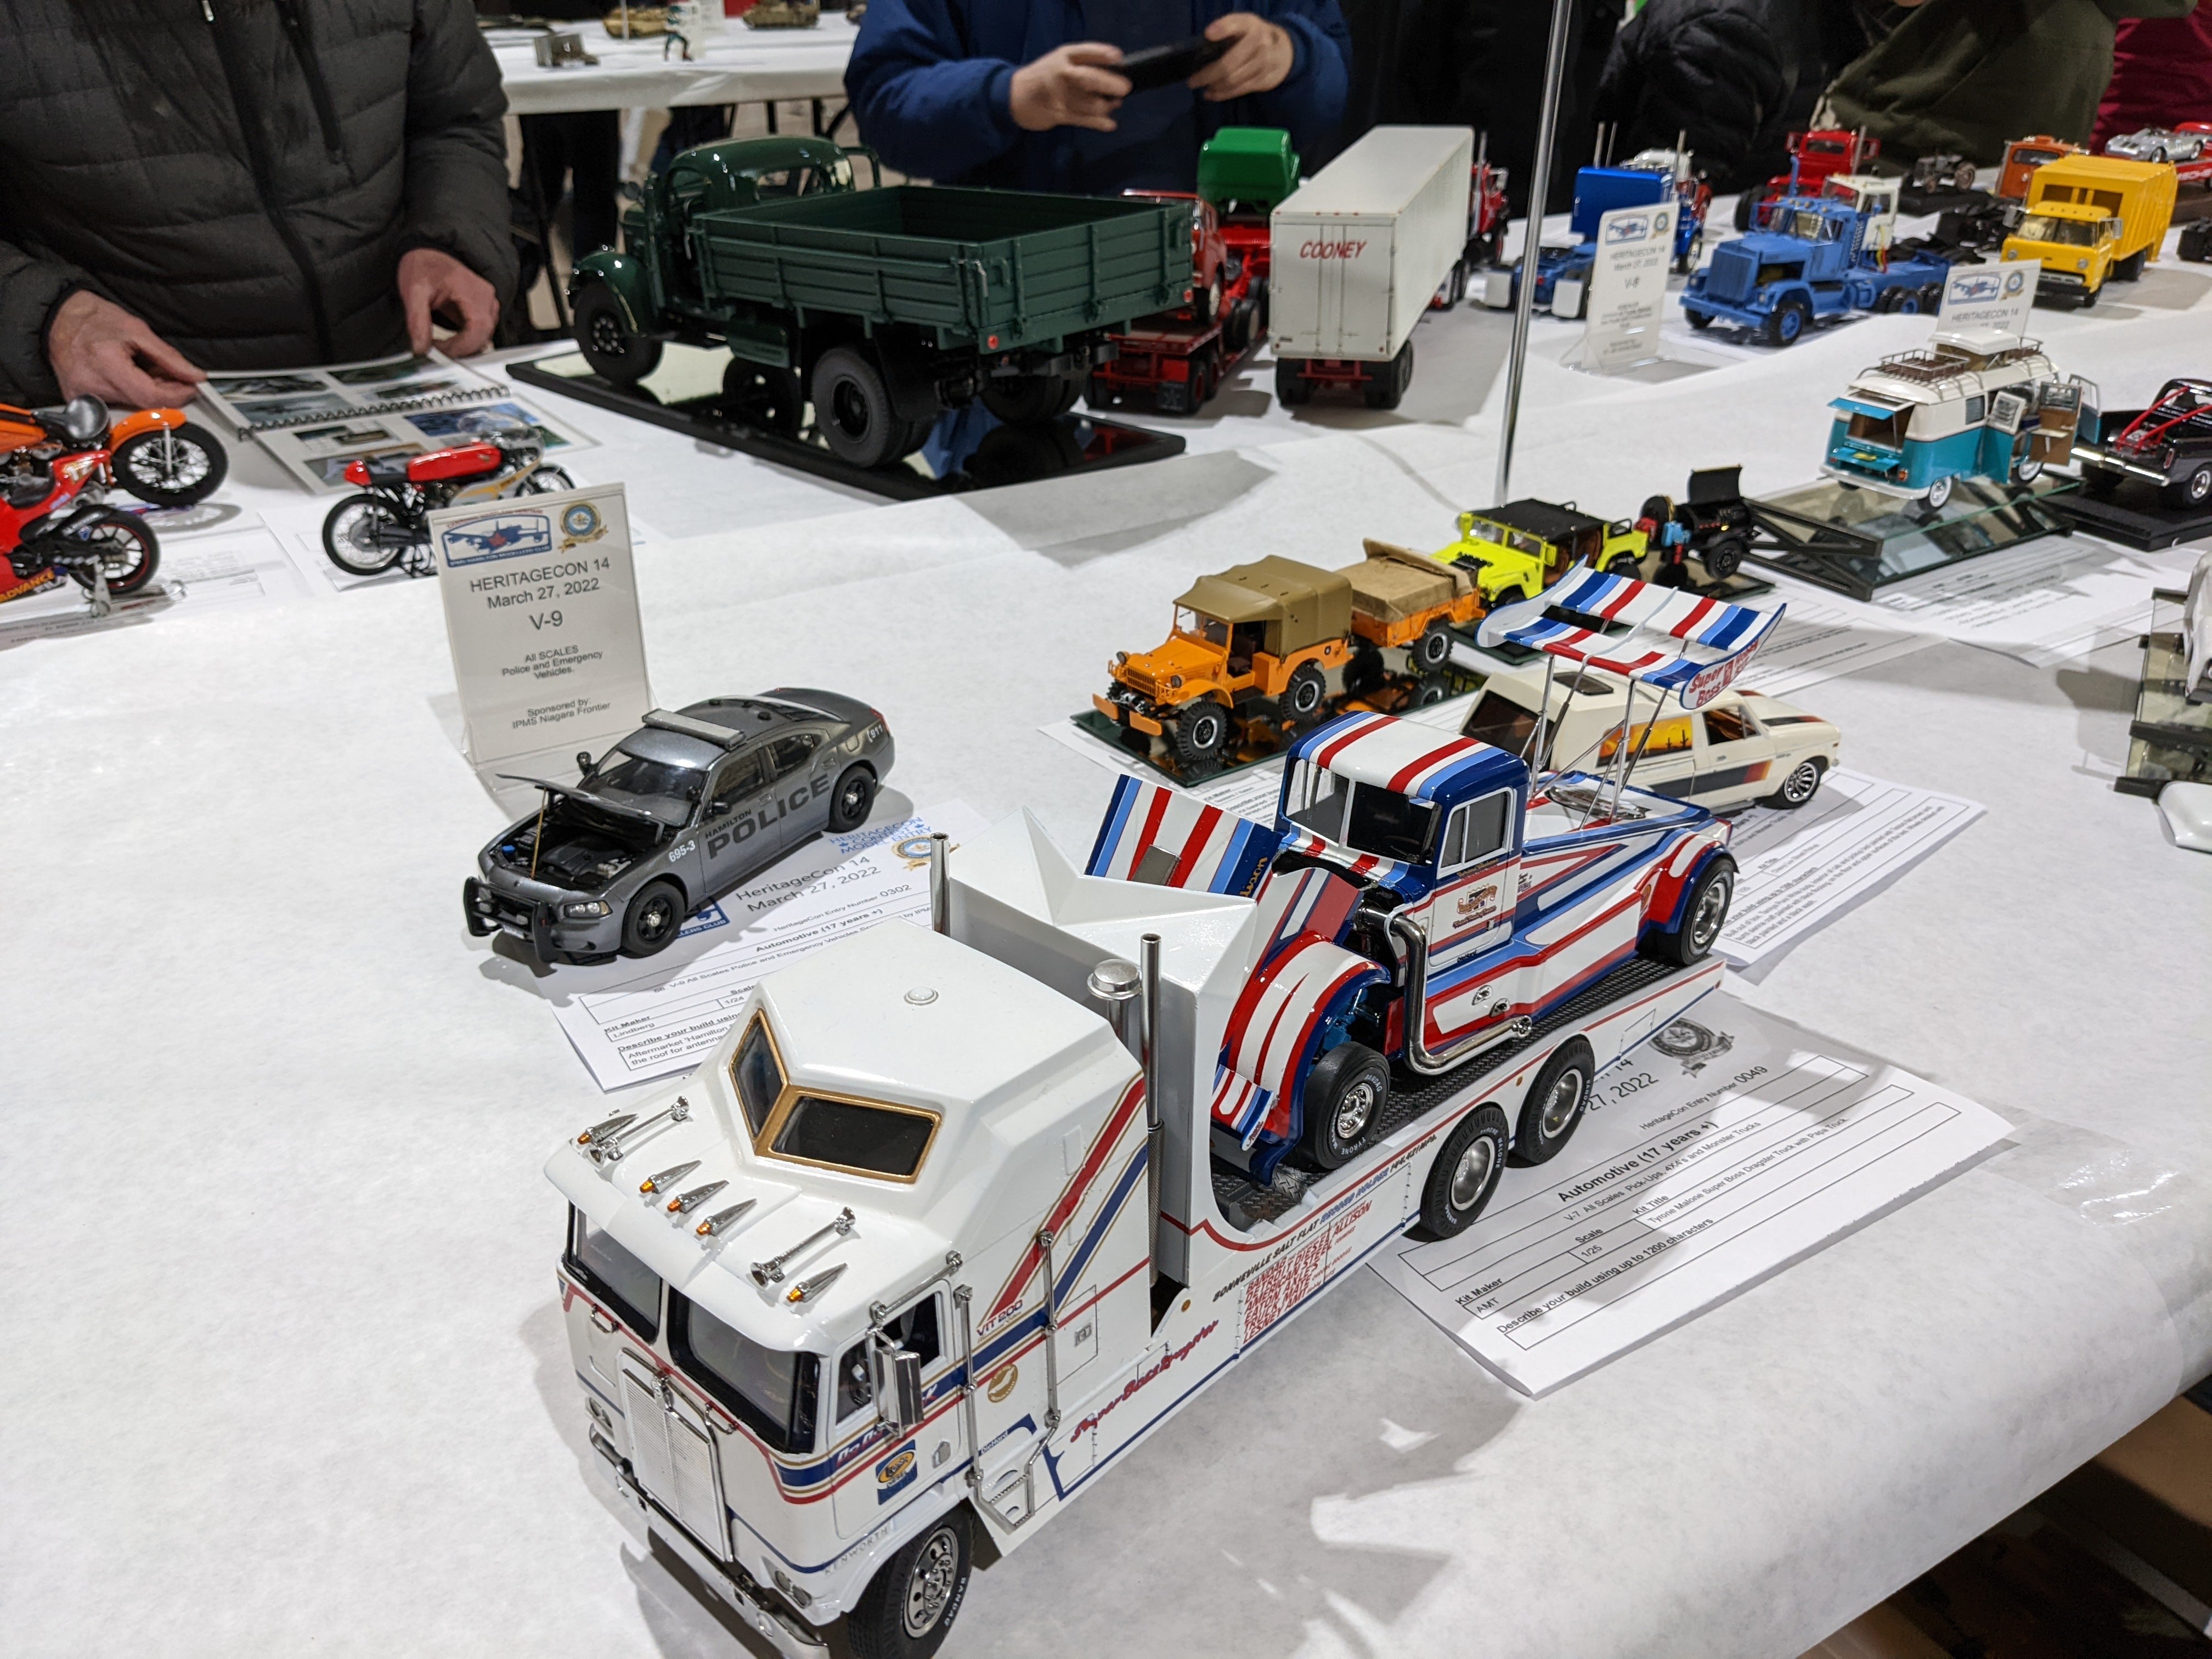
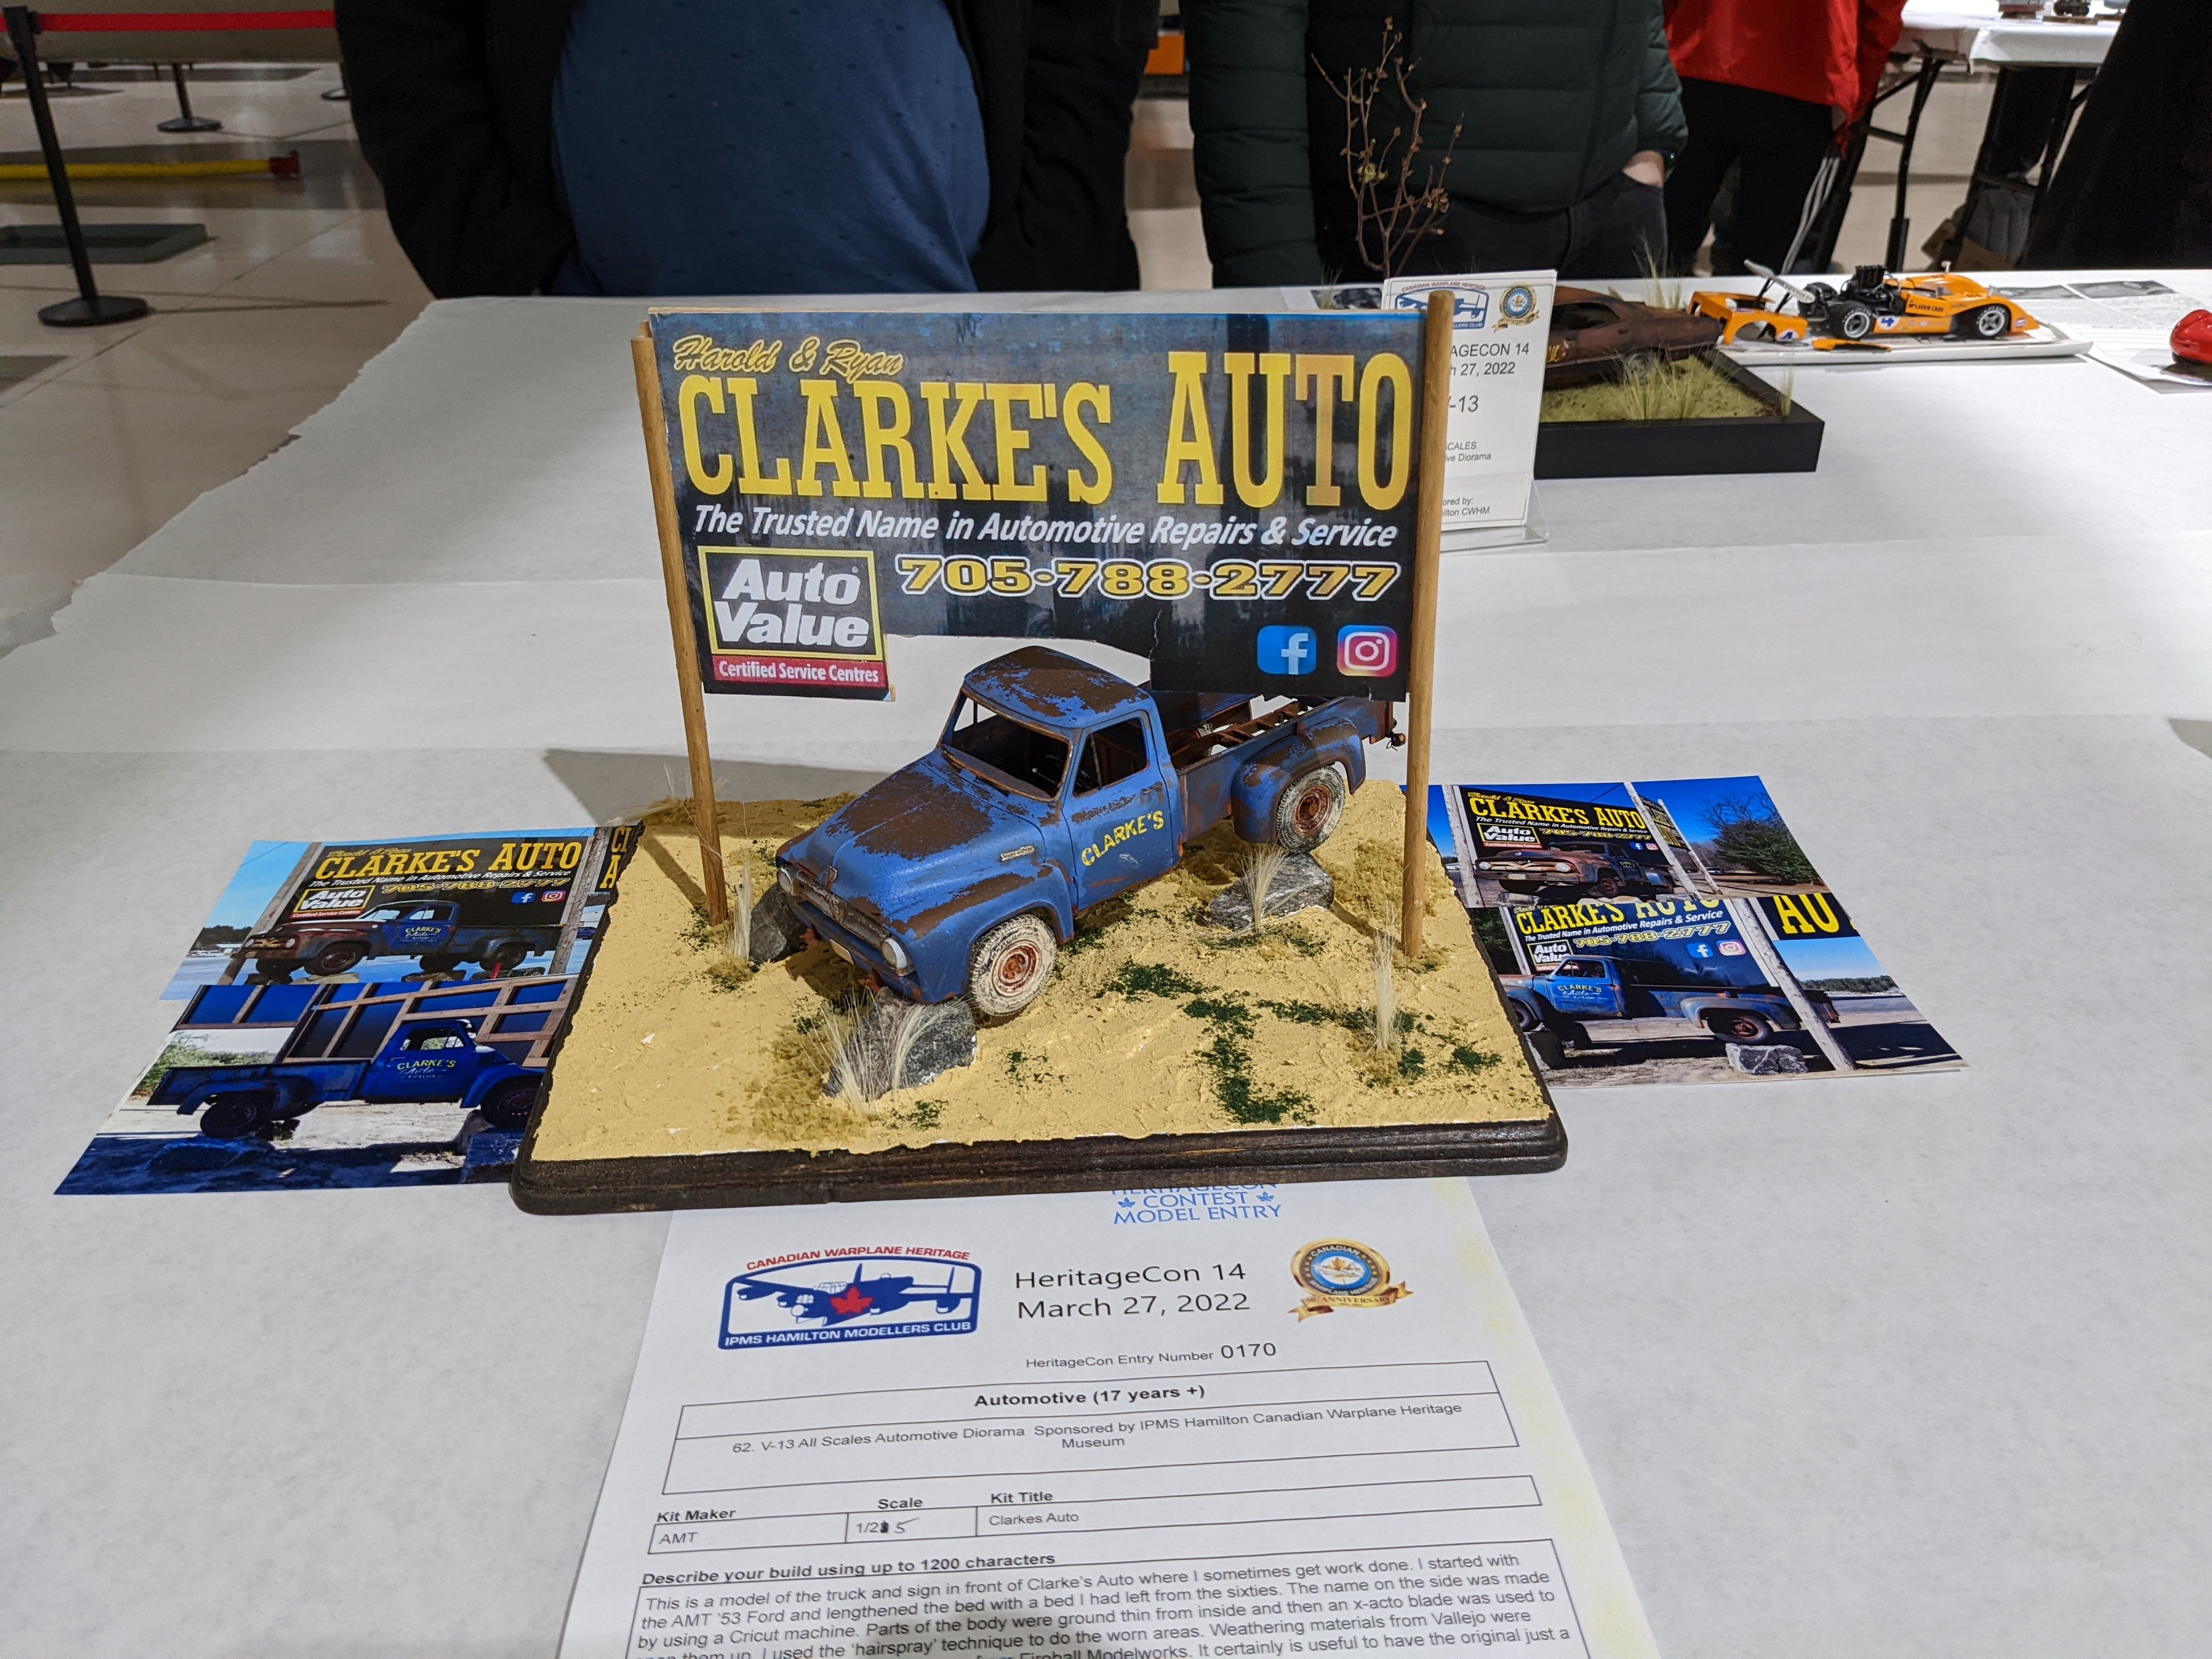
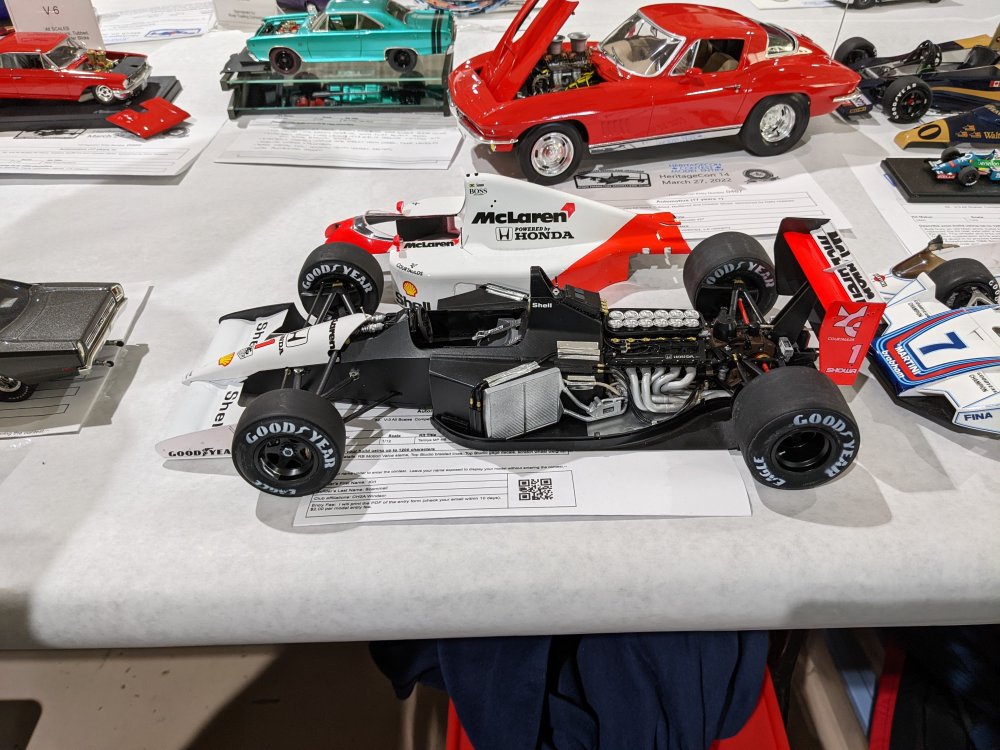
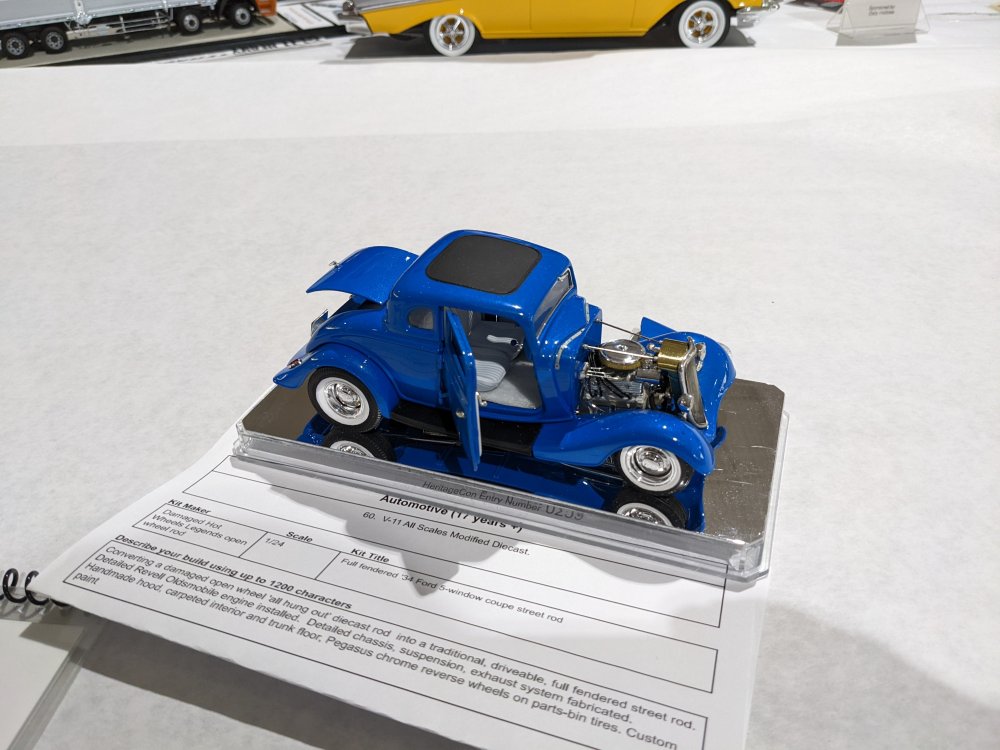
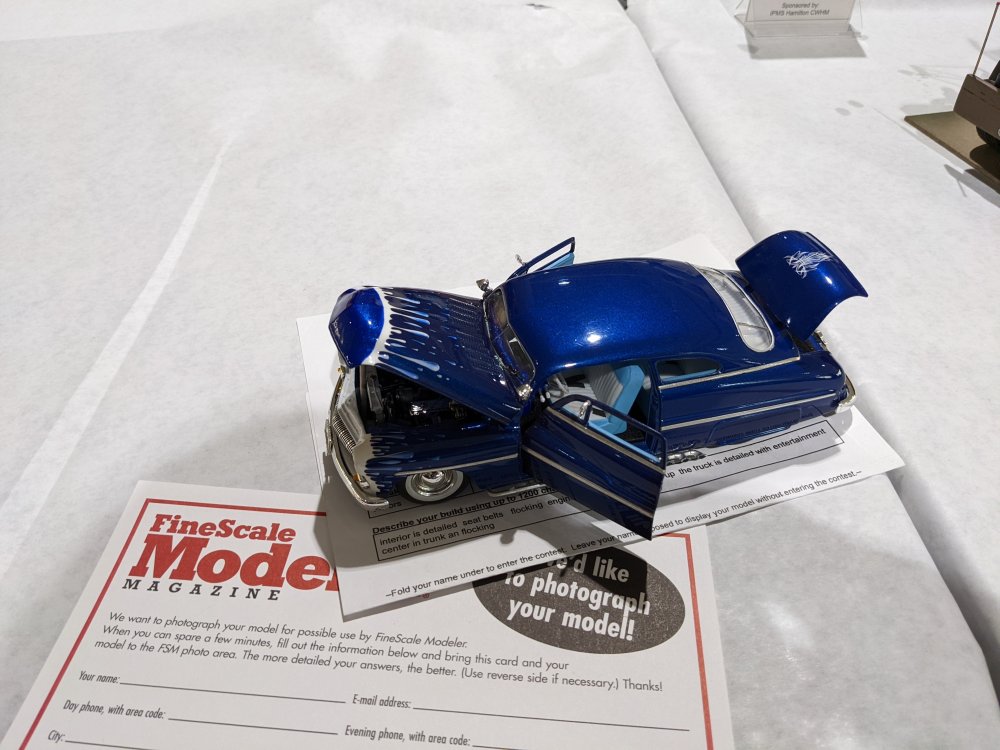
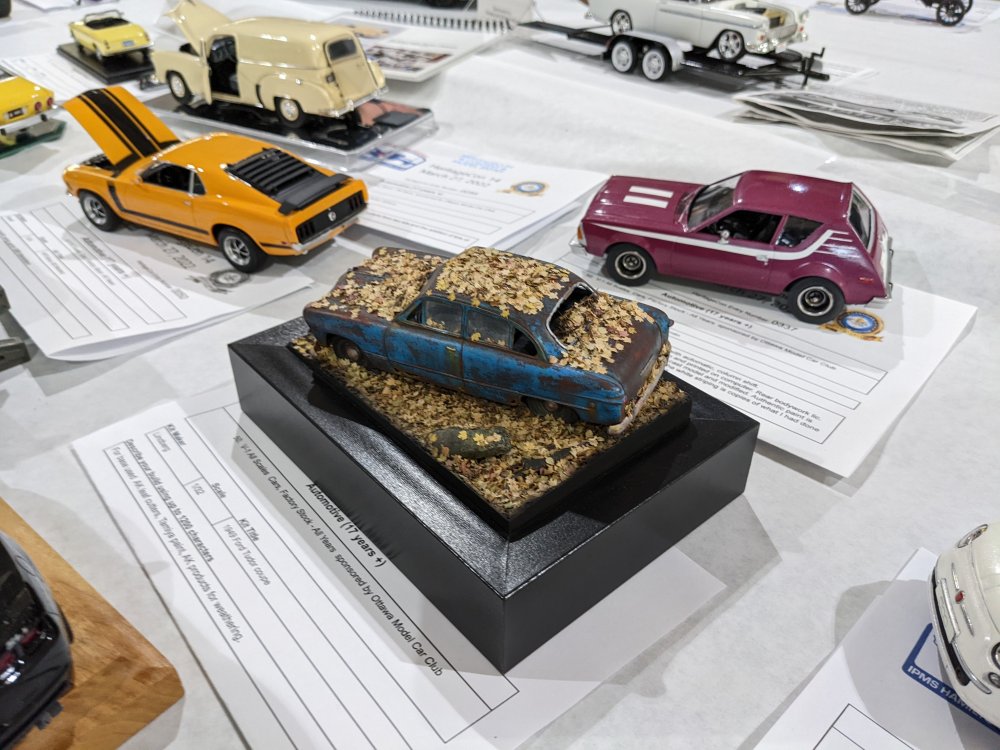
Automotive. One for Ernie:


-
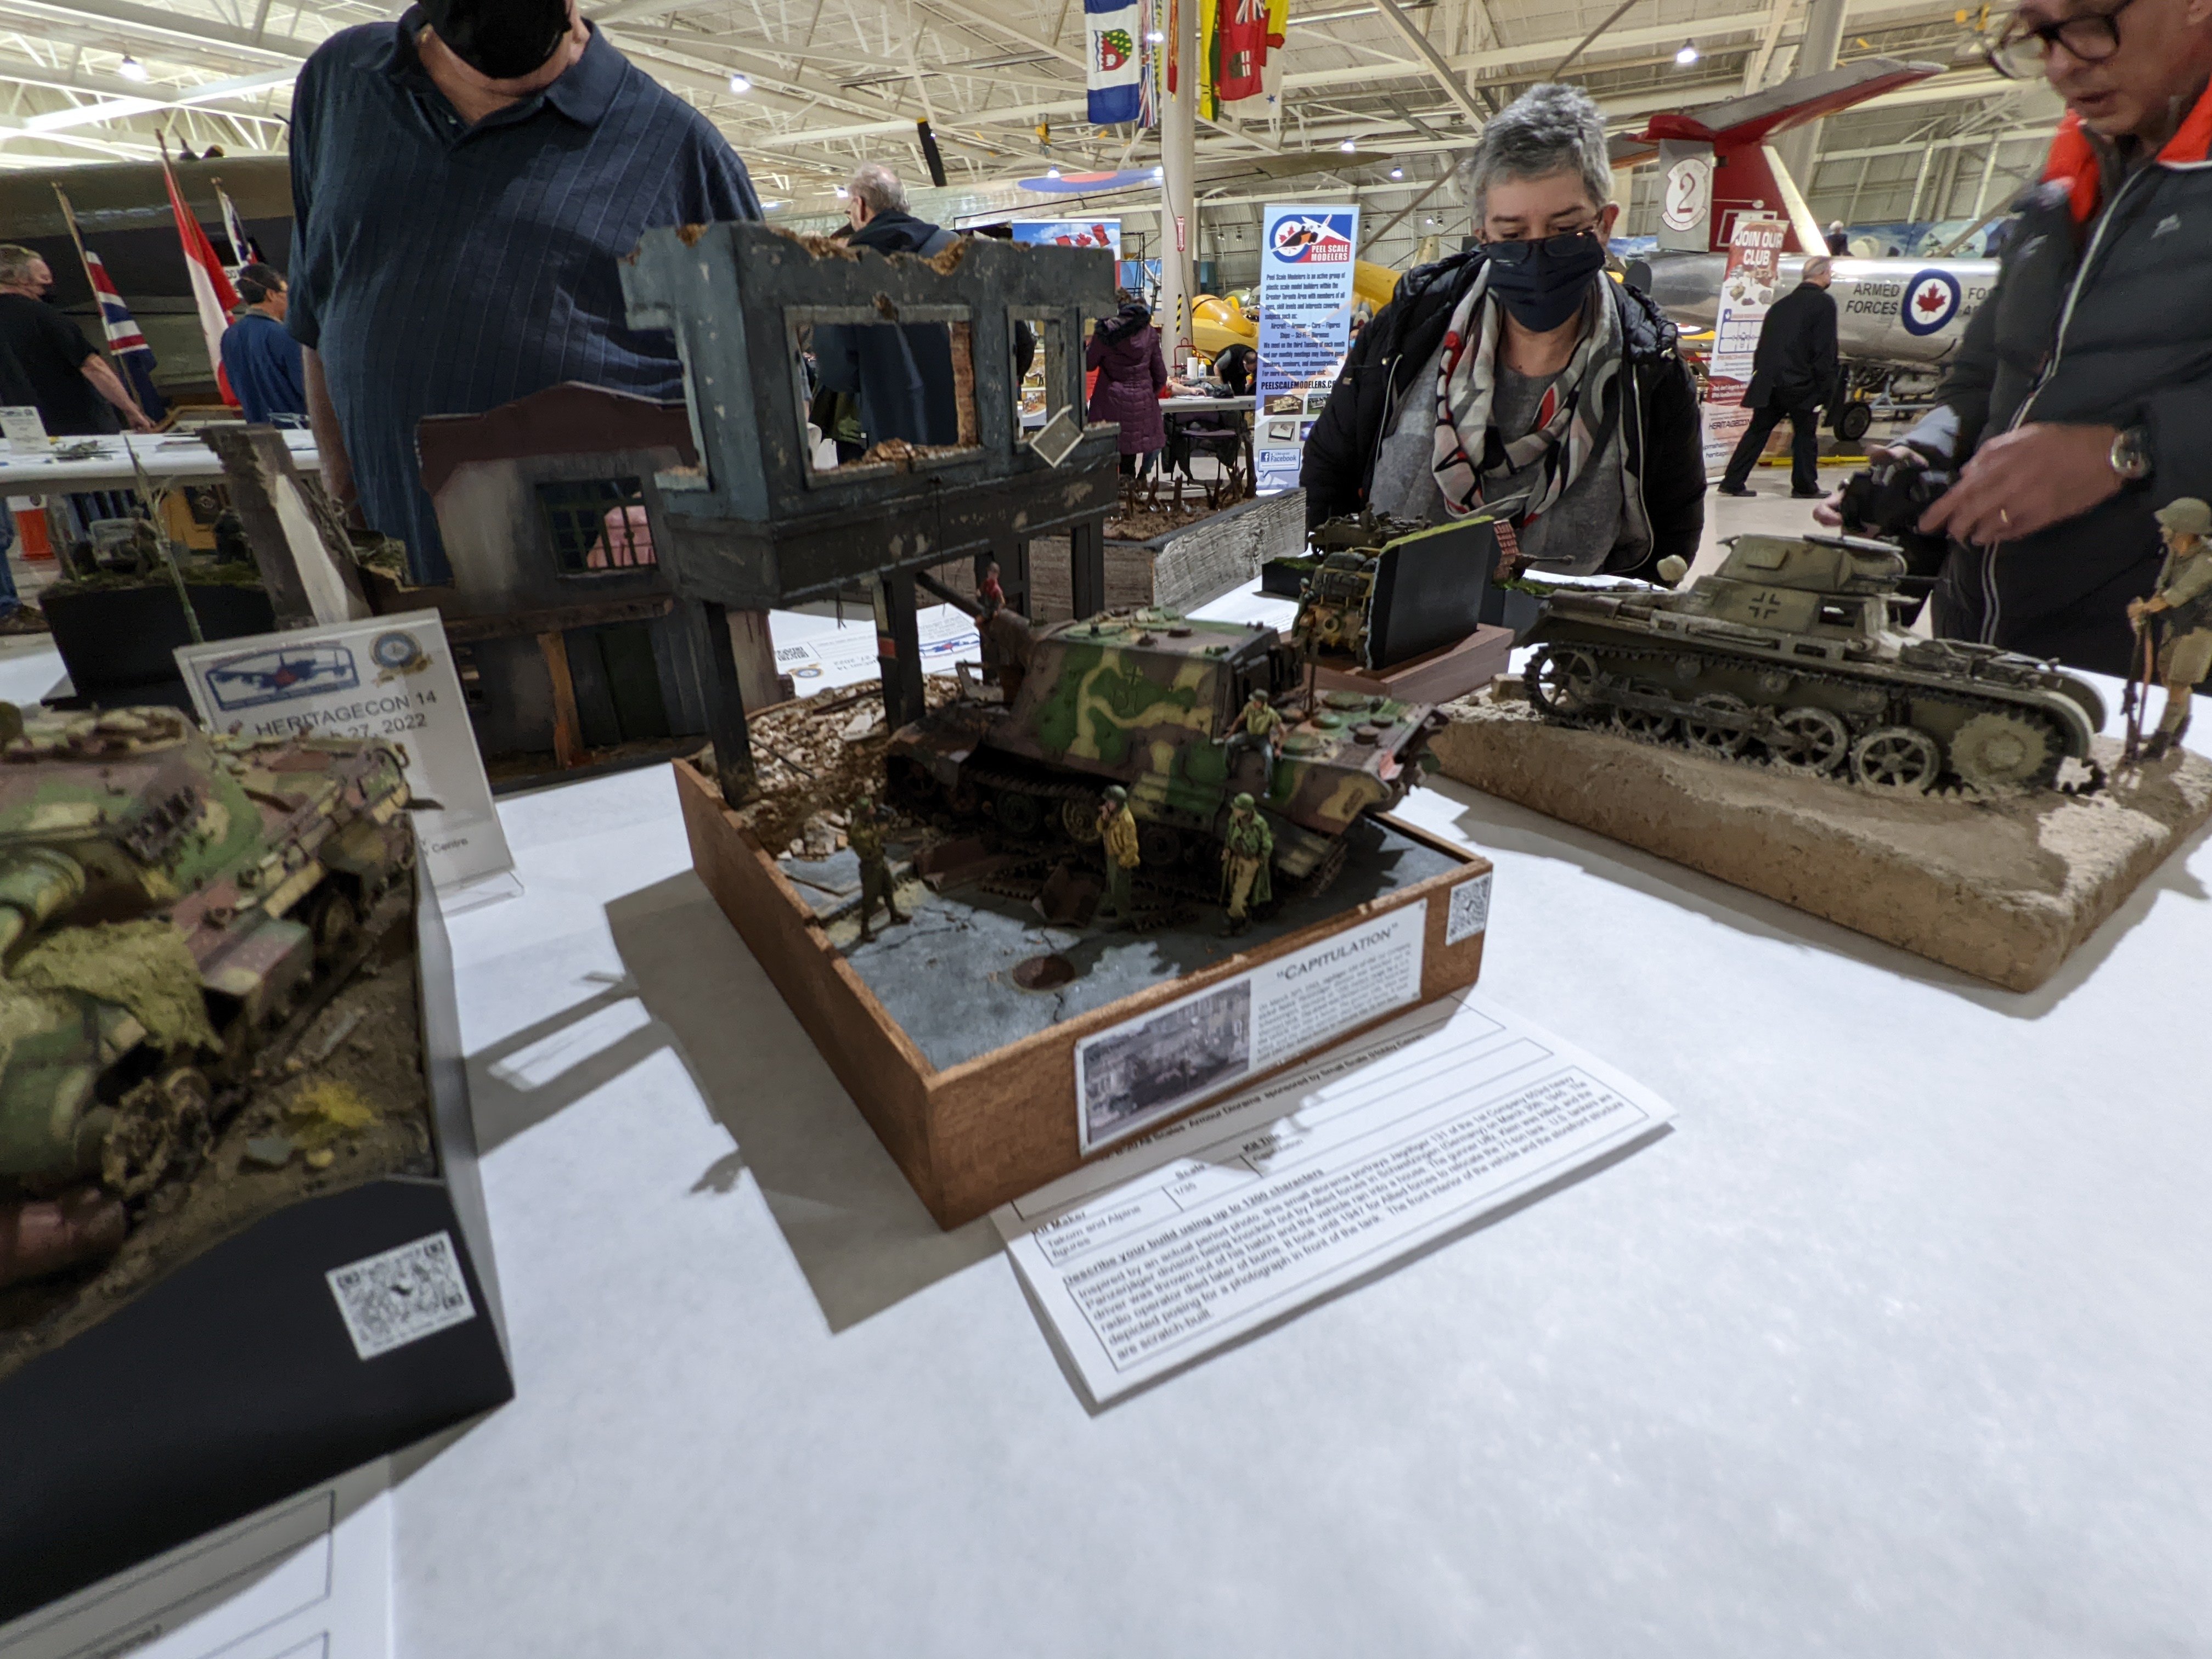
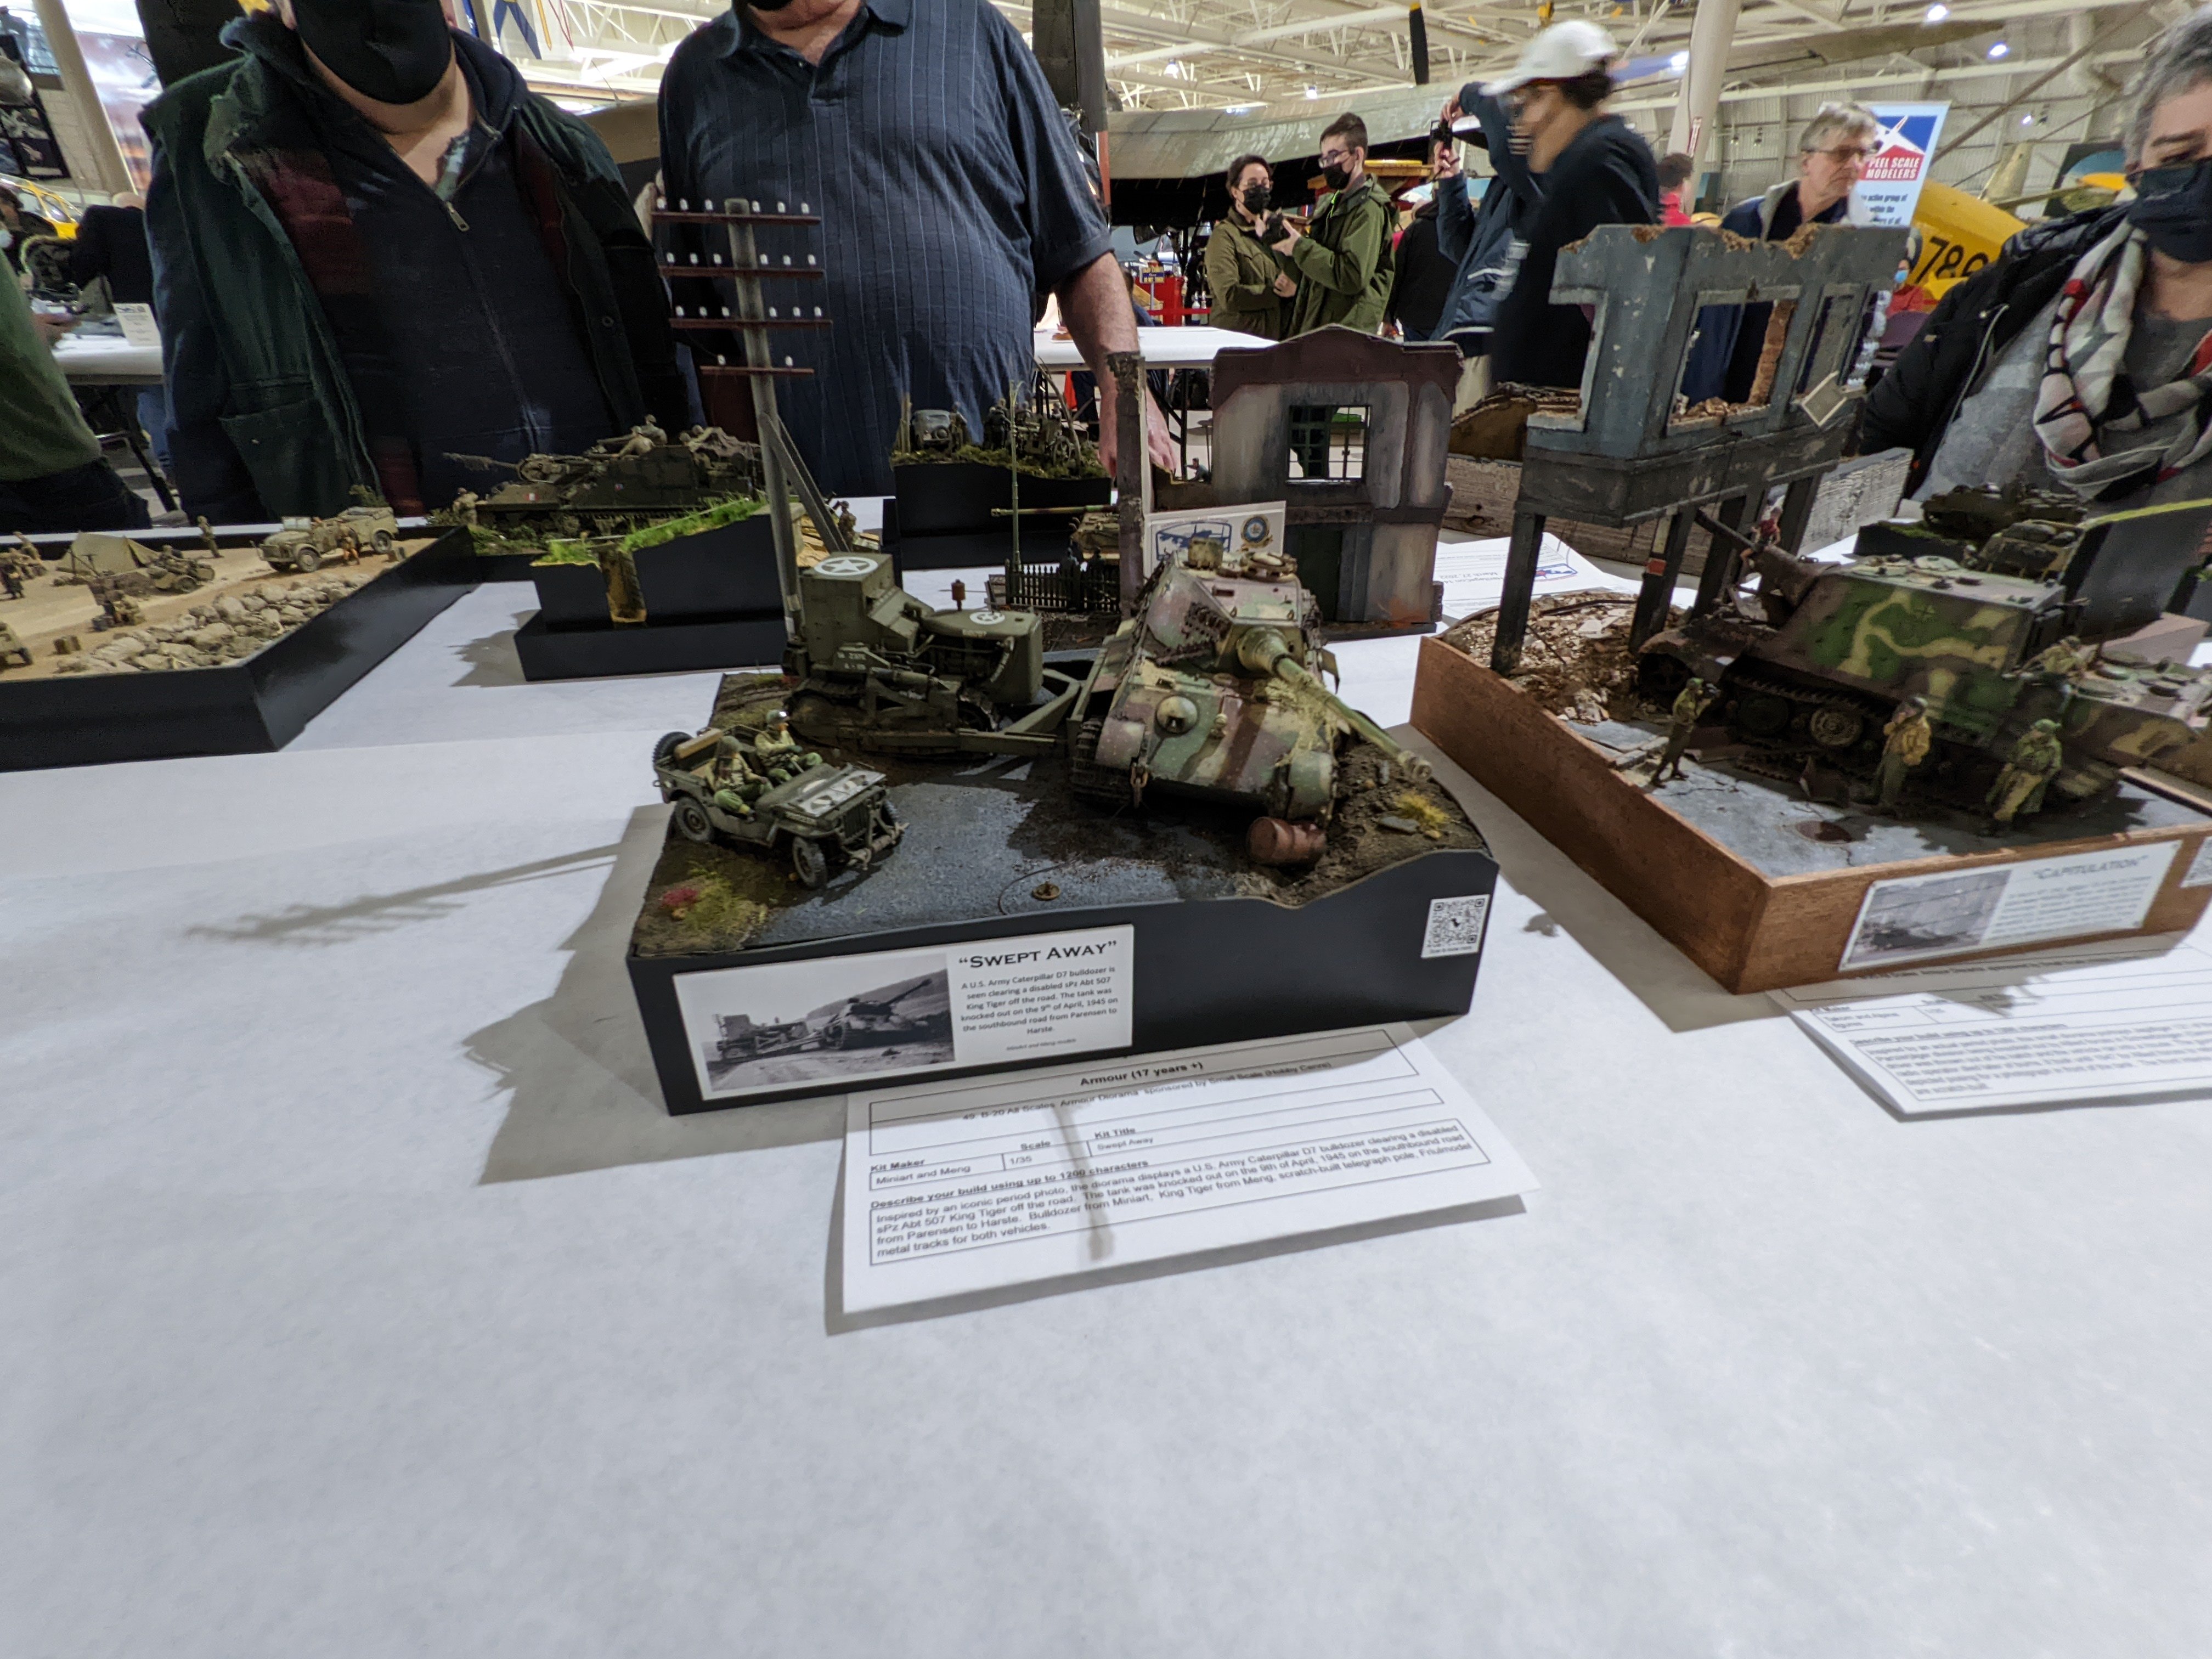
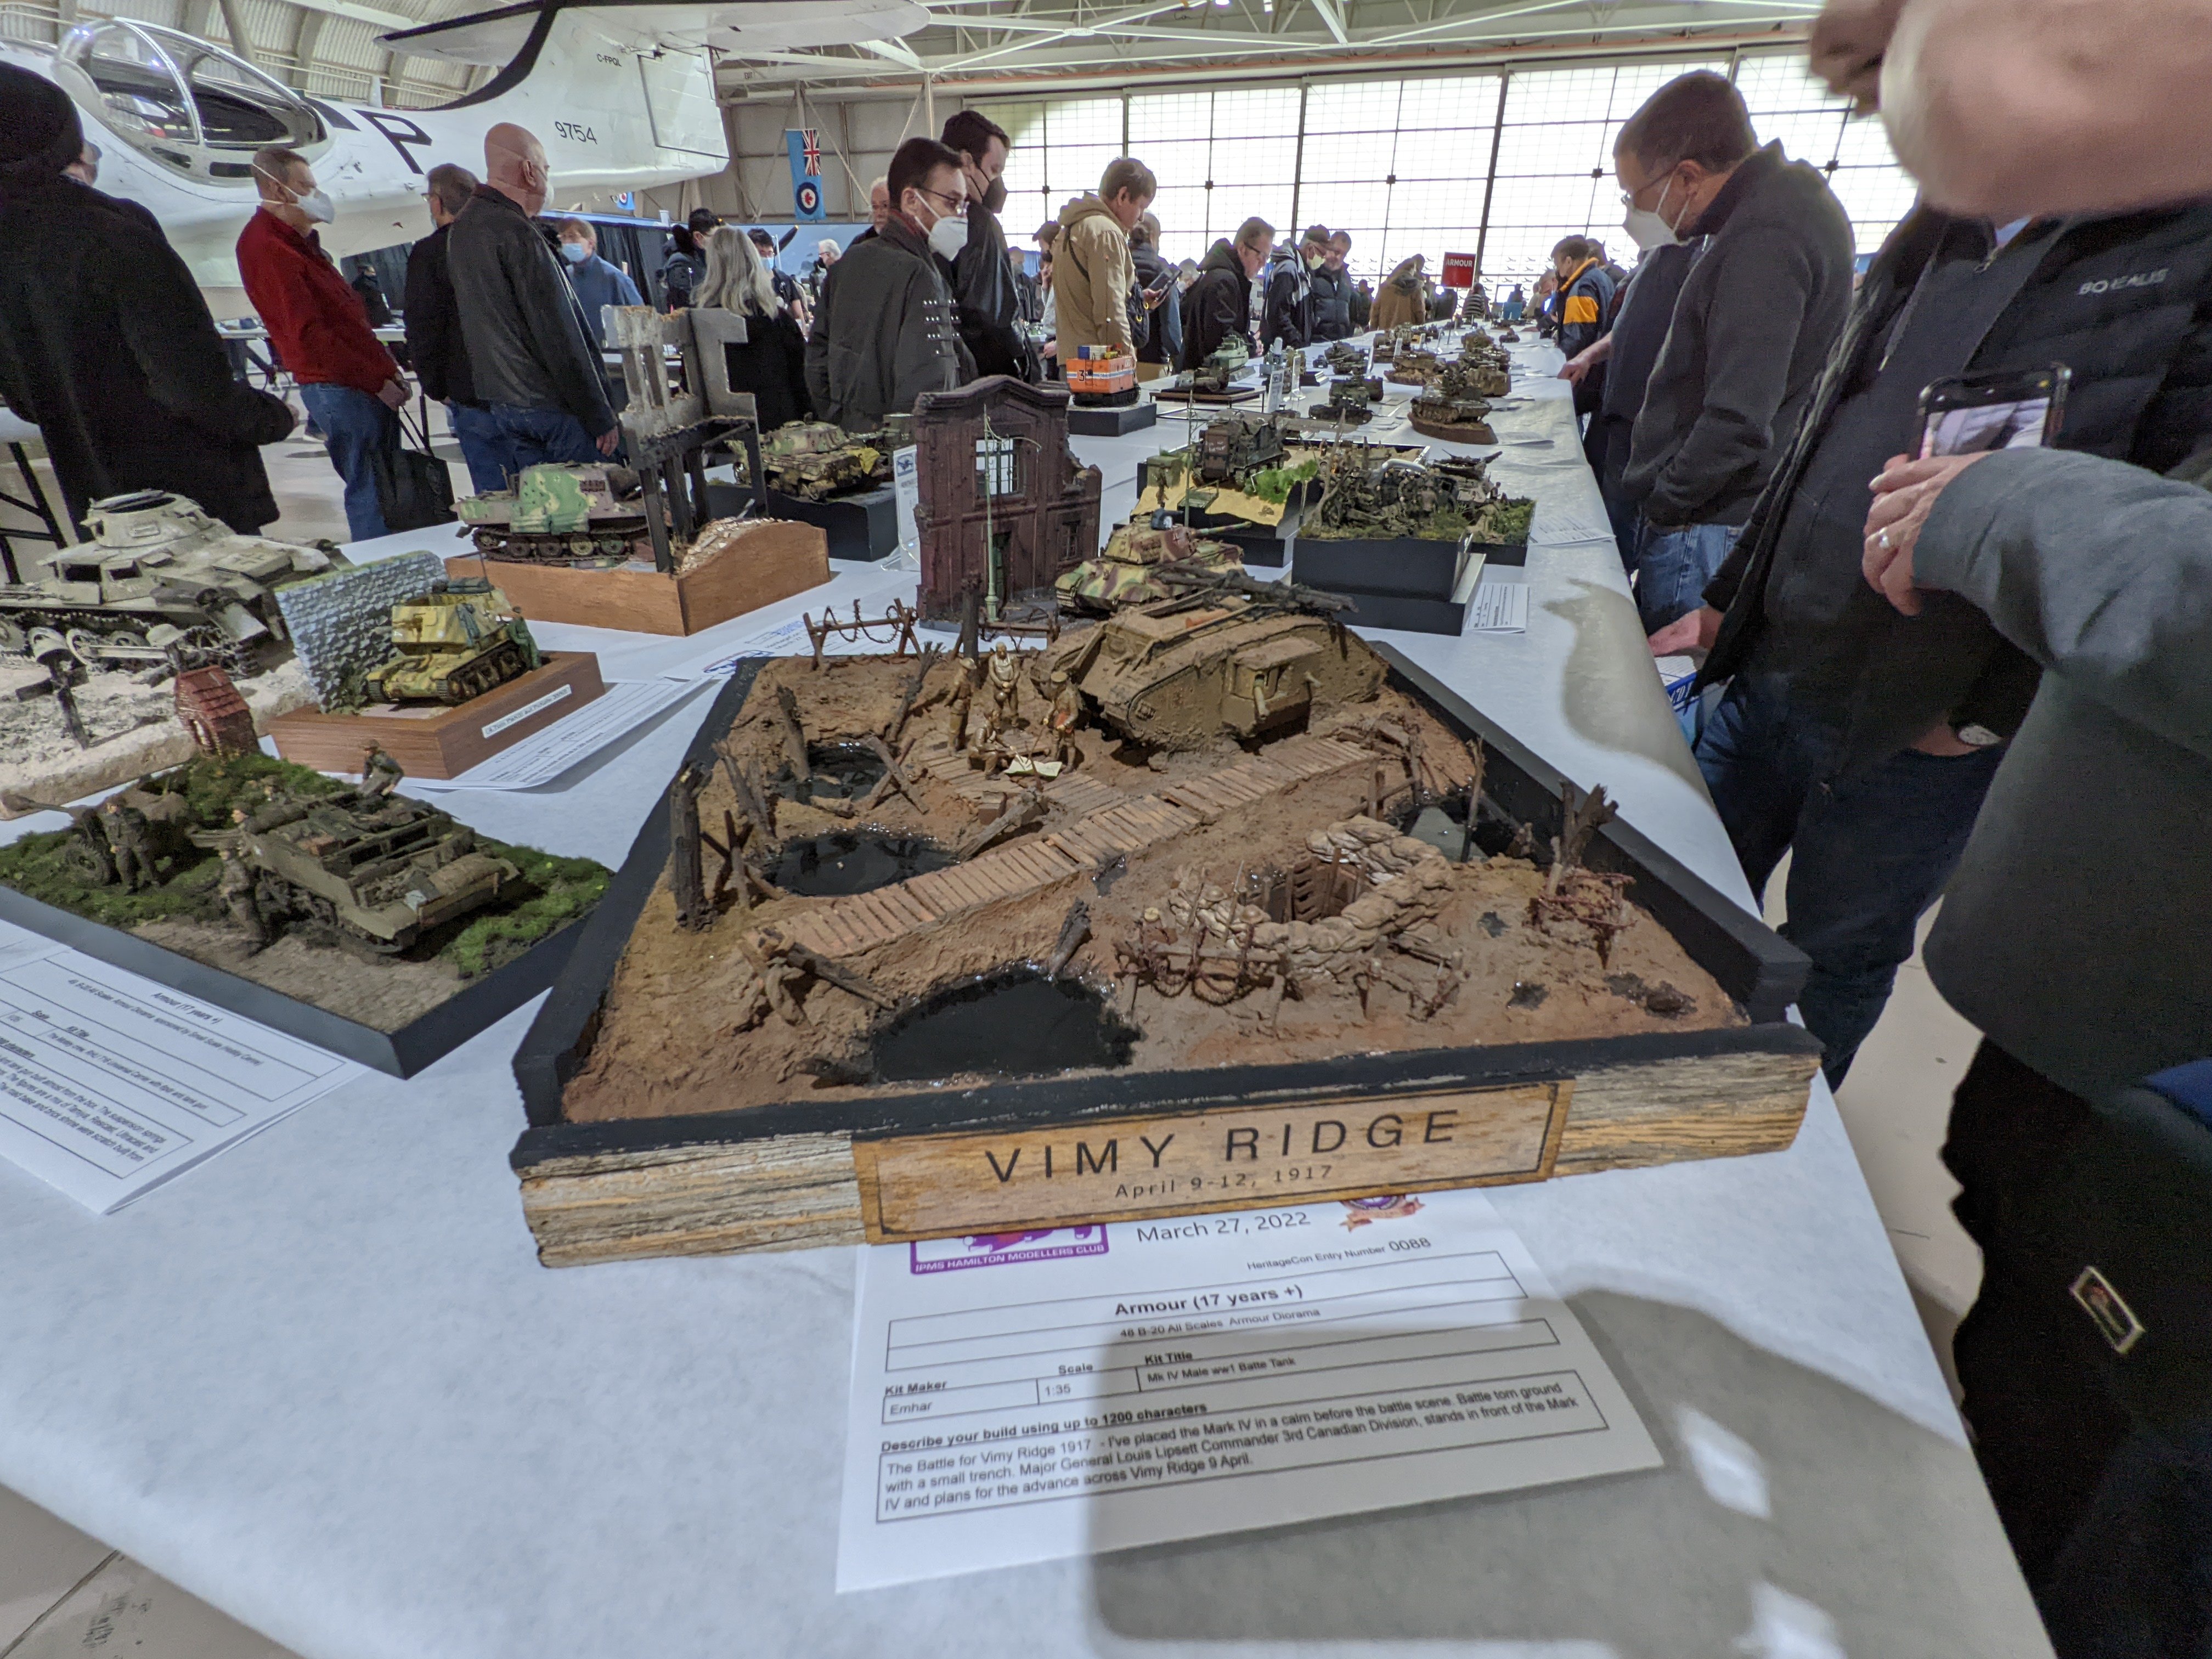
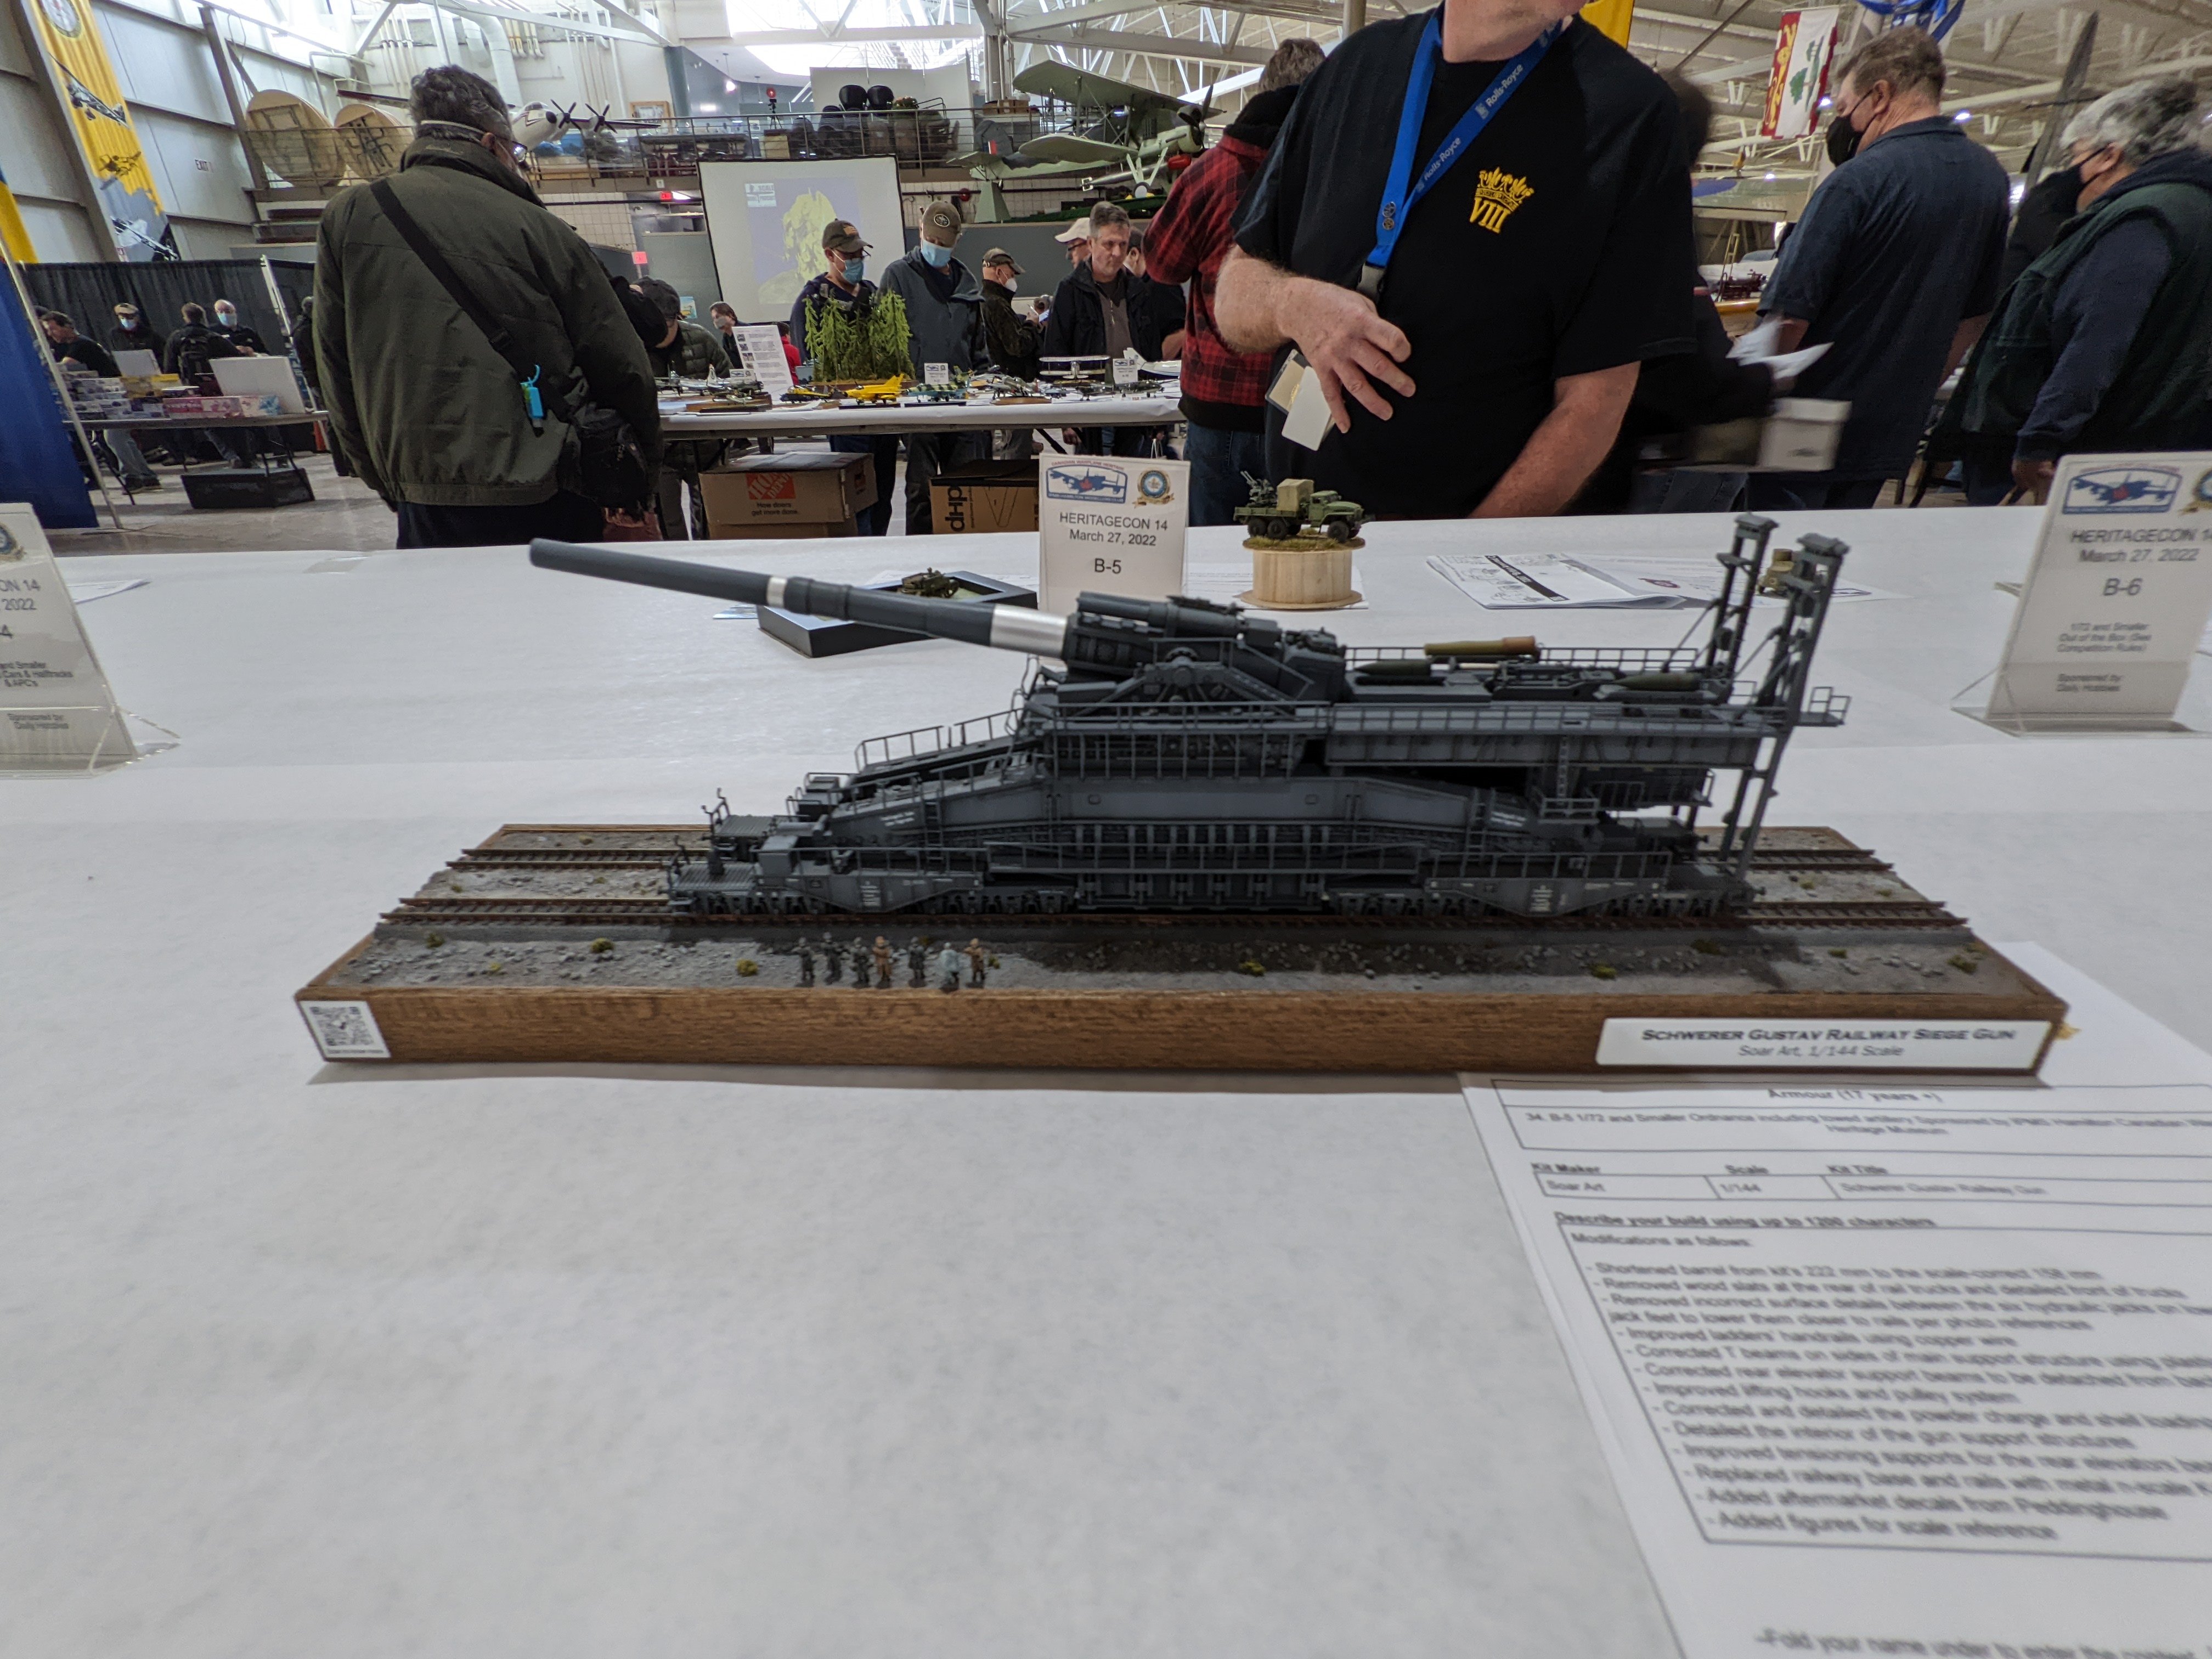
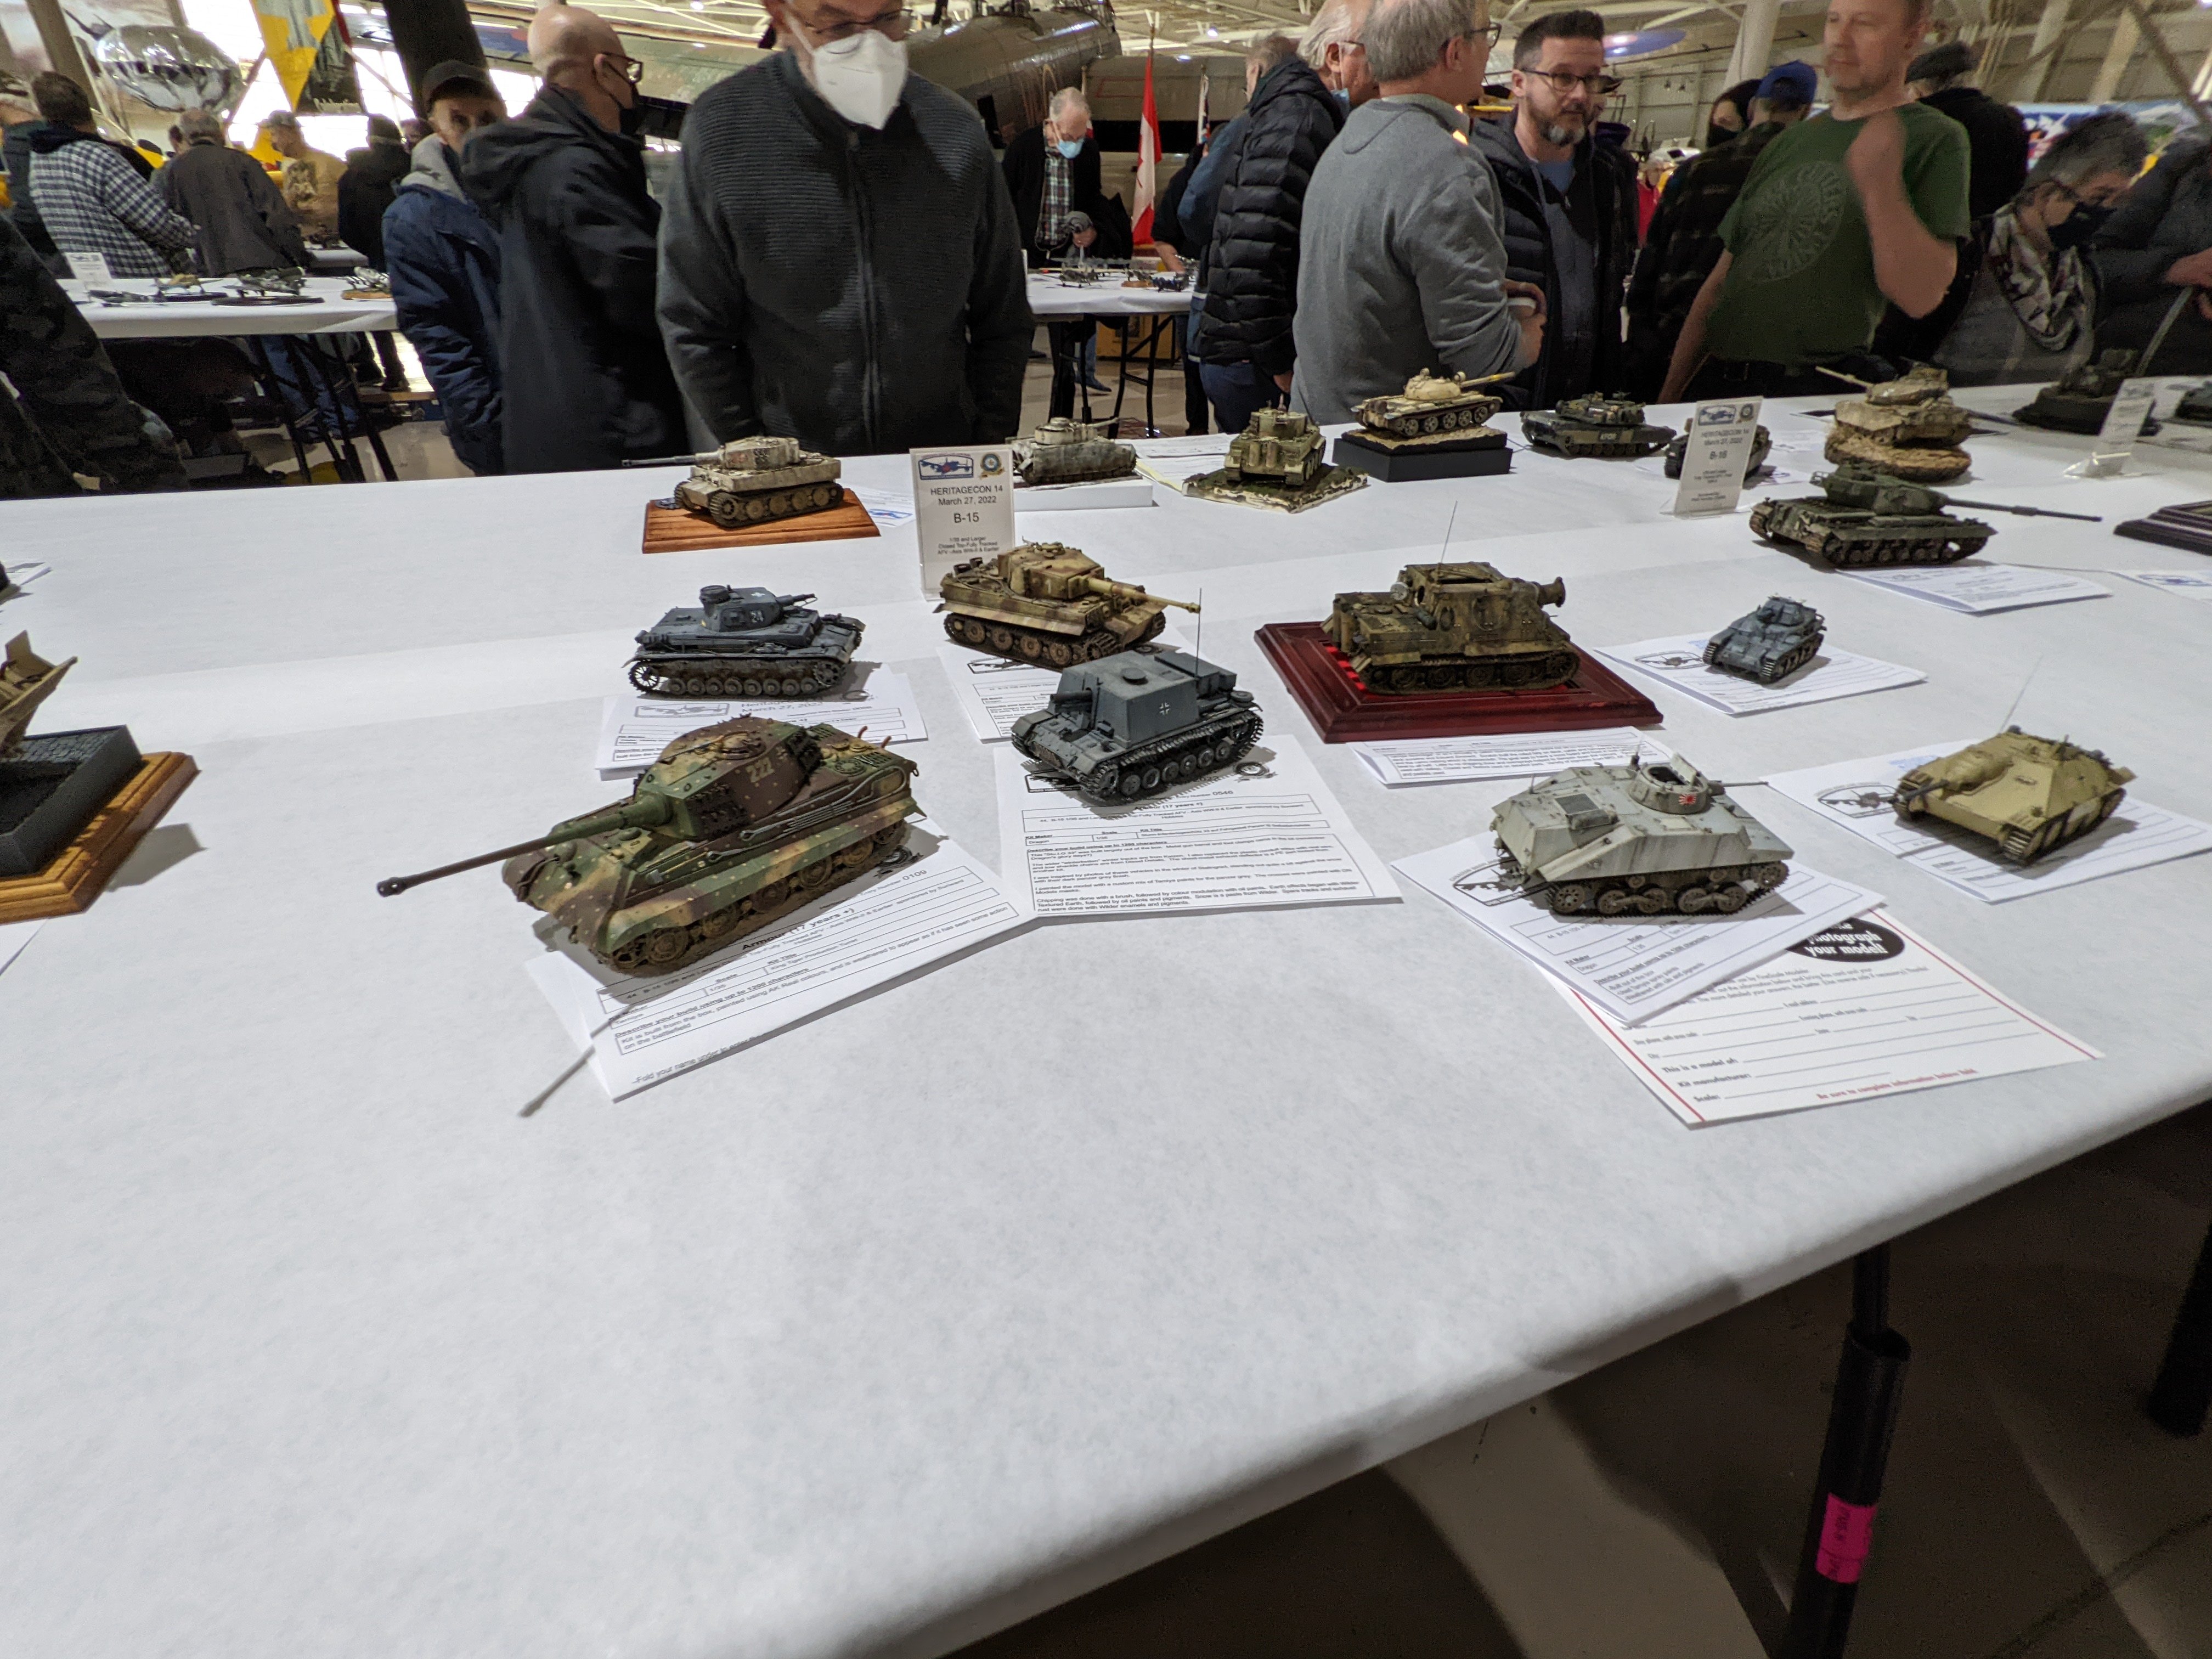
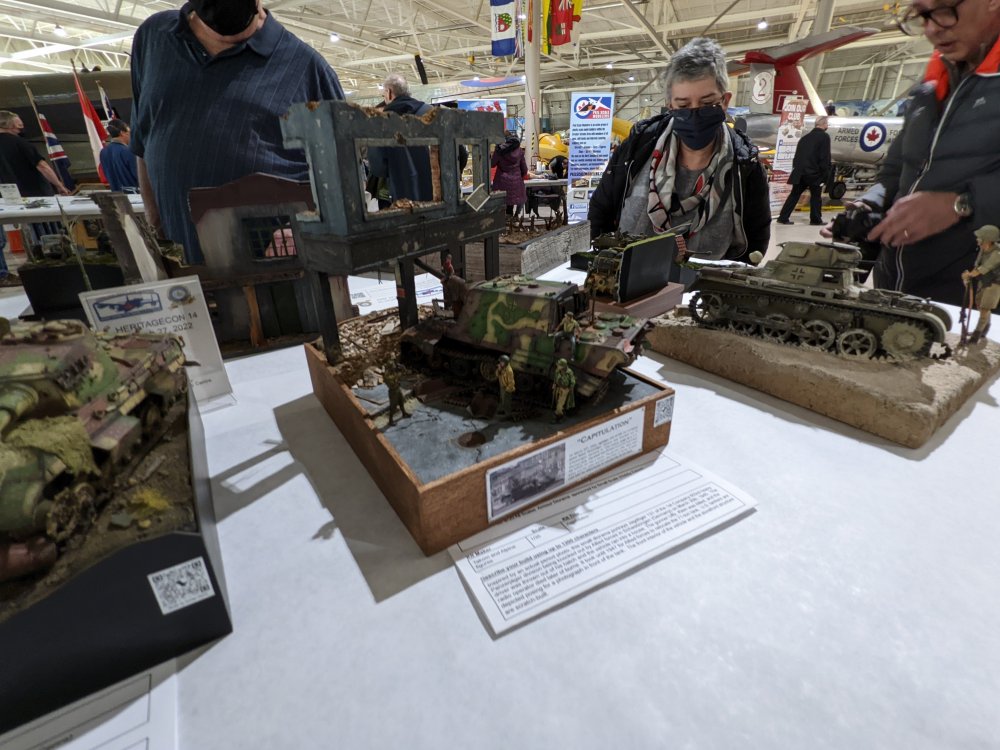
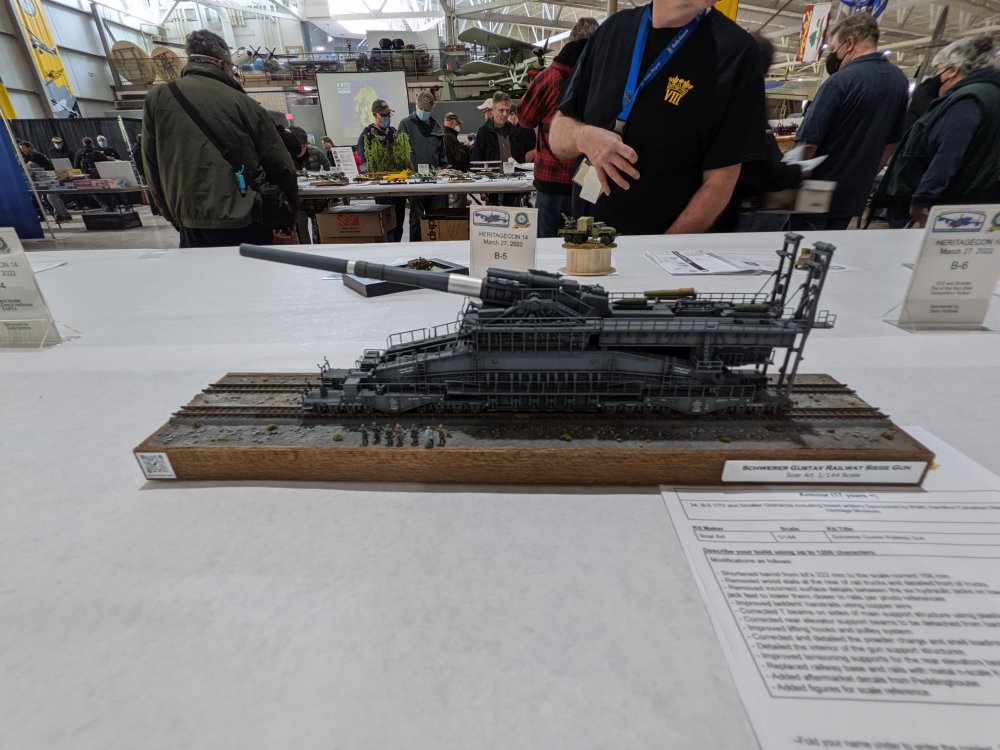
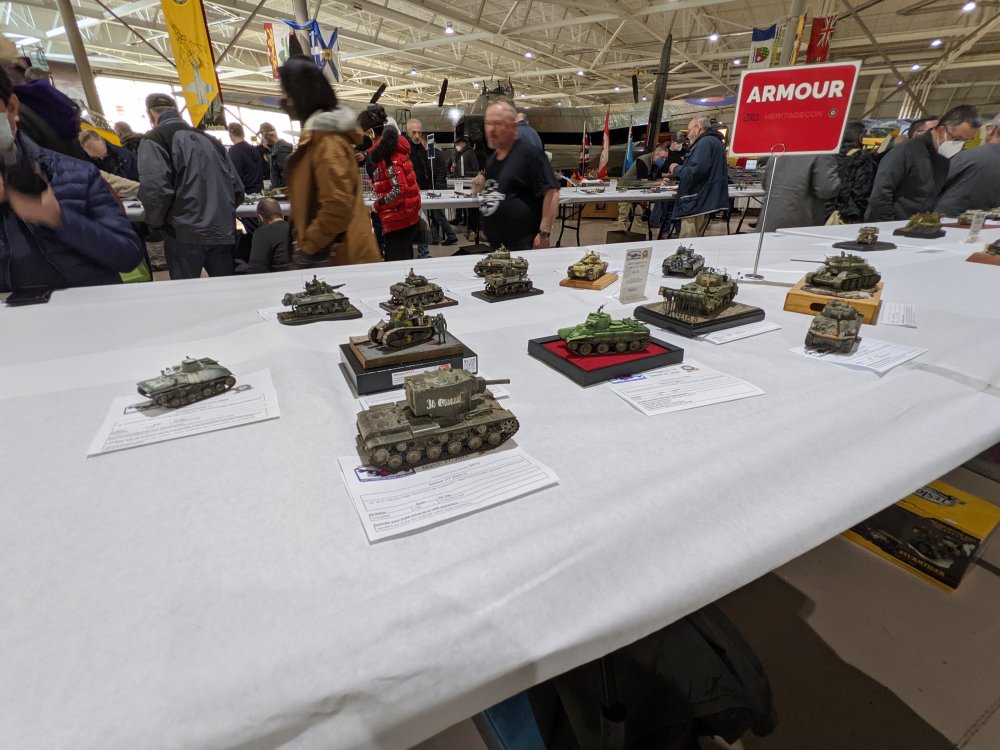
Armour


-
1/32 planes