BlrwestSiR
-
Posts
9,197 -
Joined
-
Last visited
Content Type
Profiles
Forums
Events
Gallery
Everything posted by BlrwestSiR
-
 Phenomenal paint and decal work there Rob. I'm still messing with the carbon decals on my HP4 kit and decalling is my least favourite part of building.
 -
Tamiya Spitfire VIII converted to a VII
BlrwestSiR replied to denders's topic in LSM 1/35 and Larger Work In Progress
I initially tried something similar when I did my VII conversion and smash moulding the canopy. I couldn't get a good enough copy so ended up just carefully bending the clear sheet to shape. It's not 100% but under the open canopy it's hard to tell. -
Lacquer.
-
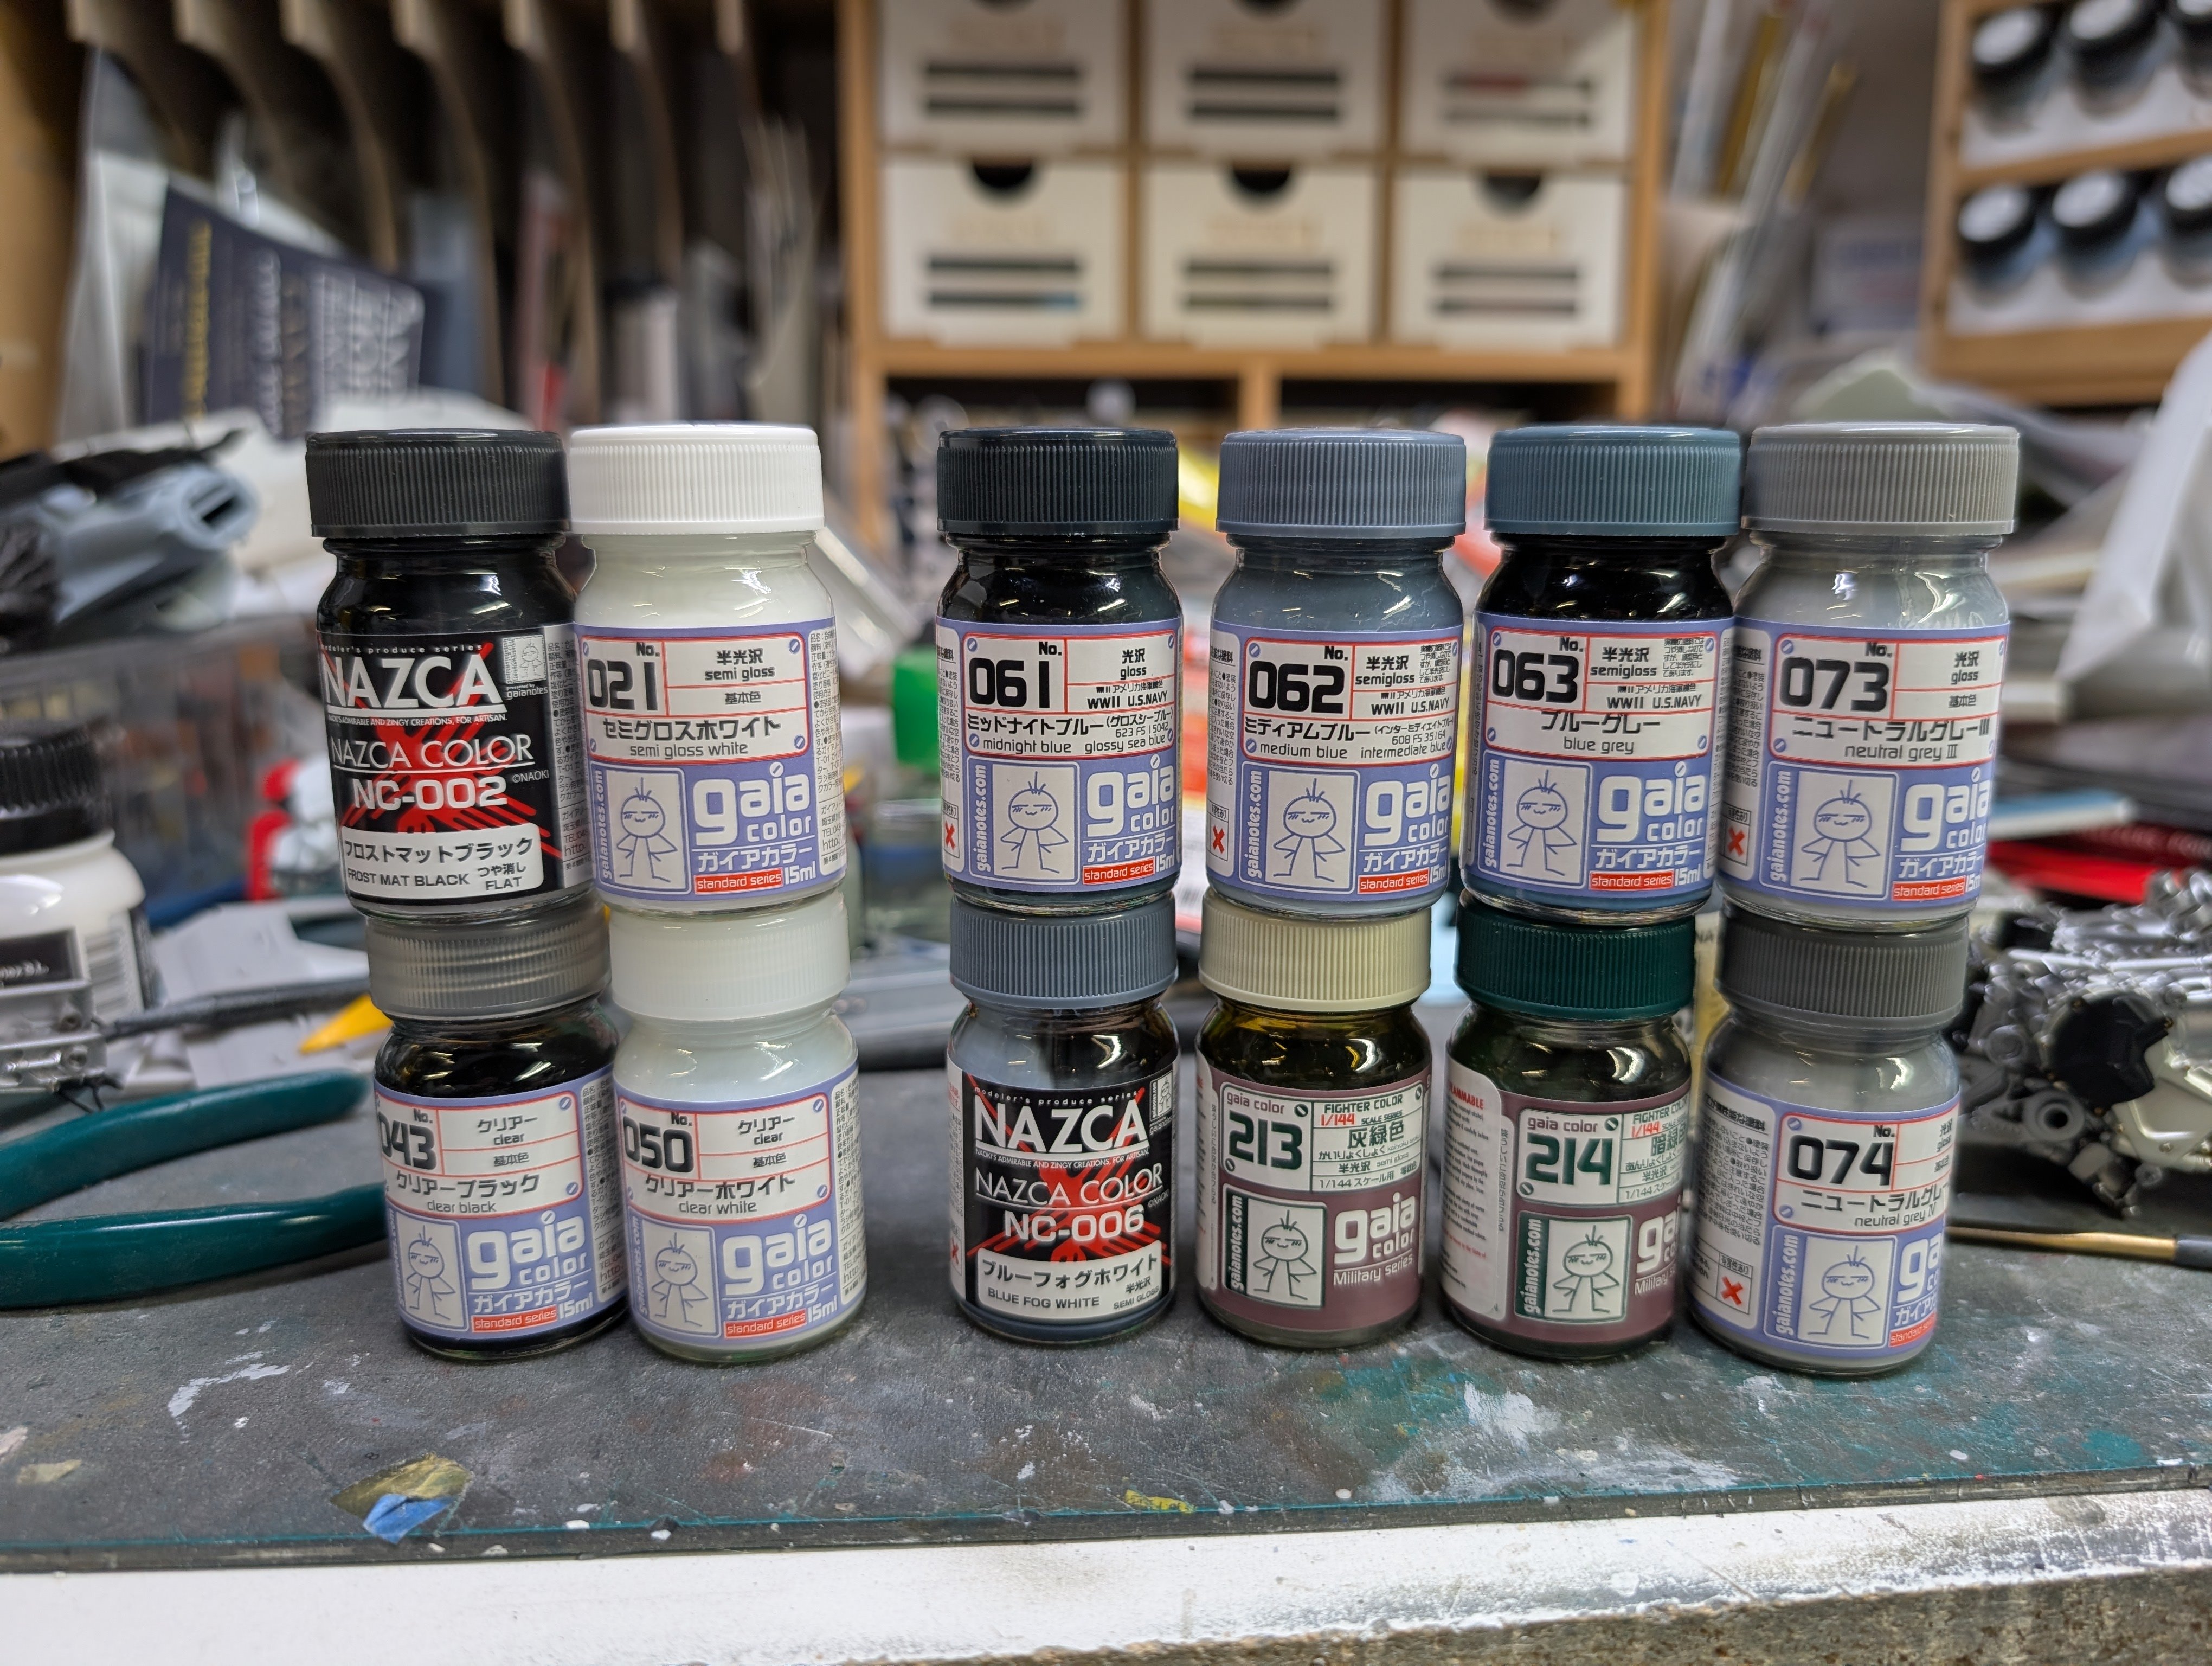
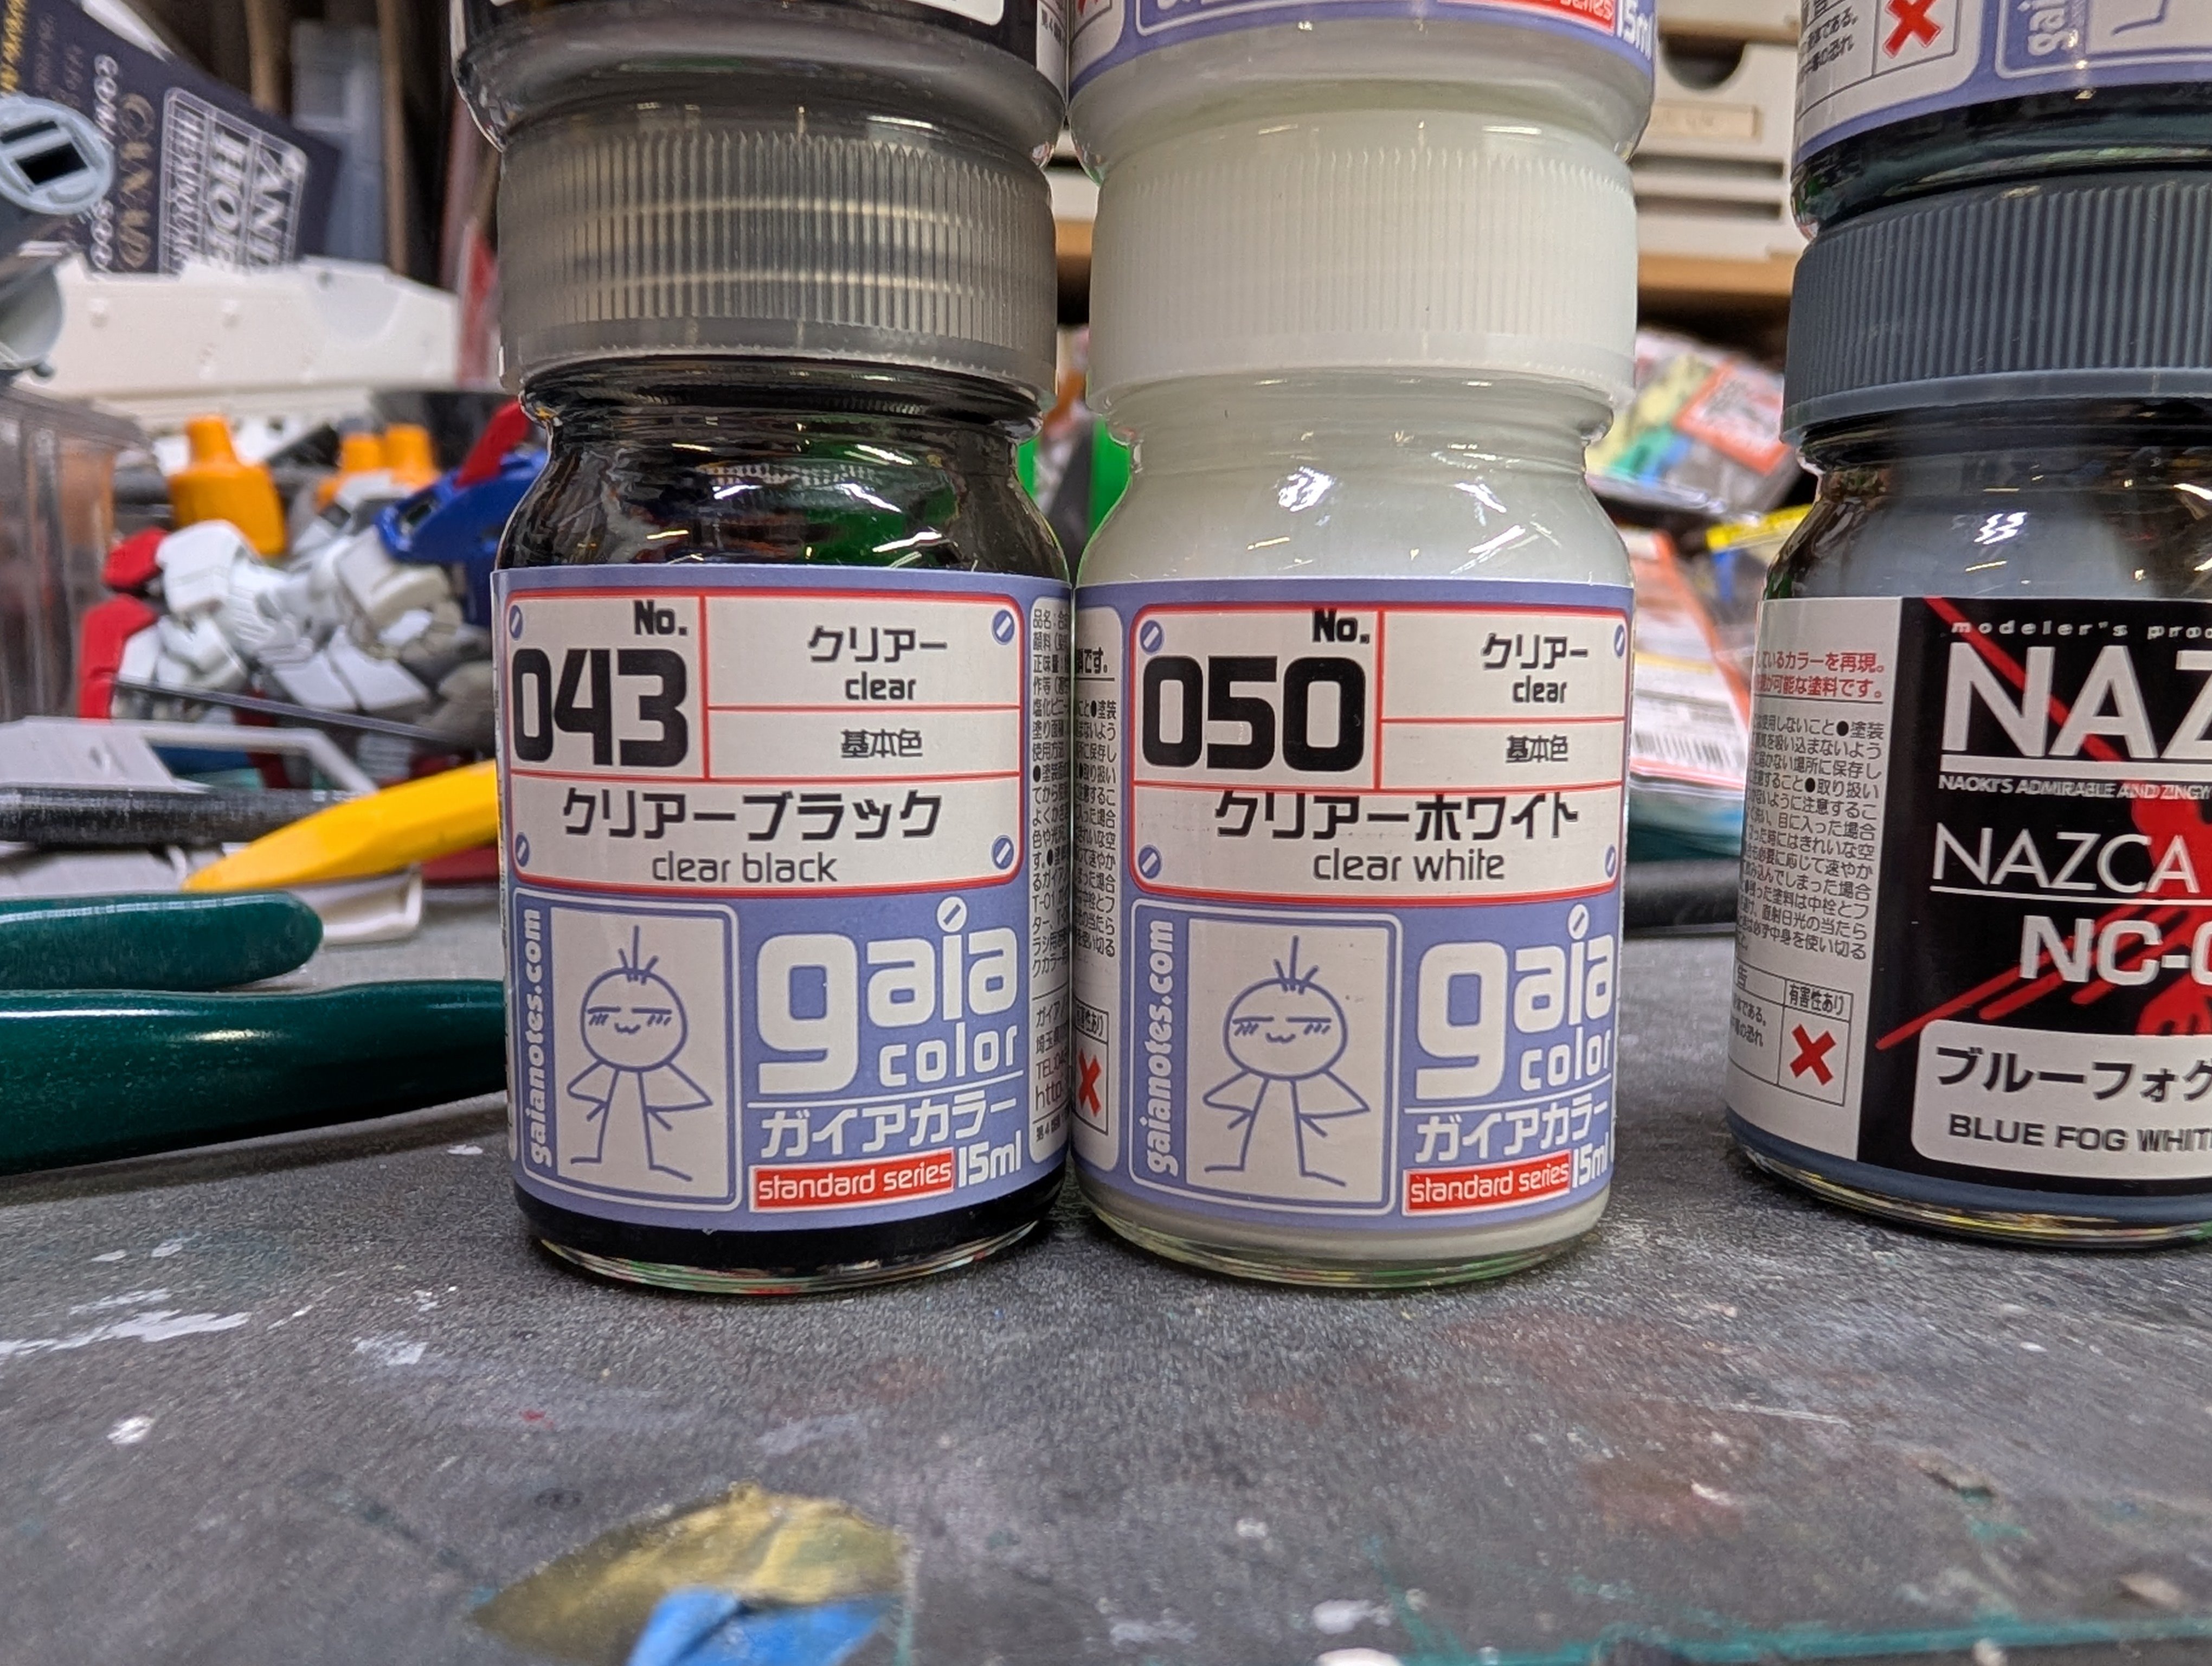
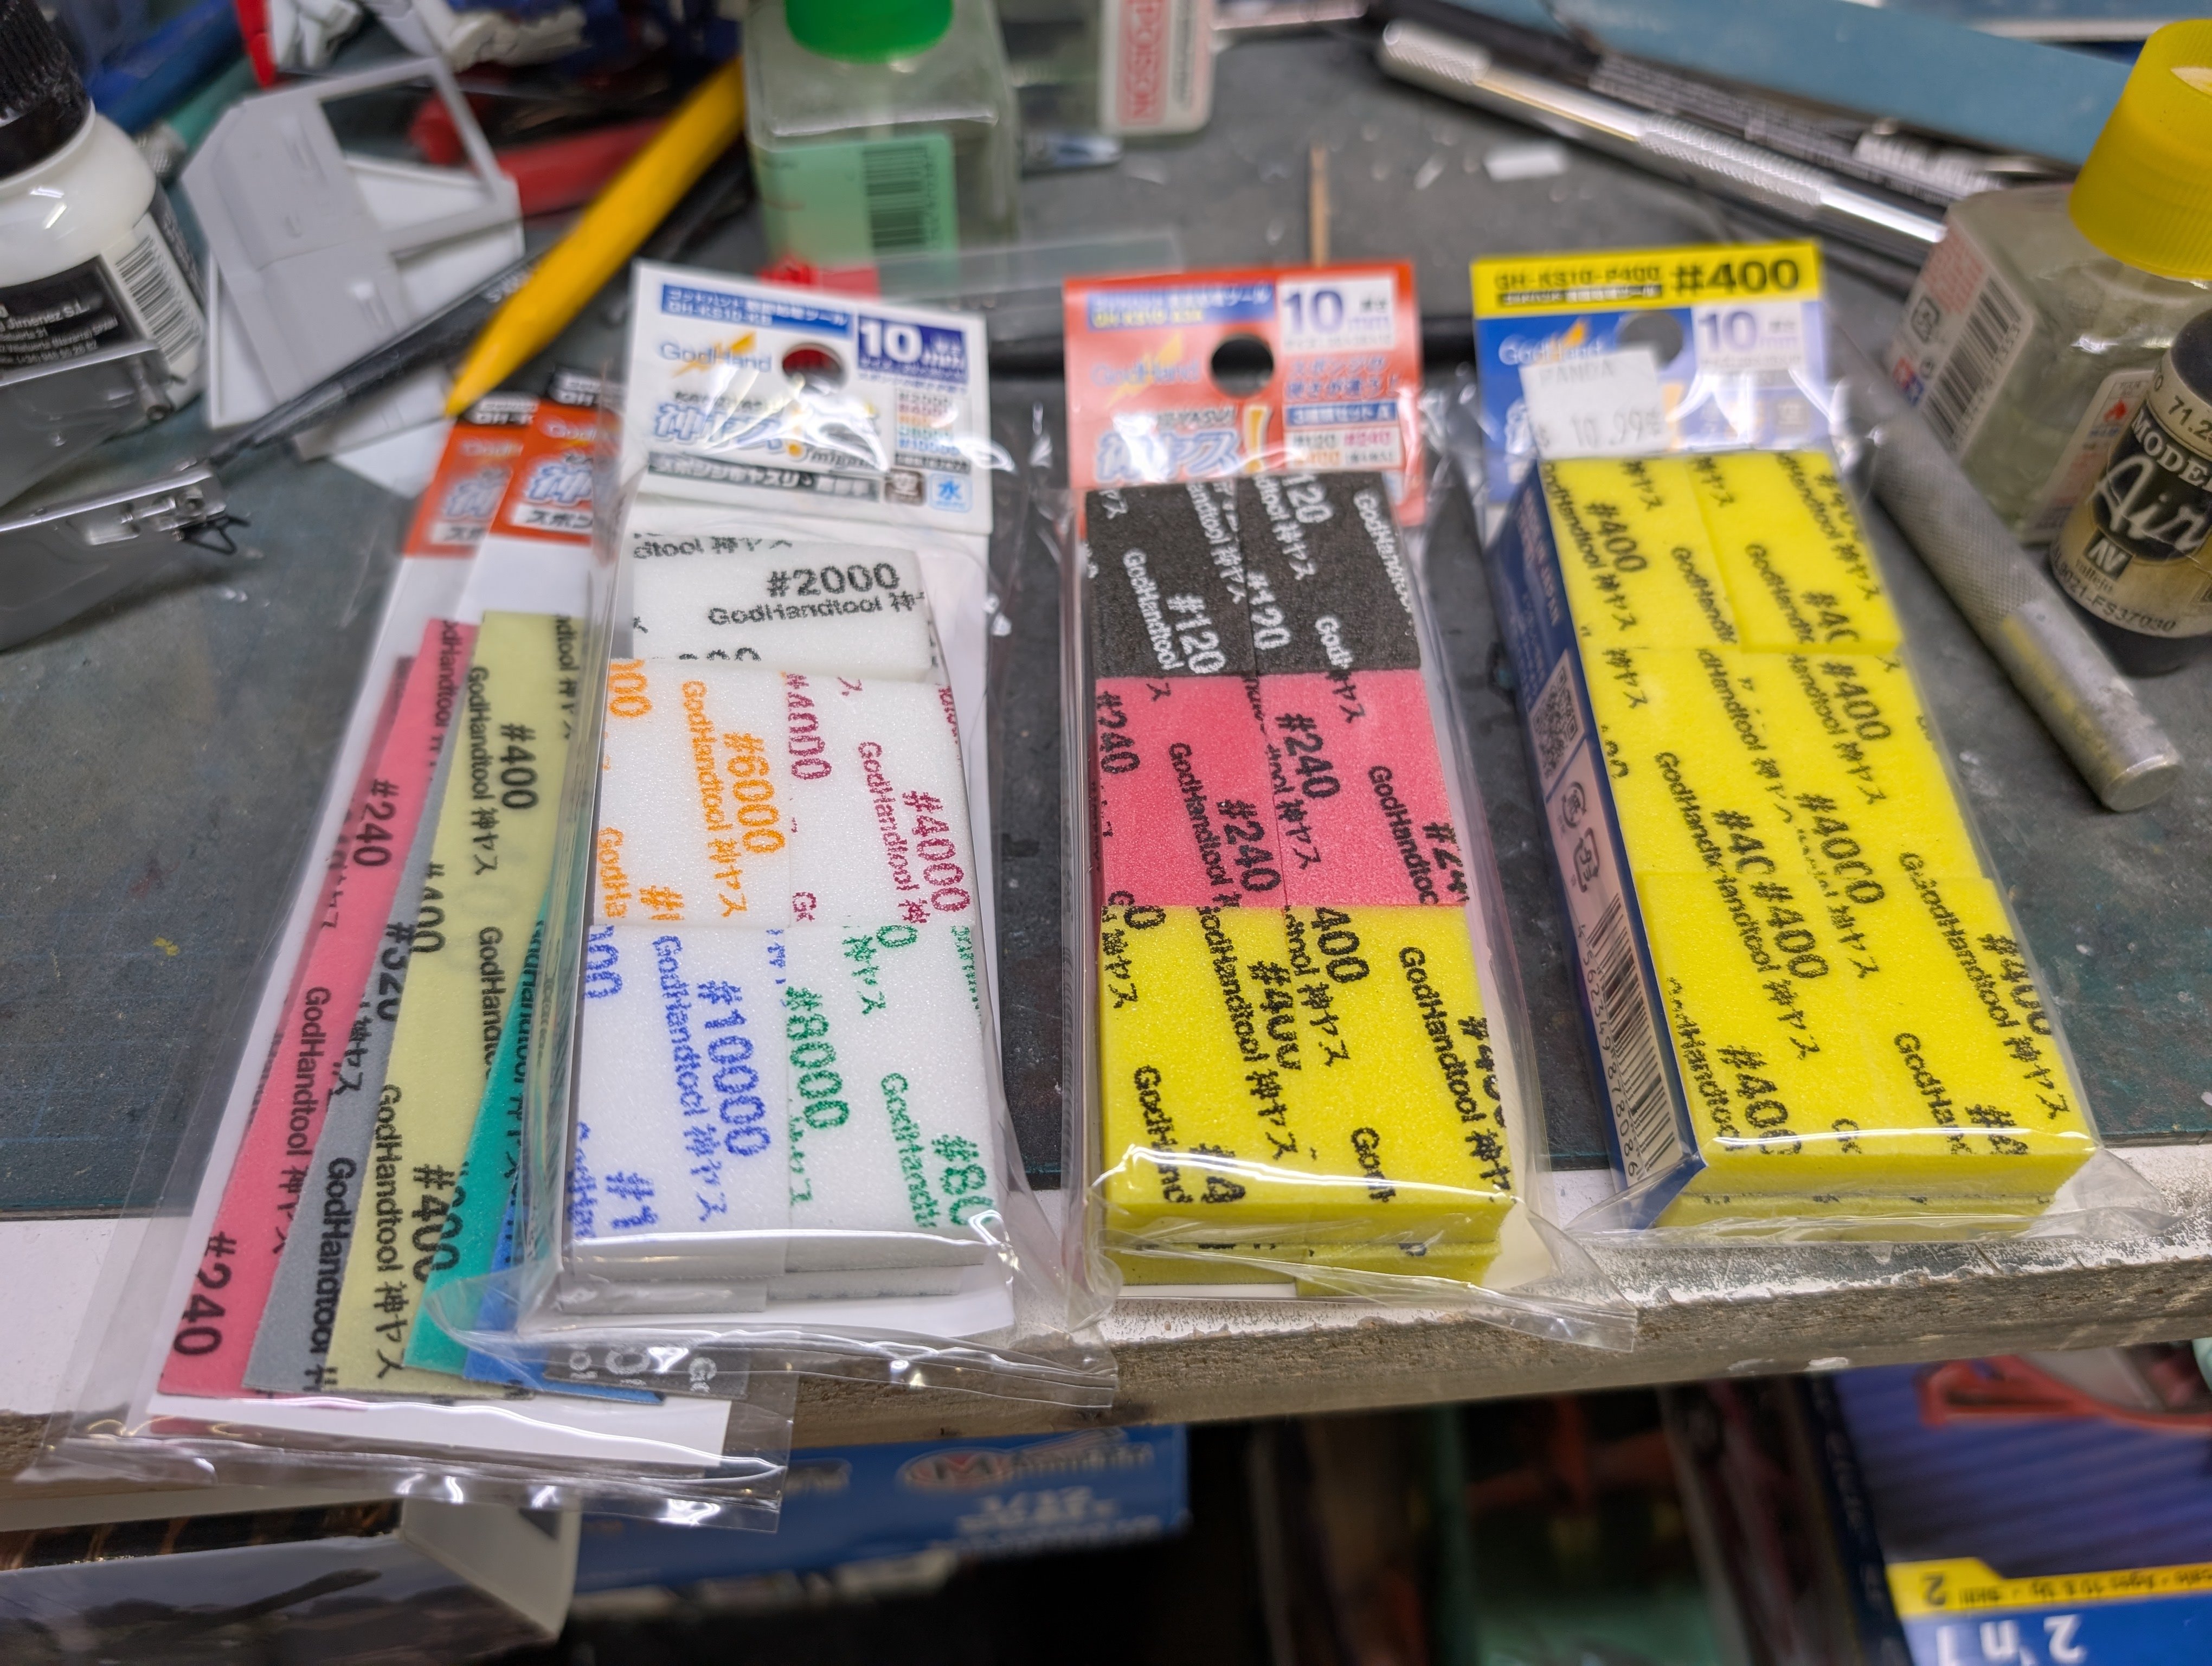
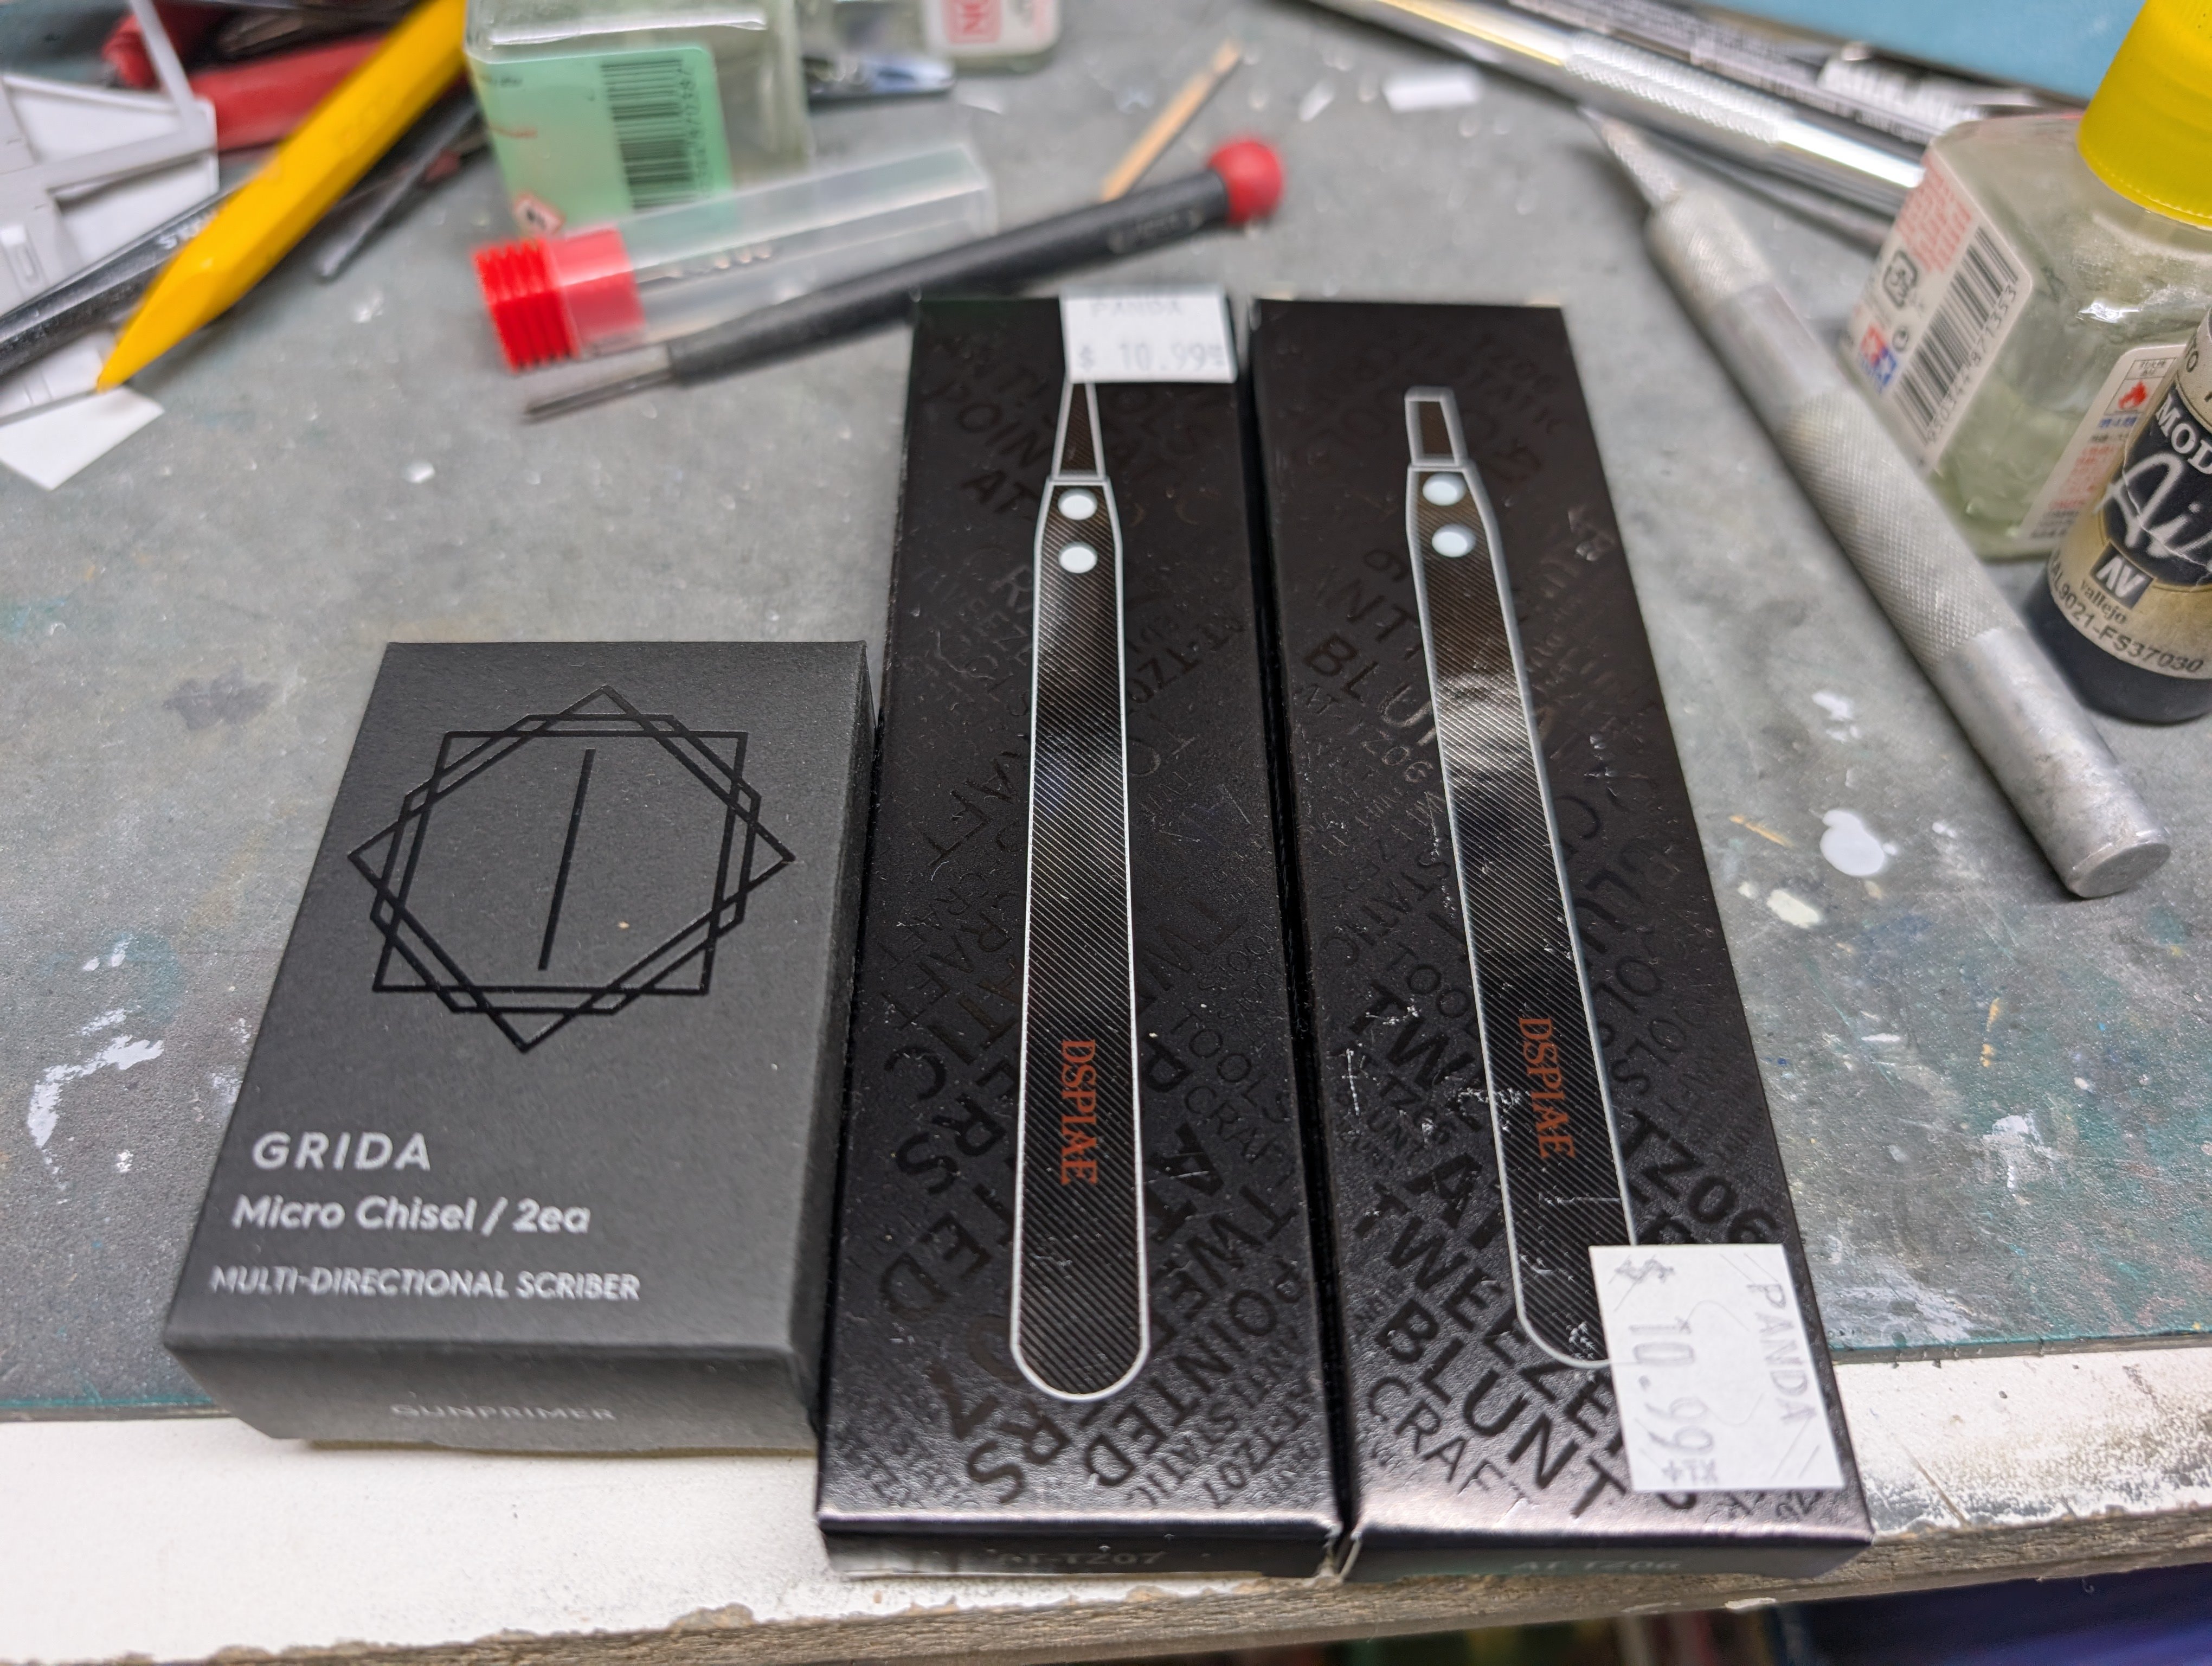
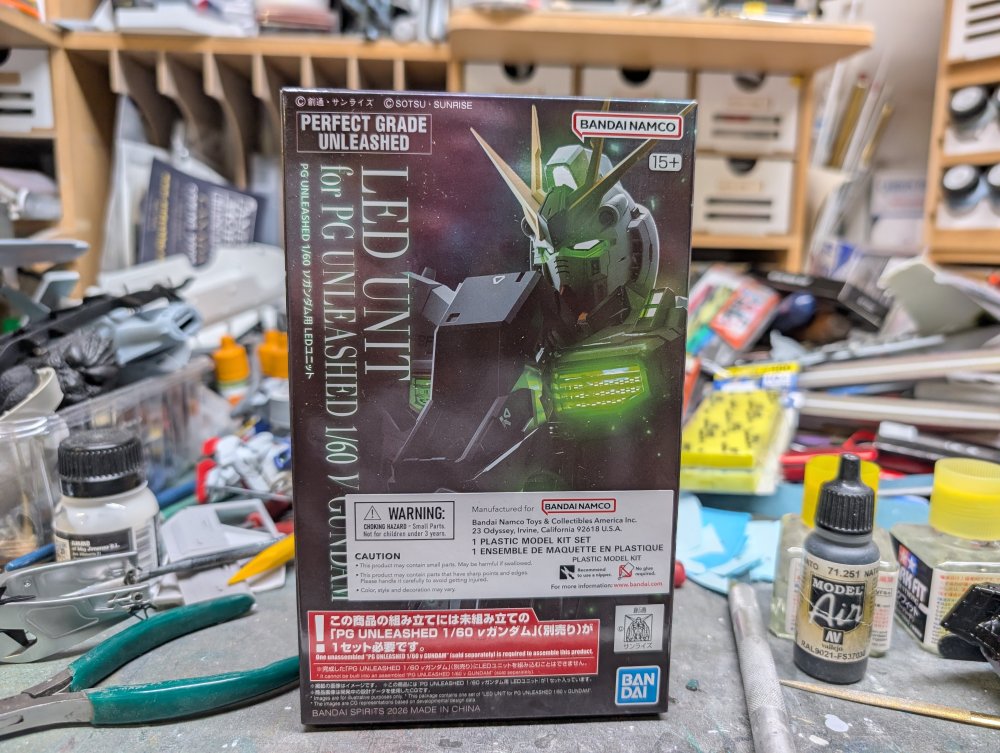
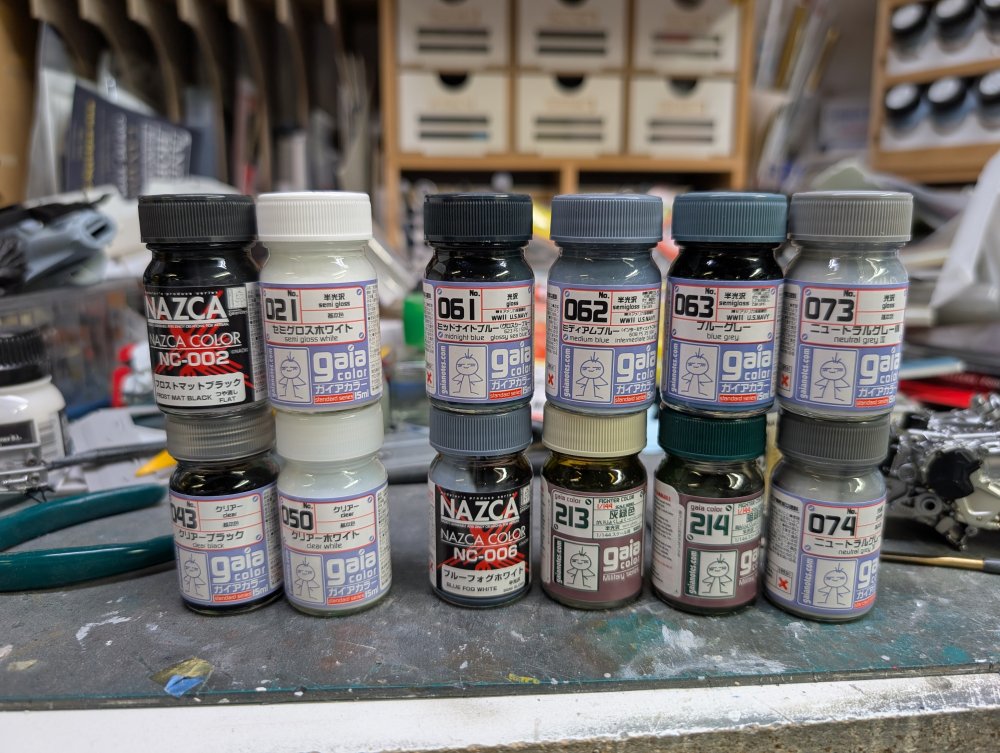
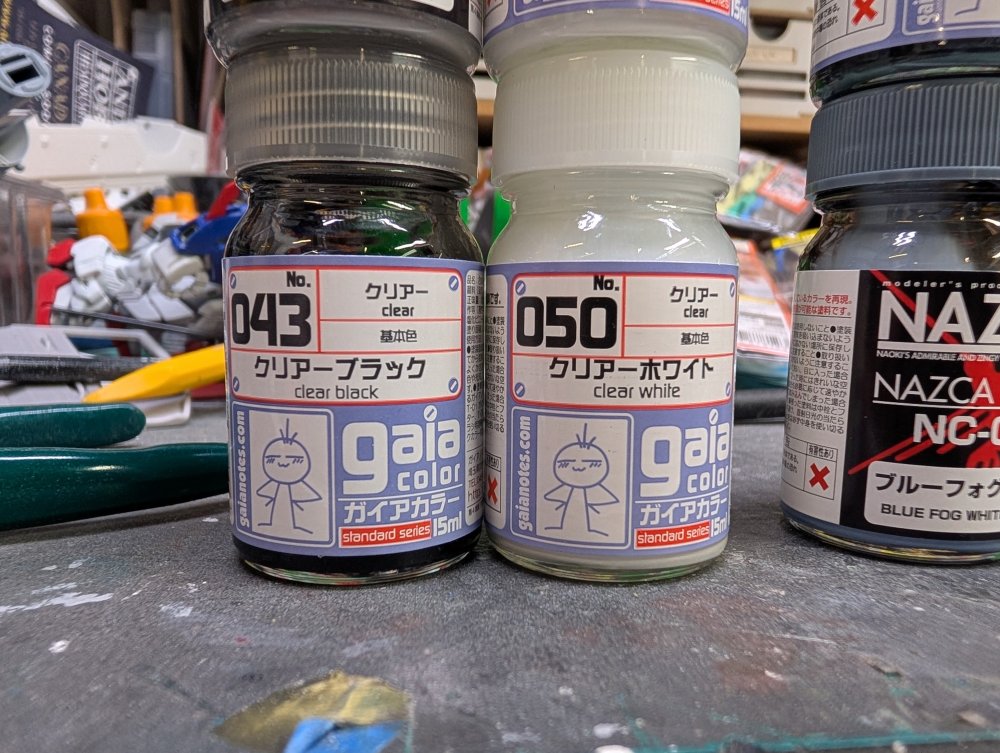
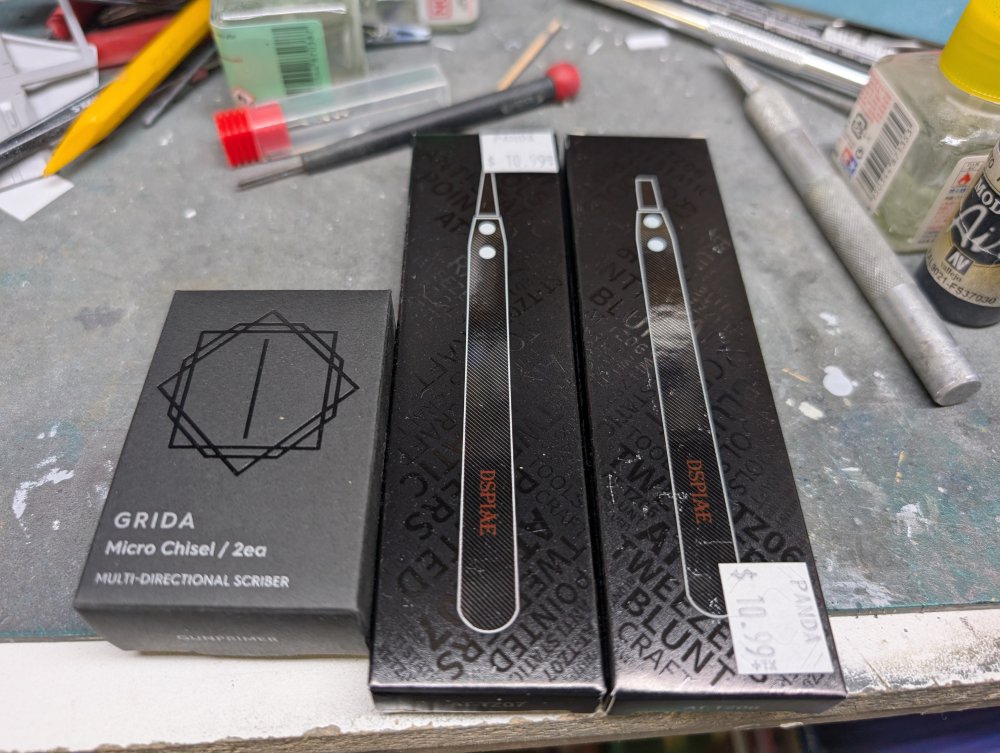
I placed a couple orders with some local Gunpla shops. Mostly supplies. First up some paint from Gaianotes, a Japanese brand I'm particularly interested in how these two work out. Then some sanding sponges from Godhand. They're different grits and different thicknesses. Some new tweezers and engraving chisels. Lastly, the Bandai light kit for the PGU Nu Gundam. I was a bit on the fence on this one as it seems a bit overpriced for what you get. Most shops were sold out as well. Then I found it for close to the JDM price and decided to just get it and not worry about it.

-
Huge Huey .....get yer 'Nam on
BlrwestSiR replied to PanzerWomble's topic in LSM 1/35 and Larger Work In Progress
You don't see many Hueys getting built. I did the Academy UH-1C a few years ago. Looks like this one goes together a bit better. -
Sorry to hear that Kevin. Hope there something that the vet can do for Hannah. Carl
-
What is on your bench right now ? Share a picture :)
BlrwestSiR replied to Martinnfb's topic in Modelling Discussion
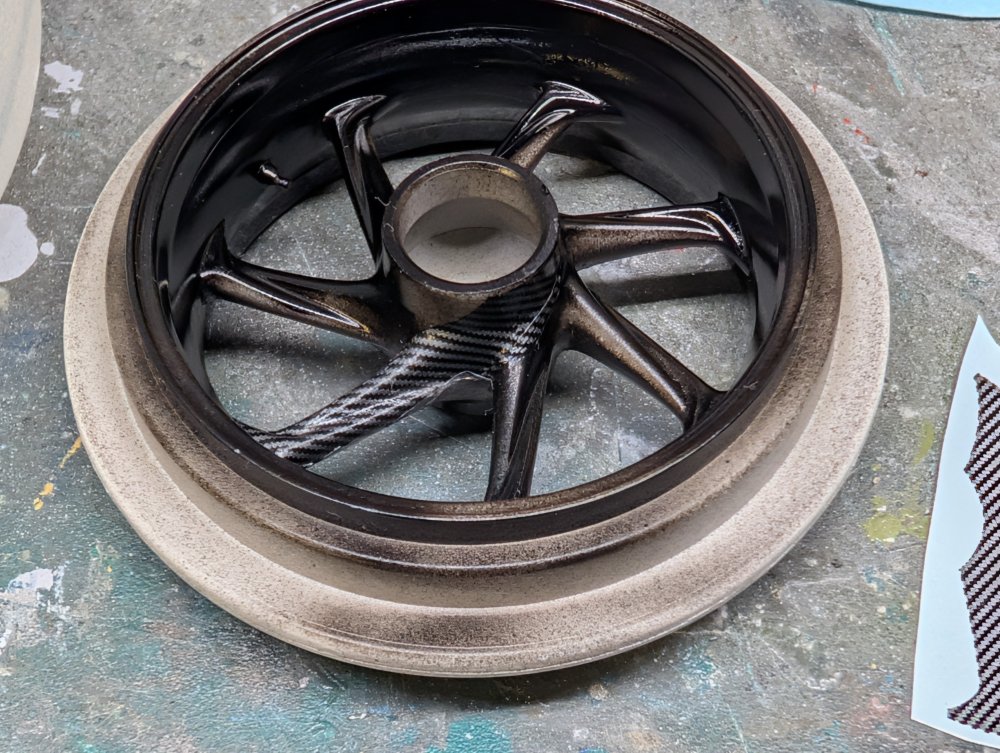
Thanks Rob! It's the Meng BMW HP4 Race kit. -
What is on your bench right now ? Share a picture :)
BlrwestSiR replied to Martinnfb's topic in Modelling Discussion
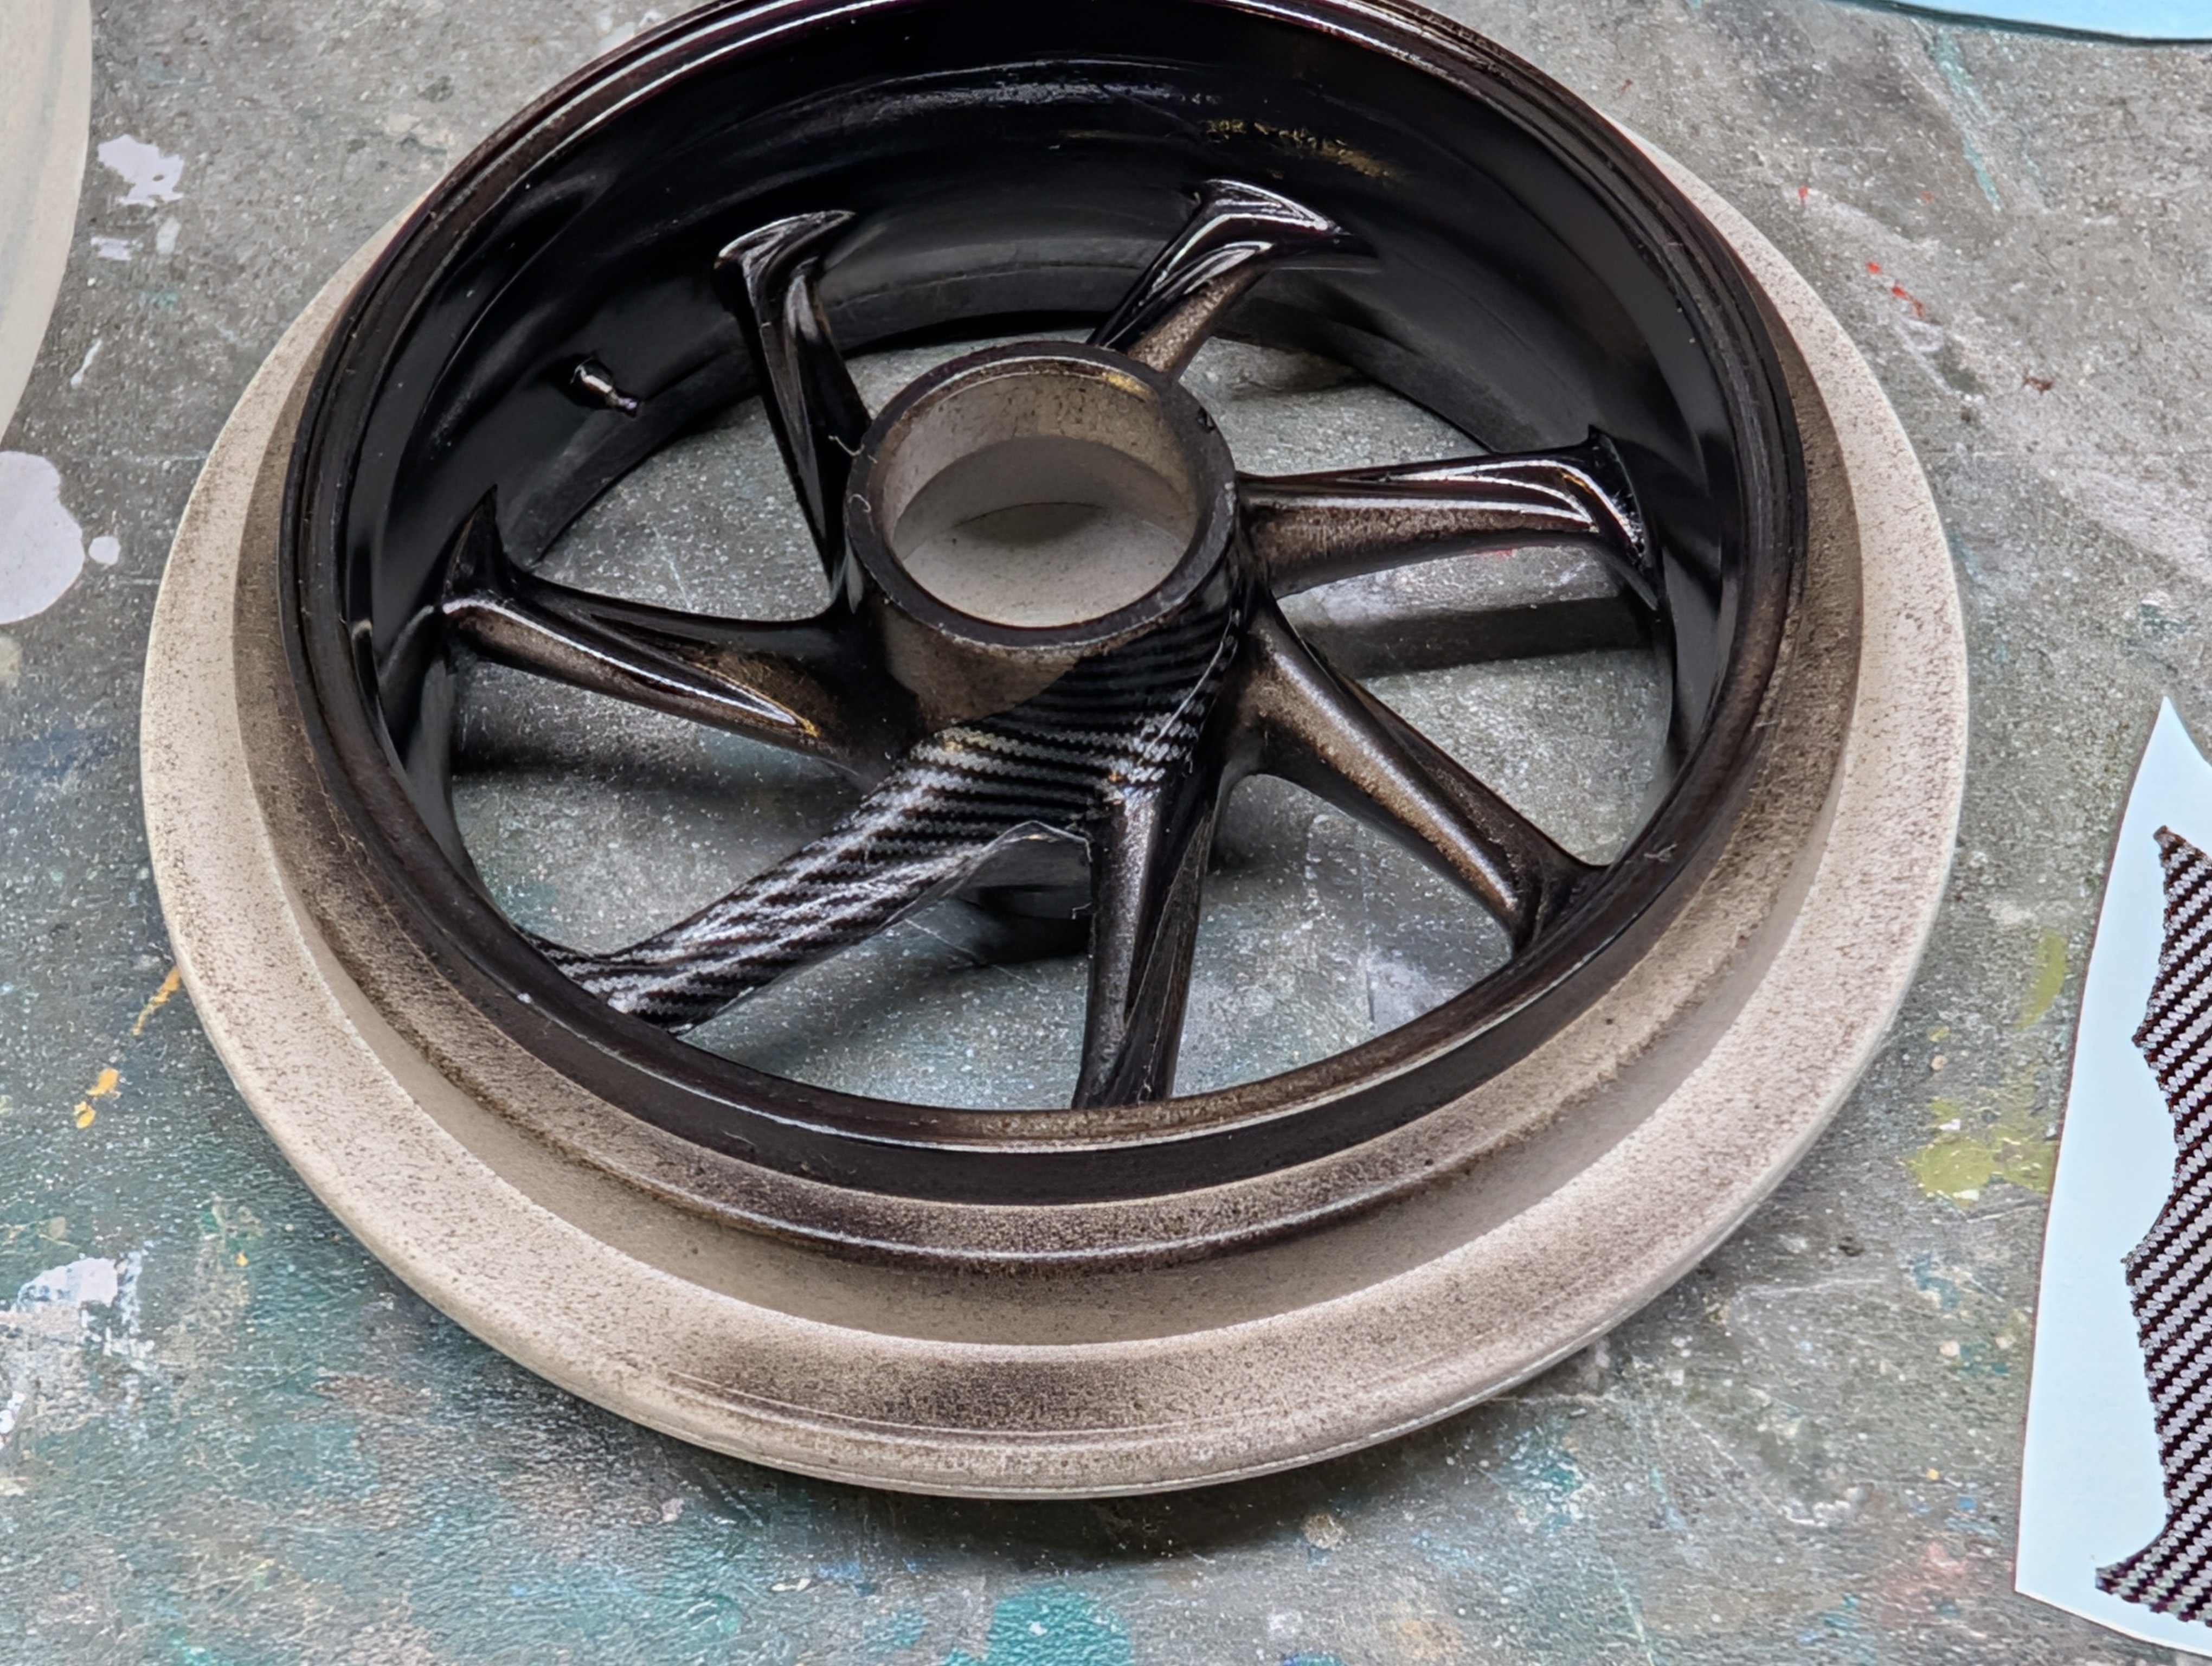
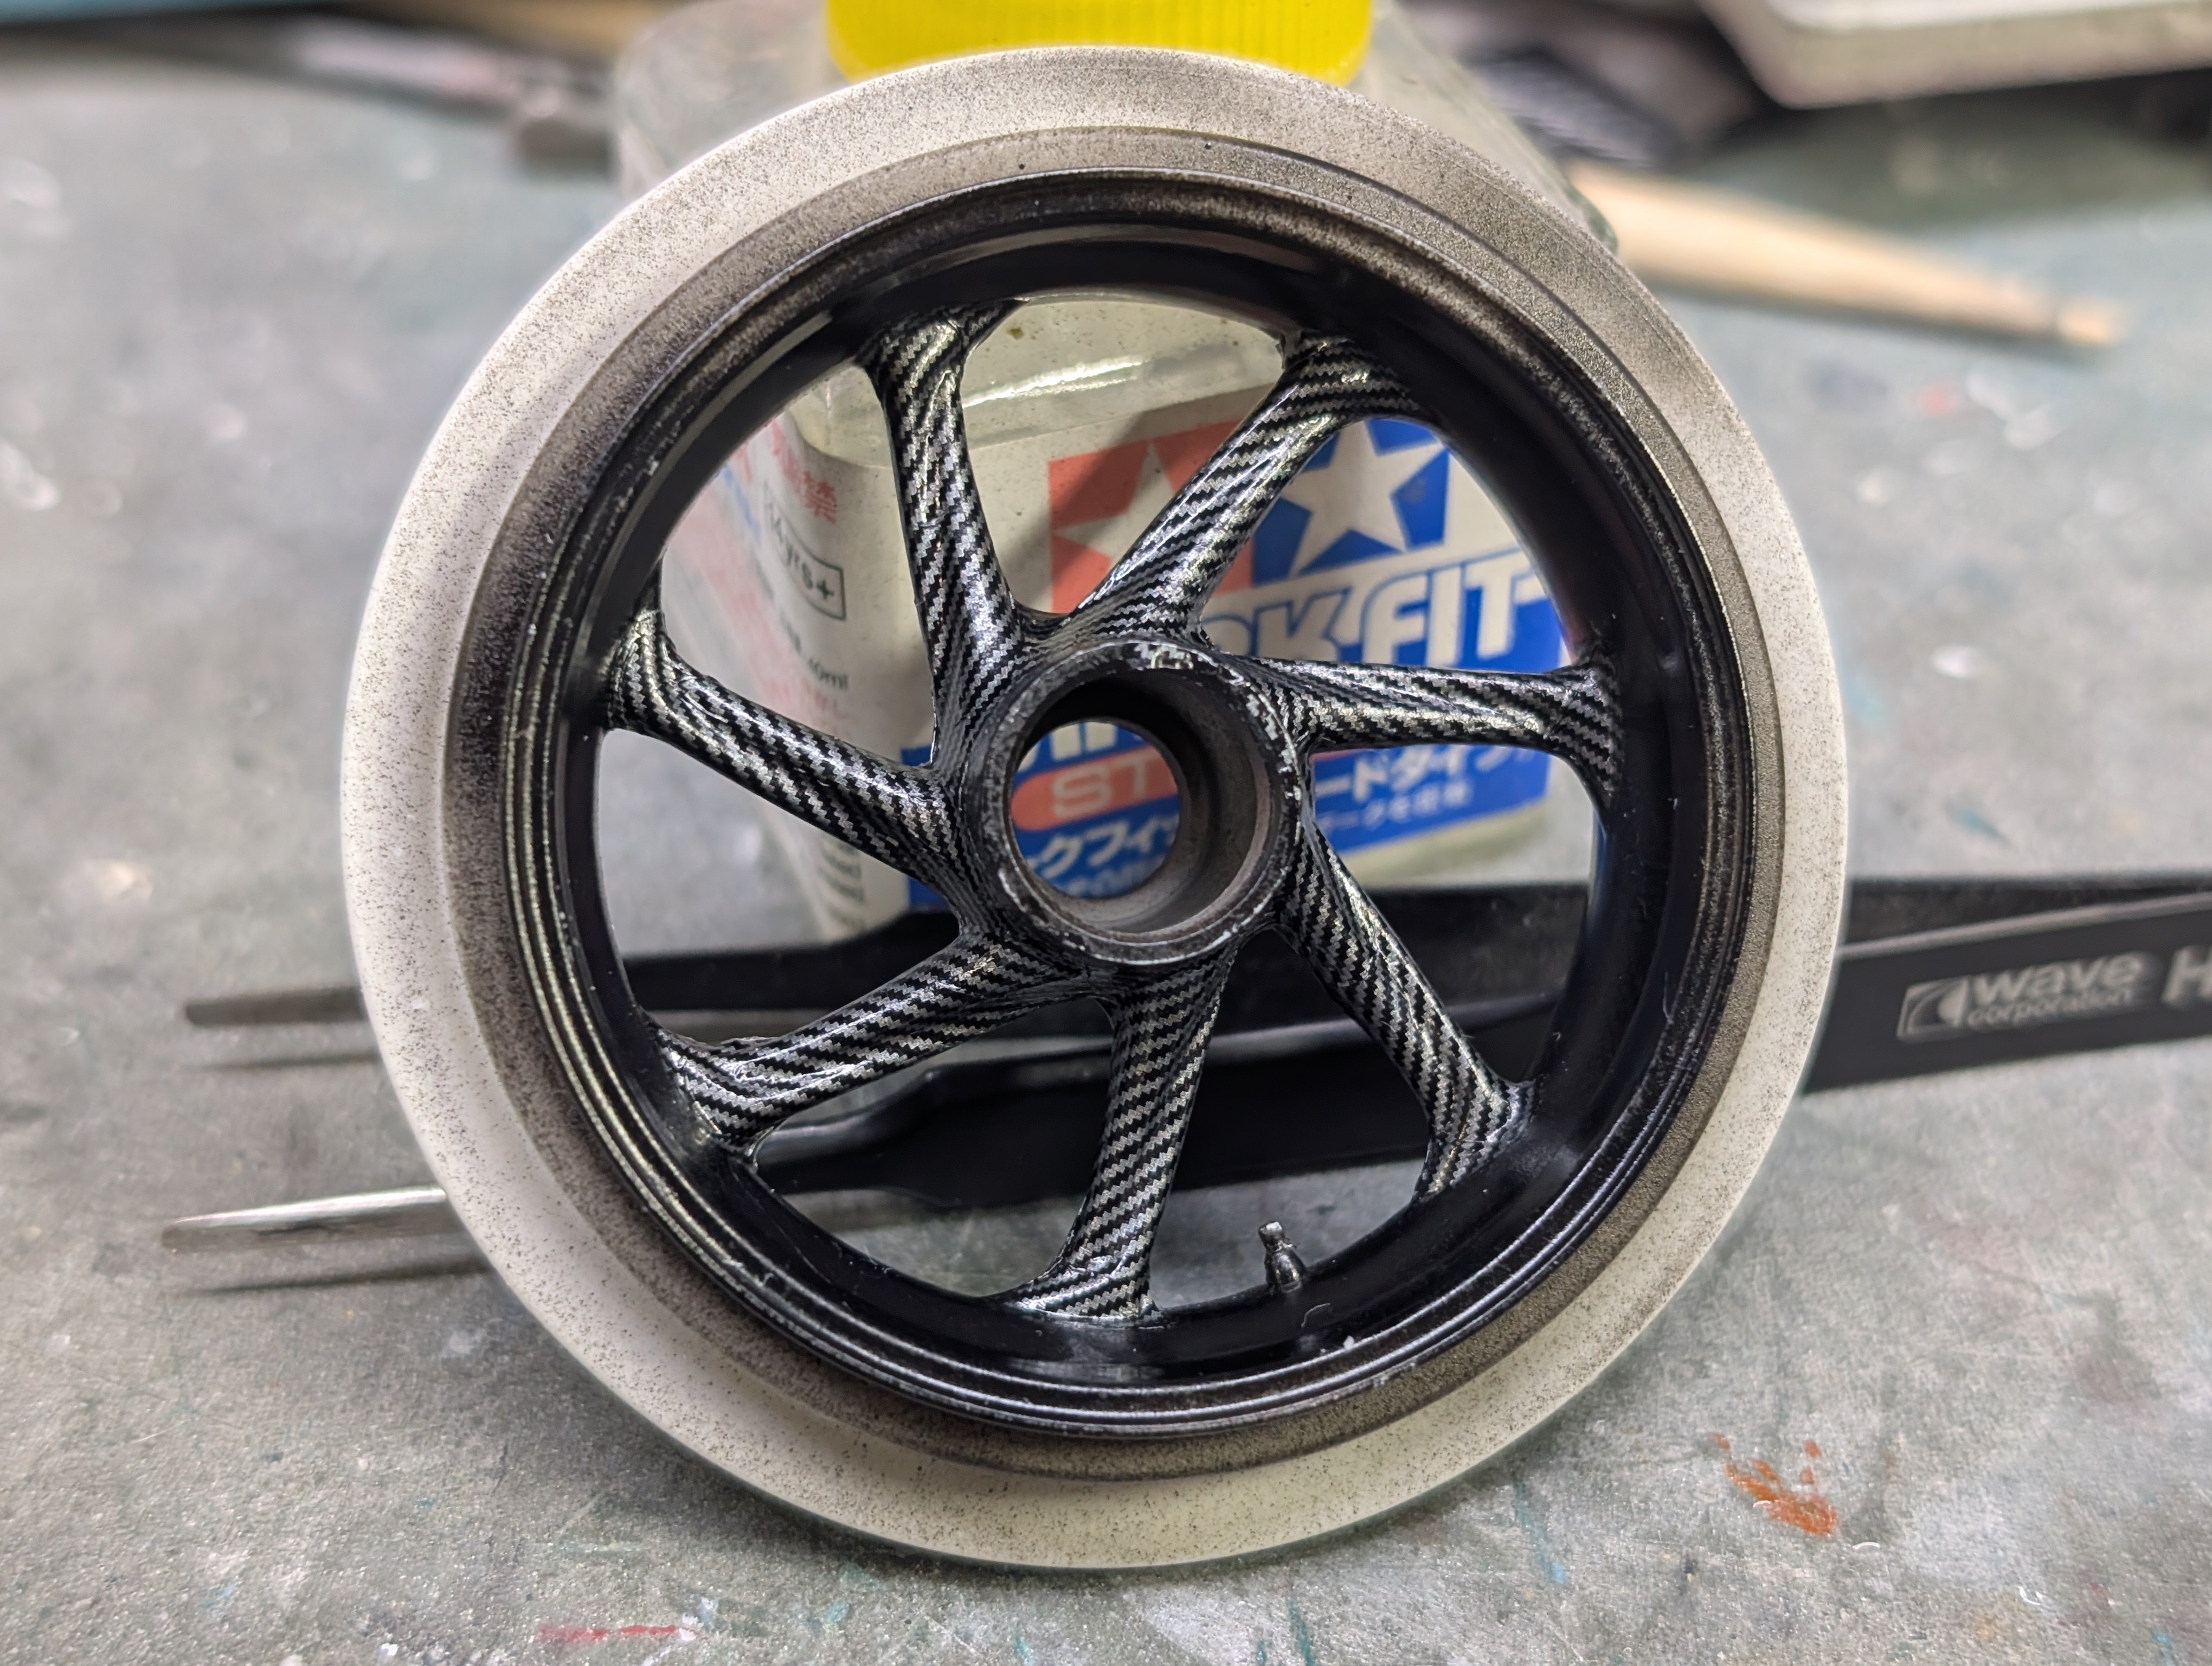
Watching @DocRob work his magic on his various F1 builds, I got up the courage to try and apply some carbon decals. It came out much better than I'd hoped for. As a contingency, I even photocopied the decal sheet so I could cut out replacement decals if it had gone pear shaped. Now to repeat it for the other side and then the front wheel.

-
Knowing how indestructible the Hilux is, it's a good thing the Germans didn't field such a combo in WWII.
-
Hmm, now that you mention it, maybe I should get him to pick some.
-
Not sure why they aren't sold in the US. They are both available here in Canada along with their Quick set, ABS, Low Odour, and Low Odour Extra Thin. Oh and they have Limonine and Limonine Extra Thin too if you like your cement to smell like citrus.
-
We had a good time there. I didn't get to check out the planes at the museum like I usually do though. The Badger is 90% done but I lost it. Yes, the tank is somewhere but not in the box. I want to finish it so I can get rid of the box but need to find it.
-
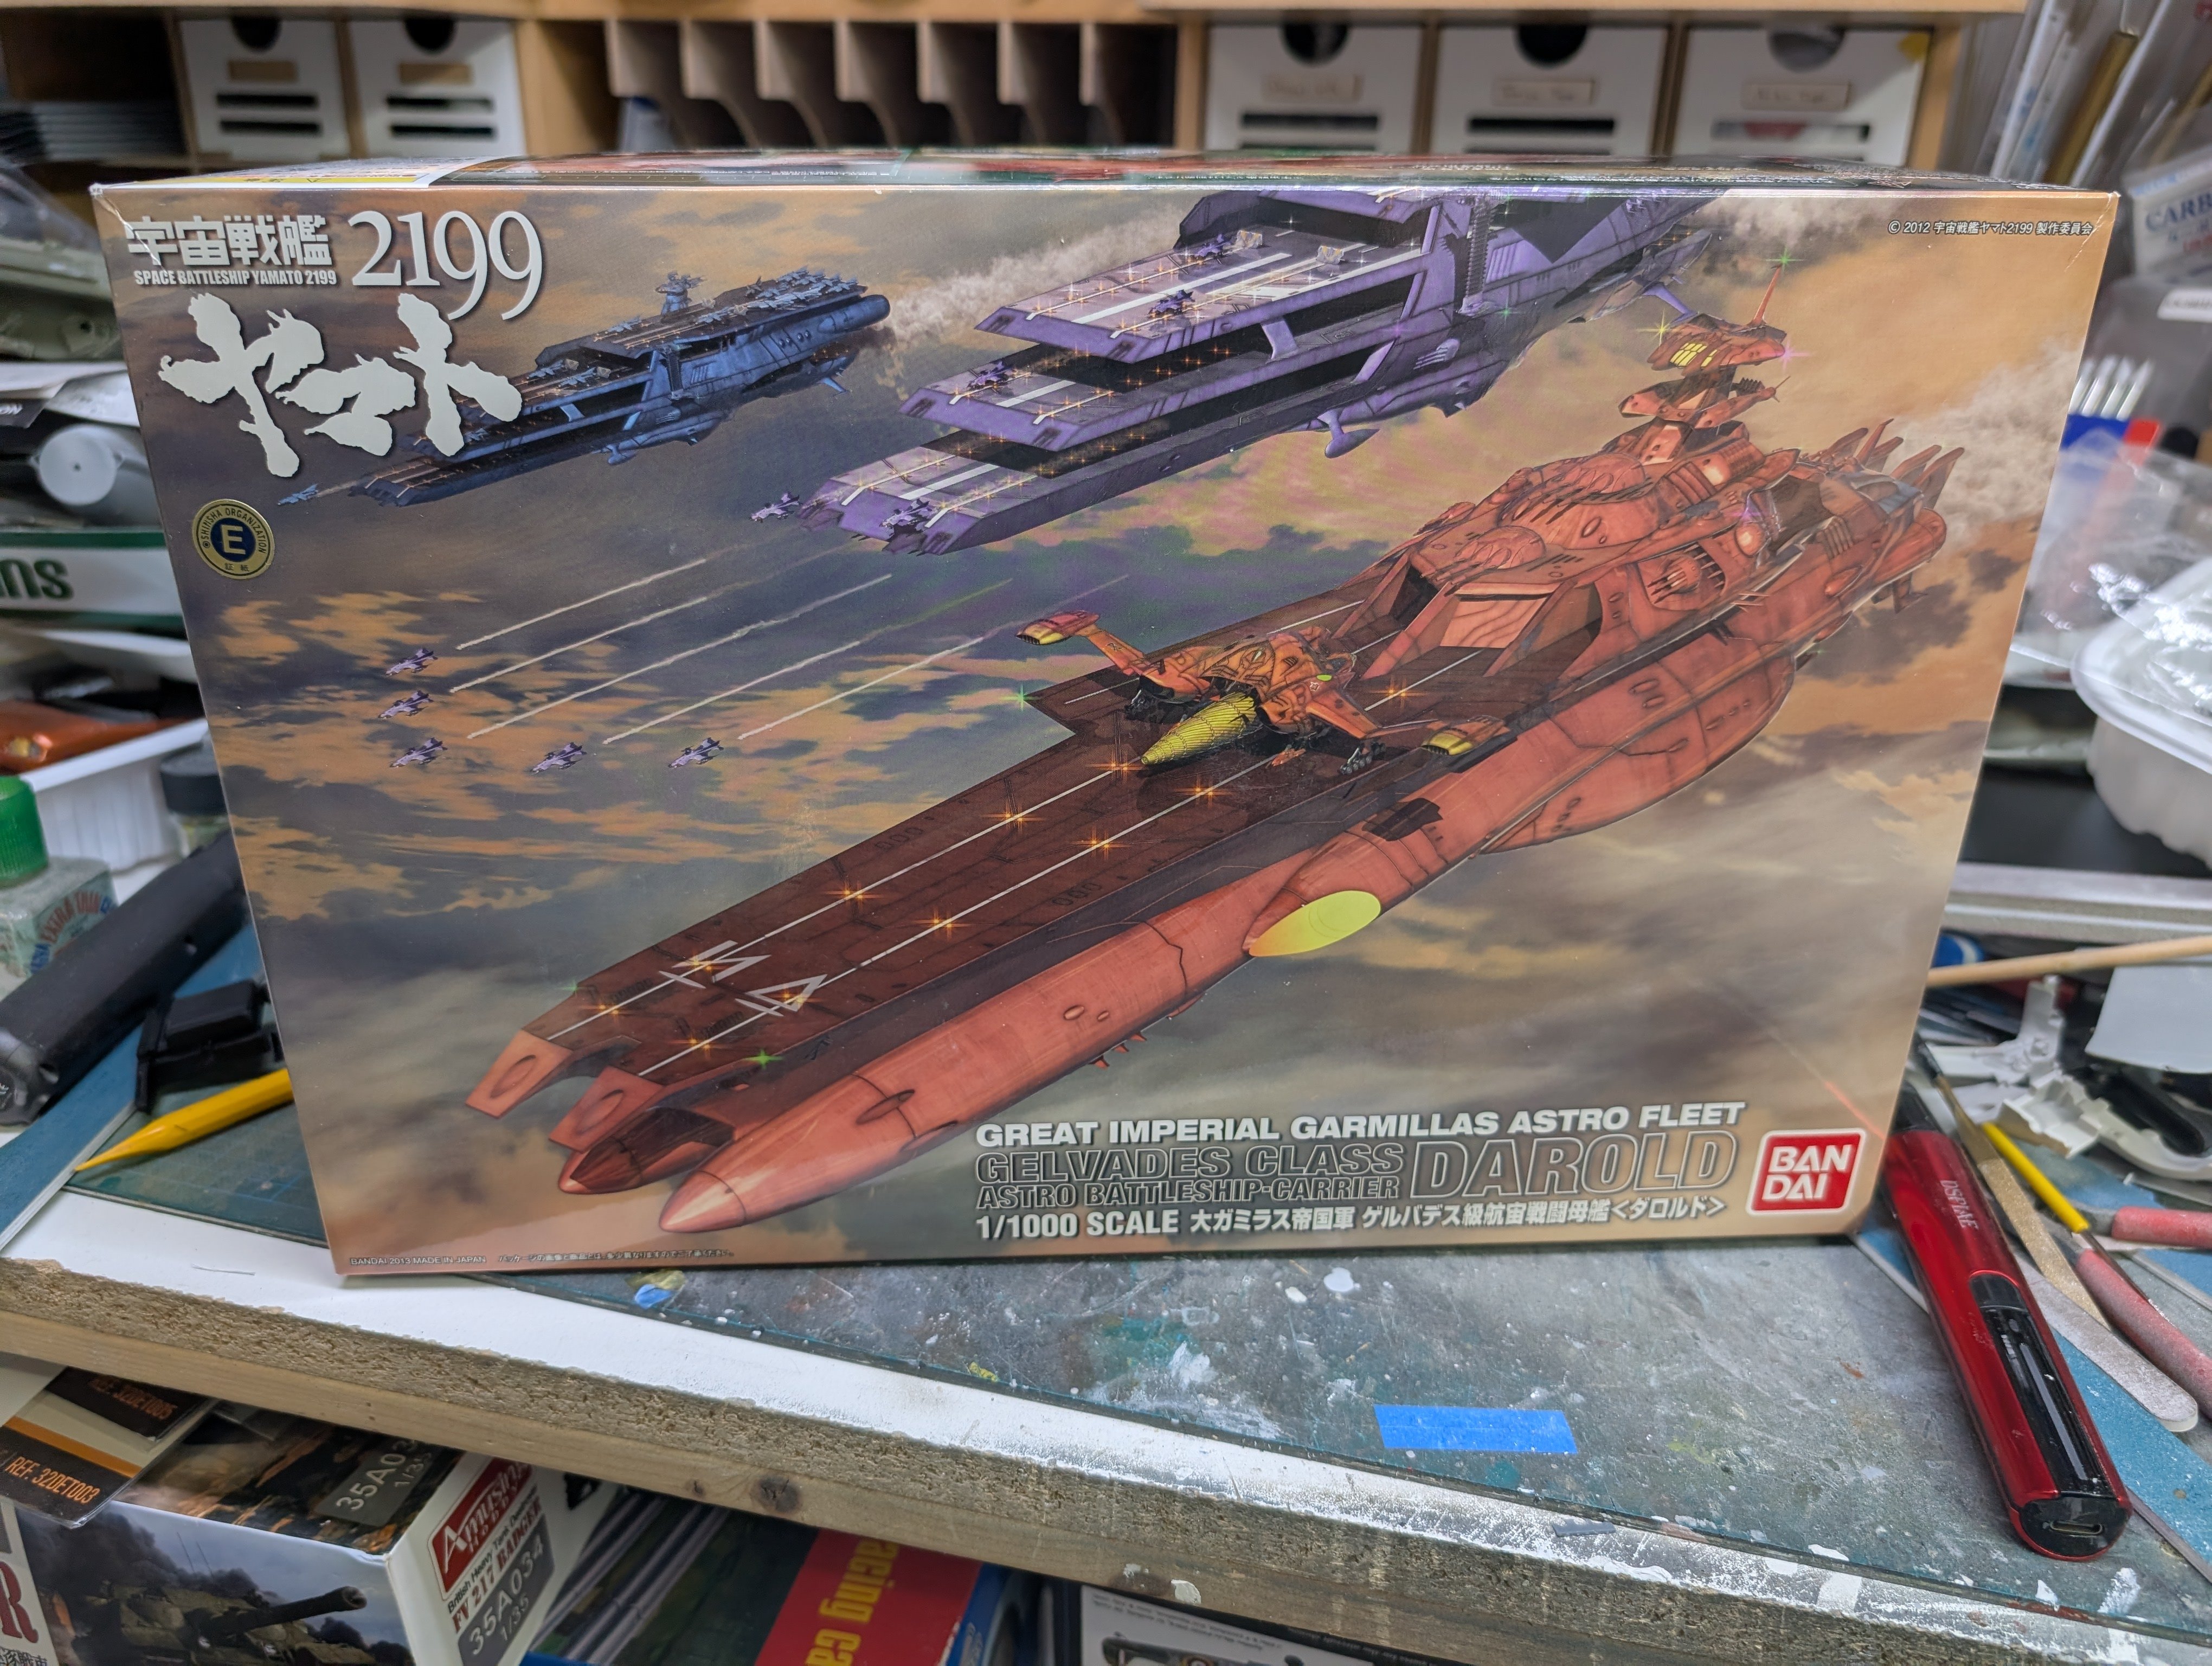
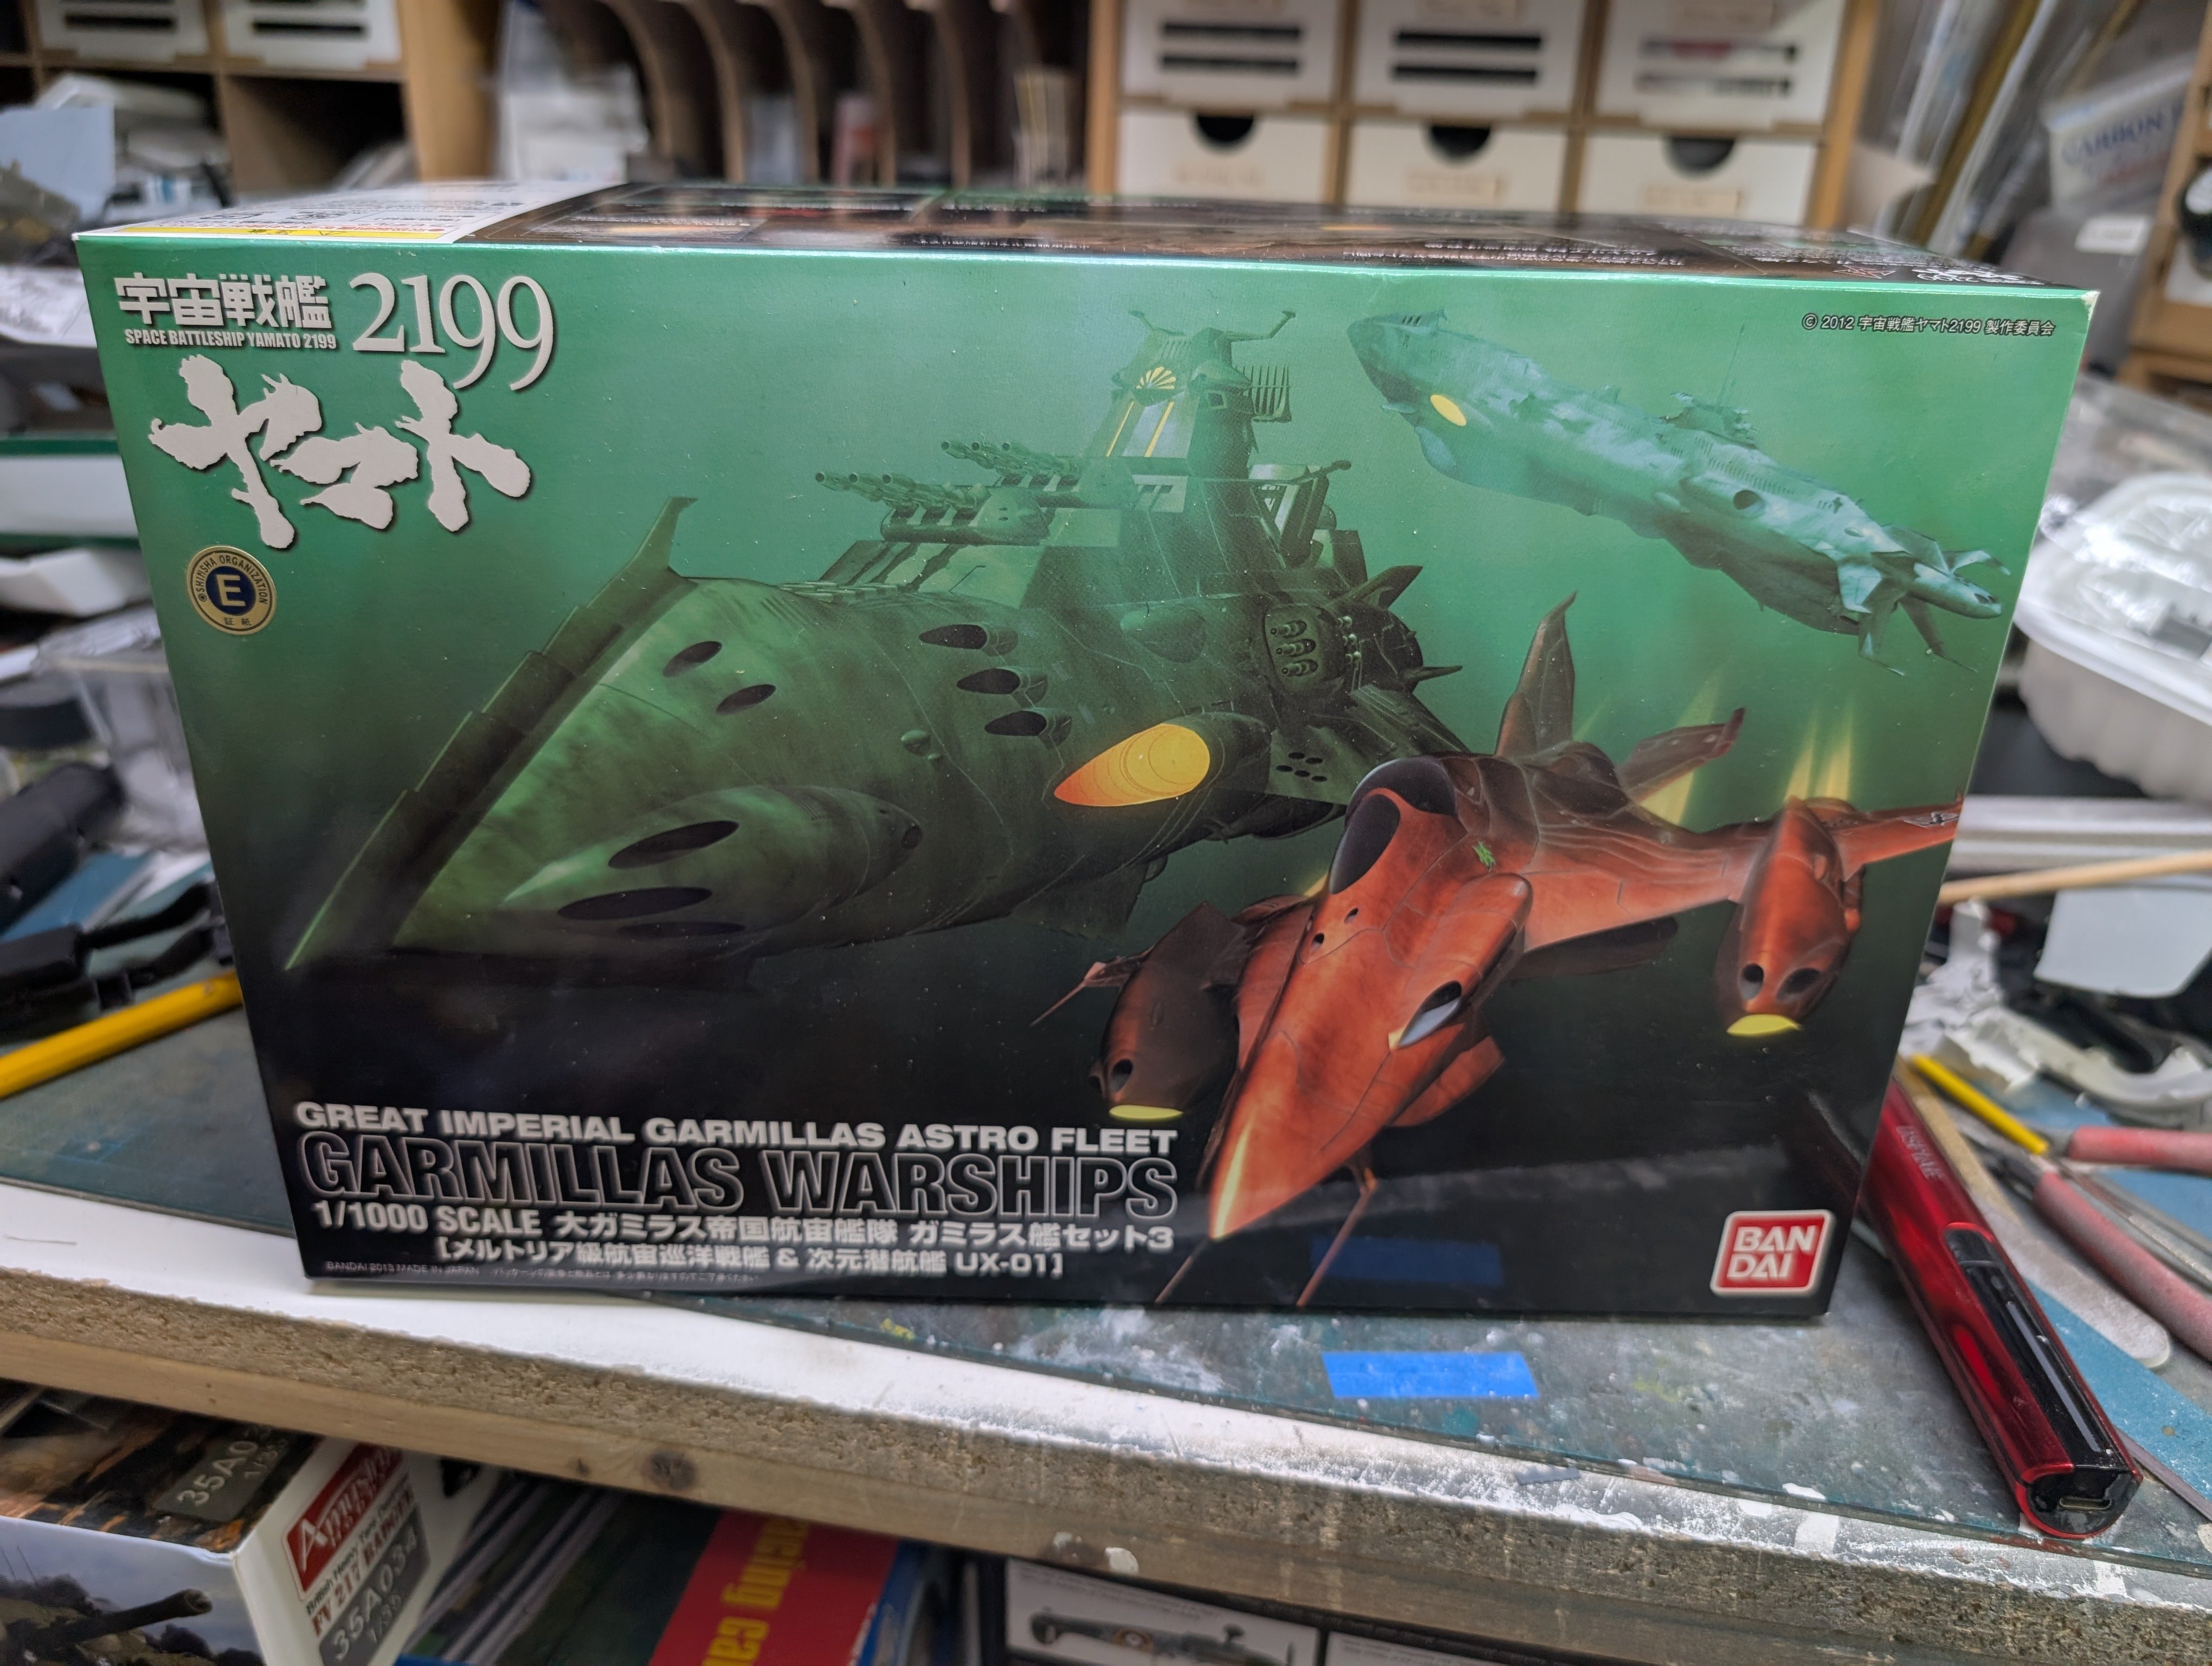
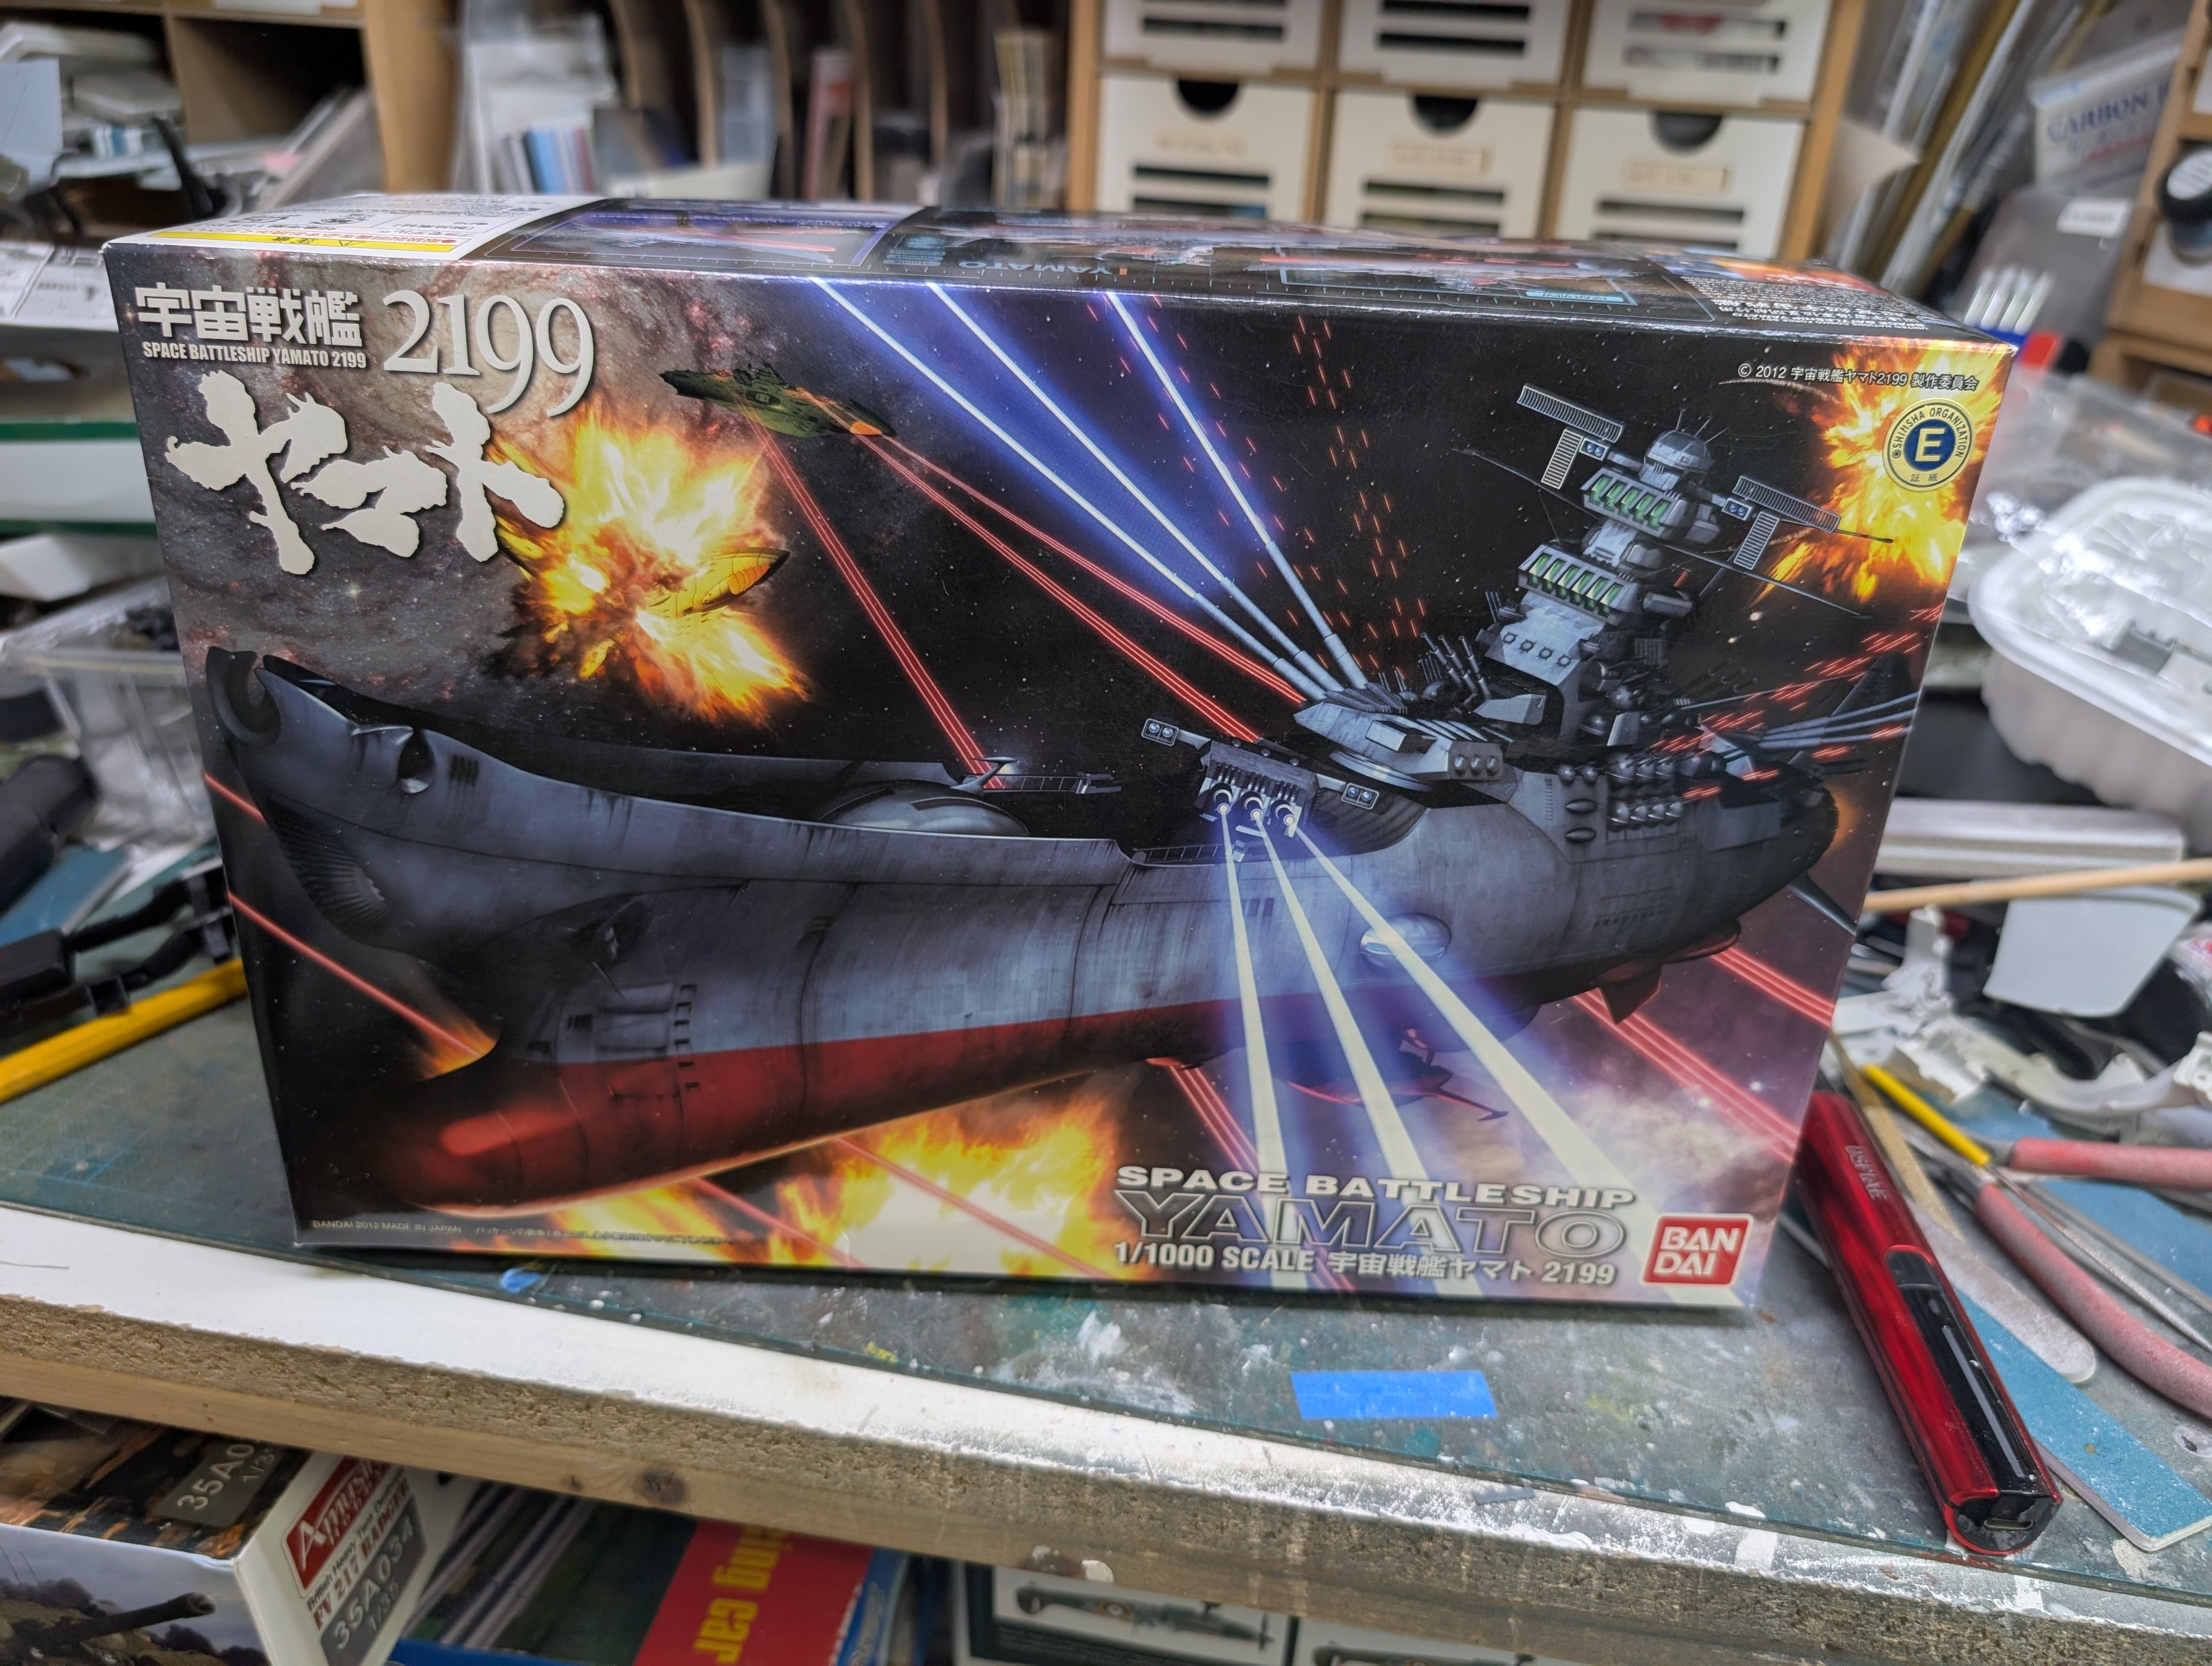
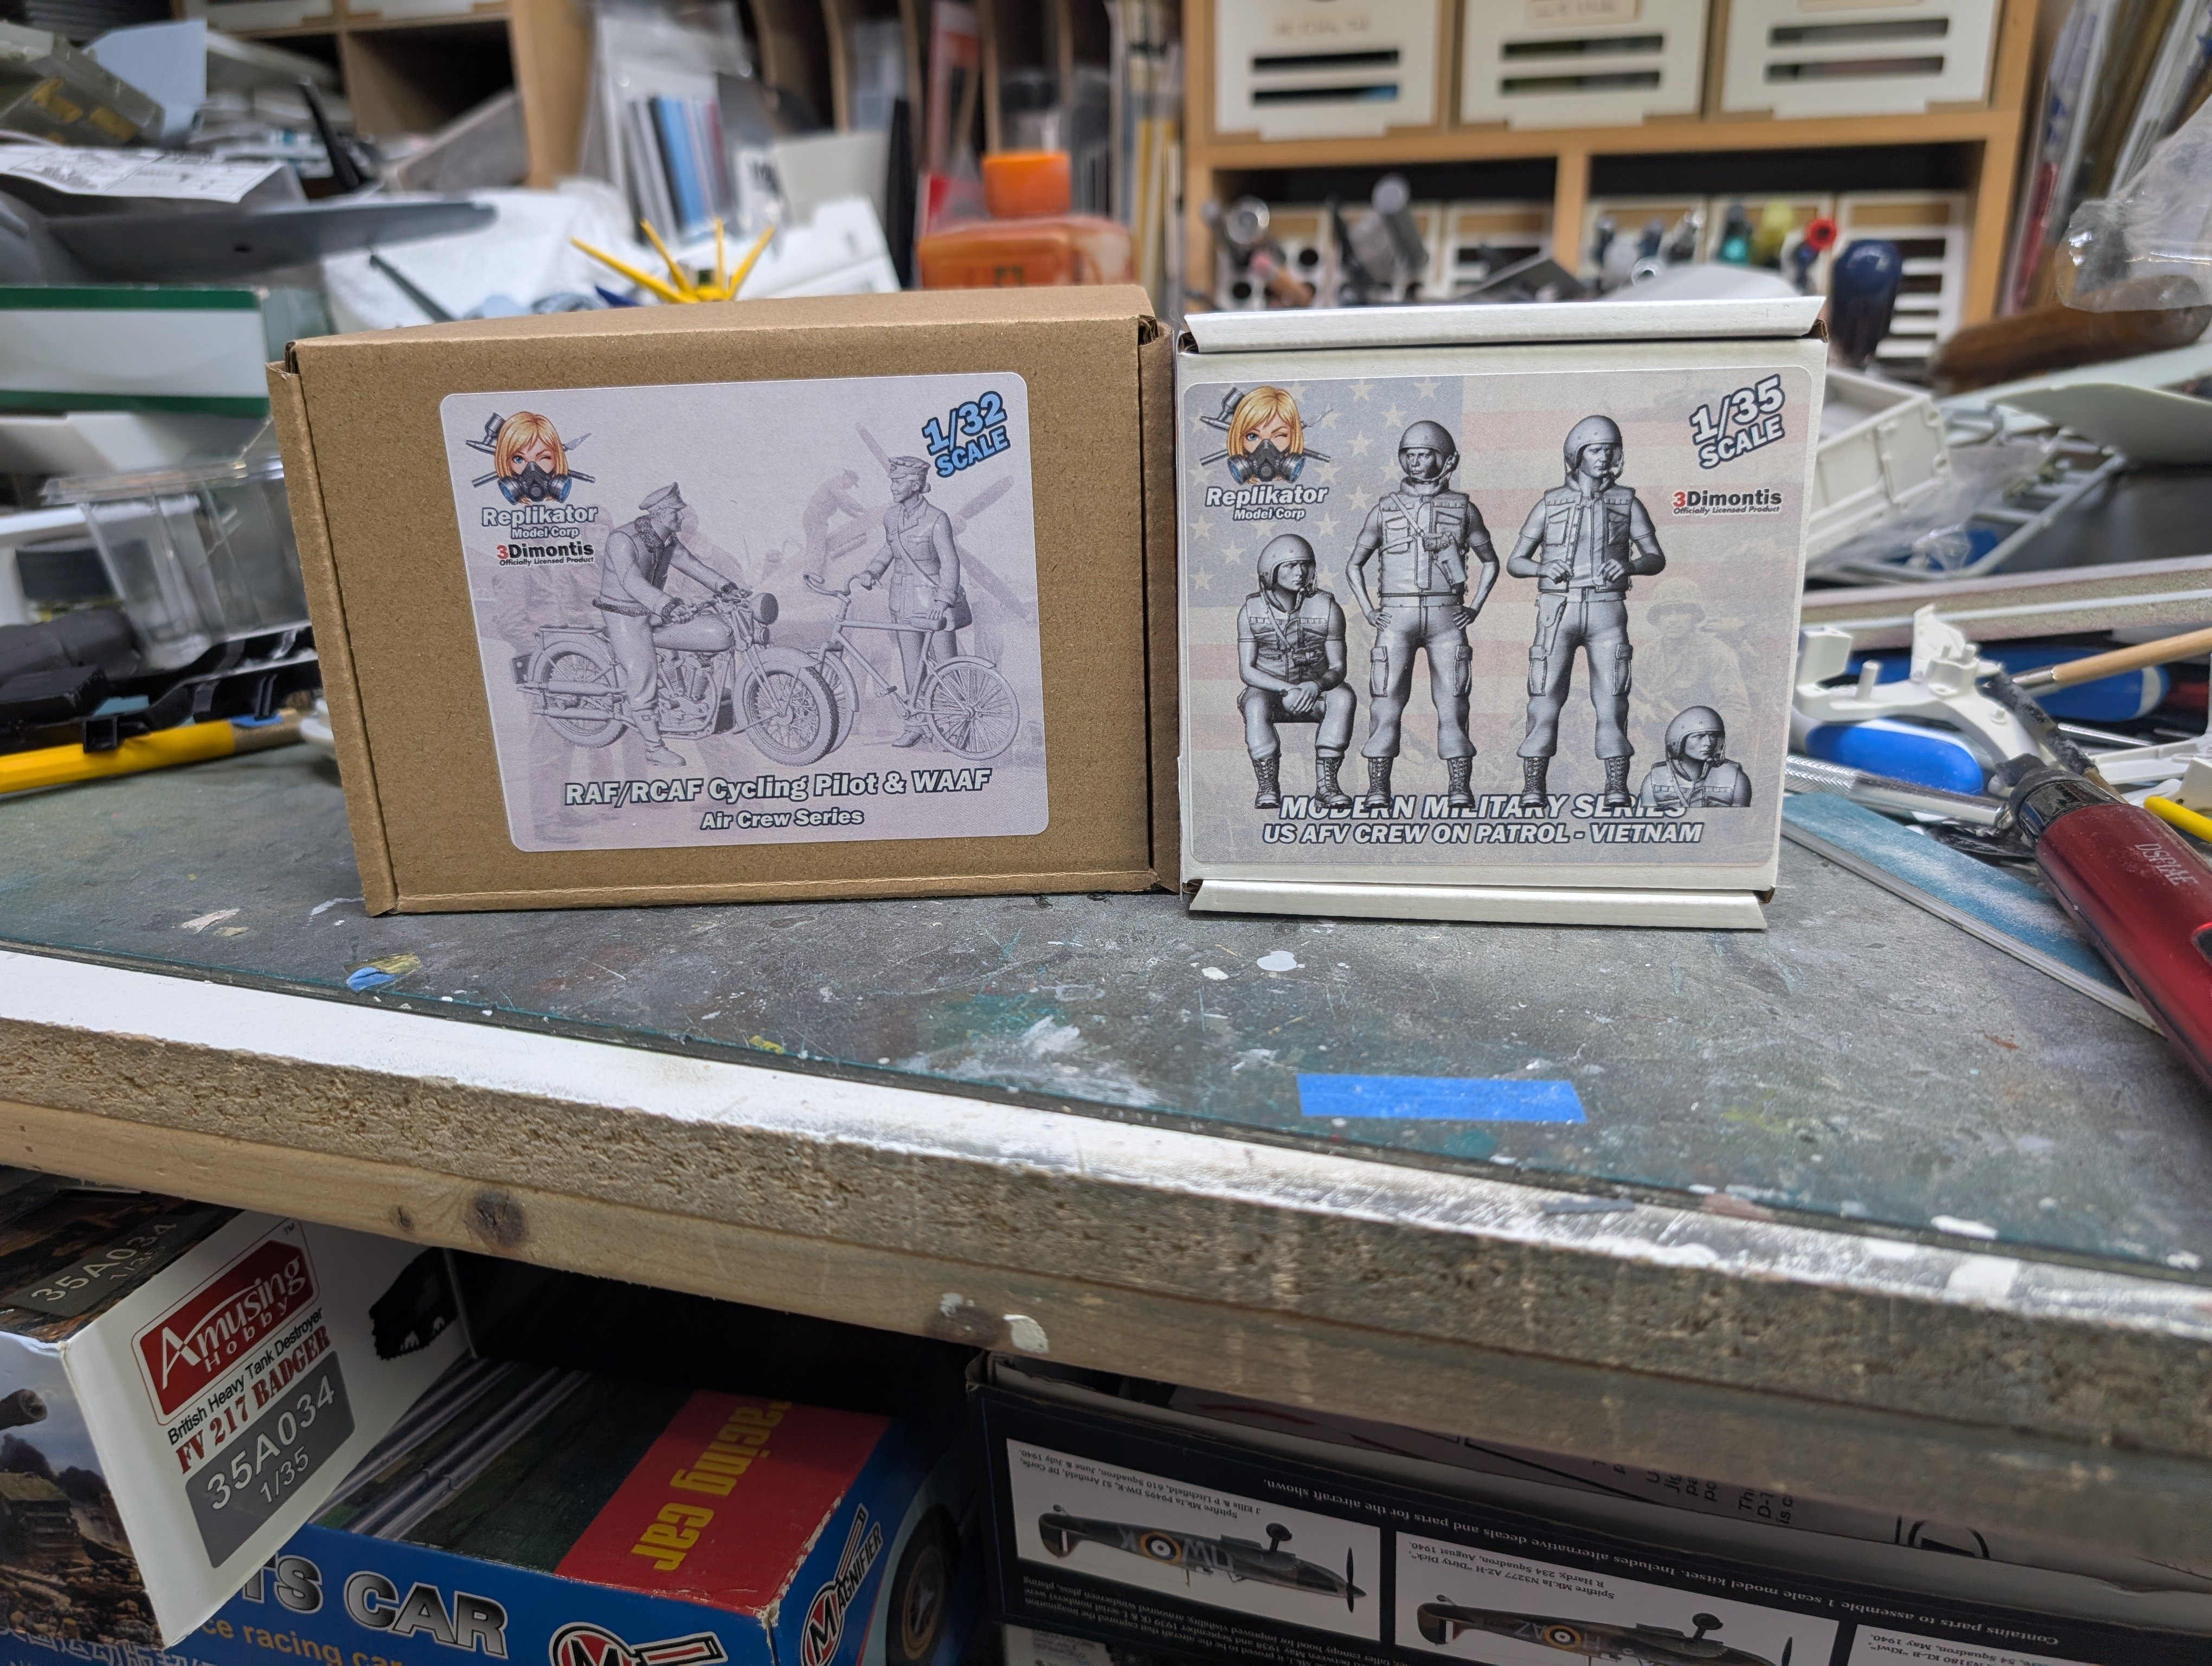
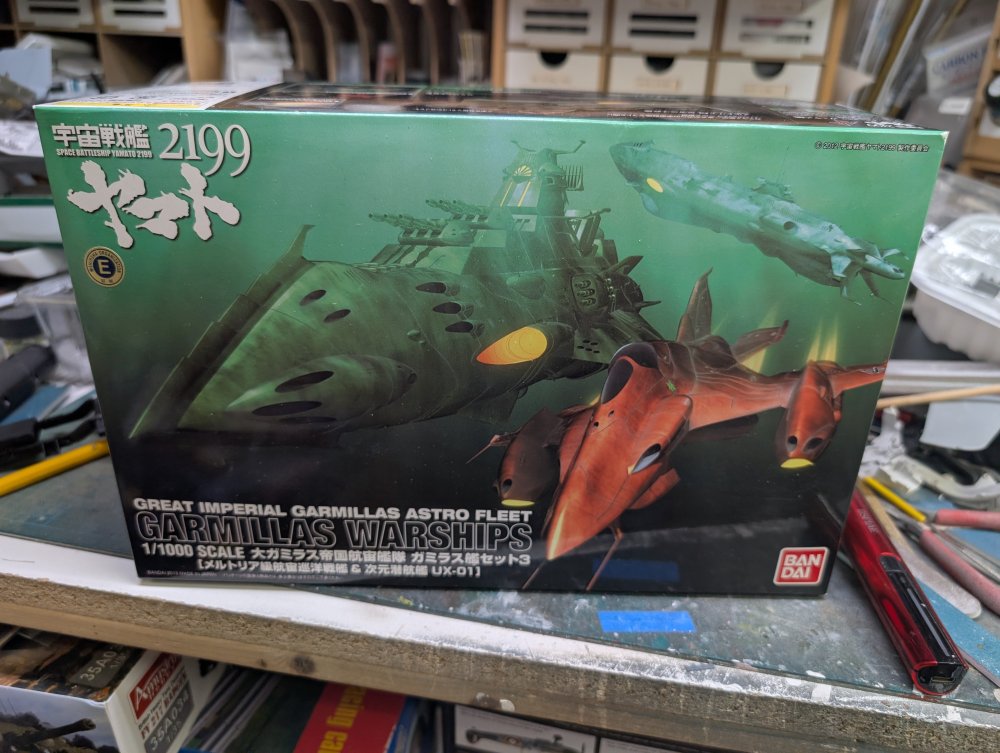
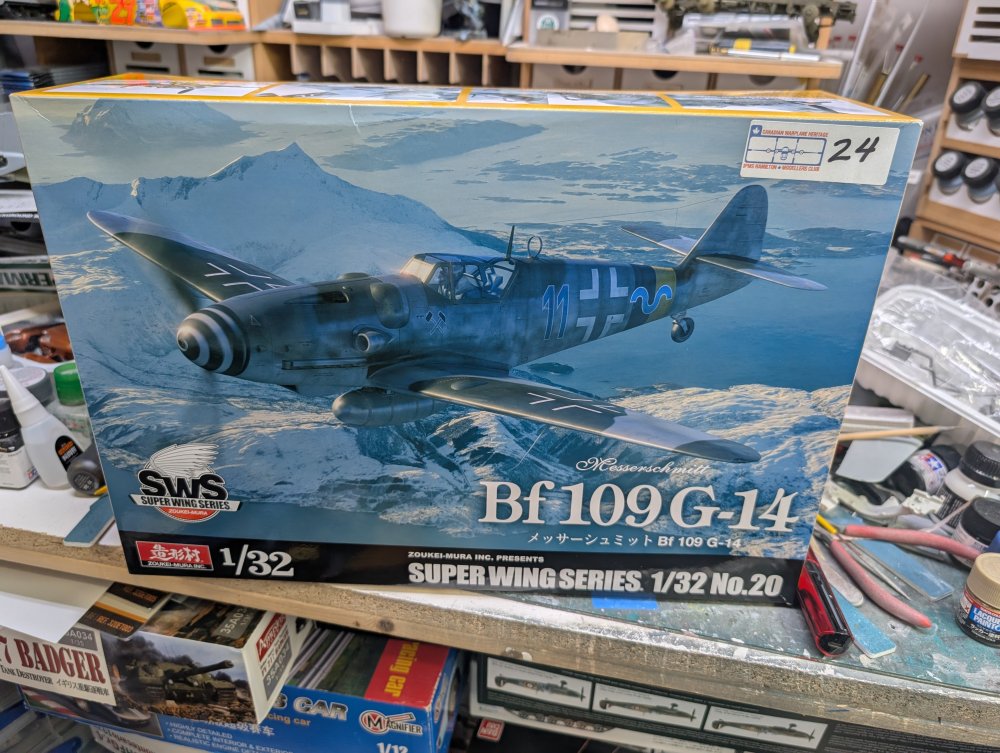
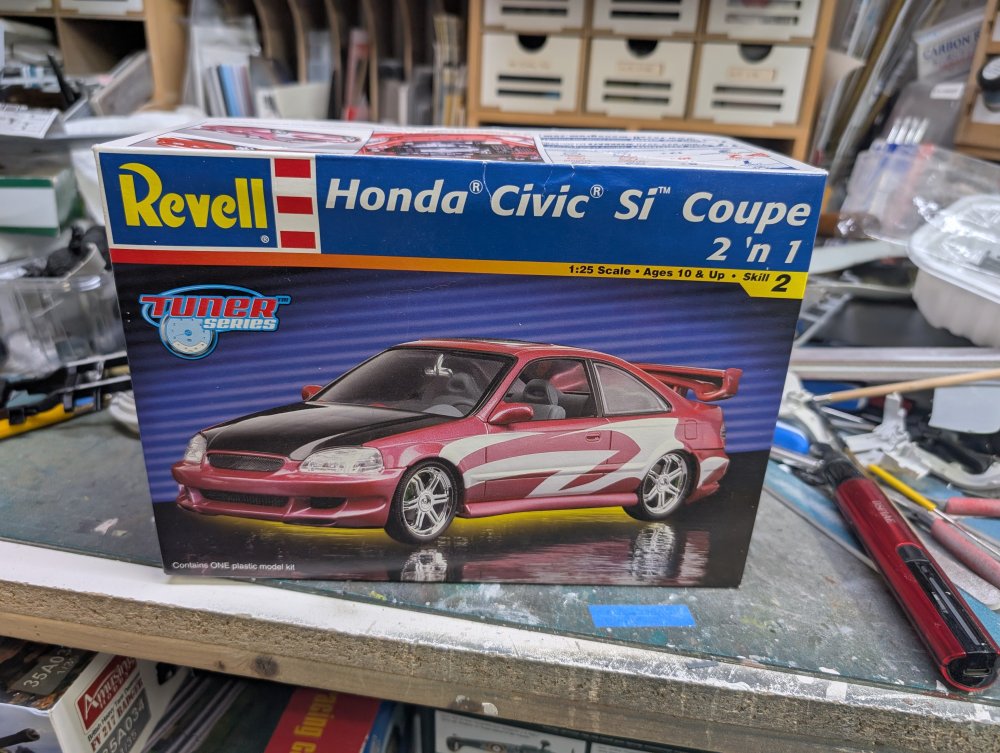
We just got back from Heritagecon. I saw some SBY models that a vendor was selling for a great price so I just grabbed the pile of them. First up was the Yamato herself. Then a couple of the enemy ships. Another vendor had a model of my second Civic so that was next. Thankfully there's a stock option which I'll go with. I then picked up some 3D printed figures from a new company. So last year in the show raffle my son Edward won the just released Italeri 1/12 Lancia Stratos kit which he promptly gave to his friend who was also there. This year, he won again. Yup, a ZM 109. I bought him a nice Gundam kit and traded him. Carl


-
Hasegawa P-40N done
BlrwestSiR replied to JohnB's topic in LSM 1/32 and Larger Aircraft Ready for Inspection
That looks great. I like the modulation in the olive drab. -
What is on your bench right now ? Share a picture :)
BlrwestSiR replied to Martinnfb's topic in Modelling Discussion
That looks great Paul. Not a subject you see everyday. Carl -
Tamiya Spitfire VIII converted to a VII
BlrwestSiR replied to denders's topic in LSM 1/35 and Larger Work In Progress
Nice work on the Merlin. It's all coming together. -
That second photo makes the car look like a rocket. Which it was!
-
Sorry to hear about the fit issues there Rob. The body looks so different to what I'm used to on an F1 car. More wedge shaped and not the crazy organic shapes they are now.
-
For your 1/24 Pip to chase!
-
Fast and neat as always.
-
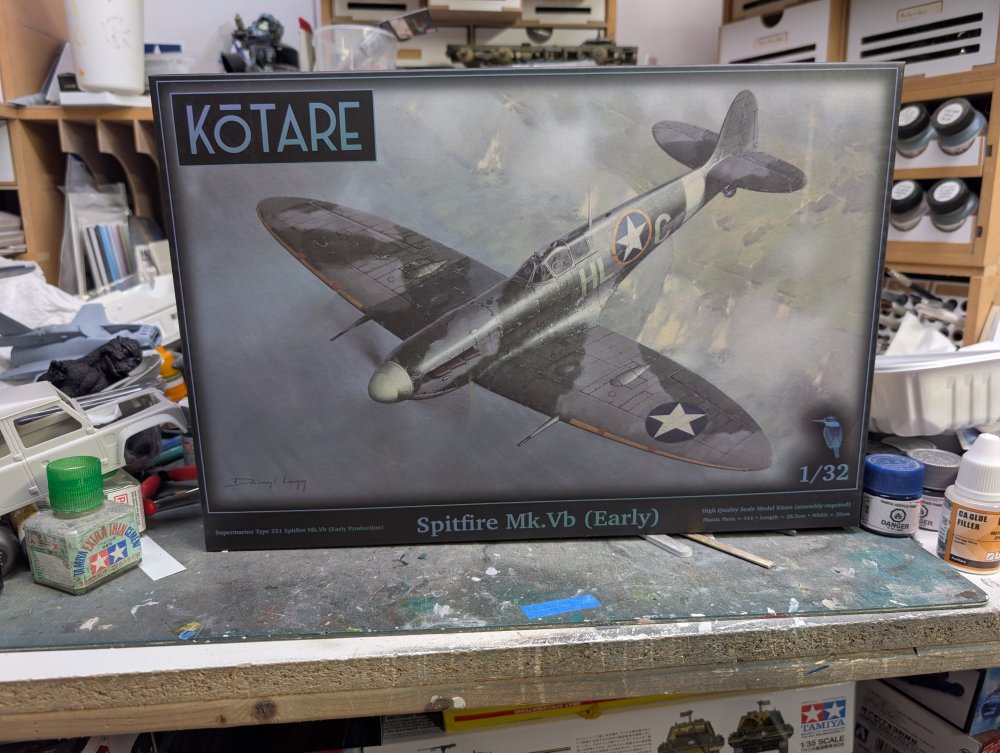
Went to see Project Hail Mary this afternoon and came home to the latest stash addition.
-
Just seeing if anyone here will also be attending Heritagecon this Sunday? I'll be there with my son and one of his friends. Carl
-
- 1
-

-
Oh nice.
-
Some incredible detail there. The foil adds another dimension.