BlrwestSiR
-
Posts
9,225 -
Joined
-
Last visited
Content Type
Profiles
Forums
Events
Gallery
Everything posted by BlrwestSiR
-
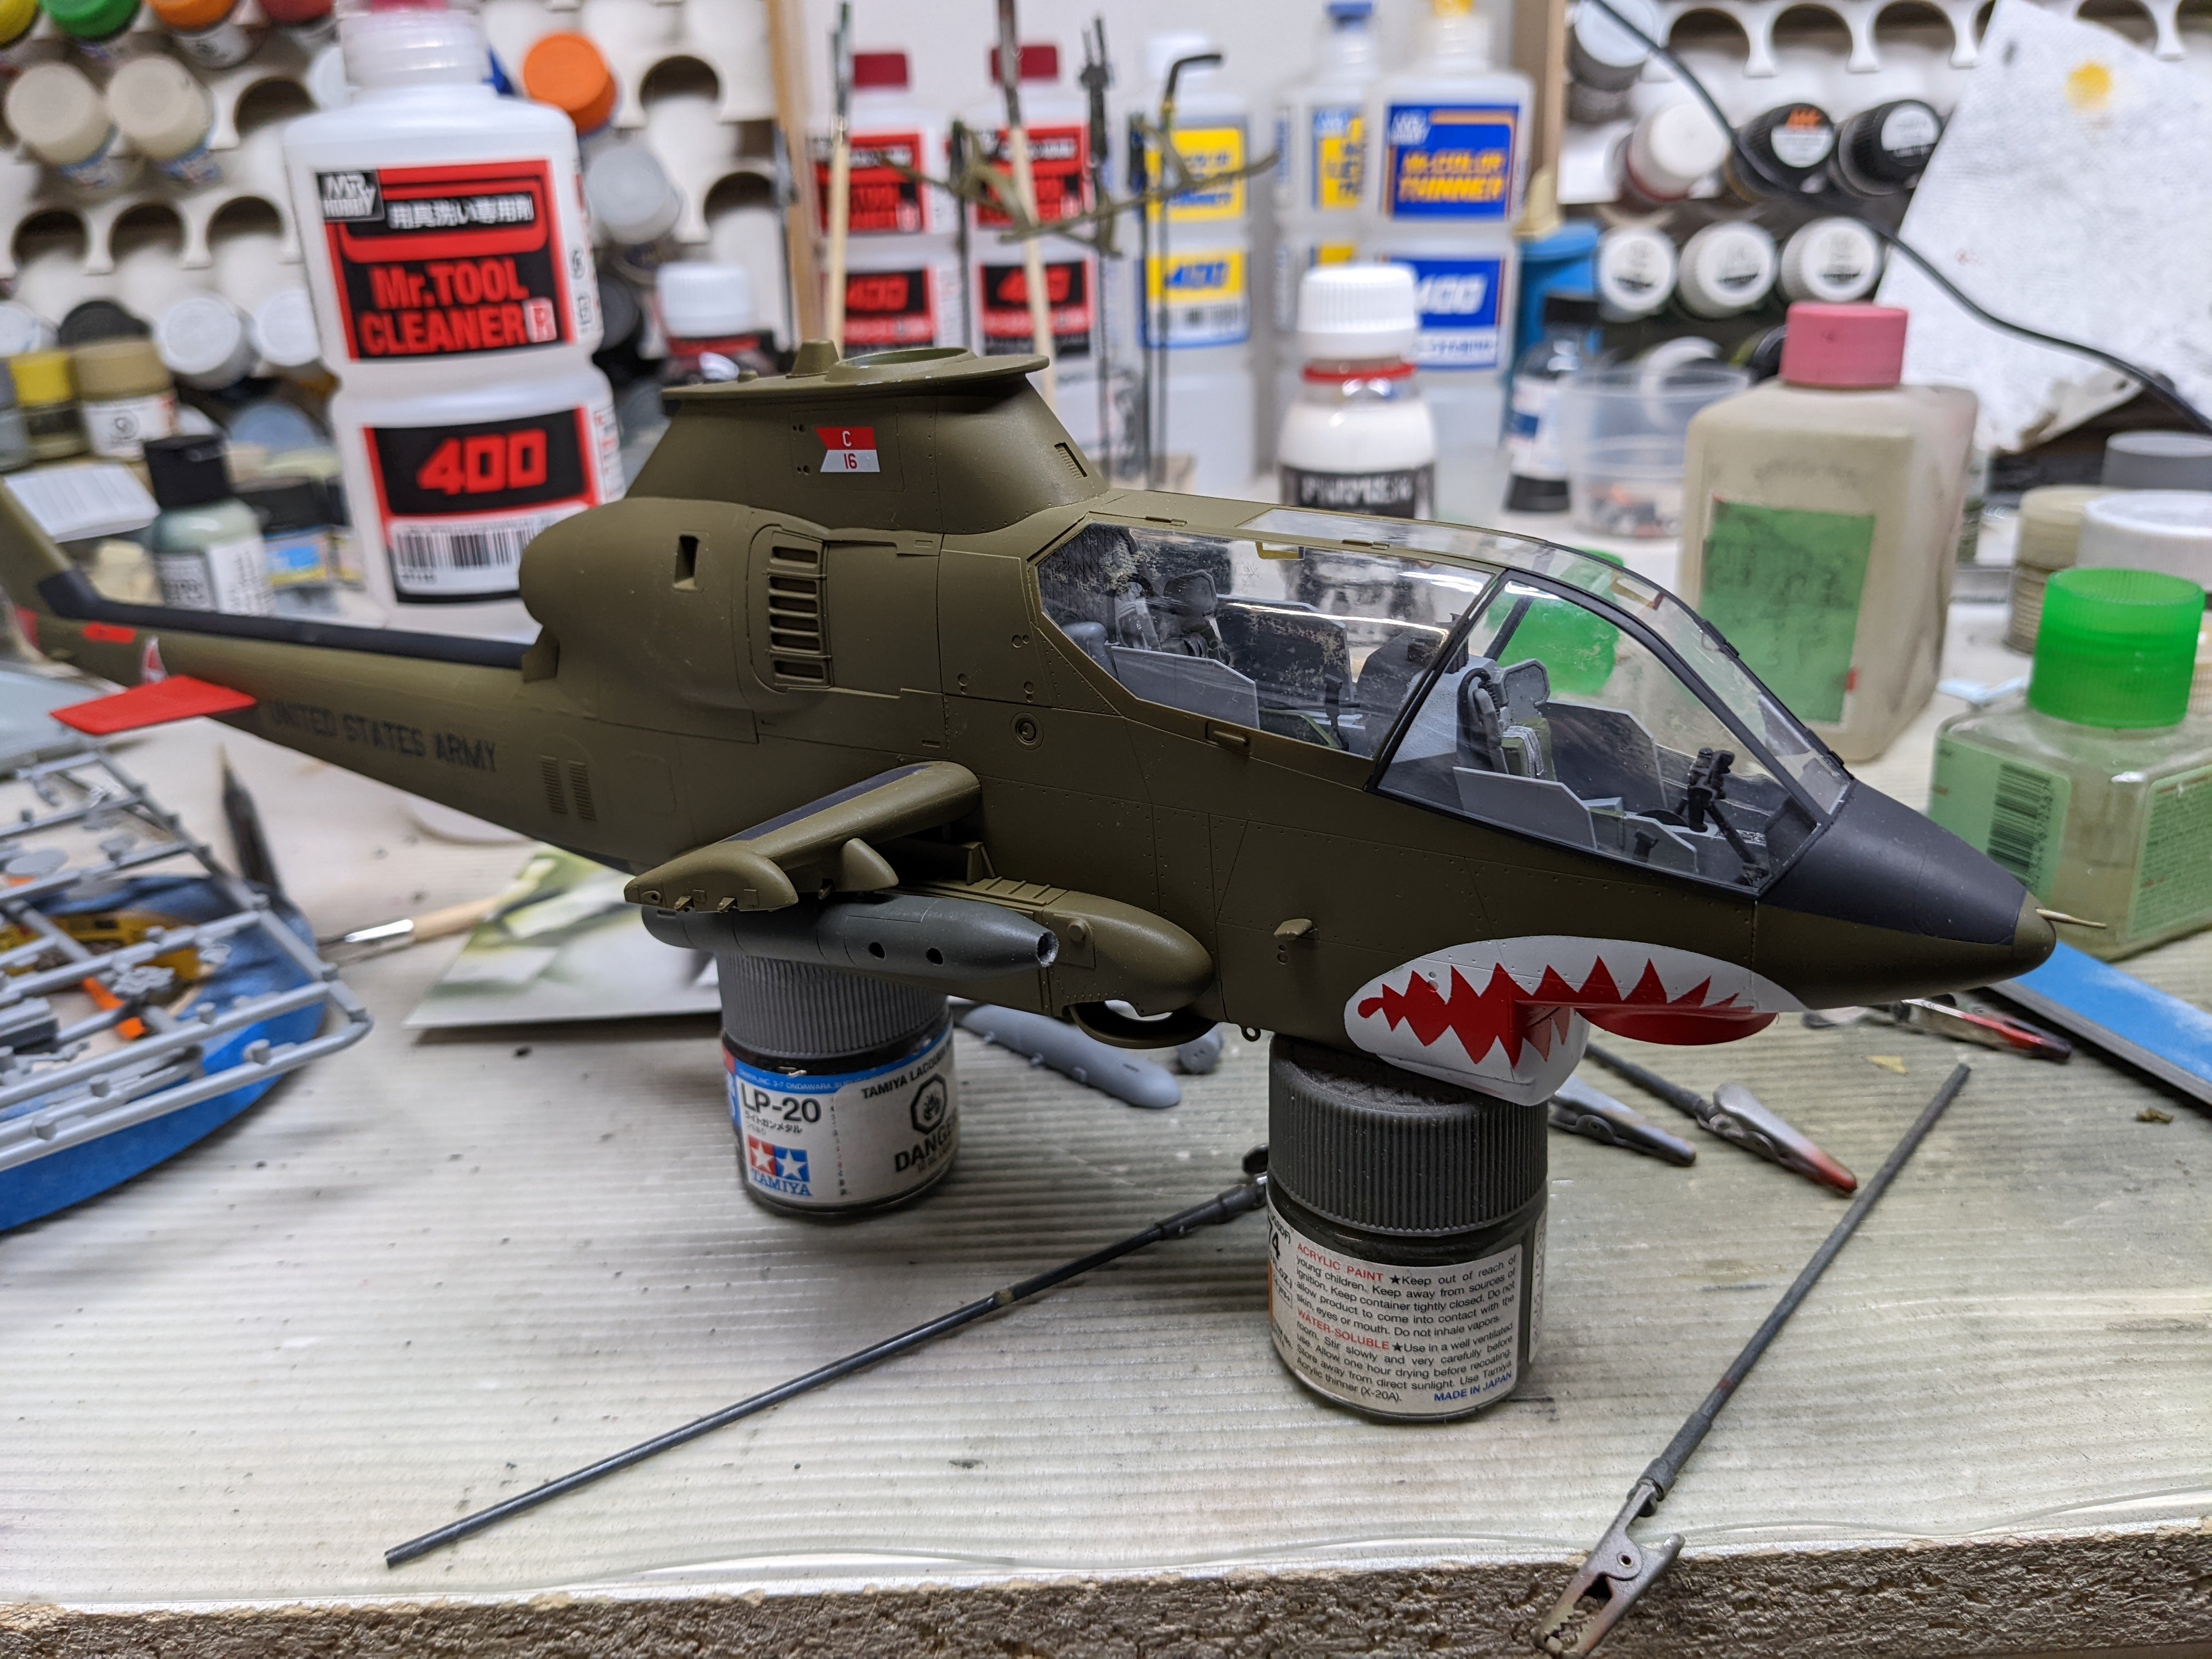
Next up was many of the small details on the airframe- lift rings, antennae etc. I also painted the landing skids. Finally I started finishing the fuselage by adding the stub wings, the M35 fuselage pods and hung the M134 gun pod. I think I'm close to the home stretch now.


-
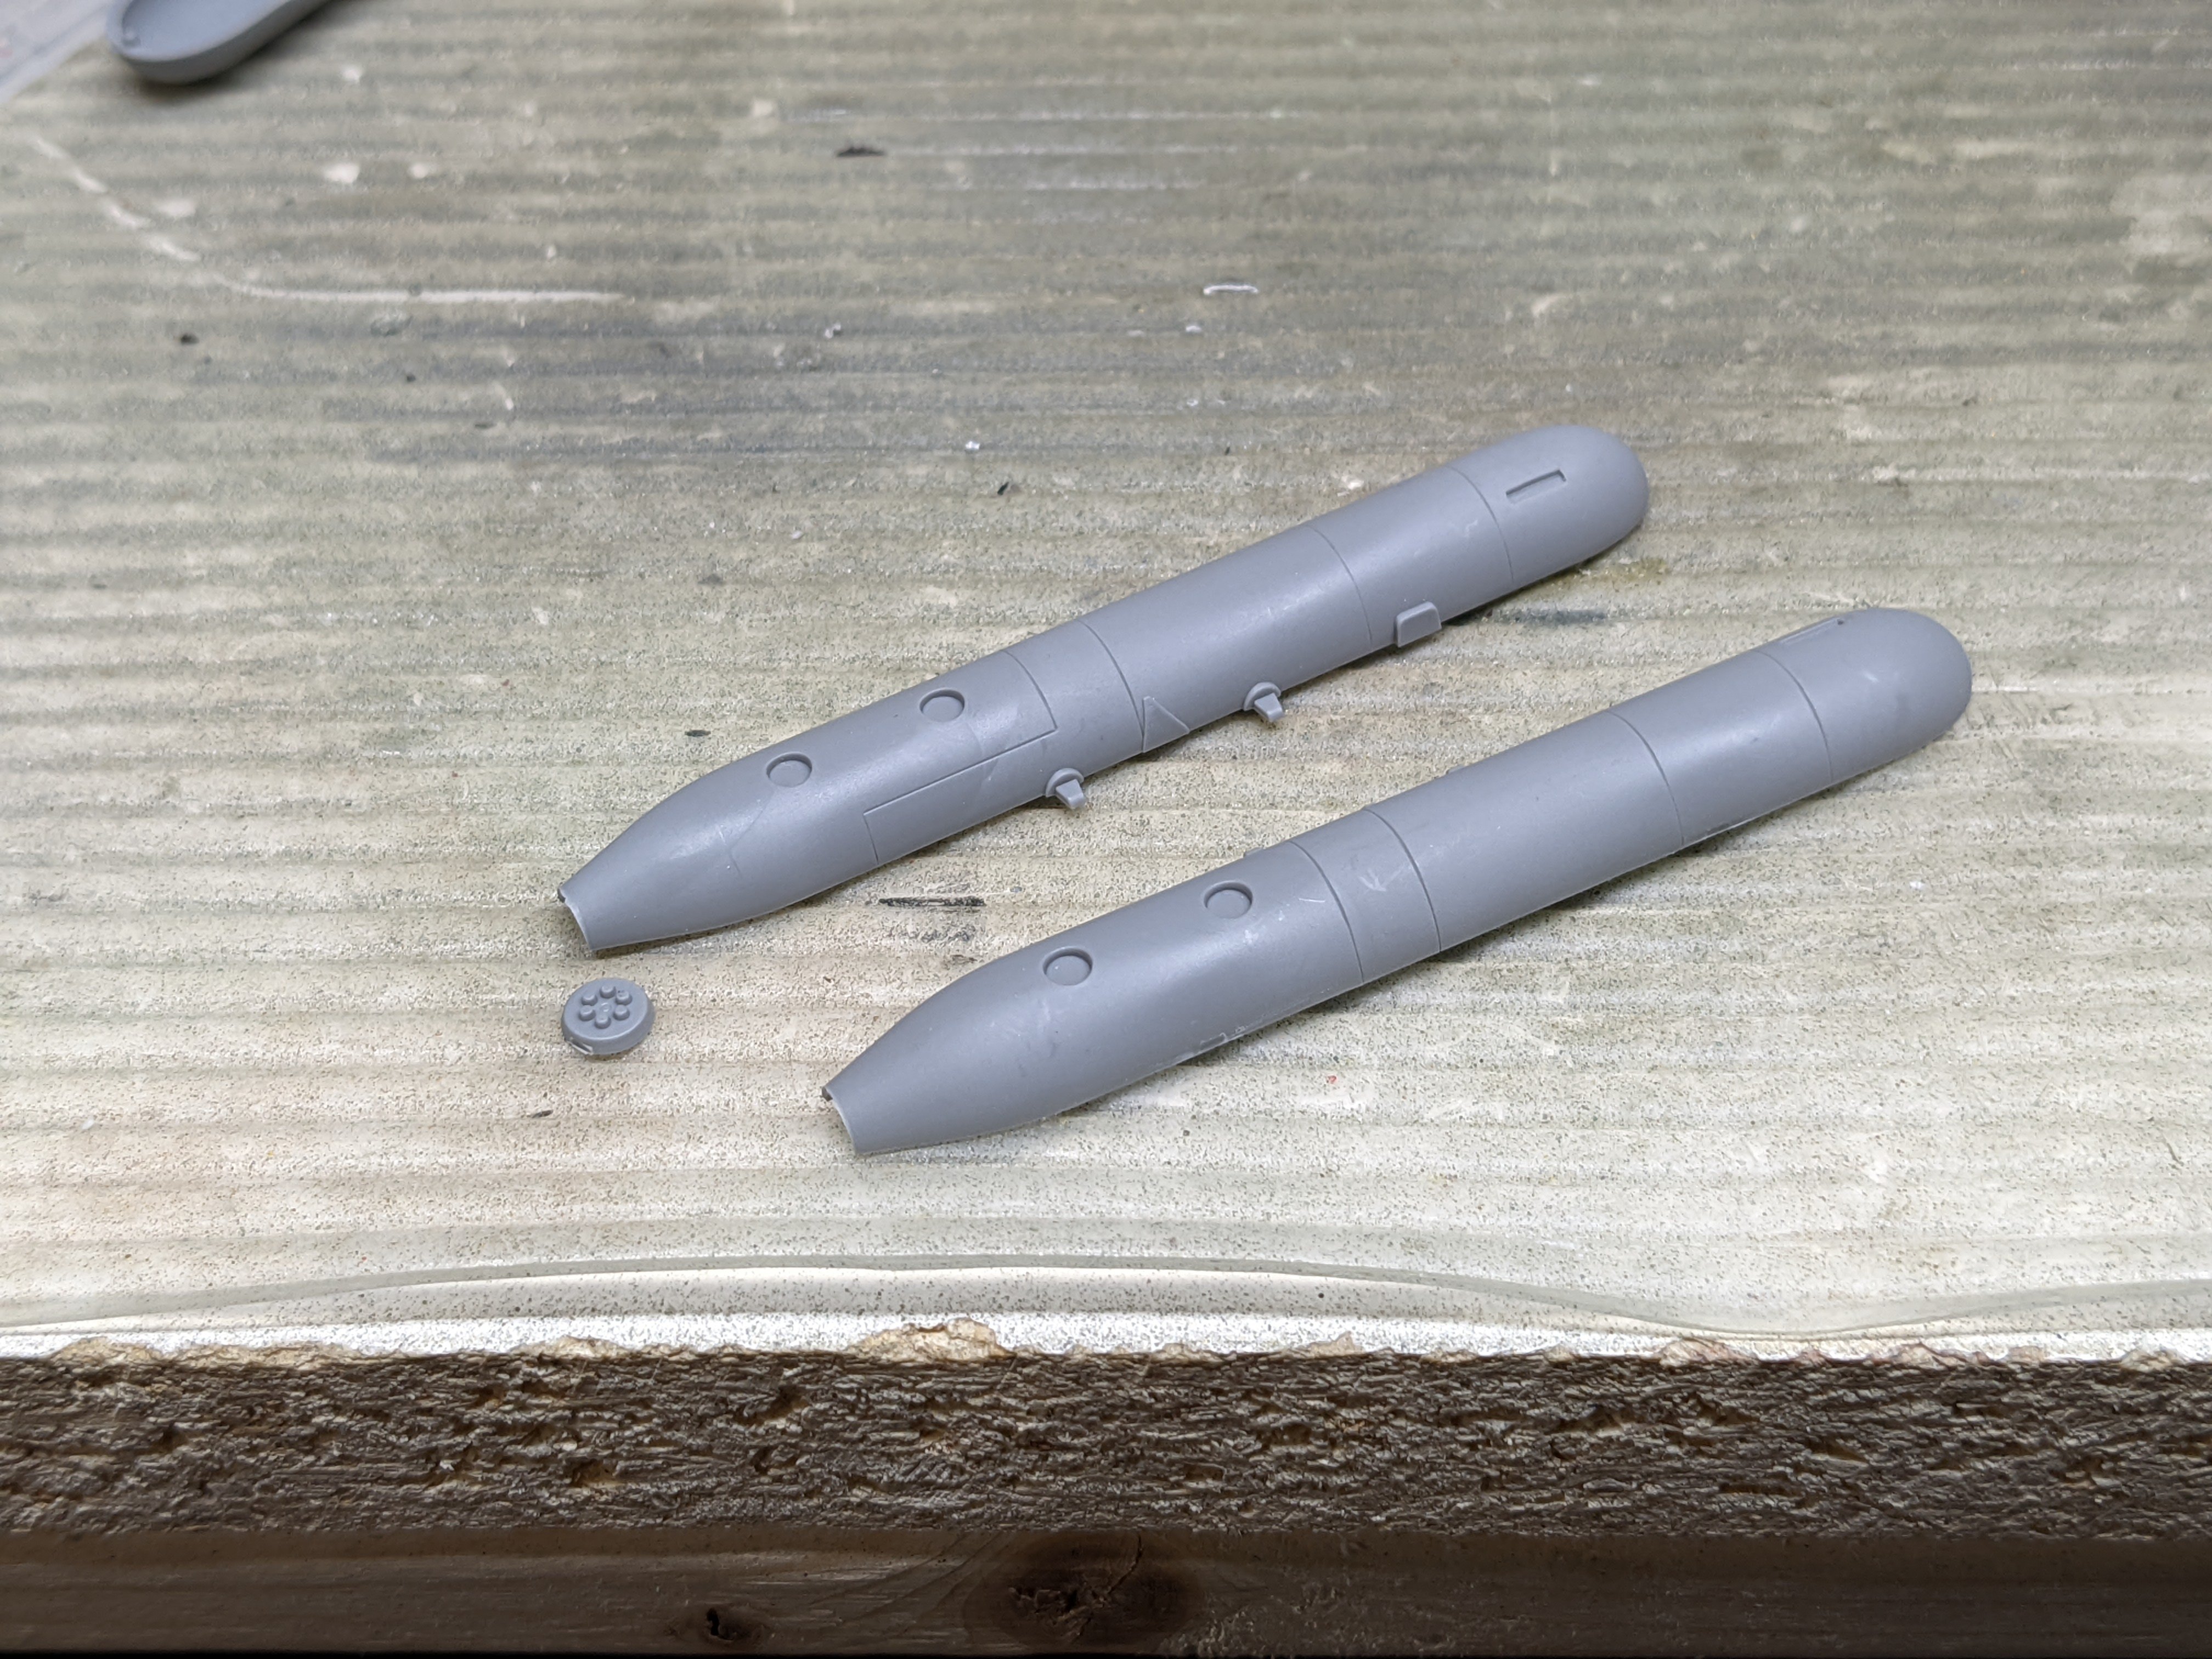
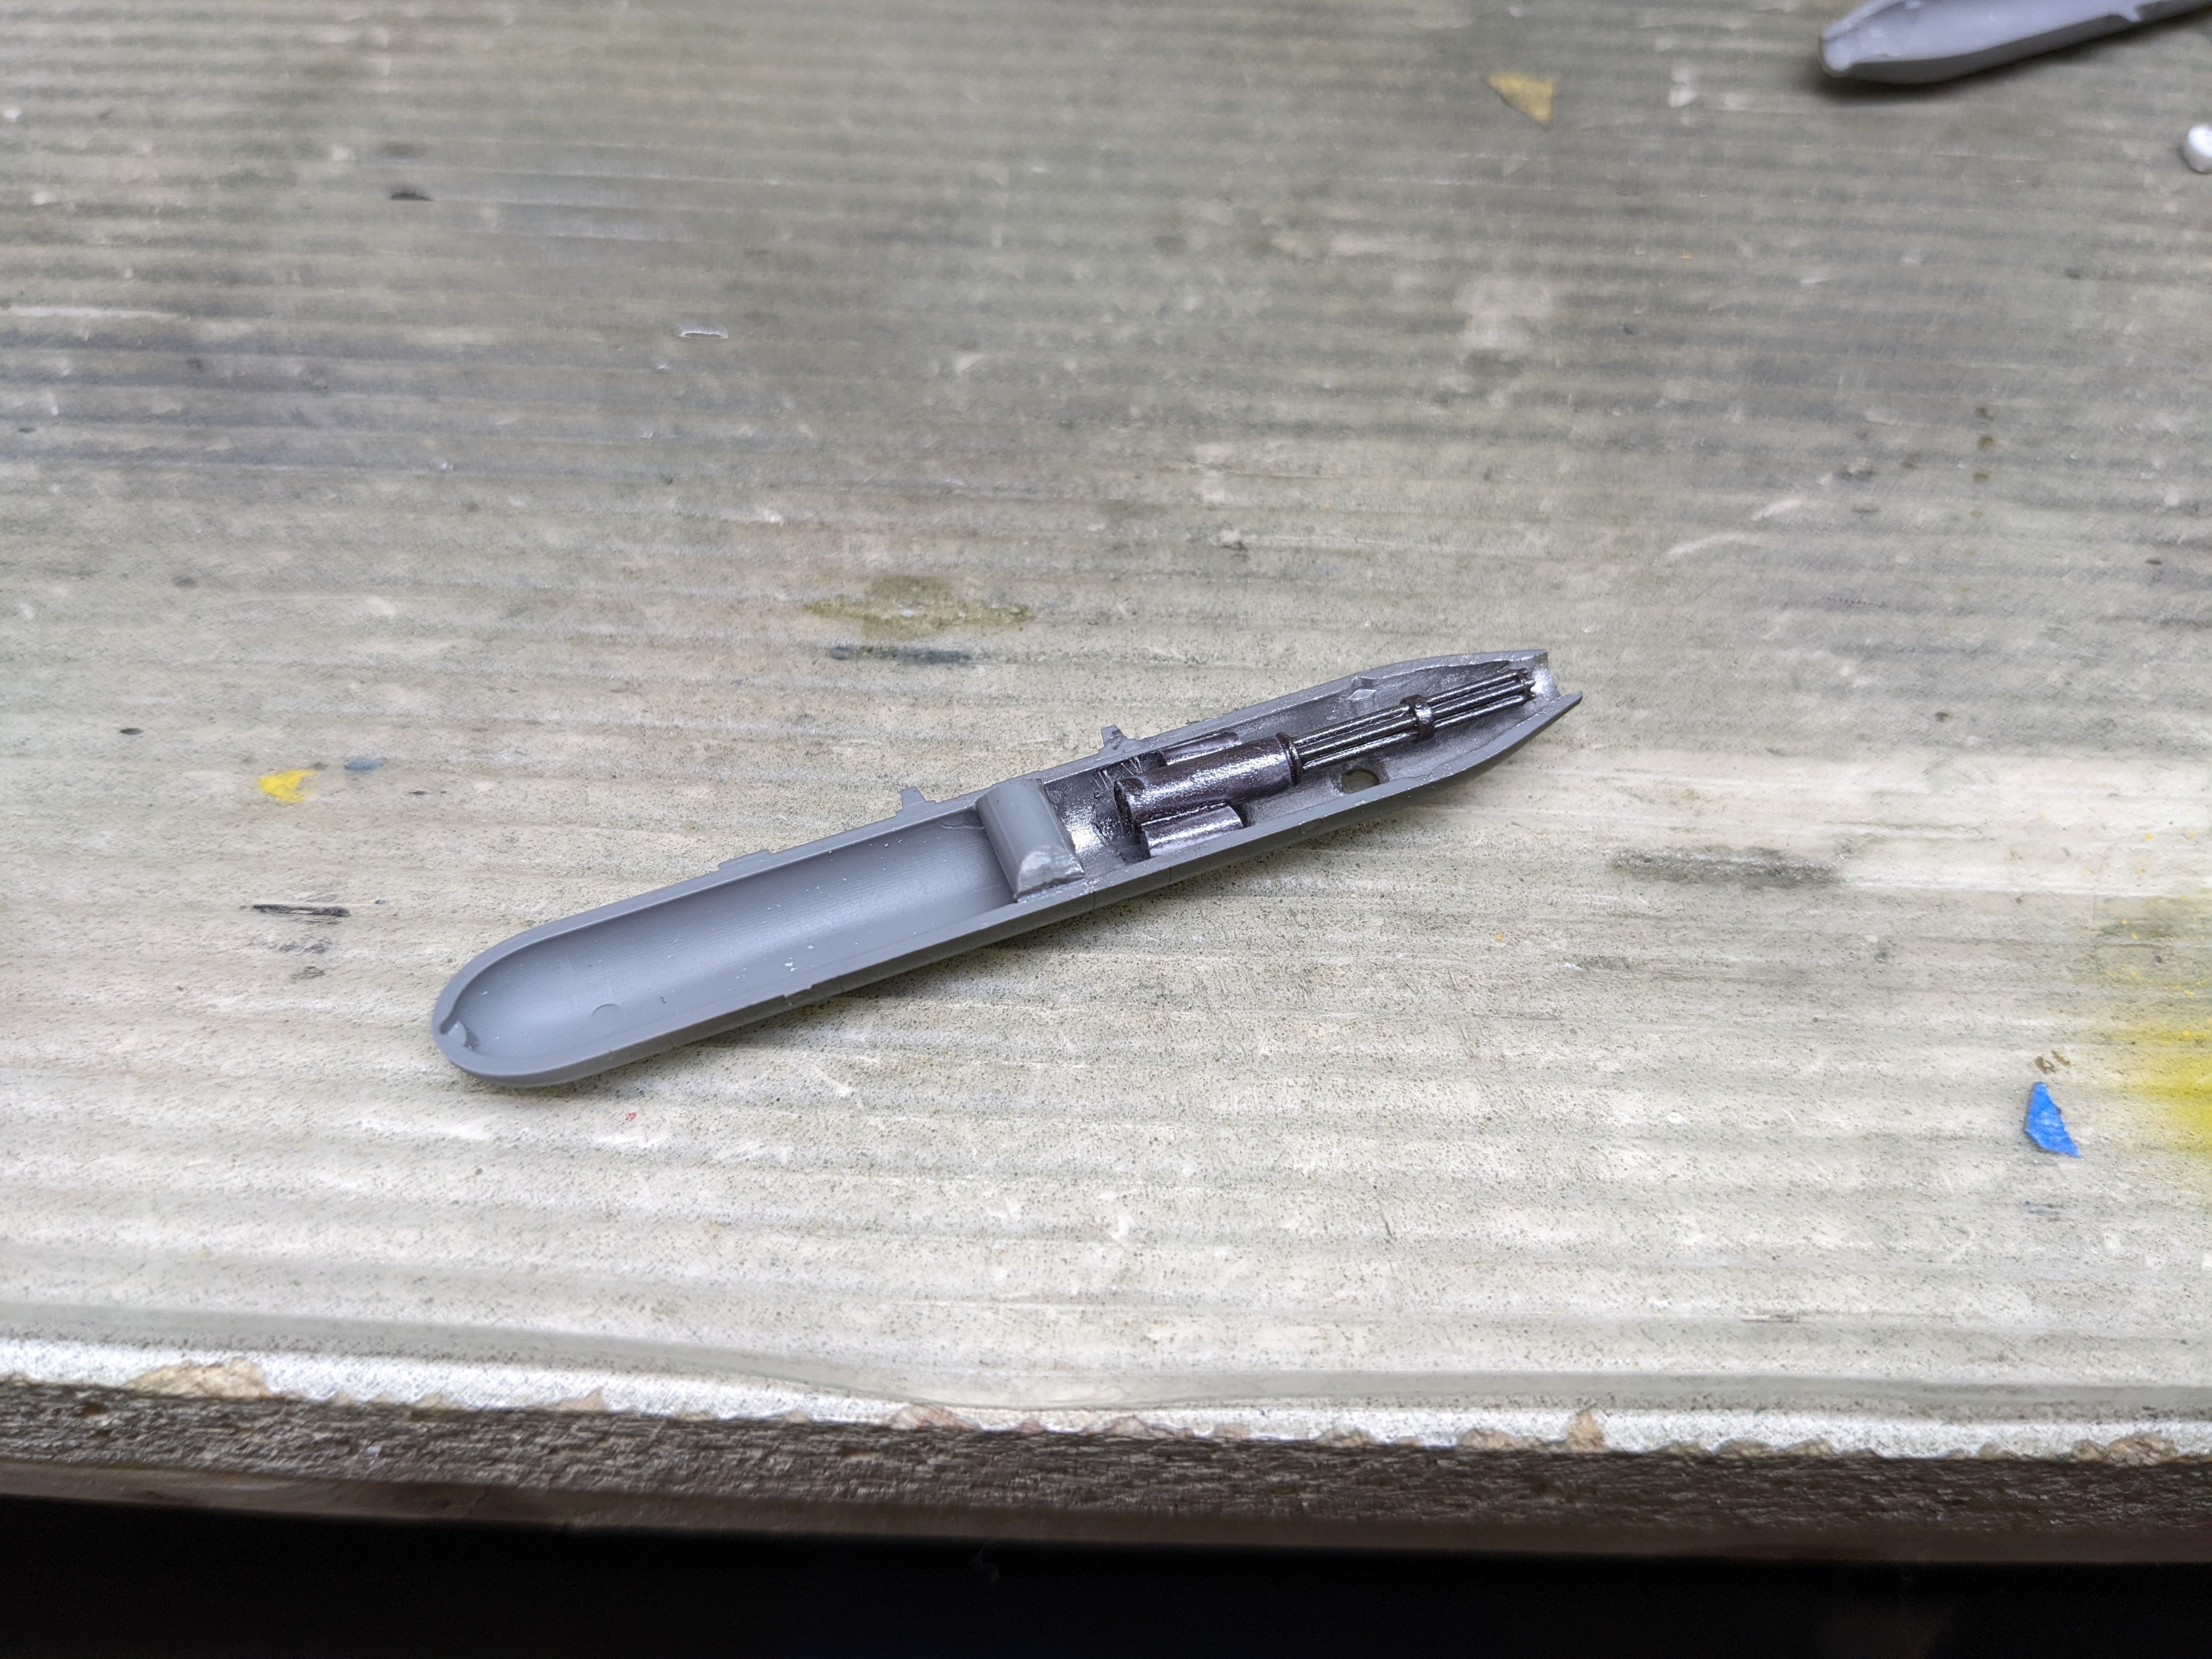
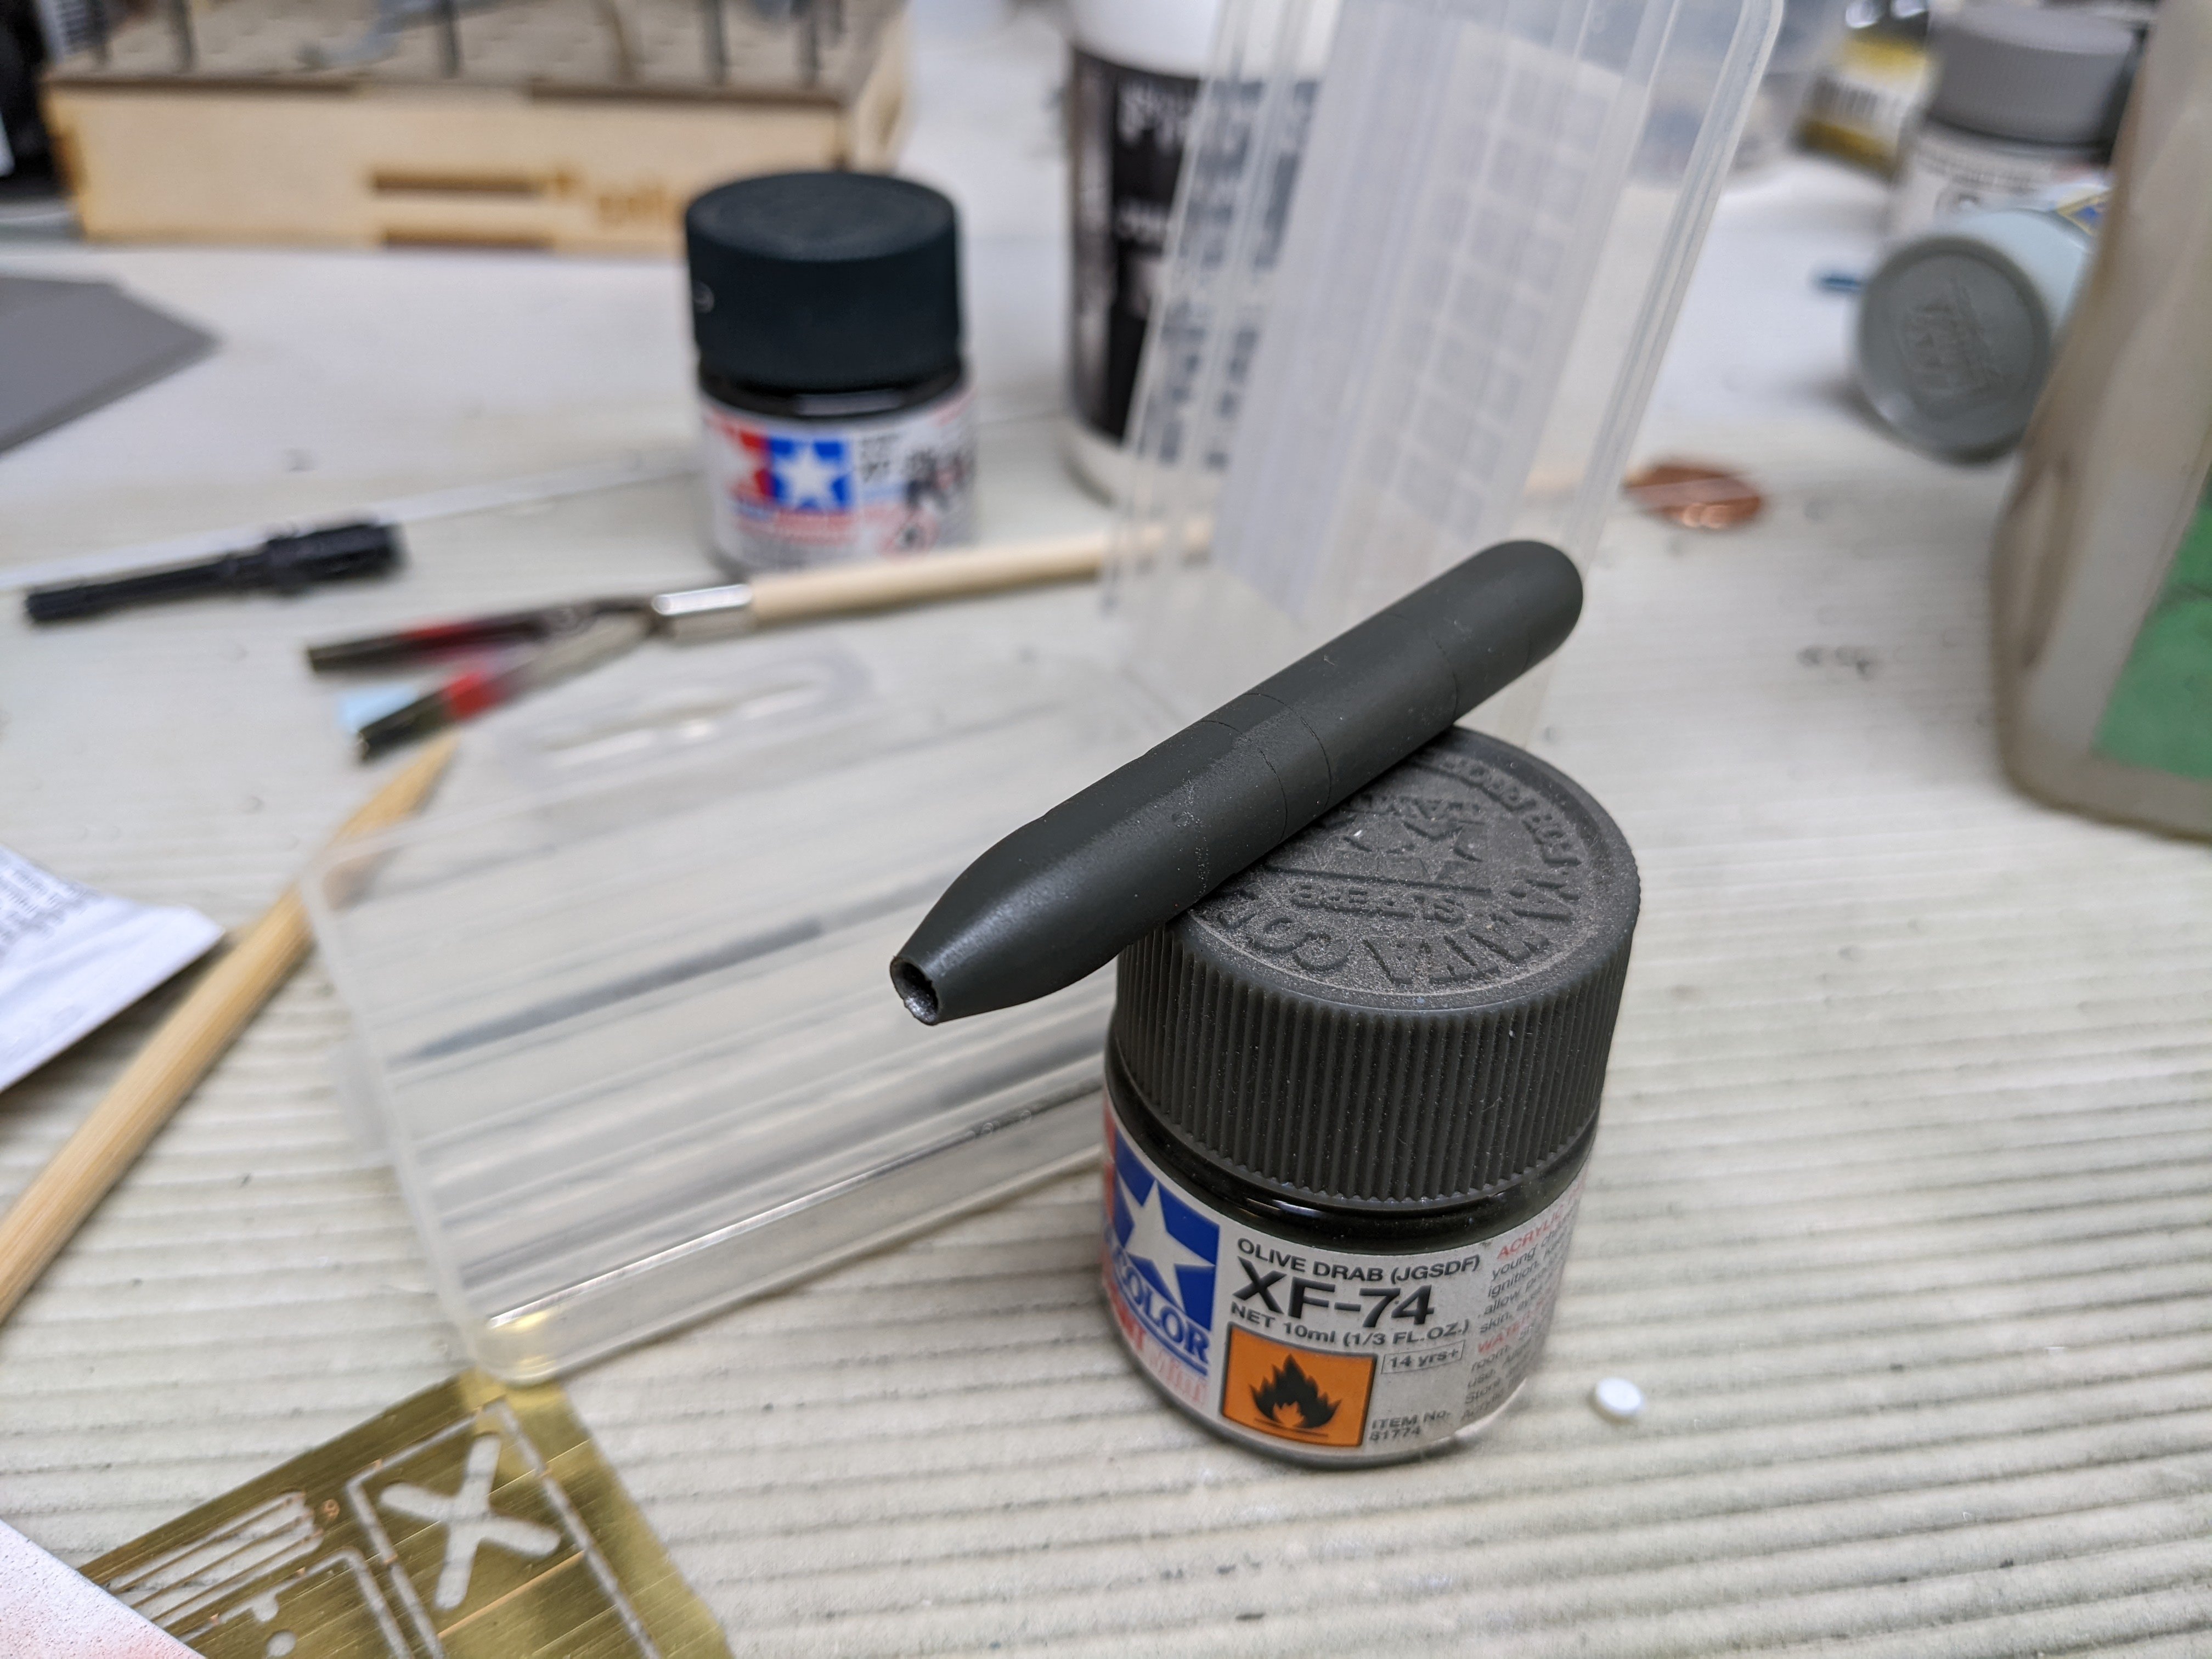
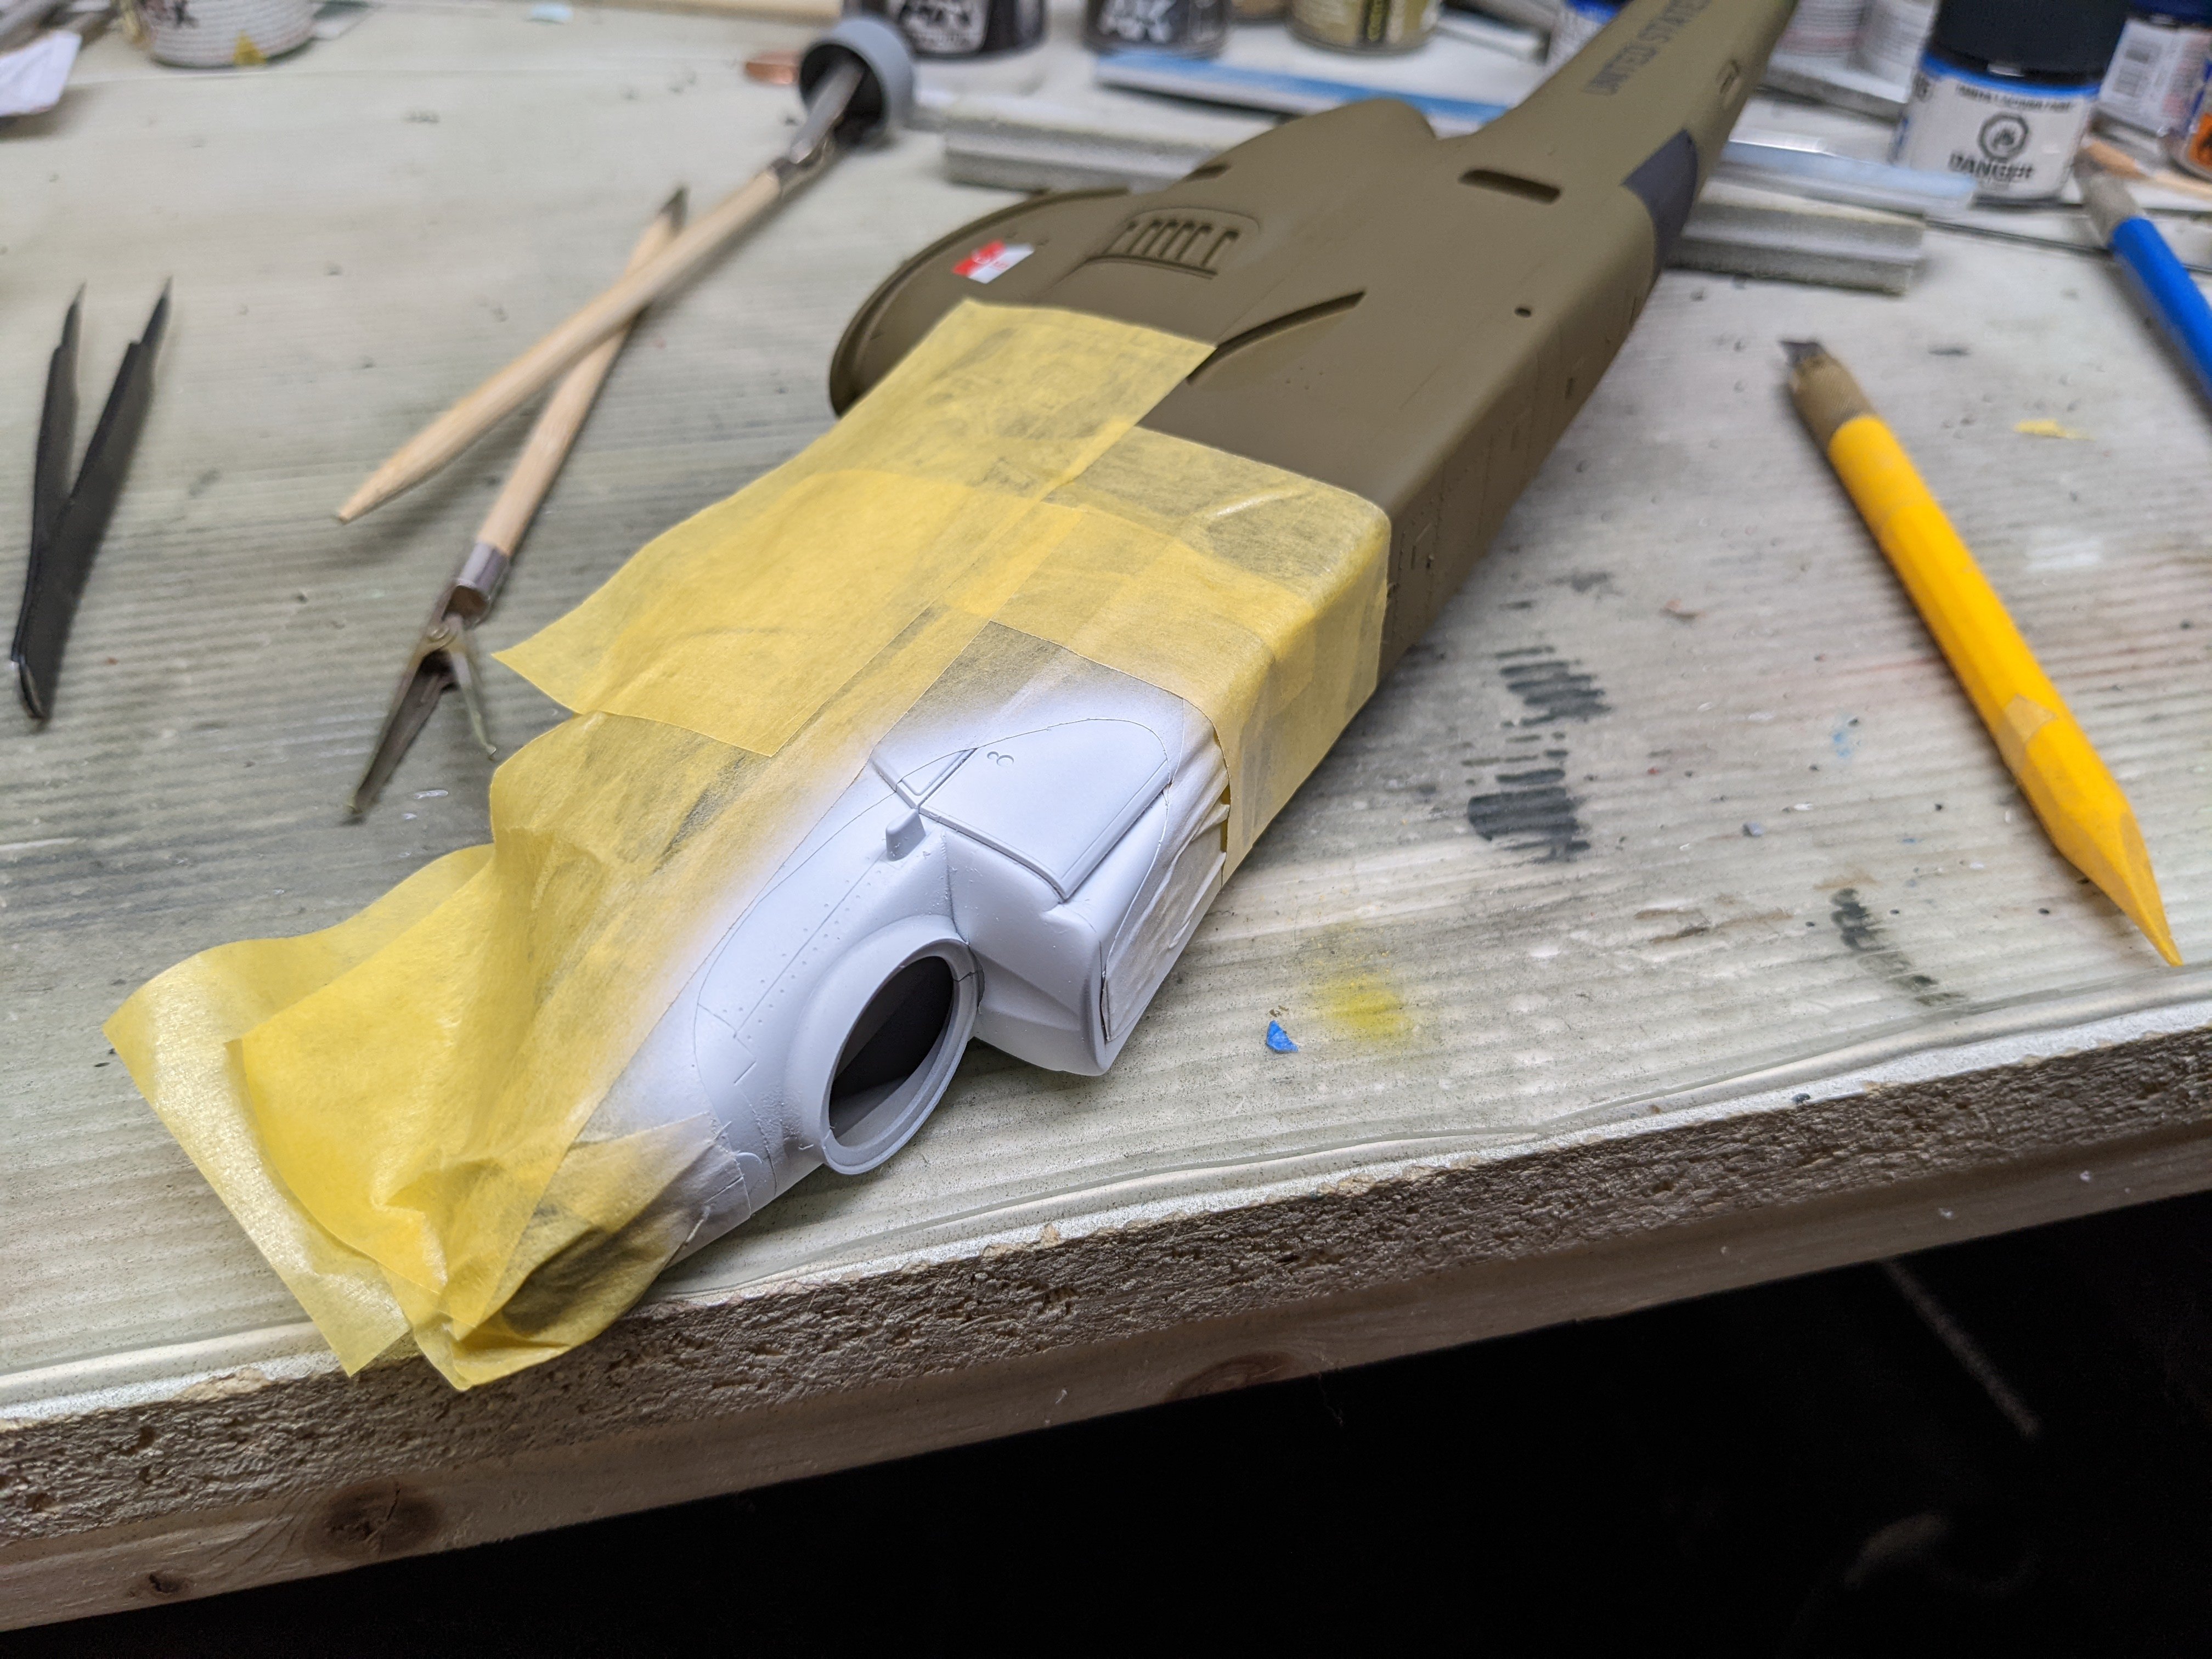
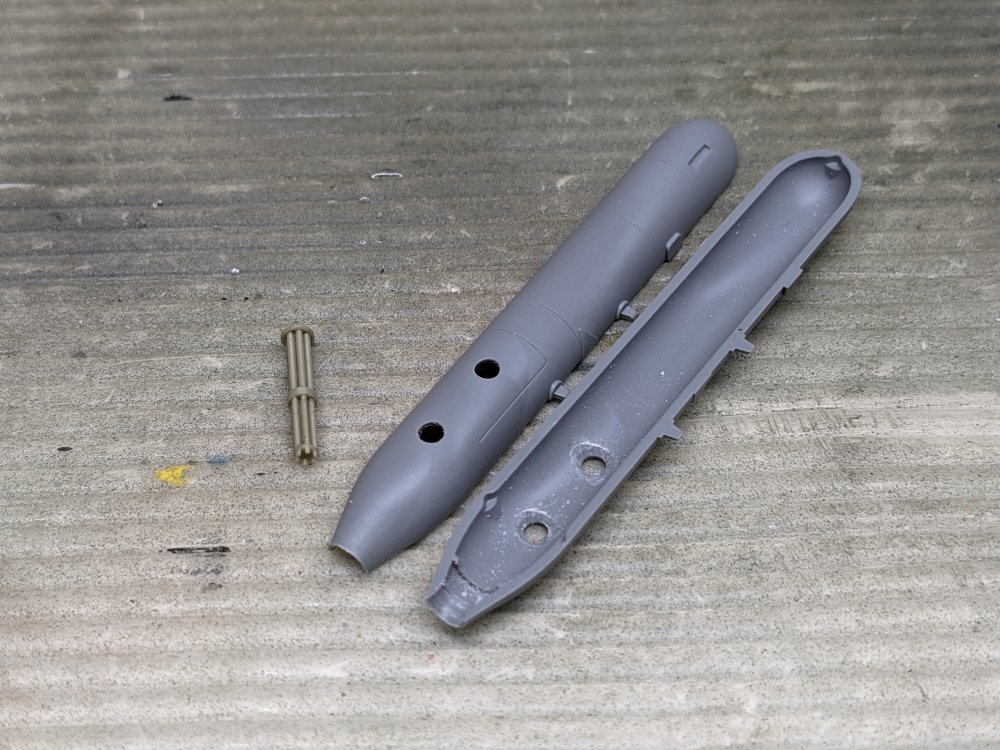
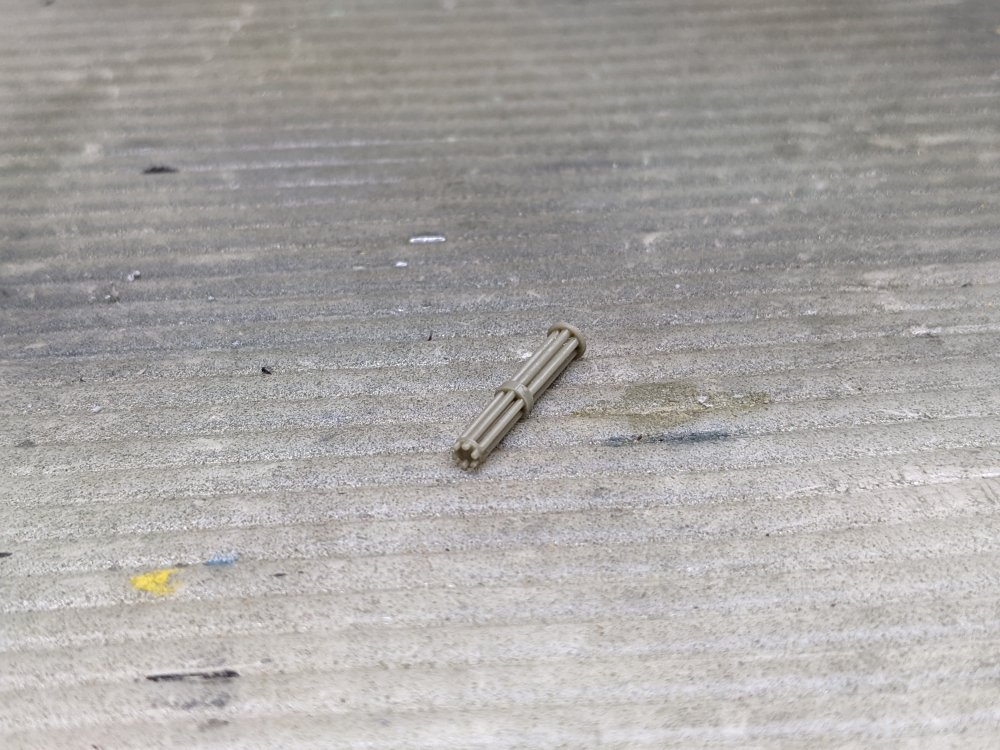
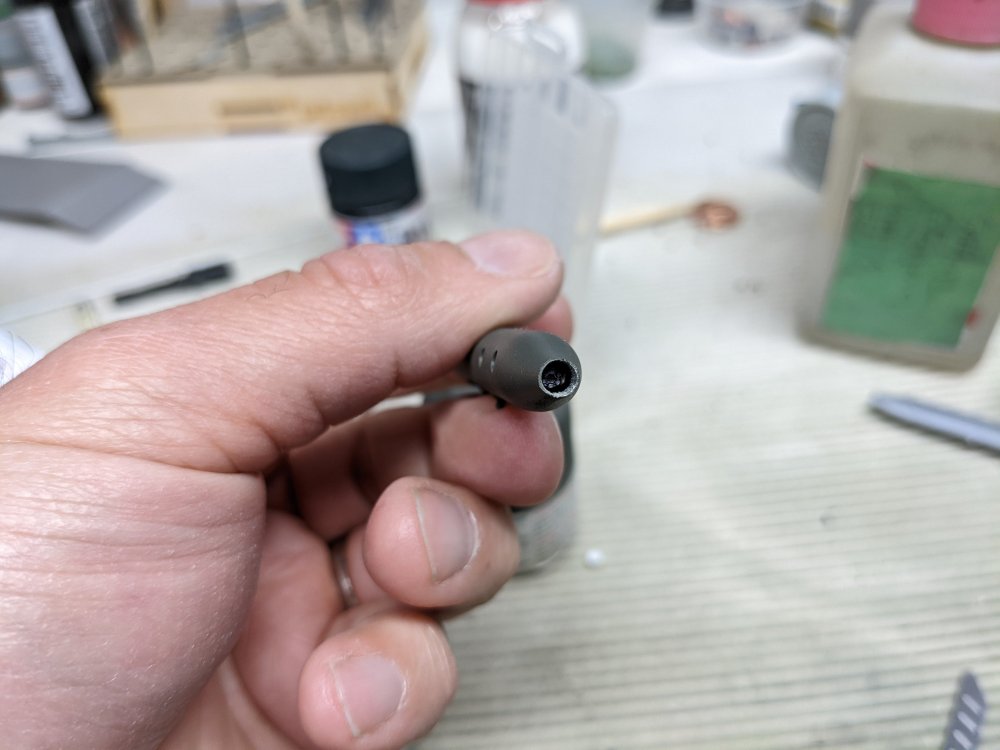
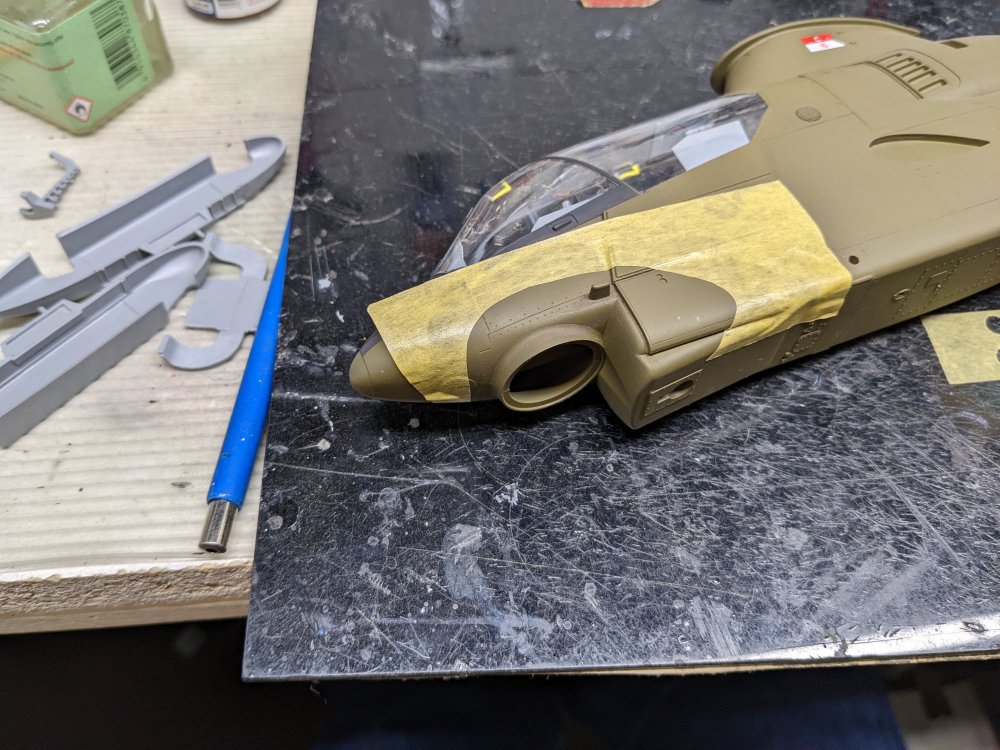
So looking at the weapons loadout chart in the kit, they suggest a podded M134 minigun on the inboard station opposite the M35 Vulcan. There's a pair of them in the kit but the details are a bit simple. I didn't want to go overboard but decided to add a couple details. I drilled out the circular vents on either side. For the minigun, I used a Live Resin M134 I had in the spares box. I mocked up a simple drive assembly, painted it and glued it in place. I then glued the halves together and gave it a coat of paint. You can just make out the barrel inside through both the vents and the front opening. So a quick improvement. Metallic Details make a nice 3D printed set that have a removable front cover that shows the full minigun underneath. I'll probably use that on my Special Hobby kit when the time comes.


-
Thanks guys! This kit is going together quite nicely and smoothly too. Phil, I'd definitely recommend it if you've never built a help before.
-
 Fantastic build Tom. The replacement canopy for my B-24 arrived last week so I'm hoping to get back to it soon. Carl
- 9 replies
-
- 1
-

-
- hobby boss
- b-24d
- (and 1 more)
-
What is on your bench right now ? Share a picture :)
BlrwestSiR replied to Martinnfb's topic in Modelling Discussion
Something different. Trying to get the weathering and shading just right is proving to be a challenge.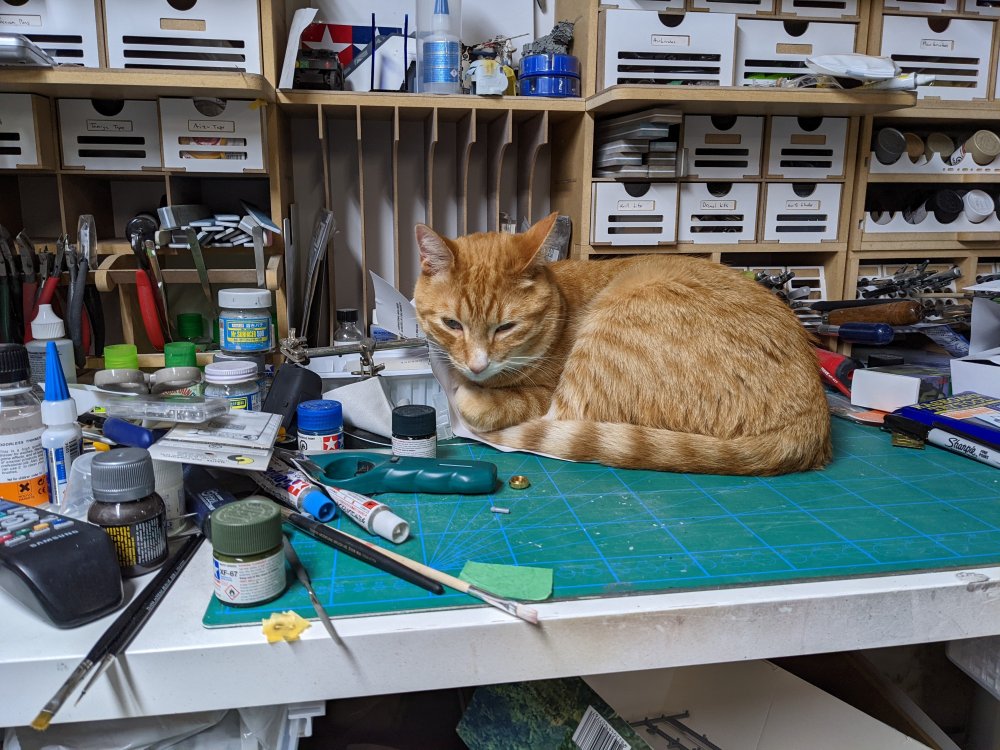
-
Cheetah C conversion
BlrwestSiR replied to Mirage's topic in LSM 1/32 and Larger Aircraft Ready for Inspection
Really nice build. Is that the Scaleworx conversion set or did you scratch build it? Carl -
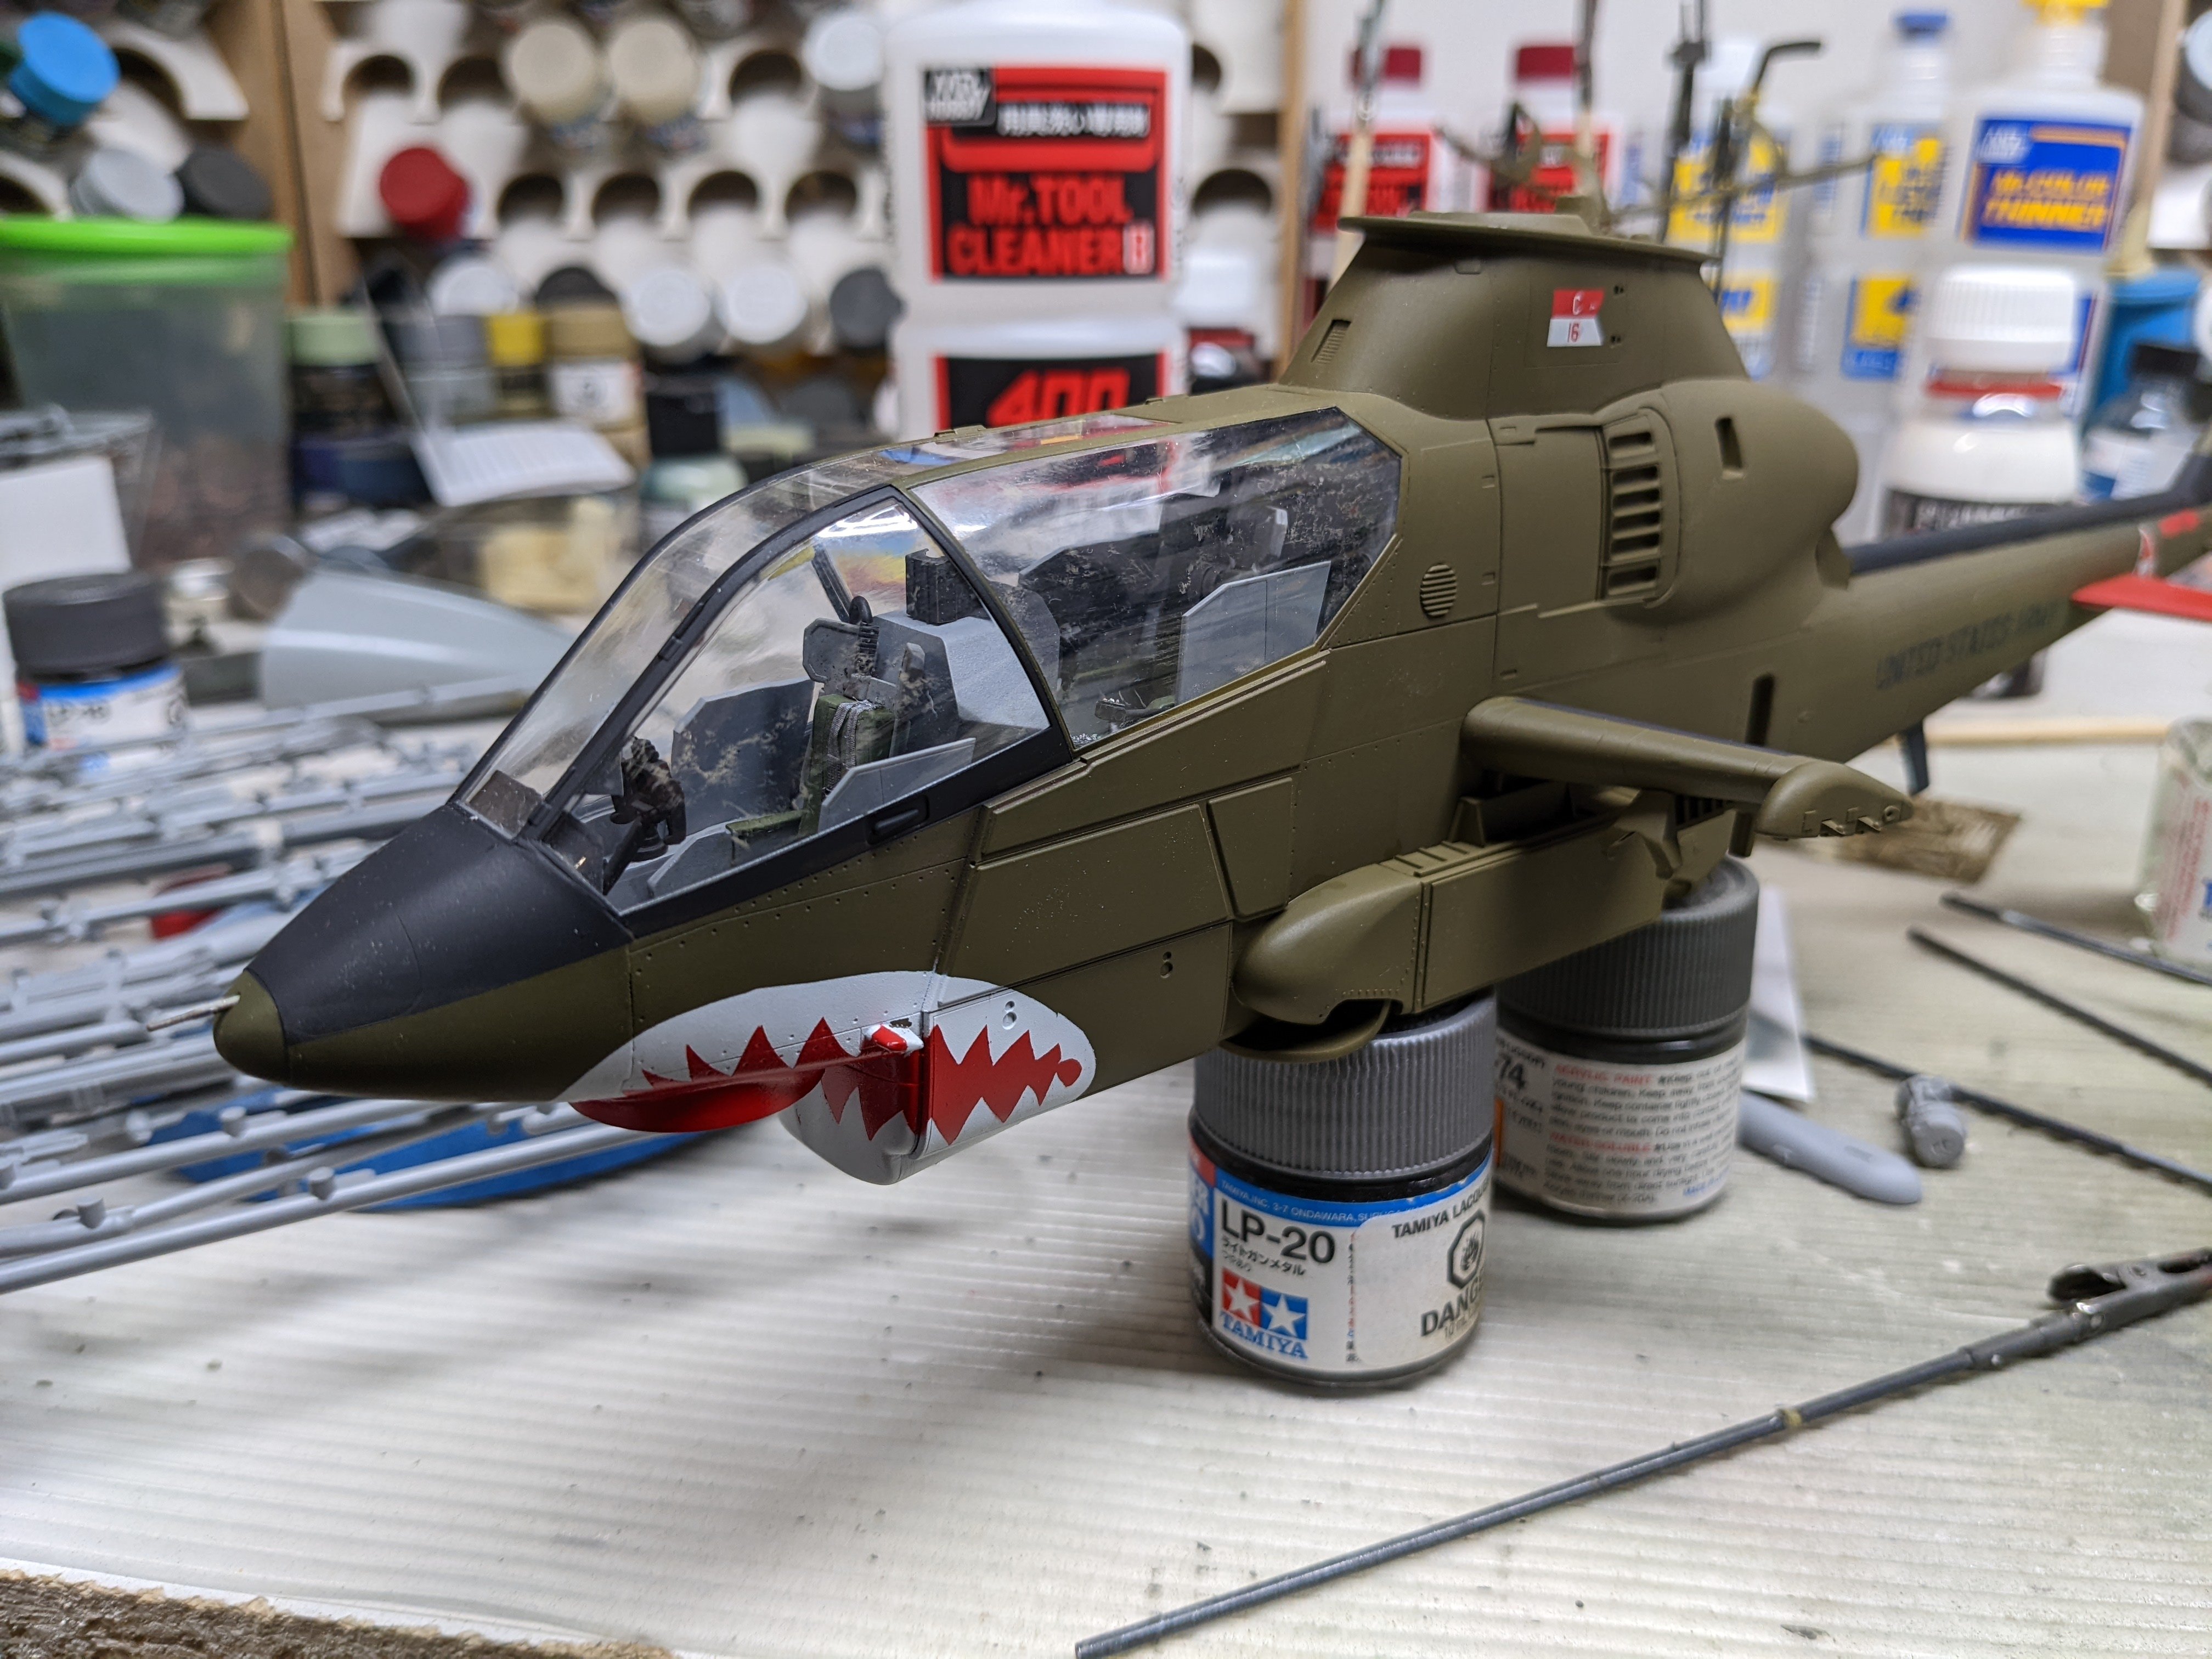
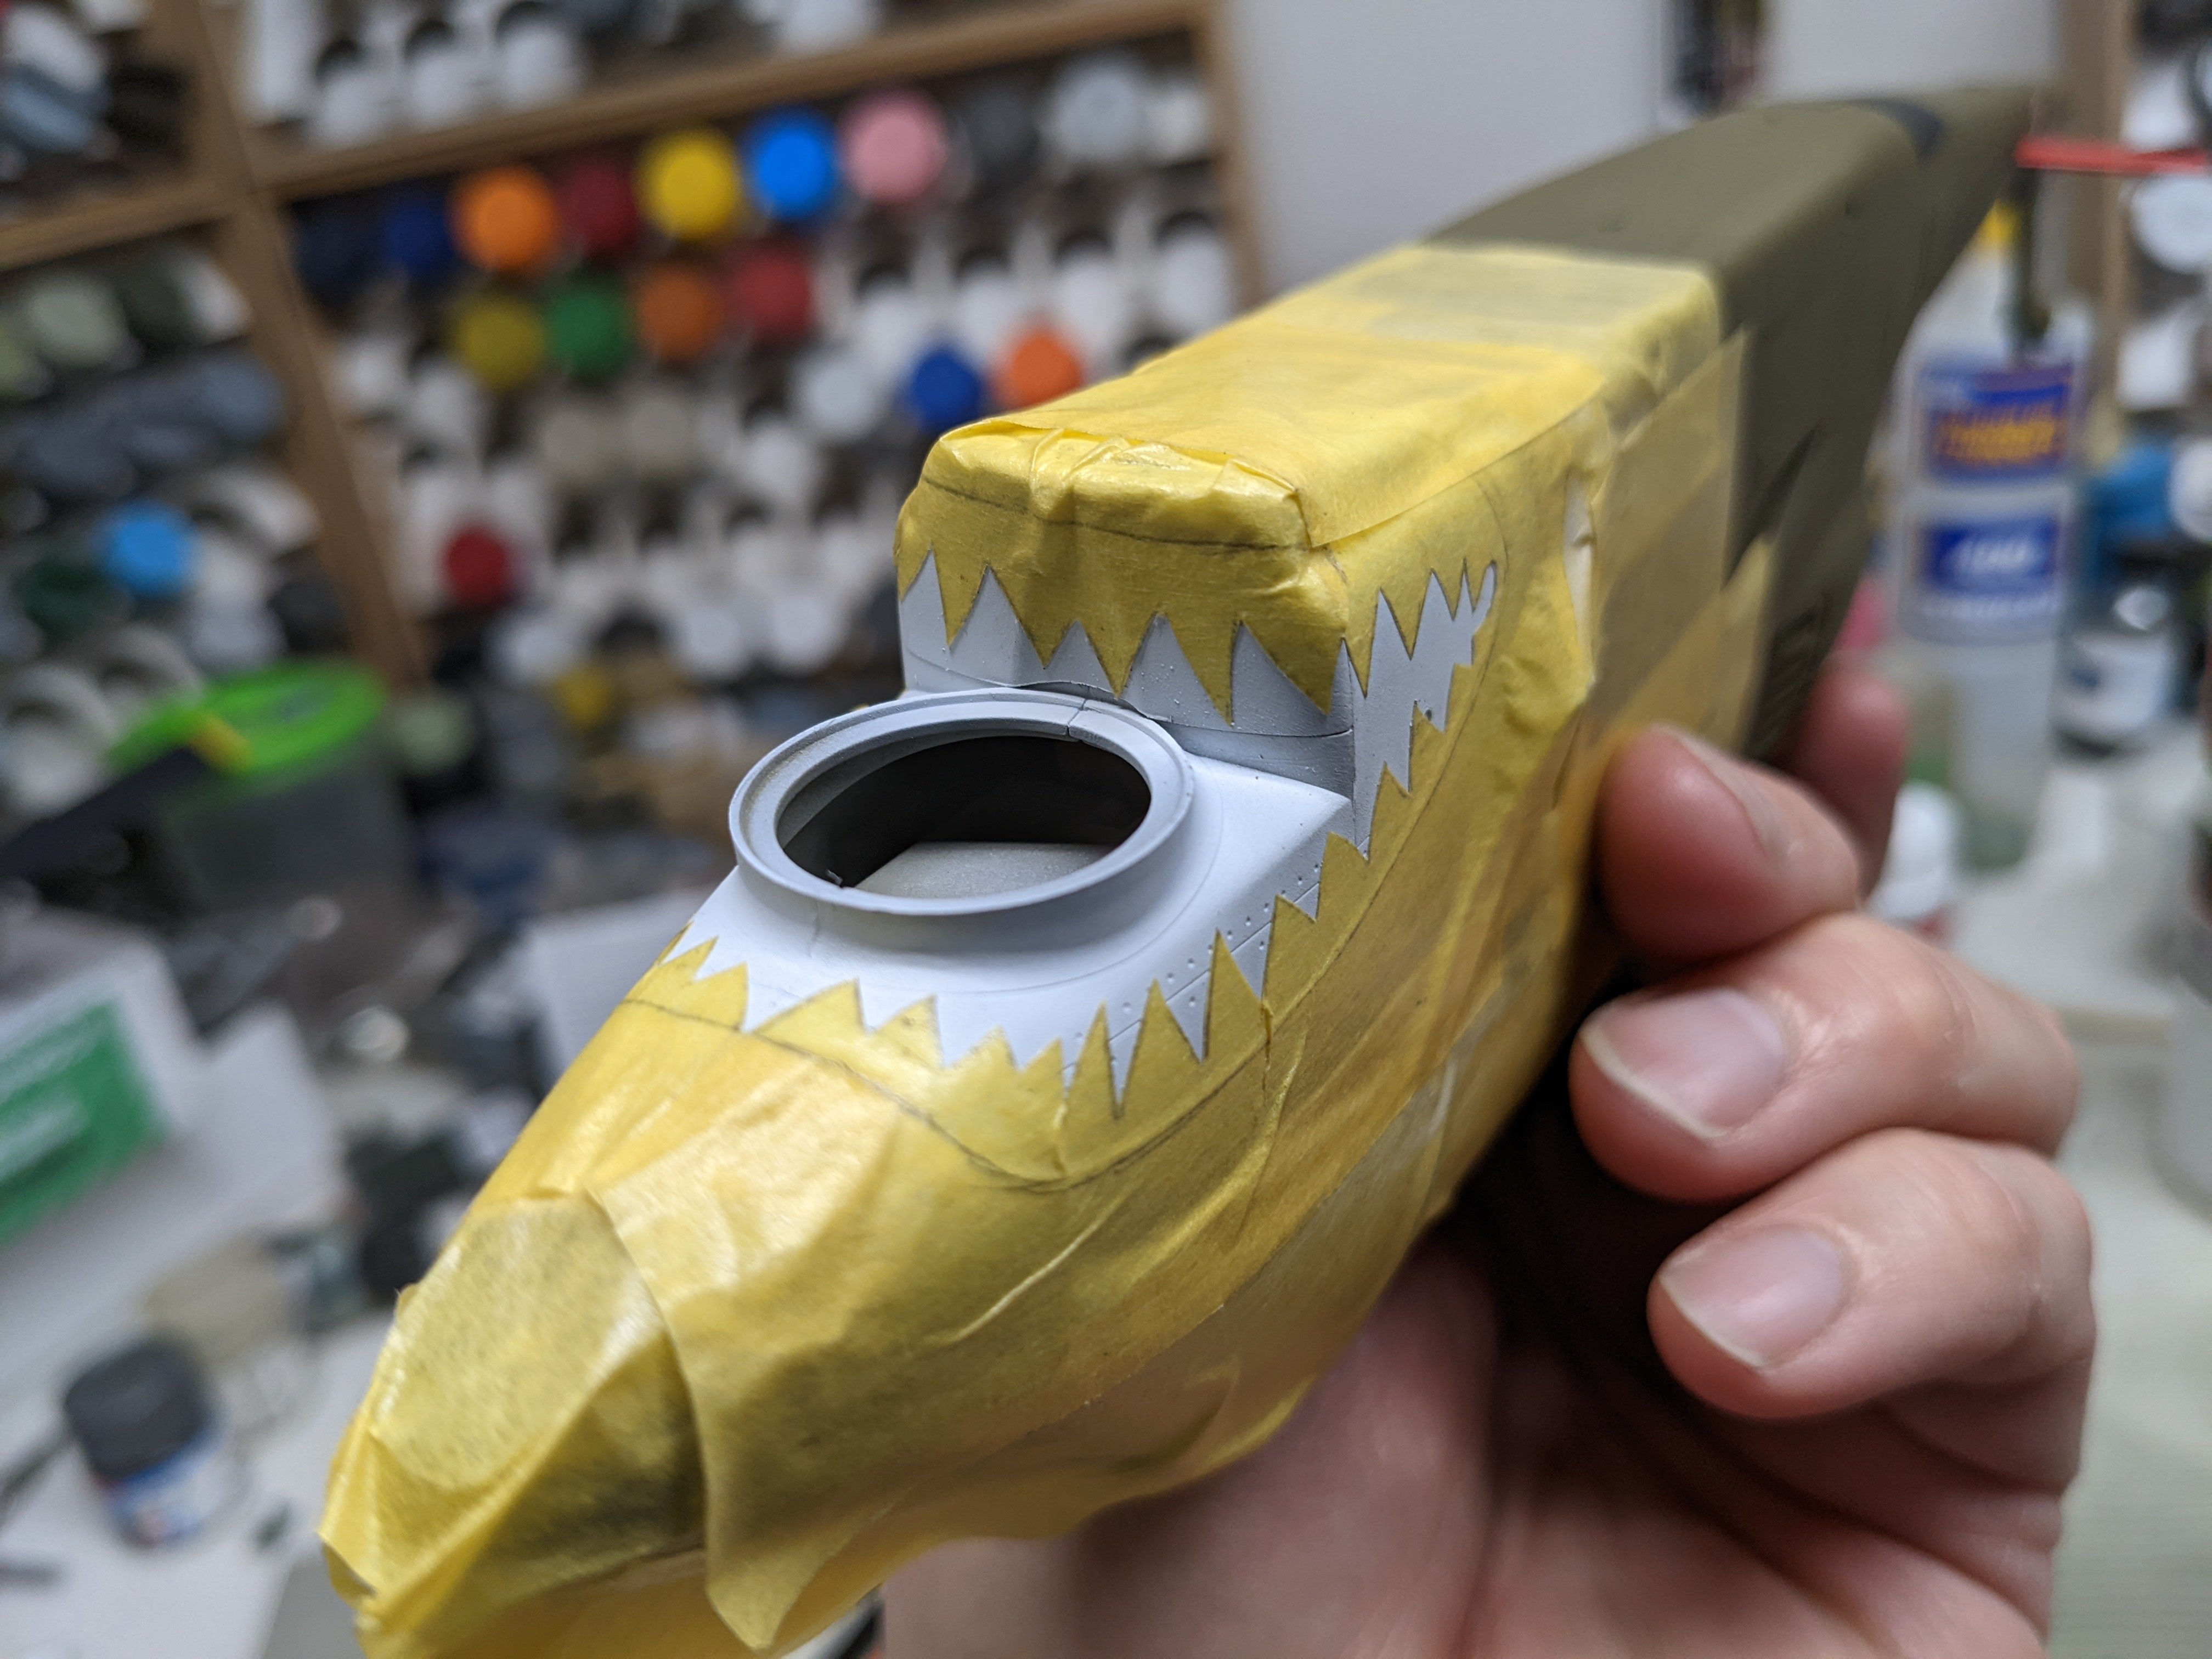
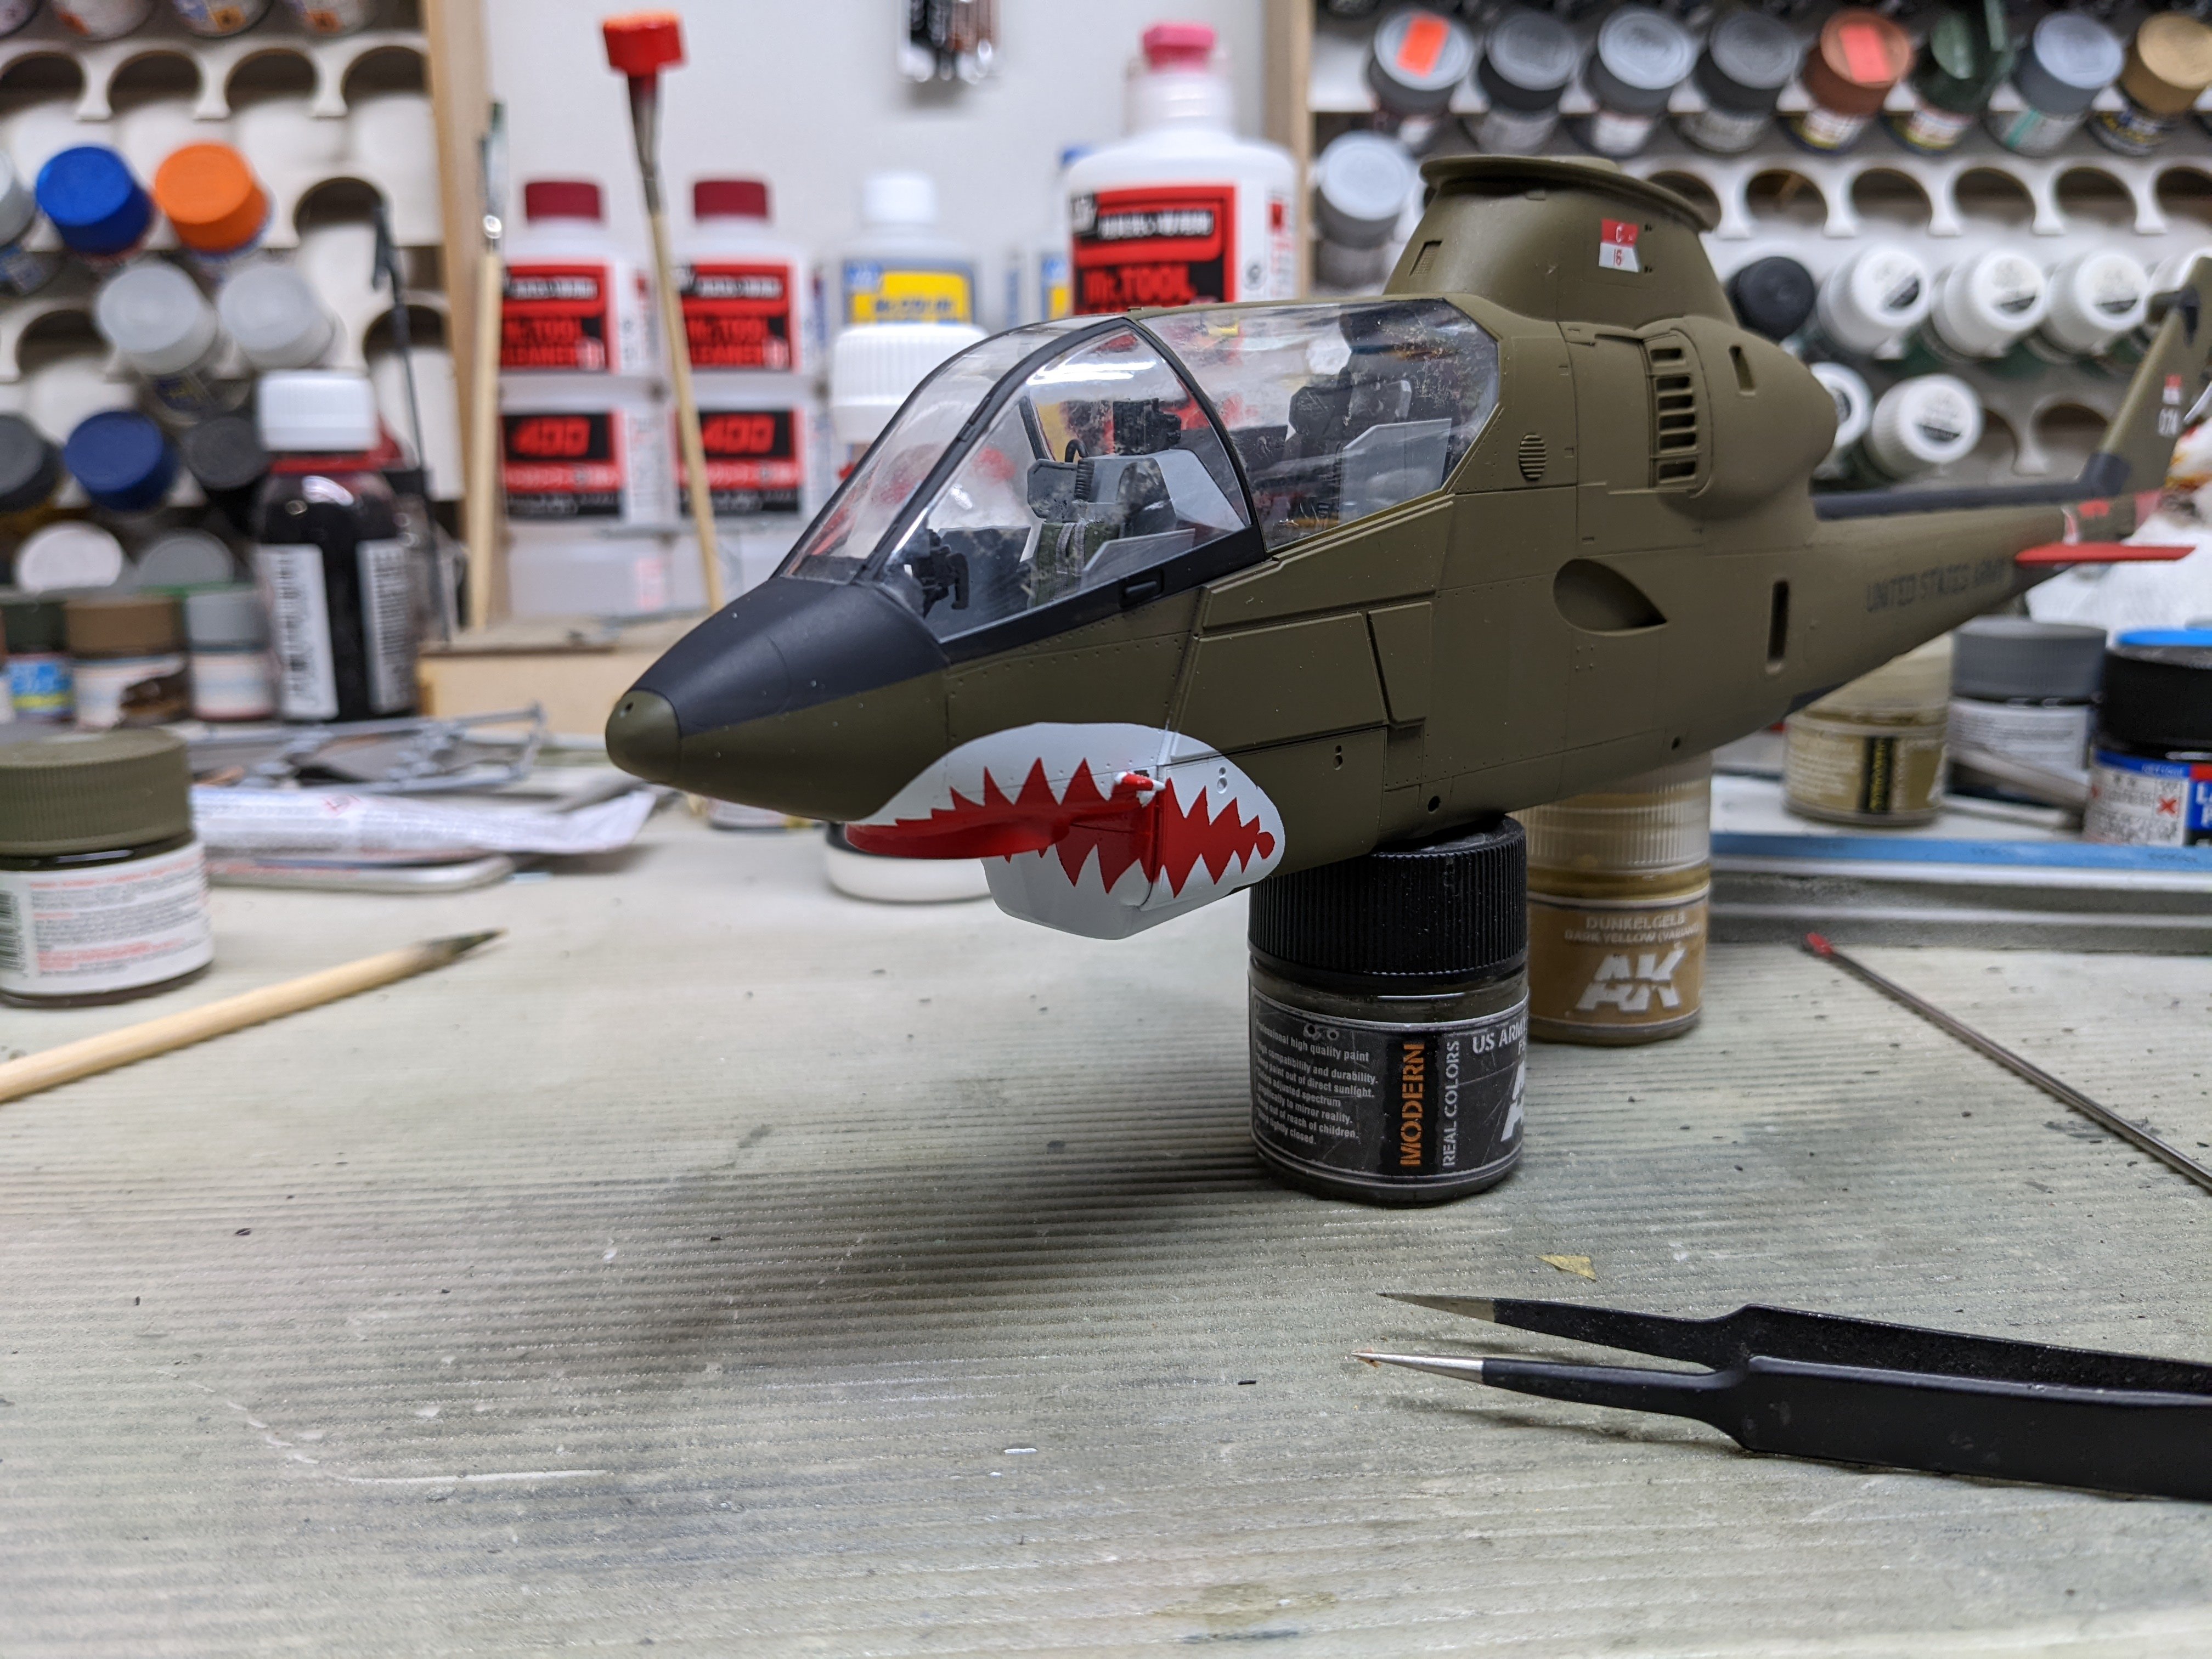
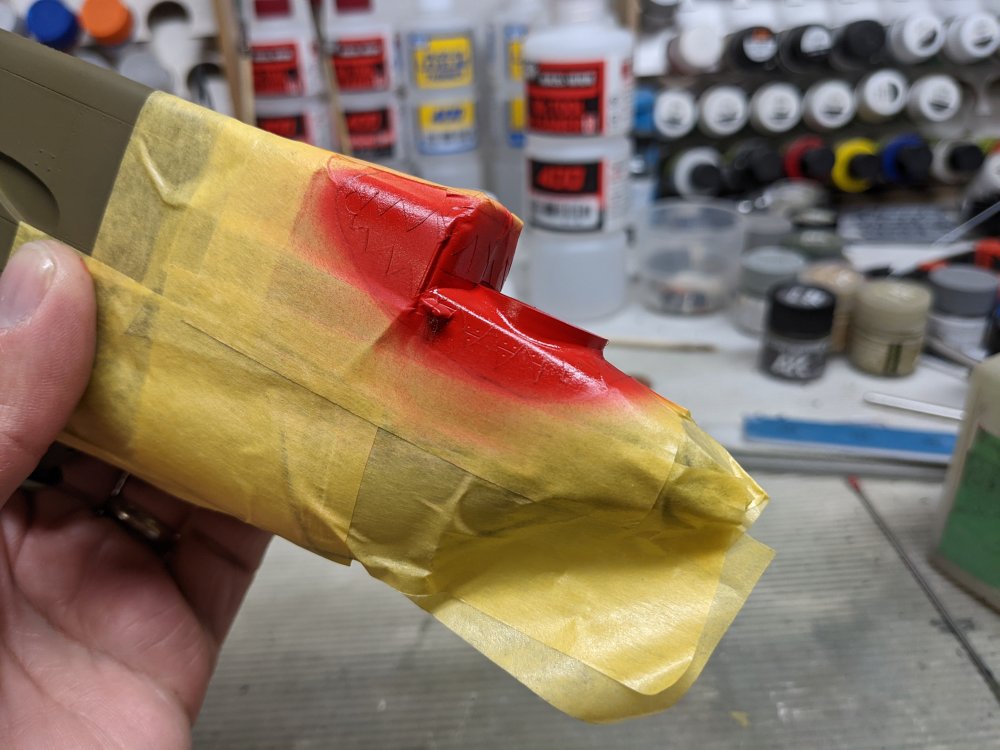
I got the red onto the shark mouth. First I traced and copied the shark teeth. The turret has some too. Then I hit it with the red. Moment of truth.


-
Thanks John! This kit is going together very nicely.
-
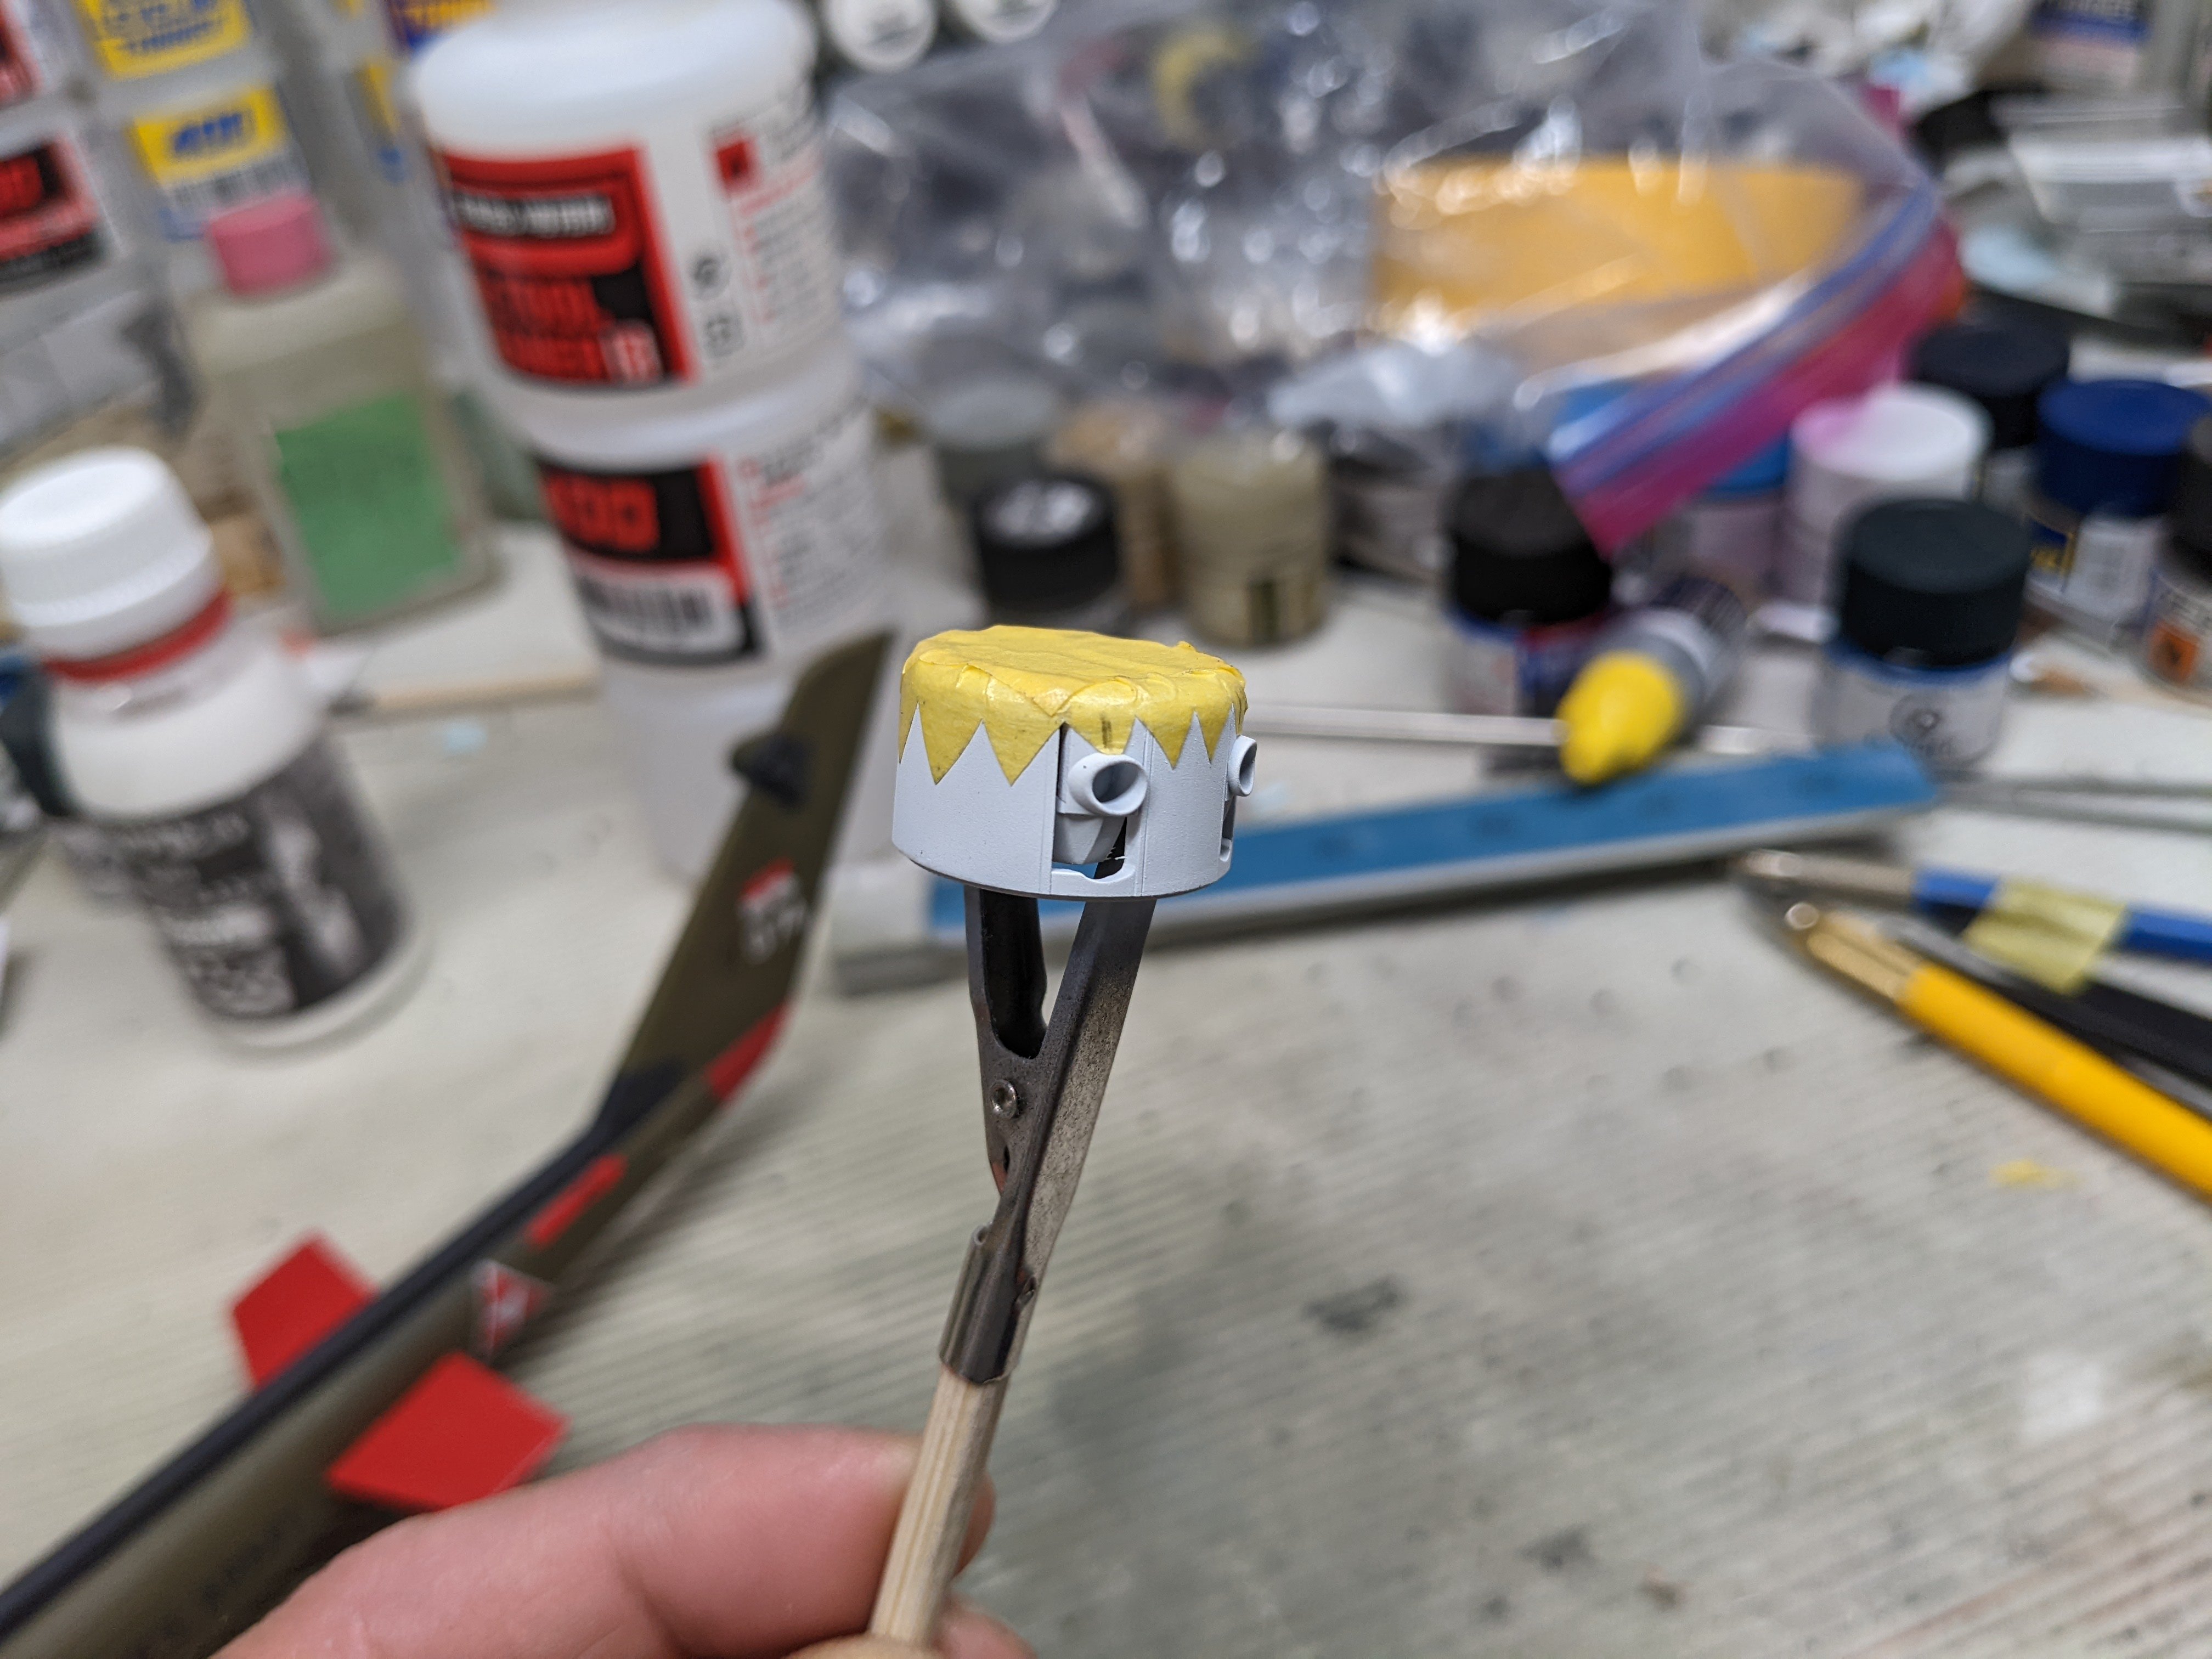
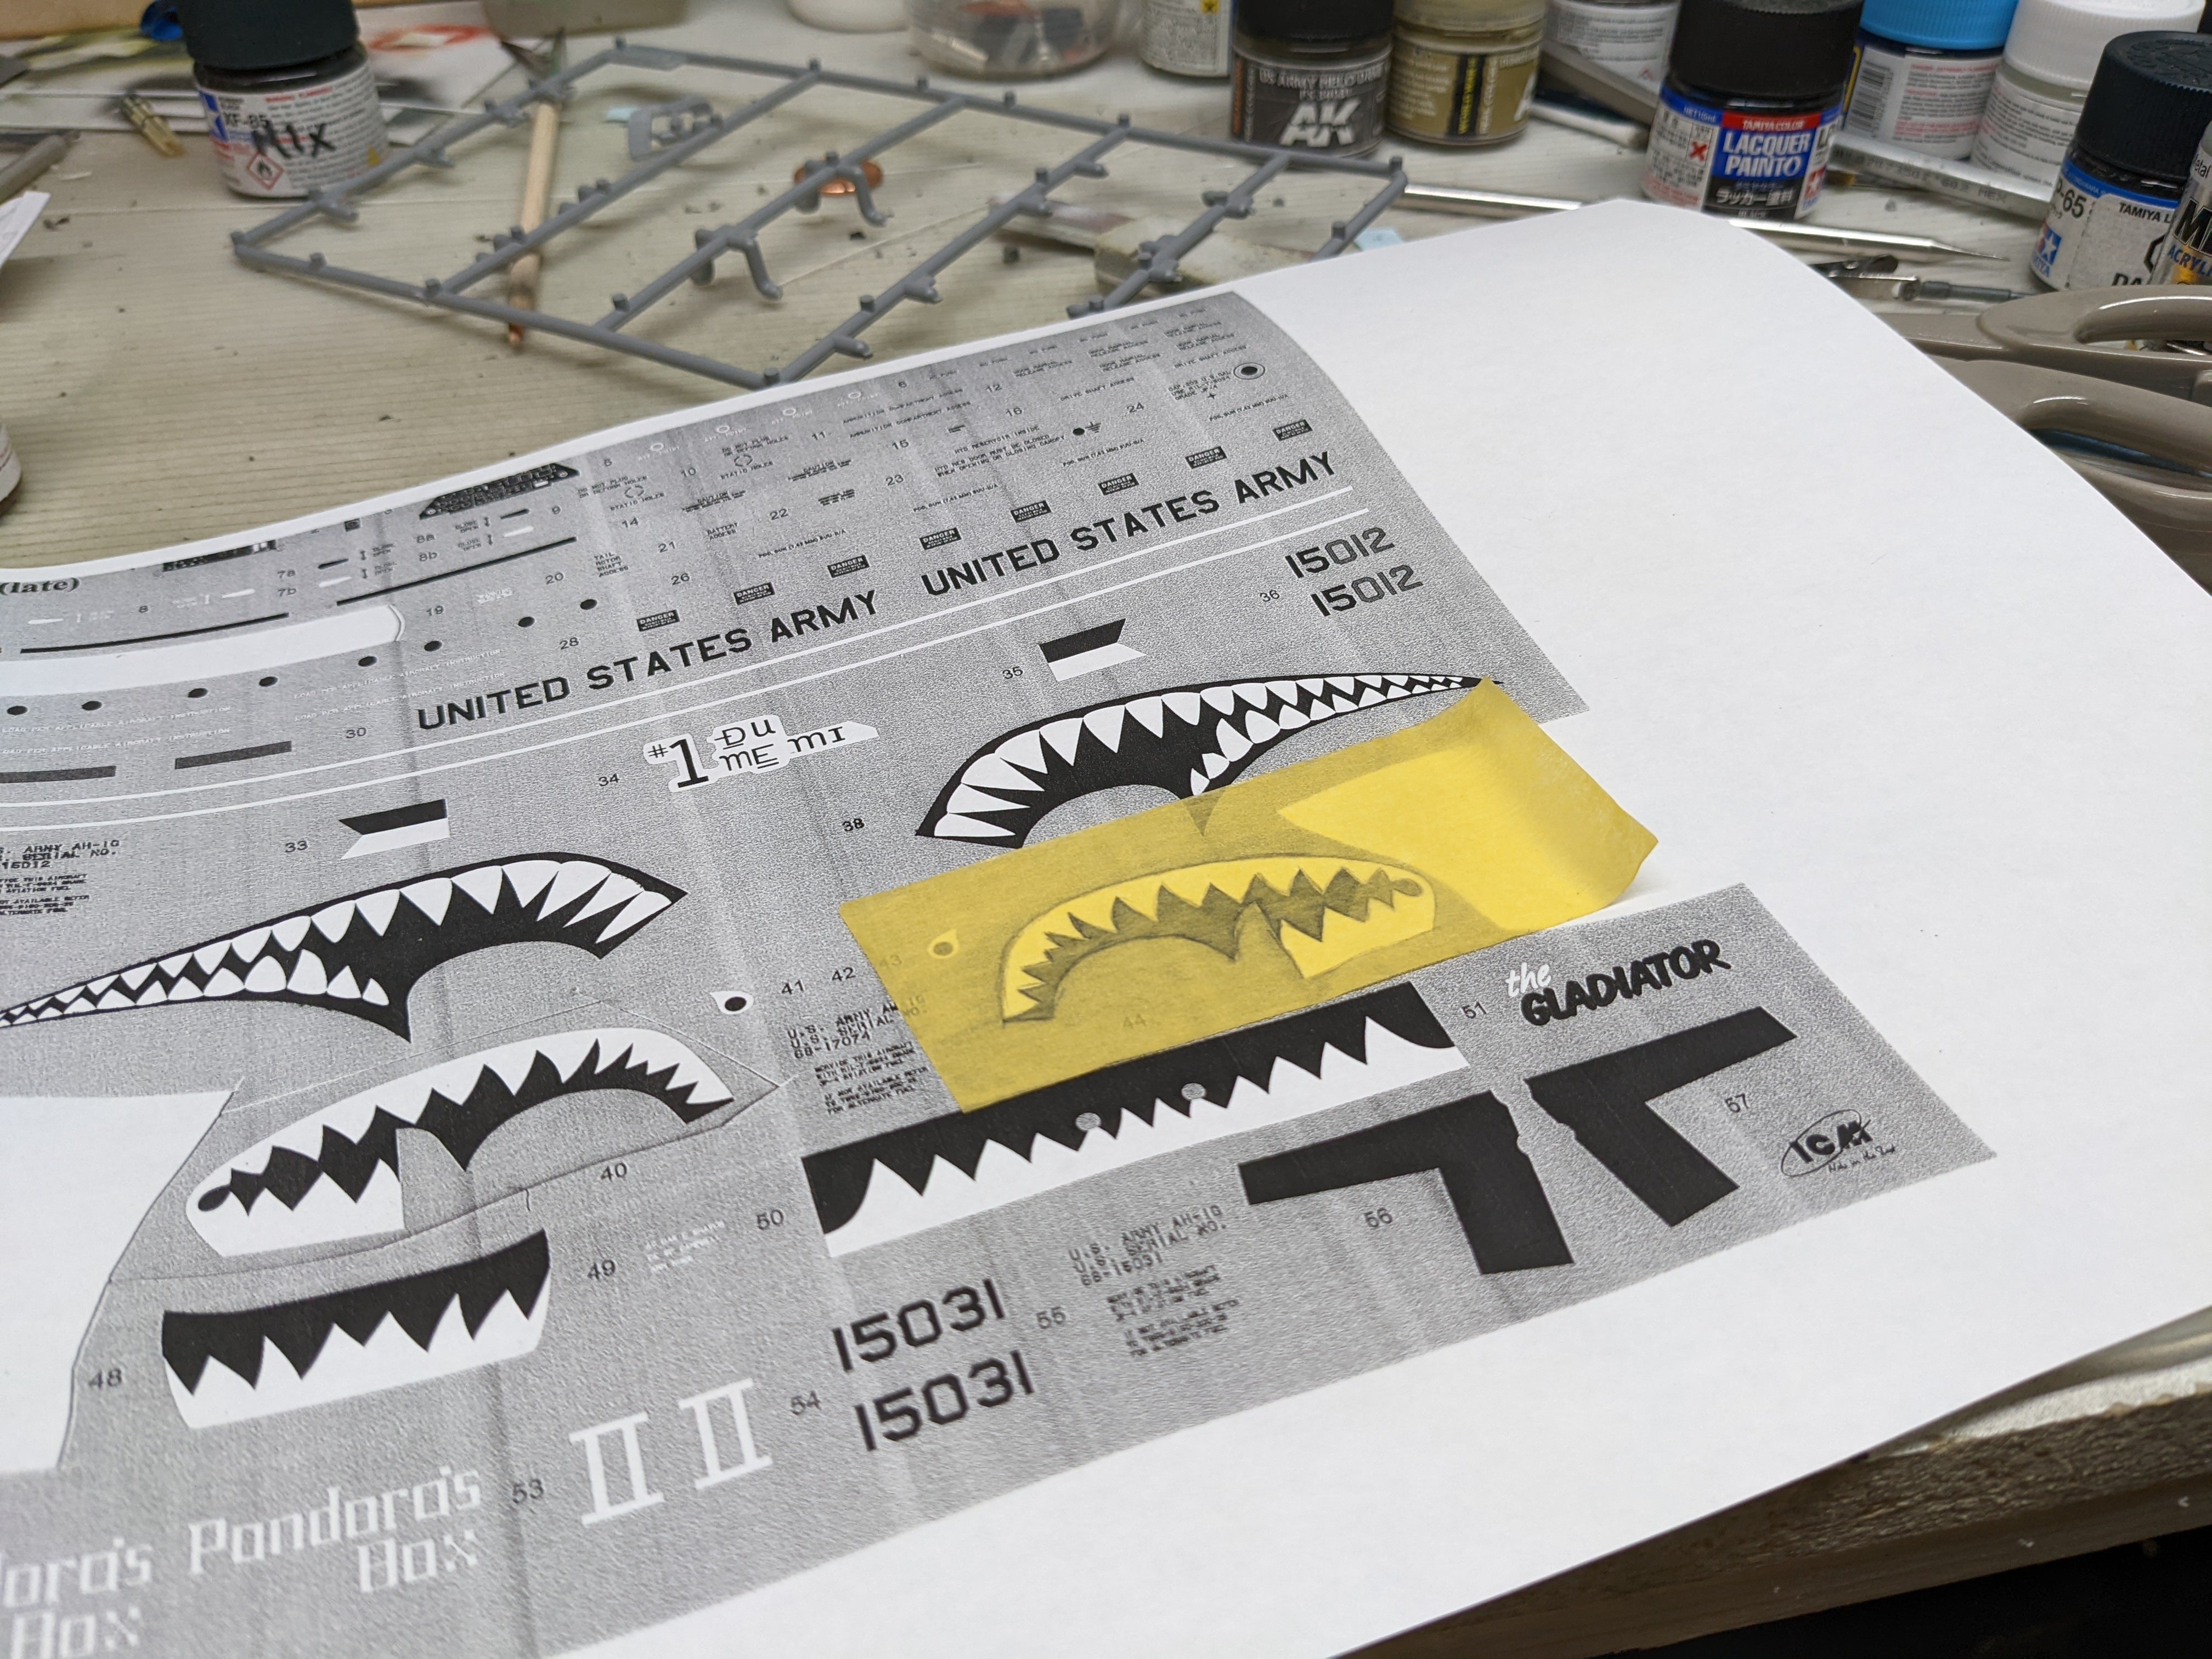
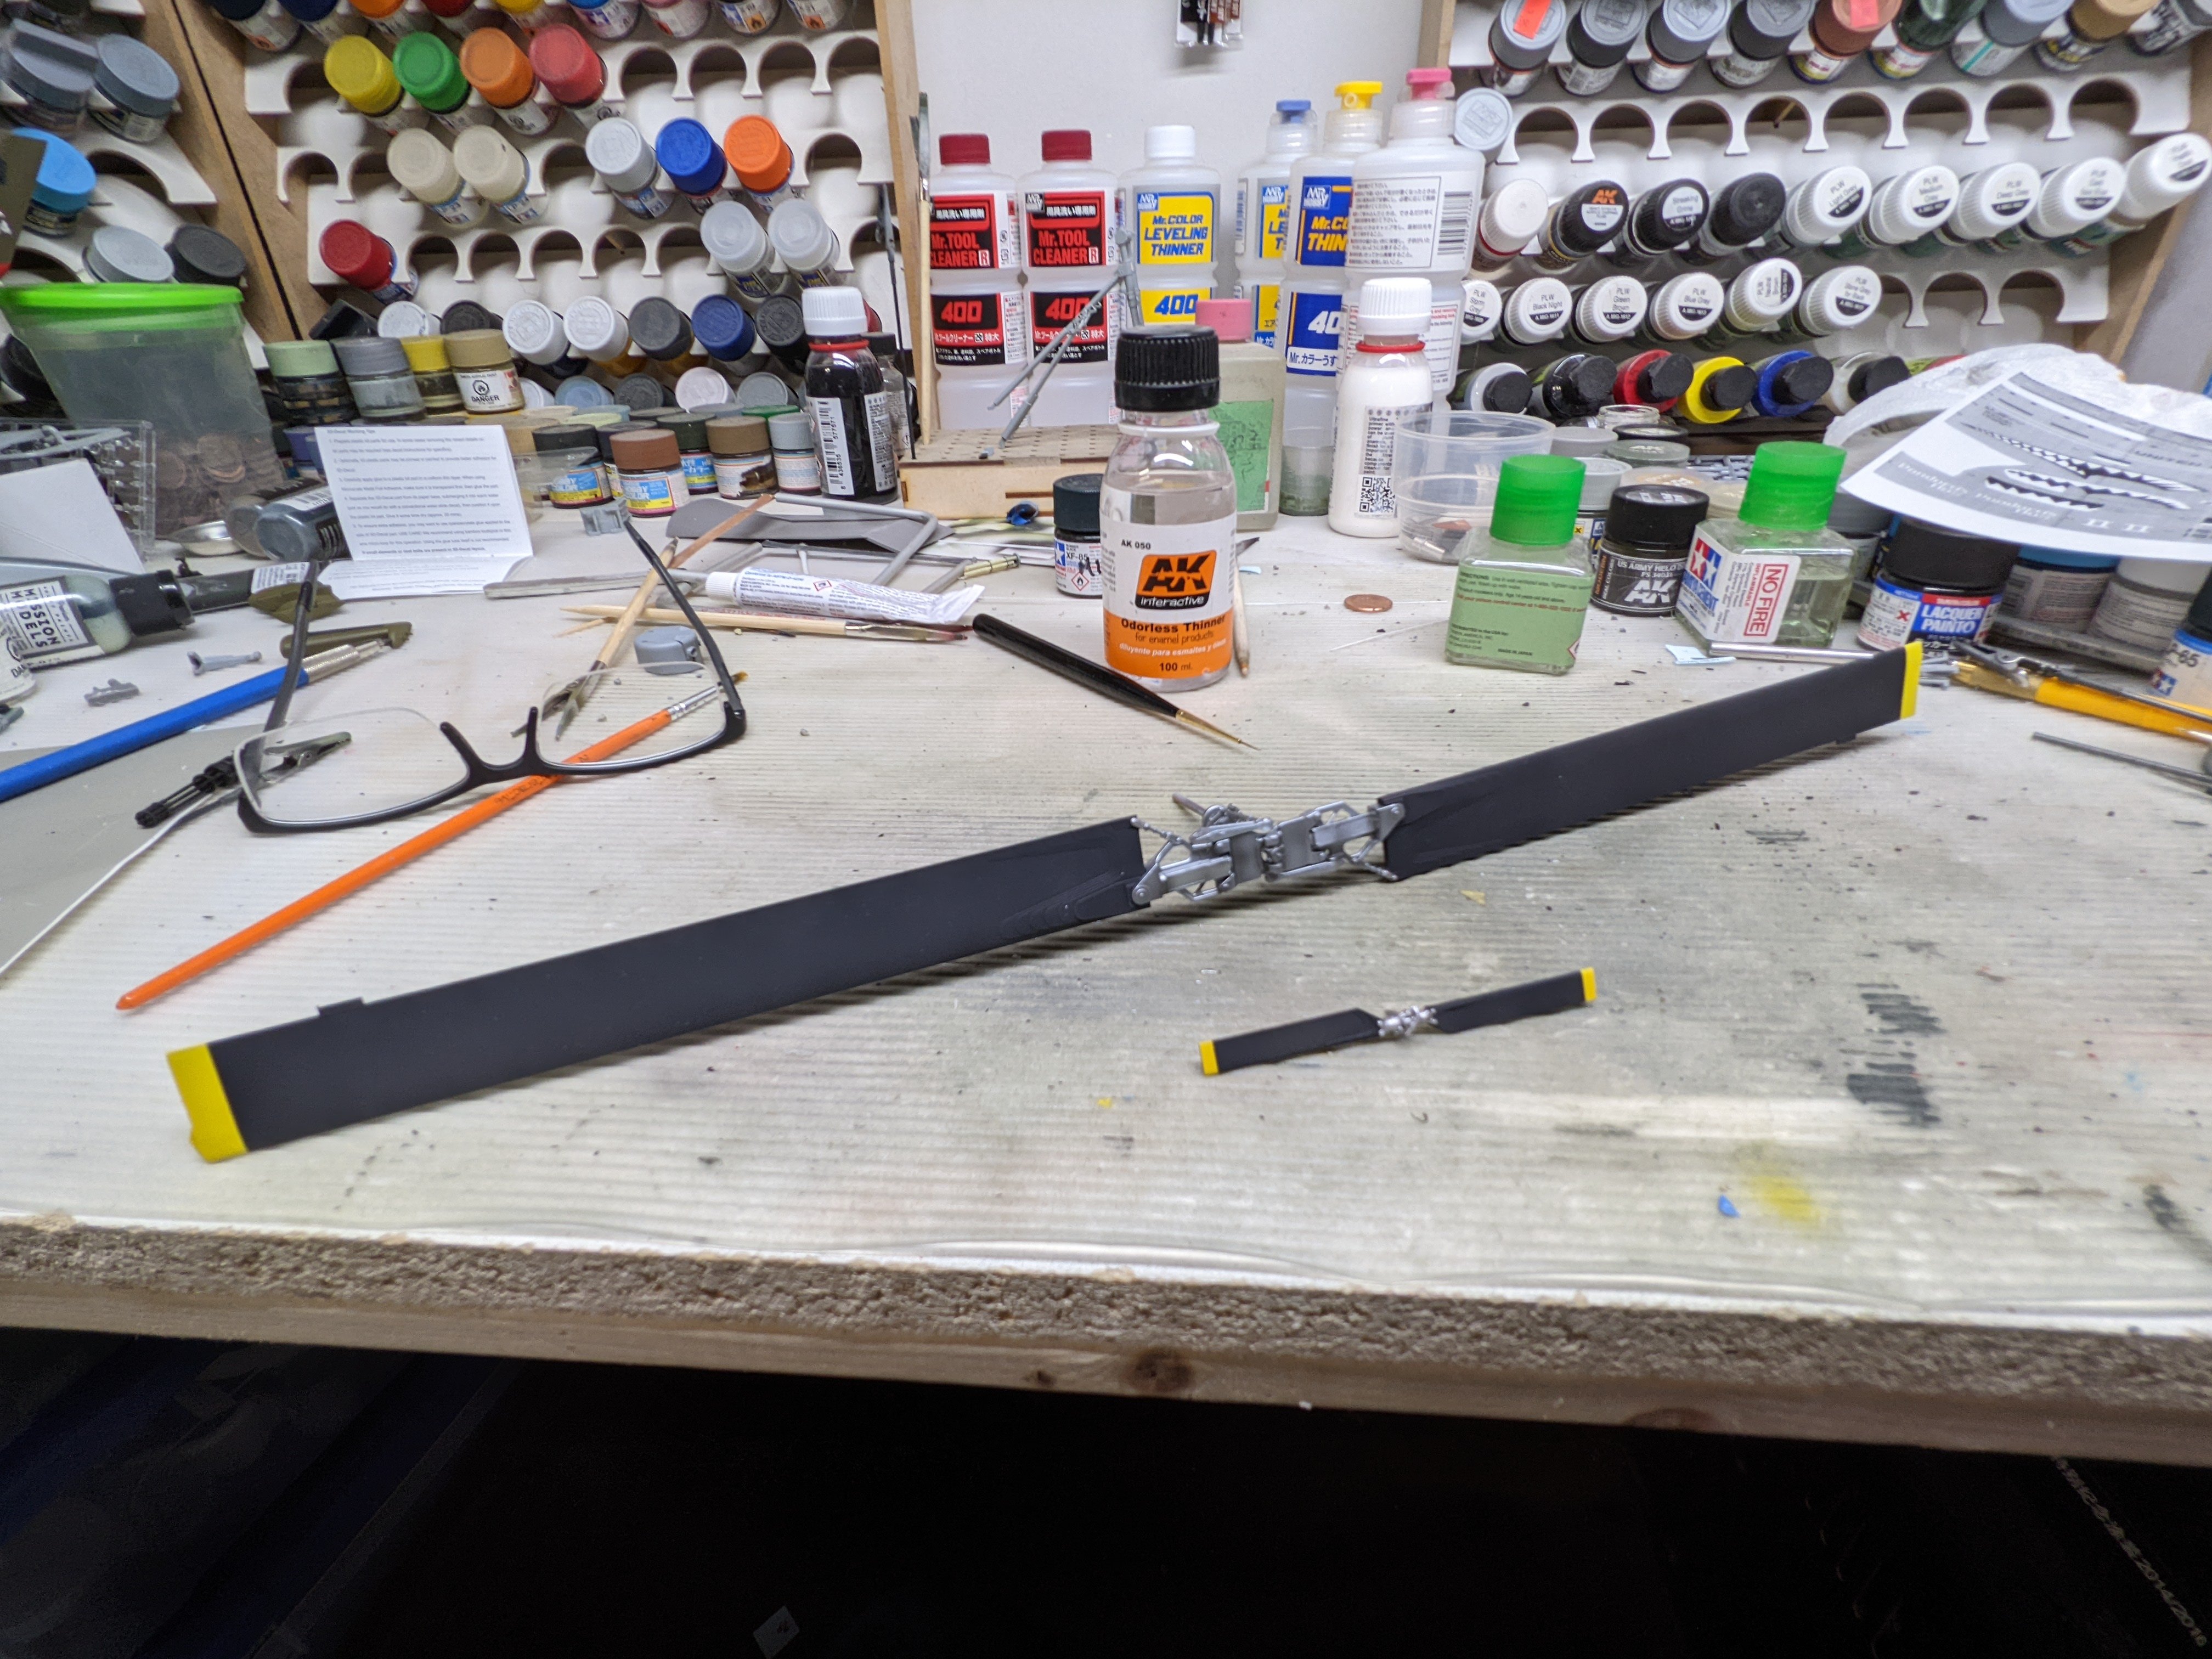
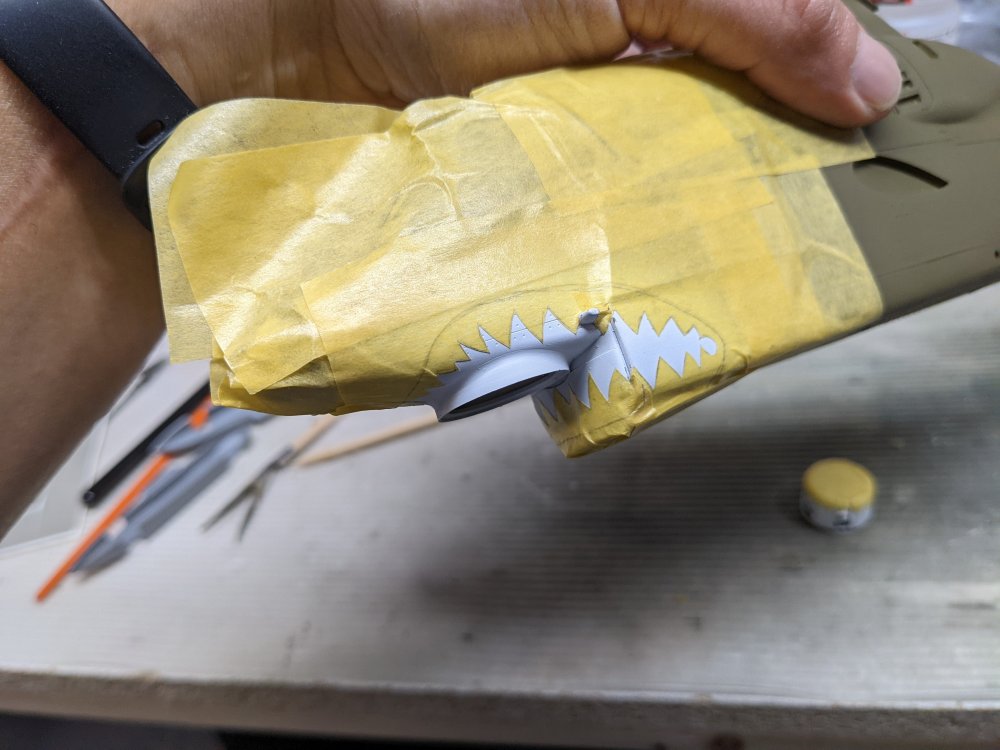
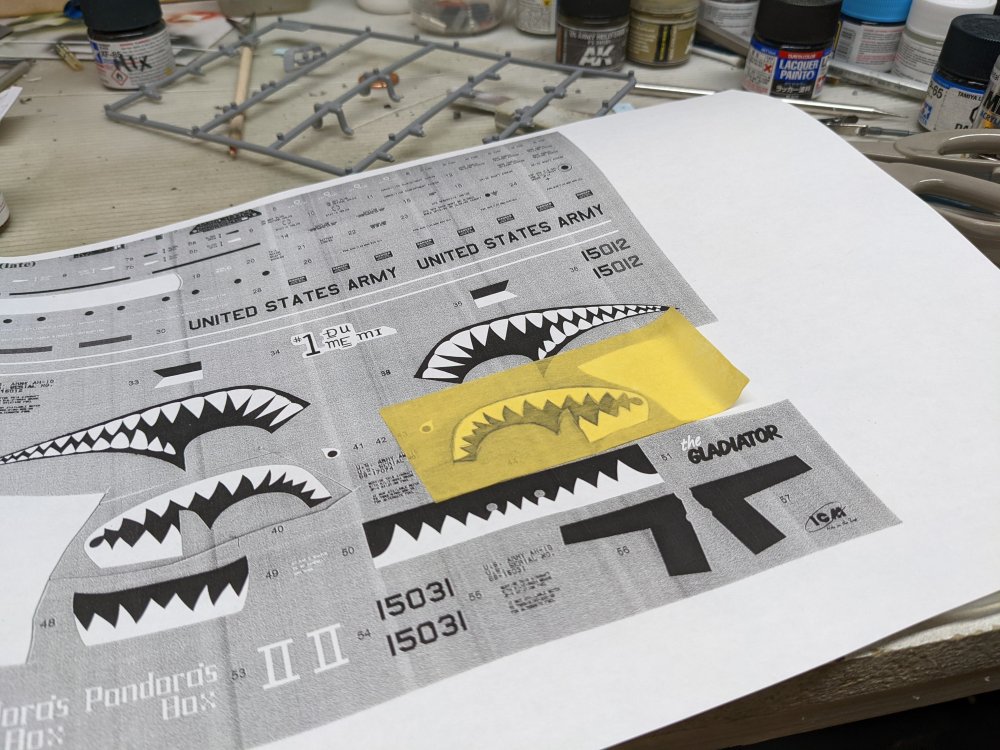
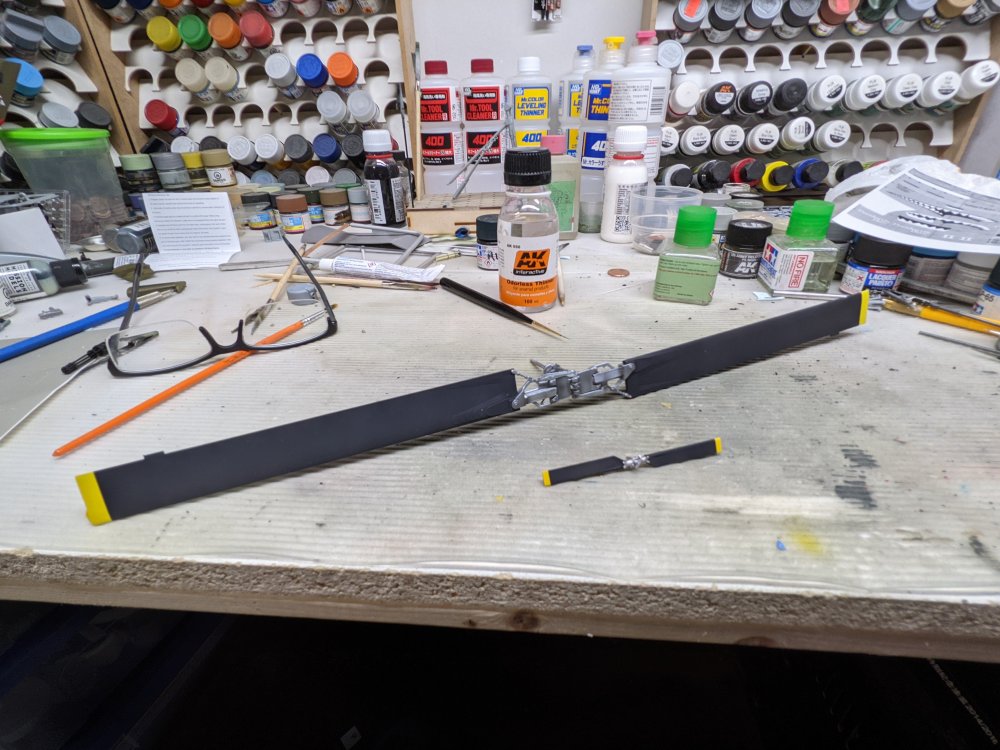
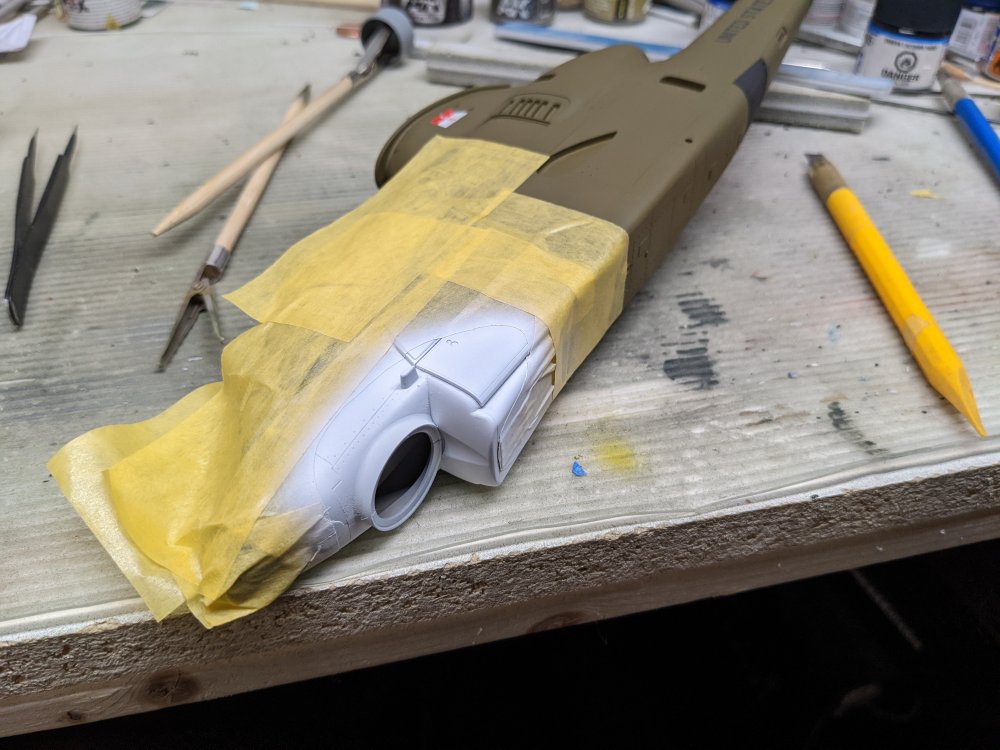
I got the rotor blades painted. I then assembled them onto the main shaft so that's all done. So why is it on helos they're called rotors and on a plane they're propellers? Anyways, shark mouth time. I wasn't too keep on applying the kit decals for the shark mouth so I tried making masks the old fashioned way. I photocopied the decal sheet and laid a piece of kabuki tape over it. After tracing the shark mouth onto the tape I cut it out and applied it to the model. I then sprayed AK primer in white onto the shark mouth. Once that's dry, I'll cut a mask for the teeth, mask those off and spray the red.

-
Nice recovery Martin. My Slovak Tiger Meet Fulcrum arrived the other day so one day I'll get to that puppy.
-
Very nice build. Carl
-
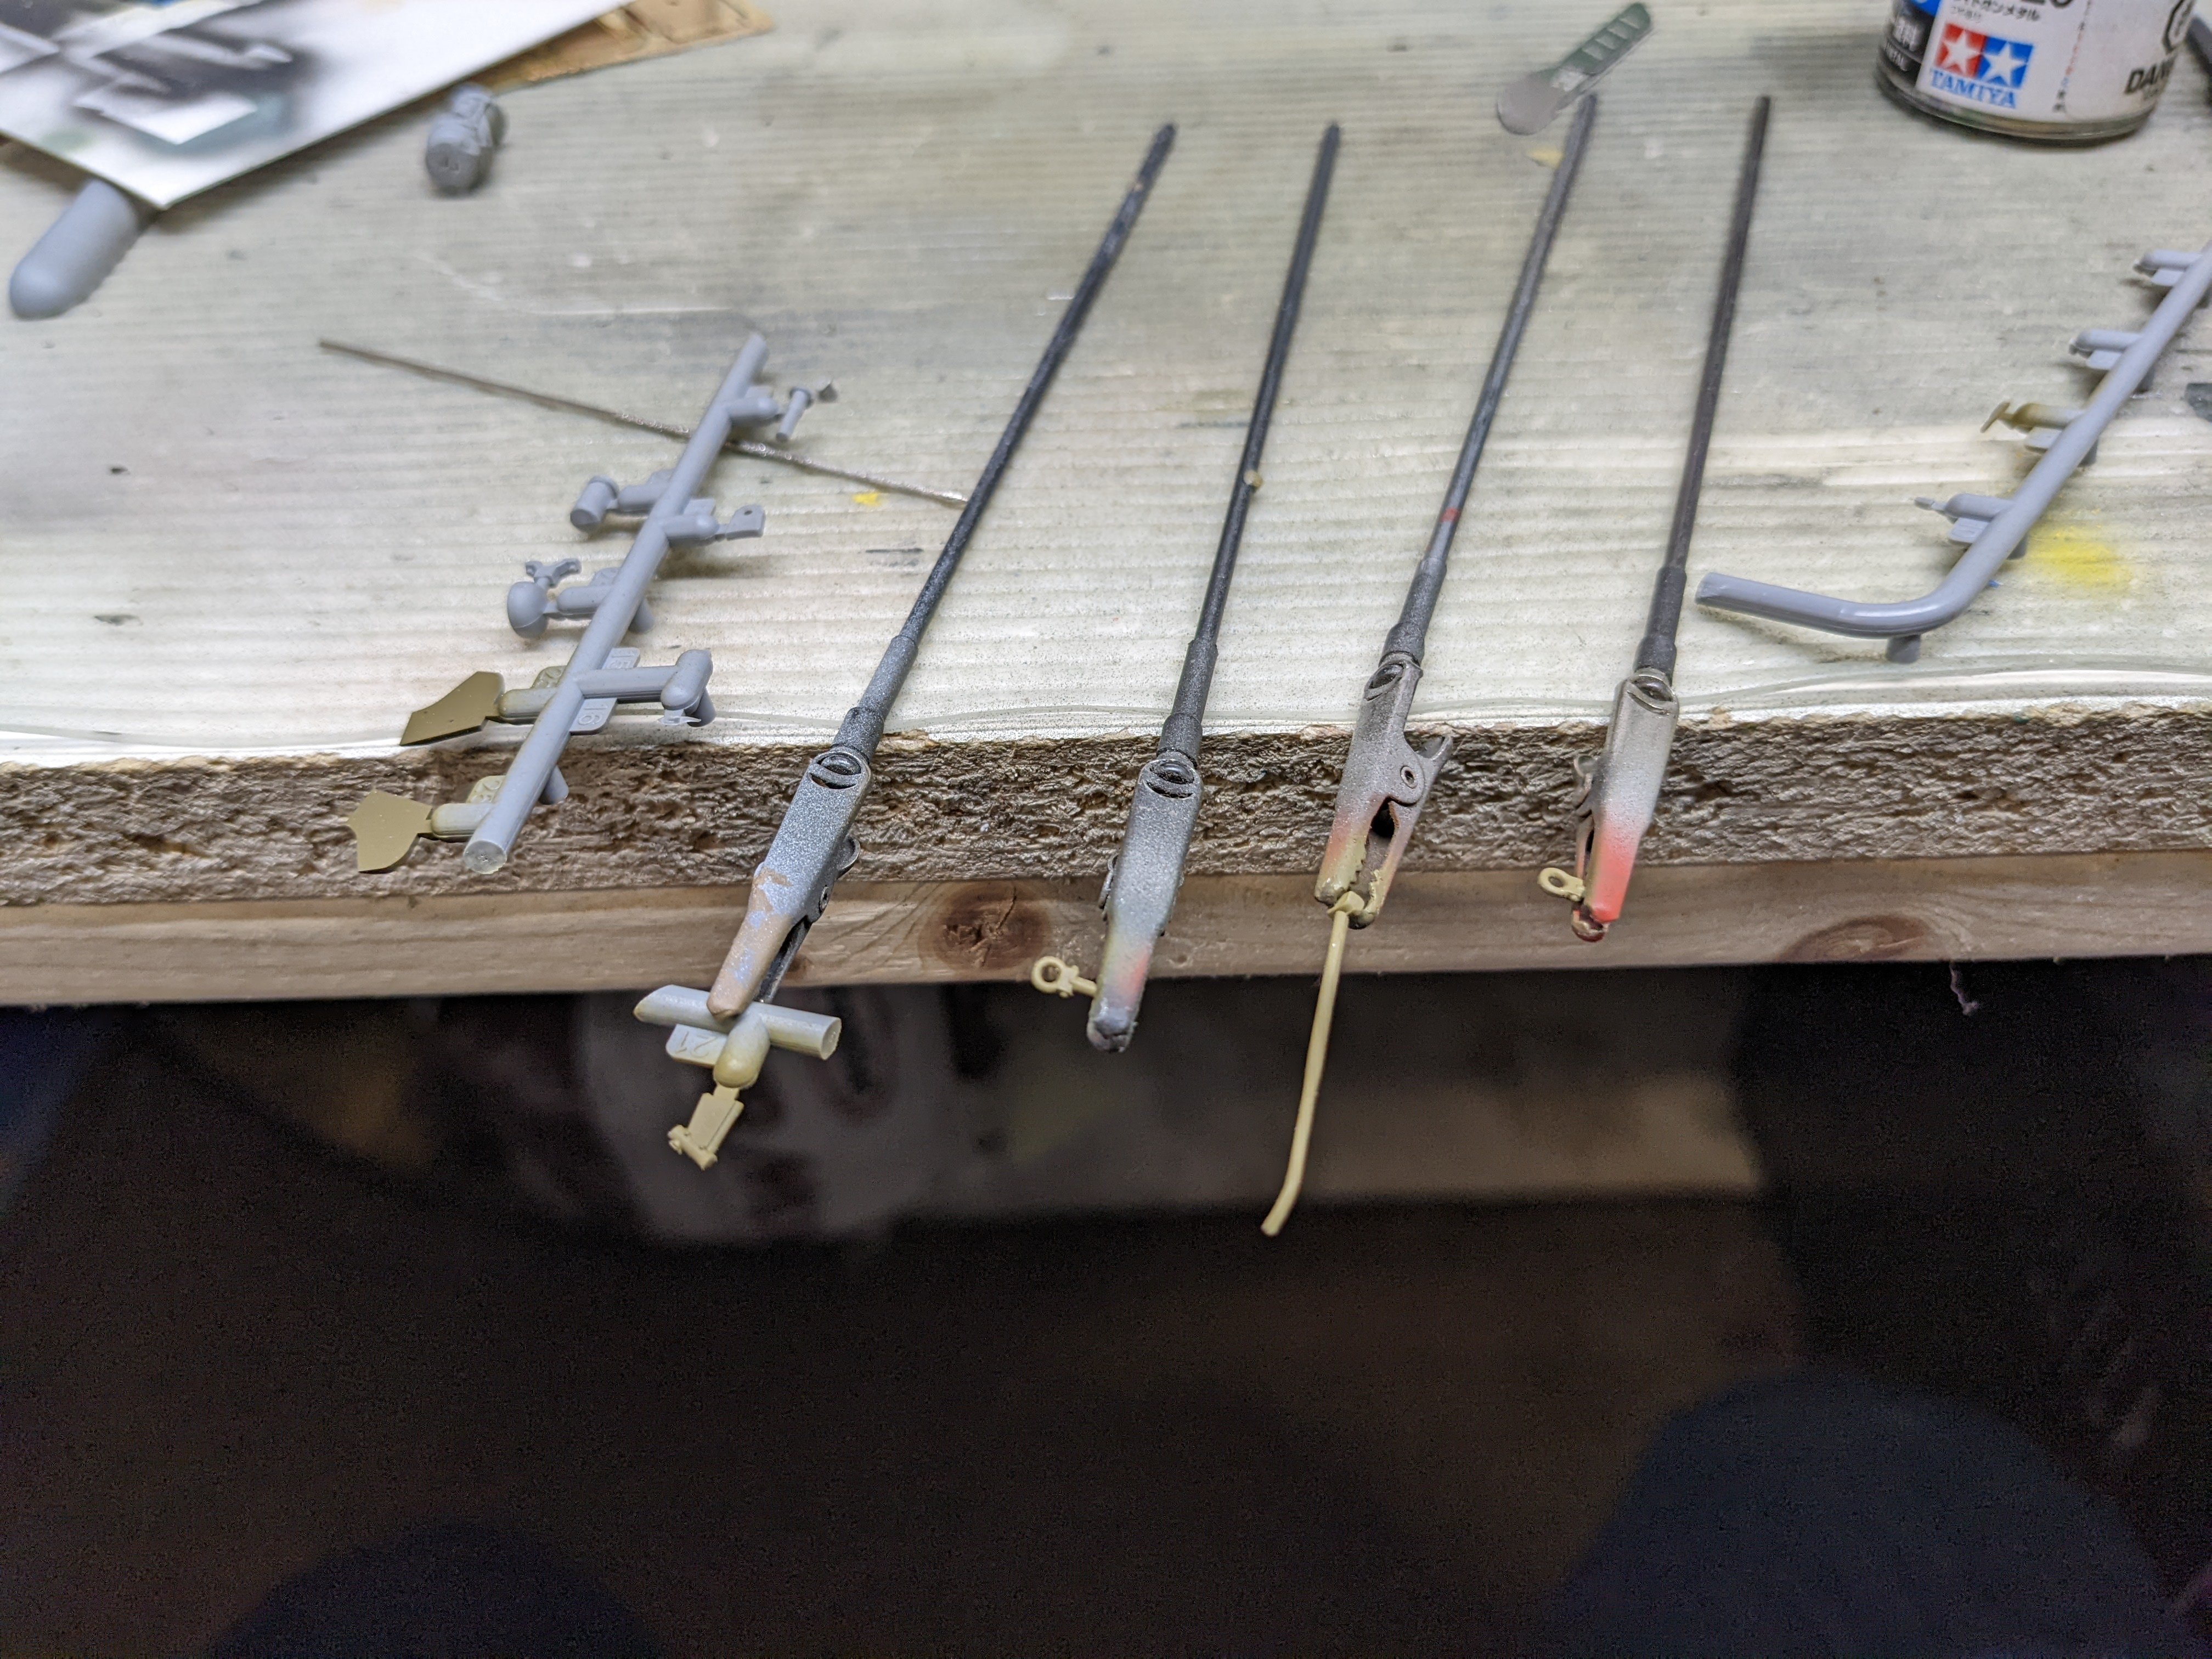
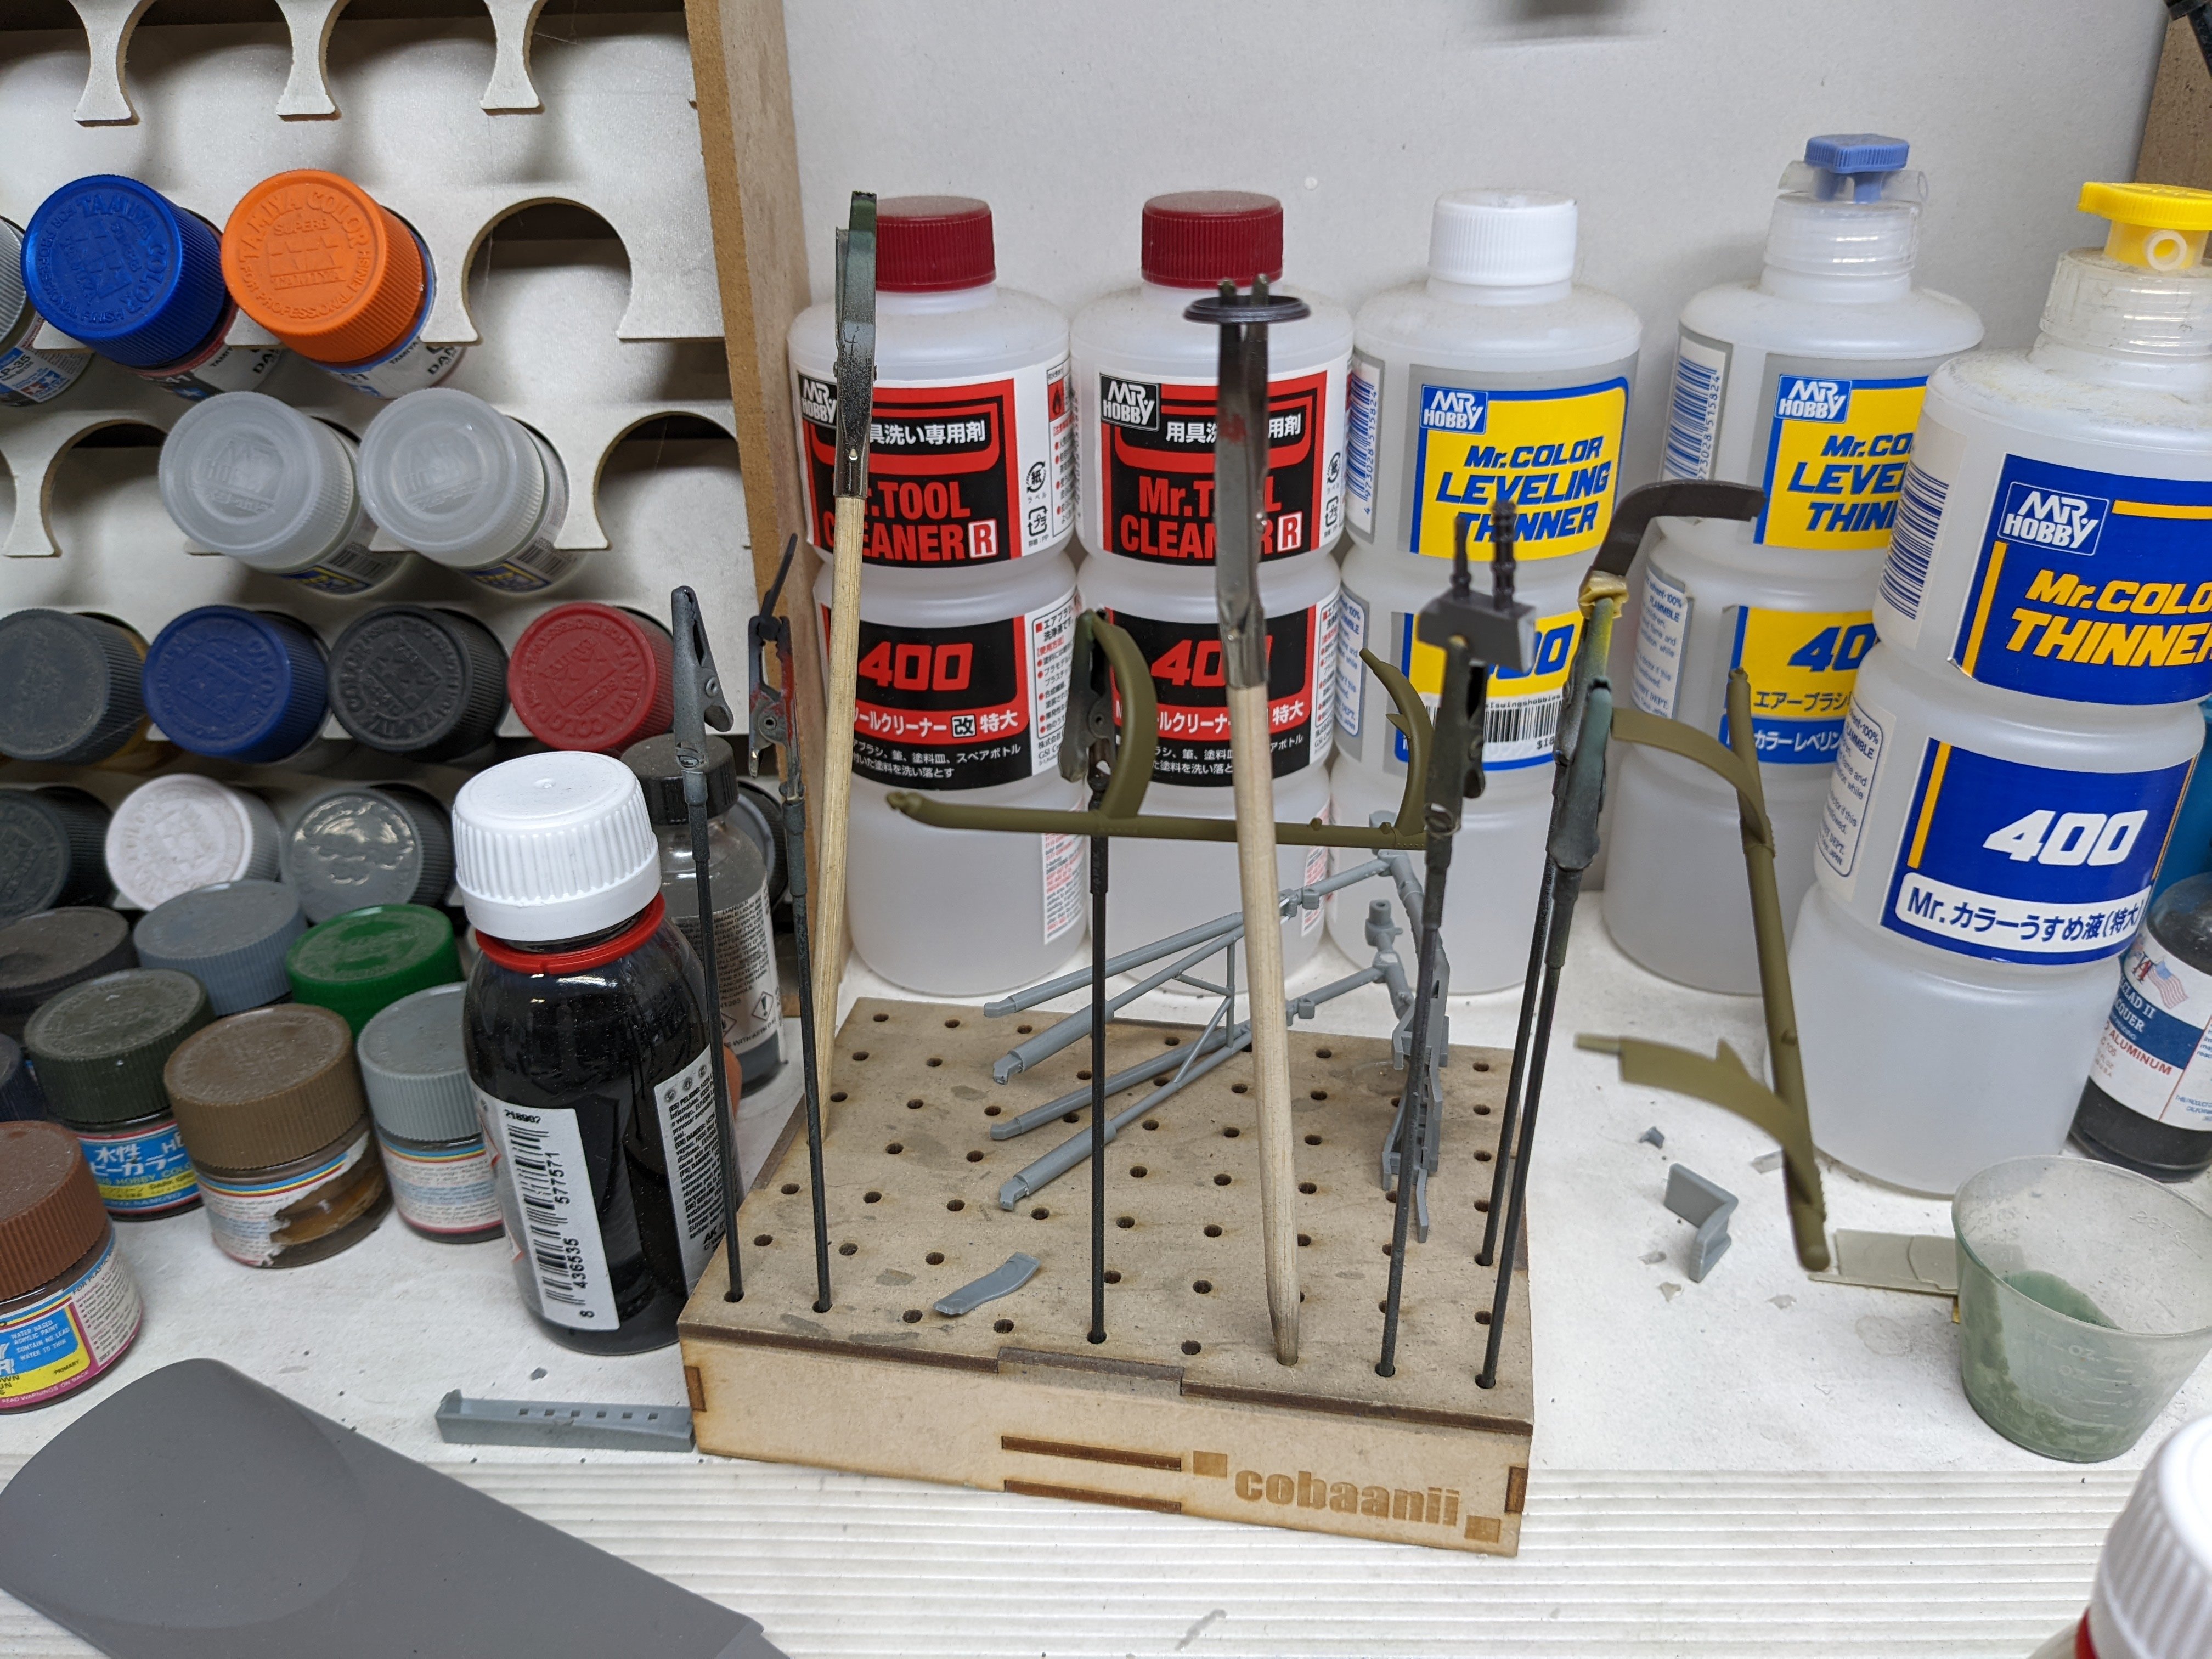
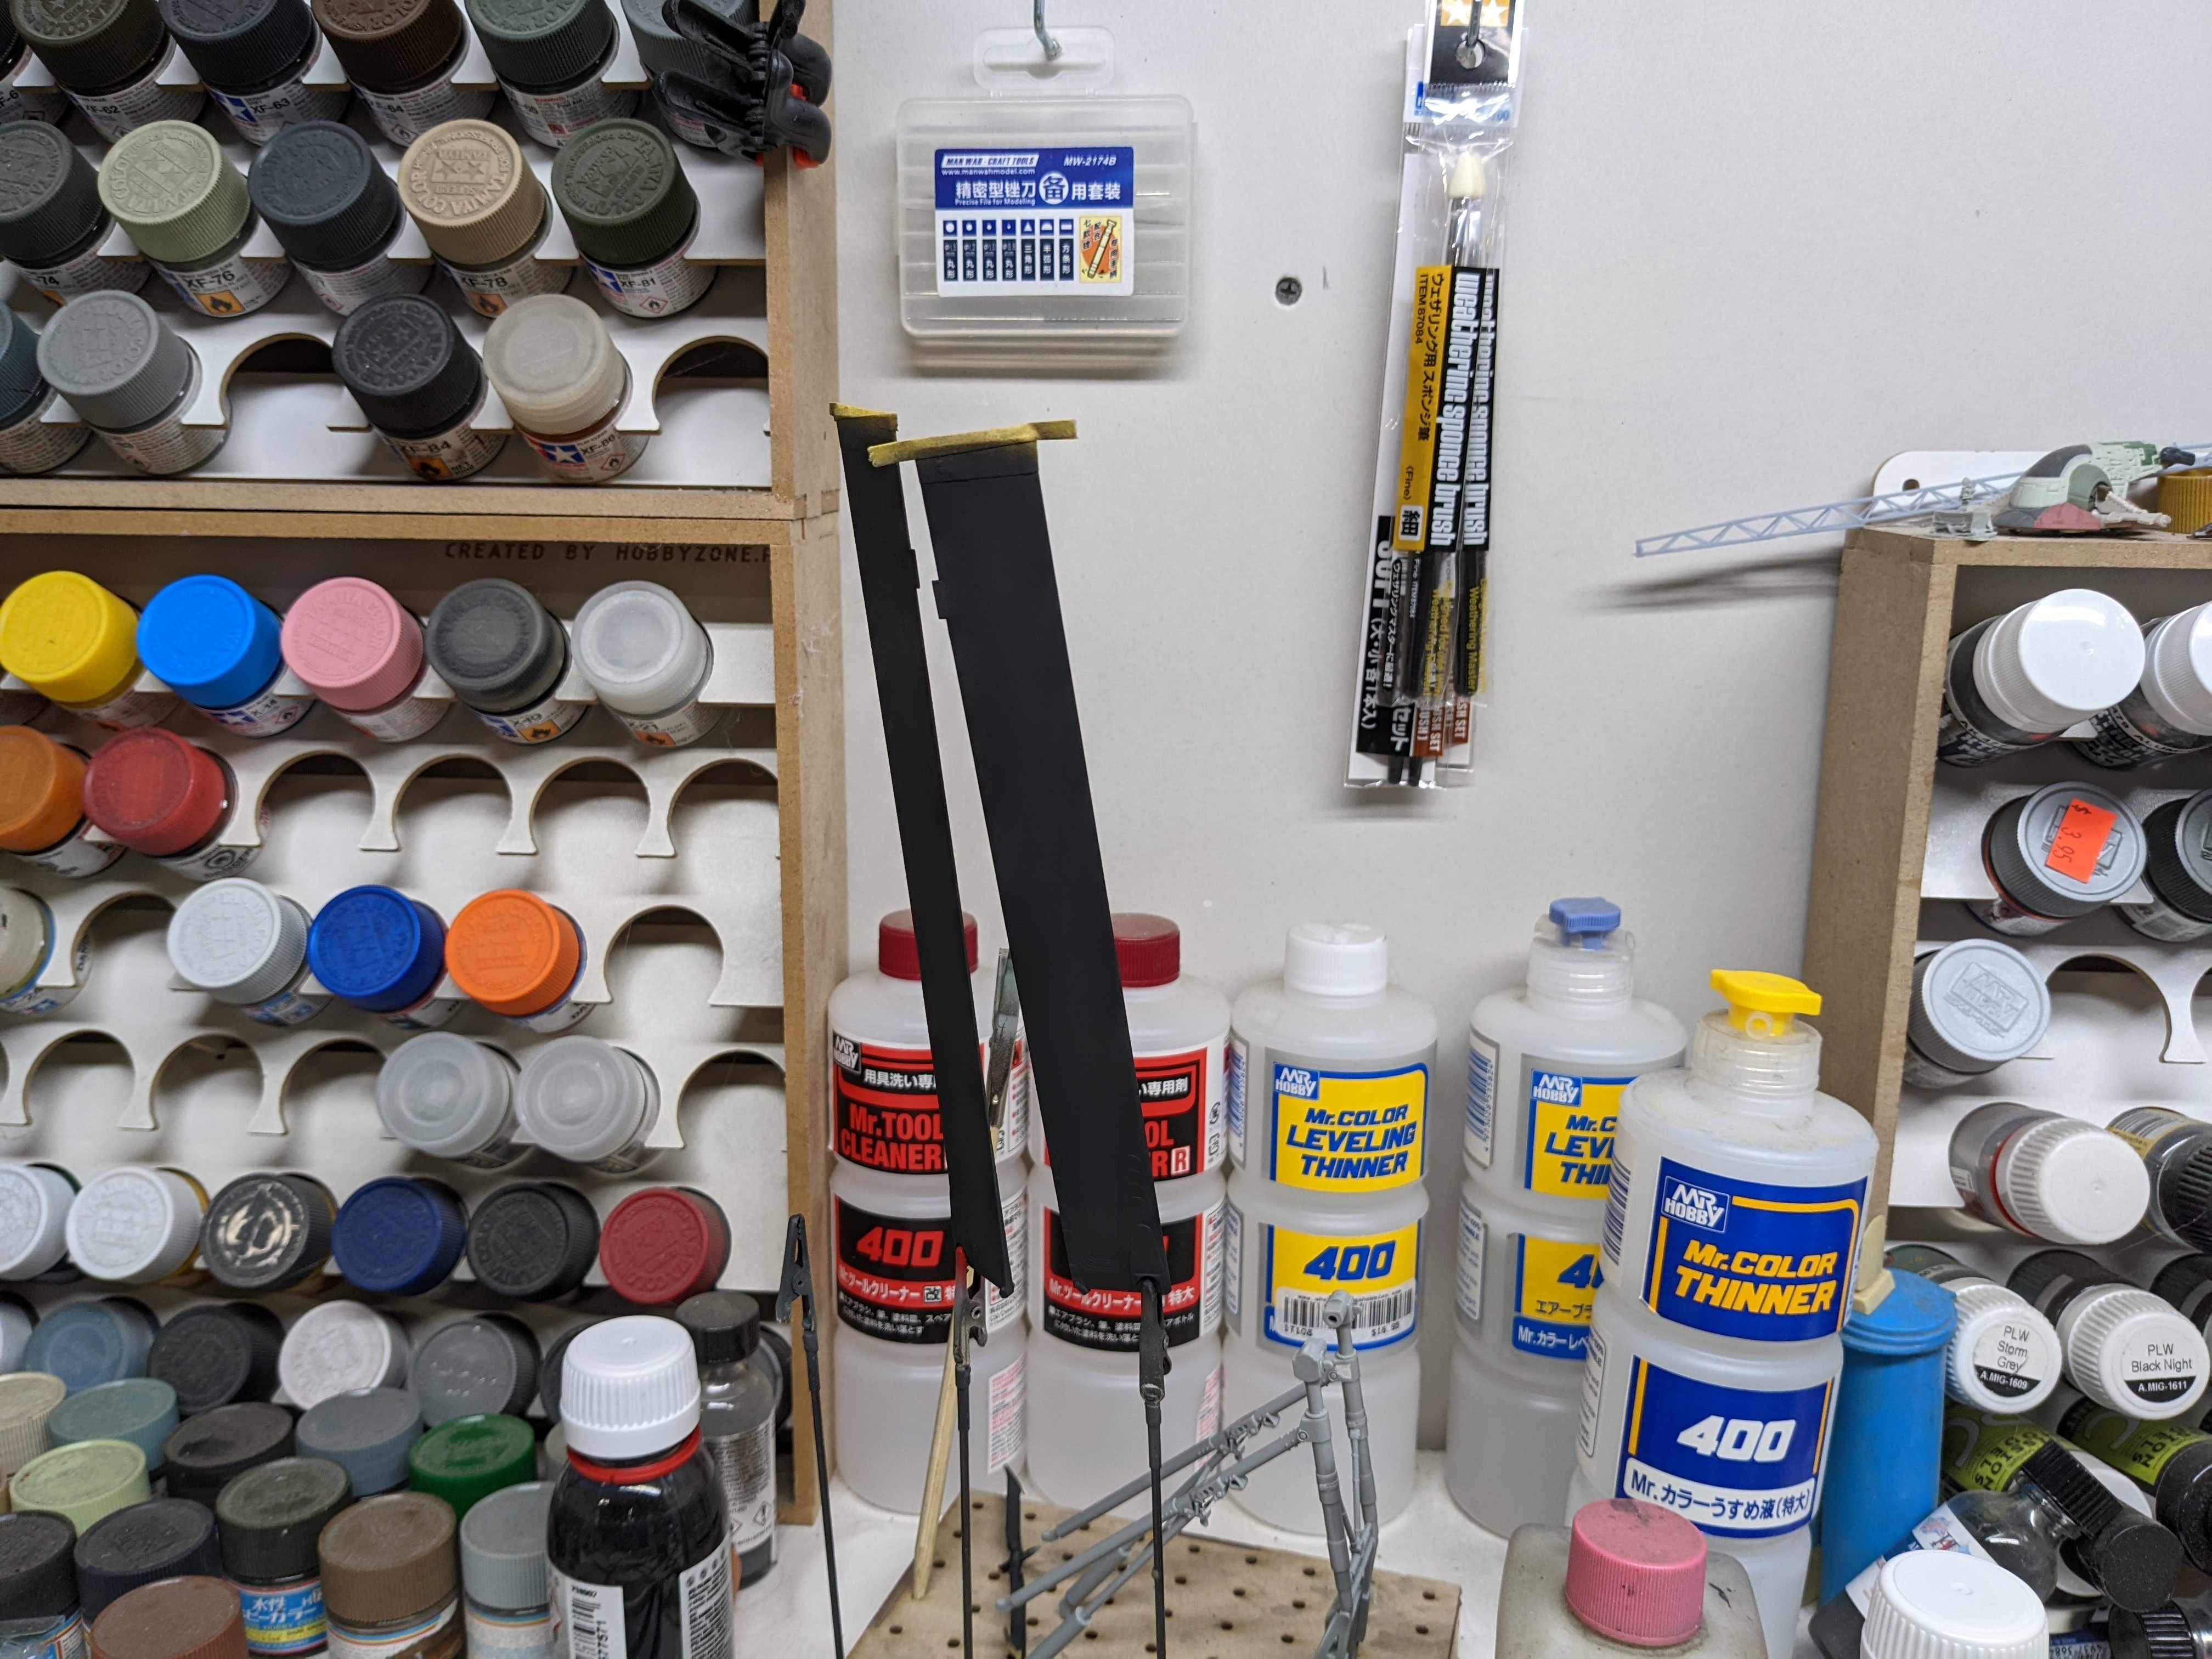
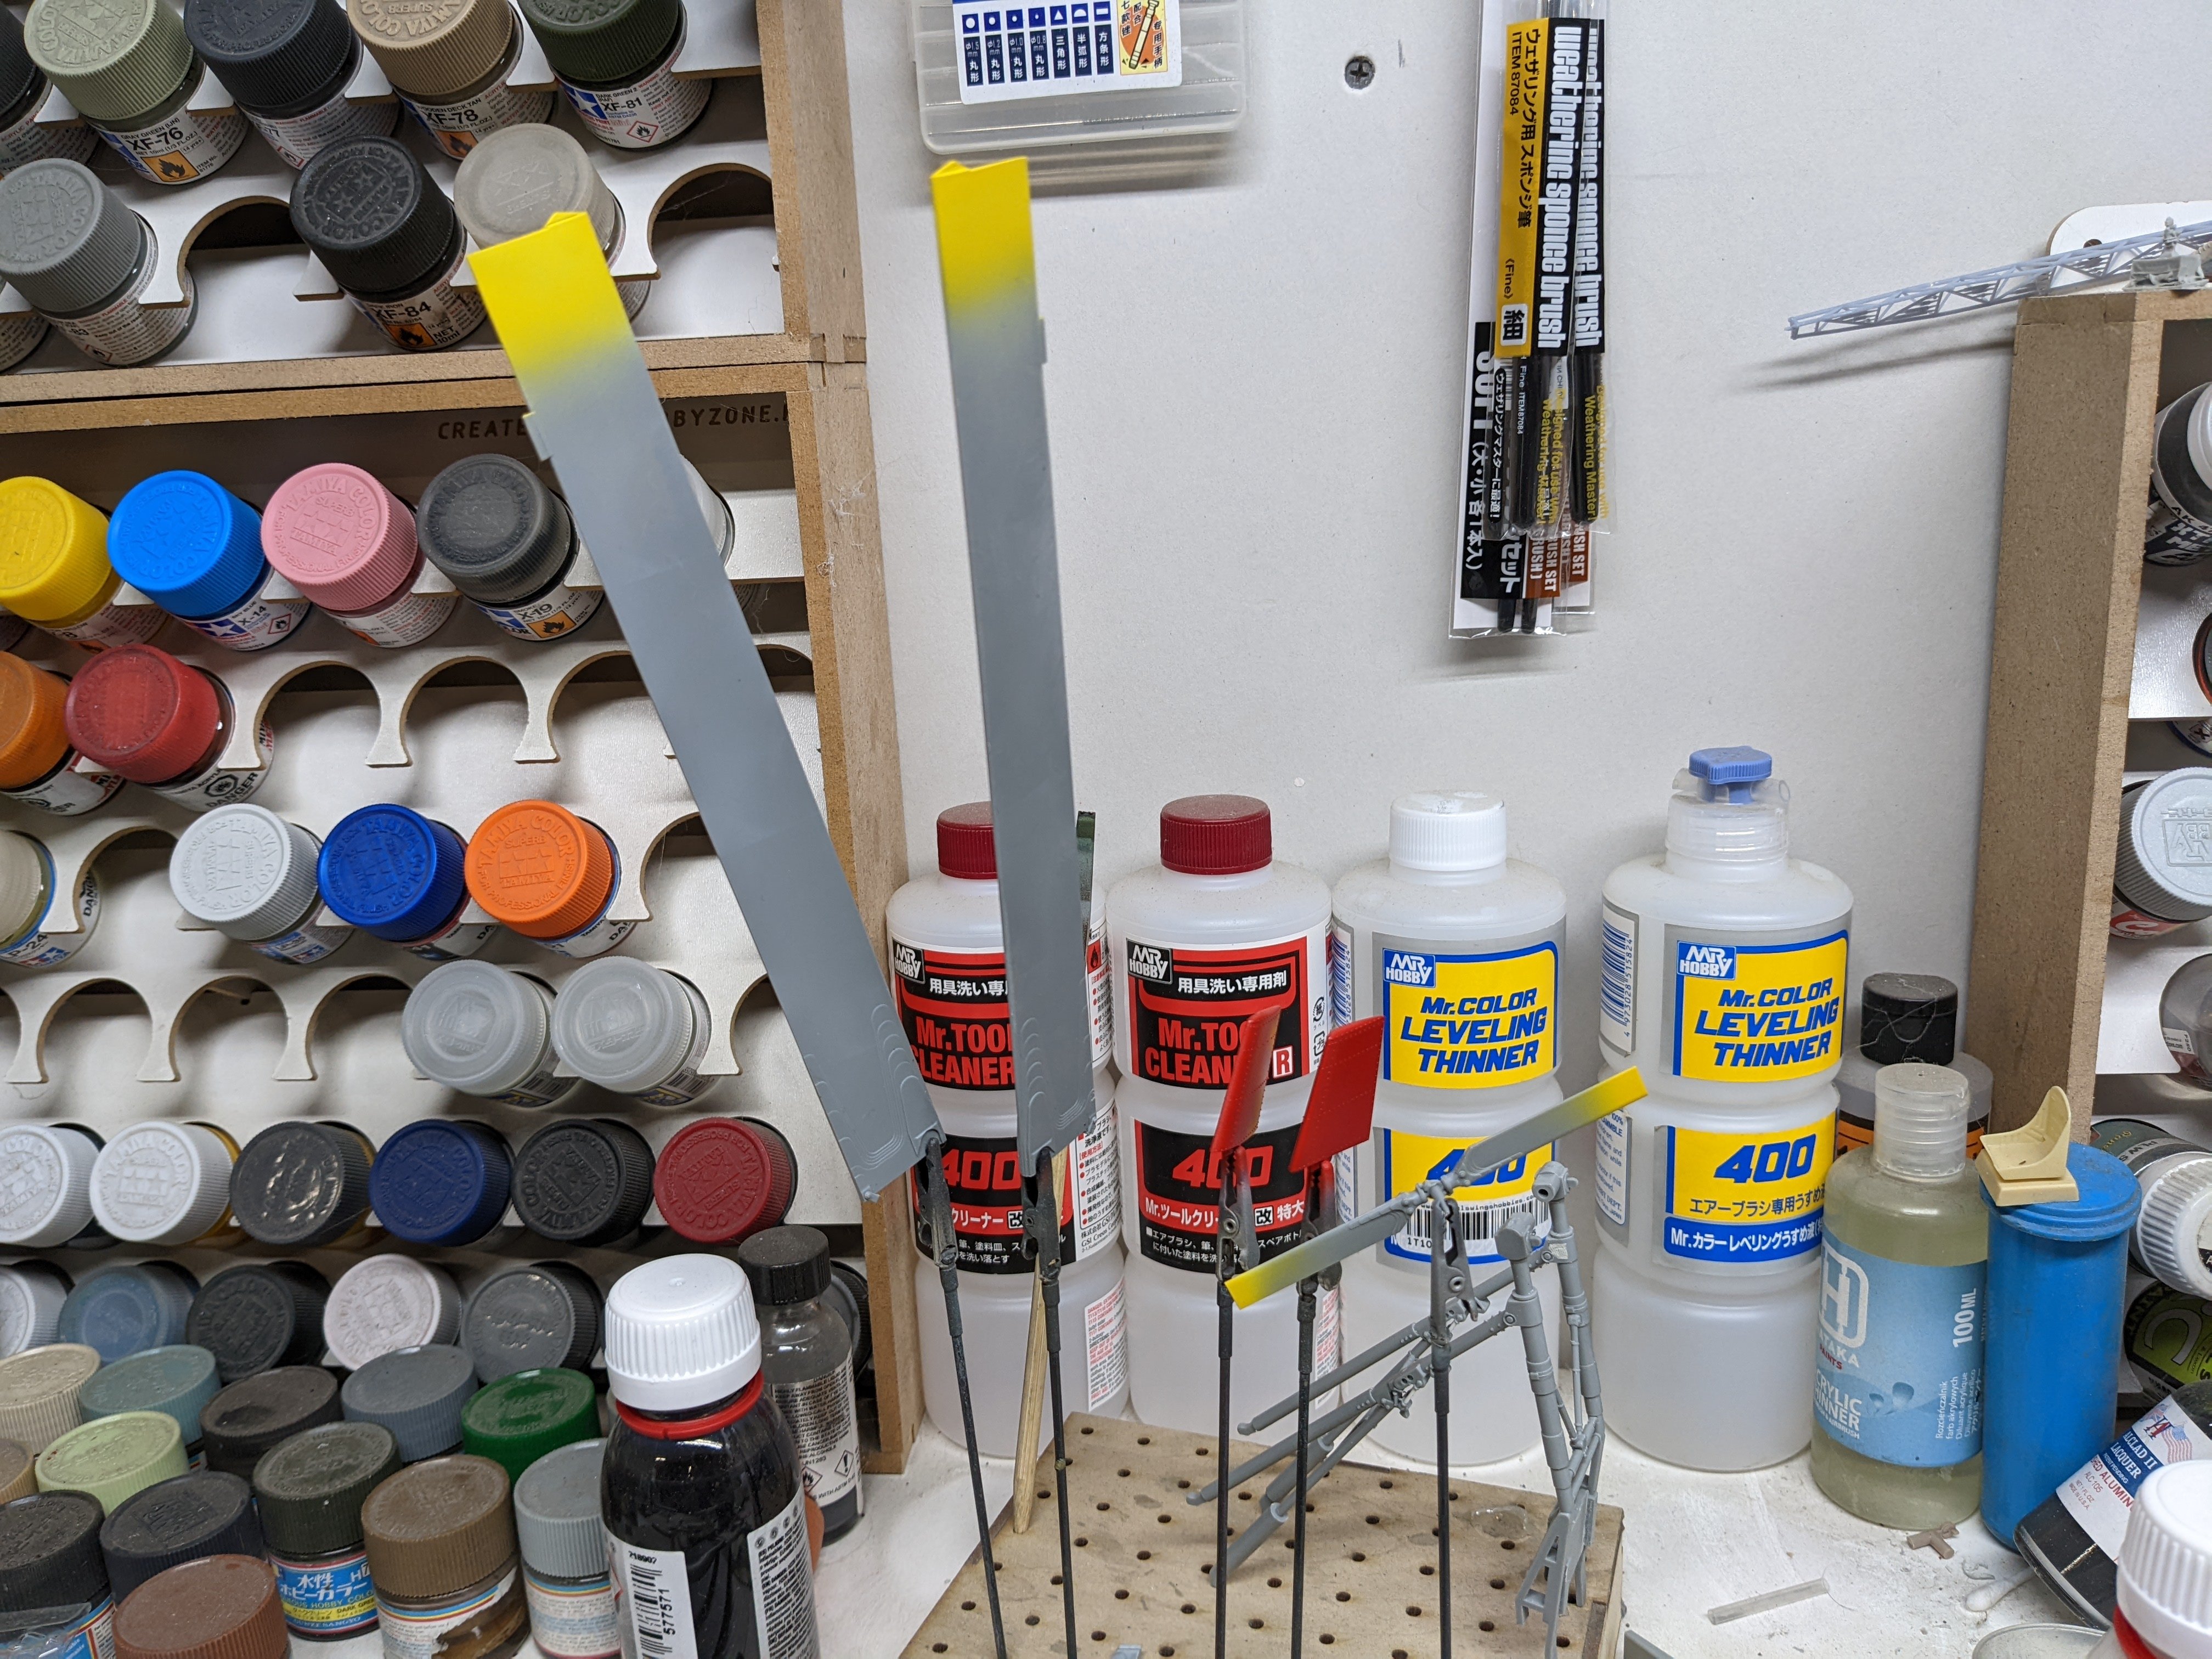
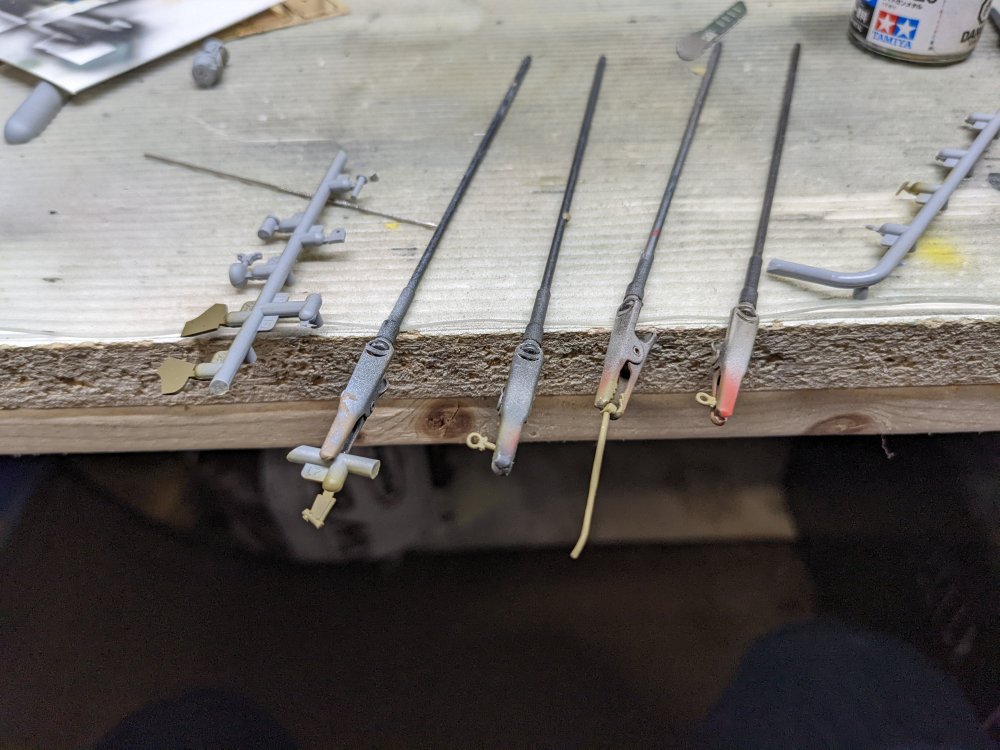
As mentioned, not much time at the bench but enough to make some progress. The rotor blades were cleaned up and prepped for paint. Same with the tailplanes, tail rotor and the rotor head. After a coat of white primer, I sprayed red and yellow as required. Once they're dry, I'll move onto the black.


-
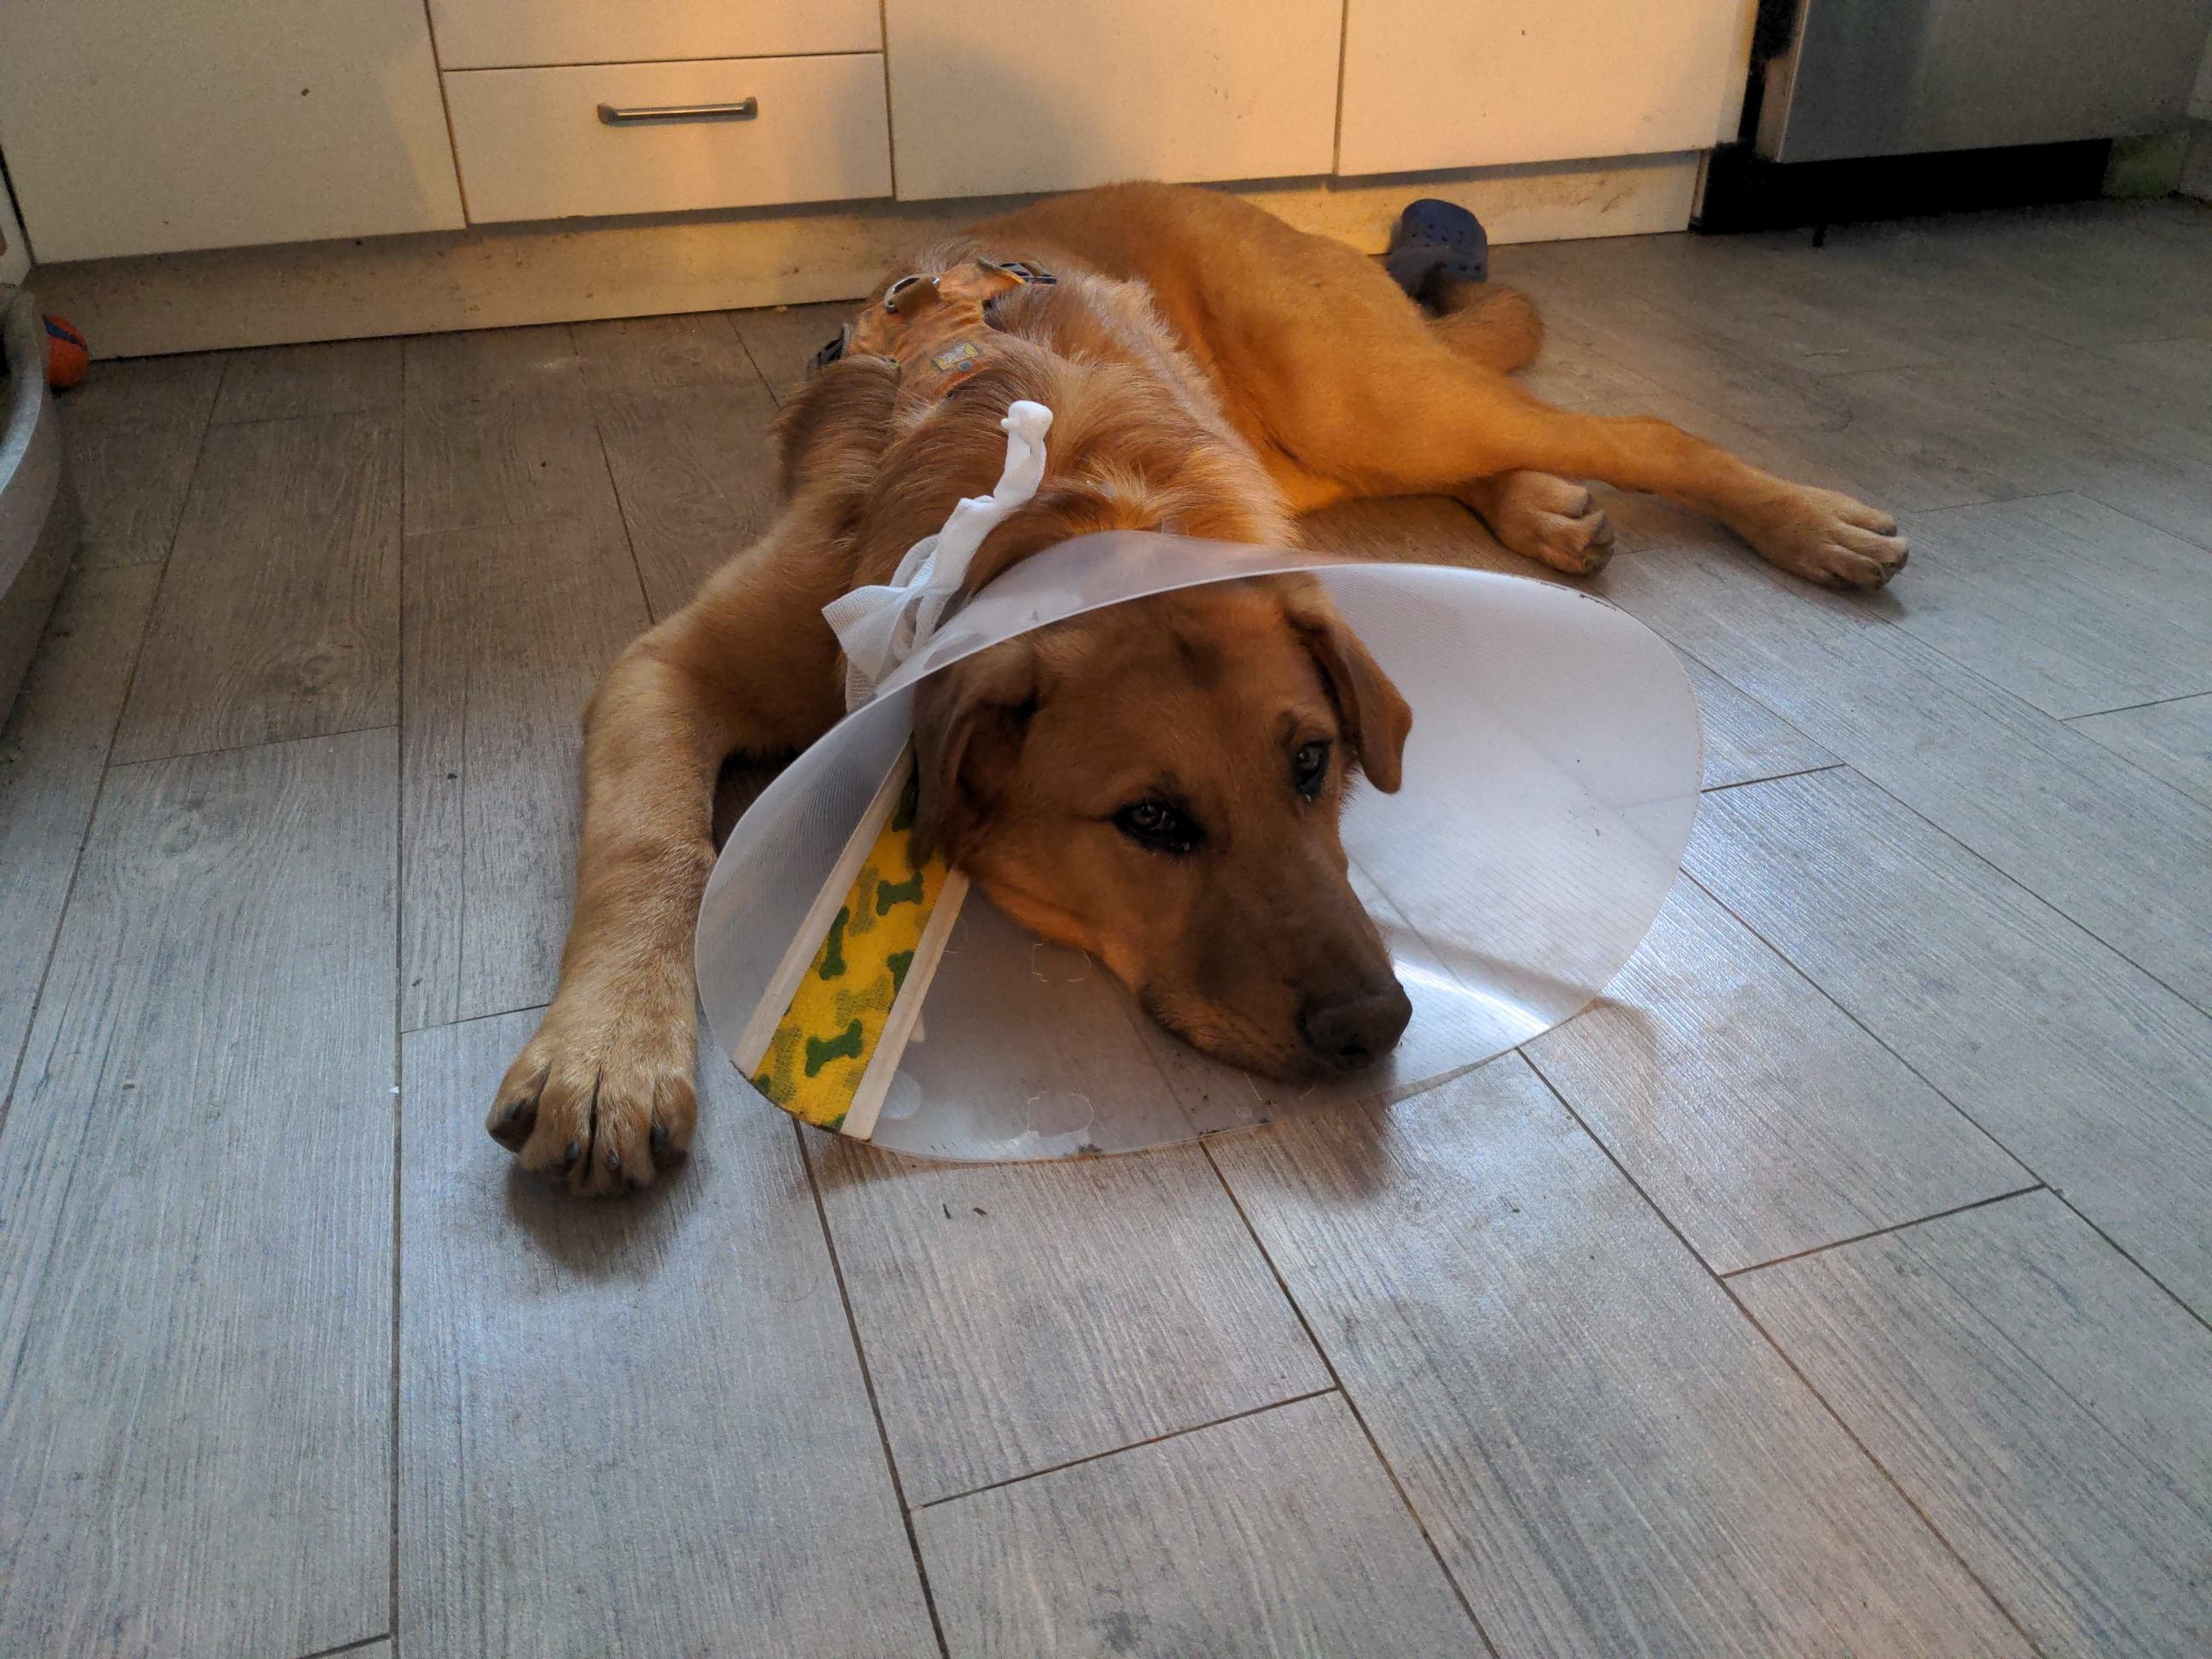
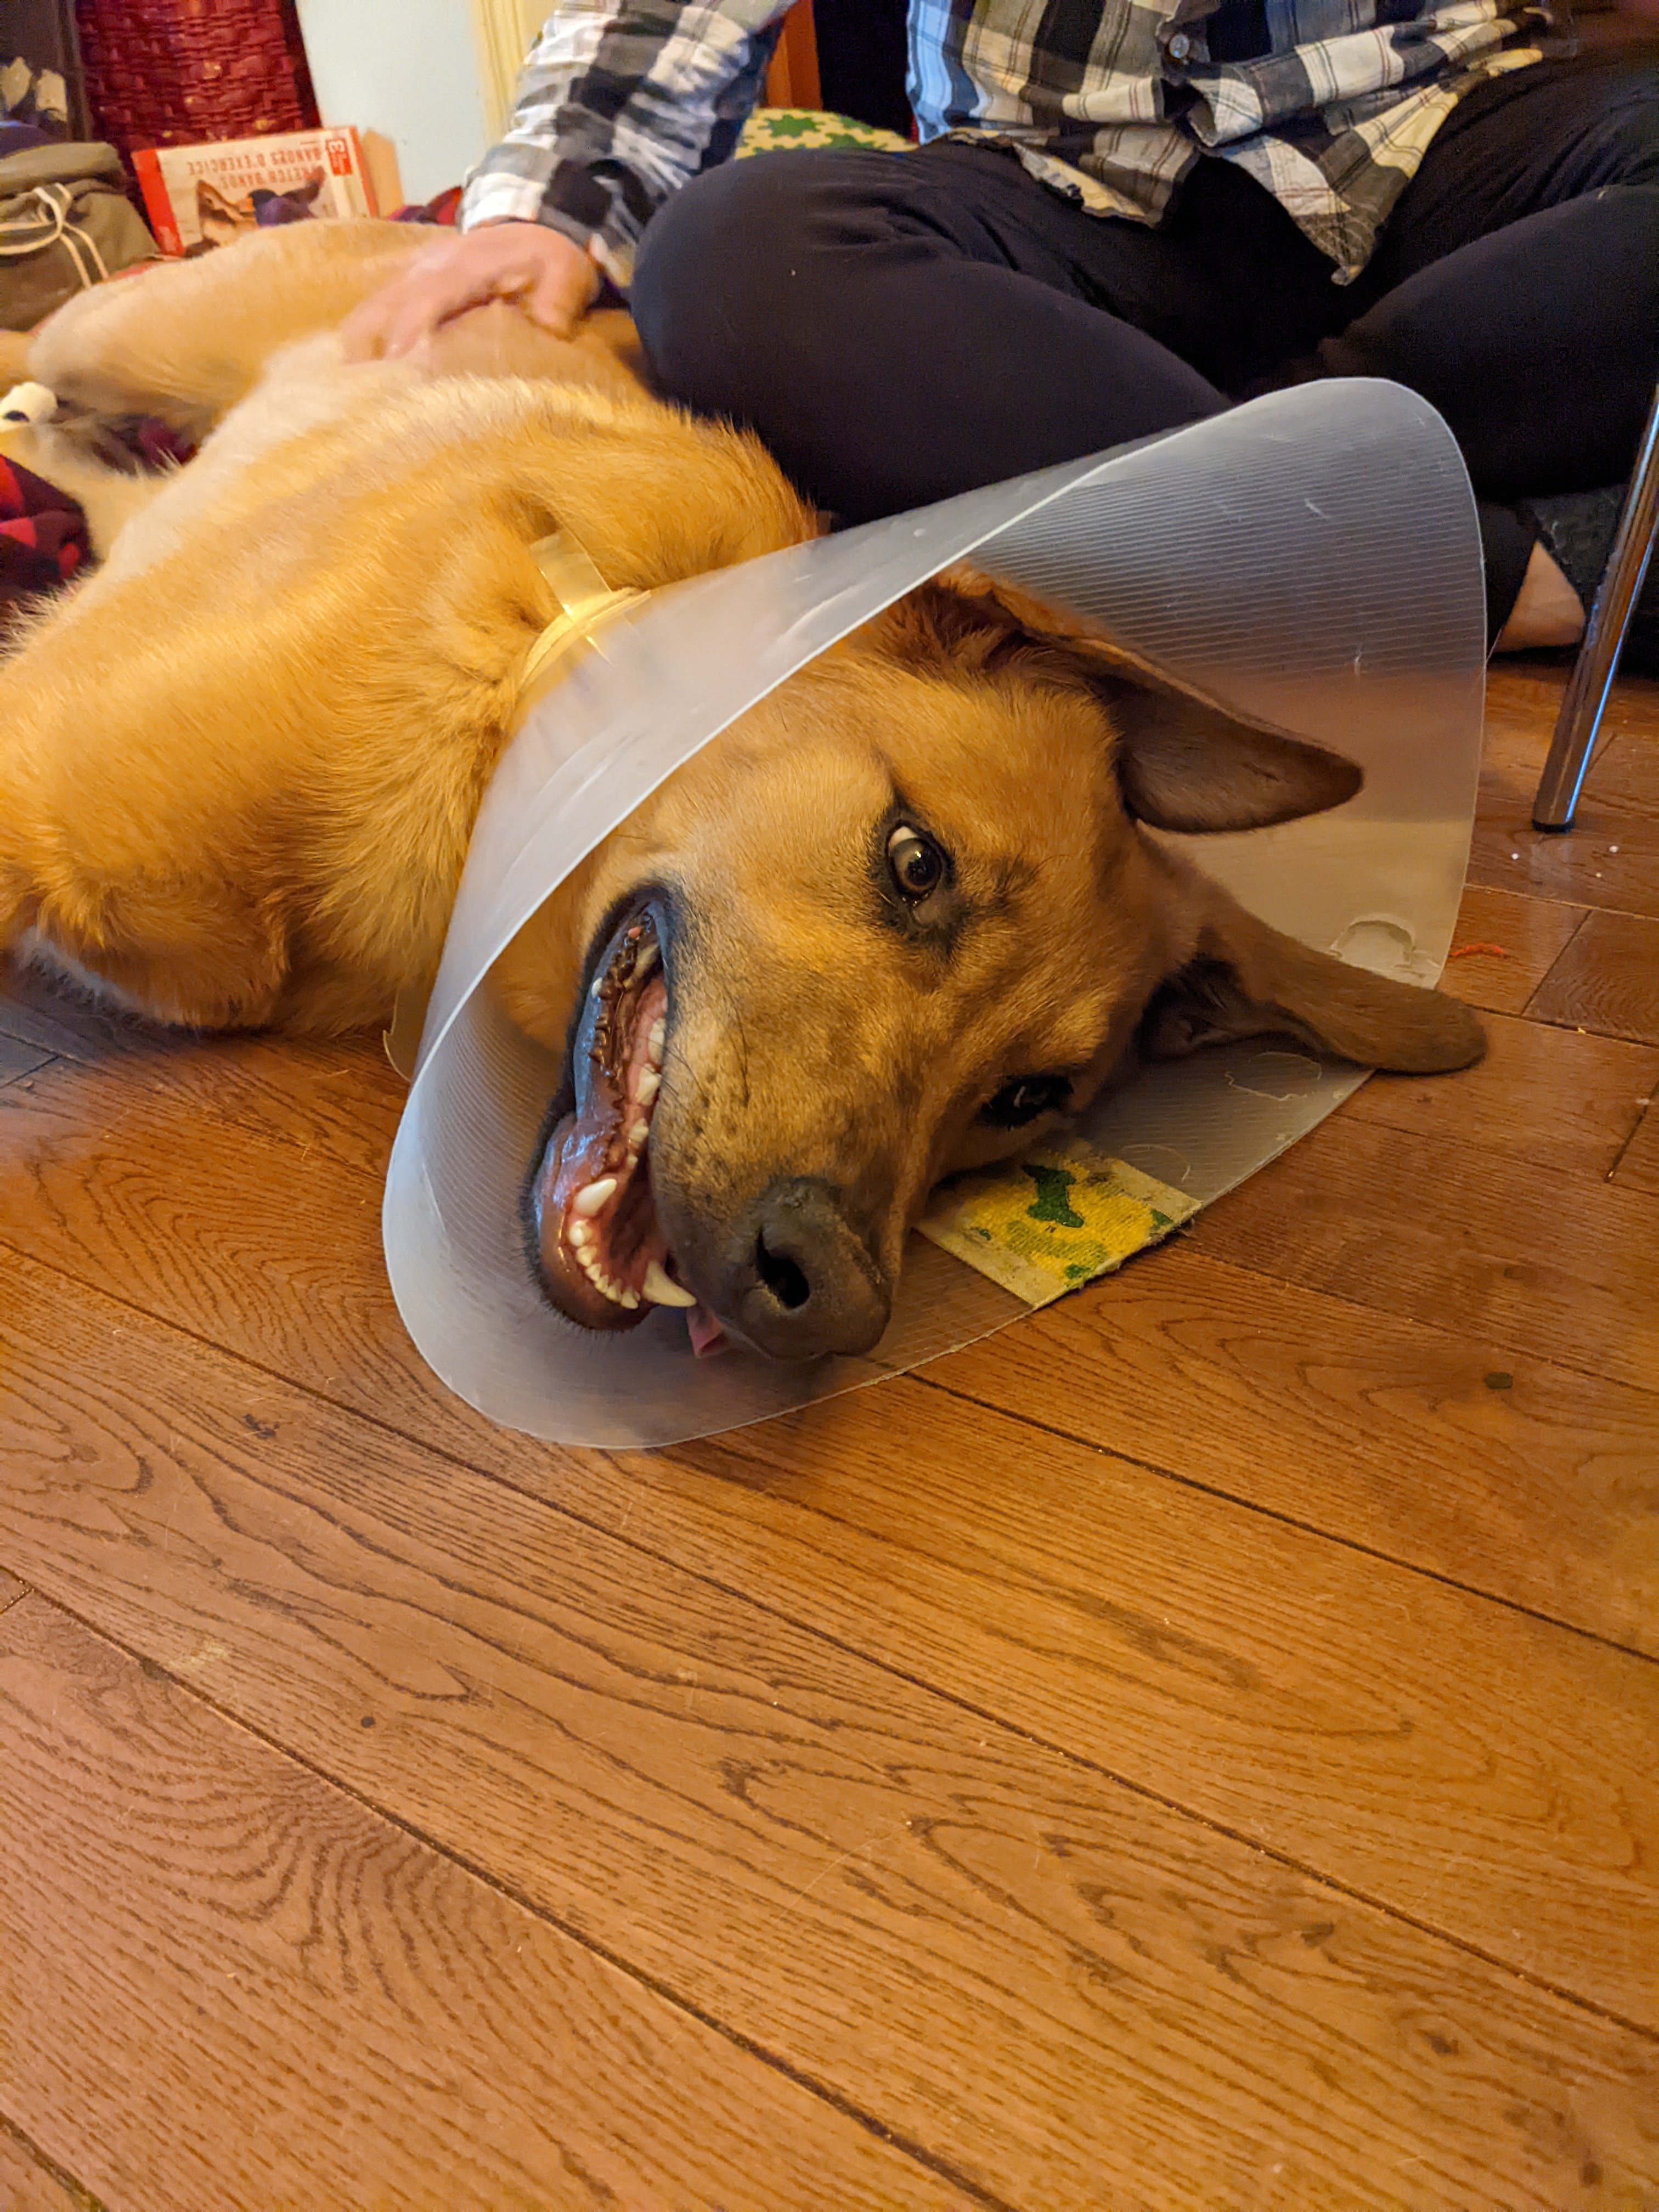
Jimmy's been needing some extra attention since his operation so haven't been down to the bench like I hoped. I did get the main rotor blades glued together so maybe later today I'll be able to get those into paint and have something to show.
-
Thanks for the heads-up on the para pack fairing. I just got the Slovak Tiger Meet version of the kit so that'll come in handy. DN Models are great. They've done several custom masks for me at very reasonable prices. Can't wait to see how the digital camo turns out.
-
Well, Jimmy got snipped yesterday. I wonder if he's aware anything's missing...


-
What is on your bench right now ? Share a picture :)
BlrwestSiR replied to Martinnfb's topic in Modelling Discussion
Same here. -
What is on your bench right now ? Share a picture :)
BlrwestSiR replied to Martinnfb's topic in Modelling Discussion
Where! -
What is on your bench right now ? Share a picture :)
BlrwestSiR replied to Martinnfb's topic in Modelling Discussion
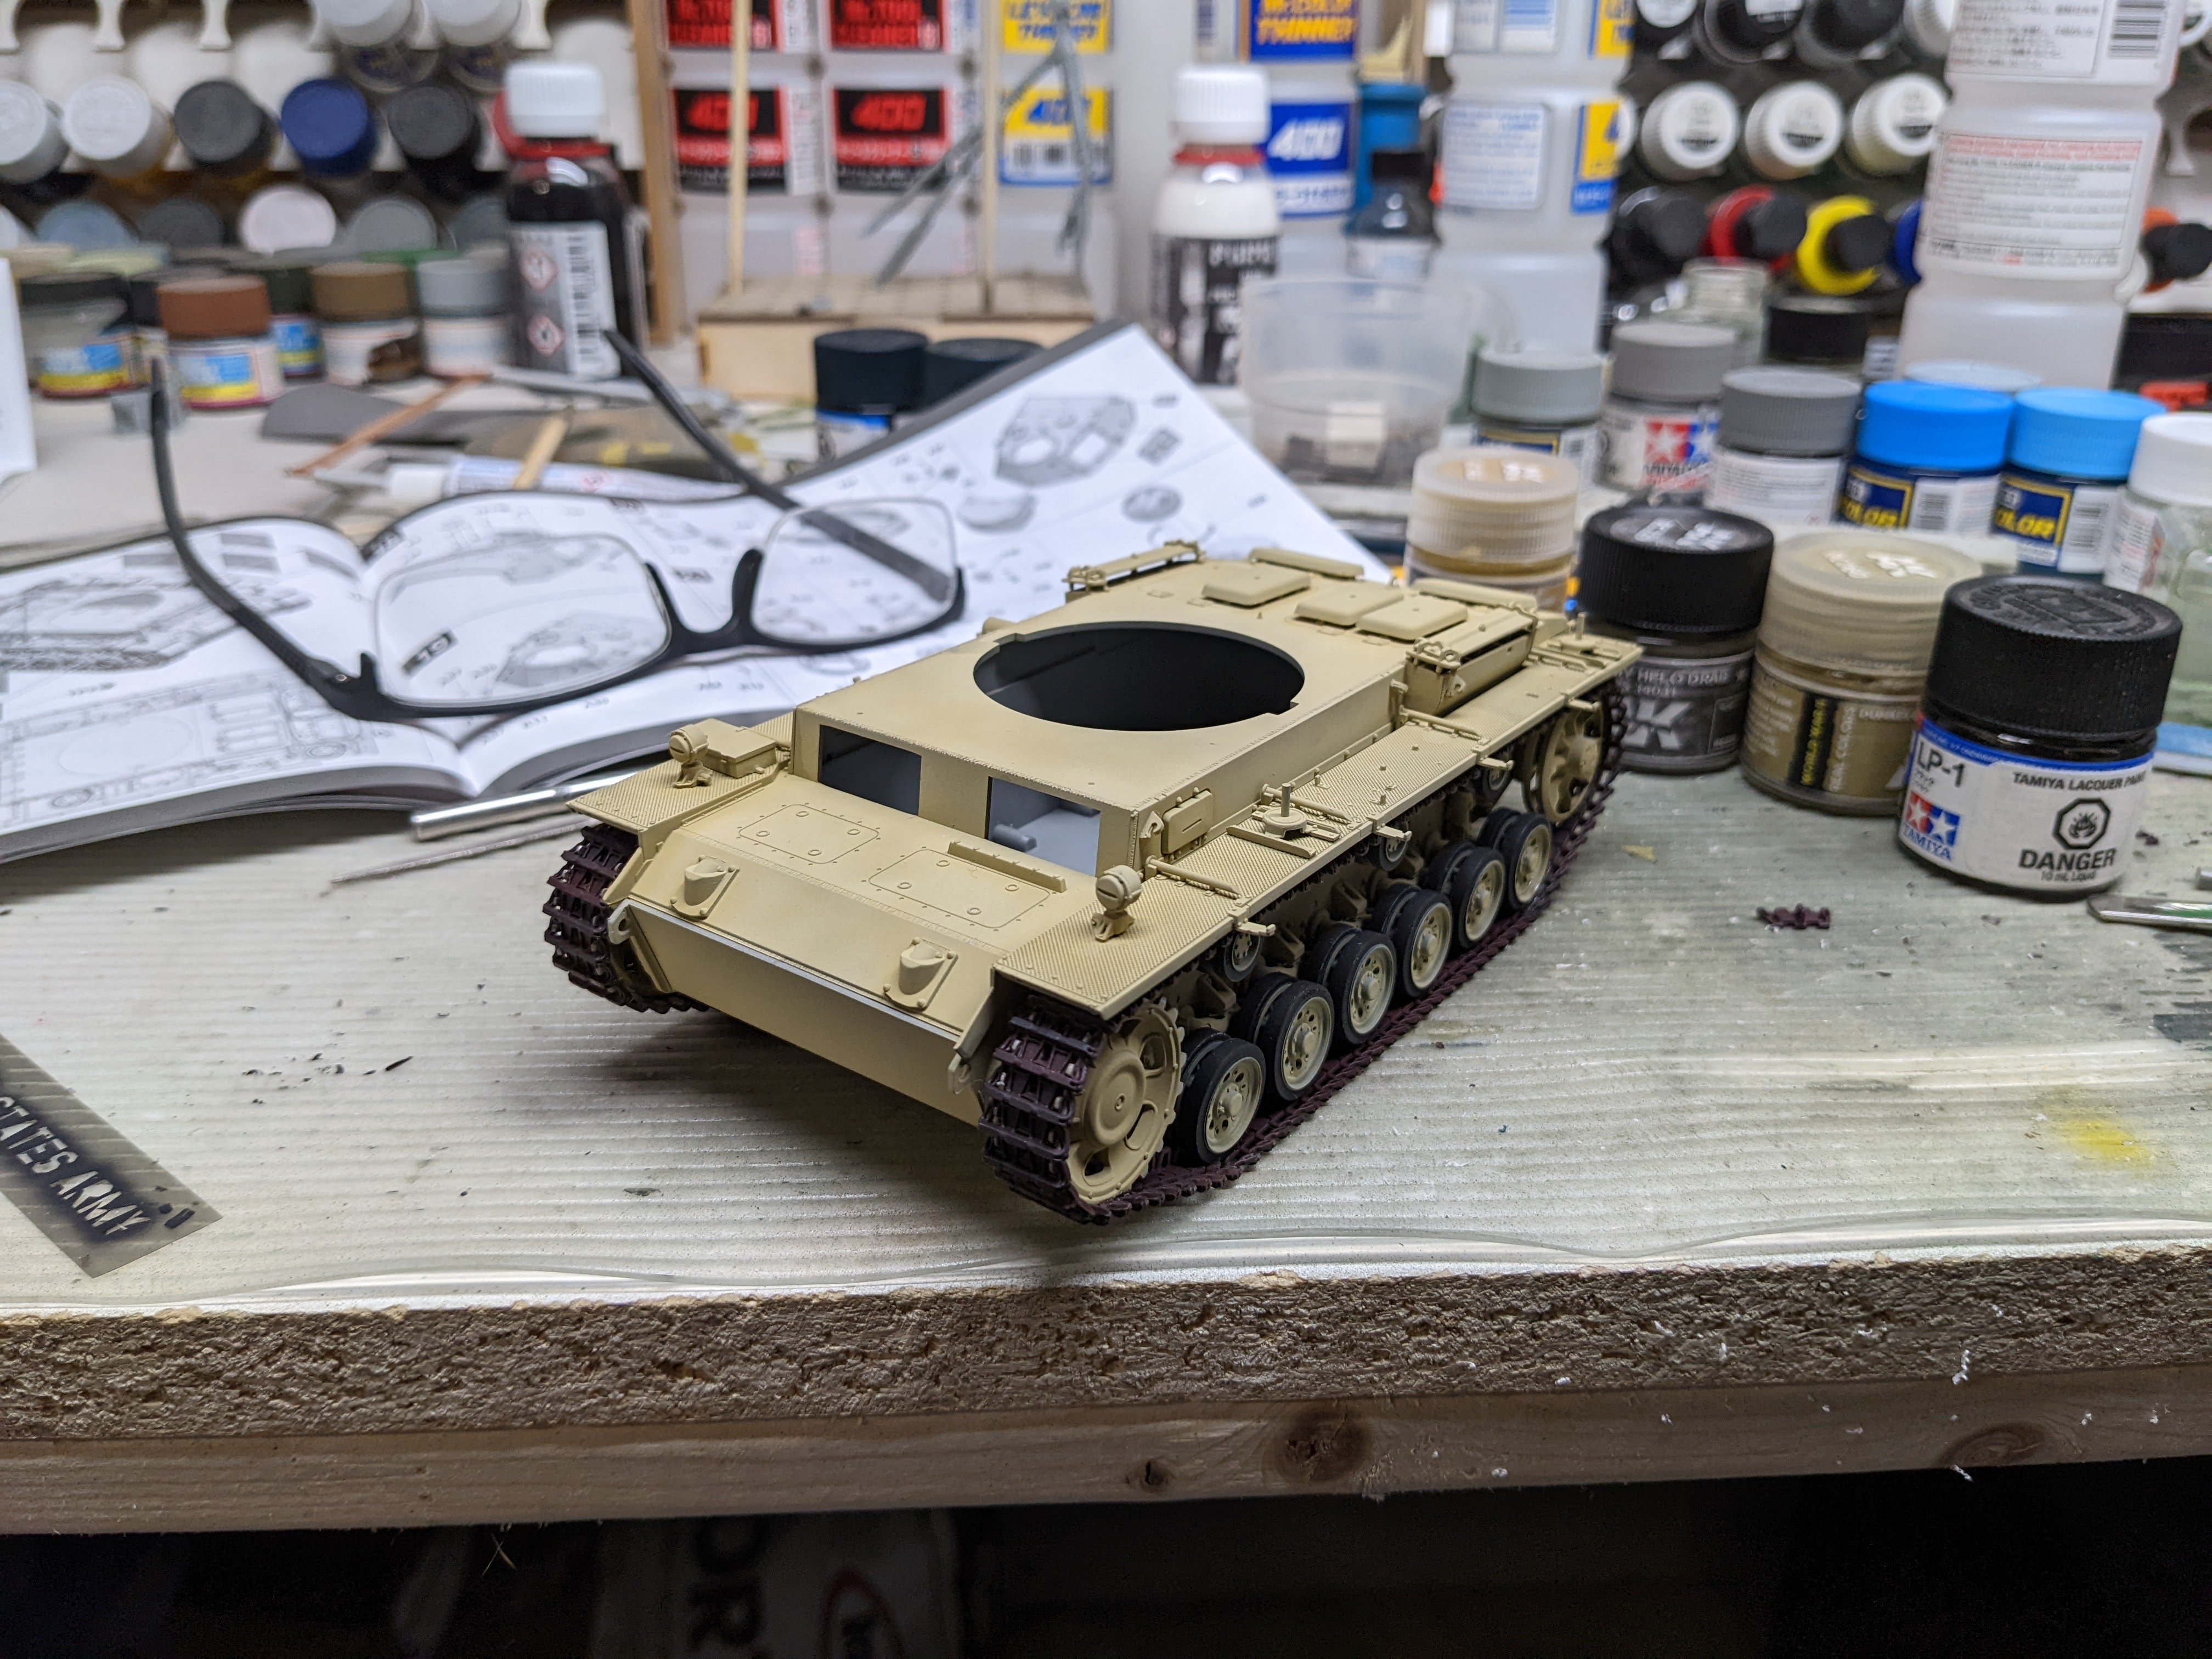
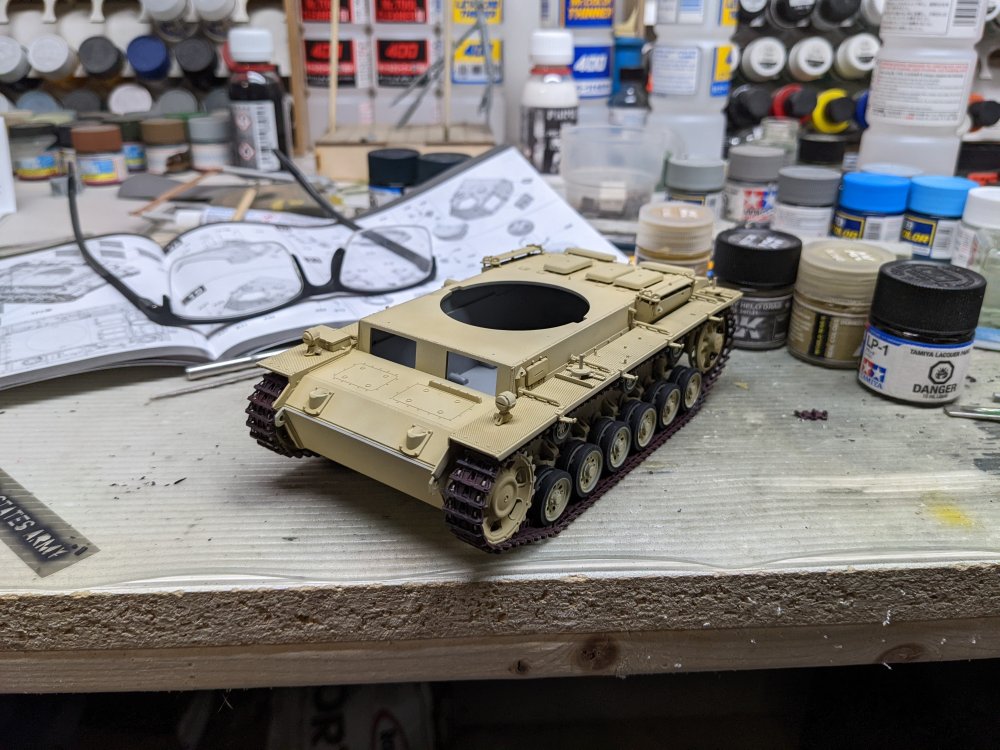
Got sidetracked from the AH-1 build. By gluing the upper hull in place, that took care of the warp in the lower hull so it sits square now.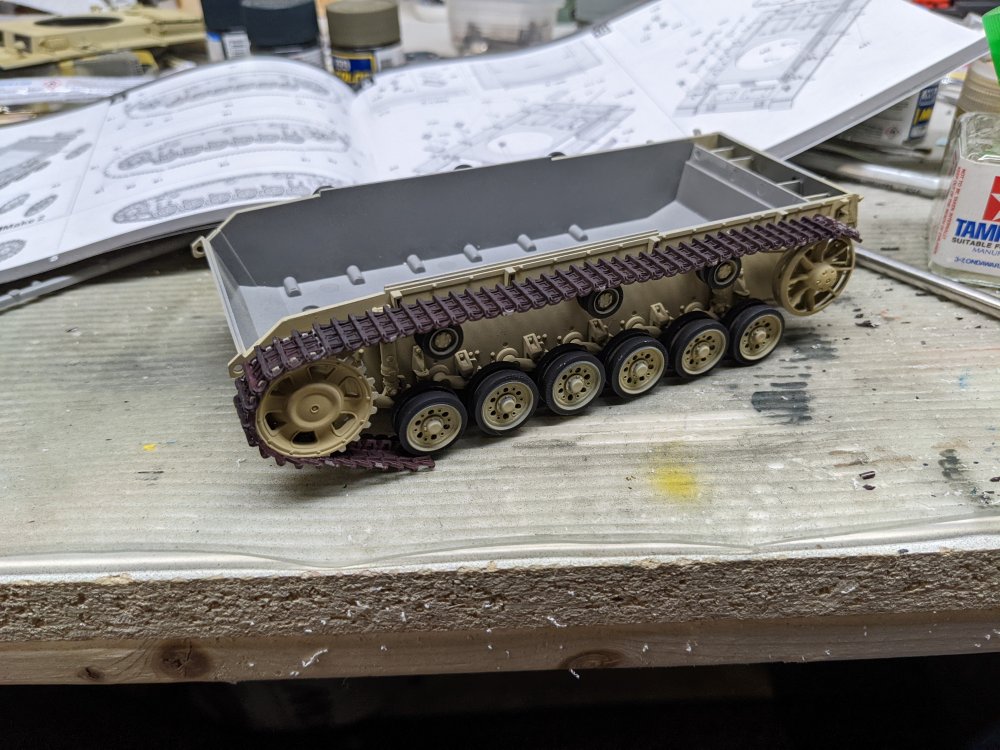
-
Thanks! Hope you find it and get back to thehe bench.
-
It really had been a quick build. I'm going to get back to it tonight and see how much more I can get done.
-
Halberd Models is back up and running as well. I ordered his Cavalier conversion last week from Andrey. Carl
-
Very nice there. I've only built the T-33 version and have to agree that they're not a shake and bake kit. But I still enjoyed it. Carl
-
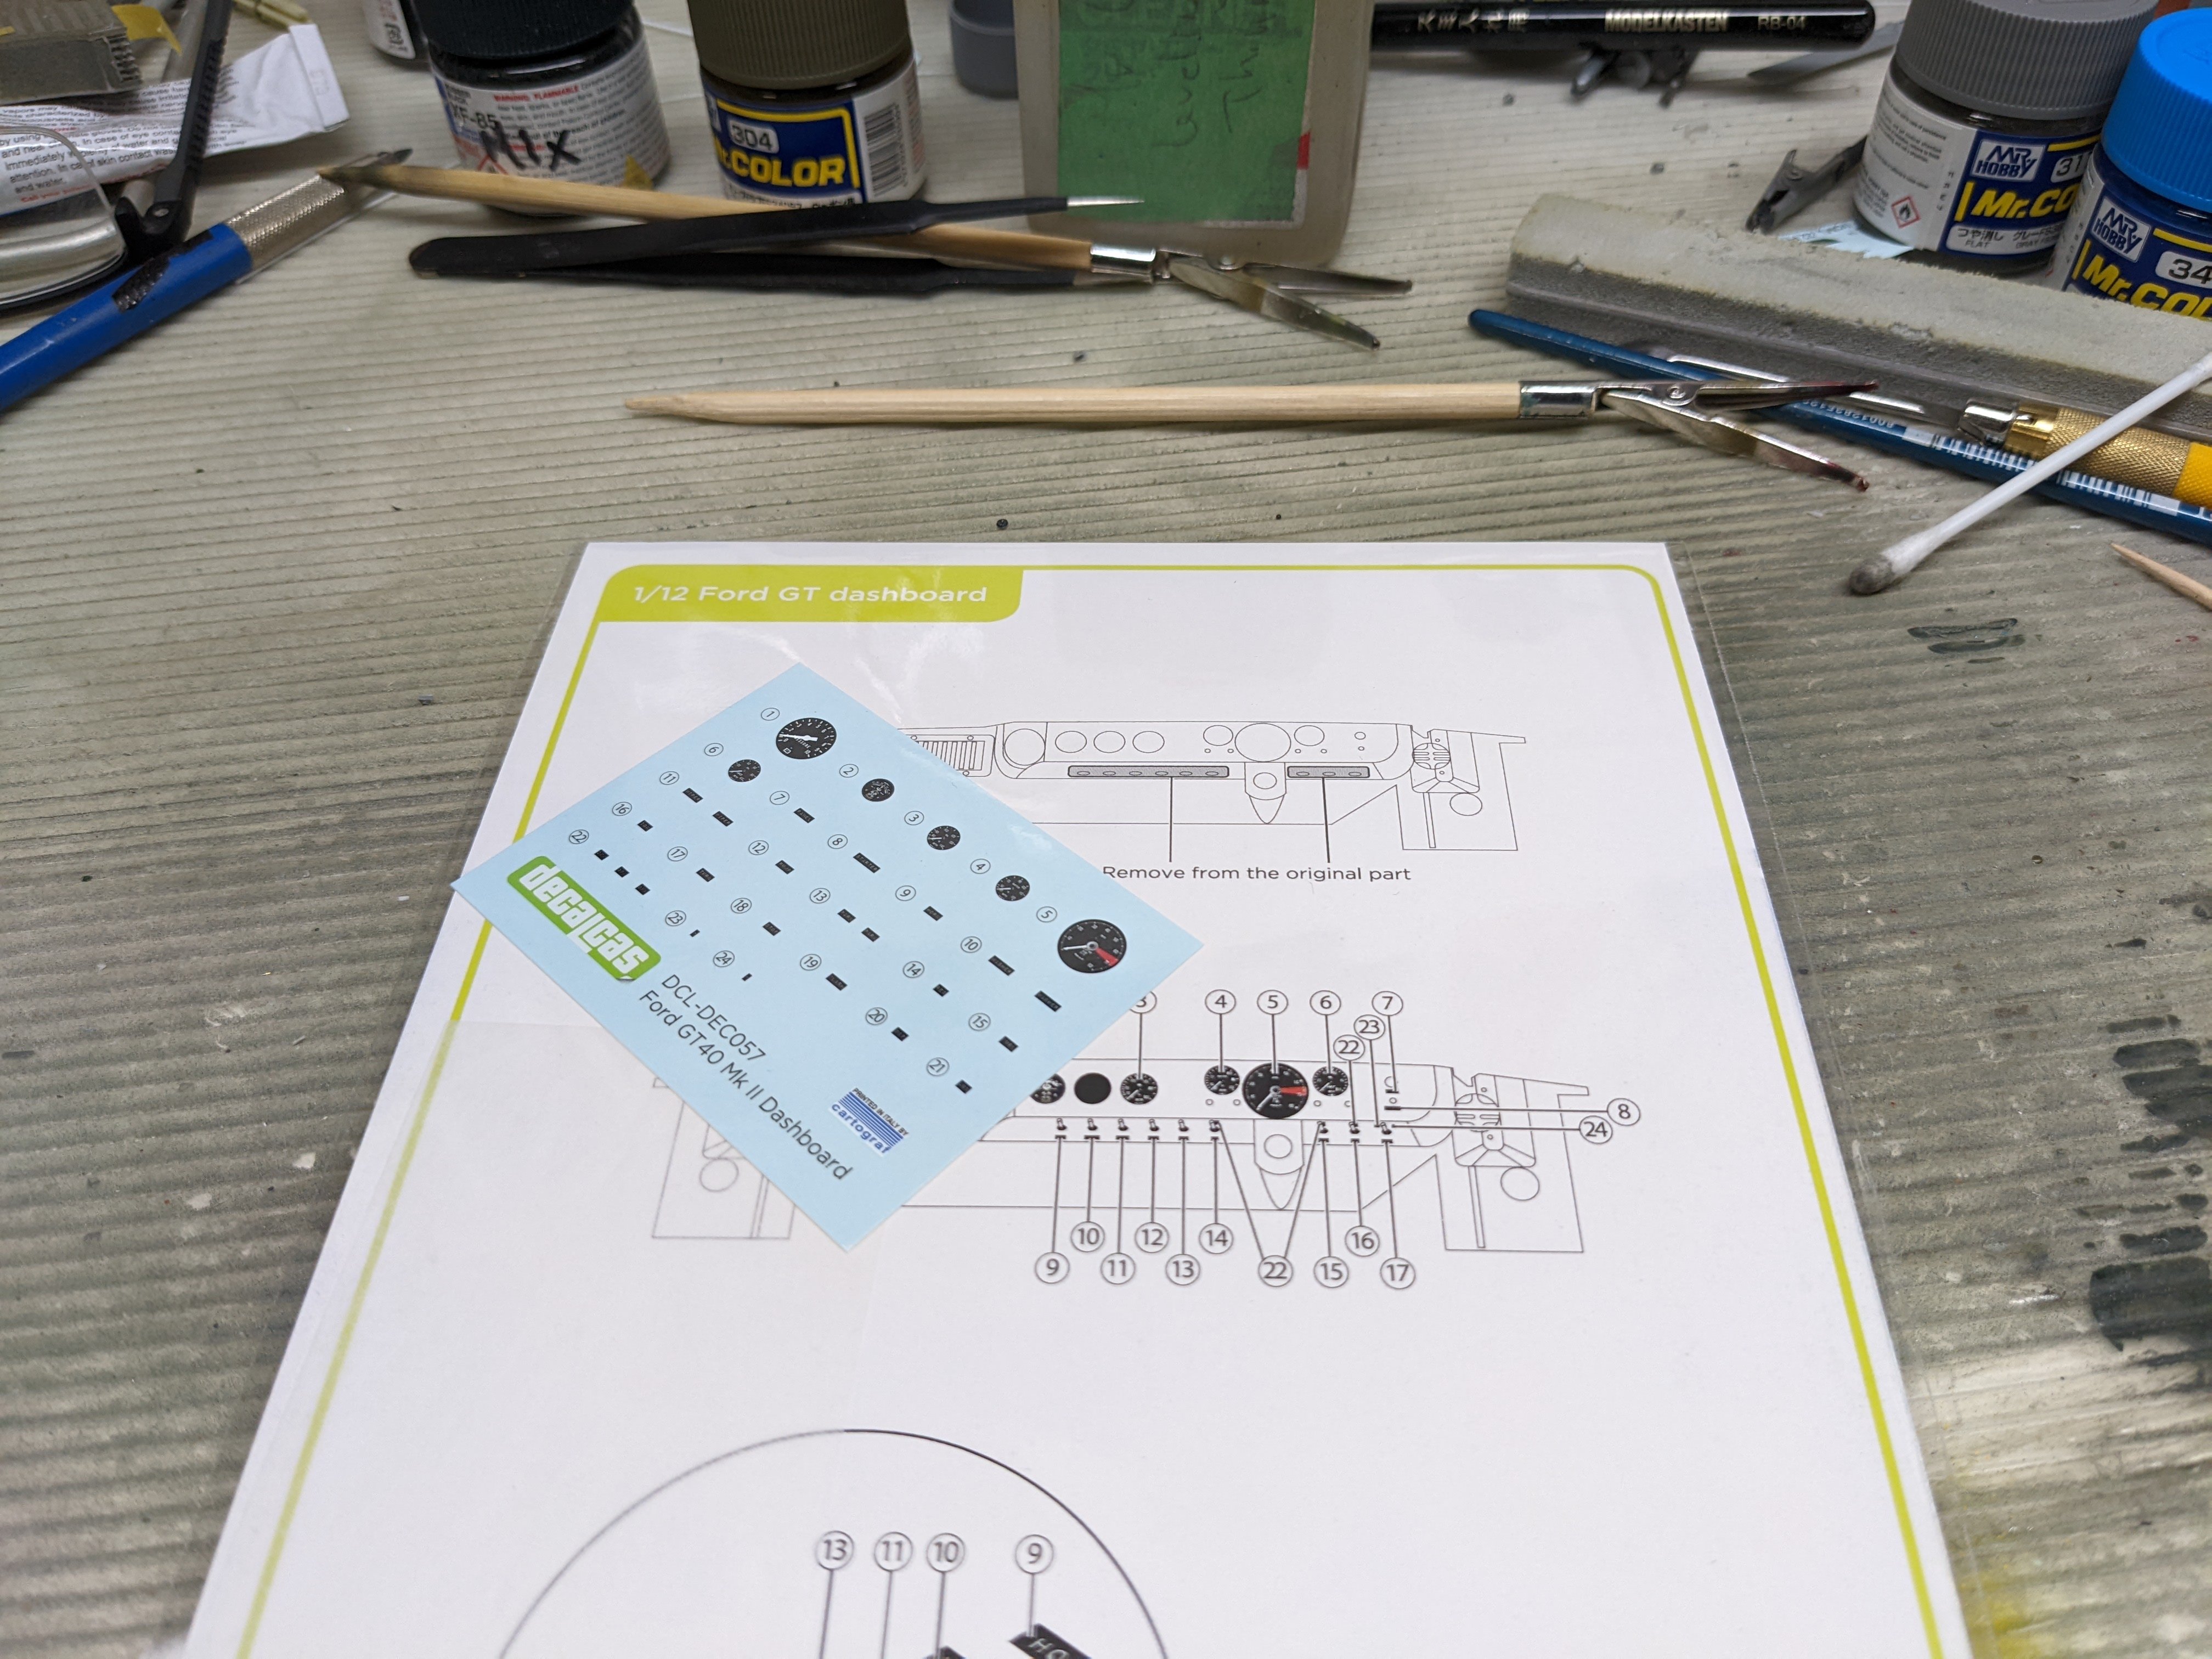
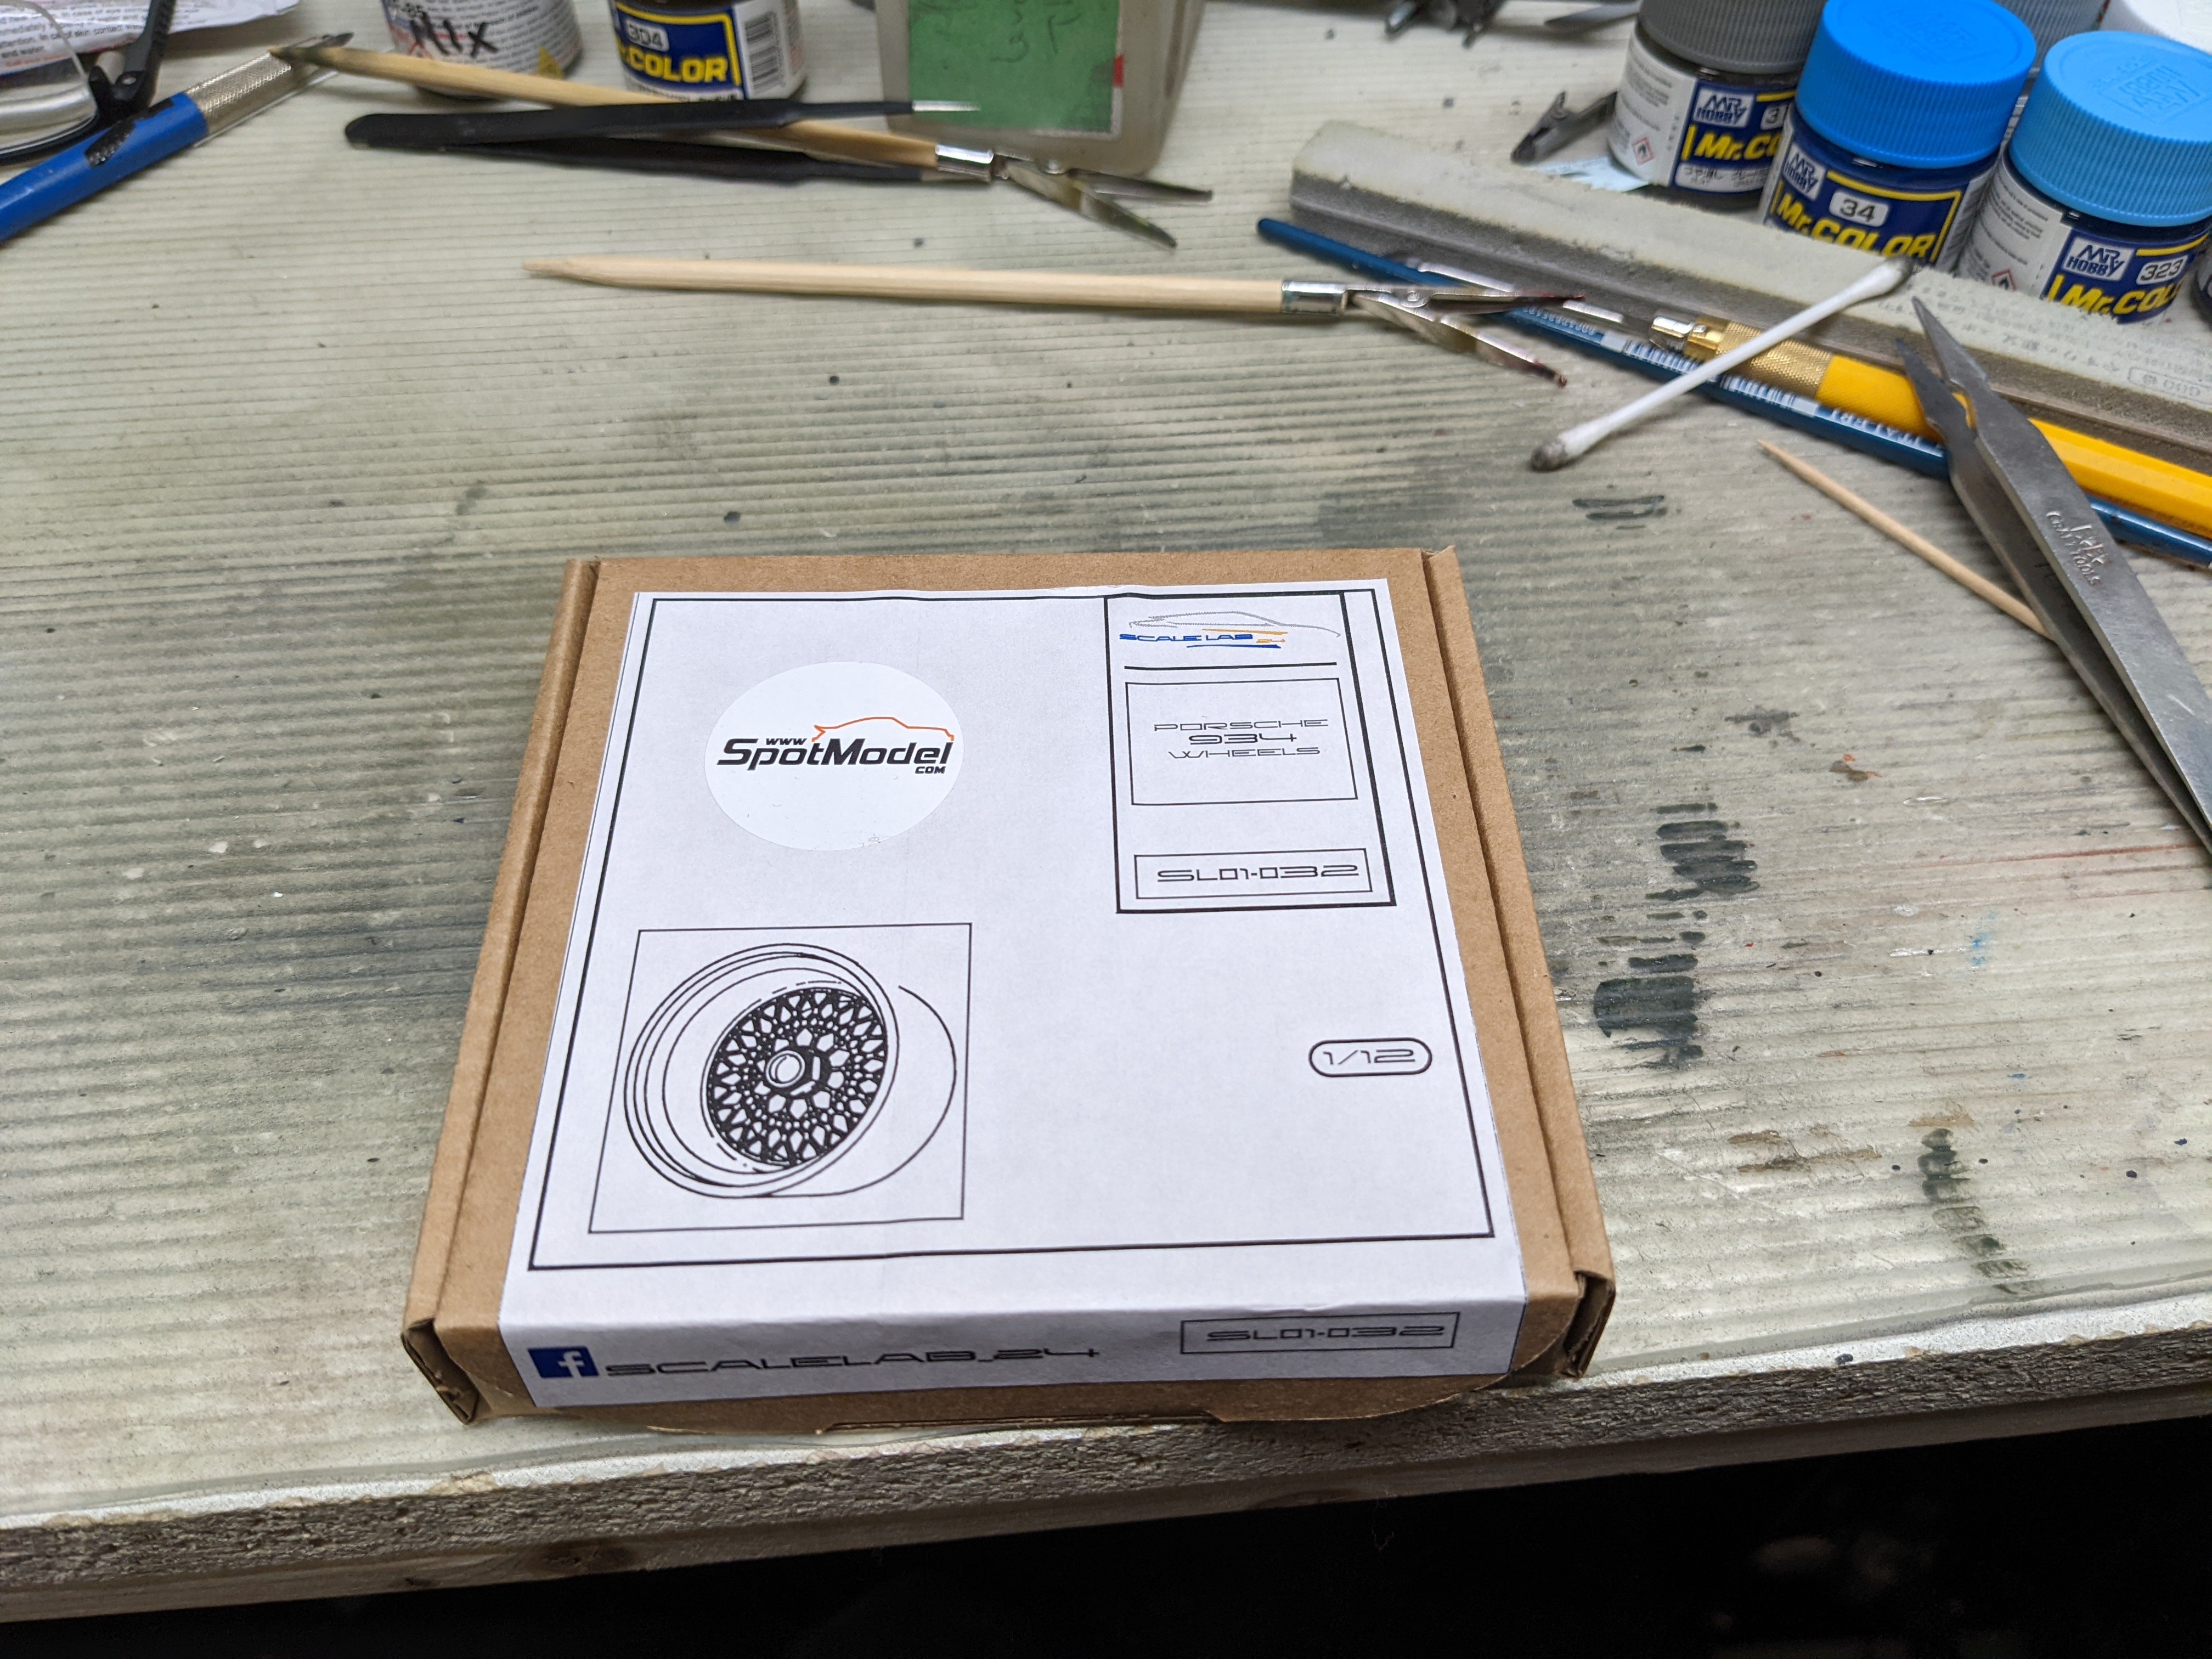
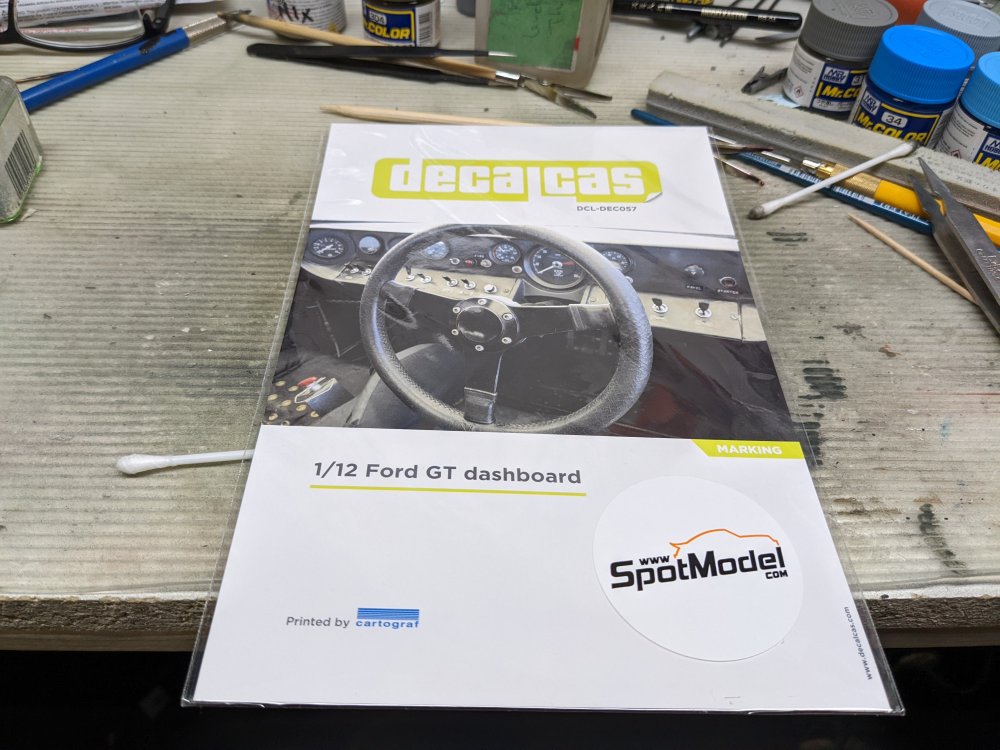
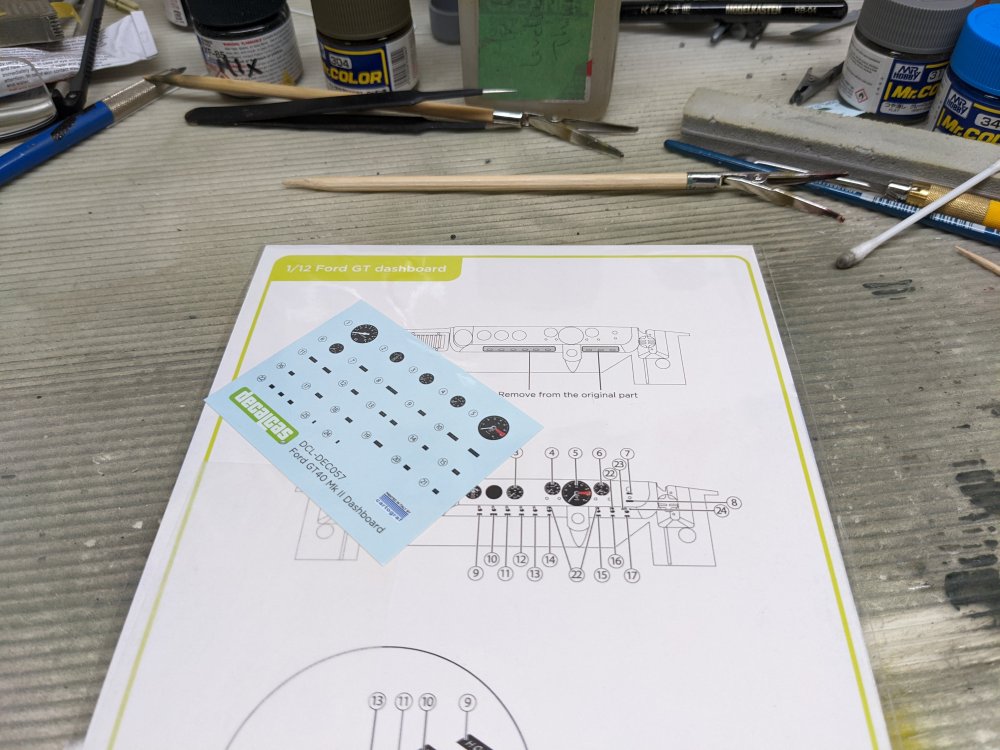
I got my first order in from Spot Models in Spain. Very nicely packaged and the prices seemed very reasonable too. These should be a huge improvement over the Trumpeter kit ones. Wheels for my road going 935 project. Unfortunately the kit wheels are a much larger diameter than the ones in the 934 so I may have to shuffle things around a bit.

-
The Fokker is my favourite WWI plane so when I found the MikroMir kit I had to pick it up. I saw your build and the struts are a bit nerve wracking even with the Aerocraft brass ones that I have. I will have to just brave them one day and build it.
-
I got them before prices got silly. The EJ kits were on clear out from Tower Hobbies and likewise the T-bird kits at a local shop that does primarily RC stuff.