GusMac
-
Posts
2,978 -
Joined
-
Last visited
Content Type
Profiles
Forums
Events
Gallery
Everything posted by GusMac
-
Just about done on the touch-ups and other detail painting. Next step will be the gloss coat, so question for those who are regular MRP users - is it safe to use Tamiya X22 thinned with Mr Levelling as a gloss coat over MRP?
-
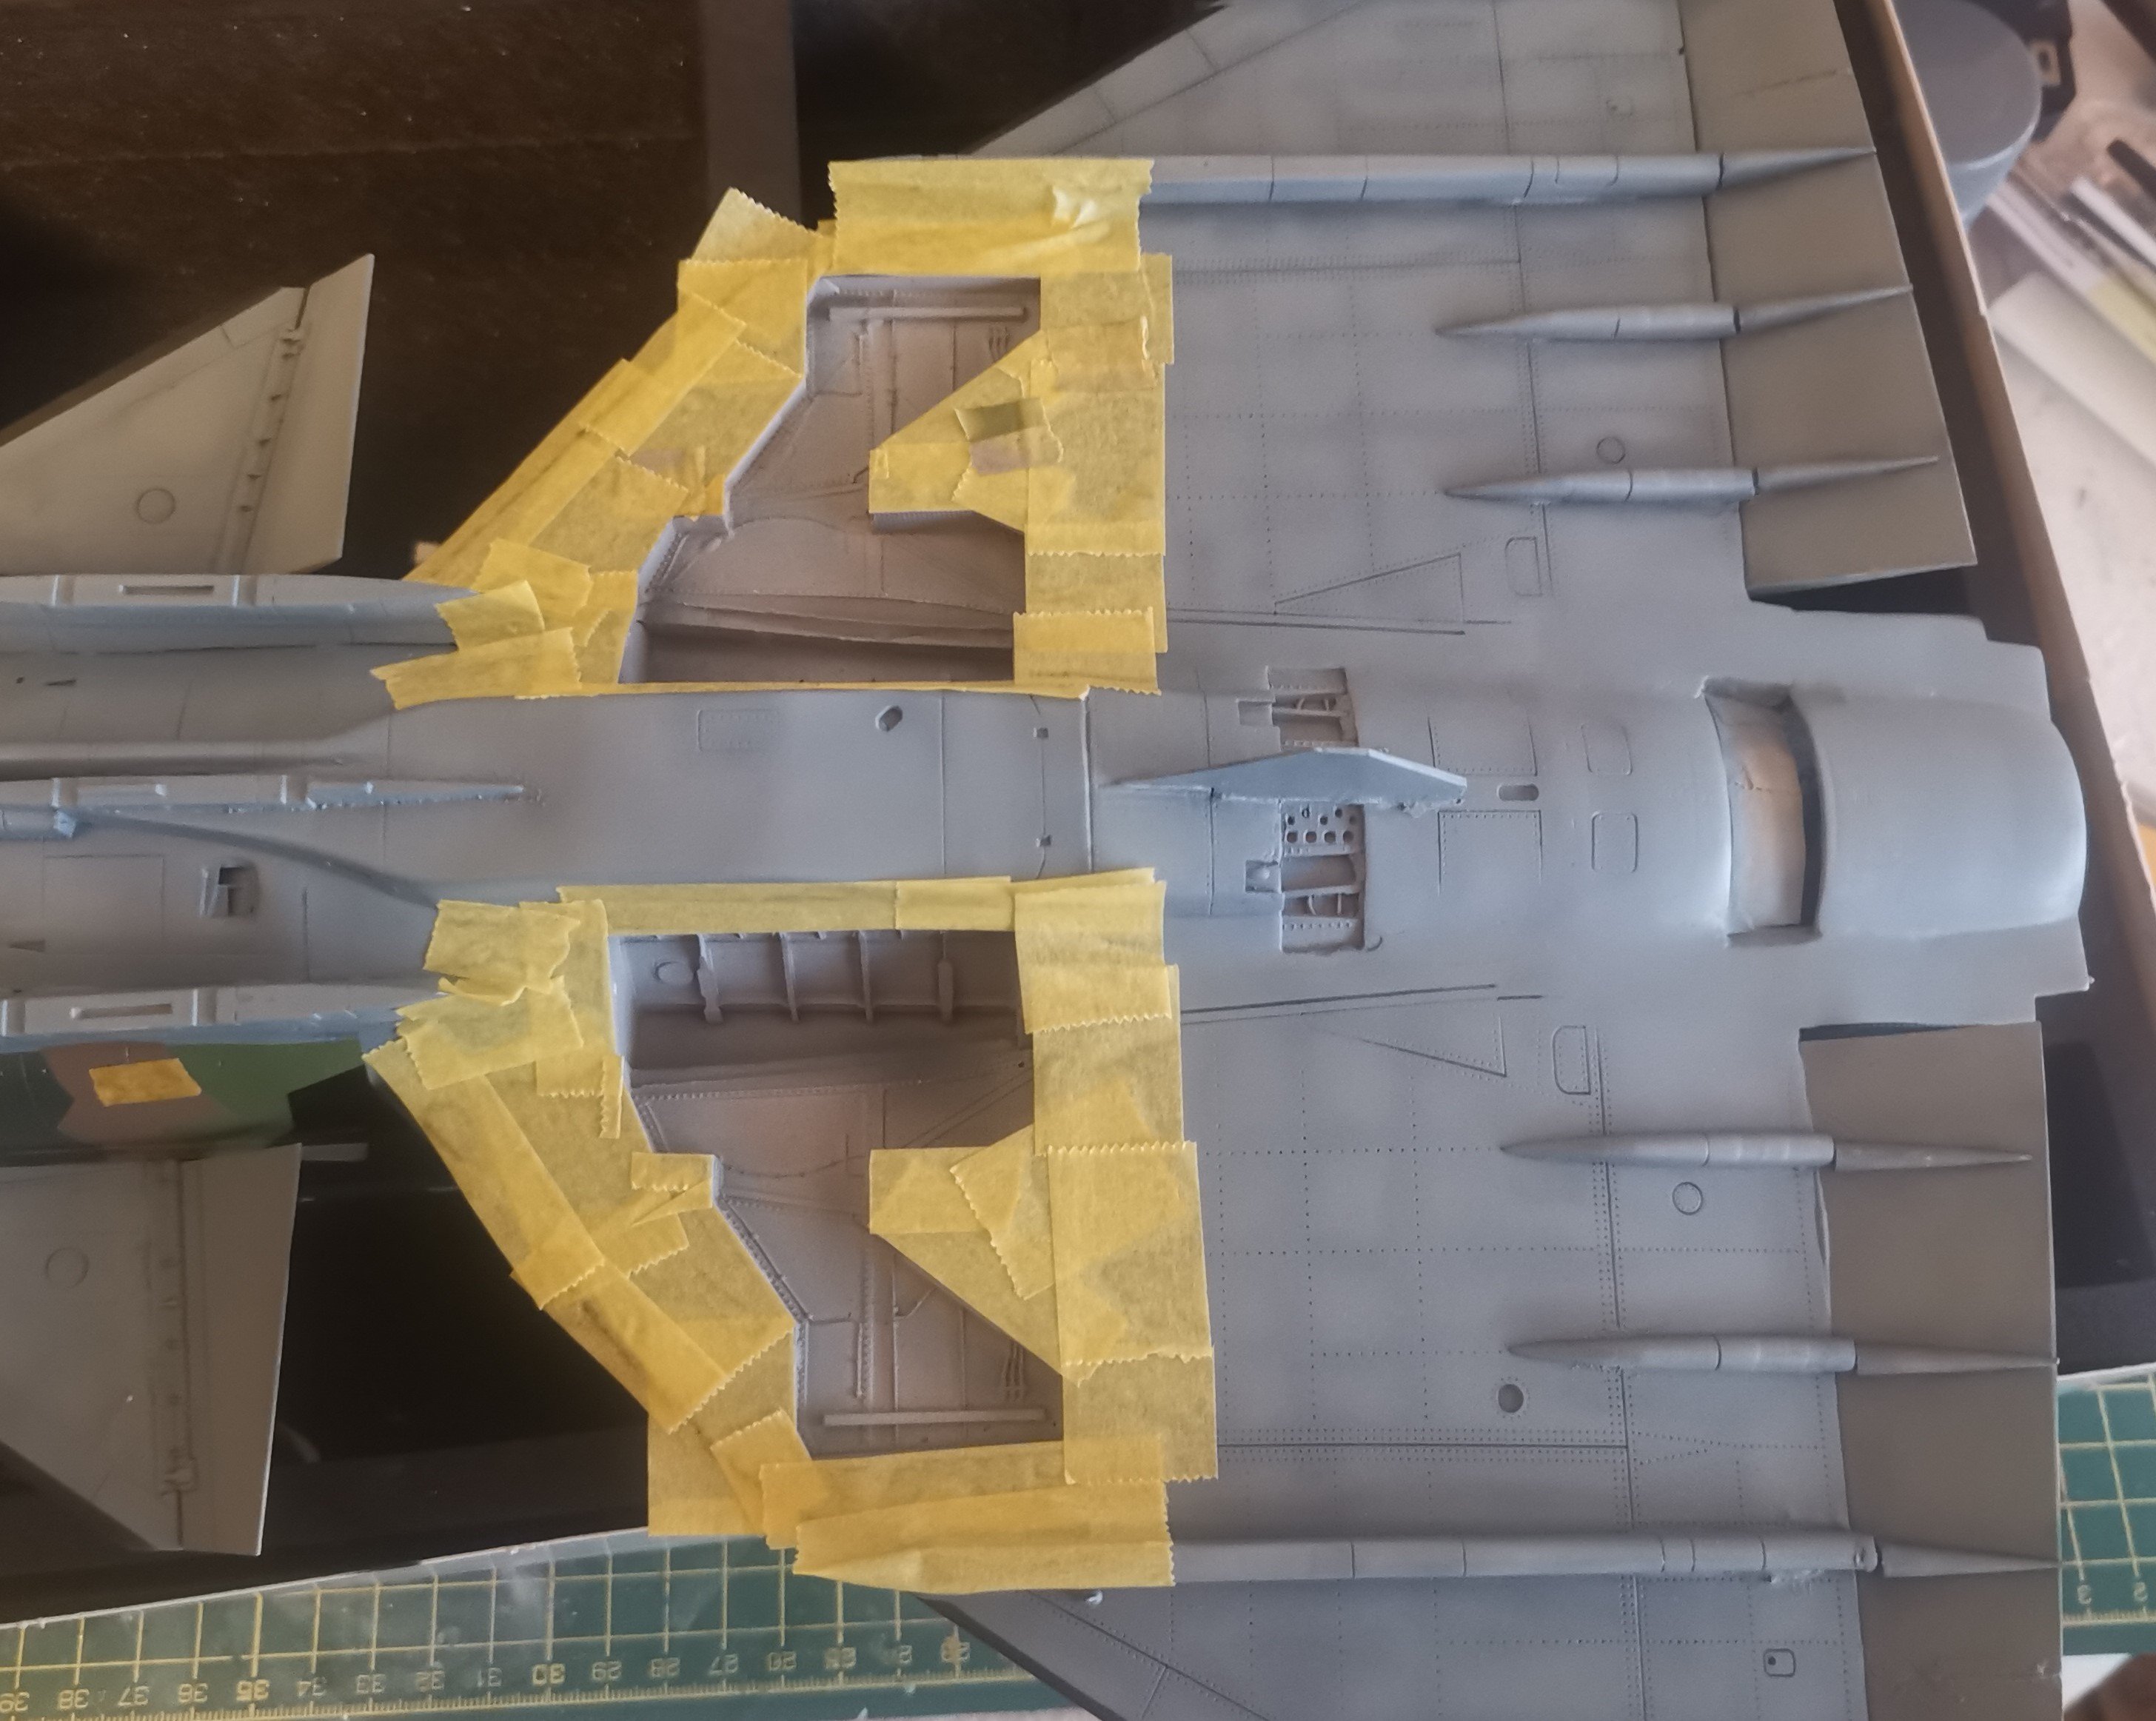
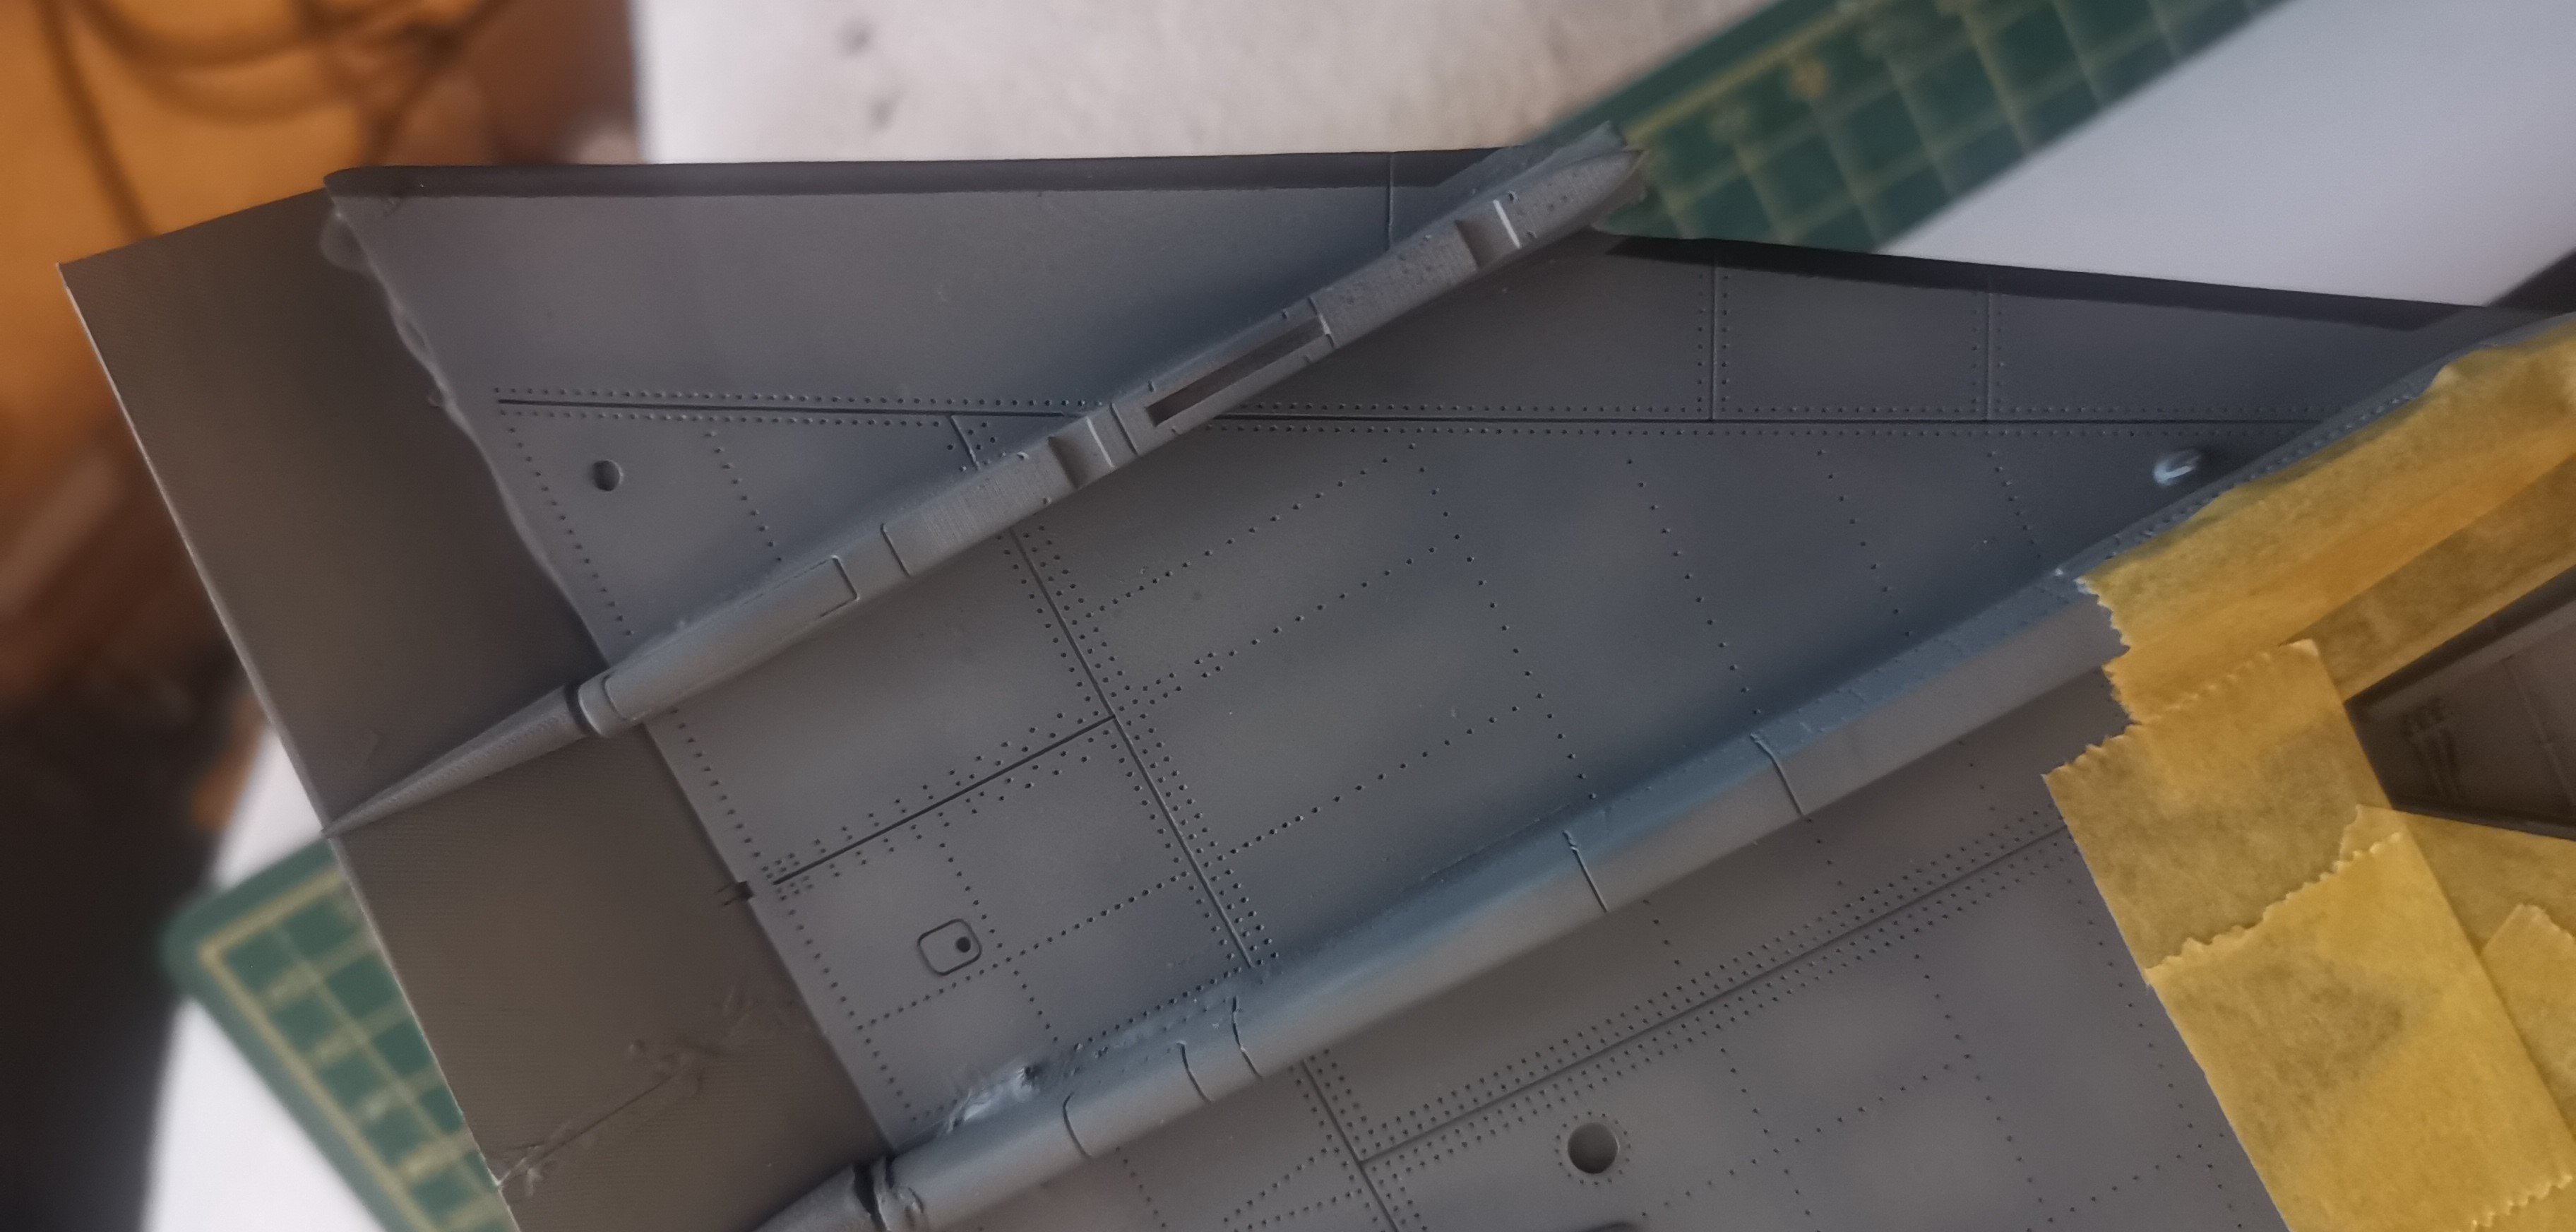
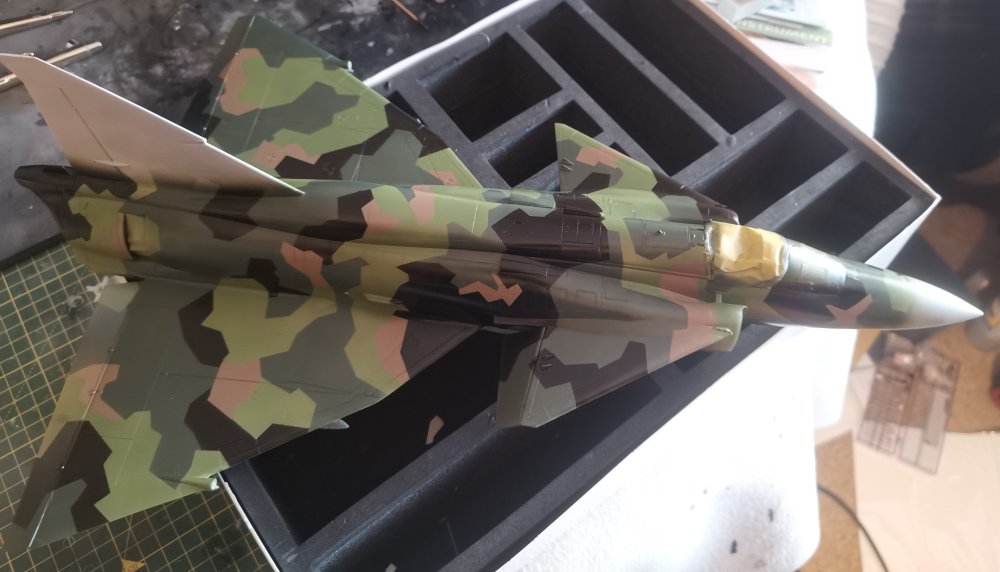
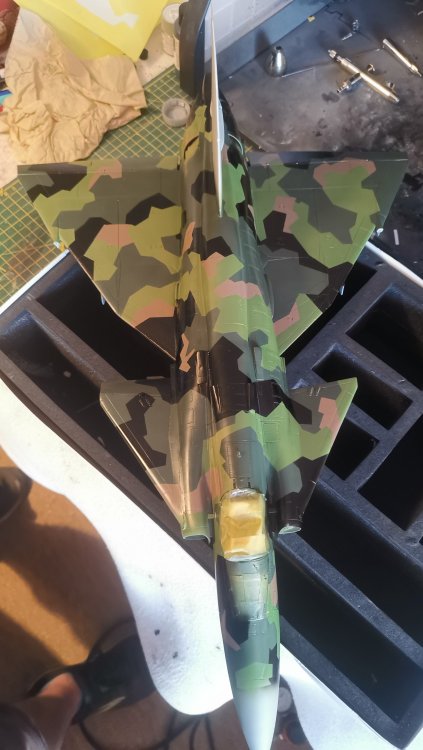
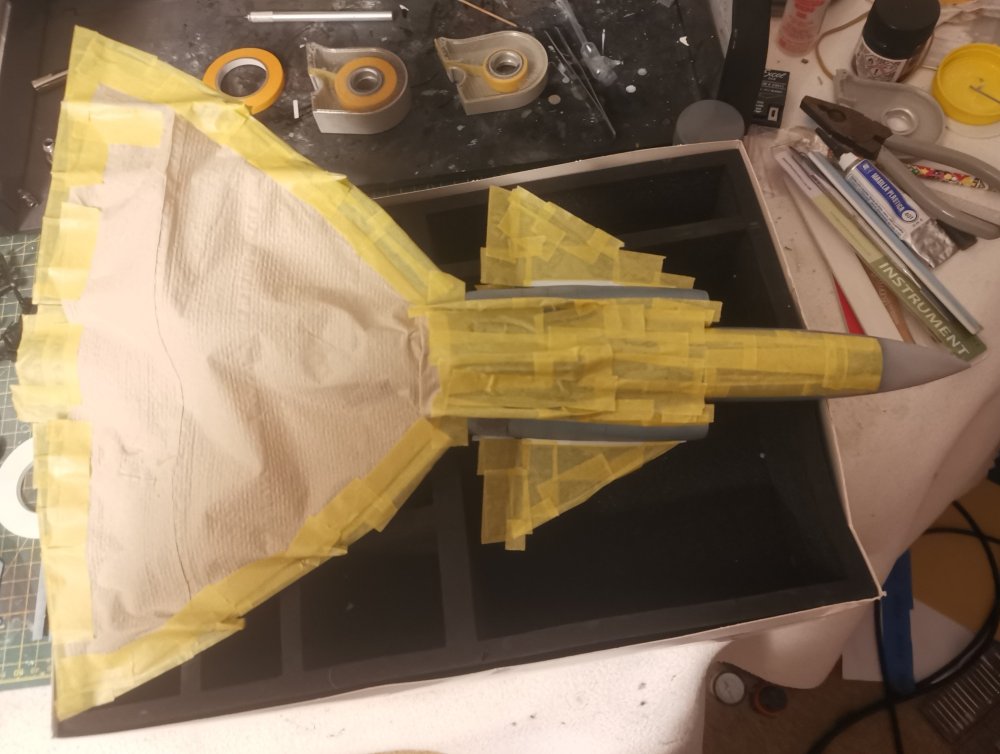
As requested a couple of quick pics of the black detail on the leading edges, apologies for the quality of the pics. I also got the gear bays masked off and have laid down a light grey on the bottom of the wing section. That will then be masked off and the walls sprayed in dark green. The fuselage section will be aluminium but they won't be seen as the inner doors are shut with the gear down.


- 186 replies
-
- 11
-

-
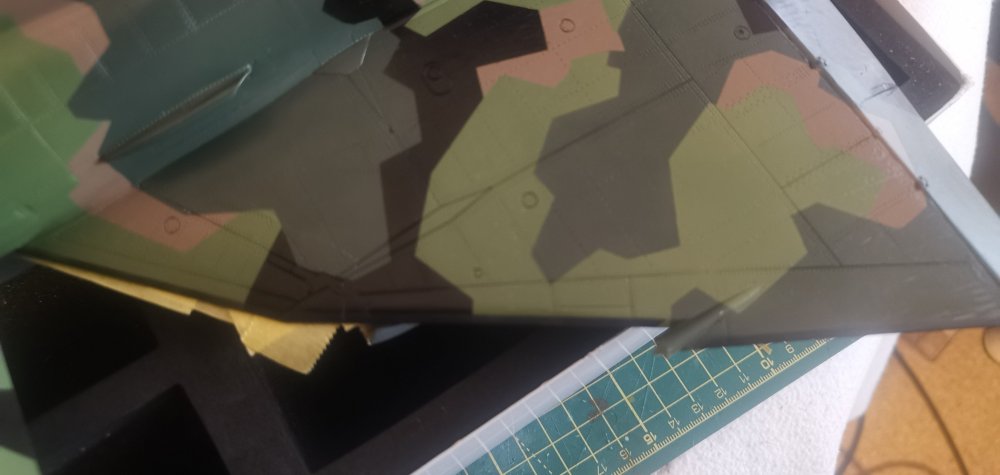
Fun hour and a bit at the bench tonight - 55 minutes of masking, 2 minutes of airbrush work and 10 minutes of clean up! 🤪 BUT the wings and canards now have their black edges. I'll get started on the gear bays tomorrow and after they're done it's just the underside touch-ups and we're onto a gloss coat and decals.
-

What is on your bench right now ? Share a picture :)
GusMac replied to Martinnfb's topic in Modelling Discussion
That's a rather large hairball in the spray booth! -
Top surface touch-ups done and the purple laid down on the tail. Next is the black for the tip of the tail and the nose, then I can flip it and do the wheel wells, repair the canard and do any underside touch-ups.

- 186 replies
-
- 10
-
-

-
Rob, I'm going to do the version with the cartoon of Hagar the Horrible on the tail, so it's going to be painted bright purple. I always loved the cartoon books of Hagar as a kid so thought I'd do it as a memorial.
-
(WIP) Curtiss A-8 „SHRIKE” 1:48 Czech Model
GusMac replied to Kriss's topic in LSM 1/48 Work in Progress
Another interesting choice Kriss. Definitely looks like something someone has put together after a rummage in the spares box. -
Thanks all. After a bit of reflection I think I'll try and just mask and airbrush the touch-ups as it's probably most likely to give a consistent result and I'll have to mask the tail, nose and gear bays anyway. Might as well keep Tamiya's profits up with lots more tape! 😄
-
Seriously, here are the results There are a few areas that have a little paint lift and seepage under the masks, so some touch-ups required but less than I'd feared. Also managed to knock one of the canard flaps off but that will actually make one of the touch-ups simpler, so always a silver lining as they say. One question for those with more experience of MRP - is it possible to brush paint with it? Given the consistency I suspect not but I just thought I'd ask as a couple of the repairs could be done with a small brush rather than having to airbrush whole sections again and the prospect of more masking!

-
We have a result... Big pile of masking tape! Ha Ha 😆

-
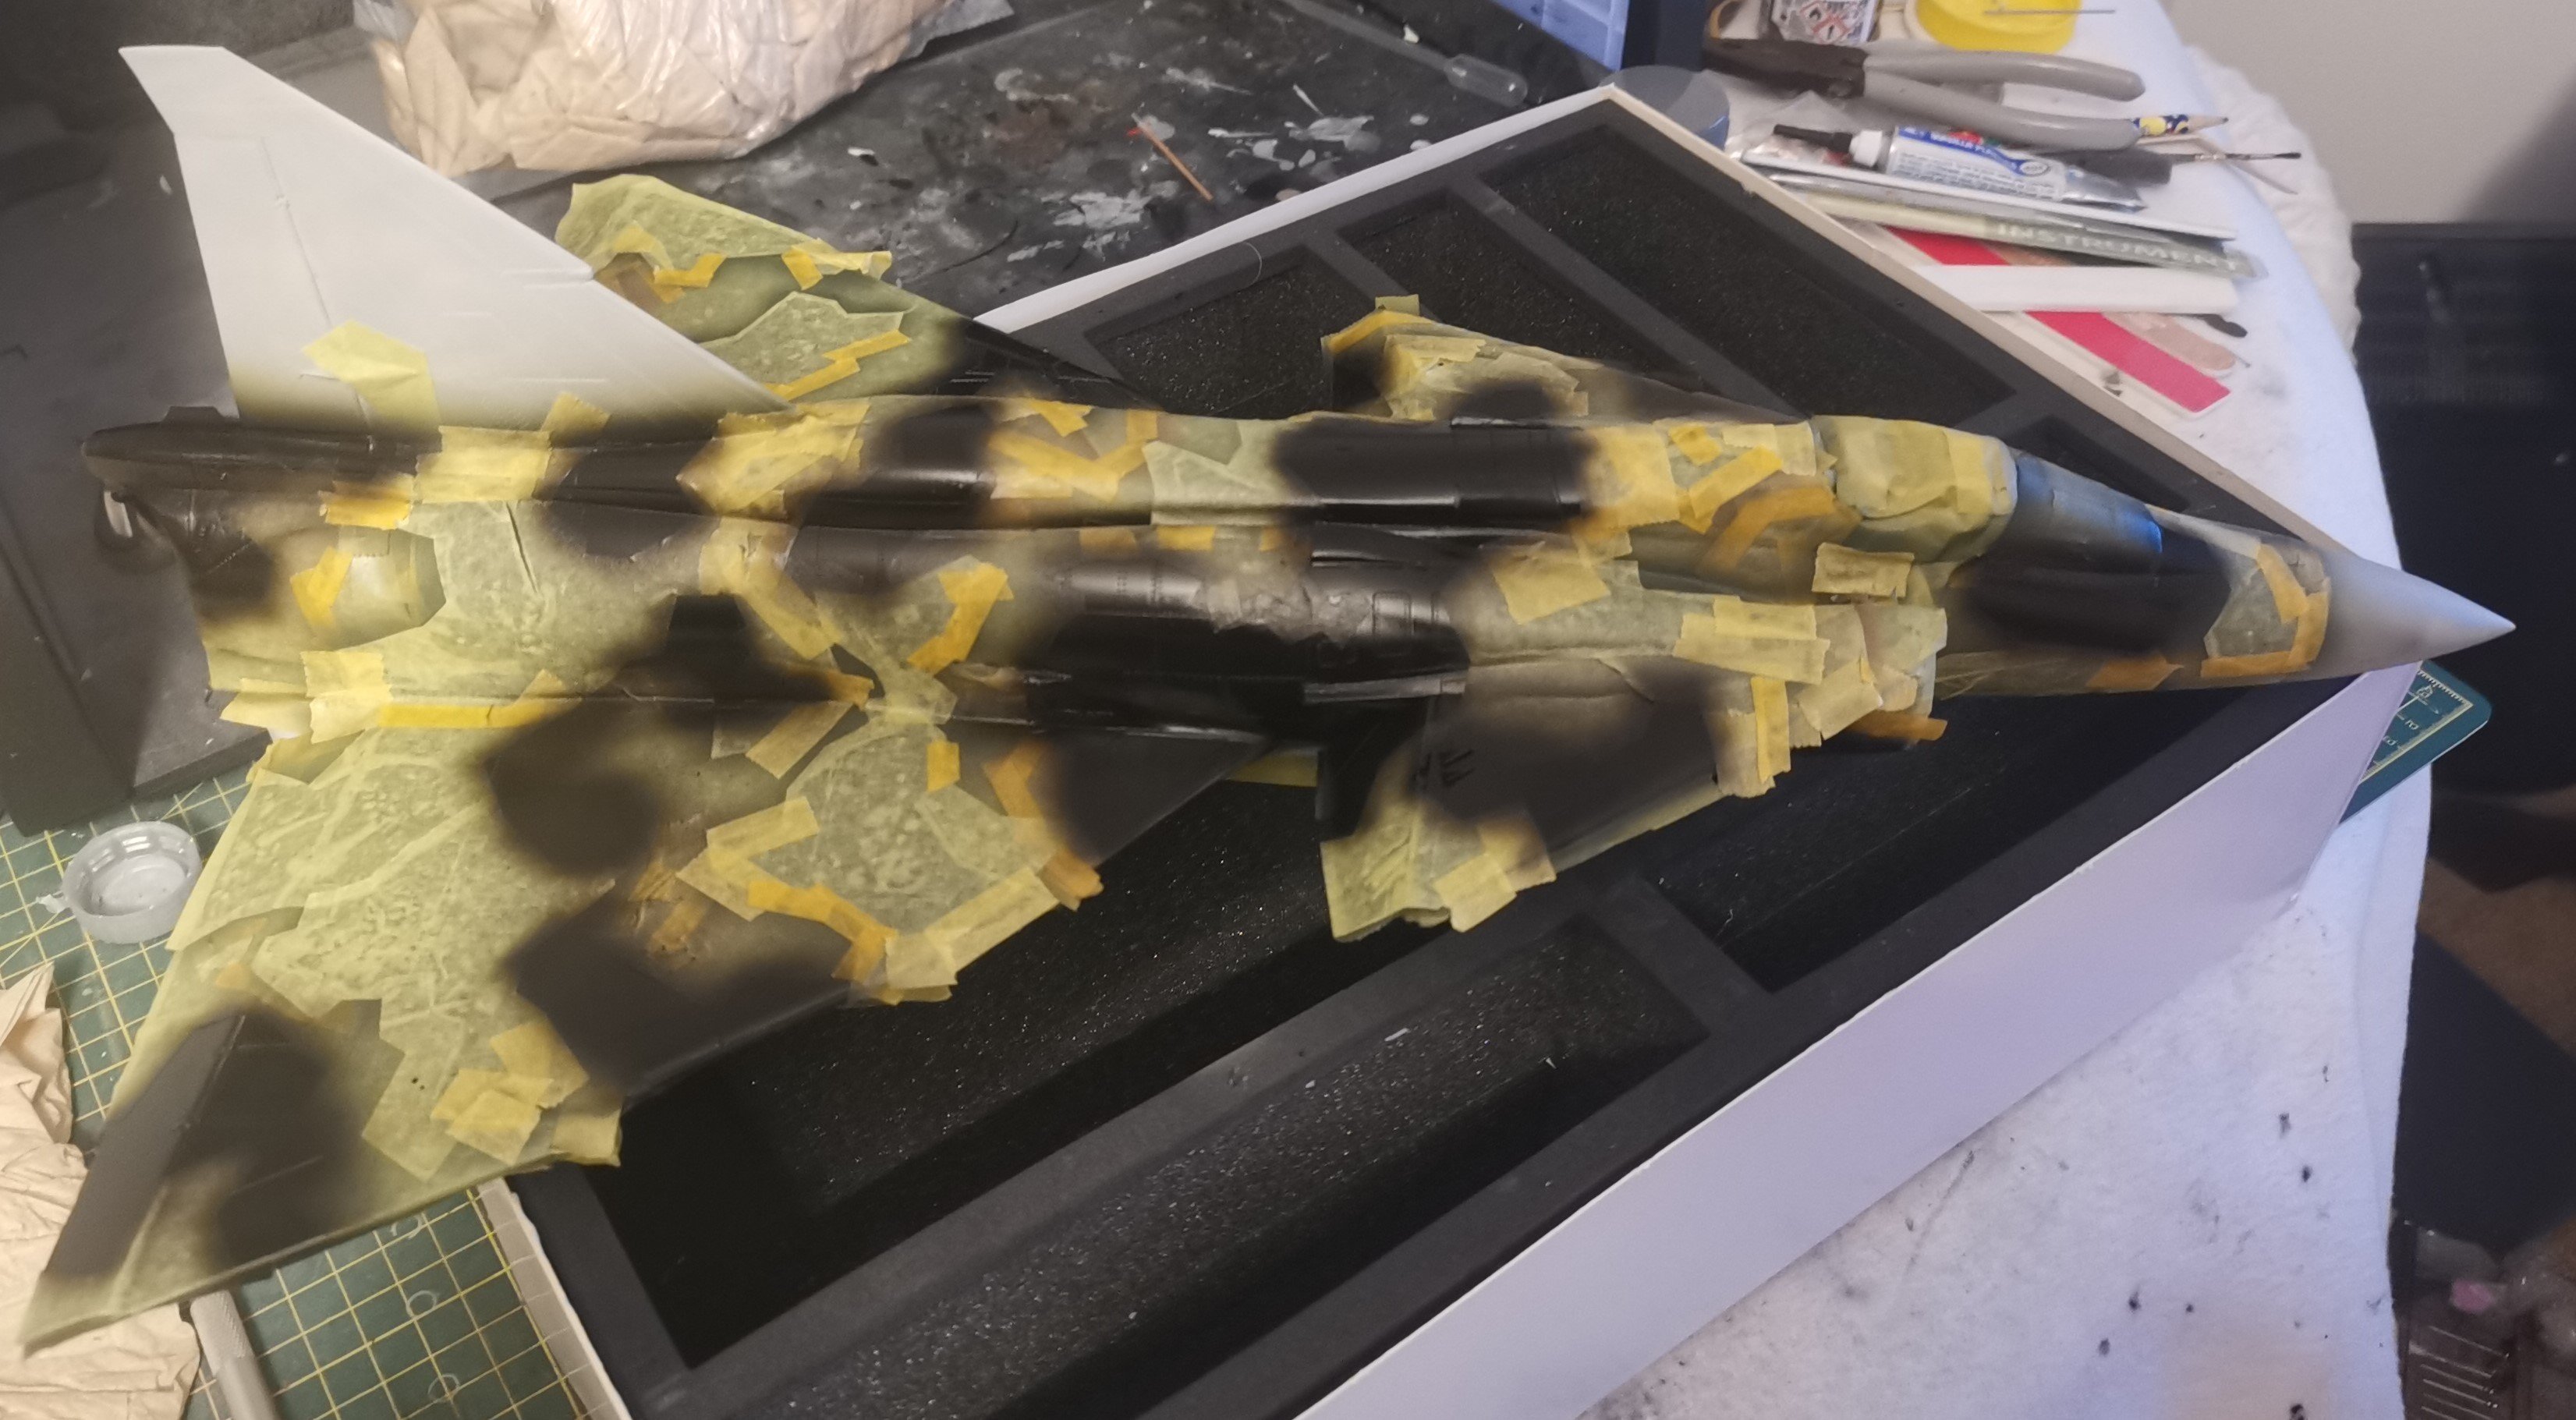
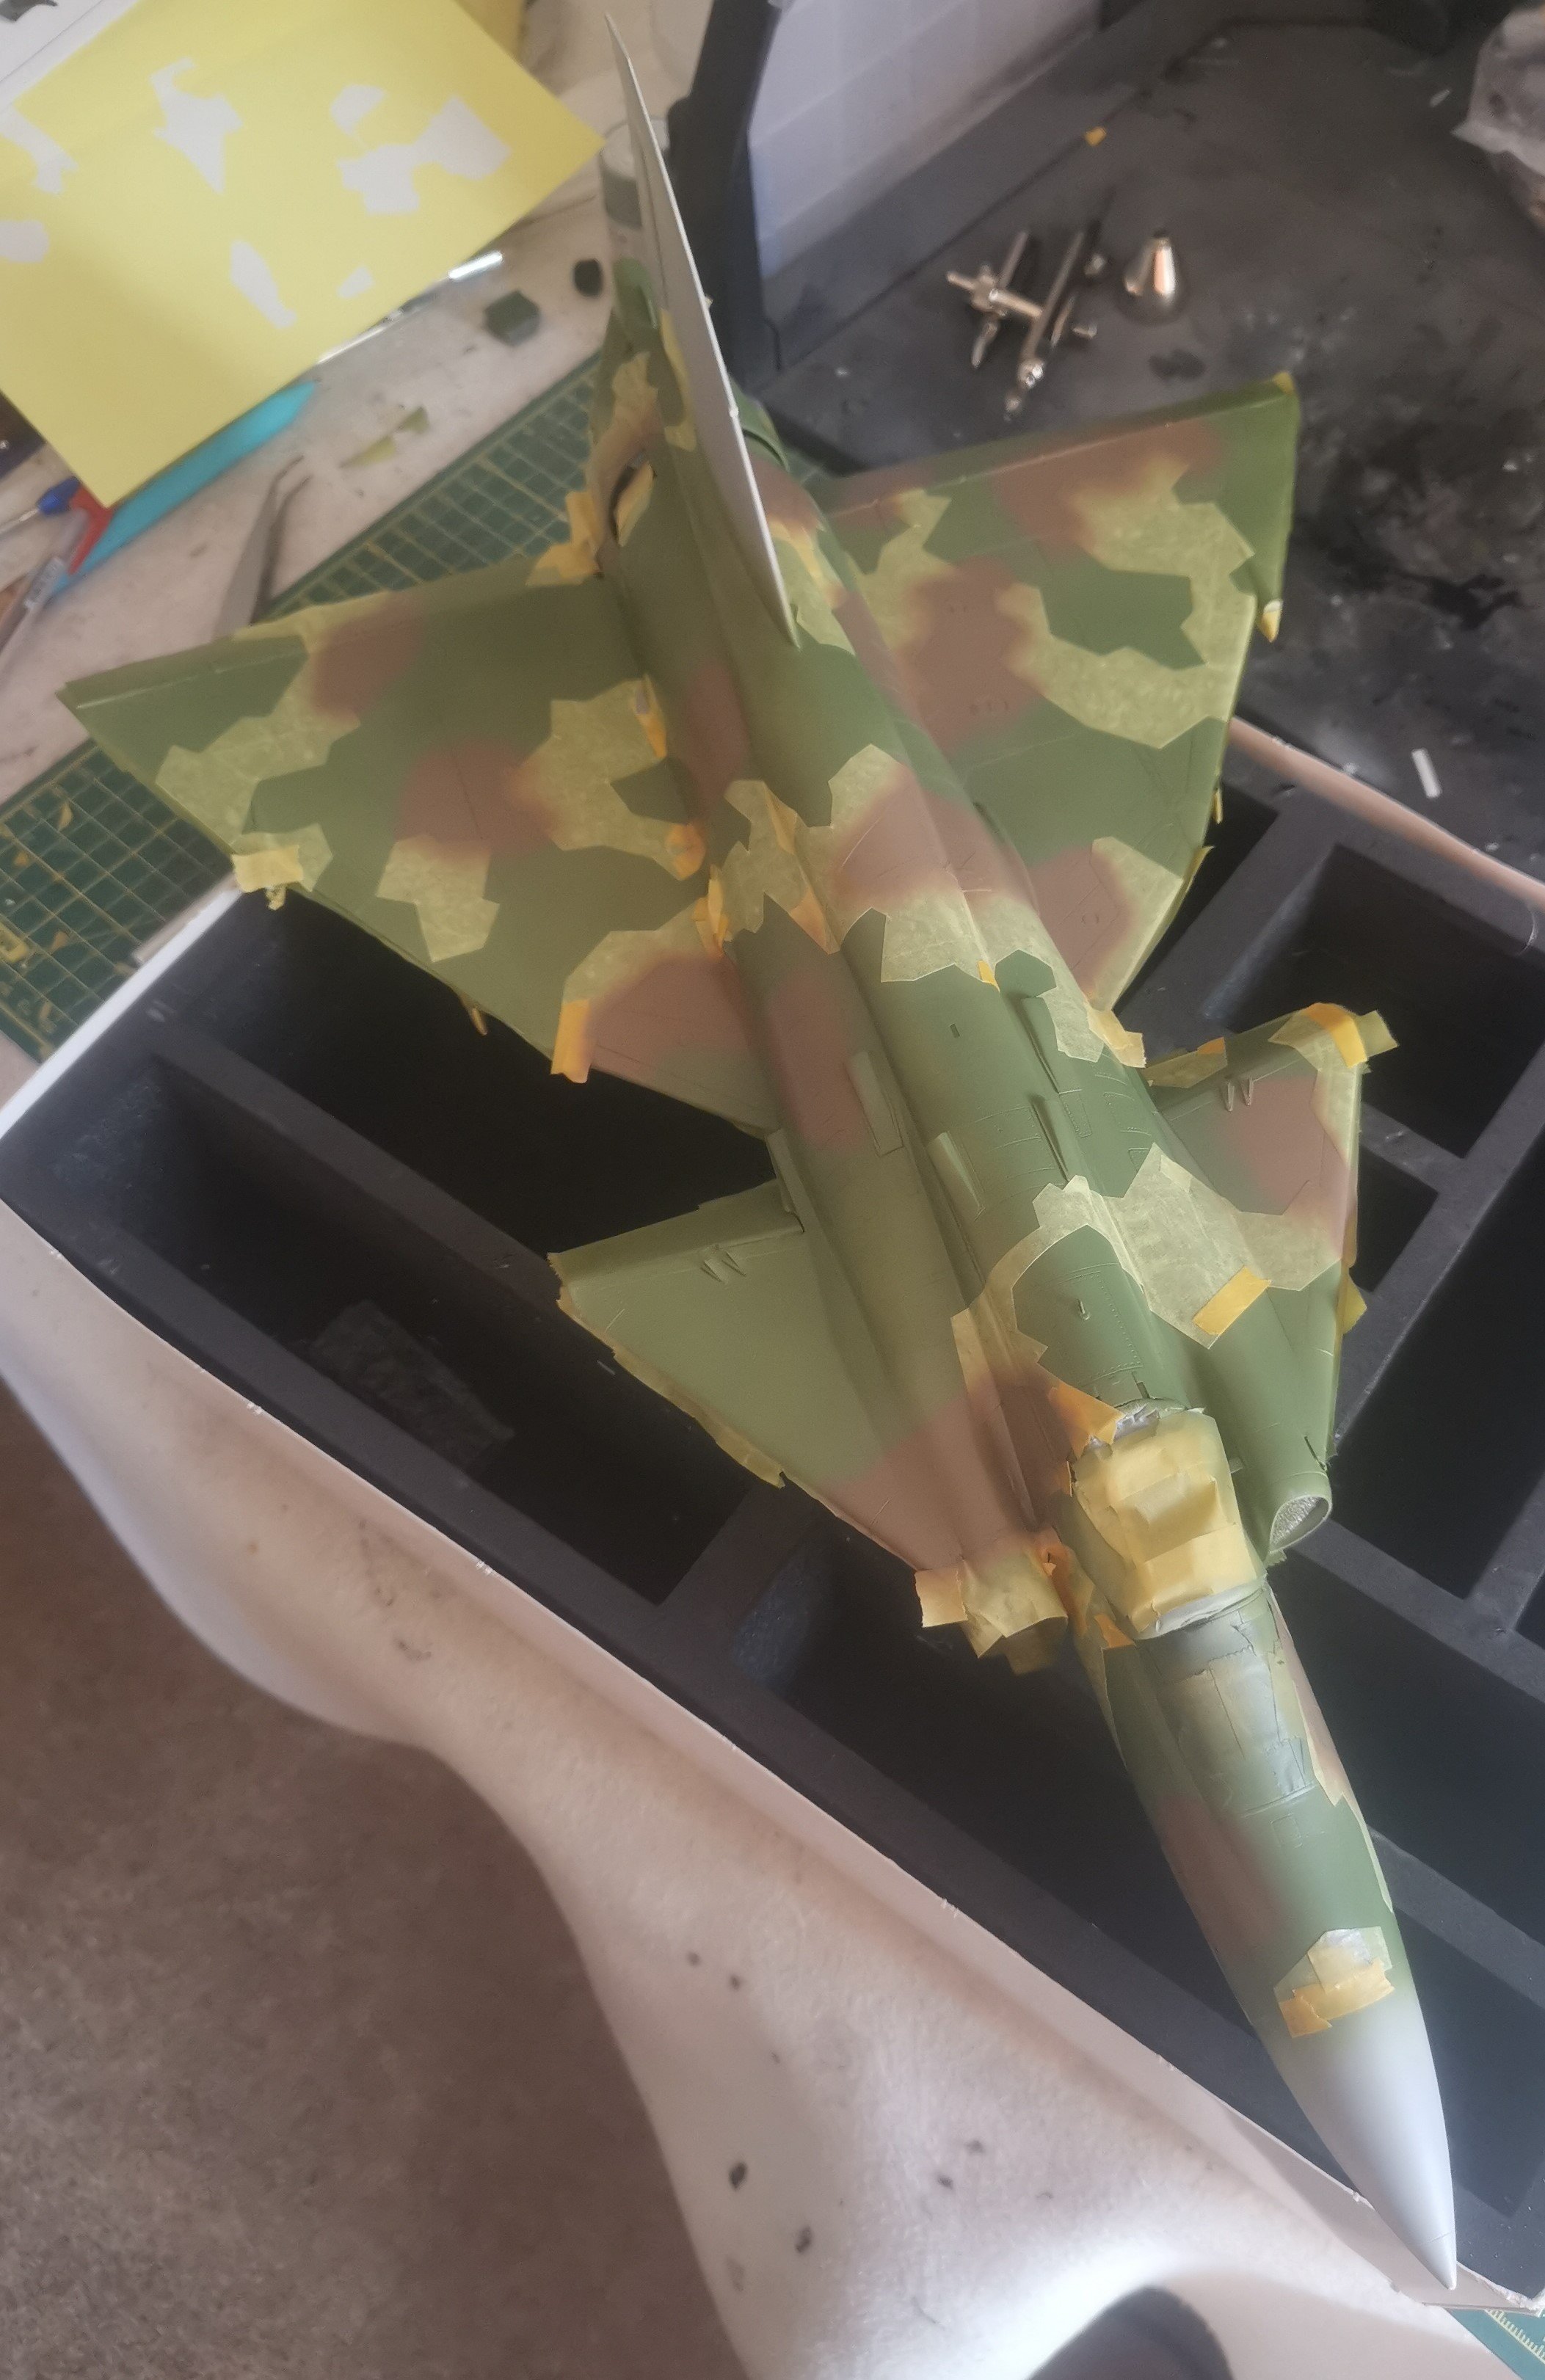
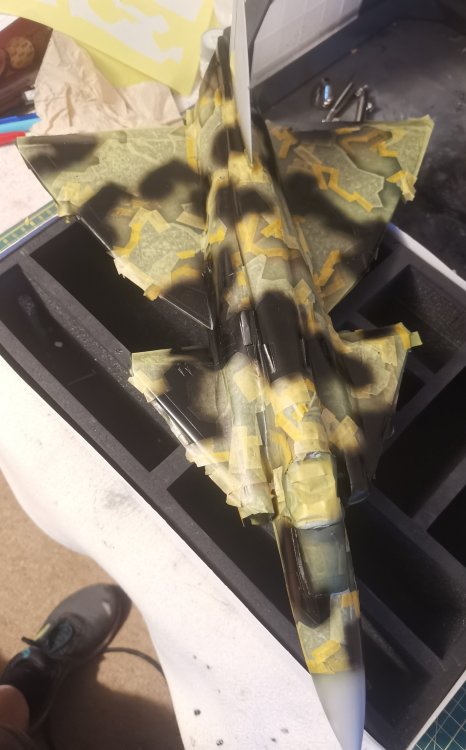
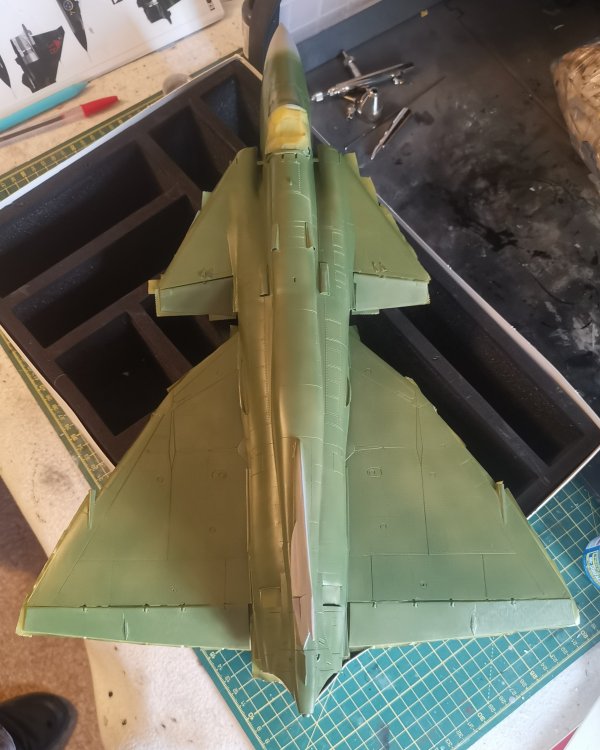
Quiet day in the house today as everyone recovers from yesterday's wedding and the weather was lousy, so I got plenty of time and peace to get stuck into this. First, the Dark Green on the remaining airframe. Then, on with the next, and thankfully final, layer of masks. Never felt so much like I was wallpapering a model! Fit was problematic in areas over the spine, so a bit of improvisation was employed. I think the reality is that no two airframes had exactly the same cammo pattern, so I'm claiming artistic licence! Then finally on with the black. Have definitely enjoyed using the MRP for this as I'm sure it would have been harder getting everything thinned to the correct proportions with other varieties. The clean up of the airbrush is also very simple which is an additional bonus. This is now sitting for everything to to fully cure and I'll start the unveiling tomorrow night. There are bound to be some touch-ups required but hopefully not too many.


-
At least with the way it's bent it'll pull back to the centre line. Might have been harder if both halves had been bent the same direction. Still a pain though...
-
Great finish Peter. Really nice job on the paintwork and stencilling
-
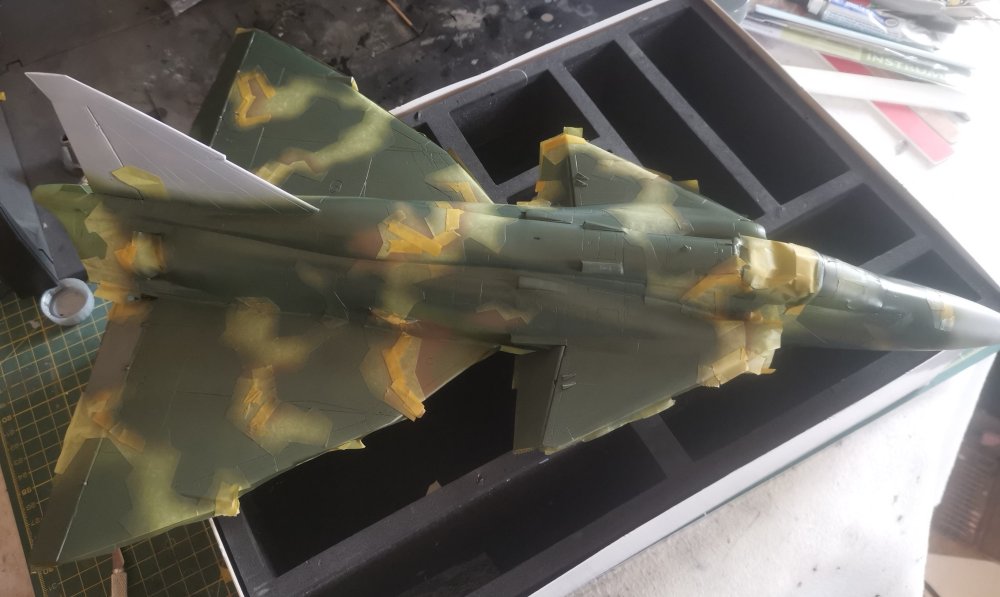
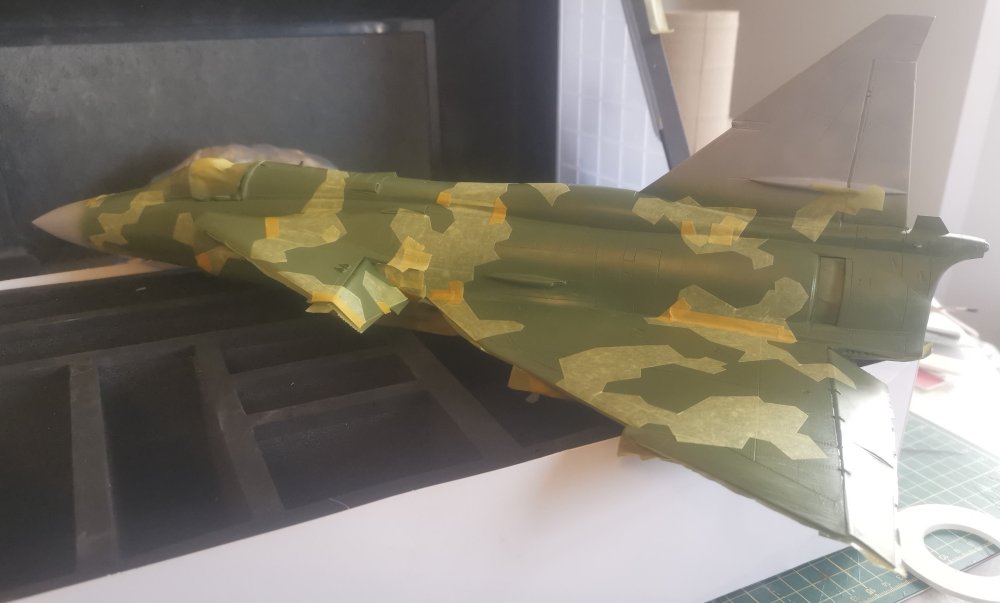
Got the Tan masked, so it's on to painting the Dark Green next. Got a family wedding next couple of days but hopefully I might get at it on Sunday.
-
And now the Tan is on. Pretty quick as it's by far the smallest area of all the colours. Hopefully get it masked up later.

-
First round of masking completed, all the mid green sections are covered. Some alterations have been made as, for the life of me, I couldn't see how some of the fuselage sections were meant to match up with the wing pieces. More Tamiya tape! Solution to every problem. 😁

-
Thanks Peter. Made a start on the masking tonight but it's going to take longer than I thought. Getting the first ones down is hard to get the placement as close as possible to what's on the instructions but should get easier with each subsequent colour. Slow and steady does it!
-
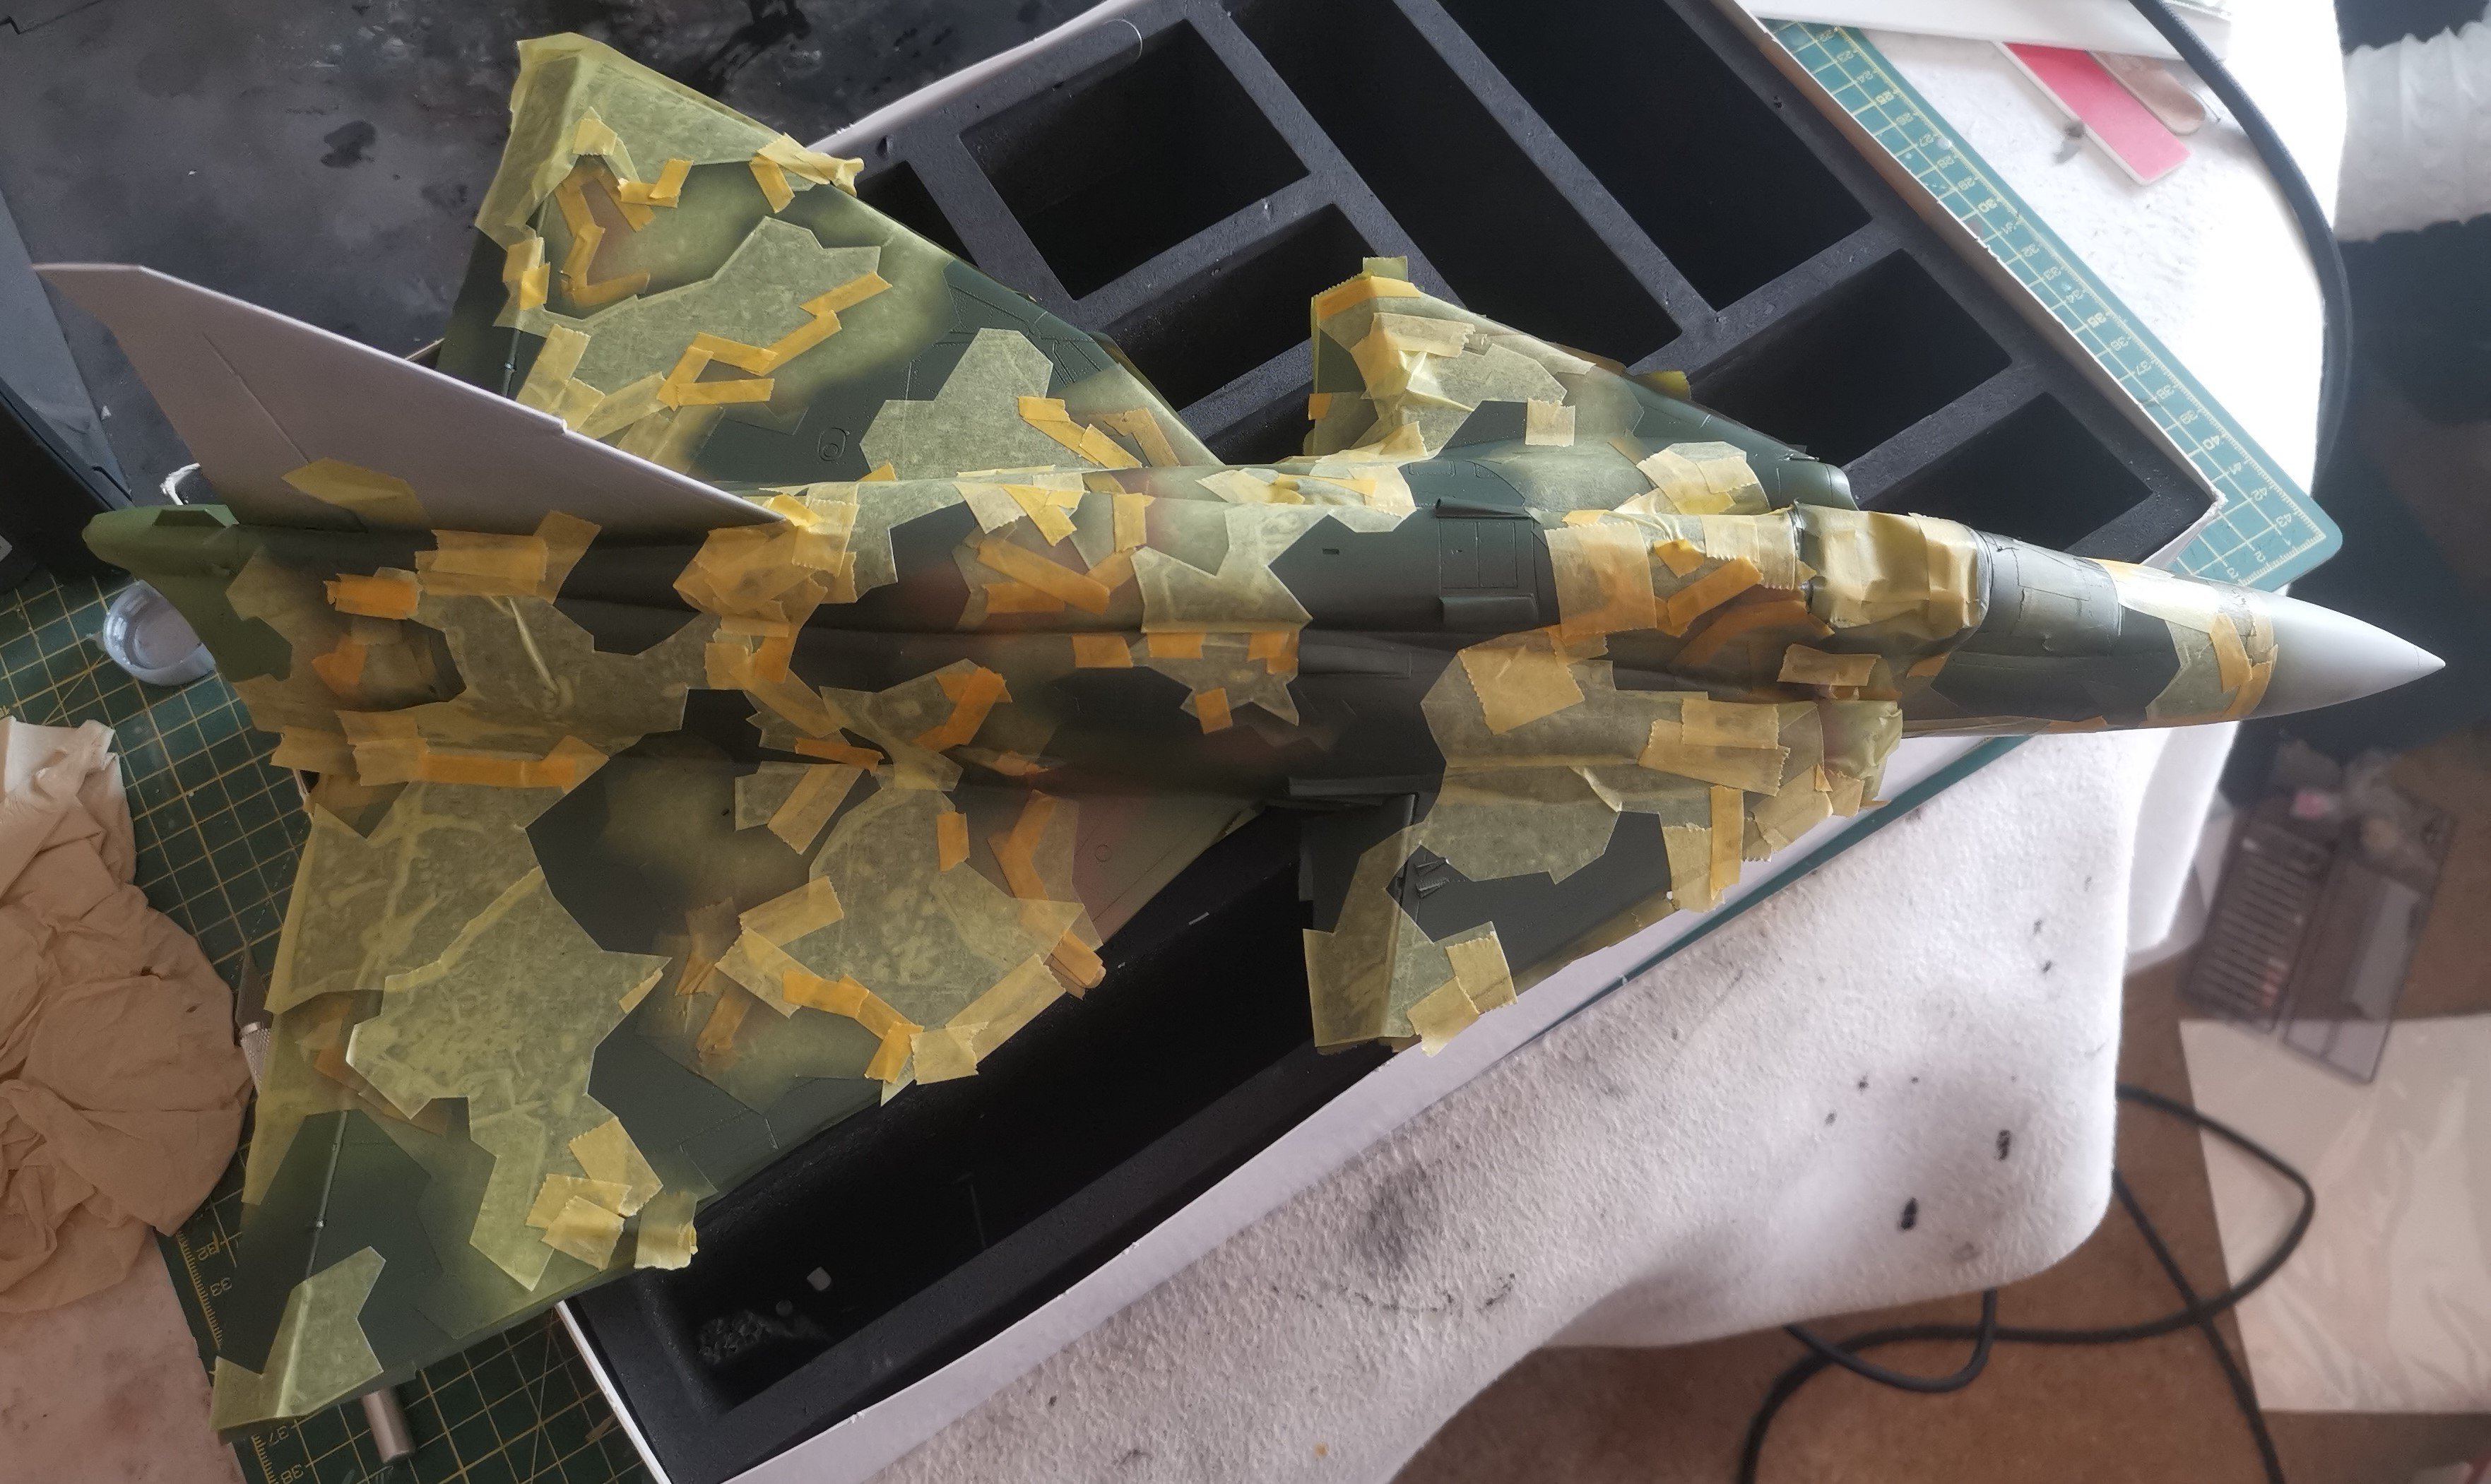
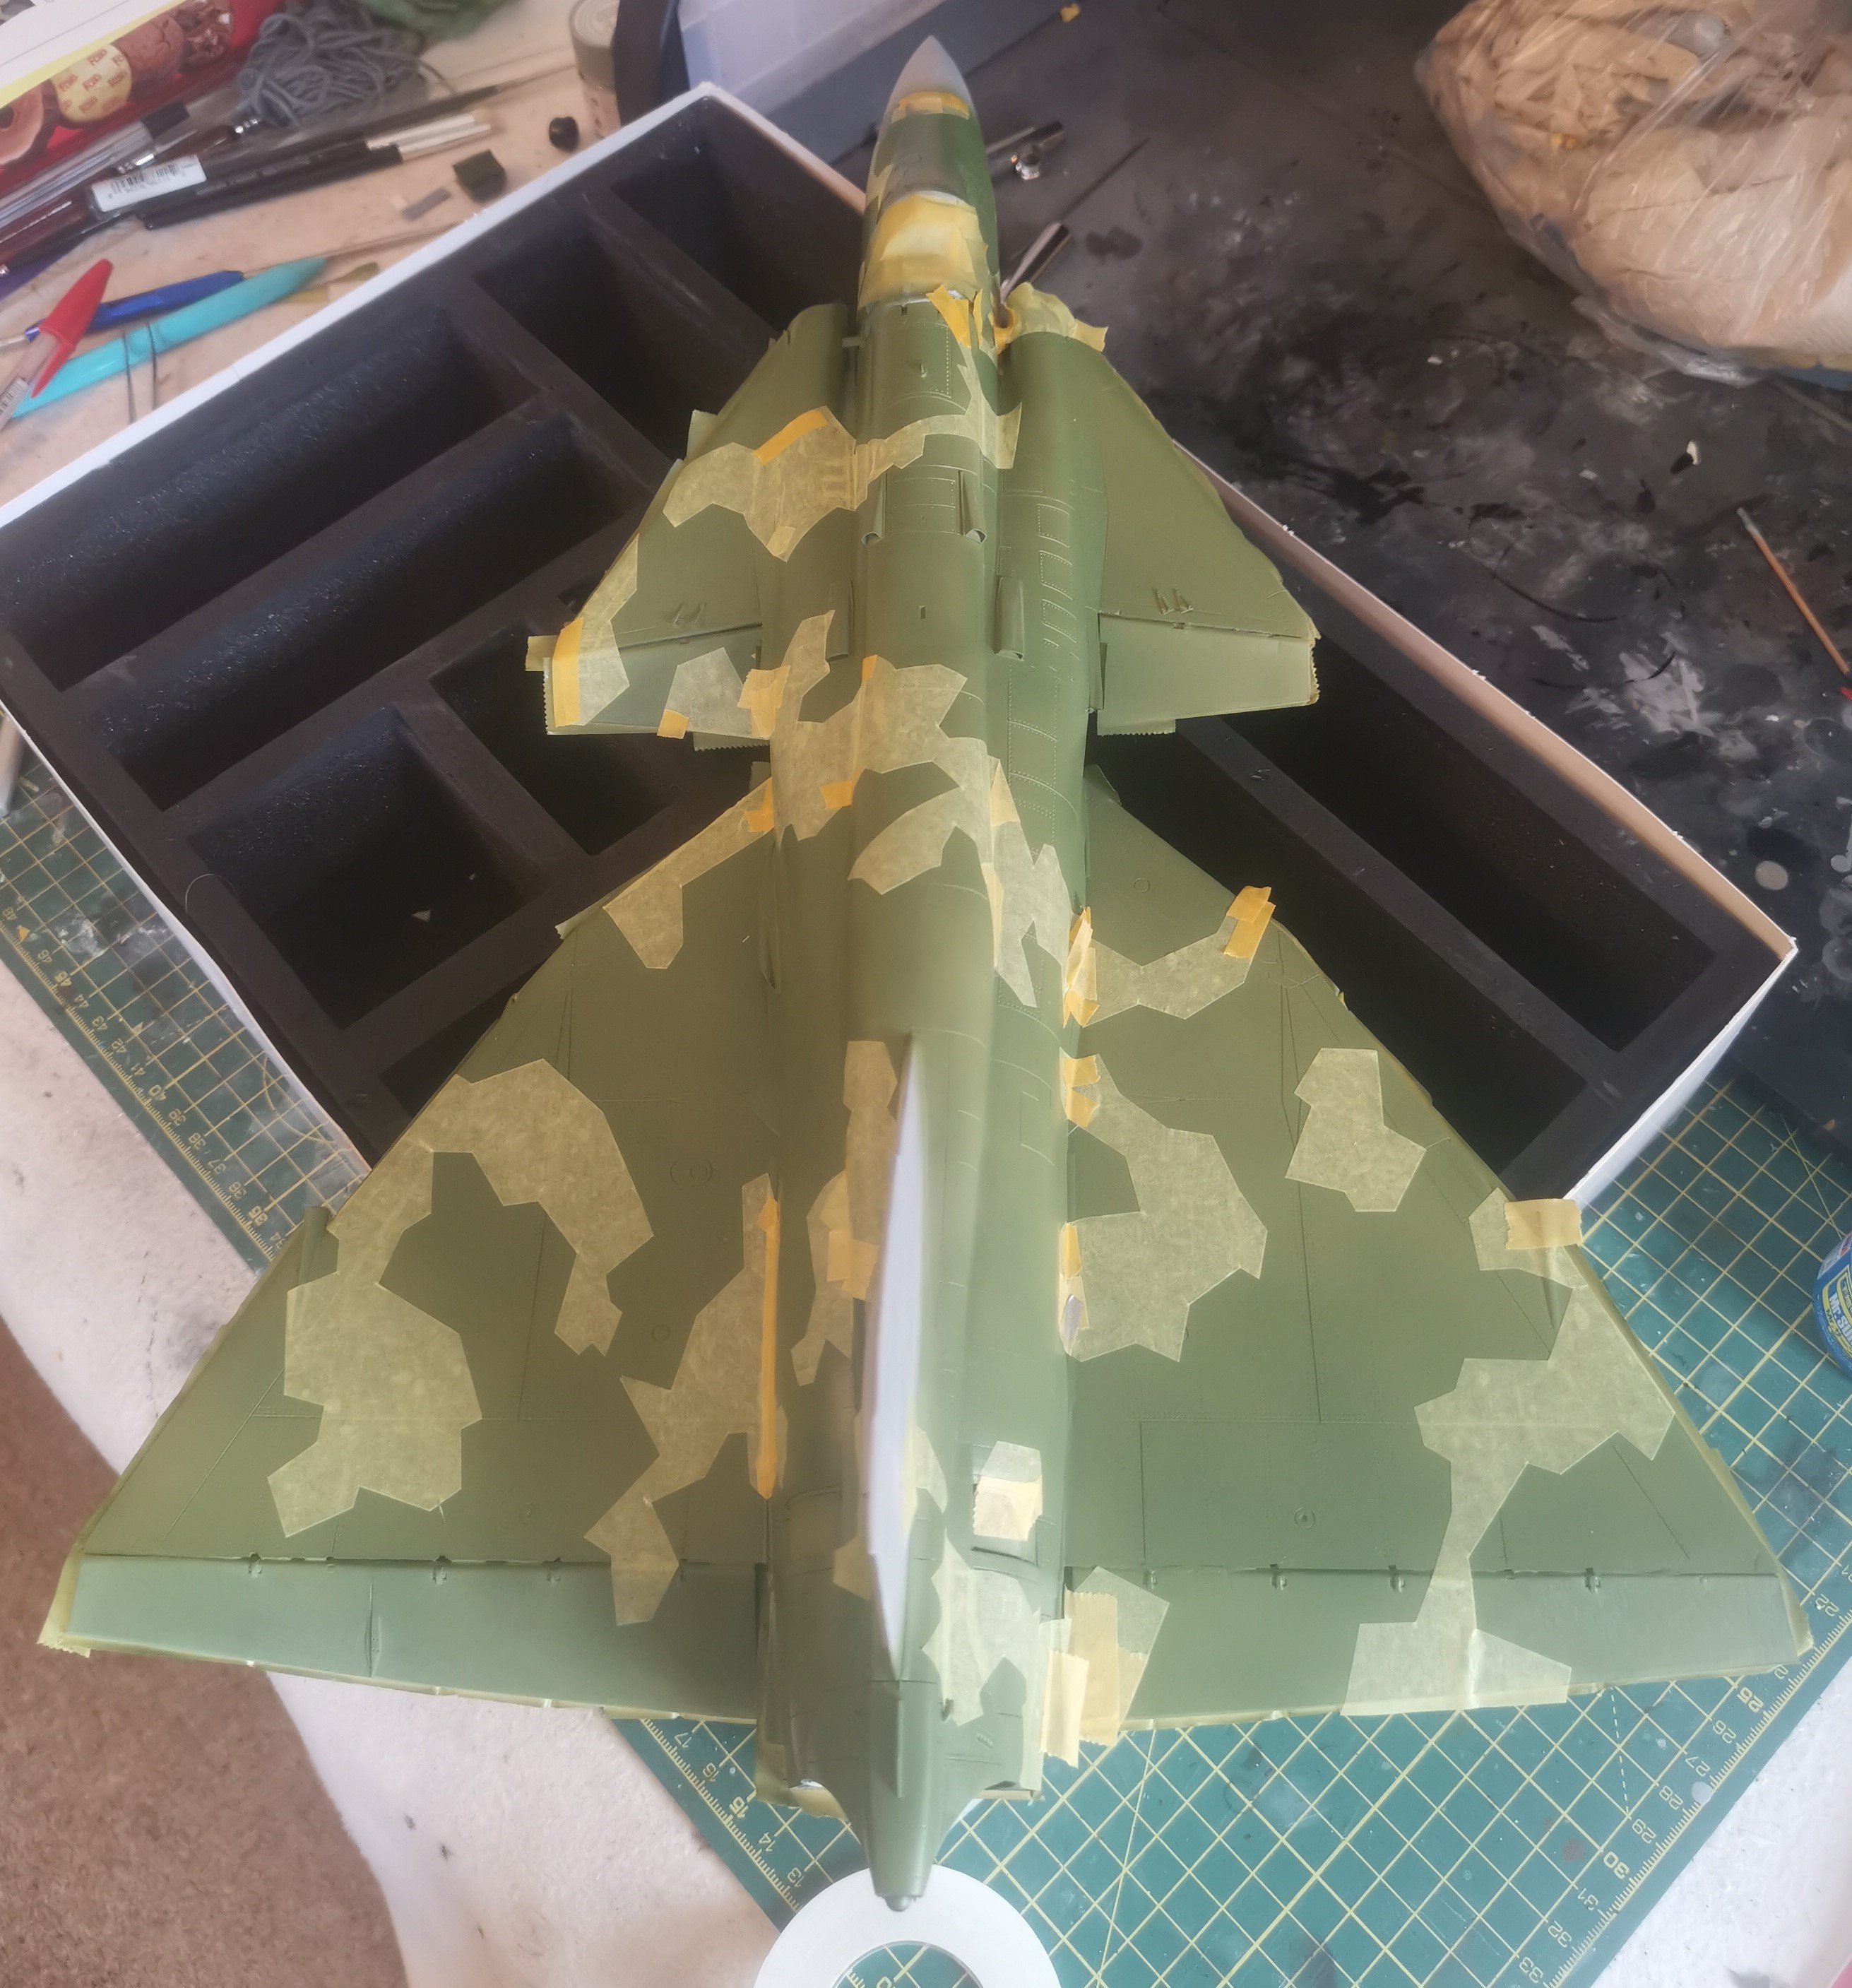
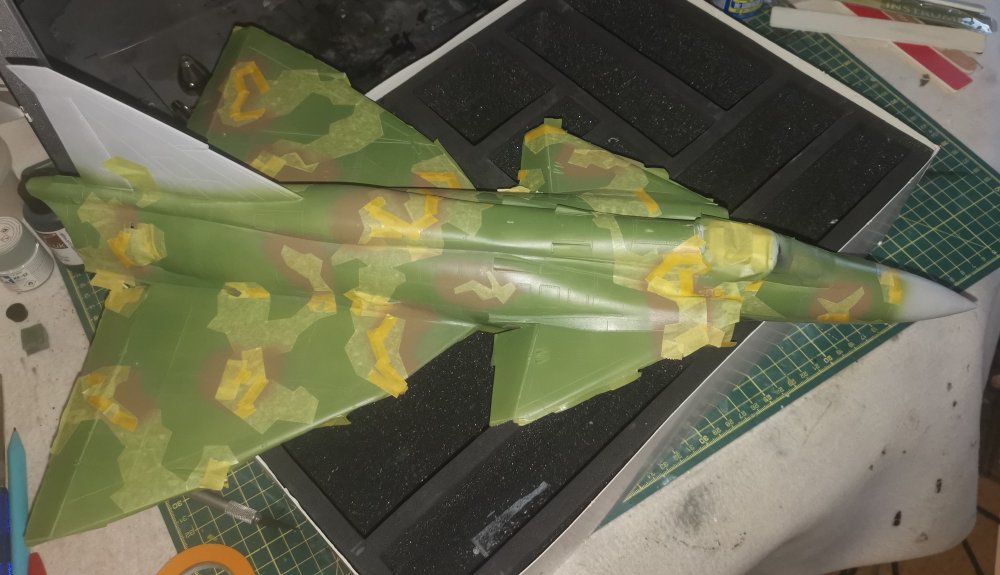
We have paint on the upper surfaces! MRP Swedish Army Mid Green all over and now we start the masking fun.... I'll leave this overnight just in case and start laying out the masks tomorrow.

- 186 replies
-
- 10
-
-
So sorry to hear that Peter. Best wishes to you and Diane.
-
Yeah, don't know what Tamiya's profit margin is on the Kabuki tape but they must do pretty well out of it. They certainly do well out of me as I've never found the Vallejo or others to be quite as good. Rob, I still have nightmares of a build a few years back where I touched up a metallic section on the rear of an F-15 having, I thought, masked everywhere necessary and I found overspray on the opposite of the build at the other end of the fuselage! How the hell it got there I've no idea but since then I've always been paranoid about it.
-
Masking is on the bottom, so we're ready to start on the upper splinter cammo. I've probably gone a bit OTT here with the masking but I'm only mildly paranoid! Ha.
-
Thanks Martin. I'm hoping a nice plod through it should be enough not to screw things up by rushing. 😆
-
There was a famous/infamous traffic circle in Dundee when I was a student there which when you approached it was lined up completely wrong with the approach road. If you followed your instinct you would have driven round it the wrong way ie as though it was for a drive on the right set up. It needed a very hard turn back against yourself to get on it correctly. The rumour was that the alignment was like this as they actually built it and then realised that it was a circular stain from the bottom of a coffee mug! Given the standard of the town planners around then, it's not beyond the realms of possibility!
-
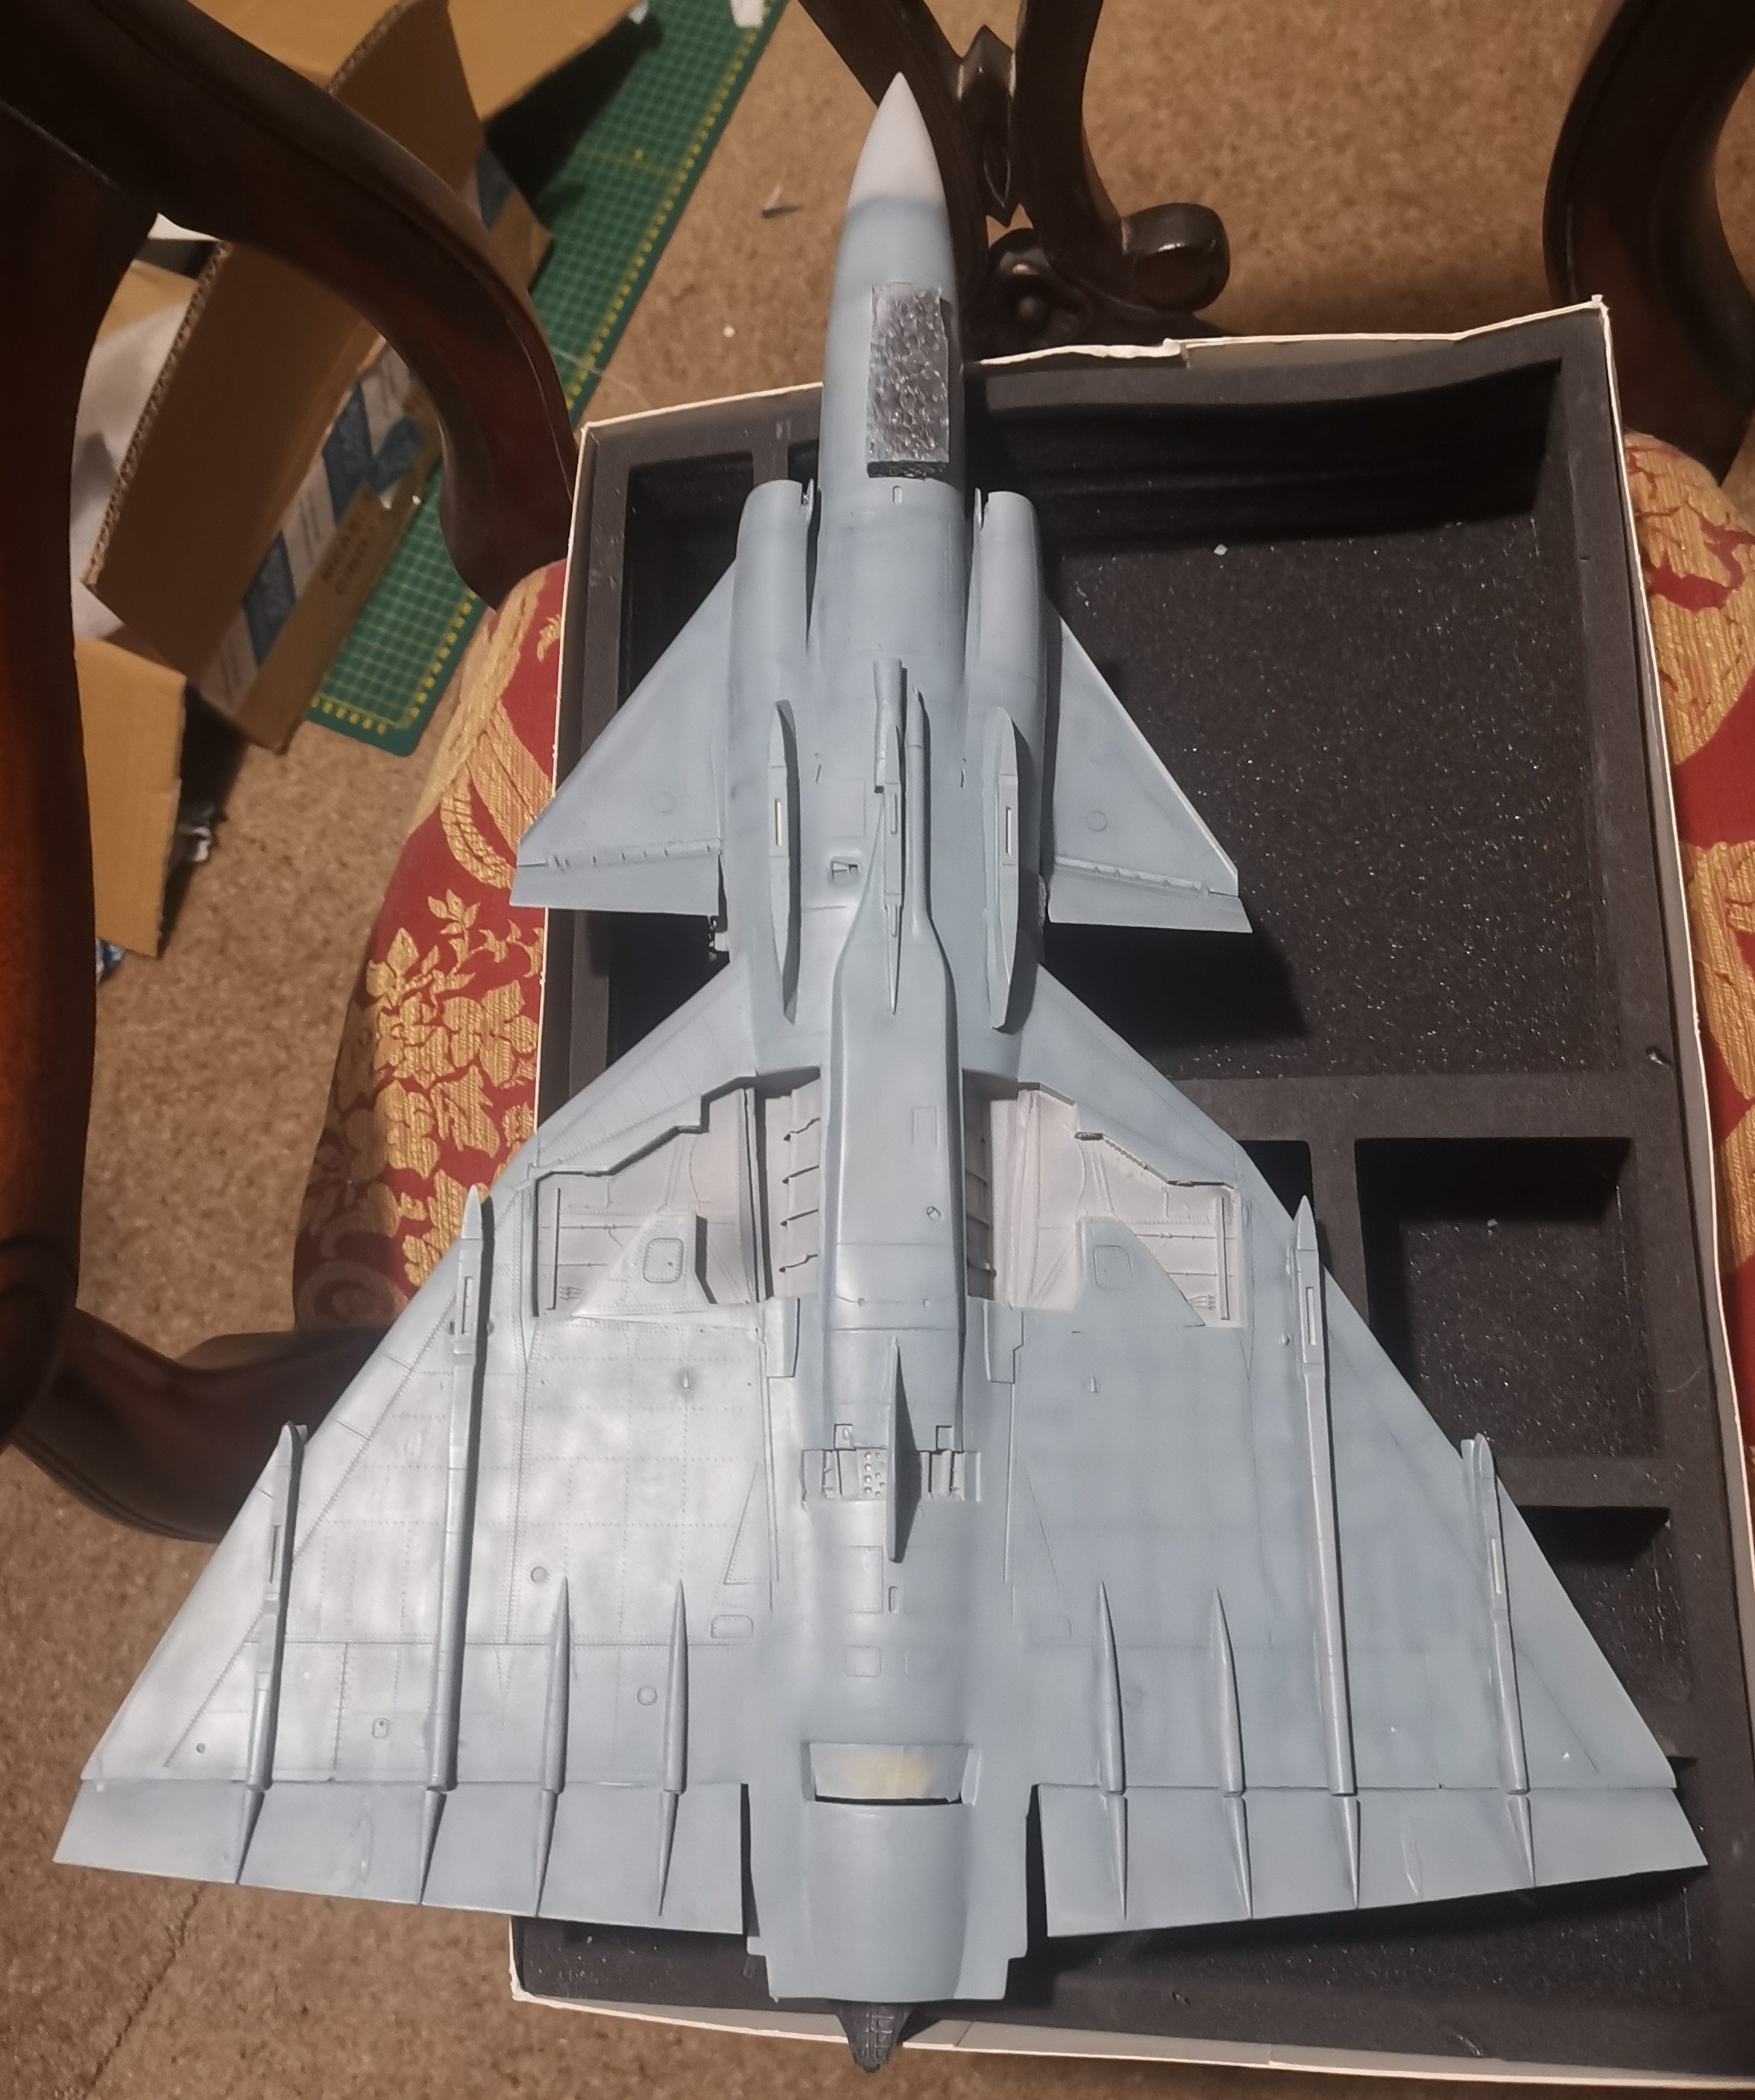
We have paint! Preshaded using Tamiya XF-63 German Grey so the contrast isn't too stark and then on with MRP 175 Swedish Army Blue-Grey. Definitely liking the MRP - no thinning, coverage is good, only 3 half cups to cover all this and the smell isn't nearly as bad as some other lacquers I've tried. Once this is nice and dry then it'll be mask off the underside and off we go with the splinter!

-
The bombsight looks brilliant, especially given the scale.