GusMac
-
Posts
2,994 -
Joined
-
Last visited
Content Type
Profiles
Forums
Events
Gallery
Everything posted by GusMac
-
Got the basic painting done on all the internal structures. Just used the kit decals and they went down nicely with a bit of Microsol. Just waiting on the Eduard seatbelts arriving in the post and then I'll get a bit of light weathering done and get the fuselage closed up. Will also probably paint the externals of the gun troughs so that can just be masked off when the final painting starts.


-
Might be handy for finding a parking space at Tesco!
-
Now for something completely different (one for the Python fans), well different for me anyway. After finishing the ZM F4D I wanted to try something new, so it's a biplane which I've always avoided due to the rigging. This looks relatively simple compared to most, so I'm hoping it's do-able. I decided to do a WIP as I suspect I'm going to be looking for advice and asking stoopid questions once I get to the rigging stage. The kit was actually a gift from Guy, aka Panzerwomble, so if it all goes horribly wrong, I'm blaming him! 😁 There's a refreshingly small number of sprues in the box compared to the ZM, so that makes finding things a lot easier. All the interior parts have been prepped and primed, so next step is getting some paint on.


-
Sorry to hear that Kevin. Always the hardest thing to do, even when you know it is the right thing
-
Maybe just fancied some different nuts....
-

Huge Huey .....get yer 'Nam on
GusMac replied to PanzerWomble's topic in LSM 1/35 and Larger Work In Progress
Love the original, but Clutch's cover of this sounds even better to my ears. Neil Fallon's vocals really add to the anger of the lyrics -
The bodywork is looking great with the decals on.
-
Looks like Edward is a lucky charm. Doesn't do lottery numbers does he....
-
Some farmers around here are still driving clunkers like that, you can almost follow the trail of rust up the road. 😁
-
I saw Storm Therese was looking pretty wild for you Rob. Hope all stay safe
-
What is on your bench right now ? Share a picture :)
GusMac replied to Martinnfb's topic in Modelling Discussion
Organized chaos I take it? -
Still looks pretty organised. Definitely seen worse, yes Carl that's you I'm thinking about! 😁
-
What is on your bench right now ? Share a picture :)
GusMac replied to Martinnfb's topic in Modelling Discussion
Unless my son's colour blindness has become contagious that definitely ain't purple, not even close! 🫤 -
Ah, the old skull-splitter number plate on the front mudguard. An ex-colleague of mine had an old Norton 16H which he rebuilt and he had all sorts of grief getting permission to attach it as they are now banned. I think the jumper's voice might be a few octaves higher than originally if he doesn't jump high enough!
-
I remember the film of Raise the Titanic as there was a lot of publicity at the time about how much money it lost. The quote I remember is from Lew Grade who funded and produced it and said 'it would have been cheaper to lower the Atlantic!'
-
What is on your bench right now ? Share a picture :)
GusMac replied to Martinnfb's topic in Modelling Discussion
Unusual to get a Tamiya kit that's warped. Their QC is usually pretty good. -
All images visible now. Looks excellent, Bruce would be proud
-
I can tell you parts of Scotland where that would take 2 minutes not two weeks
-
1:32nd scale Sopwith 1 1/2 'Strutter' (1.B2)
GusMac replied to sandbagger's topic in LSM 1/35 and Larger Work In Progress
Nice work all-round, especially on the figures -
Is it just me, or can anyone see the images?
-
Weird, never in a million years would have guessed that acronym meaning
-
WTF is Pure Barf??
-
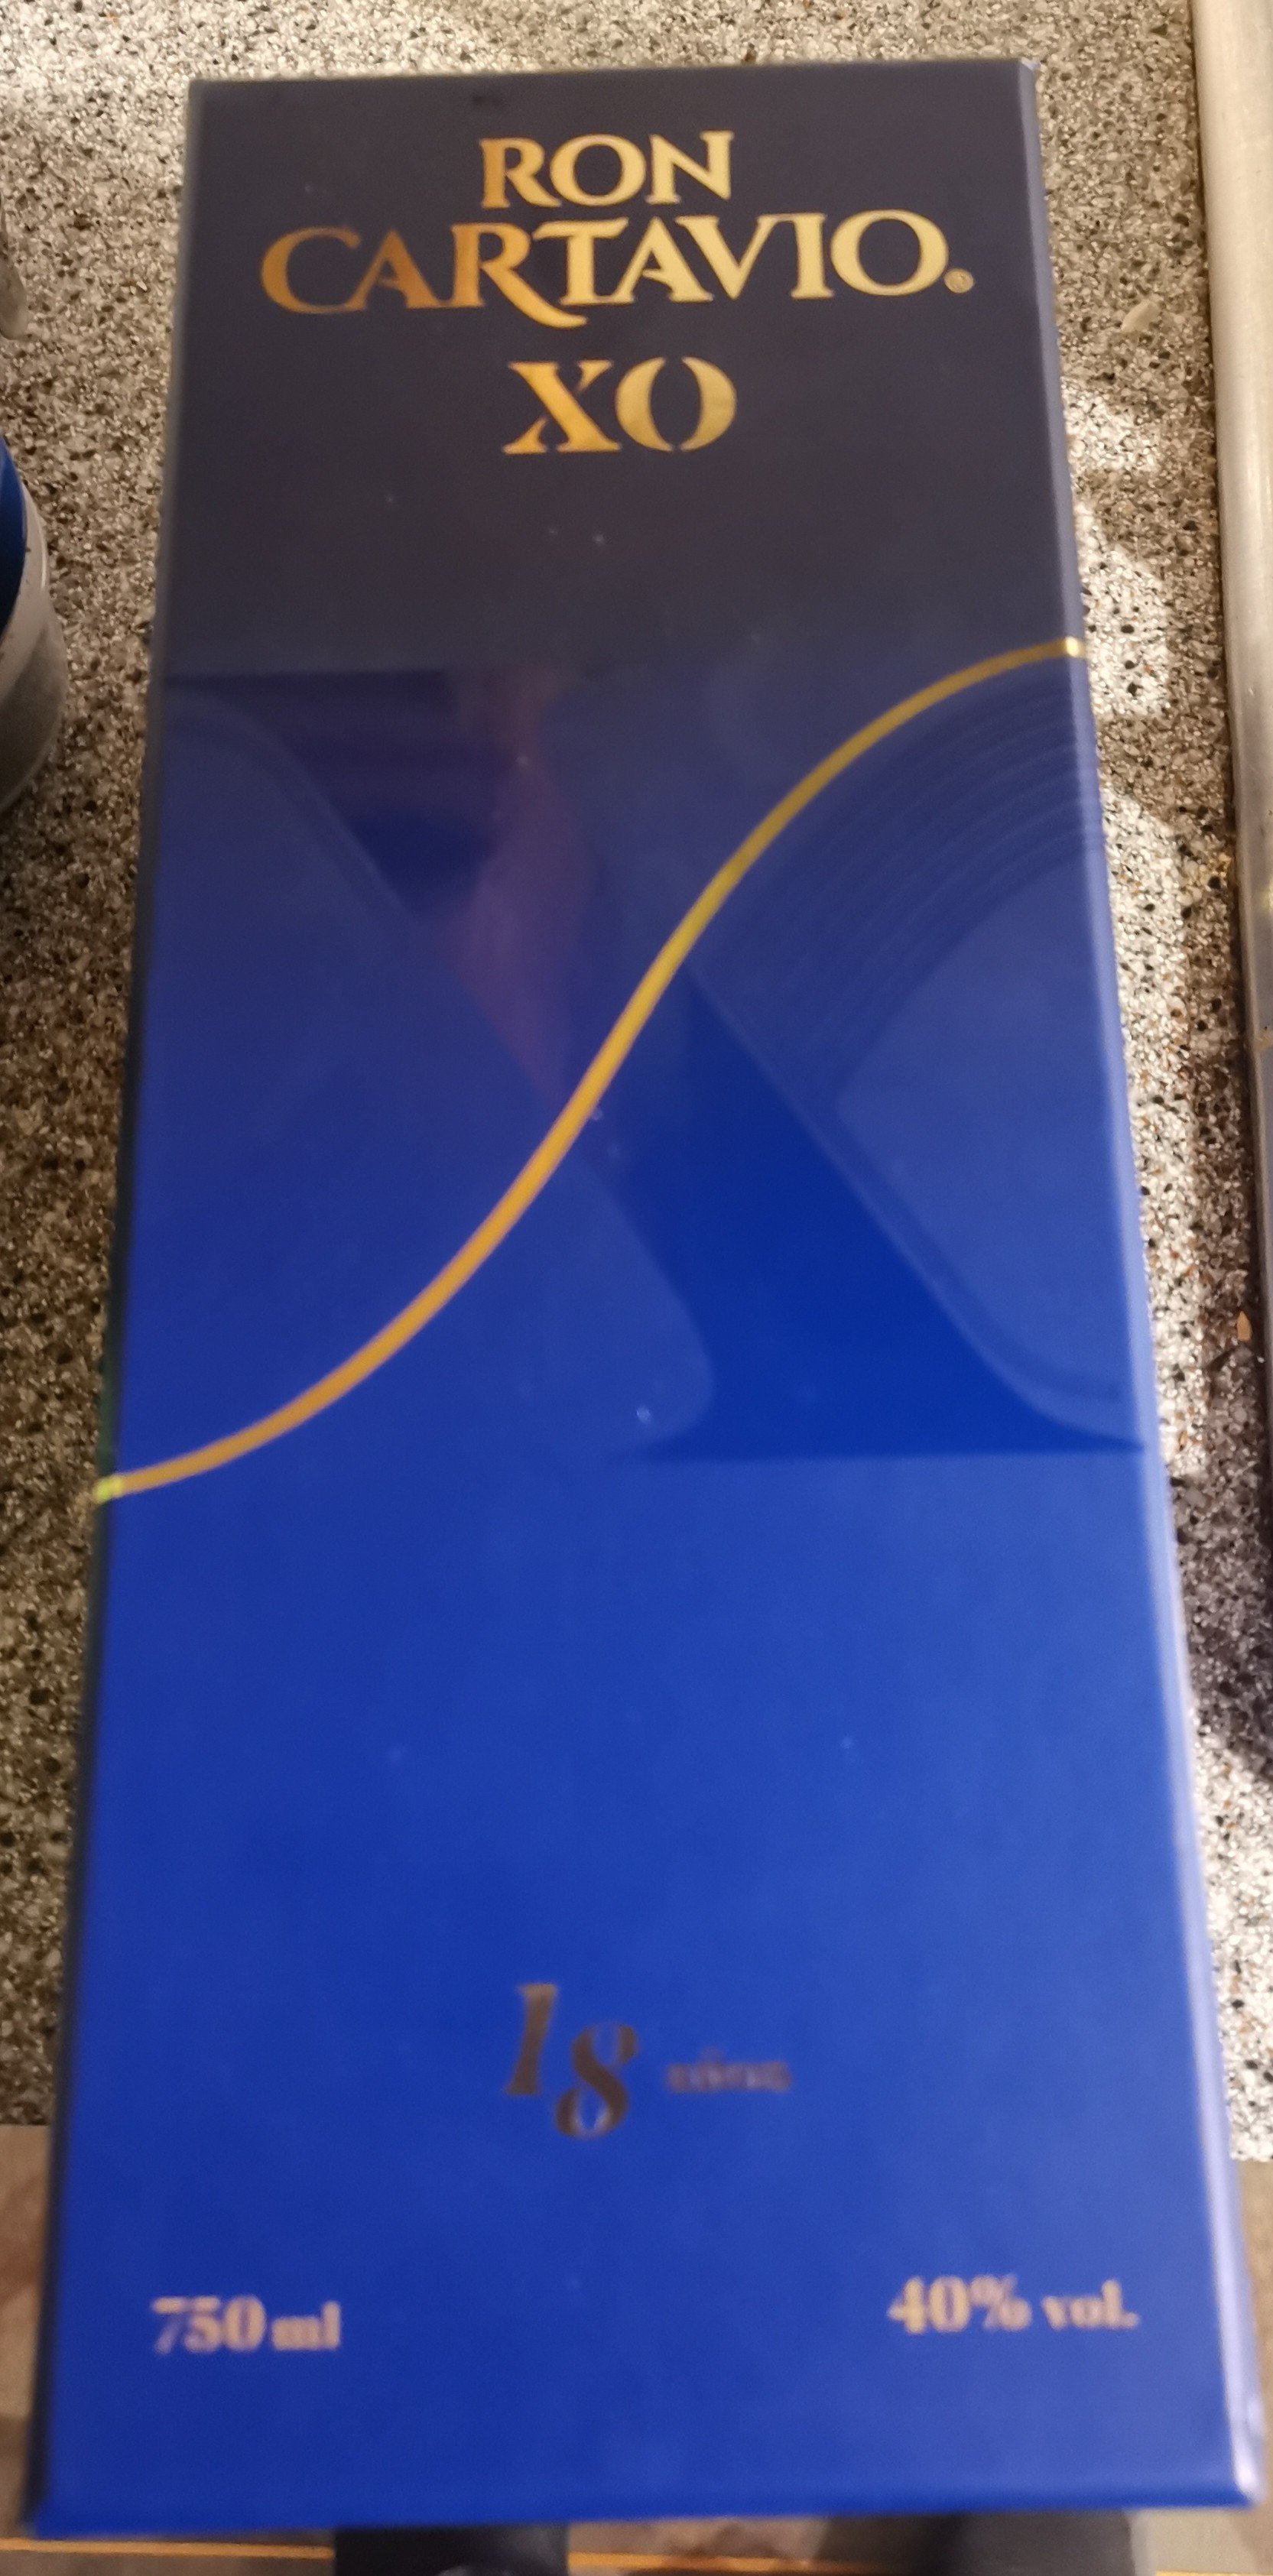
My senior colleague at work has been in Peru over the festive season to visit his wife's family and brought me back this bottle of Peruvian rum As a Scotsman I found it hard to believe that rum could come in vintages like malt whisky but this stuff is beautiful neat over ice.

-
Is he Ferengi?
-
Wow, that's a blast from the past. Haven't really heard of Einstürzende Neubauten since a friend of mine gave me a tape of the Halber Mensch album back in the mid 80s. As a teenage metalhead it was certainly something a bit different. He also liked stuff like Atari Teenage Riot and Slime. I have to say my German music listening nowadays doesn't extend much beyond Scorpions, Kreator, Accept and Rammstein. I'm only allowed to listen to Rammstein on headphones as my wife finds it too aggressive.