JeroenPeters
-
Posts
4,867 -
Joined
-
Last visited
Content Type
Profiles
Forums
Events
Gallery
Everything posted by JeroenPeters
-
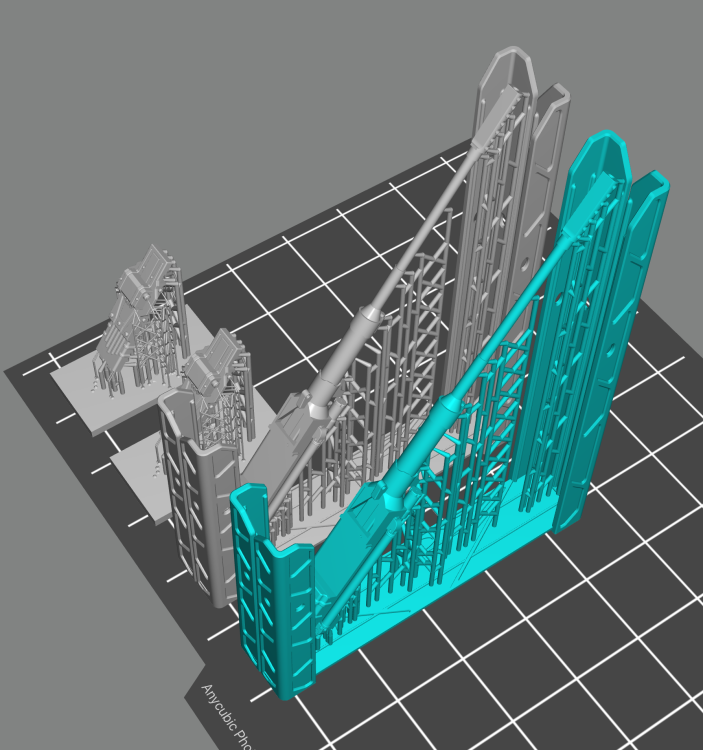
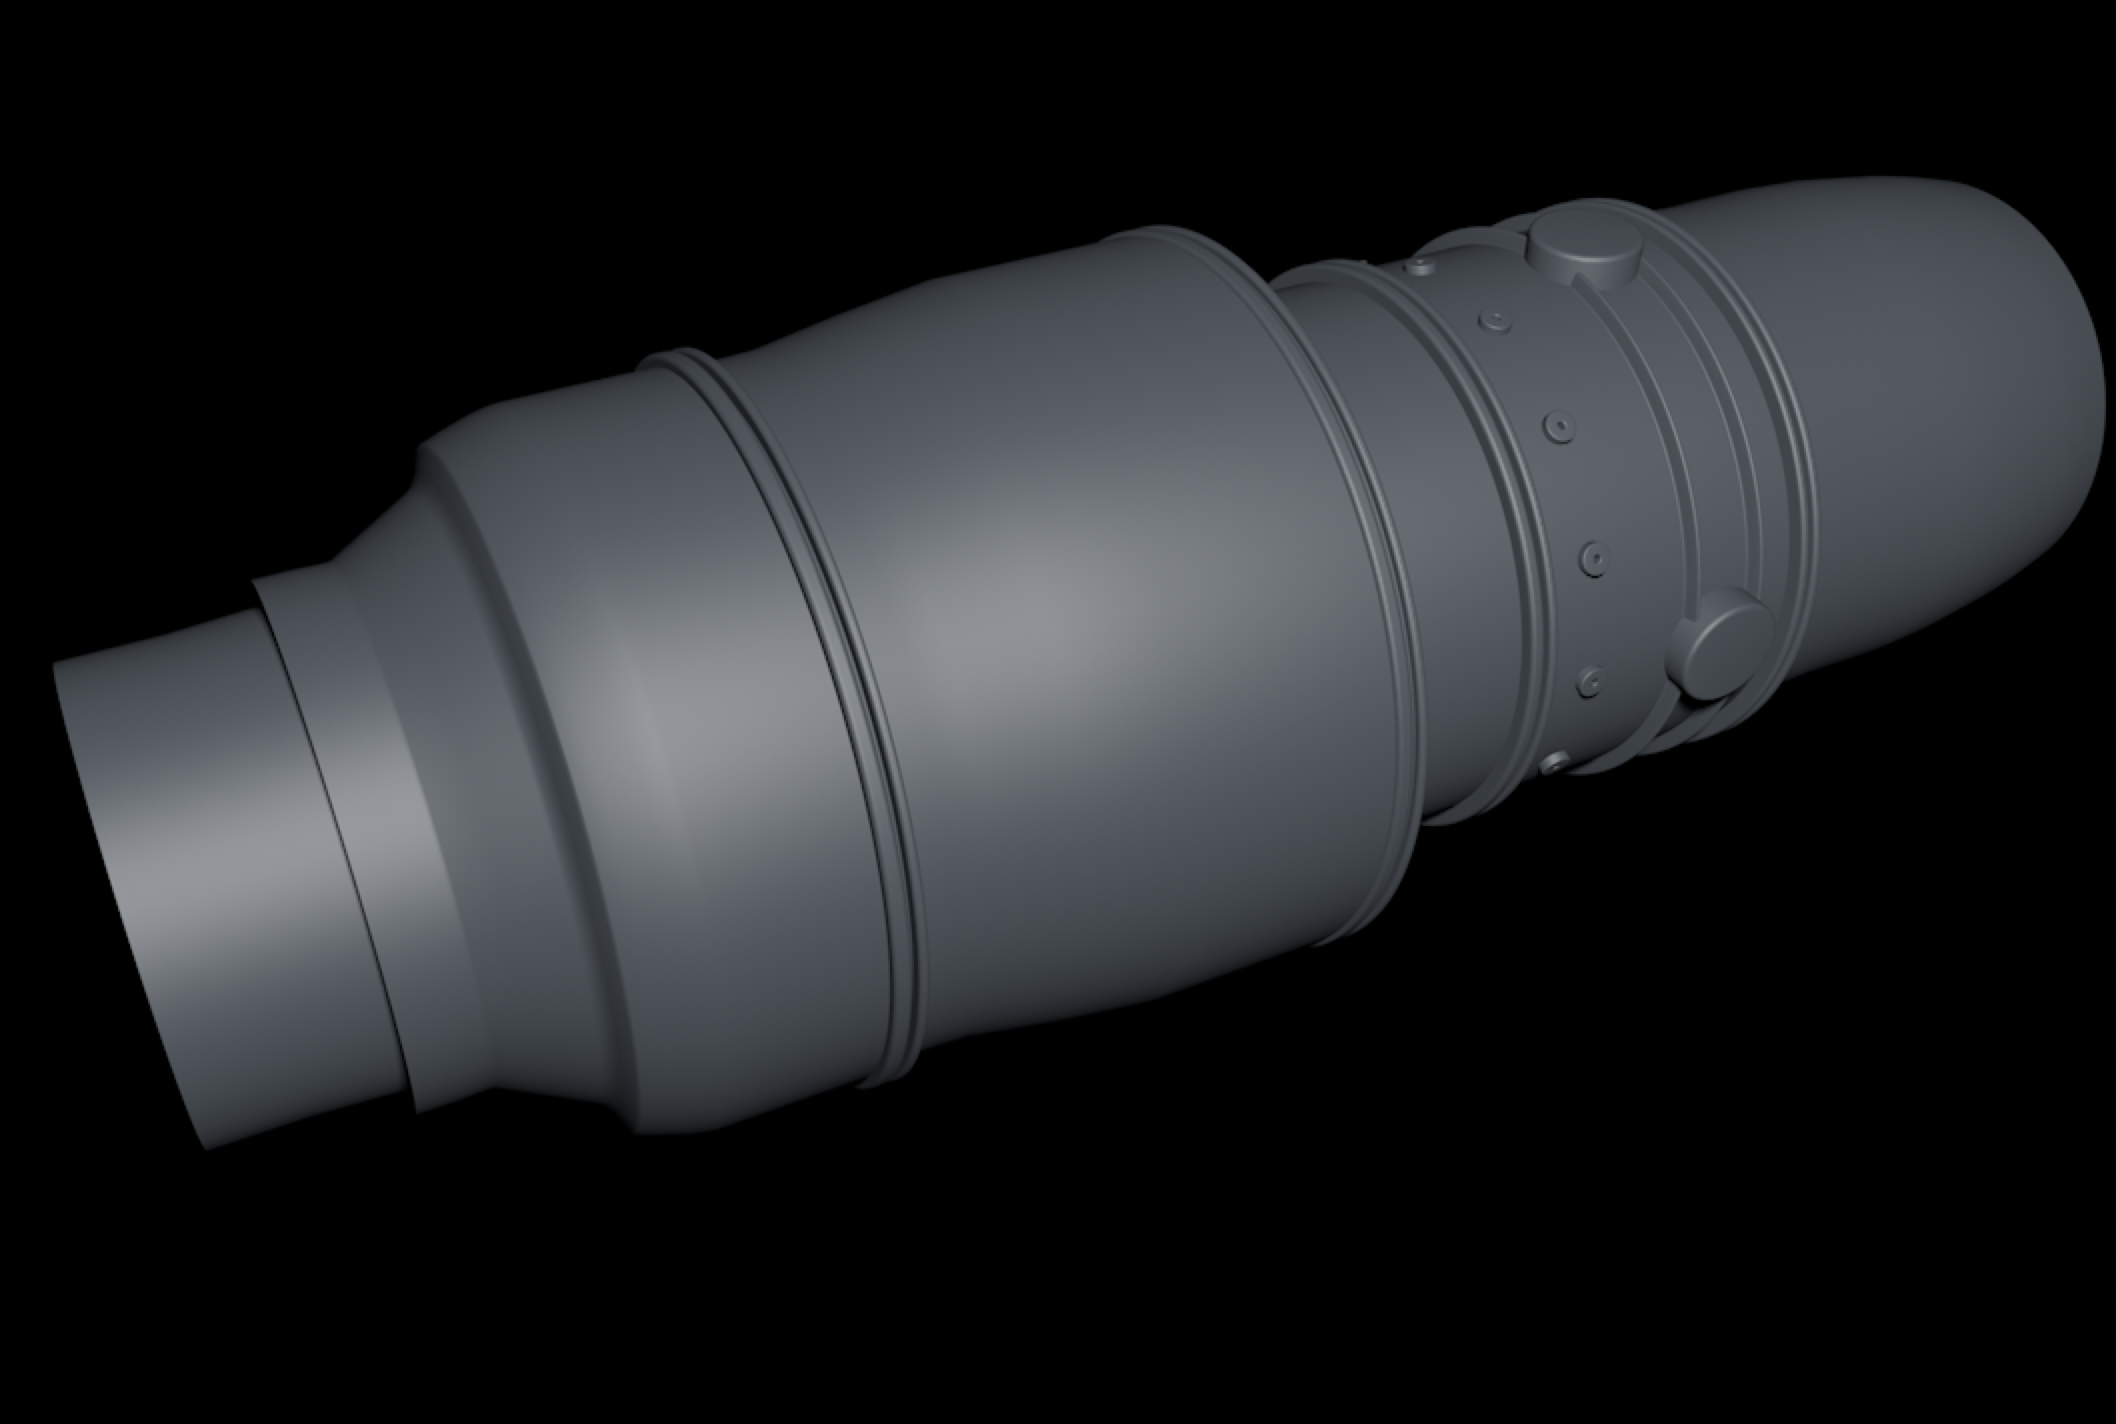
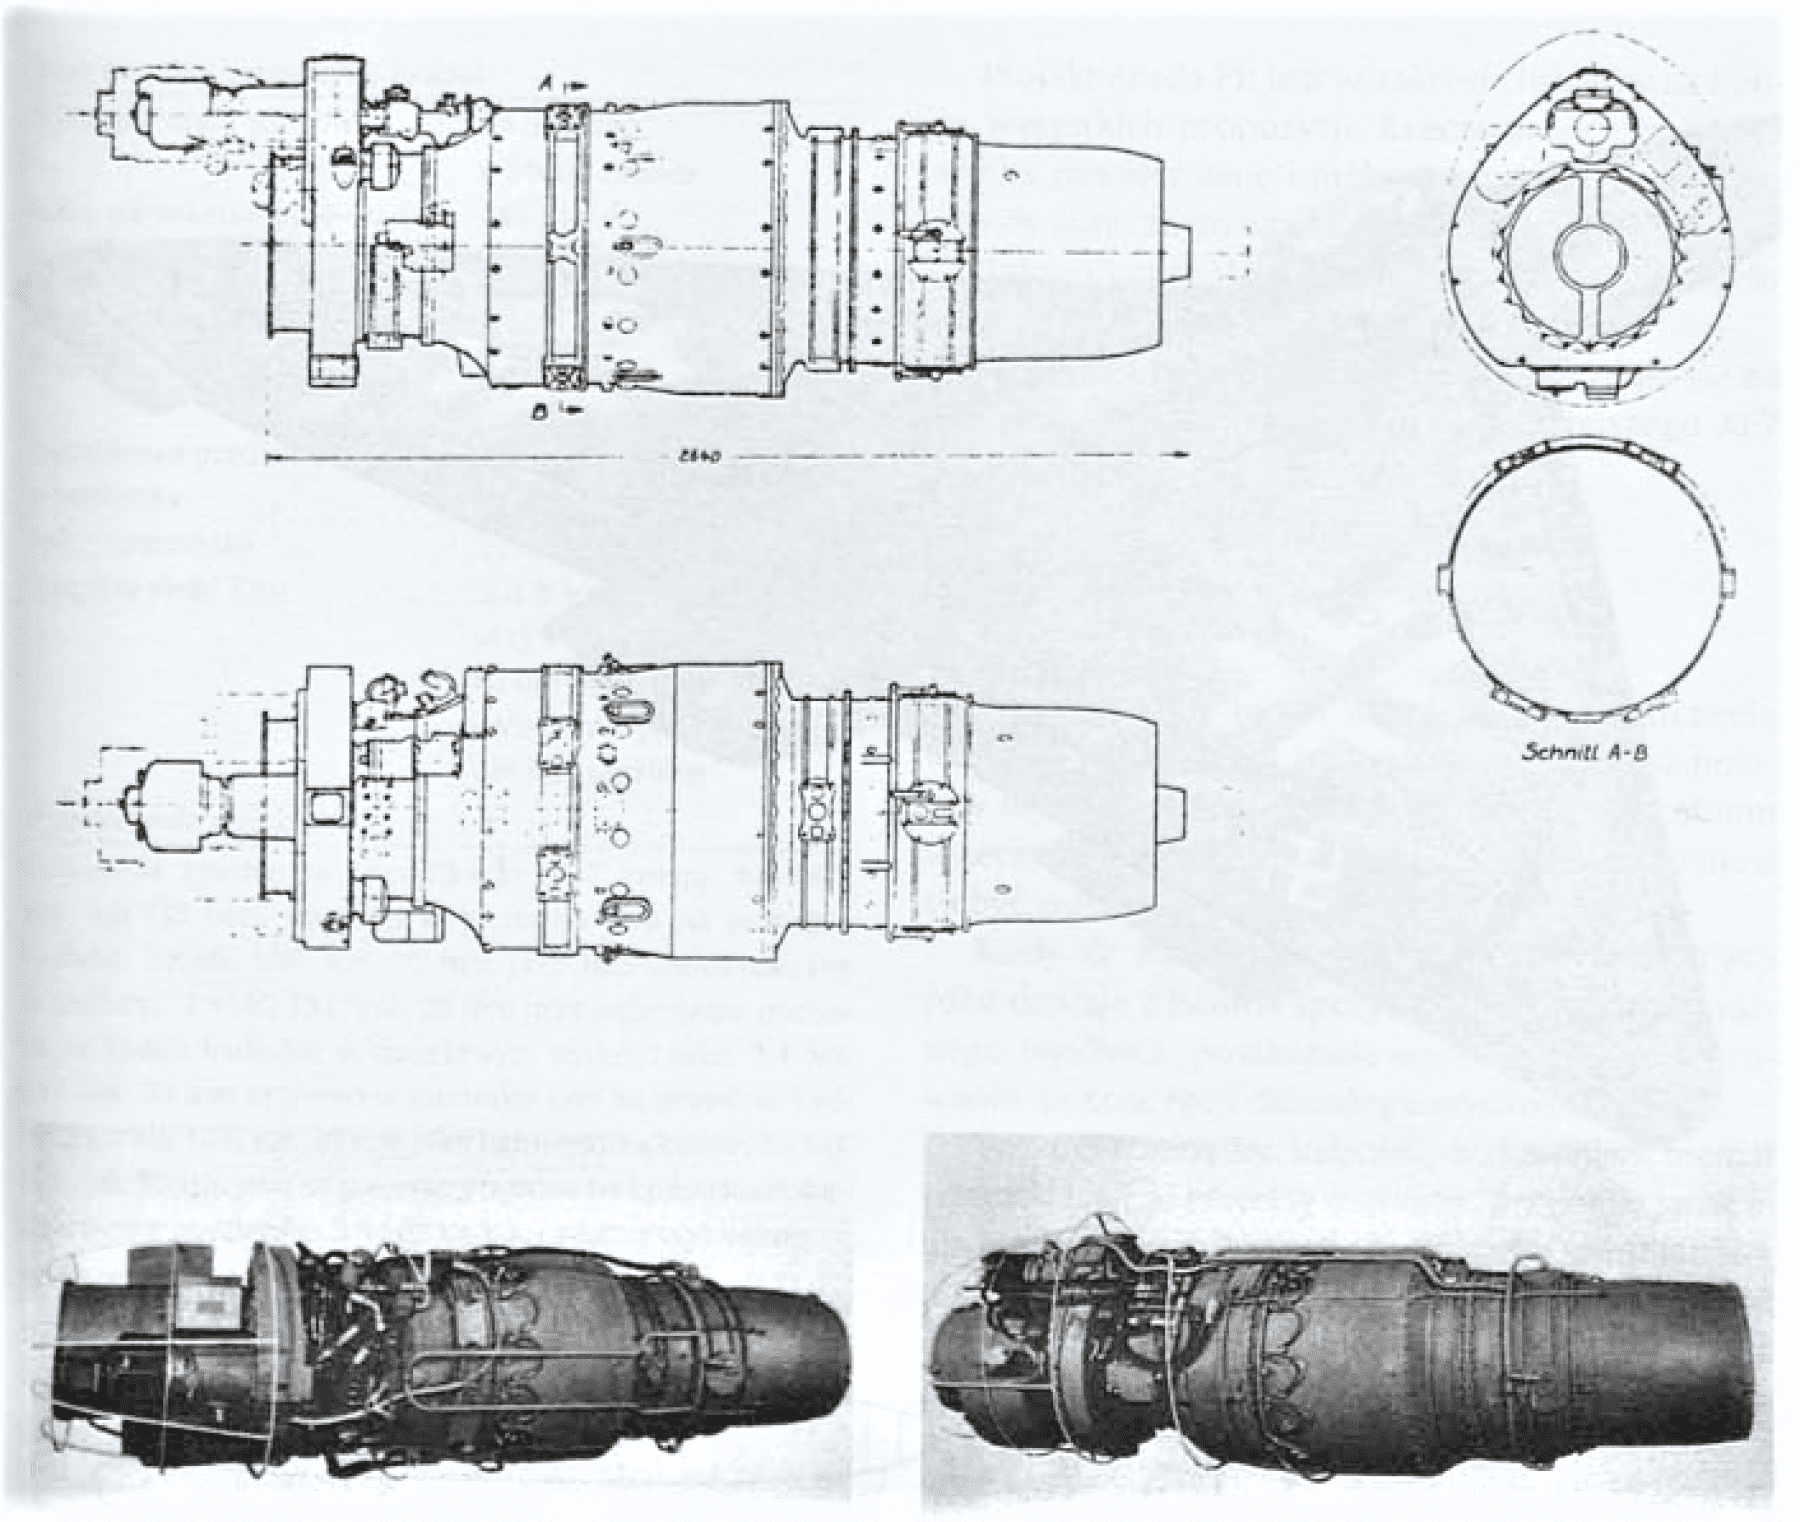
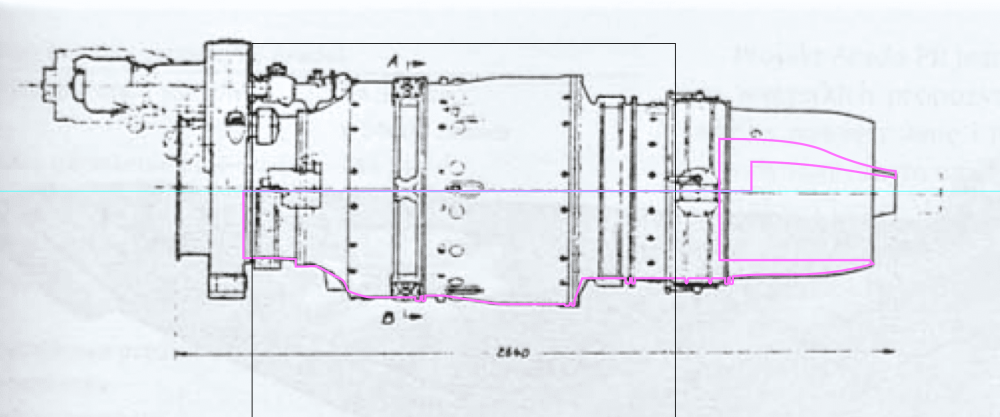
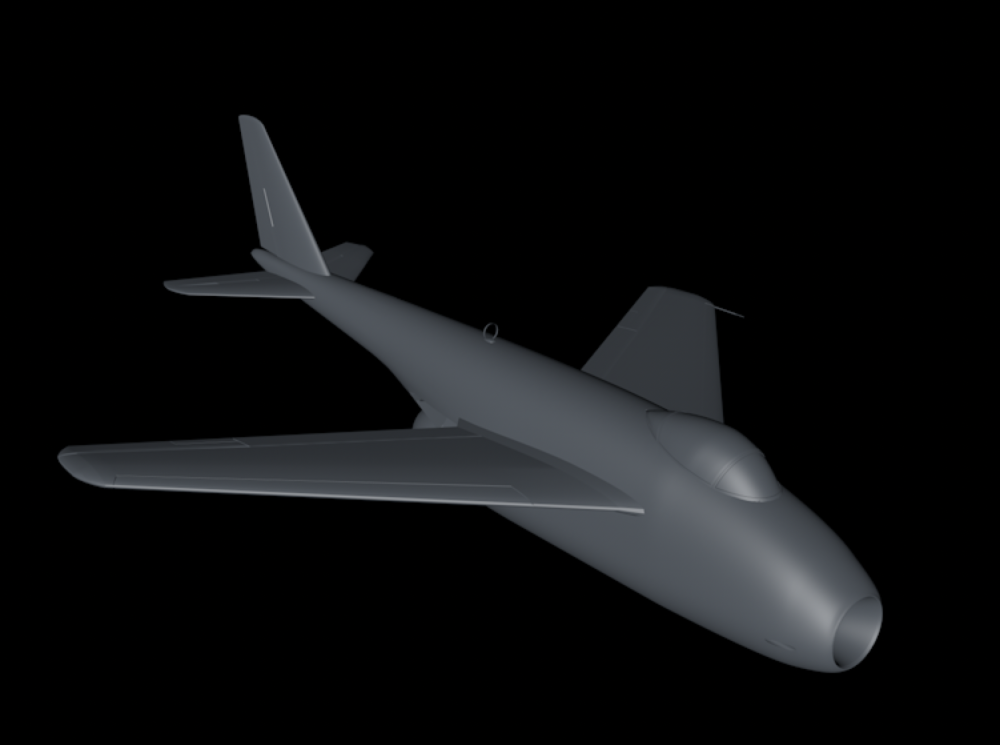
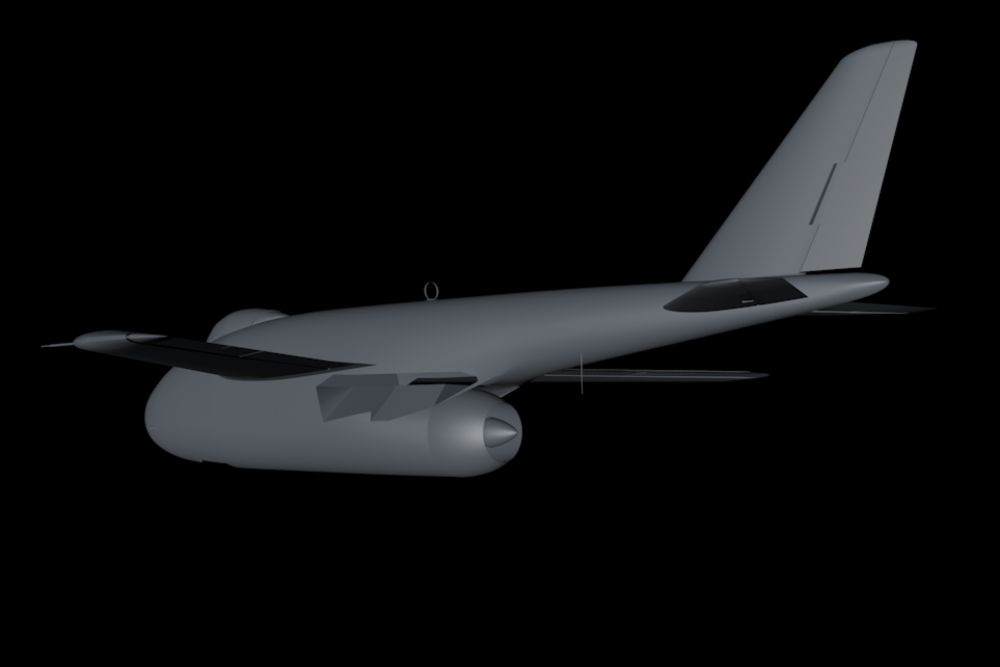
 Hi all, Having recieved my new 12K 3d printer, I might as well try something a bit more ambitious. This is what I'm going for. It might blow up in my face, but at least it will be a good learning project. I bought a simple pre made 3d model which I will use as a base. Starting work on the HE S 011 jet engine.


- 40 replies
-
- 11
-

-
This should do

-
Ps. It takes me about 30 mins to draw up a part in 3d and approx. 1 hour to print it. I do however have a lot of failed prints, but theyre all to blame on my inexperience.
-
As far as i know PLA printers are great for printing household objects and engineering / industrial design mock ups. There is a reason model companies all use resin printers for small detail prints. You simply can’t match the detail in resin with PLA.
-
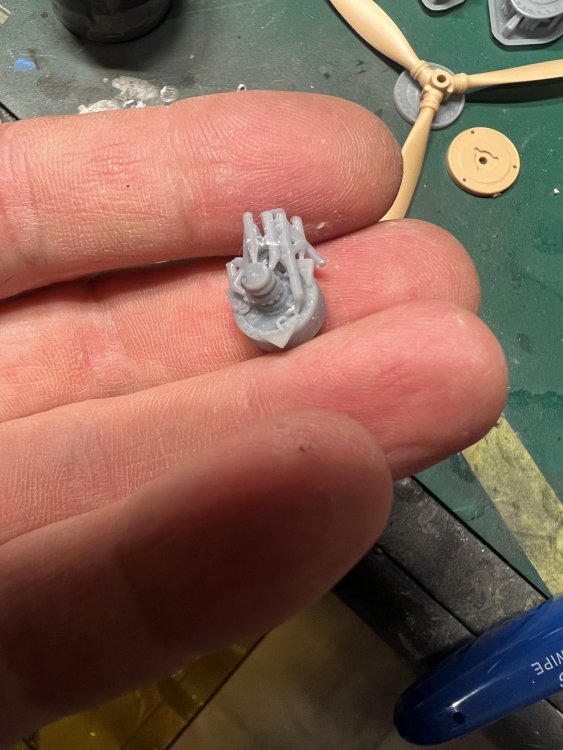
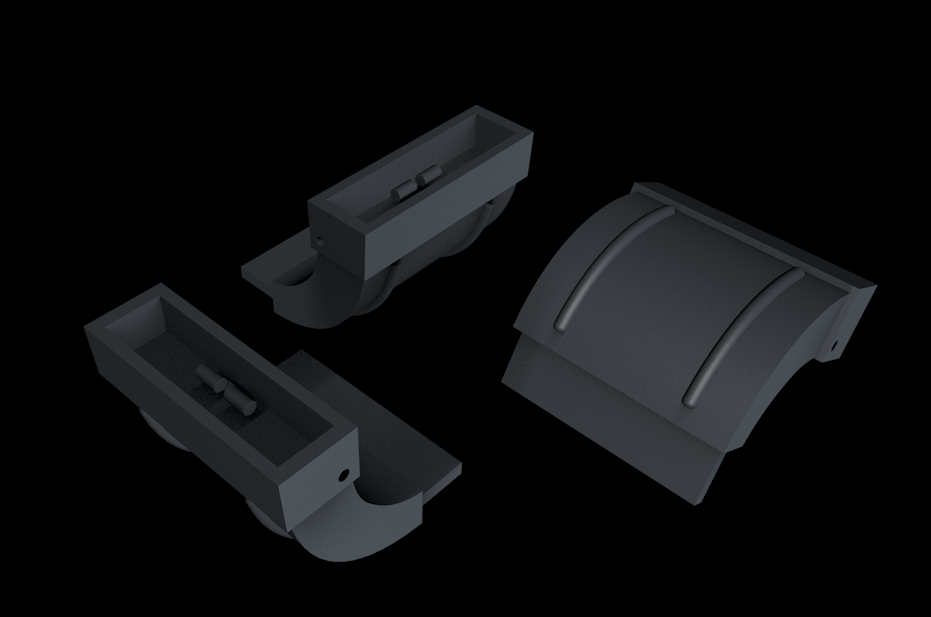
First prints. Also designed a new spinner backplate since the ZM one lacks all detail.

-
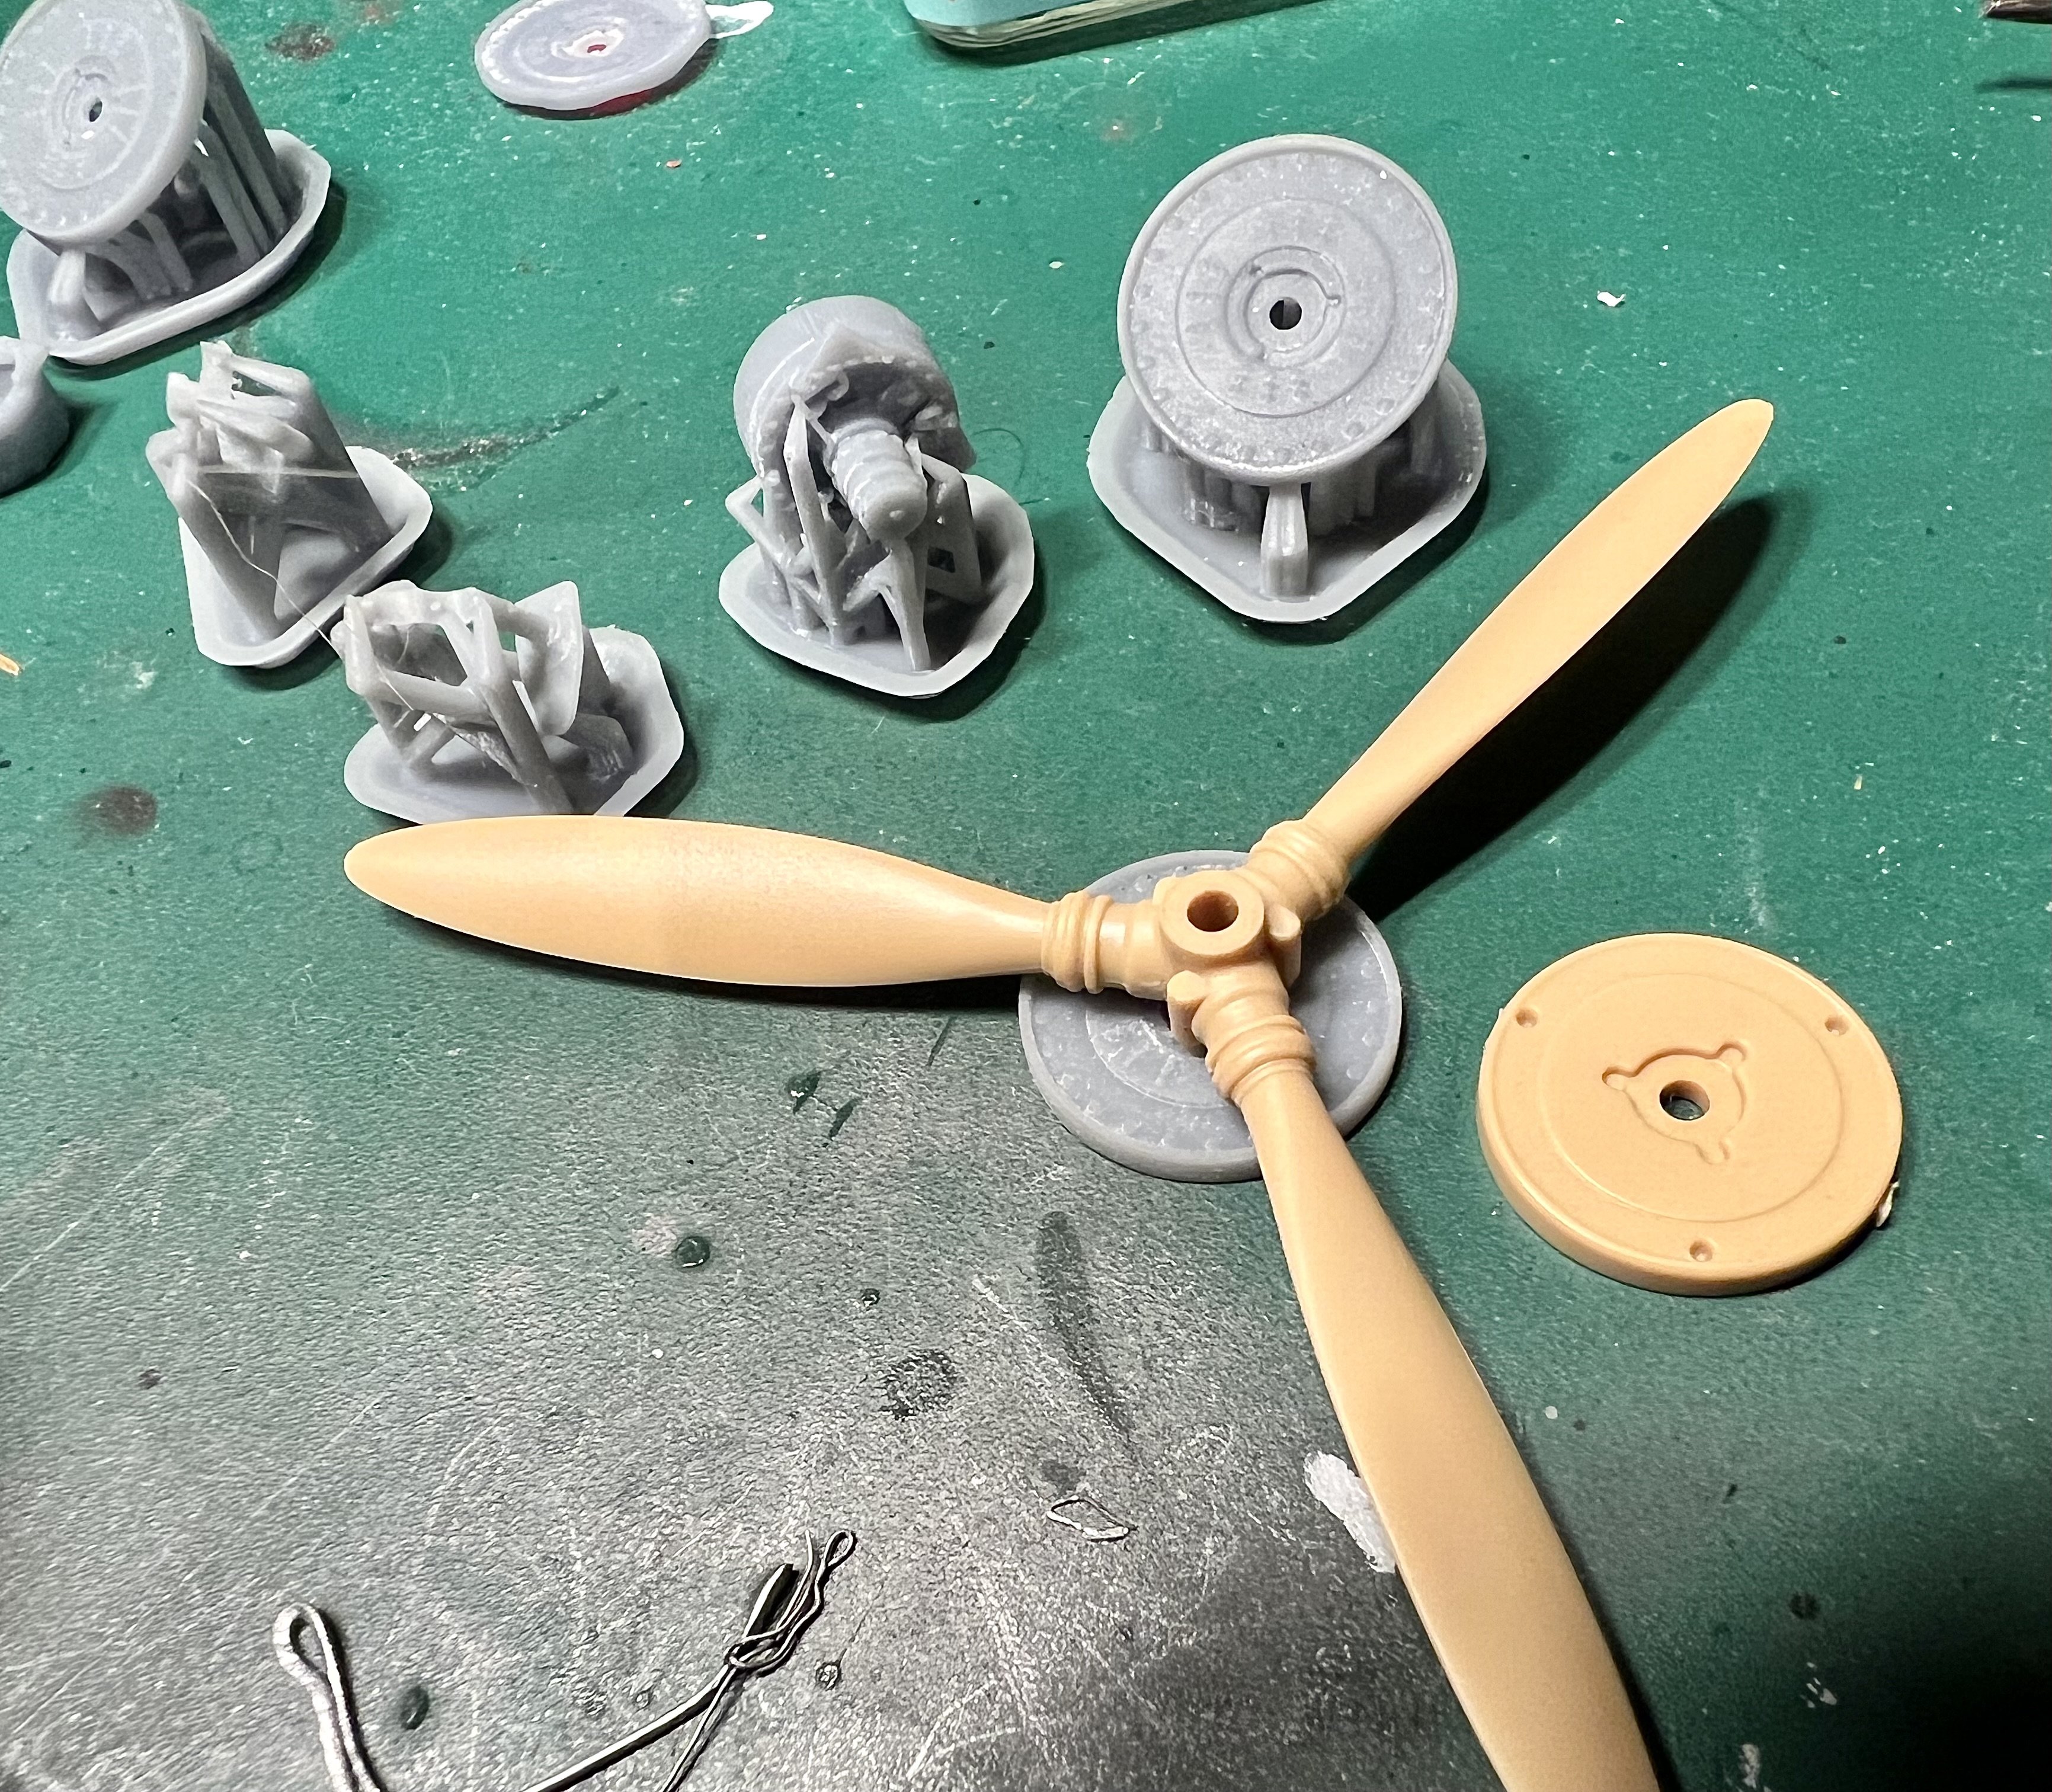
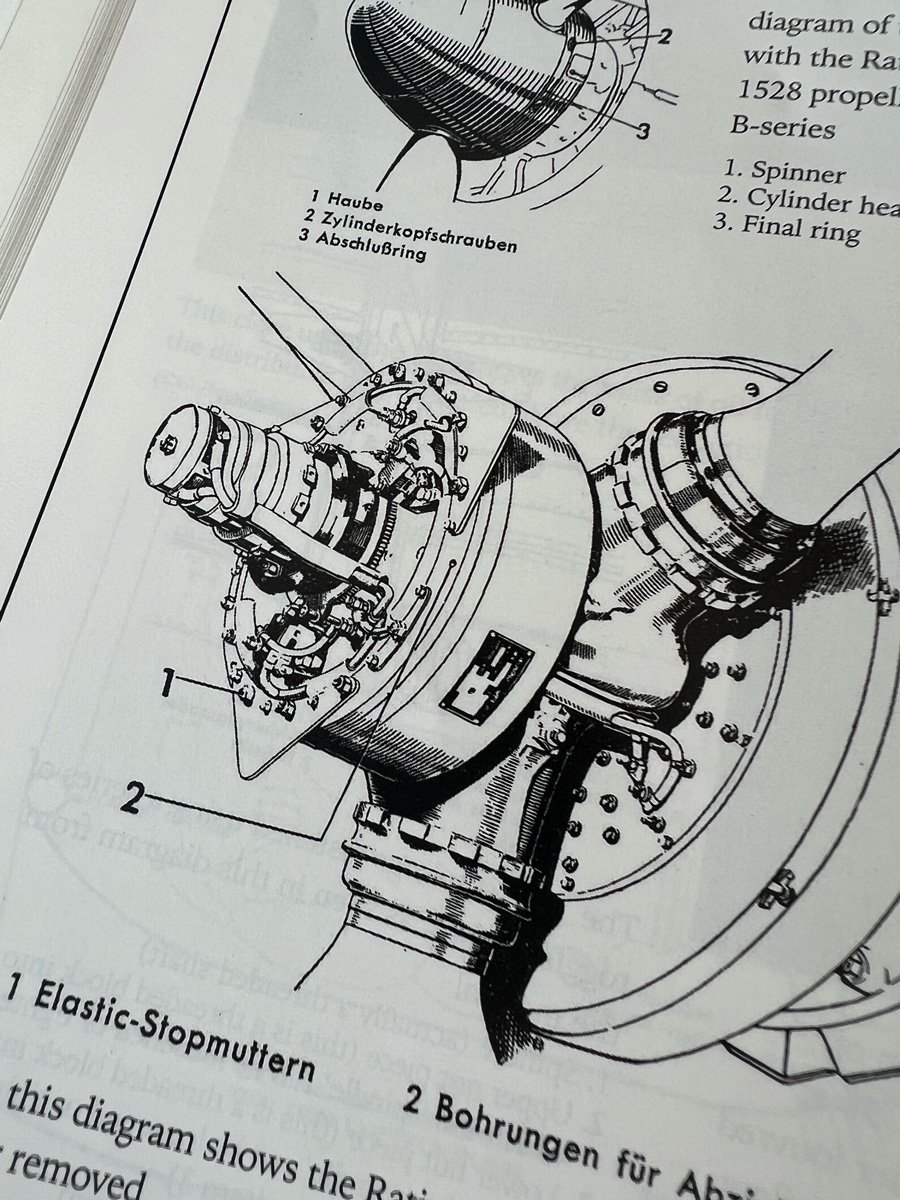
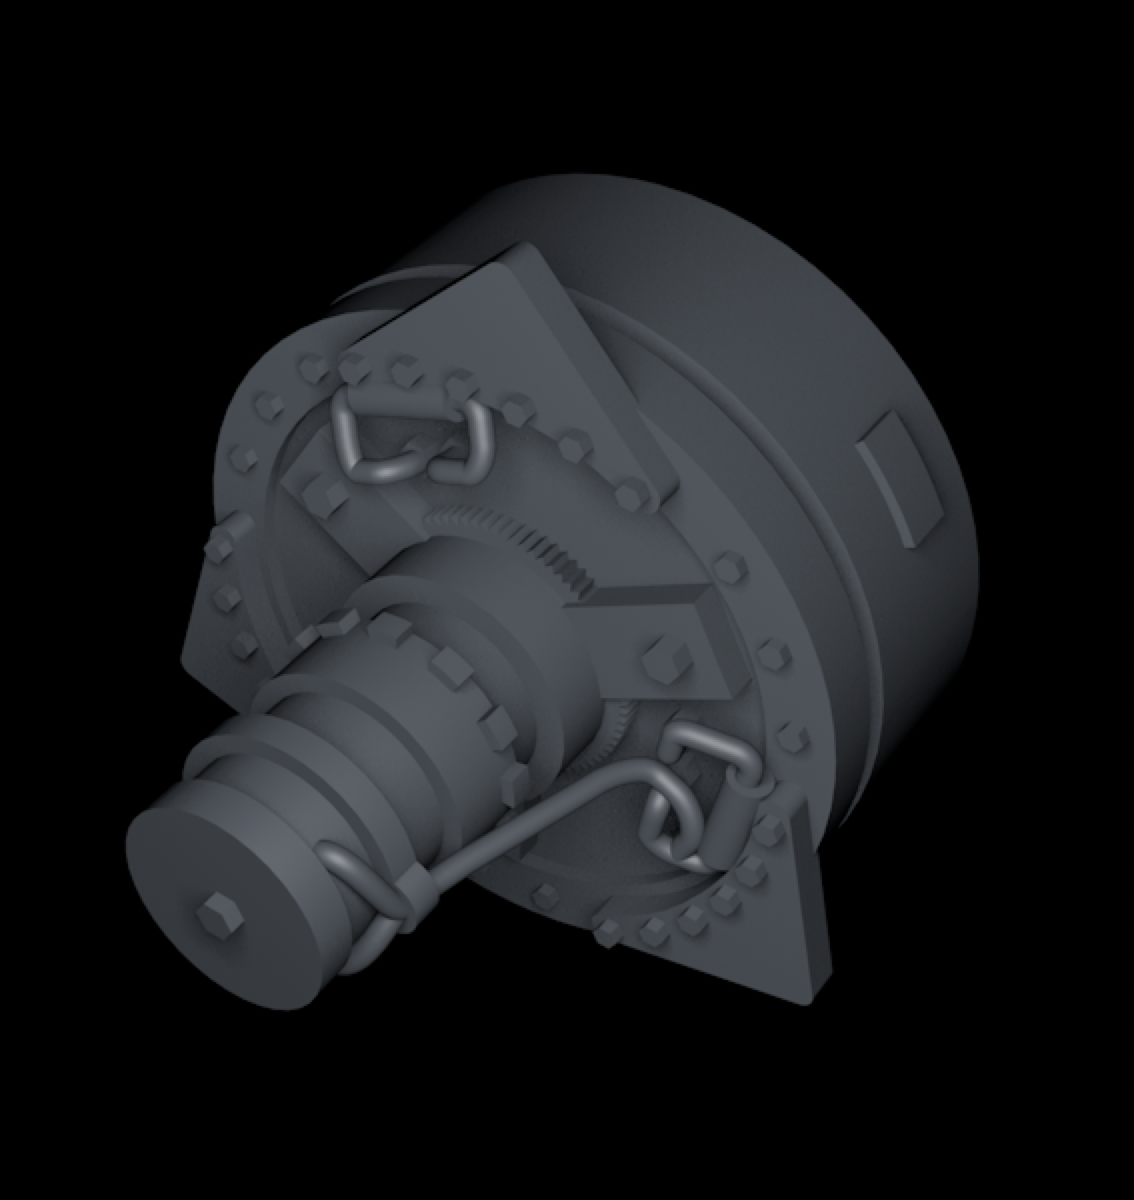
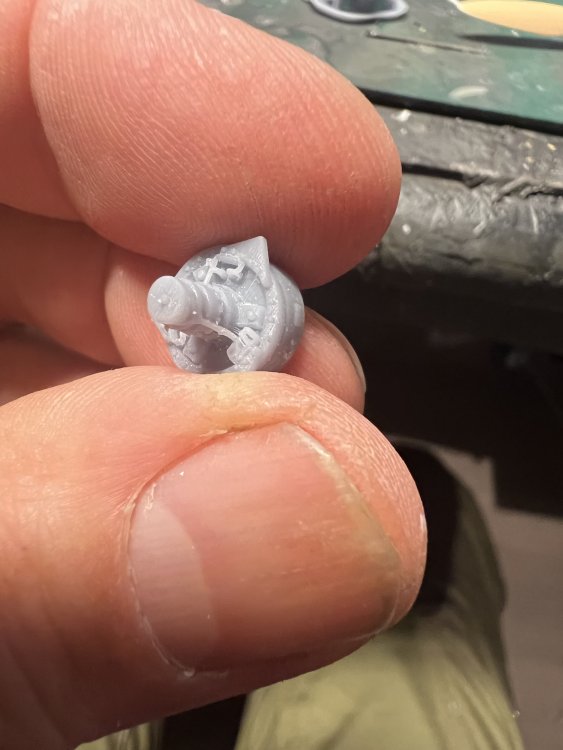
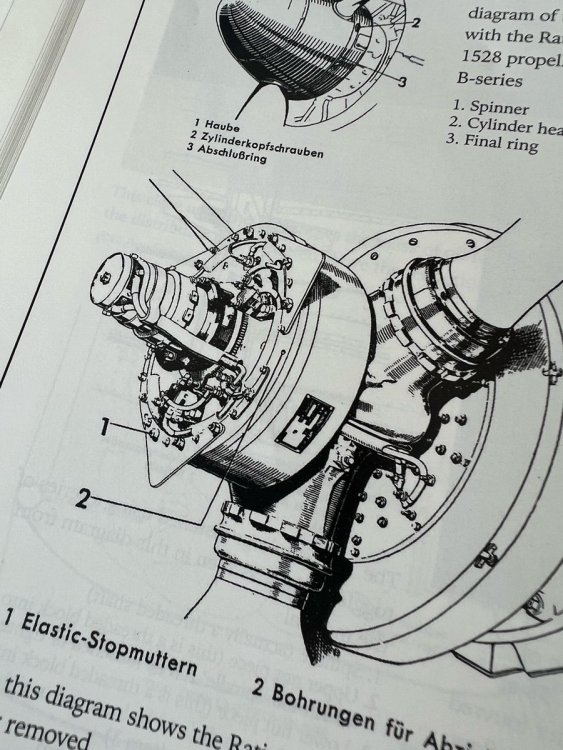
This will be a great little test for the new printer. The Ratier 1527/1528 prop with the spinner removed shows this intricate prop hub. Diameter will be 1cm.
-
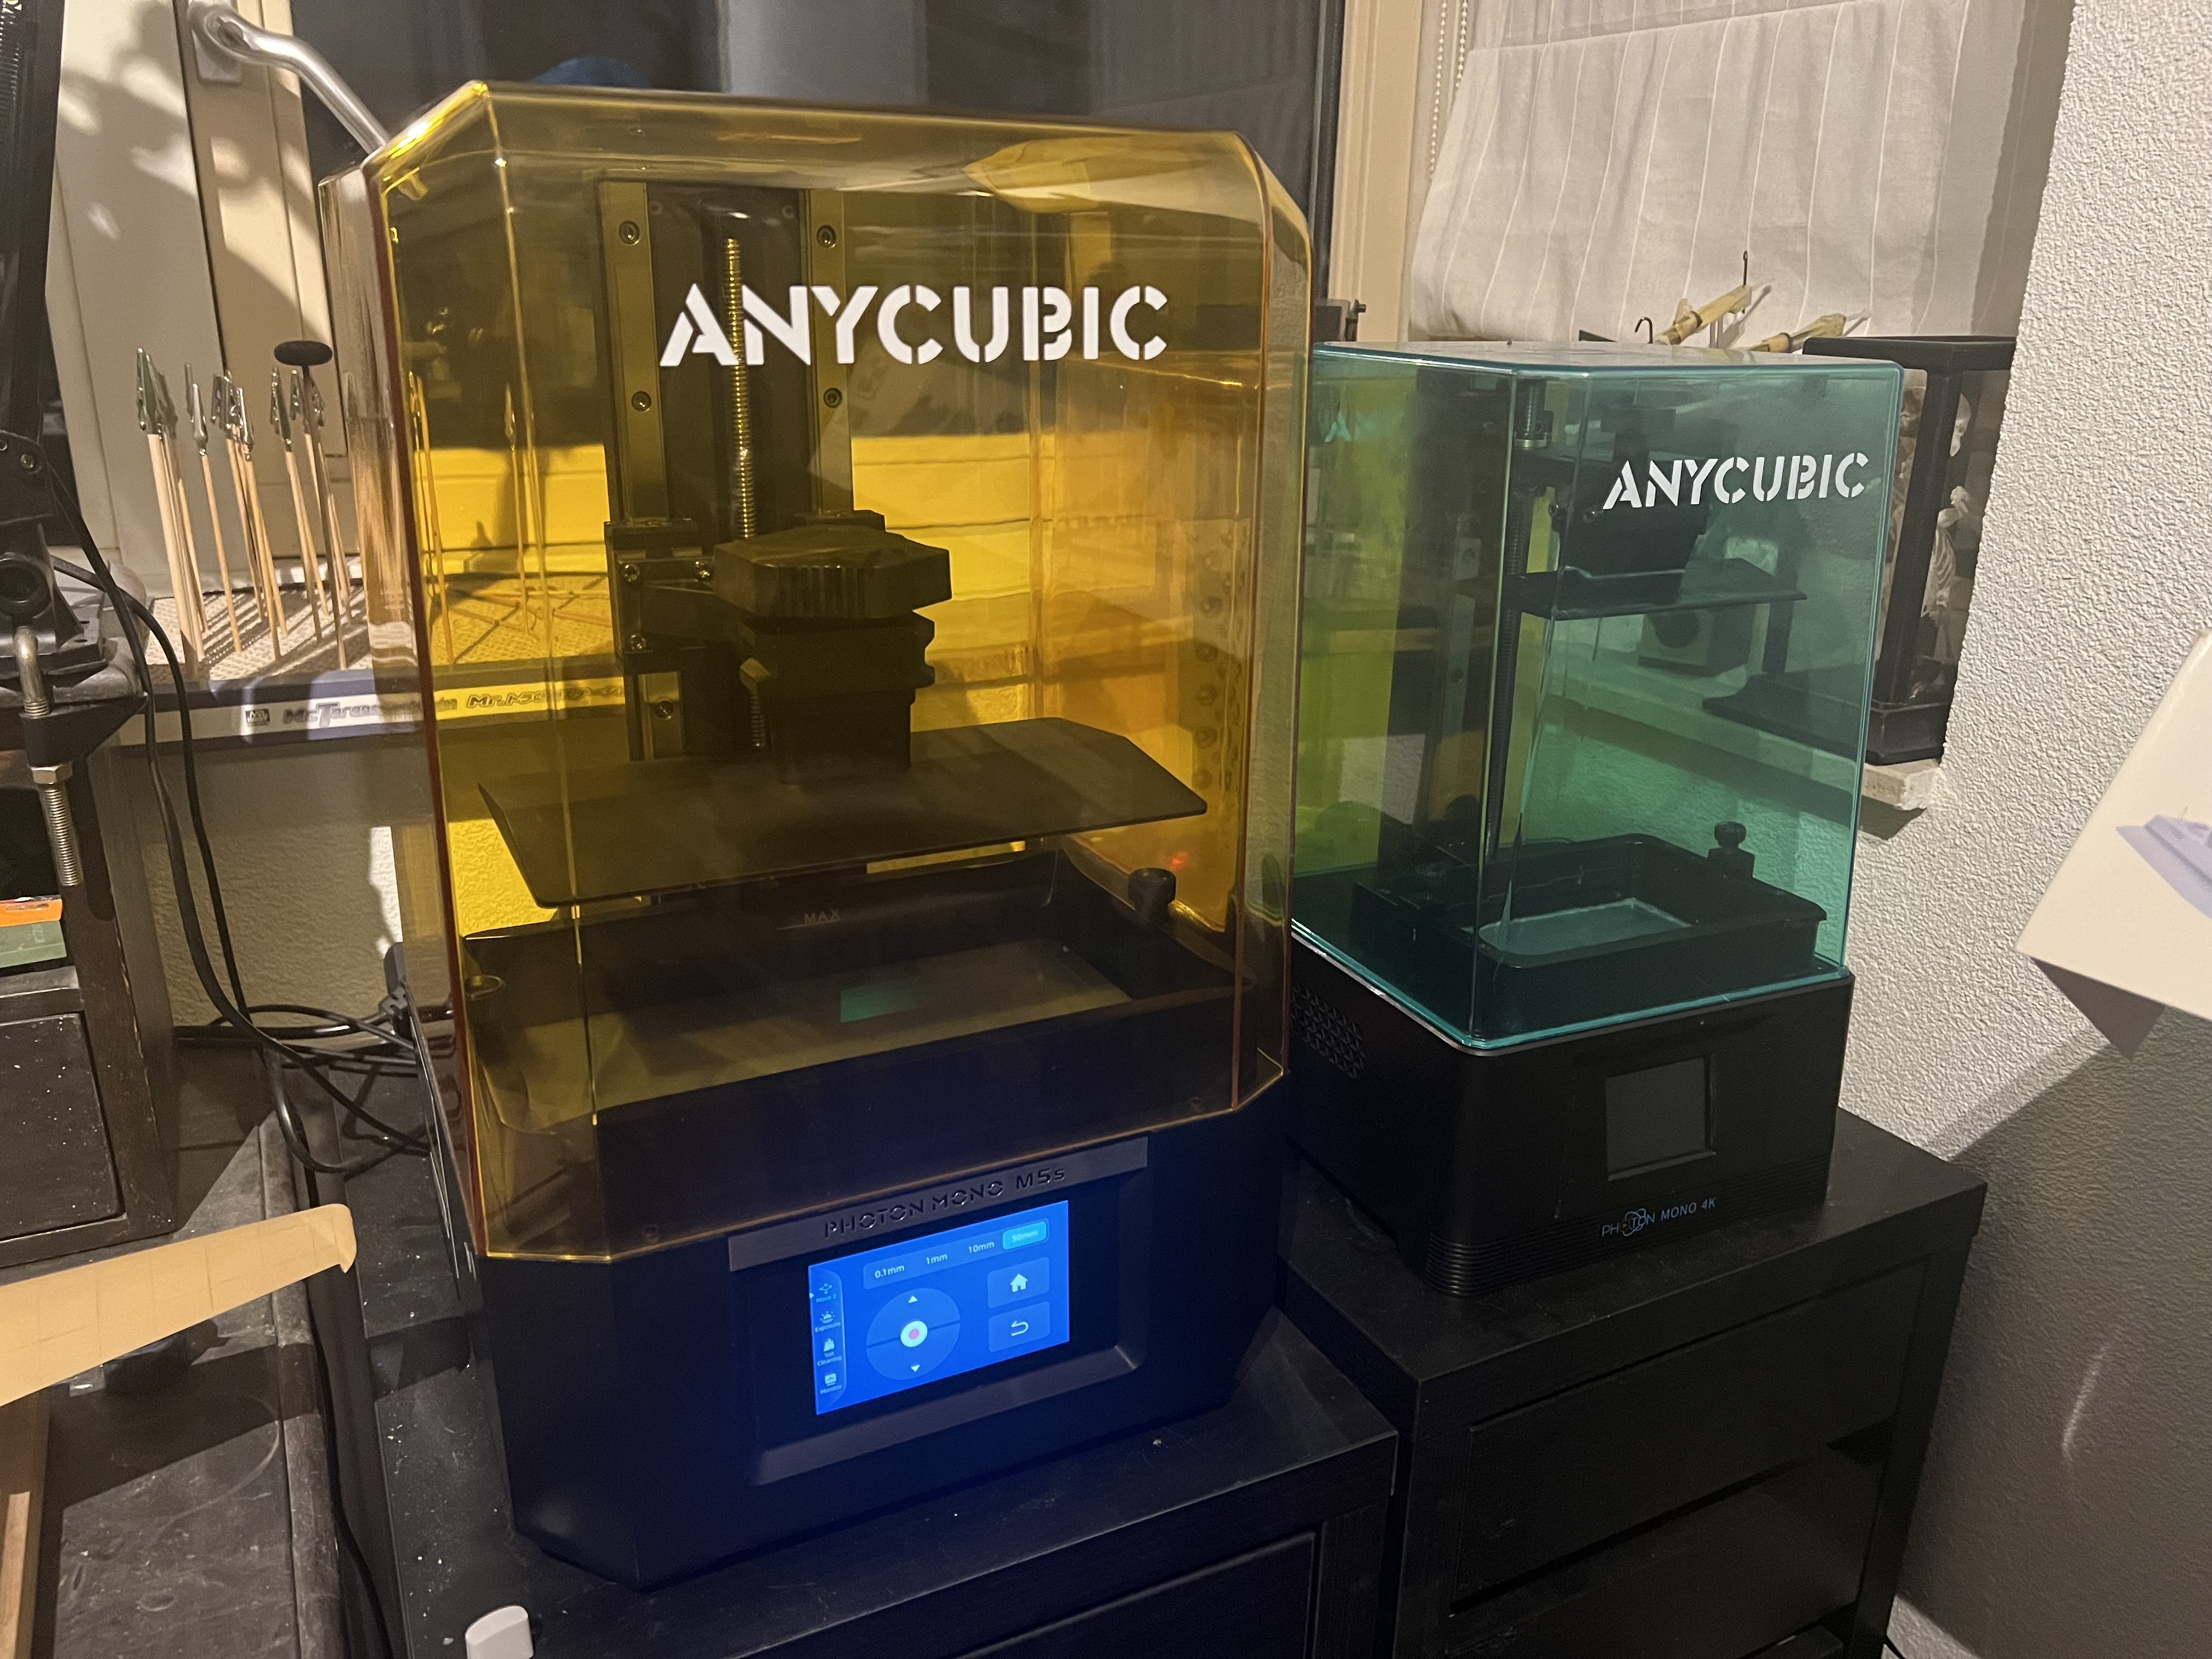
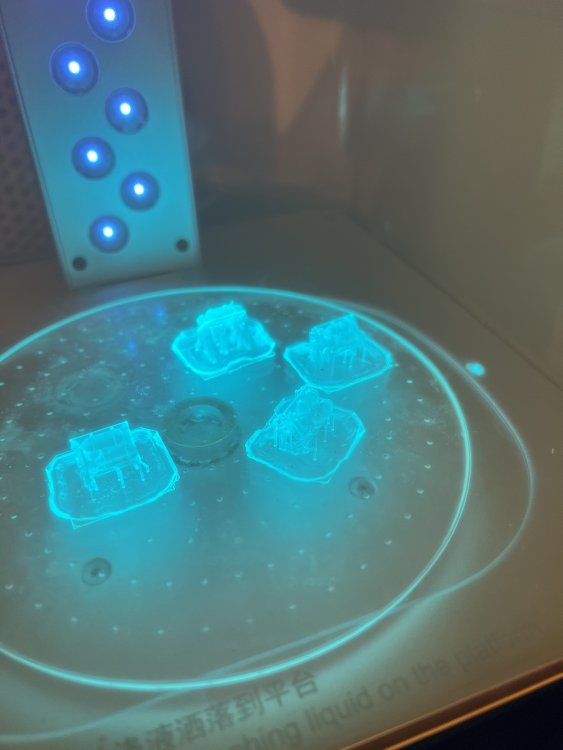
Got a new 3D printer. Old 4k one on the right, new 12k one on the left.

-
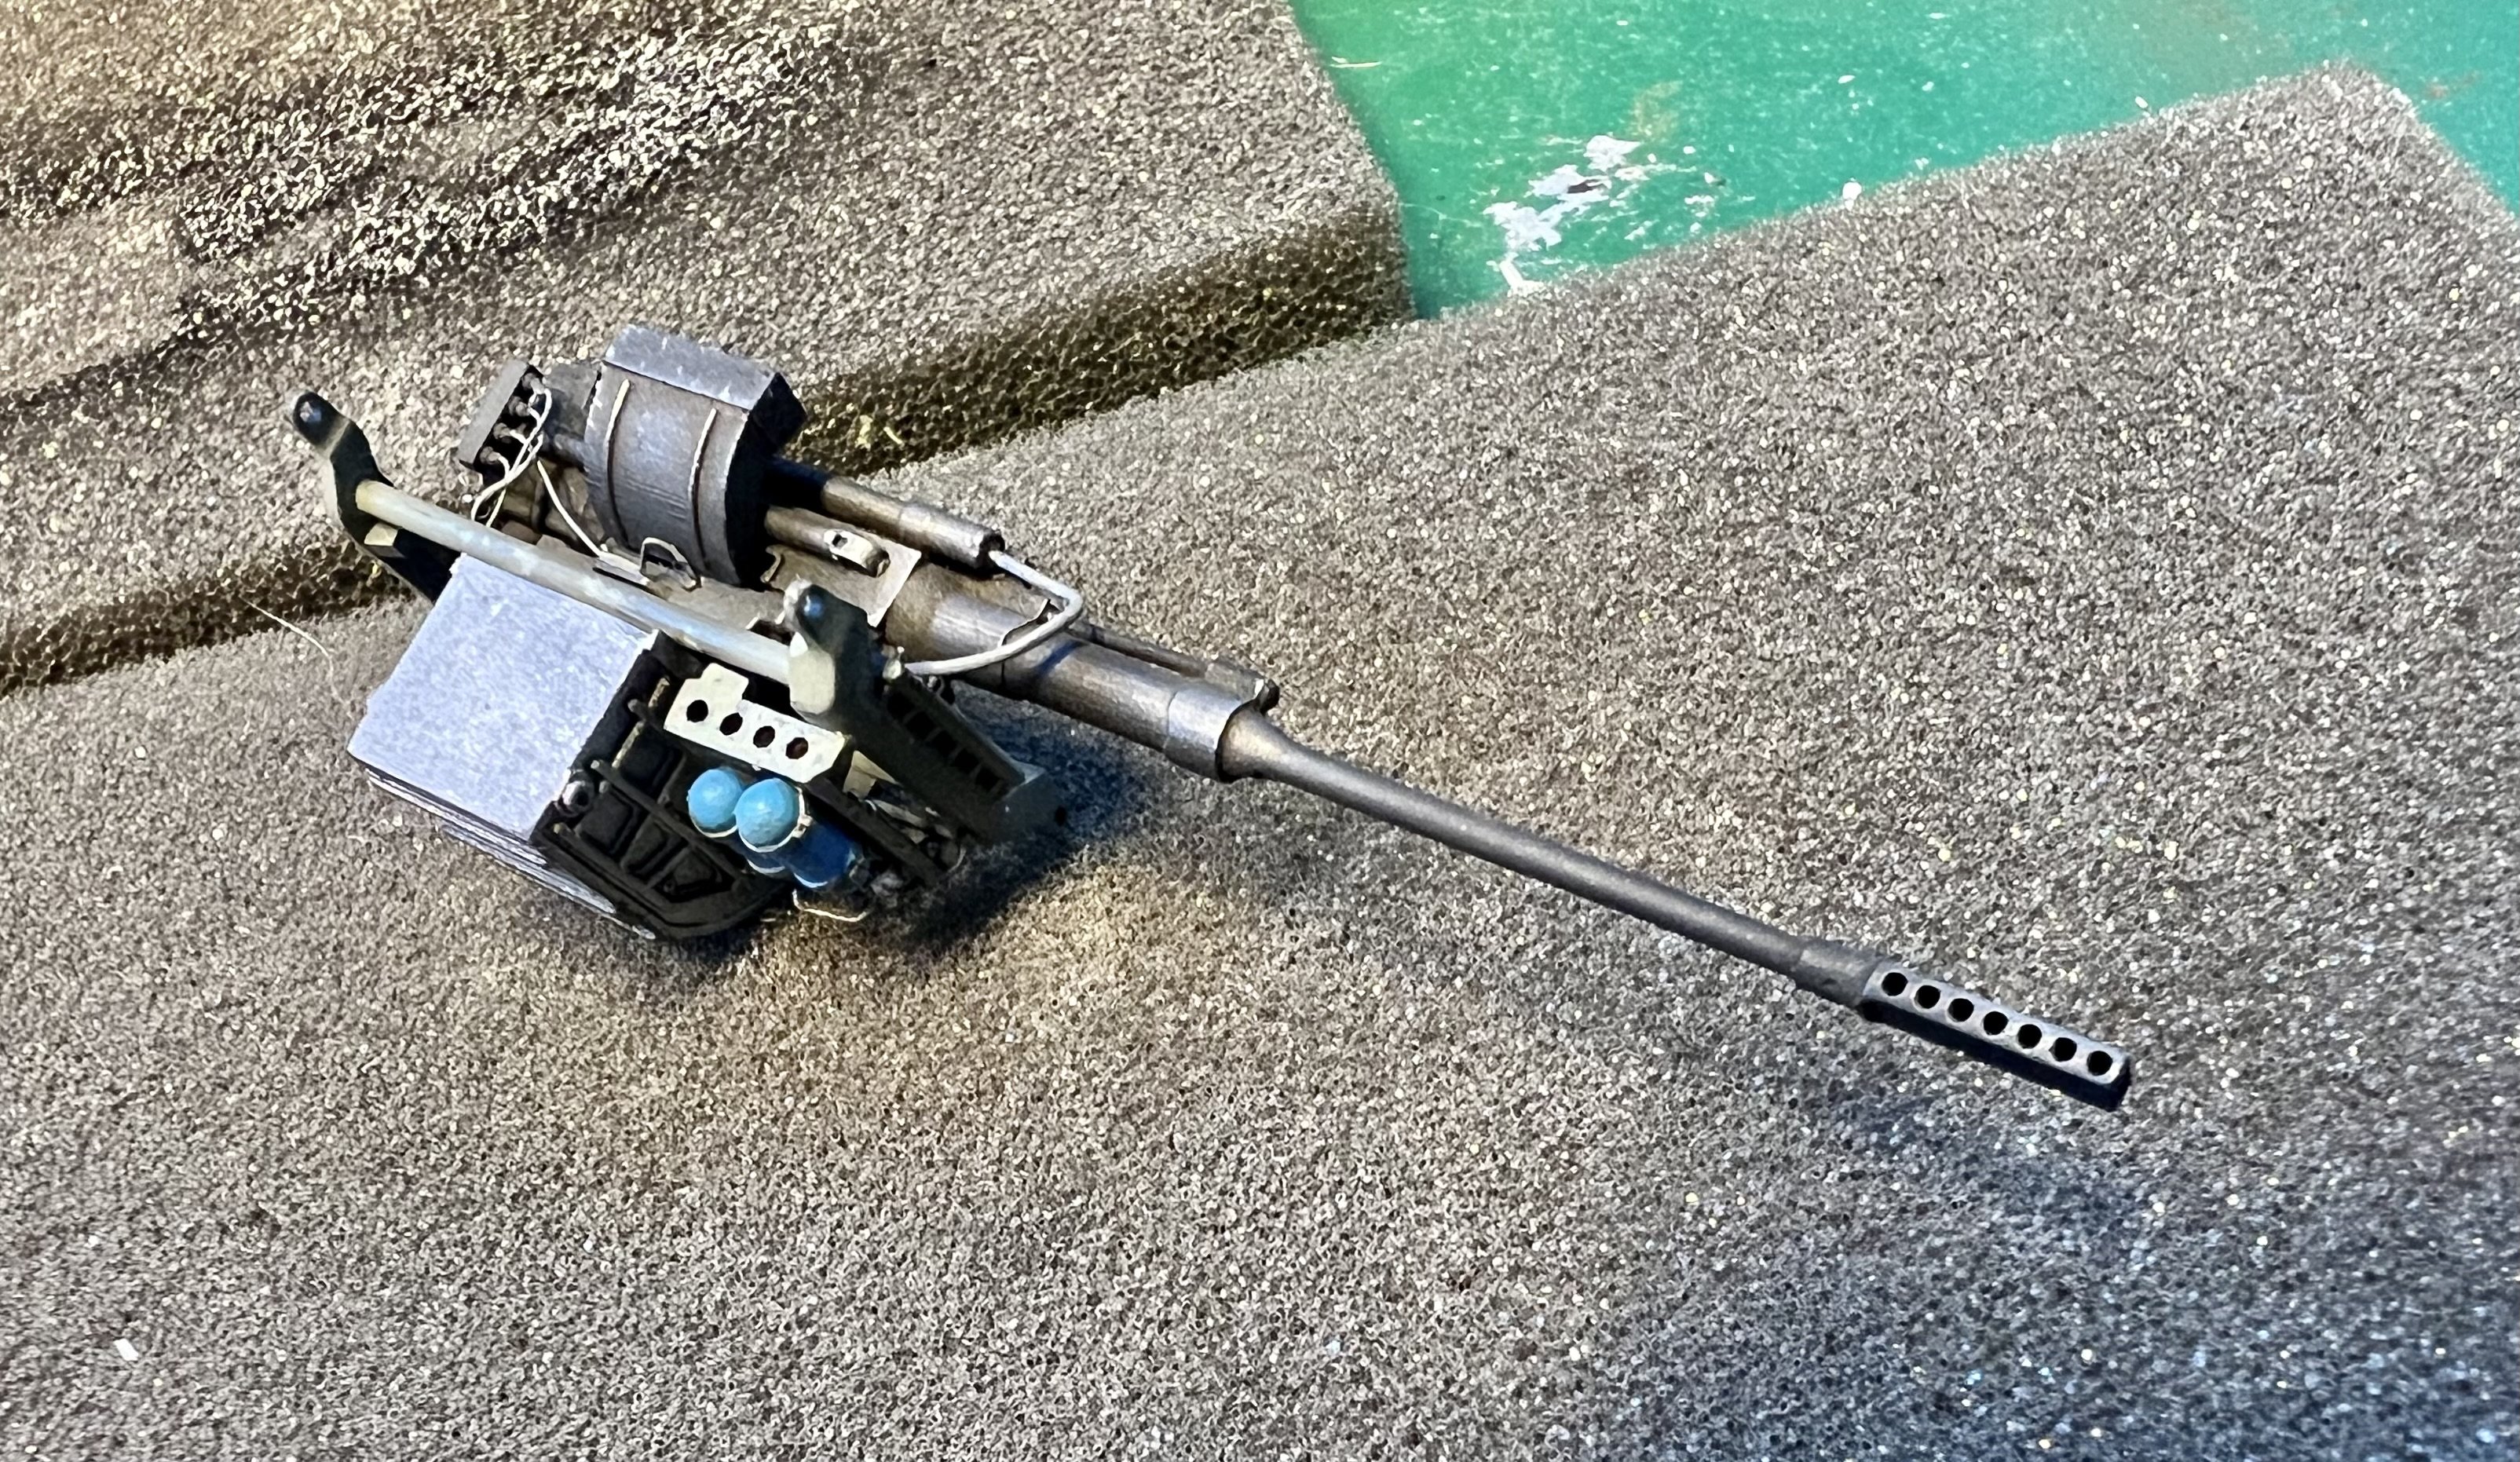
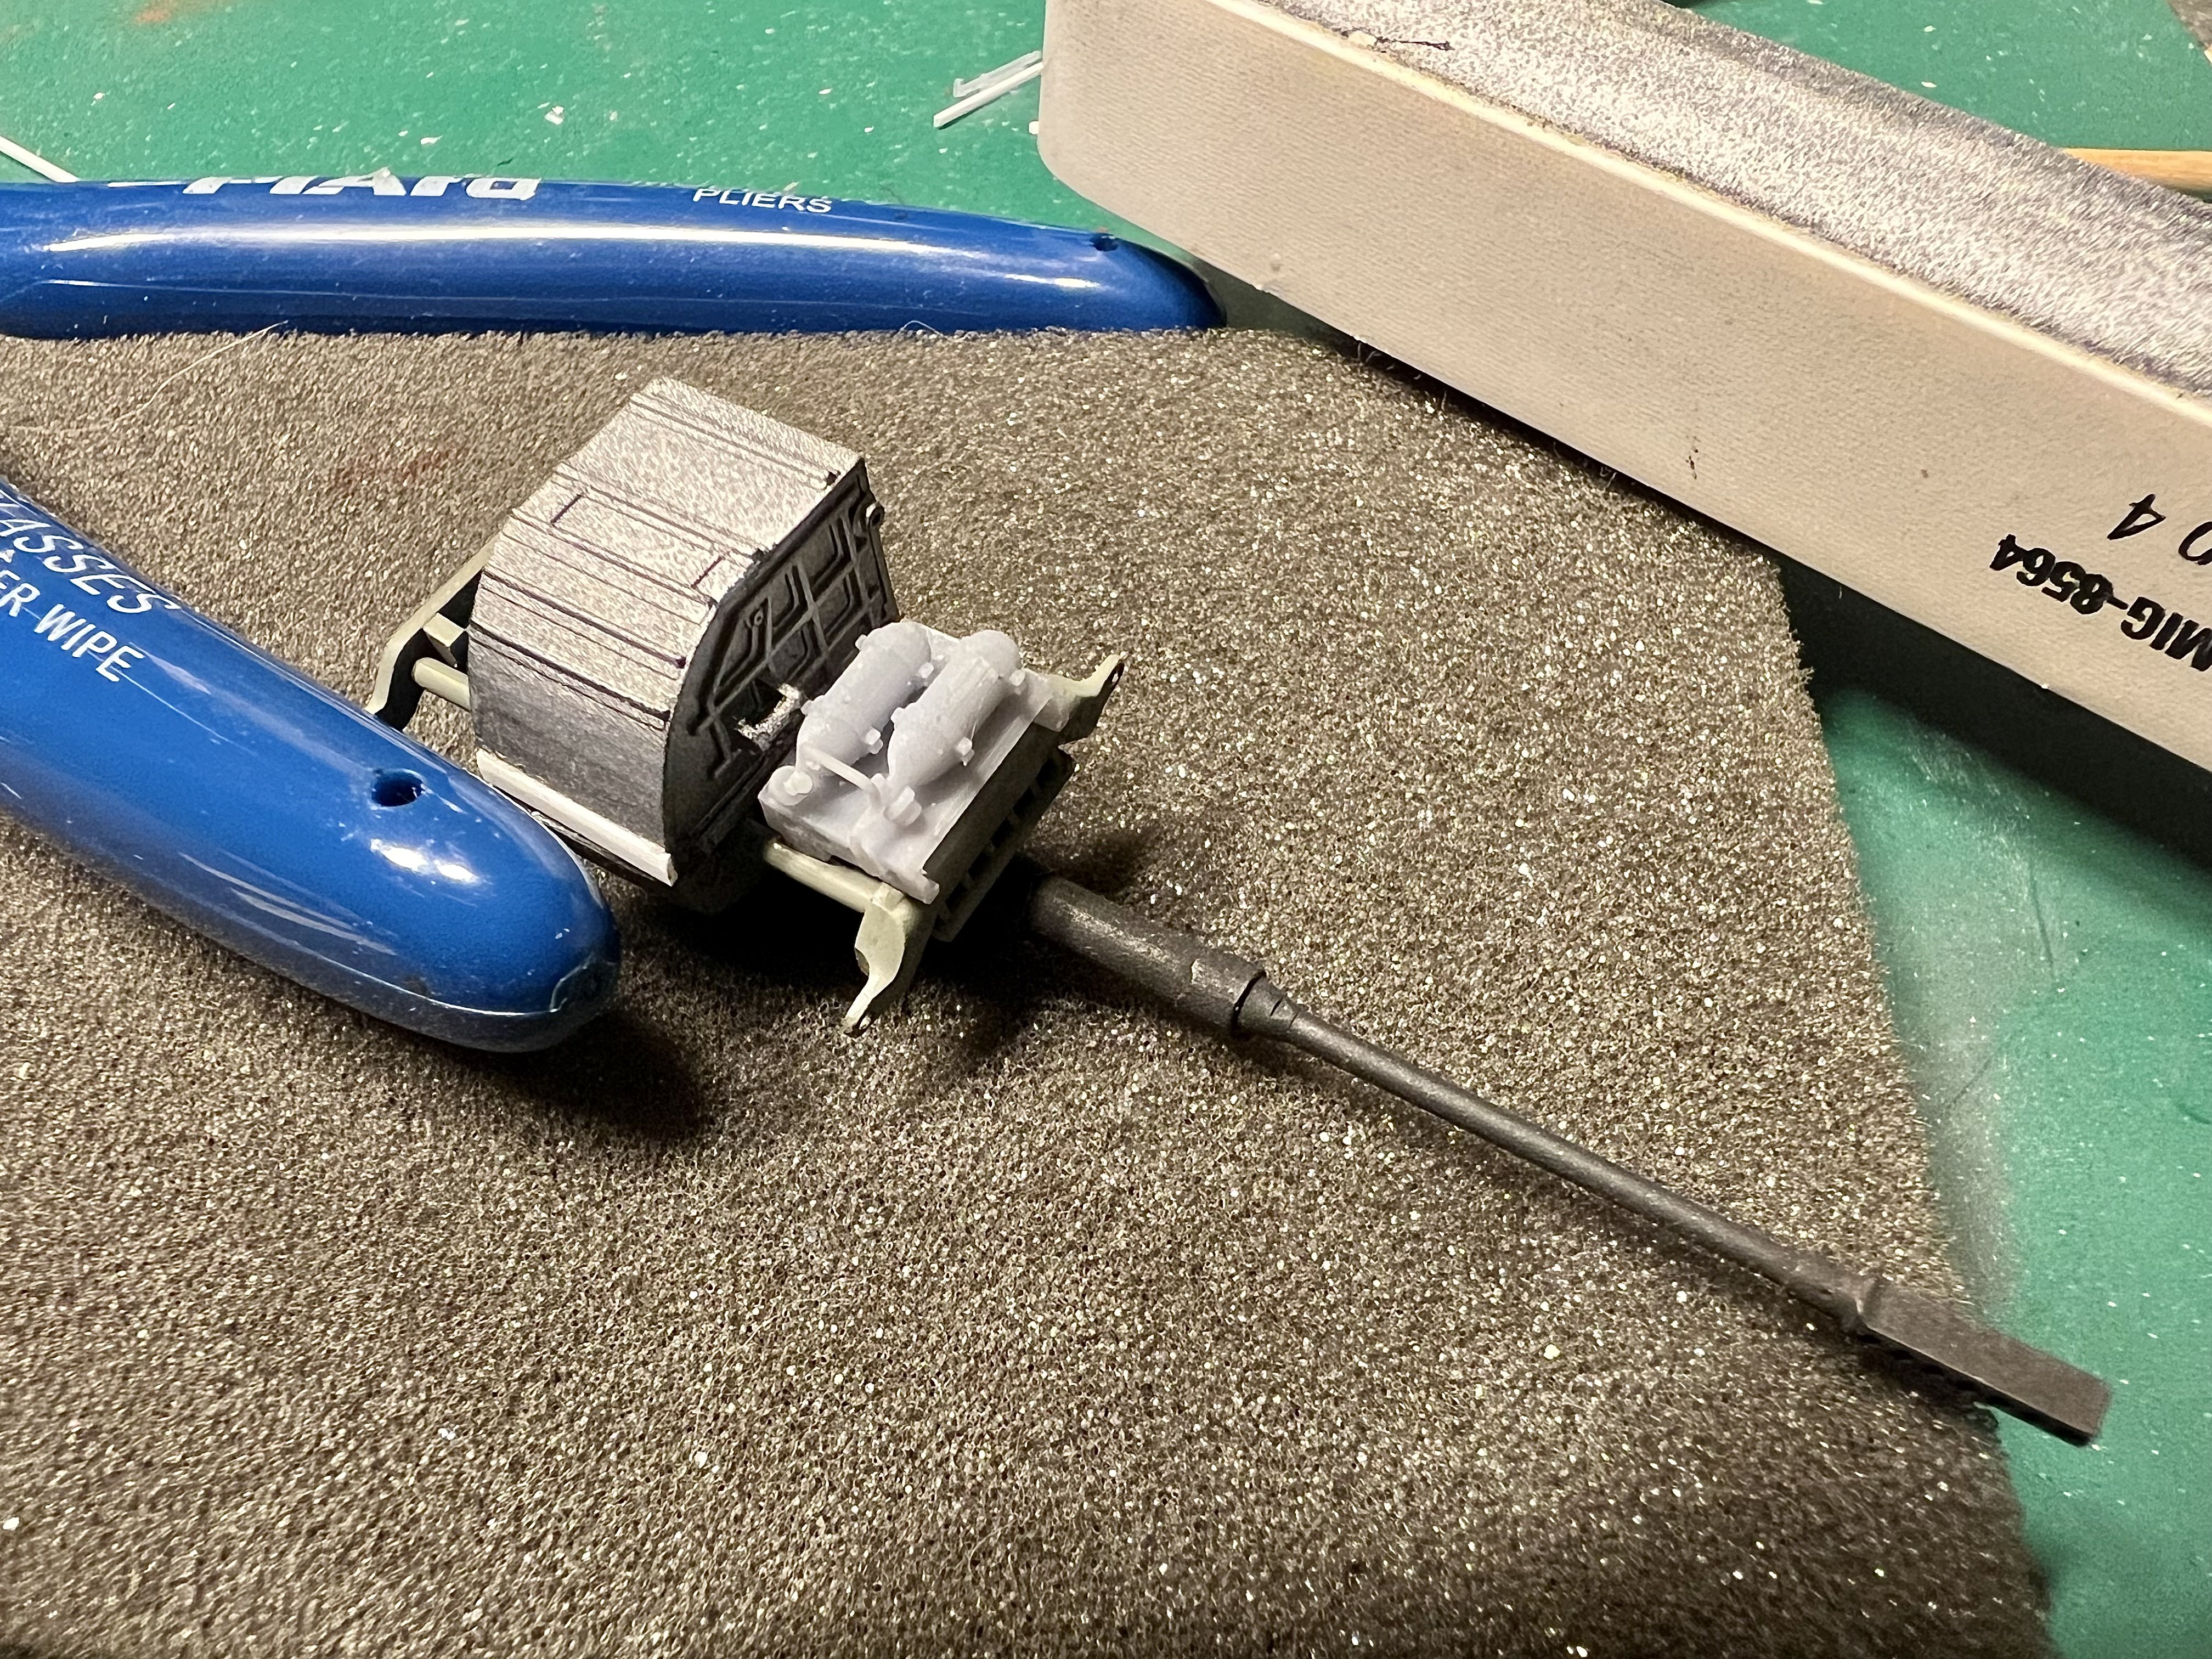
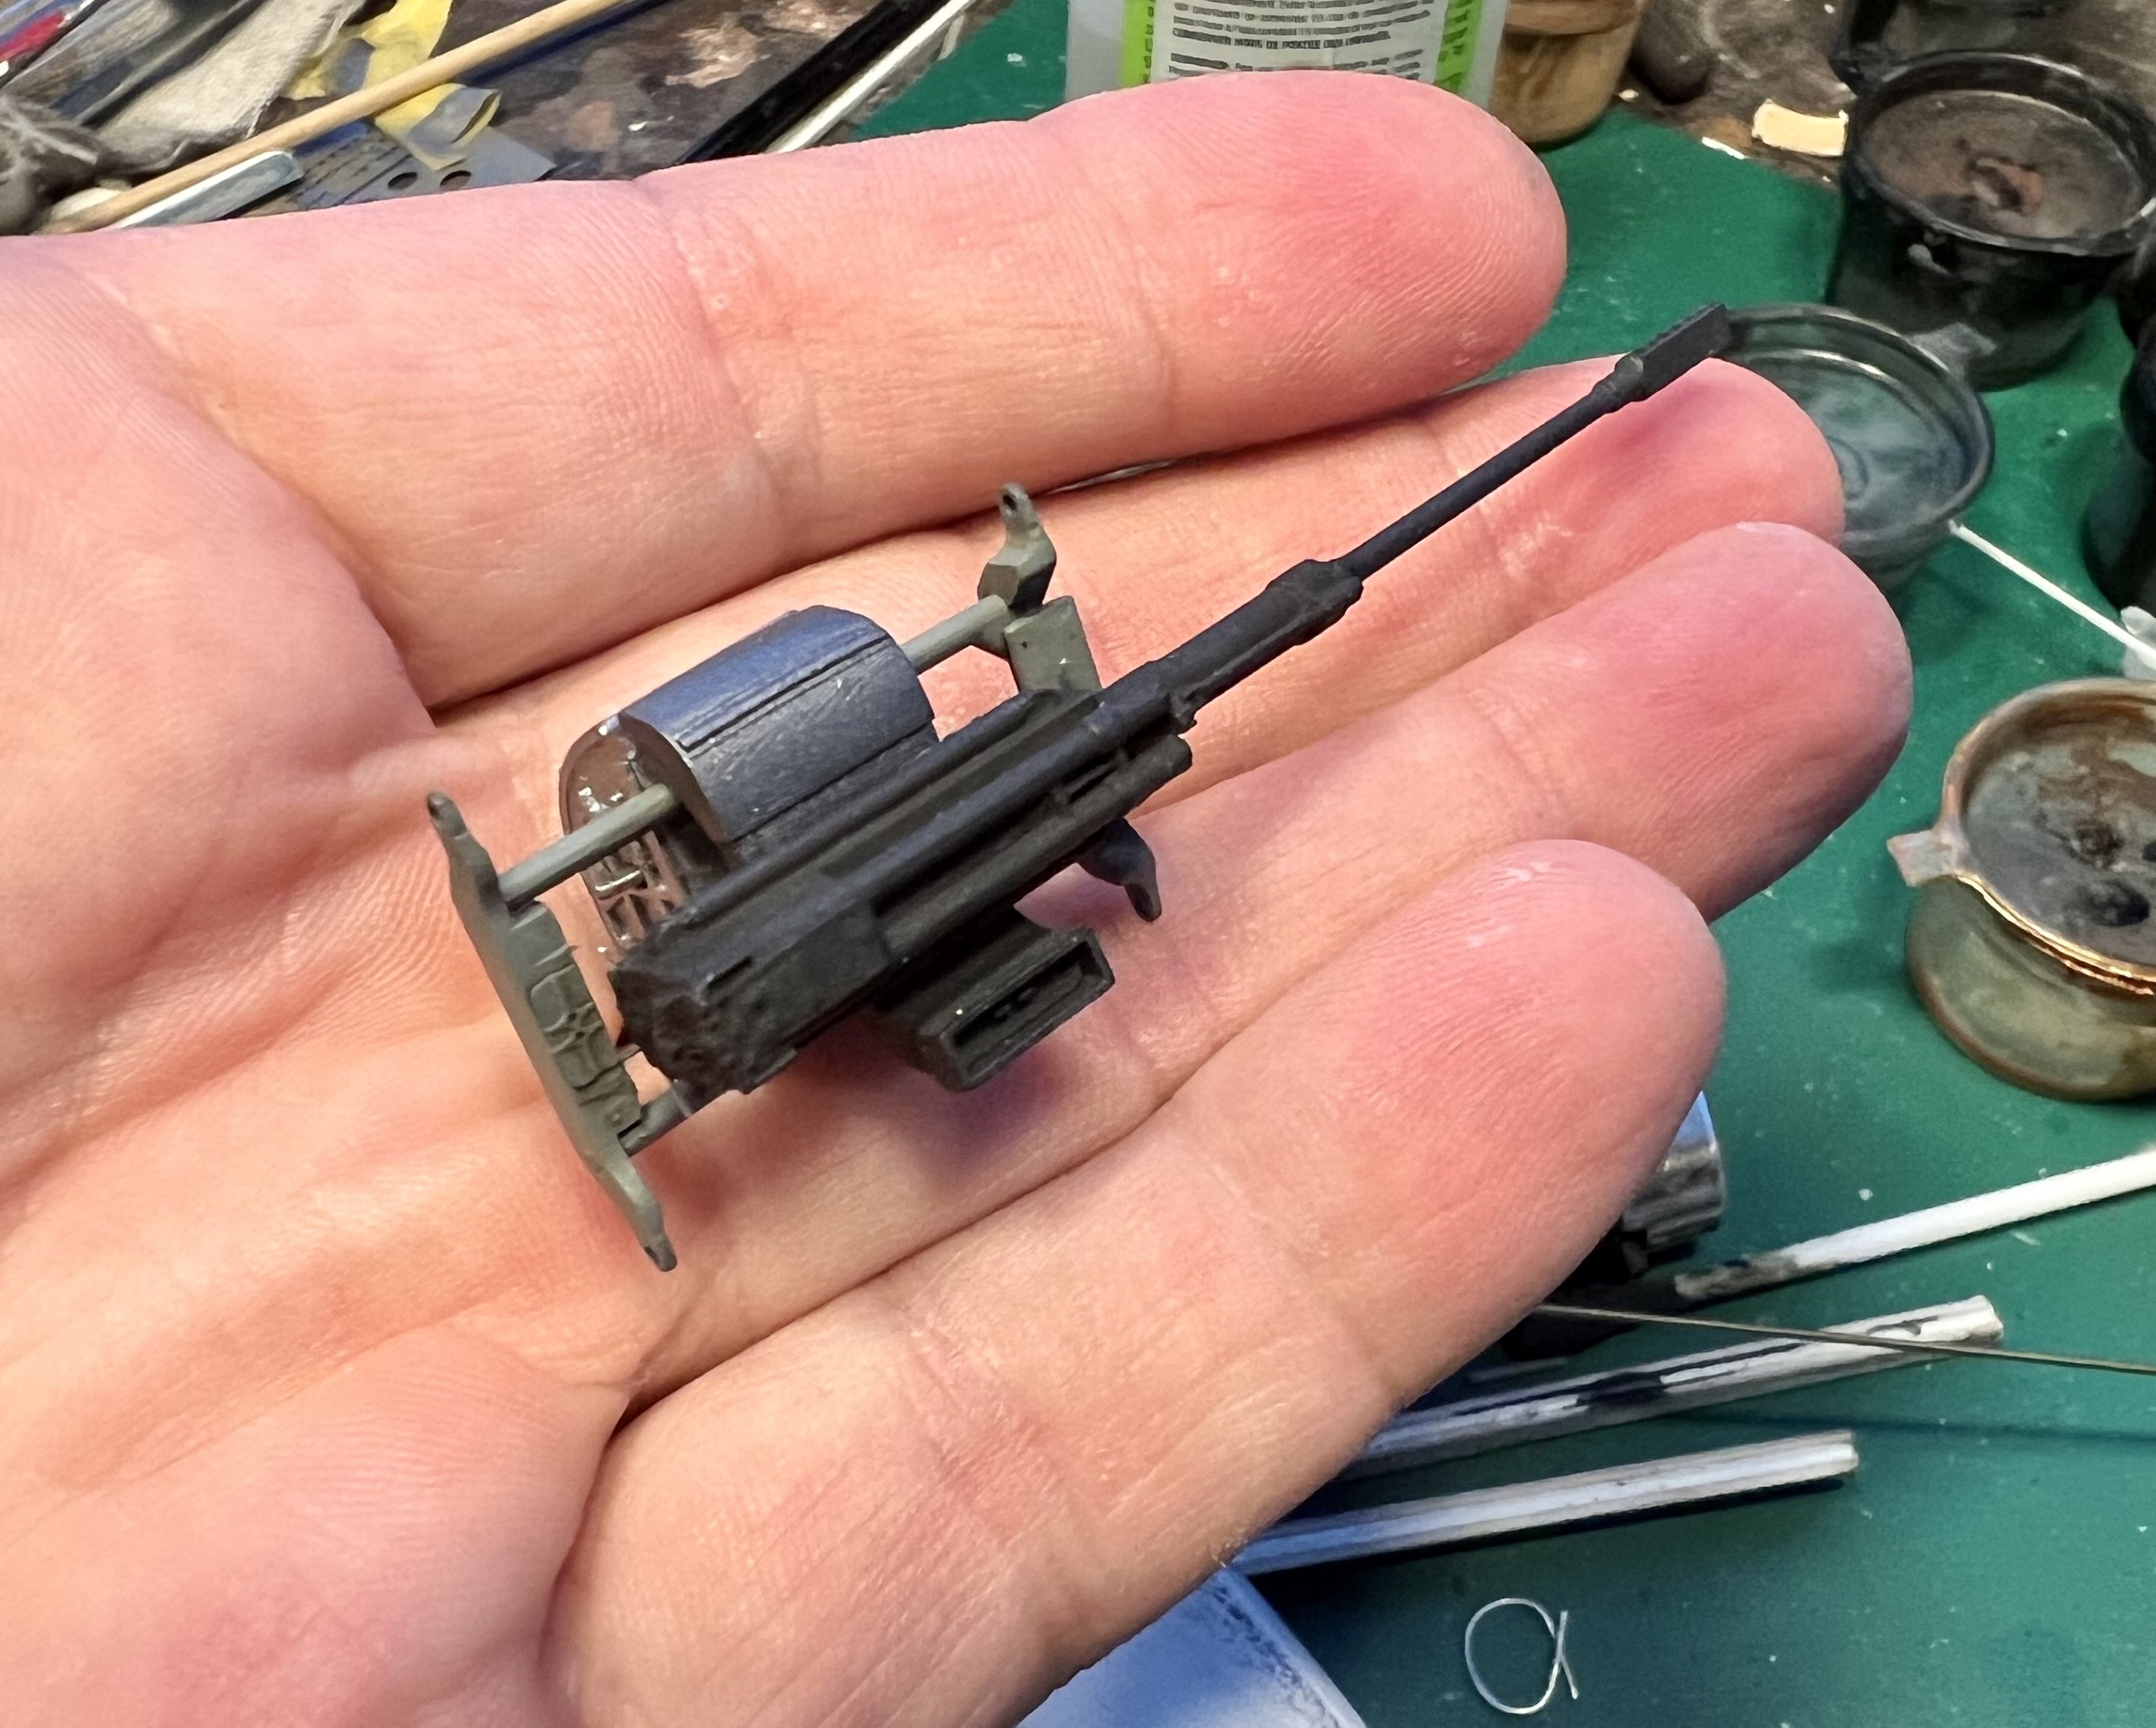
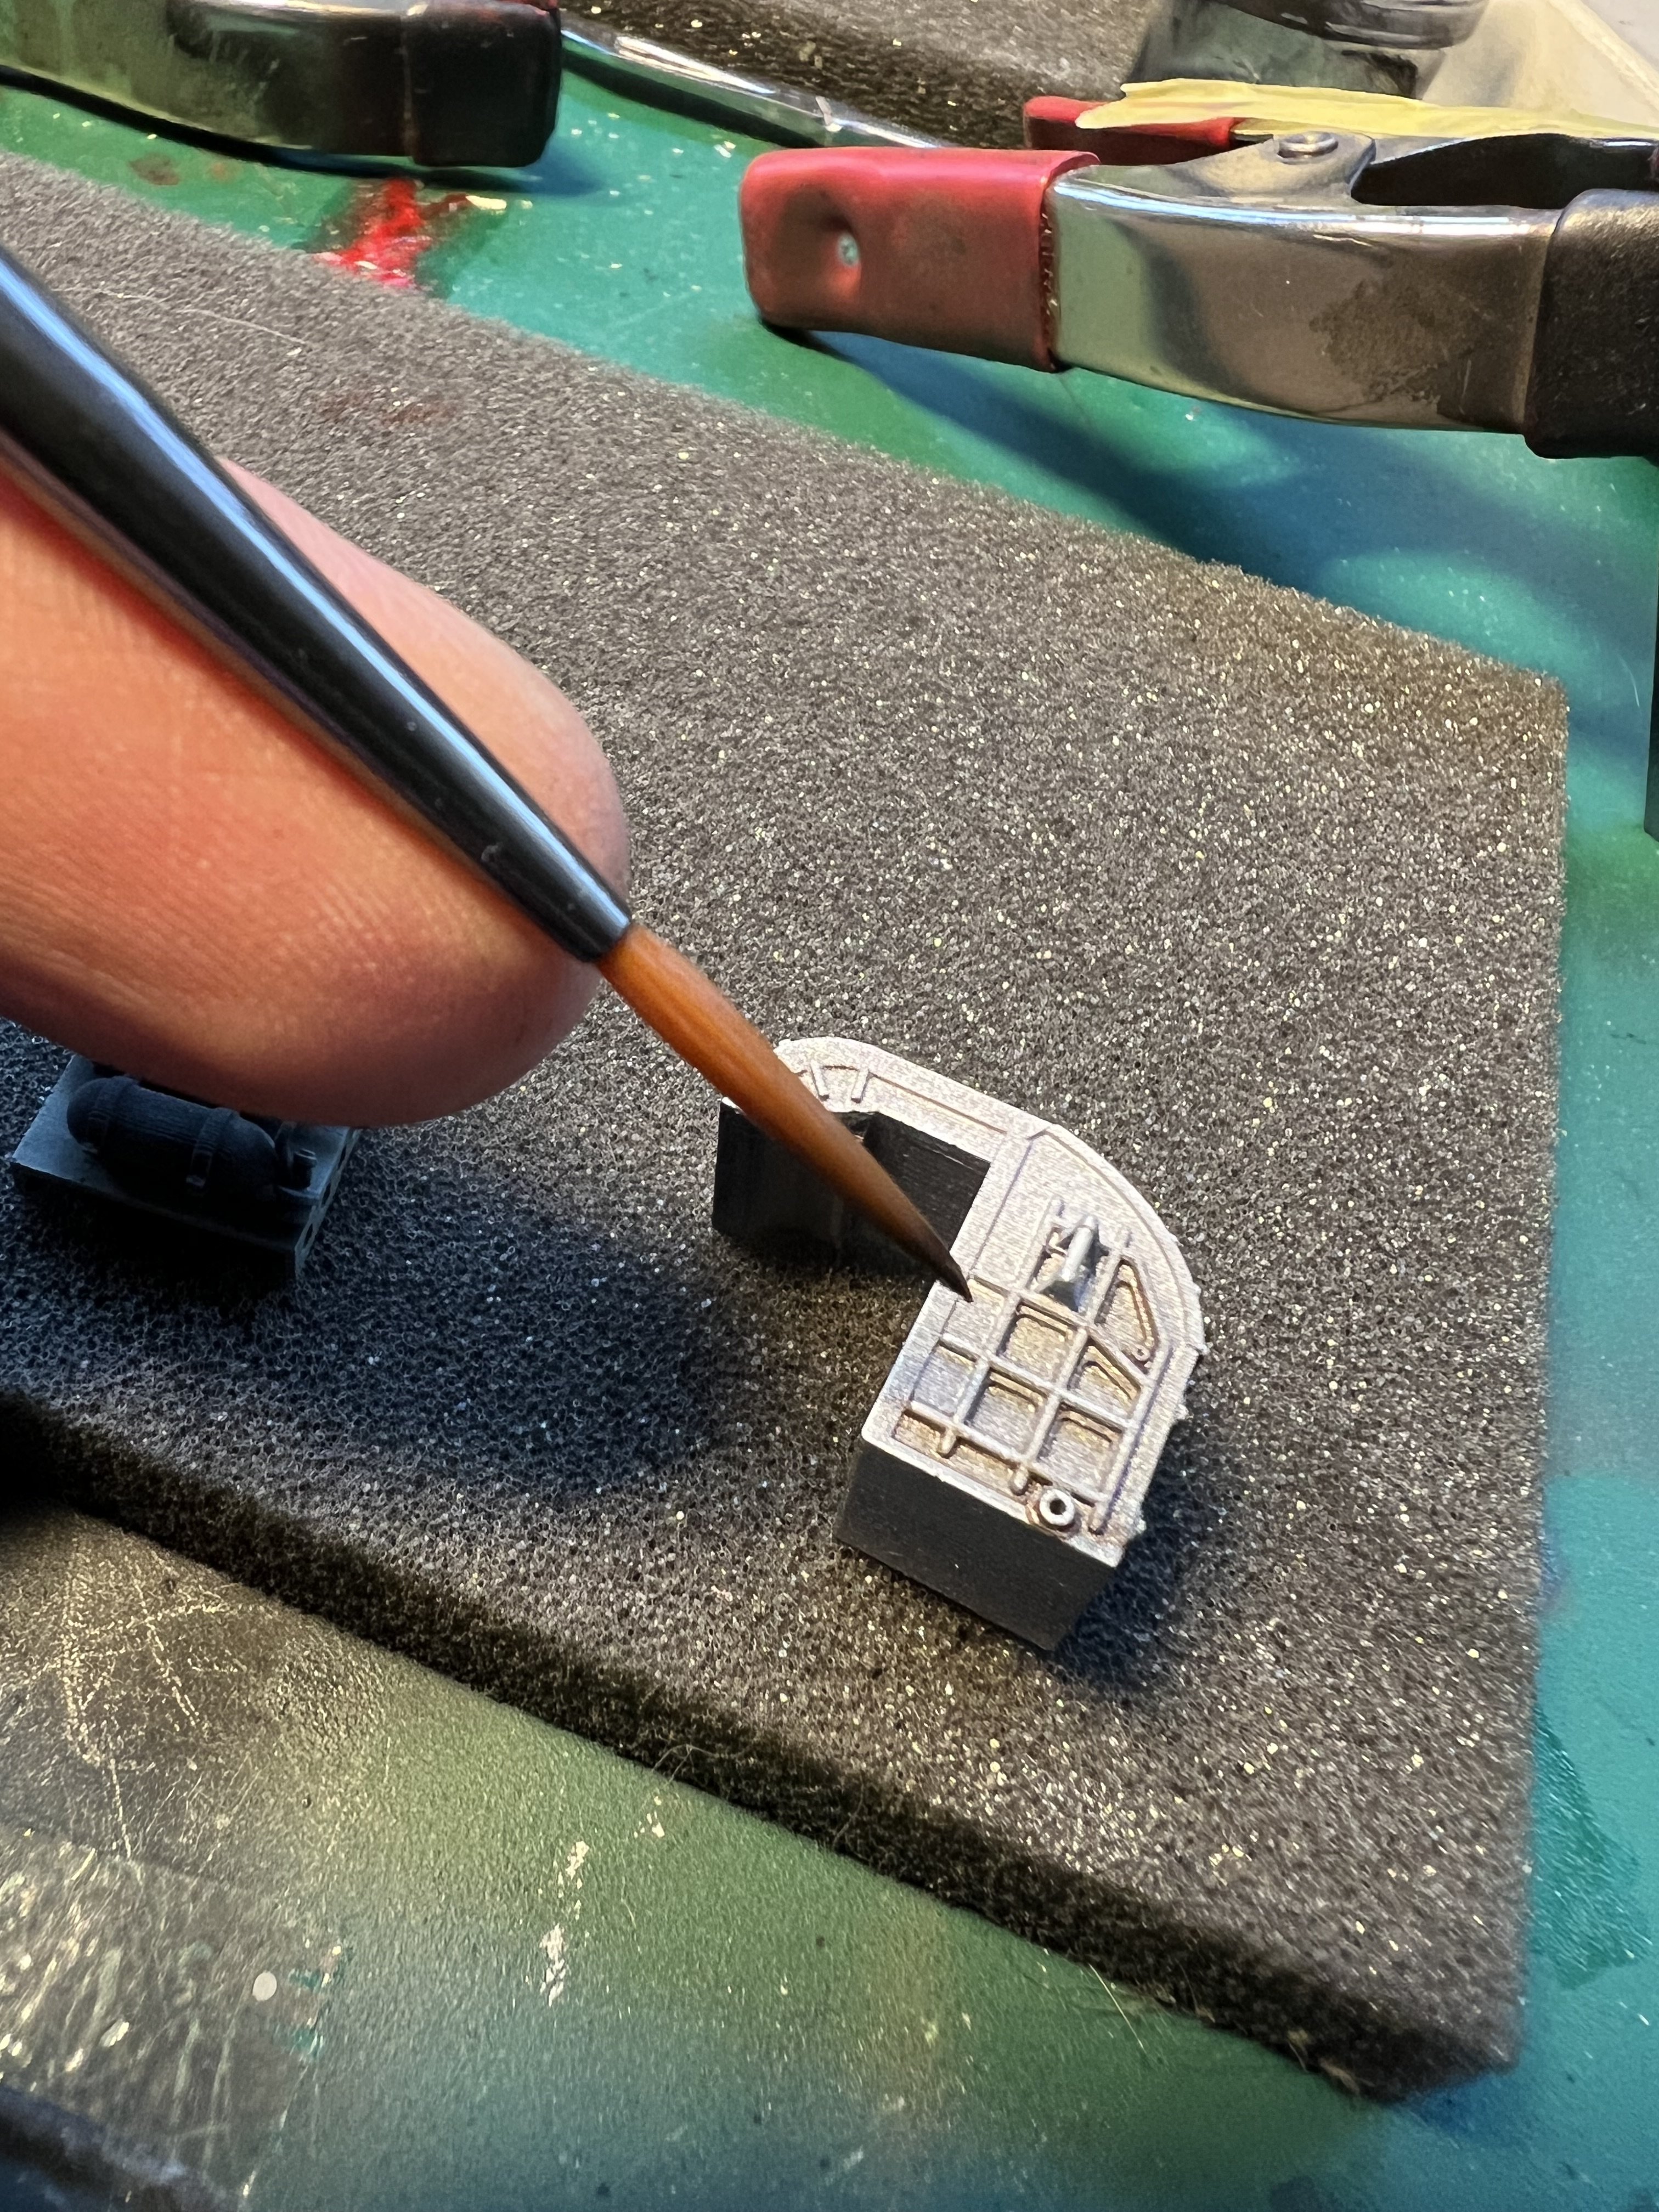
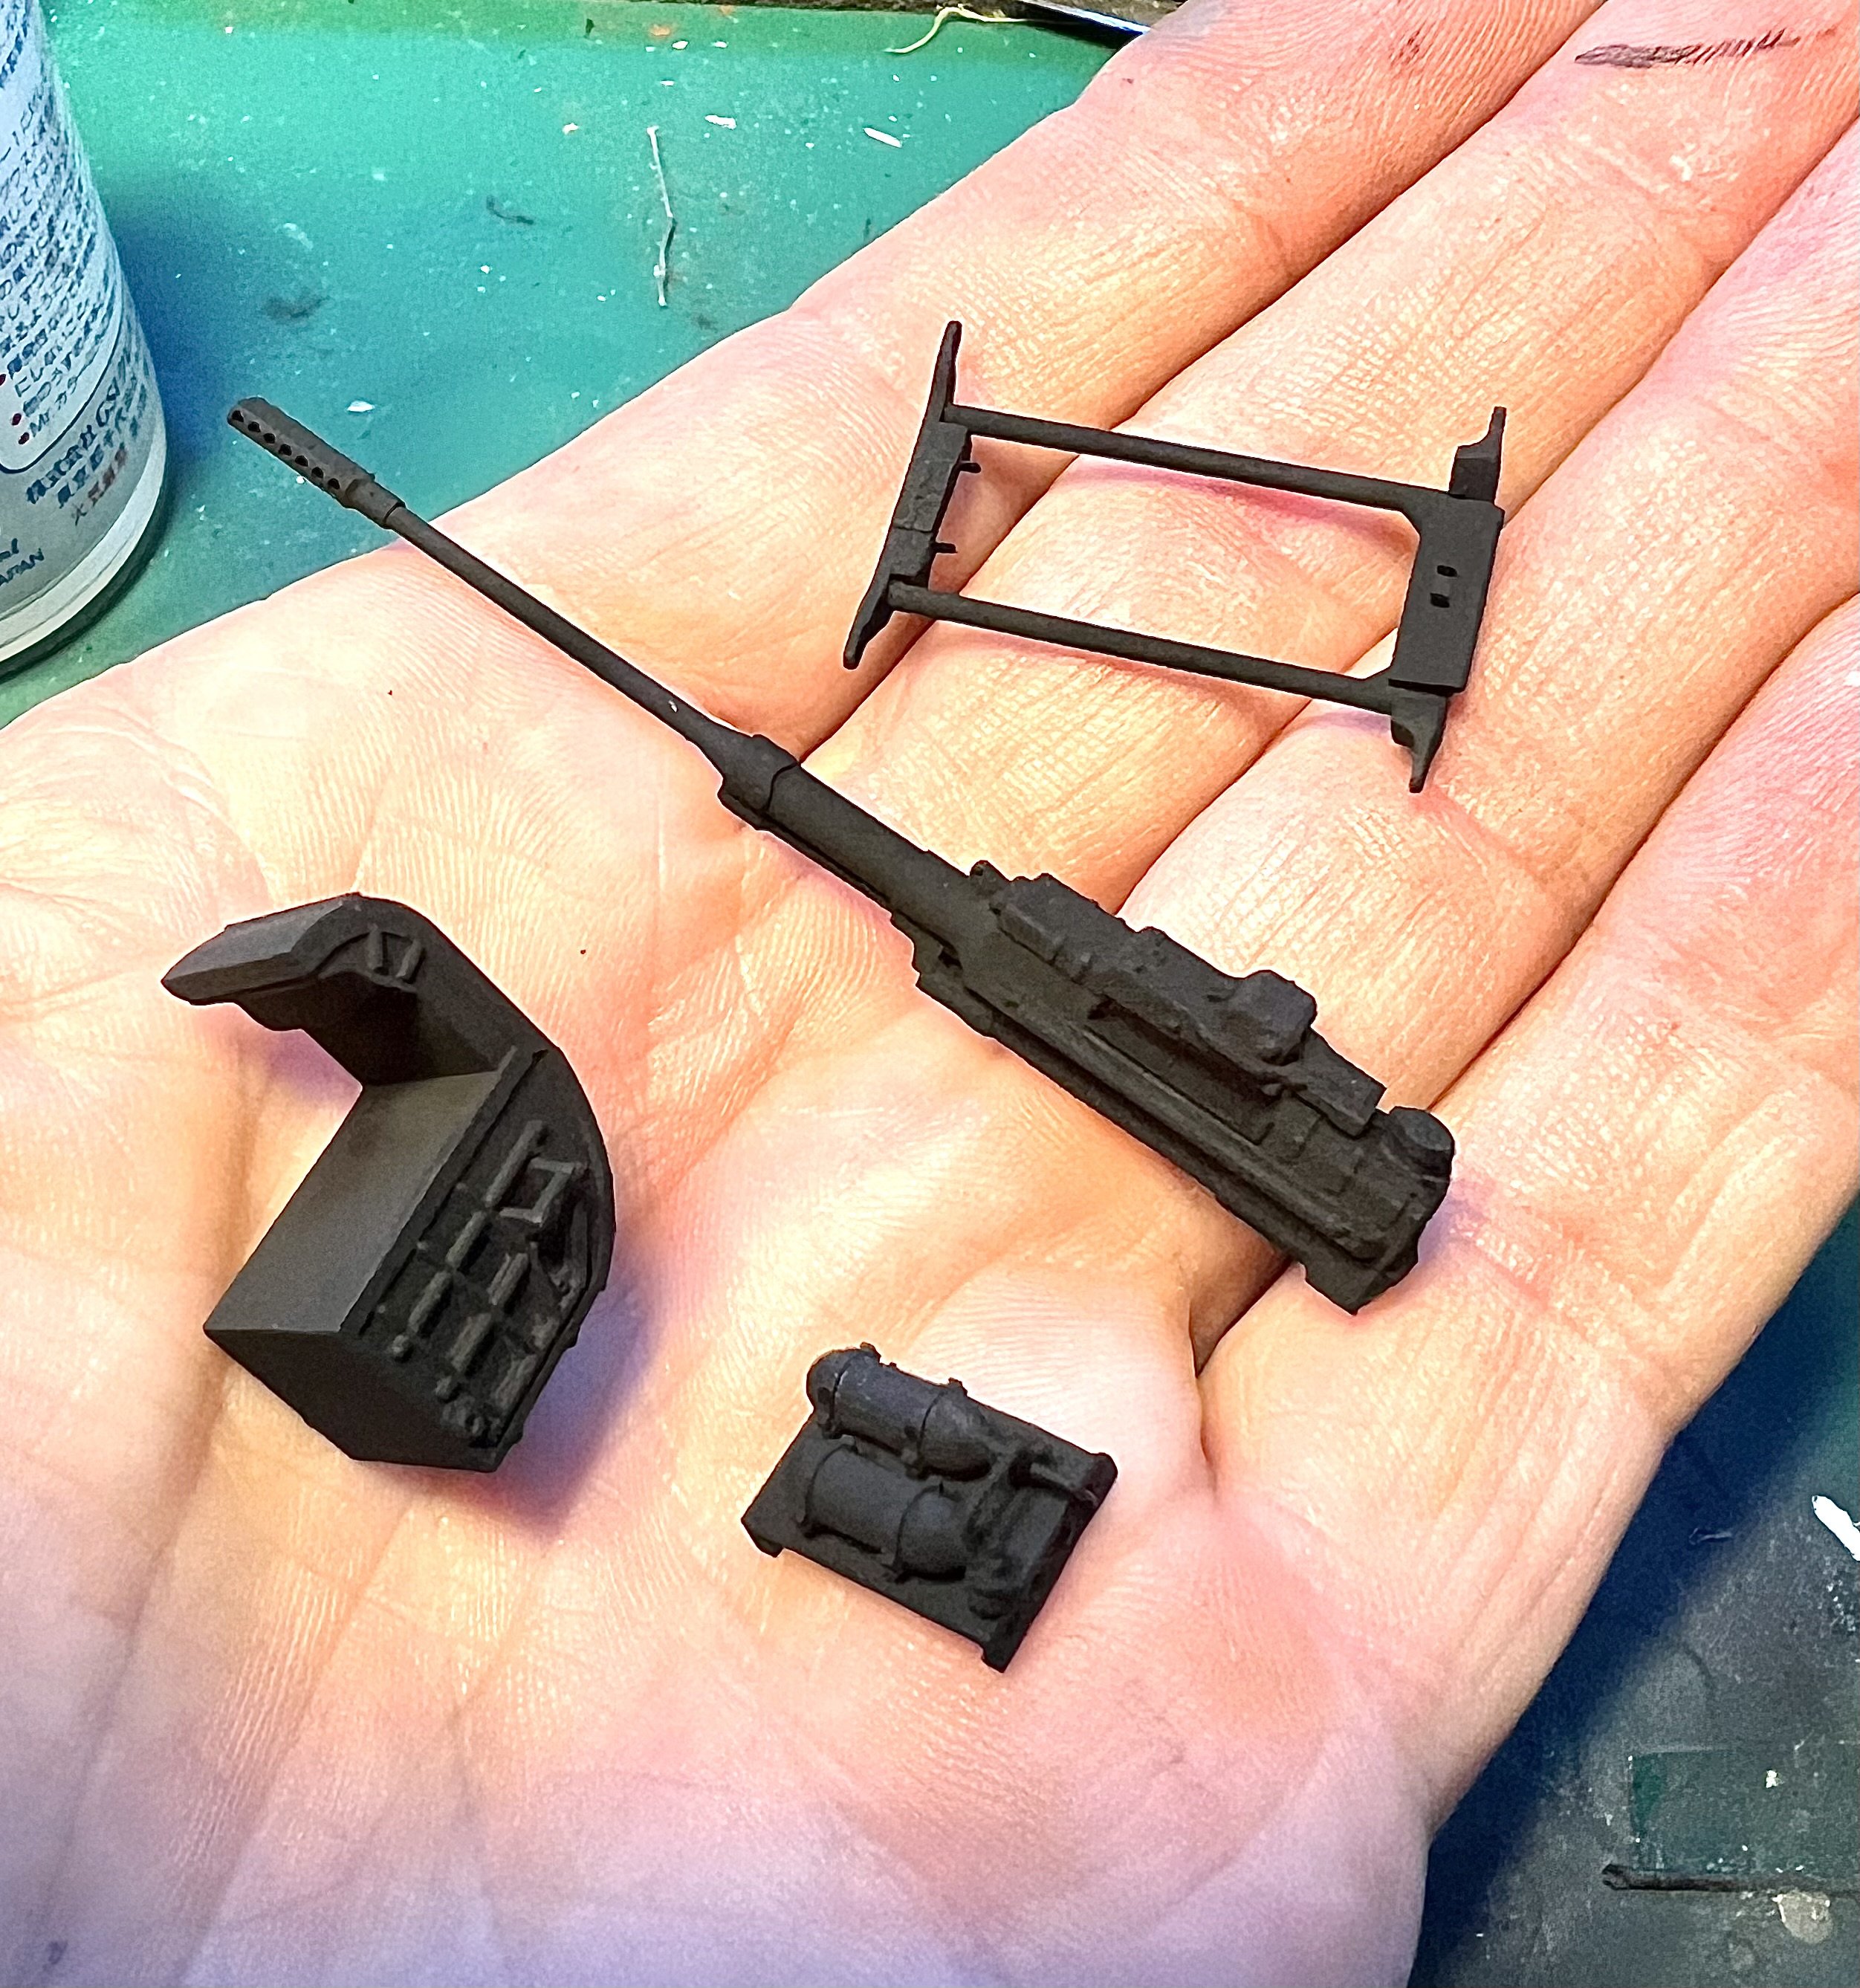
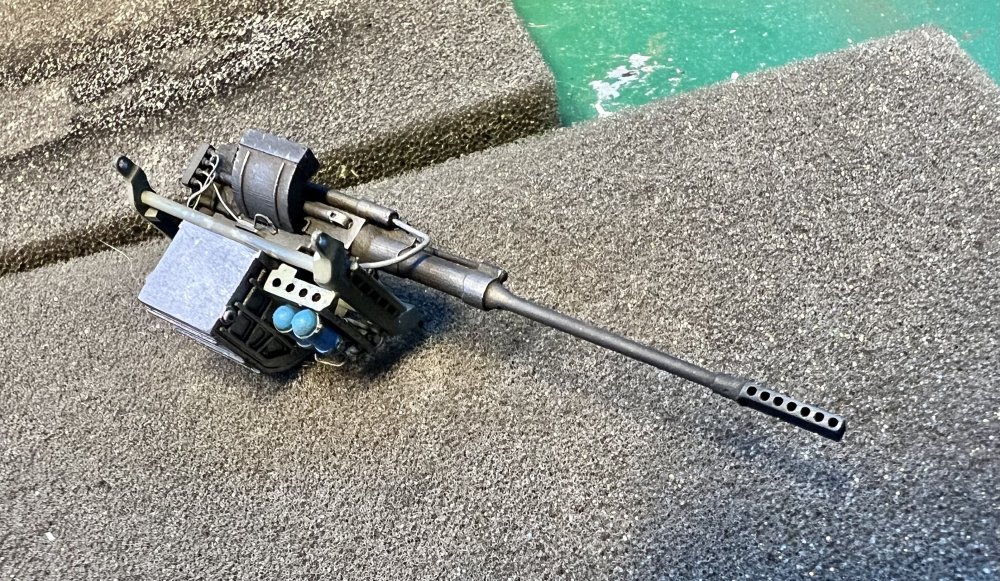
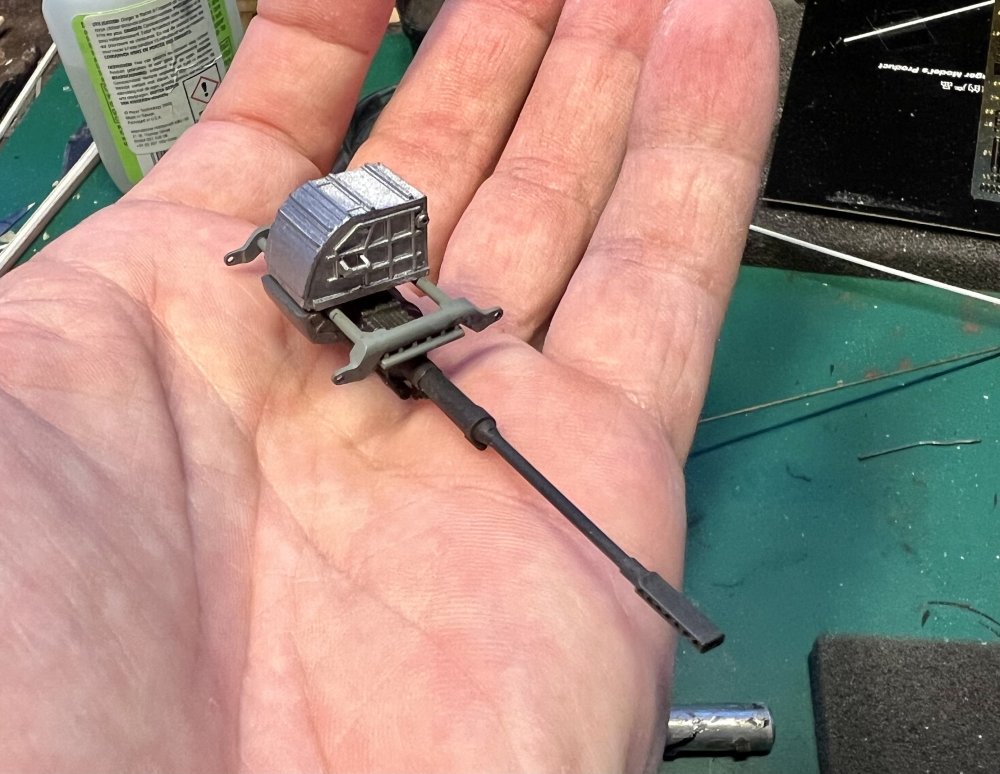
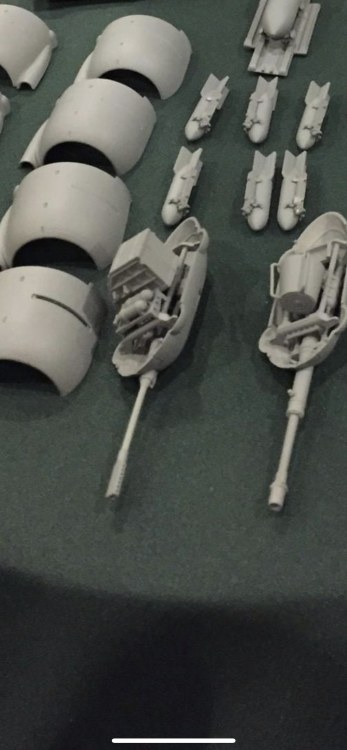
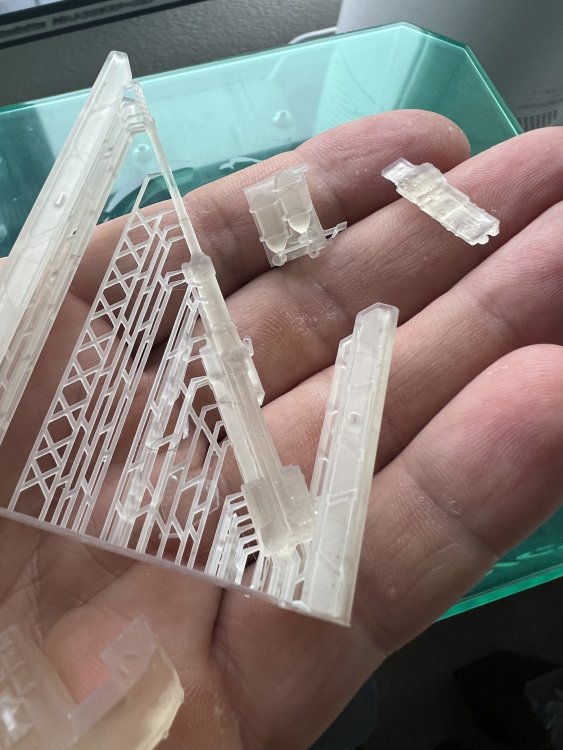
Aaand the mk103 gun is done. Printed another piece. A connector box at the rear that houses a number of wires. Reference from the proper angle is scarce. also printed a shitload of hatches in various shapes. You cannoot scratch this kind of detail.


-
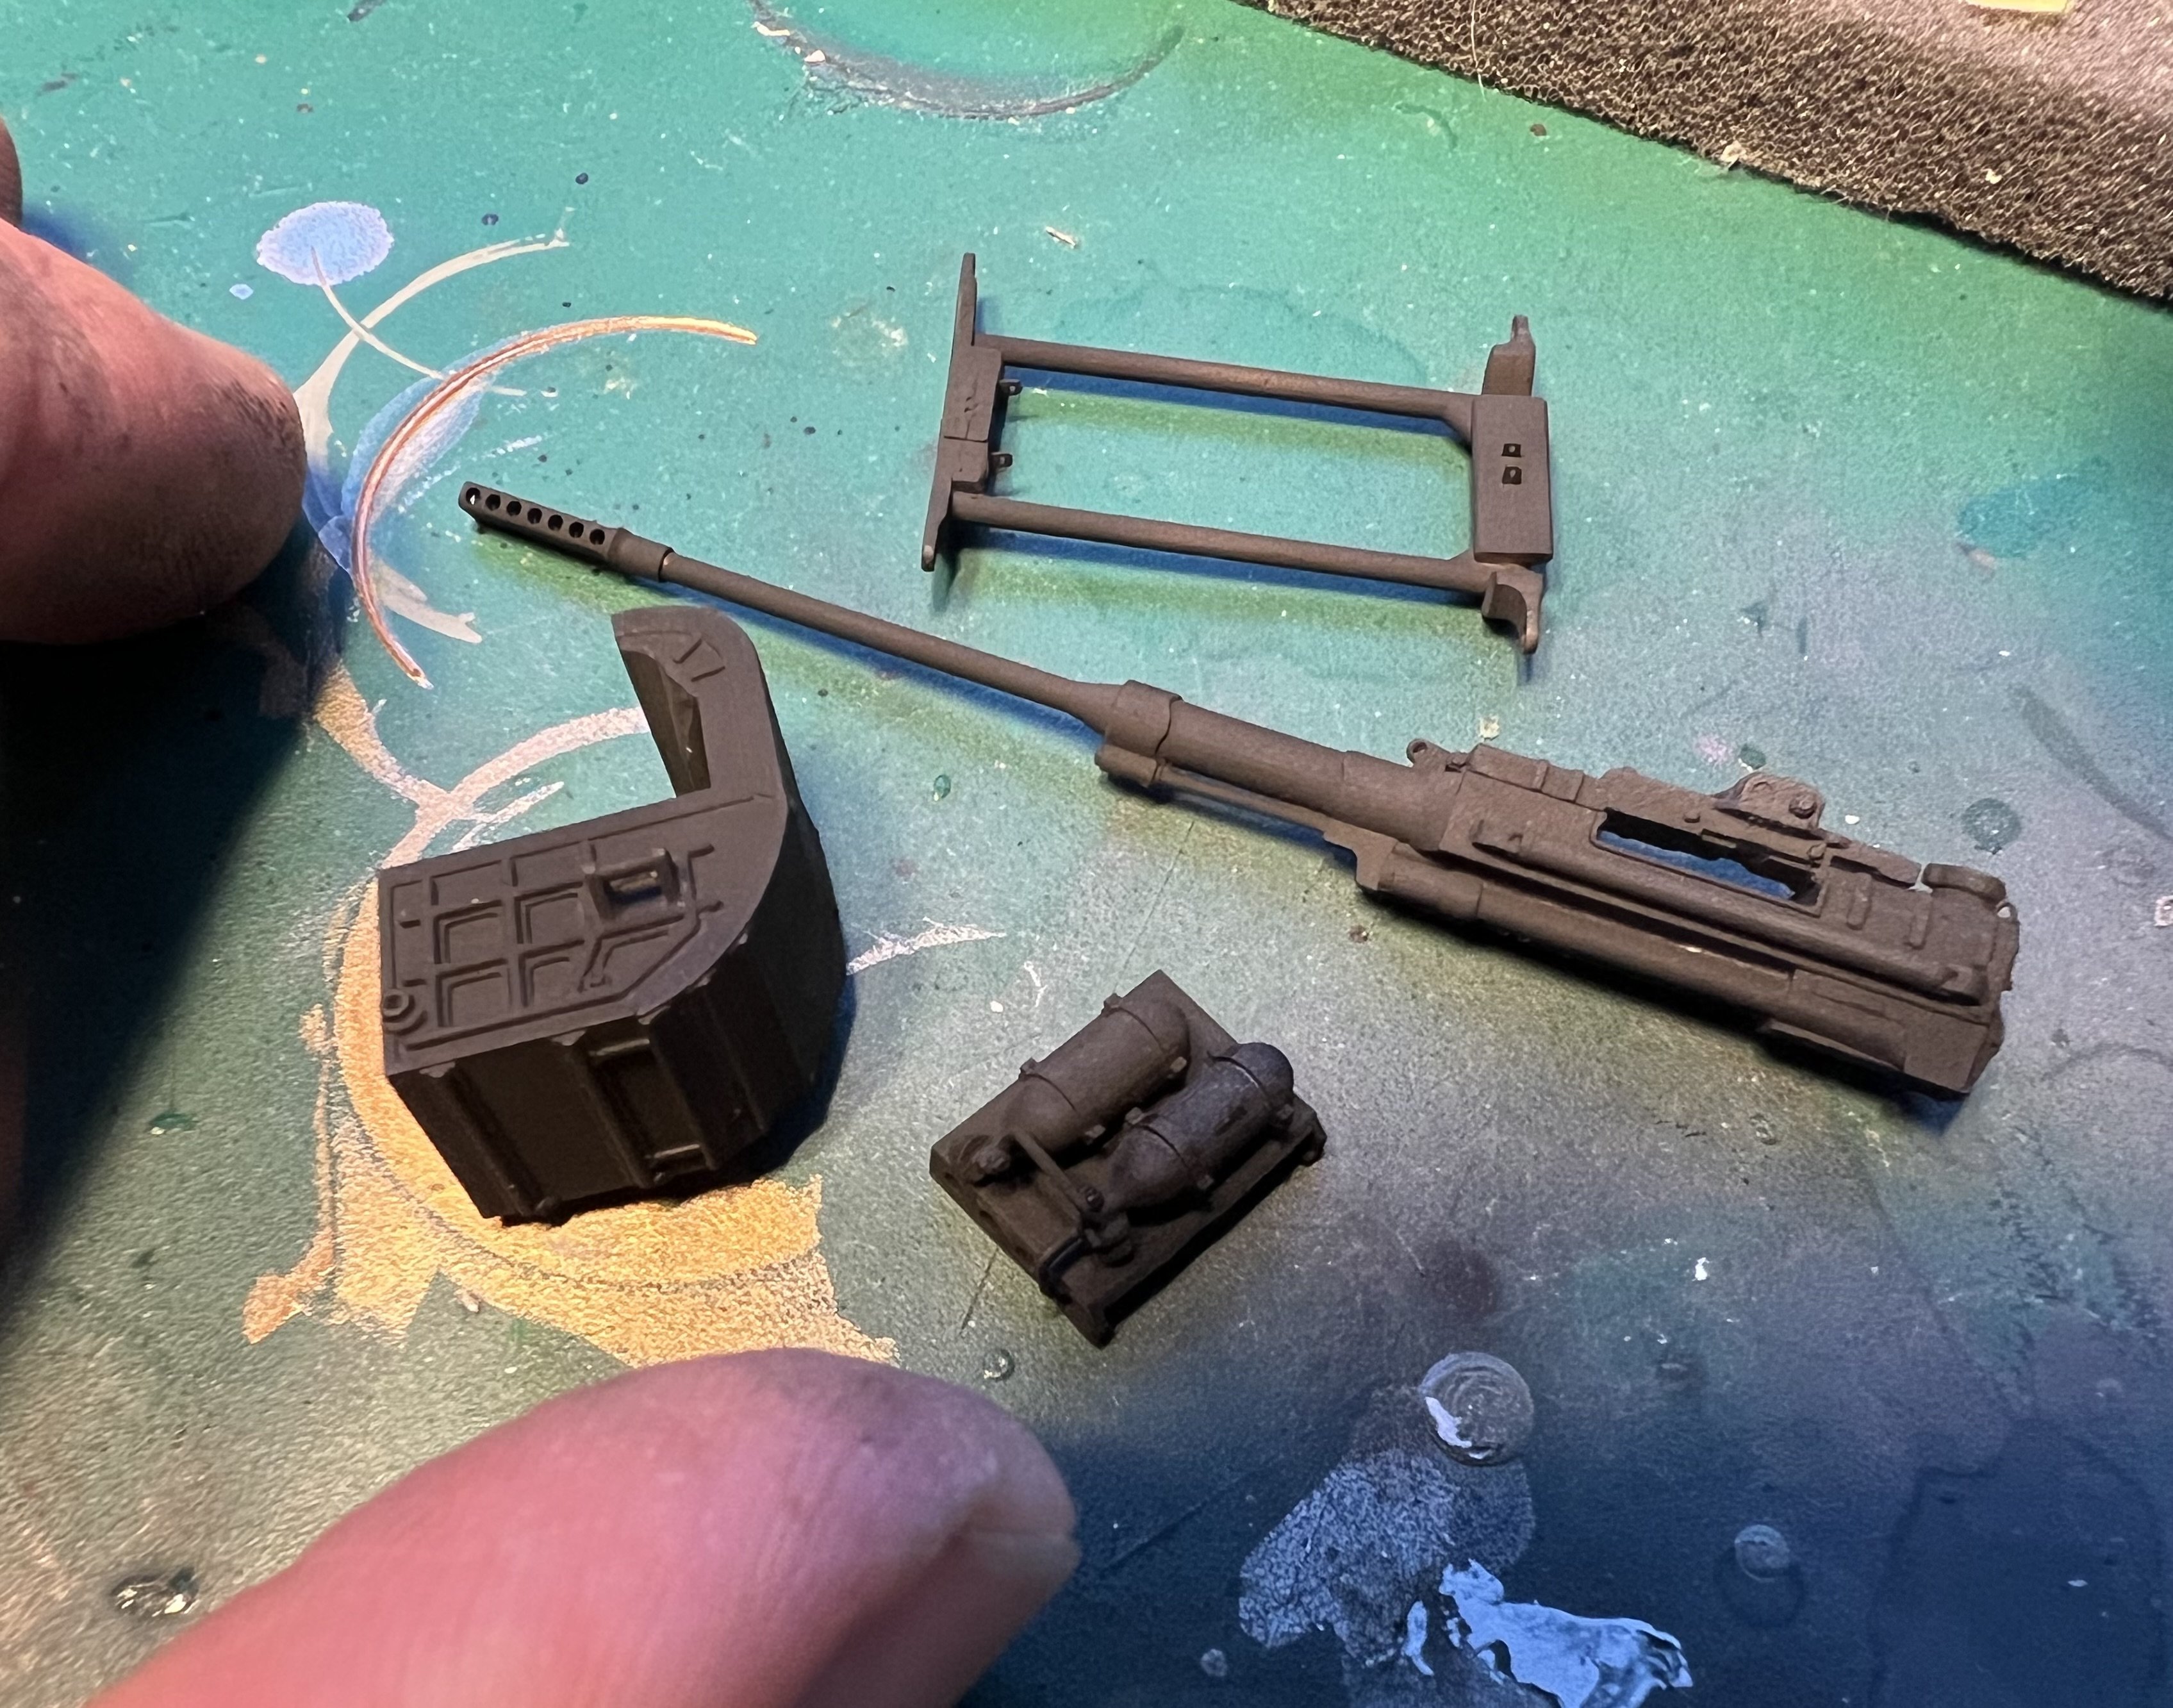
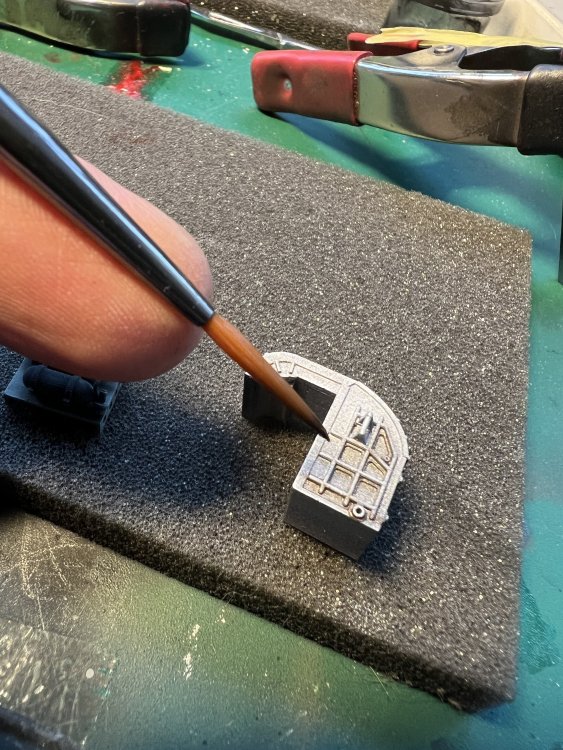
Getting there. Basic colours are on. Needs more wiring and a few more details.

-
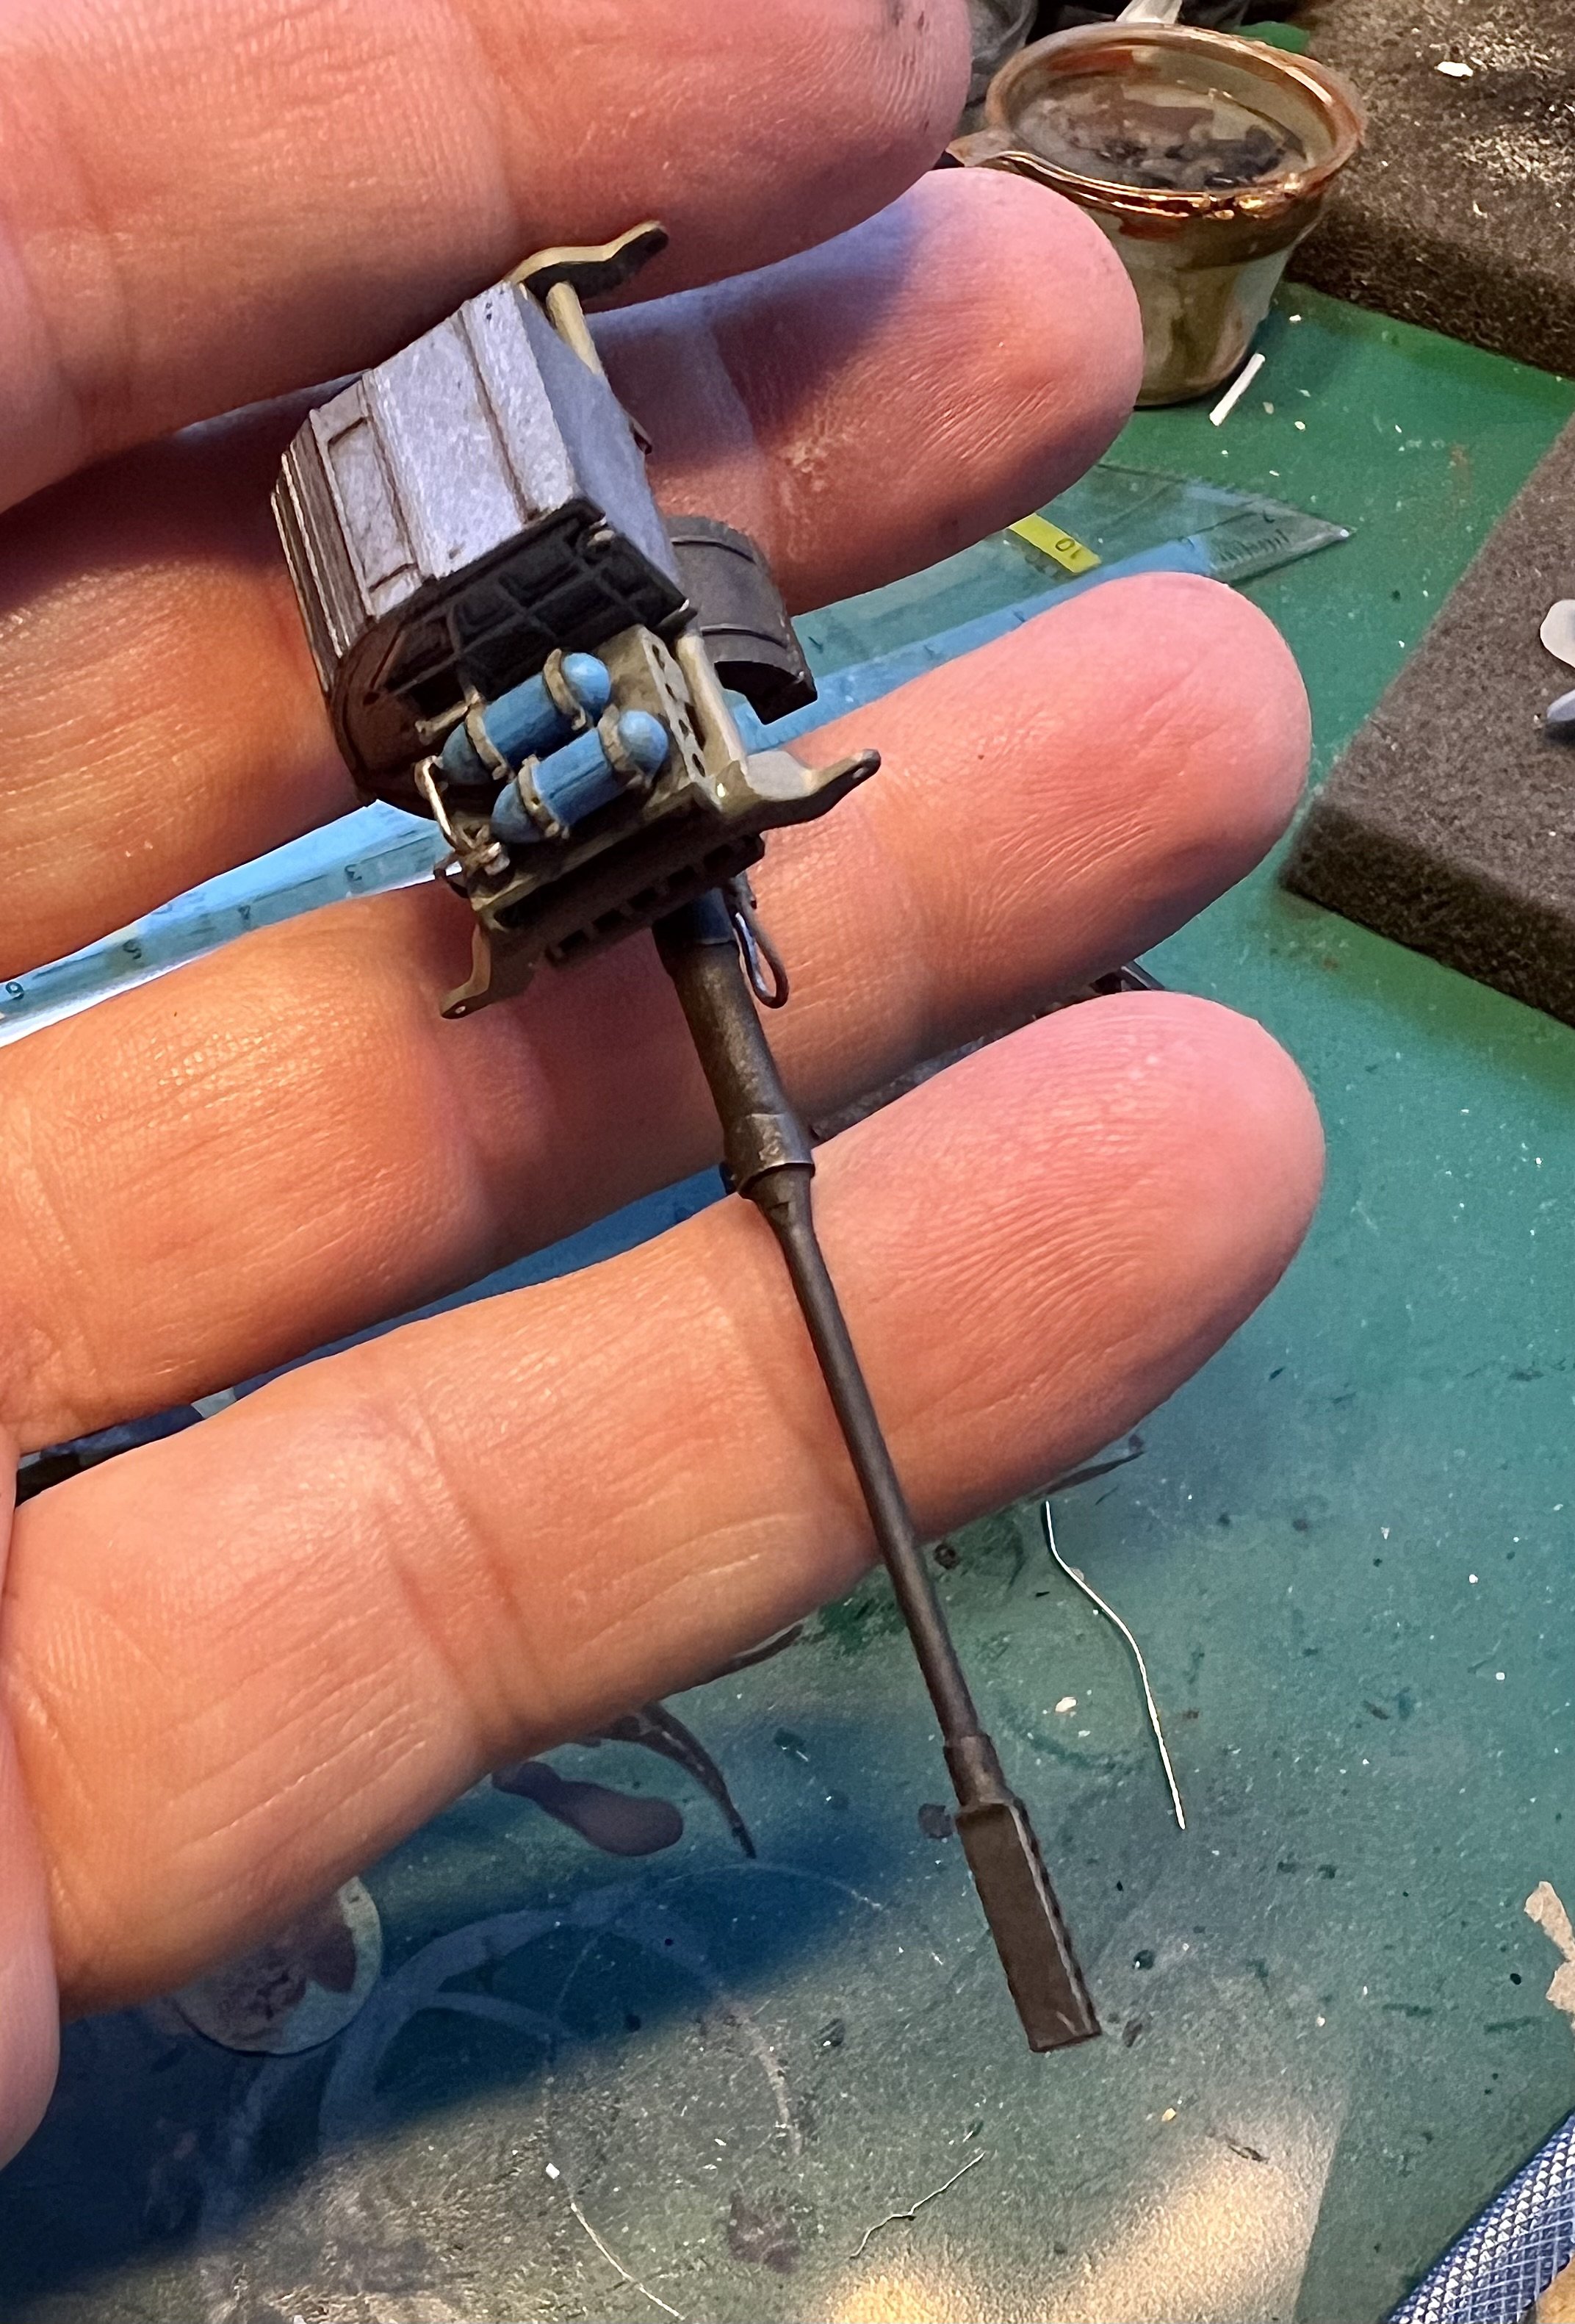
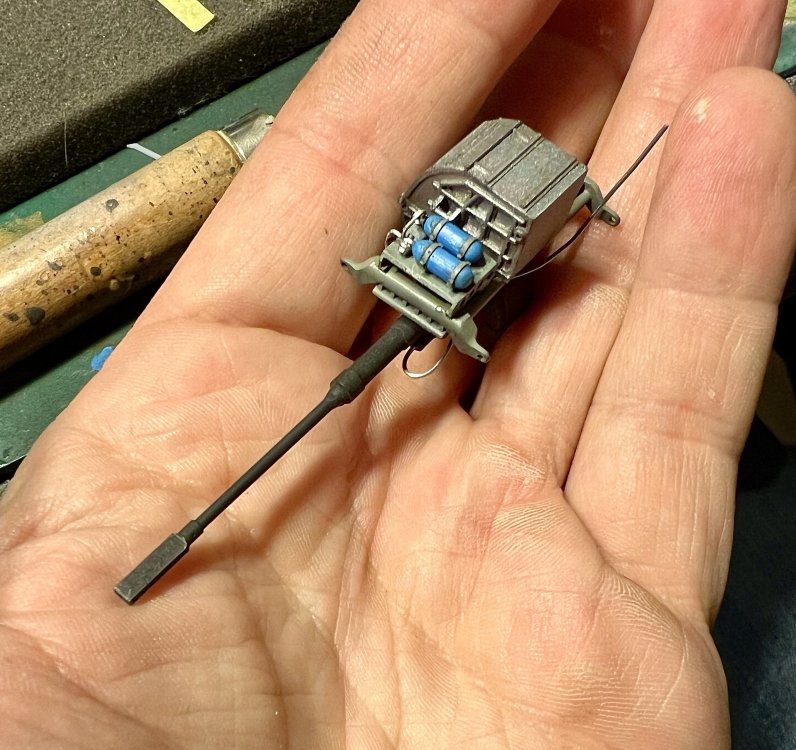
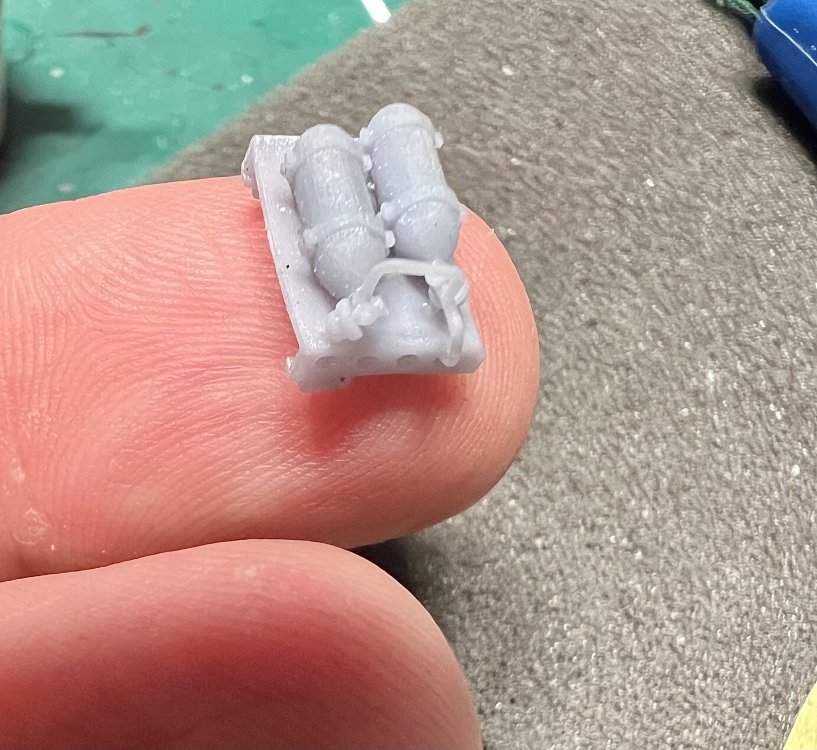
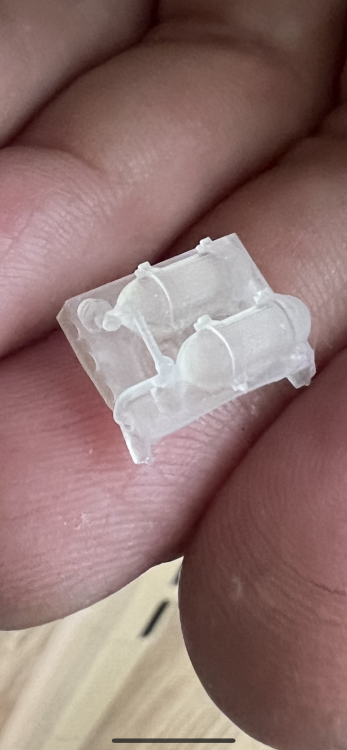
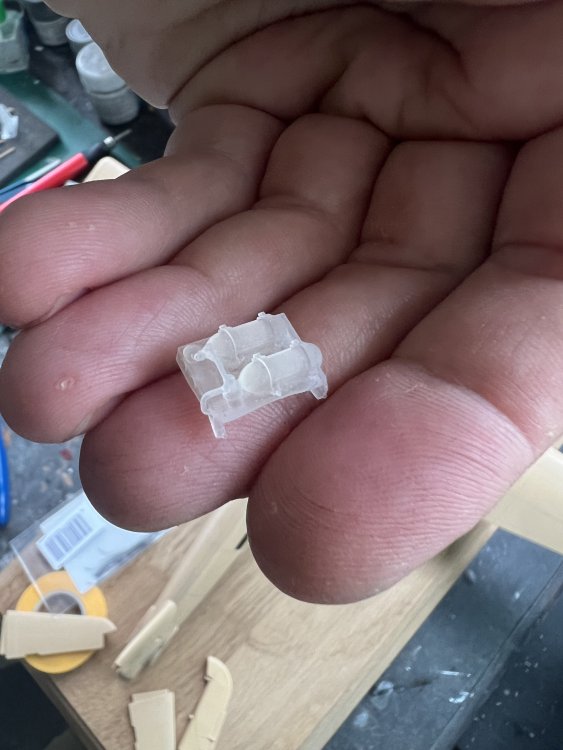
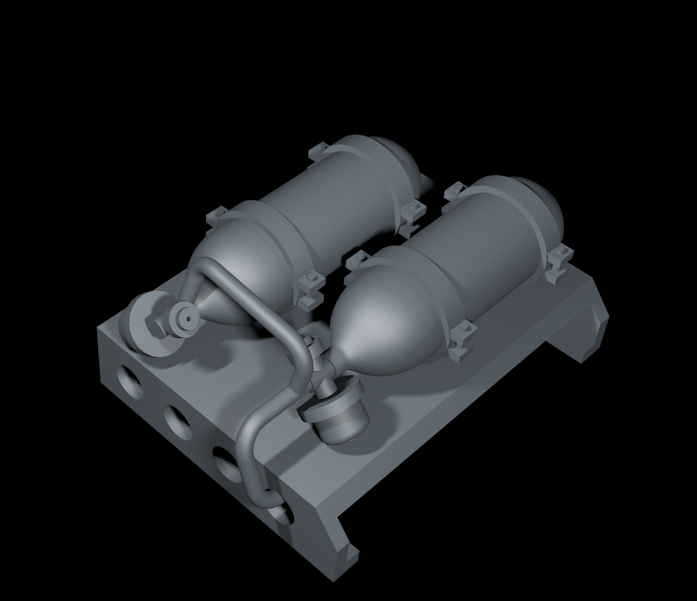
Succes. The pressure air tanks came out nice.

-
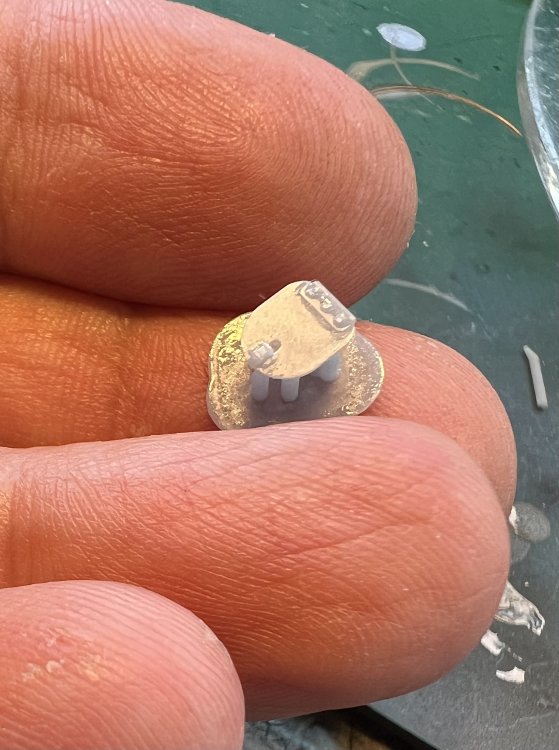
Just noticed I screwed up with the screws. Fixed.
-
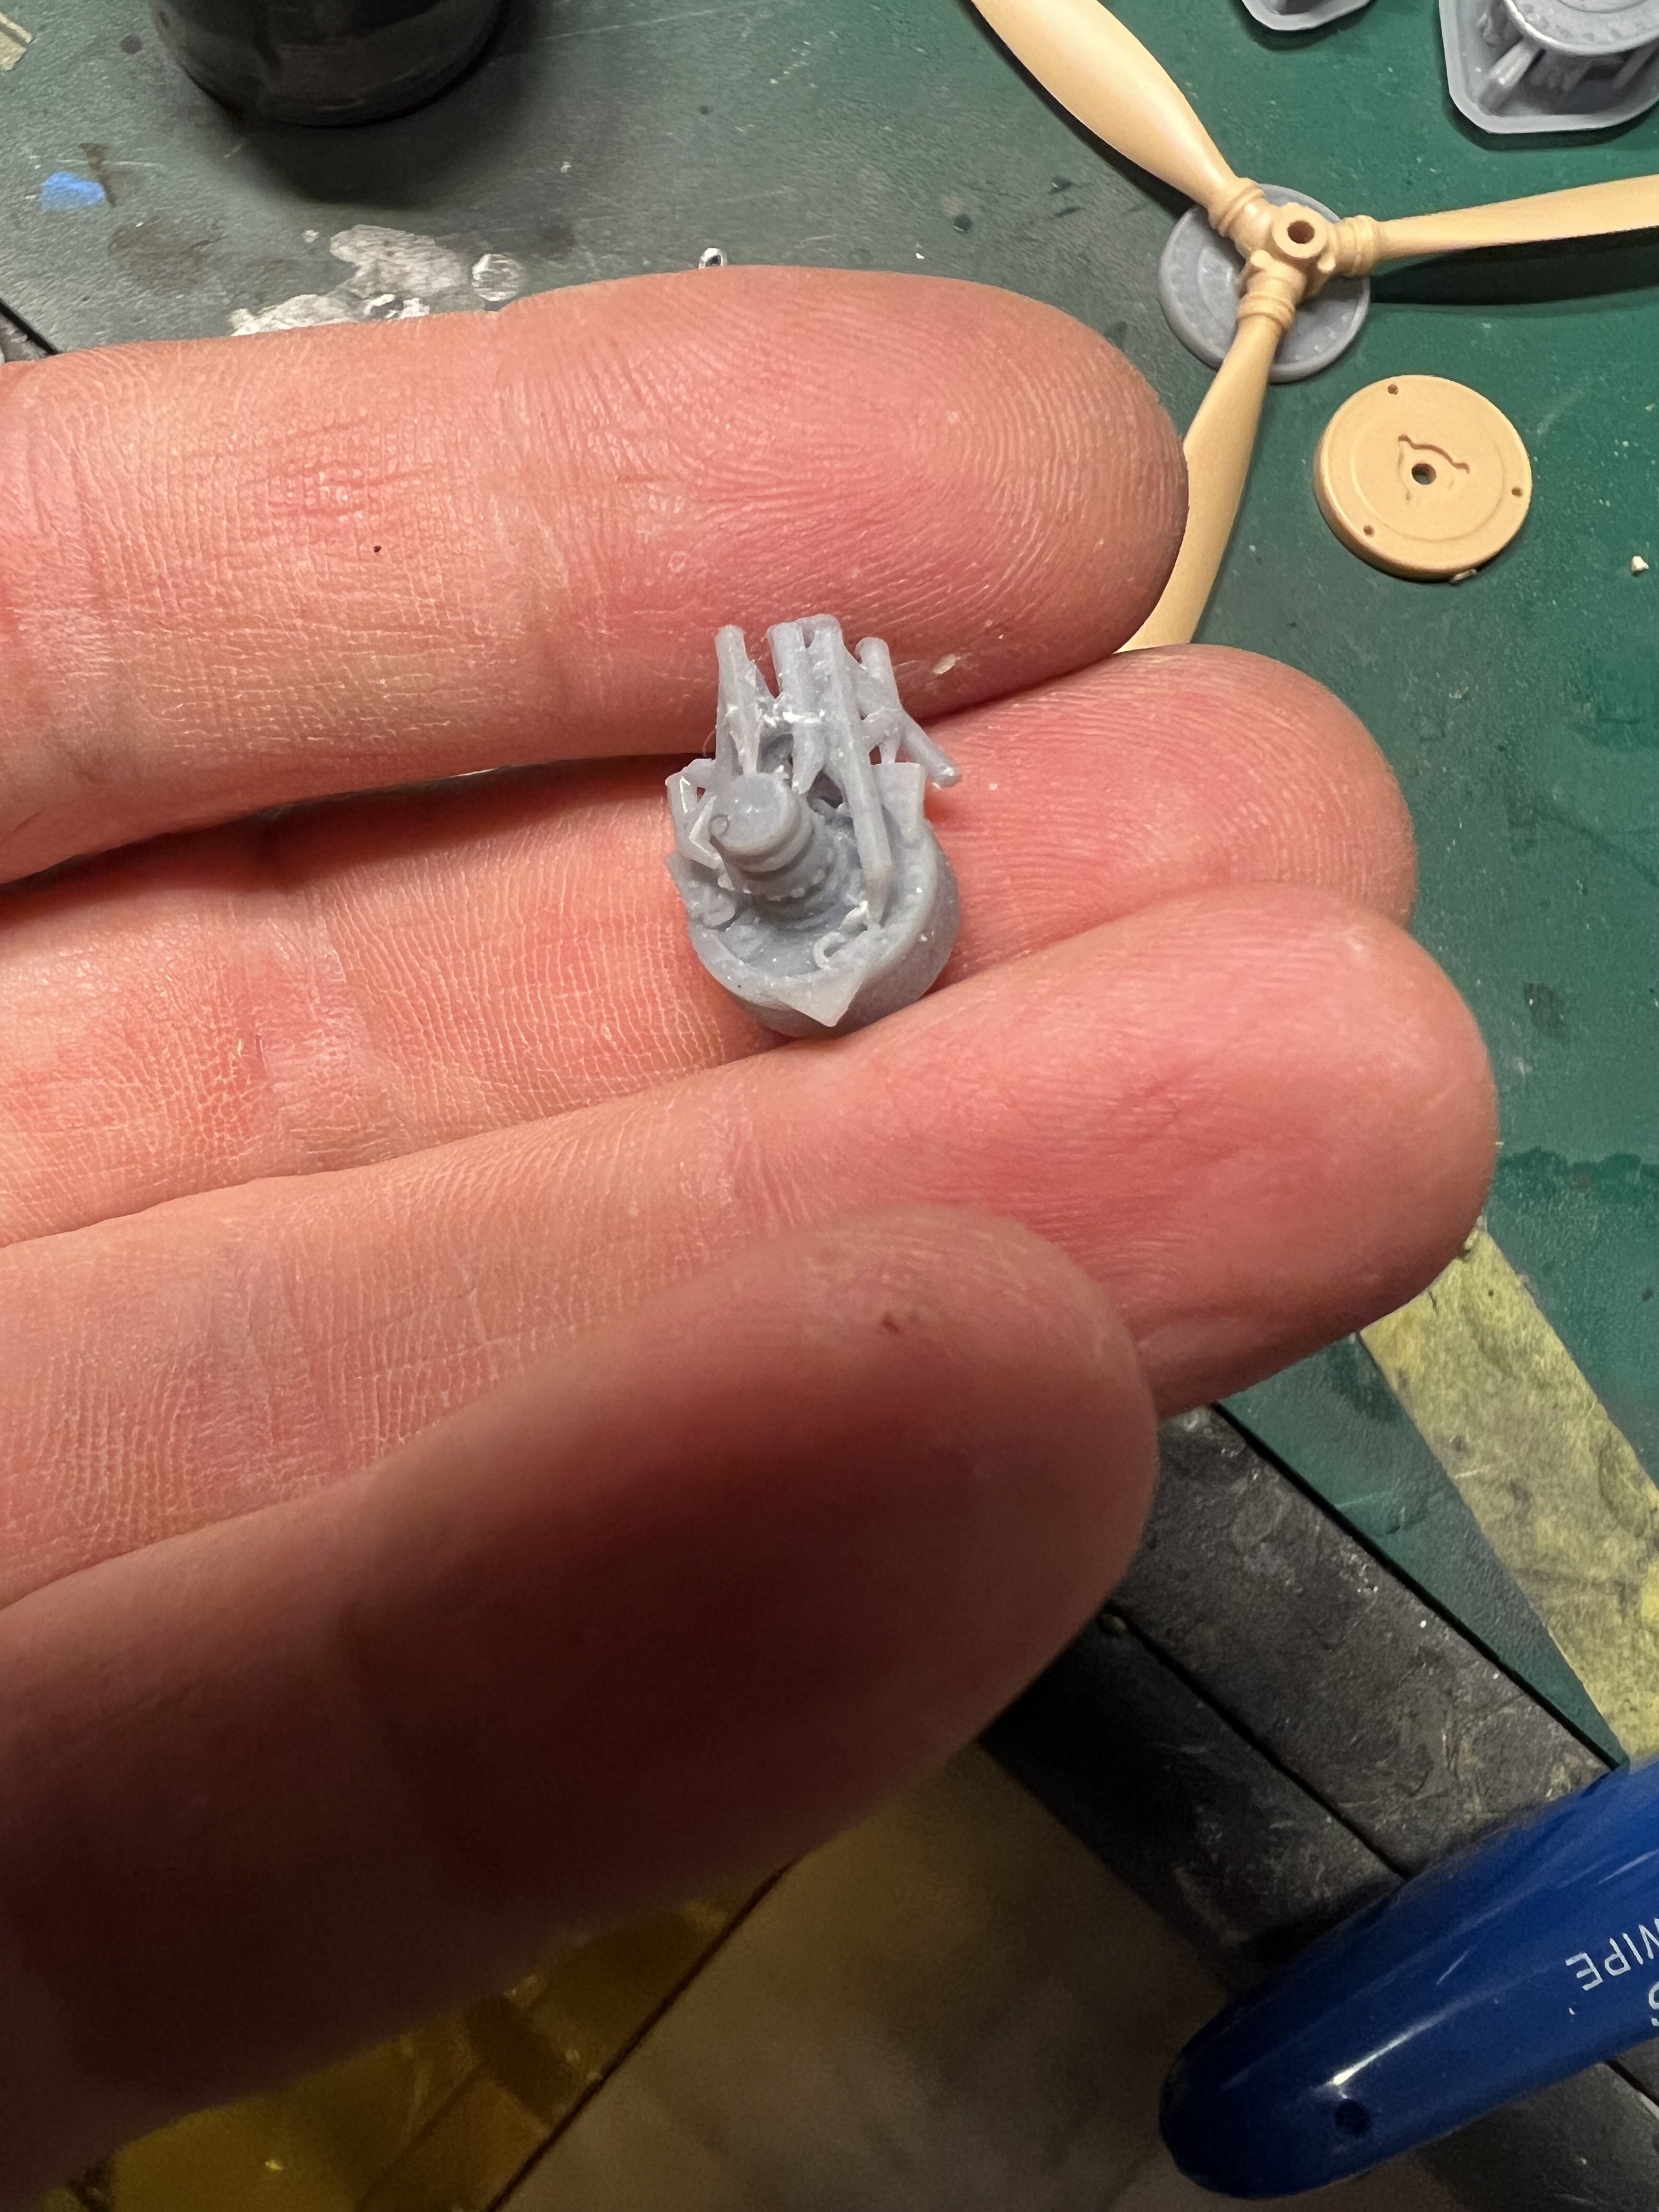
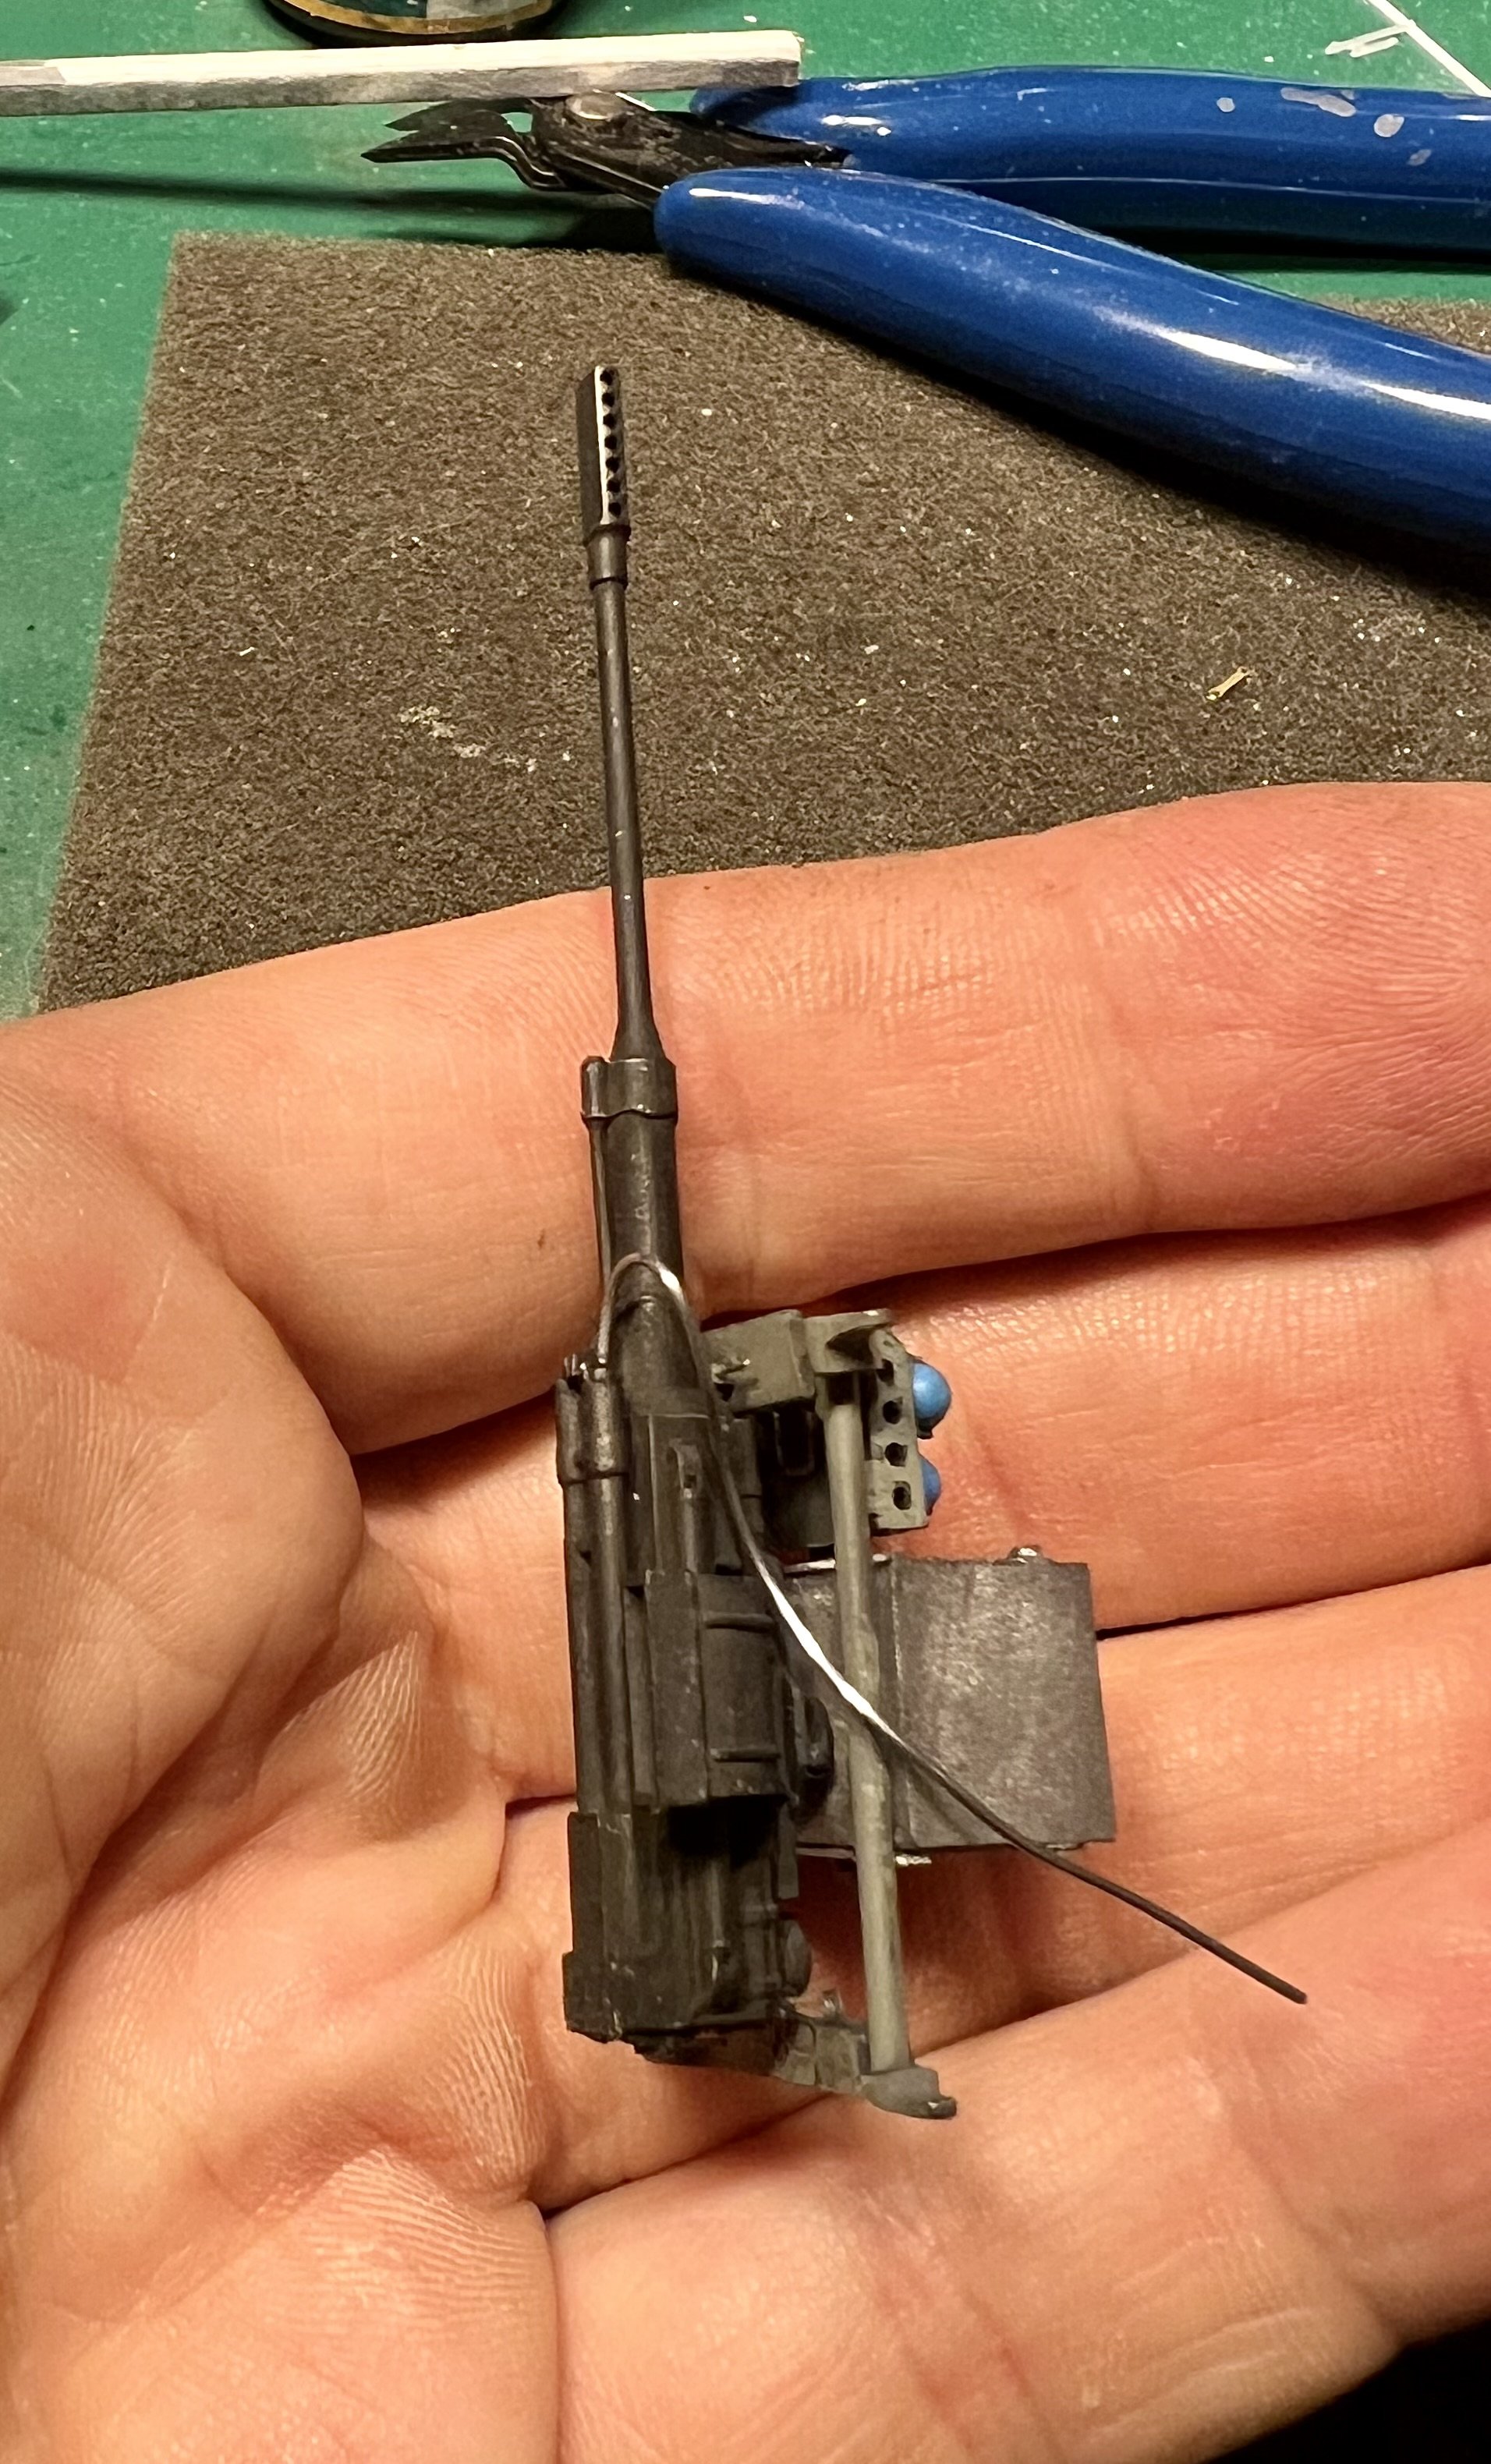
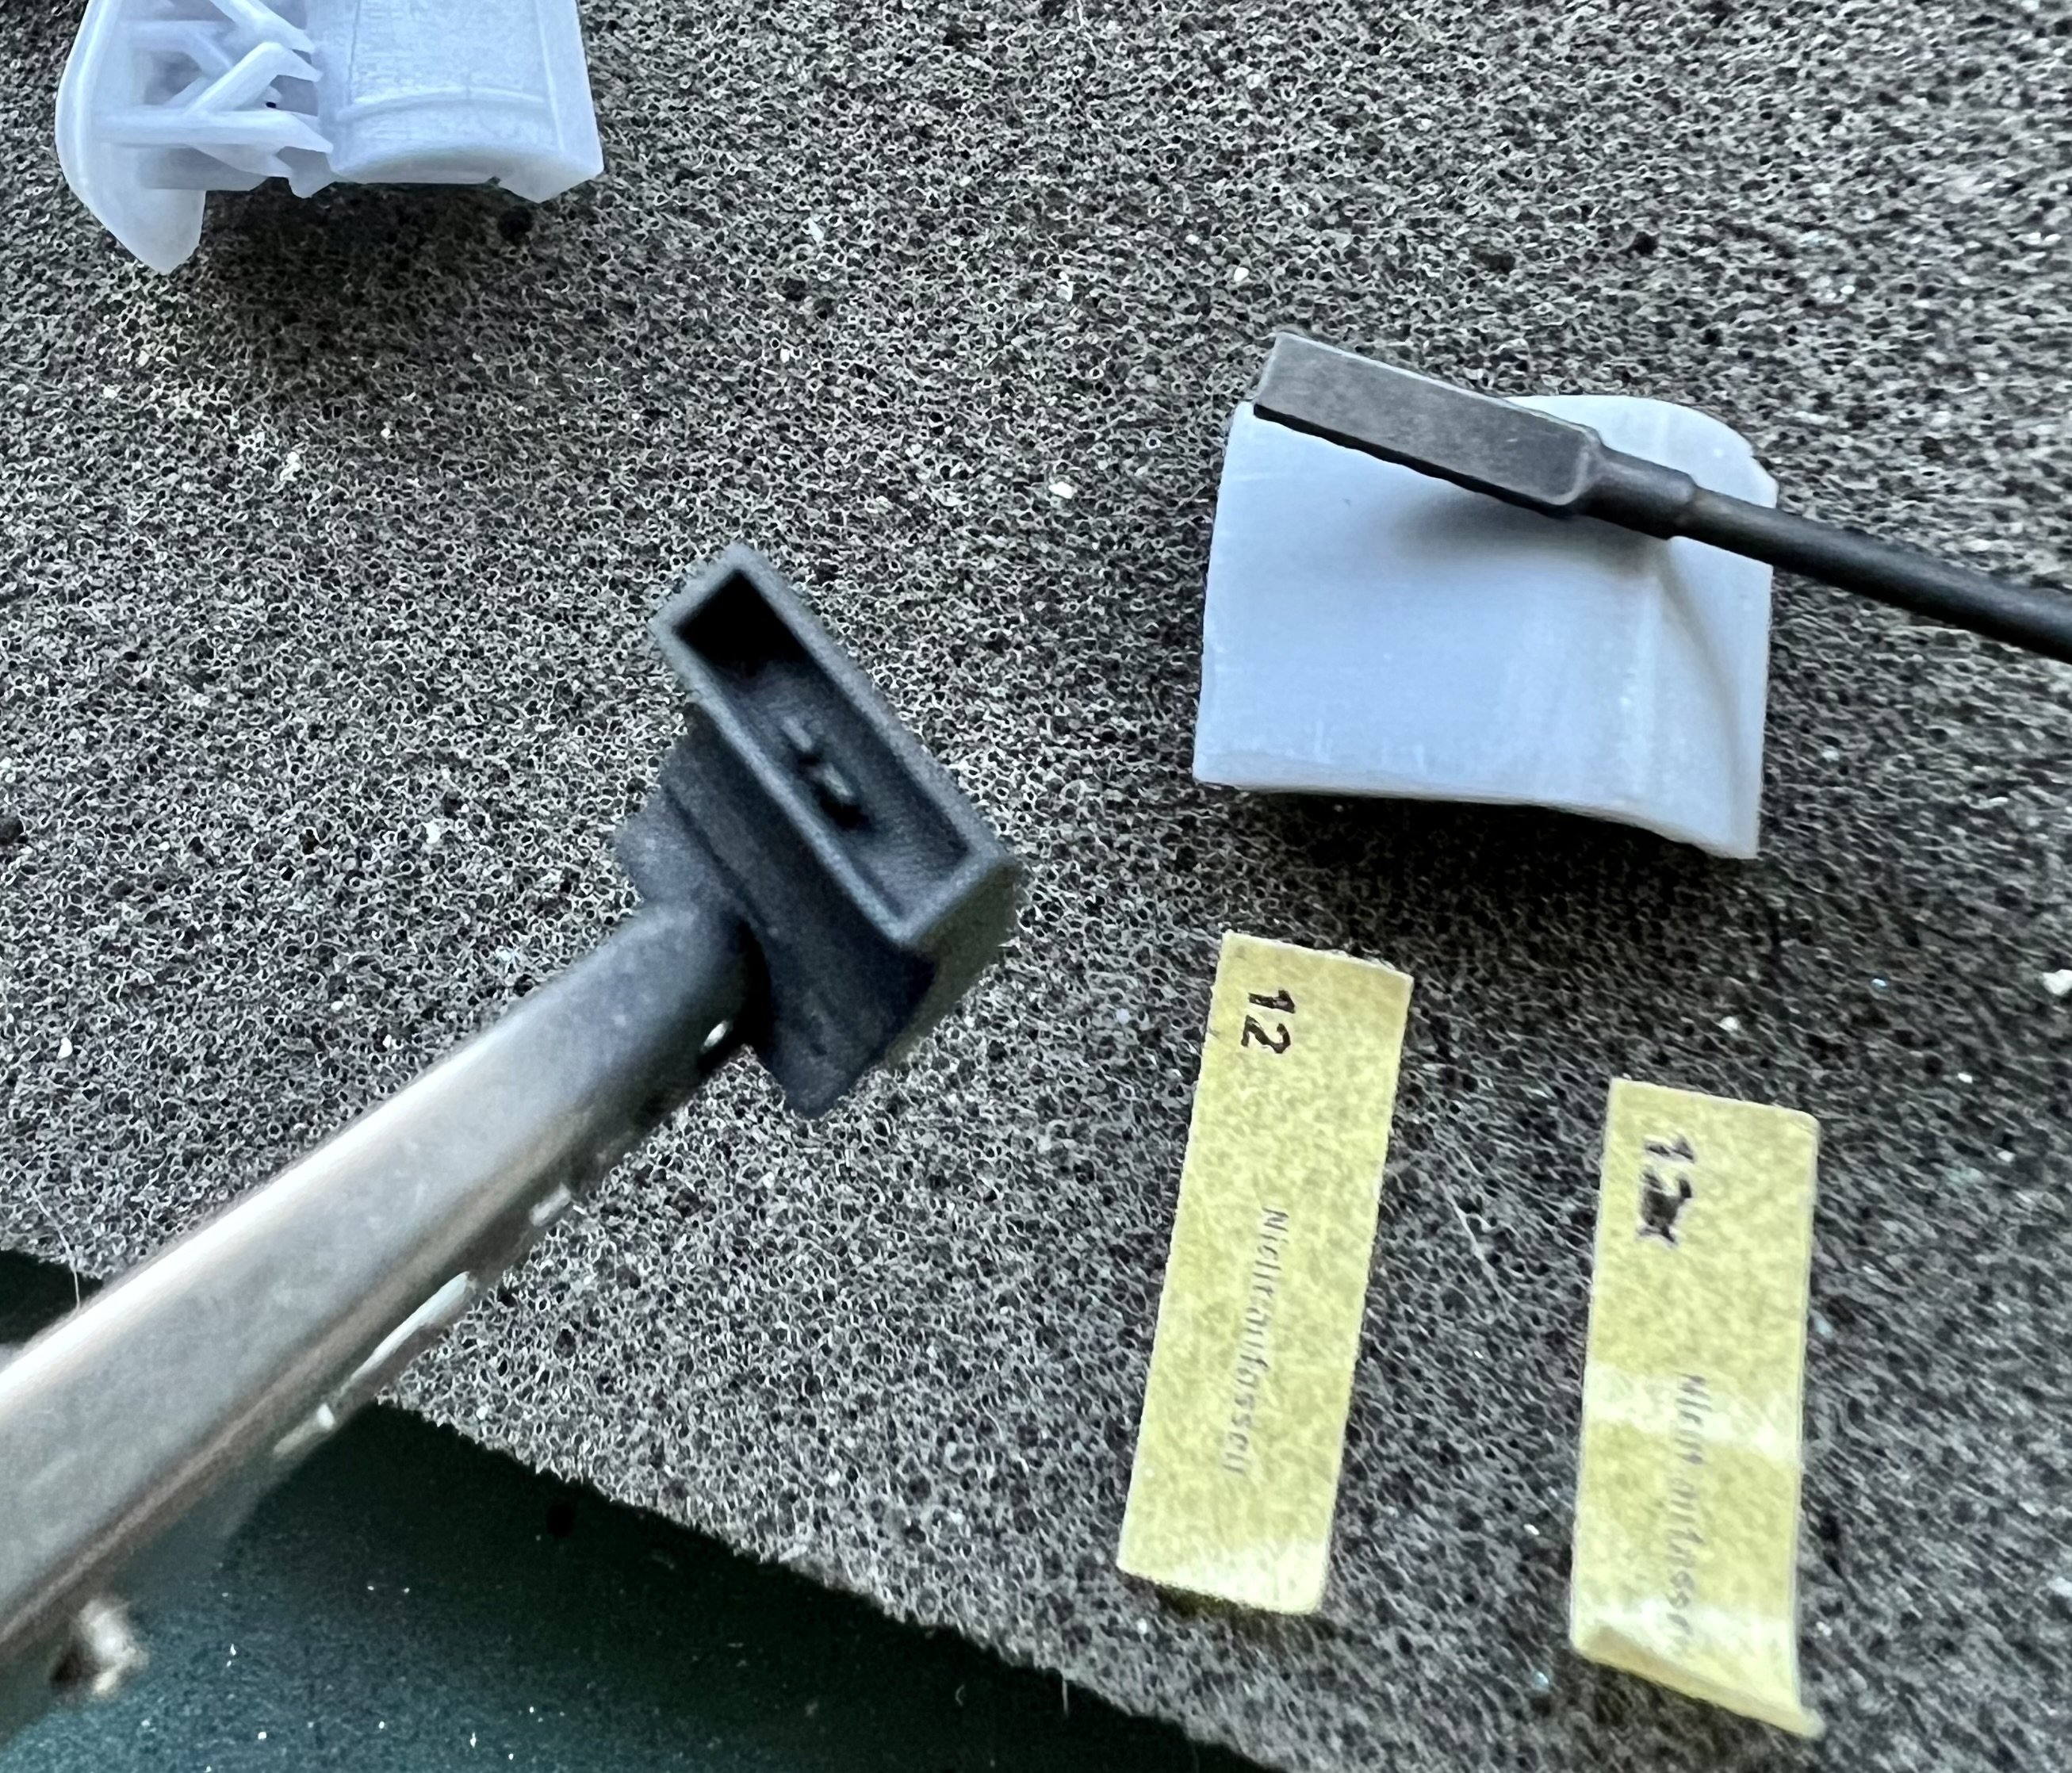
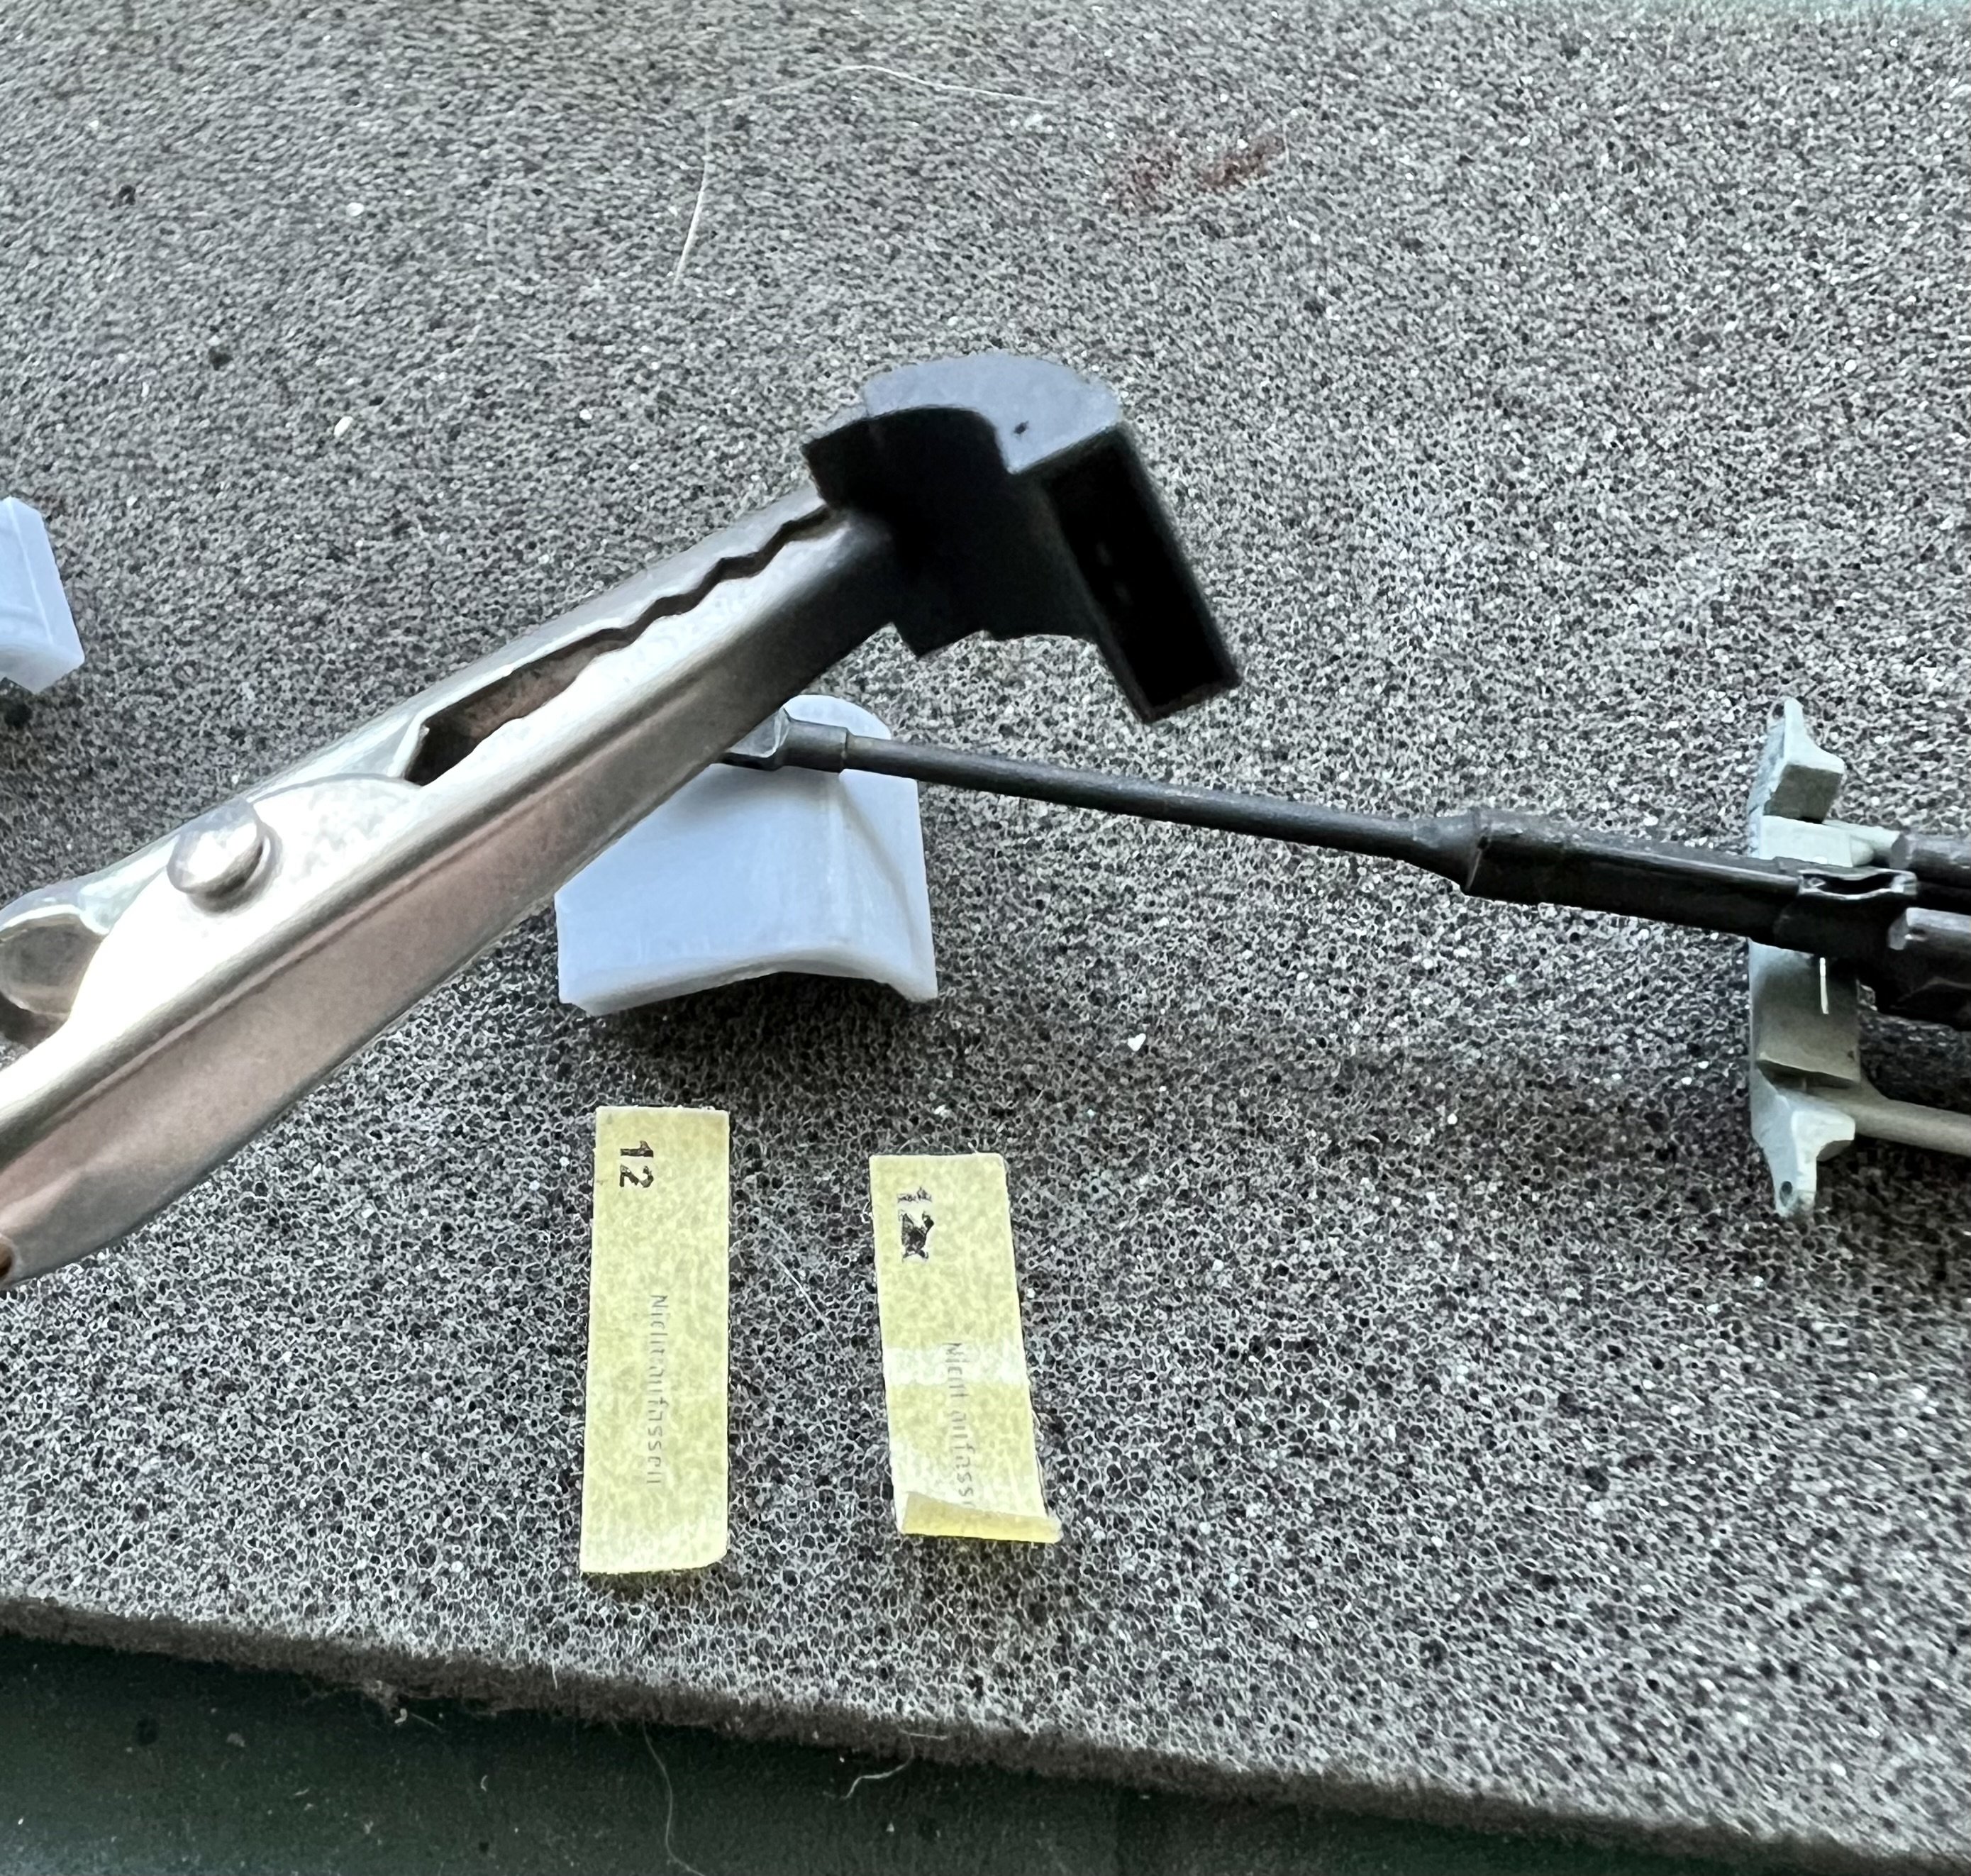
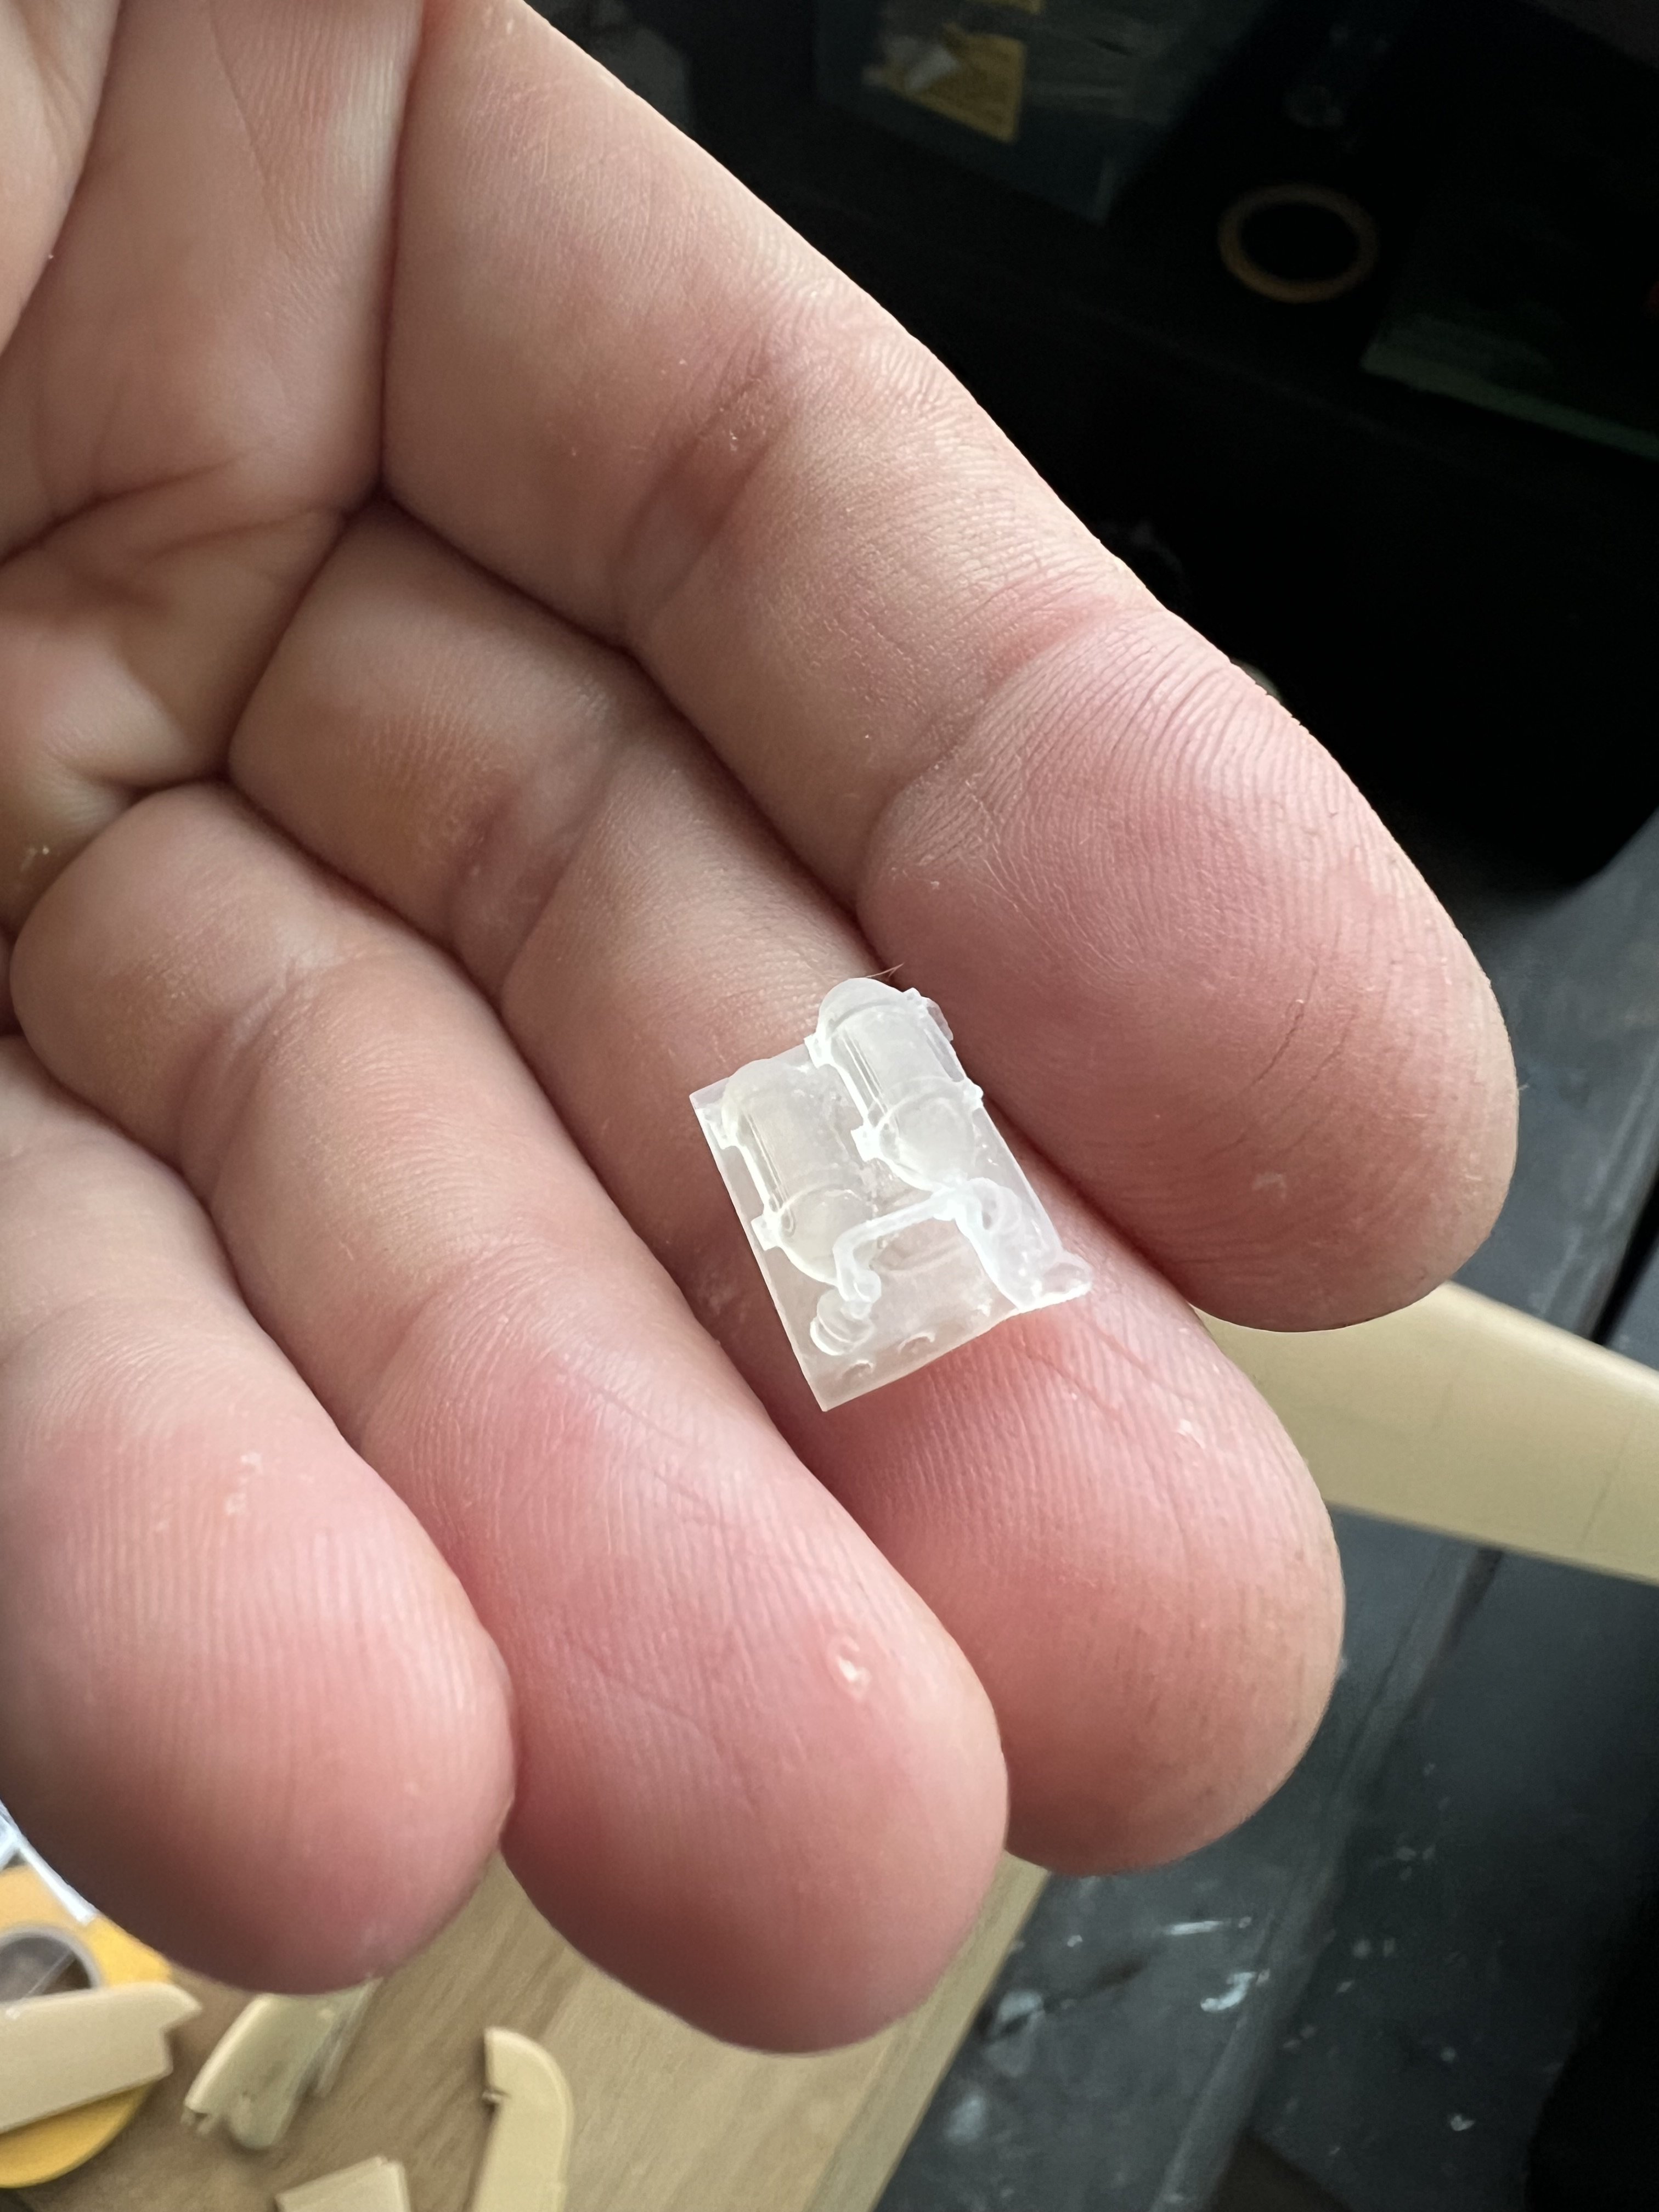
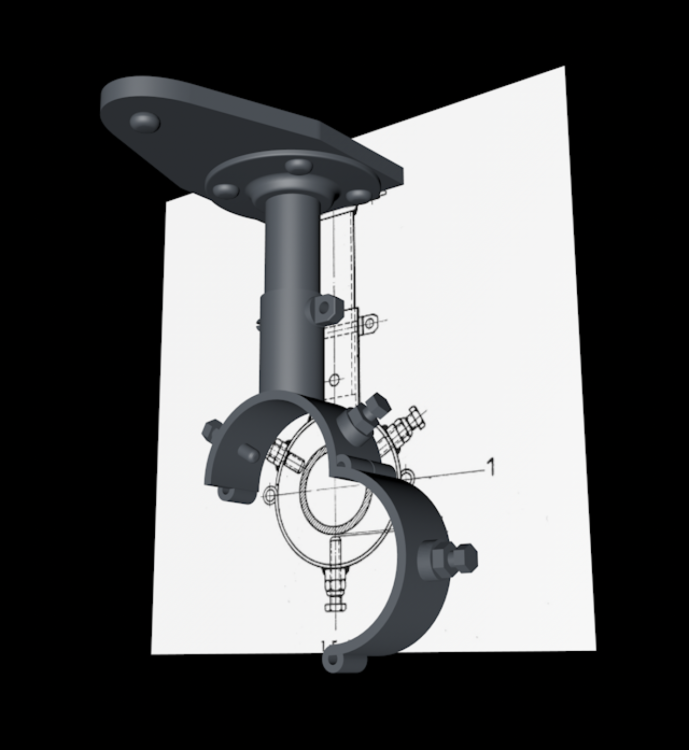
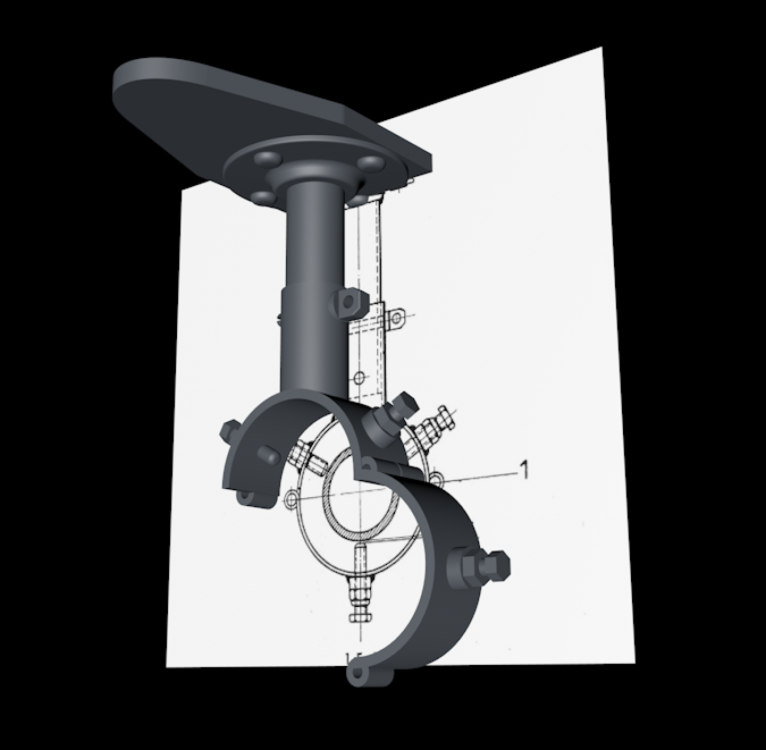
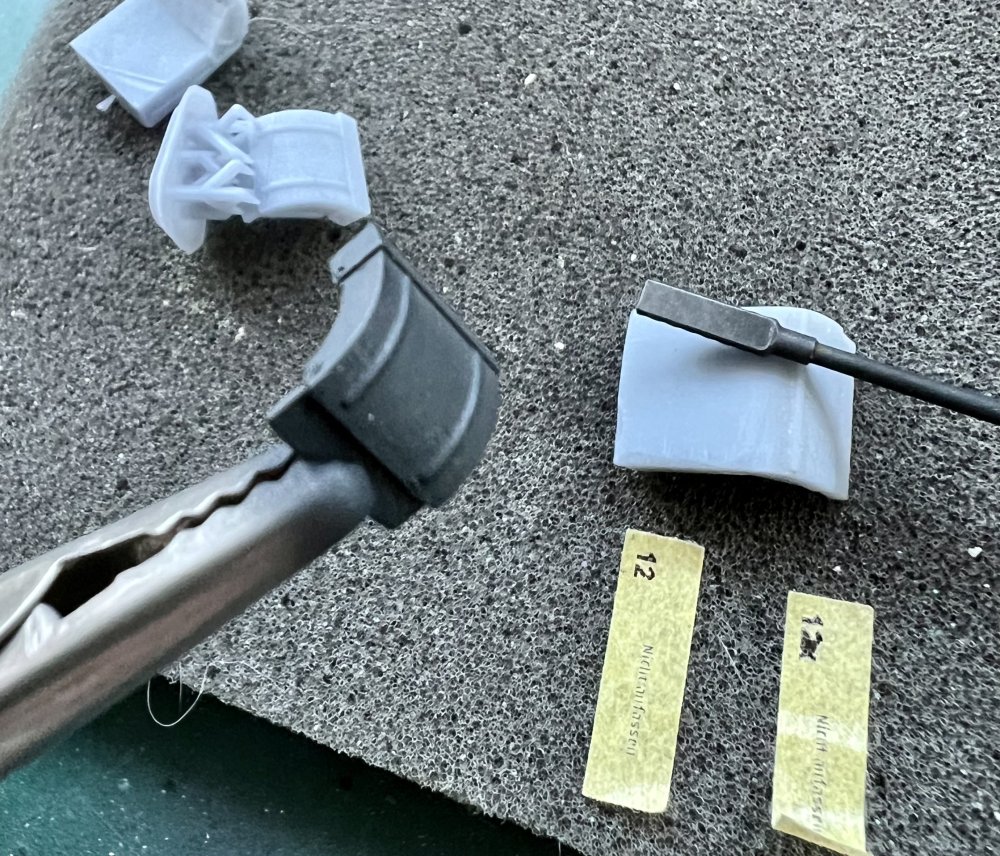
final part. The barrel clamp that holds the barrel in place. Tiny tiny part, so interesting to see whether the printer can do tis. Asking for trouble...

-
Ok. So slowly getting there. I think i reprinted every part 10 times. At least. The ejector came out perfect in one go though.


-
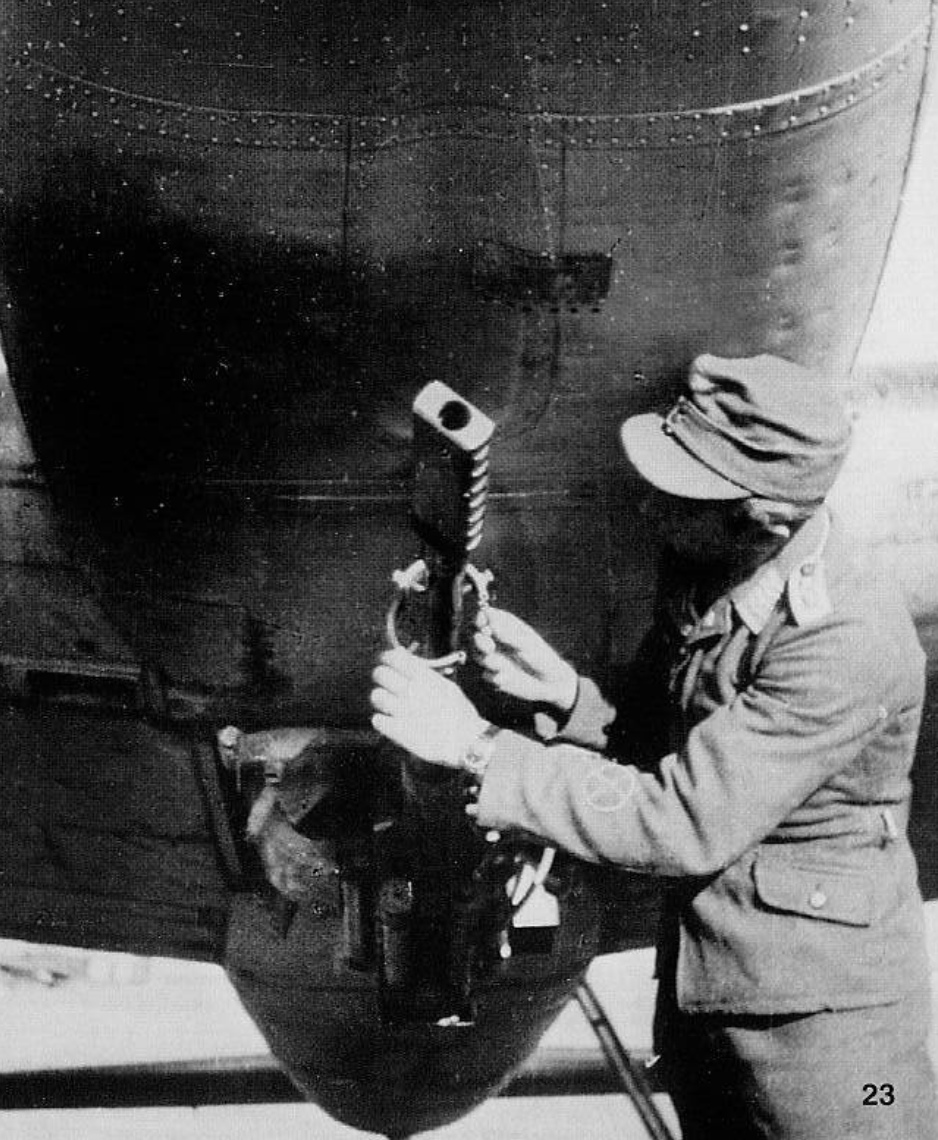
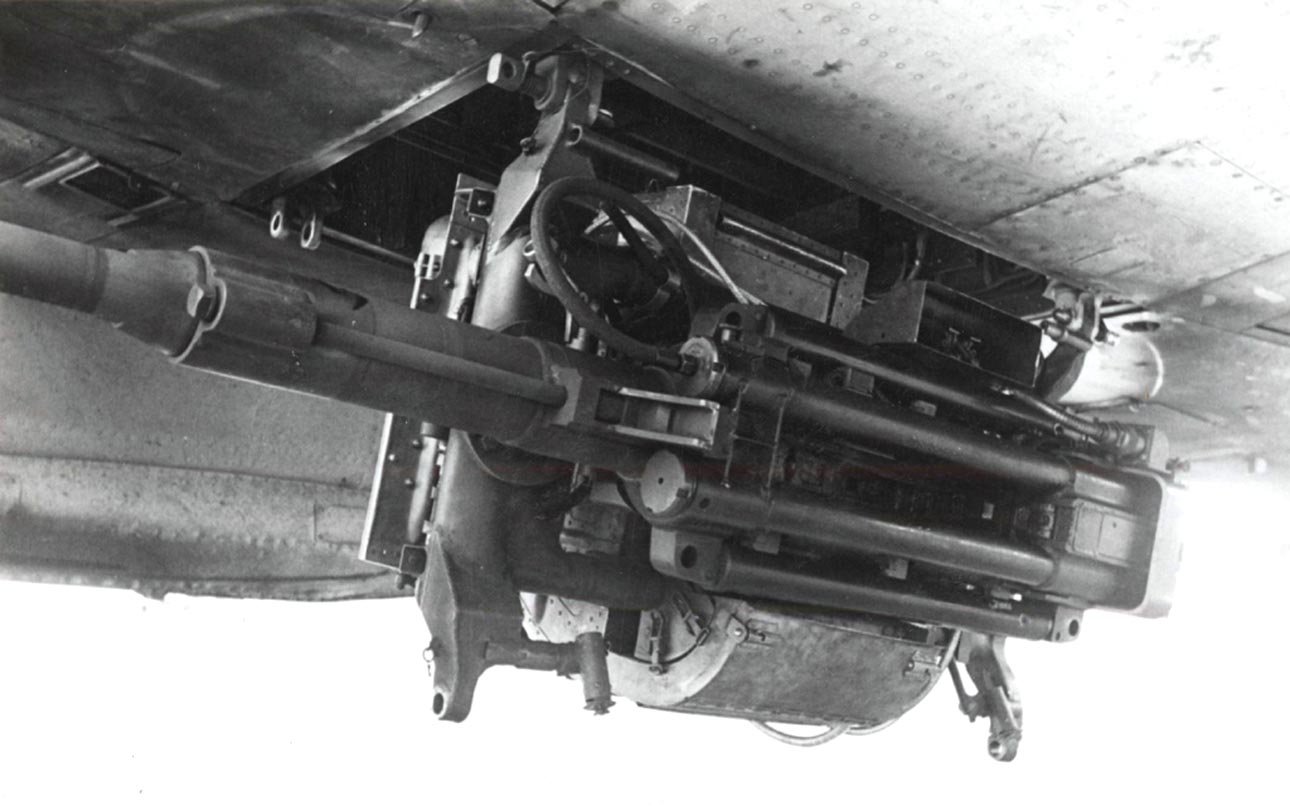
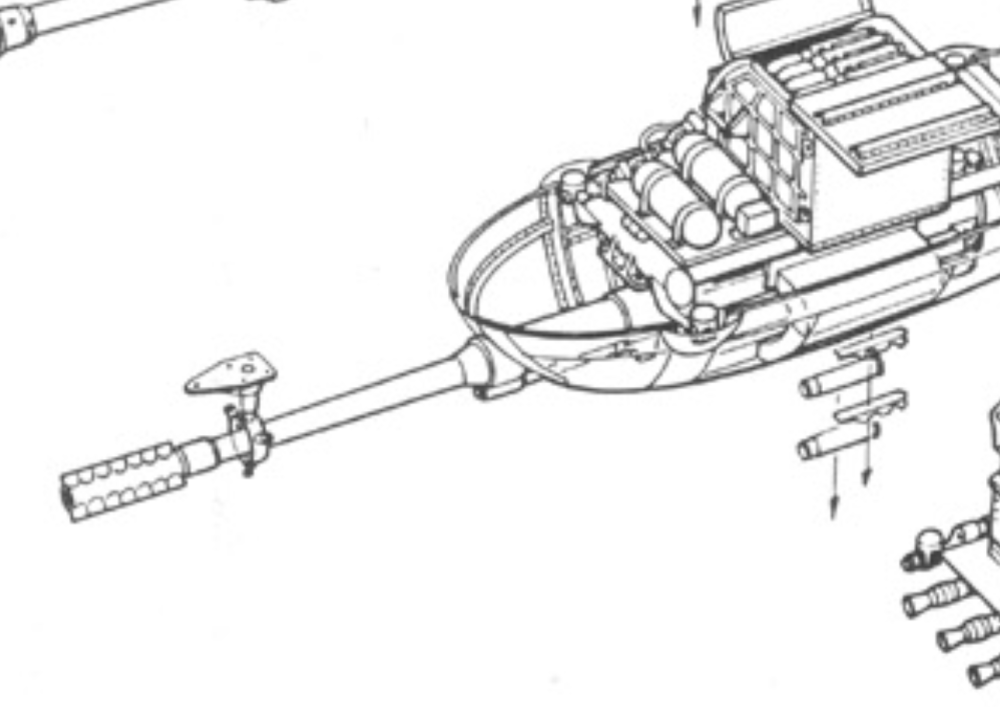
Discovered I forgot to model and print the ejector chute. Managed to find one or two lousy photo's that show this part.

-
The annoying thing is that ZM did make the mk103 cannon but never released if in a Hs129 b2 kit.
-
-
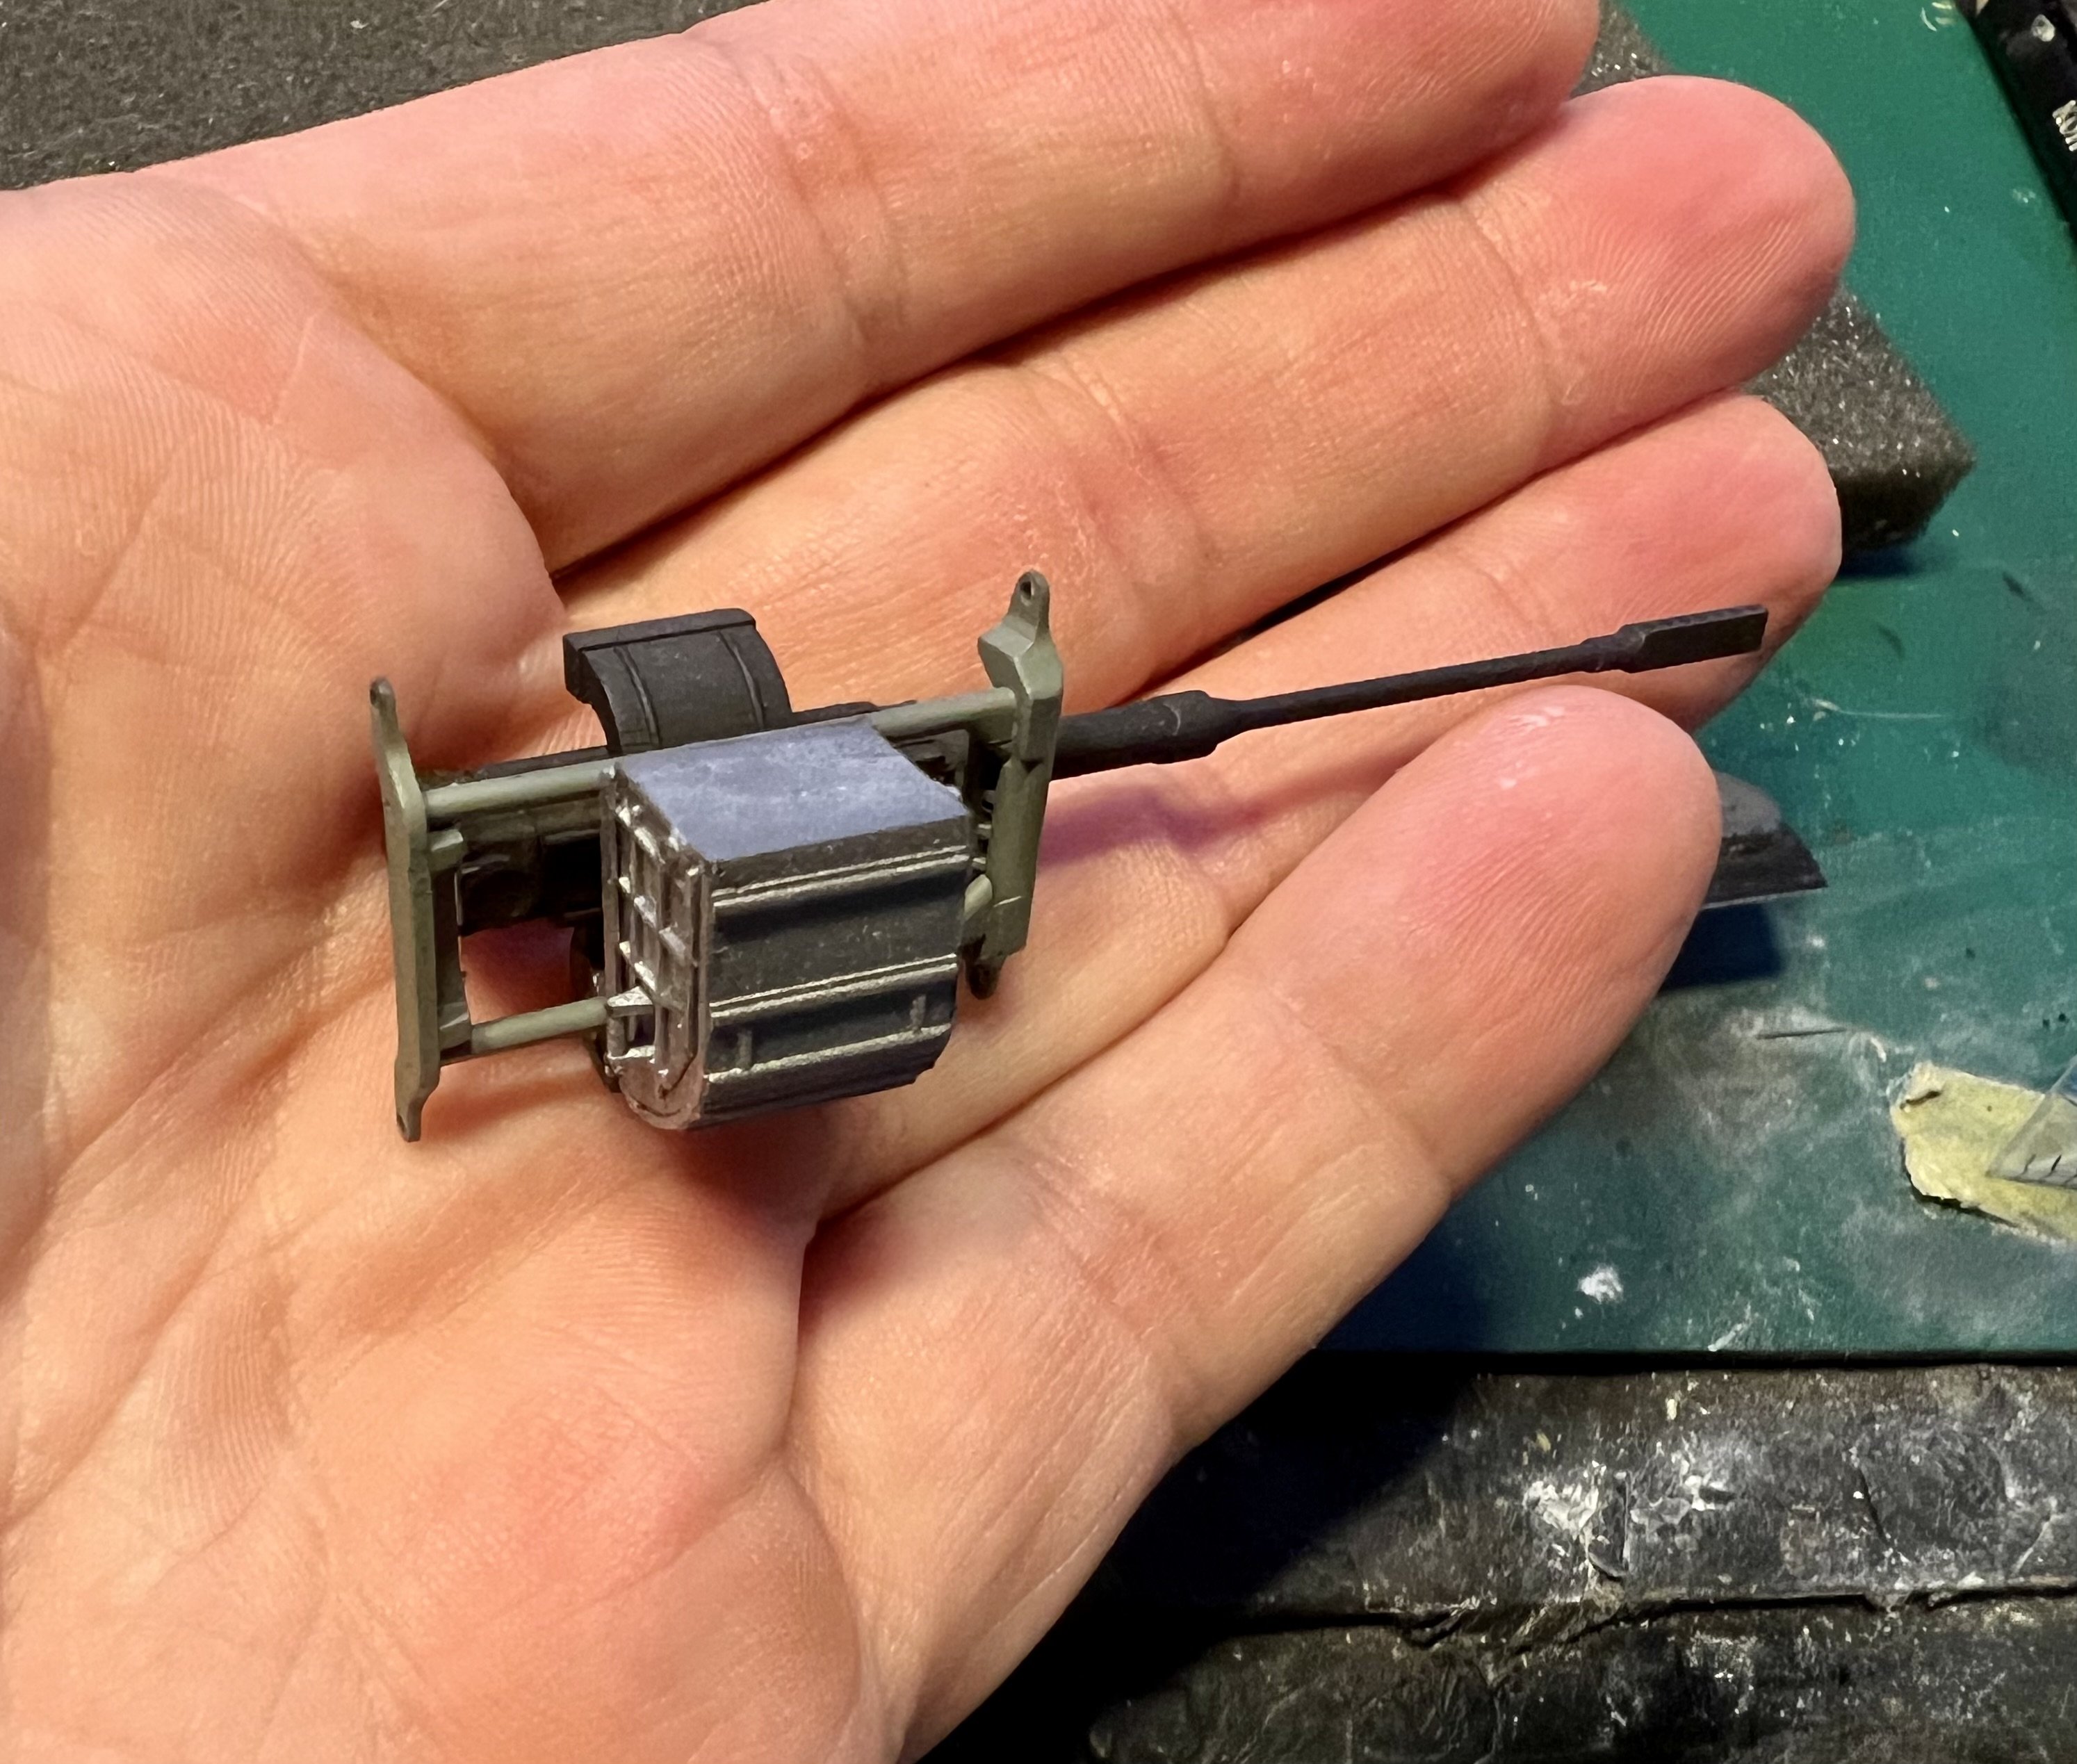
Finally happy with all the parts. Added eyelits to the mount that fit the eyelits on the mk103. Some black paint as a base.


-
Sure looks like it doesn’t it?
-
Compressed air tanks are reprinted and curing in uv light. IMG_2911.mov
-
Here’s the printed mk103. Even thought the barrel end came out nice, the master barrel is way nicer so i replaced it. almost ready for paint!


-
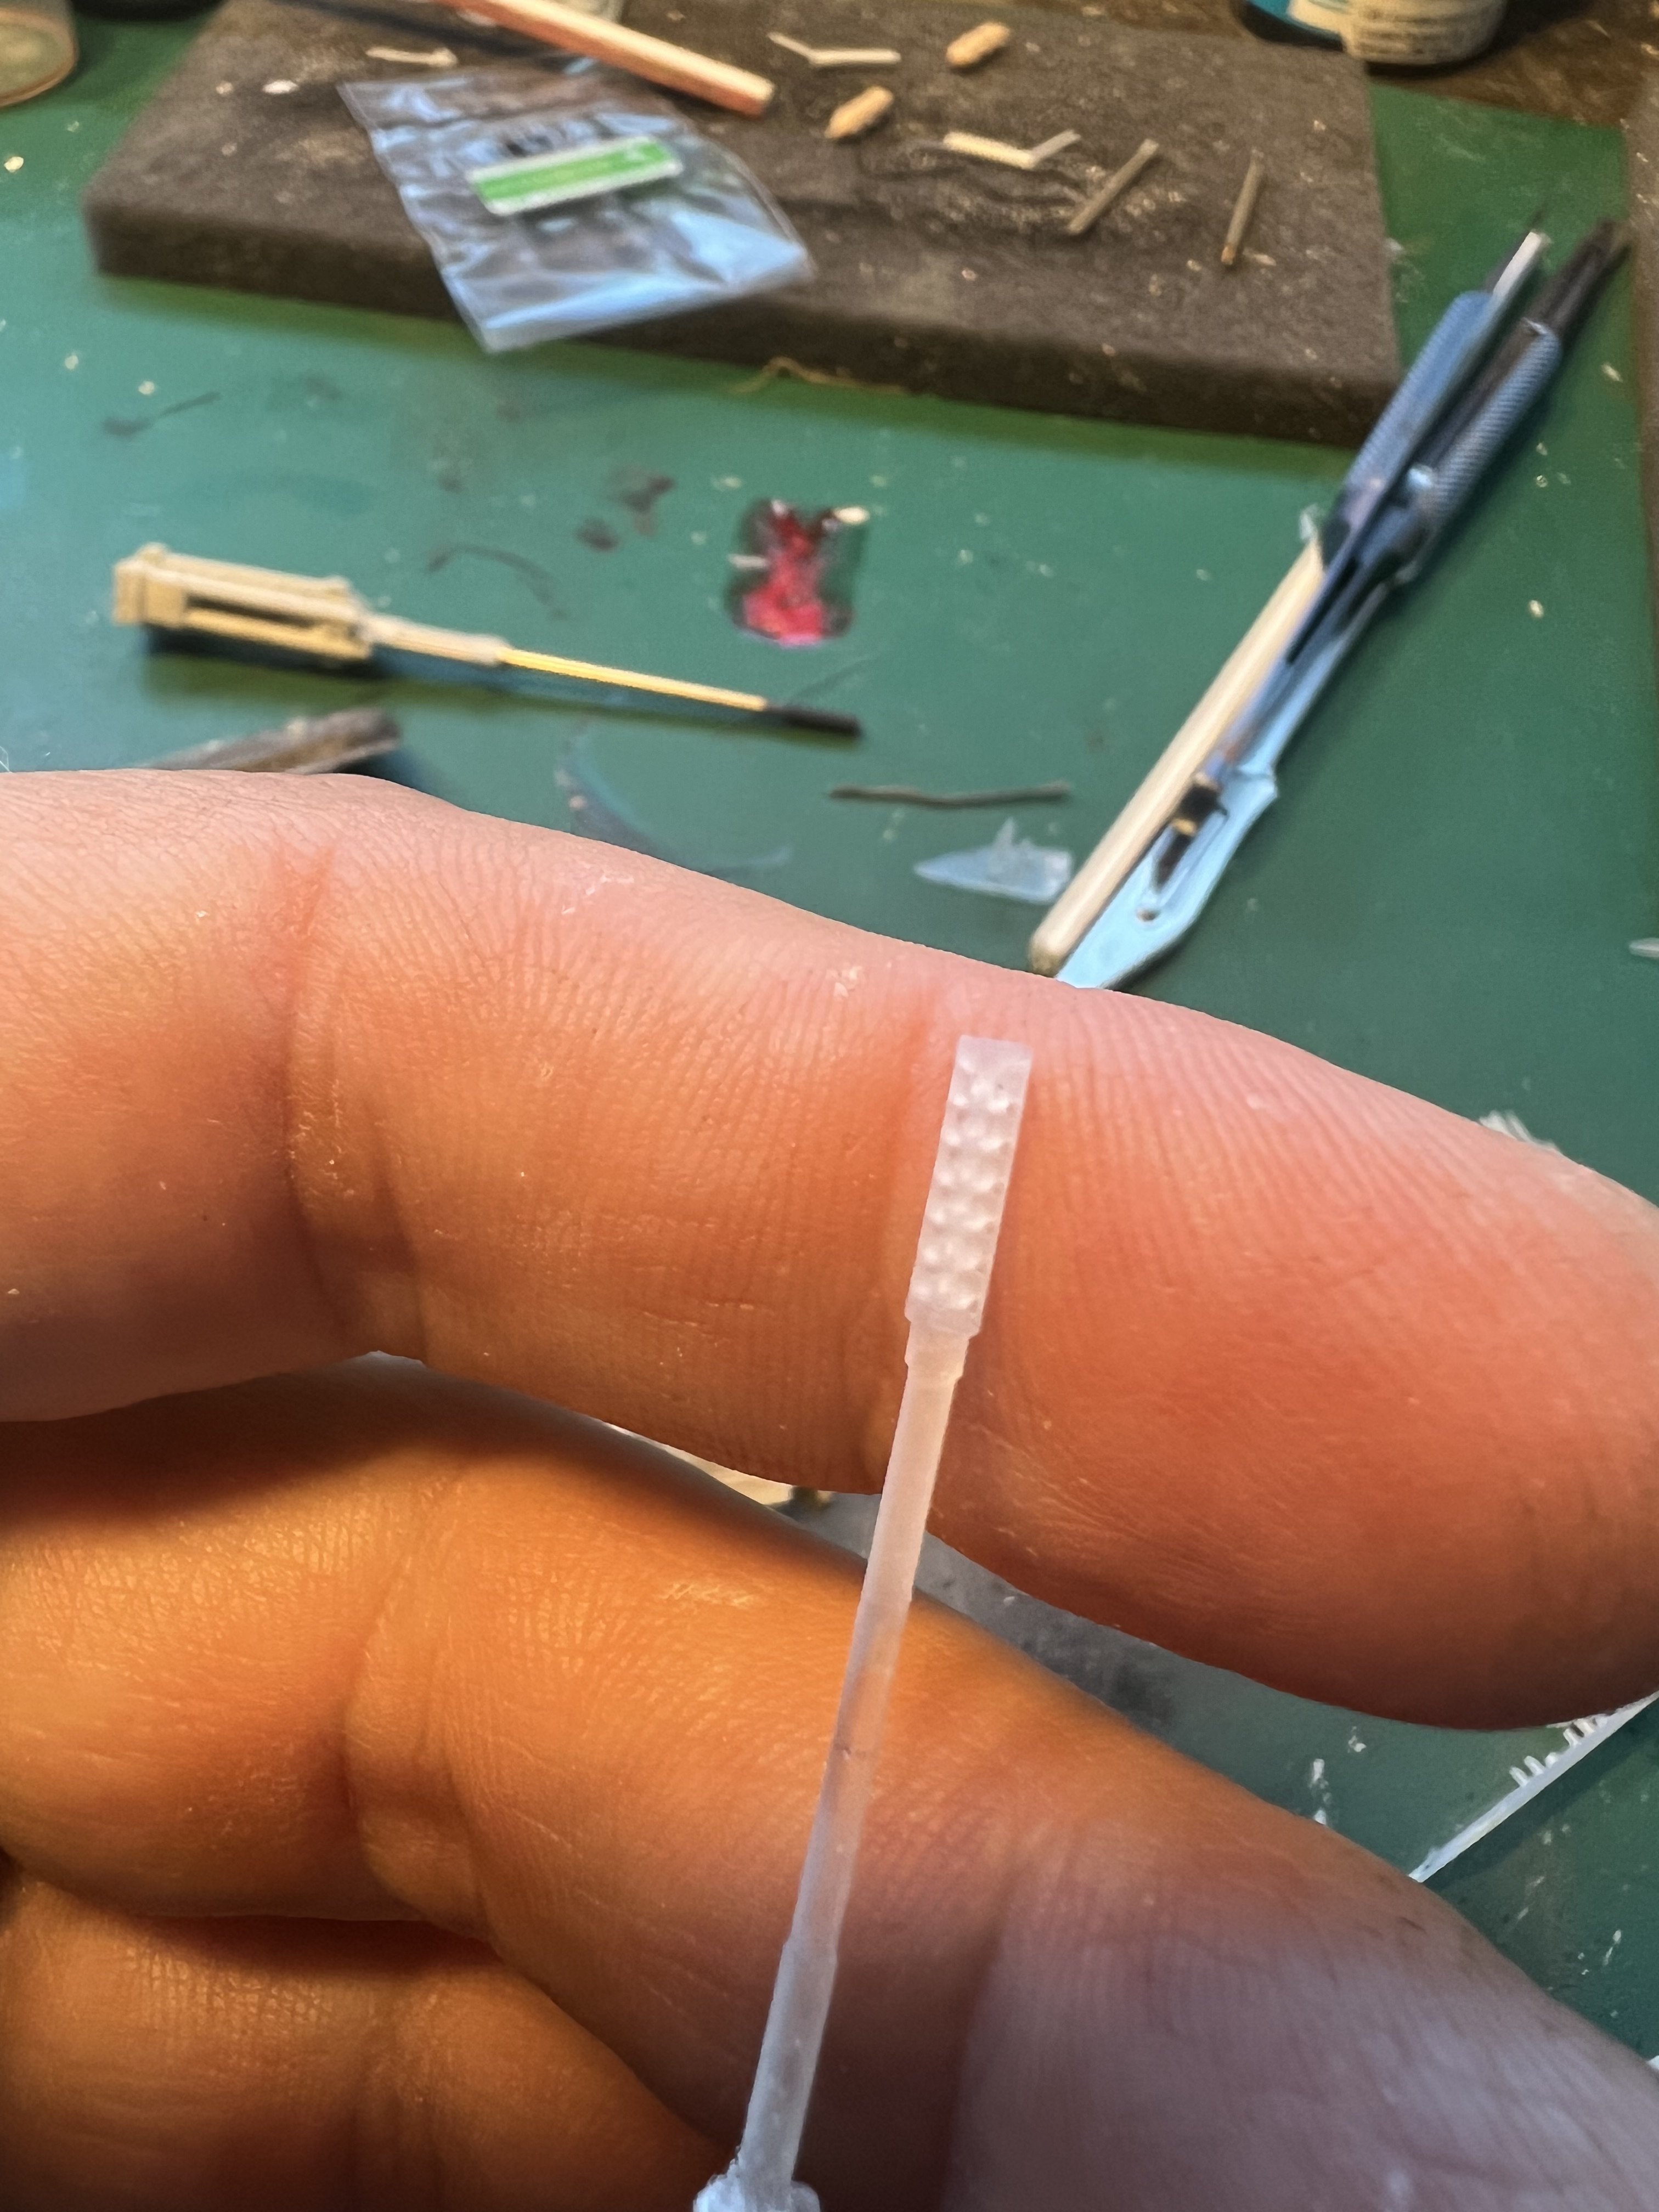
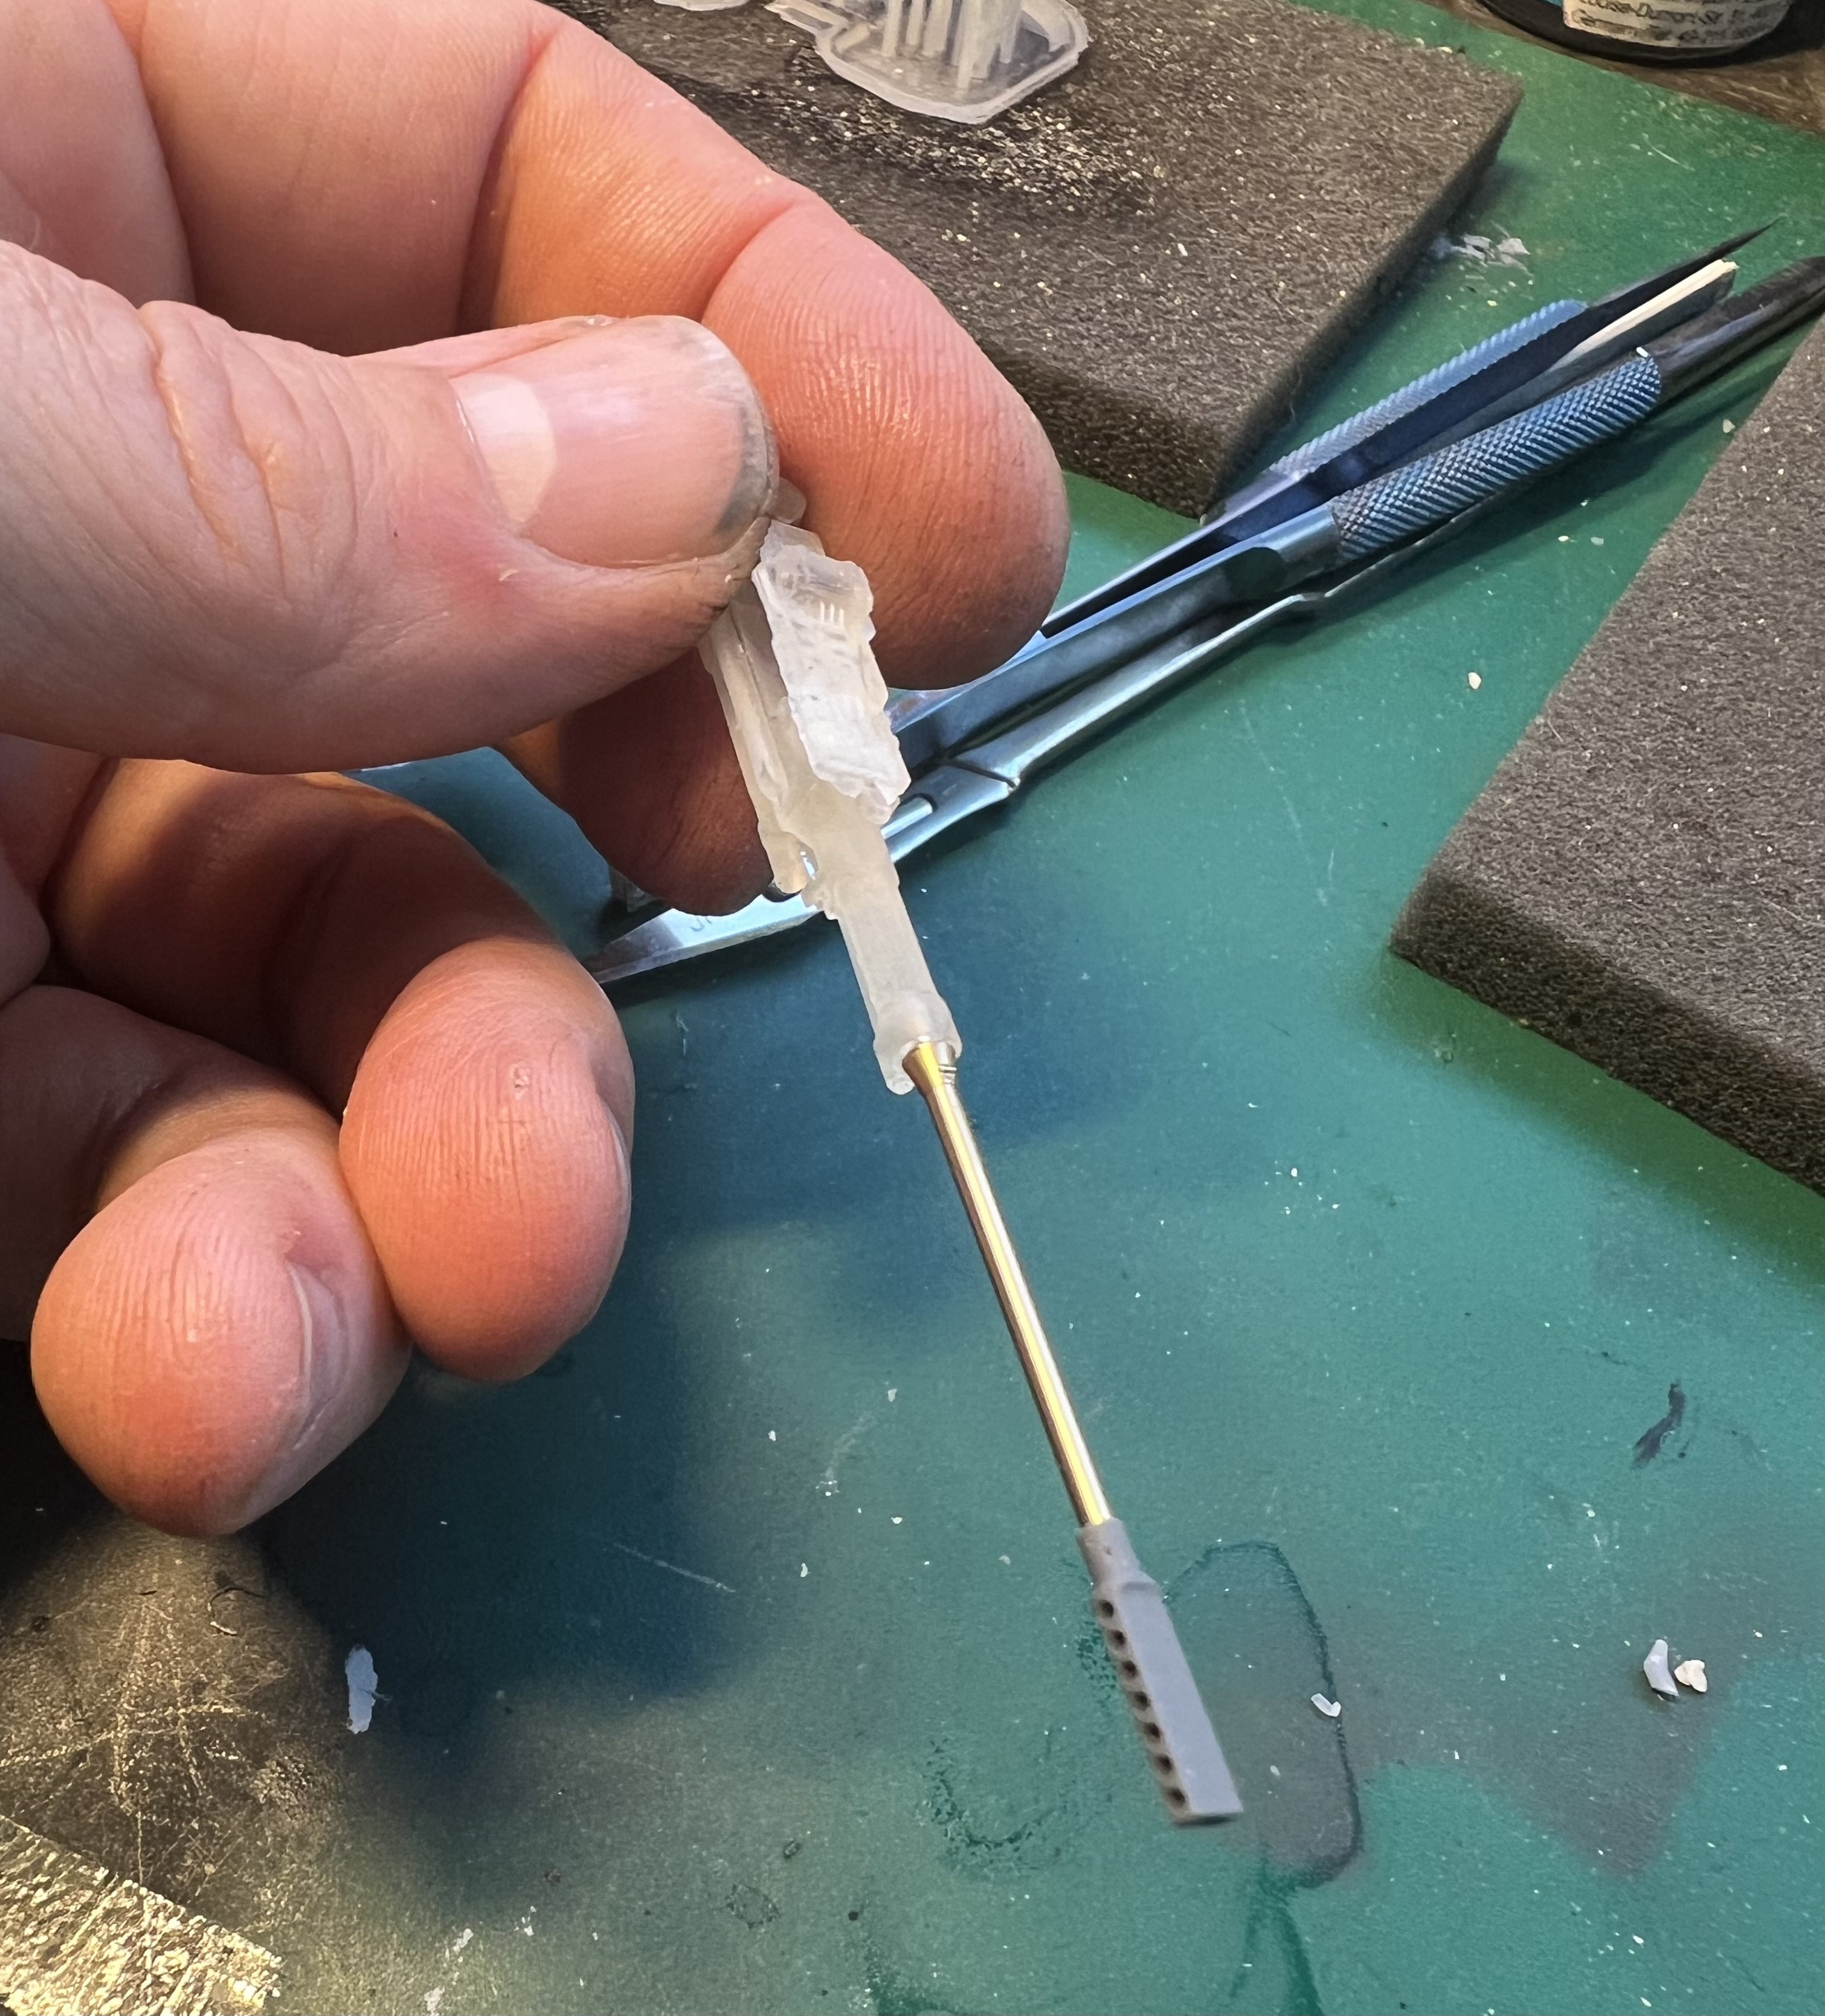
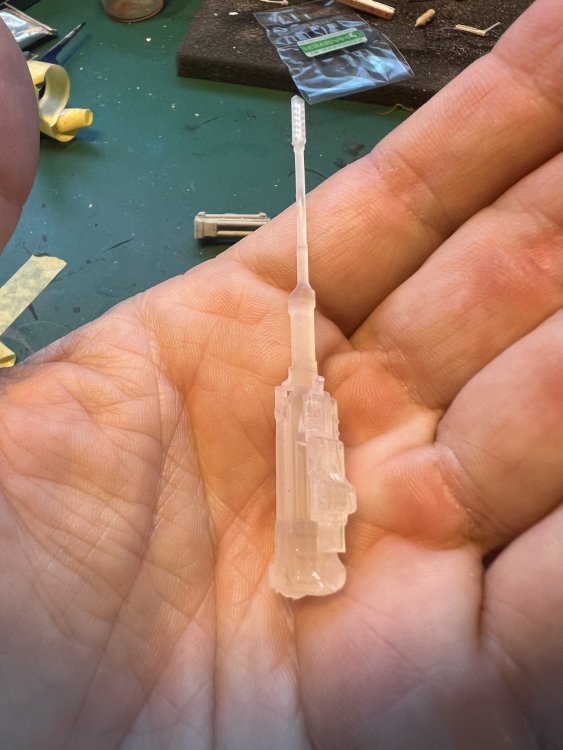
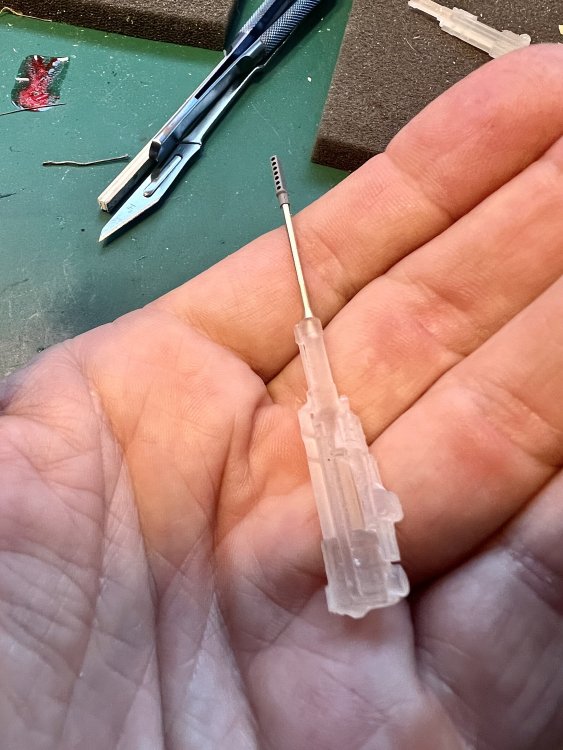
Just bought another brass barrel for this gun. This one has a locating pin at the base which makes it easier to insert into the 3d print
-
First print looks succesful.

-
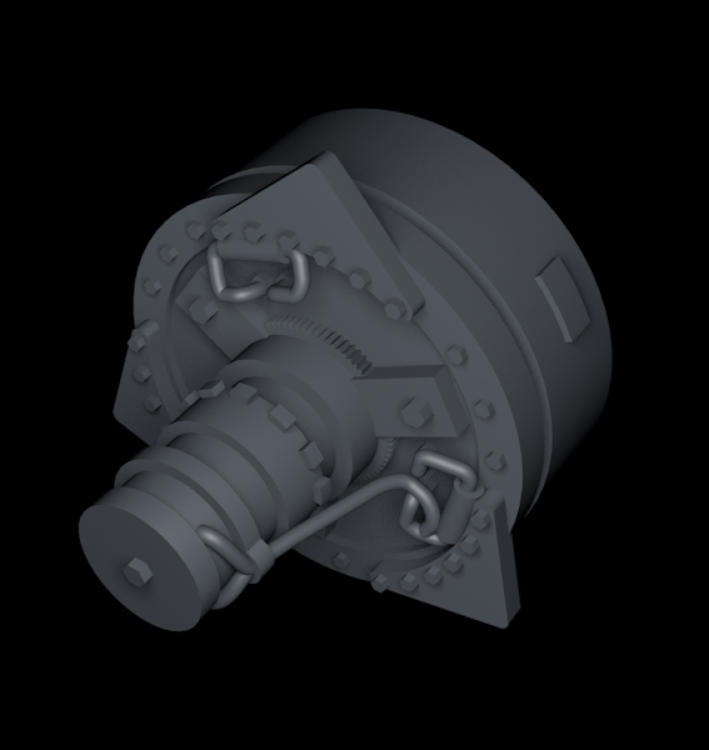
Hi, I use Cinema4D. This software is not the best choice for 3d printing (better suits visualisation), but it is a program that I can work with, so it will have to do. Here's another part of the MK103 cannon I'm preparing for printing.
-
The resin quality of the MDC gun keeps annoying me. Downloaded a Mk103 file for 22 euro's and wil print one myself.