JeroenPeters
-
Posts
4,867 -
Joined
-
Last visited
Content Type
Profiles
Forums
Events
Gallery
Everything posted by JeroenPeters
-
Gunze mr hobby colour. Acrylic. Not waterbased. and AK’s real colours. Also acrylic.

-
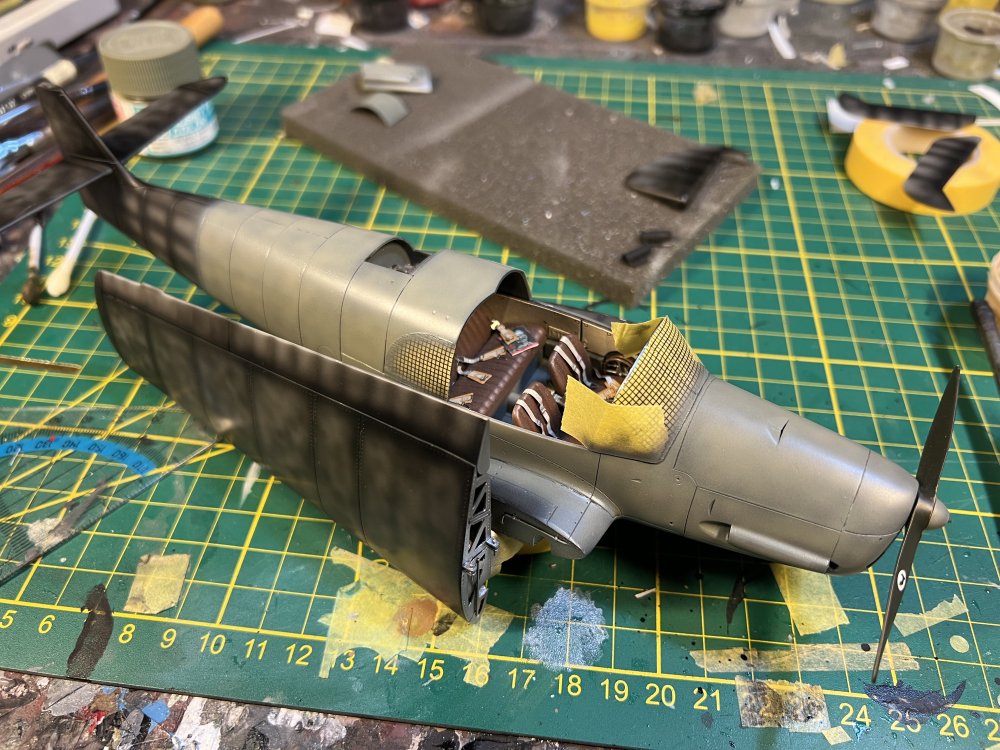
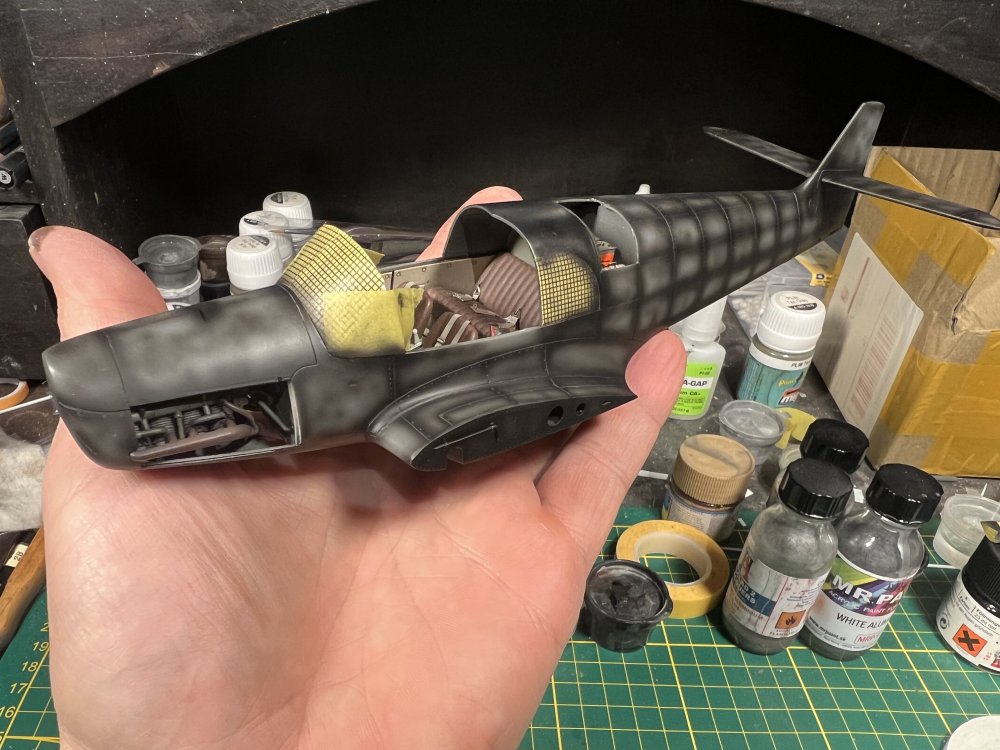
First RLM02 paint is on…
-
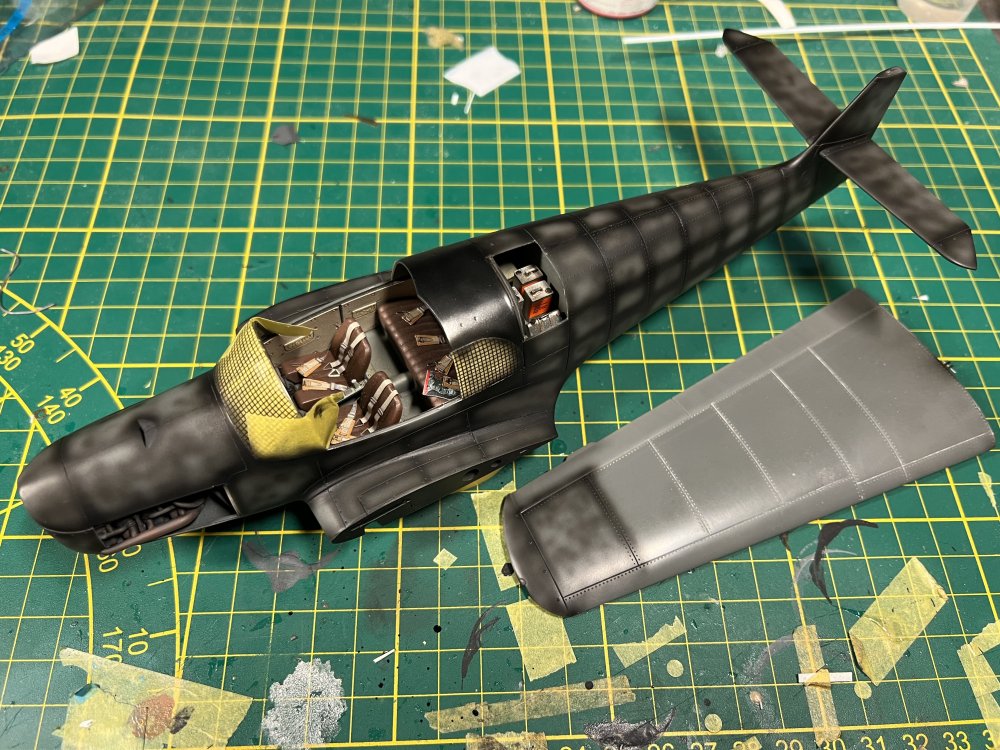
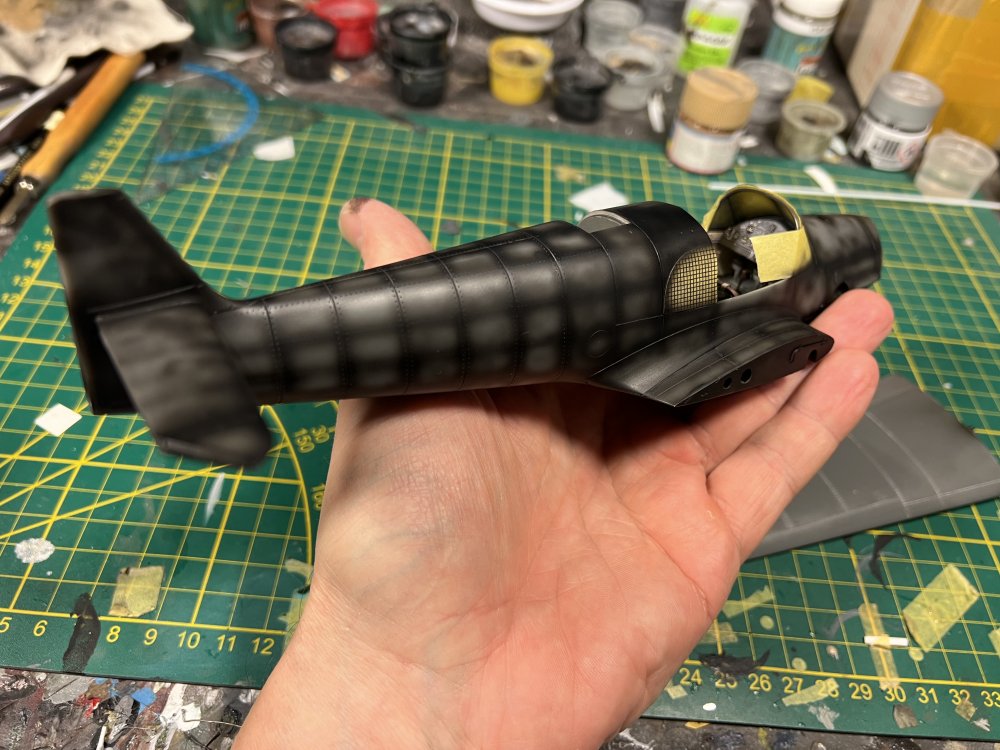
Getting there
-
 Oh my… what a great paintjob. Superb.
 -
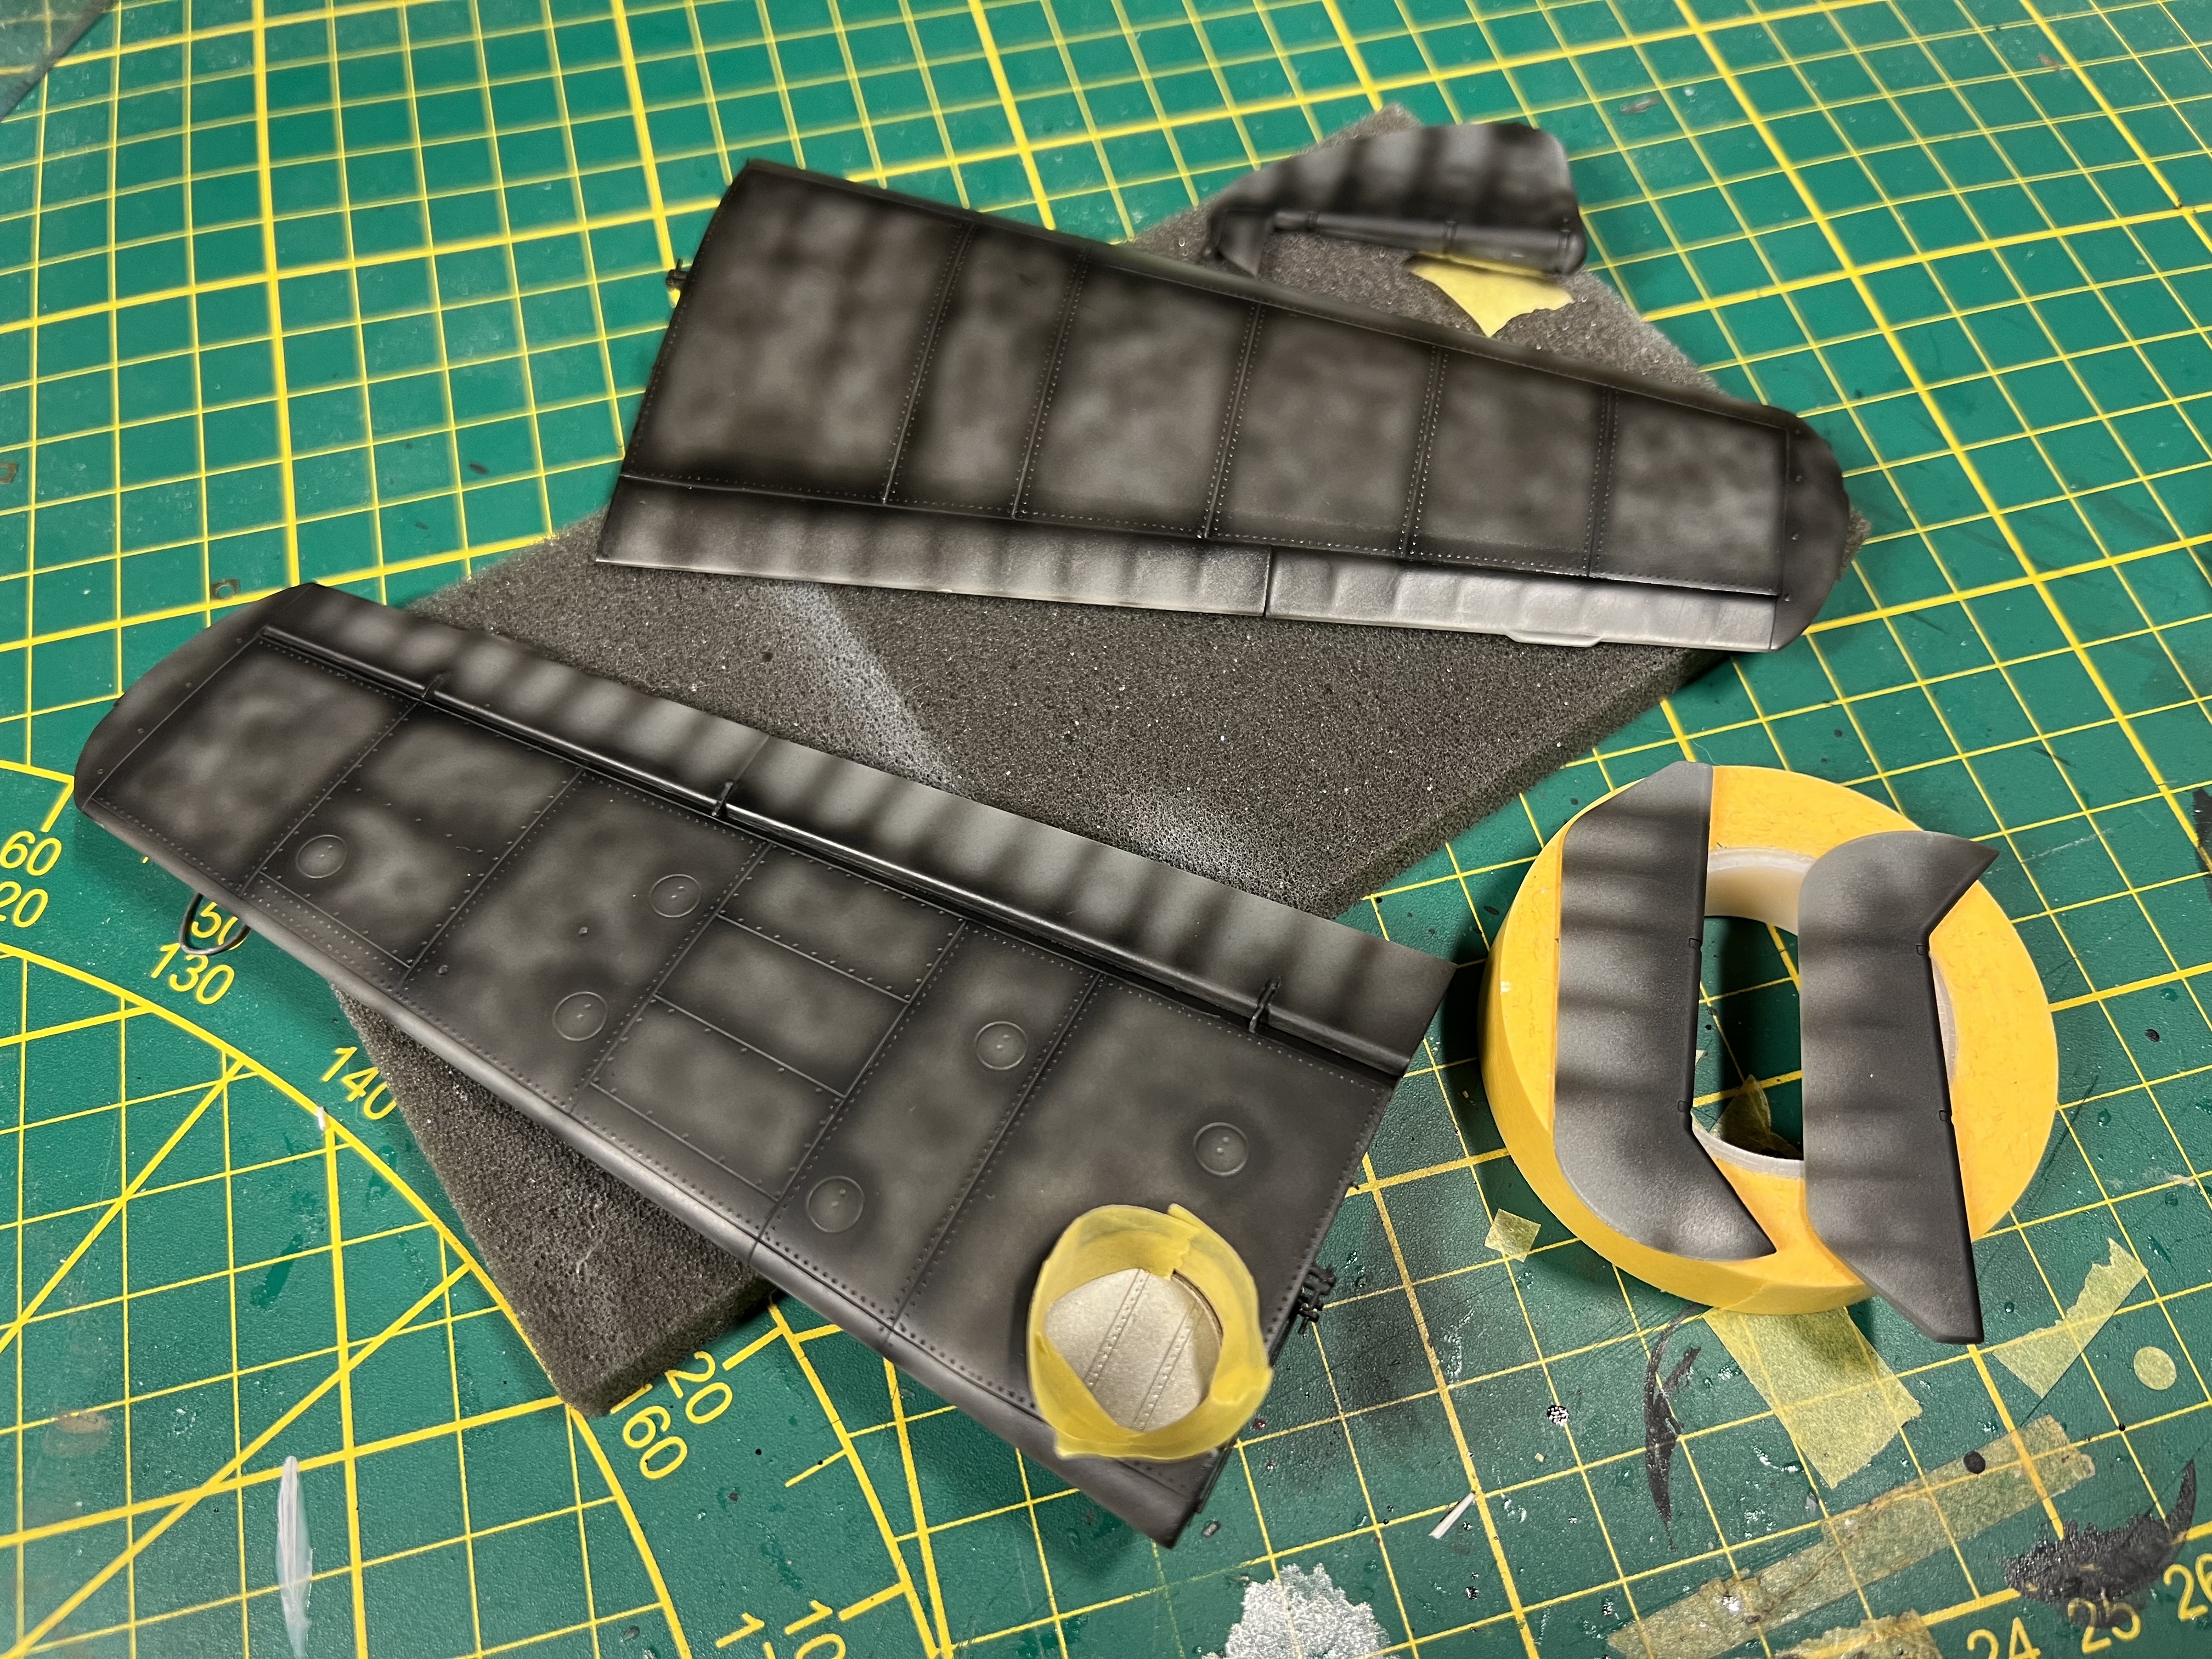
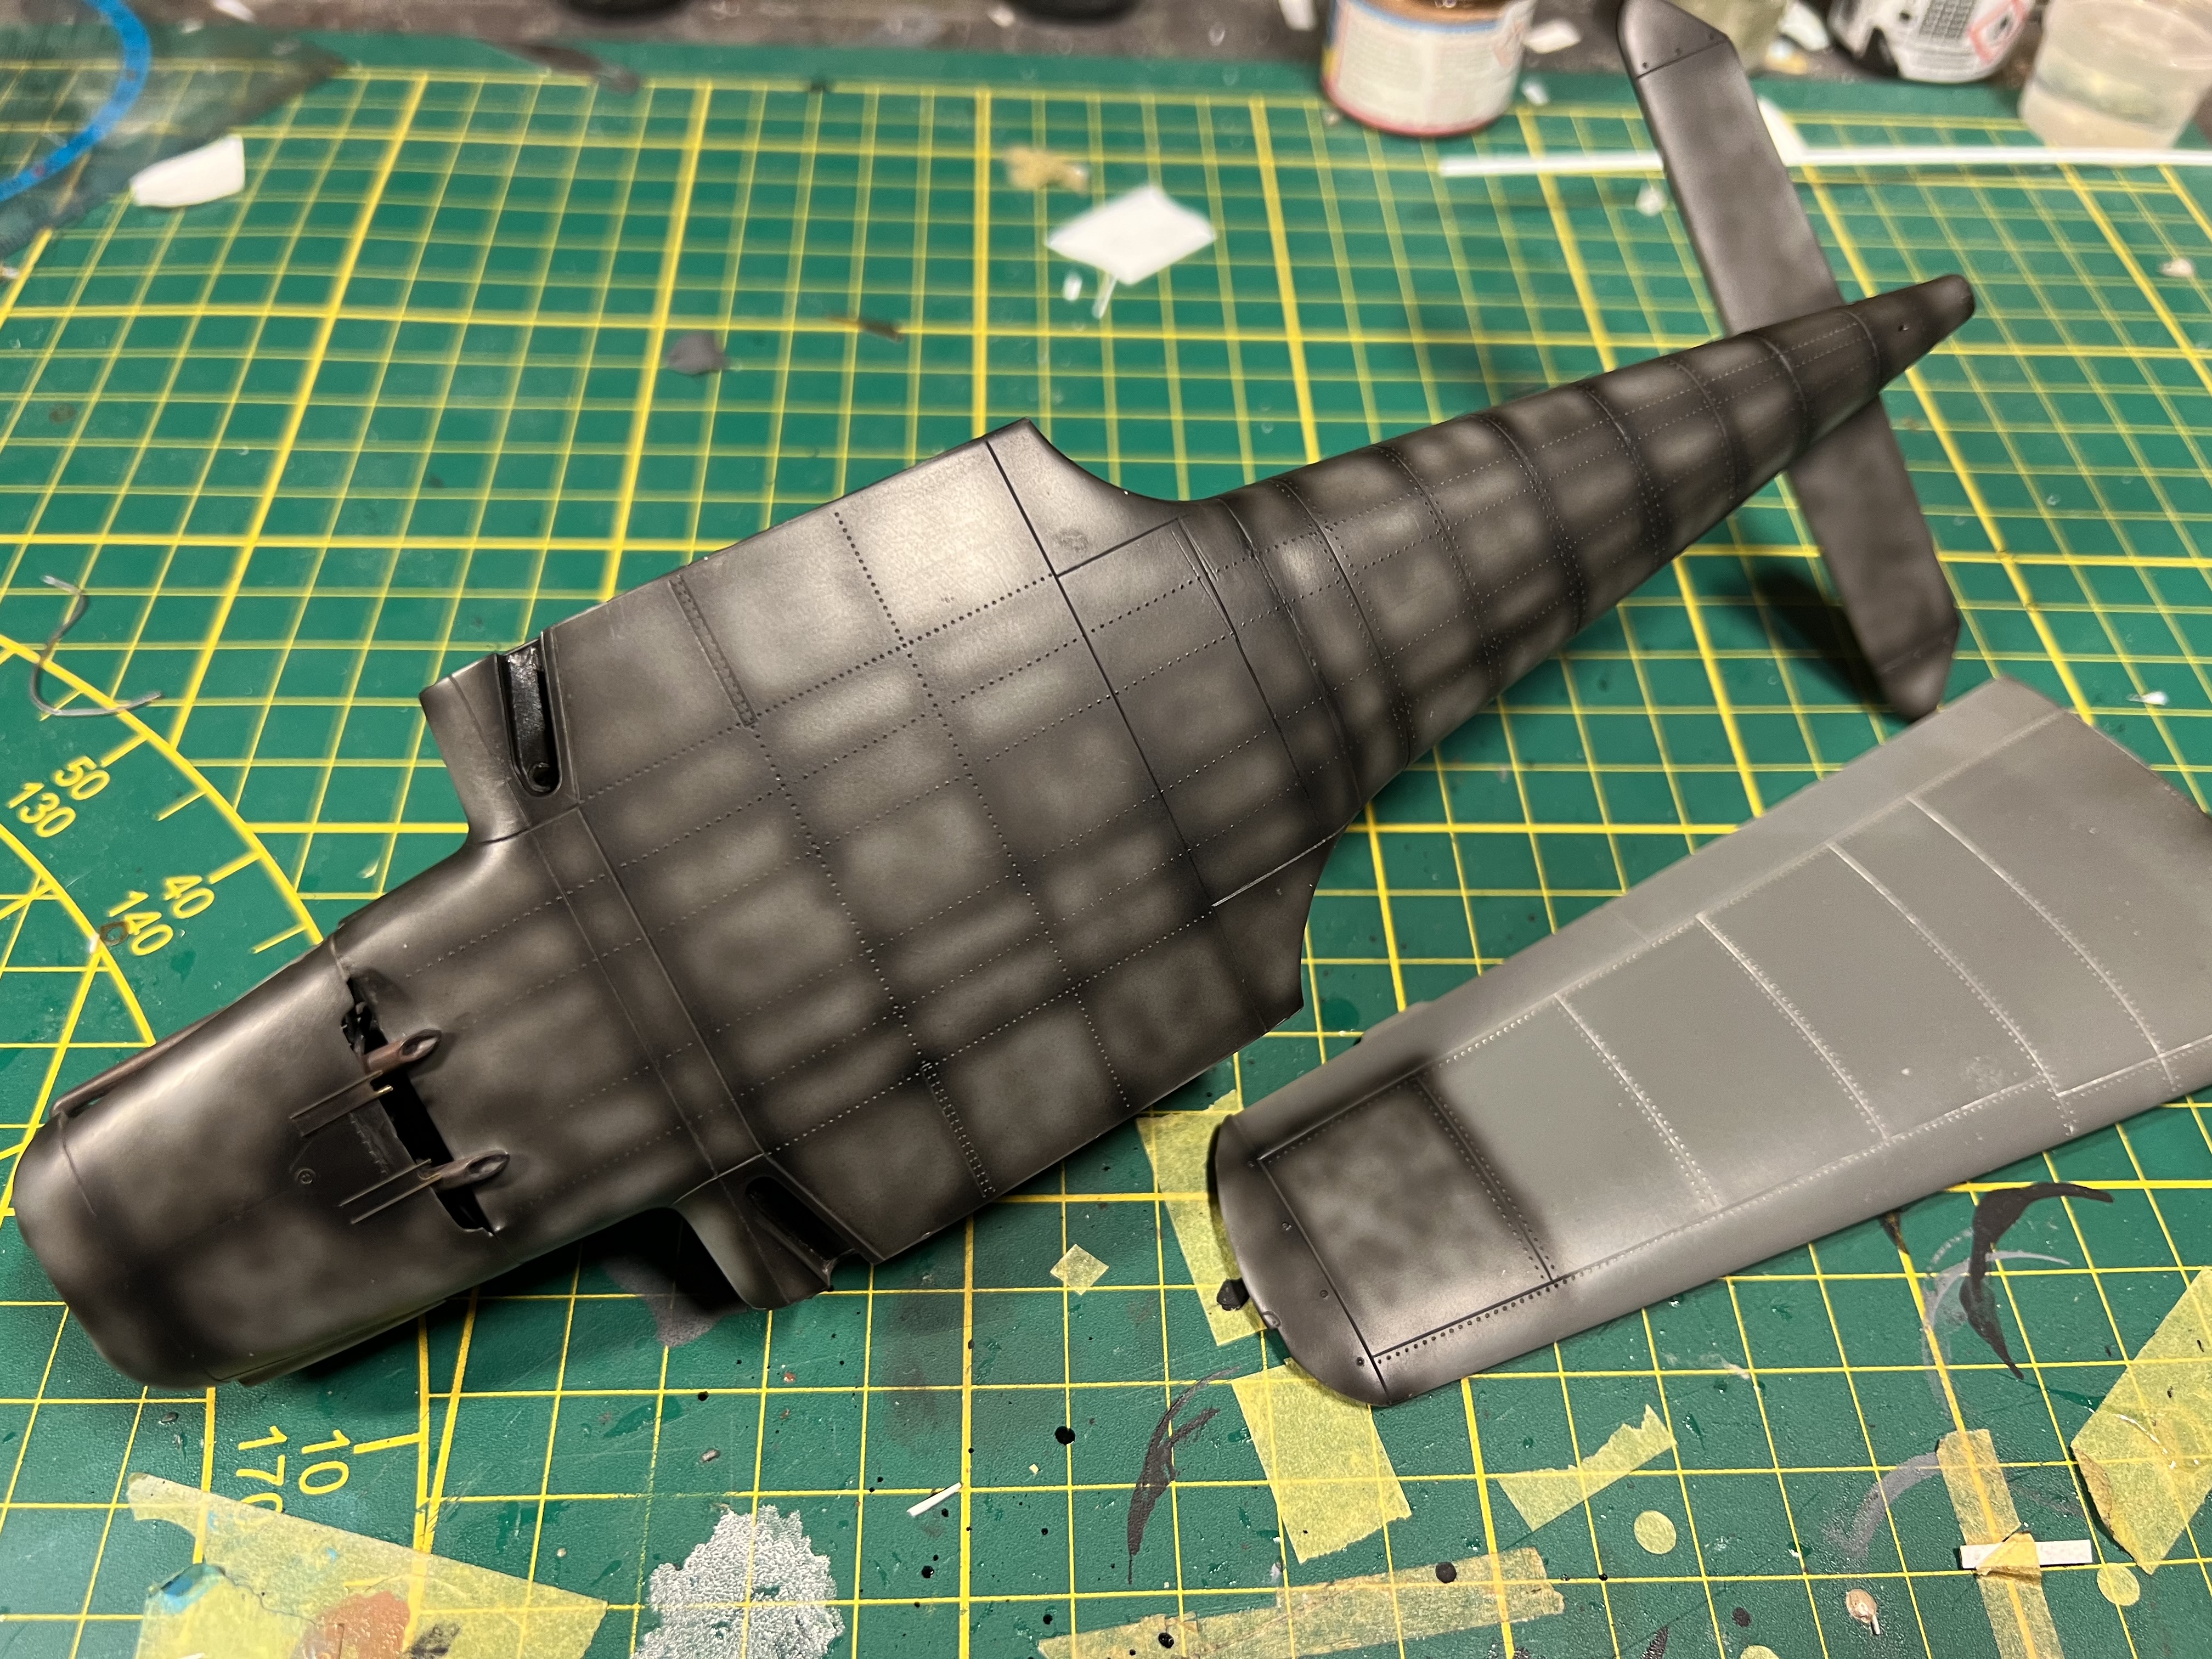
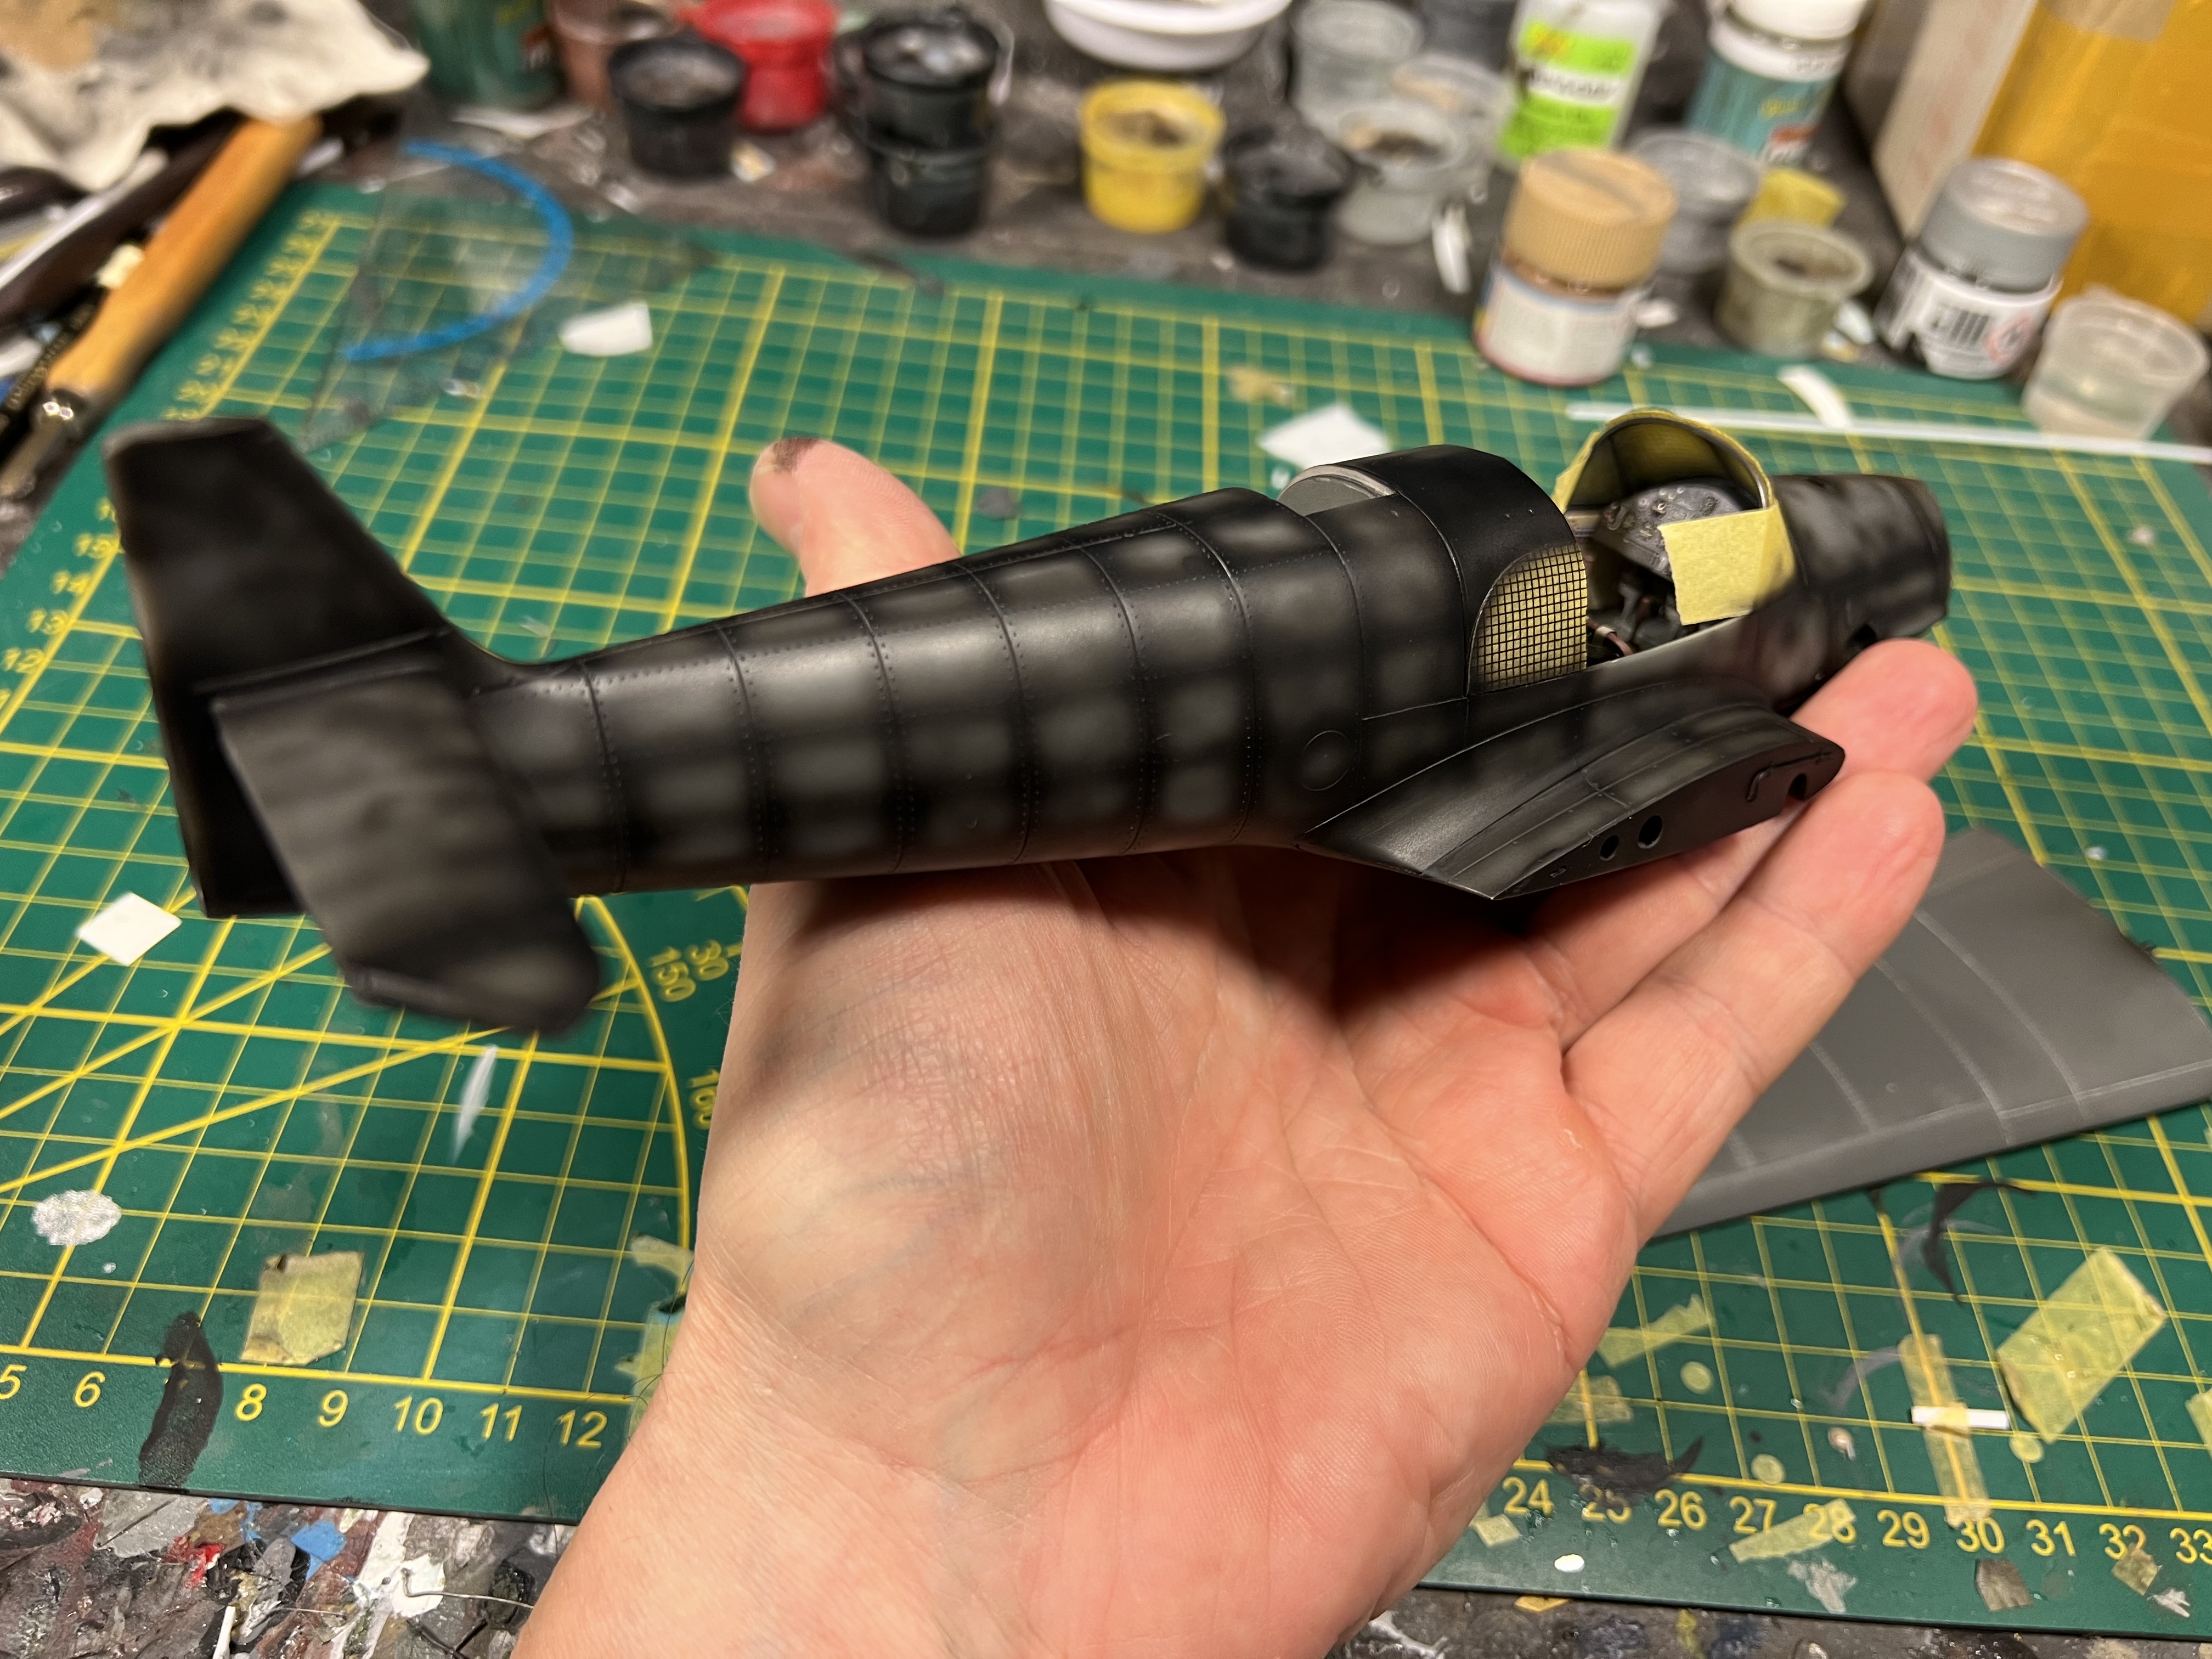
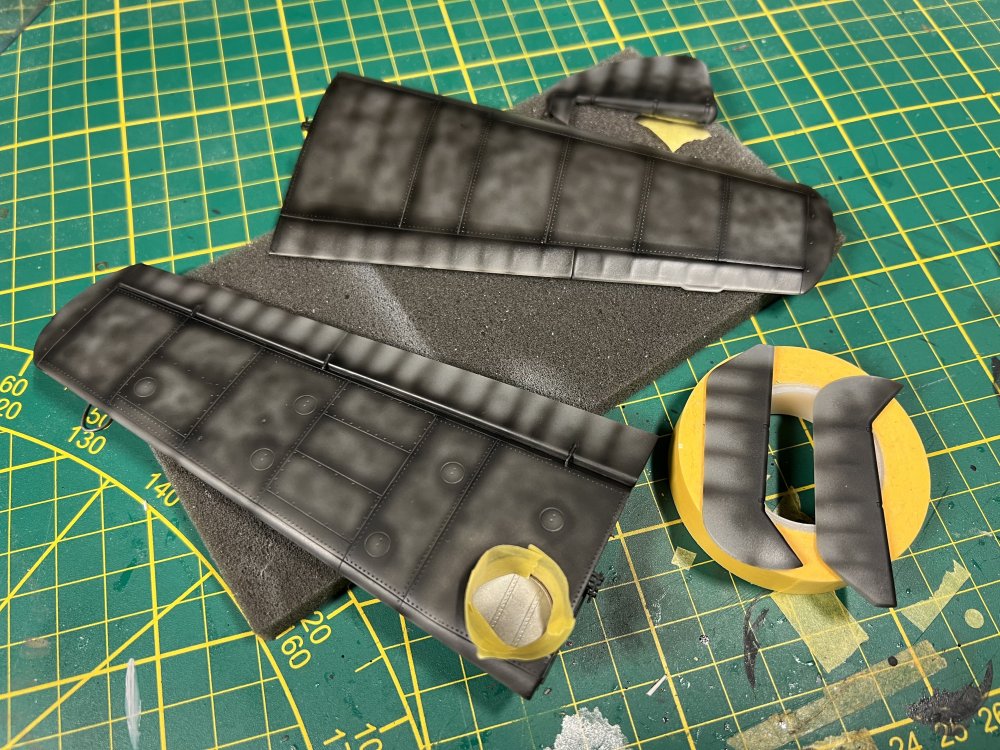
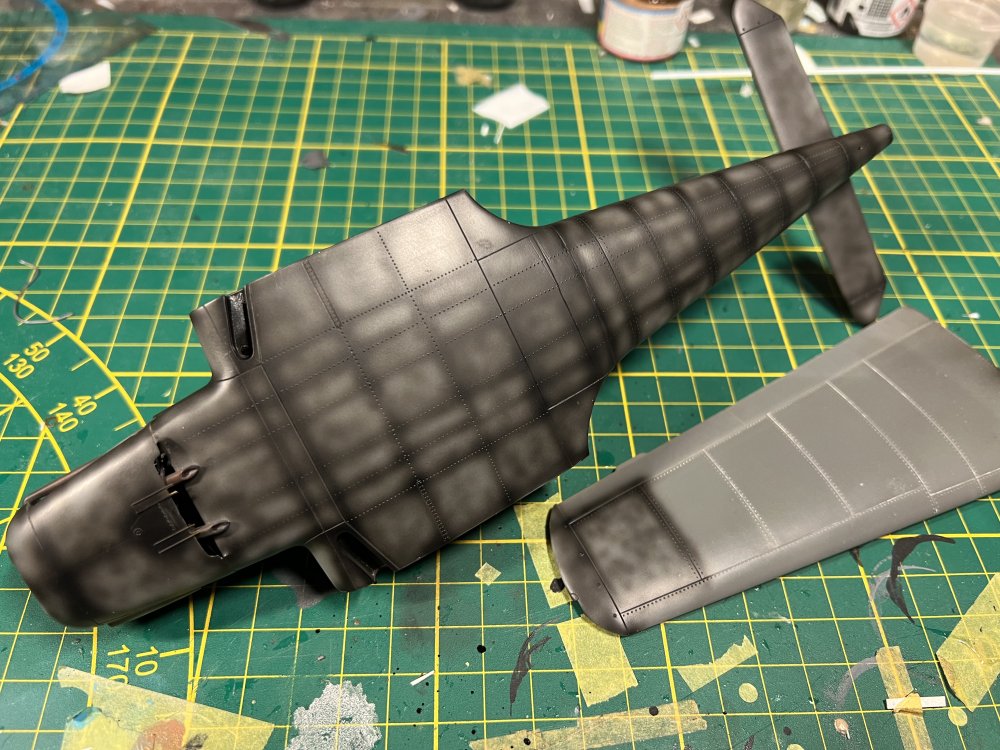
Fuselage pre shaded and marbled. Onto the wings.
-
Started marbling the first layer. windowframes have been masked with a Cricut maker 3.


-
1:32nd scale Sopwith Dolphin
JeroenPeters replied to sandbagger's topic in LSM 1/35 and Larger Work In Progress
Looking the part! -
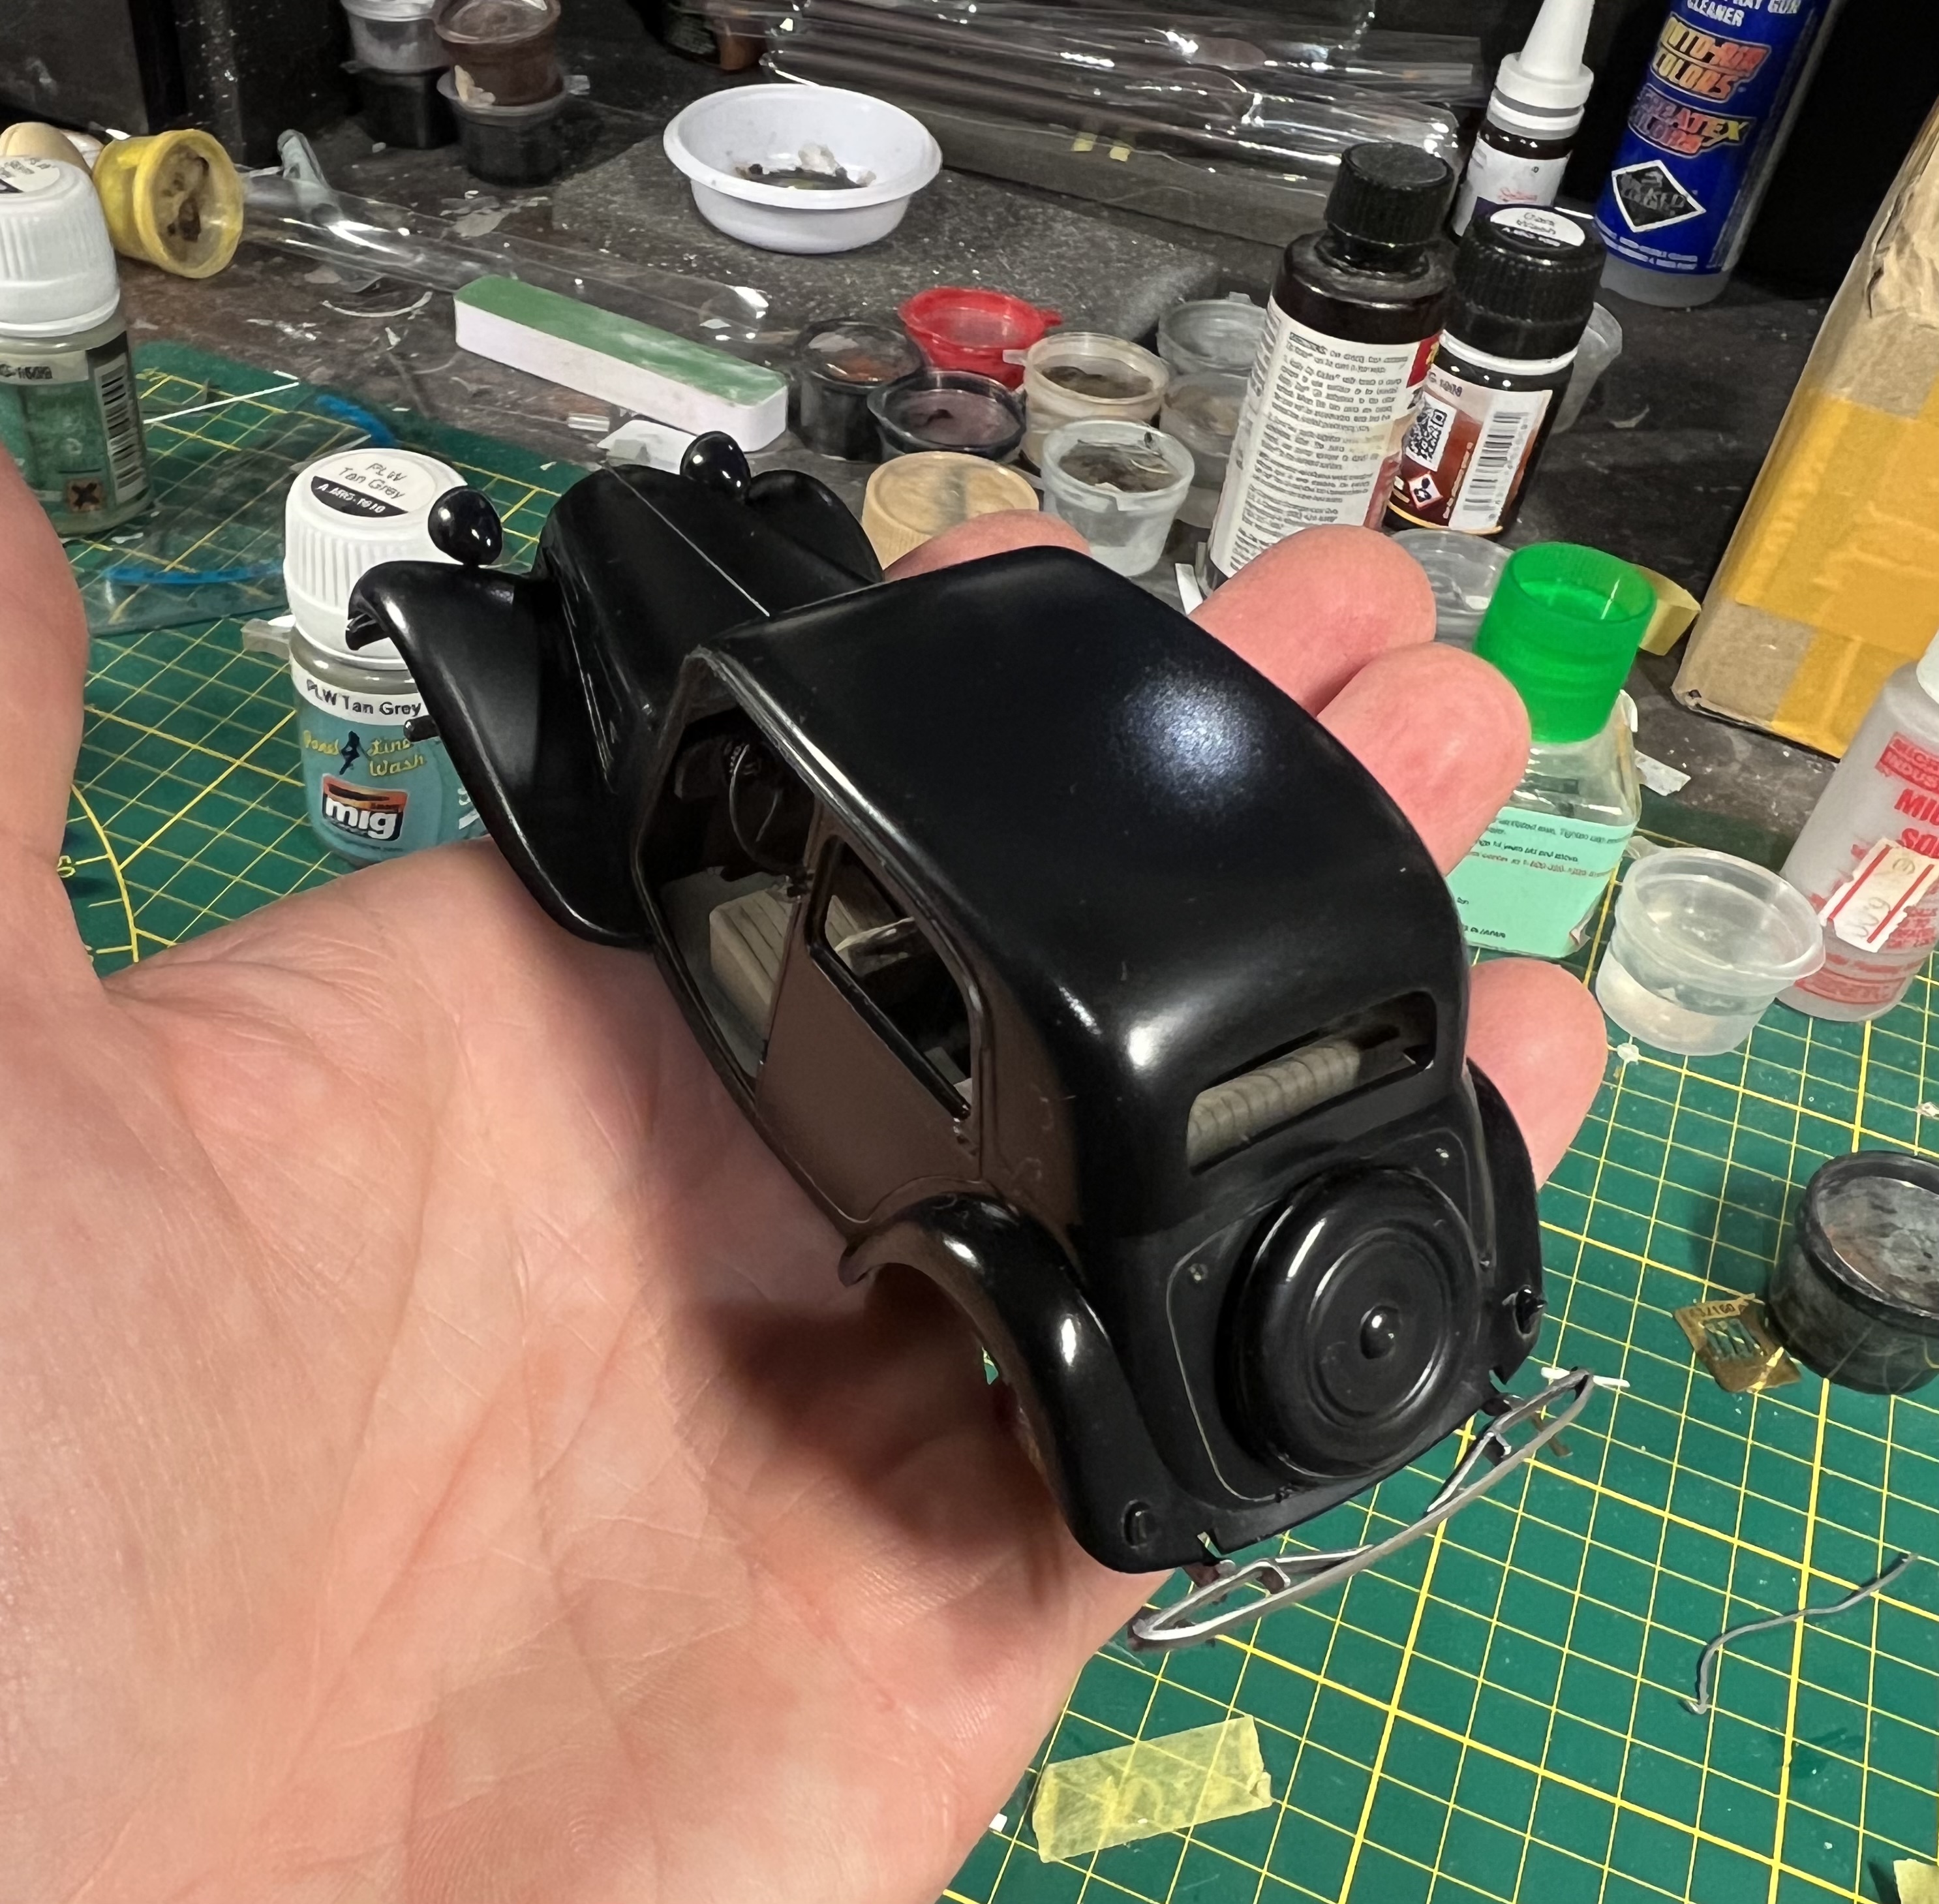
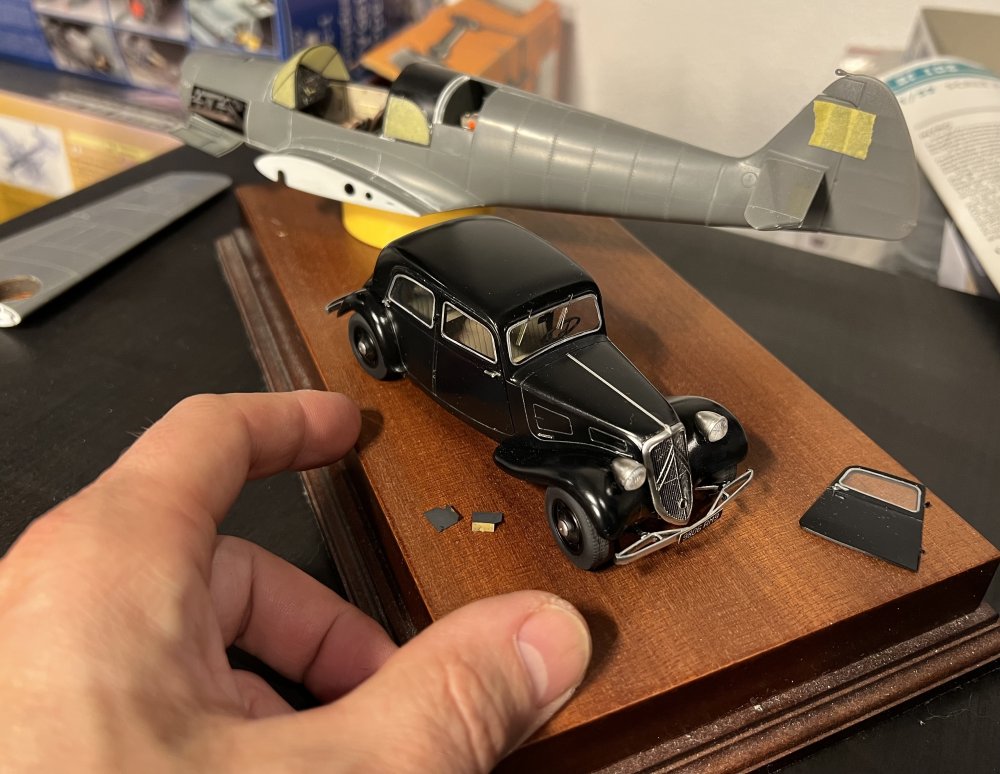
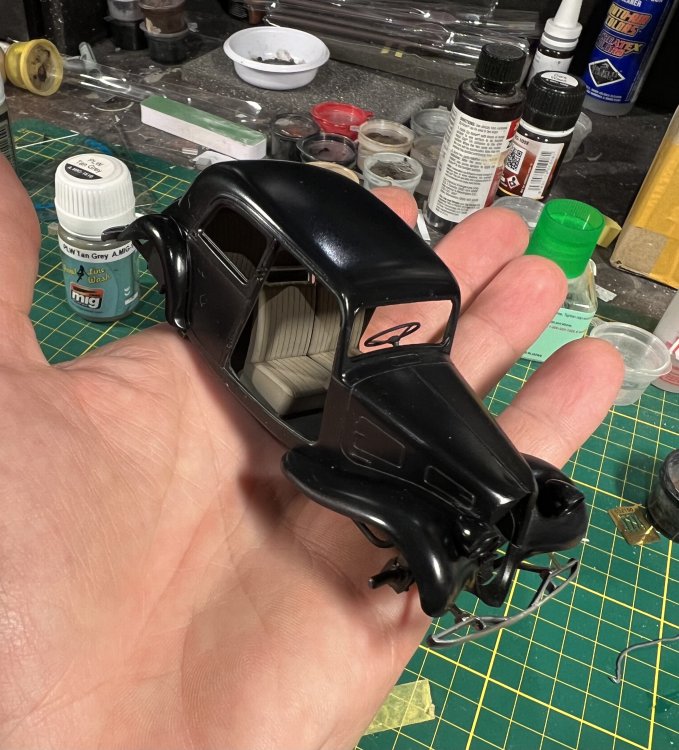
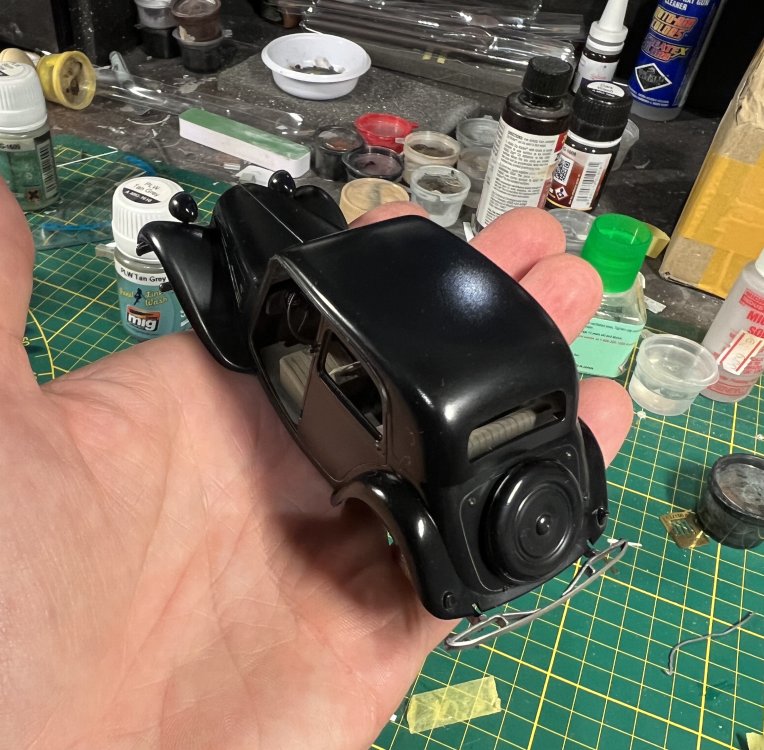
Grill is on. Headlights. Etc. A few more parts and it’s ready for some light weathering.
-
Small progress…
-
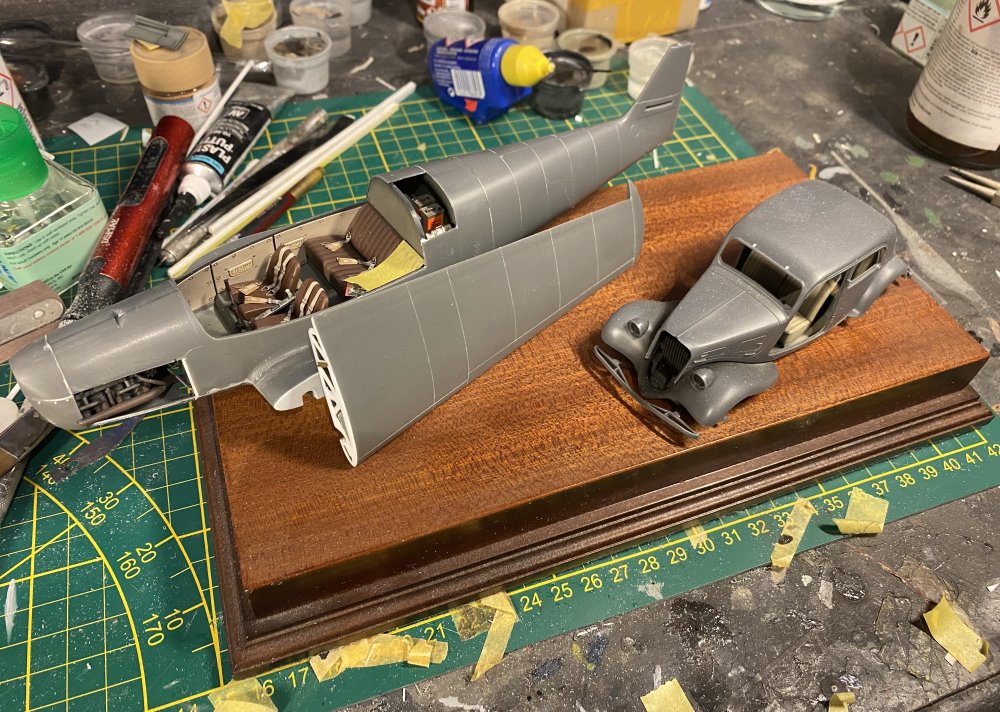
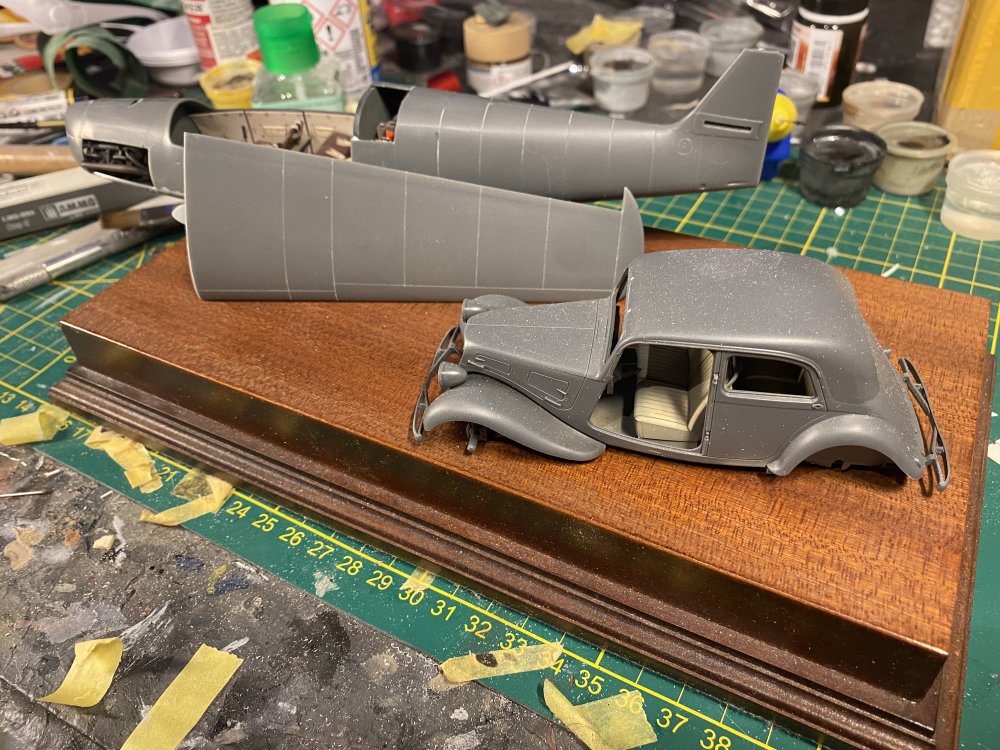
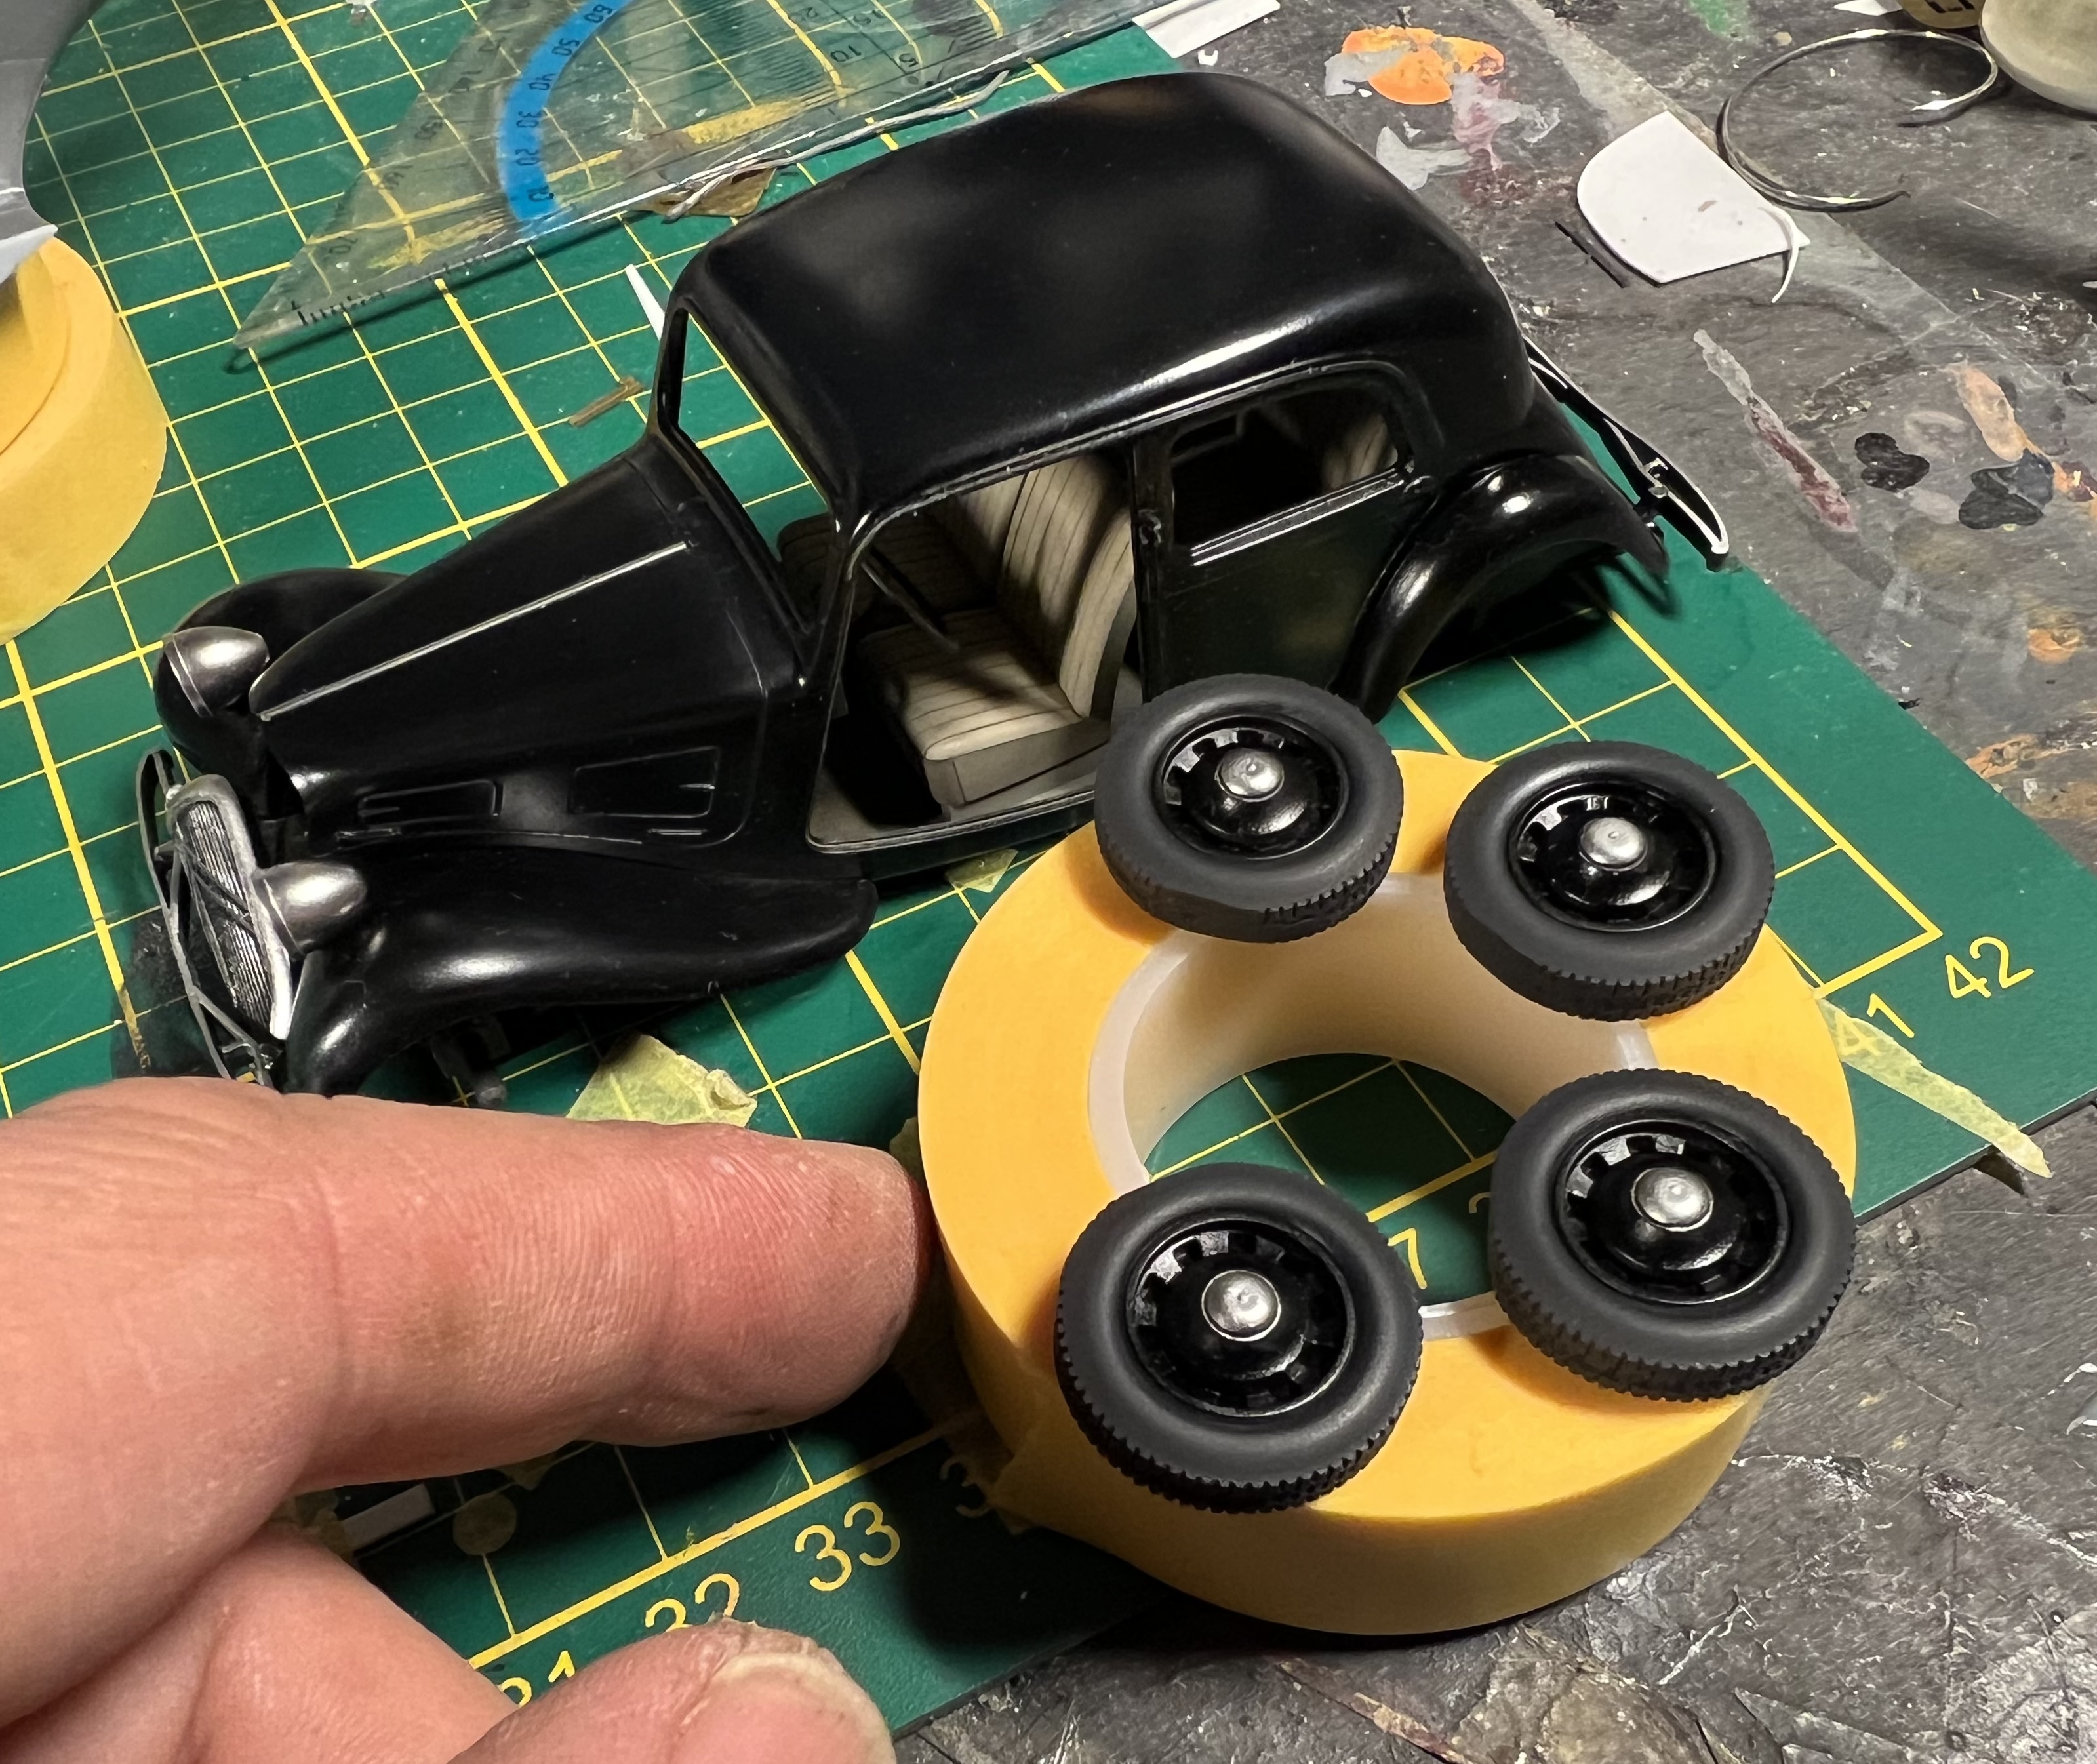
Recieved a new Traction kit i only needed for the windshield:

-


-
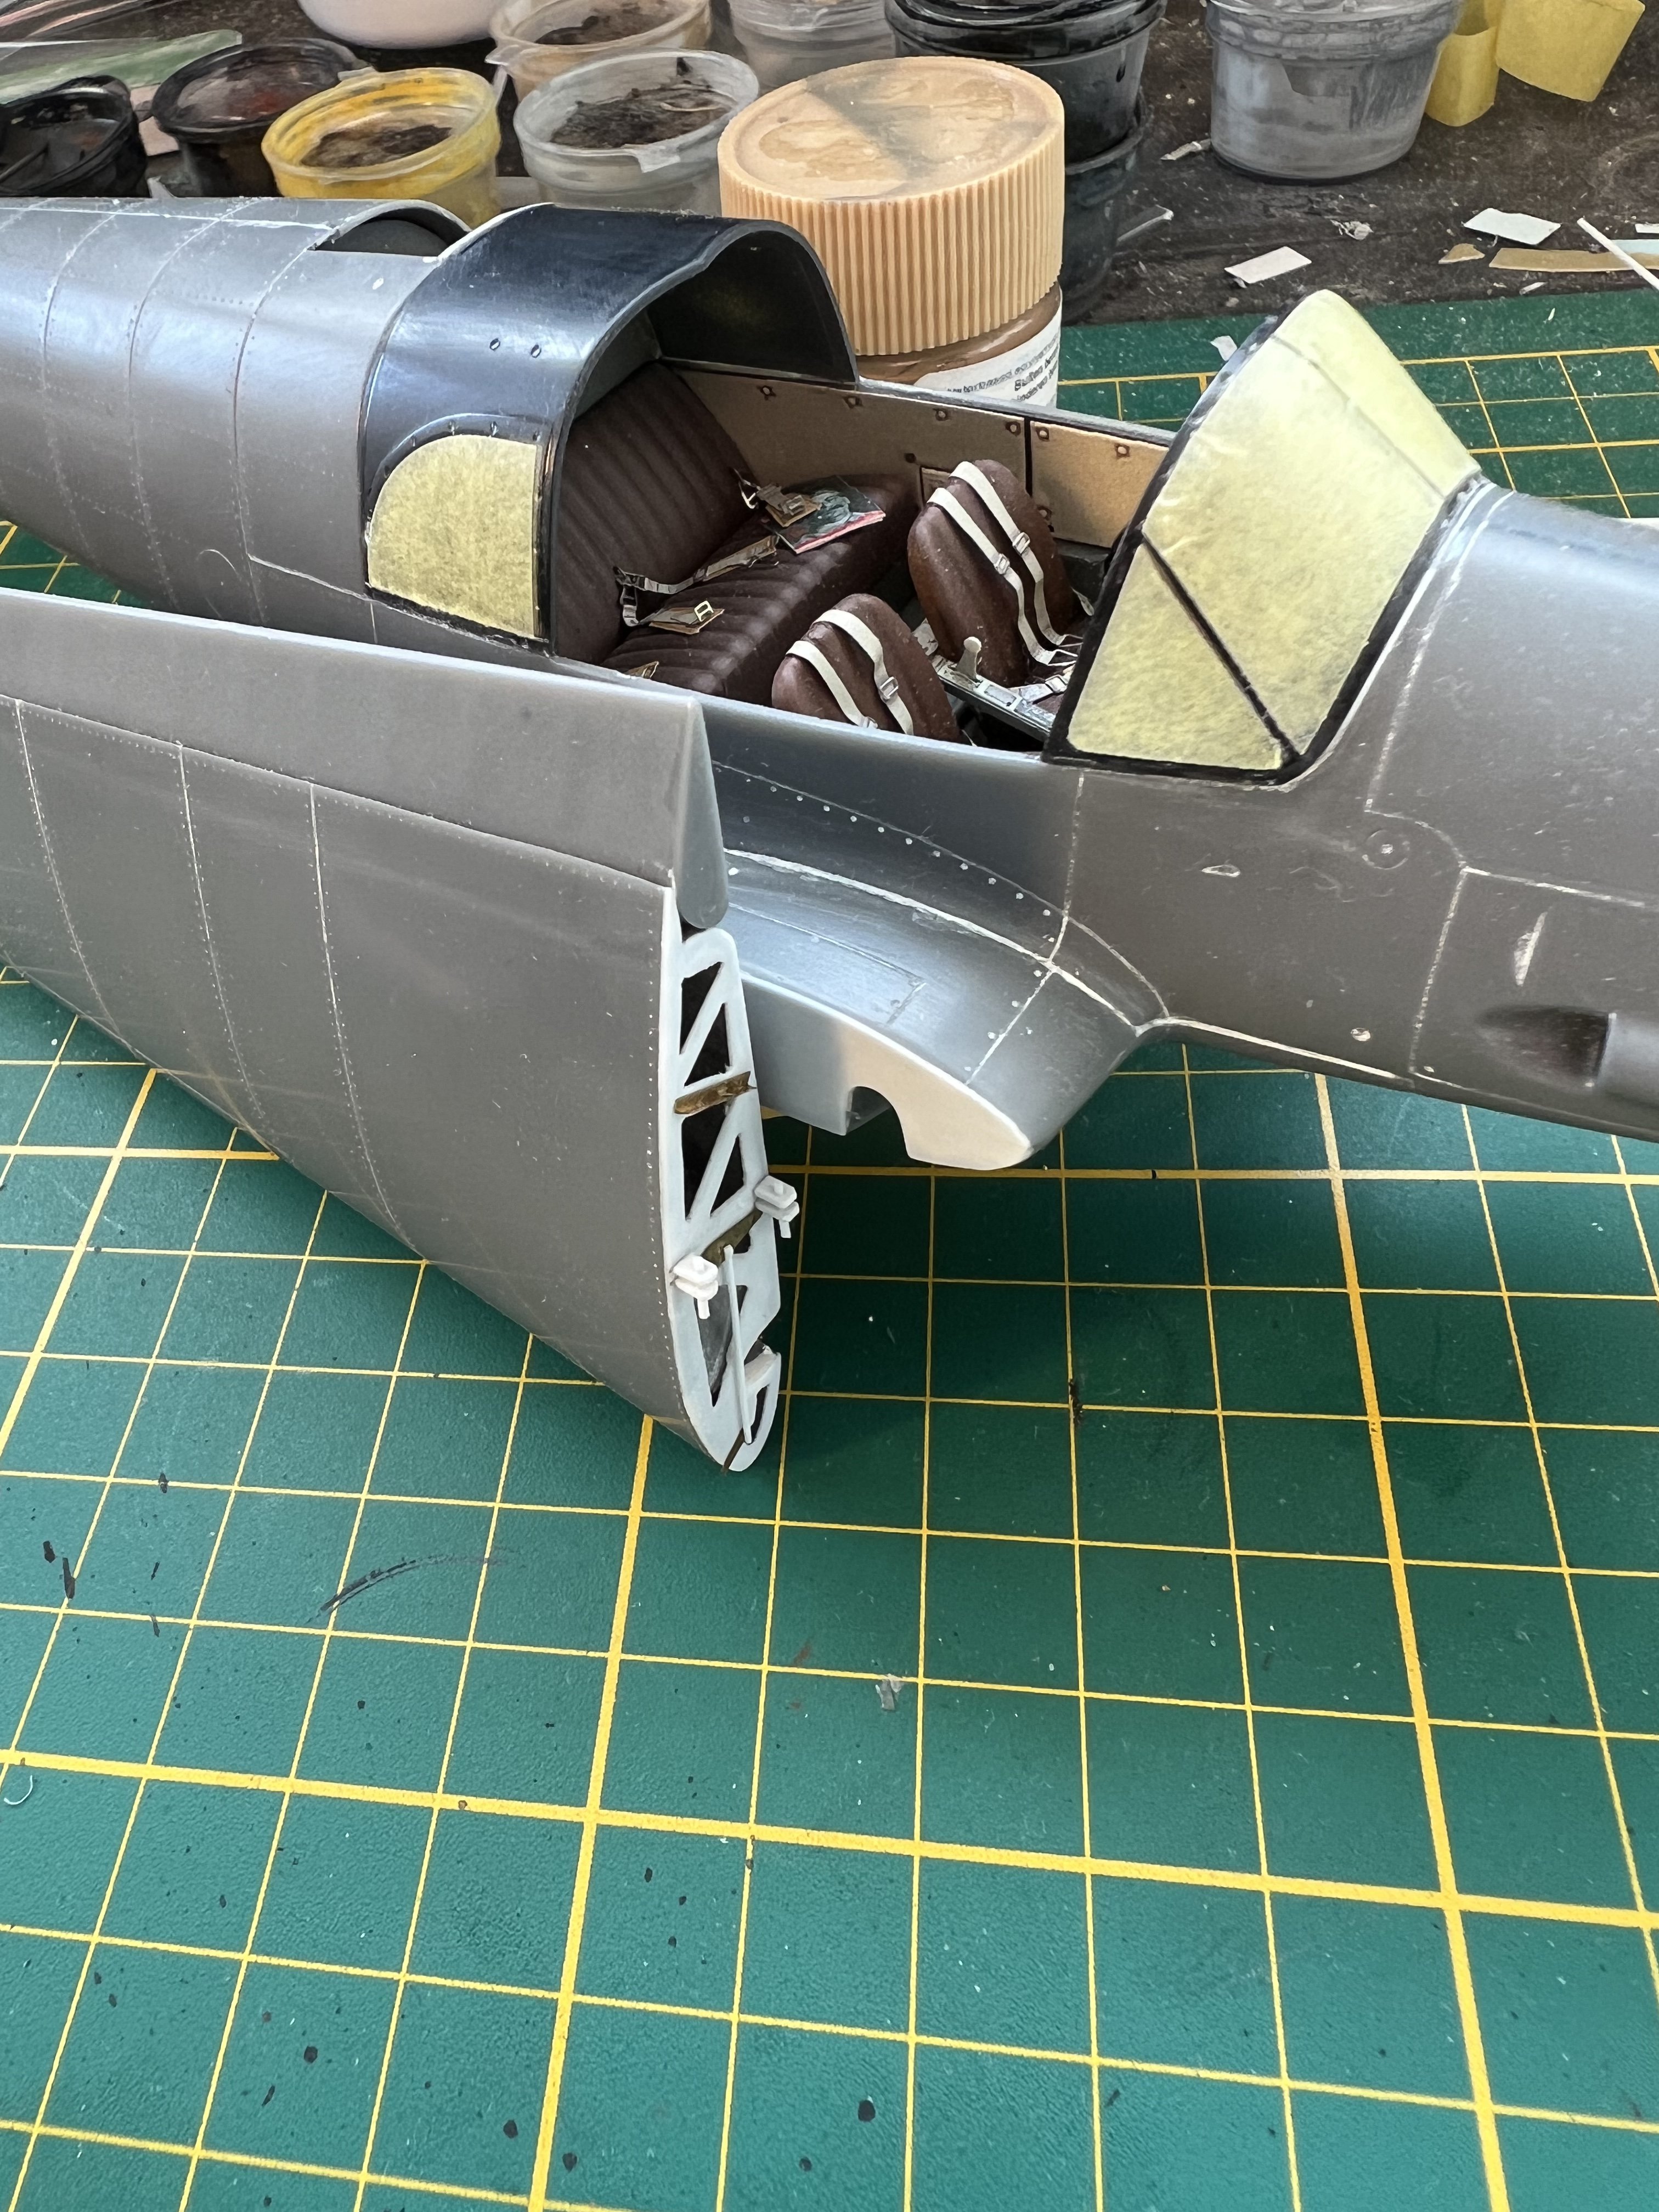
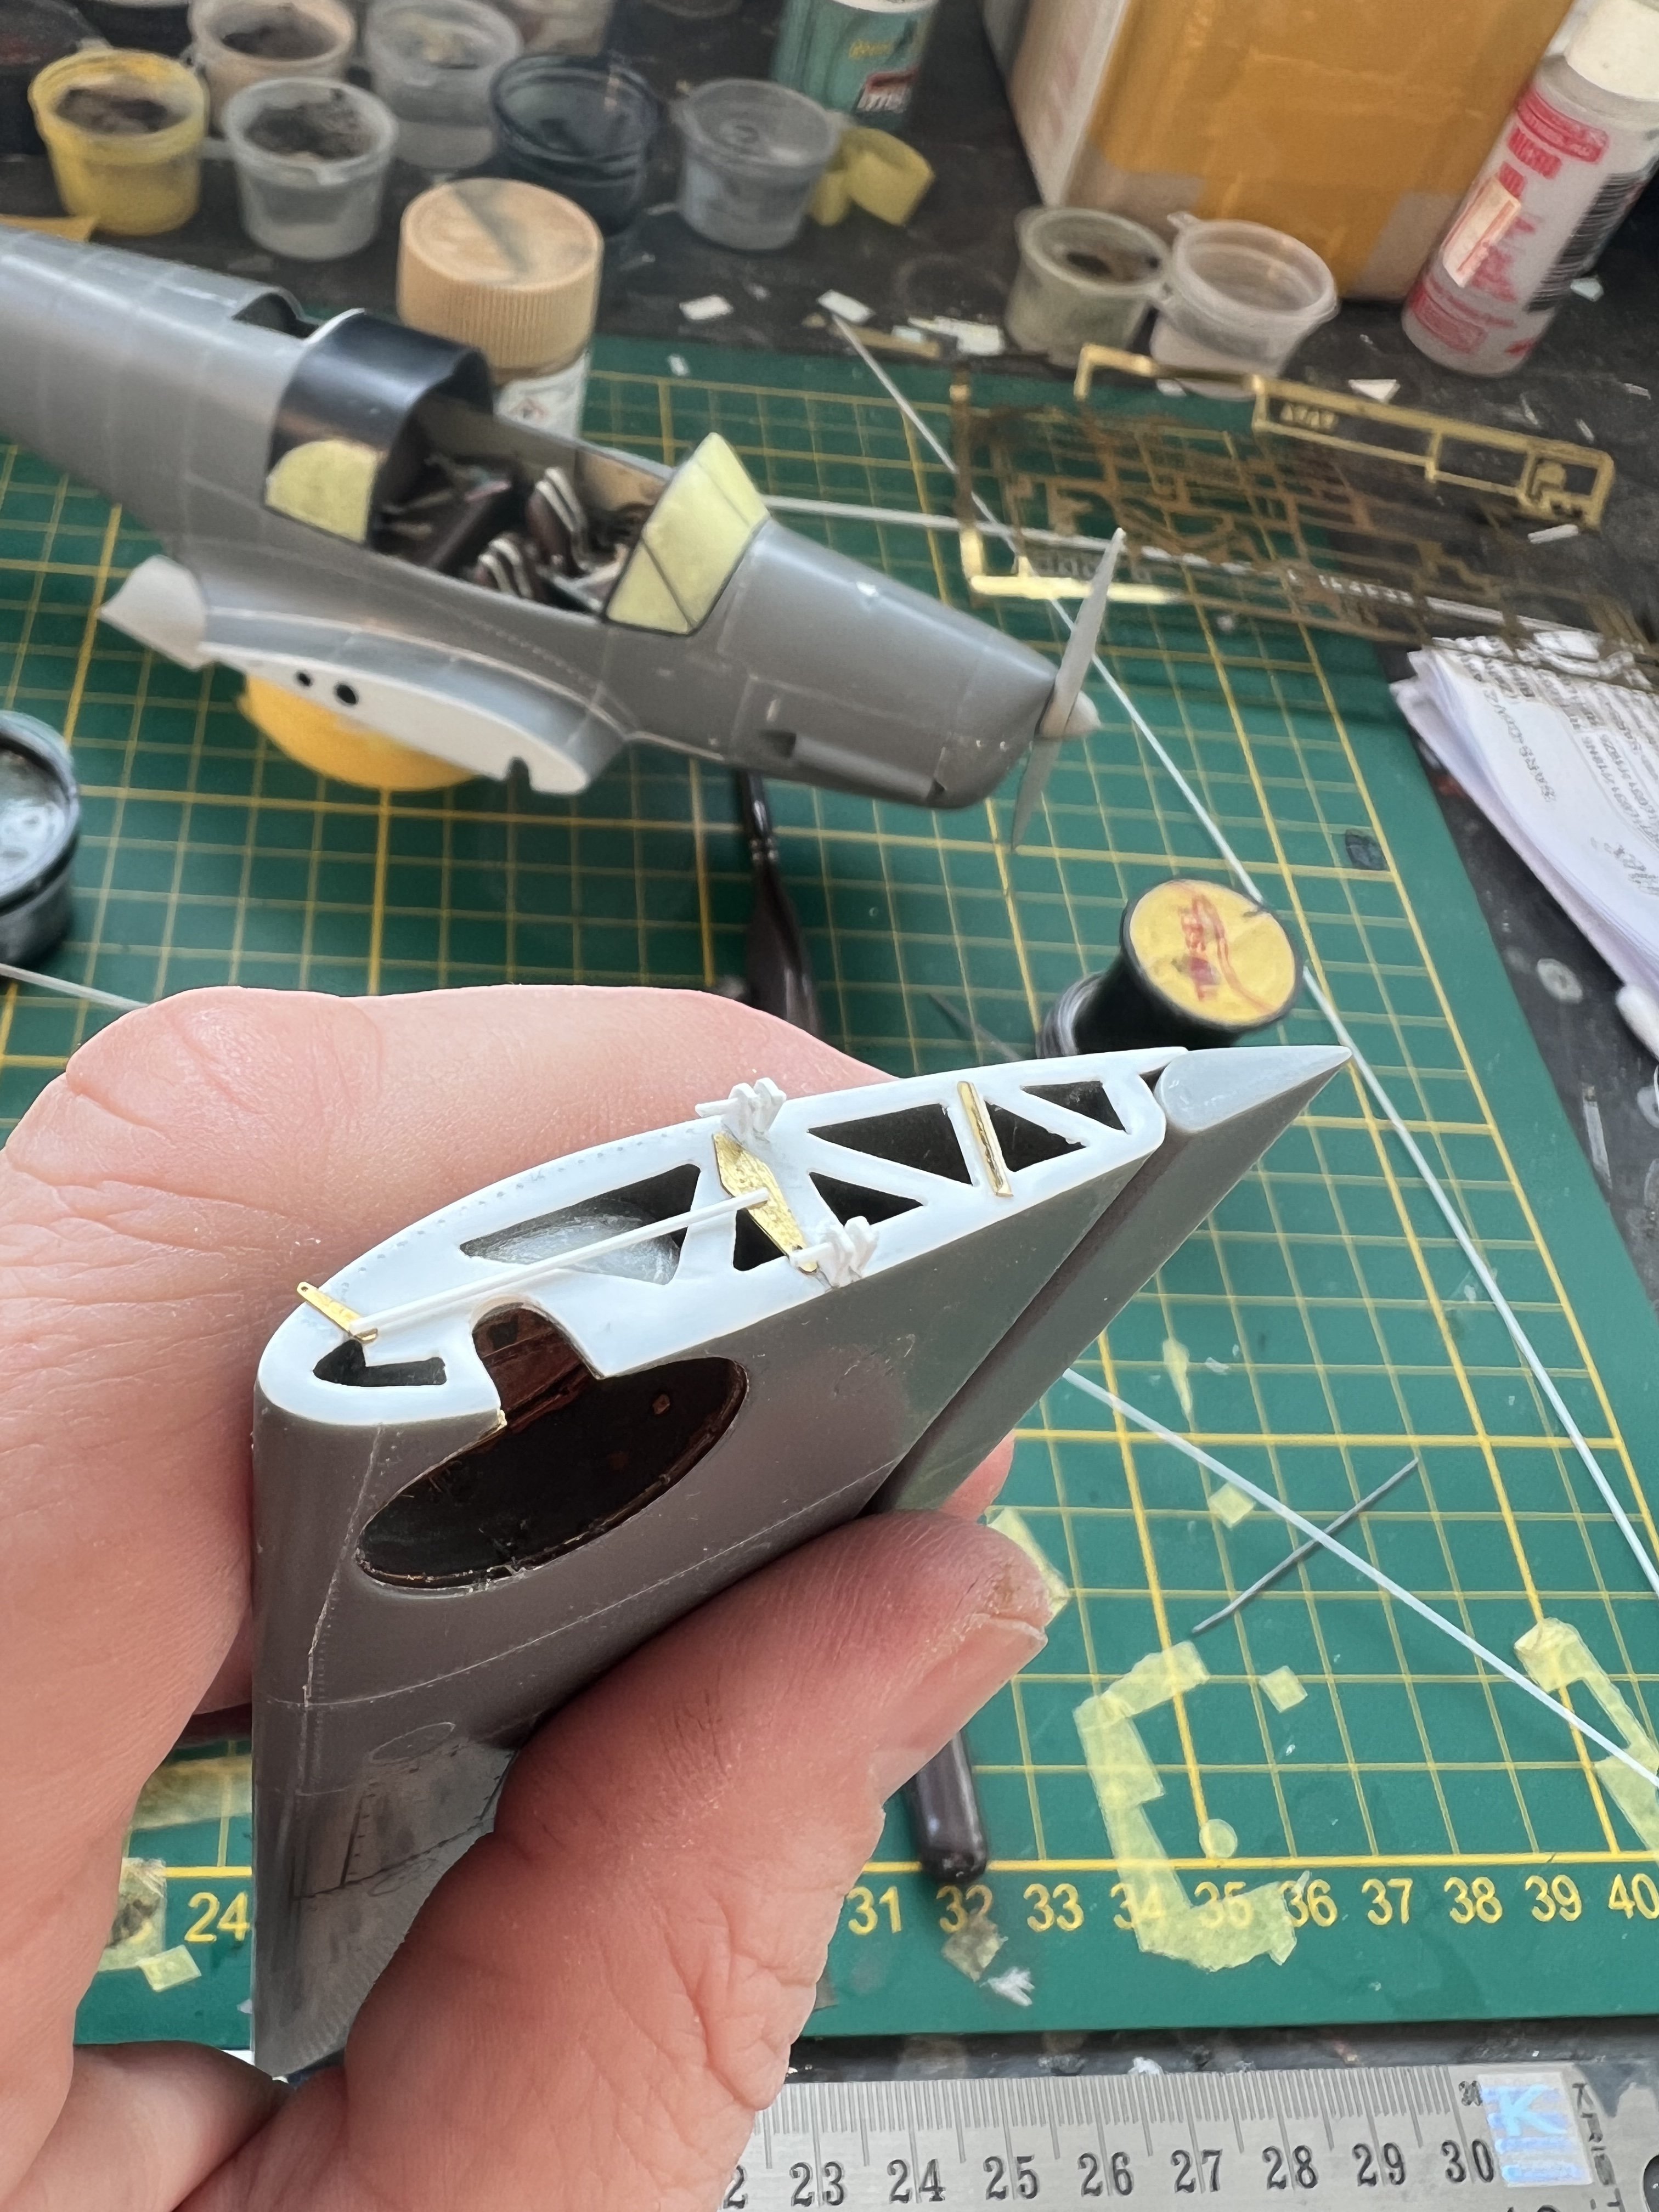
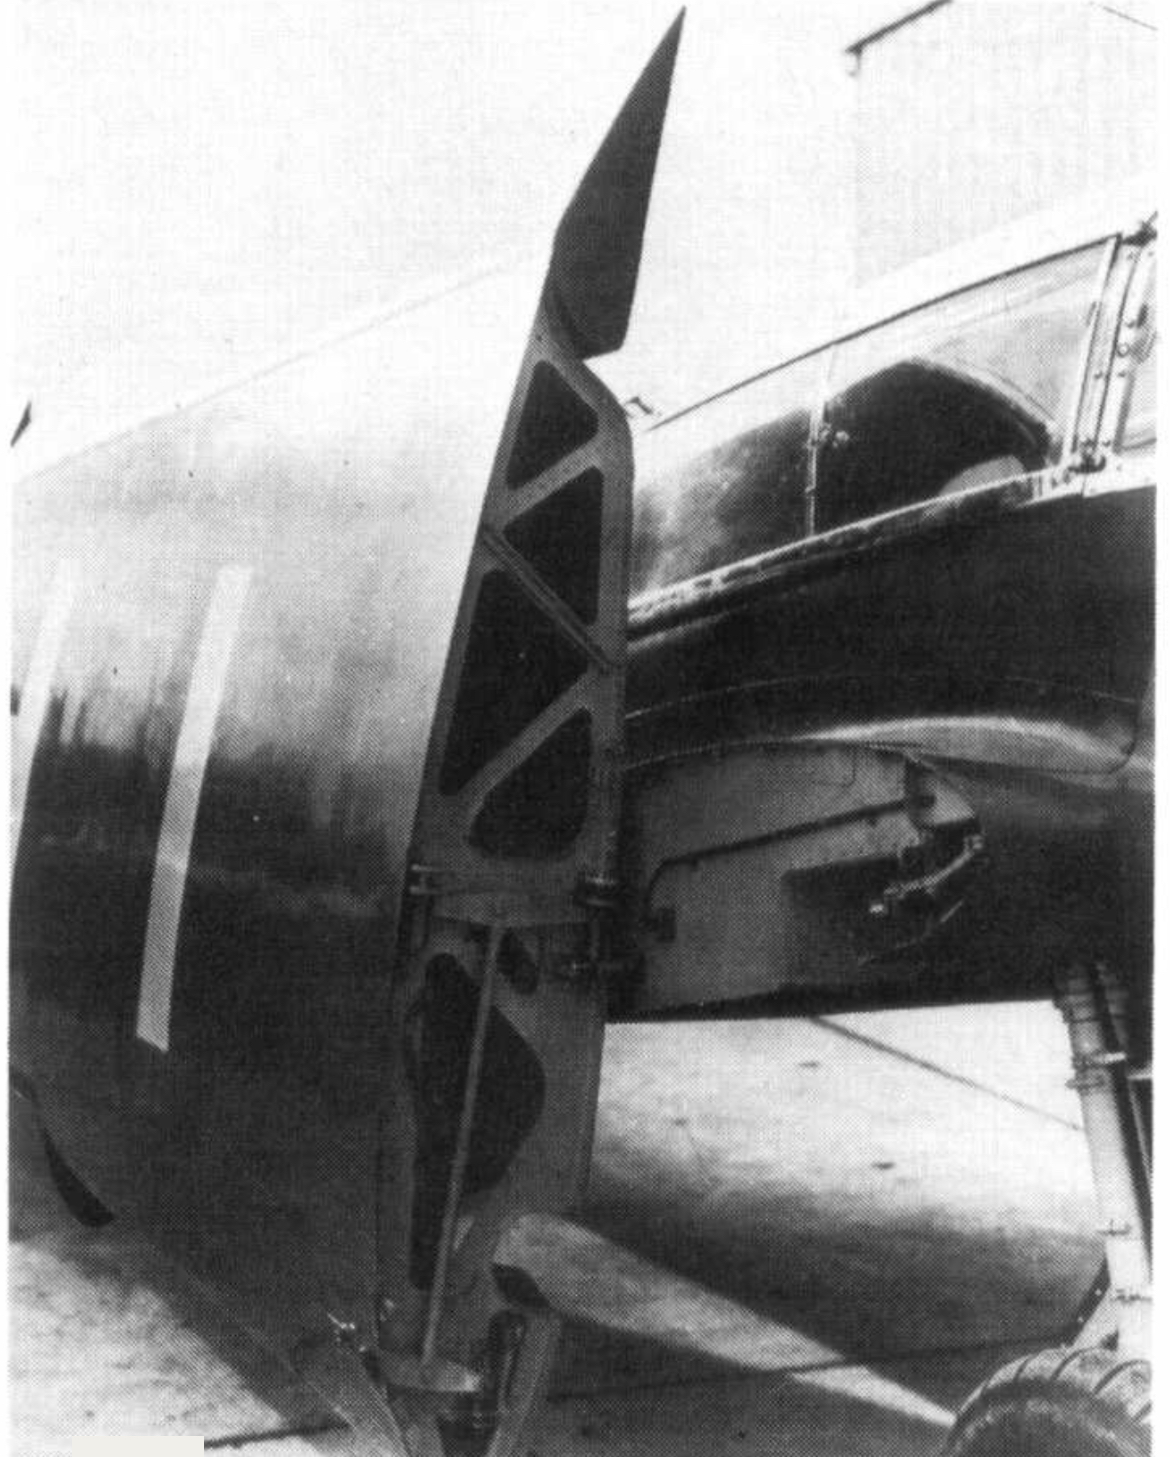
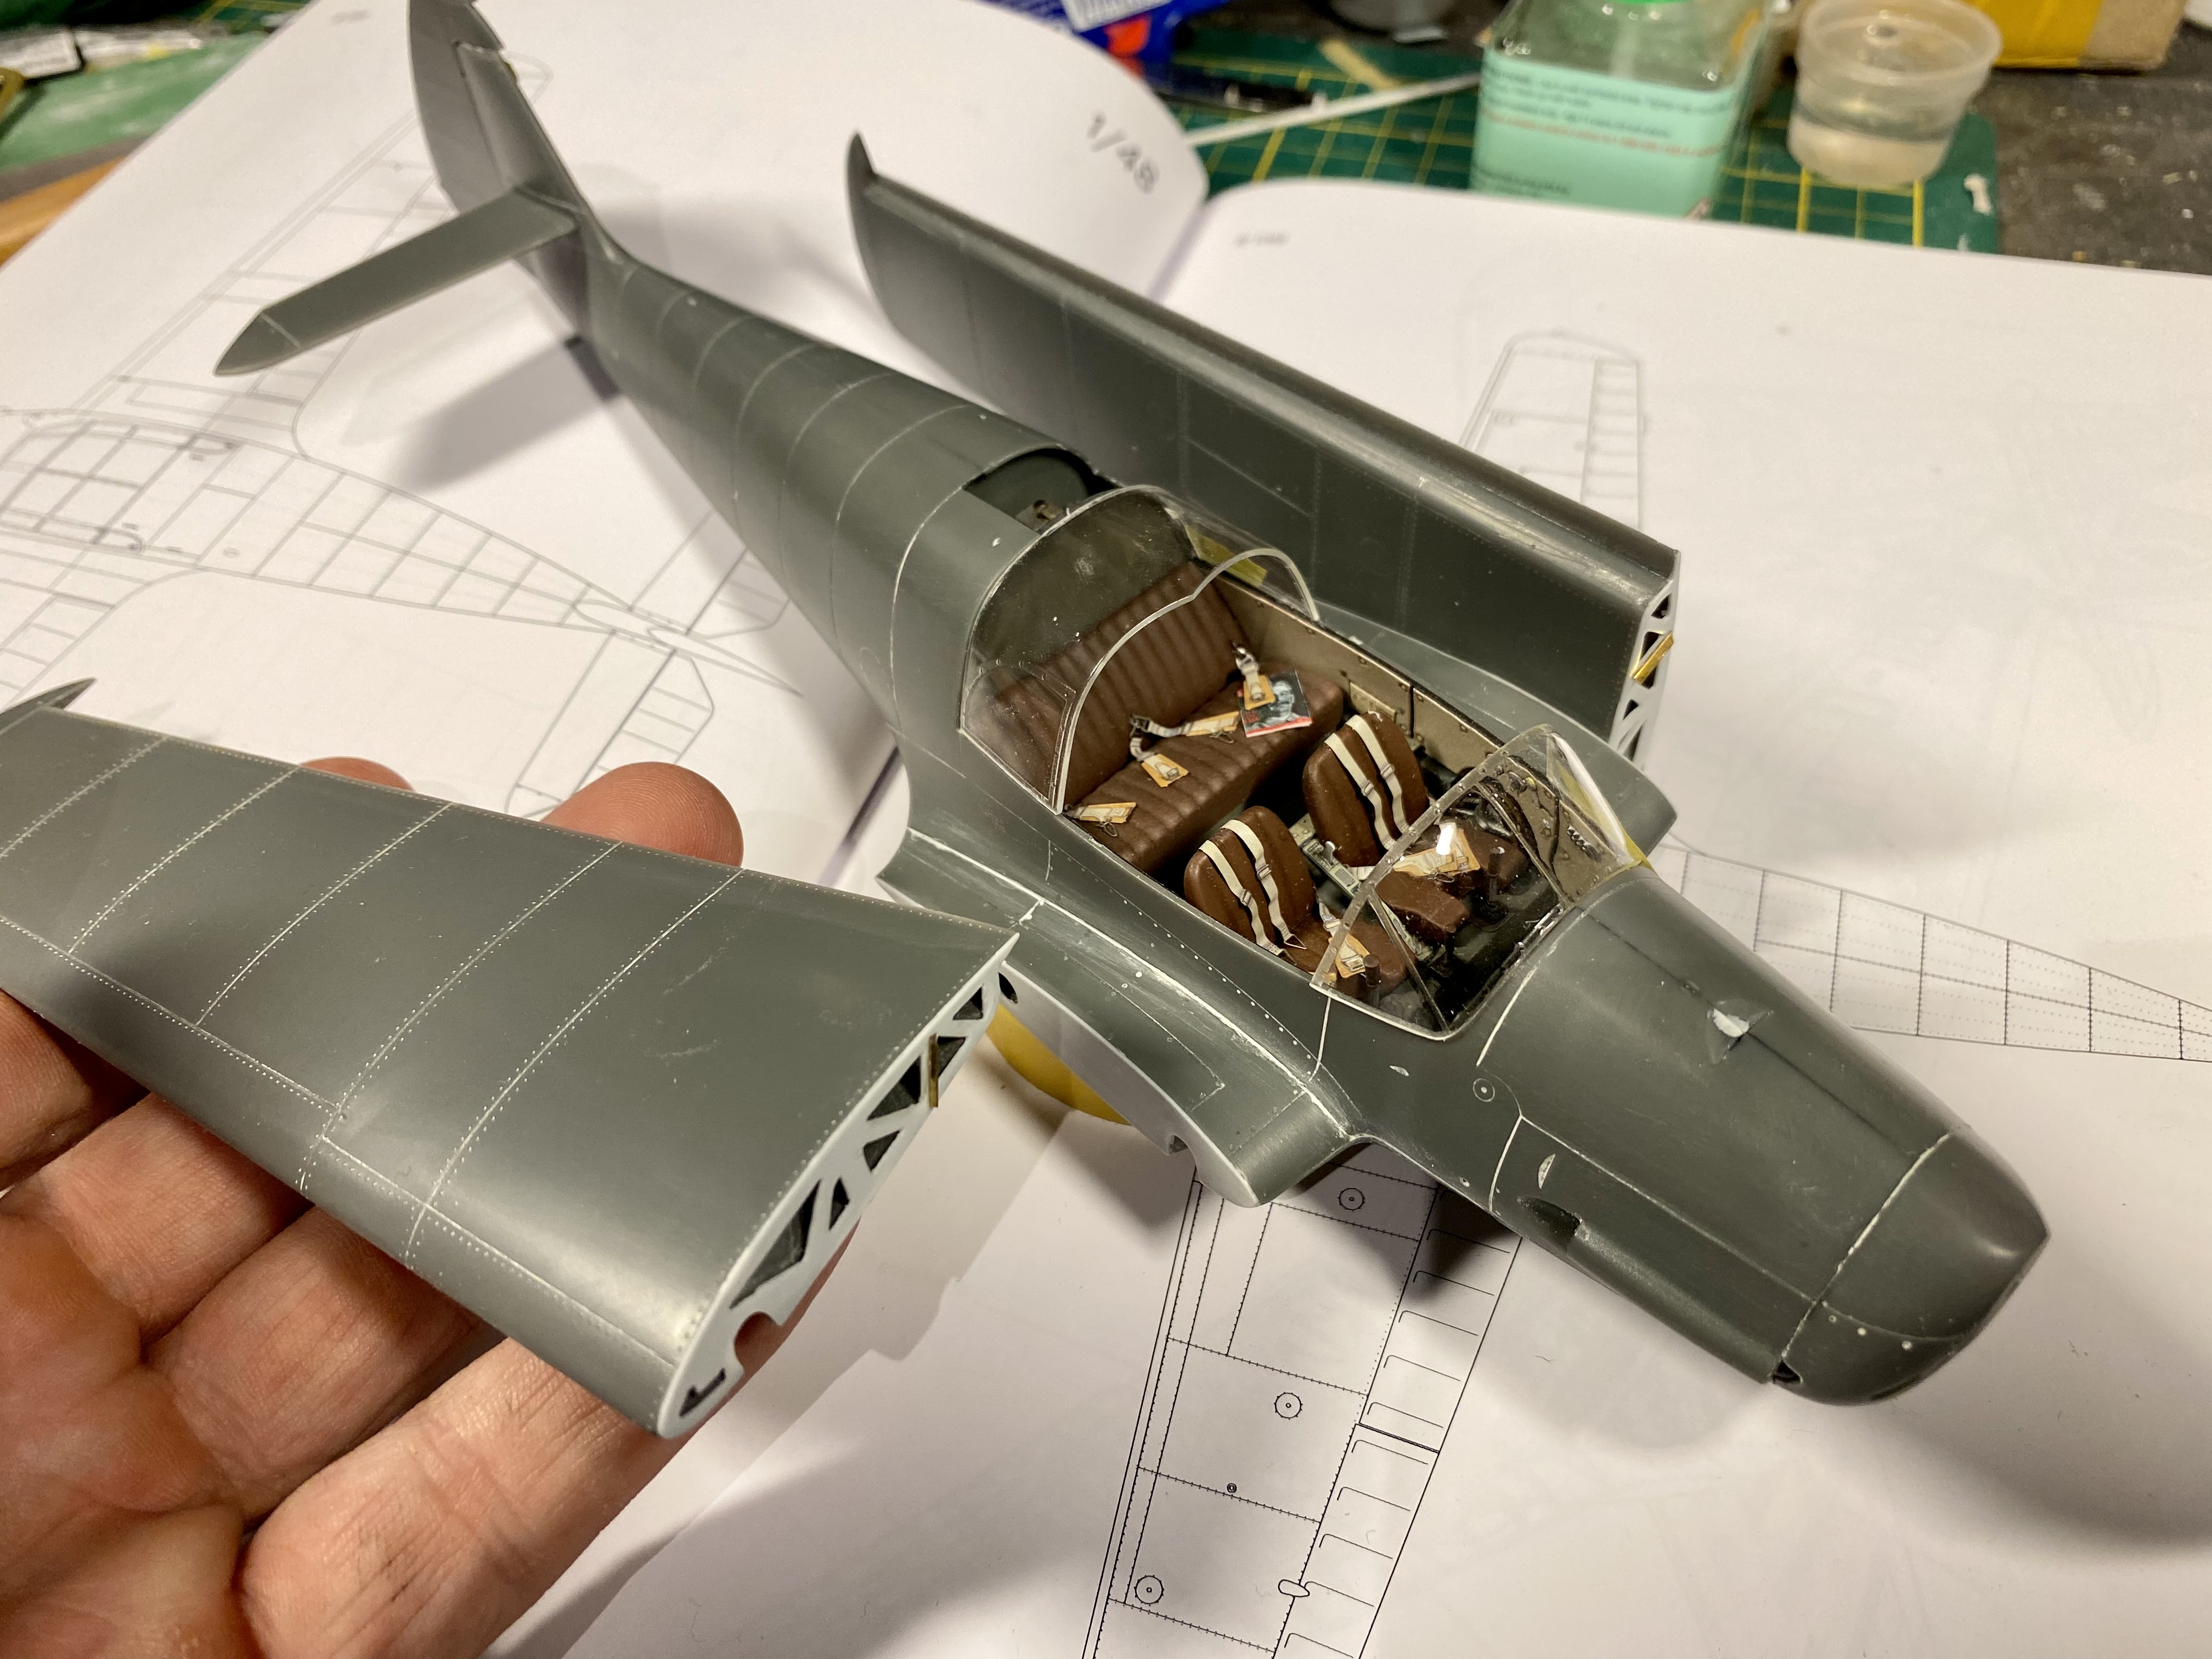
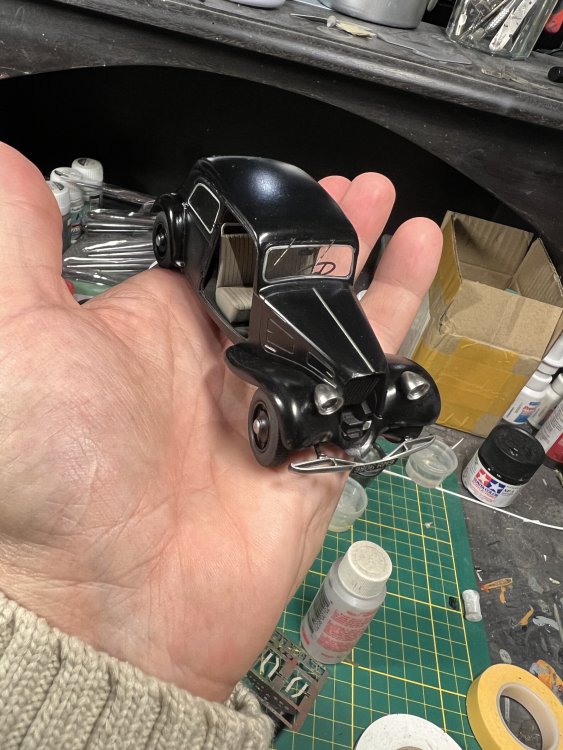
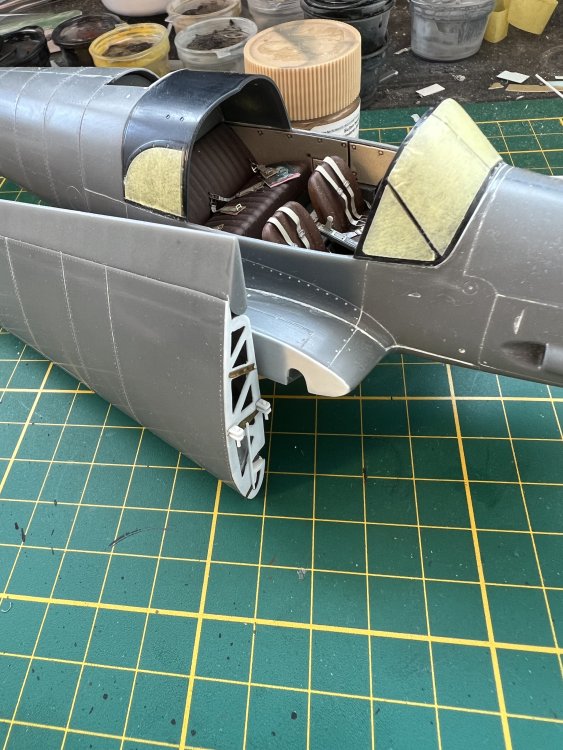
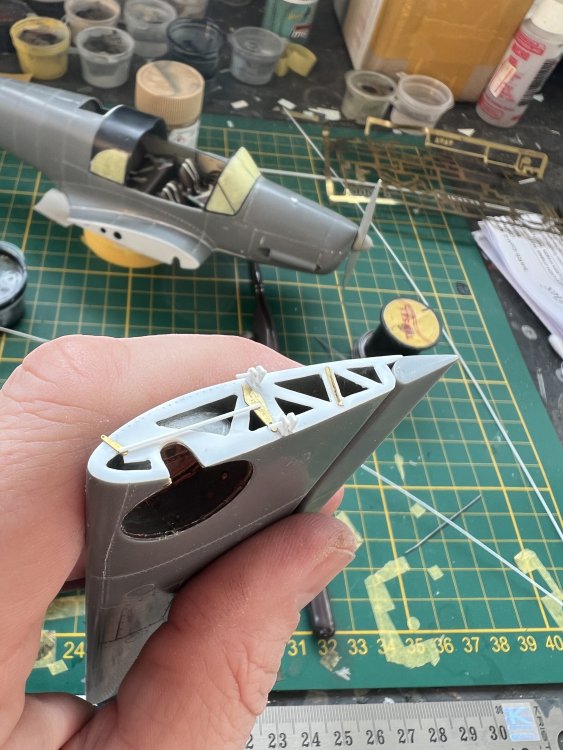
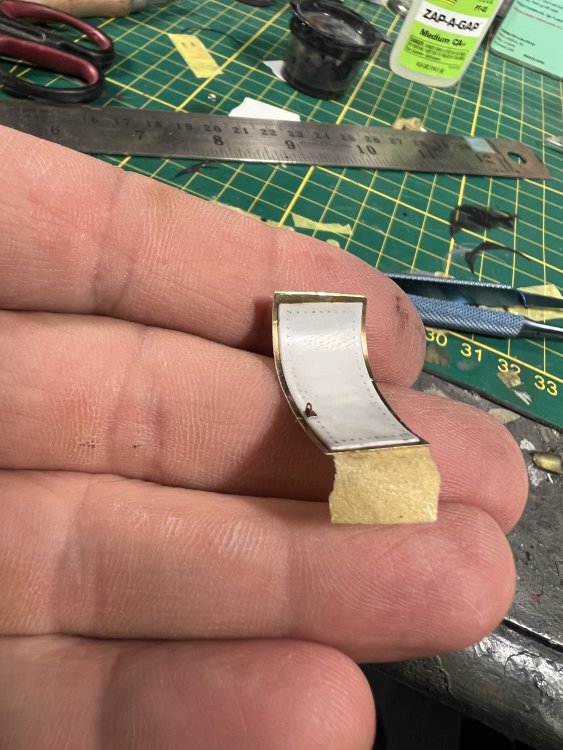
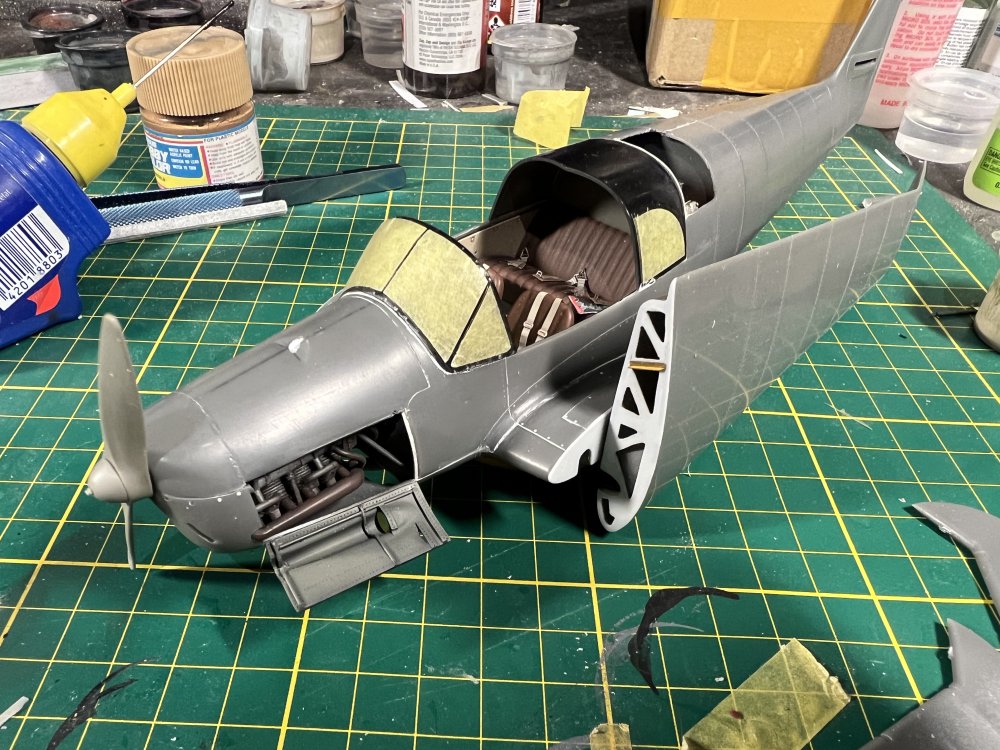
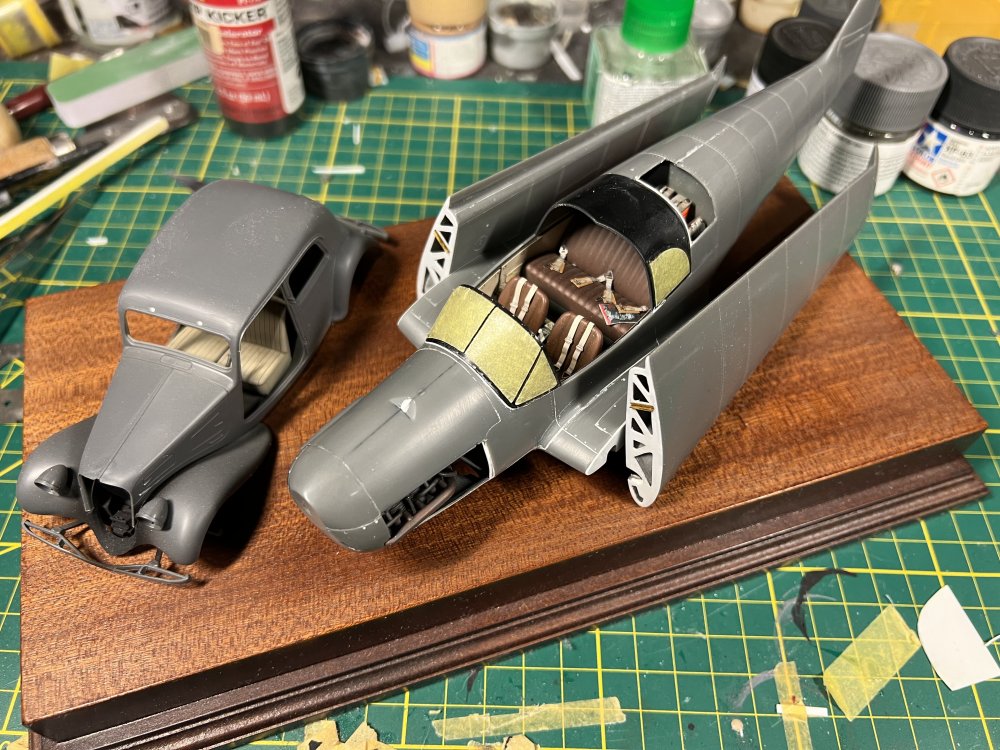
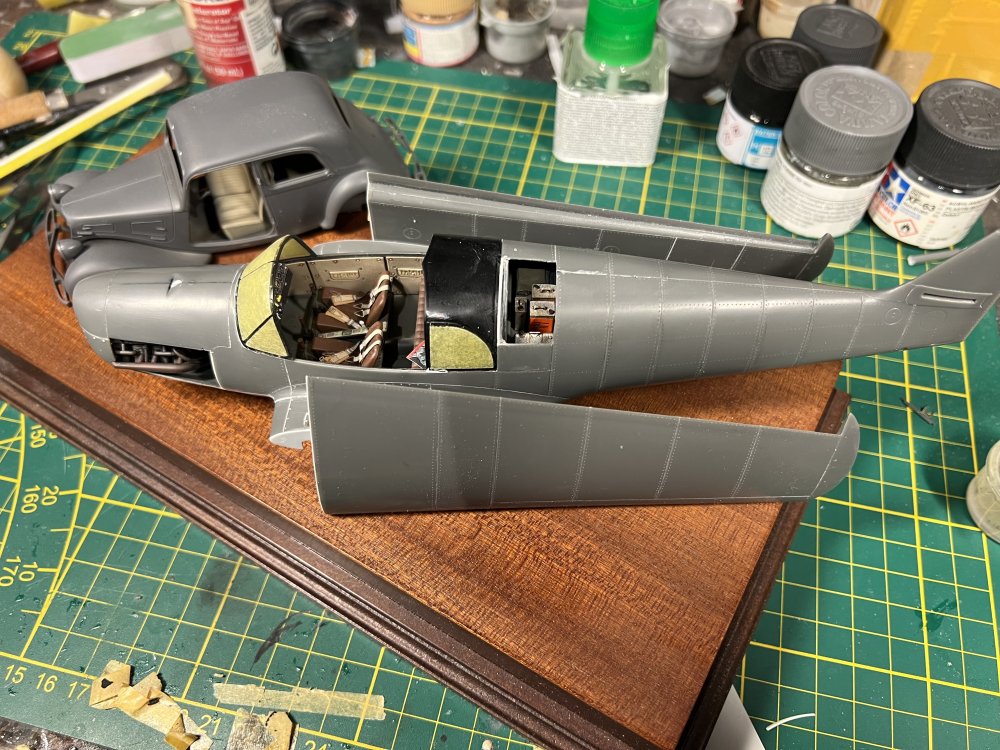
Messed up the front window of the Citroen. Ordered a whole new kit so lots of spares Now working on the wingroot detail. Scratching the folding mechanism:

-
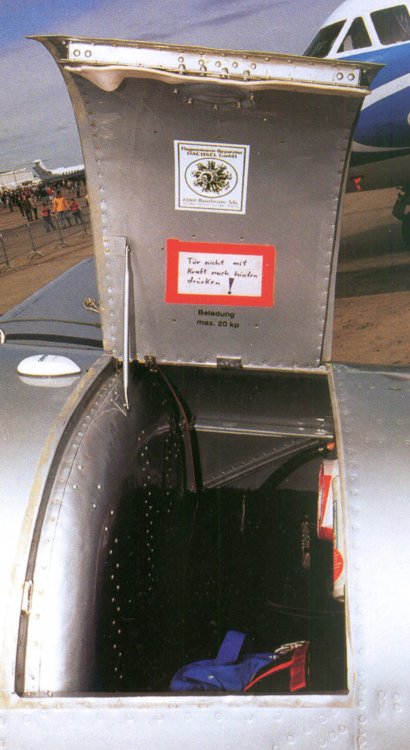
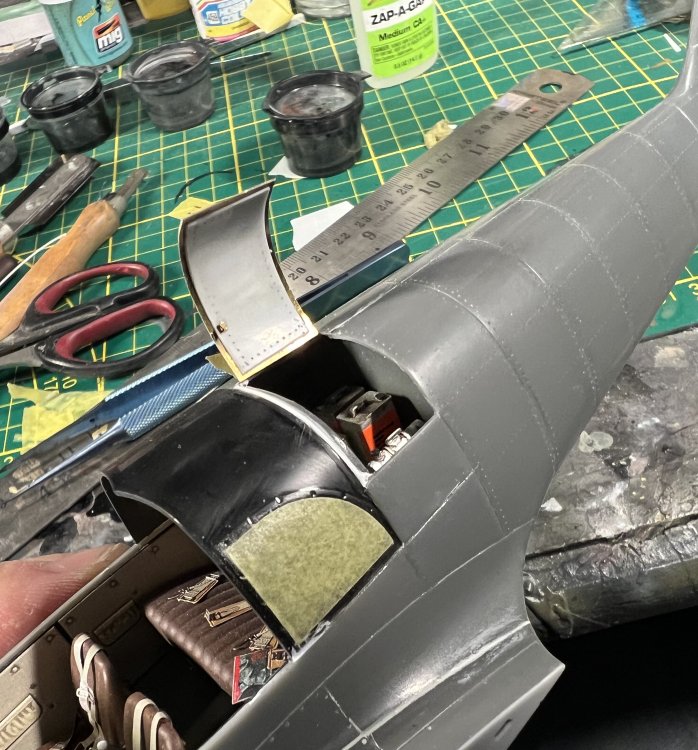
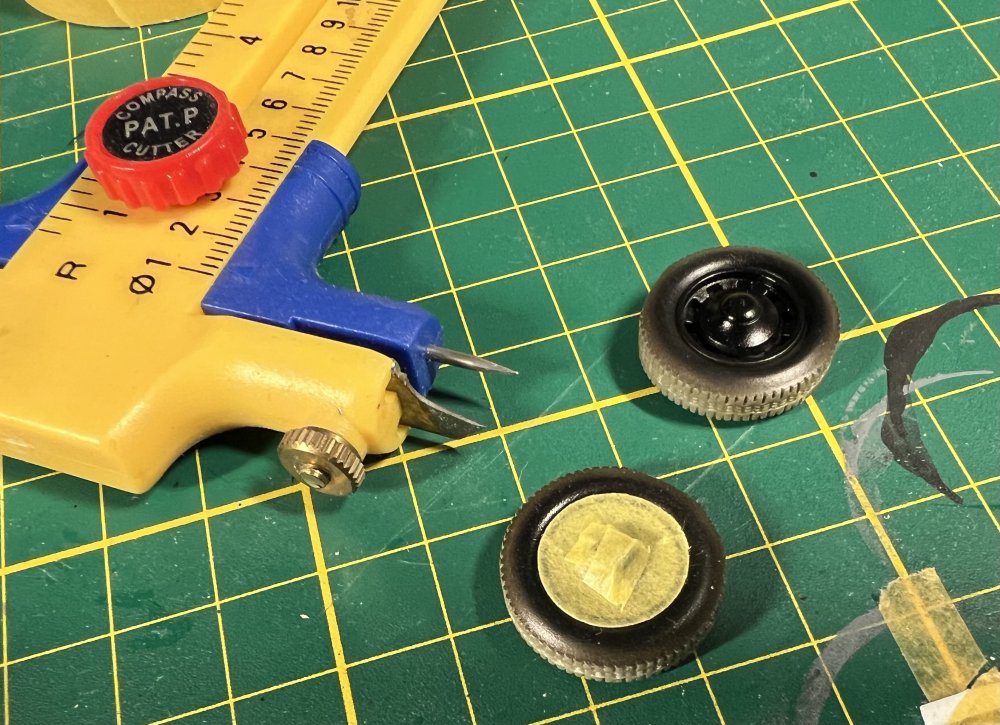
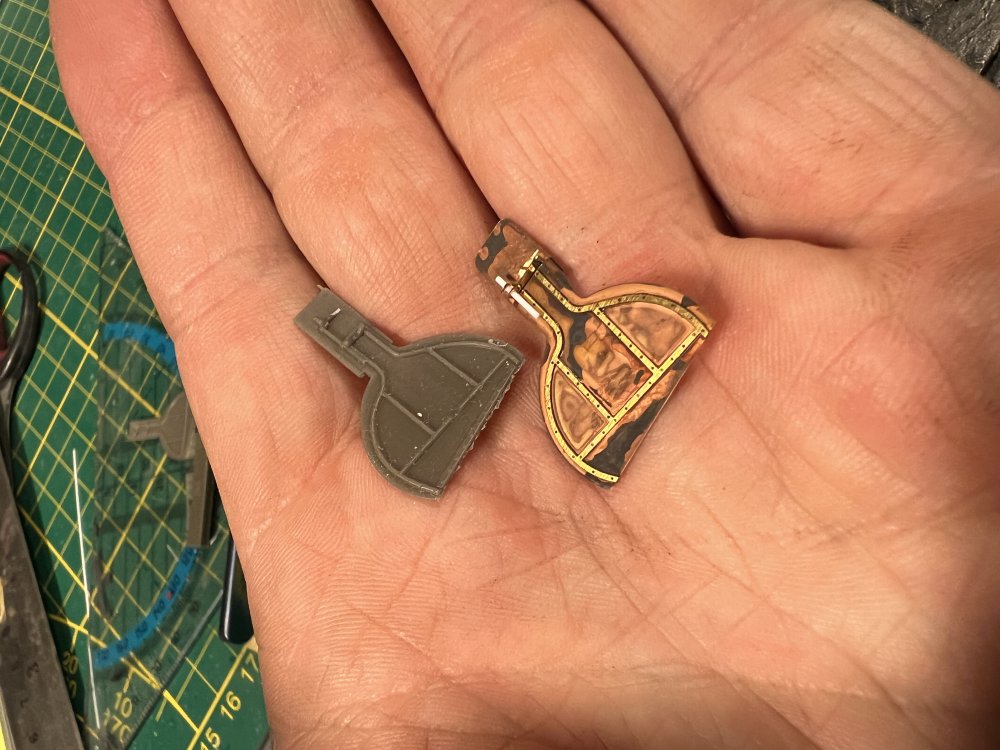
Wheel hubs and some details painted alclad chrome. Luggage hatch on the bf108 is ready.

-
Making the hatch from kv-1 leftover photo-etch.

-
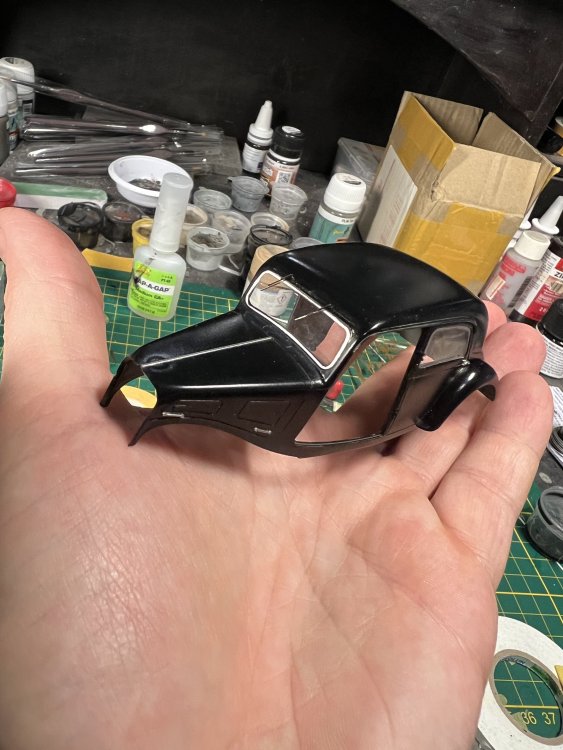
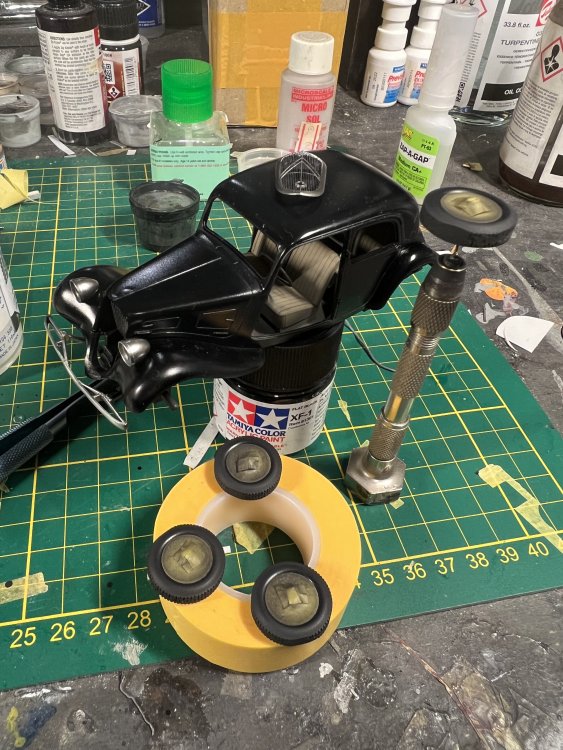
More work on the citroën. Paint and first panel washes applied. Masking the resin wheels now.
-

-
-
Wanted to go with the resin wheelbay doors. Noticed a small chip missing on one, so went with the photo etch ones’ from eduard instead.
-
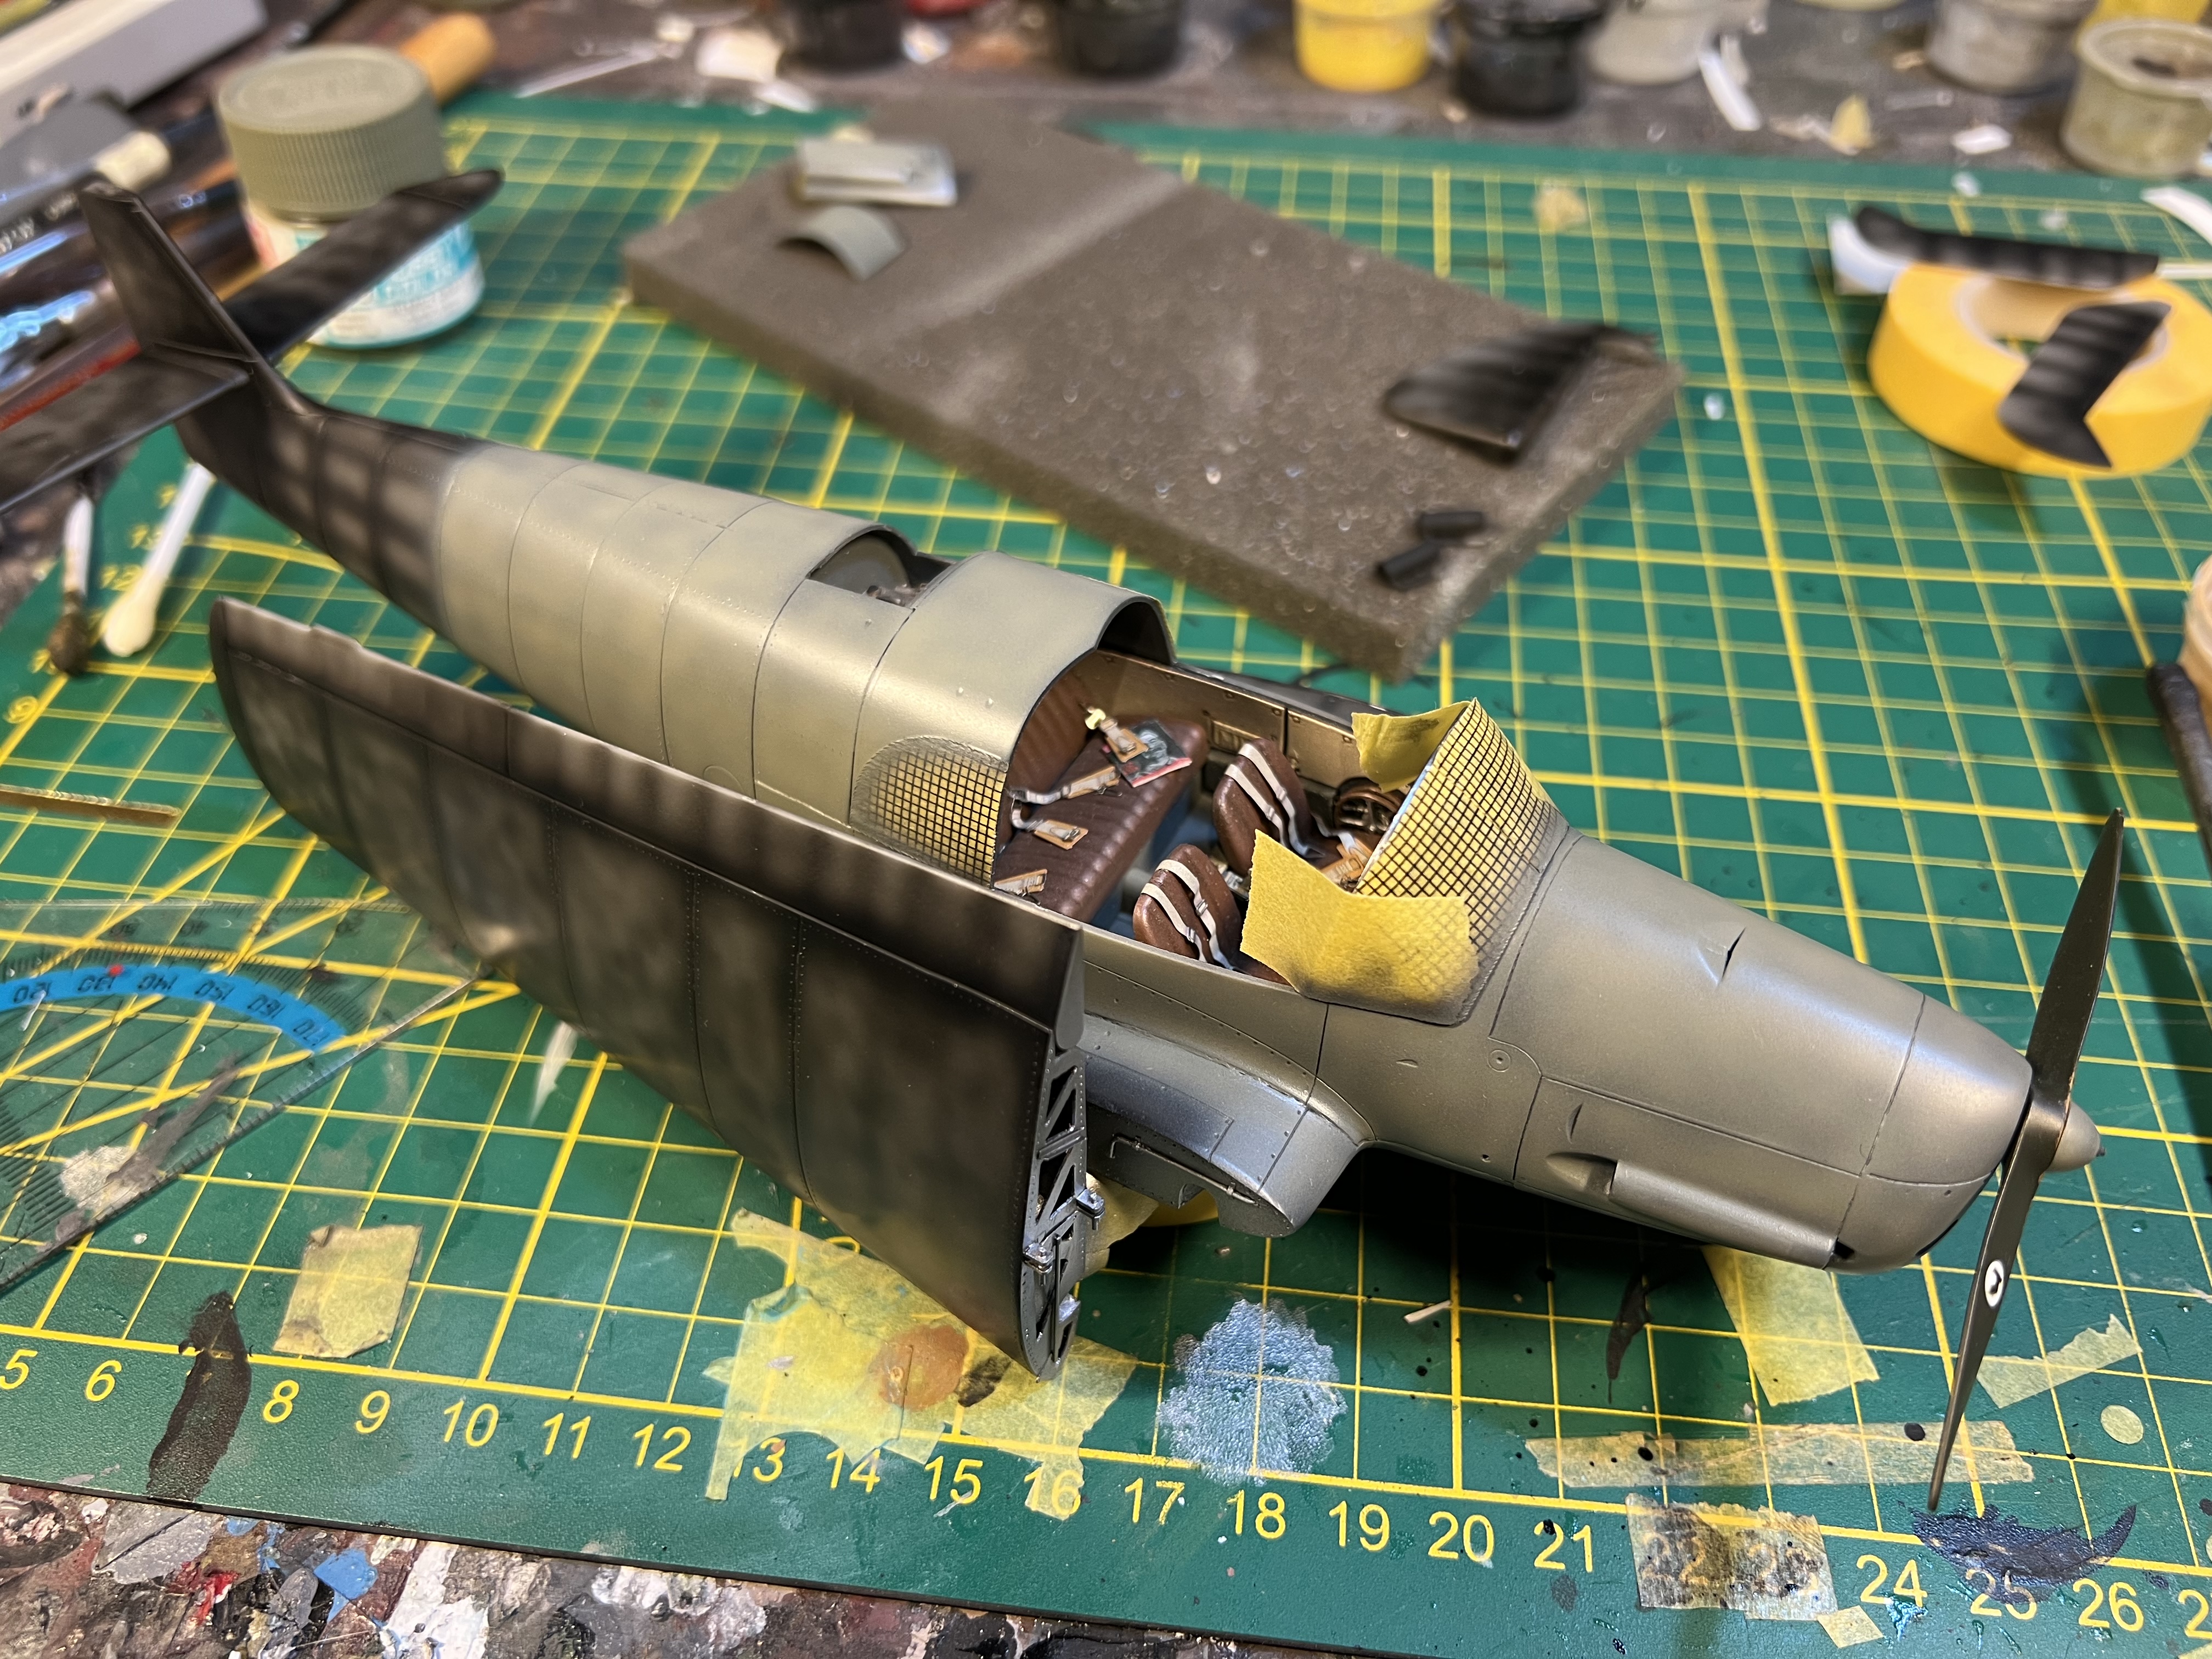
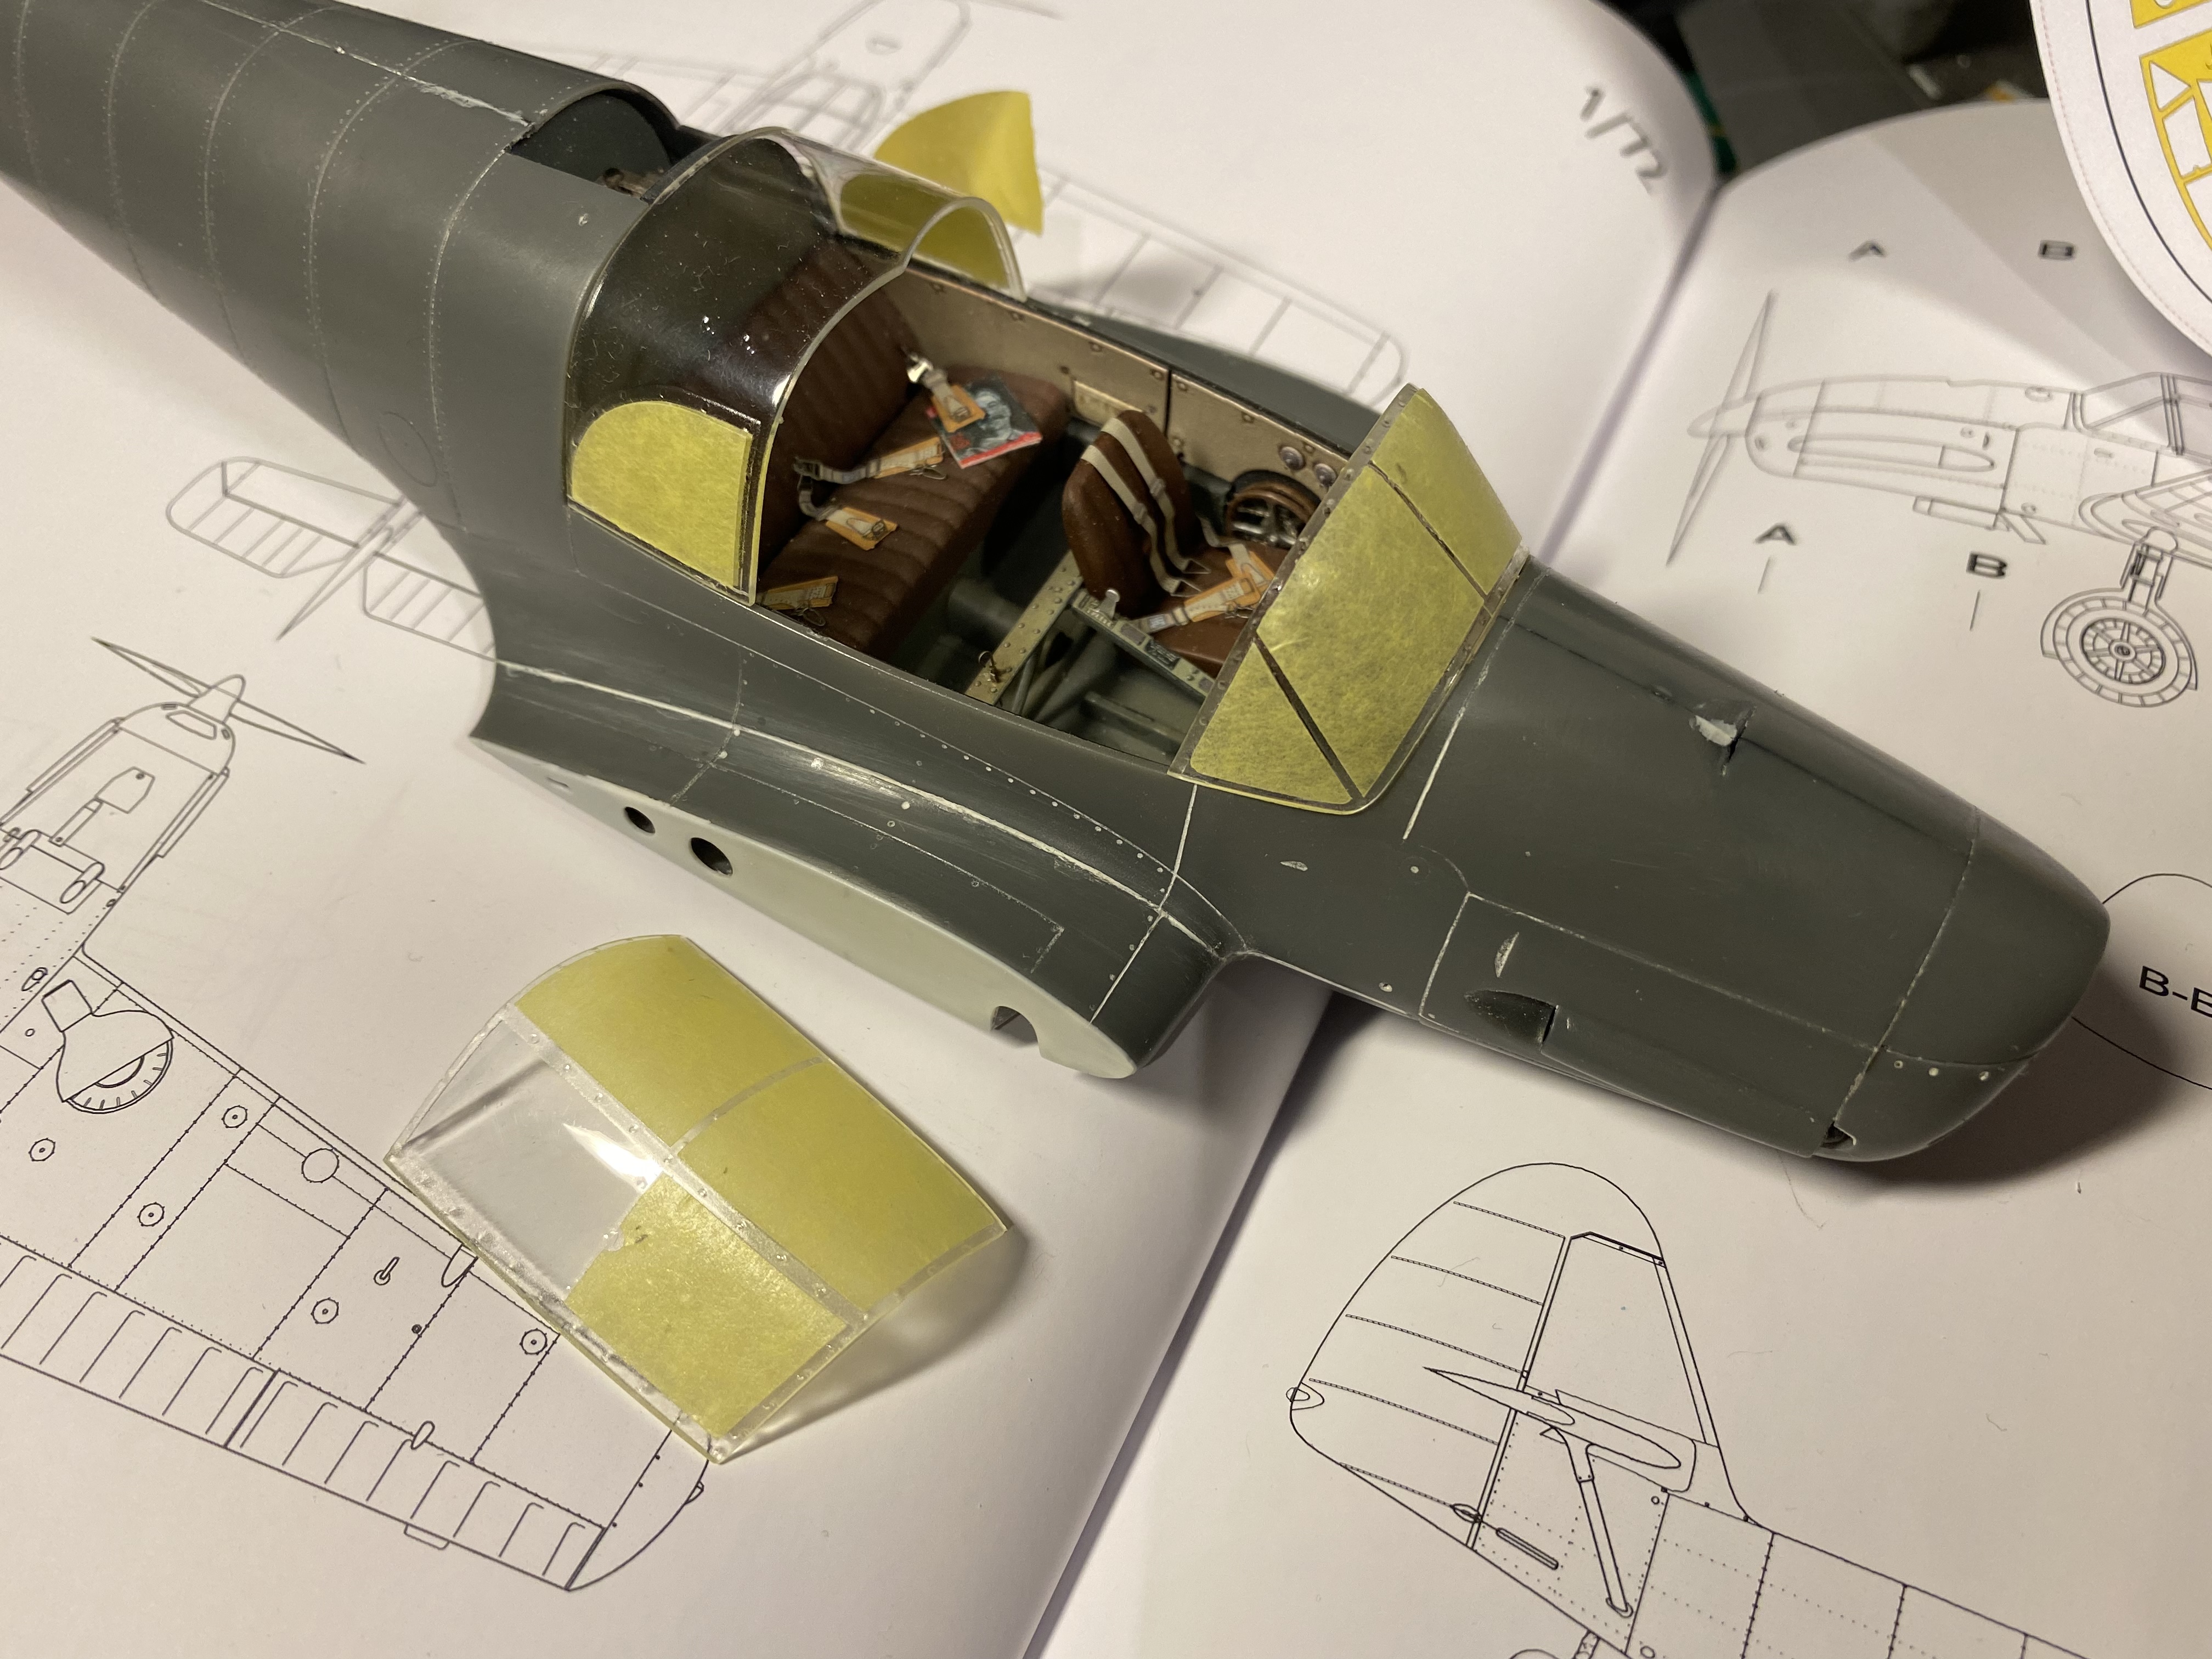
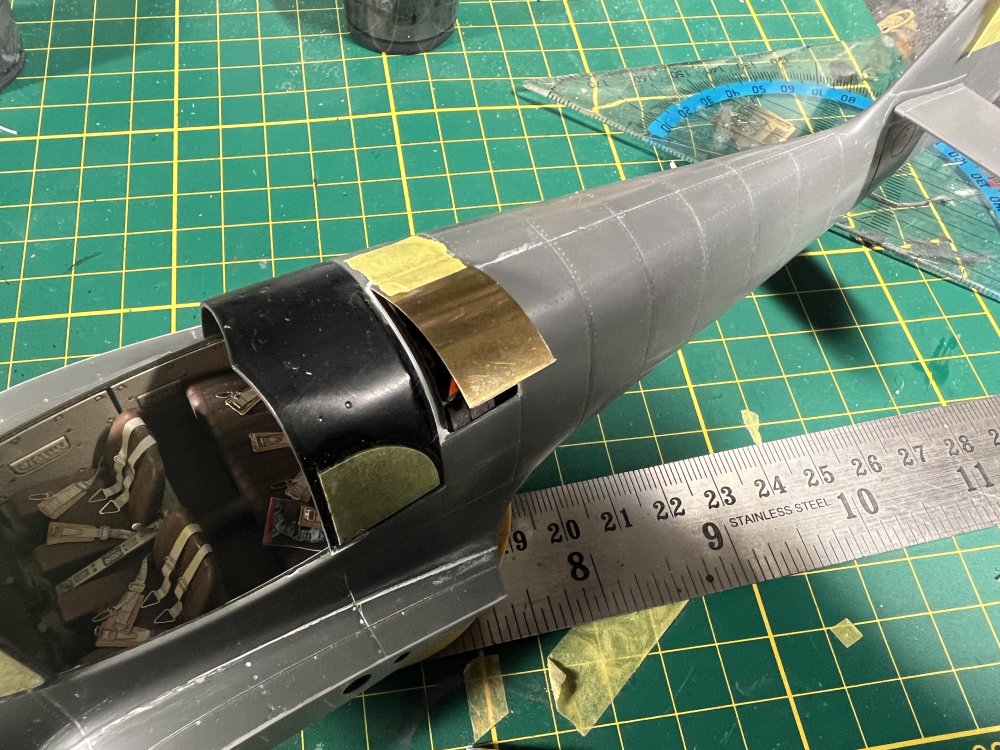
Canopy masked inside and out. Rivets almost done.

-
Masking the canopy inside and out

-
Wow… i know how difficult that shape is to get right! I think you nailed it!
-
-
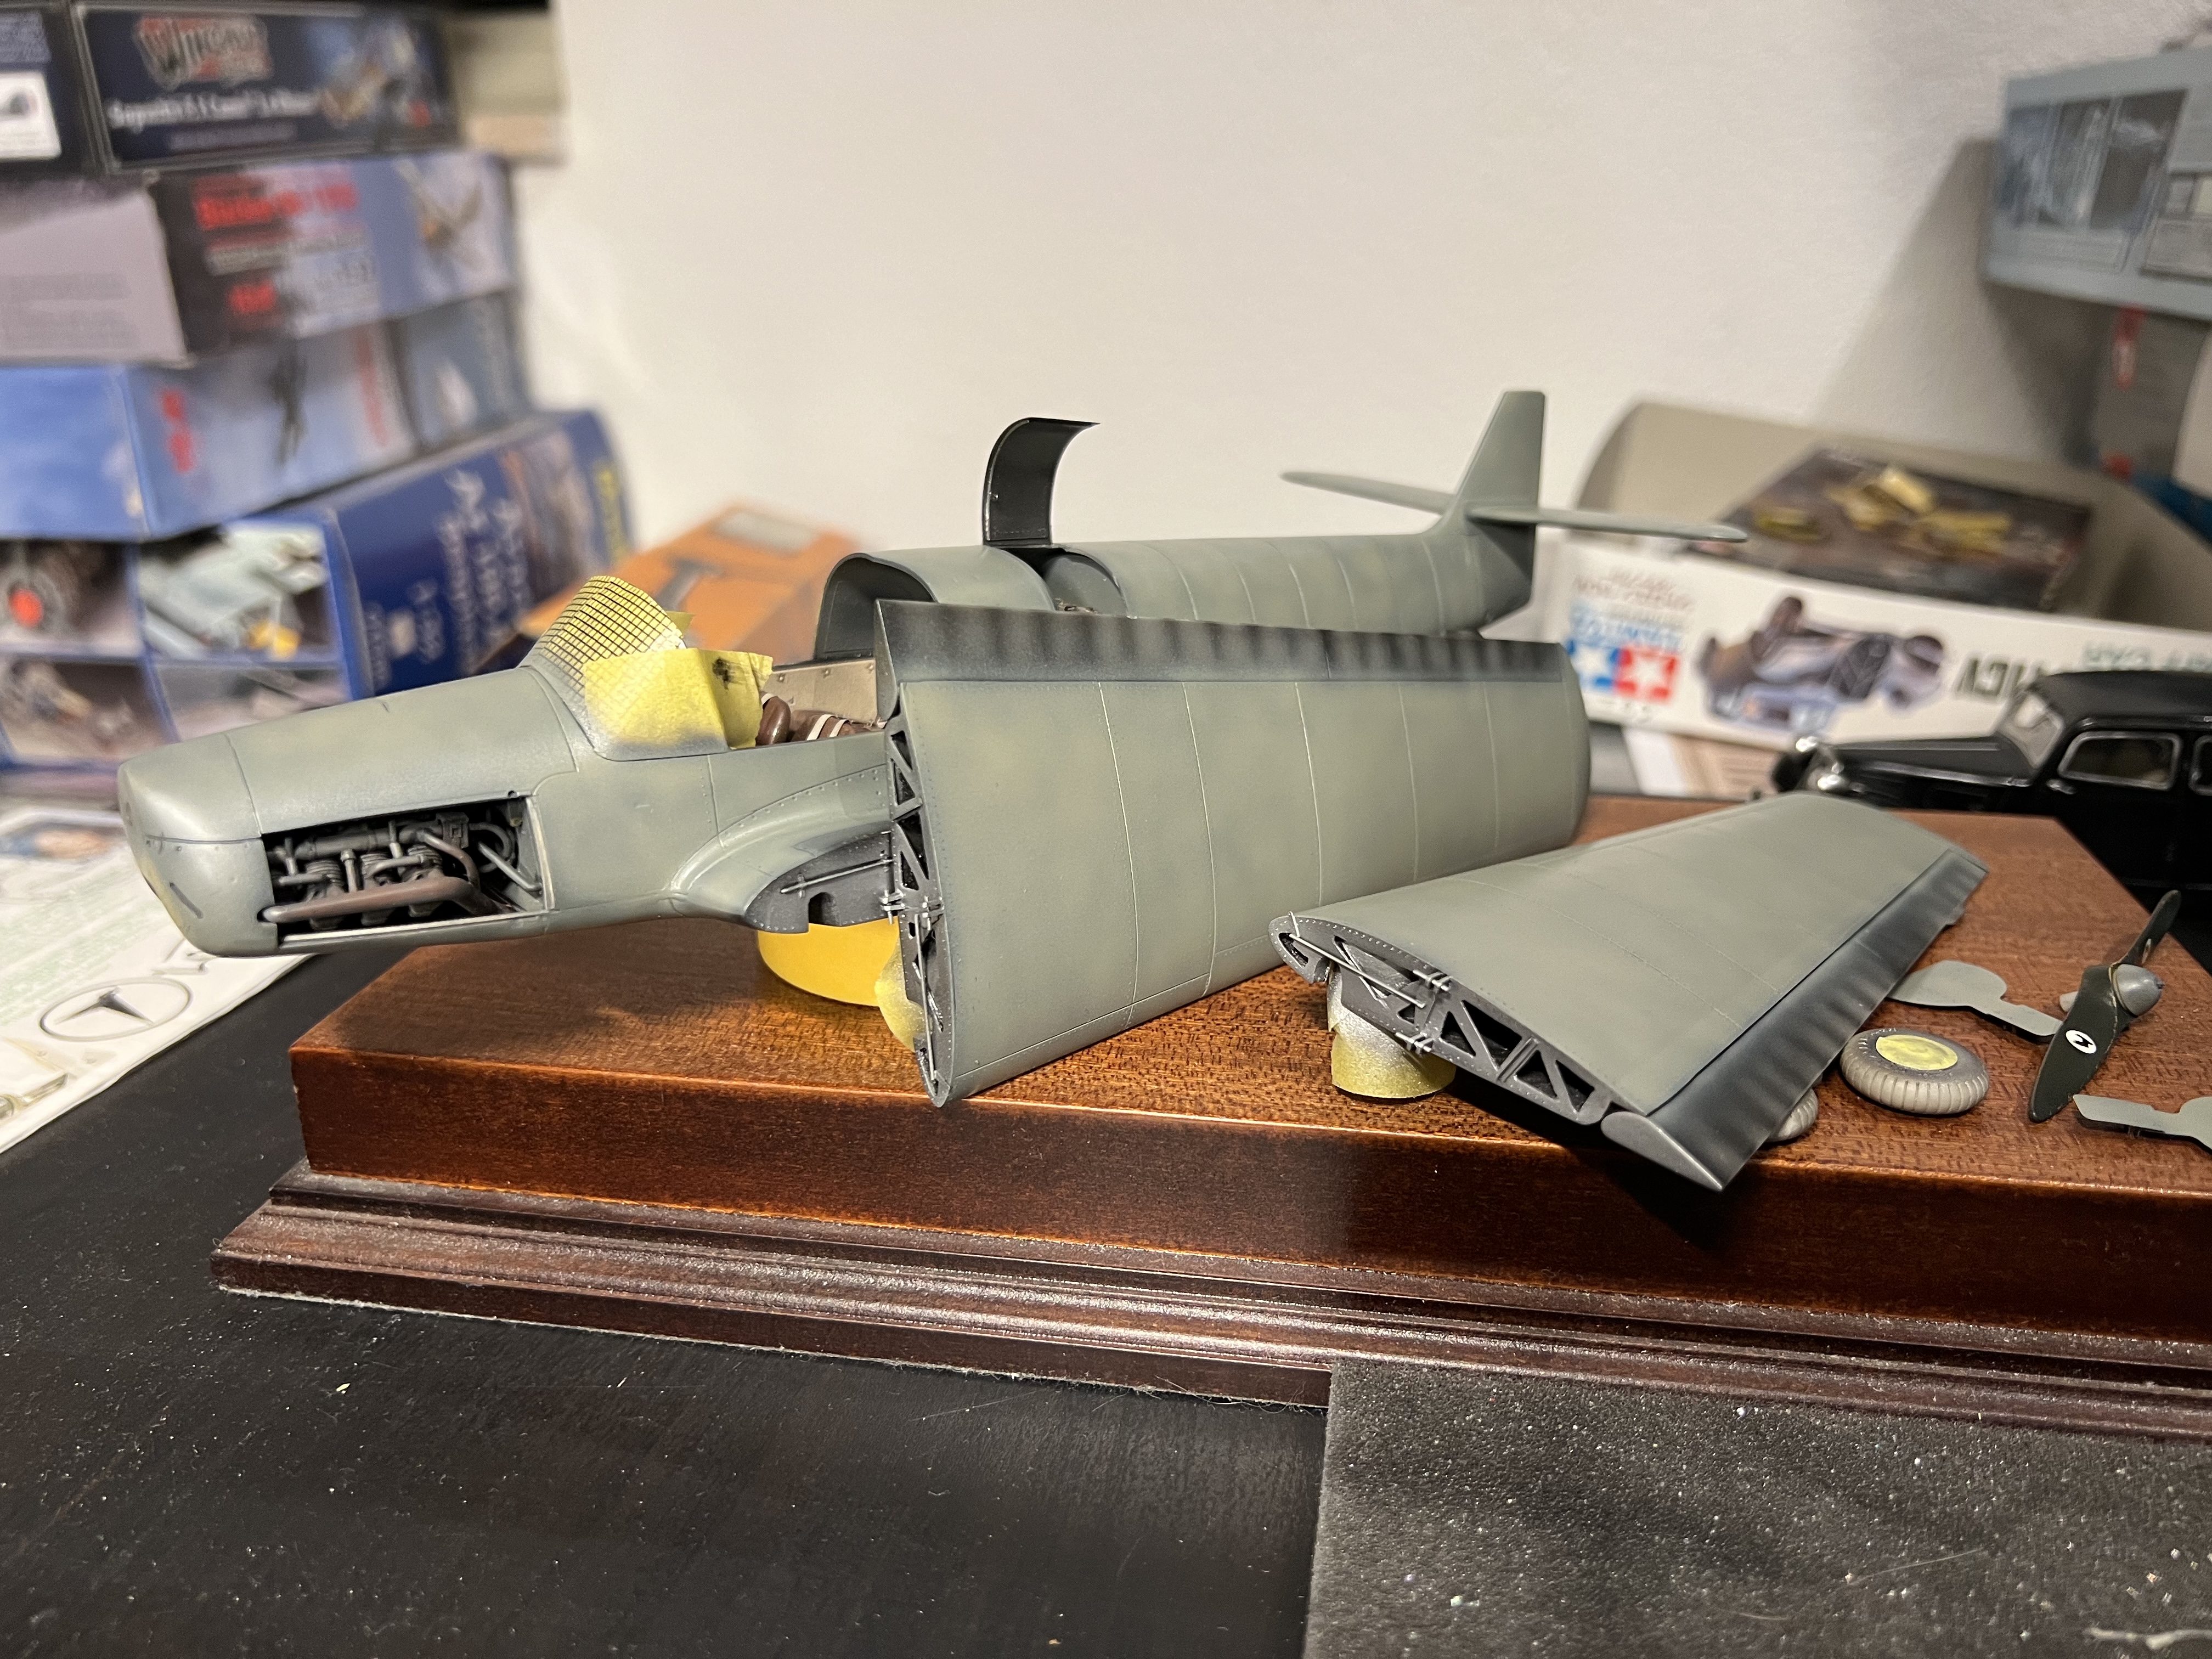
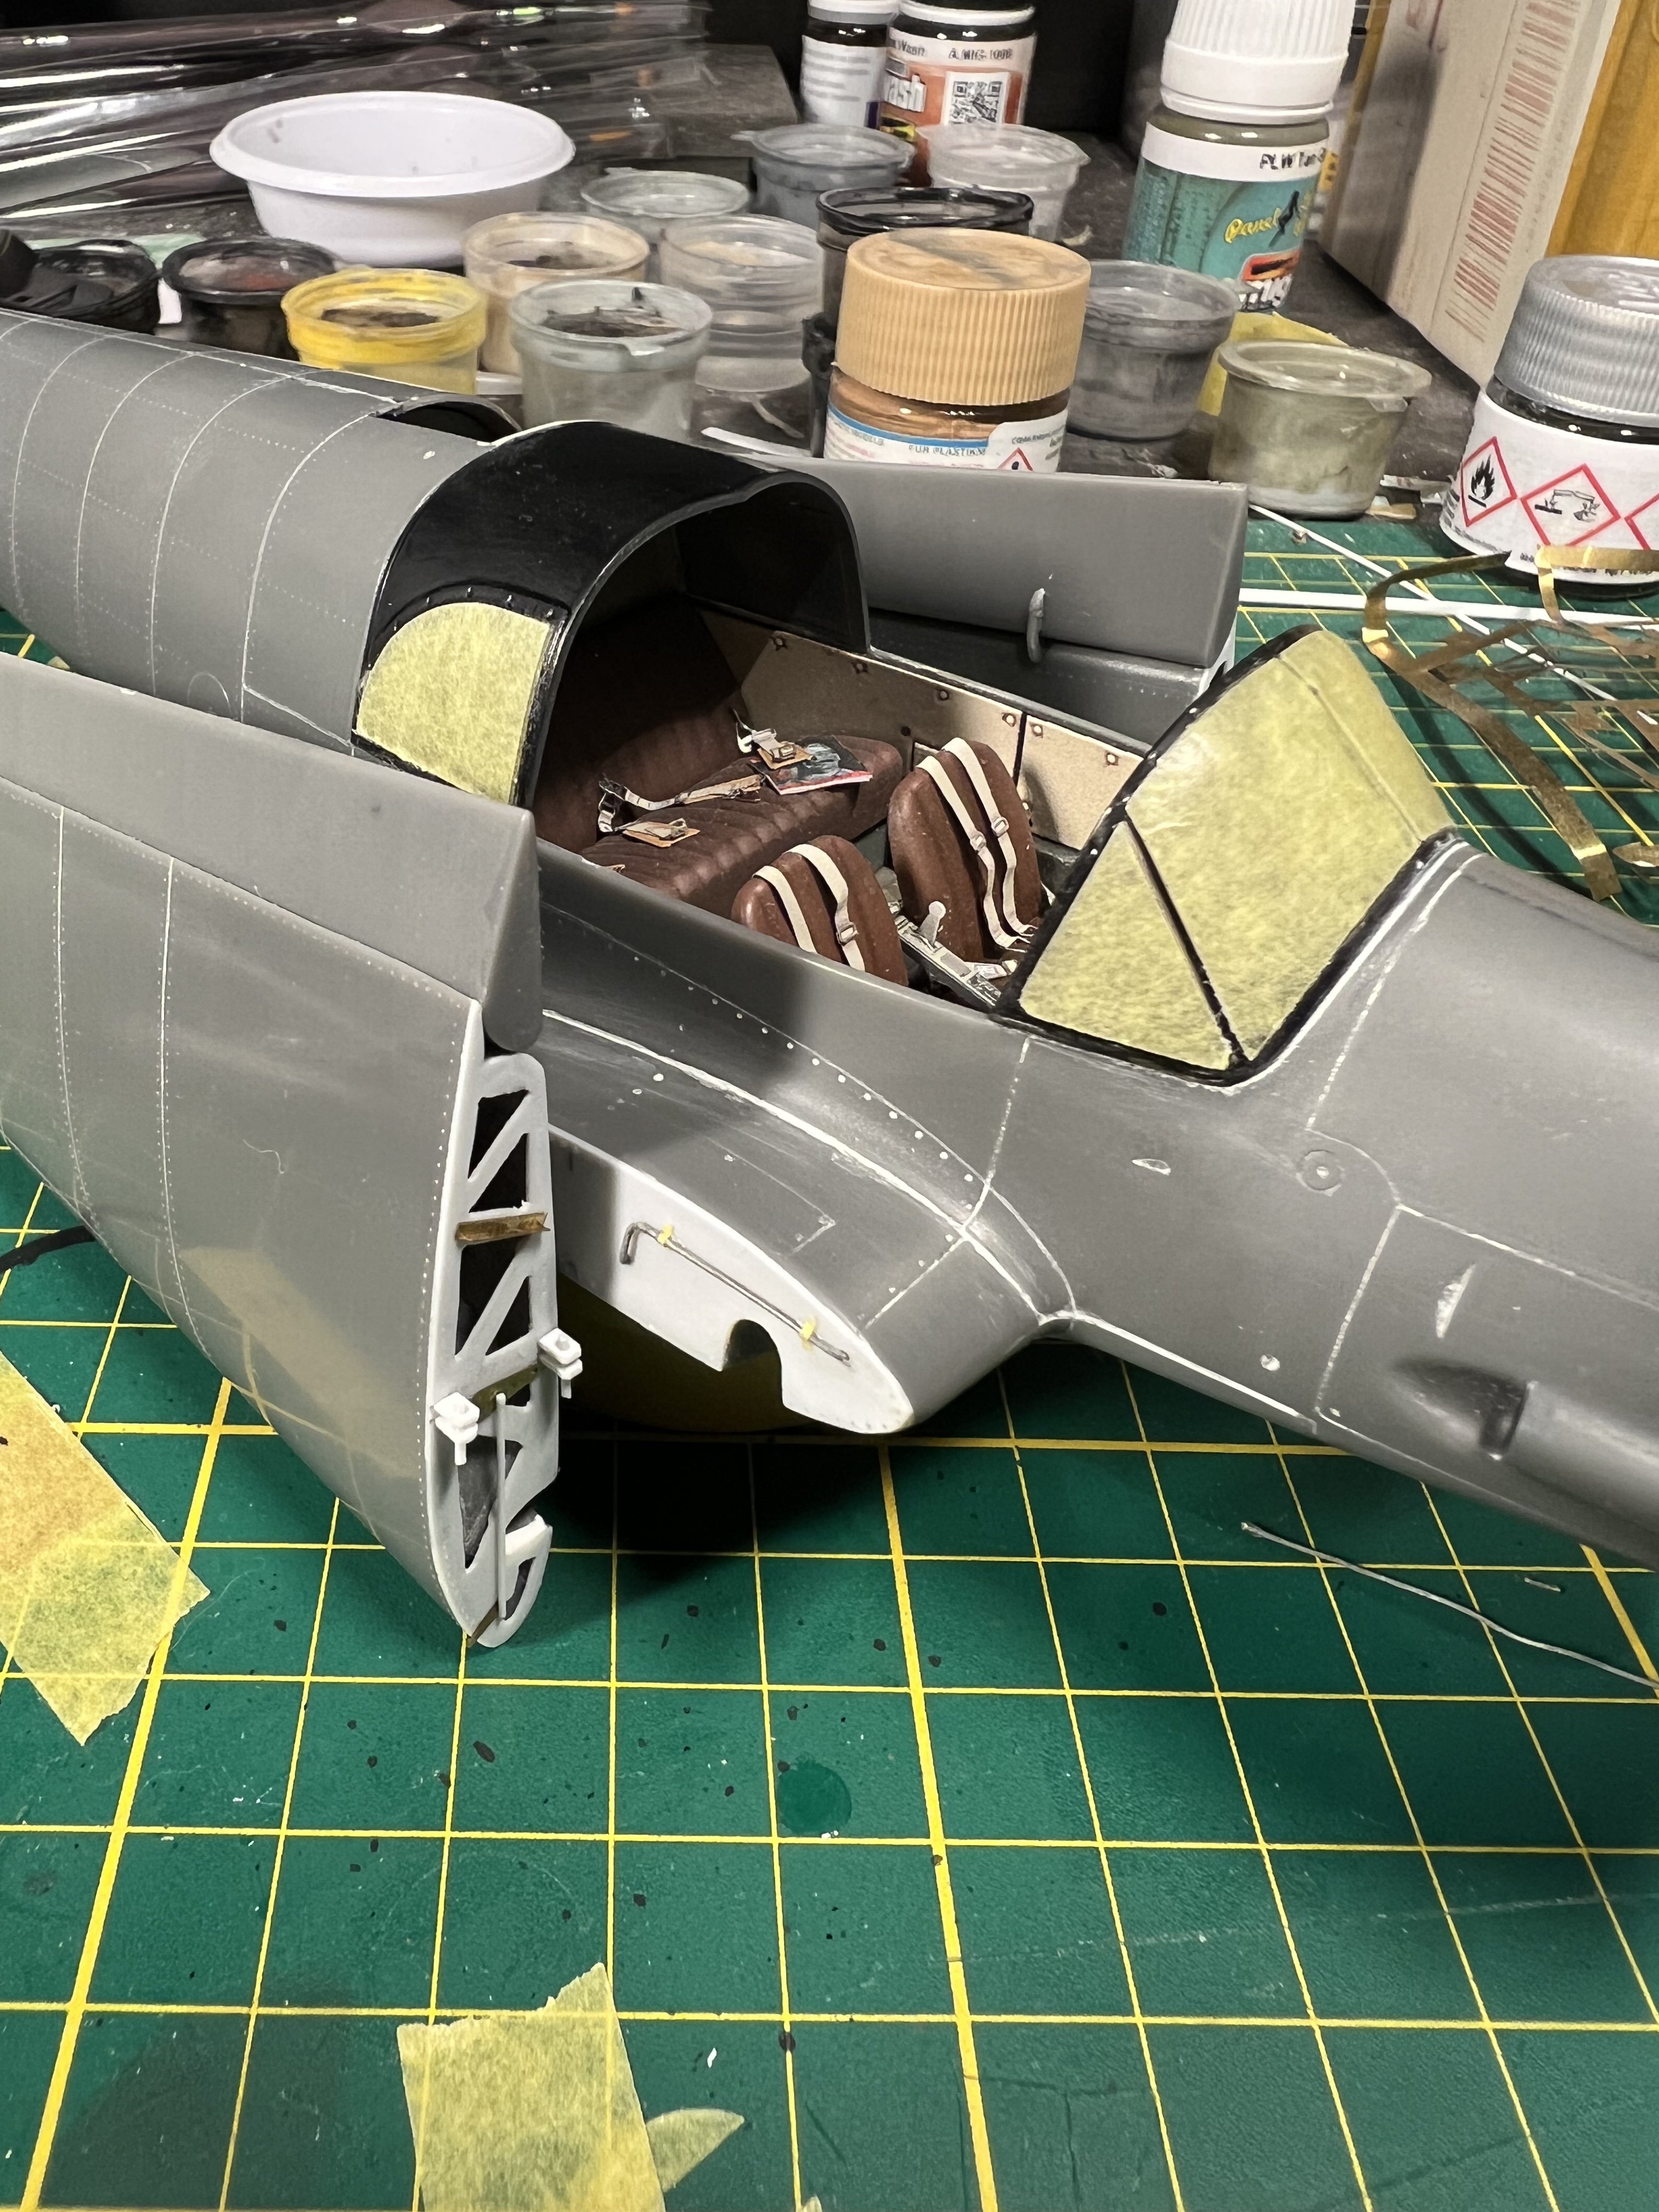
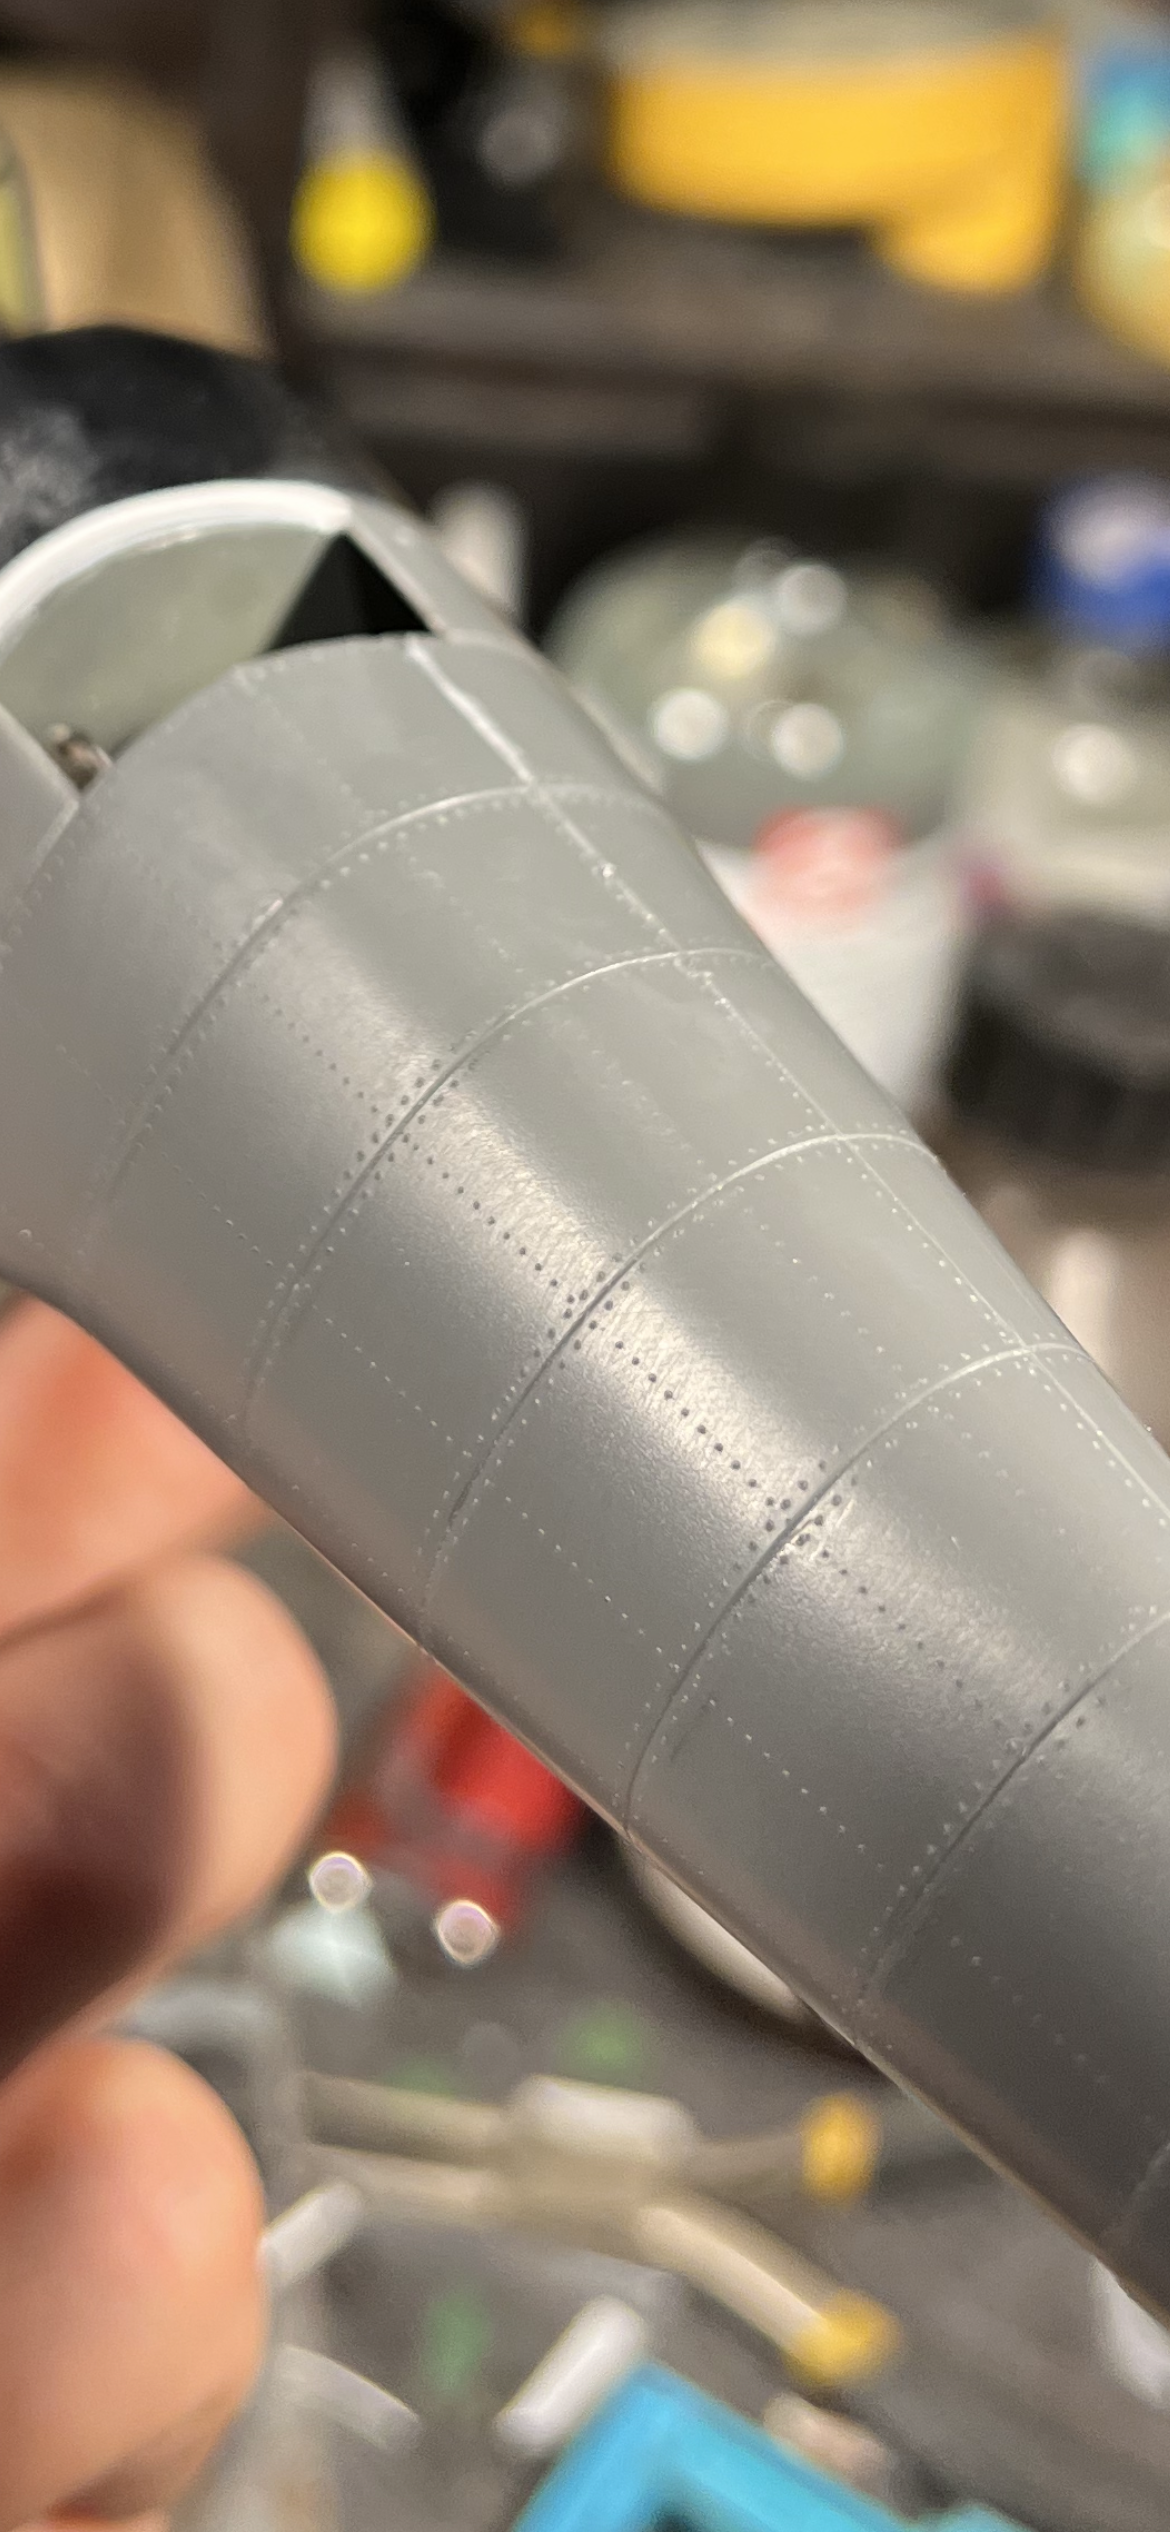
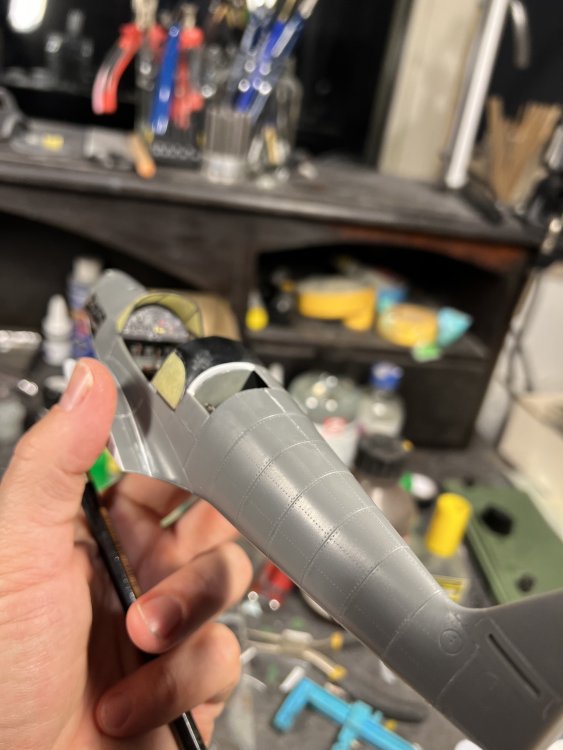
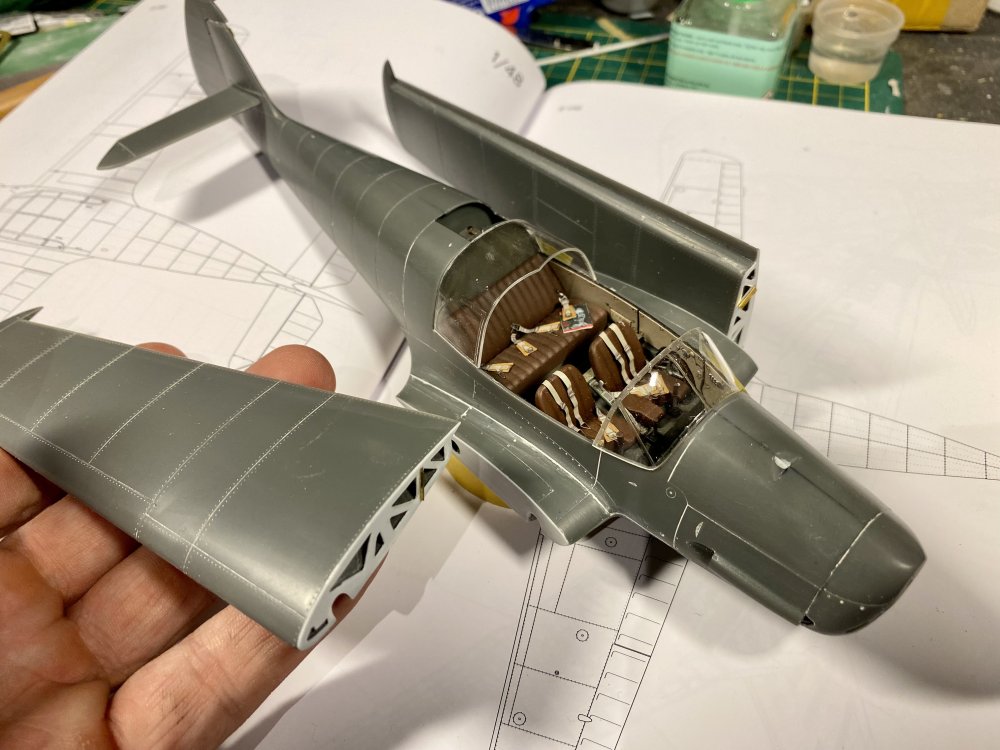
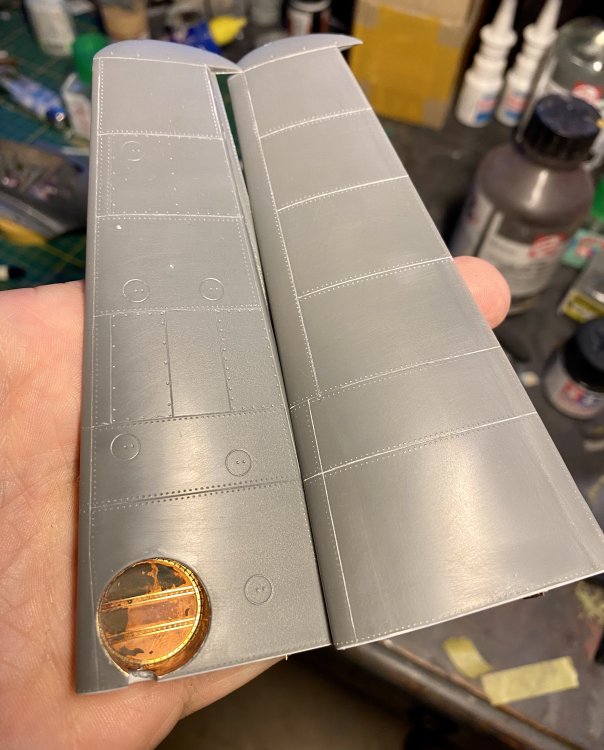
Wings riveted. Onto the fuselage.
-
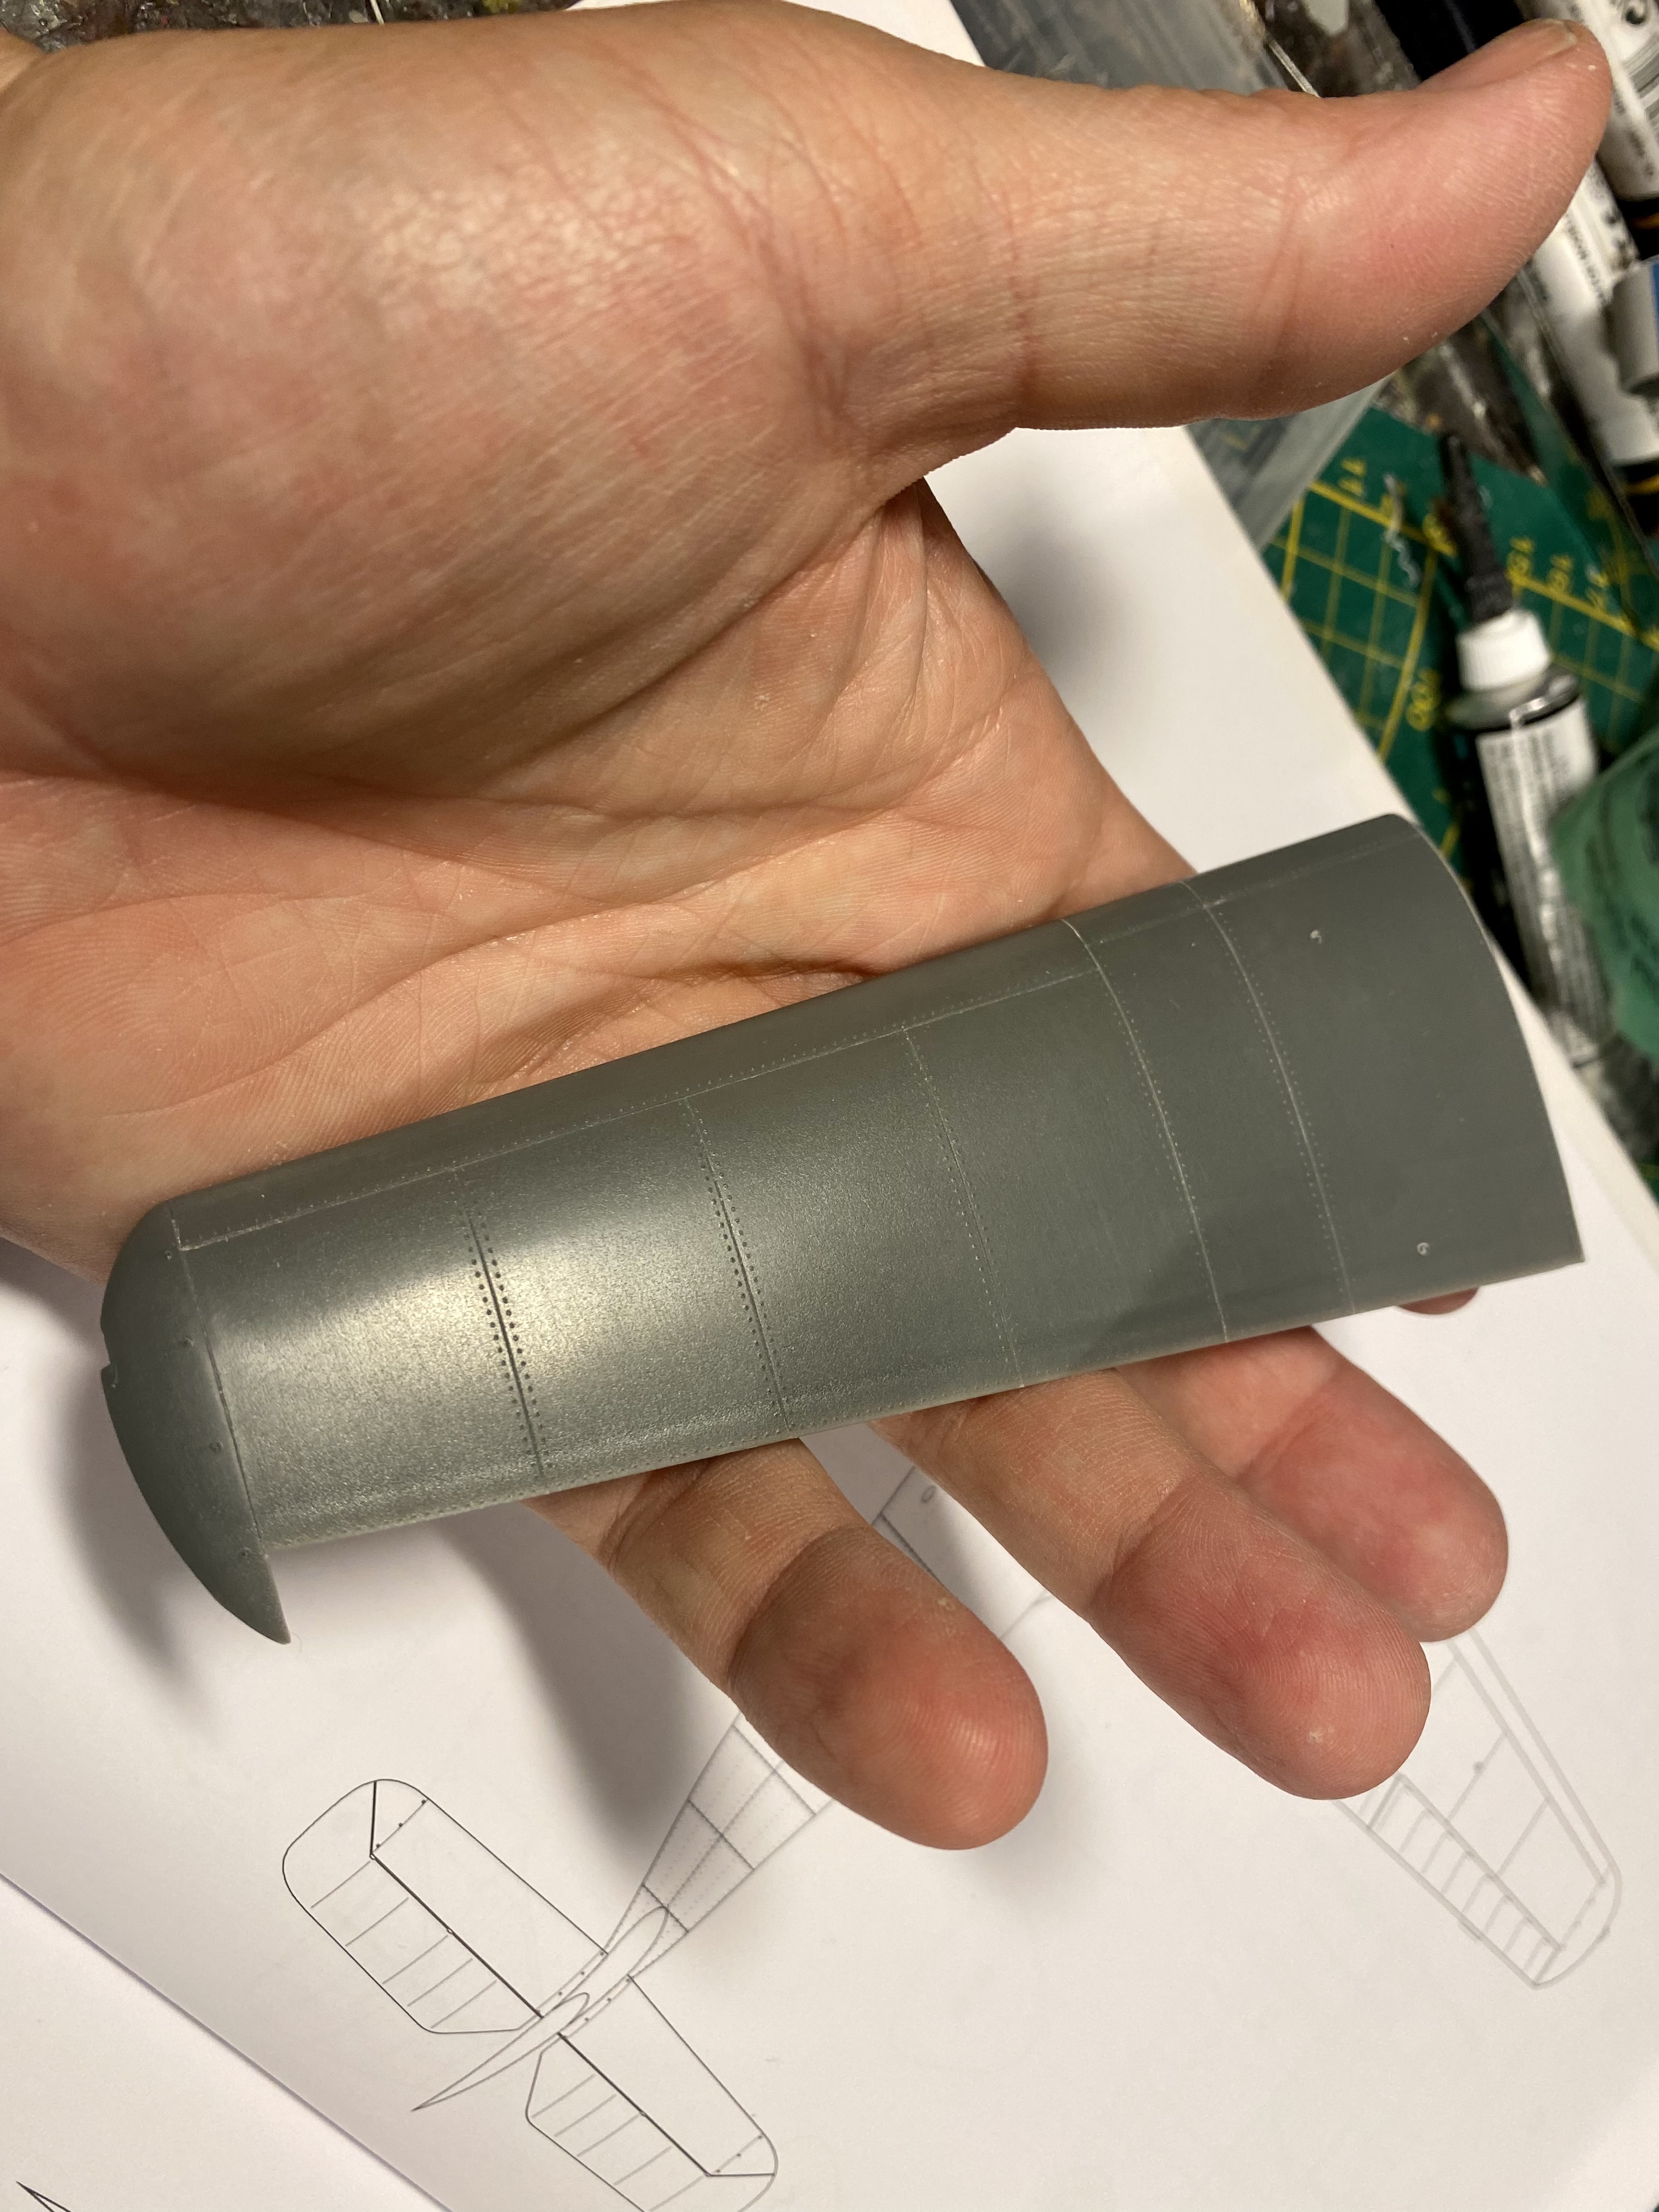
Polished the wings to get rid of the grainy surface i hate and started riveting.


-
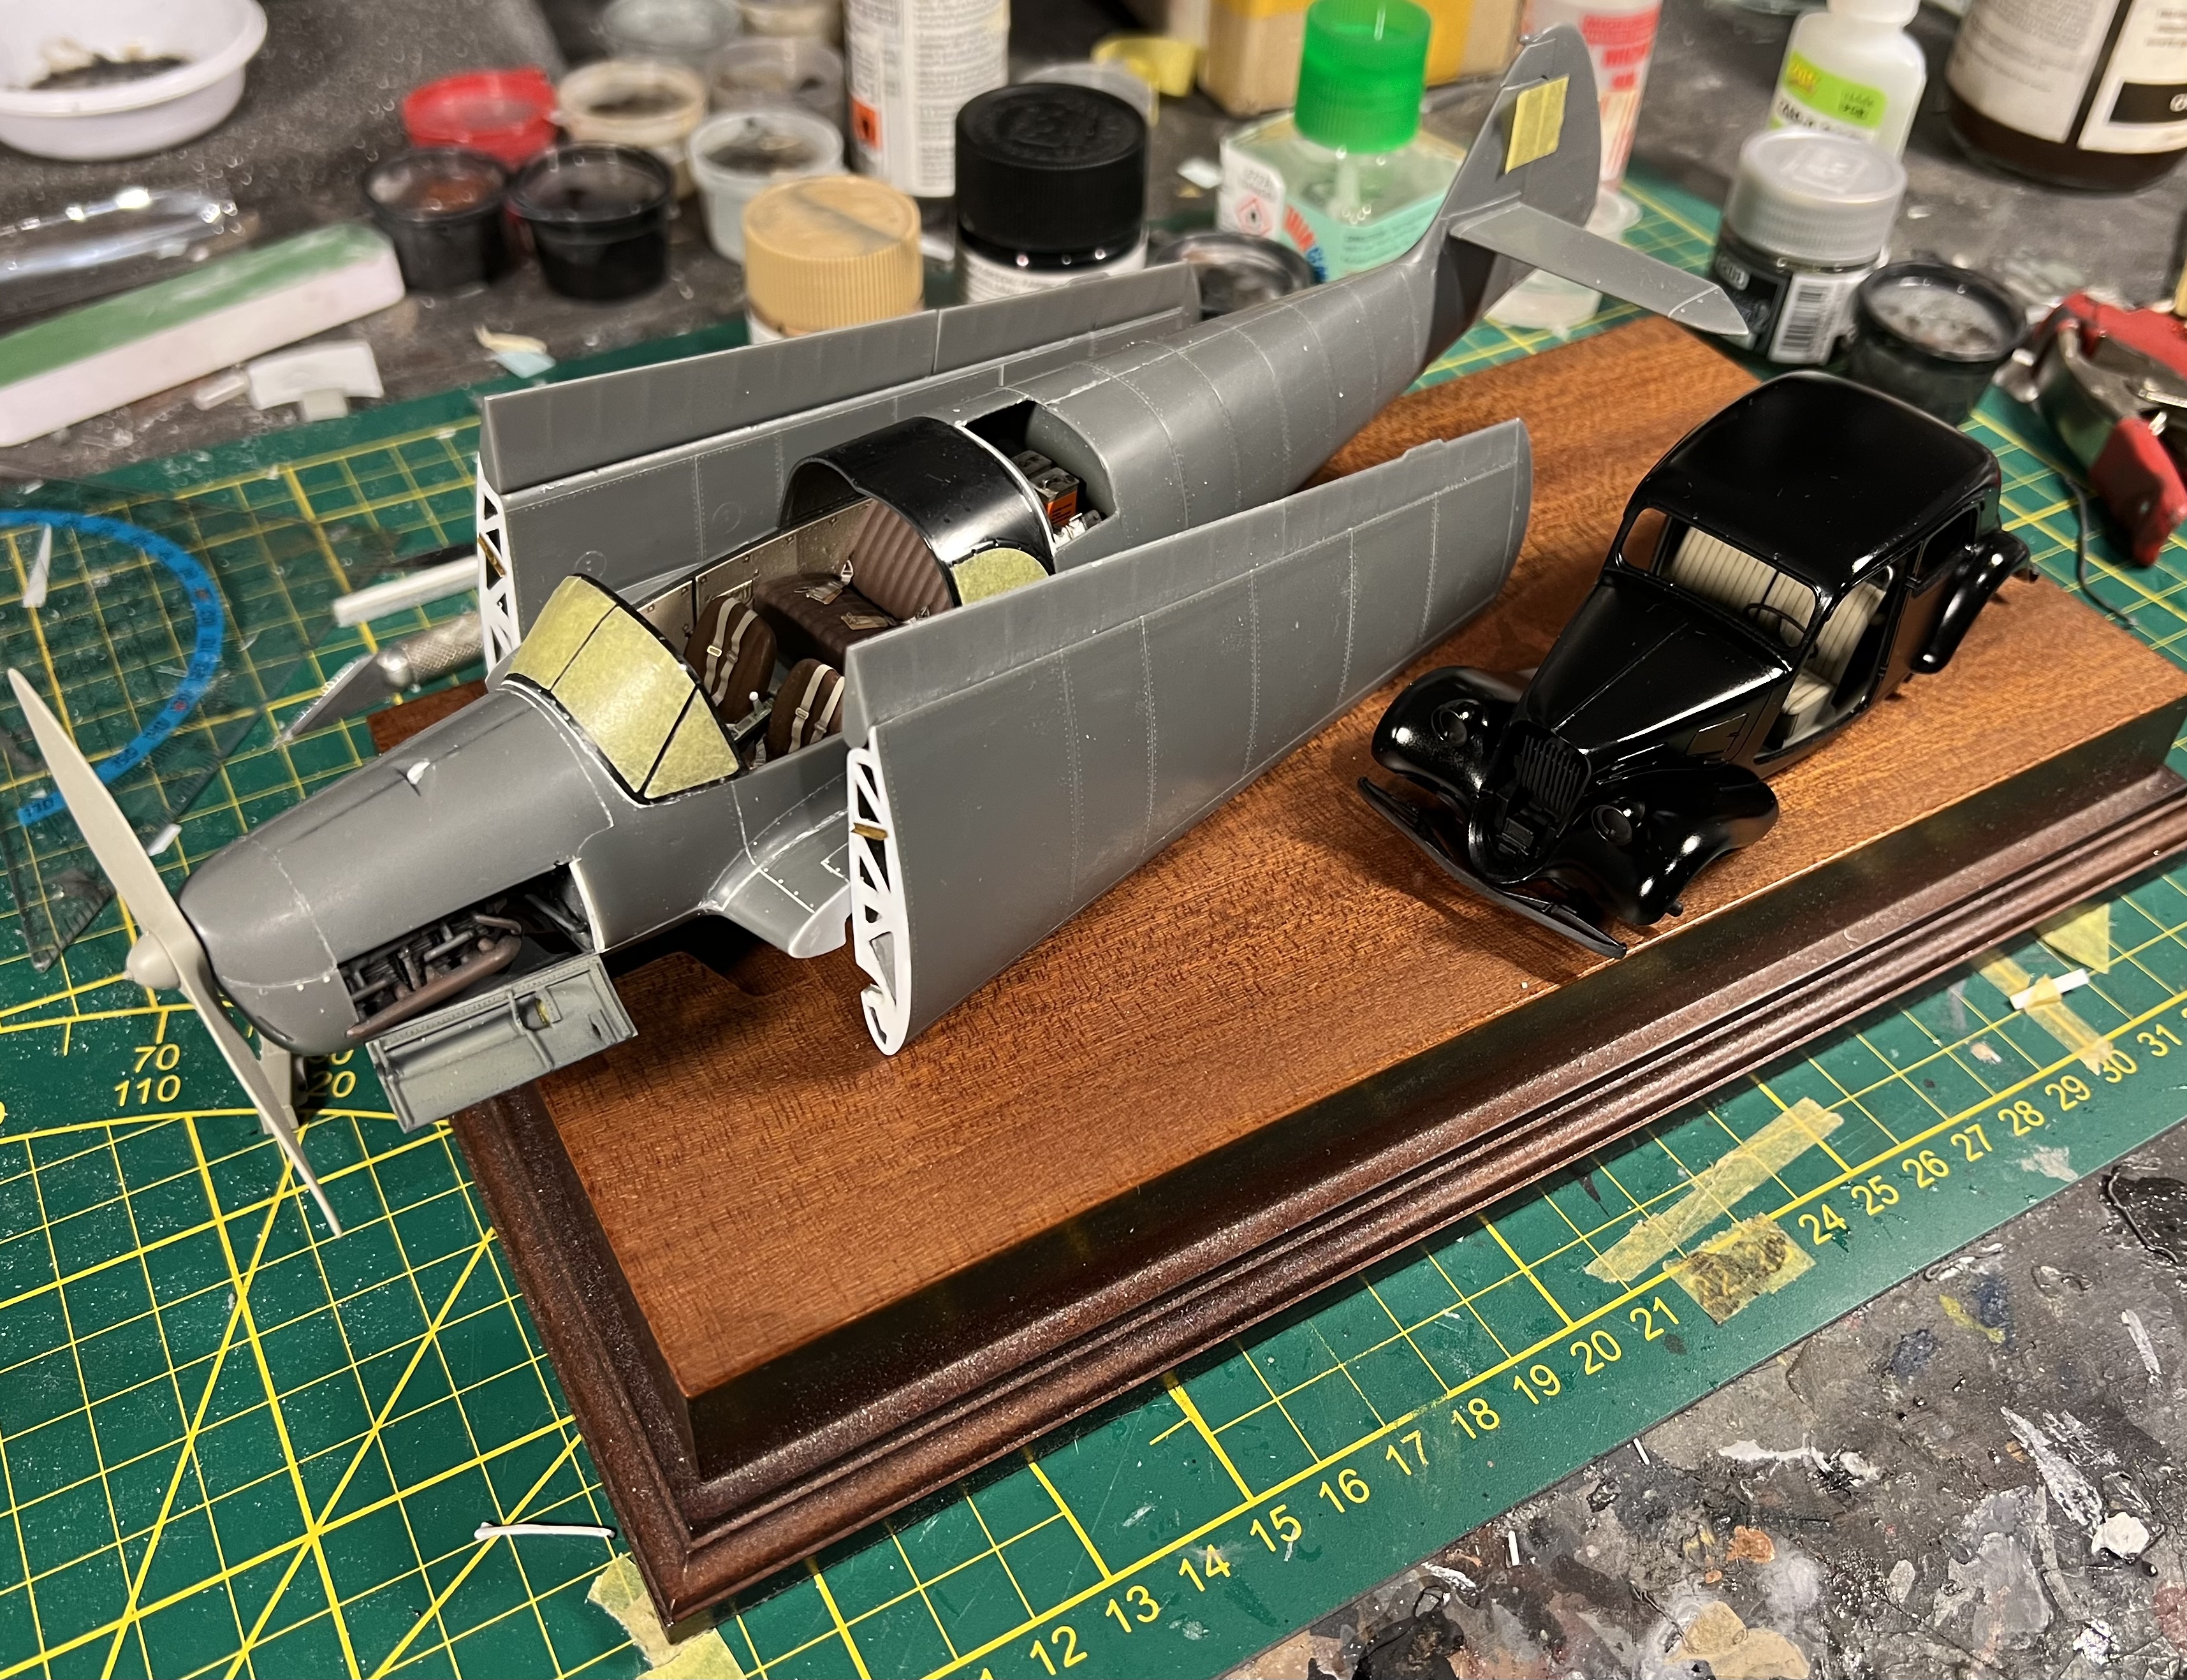
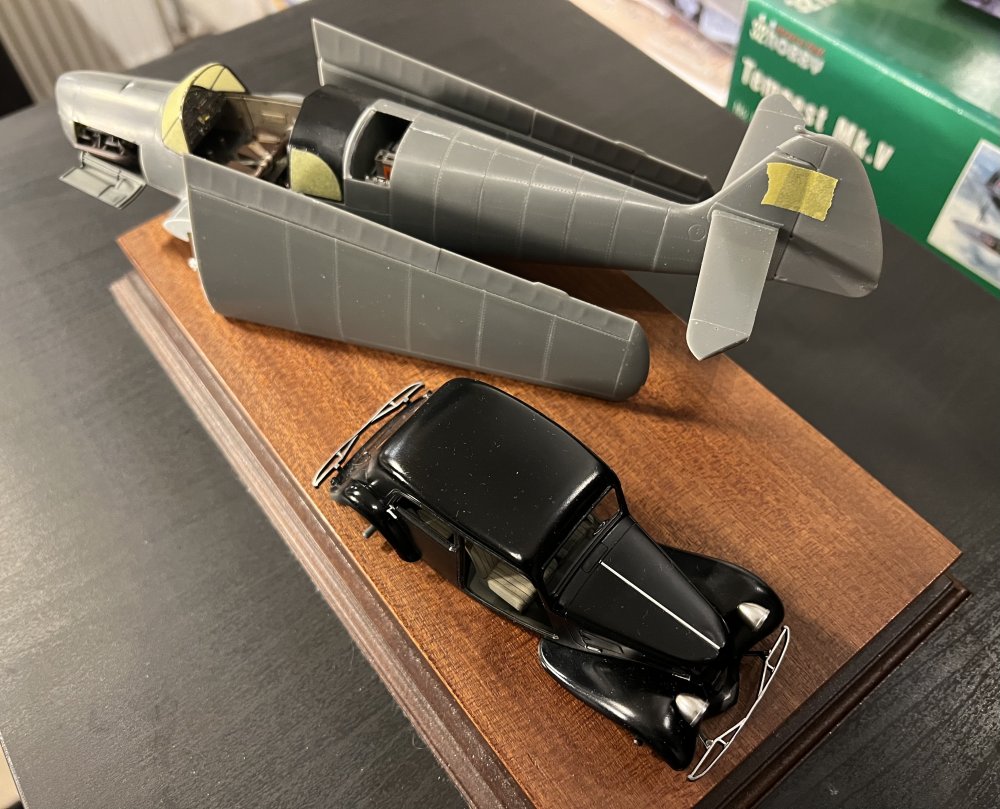
Mapping out the base