JeroenPeters
-
Posts
4,867 -
Joined
-
Last visited
Content Type
Profiles
Forums
Events
Gallery
Everything posted by JeroenPeters
-
Almost there!

-
Getting there!

-
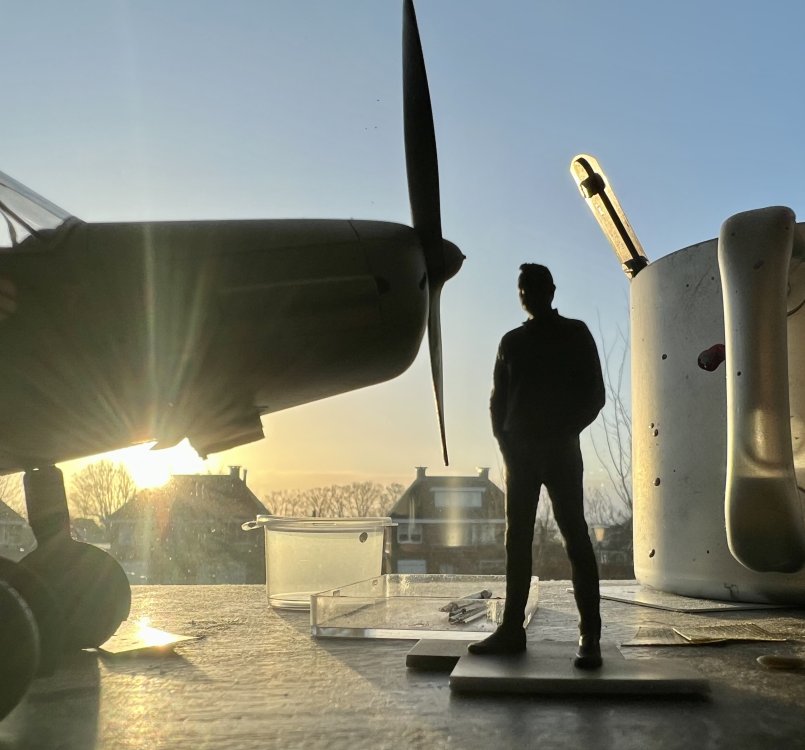
Money shot. My 3d printed self overlooking the final chores
-
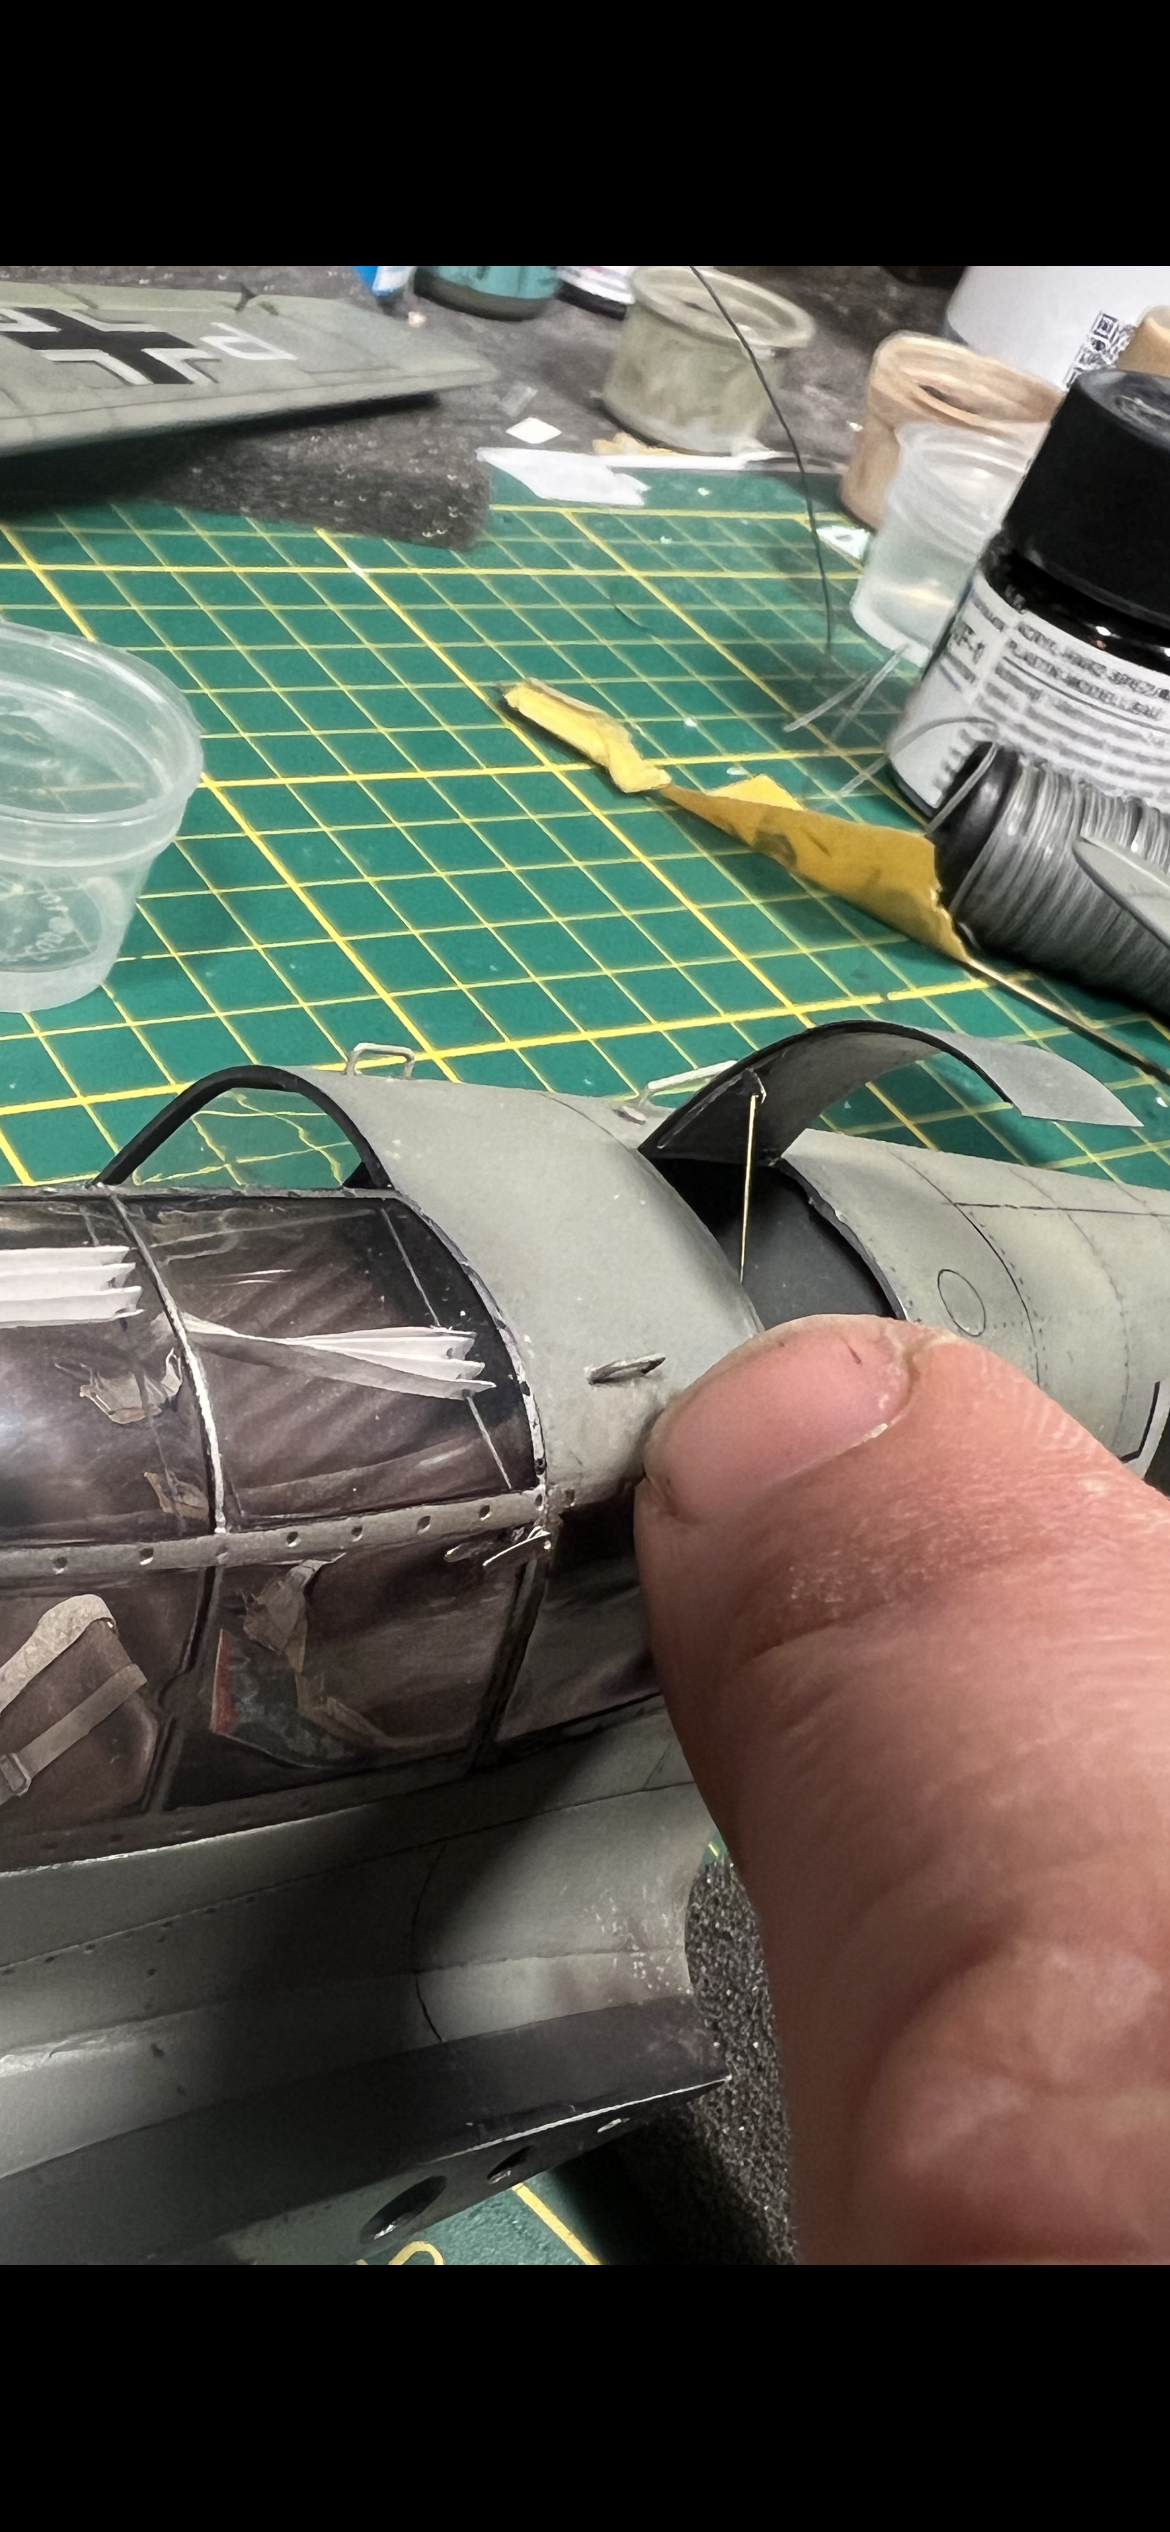
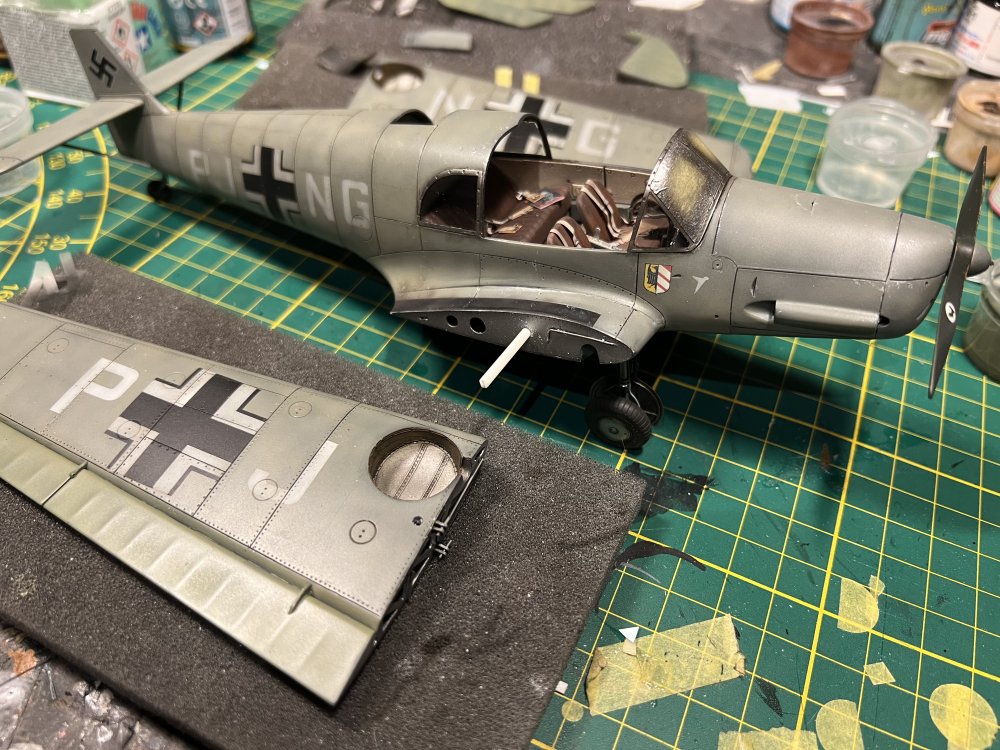
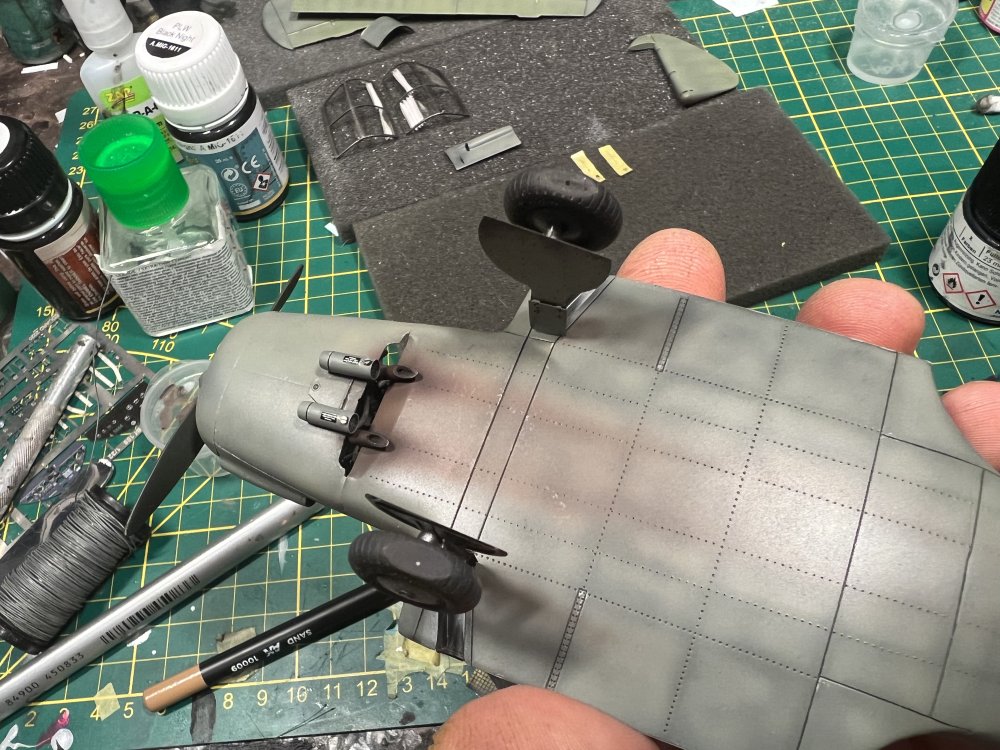
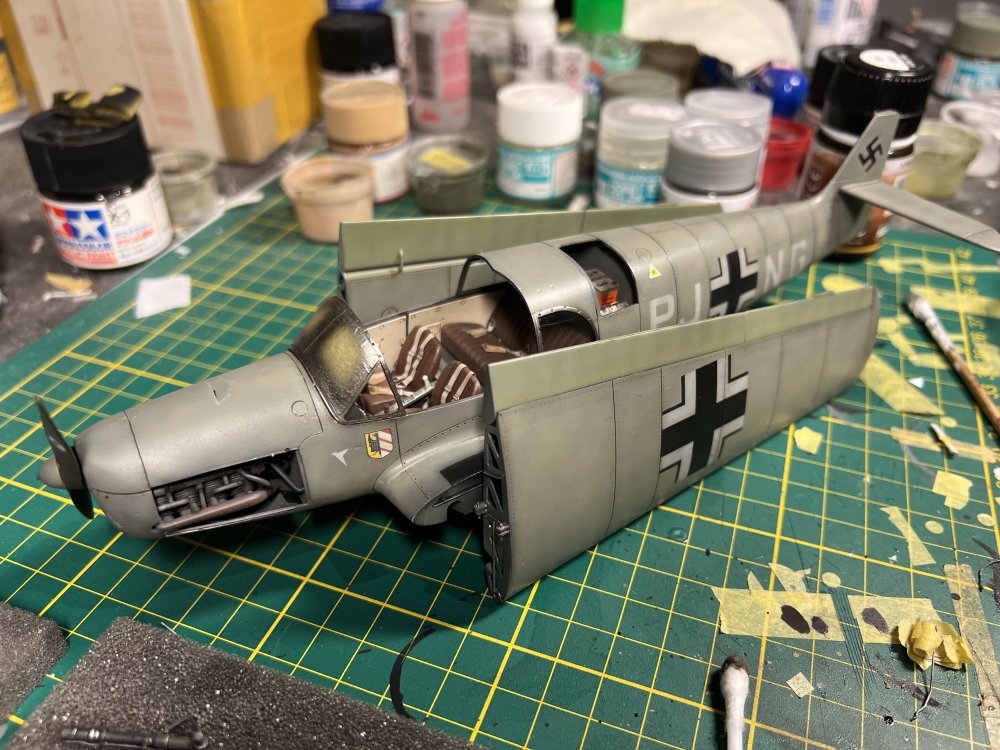
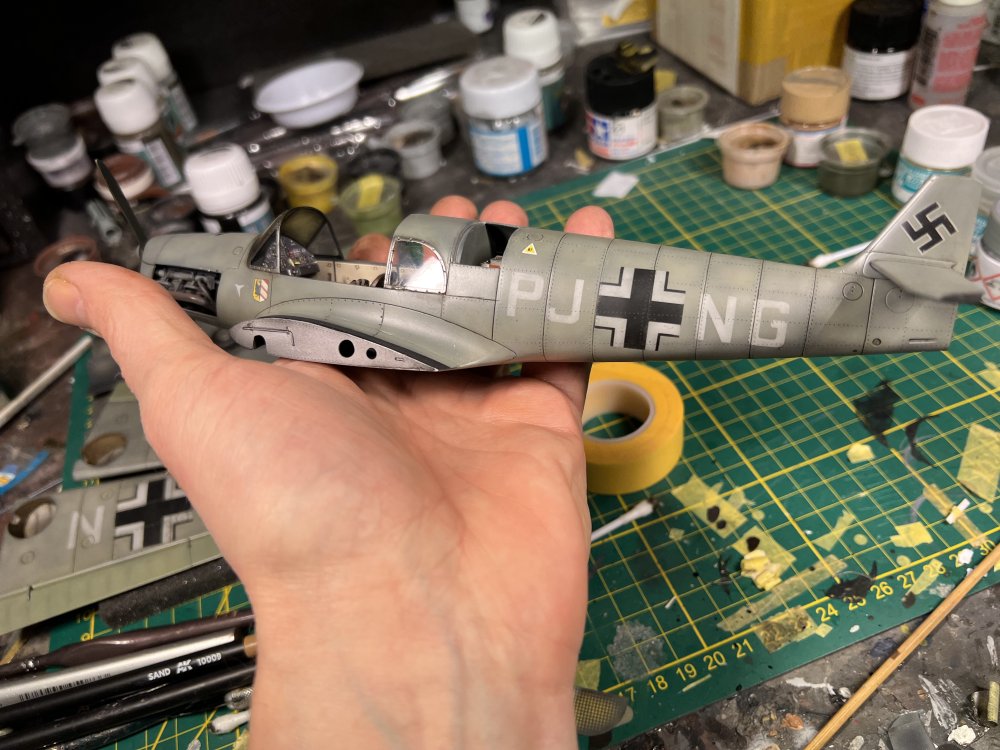
Im still figuring it out… Just took the masks off. Now tinkering with scratches and dirt.

-
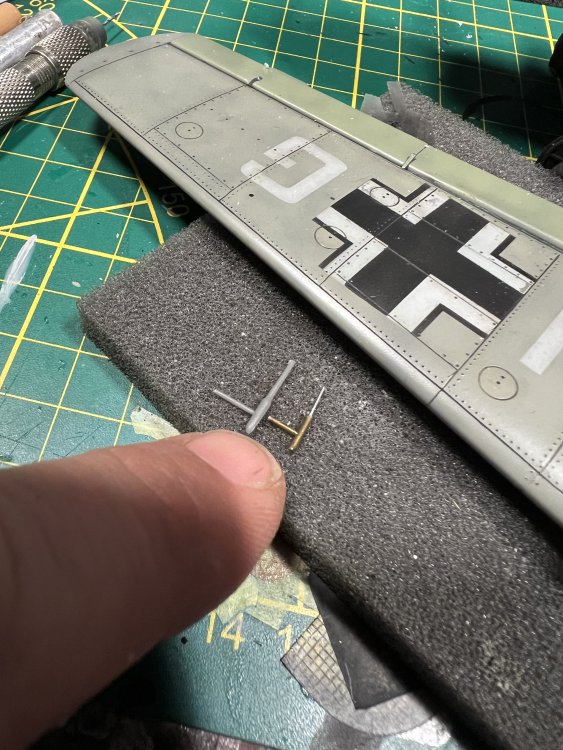
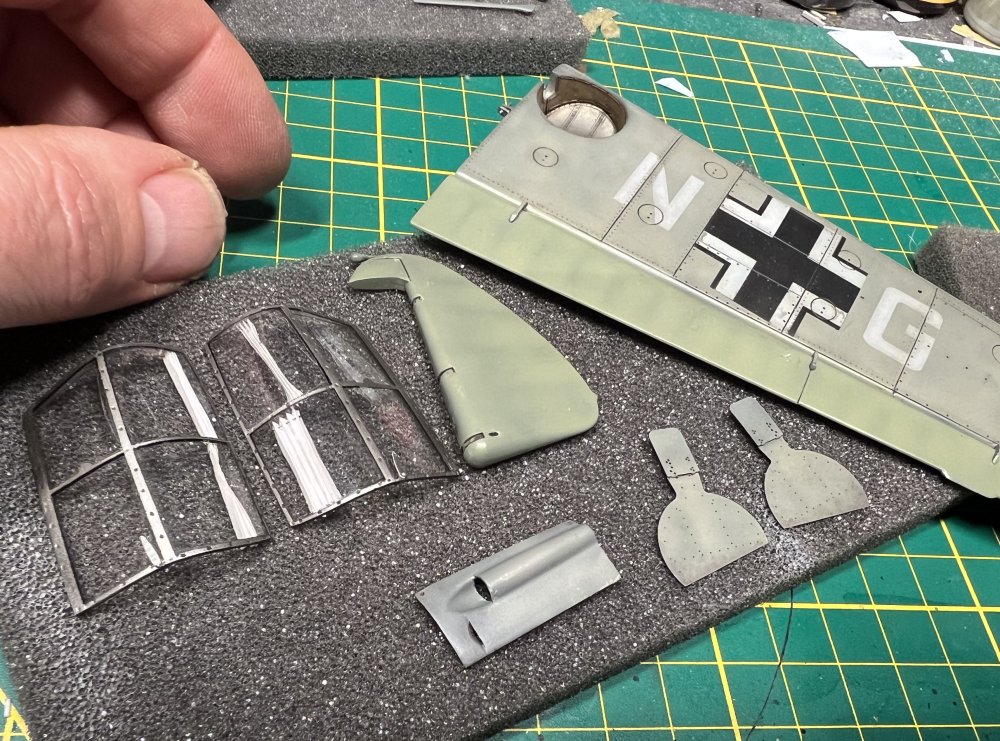
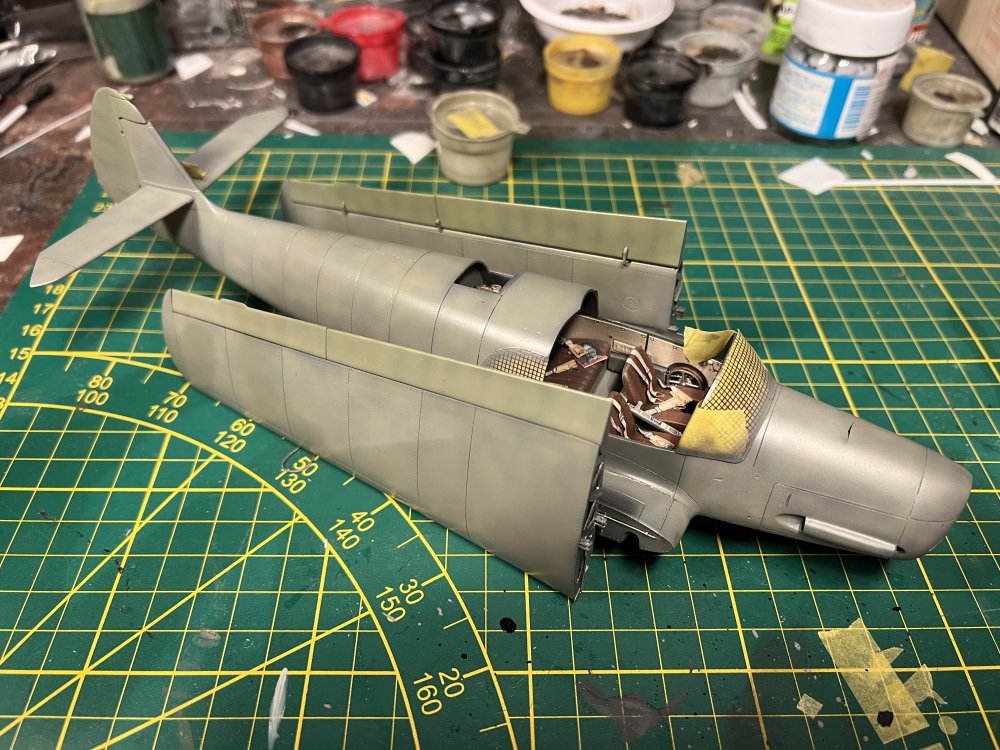
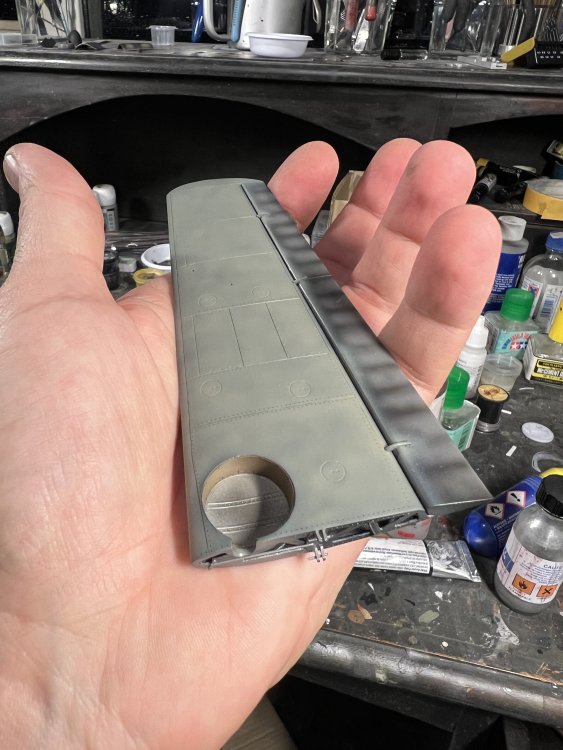
Wings attach with a solid construction now. Also scratched a new pitot tube. The one supplied is a mis-moulded one.

-
Adding weshtering to the underside and adding details. Also making a soilid construction for the wing attachment.

- 165 replies
-
- 11
-

-

-
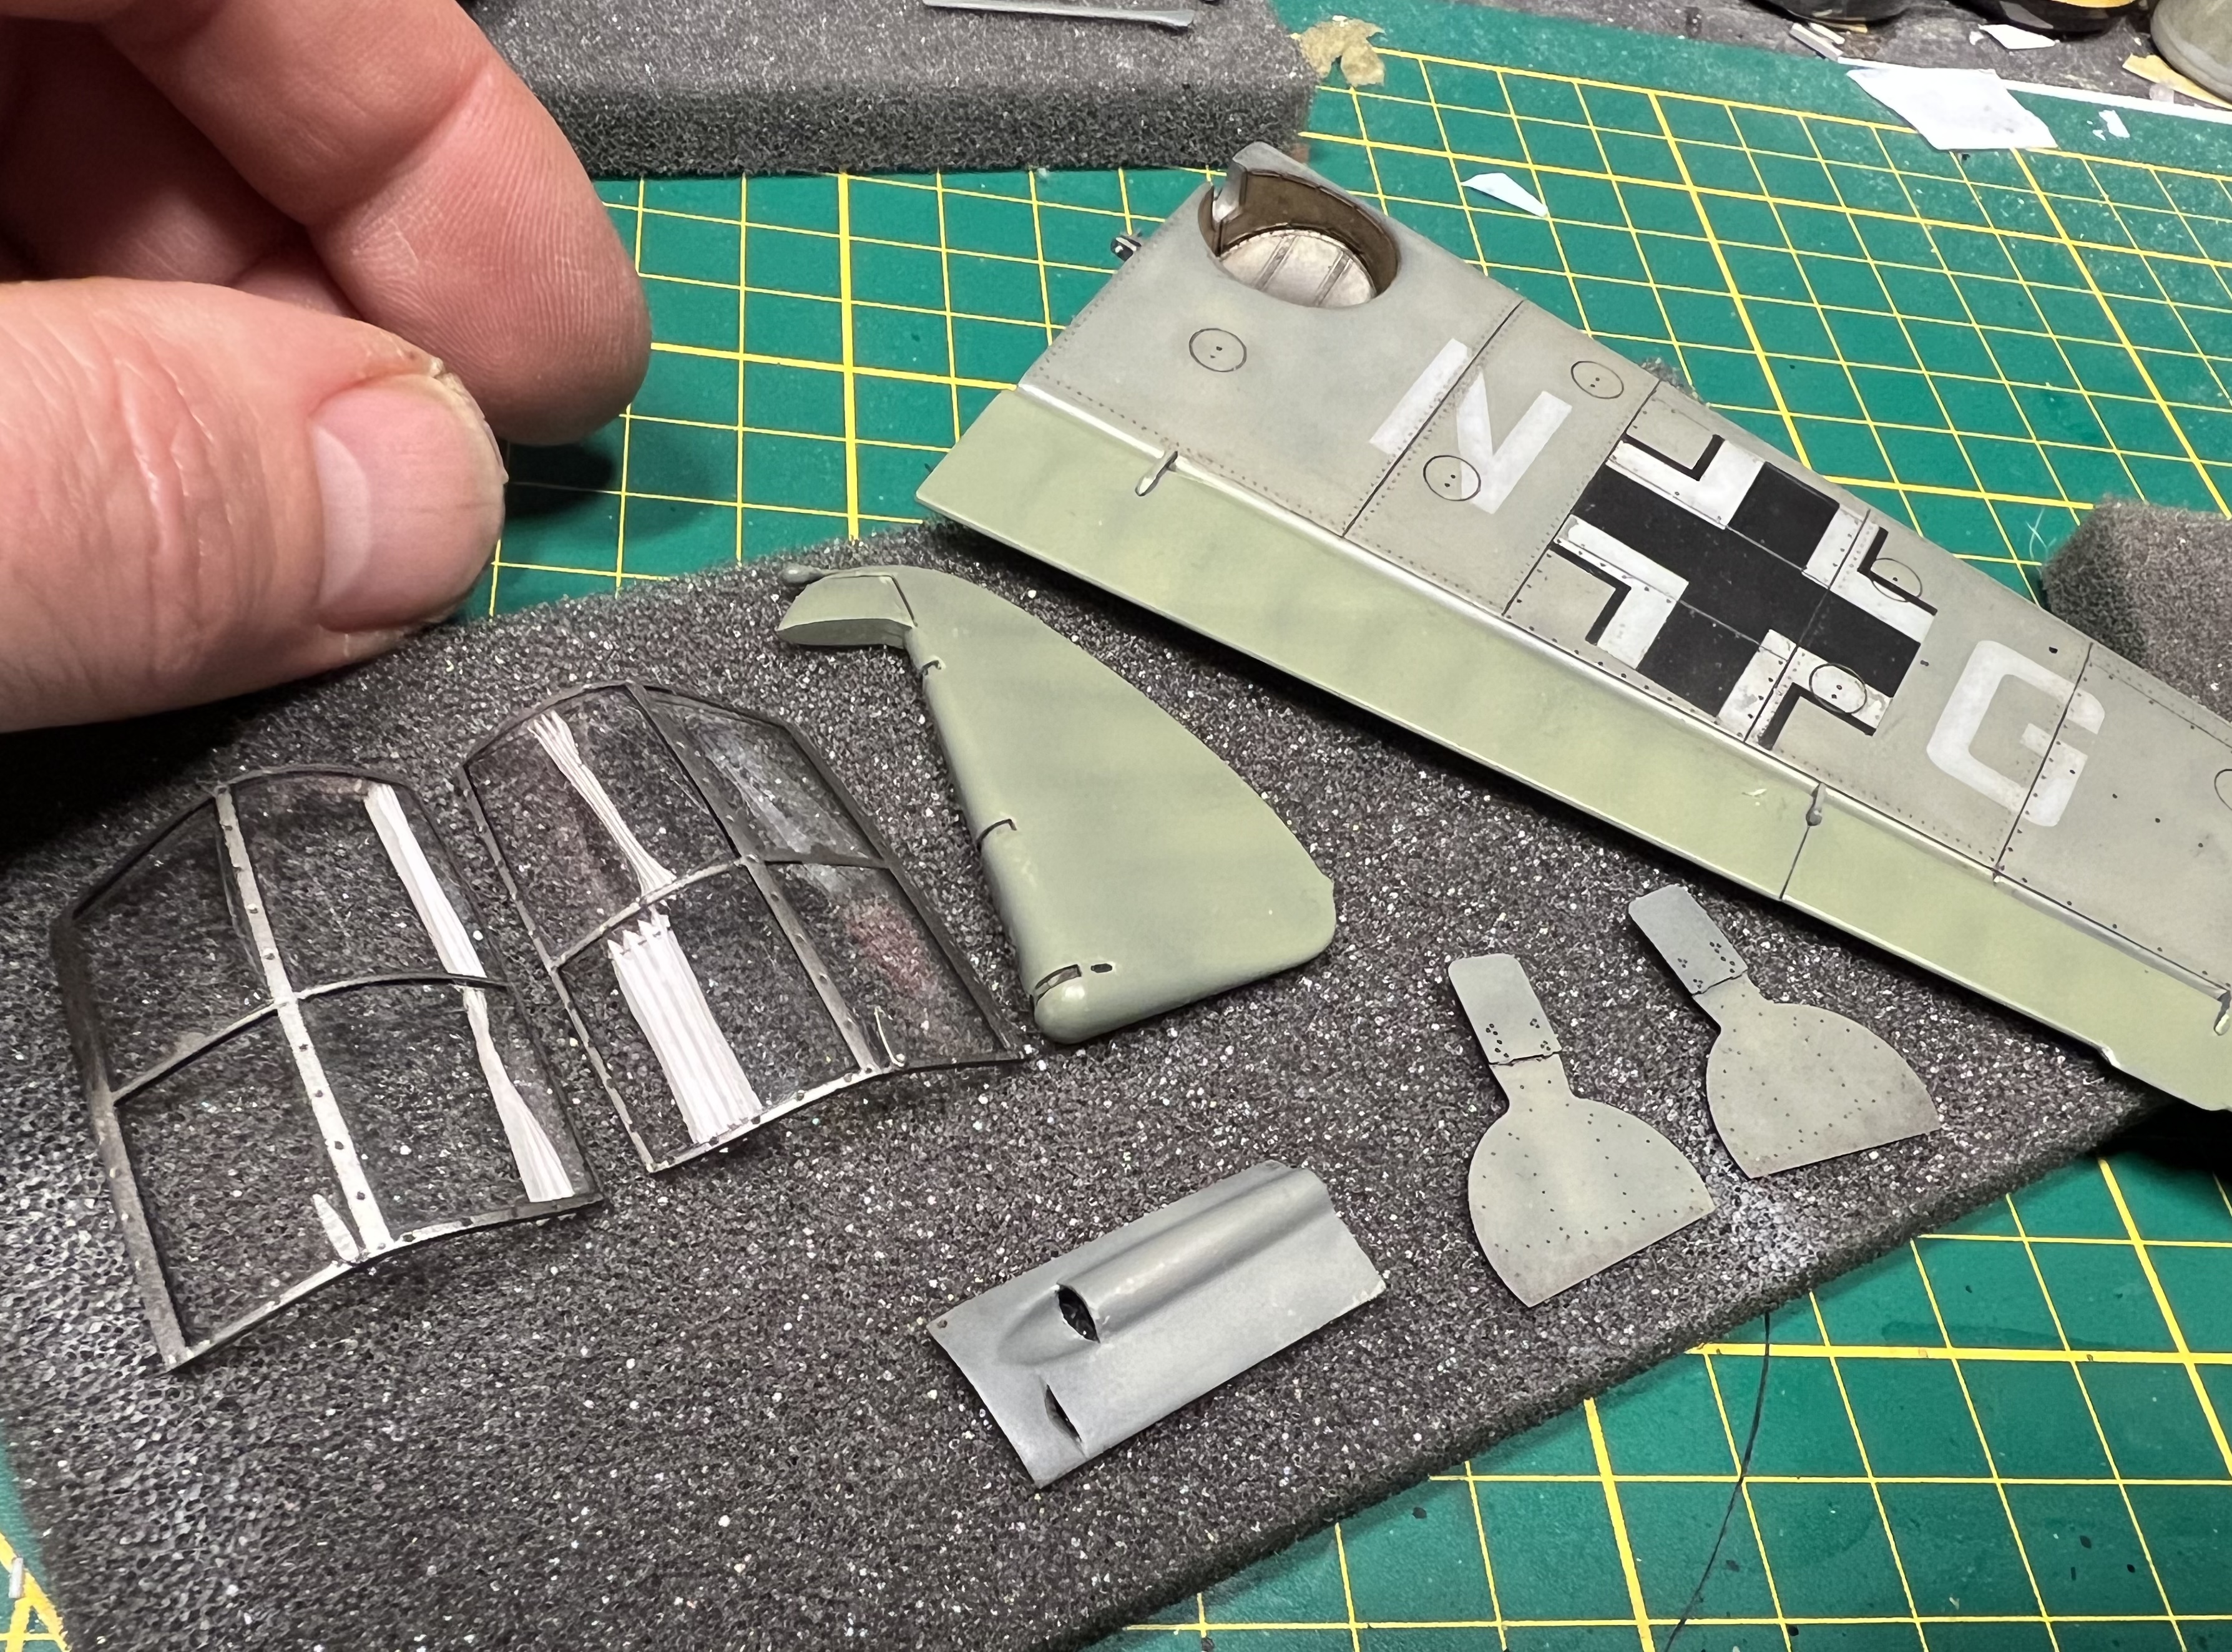
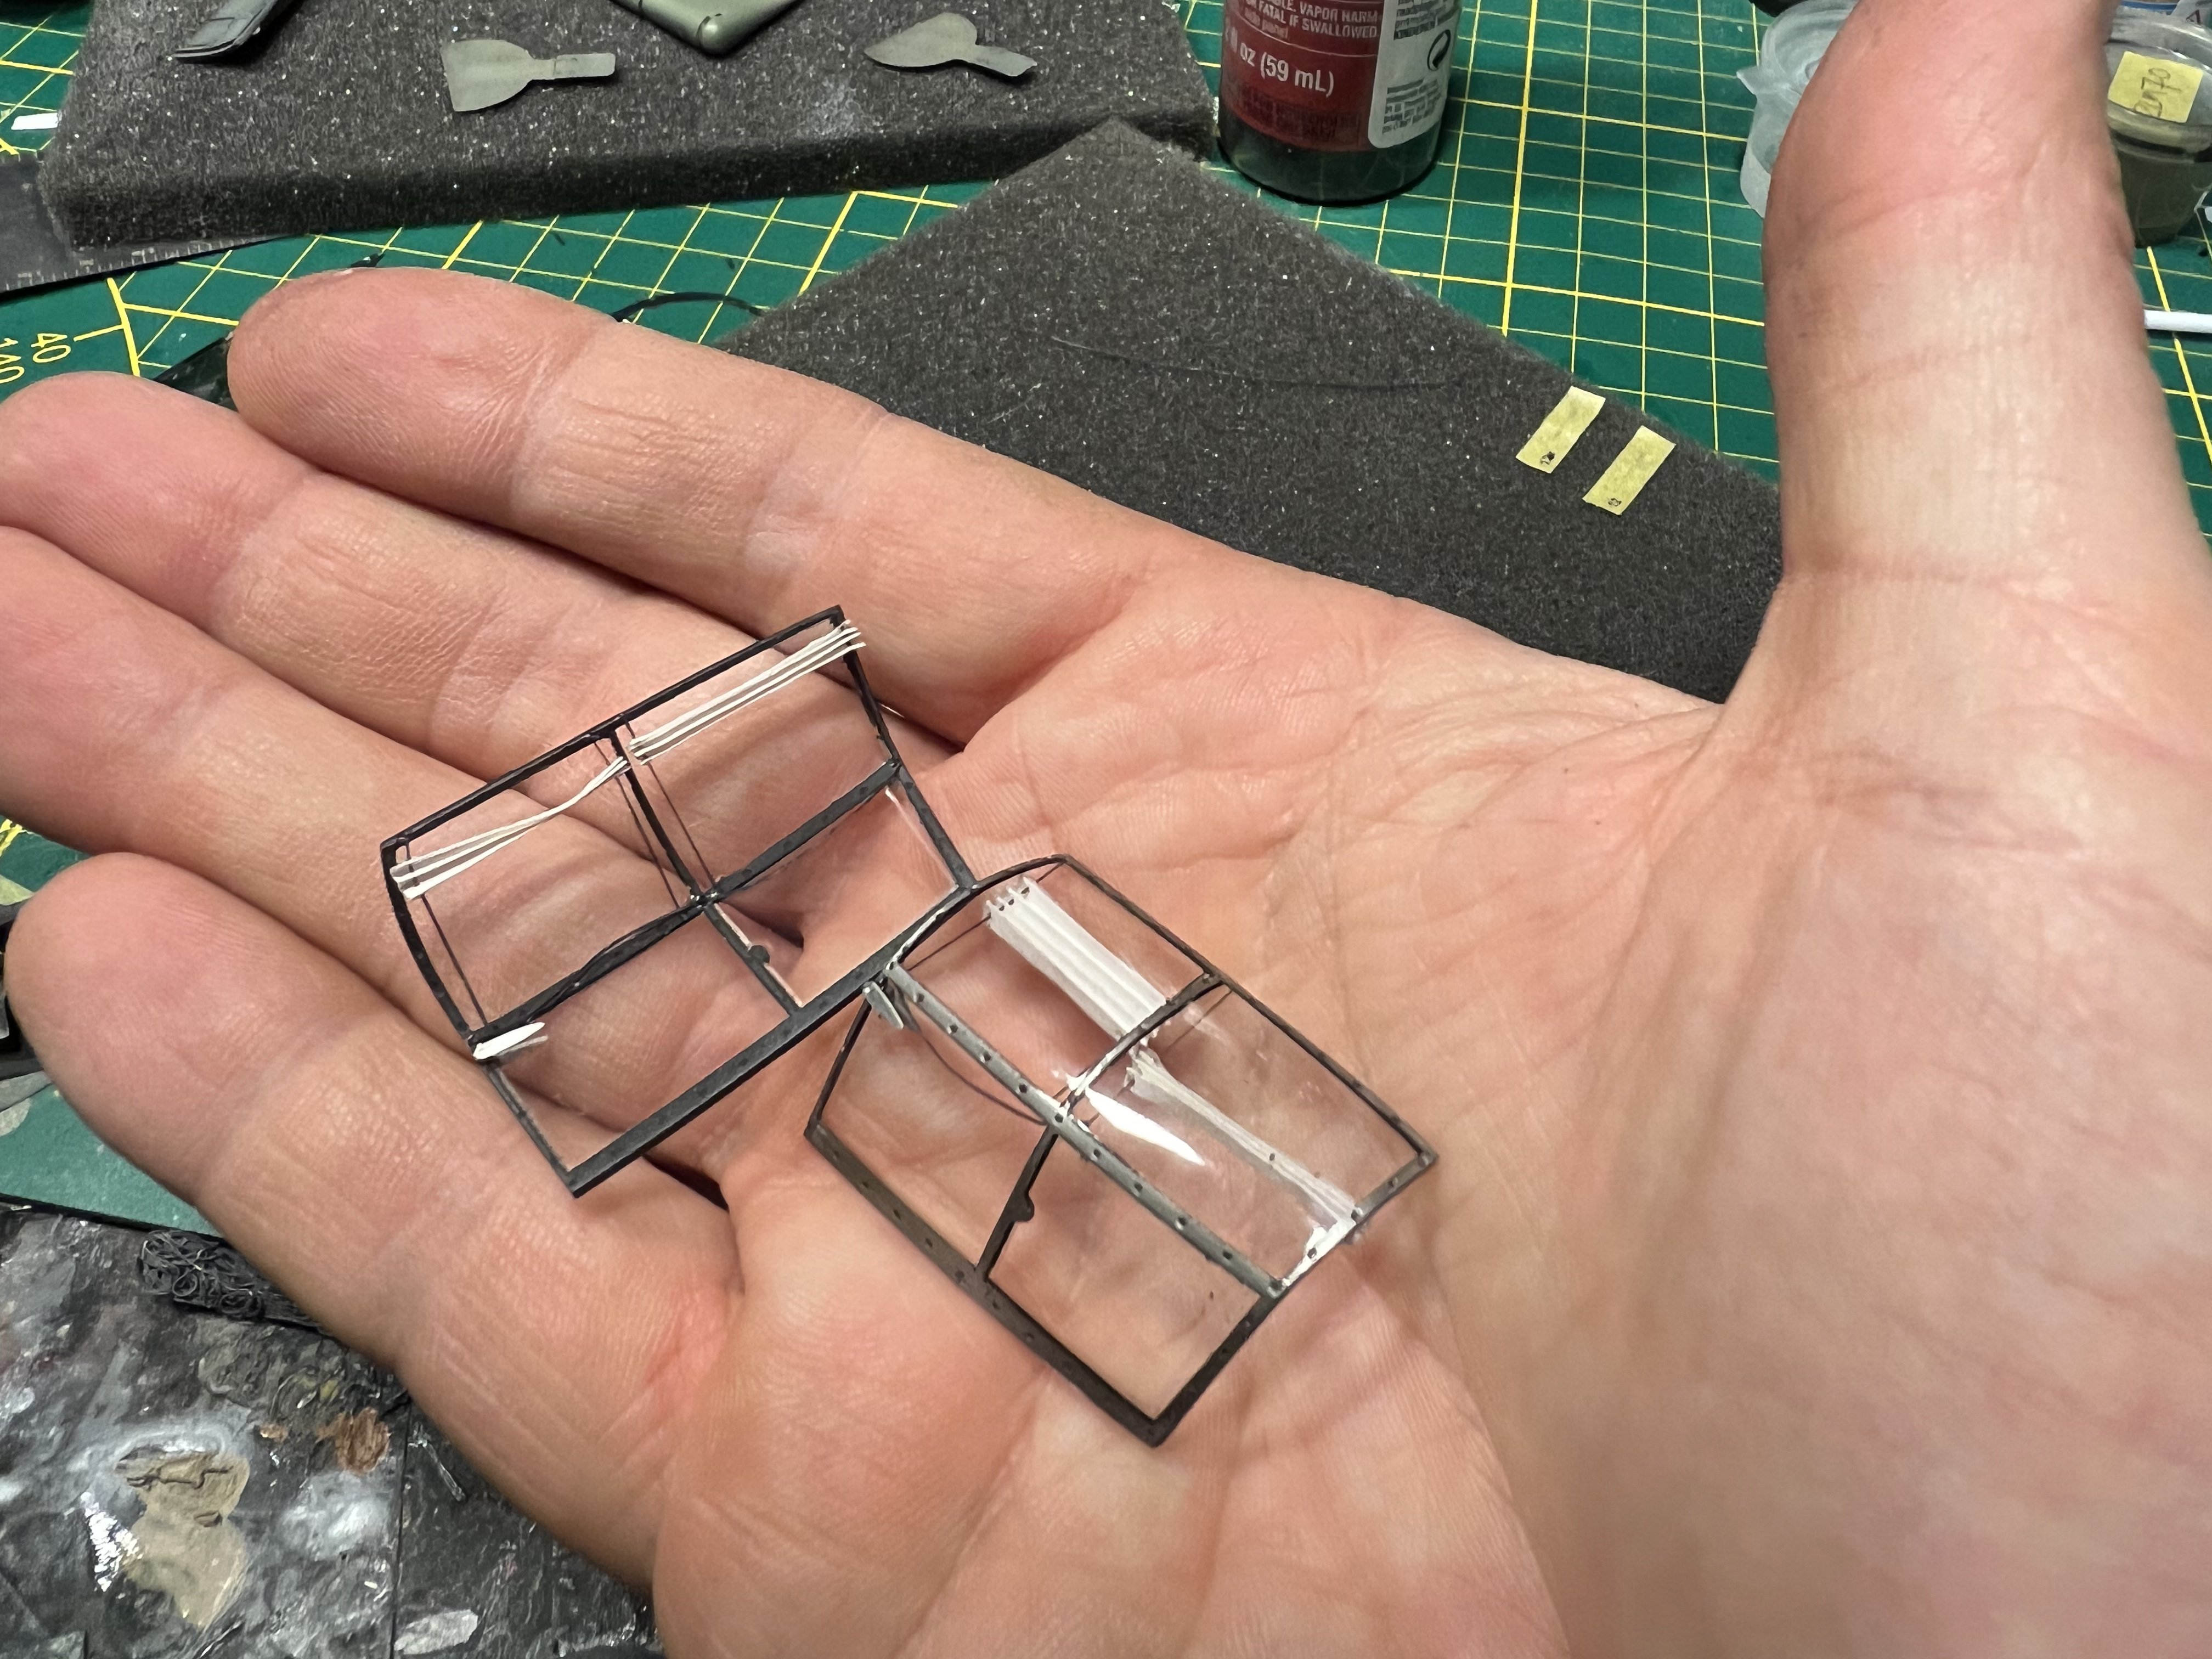
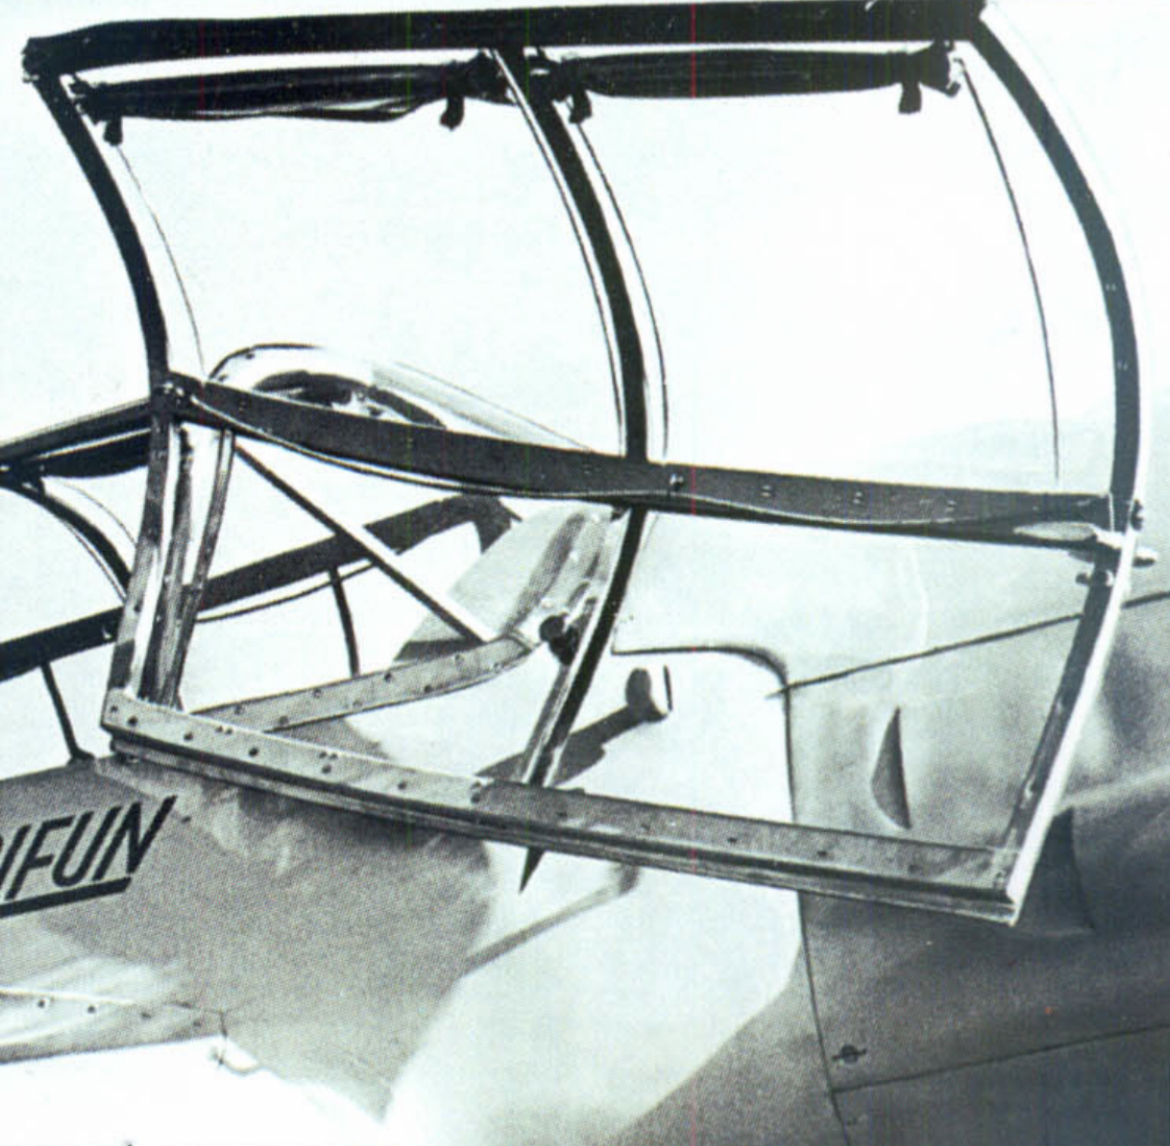
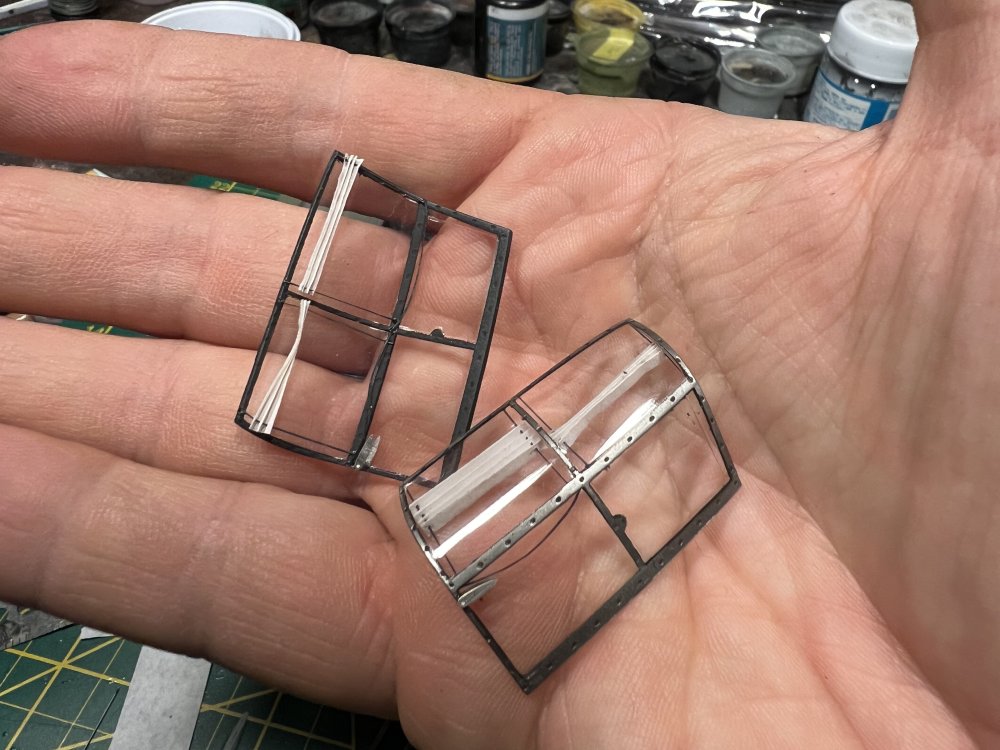
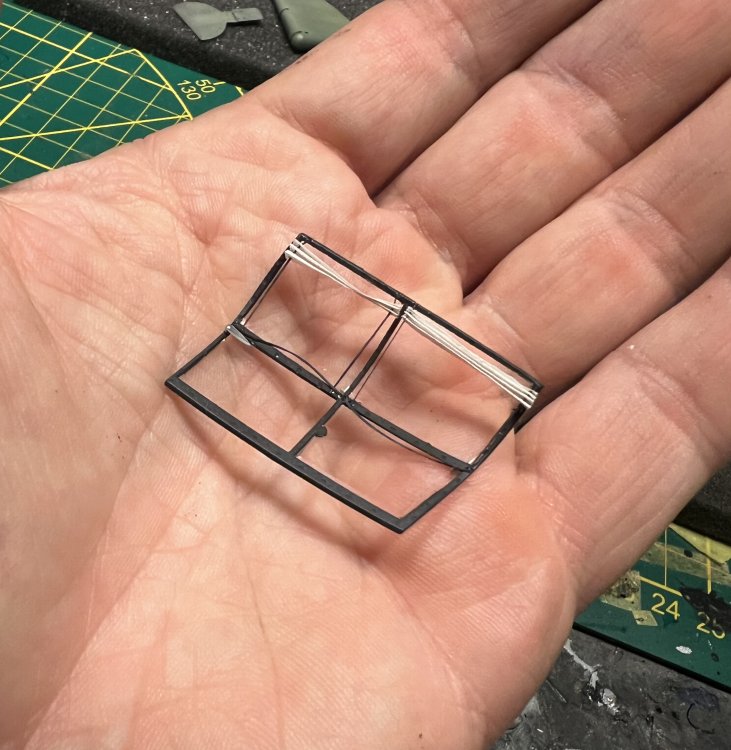
Windows almost done! thank god.

-
One window almost done. Nerve wrecking!

-


-
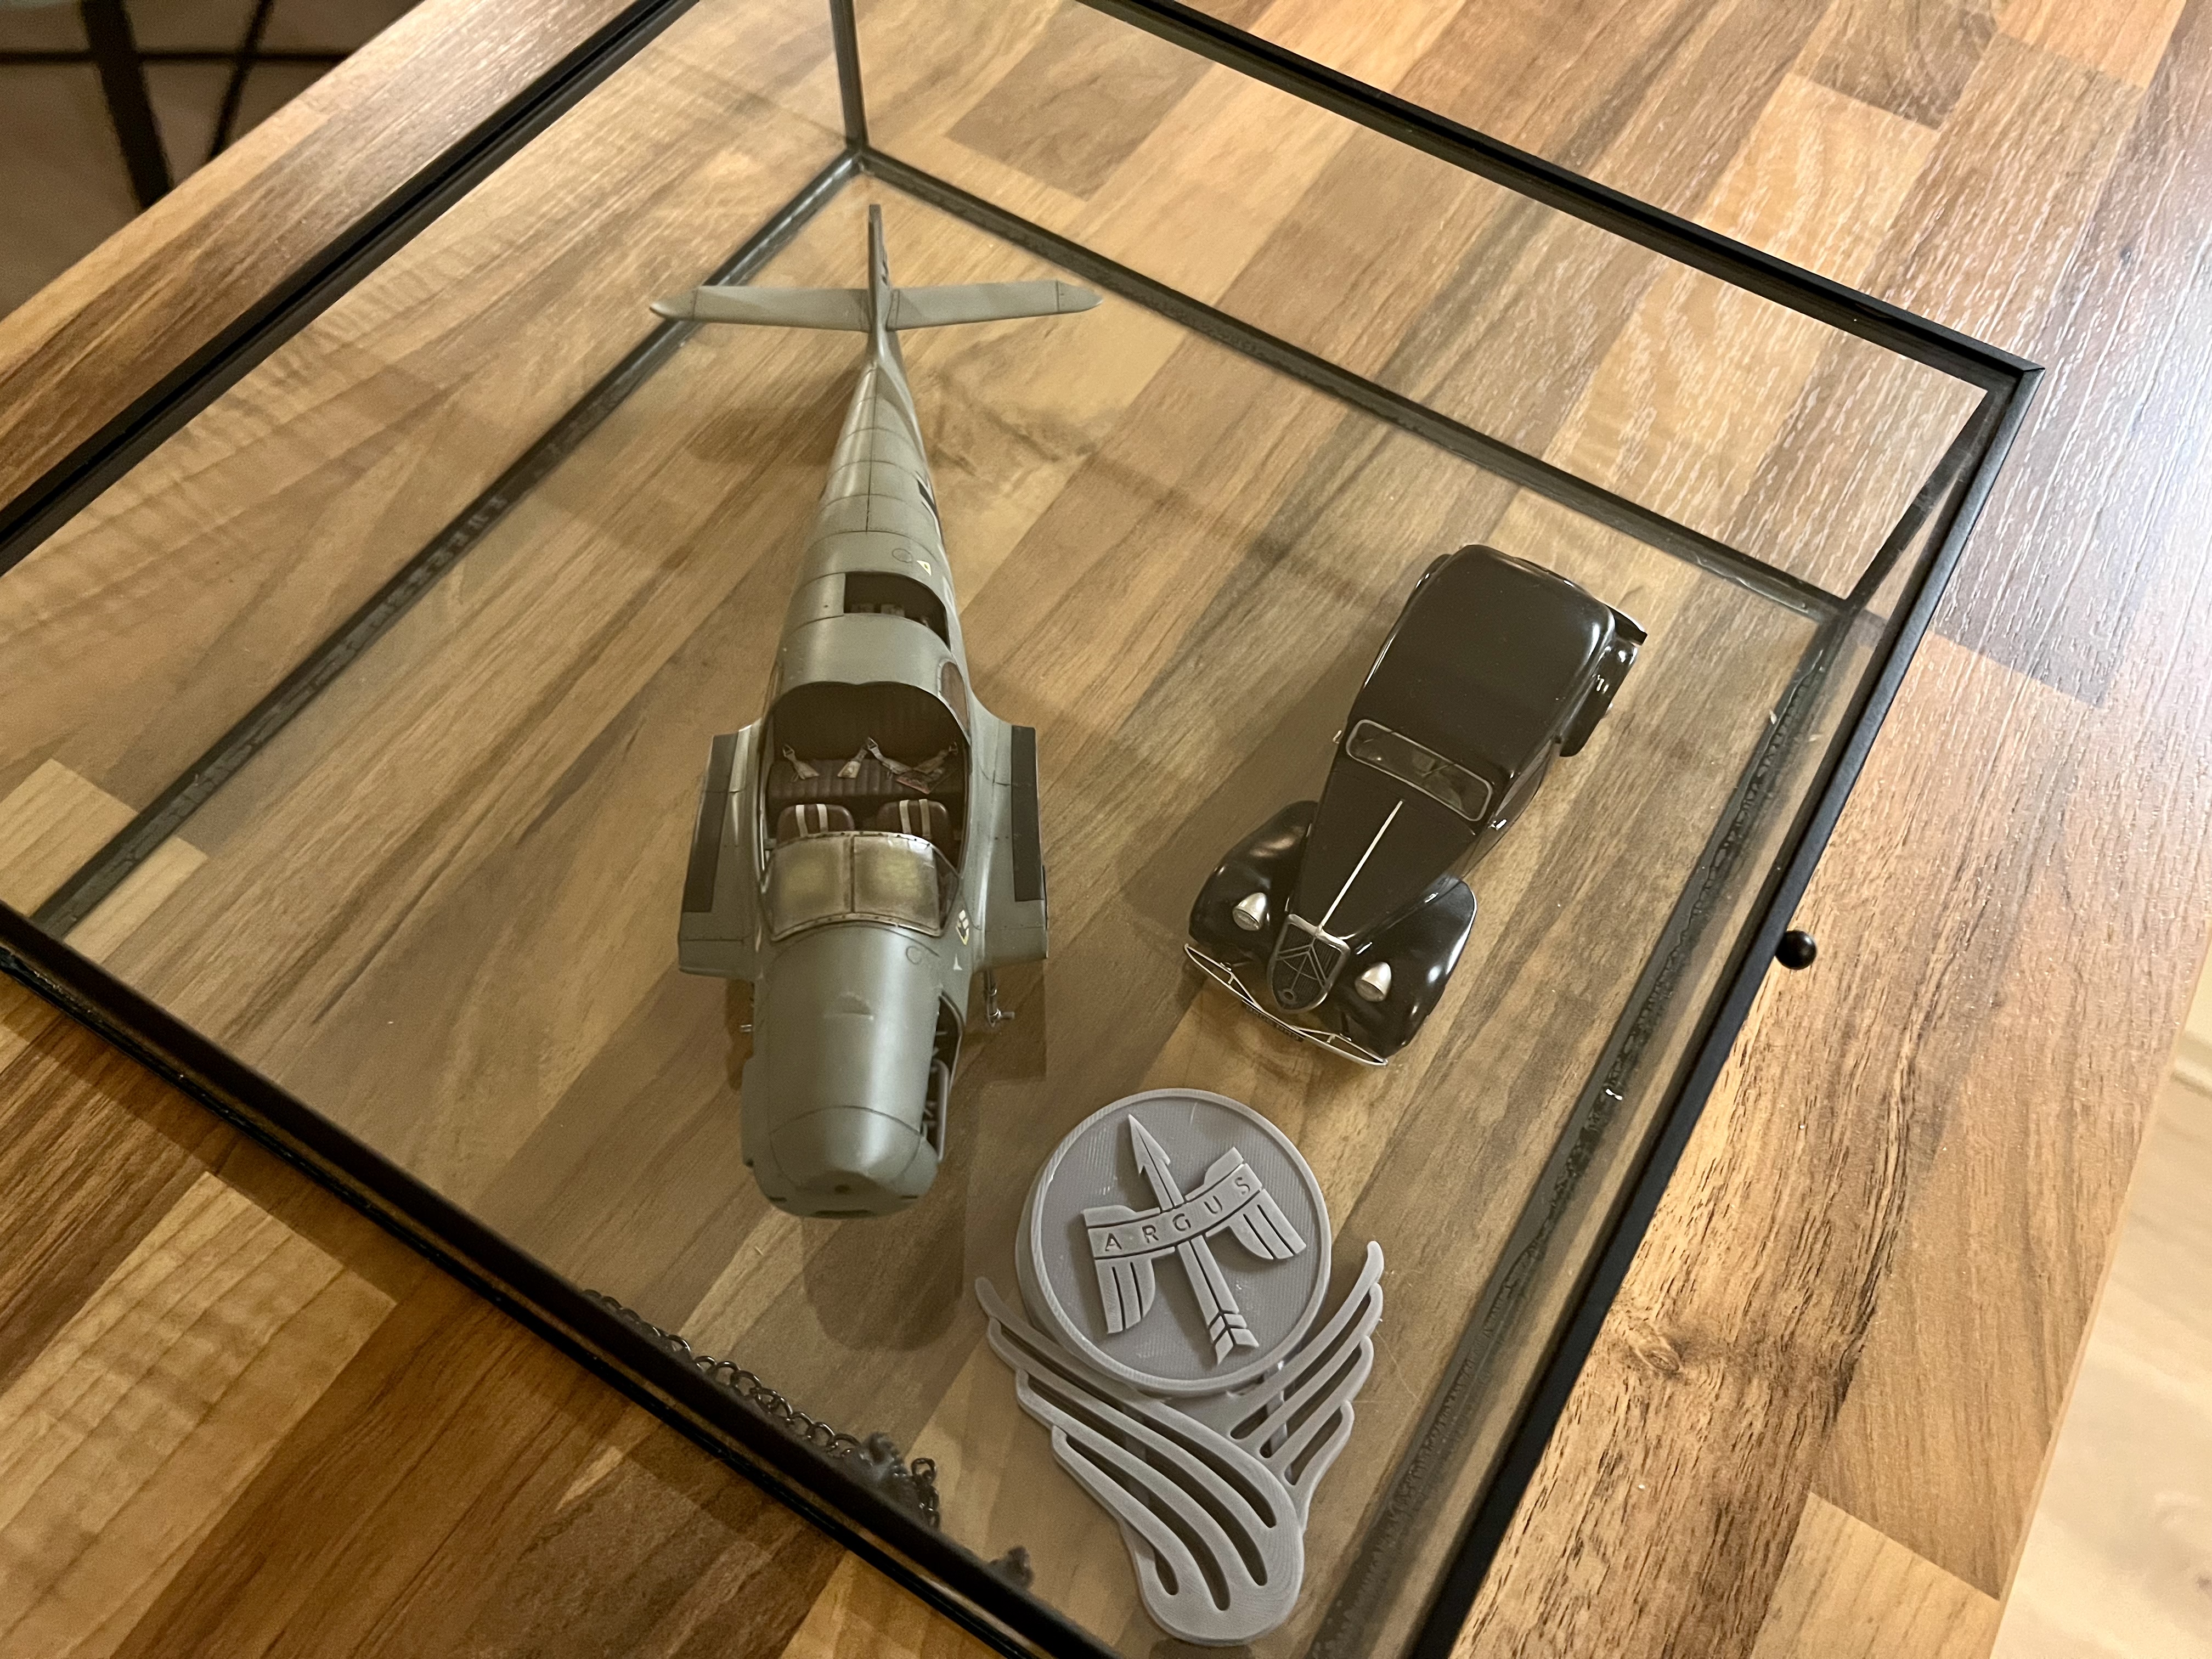
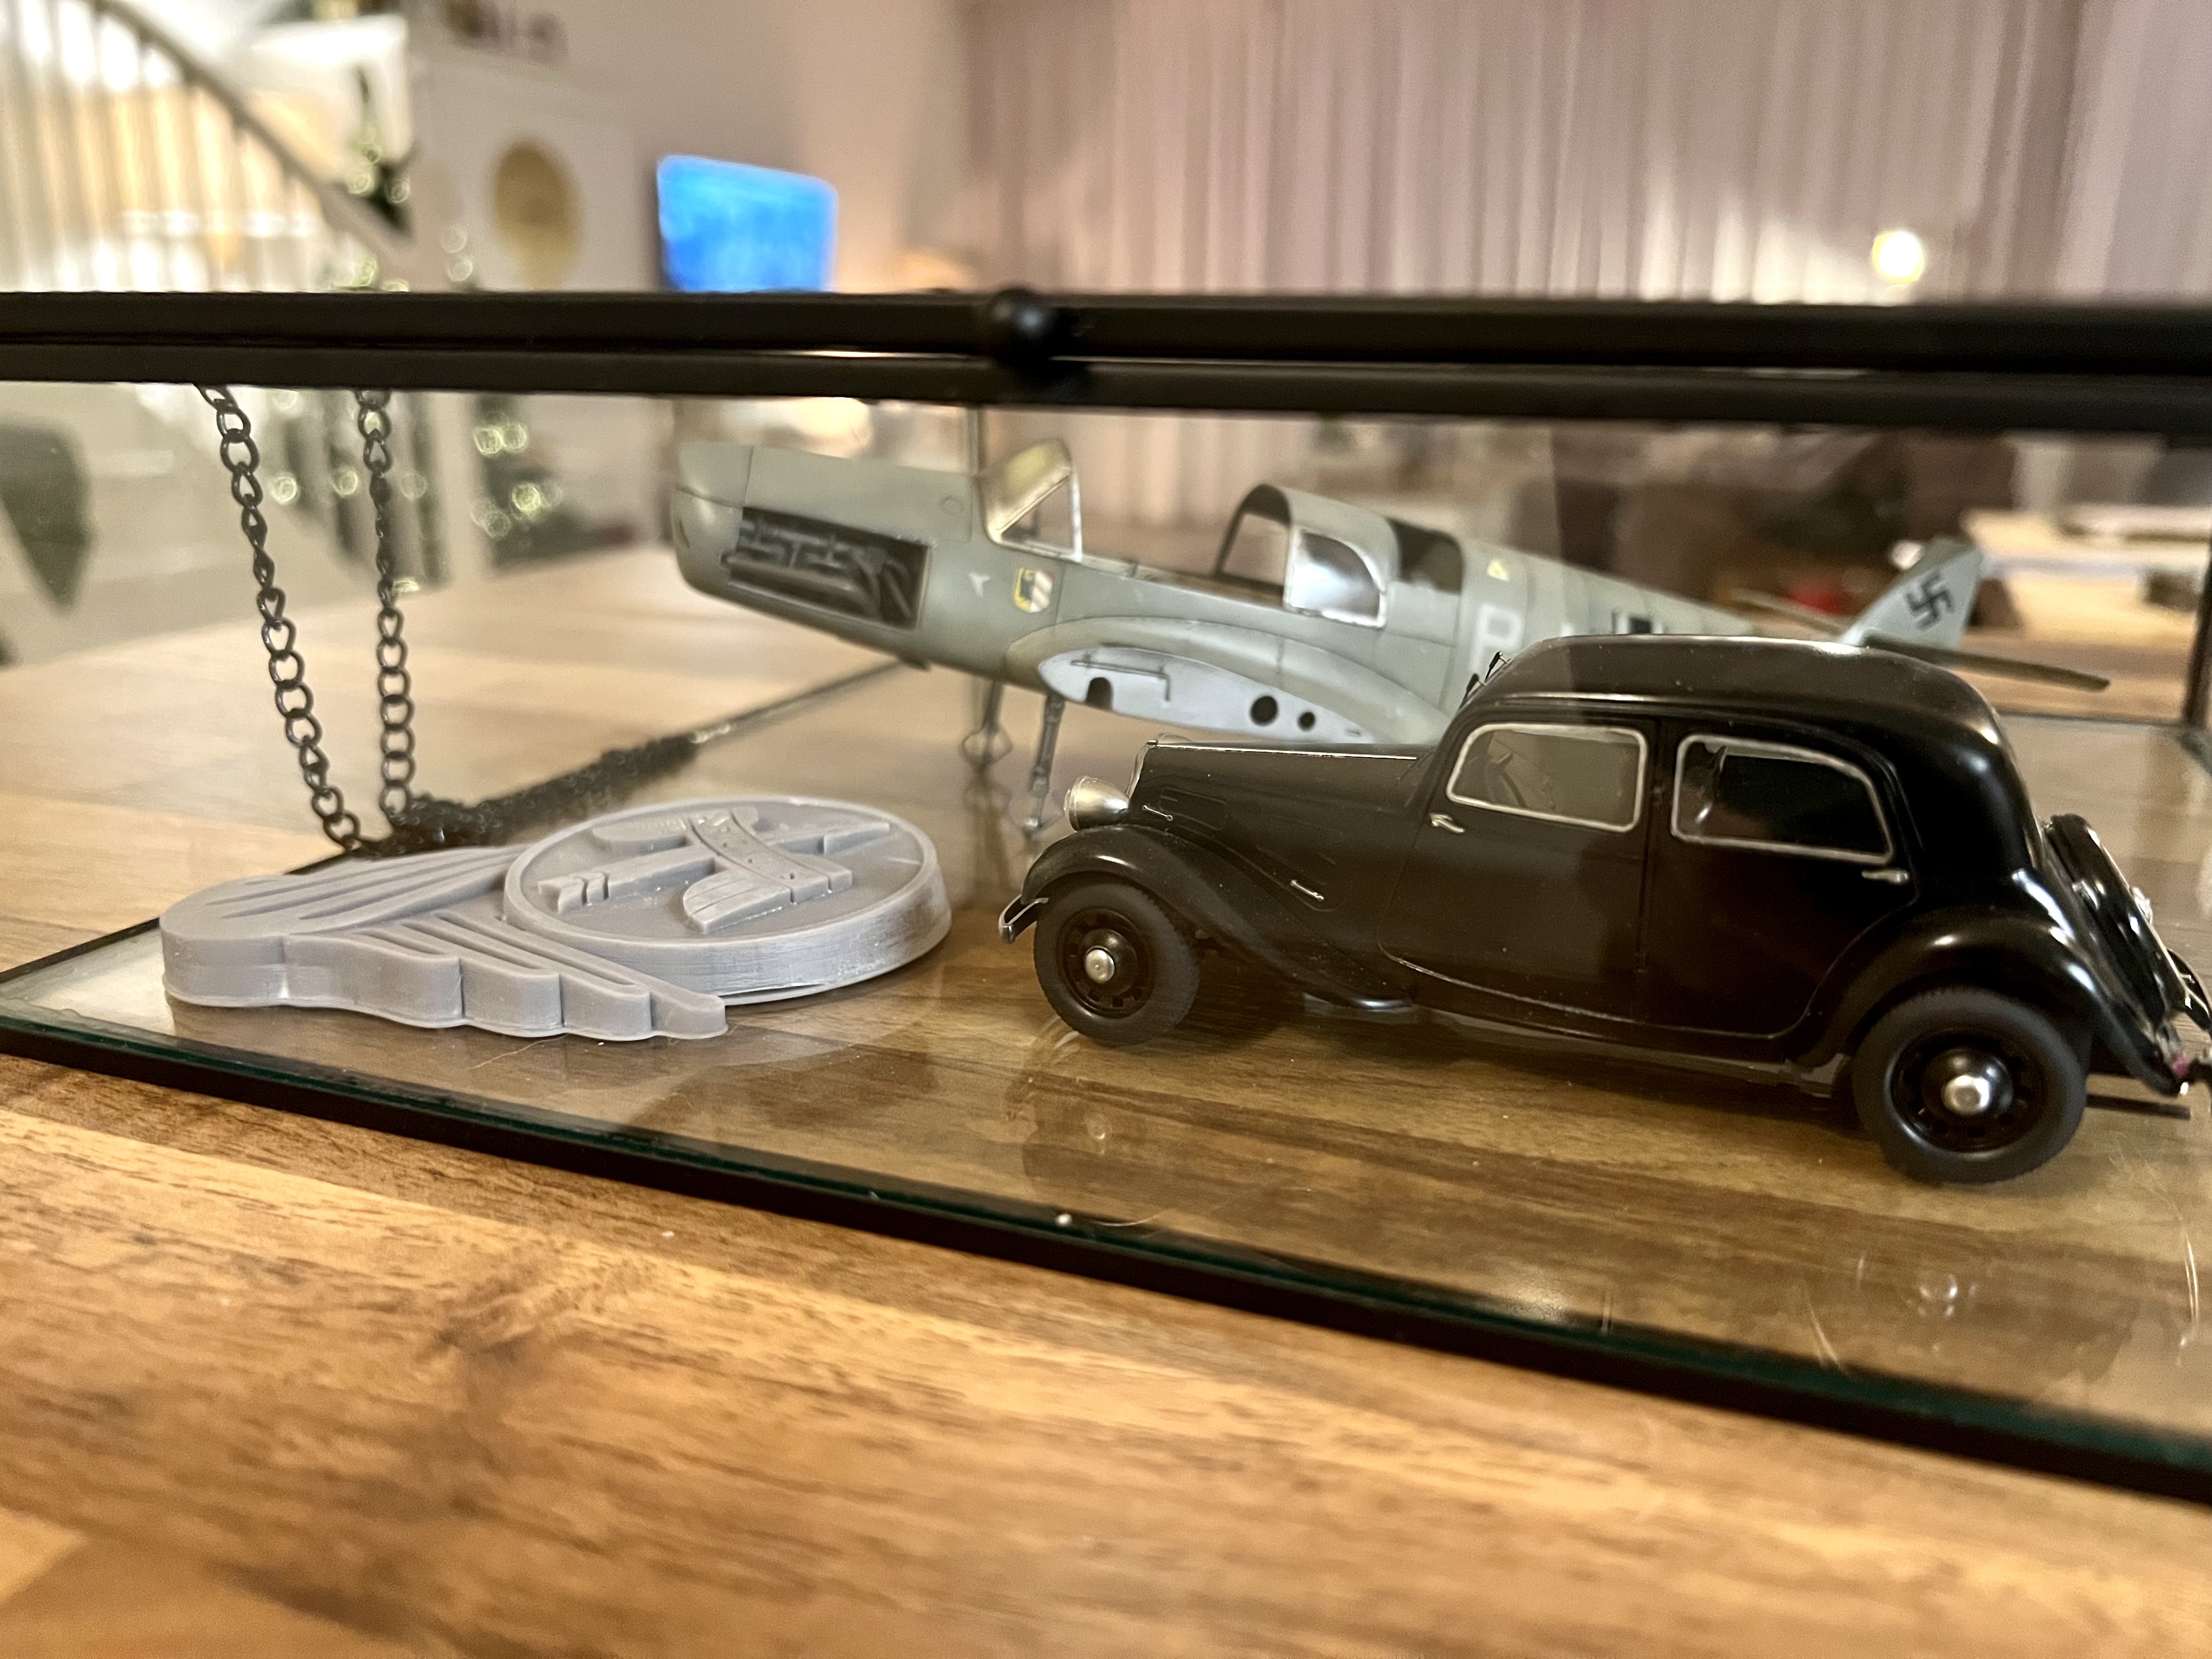
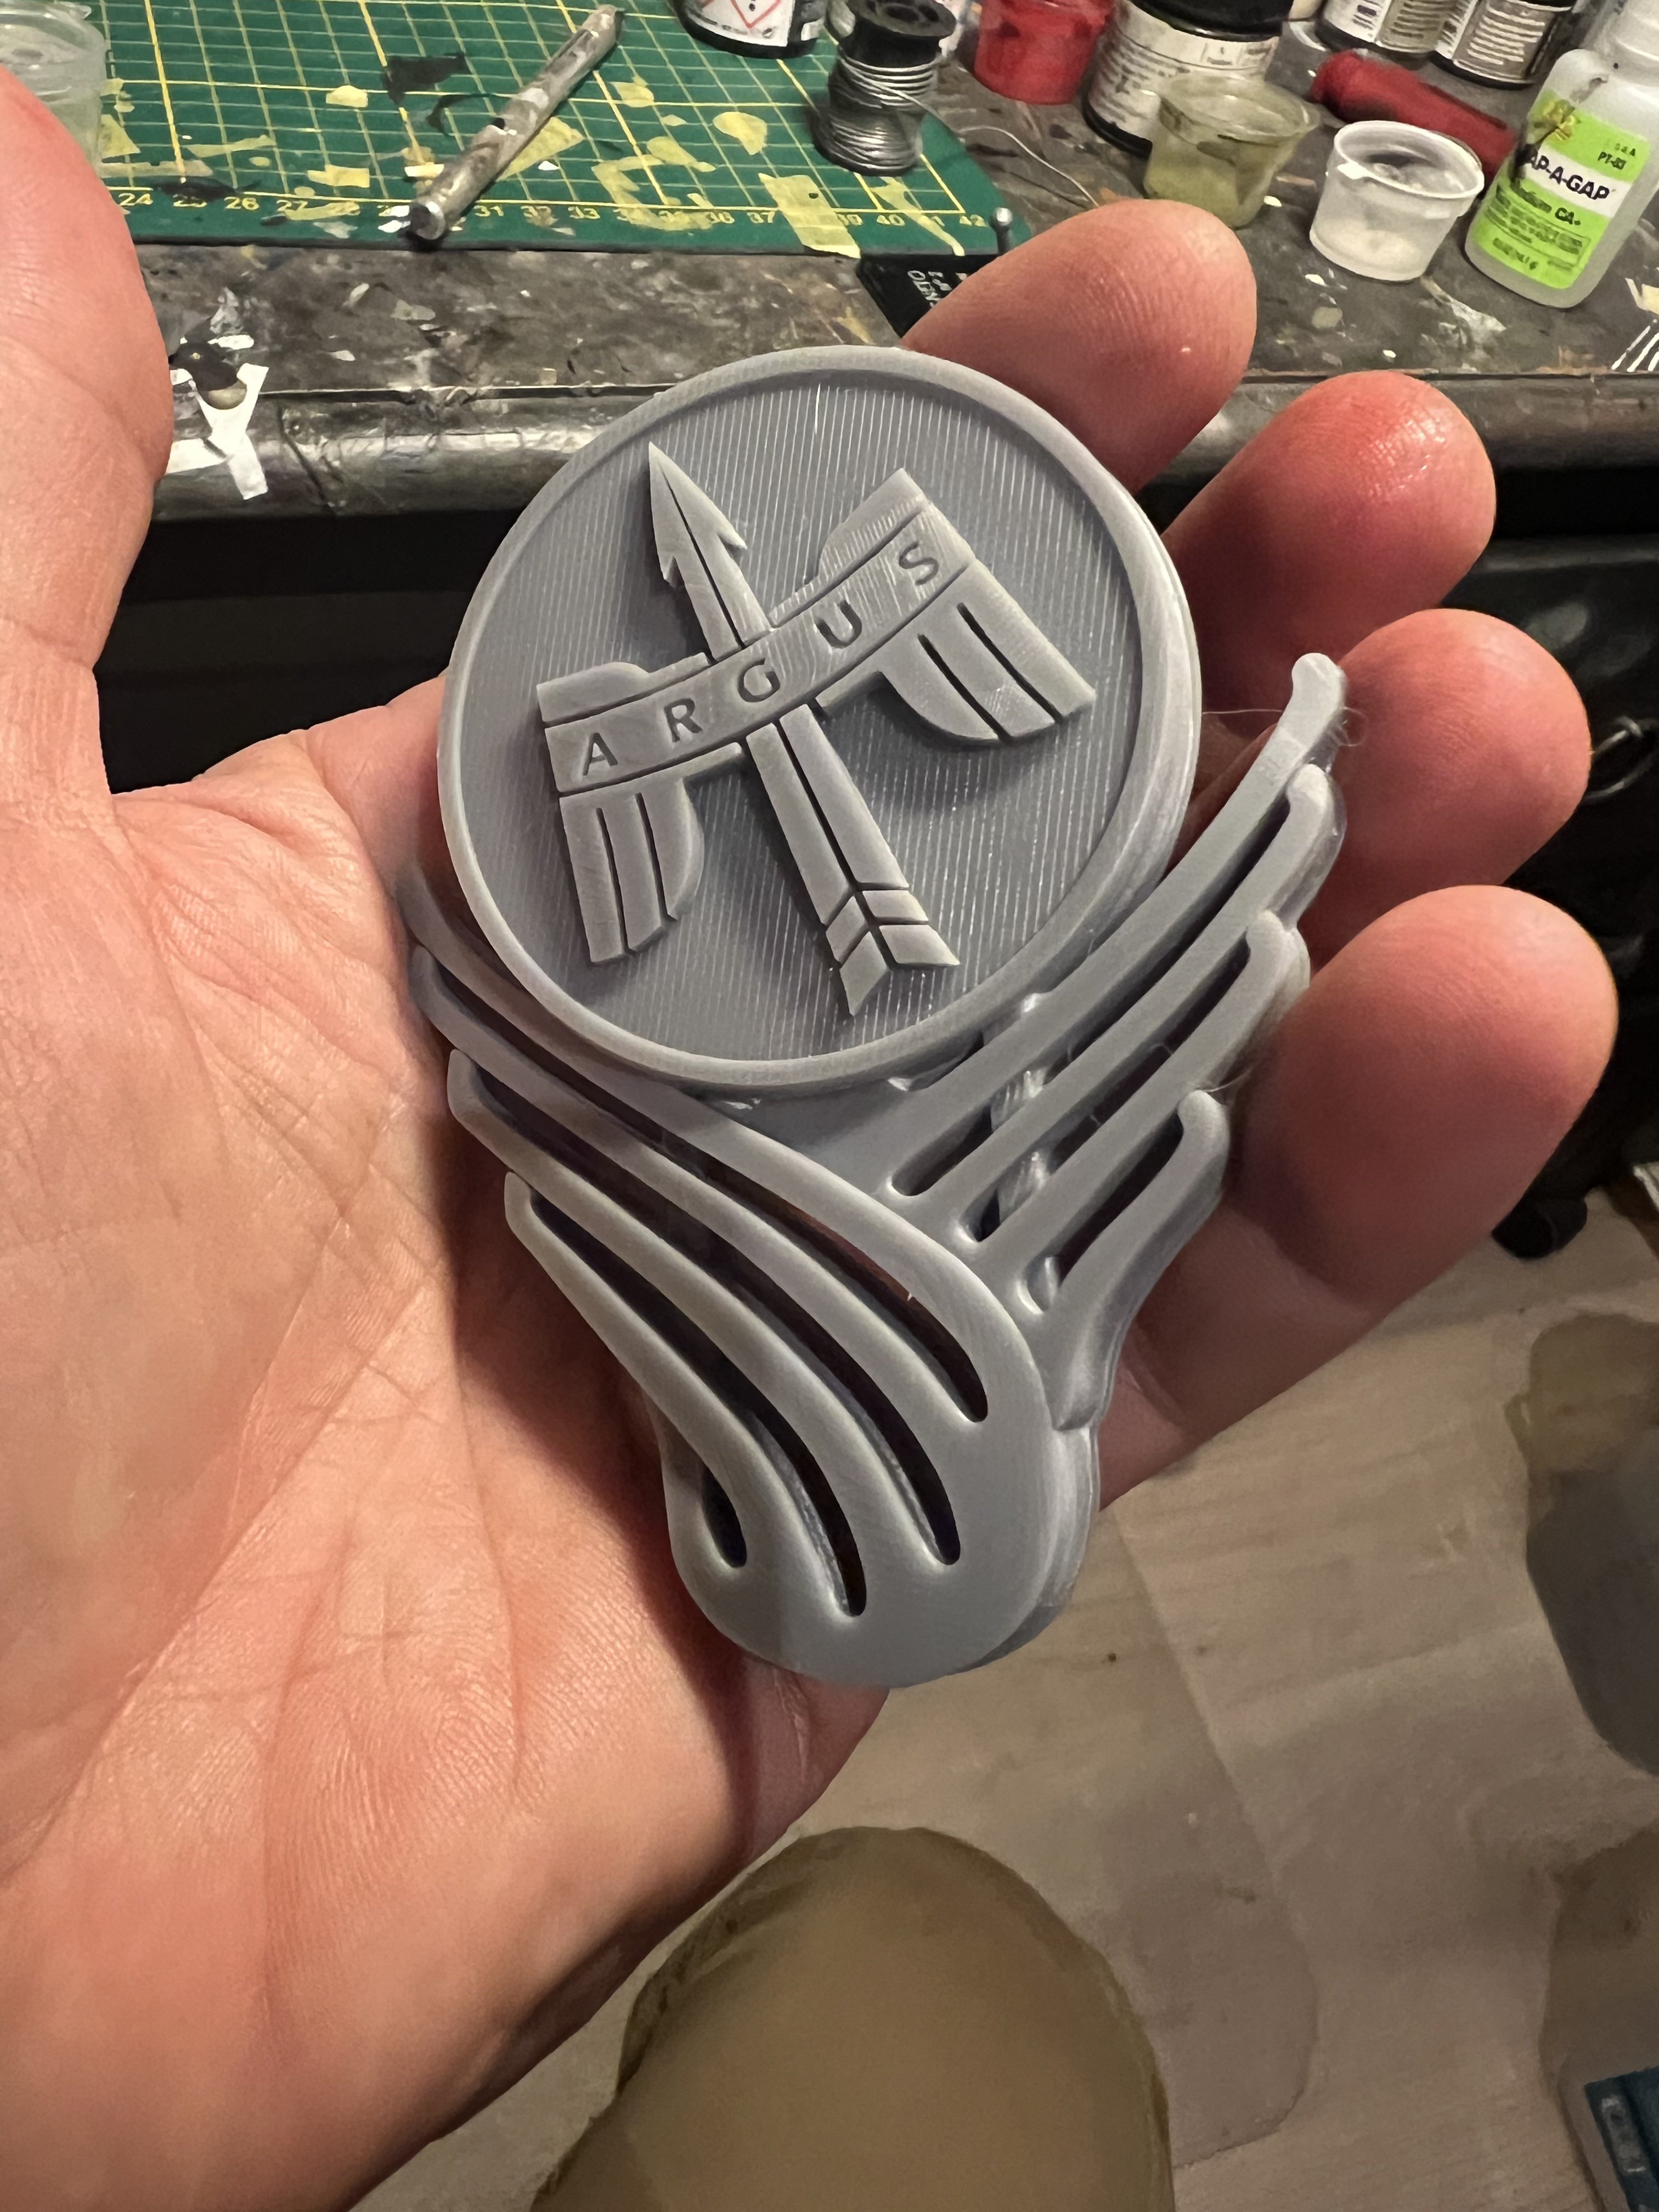
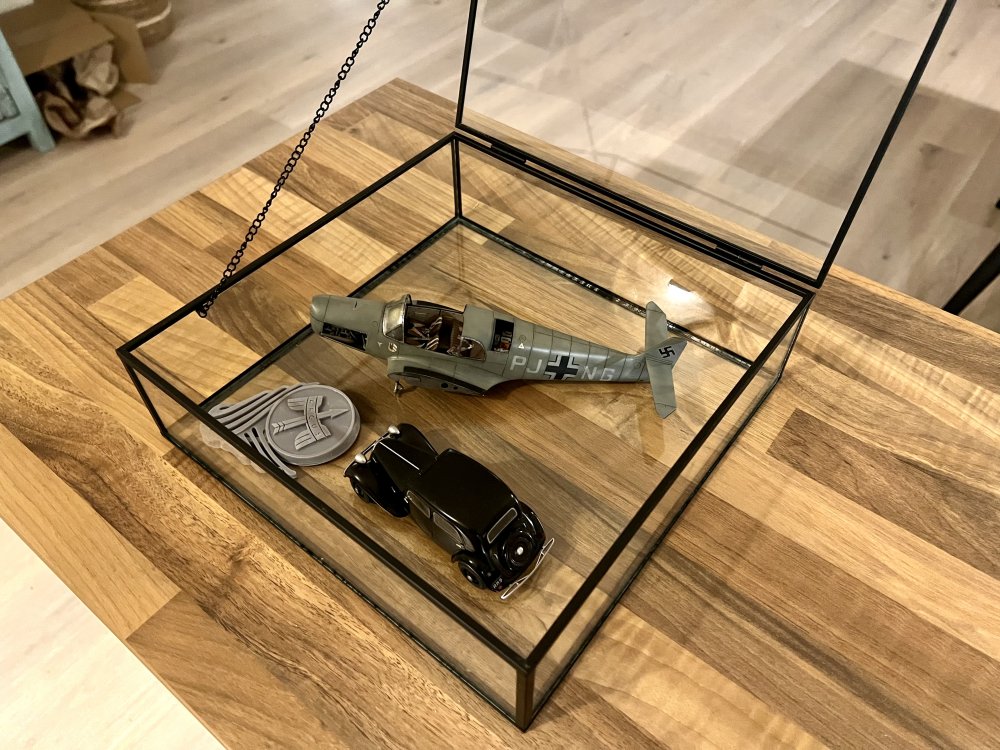
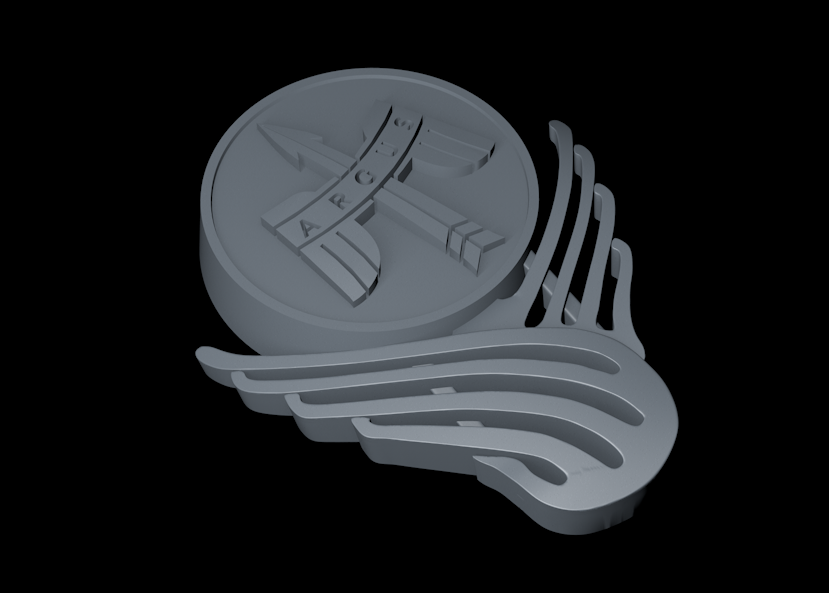
I thought the emblem was too small for the composition, so printed a larger one.

-

-
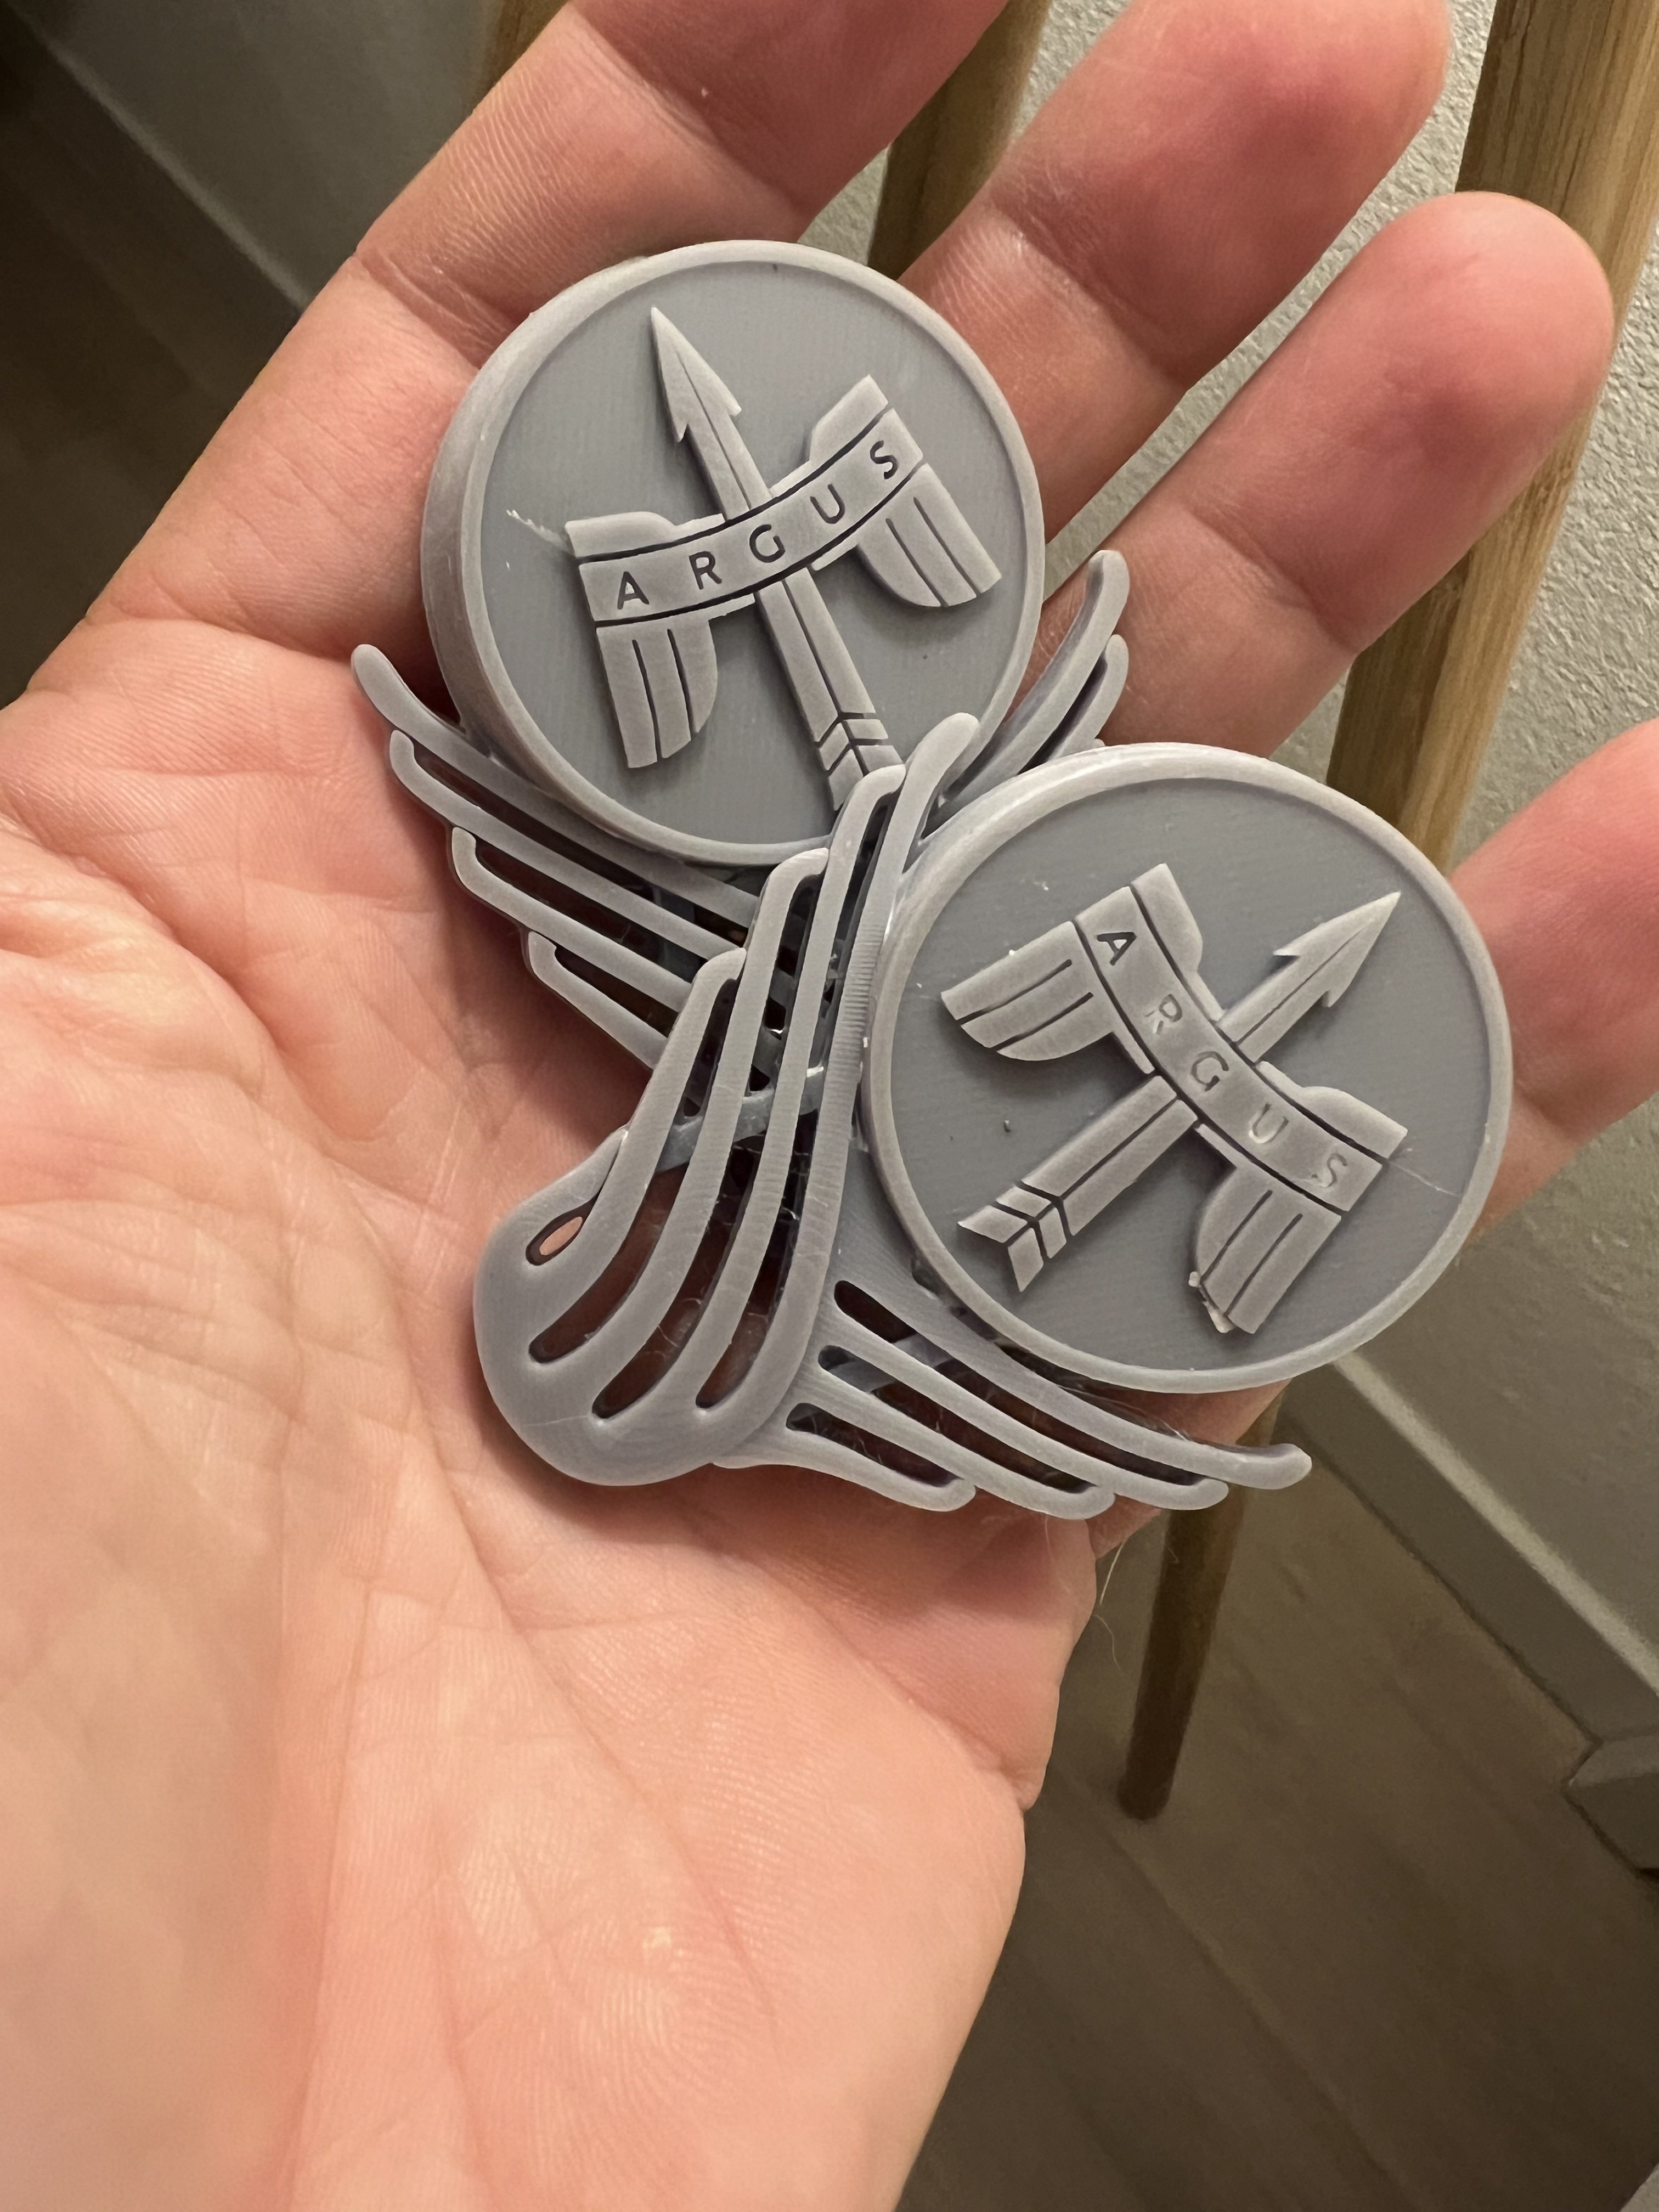
I combined two 3D emblems go into the corner of the wooden base. The Argus engine logo and a Citroën Traction logo. I will 3d print this emblem over the weekend and have some fun with Alclad.
-
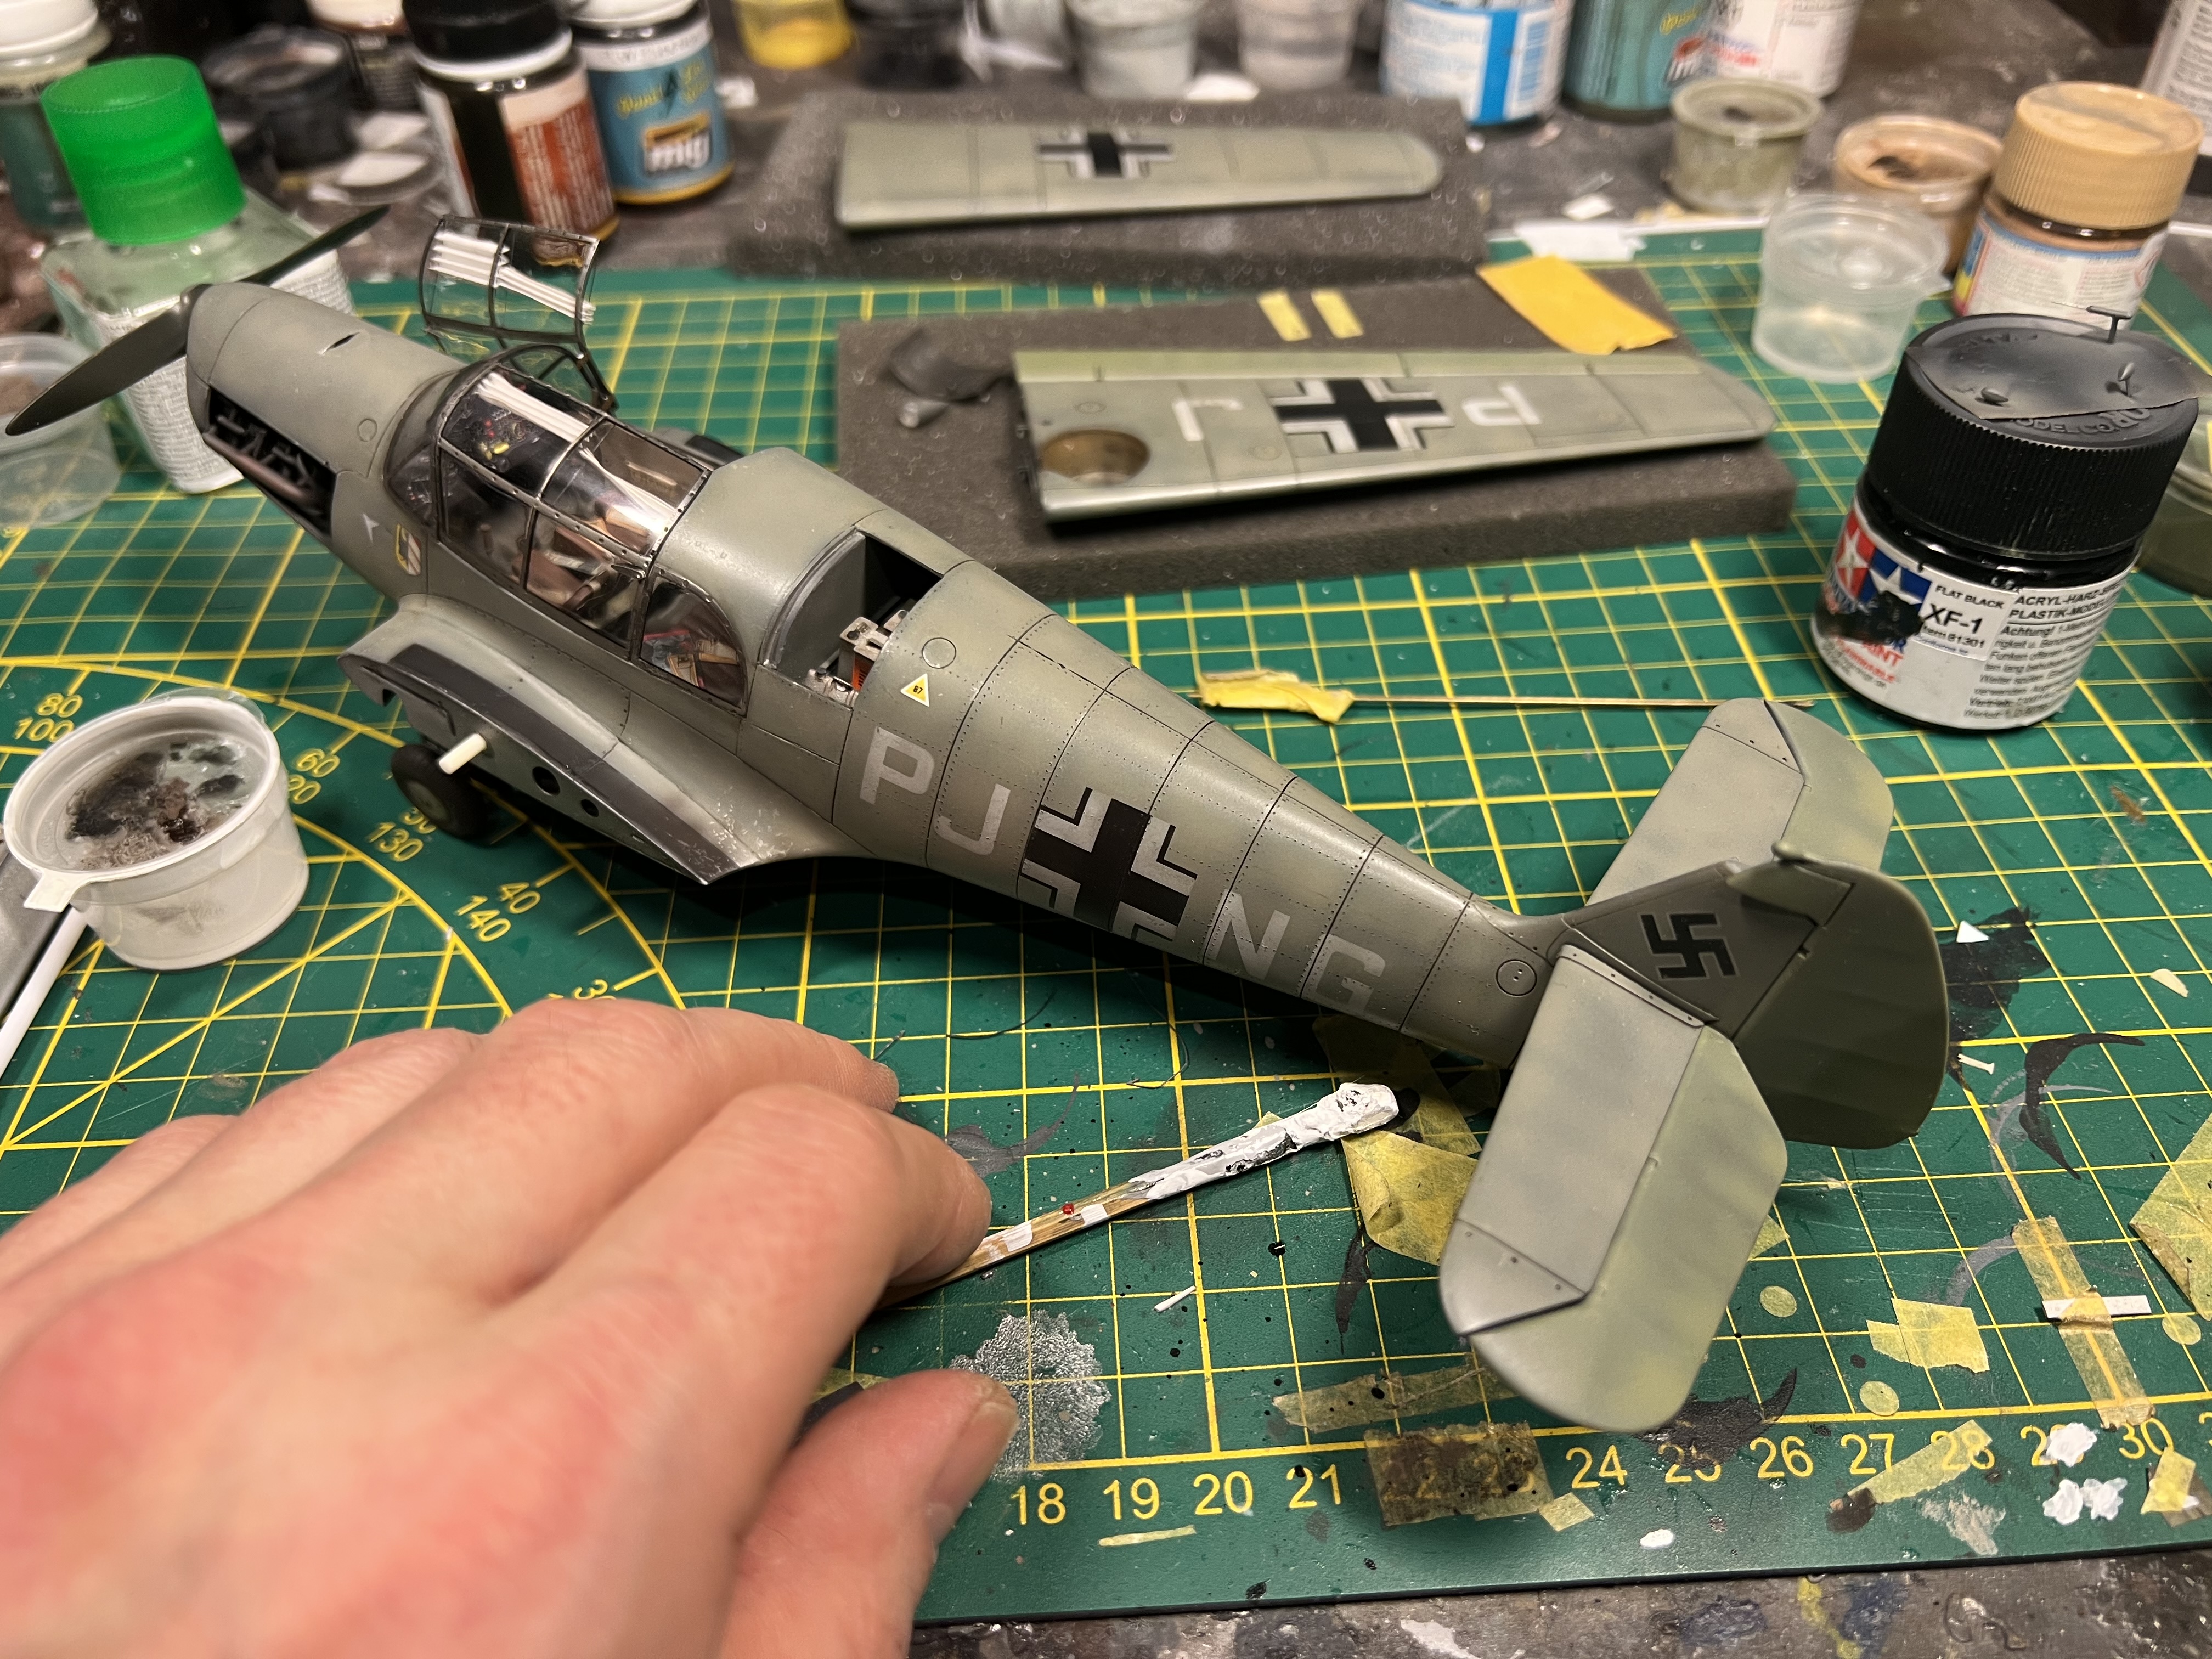
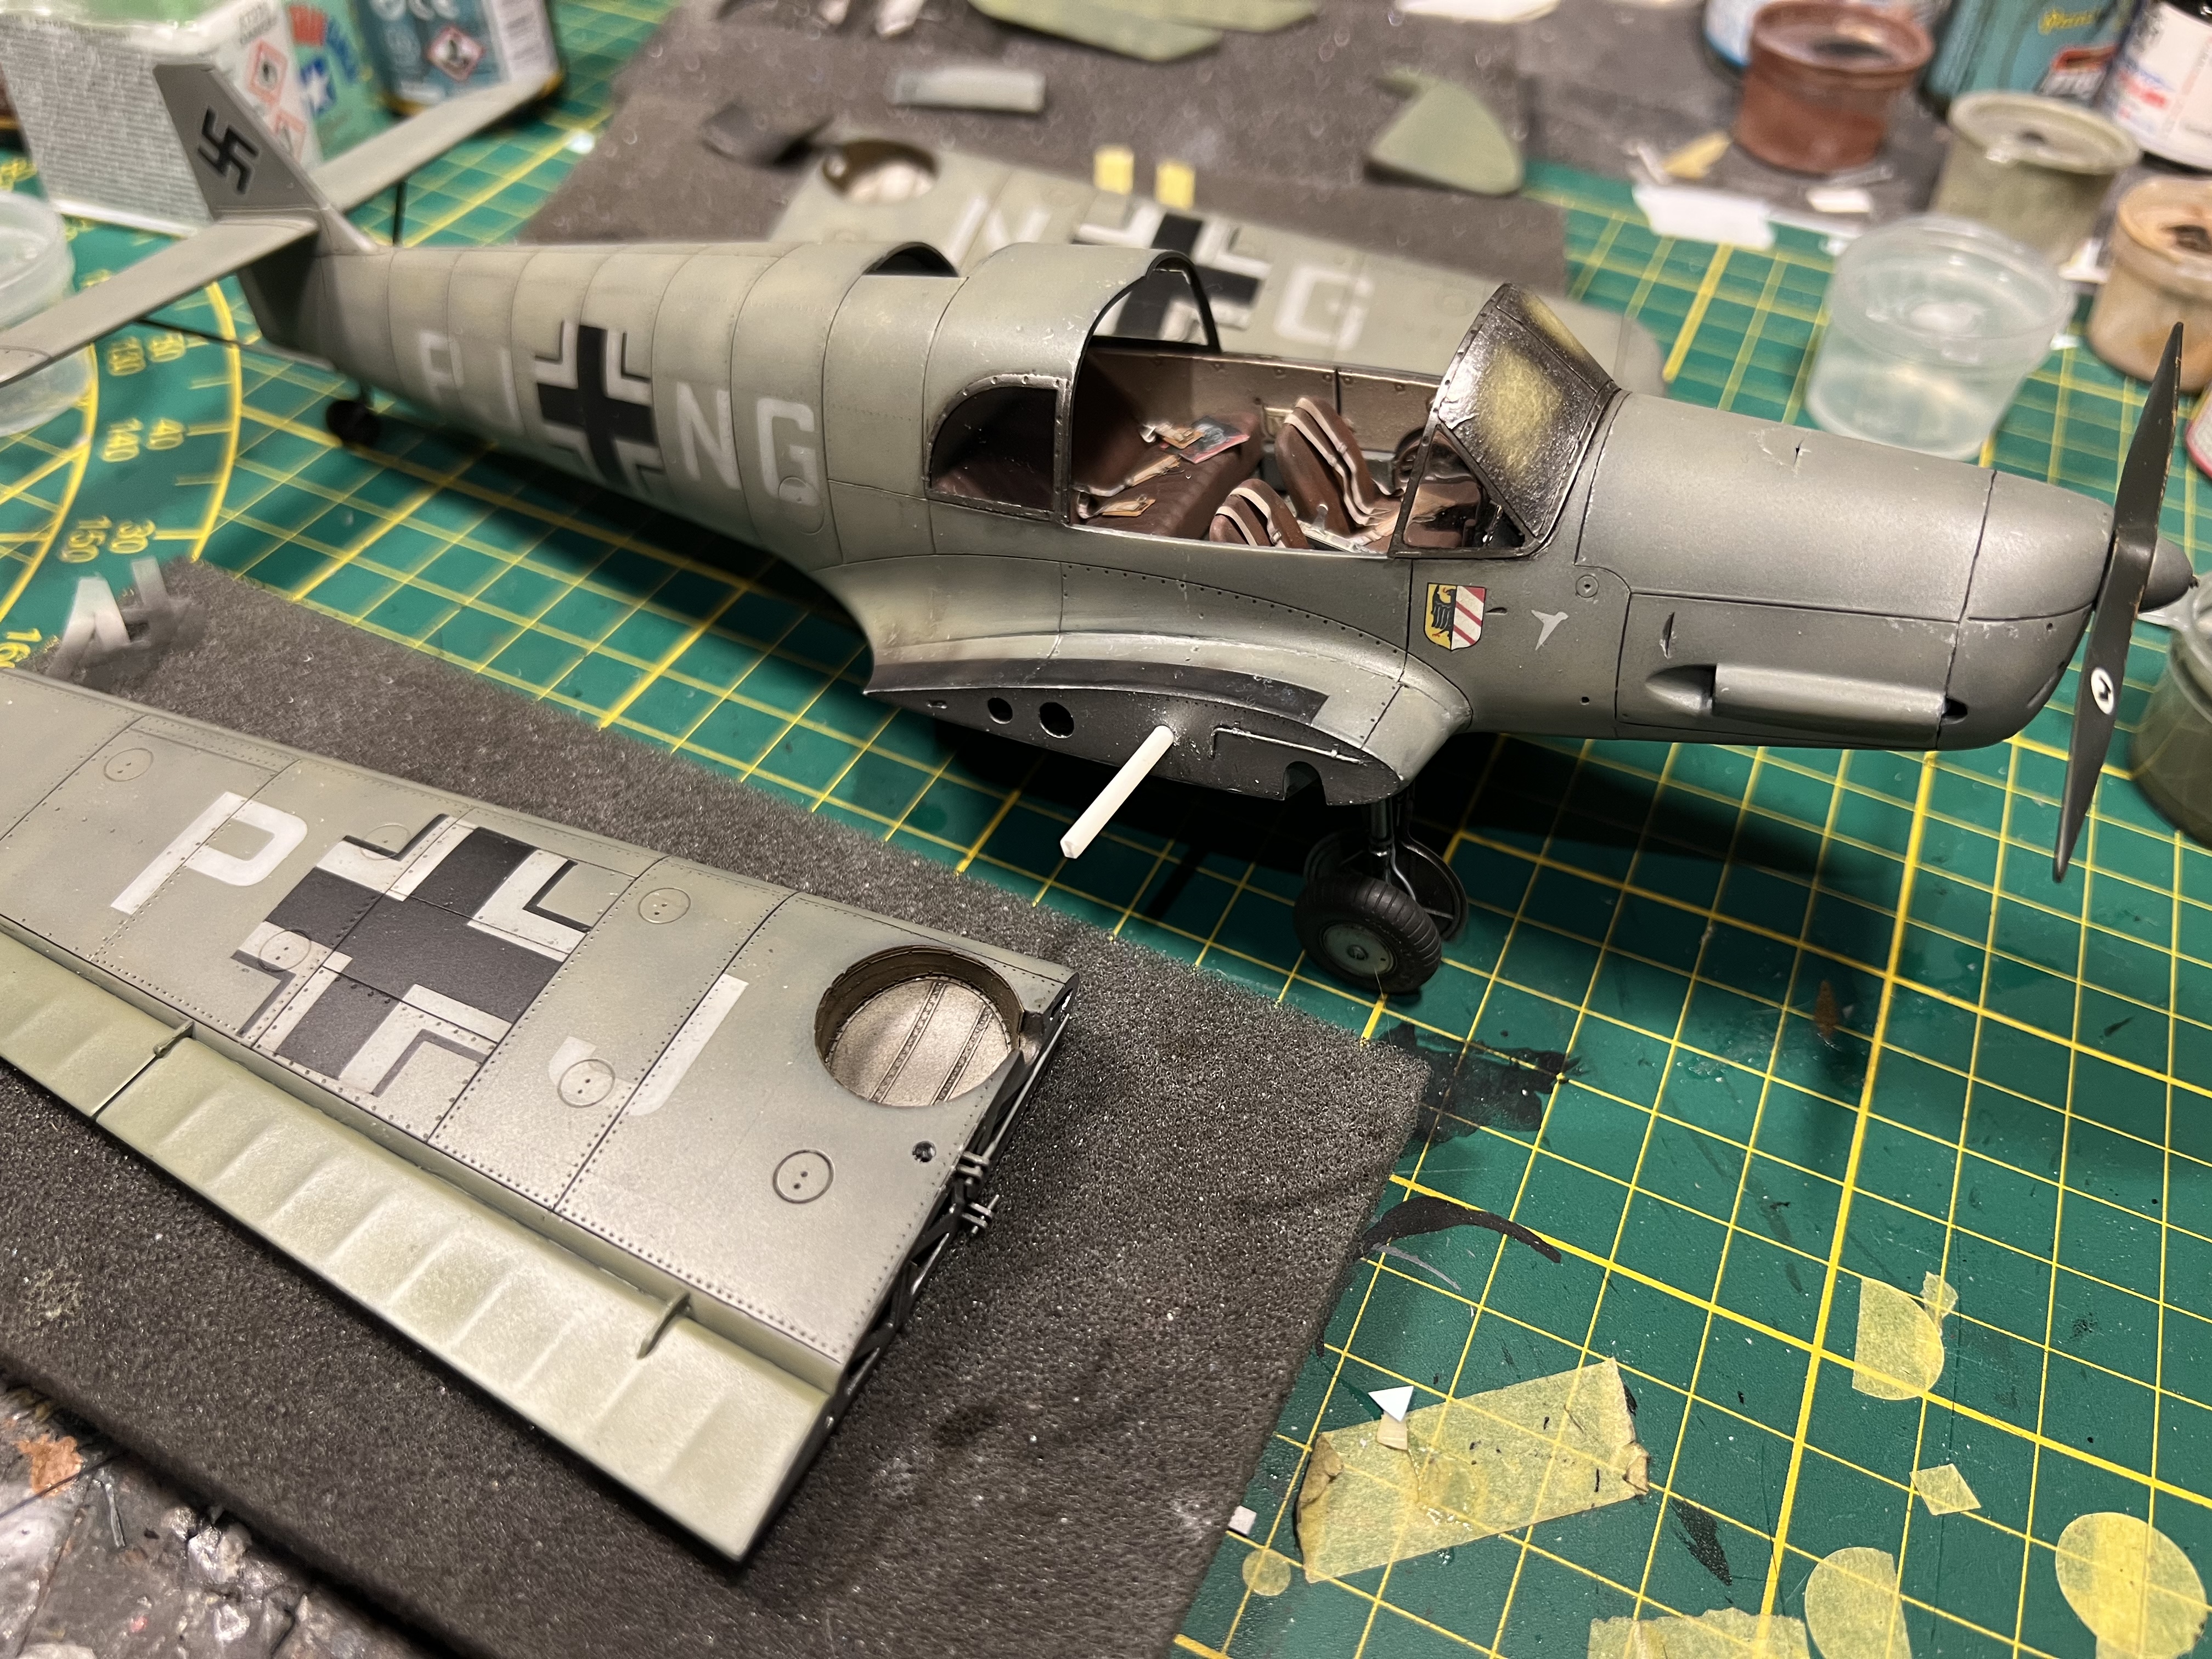
Matt coat is on. Started weathering with AK pencils
-
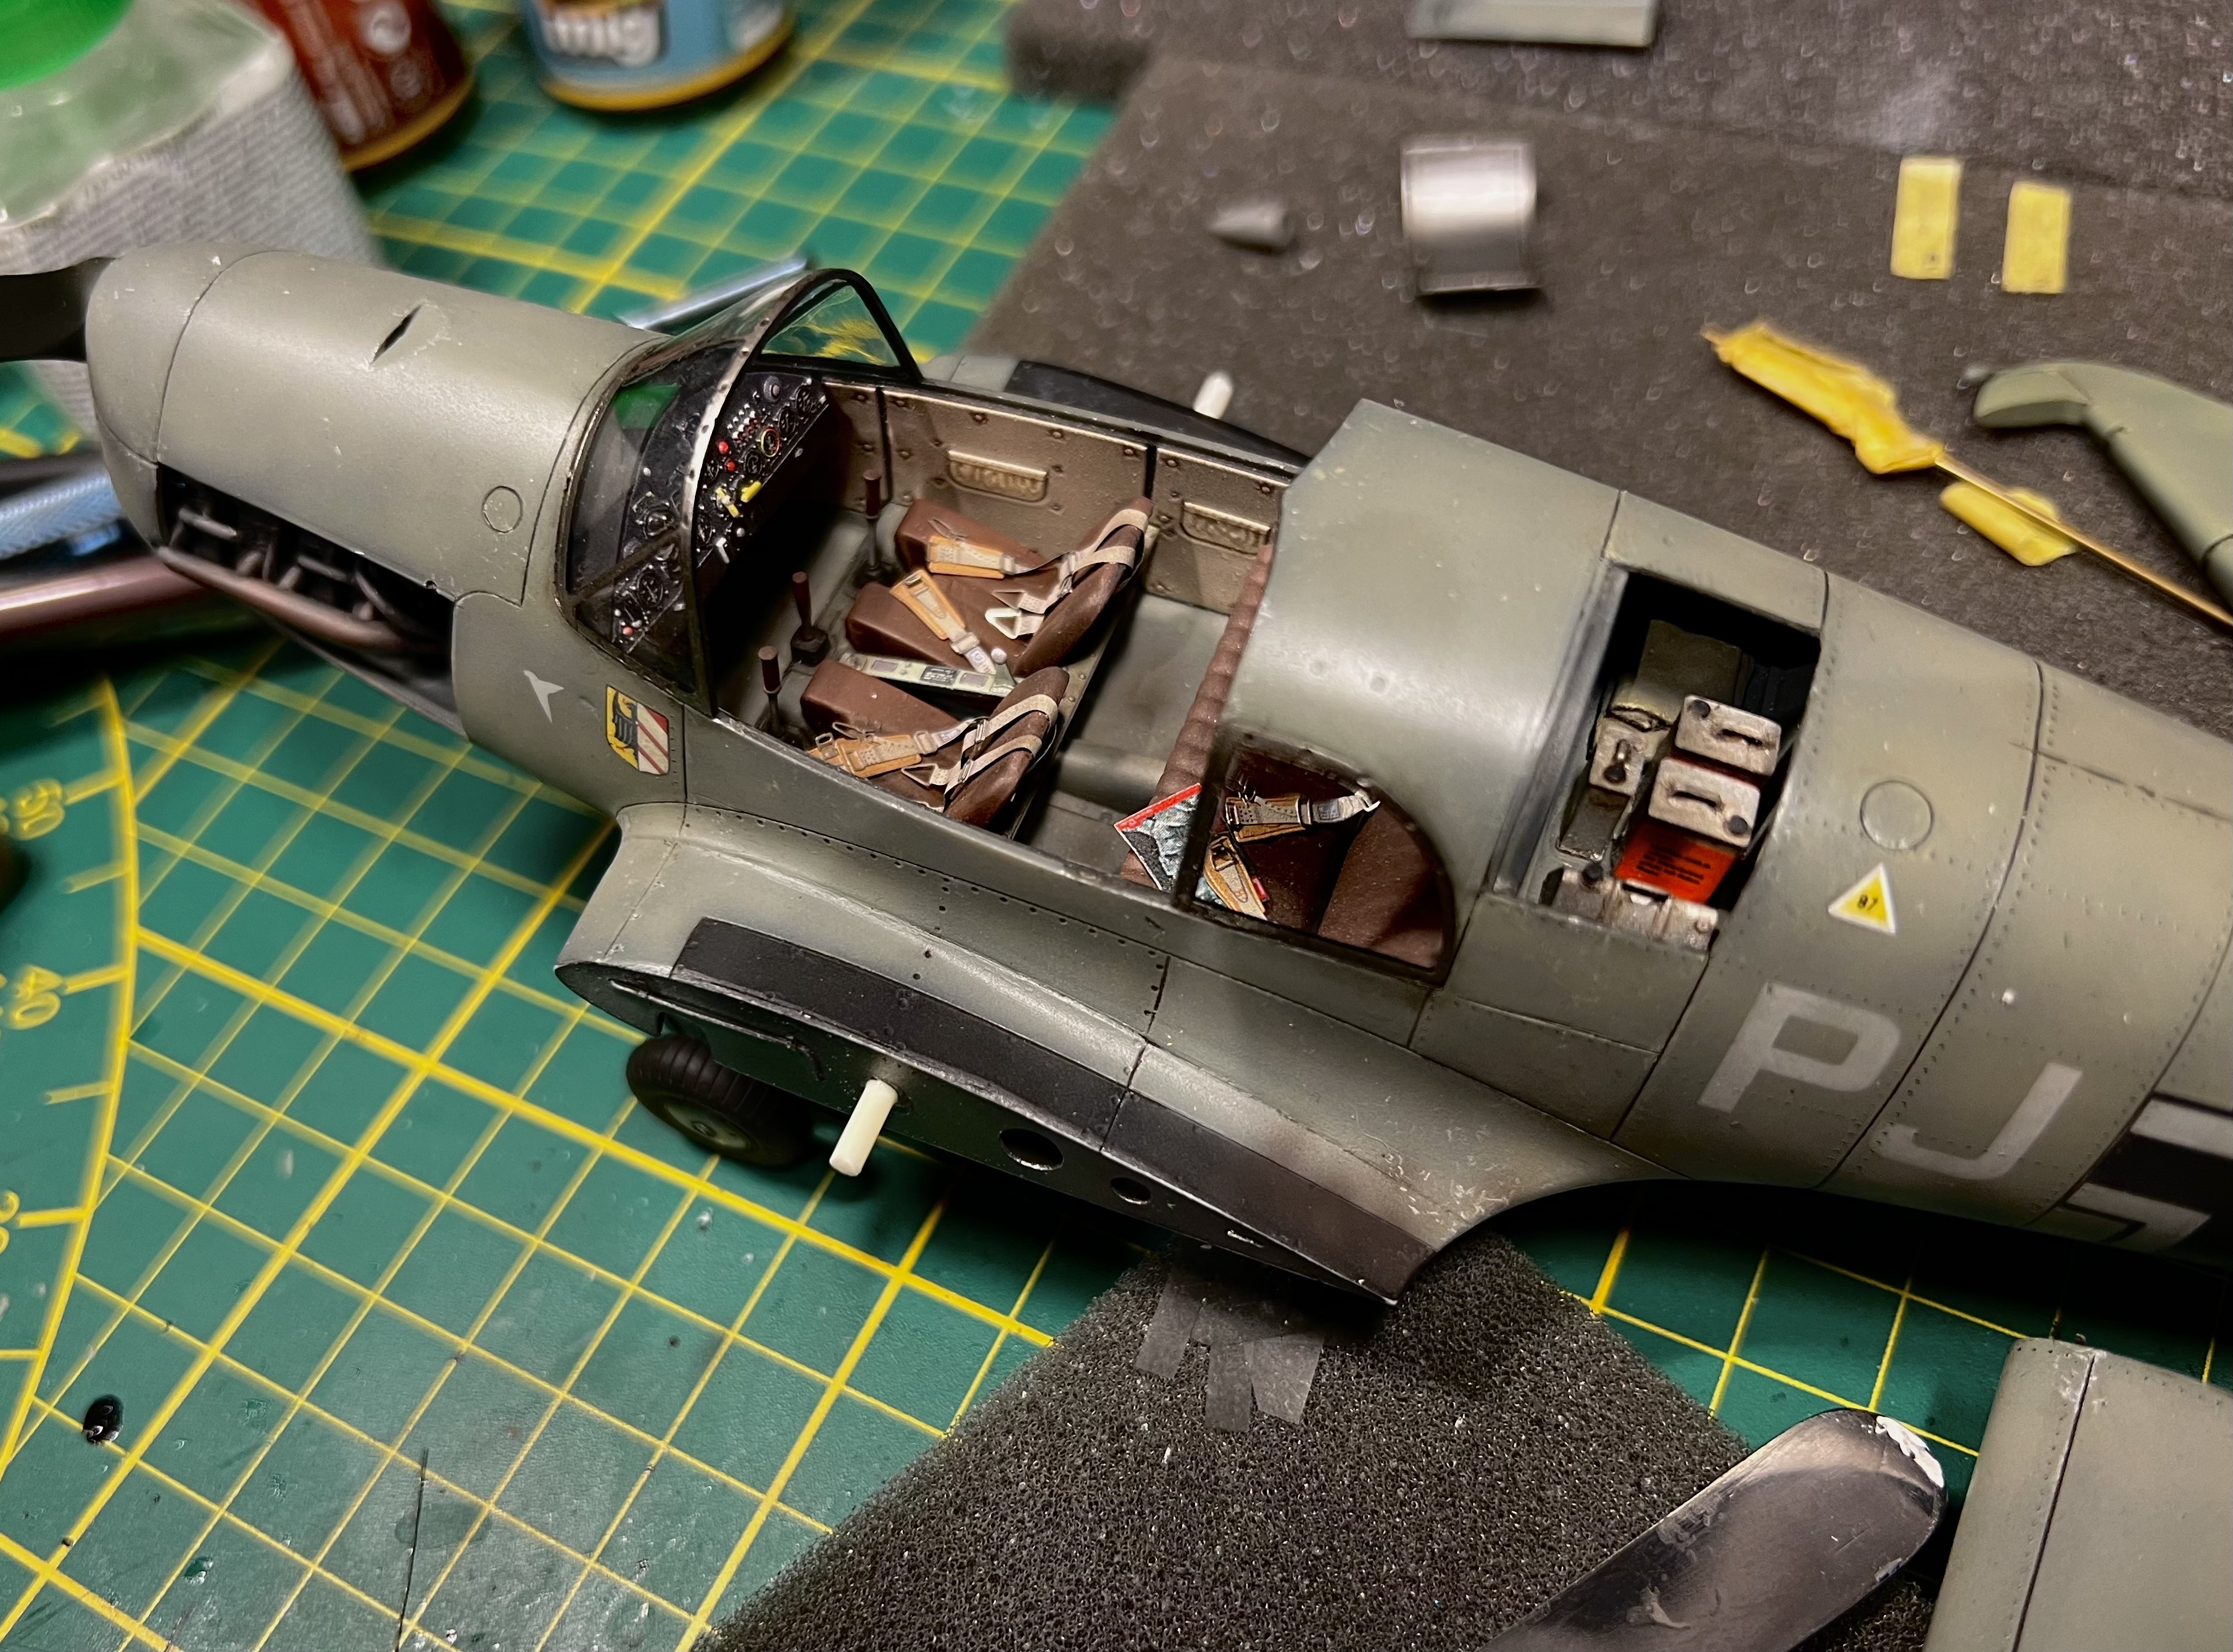
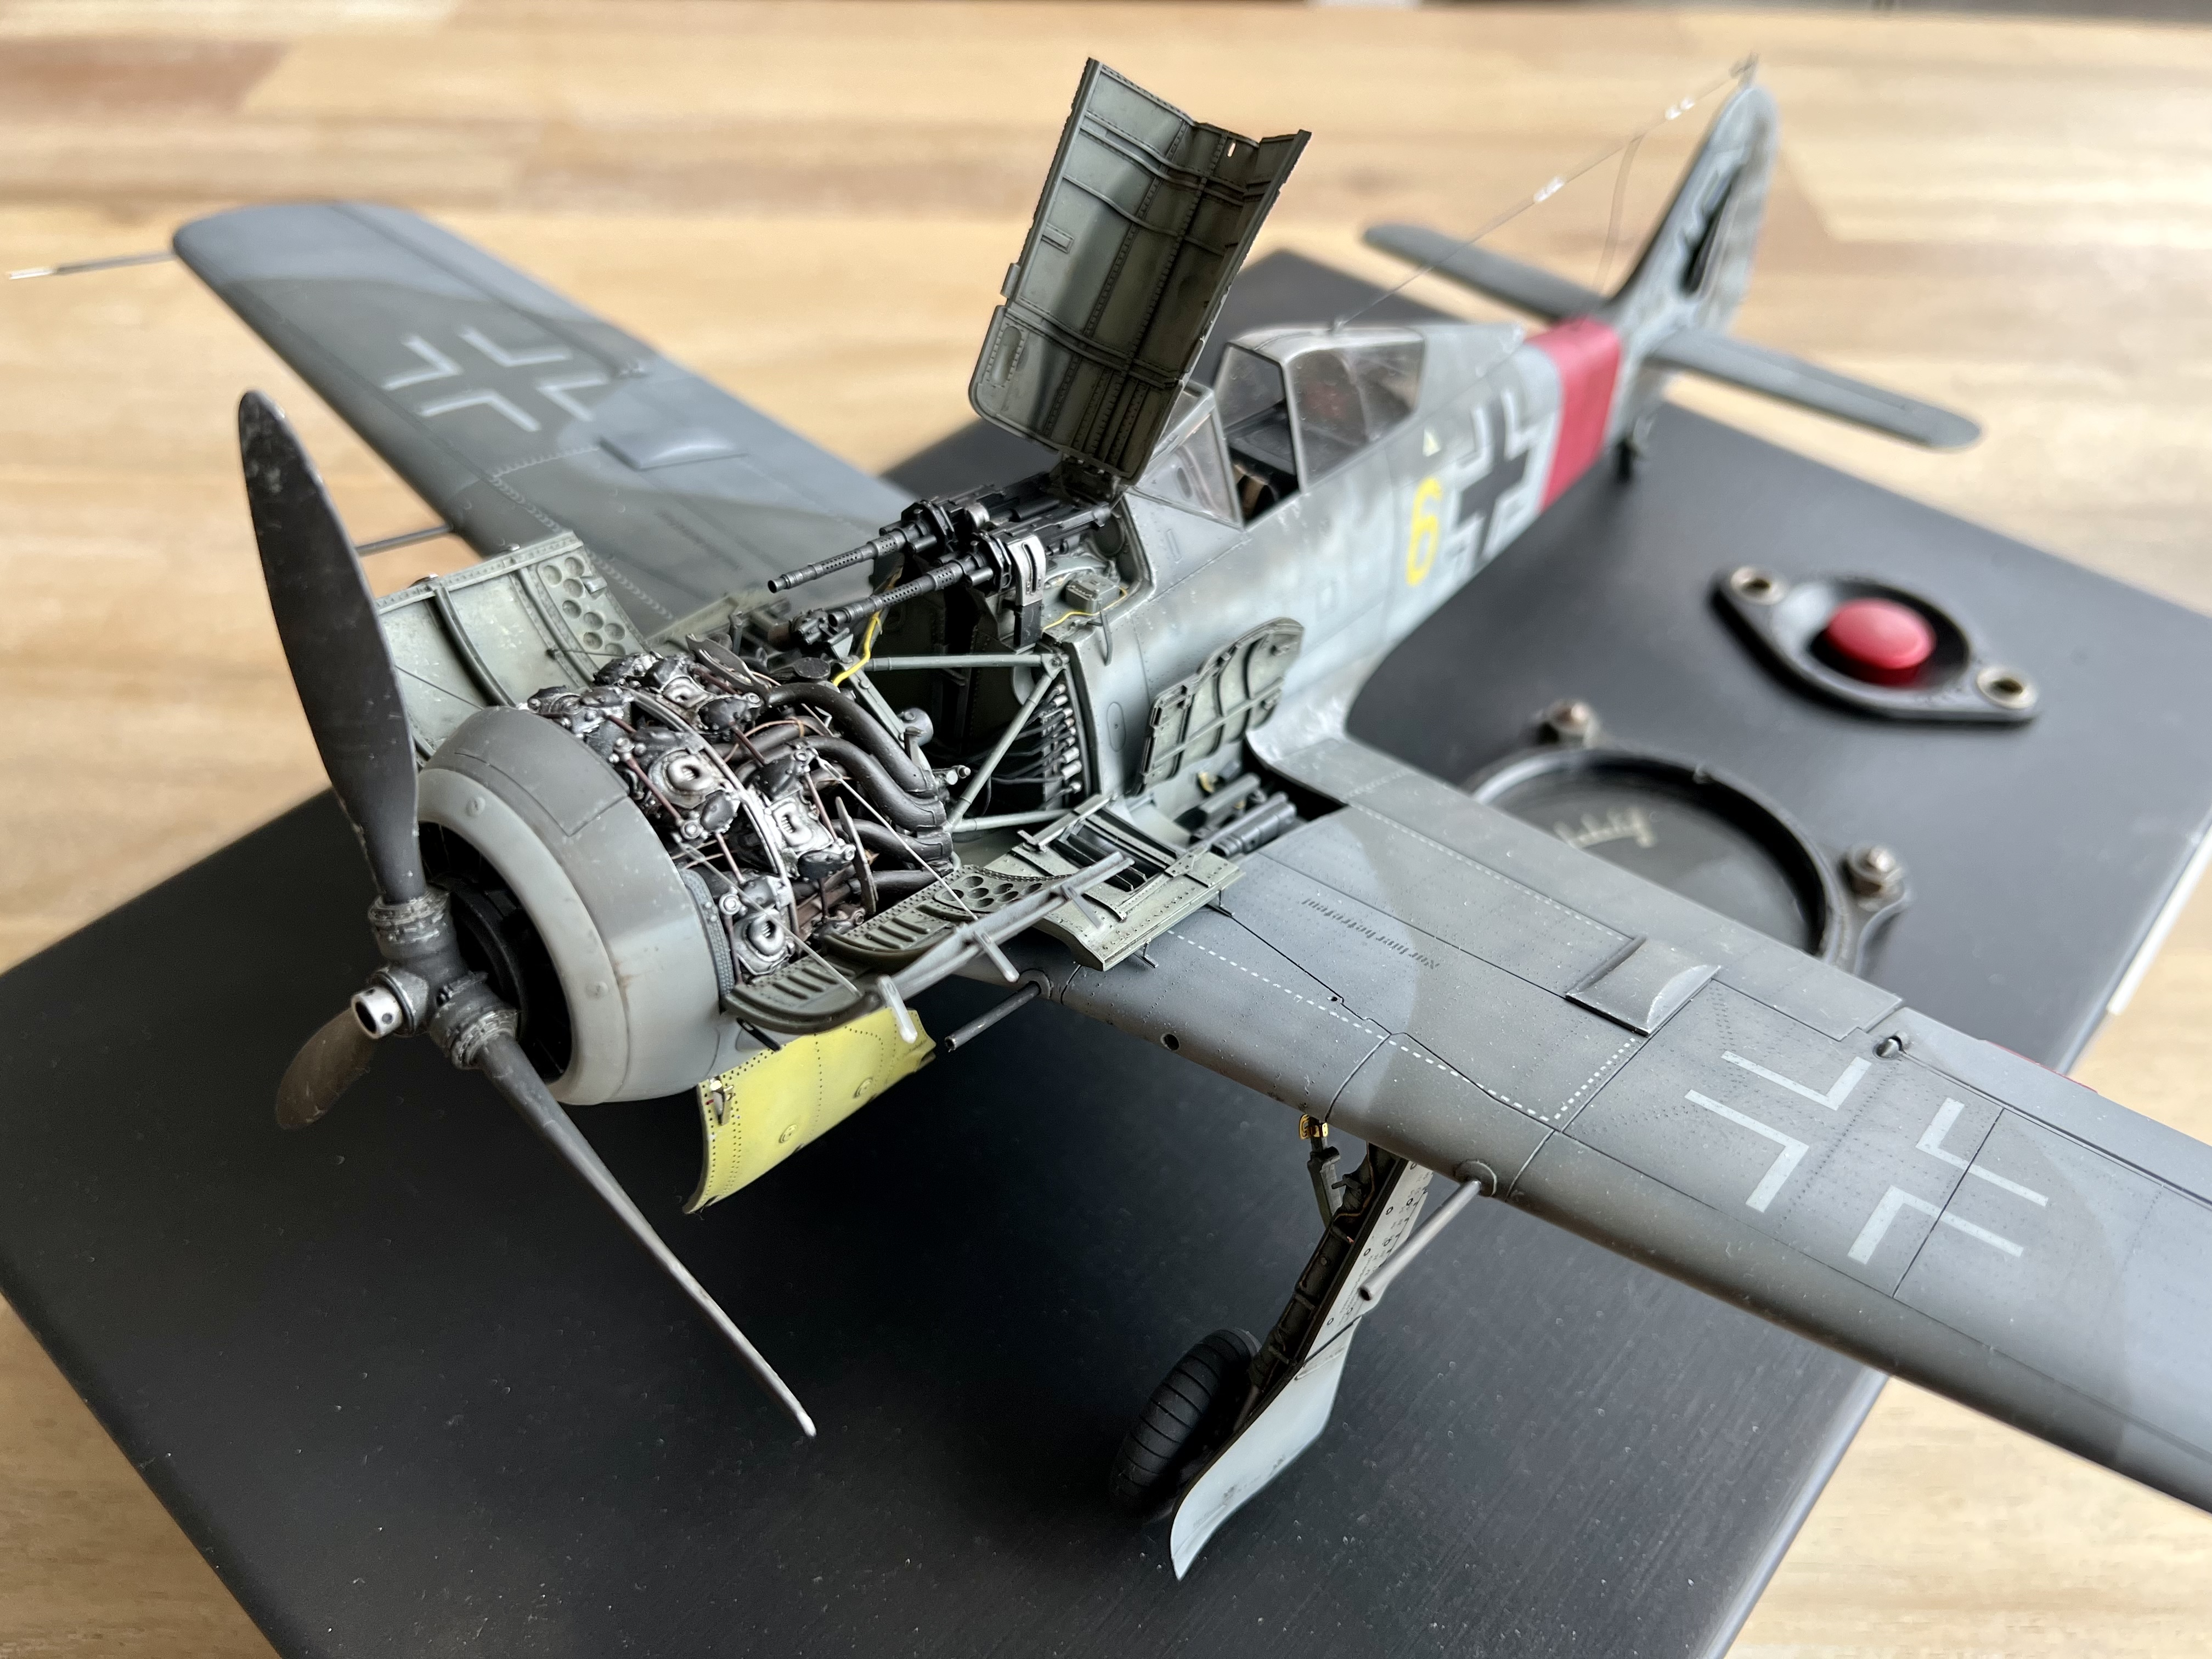
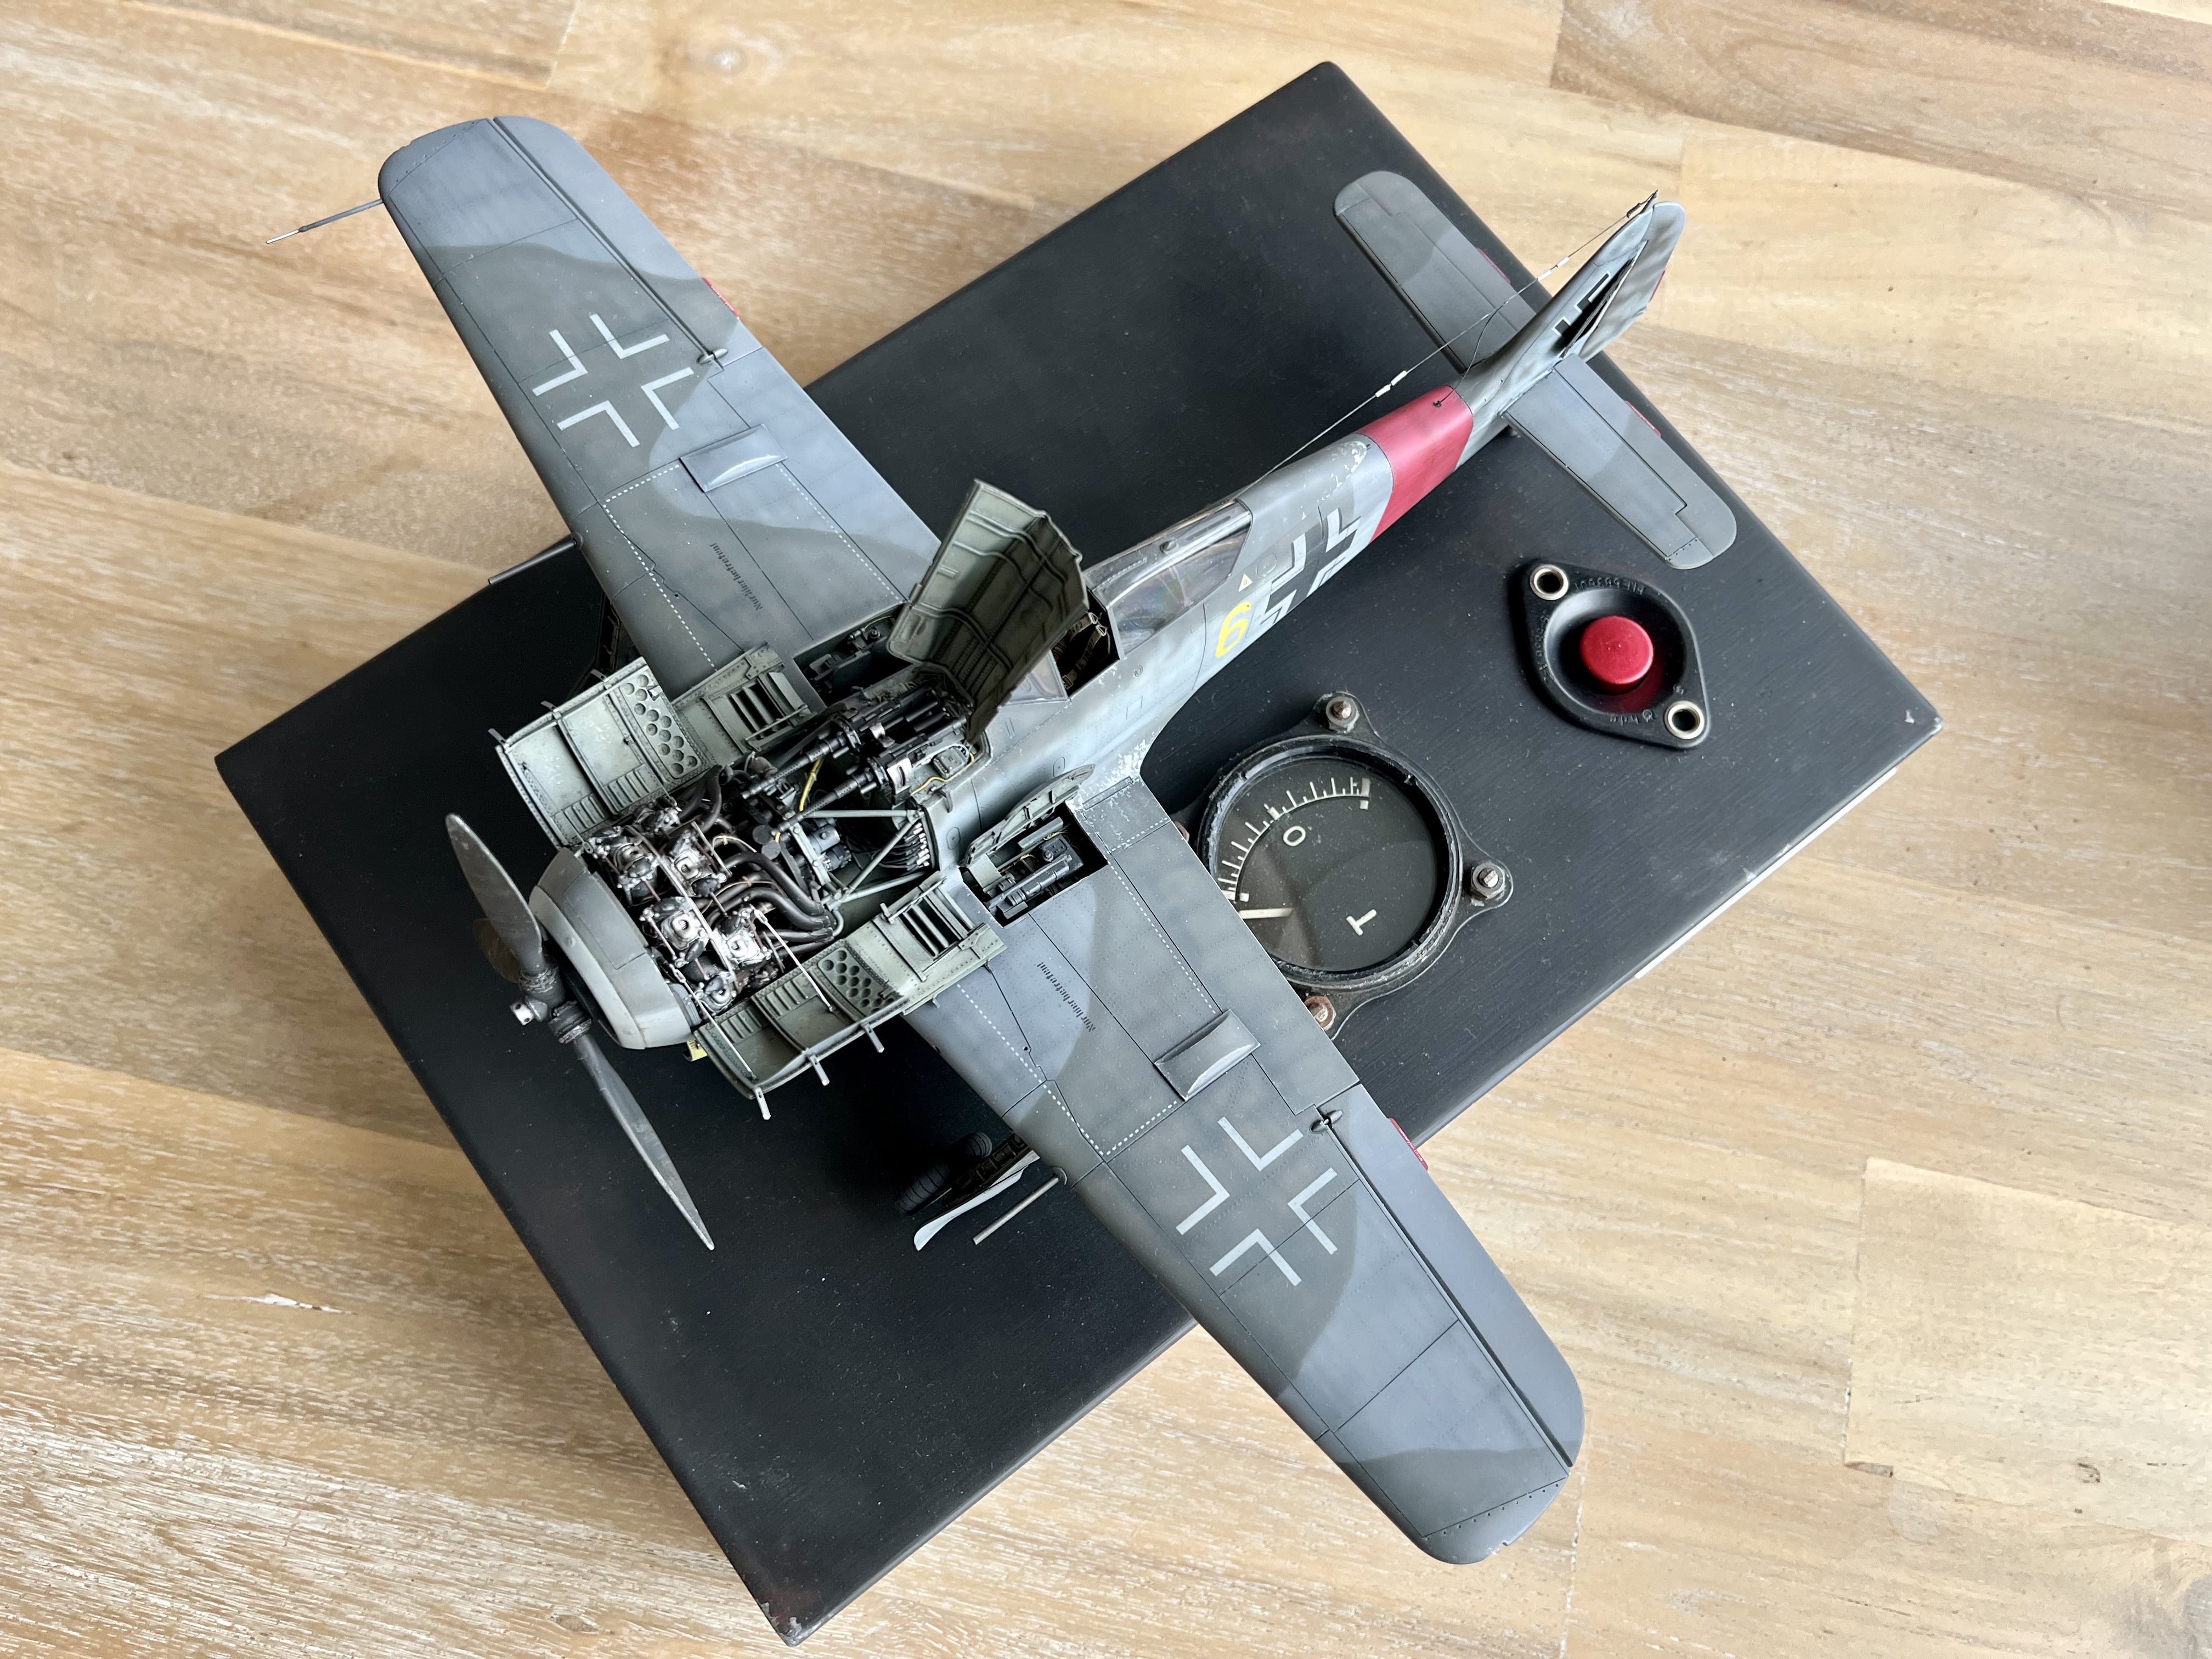
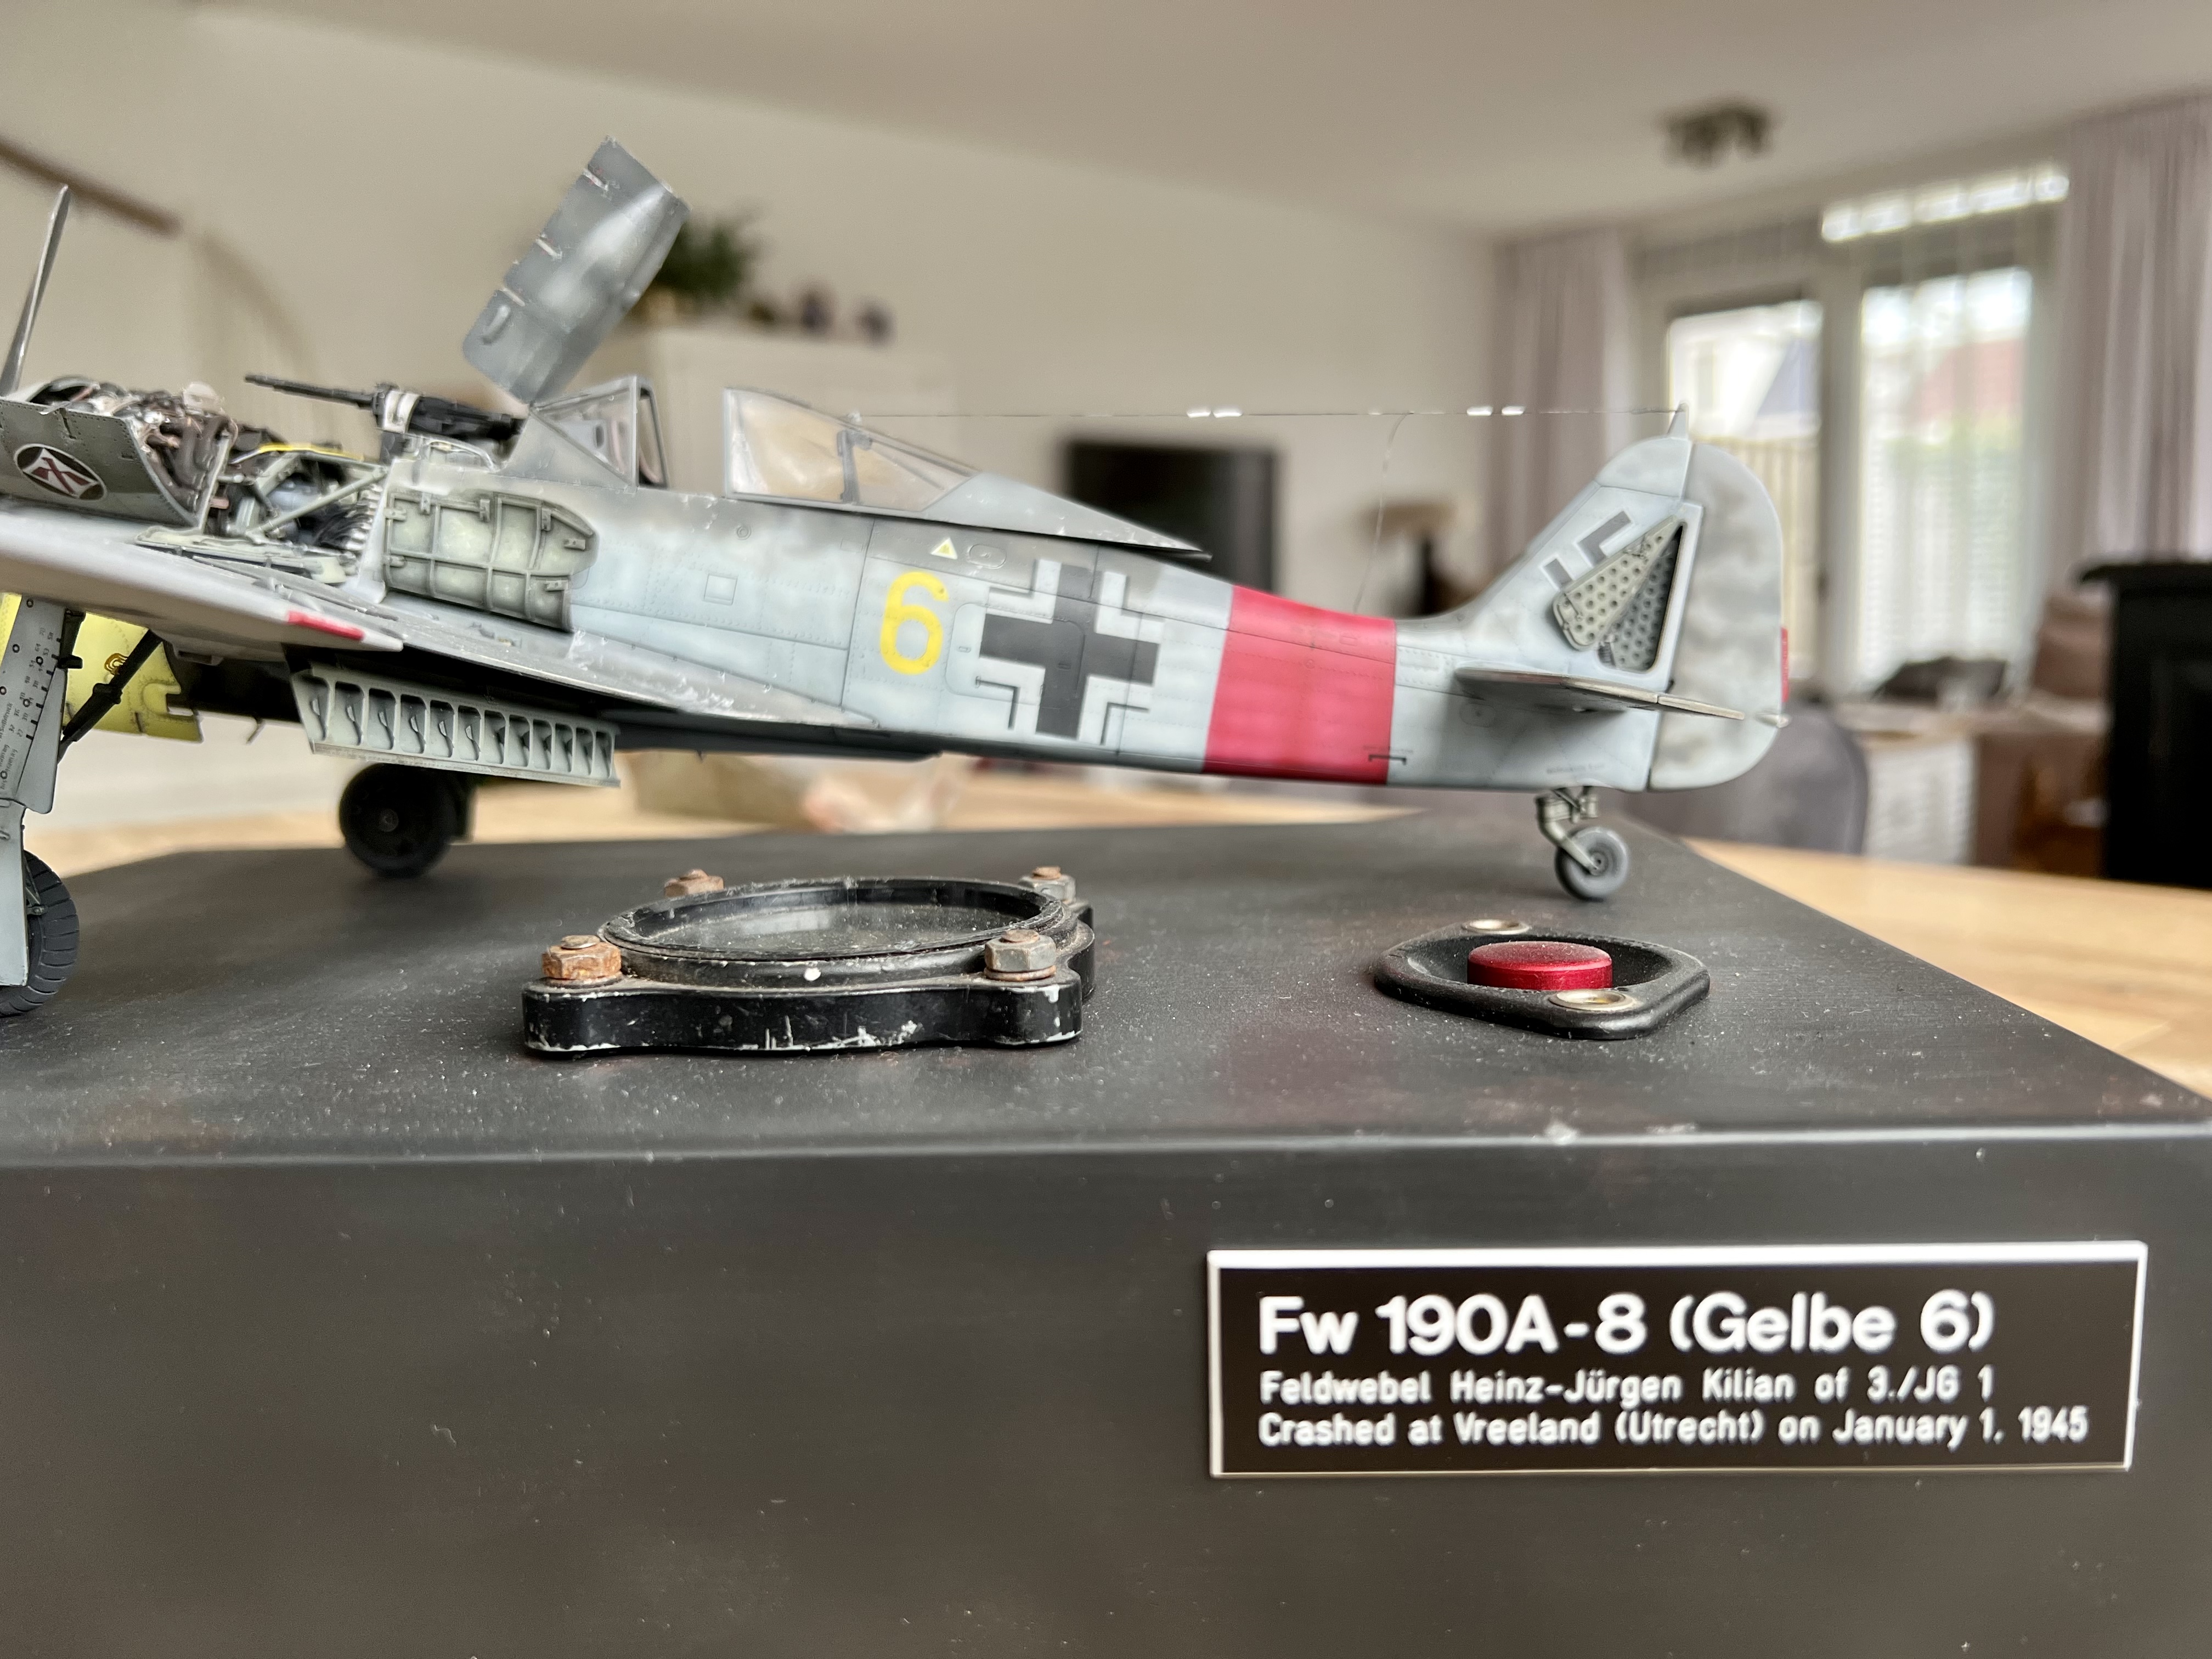
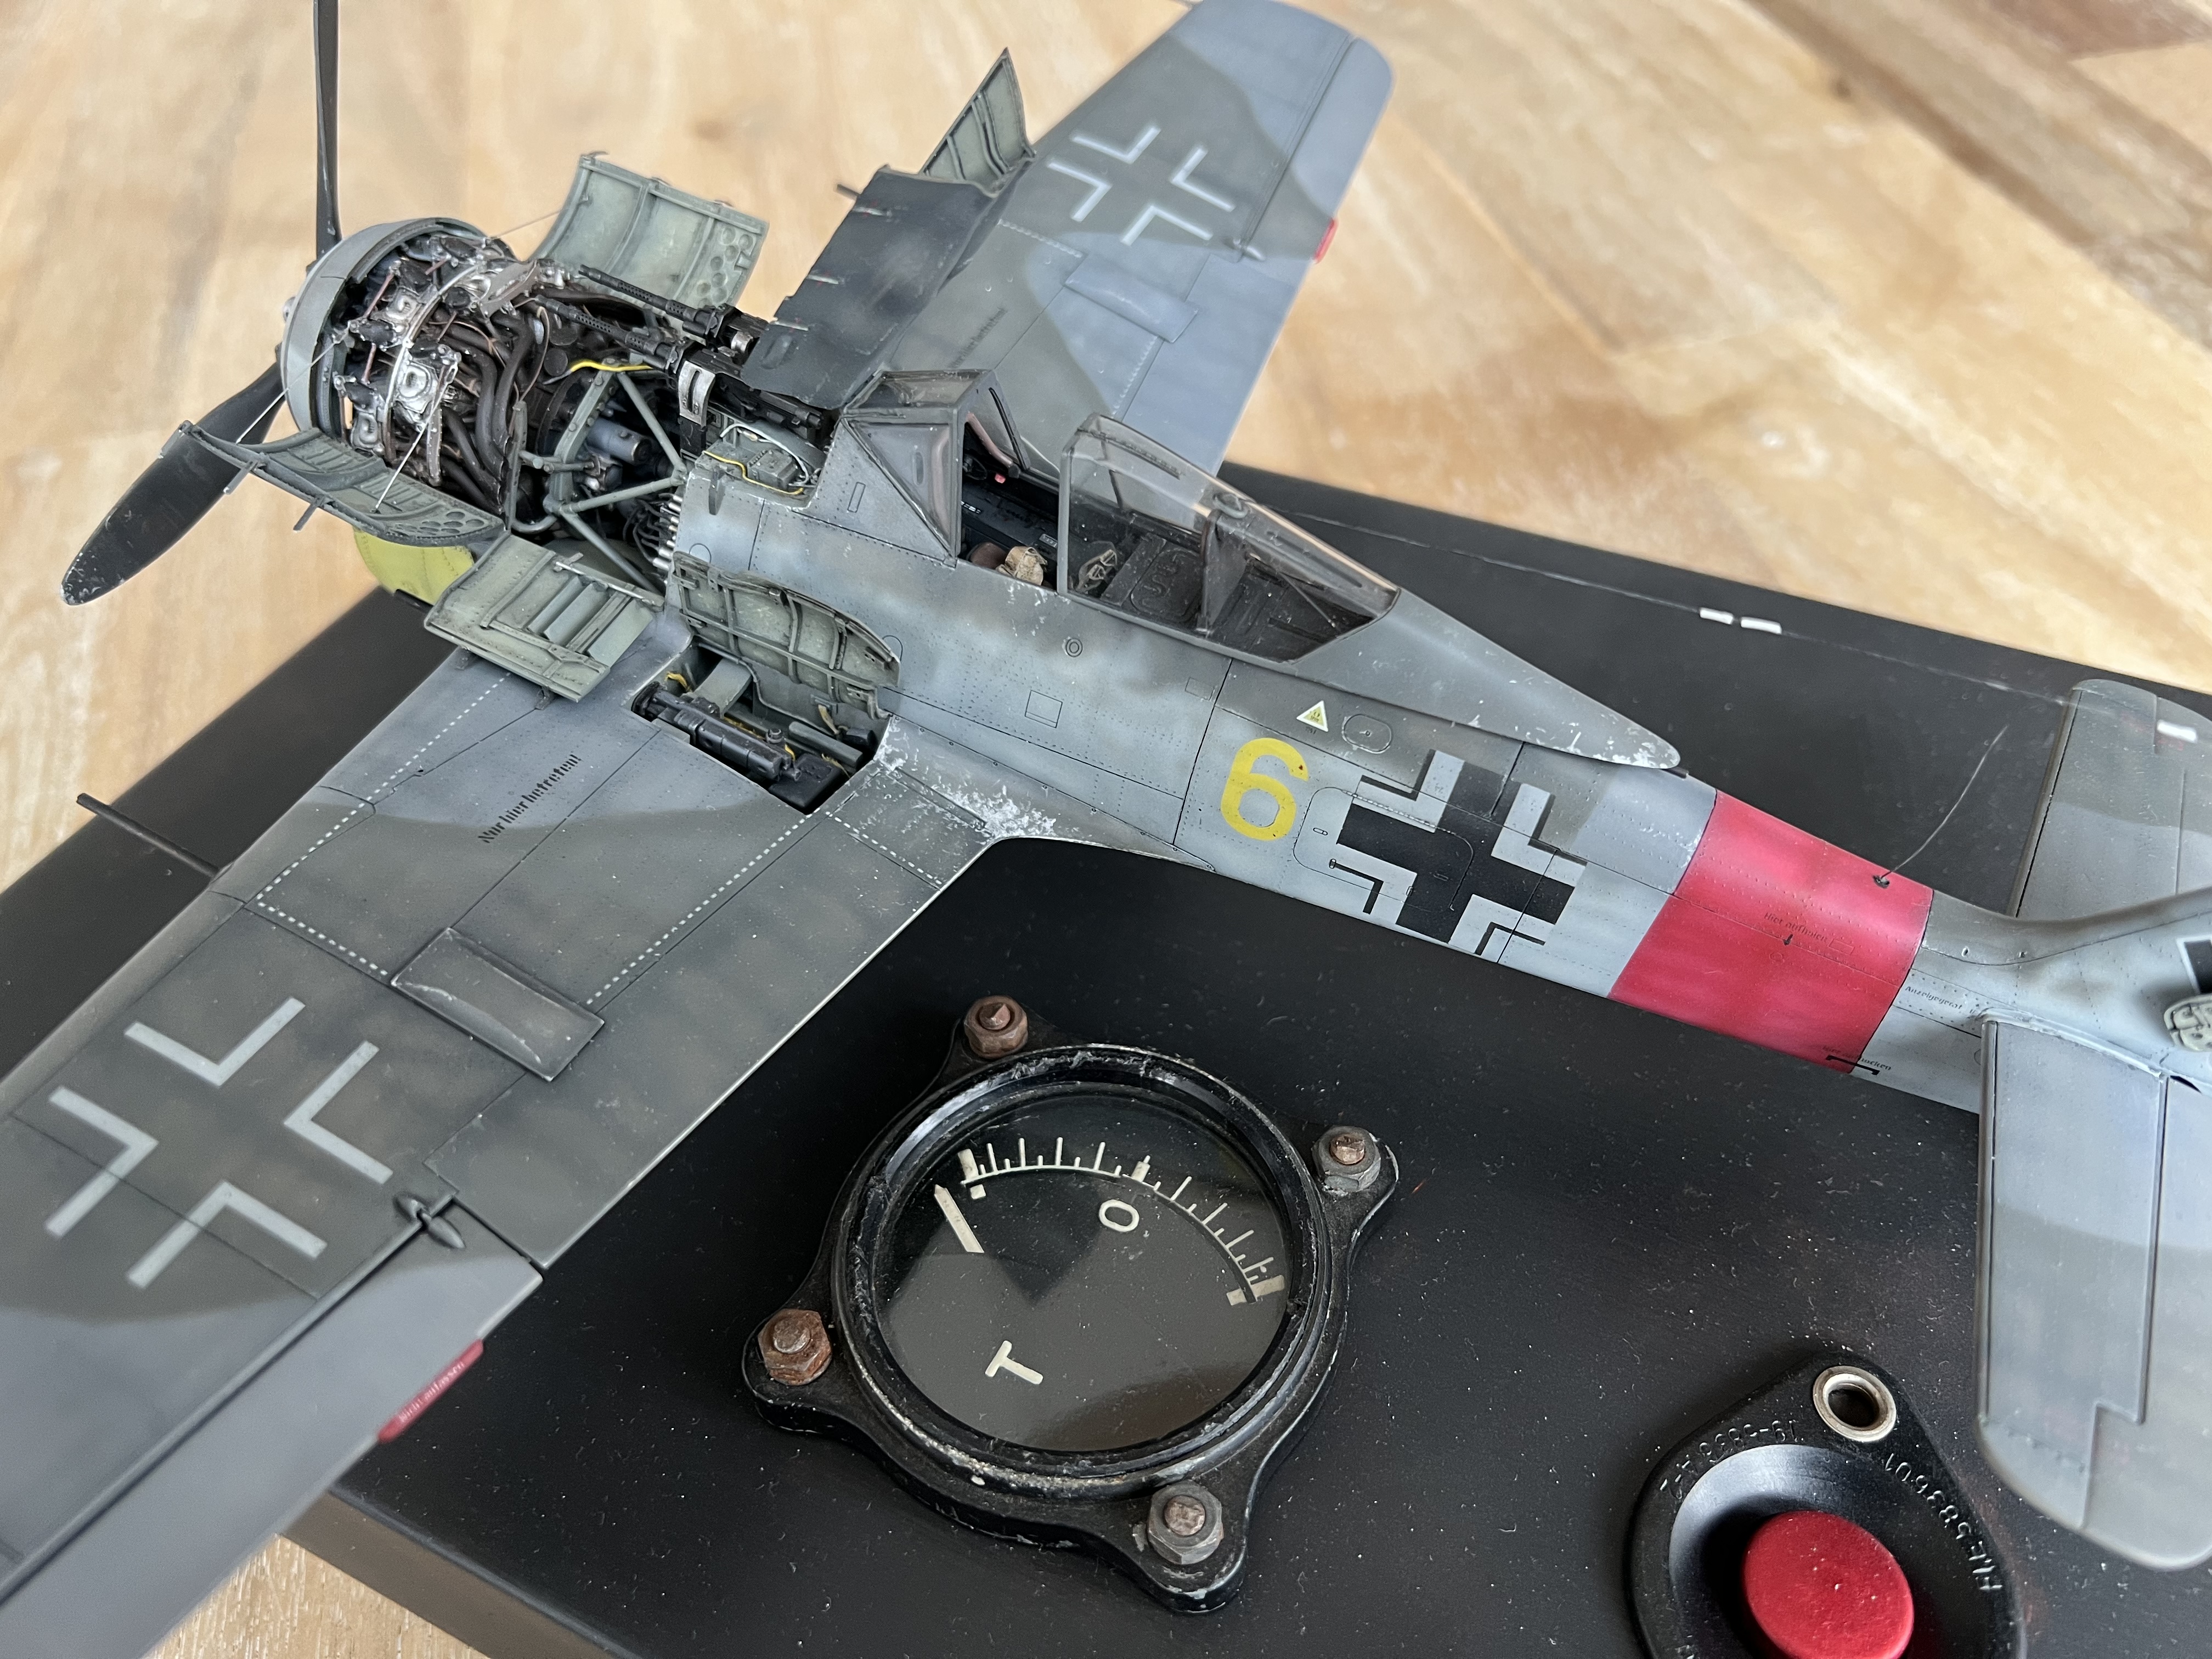
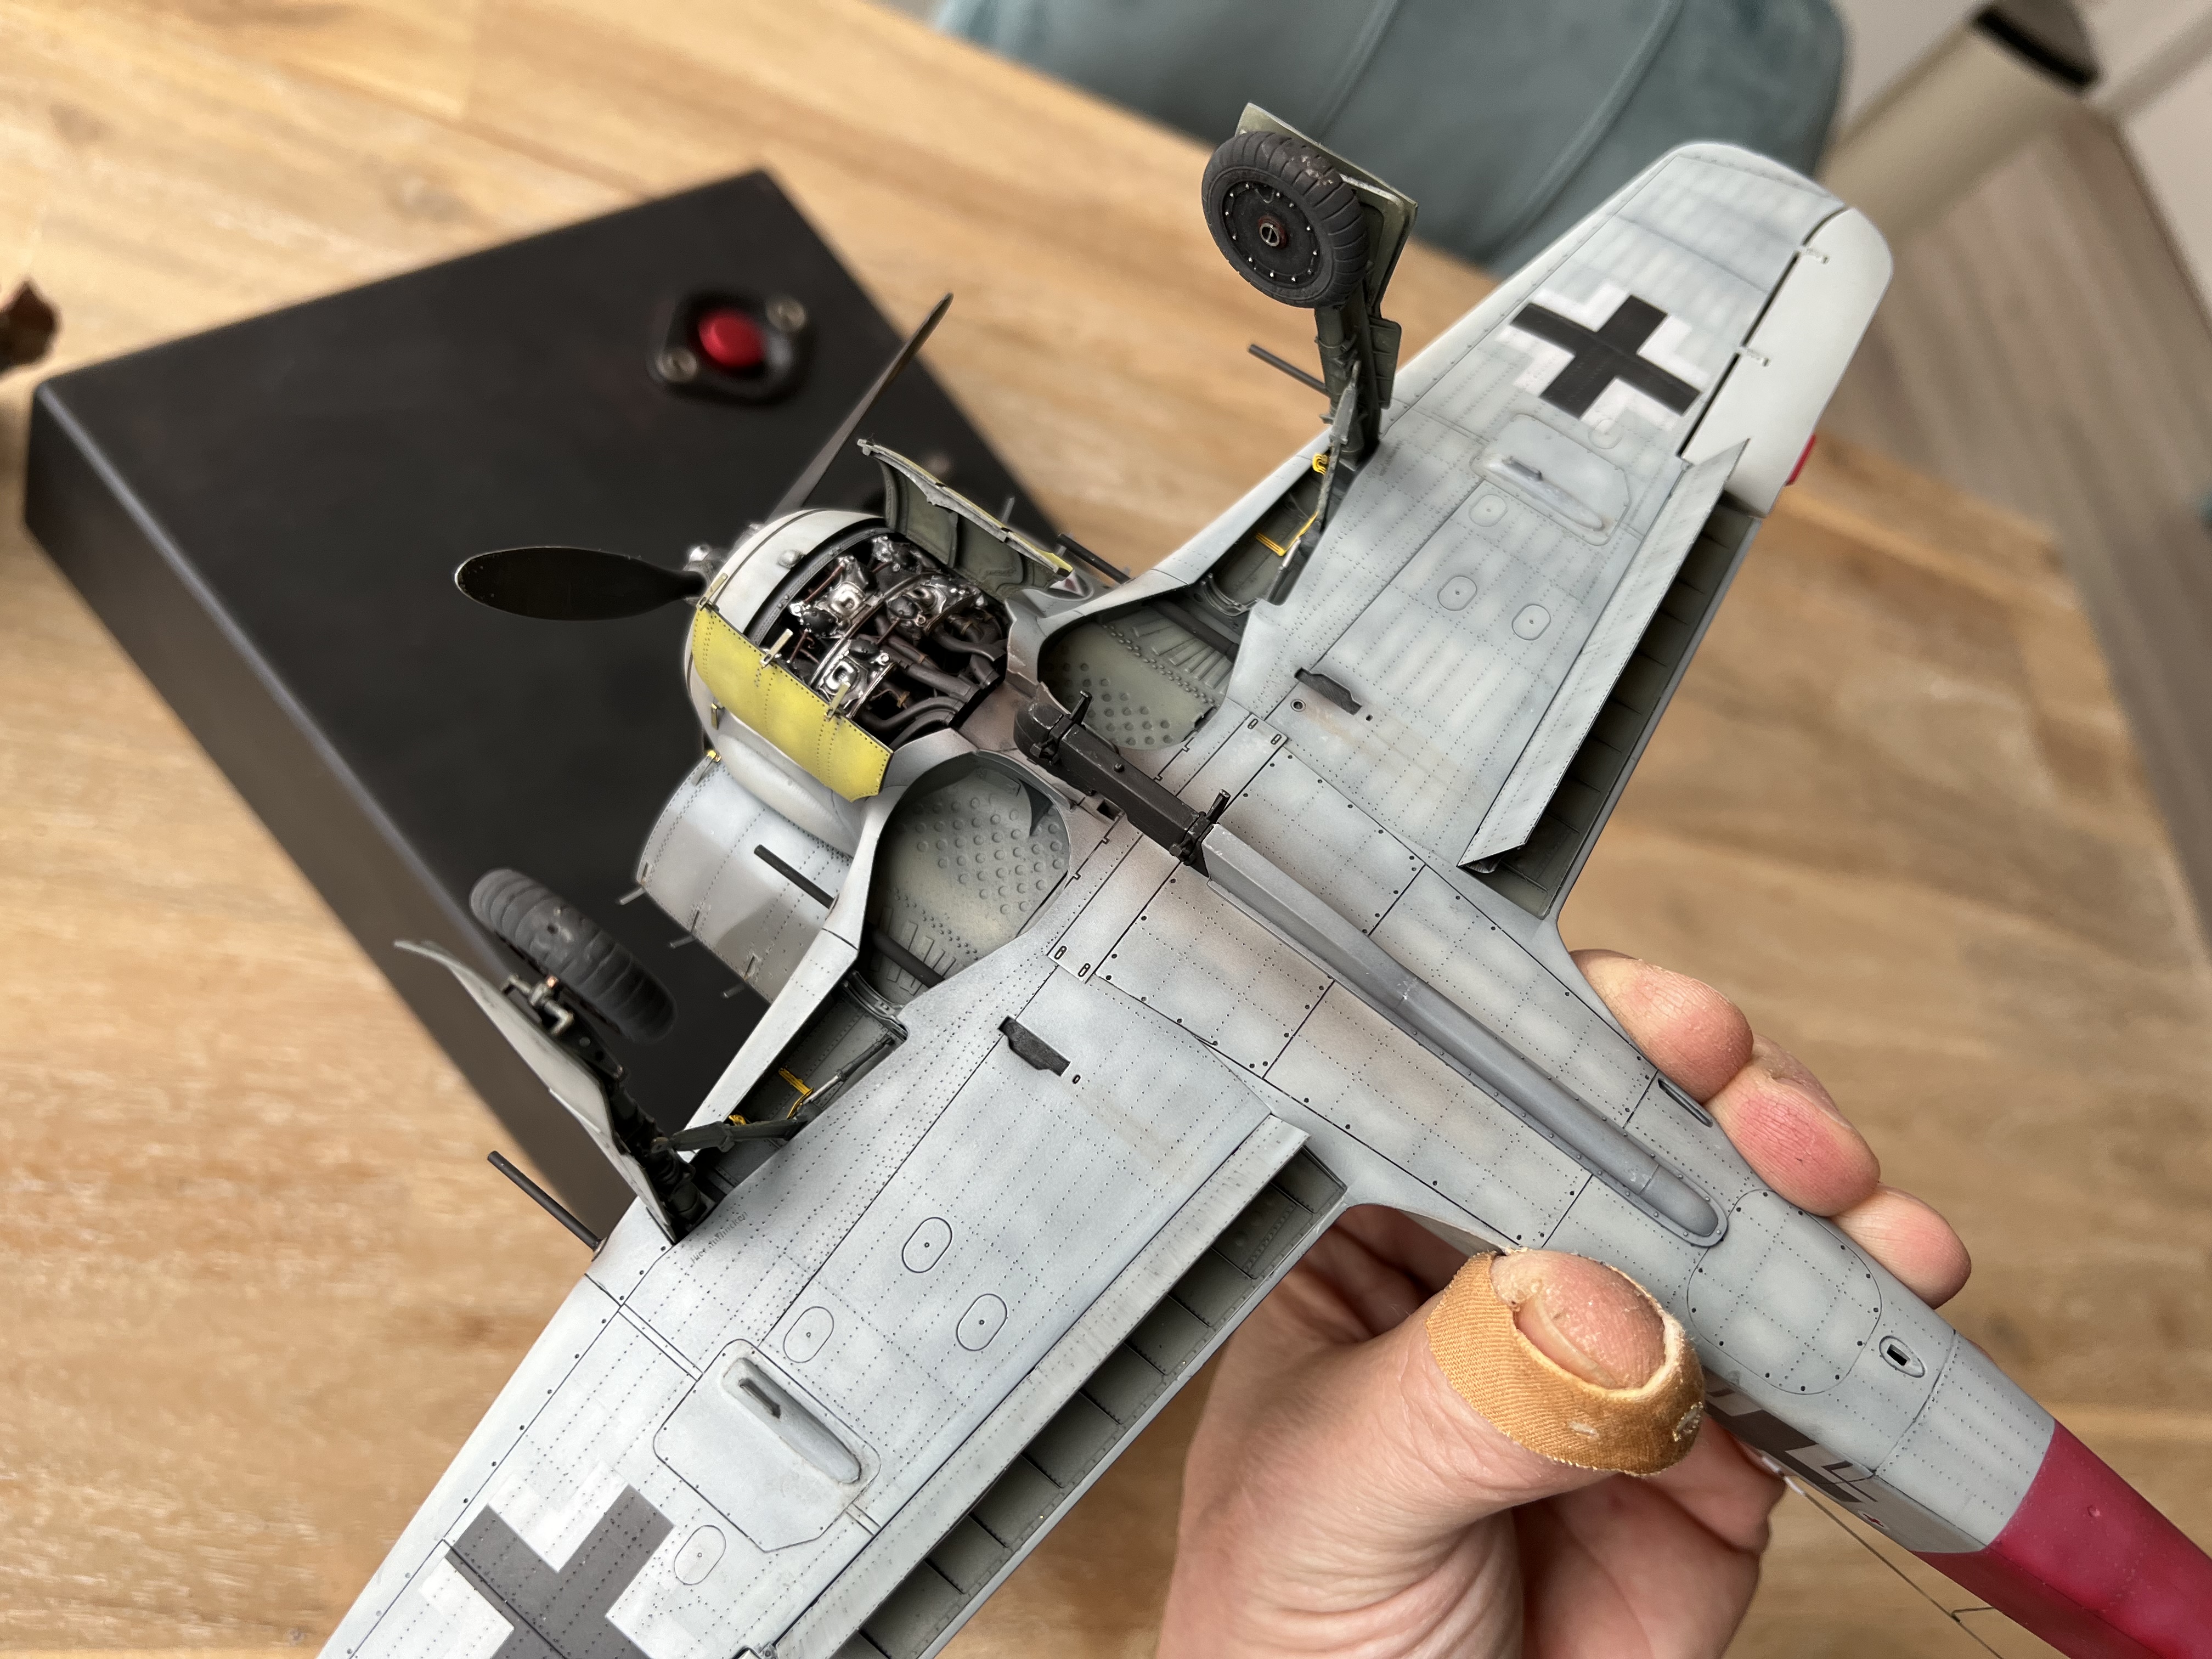
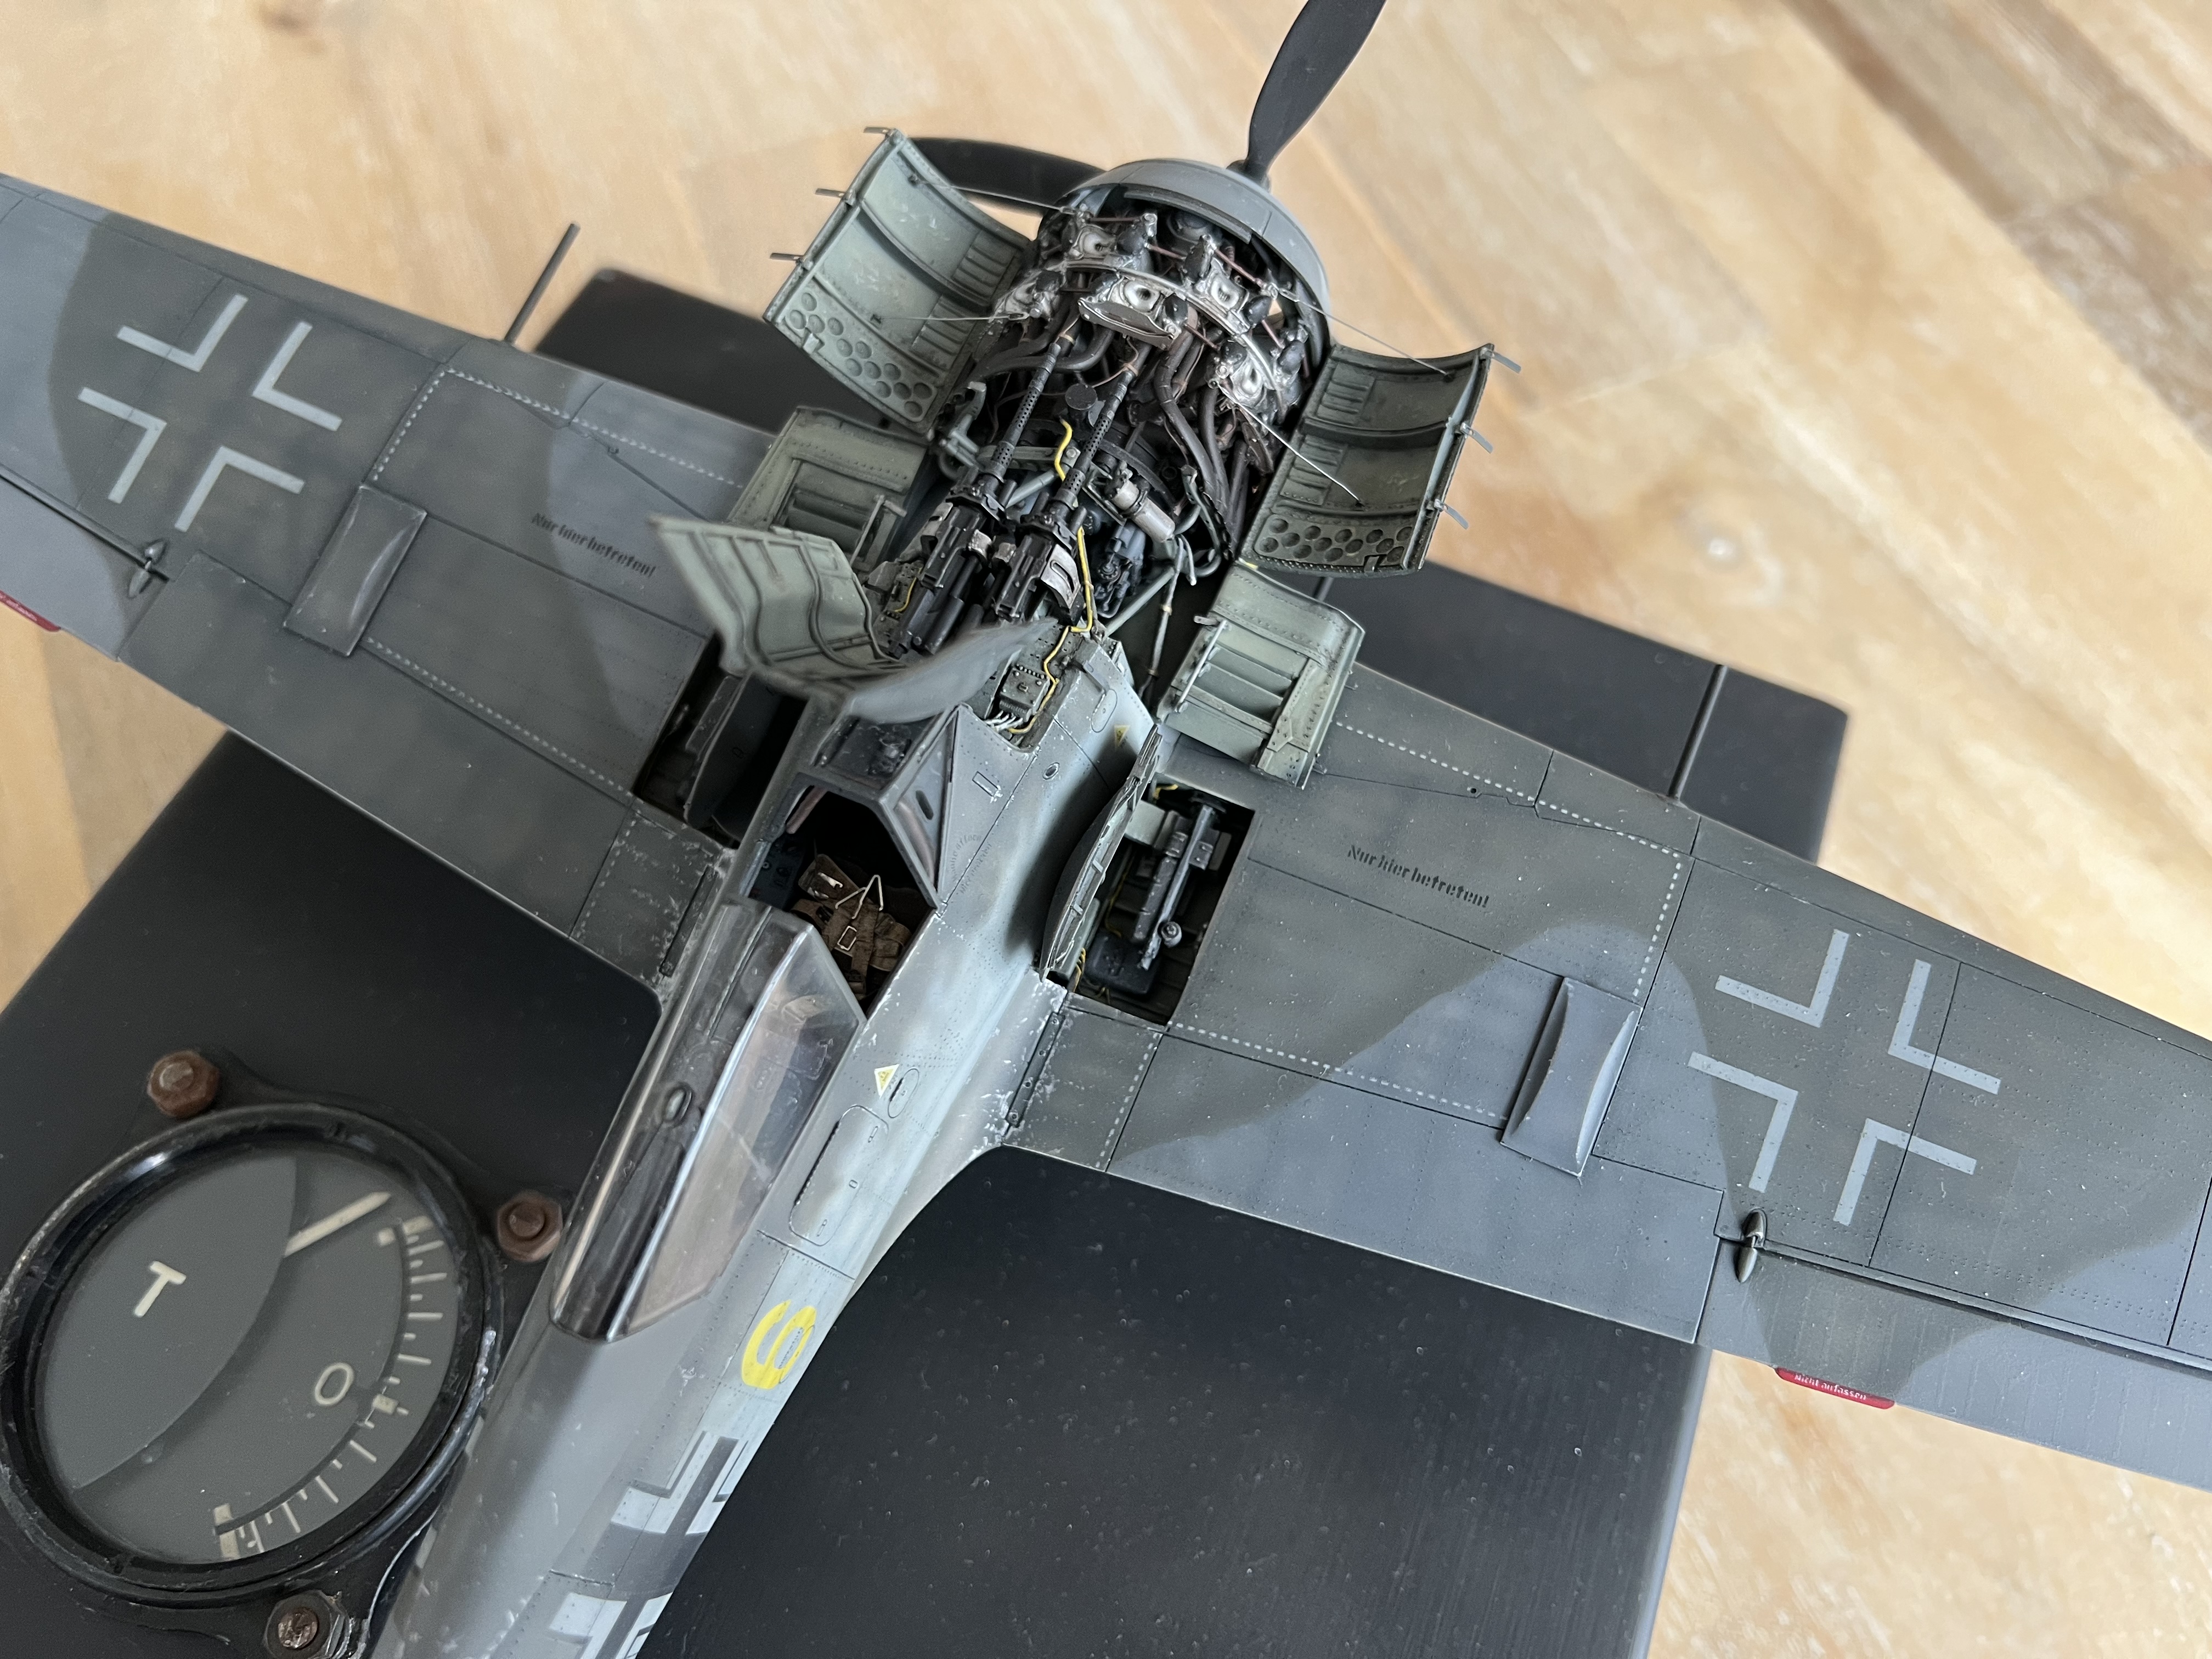
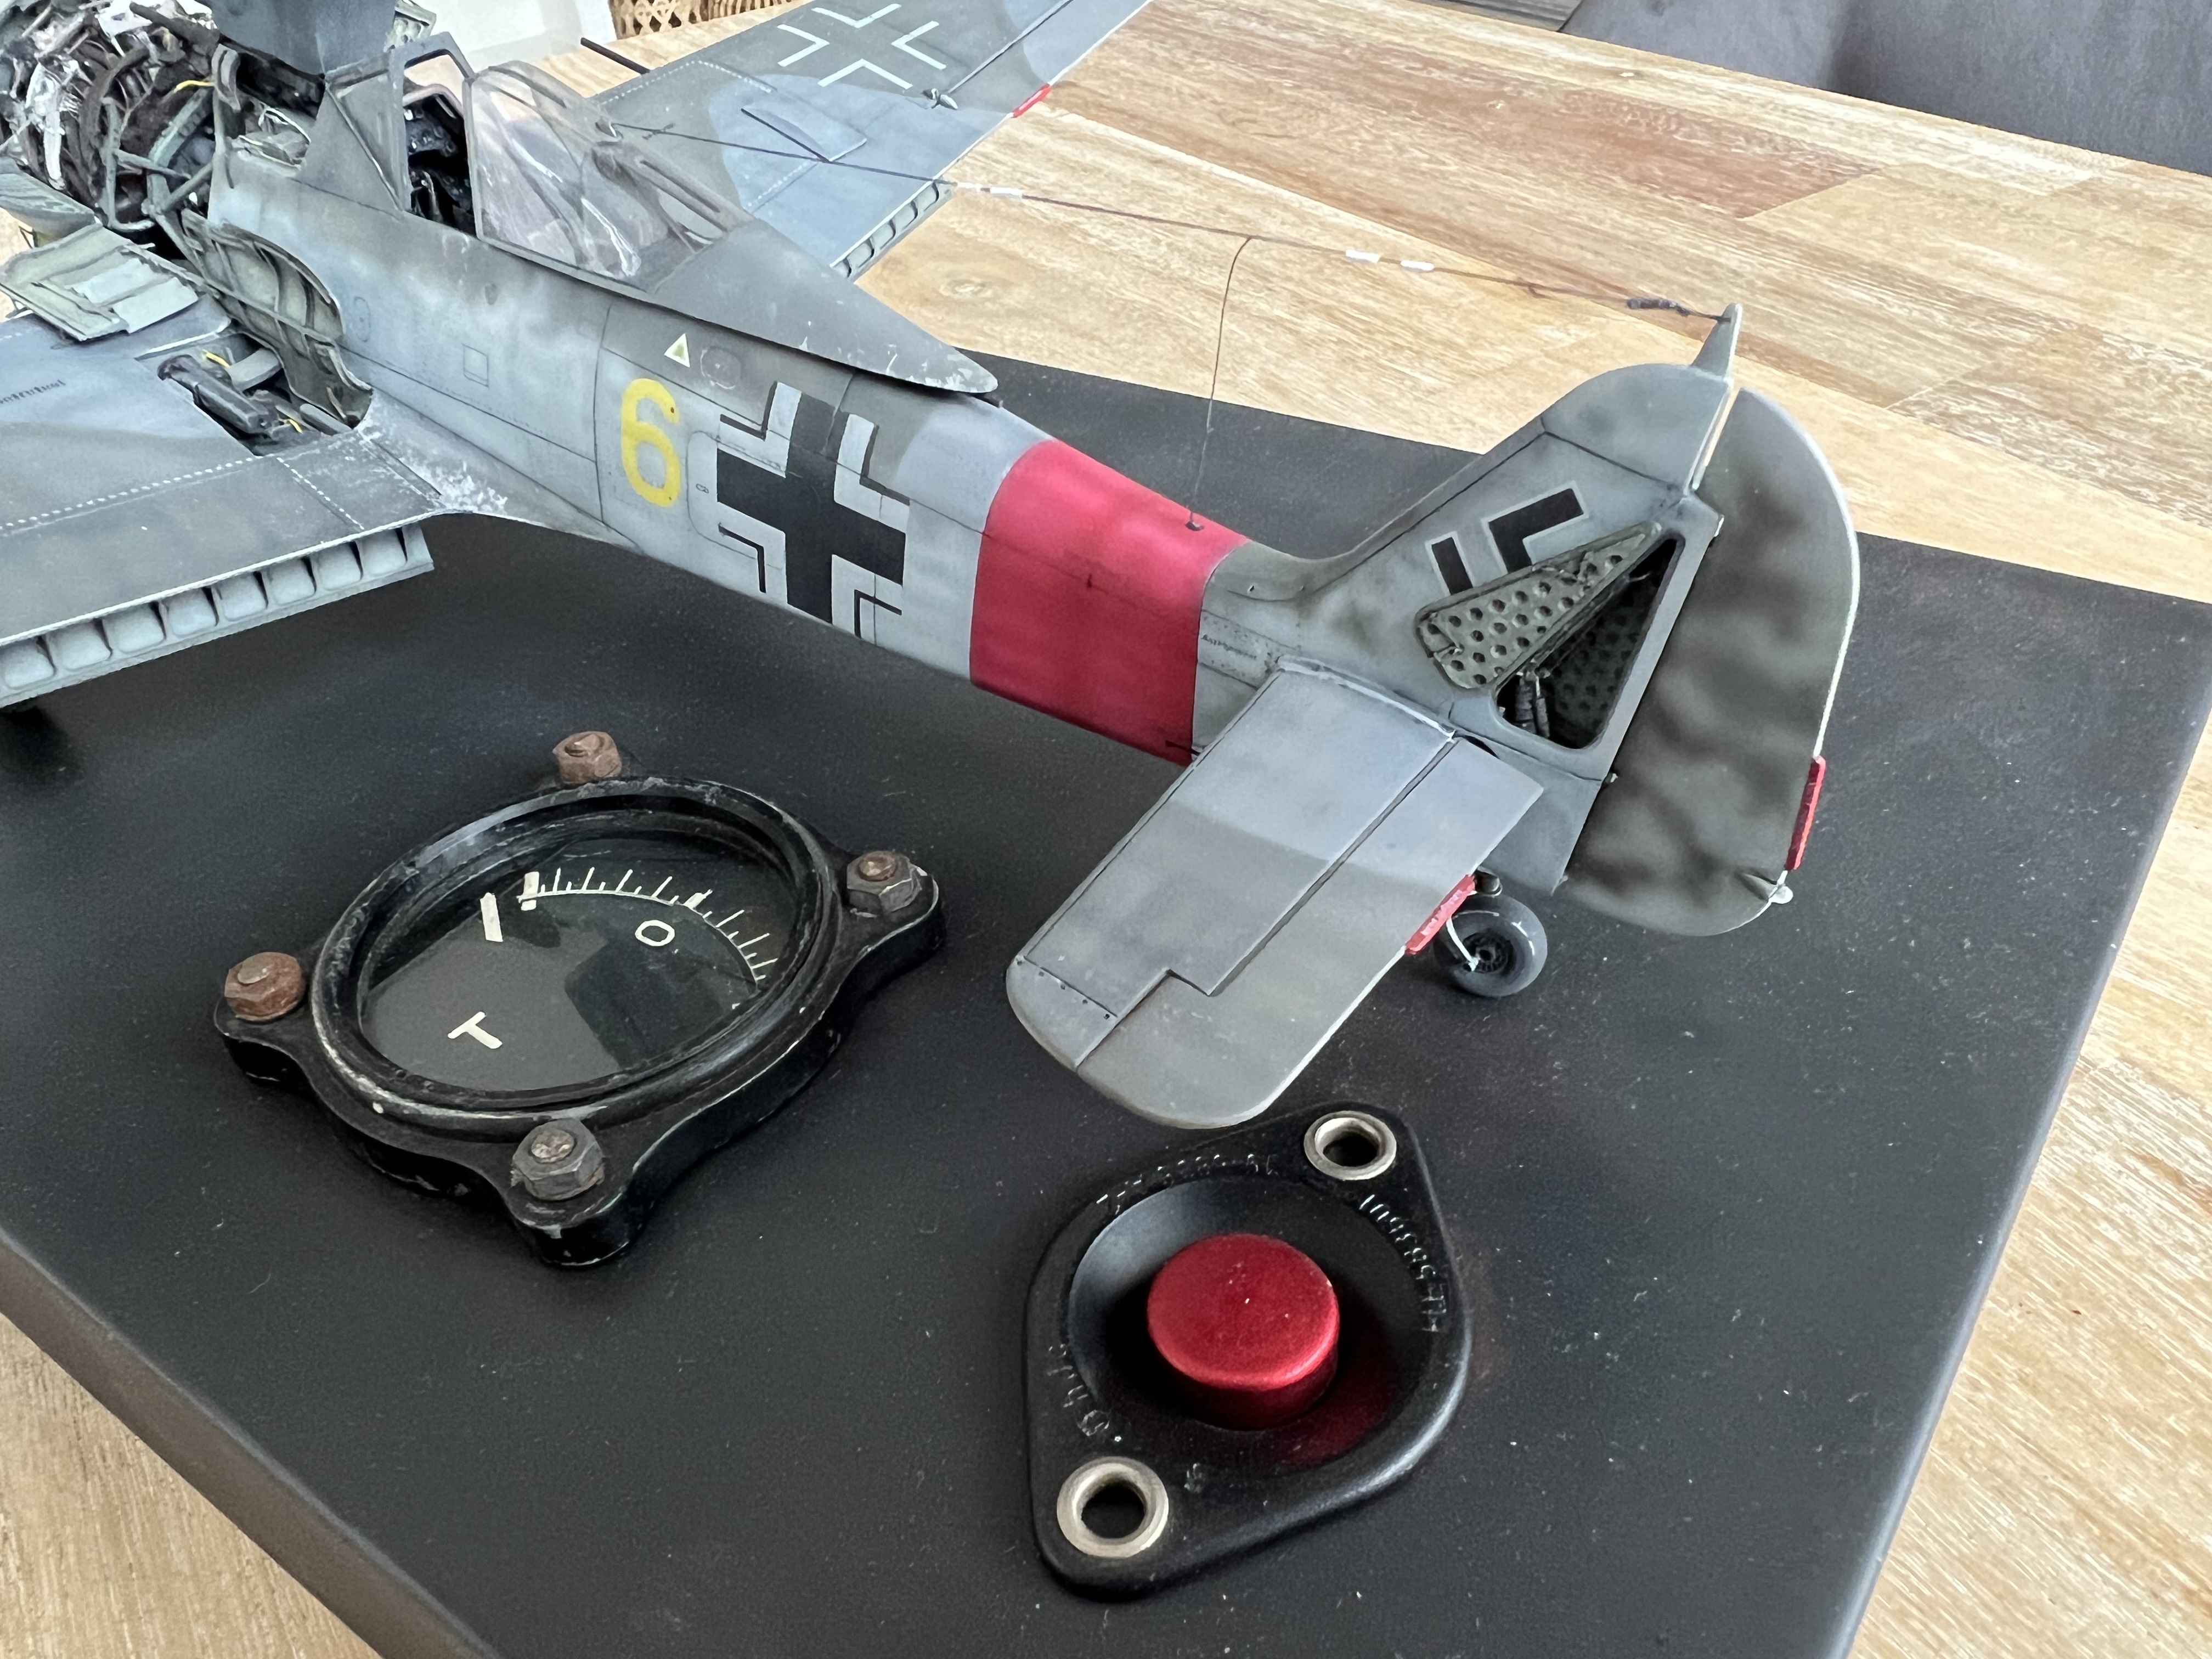
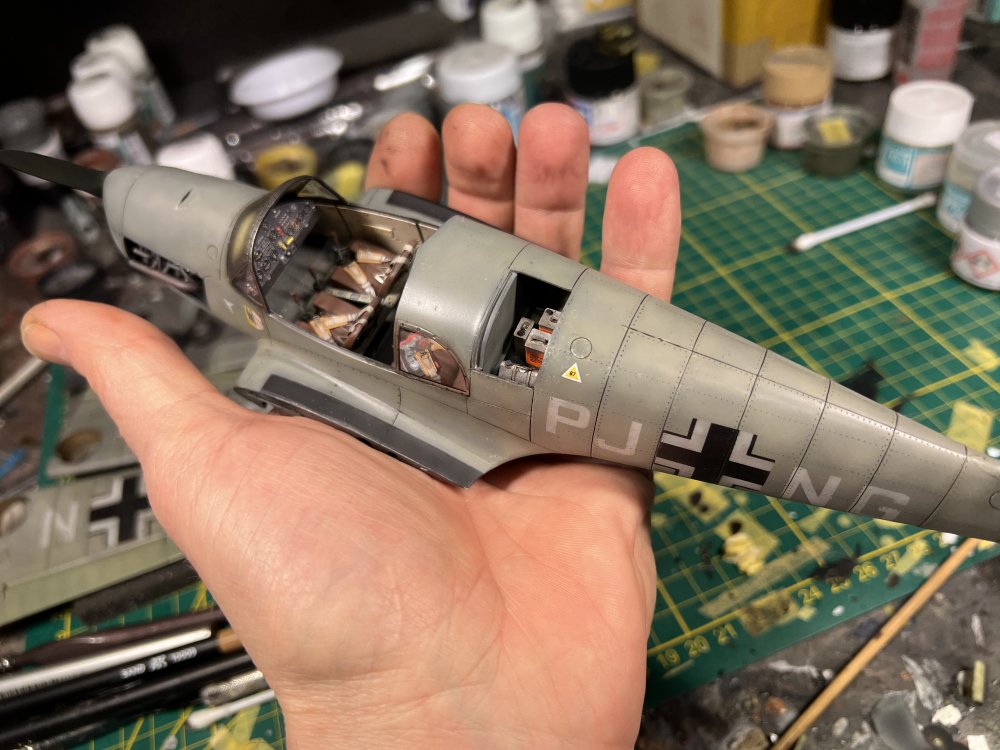
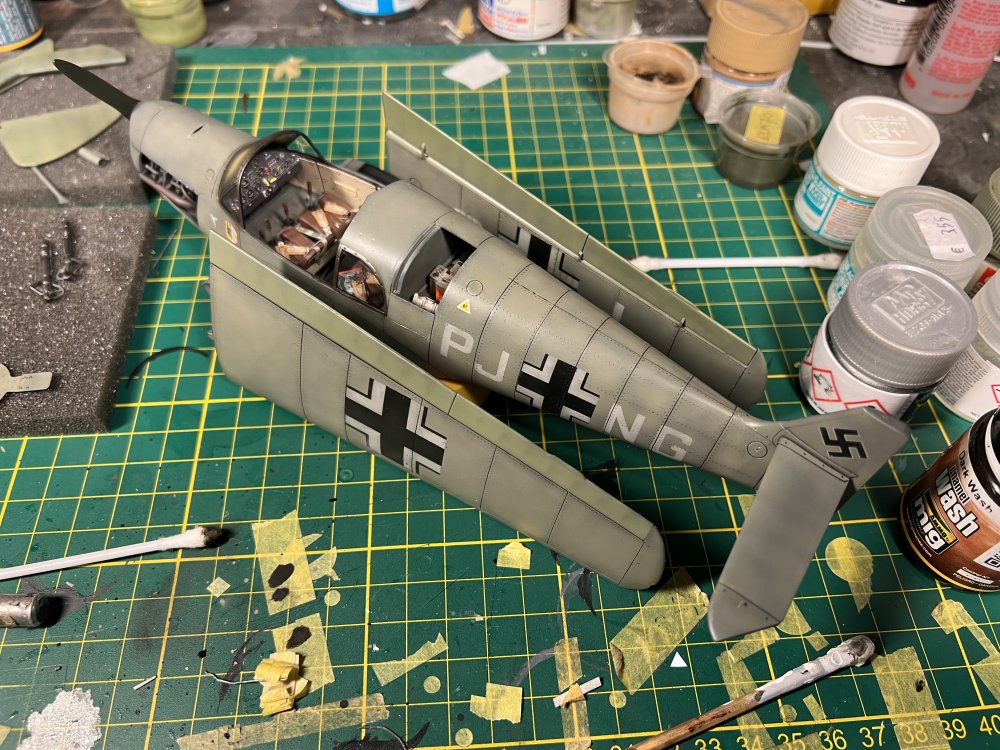
 Hi all, after Cees gave me part of the aileron of a crashed fw190a during operation bodenplatte, i had to build this aircraft. Literally threw all the aftermarket i could find against the Revell kit. MadE a base from aluminum and added two original parts of the left cockpit console of a Fw-190a. The pilot was shot down by friendly fire, bailed out, and landed on a frozen waterway with no chute. No decals were used. All masks were cut my miracle masks and One Man Army.


- 9 replies
-
- 12
-
-
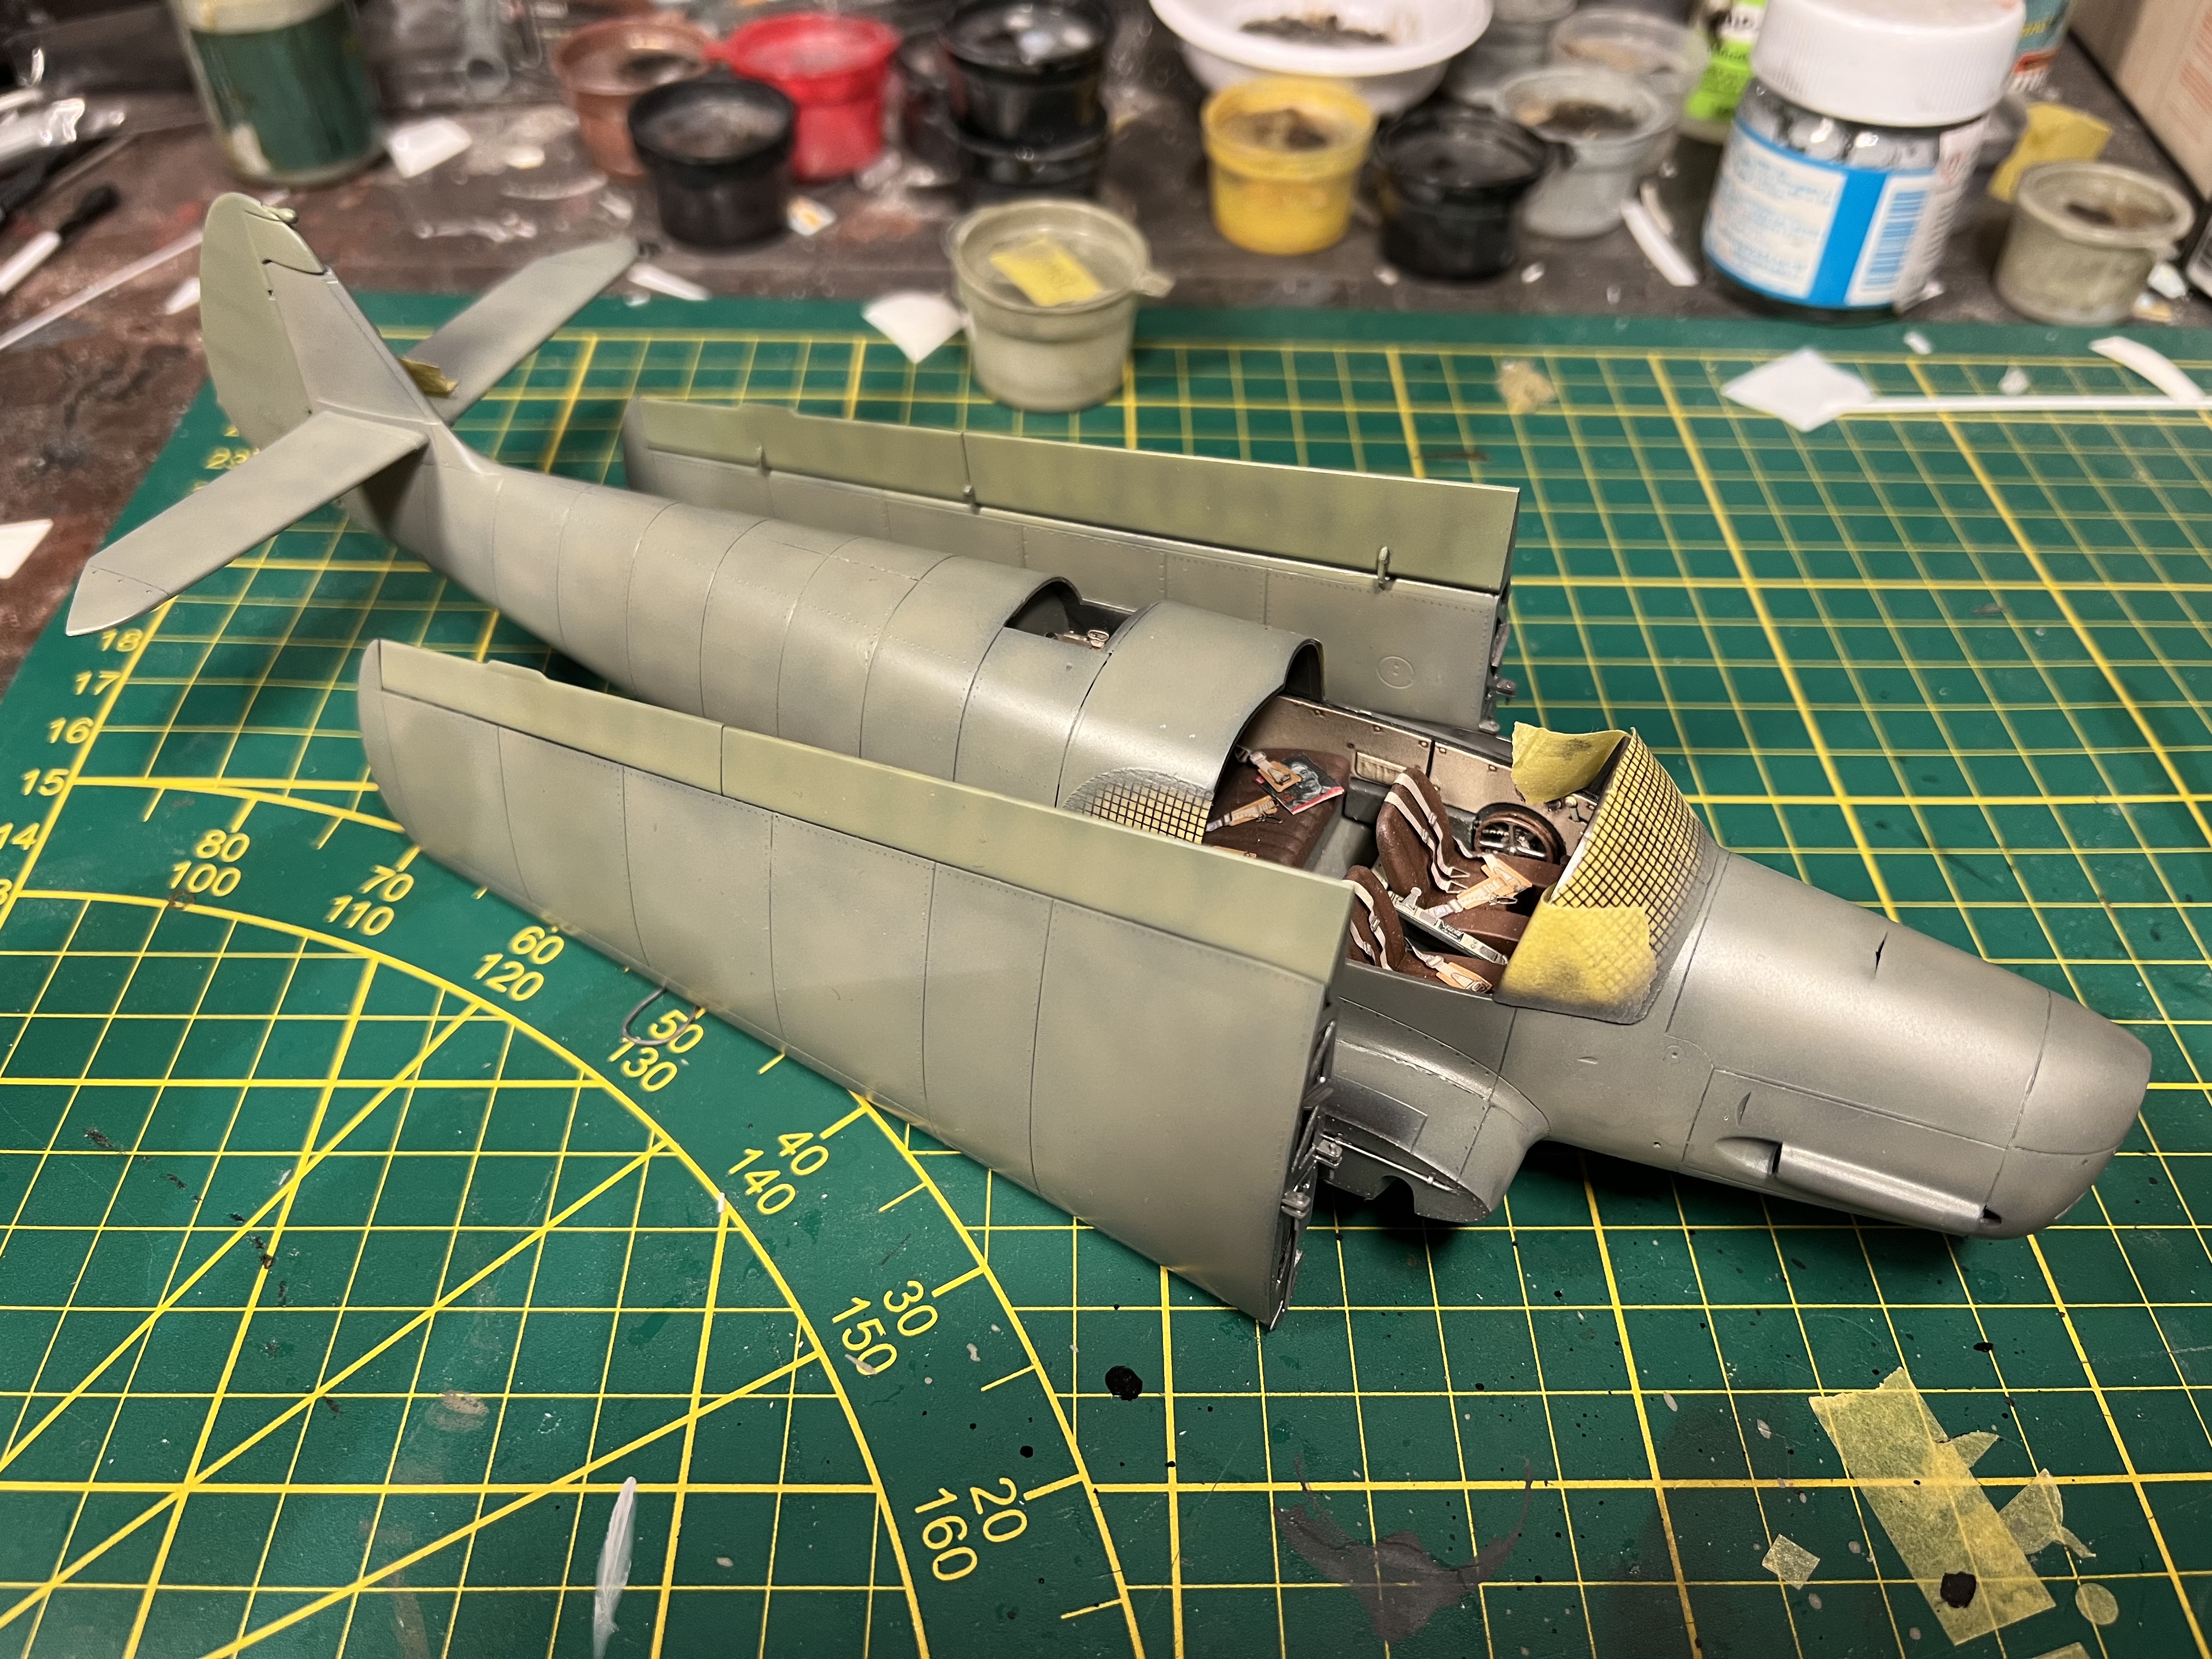
More washes. And added a few panels that are missing on the kit.

-
First wash.
-
Fixed it!

-
Shit happens. But nothing we can’t fix. Better let it cure for 24 hours first…
-
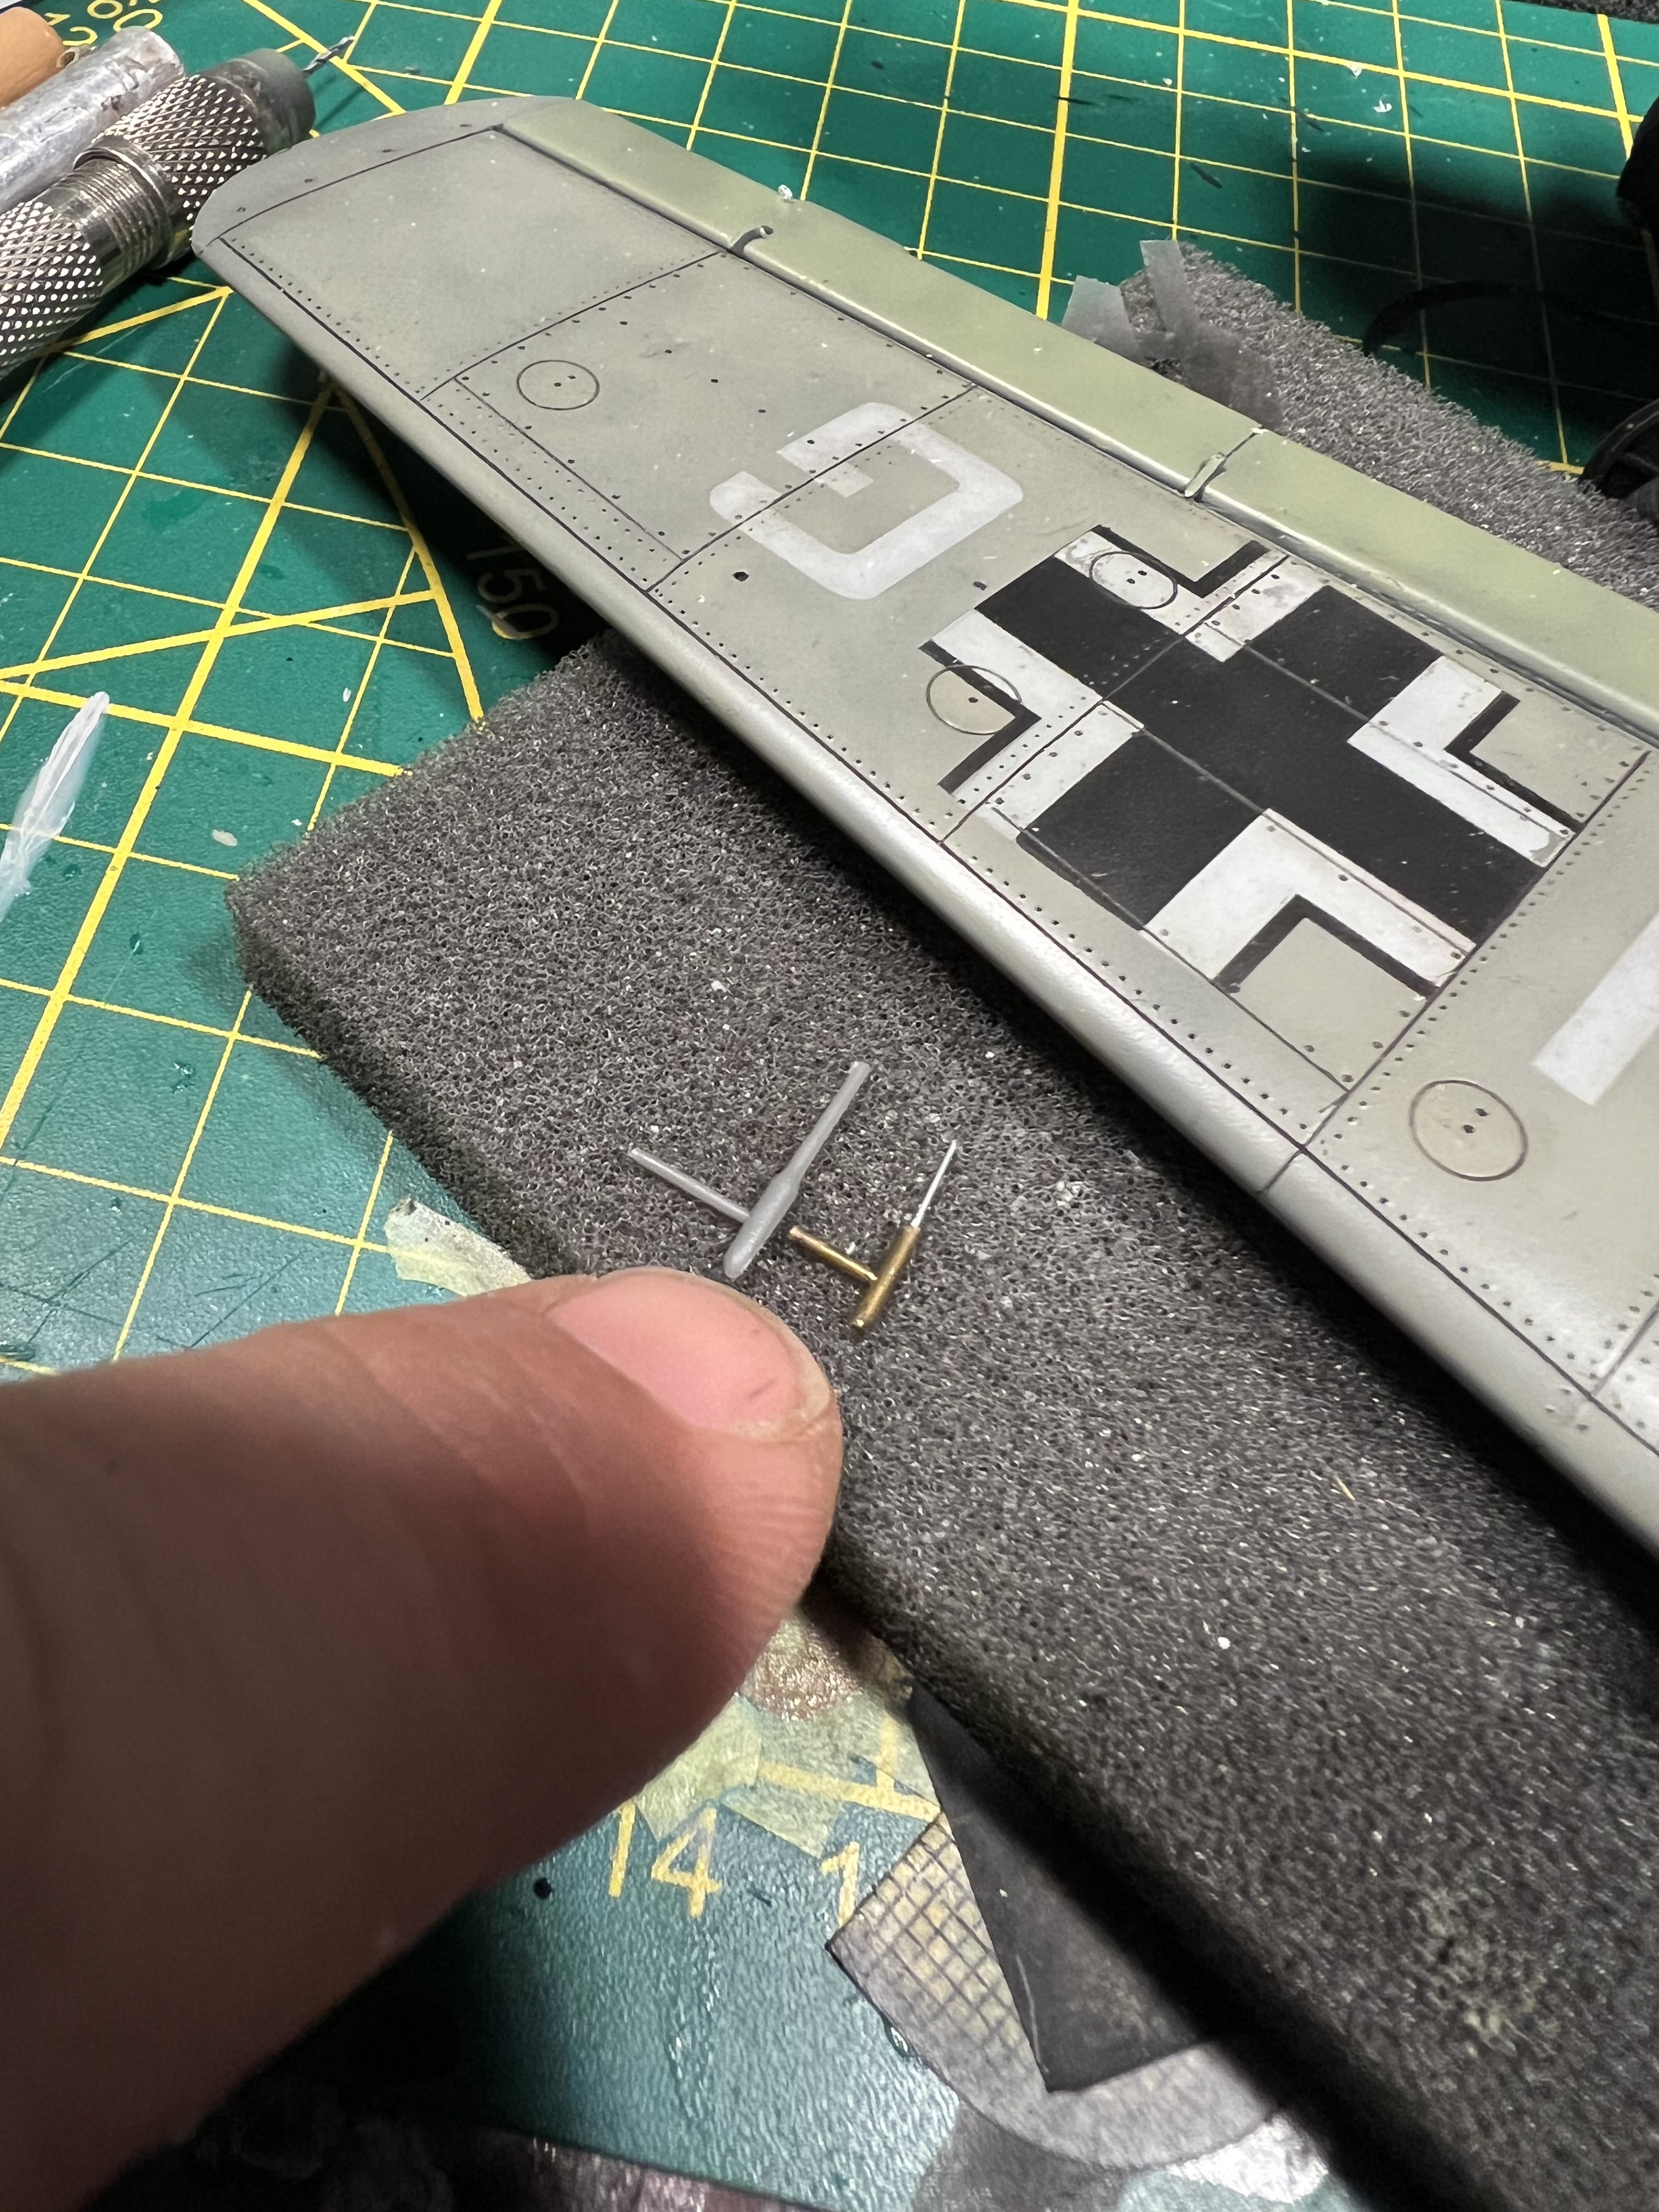
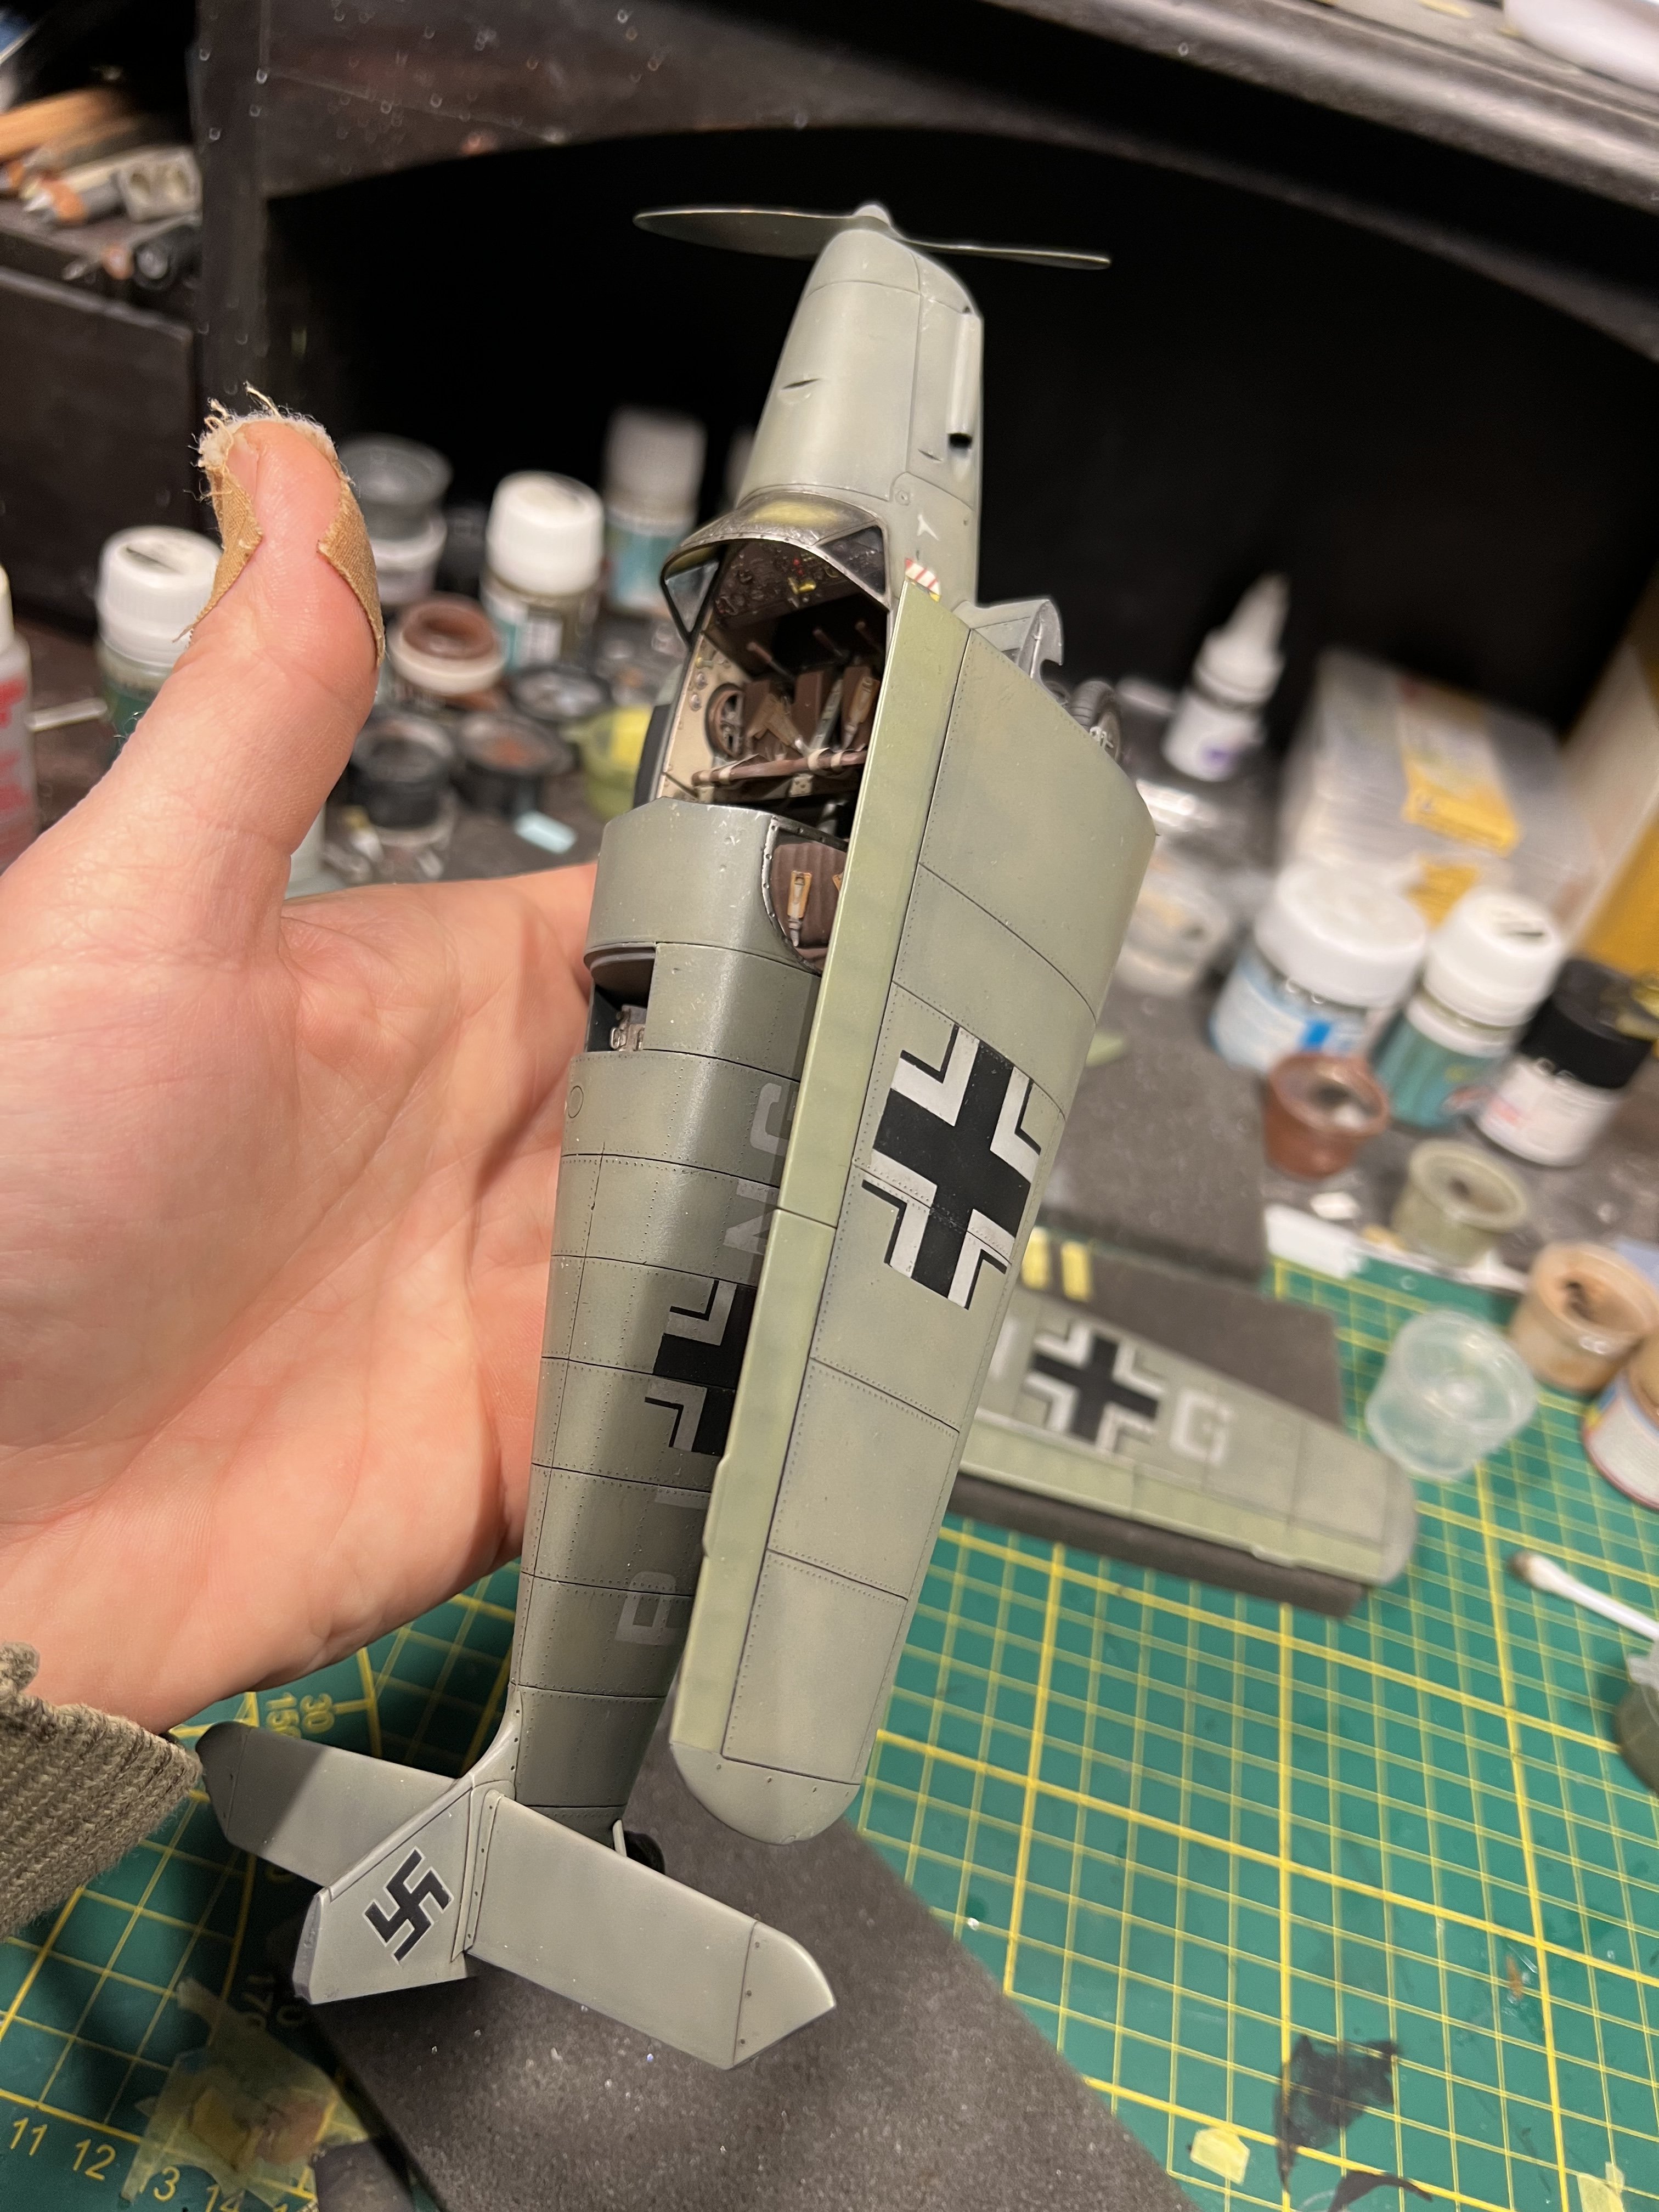
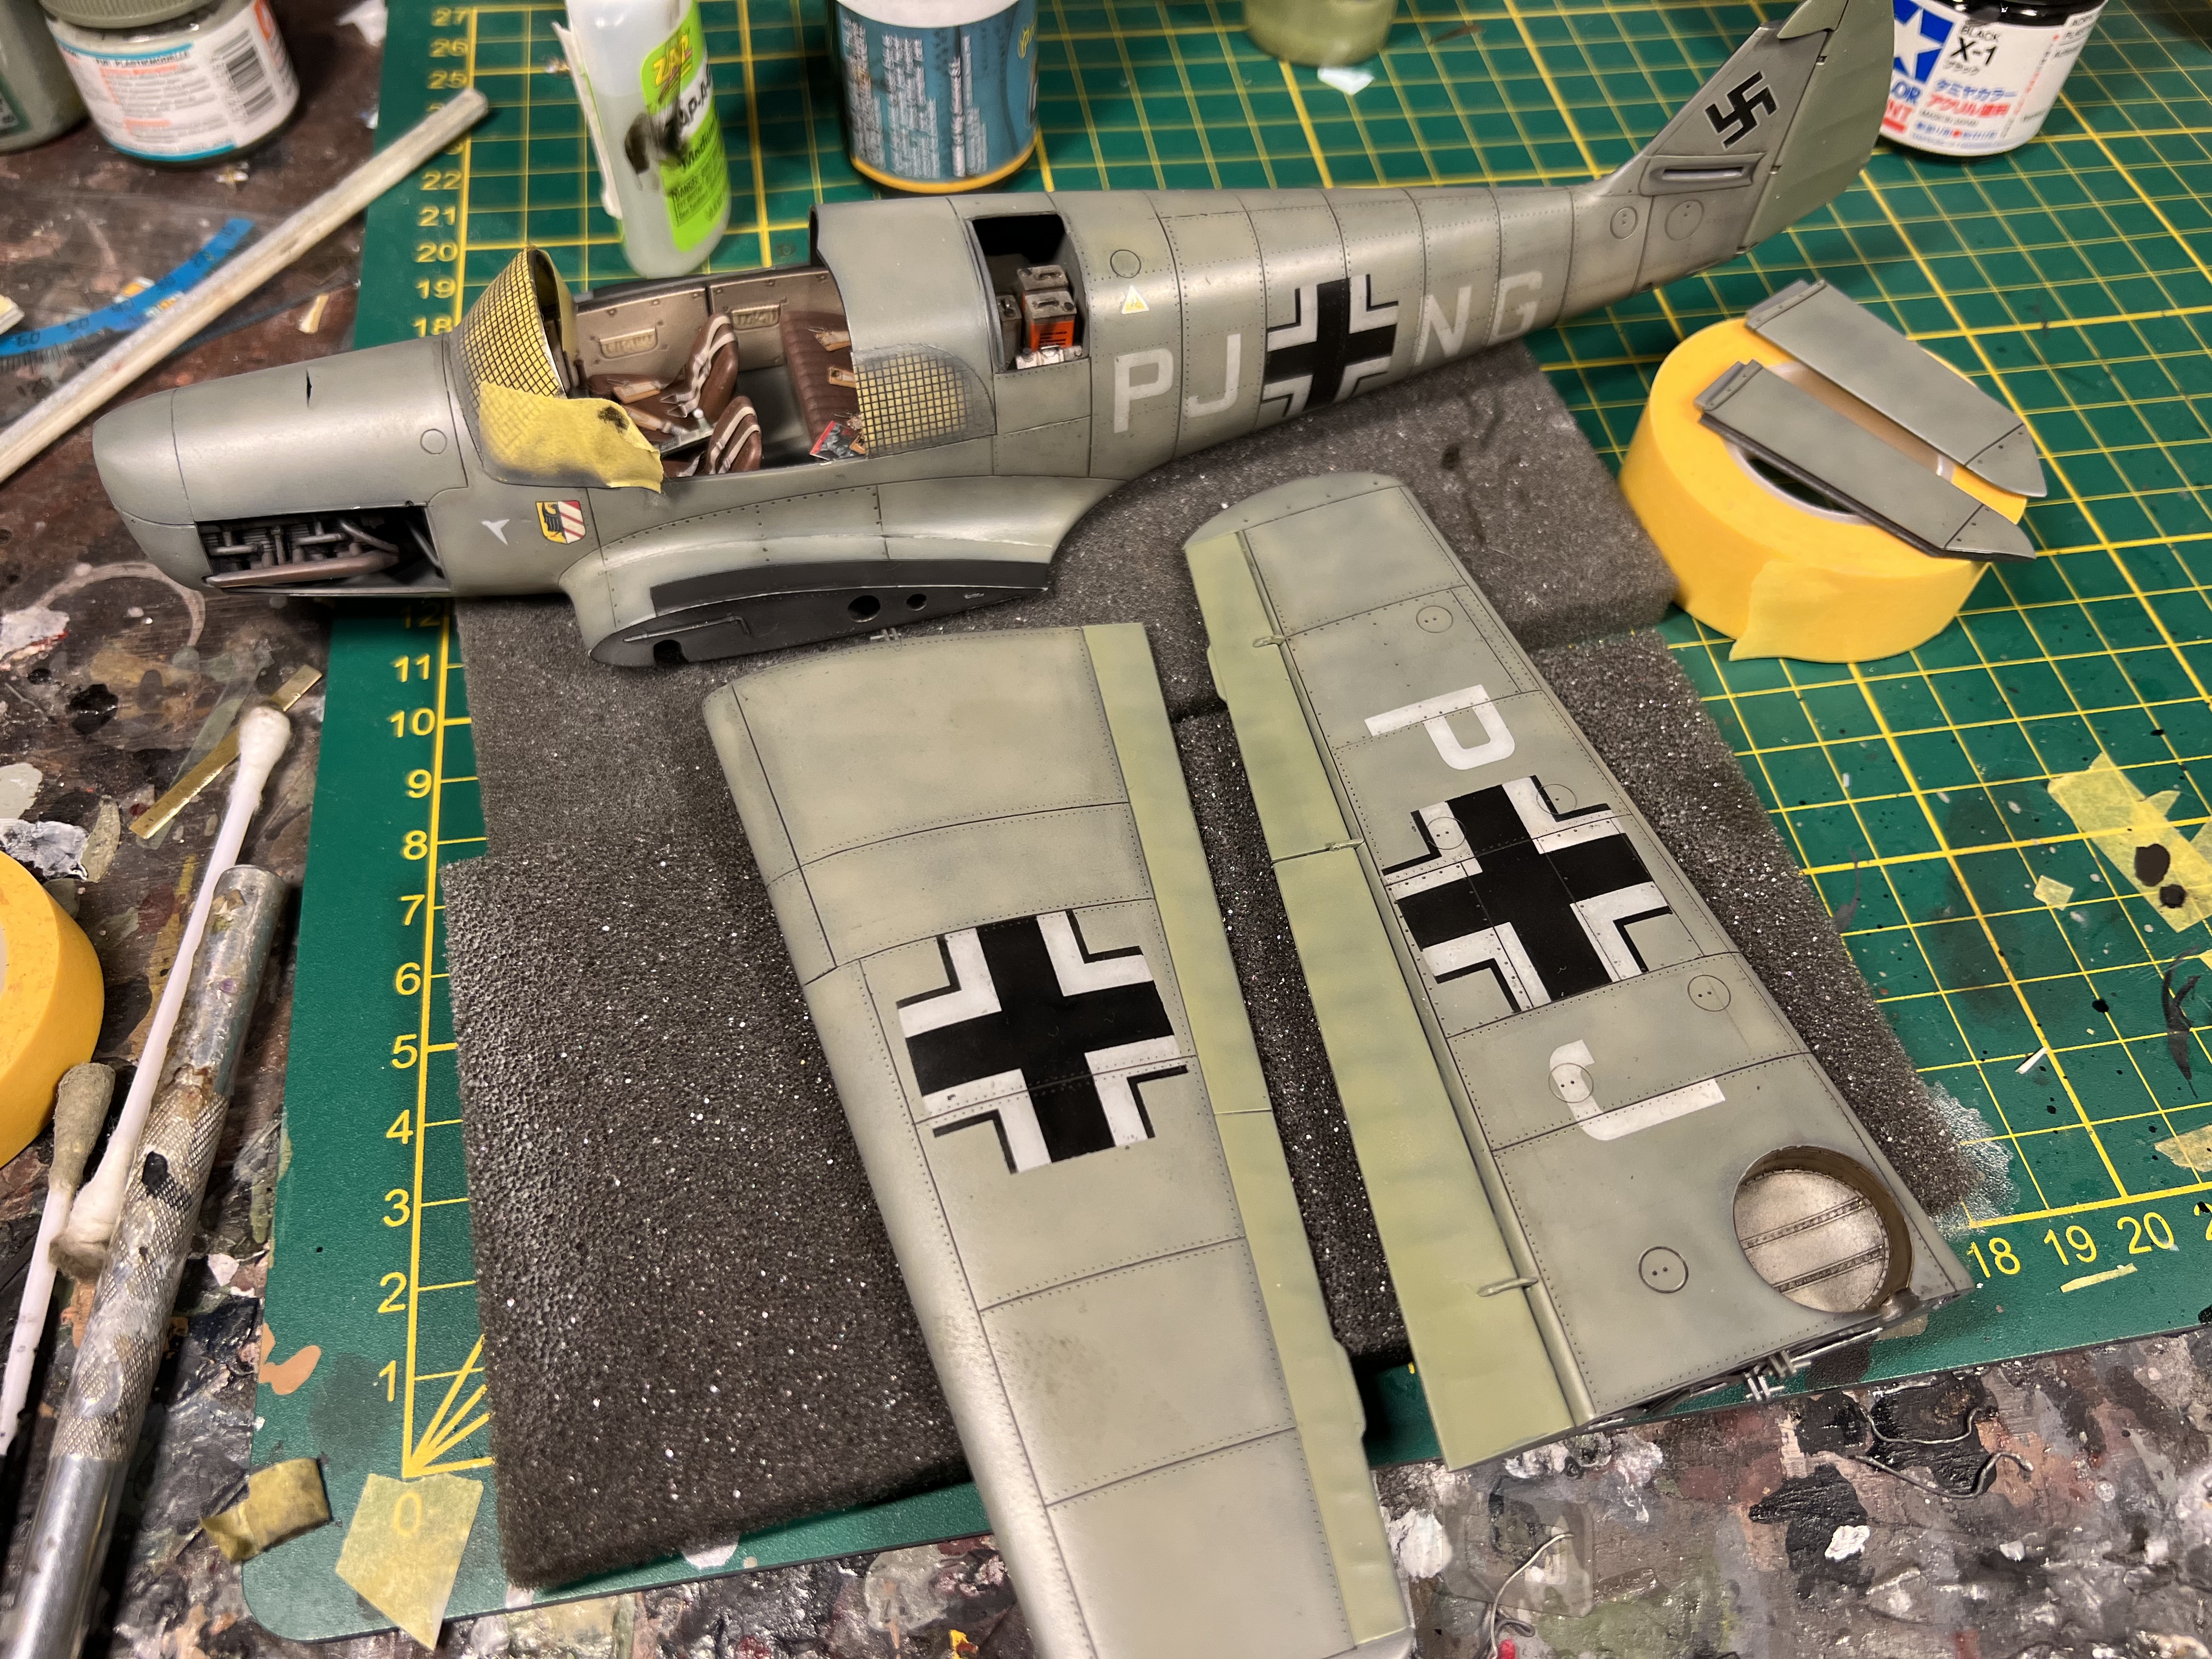
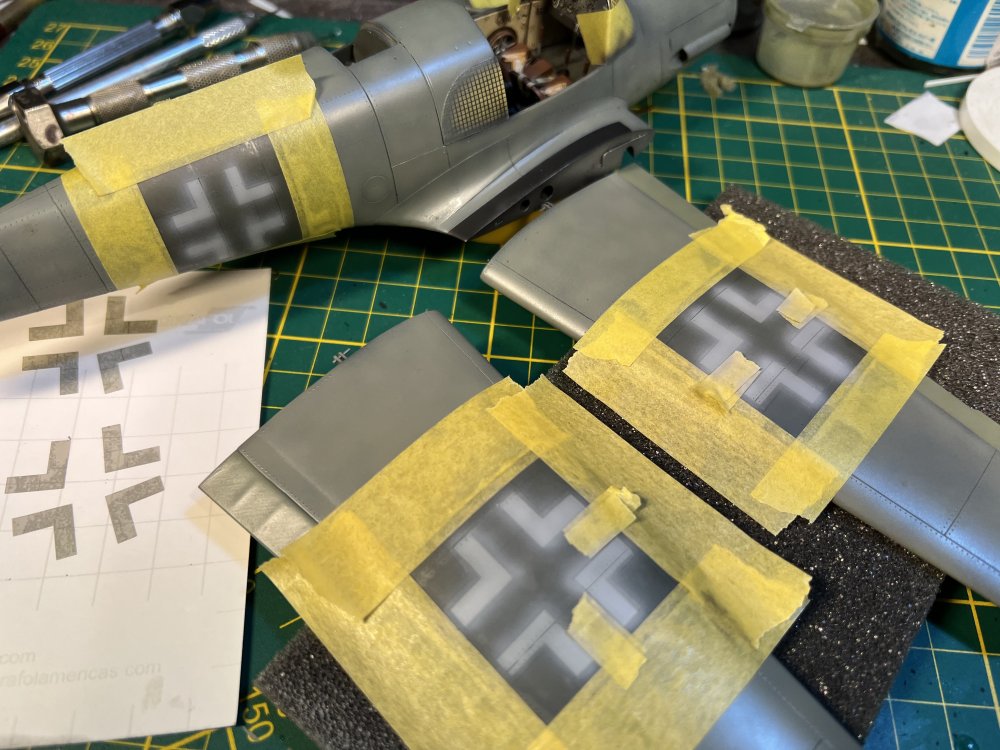
I cut the Messerschmitt logo with my mask cutter.
-
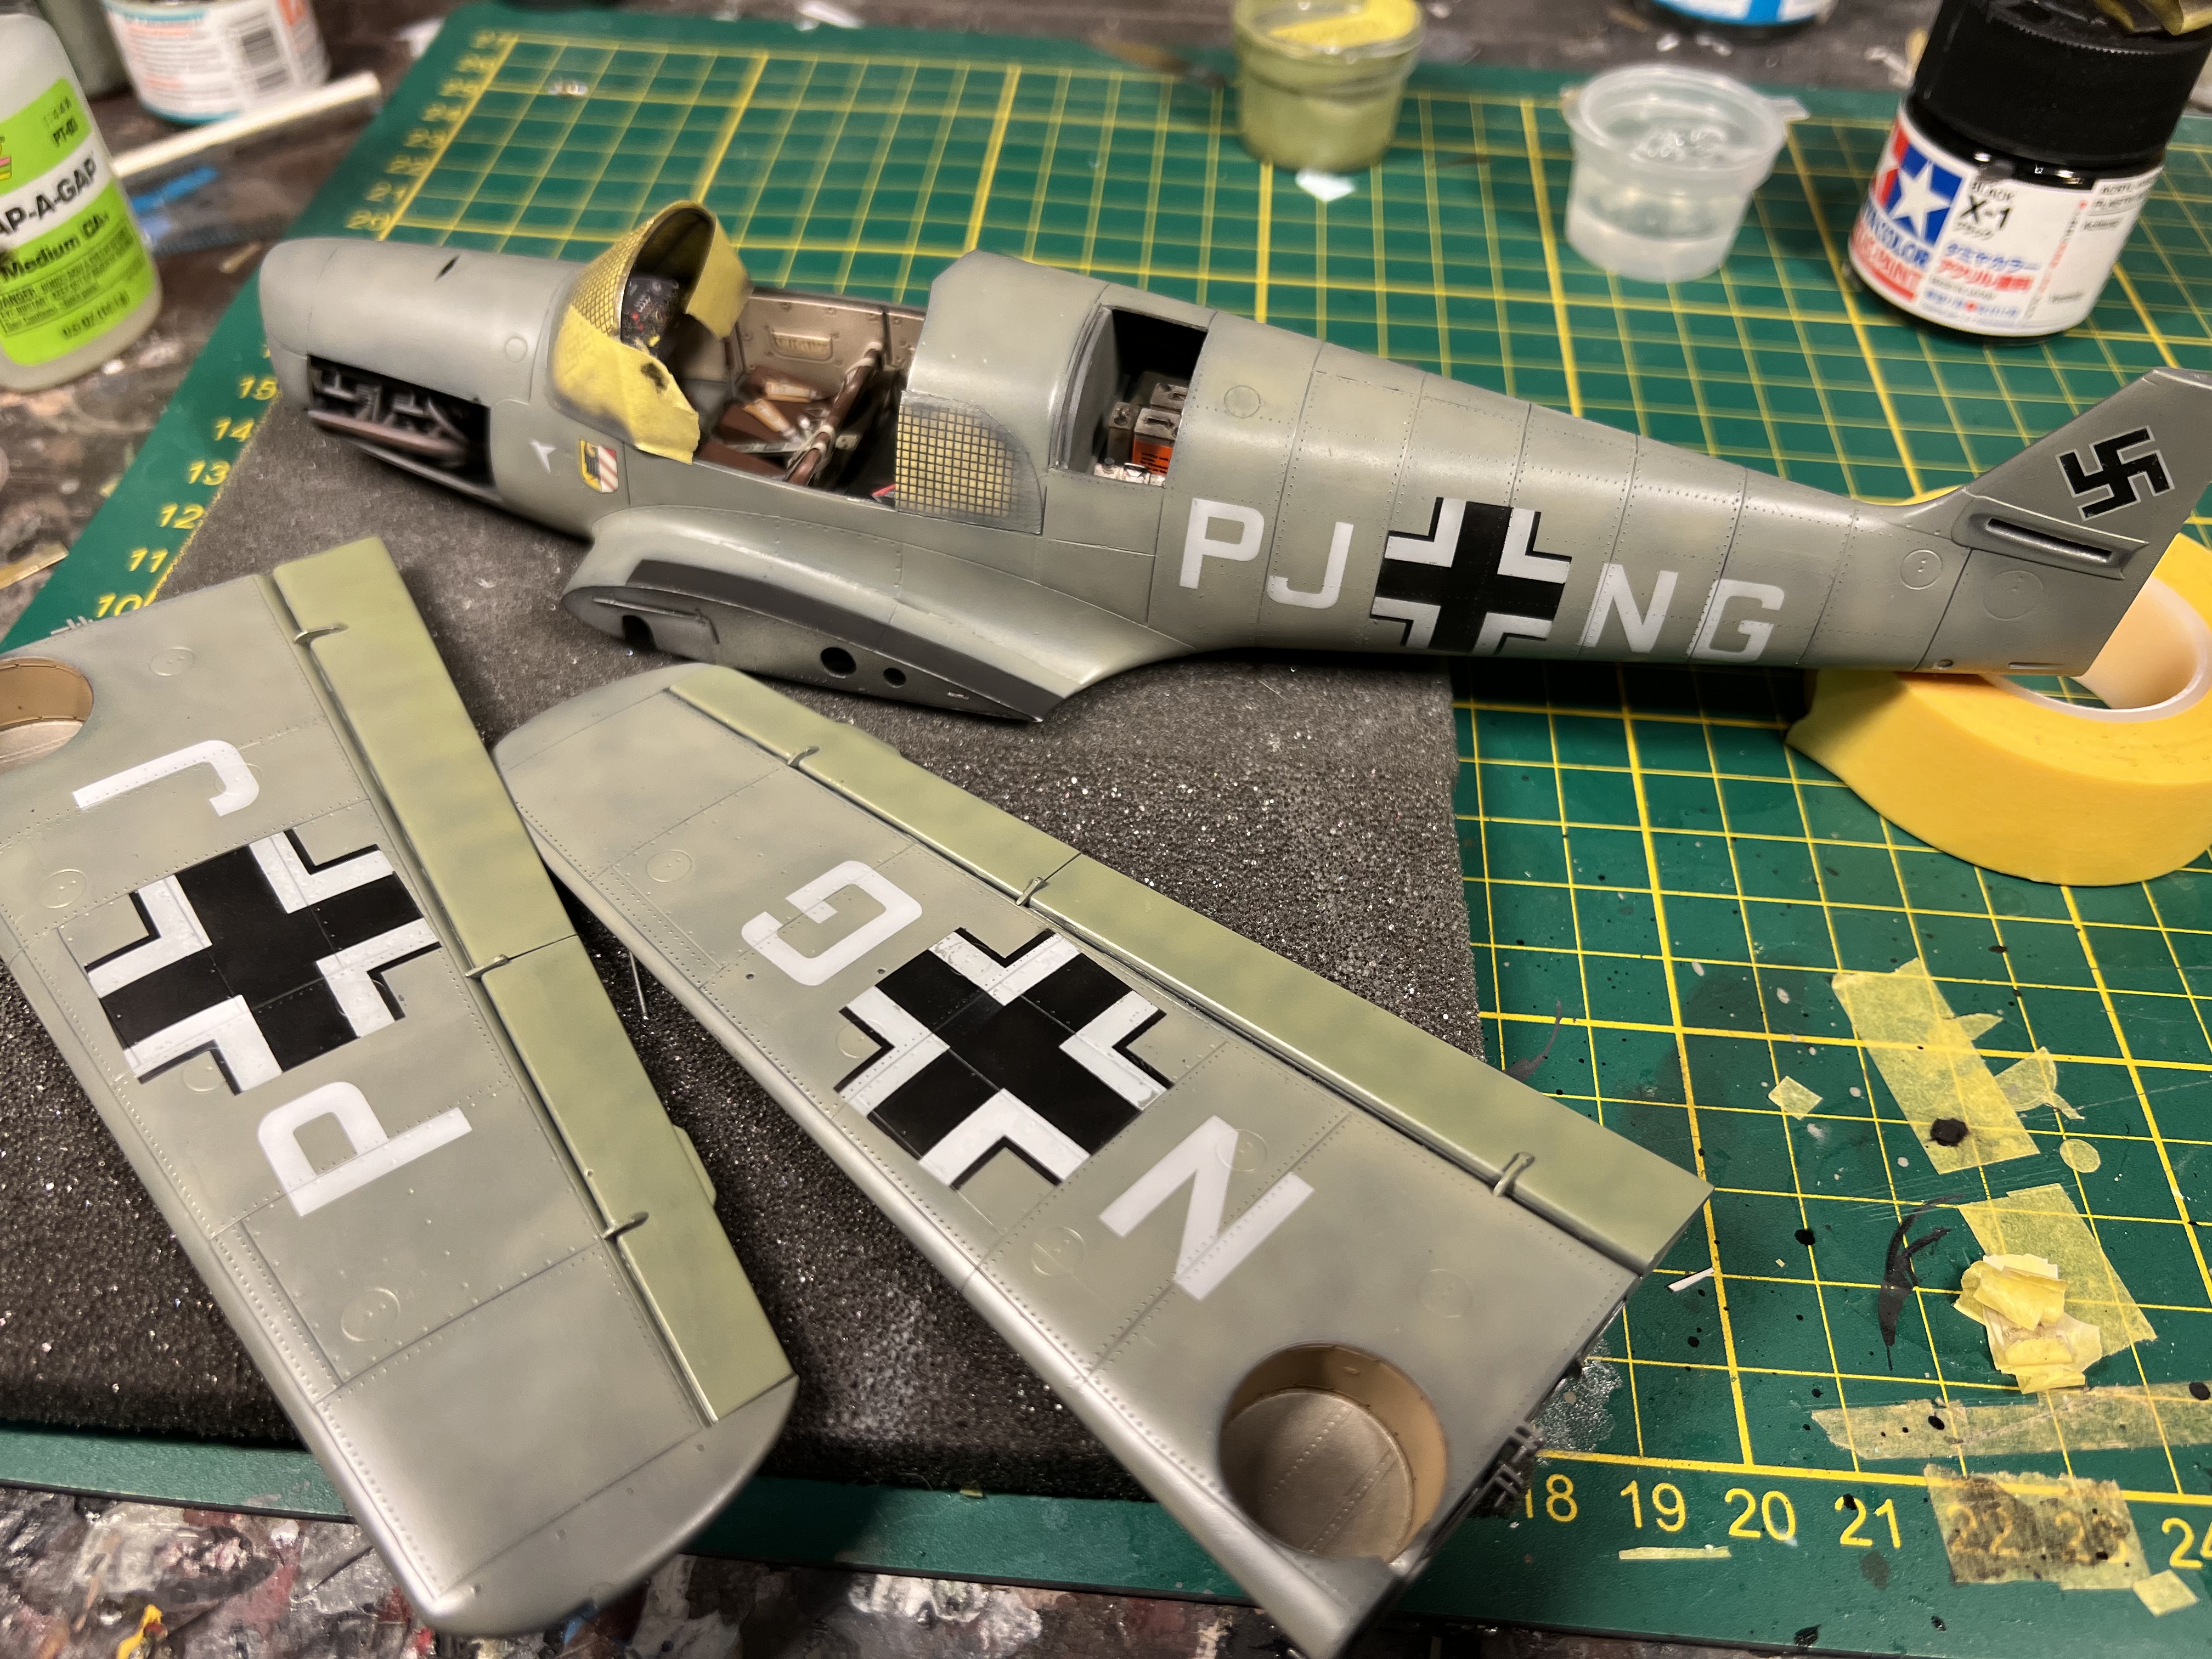
One step further
-
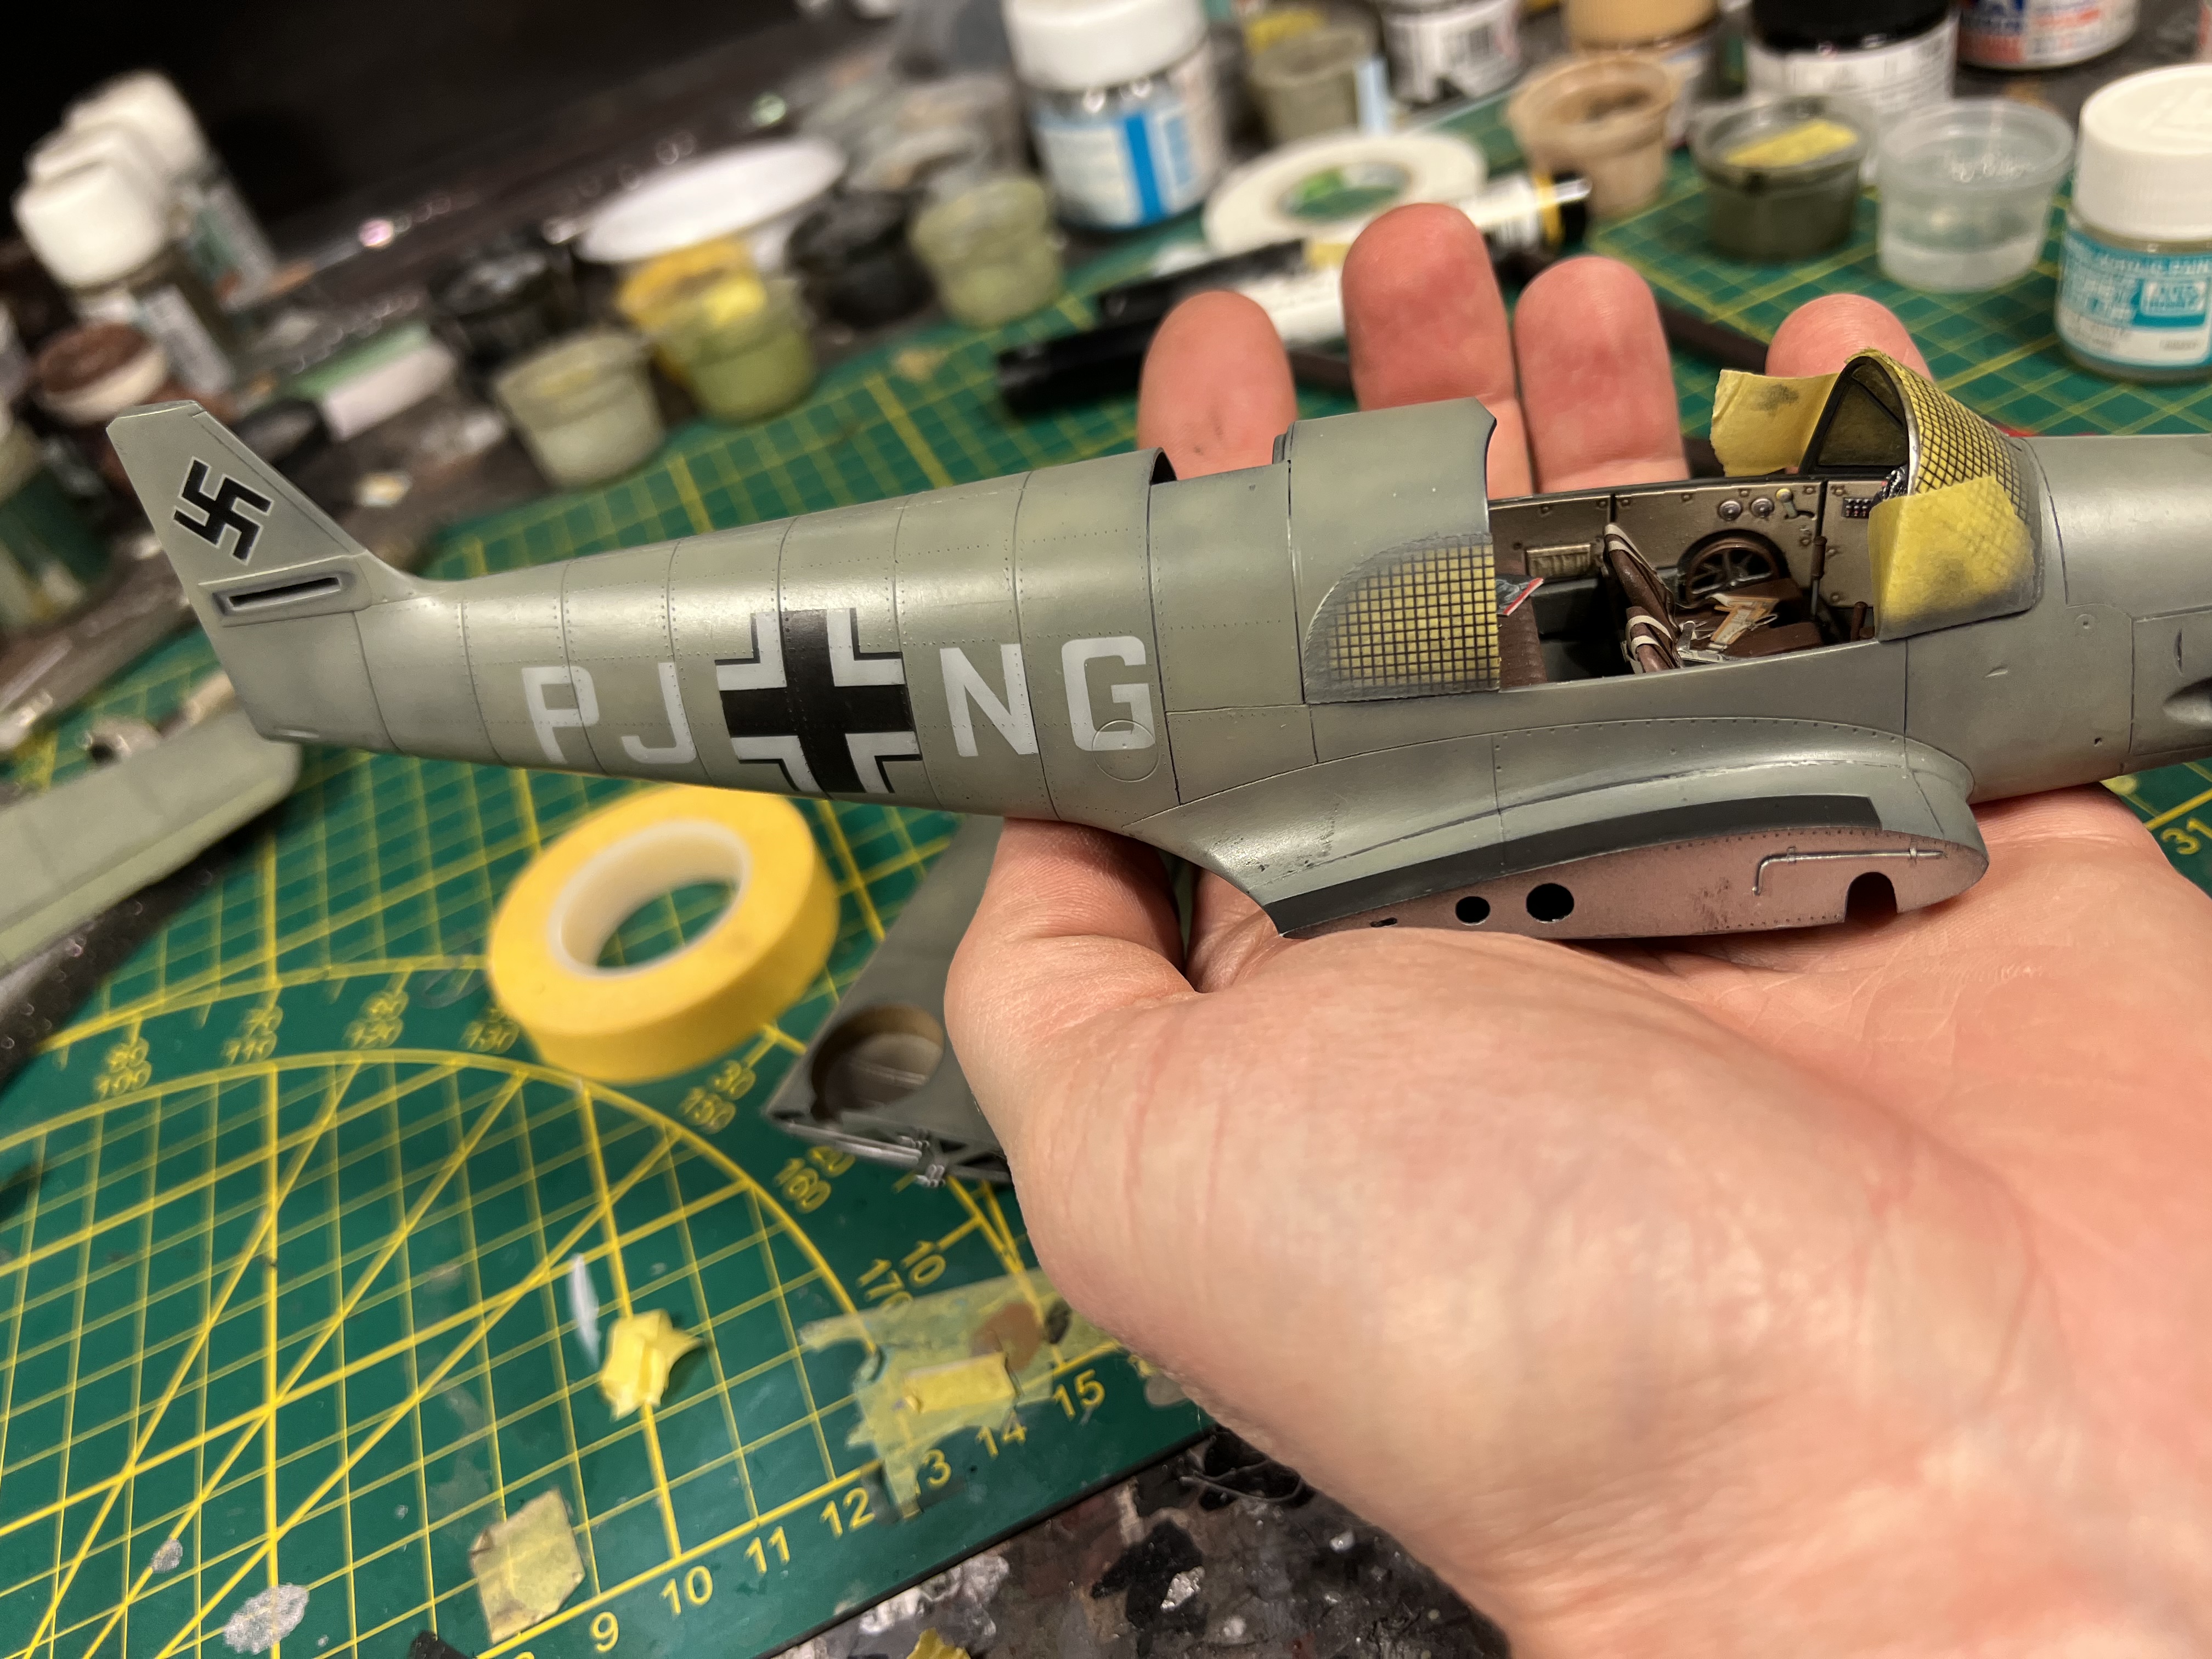
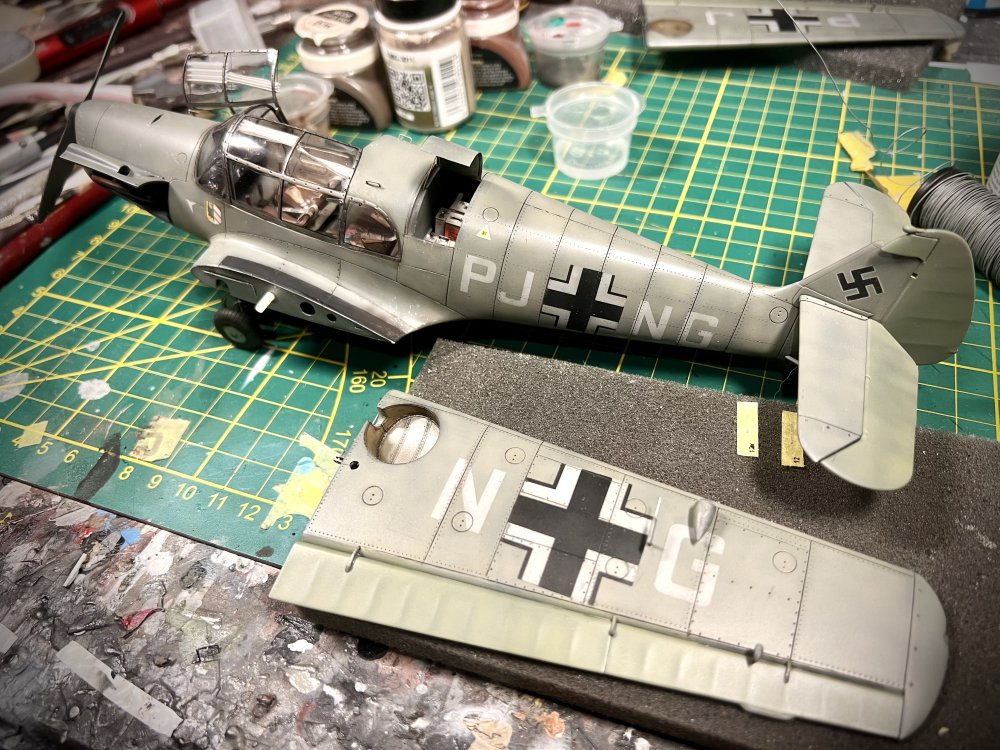
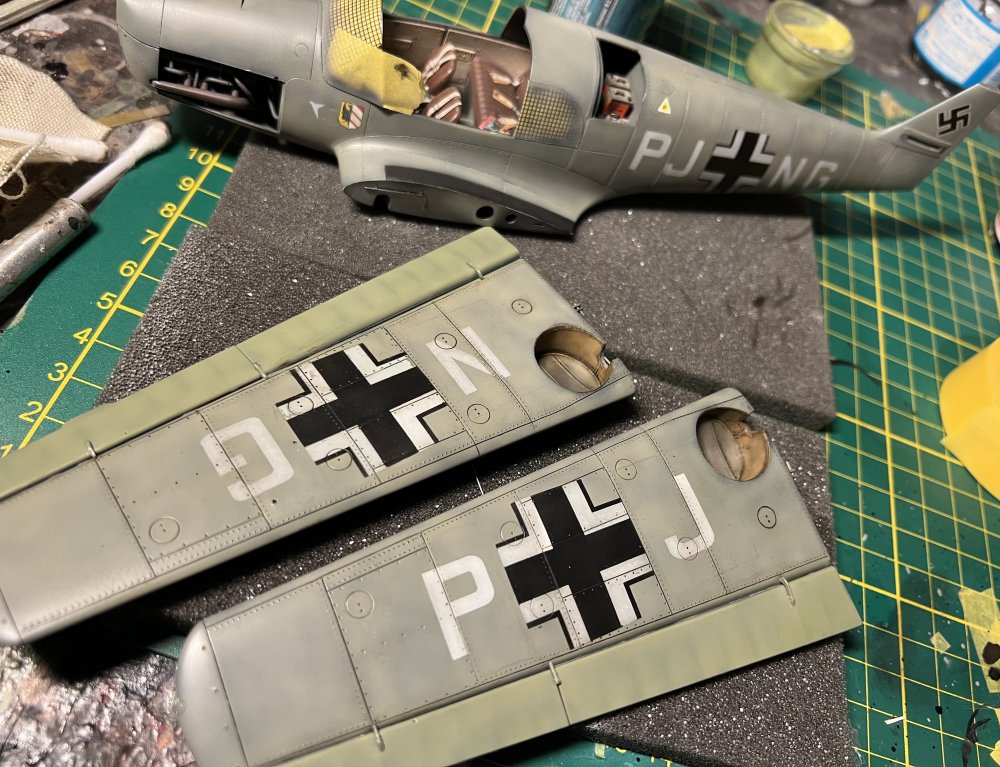
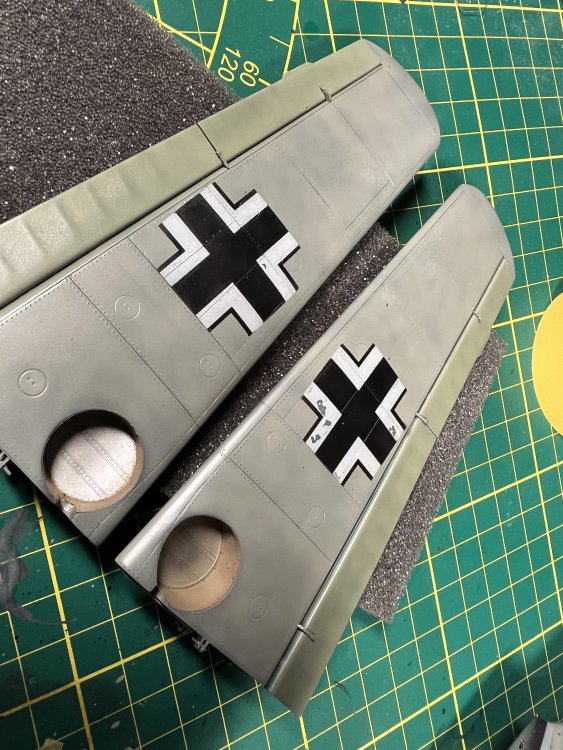
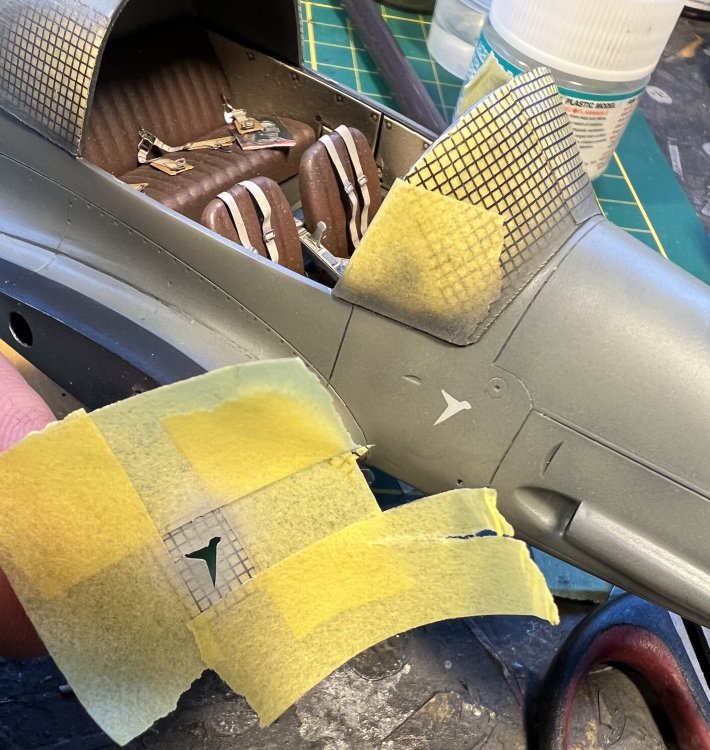
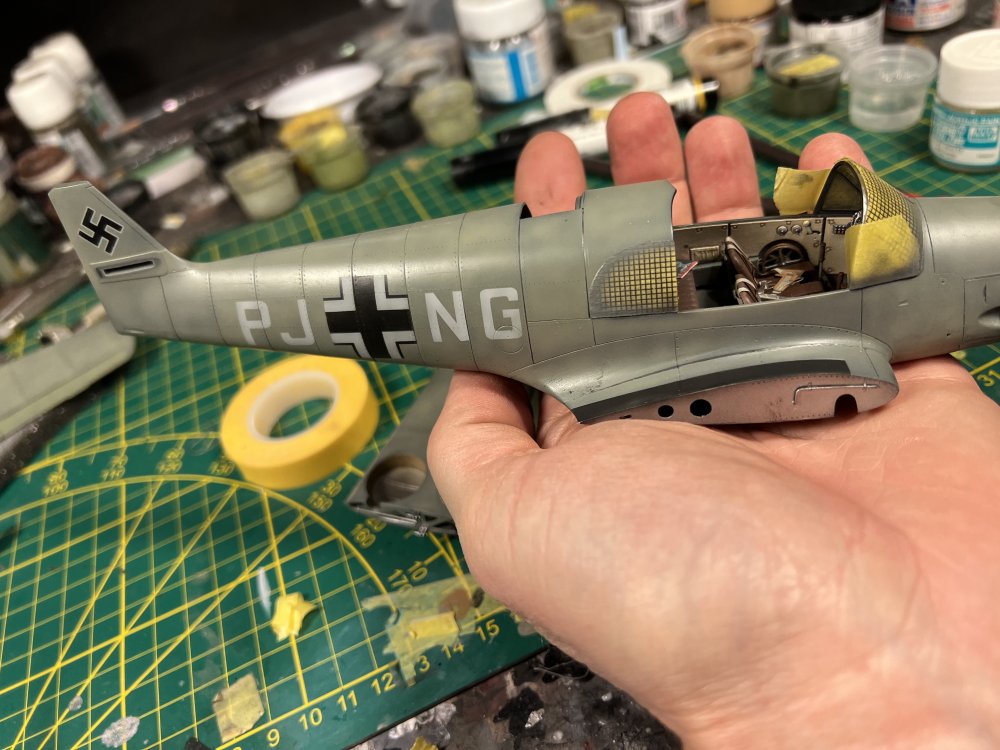
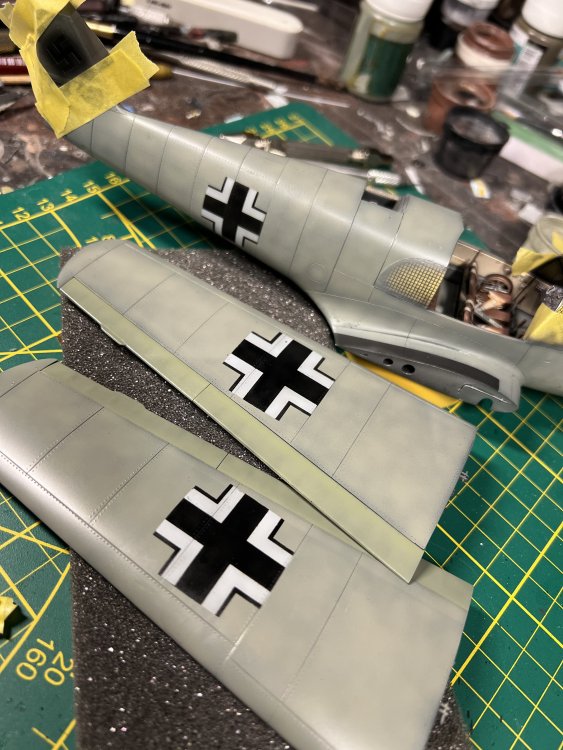
First insignias are on. Few tiny touchups are needed.
-
Started work on the insignias.
-
Basic rlm02 shades are on. Slightly different shades on the moving surfaces.
-
Decided to paint the ailerons and flaps in a different shade of rlm02. I have both the 1938 and 1941 version. Still doing some tests to decide the best shade. Dont ask me why.
-
Lovely!