
James H
-
Posts
3,257 -
Joined
-
Last visited
Content Type
Profiles
Forums
Events
Gallery
Everything posted by James H
-
The ZM review will be online here either late tonight, or tomorrow. It is scheduled for midnight tonight GMT. You can build a seriously nice kit OOB, but the sets are the cherry if you want the extra expense.
-
 Different manufacturers who use Cartograf for their decals do so with their own specifications. For example, I've just finished writing the review for the new Zoukei-mura He 219A-0 kit, and this has decals by Cartograf, as opposed to the awful Japanese-made ones. The decals are superb, but the film/printing is thicker than that requested regularly by European manufacturers. The Japanese must just like it this way. Still....they are a vast improvement over the previous releases, but my review doesn't test a decal to check anything out..
 -
Happy Birthday Martin!!!! One of the hardest members of LSM?
-
I'd opt for one of these in 1:32 or 1:24............seriously! Pou du Ciel
-
Burnout special Bachem Ba 349V 'Natter'
James H replied to James H's topic in LSM 1/35 and Larger Work In Progress
Don't tell me...you want me to build a 1:1, and use Uschi decal? -
Burnout special Bachem Ba 349V 'Natter'
James H replied to James H's topic in LSM 1/35 and Larger Work In Progress
Hi Alex, I sure will. I'm going to hand brush a couple of very light coats, of 50:50 Klear/water, just so it imparts a sheen and lete me add some wash. Should look real good. -
Burnout special Bachem Ba 349V 'Natter'
James H replied to James H's topic in LSM 1/35 and Larger Work In Progress
It's decal-o-rama! Hardly a single area will be uncovered.. -
Burnout special Bachem Ba 349V 'Natter'
James H replied to James H's topic in LSM 1/35 and Larger Work In Progress
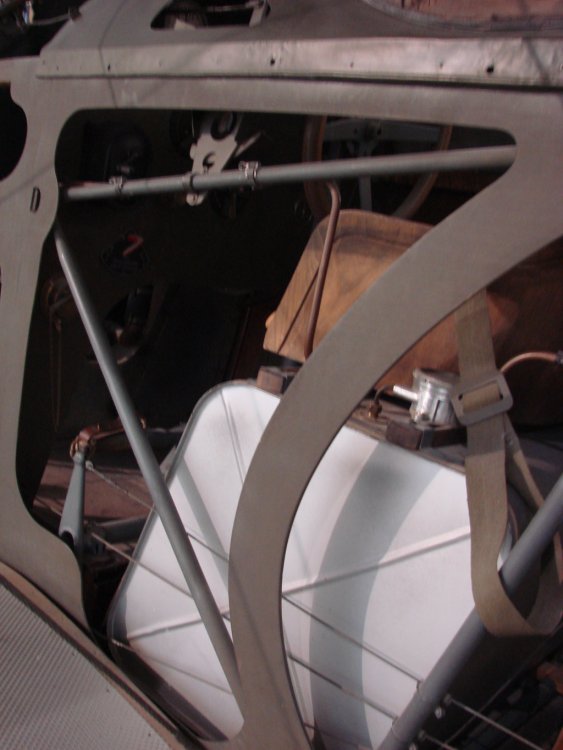
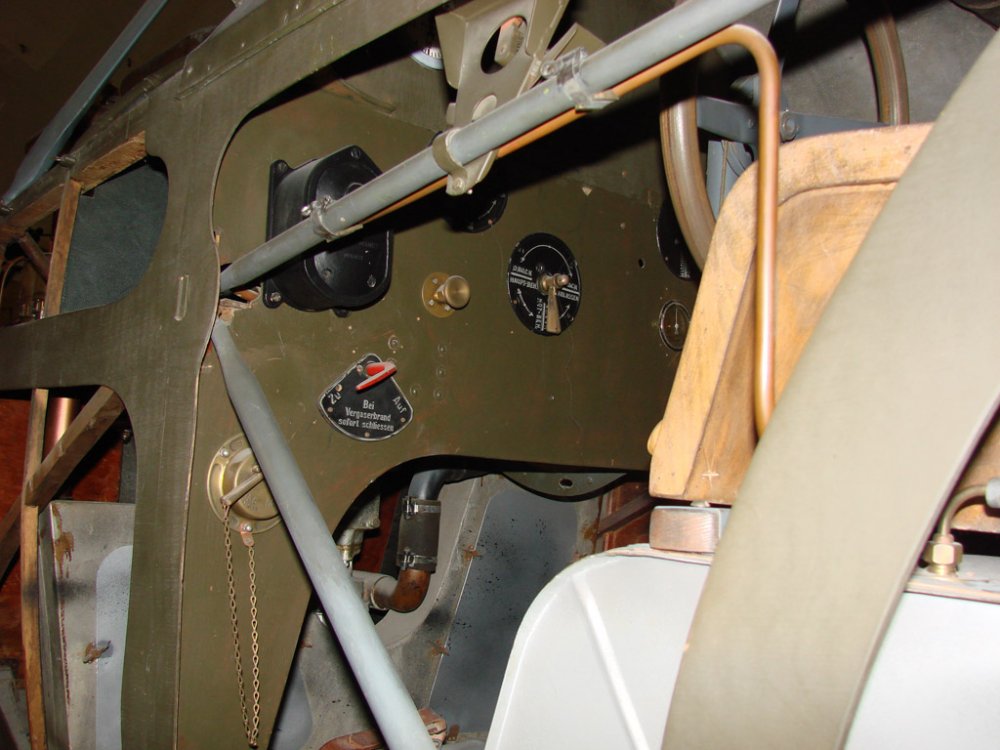
I thought I'd add a few bits and bobs into the cockpit and try to get some images which show the wood grain a little better, so here goes. Placards by Airscale. Yes, even though this was a disposable aircraft, I thought I'd still add a few. Got to say, Uschi was right....I'm really liking this build. I may even do another at some stage, with 50% timber, 50% in scheme. -
You should seriously look at having your stuff kitted in resin. I'd most certainly build one of these. Exceptional.
-
I go away for a few hours and come back to not one, but THREE stunning scratch built models. I've never seen a 3D printer being used so comprehensively as to tackle a complete skeletal structure. This is just amazing. I hope you'll treat us to more of this style of construction. You're already on my Christmas card list!
-
Oh my Lord! The stuff you're showing, and the tips.....it's pure gold dust. Just watching the way you tackle these various assemblies is excellent. It makes me look at things in a different light.
-
Seriously.....WOW!!! This has to be one of the finest, and most unusual scratch-build projects I've ever seen. I wish I was as comfortable in doing something like this, and you make it look effortless. I could read a whole book of stuff like this. An absolute inspiration! Many thanks for sharing, and welcome to LSM..... :respect: :respect: :respect:
-
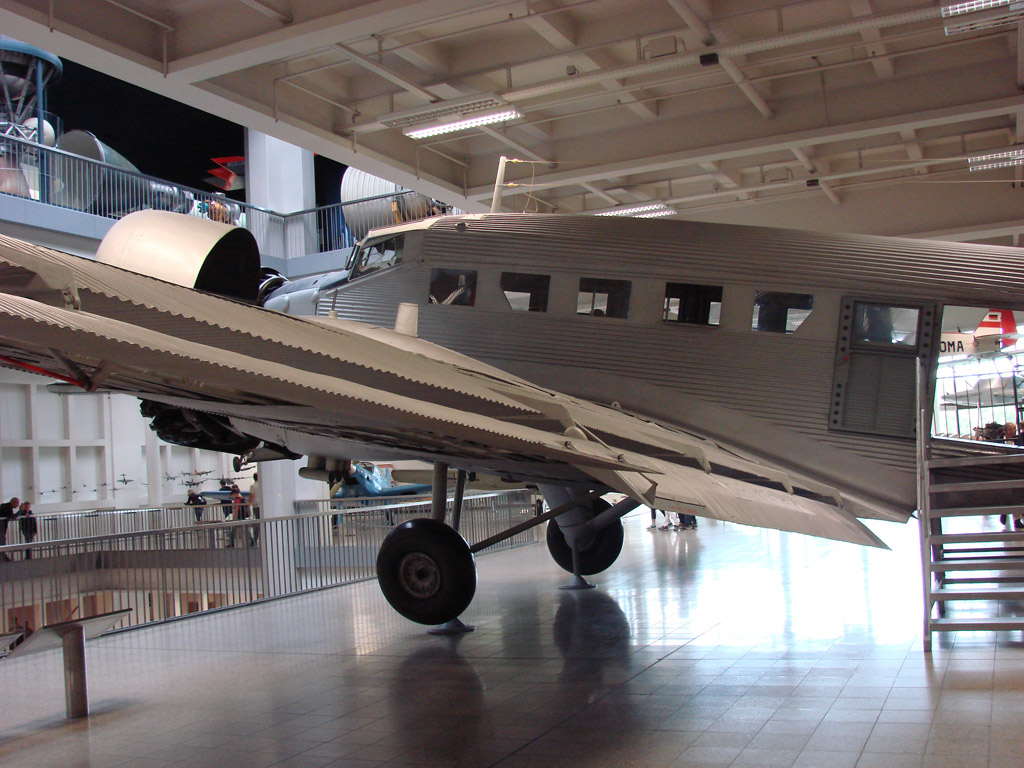
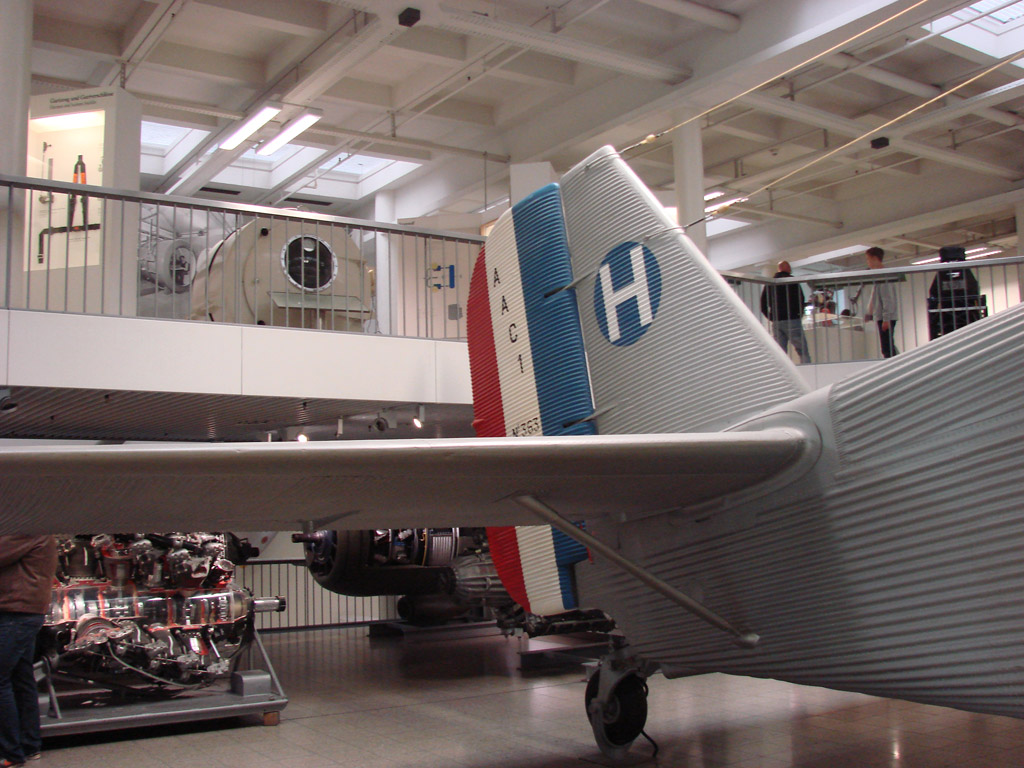
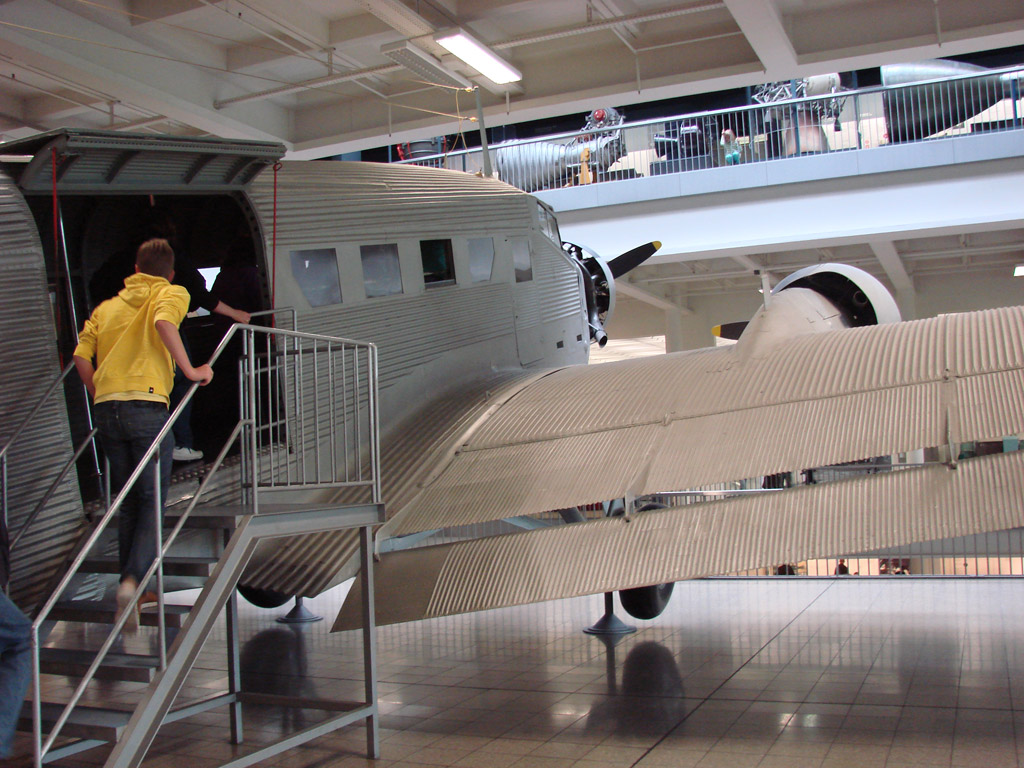
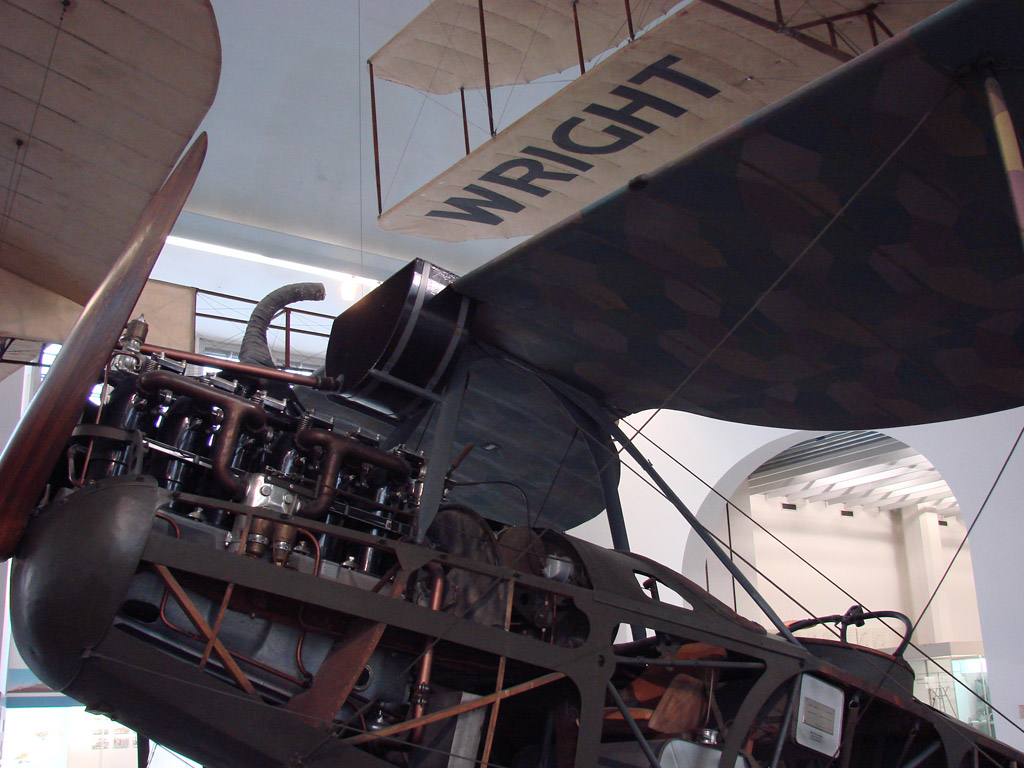
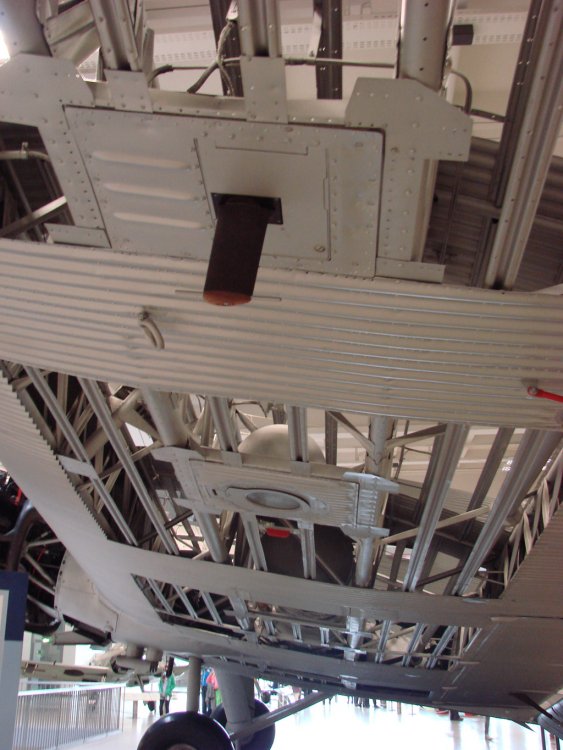
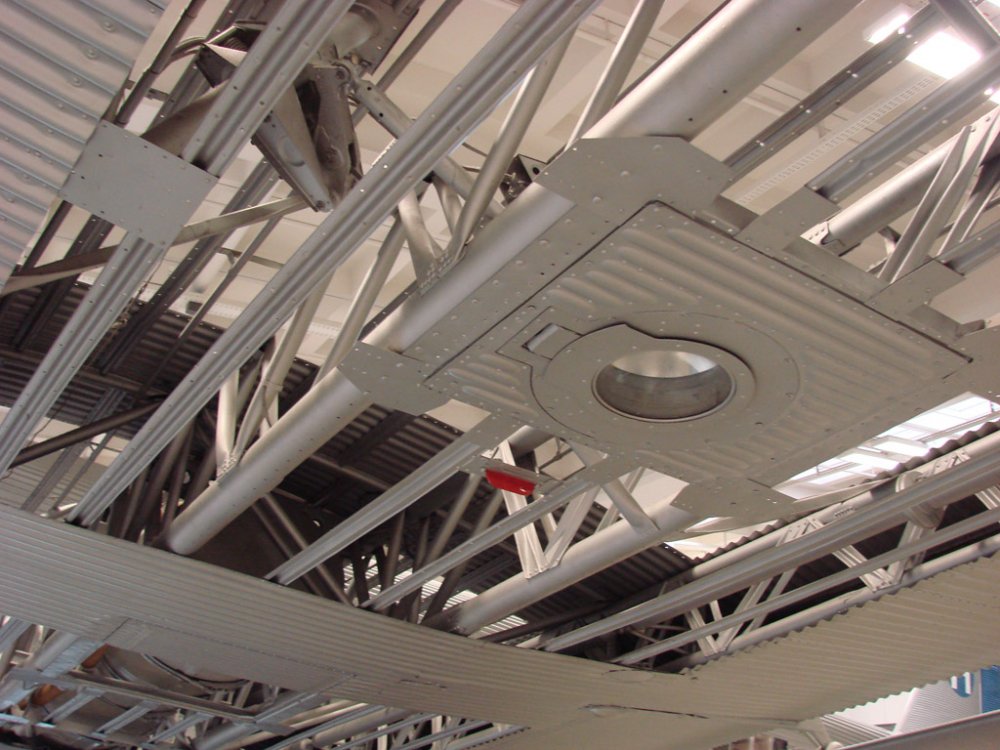
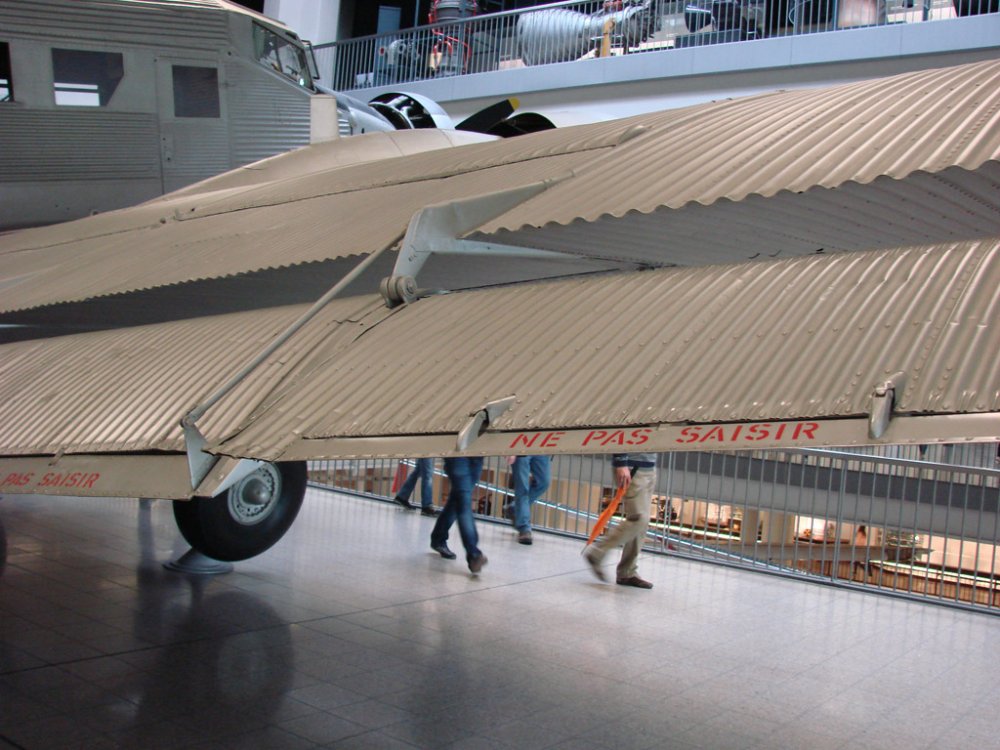
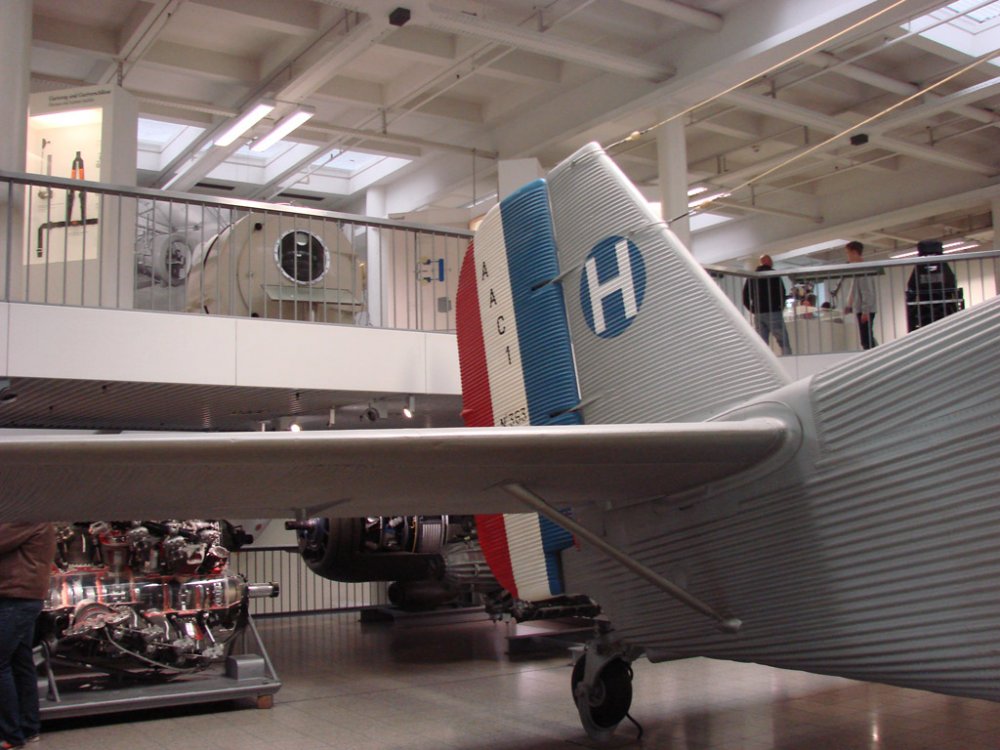
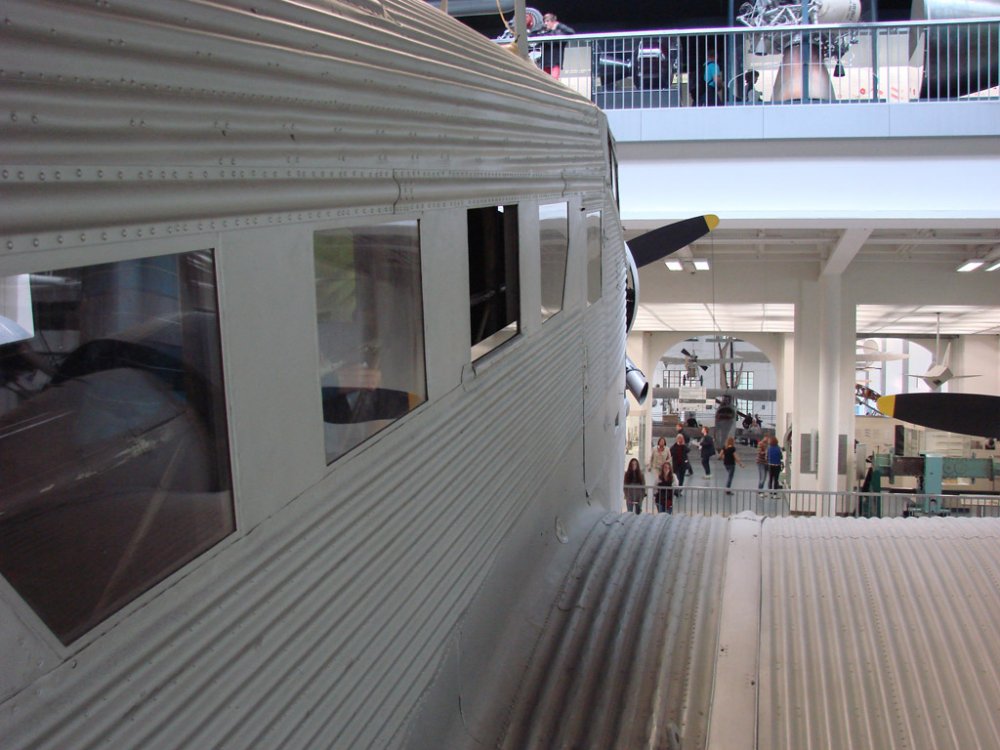
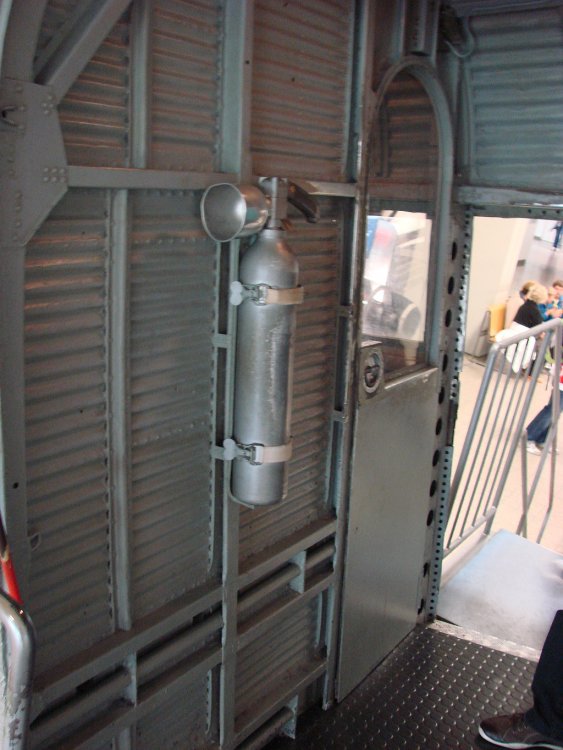
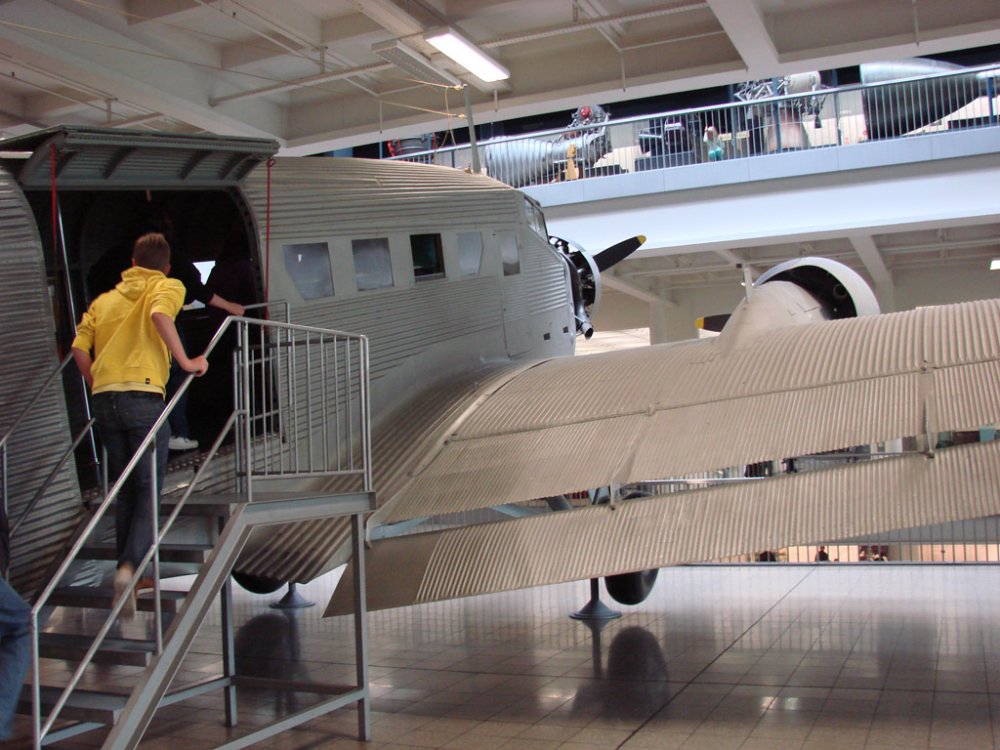
I love the Ju 52.One of my favourite German types. I just wish I'd done more images, and taken them at better quality. Still.....there's next year
-
Lovely work. I really like the desert camo scheme on a Spit. You're putting all my unfinished projects to shame.
-
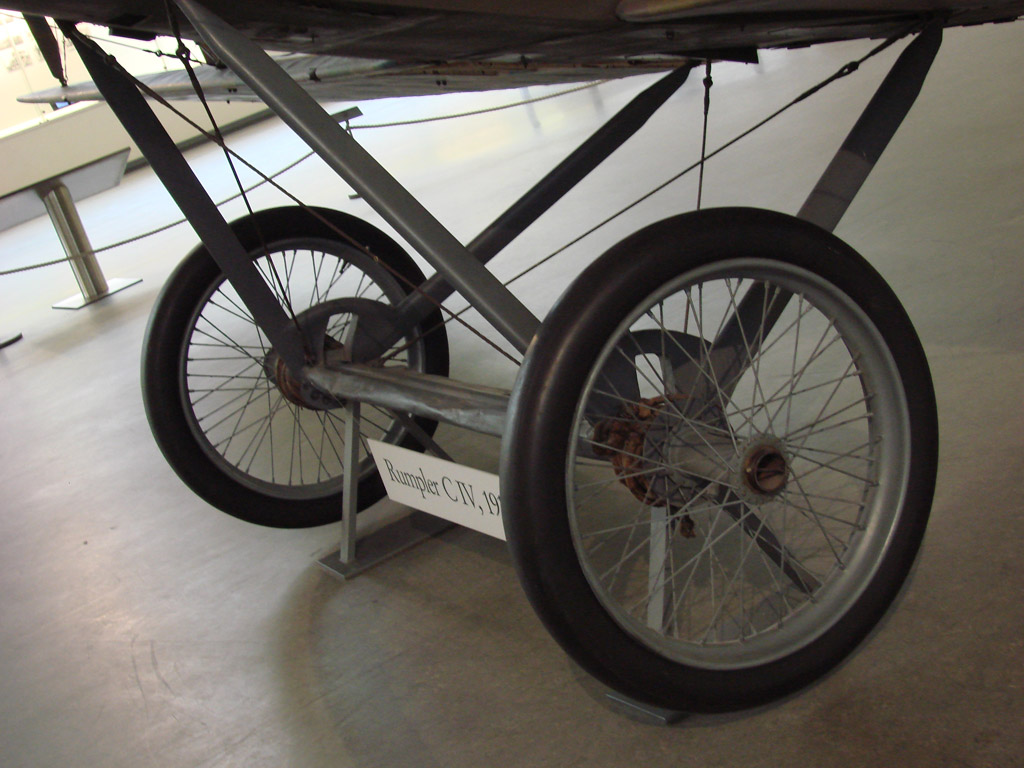
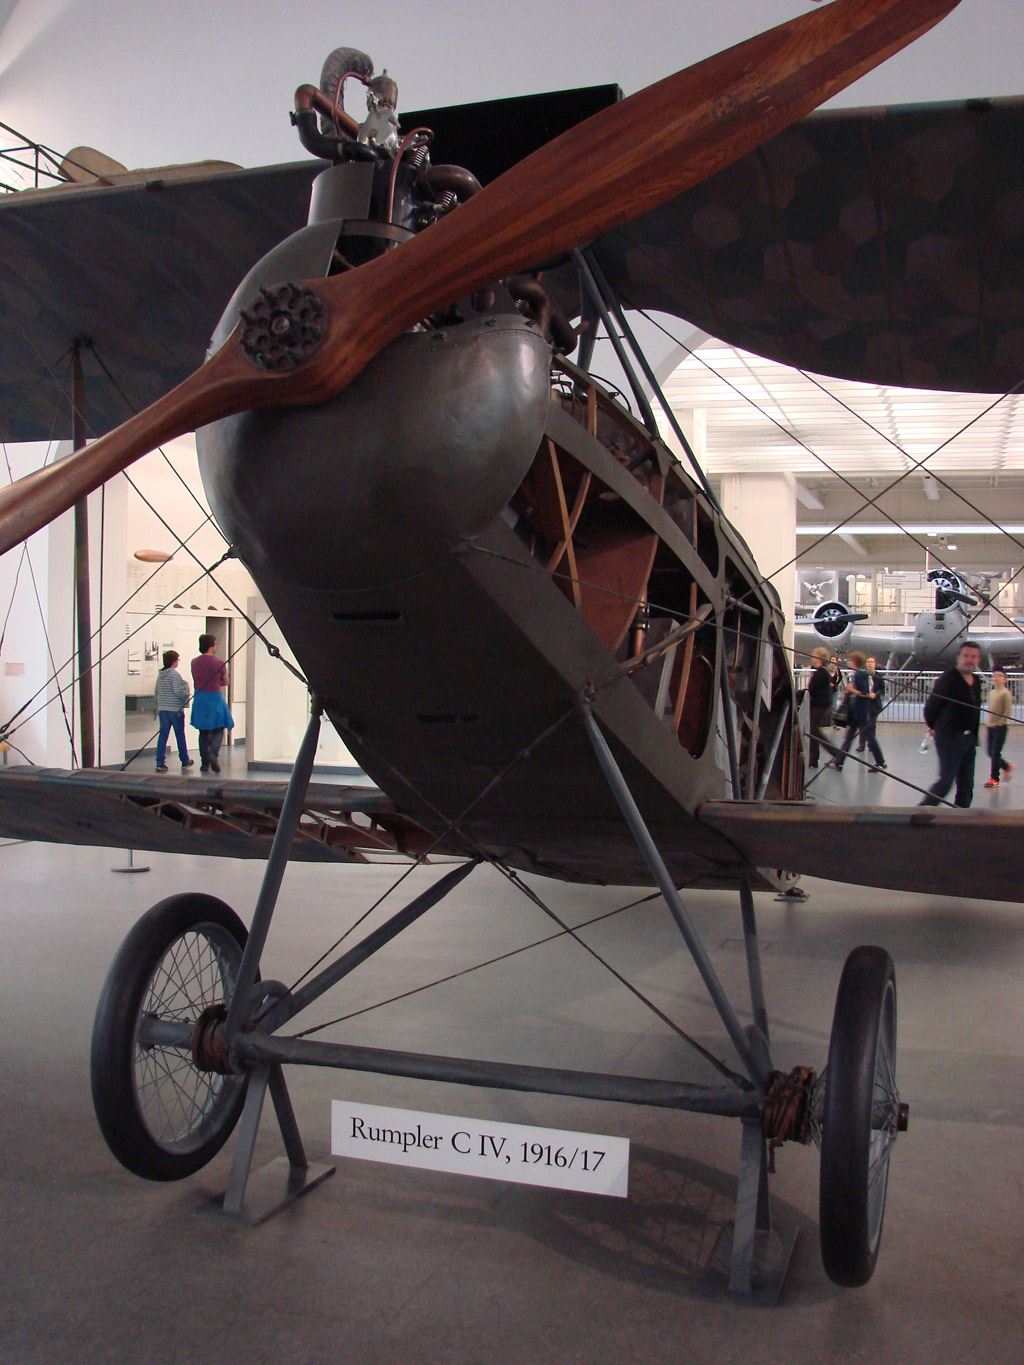
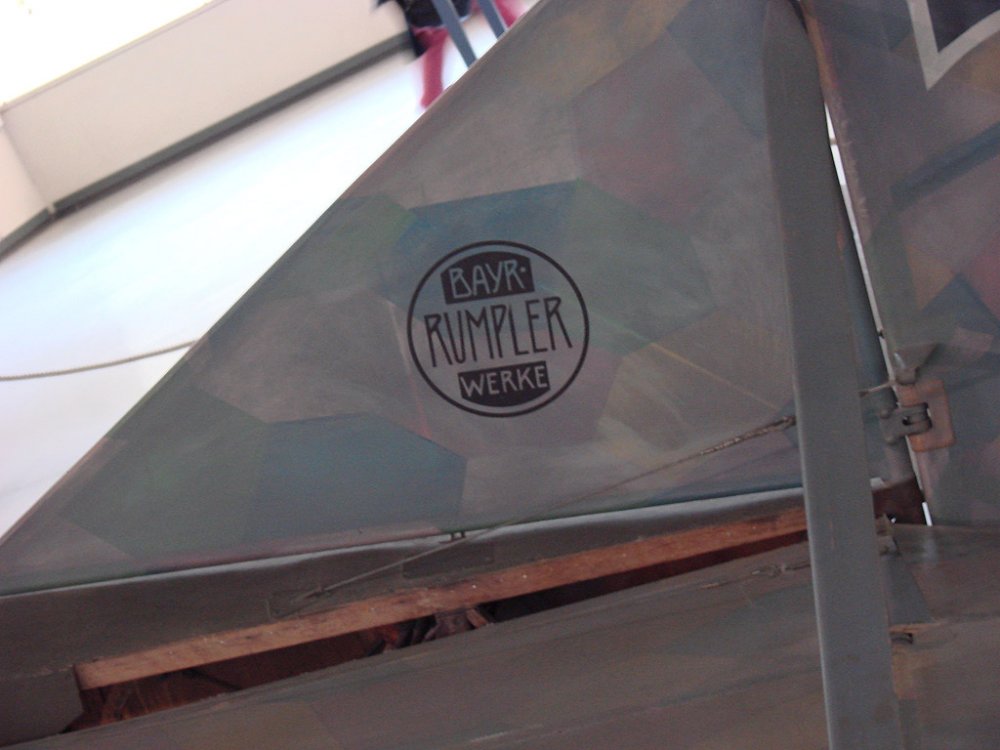
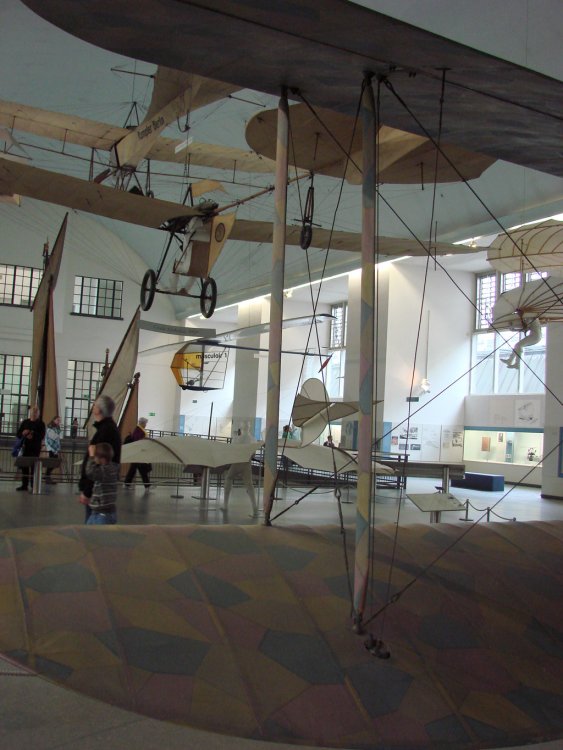
Spoked Wheel Shop 1:32 WW1 German Spoked Wheels
James H replied to James H's topic in Aircraft Reviews
Hi David, Yes, with current exchange rates, you're about on the nail. The sterling silver element of them will add to the cost, as well as the expense of the filament. I should be rolling these out (pun intended) on my Fokker D.VII in the next month or two. -
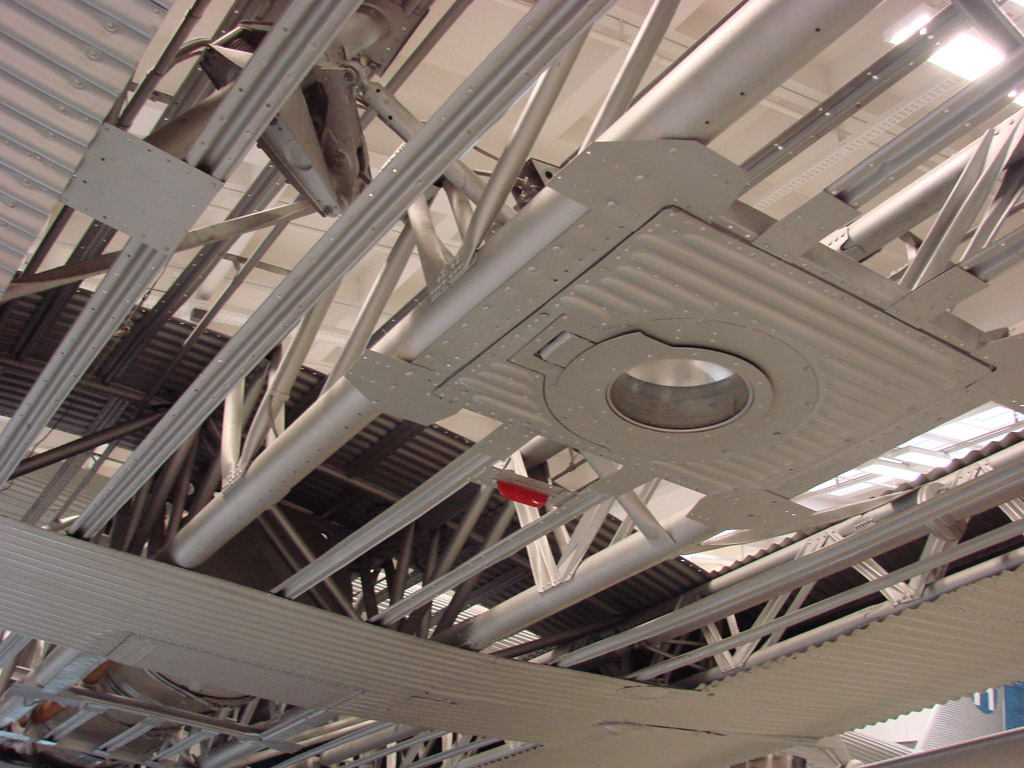
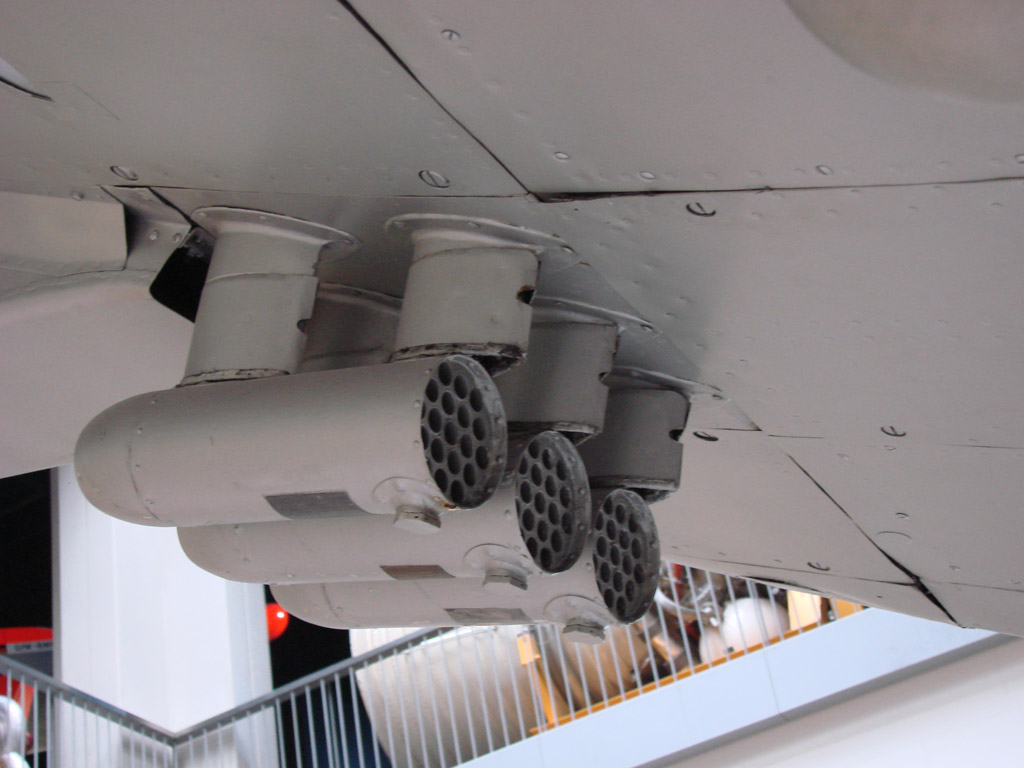
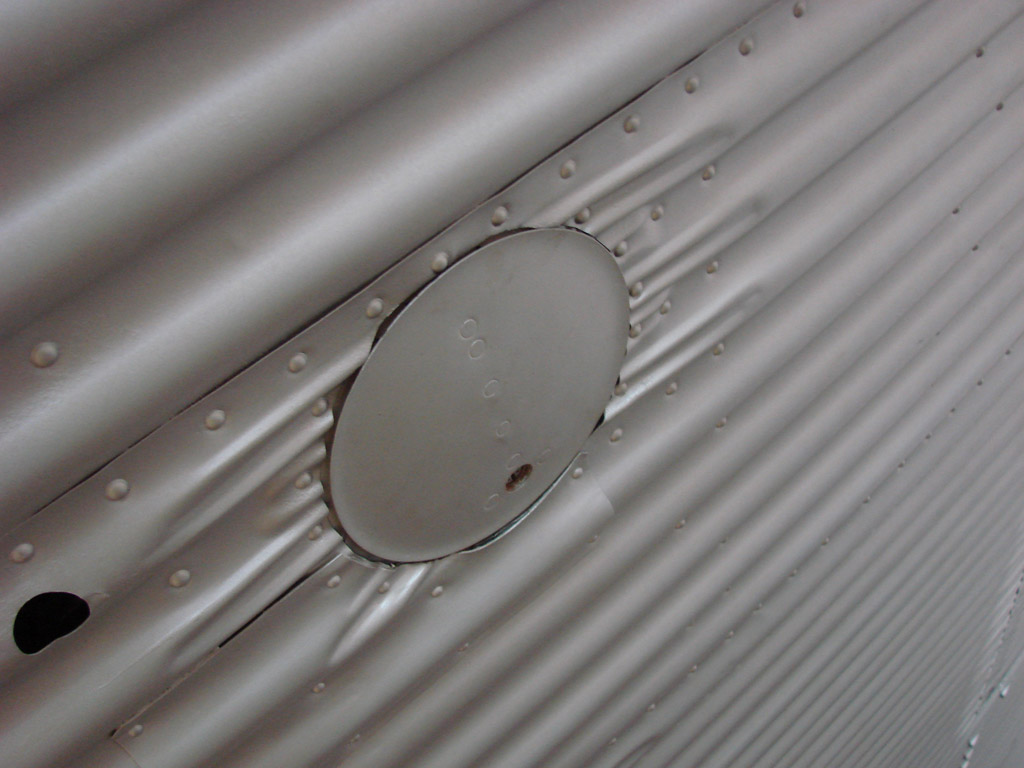
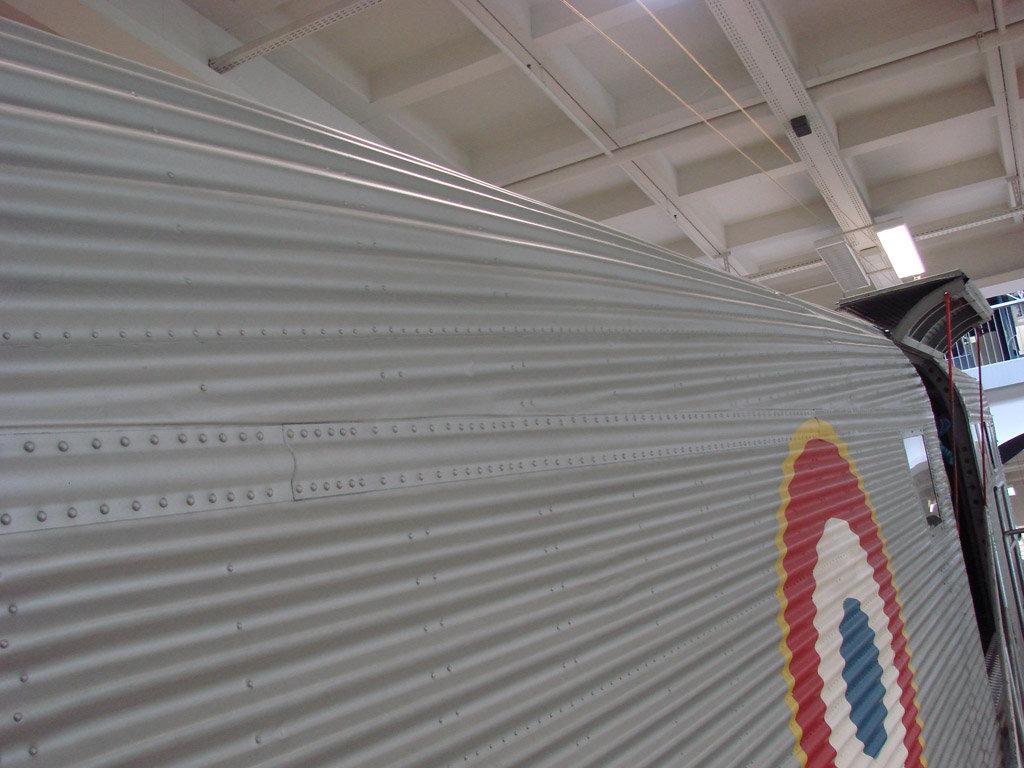
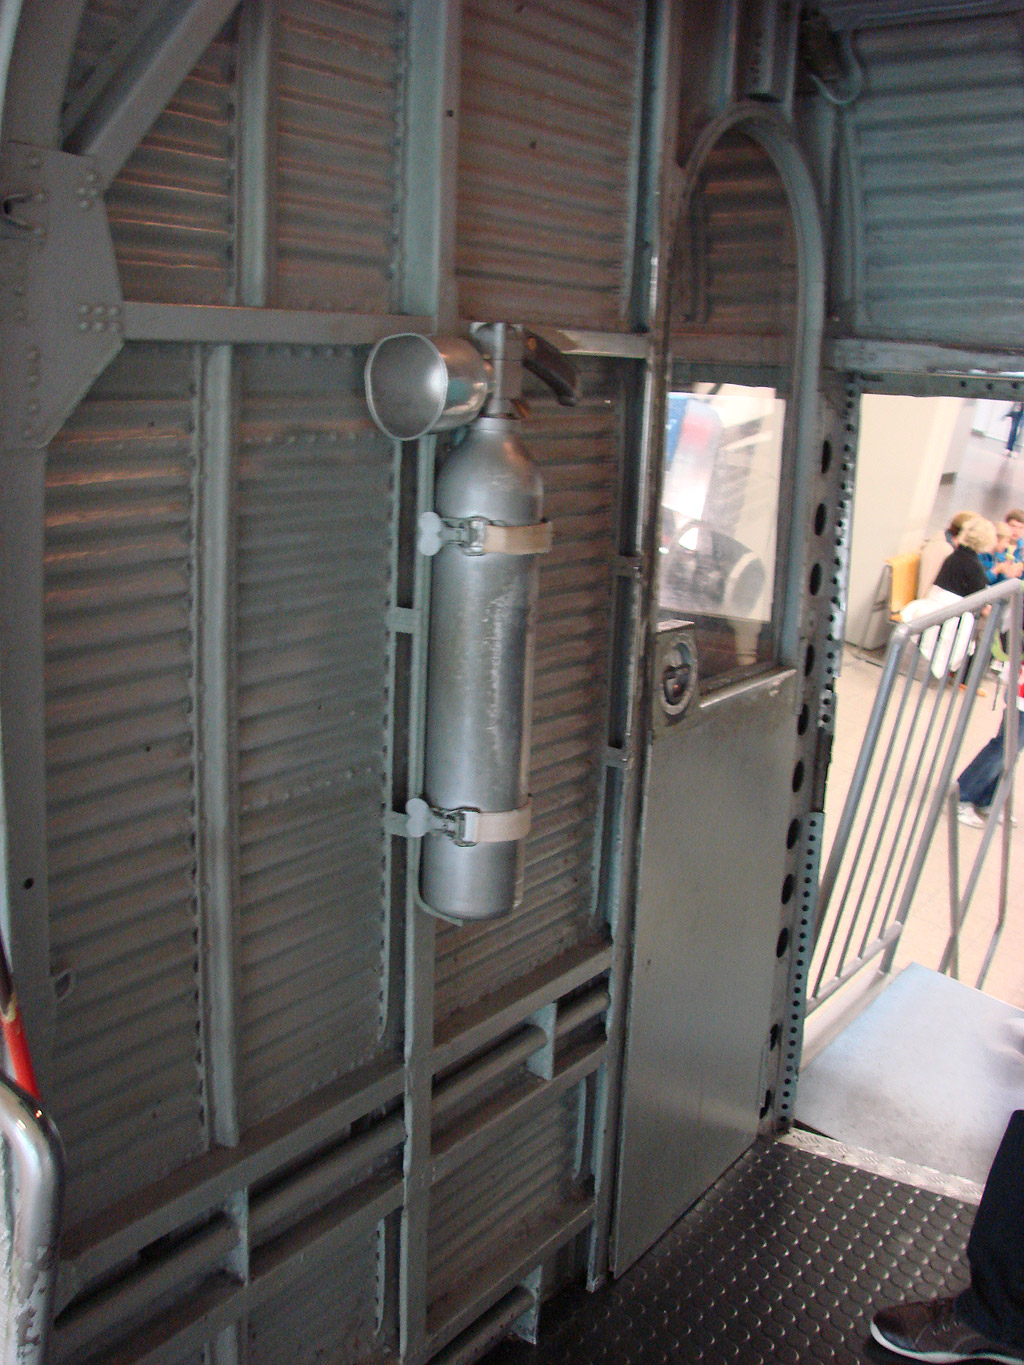
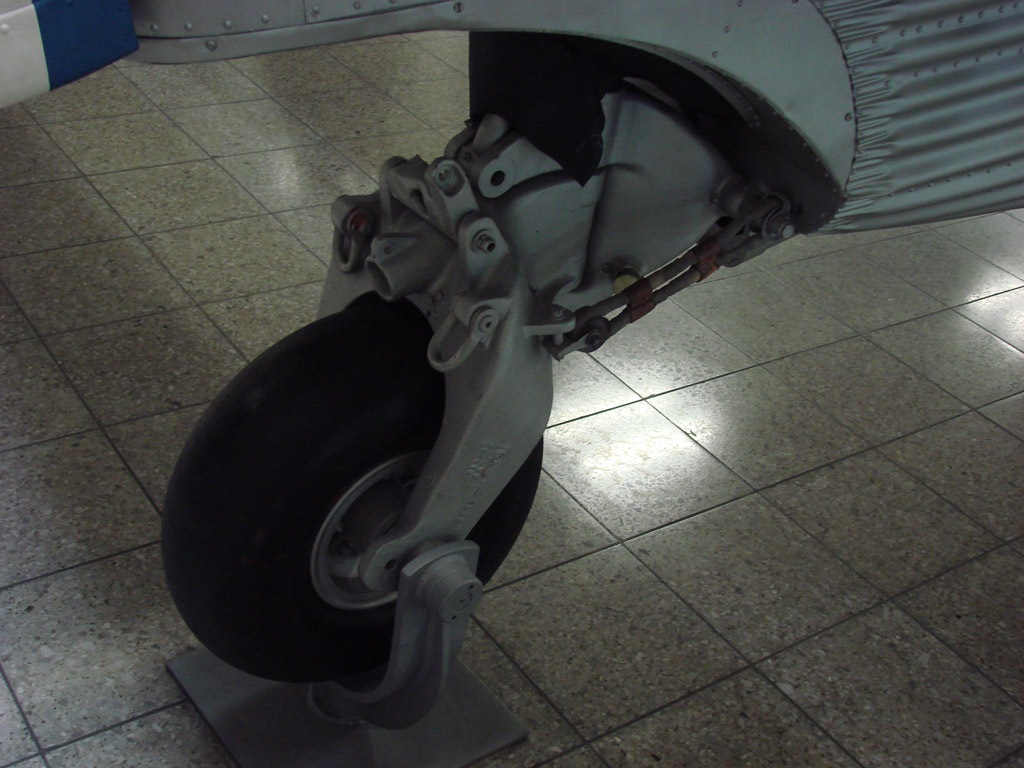
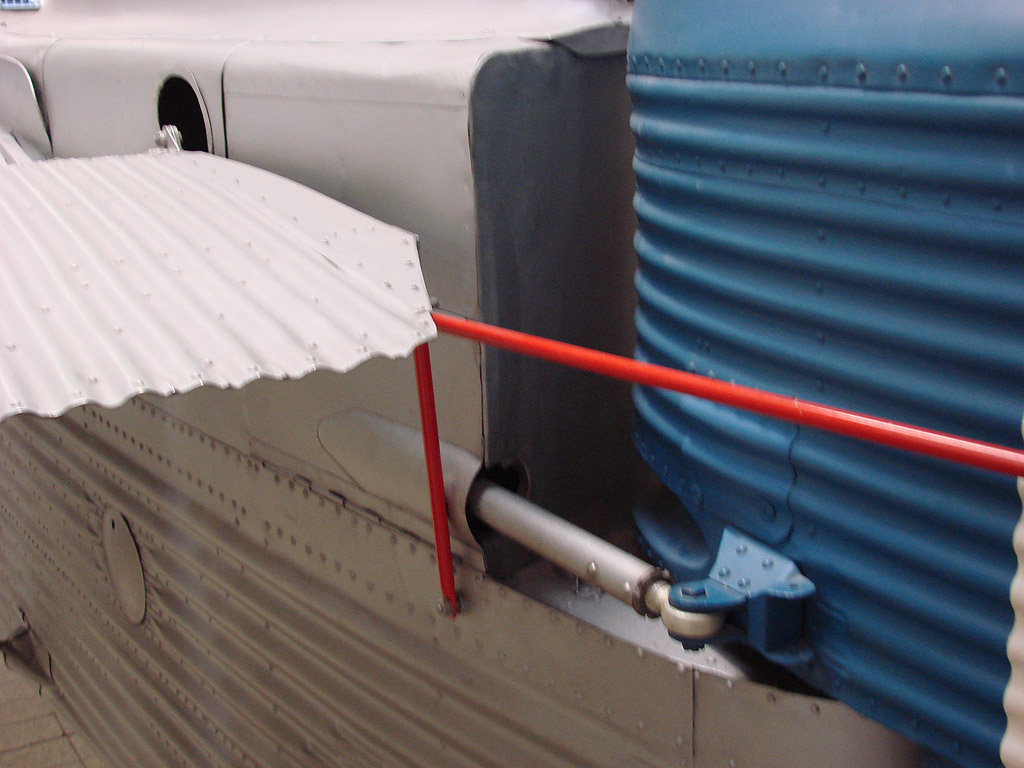
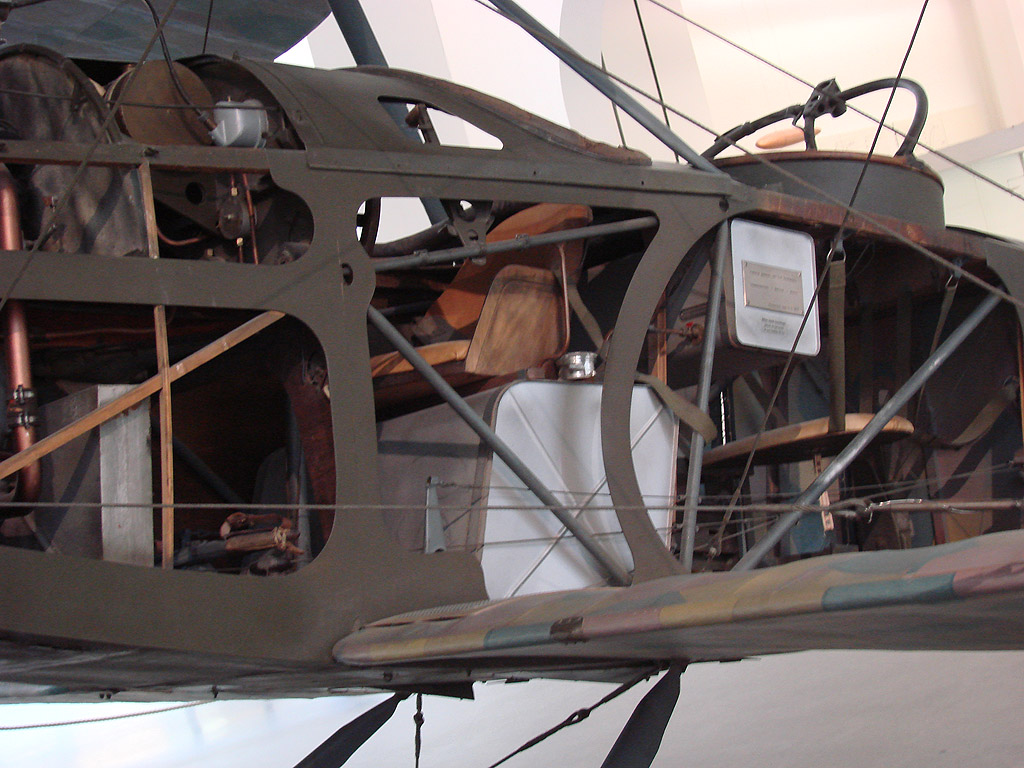
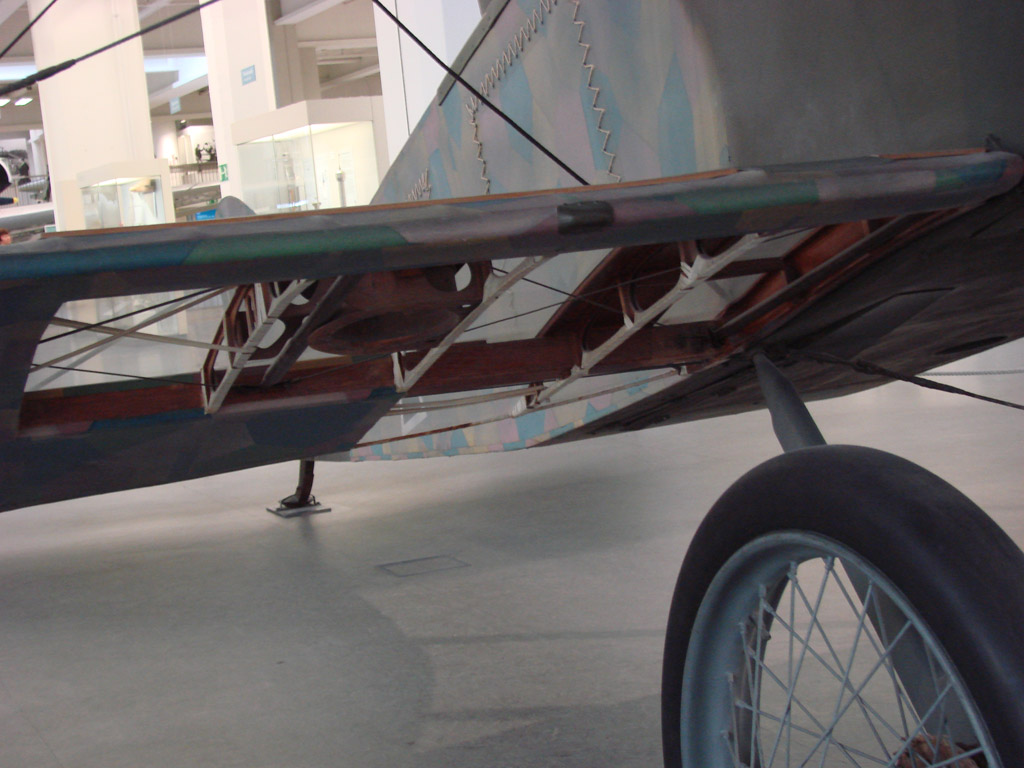
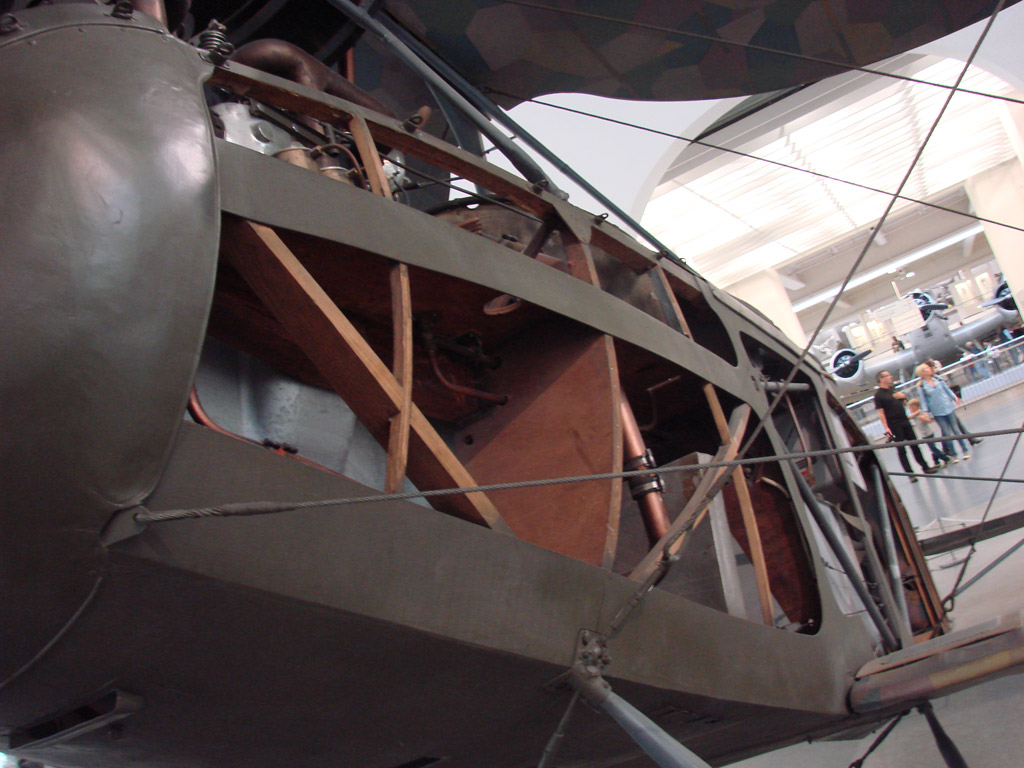
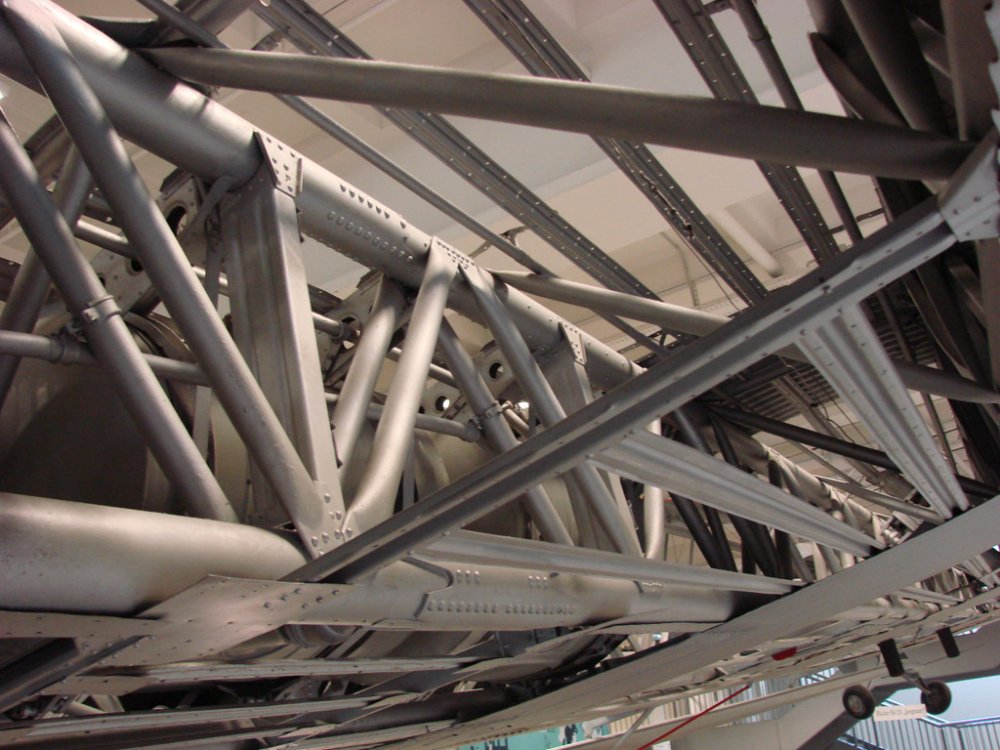
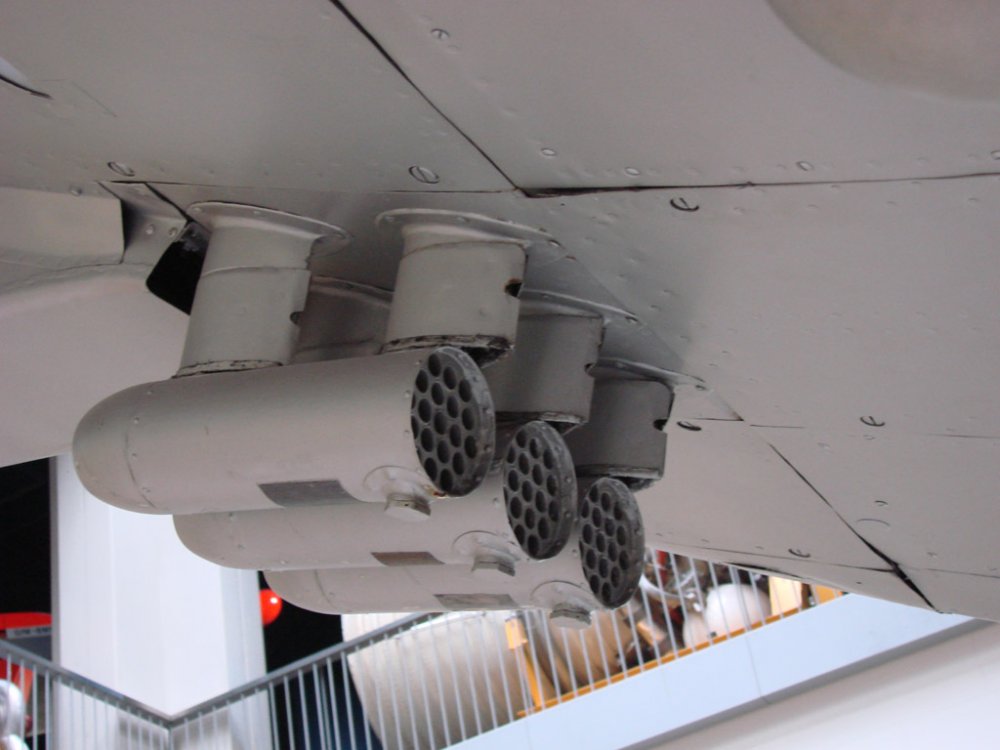
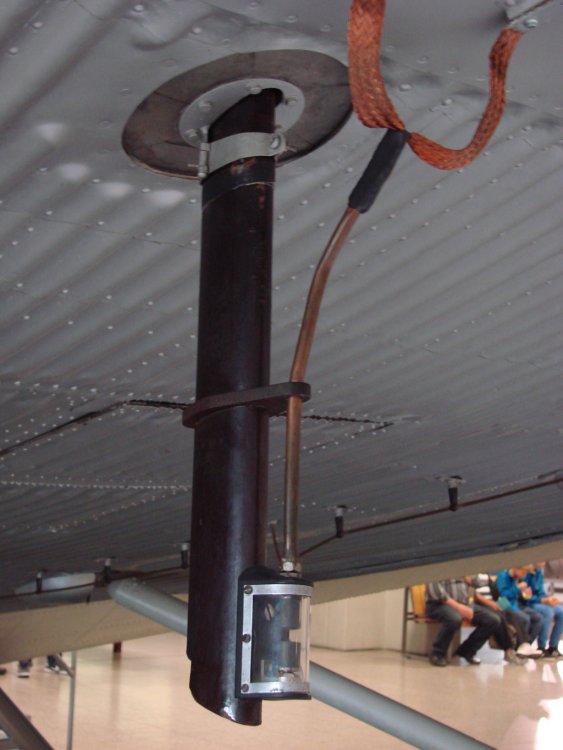
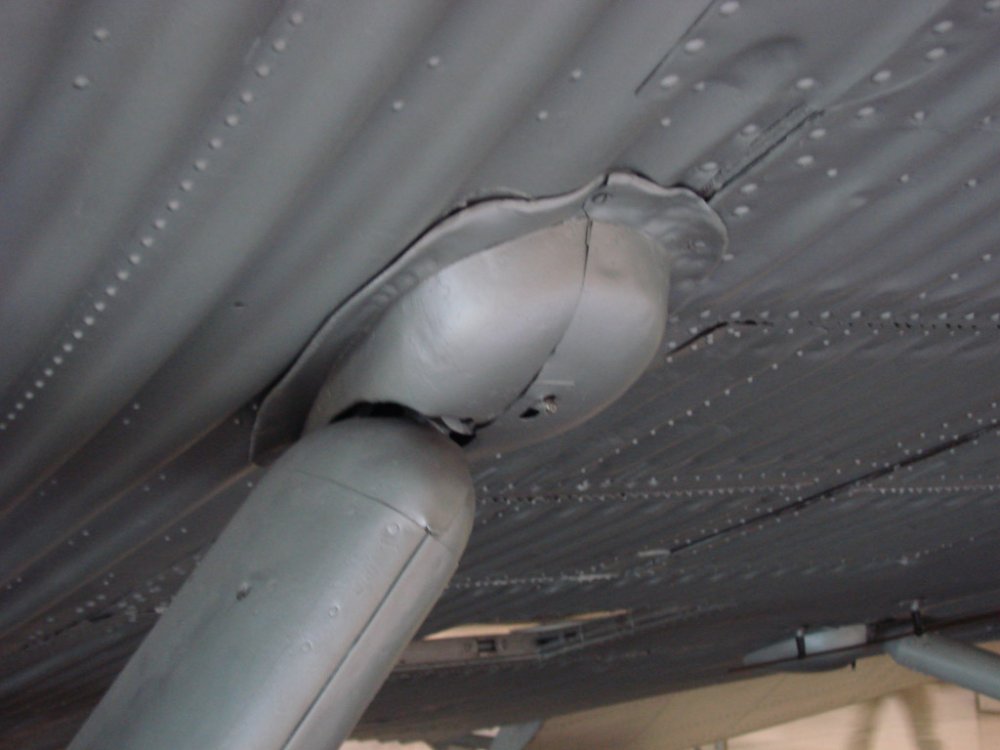
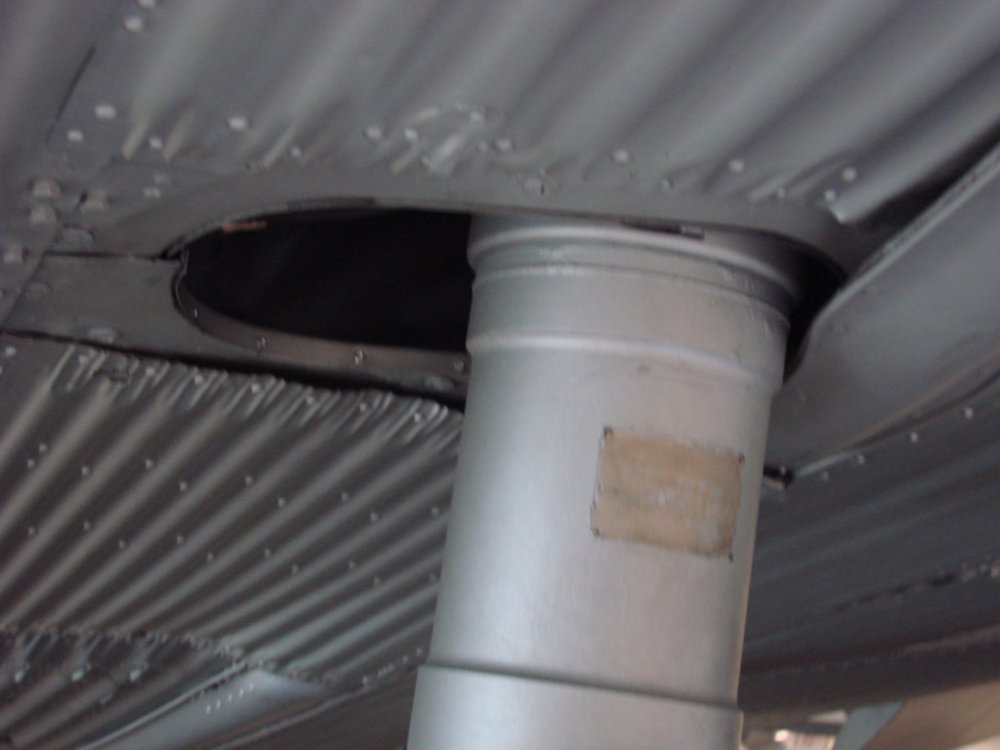
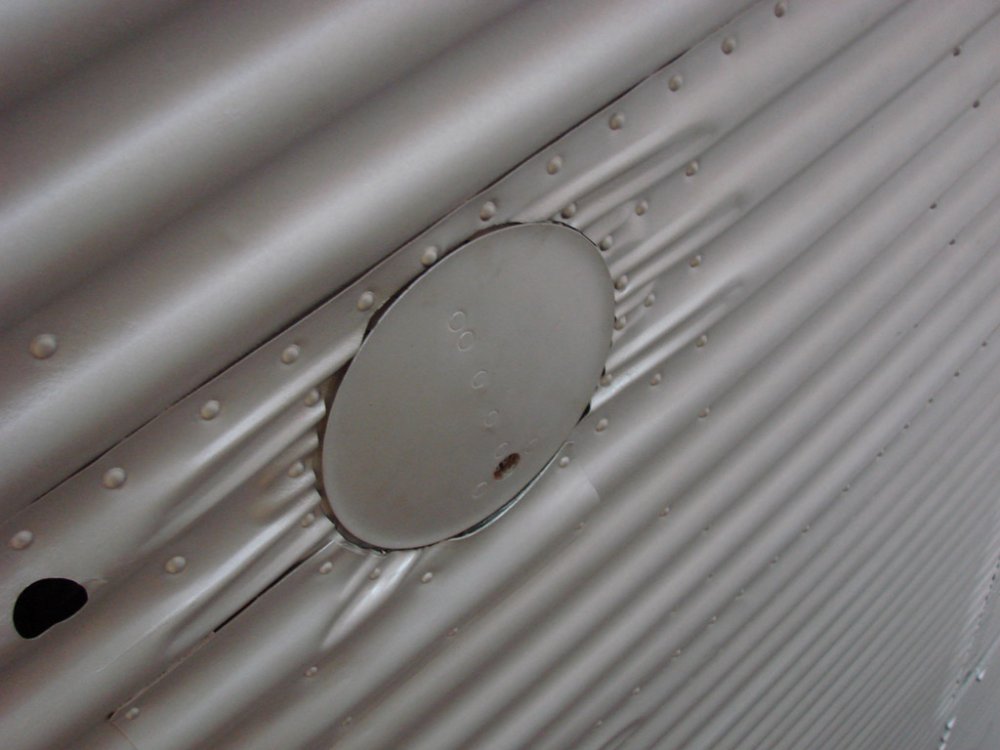
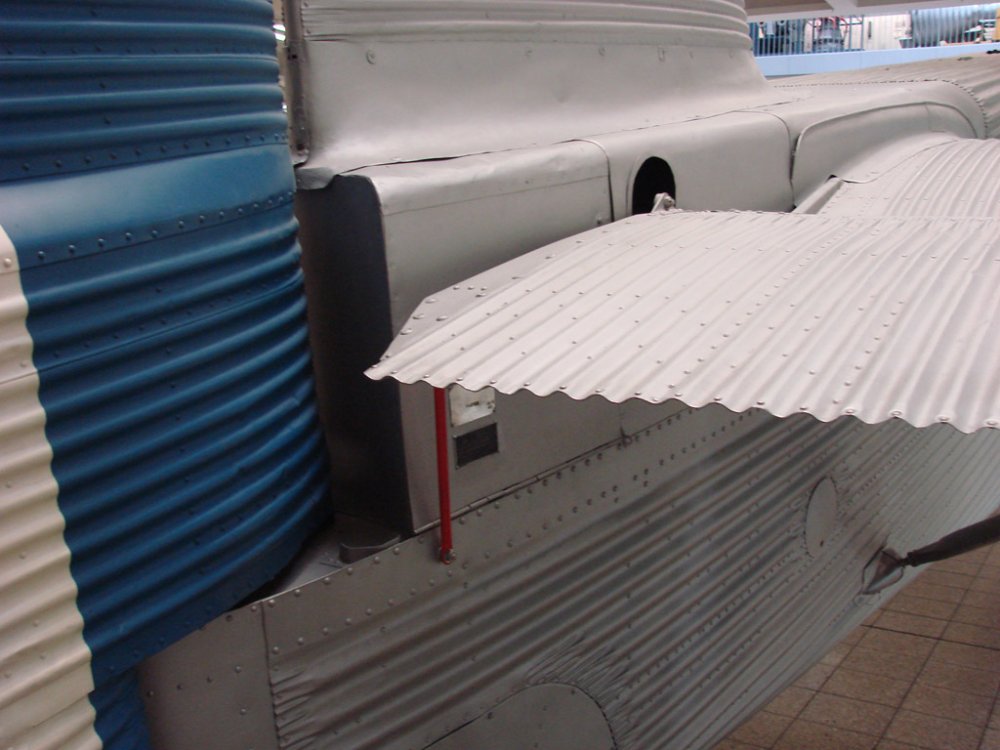
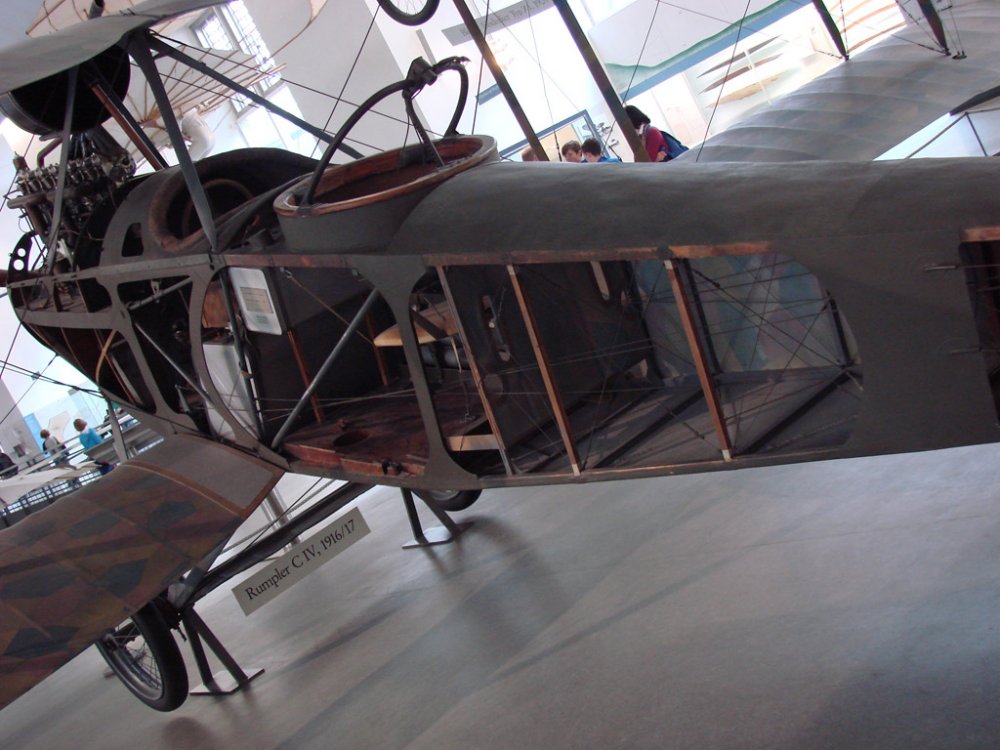
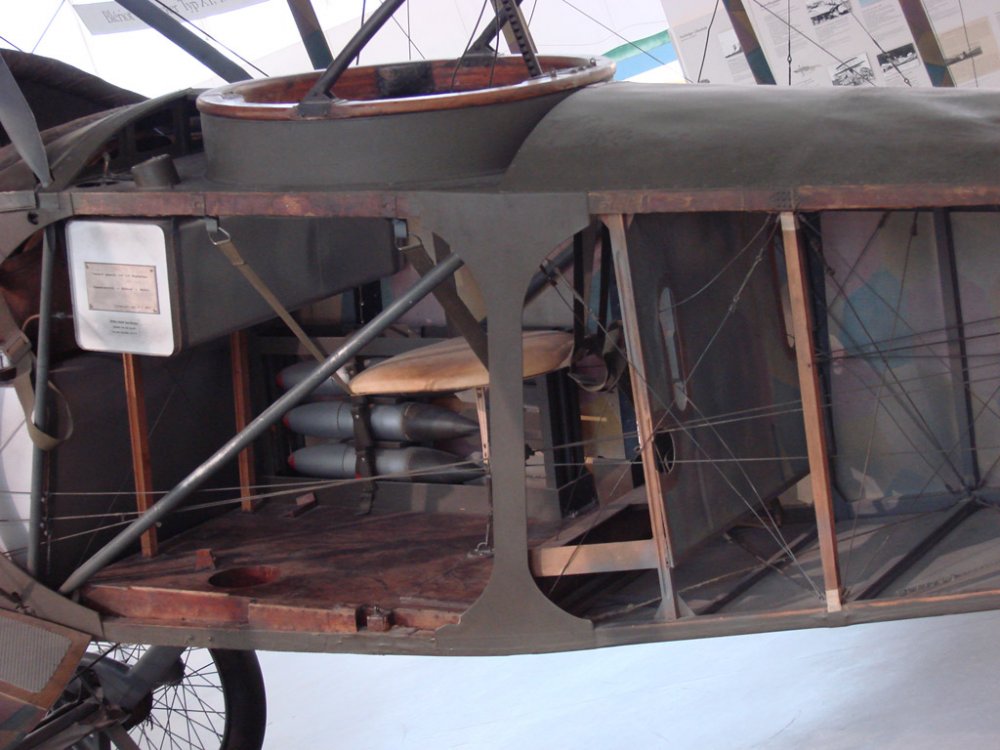
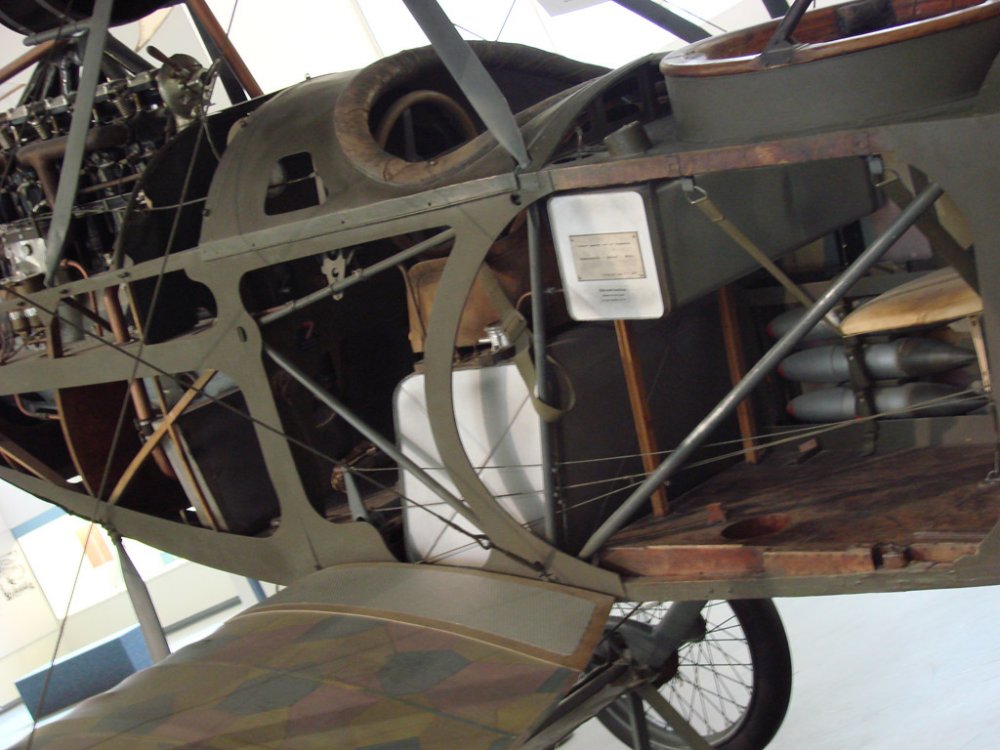
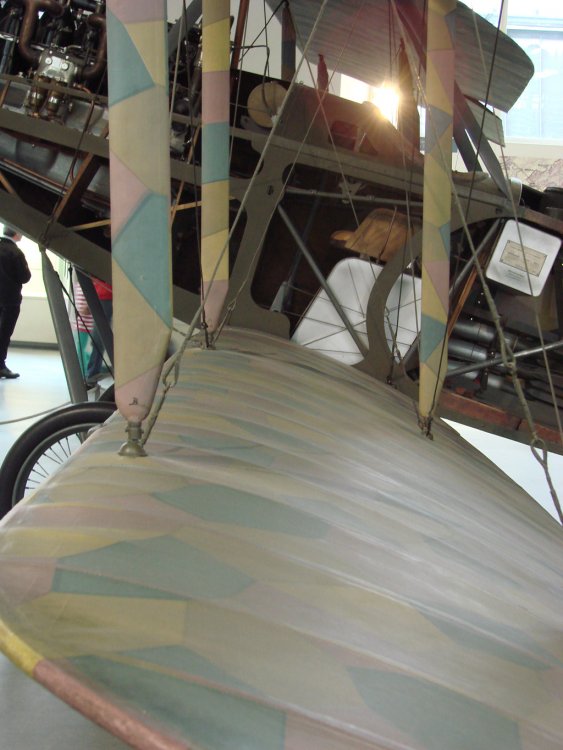
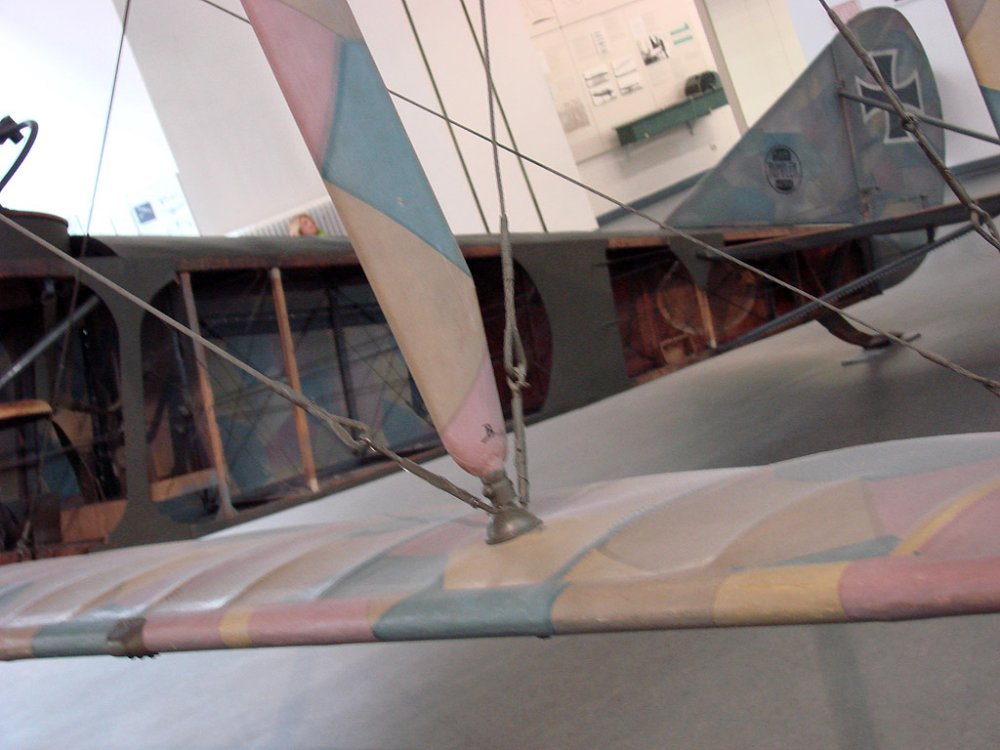
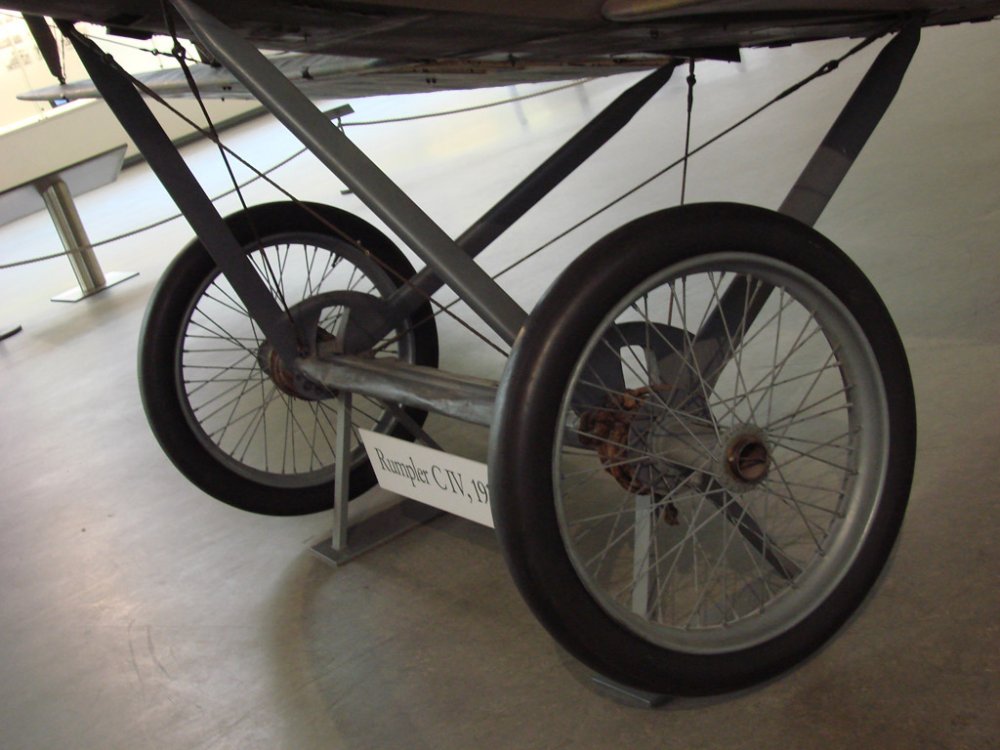
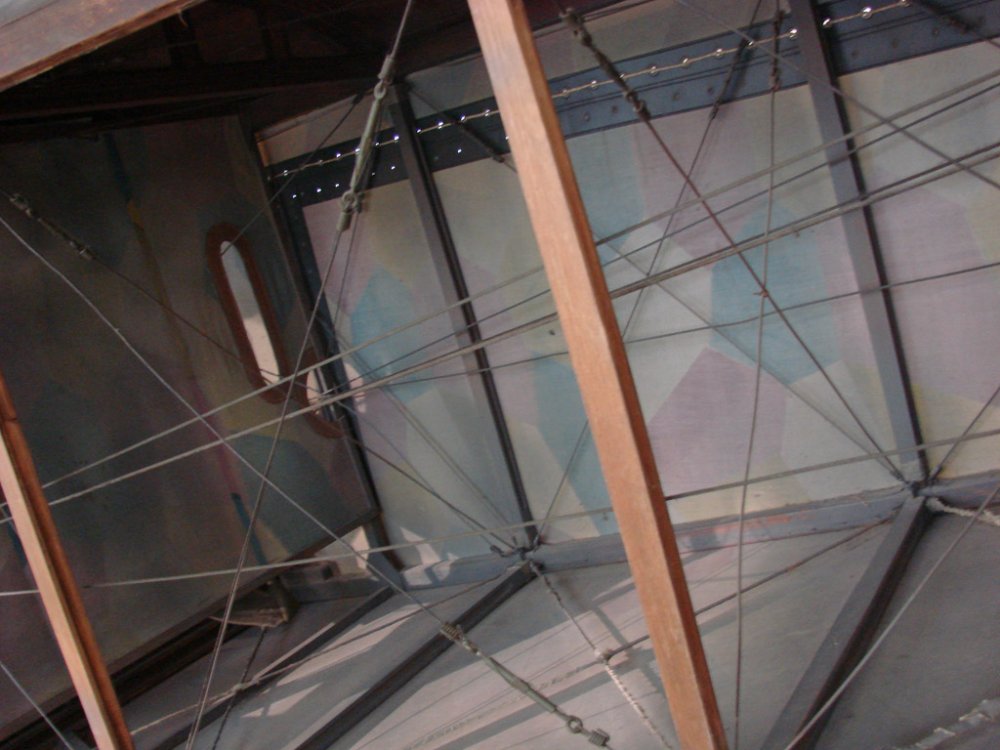
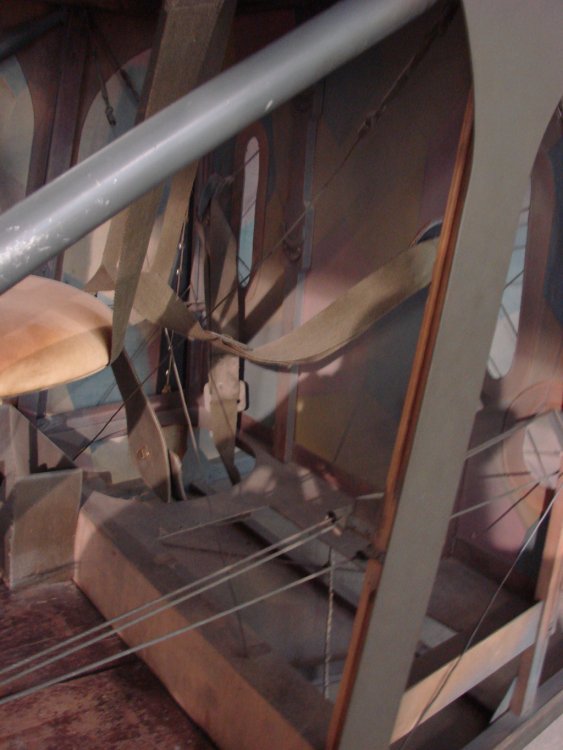
Again, apologies for a few ropey images. The cockpit was behind perspex, so difficult to photograph. Some great pics of the wing interior structure and the corrugated skin though


-
You will next year. I presume you'll be going to Munich with us? Mid Aug 2014, roughly?
-
now build it. ....now.
-
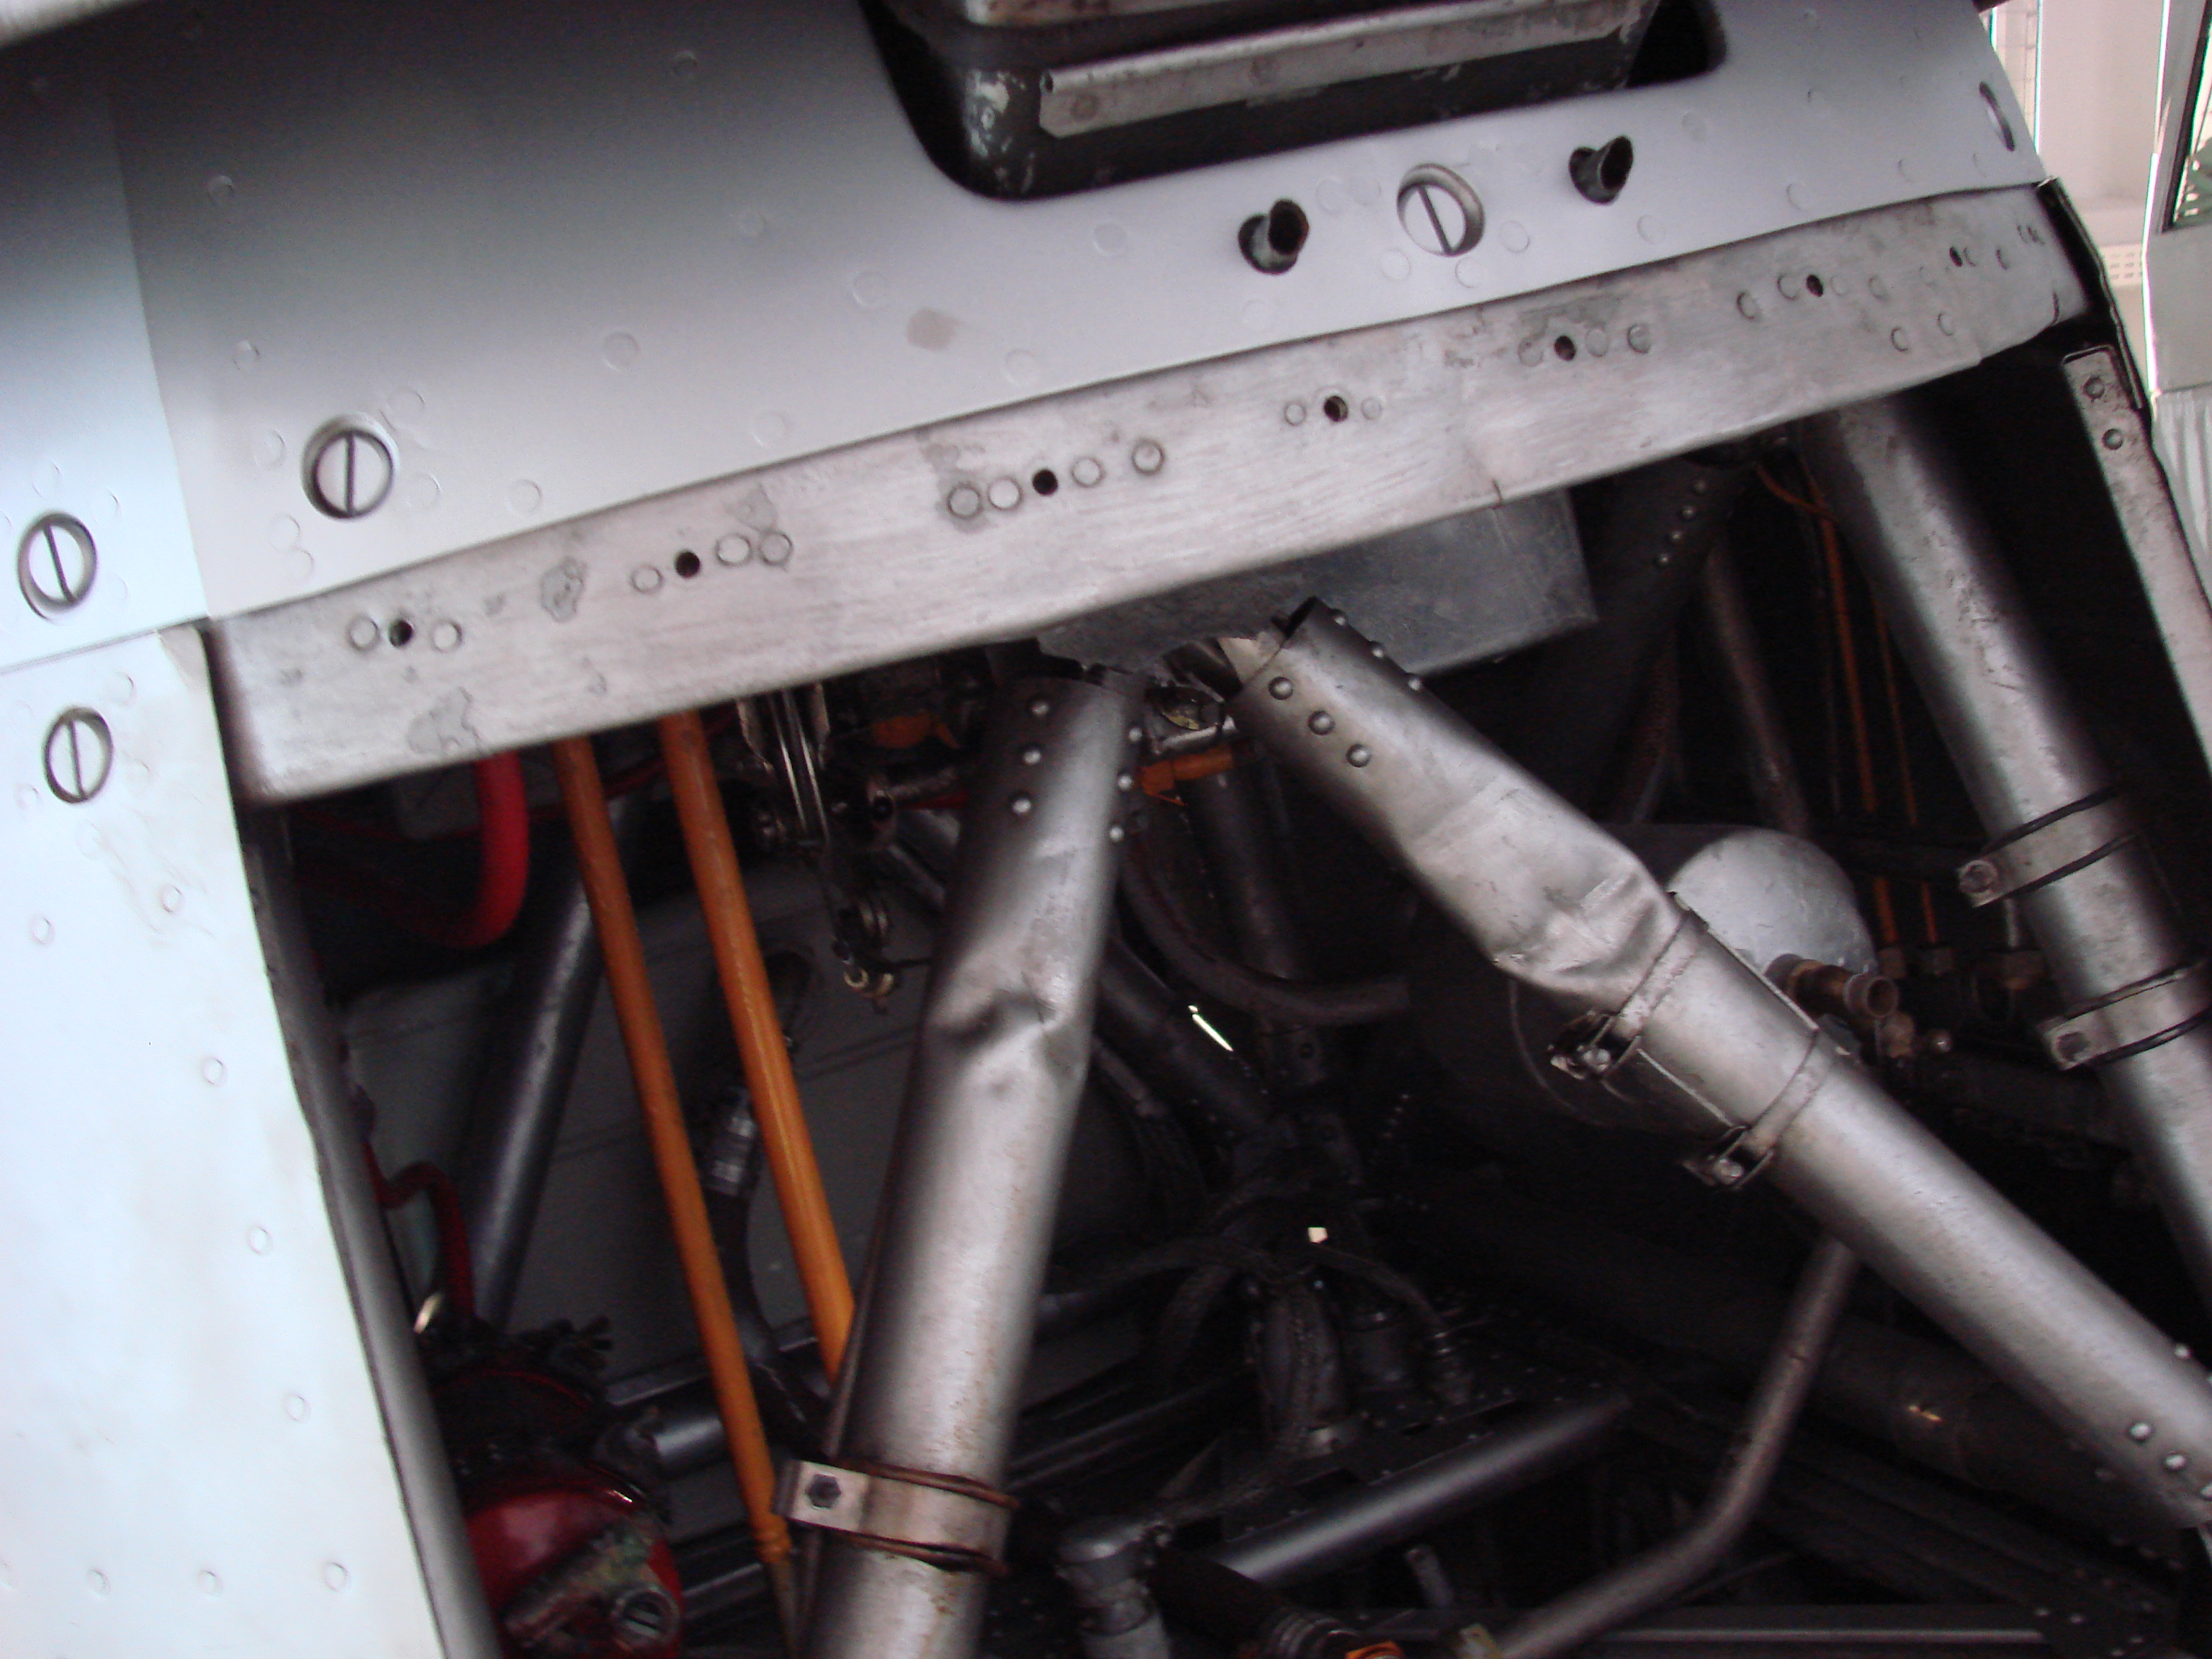
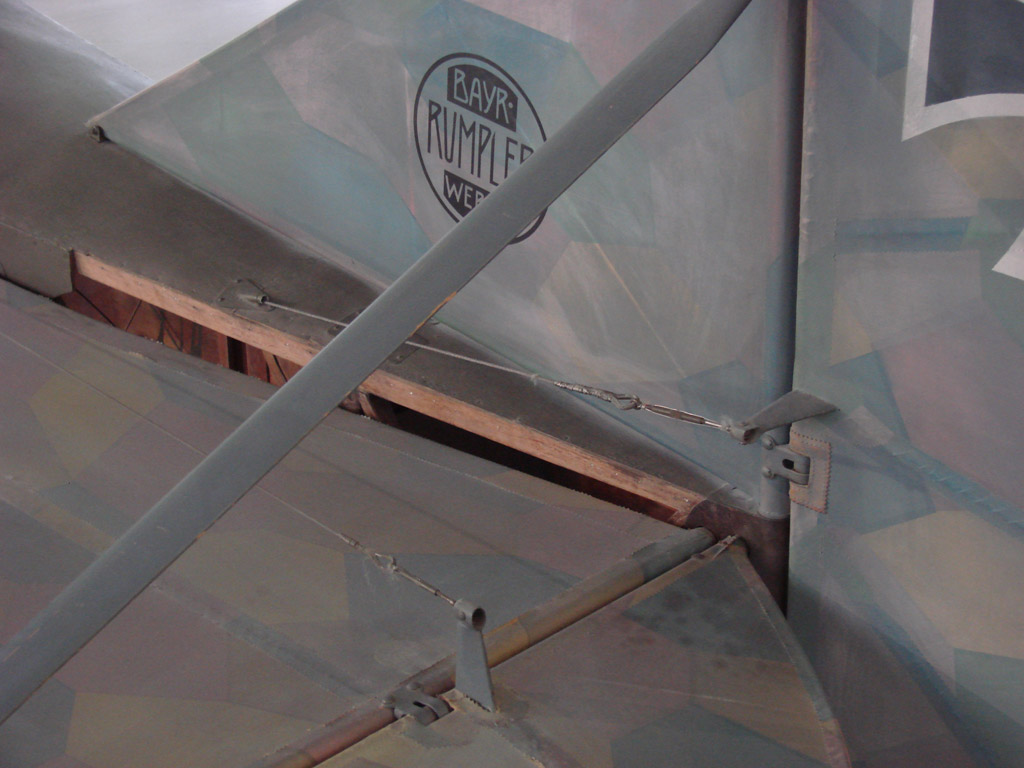
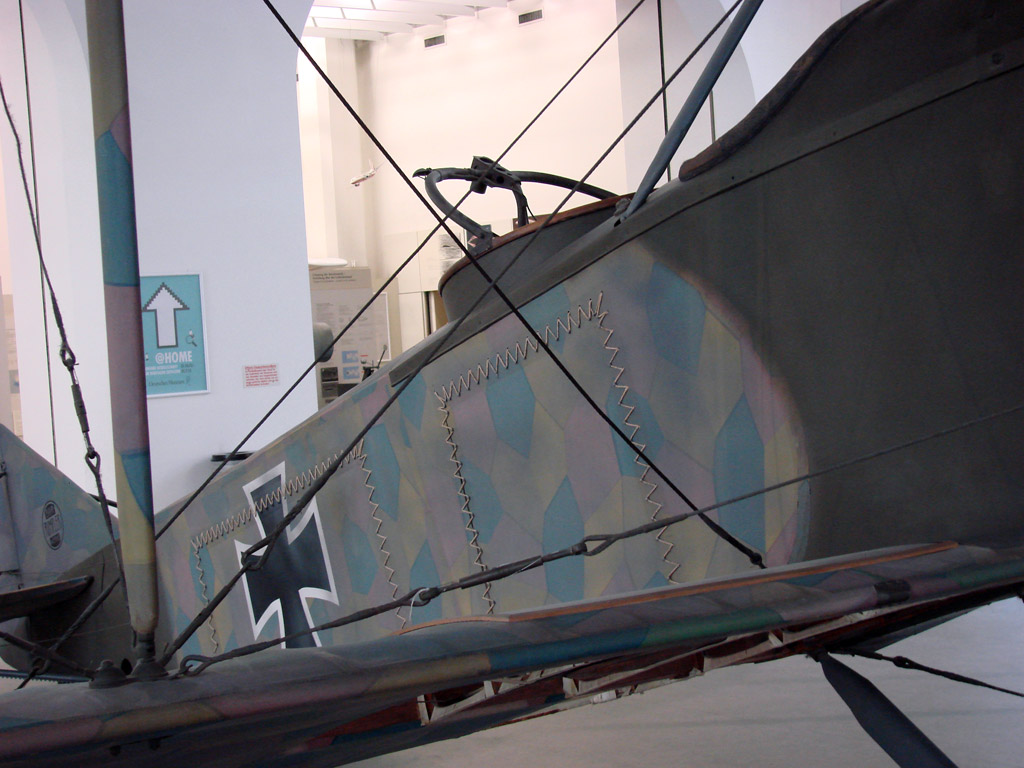
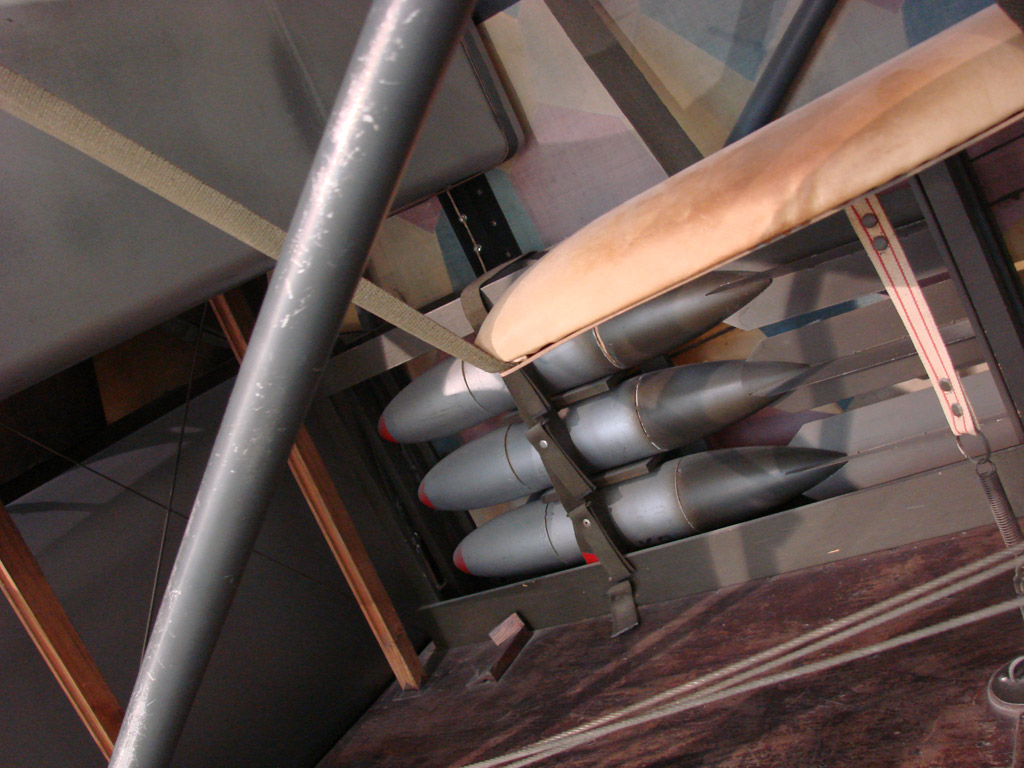
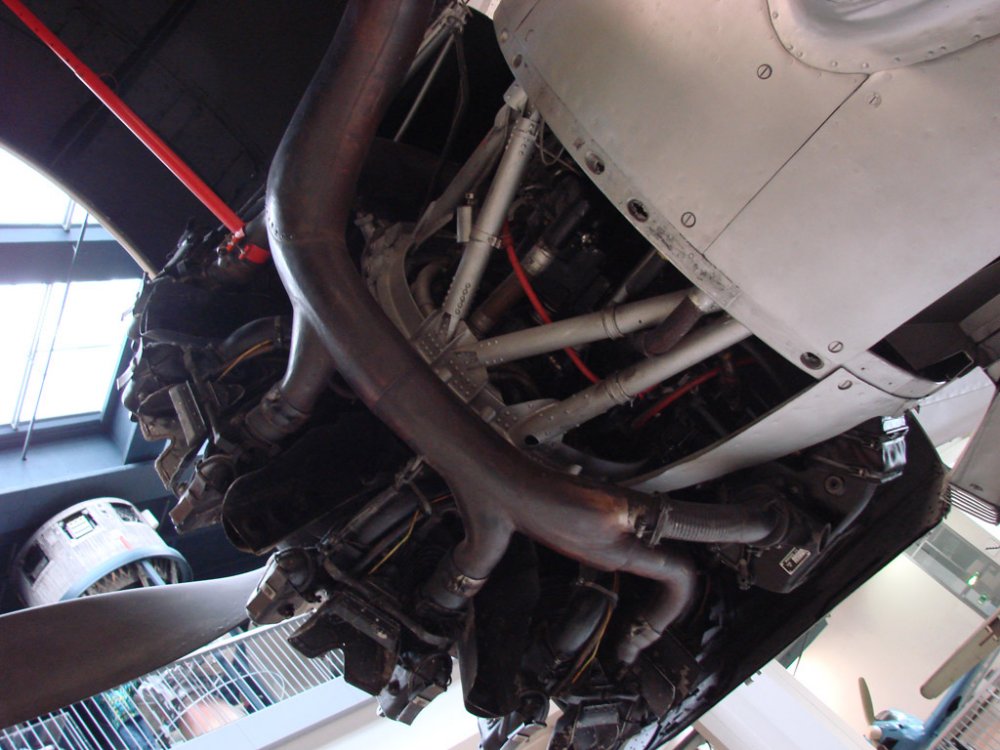
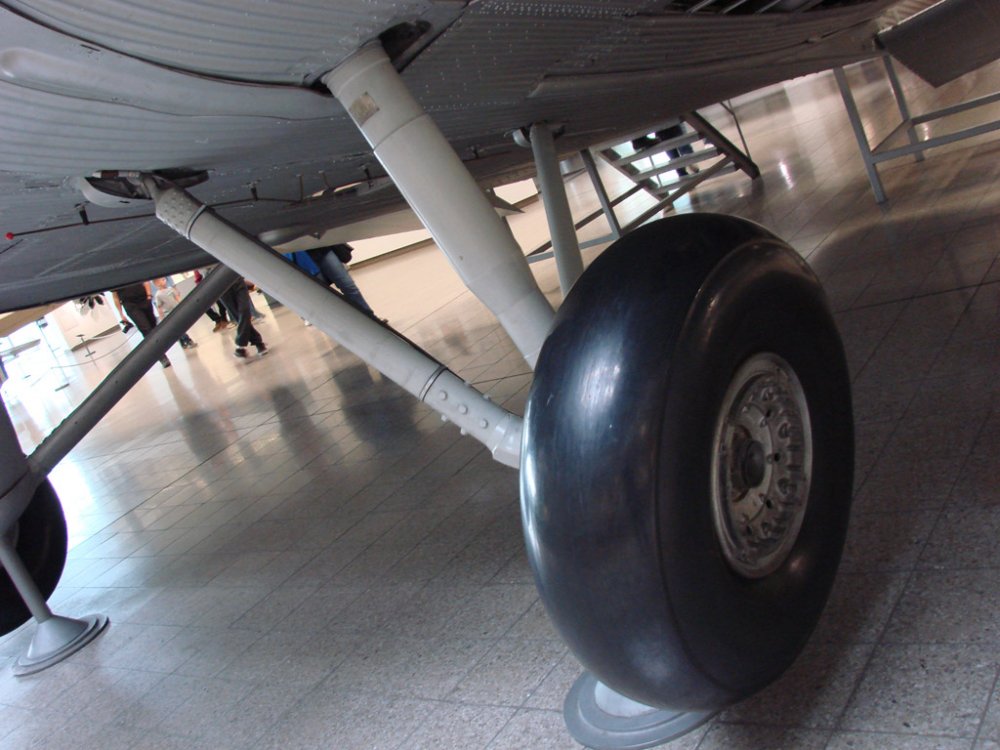
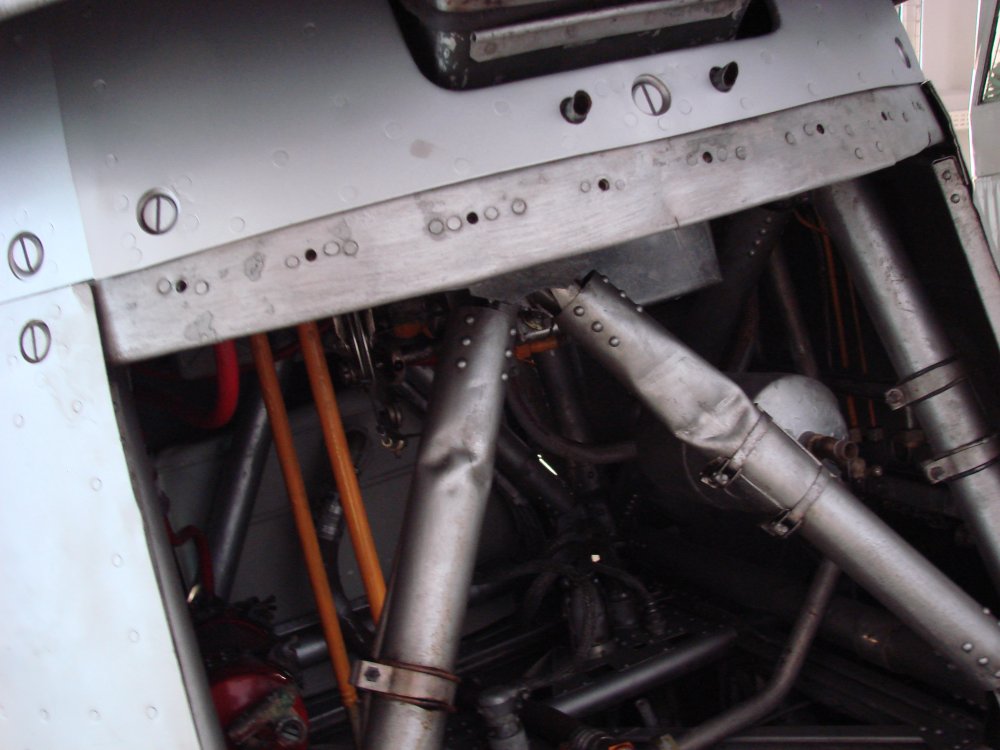
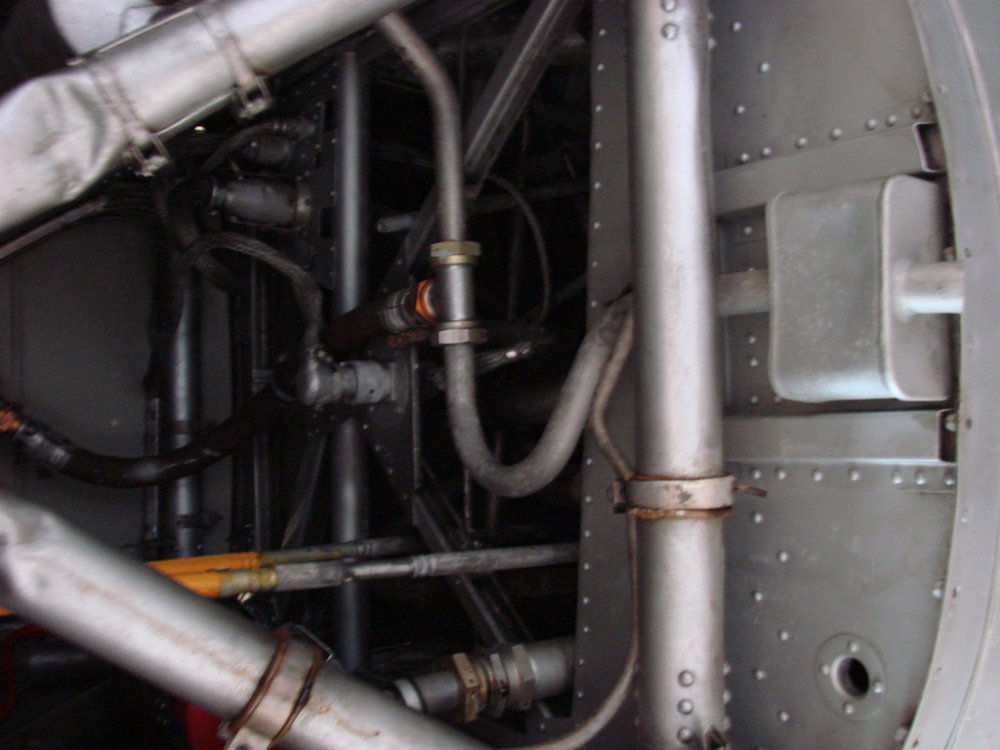
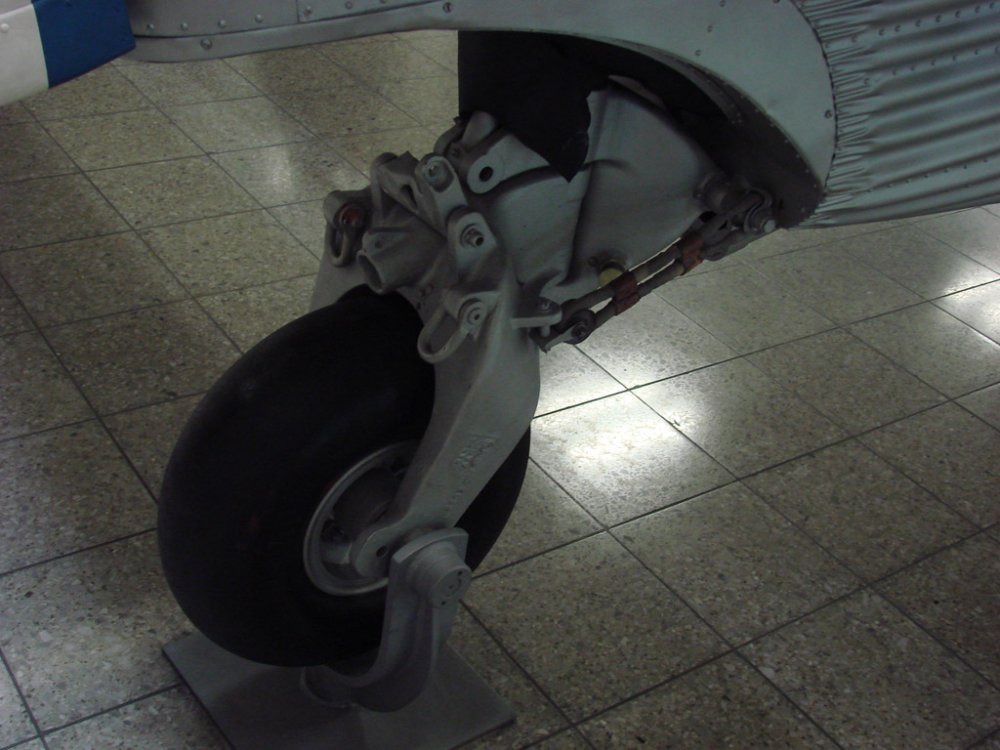
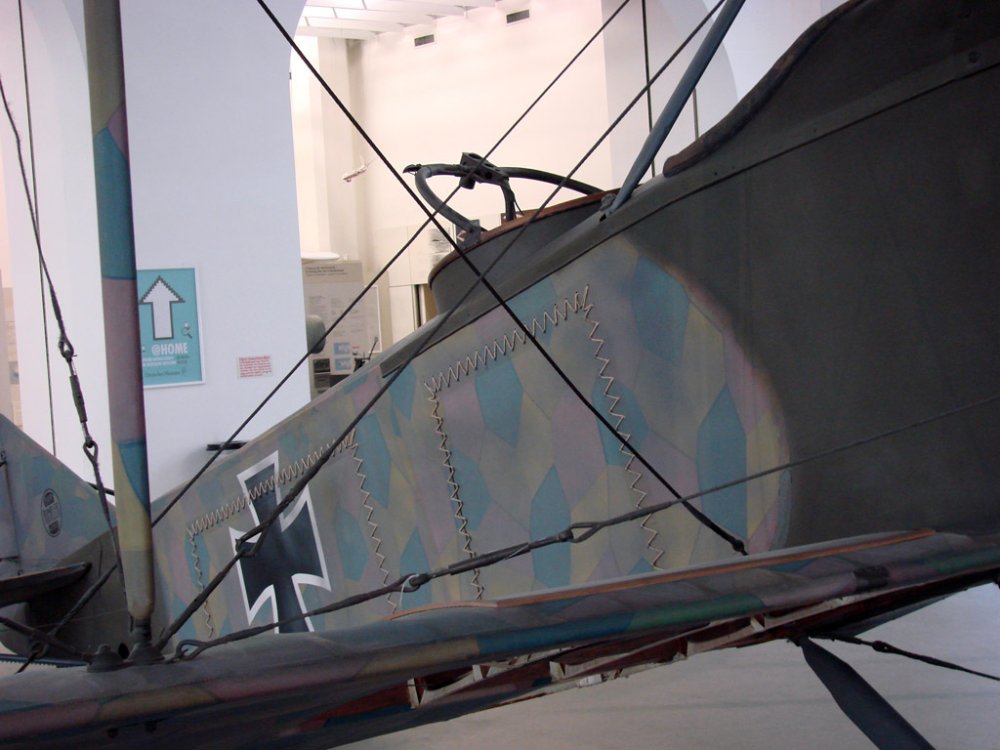
Please excuse what is a combination of crappy photography and poor lighting which made things worse. I got permission to go 'under the wire' and do a few close-ups. Some nice turnbuckle info here. Enjoy!


-
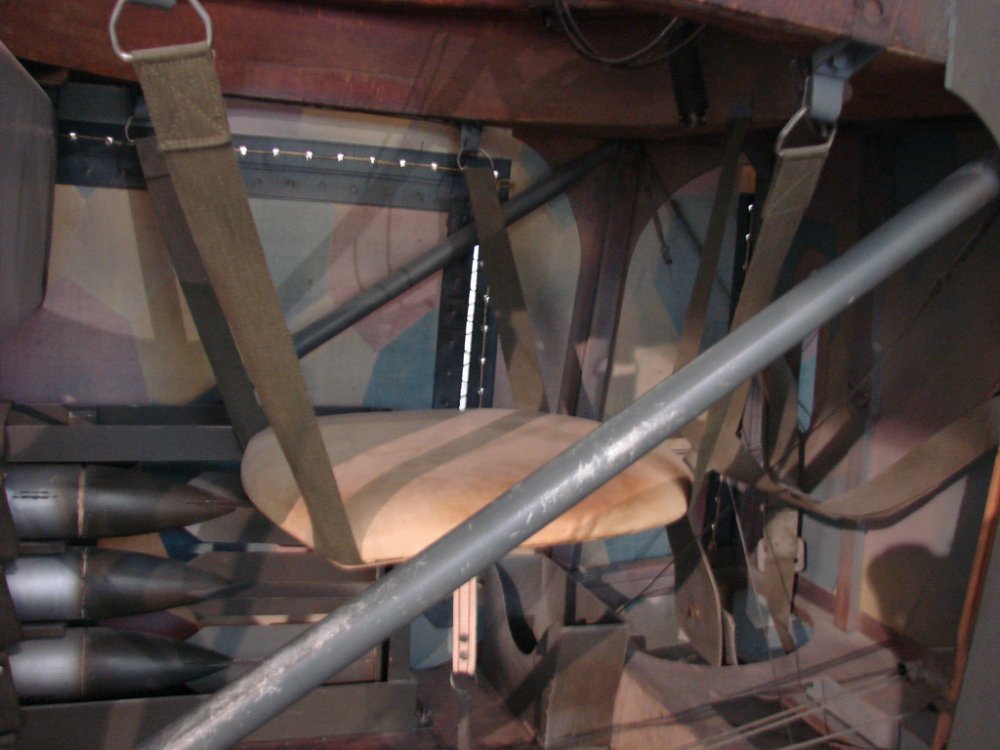
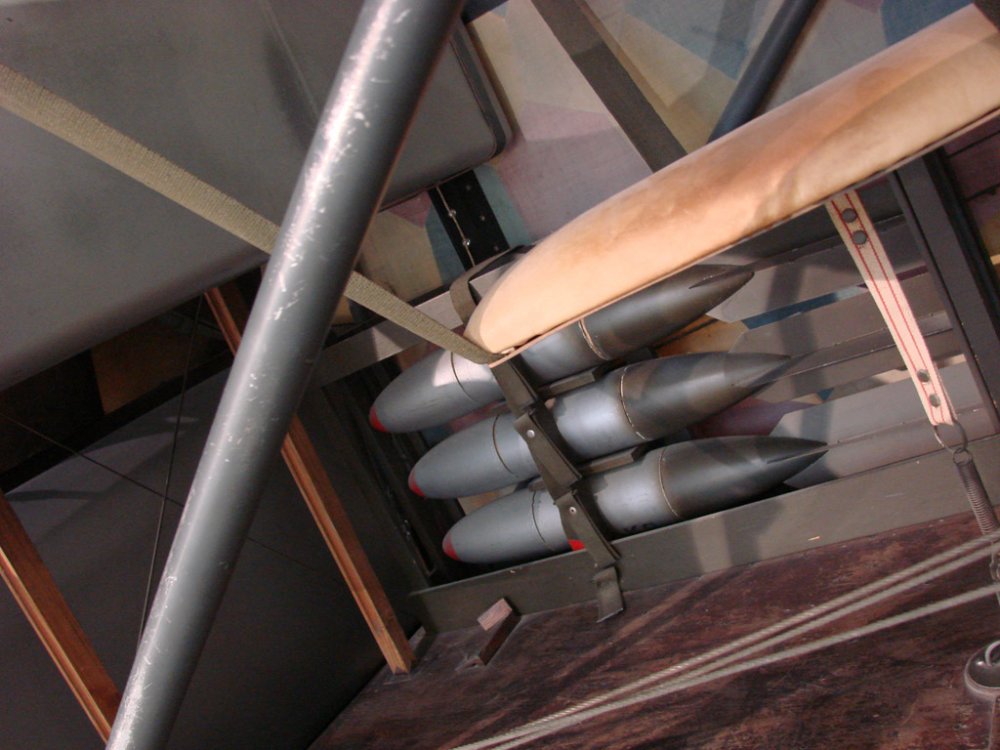
That just looks so frickin amazing! Only the Brits could produce something looking so utilitarian. Still say that's the best PC10 finish I've seen, and those racks are fantastic
-
Burnout special Bachem Ba 349V 'Natter'
James H replied to James H's topic in LSM 1/35 and Larger Work In Progress
Thanks for the info Alex. I'll run a combination of those sequences and some smaller areas in similar colours over the exterior. Today I'll try and get the interior done, and if i pull my finger from my arse, the fuse sealed up. -
1/32 Revell Beaufighter TF X conversion
James H replied to Wingco57's topic in LSM 1/35 and Larger Work In Progress
Looking damn good Cees -
Burnout special Bachem Ba 349V 'Natter'
James H replied to James H's topic in LSM 1/35 and Larger Work In Progress
I'll give that a try tomorrow...cheers -
Burnout special Bachem Ba 349V 'Natter'
James H replied to James H's topic in LSM 1/35 and Larger Work In Progress
For a limited run kit, this is a pretty damn good one. To prepare the fuselage parts, I ran them over some medium wet 'n dry paper to even them out. After this, the parts fit superbly. I did add a shim of plasticard around the joints so the fuselage halves would pair together easily afterwards. The wing root locating holes were also drilled out so the wings would properly fit. I'm sure Alex will chime in soon here. I've painted the interior in Tamiya Flesh, and lightened the centre panels with Model Master Radome Tan. Edges and corners were then shaded with Tamiya Smoke before a thin coat of Flesh was sprayed to blend everything in.The overall effect is very nice, but for the exterior, I would like things to be a little lighter. If Alex can tell me the shades he used for the drop tank, then that would be better. I've used WGSF-28 Pale for most work, with the battens across the lower head rest assembly in 'Rich' to break it up. The decal is super easy to use, with everything being easily moulded to the various compound curves.