nmayhew
-
Posts
1,154 -
Joined
-
Last visited
1 Follower

Recent Profile Visitors
4,132 profile views


-
Kotare Bf 109K-4 with AIMS decals -- Finished
nmayhew replied to denders's topic in LSM 1/35 and Larger Work In Progress
Looking good I wouldn’t sweat the ‘no RLM77 from MRP’ btw - they do about a million different greys so there will be at least a few that fit bill -
What is on your bench right now ? Share a picture :)
nmayhew replied to Martinnfb's topic in Modelling Discussion
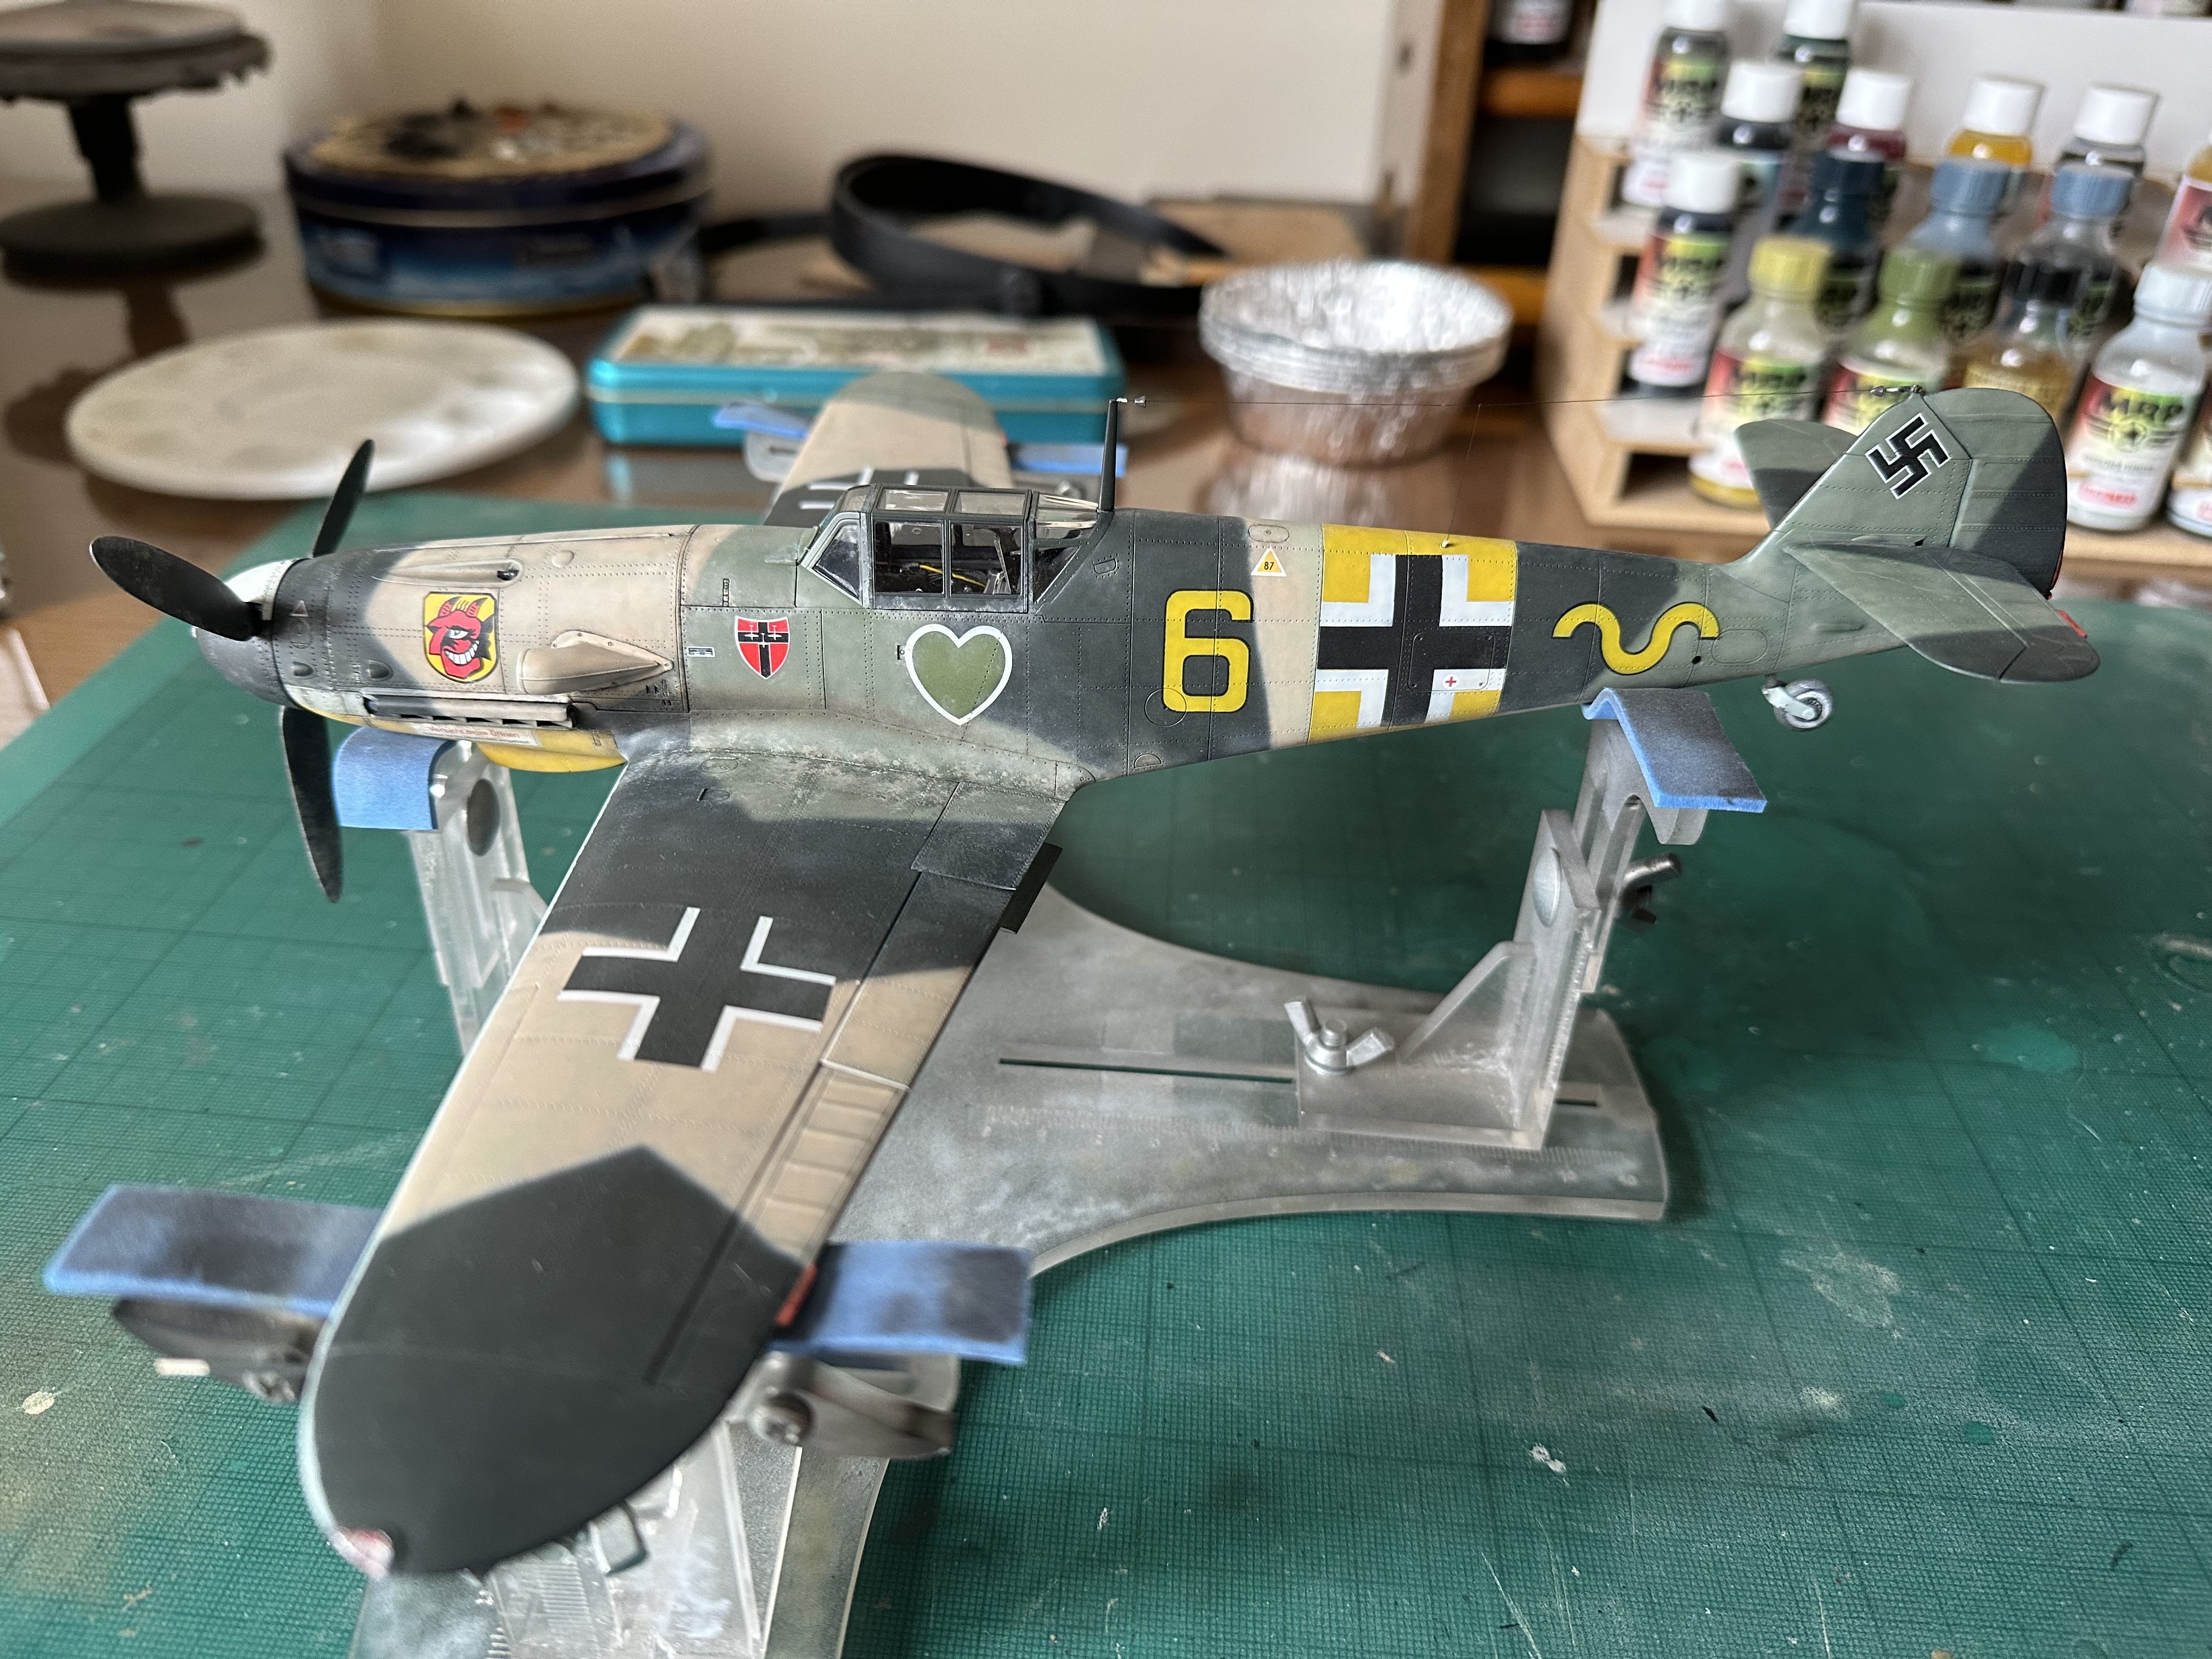
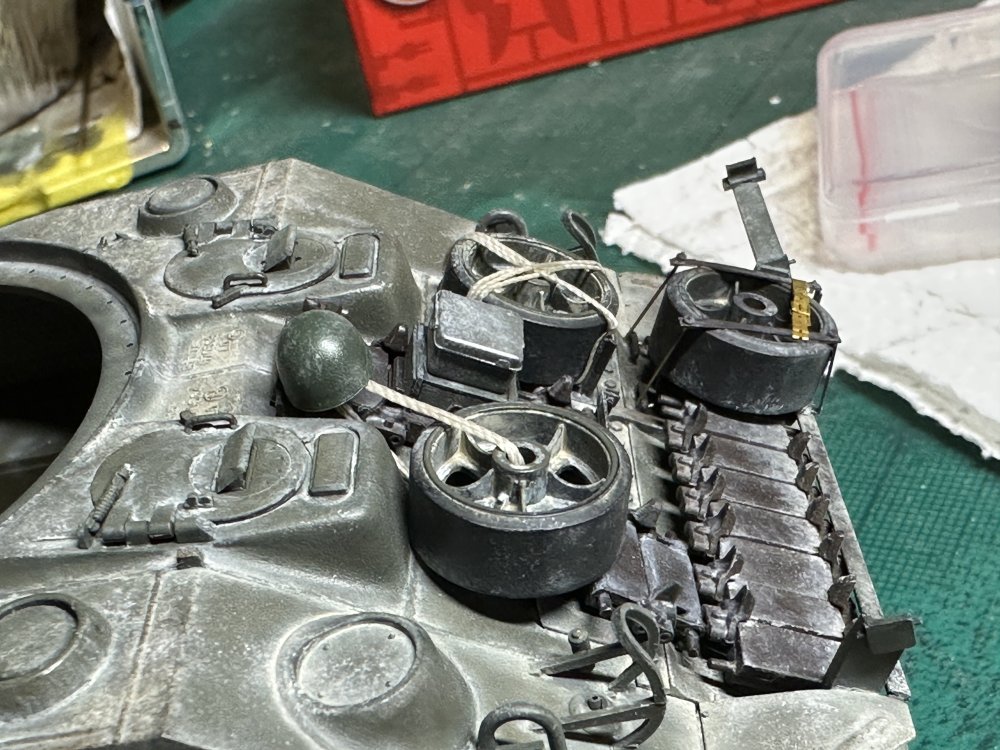
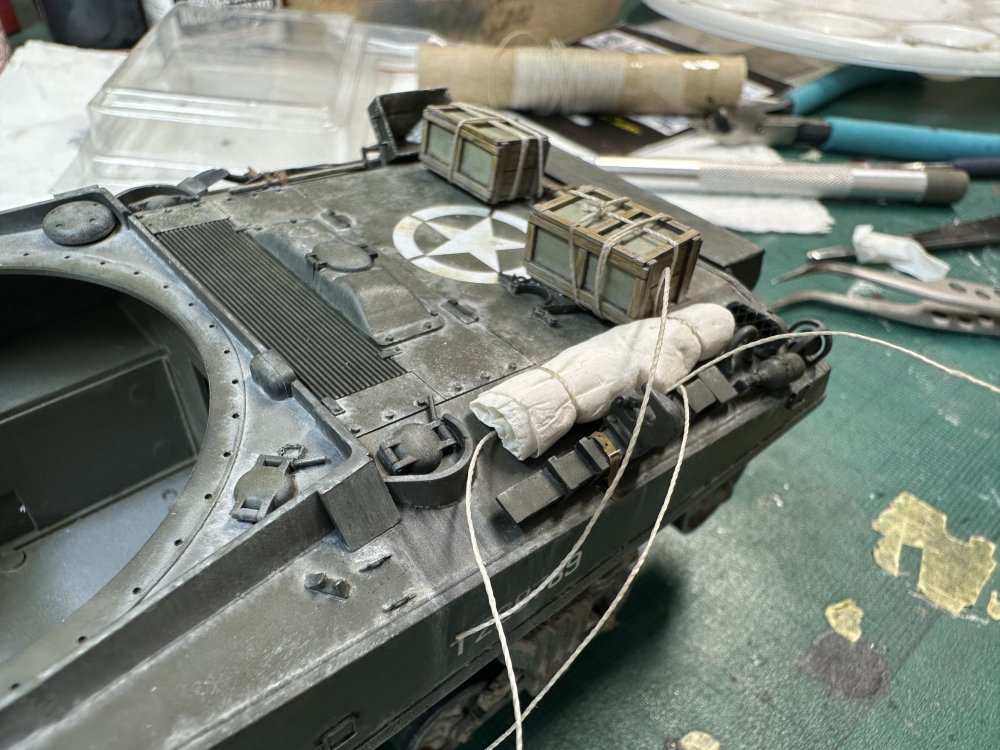
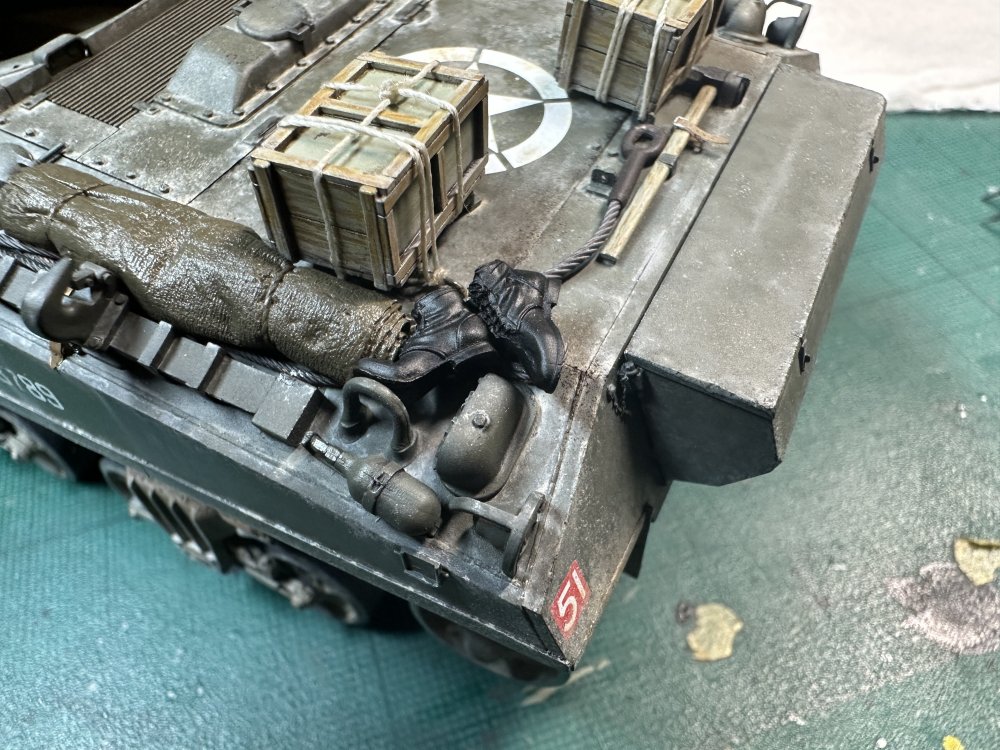
Still soldiering on with my Firefly ‘Carole’, but the end is in sight! crappy iPhone pics at this stage which have distorted the colours somewhat, but fairly pleased with I’ve done so far.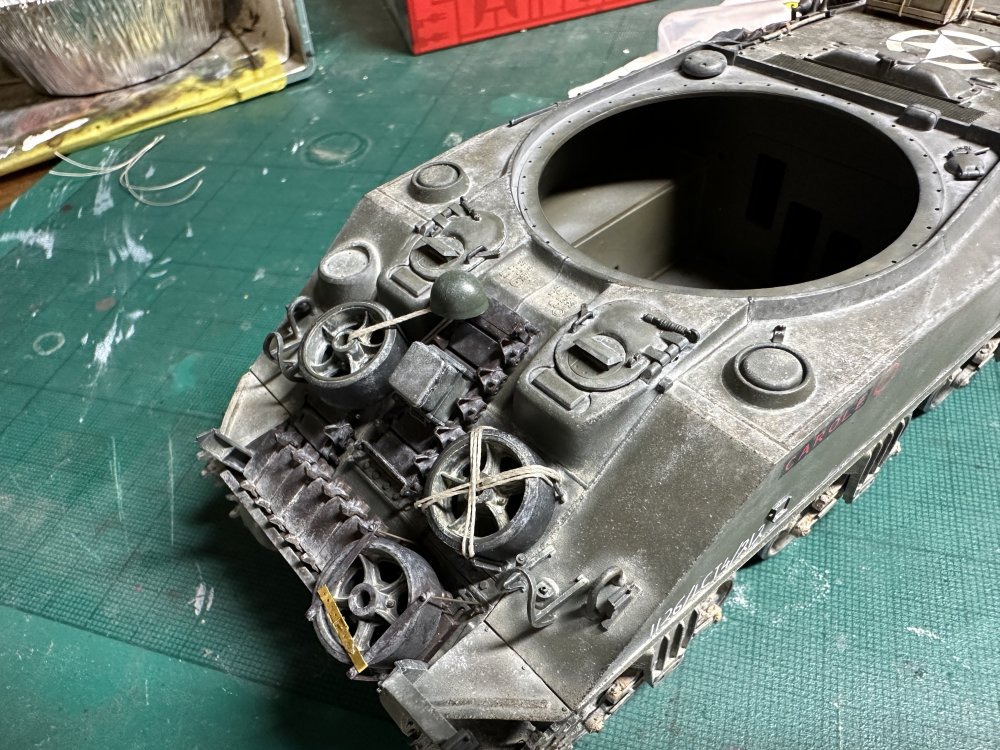


-
Battle of Sidi Bou Zid, 1/35
nmayhew replied to Nikola Topalov's topic in LSM 1/35 and Larger Work In Progress
Yes related to change in UK legislation apparently well done us yet again -
i think the difference with the Lanc is that looked ground-breakingly different / better than a) any other Lanc (yes I know there was 'just' the HKM in 1/32), but also b) arguably better than *any* other aircraft kit in any scale, ever; the cockpit looked (and still looks) like you have the best Aires resin detail set for sidewalls etc, and it's all injection moulded, and we know the engineering was at the time the best in the business being ex-WNW I'm no Phantom SME, so I just look at surface detail, and if the first word that comes into my head is 'Italeri', then Houston we have a problem; in addition, I'm still seeing drop tanks moulded in halves, sprue attachment points on the surface of the part that 'shows' and therefore needs clean up etc, rather than hidden on the back side etc (I realise most companies still persist with this) I think unless the final model's finish is significantly better than what we have seen so far then this will have an extremely narrow audience I build almost exclusively WWII armour and aircraft in 1/35 and 1/32, but if - for instance - Kotare did a Phantom (and it's the Vietnam B as well as Brit later models for me) then I would jump at one; this however has little appeal
-
What is on your bench right now ? Share a picture :)
nmayhew replied to Martinnfb's topic in Modelling Discussion
it would seem their quality control matches their research... -
Revell 1/32 Messerschmitt Bf 109G-6 (Early and Late)
nmayhew replied to Mikester's topic in Aircraft Reviews
hey guys just mulling G-6s and G-14s and whether to flog my Zoukei-mura Hartmann G-14 and came back to this review... STILL one of the best reviews ever, even with most of the photos missing I hope @Mikester you got over your health issues and @Matt_ your presence here and at LSP is greatly missed, hope you are well. Happy 2025 and happy modelling -
just revisited a thread on BritModeller and a Czech member there said it definitely will *not* be 2025 - he quoted Mr Sulc saying as much I think - so we are looking / hoping for 2026 I guess... or that the Zoukei-mura will beat them to it?
-
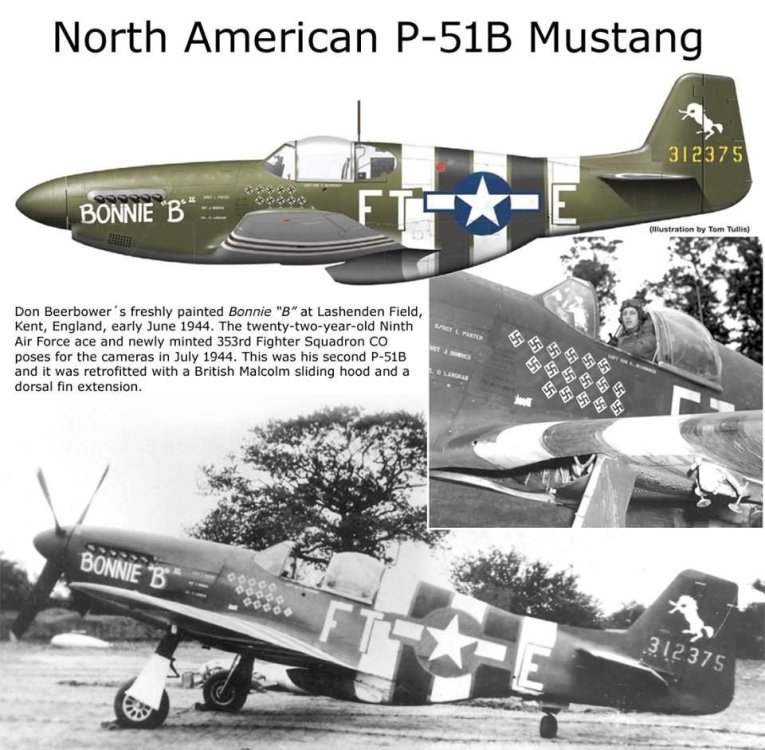
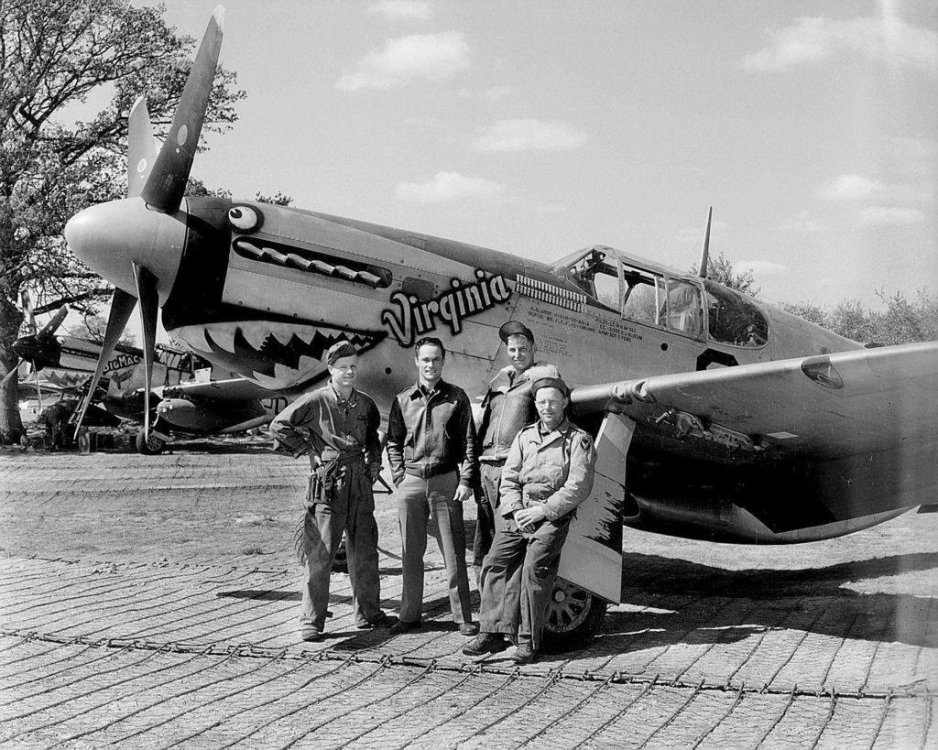
is that directed at me? 363FG for Big Mac Junior and Virginia; 354FG for Bonnie B
-
as much as i want more (good) kits in this scale, i can see that for a given amount of resource, you are going to make more money in 1/72 and 1/48 than you are in 1/32... 1/32 is a much smaller market, and a MUCH tougher crowd; stuff you can get away with in 1/48 just doesn't fly in 1/32. so once you consider this, it's quite a big jump for Eduard I just hope they have been looking at Tamiya and especially Kotare - who have really raised the bar in terms of engineering and fit - rather than thinking they can get away with just scaling up their own stuff from 1/48. I have seen enough builds of their P-51s in 1/48 to know that's not just good enough in manscale. I have zero interest in adding shims in wingroots and teeny weeny locating joints for main landing gear. on the other hand, commercially it makes sense in that there is no decent kit of this marque and - if comments translate into sales - it's the one variant of the one plane that everyone has been clamouring for in this scale I wish them well with it and if it's decent will probably be in for a couple - finally get to do these birds which flew just a couple of miles from me... I wonder if someone makes a 1/32 oast house lol?

-
What is on your bench right now ? Share a picture :)
nmayhew replied to Martinnfb's topic in Modelling Discussion
Spent most of the day tweaking these masks in silhouette studio…getting there!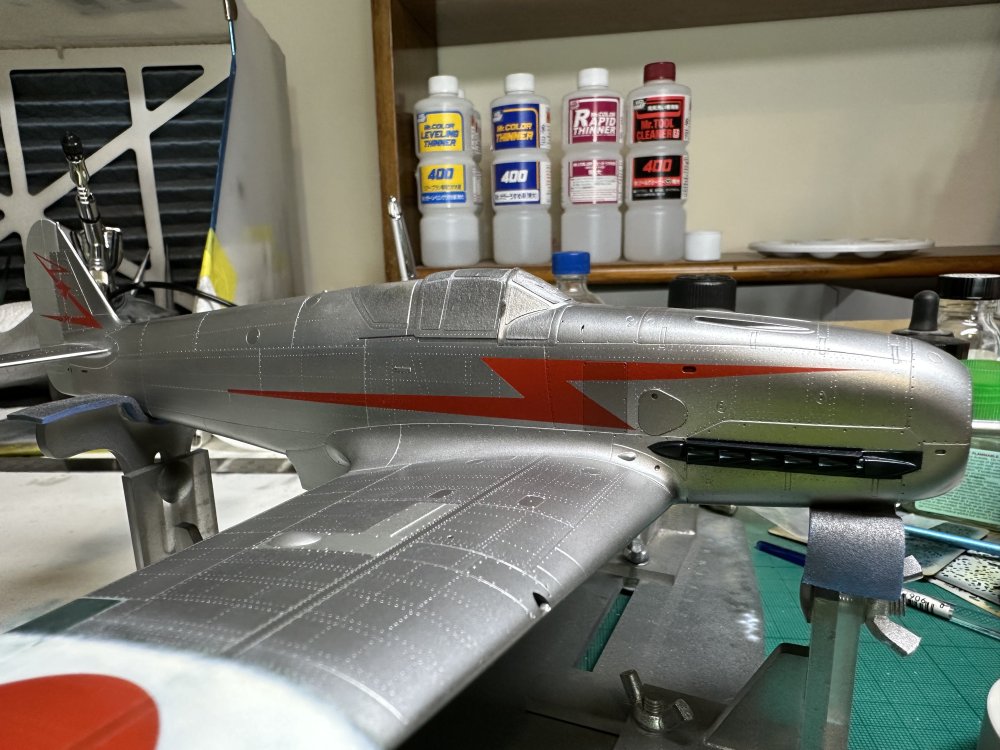

-
Glad you are persevering! And I’d love that file for the Love Bug too if you can share (I have a cutter).
-
rose of york Hong Kong Model 1:32 B-17 G “Rose of York” Limited Edition
nmayhew replied to Fran's topic in Aircraft Reviews
Apologies if I have missed the obvious, but the review fails to mention perhaps the crucial differences that this release has compared to the original G?? If I am not mistaken, this kit allows one to model - to use a non-technical term - an “early G” yes? In other words, whilst it has the chin turret, it has the early tail gunner position and - crucially - waist gunner windows which are in line and not staggered as in later models. So for the first time, you can model “A Bit O’ Lace” right?? I have not reviewed the sprues, nor am I a B-17 expert, so would appreciate those more knowledgeable than myself confirming / refuting the above. Cheers Nick -
Hang in there Harv Here’s me on holiday in Austria in the Summer - our favourite holiday destination

-
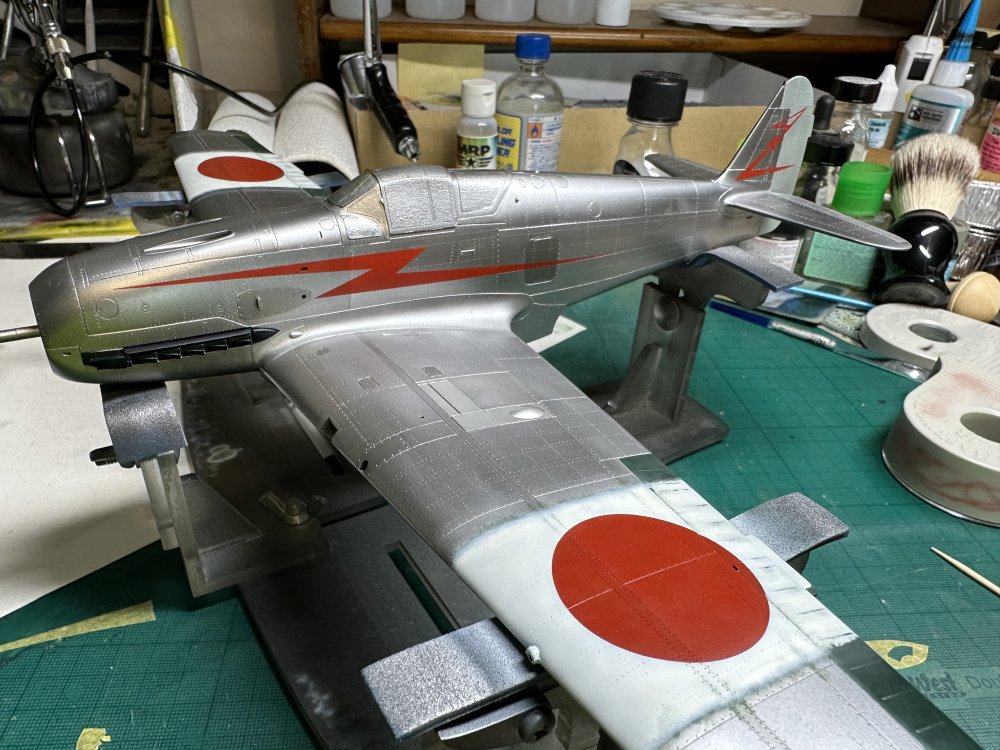
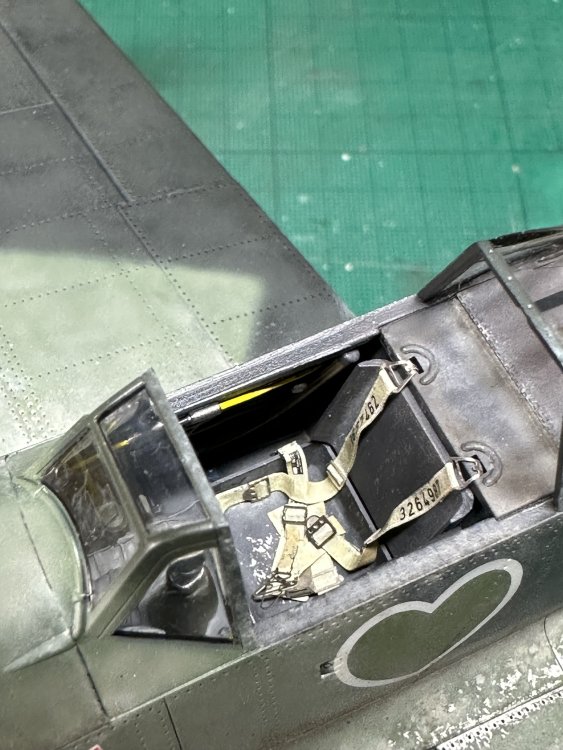
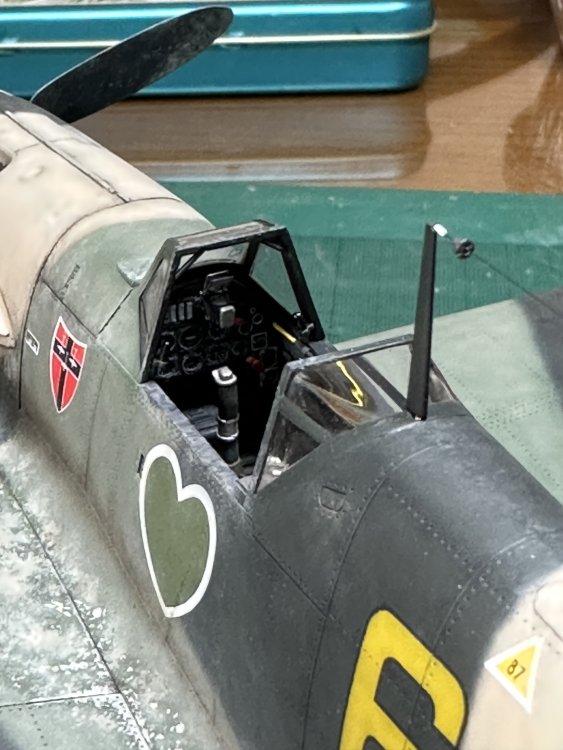
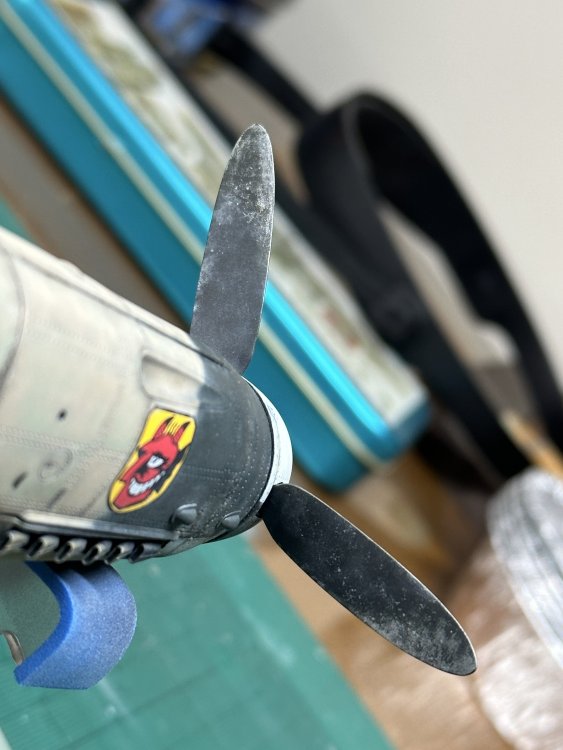
What is on your bench right now ? Share a picture :)
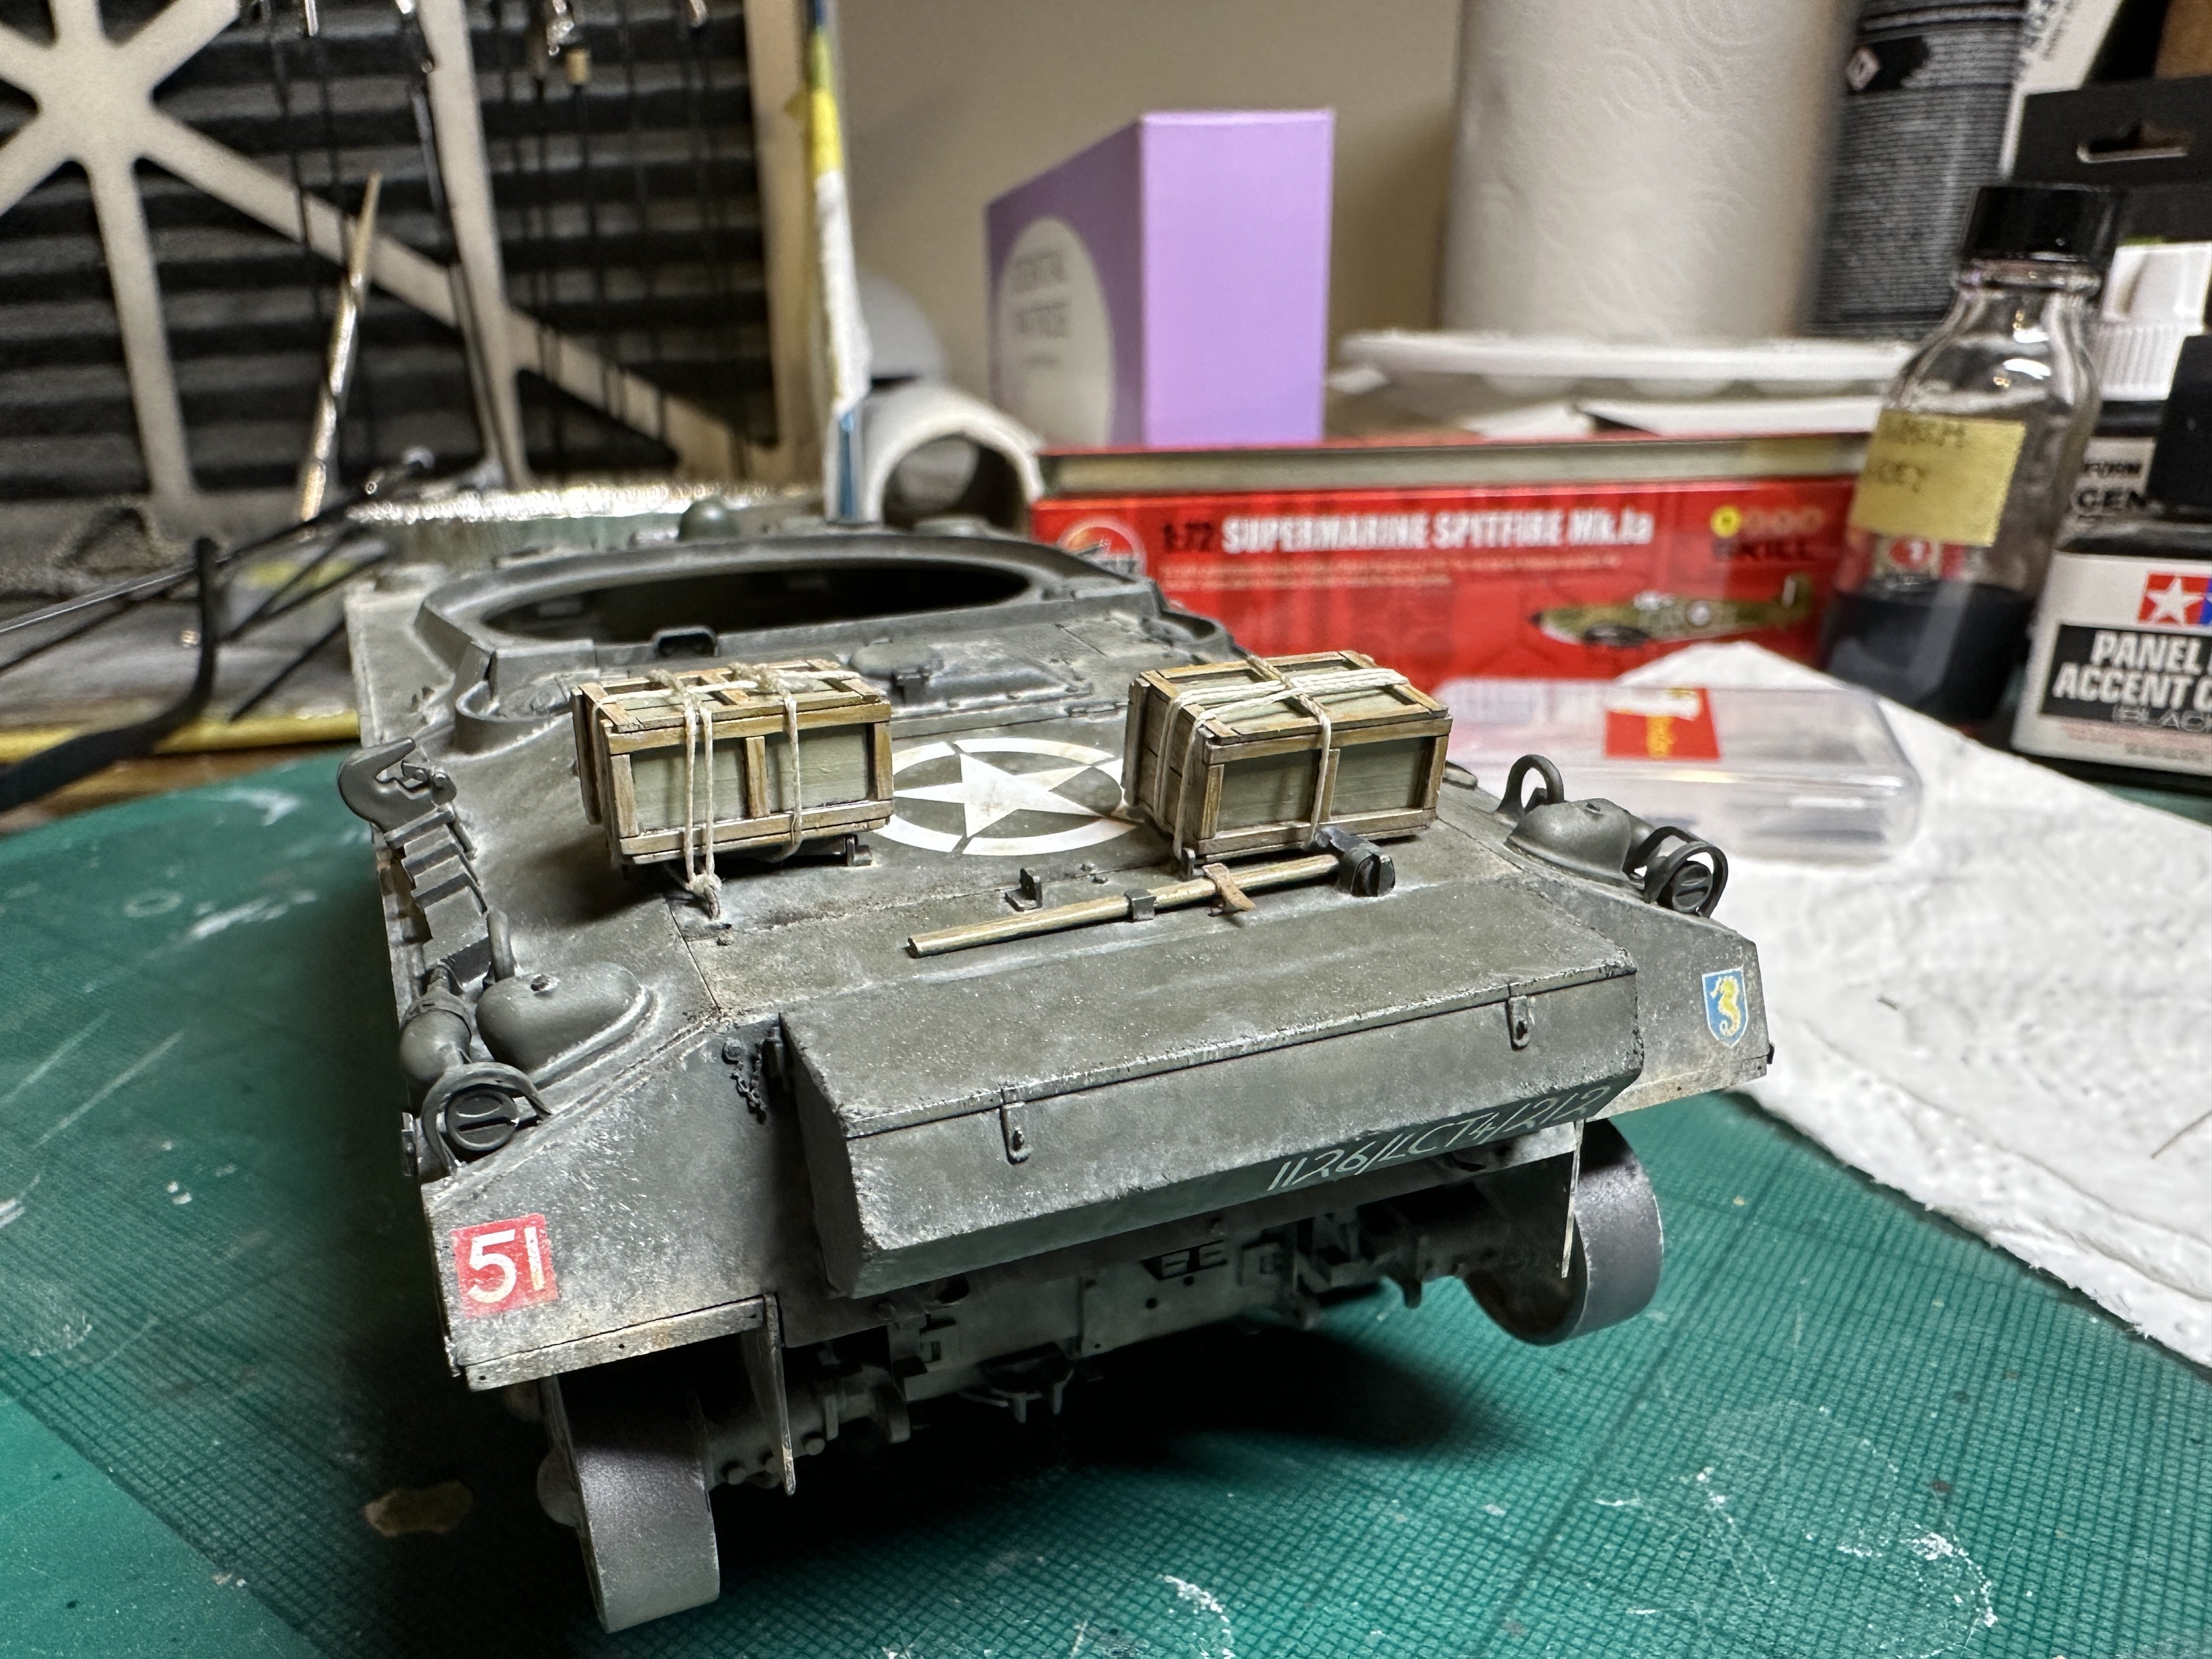
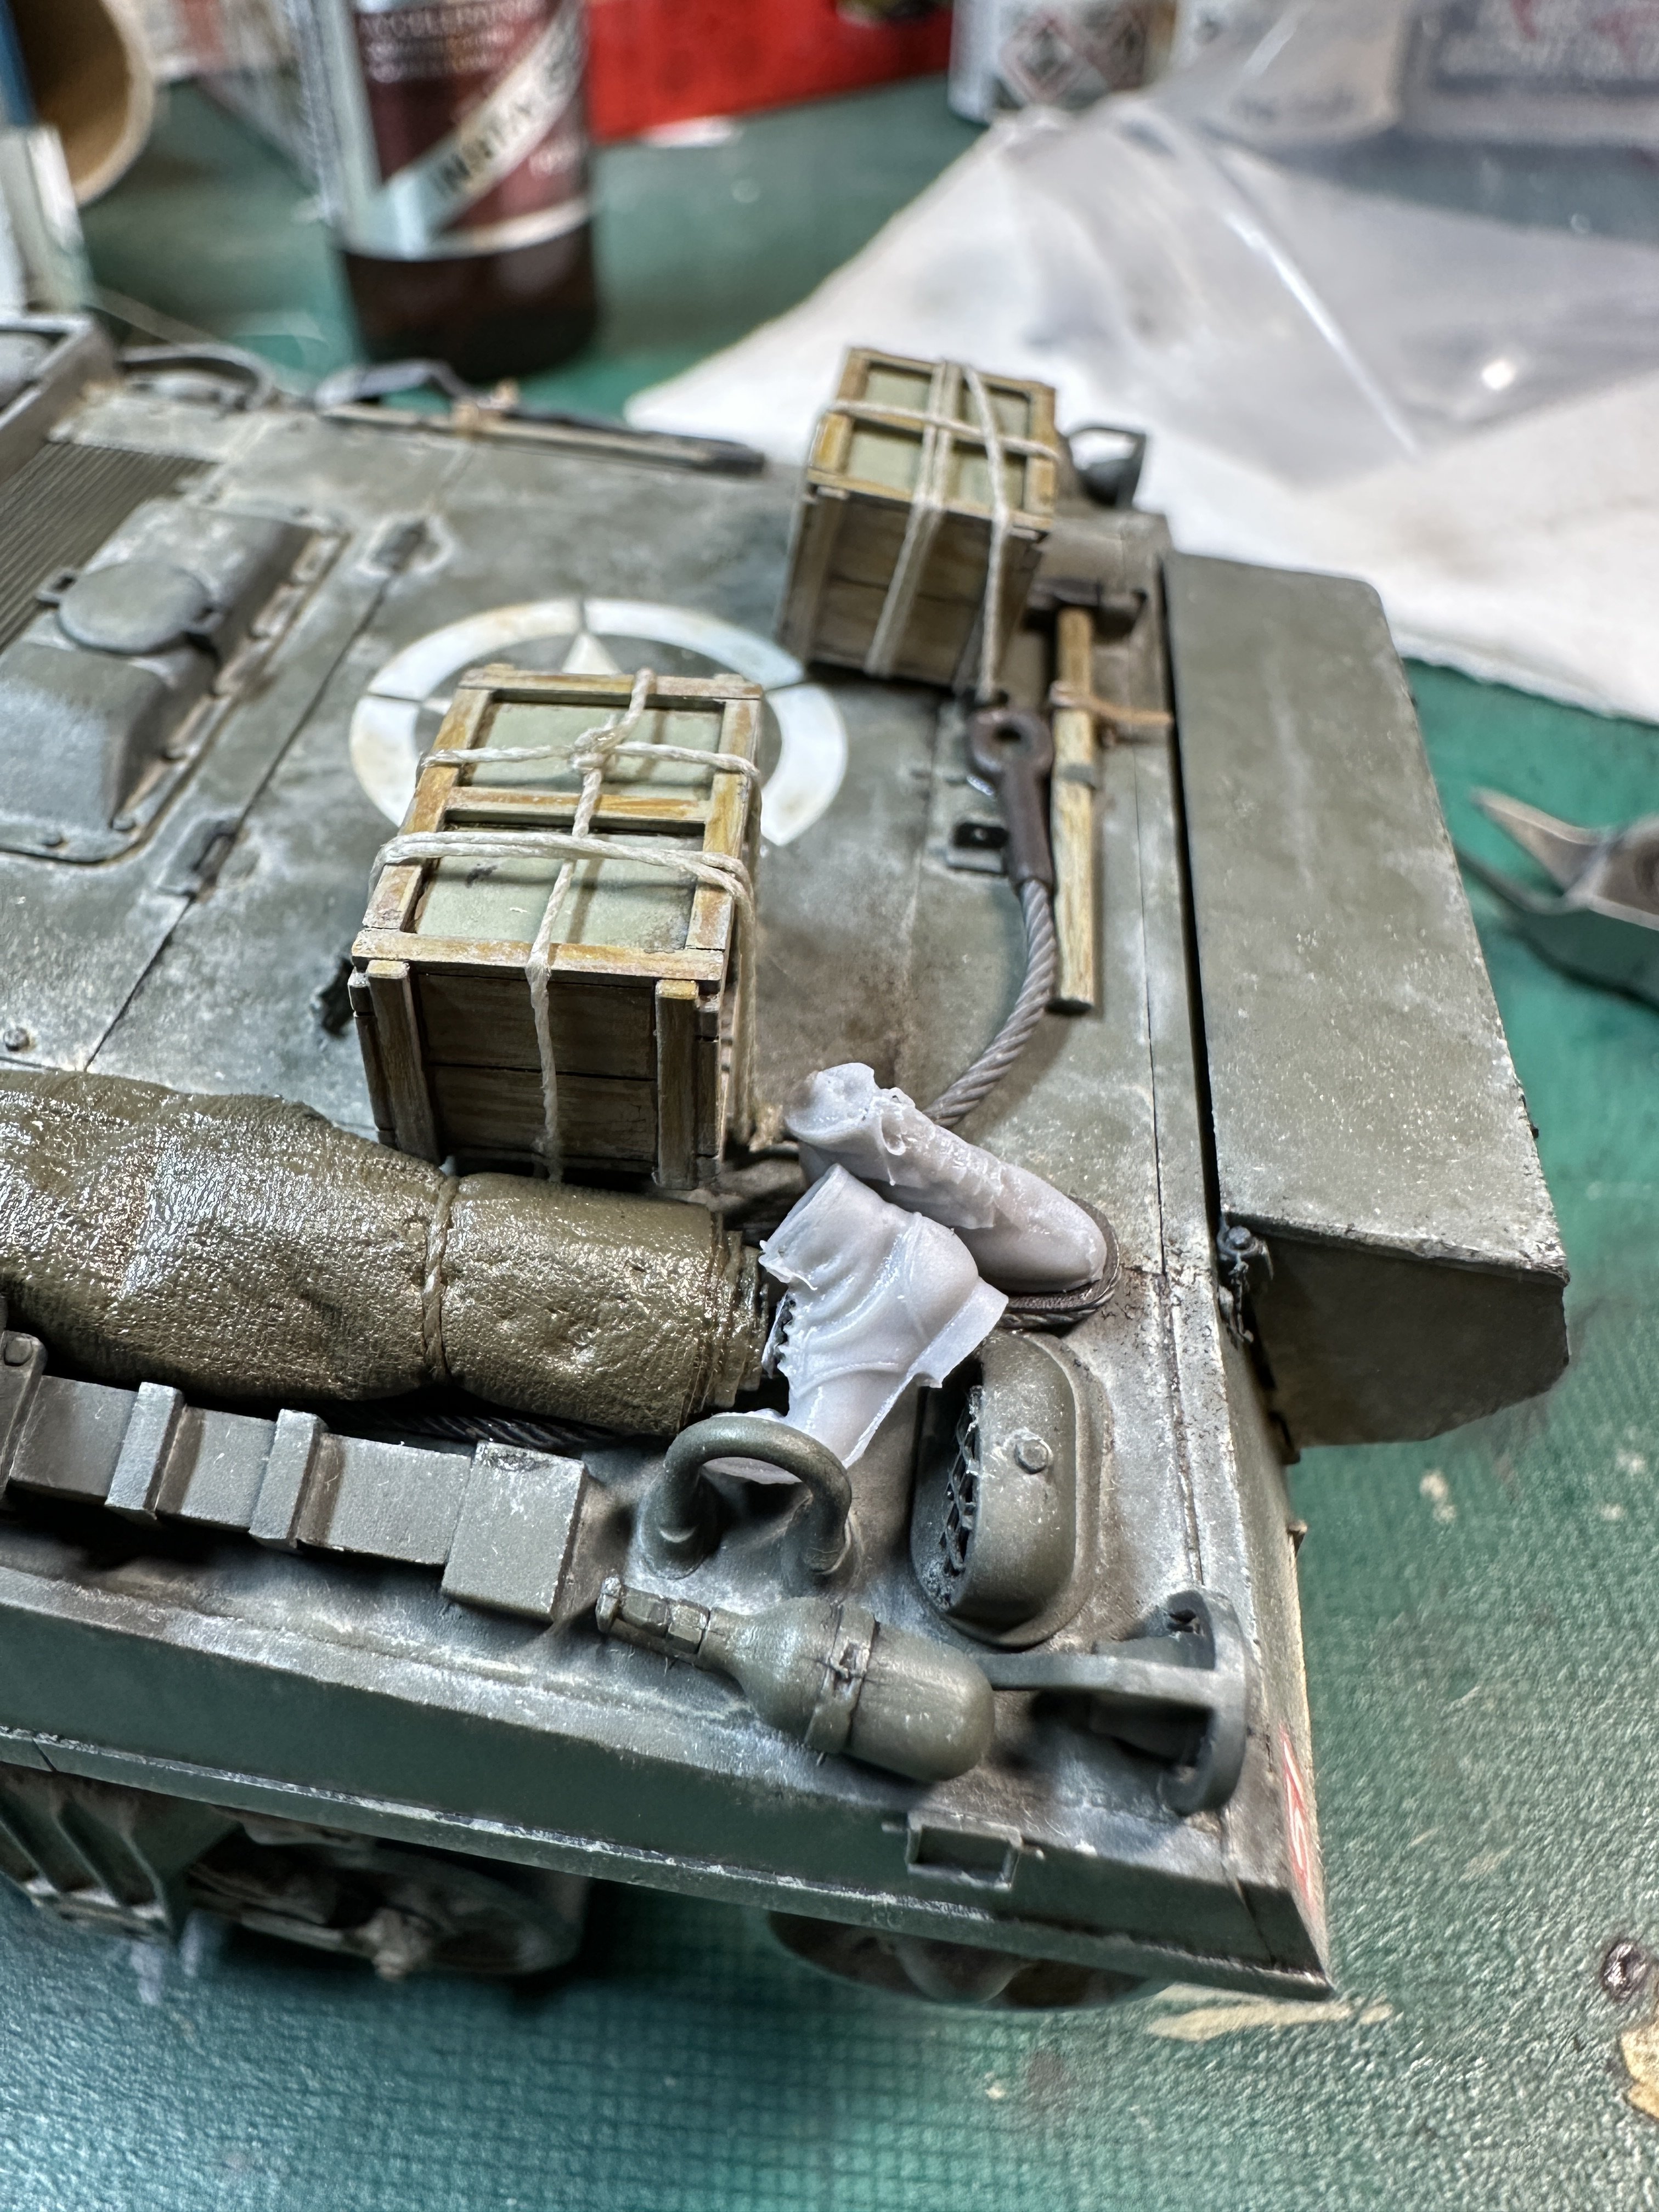
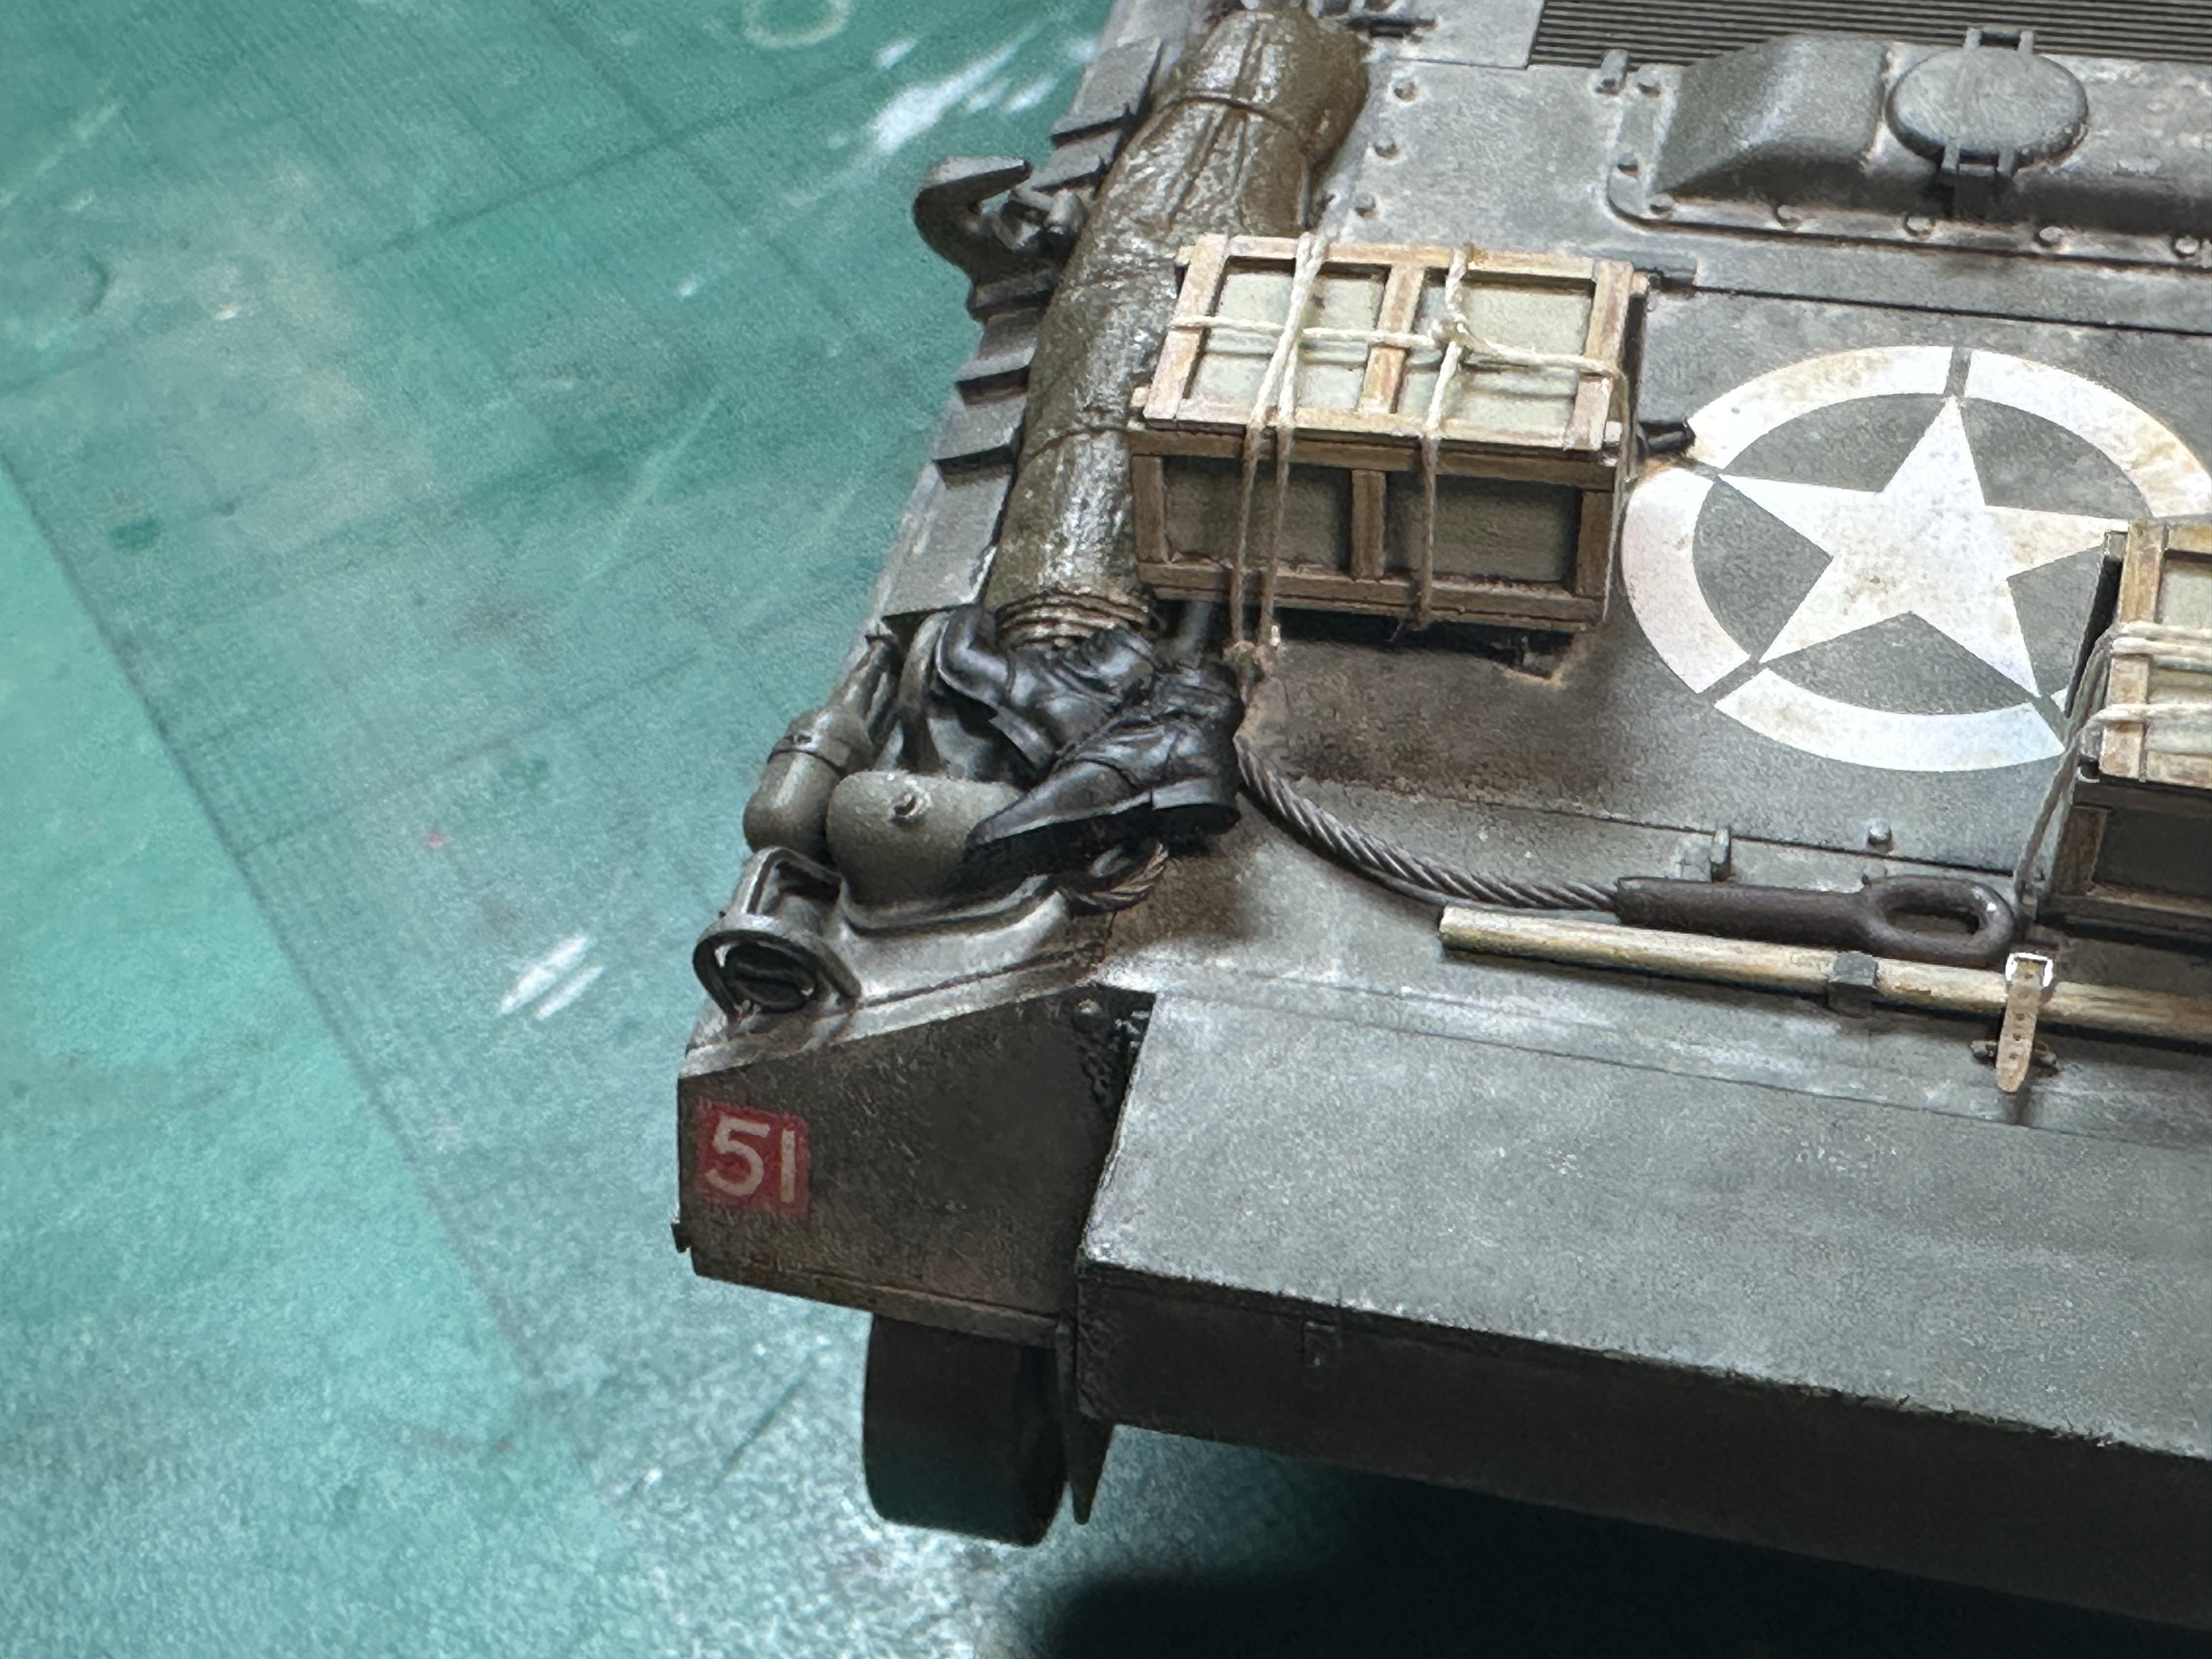
nmayhew replied to Martinnfb's topic in Modelling Discussion
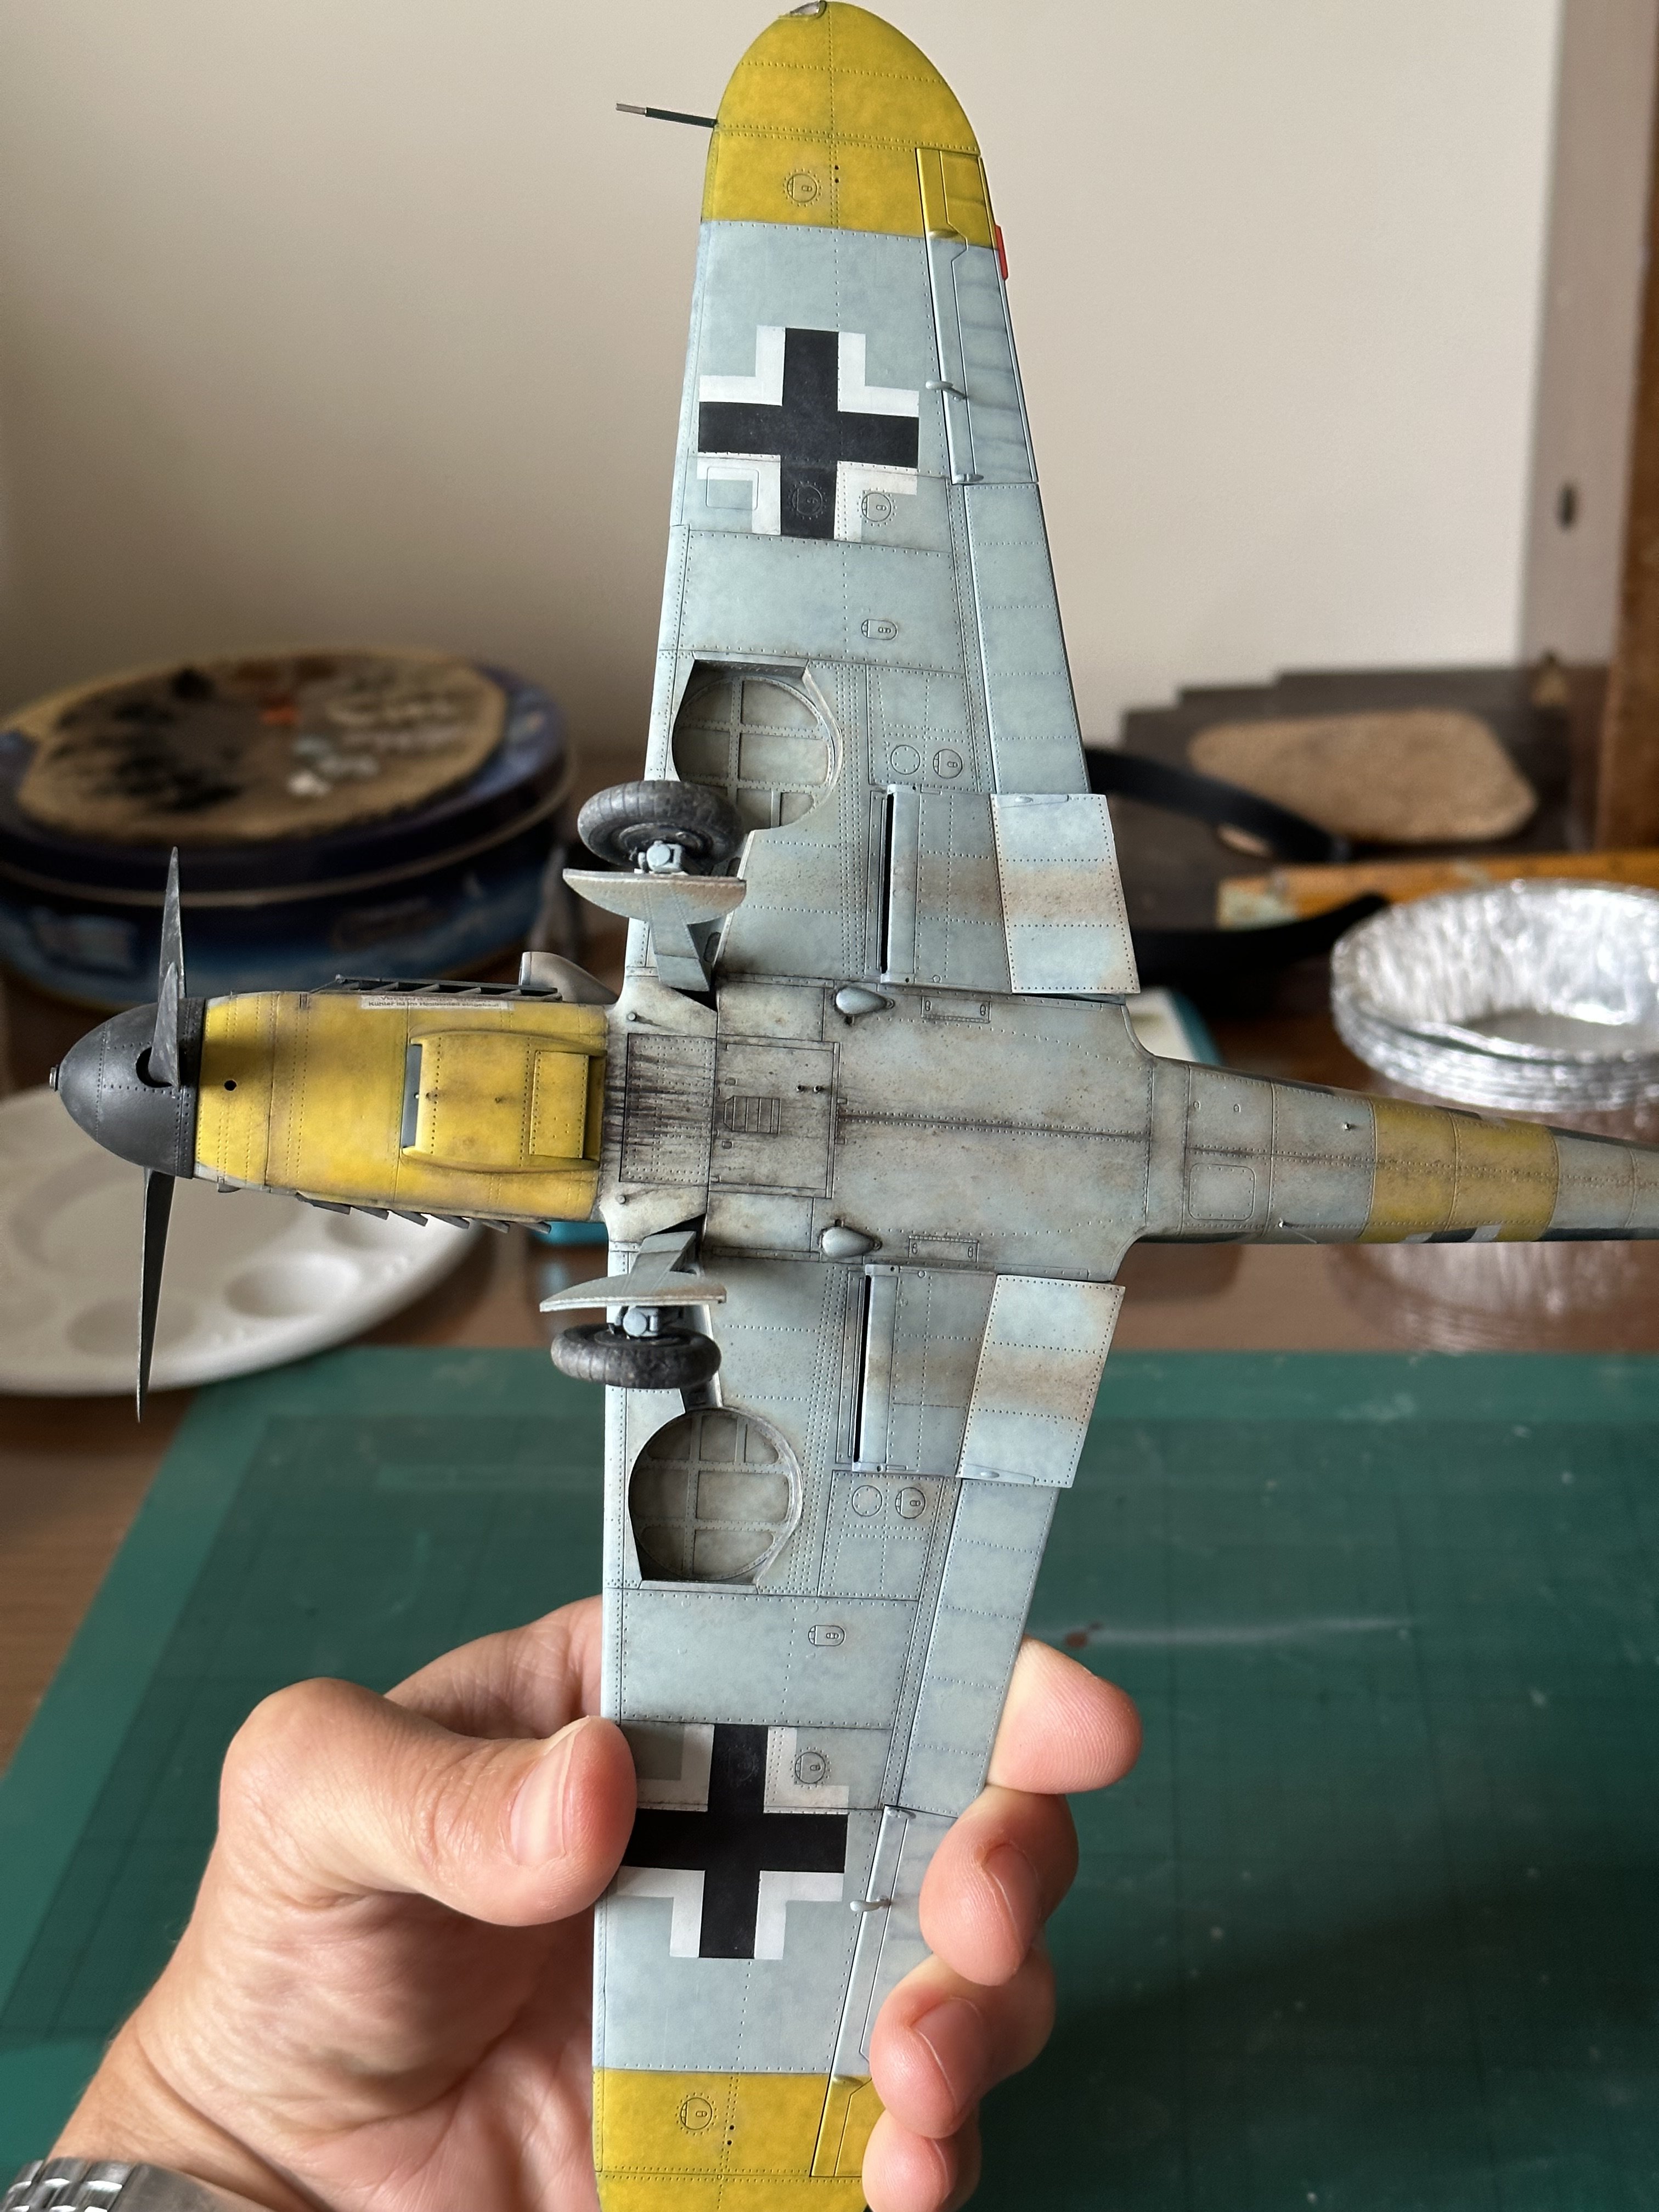
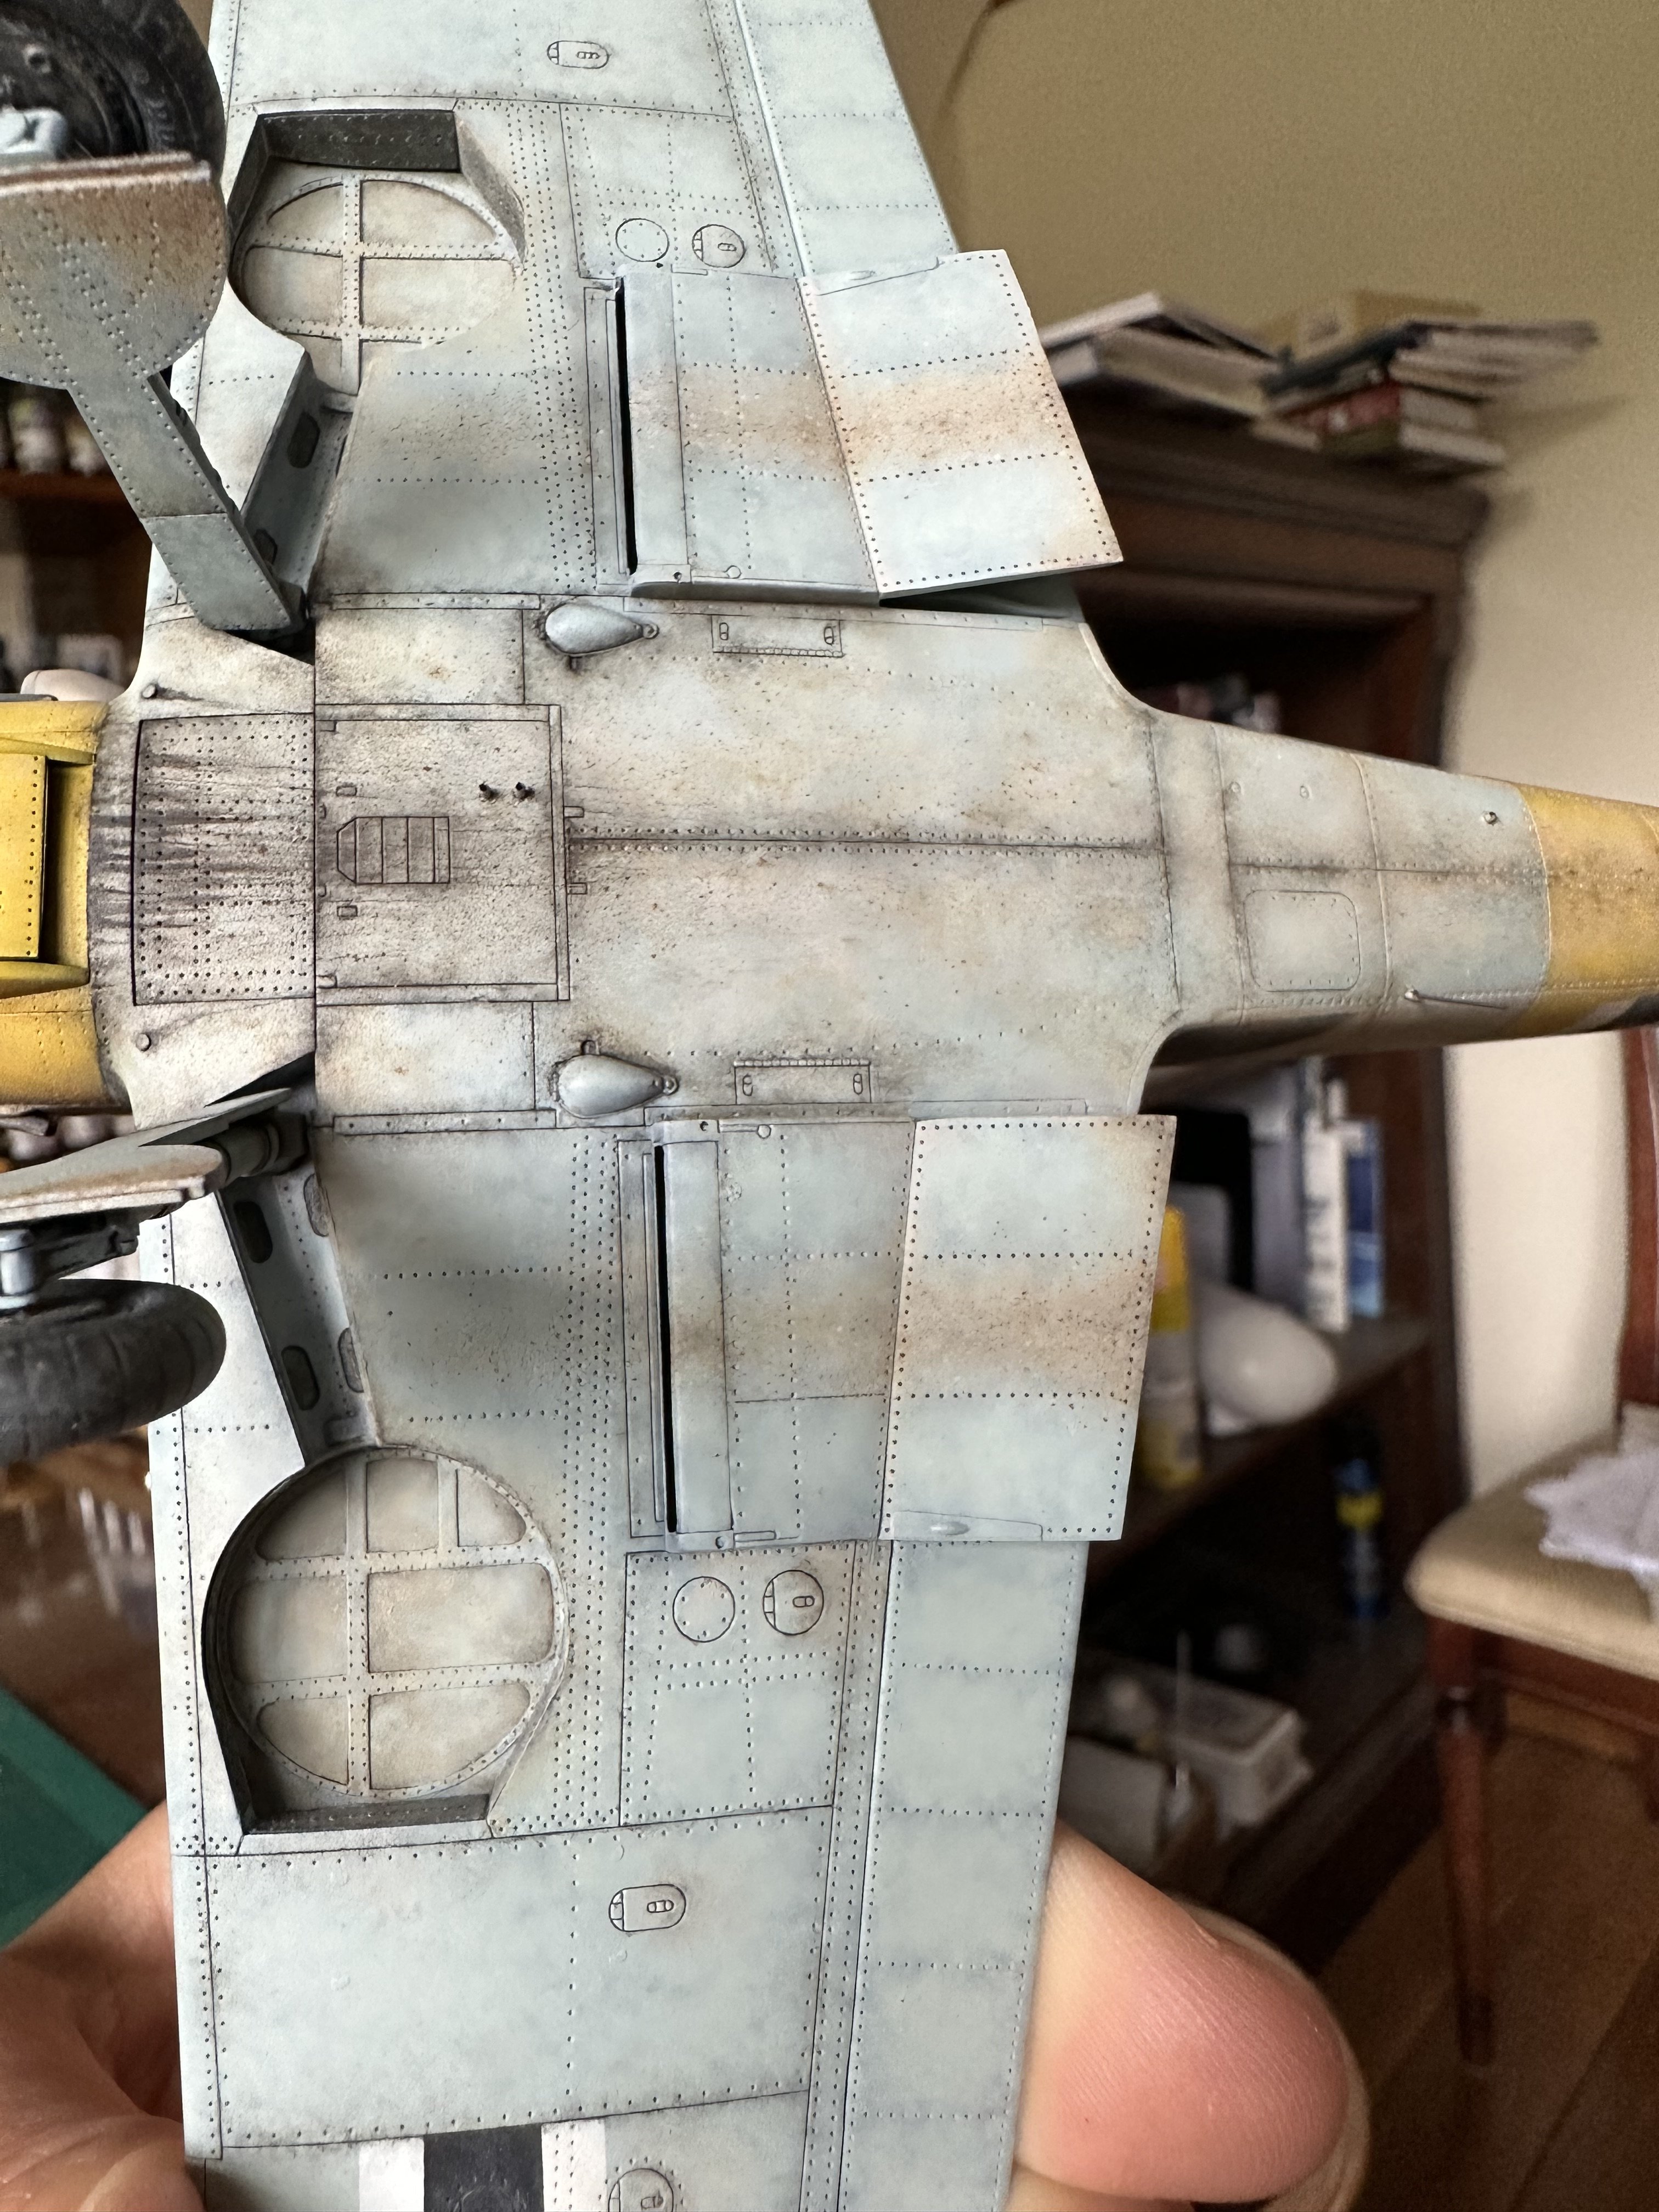
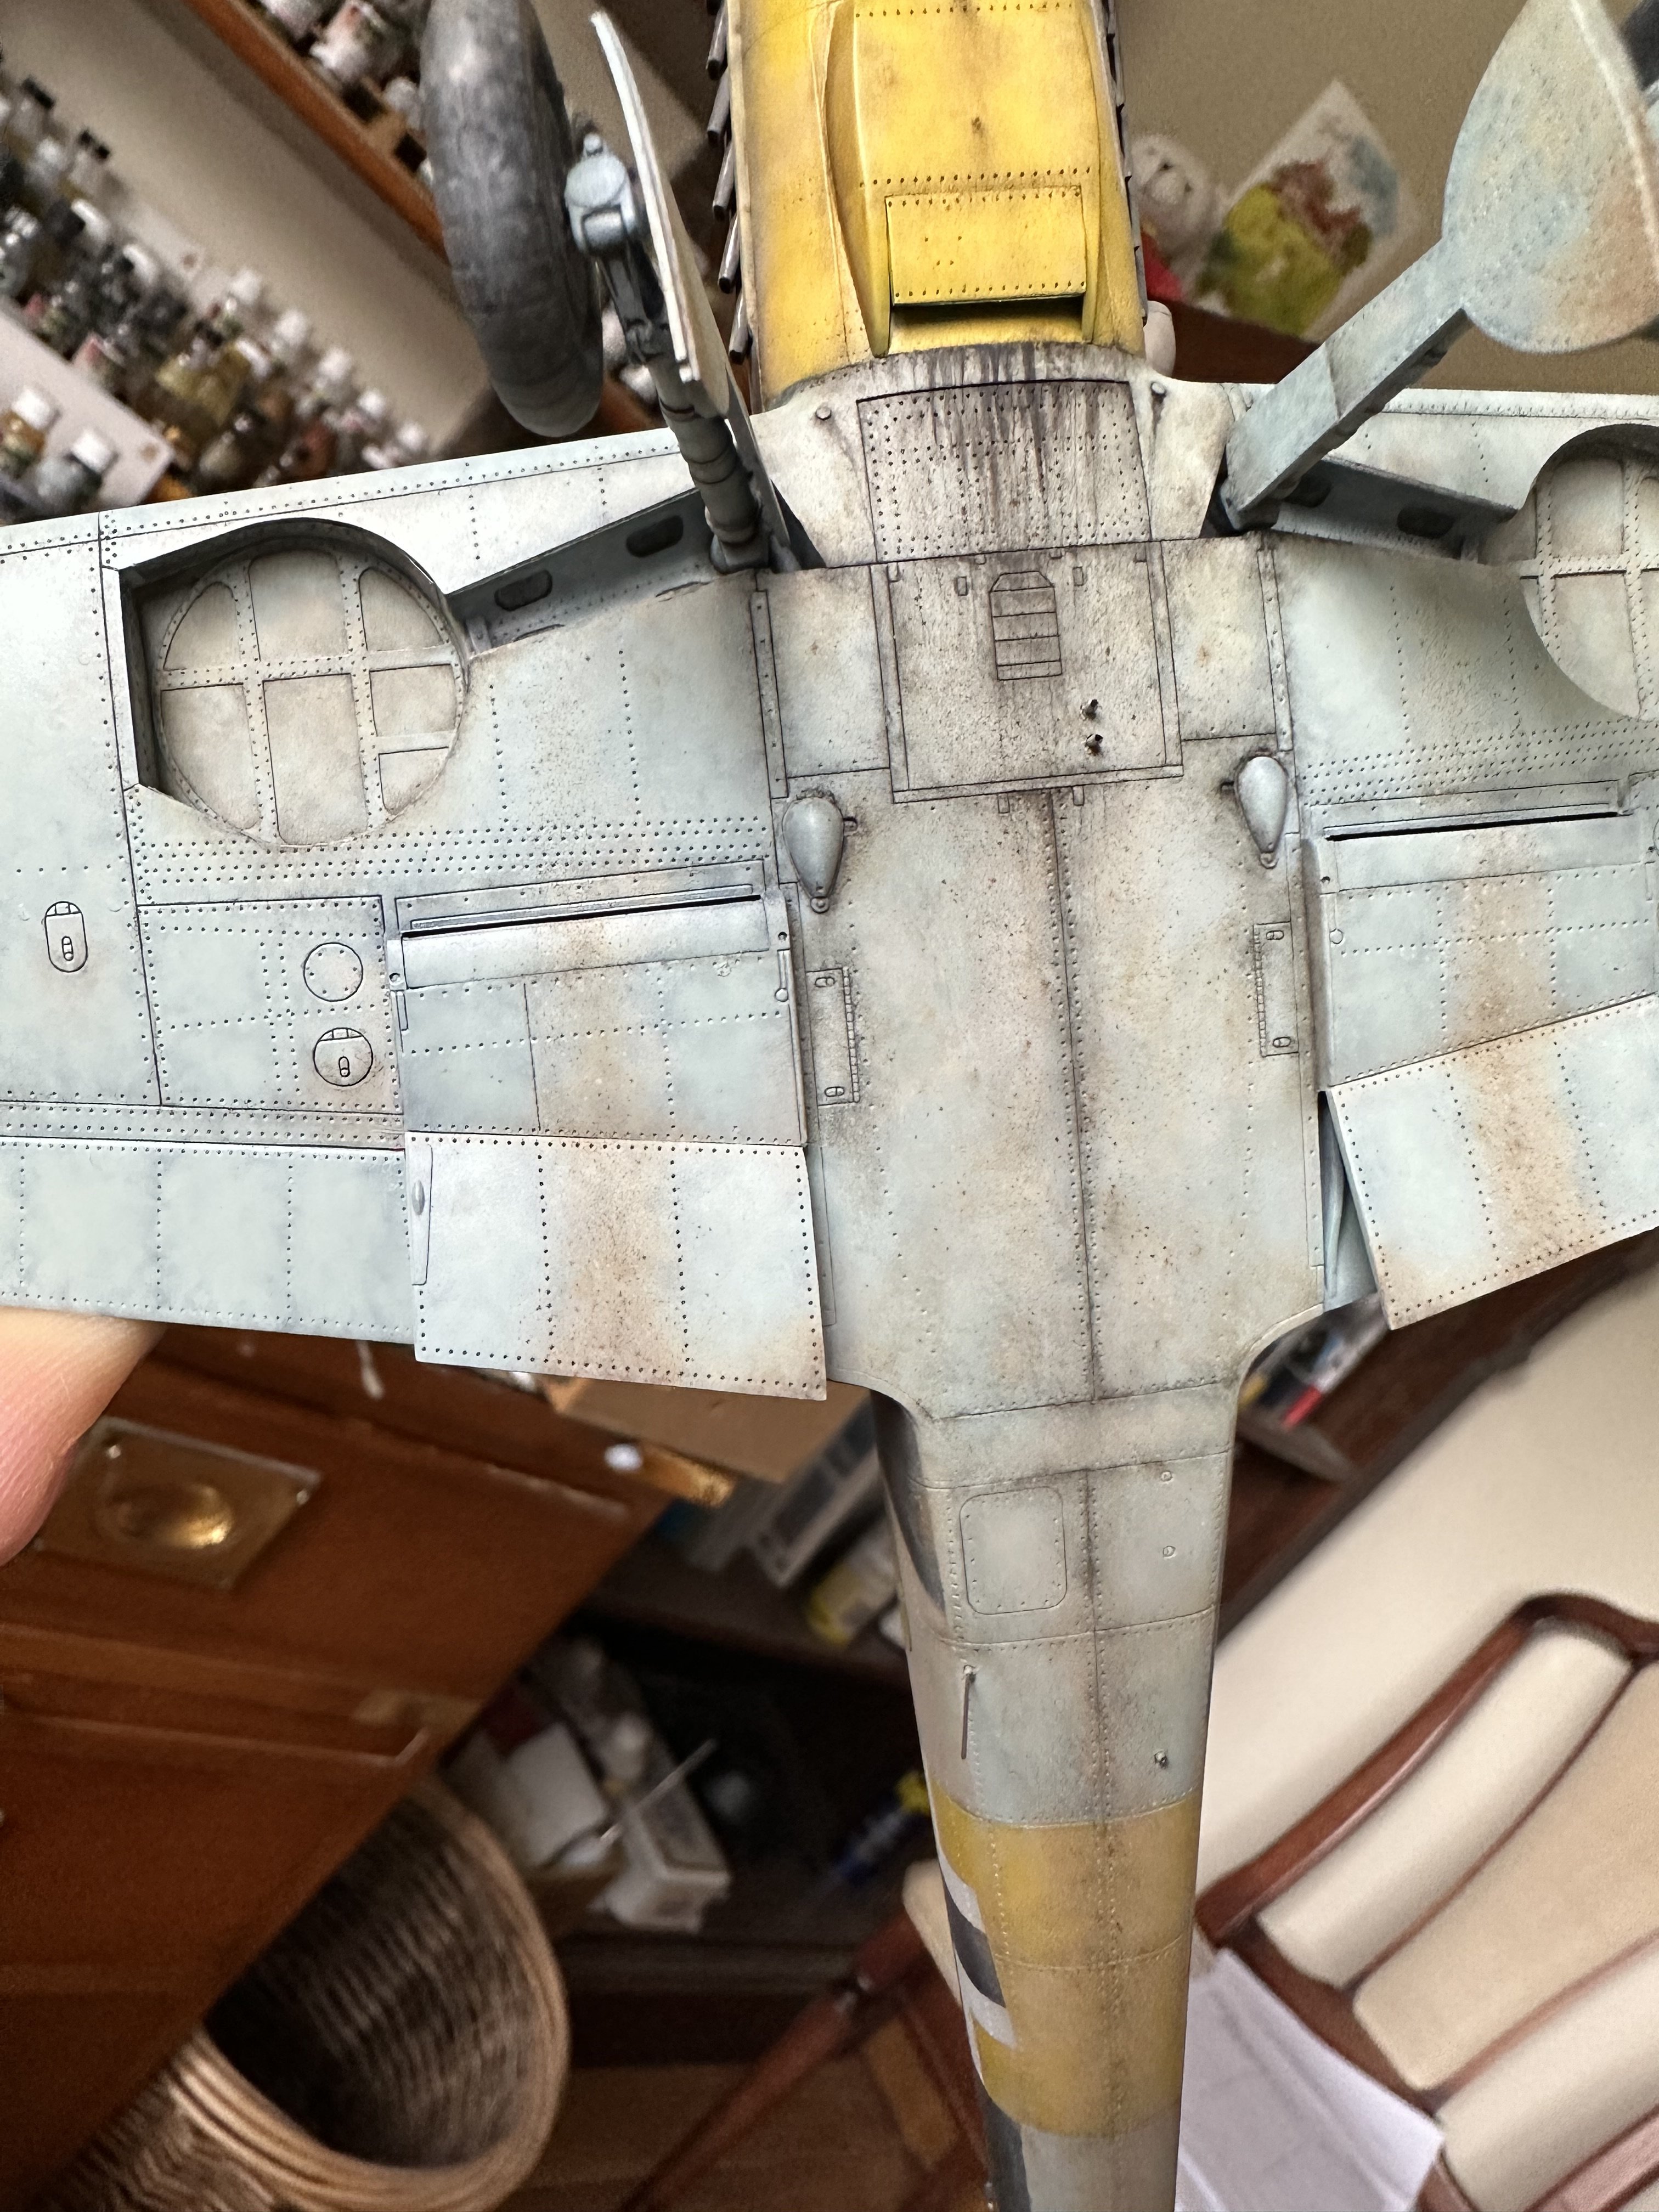
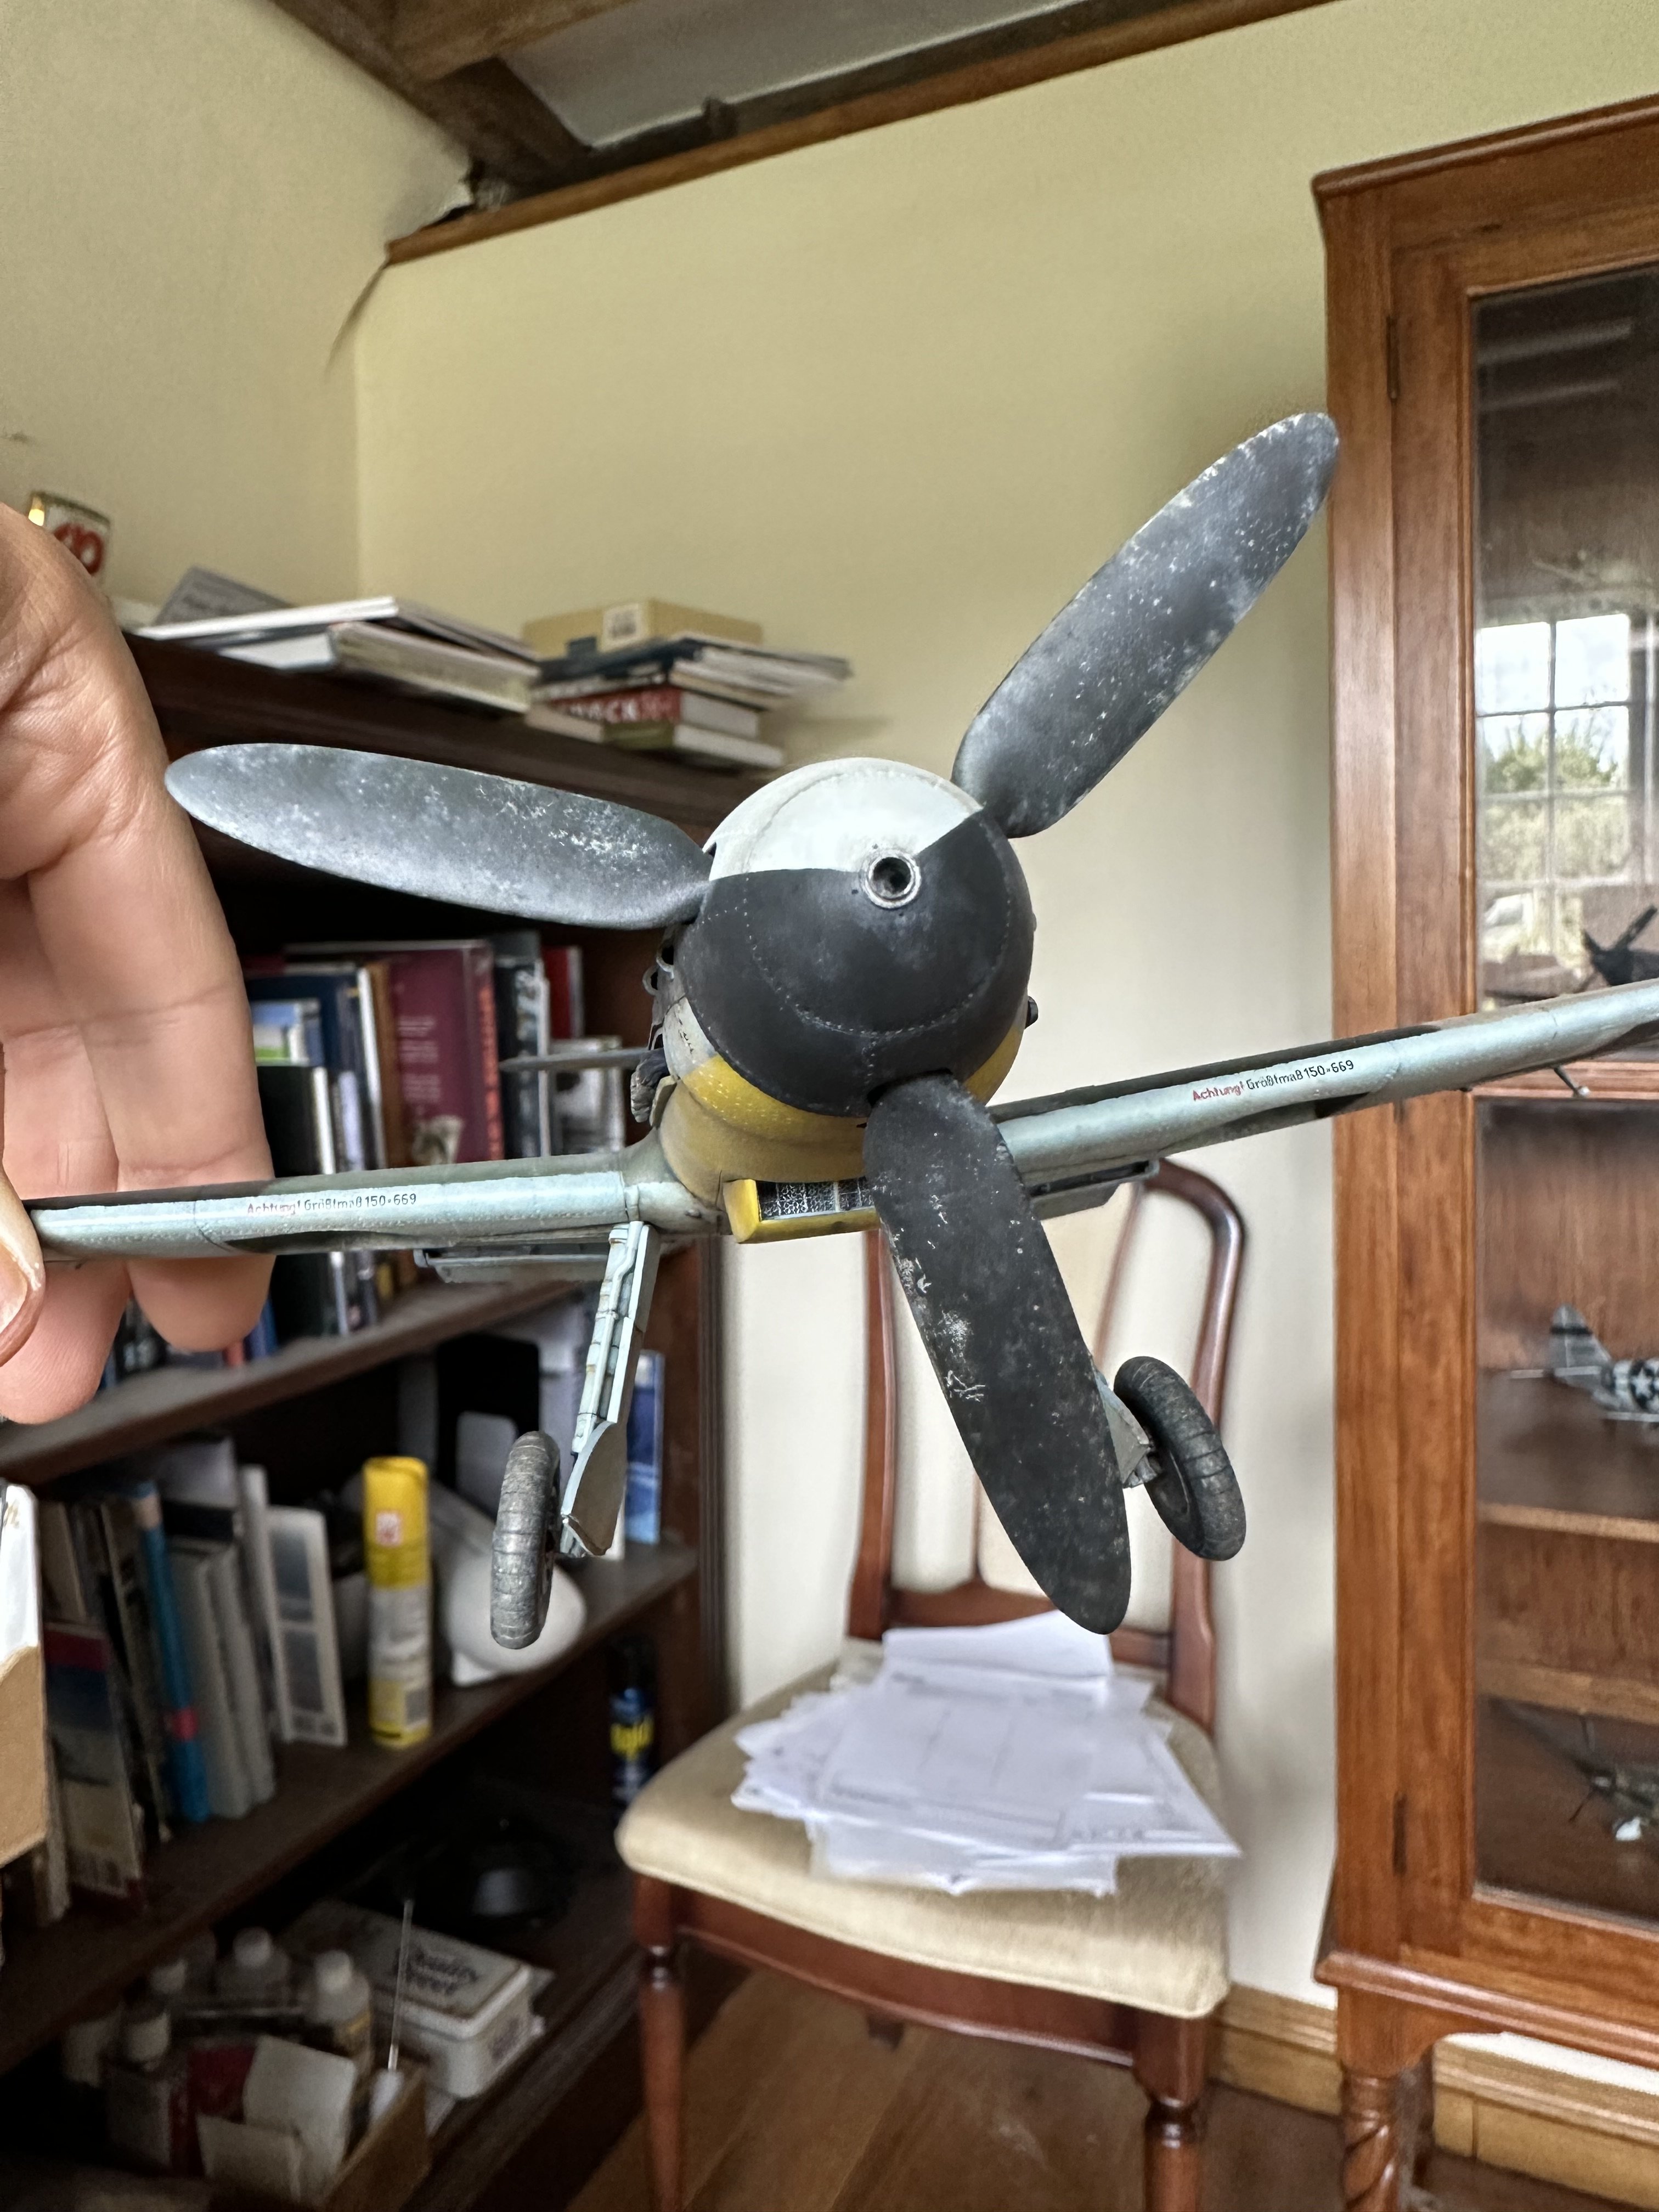
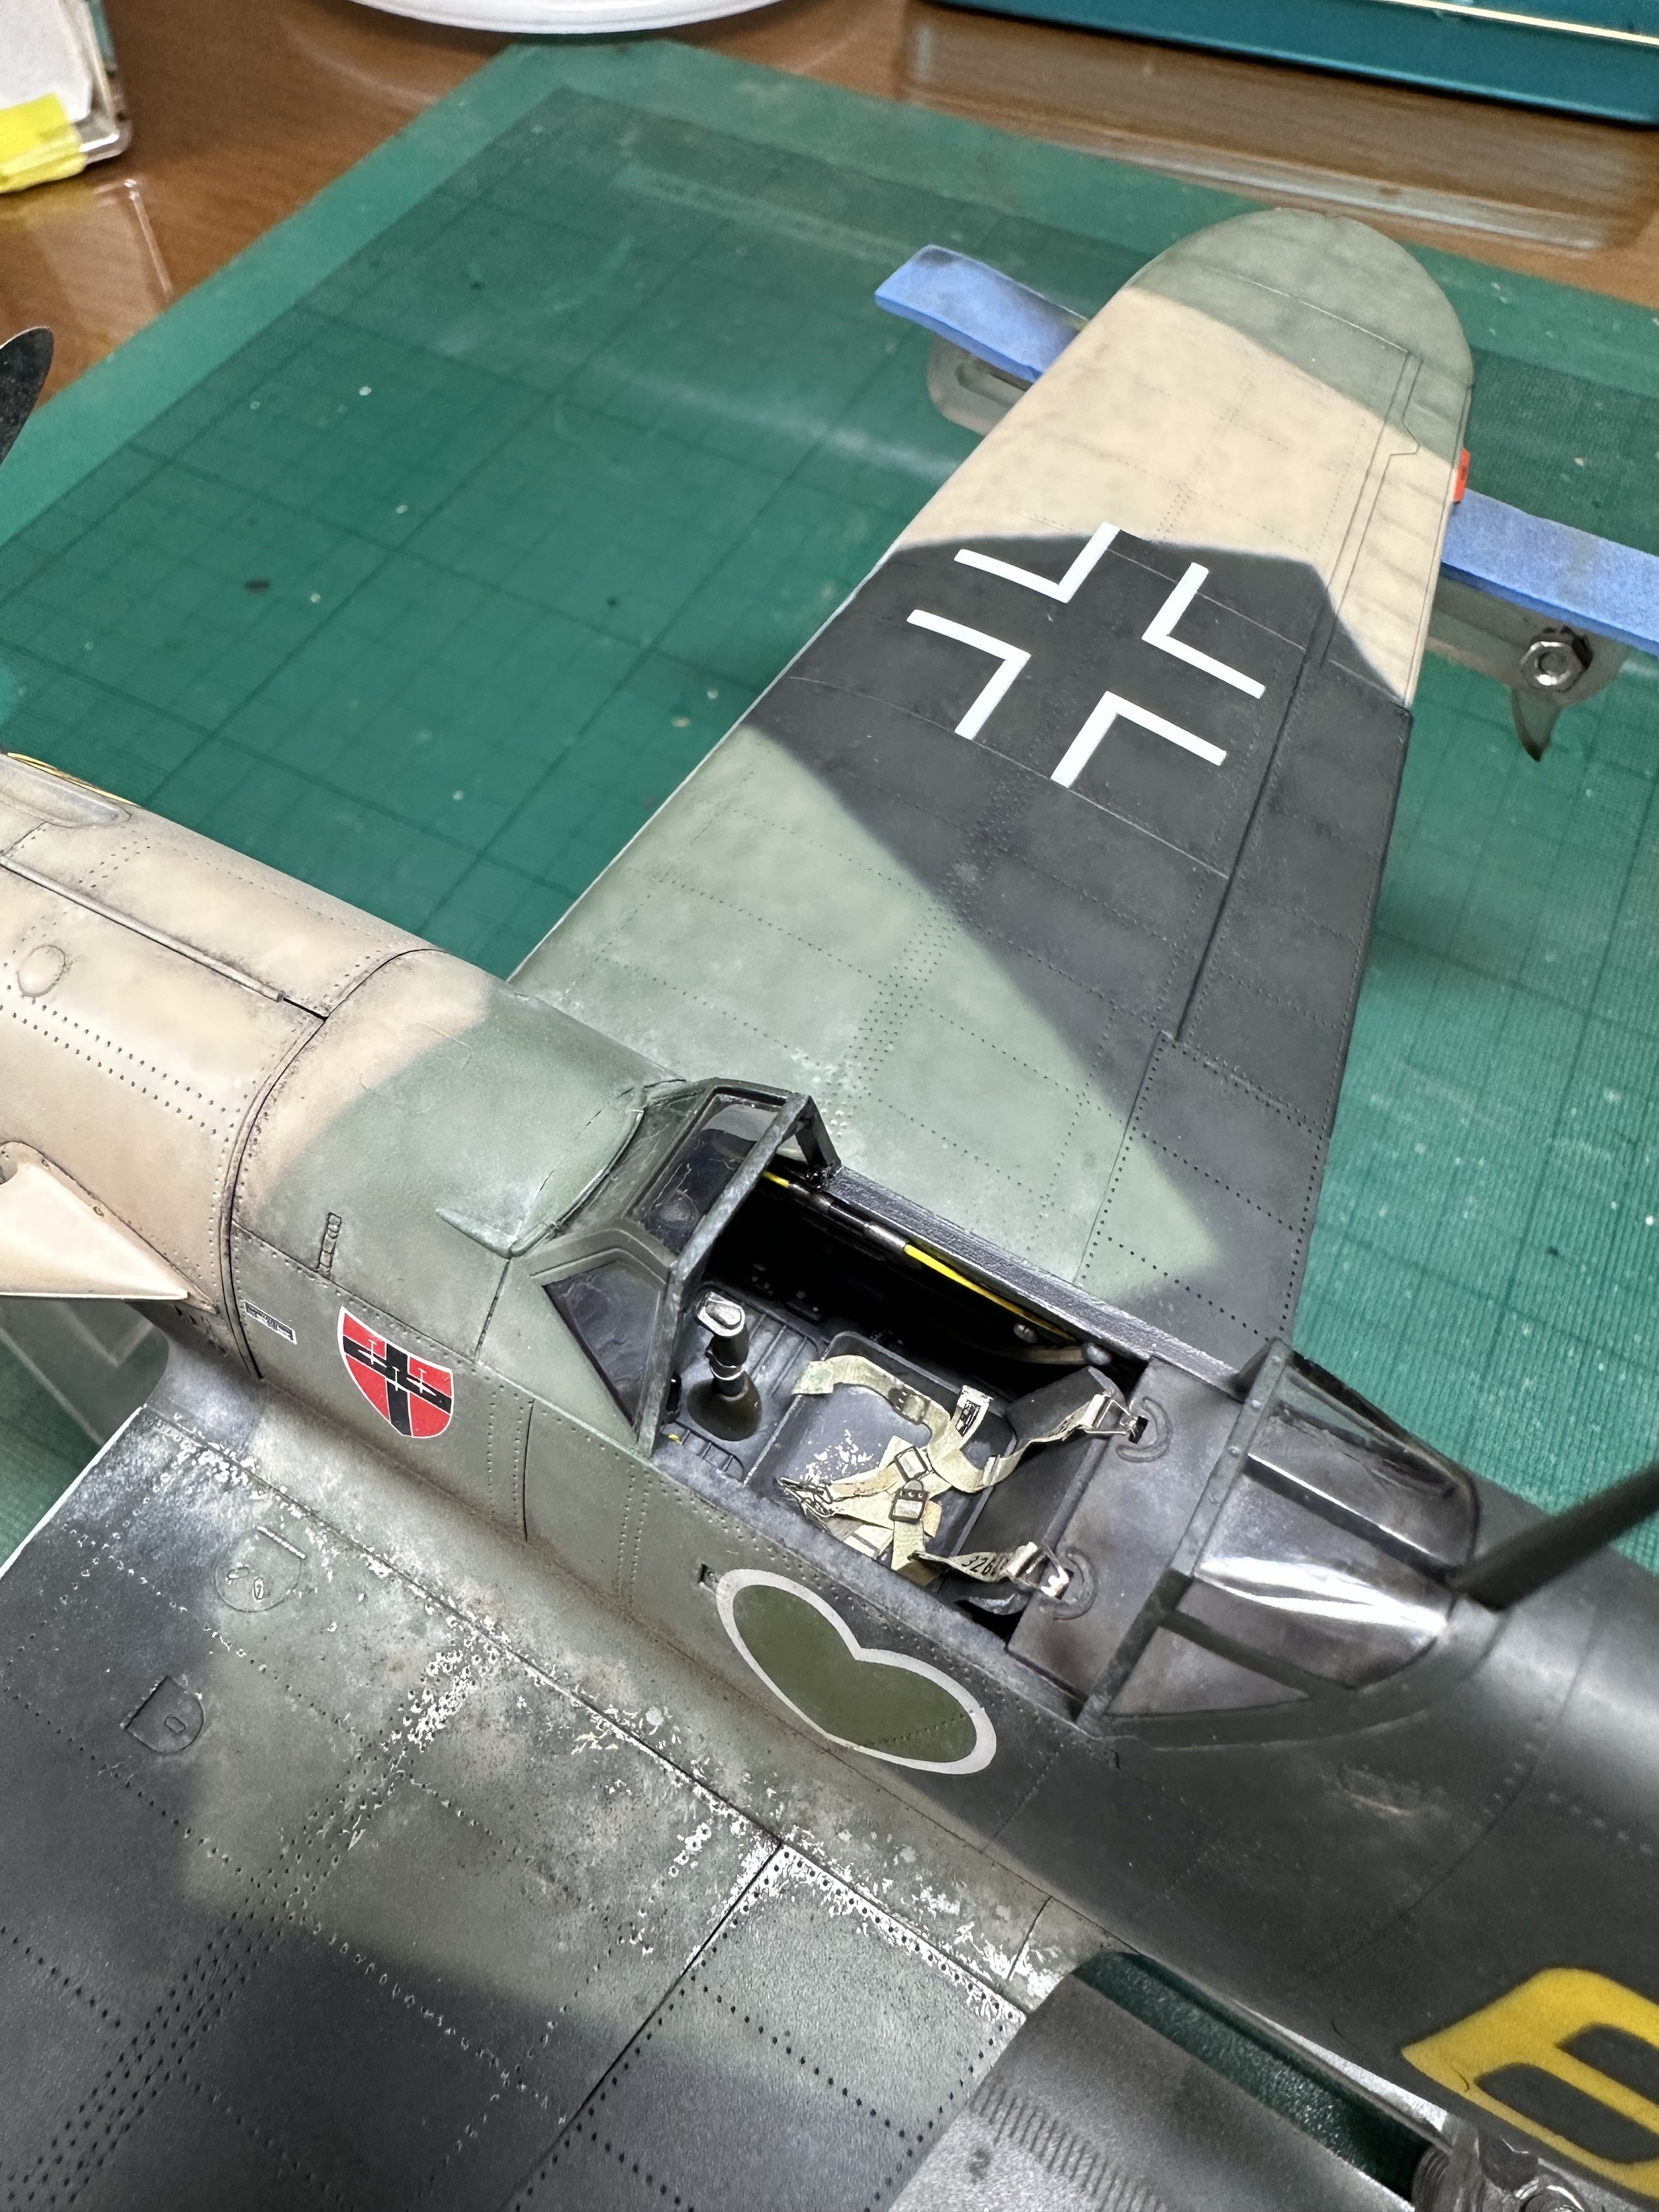
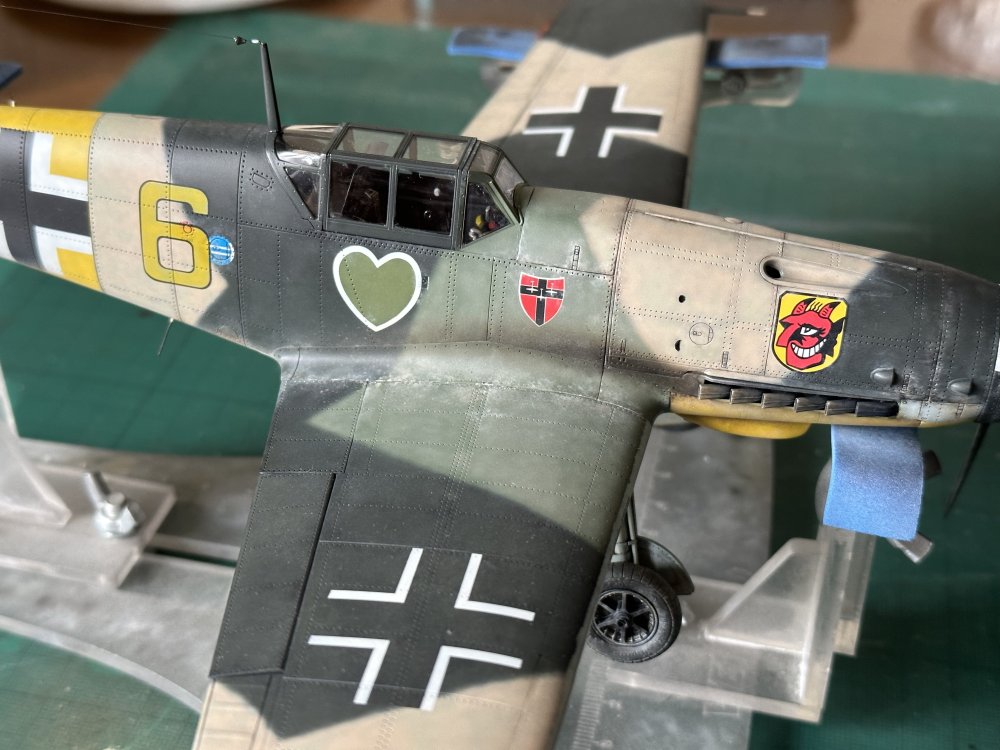
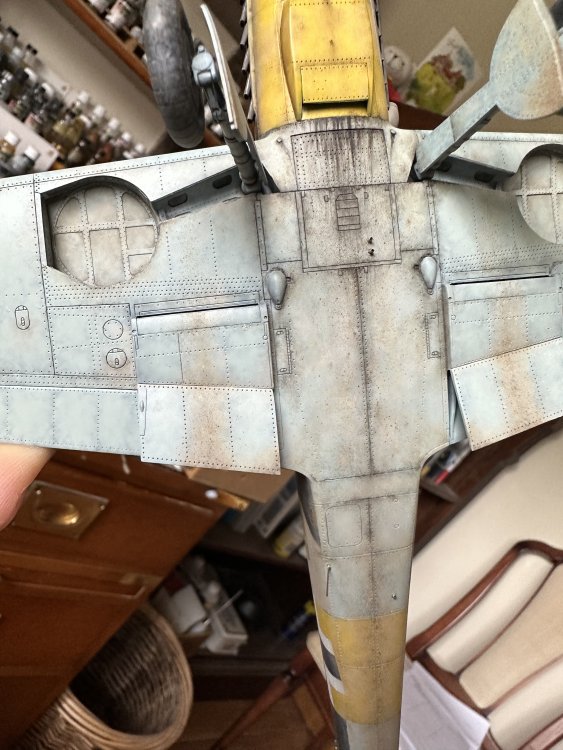
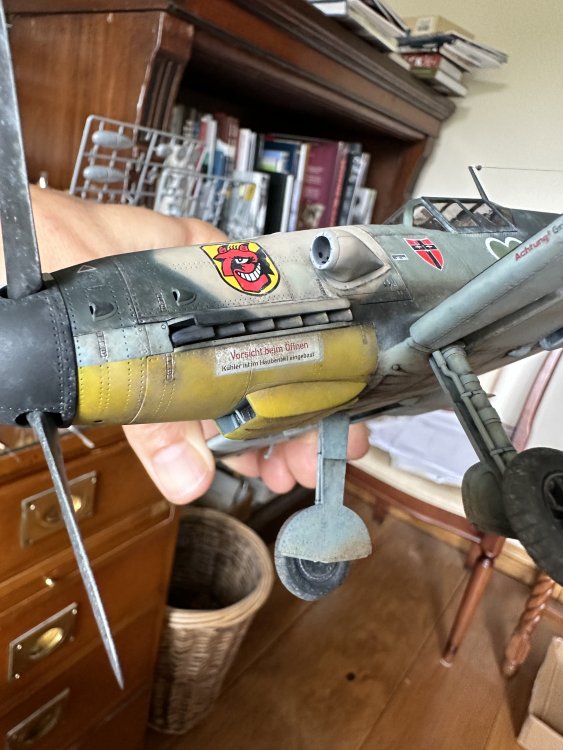
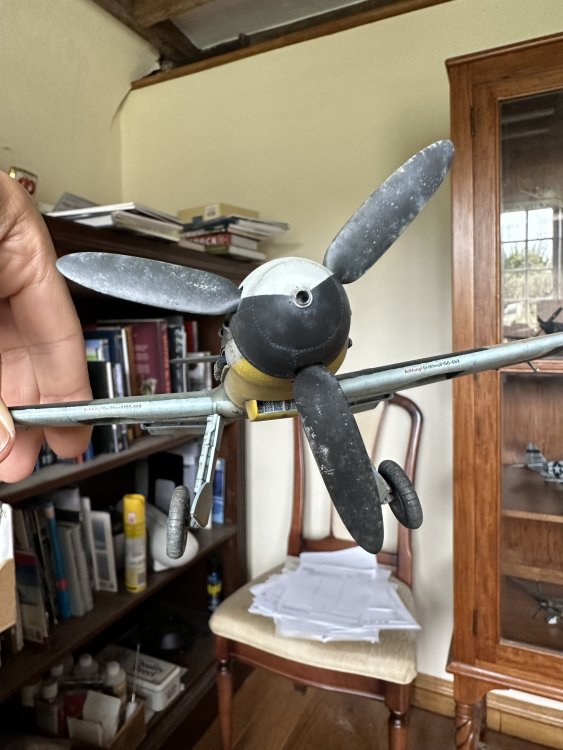
This is on my bench right now, but shortly to be leaving it as it’s basically done. I’ll try to get some better shots in the near future. Needs small mat coat around insulators on aerial wires and where the wire meets the fuselage but otherwise I’m f*cking done with this! after building one (my first) Trumpeter kit my thoughts are a) I will be building the Revell one as my next early G, and not sure I will build another Trumpy 109 and b) *this* is why you build Tamiya!! (And Kotare)


-
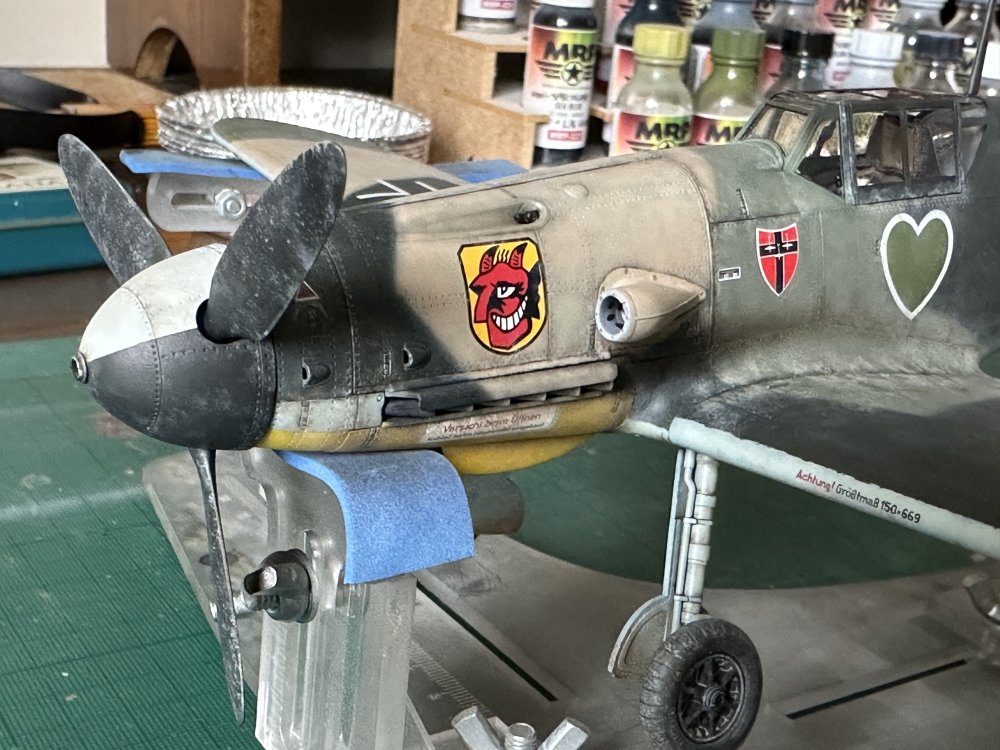
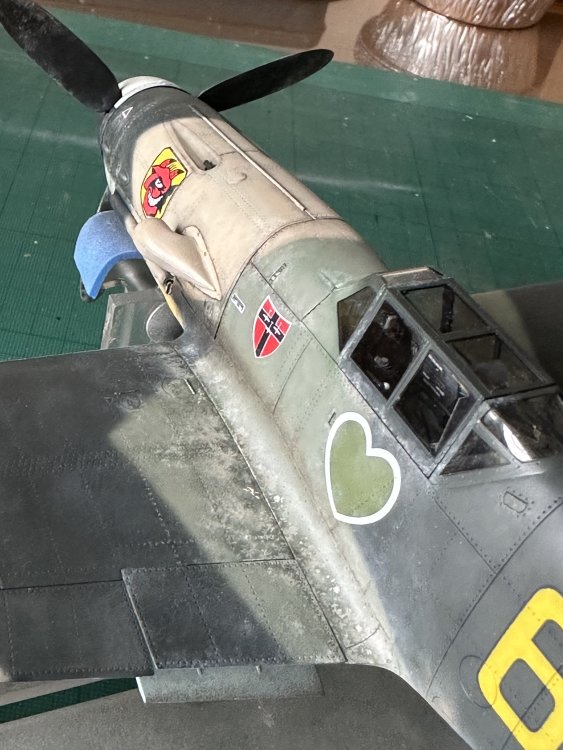
What is on your bench right now ? Share a picture :)
nmayhew replied to Martinnfb's topic in Modelling Discussion
PS if you f8ck any bit up, just wipe with Sansodor and start again; MRP paints are impervious to it;