nmayhew
-
Posts
1,154 -
Joined
-
Last visited
Content Type
Profiles
Forums
Events
Gallery
Everything posted by nmayhew
-
I don’t think they “chose to go with…” I honestly think it’s just the best they could manage which is pretty sh*t in this case (talking about the texture, not the kit as a whole). if this were an armour kit, I could understand the attempt at rolled steel texture etc, but this is pretty poor. as for solutions, I think will sand then prime, when that joyous time comes!!
-
Because 1/32 is the one true scale #manscale 😃
-
Trumpeter F4F-3 Late - 1/32nd
nmayhew replied to Bomber_County's topic in LSM 1/35 and Larger Work In Progress
Sorry for your decal woes but… masks or HGW wet transfers for main markings; HGW will also cover you for wet transfer stencils i would only consider decals when there is absolutely no alternative -
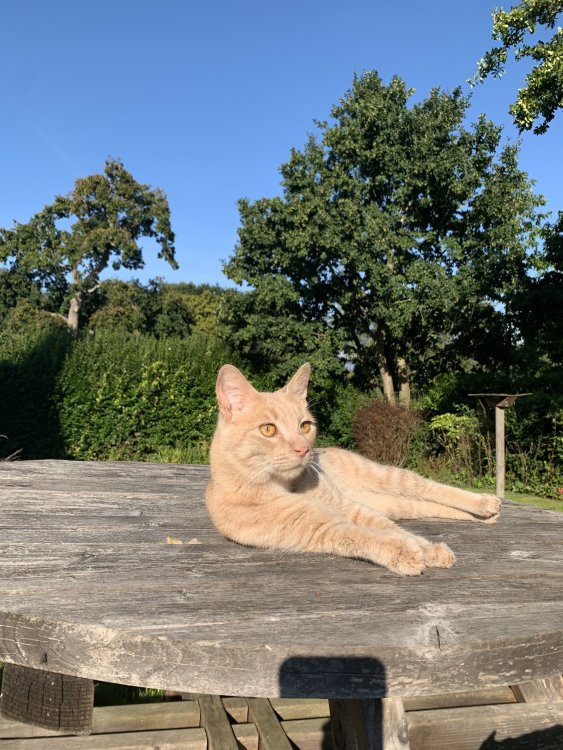
Dempsey and Makepeace from the 80s cop show Fuggles and Bramling (named after Kentish hop varieties) All four were rescues, caught and taken from the local rubbish dump to the cat home where we fell in love with them. We’ve had them since April, after the last of Spitfire, Hurricane and Monty passed earlier this year. It’s taken them a while, but they are now my firmly ‘at home’, and rule the roost here.


-
Awesome progress and definitely saving this down for when I build mine but have to say yikes that tail plane pic looks ugly when you zoom in (looks like a very ‘industrial’ grit sandpaper was used?) sorry, but thank you again - this is invaluable work cheers Nick
- 90 replies
-
- 2
-

-

-
- zoukei-mura
- 109
- (and 1 more)
-
translation: "no pressure" 😃
-
strange omissions re filler, the only non-shrinking non-cracking ones i know of are home made sprue goo or 2 part epoxies, but the latter may set hard as nails and be difficult to scribe, even if they may sand well; all the glazing type / lacquer based ones will shrink a little I believe your mileage may vary etc etc
-
Never heard of Z-m?! Do they live in some 1/72 backwater? 😮
-
I am still in two minds how I will tackle this area, and might even leave it as is. I just think the attempts to sand away the excess material will look like just that ie be obvious the area has been given a right seeing to. The fit also looks looser than a whore's drawers! This area could have been such a win for Z-m, and lead other manufacturers to approach tail planes like this, but just turned out that what they gave with one hand they more than took away with the other. I have read all the back and forth between Radu and Vincent on this one but can't help think Z-m massively dropped the ball here. What they ended up with is a 1/72 scale interpretation of fine detail, just scaled up to 1/32!! #fail Thanks again for putting this together in such a detailed and helpful manner. As someone who used to do this occasionally (for LSM and its predecessor), I know how much work it is. Cheers Nick
- 90 replies
-
- 7
-
-
-
- zoukei-mura
- 109
- (and 1 more)
-
What is on your bench right now ? Share a picture :)
nmayhew replied to Martinnfb's topic in Modelling Discussion
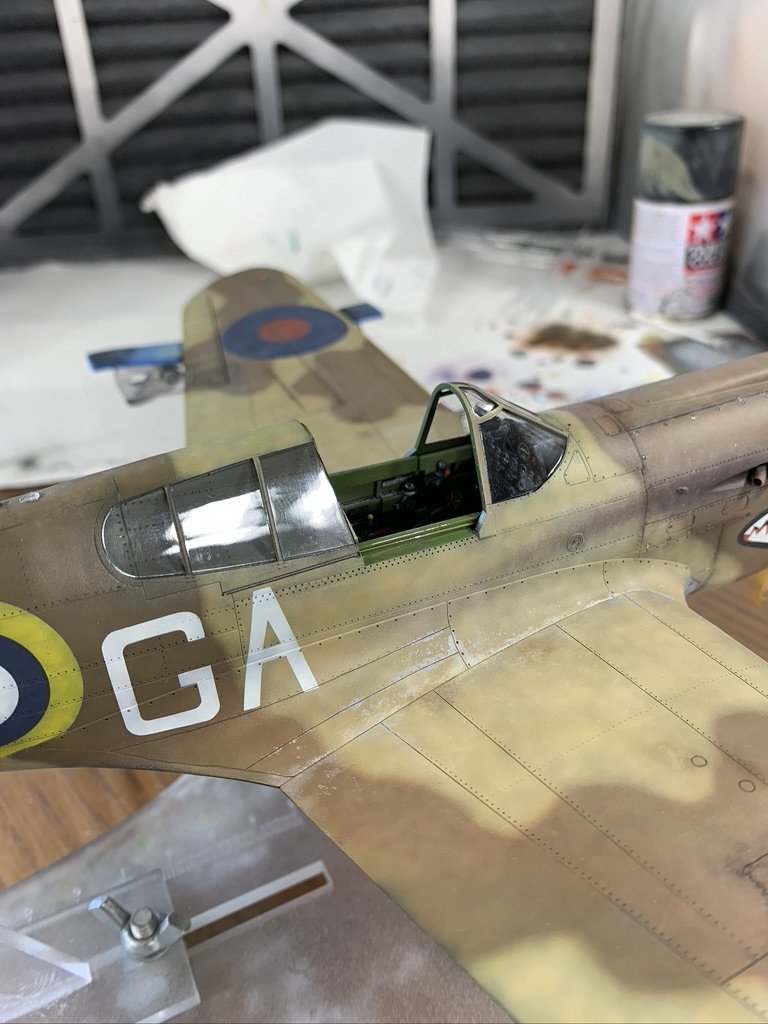
Tamiya P-51 as 363FG bird "Skyczar" - or at least it will be once i figure out how to trace the Skyczar text into a mask!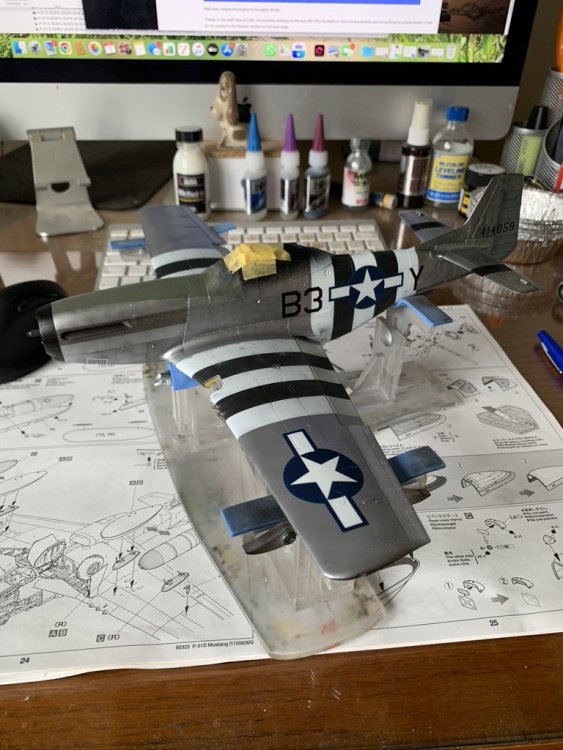
-
This is fantastic stuff, thank you.
- 90 replies
-
- 3
-
-
-
- zoukei-mura
- 109
- (and 1 more)
-
A Christmas Carol, by Charles DIckens
-
For you NMF painters... ( you know who you are) SMS Hyperchrome
nmayhew replied to GazzaS's topic in Modelling Discussion
Hey Gazza, so that sounds like a no then to me - the above is fine for small bits, but for full on NMF i guess it's quite limiting in terms of the order in which you have to do things I'll stick to MRP until someone comes up with the miracle paint but thank you anyway kind regards Nick -
For you NMF painters... ( you know who you are) SMS Hyperchrome
nmayhew replied to GazzaS's topic in Modelling Discussion
Can you mask over it, or even dare go near it? -
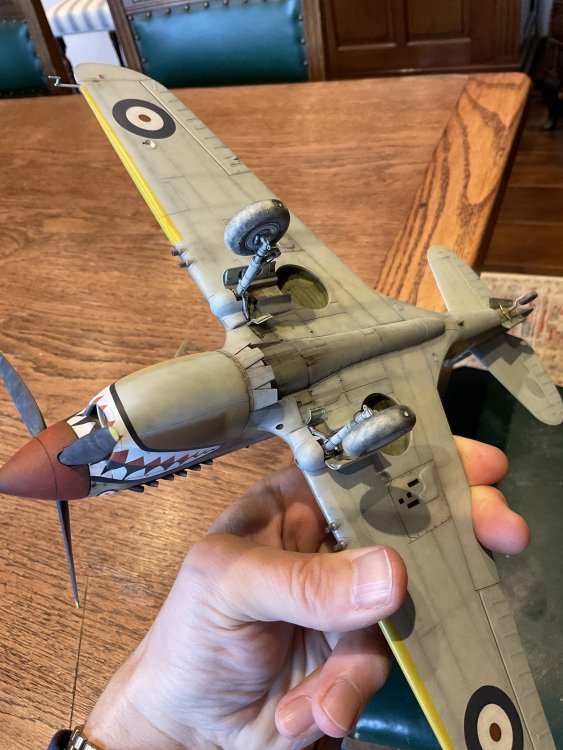
And some more pics


-
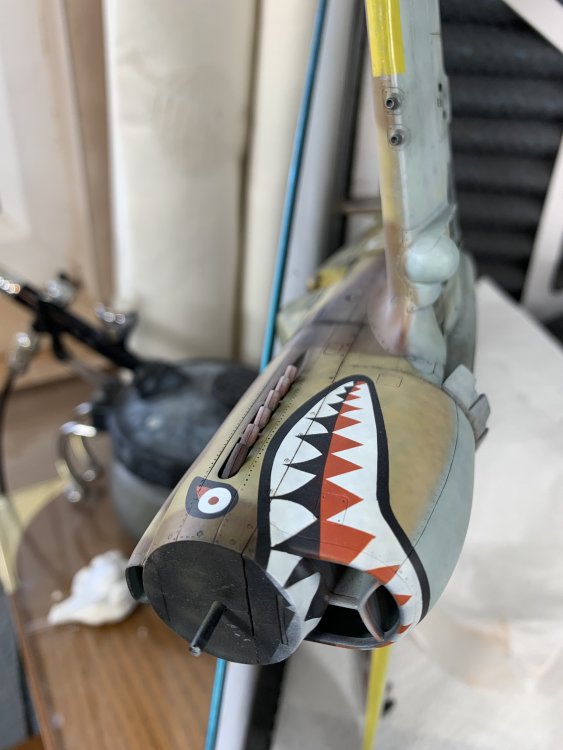
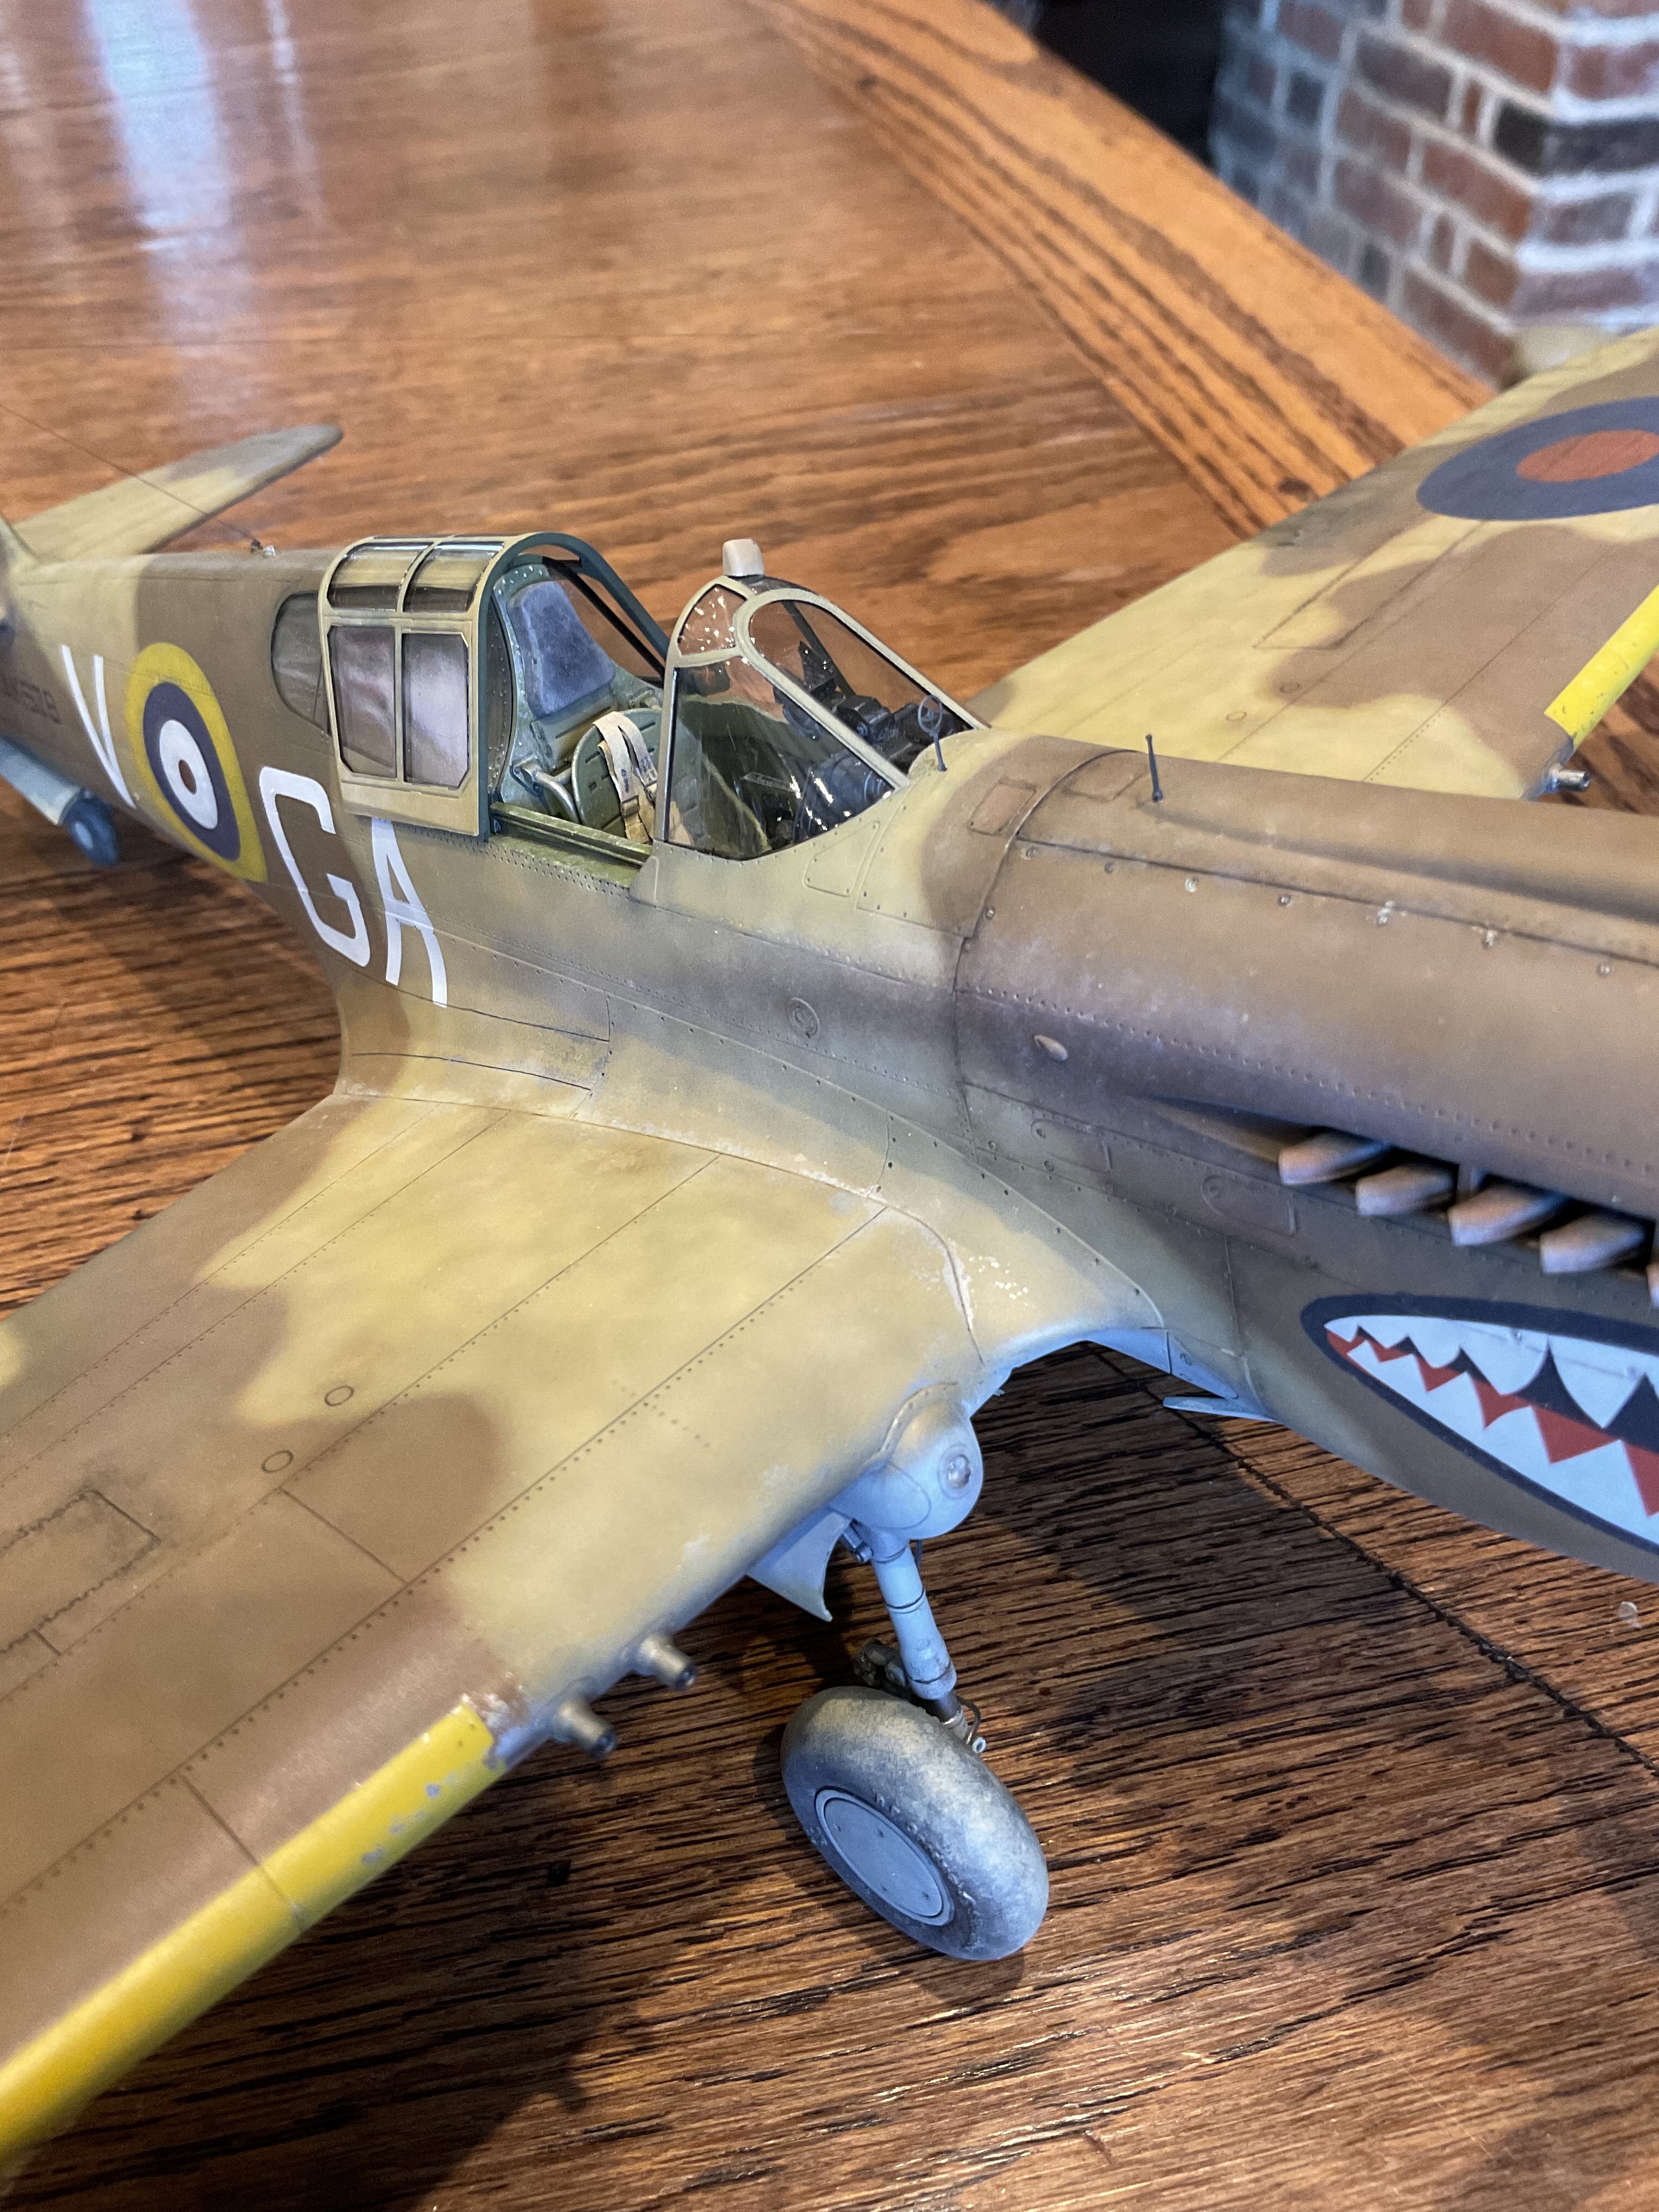
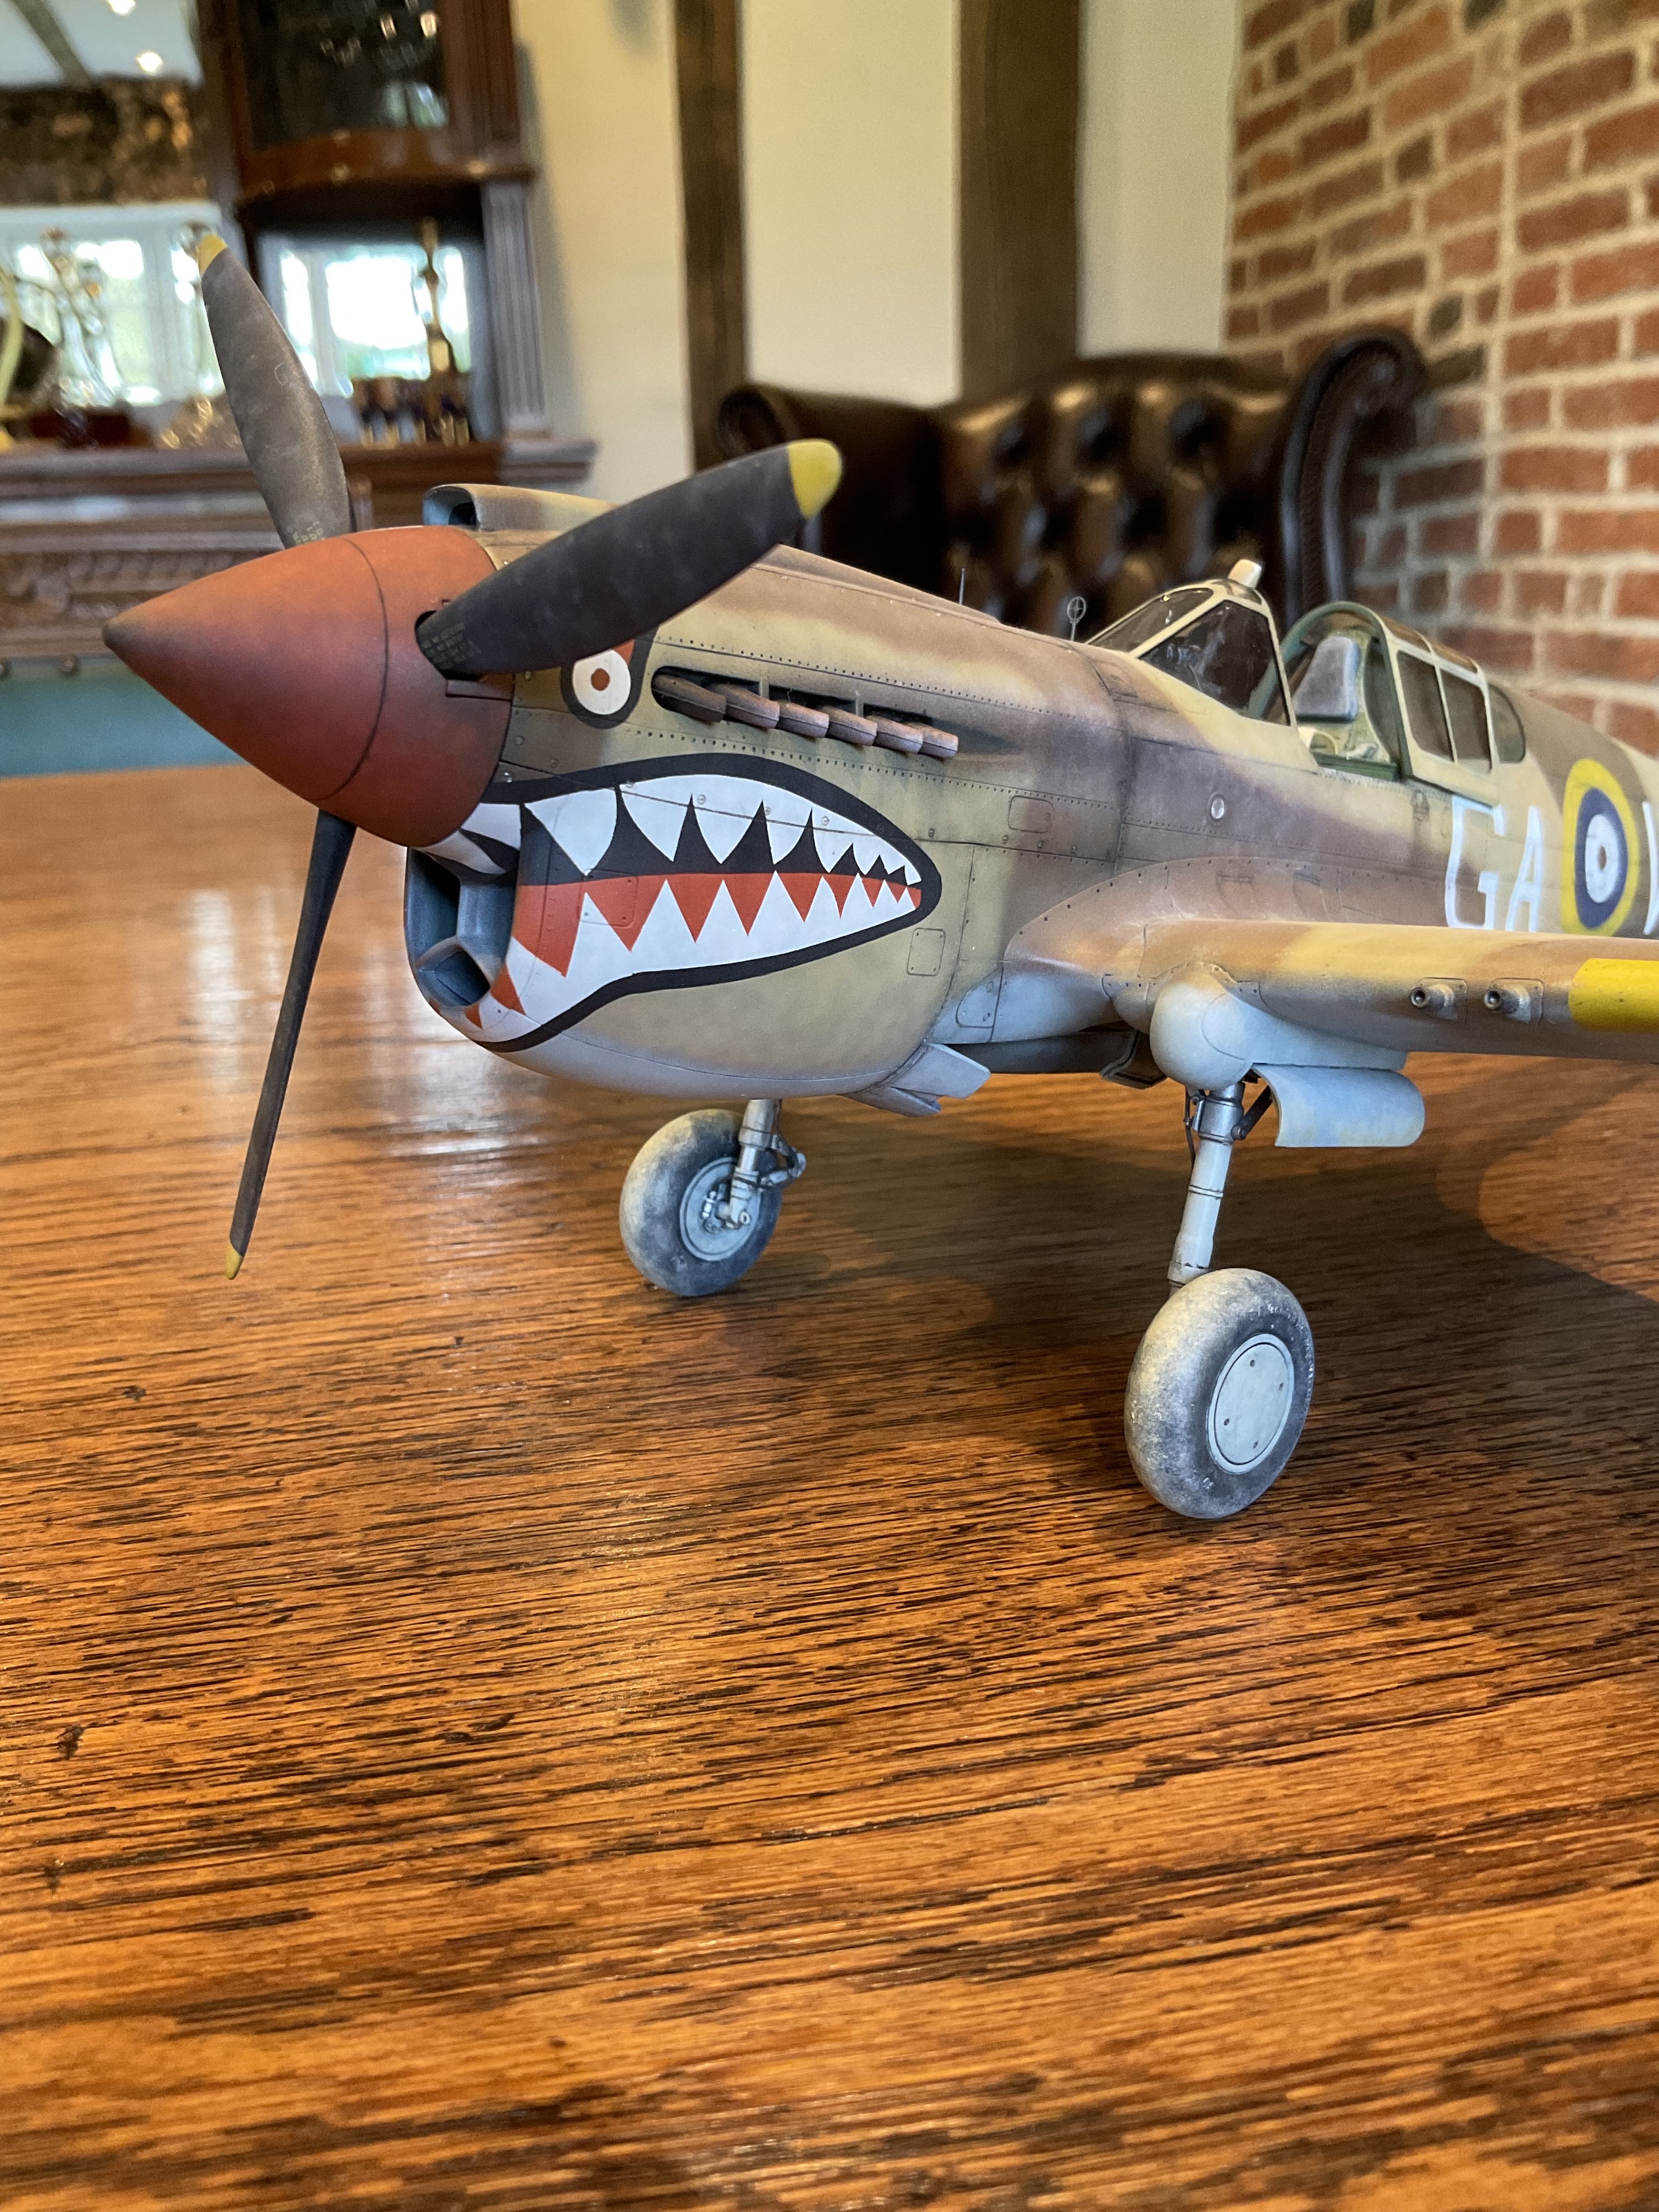
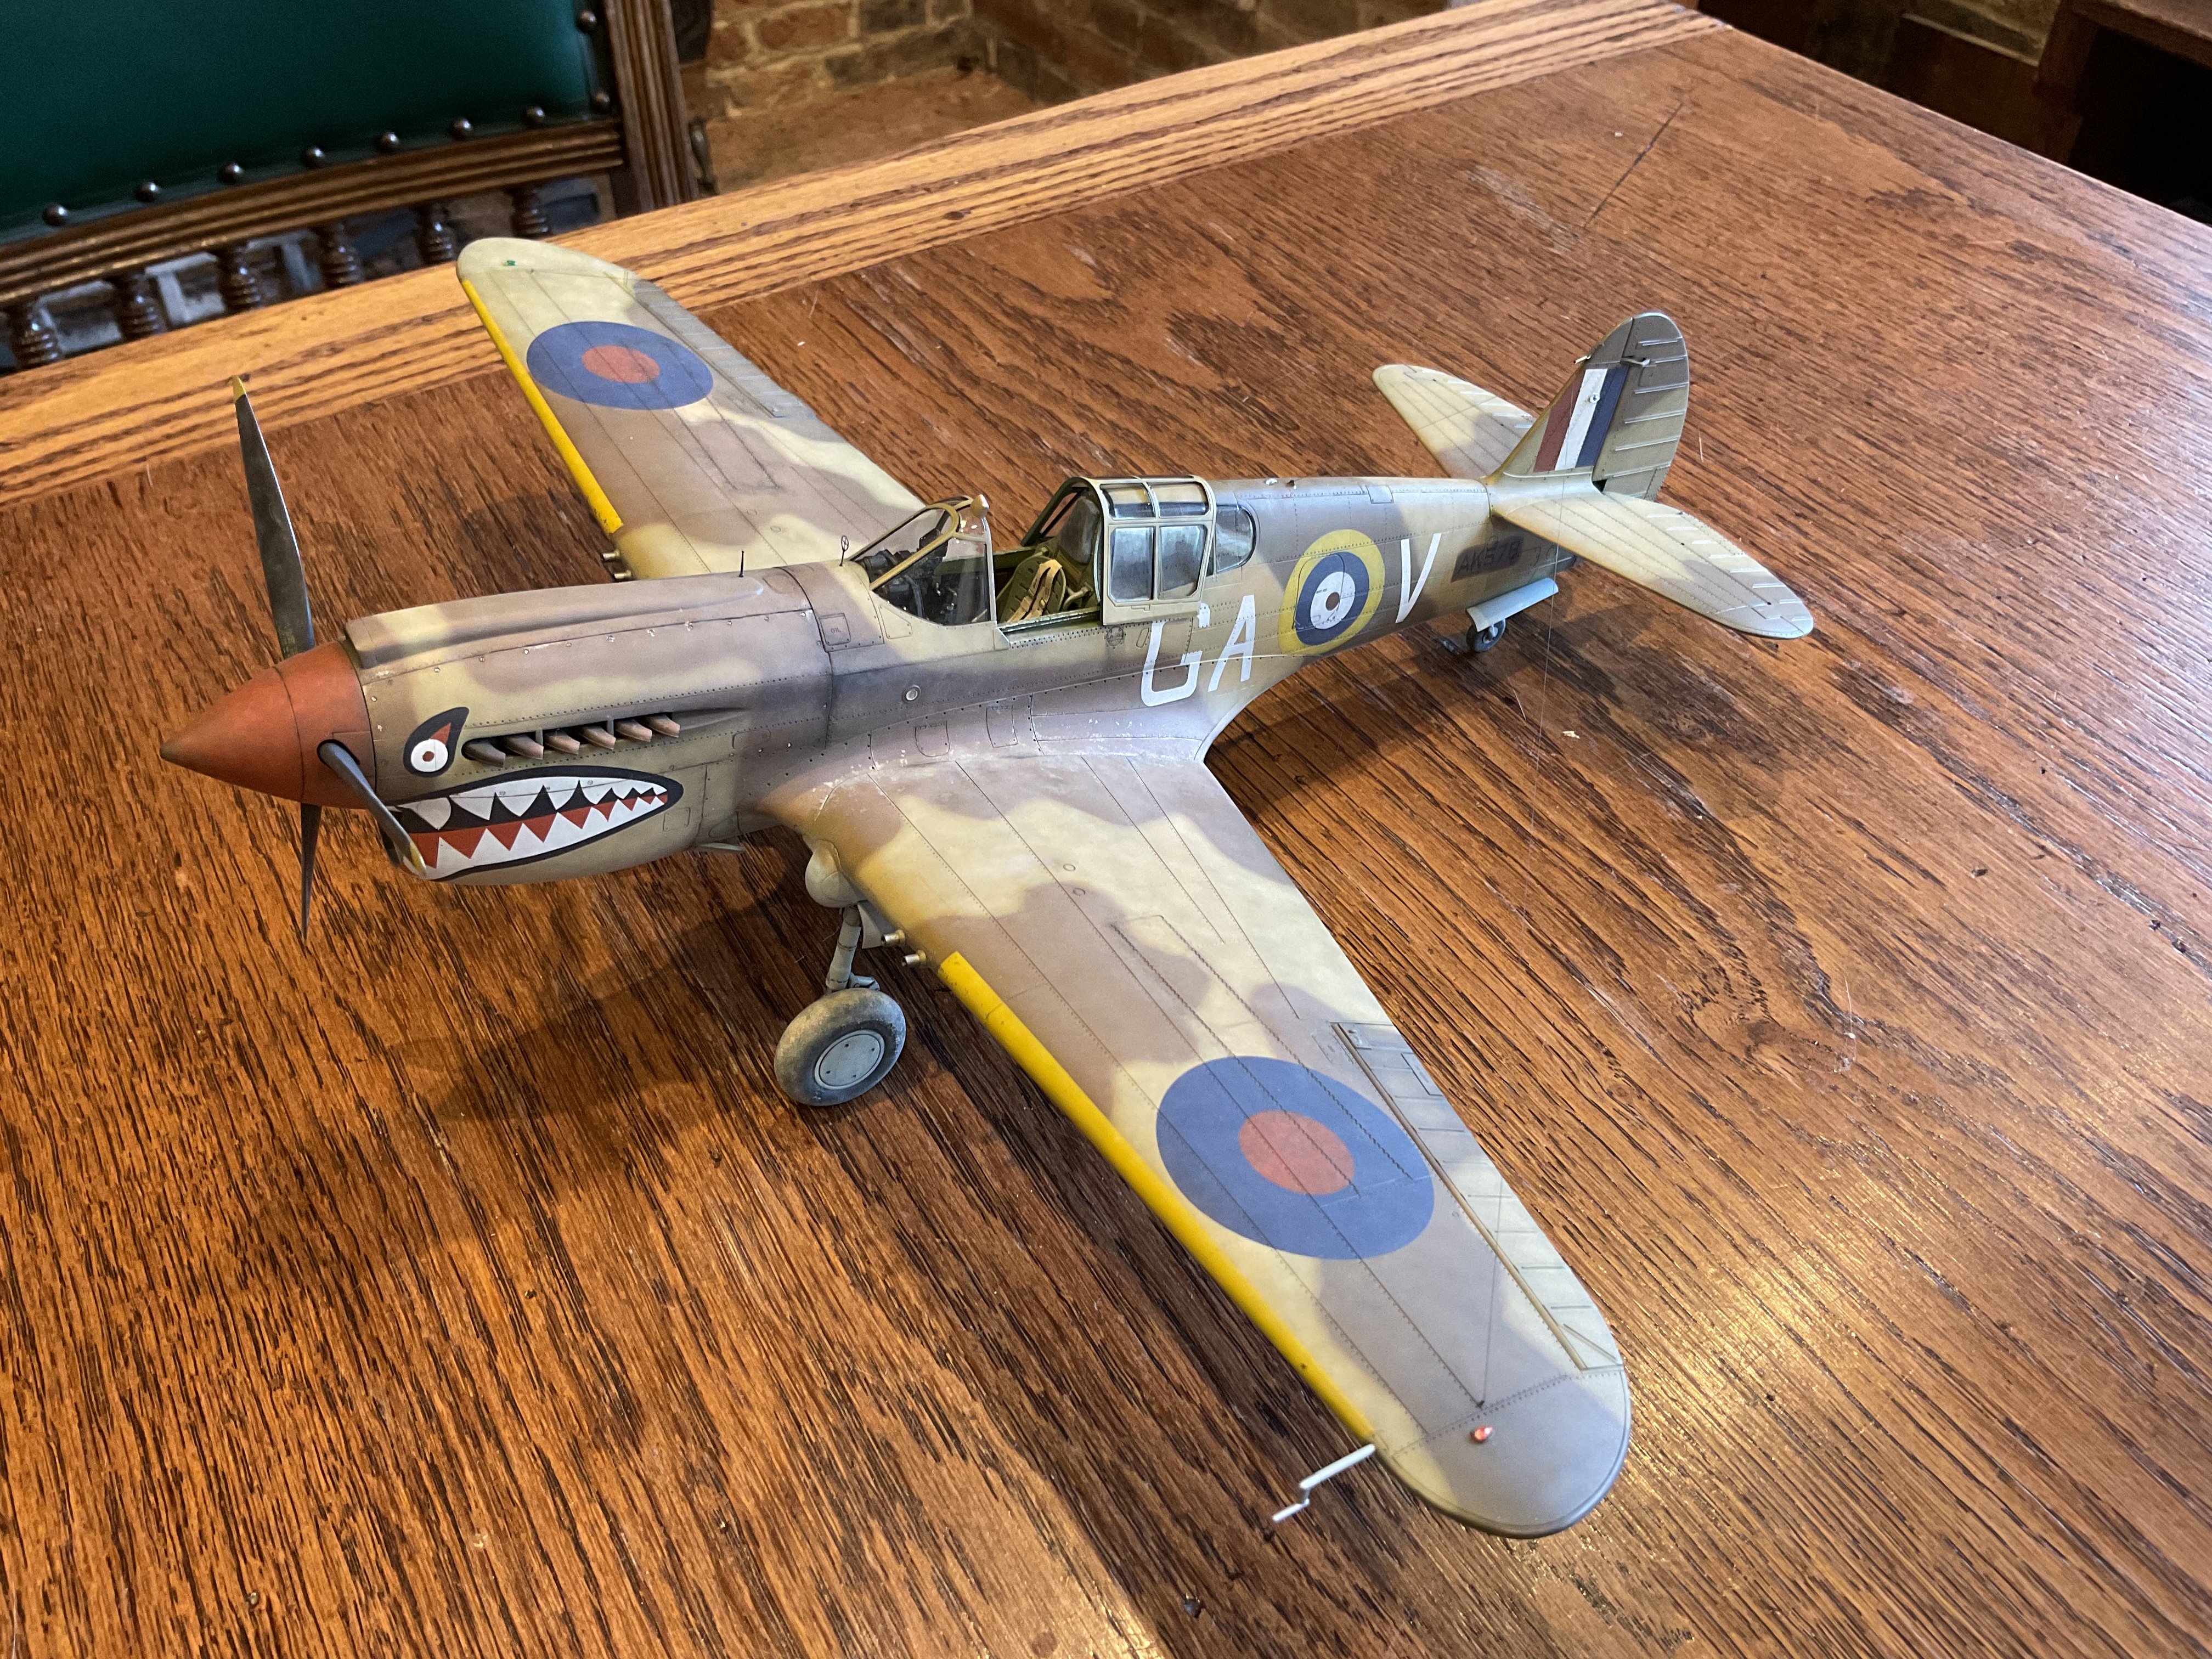
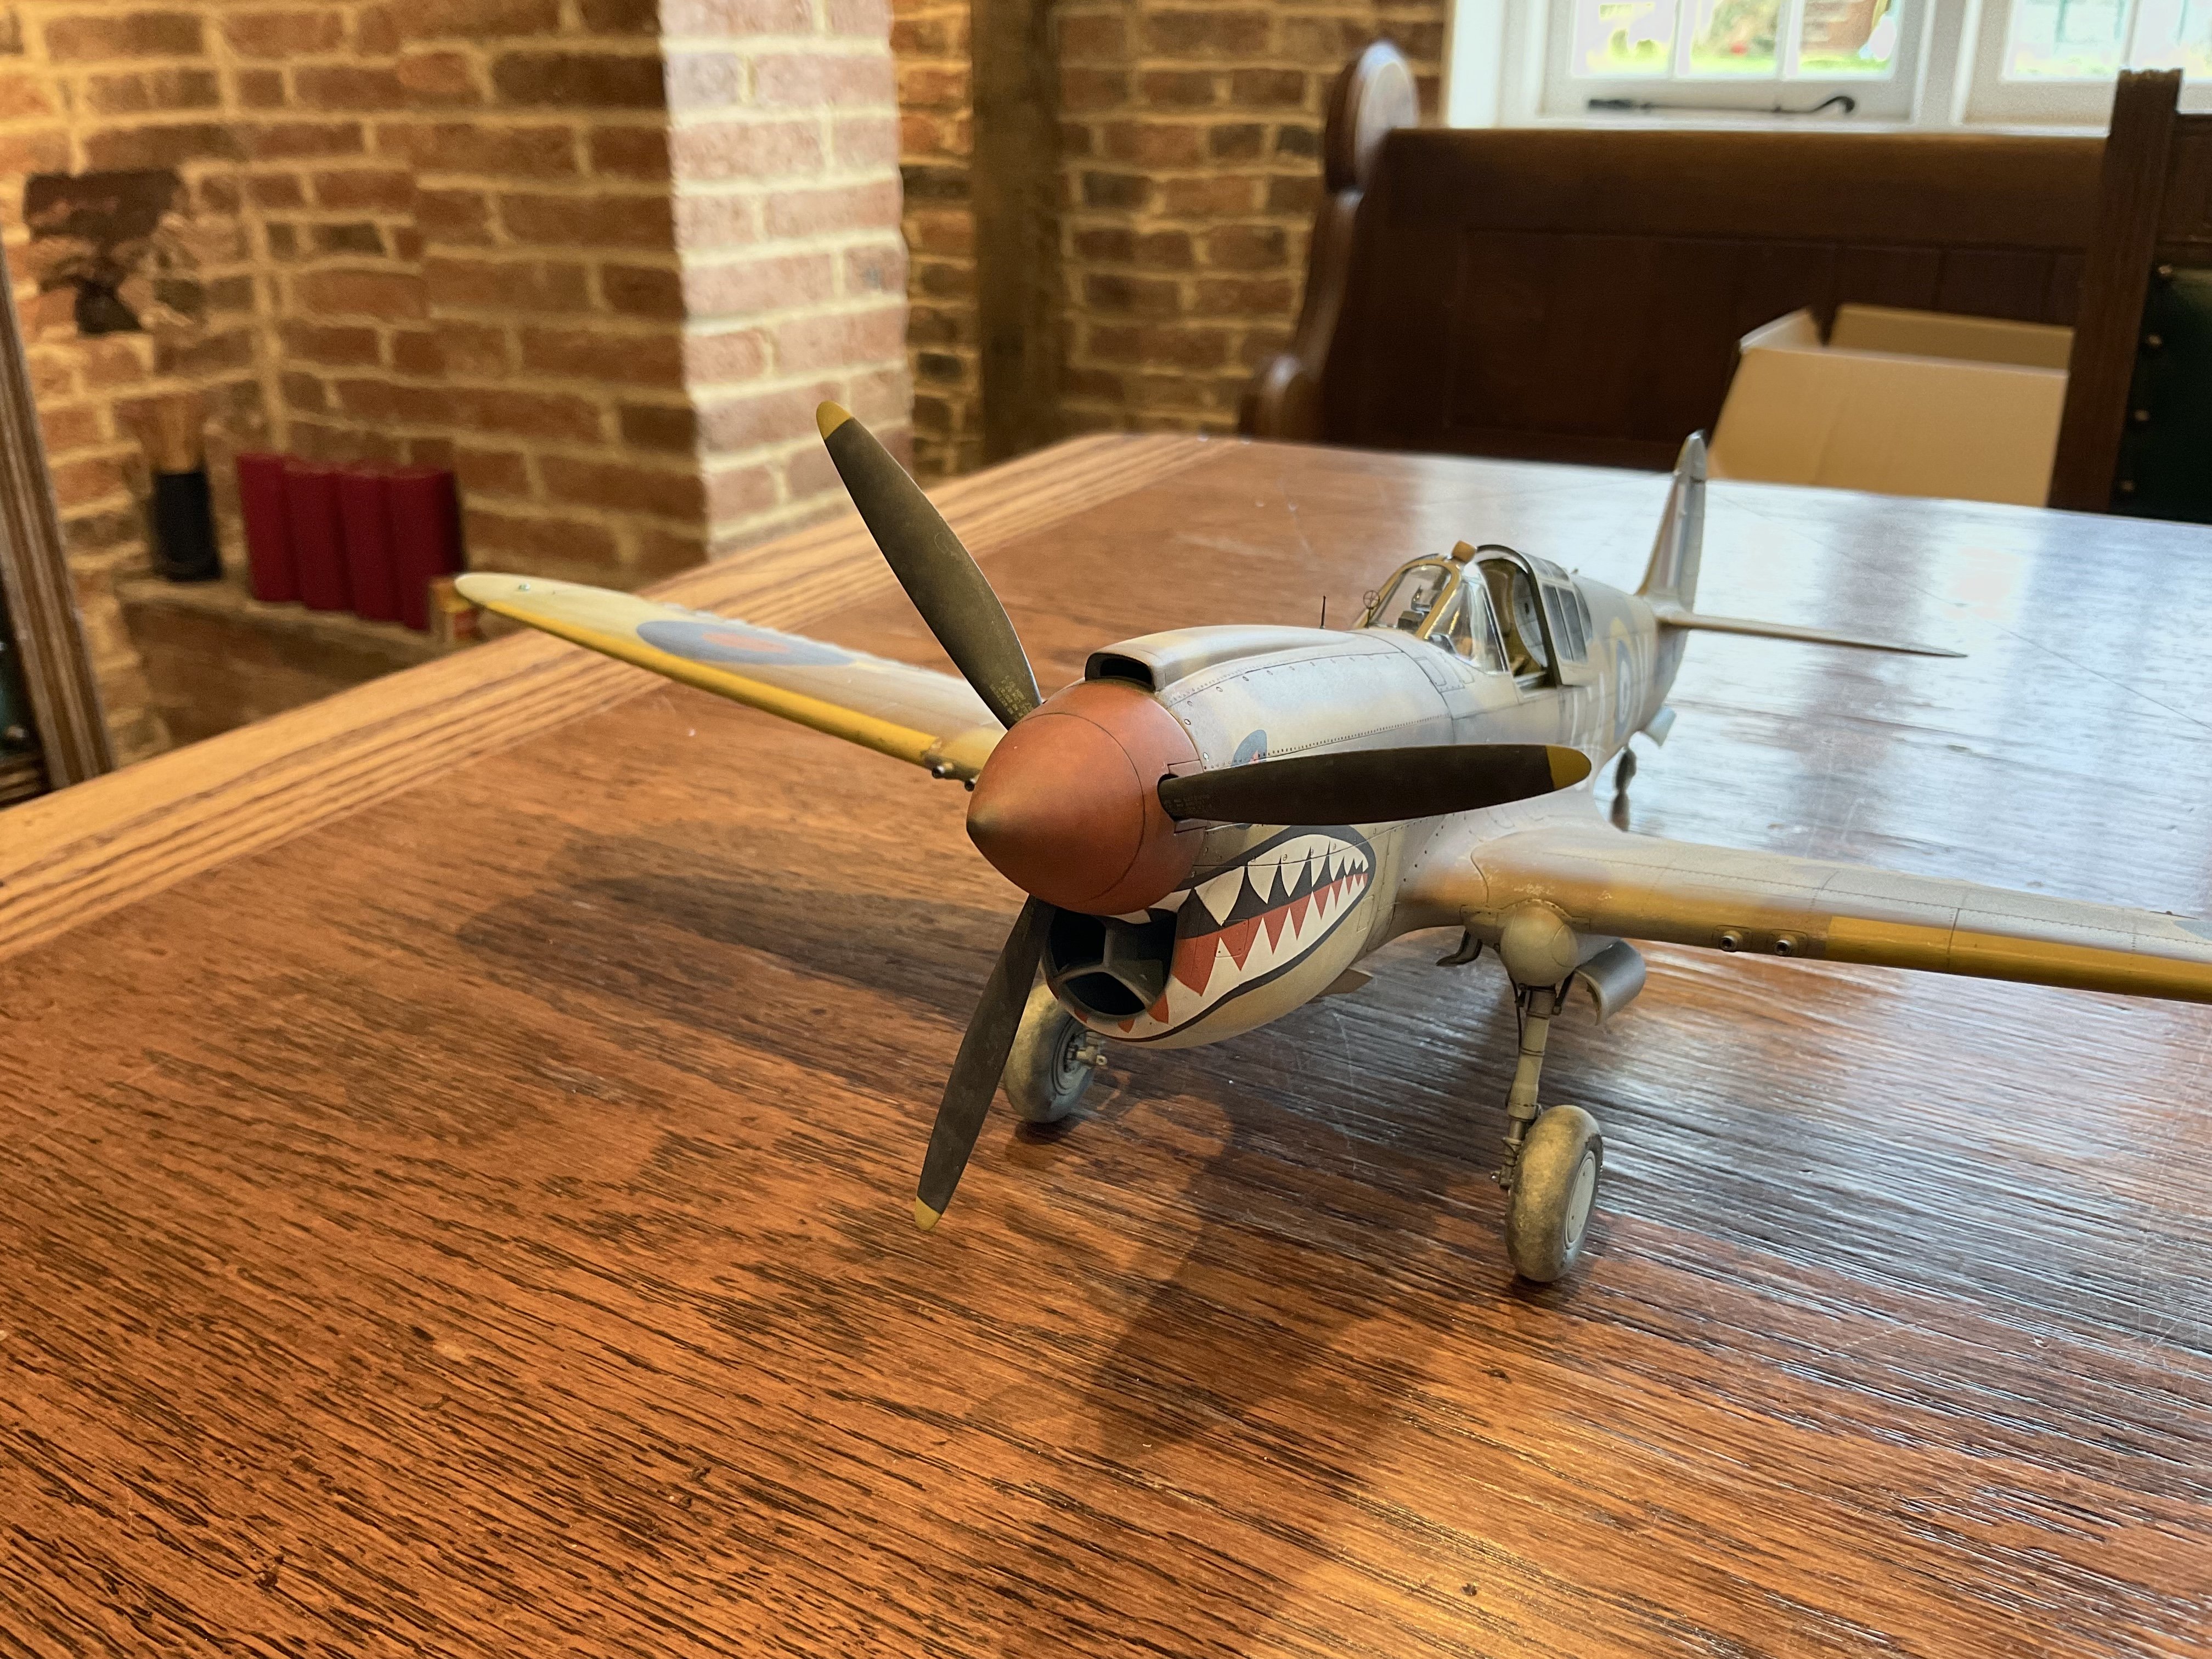
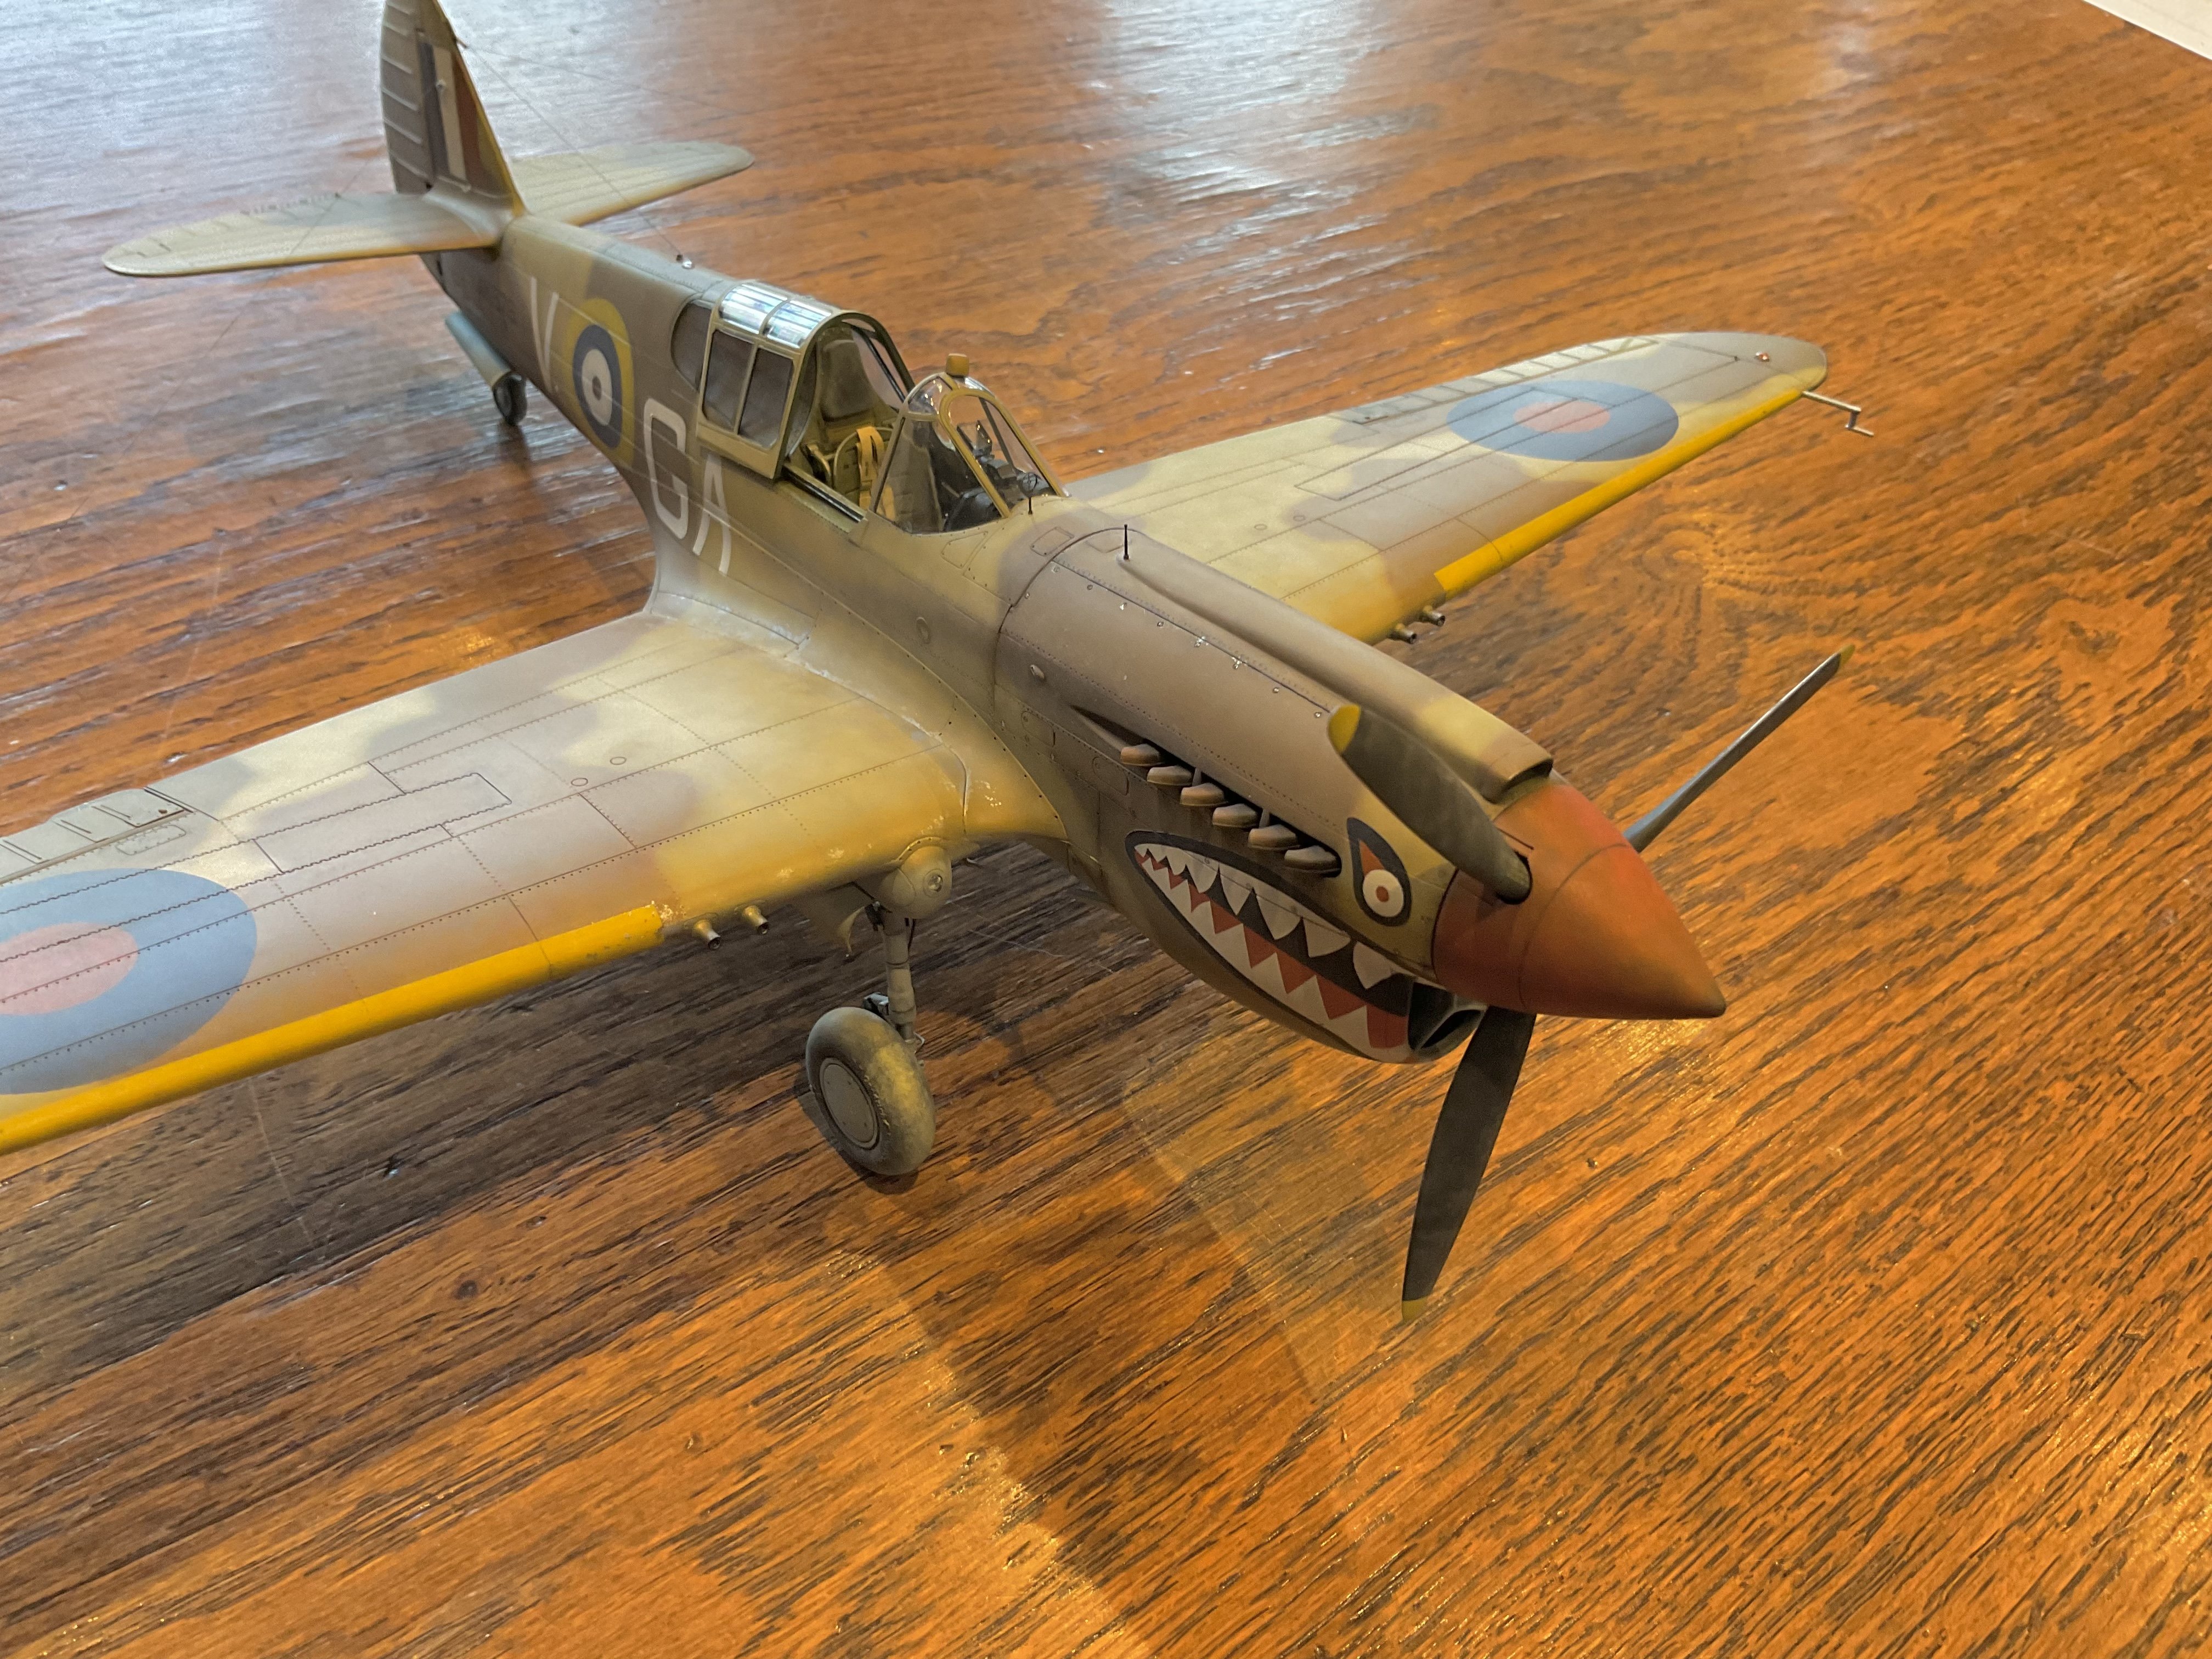
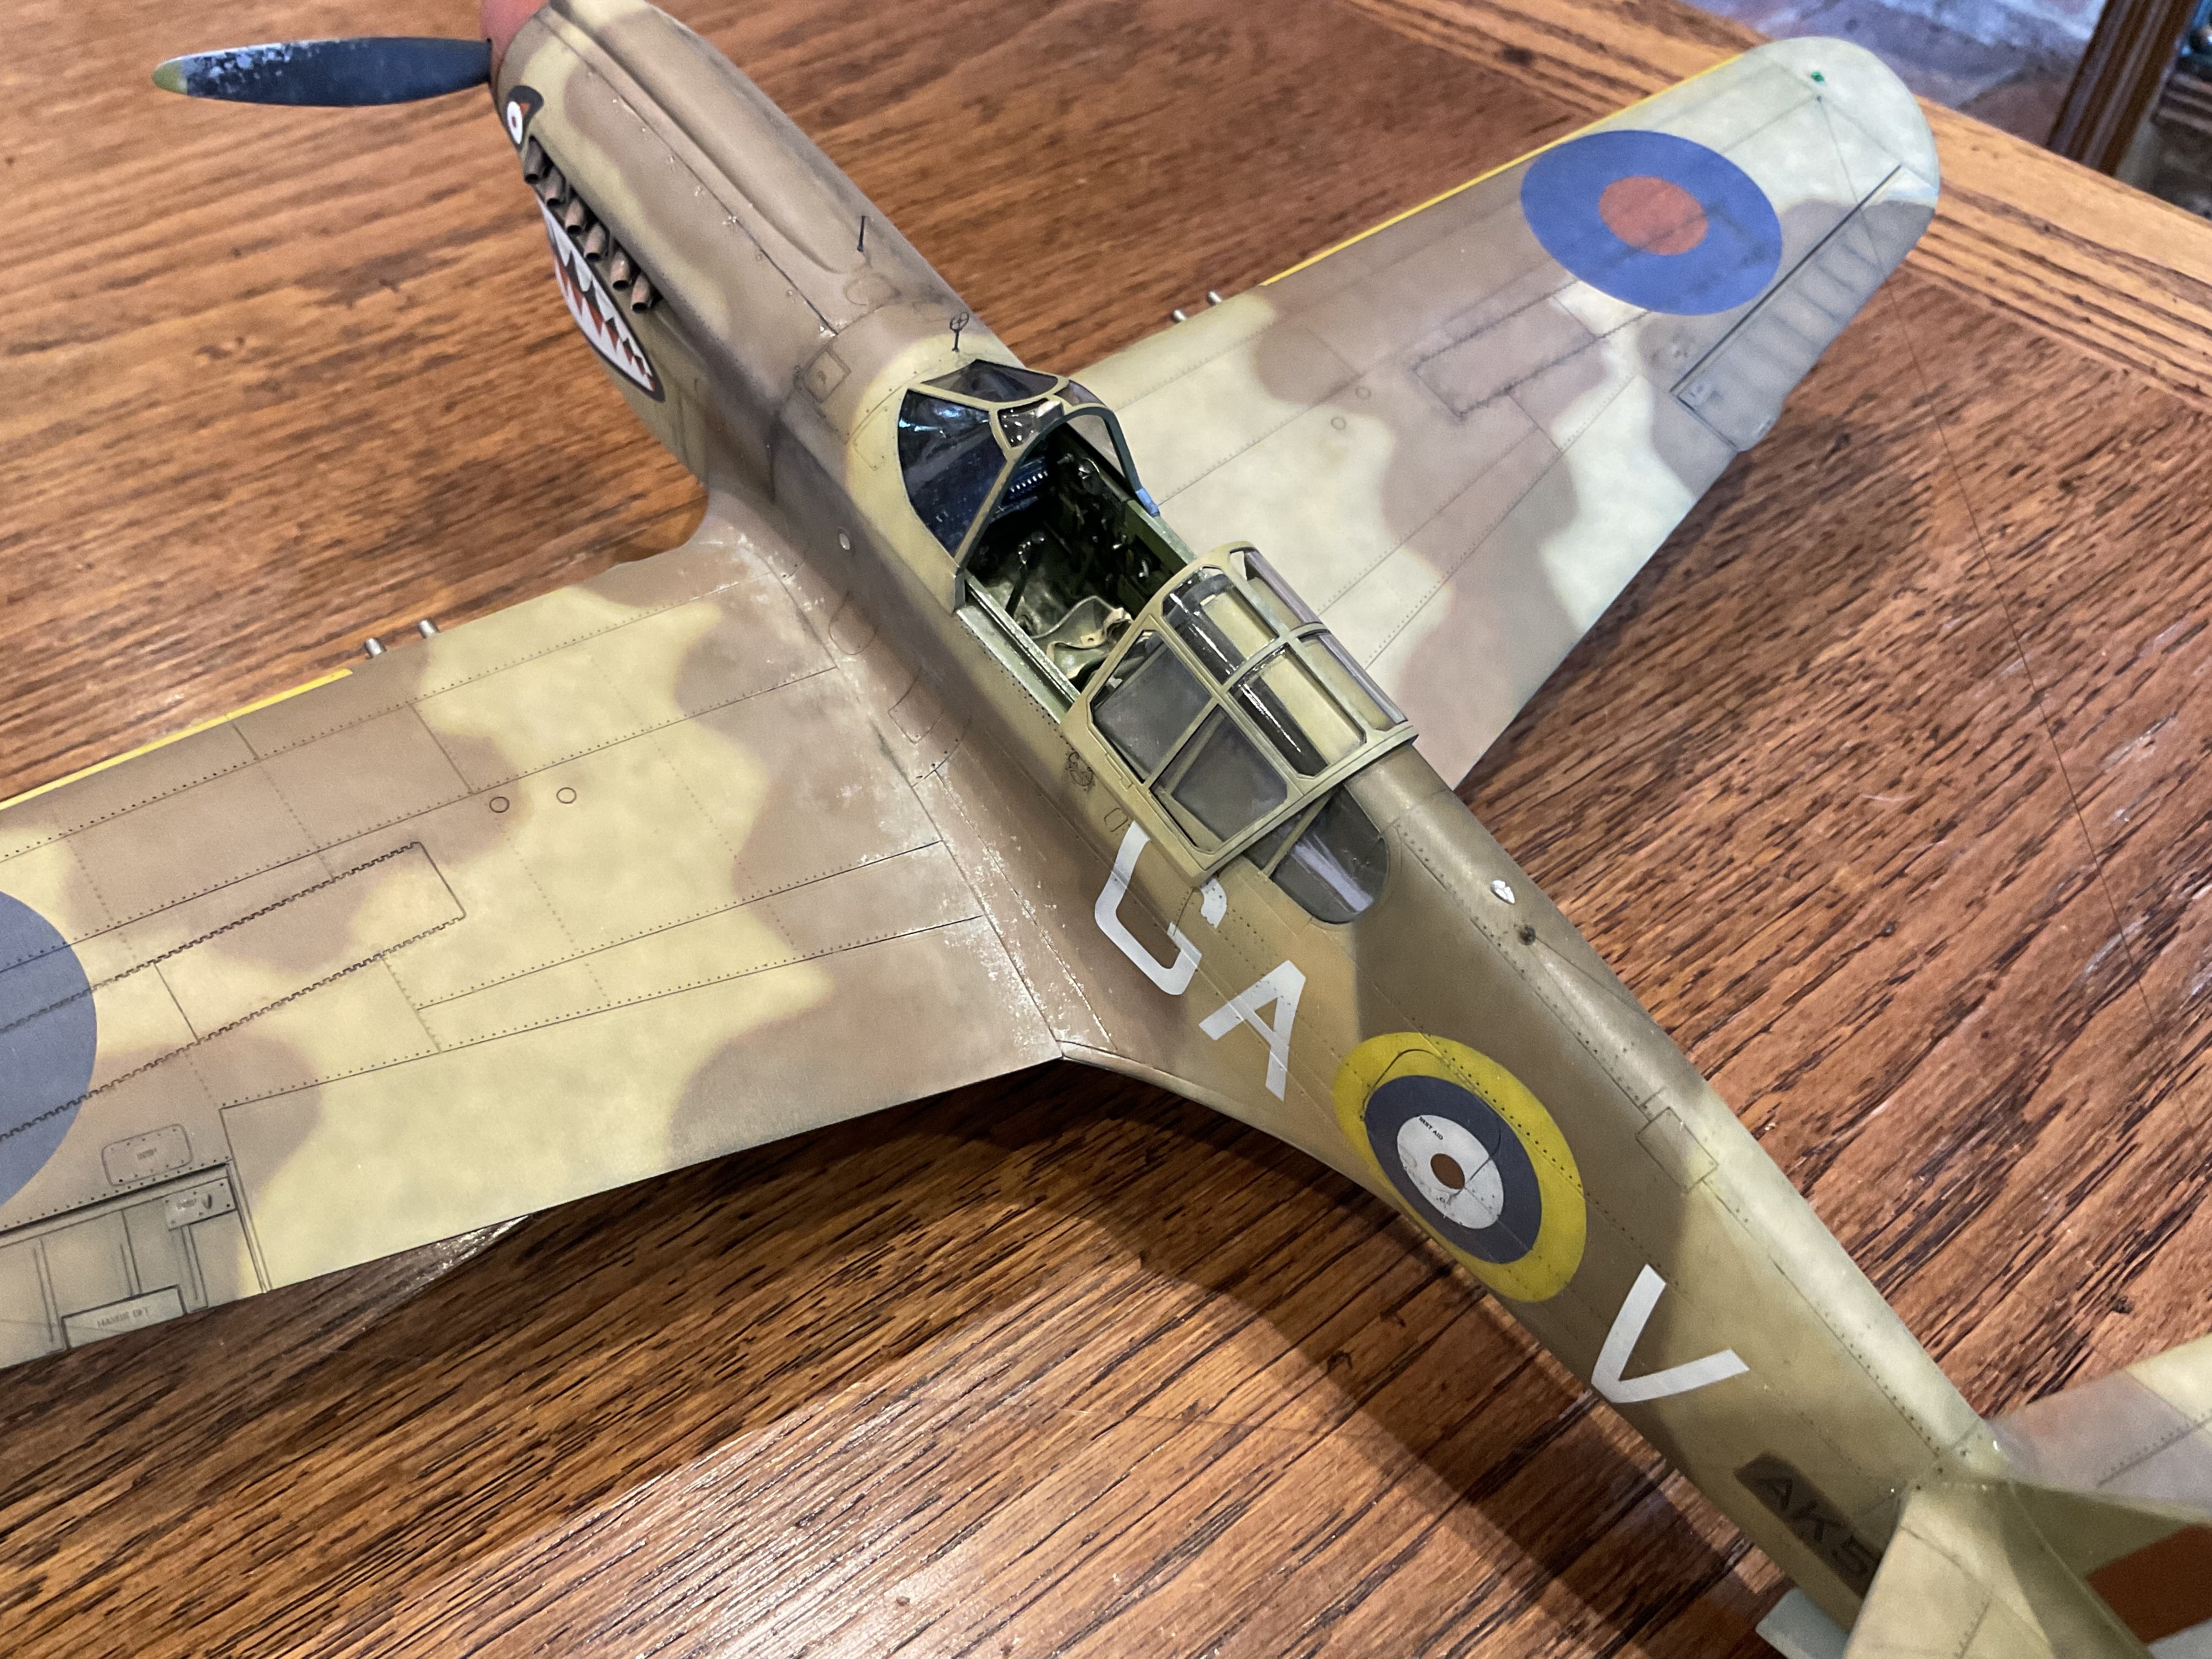
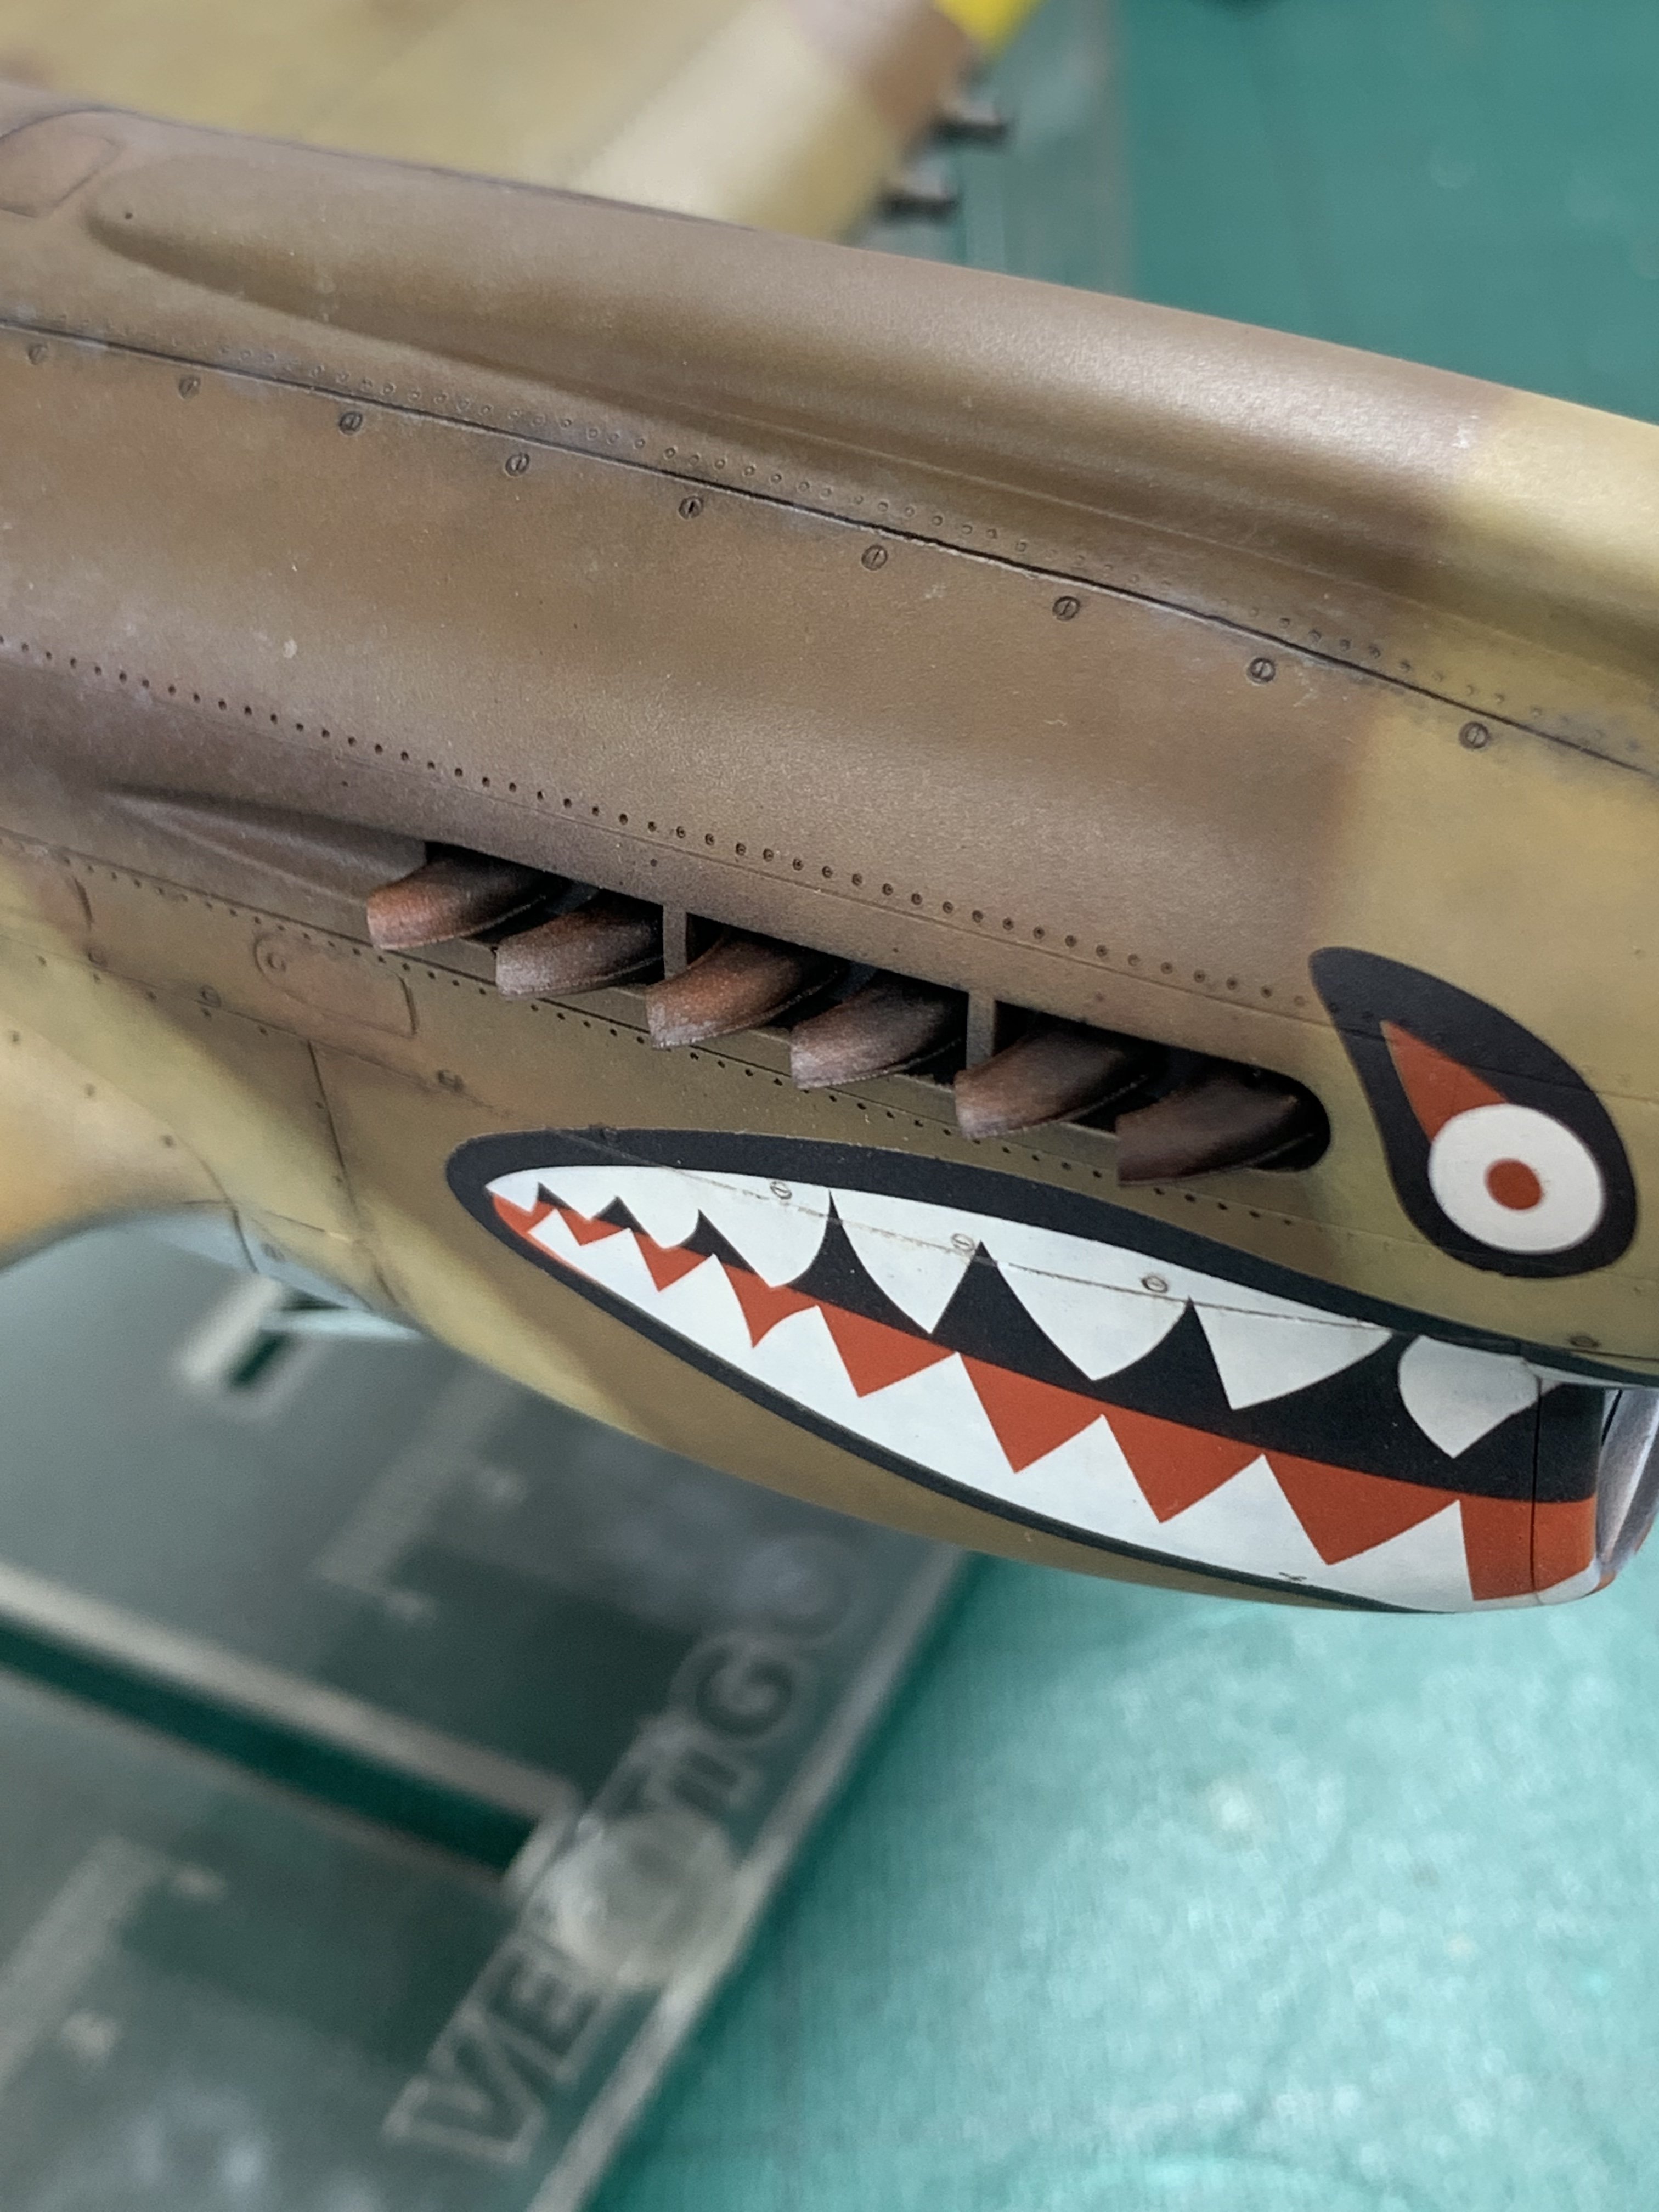
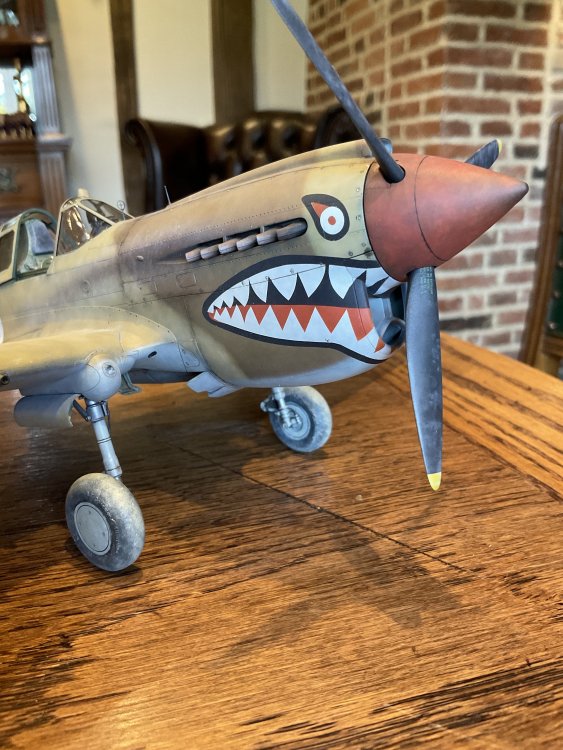
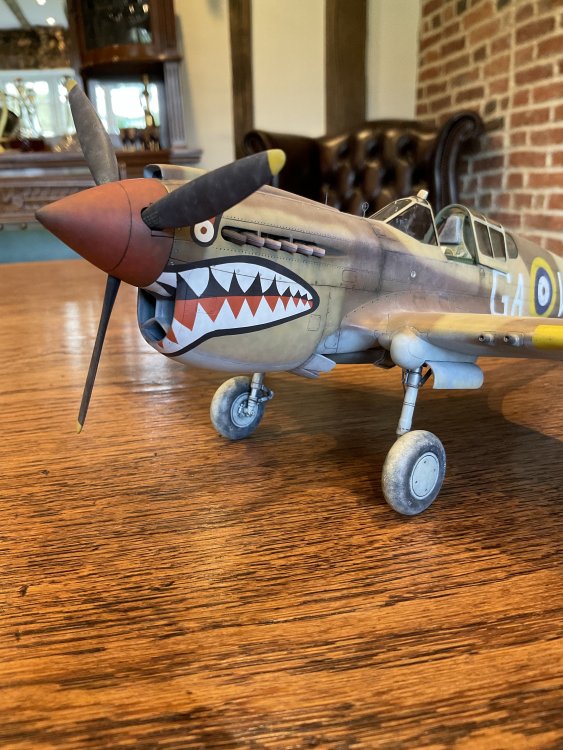
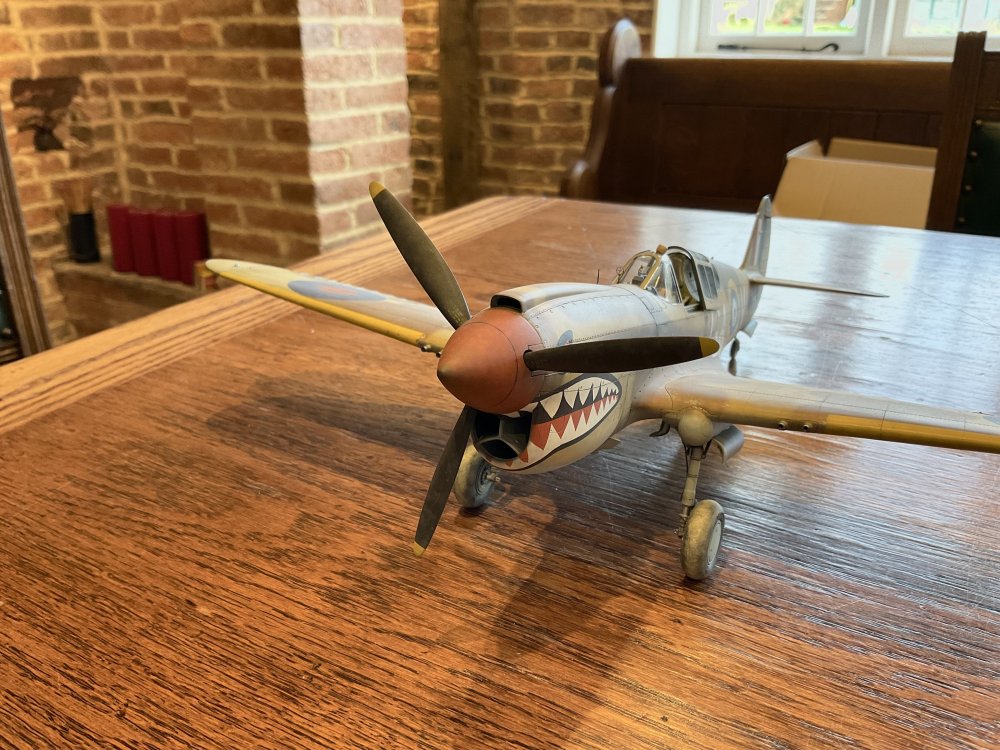
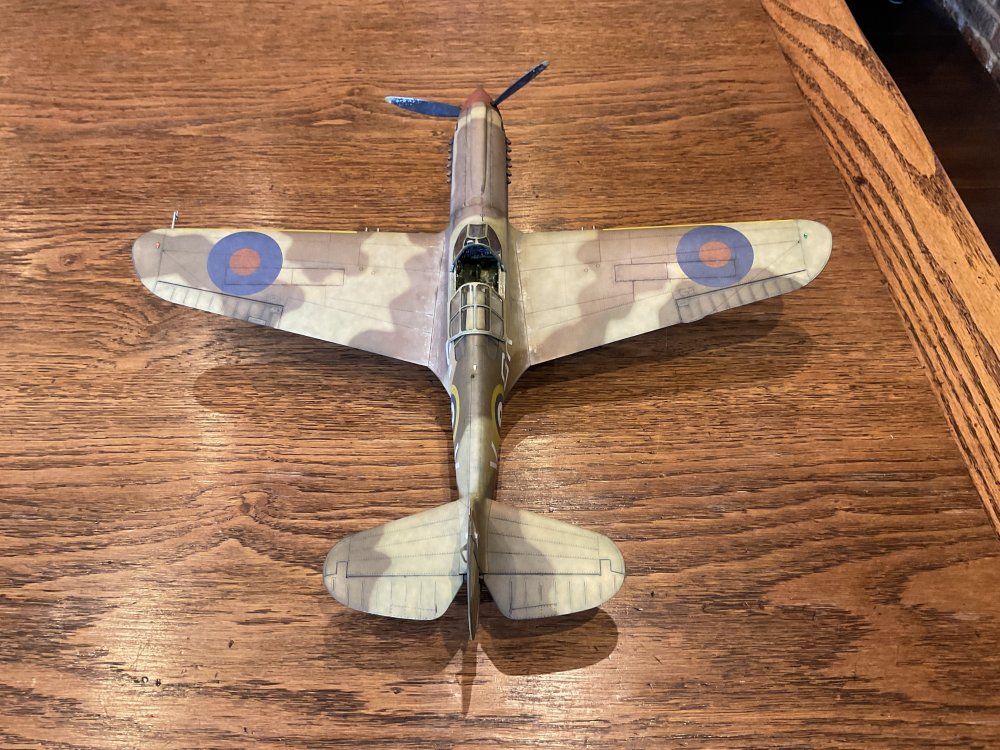
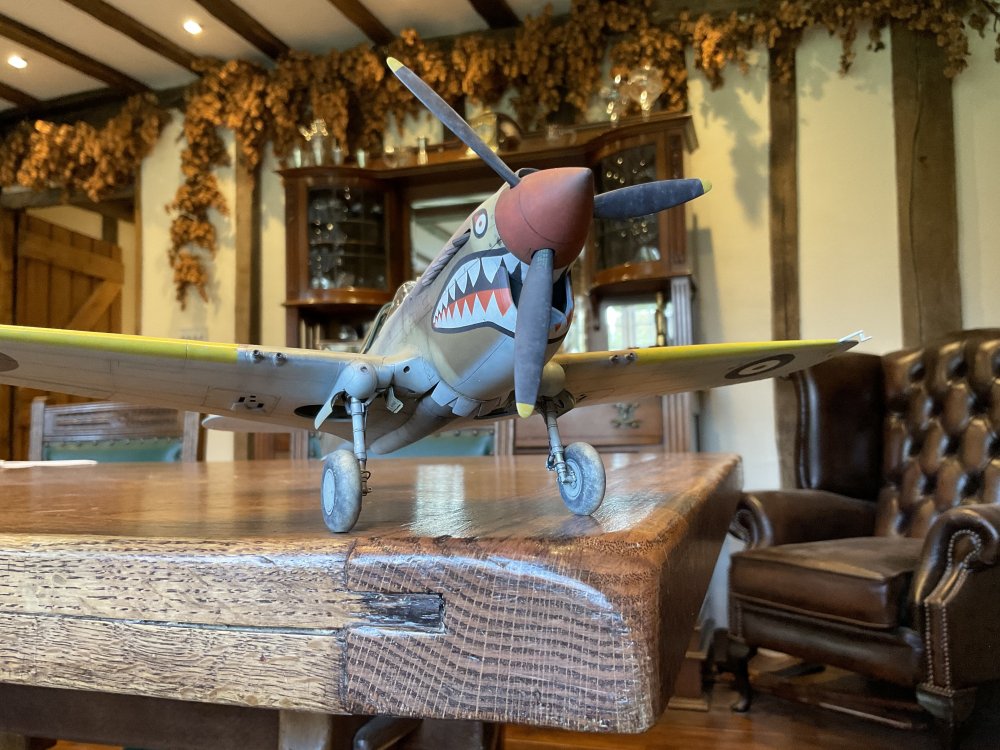
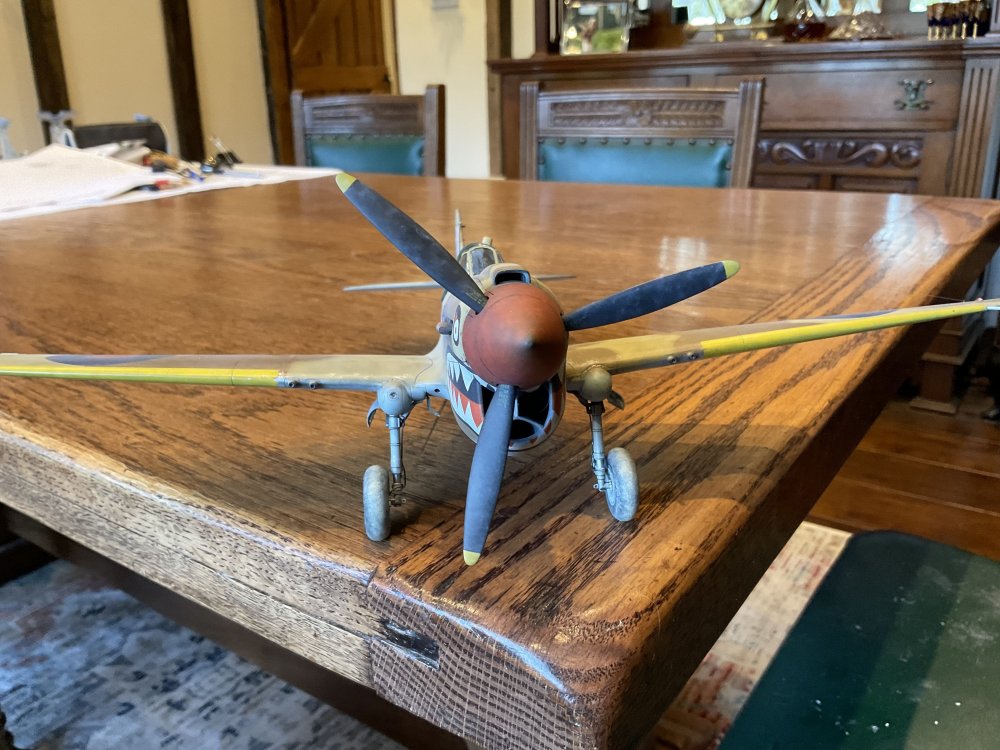
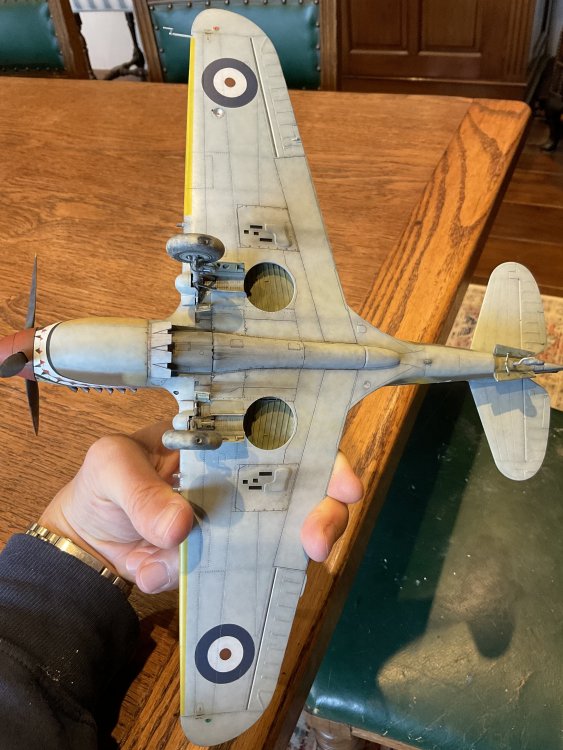
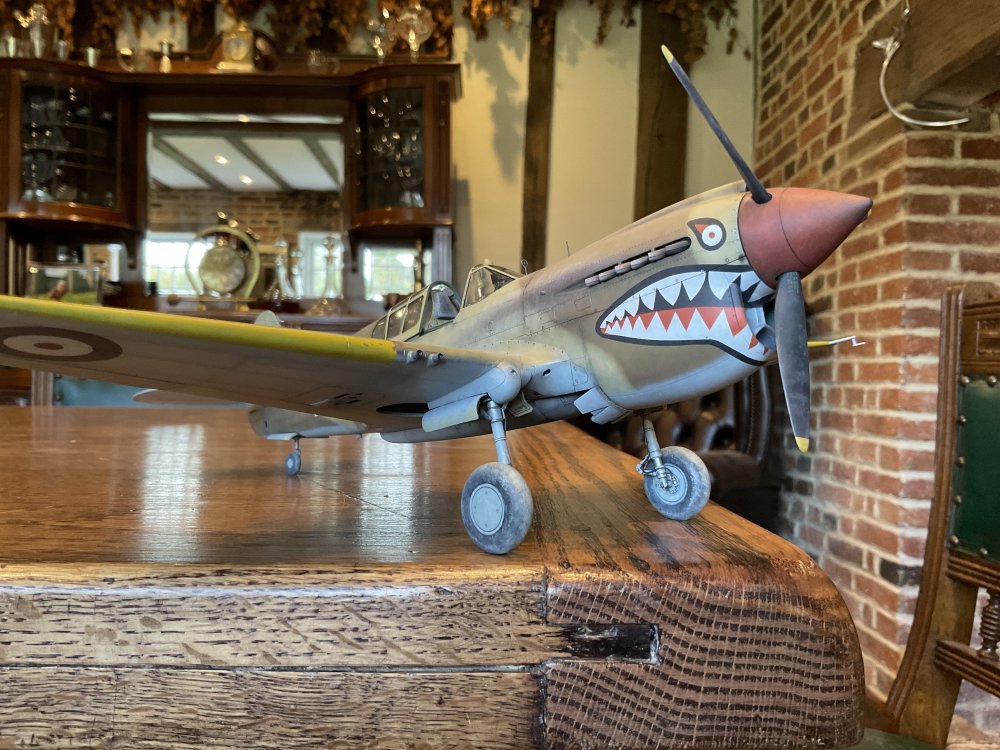
hi guys, the P-40 is done although i took pics with my ipad - the bets camera i have access to - it was all rather rushed so i didn't have time to use even a white paper background etc anyway, make of them what you will, and thank you to all who have followed or even just occasionally popped in to take a look cheers Nick


-
hey Rob, I am always happy to receive critique, even if sometimes it just tells me things i know but don't want to hear. i used to tell myself that i preferred aircraft "clean" but in reality it was because i couldn't model them weathered, and was too scared / didn't know how to try, but since watching a few (lot!) of videos on Youtube, and picking up lots of things on SMCG (Facebook) I feel much more willing to try stuff so no problem at all - and you are correct about the fuel stain, it's not "right", and in reality from what decent pics i have seen (and even surmising what i am seeing on actual pics of this airframe), it leaks down and along the wing fillet panel line; on reflection i think i was unsure *exactly* what look i was after, and it turned a bit 'meh' but something to work on for the next aircraft (and my next project will be a Tiger of 502 in Africa - need a break from all this panel line filling and scribing bs!) the colour was a self mix of oils i had in the pallet at the time As an aside, I have given up on most of those AK / Ammo washes although God knows how much money i have spent on them! In the plastic bottles once opened - and even if never opened - their shelf life is just not acceptable You flatter me with the % btw, but I'll take it lol cheers Nick
-
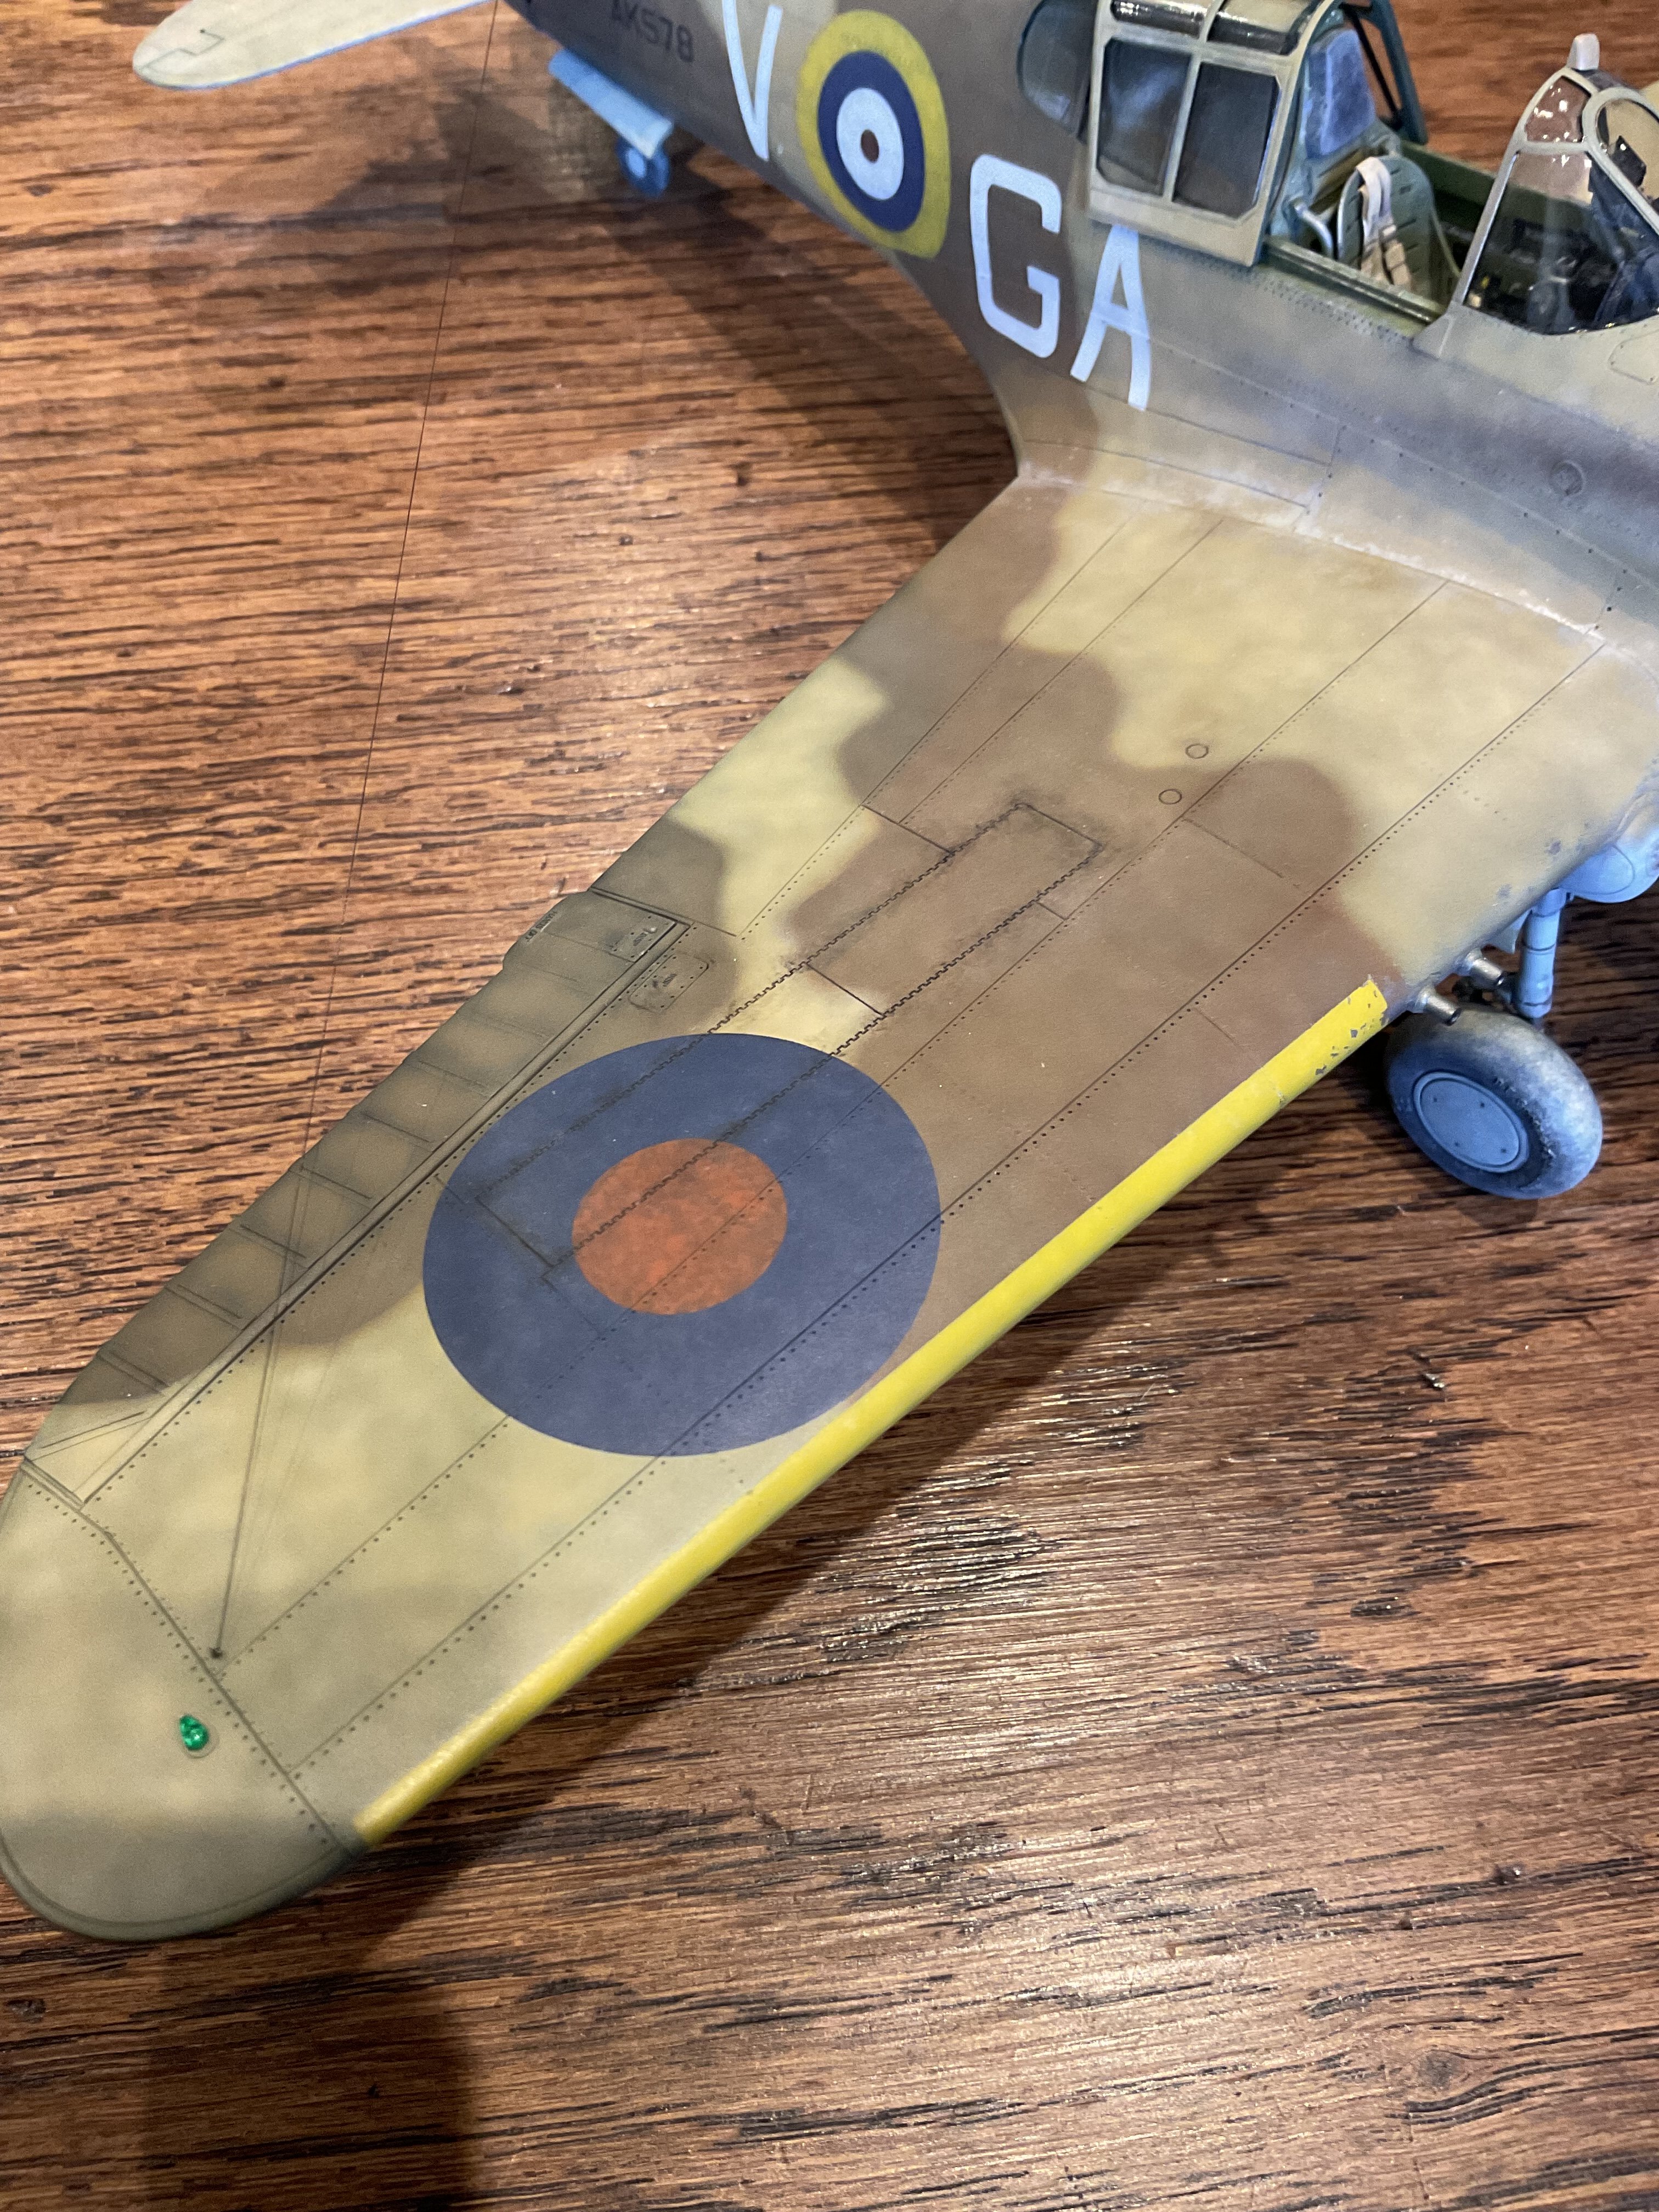
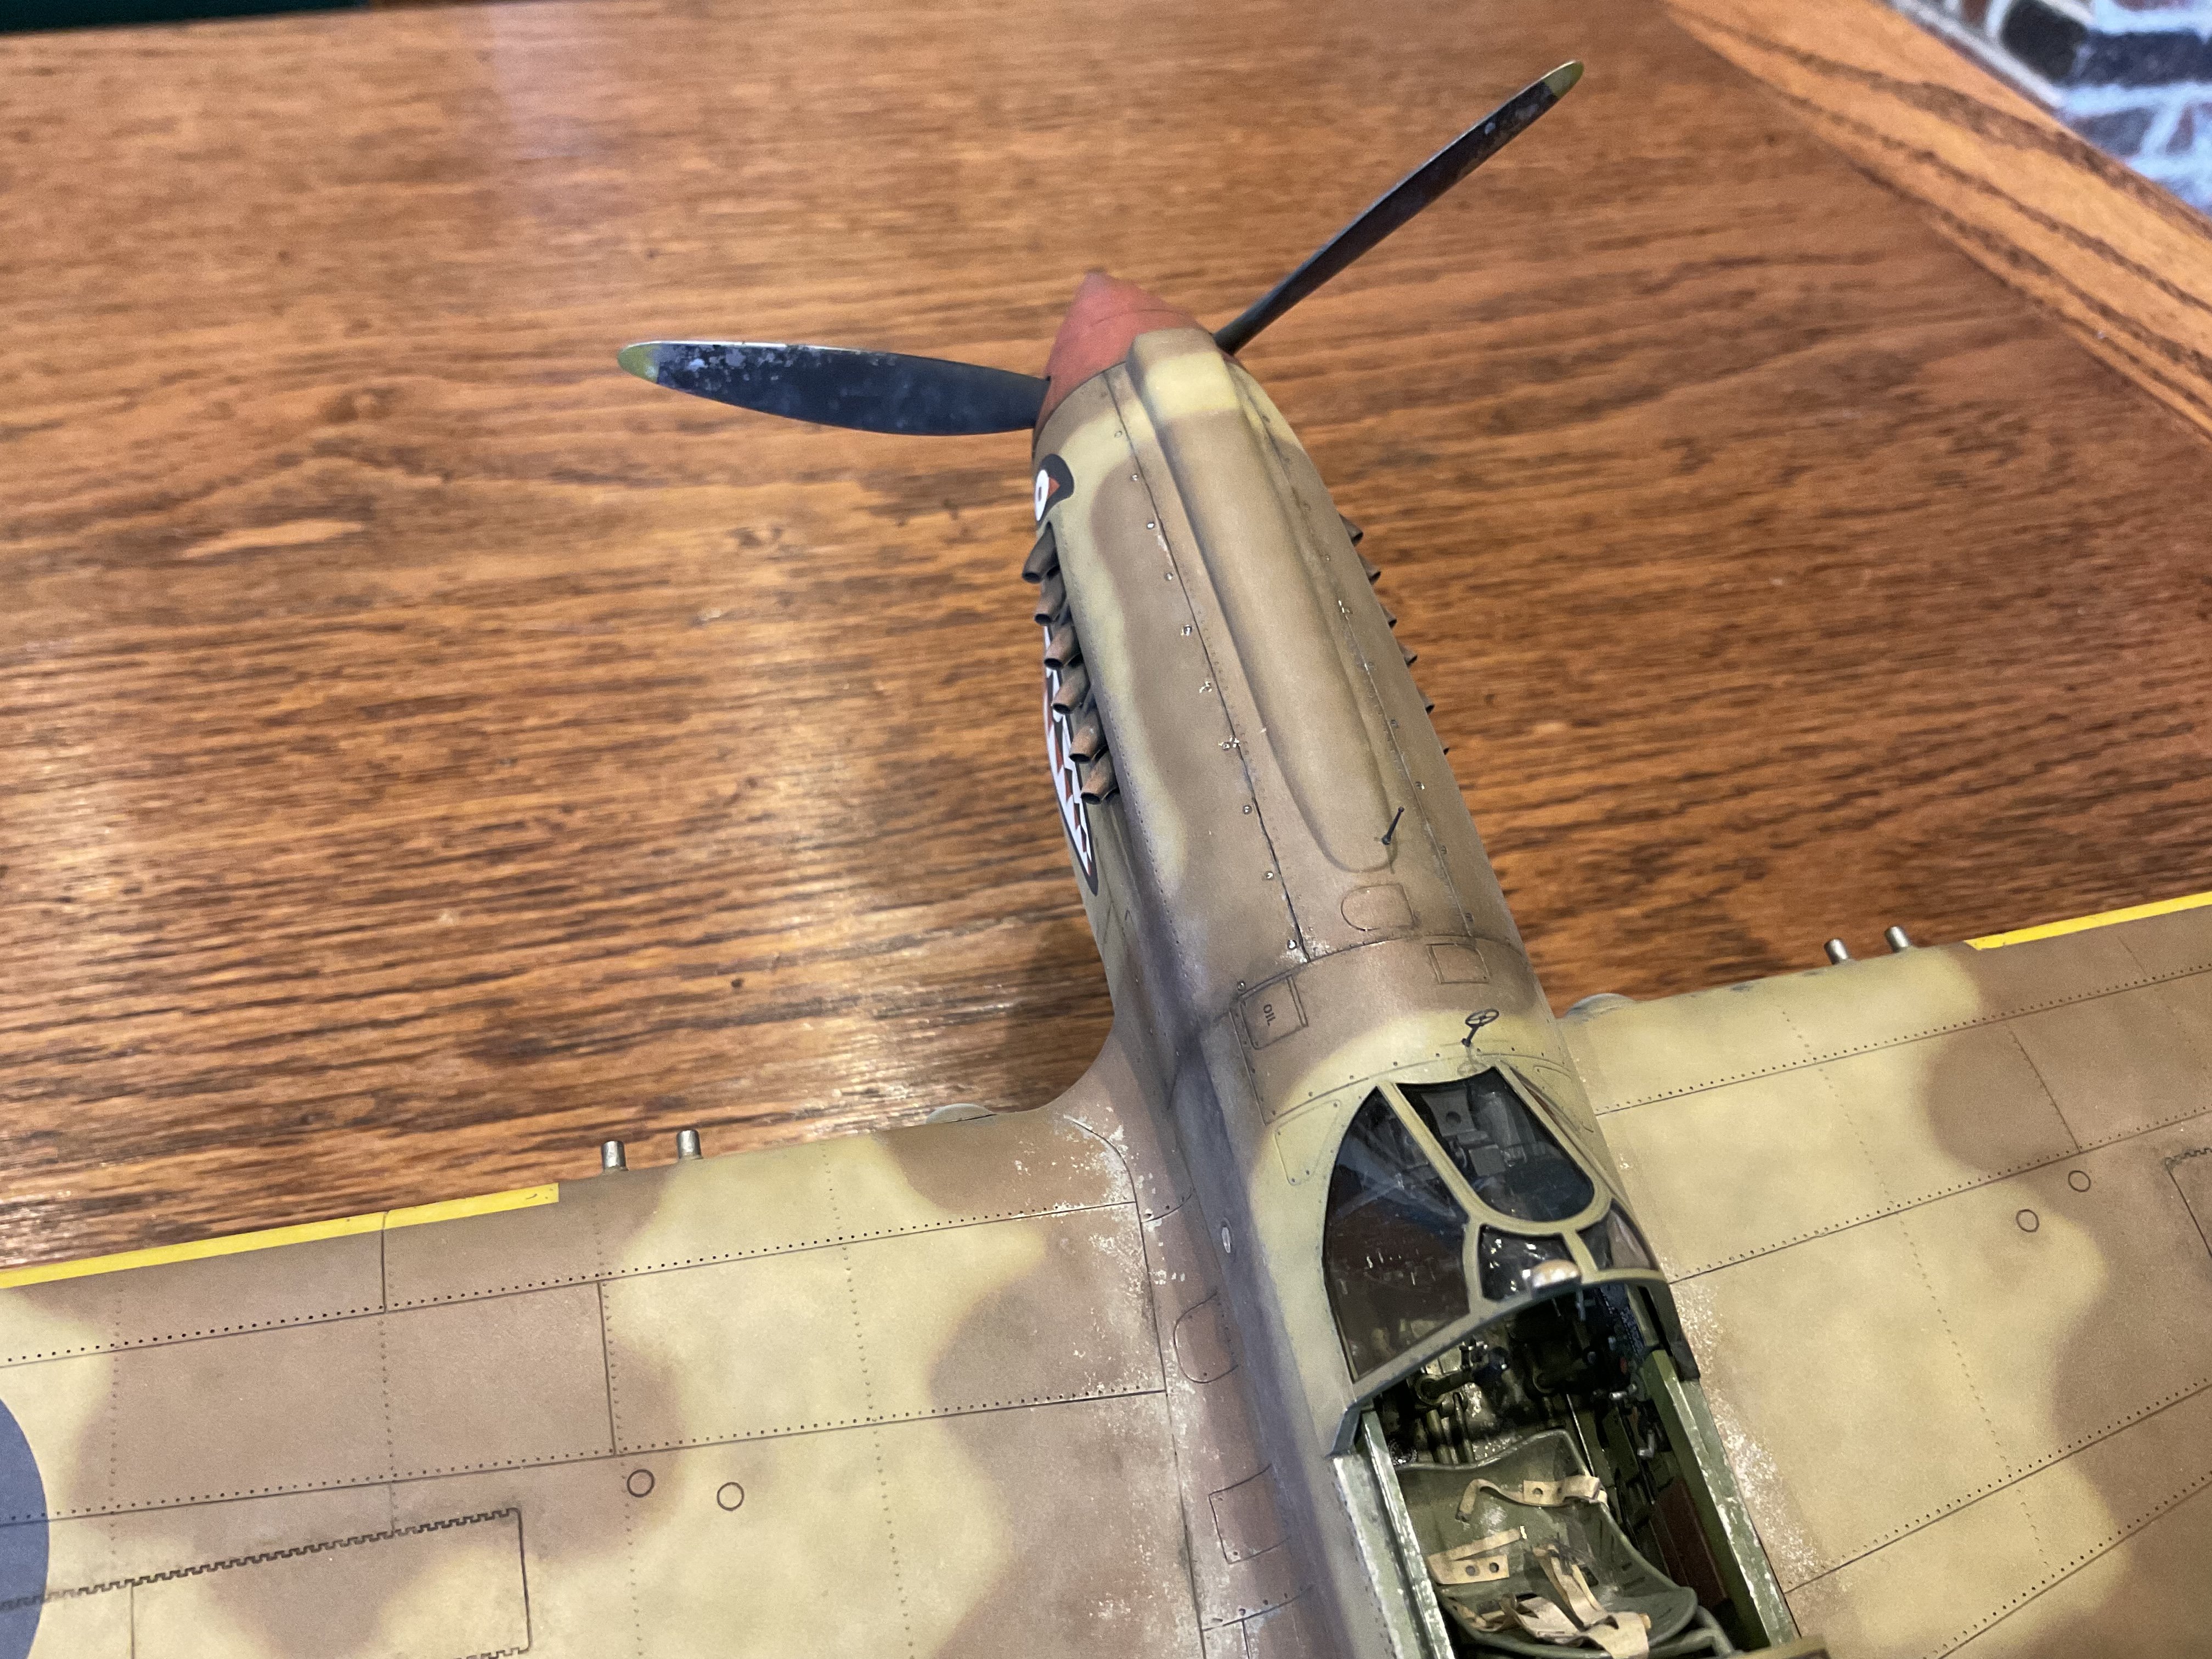
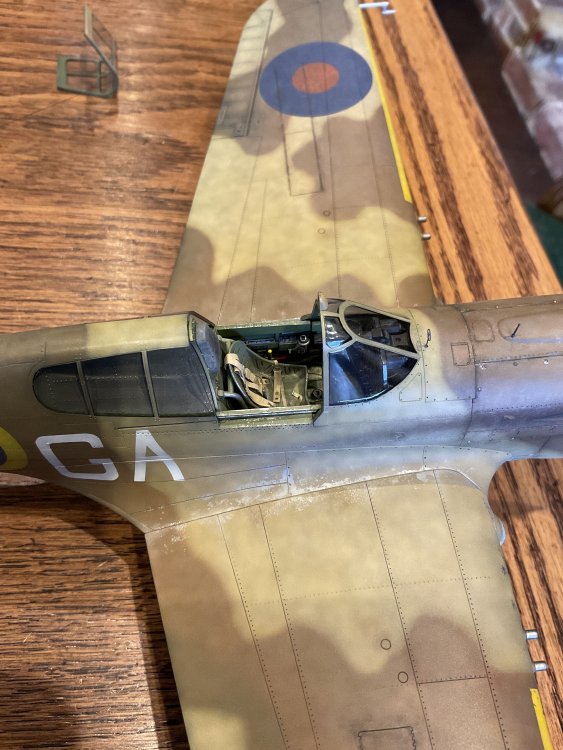
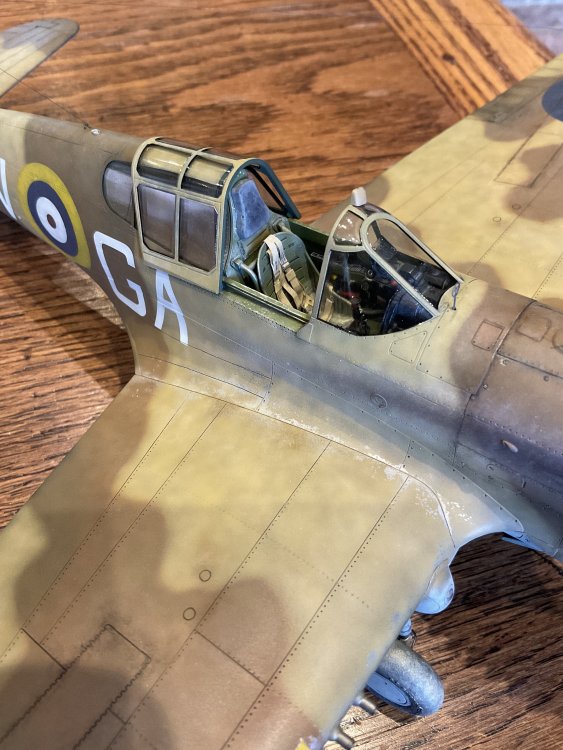
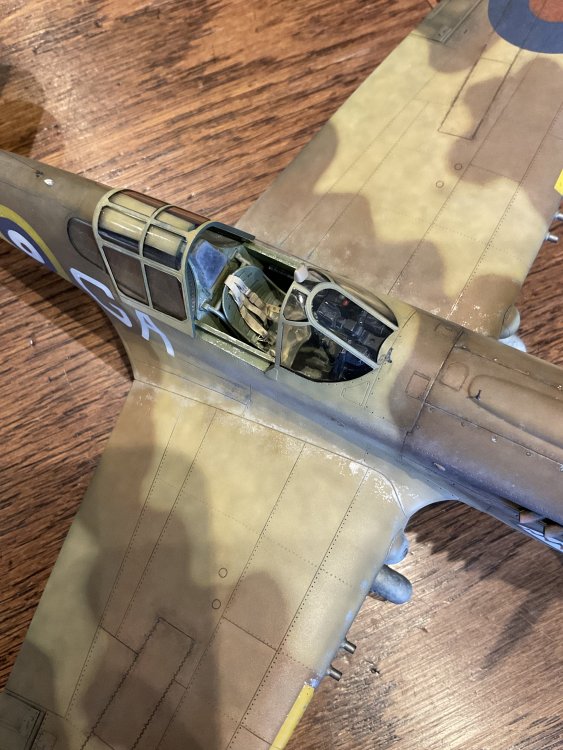
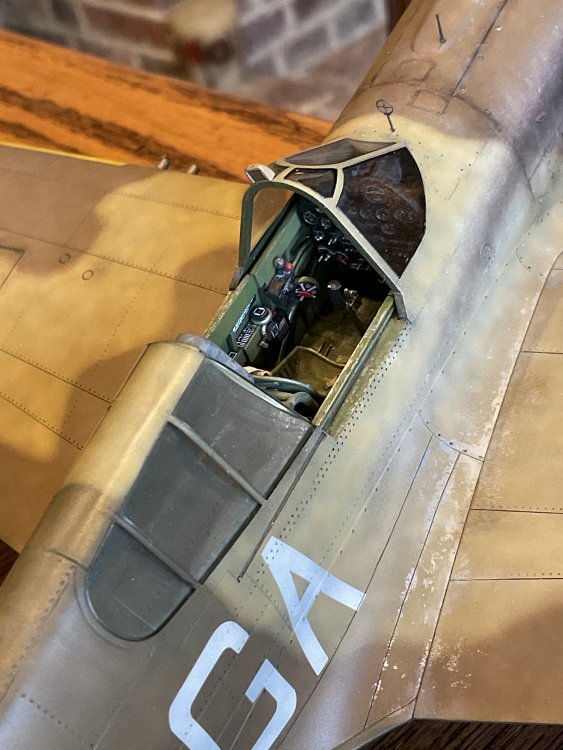
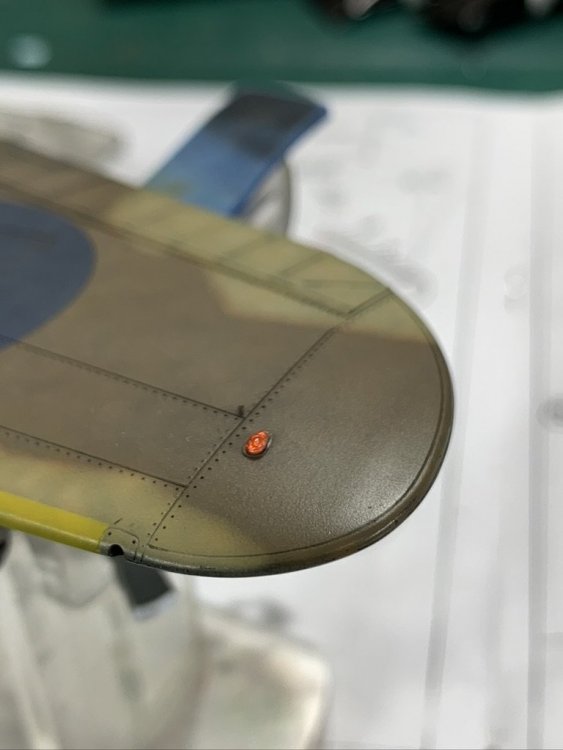
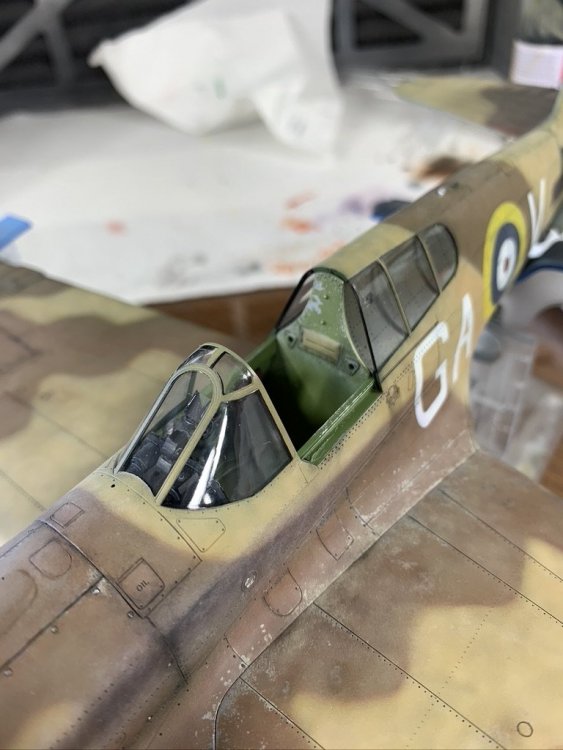
navigation lights added, as well as the other lights / clear parts the nav lights had their backs ie the bit that is glued to the wing - painted silver, so you don't get a Middlestone coloured light clear paint was then dabbed on and job done and then something i have been waiting for ages to do - remove the canopy masking! whenever doing this i use a cocktail stick cut with an x-acto so that the tip is in a chisel / wedge shape - you can then drive this under the edge of the mask and it won't damage the clear part much safe than a blade or tweezers, and you can actually be quite forceful (another benefit of polishing clear parts rather than dipping in the F word - they are far more durable imho) note no seat or control column - these are about to be glued in - as it was easier to mask off without the seat whose frame sits slightly proud of the cockpit sill; same with headrest as well. anyhoo, nearly there cheers and thanks for looking N


-
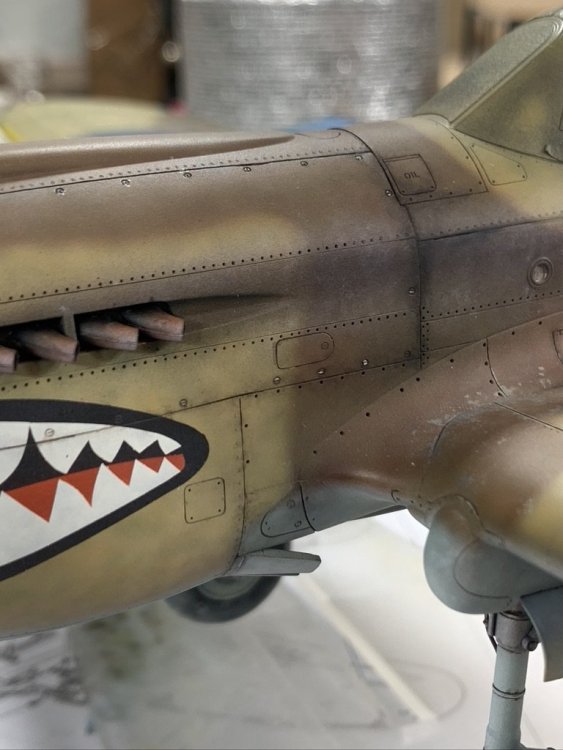
one of the last weathering details i have done is to (try to) simulate the wear and tear on the screw fasteners (or whatever they were) on the engine cowling and gun bays underside in some close up pics it is clear that these heads become worn through to bare metal, so i used AK Xtreme Metals Stainless Steel to paint a few with a 5 / 0 brush i use the AK paint here because it is extremely thin but mainly because if you goof you can generally use a q-tip / cotton bud to wipe it off (see Doogs' Corsair video series for example of him doing this); the paint is not a lacquer like MRP, so the two can operate in tandem with different clean up methods anyway, it's pretty subtle but it is visible in some angles so i think it was worthwhile that's all for now cheers Nick

-
Revell P-51D Mustang - 2nd time around
nmayhew replied to Peterpools's topic in LSM 1/35 and Larger Work In Progress
hey Peter, i've been following this! a BMF P-51 is somewhere in my future builds... re decals over BMF you may wish to consider HGW who do a stencil set for the P-51 HGW P-51 stencils & stars I have used HGW on my P-47 and they perform extremely well apart from the new micro (nano?!) masks from 1ManArmy - and they don't do the P-51 yet - there is nothing out there that's even close...until these Eduard decals apparently, although they may be good by accident rather than by design lol anyway, looking forward to more on this! Nick -
wash your mouth out with soap
-
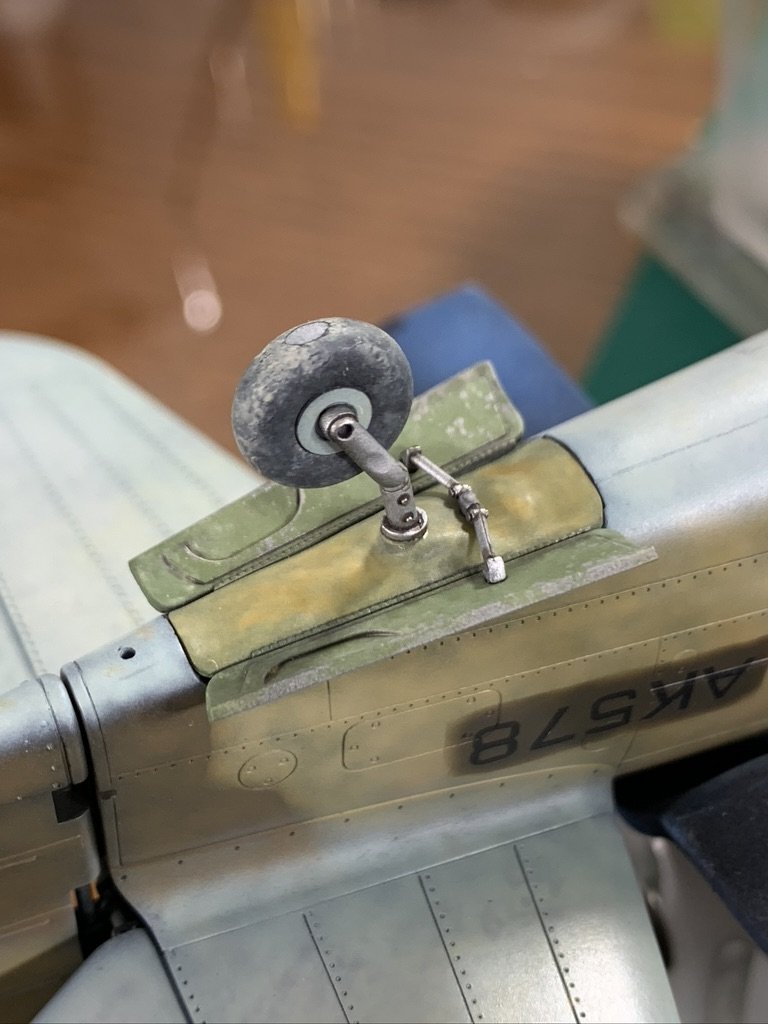
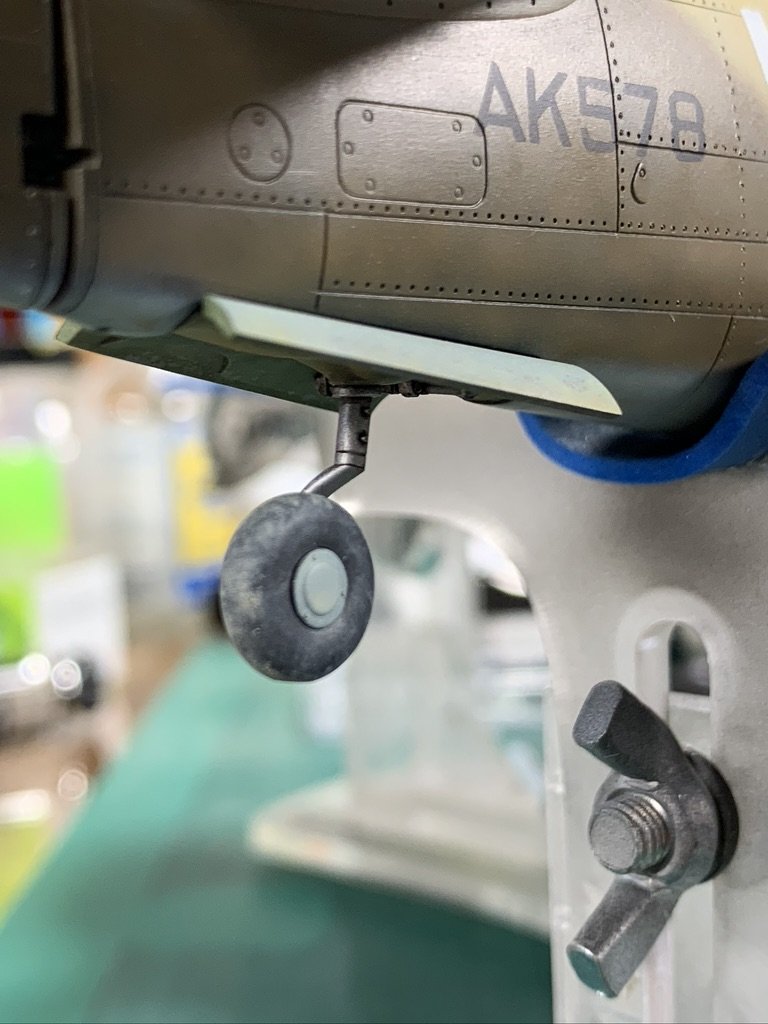
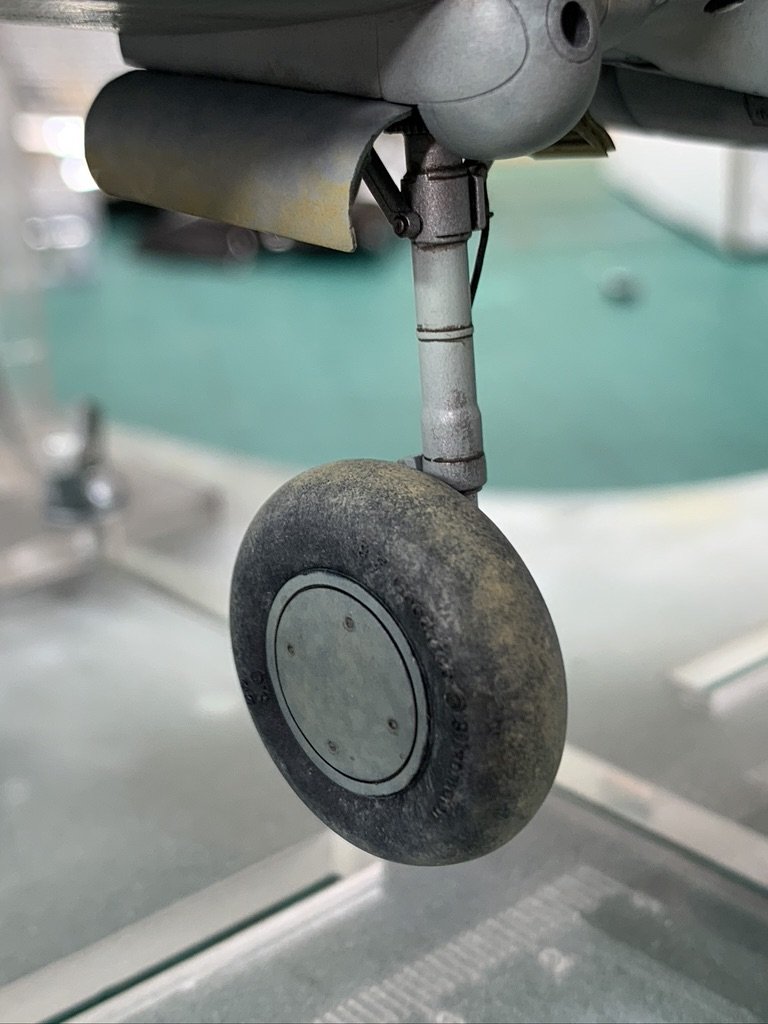
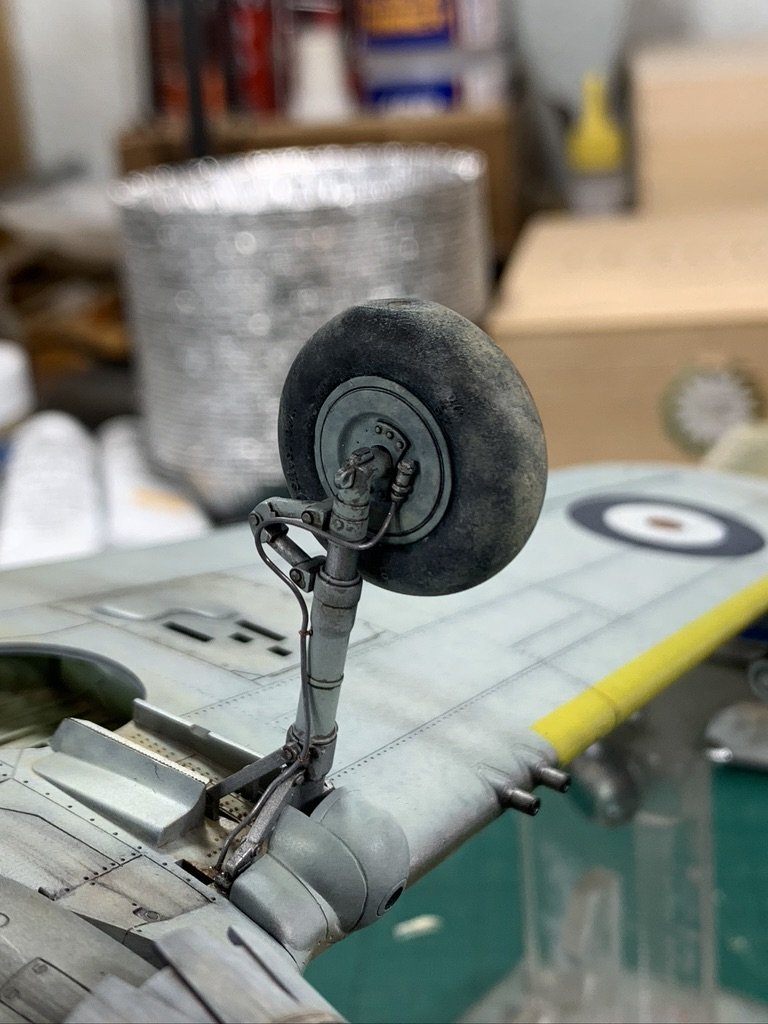
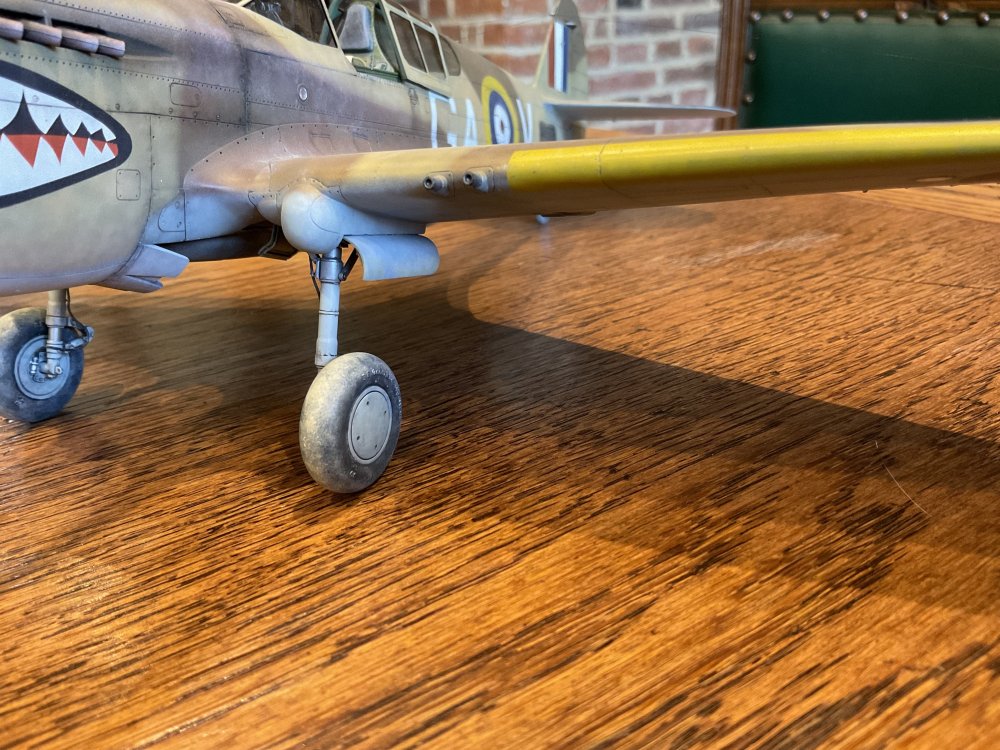
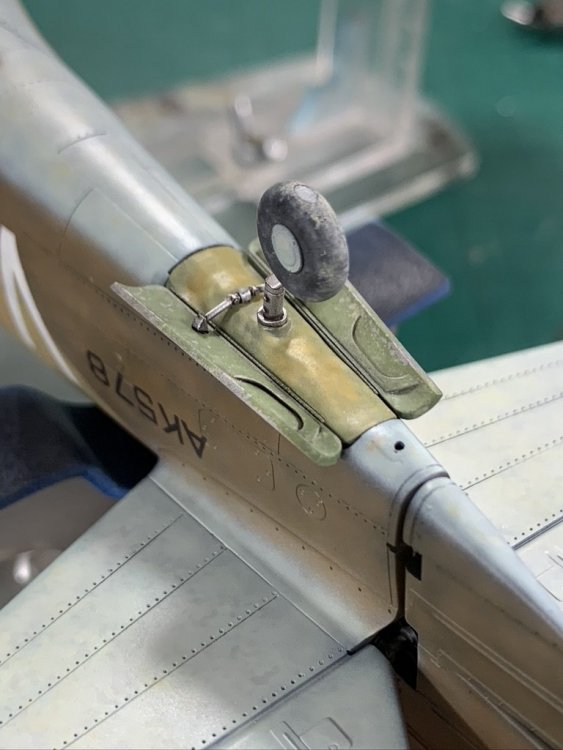
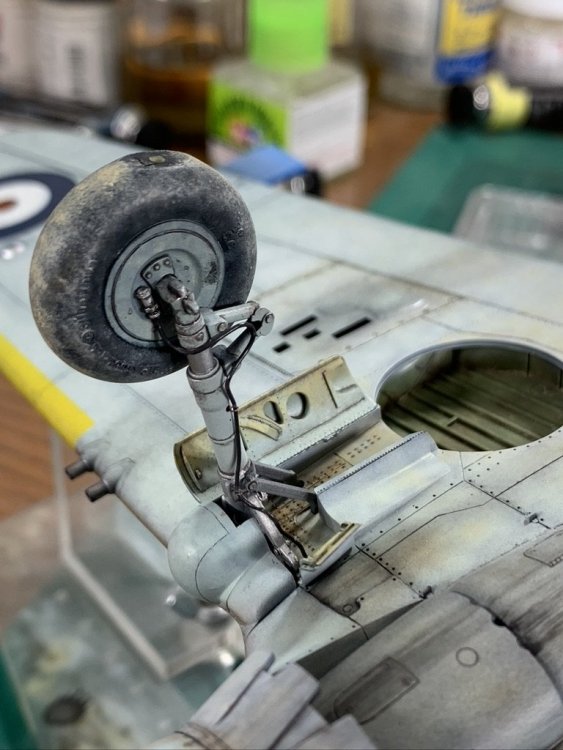
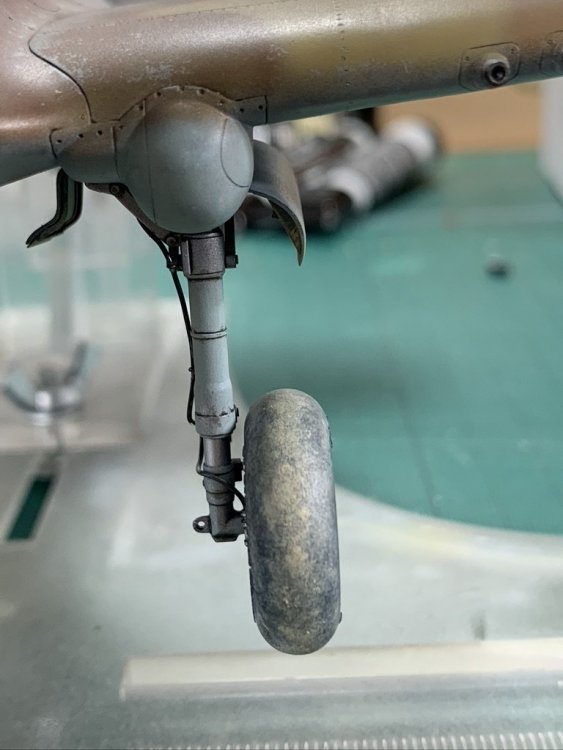
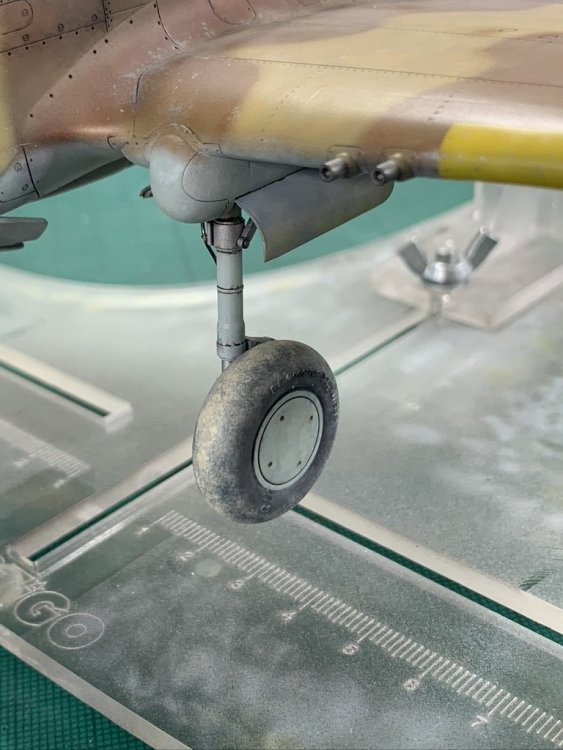
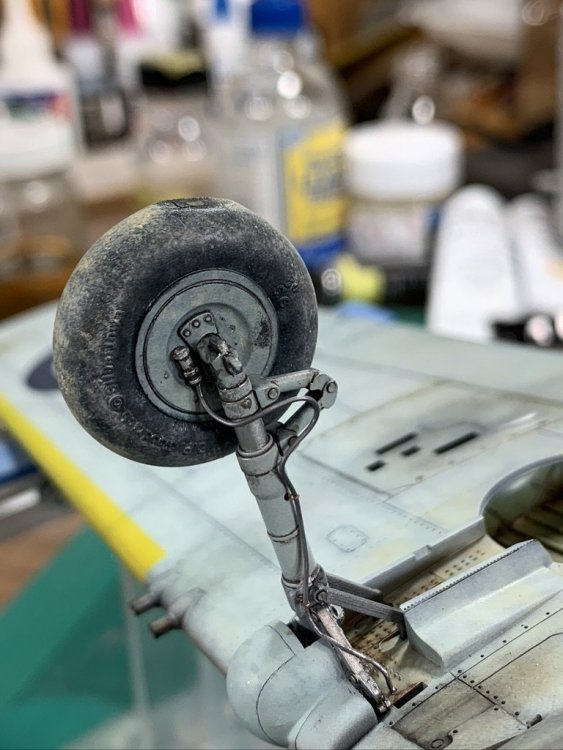
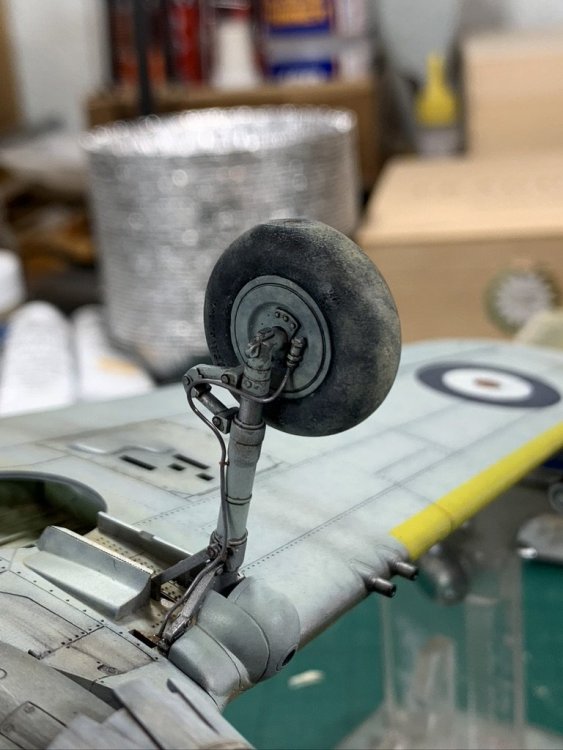
here's a few more pics of the gear in slightly better light (still all iphone camera, sorry) i may leave the brake lines that tyre black / dark grey i think i need to fix the chipping that went a bit wrong on the inside bay door in the pic below next will be another semi matt coat and then a little extra dust type weathering on the insides of the wheel - mainly to cover my glue f*ck up - somehow i managed to smear some glue and strip a small patch of the paint off 🤦♂️ tail wheel also attached... i just couldn't nail the canvas boot as i wanted - mainly because i wasn't clear in my mind *what* i wanted, perhaps because to my colourblind eyes the colour is just too close to that of the bay doors maybe? i think i will add some more dust weathering here maybe but overall pleased to get this (critical) stage out of the way cheers for looking N


-
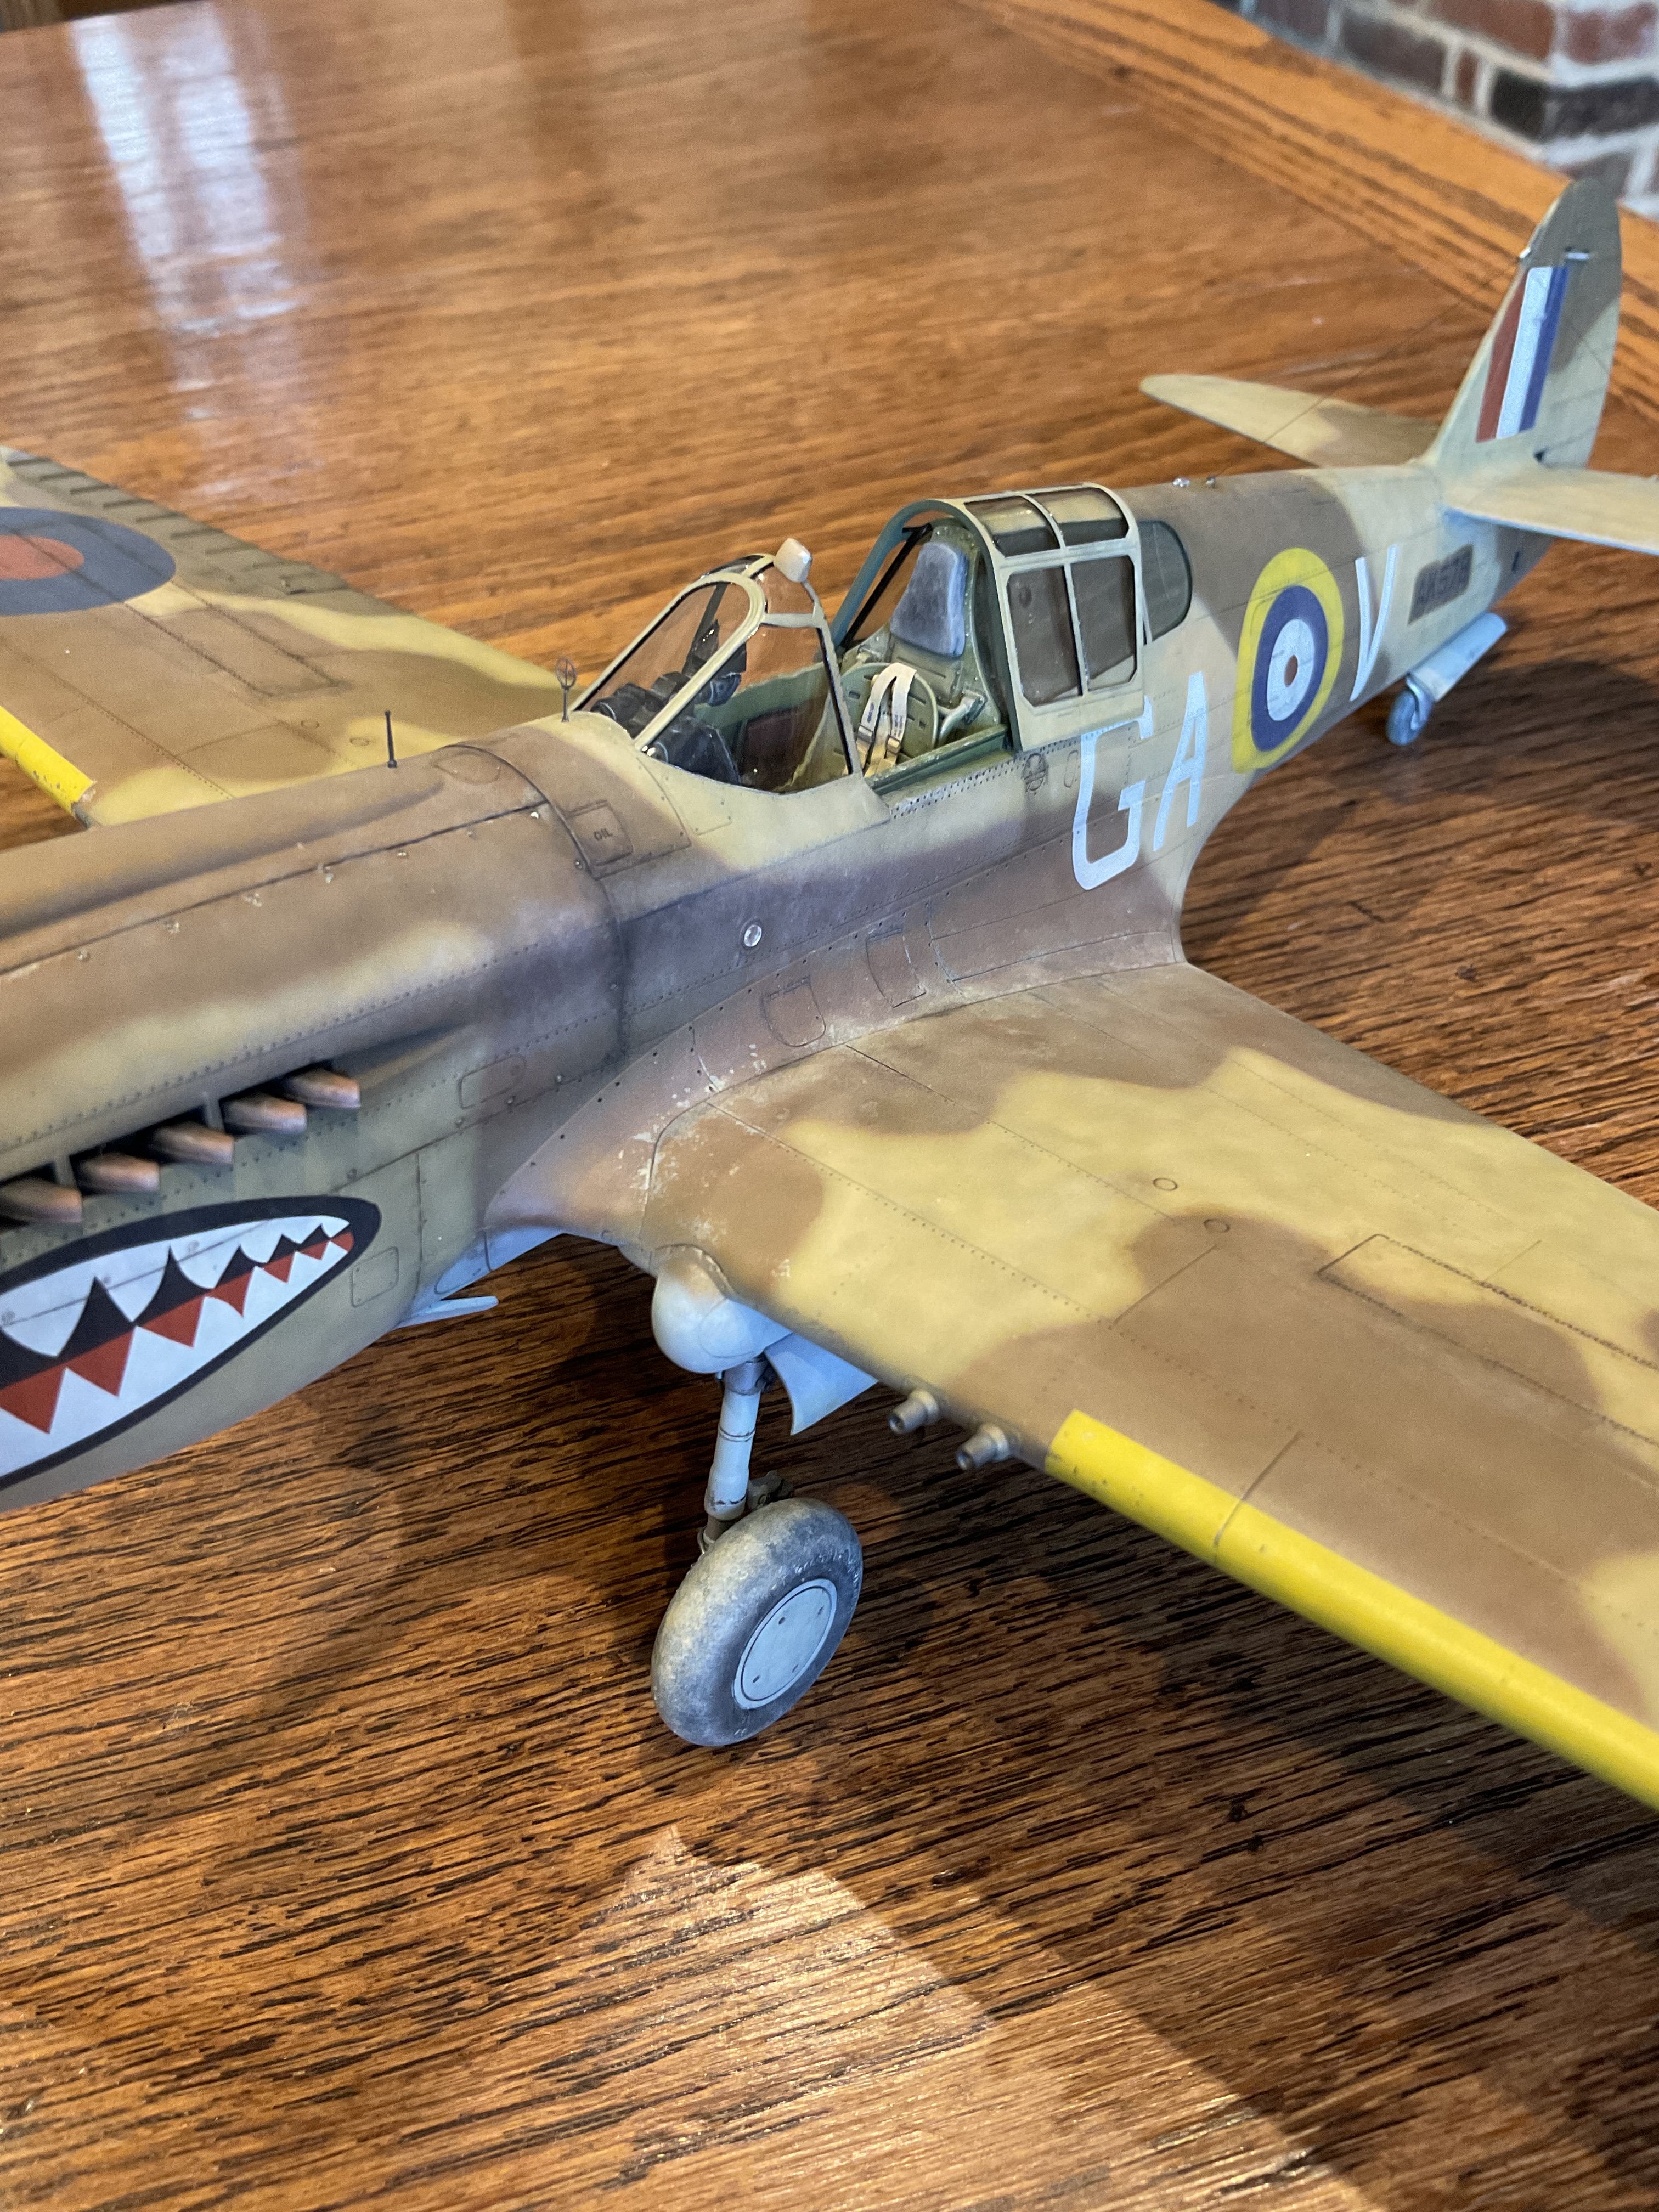
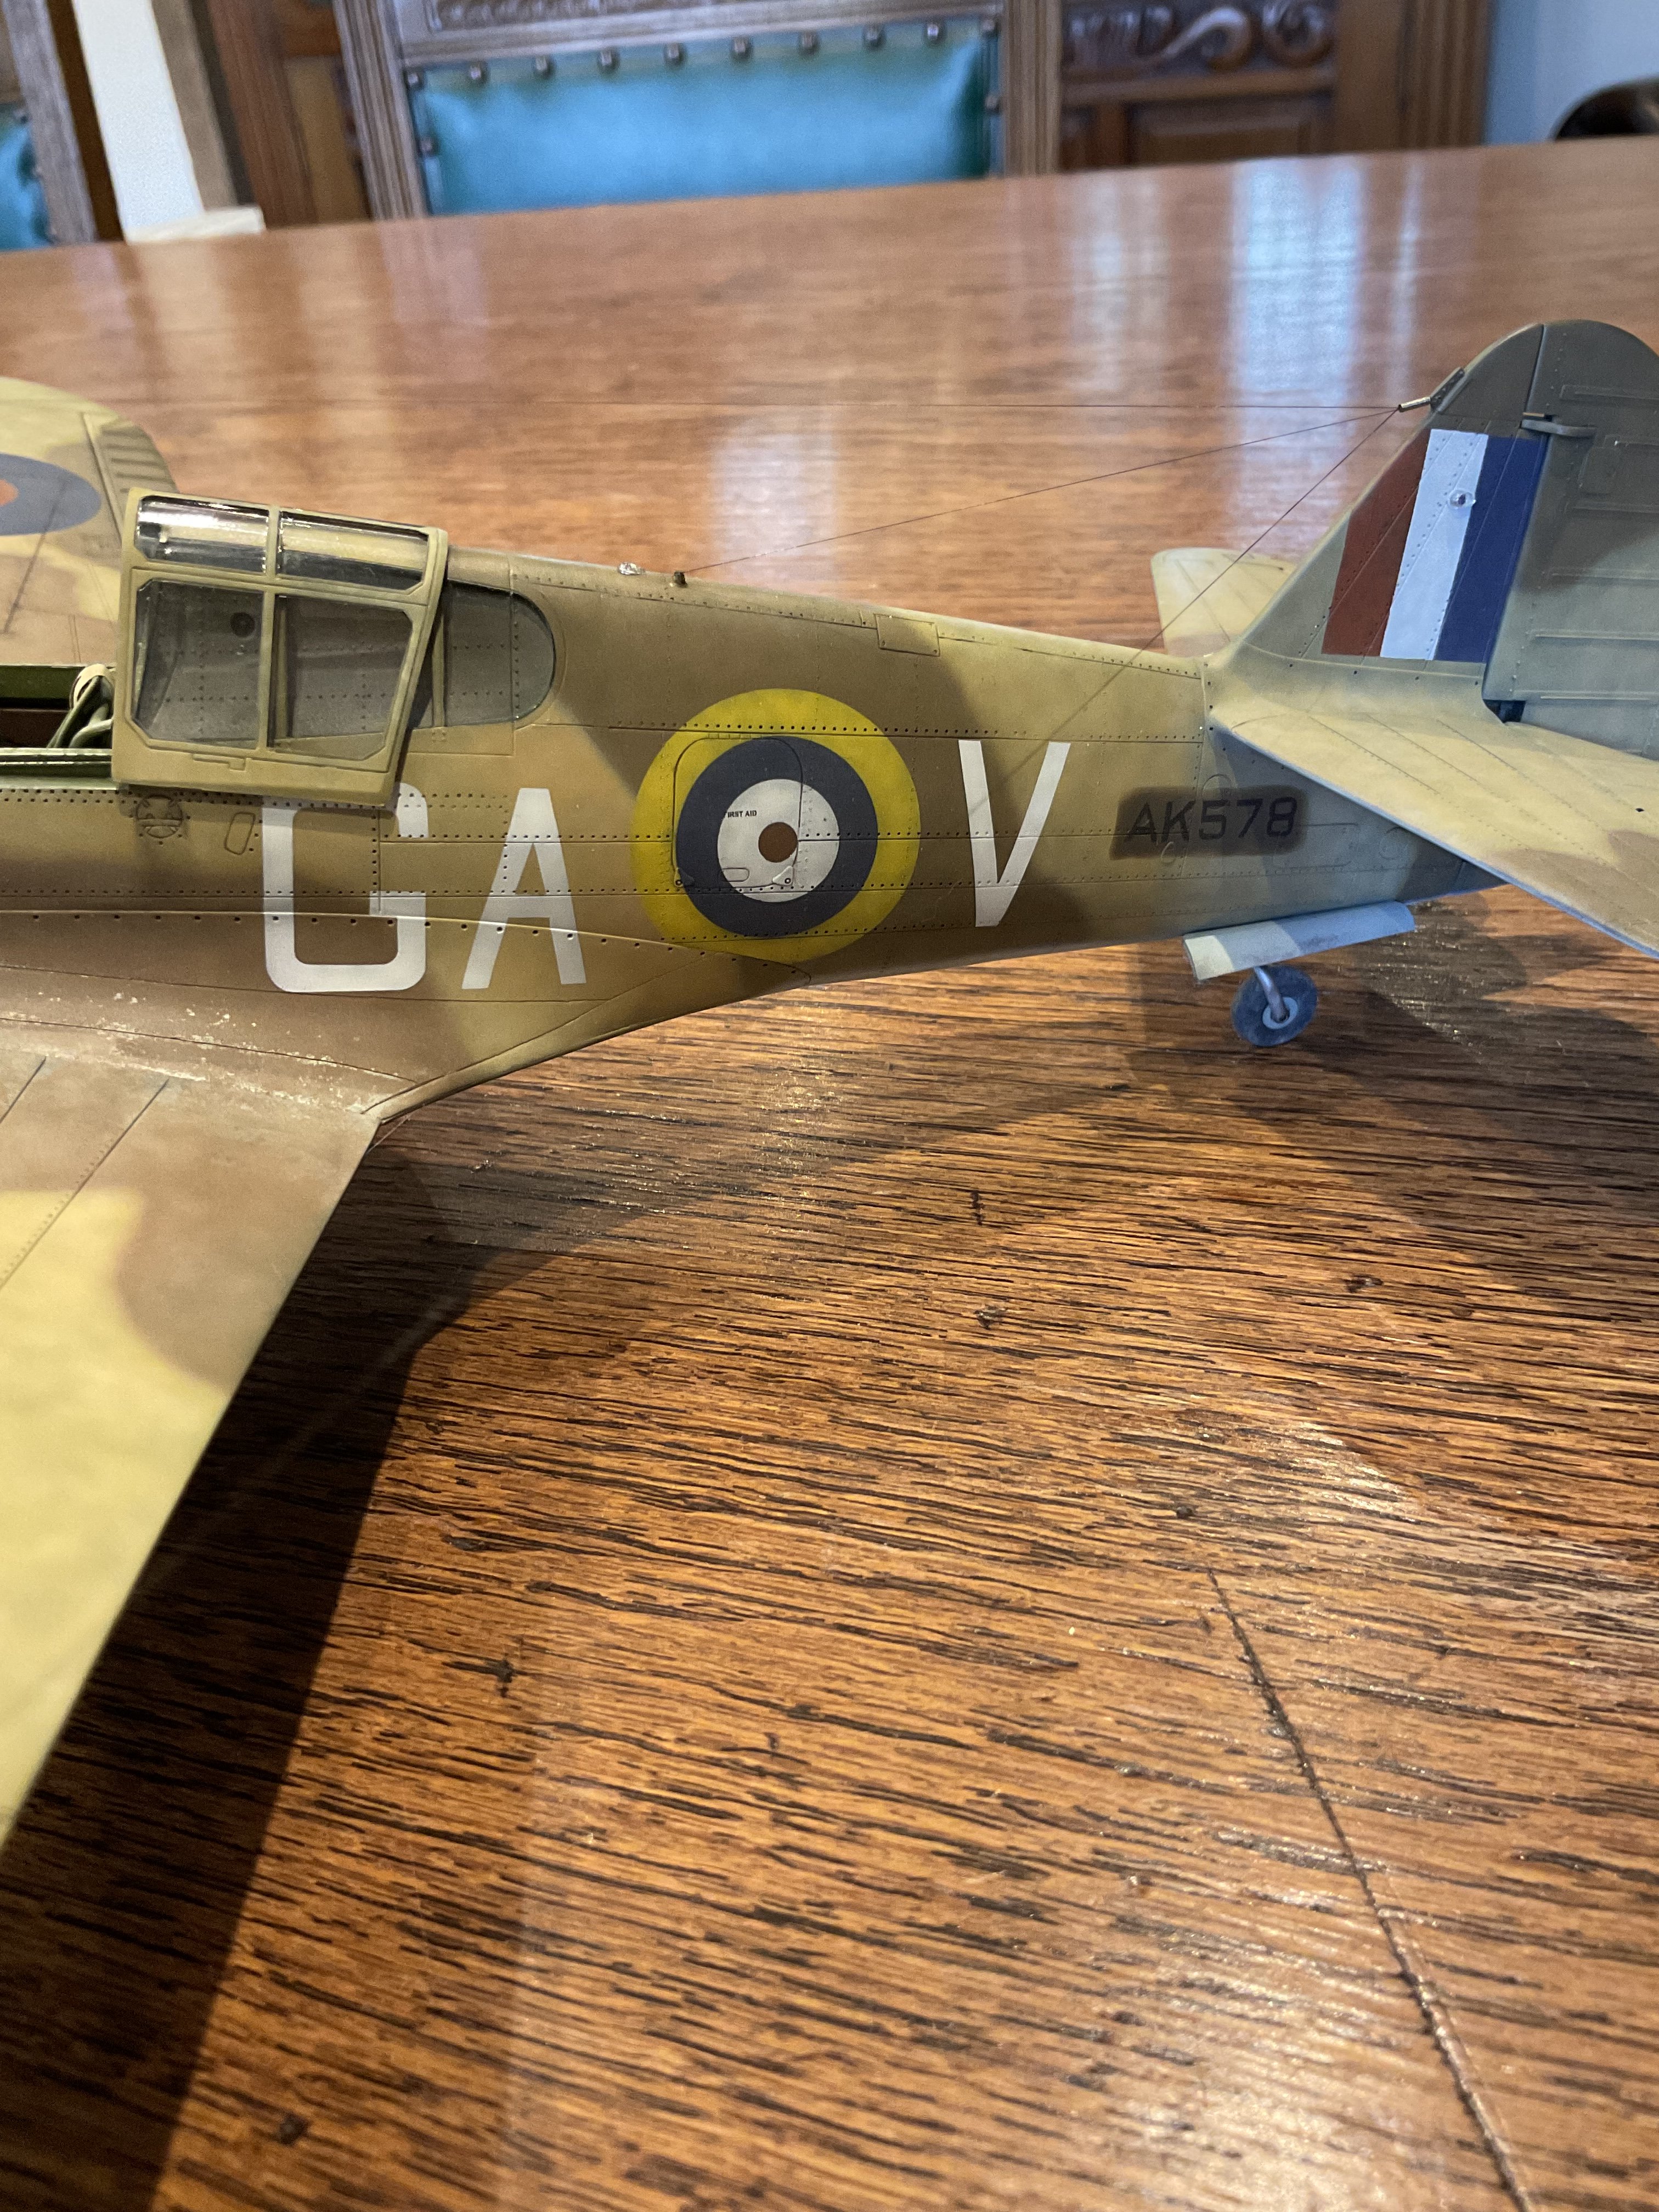
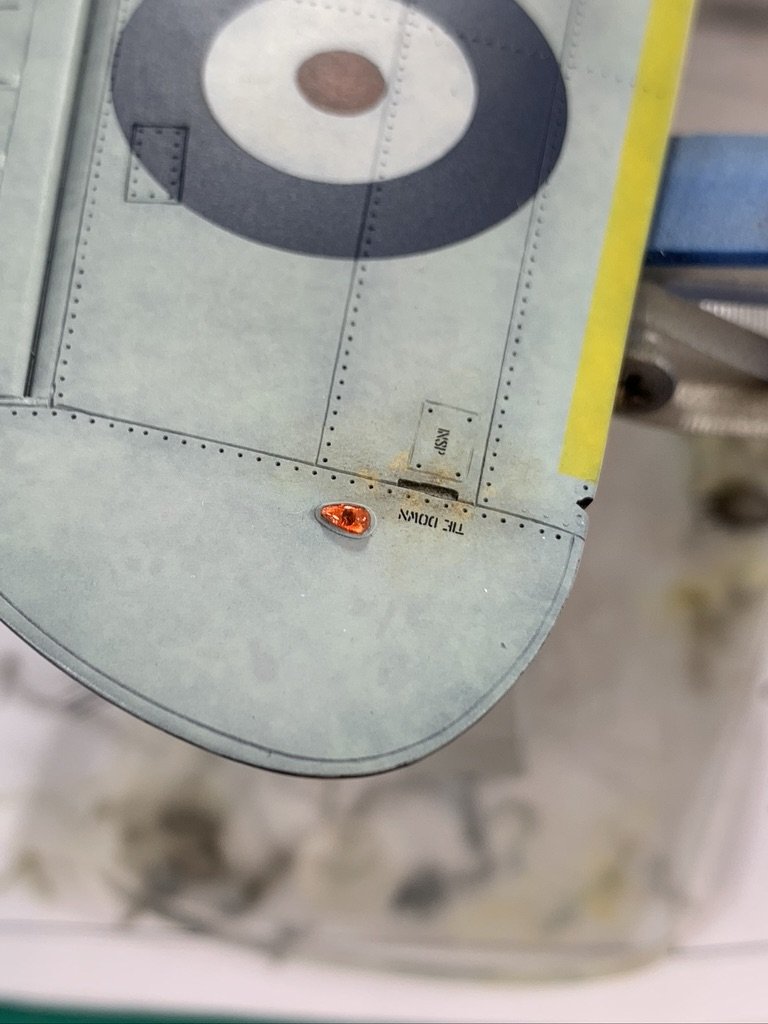
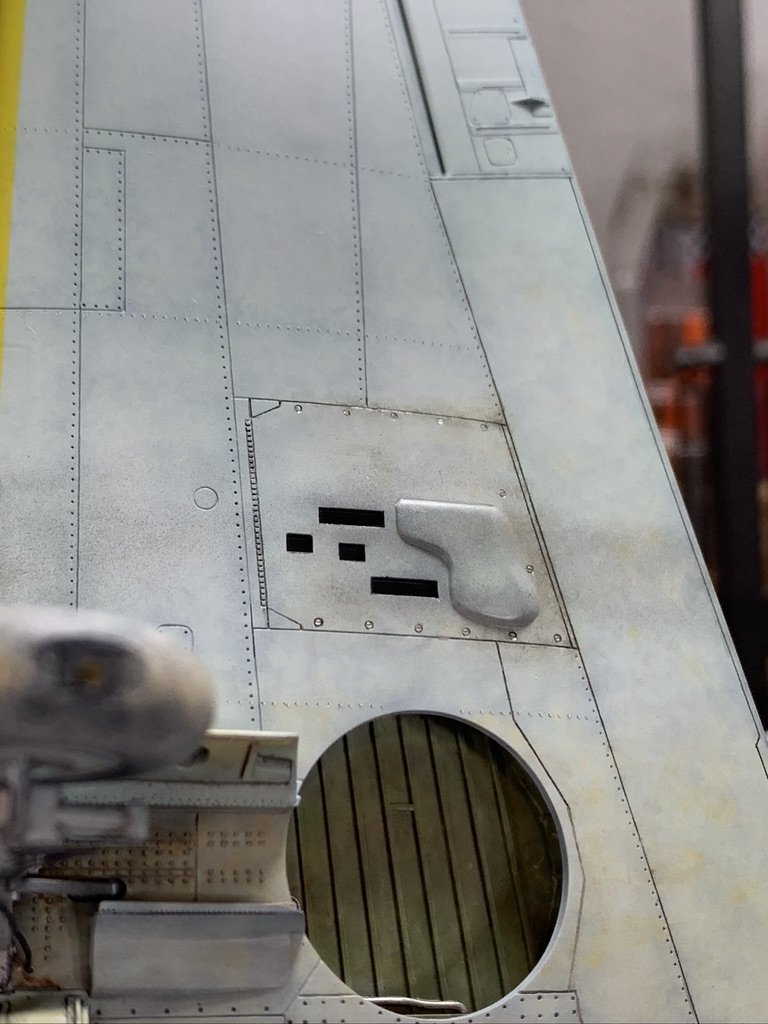
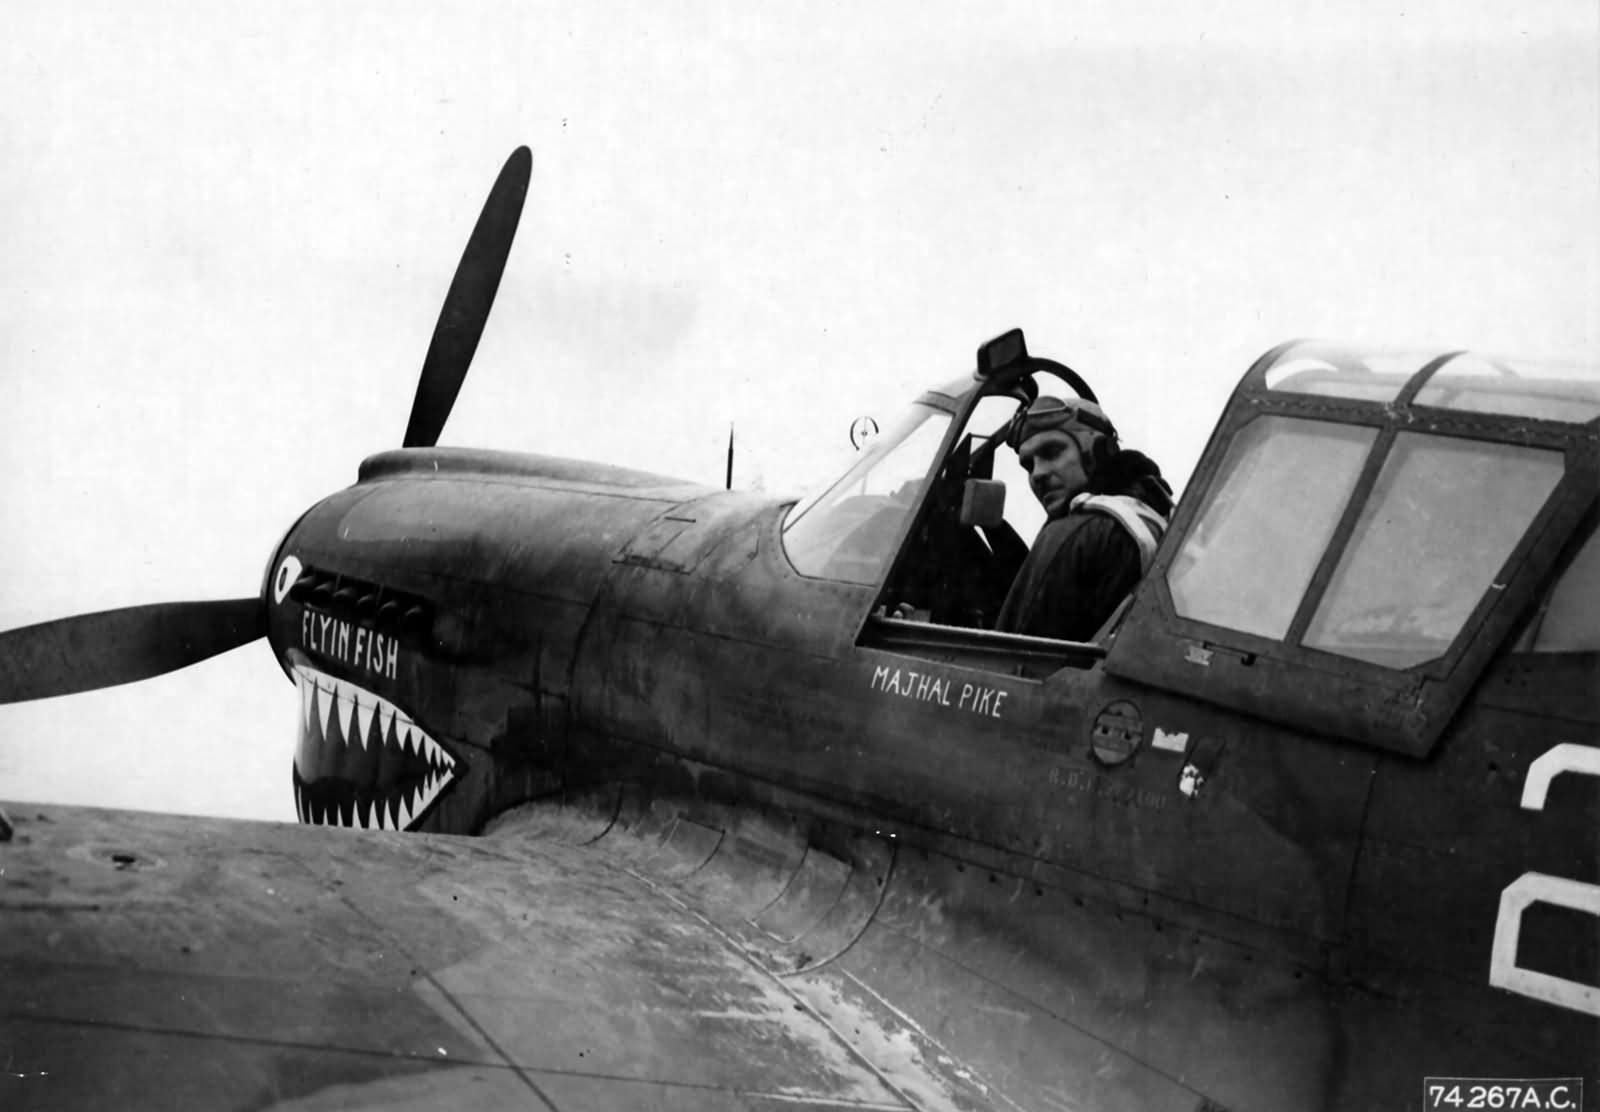
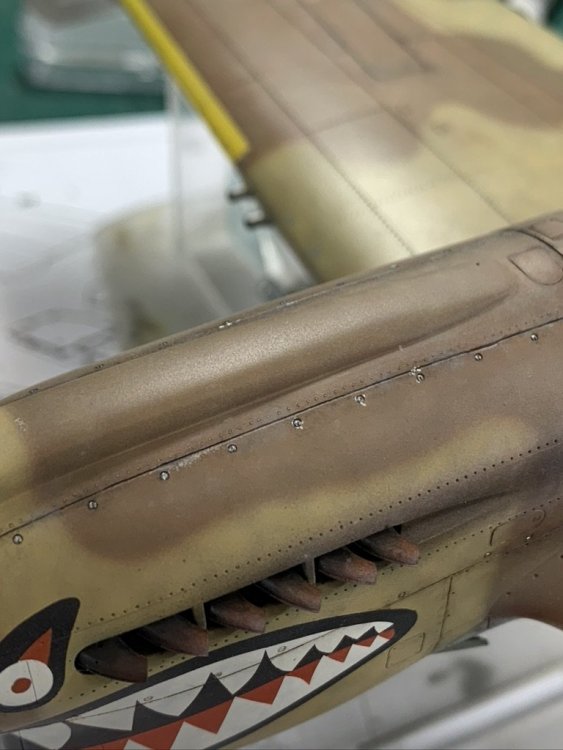
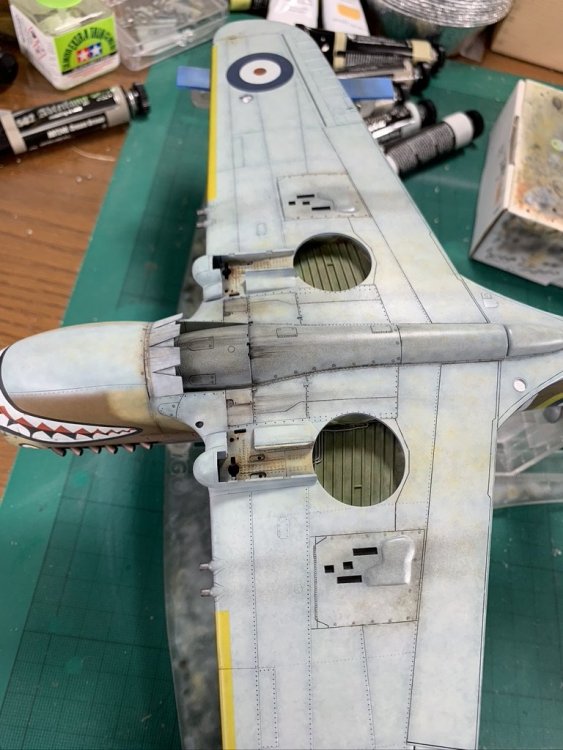
this was one of the images i had saved down to help me with wing root weathering - you see that this one was pretty grubby! - and it shows at least some staining around the fuel filler cap, although mine is probably a bit overdone

-
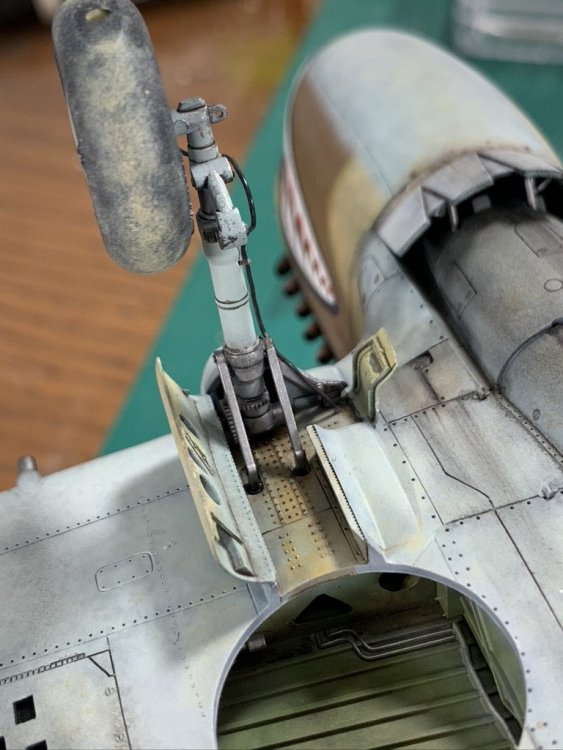
i had plans to do some more weathering but i got a little impatient so decided to do the landing gear... given it's so long since i actually looked at the underside, here is a reminder of where we got to... Hasegawa's engineering here is almost too good - they are a bugger to insert just because the fit is so tight - nothing is glued in this pic all the gear and doors have been patiently waiting for this moment! the gear was glued in place with Tamiya extra thin - it's probably the only thing that would wick its way in there - with a small dab of CA on the two supports at the rear brake lines were then added with 0.4mm wire, threaded through tiny metal eyes which were already drilled into the oleos; there is also a small hole drilled into the gear bay itself so the disappear off somewhere vaguely in the direction they are supposed to the lines were then painted tyre black, but i may come back and do them in regular black, I haven't decided yet always quite pleased to get this stage out of the way - it's the one part of an aircraft build where you can f*ck the whole thing up in an instant, and one of the reasons why i find building armour so much more relaxing (there are no such moments building a box on wheels!). I can almost see the finish flag fluttering in the distance now!

-
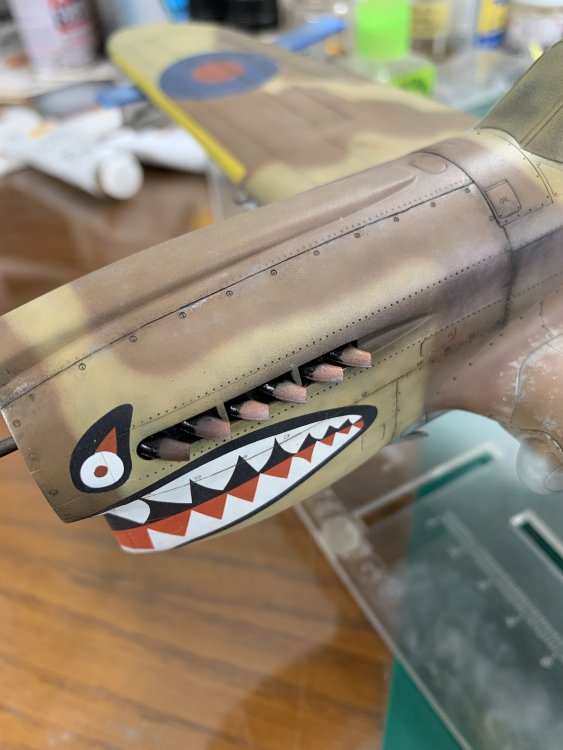
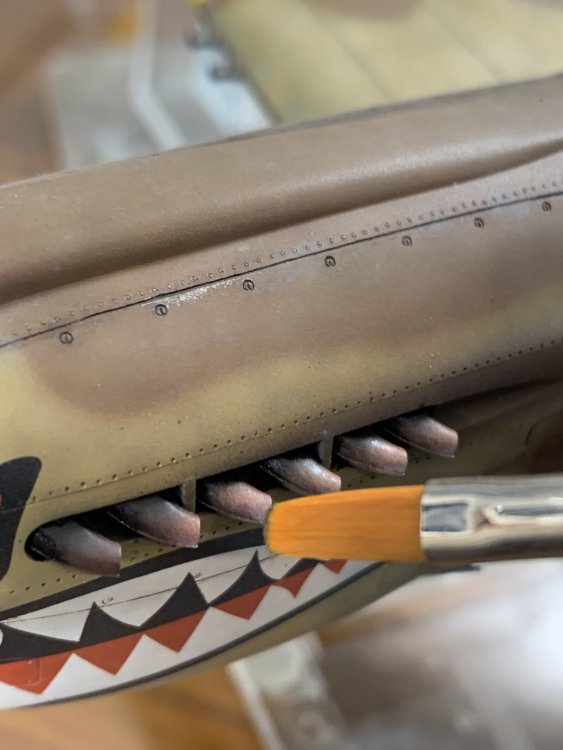
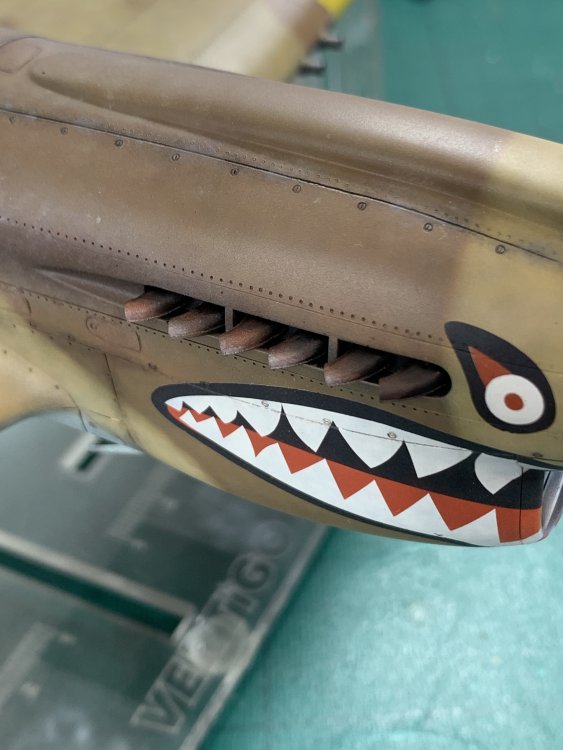
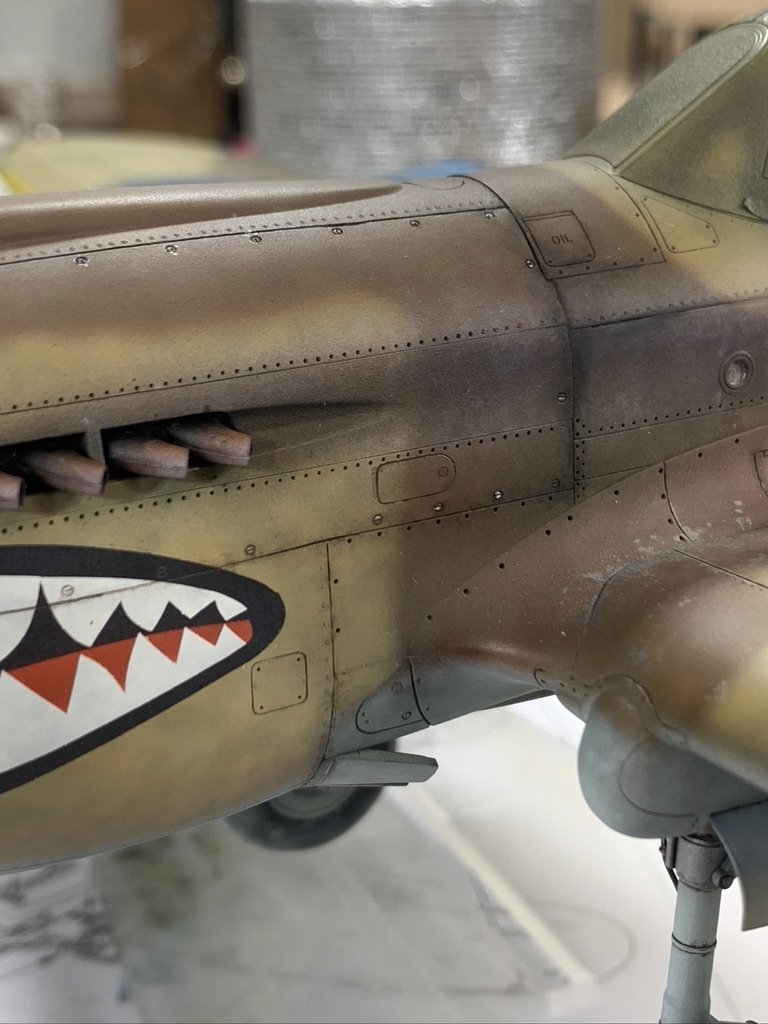
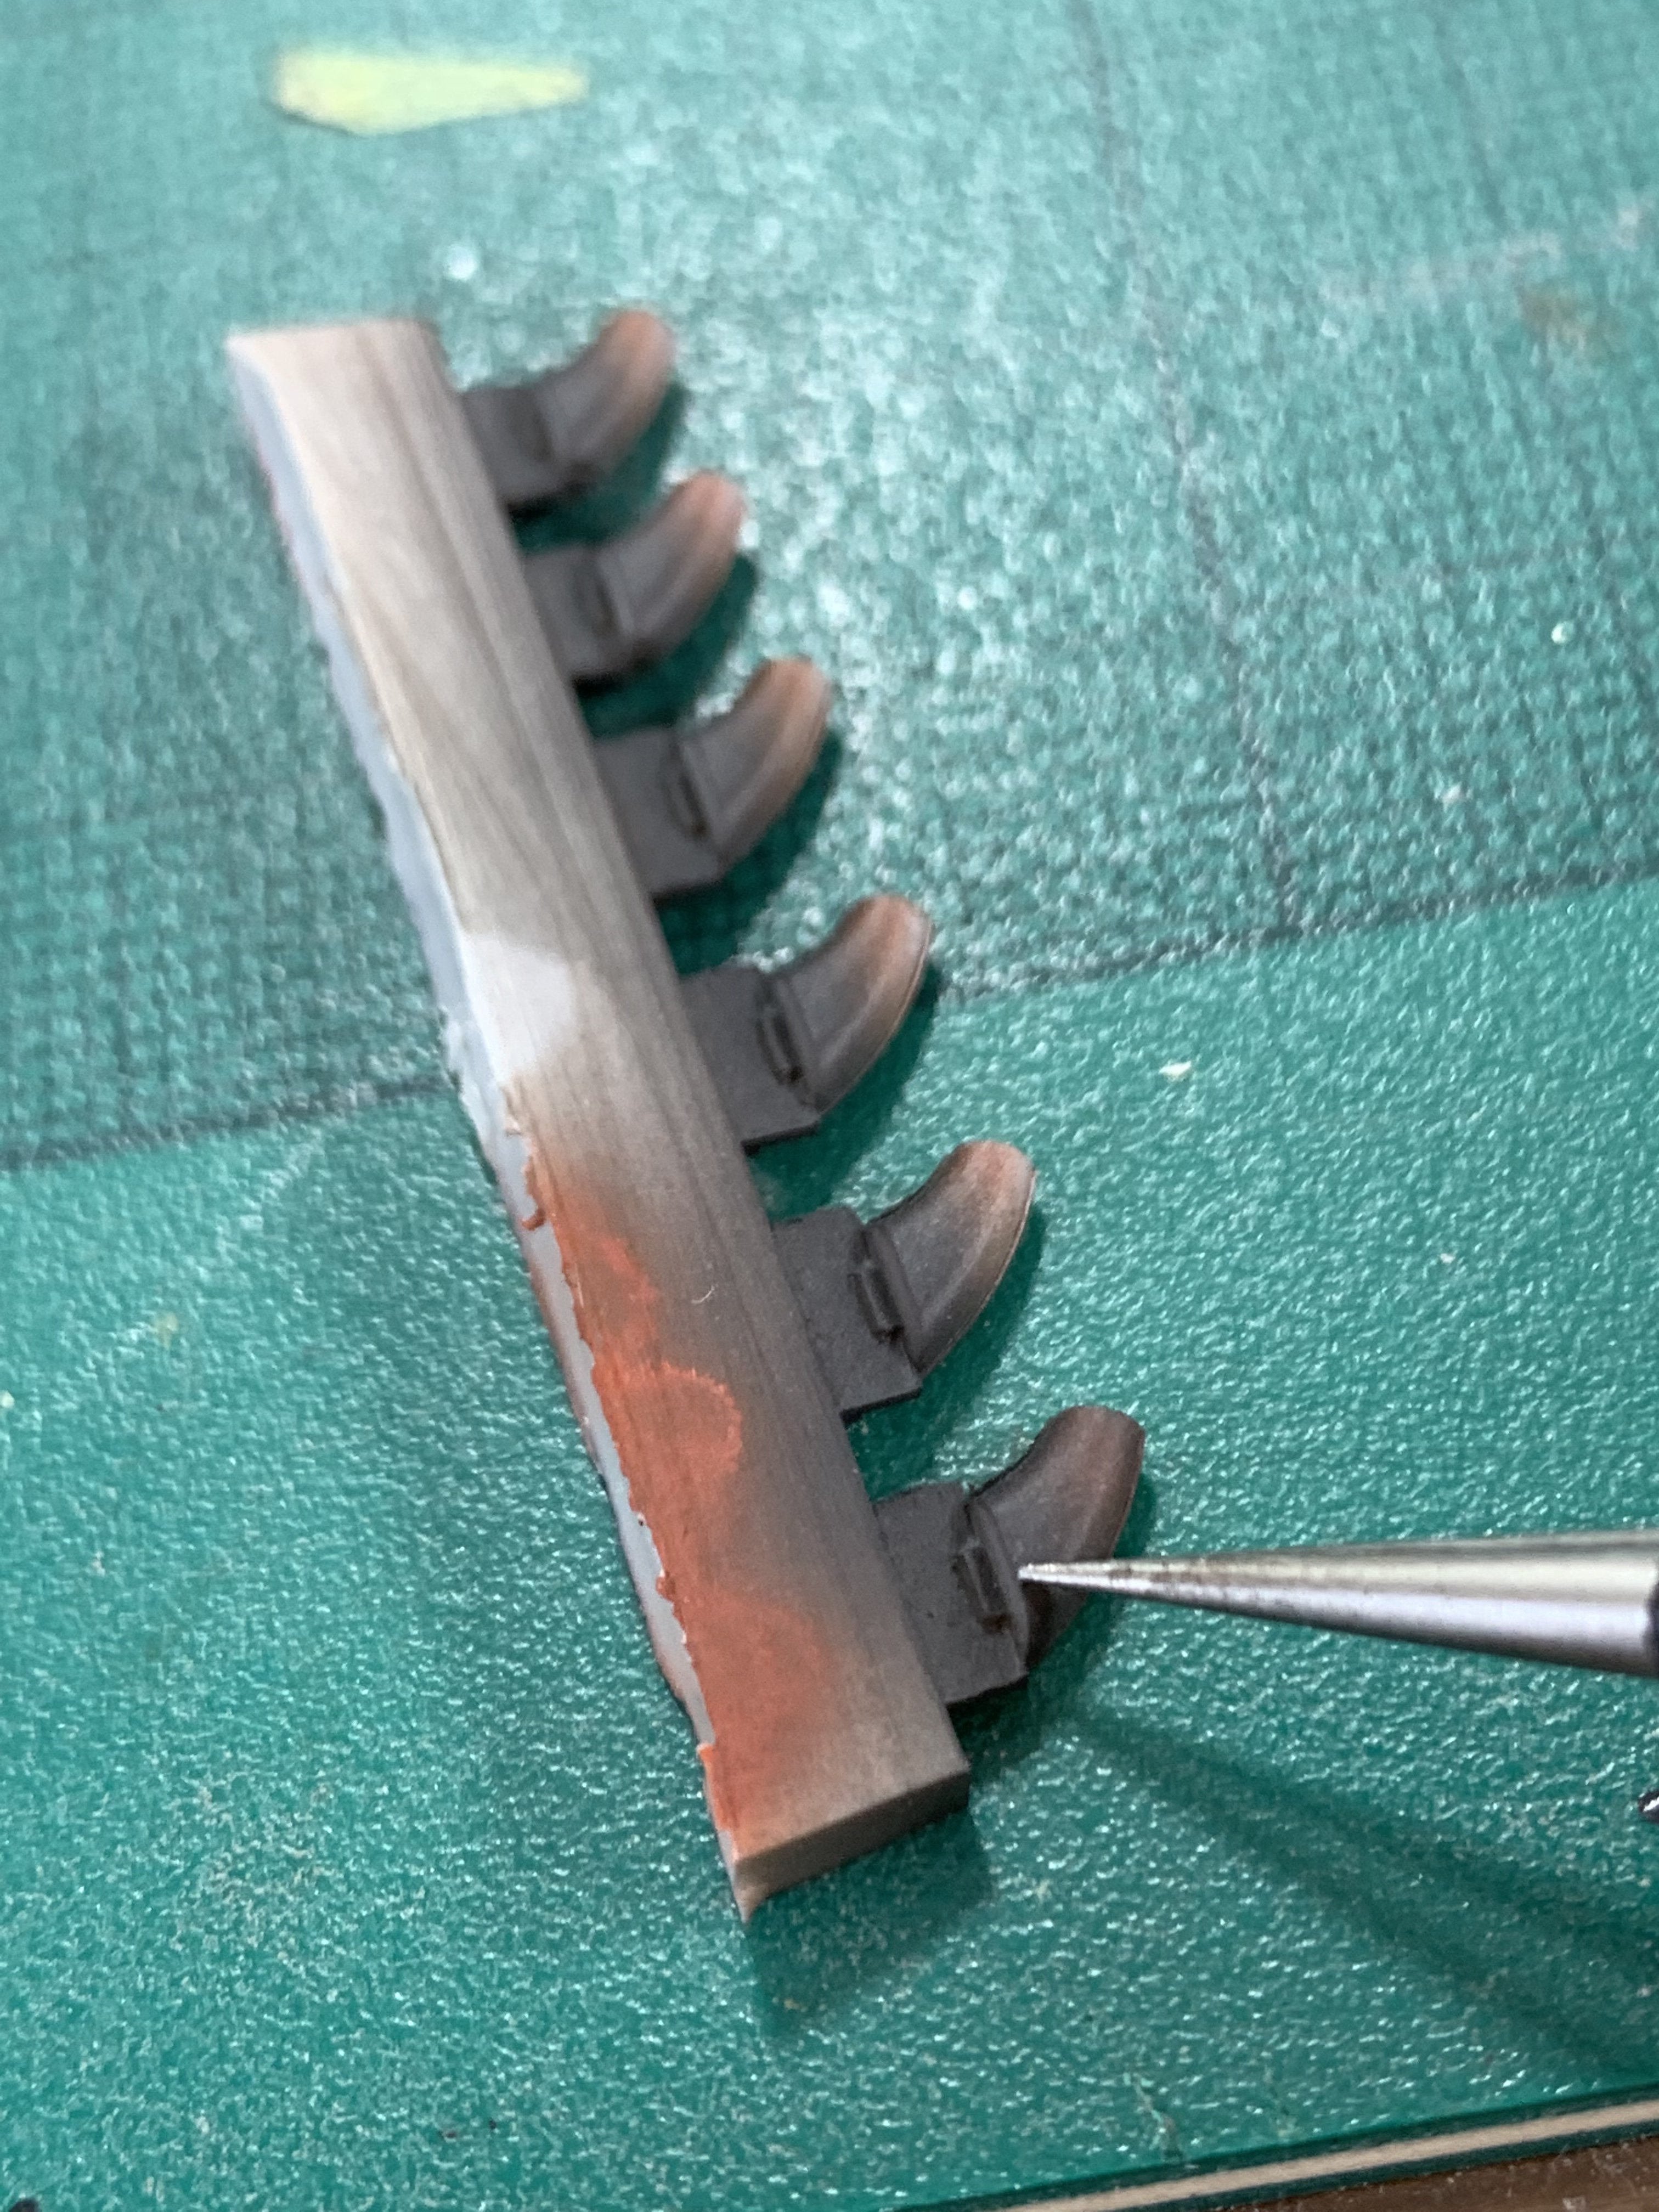
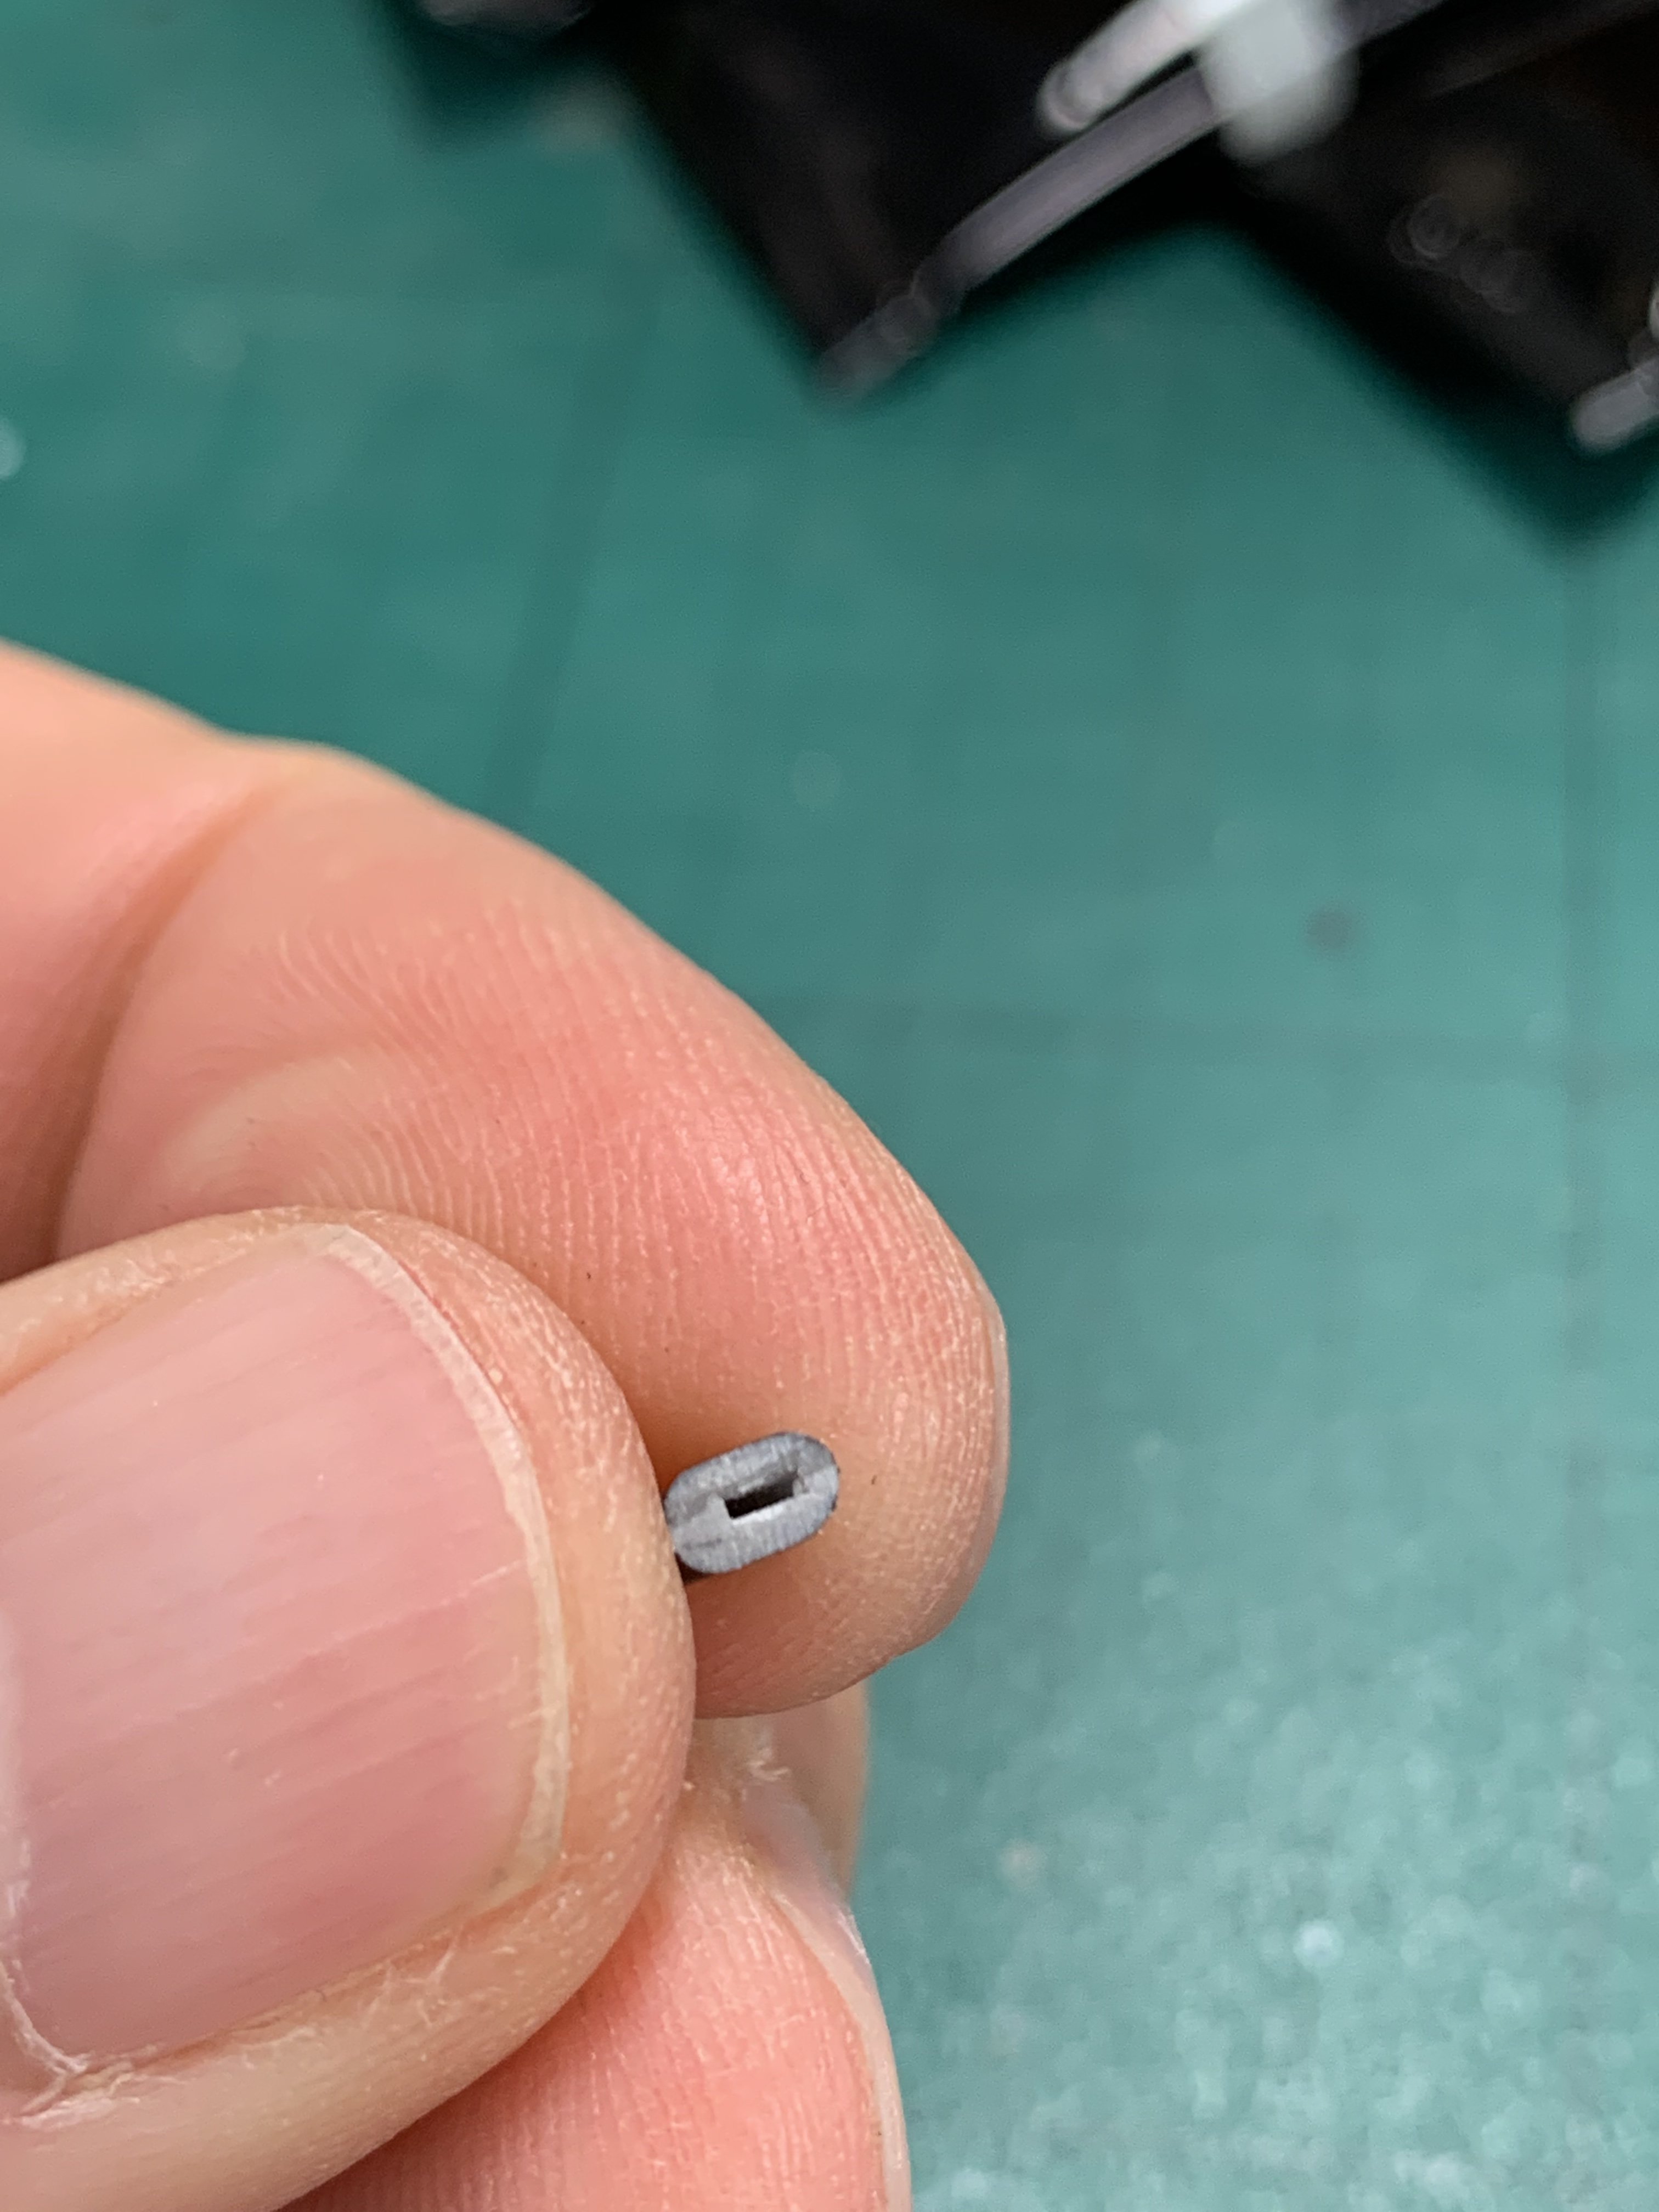
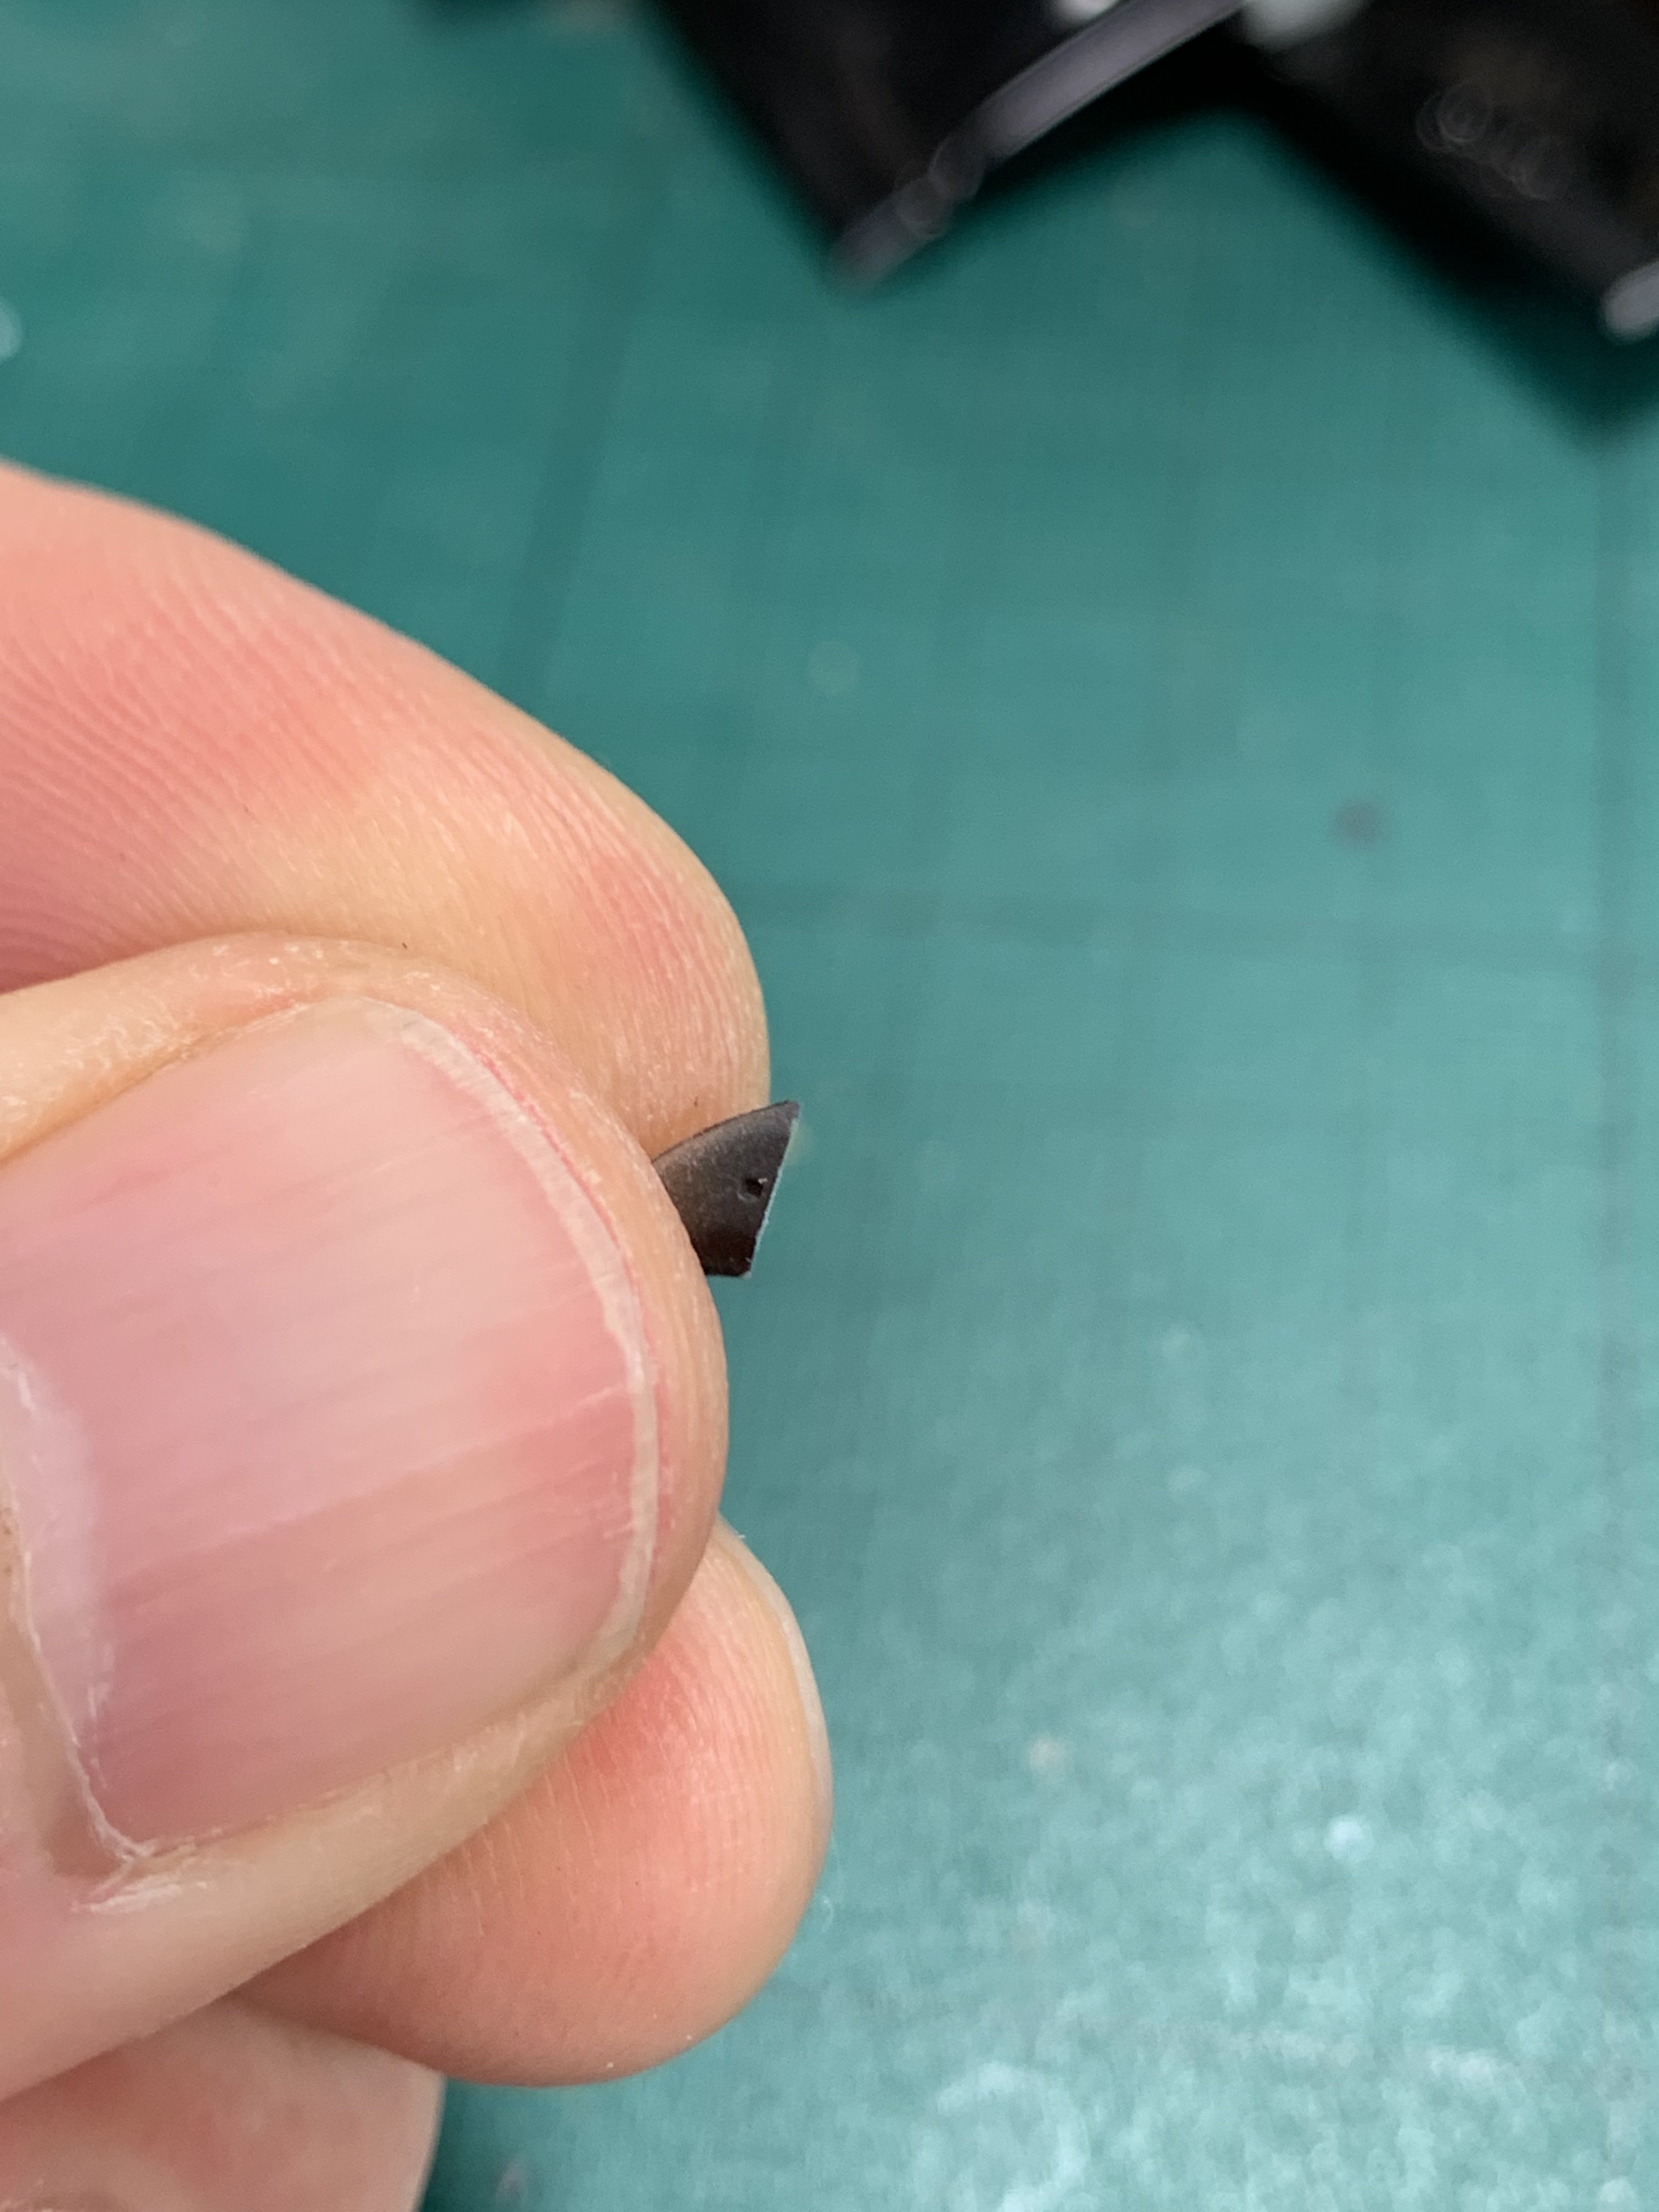
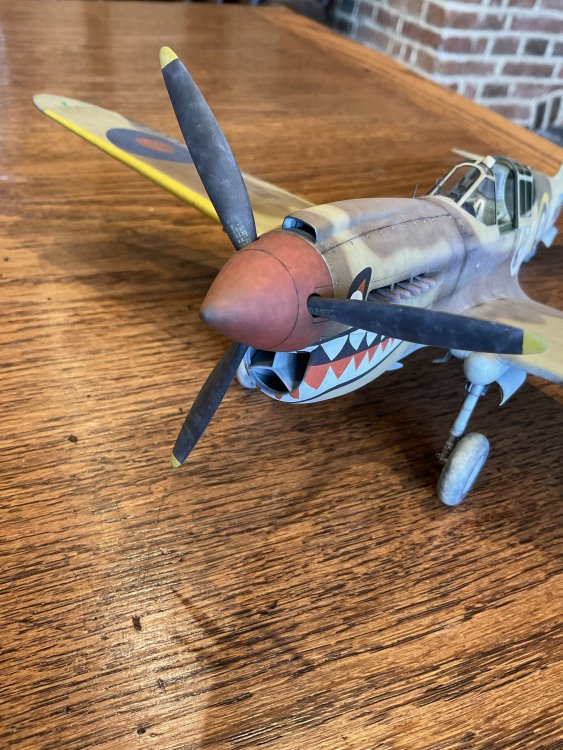
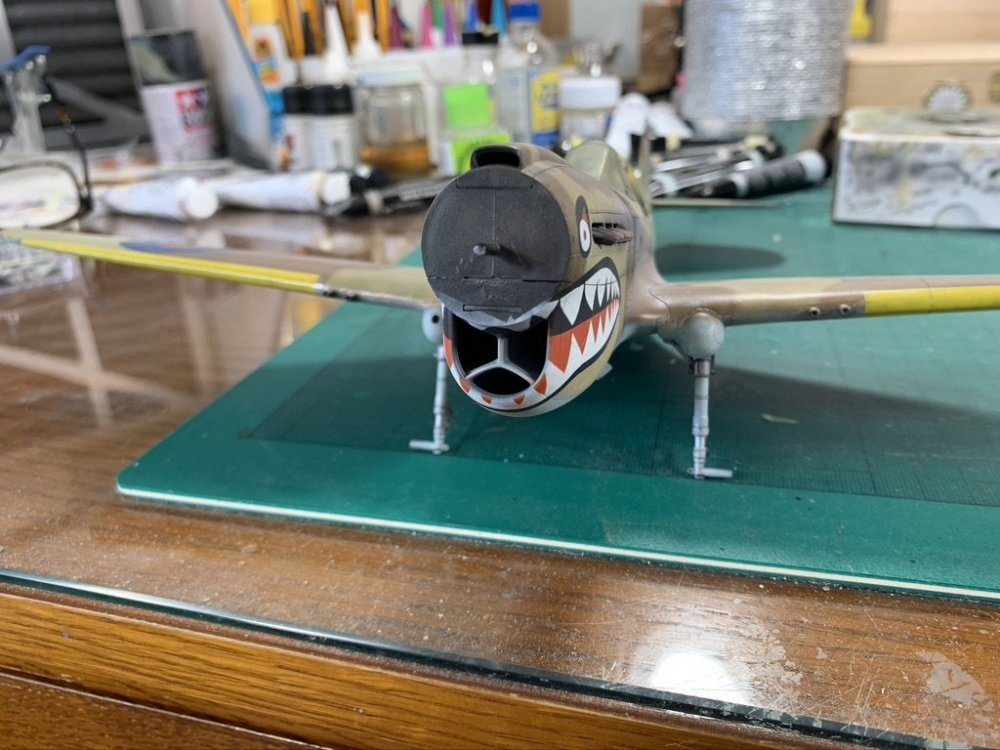
Exhausts - PITA! I ended up clipping the nibs off because they didn’t fit very well Sone light sanding to flatten the end the slow setting CA glue each one, hoping not to drop the bloody things! not very pleased with the fit / sit but that’s as much a function of the size (undersized exhausts / oversized cowling opening?) as anything else i am however pleased with the overall look of the exhausts themselves After gluing, I added some black (oils) to the base of each stack and blended it out starting to look a bit more like a P-40 now!