
RalphSarc
-
Posts
2,070 -
Joined
-
Last visited
Content Type
Profiles
Forums
Events
Gallery
Everything posted by RalphSarc
-

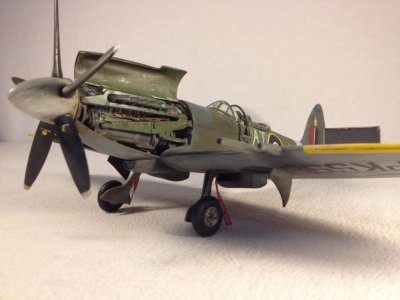
Revell 1/48 Bubble Top Spitfire
Images added to a gallery album owned by RalphSarc in Gallery of COMPLETED Aircraft models
Great aging kit but fun to build. Highly recommended! -
-
From the album: Revell 1/48 Bubble Top Spitfire
-

From the album: Revell 1/48 Bubble Top Spitfire
-

From the album: Revell 1/48 Bubble Top Spitfire
-
From the album: Revell 1/48 Bubble Top Spitfire
-
From the album: Revell 1/48 Bubble Top Spitfire
-
From the album: Revell 1/48 Bubble Top Spitfire
-
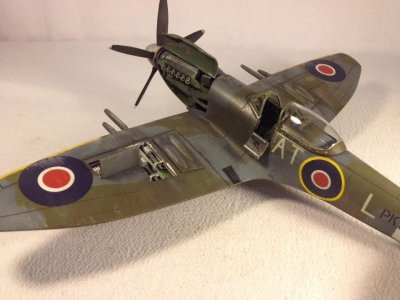
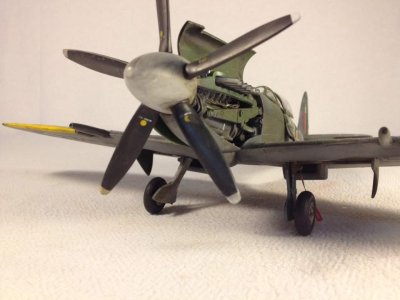
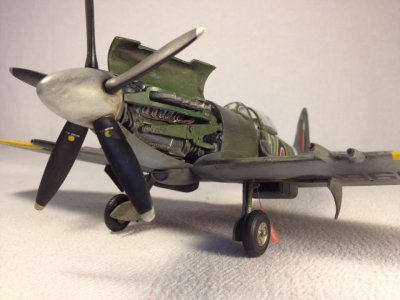
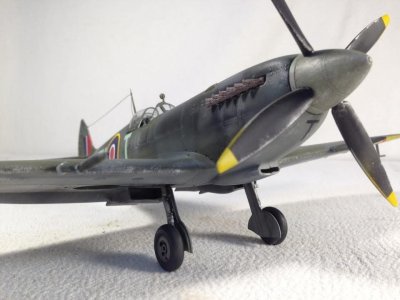
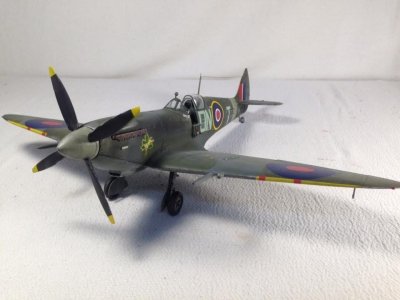
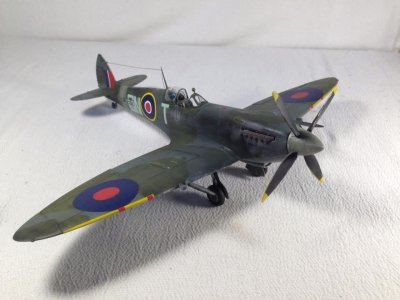
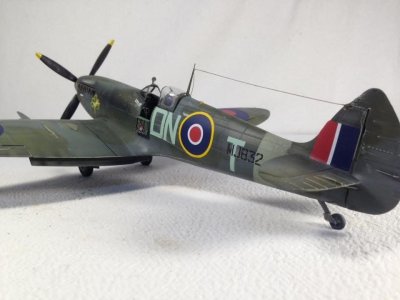
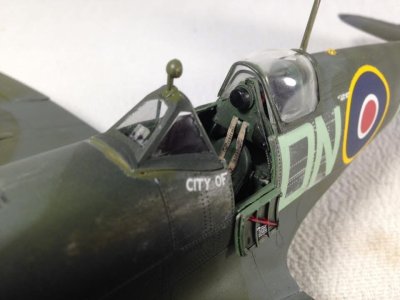
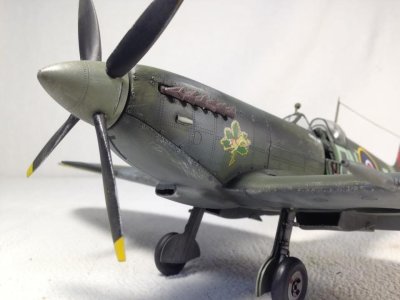
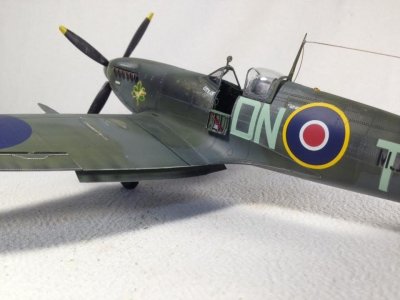
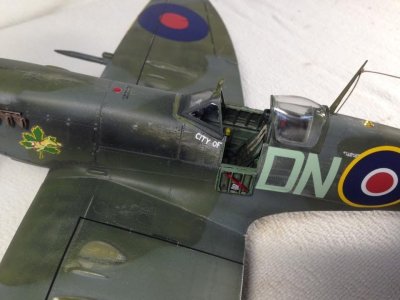
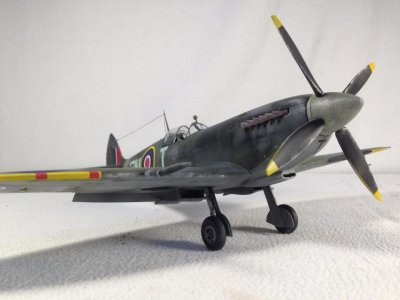
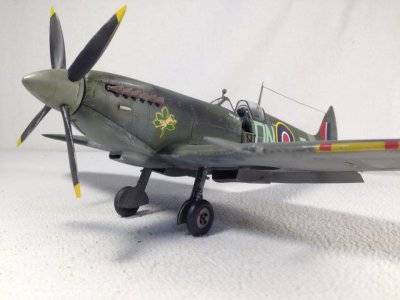
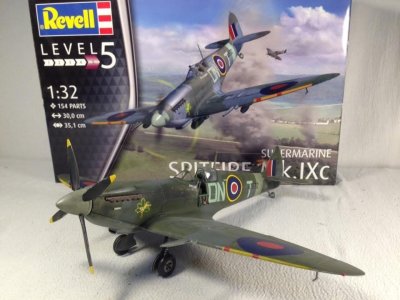
Revell 1/32 RAF Mk.IX Spitfire
Images added to a gallery album owned by RalphSarc in Gallery of COMPLETED Aircraft models
Completed my Revell 1/32 RAF Mk.IX Spitfire. Absolutely wonderful kit and highly recommended. -
-
From the album: Revell 1/32 RAF Mk.IX Spitfire
-
From the album: Revell 1/32 RAF Mk.IX Spitfire
-
From the album: Revell 1/32 RAF Mk.IX Spitfire
-
From the album: Revell 1/32 RAF Mk.IX Spitfire
-
From the album: Revell 1/32 RAF Mk.IX Spitfire
-
From the album: Revell 1/32 RAF Mk.IX Spitfire
-
From the album: Revell 1/32 RAF Mk.IX Spitfire
-
From the album: Revell 1/32 RAF Mk.IX Spitfire
-

From the album: Revell 1/32 RAF Mk.IX Spitfire
-
From the album: Revell 1/32 RAF Mk.IX Spitfire
-
From the album: Revell 1/32 RAF Mk.IX Spitfire
-
From the album: Revell 1/32 RAF Mk.IX Spitfire
-
Once I had cleaned my Iwata I thought I’d put down a coat of black base on the Easy Eight. OD base coat next.

-
Thanks I appreciate that. I’m really enjoying this kit.
-
Oh thanks John it’s been a fun kit so far!
-
Thanks Hubert I really enjoy doing the technique. I’m anxious to see how it paints and weather.
-
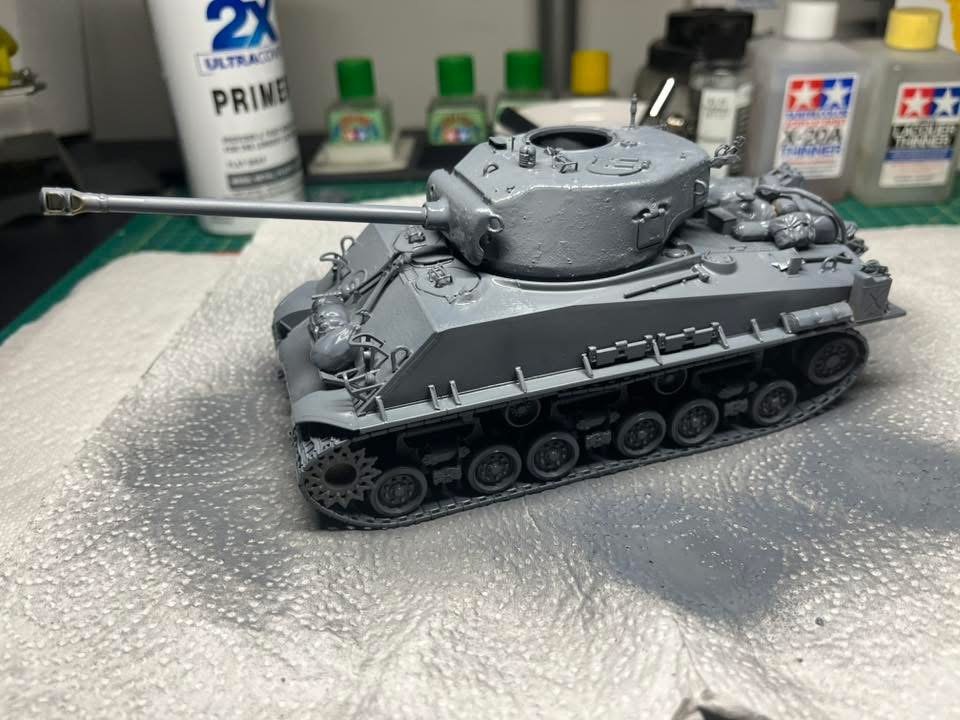
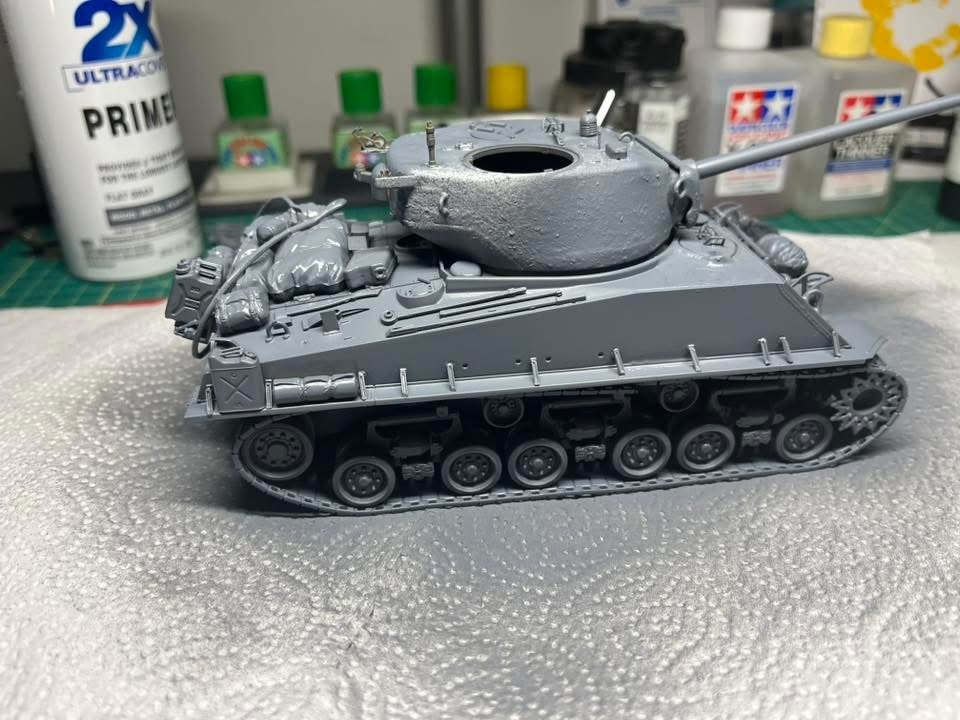
Primed!! Really like how the cast marks look primed. Kinda toned them down a bit.