1to1scale
-
Posts
1,767 -
Joined
-
Last visited
Content Type
Profiles
Forums
Events
Gallery
Everything posted by 1to1scale
-
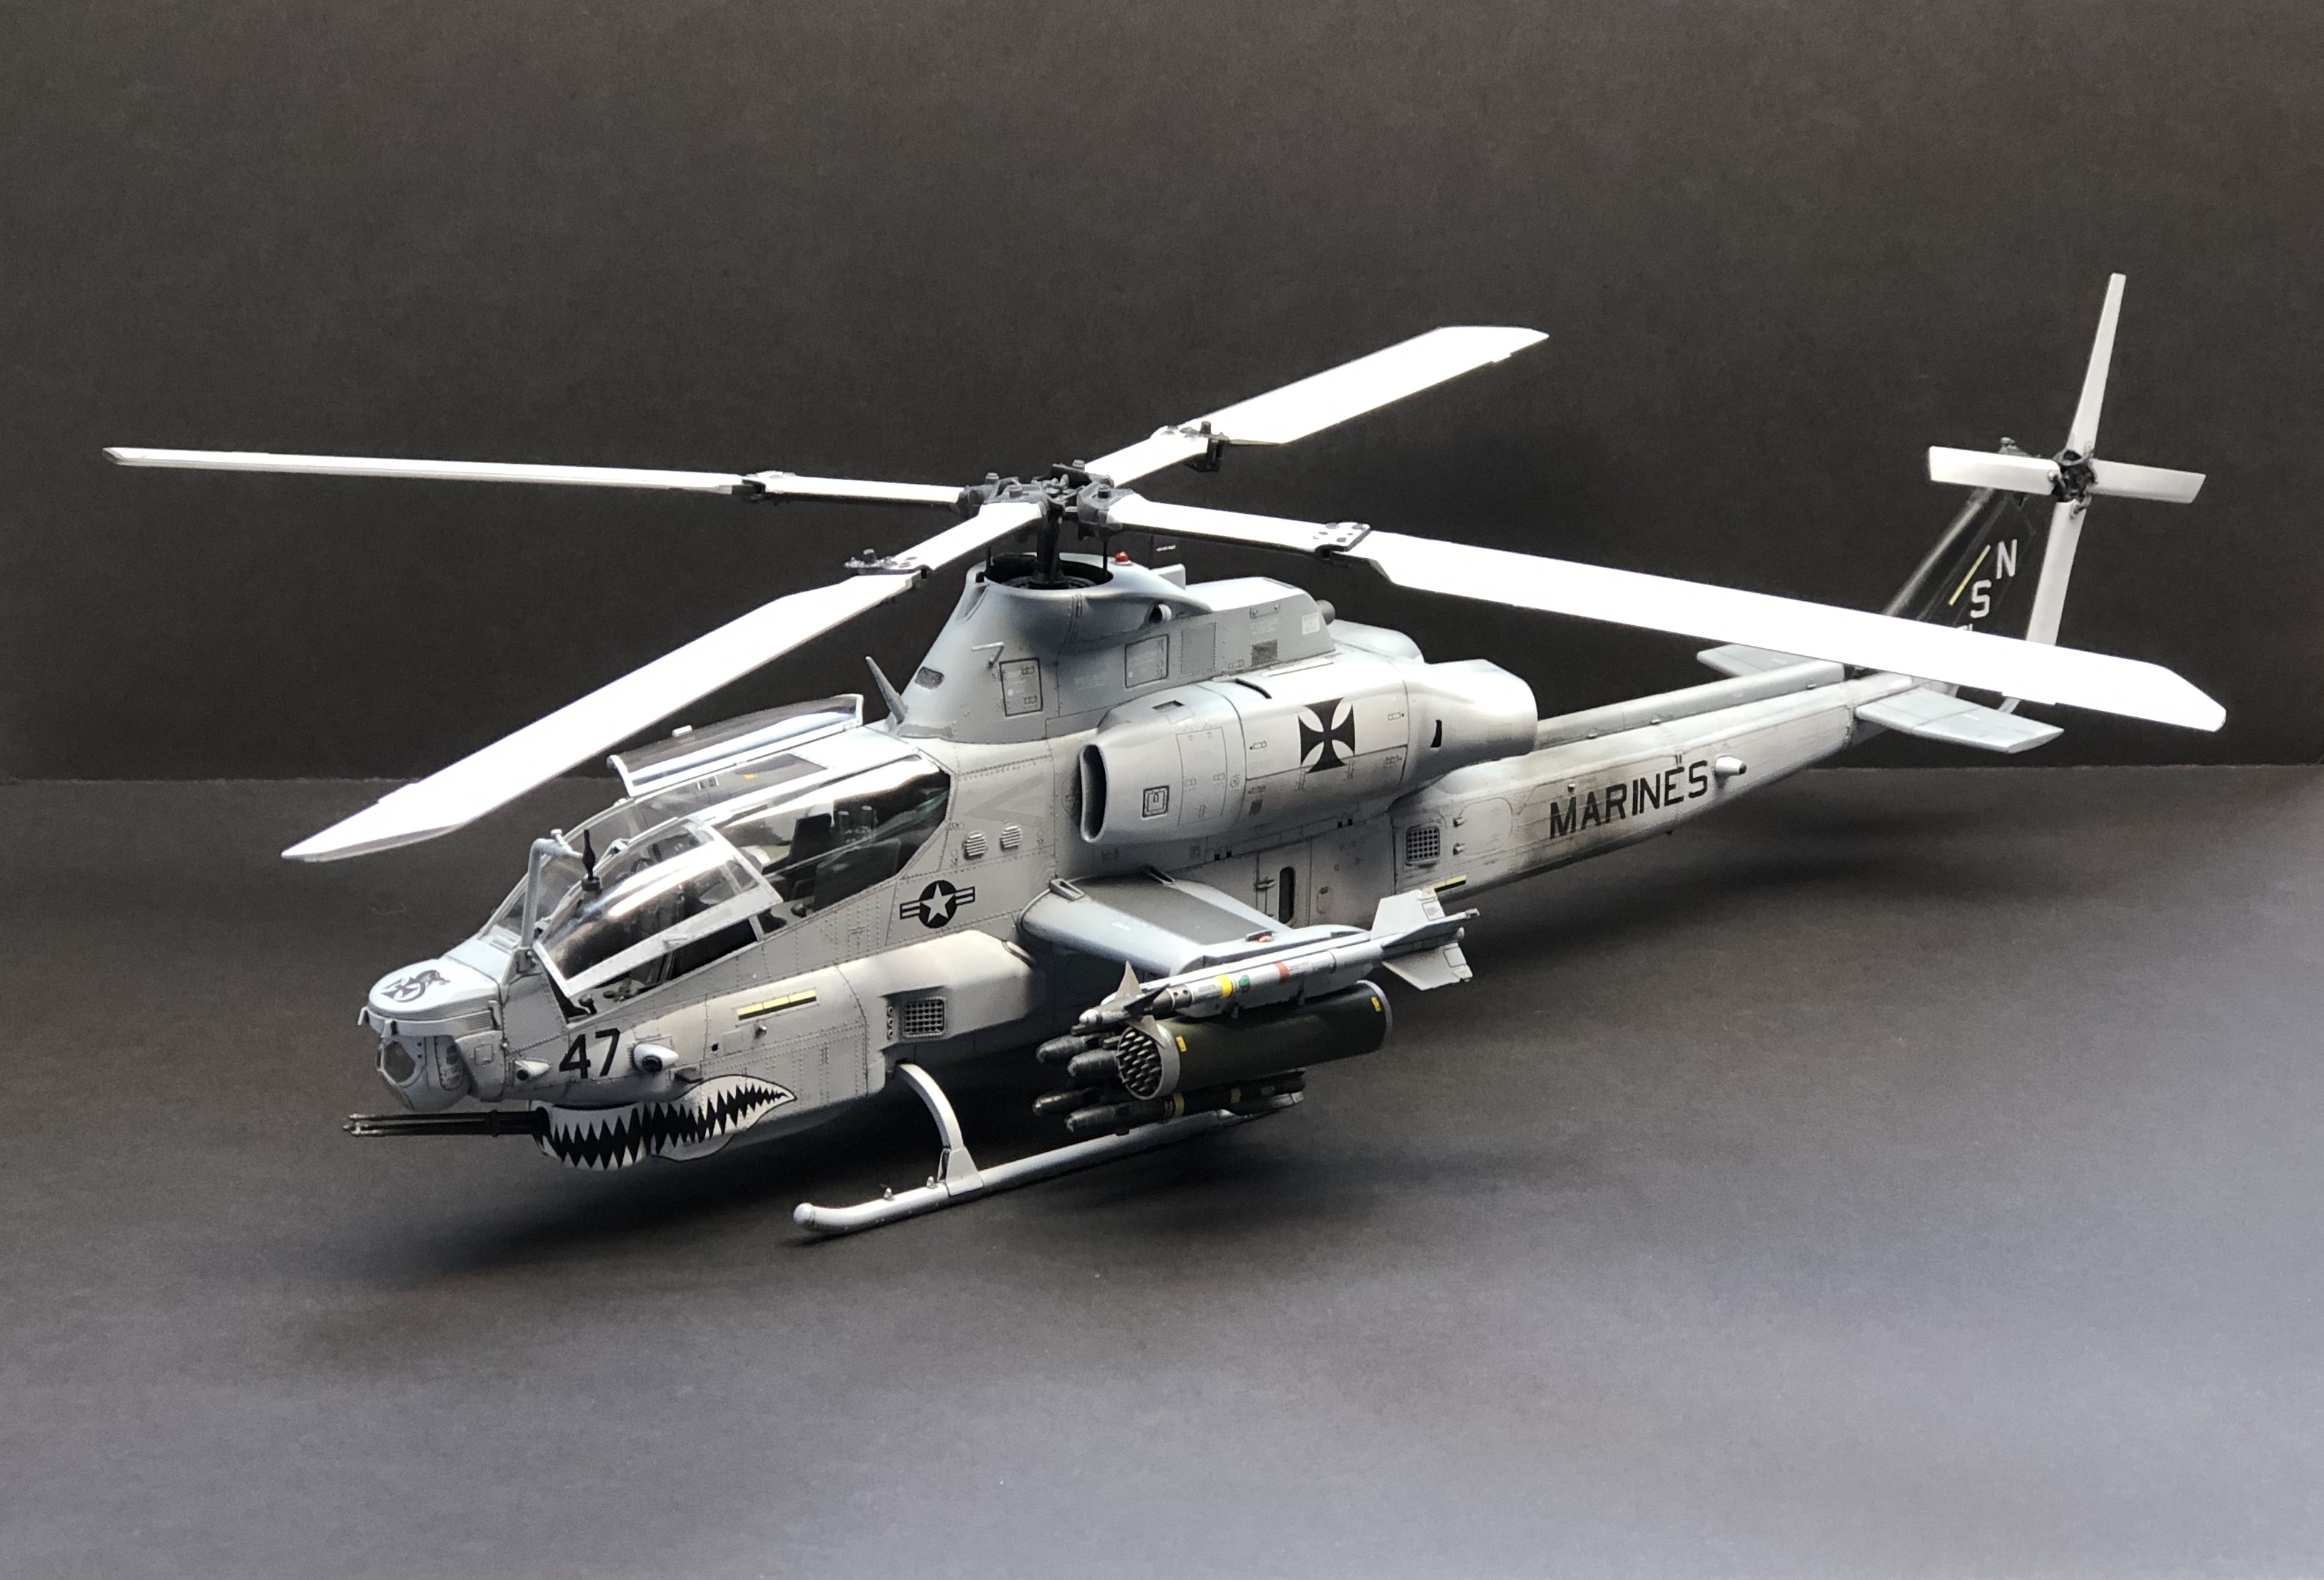
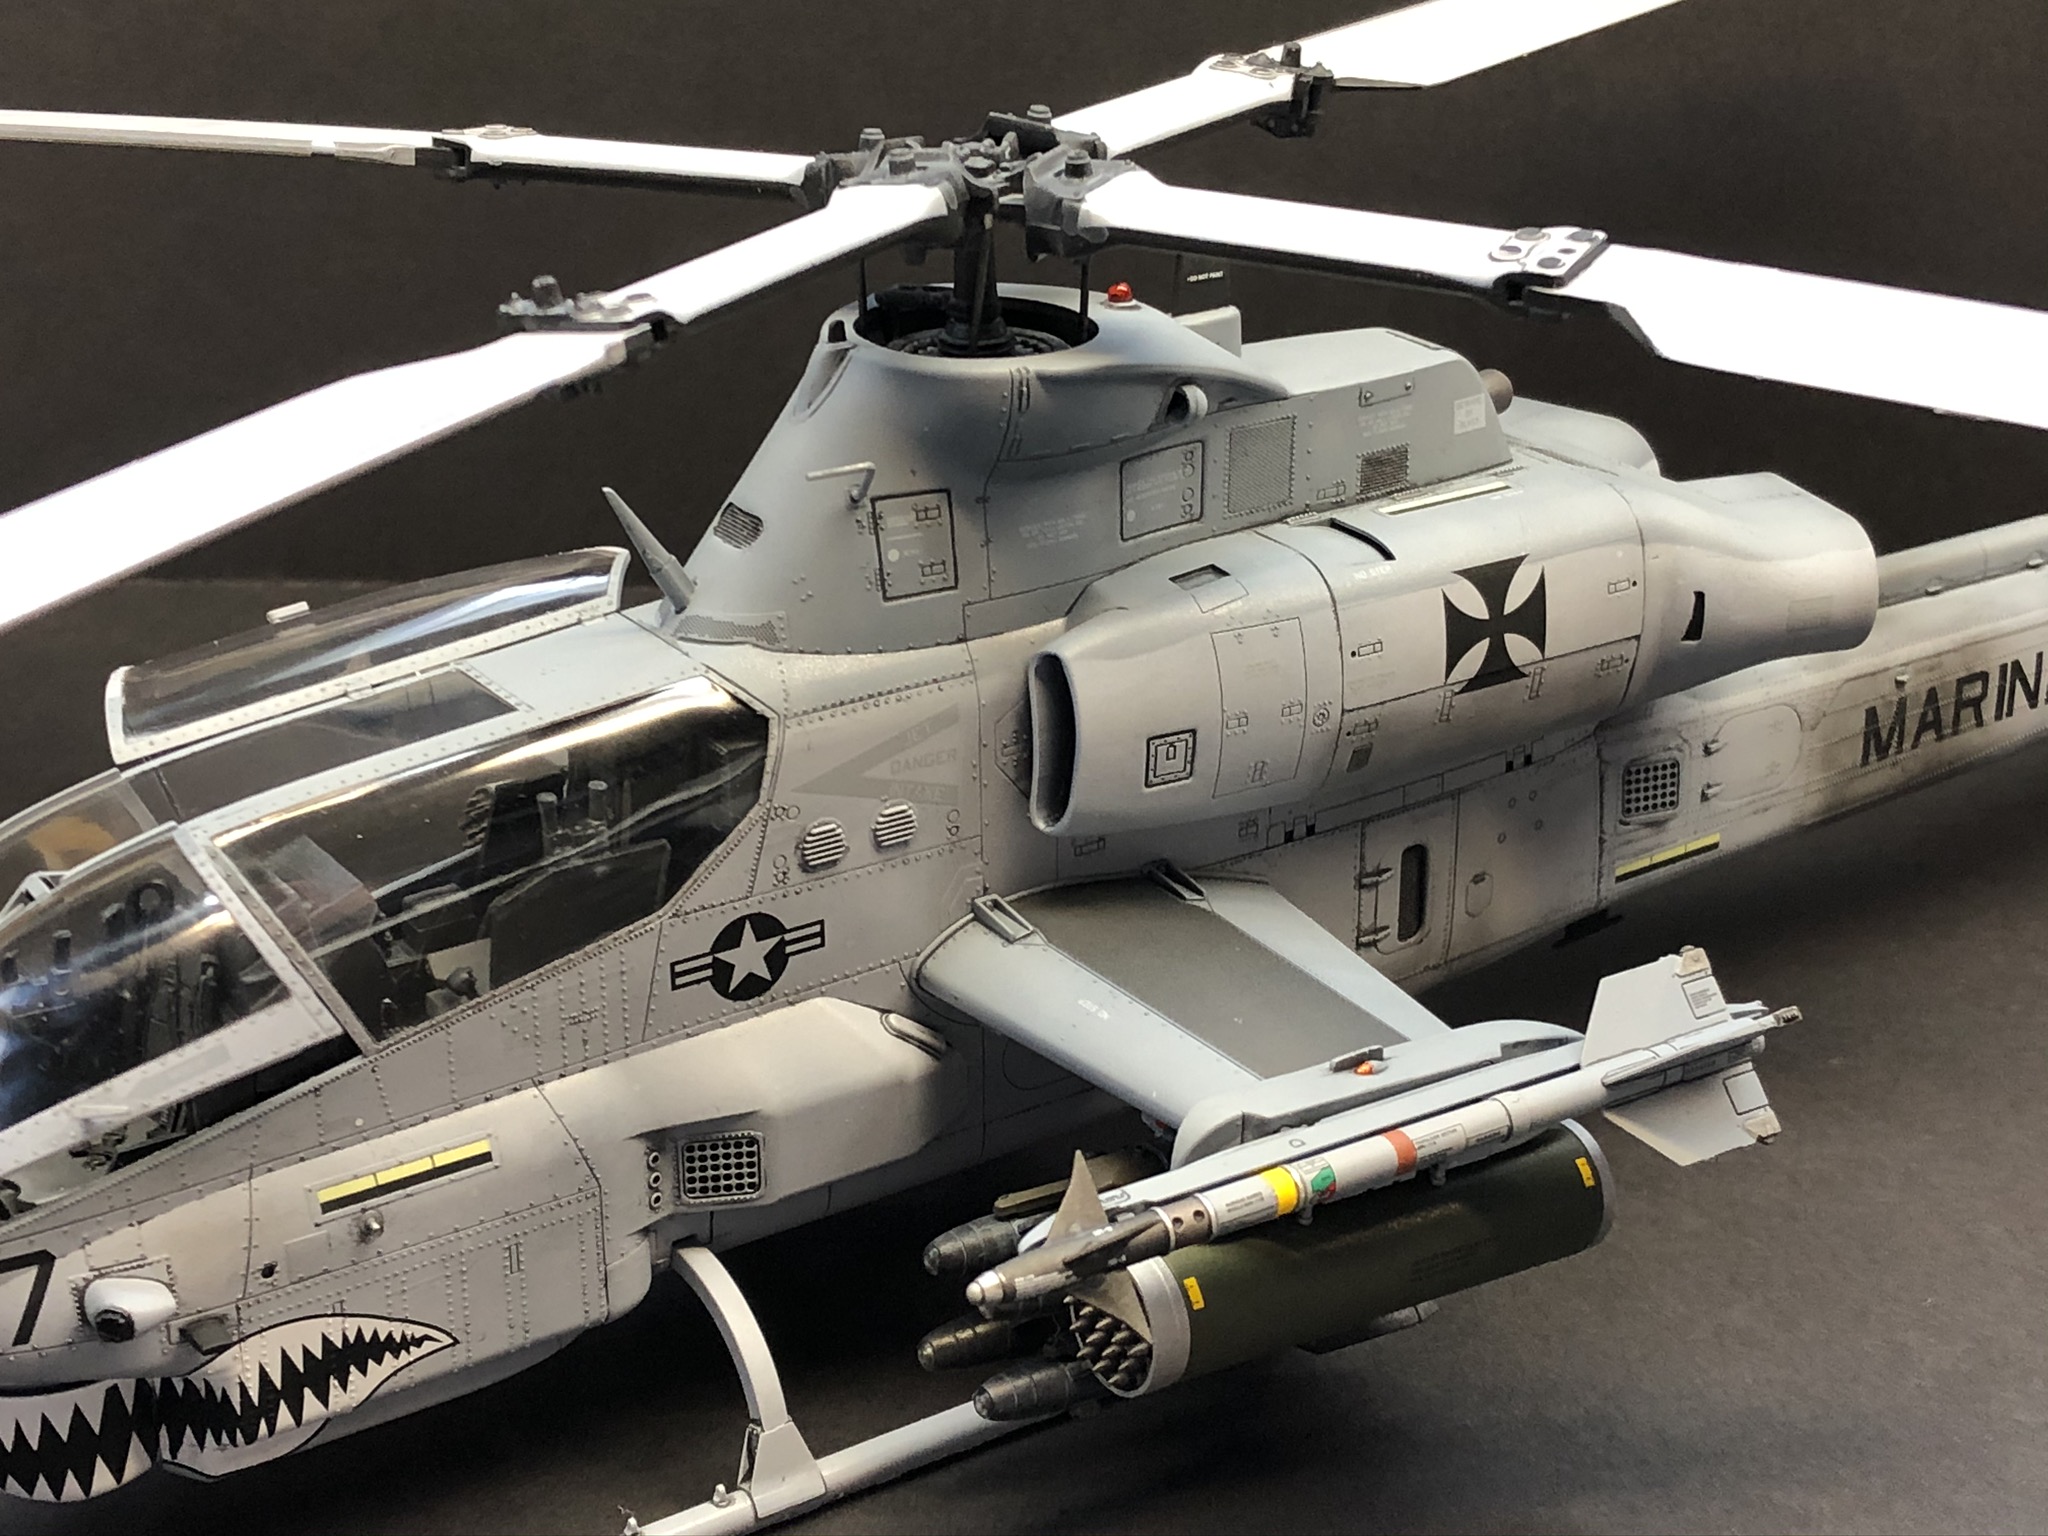
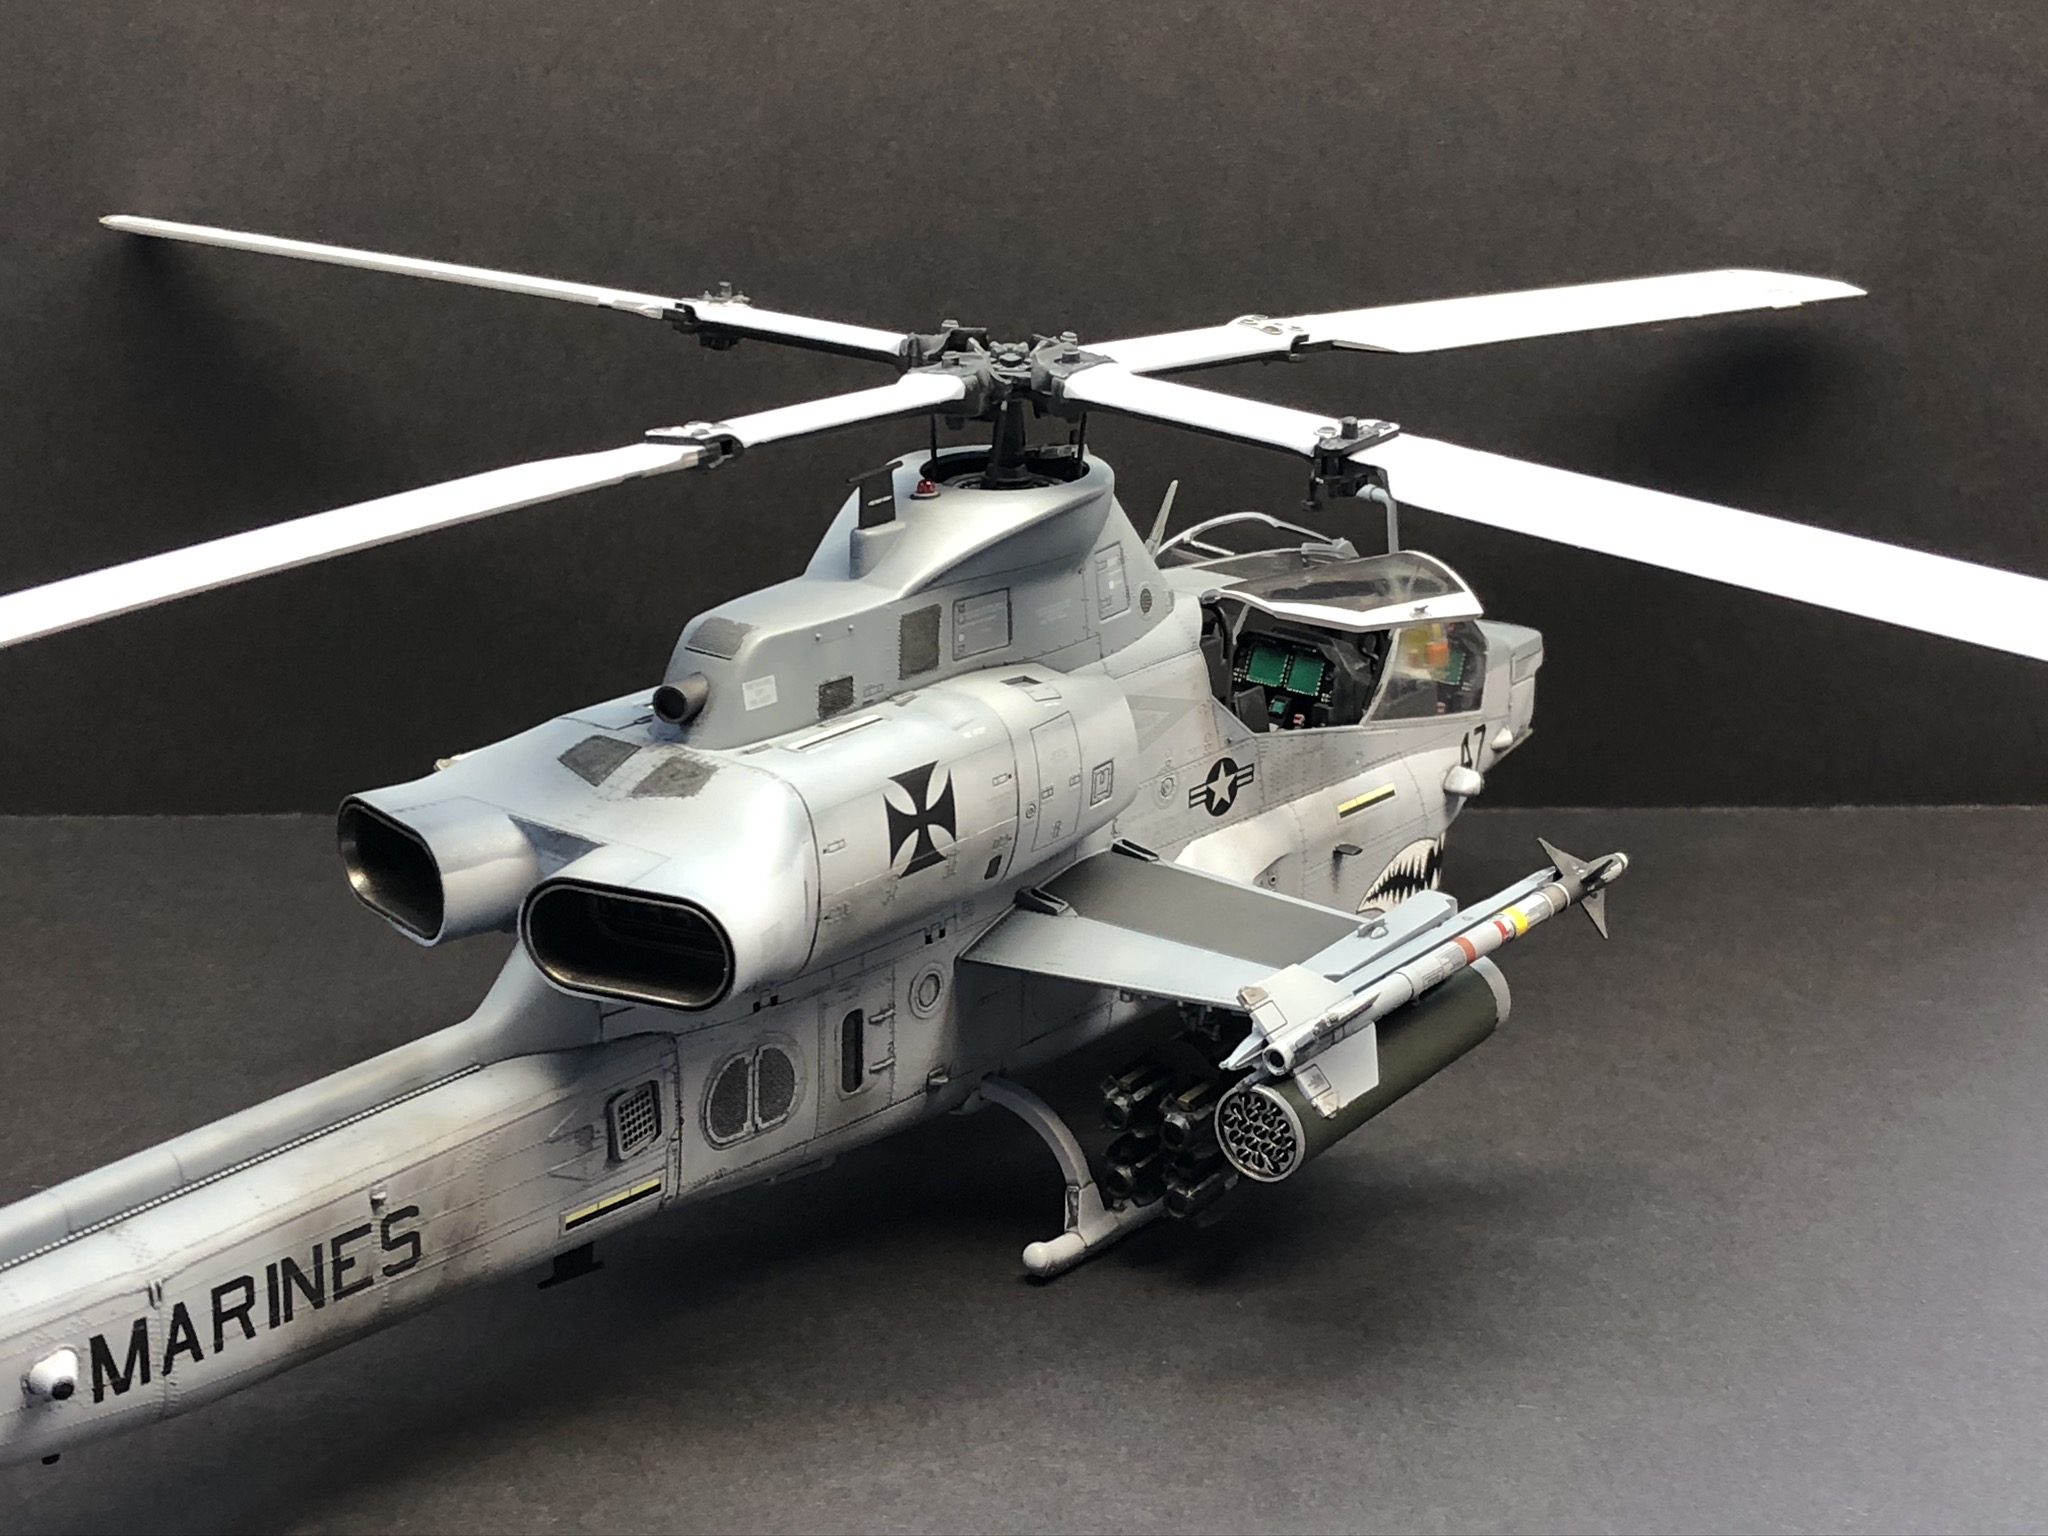
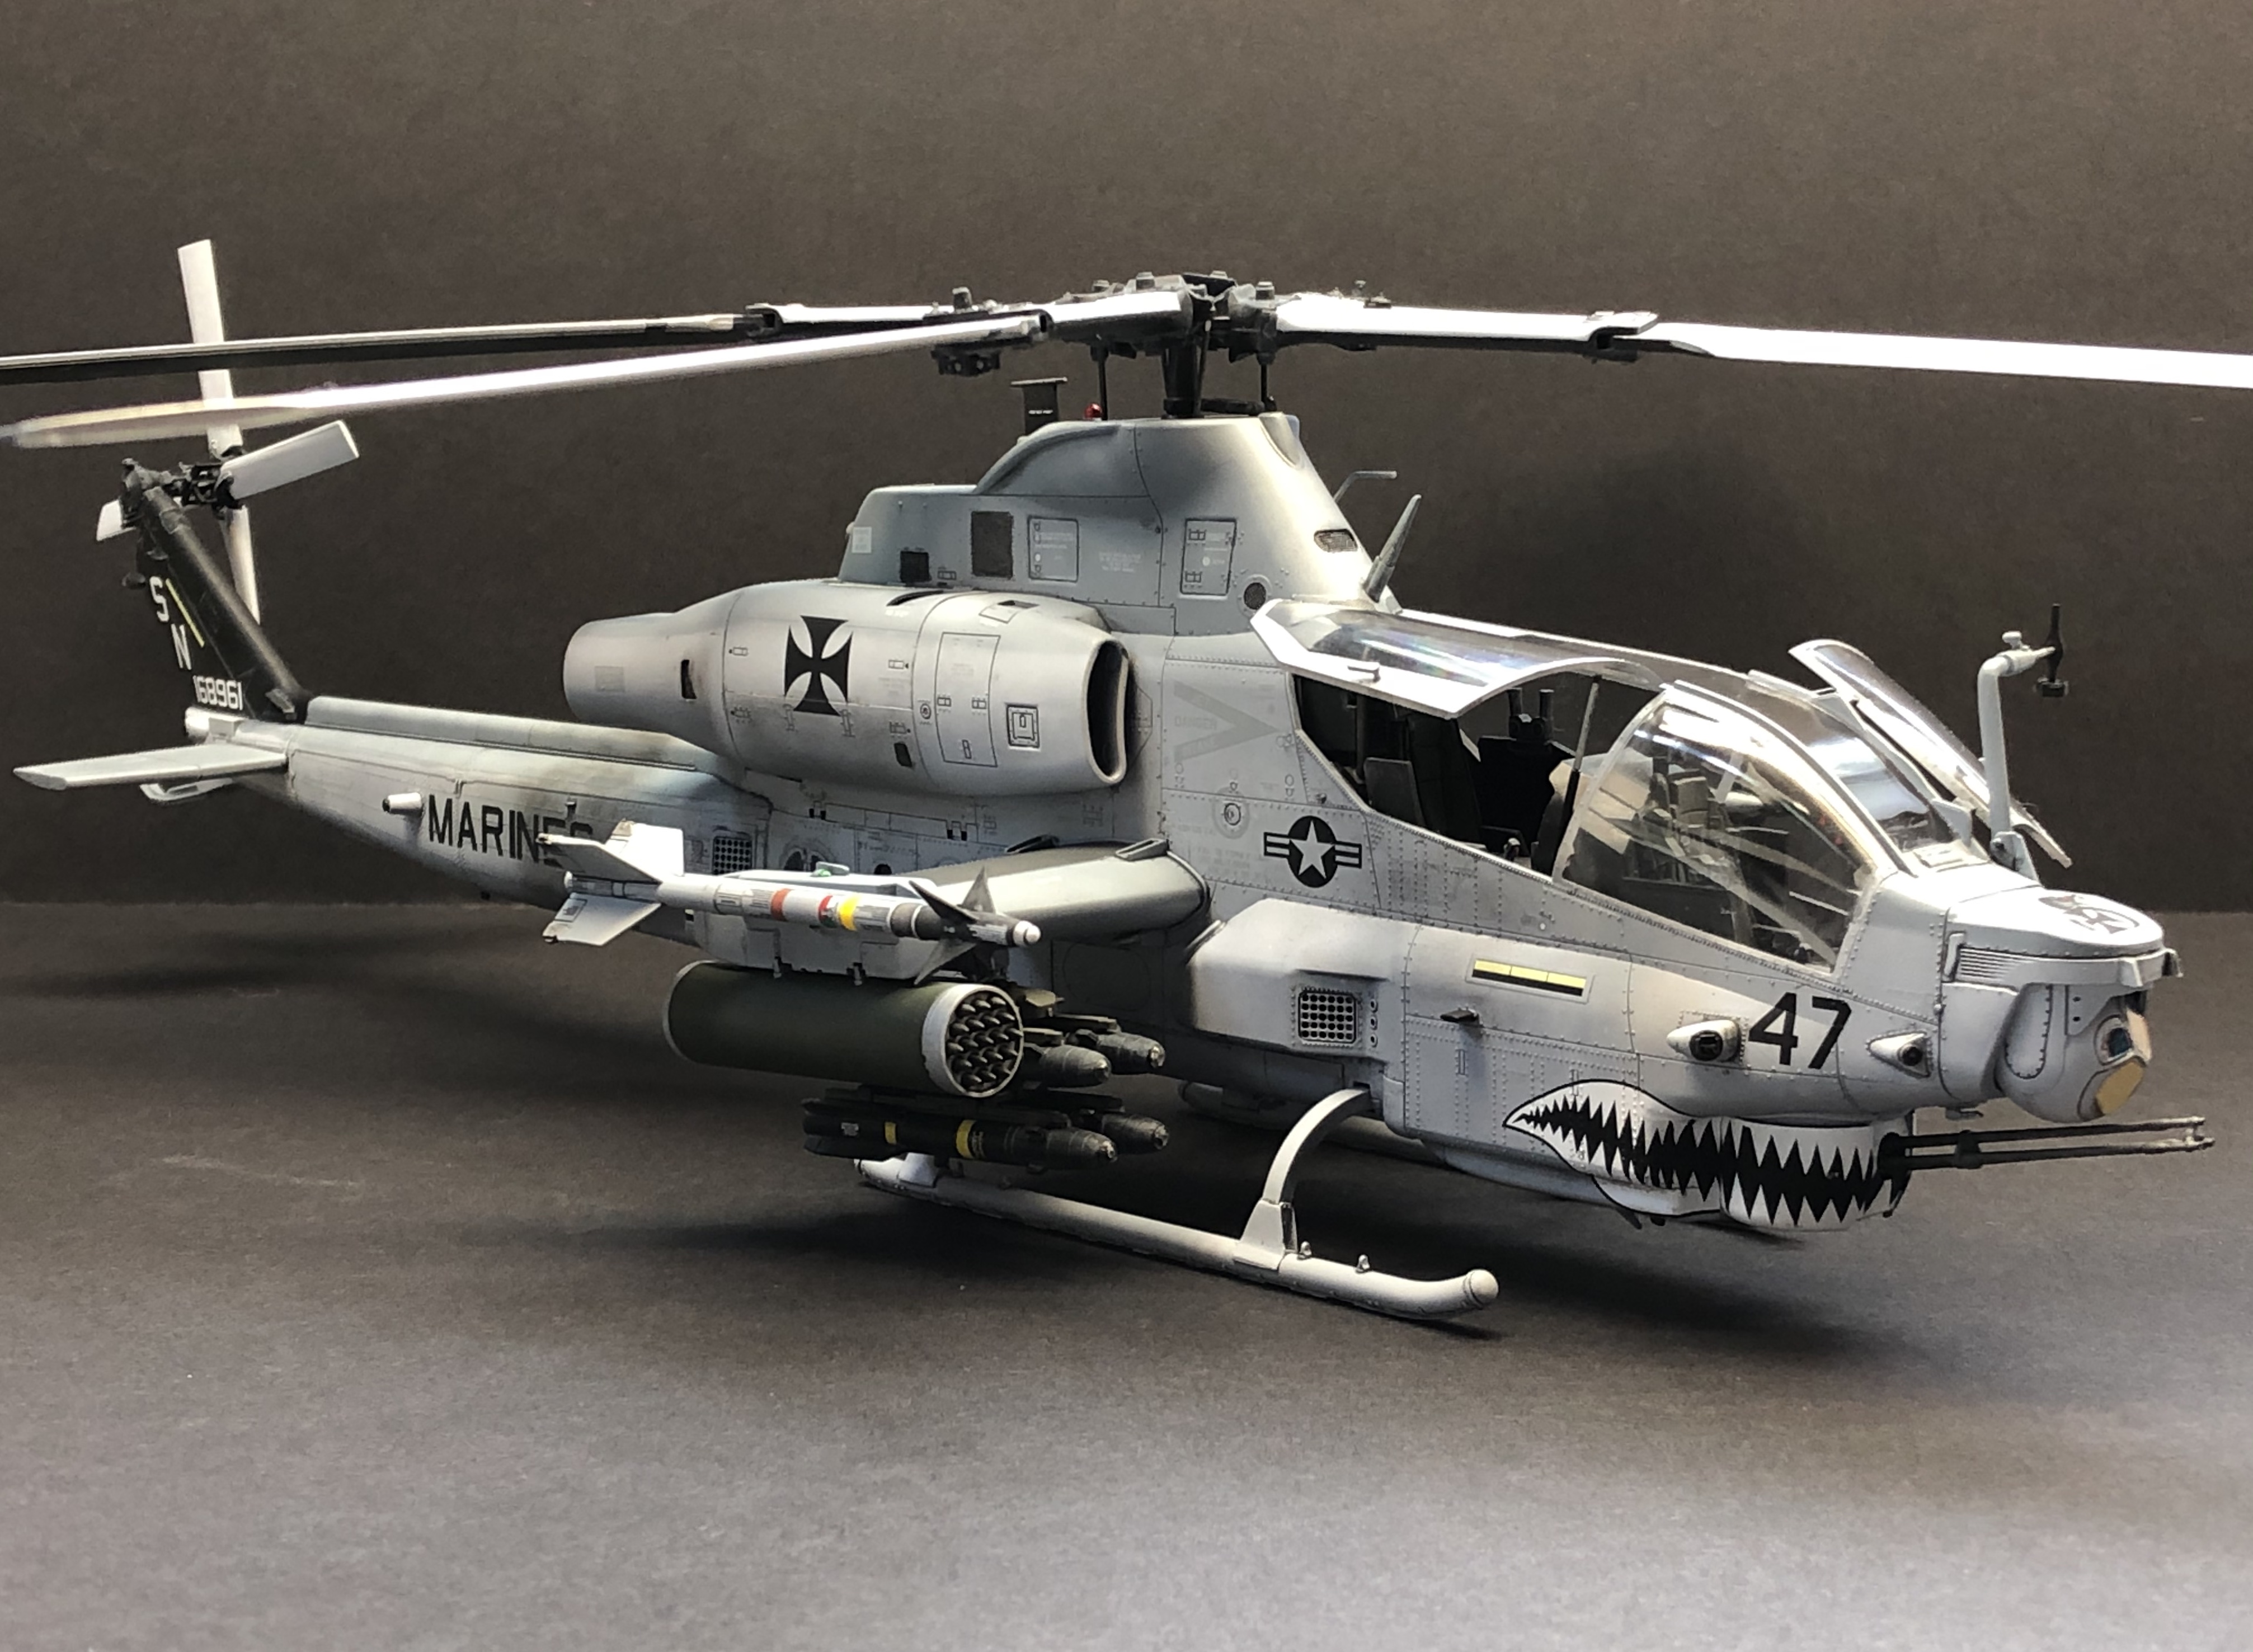
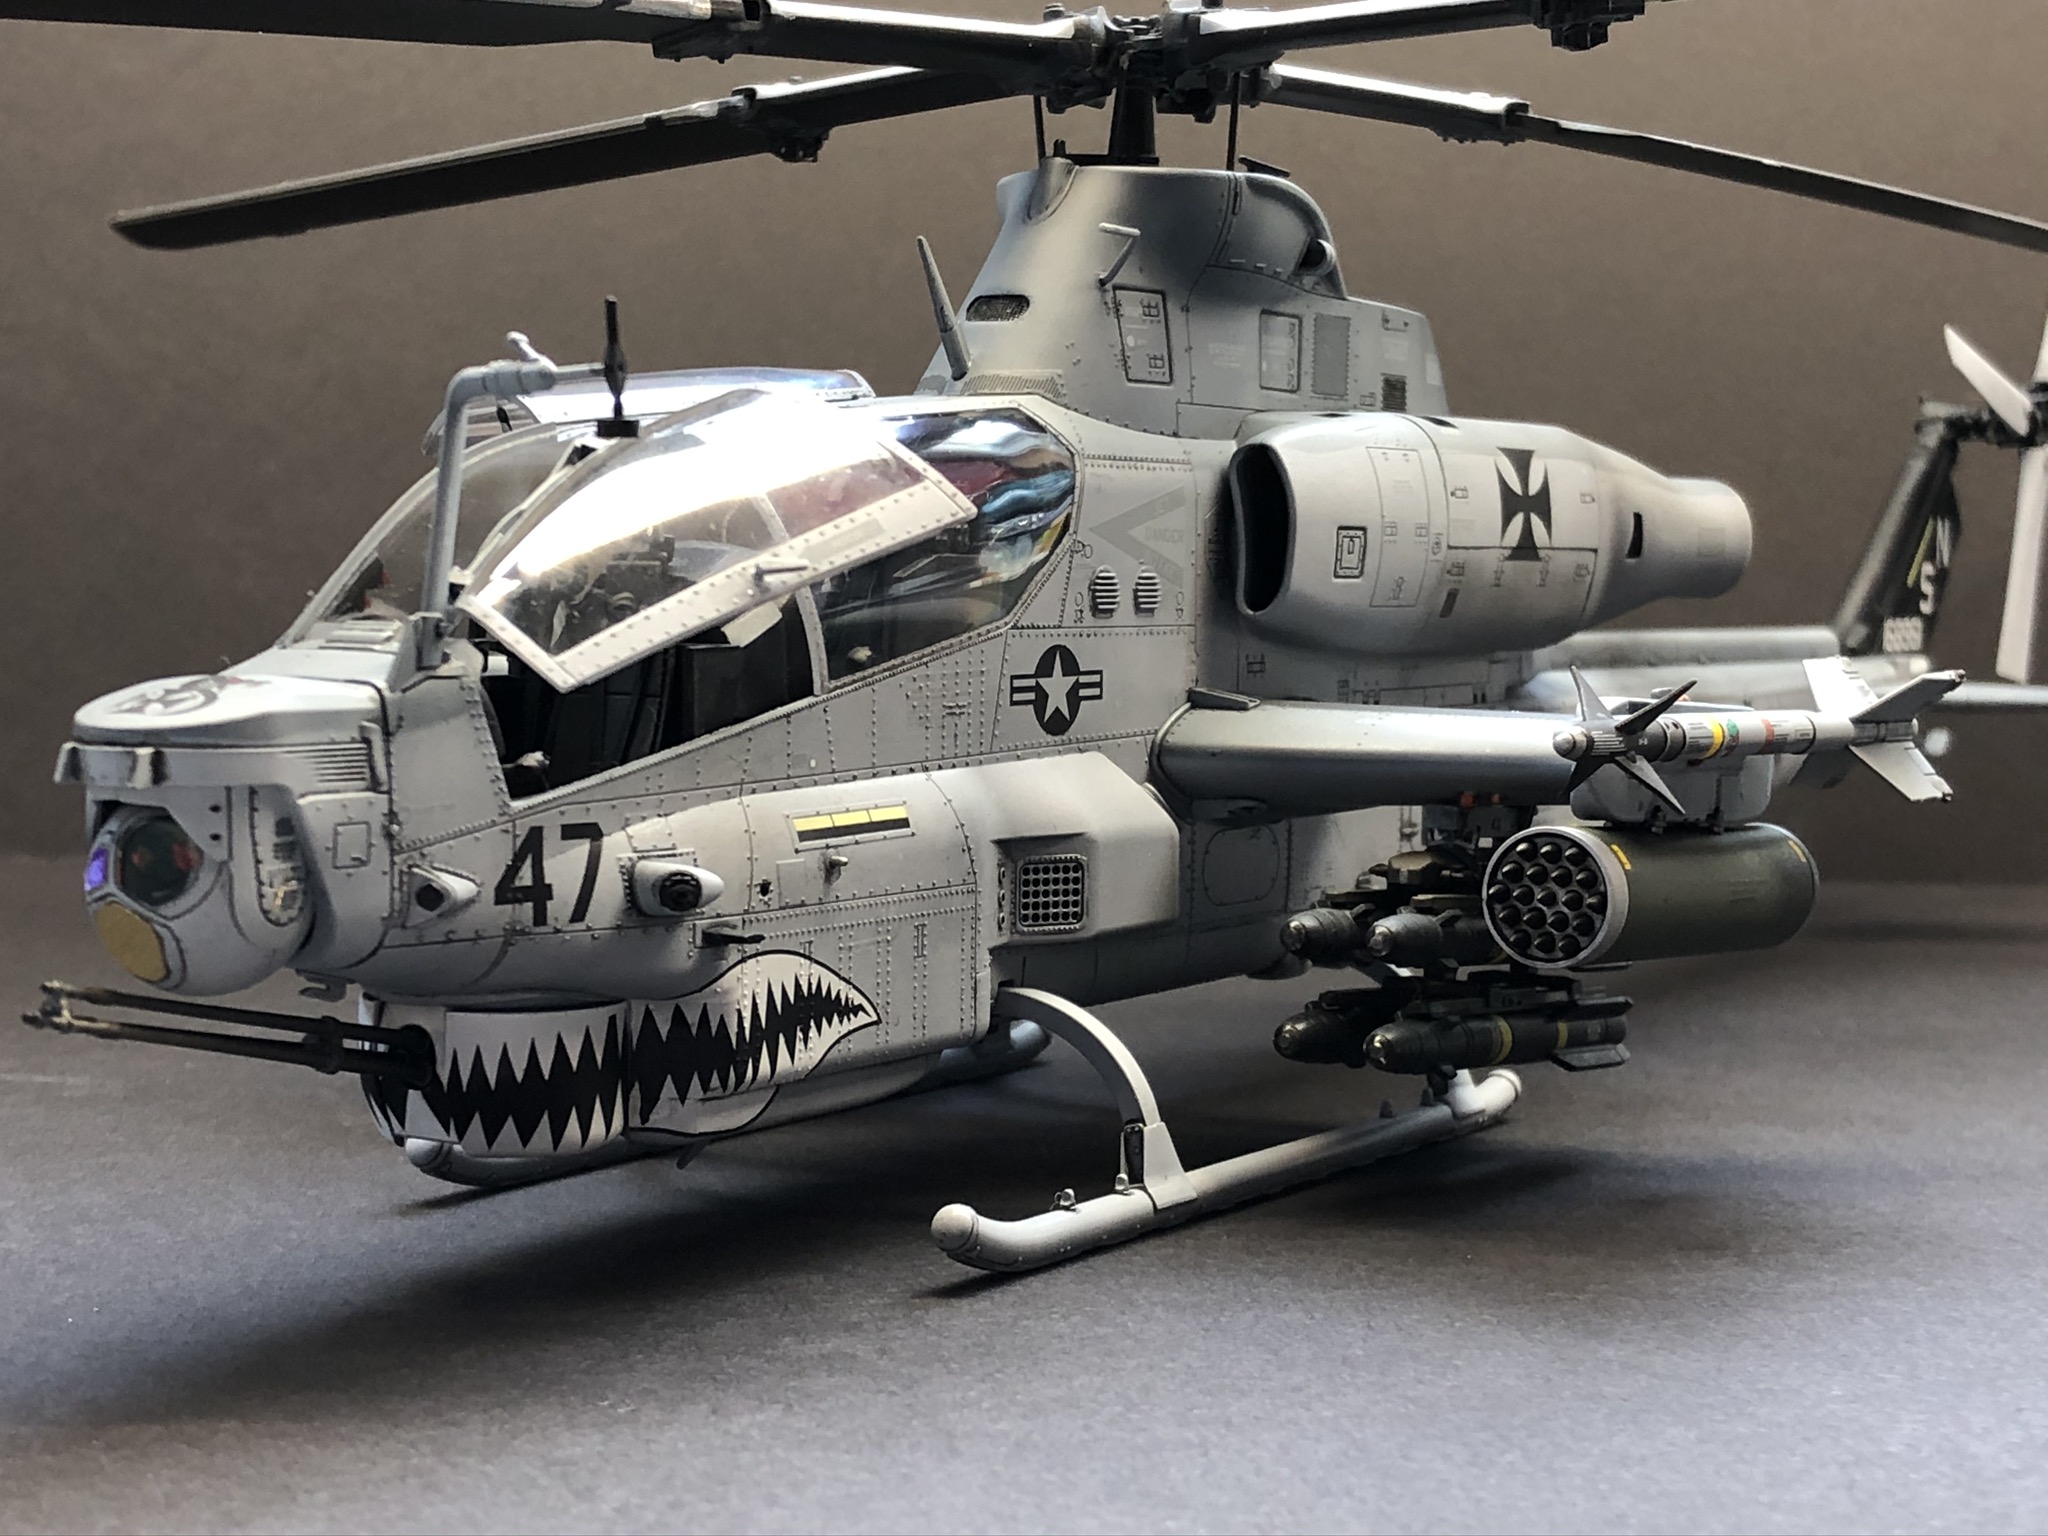
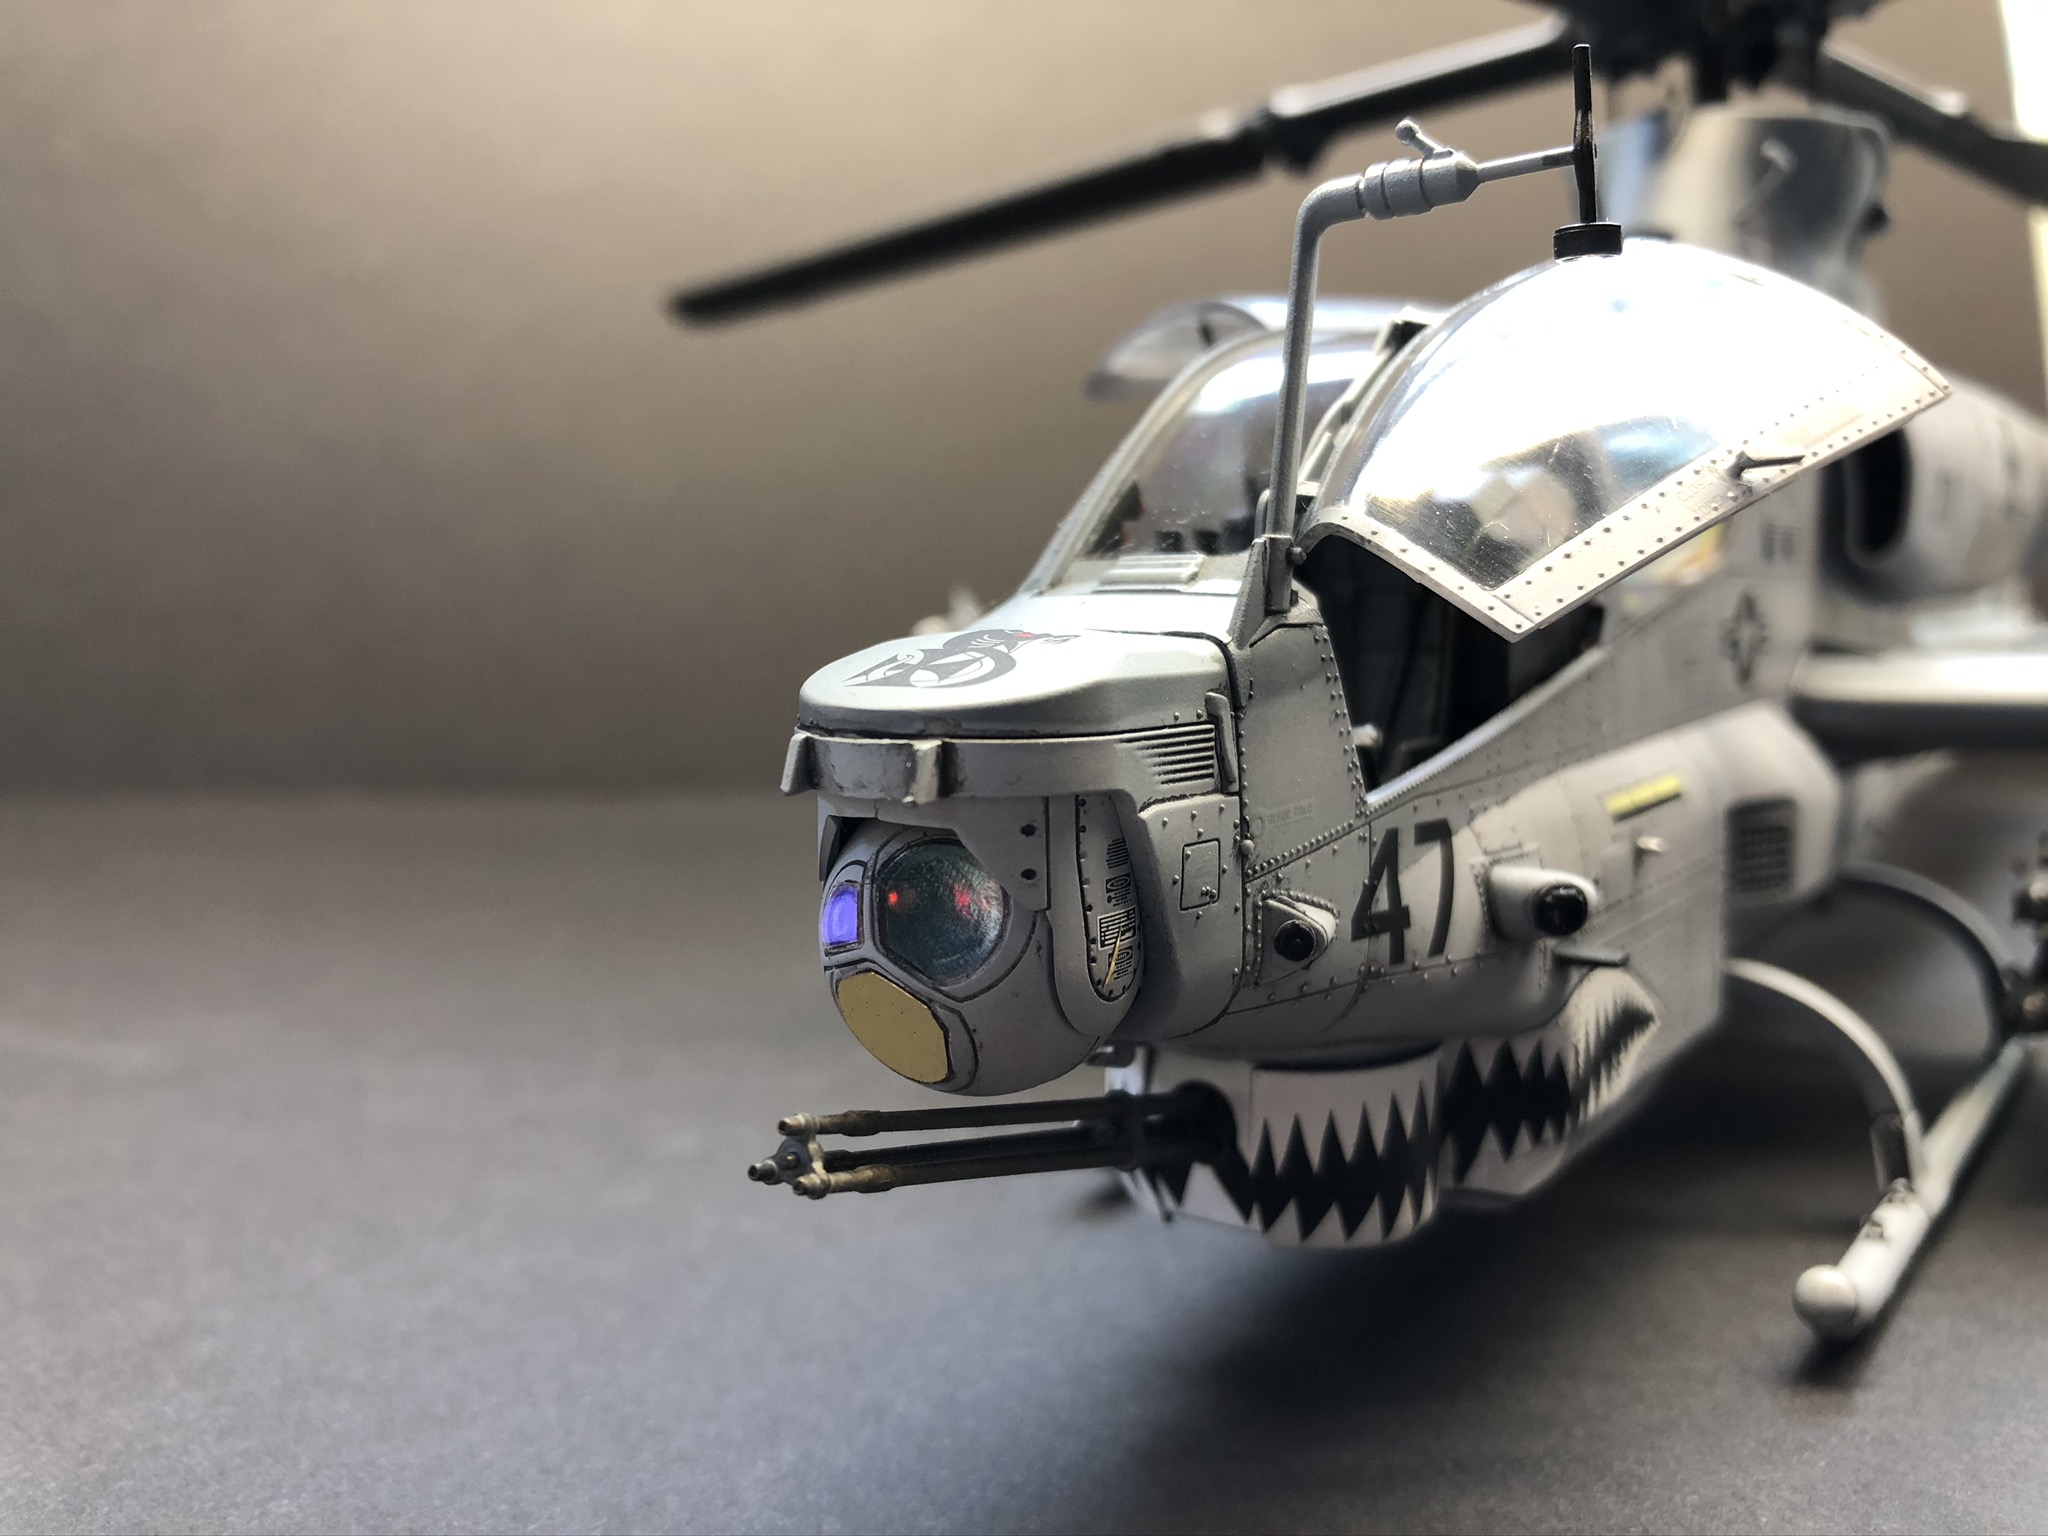
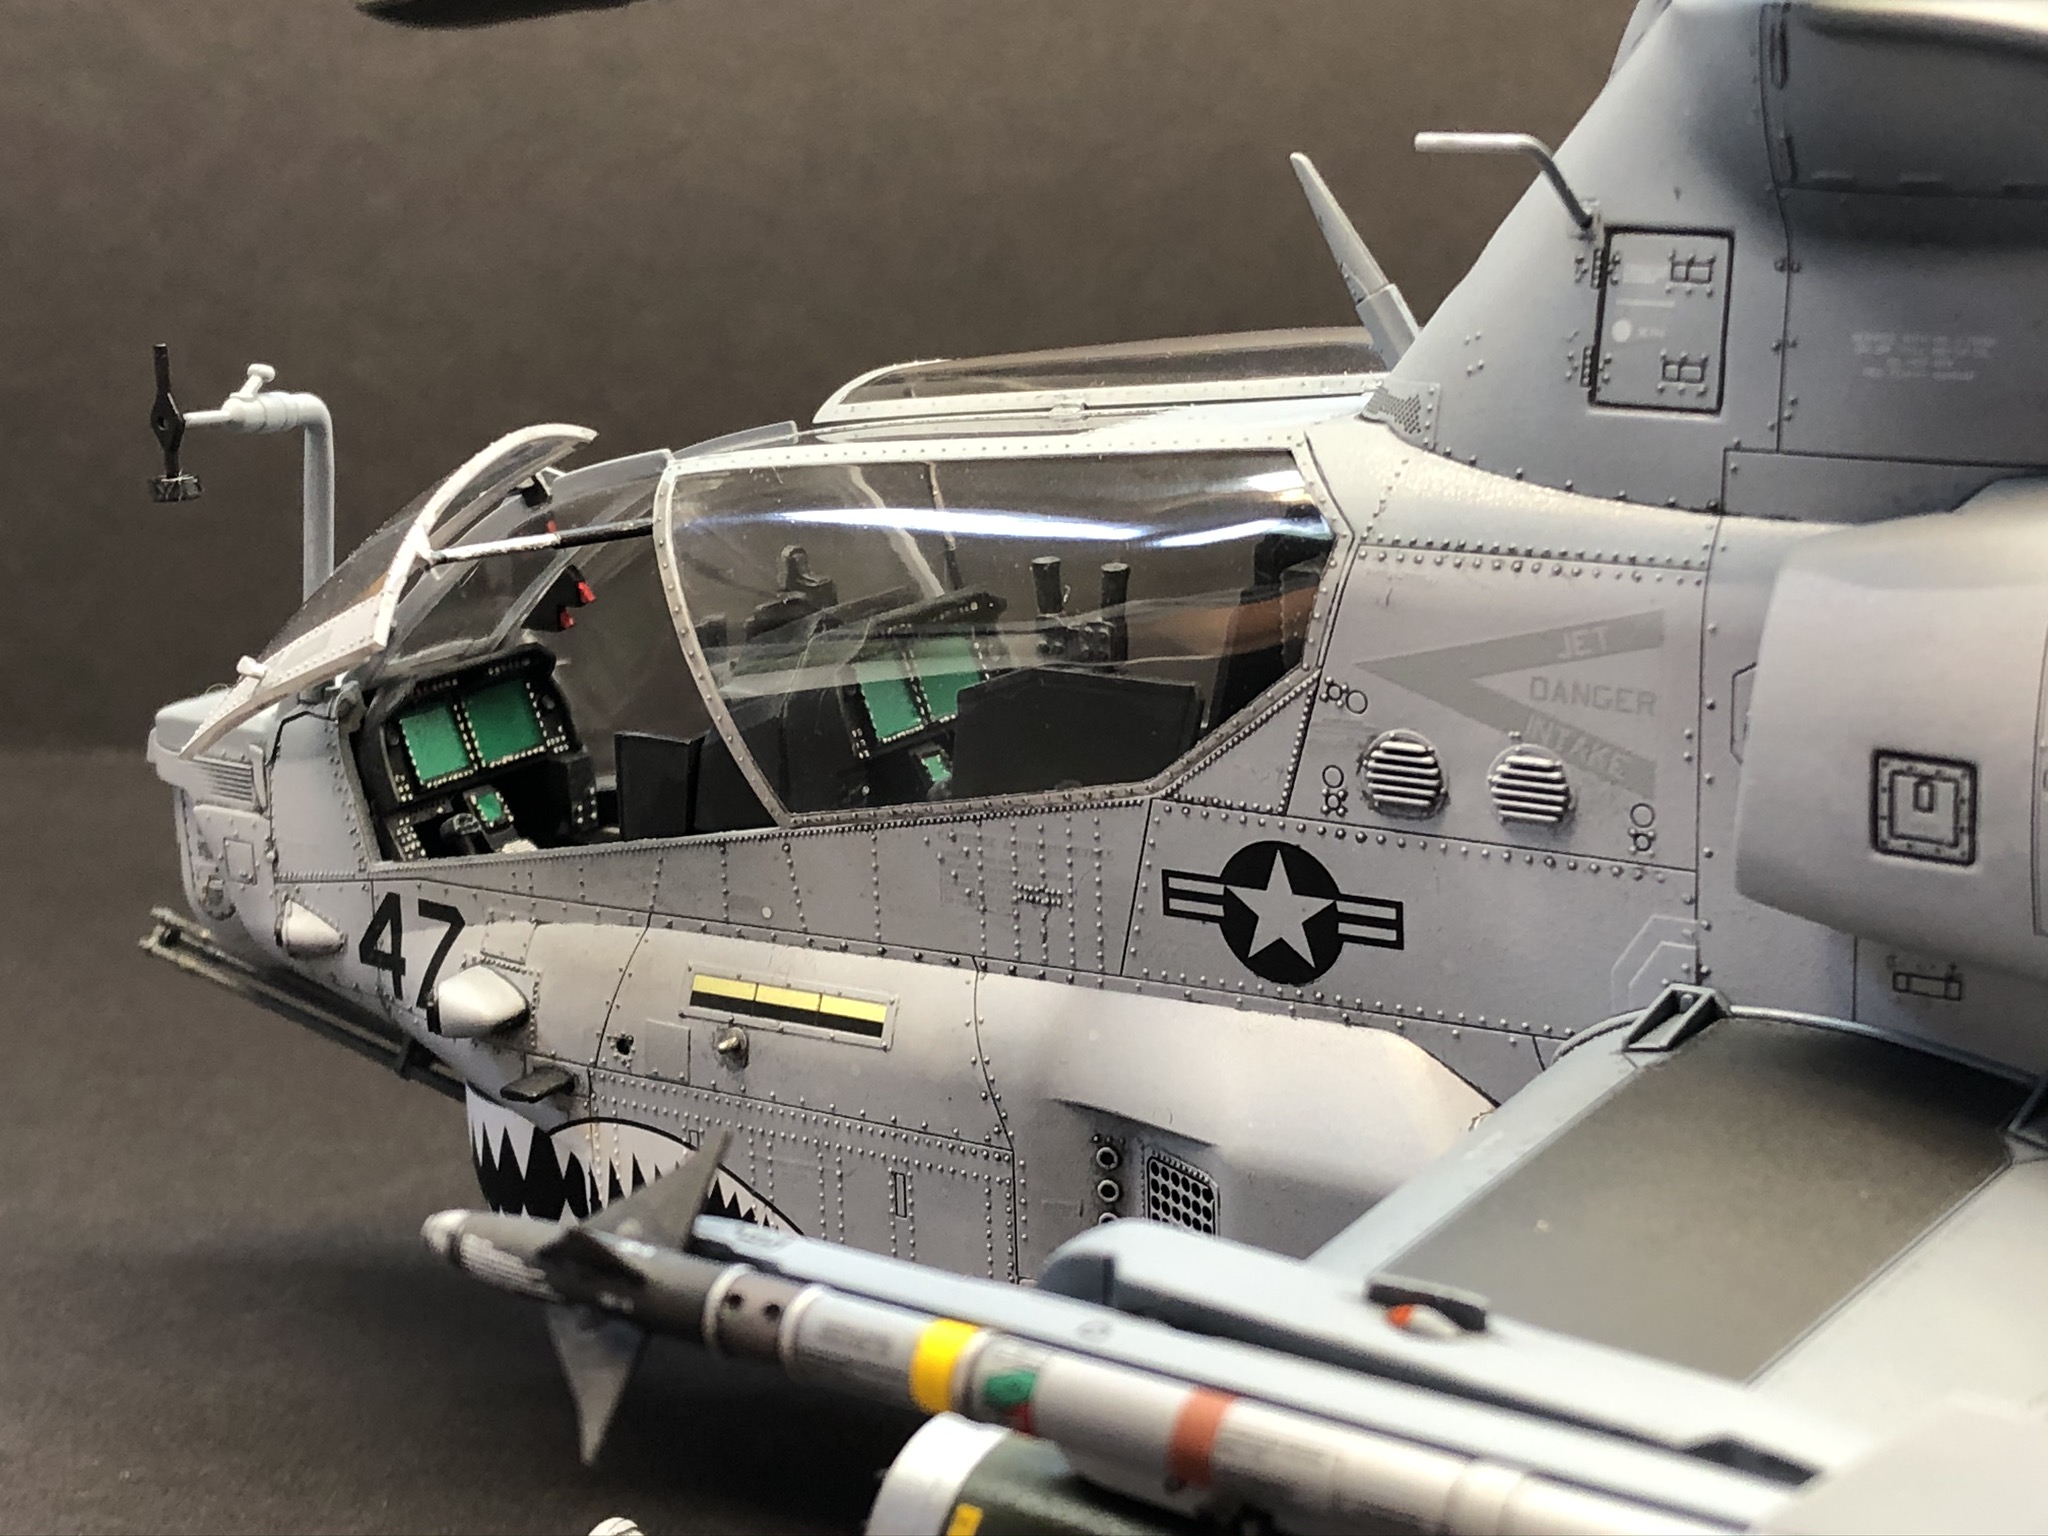
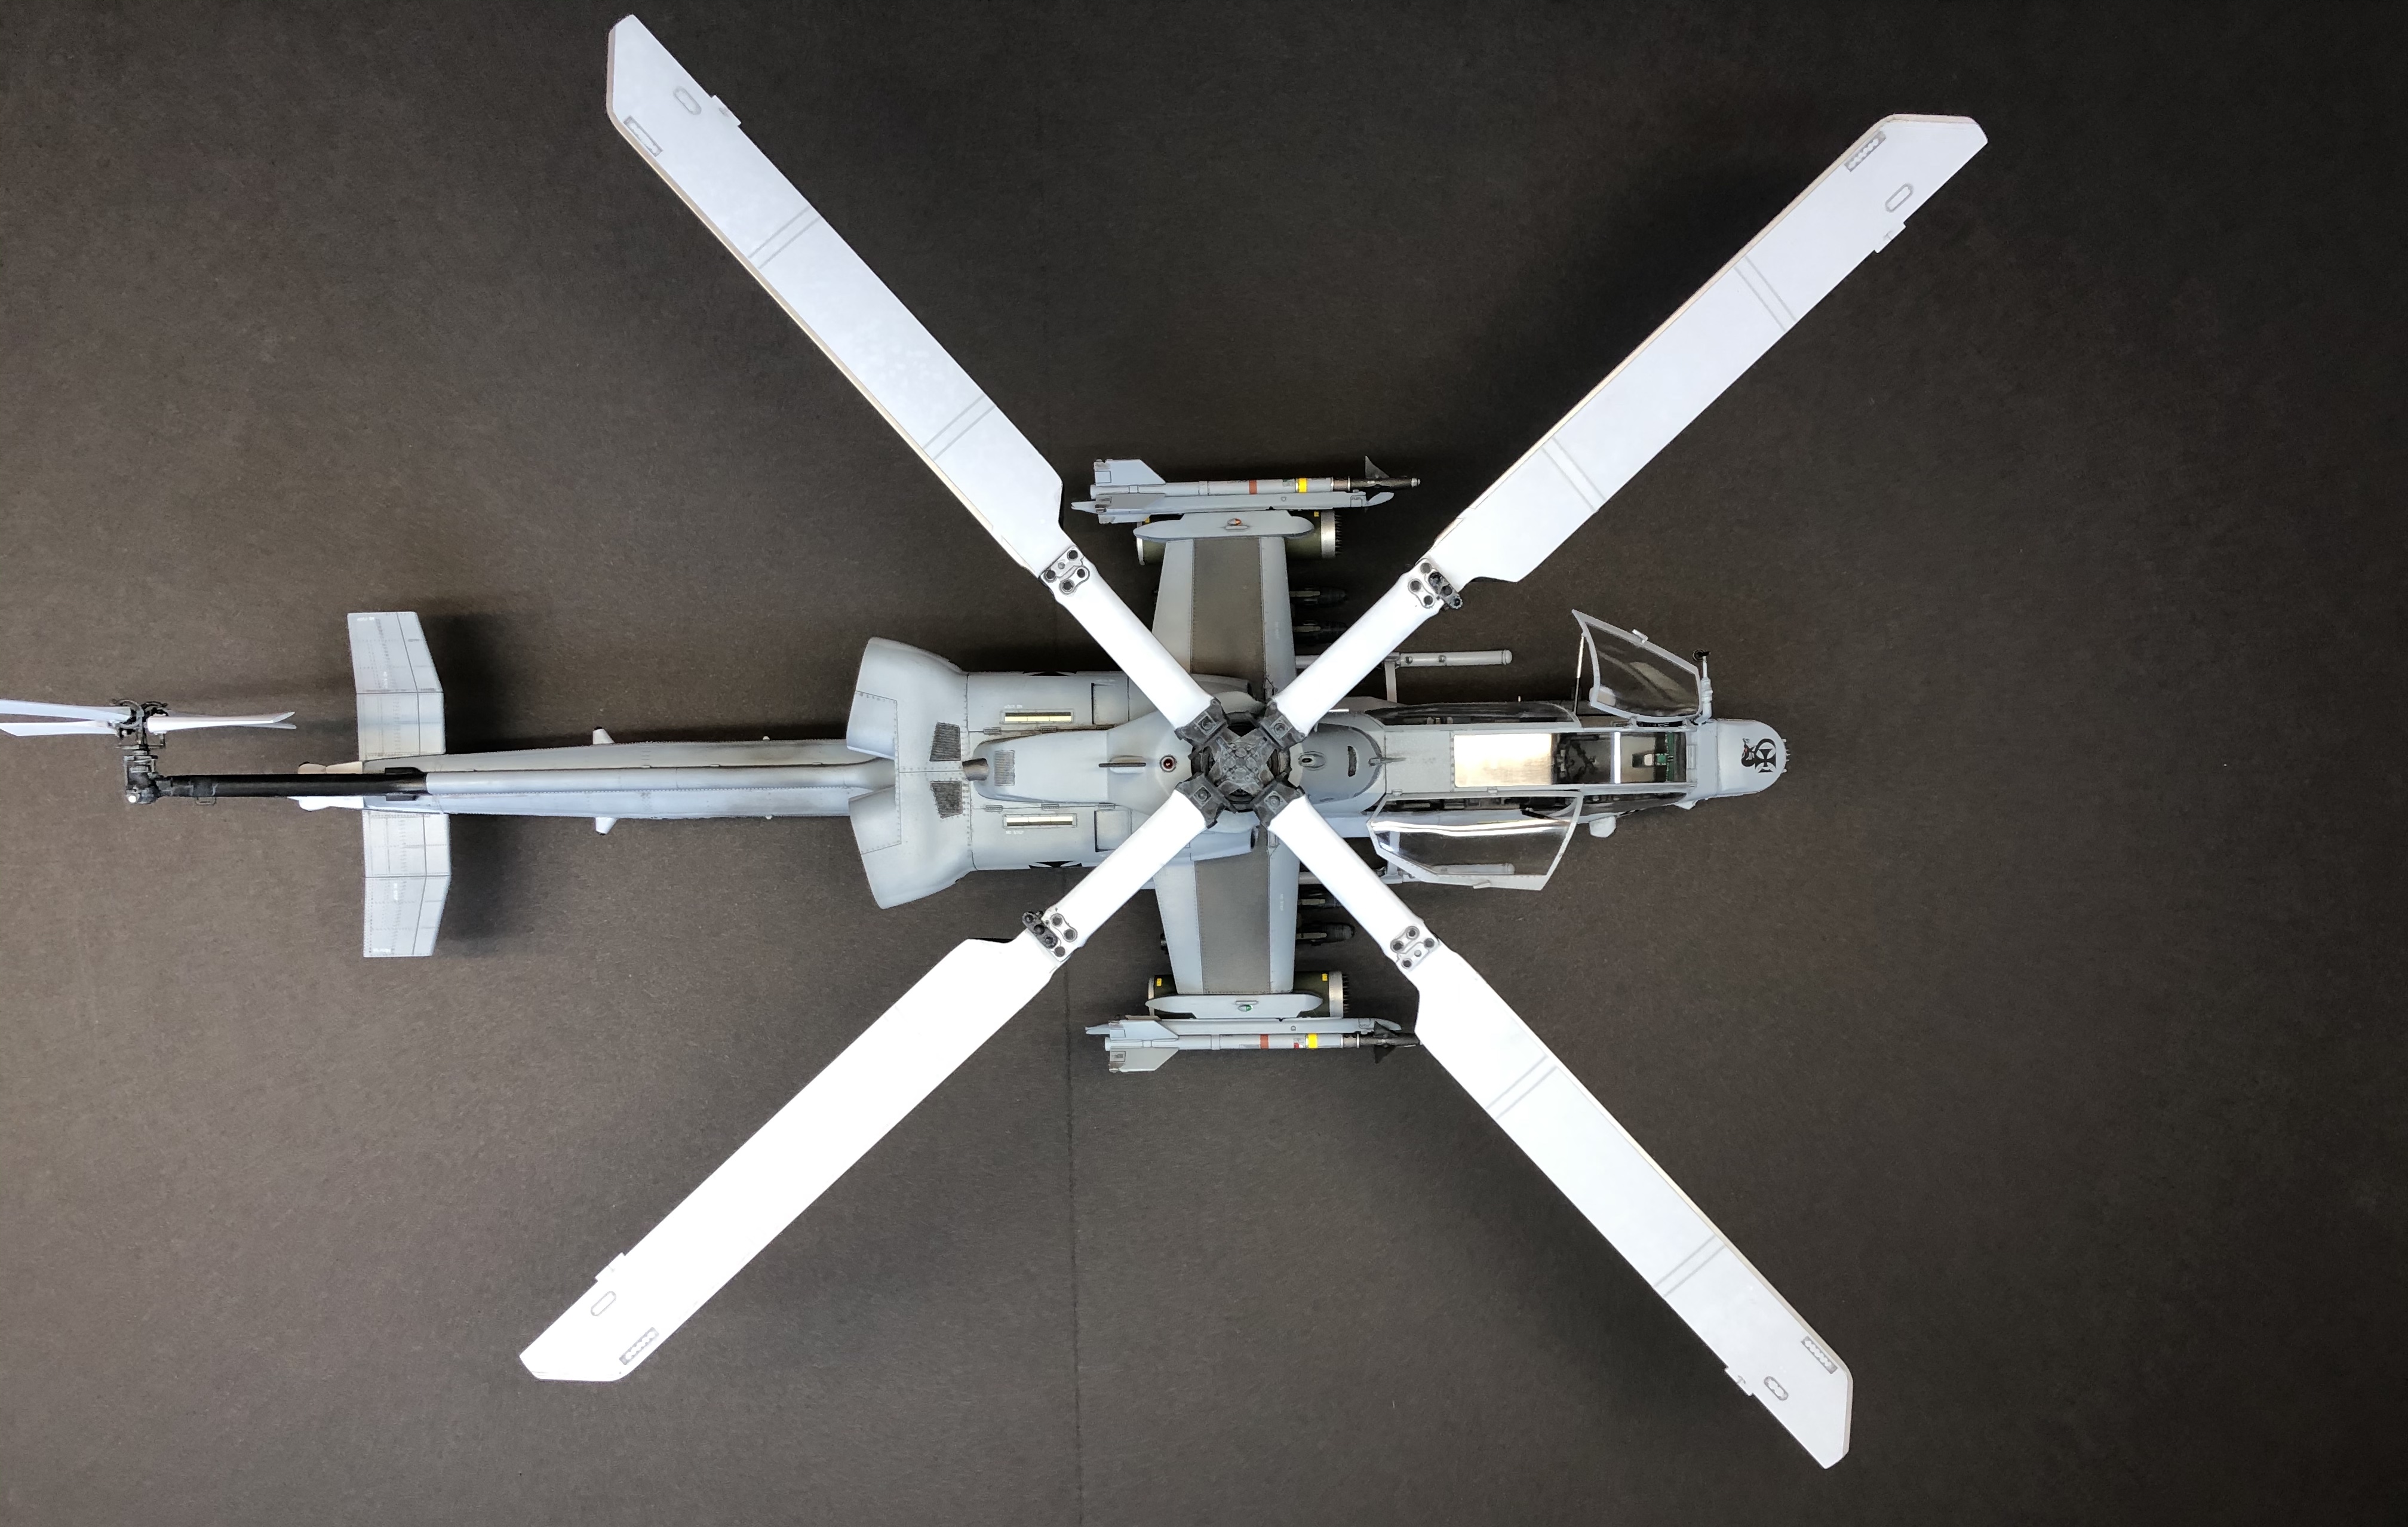
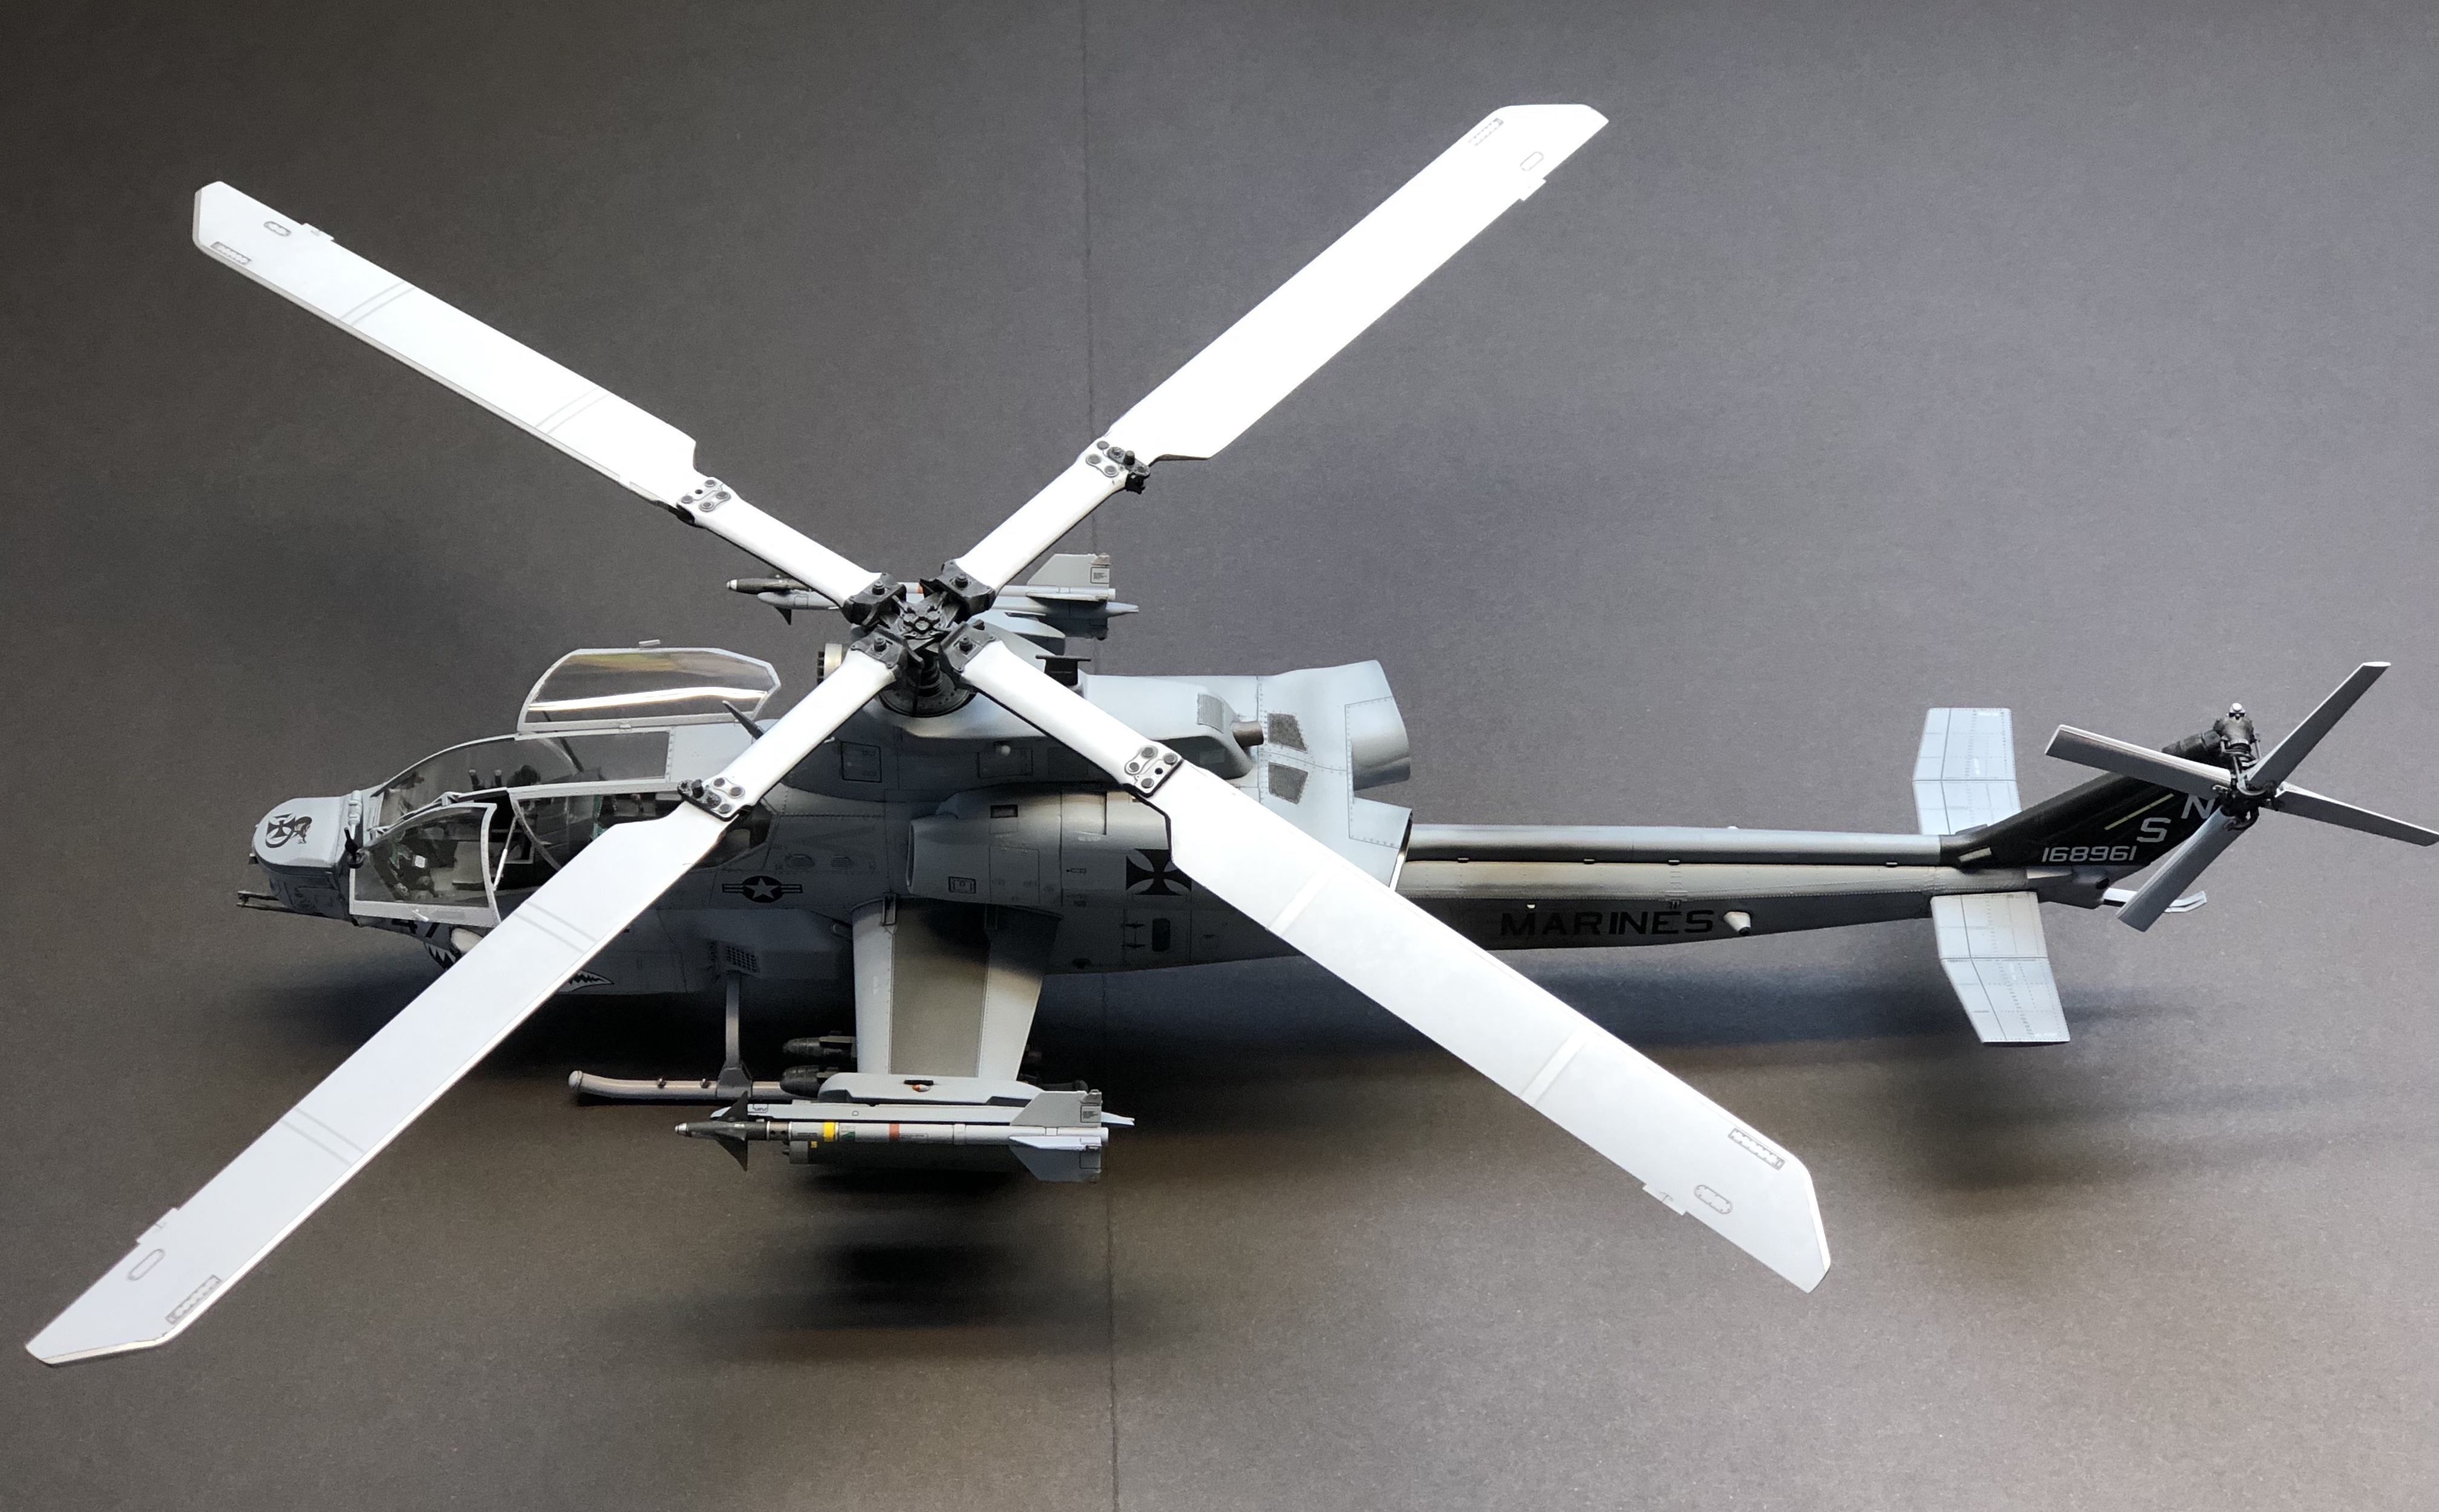
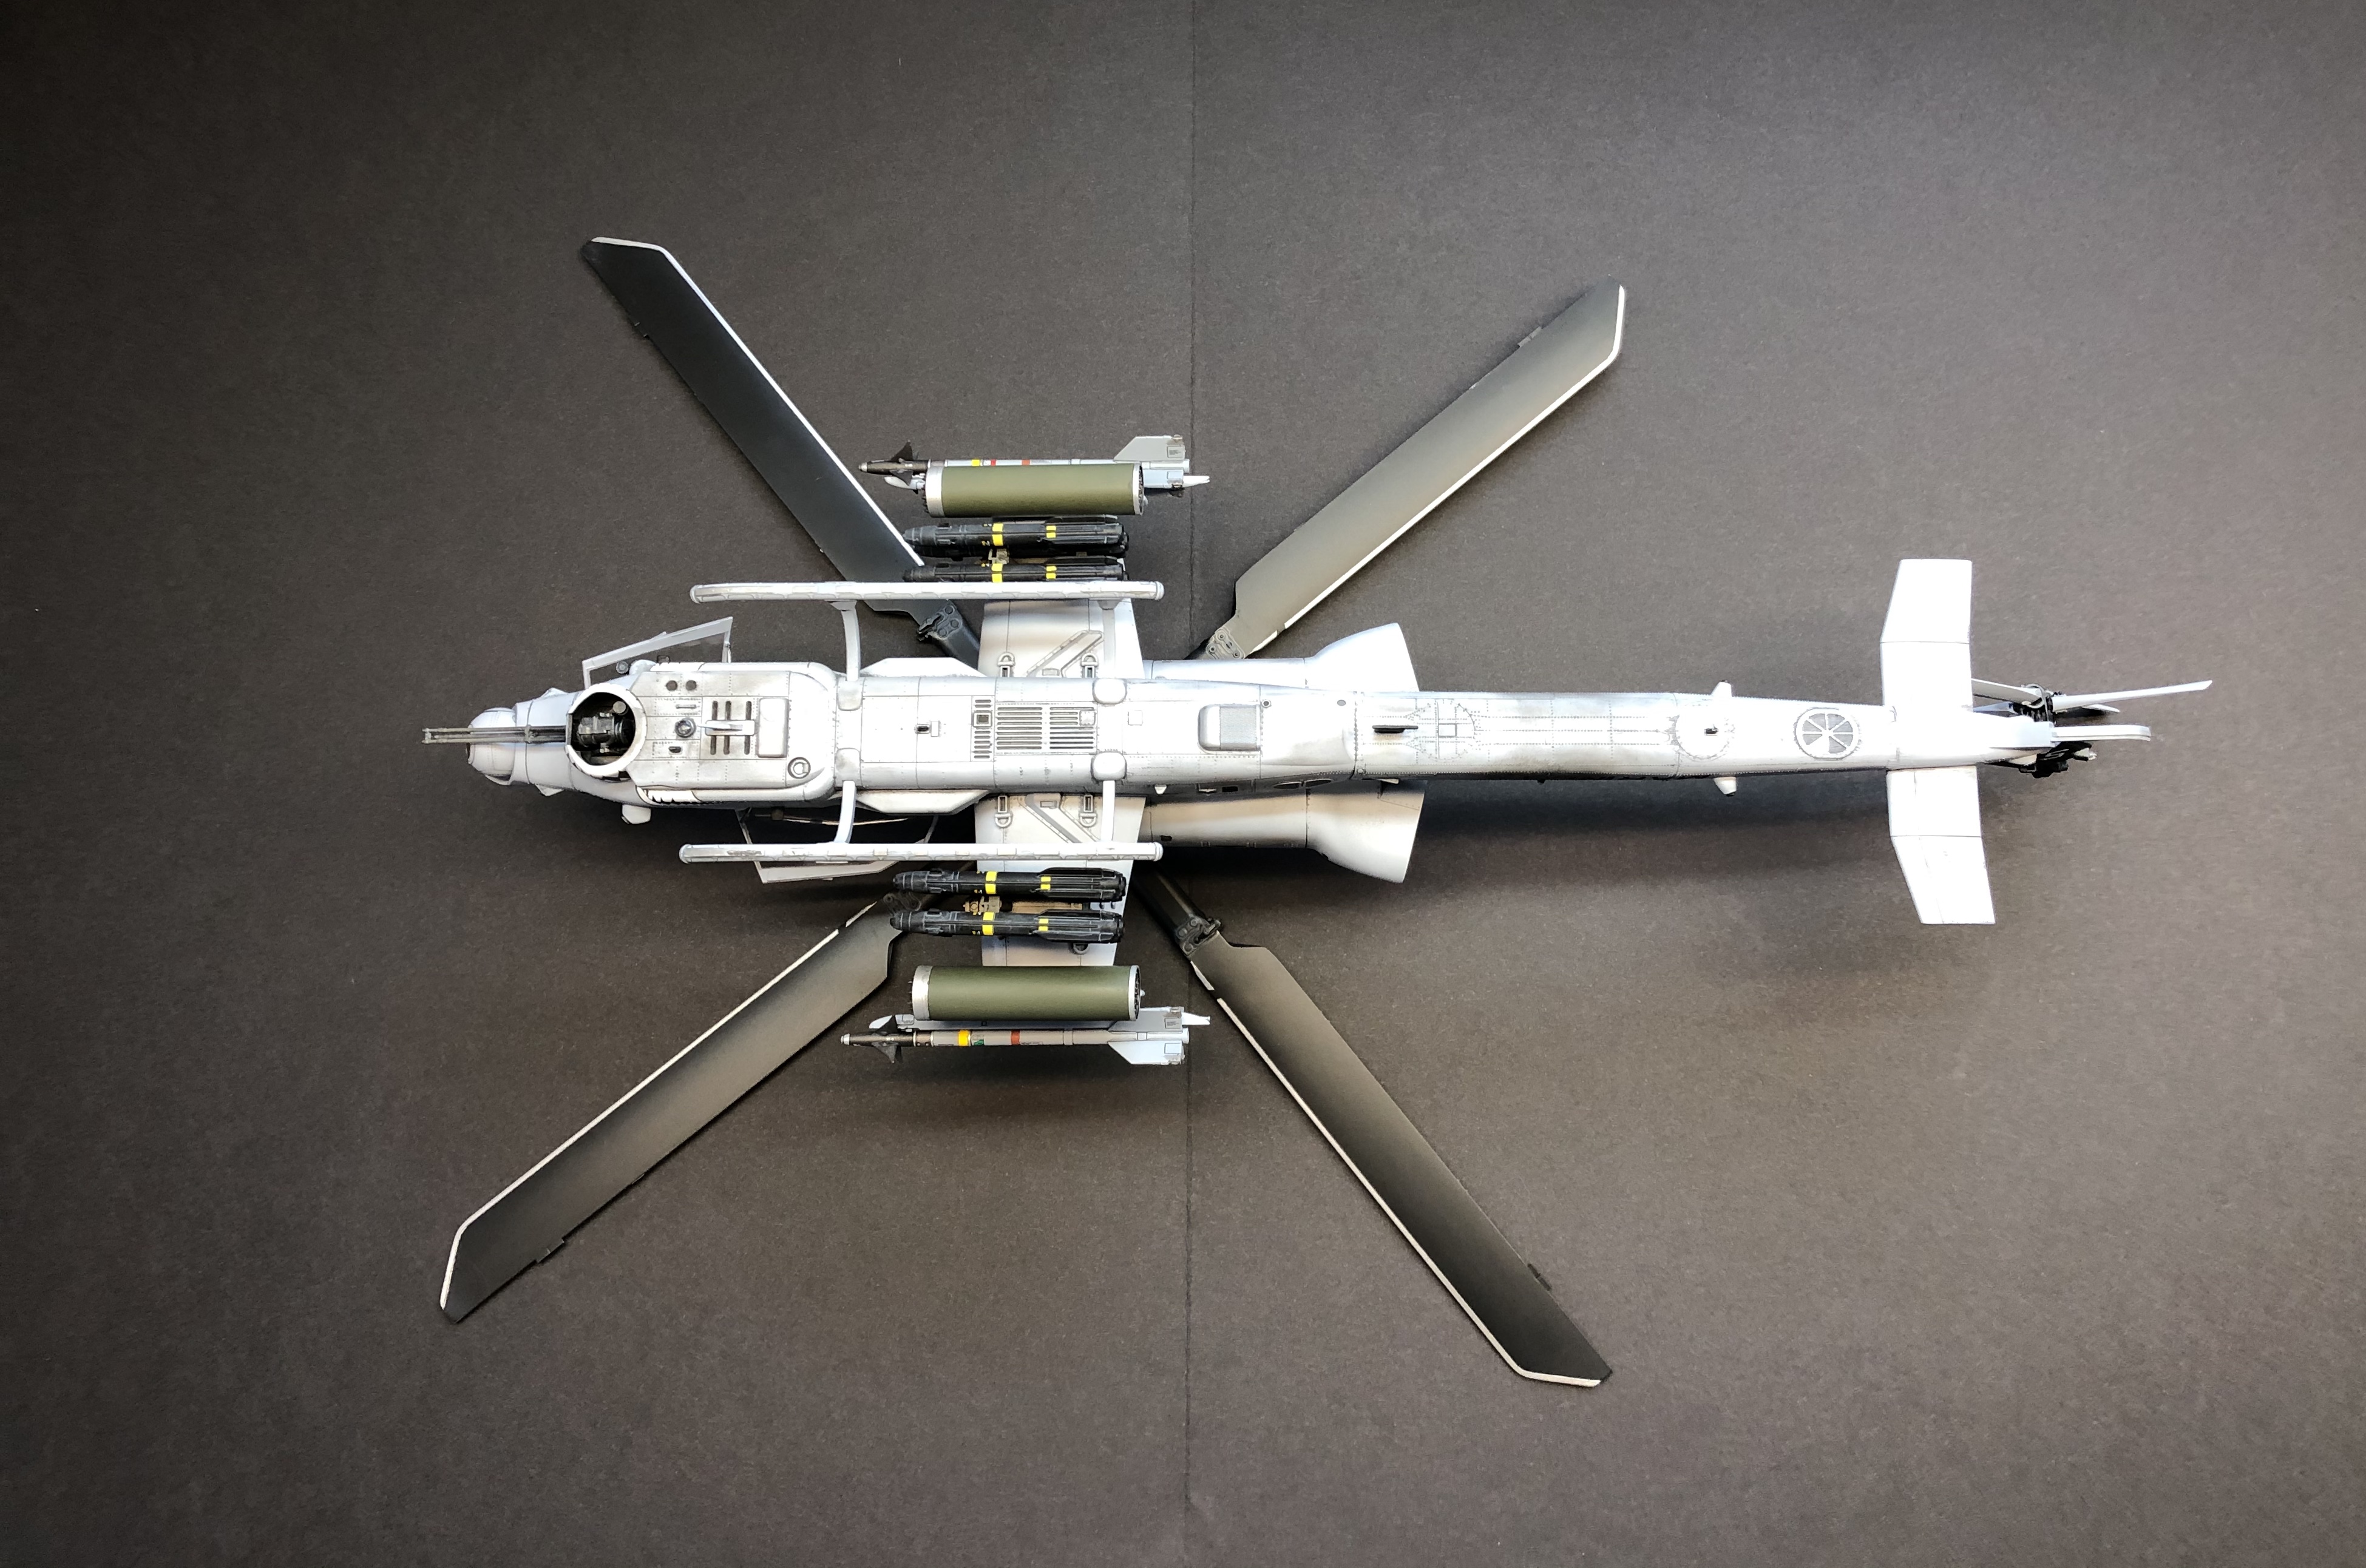
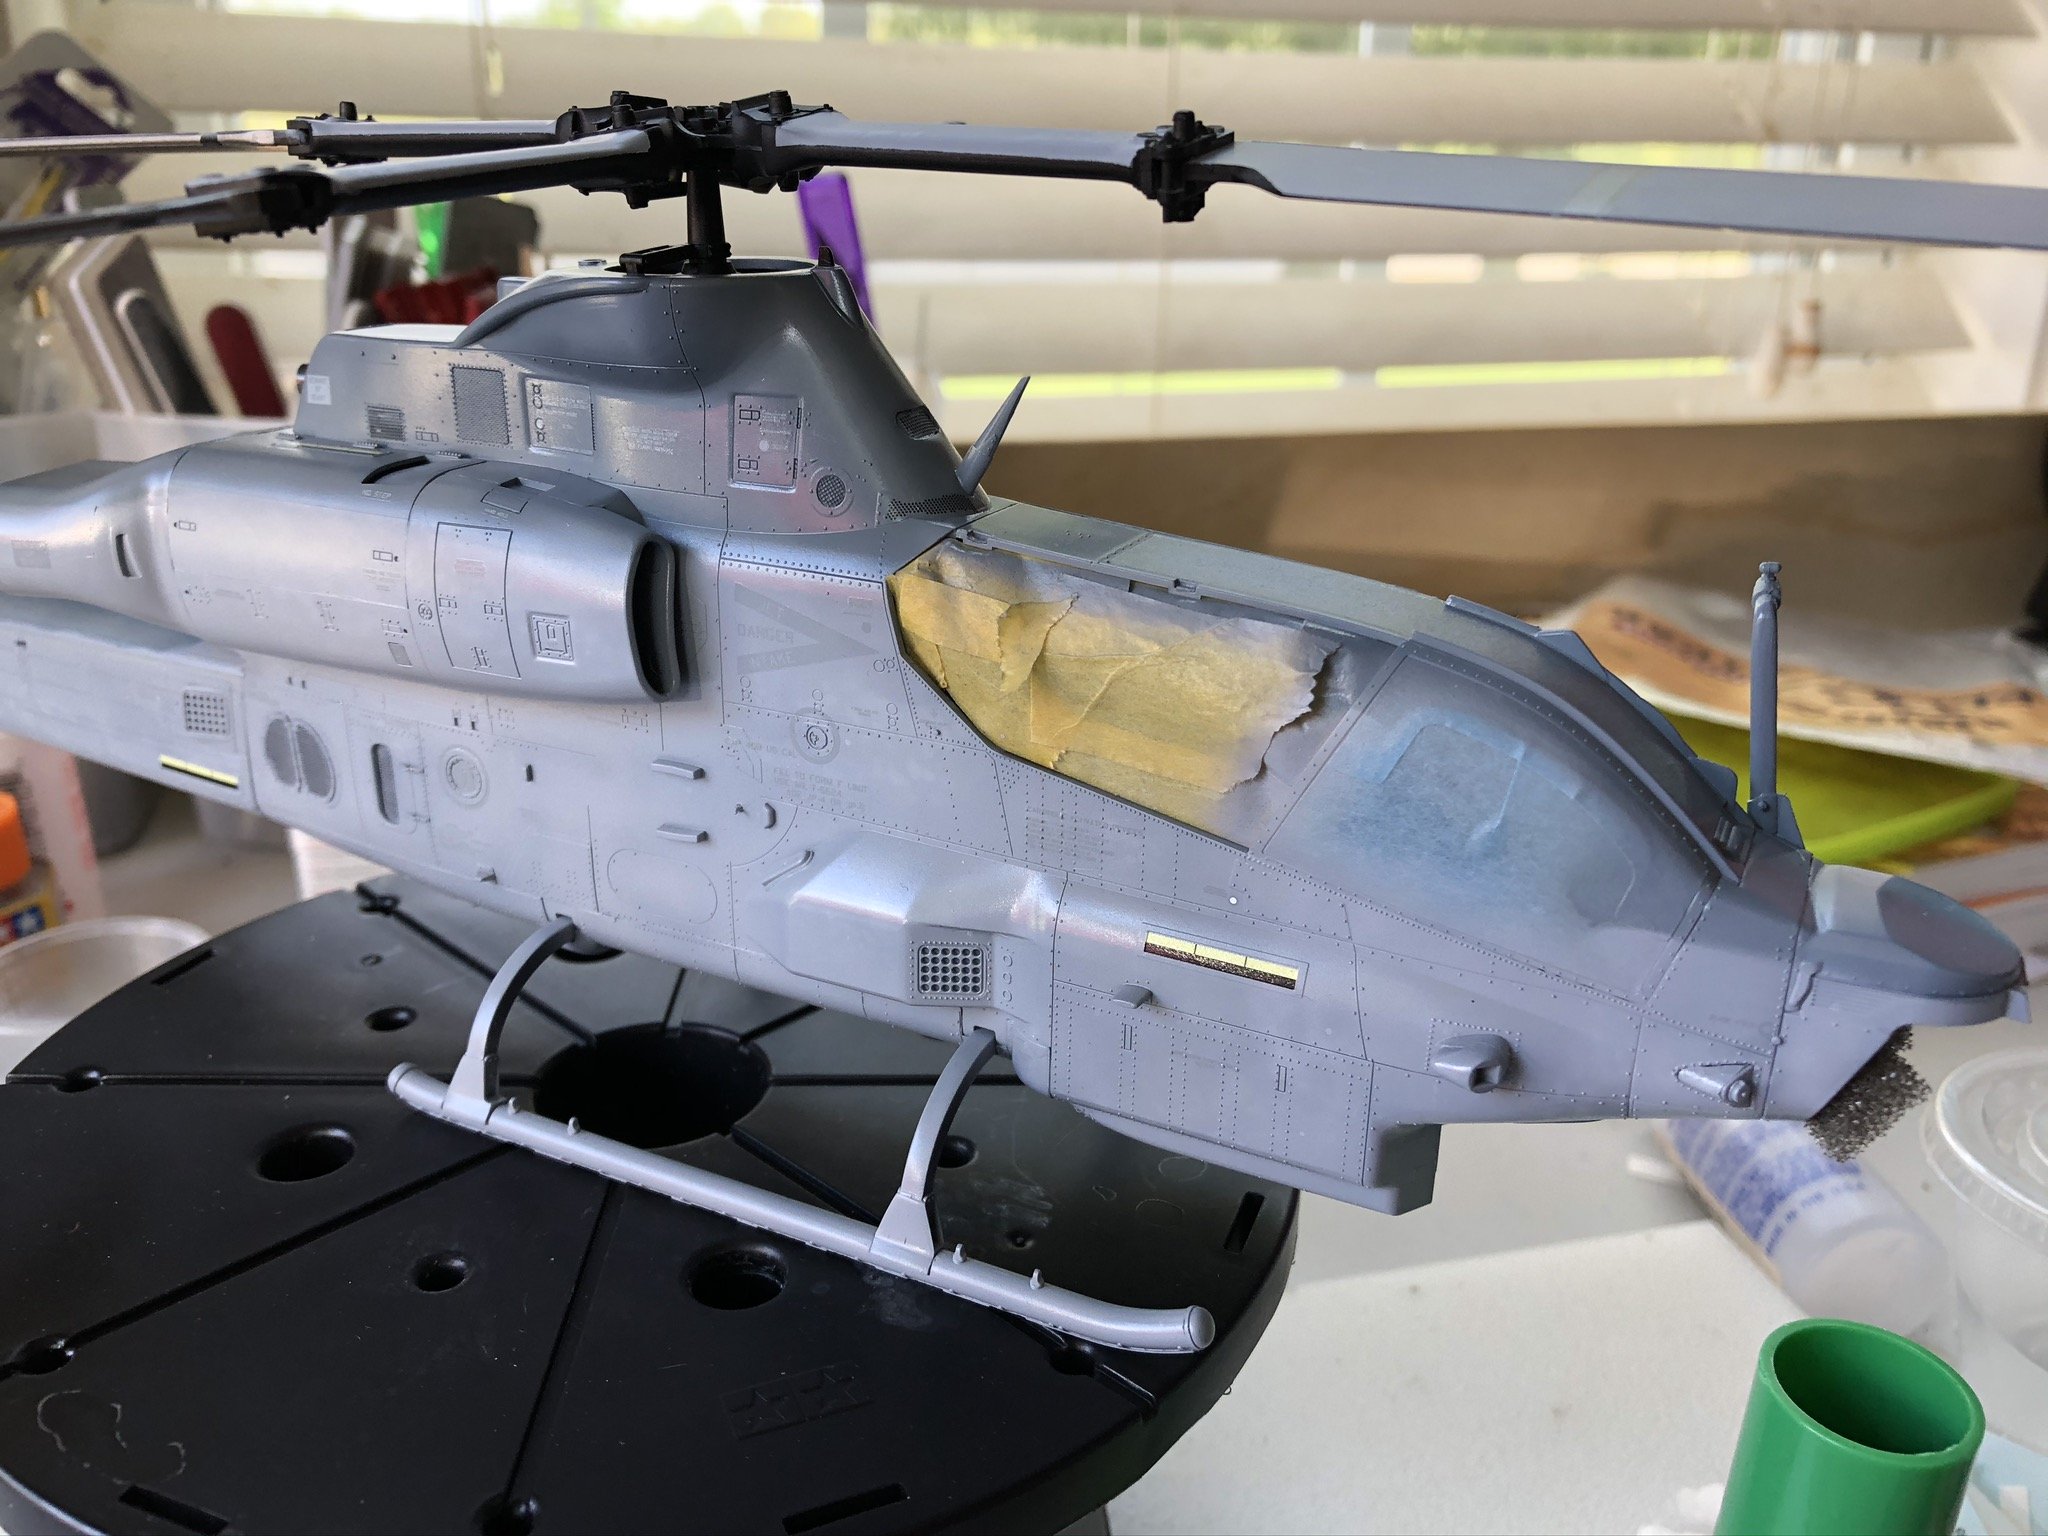
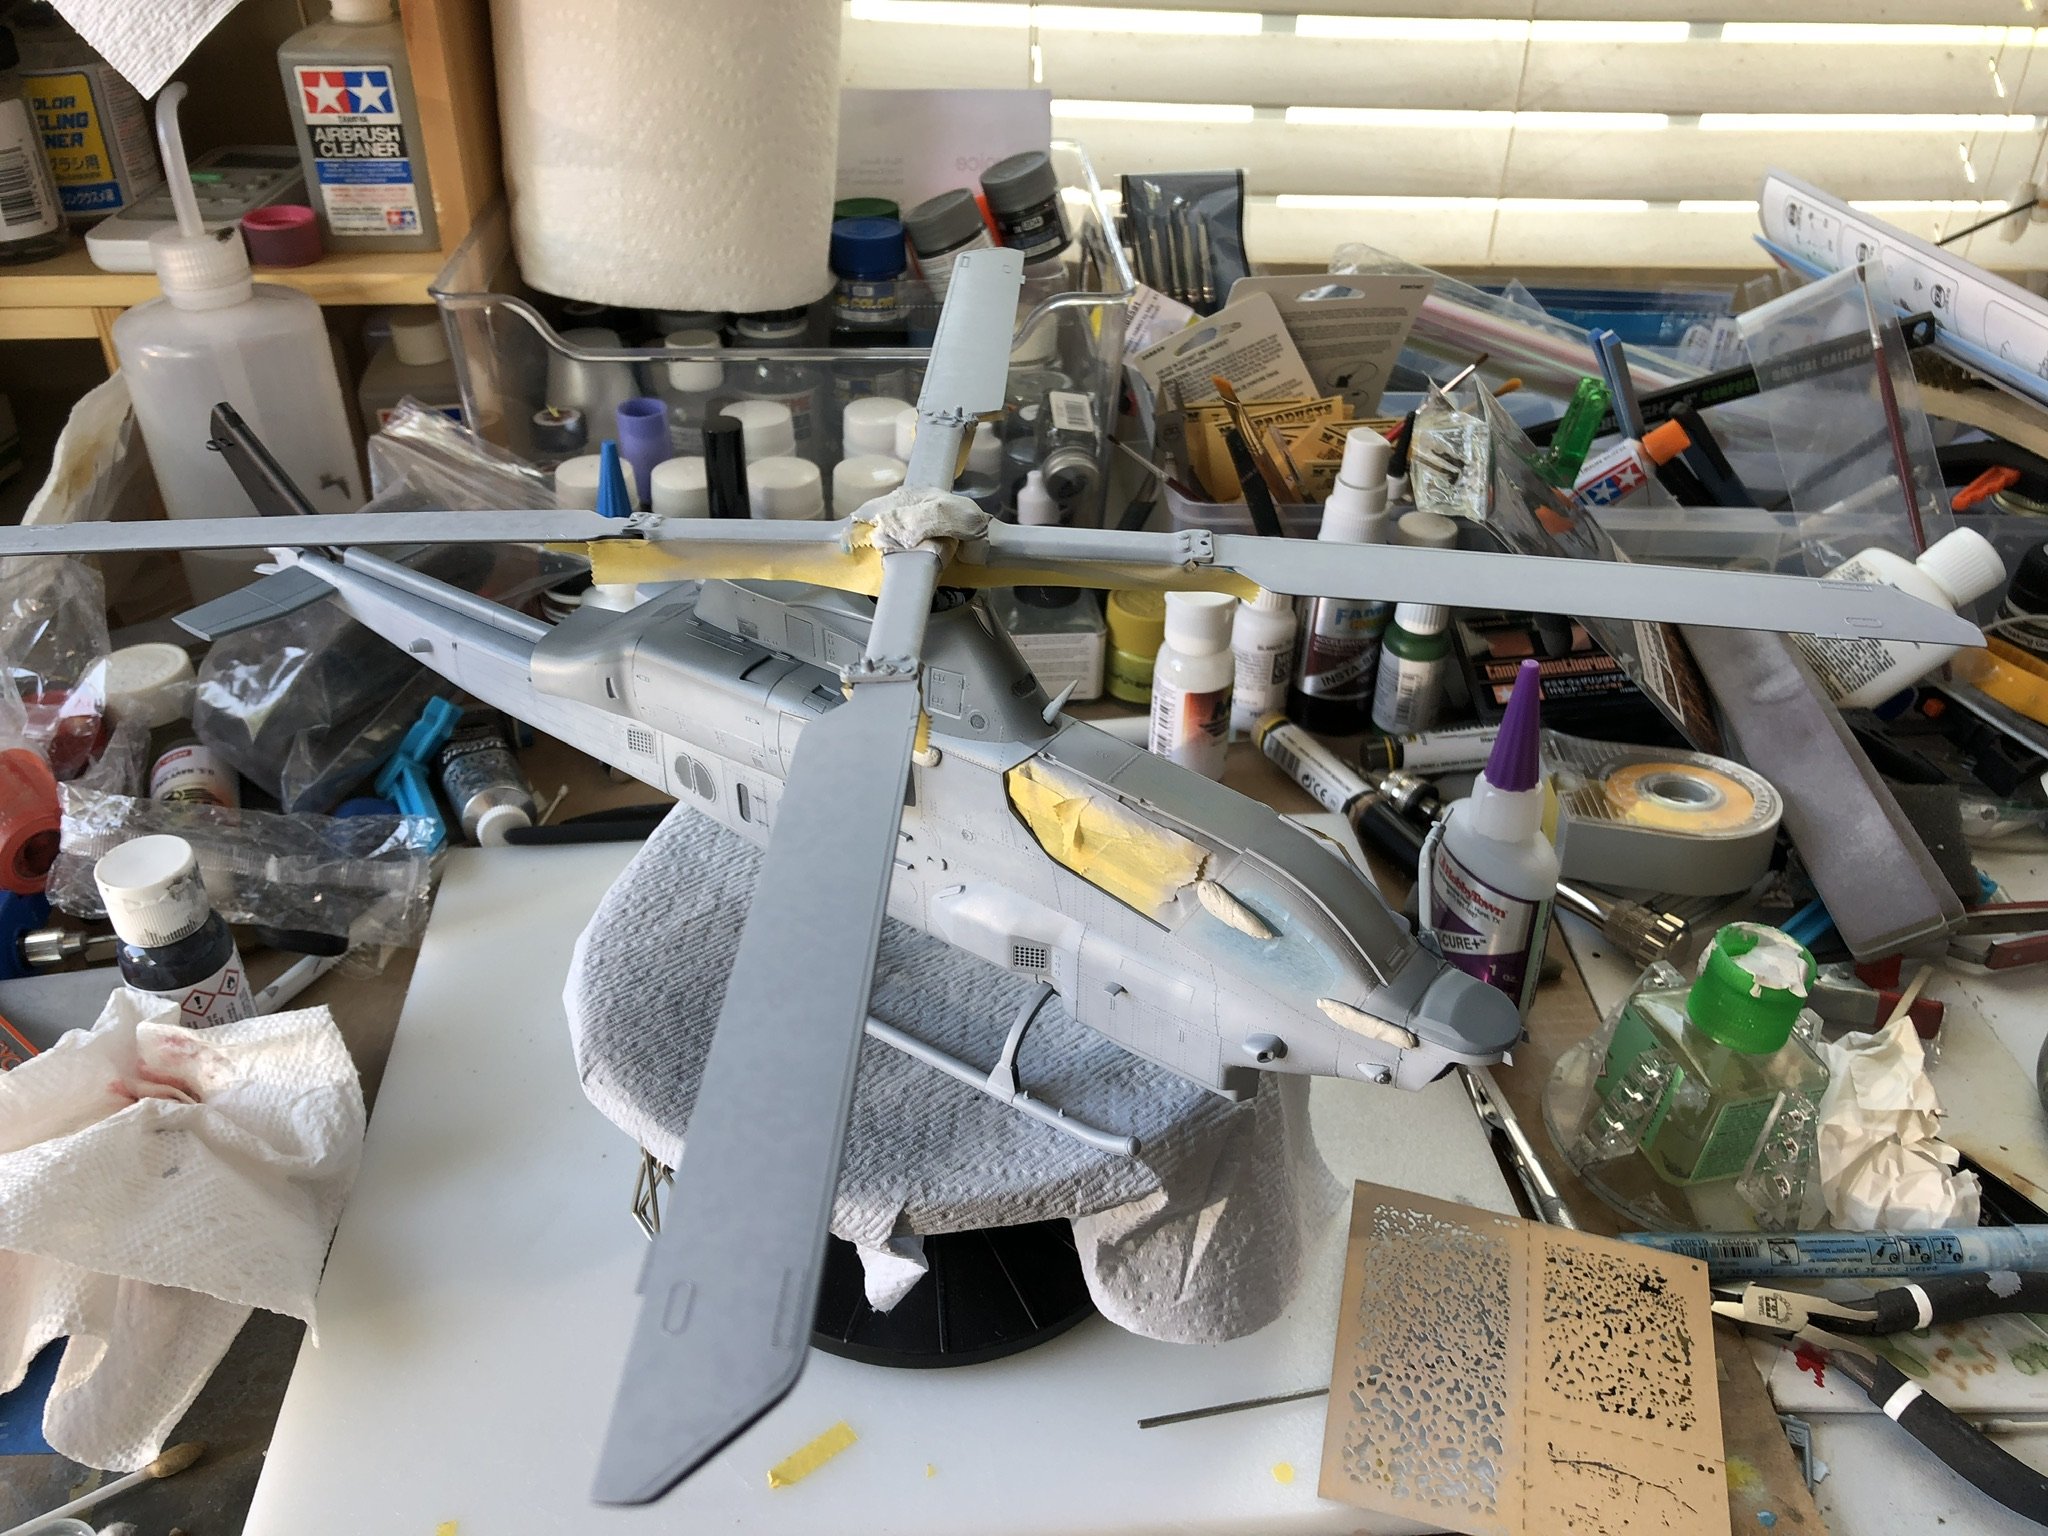
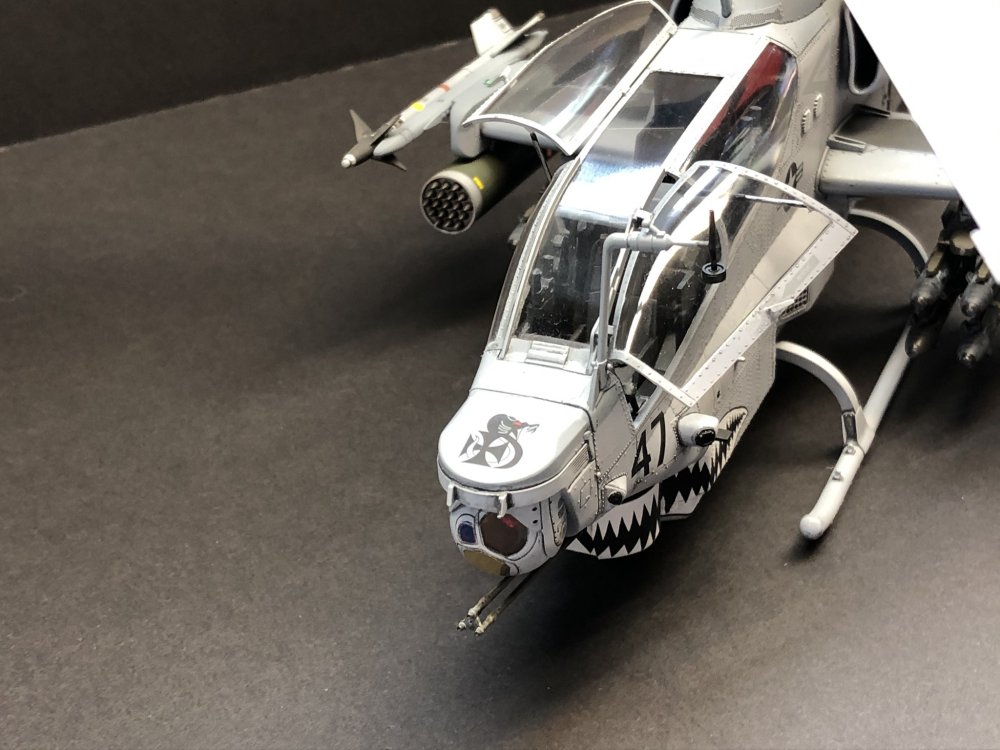
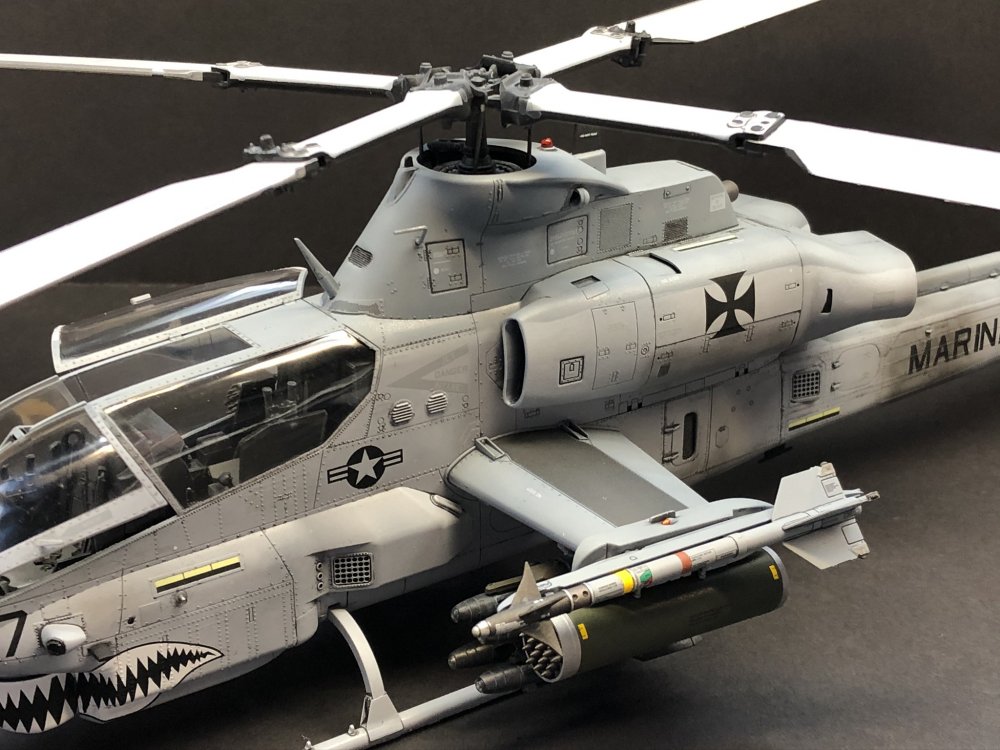
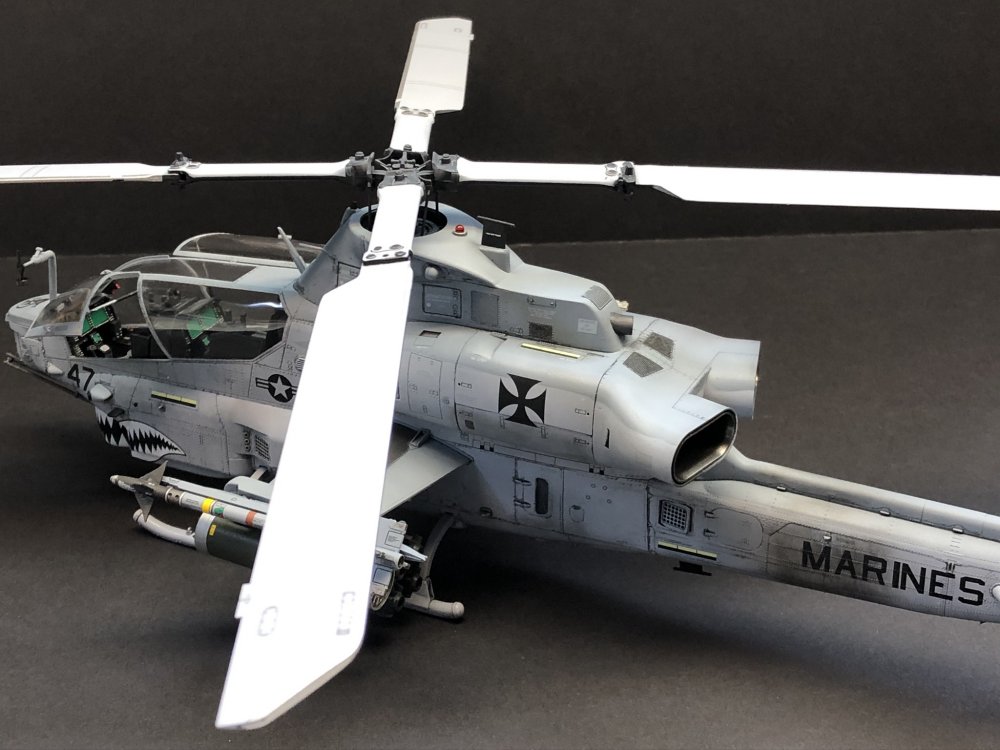
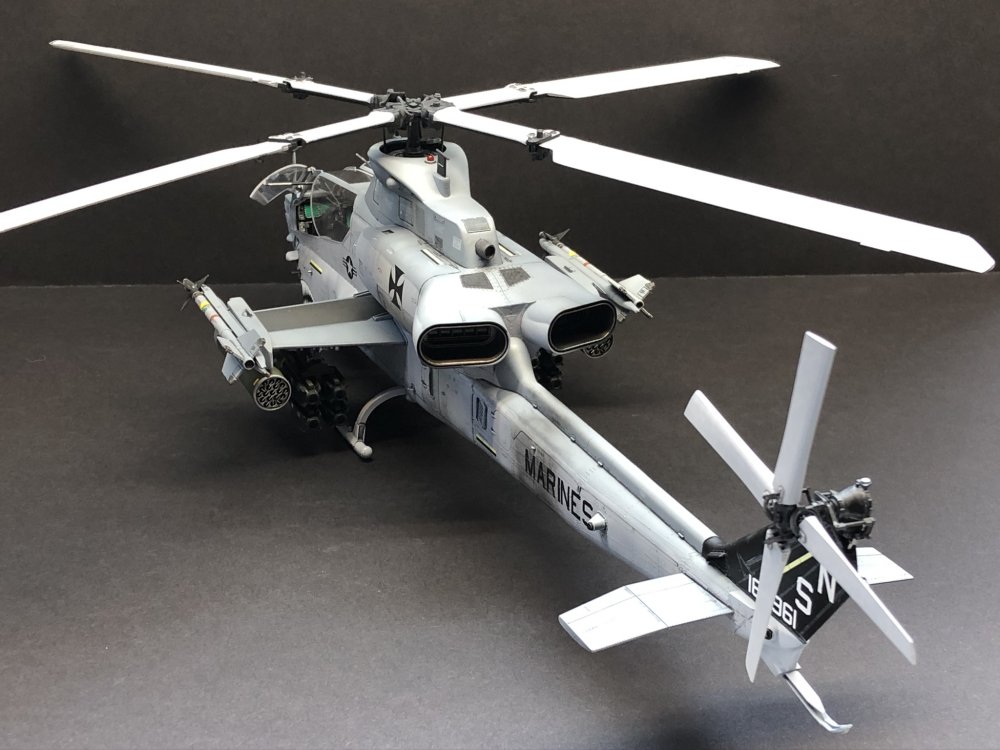
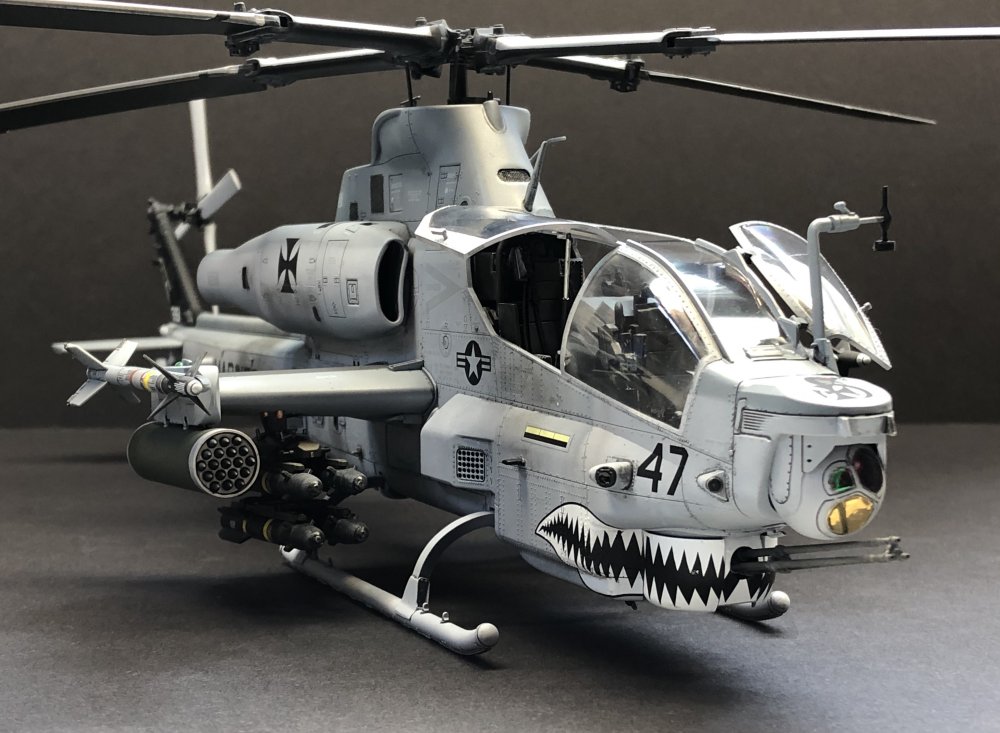
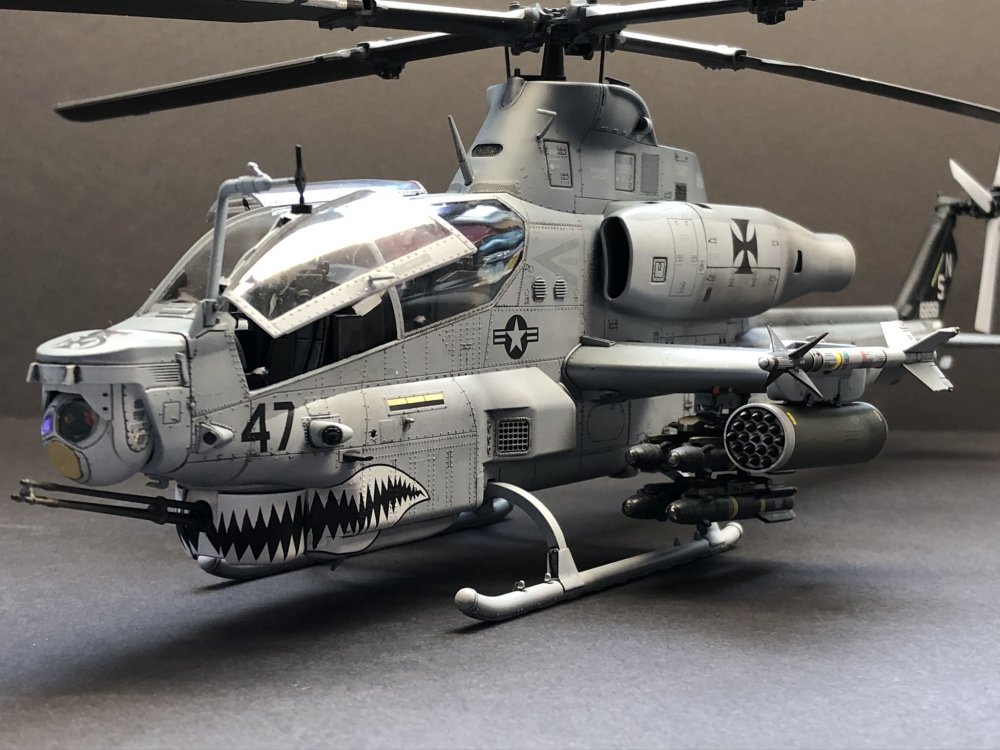
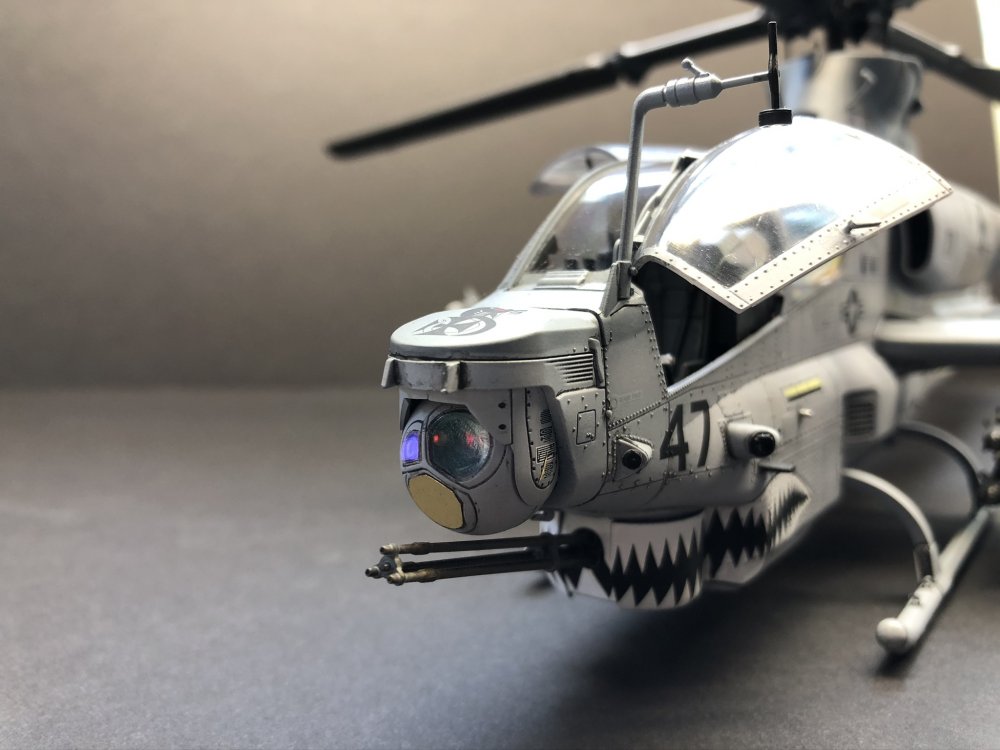
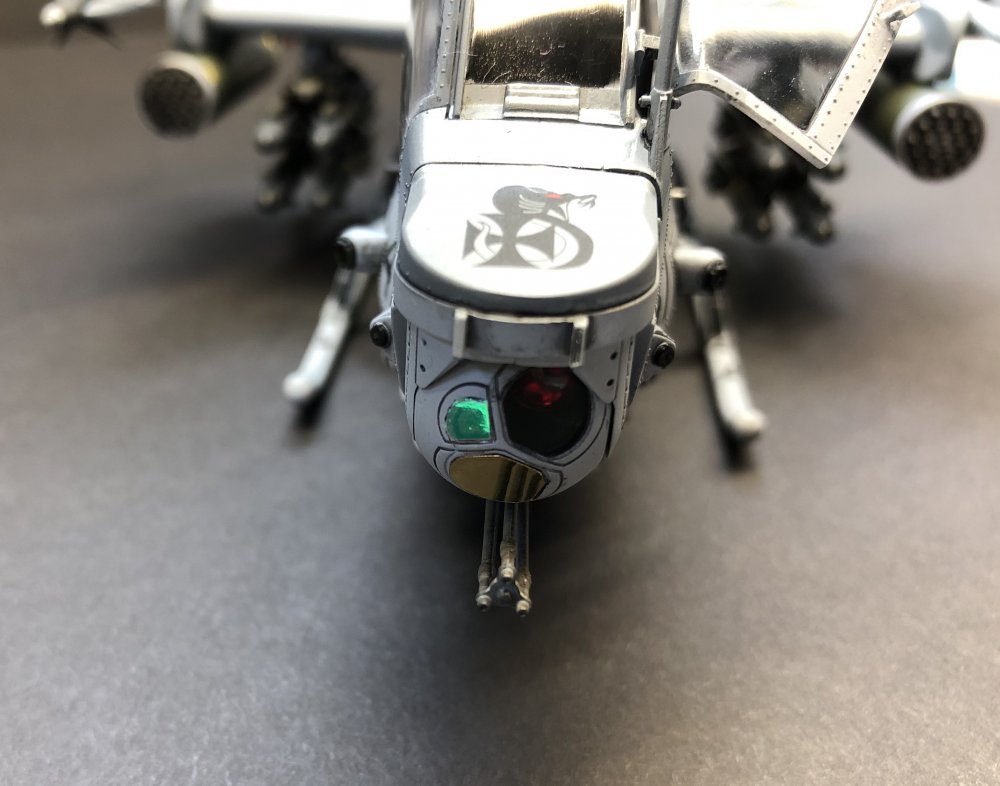
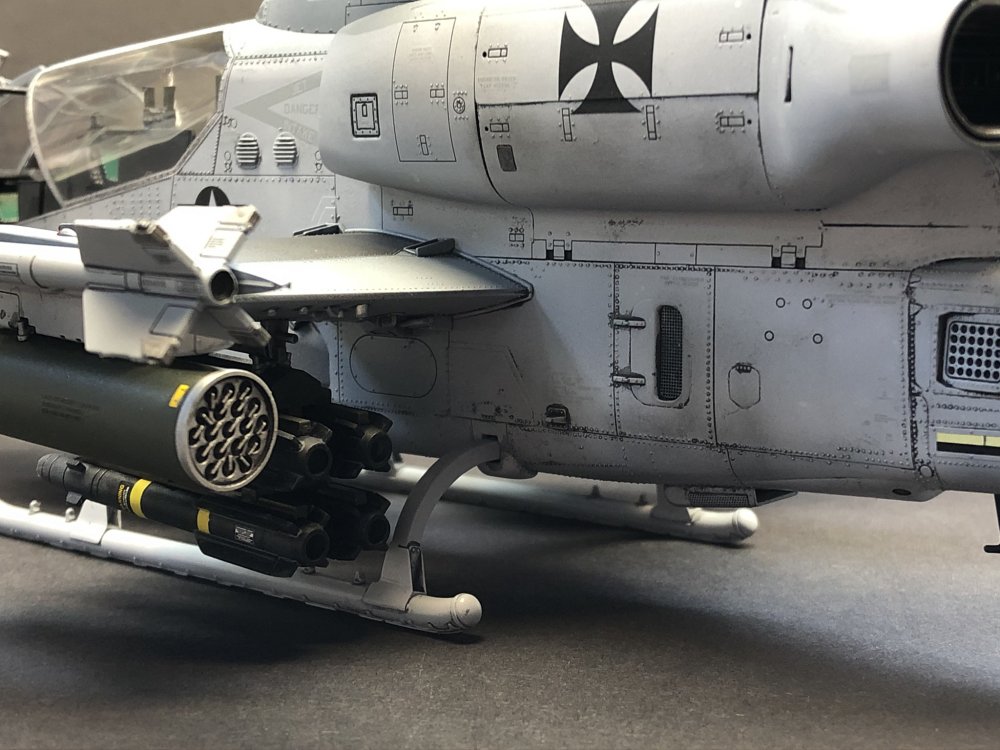
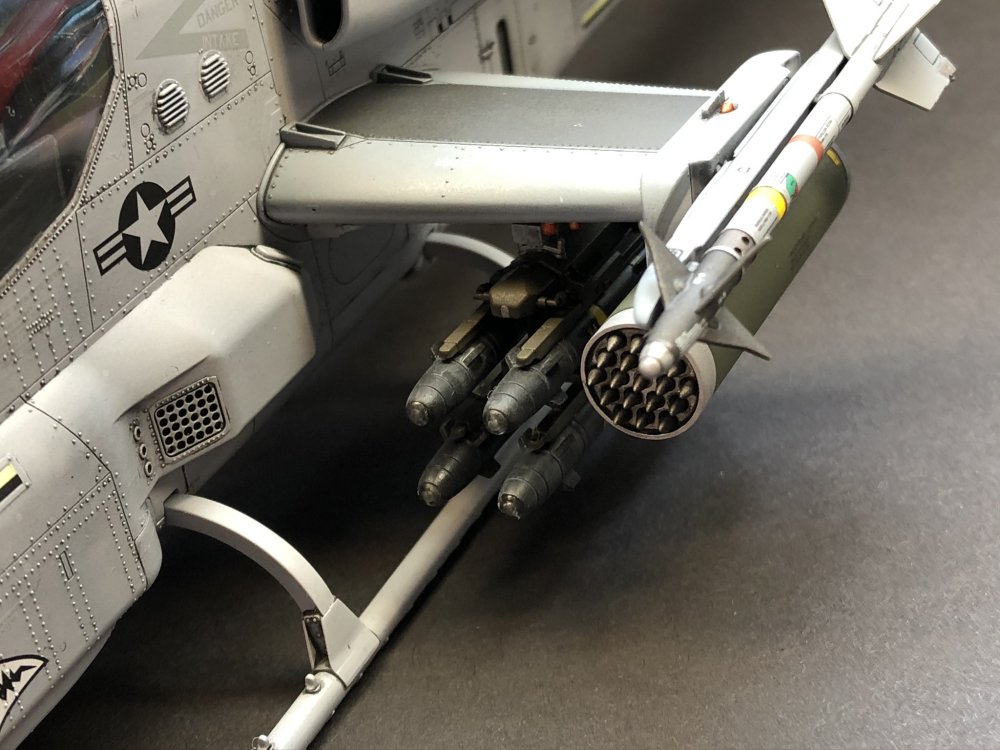
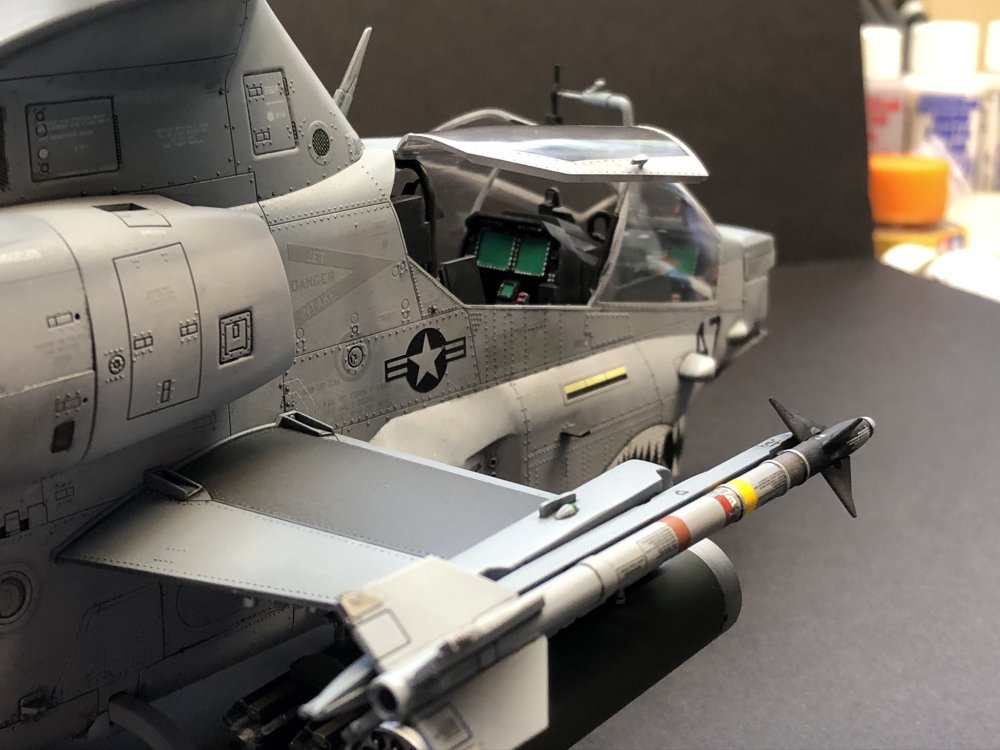
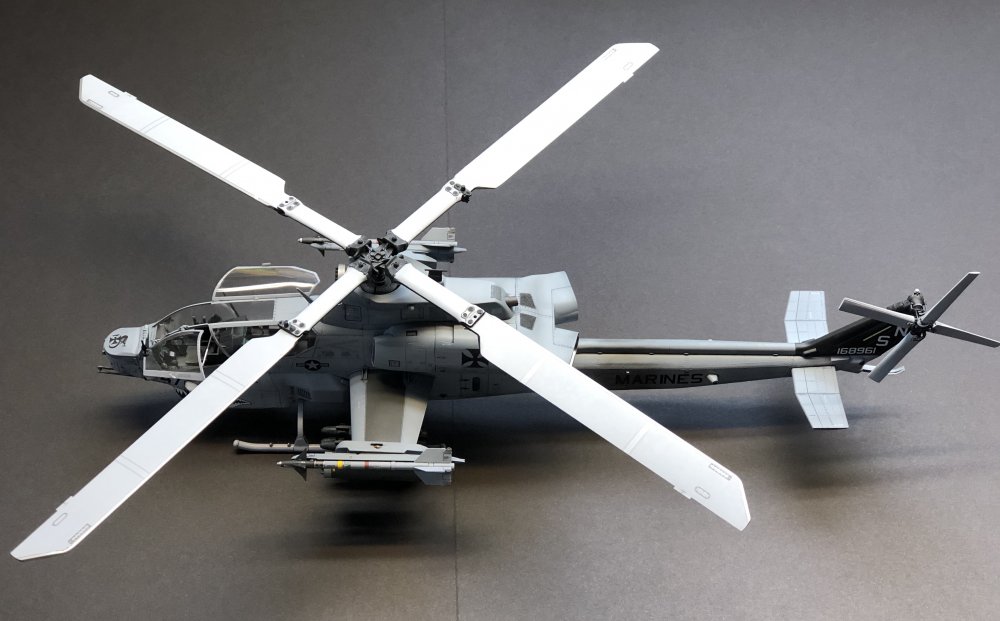
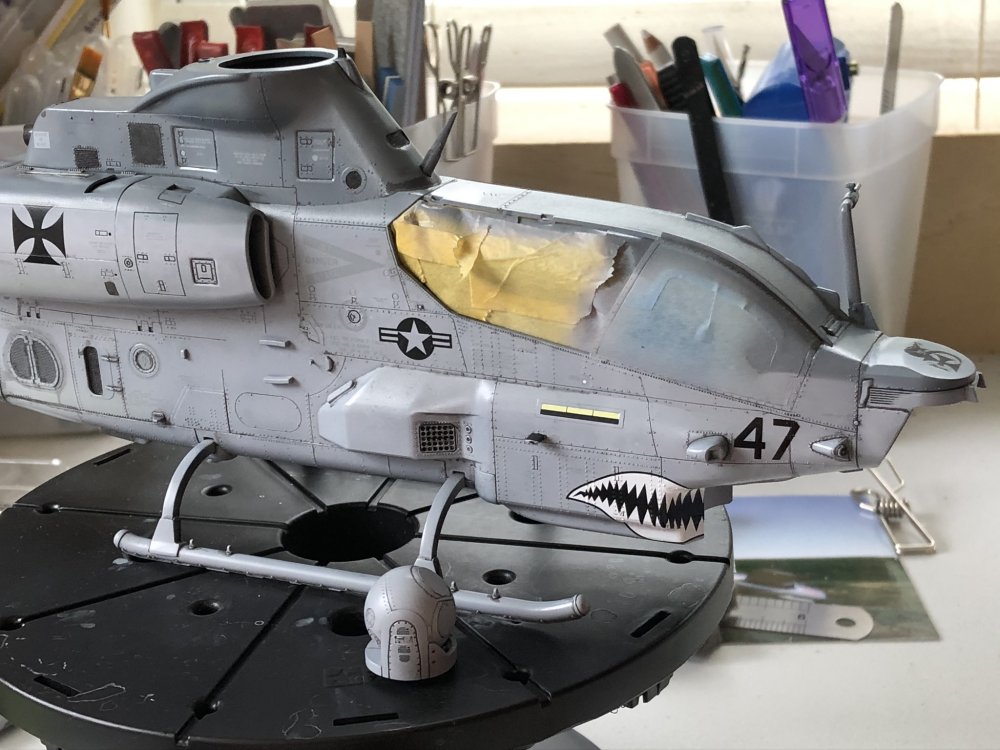
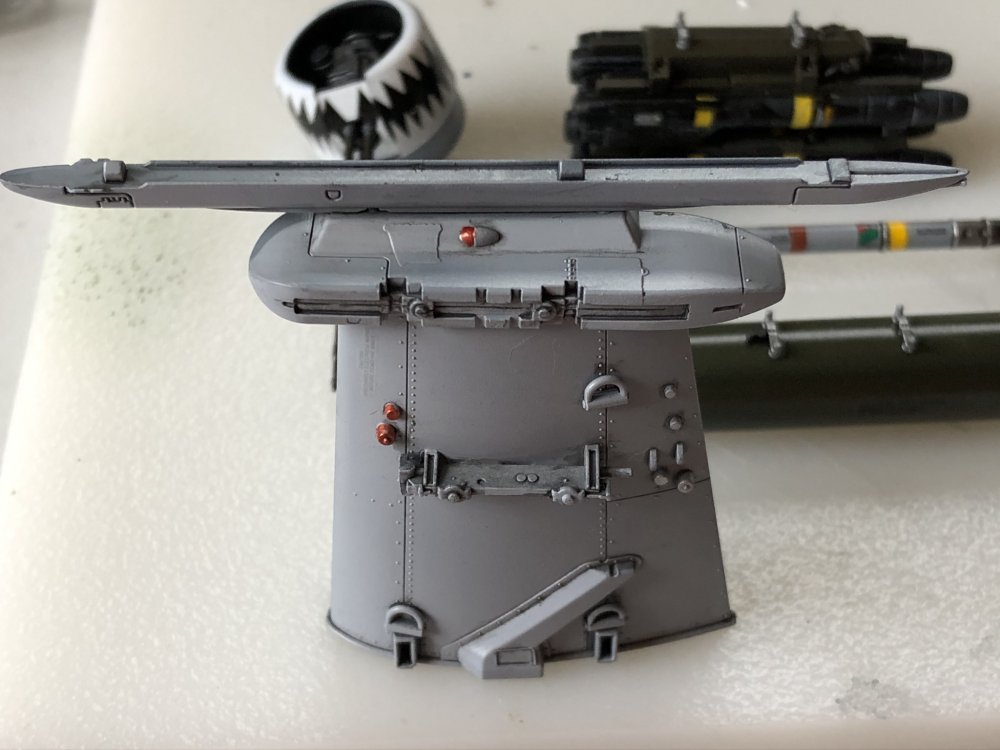
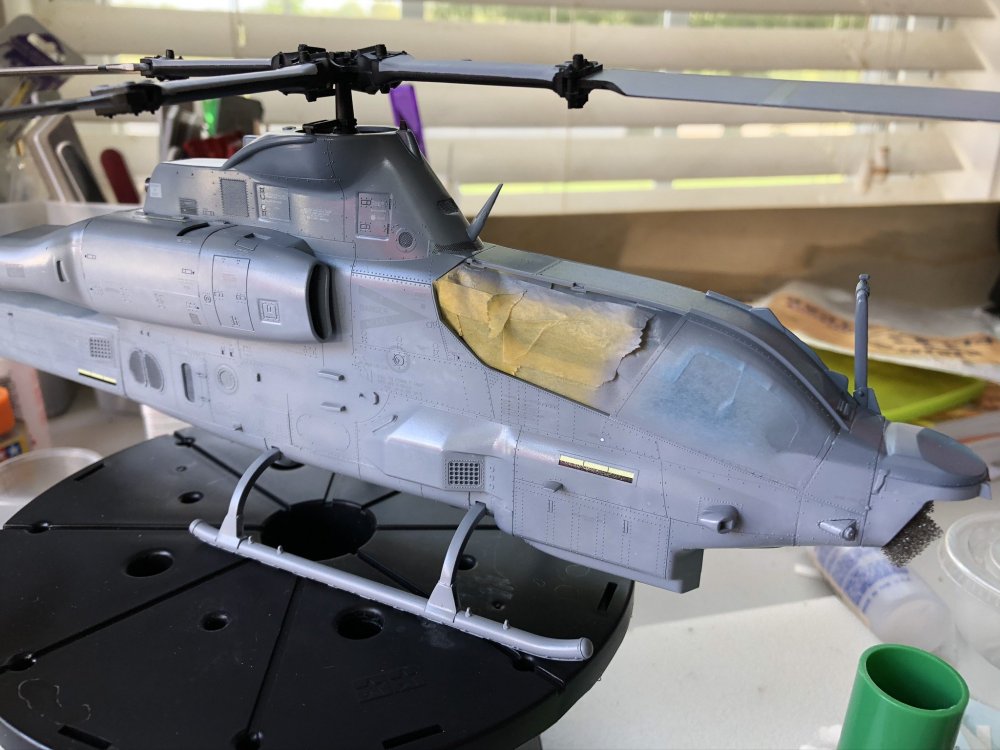
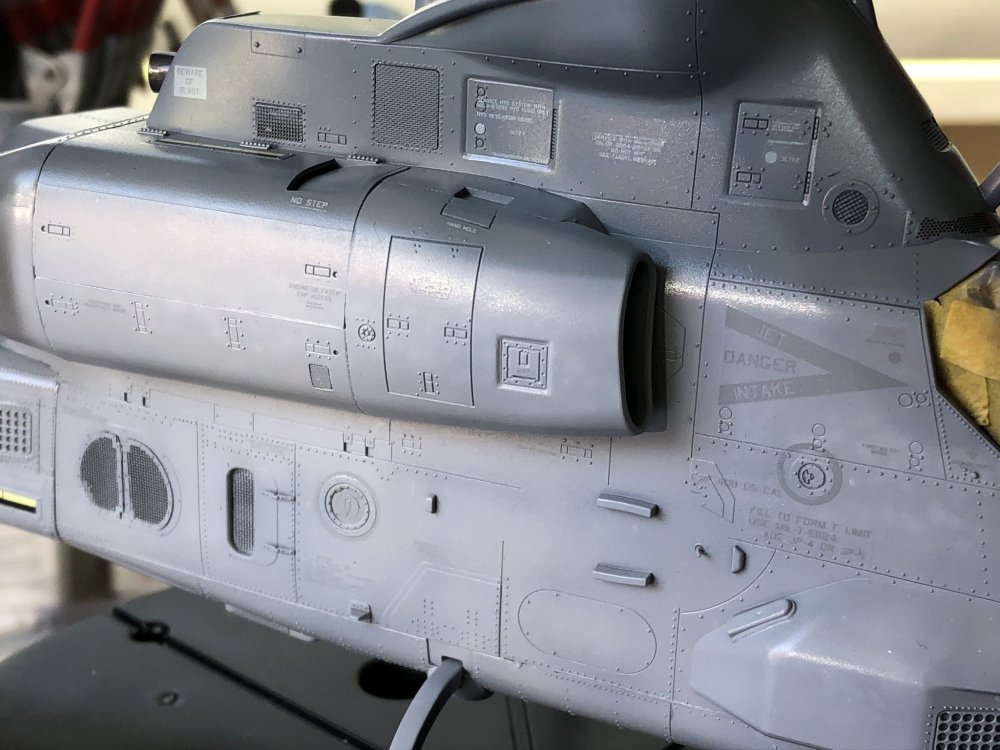
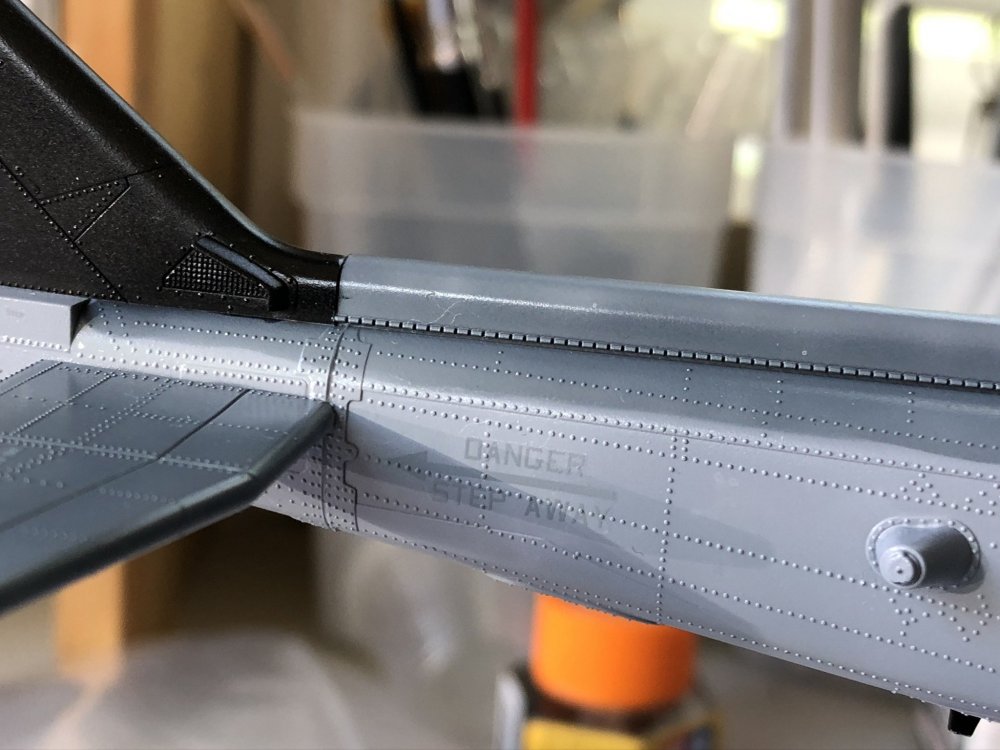
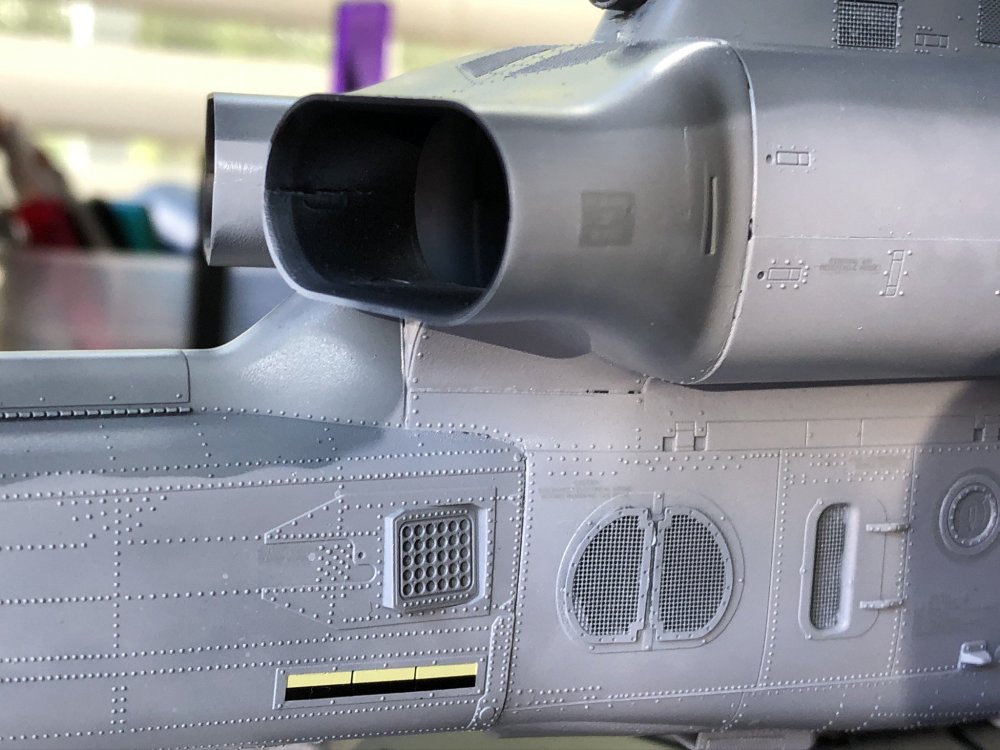
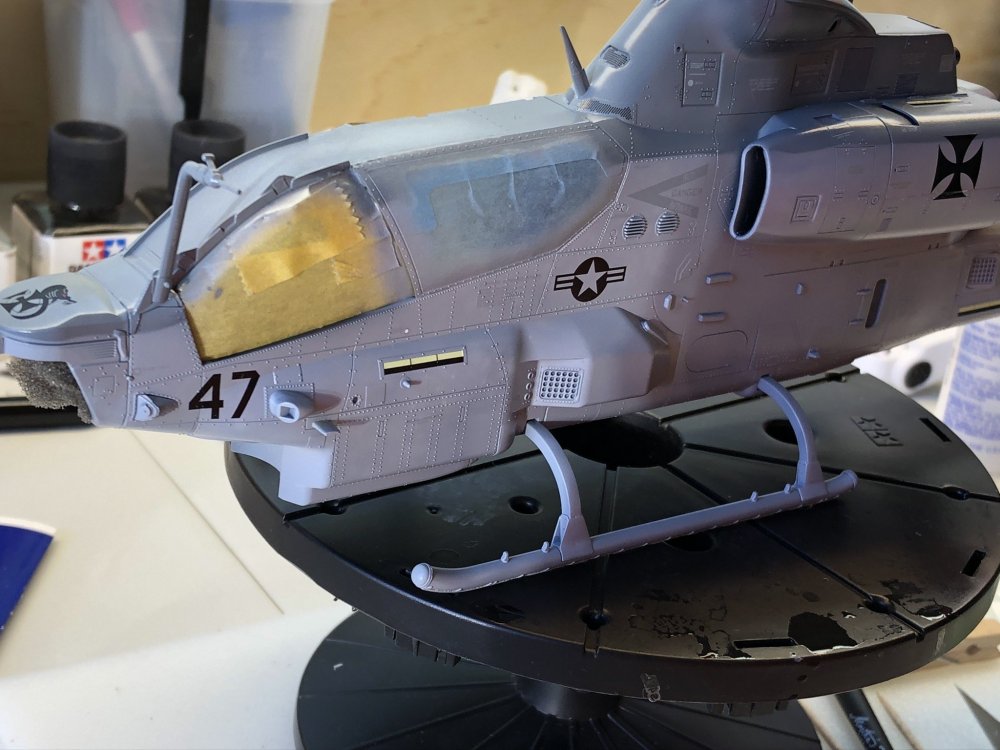
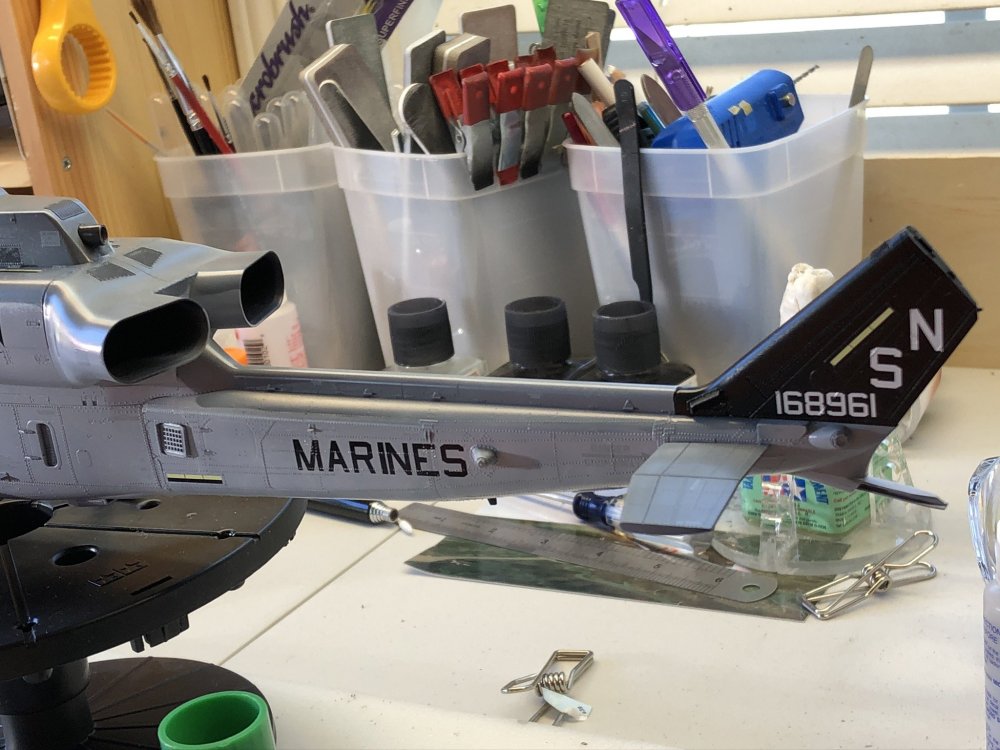
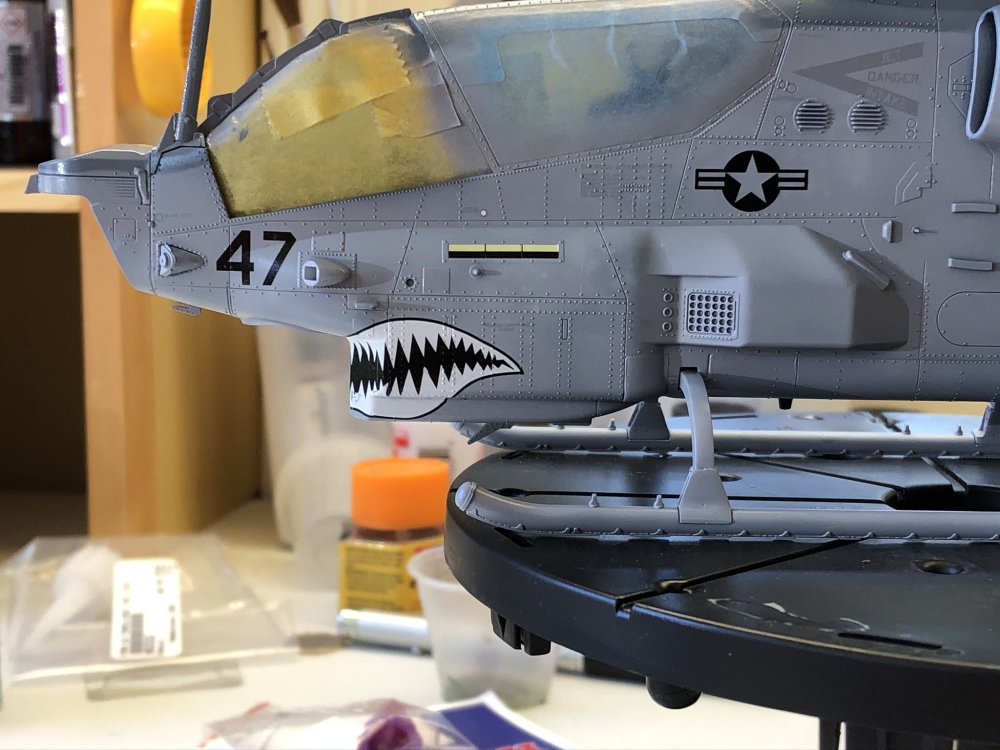
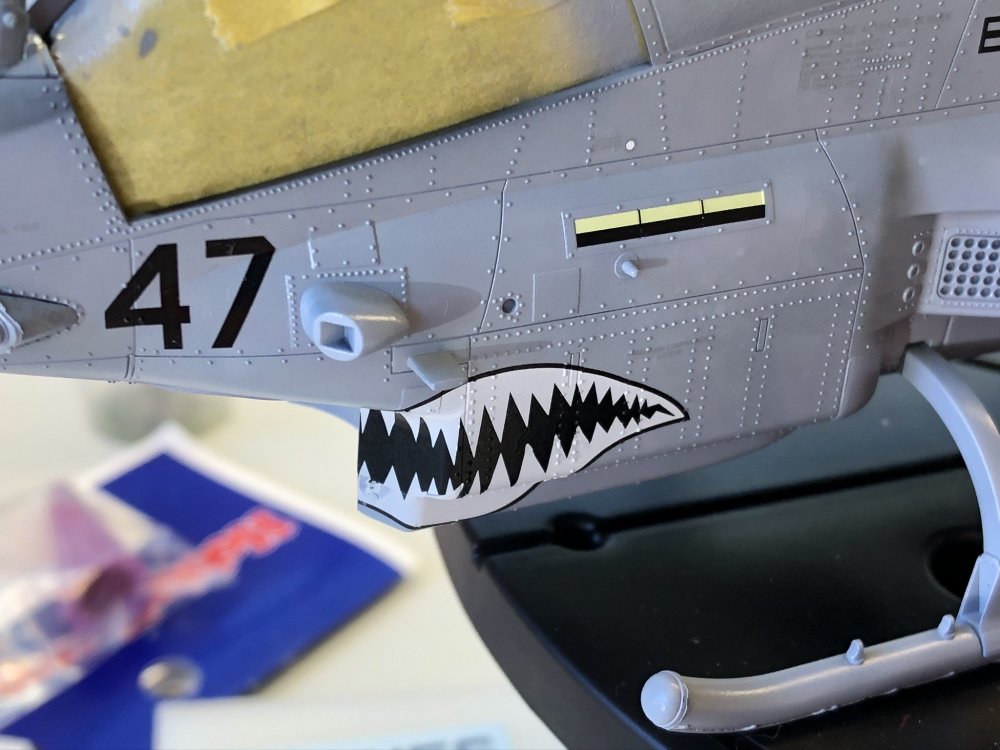
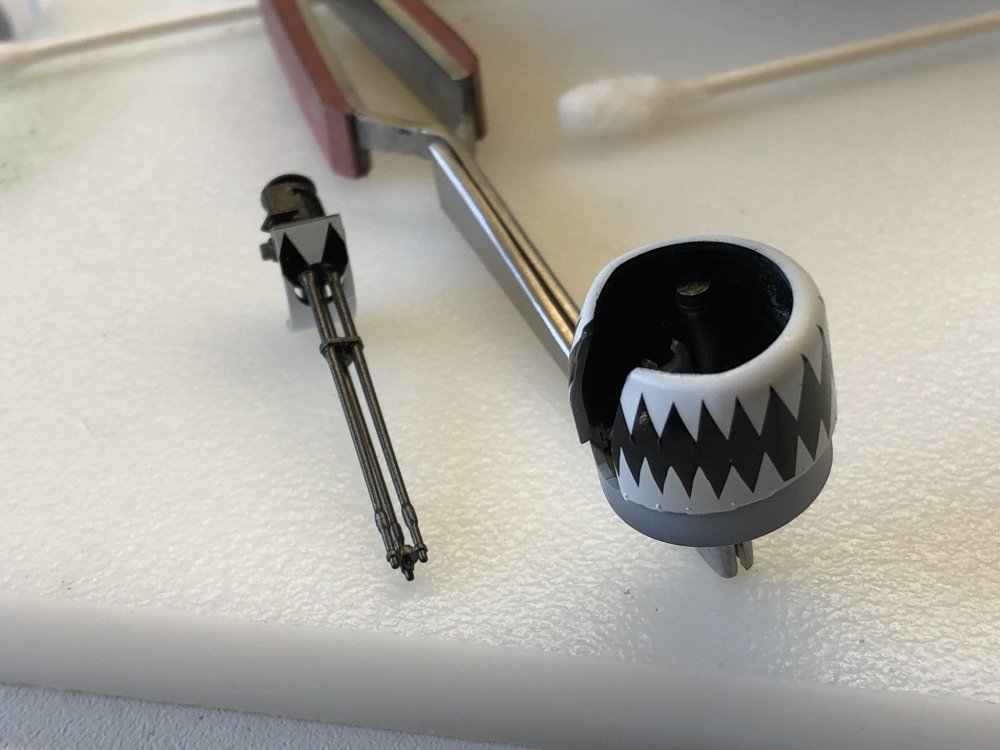
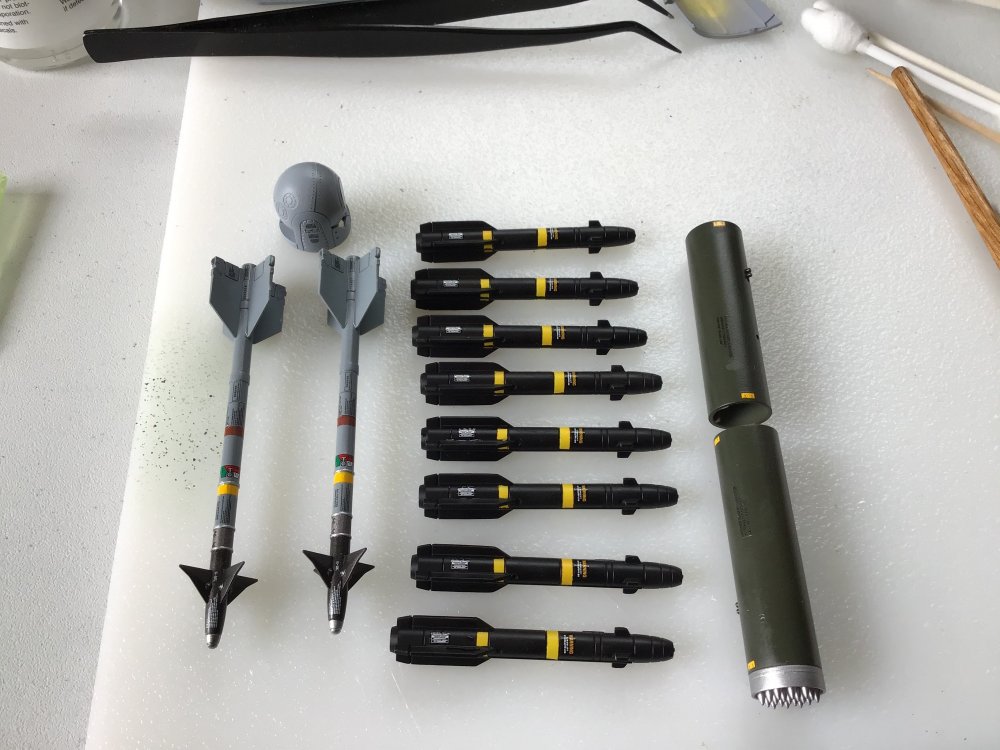
 1/35 Academy AH-1Z Viper, all built out of the box except for a little enhancements to the optical ball. I added Leathernecks optical ball foil and MV Lenses, and added magnets so it could be attached after paint. Paint was by MRP, Light Ghost Gray and US Navy Modern Blue-Gray with details painted using Mr Color and Vallejo, clears were by Testors. Project finished, total elapsed time of 45 days and approximately 50 hours. The build took a scant 15 hours, painting and decaling took the bulk of the time. There were hundreds of stencils. Ordinance alone probably topped over 100. But this was a a 95 out of 100 kit, my biggest negatives are the ejector pin marks in the cockpit that are in visible places and the non existent mounts for the the hellfire missile rack, I had to drill and install metal pins to join them to the wings. Another quibble is the canopy that was slightly bent on mine, so they had to be glued in place with extra thin before painting. Other than that, there were no fit issues.
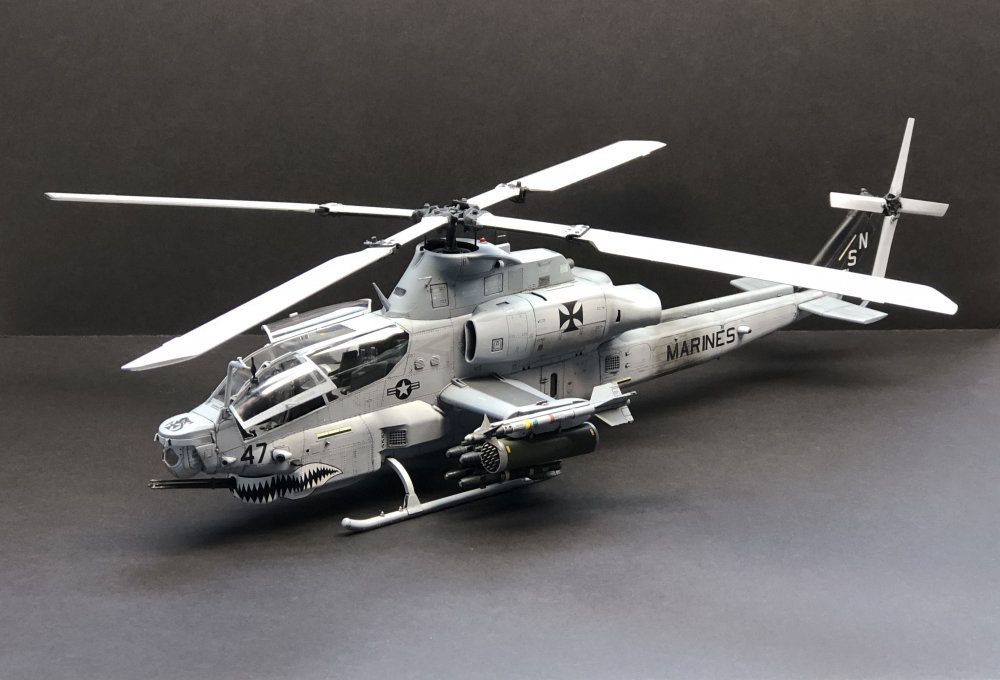


- 9 replies
-
- 12
-

-

-
Got wings!
-
My absolute best (worst) oops moment was about 20 years ago, I decanted a spray can of Tamiya blue paint into a container over the patio table, all went well until I dropped it about 12” onto the table. Yup...oops. As some of you may know, decanted paint has tendency release all its gasses...at once. Myself, and everything within 10 feet had blue splatter of paint, however, I took most of the hit. From the waist up I looked like a smurf. Lesson learned: treat decanted paint like an explosive.
-
Yes, I know the feeling, and it’s inevitable.
-
Final assembly and weathering started.
-
Zoukie-Mura F4J Phantom II Marines - 1/48
1to1scale replied to Bomber_County's topic in Non LSM 'WIP
Looking great, I have been considering getting a ZM phantom, however, I’m holding out for a Wild Weasel...but I was really tempted by the E that just came out. -
Working on the panel line wash now.


-
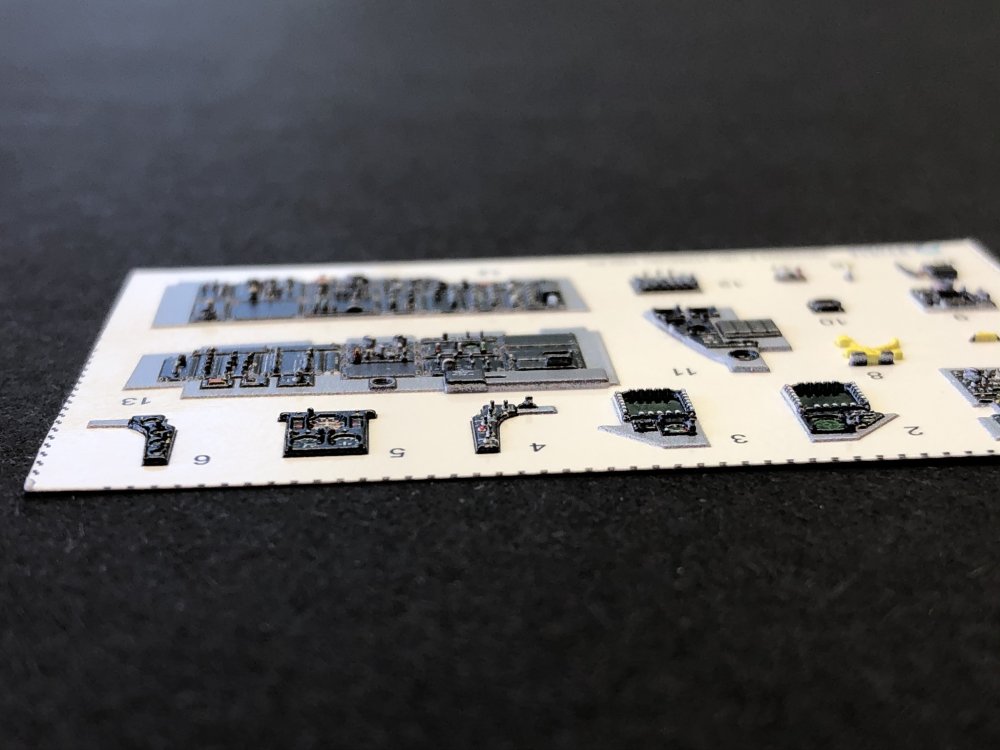
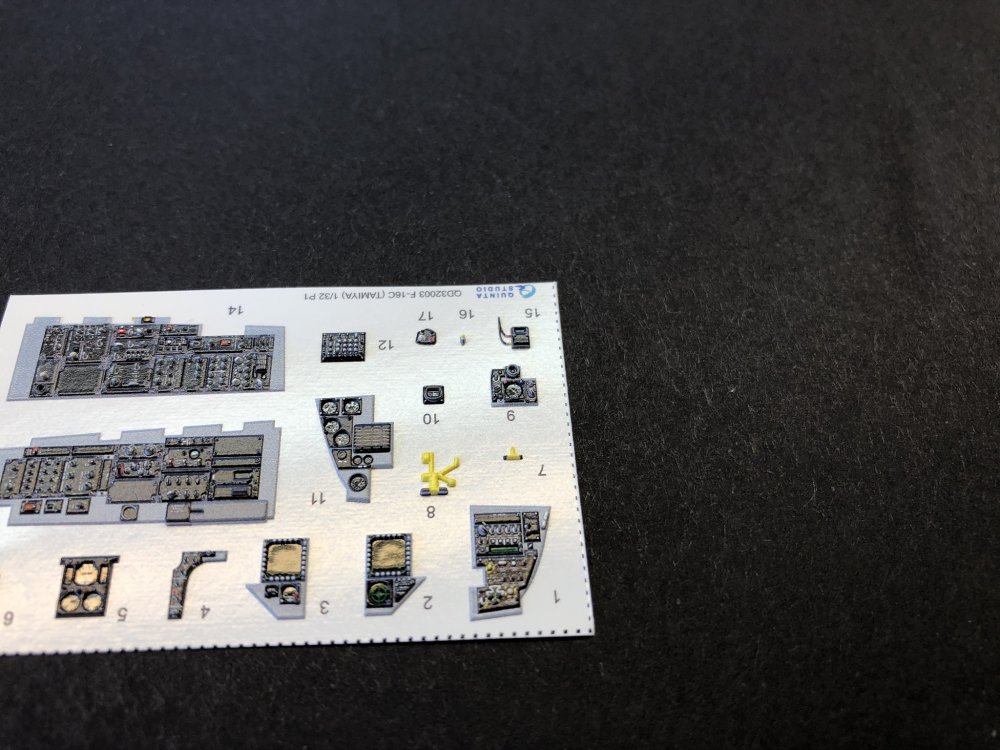
I’ll dig out my set again later and take some pics of the other sheet. I’m half tempted to build the F-16 now.
-
Very nice! I am also in agreement, I like their turquoise.
-
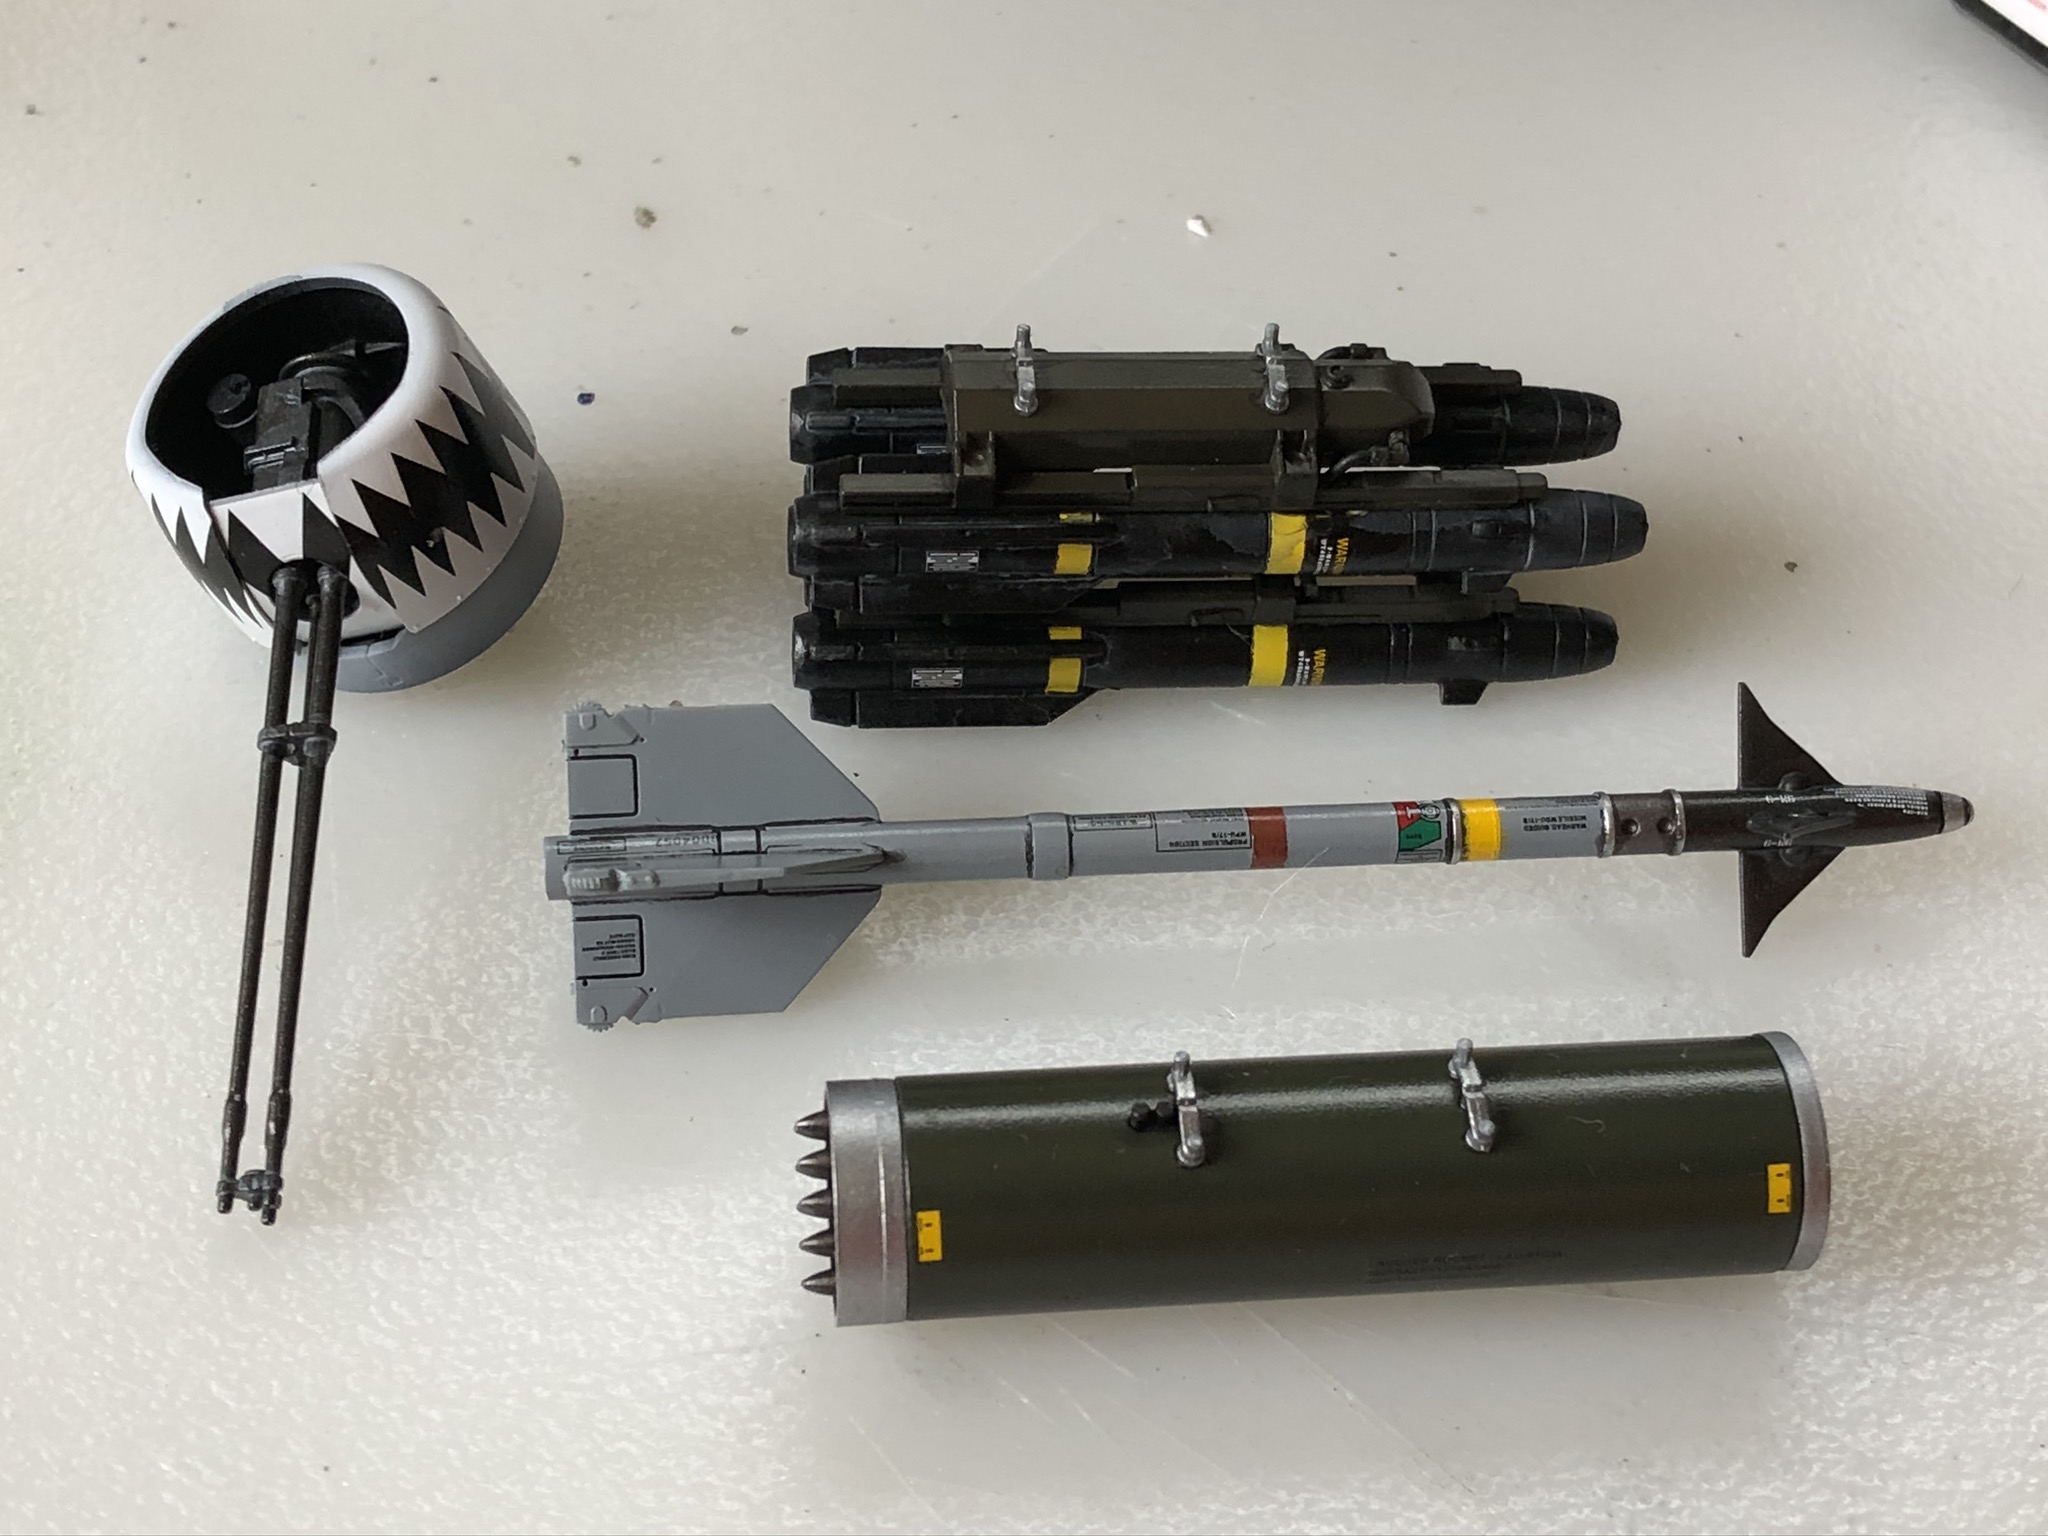
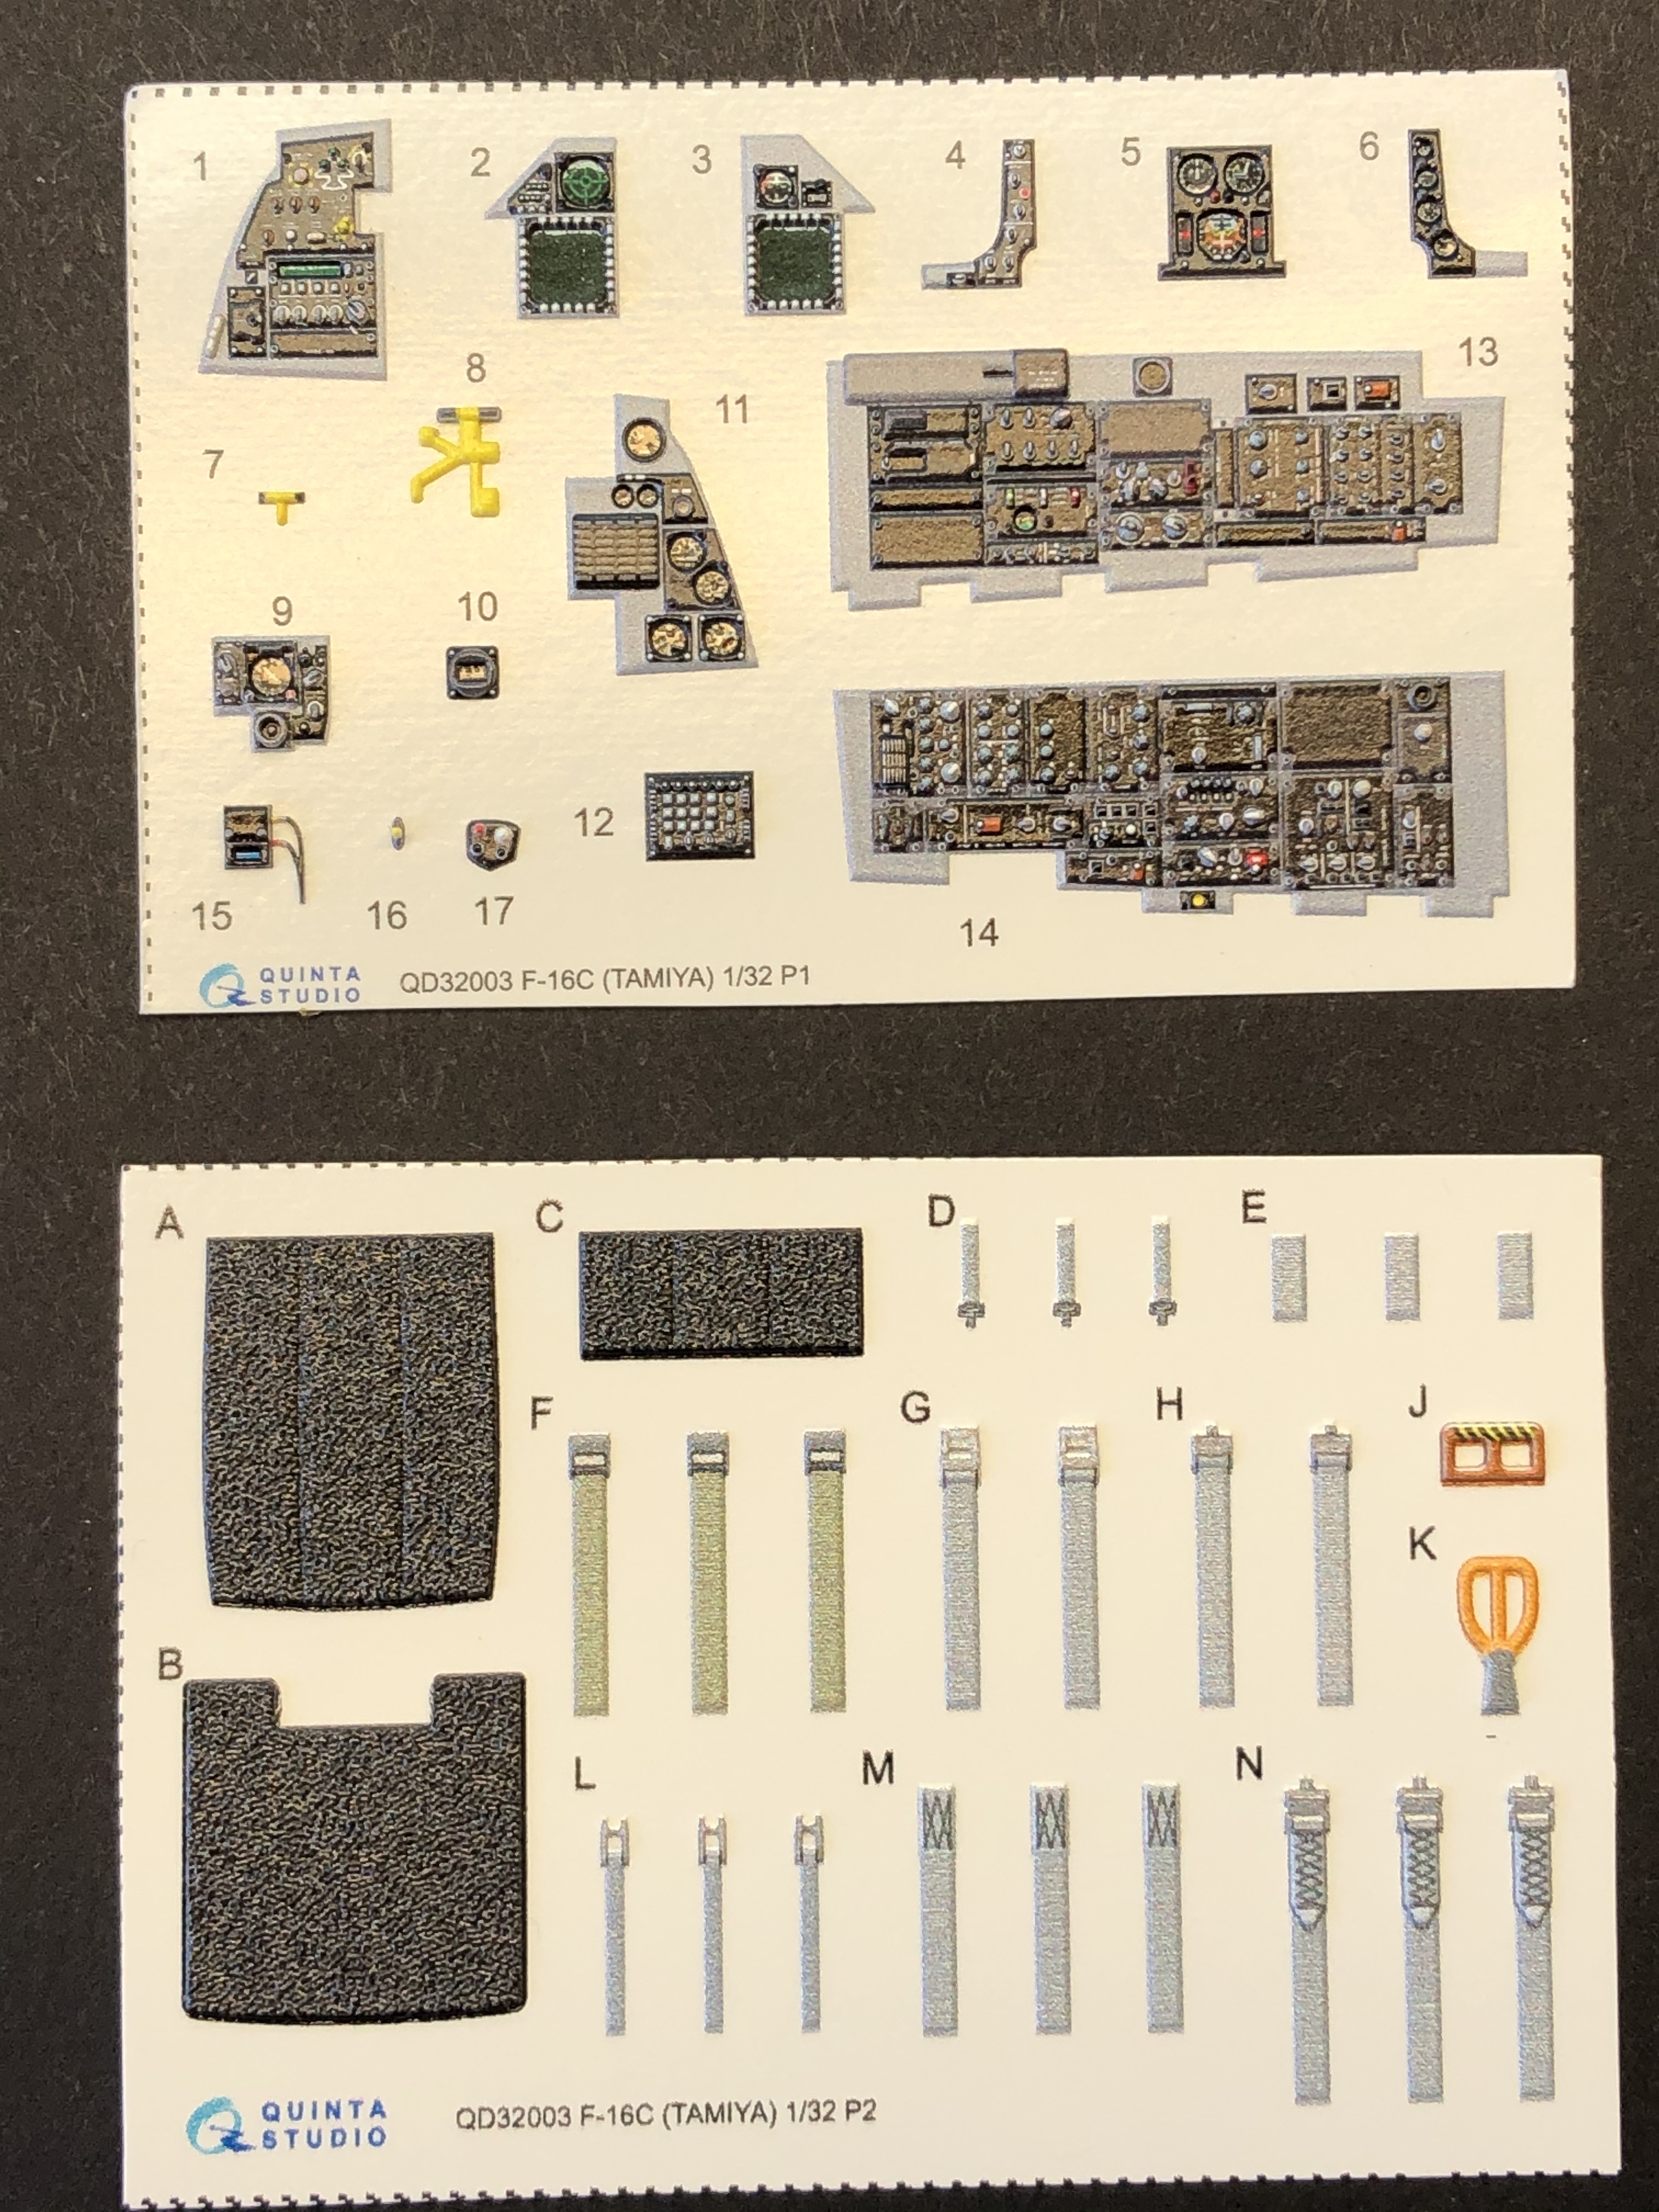
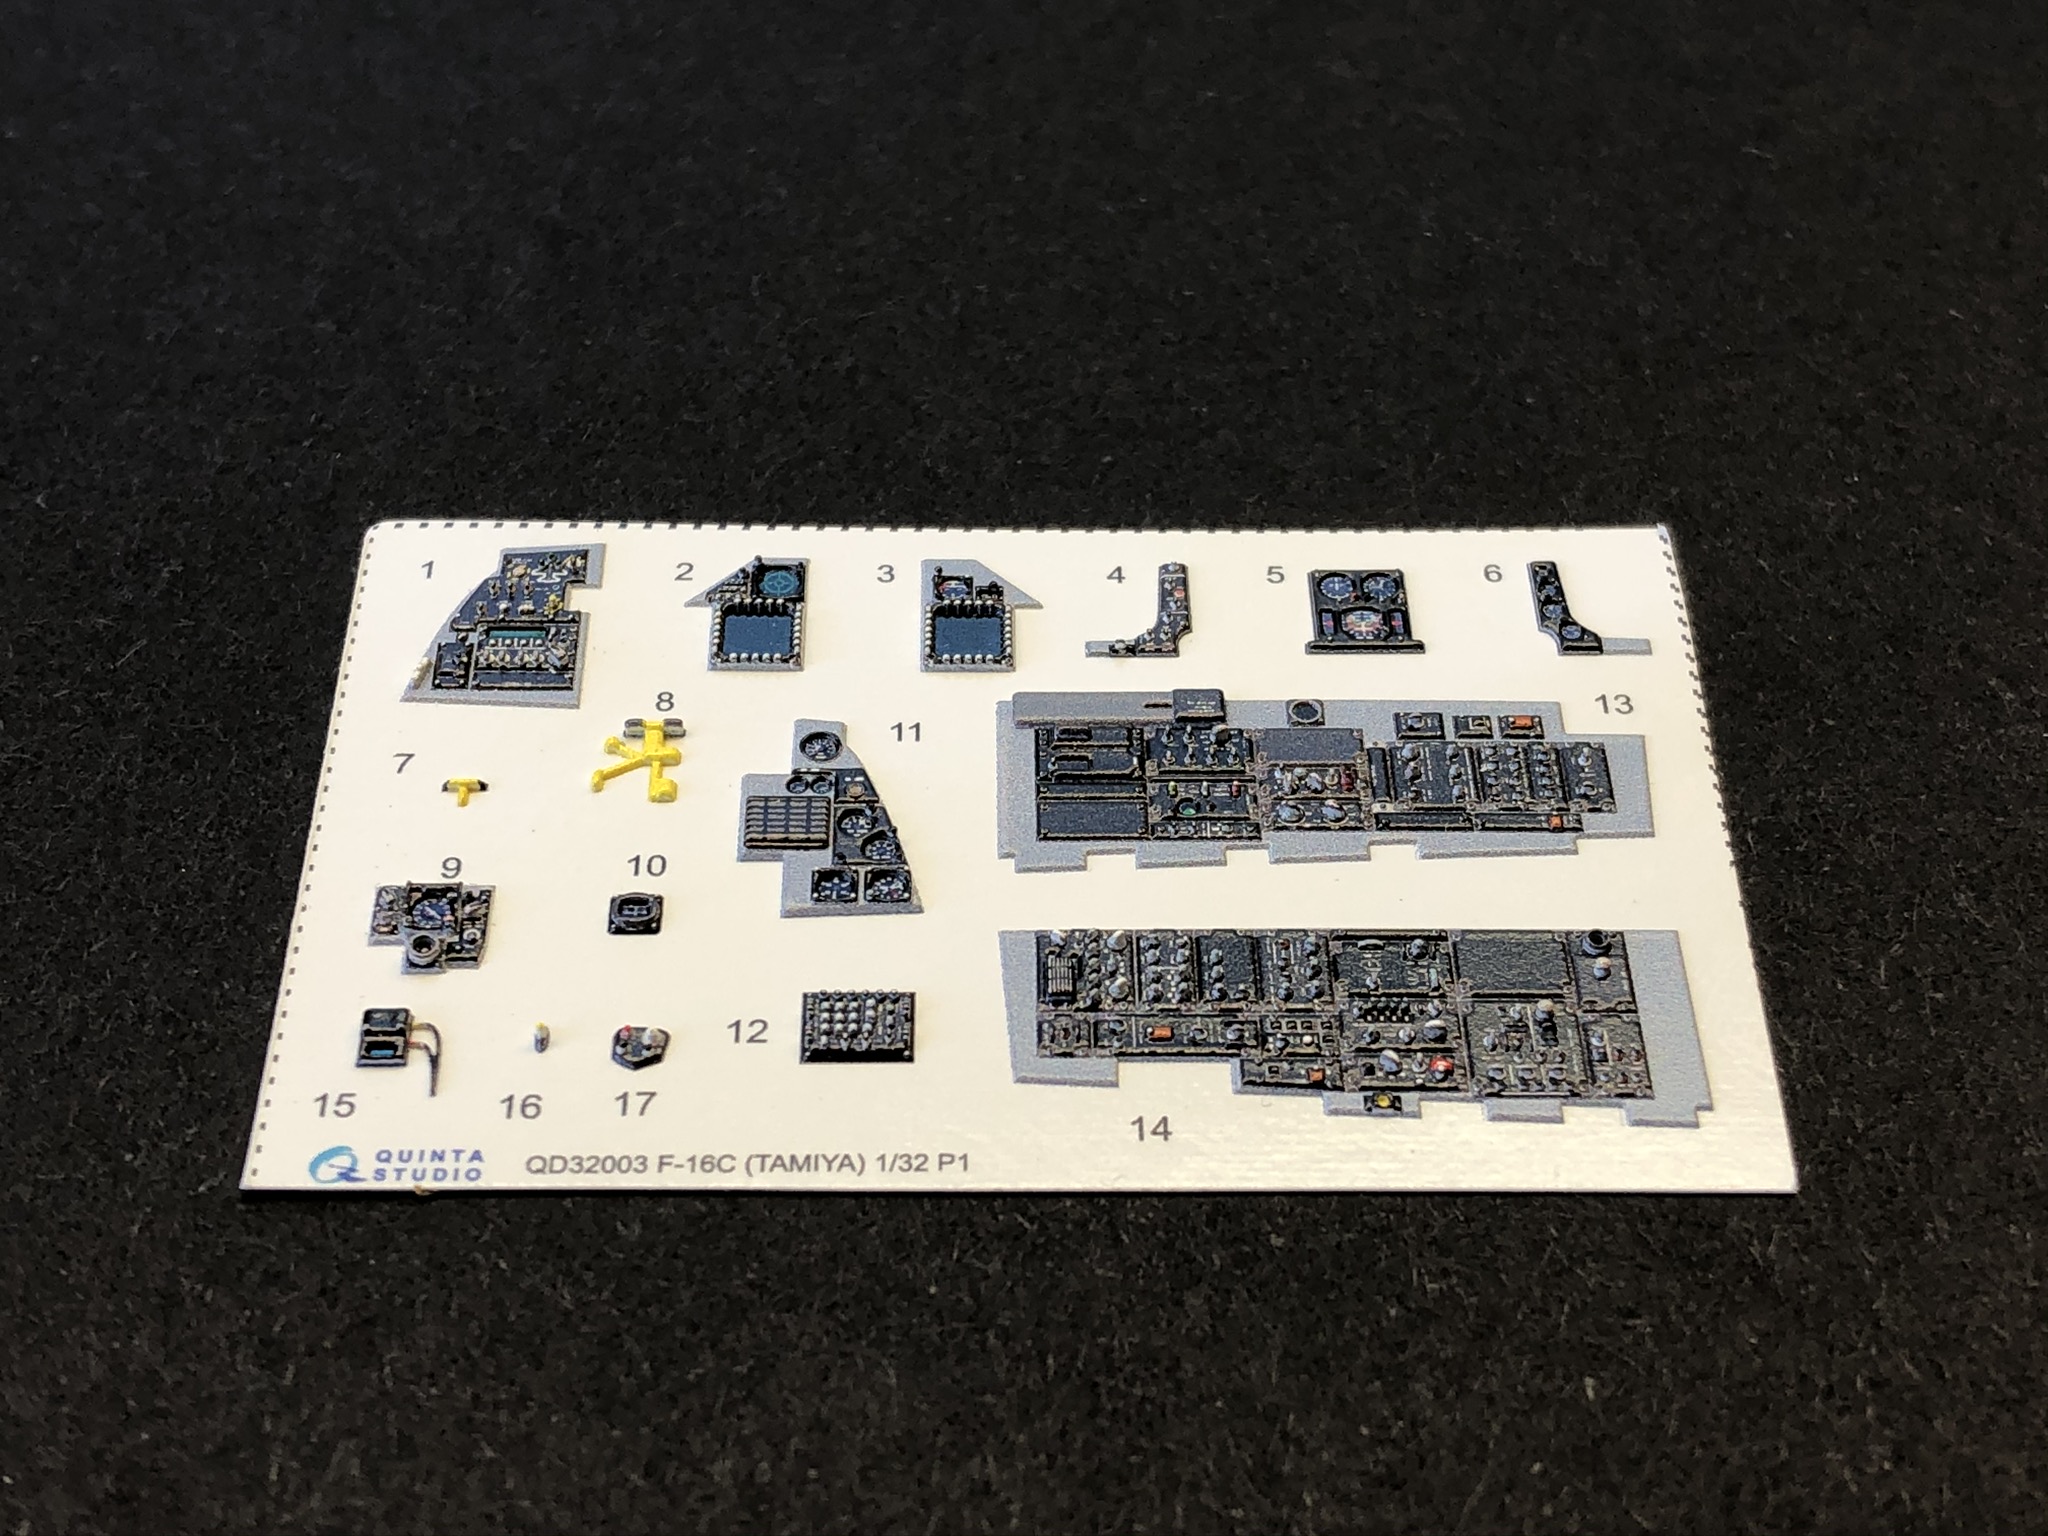
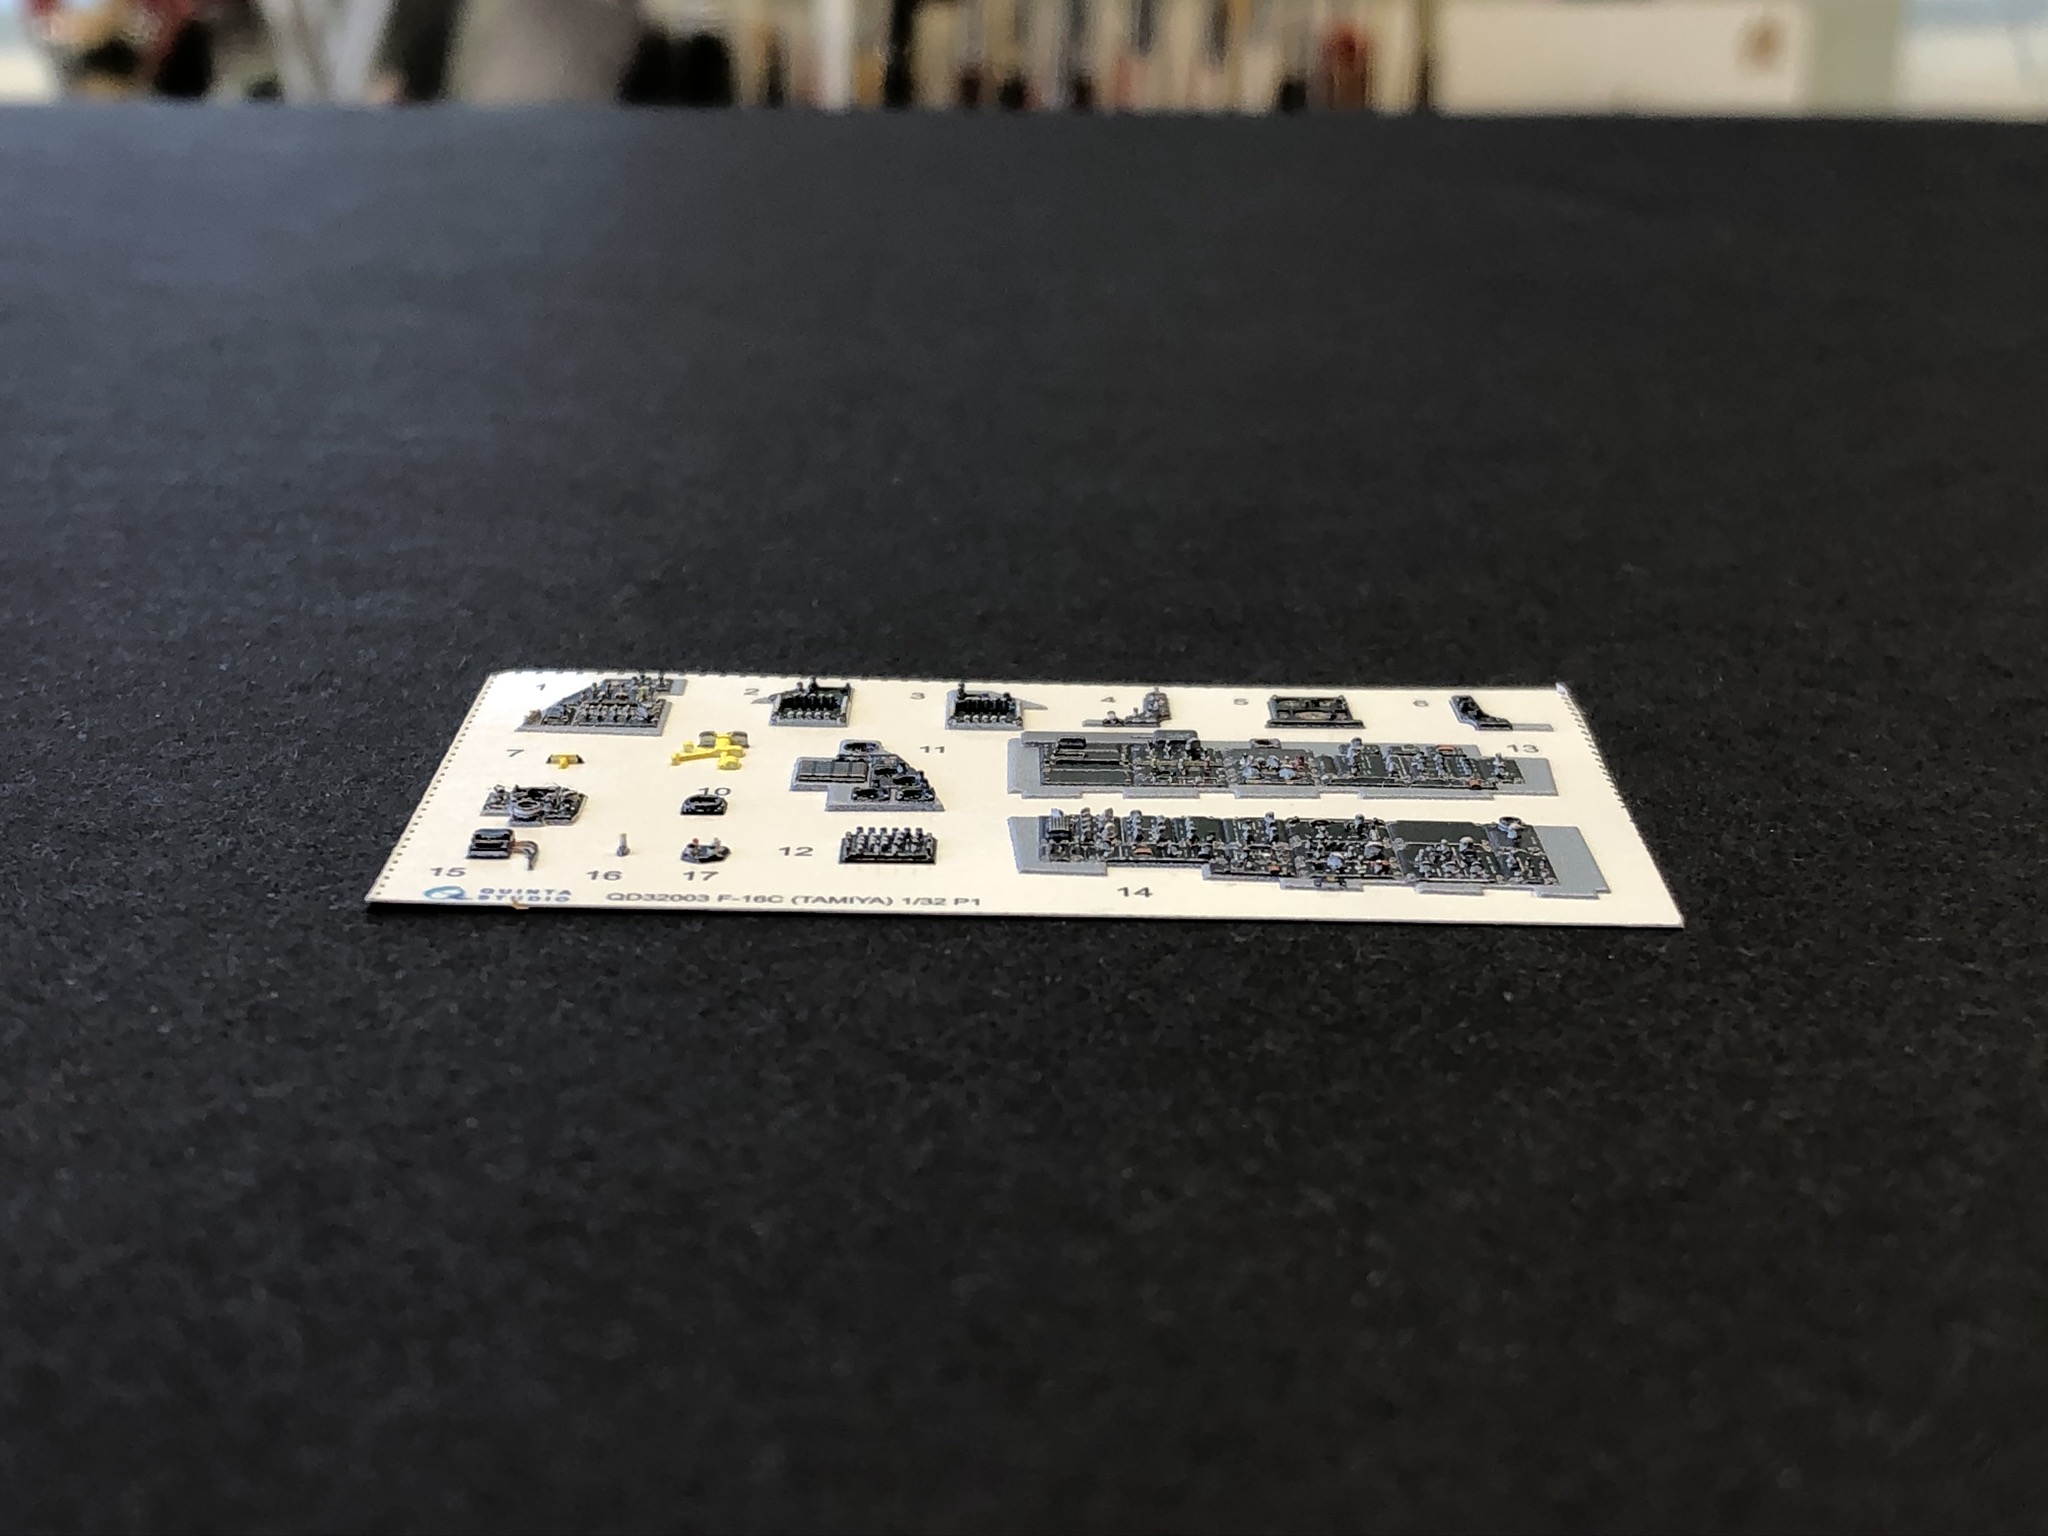
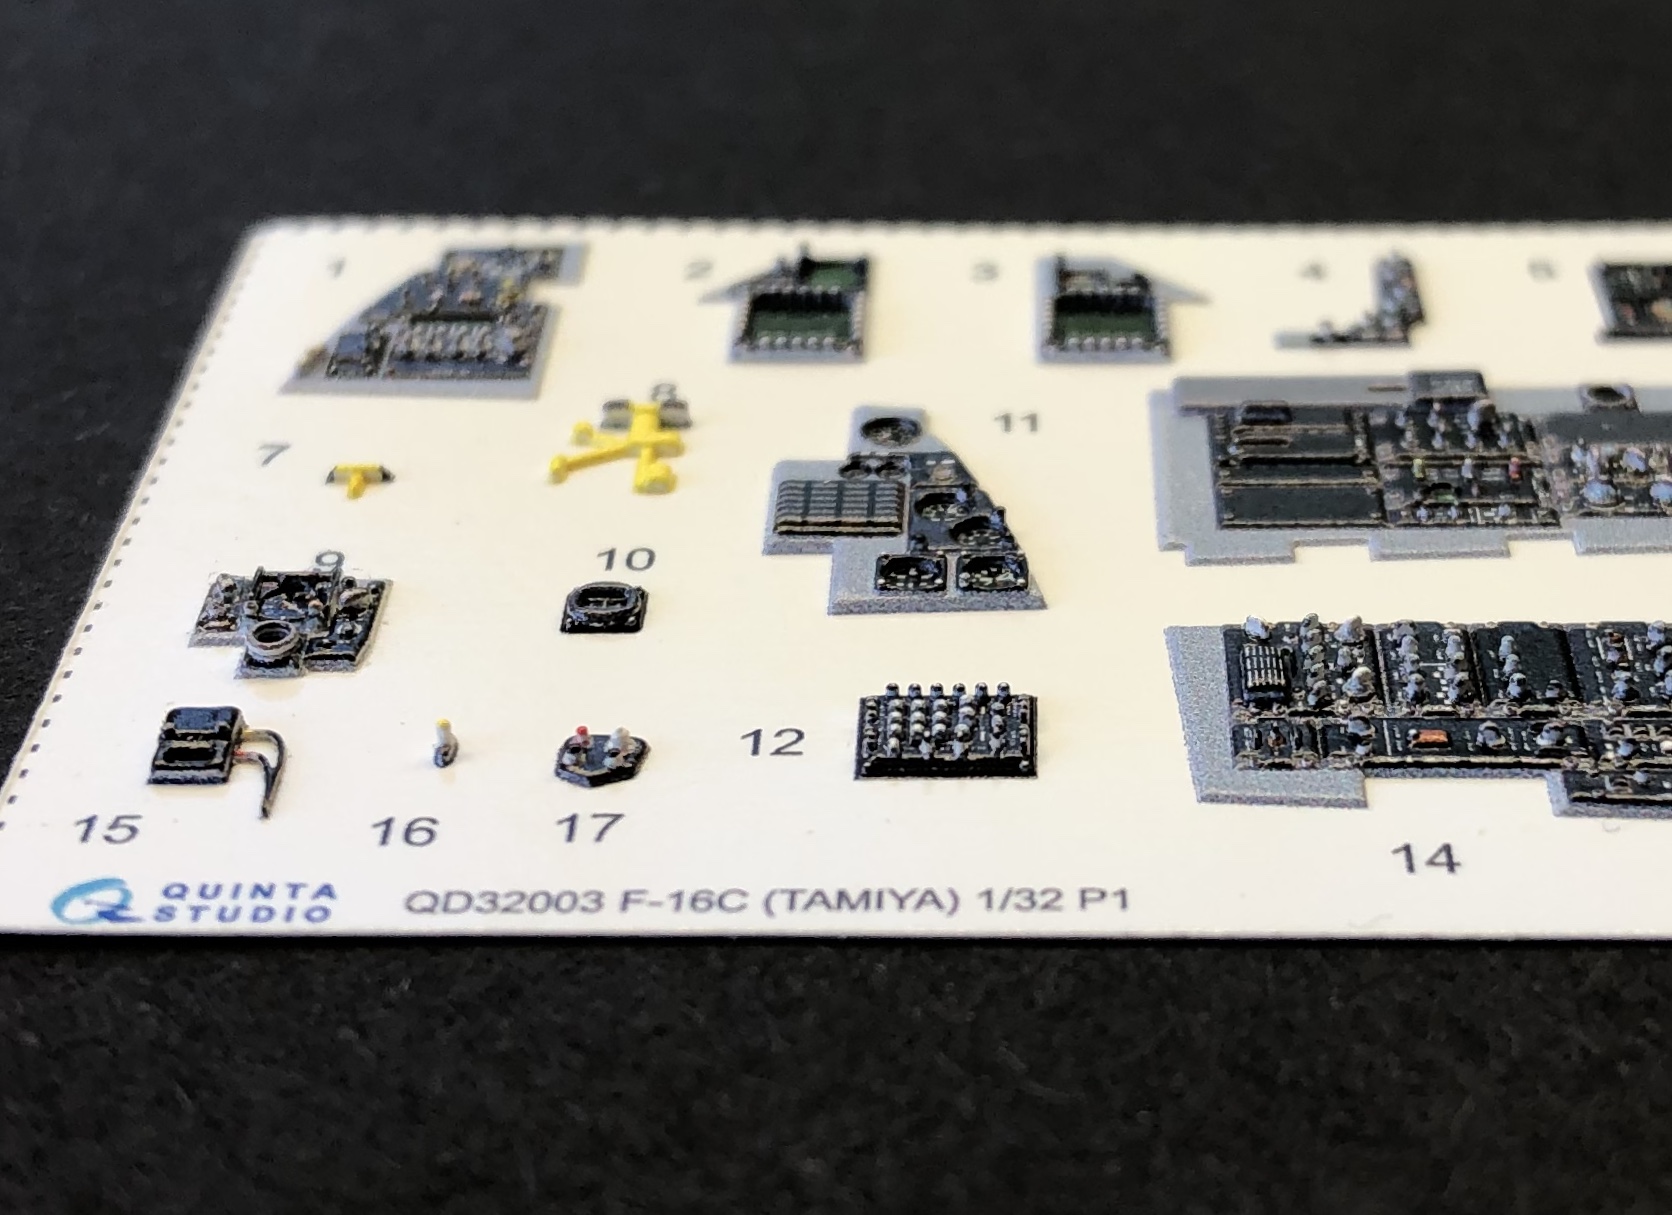
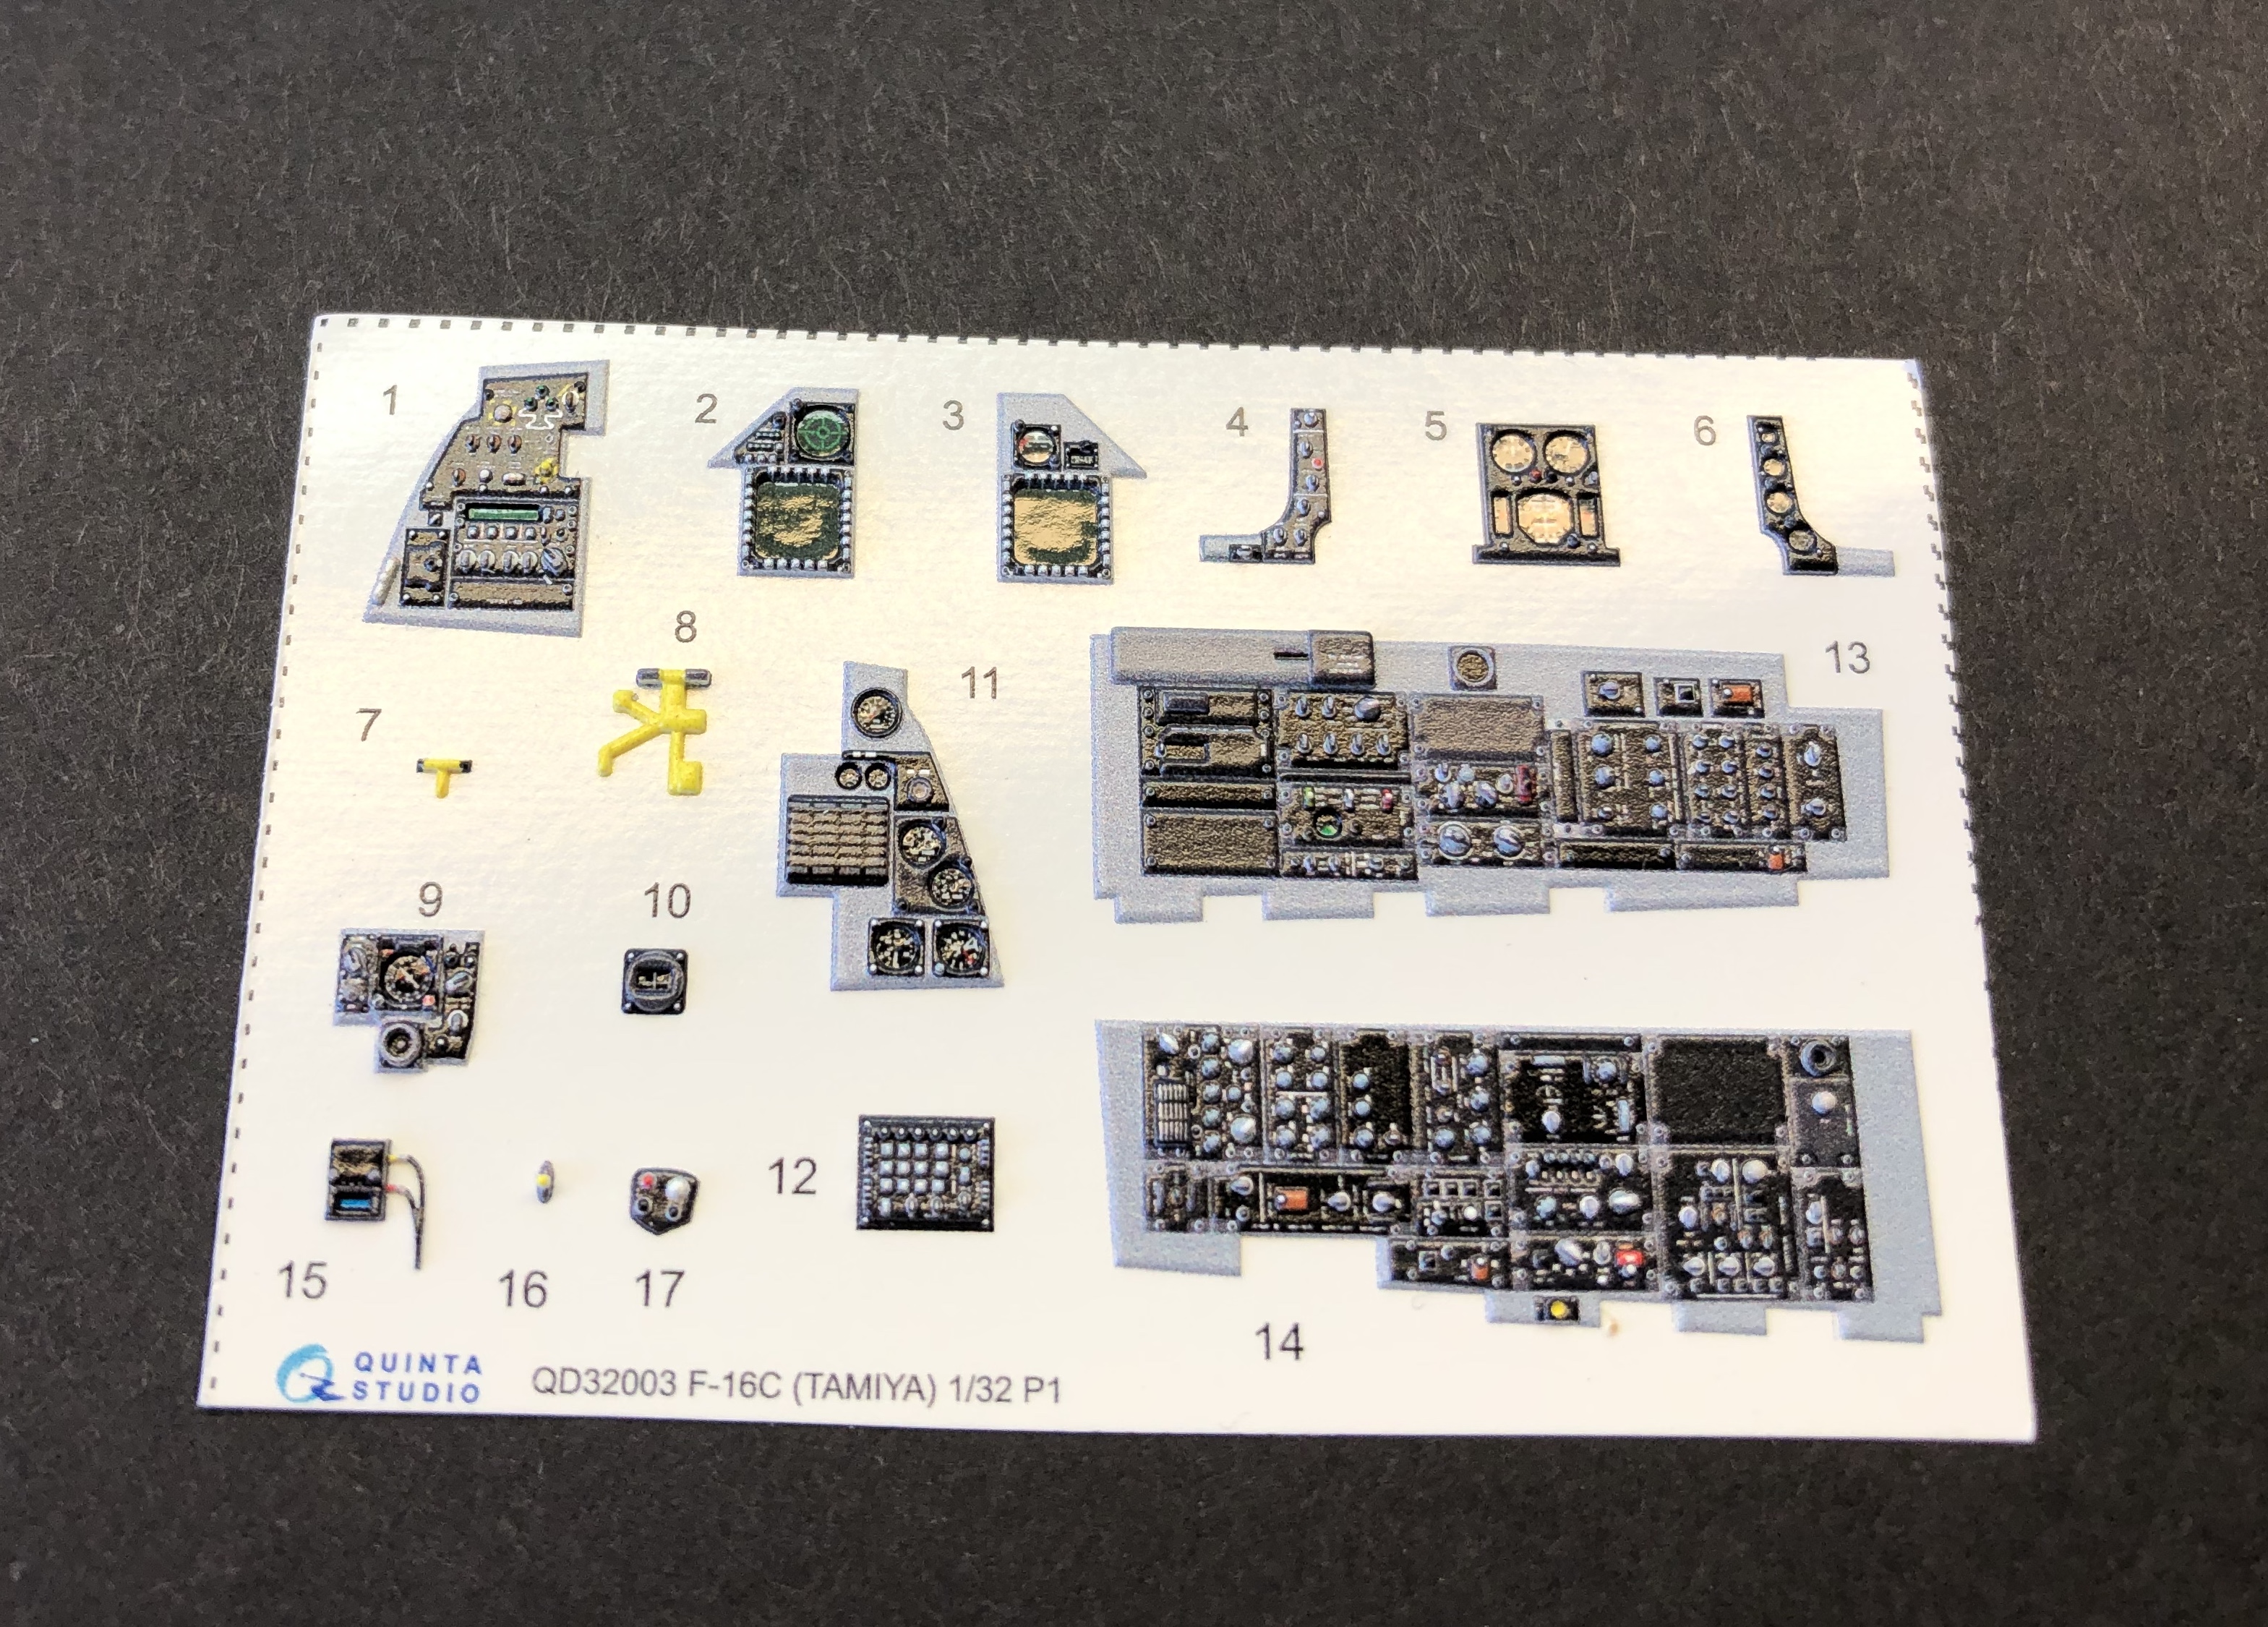
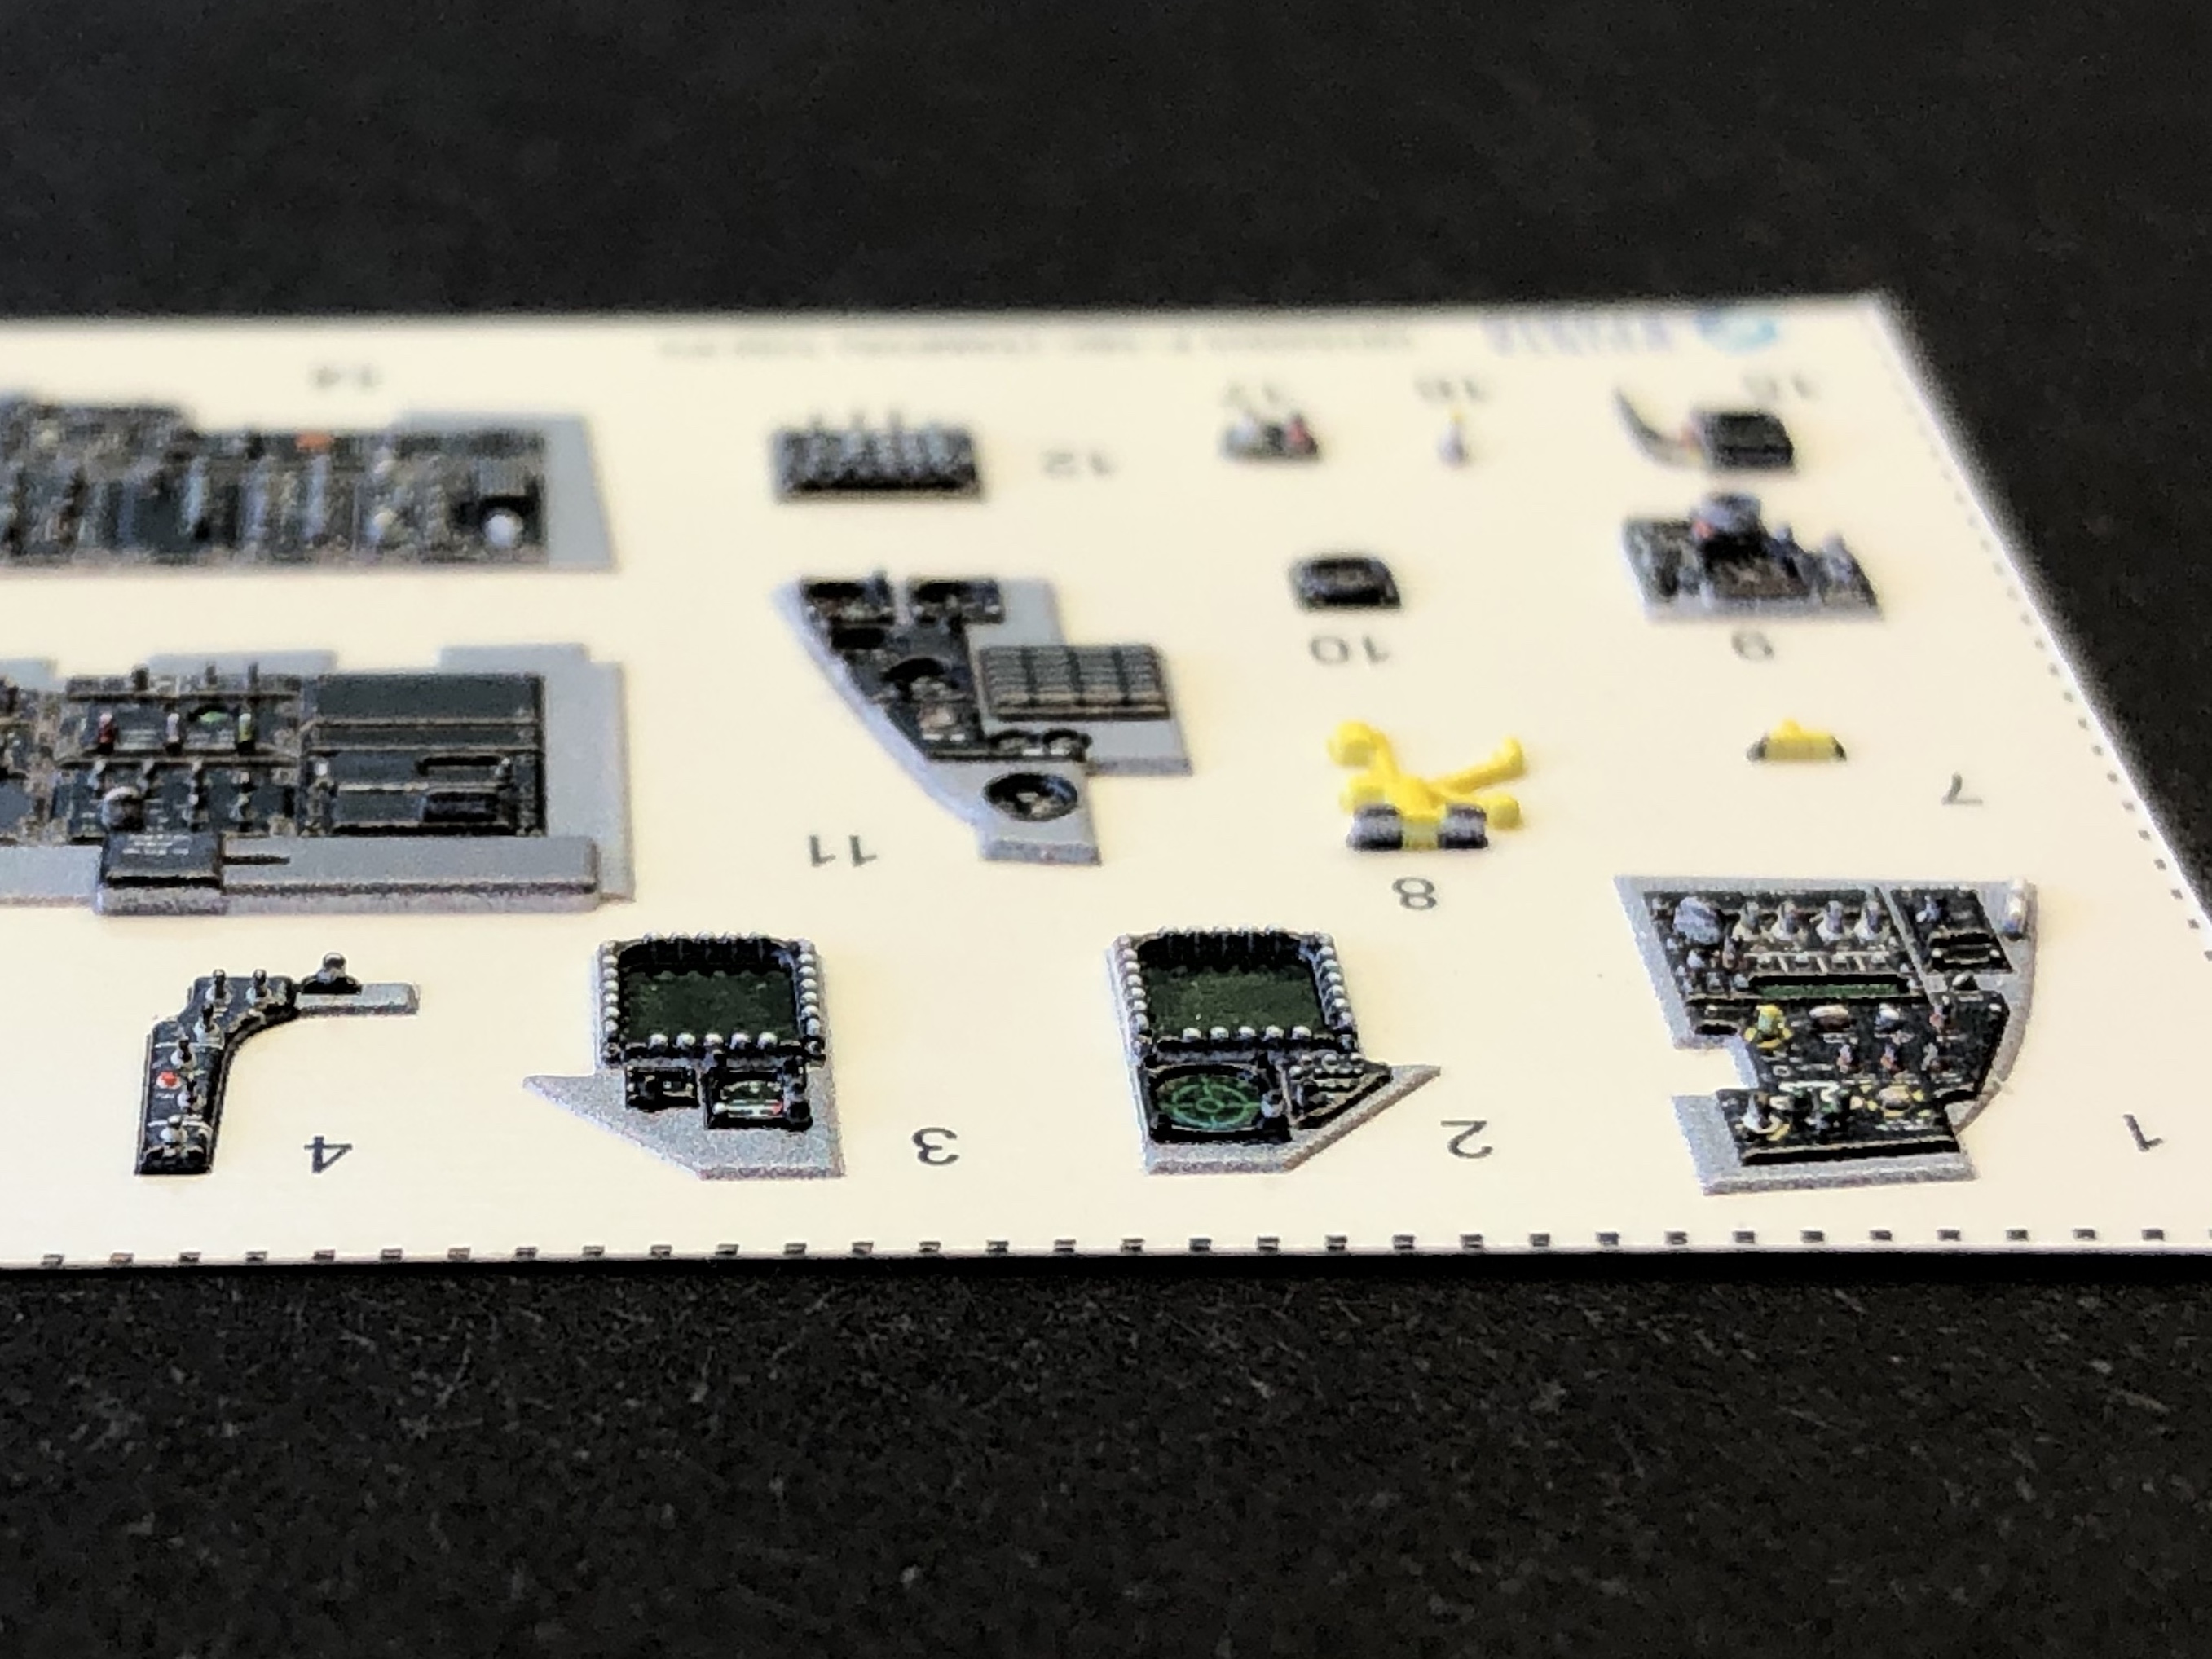
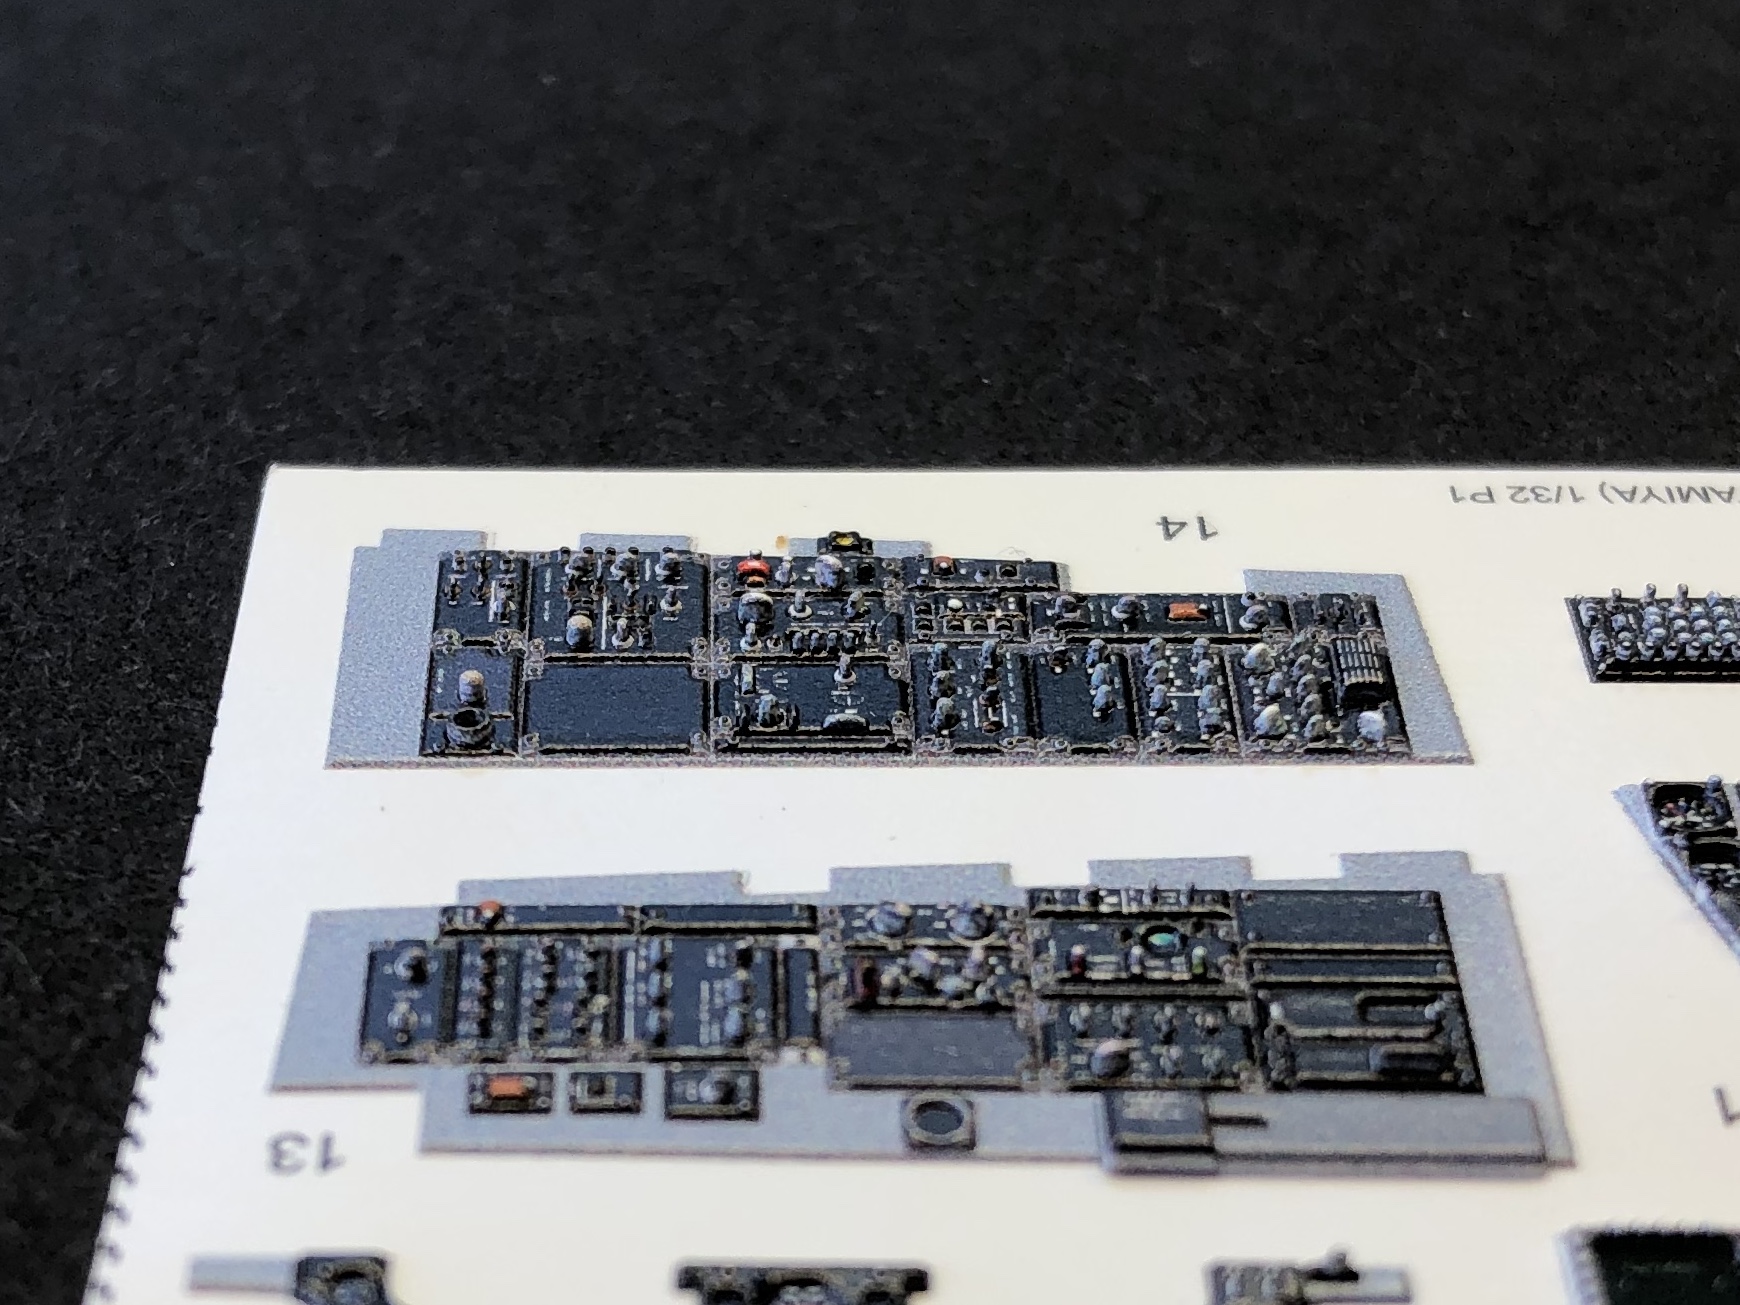
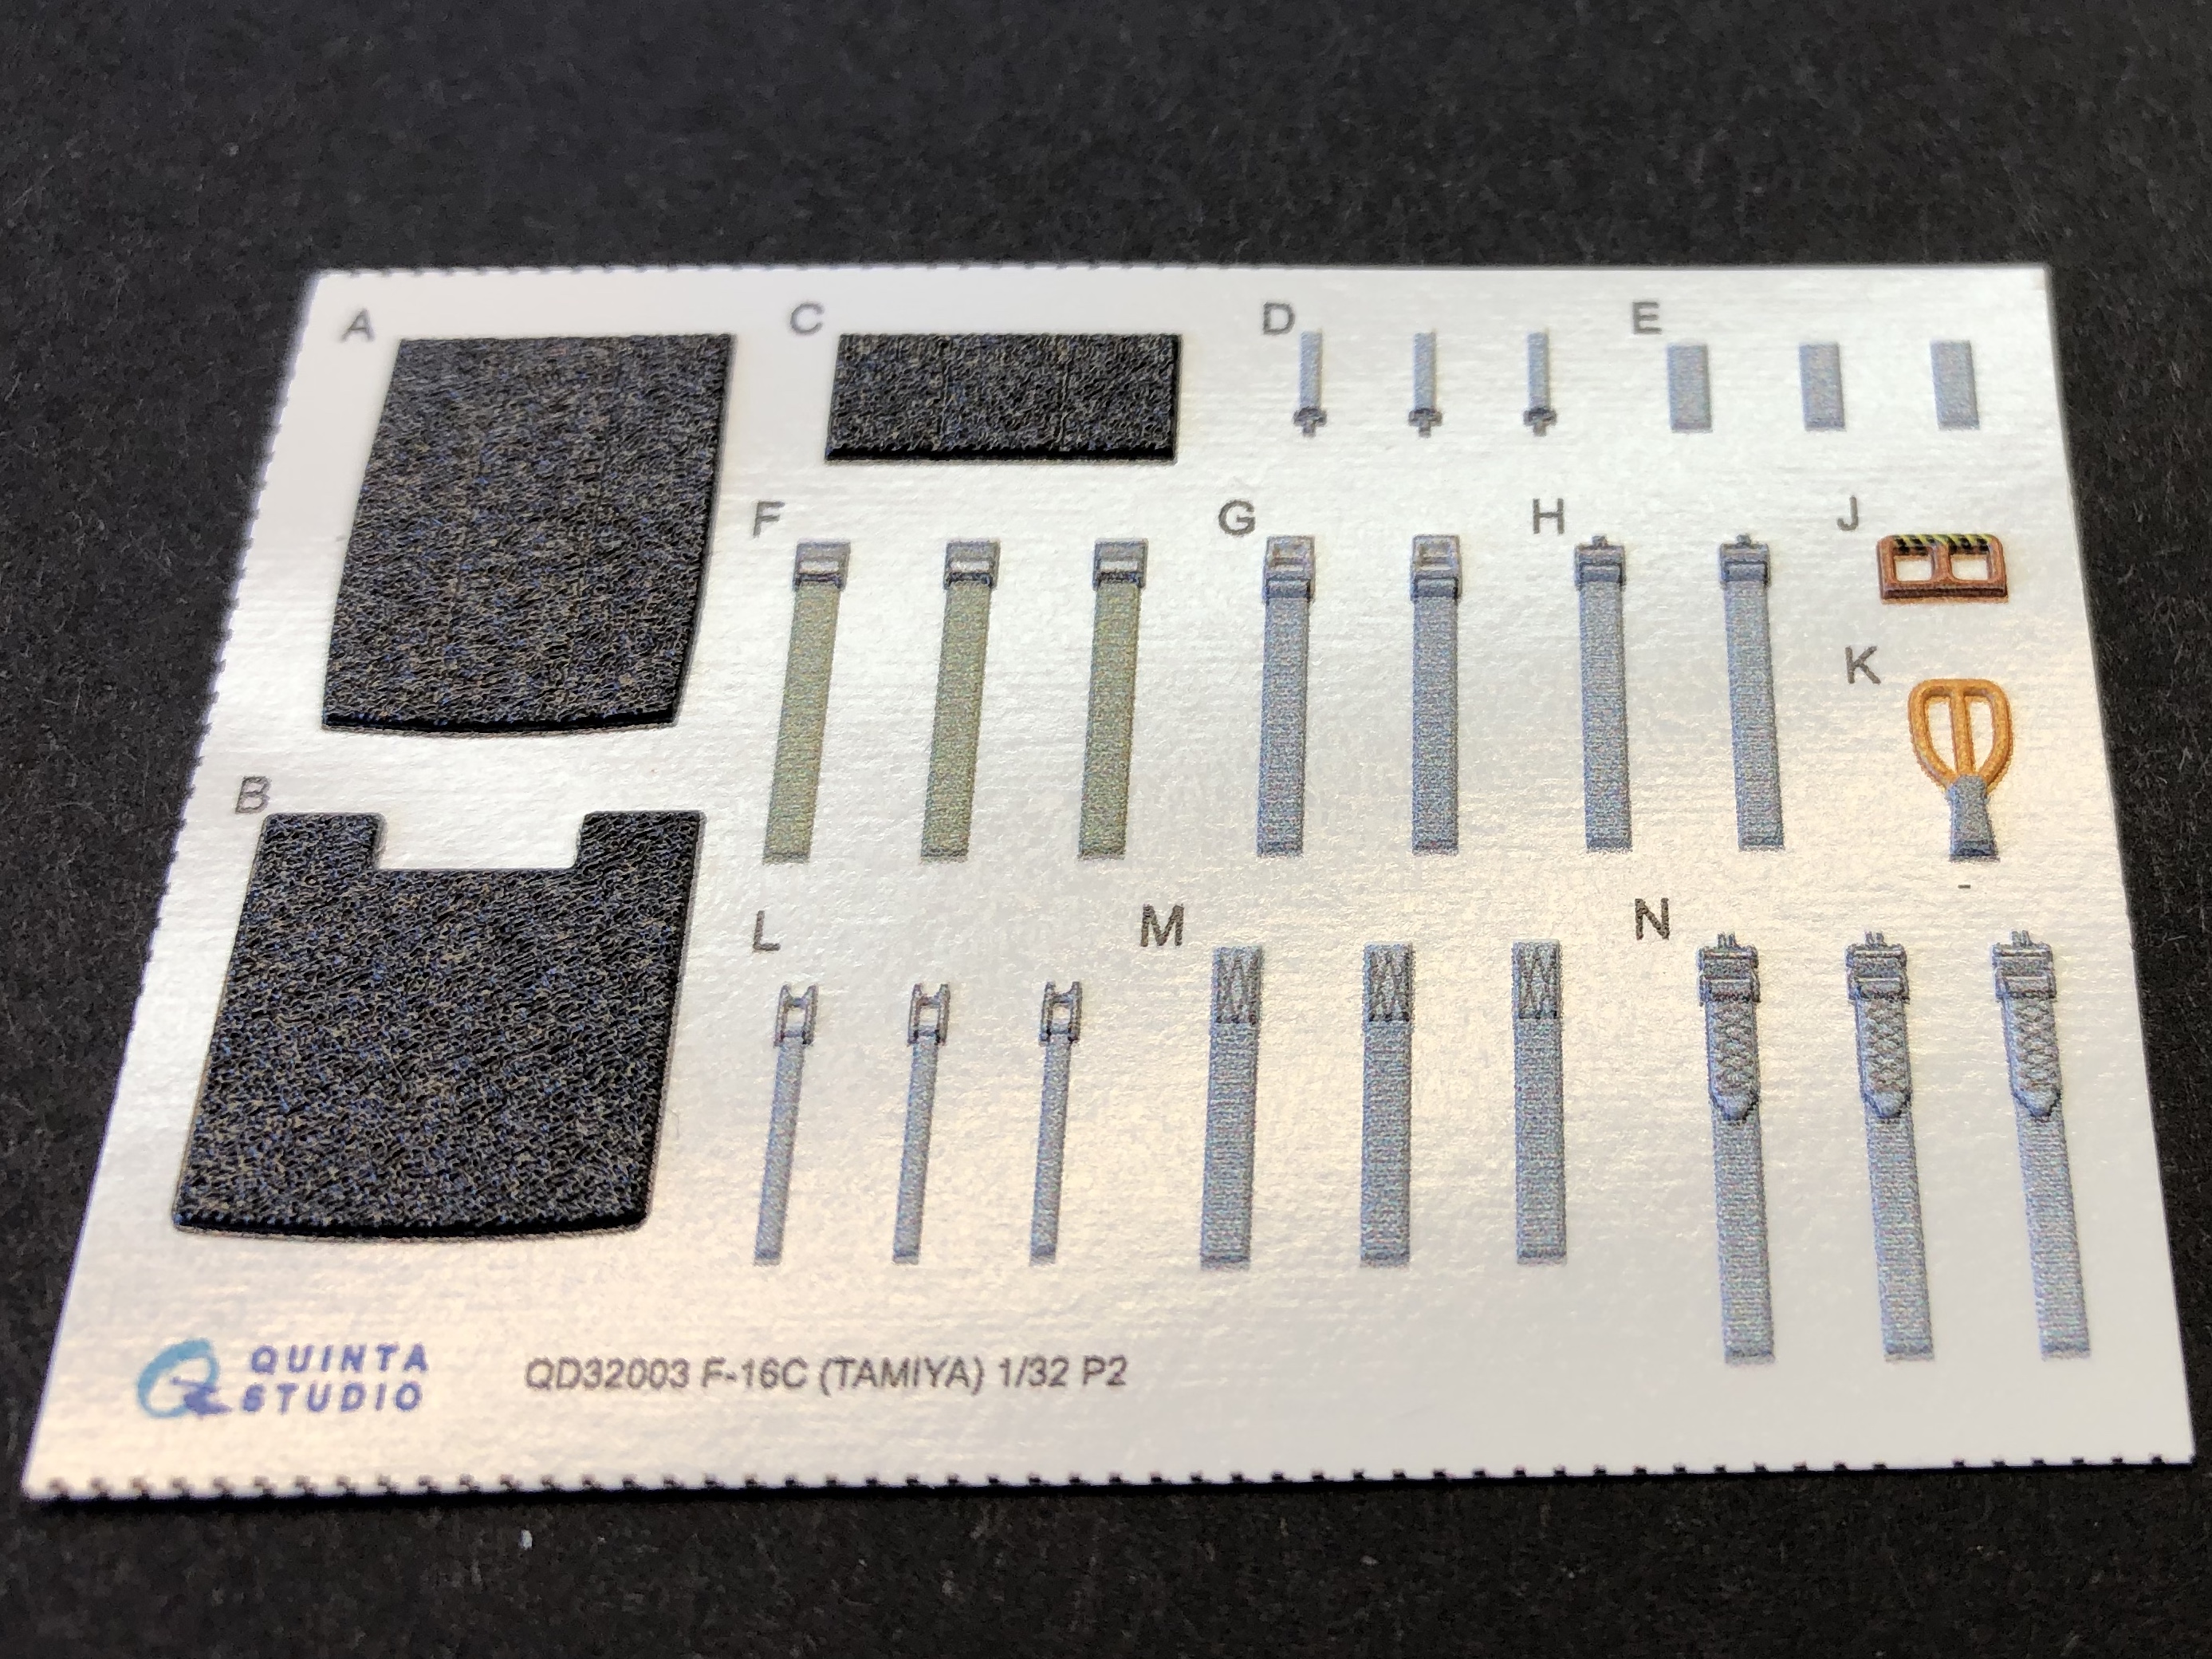
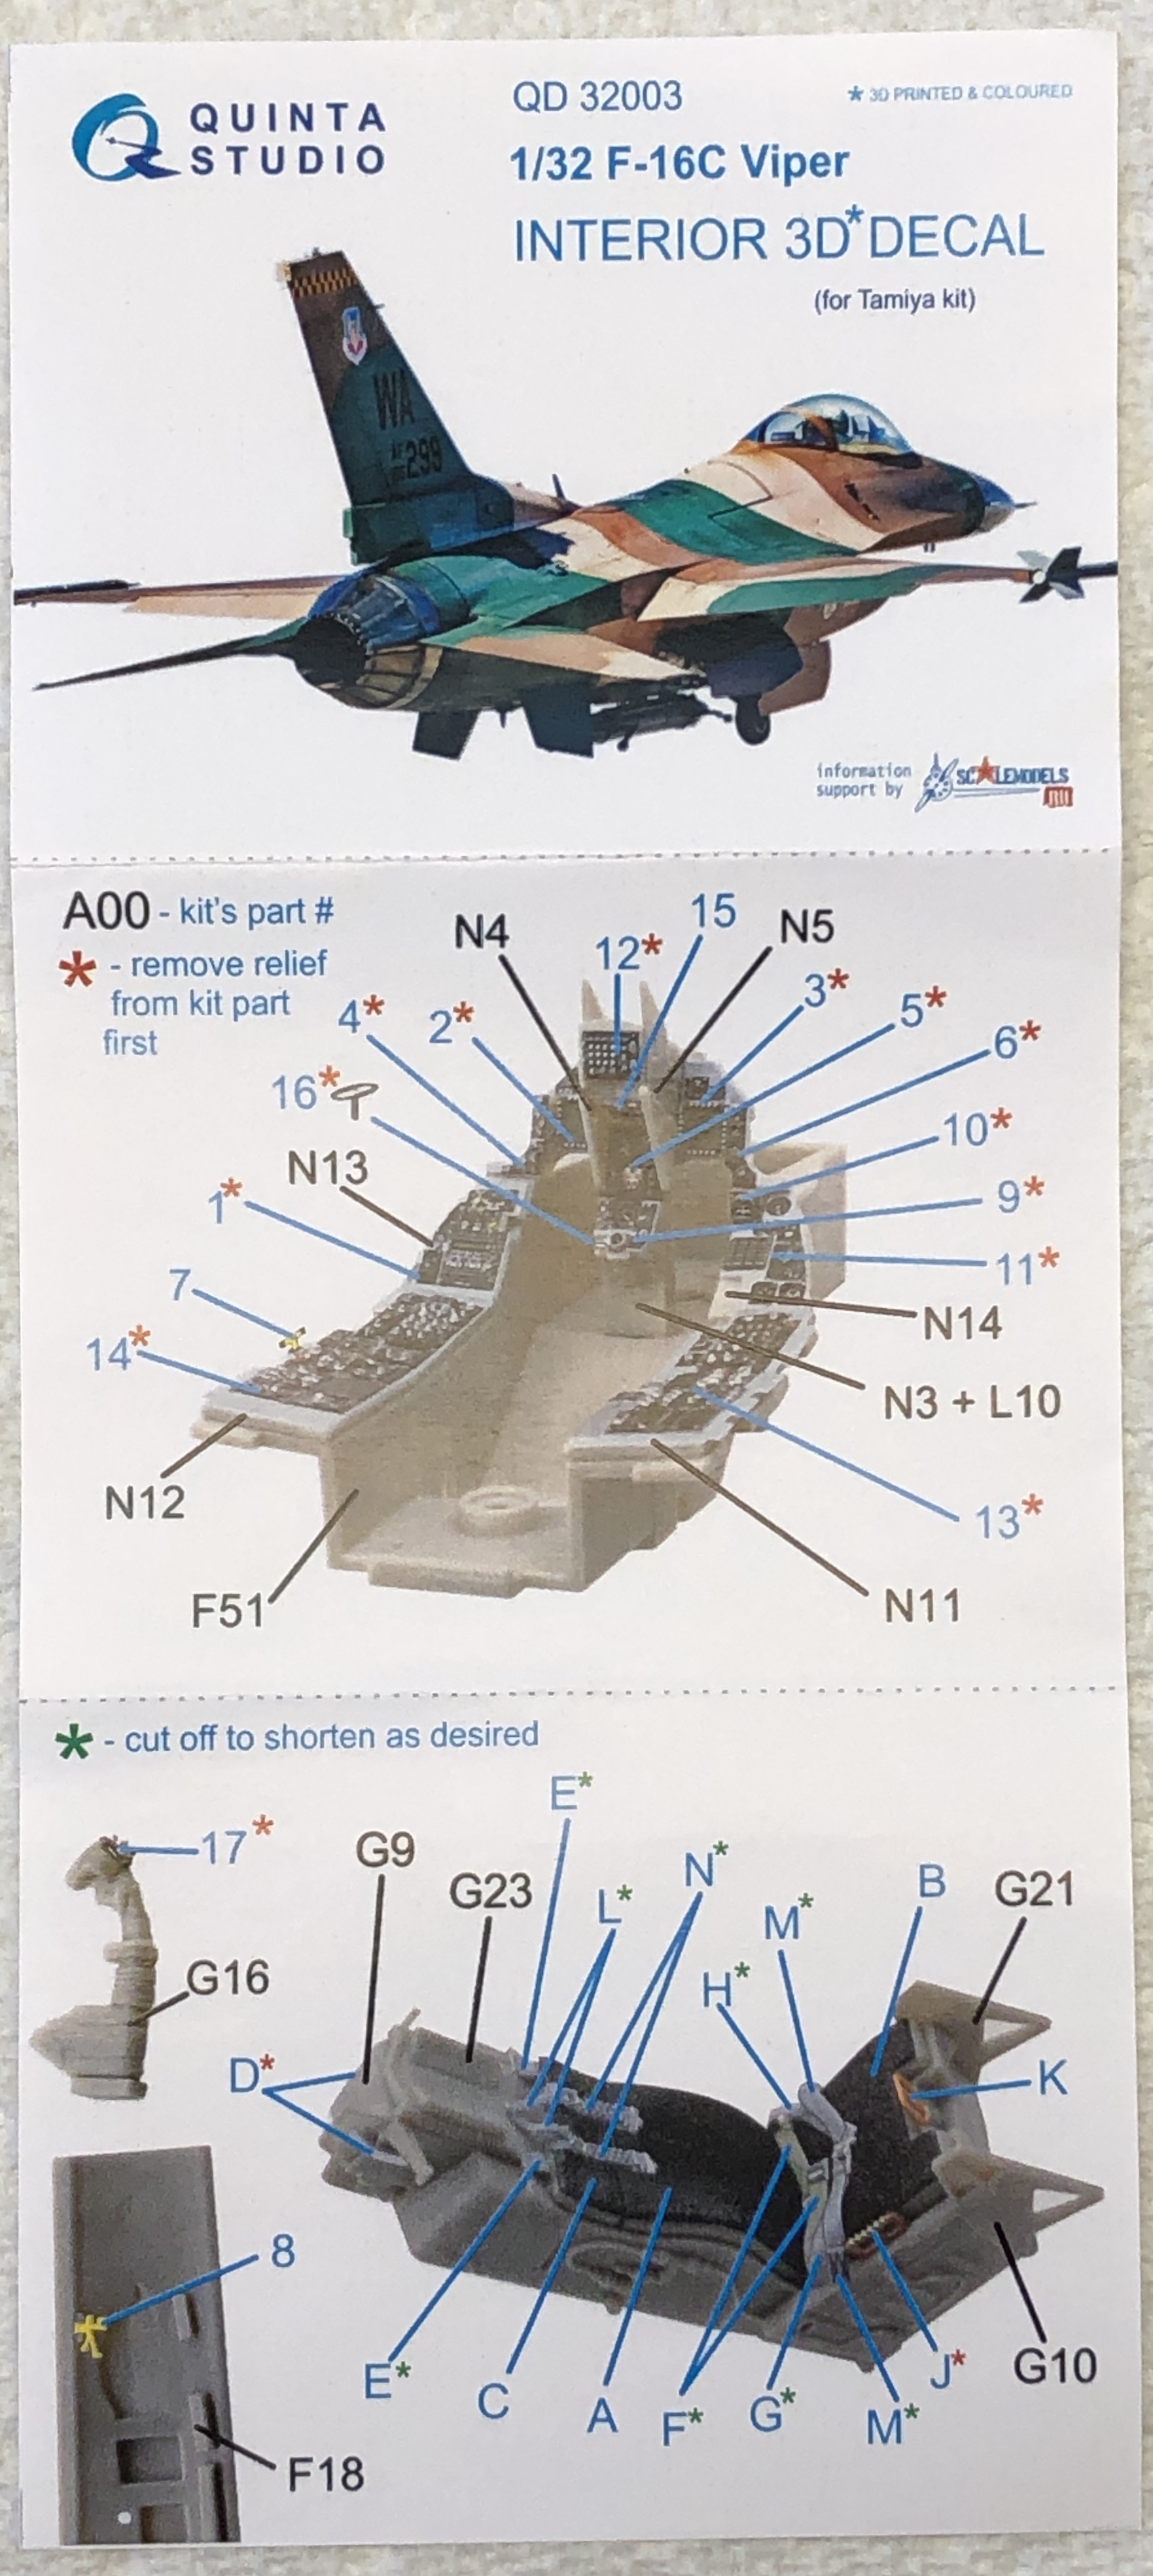
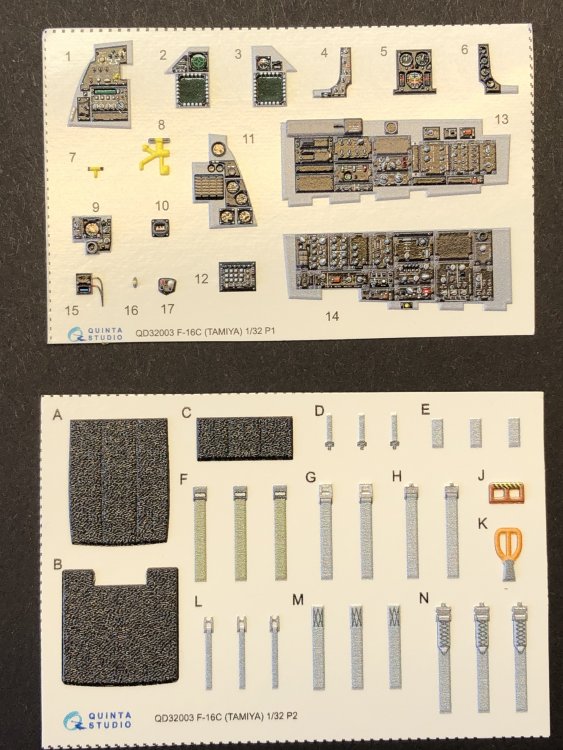
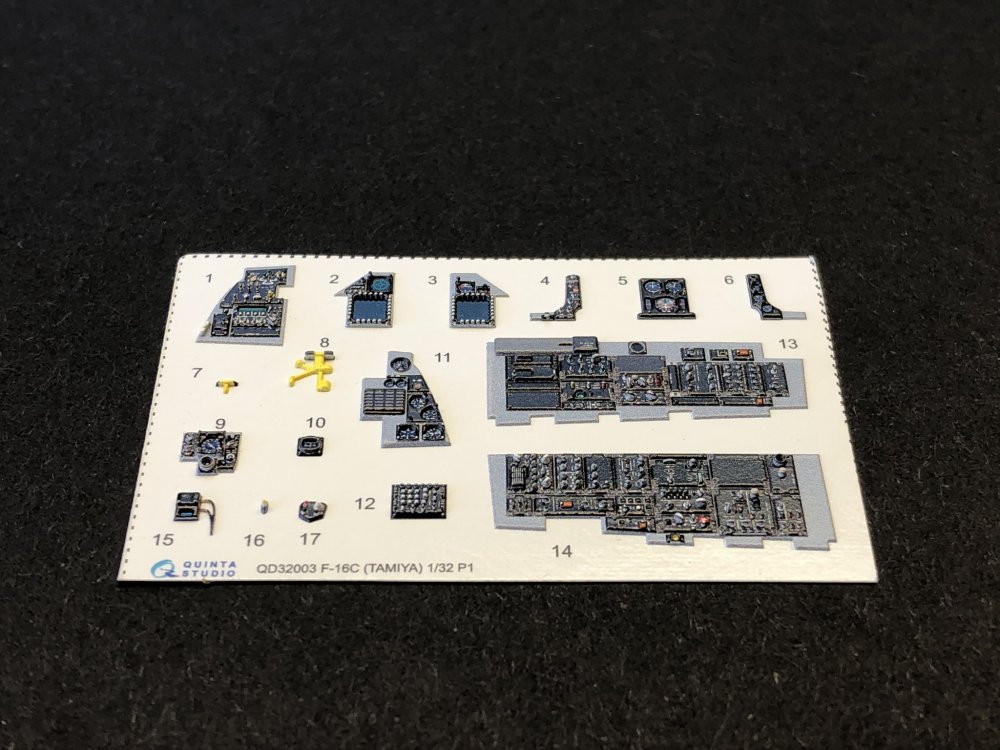
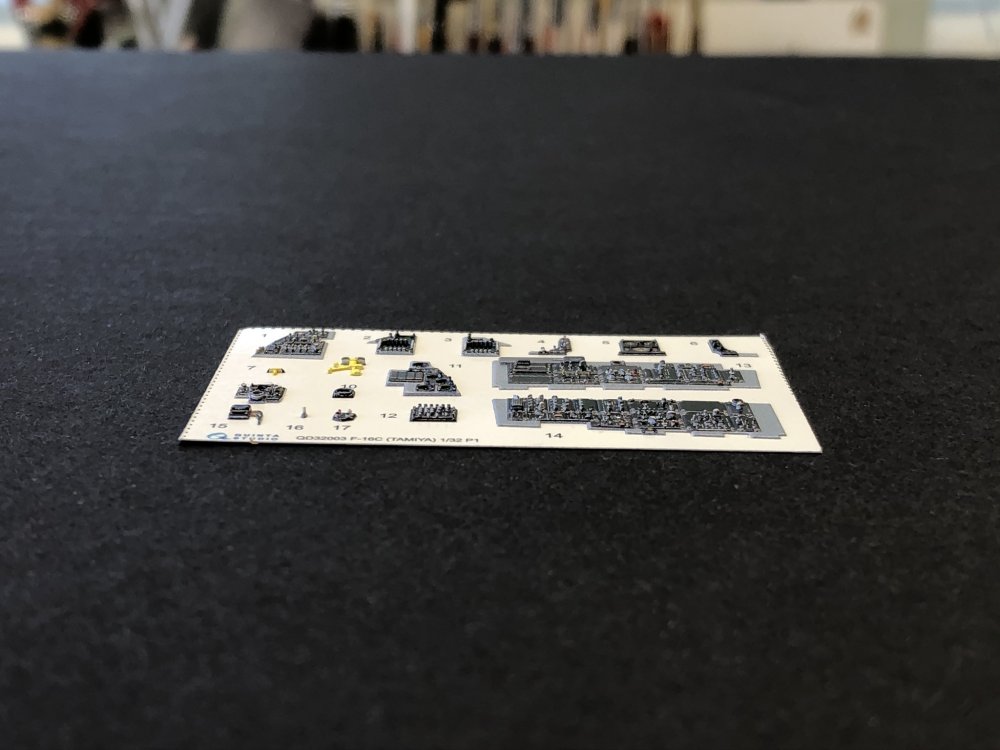
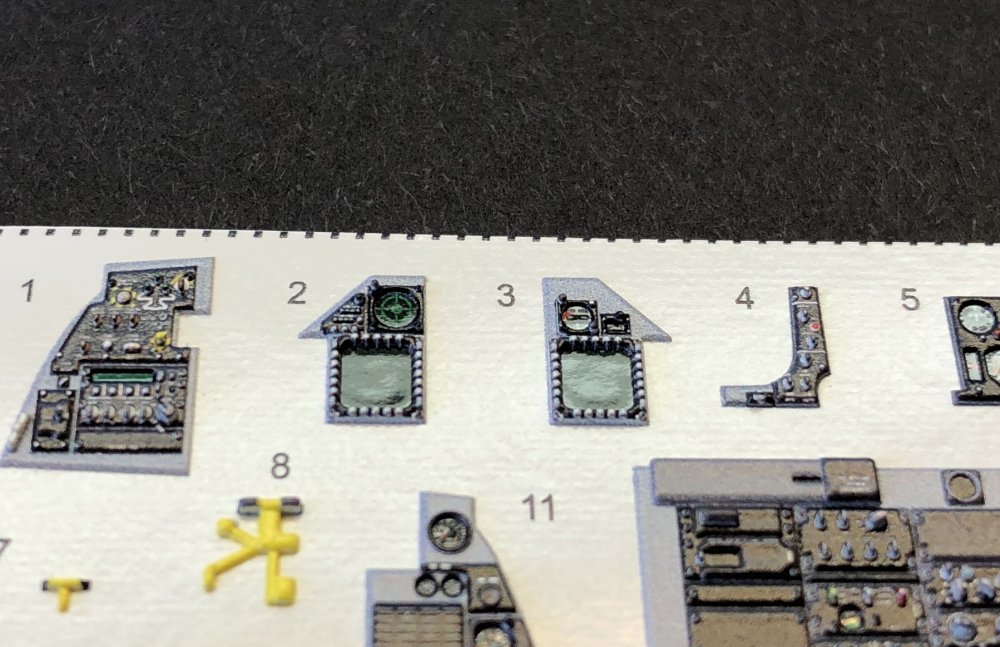
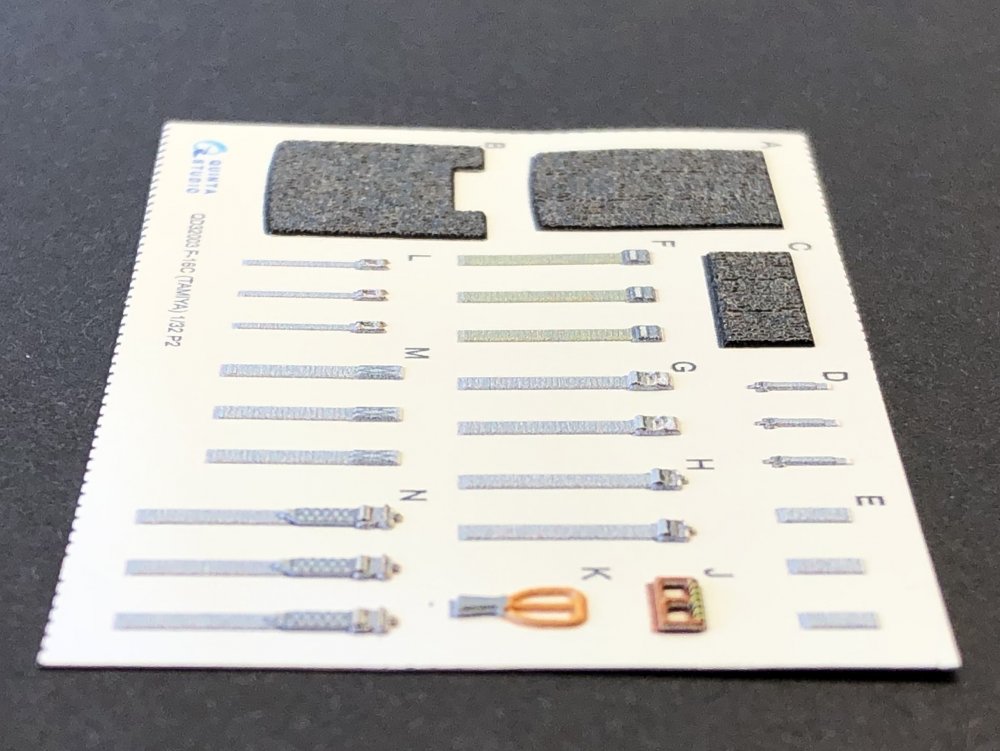
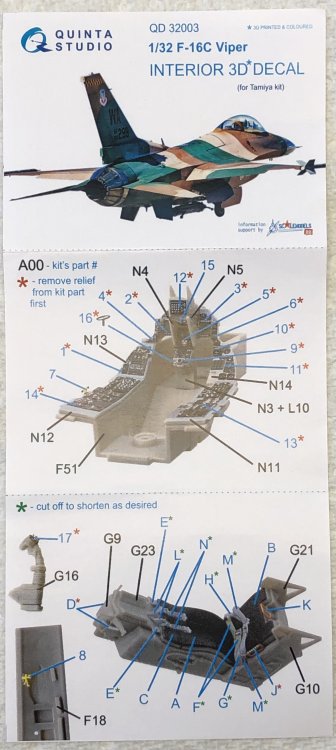
After seeing these on eBay I decided I wanted to see these in person. Going through my stash, I looked for something that I can use them on, at the time, all I had was the 1/32 Tamiya F-16. They have since expanded and I have a few more kits I am going to order these for. So, what are they? Strange and hard to classify, after doing a little research, I think I figured them out. they call them 3D printed full color vinyl plastic, they appear to be multicolor printed, but my brain still deducted that they have to use some kind of paint/ink printing, the detail looks to fine, but then other parts appear to solid color all the way through. They truly are 3D, more so than PE, but not quite like the LooK panels from Eduard. They are not stand alone parts, but need to be applied to the kits plastic. You will have to clean the panel to be applied And paint it before hand. The instructions say you can soak them in water, and they will slide off and stick like a decal, but they recommend that a little glue be used on the edges. They are listed as decals, but they should be treated like PE. They also tell you hat they are pliable and you can bend them easily. Note, these pics are just the panel, I did not take any pics of the belts or seat pads. Strangely, they look even better in person, the camera does weird things with making them look like they have texture, but they really look realistic and smooth. Currently, they have three 1/32 Scale panes, with many in 1/48. I keep checking for new releases daily and I’m waiting for a set for Mig-29, Su-25ub, and Su-27s.


-
Yes, I believe I got mine from Hobbytown, but I have seen it elsewhere. I found 8 different sellers on Amazon.
-
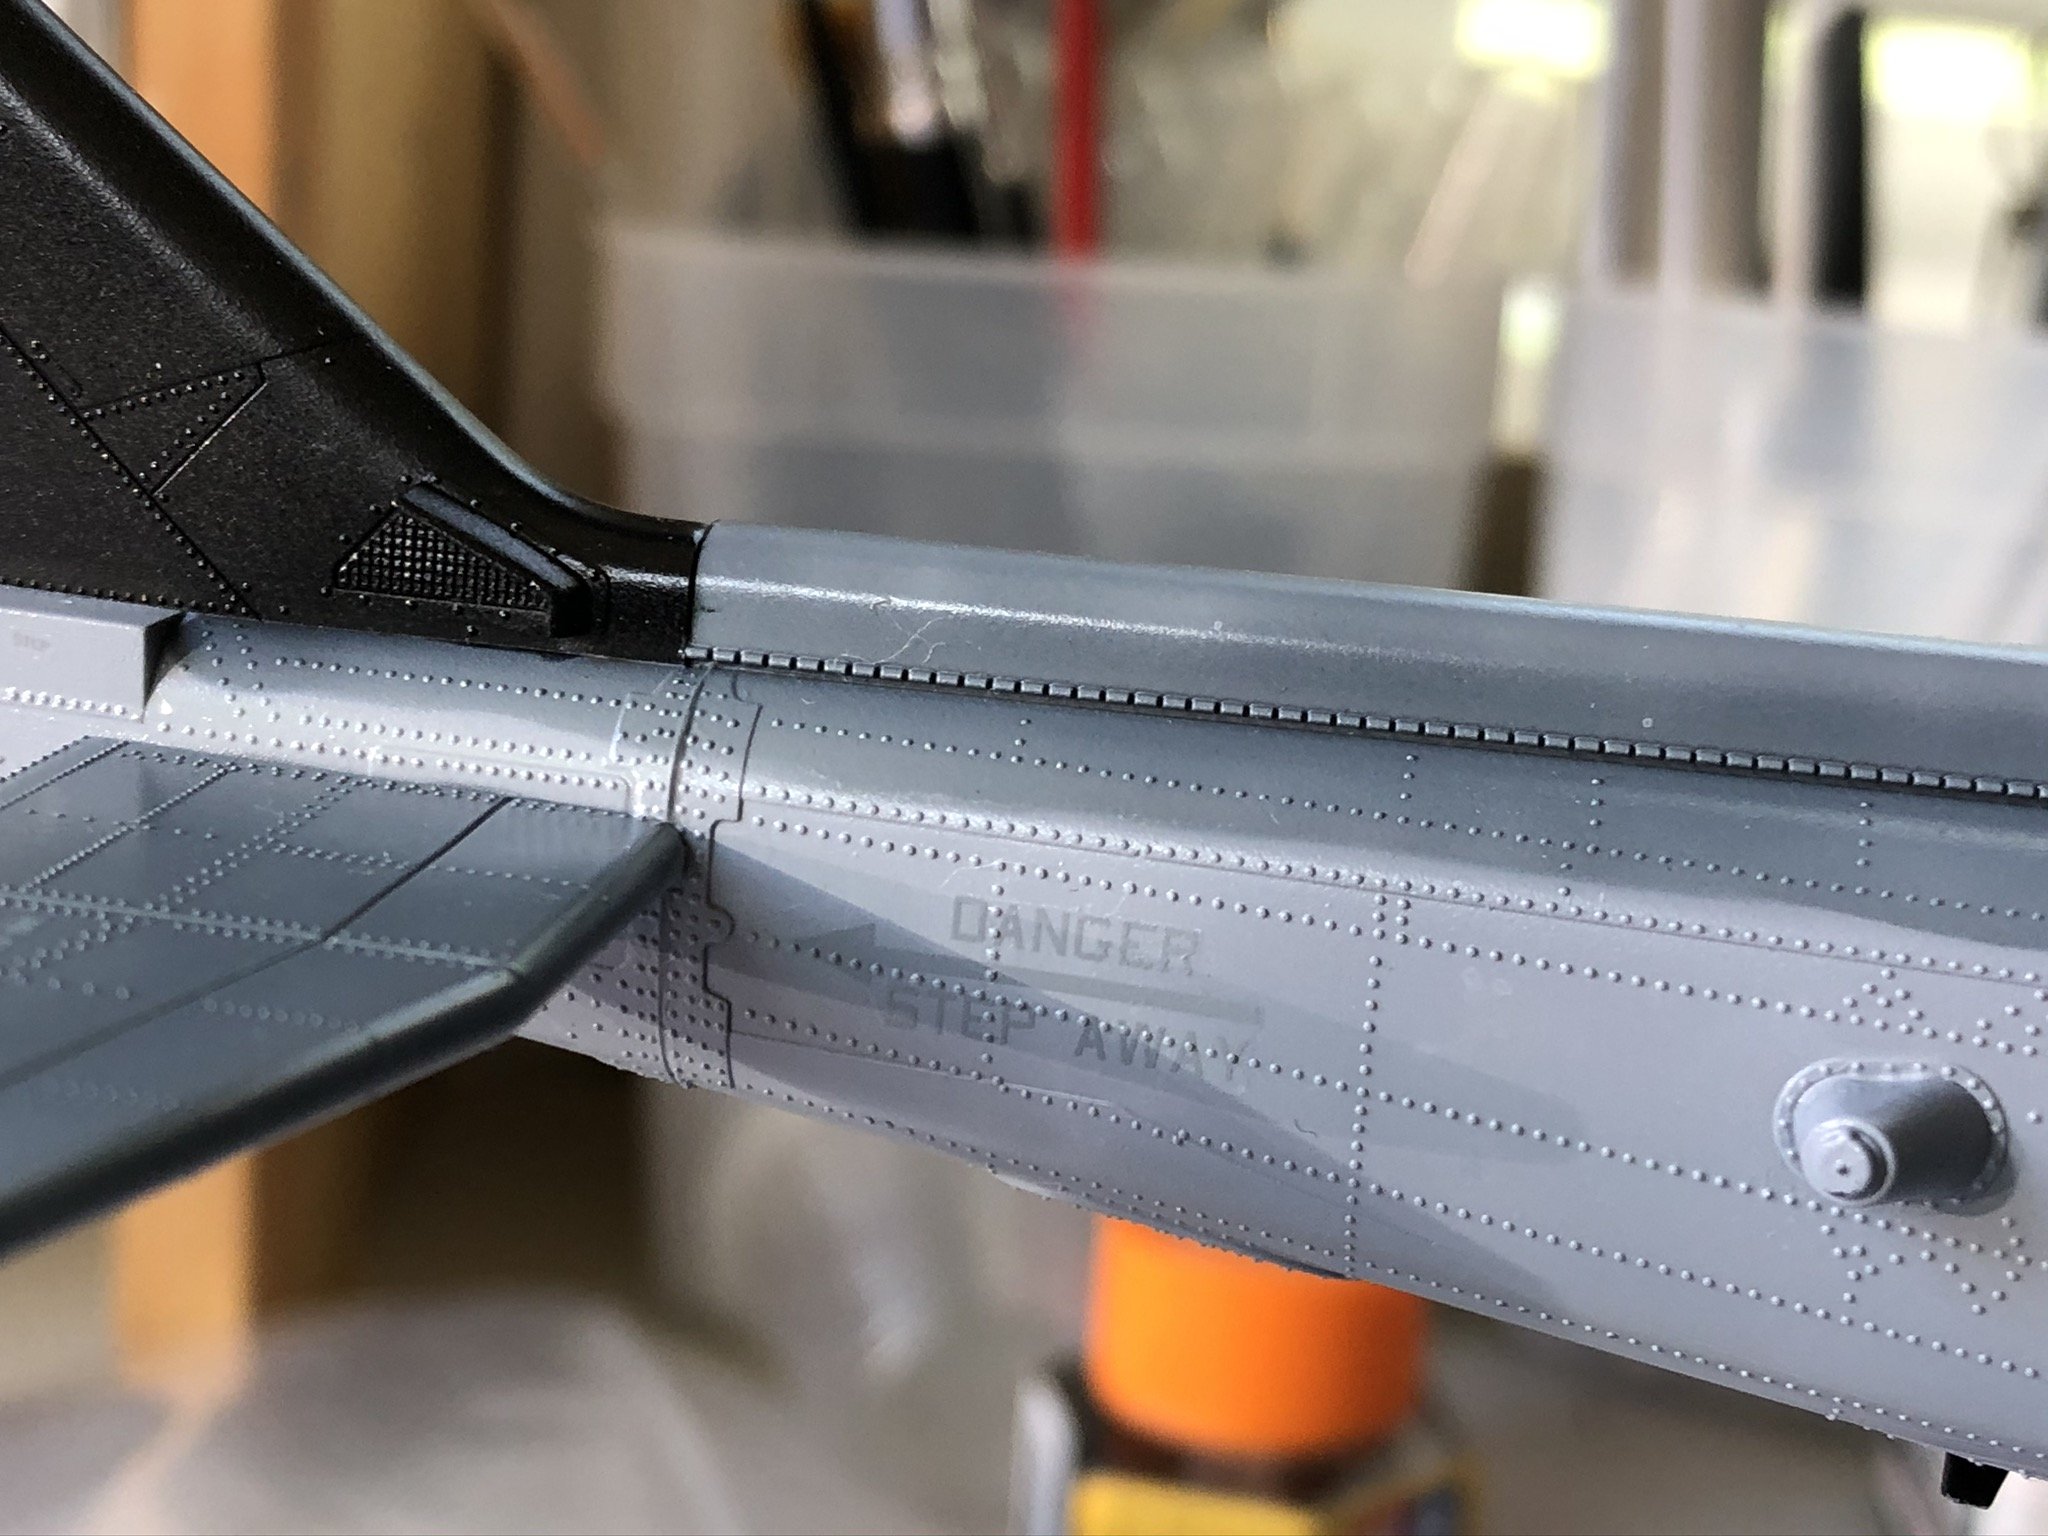
Once I switched from Solvaset to Mr Softer, they started working way better. I managed to finish every decal, now it’s down to last minute checks for any silvering, then another coat of gloss before a wash, then I will be limited to oils and pigment for final weathering, the rivets are simply too sharp and snag paper, cloth, and cotton buds, so I have to be selective on how to finish it.
-
3rd day of decals...done!

-
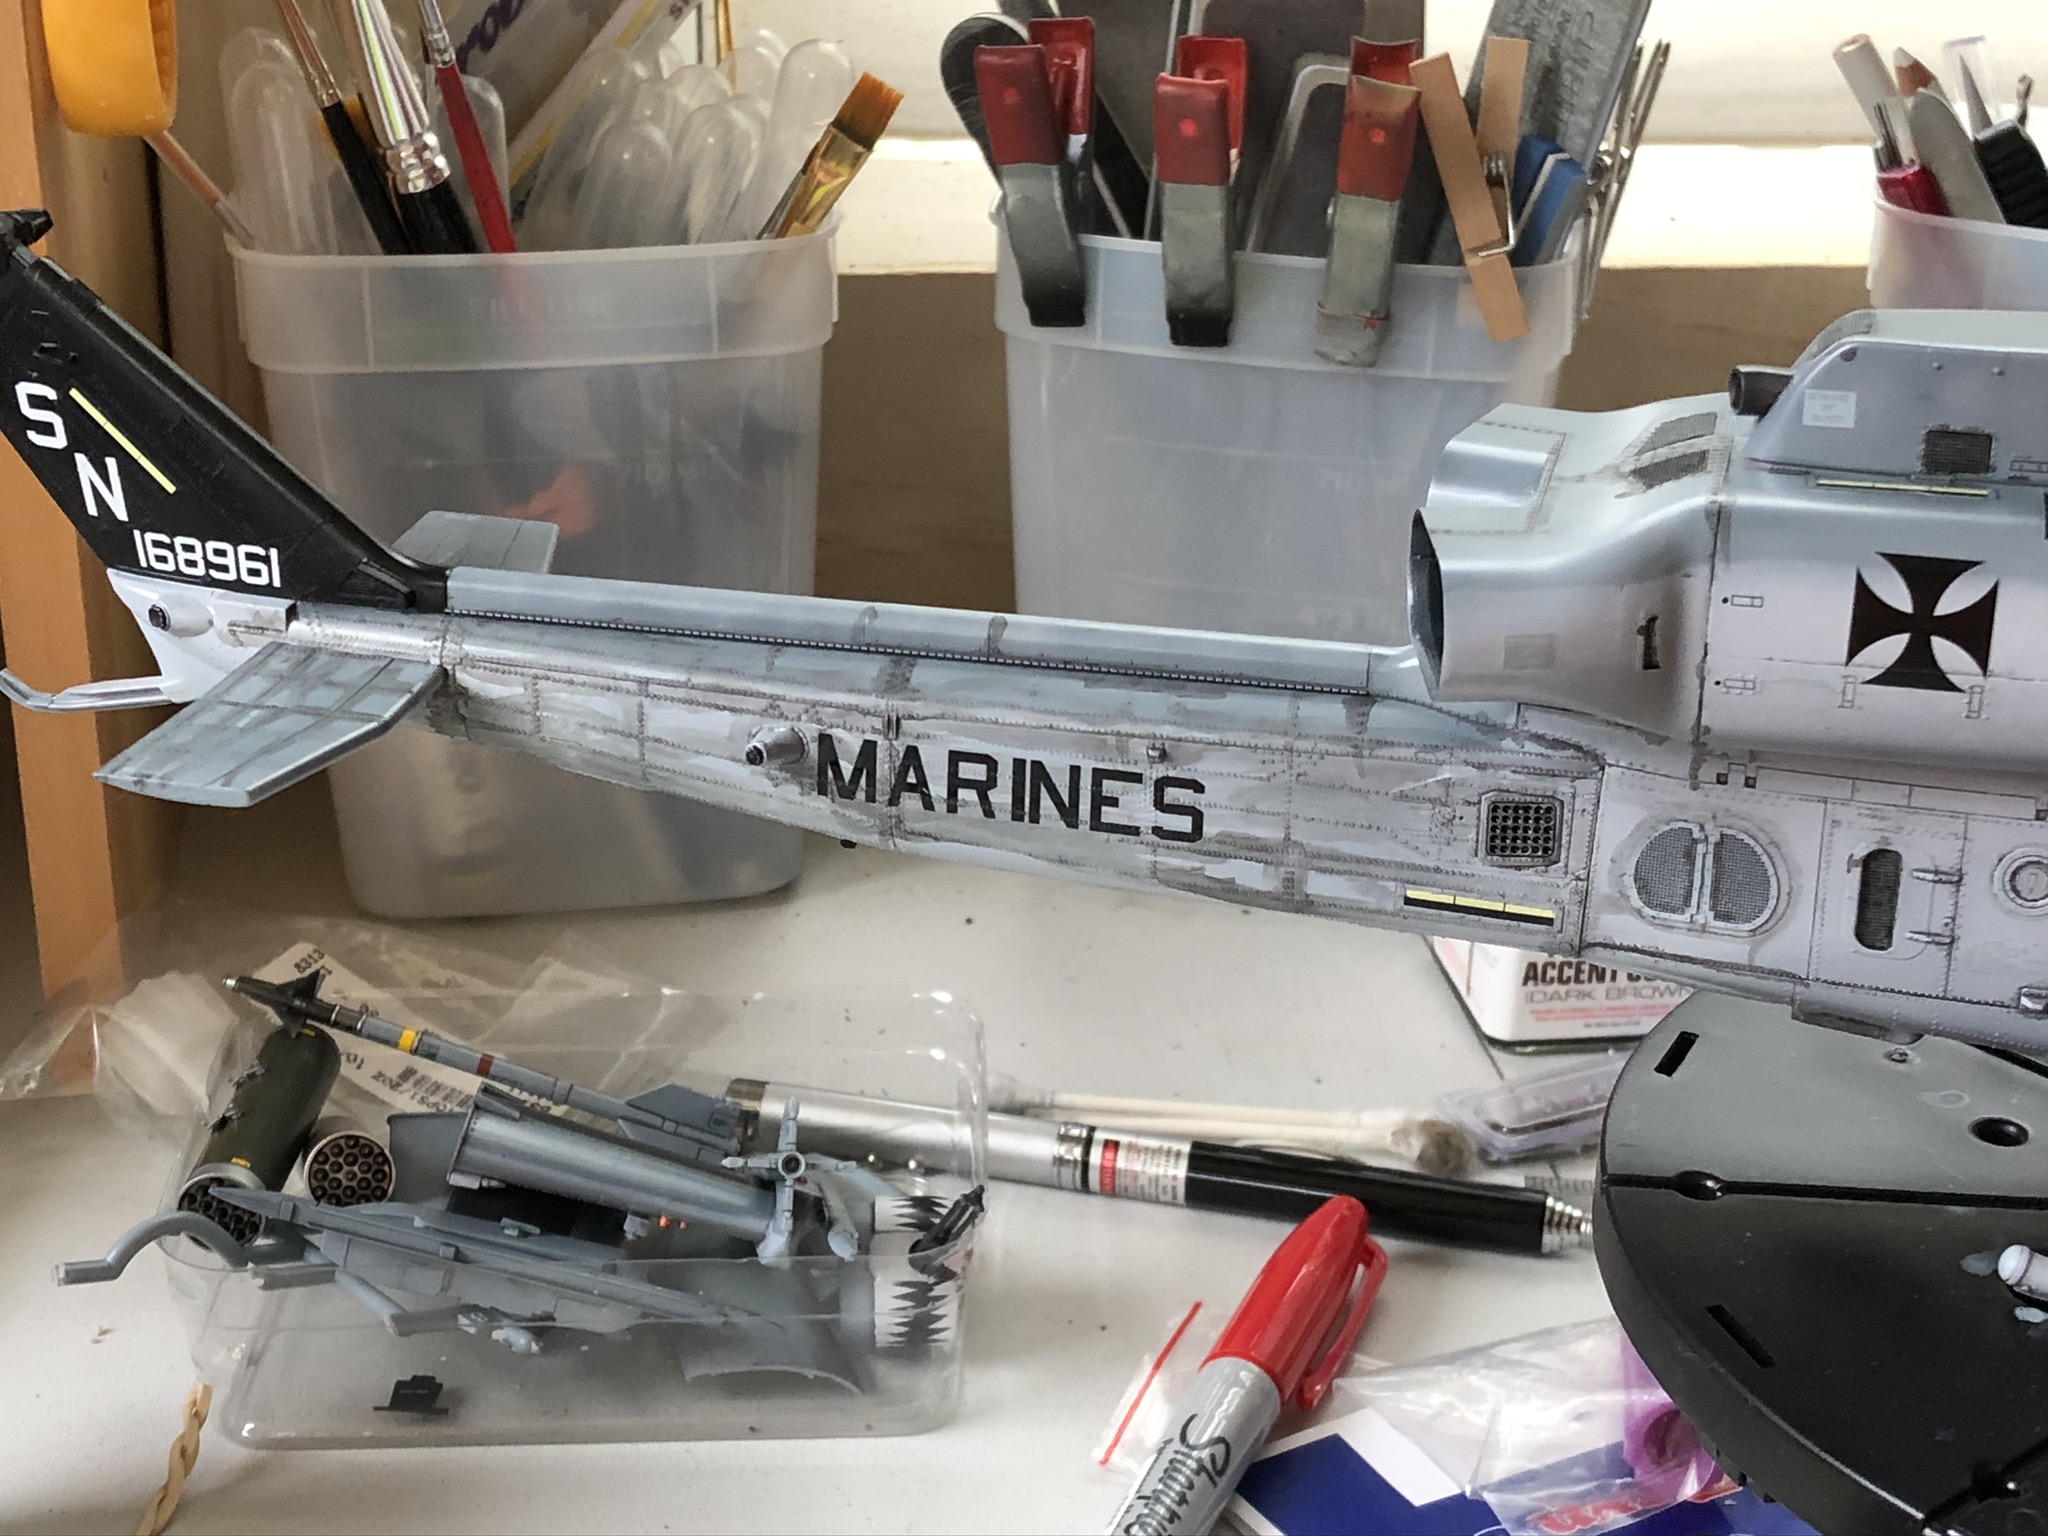
Ordinance sucks to paint and decal.
-
Very nice! Mike is a really nice and generous dude. cant wait to see you finish this up! Looks like a great opportunity to practice some foil and engine turned finished.
-
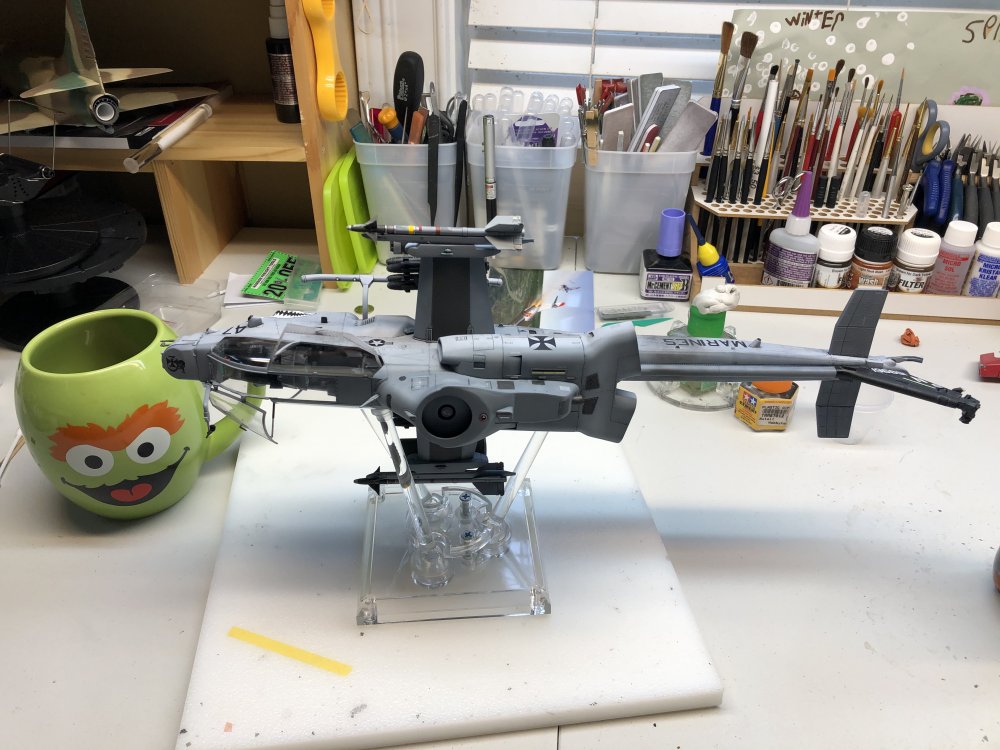
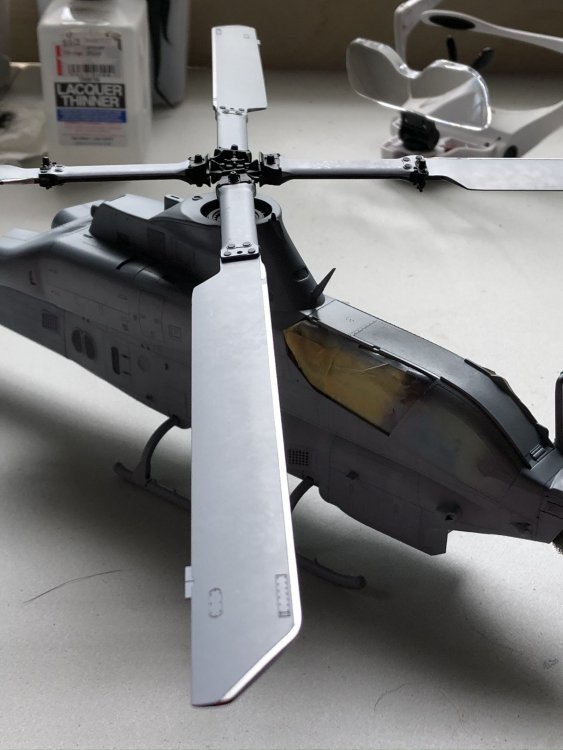
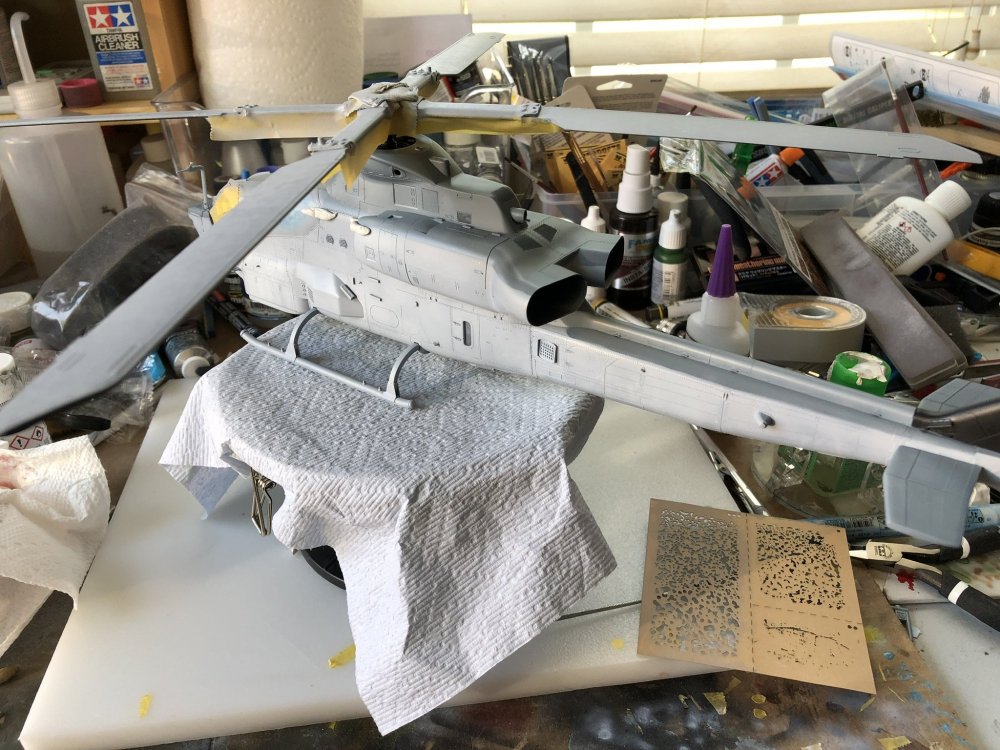
Knocked out the metal edging on the blades (corogard?).
-
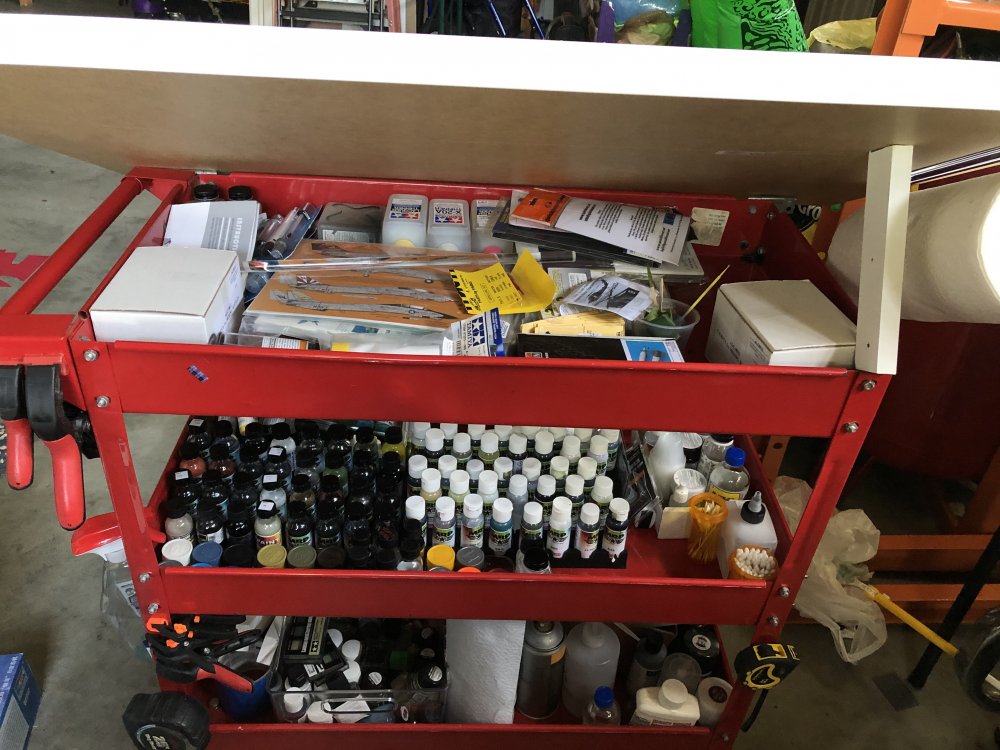
Yes, this is a harbor freight cart, although this one is maybe 10 years old now. The top was a IKEA 40” x 24” which was And ikea tabletop I used for extra deep shelving in my wife’s closet, I happened to have one leftover and it was only $9 On sale. The hinges were flat gate hinges that cost $12, and $6 for a paper towel holder. Done. I have a fold up paint booth, but I’m going to mount it to the top and create a custom hood for it so it can hold larger than 1/32 single engine fighters. The booth came with three LED strips that are actually very good, the main issue has always been the width. So I am going to see if I can find some sheet coroplast and make some new sides that extend out about 24-30 inches. I may also consider using thin 1/4” plywood, as I have some of that laying around too. And finally, I want to put in a separate switches for the fan and lighting, as they currently come on together, and the fan is annoyingly noisy. Currently, I paint with the garage door open, but as the weather will get colder, I’ll vent the booth outside through the window.
-
So apparently the entire worlds supply of Tornados shipped to one mail order shop in England, and as i understand, they sold out already, and no word as to when the rest Of the world will get them.
-
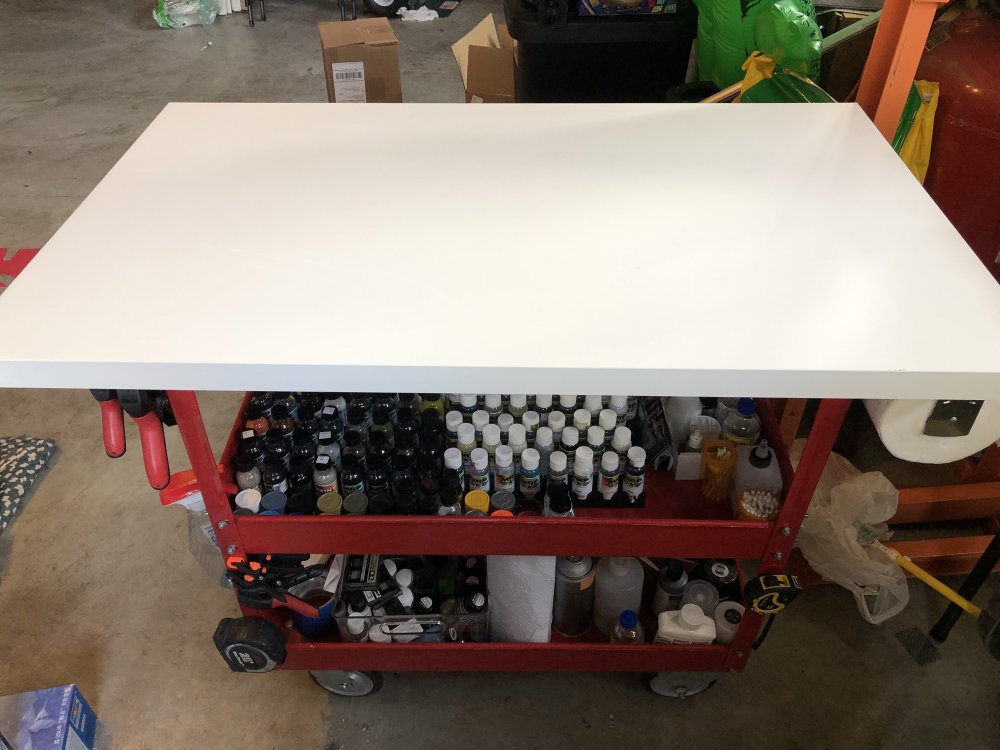
Yes, it has 8 inches of overhang, and it’s 6” taller than my workbench, so it’s perfect for painting.
-
Outstanding work! I think you did a great job with an old kit.
-
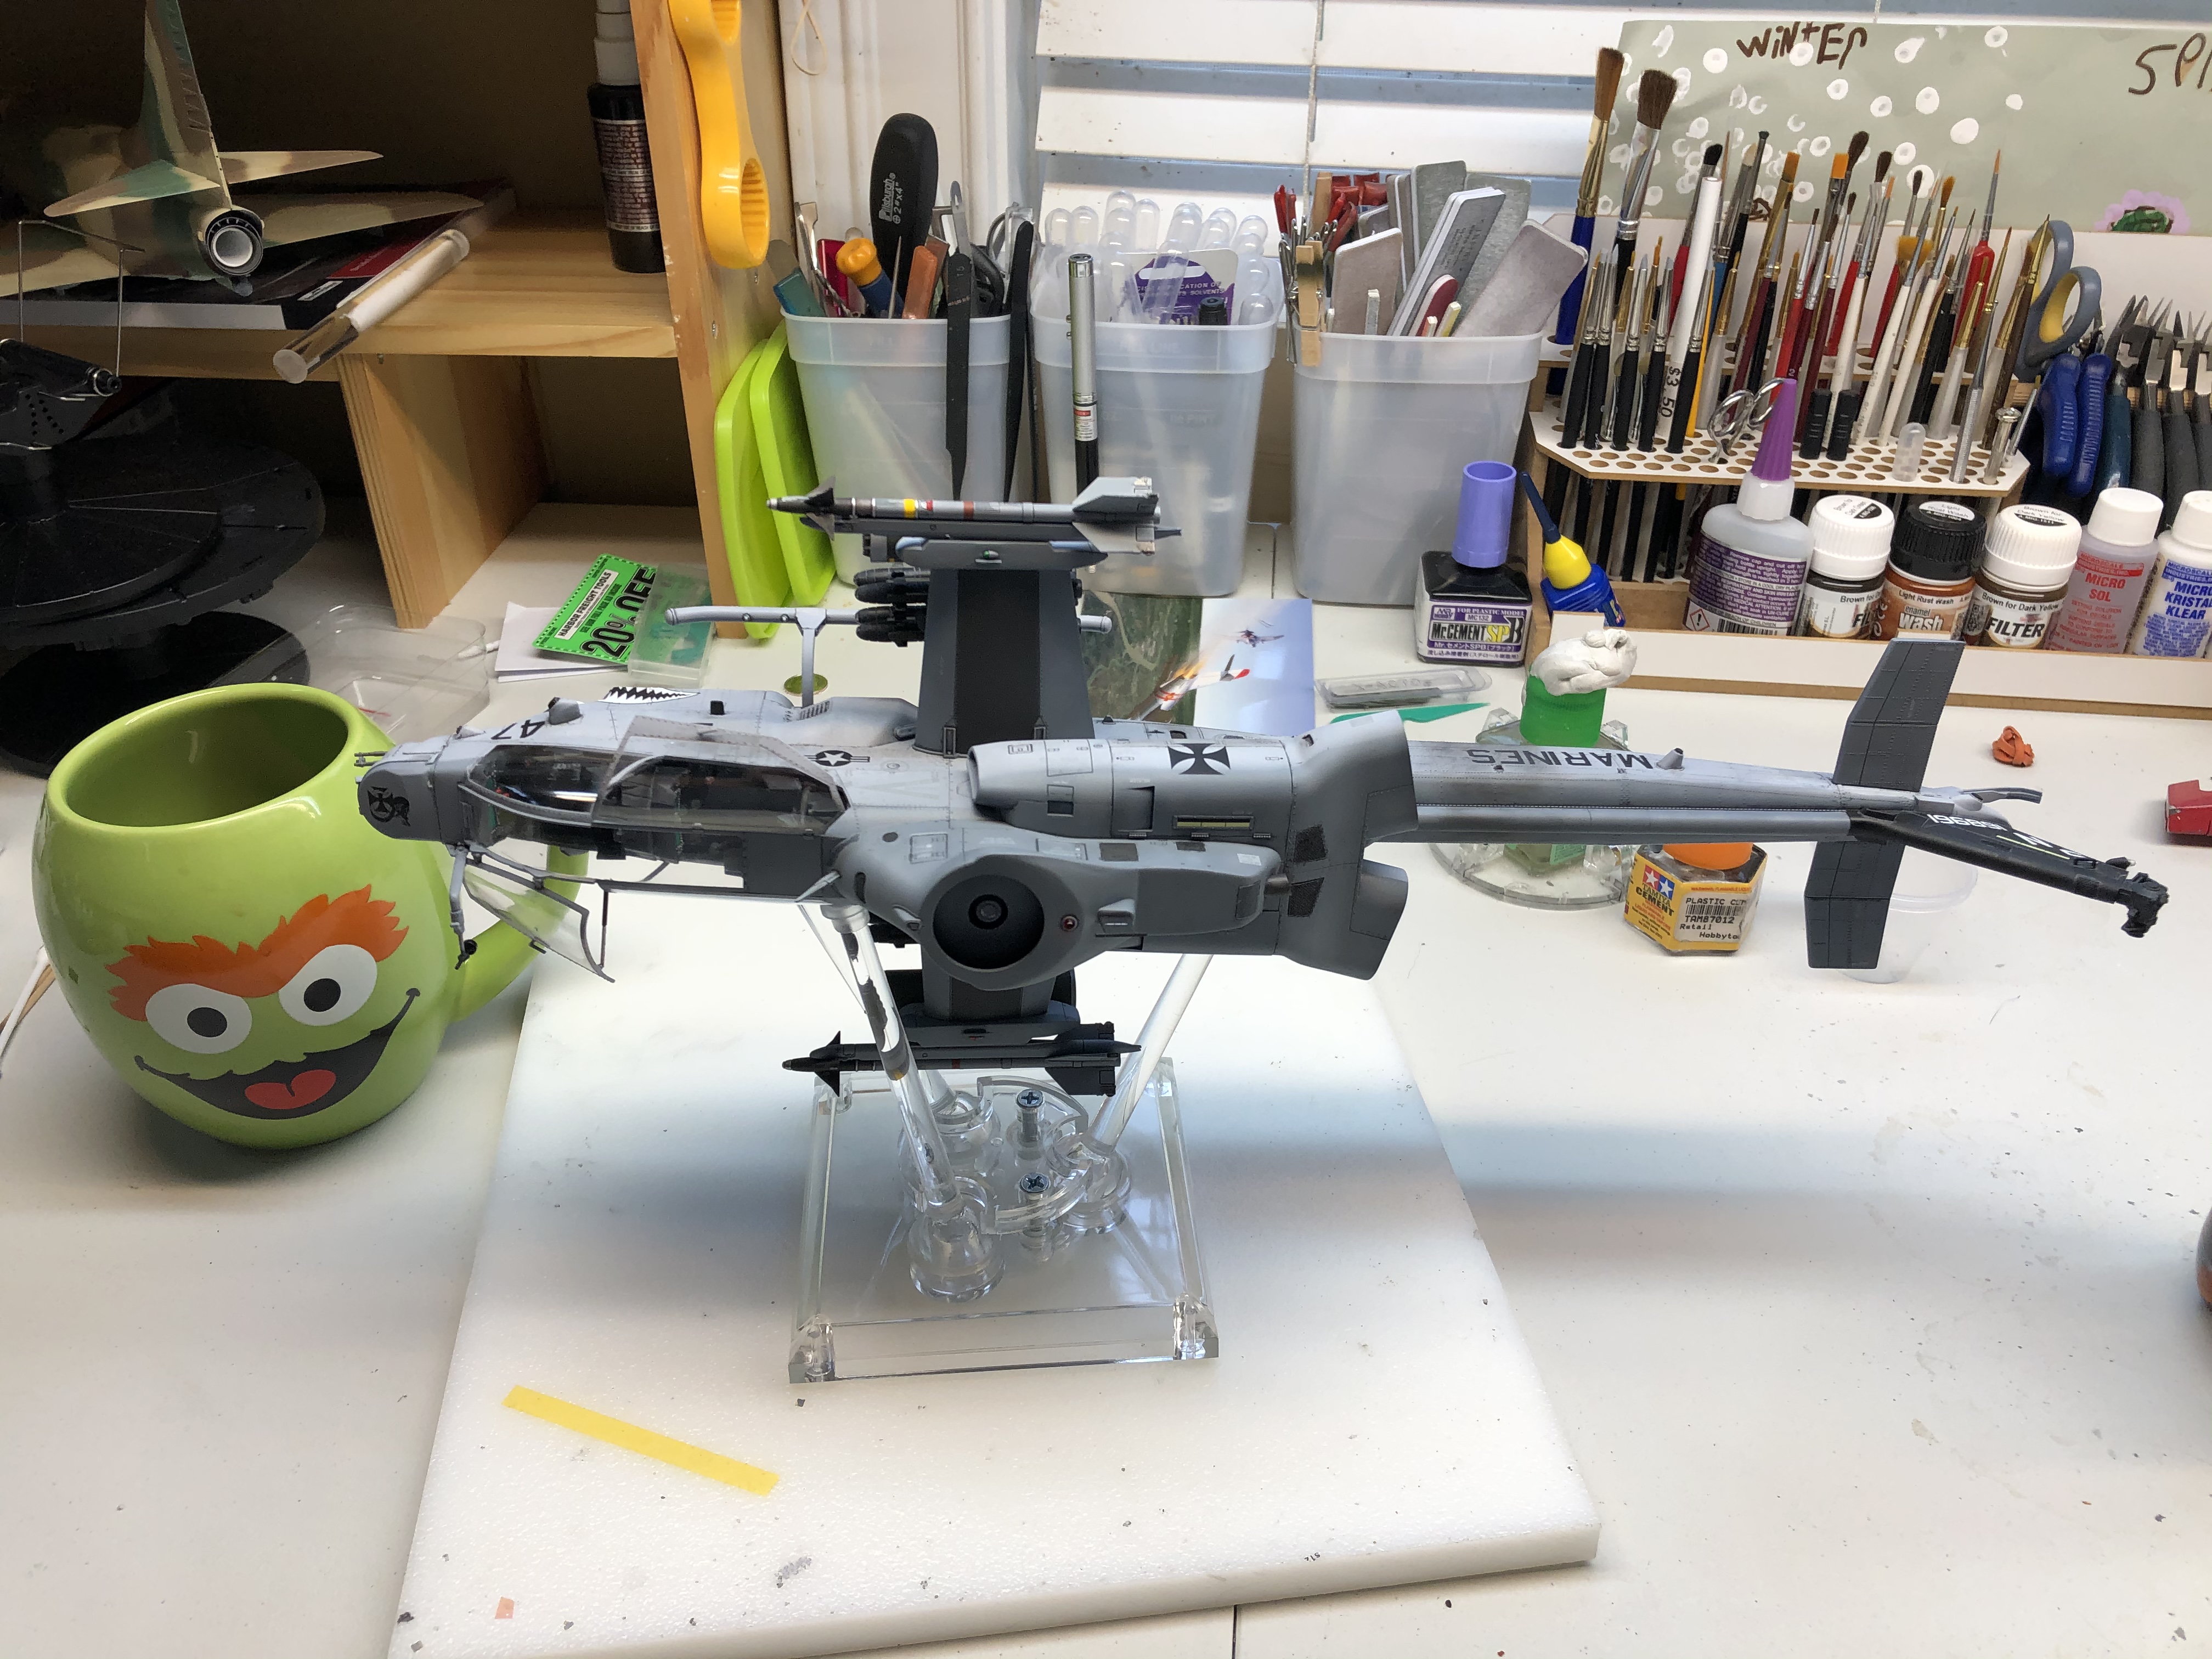
I sat at my workbench for a couple hours this morning, I didn’t feel like working on anything, the bench was a cluttered mess, and I was just wanting to do something different. My compressor and airbrush are on the far right of my bench, I paint on the far left, so I’m always stretching the air hose across everything in the middle, knocking things down and on the floor. For a few weeks I have been kicking around ides for a new bench. But everything is just a cluttered mess, so i decided to add a second separate painting station. I already had most of the parts, so off to the hardware store I go. I used an ikea table Top leftover From a project I did for the wife, I also used my old tool cart from when I worked on cars. I then got a paper towel holder and a pair of hinges from the hardware store. A grand total of $16, I lucked out and the hinges bolted on to the cart in the right spot using existing bolts, and six screws into the tabletop...done! This was the easiest and least problematic thing I have done n a long time! AM parts, Accessories, and decals go under the top, this is stuff I don’t access very often...basically just storage. You can see the paper towel roll holder on the right. I will also be adding a small narrow shelf on the side to hold my air compressor and power strip. Paints and thinners on the second shelf, this is my most used stuff for painting. Finally, the bottom shelf is for less frequently used stuff and larger tools. Later I am going to add my paint booth and paint drying area on the top, I’m going to secure it so things don’t slide off when I lift the top.
-
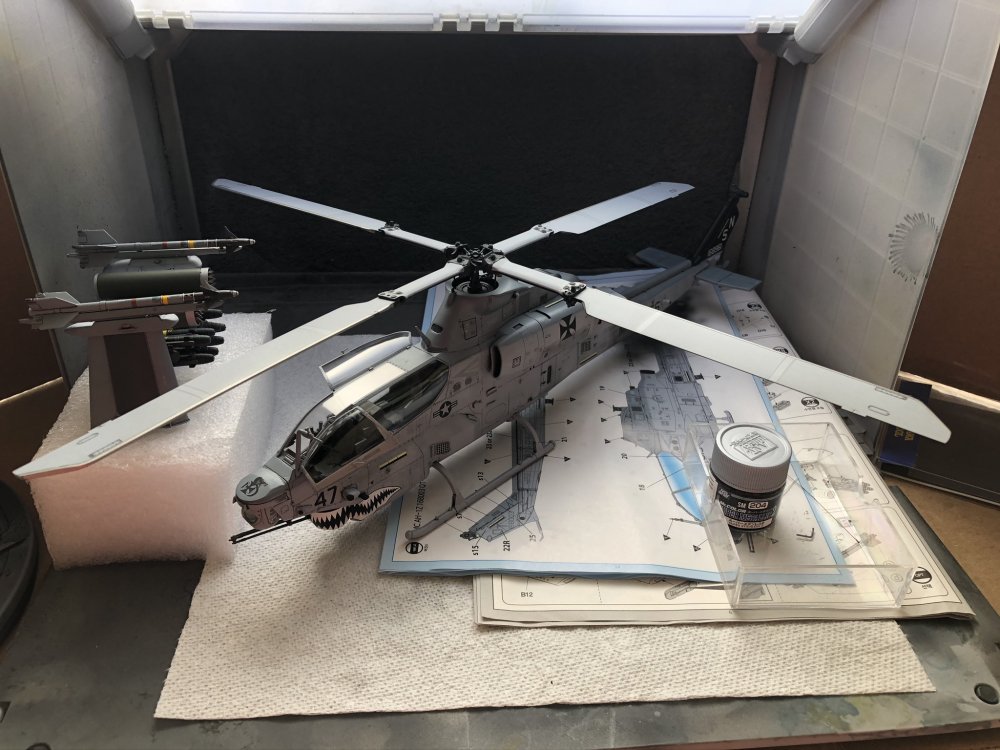
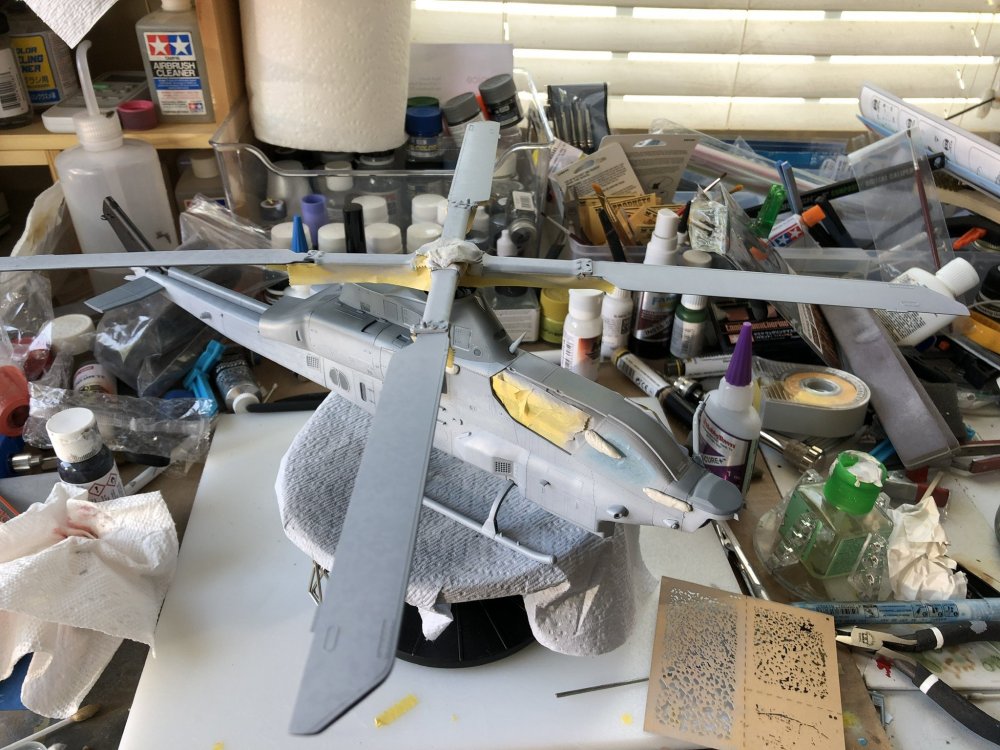
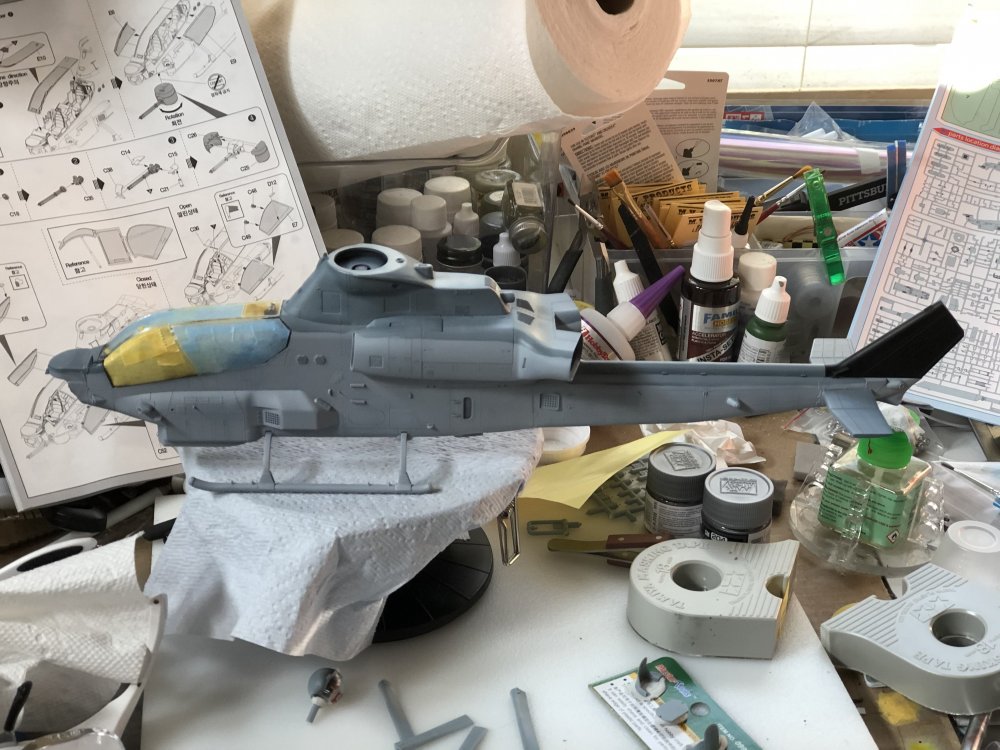
I did some further touch ups, paintwork, and weathering today. I think I am ready to do some decaling now.
-
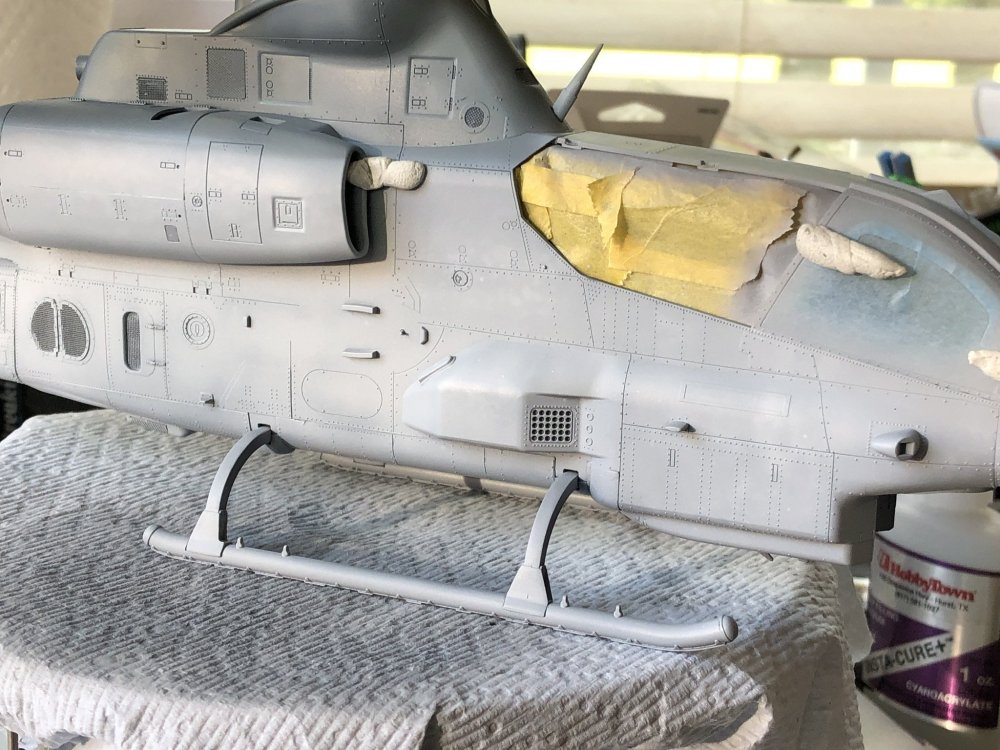
I ran into the first problem I had with this kit, my top canopy panel had a small bow in it near where it glues to the fuselage. Not serious, but I had to glue the canopy together with extra thin so it would bend back. I had planned to paint it off the Model, but fortunately it worked and we are back to prepping for more paint. I always get nervous using glue on canopies, but what else are you going to do? Overall, this has been a great kit.
-
That’s a pretty nice likeness on that figure, even shows his older age.
-
I thought goose was responsible for international relations?