1to1scale
-
Posts
1,767 -
Joined
-
Last visited
Content Type
Profiles
Forums
Events
Gallery
Everything posted by 1to1scale
-

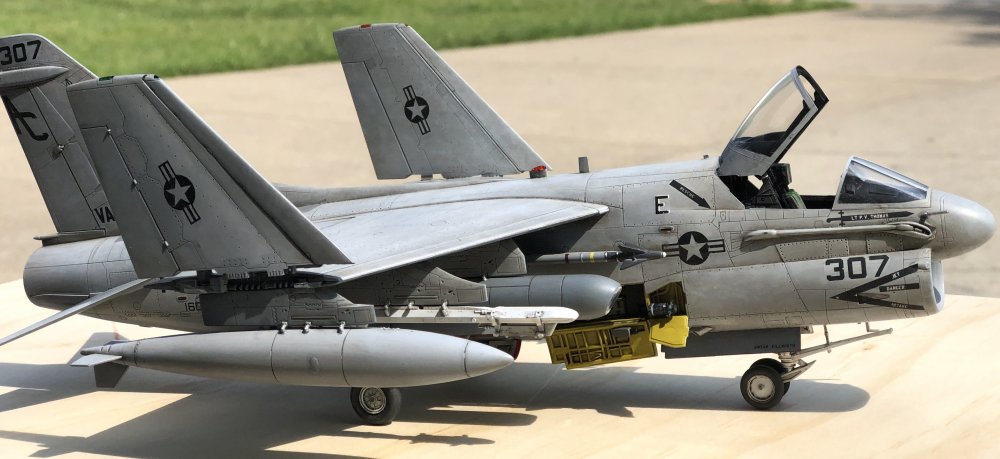
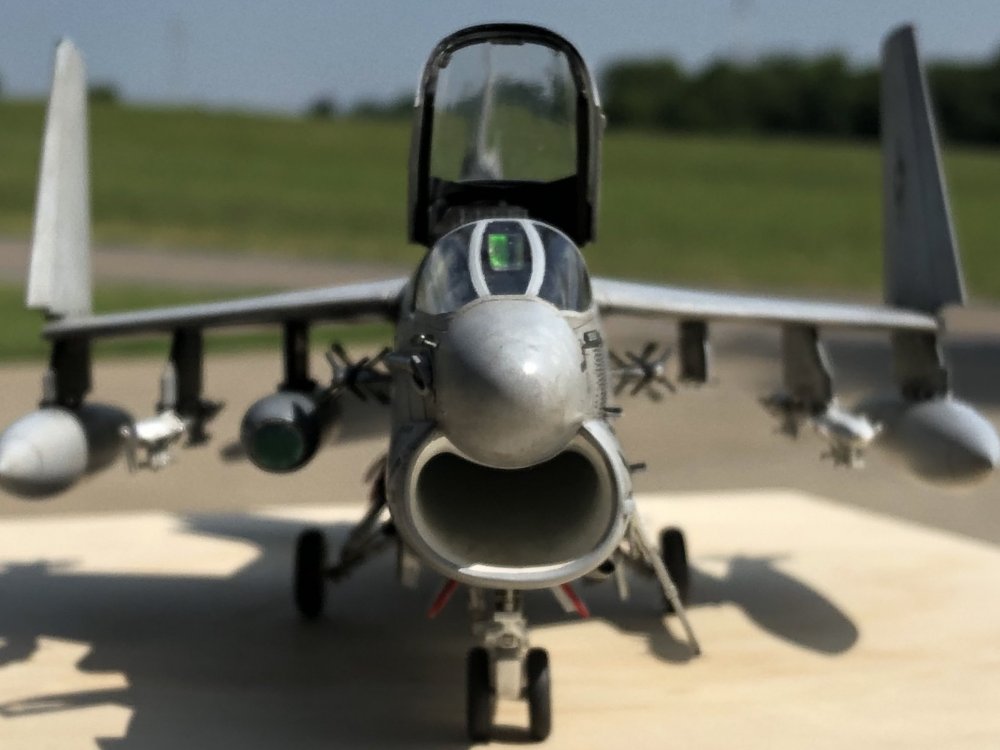
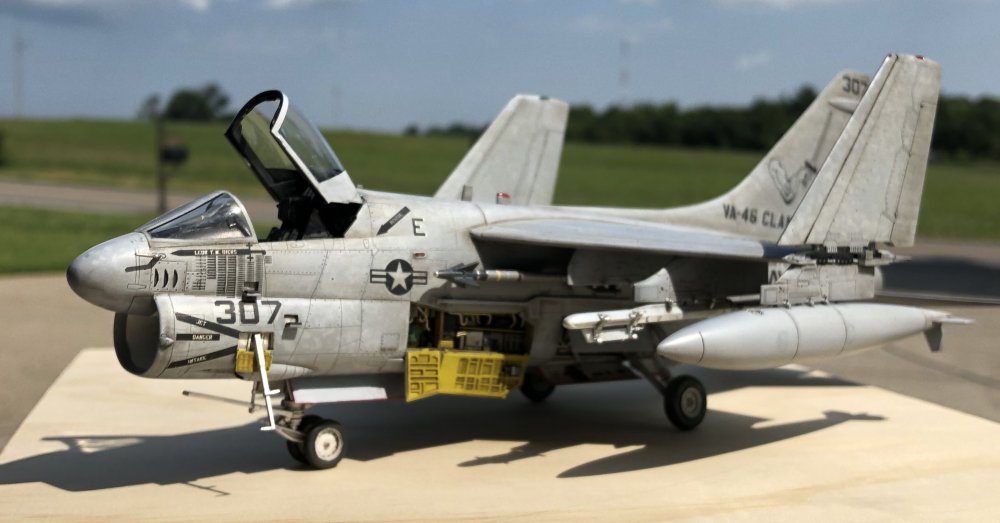
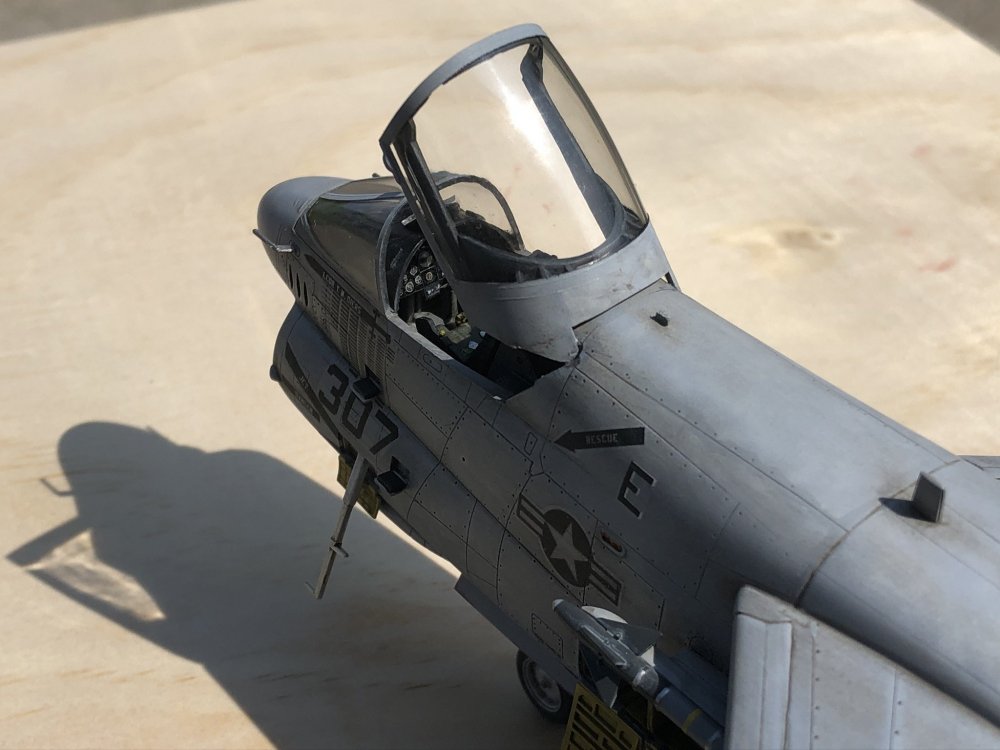
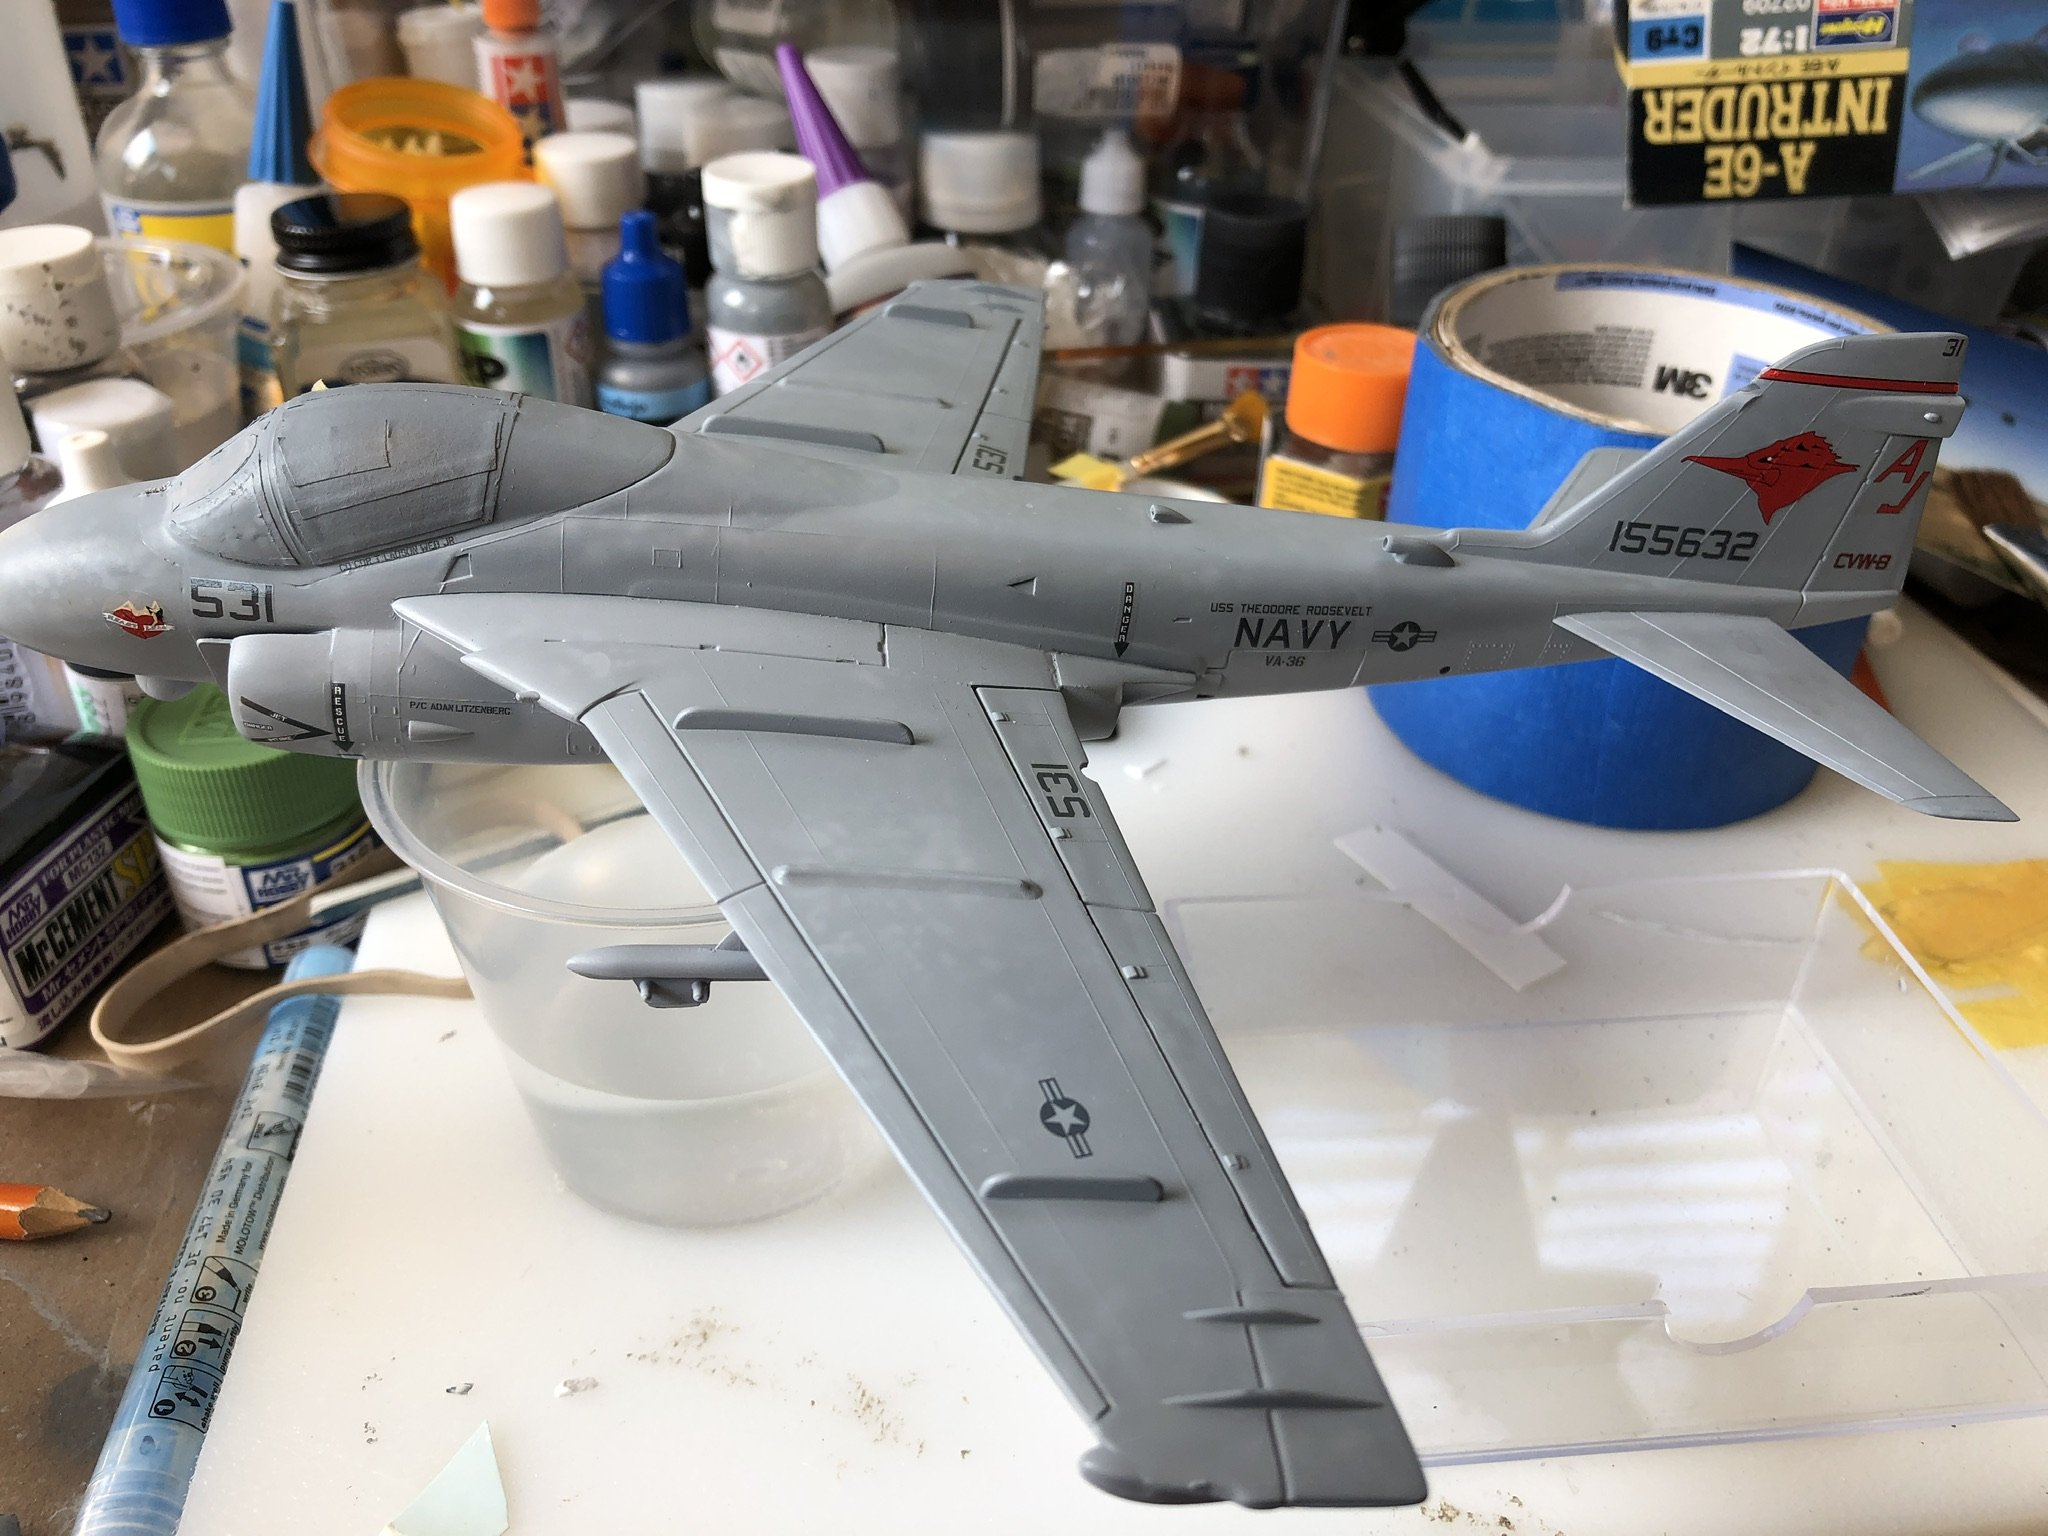
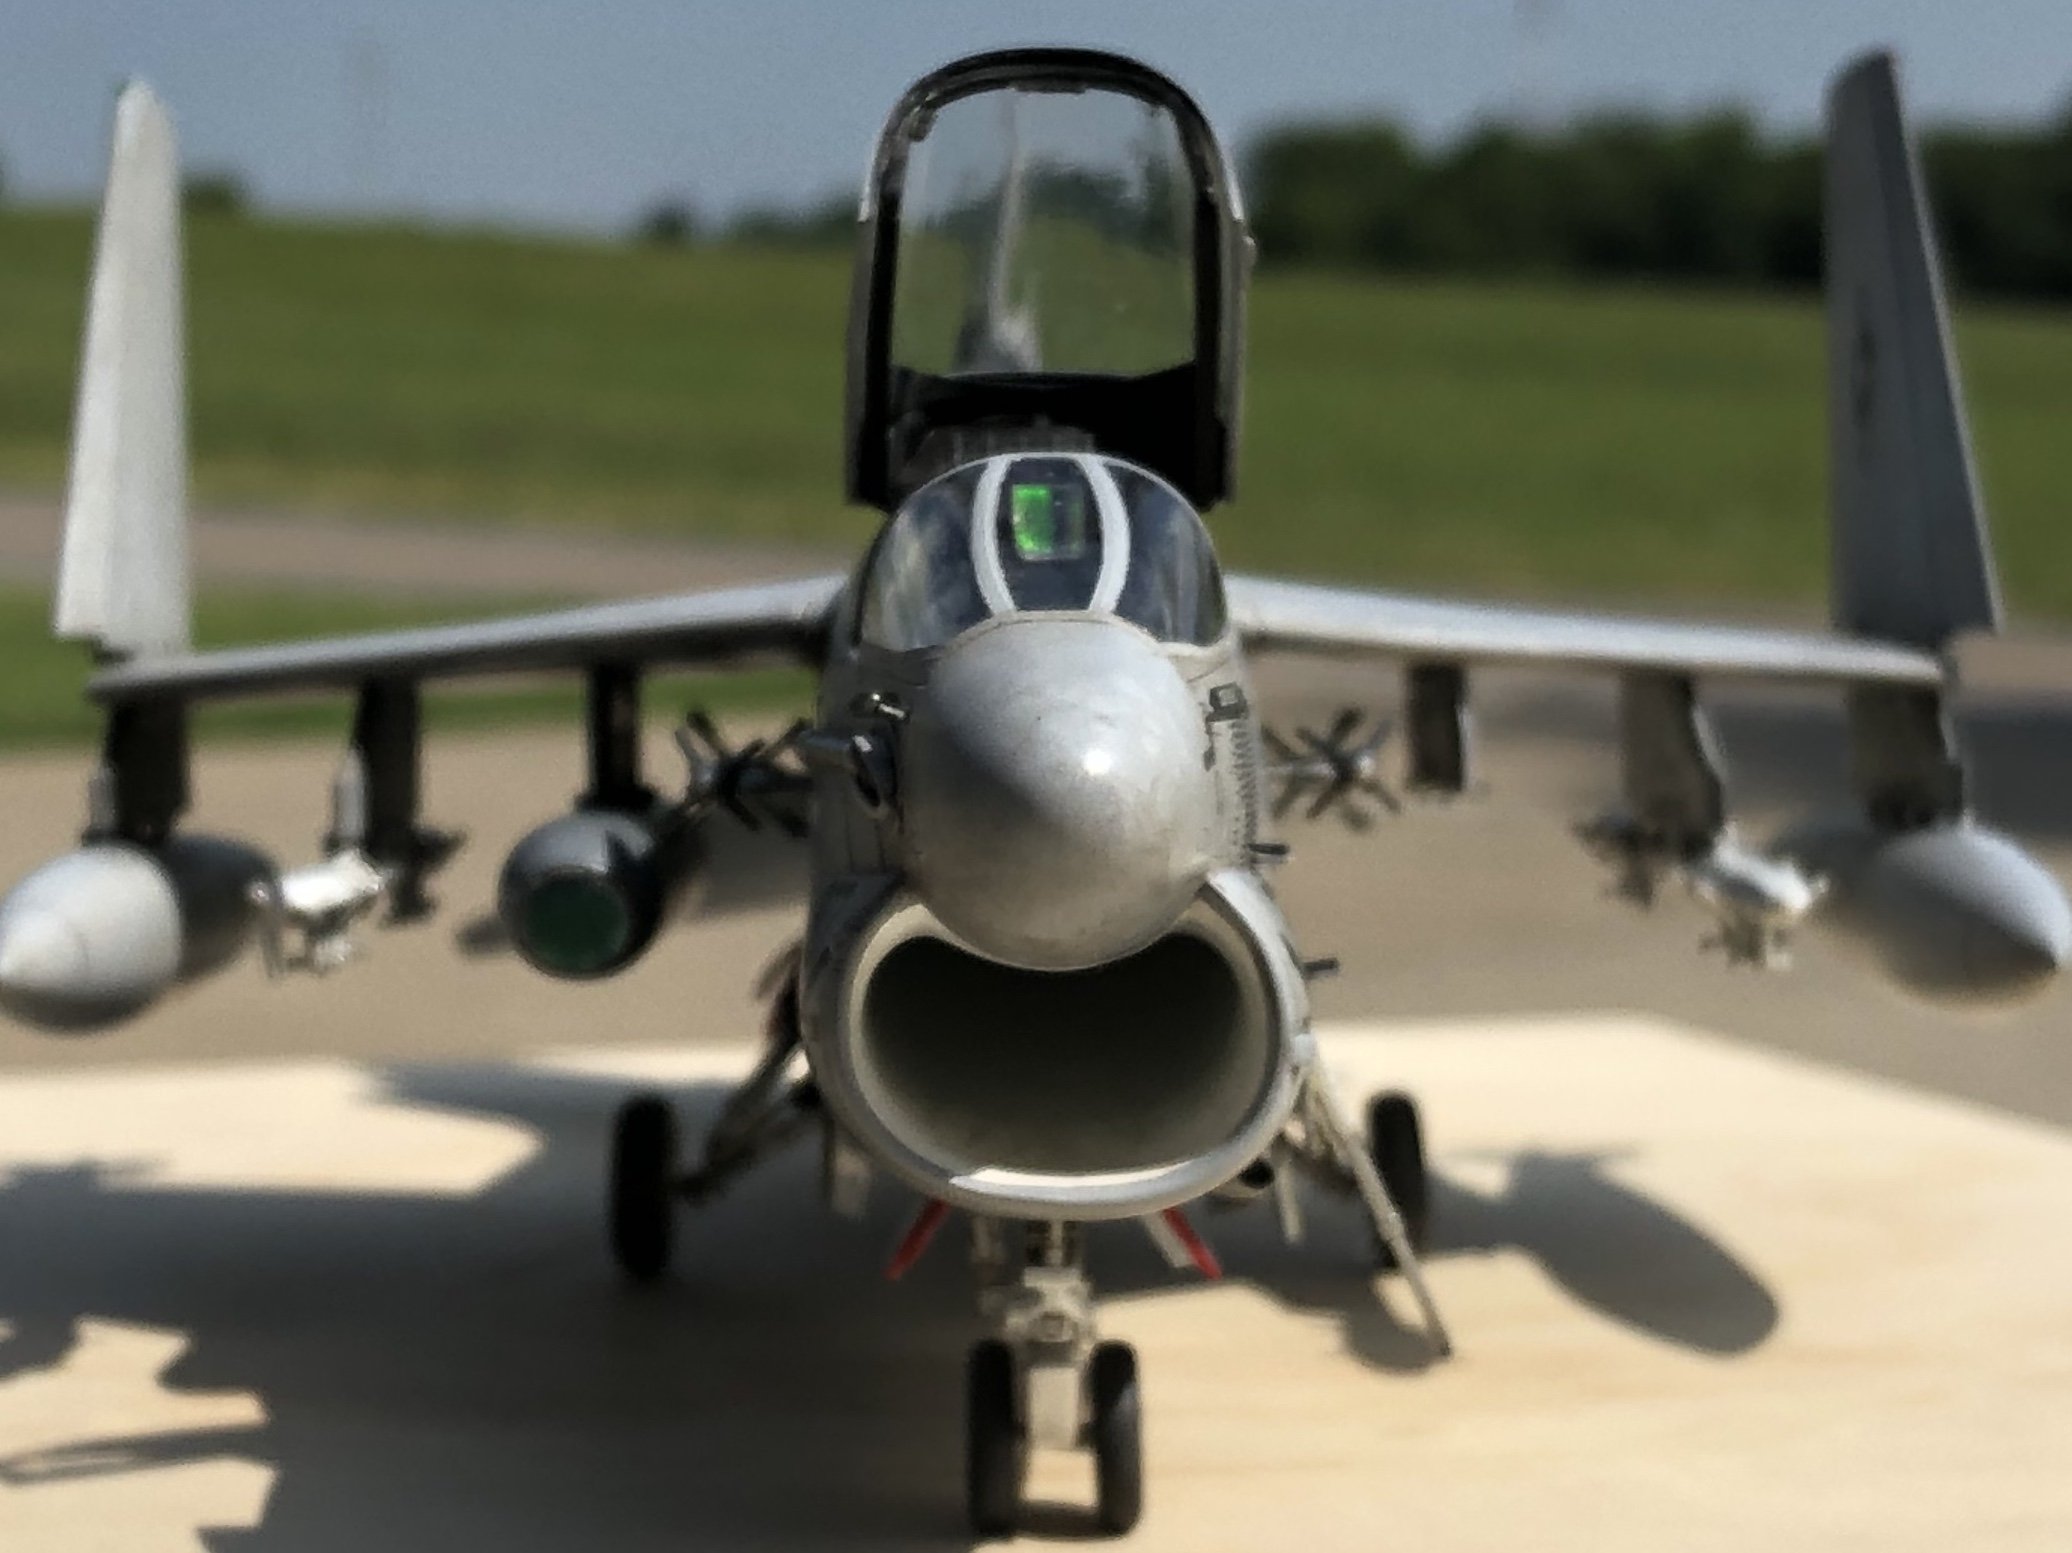
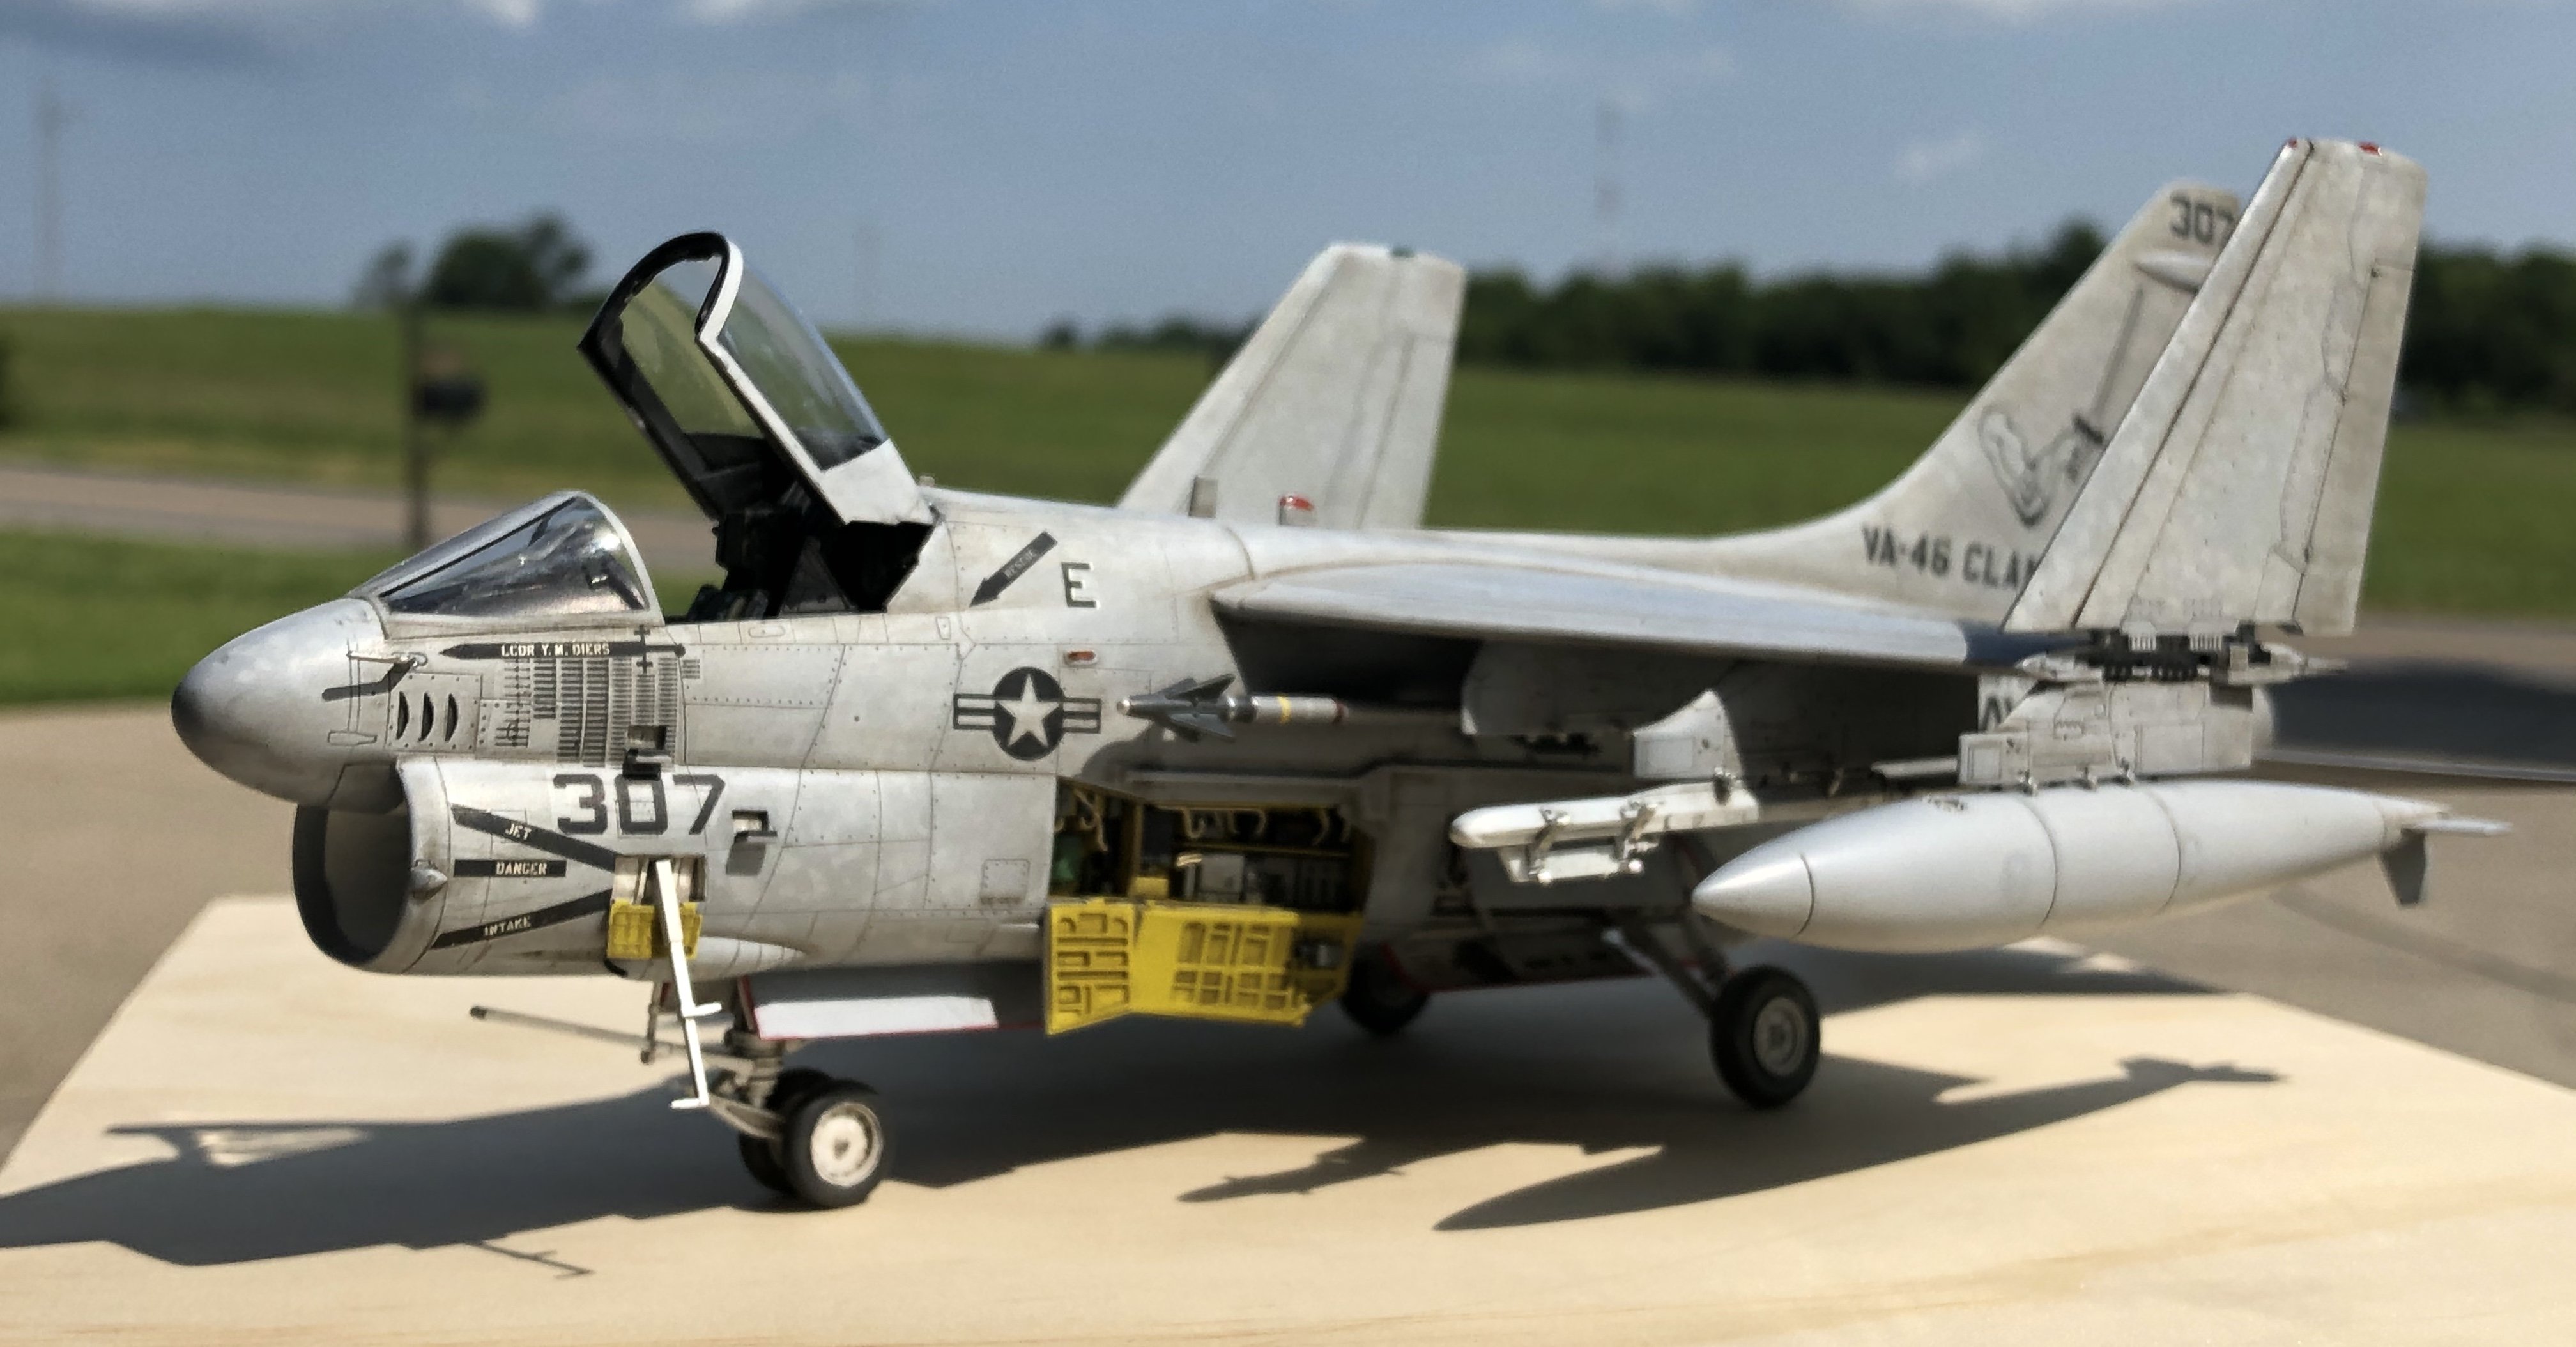
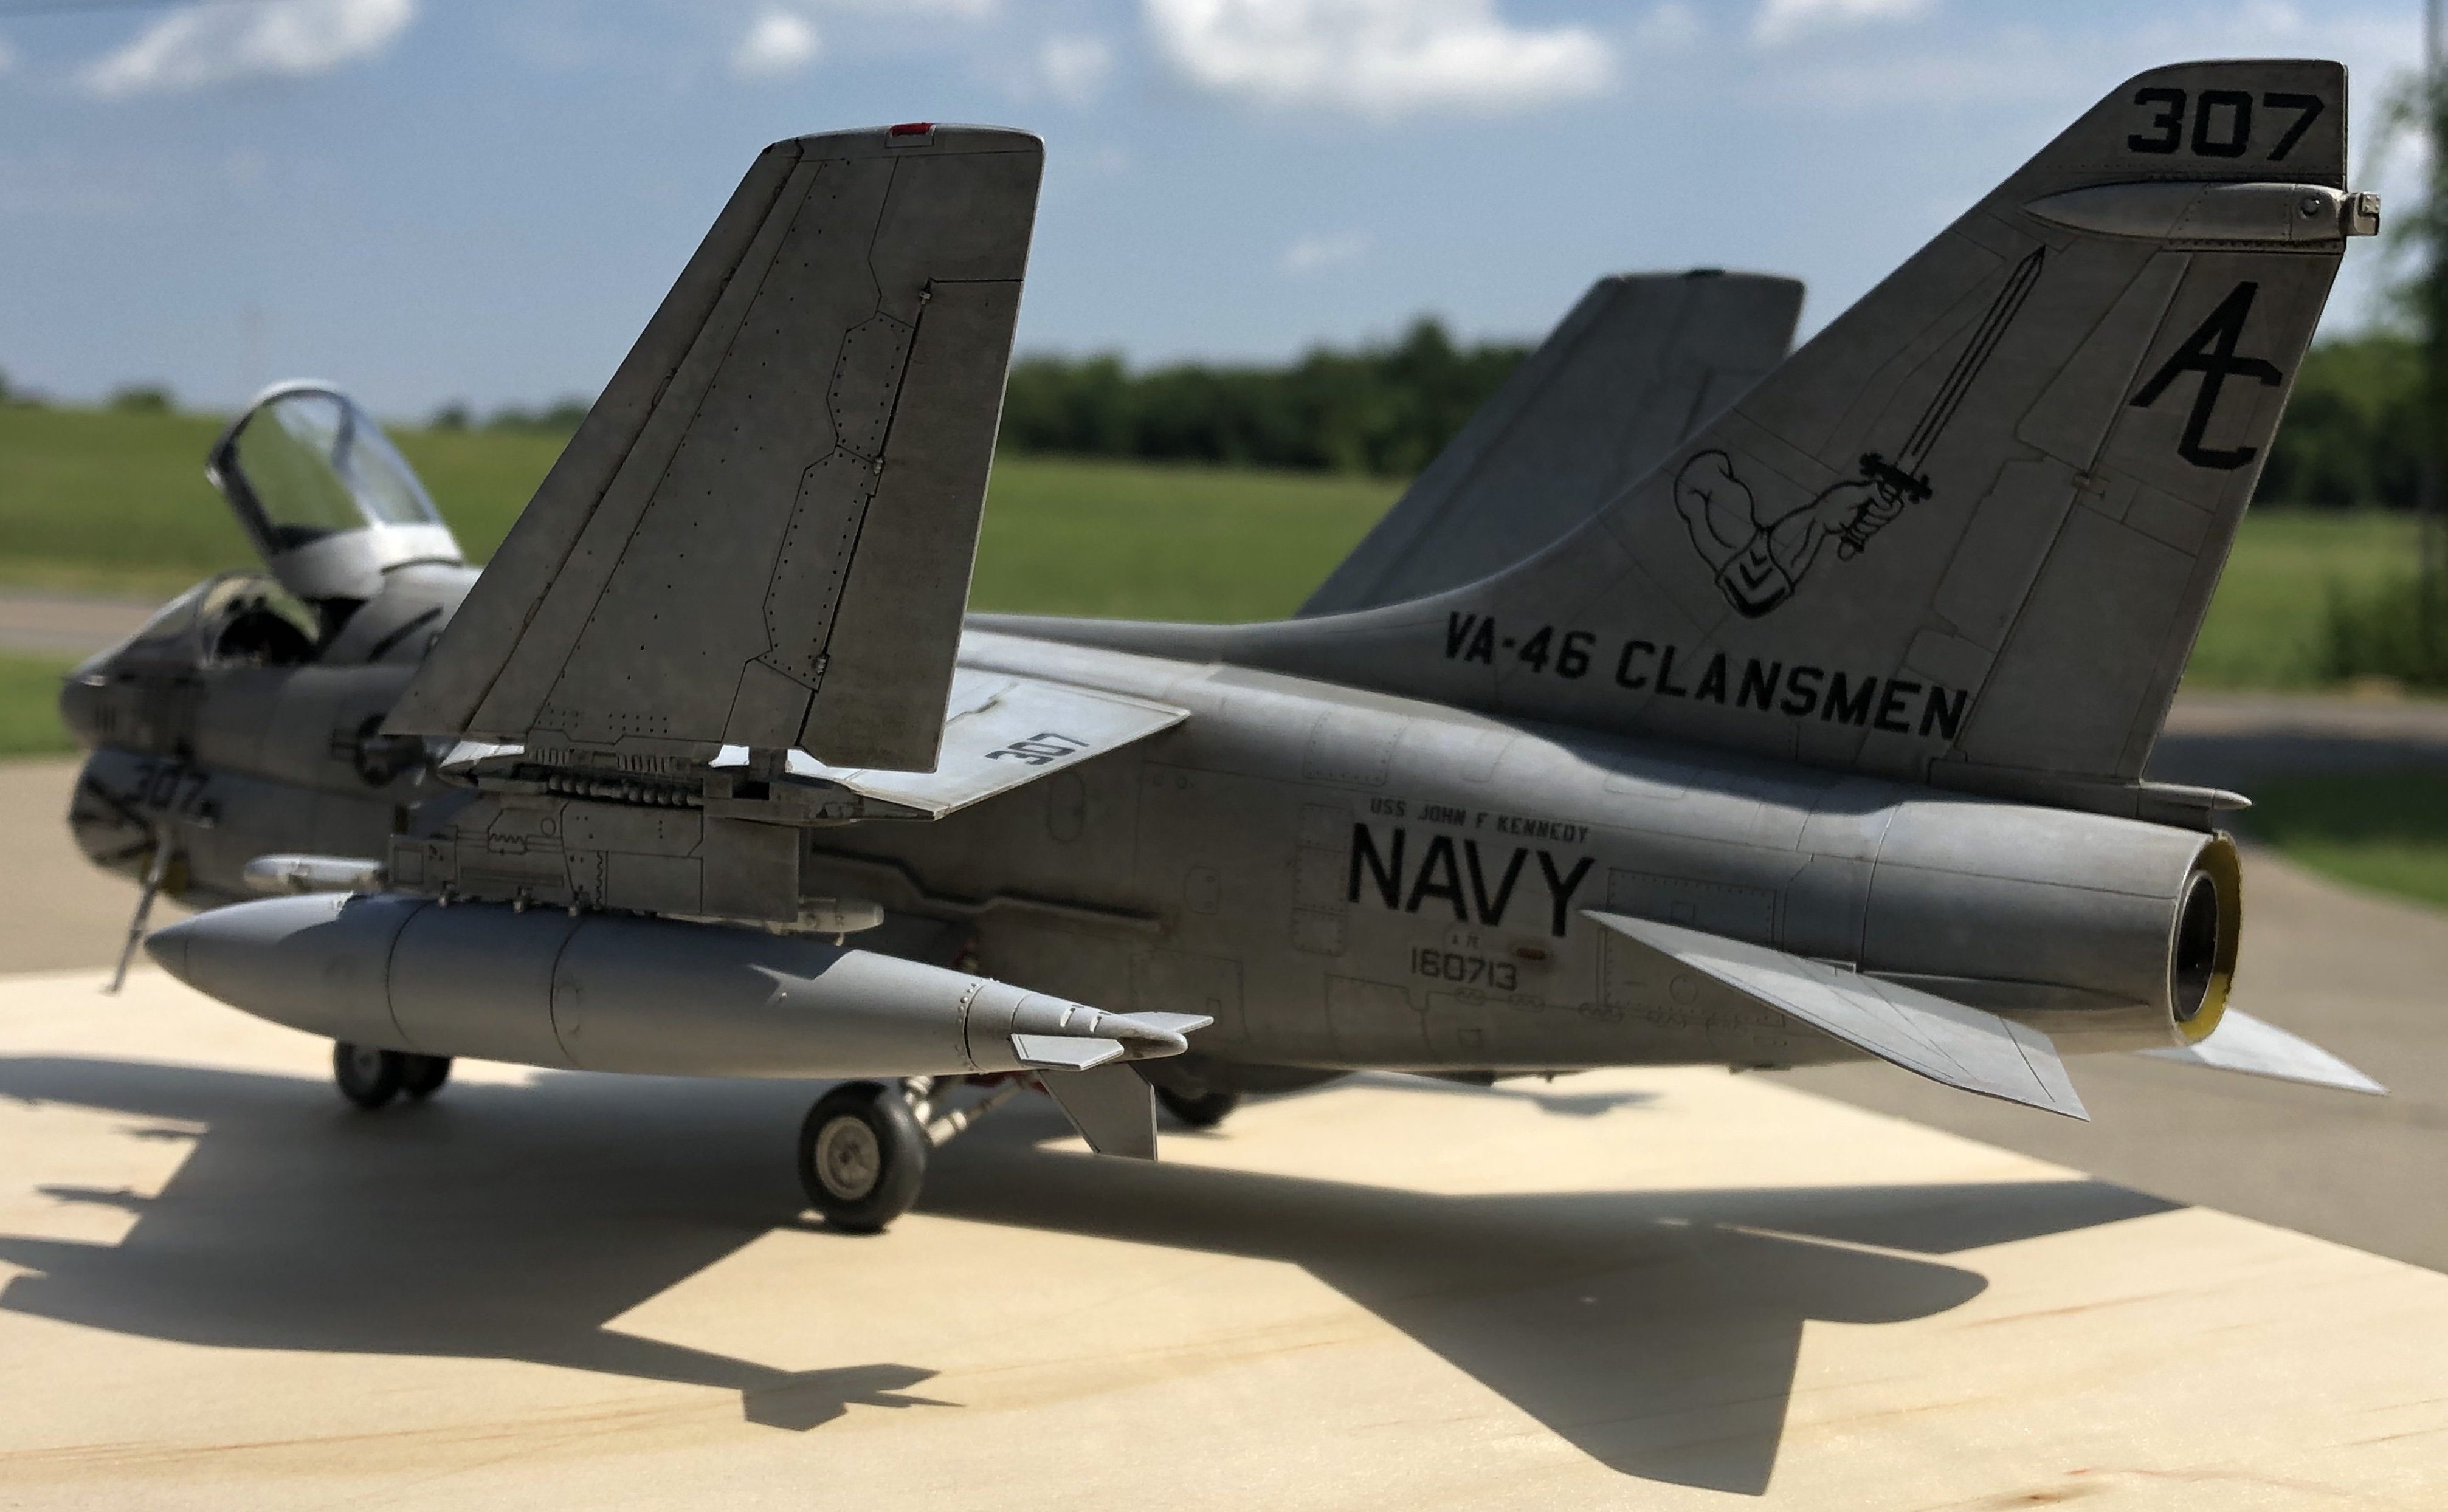
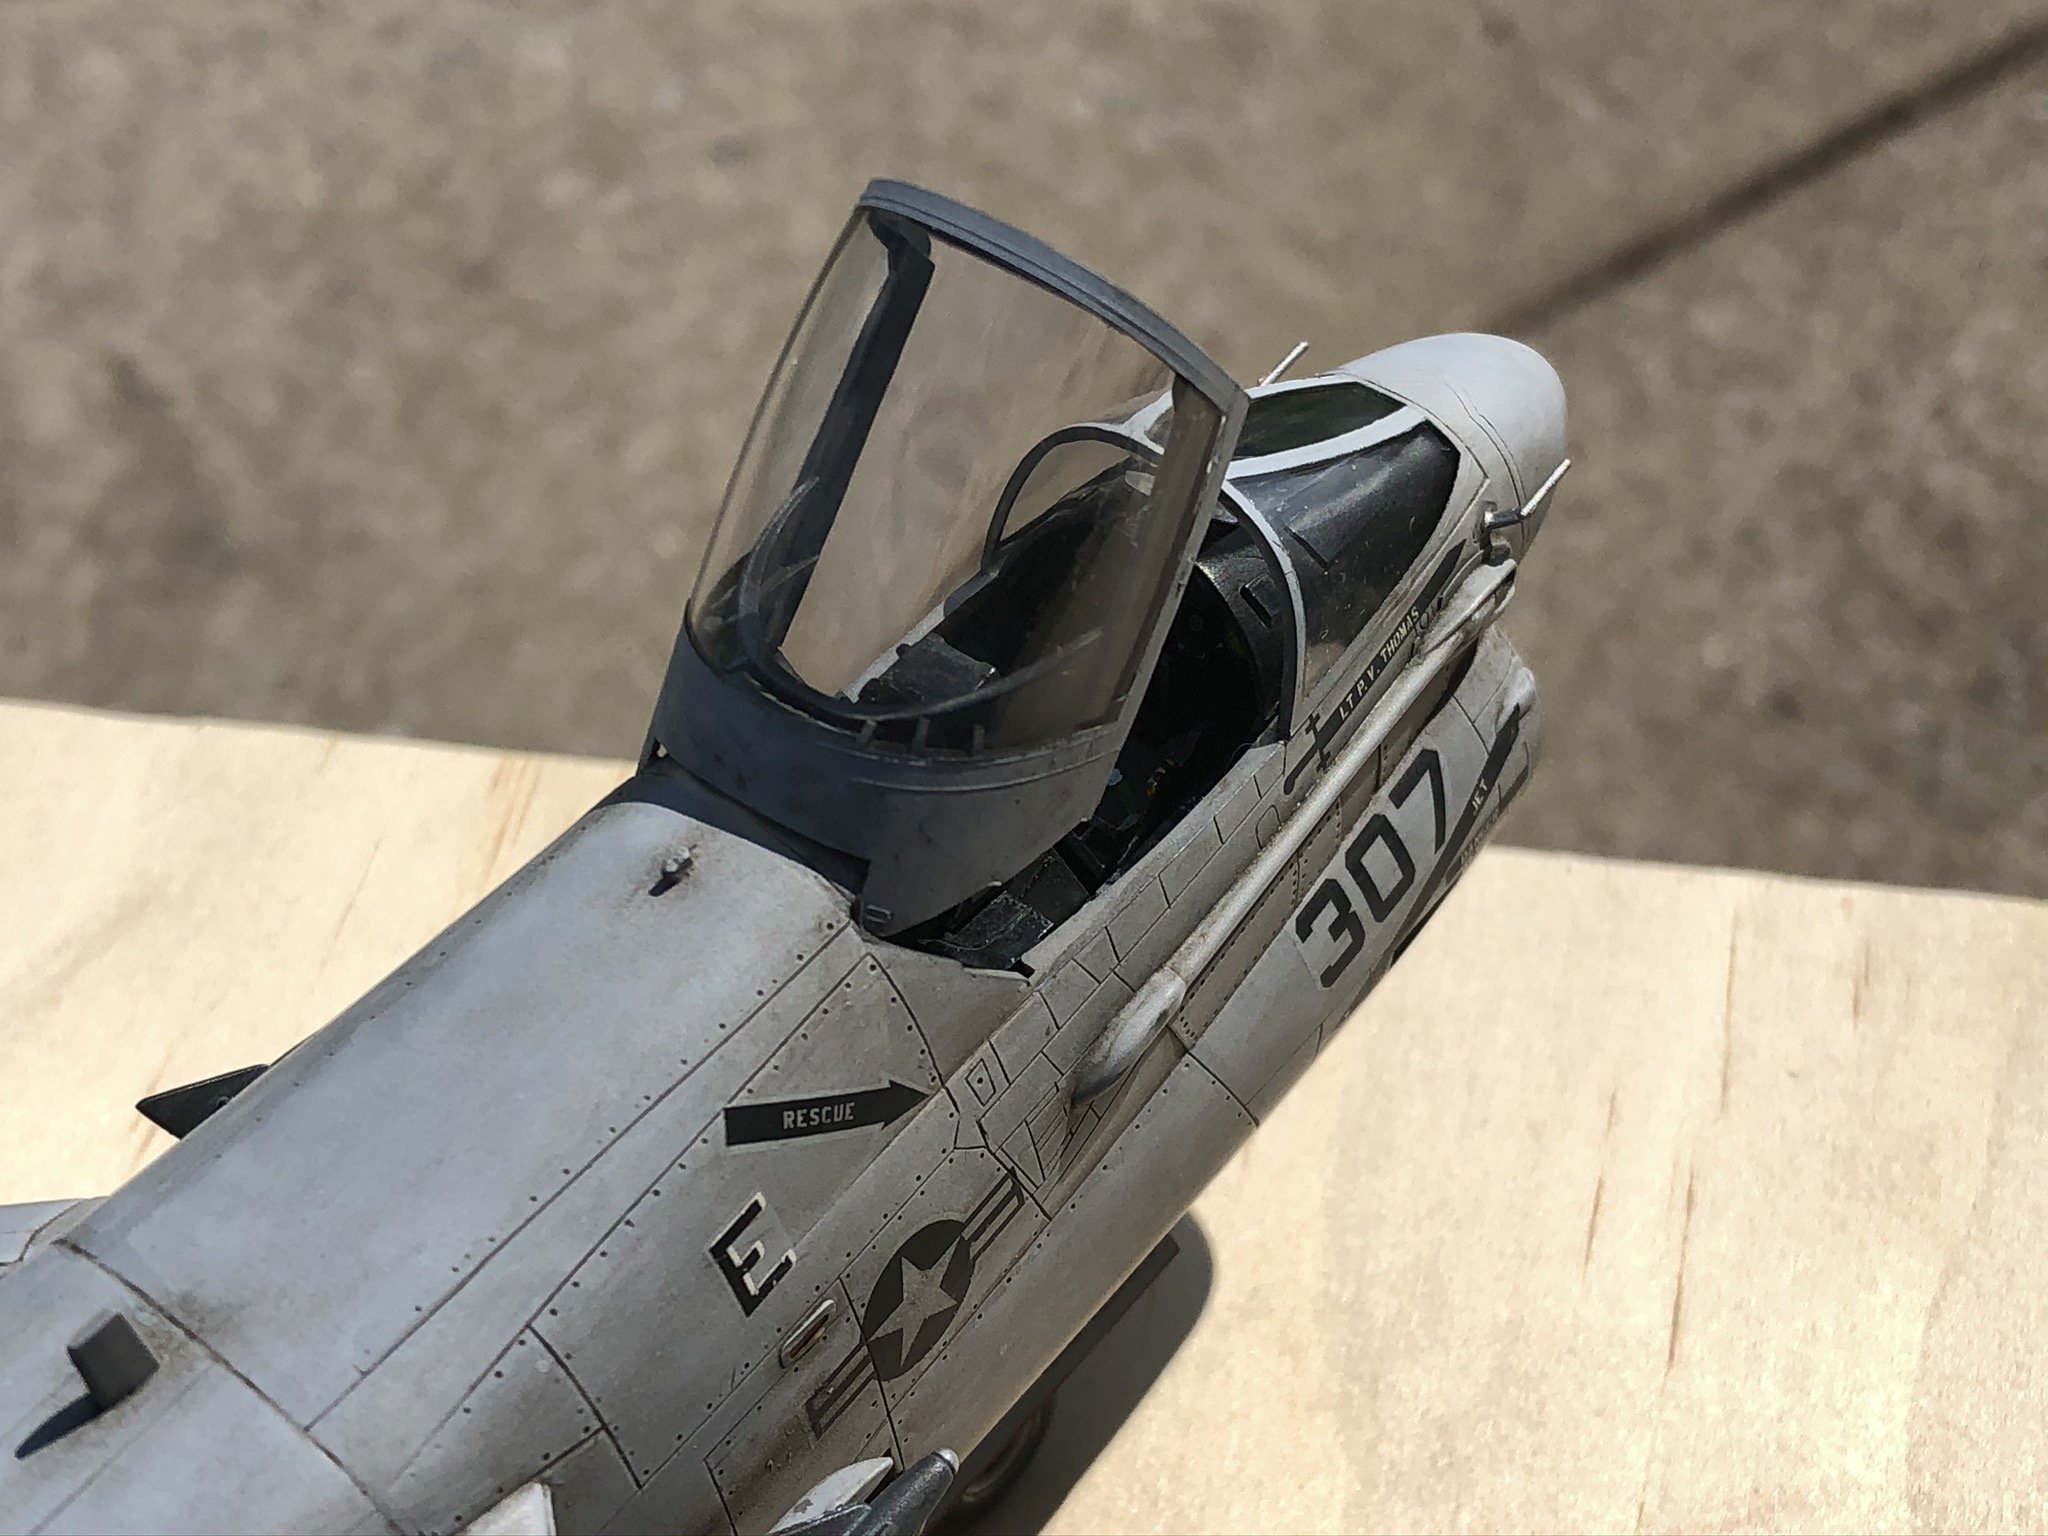
1/48 Hasegawa A-7E VF-46 Clansmen. Completed!
1to1scale replied to 1to1scale's topic in Non LSM 'WIP
After waiting for nearly a month, i resigned myself to the fact that the decals i ordered for this were lost in the mail. I finally got the another set of decals ordered, and guess what...both turned up the same day.


-
Please friends, please Pray for Beirut.
1to1scale replied to Clunkmeister's topic in General Discussion
I just read that article and was truly shocked, but this wasn’t the first time, it’s happened in China and a few years ago in TX. The question to ask is why did they store the stuff in a densely populated area. -
1/48 Hasegawa A-7E VF-46 Clansmen. Completed!
1to1scale replied to 1to1scale's topic in Non LSM 'WIP
I have always planned to do a dirty Hellenic bird, I’m just waiting for the right time. -
Troubles with Klear / Future and Micro Set / Sol
1to1scale replied to DocRob's topic in Hints & Tips
That’s awesome! I love a happy ending. -
Troubles with Klear / Future and Micro Set / Sol
1to1scale replied to DocRob's topic in Hints & Tips
I don’t mean to hijack the thread, but related. Gaz, I have used all three major brands, microset/sol Is pretty mild stuff, it’s usually the first level and works well with good quality decals, but not strong enough to do damage to most finishes. However, there are exceptions. I have heard that AK real colors paint will stain from decal solvents, even weak ones. Future, Klear, Johnson’s, etc, I had heard of what happened here before. Earlier I could not remember the name of the acid in decal solutions, but now do. Acetic acid is the main component in vinegar (4%) and various decal solutions, it’s acidic, but not terribly corrosive in normal concentrations. Ammonia is the opposite, it’s an alkali, if you mix the two together, you get a neutral. Since both are corrosive, they can both affect paint and clears if they are not resilient to them. 1. Microset or sol, relatively mild, good for thin and fragile decals. 2. Mr Mark, definitely stronger than micro, I had really thin old decals start to melt with this stuff, but it’s my go to for HGW. 3. Solvaset, stronger yet, but still safe. now for some not so gentile solutions 4. Tamiya Laquer Thinner, getting dangerous, but good for melting silvering away, but can cause thinner decals to wrinkle permanently. 5. Tamiya Extra Thin, work very well for silvered decals. But very risky, last resort before a repaint. -
Troubles with Klear / Future and Micro Set / Sol
1to1scale replied to DocRob's topic in Hints & Tips
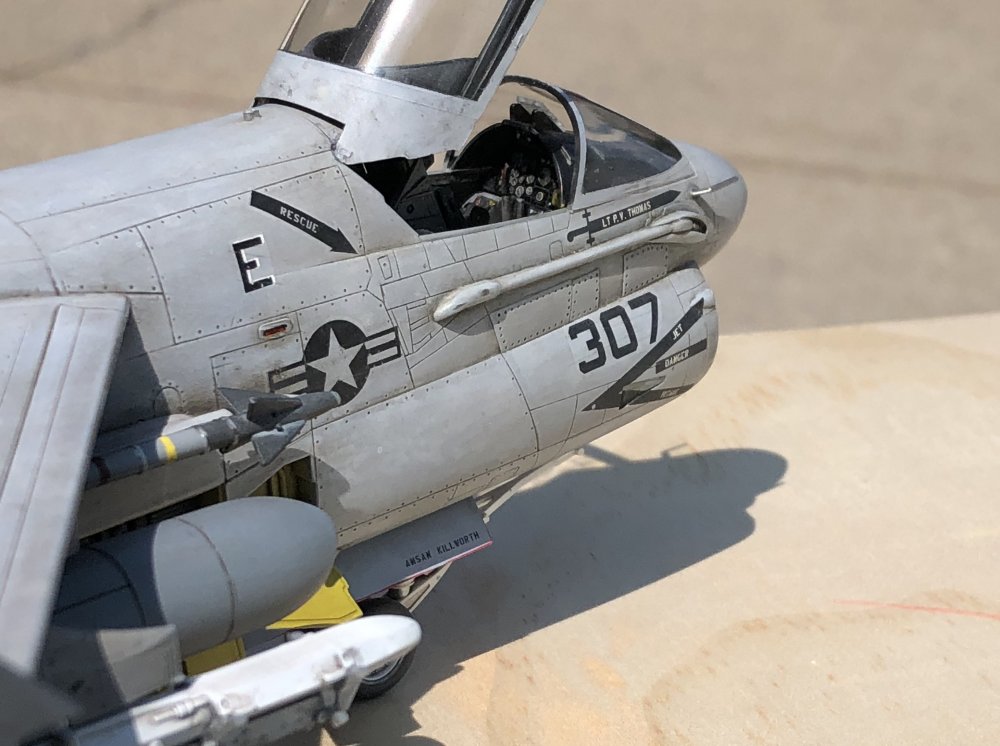
Here is what I would try if it was my model. I have been down this road with six models And I feel your pain. 1. Set it out in the sun for 30-60 minutes and see if there is any change, it may need a little more intense drying, a hair dryer on low might work too. (This worked on my P-51) 2. Spray on a little more diluted clear, see if it re-activates the underlying clear. (Worked on my BF-109) 3. Sand around the decal with fine 2000 sandpaper to get down to the paint, then re-clear. (This worked on my A-7) If it doesn’t work, cry a little. Go pick up a dog toy or stuffed animal and punch or strangle it. Regain your composure, accept that you might need to do some more heavy duty repairs. 4. Try cleaning it with some acrylic airbrush cleaner that is mild, like Madea Airbrush cleaner. Put a little on a cotton swab and rub the area. (On my Mig 15, I was able to remove stuff on top of and some of the clear) 5. Next step is diluted alcohol. (Stripped my Corsair before repainting) 6. Try Windex (diluted ammonia) and be careful where it goes. (Nuclear option, will remove clear, possibly paint too, depending on type, dryness, and thinner in the paint. You might get lucky with lacquer) 7. Lastly, strip the clear off the tail face with 91% iso alcohol. (My f-15 gunze paint wasn’t affected. Will probably strip most anything else except well dried lacquer) 8. Testors decal and paint stripper or oven cleaner, then Repaint. -
Troubles with Klear / Future and Micro Set / Sol
1to1scale replied to DocRob's topic in Hints & Tips
I have seen this issue before, which is why I never use it, except on the wood floors in my house. Here is the issue I see, floor products are very tough and clear, but are designed to be stripped off. Ammonia will strip them, along with some other mild acids and alcohol as well. Some of the active ingredients in decal solutions are mild acids and alcohols, which probably affected the clear. It’s possible it might dry up, but I suspect that the issue goes down through it. You probably have the right idea that a strip and respray is in order, but don’t start with That option. Try spraying a little bit of the clear back over it, and see what happens. -
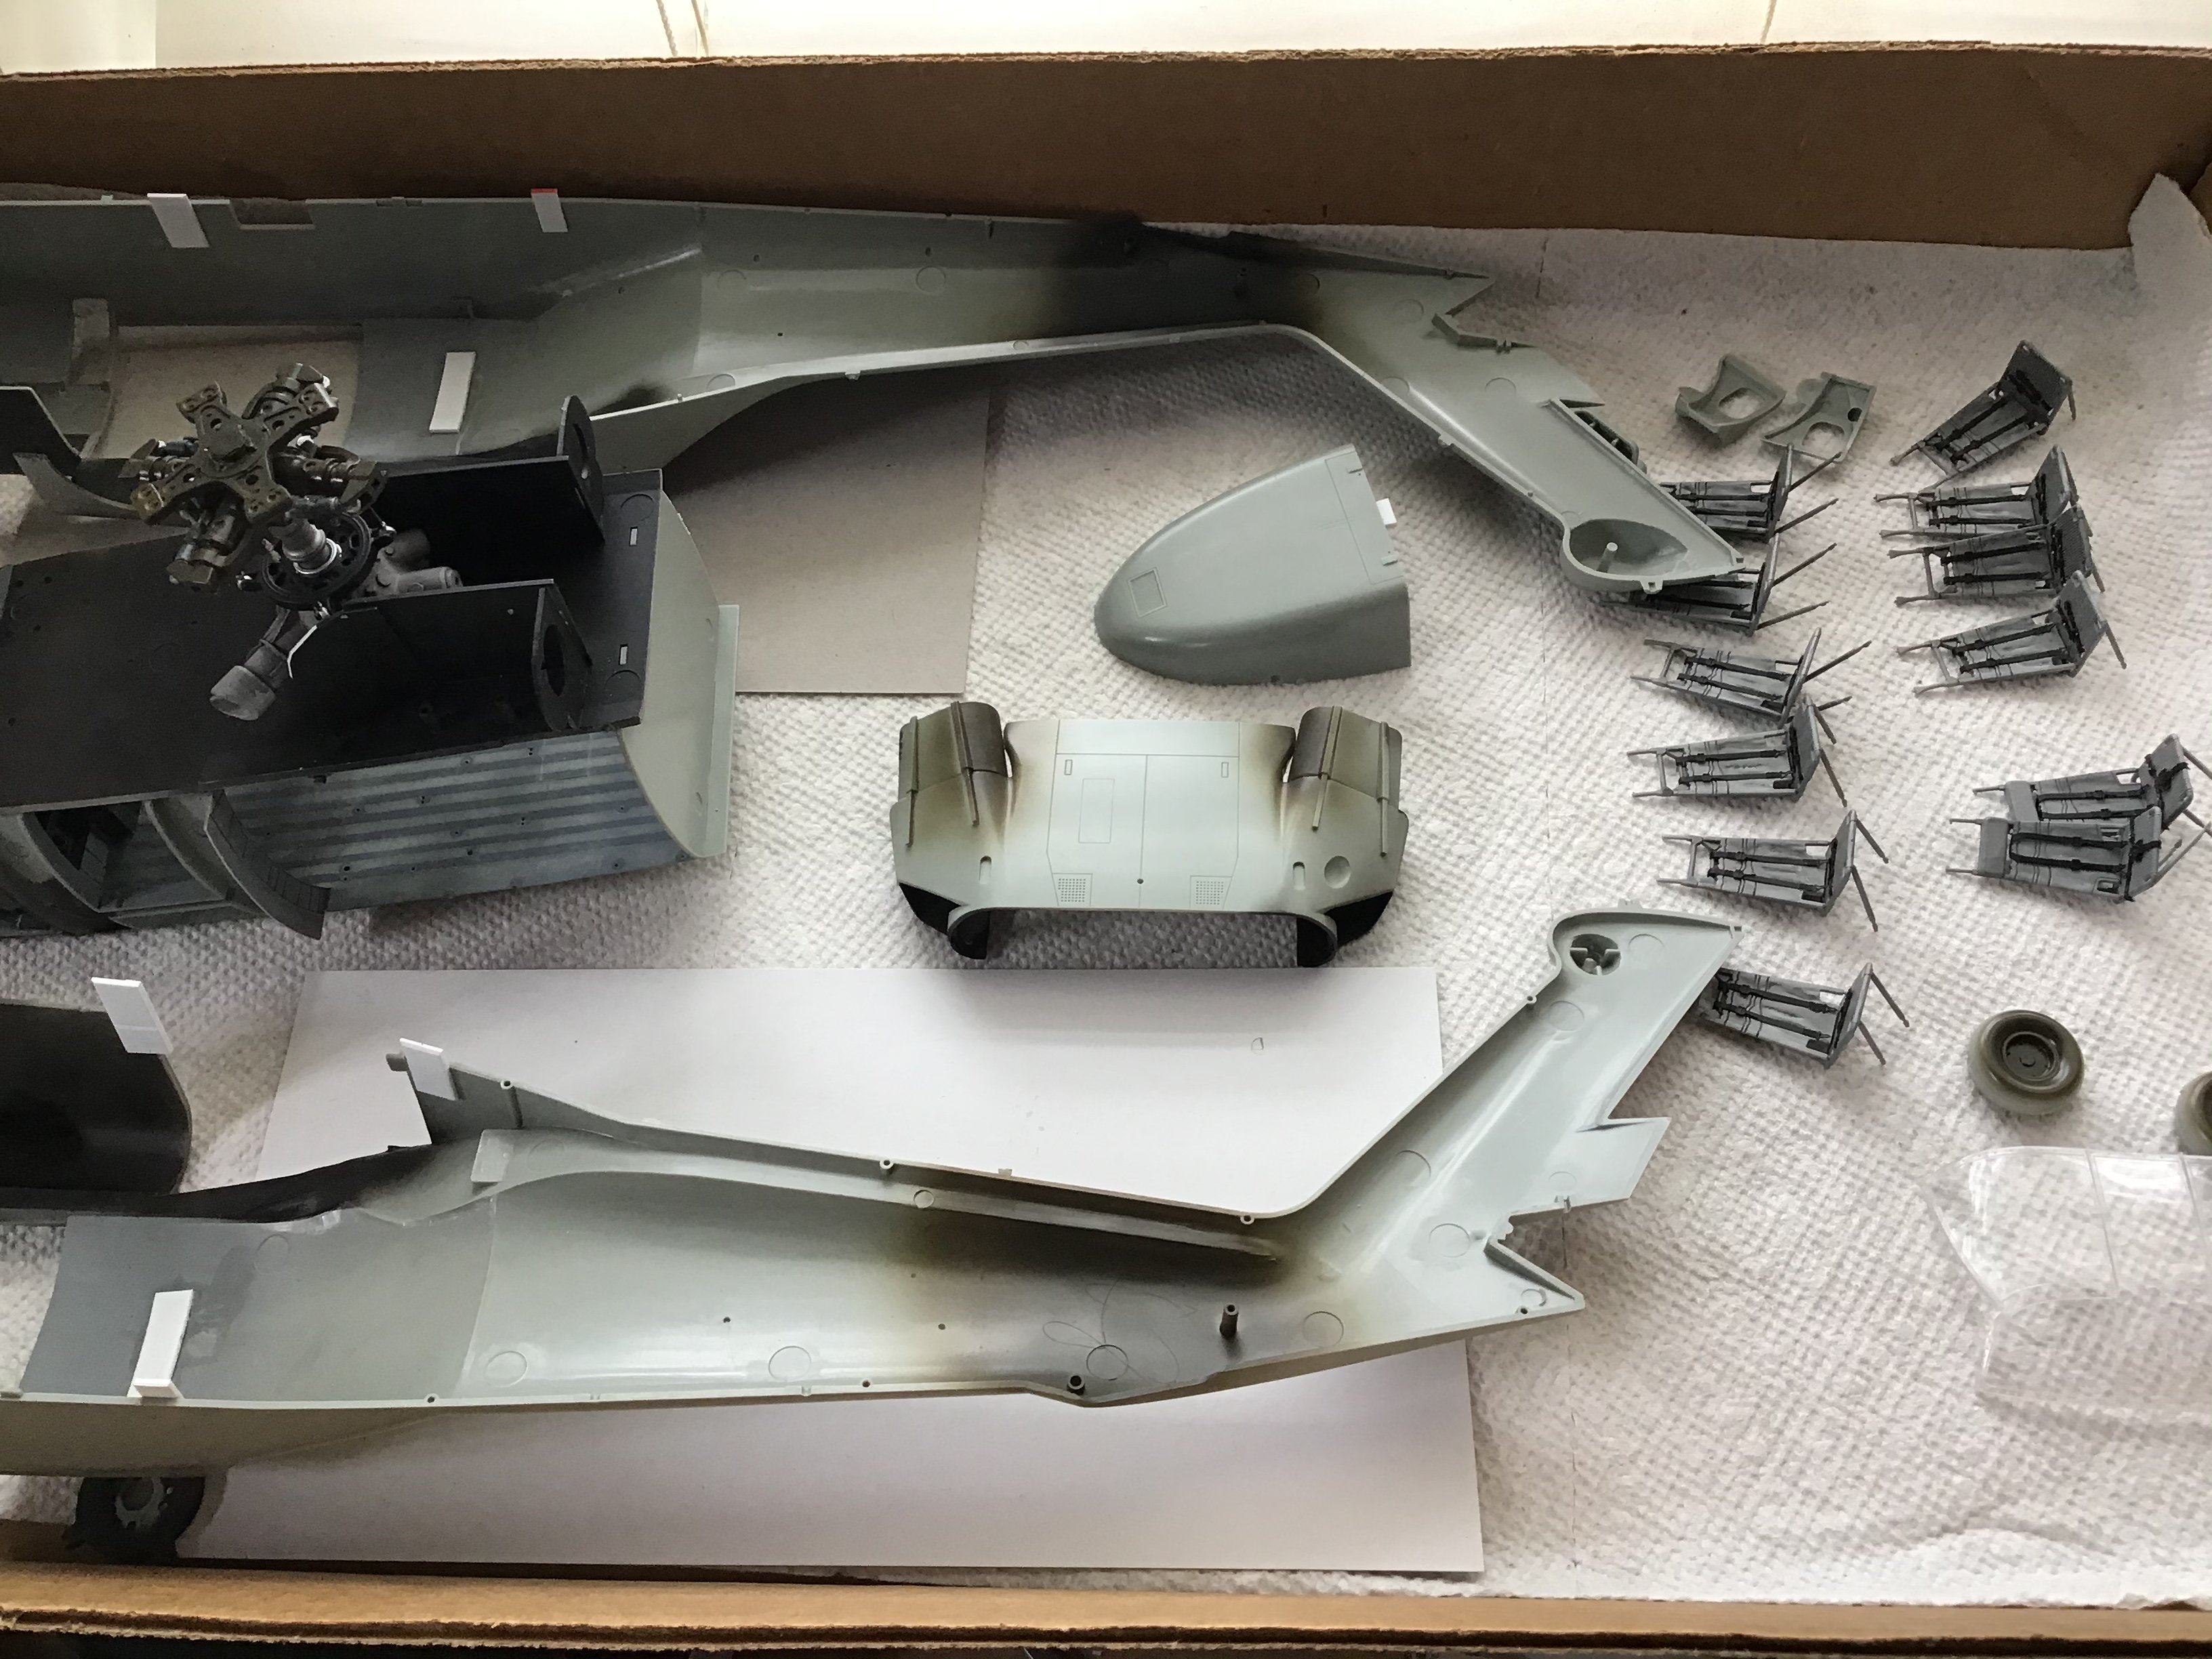
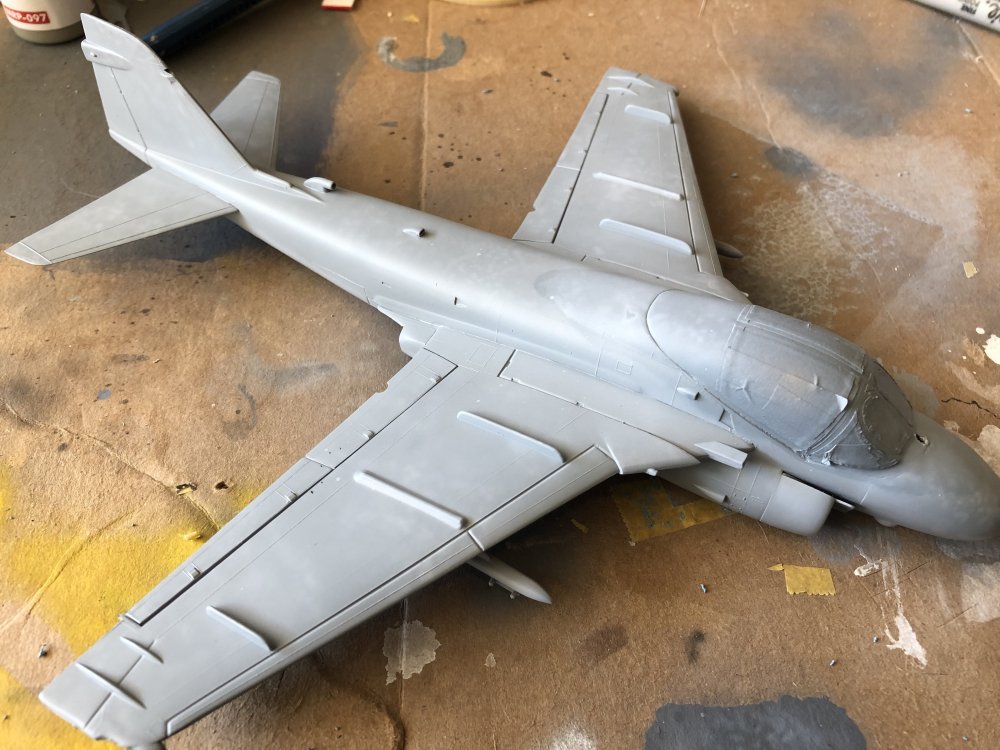
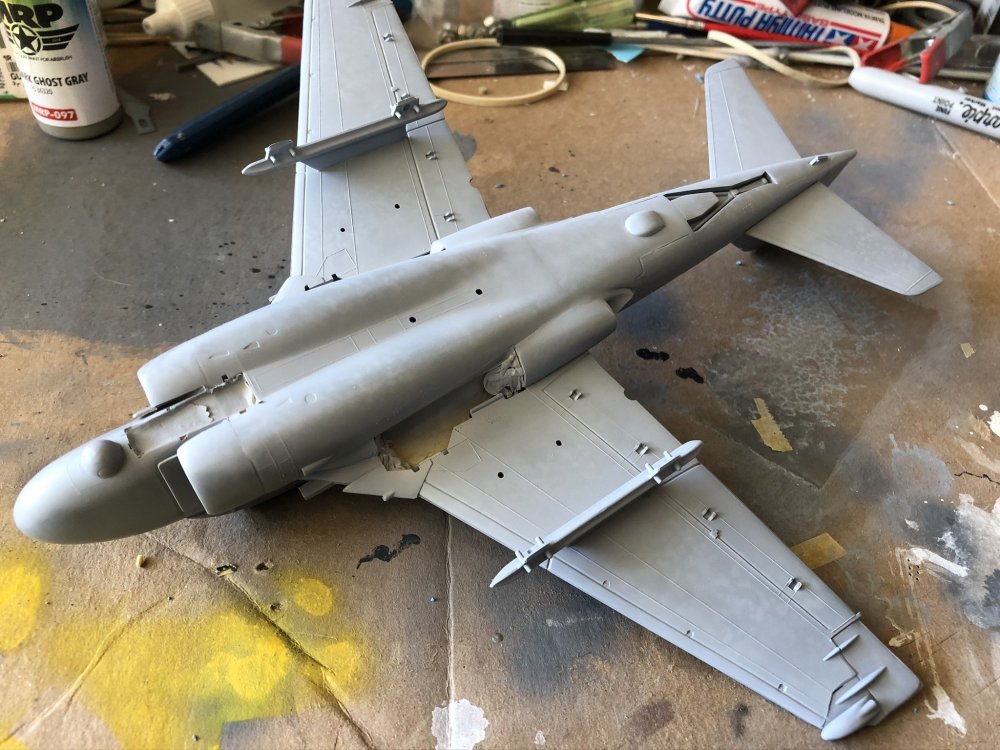
Thanks, this kit is a nightmare, poor fit and major misalignment everywhere. To top it off, academy has chosen to to as few alignment pins and tabs as possible. I have had to add quite a few extra alignment tabs myself. I almost feel like this is a vac kit. The gunner station support walls don’t come close to the fuselage in the rear, but butt up to it in the front, so I hade to make fabricated plastic sheet ends to mate it up. The seats are a study in fragile assembly. They could have made them 100% better by including pins instead of butt joints everywhere. And then, when you finally get the interior floor and ceiling glued together, you have hang the seats from little hooks in the ceiling and attach the fragile legs to the floor, to imaginary locating holes that don’t exist...at least not even close to where they should be. There is no way this will ever be a show entry, there is so much wrong that you have to cut your losses and just get it finished so the SOD has one less casualty. This kit has gone from fun to a challenge, the only thing keeping me going is that it will end up in the hands of a TN Guard pilot. ok, I’m done with my Saturday morning rant.
-
I saw what they had, none of it called to me, so I didn’t even try. Funny thing,I suspect the Felixstowes will drop like Slim Pickens and will be me the least valuable Wingnut kit eventually, as people are probably buying these as investments, but few will ever get built (and finished). To my recollection, I have only ever seen two built, and one in person. Ern had the big cojones to take on and finish one of the best ever, but even those that get started will probably never see an end, these things are so huge.

-
Sub assembly nightmare.

-
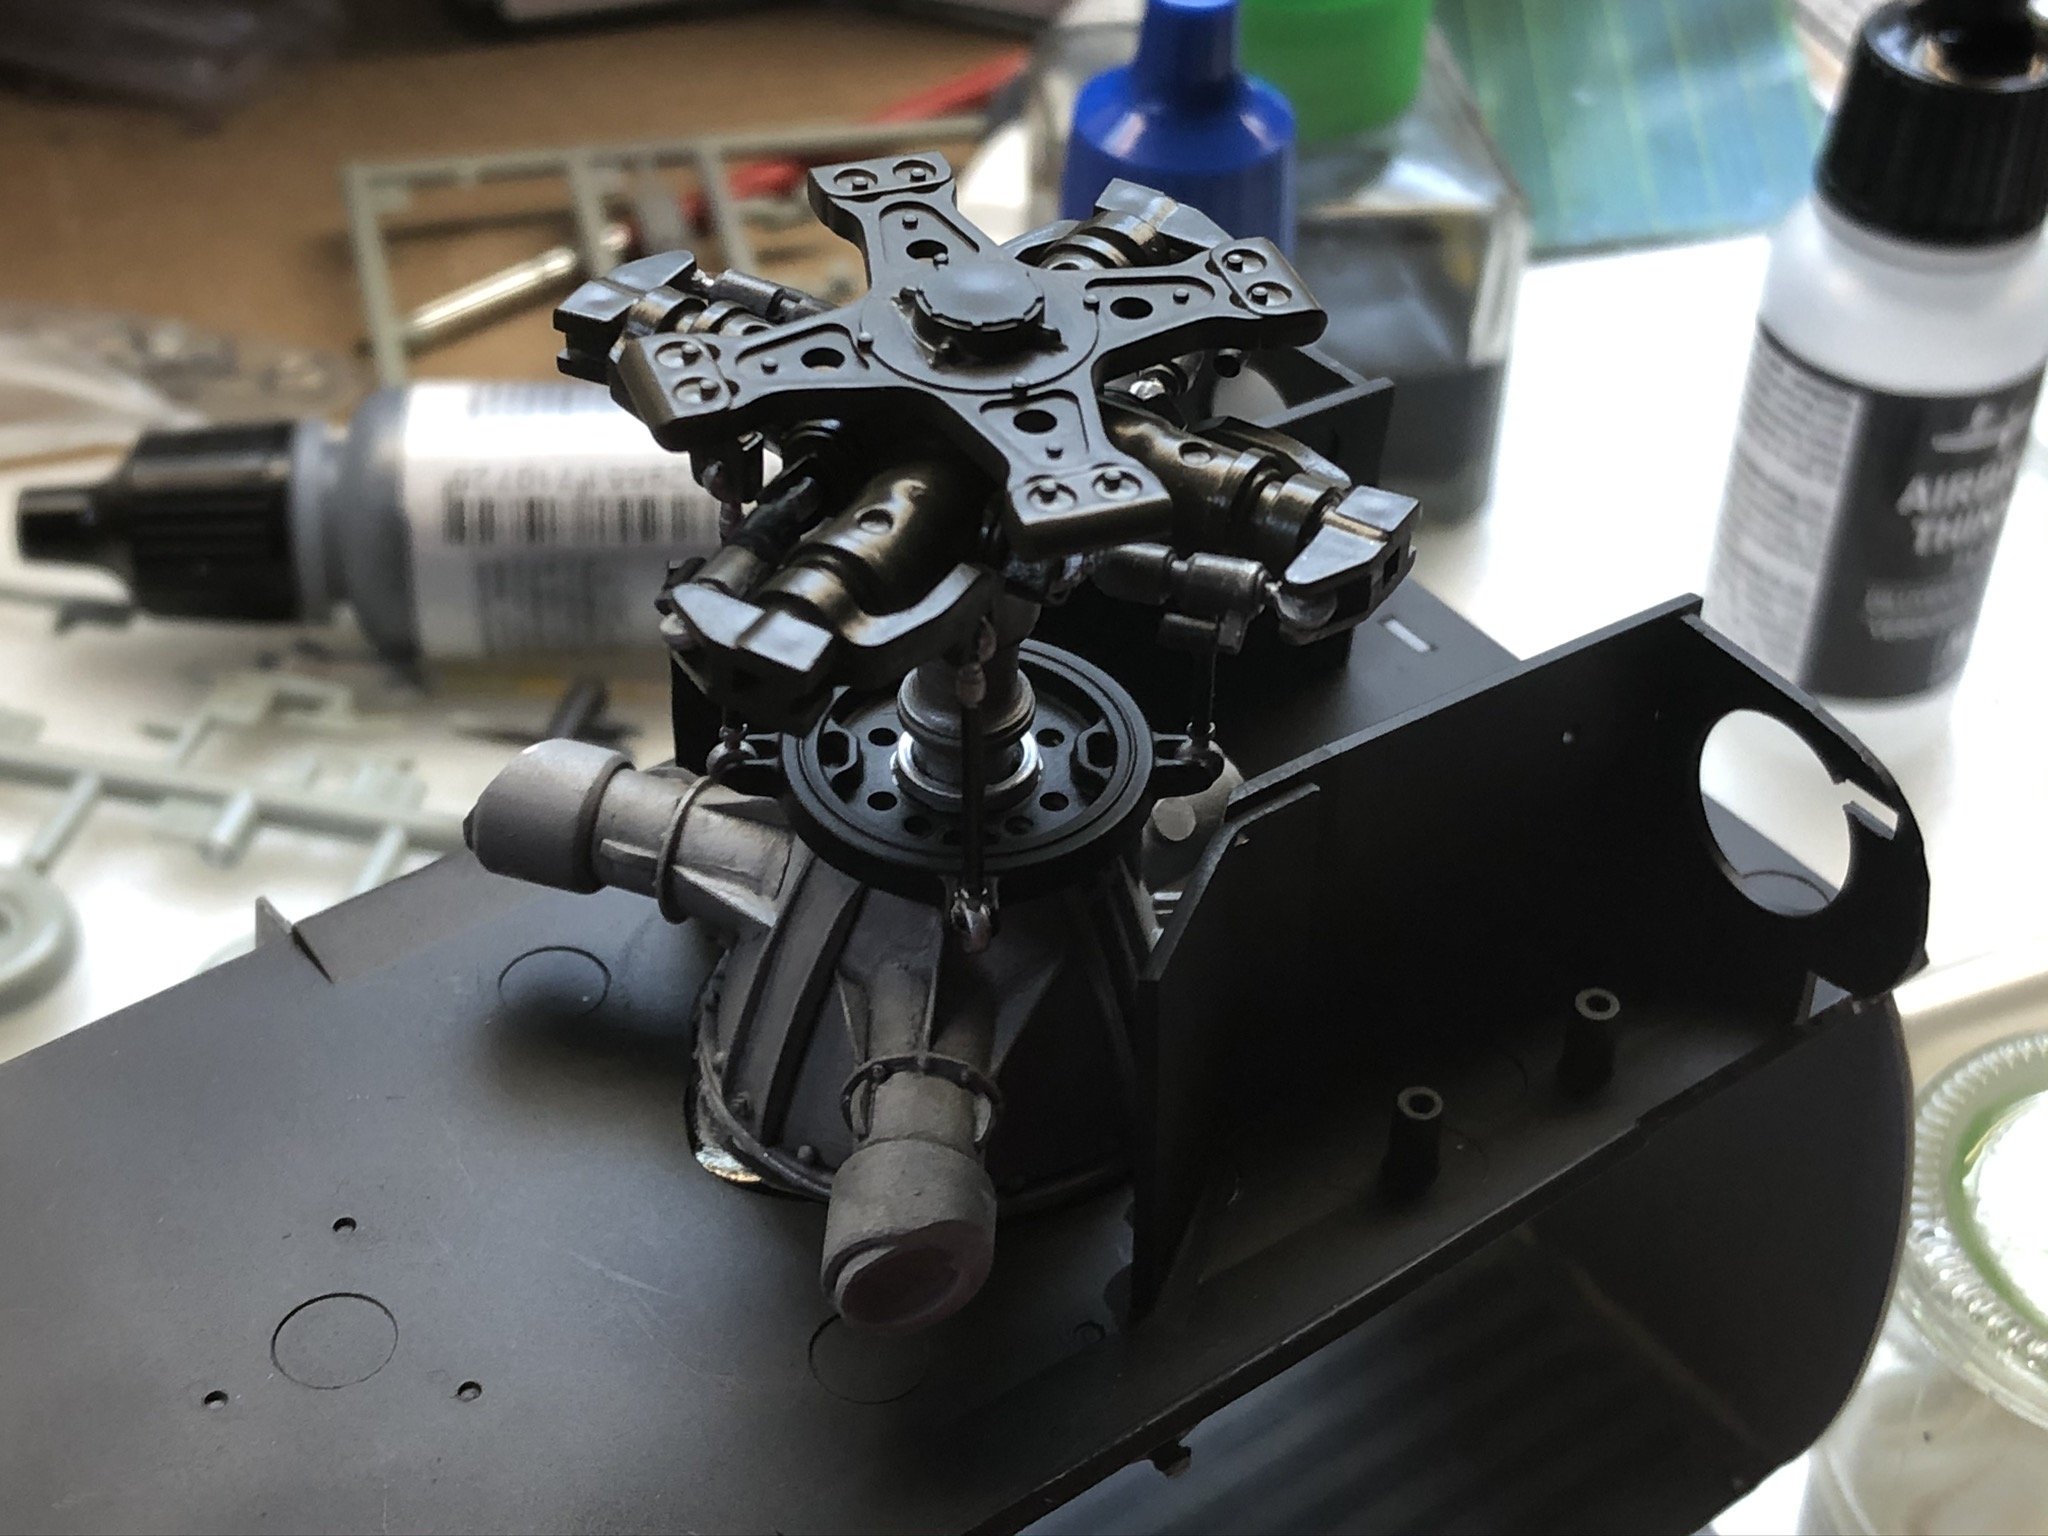
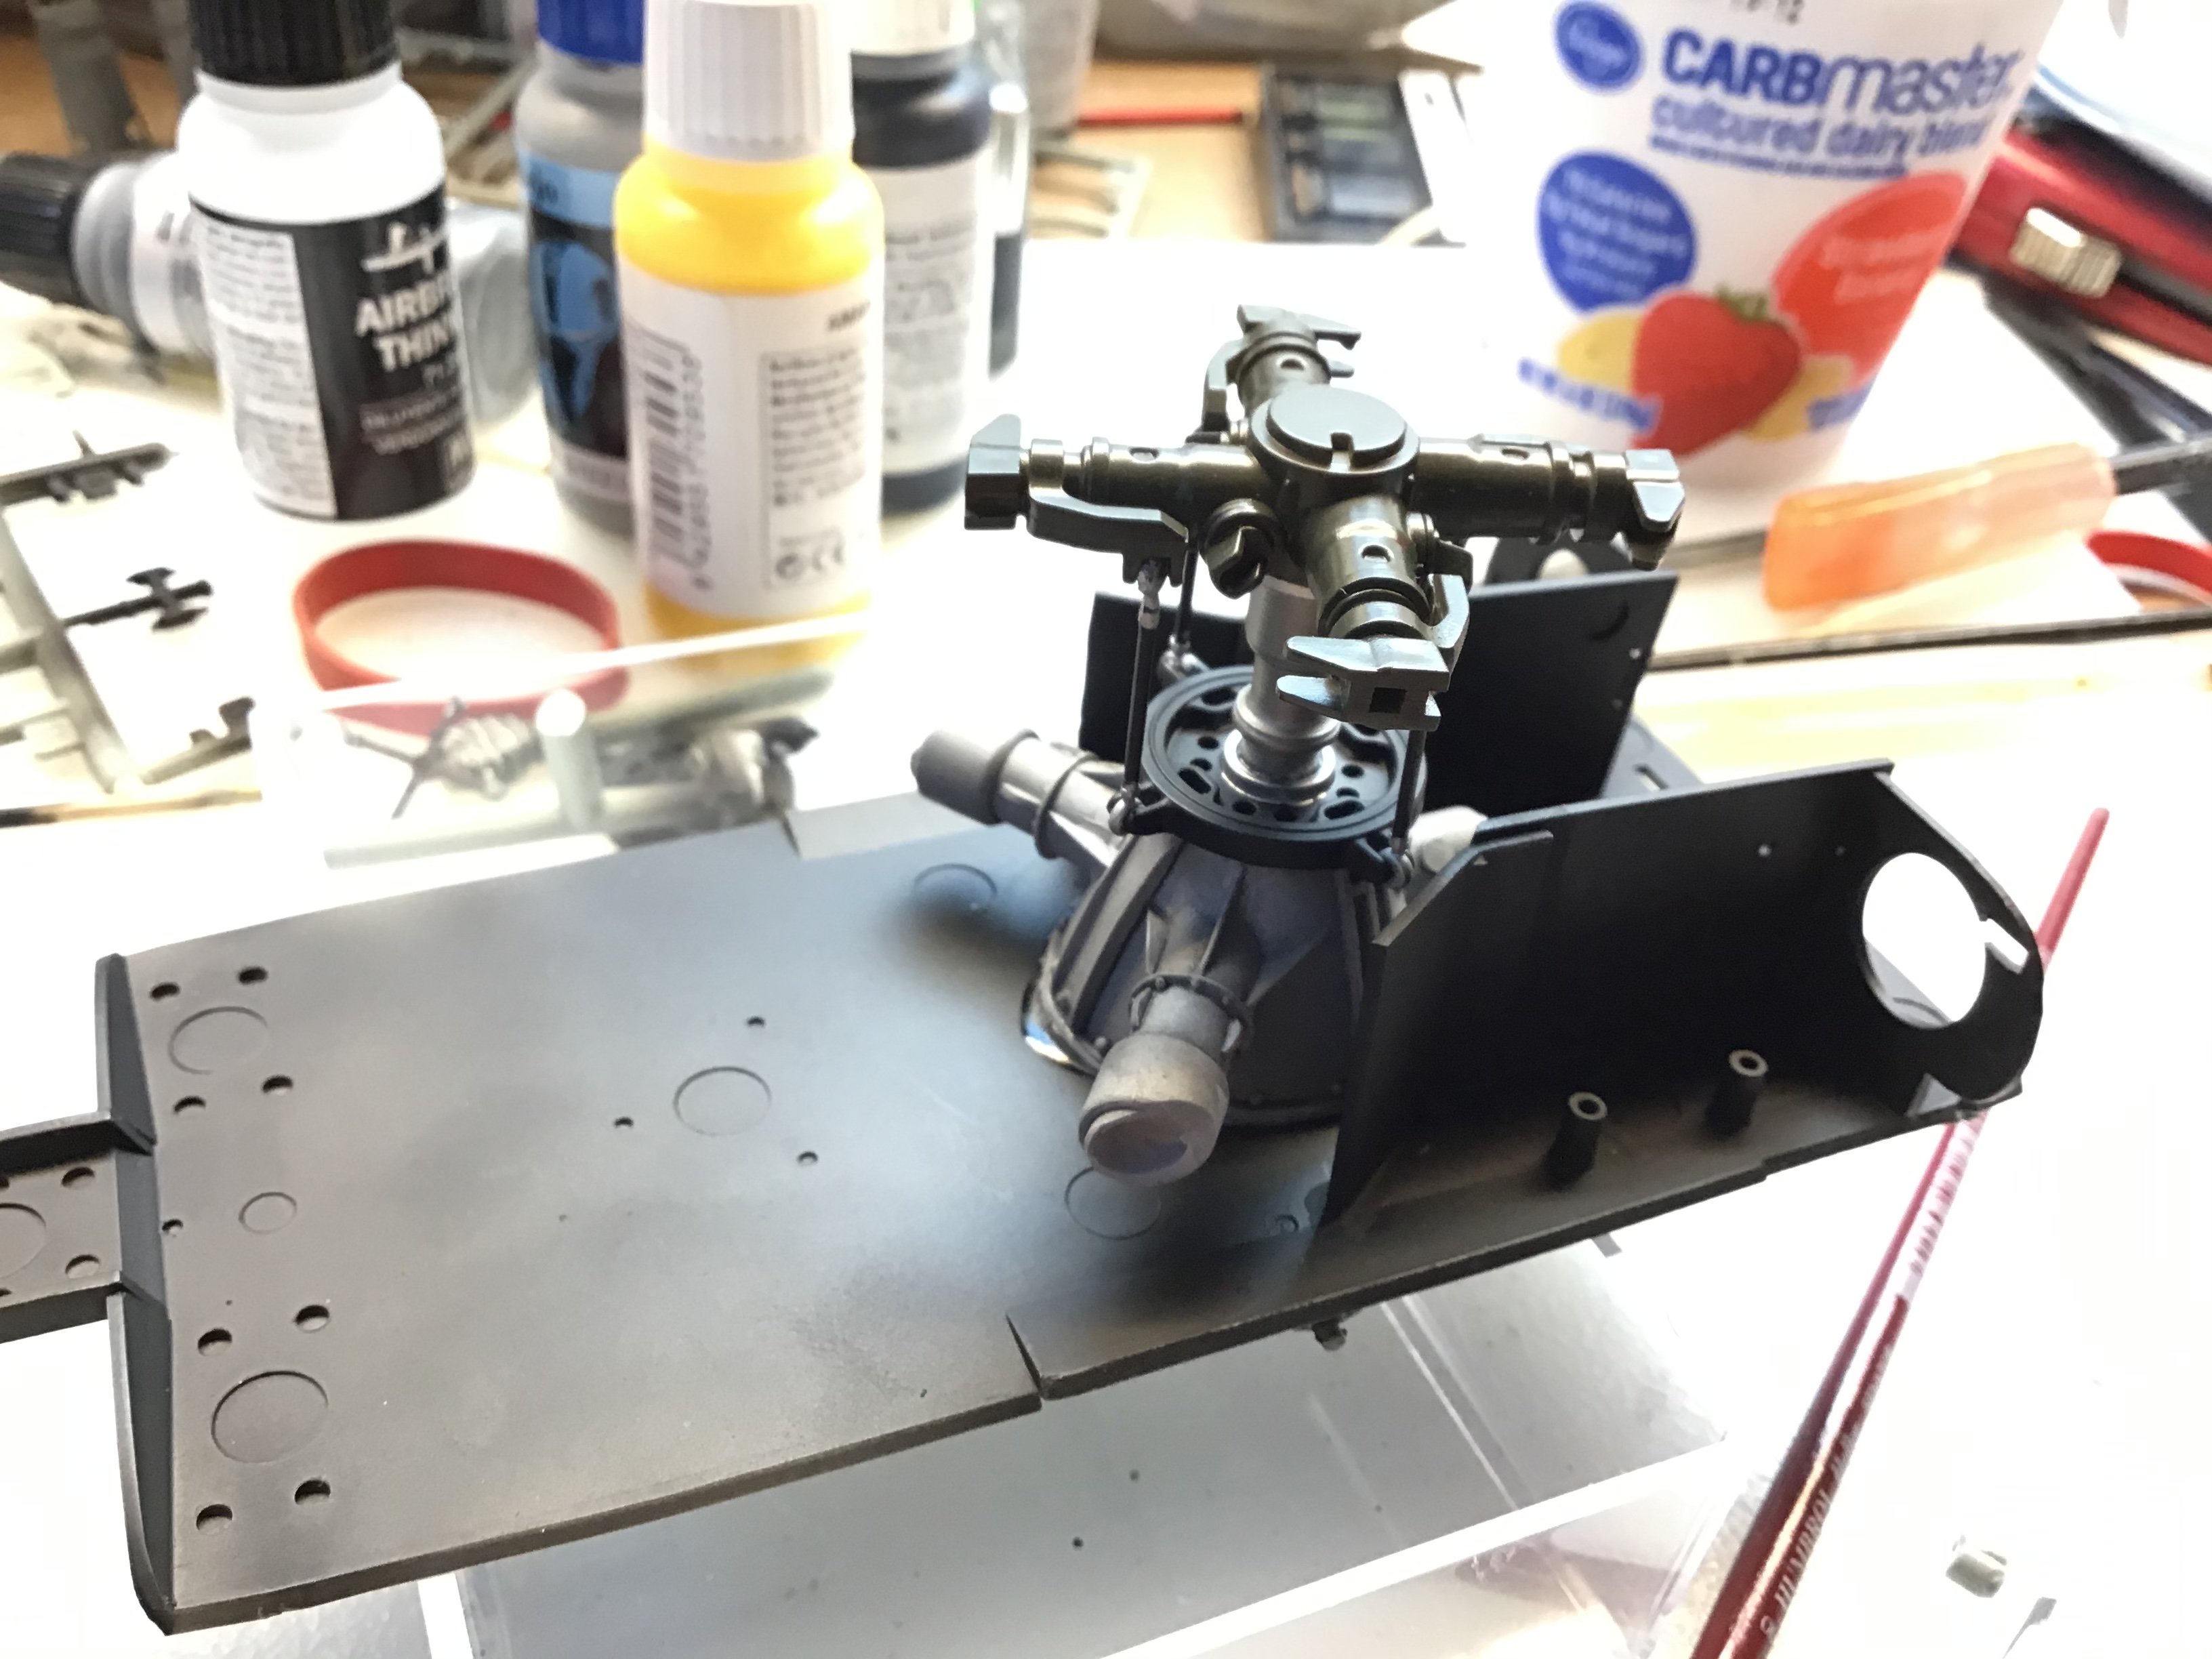
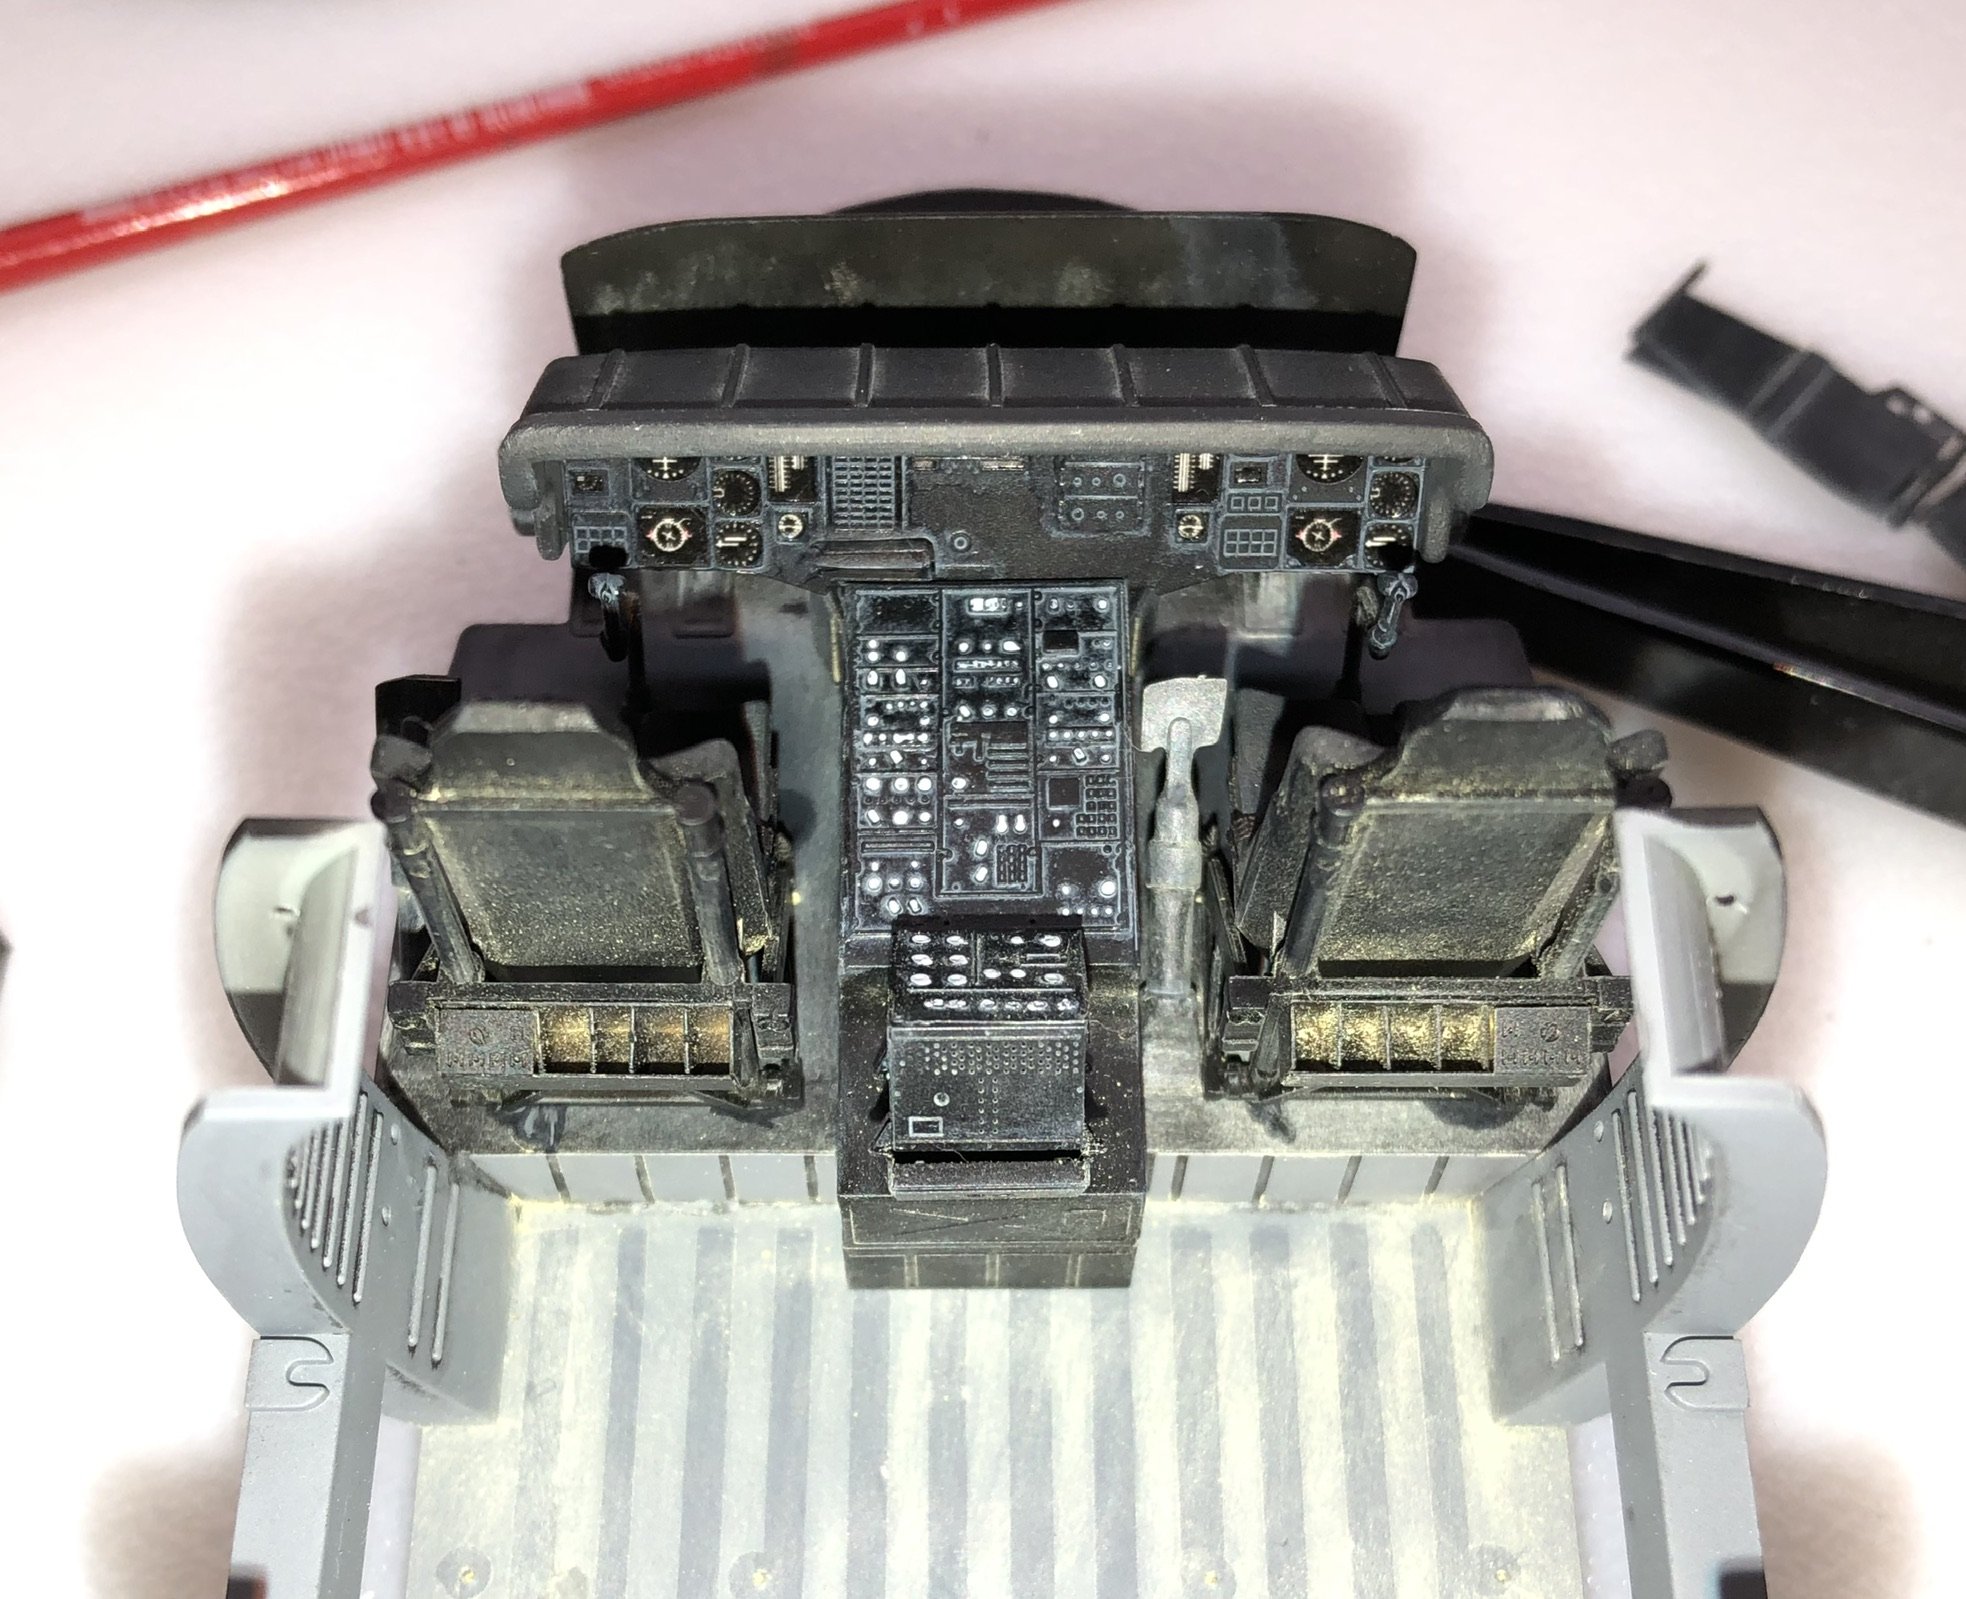
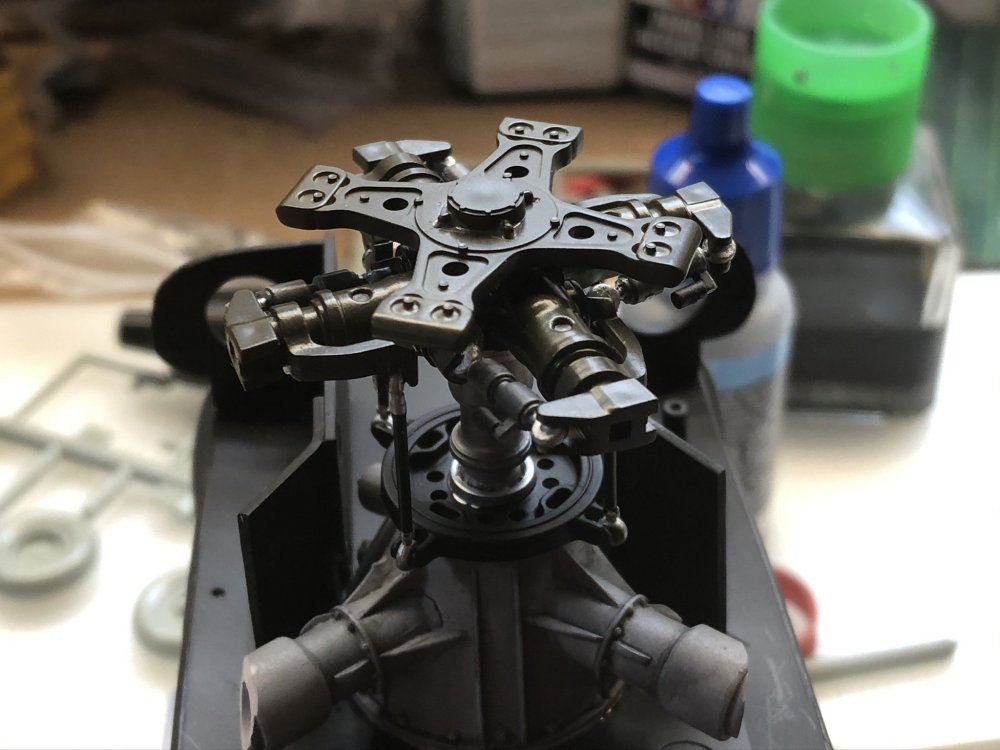
Looks like I need to do some touch ups still. I also got the rotor head assembled, not super accurate, but I tried to get the colors right...and the new resin transmission helps a lot. I researched the colors to make sure, but I have a few pictures that show the components are painted Helo Drab. Still need to weather it up.


-
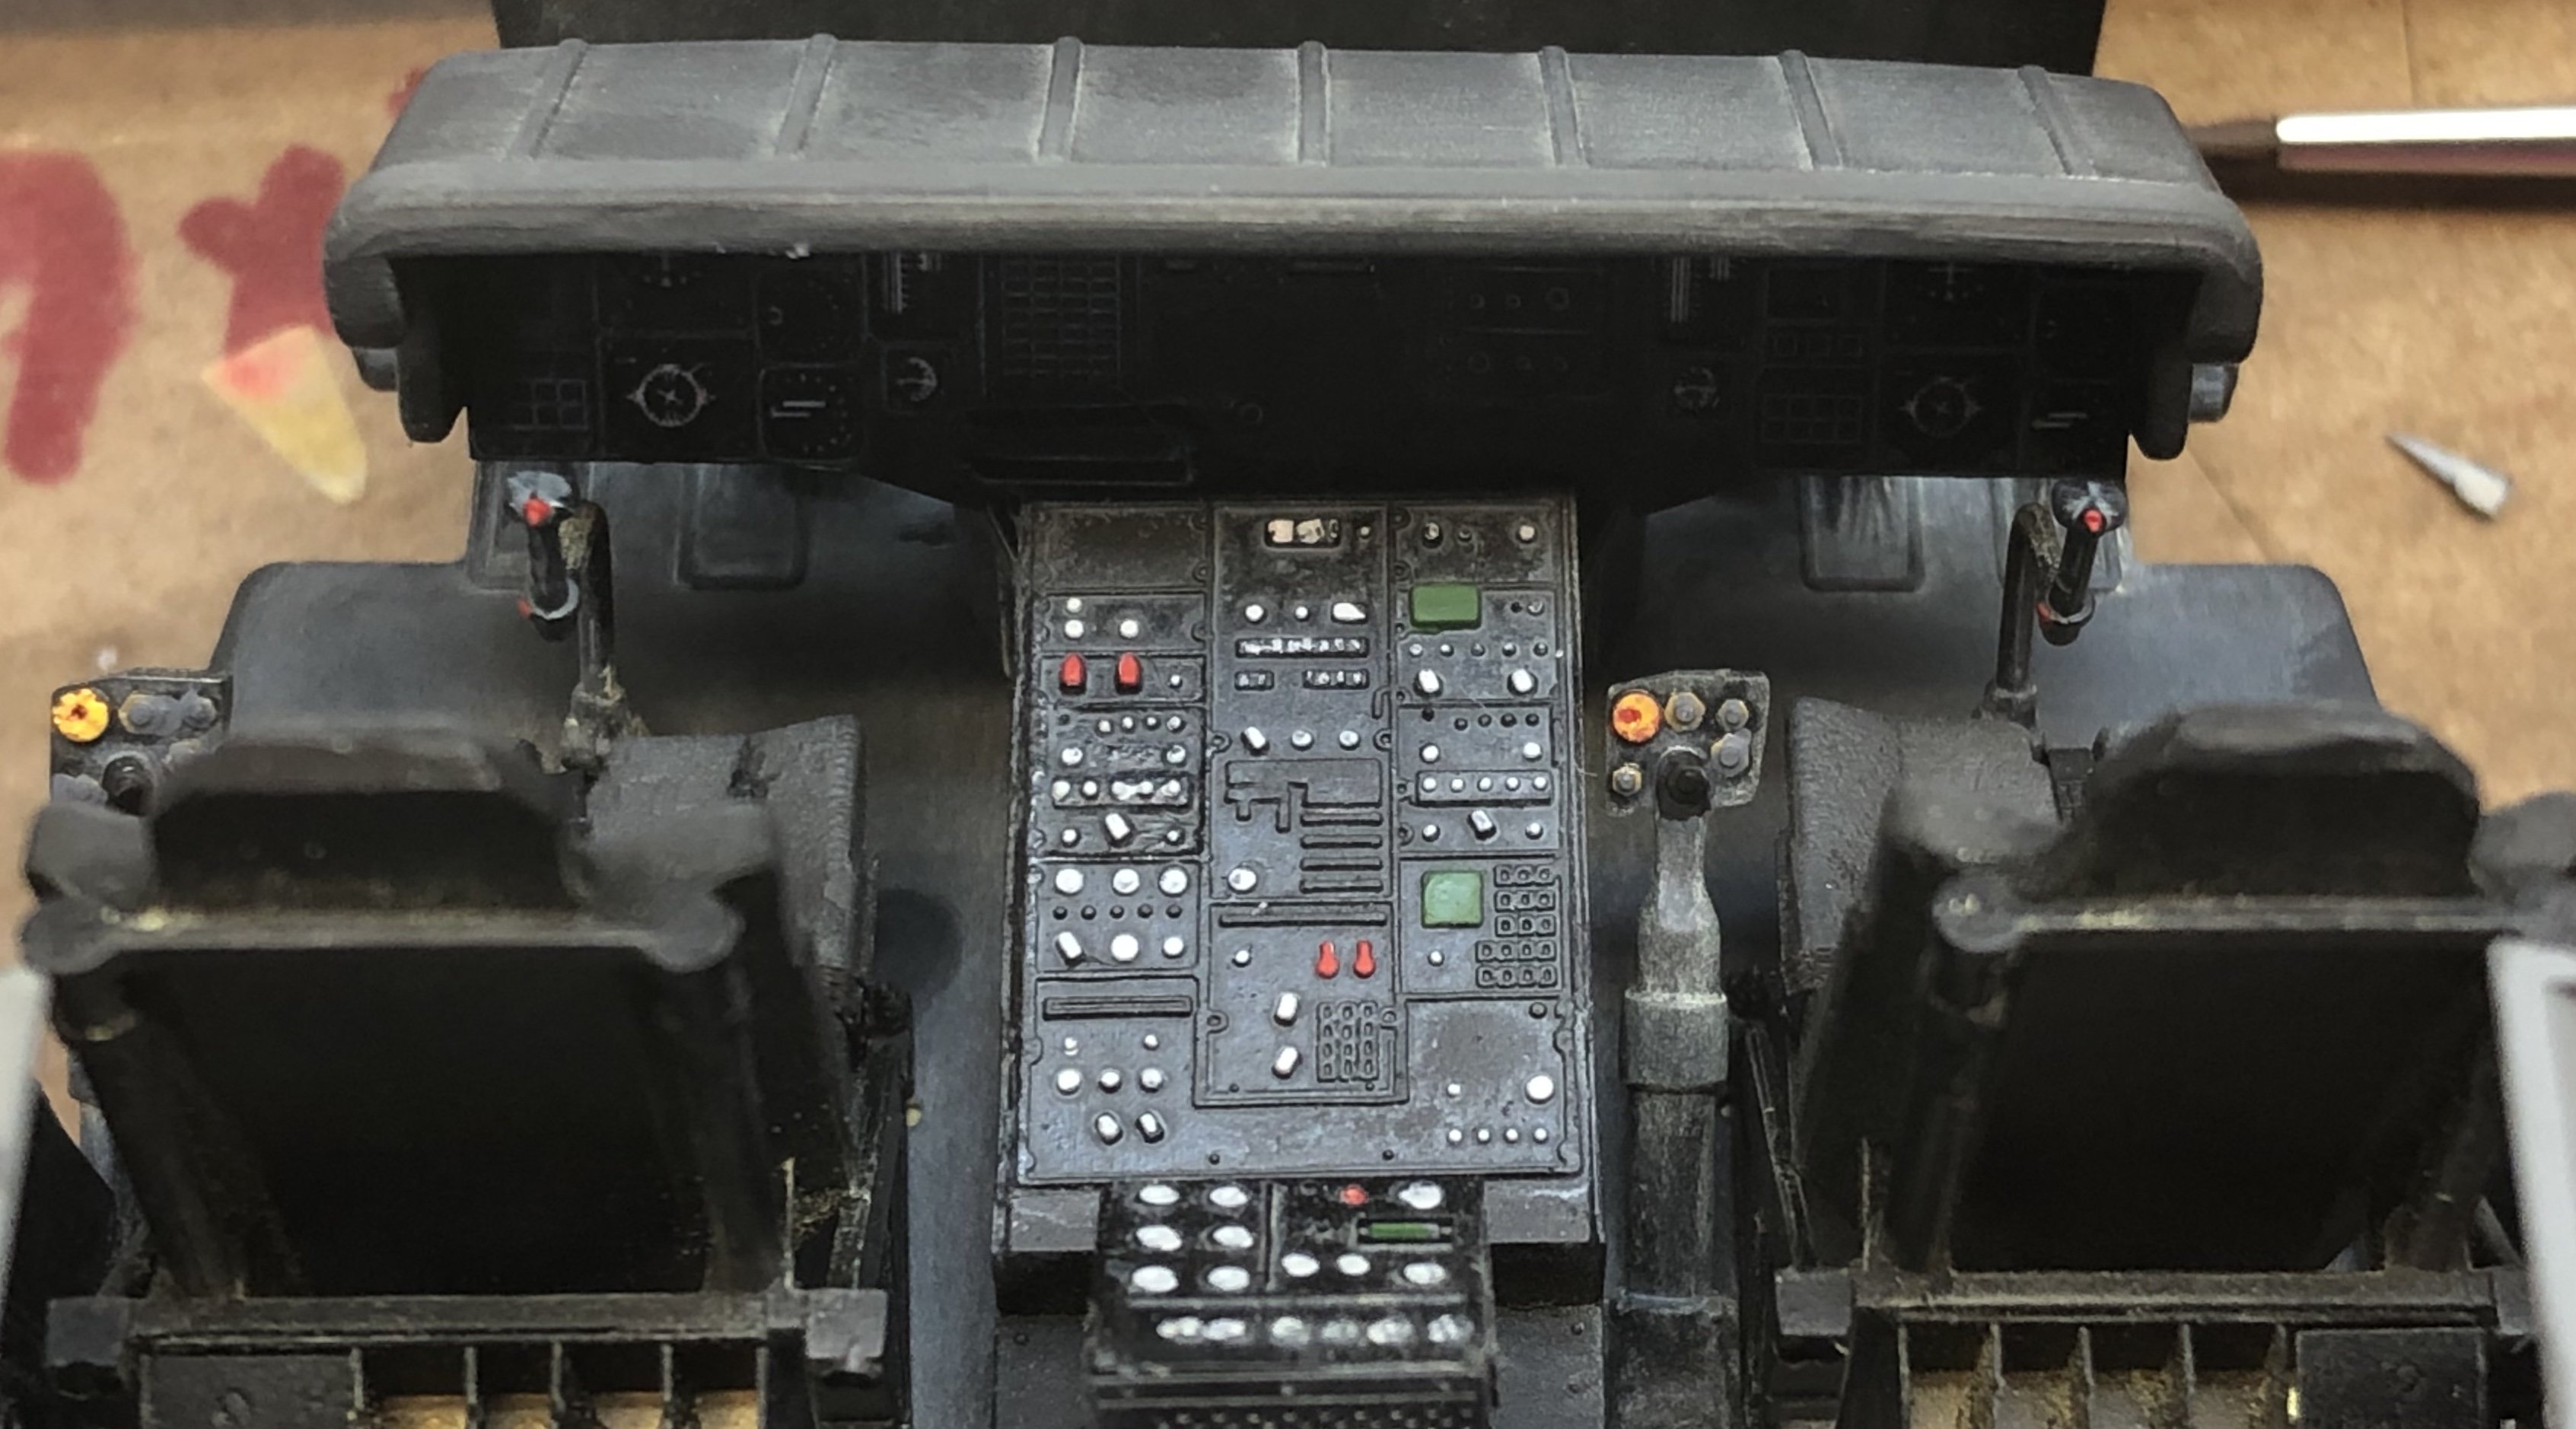
Adding switches to the blank collectives, right side done.

-
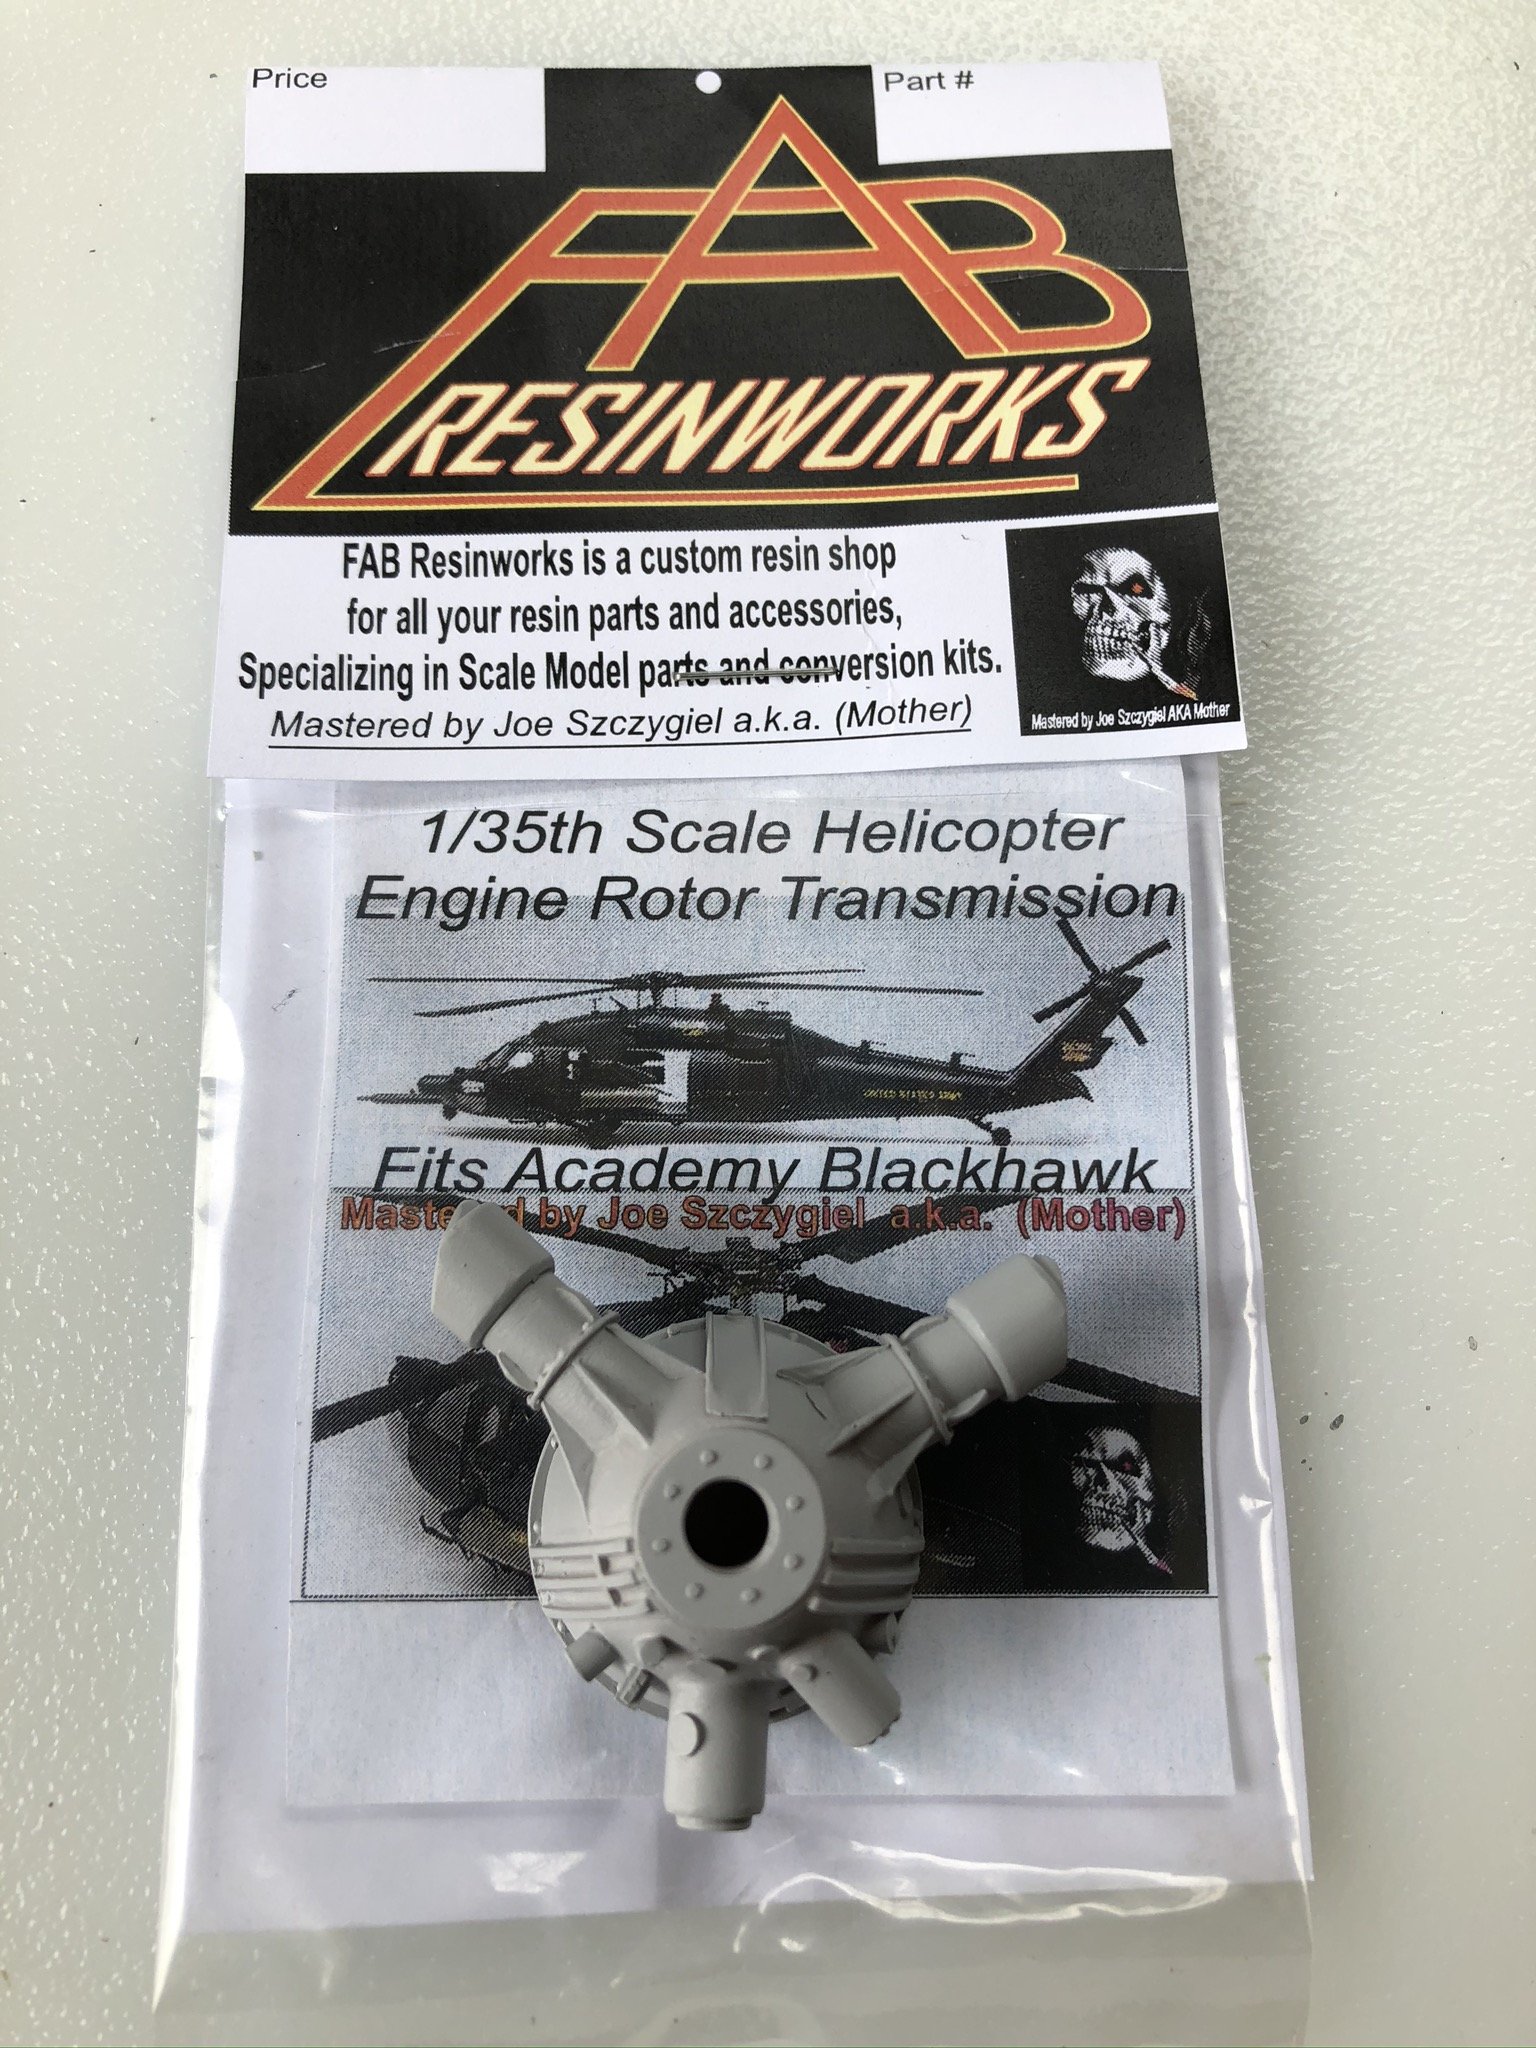
New transmission.

-
I found this little gem on eBay, if I find them for sale again, I’m going to pick up two more. These fit perfect, no sanding, no flash, nothing, ready to install.

-
As far as getting masking out of panel lines, I rubbed with my fingers, used white tac, masking tape, and an old paintbrush cut about 1/8 from the ferrule so it’s a little scrub brush.
-
Thanks guys, since everything is 4 shades of black and dark gray, I had to use the flash....and it greatly exaggerated the pigment dust. I’m probably going to have to add detail to the collectives, as they look terrible as-is.
-
I approve! Great work!
-
Some paint and weathering done.

-
I do like vinyl masks for General fuselage masking, but I agree they don’t like to stick to clear plastic. Another issue, and what I suspect here, they tend to shrink and expand with heat, cold, age.
-
It’s your thread, you can post most anything you want. No worries. I just ordered the Stewart too, I can’t wait to open the box and check it out.
-
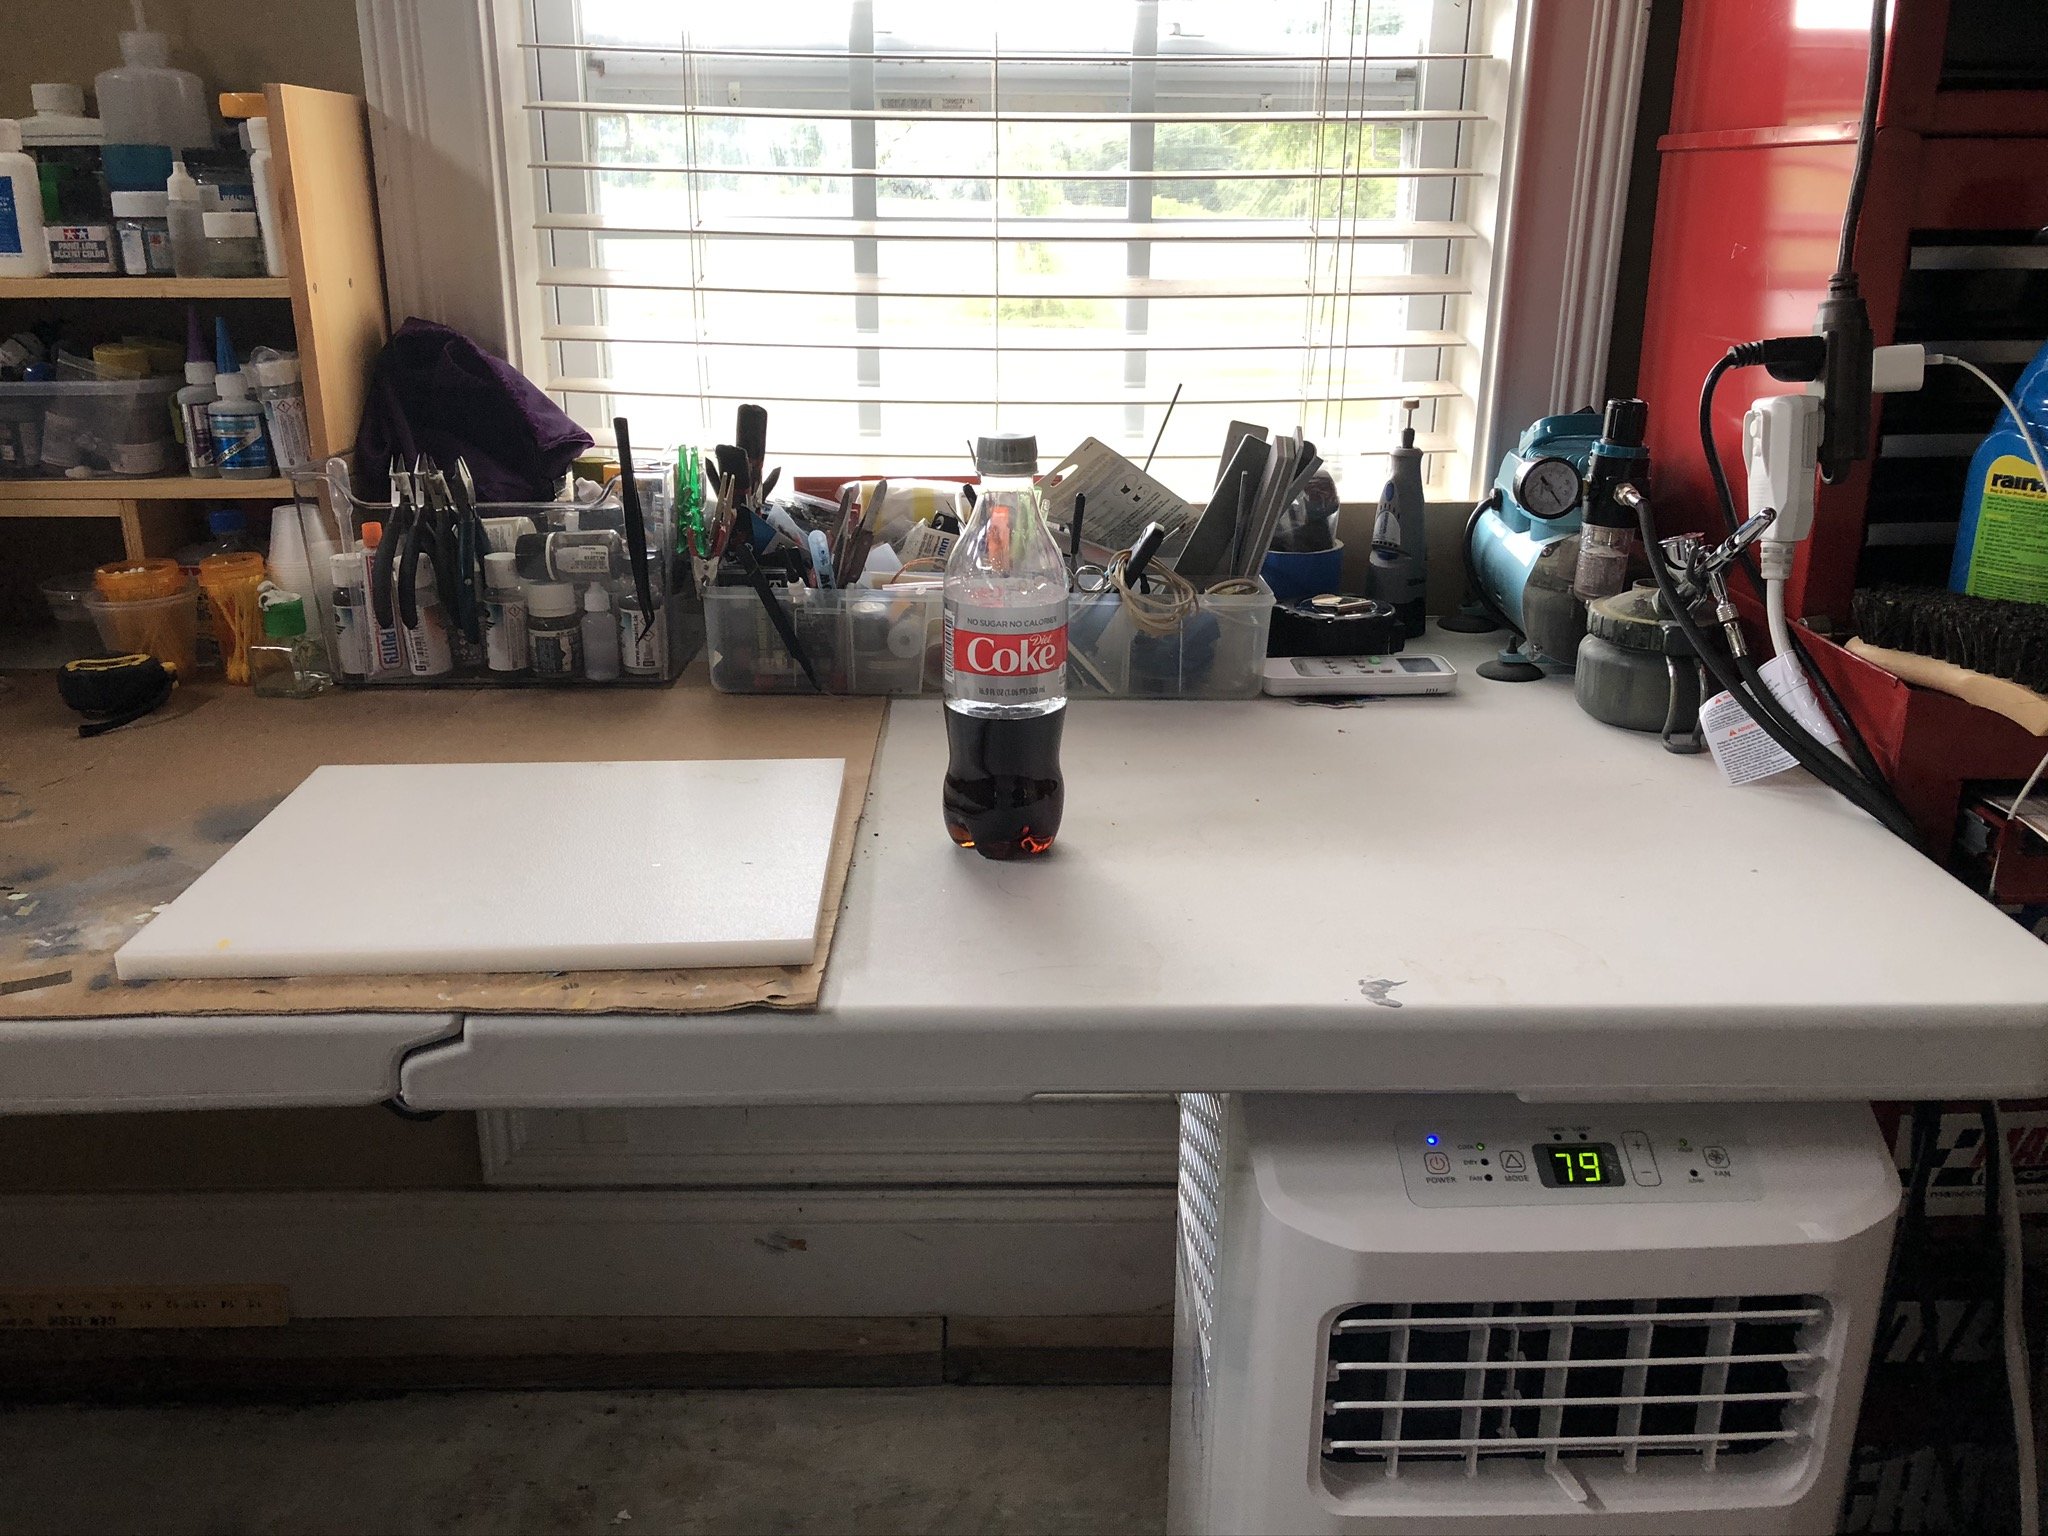
What is on your bench right now ? Share a picture :)
1to1scale replied to Martinnfb's topic in Modelling Discussion
For me it’s not what’s on my bench, but what is under it... Considering it’s been in the mid to high 90’s with heat indexes over 100, I begged my wife to let me buy an air conditioner for the garage. I also relocated my bench so I have natural outside light and much closer to the A/c unit.
-
I may be able to help you, i have the test manual from the BF-110 that was brought to the US after WW2 in 1946. I believe it was written by Rockwell. They did a thorough evaluation, both flight and systems. If there is some specific information you need, I may be able to make some scans for you. It’s mostly charts and text, a few line drawings too, it a few hundred pages. if you are looking at more of a visual book, David Doyle publishes a Legends of Warfare series that has quite a few images, it’s about the best there is. Squadron did a walk around book years ago, but checking on Amazon, it does not appear to be available right now either new or used. I do agree with you, the information on BF-110 is rather scarce, especially photos.
-
This was a commission build, but the people backed out, so I am building it for myself. After finishing the A-7E, I decided to start working on this again. I collected a few bits and bobs like PE, a resin transmission, and a mask set. Back to it...

-
1/48 Hasegawa A-7E VF-46 Clansmen. Completed!
1to1scale replied to 1to1scale's topic in Non LSM 'WIP
Thank you. After all the obstacles, I ended up with something 90% the way I envisioned. I hope the new owner will be happy with it. I plan on taking some better pics tomorrow, I just need to get a nice base to take pictures on. -
1/48 Hasegawa A-7E VF-46 Clansmen. Completed!
1to1scale replied to 1to1scale's topic in Non LSM 'WIP
Finally done, the only thing I have left is to glue the tail pieces on.