JohnB
-
Posts
7,206 -
Joined
-
Last visited
Content Type
Profiles
Forums
Events
Gallery
Everything posted by JohnB
-
I plan as close to the picture as possible but we will see.
-
As I said, this is a between builds build. Something to work on while awaiting my next project which I plan to be the Hobby Craft P-51 as soon as I can snag a Vector cockpit at a reasonable price (ebay prices are over $100 and very high shipping. No way Jose"!). I got one from Canada but it was still pricey. At any rate, I'll work on this Trumpeter F4U-4 (even with the crappy cockpit since I couldn't find a Grand Phoenix cockpit set at a good price) which I plan to do as one seen put out to pasture some years ago. Happily it has been restored to flying condition, etc. Anyway, as y'all know, I like to keep busy with something so for now this will do. I'll set it aside in a bit and come back to it as time permits. 😀


- 62 replies
-
- 10
-

-
I wonder what they have been smoking! 🤪
-

Revell Spitfire Mk II completed
JohnB replied to JohnB's topic in LSM 1/32 and Larger Aircraft Ready for Inspection
Thank you! 😀 -
Revell P-51D "Short Fuse" finished
JohnB replied to JohnB's topic in LSM 1/32 and Larger Aircraft Ready for Inspection
Thank you MARU. Very much appreciated. -
Good luck Peter!!!! 🤞
-
That a good approach as long as the inserted piece doesn't push the break wider. Thick CA gel and NOT any thin stuff is the main thing.
-
I feel for you Peter. It has to be very aggravating. Hang in there as I'm confident you will overcome the problem. I still think some thick CA gel applied to the length of the crack would be a big help.
-
Revell Spitfire Mk II completed
JohnB replied to JohnB's topic in LSM 1/32 and Larger Aircraft Ready for Inspection
Thank you Hubert. -
Revell Spitfire Mk II completed
JohnB replied to JohnB's topic in LSM 1/32 and Larger Aircraft Ready for Inspection
Thanks Ernie! The kit does leave some things to be desired but it is what it is. Not a BAD kit but it could be better. -
Revell Spitfire Mk II completed
JohnB replied to JohnB's topic in LSM 1/32 and Larger Aircraft Ready for Inspection
LOL Gaz. Not outside the realm of possibilities! -
Revell Spitfire Mk II completed
JohnB replied to JohnB's topic in LSM 1/32 and Larger Aircraft Ready for Inspection
Thanks. I used thin black stripe decals I got from MicroScale a while back. They have several sizes. -
Revell Spitfire Mk II completed
JohnB replied to JohnB's topic in LSM 1/32 and Larger Aircraft Ready for Inspection
Thank you Martin! -
The more I think about it Peter the more I think drilling a small hole might be a good thing. Just to be sure.
-
I wouldn't think so Peter as the CA should prevent that. You can if you want to but I really don't see the need unless you just want the extra hold.
-
I'd carefully clean up the area around the crack using some Alclad Airbrush Cleaner on a Q-tip. Then lay in enough Zap Gel CA to cover the crack then put a drop of Zip Kicker on it. That way you can sand it out without having to wait for the gel to set up. You should then have a strong "fix" to work with. Works for me!
-
Revell Spitfire Mk II completed
JohnB replied to JohnB's topic in LSM 1/32 and Larger Aircraft Ready for Inspection
Thanks Peter. I appreciate that. -
Revell Spitfire Mk II completed
JohnB replied to JohnB's topic in LSM 1/32 and Larger Aircraft Ready for Inspection
Thanks Dennis!!! 😀 -
Revell Spitfire Mk II completed
JohnB replied to JohnB's topic in LSM 1/32 and Larger Aircraft Ready for Inspection
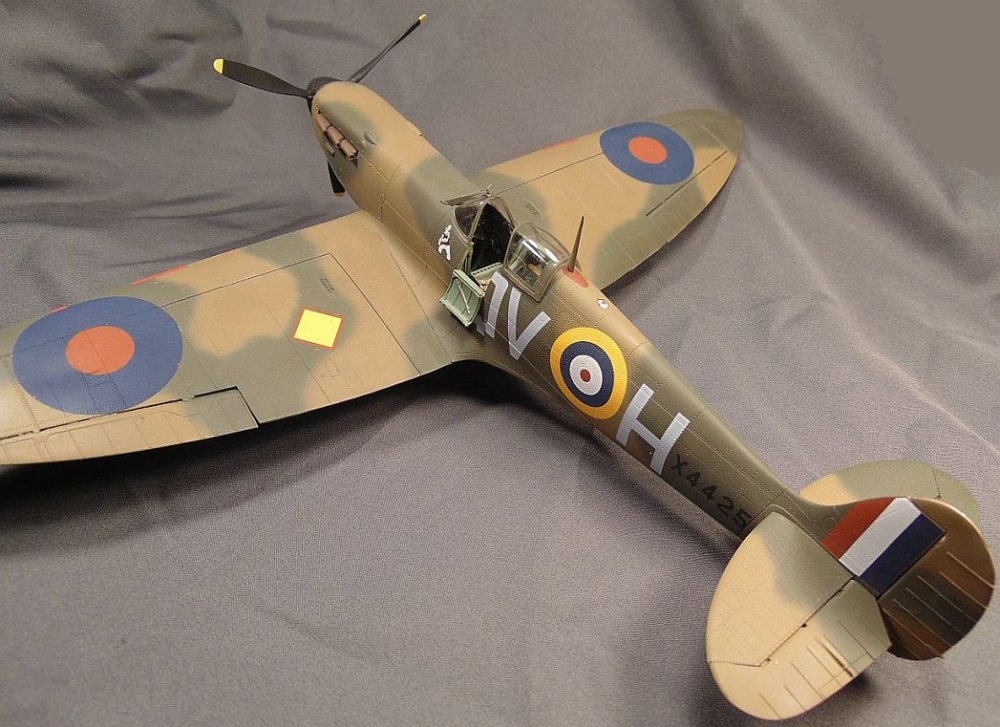
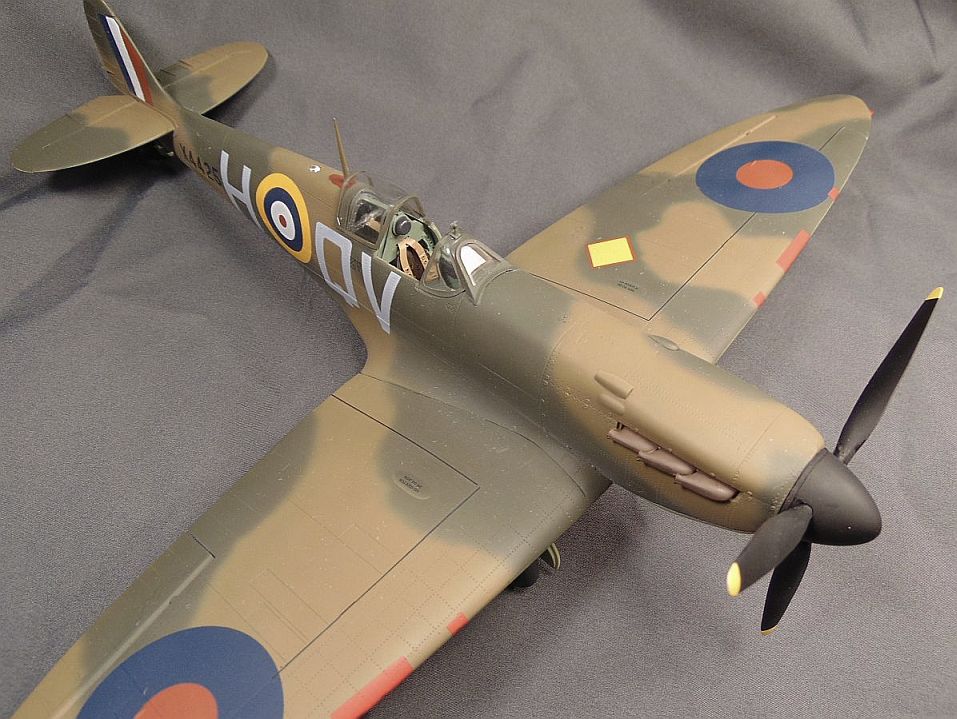
Thanks Rob. I agree, that yellow "gas patch" is a eye-catcher. -
Revell Spitfire Mk II completed
JohnB replied to JohnB's topic in LSM 1/32 and Larger Aircraft Ready for Inspection
Thanks! I'm glad you like it. -
Revell Spitfire Mk II completed
JohnB replied to JohnB's topic in LSM 1/32 and Larger Aircraft Ready for Inspection
Thank you Rockie. -
Next up....Revell Mk II Spitfire
JohnB replied to JohnB's topic in LSM 1/35 and Larger Work In Progress
Completed this one. https://forum.largescalemodeller.com/topic/19078-revell-spitfire-mk-ii-completed/ -
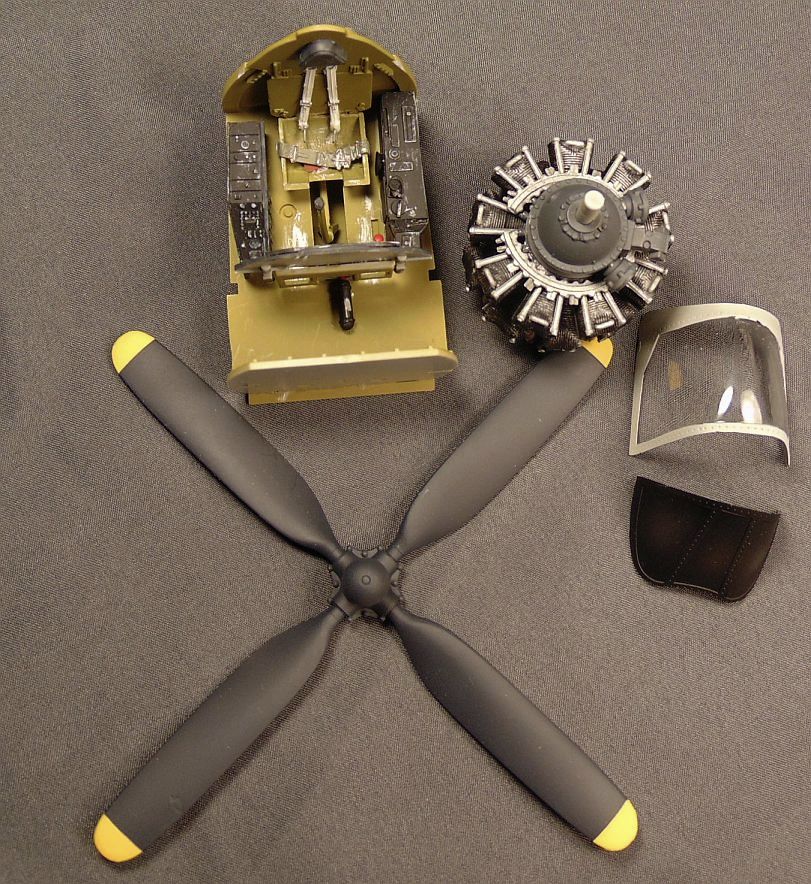
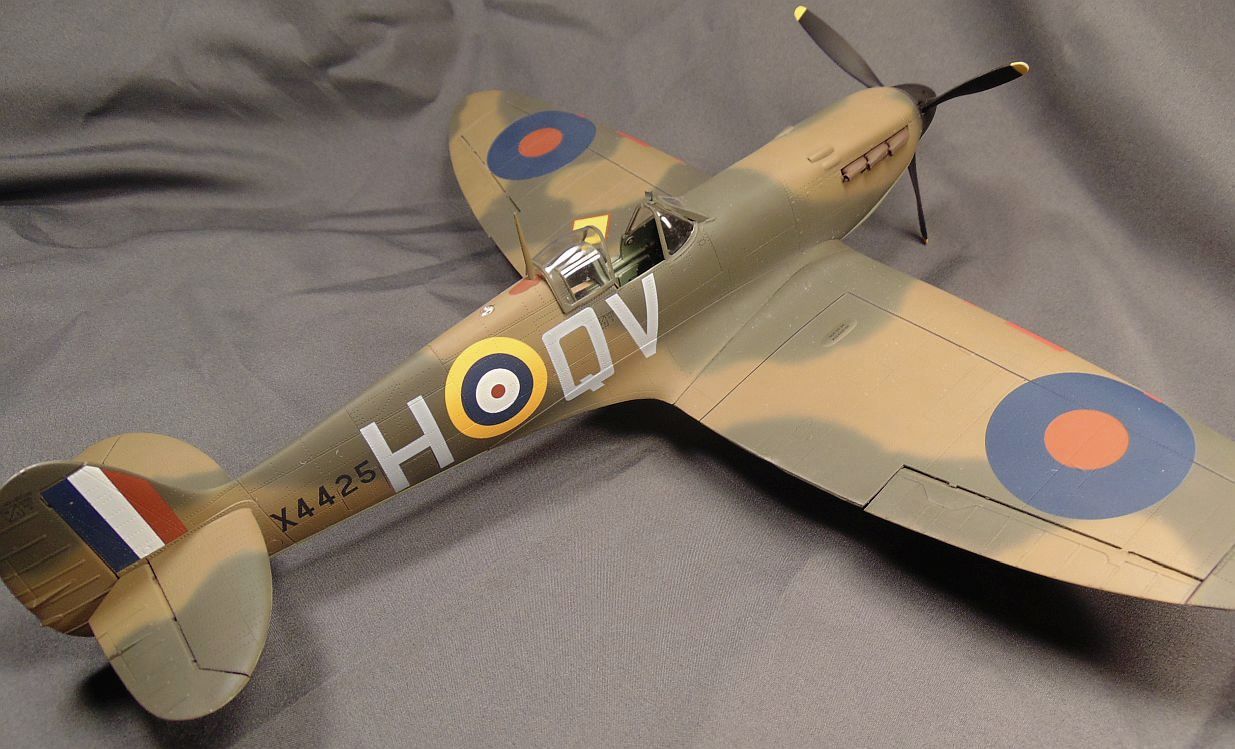
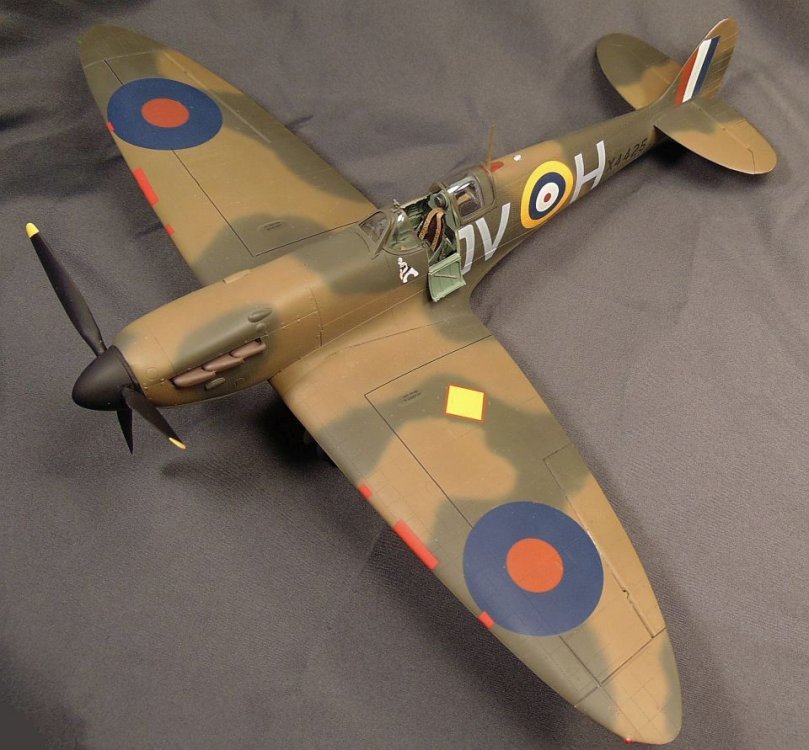
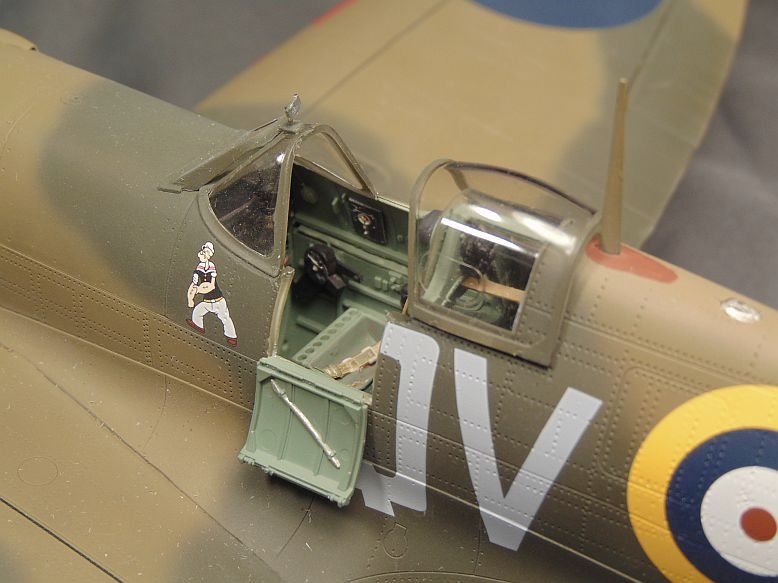
I decided to finish this one as a Battle of Britain Mk I instead of a Mk II by deleting the little bulge on the lower right cowling. I replaced the kit ailerons with some from Barracudacast. The kit items depict metal ailerons when the real a/c had fabric ailerons. I also replaced the spinner with one from a old Hasegawa Mk V as the kit spinner is way to "pointy". In addition I replaced the kit cockpit door with a Tamiya door because the kit door was way to "thick" and did not look "right". I used a Quinta detailing set on the cockpit. Xtracolor, Testor's MM and Colourcoats were the paints used. I hope you like it!

- 23 replies
-
- 14
-
-

-
Next up....Revell Mk II Spitfire
JohnB replied to JohnB's topic in LSM 1/35 and Larger Work In Progress