JohnB
-
Posts
7,206 -
Joined
-
Last visited
Content Type
Profiles
Forums
Events
Gallery
Everything posted by JohnB
-
Thanks Peter. Yes indeed it IS different! LOL Very unusual.
-
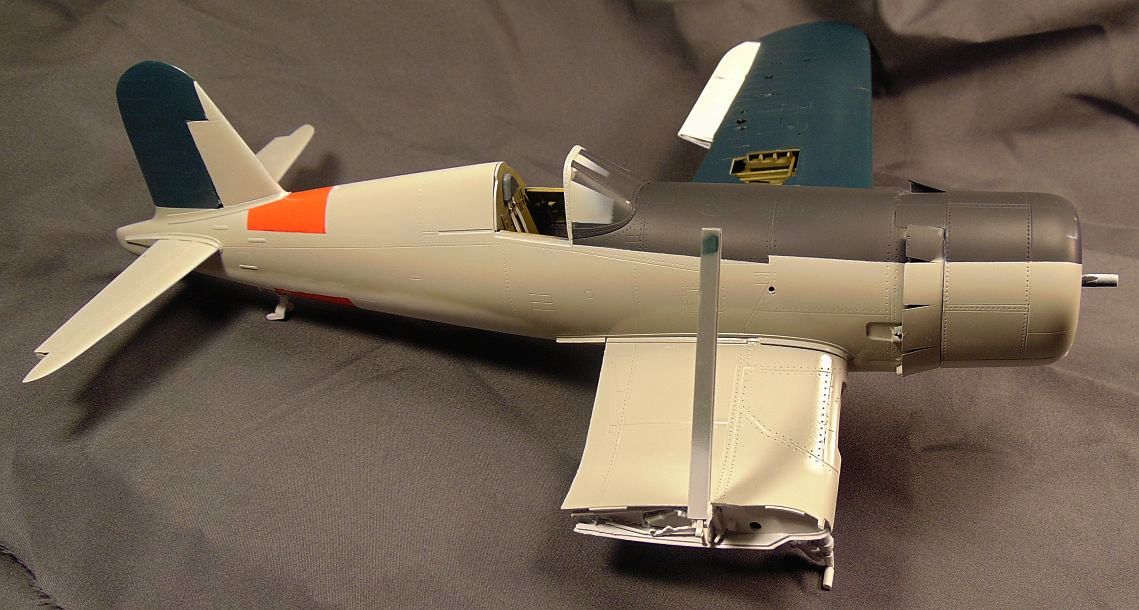
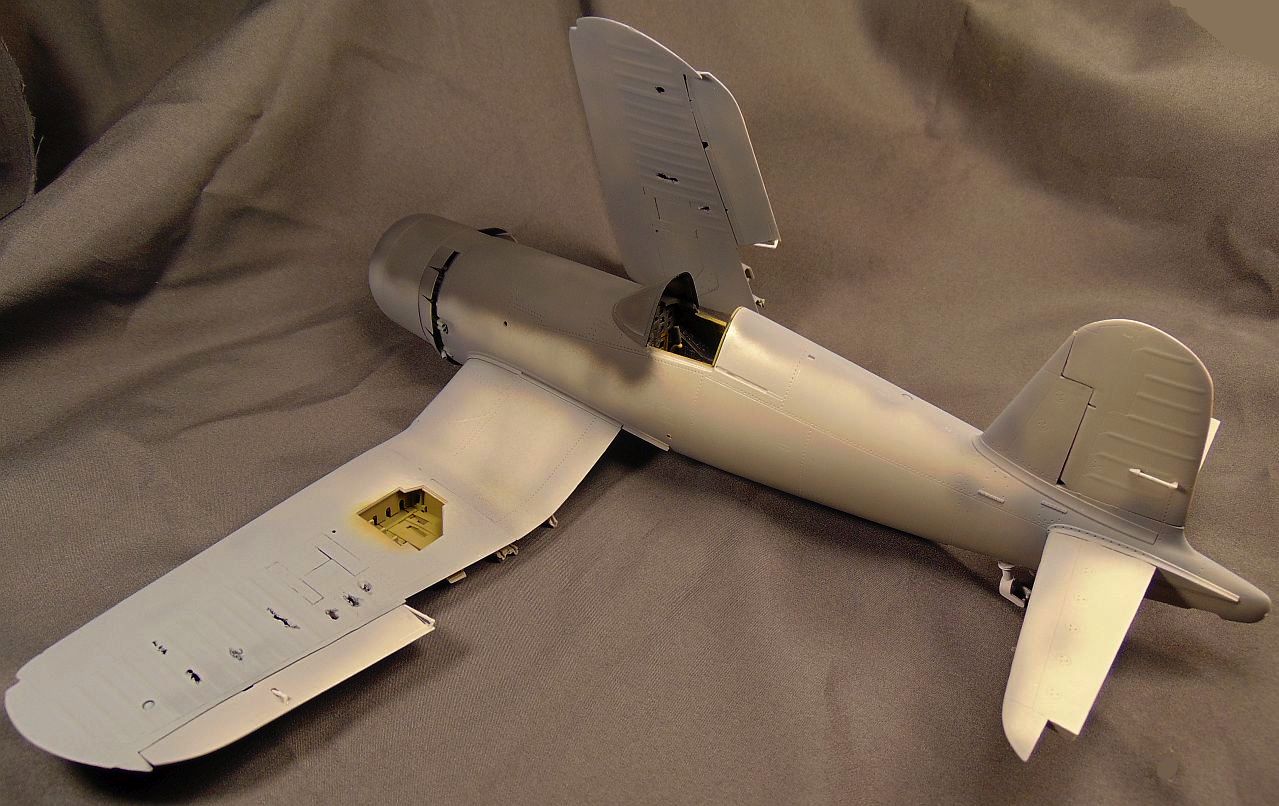
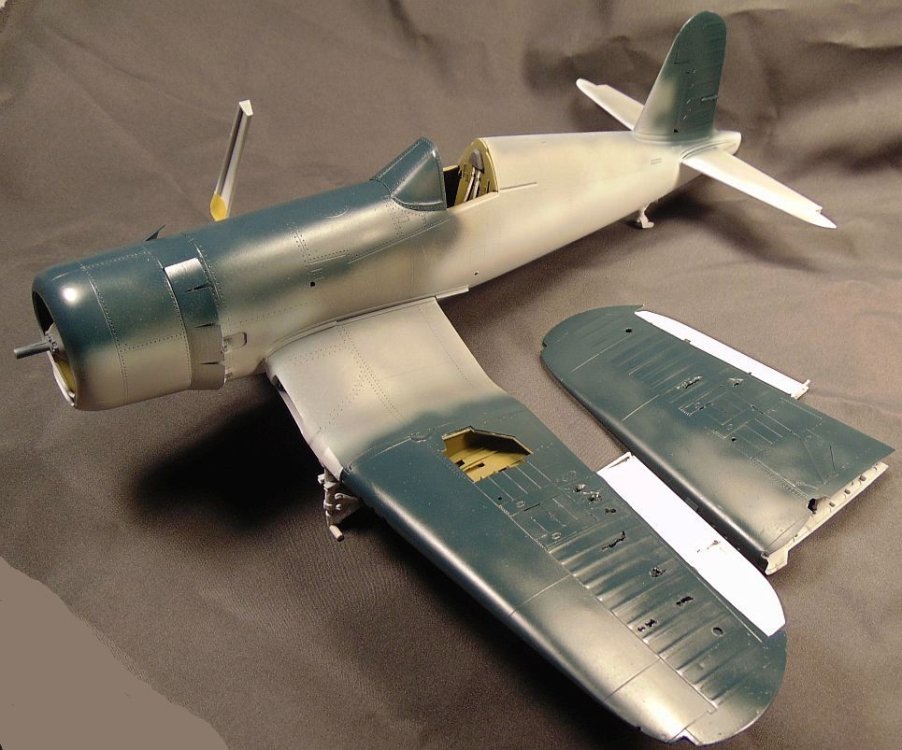
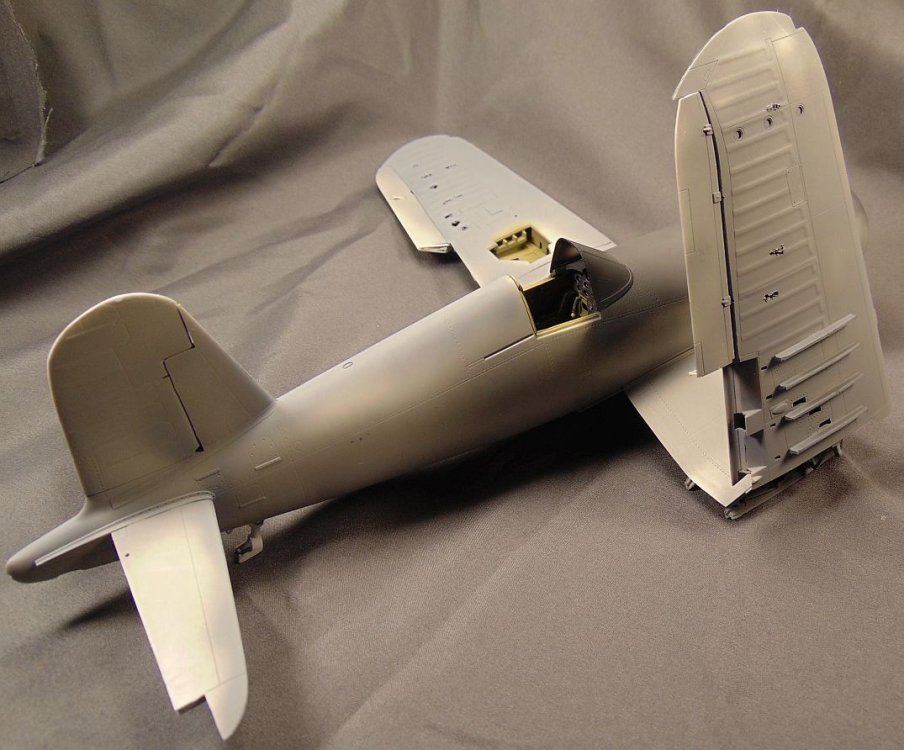
Painting, except for touchup, about done.

-
Me too. 🤪
-
Thanks Dennis. A bit better than I expected! LOL
-
Thank you Peter. This build is going a bit faster than I anticipated but that's okay! LOL
-
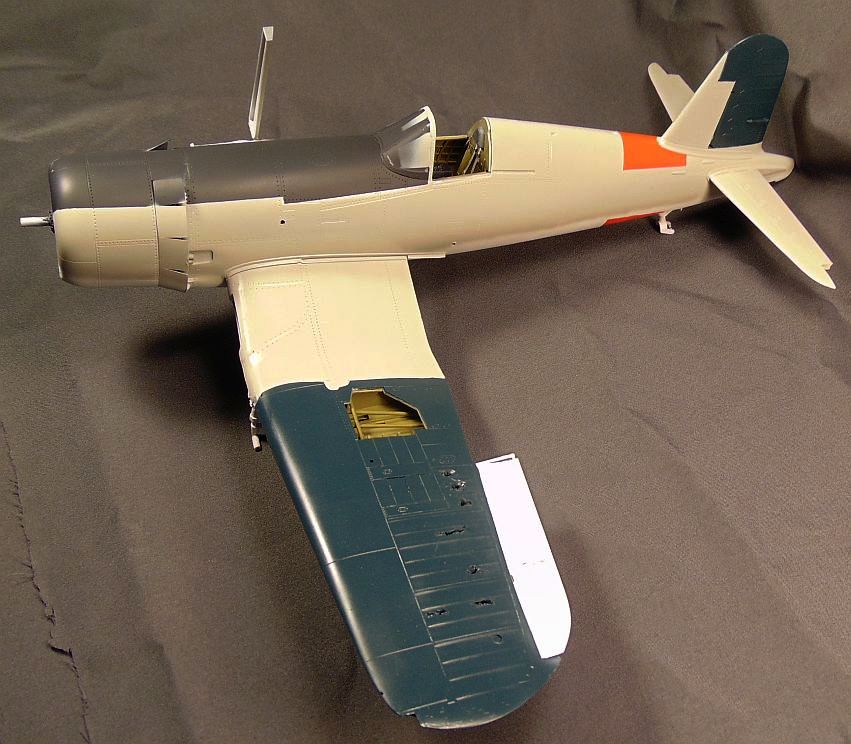
Painting is well along! Next color is 36440 Lt. Gull Gray.

-
Thanks Carl. It does doesn't it?! LOL 😄
-
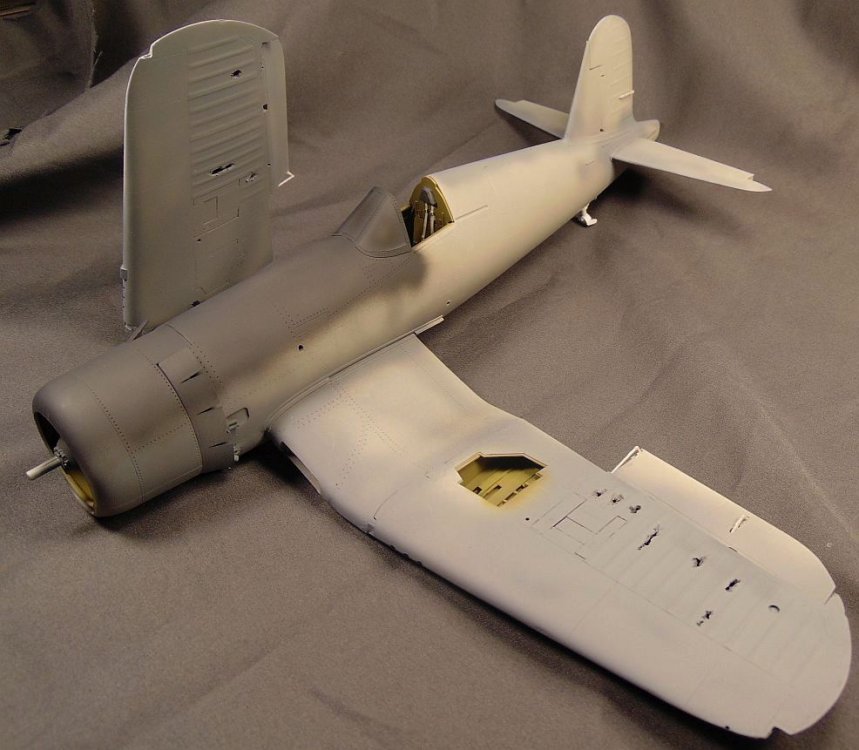
Making some progress!

-

Tamiya F4F-4 built as FM-1 Wildcat - 1/48 - FINISHED
JohnB replied to Landlubber Mike's topic in Non LSM 'WIP
I look forward to seeing it! -
Tamiya F4F-4 built as FM-1 Wildcat - 1/48 - FINISHED
JohnB replied to Landlubber Mike's topic in Non LSM 'WIP
Turned out really nice! I like that Atlantic sea search scheme. -
Italeri 1/35 Elco 80' Torpedo Boat PT-596
JohnB replied to Bomber_County's topic in Let’s Get Wet Group Build.
This will be a beauty for sure! I look forward to seeing the completed model. I had one of these in my stash but sold it a while back. Now I wish I hadn't! 🤪 -
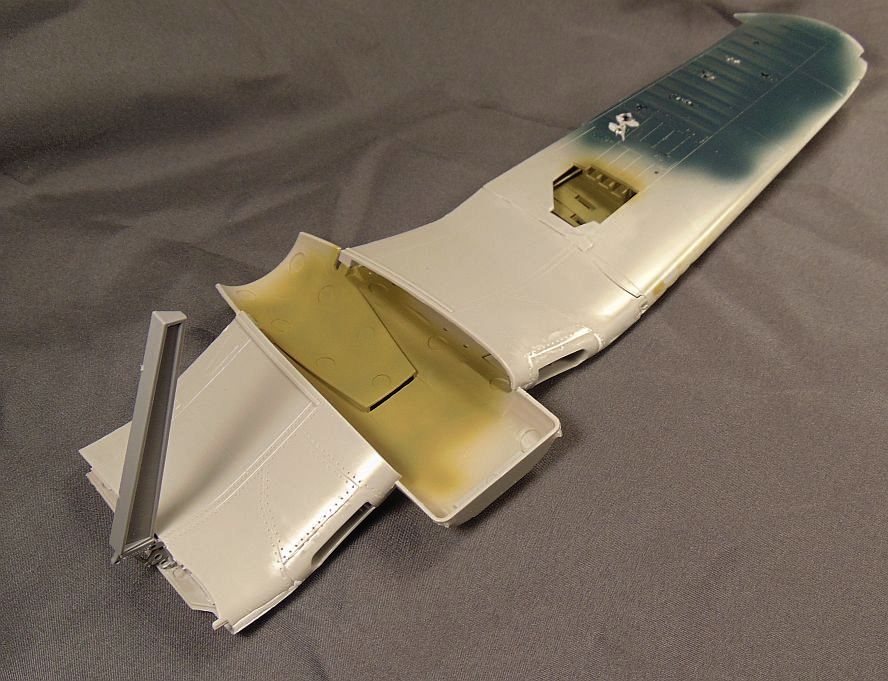
Much better than what they give you in the kit.
-
Thanks Gaz!
-
LOL Peter.
-
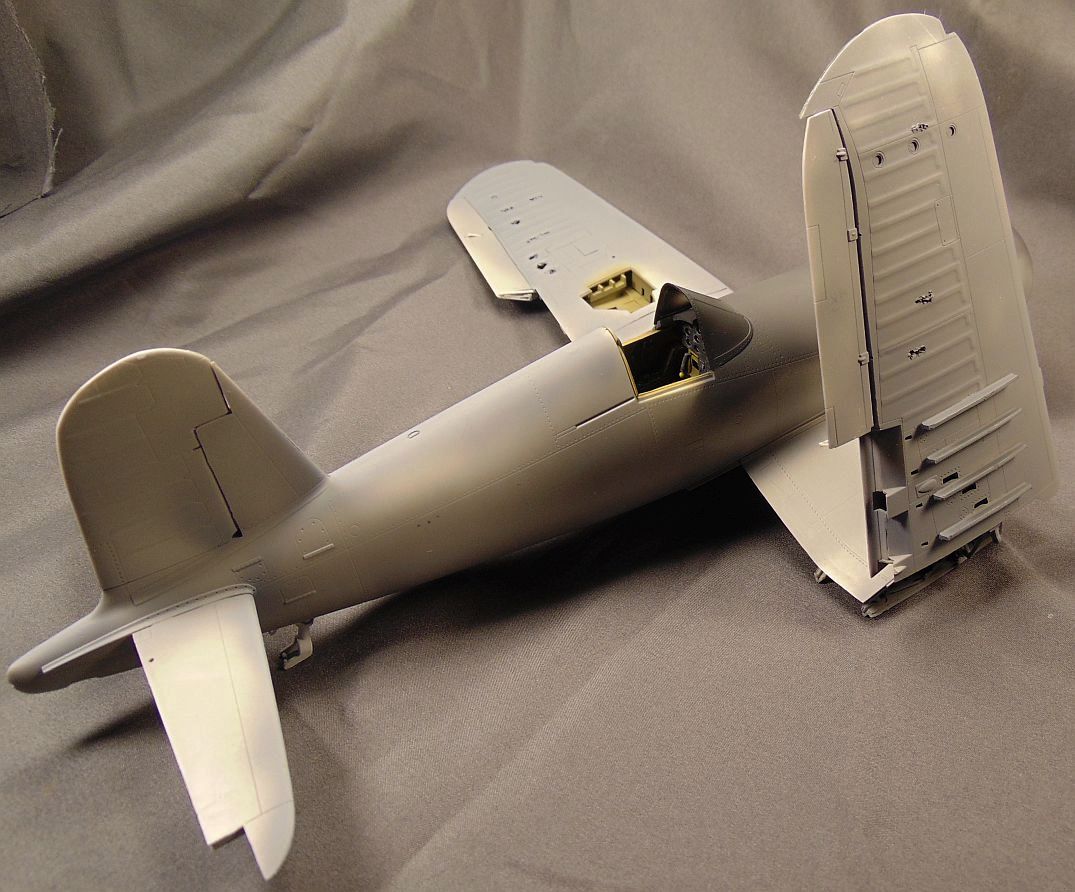
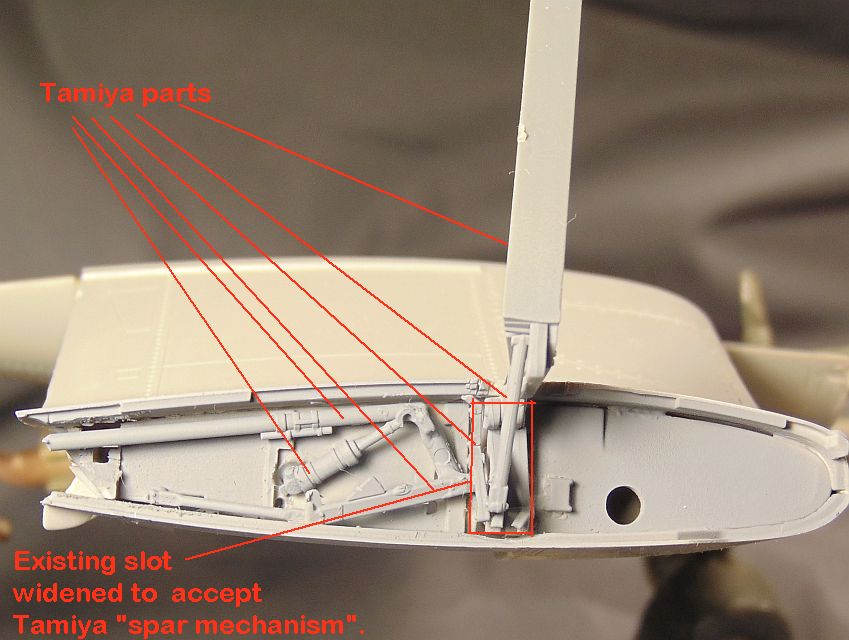
Thanks Peter. I thought the photo was pretty well self explanatory. All I had to do is open the existing hole in the wing spar slot a little to allow the Tamiya part to fit adequately. A little trimming on the base of the fold mechanism was needed to get a satisfactory fit that would be strong enough to hold the outer wing. Then I could add the other pieces. Clear as mud???
-
Adapting Tamiya wing fold parts. MUCH better than the toy-like kit lashup.

-
Revell P-51D late Iwo Jima done
JohnB replied to JohnB's topic in LSM 1/32 and Larger Aircraft Ready for Inspection
Thanks Troy! -
I hope all will soon be well for y'all. F-14 coming right along!
-
Yes indeed Peter! I'm glad to see it on the home stretch. 😀
-
Sure looks good Peter. Very colorful!
-
Thanks Martin. Some good photos there with several I had not seen before.
-
LOL 😀
-
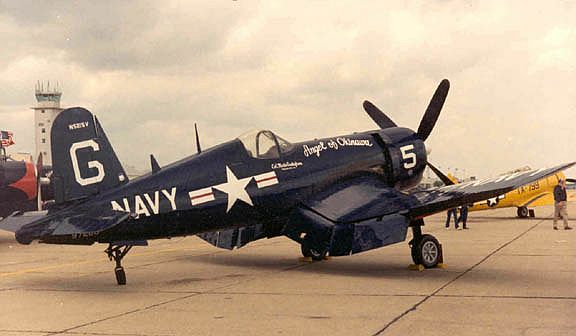
You do realize this is the same airplane. Before restoration and after.
-
Peter. You misunderstand. I'm not going with the restored version but the "put out to pasture one". I posted the restored photo after you said it had seen better days to show you it is again seeing good days. 🙄
-
When that photo was taken it was in a sad state. Since then it was restored and is flying today.