JohnB
-
Posts
7,223 -
Joined
-
Last visited
Content Type
Profiles
Forums
Events
Gallery
Everything posted by JohnB
-

Rye Field Sherman M4A3E8 build
JohnB replied to JohnB's topic in LSM 1/35 and Larger Work In Progress
LOL!!! 😂 -
Tamiya F4U-1 birdcage "Bubbles" finished
JohnB replied to JohnB's topic in LSM 1/32 and Larger Aircraft Ready for Inspection
Thanks Peter! It just wouldn't do to have 'em all spick and span! LOL -
Rye Field Sherman M4A3E8 build
JohnB replied to JohnB's topic in LSM 1/35 and Larger Work In Progress
Thank you Peter. I expect to have it finished pretty soon. Still have to get the little fiddly bits done, etc. -
Tamiya F4U-1 birdcage "Bubbles" finished
JohnB replied to JohnB's topic in LSM 1/32 and Larger Aircraft Ready for Inspection
Thanks Gaz, I'm happy that you like it. -
Rye Field Sherman M4A3E8 build
JohnB replied to JohnB's topic in LSM 1/35 and Larger Work In Progress
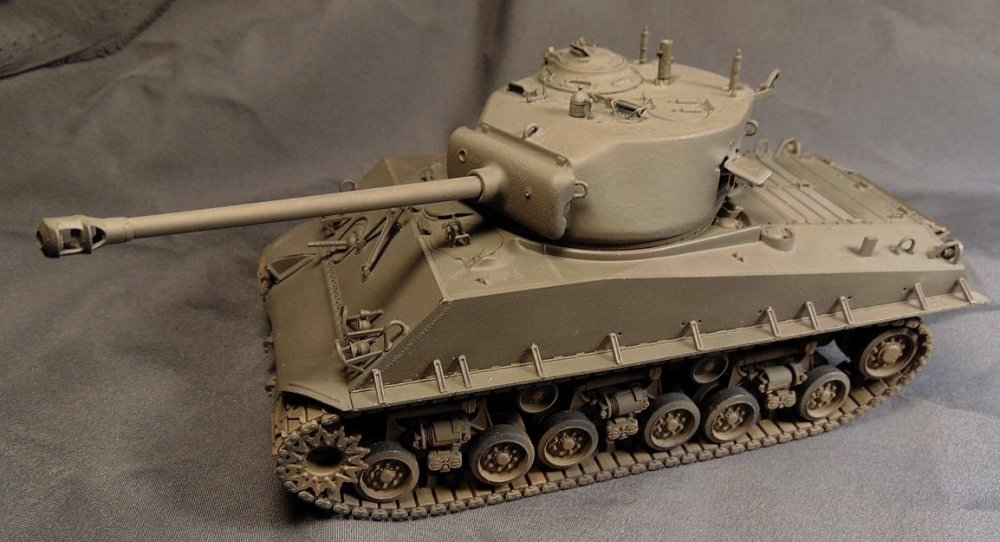
Yes Phil but not a lot. I've already done some weathering by spraying the treads, etc with "dust". Look a little closer and maybe you'll be able to tell. -
Rye Field Sherman M4A3E8 build
JohnB replied to JohnB's topic in LSM 1/35 and Larger Work In Progress
May as well finish some of what I started Kevin. -
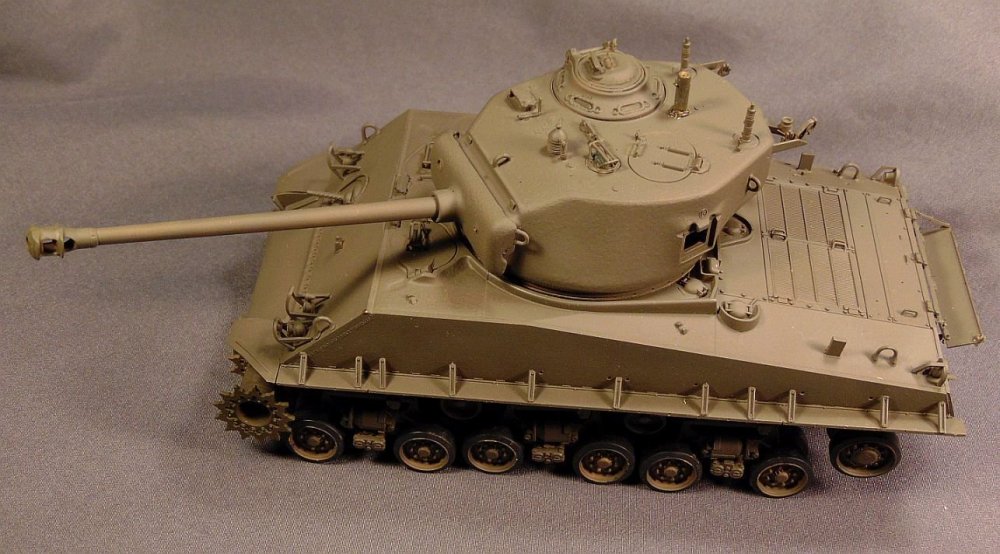
I was working on this build in 2021 but set it aside. It's been sitting next to my work area ever since waiting for me to get back to it. I decided today to do so and go on and finish it up. It's very far along now and mostly just needs the external stuff like pick, shovels, water cans, the .50 on the turret, etc. plus some weathering. A nice break from the usual.
-
Tamiya F4U-1 birdcage "Bubbles" finished
JohnB replied to JohnB's topic in LSM 1/32 and Larger Aircraft Ready for Inspection
Thank you Paul! I'm glad you like it. -
Tamiya F4U-1 birdcage "Bubbles" finished
JohnB replied to JohnB's topic in LSM 1/32 and Larger Aircraft Ready for Inspection
Thanks Kevin. -
Tamiya F4U-1 birdcage "Bubbles" finished
JohnB replied to JohnB's topic in LSM 1/32 and Larger Aircraft Ready for Inspection
Thank you Scott, I'm pleased that you like it. The rigging is stretched sprue. -
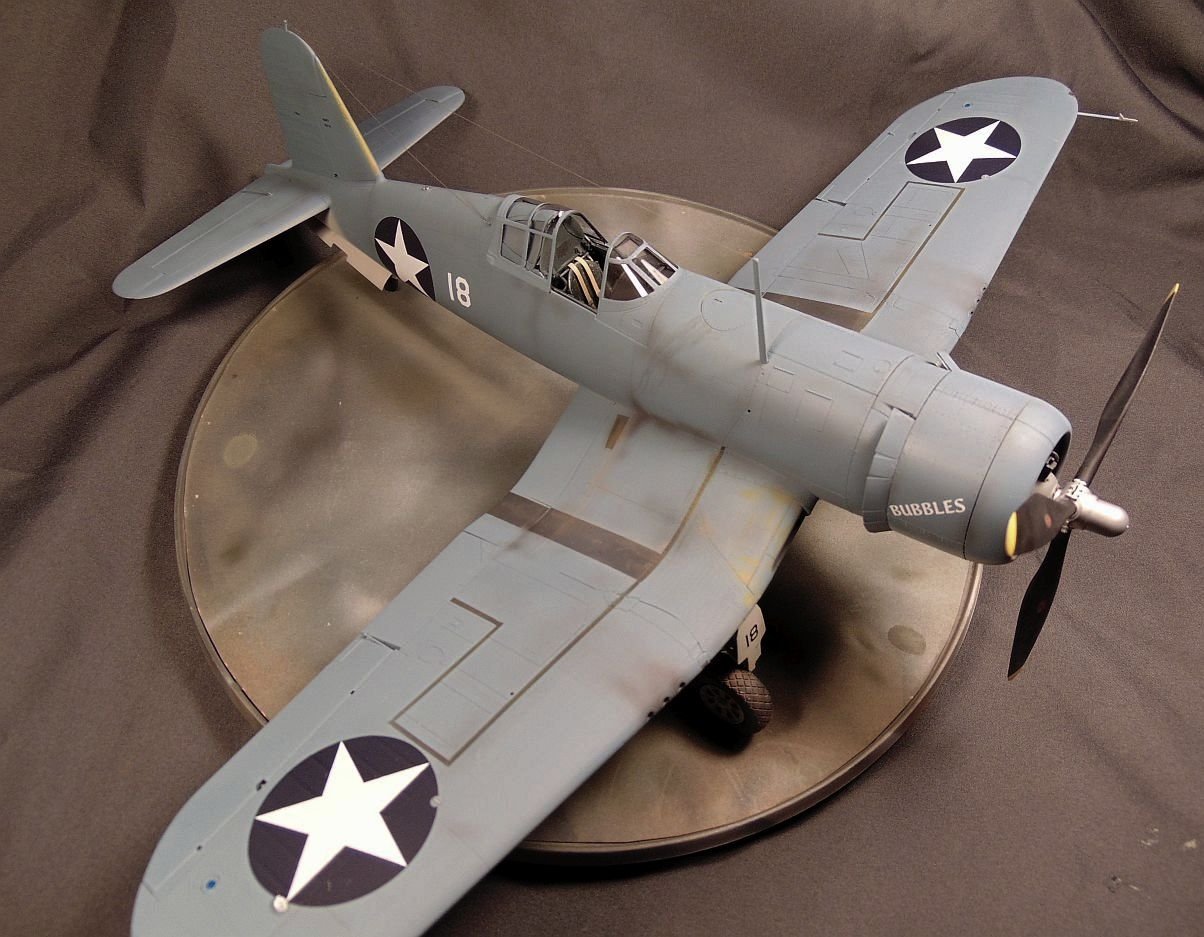
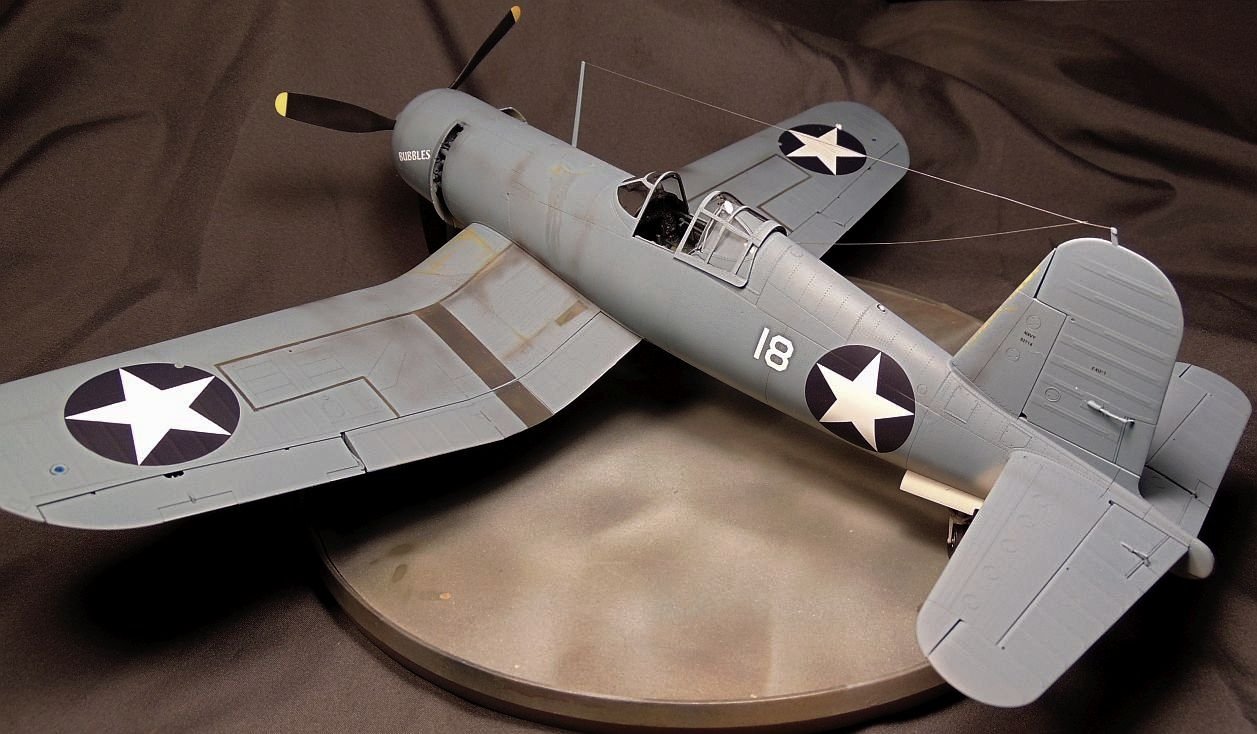
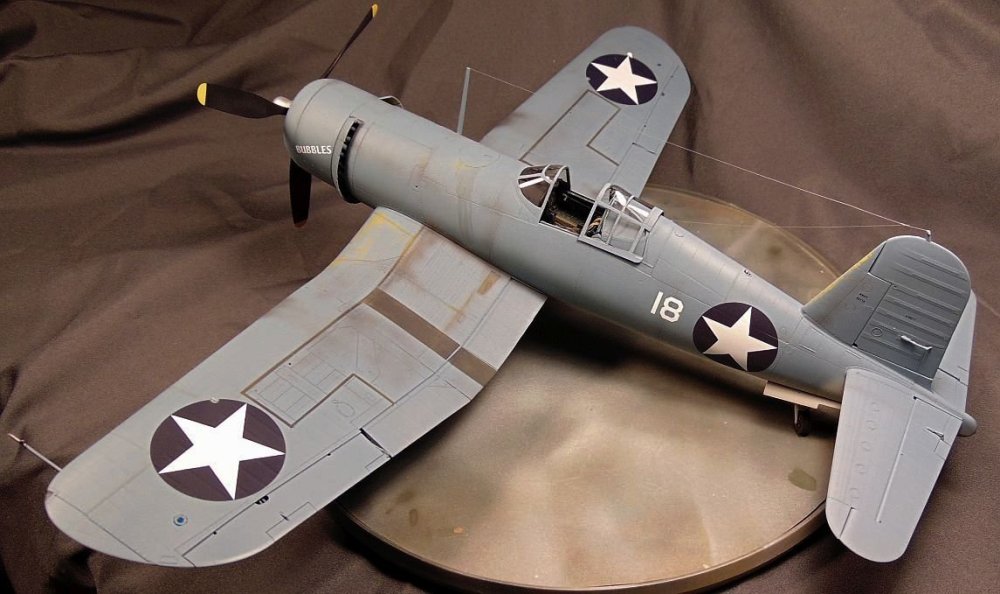
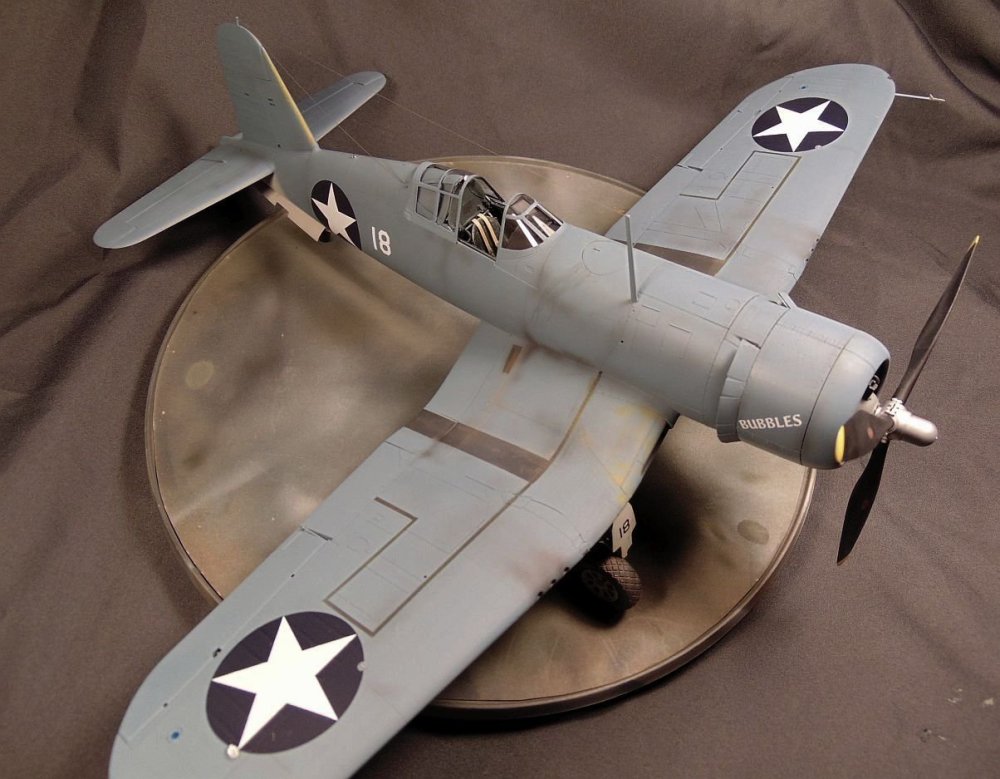
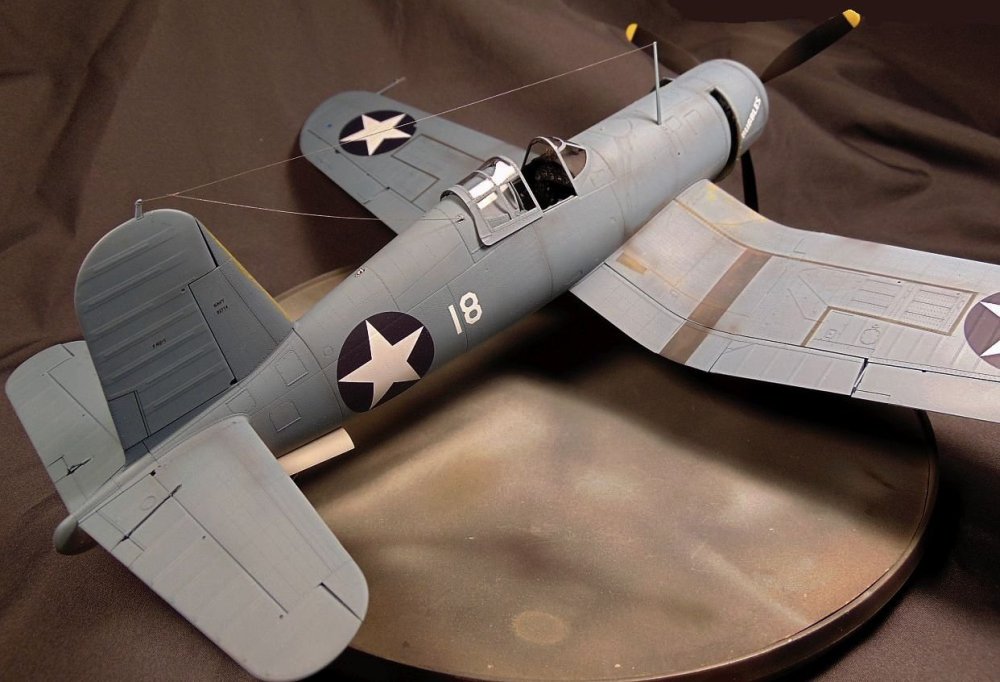
Completed. https://forum.largescalemodeller.com/topic/19551-tamiya-f4u-1-birdcage-bubbles-finished/
-
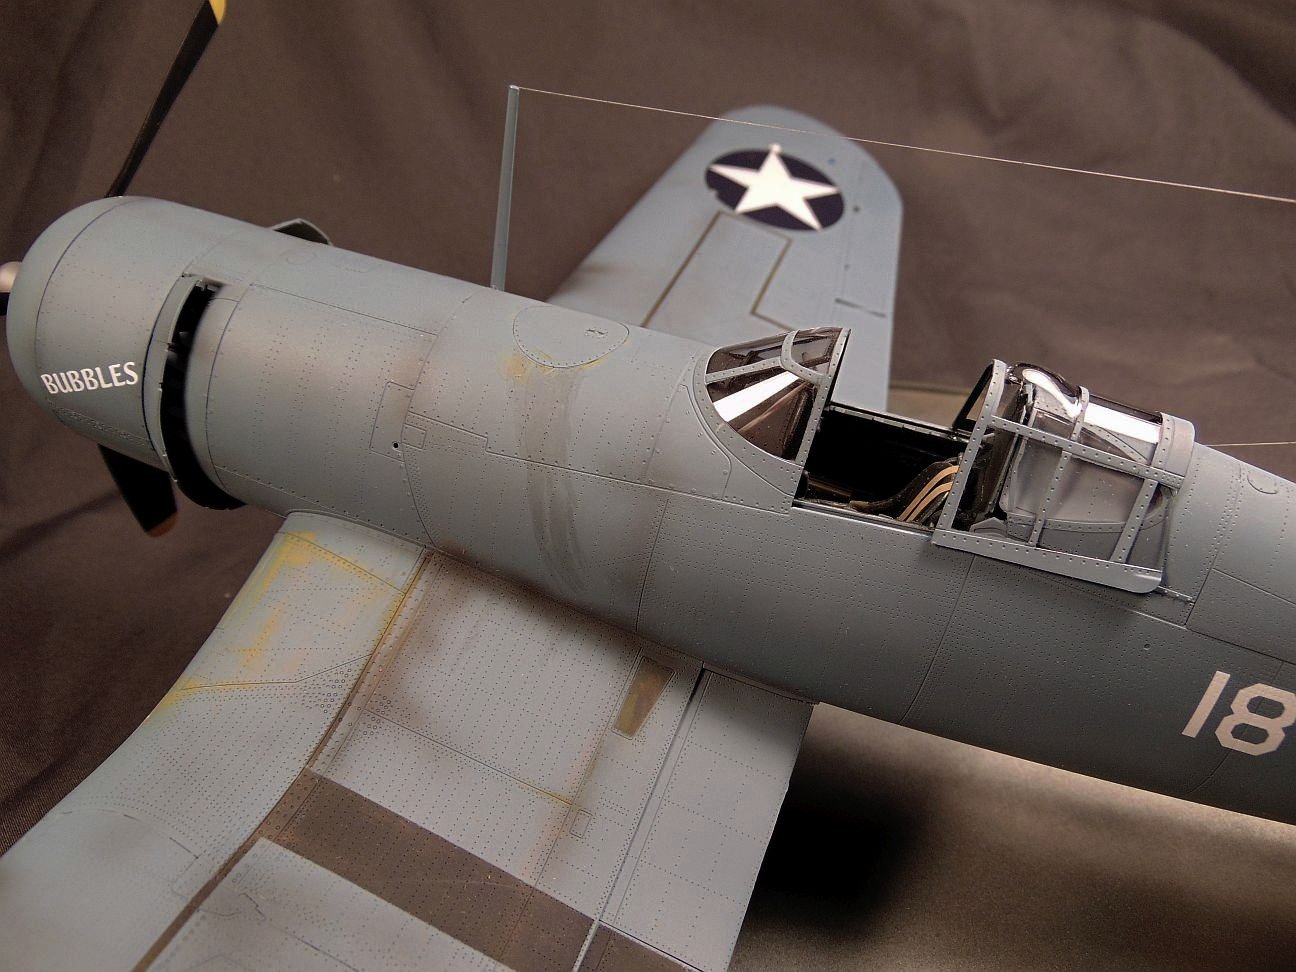
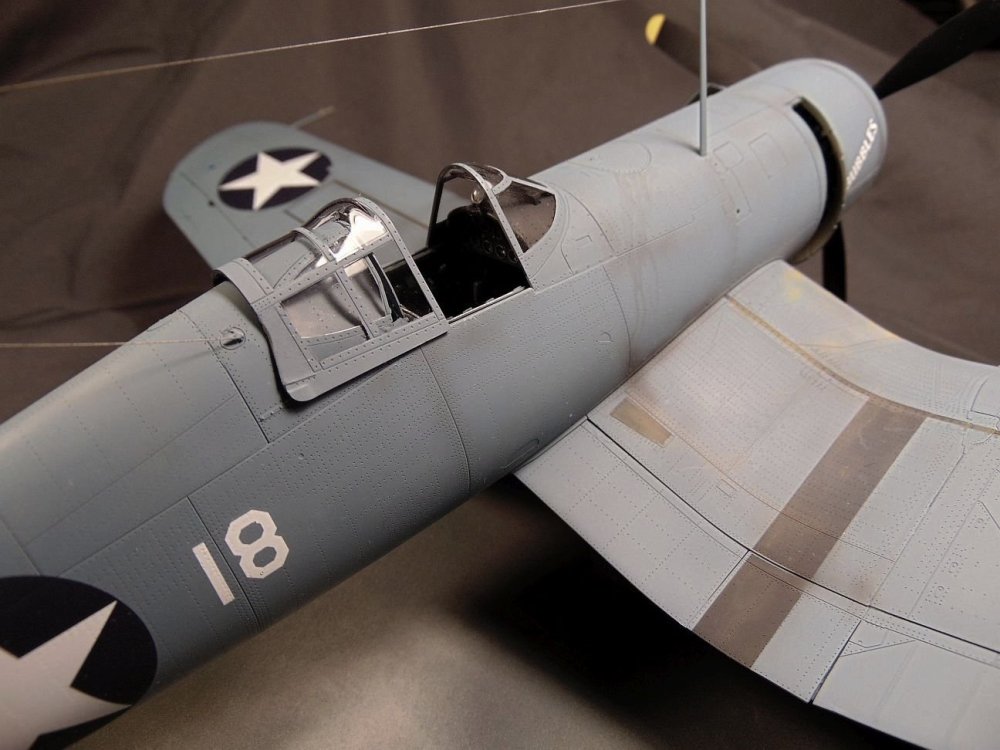
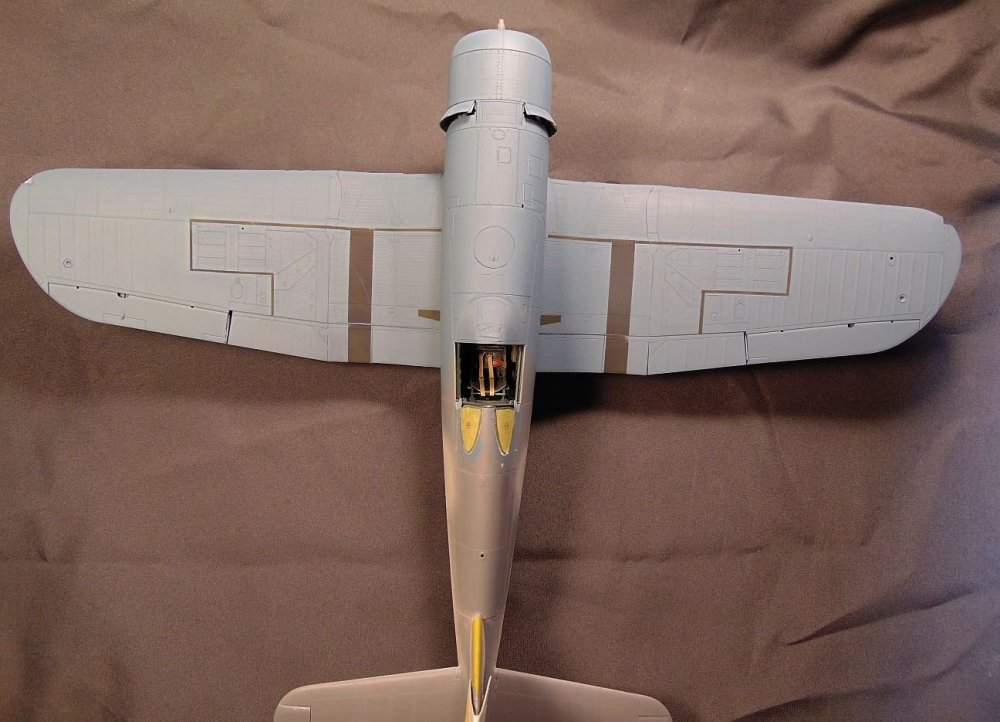
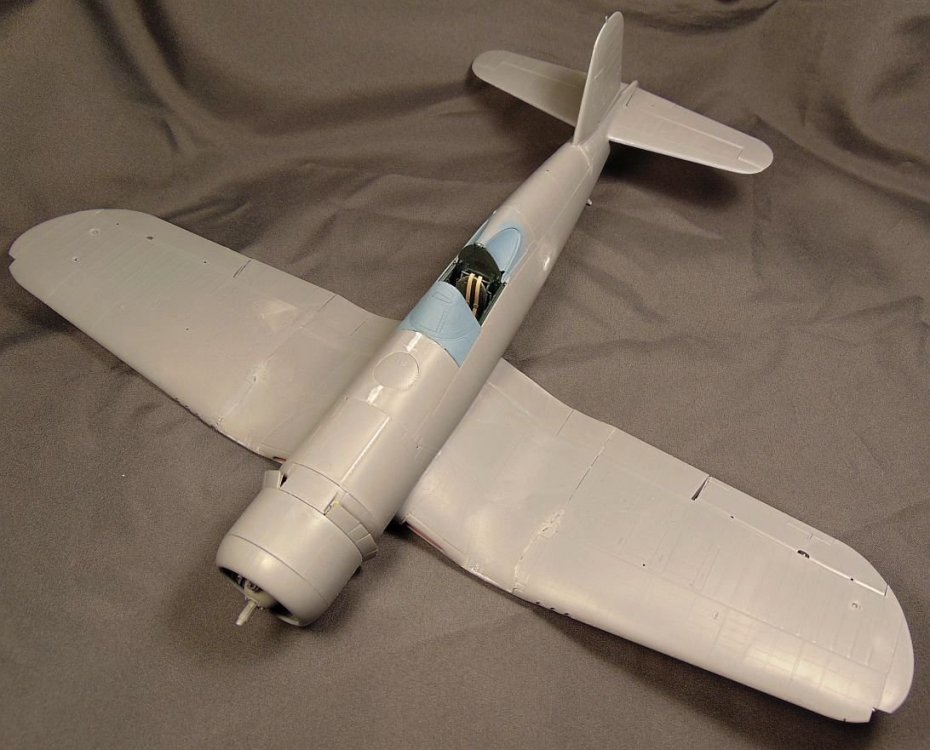
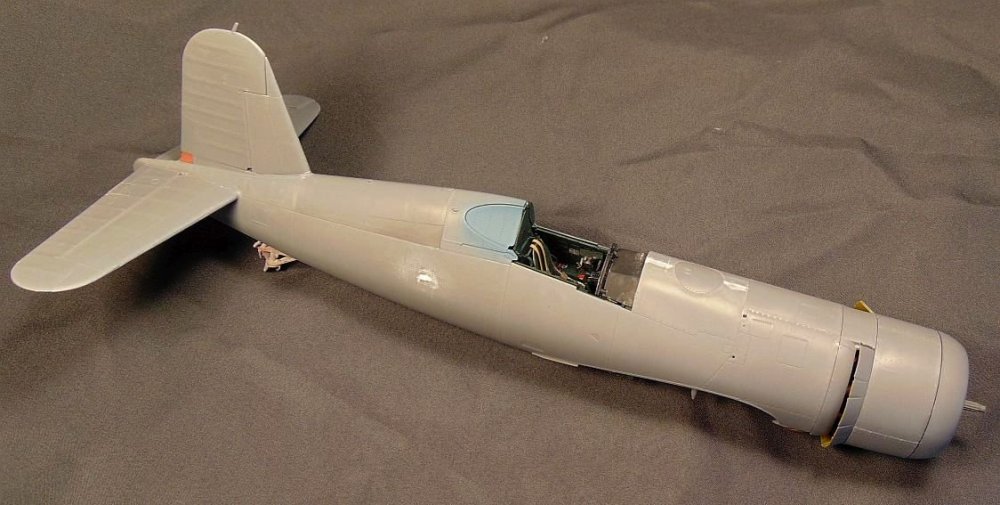
Ready for your perusal. It's always enjoyable to build one of their Corsairs and this one was no exception. Great fit and detail throughout. What more could you ask for? LOL The only after market parts used are the Barracuda resin wheels. Everything else is box stock. Painted with Testor's MM. Decals are from Eaglecals. I tried to be careful with the weathering so as not to over do it and I feel like I got it done okay. I hope y'all like it and PLEASE remember to click on the first photo for best resolution and to view as a slide show. THANK YOU!!!


-
I used to always use decals for that but decided to take a different approach this time. I think it worked out okay too Peter.
-
Thank you Kevin. Pretty tedious but worth the effort I think.
-
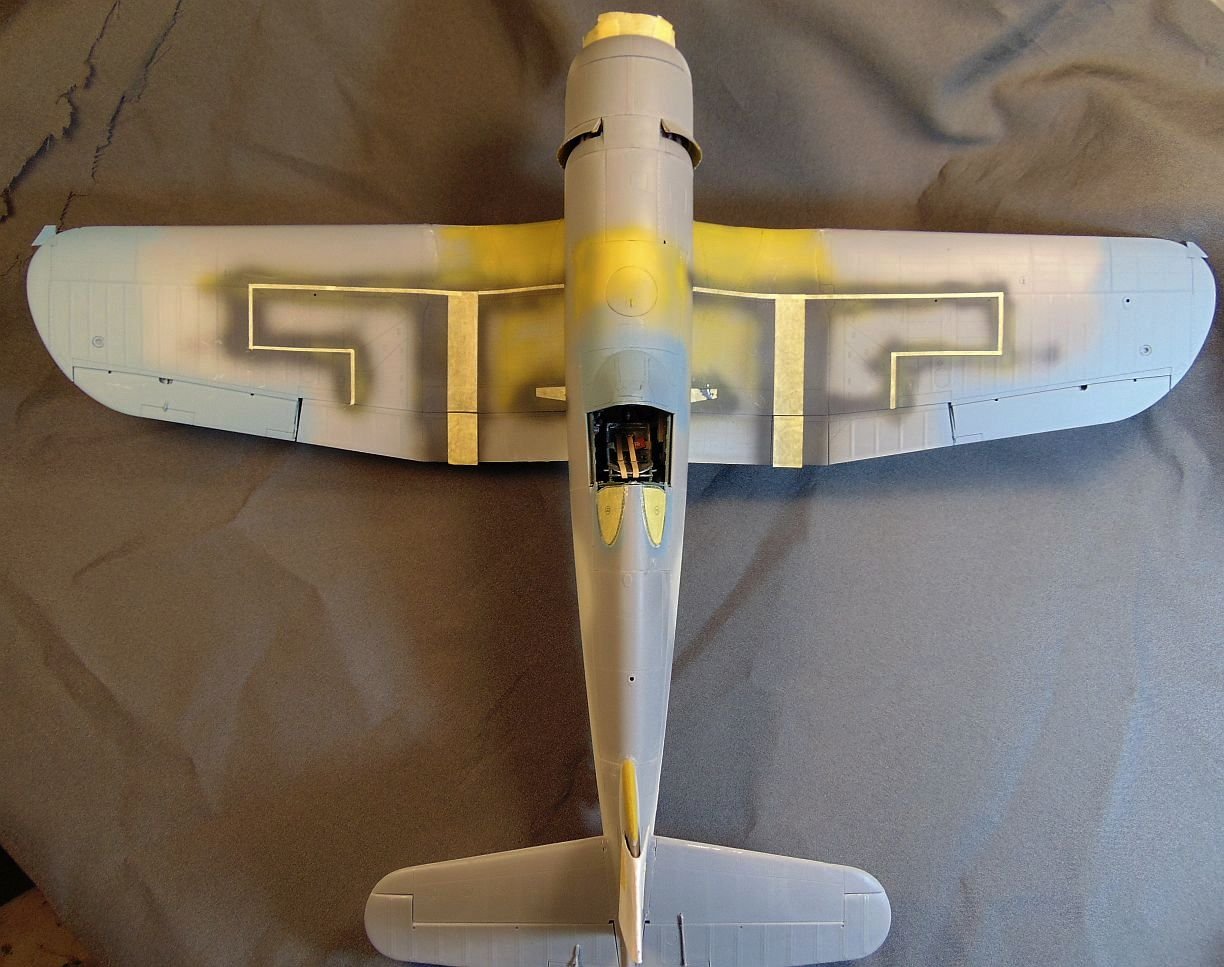
Walkway masking and over painting done. I plan to do some weathering/wear a little later.

-
Making progress on painting and prep for weathering. Waiting for some .03 wide masking strips for the wing walks coming from SB.


-
Kitty Hawk 1/35 SH-60B Seahawk
JohnB replied to Peterpools's topic in LSM 1/35 and Larger Work In Progress
Hoping all will go well Peter. -
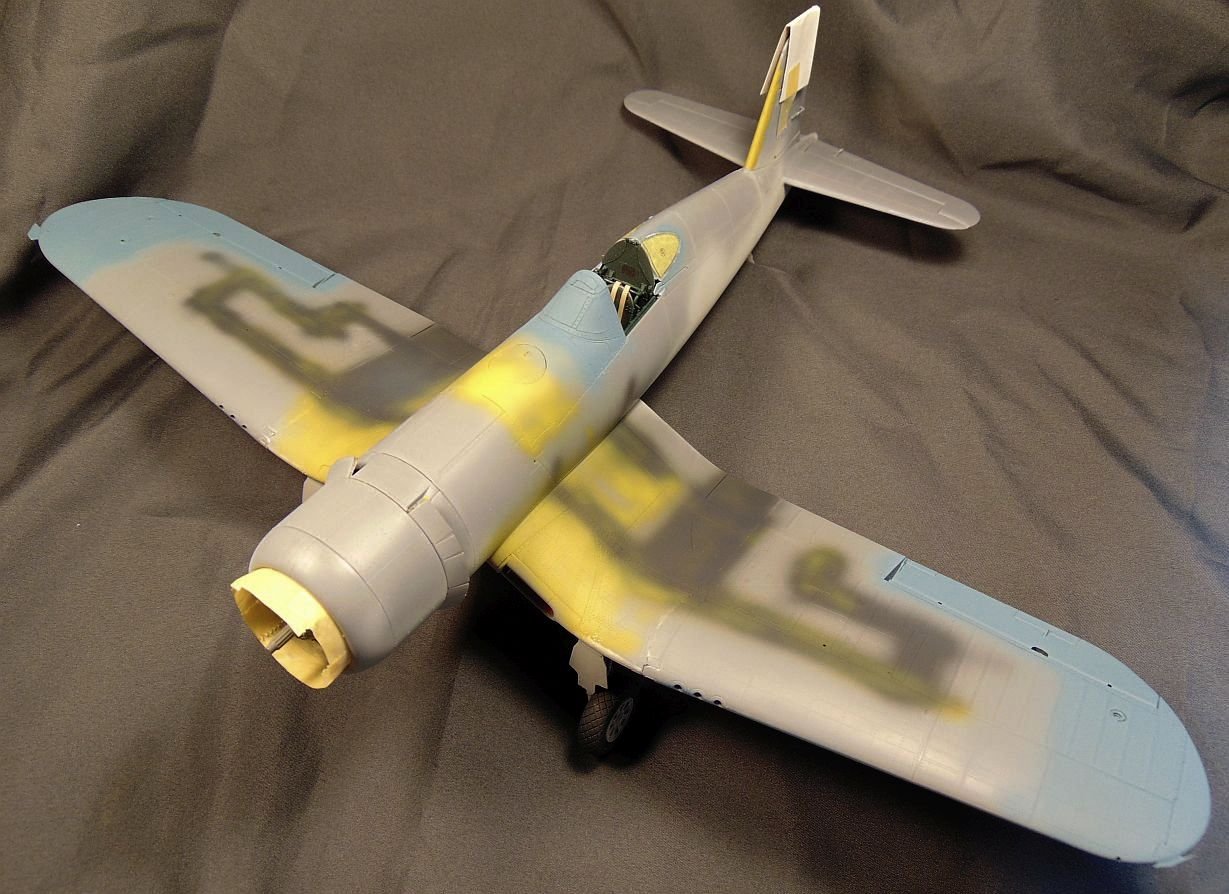
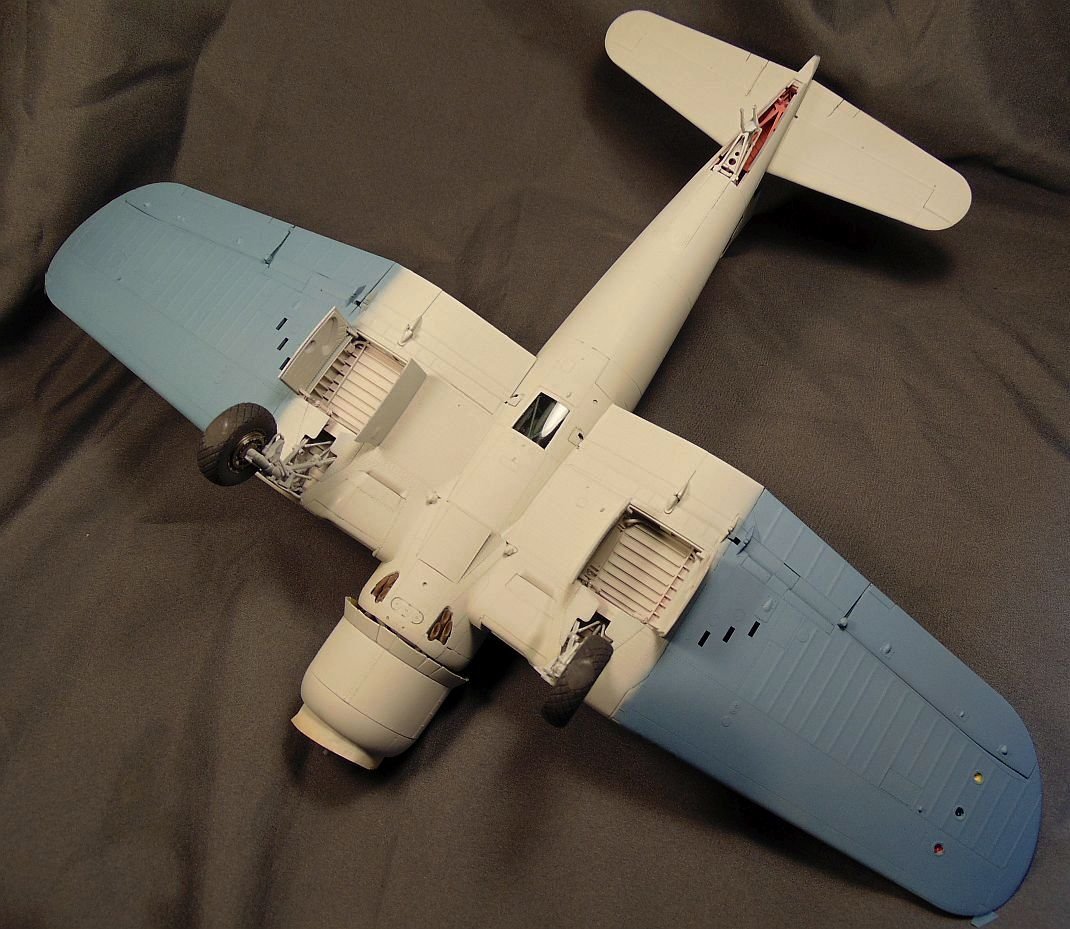
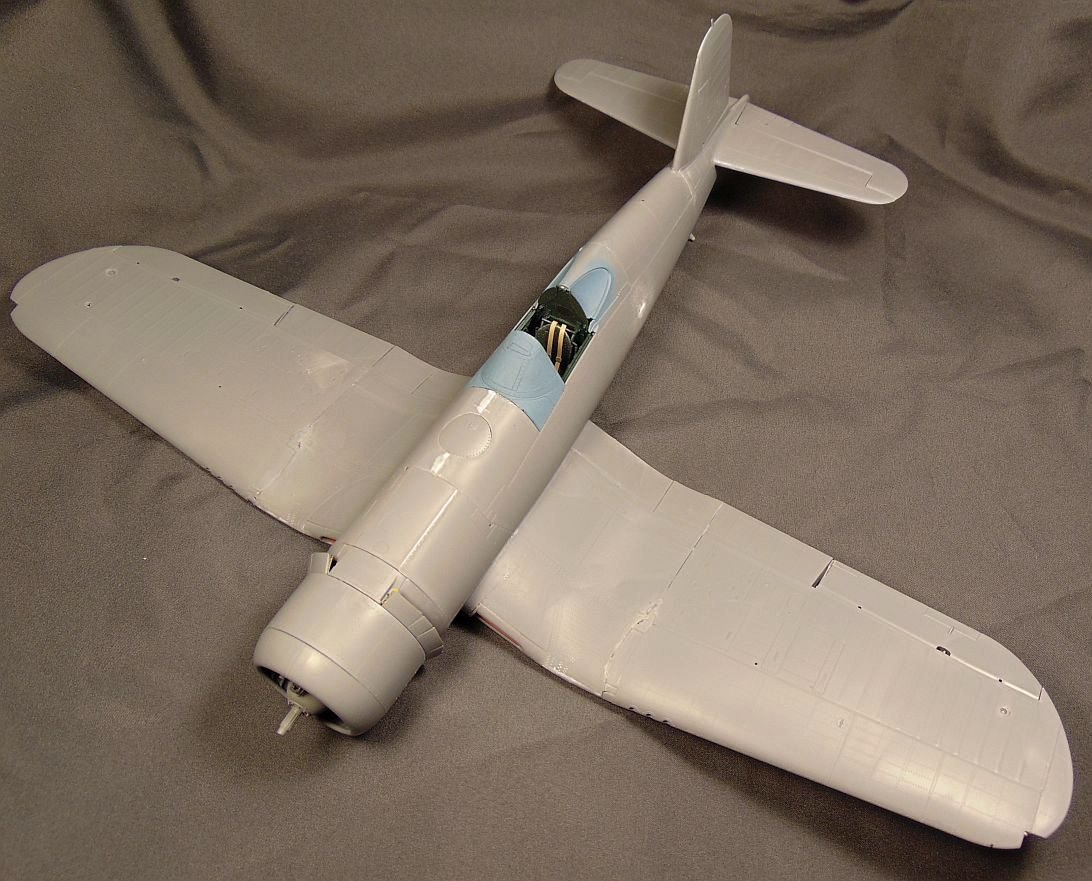
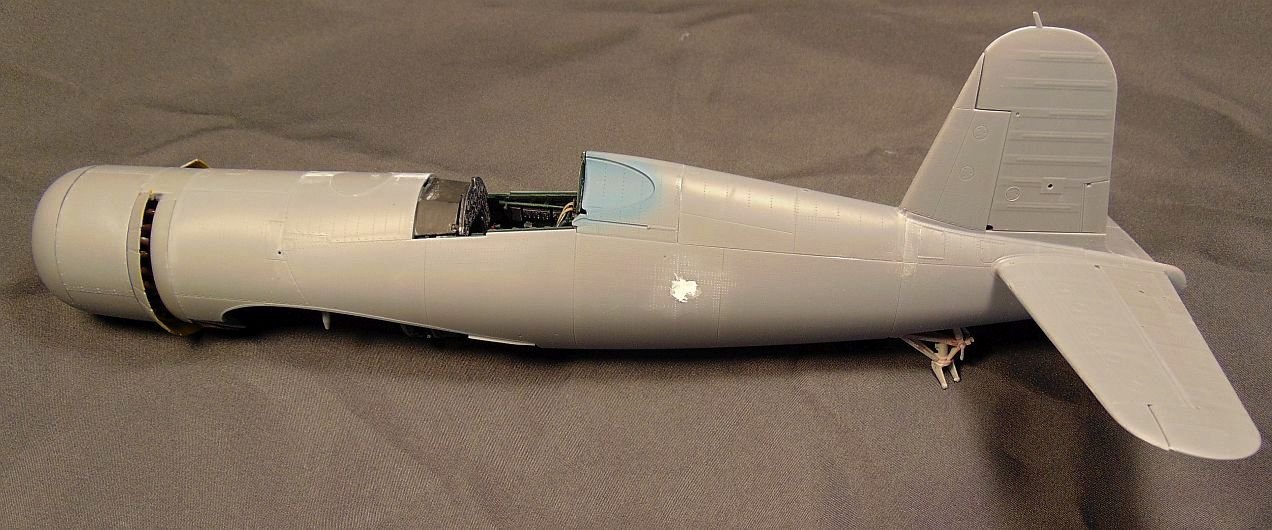
Wings now on and ready for some paint.
-
Progress.

-
I've decided to do a different Corsair instead of "Tojo Eats S**t". Not particularly happy with the Tojo name and the very heavy weathering needed plus I haven't done "Bubbles" yet so I'll do that one.
-
LOL Bill. Could be a problem with the little bitty fiddly bits! 😂
-
SOD Trumpter P-47 "Sigma Nu Girl"-Finished
JohnB replied to KevinM's topic in LSM 1/35 and Larger Work In Progress
Looking good so far Kevin. I've used masks a few times but the thing about them is if it's a little off and you don't see it until after painting then you have to go back and re-paint everything. The beauty of using decals IMHO is they can be "adjusted" in place so, usually, there's no going back to re-paint, etc. Easier process for this lazy old man! LOL -
Kitty Hawk 1/35 SH-60B Seahawk
JohnB replied to Peterpools's topic in LSM 1/35 and Larger Work In Progress
Certainly will be a beauty Peter. I hope Diane does well!!! -
Tamiya F4U-1 Birdcage Corsair 1:32
JohnB replied to shadowmare's topic in LSM 1/32 and Larger Aircraft Ready for Inspection
You just can't beat those Tamiya Corsairs. Excellent kits. Your build looks really good! Nice weathering. -
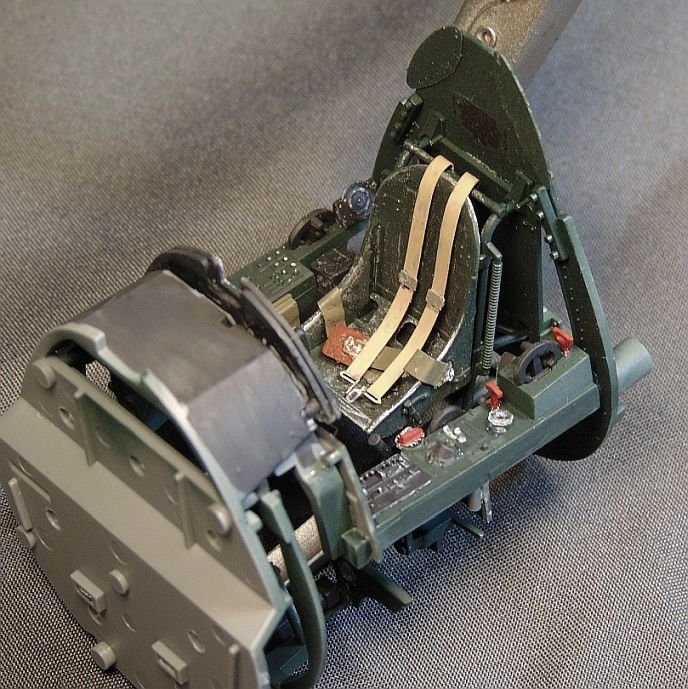
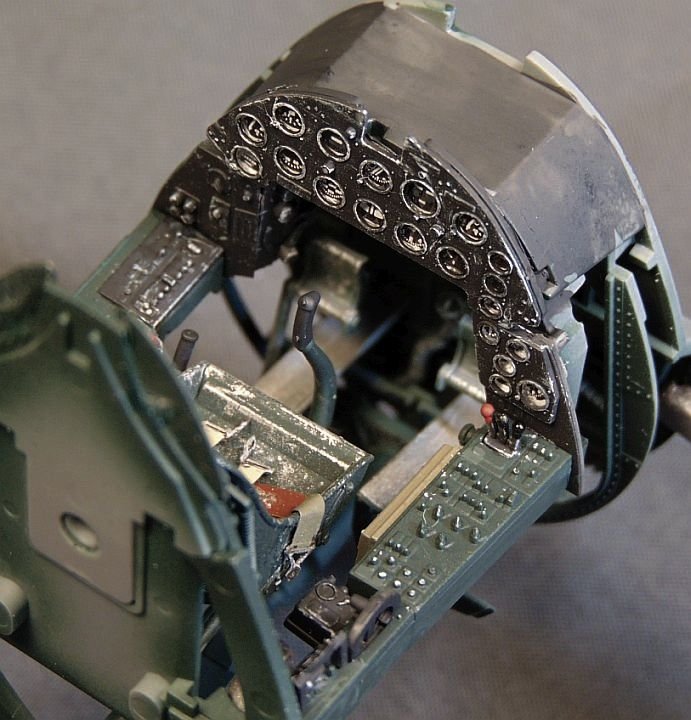
Cockpit about done.