JohnB
-
Posts
7,305 -
Joined
-
Last visited
Content Type
Profiles
Forums
Events
Gallery
Everything posted by JohnB
-
Progress.

-
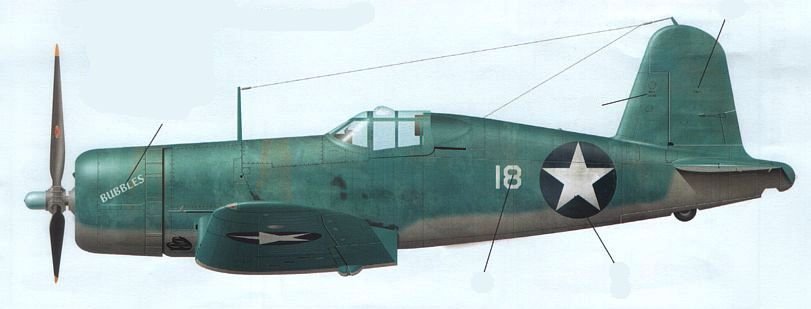
I've decided to do a different Corsair instead of "Tojo Eats S**t". Not particularly happy with the Tojo name and the very heavy weathering needed plus I haven't done "Bubbles" yet so I'll do that one.
-
LOL Bill. Could be a problem with the little bitty fiddly bits! 😂
-

SOD Trumpter P-47 "Sigma Nu Girl"-Finished
JohnB replied to KevinM's topic in LSM 1/35 and Larger Work In Progress
Looking good so far Kevin. I've used masks a few times but the thing about them is if it's a little off and you don't see it until after painting then you have to go back and re-paint everything. The beauty of using decals IMHO is they can be "adjusted" in place so, usually, there's no going back to re-paint, etc. Easier process for this lazy old man! LOL -
Kitty Hawk 1/35 SH-60B Seahawk
JohnB replied to Peterpools's topic in LSM 1/35 and Larger Work In Progress
Certainly will be a beauty Peter. I hope Diane does well!!! -
Tamiya F4U-1 Birdcage Corsair 1:32
JohnB replied to shadowmare's topic in LSM 1/32 and Larger Aircraft Ready for Inspection
You just can't beat those Tamiya Corsairs. Excellent kits. Your build looks really good! Nice weathering. -
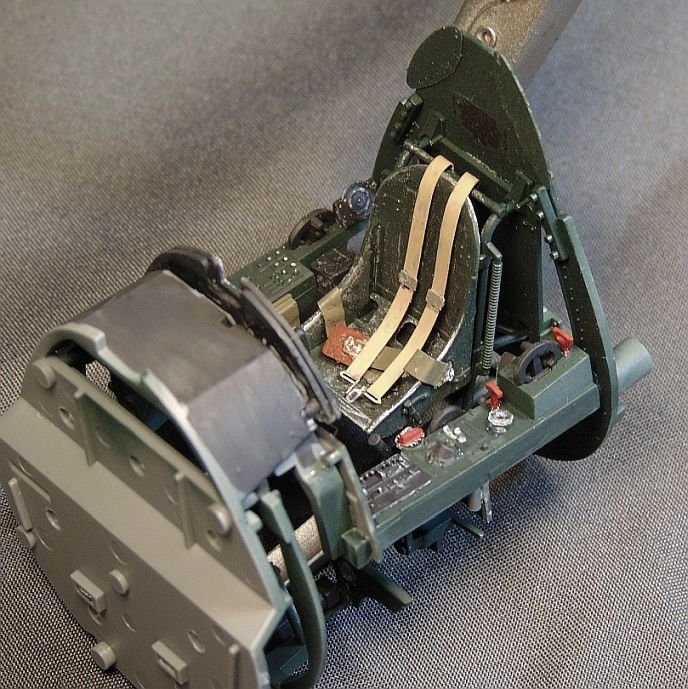
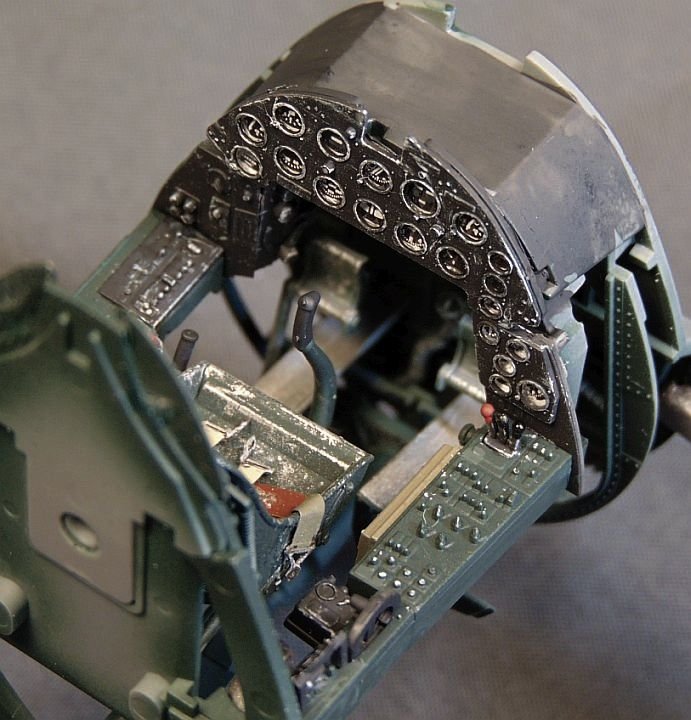
Cockpit about done.
-
Thanks Carl. That's a great start on the Spitfires!
-
20 or 21 Phil.
-
Thank you Chris. My old Paasche H has seen a lot of paint through it!
-
Thanks Peter. This is the last one in my stash but I will get more for sure! LOL Not a good thing to be out of Corsair kits!
-
Yep, another Corsair. Interesting name too! LOL The interior Salmon Pink and Dull Dk. Green now applied. I think, guys, it's not so much the subject as it is the enjoyment of the build although the subject is also important. That's why I build so many Corsairs.

- 25 replies
-
- 11
-

-
Thank you Dennis. I had started this build a few weeks ago but put it back in the box for "later". This was "later" LOL. I'm pleased with the way it turned out and I'm glad you like it also.
-
Revell/Hasegawa FW-190D-9 next up
JohnB replied to JohnB's topic in LSM 1/35 and Larger Work In Progress
Thanks!!! -
Revell/Hasegawa FW-190D-9 next up
JohnB replied to JohnB's topic in LSM 1/35 and Larger Work In Progress
LOL I don't know about that! -
Thanks. I like those very late war schemes since they were "different" from all the earlier schemes.
-
Revell/Hasegawa FW-190D-9 next up
JohnB replied to JohnB's topic in LSM 1/35 and Larger Work In Progress
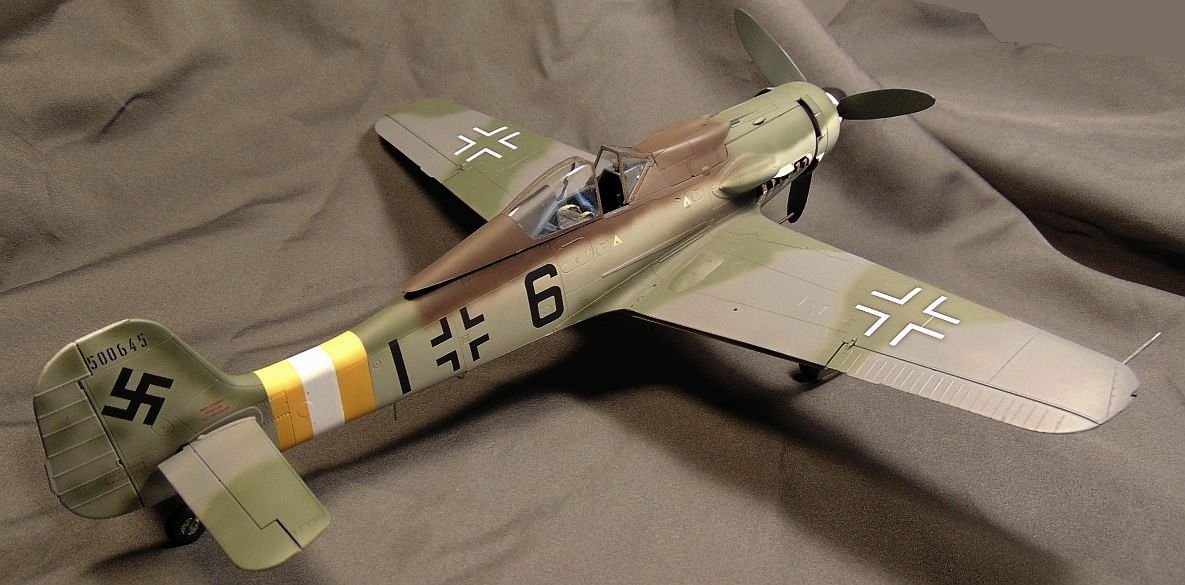
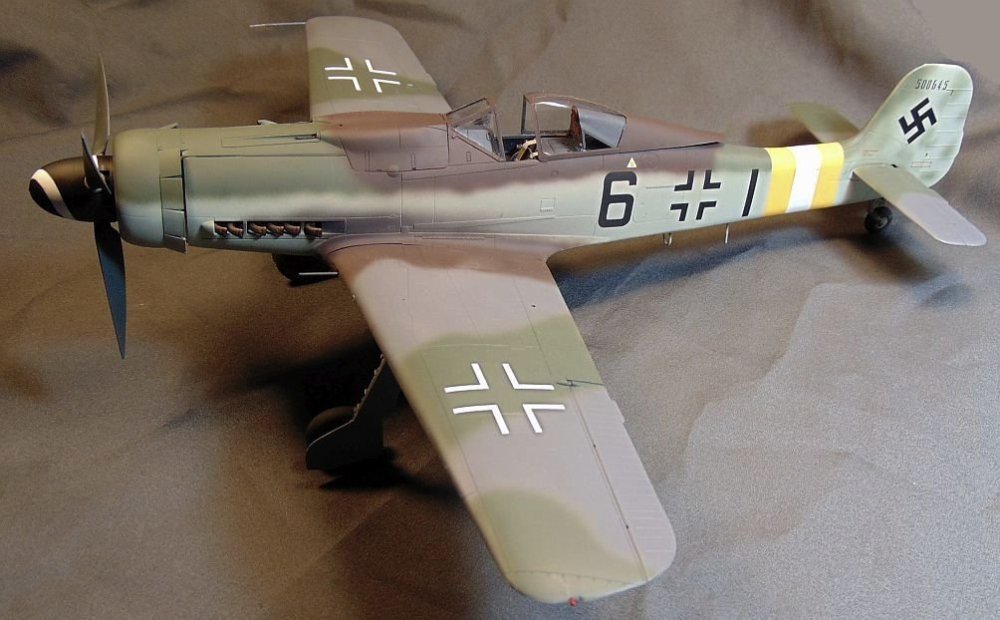
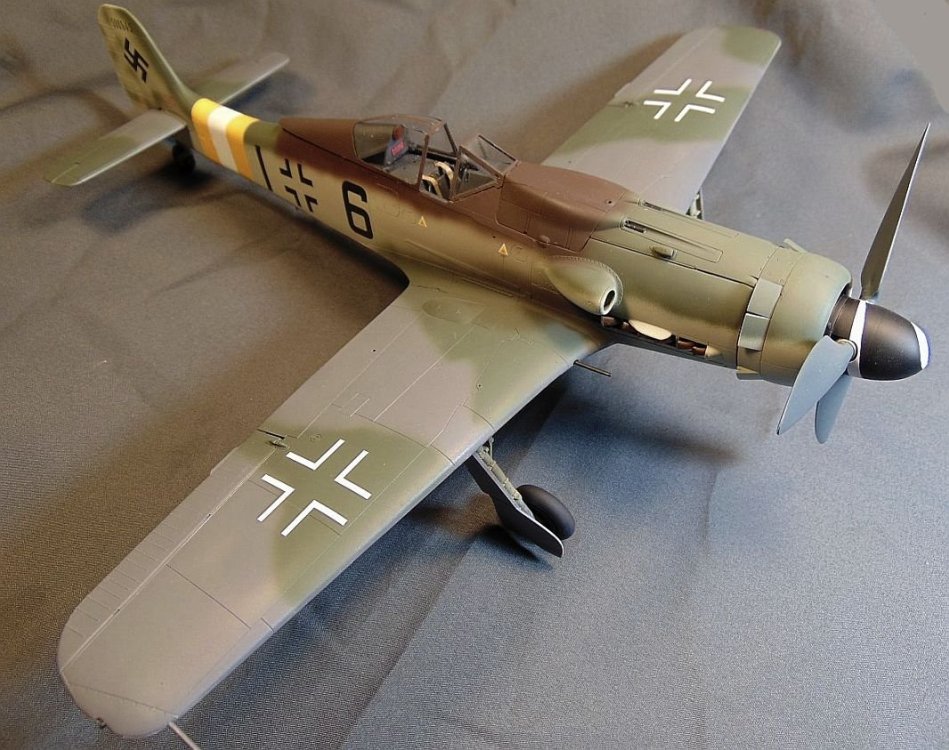
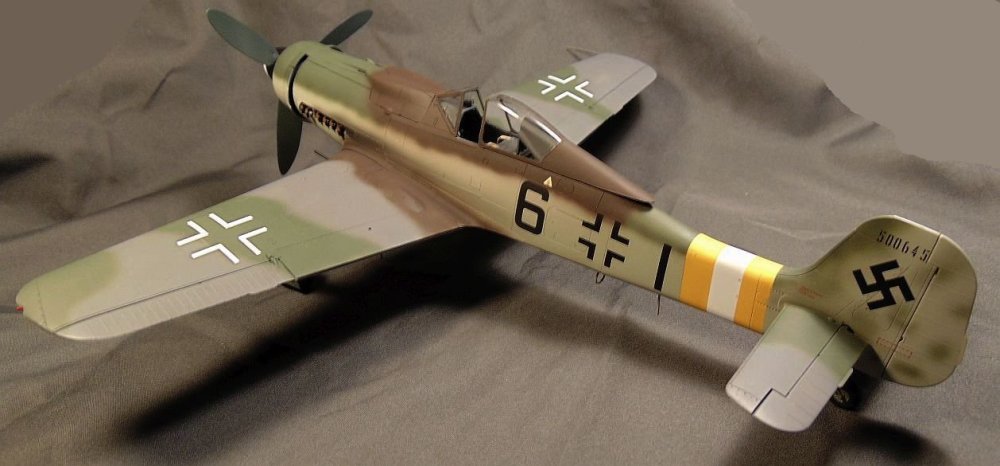
Finished. https://forum.largescalemodeller.com/topic/19530-fw-190d-9-done/ -
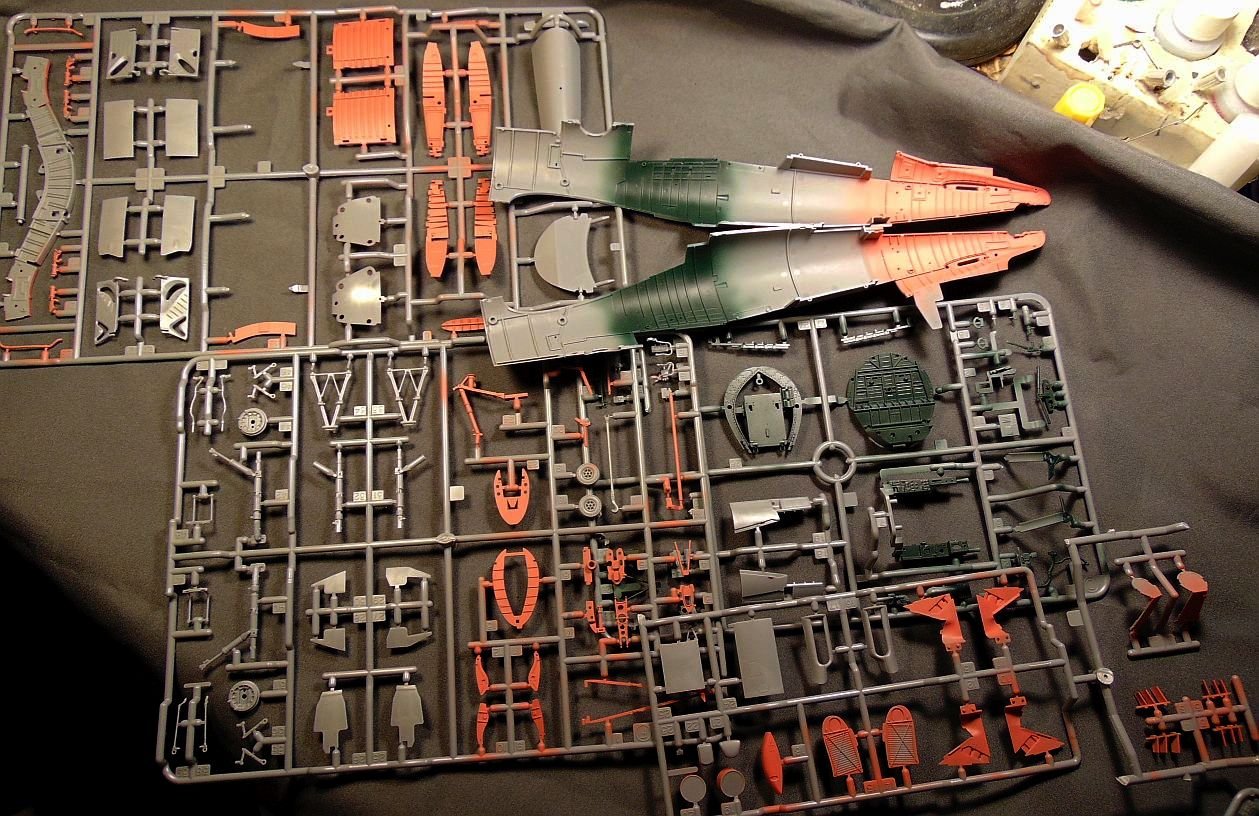
Essentially OOB except for a Aires cockpit. Painted with Testor's MM, Colourcoats, Alclad and Mr. Color. Decals from Eaglecals with reference to Crandall's Vol. 1 on the FW-190D's, page 191. Nice looking very late war '190 I think. I hope you like it.


-
Revell/Hasegawa FW-190D-9 next up
JohnB replied to JohnB's topic in LSM 1/35 and Larger Work In Progress
Thanks Kevin. I hope to finish it up tomorrow, -
Revell/Hasegawa FW-190D-9 next up
JohnB replied to JohnB's topic in LSM 1/35 and Larger Work In Progress
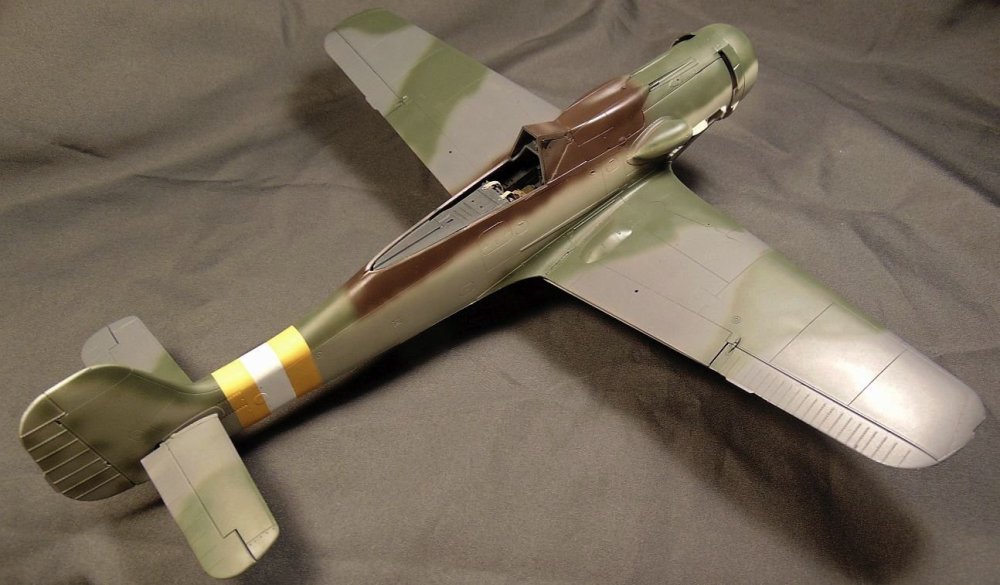
Camo done for the most part. Some touch up then decaling barring screwups.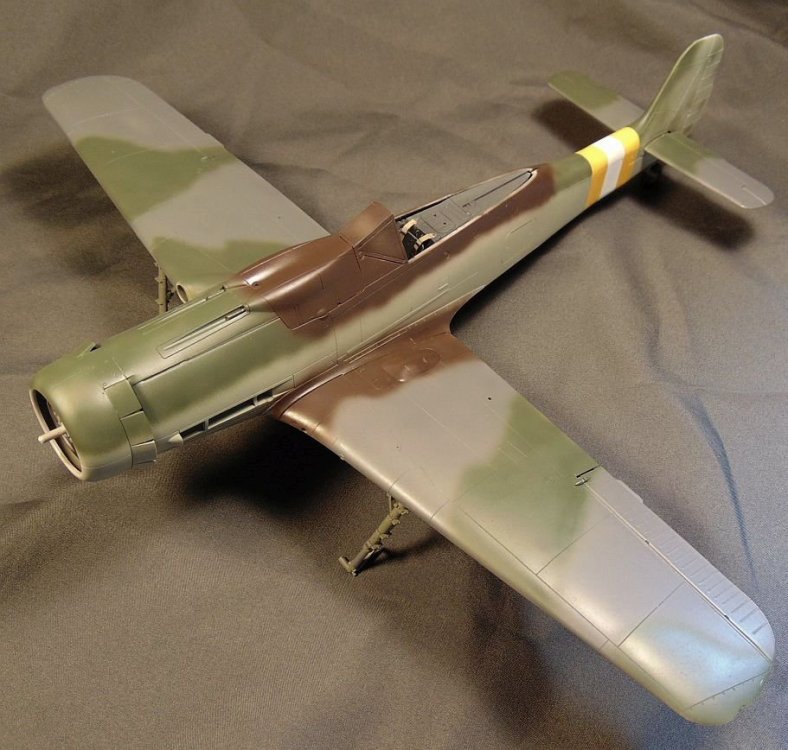
-
Revell/Hasegawa FW-190D-9 next up
JohnB replied to JohnB's topic in LSM 1/35 and Larger Work In Progress
I agree it's going fast. Faster than I expected actually! This kit does have a few things in common with the A-8 so I doubt it would present any problems. -
Revell/Hasegawa FW-190D-9 next up
JohnB replied to JohnB's topic in LSM 1/35 and Larger Work In Progress
So far so good. Thanks. -
Revell/Hasegawa FW-190D-9 next up
JohnB replied to JohnB's topic in LSM 1/35 and Larger Work In Progress
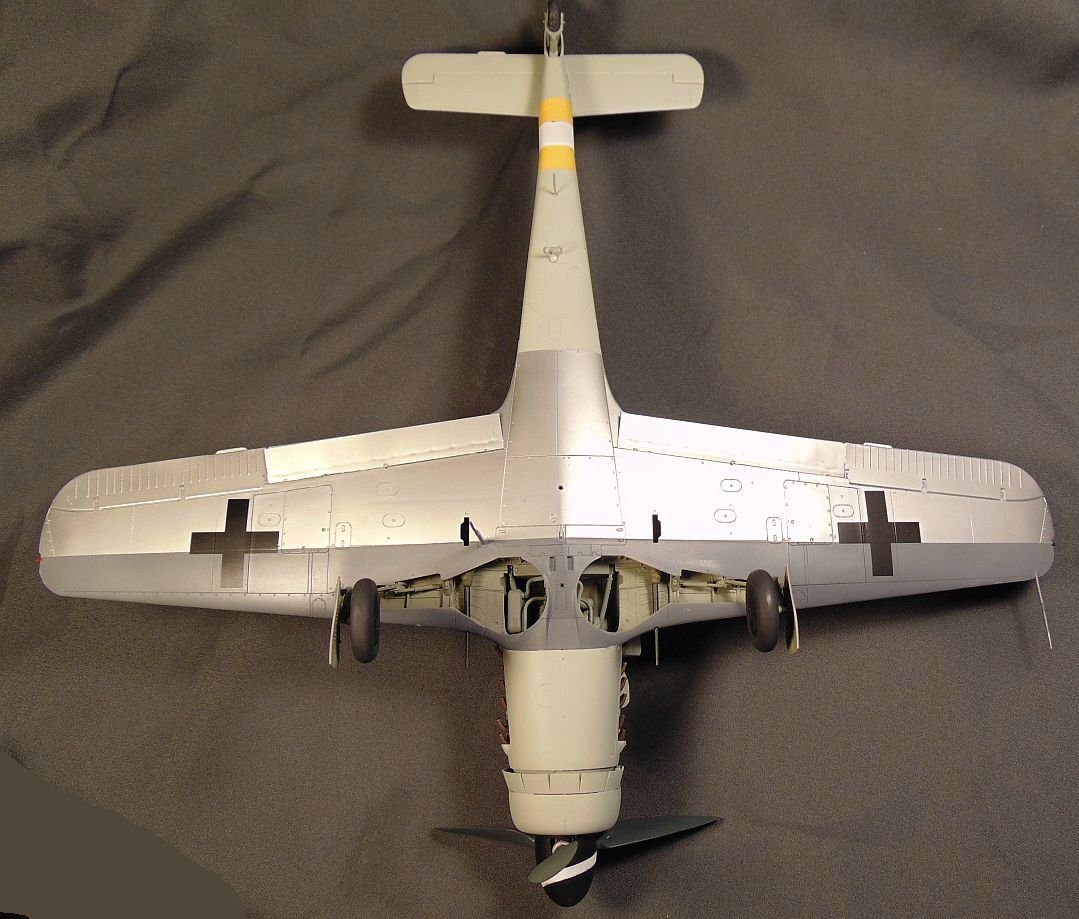
Painting under way! Undersides done so now it's on to the top of the wings and fuselage.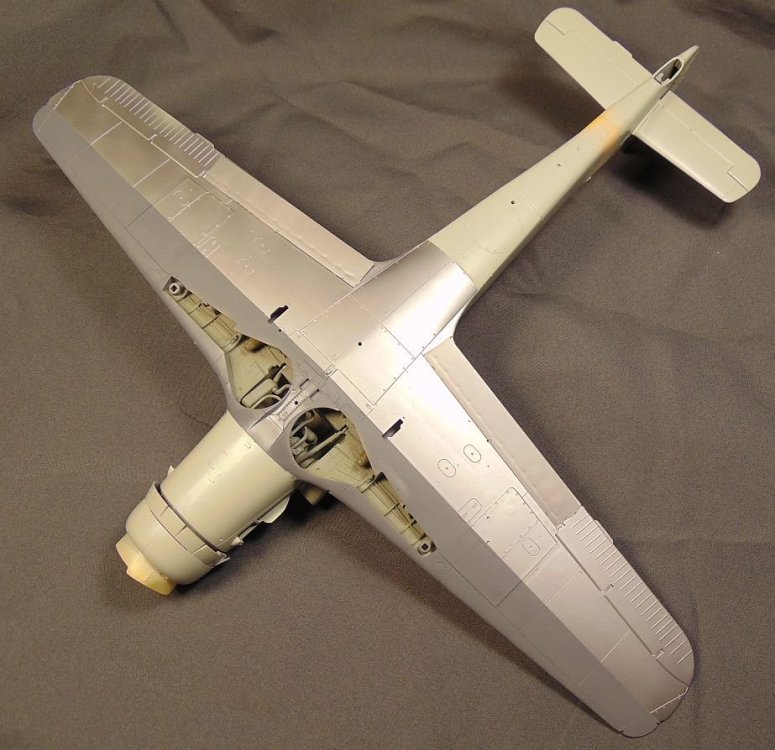
-
Revell/Hasegawa FW-190D-9 next up
JohnB replied to JohnB's topic in LSM 1/35 and Larger Work In Progress
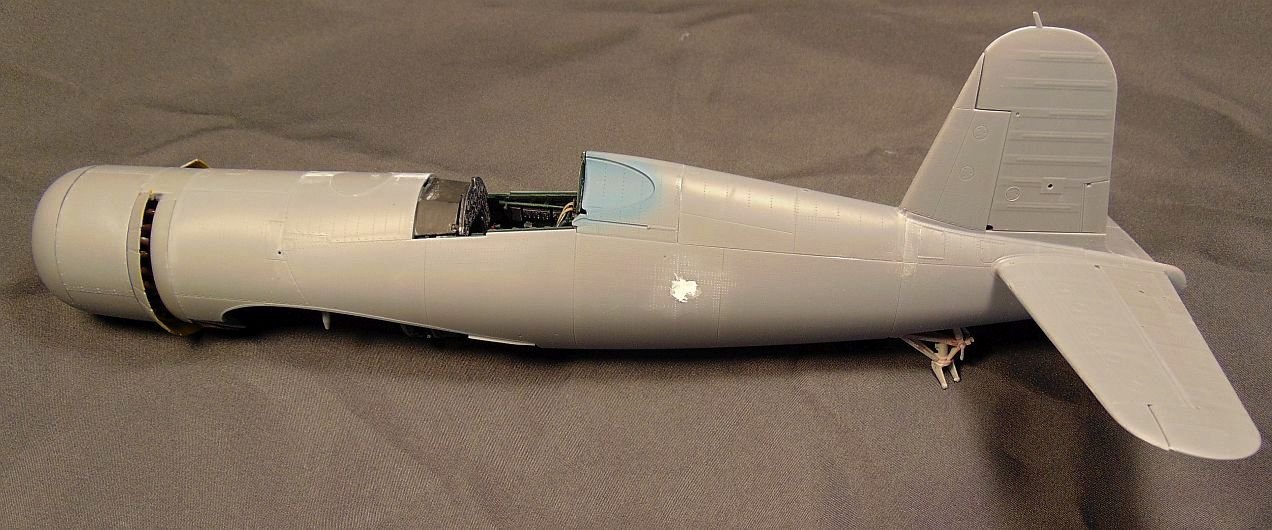
Thanks Peter. It's always a pleasure when everything fits! -
Revell/Hasegawa FW-190D-9 next up
JohnB replied to JohnB's topic in LSM 1/35 and Larger Work In Progress
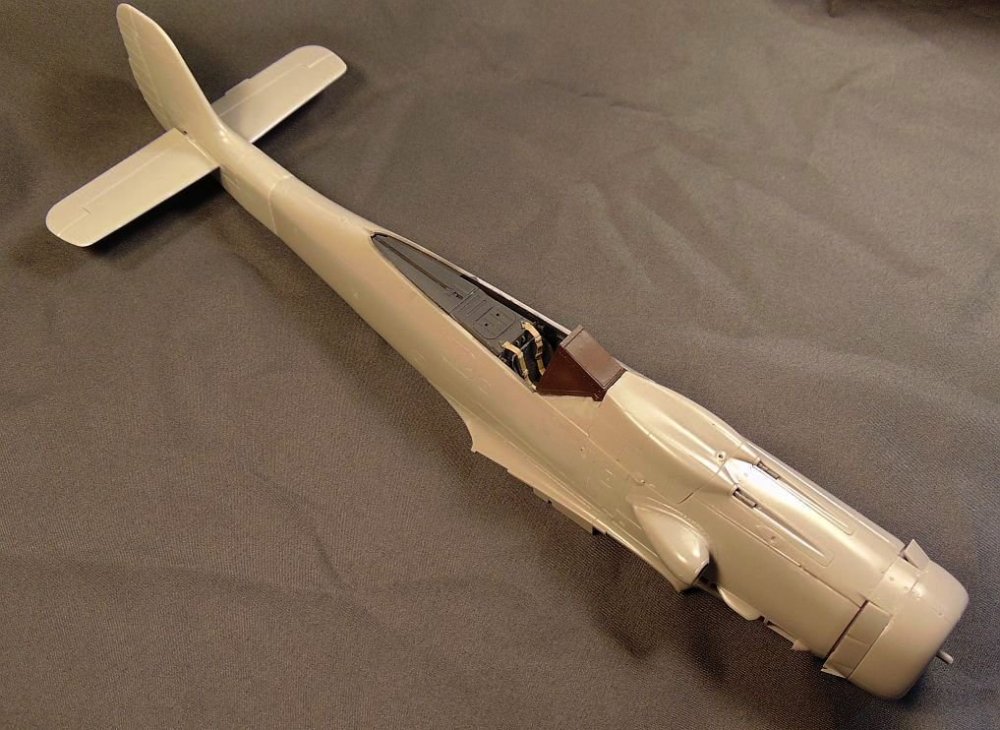
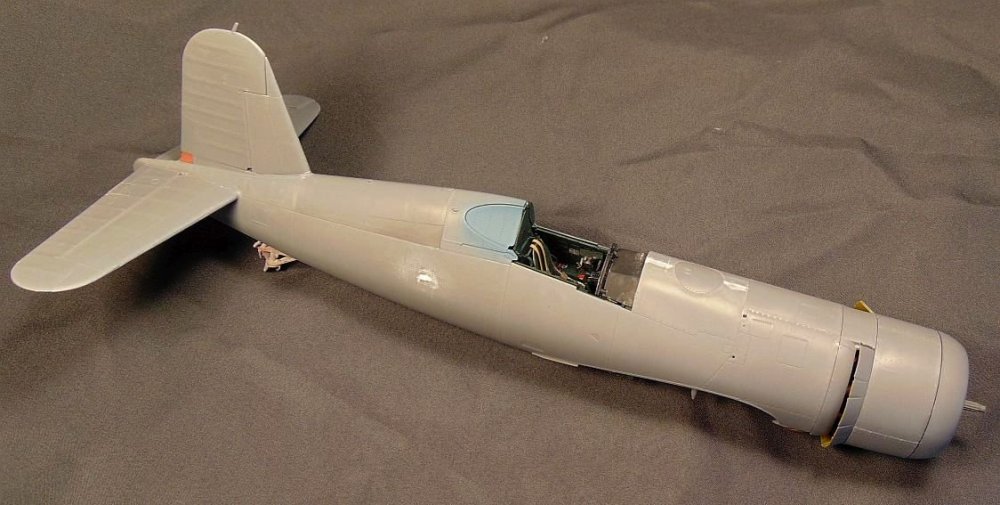
Fuselage assembly about done. Wings are next.