

Bill_S
-
Posts
990 -
Joined
-
Last visited
Content Type
Profiles
Forums
Events
Gallery
Everything posted by Bill_S
-
She's got legs - and an engine! Masks removed from the IP... I used one of my Waldron sets to punch out individual instrument decals. Getting them centered in the punch can be difficult; I shine a bright light from the bottom to get it right. I used future to get the decals to adhere to the back of the IP. I didn't bother removing the paper backing. That's it for now. I'm preparing to attend a contest/show in Syracuse NY this weekend.
- 40 replies
-
- 13
-

-

-
One of these days, I'm going to tackle the IP. In the meantime, I've started on the wings. It's a pity it has to be covered. Lower wing panels fitted; no shims involved. I had a little bleed-through of Tamiya Extra Thin, but it's nothing a light sanding won't take care of. The outer rear corner of the radiator sits a little proud, leaving a noticeable gap when I test fitted the upper wing skin. Probably something I did. Five minutes with a sanding stick, and all is well now. Time for a little RLM02 on visible surfaces, and it will be hidden for eternity.
-
I have to give them a pass - many build only armor, and there are a number of car guys too. I'm the only one who builds large scale.
-
I have a box for PE that is either left over from a build, or not for a build that is on the radar. Also one for decals. I have separate boxes for Gaspatch items, and HGW belts. Drawers in a Hobby Zone unit for cockpit items like Airscale decals and bezels, old Waldron stuff and MDC instrument decals. I've been trying to put resin purchases into their respective kit boxes.
-
Peter, I don't have the SH Whirlwind; the instructions I brought were from the ZM Bf109G15/U4. Most of the guy at the meeting had never heard of ZM, nor seen one of their kits. They were amazed by the ZM manual.
-
I needed to finish the tail wheel assembly; it's the last piece prior to cementing the fuselage halves. One little trick I've learned... I put a small piece of plastic wrap on the wheel (I do it any time a wheel is trapped by the strut). Pull it tight, and poke a couple of holes where the axle goes. It rips off very easily afterward. I find myself using my Molotow pen less and less. I purchased a refill bottle and make a small puddle. Junk mail actually has a use! I get better (and easier) coverage using a brush. A side note: I was reading Peter's laments on the SH Whirlwind instructions. I brought this kit to my monthly club meeting for Show and Tell. What people were most impressed with was the instruction booklet!
- 40 replies
-
- 10
-
-
 Looking great, Gazzas! I use a heated exacto blade to remove those brittle clear parts from the sprue.
 -
Thanks, GazzaS! I'm not sure yet. I prefer the buttoned up look; we'll see how the cowls fit.
-
Well done, Carl - I'm following your build review as well. You're building almost as fast as John B!
- 90 replies
-
- 5
-
-
-
- zoukei-mura
- 109
- (and 1 more)
-
Thanks for the kind comments. I got a little sidetracked with the issues experienced by Gazzas... I'm a little farther along than Carl at this point, but I'm certain he'll soon eclipse me. White glue thinned with a couple of drops of red food coloring. It makes a great masking fluid; the red is useful for applying it to the clear IP. The engine (minus exhaust shrouds is complete. A lot of piping; it goes together very well. I masked contact areas between the fuselage halves and the bulkheads to (hopefully) eliminate fit issues when the halve go together. I don't know if it was necessary, but the halves go together without any issues. Quite a bit of the cockpit is done as well. Zero fit issues.
- 40 replies
-
- 14
-
-
-
Glad you got it sorted out, Gaz!
-
Gary, you've managed to put me into a frenzy! I've done a preliminary mockup (waiting for white glue to dry right now - pictures when I can), and I think the front ring might not be back far enough. On mine, the notch on part H30 and H31 just touch the exhausts and the cowls appear at this point to be the proper length. Mind you, I've yet to install the exhaust shrouds.
-
Just got my credit card bill -I need to stop buying kits! That said, the last charge was to an outfit called "Kotare Models".
-
I'm still a LONG way away from that poor fit at the tail, Gary - you've done a remarkable job! My biggest complaint about the kit so far is the instrument panel. I can never get those big decals to sit as nicely as you've done on yours. I wish ZM would give us a nice acetate sandwich.
-
Trumpeter/Revell P-51B done
Bill_S replied to JohnB's topic in LSM 1/32 and Larger Aircraft Ready for Inspection
She's a keeper, John. Well done, as usual! -
With the exception of HGW belts, I plan on keeping this one OOB, Martin.
-
Hernia surgery last week - a couple of days after my local club's show/contest. Lots of time on my hands, so I decided to start this kit. I don't build many Luftwaffe planes; this will be my first 109 since I built Revell's kit as a kid. I'm sticking with Hartmann's mount, and putting all the engine detail on in case I want to display it with engine cowls off. I think I counted 57 parts for the engine assembly. Still some plumbing to do on the engine, but everything fits great!
- 40 replies
-
- 15
-
-
-
I'm aware, Harv. But for 10 dollars, I had to buy it!
-
Picked these up very cheap at a vendor table at this weekend's contest.
-
Thanks for the kind comments, folks. I was pleased with the final result on this one. I guess the judges at my local contest were too.
-
Tamiya F-14 VF-2 Bounty Hunters
Bill_S replied to Bill_S's topic in LSM 1/35 and Larger Work In Progress
Martin, I wish the folks at Milspec would have had access to that photo prior to releasing their decals. The NK tail code in my set is way too big, and doesn't have the yellow outline (never mind that they have you apply them to the inner surfaces of the tails). Regardless, I'm pleased with how it turned out. -
No 3D cockpit options for the T-28? UPDATE!
Bill_S replied to ScottsGT's topic in Modelling Discussion
There's a third player in the 3D cockpit game - Kitsworld. They don't make any for the T-28 either. -
Nose surgery for a Trumpeter P-51B
Bill_S replied to JohnB's topic in LSM 1/35 and Larger Work In Progress
Wow, John - it looks like it was made that way. Nice job! -
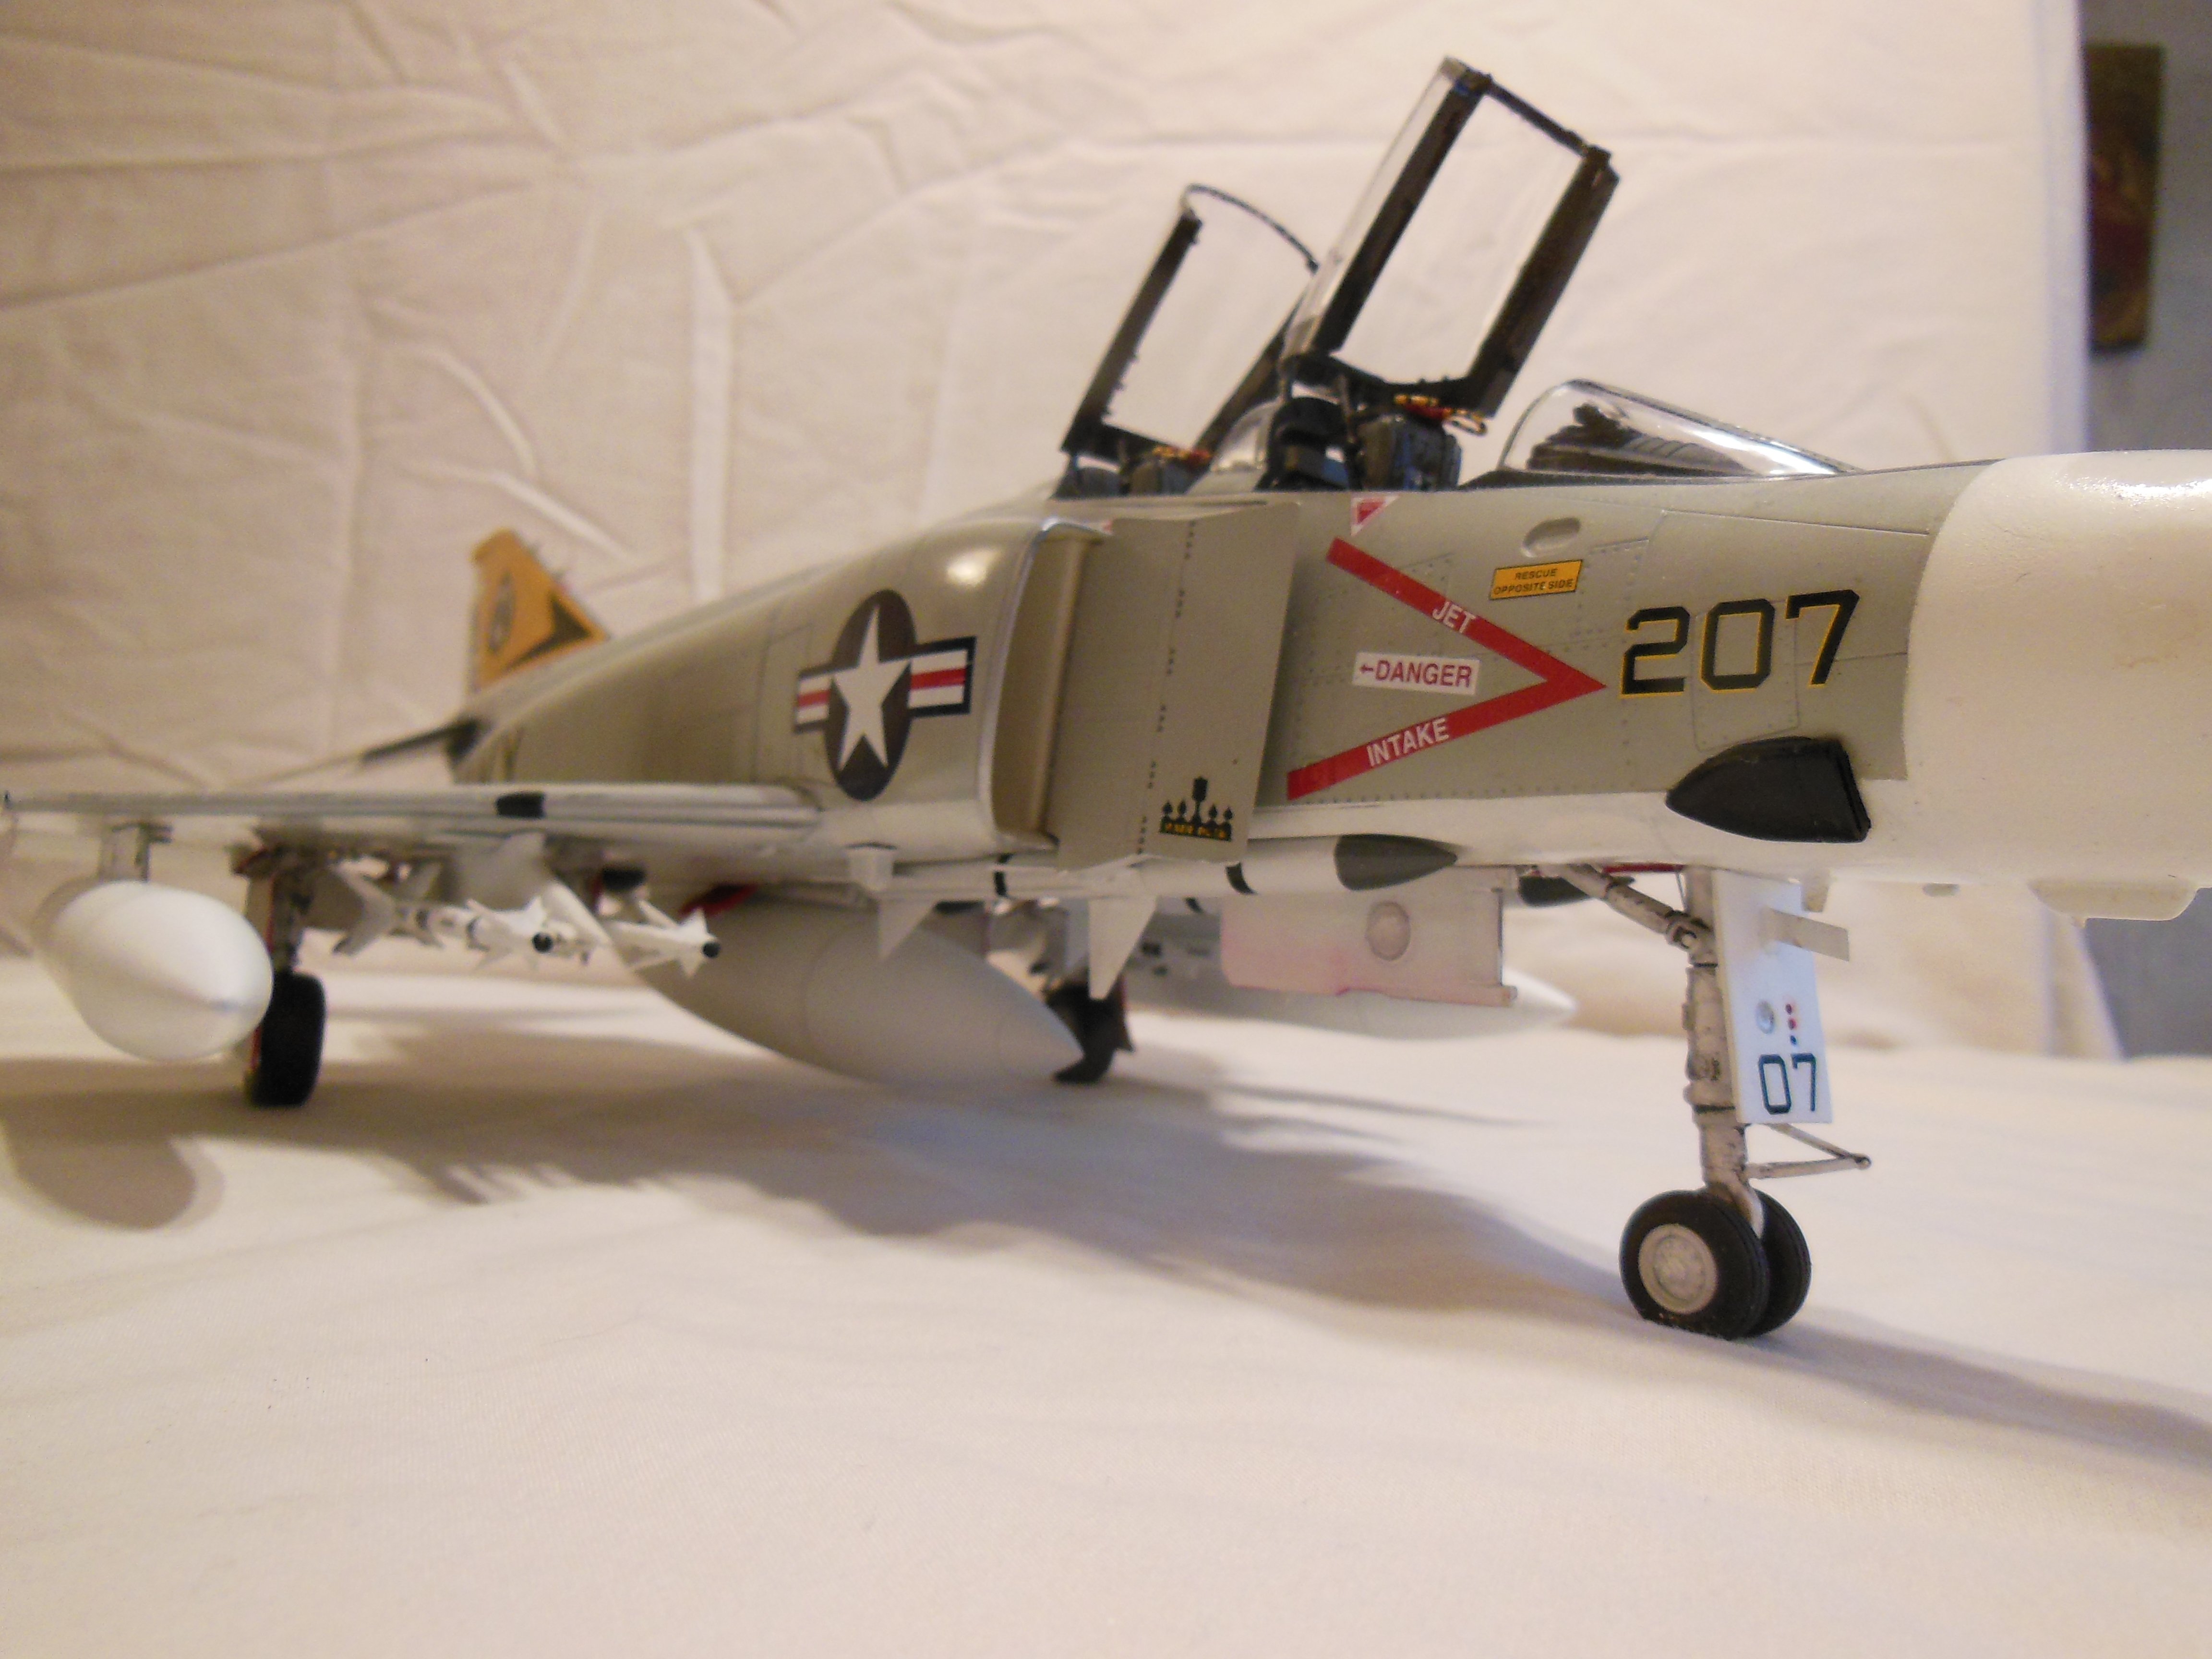
I didn't document this build as well as I should have; it languished on the SOD for over a year. Typical Tamiya - detail and fir were exceptional. The only minor problem I had was the fit between the completed fuselage and the wing. Part of the fuselage internals forms part of the roof of the wheel bay; it took a little bit to figure out where the interference was.
- 11 replies
-
- 12
-
-
