ScottsGT
-
Posts
2,765 -
Joined
-
Last visited
Content Type
Profiles
Forums
Events
Gallery
Everything posted by ScottsGT
-
My T-6 build had a lot of hidden detail that went in the trash bin. Can’t see it? Not building it. All it’s good for is cool internet pics and the modeler that loves getting into those details.
-
I pick and choose carefully with the 3D cockpit stuff. Big open canopy? Sure. Dash hidden way up under the top of the fuselage? I skip it. Just ordered a set for my SUFA kit because big and open. Sadly, once they go in the display case, you never can see down in there anyway.
-
Me, you, rubber hose out back! As the cop said in Christmas Vacation….”Mister, if I had a rubber hose….”
-
Yea, because there you can pick it up for the show special price of $175!
-
What is on your bench right now ? Share a picture :)
ScottsGT replied to Martinnfb's topic in Modelling Discussion
Hubert, your skills and knowledge of subjects have always impressed me. This one is no different! And what a perfect location to display it. -
I found this to be an incredible deal. I’ve got the first boxing of it, so I’m good. I’m doubtful Amazon.CA will have it this cheap though https://www.amazon.com/Hong-Kong-Models-Mitchell-Gunship/dp/B08XMS4FY5/ref=pd_hp_mw_btf_ci_mcx_mr_hp_btf_m?pd_rd_w=0eccb&content-id=amzn1.sym.e344b029-95e5-407c-80e9-132f4213a7a1%3Aamzn1.symc.78b63dc2-7c0c-4c3e-8dd5-8e838bc5f8ba&pf_rd_p=e344b029-95e5-407c-80e9-132f4213a7a1&pf_rd_r=YWJ161TPV536XHBRRDX2&pd_rd_wg=xy6GN&pd_rd_r=9bcd9ce9-6e65-4a51-bcad-2171c8fda05a&pd_rd_i=B08XMS4FY5
-
What is on your bench right now ? Share a picture :)
ScottsGT replied to Martinnfb's topic in Modelling Discussion
Looks like you got a raspberry for your efforts! -
Looks great Peter! I understand the waiting on Quinta thing. I emailed them two years ago about the KH T-28. Said they were going to make them after the harvest. In the meantime I grabbed a set of Eduard interiors in case Quinta never comes through. The B/D is out of production and was tough to find one in stock. Glad to see you back on a 1/32 kit!
-
Half century? You’re still a kid! Happy birthday young man!
-
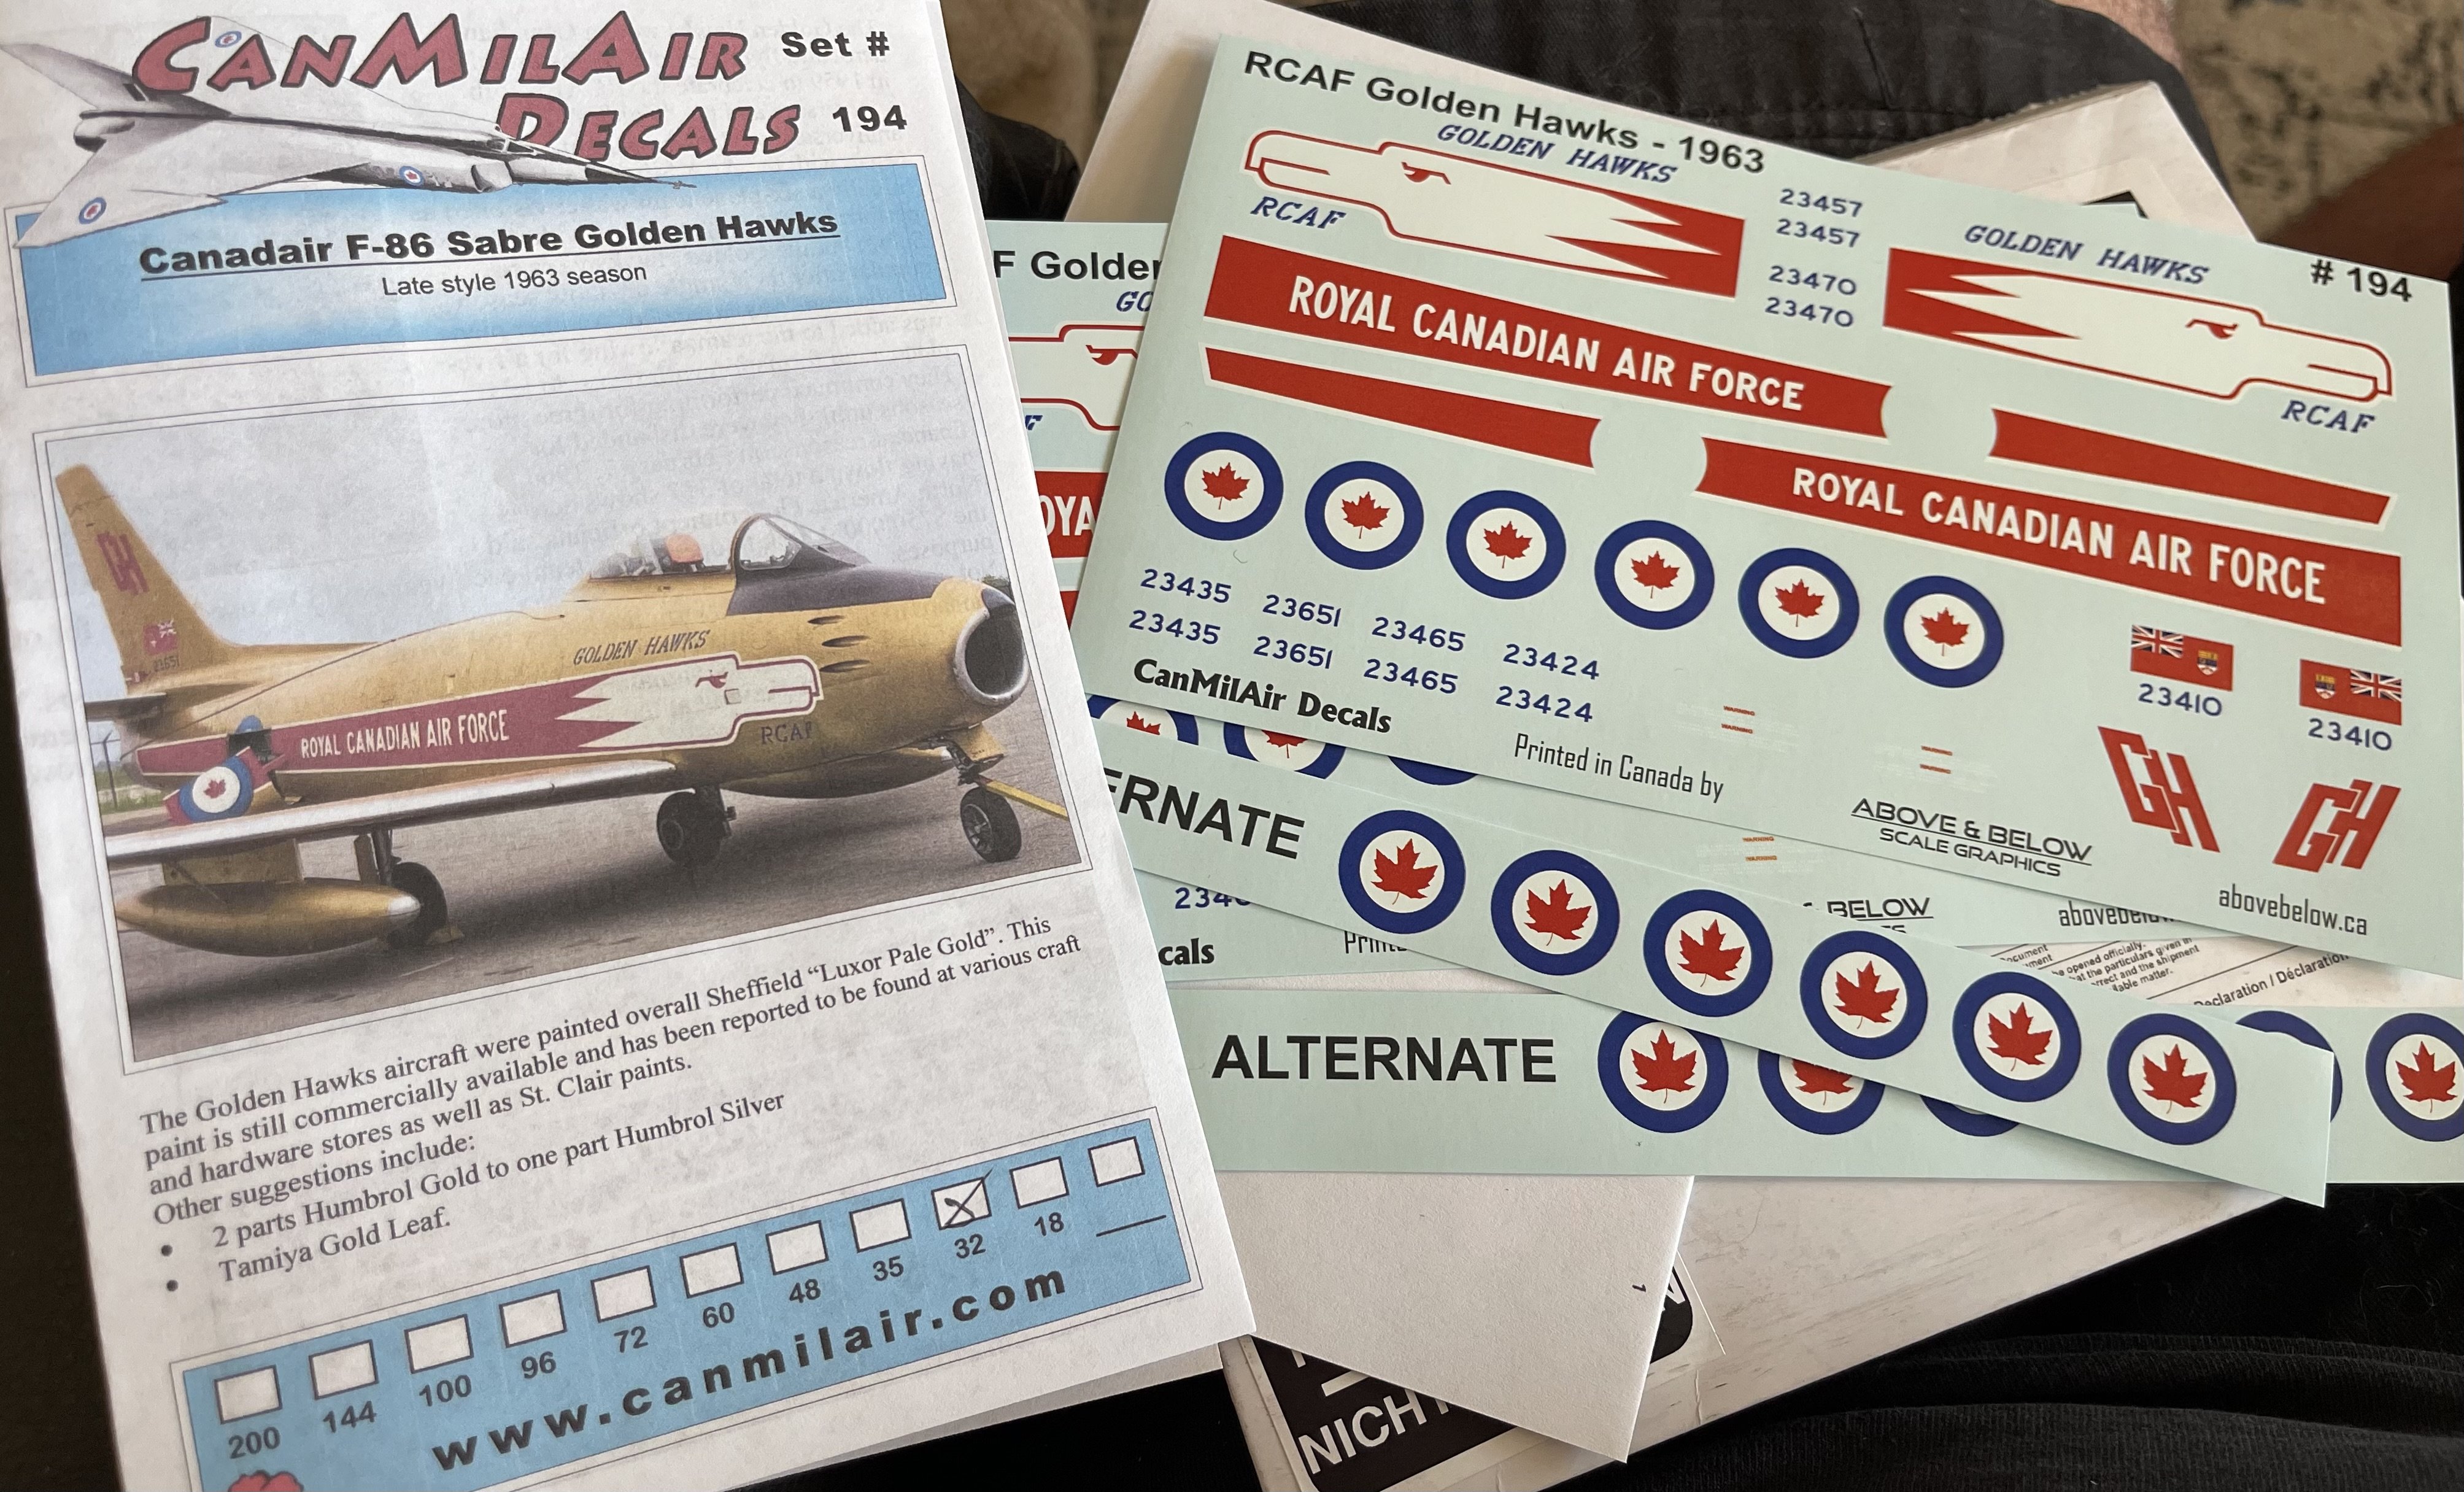
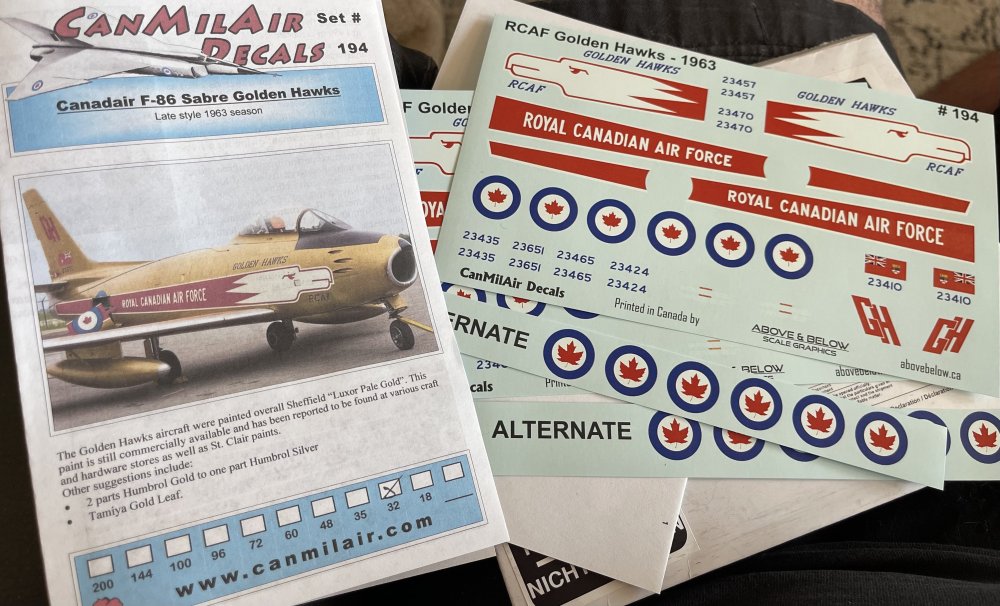
Speaking of Golden Hawks….. Just showed up in my mailbox.
-
I’ve actually come up with another wild idea I’m going to try later. I’ll follow up when I do.
-
Lookie what I found online. Another “meant to be” since SWMBO is at work.
-
Trust me, I’ve often thought if that trick would work. Her being a medical pro though has her biased against anything with two wheels. Donor cycles she calls them. I did mention us buying a couple of CT 125’s to go on rides. Her response was “but where?” Very true. SC doesn’t offer much in off road bike or ATV riding like some states do. Edit: We do have a nearby off-roading park, but it’s one of those “extreme off-roading” places you go to get covered in mud and thrill seek. Not old people trail riding My close friends doc tells him at 60 years of age you’re supposed to sell your motorcycles and ladders. You don’t need to be on either at that age.
-
If they started importing that 125 DAX to the states, I would surly be divorced. I grew up riding a 50 Monkey and a Trail 70. Resistance would be futile.
-
Thanks Rob. It’s really being tested on this one. But I’m finally seeing light at the end of the tunnel. I just hope it’s not a freight train. Edit to add: I will say that I am at a stopping point for some time to be determined now. I have a huge crowd showing up starting tomorrow evening that will be here until Monday the 8th. And I’m sitting here with my back out of whack looking at a badly over grown lawn that needs mowing (rider thankfully!) and a ton of grocery shopping needing to be done. And the wife is working up until tomorrow evening. Monday I’m wrapped up,with a vet visit for the new pup, got lawn irrigation going in Monday and Tuesday and Wednesday morning the wife goes in for final reconstruction surgery from her breast cancer. I’m probably looking at a couple weeks before I can get back to the bench.
-
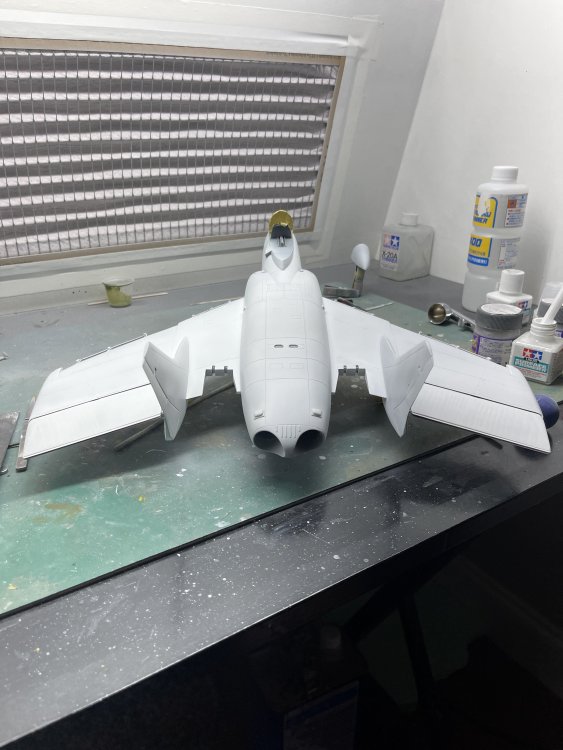
White’s on!
-
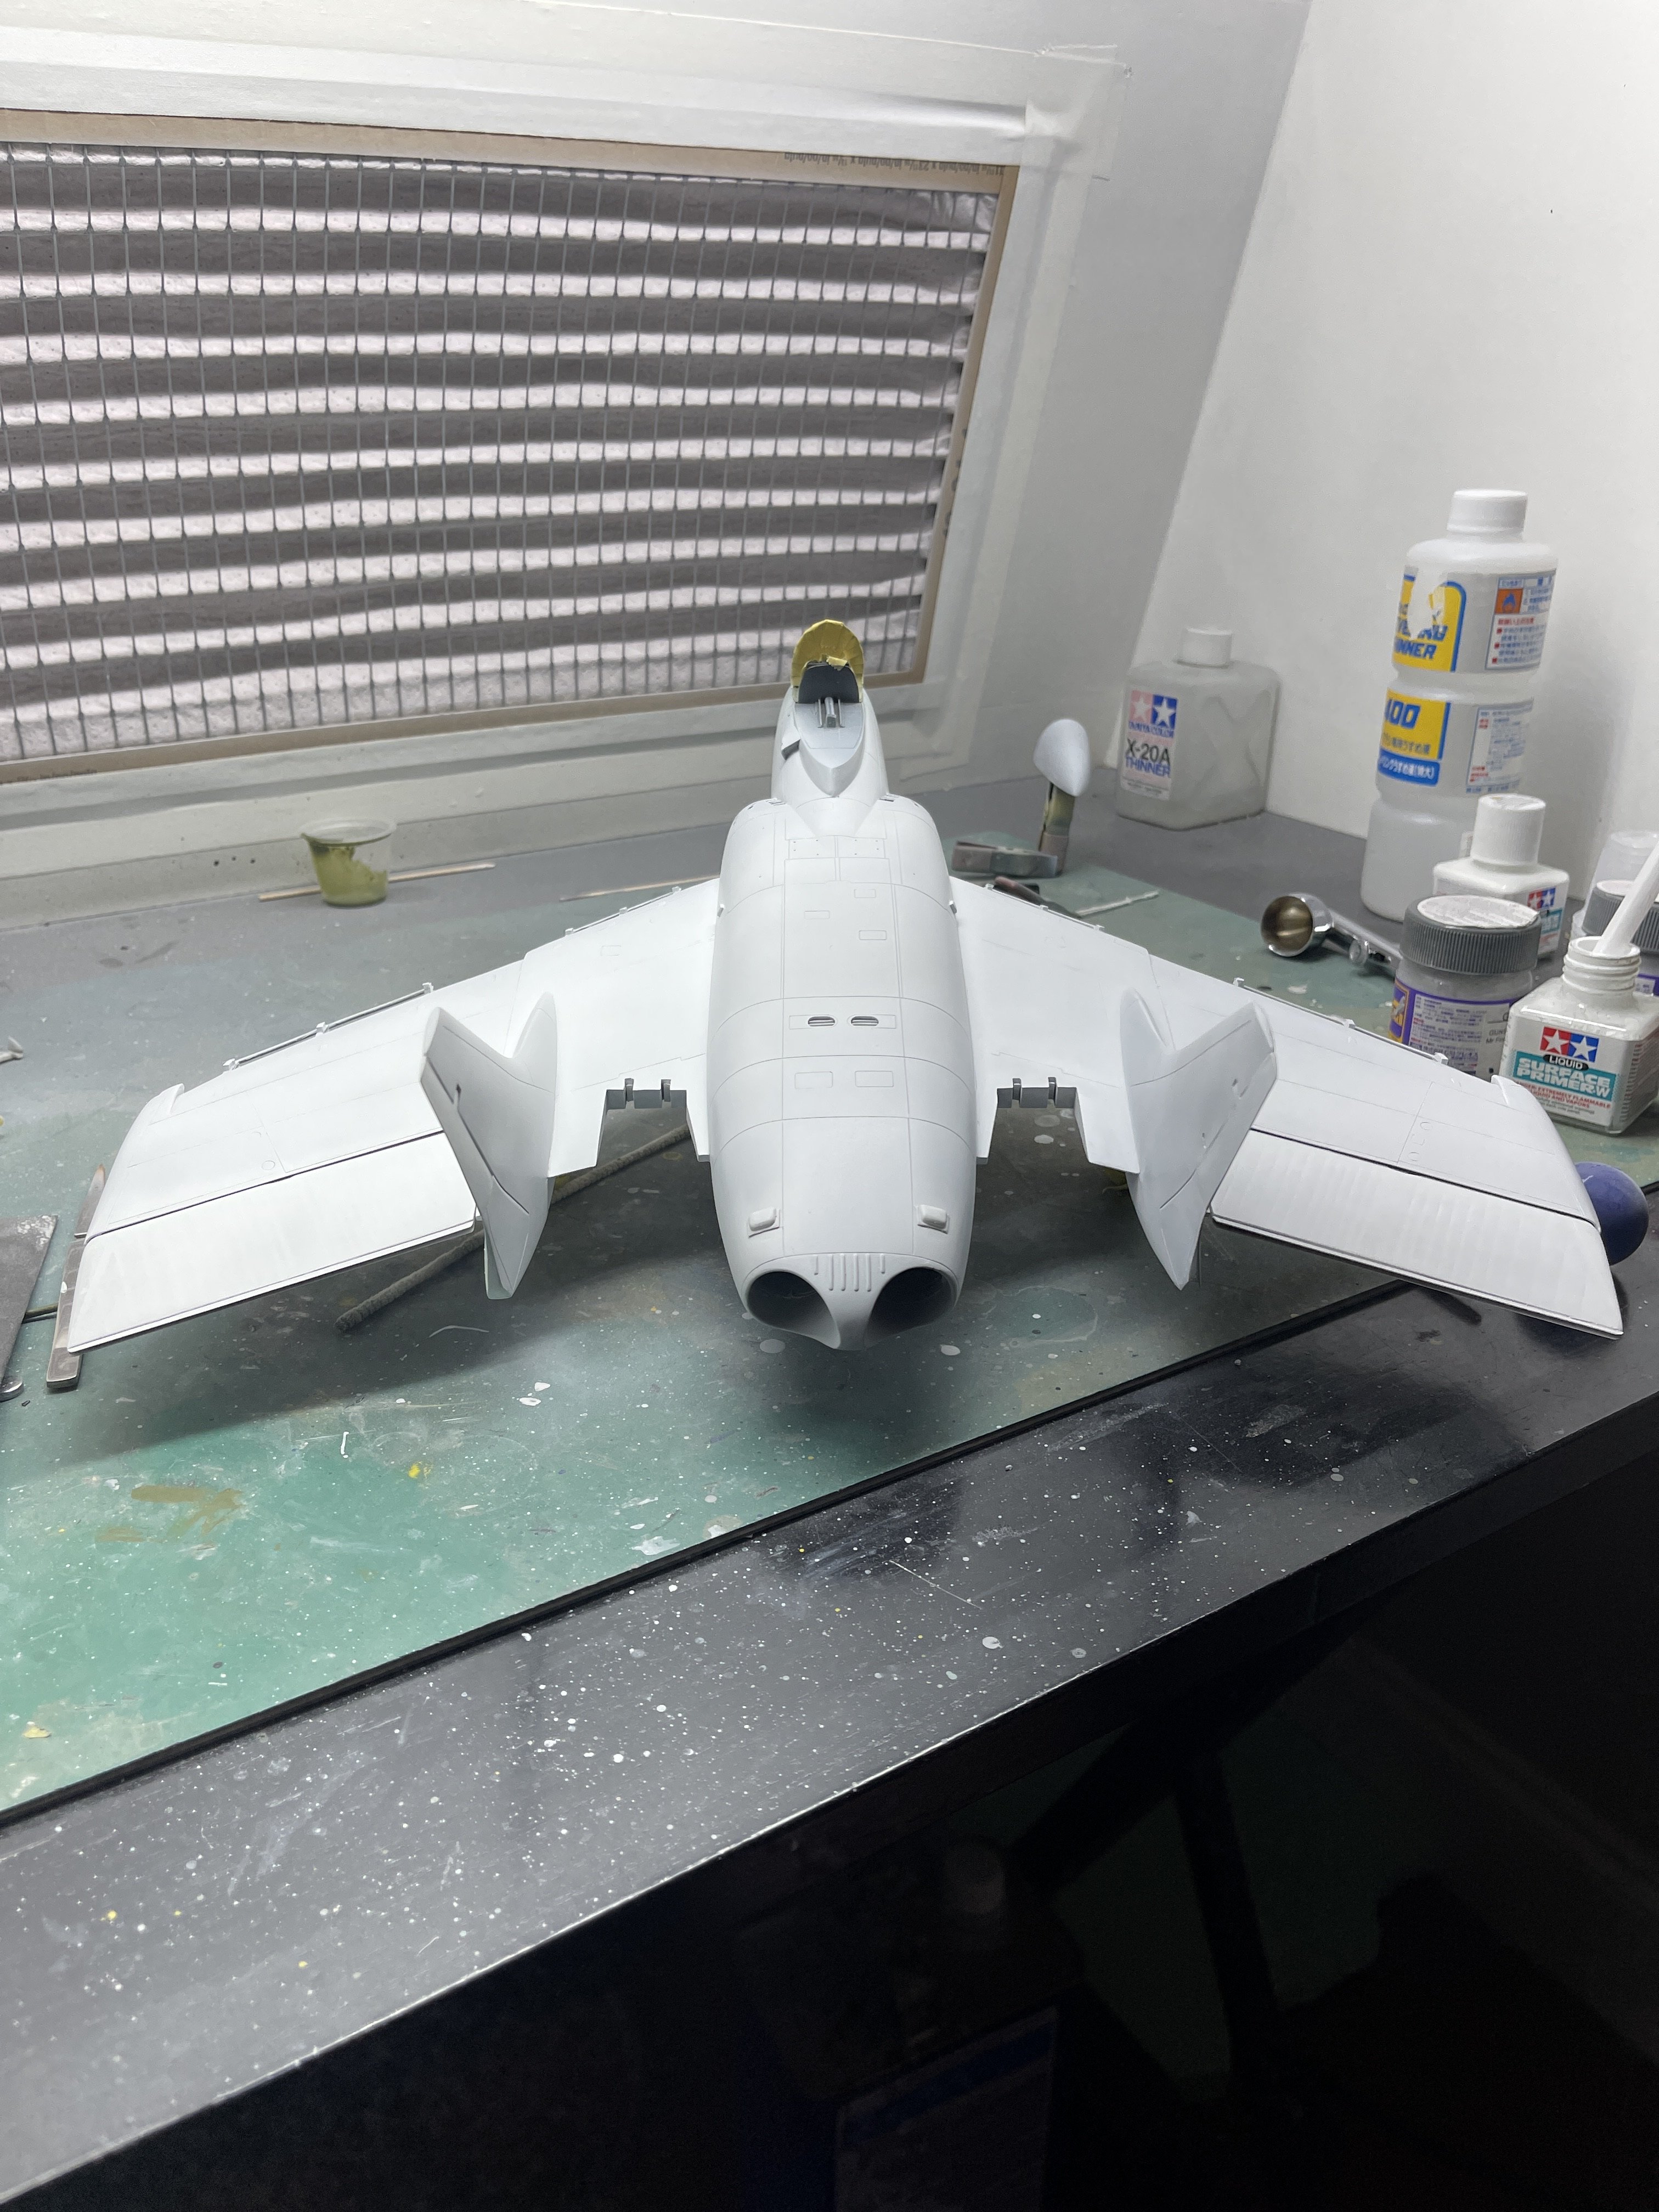
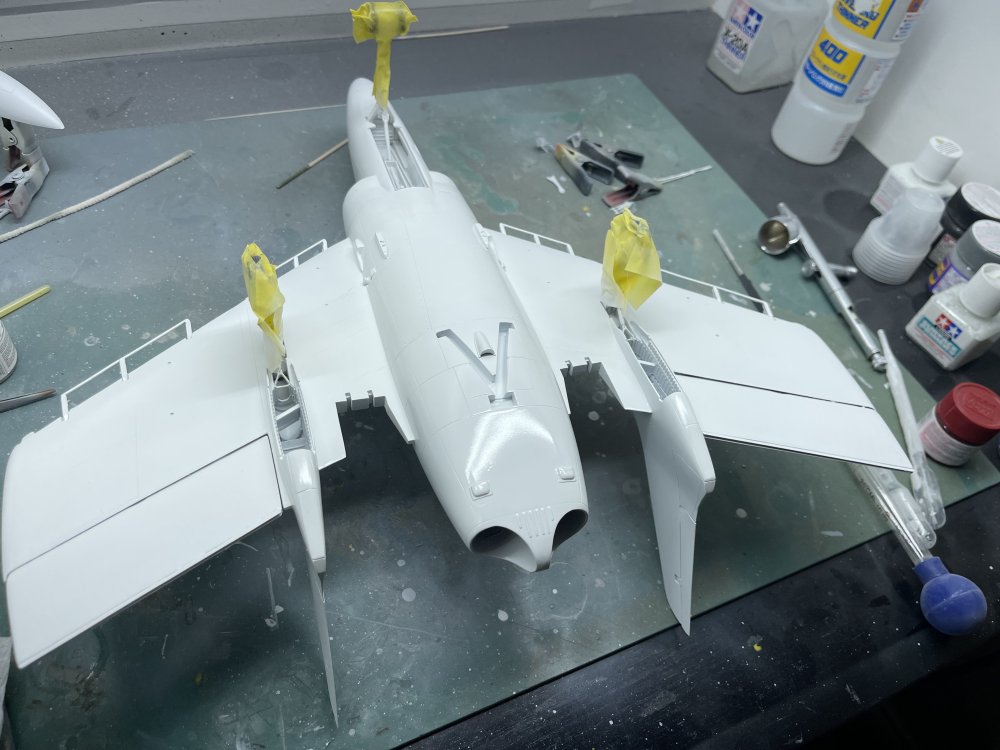
So hopefully, final primer time! So far it’s looking good.
-
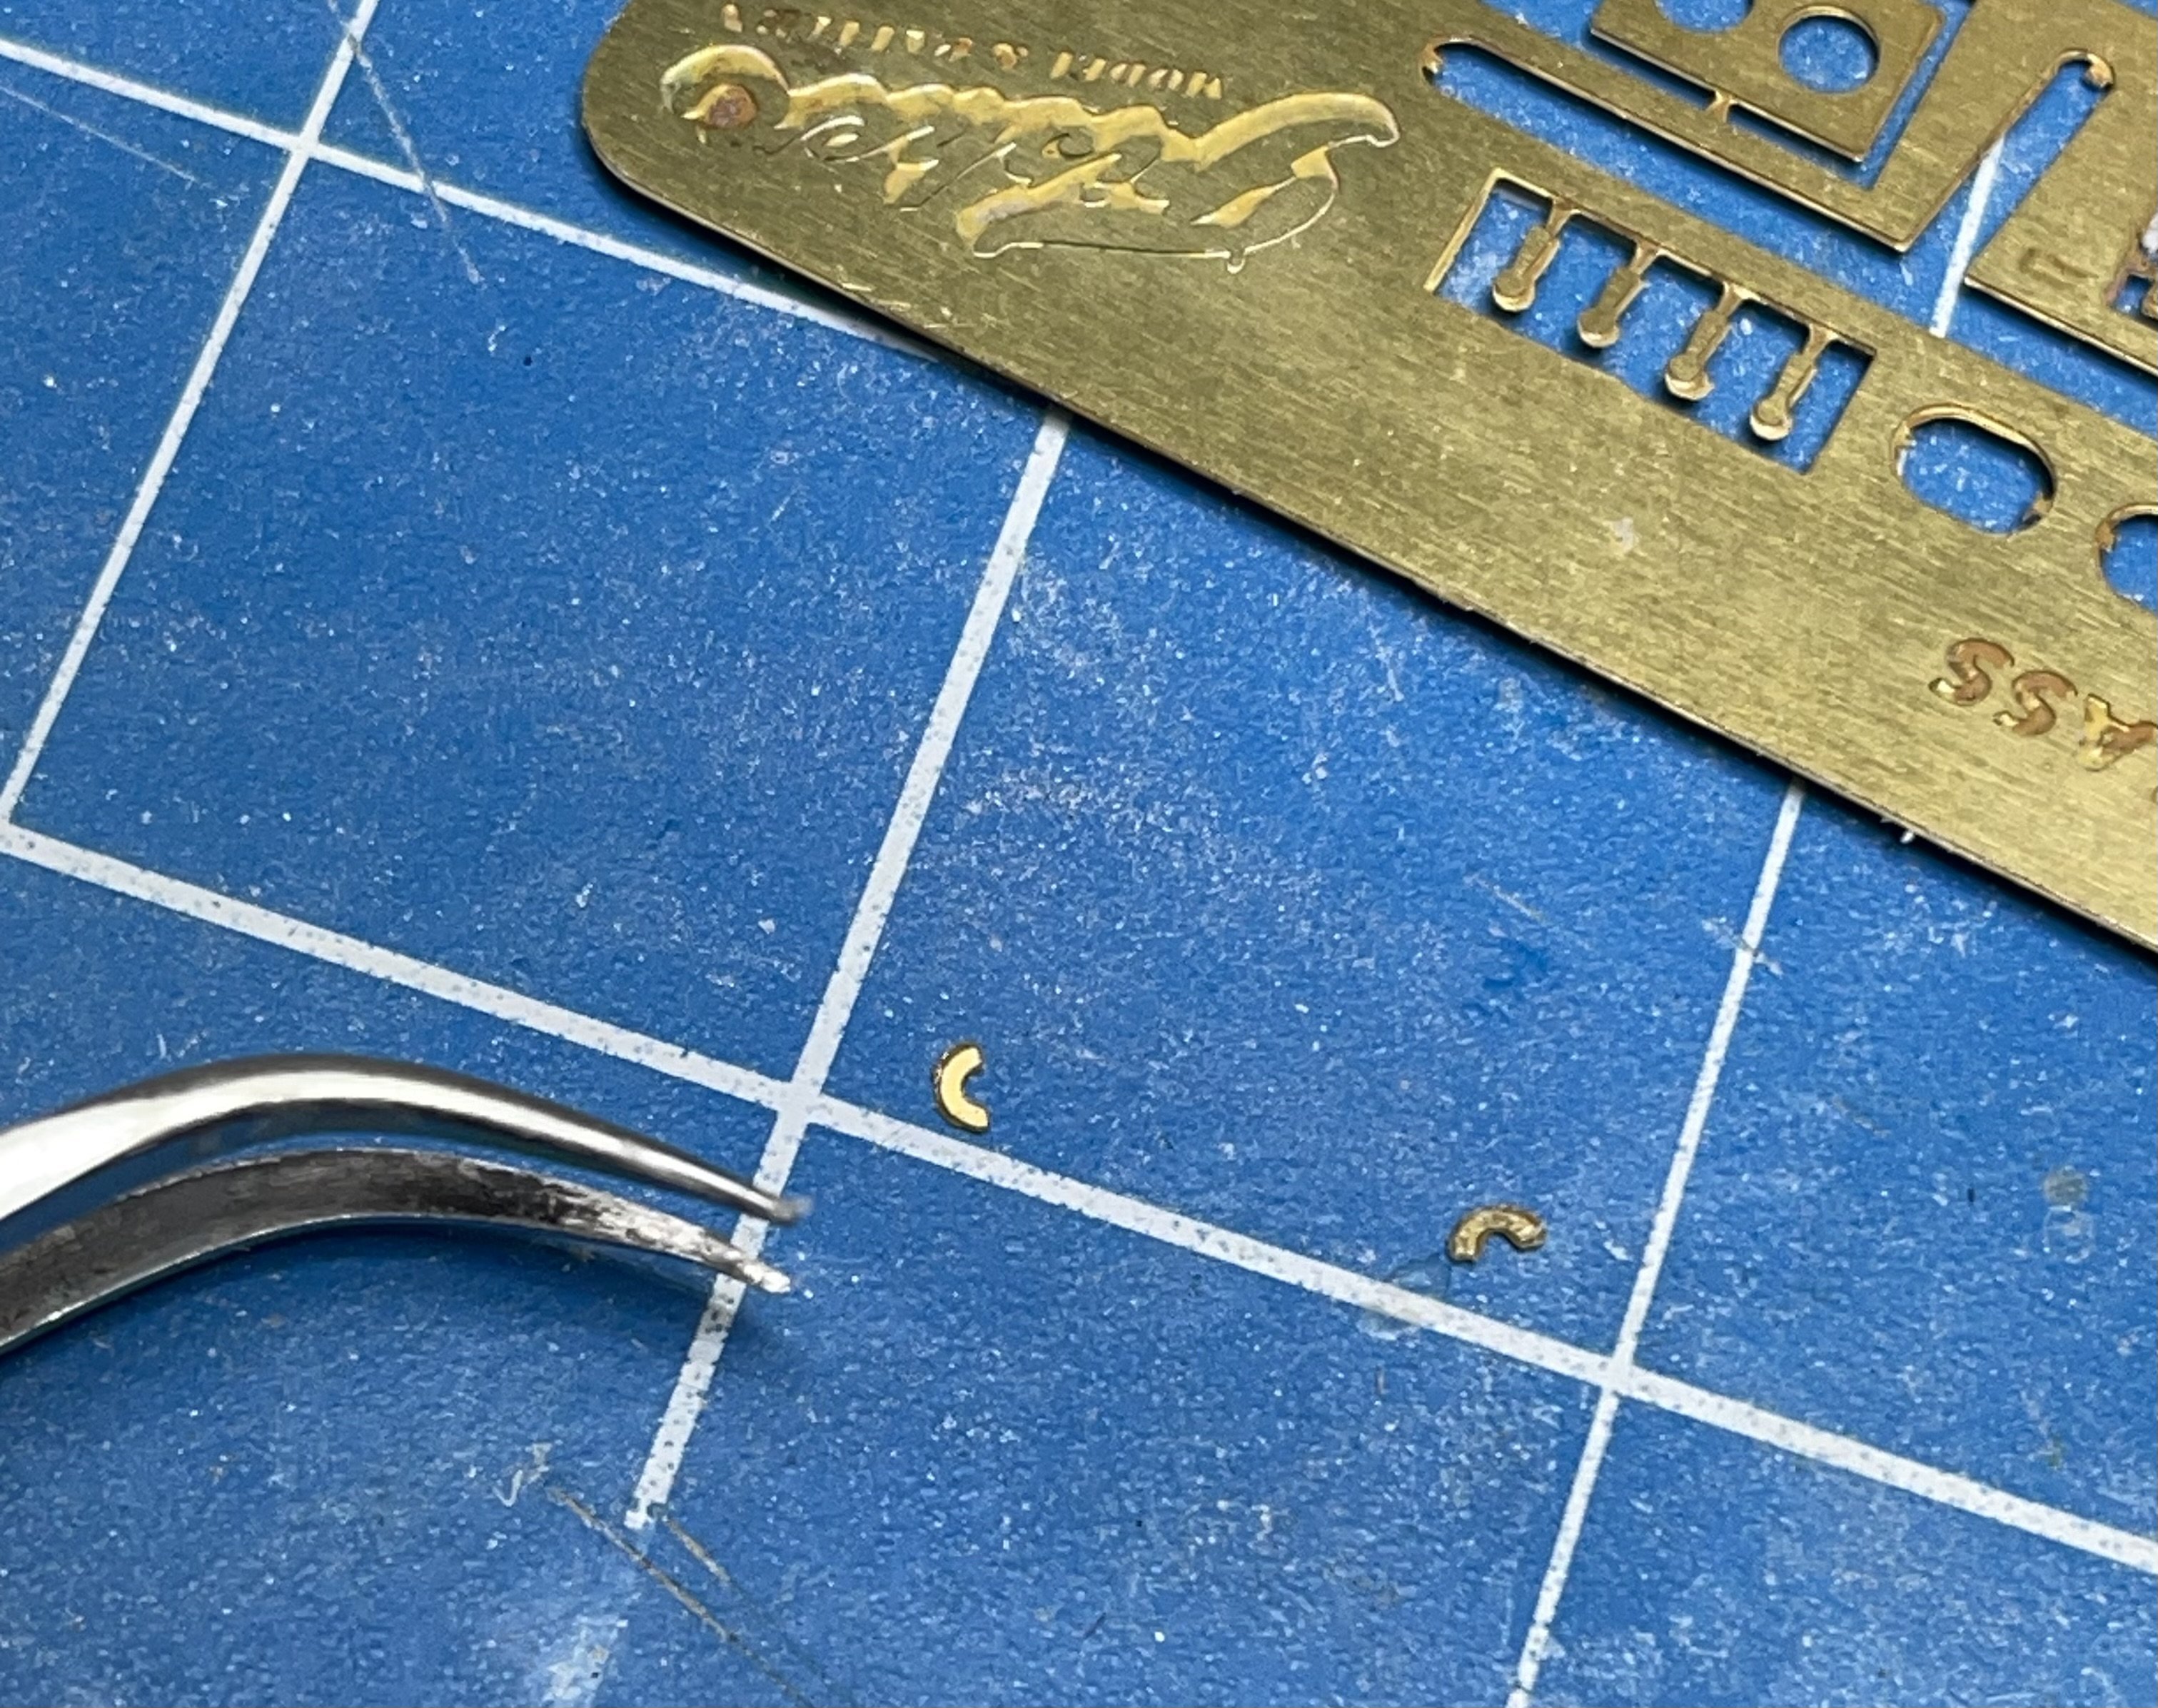
I have met my modeling limitations. ☹️ These damned blast deflectors are just too small for my skills to attach them. My smallest tweezers require a grip that makes me shake too much, not enough glue surface for them to grab and hold, so they would most likely wind up falling off anyway. I’m bummed.

-
Hasegawa P-40E Darwin RFI
ScottsGT replied to JohnB's topic in LSM 1/32 and Larger Aircraft Ready for Inspection
Wow. Lots of history right there. -
Hasegawa P-40E Darwin RFI
ScottsGT replied to JohnB's topic in LSM 1/32 and Larger Aircraft Ready for Inspection
LOL! I know the feeling with my Tamiya Thunderbird kit. I feel guilty asking what they are selling for on eBay so I won’t sell it, don’t want to build it because it’s worth a lot, but at the same time, I want to build it just because. A real modelers/kit collectors conundrum! -
Nice find!!
- 2,035 replies
-
- 3
-

-
- car related stuff
- anything about cars
- (and 6 more)
-
Hasegawa P-40E Darwin RFI
ScottsGT replied to JohnB's topic in LSM 1/32 and Larger Aircraft Ready for Inspection
Very nice John! I also have several kits in the stash I need to get busy on. One Revell and a Hasegawa. I’d love to pick up a Hasegawa K, but those seem to be far and few available these days. Fetching a premium. oh, and I forgot about the Trumpeter B I have as well. I know a lot of guys complain that it’s all wrong, but it looks good enough for me. Not spending Great Wall money on a kit. -
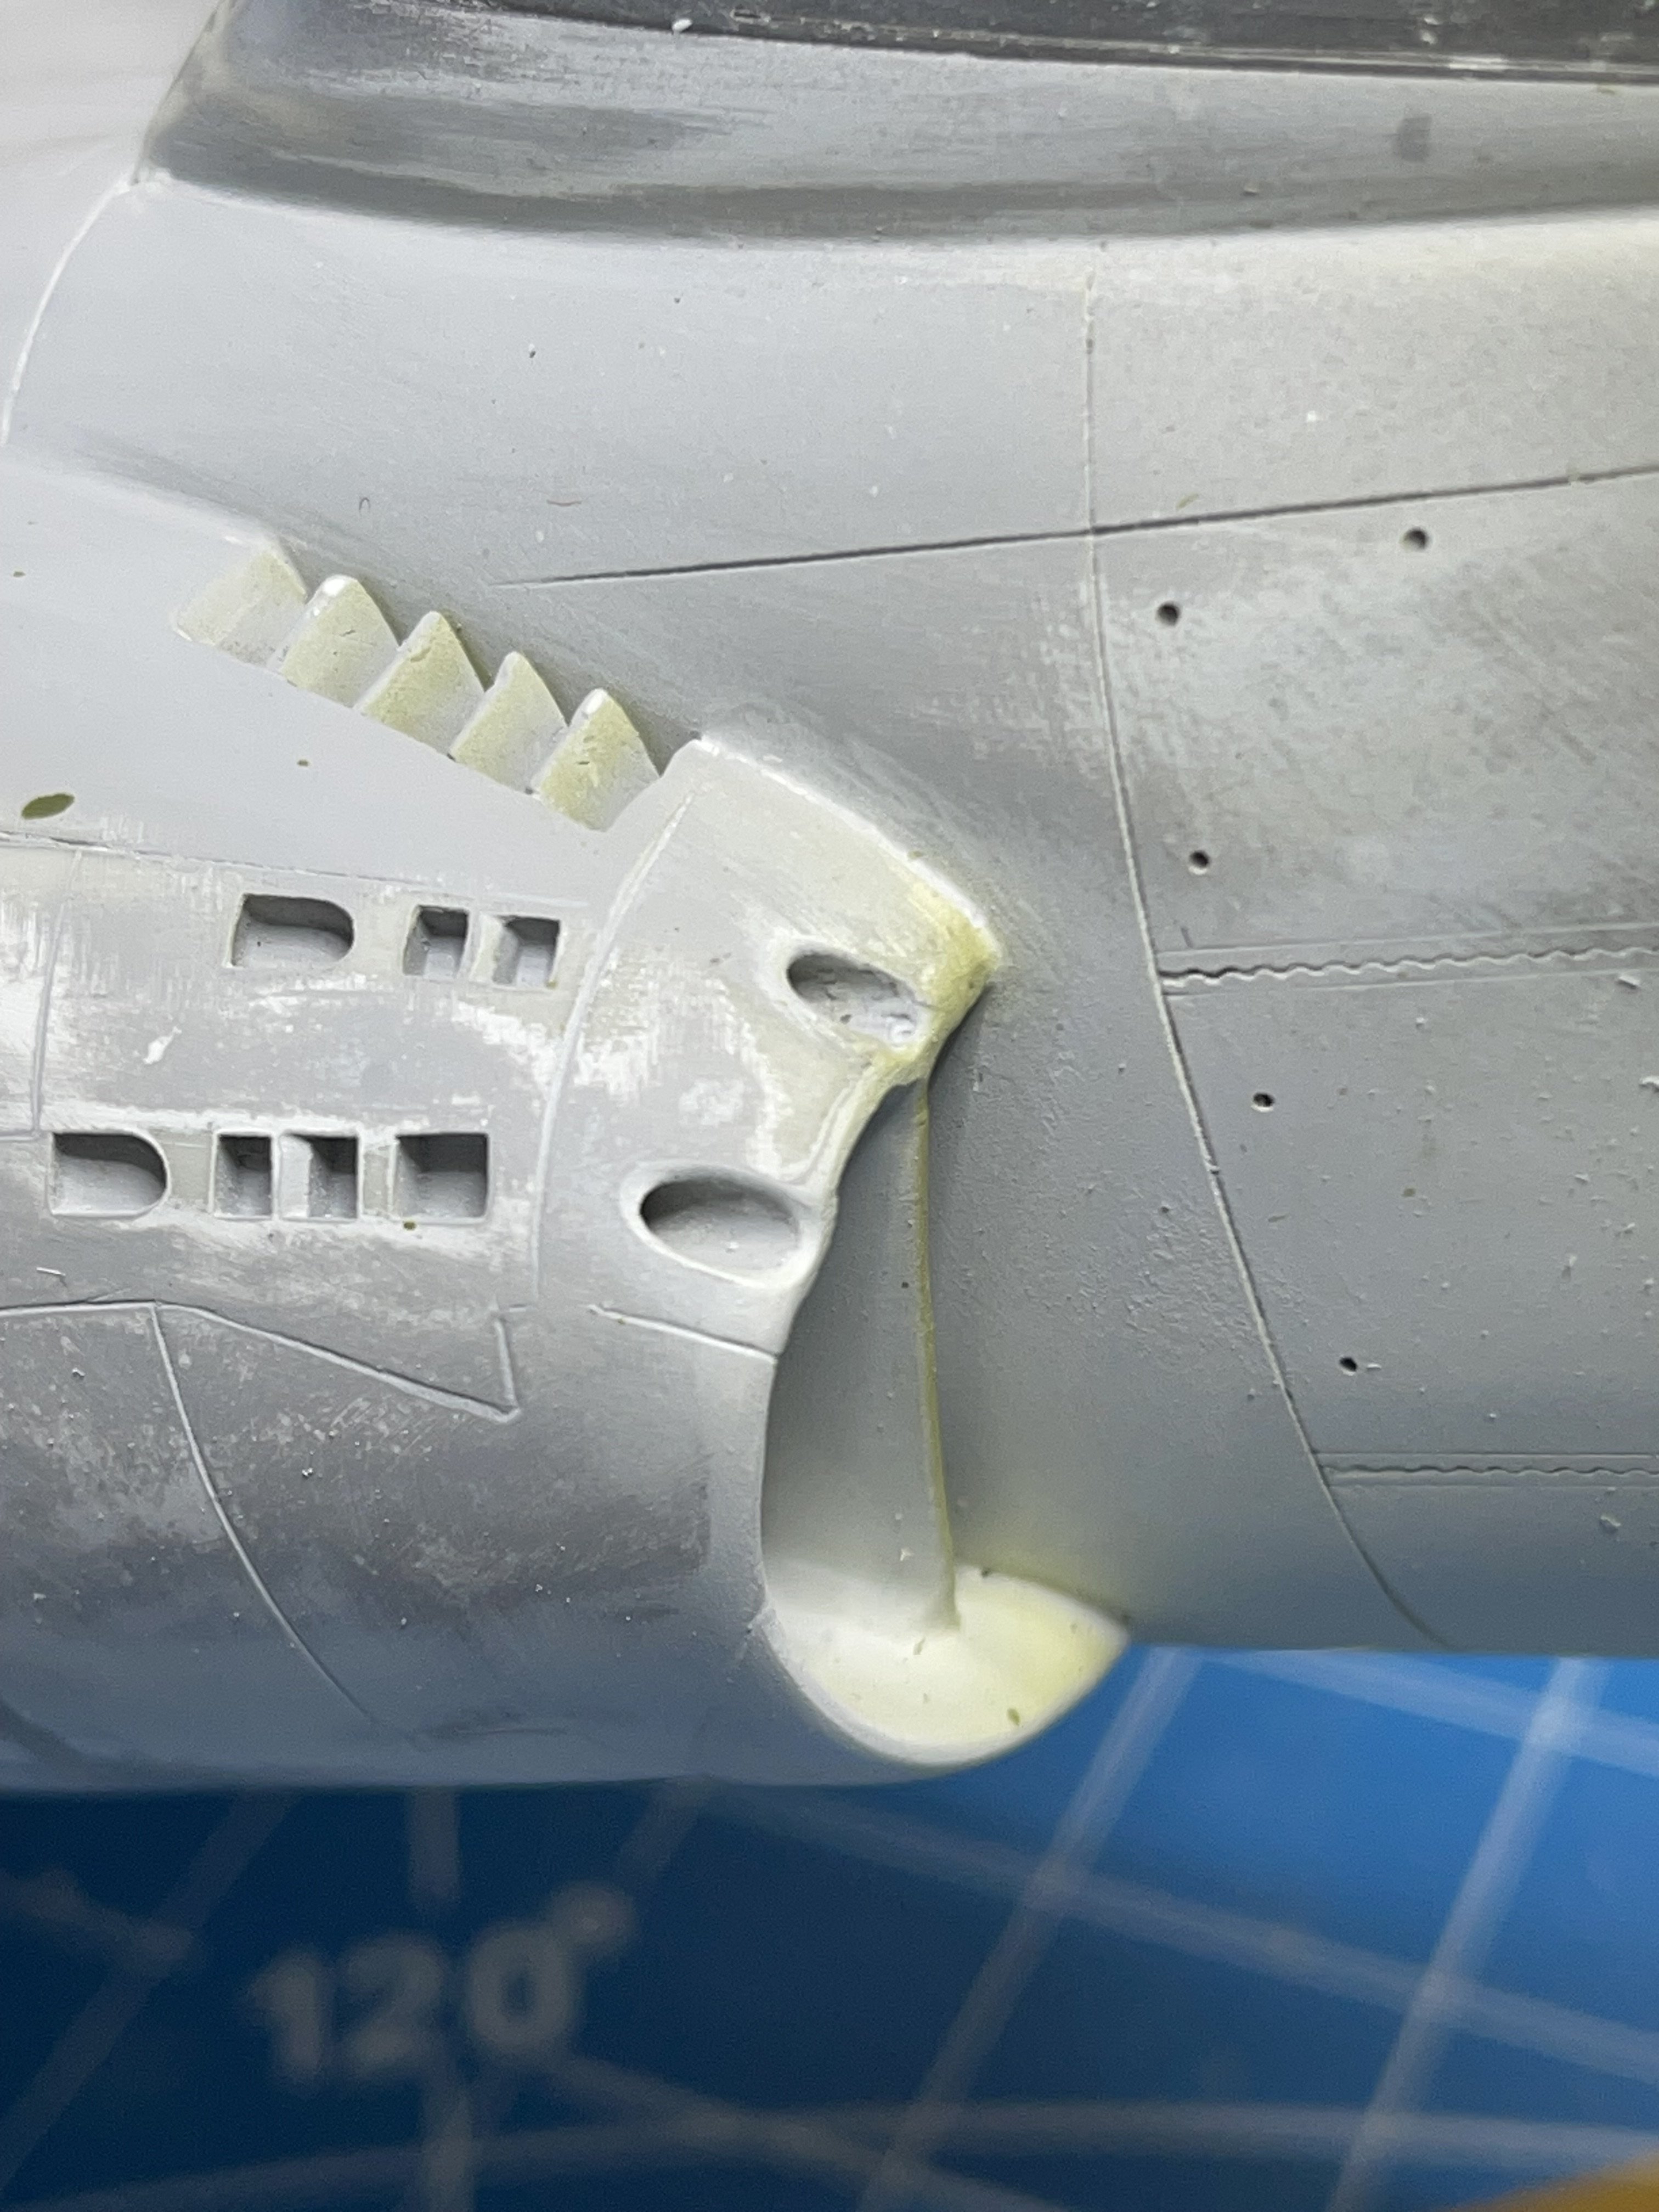
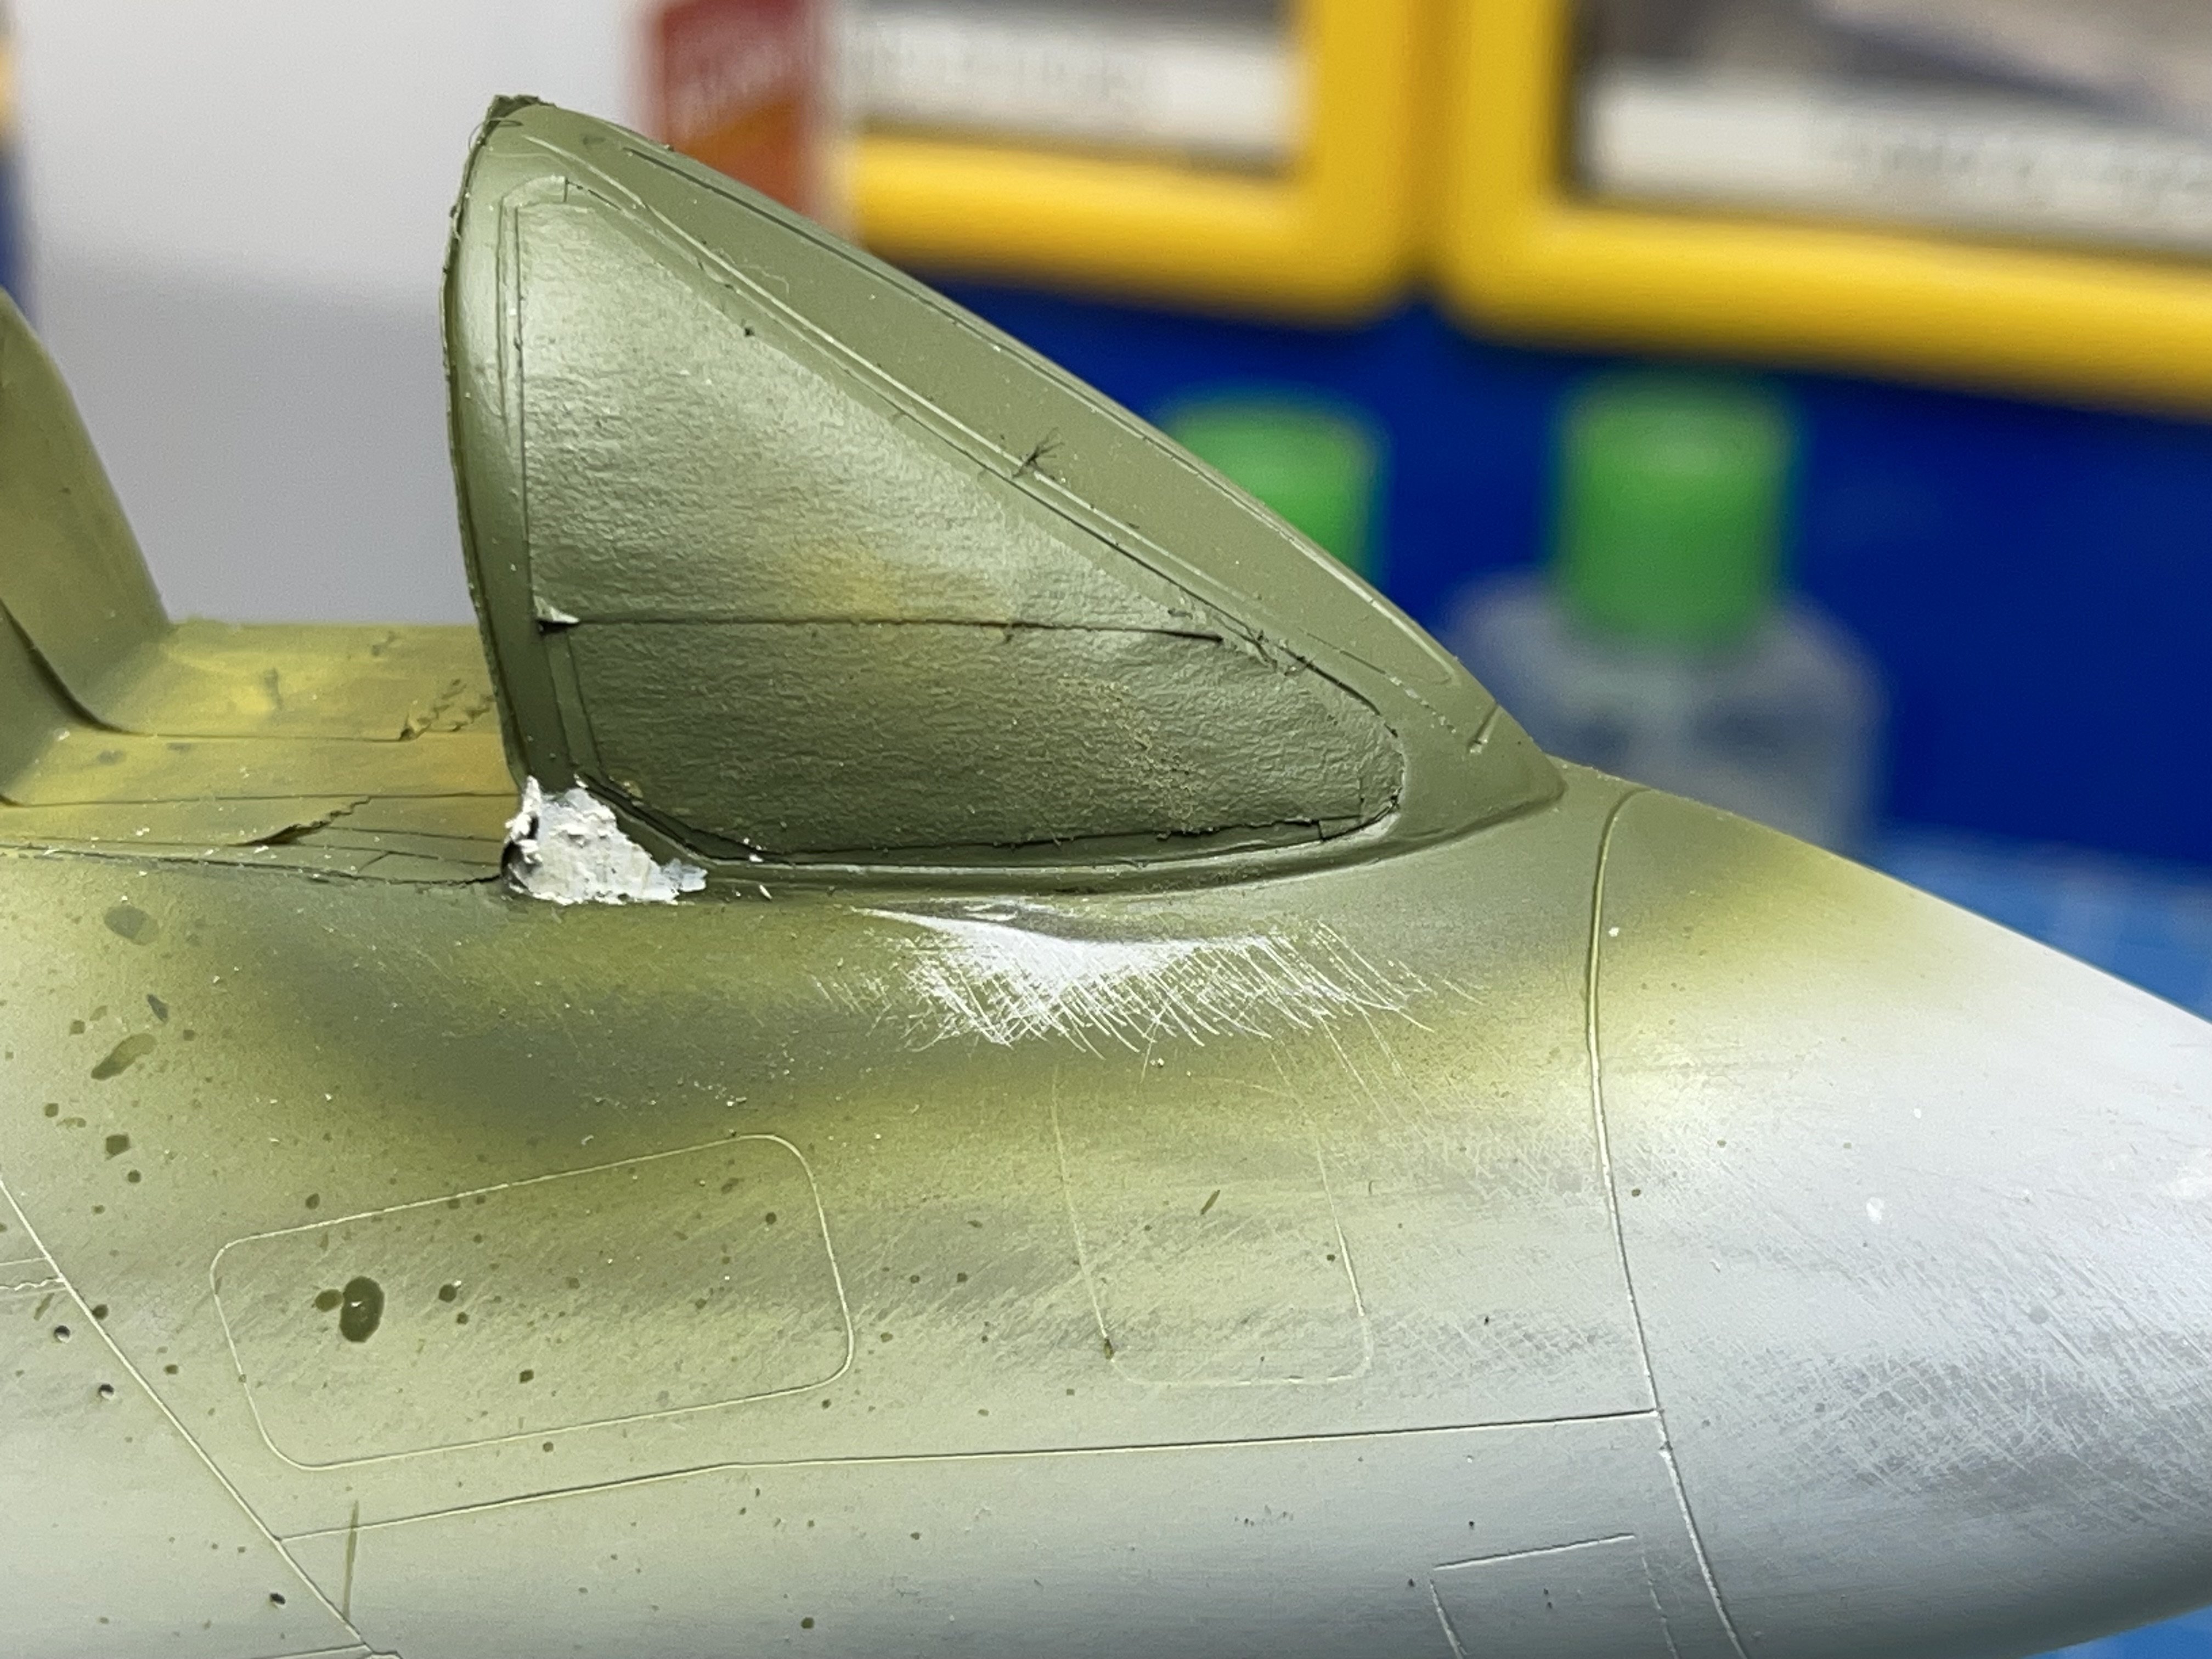
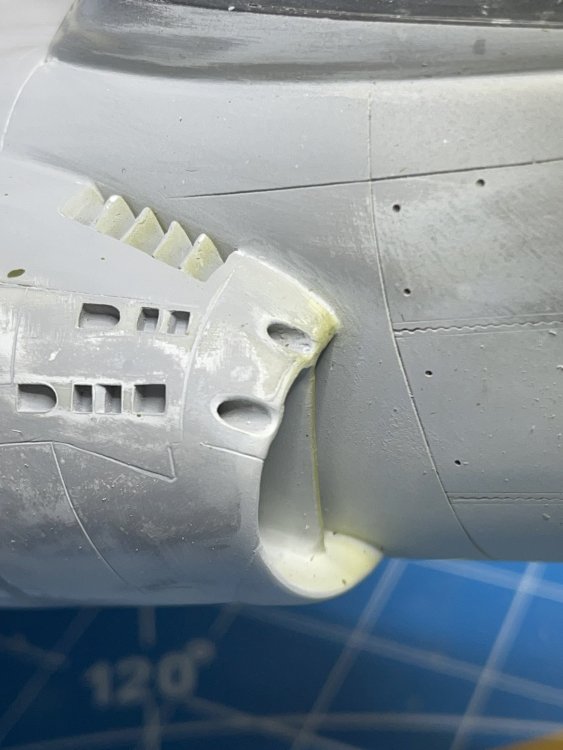
Dagnabbit!! Just when you think you did something right and ready to move on I see bad pitting in the canopy resin edge and bad body work just below it. Back to sanding and putty.

-
Yes. The thicker lacquers like Tamiya and Mr. Color are perfect for small parts. MRP comes pre-thinned for airbrushing.
-
Pretty cool Mark. My son just told me this morning he got his Ft. Cavazos assignment (formally known as Ft. Hood) in Texas. He’s in Captains Career school right now, but he’s going to be in charge of Patriot Missile units this fall.