CrankyCrafstman
-
Posts
1,350 -
Joined
-
Last visited
Content Type
Profiles
Forums
Events
Gallery
Everything posted by CrankyCrafstman
-
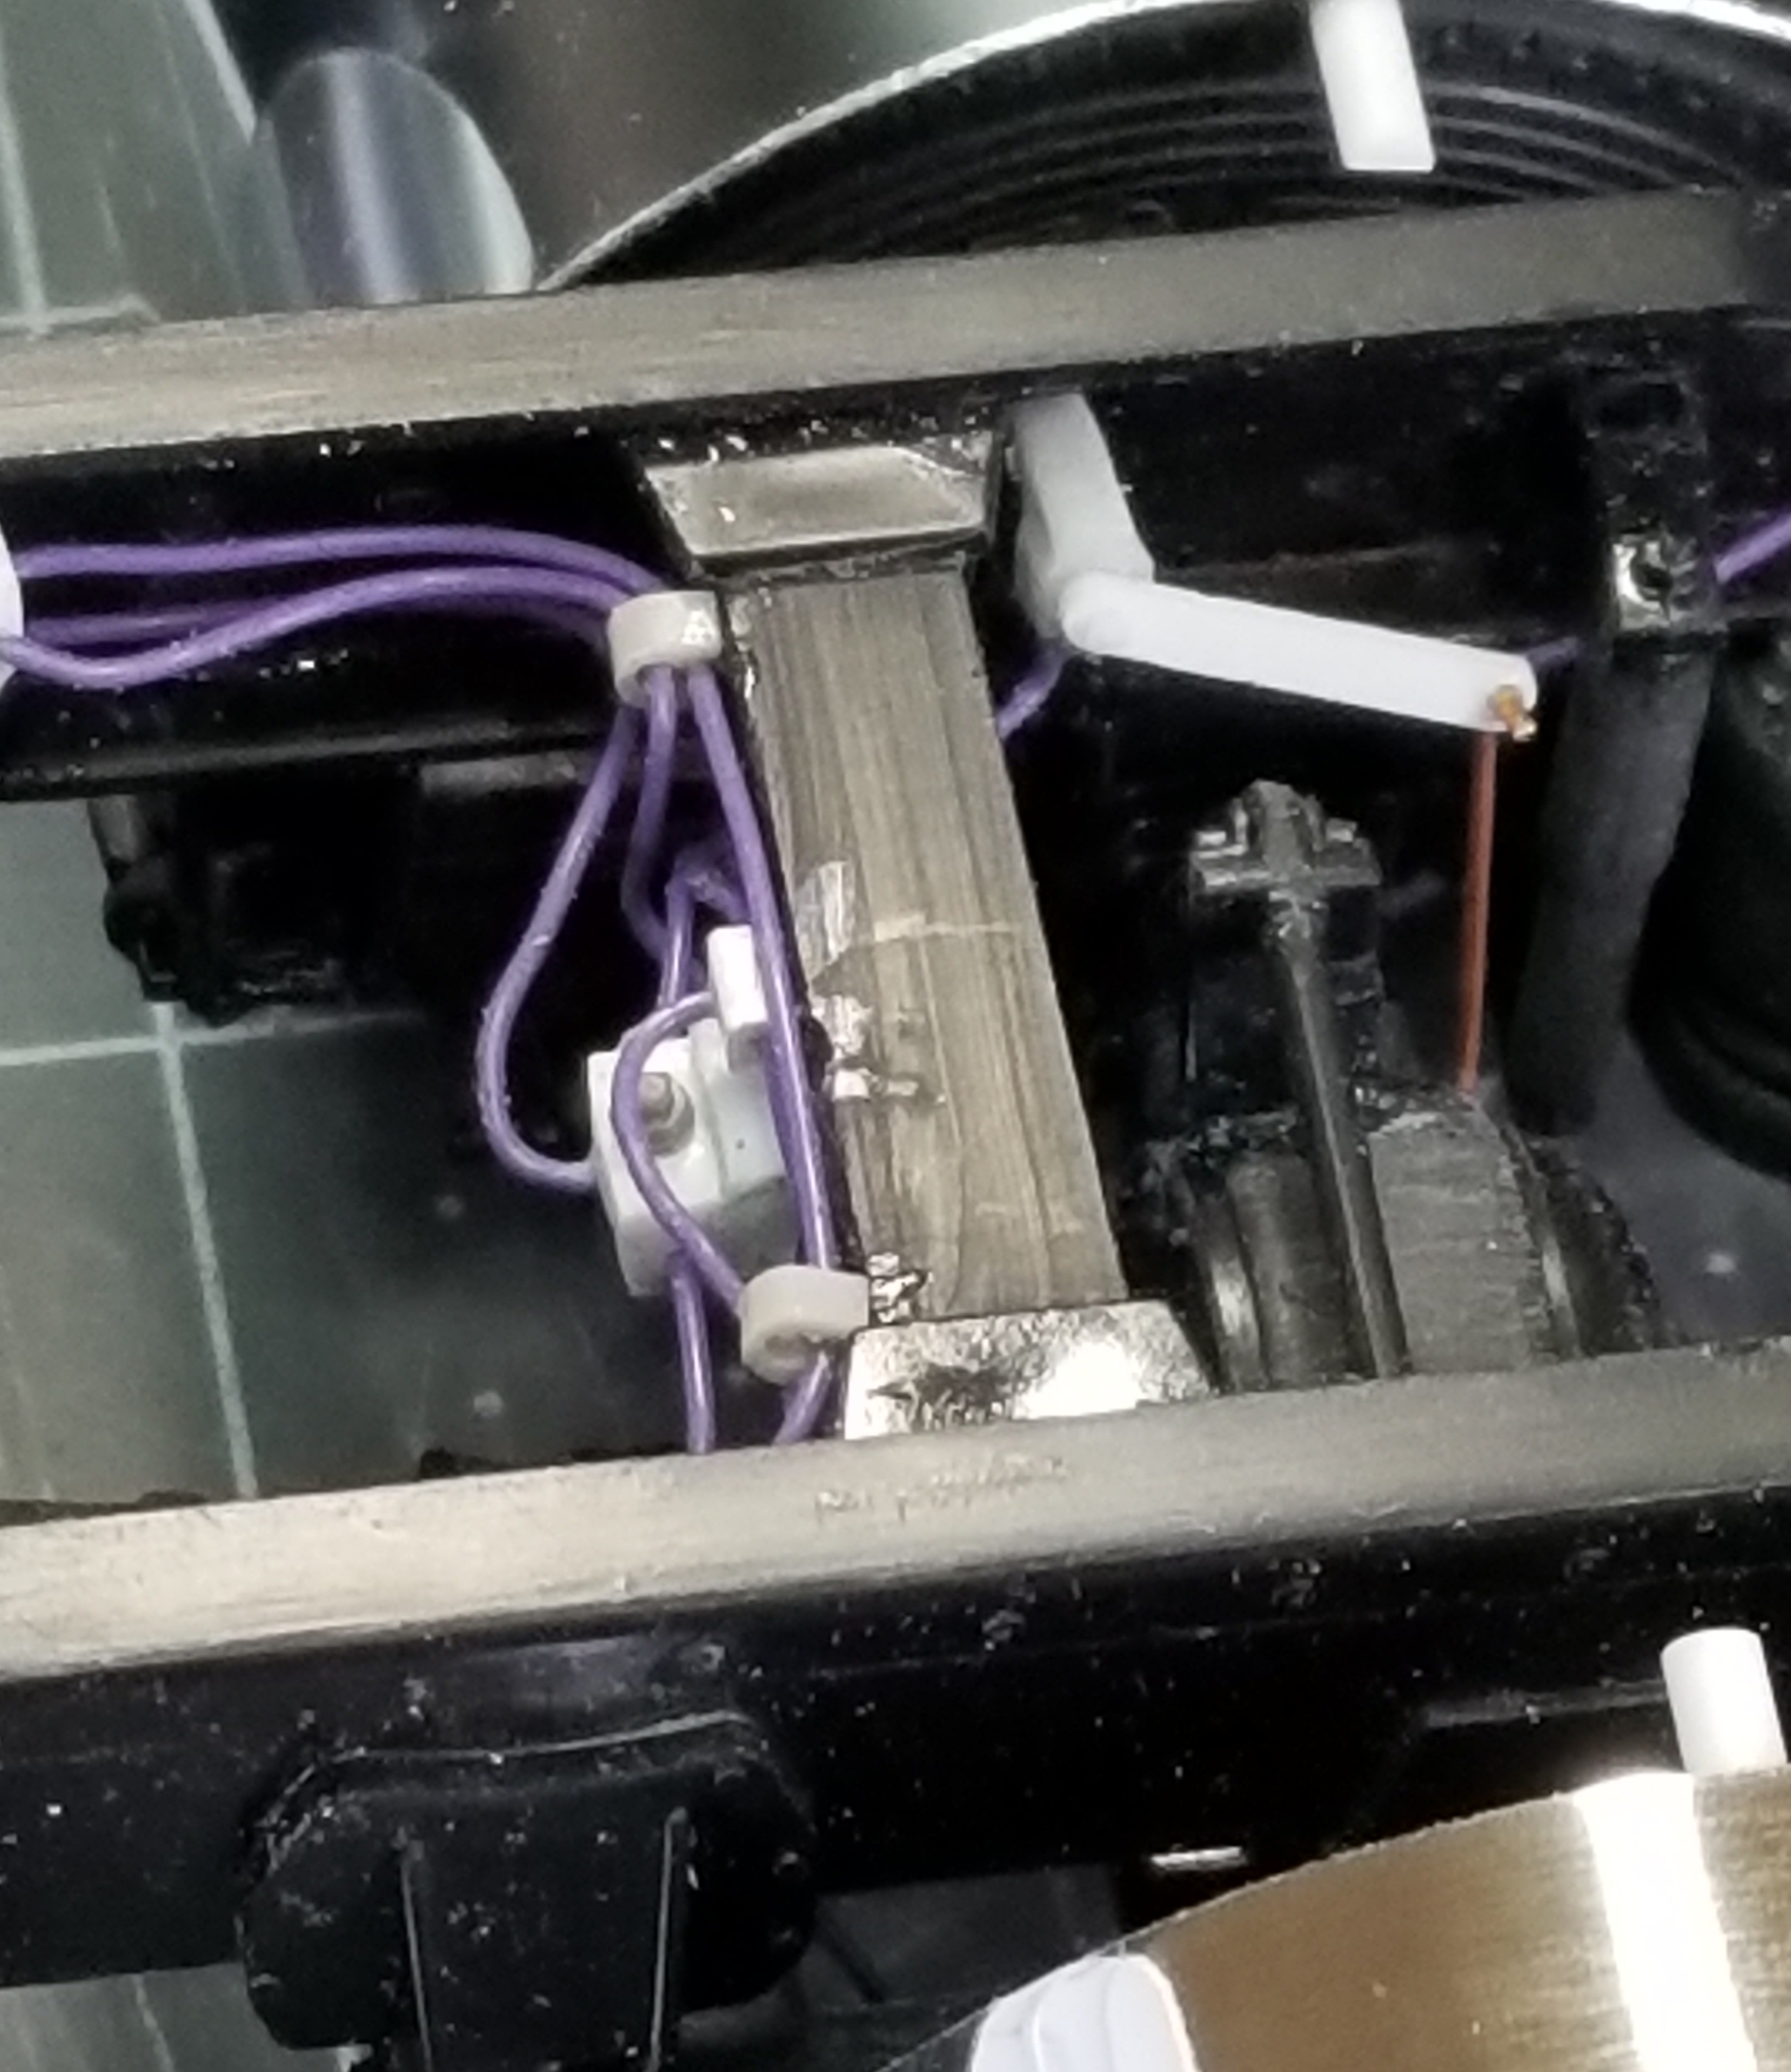
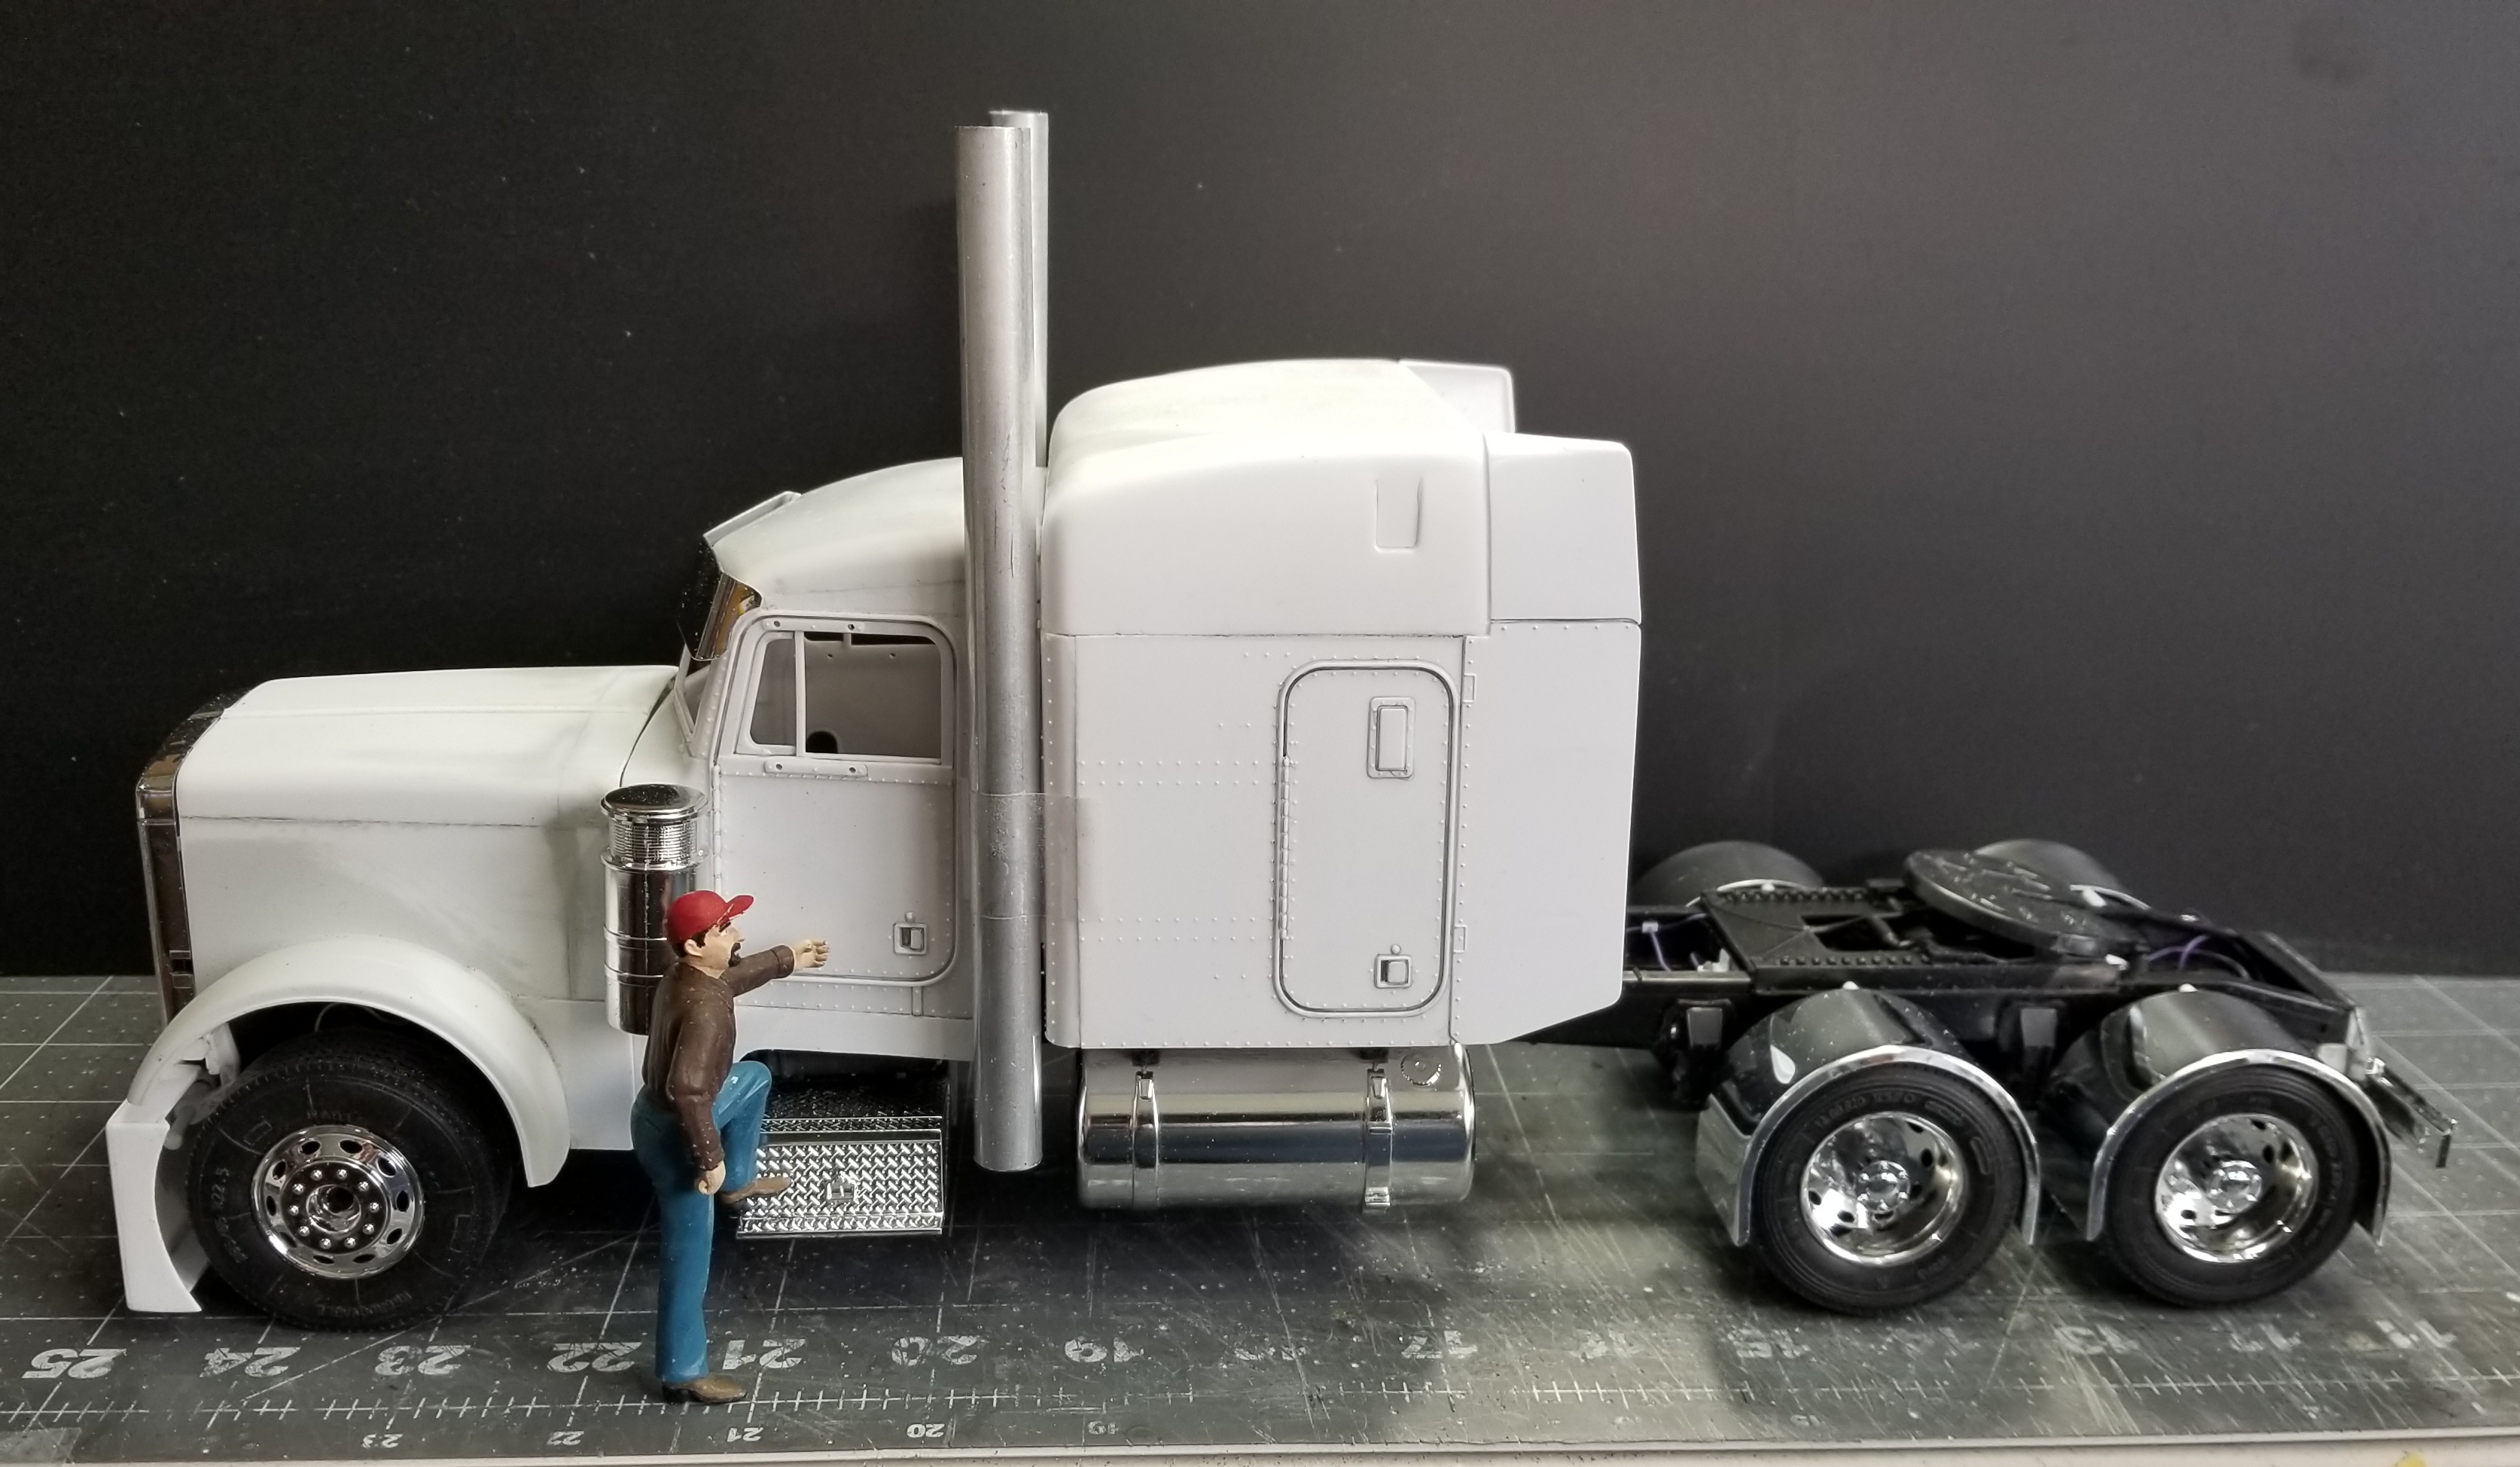
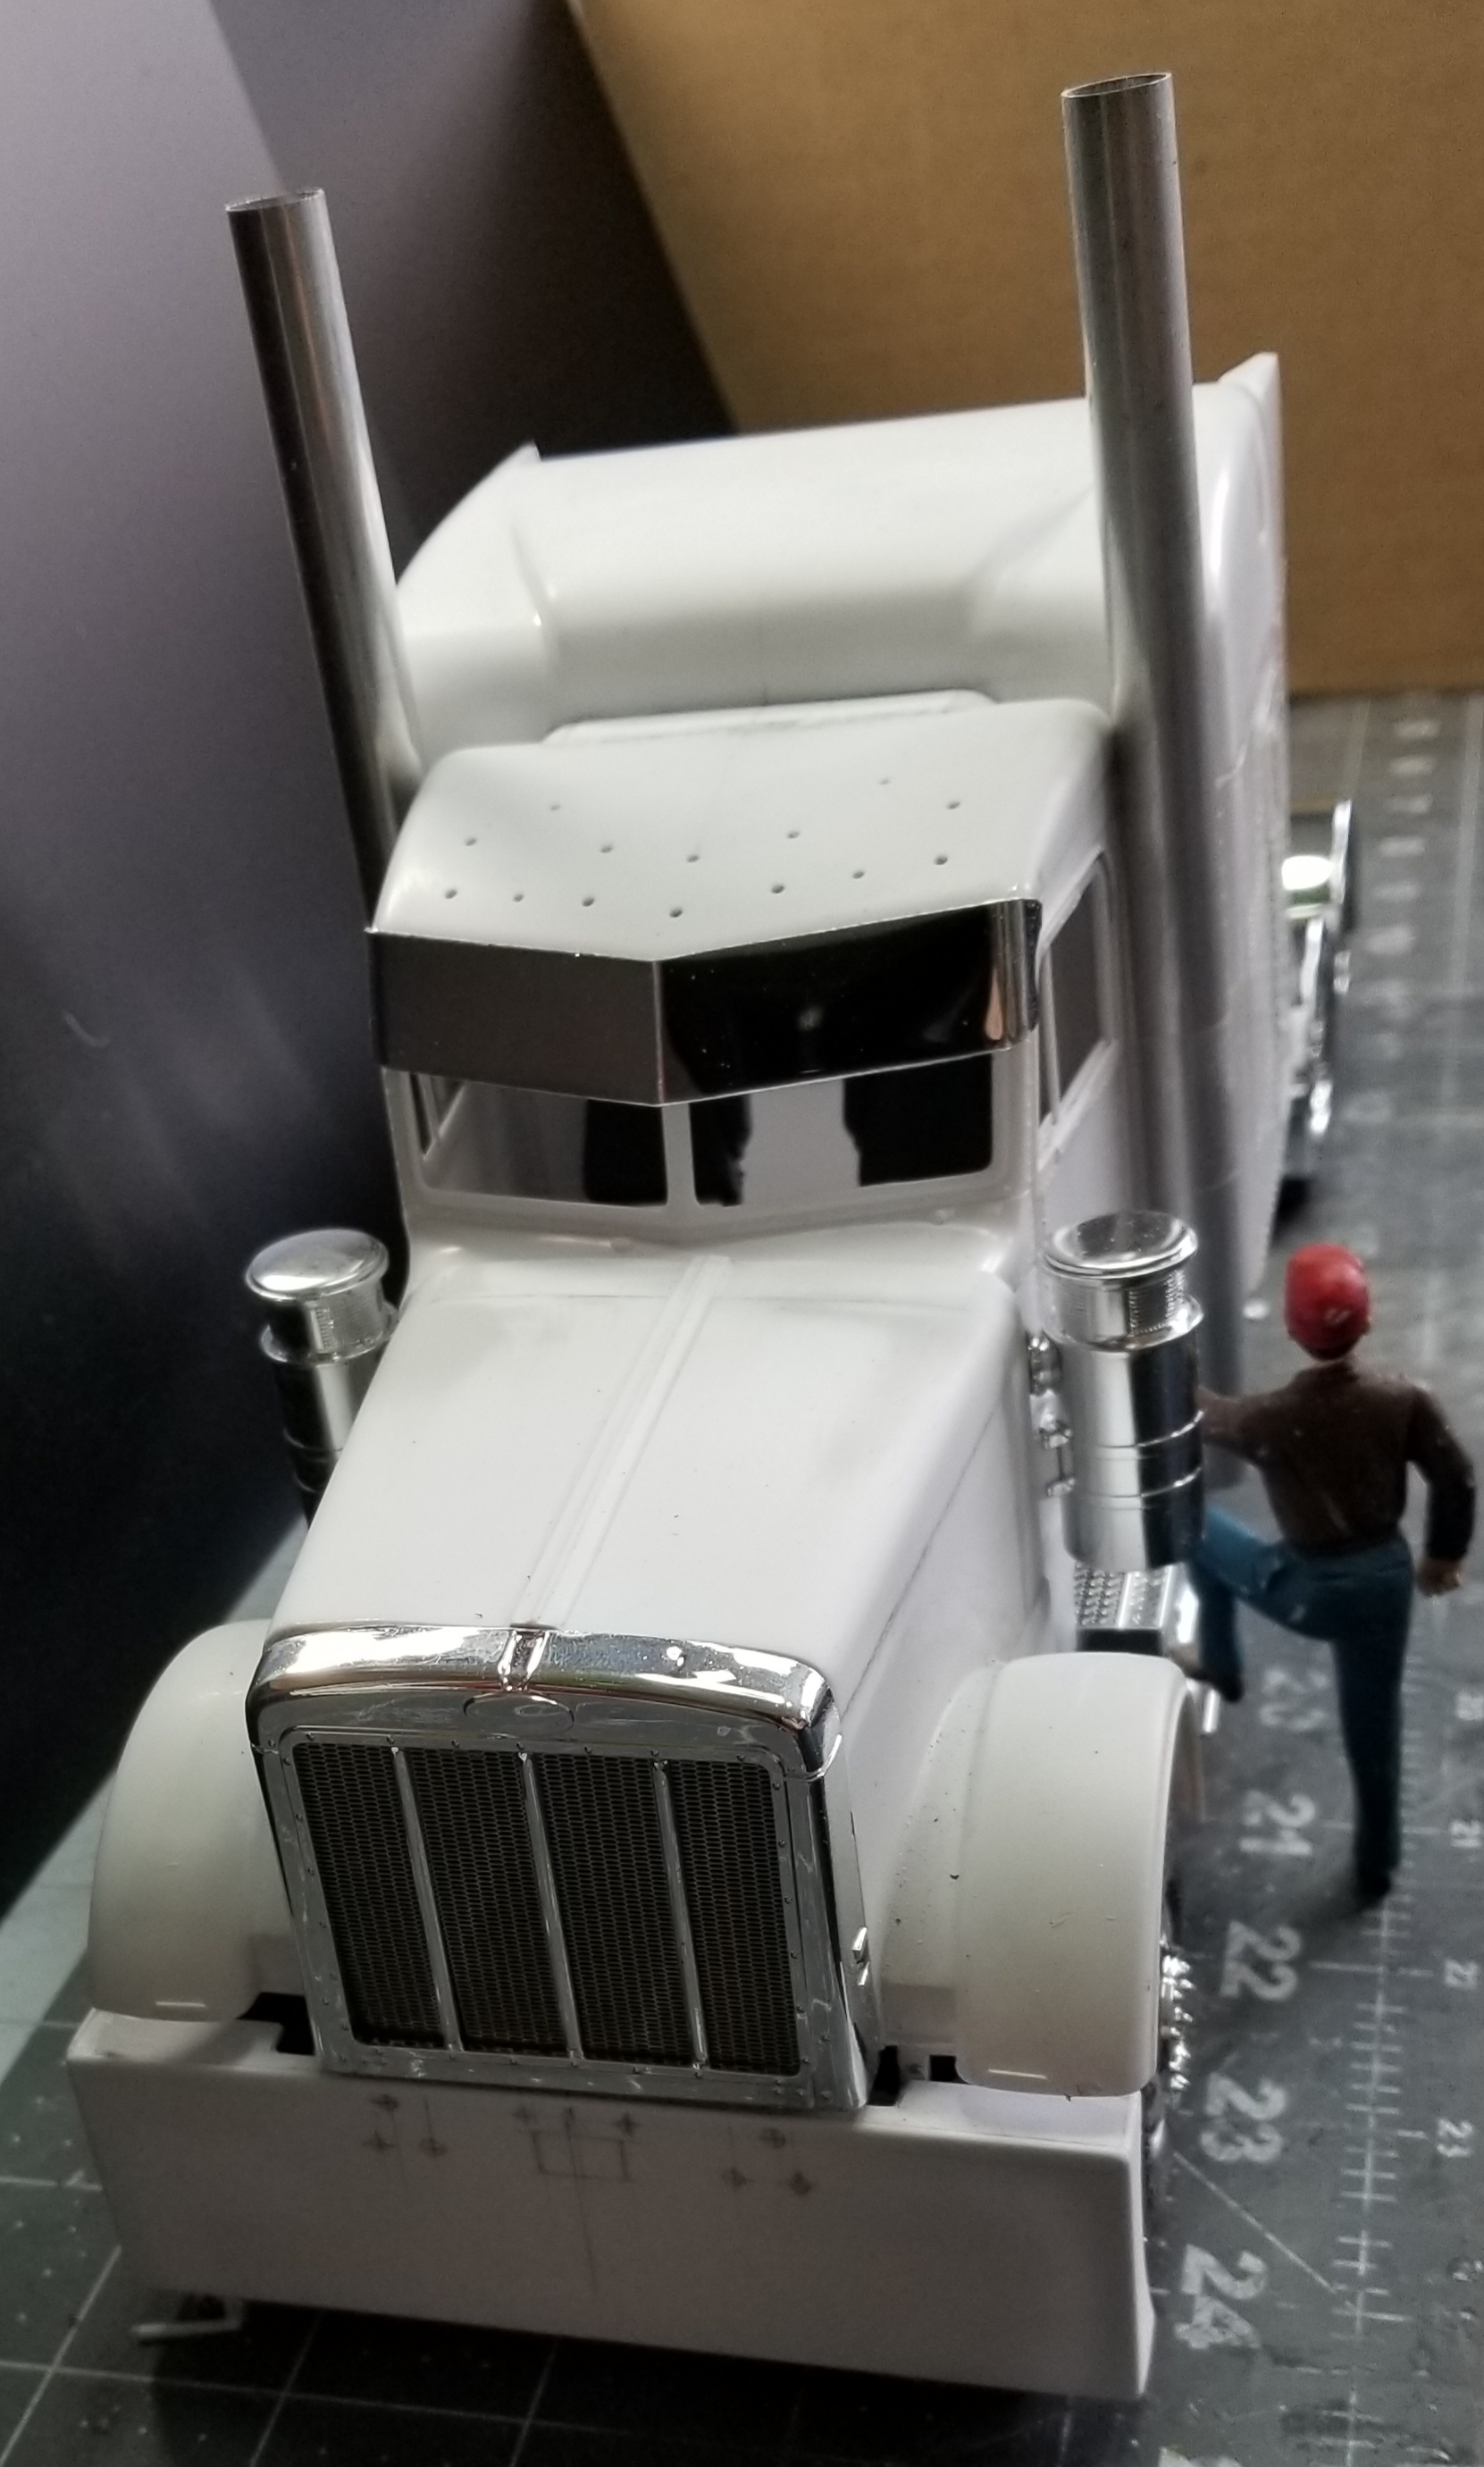
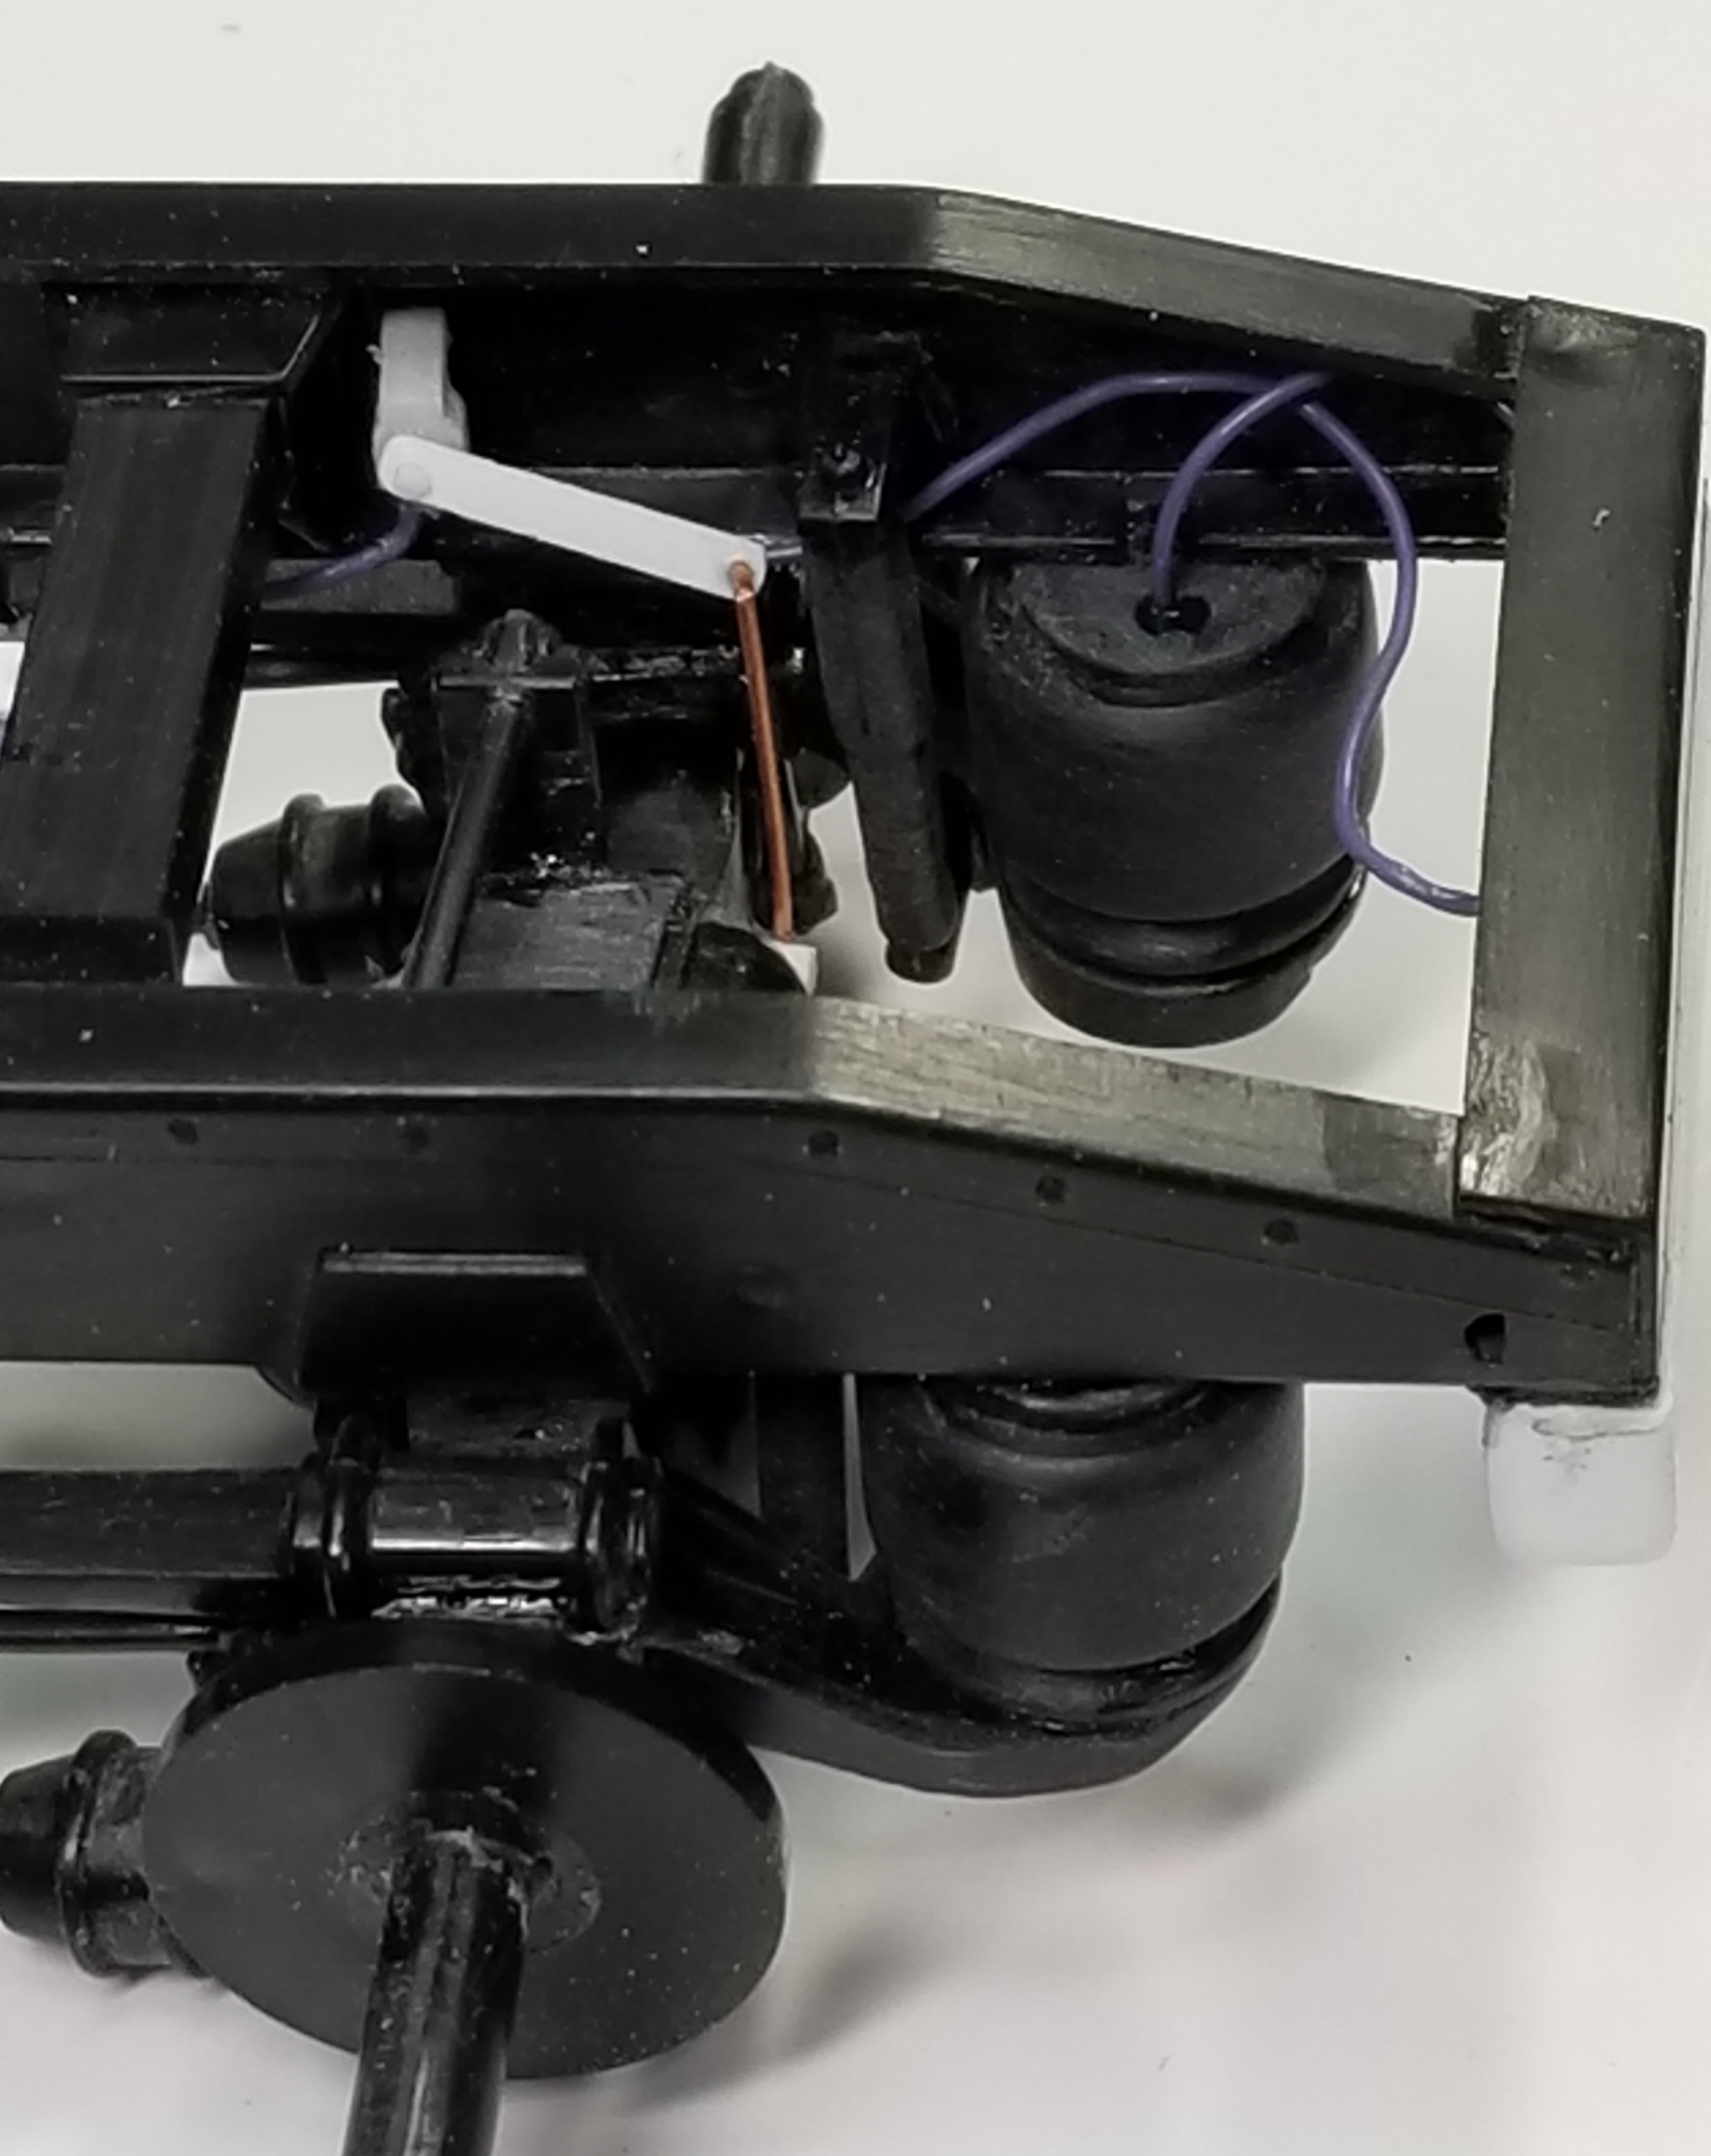
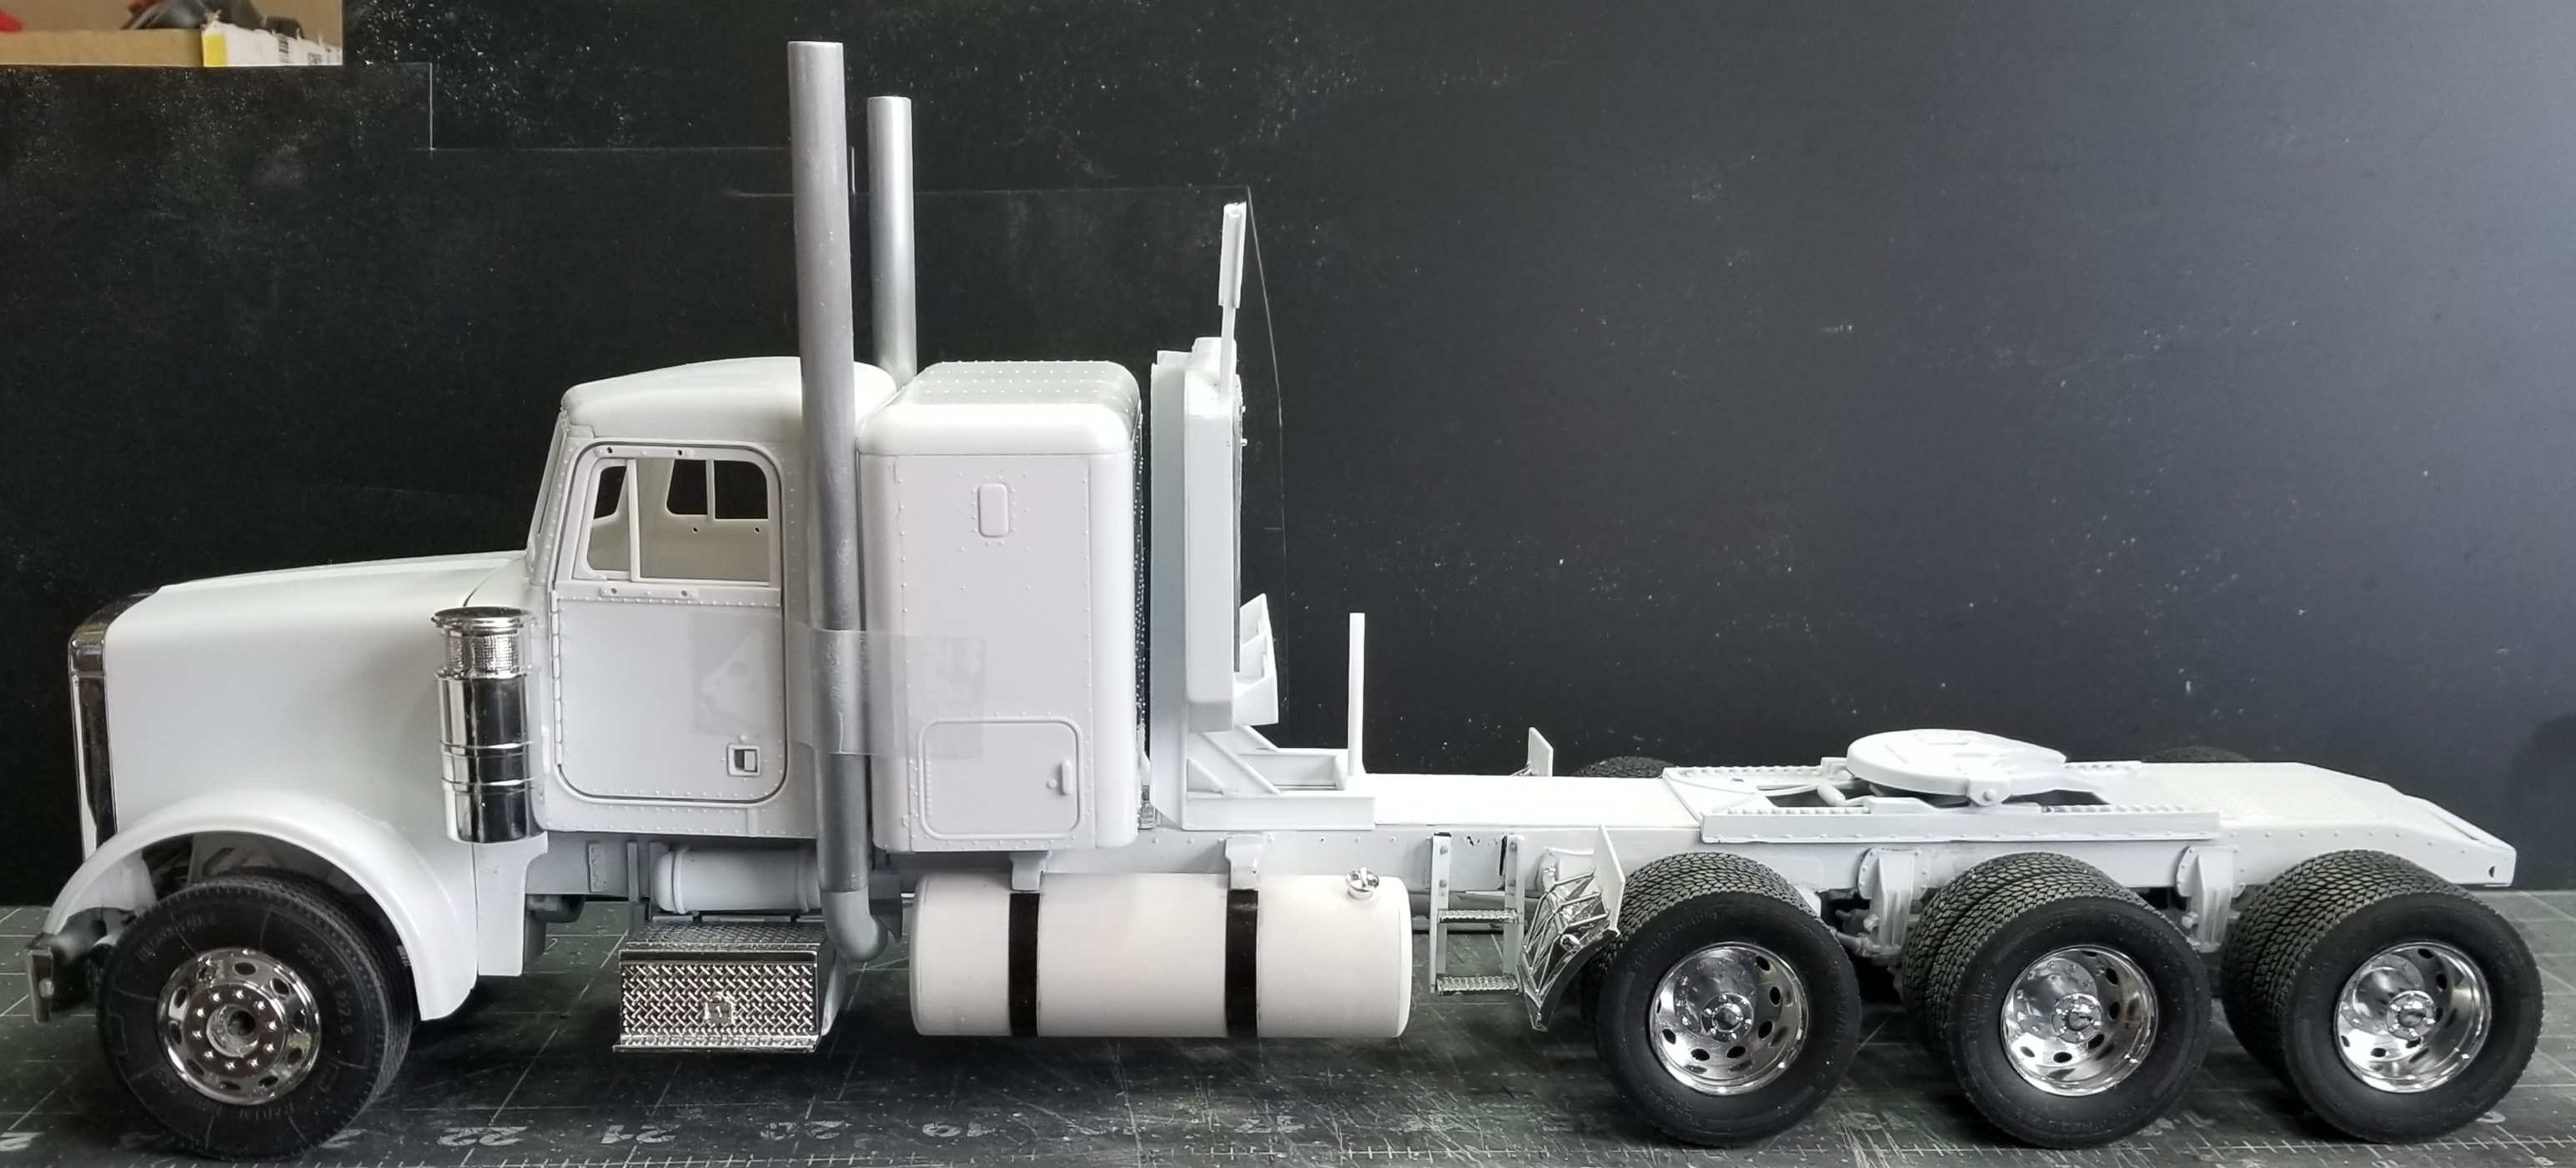
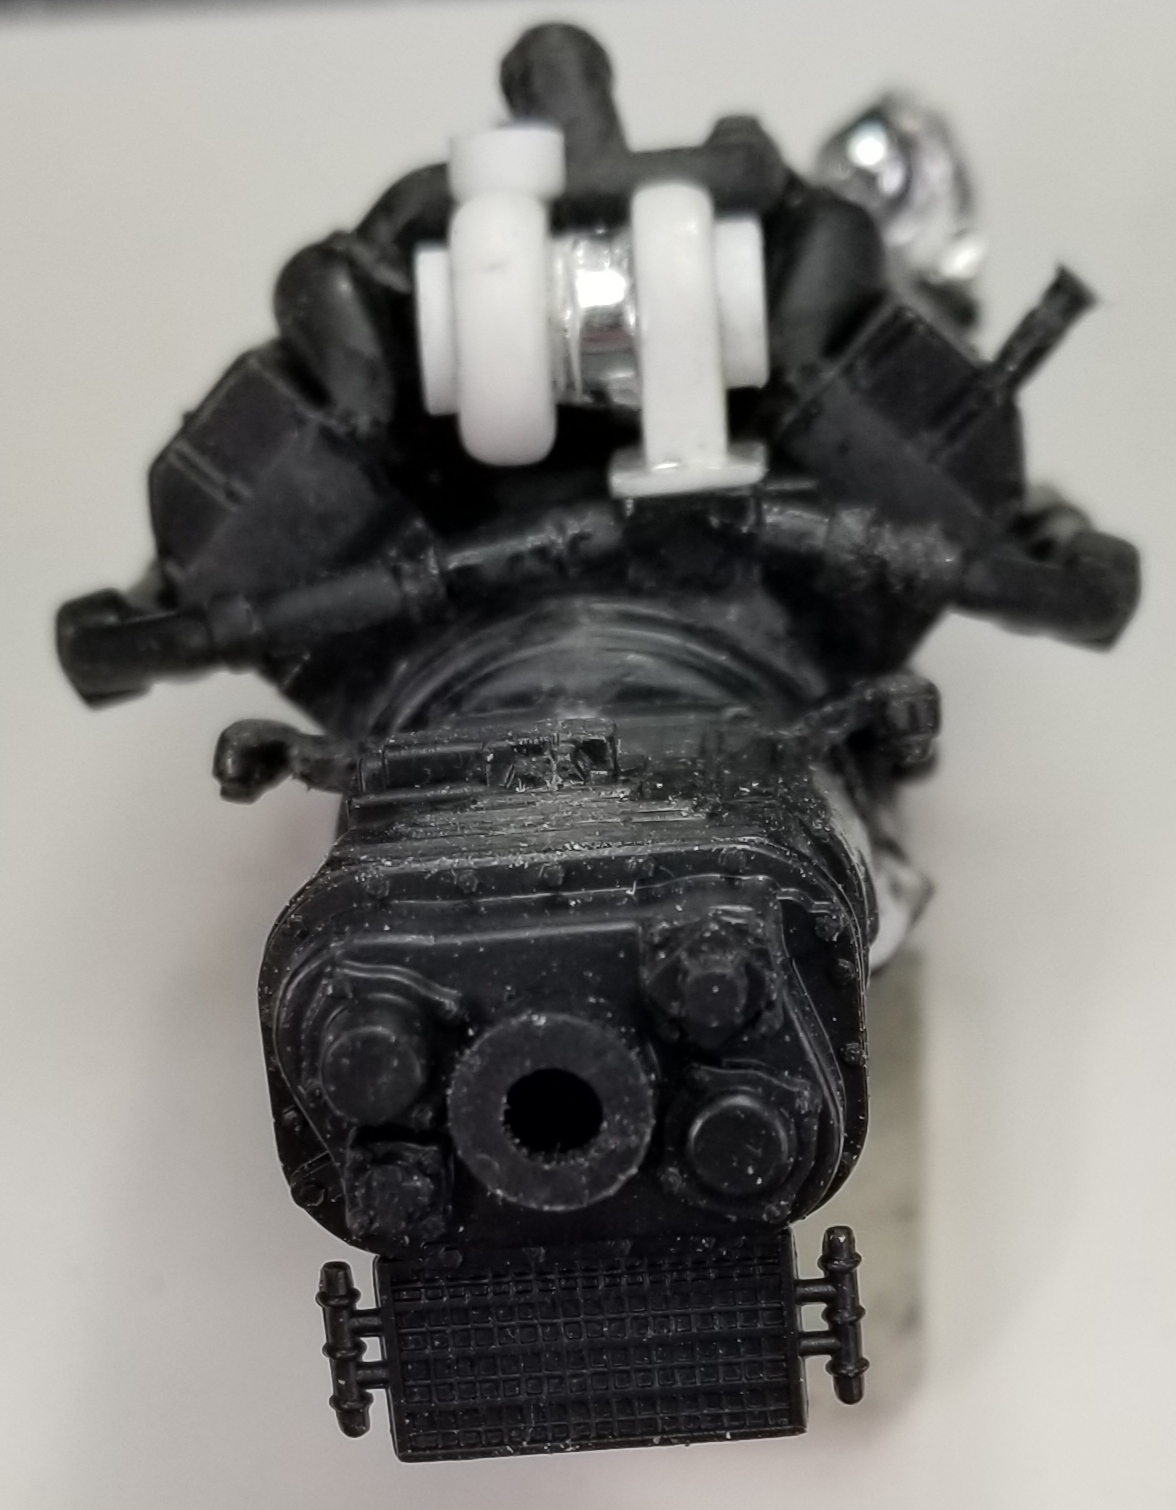
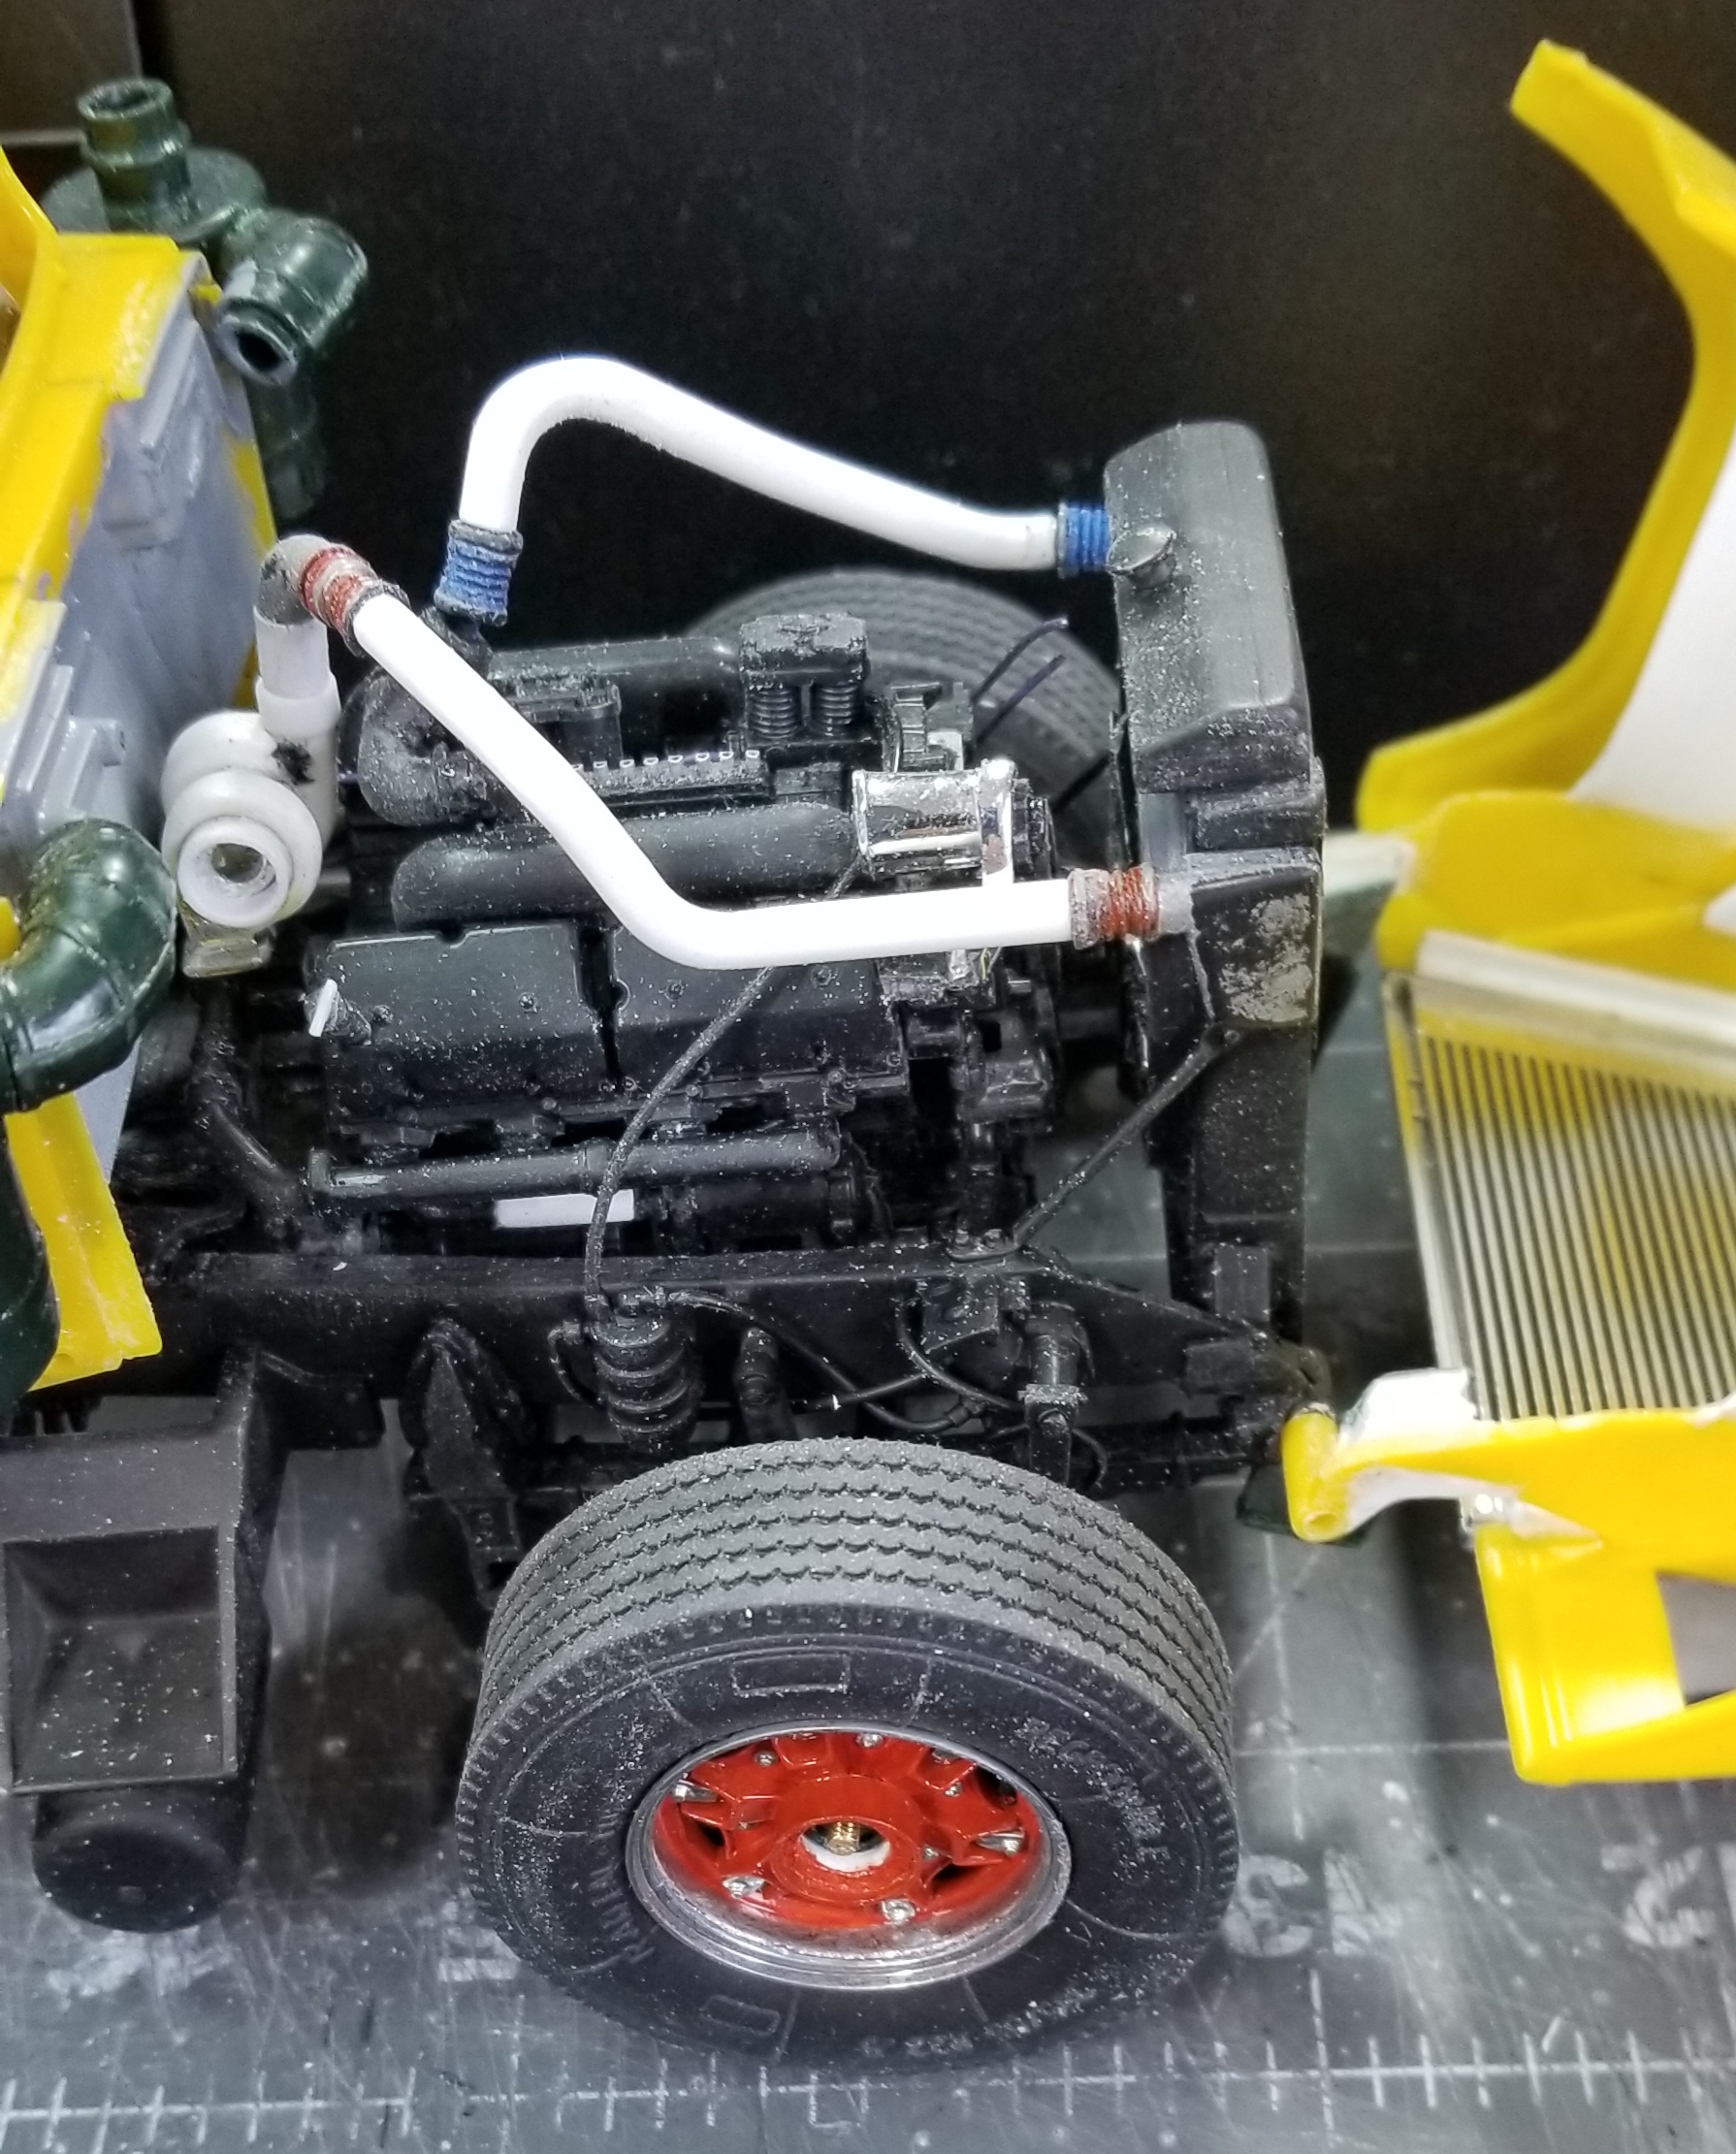
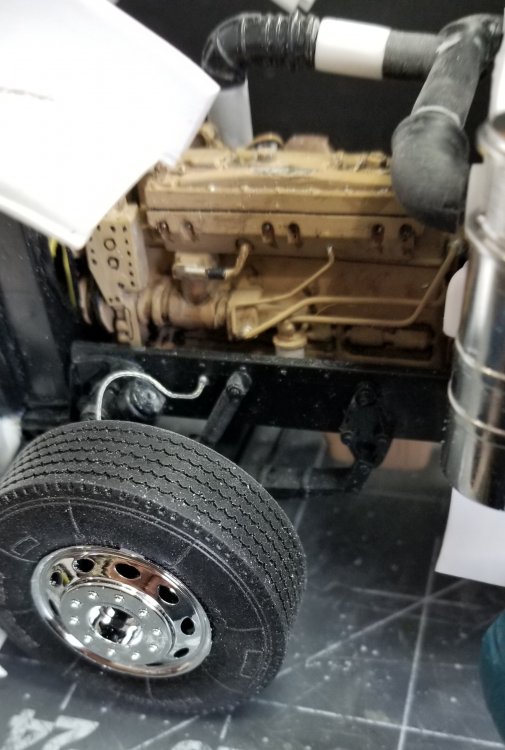
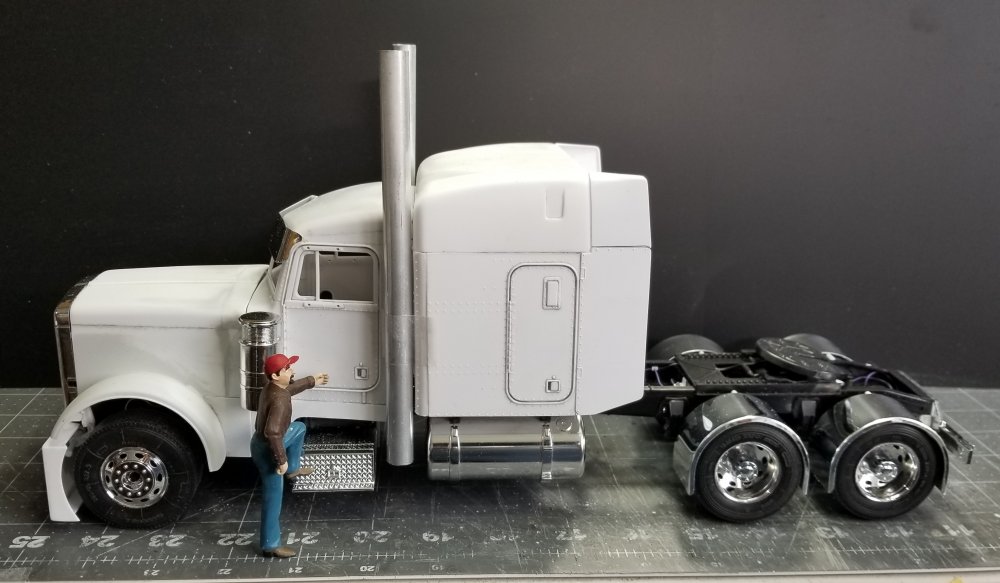
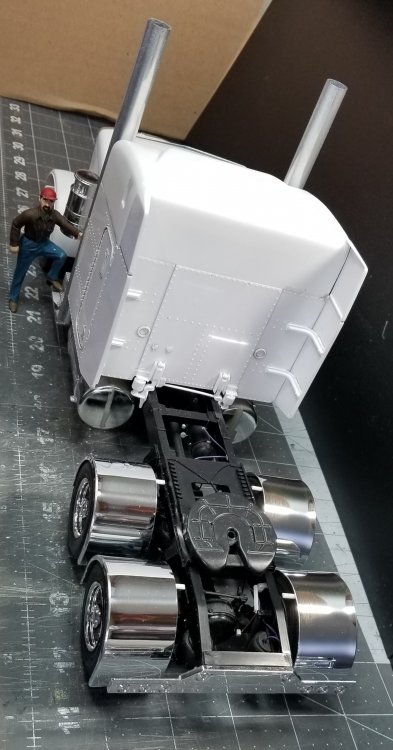
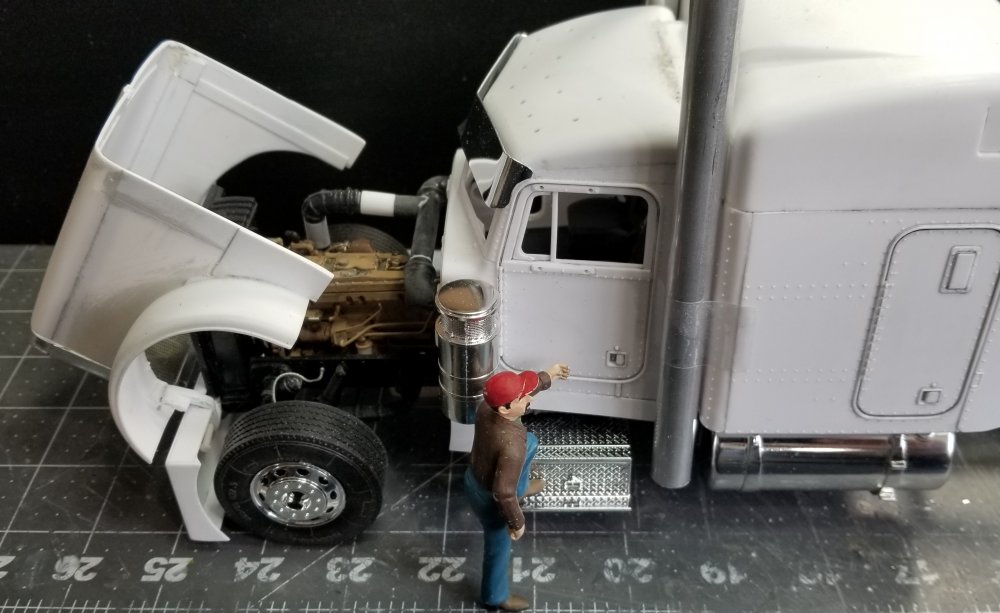
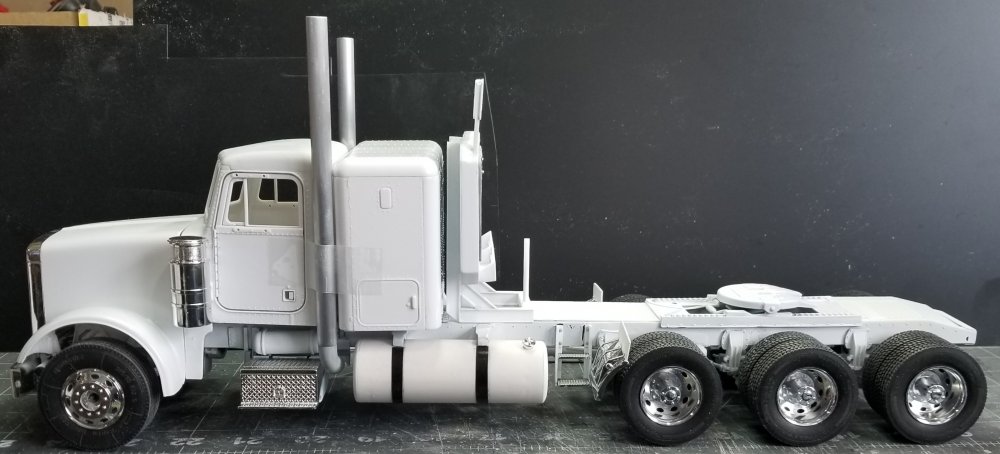
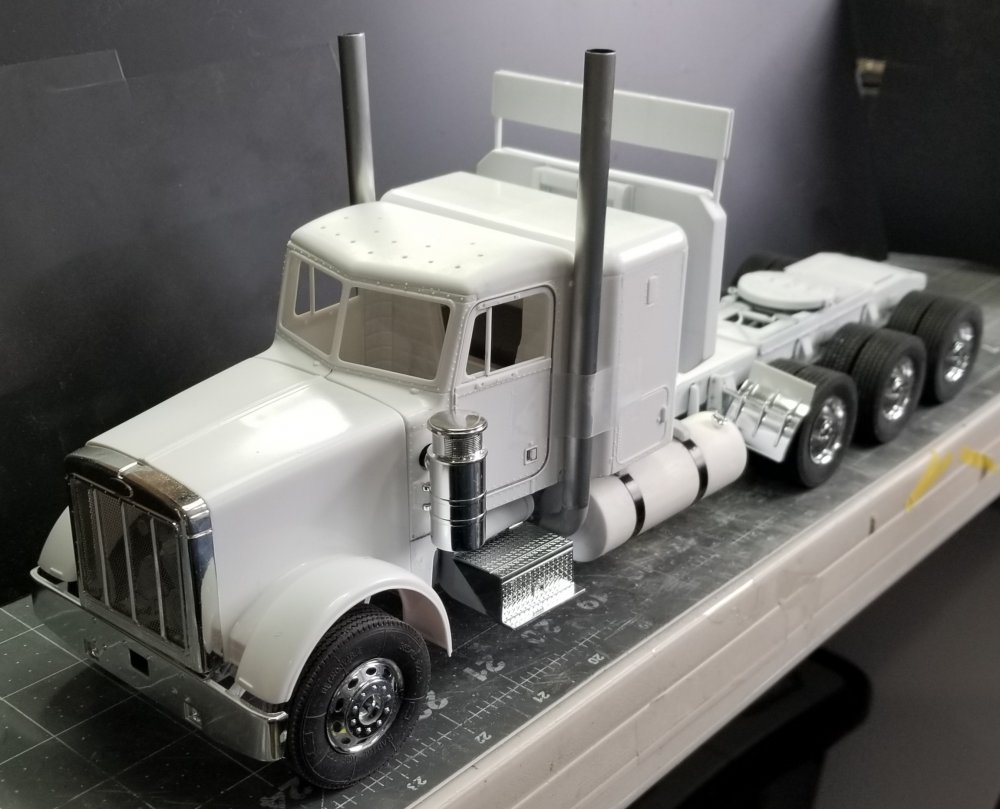
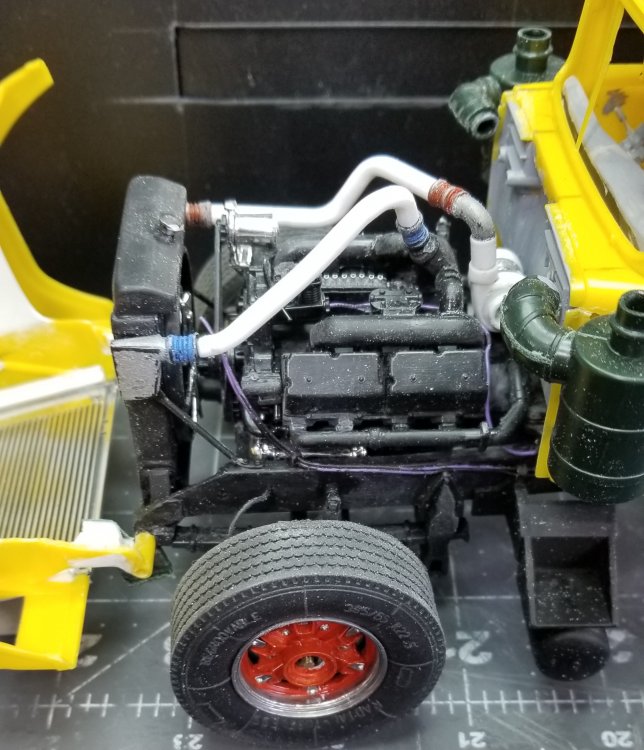
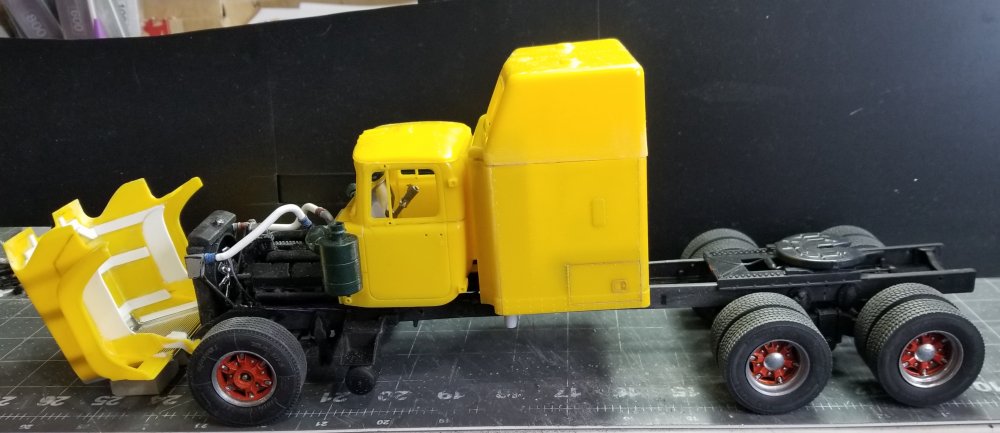
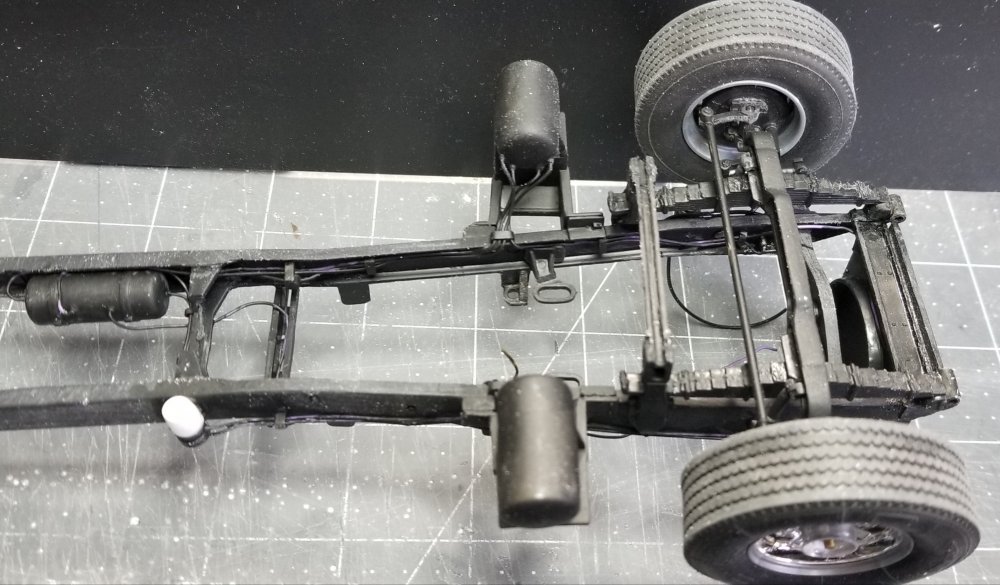
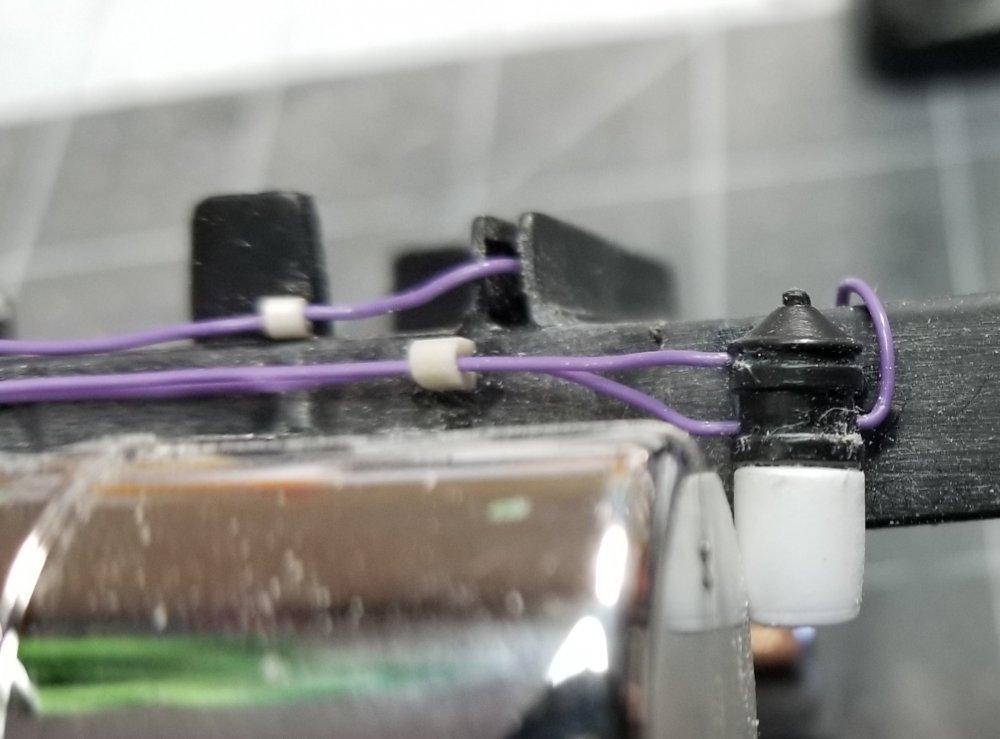
 Thanks guys I have the brake lines almost done, I ran out of the purple wire I was using for the air lines, so now I have to switch to green, but it's all going to be painted the frame color so it doesn't matter. this view shows the rear area if the truck. this view shows the rear brake modulator and the height control valve. this view shows the front brake modulator valve on the left and the rear brake anti-lockup modulator on the right. this view shows the Cummins NTC-400 and the front brake line, I used braided line for these. this view shows what this truck is going to look like when it's done. view from the rear showing the polished aluminum rear fenders and the rear light bracket, I have red, amber and clear lights for this. view from the front showing the custom made "Texas" bumber and the 10" stacks, I still have to figure out how to make the lower curved part of these, I think I'm going to try Plastruct elbows and paint them chrome. view showing the hood open. Well that's it for now be back soon with more updates. Ron G
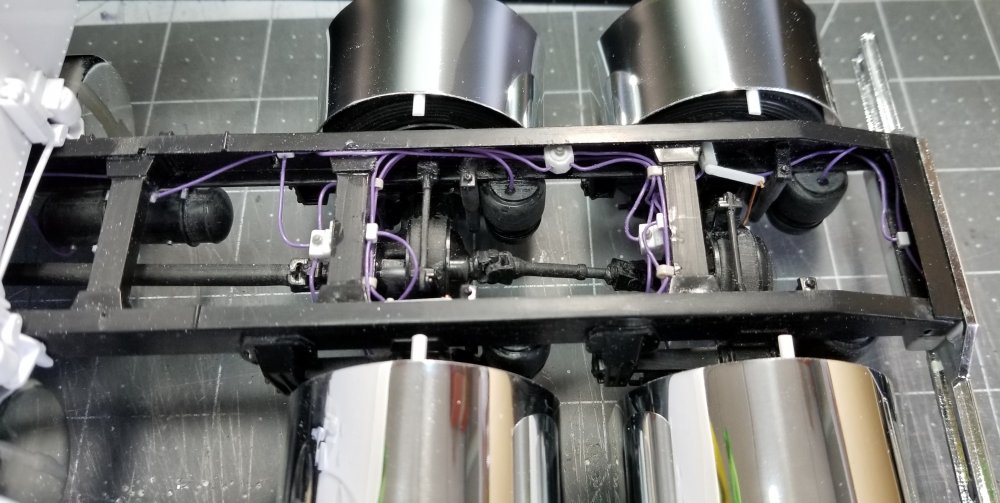

-
I can't wait to see this finished! It's absolutely fantastic.I sure wish they would do this as a kit in 1/32 scale. Ron G
-
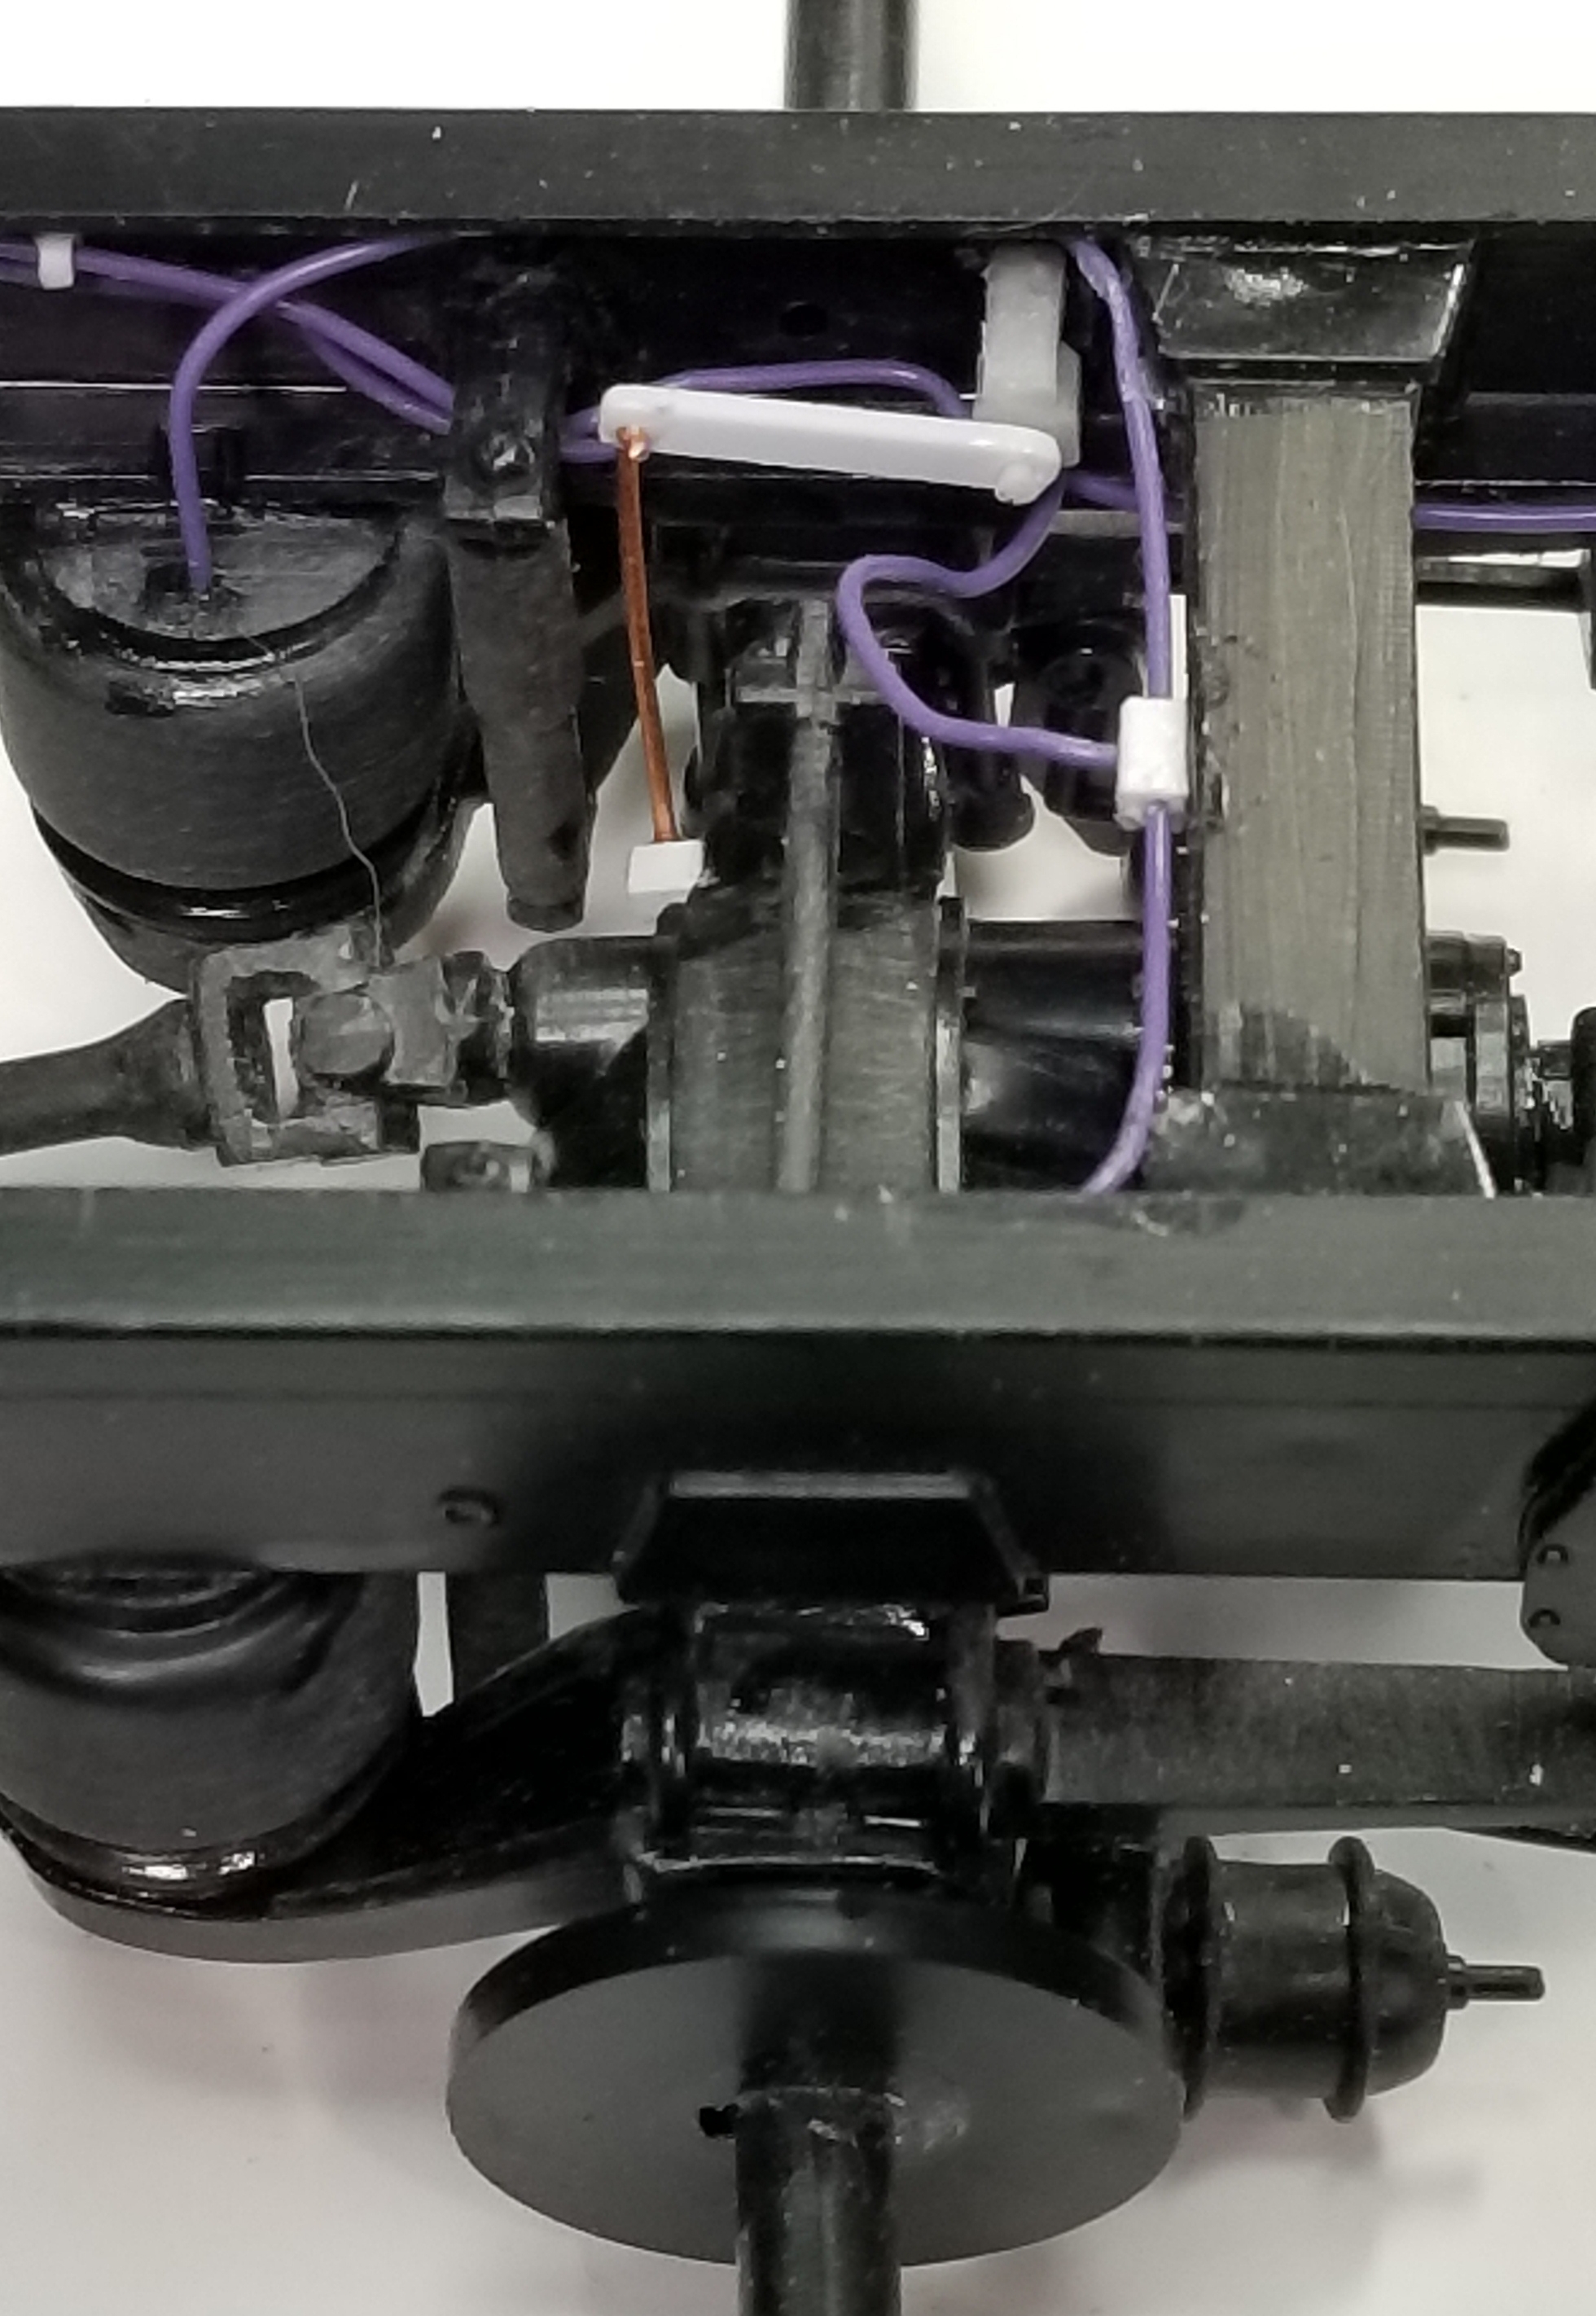
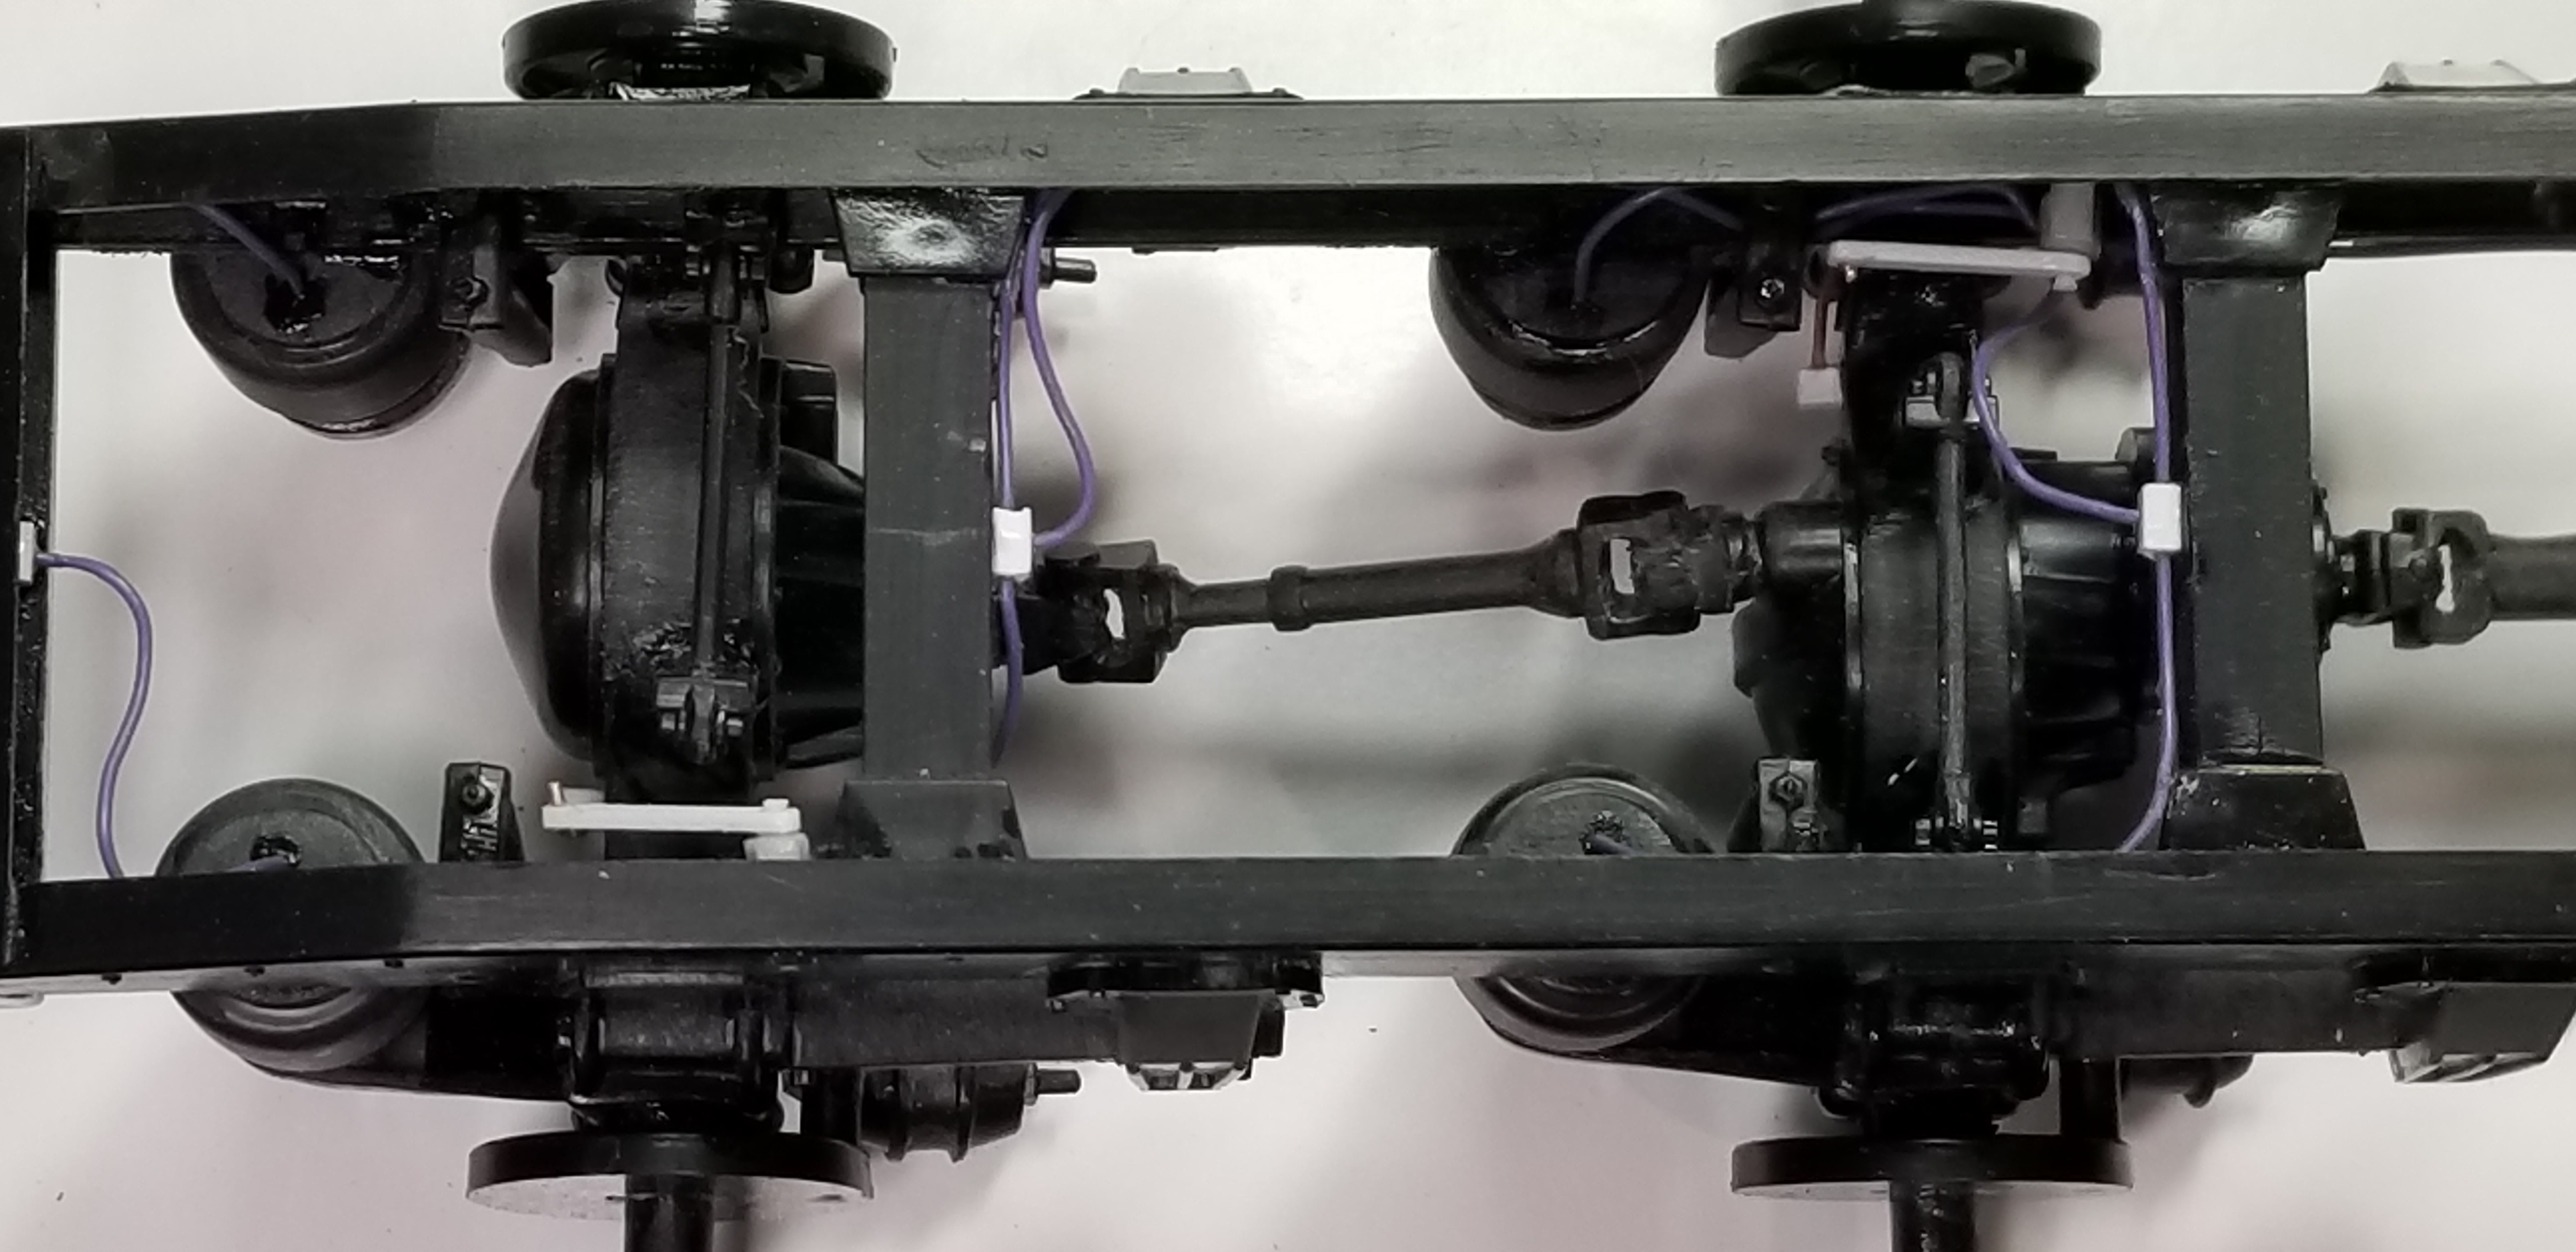
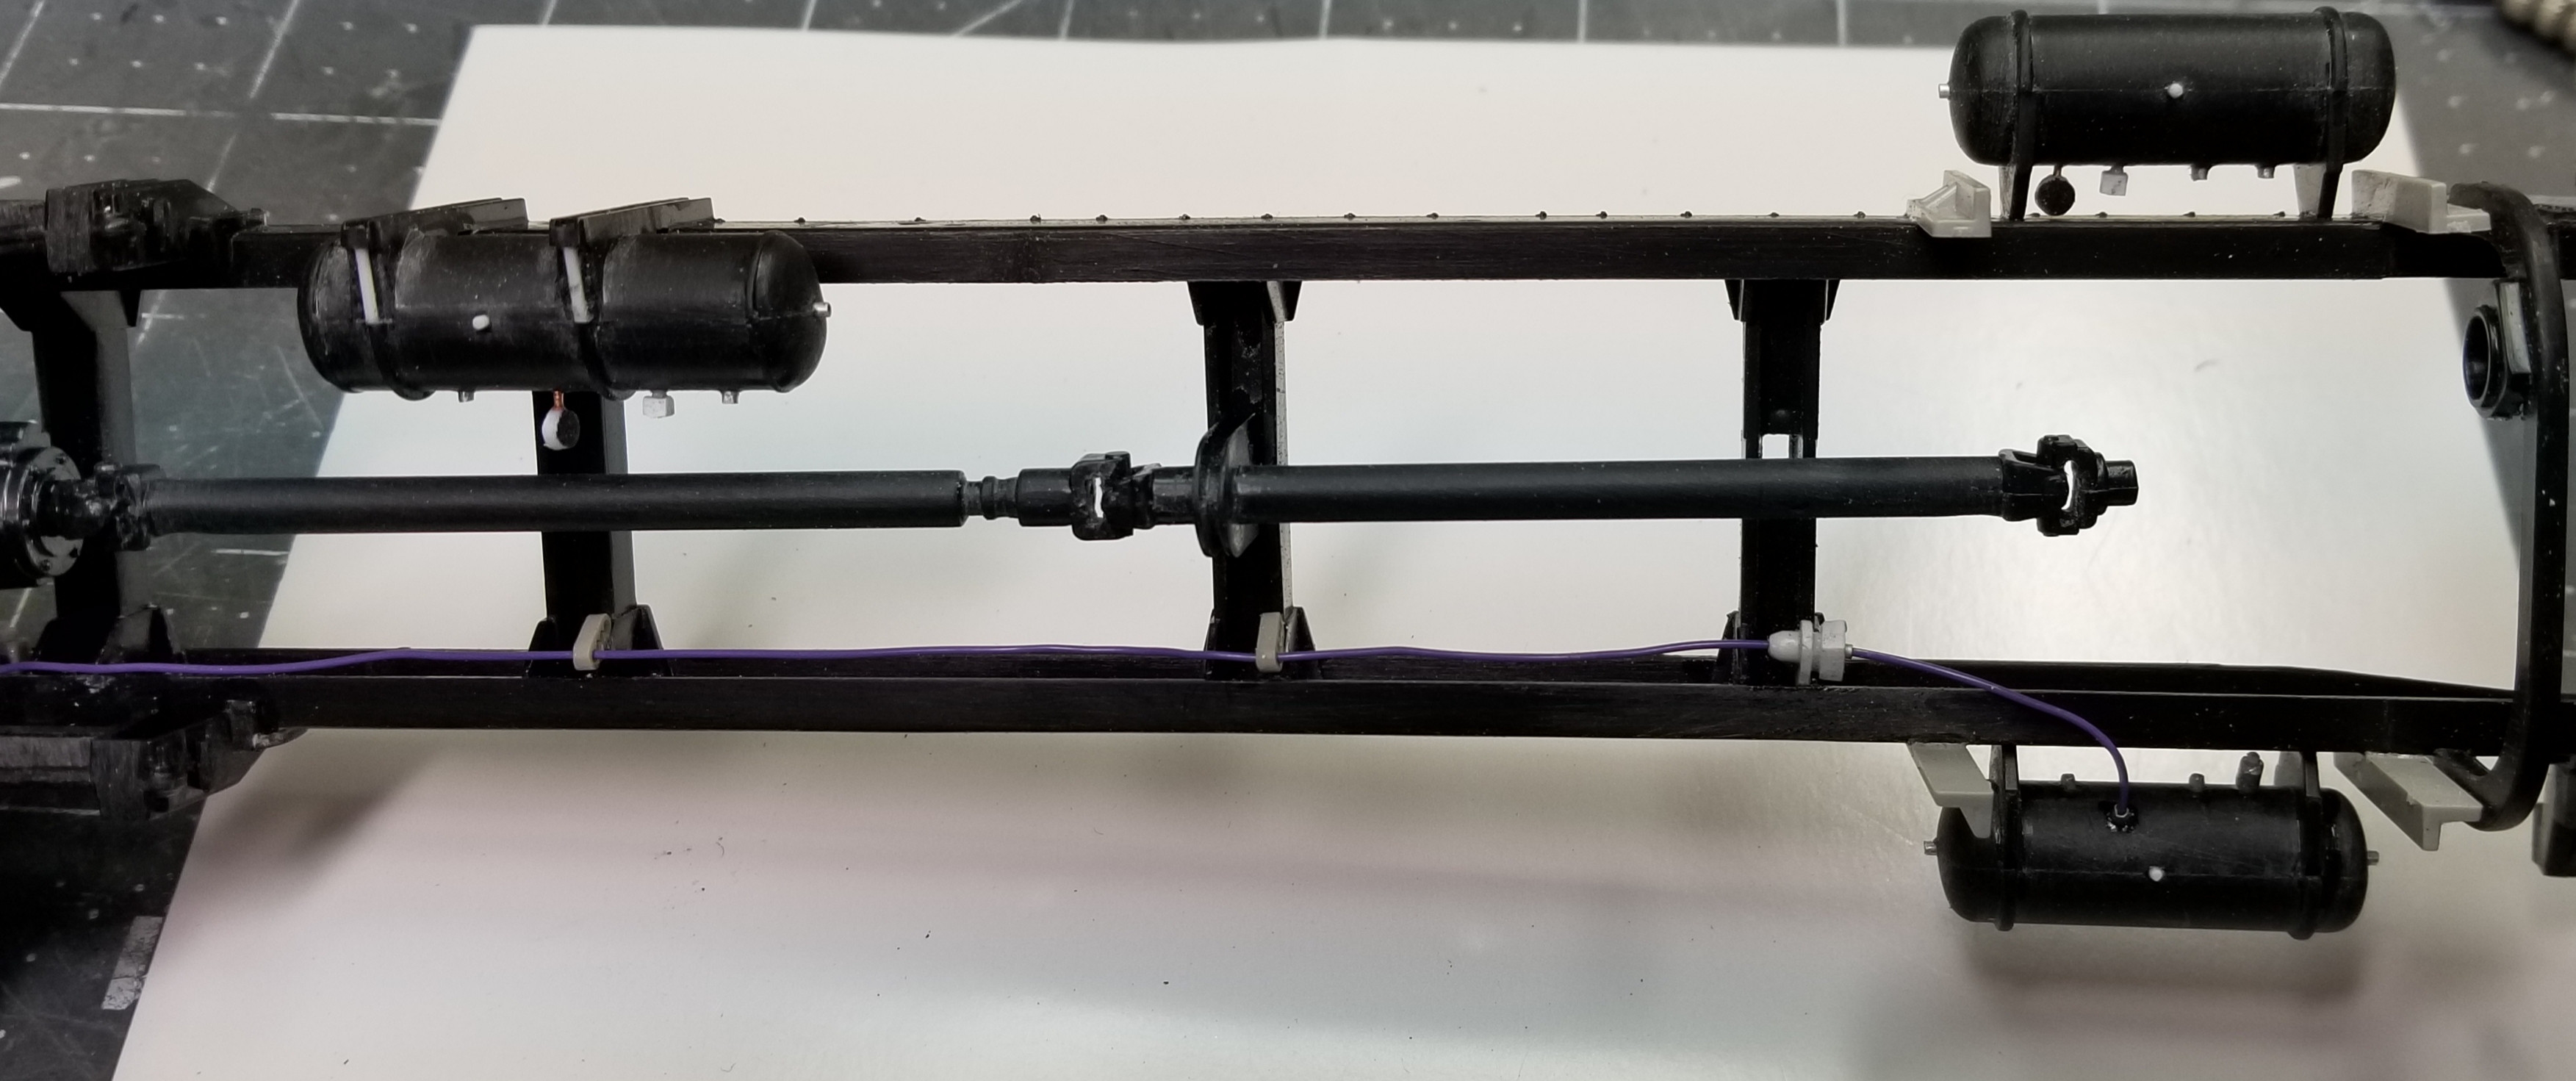
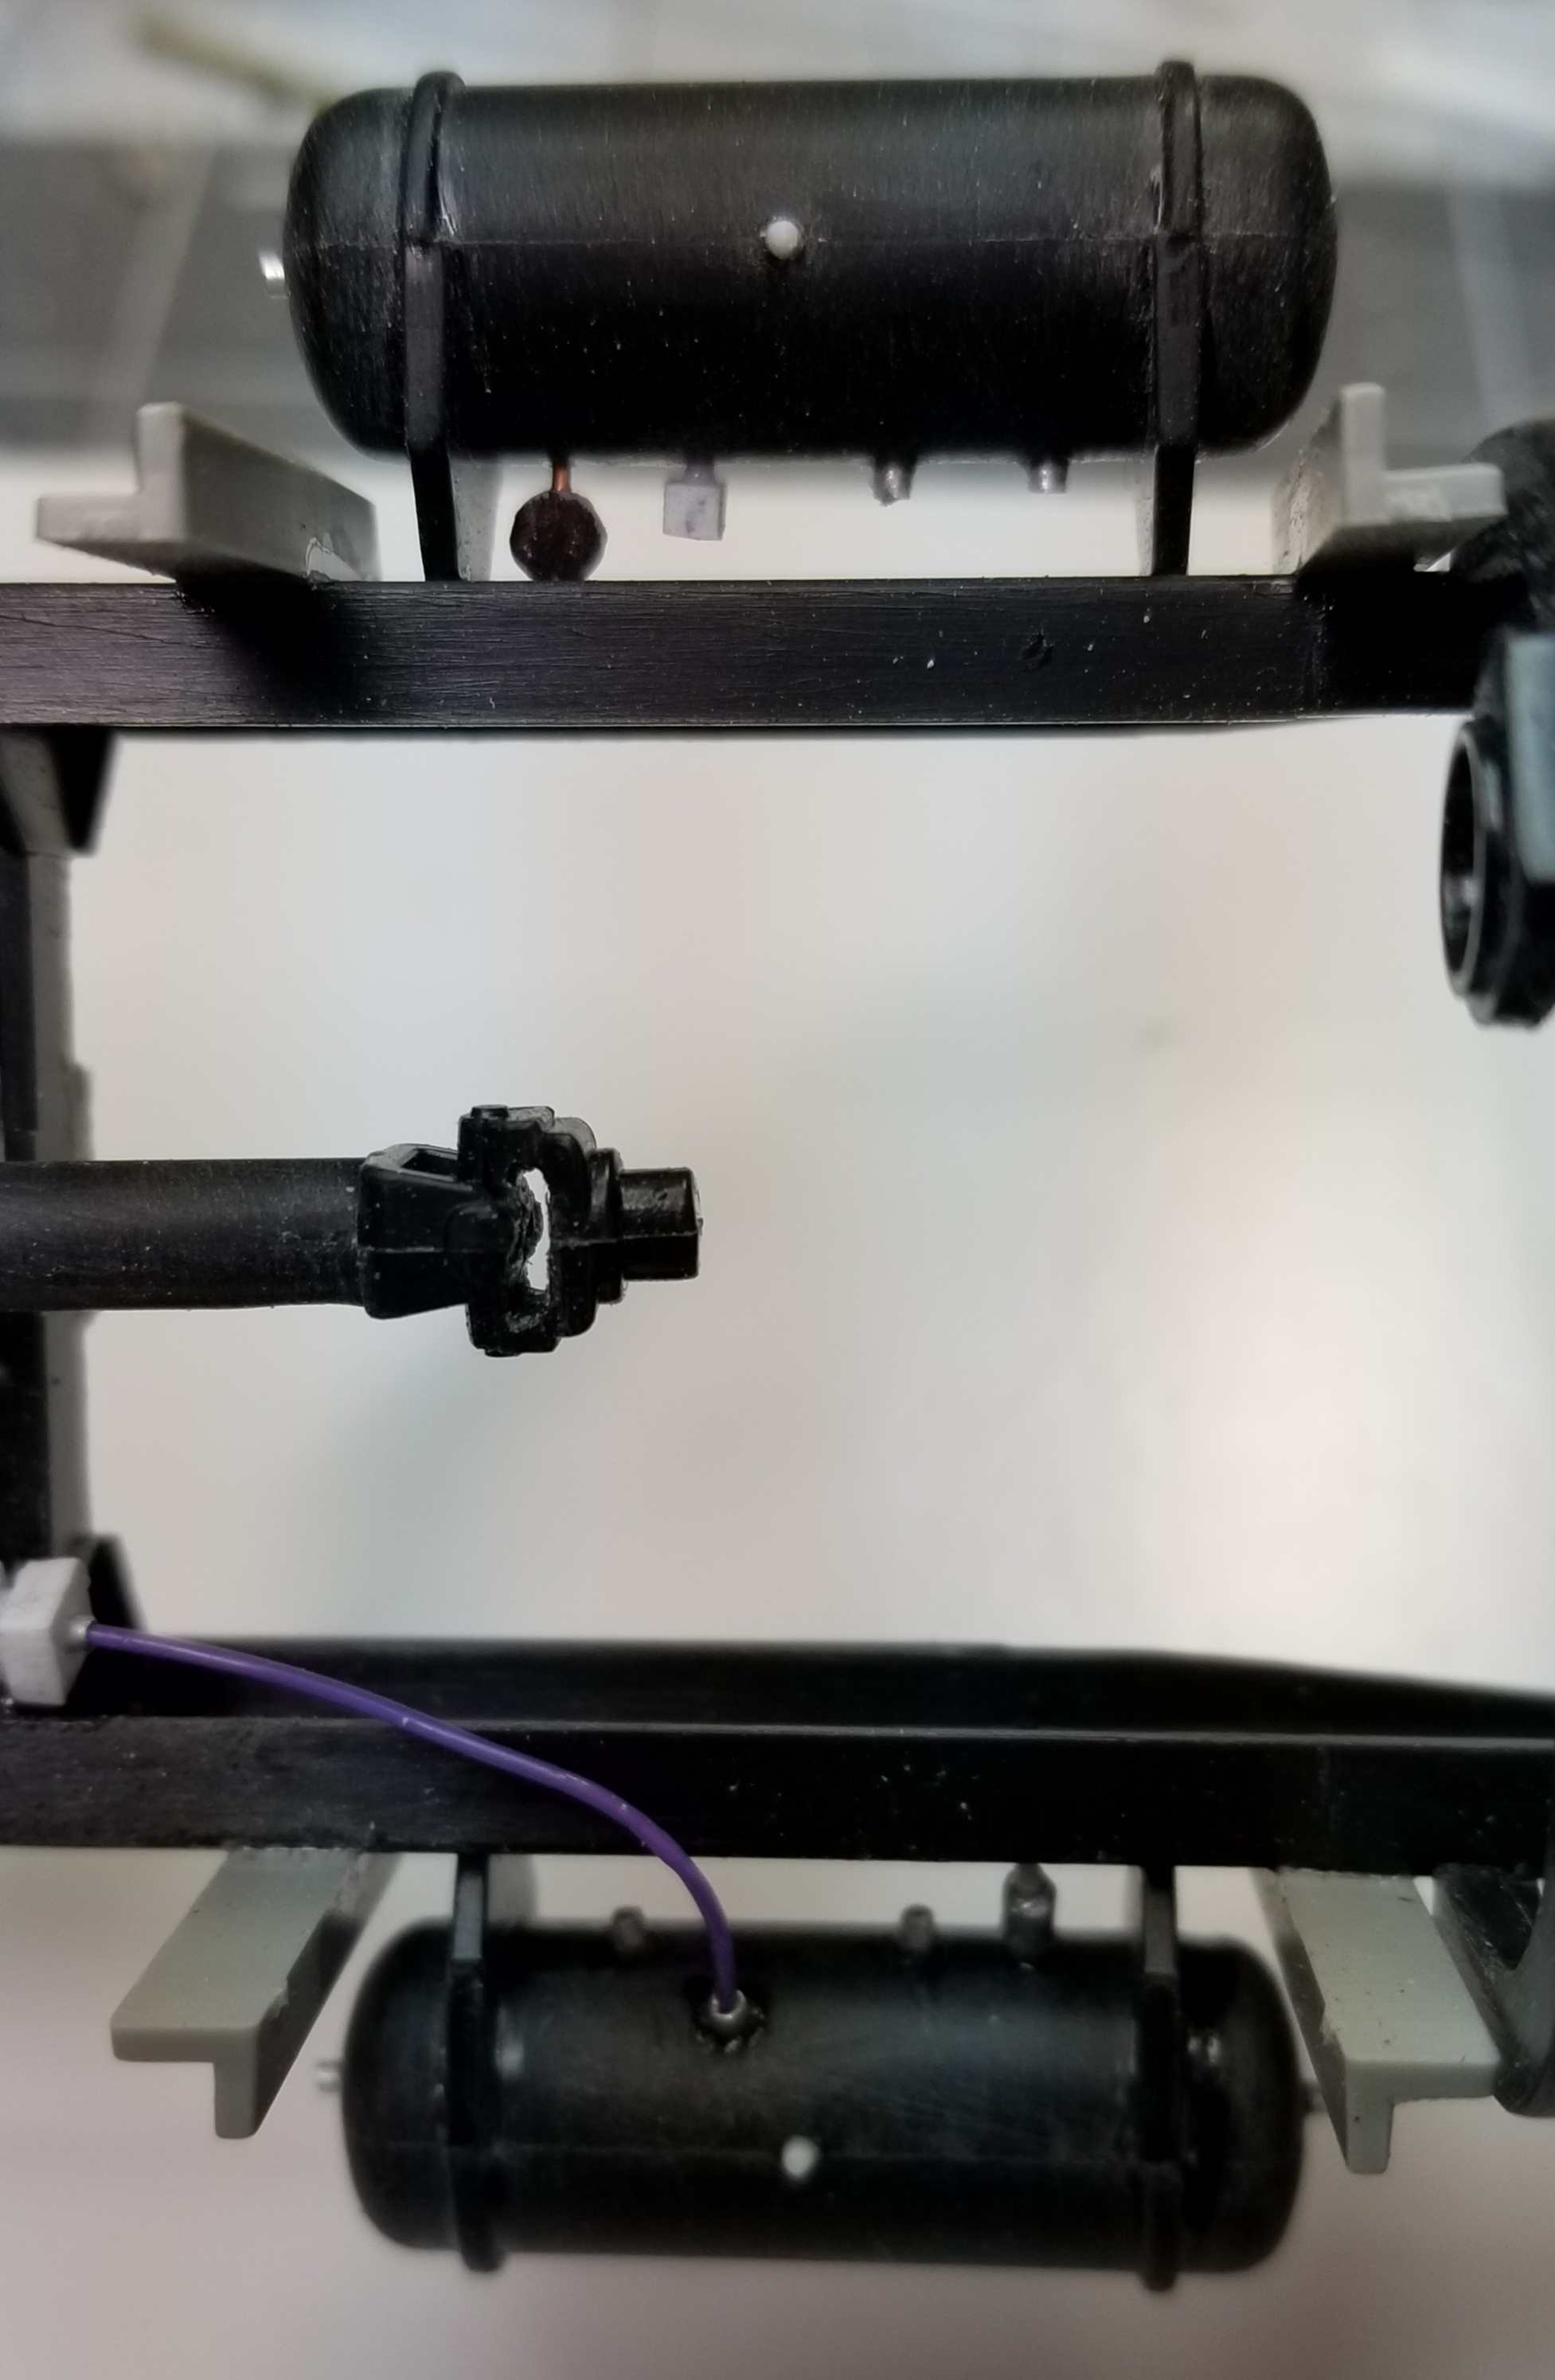
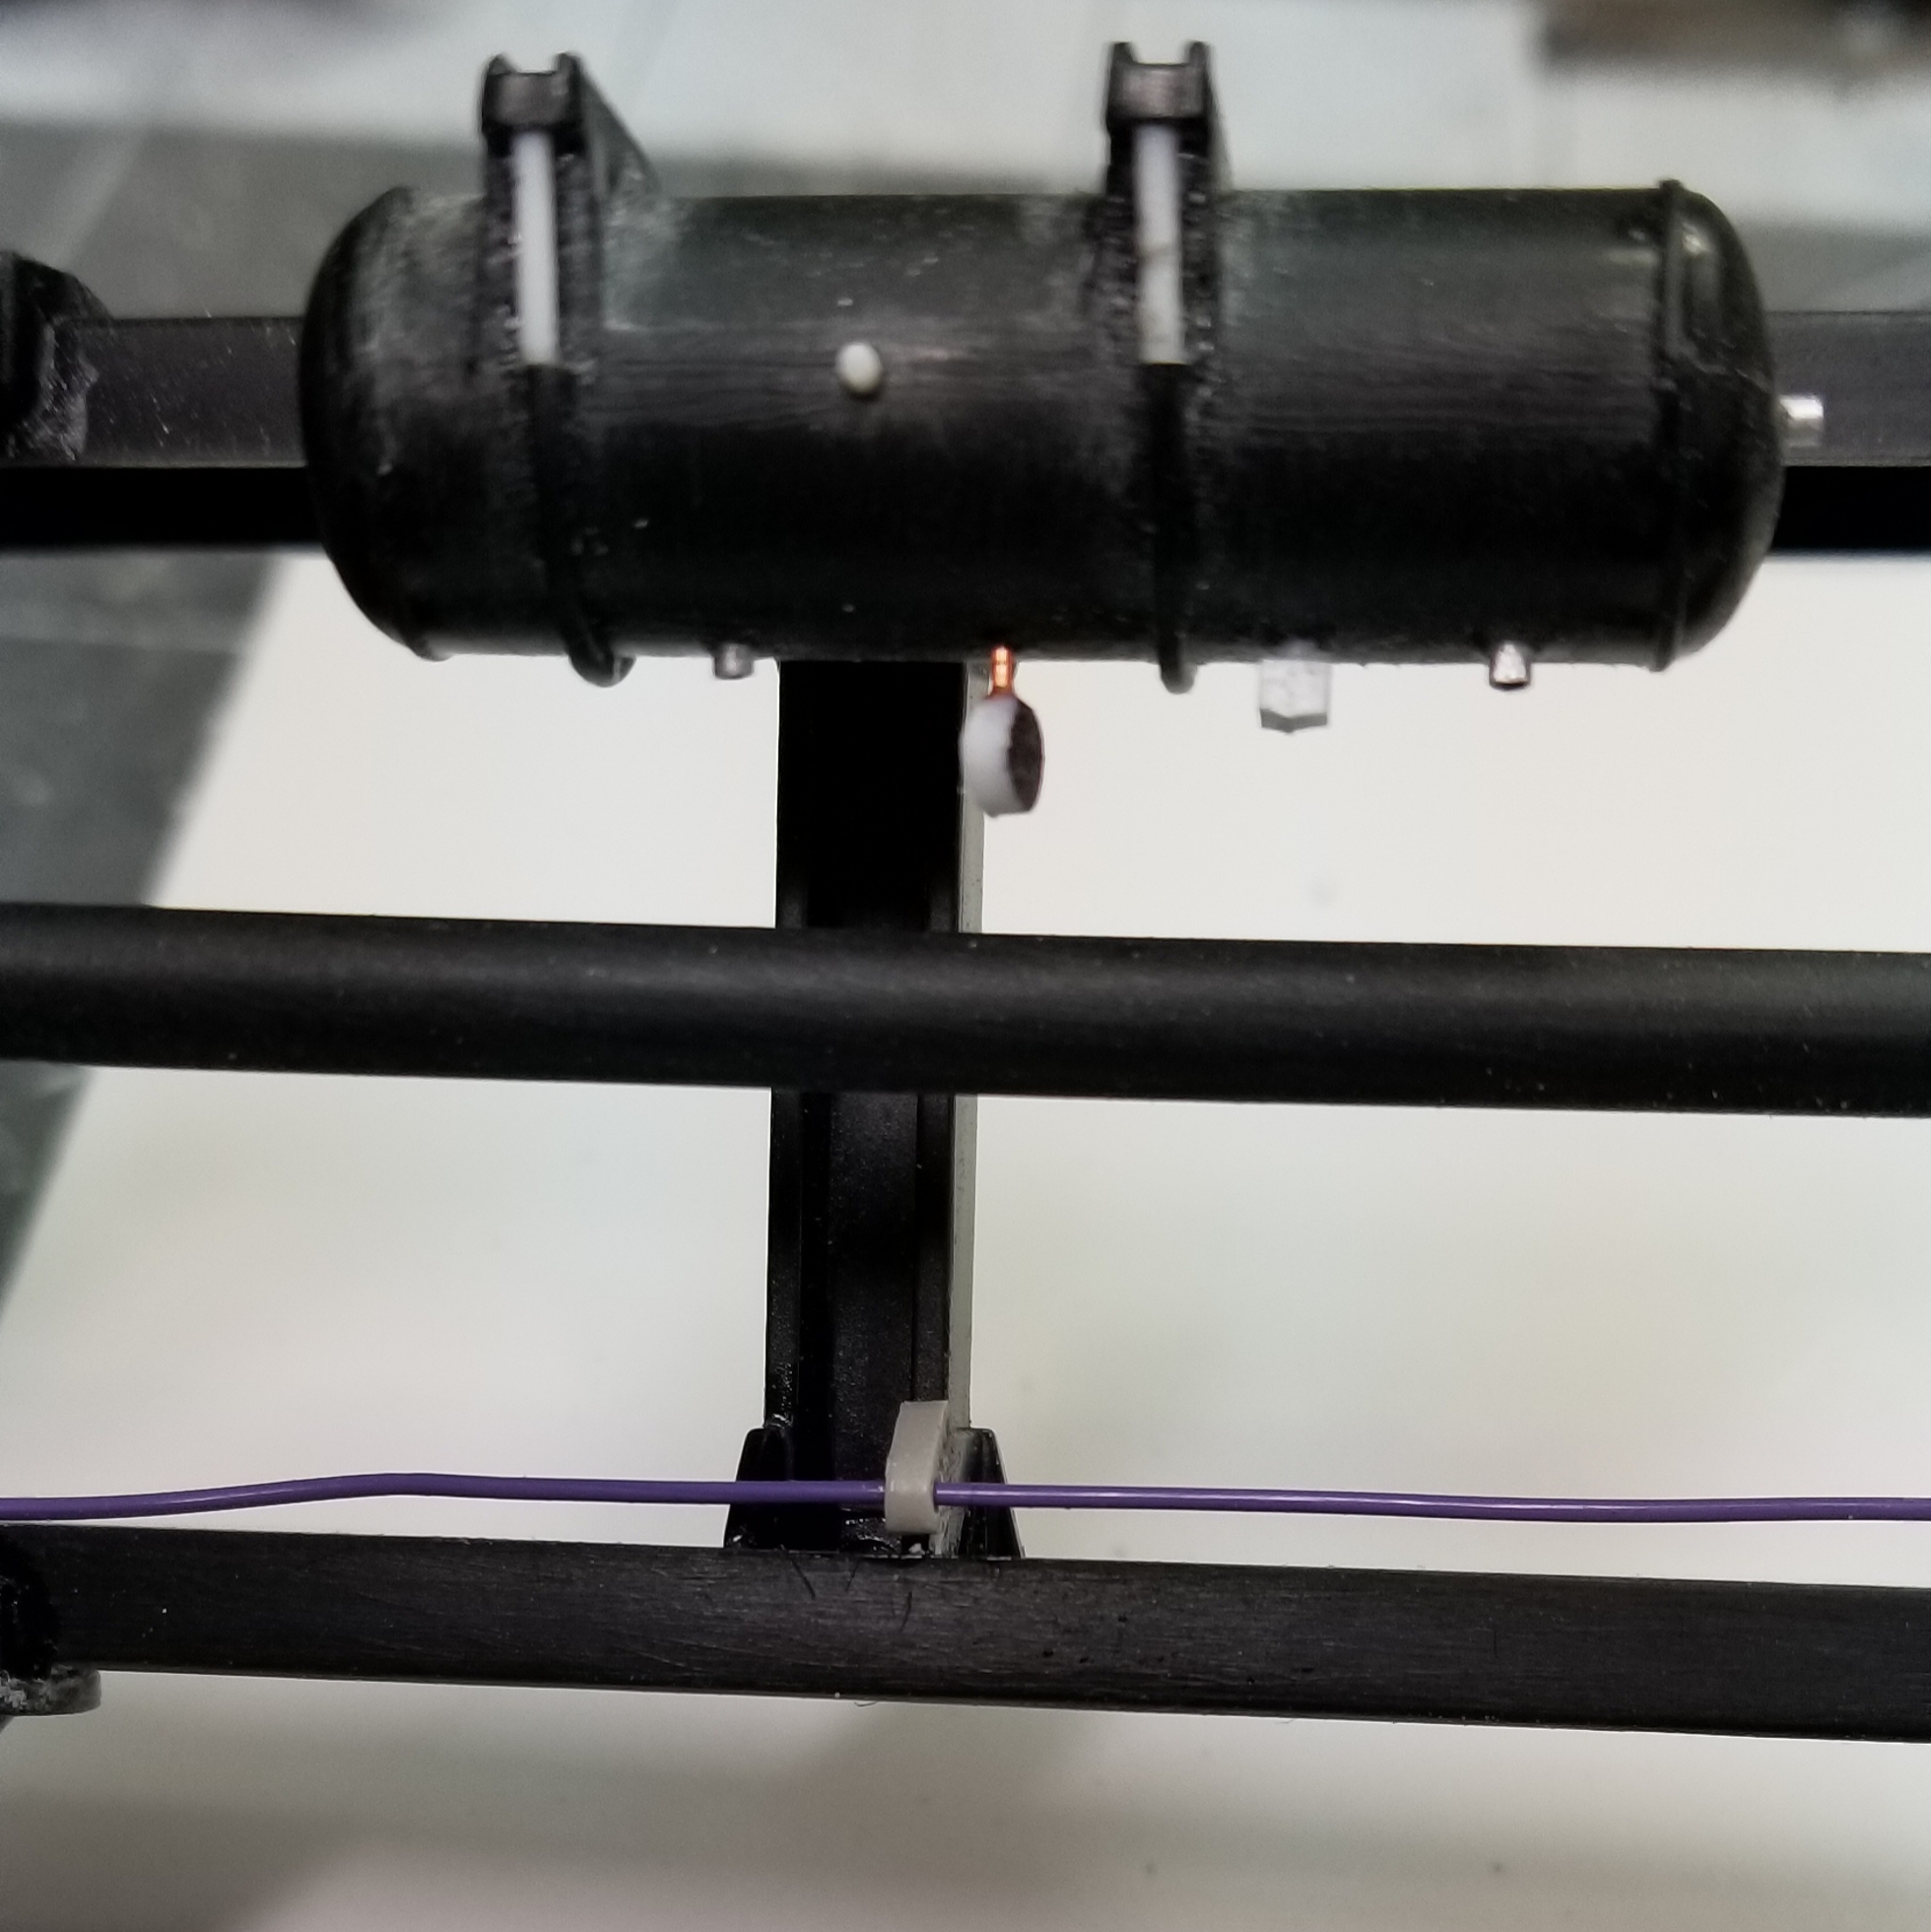
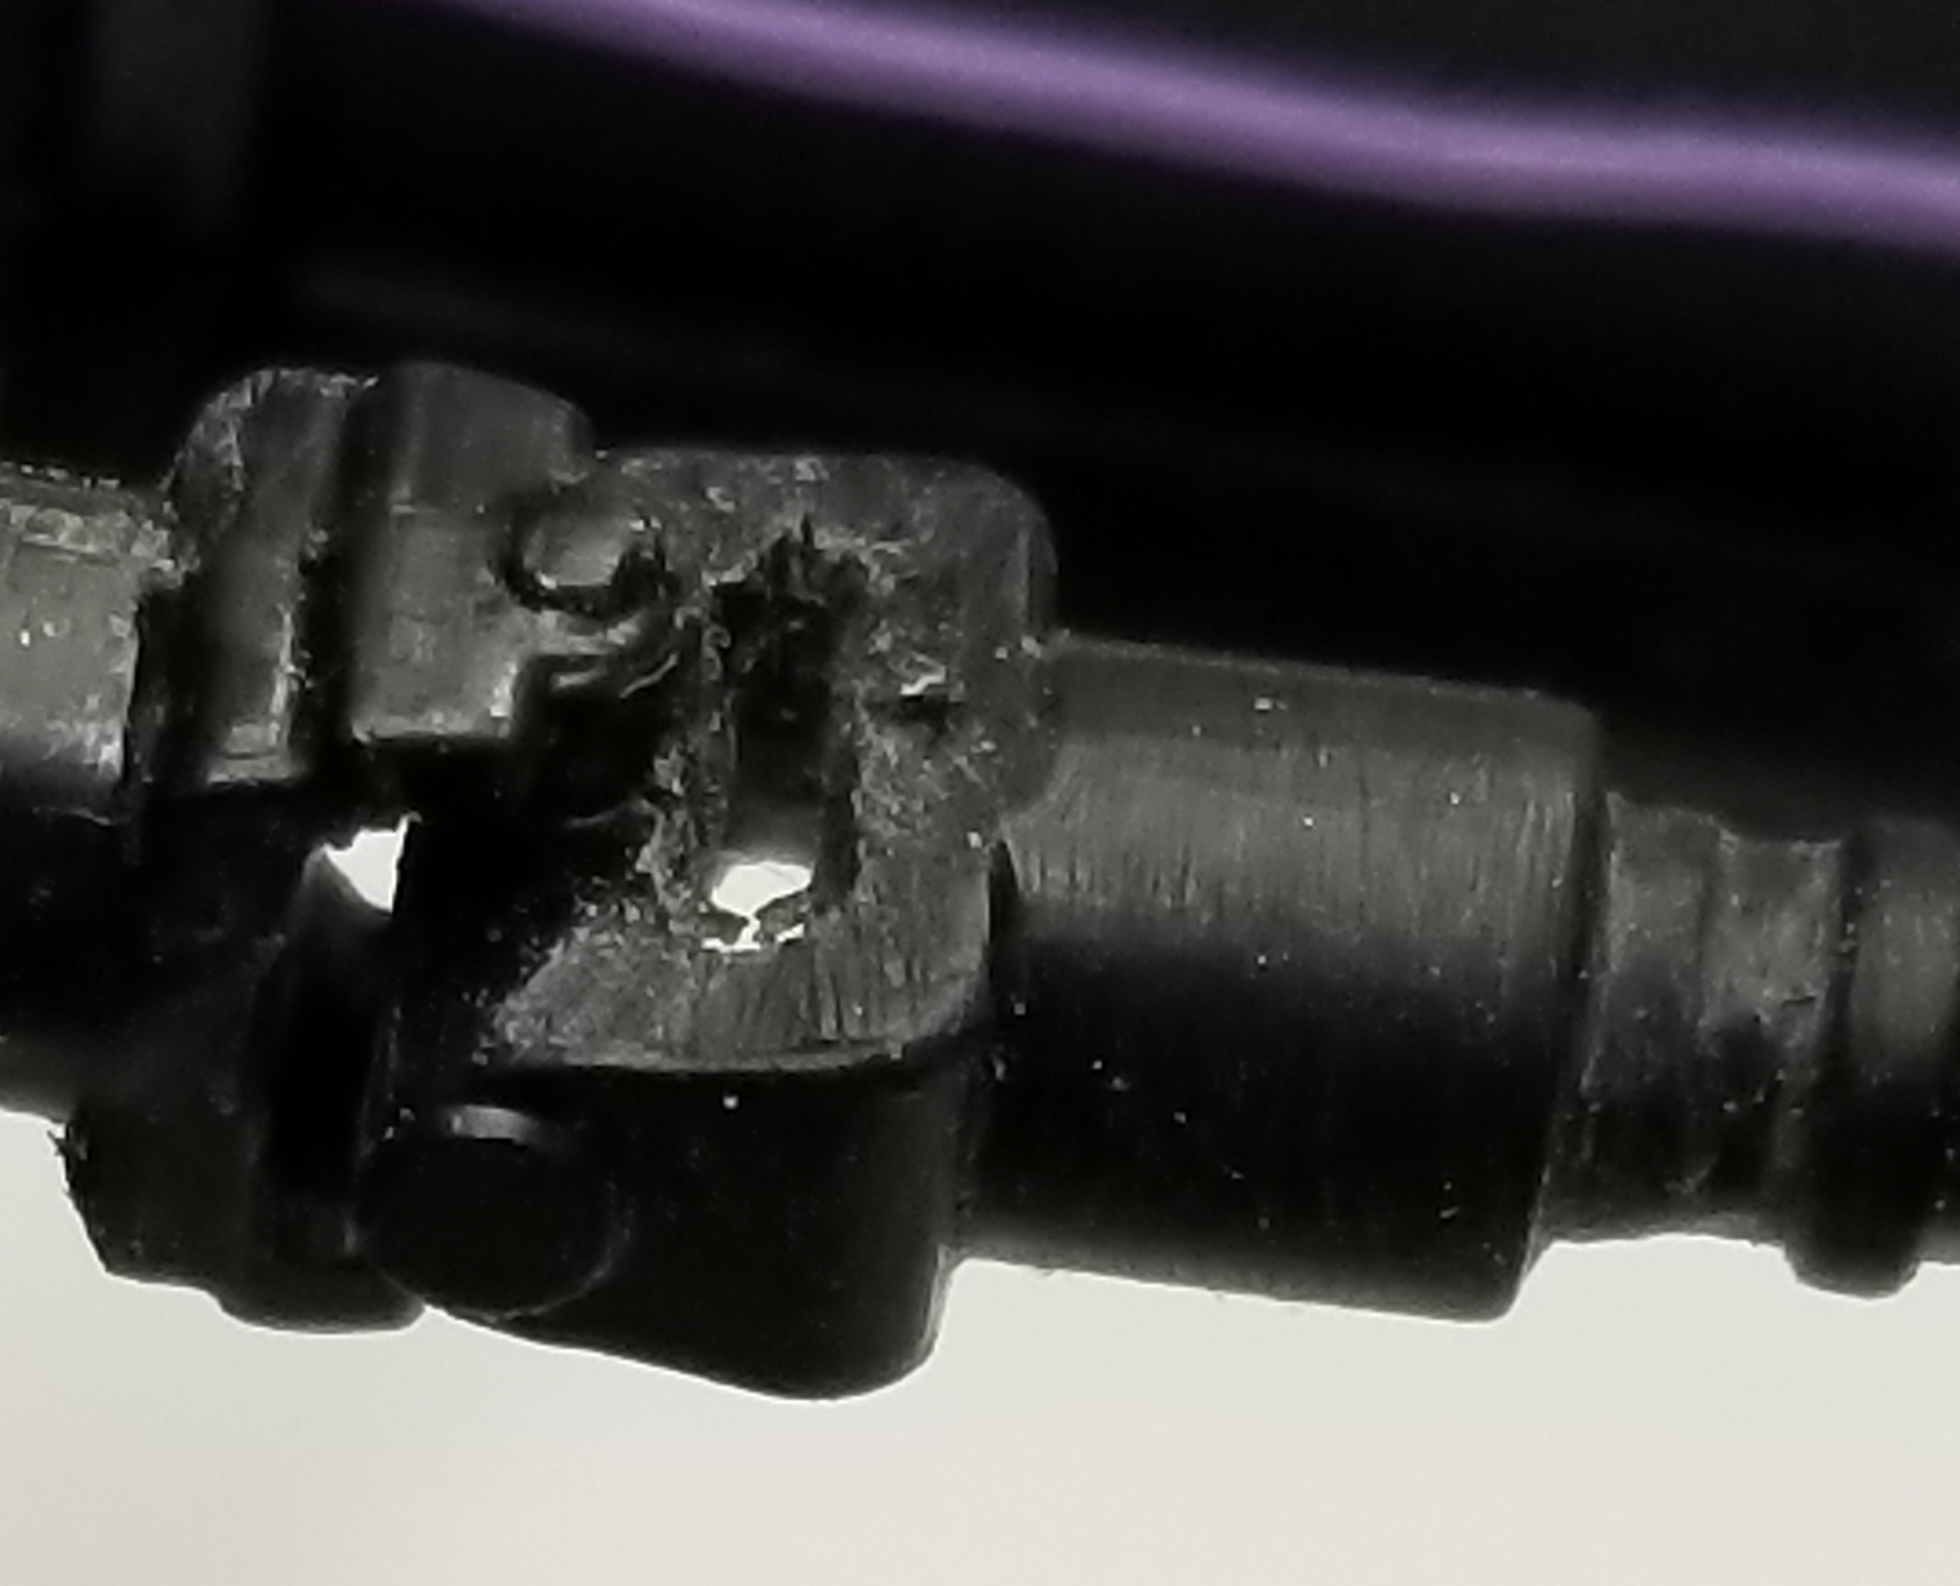
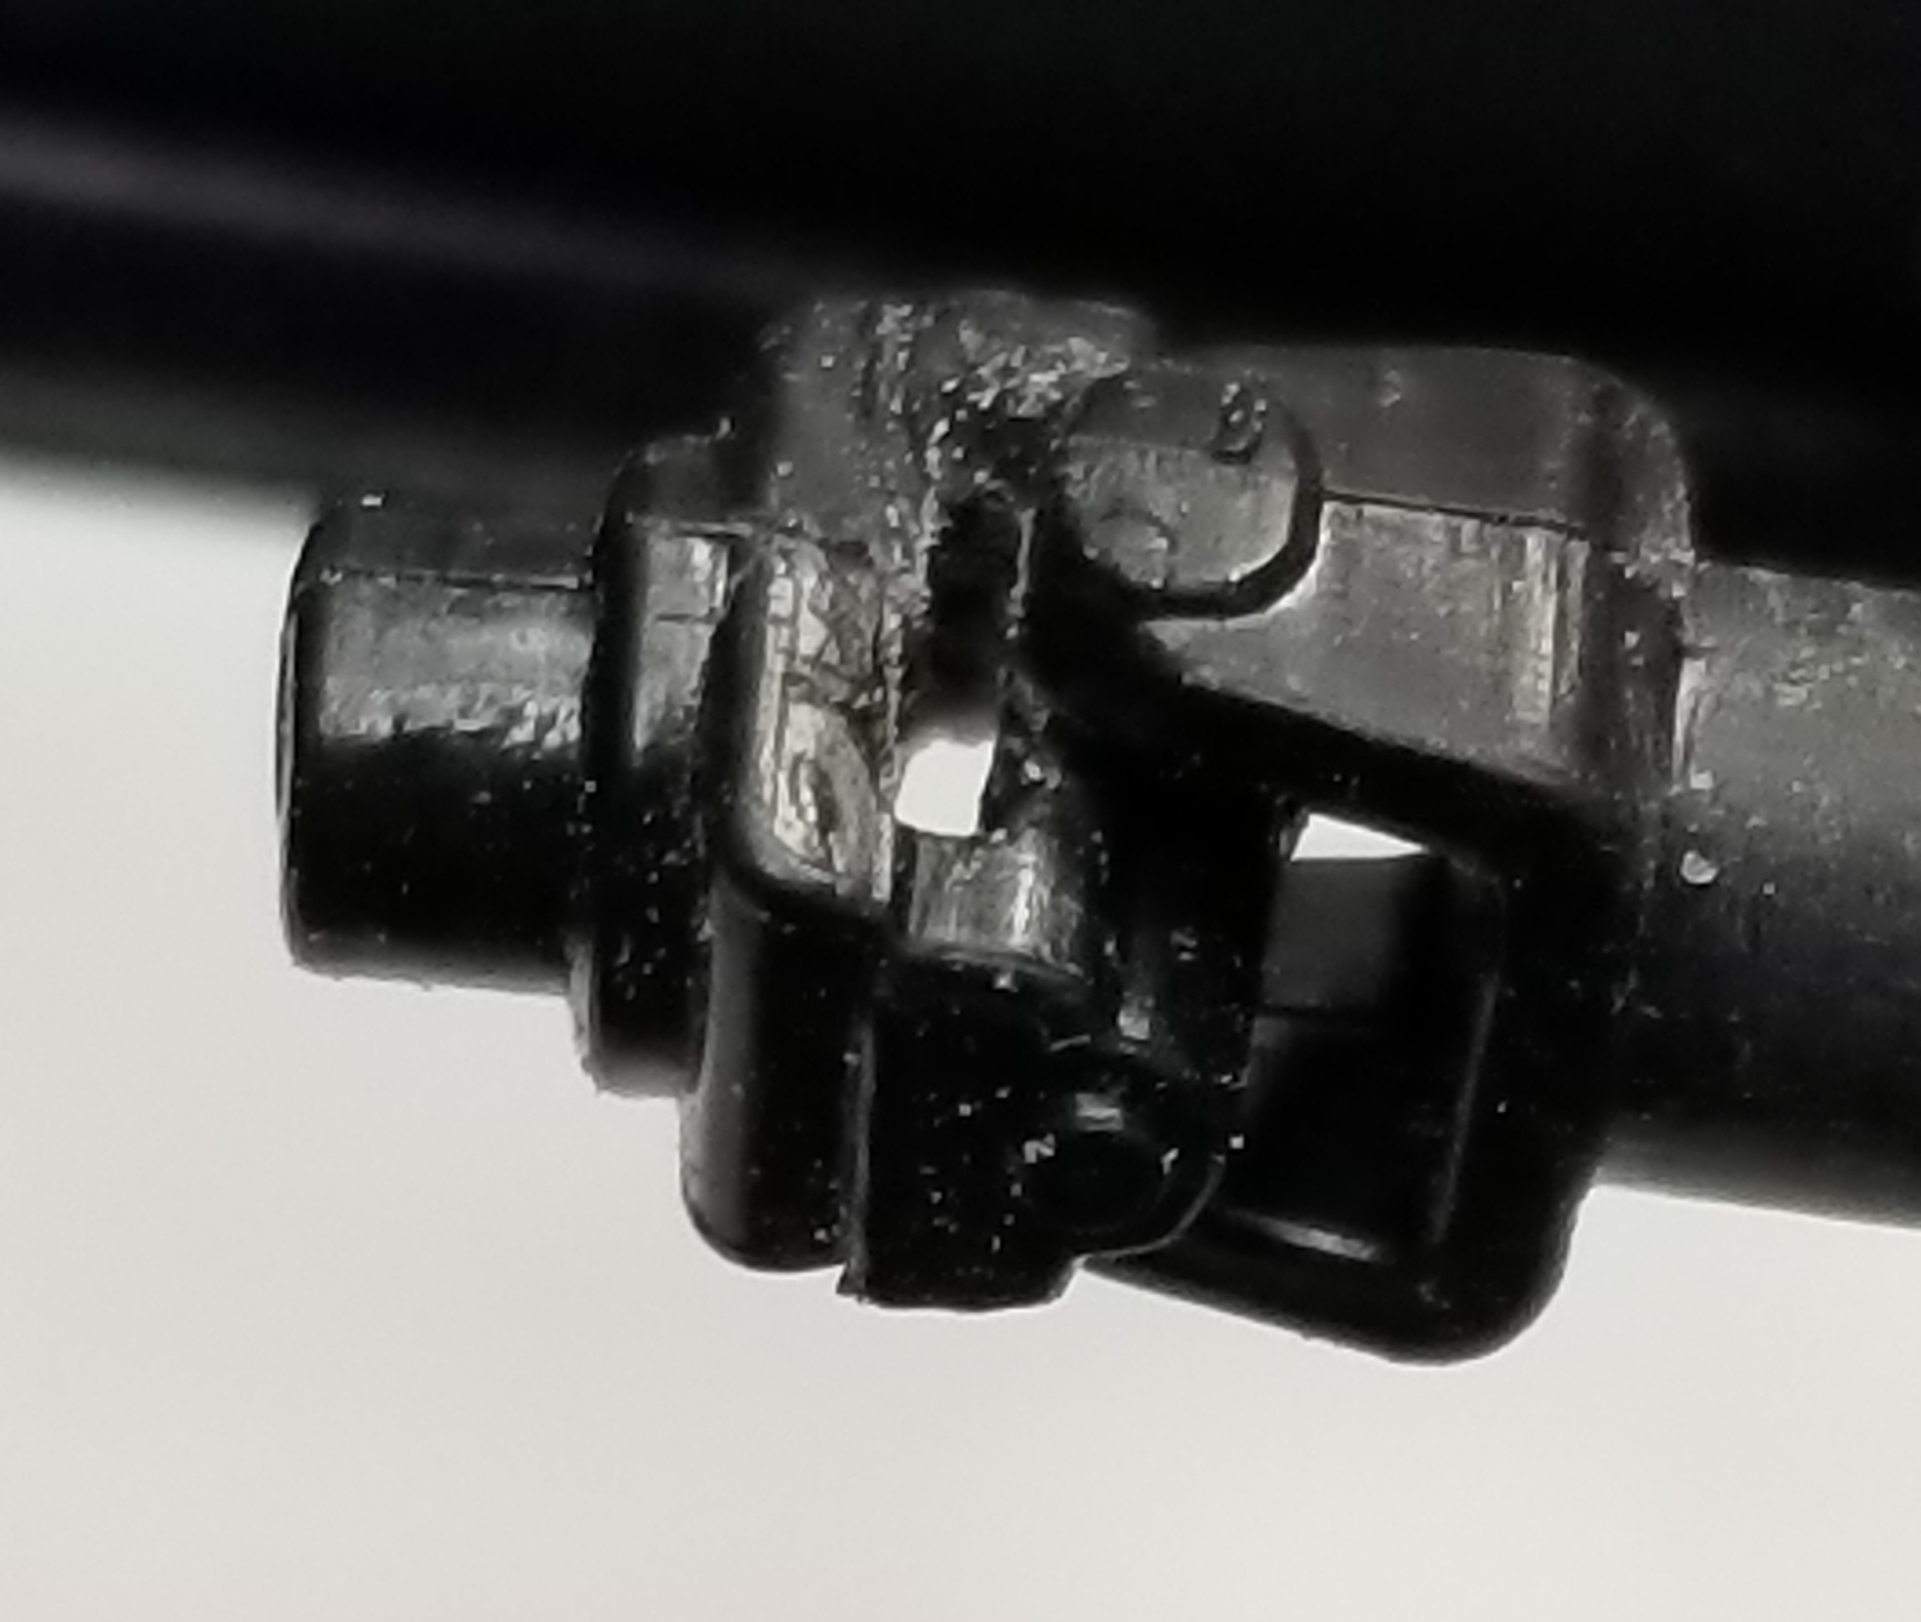
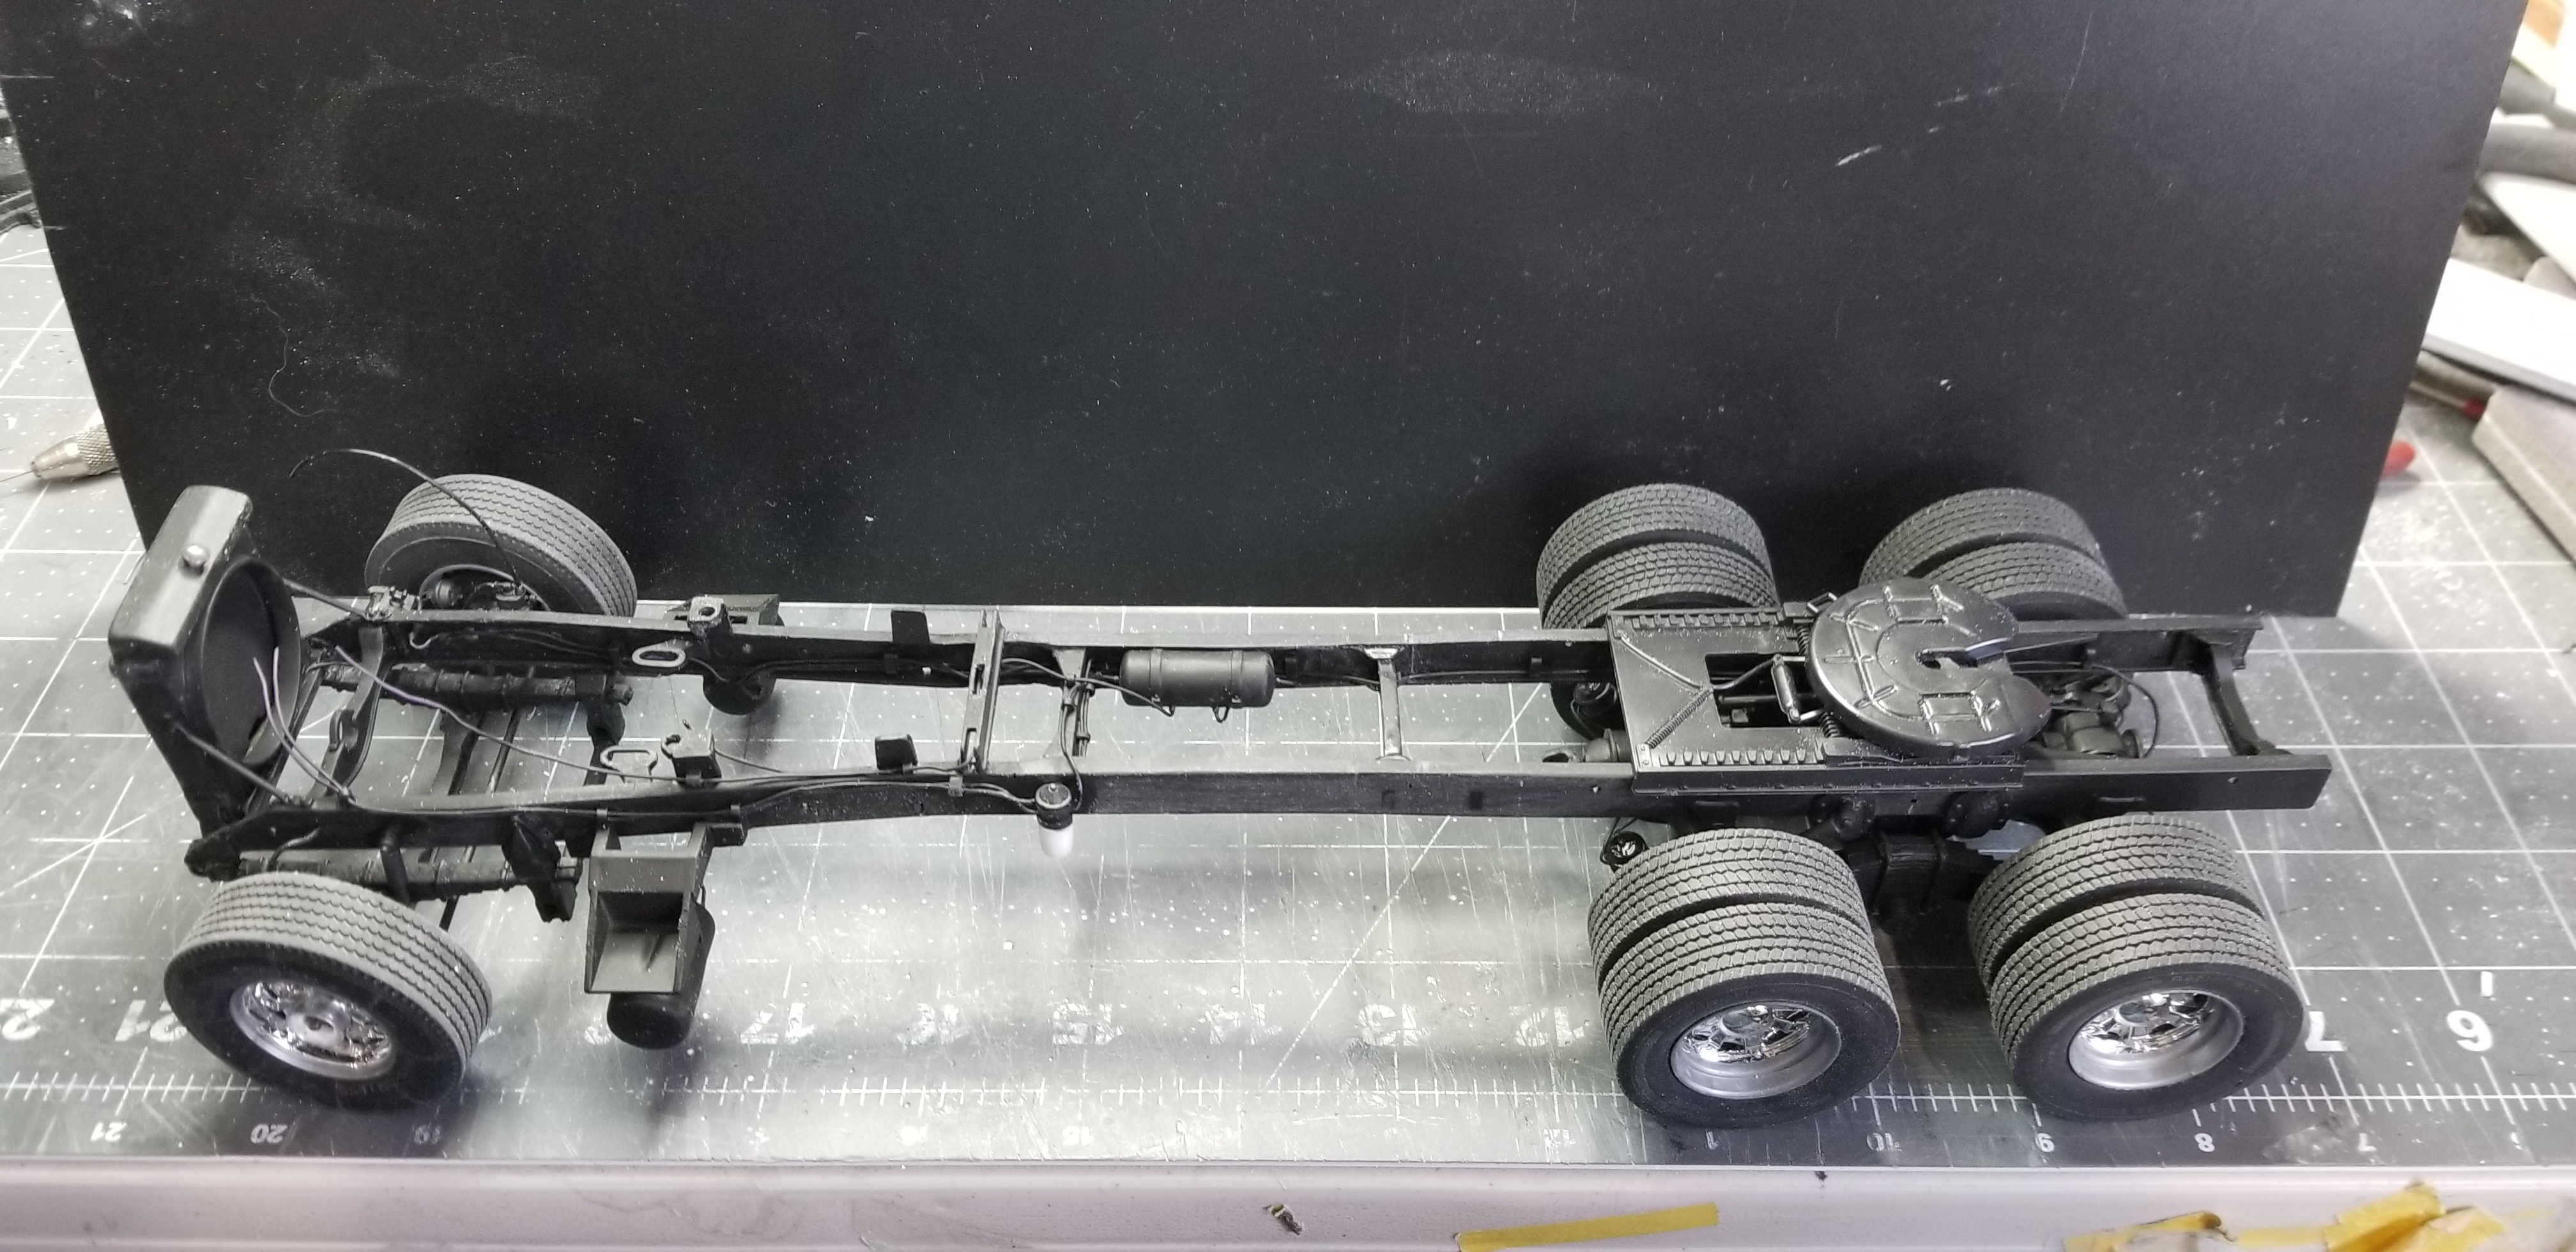
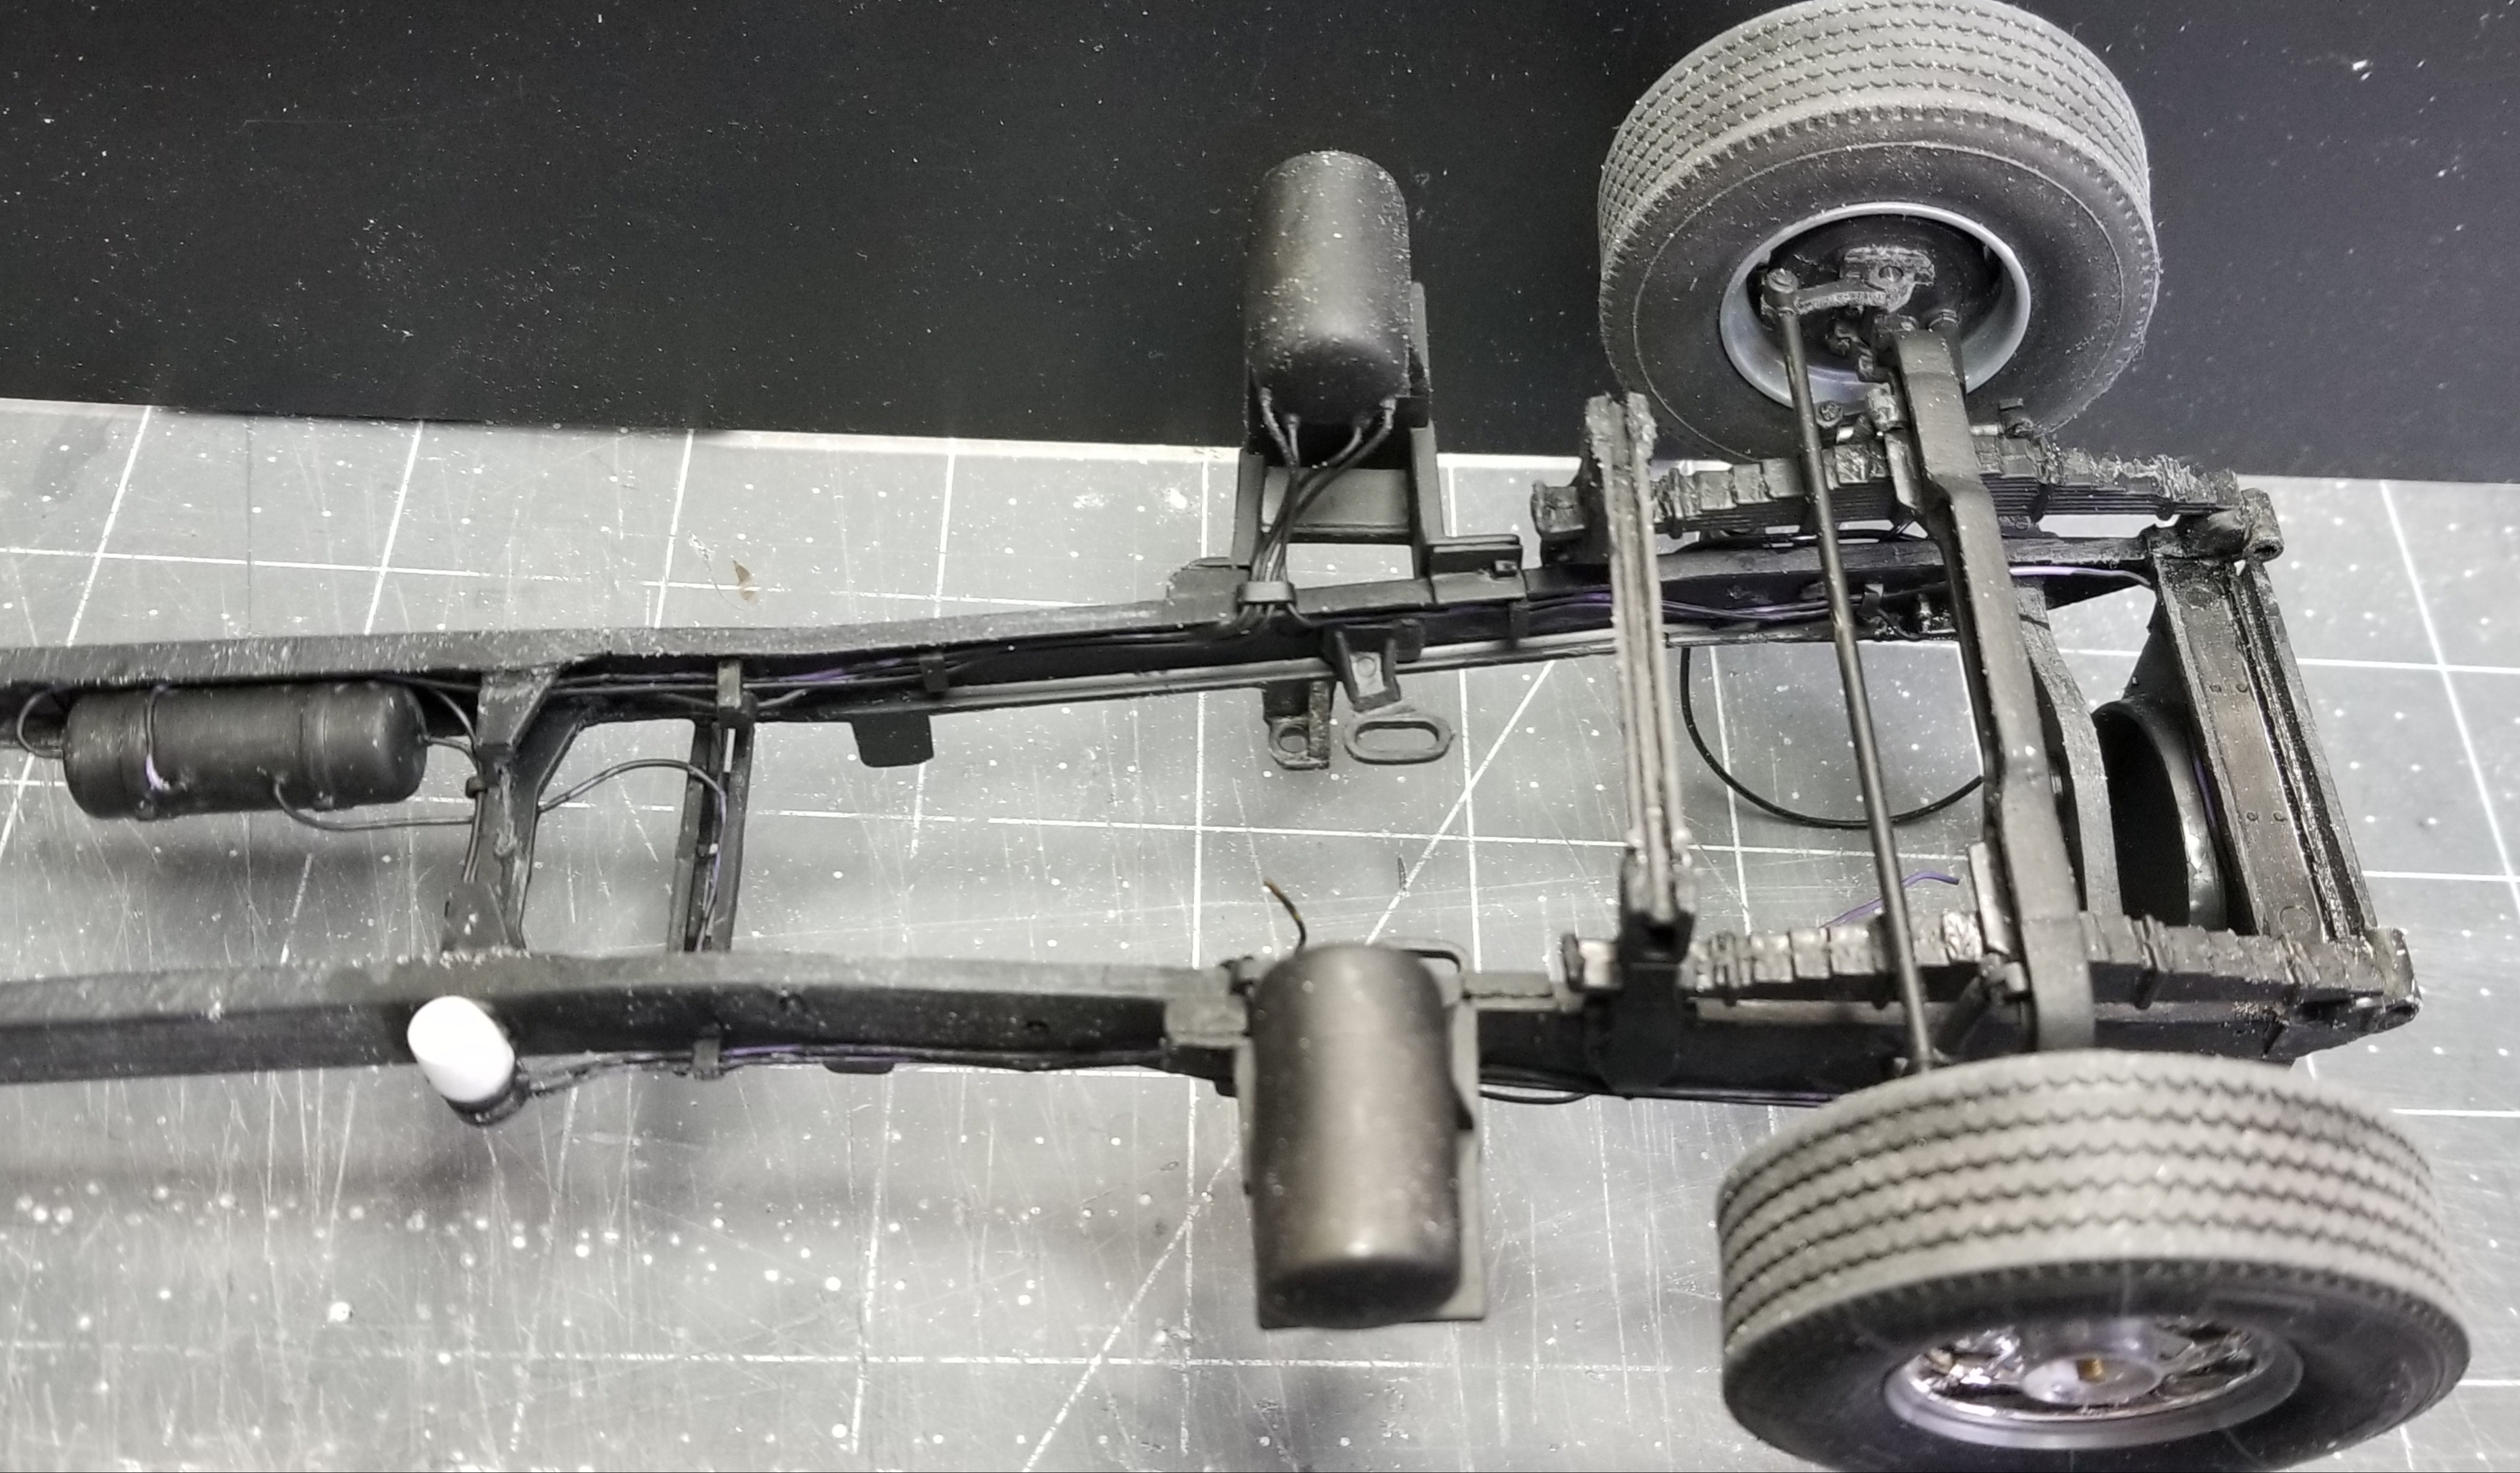
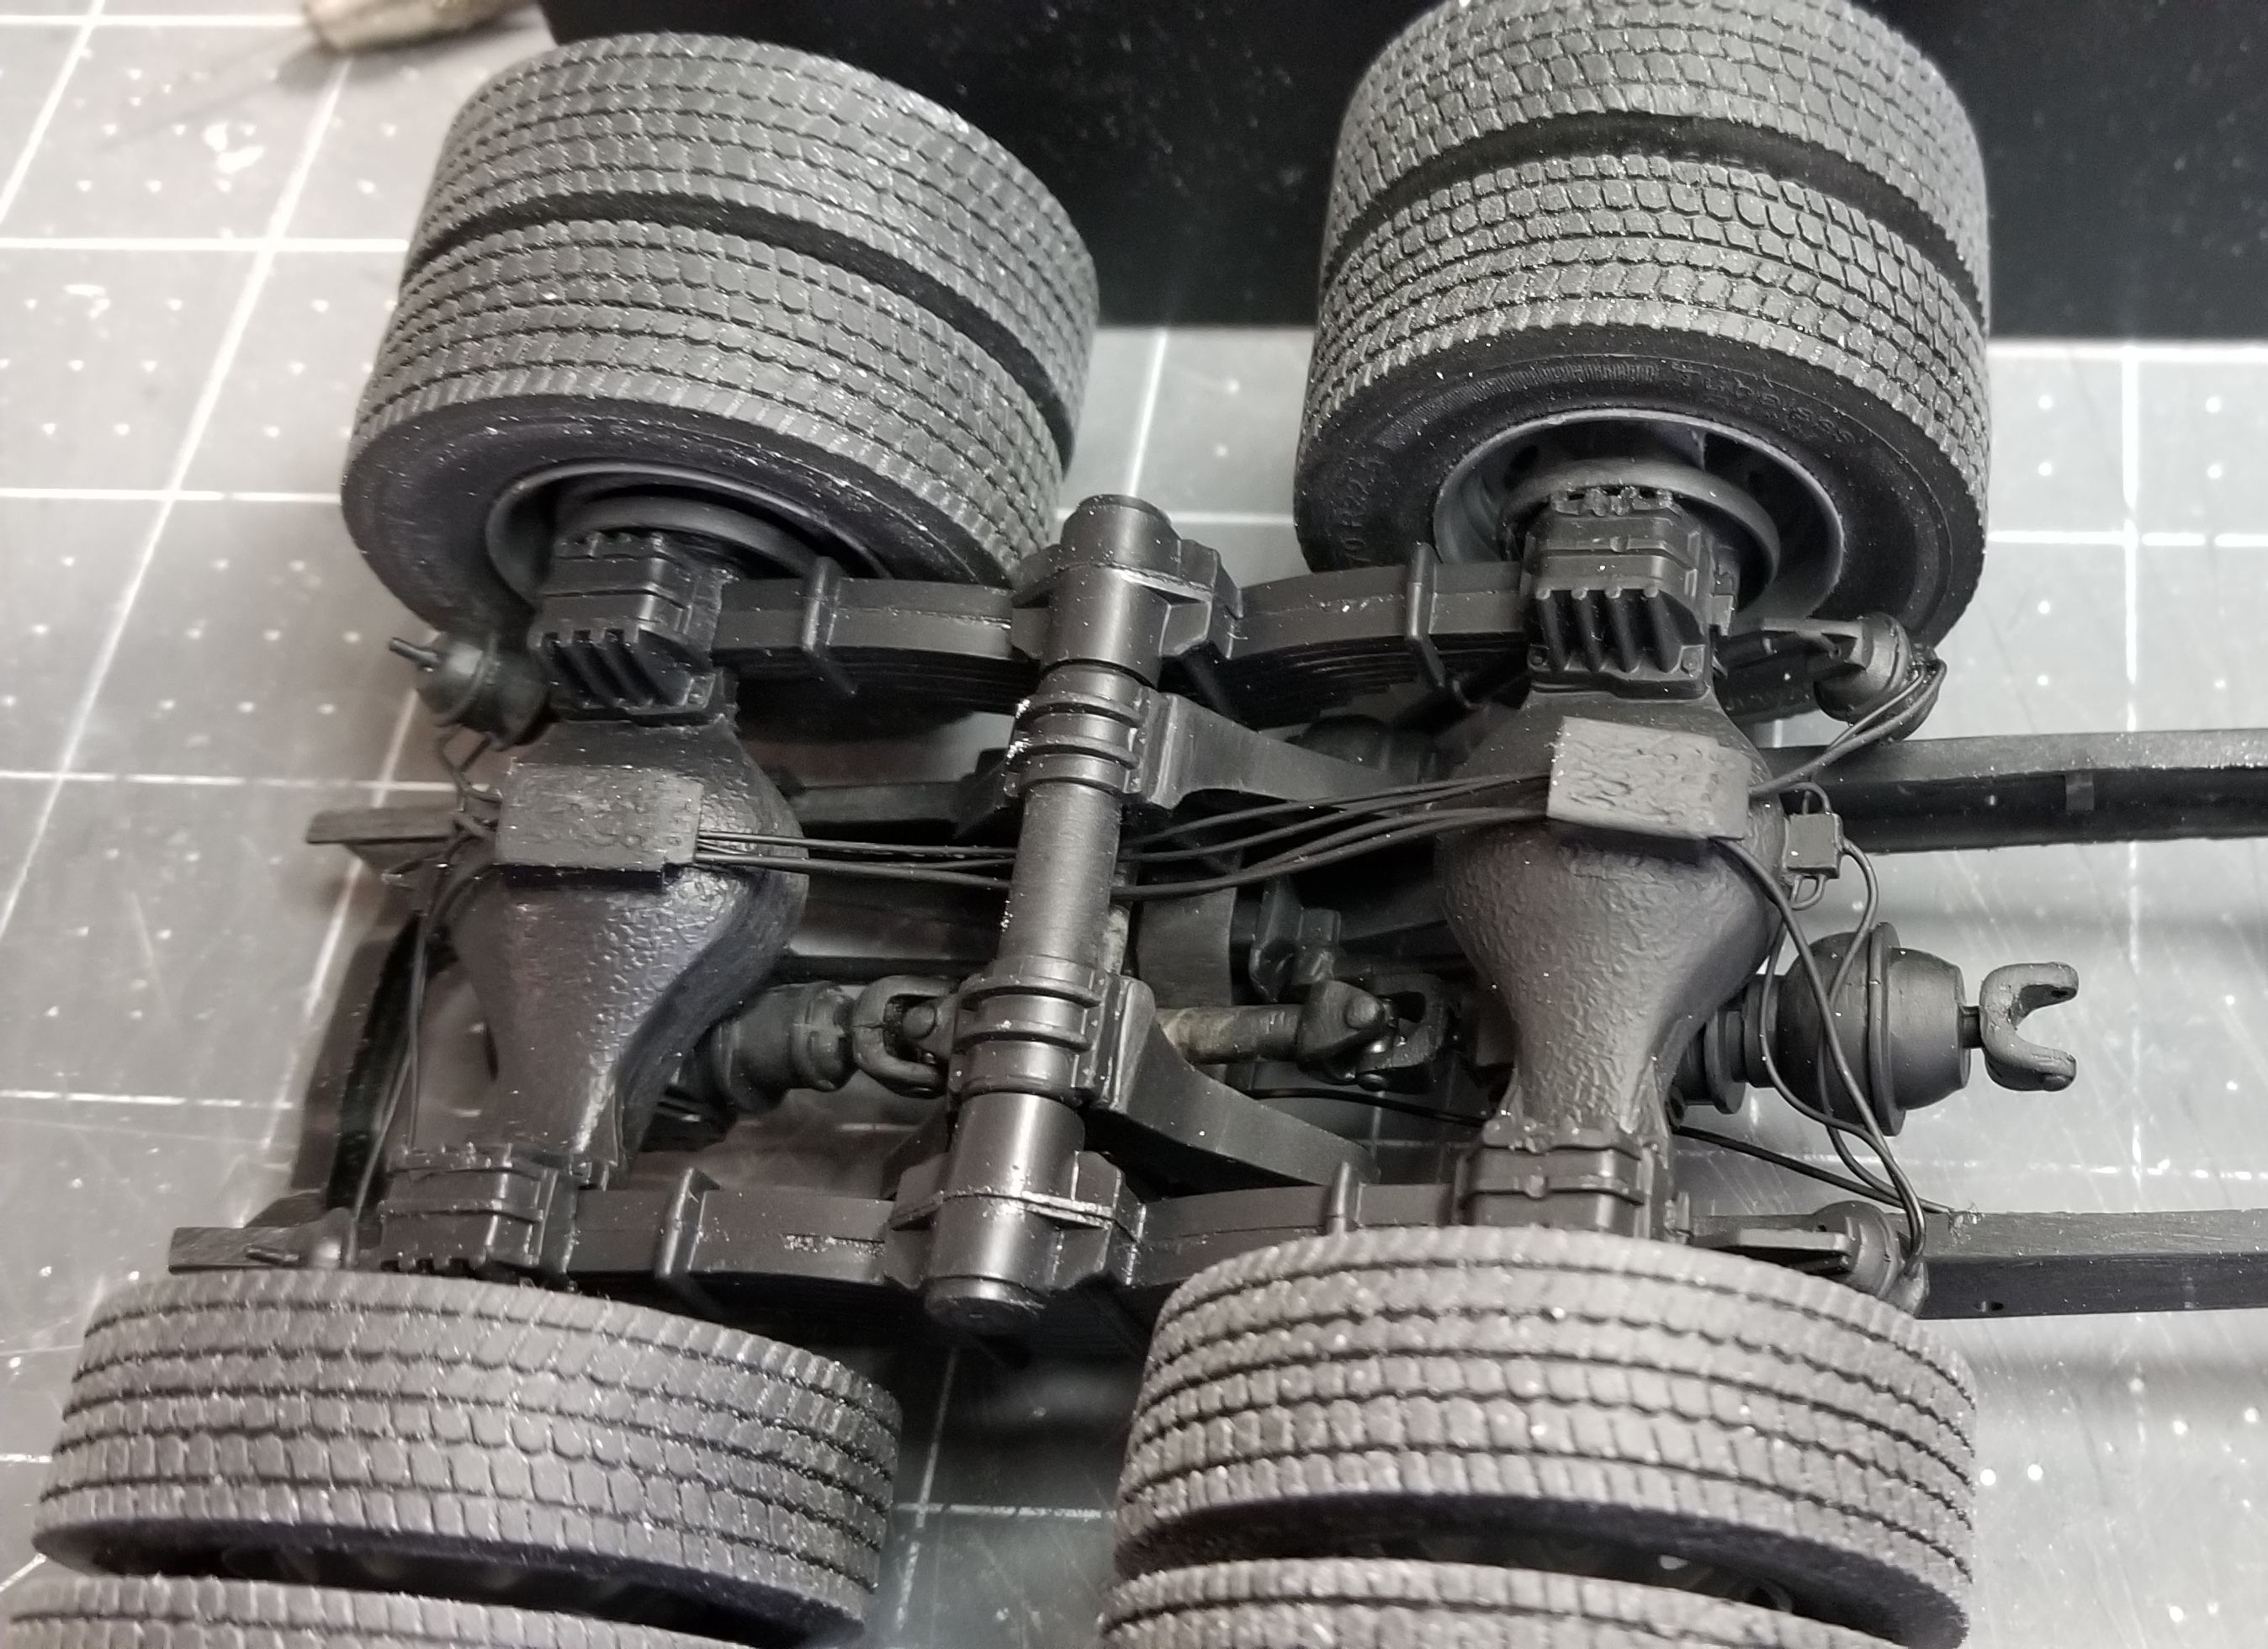
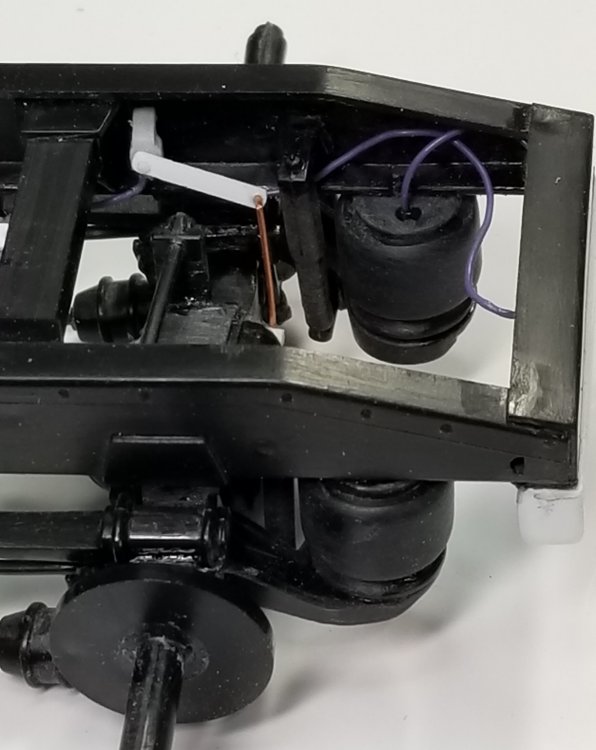
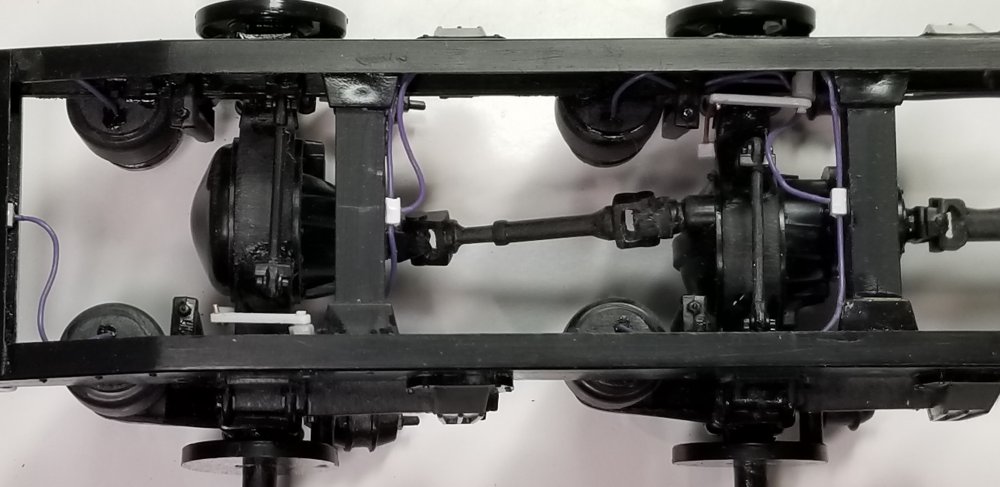
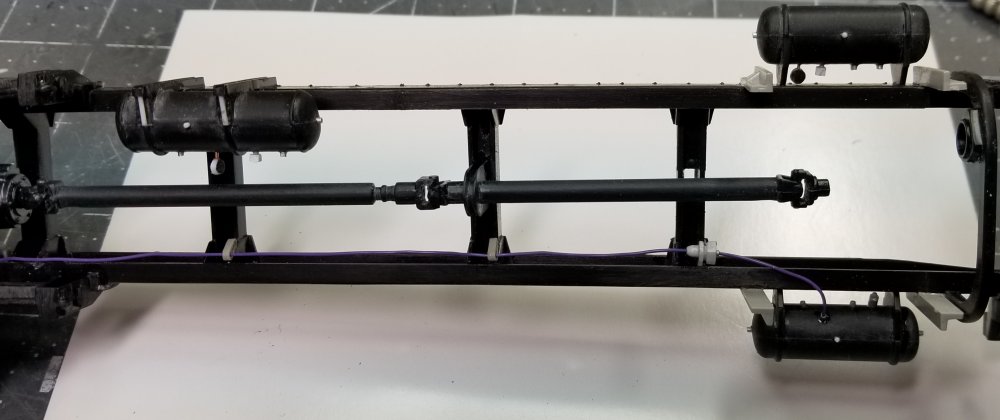
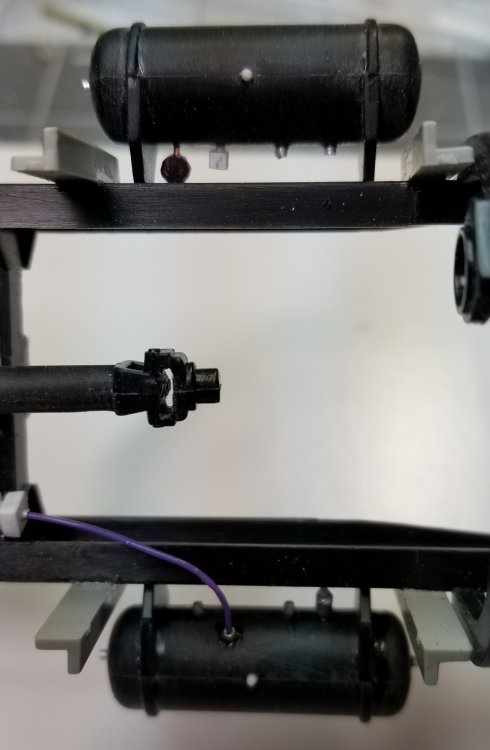
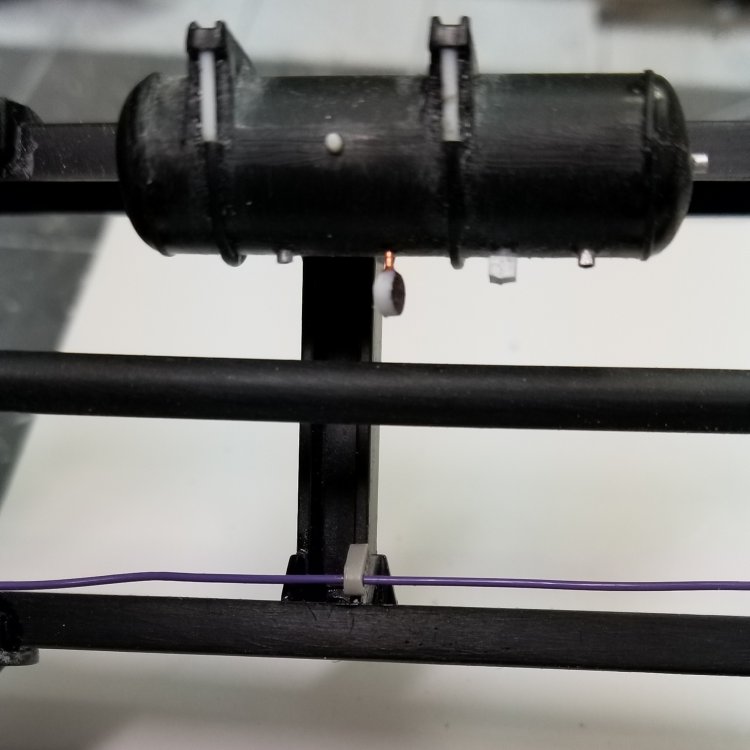
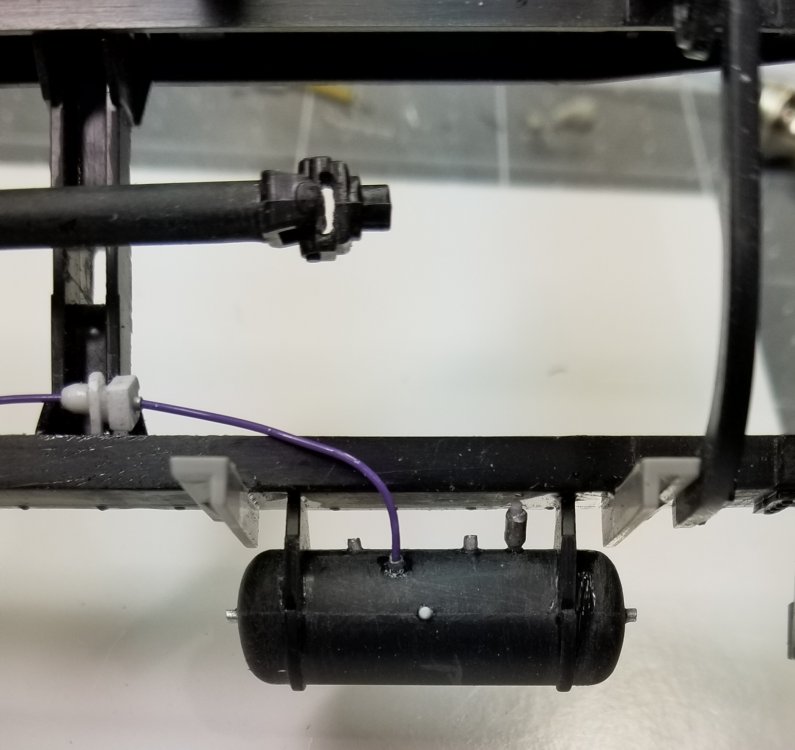
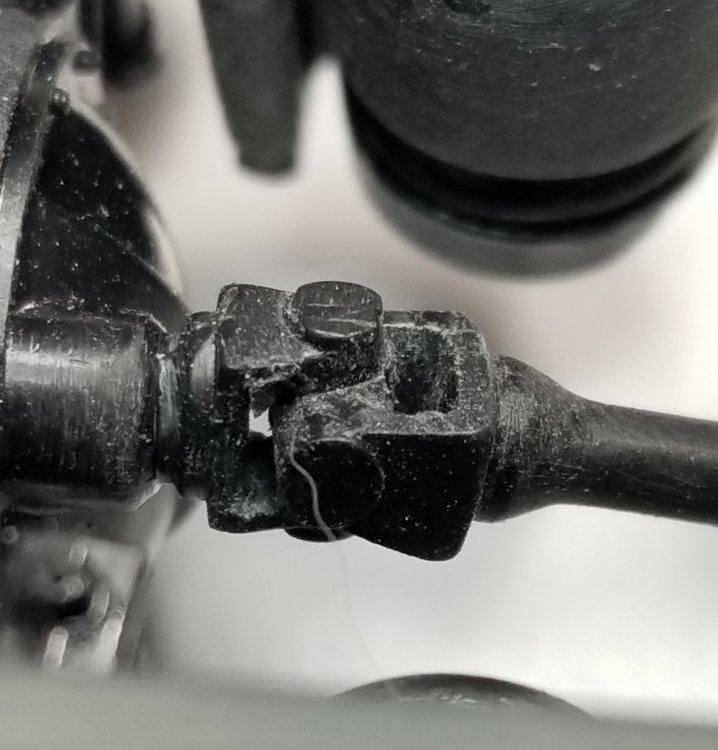
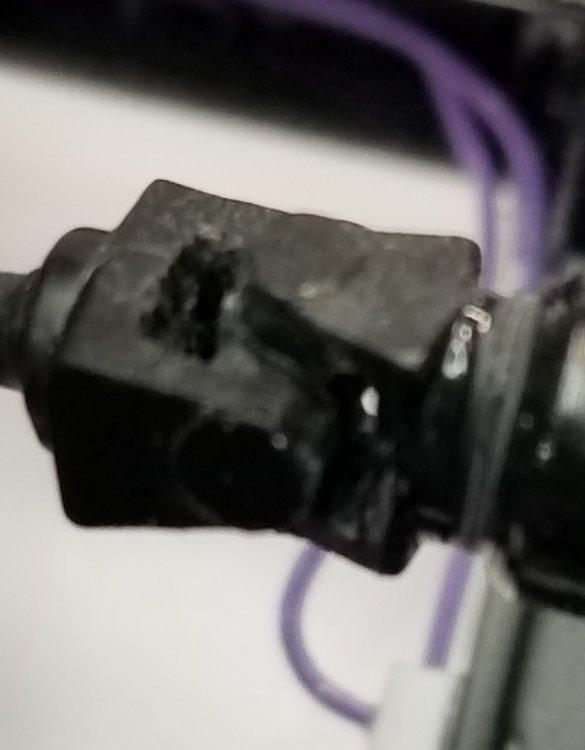
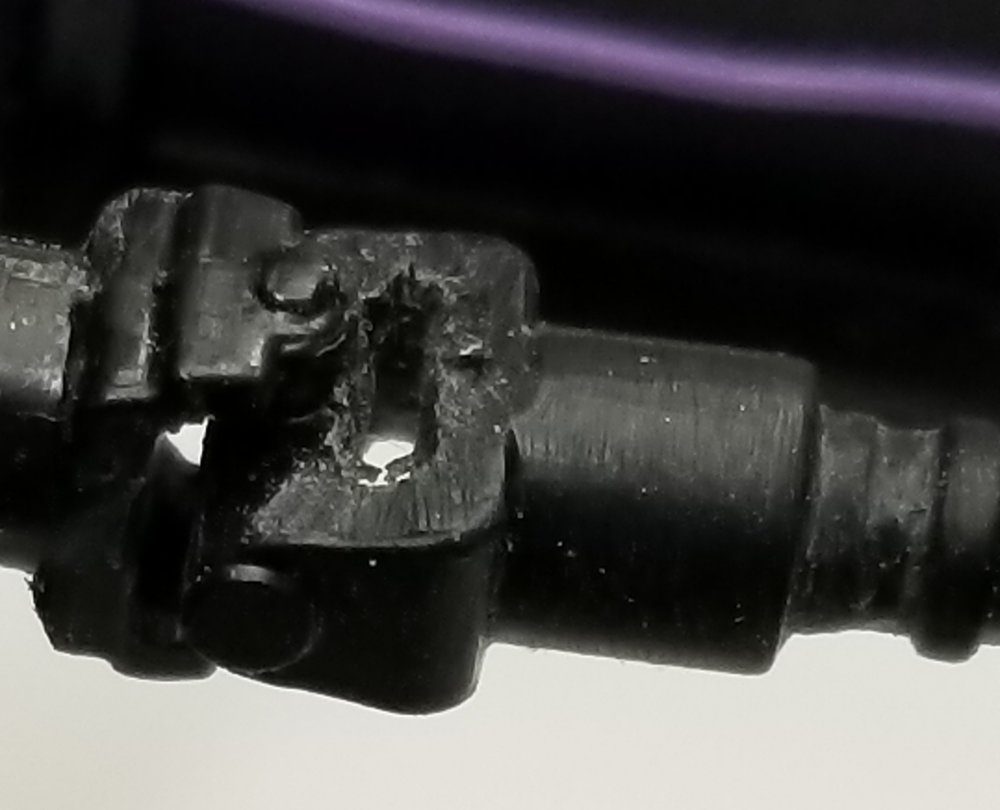
Hey guys I've been working on the Peterbilt 379 exhd custom. I decided to leave it stock at 246.0" W/B. I have the frame assembled and I started in on plumbing the air suspension system. The air brakes and fuel lines will come next. this view shows the scratch built rear air bag height control valve and the air lines to the rear airbags. this view shows the scratch built front airbag height control valve and air lines to the airbags. this view shows the whole rear section. this view shows the three air tanks. this view shows the main supply air tank on the bottom and the 2nd service air tank on the top. The purple line goes to the airbags (this will all be painted in the frame color). this view shows the 1st service air tank. this view shows the 2nd service air tank and the inline air filter to the airbags. The next 4 pictures show the hollowed out universal joints that I did to add some more realism to the build. I took out about a scale 1.5" - 1.75" out of the ride height, so the truck sits a little lower to look cool!. Well that's it for now be back with more updates soon. Ron G


-
I have a bunch of decals from Jerry. I did contact Jamie at Moluminum and he's looking to see if he has any more of the Cat C15 decal sets. Ron G
-
Yeah, that's what I thought. It's why I went with the 36" bunk sleeper with headache rack, I think it looks appropriate for a heavy work truck. Ron G
-
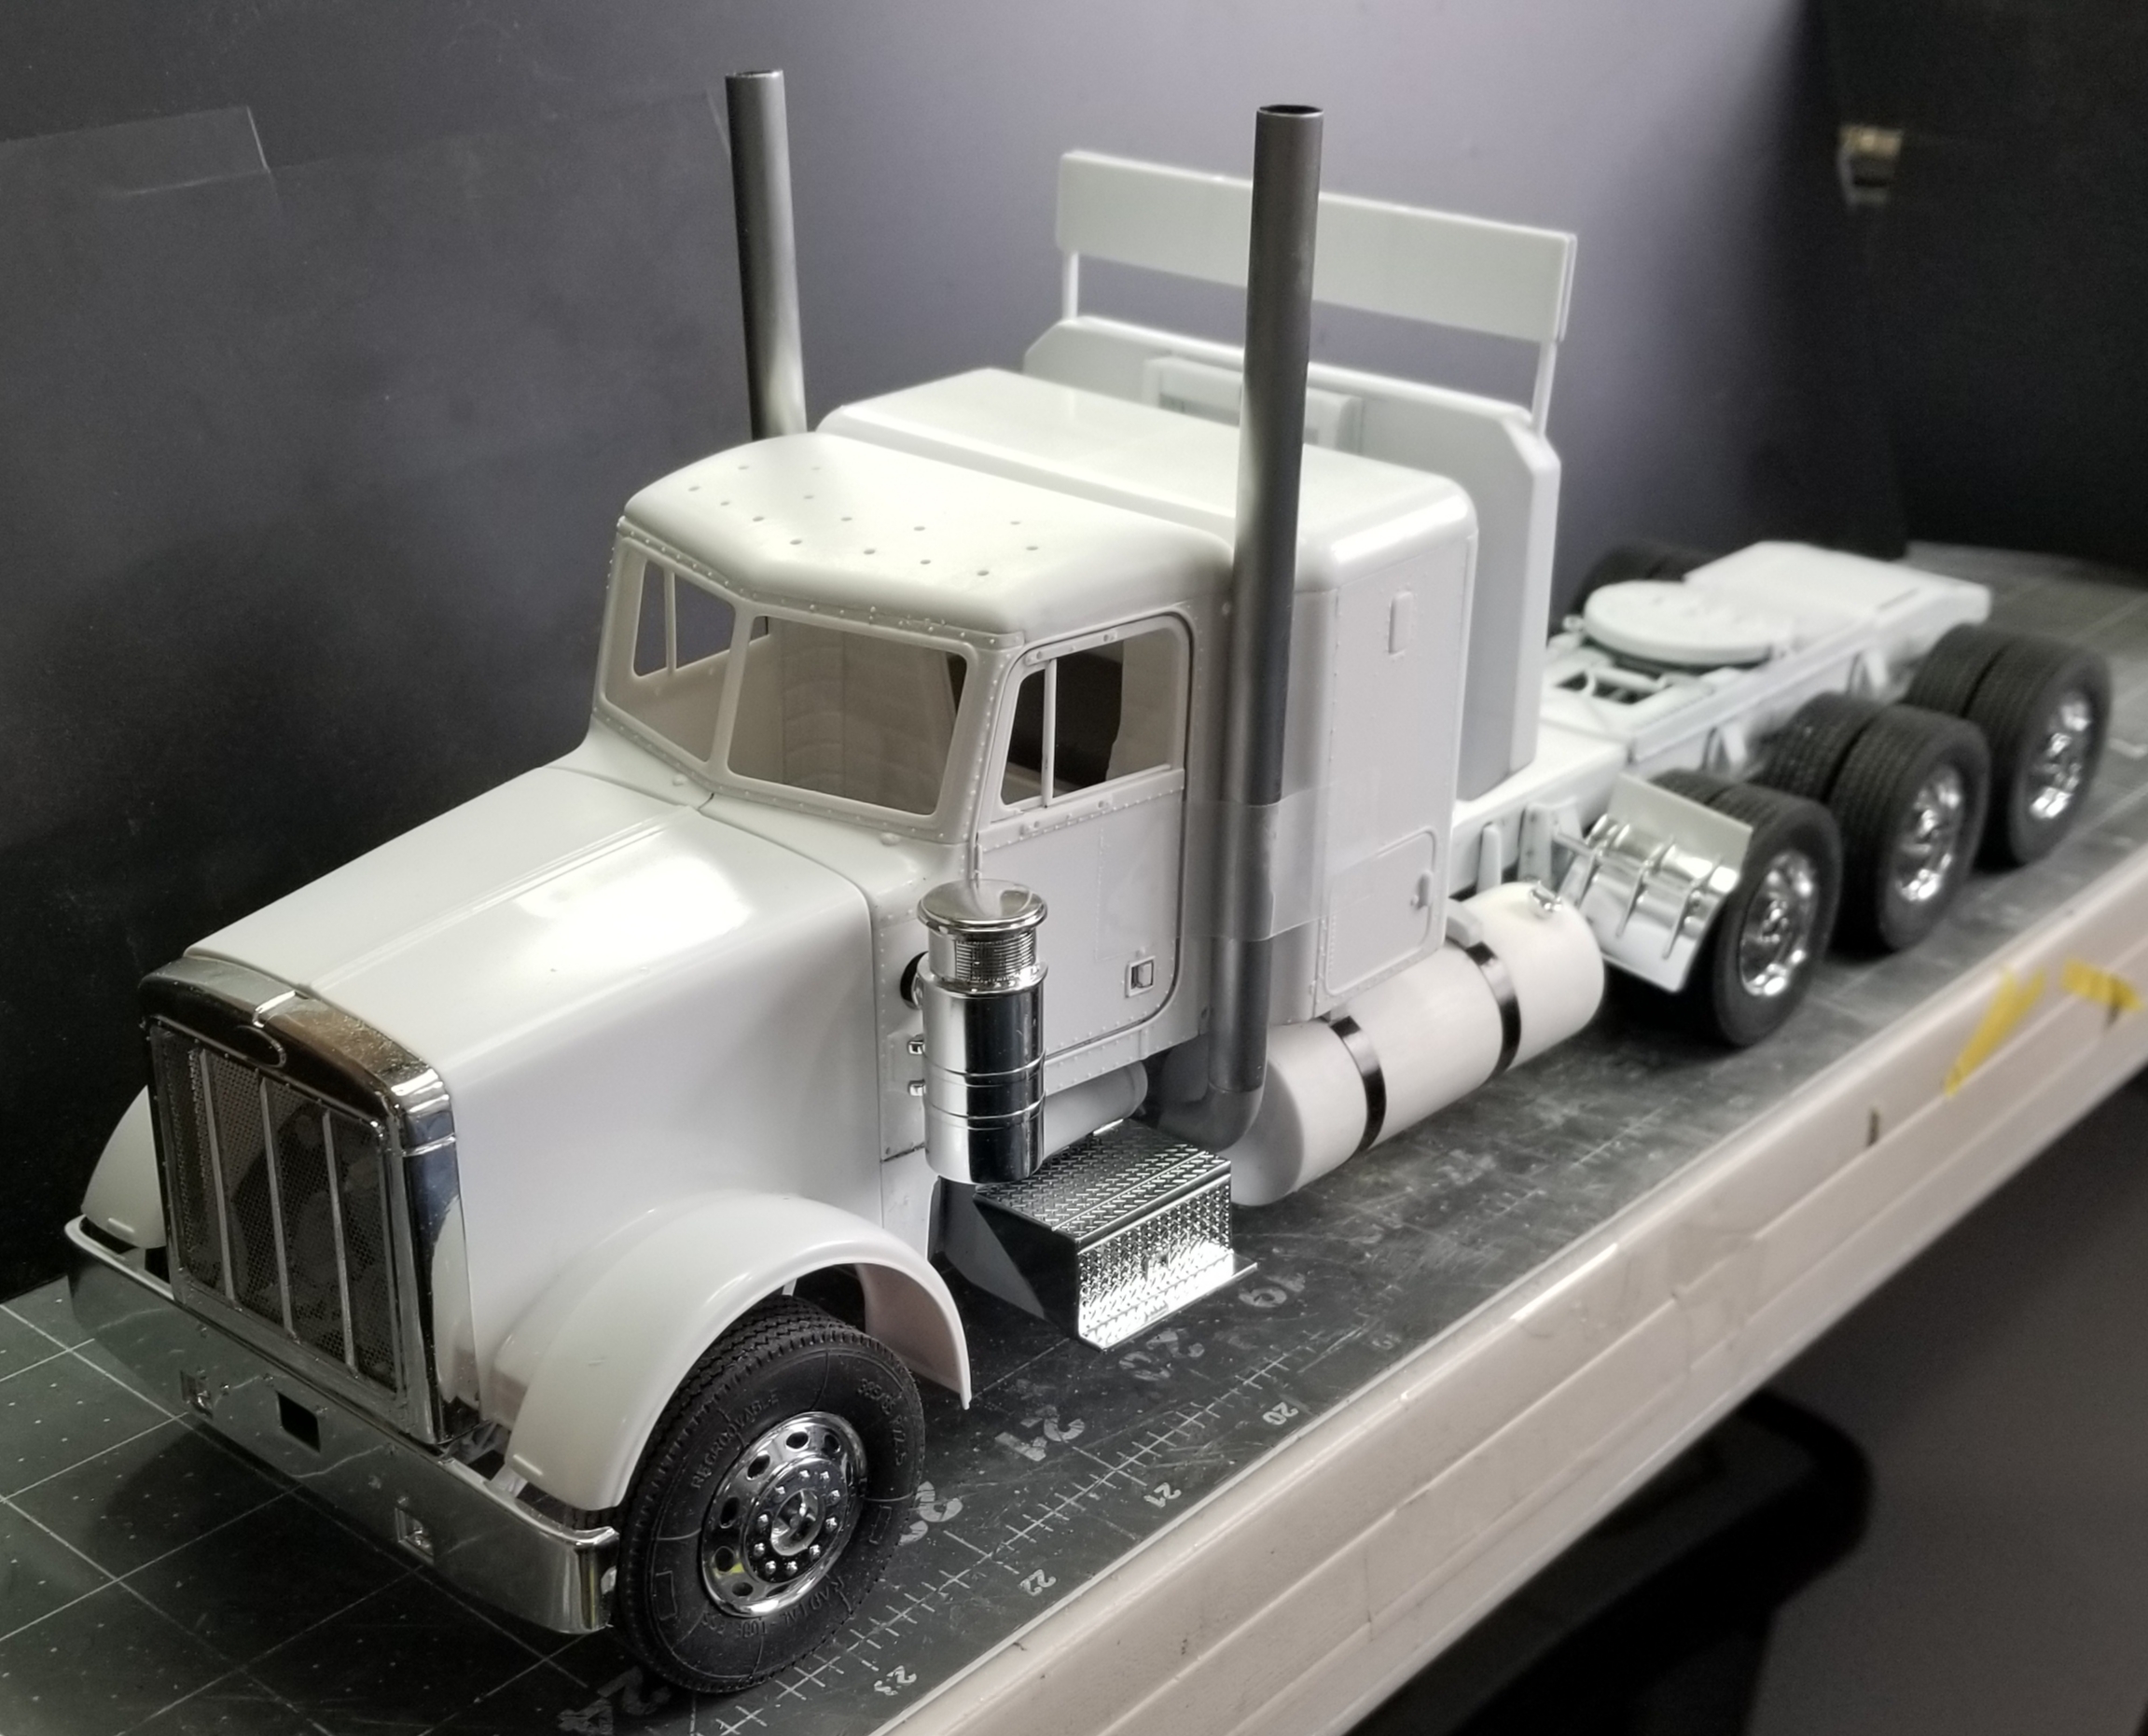
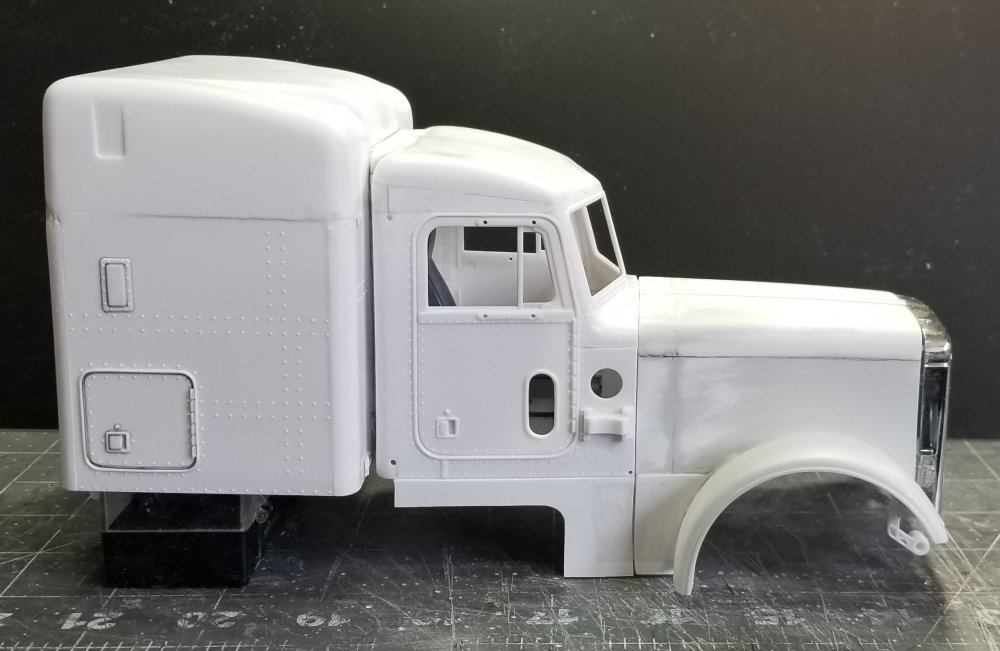
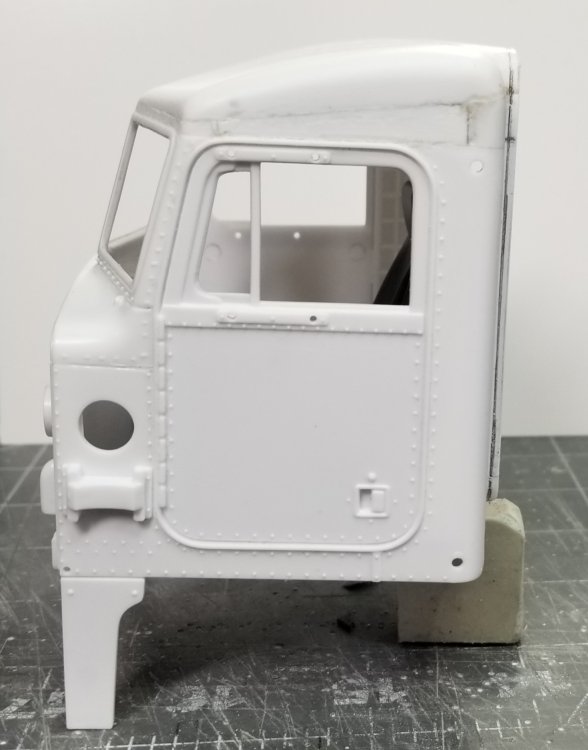
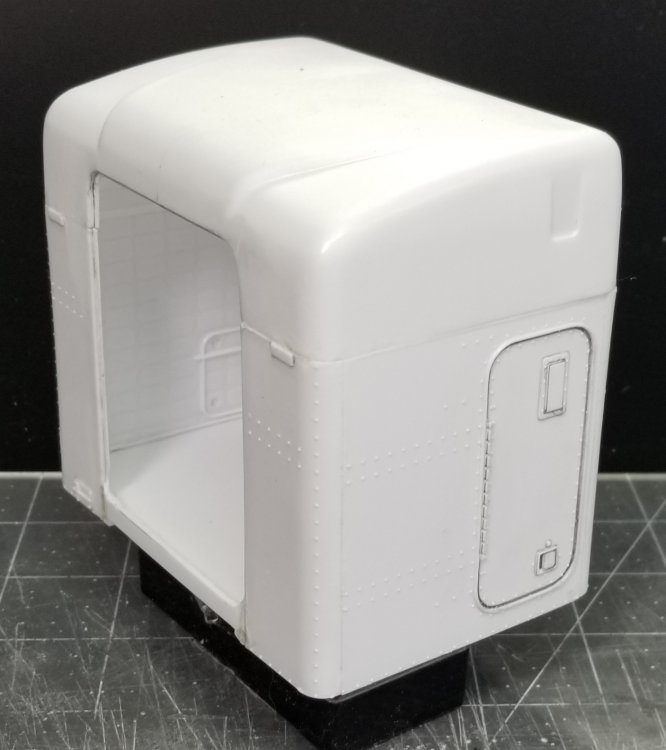
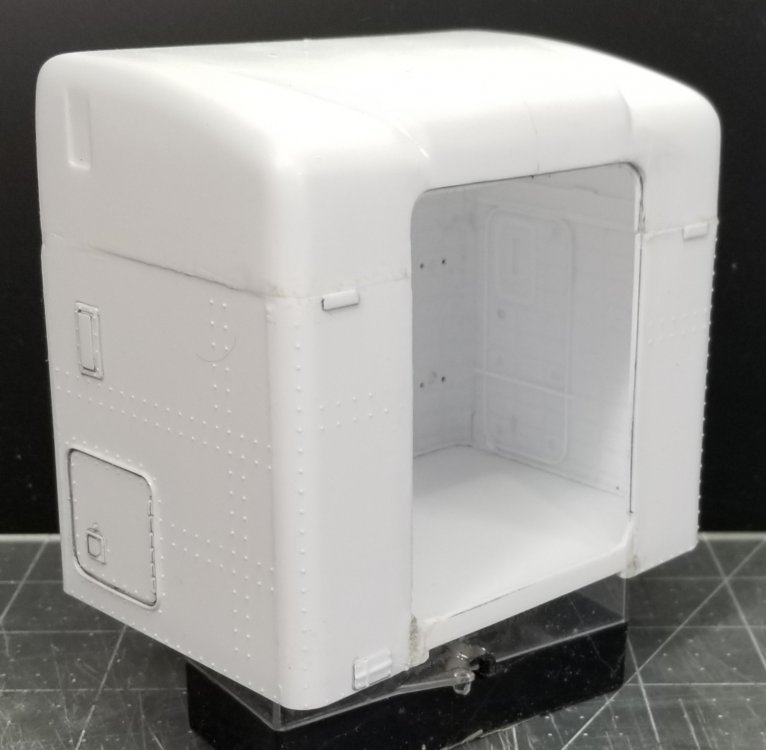
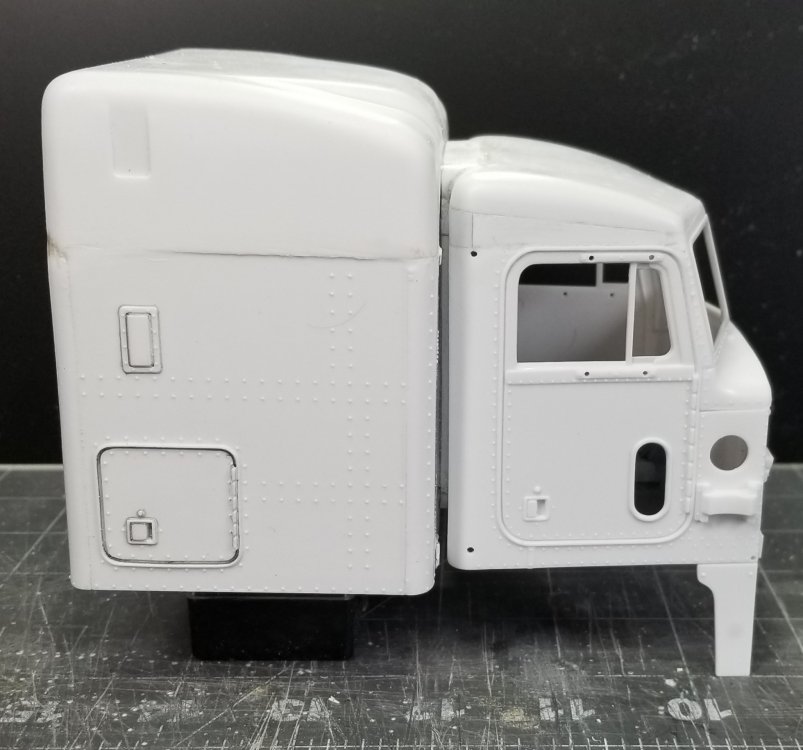
Hey guys Jeff: I didn't get any decals from Jamie @ Moluminum. It went together ok, but make sure you get pictures from Jamie, because there ain't no instructions! Doe's he have decals for this, I didn't see them on his site? Mark: thanks it's still a work in progress. As I said yesterday I would post pictures of the 379exhd and 63" flat top sleeper, so here are some pictures. this view shows the final setup for the 1/24 Italeri Peterbilt 378 Tri-drive. rear view of the rig. front view of the rig, these are just sitting together for pictures. this view shows the Unibilt 63" large opening sleeper, 379 raised roof cab with custom made lower extensions and the 379exhd hood. view from the front. downward view. passenger side view of the 379 setup. This will be going on a stock length kit frame (maybe) with 4 single Auslowe aluminum fenders, custom made Texas drop bumper and a s$%t load of chicken lights. this view shows the modified 63" Unibilt sleeper that I tried to make into a flat top. view from the rear of the flat top sleeper. I think the rounded corners on the top are not round enough. What do you guys think? Ron G


-
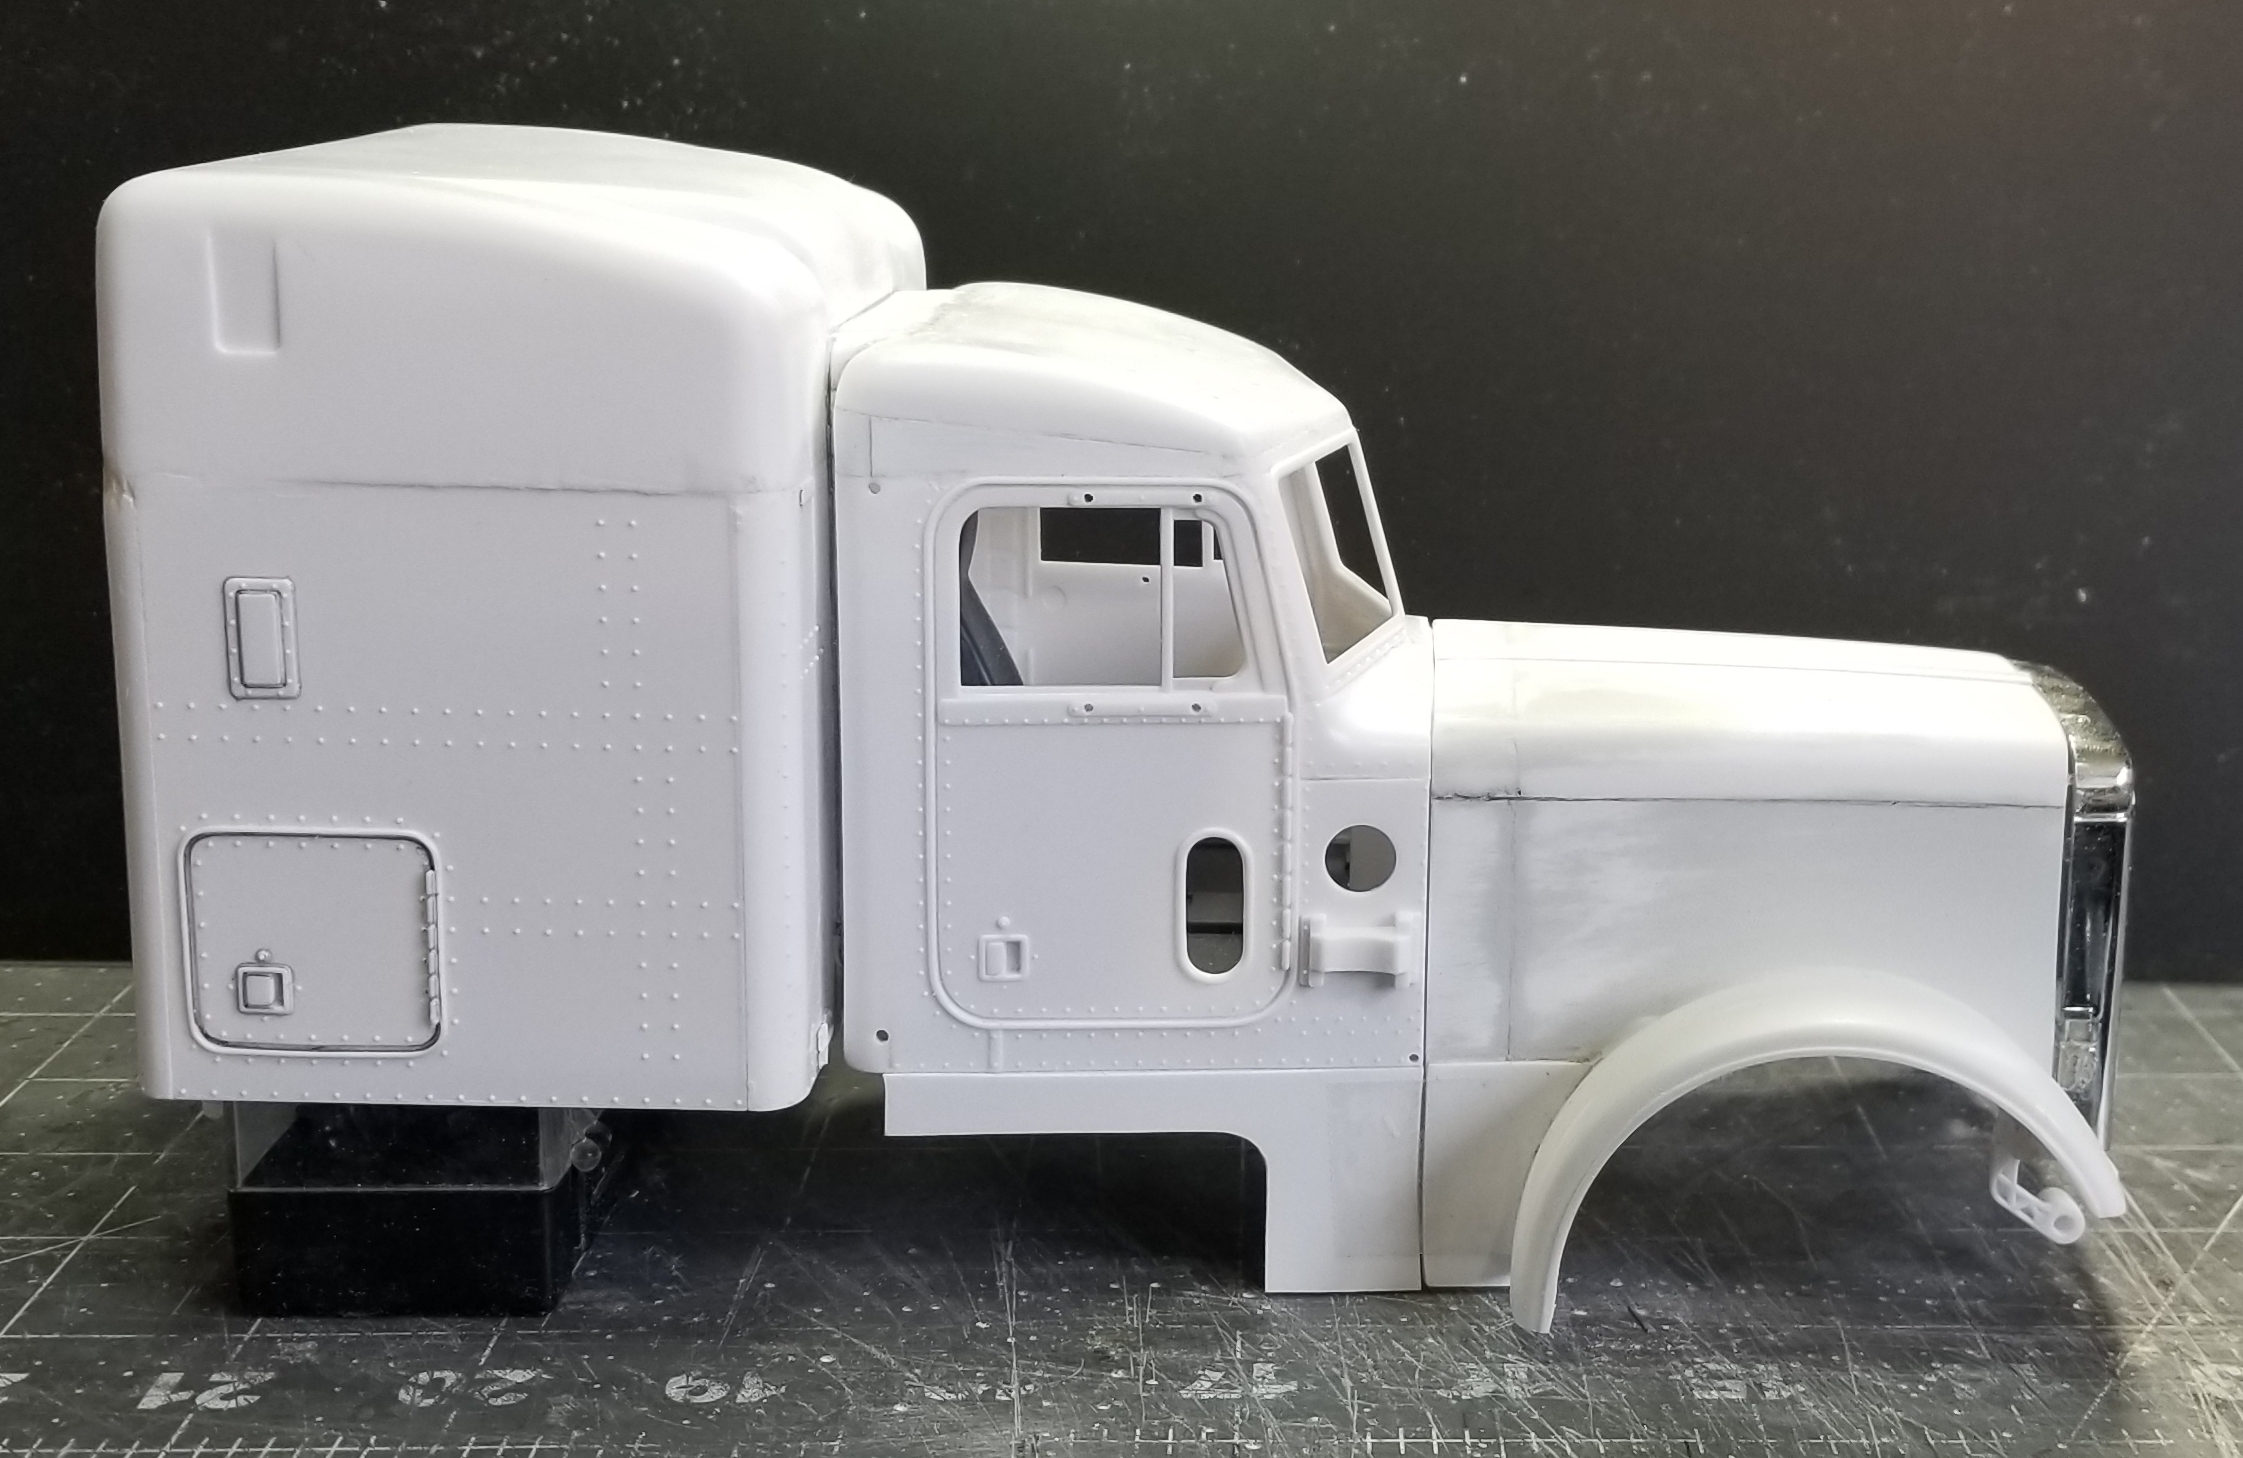
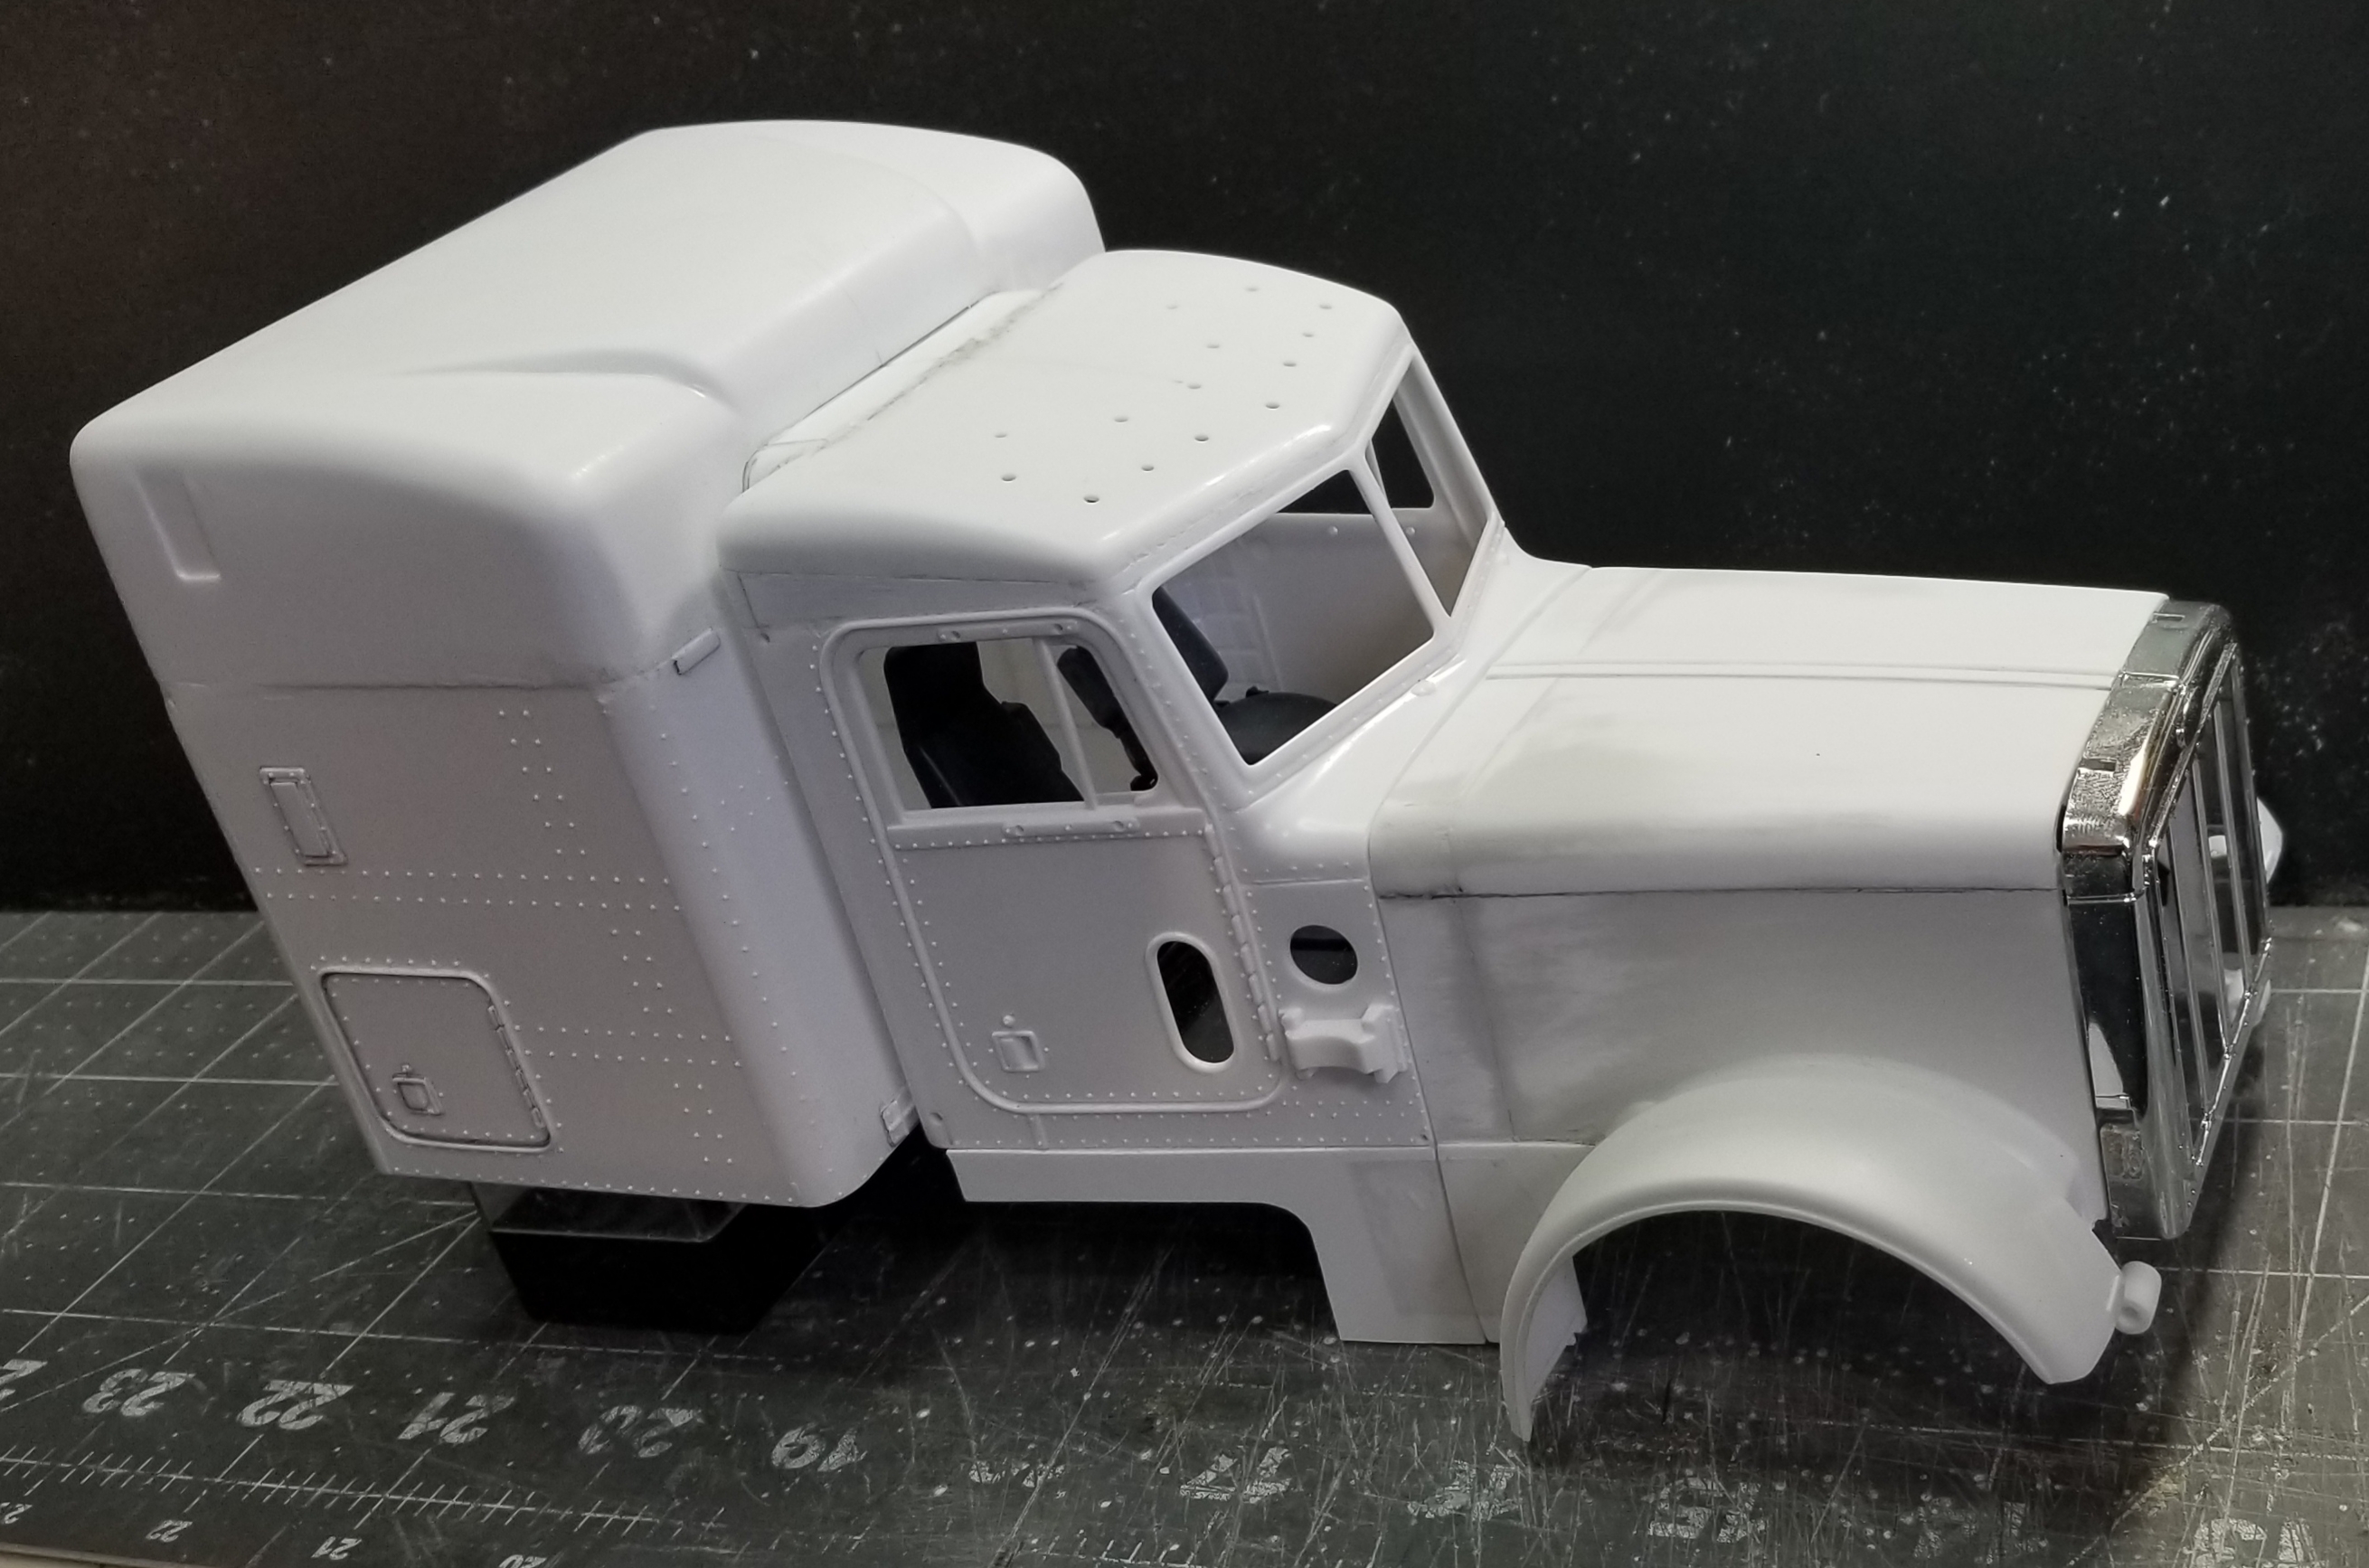
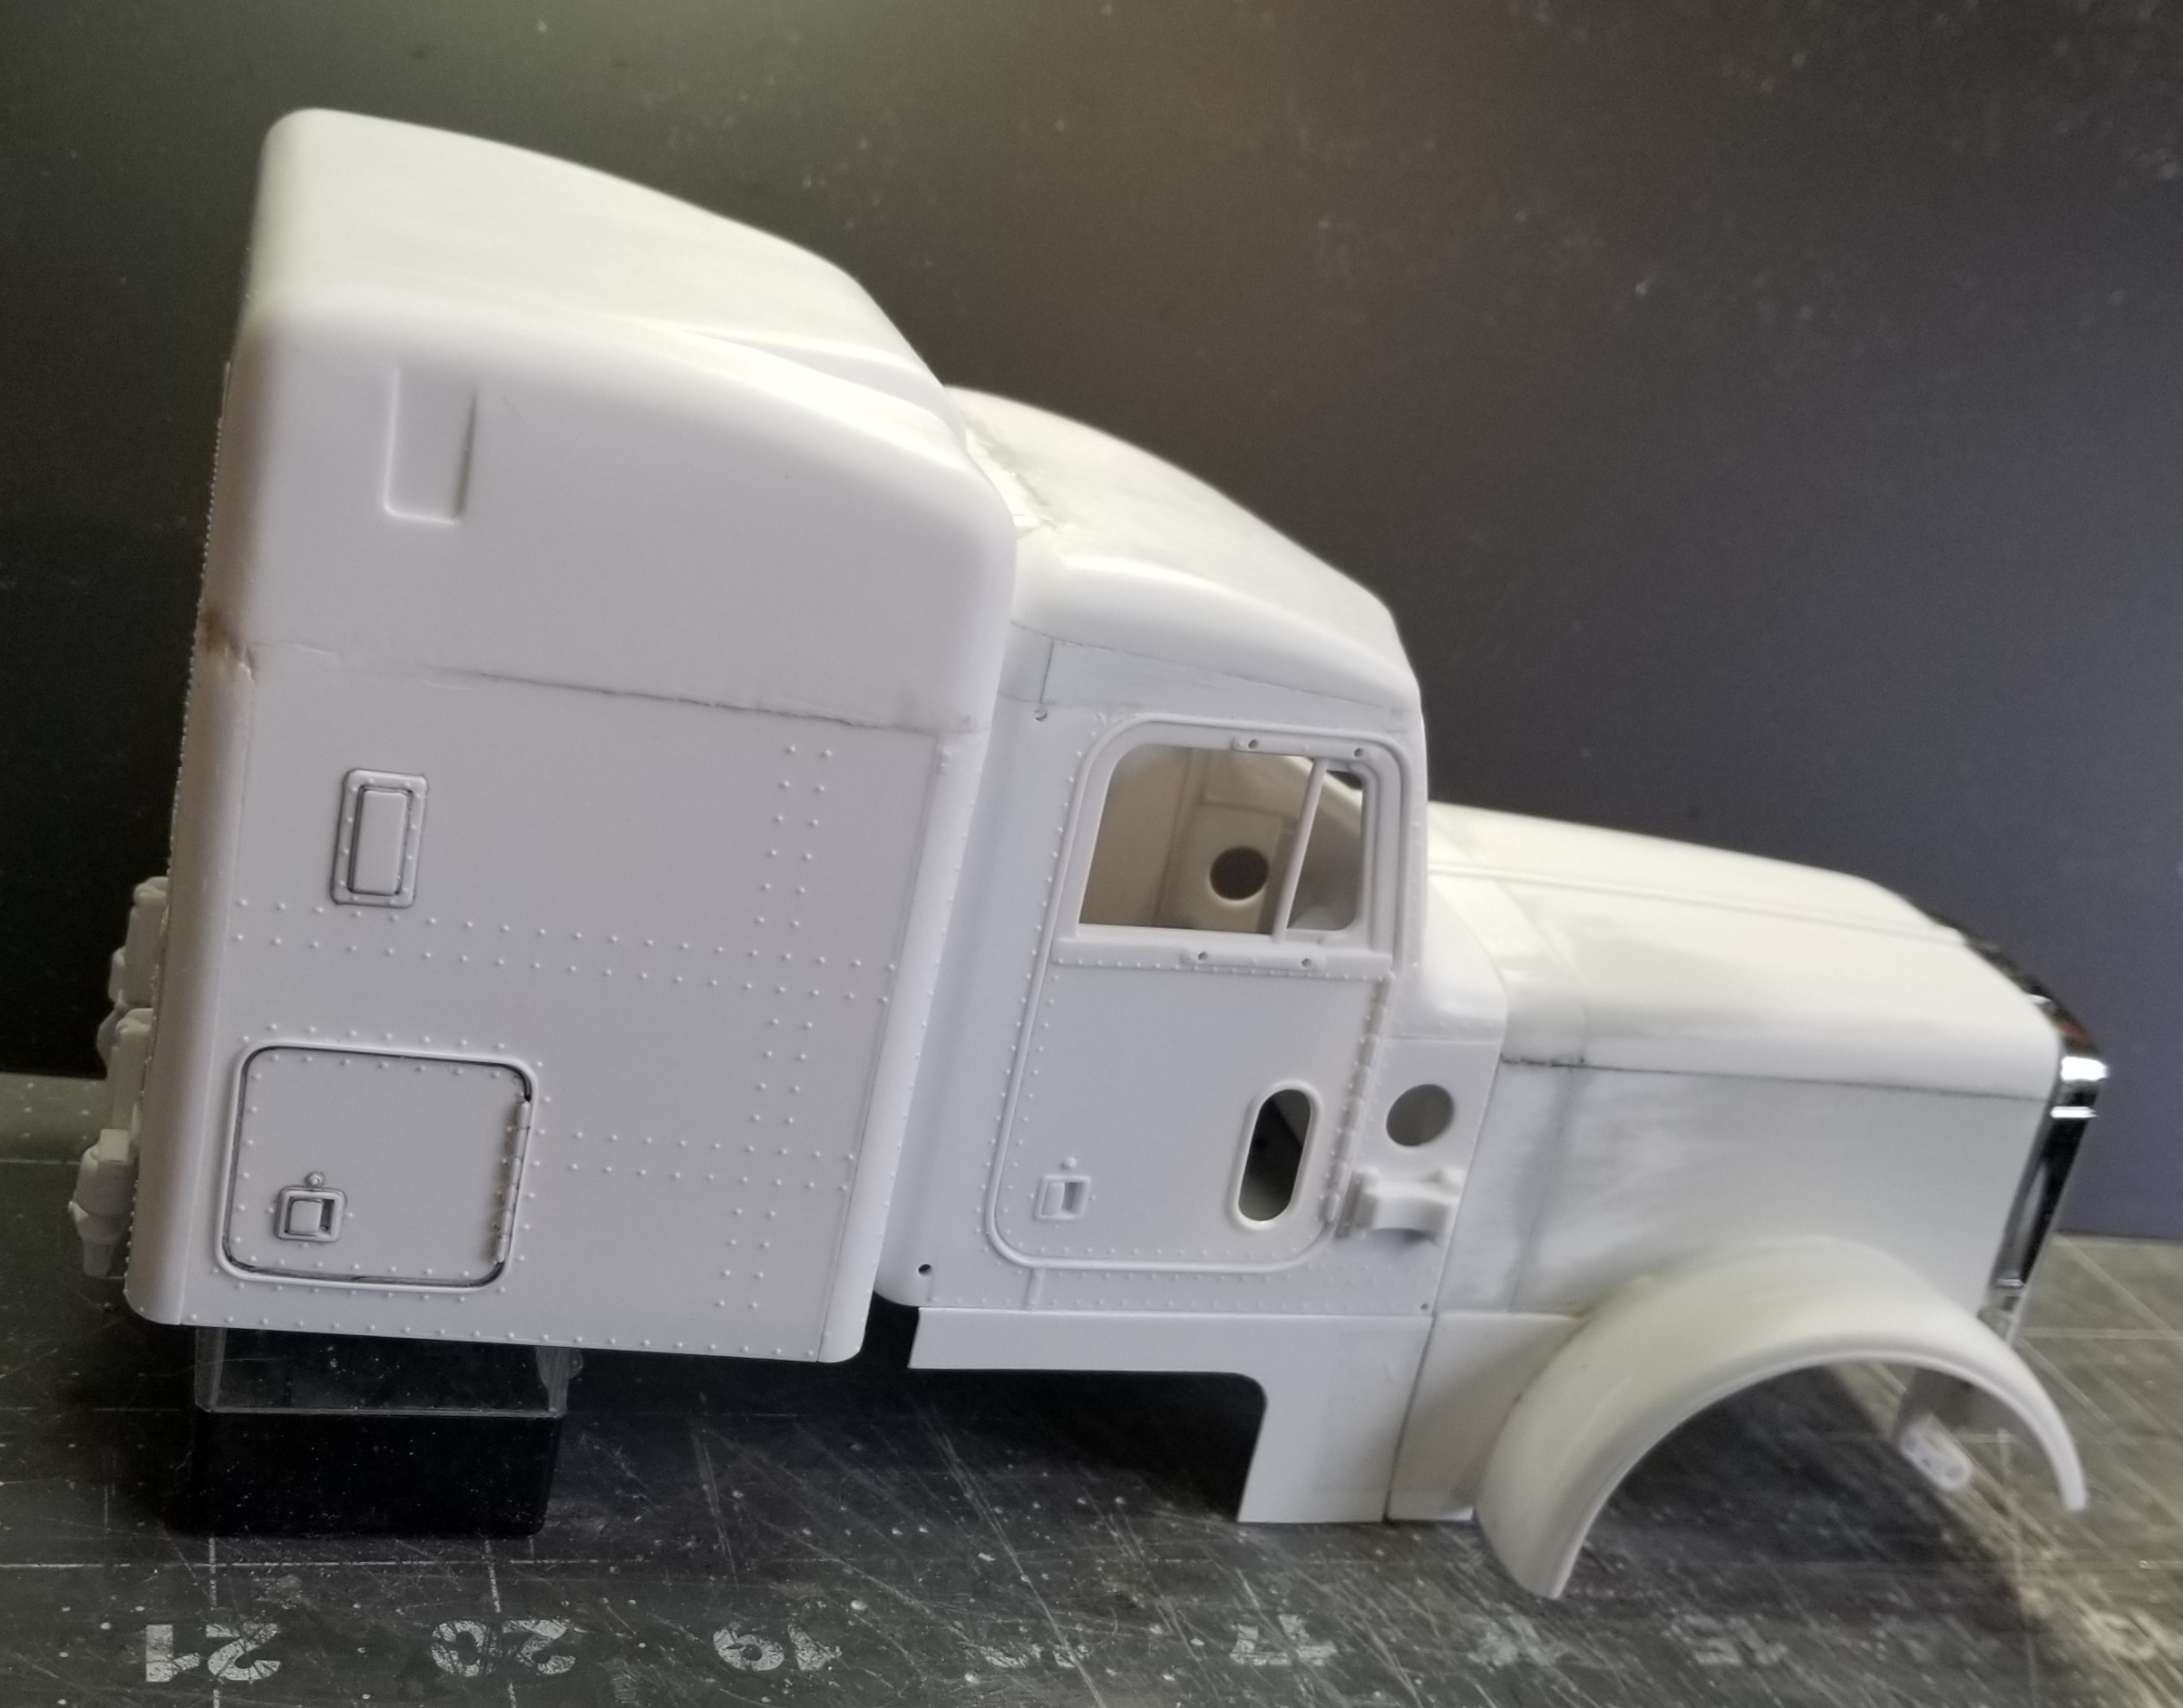
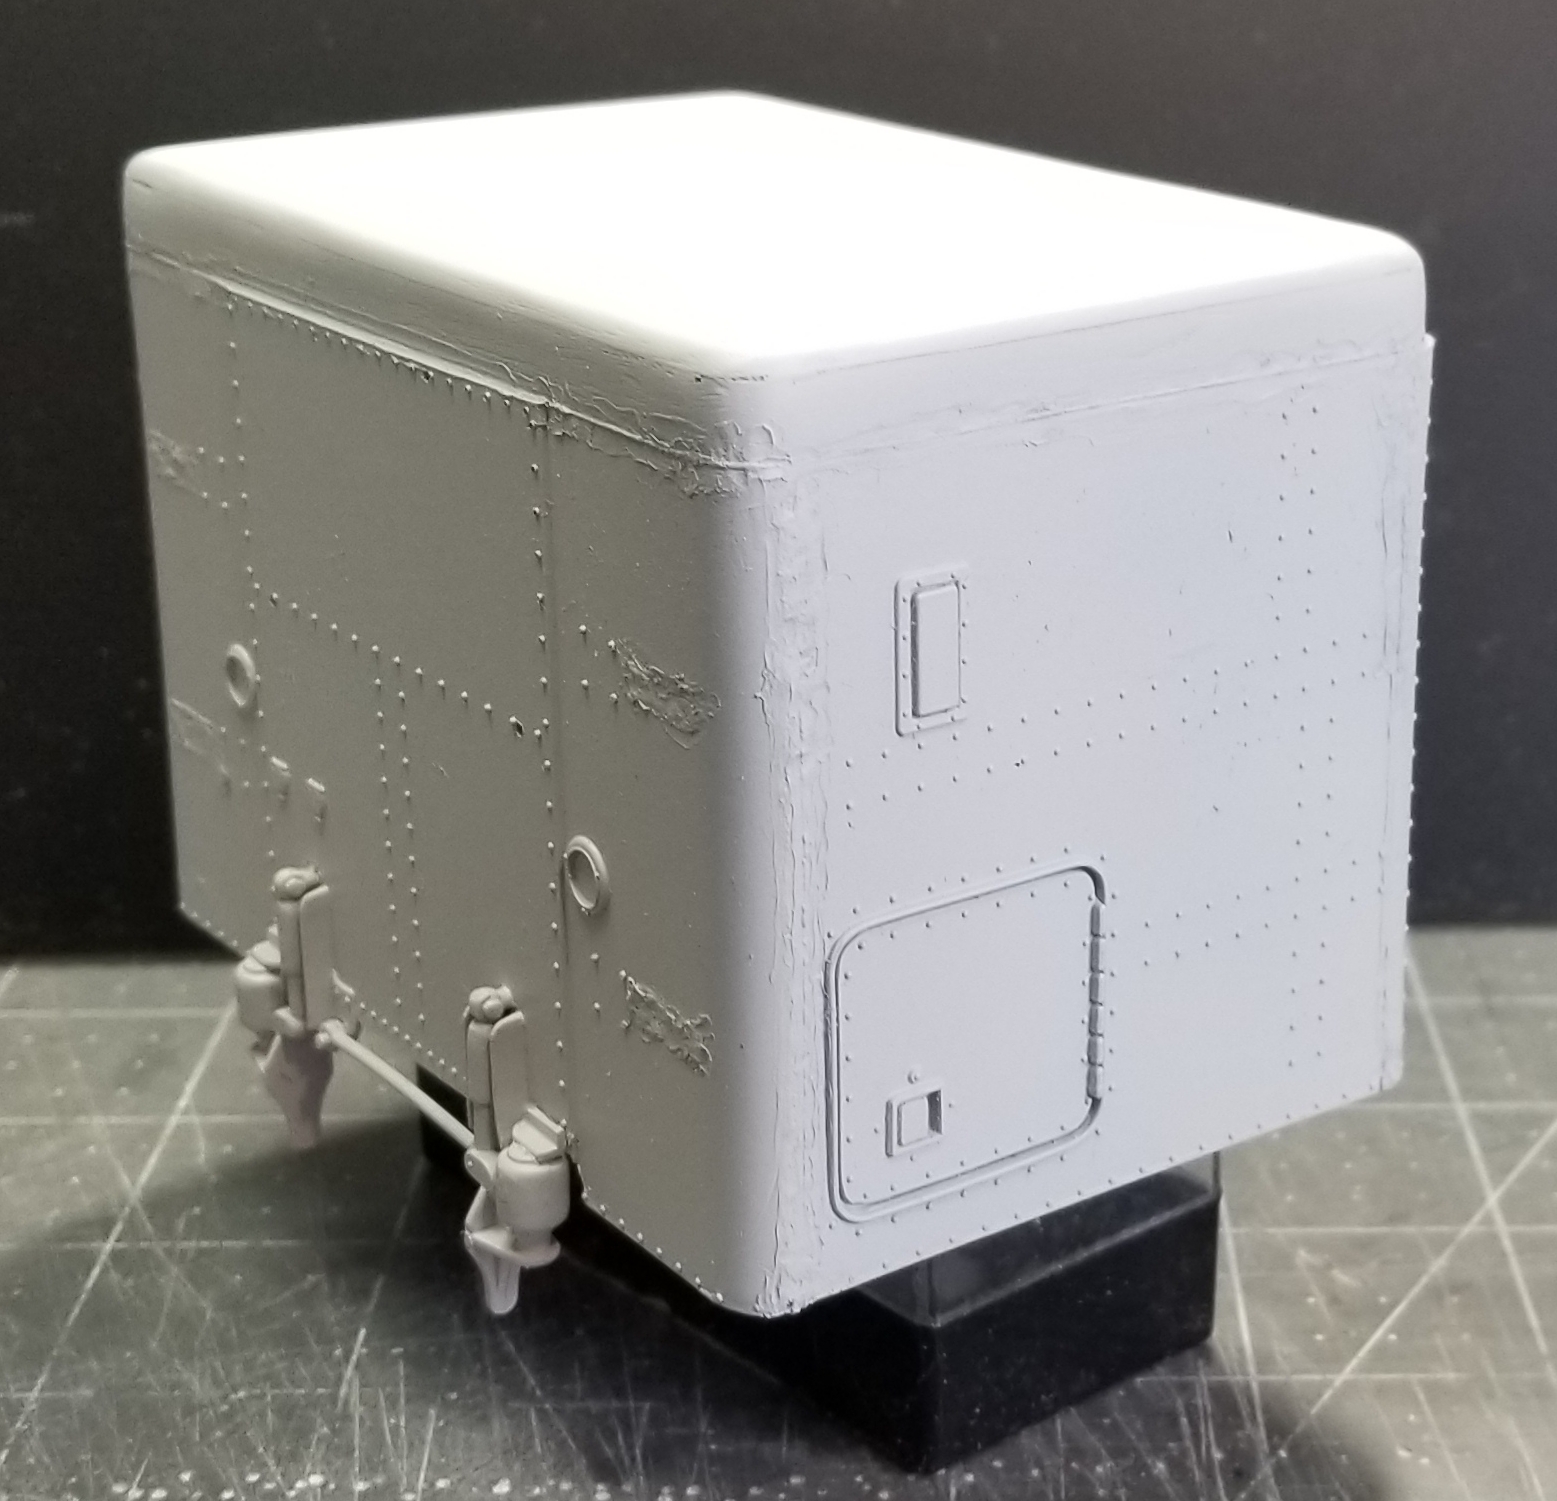
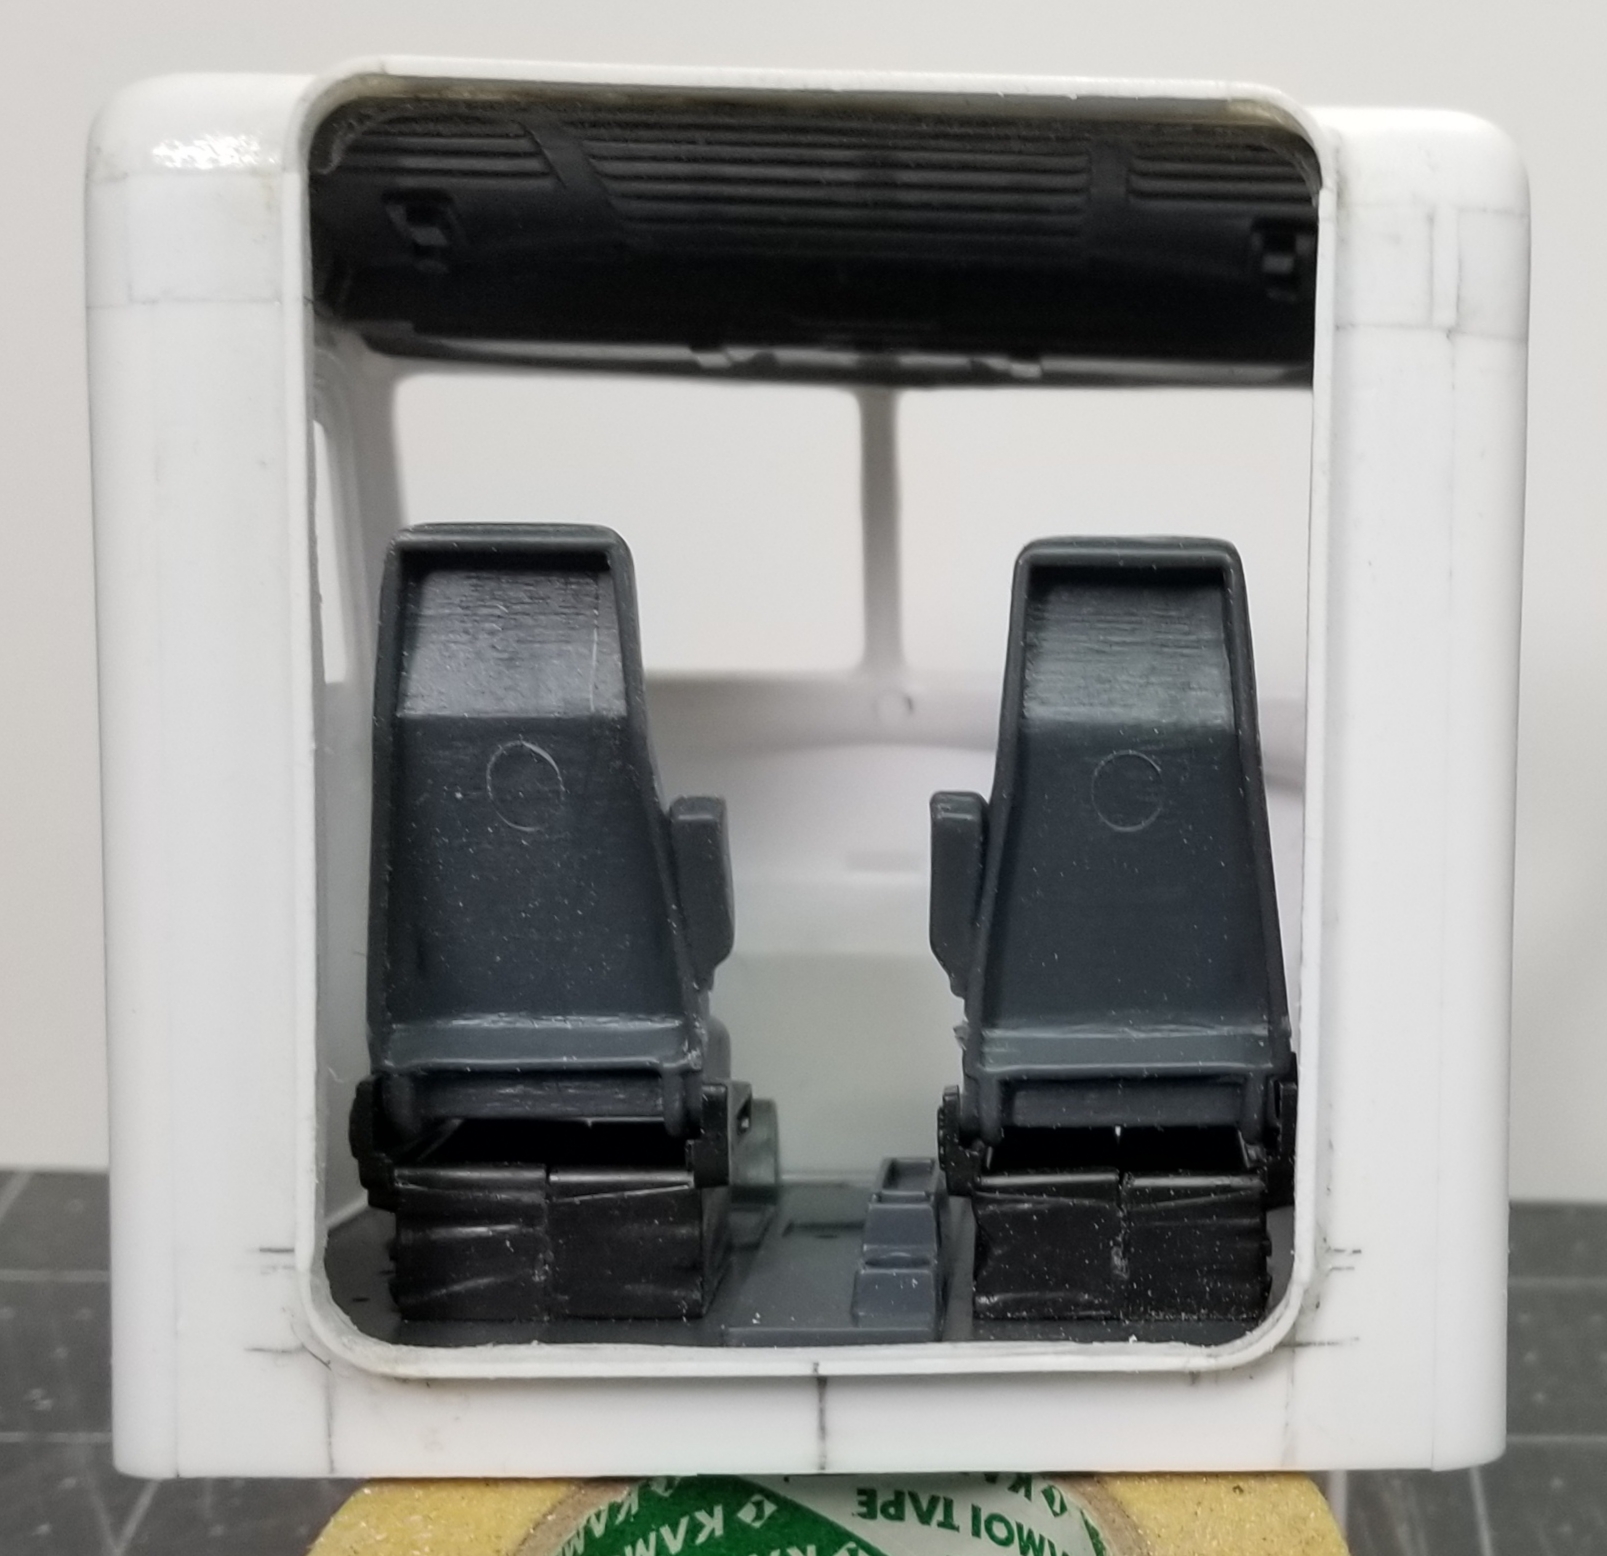
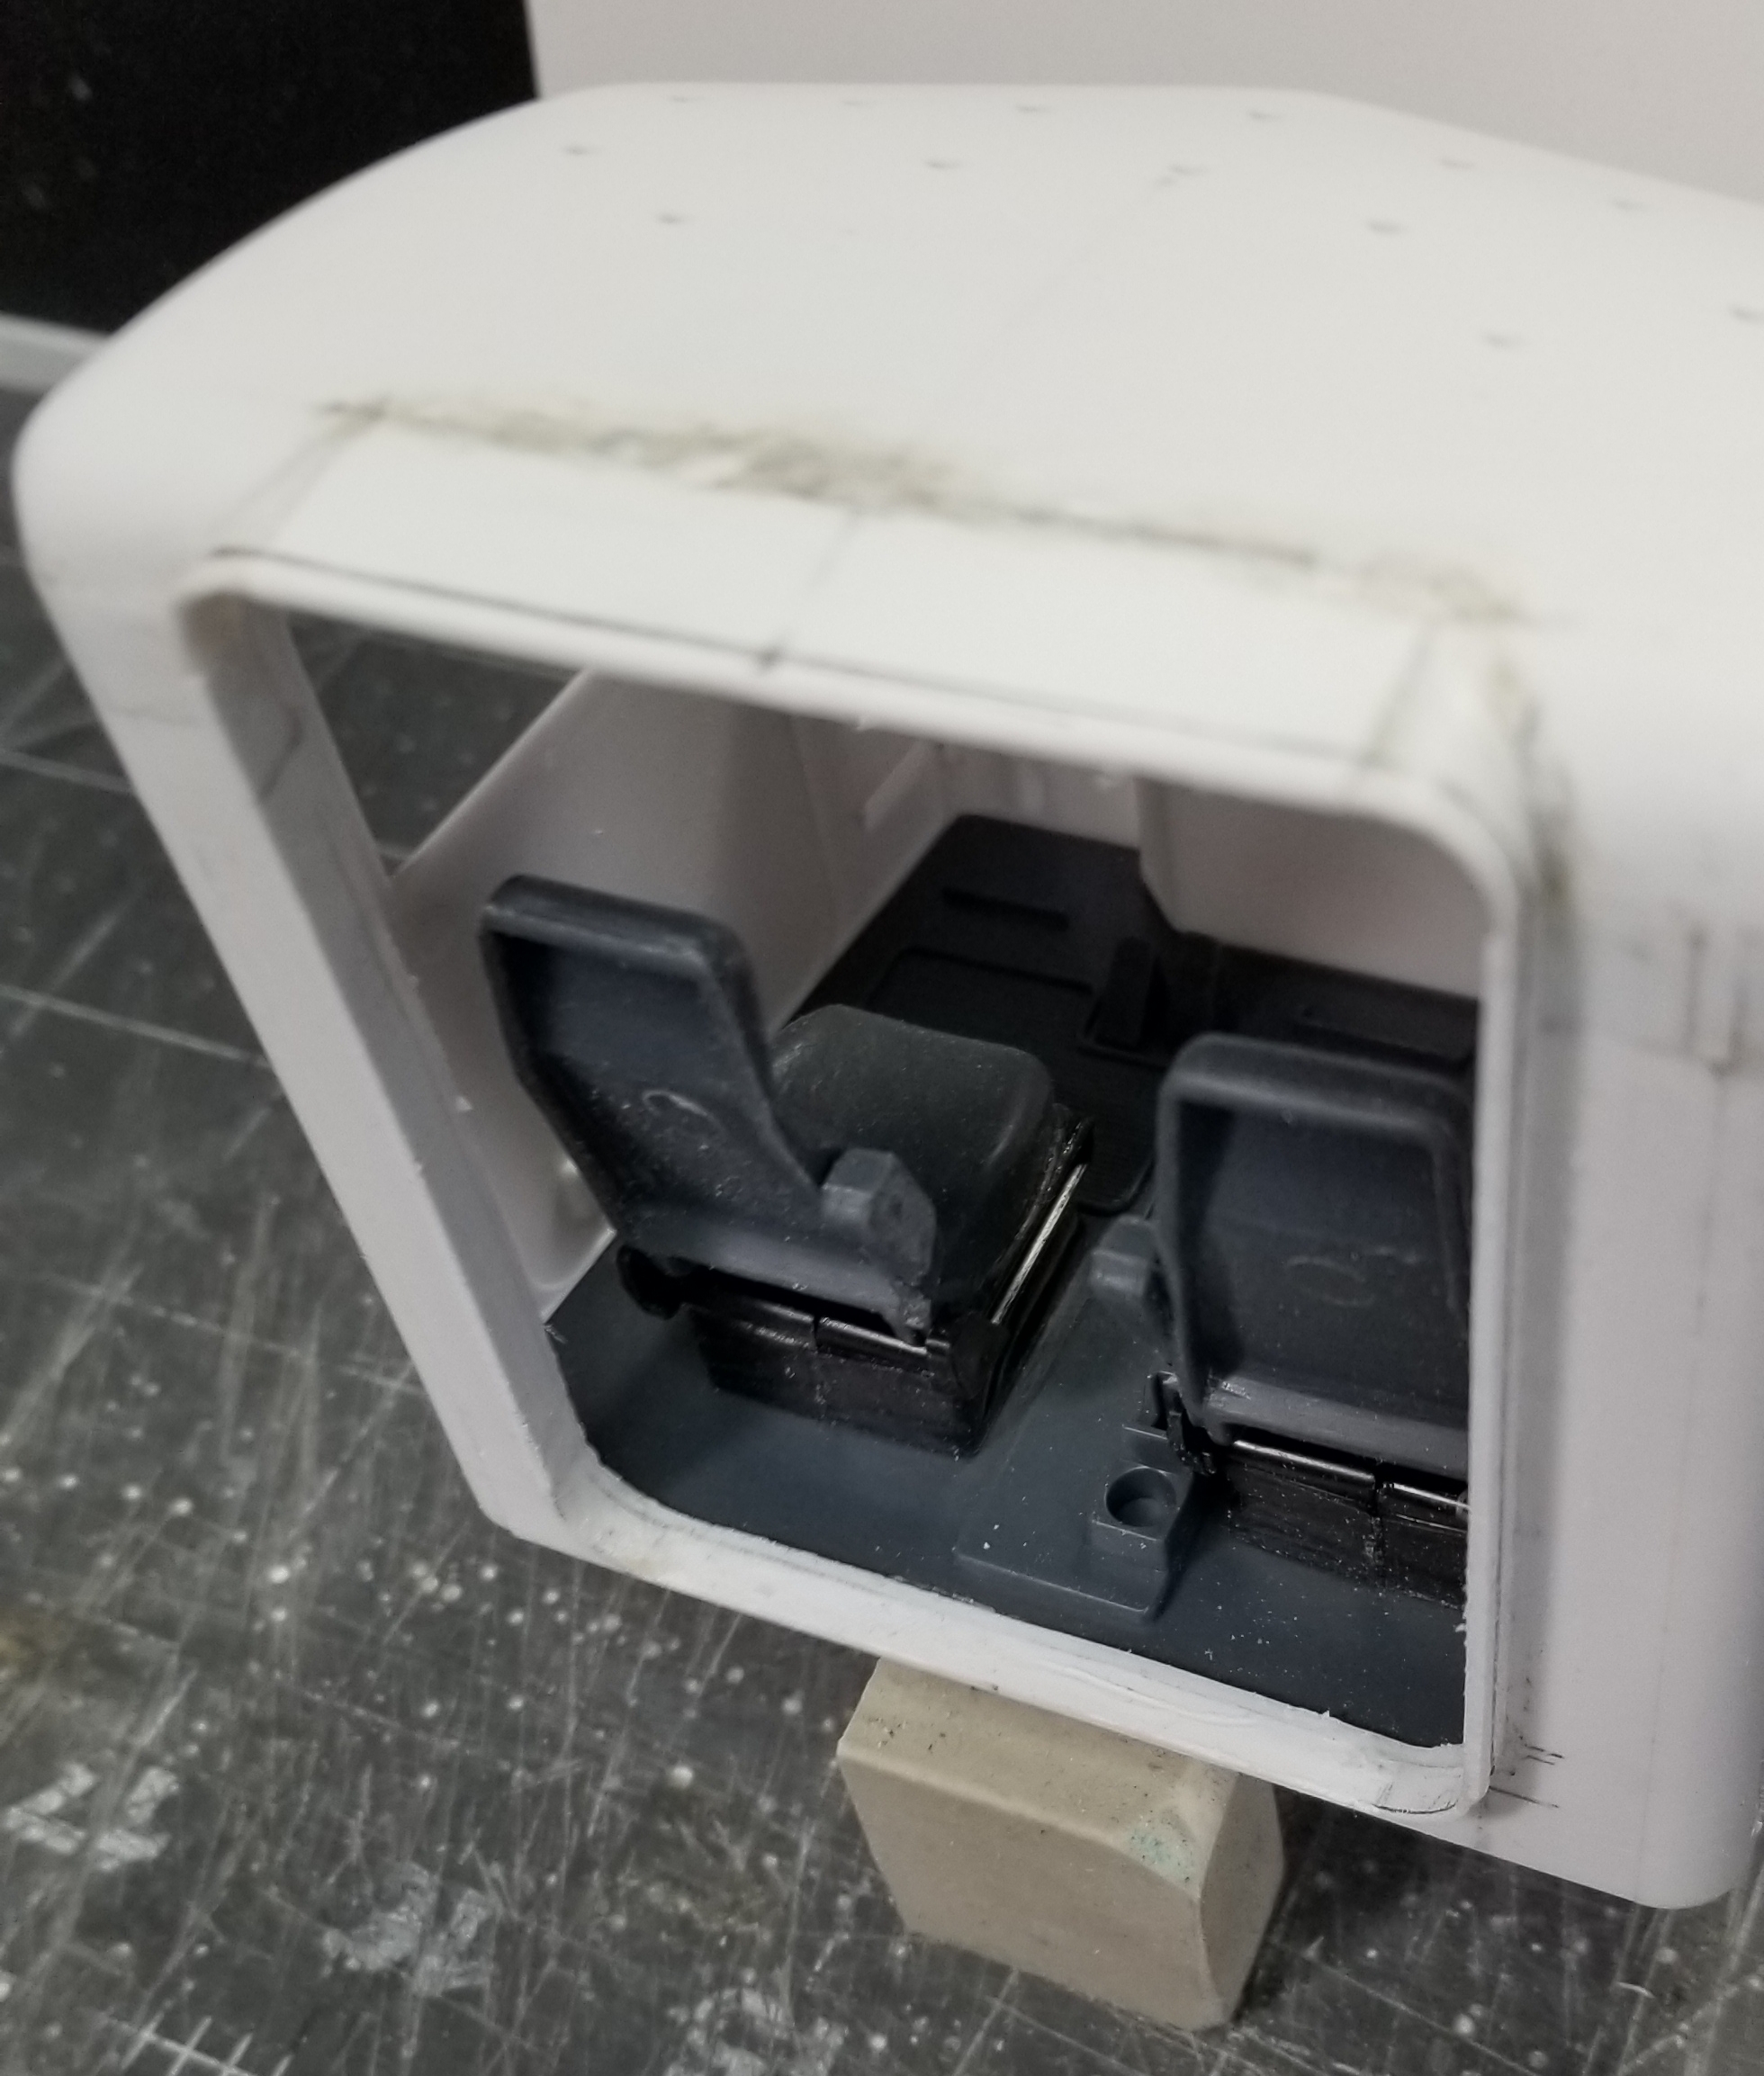
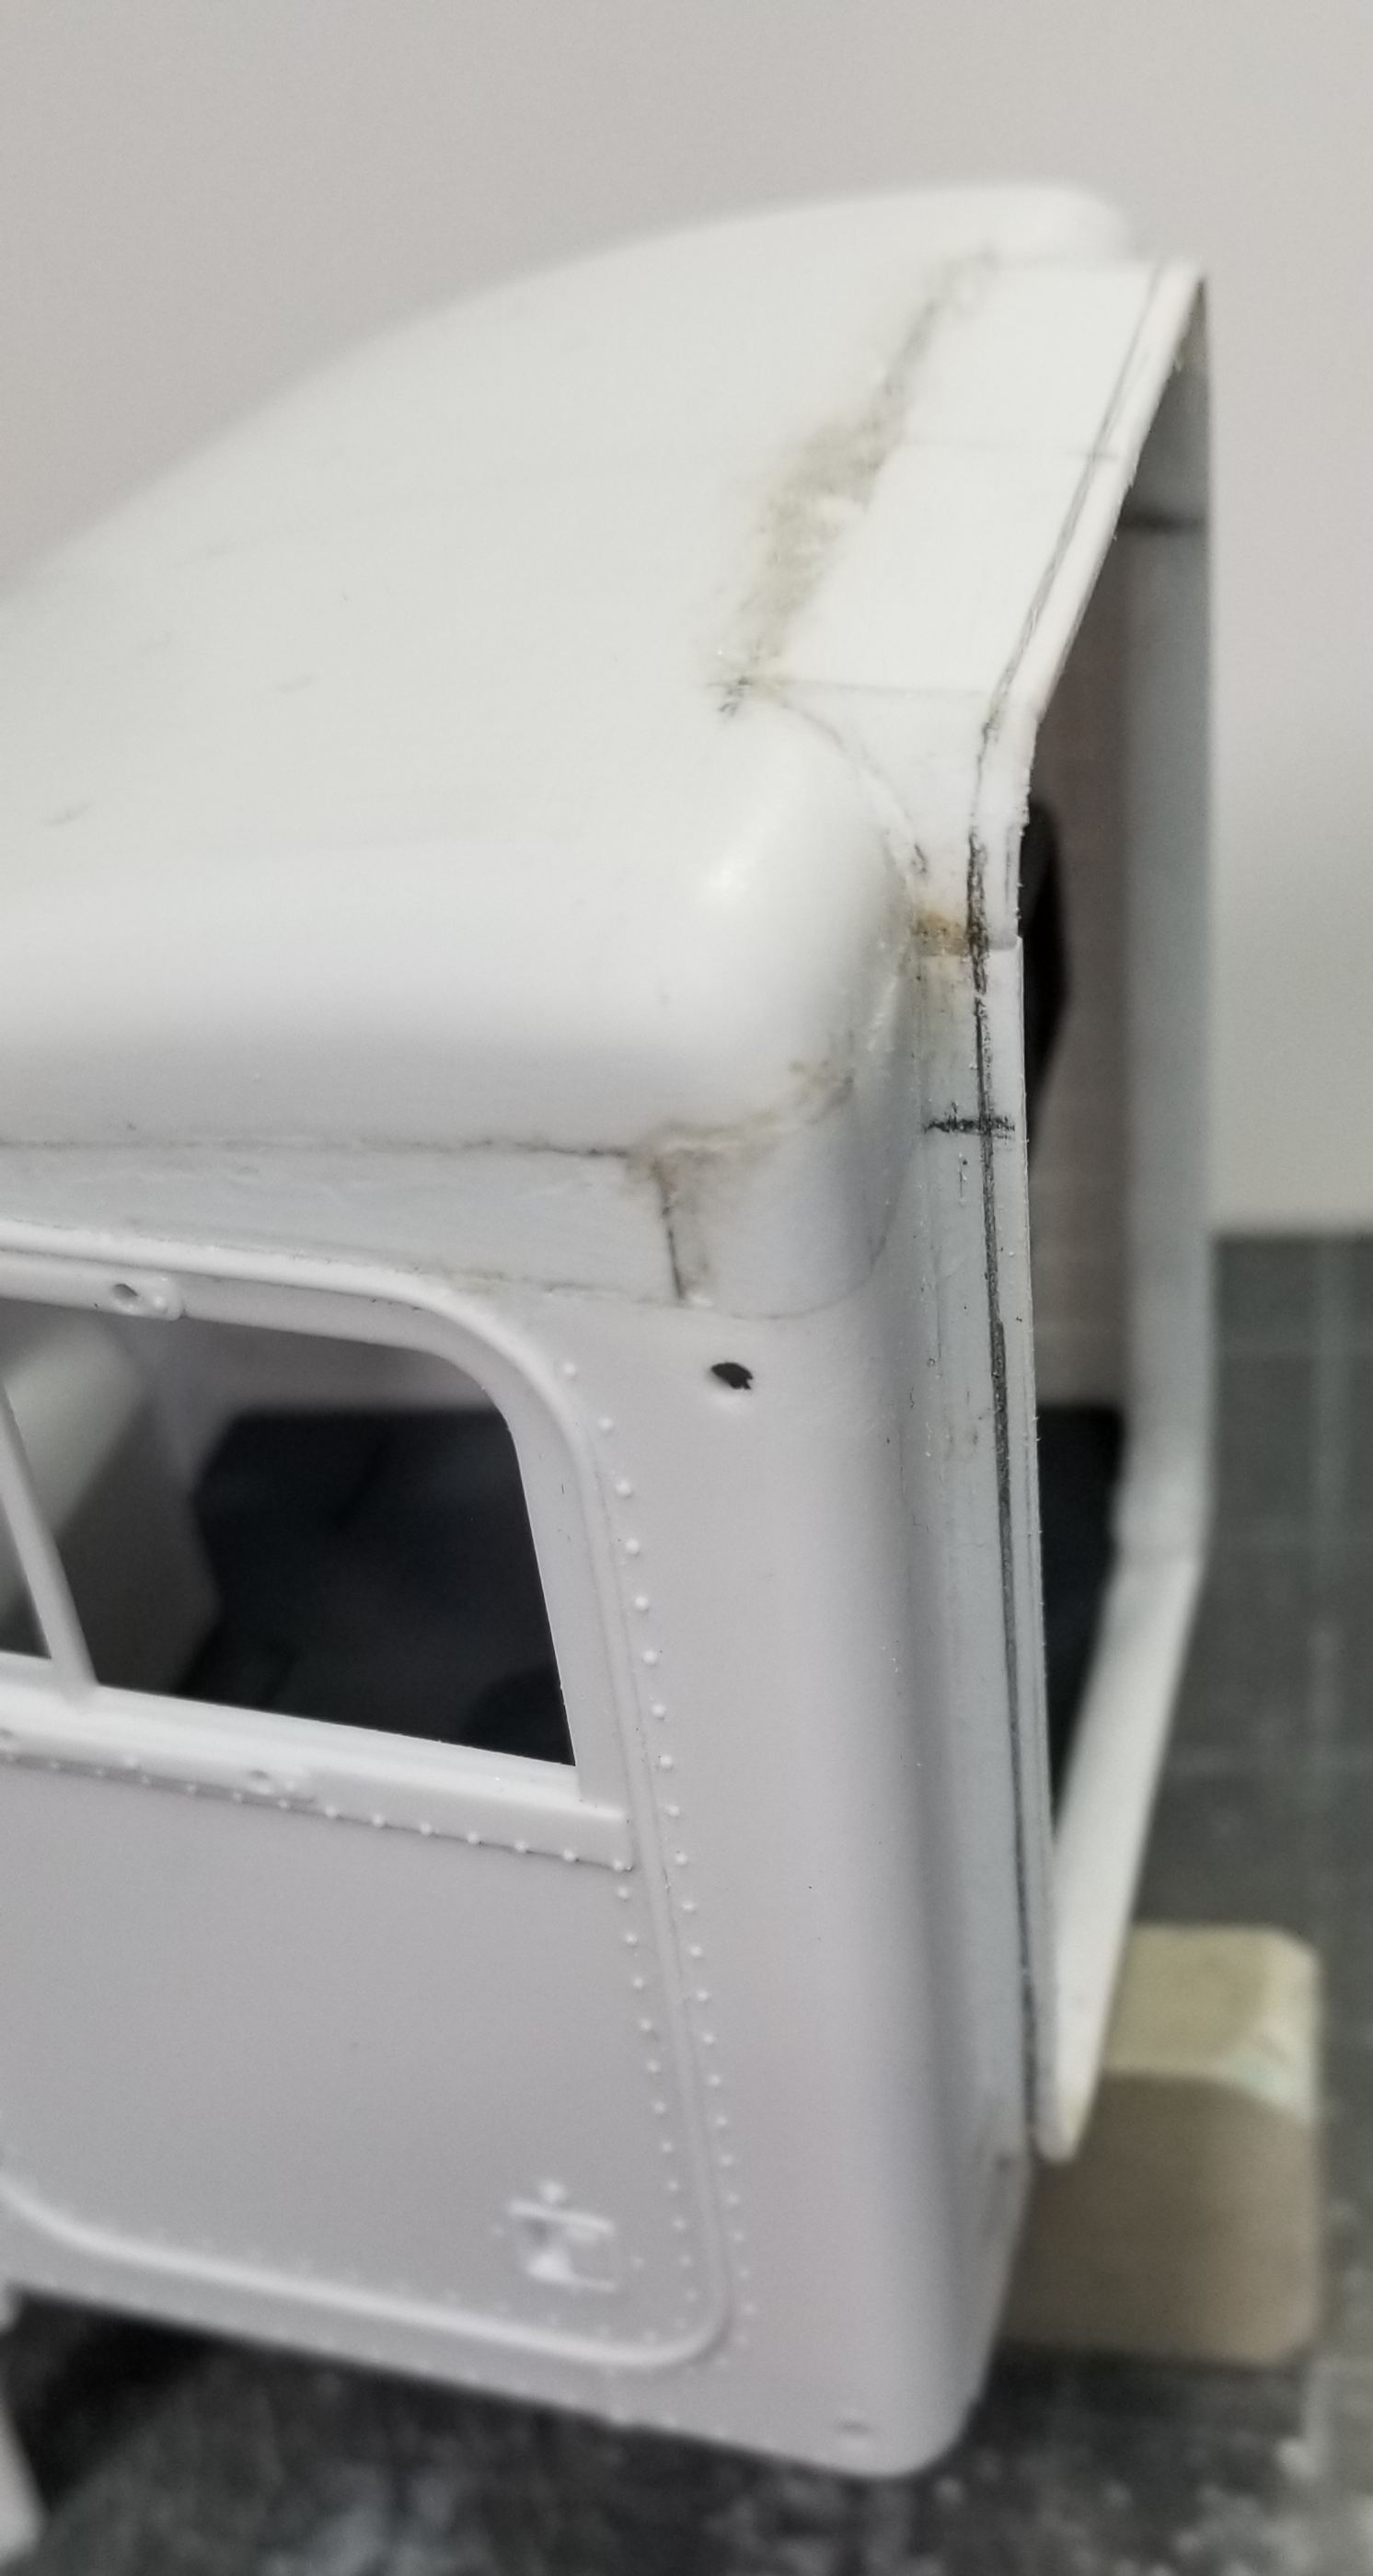
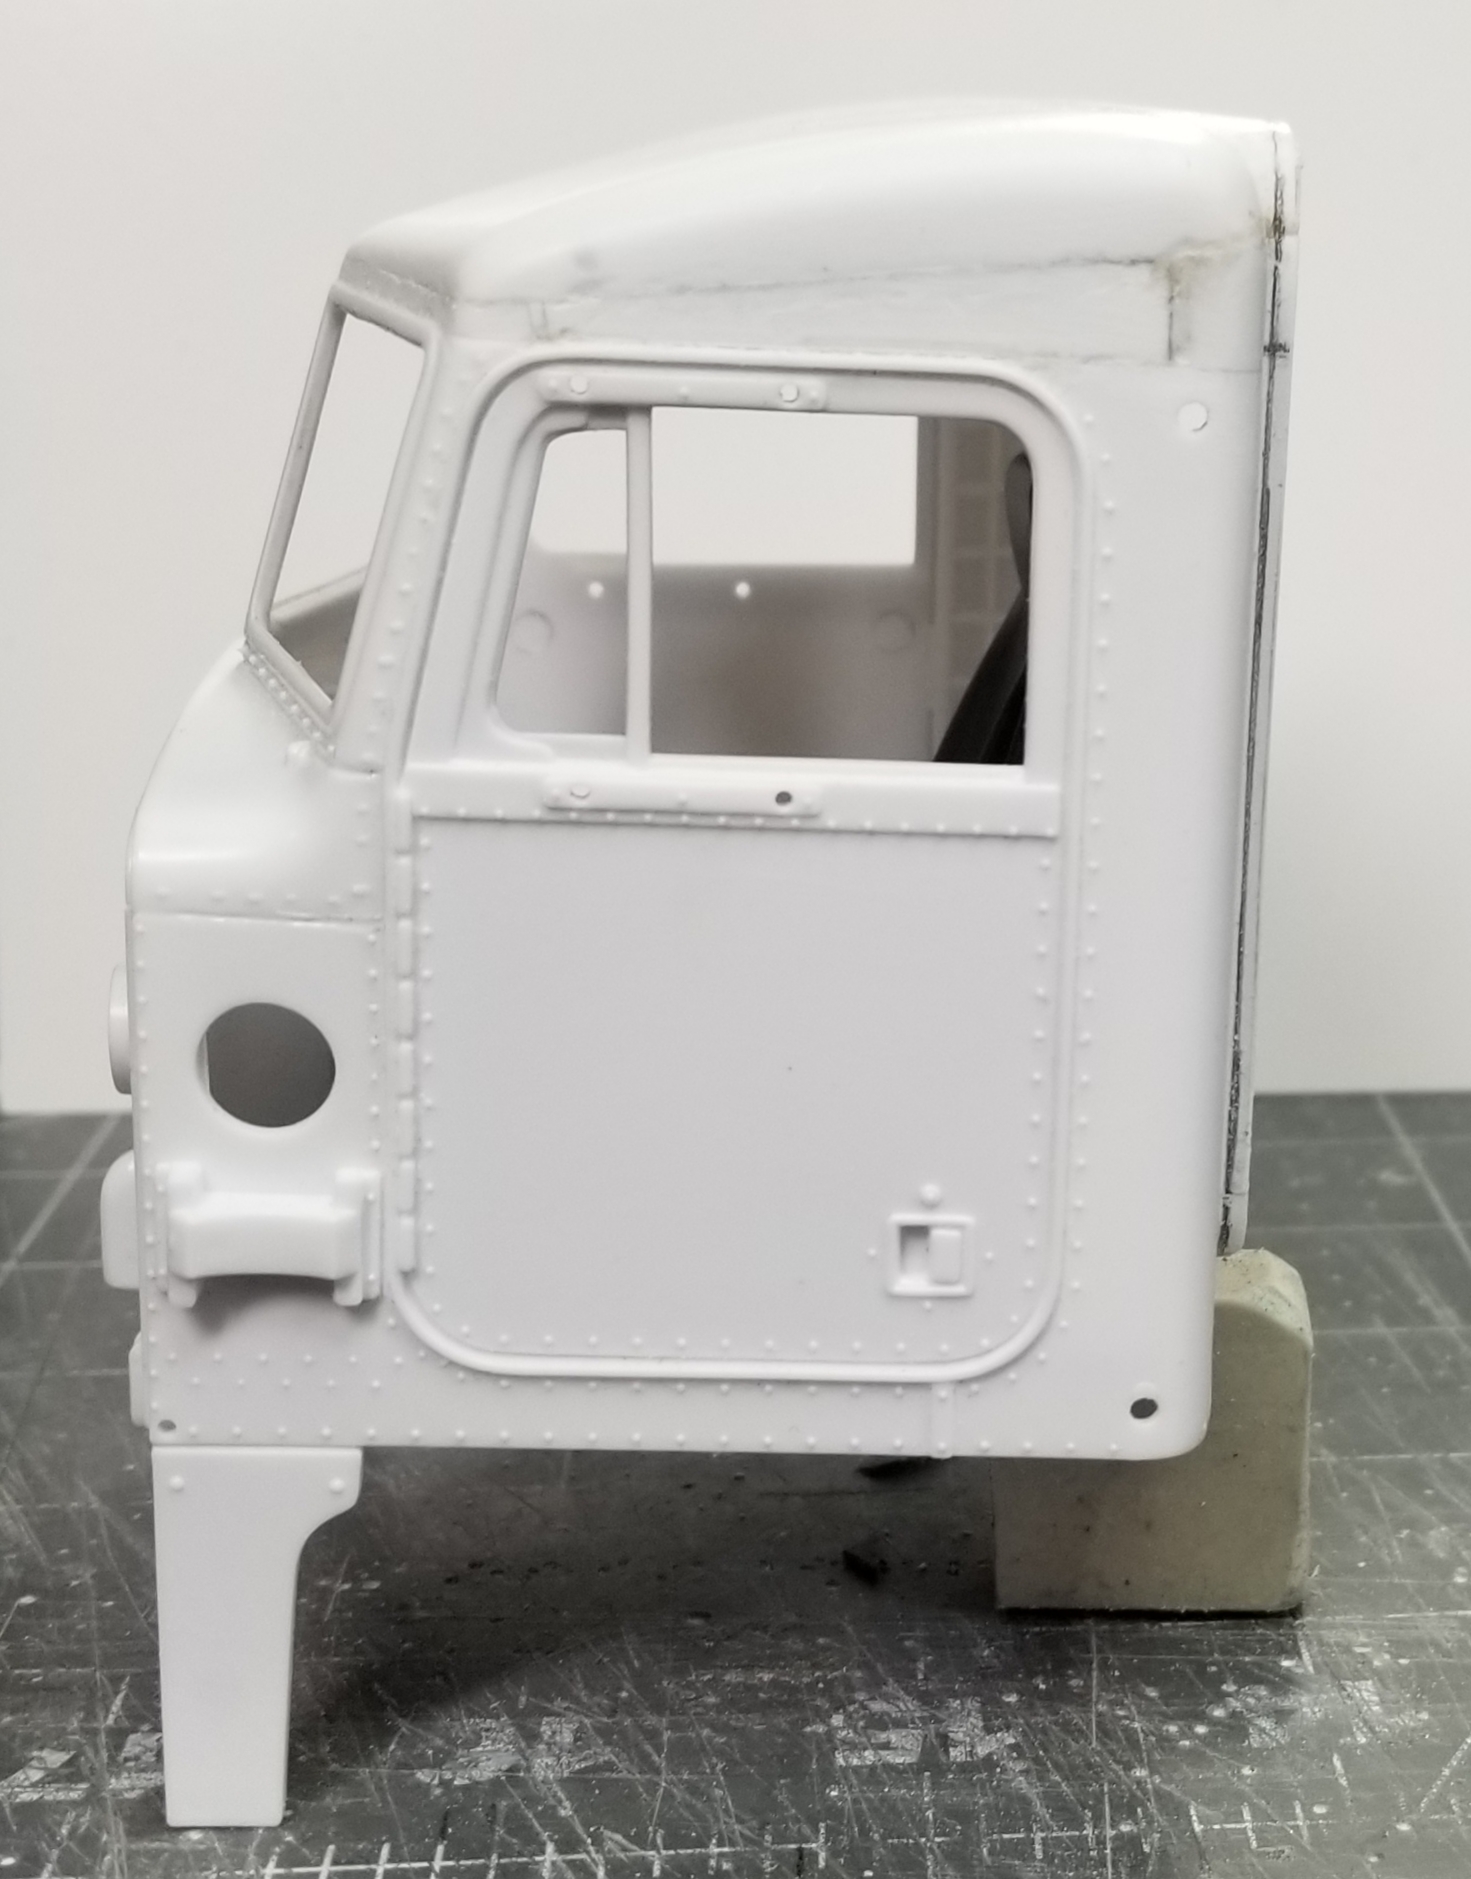
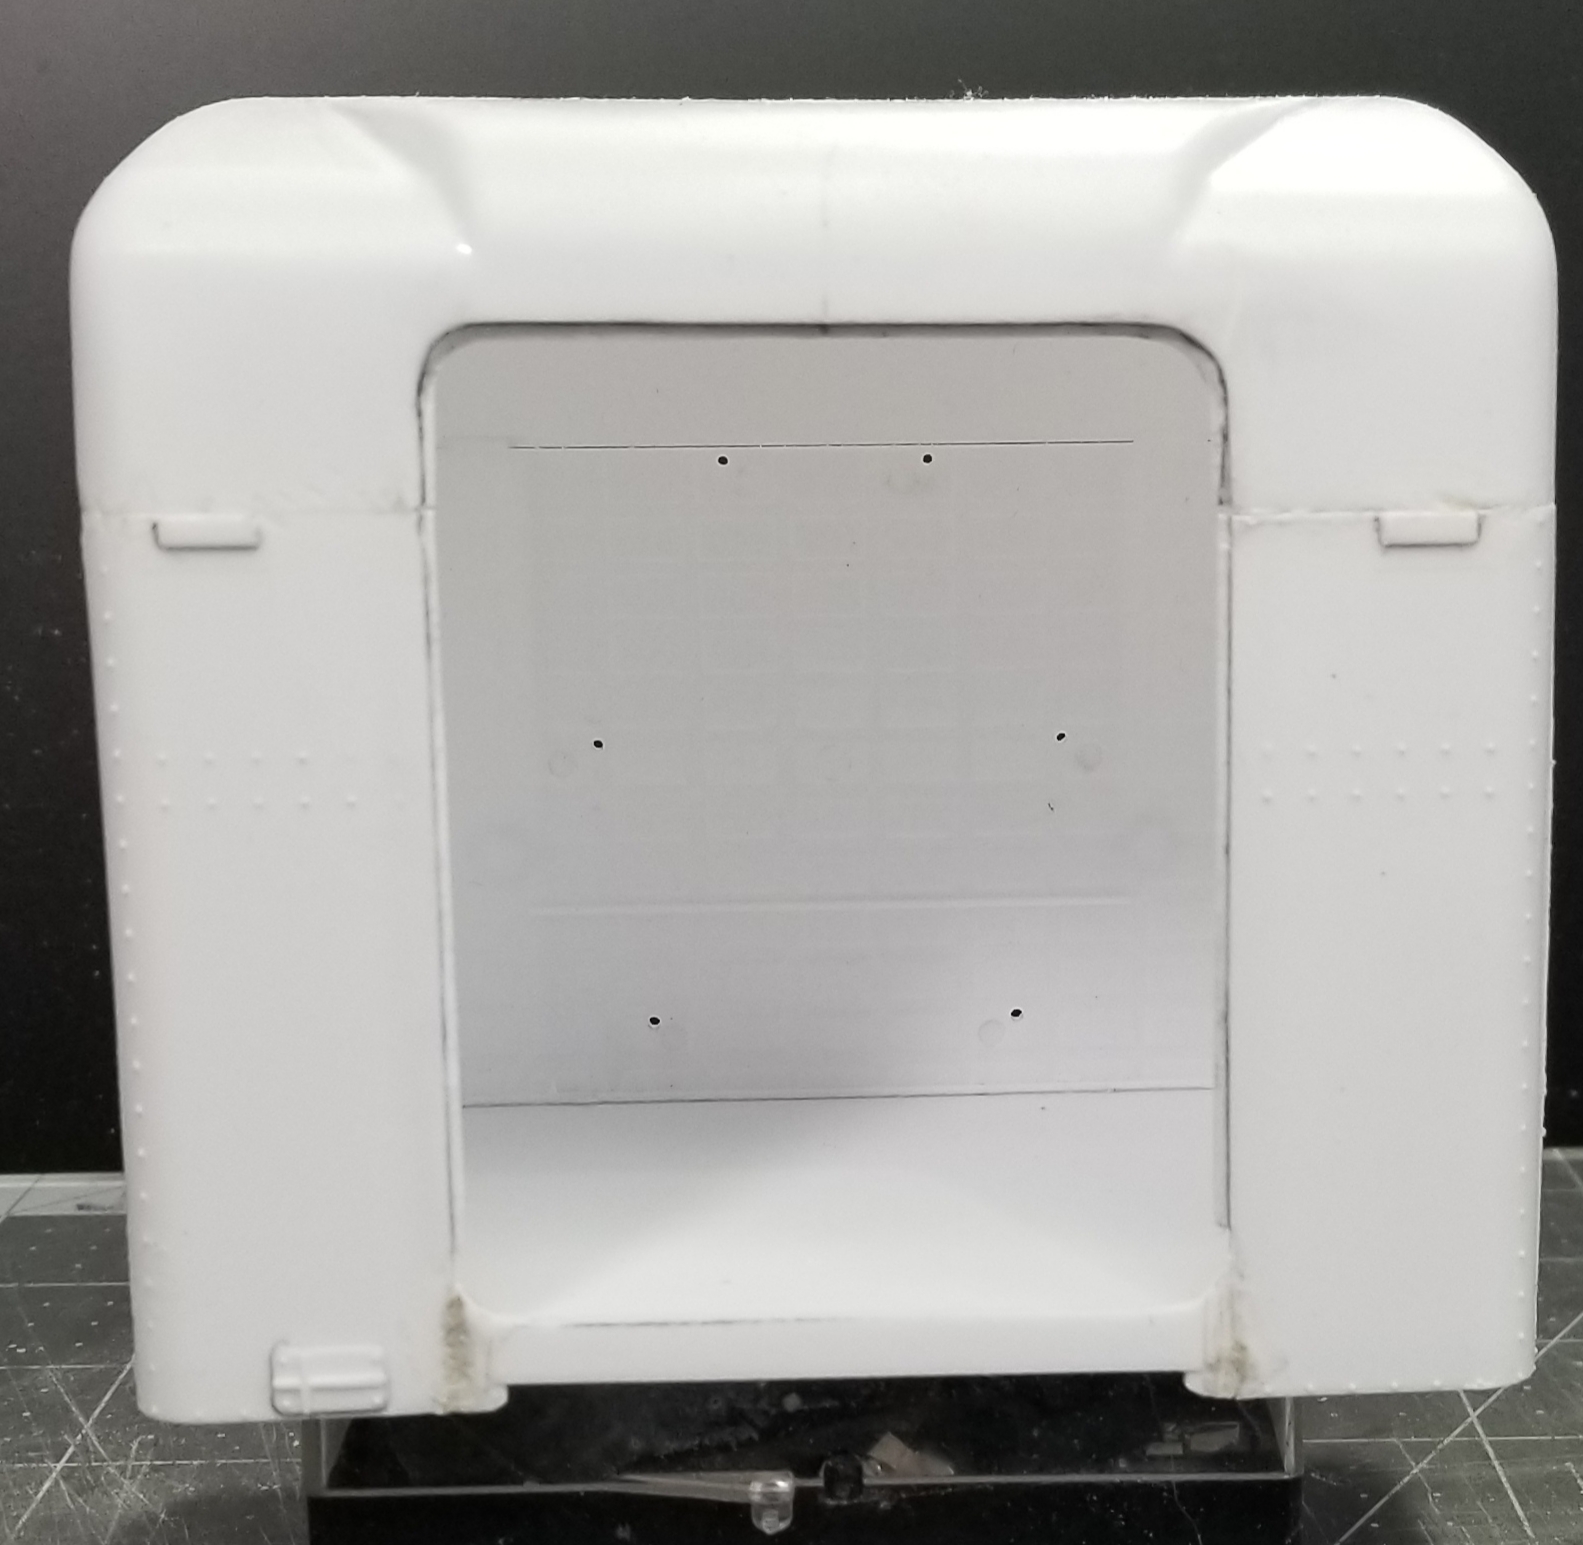
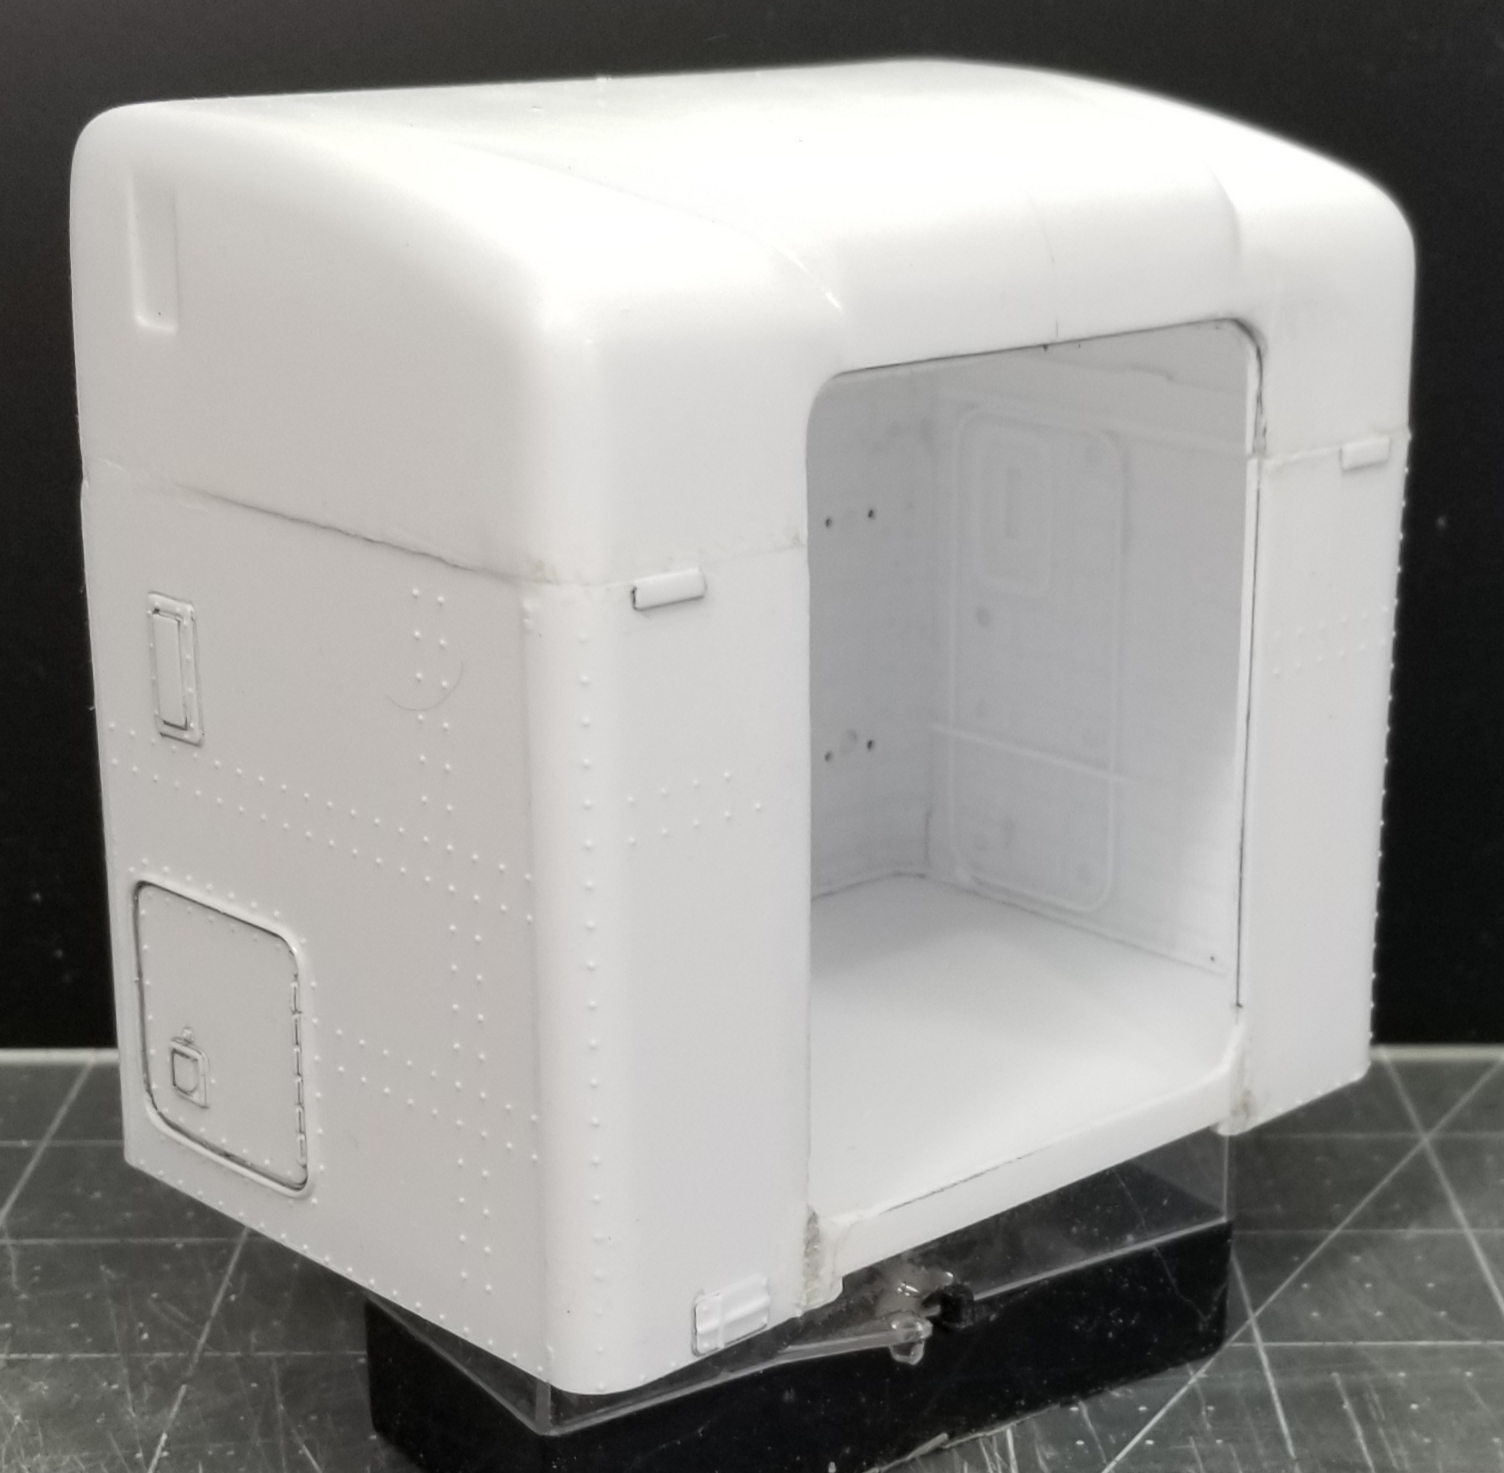
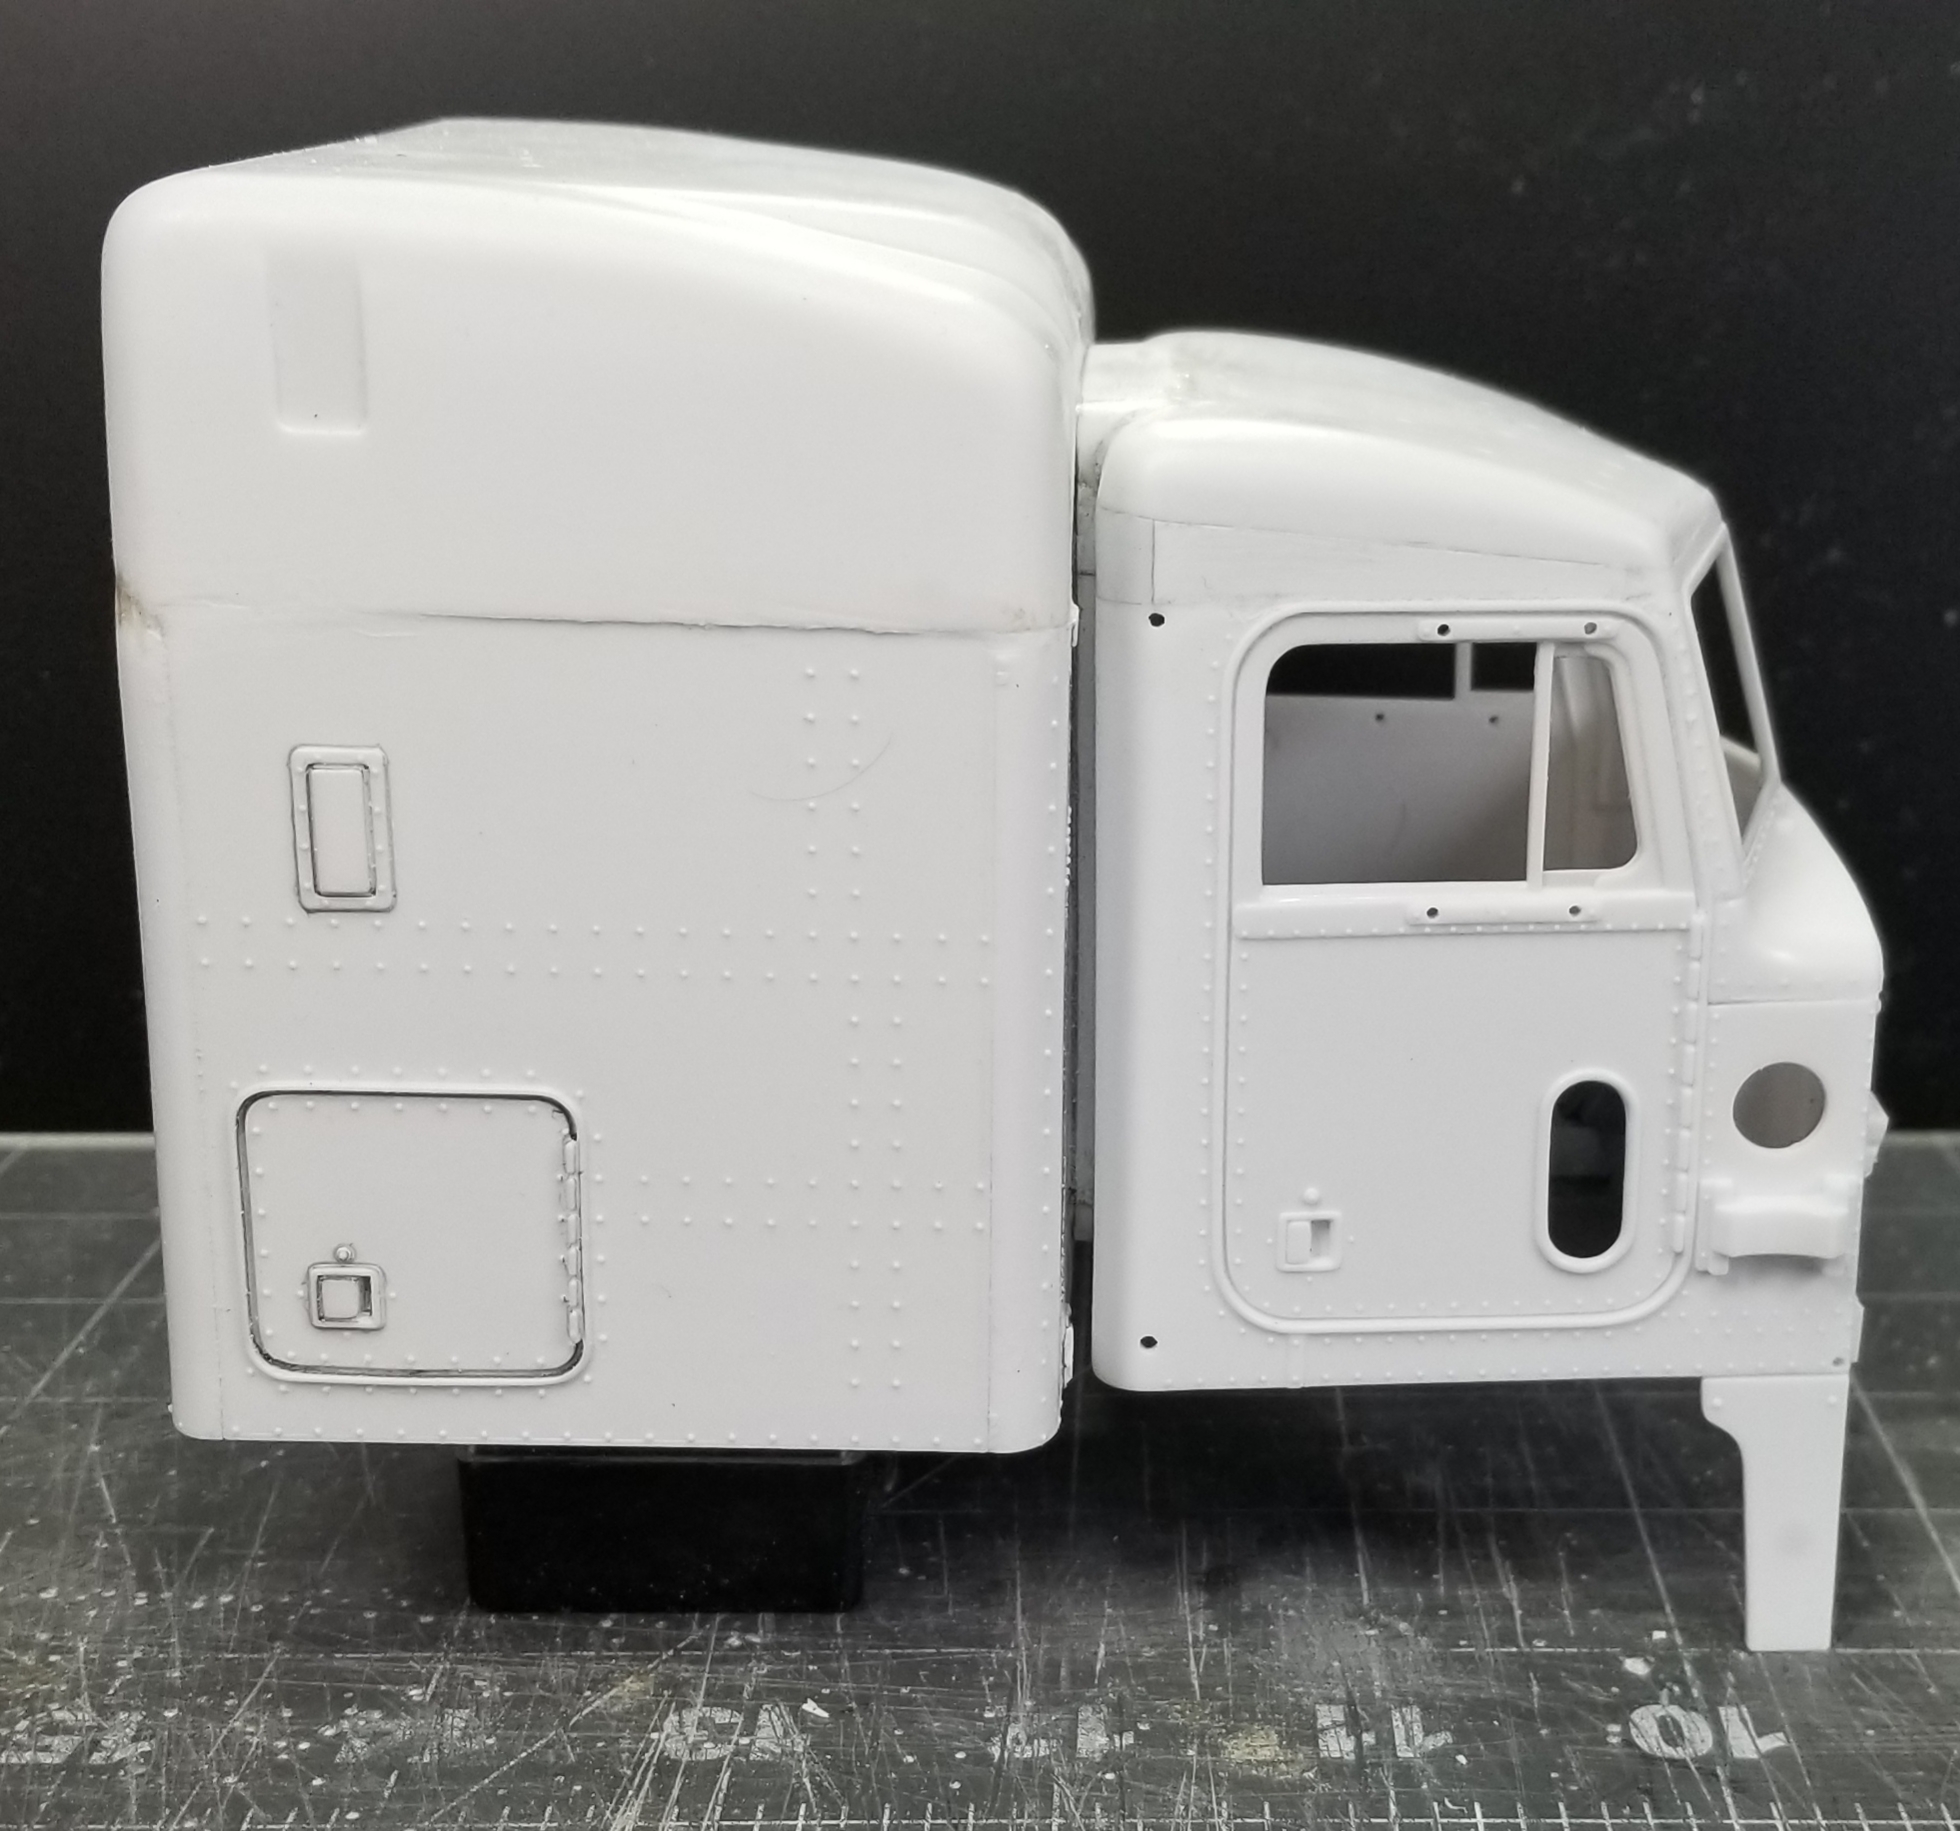
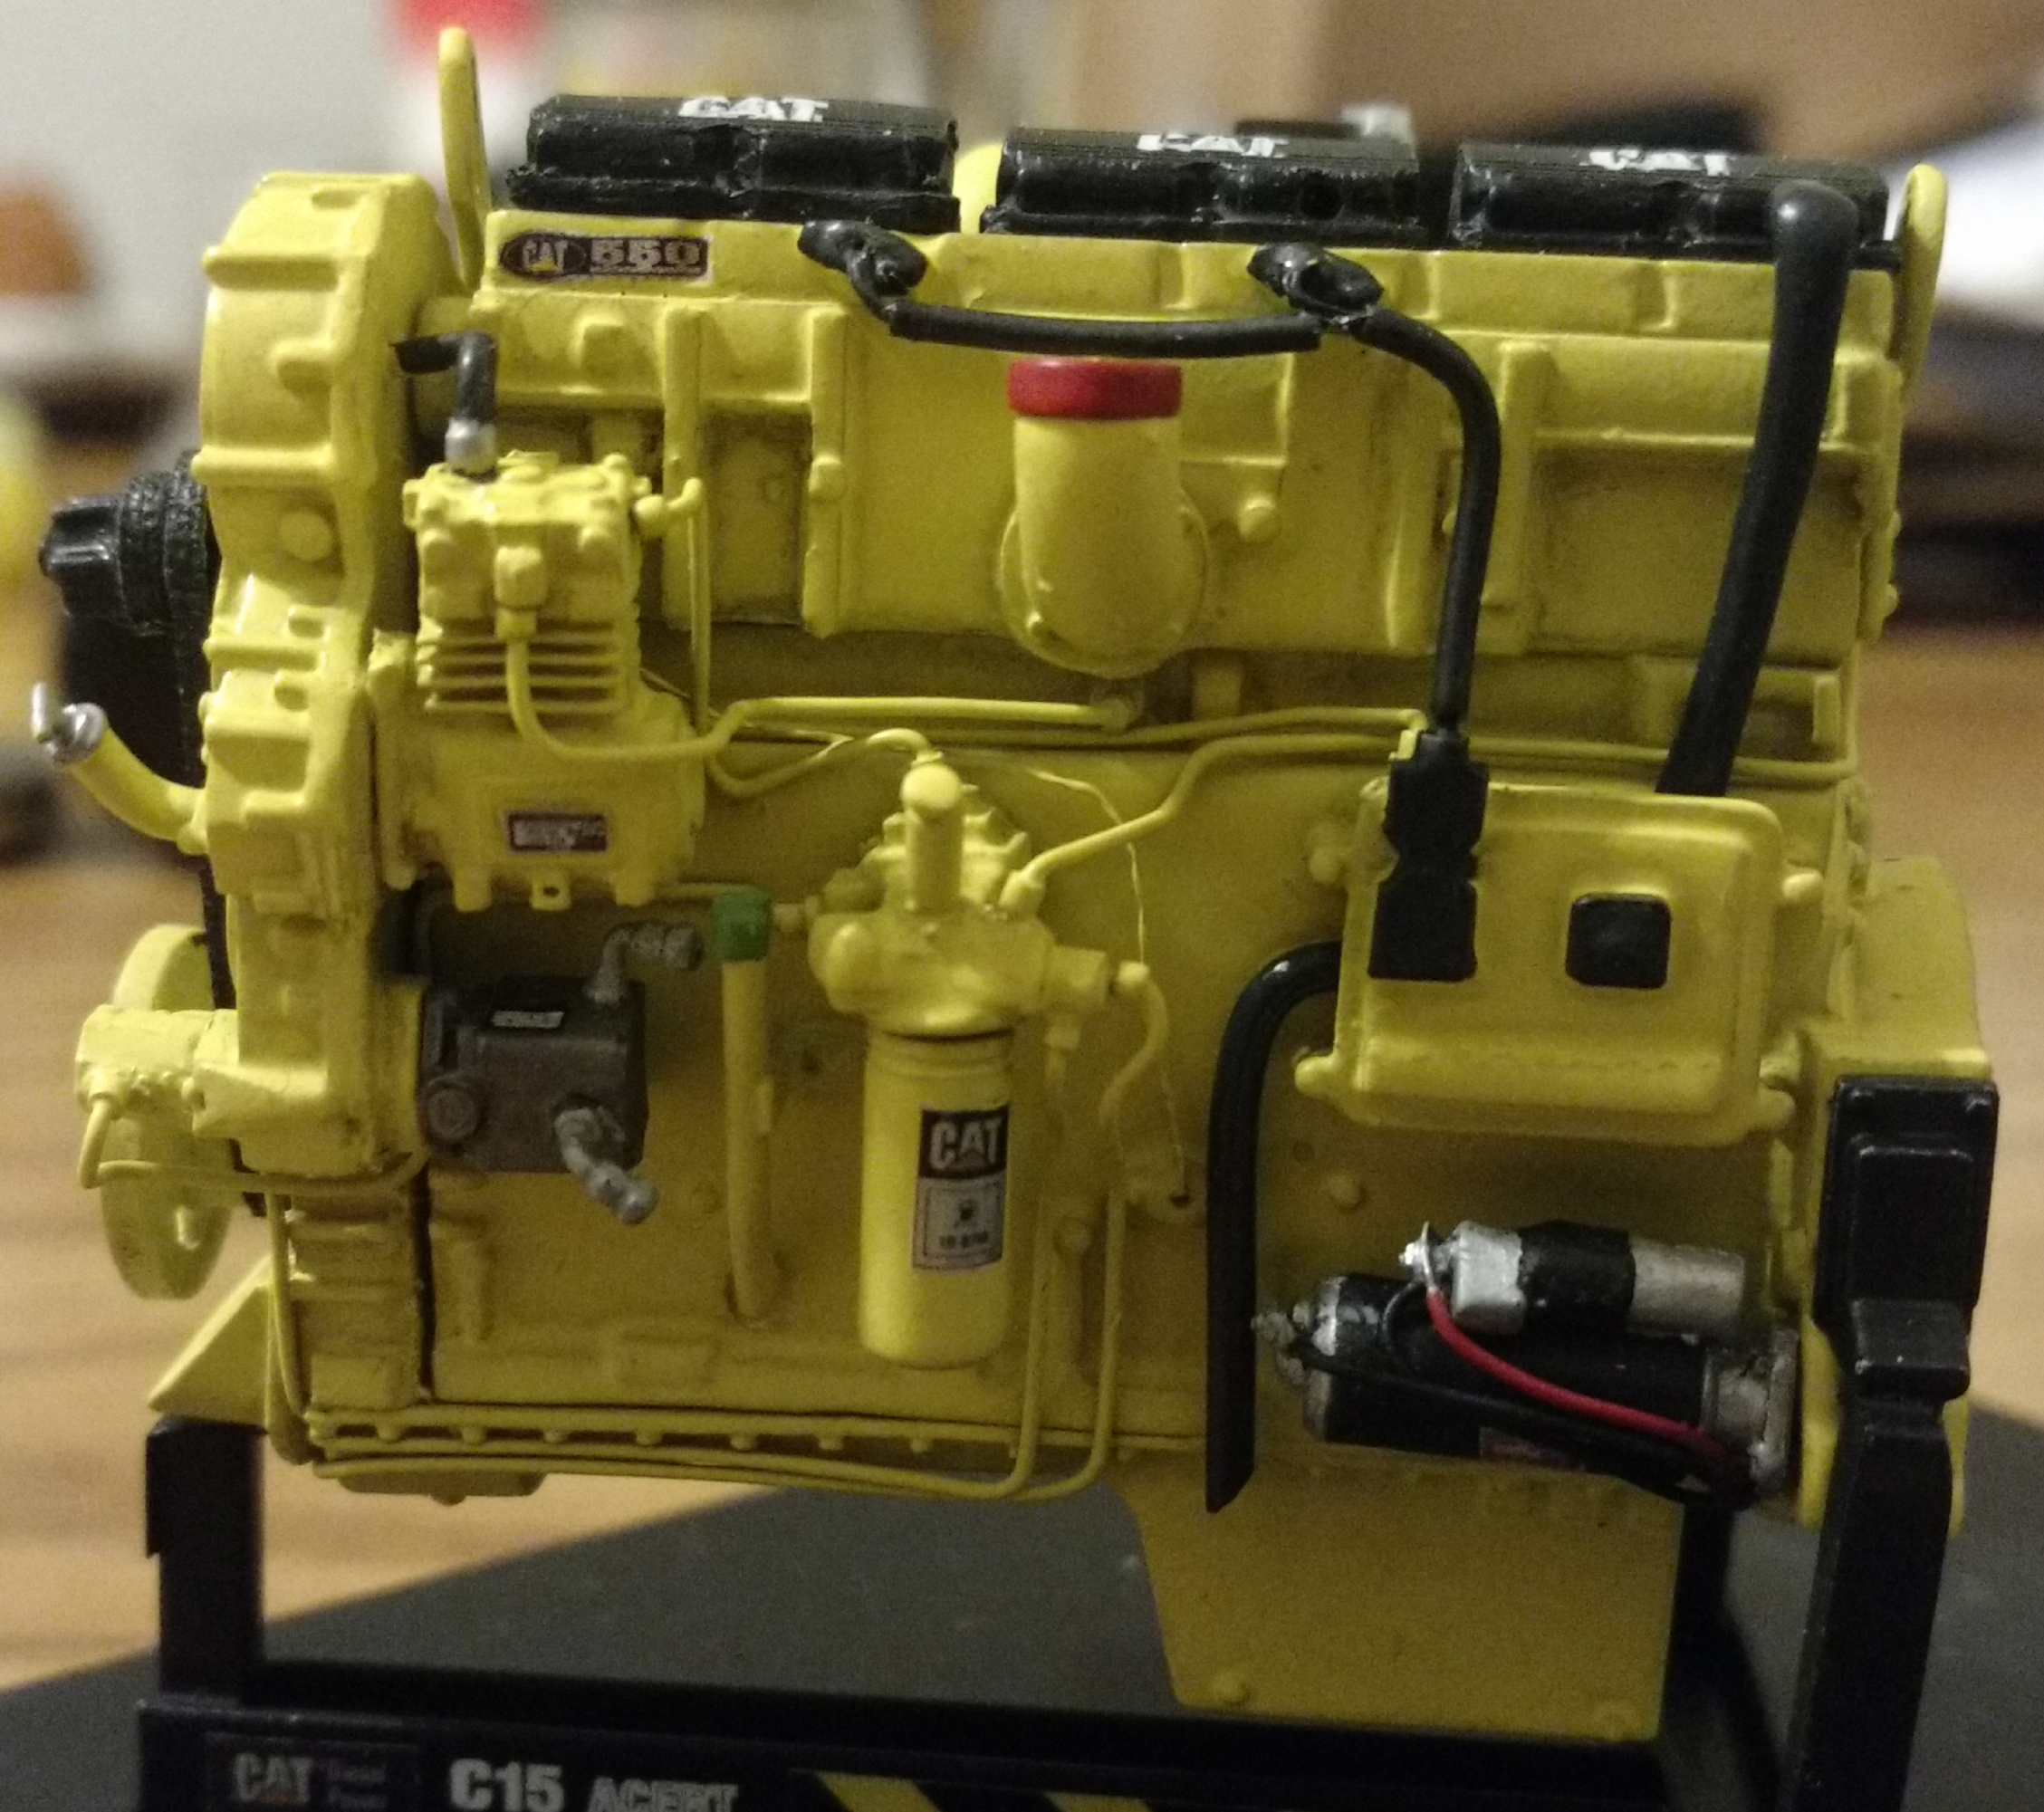
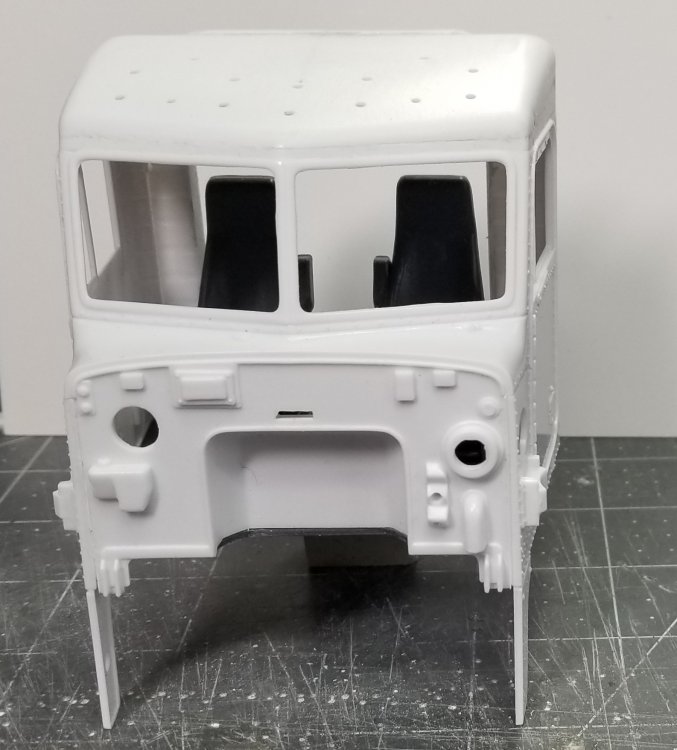
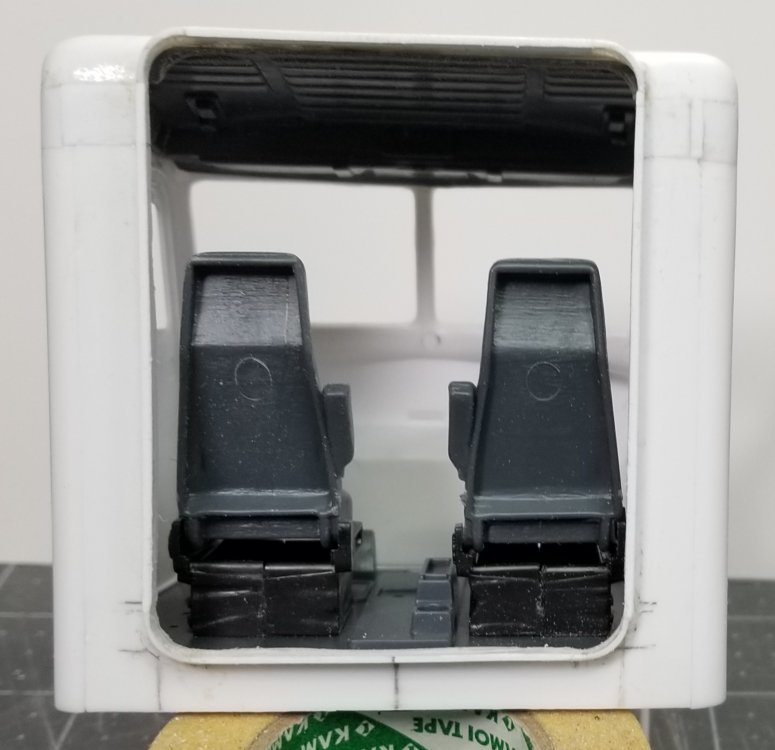
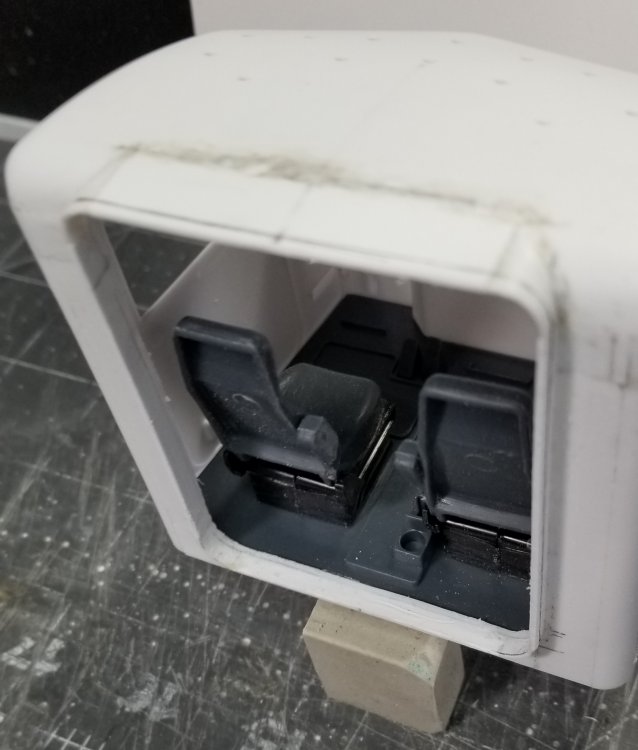
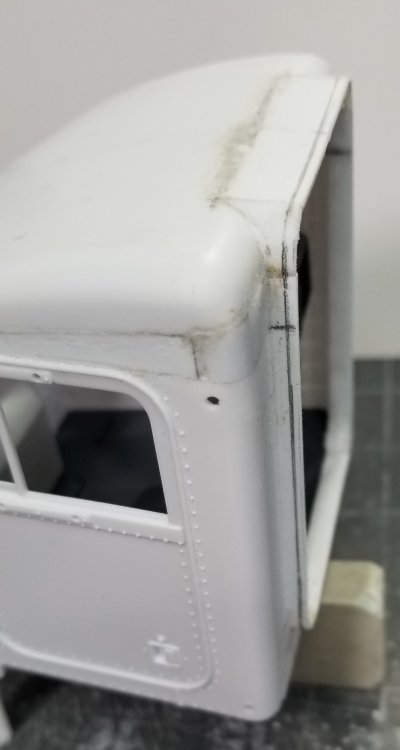
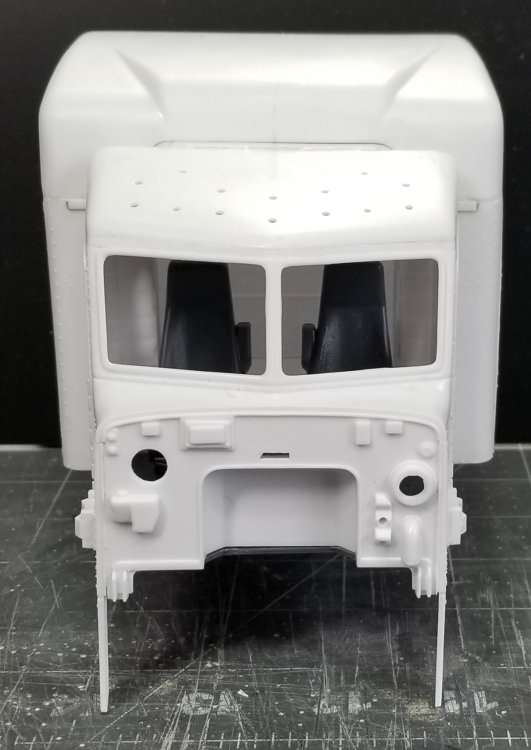
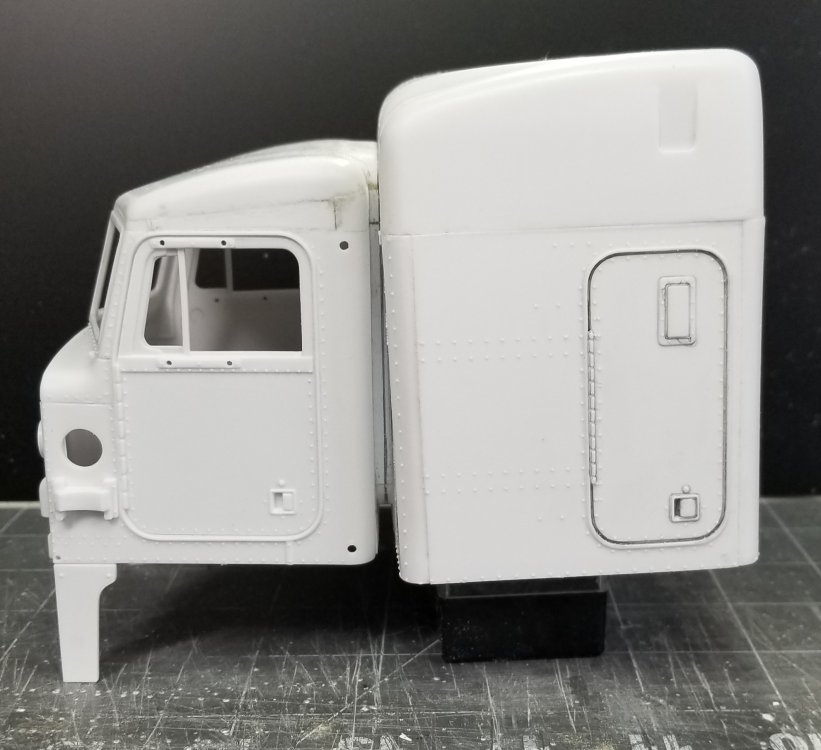
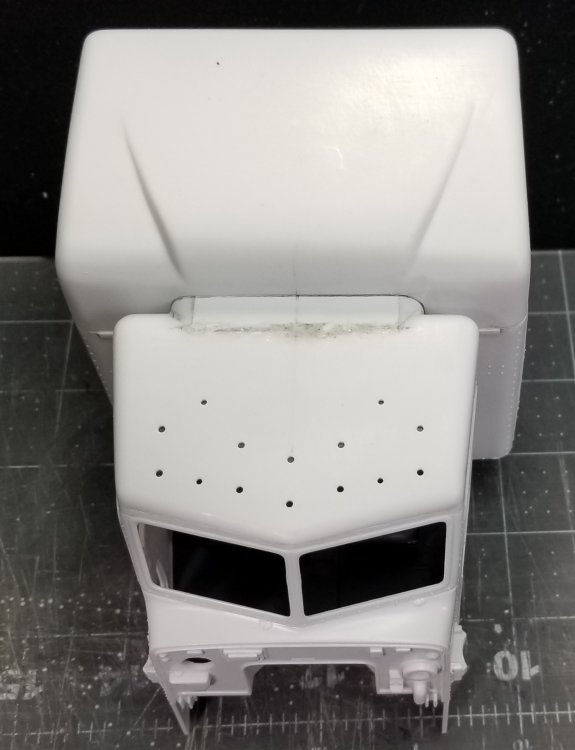
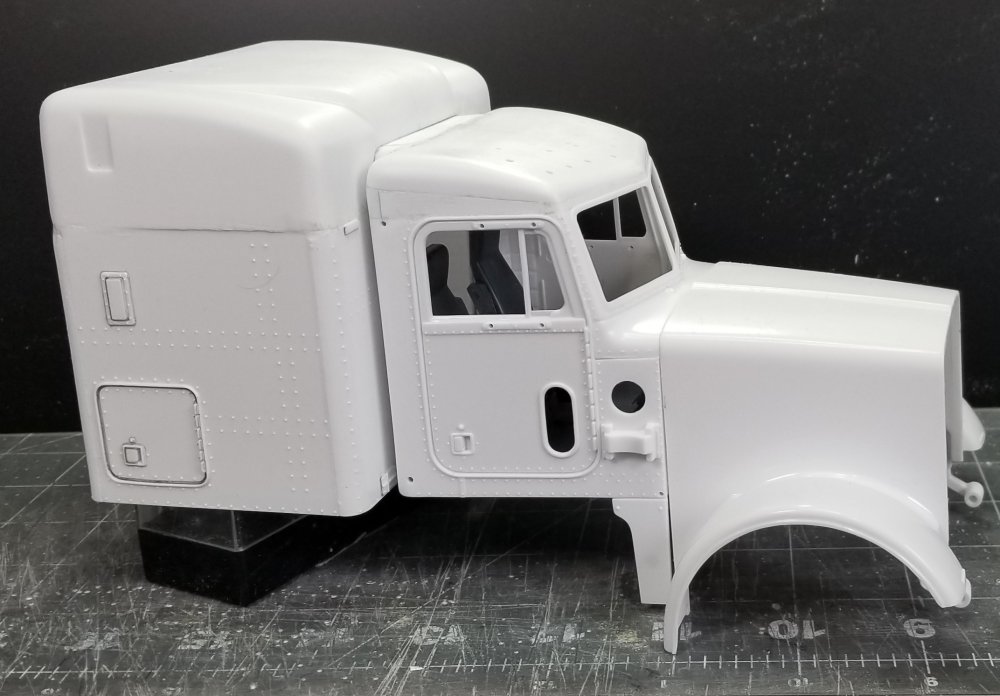
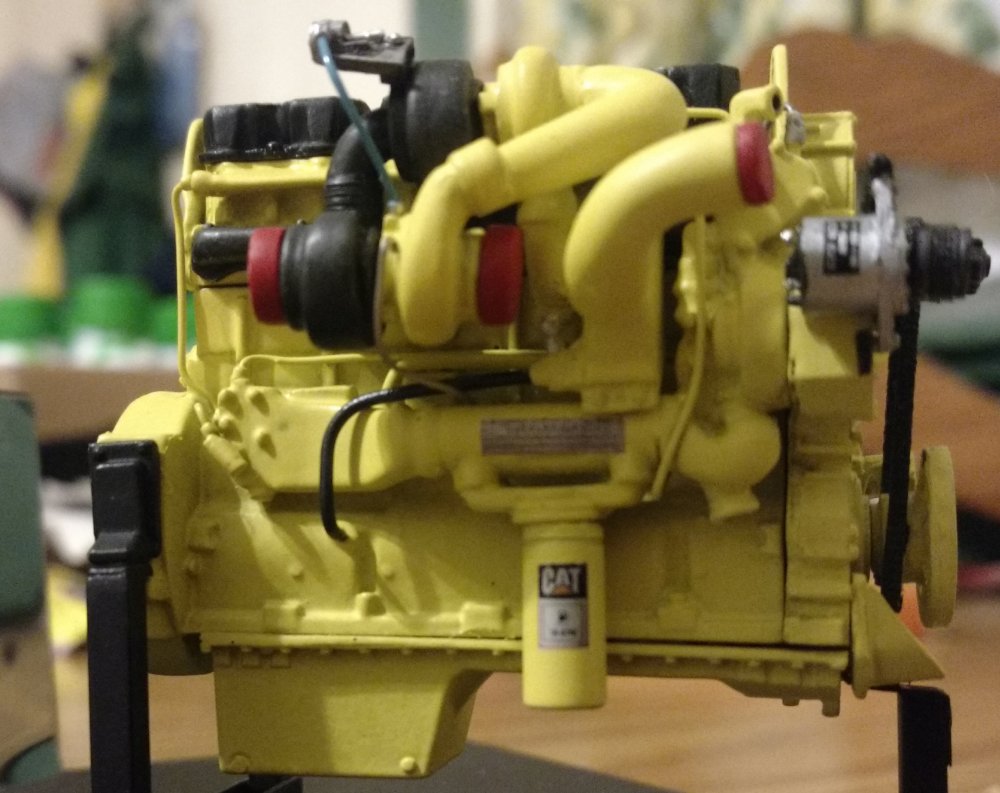
Hey guys I've been working on the Tri-drive Pete. I recently bought another Pete, the 1/24 AMT Long hauler (repop of the Italeri kit), got it for a great price $50.00 bucks. So anyway, I started cutting it up and I now have a high roof, large opening cab to sleeper 378, I think? I also made one of the hoods into a extended hood 379. Here's some pics for you to look at. this view shows the stock 378 hood, modified cab with raised roof and modified 63" Unibilt sleeper with enlarged cab to sleeper opening. front view of the cab, you can see the interior and seats that will know be able to recline into the opening, more room for tall drivers. rear view of the cab opening and back of seats. this view shows the cab roof and the modifications I made to increase the opening to the sleeper. this view shows the modifications I made to the cab roof and opening. this view shows the raised roof of the cab. this view shows the modifications I made to the opening in the sleeper. view of the sleeper from the drivers side. view of the sleeper from the passenger side. this view shows the sleeper attached to the cab. view from the front. view from the drivers side. view from the top. view from the passenger side with the hood. this view shows the setup on the tractor frame. My dilemma is, I'm thinking I might want to use this cab and sleeper along with the 379 exhd to make more of a tandom show truck, and use the stock cab with either a 36" bunk or a flat top 63" sleeper I made form the othe sleeper that I had (it didn't quite come out the way I planed, the corners aren't round enough, my opion) on the Tri-drive. I will post pictures of the 379exhd and flatop sleeper tomorrow. This is the motor I'm going to use for the Tri-drive, instead of the Cummins NTC-400 thats in it now. It's a Cat C15 twin turbo from Moluminum. turbo side view. other side view. This are pictures of the engine that I got from Jamie at Moluminum of it finished. well that's it for now be back with more updates soon. Ron G


- 51 replies
-
- 11
-

-

-
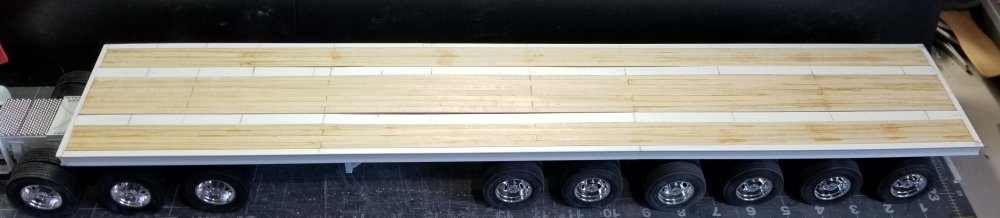
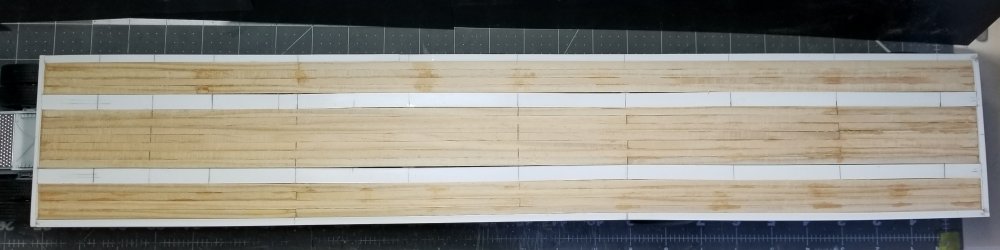
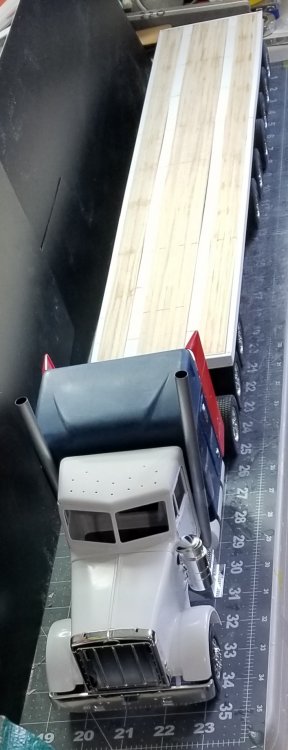
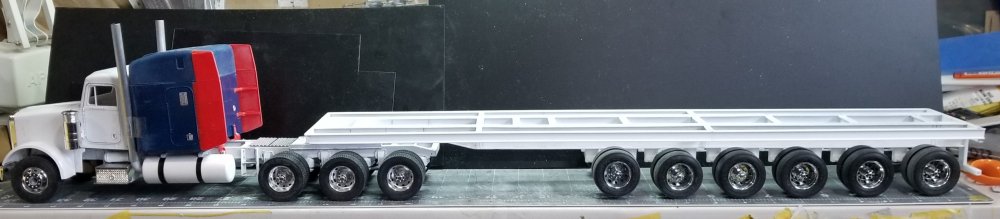
Hey all Some more progress on the 6 axle flatbed trailer. this view shows the whole thing. this view shows the deck boards in place on the trailer. top view of the trailer deck boards. View looking rearward of the Pete 379 and 6 axle flatbed trailer. That's it for now be back soon. Ron G
-
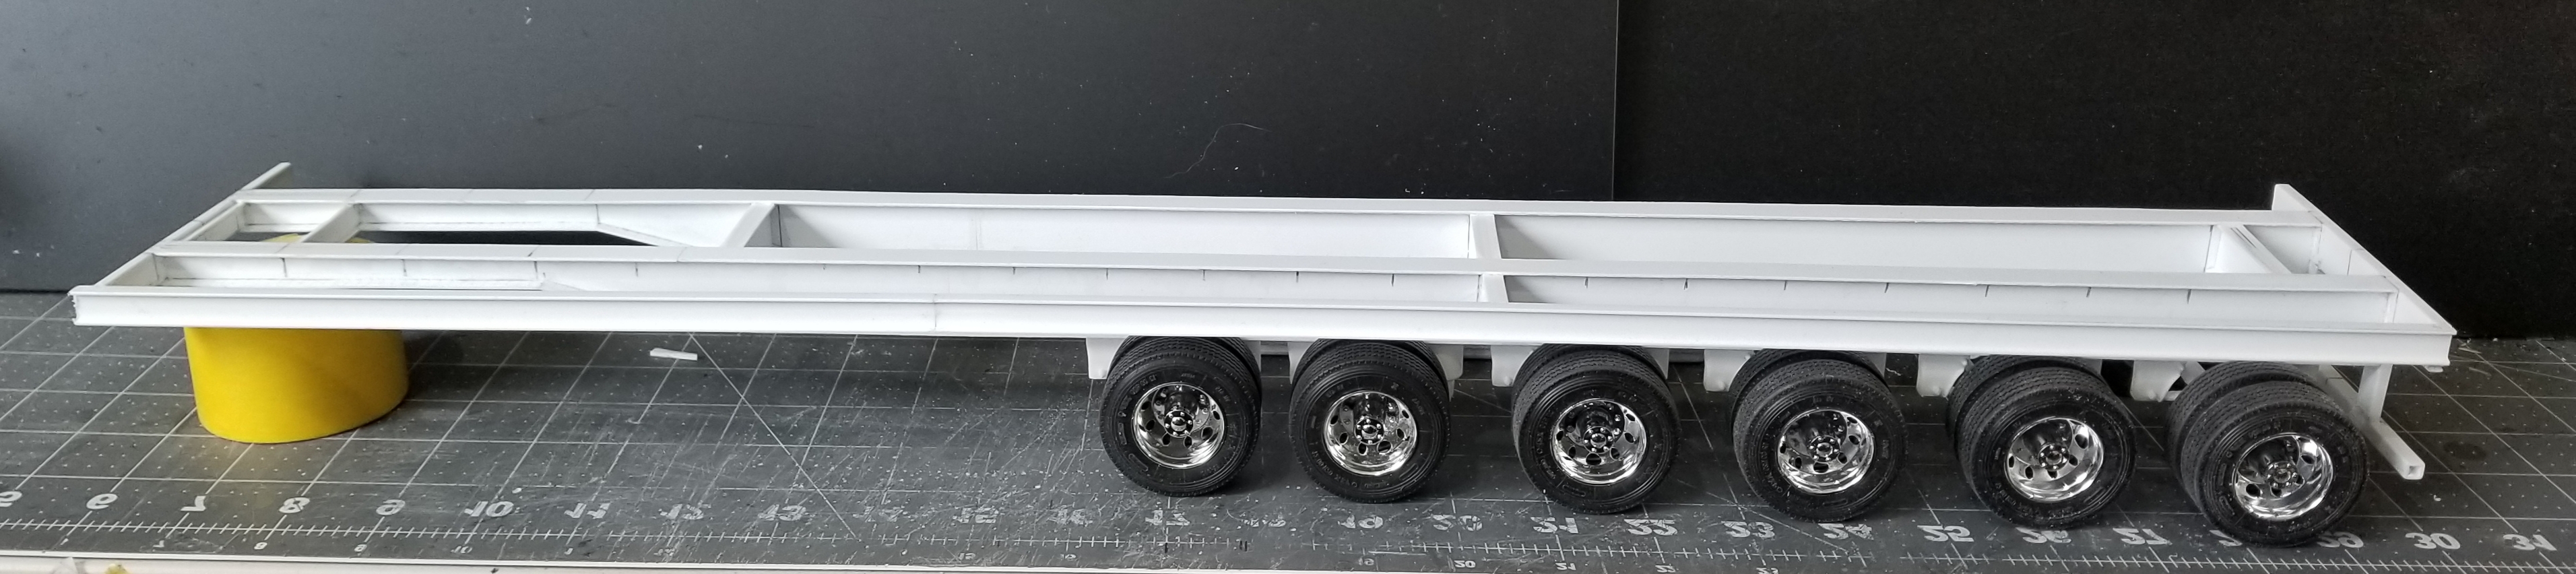
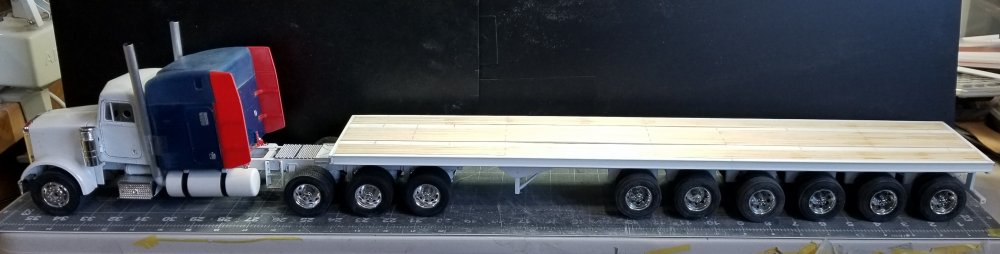
Hey all Did some work on the 6 axle flatbed trailer. The wheels that I ordered from Italeri finally got here, along with some more Italeri 1/24 truck tires, so I made up some axles and temporarily installed the wheels/tires to the trailer. this view shows the whole setup and its 35 1/2" long! this view shows just the trailer and its a scale 48' long. Ron G

-
Thanks guys
-
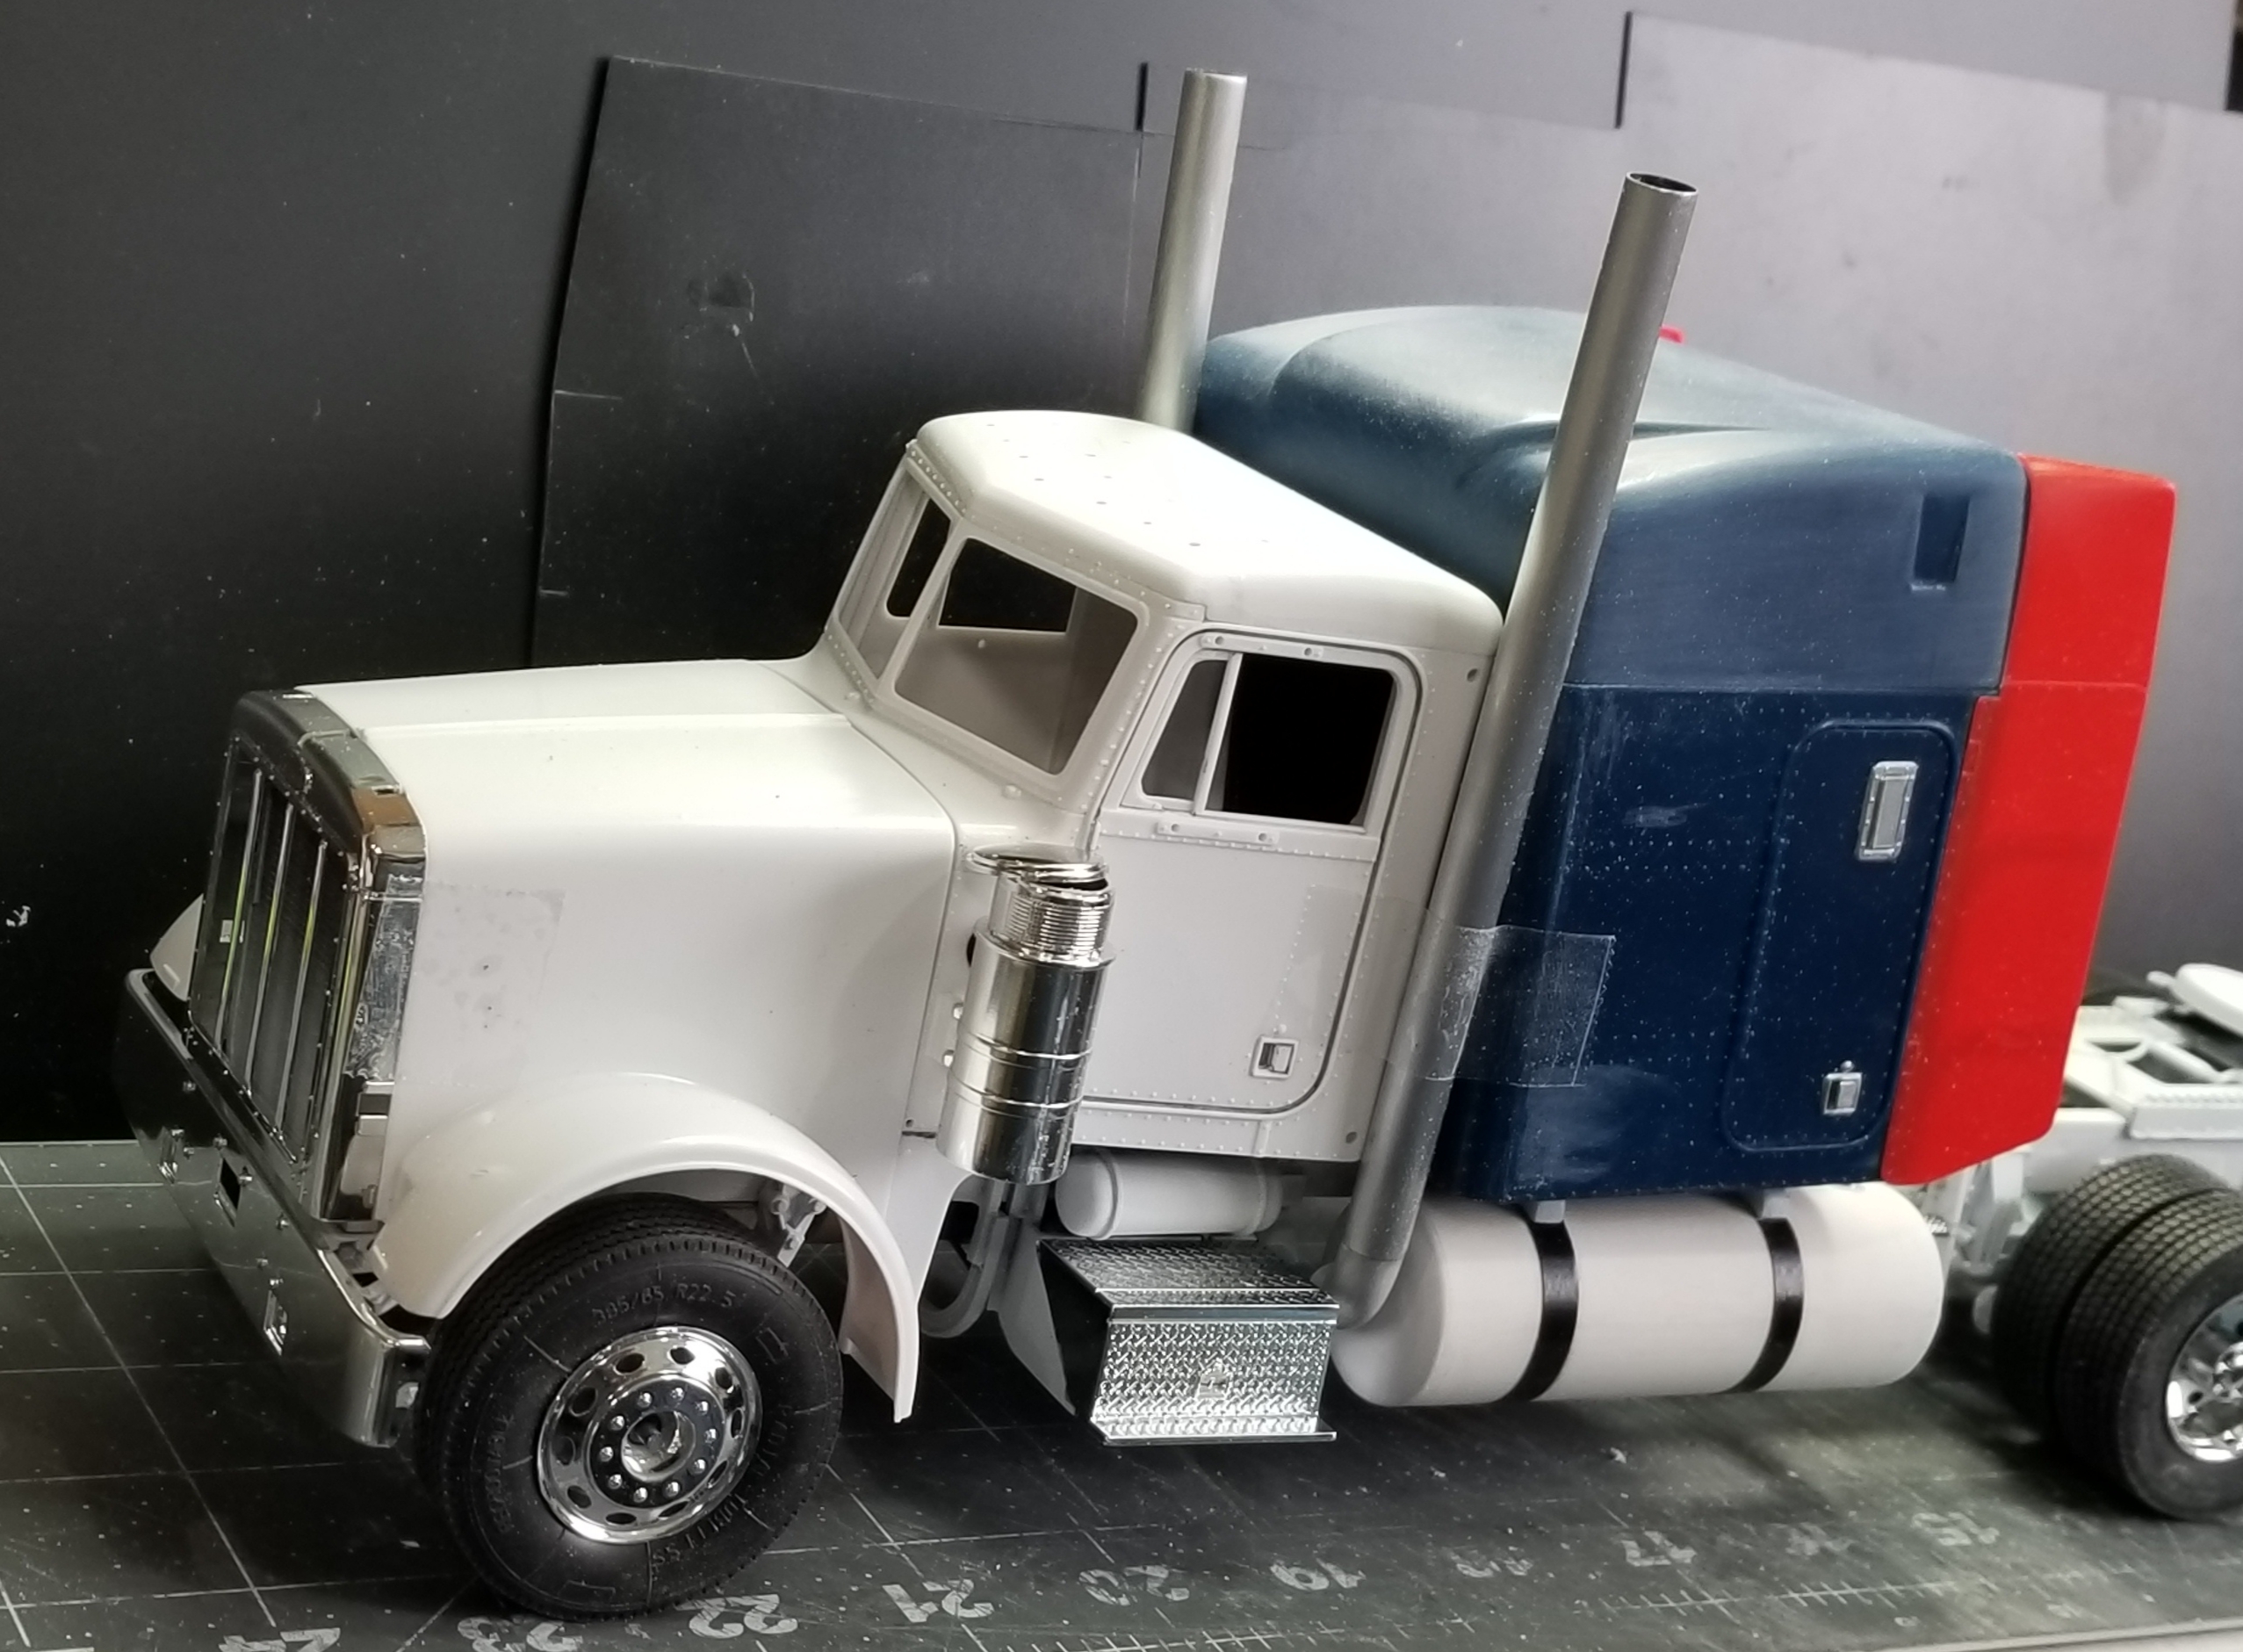
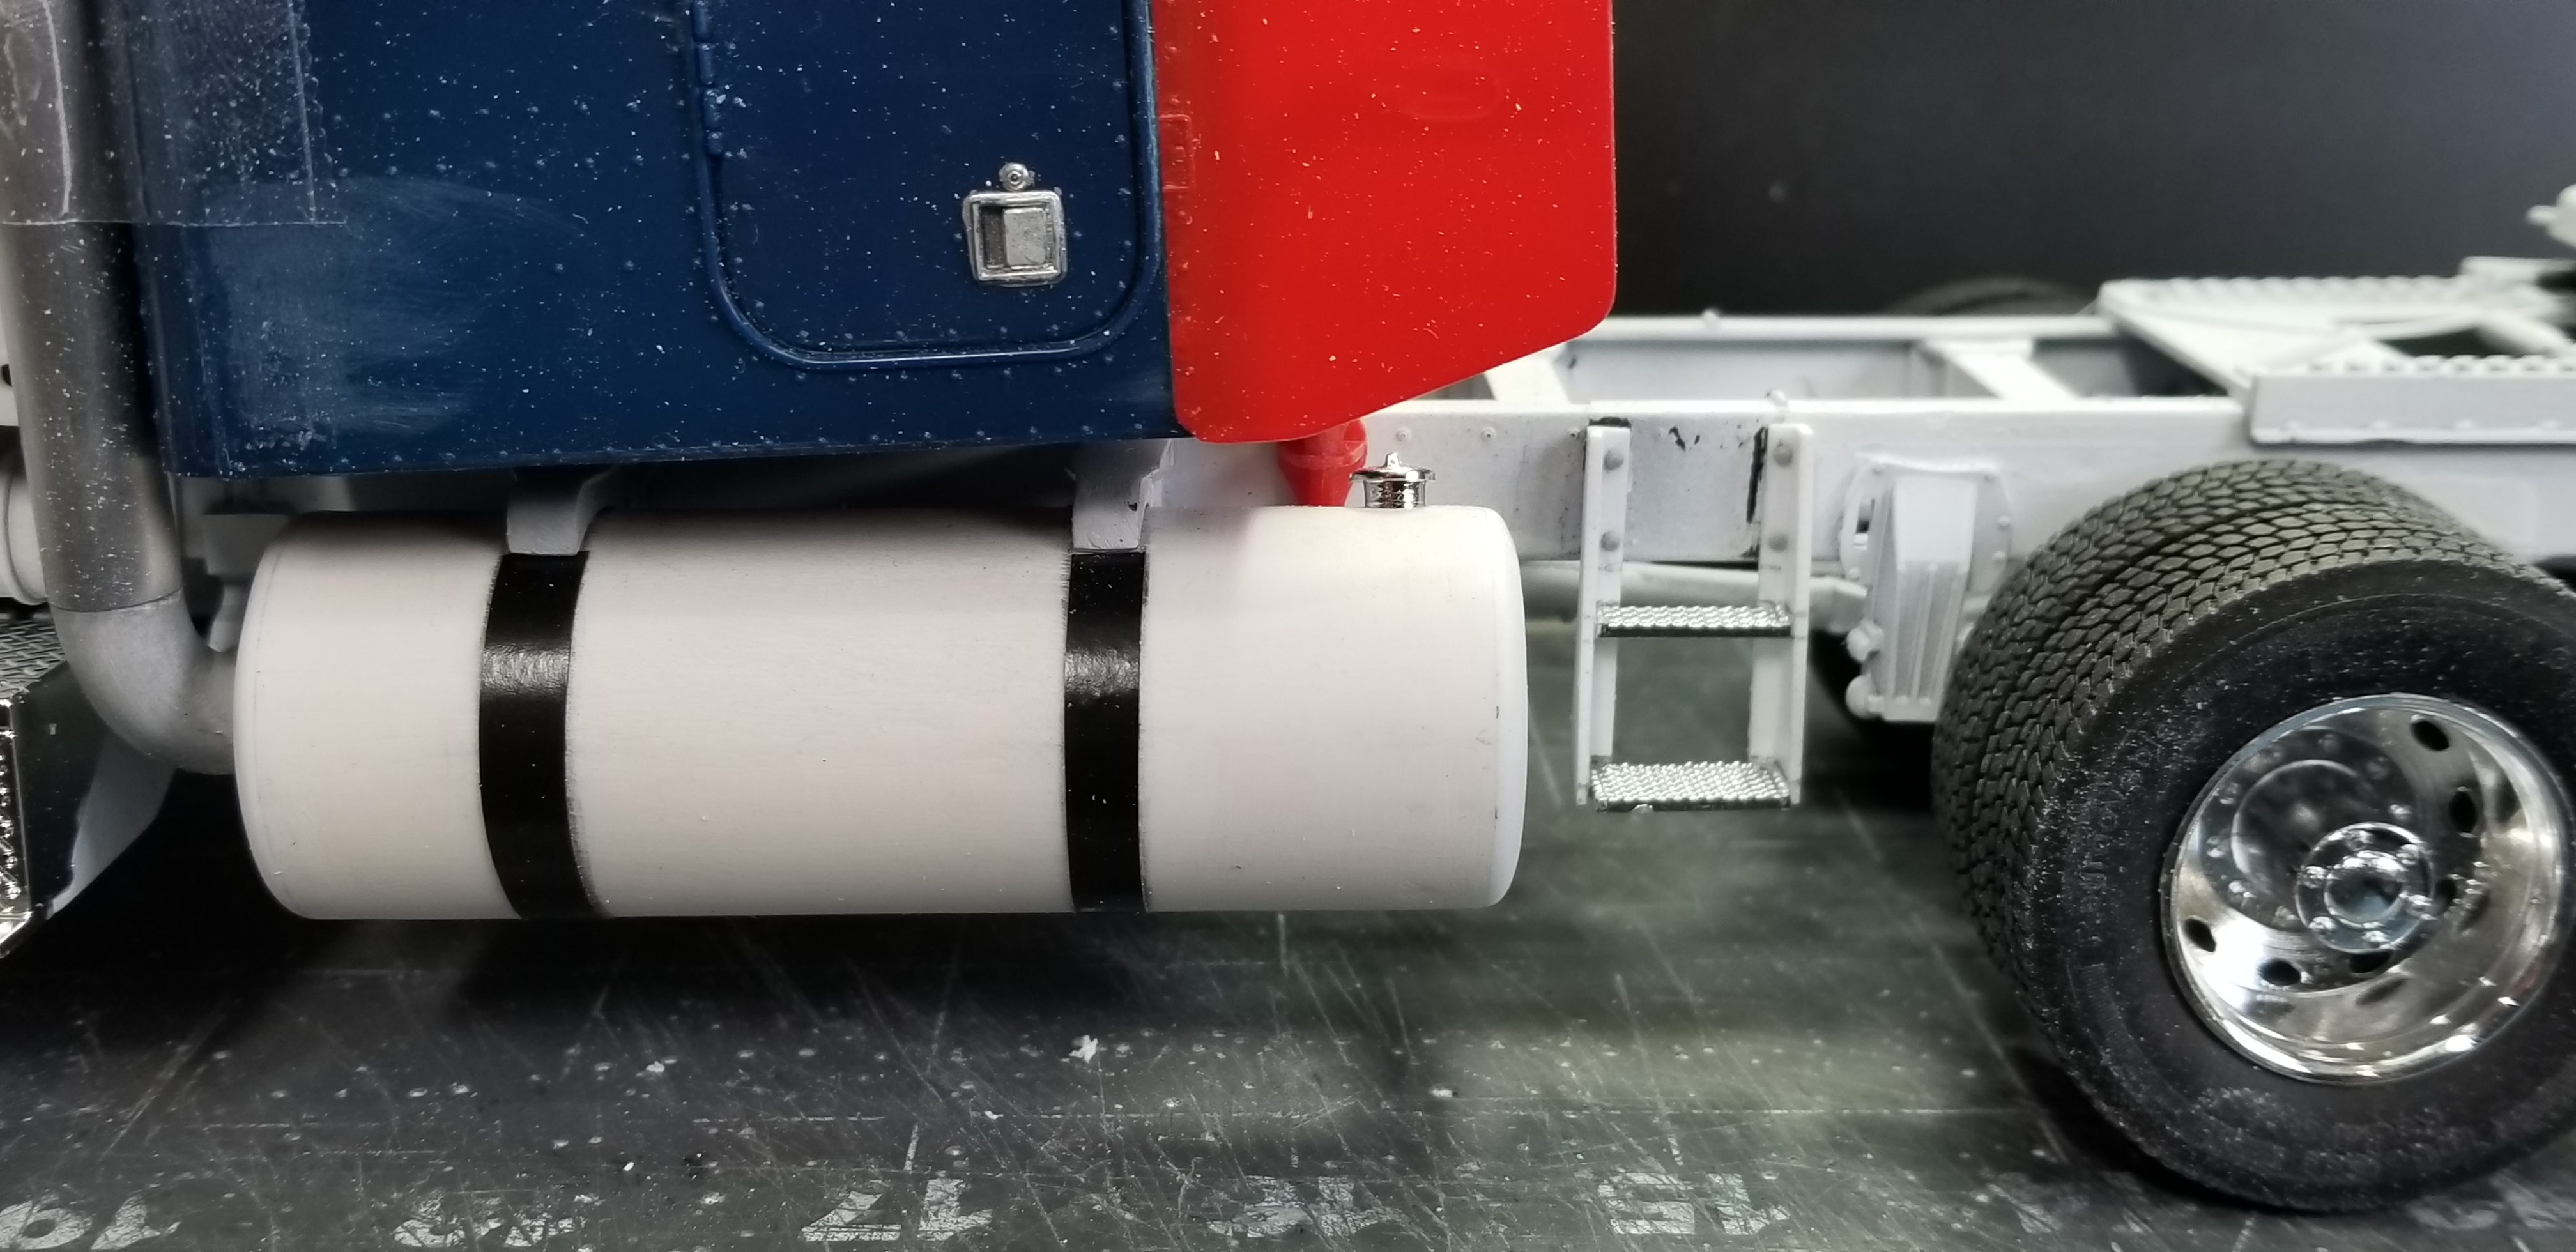
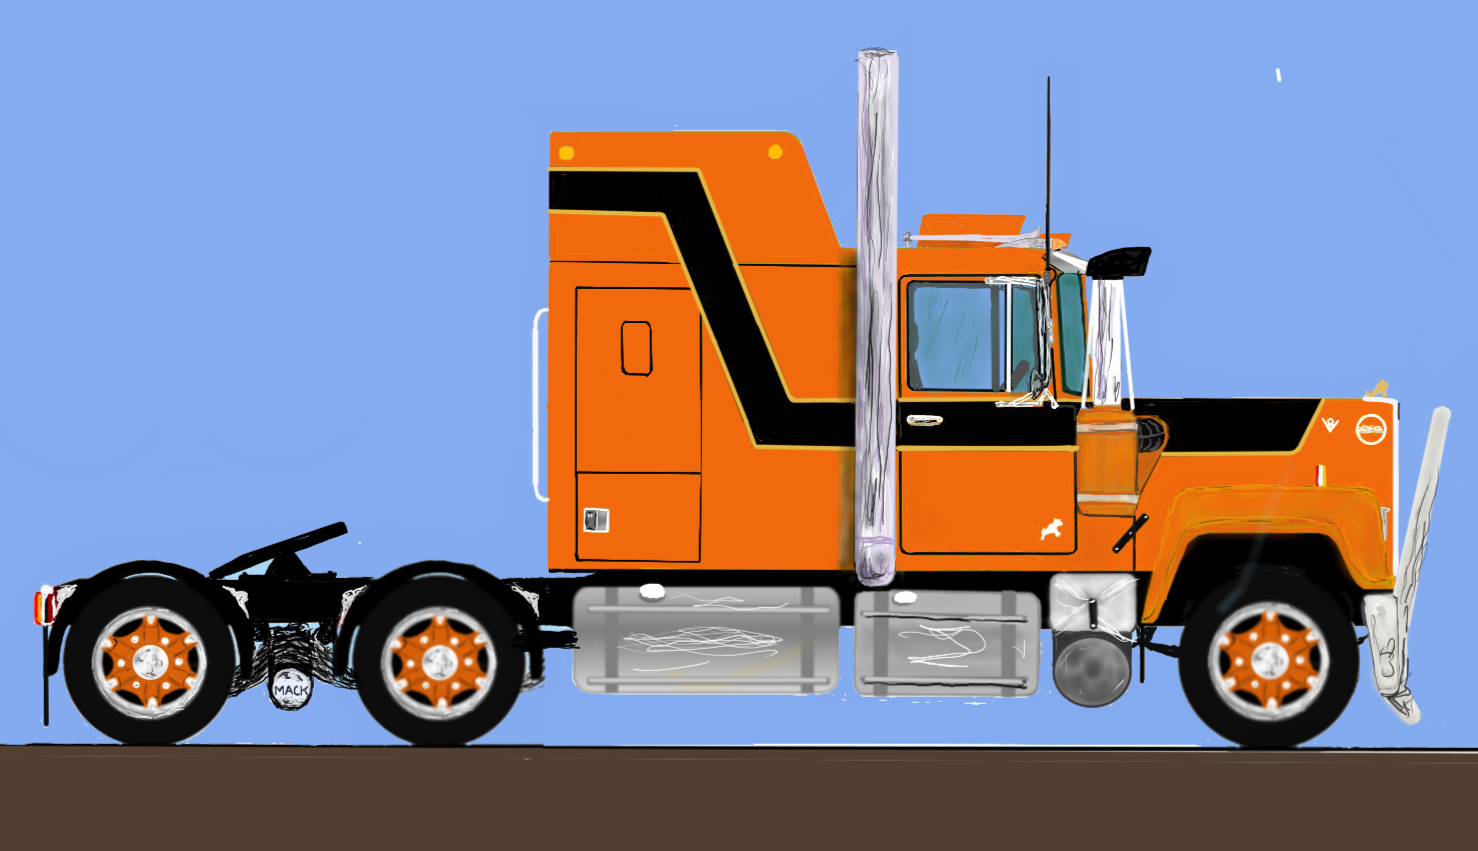
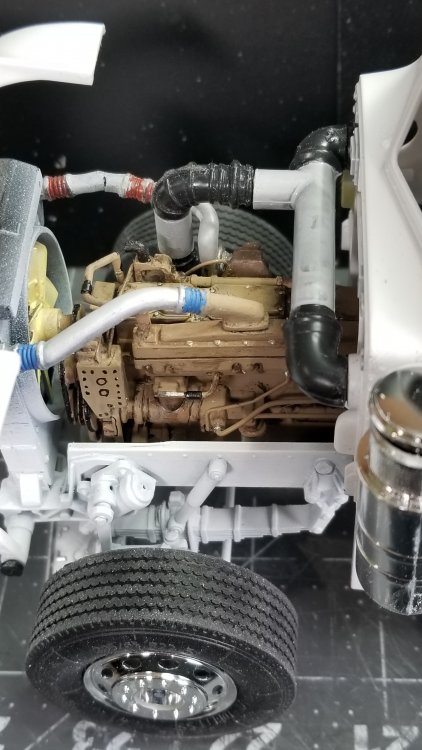
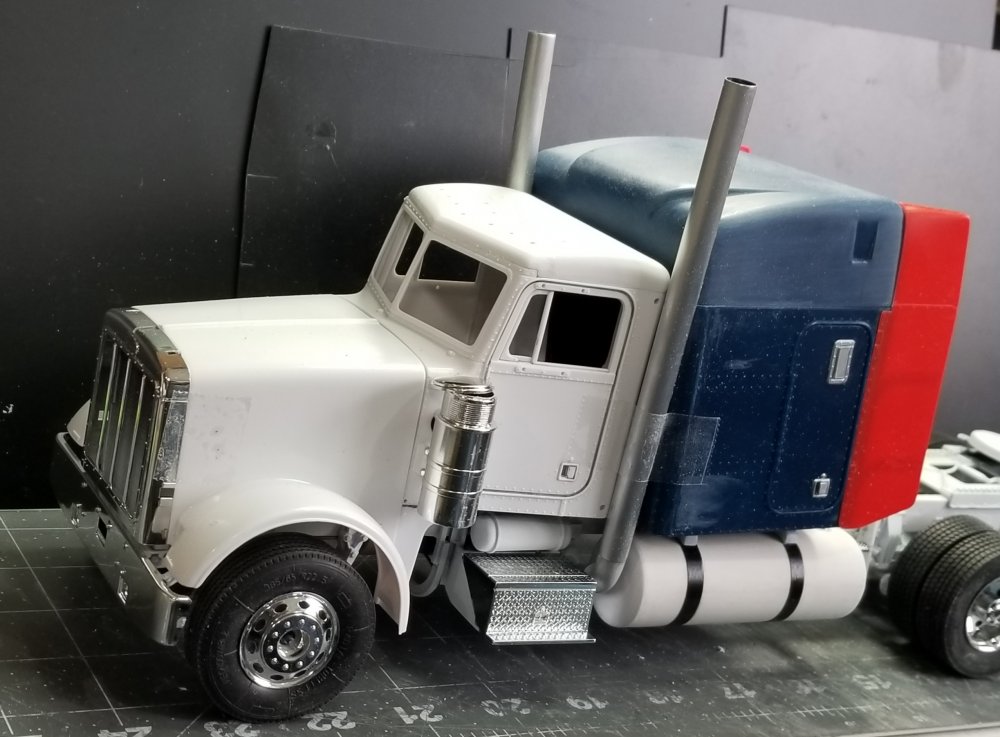
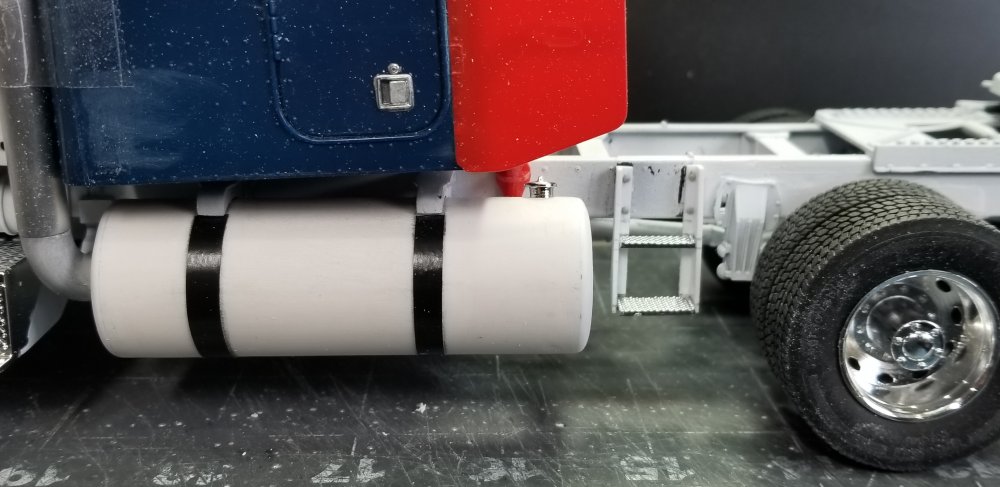
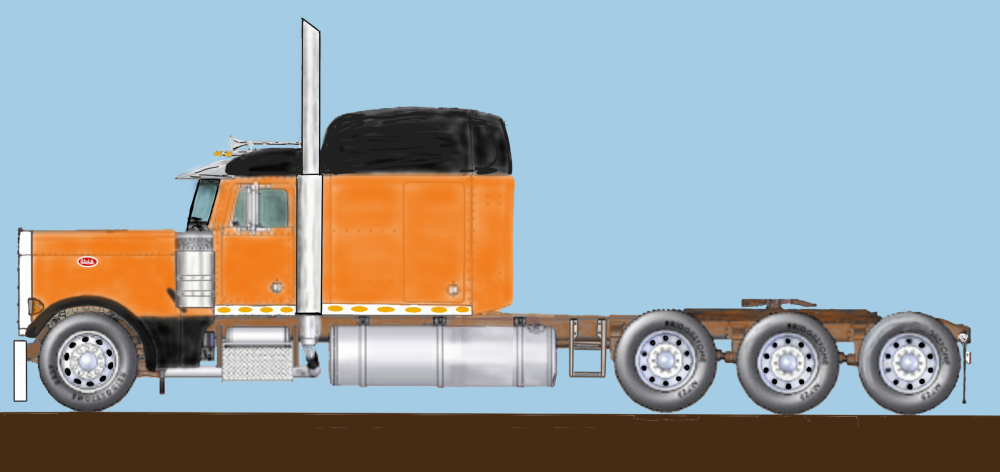
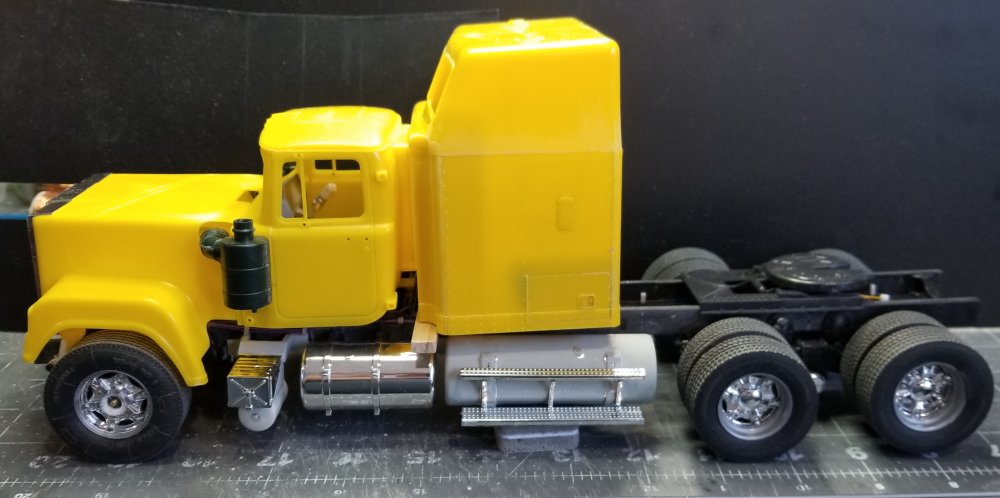
Hey all It's been a while on this build. I did some more work on the Tri-drive Pete. I made new longer tanks out of some 3/4" (1.05" O.D.) pvc pipe and ends from some 0.08" plastic sheet. I also made a rear step to get up on the frame to hook up the air/elec. Lines. I did some more work on the engine intercooler pipes and air intake pipes. So, here are some pictures for you to look at. this view shows the intercooler and air intake pipes. I have to fix the radiator, it's crooked!!!... damn! Oh well no big deal. view from the front of the truck showing the exhaust pipes and the fuel tank. this view shows the custom fuel tank. I put the left one on the right and the right one on the left.. duhh! Oh well it's put together just for pictures. You can see the step in this view. this view shows the paint scheme I'm going for. Dark orange frame, orange hood, cab and sleeper with black top and lower front area. Well that's it for now be back with more soon. Ron G
-
This is for Jeff
CrankyCrafstman replied to CrankyCrafstman's topic in LSM 1/35 and Larger Work In Progress
Hey Jeff Not really a update, just a final paint scheme picture.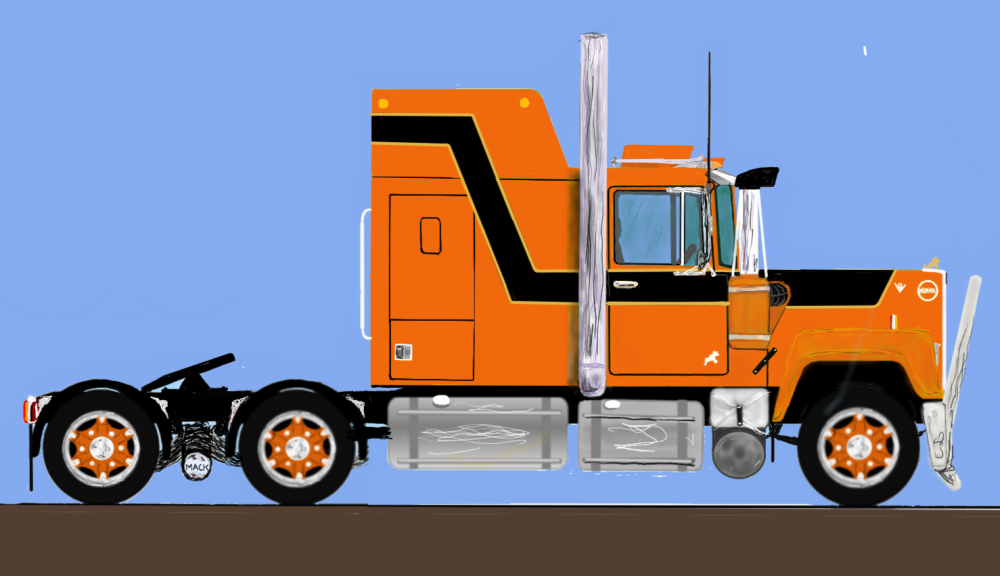
-
THAT IS NOT A MUSTANG!!! It's a escort with a horse emblem. Ron G
- 2,035 replies
-
- 2
-

-
- car related stuff
- anything about cars
- (and 6 more)
-
This is for Jeff
CrankyCrafstman replied to CrankyCrafstman's topic in LSM 1/35 and Larger Work In Progress
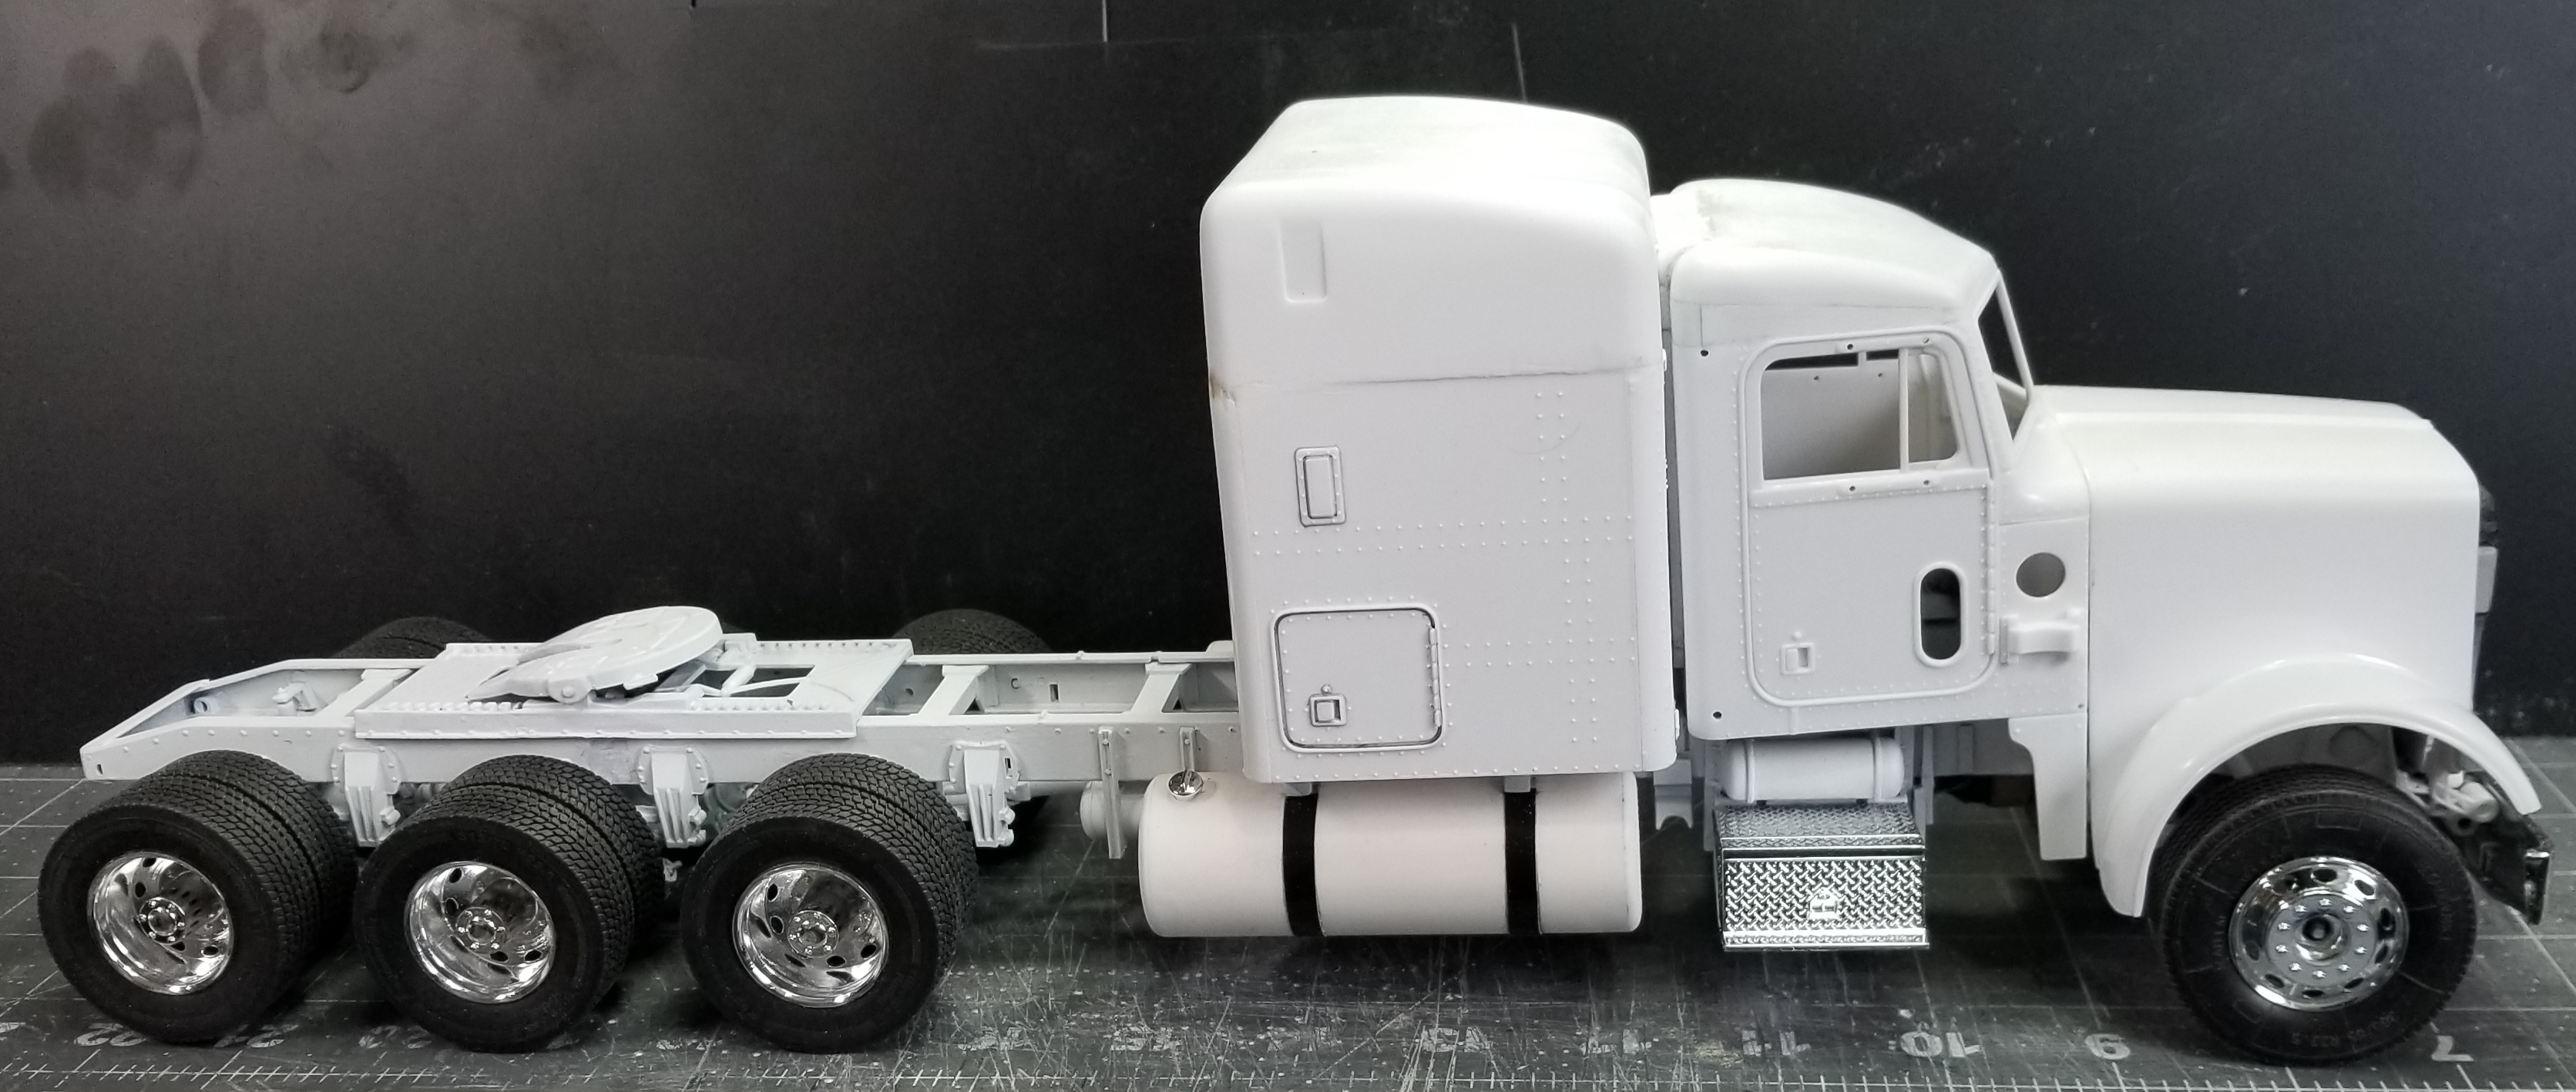
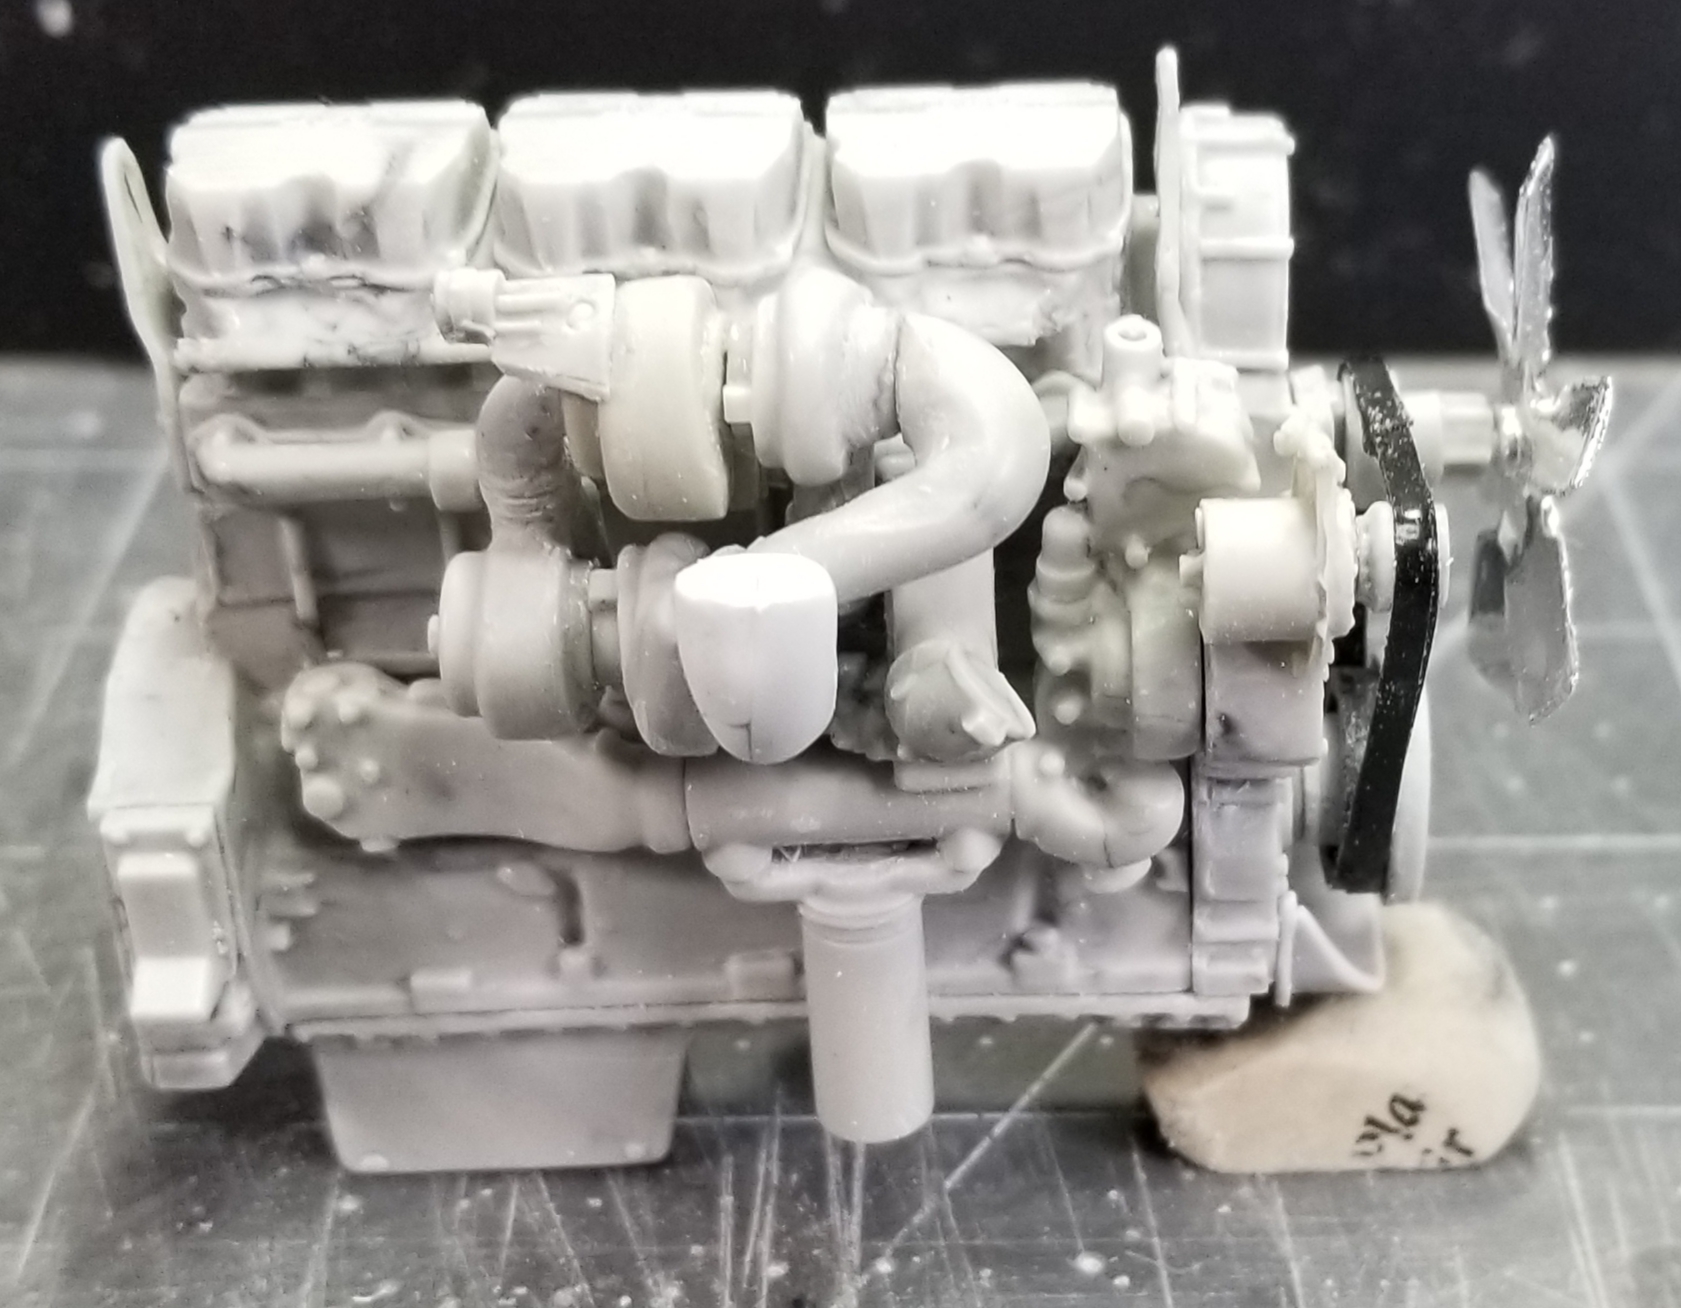
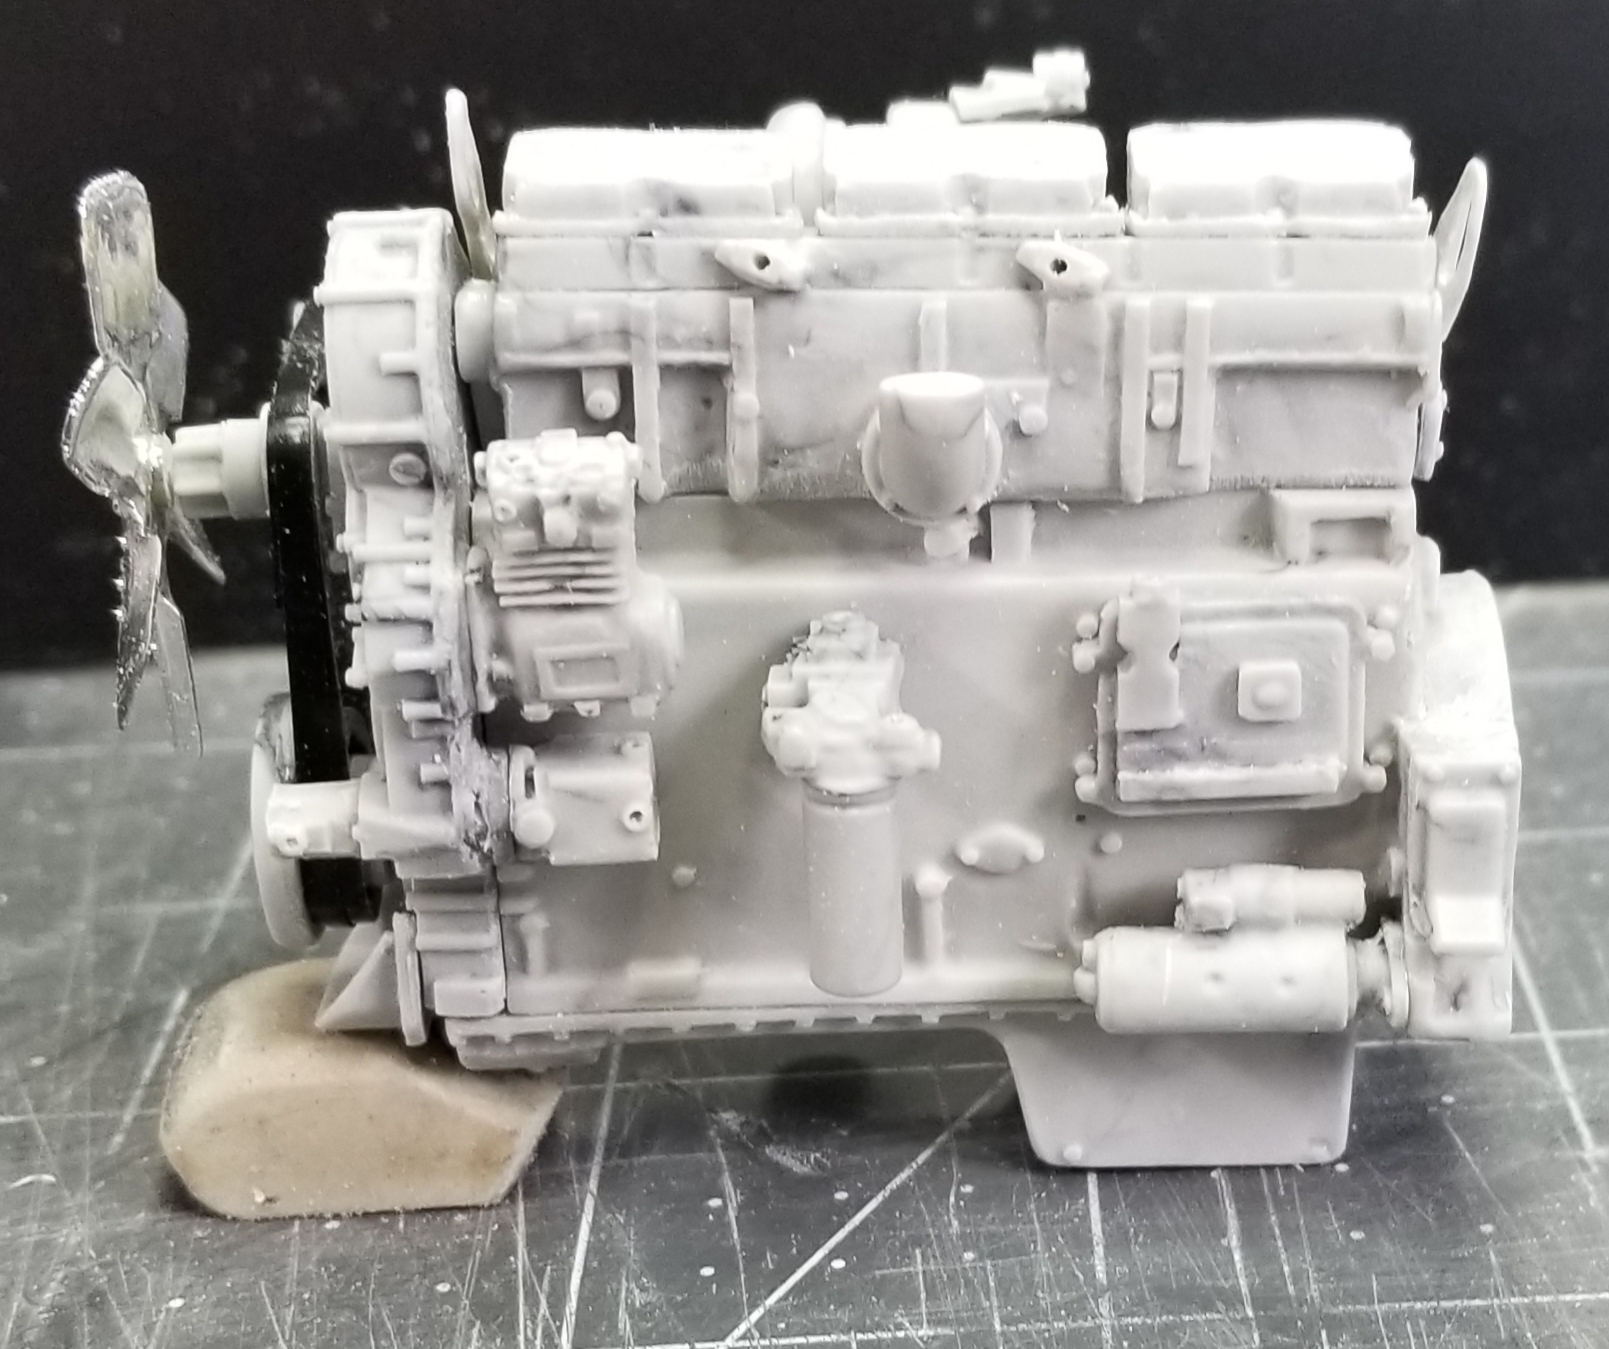
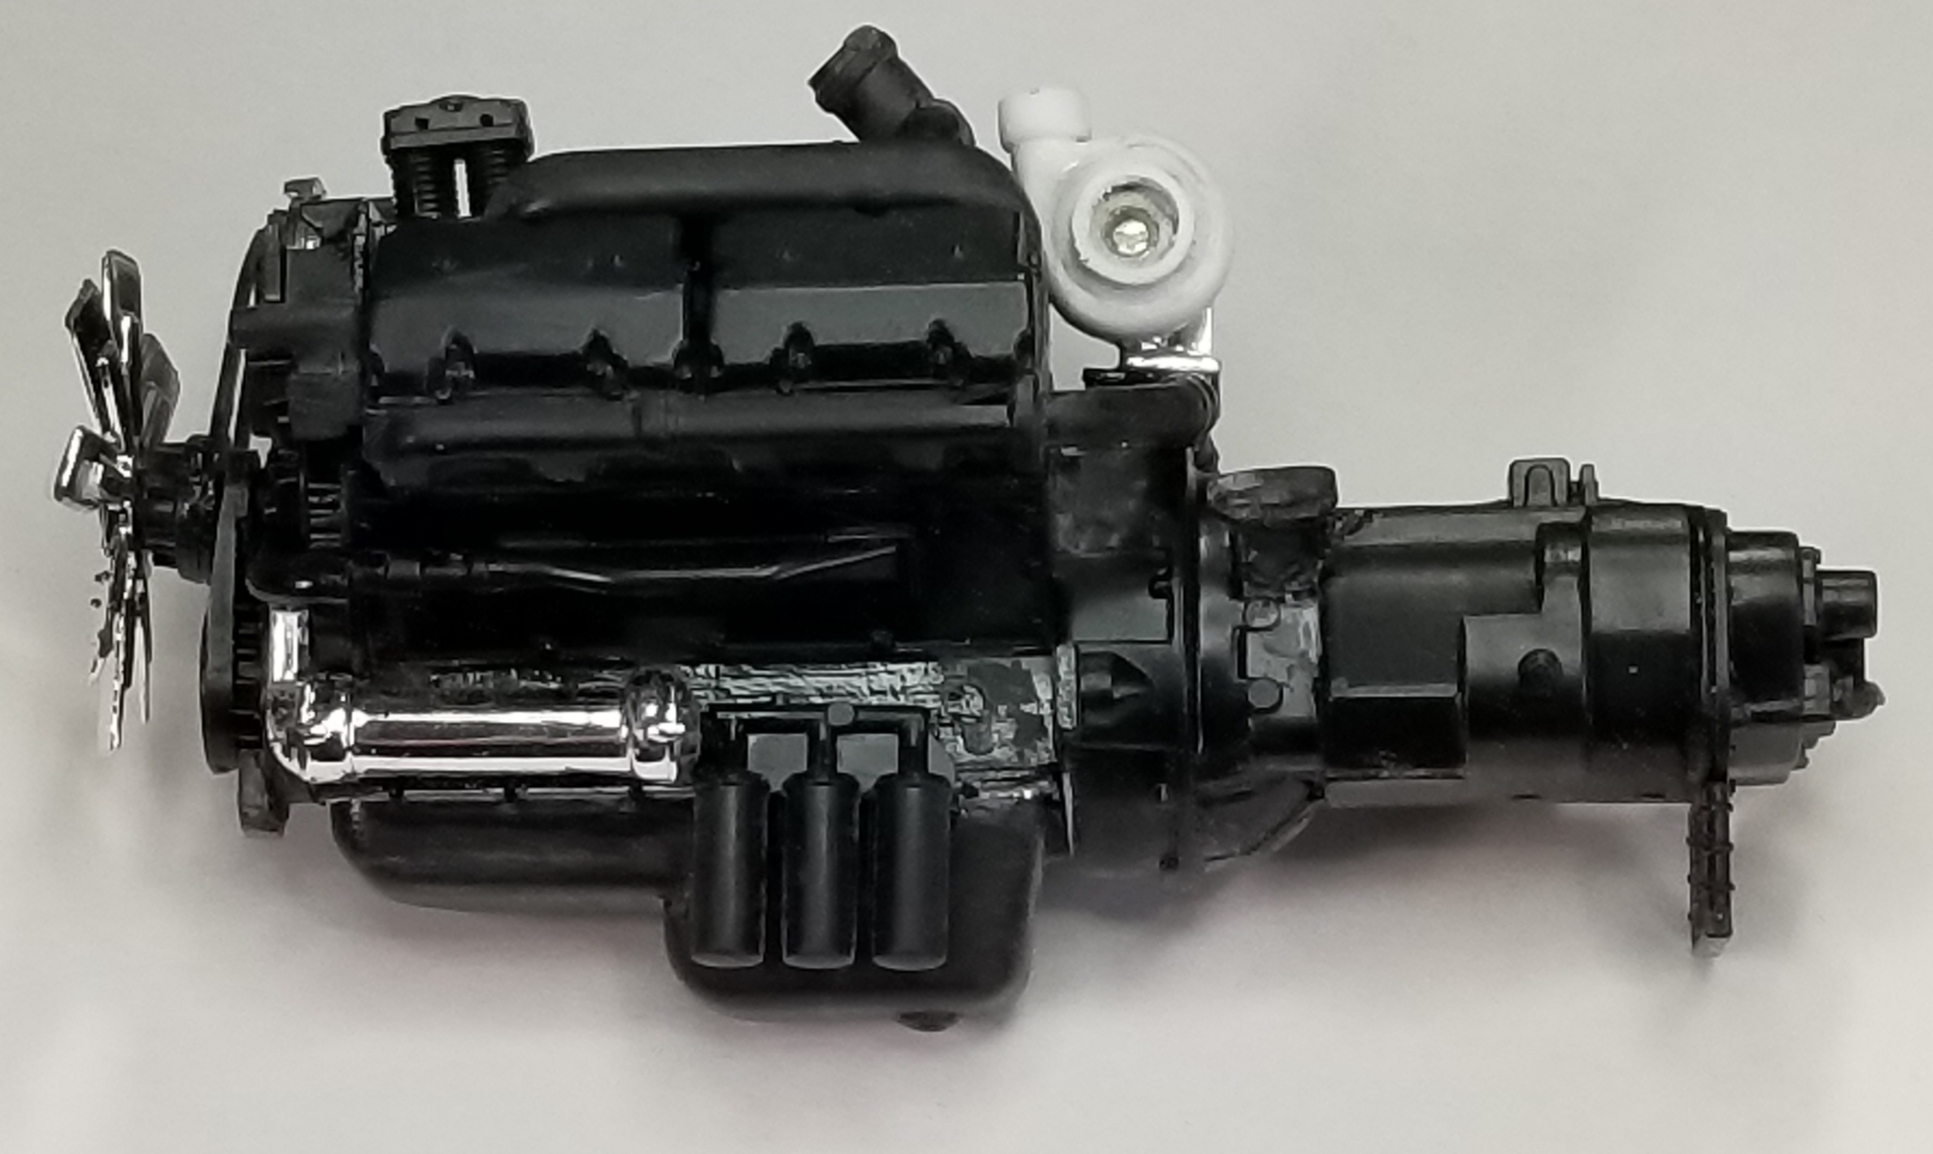
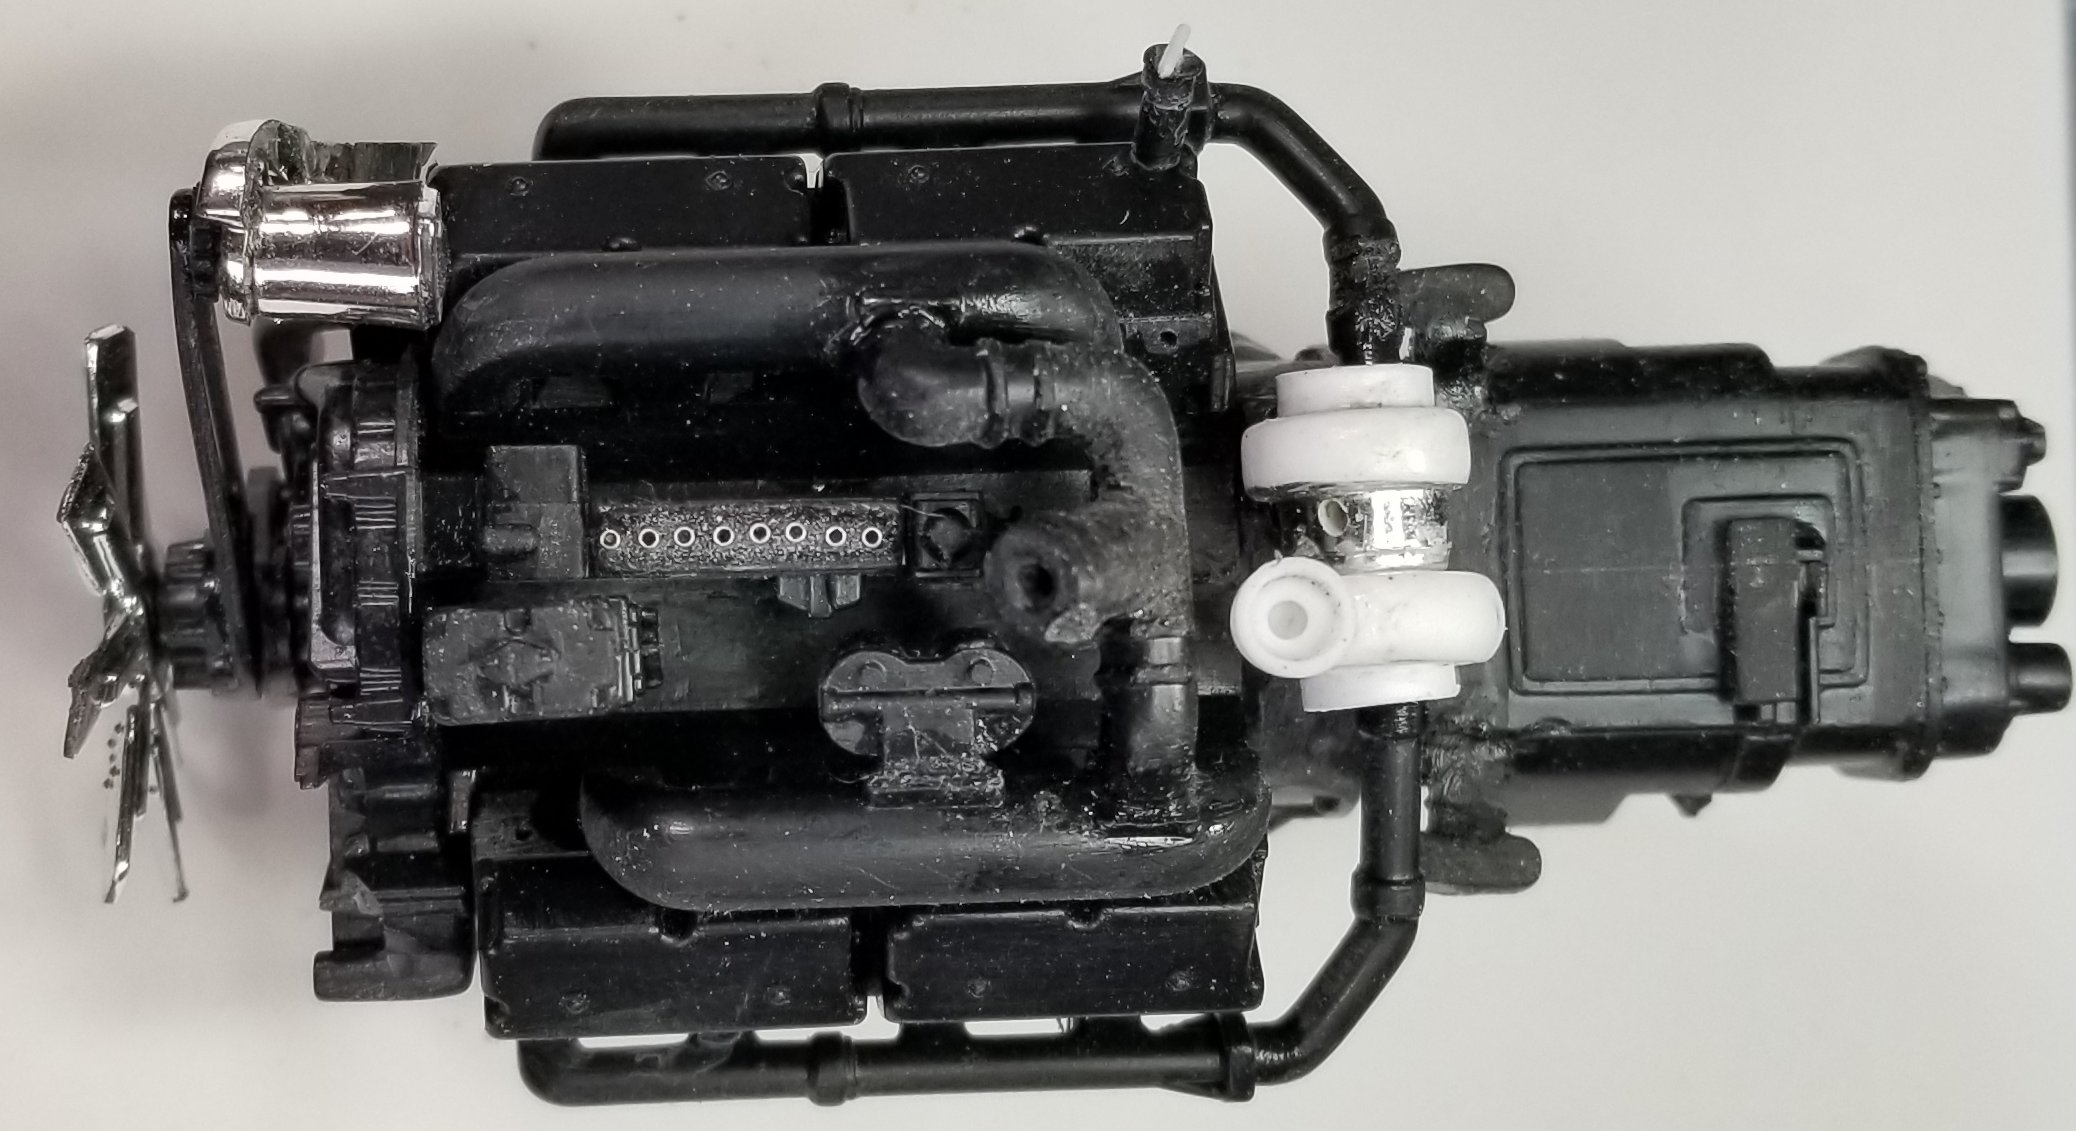
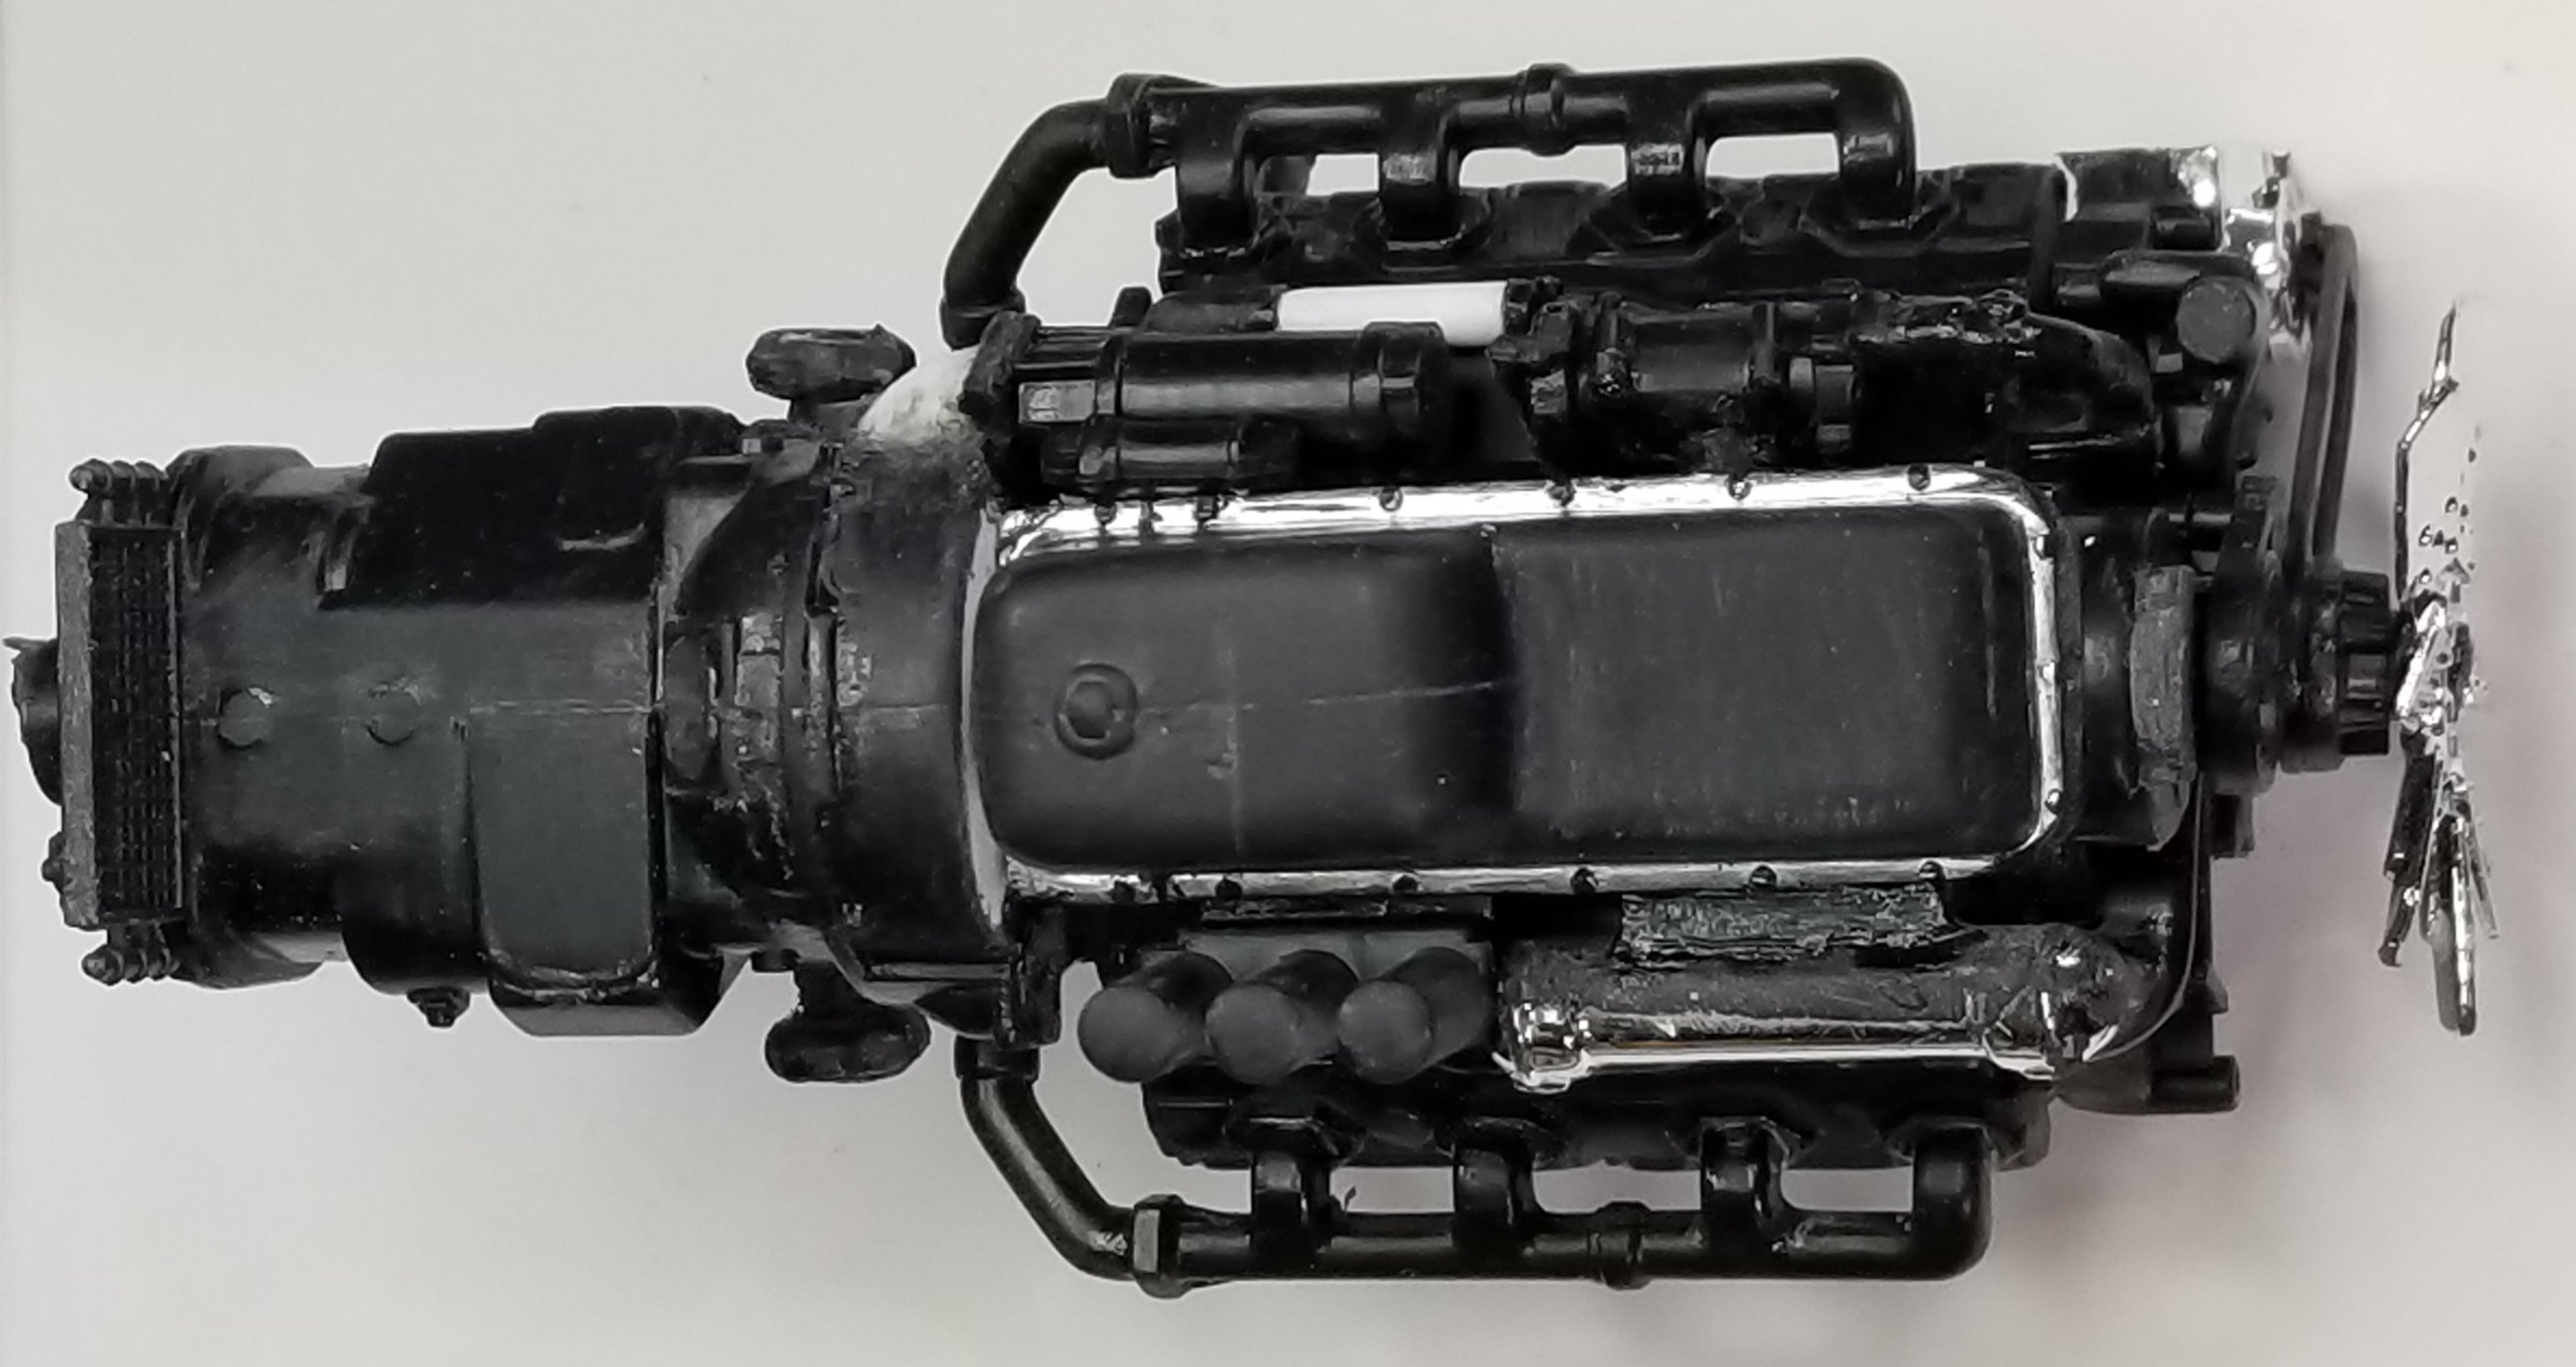
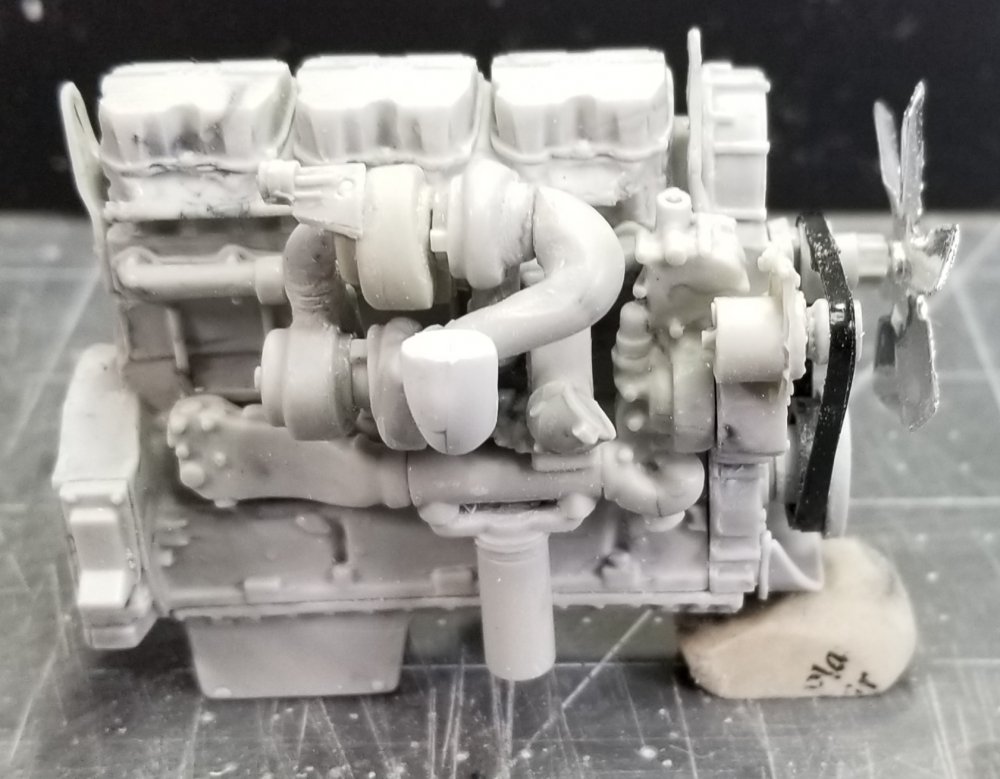
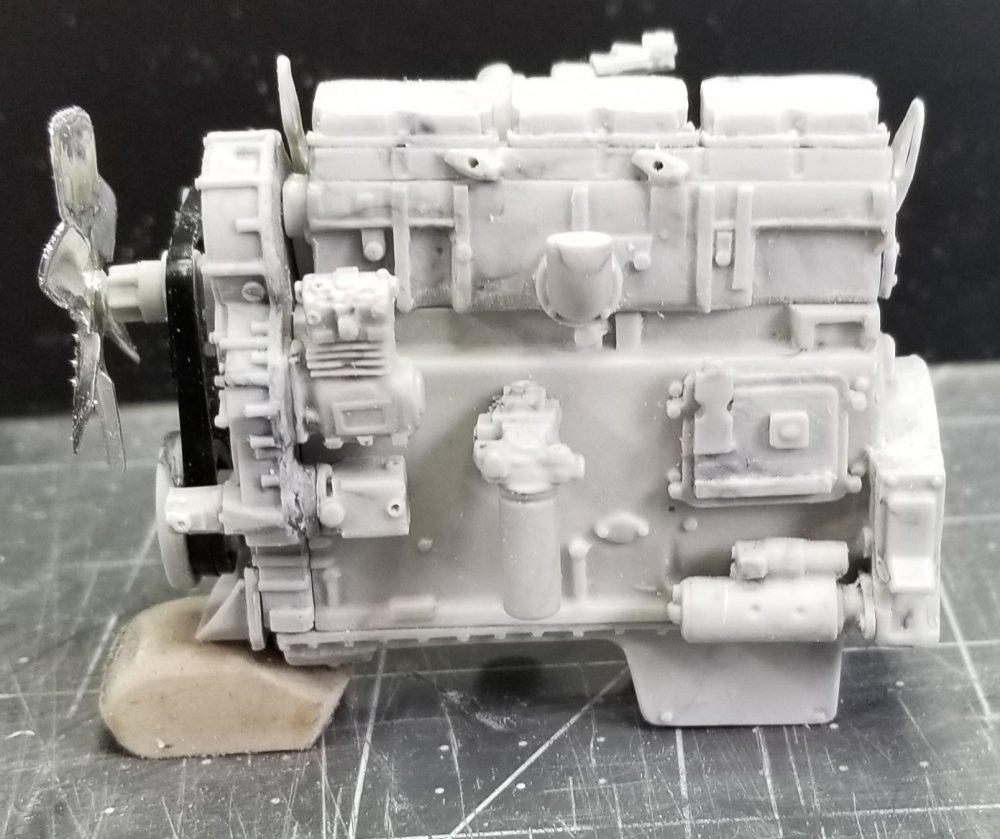
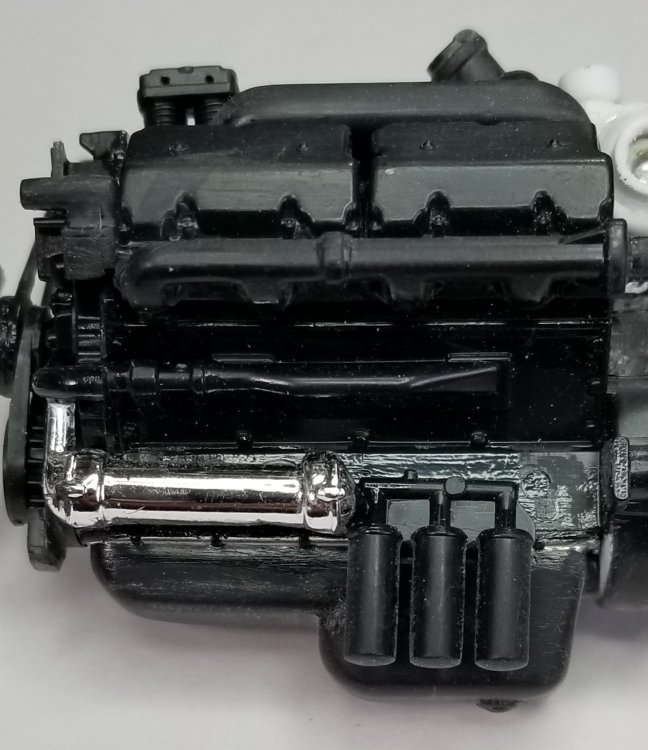
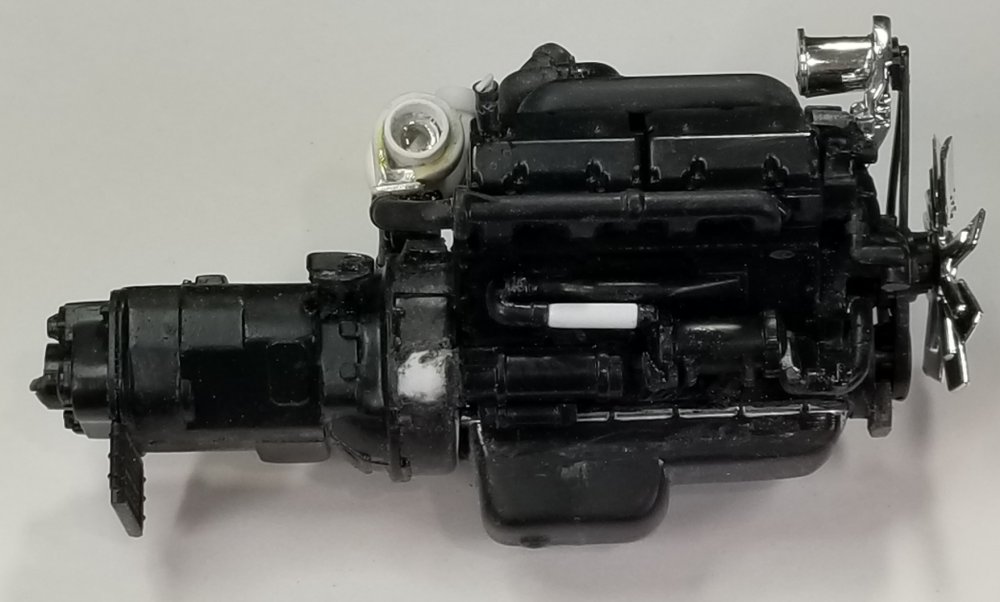
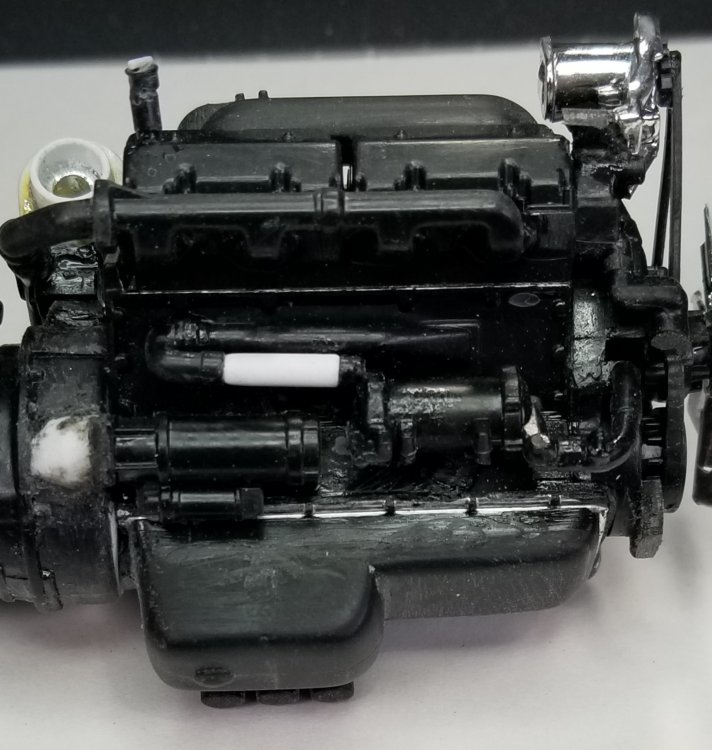
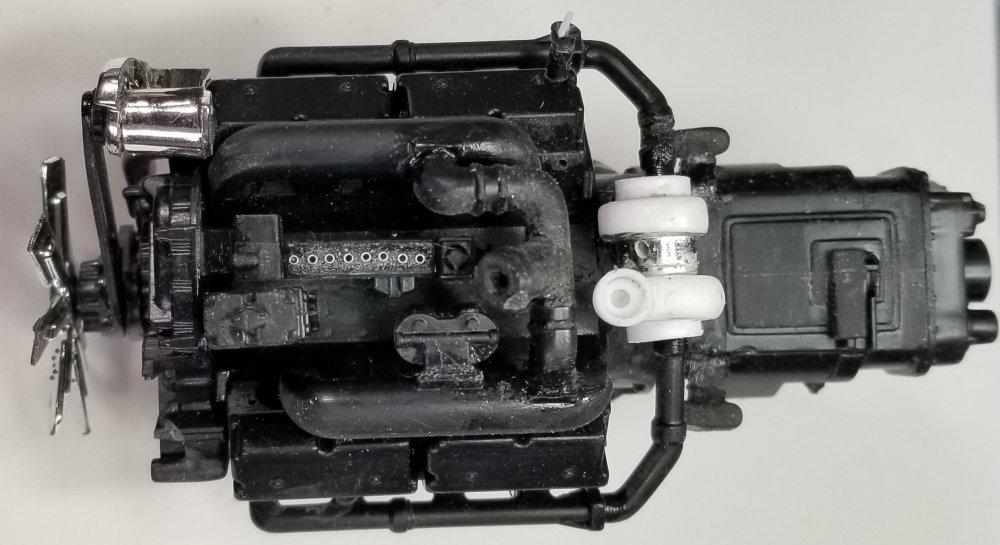
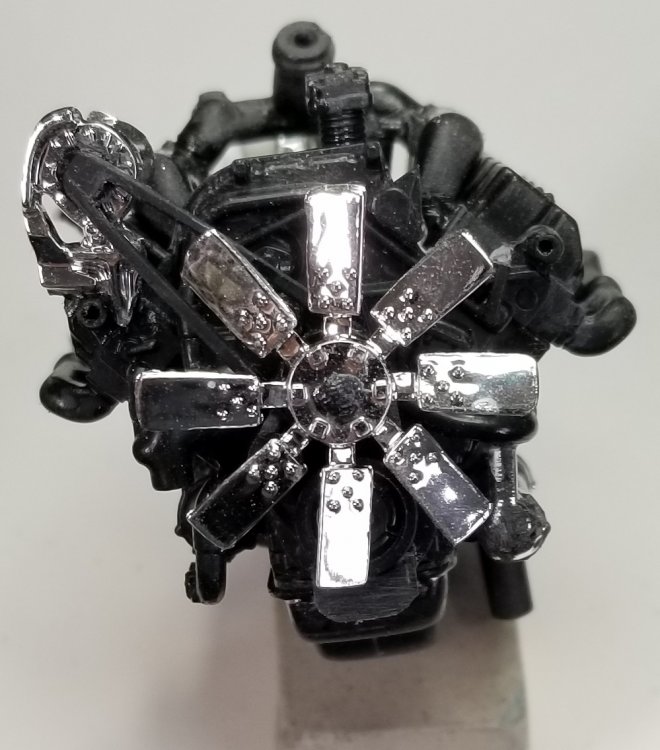
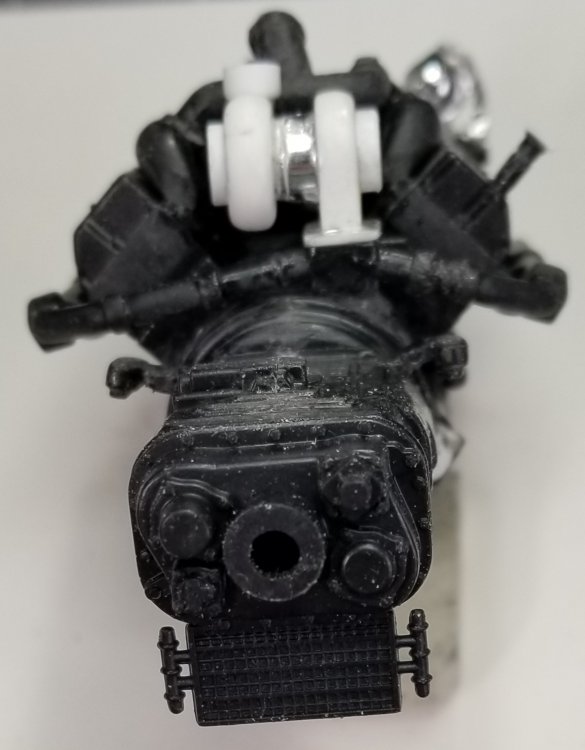
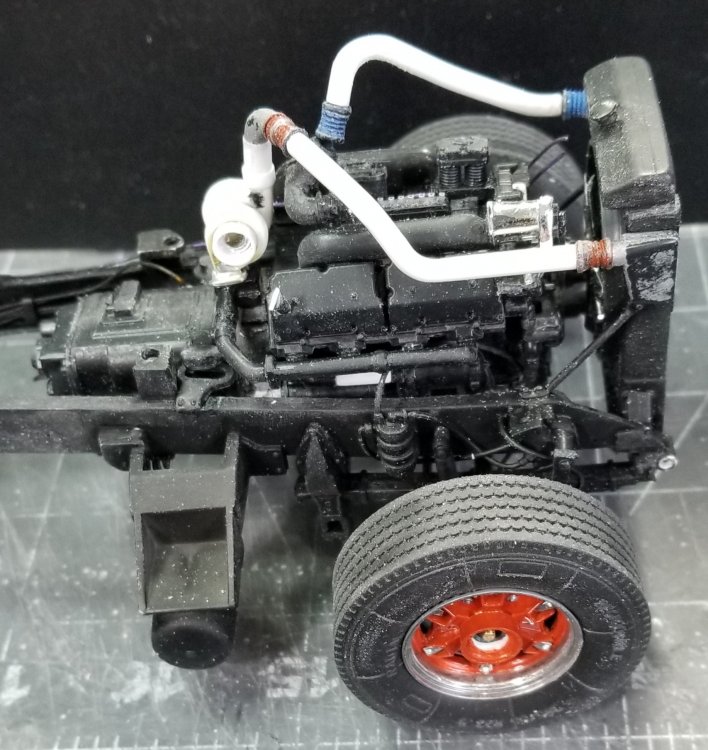
Ok, here you go Jeff. I have the E9 together. I had to do some modifications to it to make it more like a actual E9, not a European version. I had to move the starter from this side to the other side also I added the chrome part to make the oil cooler. I put the rear piece from the Cummins NTC-400 with the trans cooler on the E9 transmission. closer view of the oil cooler and oil filters. this view shows the piece I removed from the Maxidyne engine from the DM800 and added to the bell housing for the starter. I also had to modify the part that goes on this side to move it forward to clear the starter. closer view of the changes made to this side. I had to remove the oil pan from the kit supplied E9 for the Renault 360 because it has a front sump and I need a rear sump, so I kit bashed one together from an old oil pan from the parts bin and the left over part of the oil pan from the kit to make the one that is on it. top view of the engine showing the turbos that I added from the parts bin because the kit ones were ass backwards and centered. I also added fuel injector tubes to the fuel injector pump. I also added a piece to the intake manifold cross pipe for the inter cooler pipes. I still have to add the fuel lines and the rest of the plumbing. bottom view showing the oil pan and other parts. this view shows the fan and the alternator form the DM800. I made a fan belt for this because the kits alternator was on the other side. I still need to add a fuel filter by the alternator. this view shows the turbos and the modes I had to make to get them to fit. this view shows the engine sitting in the frame and the inter cooler pipes in place. this view shows the inter cooler pipes. view from the other side showing the inter cooler pipes. I have to modify them because they sit to tall and the hood won't close. this view shows everything together. I painted the wheel centers a dark orange and Molotow chrome on the rims and details. Well that's it for now be back with more updates soon. Ron G


-
Nice to have, cause you sure don't want to loose one of those etsy bitsy needles...lol
-
This is for Jeff
CrankyCrafstman replied to CrankyCrafstman's topic in LSM 1/35 and Larger Work In Progress
Hey Jeff The 1/24 Renault 360 from Italeri showed up today. I got started on the E9 engine, it's a little bigger than the engine from the AMT DM800, but I believe it will fit, although pretty tight. I didn't get any pictures today but I will tomorrow. Ron G -
This is for Jeff
CrankyCrafstman replied to CrankyCrafstman's topic in LSM 1/35 and Larger Work In Progress
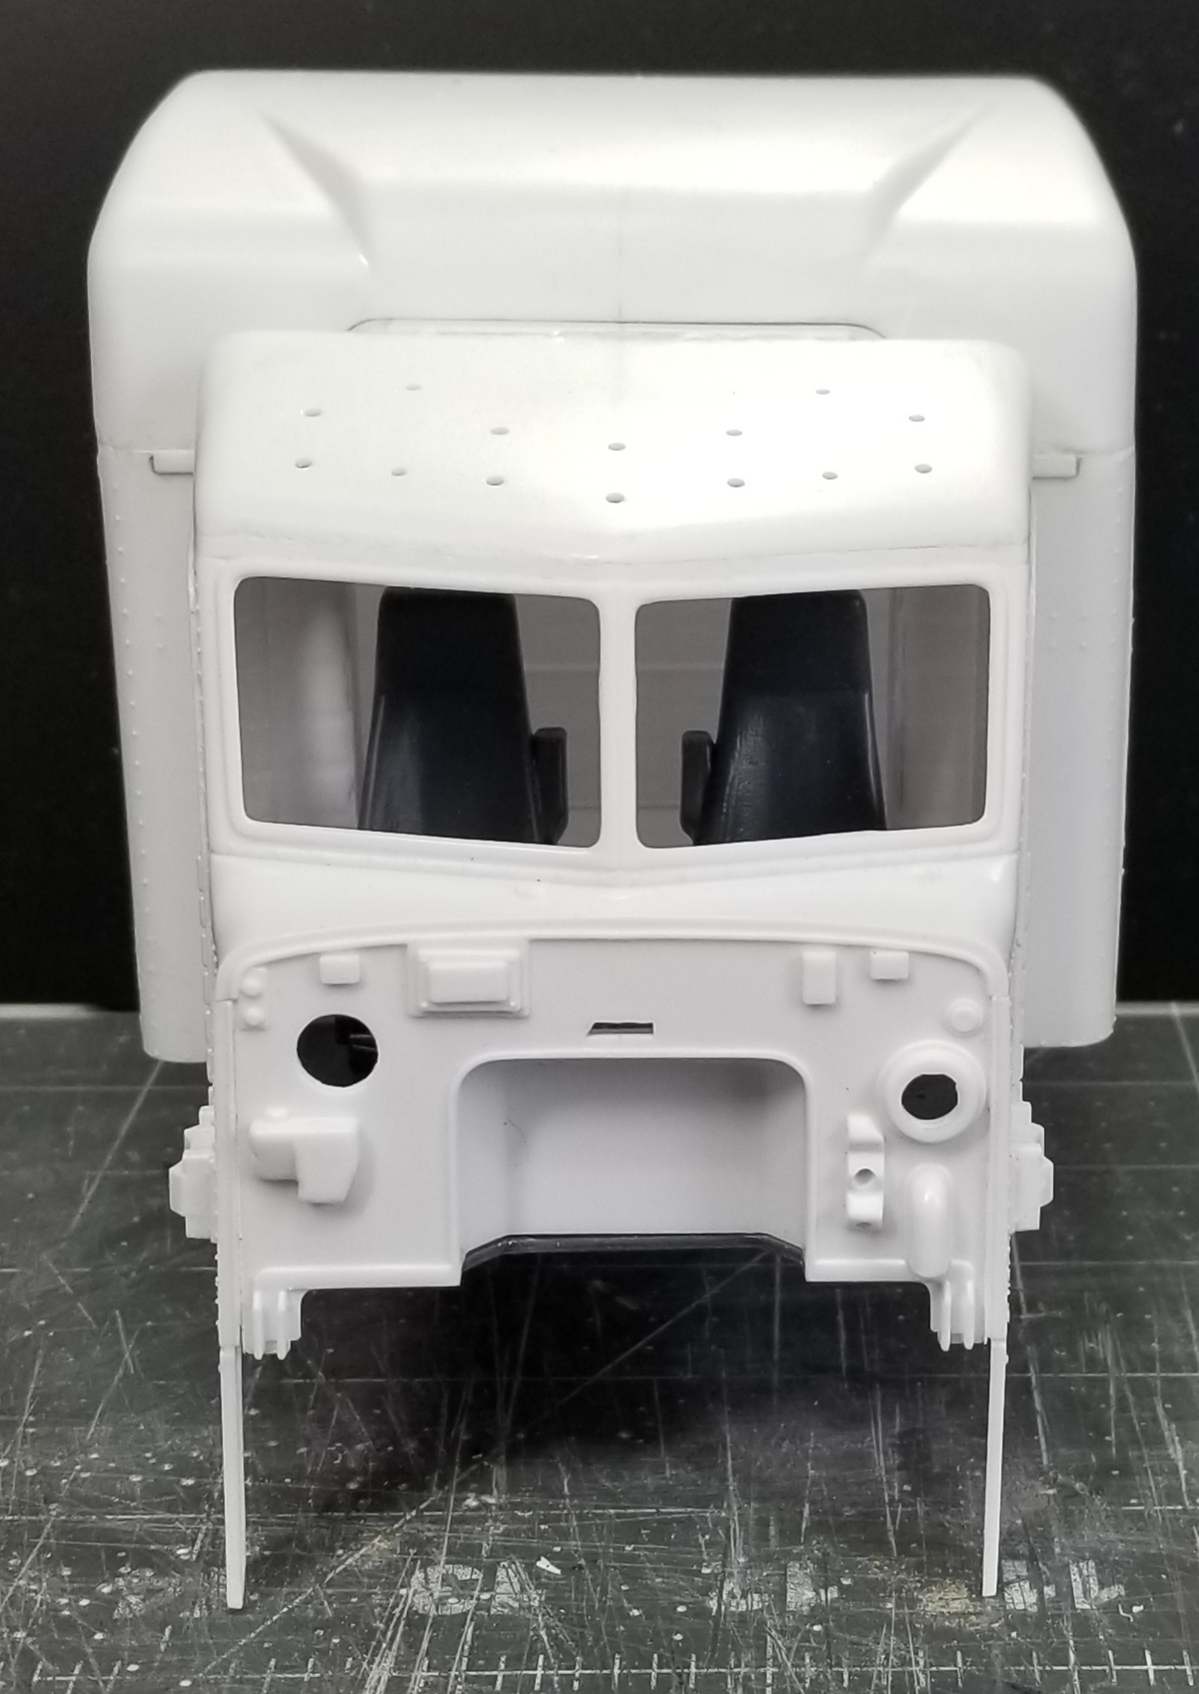
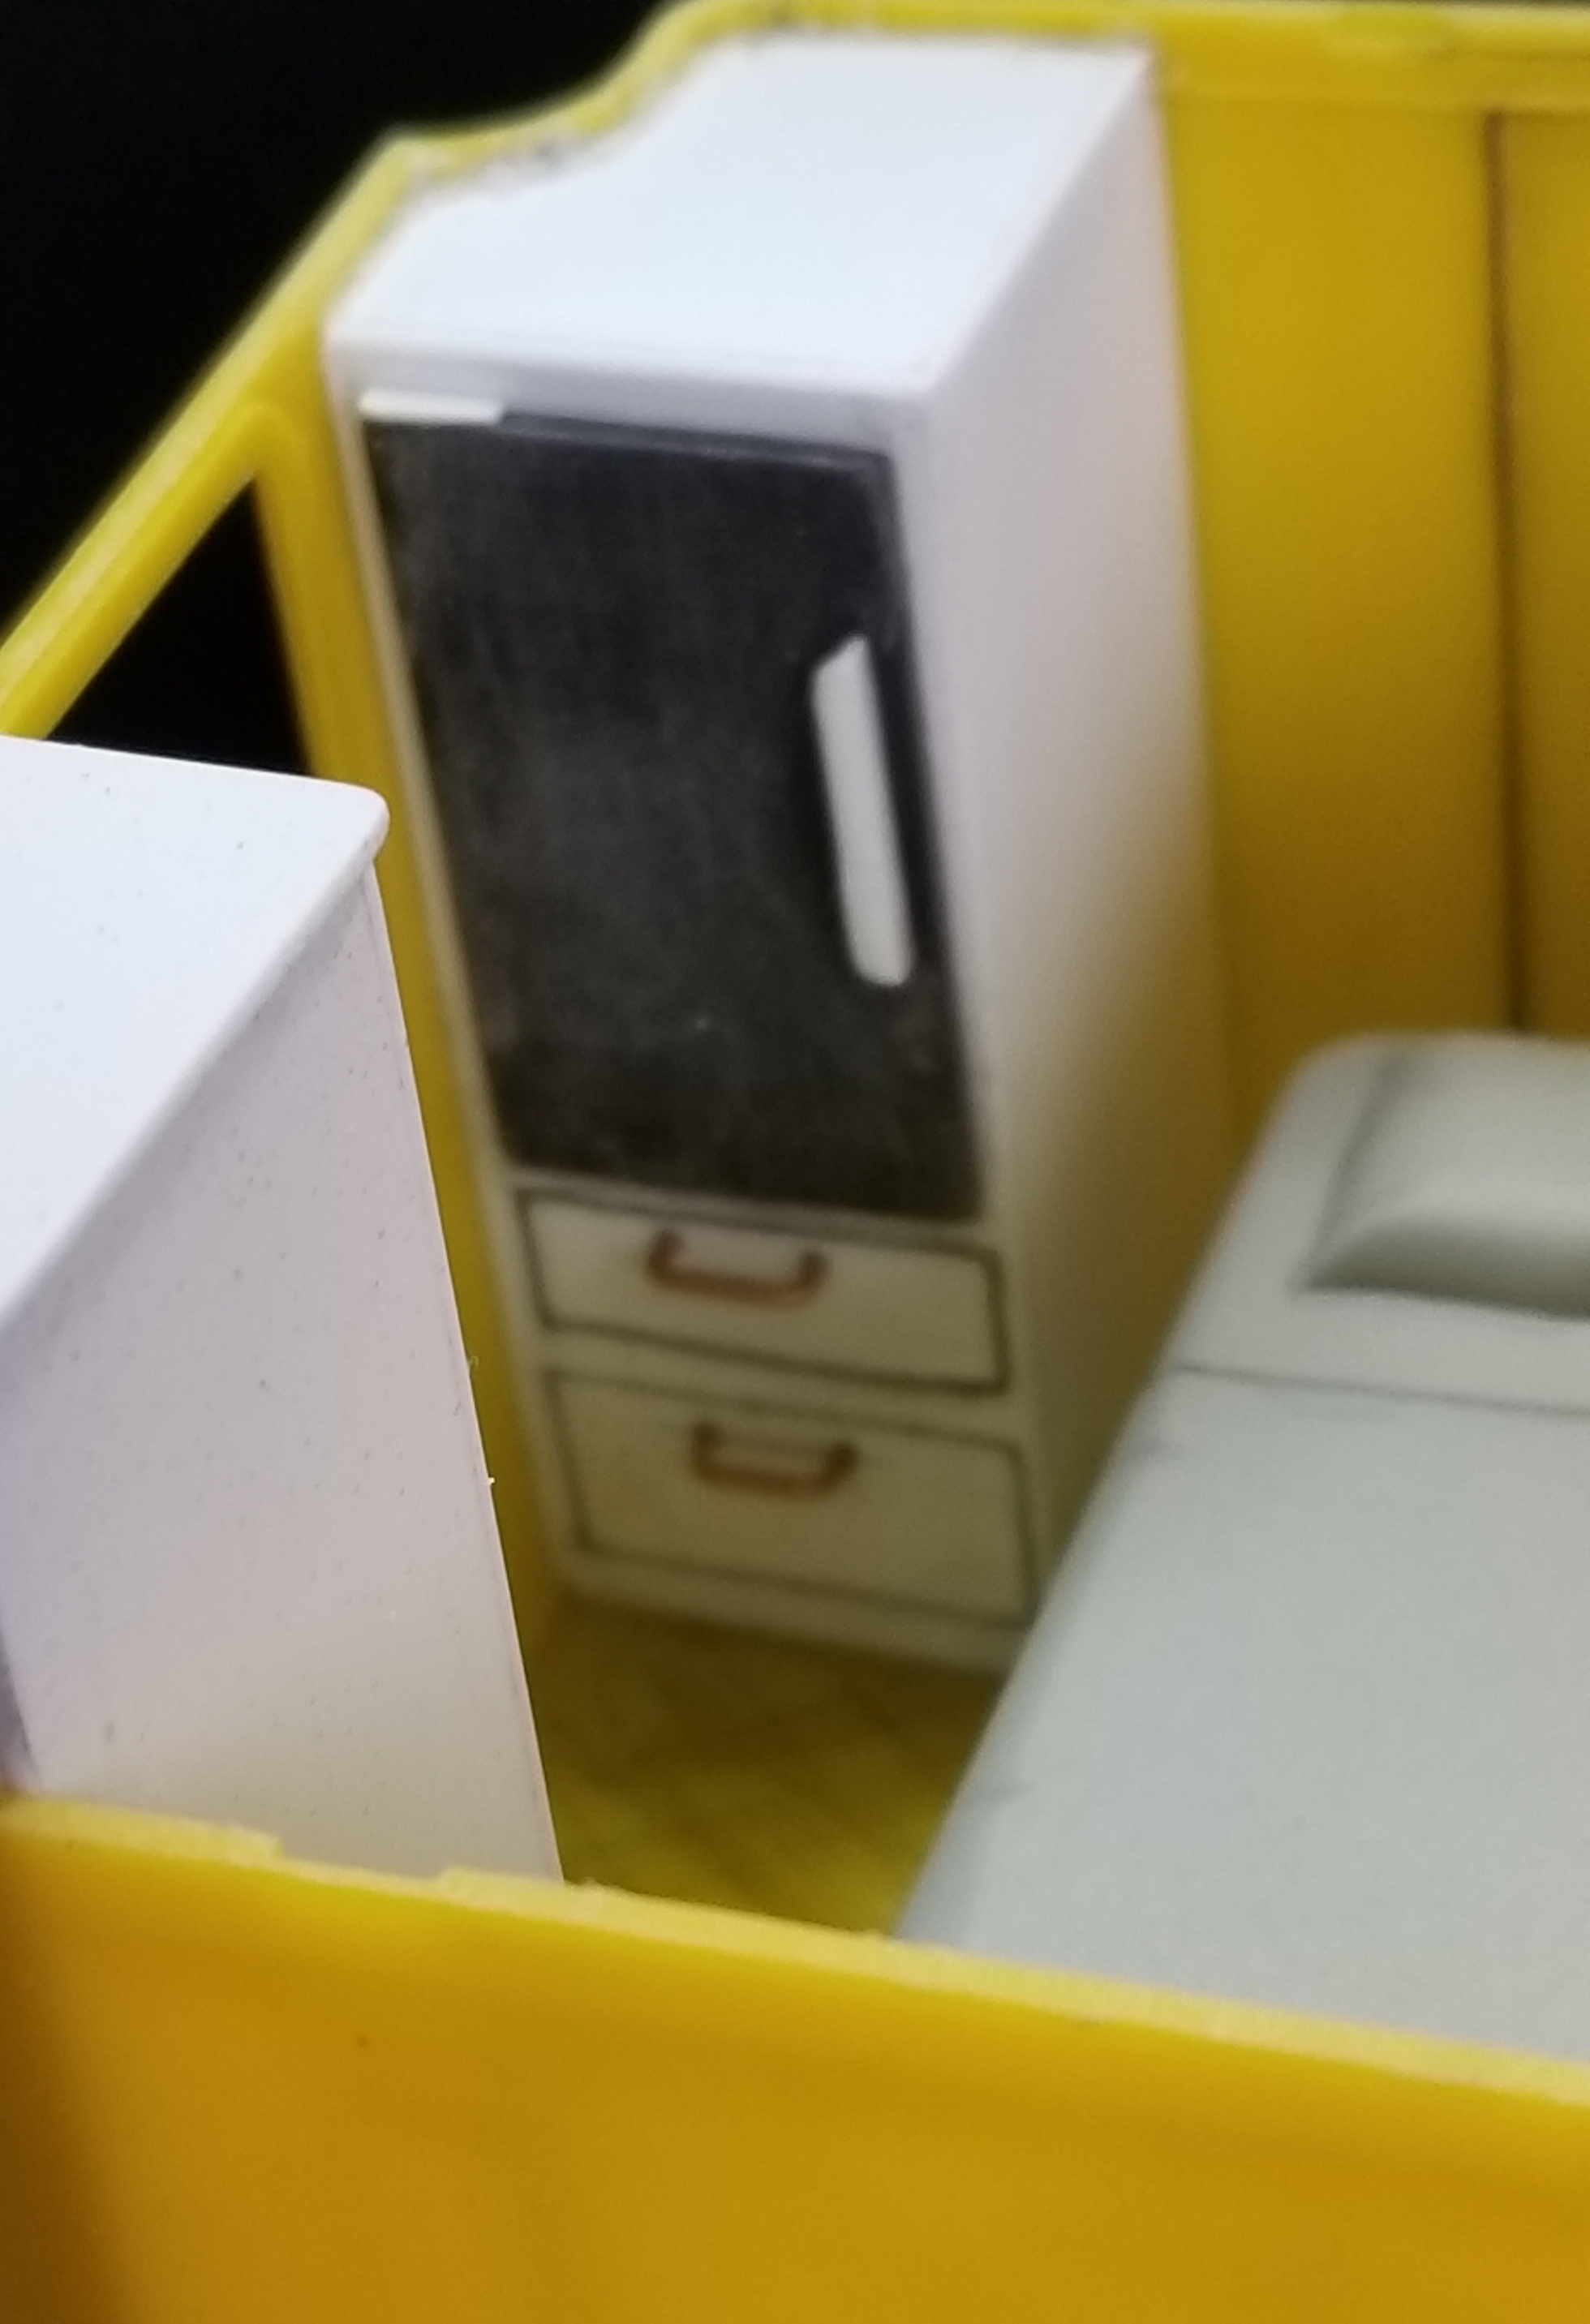
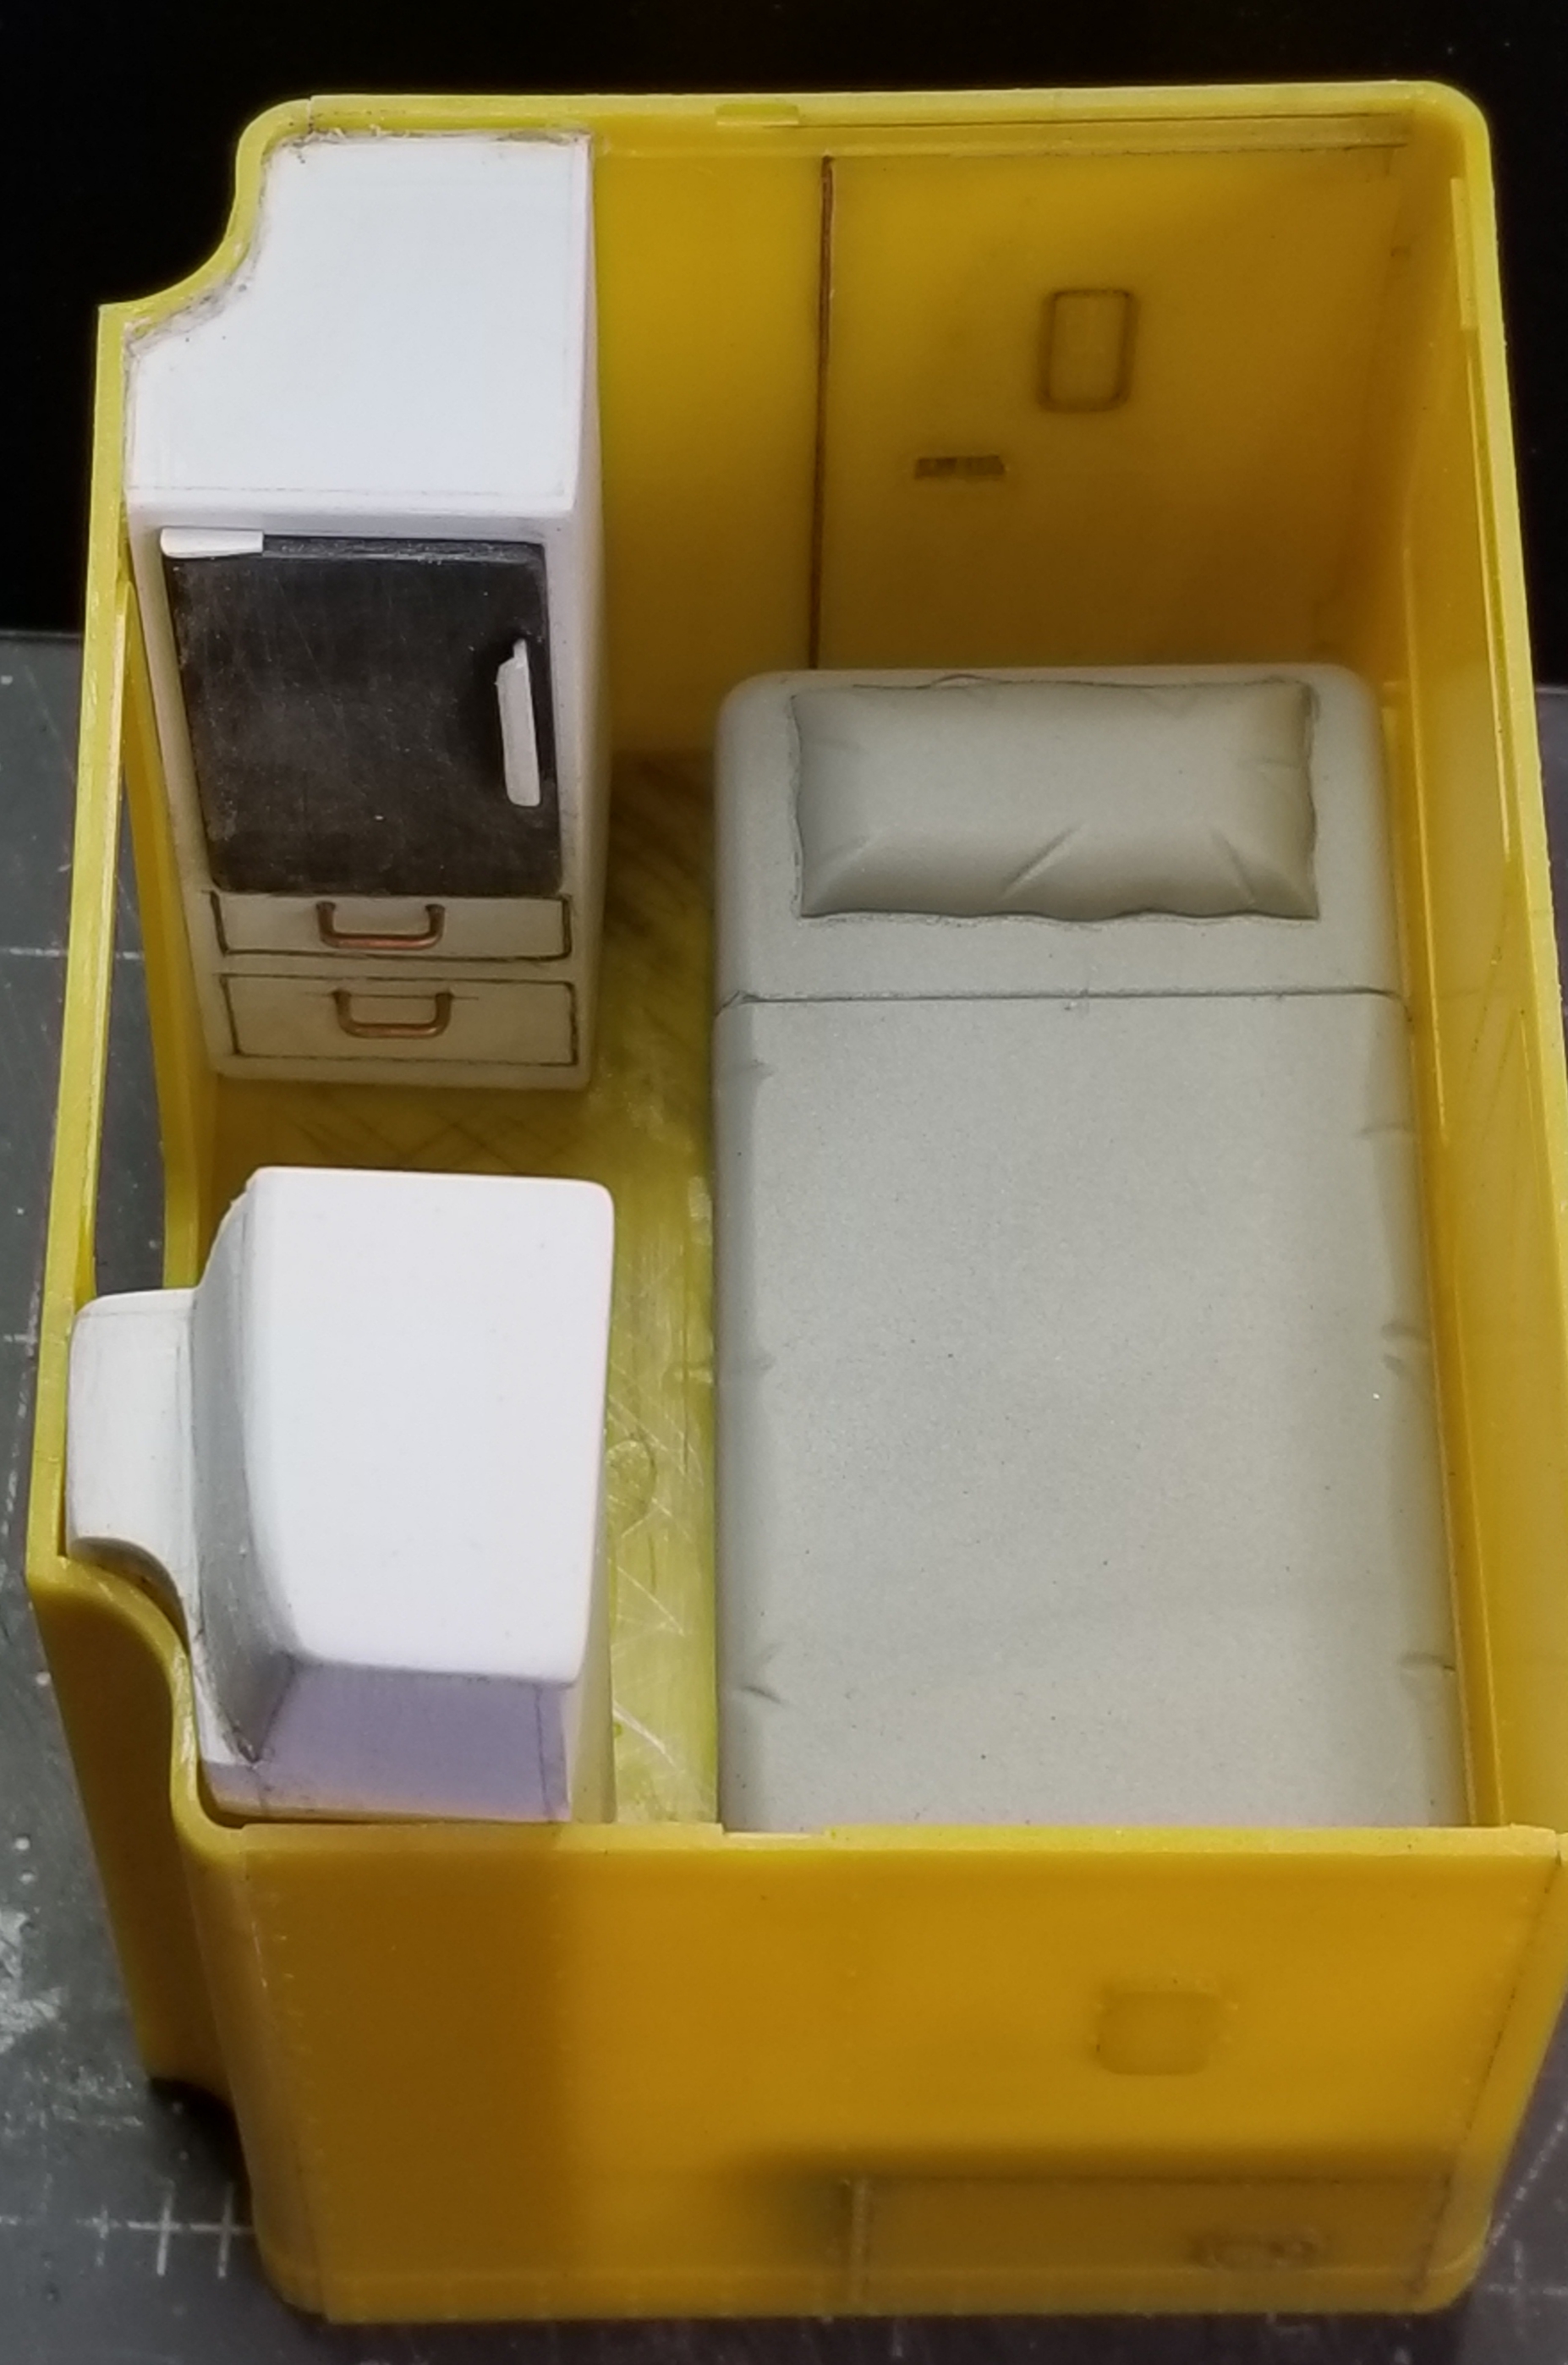
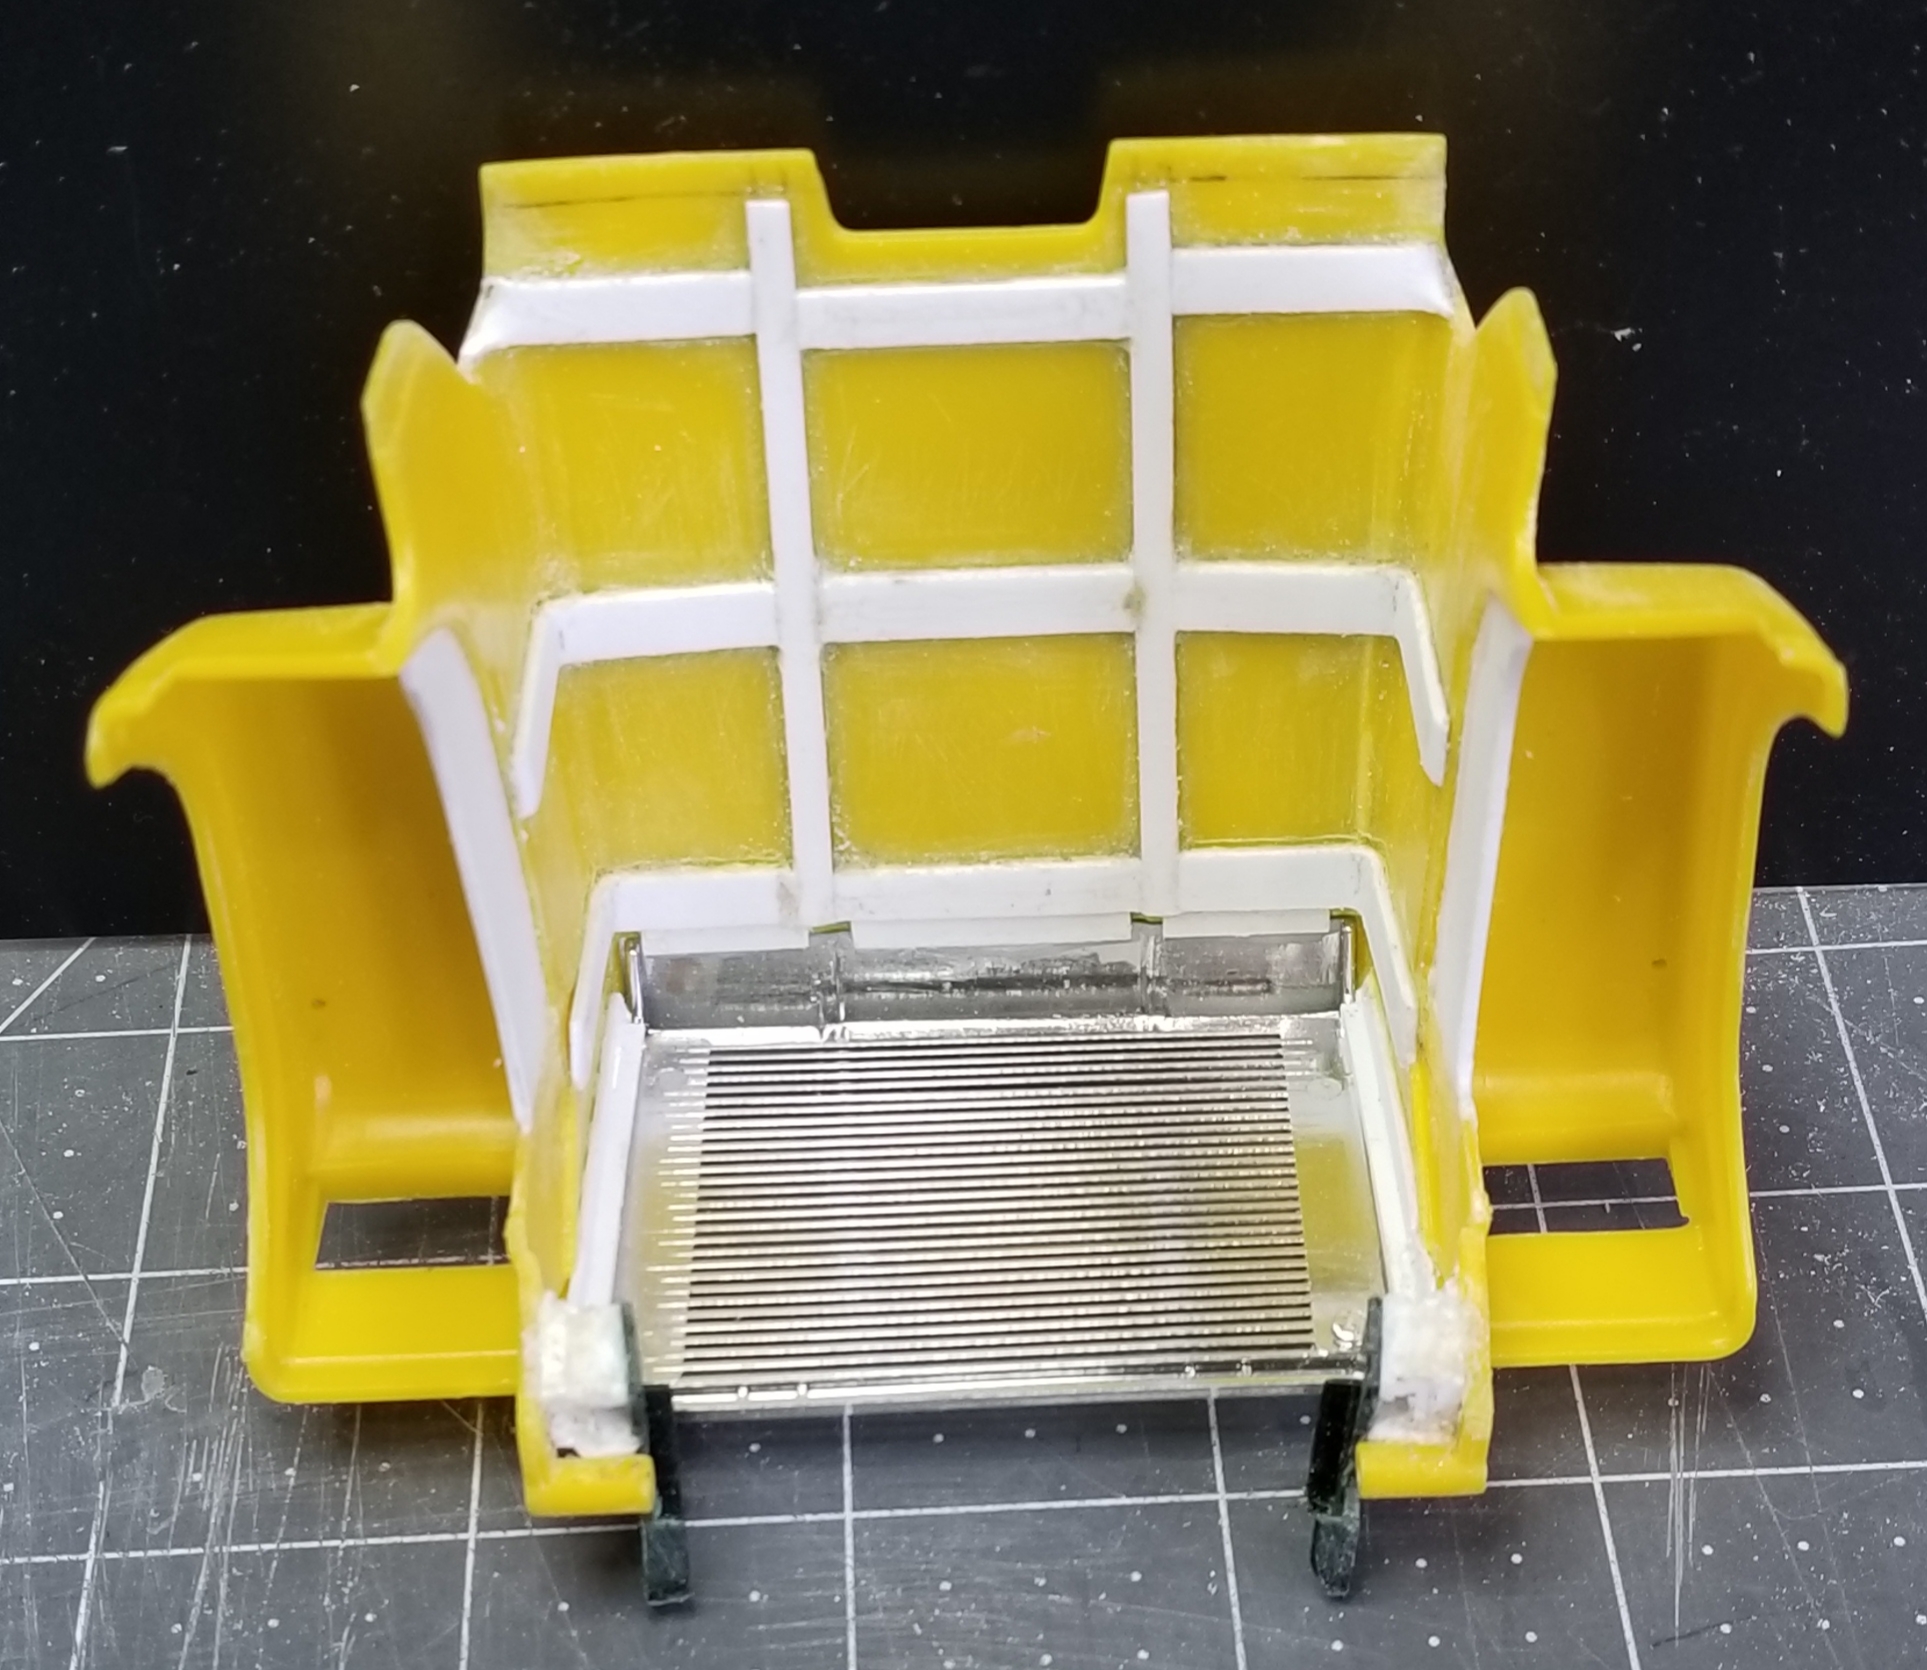
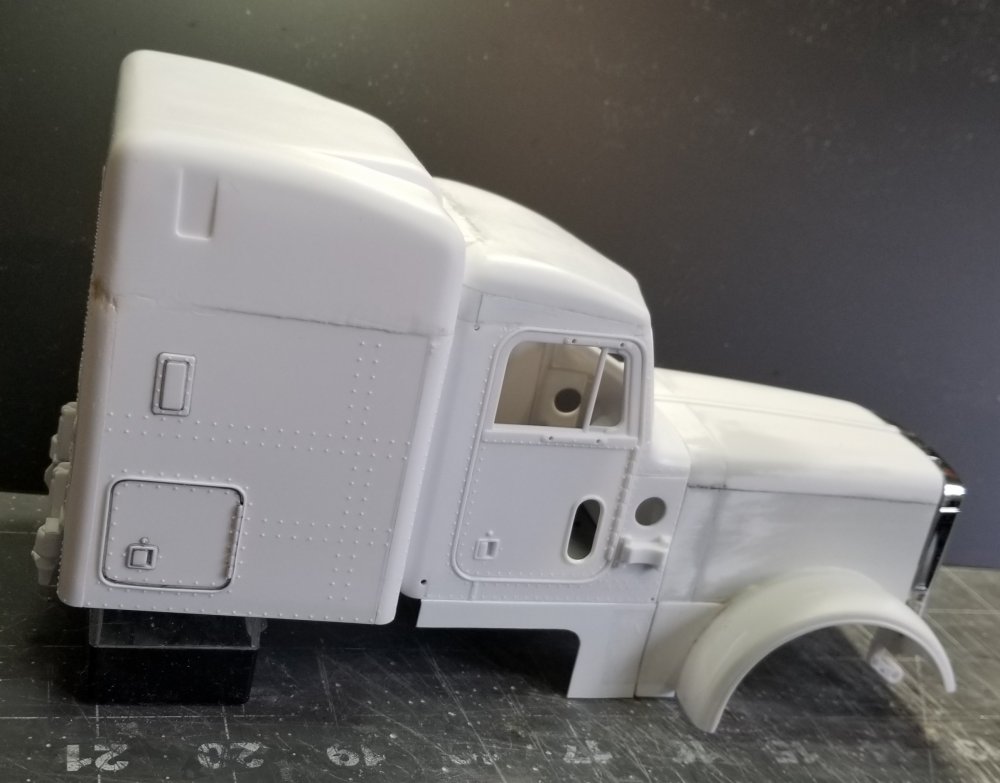
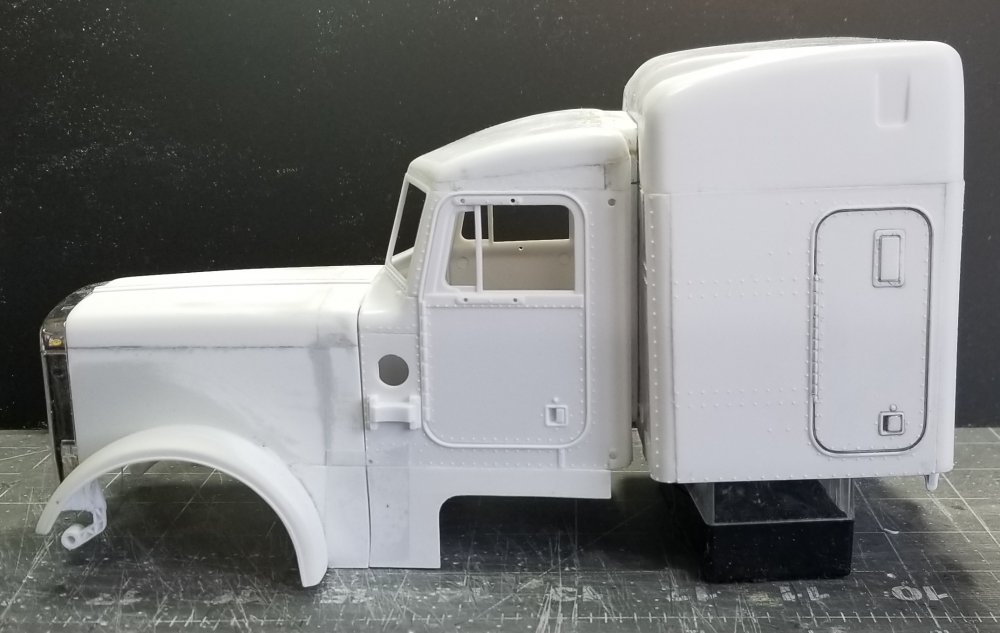
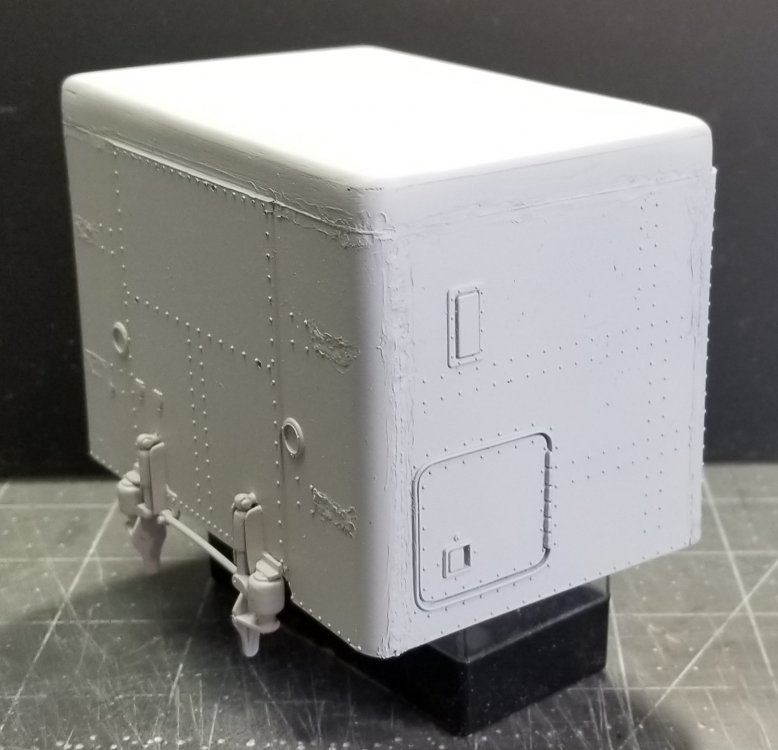
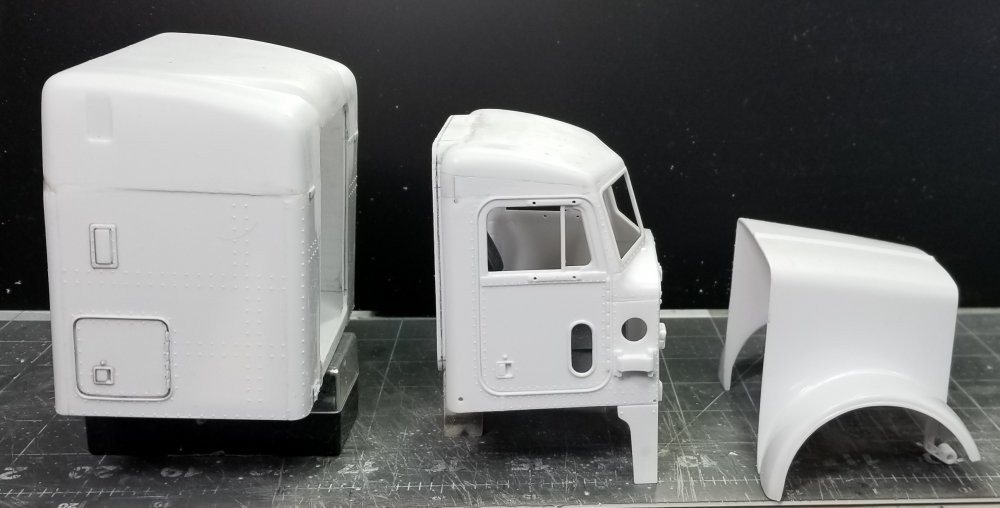
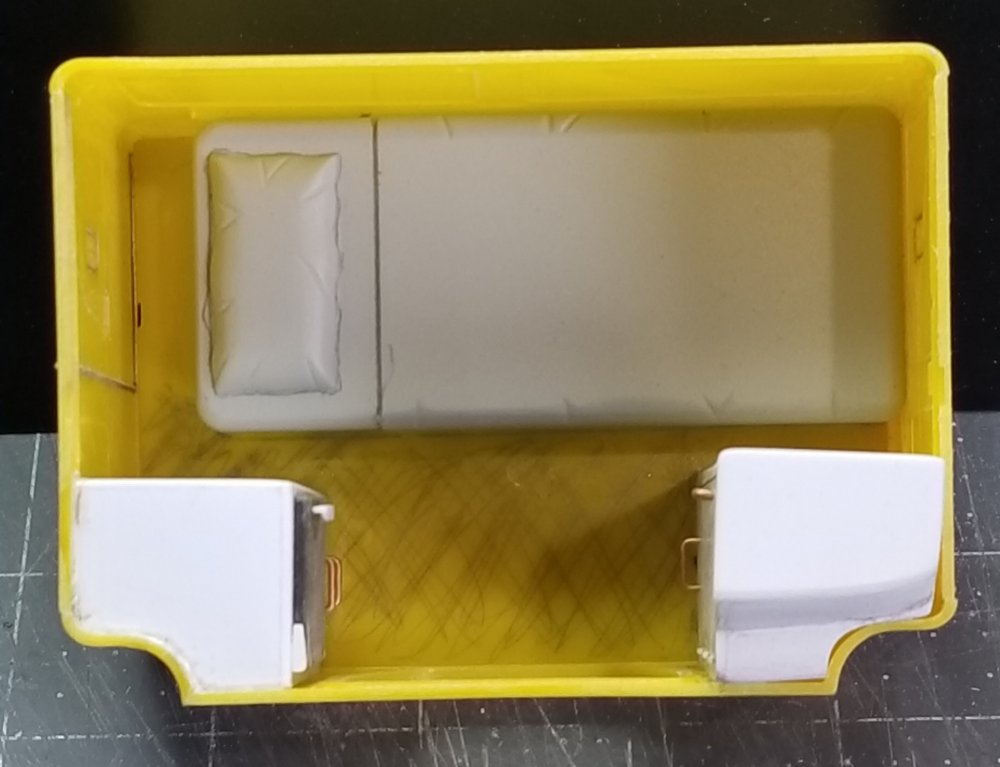
Hey all I did a little more work on the Superliner. I got the frame primed with flat black. this view shows the front air lines. this view shows the air line guards I made to protect the lines runnig along the rear ends. this view shows the refrigerator and two drawers I added opposite of the closet. another view of the refrigerator cabinet. view from the top. I added reinforcements to the hood. this view shows the hood that I copied. Ron G


-
Do you have that condition too!...lol Ron G
-
Tamiya 1/12 Porsche 934
CrankyCrafstman replied to Kpnuts's topic in LSM 1/35 and Larger Work In Progress
ACTUNG! DAS IST VERBOTEN!. lol Ron G -
WATCH IT! there's someone driving off in your tank...I mean holy c^$p this is just beyond amazing! Ron G
-
Opps looked like 9mm. I use federal gold dots hollow points (police ammo) 45 auto & 9mm. I also have a small Sig 9mm pocket (purse) pistol for the wifee. With everyone wanting to defund the police, these are becoming a real necessity! Ron G
-
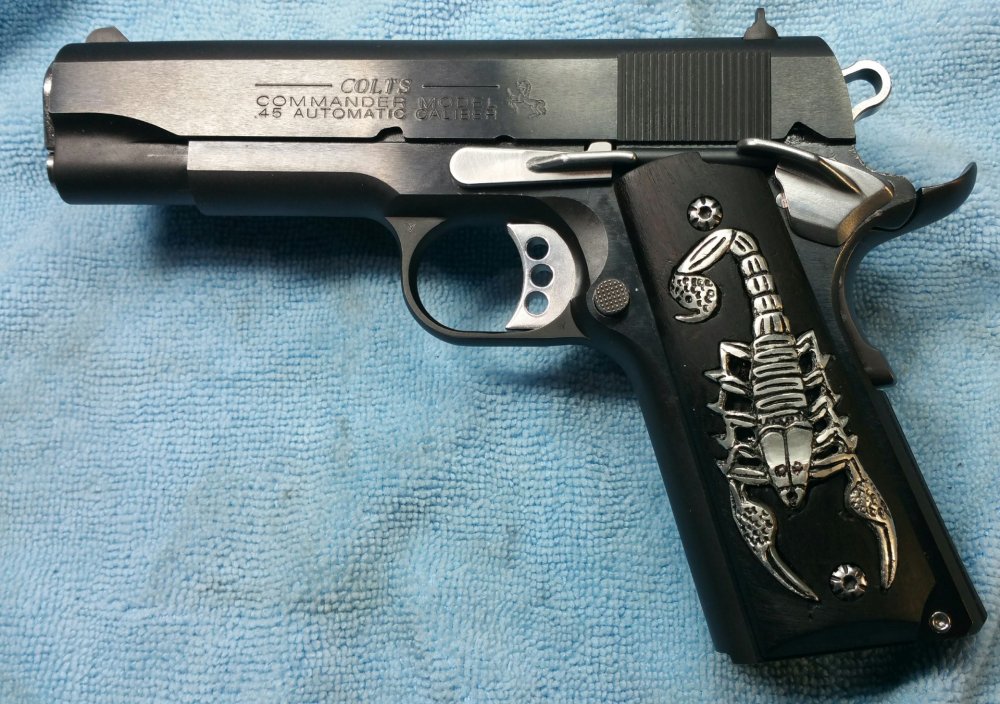
Pocket 9mm, nice! this is my custom Colt Commander. I carved out the grips, African cocabola with my Fordem tool and added the scorpions. The rest has a lot of polished stainless steel parts that I added. this is my somewhat pocket pistol...lol 45 auto...shhh!! It's conceled. Ron G

-
Pocket 9mm, NICE! Rong
-
This is for Jeff
CrankyCrafstman replied to CrankyCrafstman's topic in LSM 1/35 and Larger Work In Progress
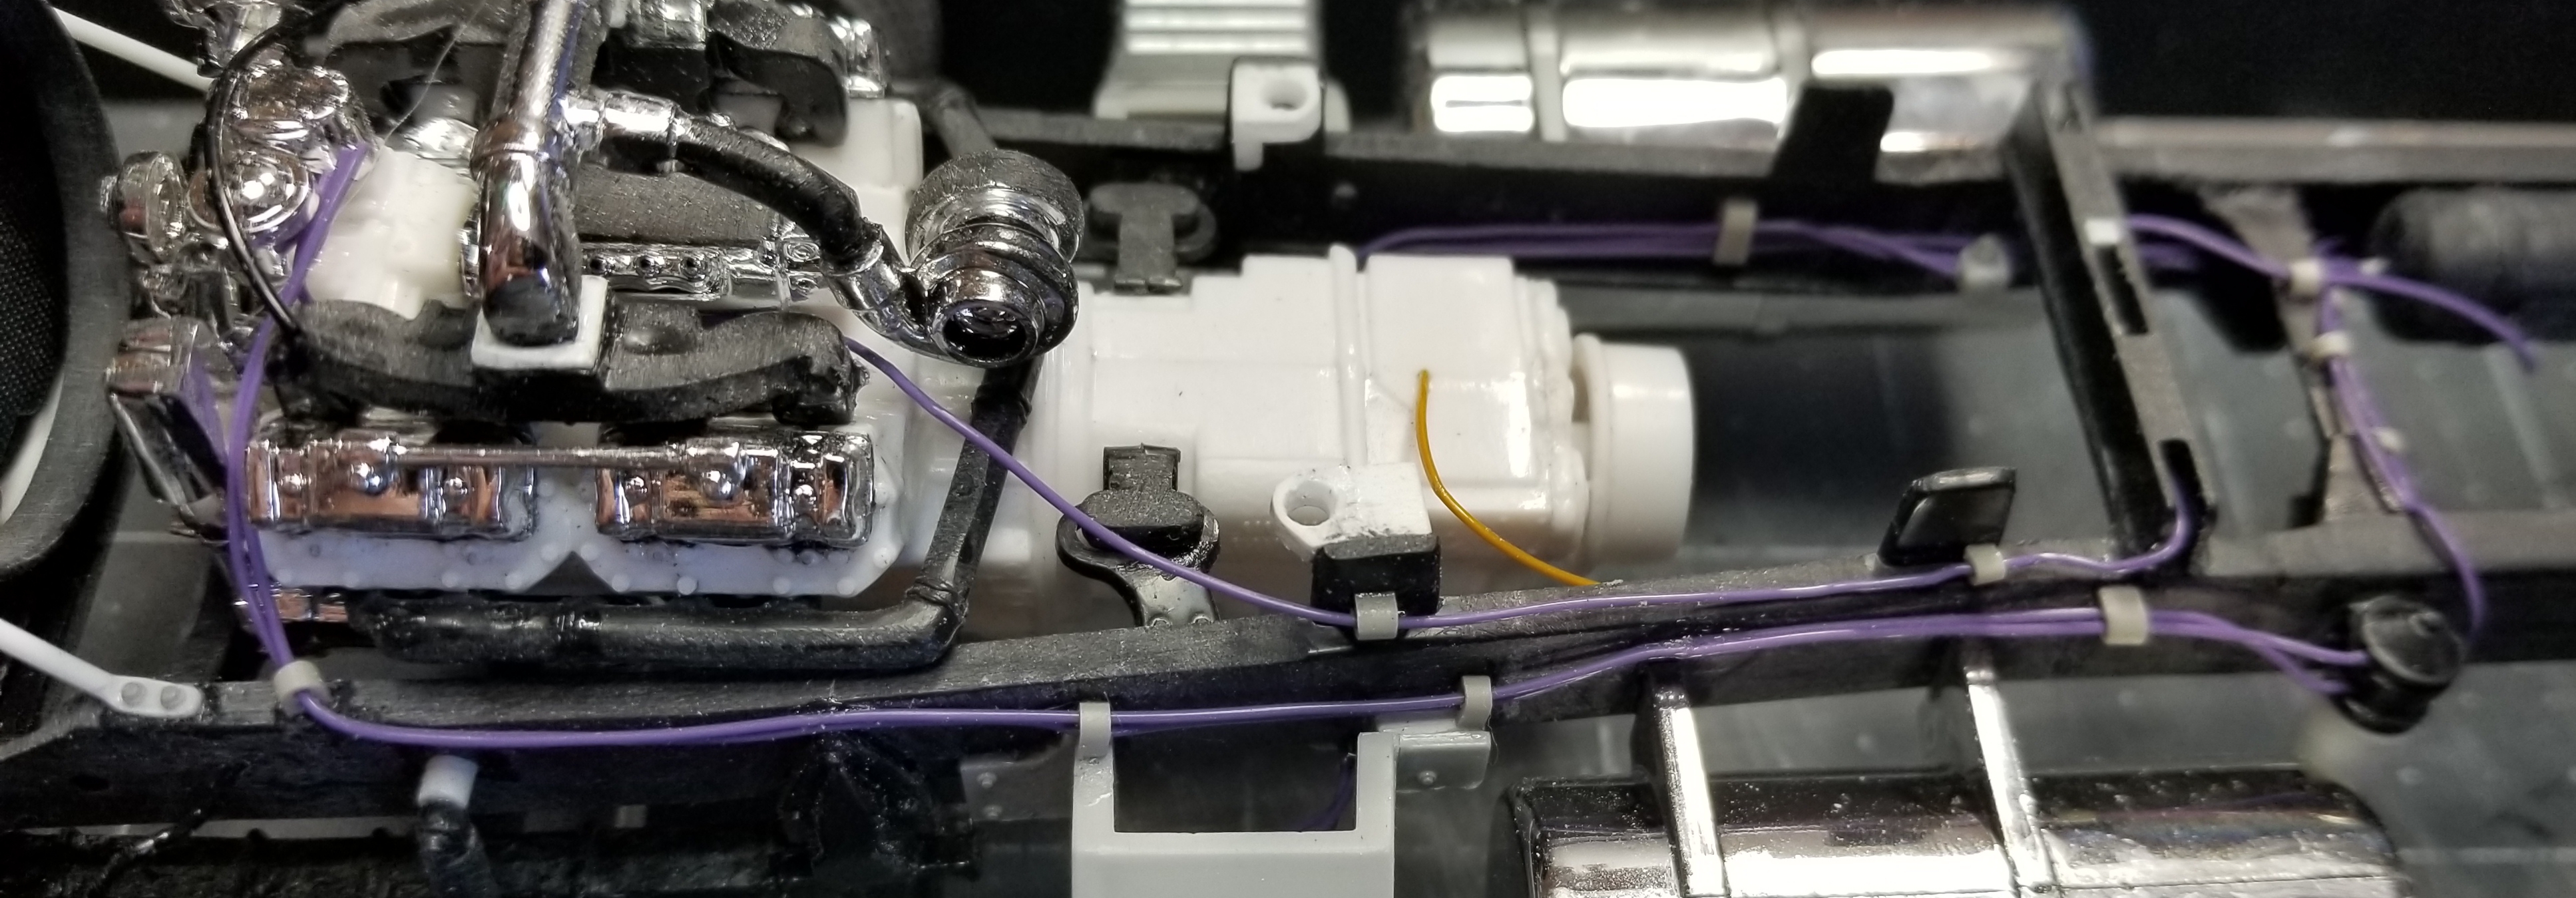
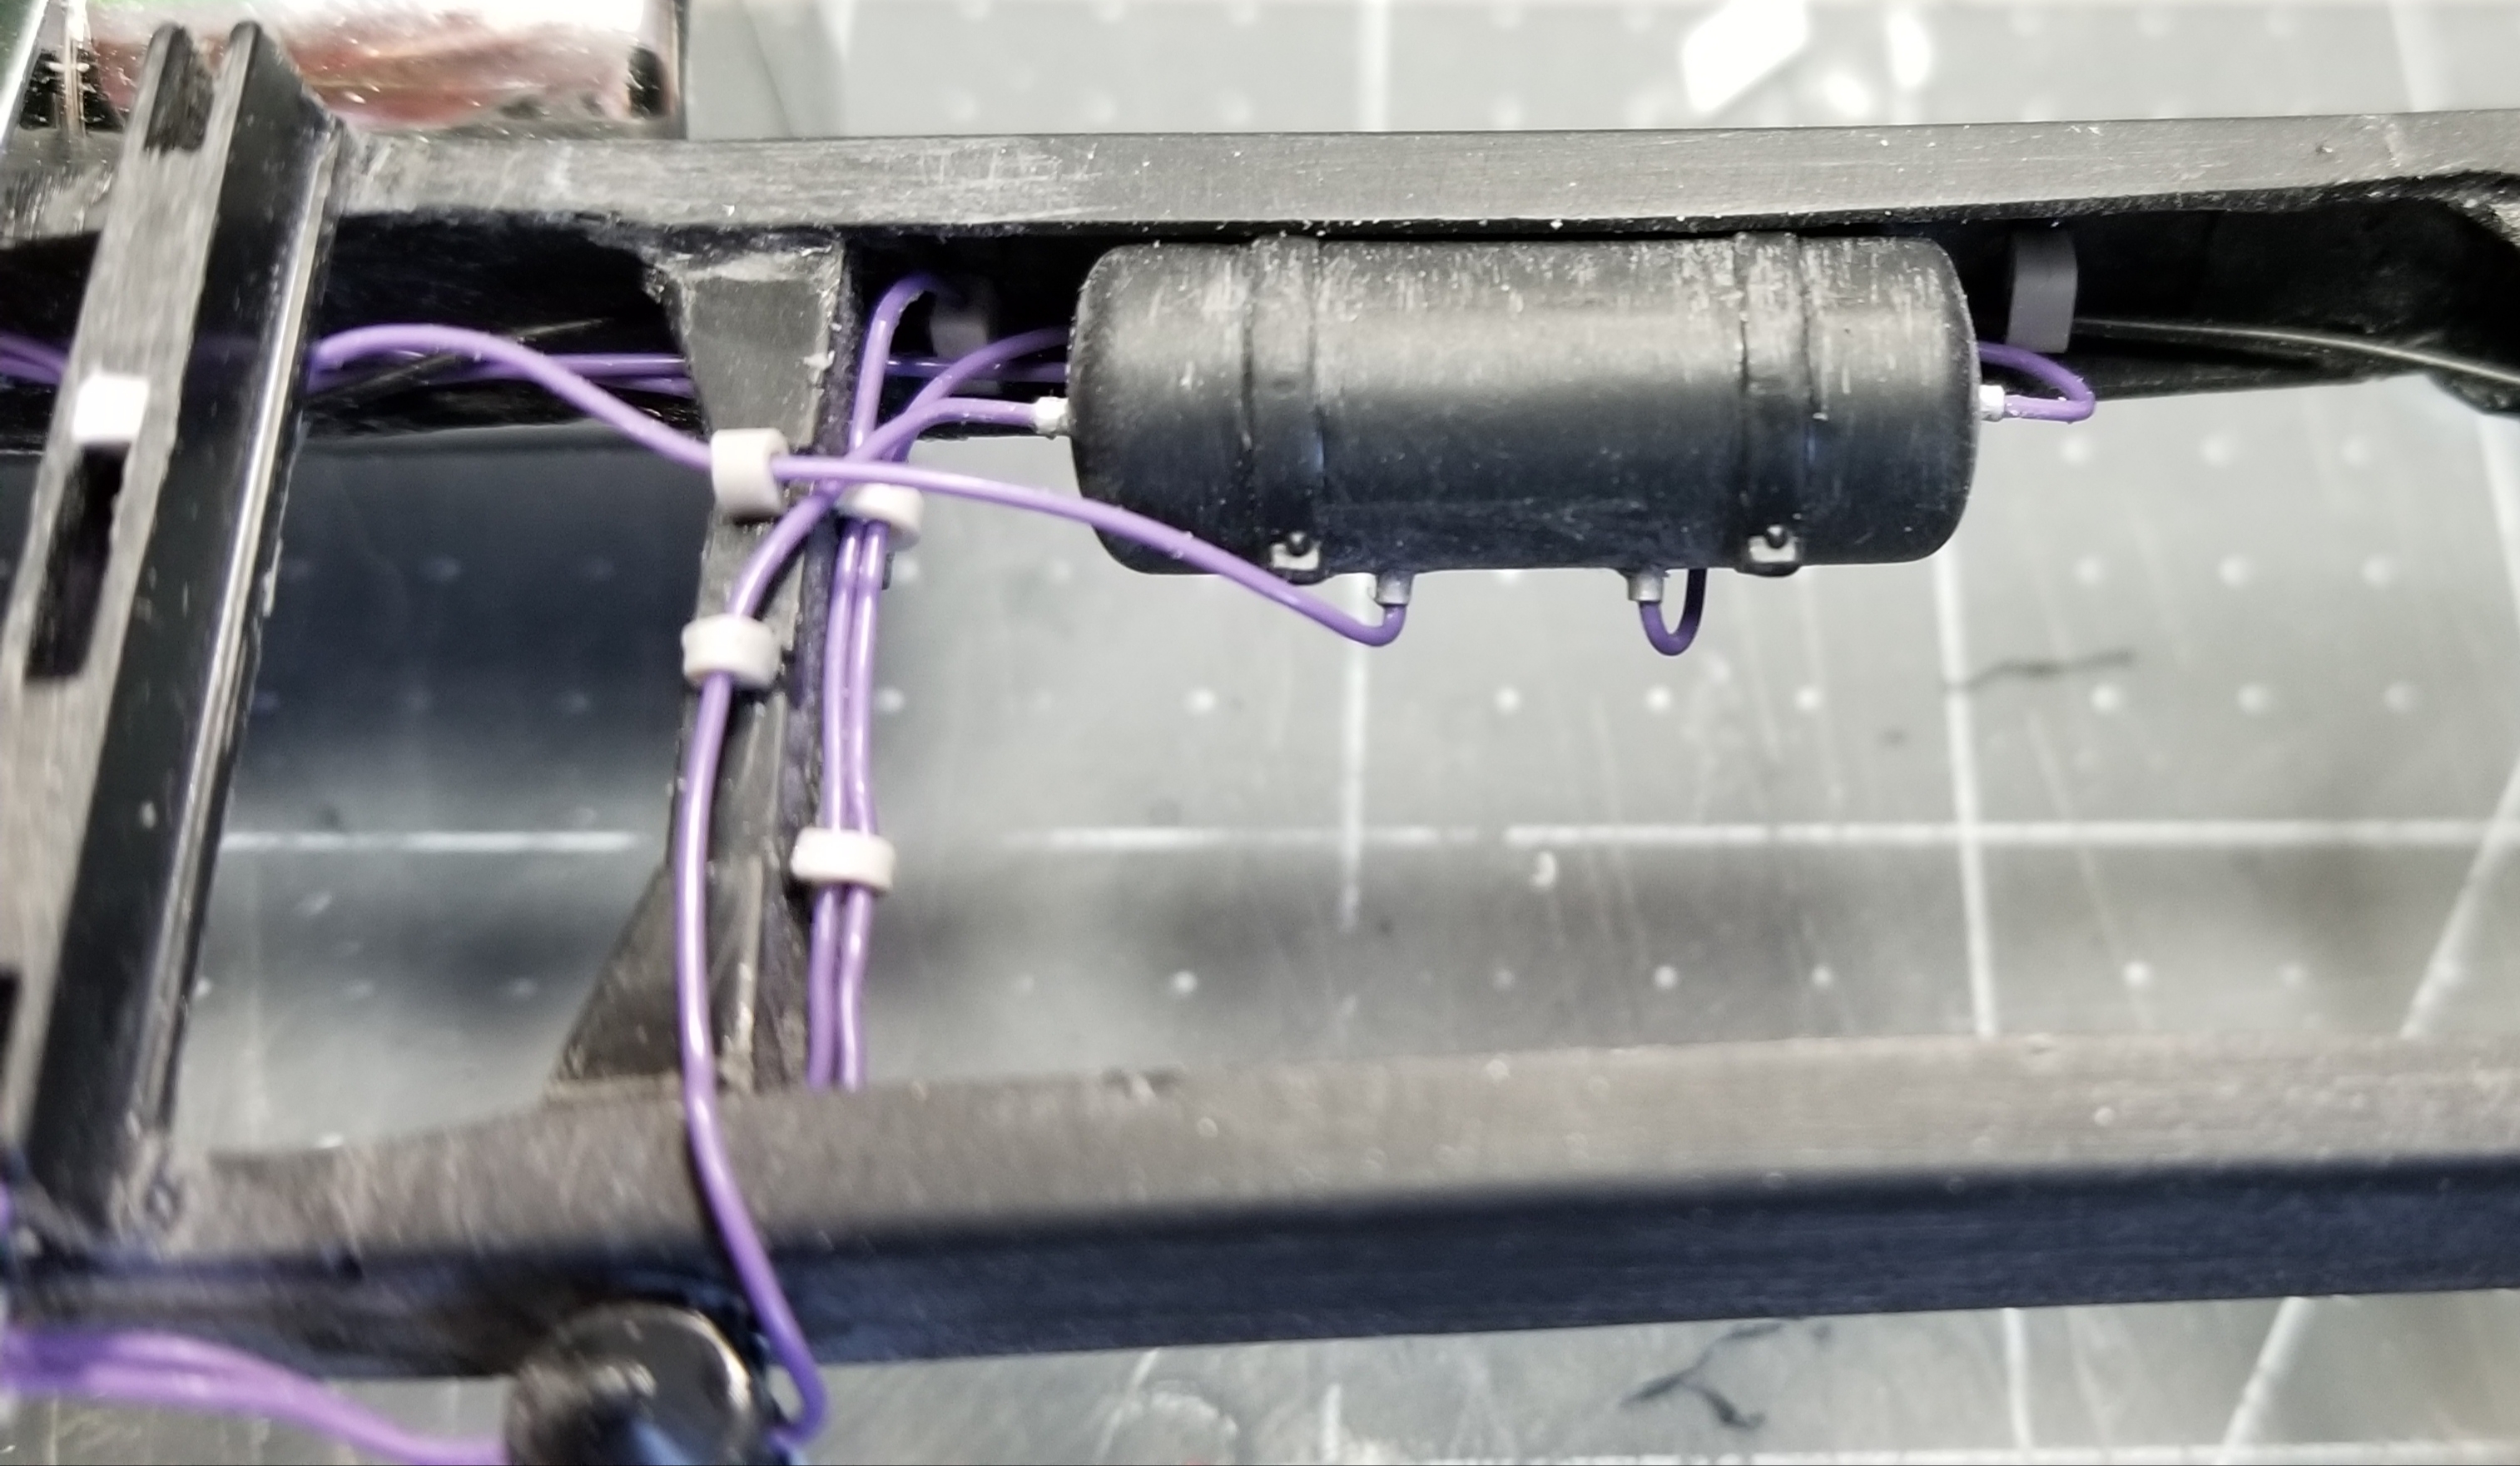
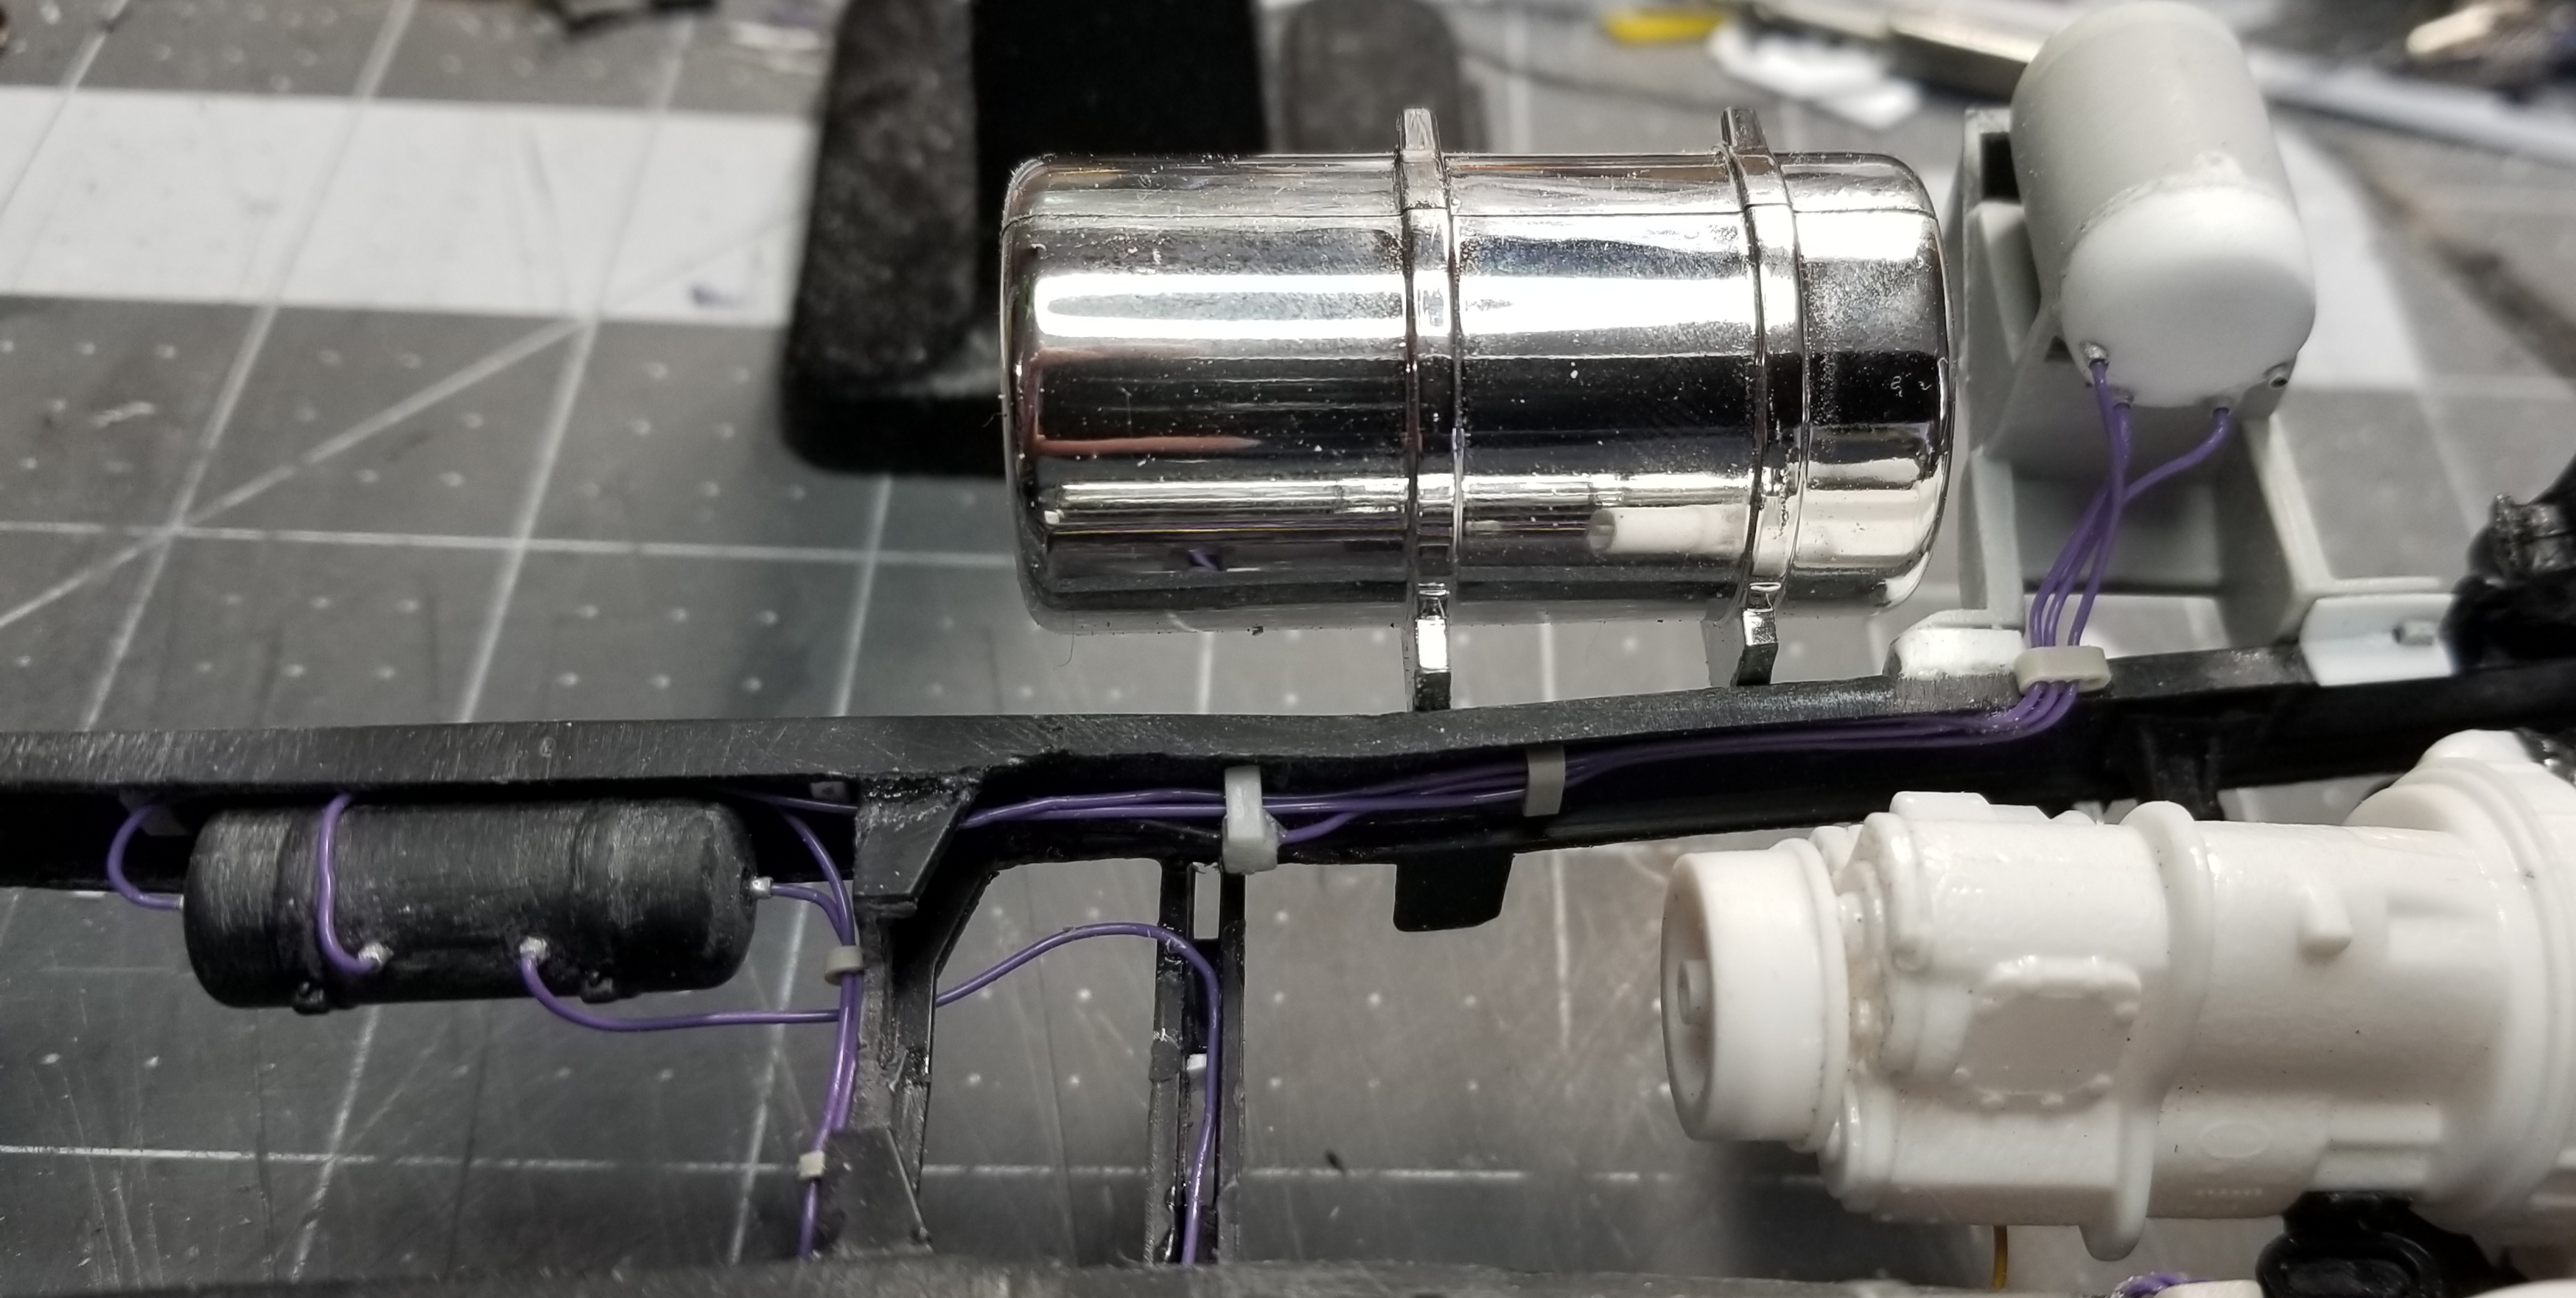
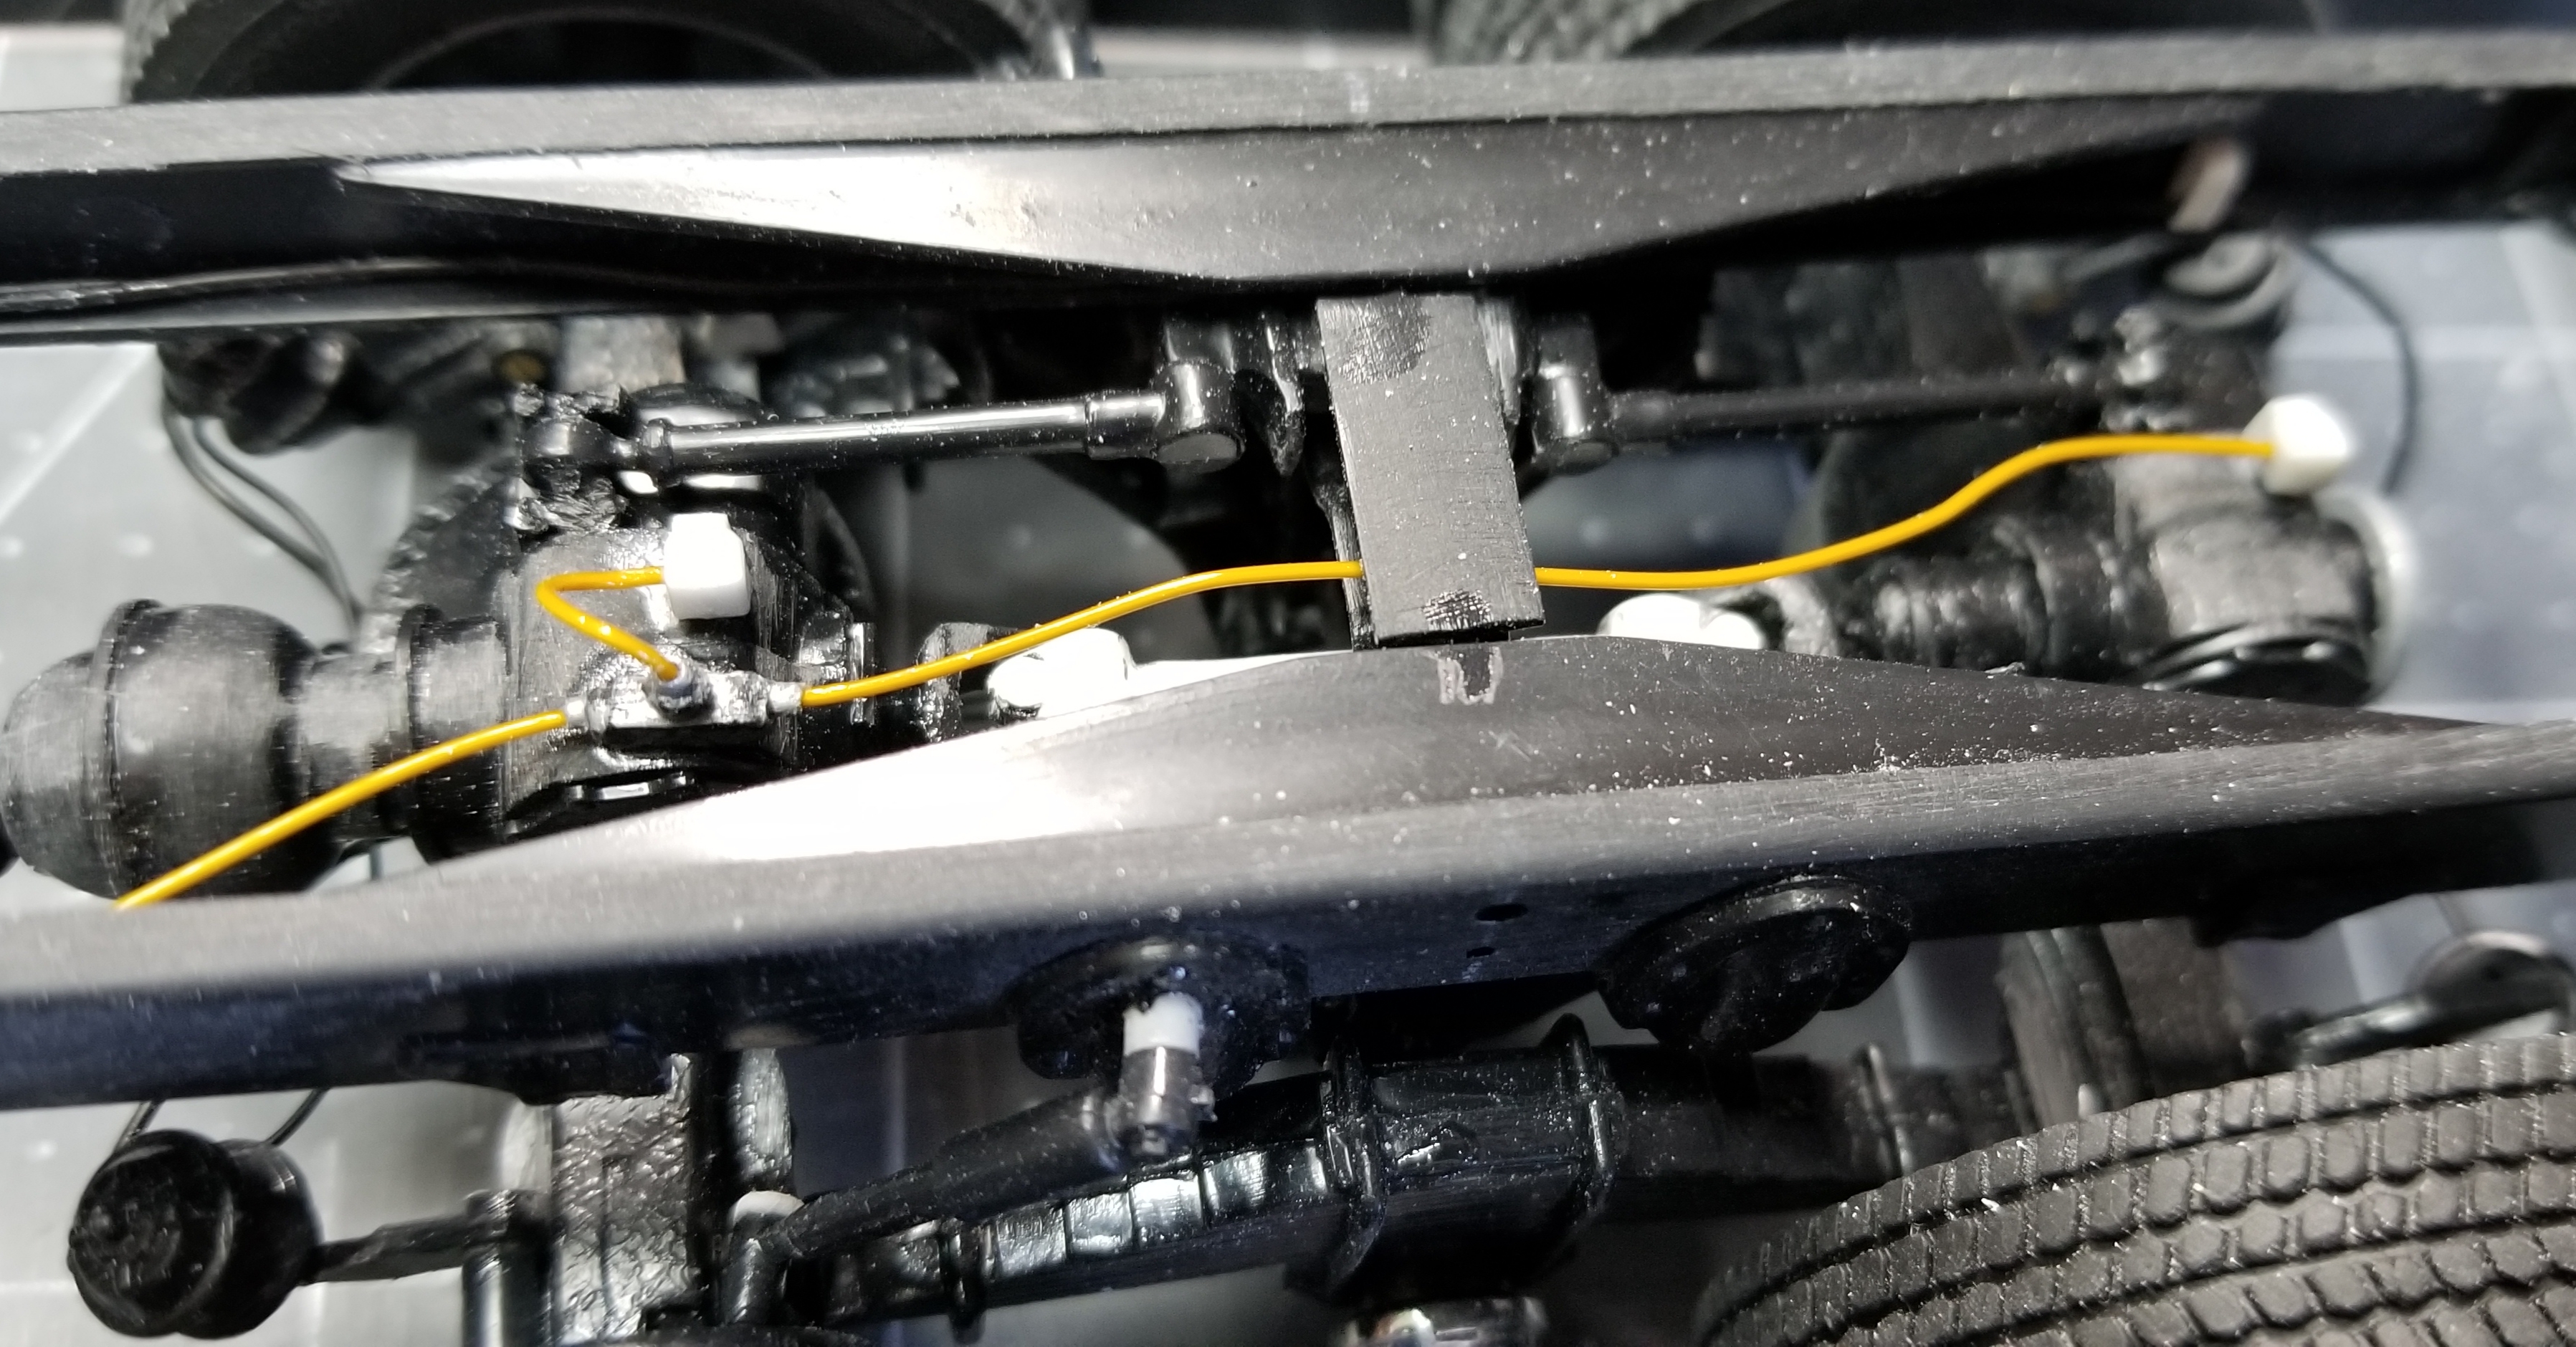
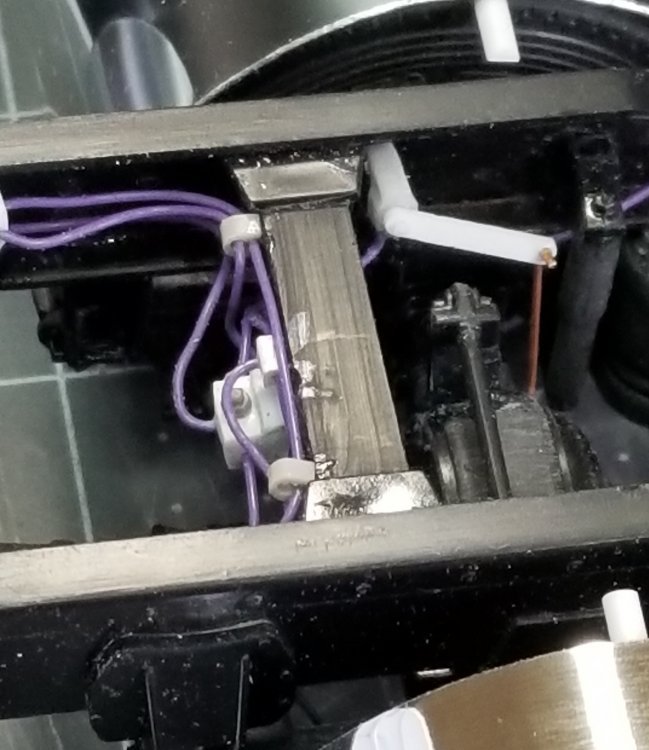
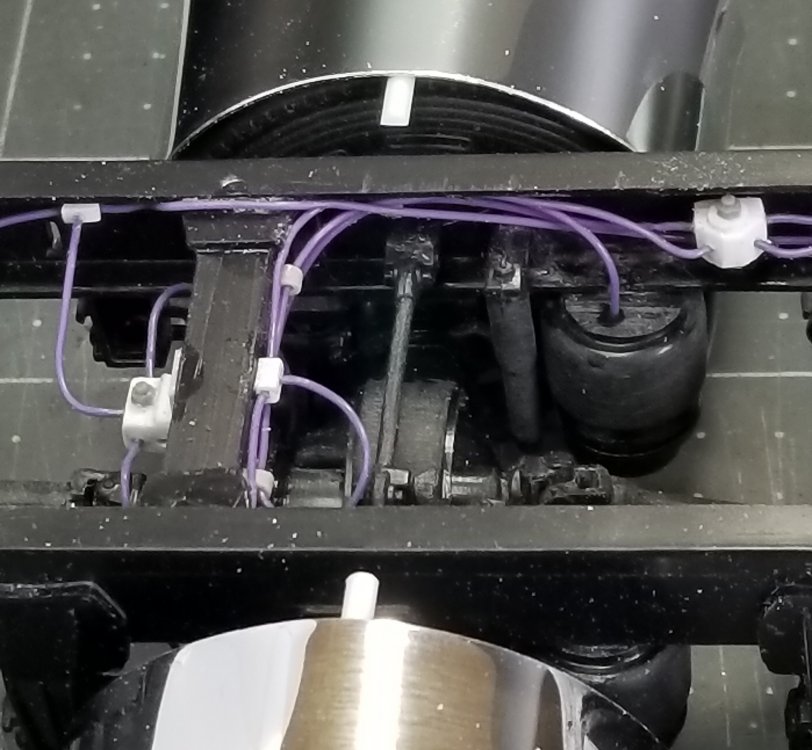
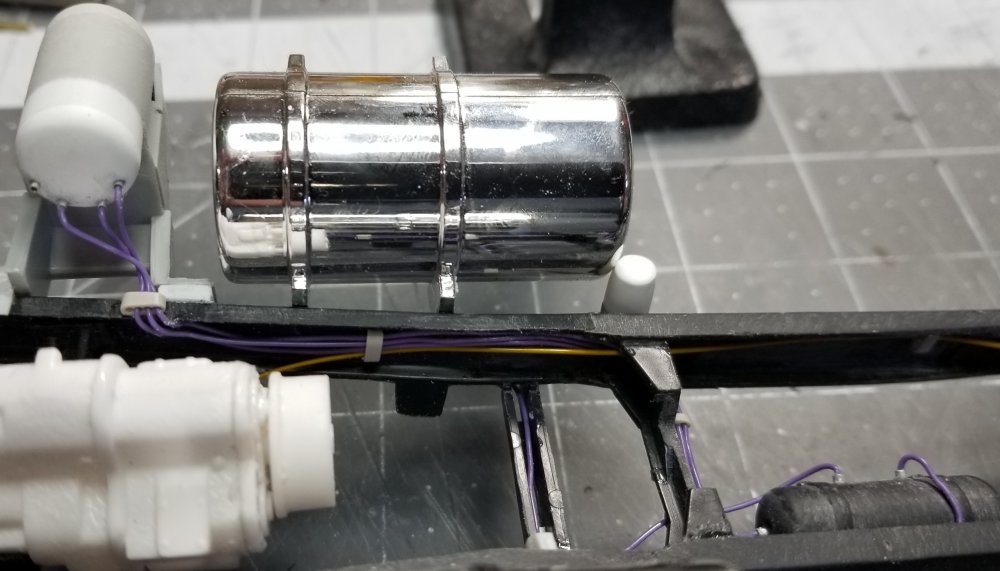
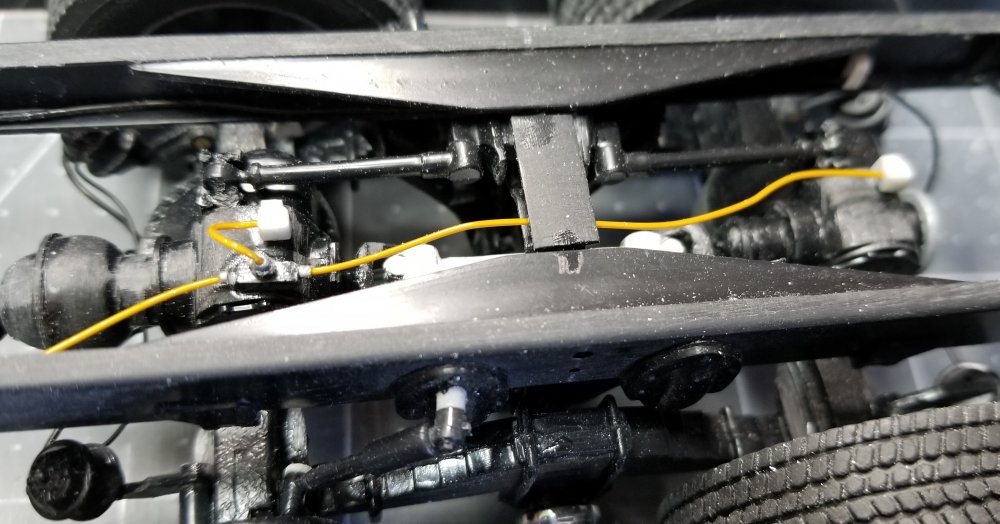
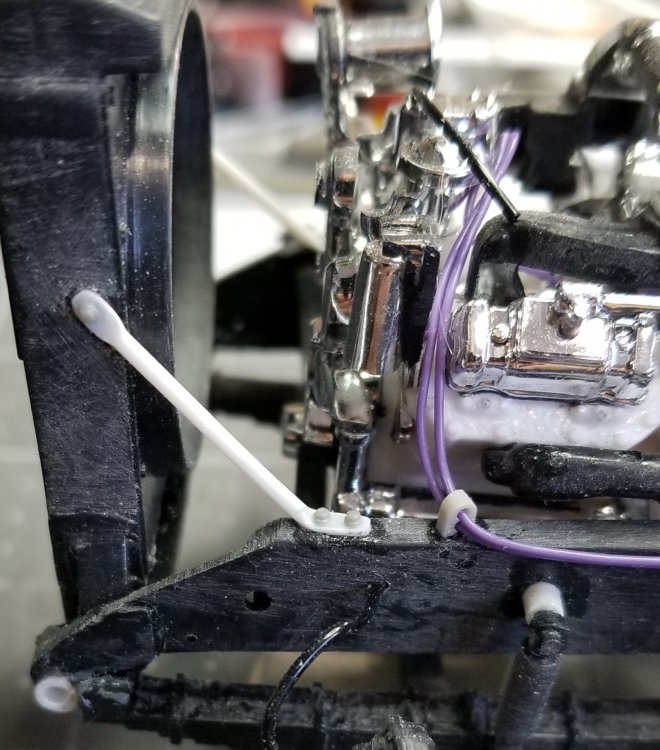
Hey guys I did some more work on the Superliner II. I added a third air tank (supply tank). I think I have all of the air lines, at least for the rear done. I still need to plumb the front brakes. this view shows the whole thing temporarily together. same view, but with the hood closed. I think I'm going to remake all of the fuel tanks, these are to small of diameter there like 20", yuckk! Going to make them 25.0" diameter, out of some PVC pipe. this view shows the air lines running from the supply tank to the air dryer then to the air compressor. Also the yellow line is for the rear end air shifters. This will eventually go to the floor and up to the shifter. this view shows the supply tank and lines. this view shows the air dryer and lines. this view shows some of the air lines and primary air tank. You can see the bottom of the air dryer by the fuel tank. this view shows the secondary air tank and air lines. To the left is the supply tank. this view shows the air shift lines to the two rear axles. I also added some bolts to the radiator supports. I also added a line from the power steering reservoir to the power steering pump on the engine. Well that's it for now be back with more updates soon. Ron G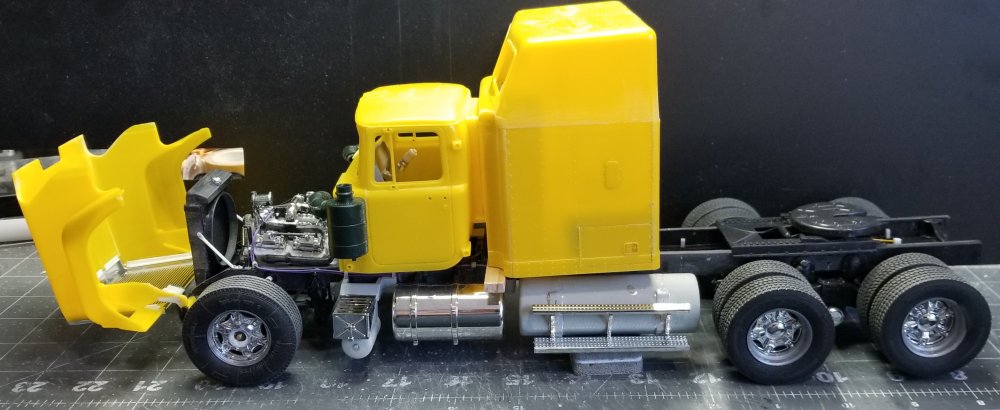


-
This is for Jeff
CrankyCrafstman replied to CrankyCrafstman's topic in LSM 1/35 and Larger Work In Progress
Thanks Jeff Couldn't find anything on there, but I went ahead and added a third tank to it and started plumbing. Ron G