BlrwestSiR
-
Posts
9,202 -
Joined
-
Last visited
Content Type
Profiles
Forums
Events
Gallery
Everything posted by BlrwestSiR
-
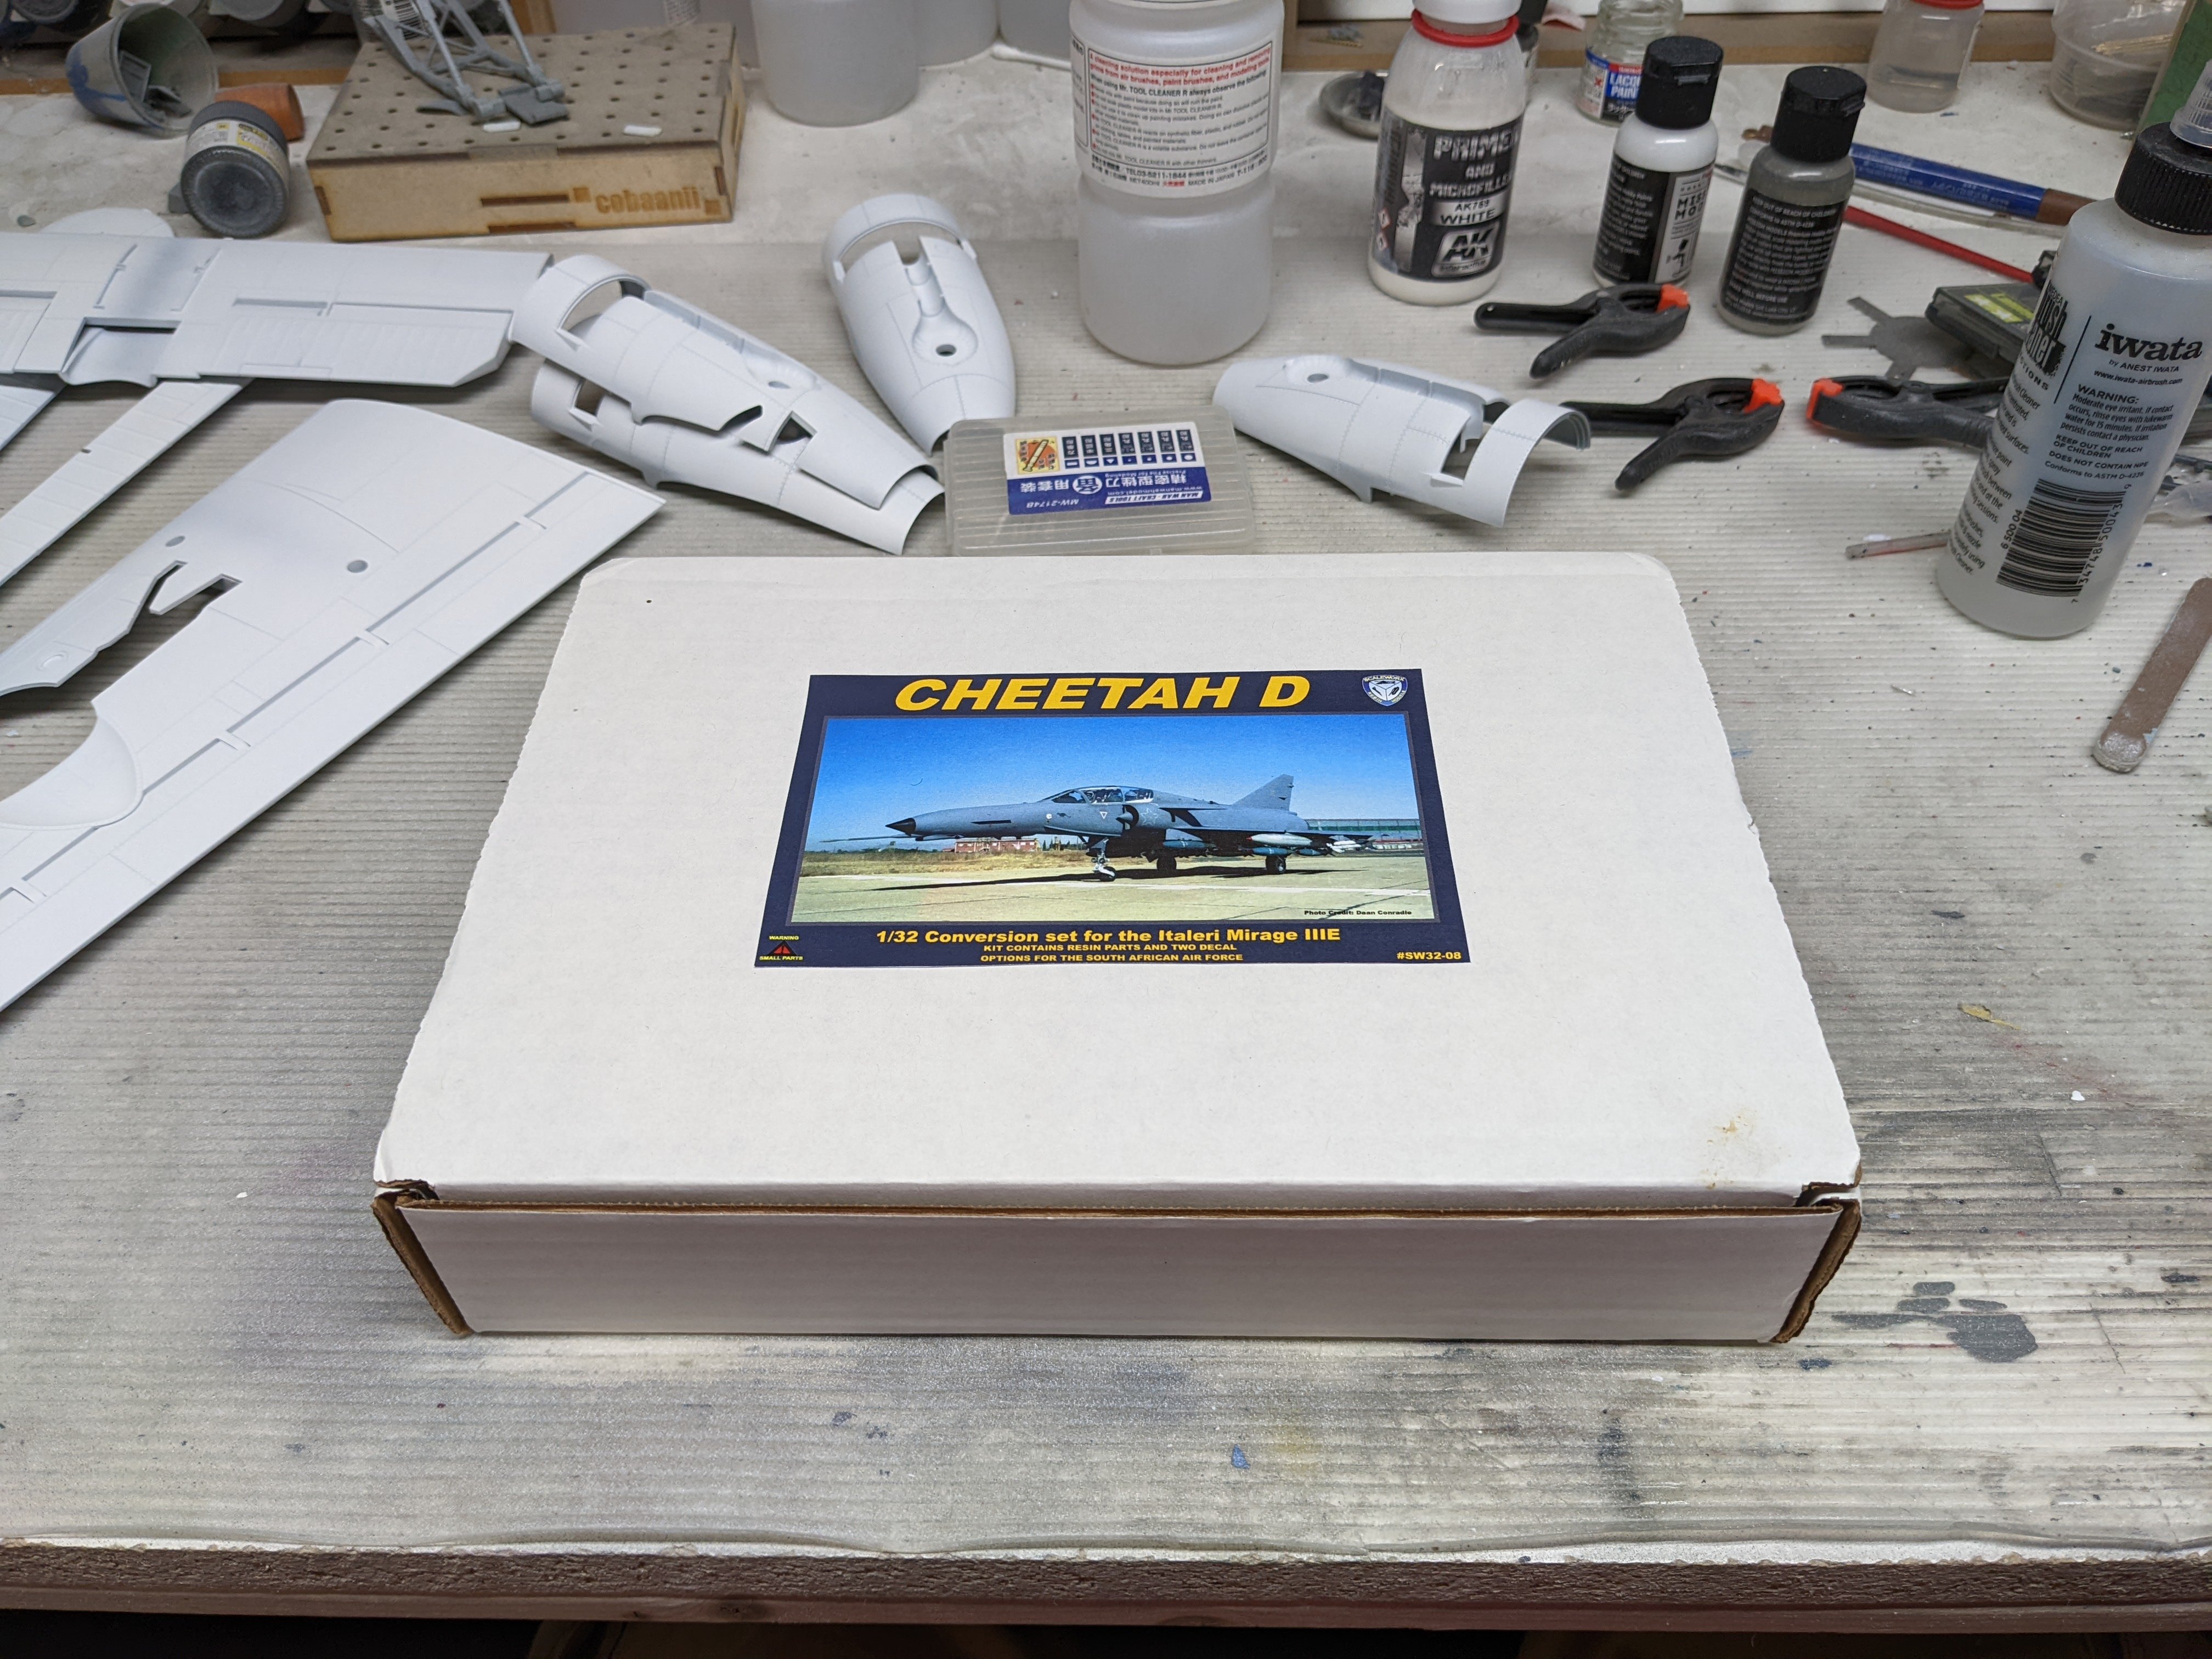
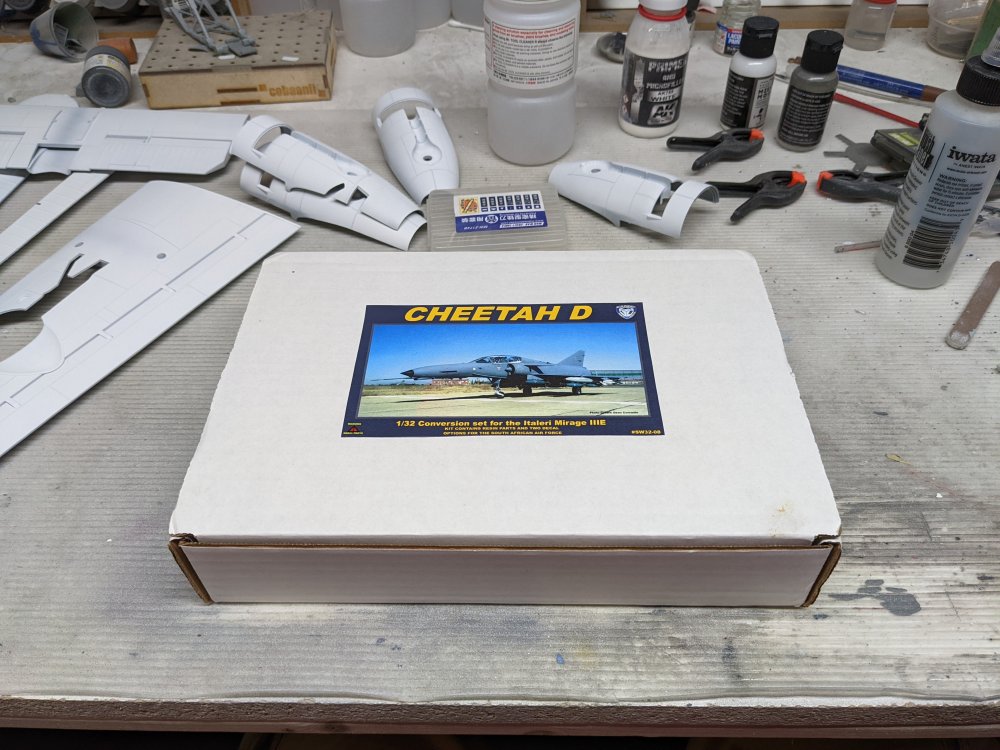
Finally got my Cheetah conversion from Scaleworx. Took a while but it's not like I was worried the stash was going to run out.
-
I need to get a lighting set for my 1/20 Strike Valkyrie. It's big enough that it seems not having it would be odd.
-

RCAF Liberator GR Mk VI
BlrwestSiR replied to BlrwestSiR's topic in LSM 1/35 and Larger Work In Progress
Thanks Andy! The wings has to be assembled around the spar so I'm going to paint it and then join the halves together. The good thing is the leading edge boots will need to be painted so that will cover up any filler. Thanks Kai! -
I can top you. My sister's first dog wouldn't eat cigarette butts but the cigarettes themselves. She'd sneak into a visitor's purse and take their pack of smokes. She would eat the cigarettes and then spit out the butts. She was also known to drink schnapps.
-
The vet said it's something to do with the nitrates (?) in it that makes it appealing to dogs. Our dog Zoe loved cat turds. Found out the hard way when Sue and I moved in together. She had two cats and the litter box was an all-you-can-eat buffet to Zoe until we caught her in the act. I had to get creative and block the litter box from her but still have it accessible to the cats. These days the litter box is in the basement and there's a baby gate to keep the dogs from getting to it. That being said, the moment I go to work at my bench our oldest cat will follow and drop the nastiest bomb and gas me out. Ugh. Catl
-
I think Quill and Jimmy would get along so nicely. He occasionally does the latter. Not fun at all.
-
RCAF Liberator GR Mk VI
BlrwestSiR replied to BlrwestSiR's topic in LSM 1/35 and Larger Work In Progress
Thanks Phil! No booth, just what's supposed to be a dedicated bench and exhaust fans for painting. One reason why I'm using Mission Models paint on this and the Lanc (when the time comes). It has absolutely no smell and washes up with water. -
RCAF Liberator GR Mk VI
BlrwestSiR replied to BlrwestSiR's topic in LSM 1/35 and Larger Work In Progress
Thanks Mark! Except for the size, it's probably easier than your Viggen. It certainly is Peter. The scary part is I still have to do the upper wings. One step at a time. -
RCAF Liberator GR Mk VI
BlrwestSiR replied to BlrwestSiR's topic in LSM 1/35 and Larger Work In Progress
Not much done tonight but I did get the lower wing sections into primer. Same with the tailplanes.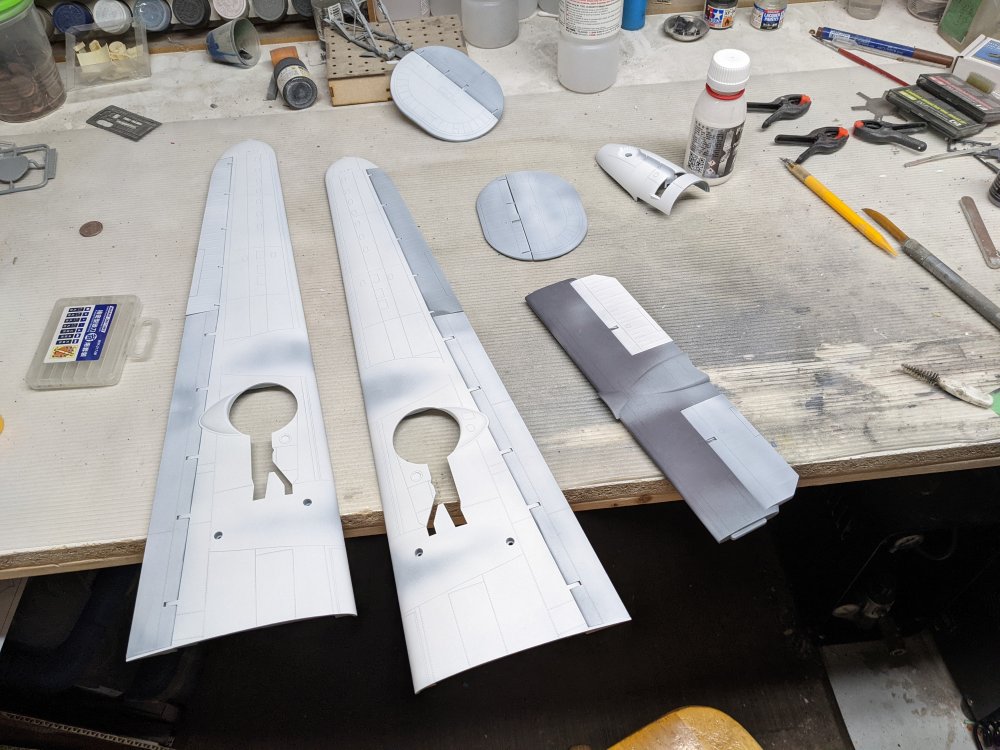
- 227 replies
-
- 11
-

-
RCAF Liberator GR Mk VI
BlrwestSiR replied to BlrwestSiR's topic in LSM 1/35 and Larger Work In Progress
Thanks Rob! Unfortunately the wings aren't removable but rather assemble around the spar. Plus with the demarcation of the camo, I felt it best to paint everything before I join them and then hopefully just have some touch-ups. Thanks Peter. I'm not sure I have the room for it either to be honest. The "plan" is to build a bunch of kits so that I can consolidate one of my shelves and then I'll have room to build a new display case. Then I'll have the display space for this, my 2 Lancs, and B-17. Plus whatever else will fit. Thanks Martin, always great to get your encouragement. -
RCAF Liberator GR Mk VI
BlrwestSiR replied to BlrwestSiR's topic in LSM 1/35 and Larger Work In Progress
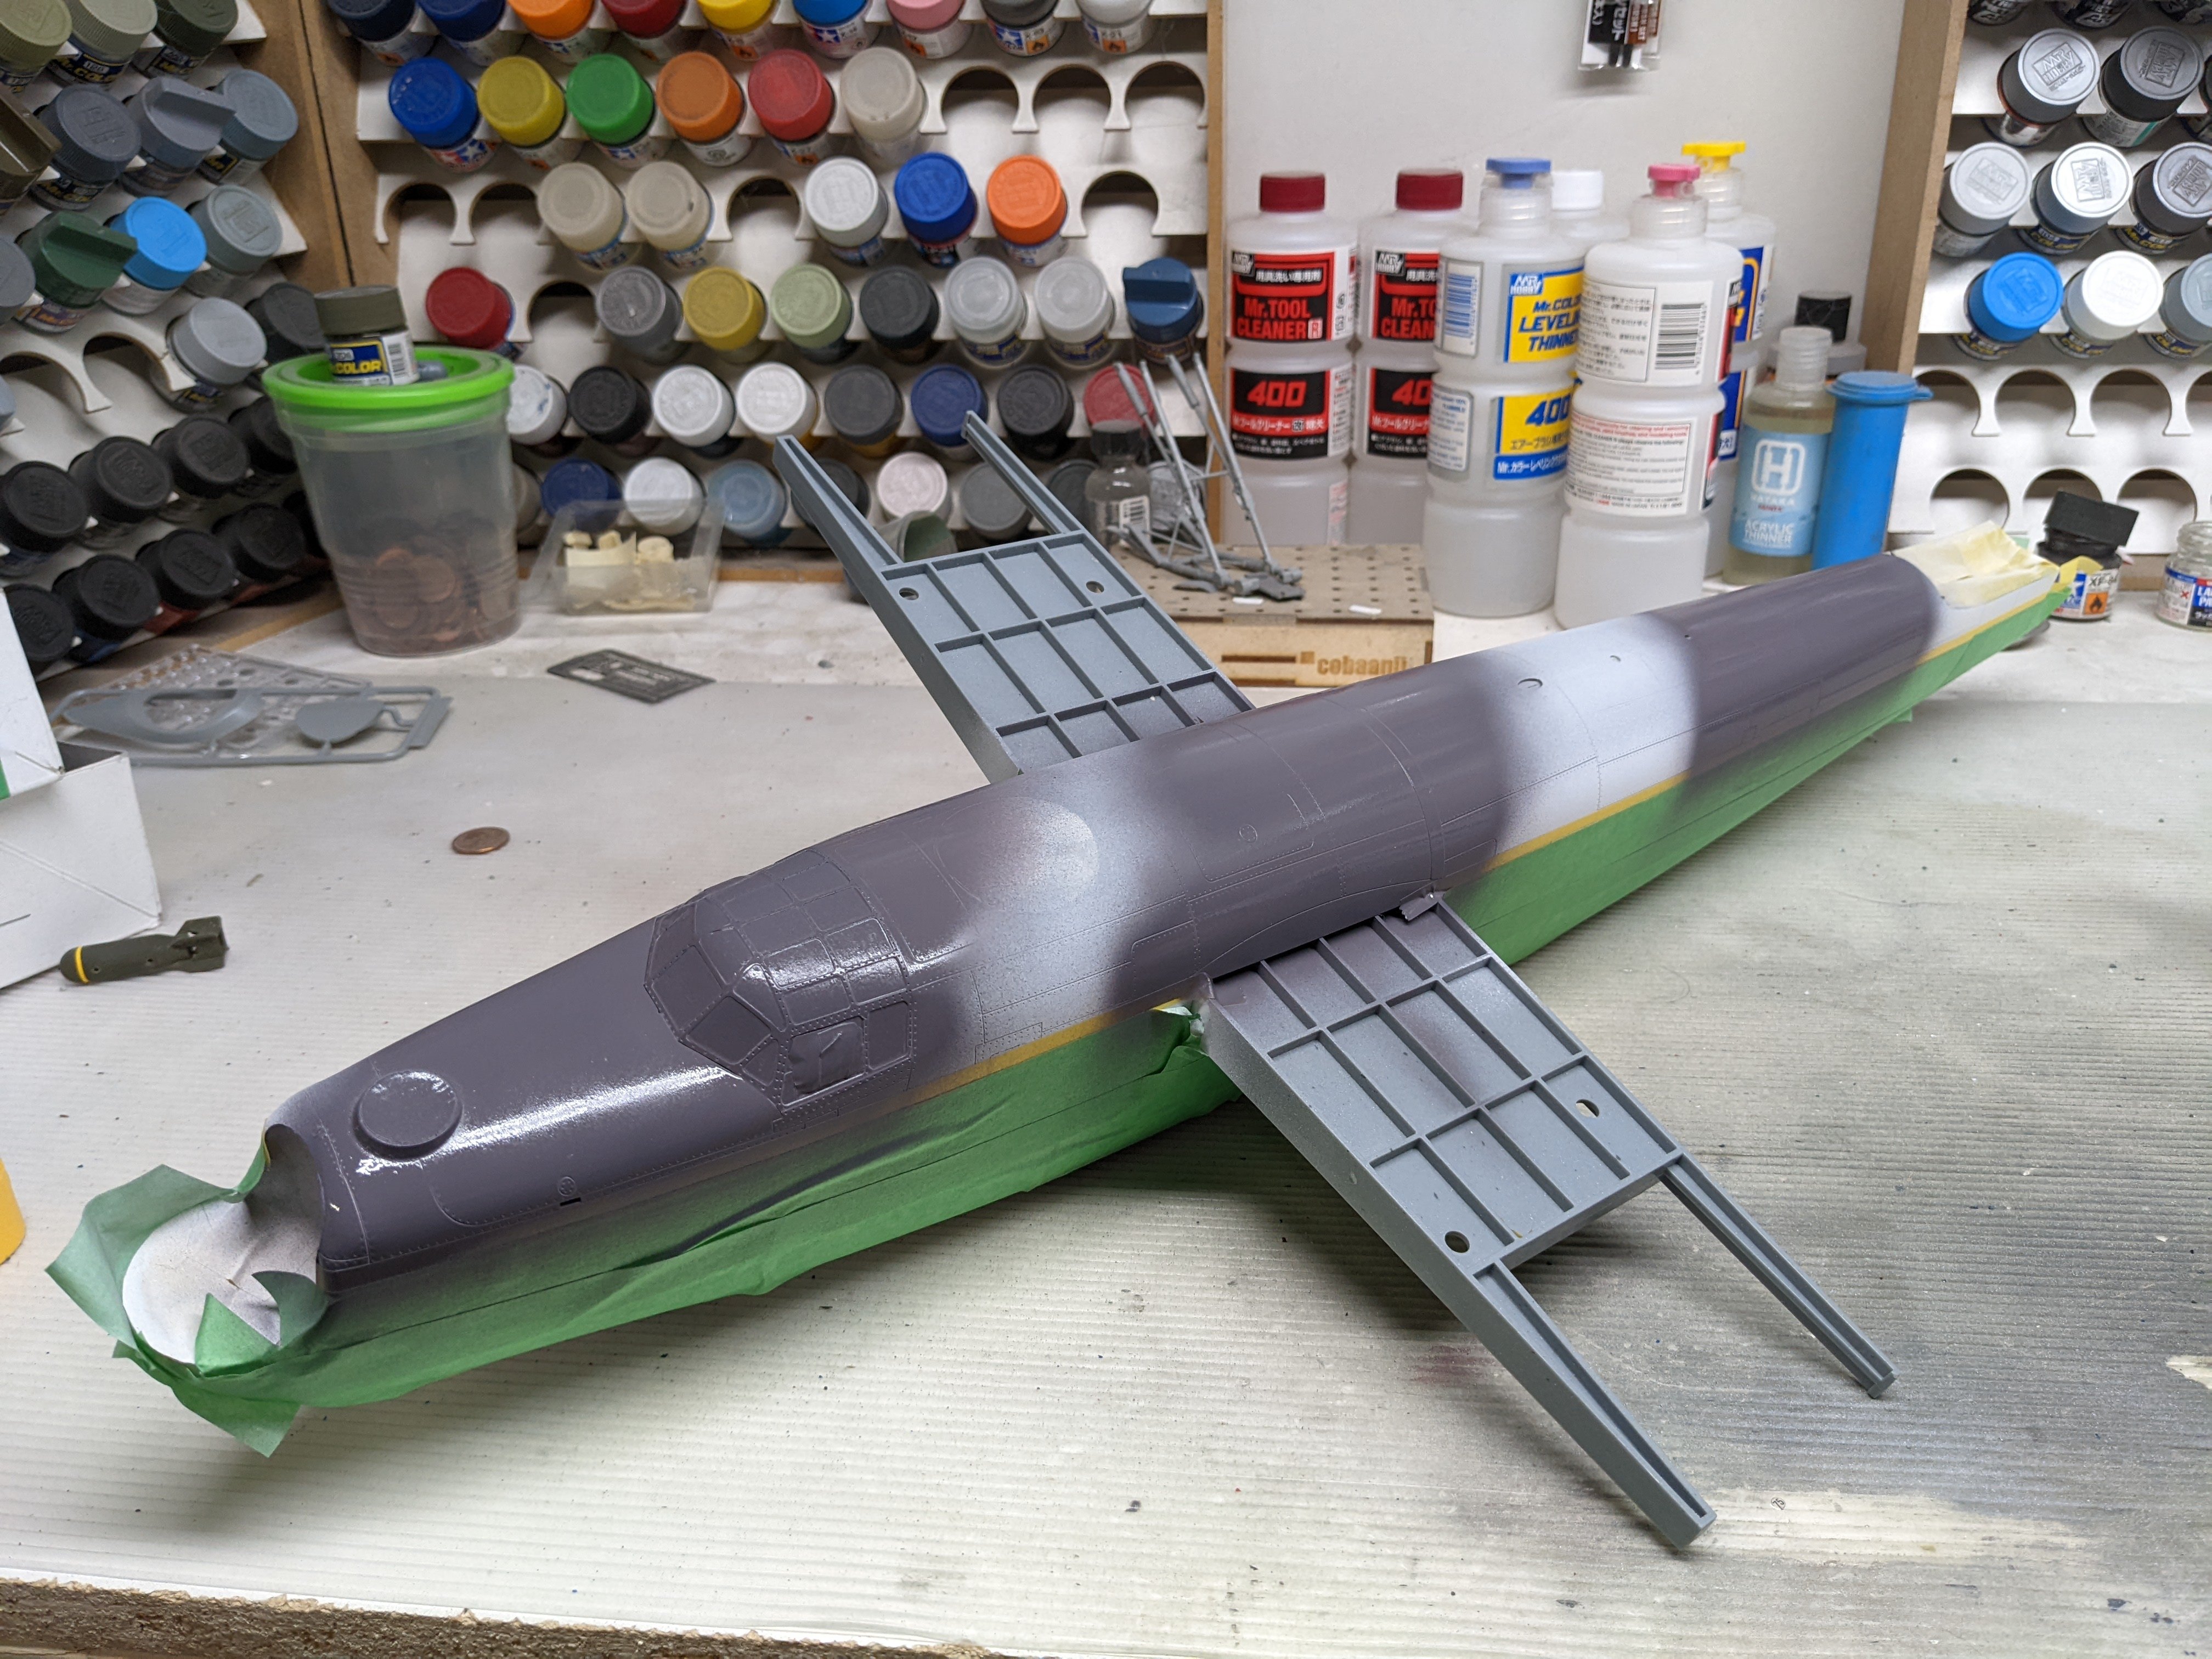
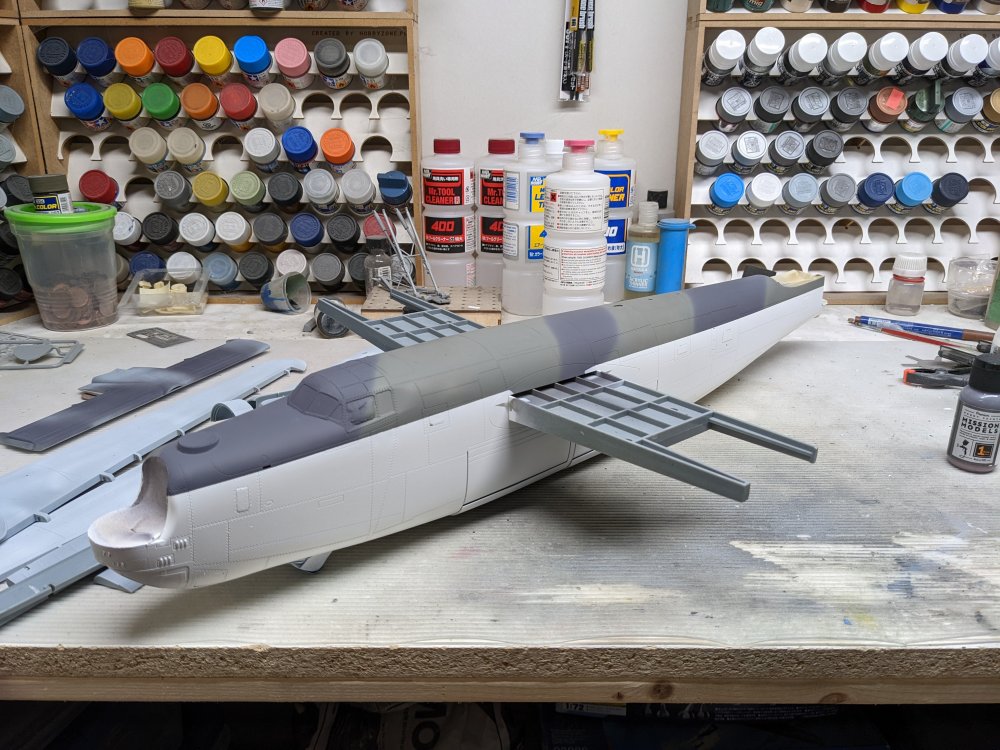
I managed to finish the fuselage camo tonight. Removing the masking tape made it look much better. The wing sections in the background have been primed and those will be painted next.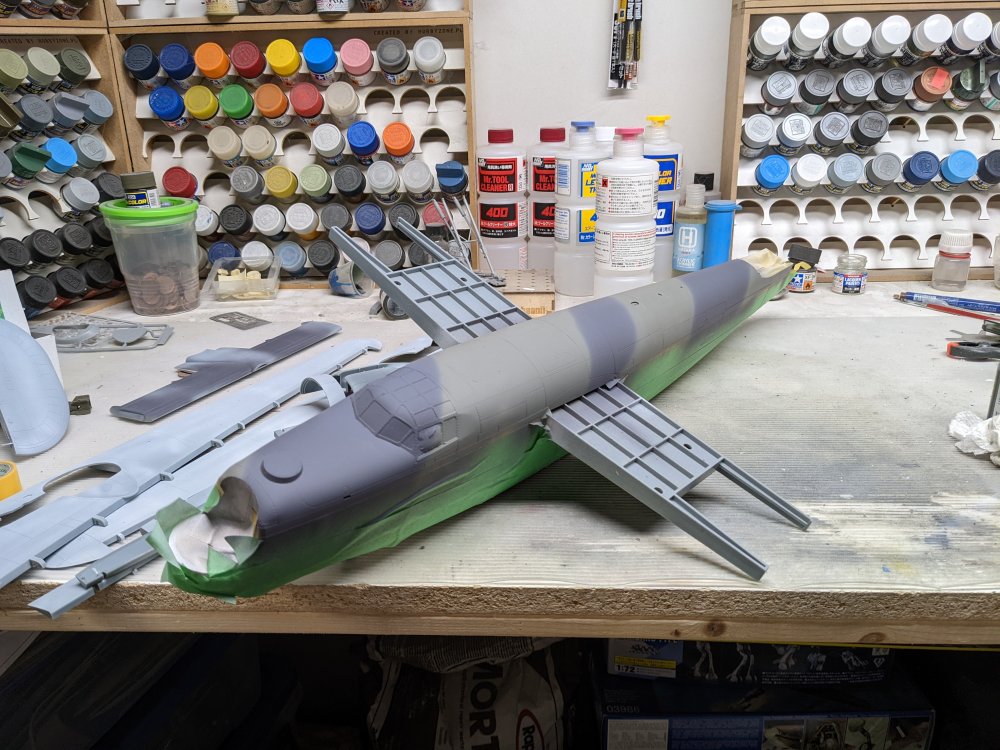
- 227 replies
-
- 11
-
-
Tomcats in high viz are the only way to go.
-
Nice kit Rob. Tamiya does the MP4/6 in 1/12. If you do get one, check out the Top Studio detail sets for the kit. They are mind blowing. But are easily double the price of the kit. Model Factory Hiro does the MP4/4 in 1/12. It has working pistons. You can even get the engine as a separate kit from them. Carl
-
RCAF Liberator GR Mk VI
BlrwestSiR replied to BlrwestSiR's topic in LSM 1/35 and Larger Work In Progress
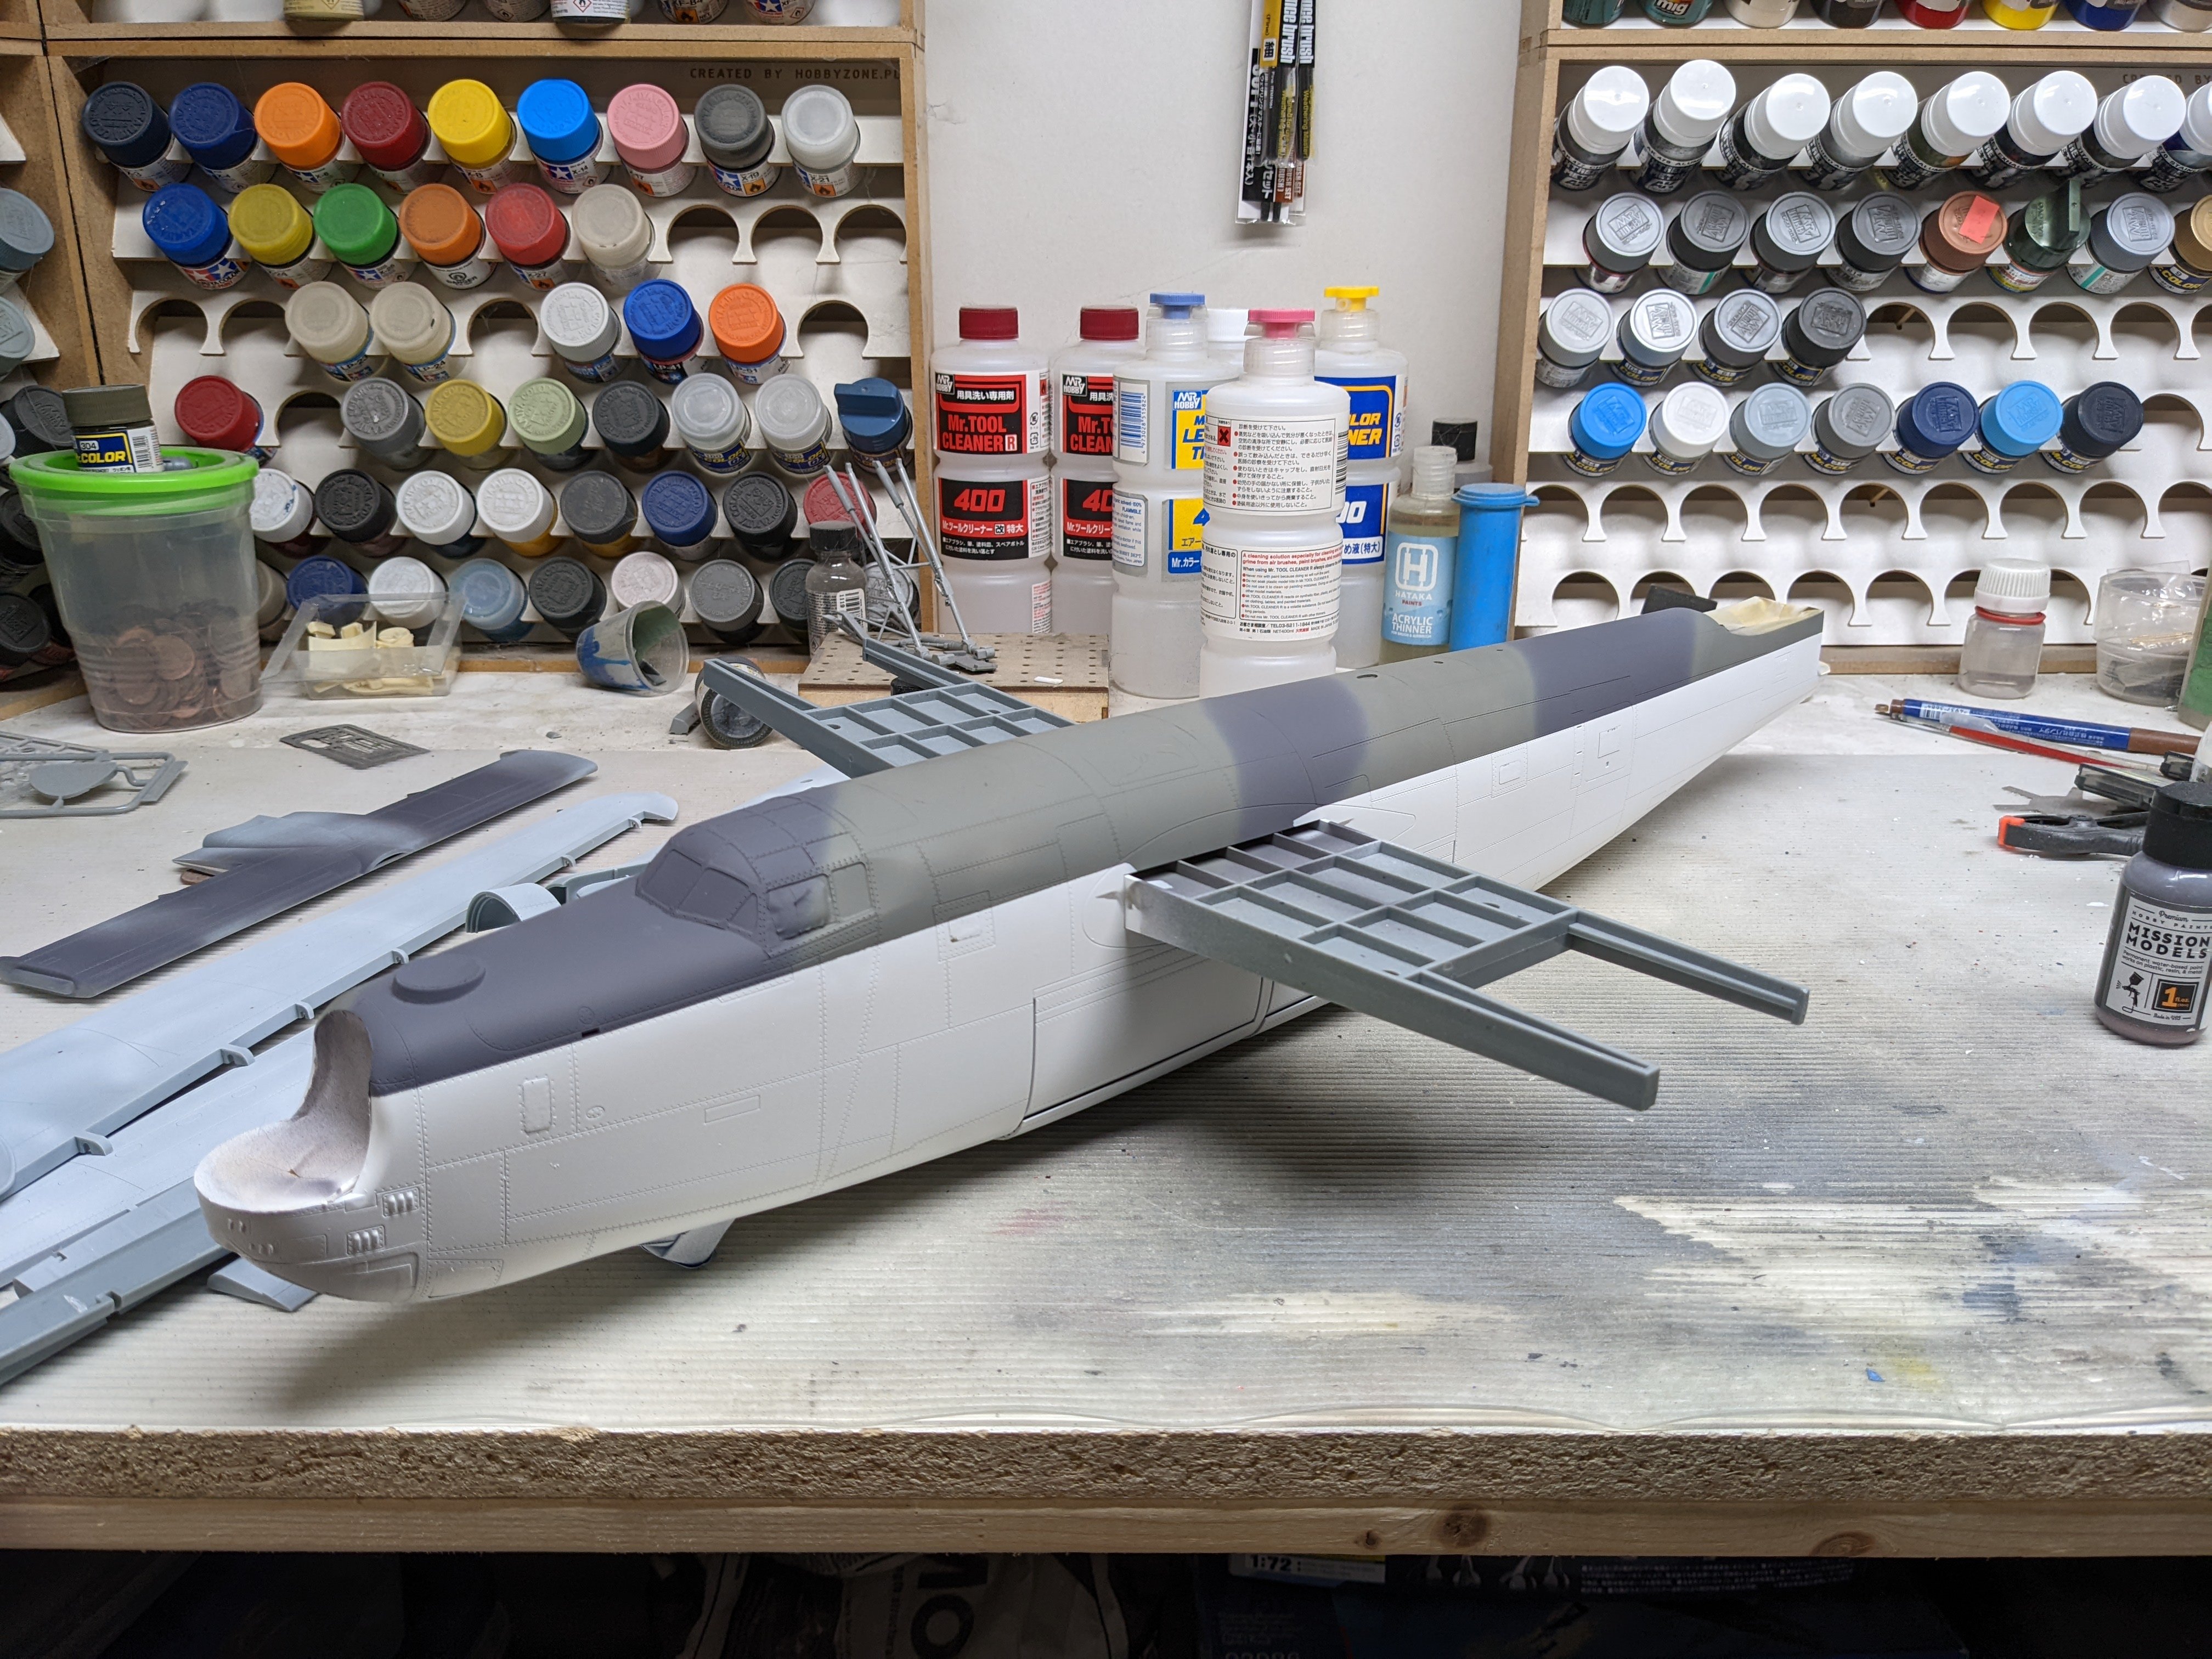
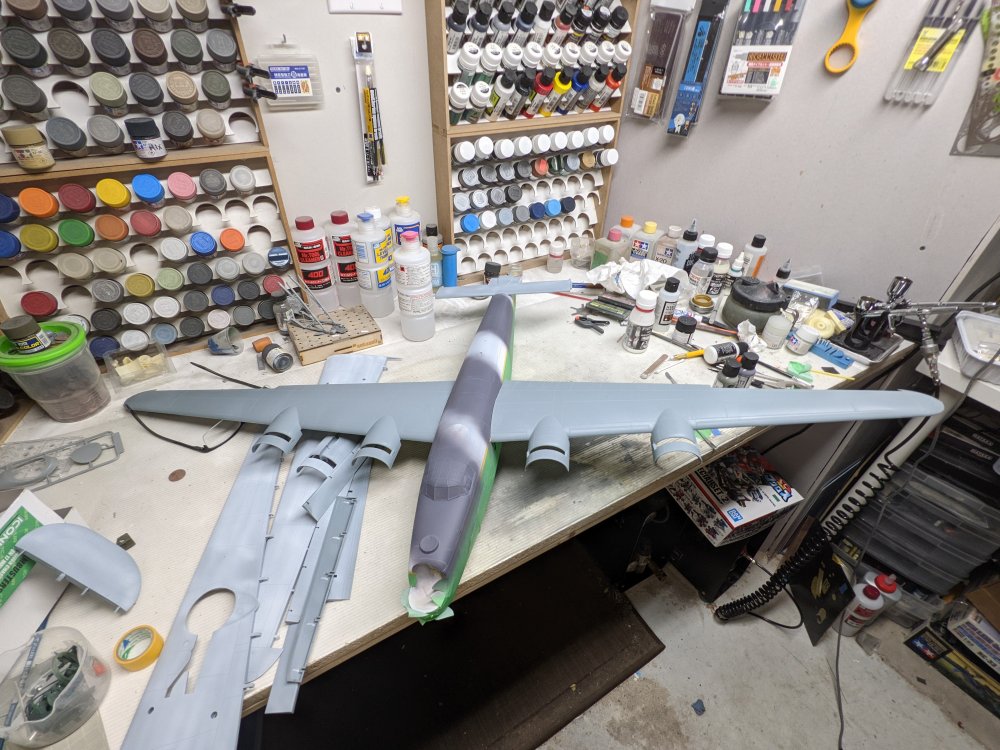
Thanks Gary for the suggestion. I'm not sure if have the space for one in my basement. Especially once the wings go on. Here's a quick mock-up.
- 227 replies
-
- 12
-
-
RCAF Liberator GR Mk VI
BlrwestSiR replied to BlrwestSiR's topic in LSM 1/35 and Larger Work In Progress
It really is. Plus I had to put so much nose weight in that holding it up to paint it has been tiring. -
RCAF Liberator GR Mk VI
BlrwestSiR replied to BlrwestSiR's topic in LSM 1/35 and Larger Work In Progress
The white dried so I started on the upper camo. Lots of masking tape. Followed by Extra Dark Sea Grey.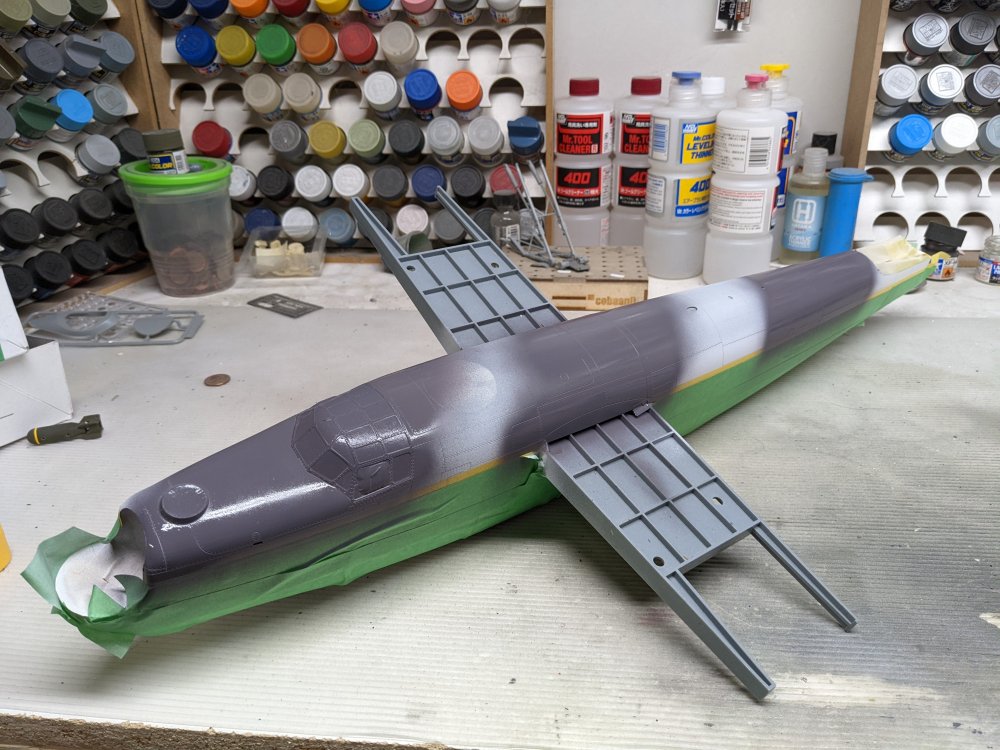

-
RCAF Liberator GR Mk VI
BlrwestSiR replied to BlrwestSiR's topic in LSM 1/35 and Larger Work In Progress
Thanks folks! The white is on now. Reminds me of Moby Dick.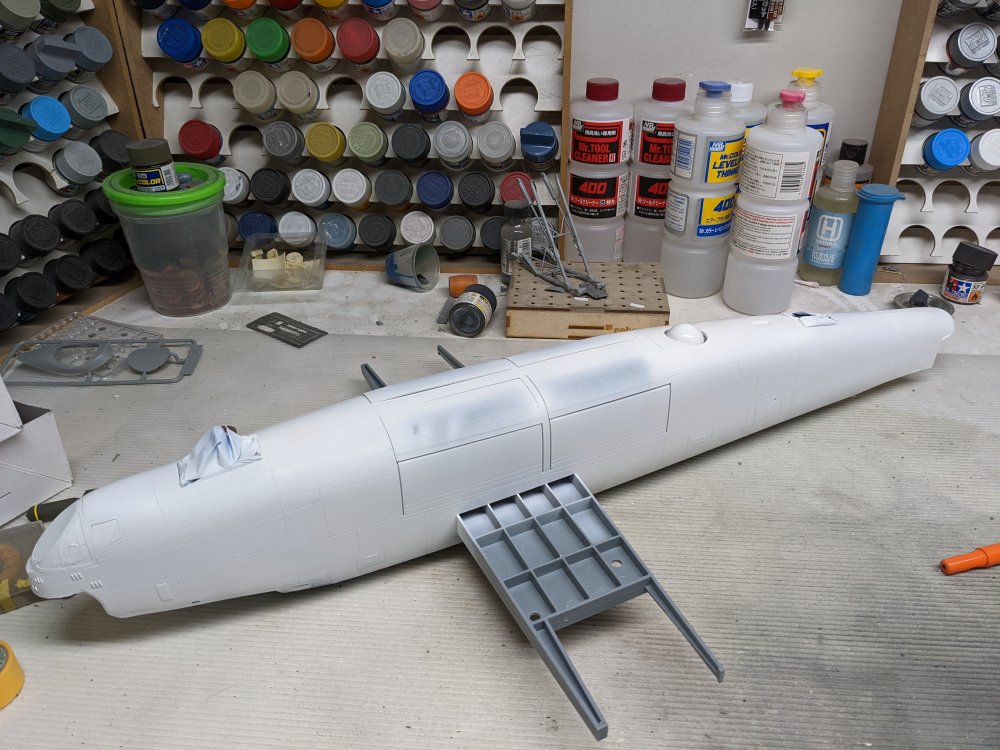
-
What is on your bench right now ? Share a picture :)
BlrwestSiR replied to Martinnfb's topic in Modelling Discussion
Gus, as everyone else has mentioned your Comet looks great. The gear on the back is nicely done too. Carl -
RCAF Liberator GR Mk VI
BlrwestSiR replied to BlrwestSiR's topic in LSM 1/35 and Larger Work In Progress
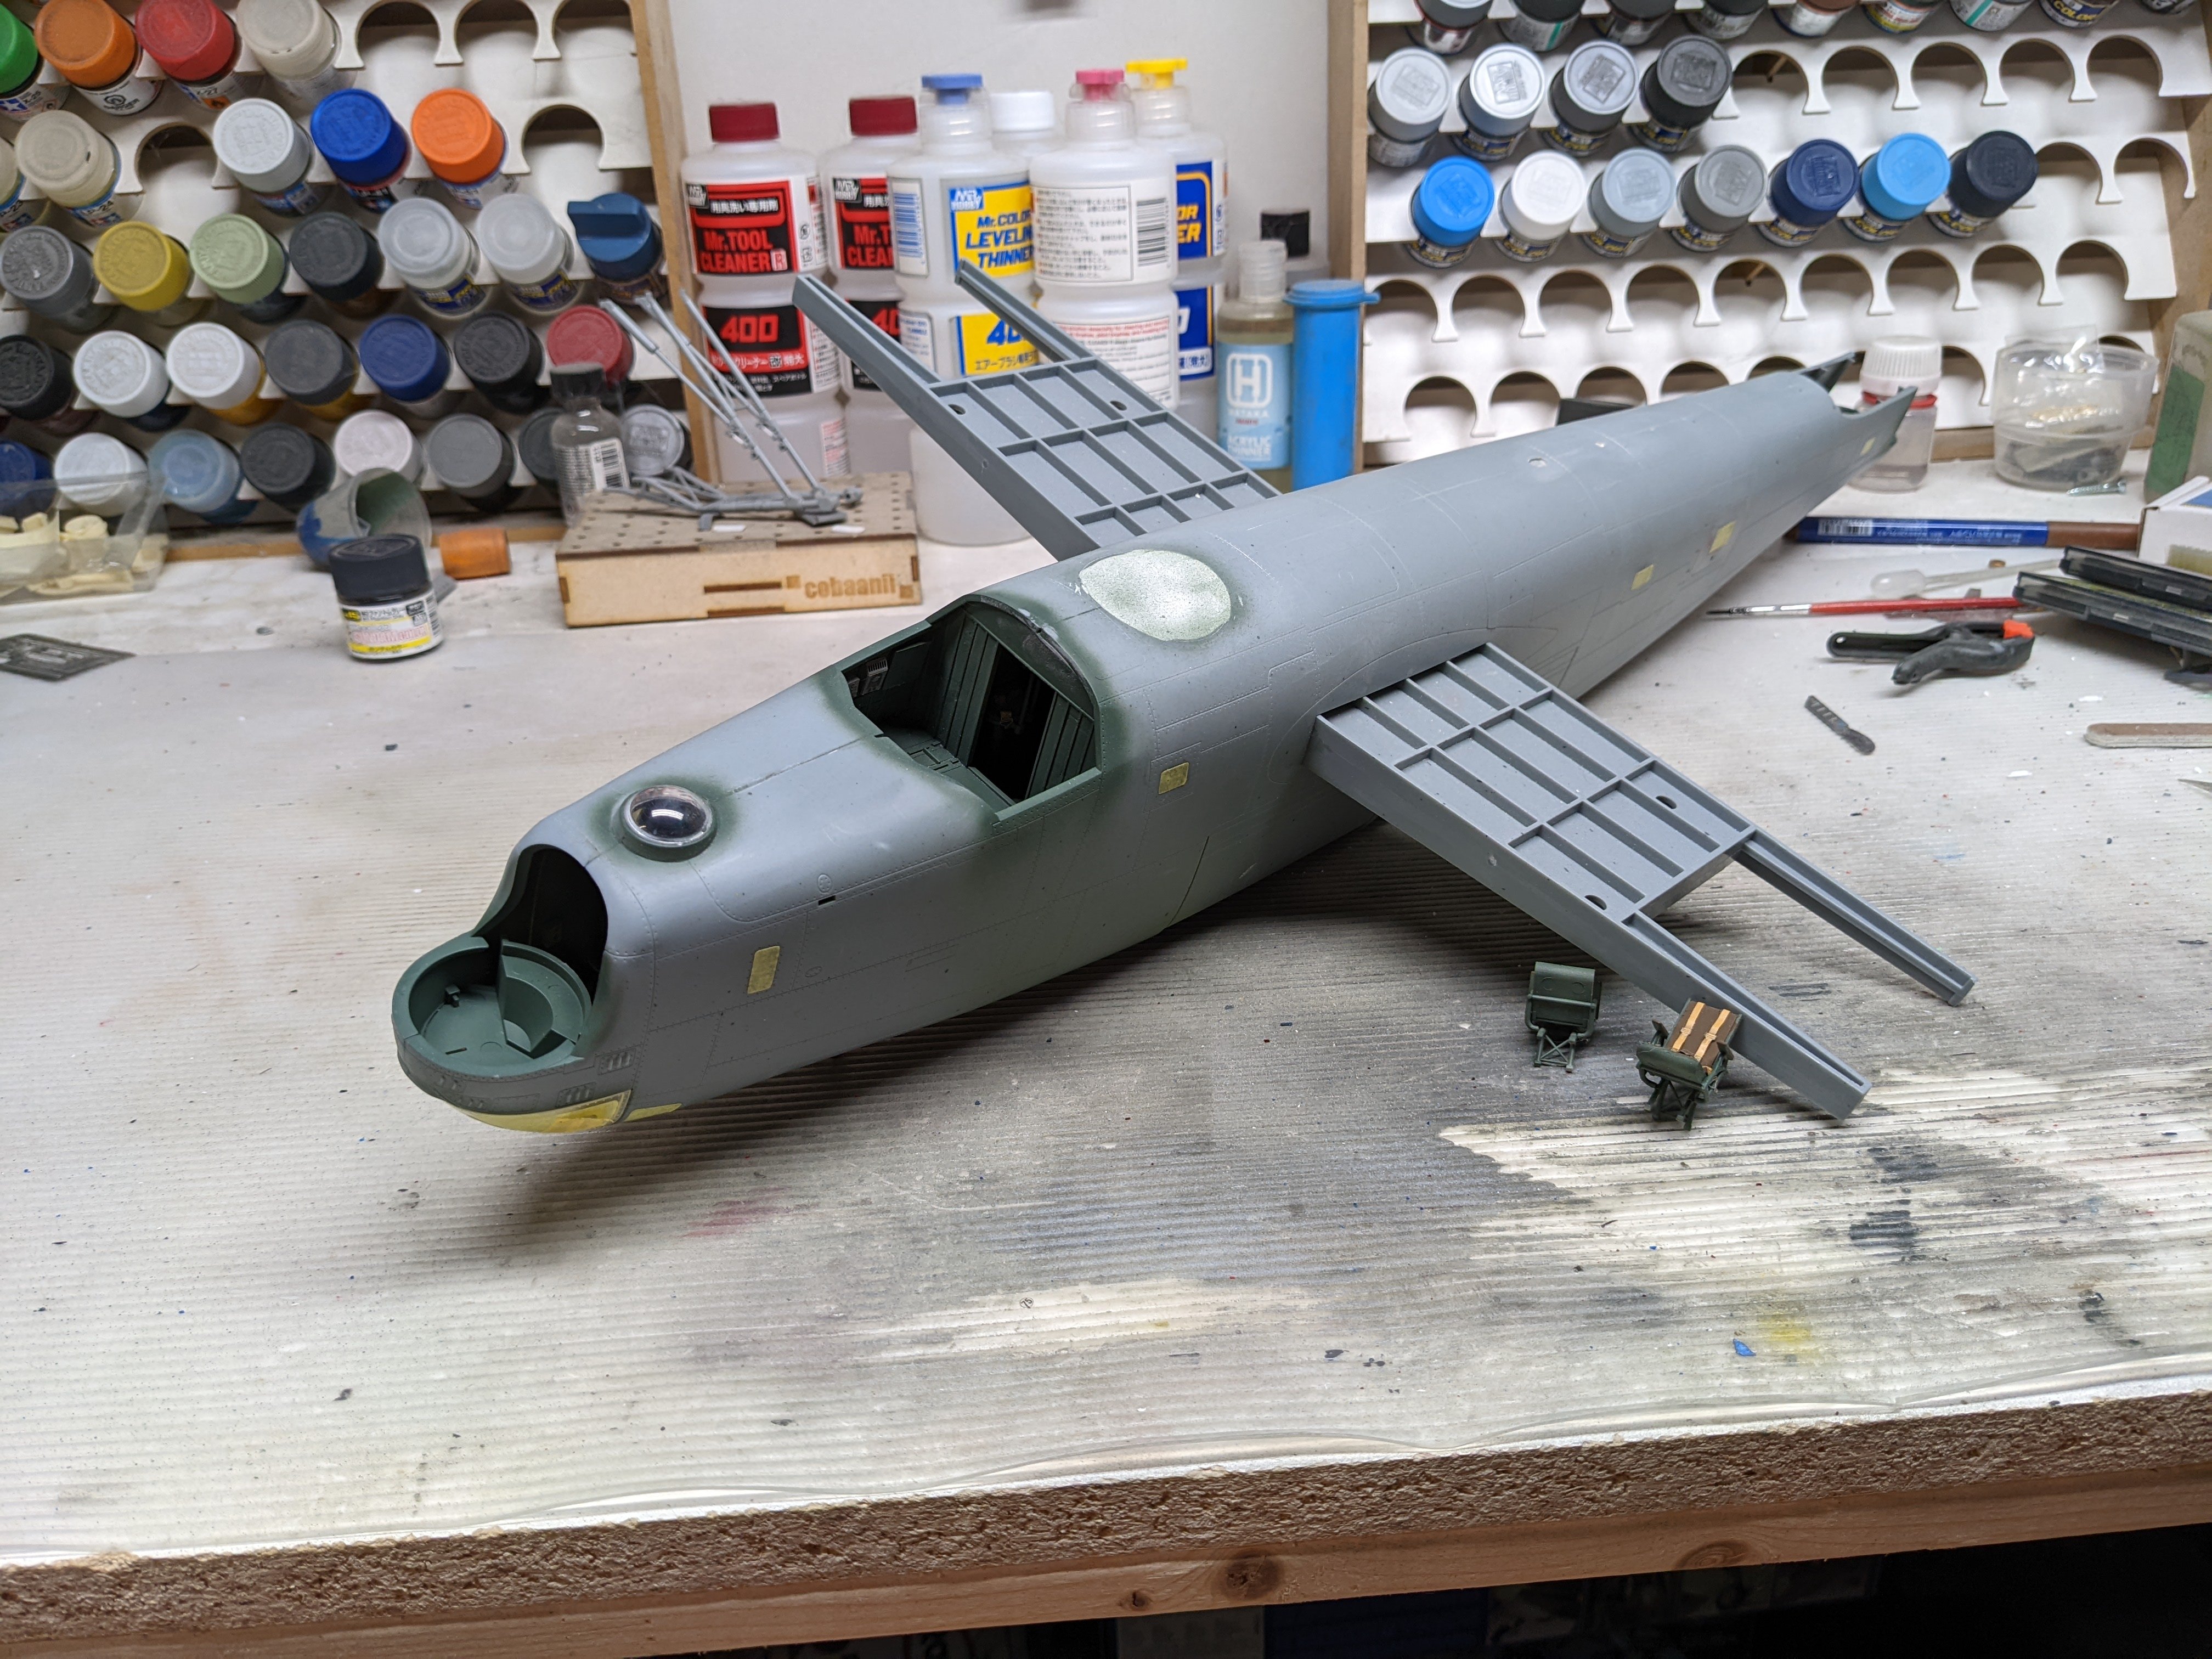
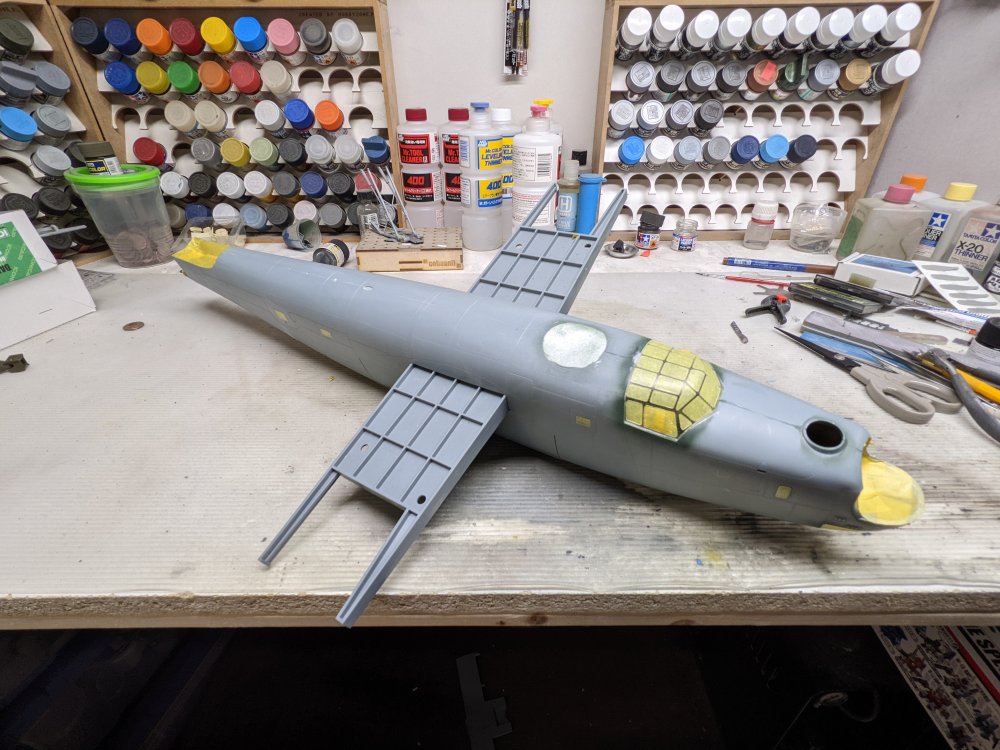
Here's the fuselage with a coat of primer on. I'm using AK Primer which is lacquer based. For the camo, il going to use Mission Models paint. It covers well but needs a good primer under it to prevent lifting. Unless you like the chipped look.
- 227 replies
-
- 10
-
-
RCAF Liberator GR Mk VI
BlrwestSiR replied to BlrwestSiR's topic in LSM 1/35 and Larger Work In Progress
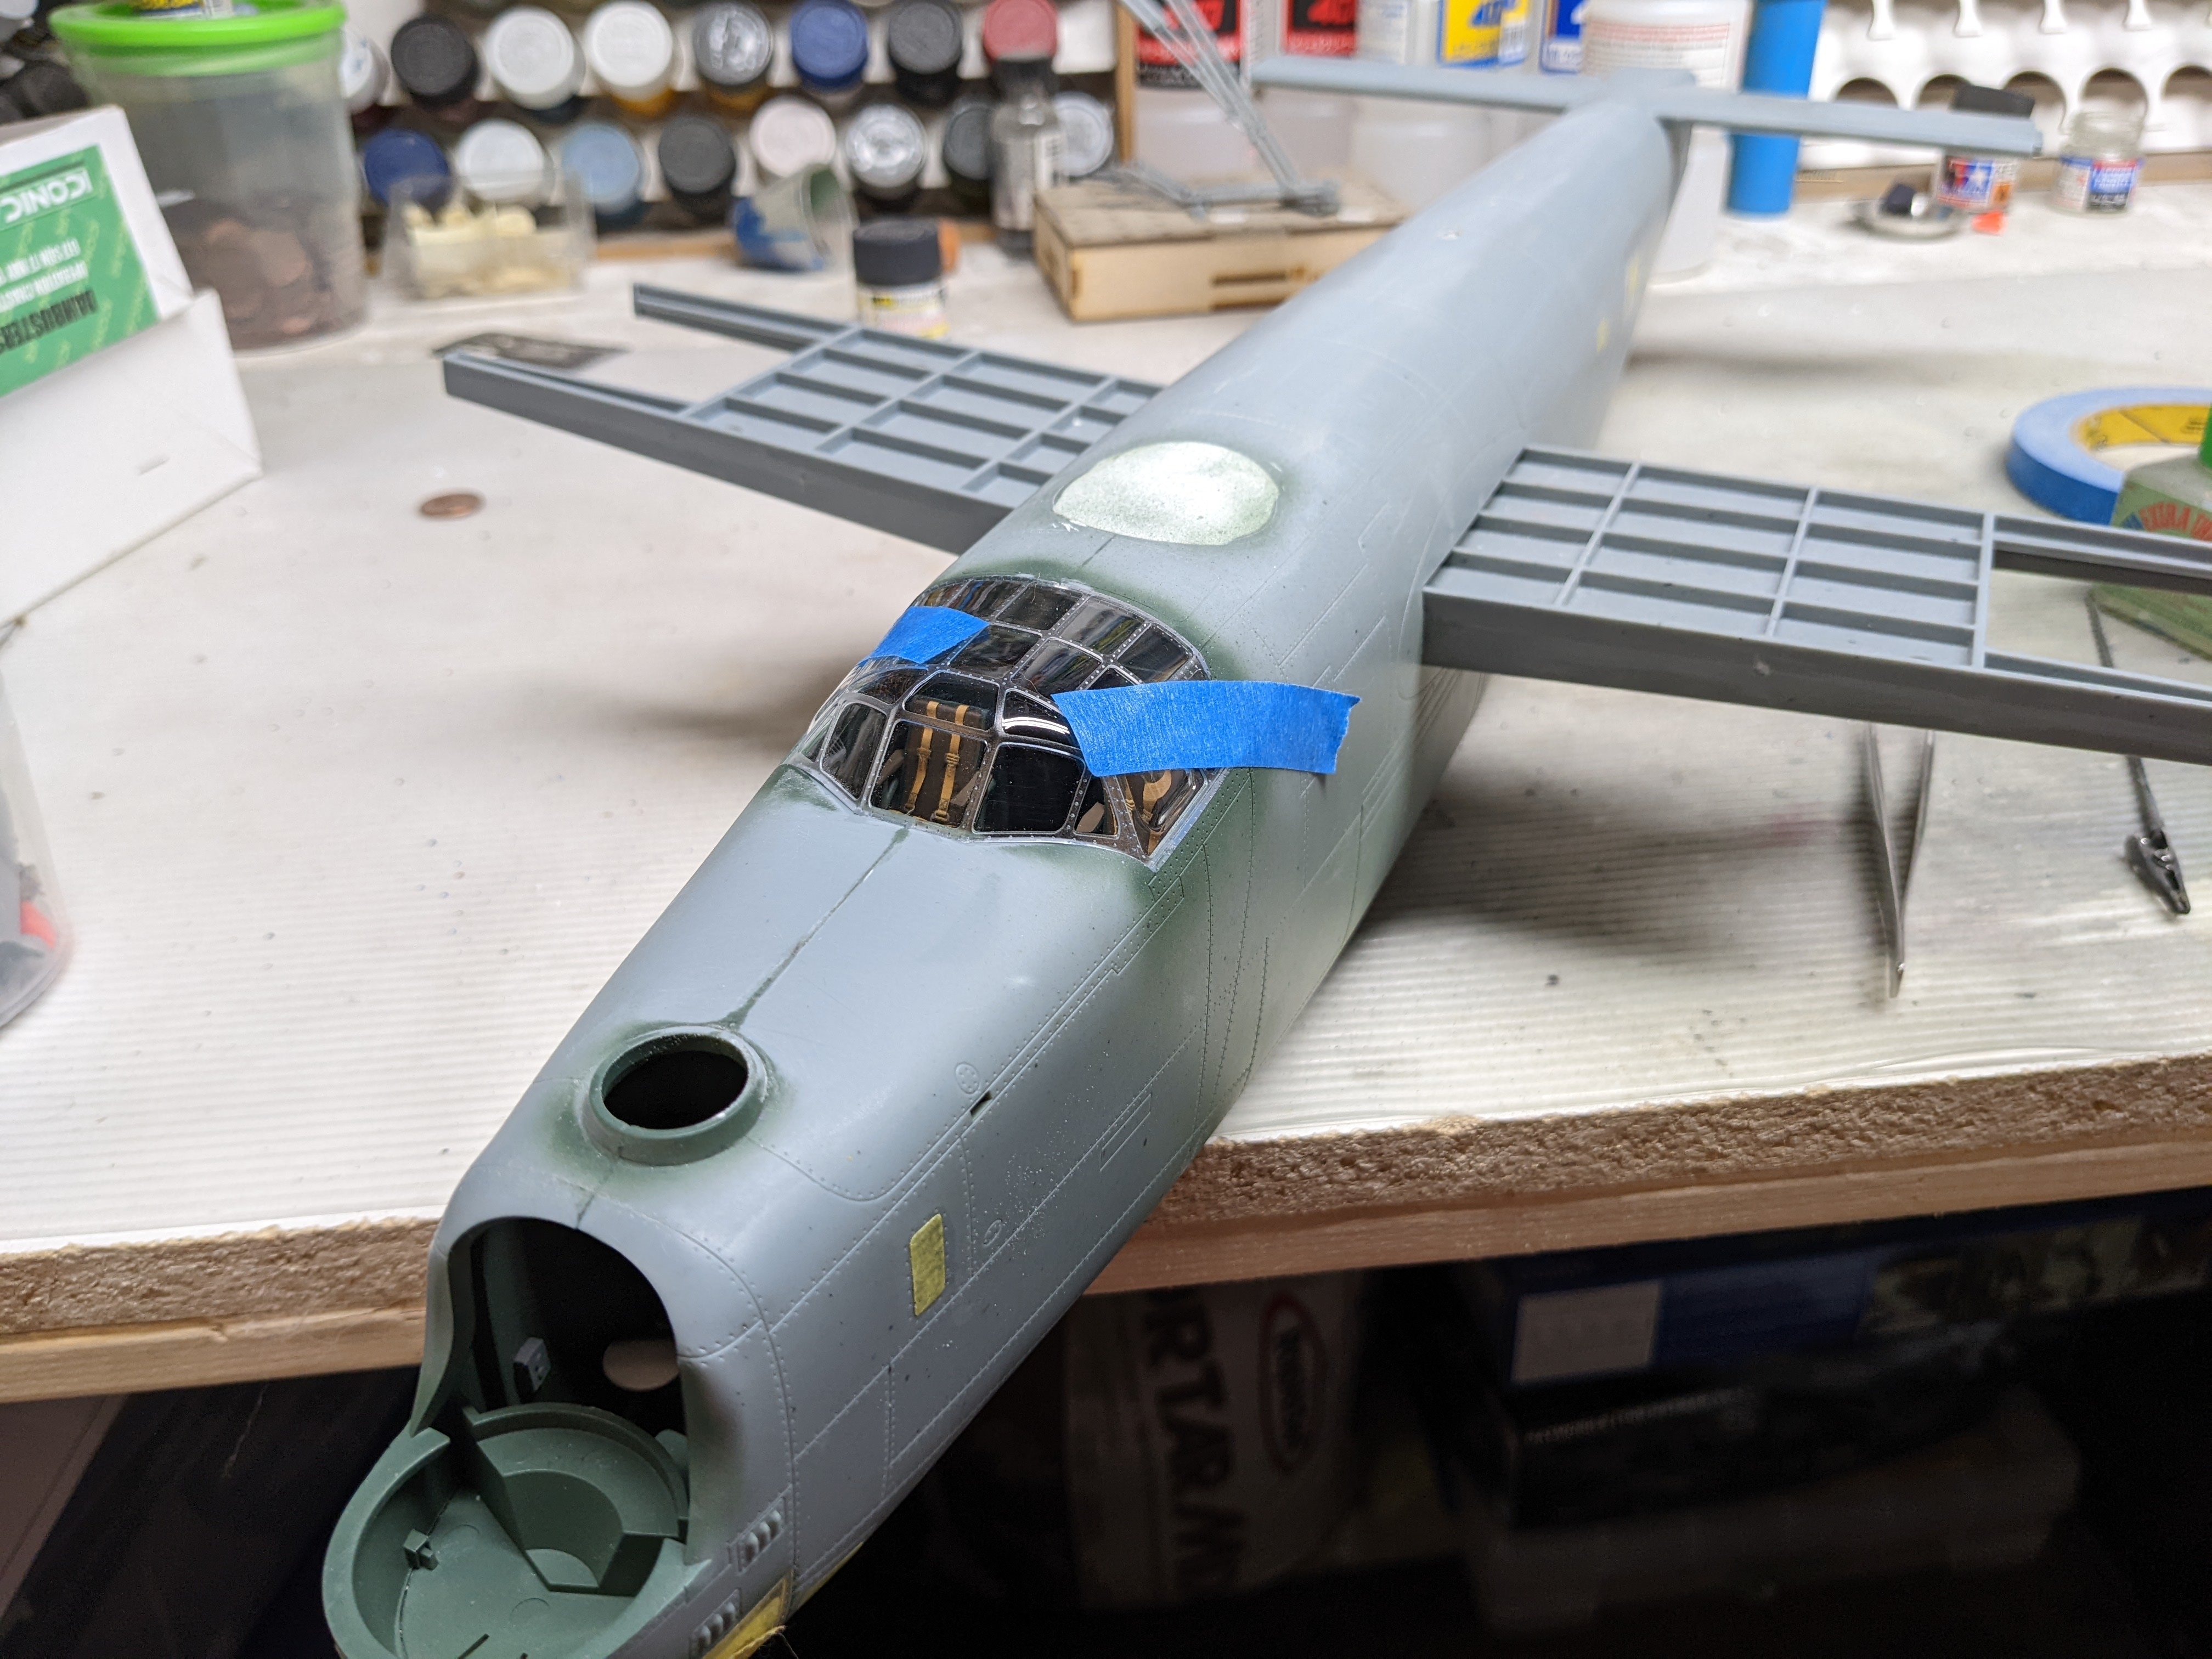
I hear you Gary. The Tamiya F-4s are some of the worst for that. And it looks like the GWH P-40 has a similar issue with the rear windows on that kit. Thanks Tom! I'm hoping with everything else sealed up I won't get anything into the fuselage. Plus I've already done all the seam sanding and filling. We'll just have to wait and see I guess -
RCAF Liberator GR Mk VI
BlrwestSiR replied to BlrwestSiR's topic in LSM 1/35 and Larger Work In Progress
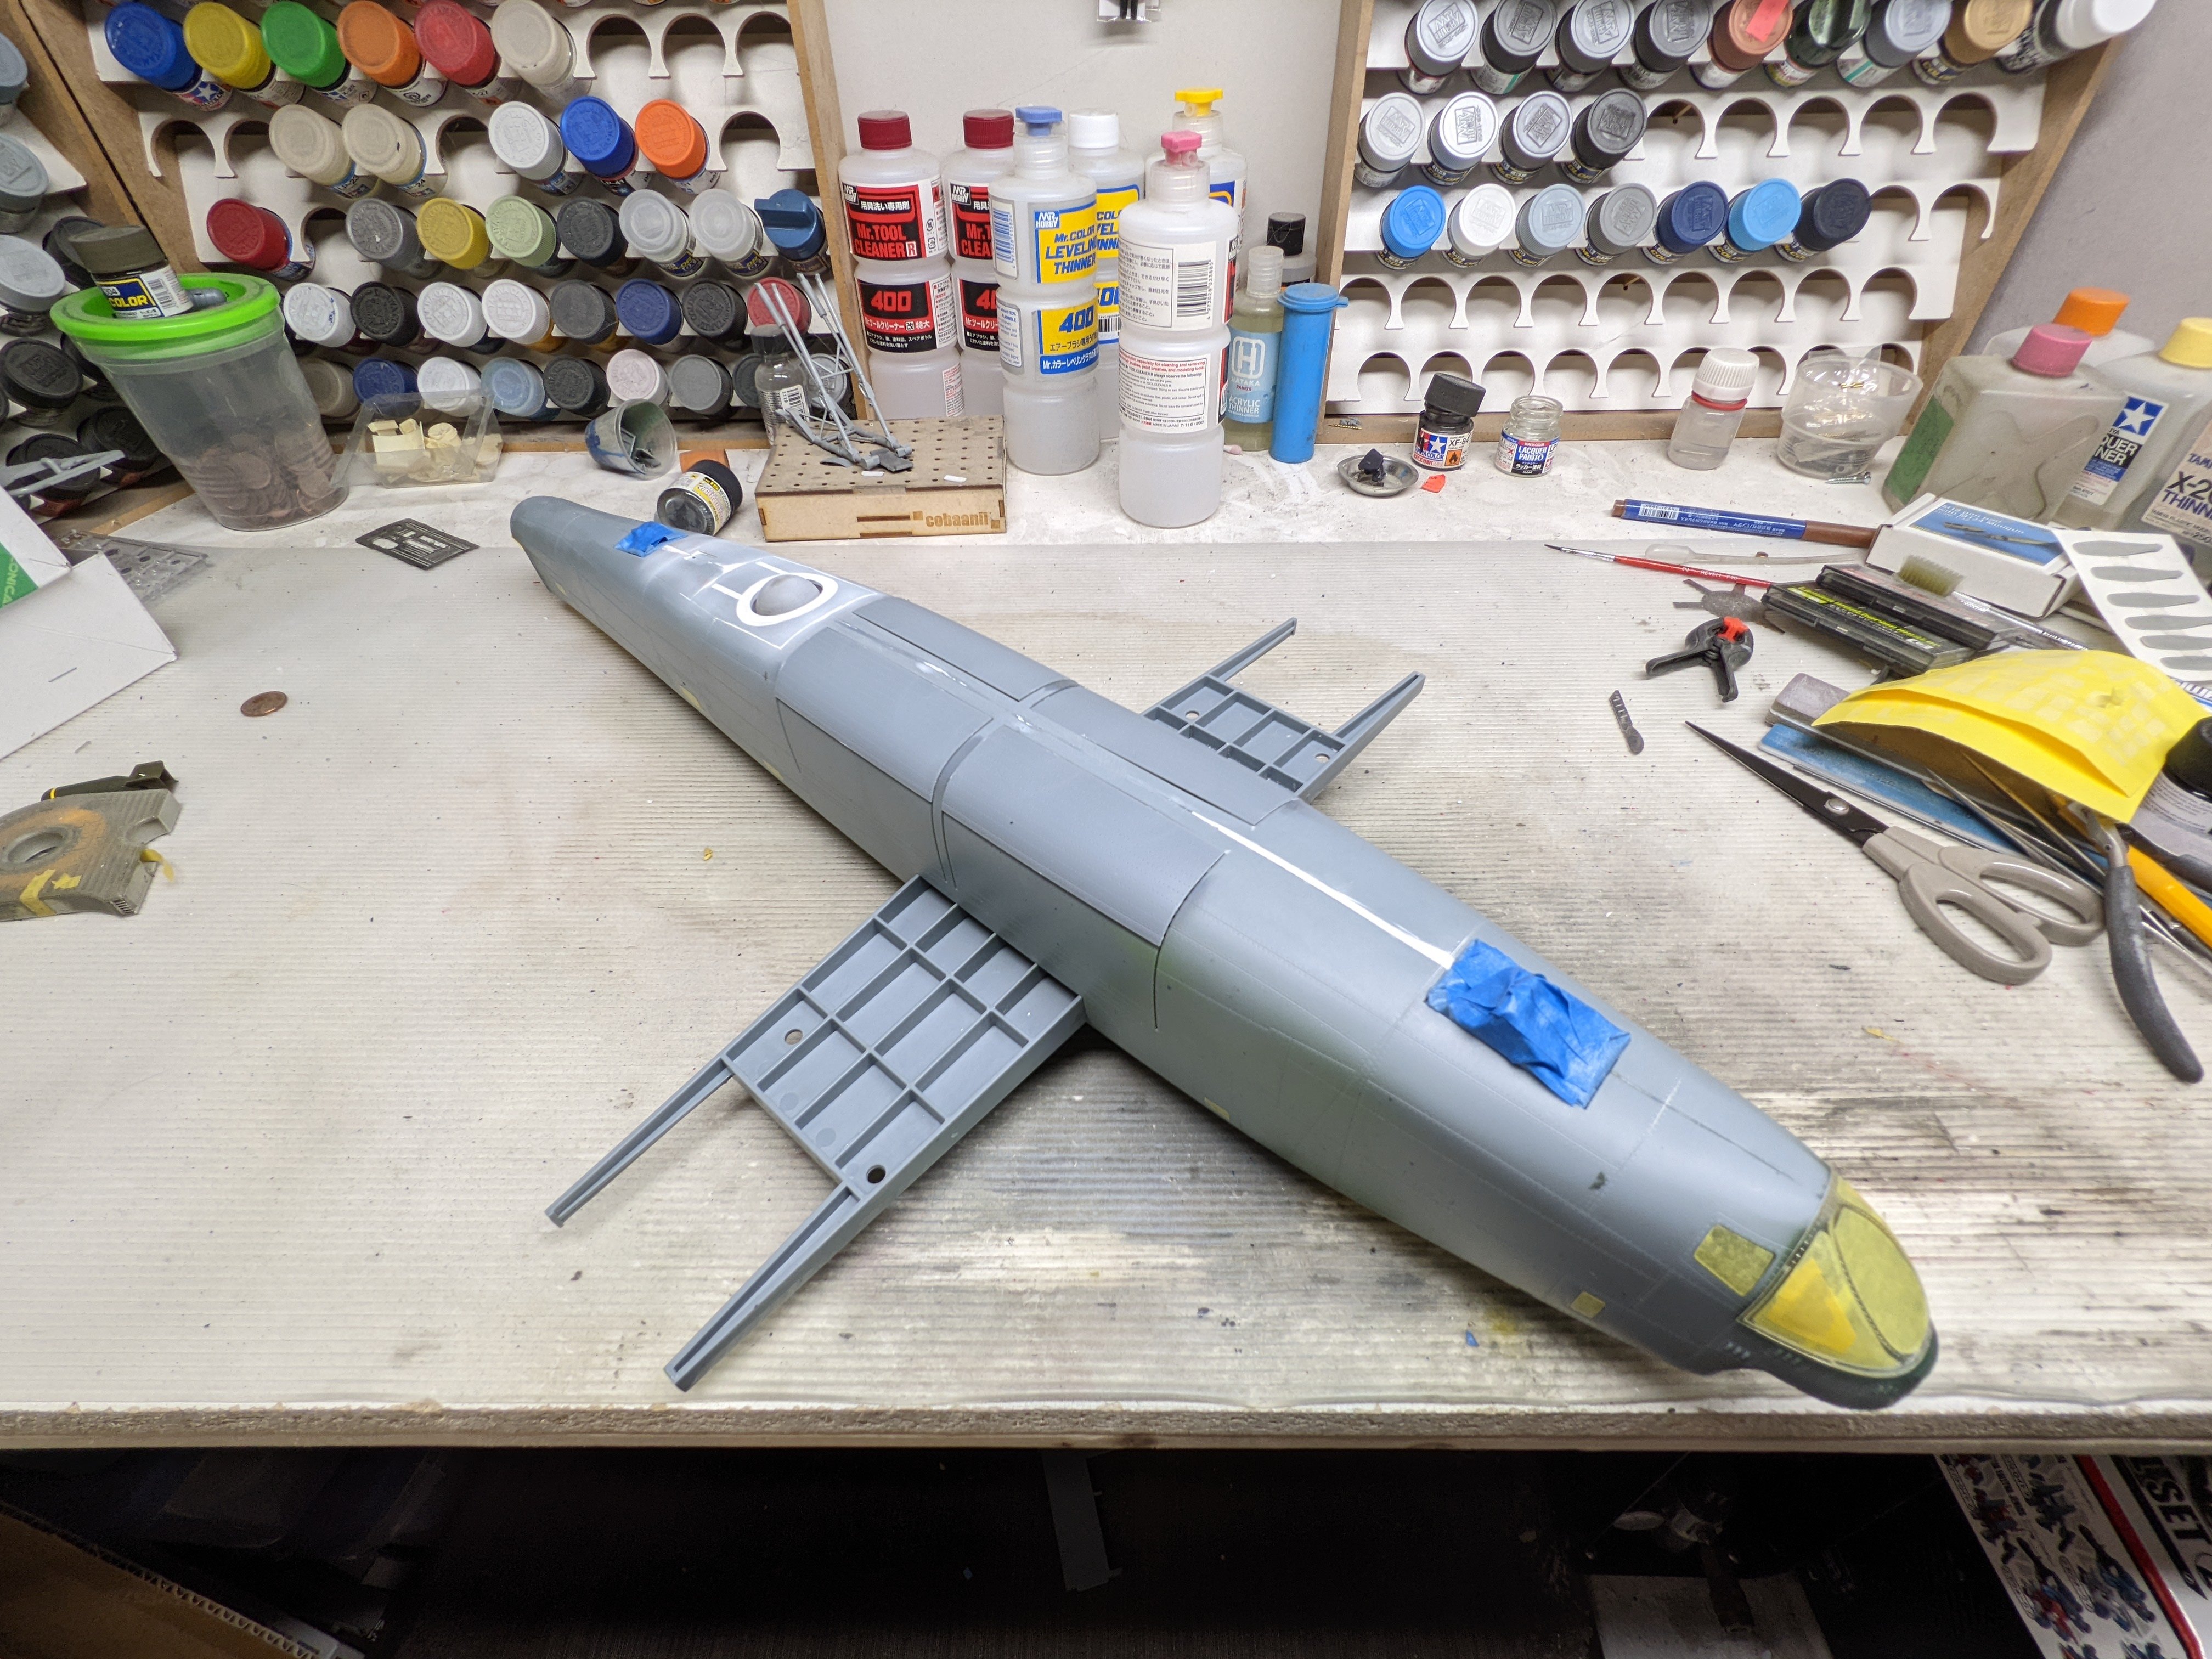
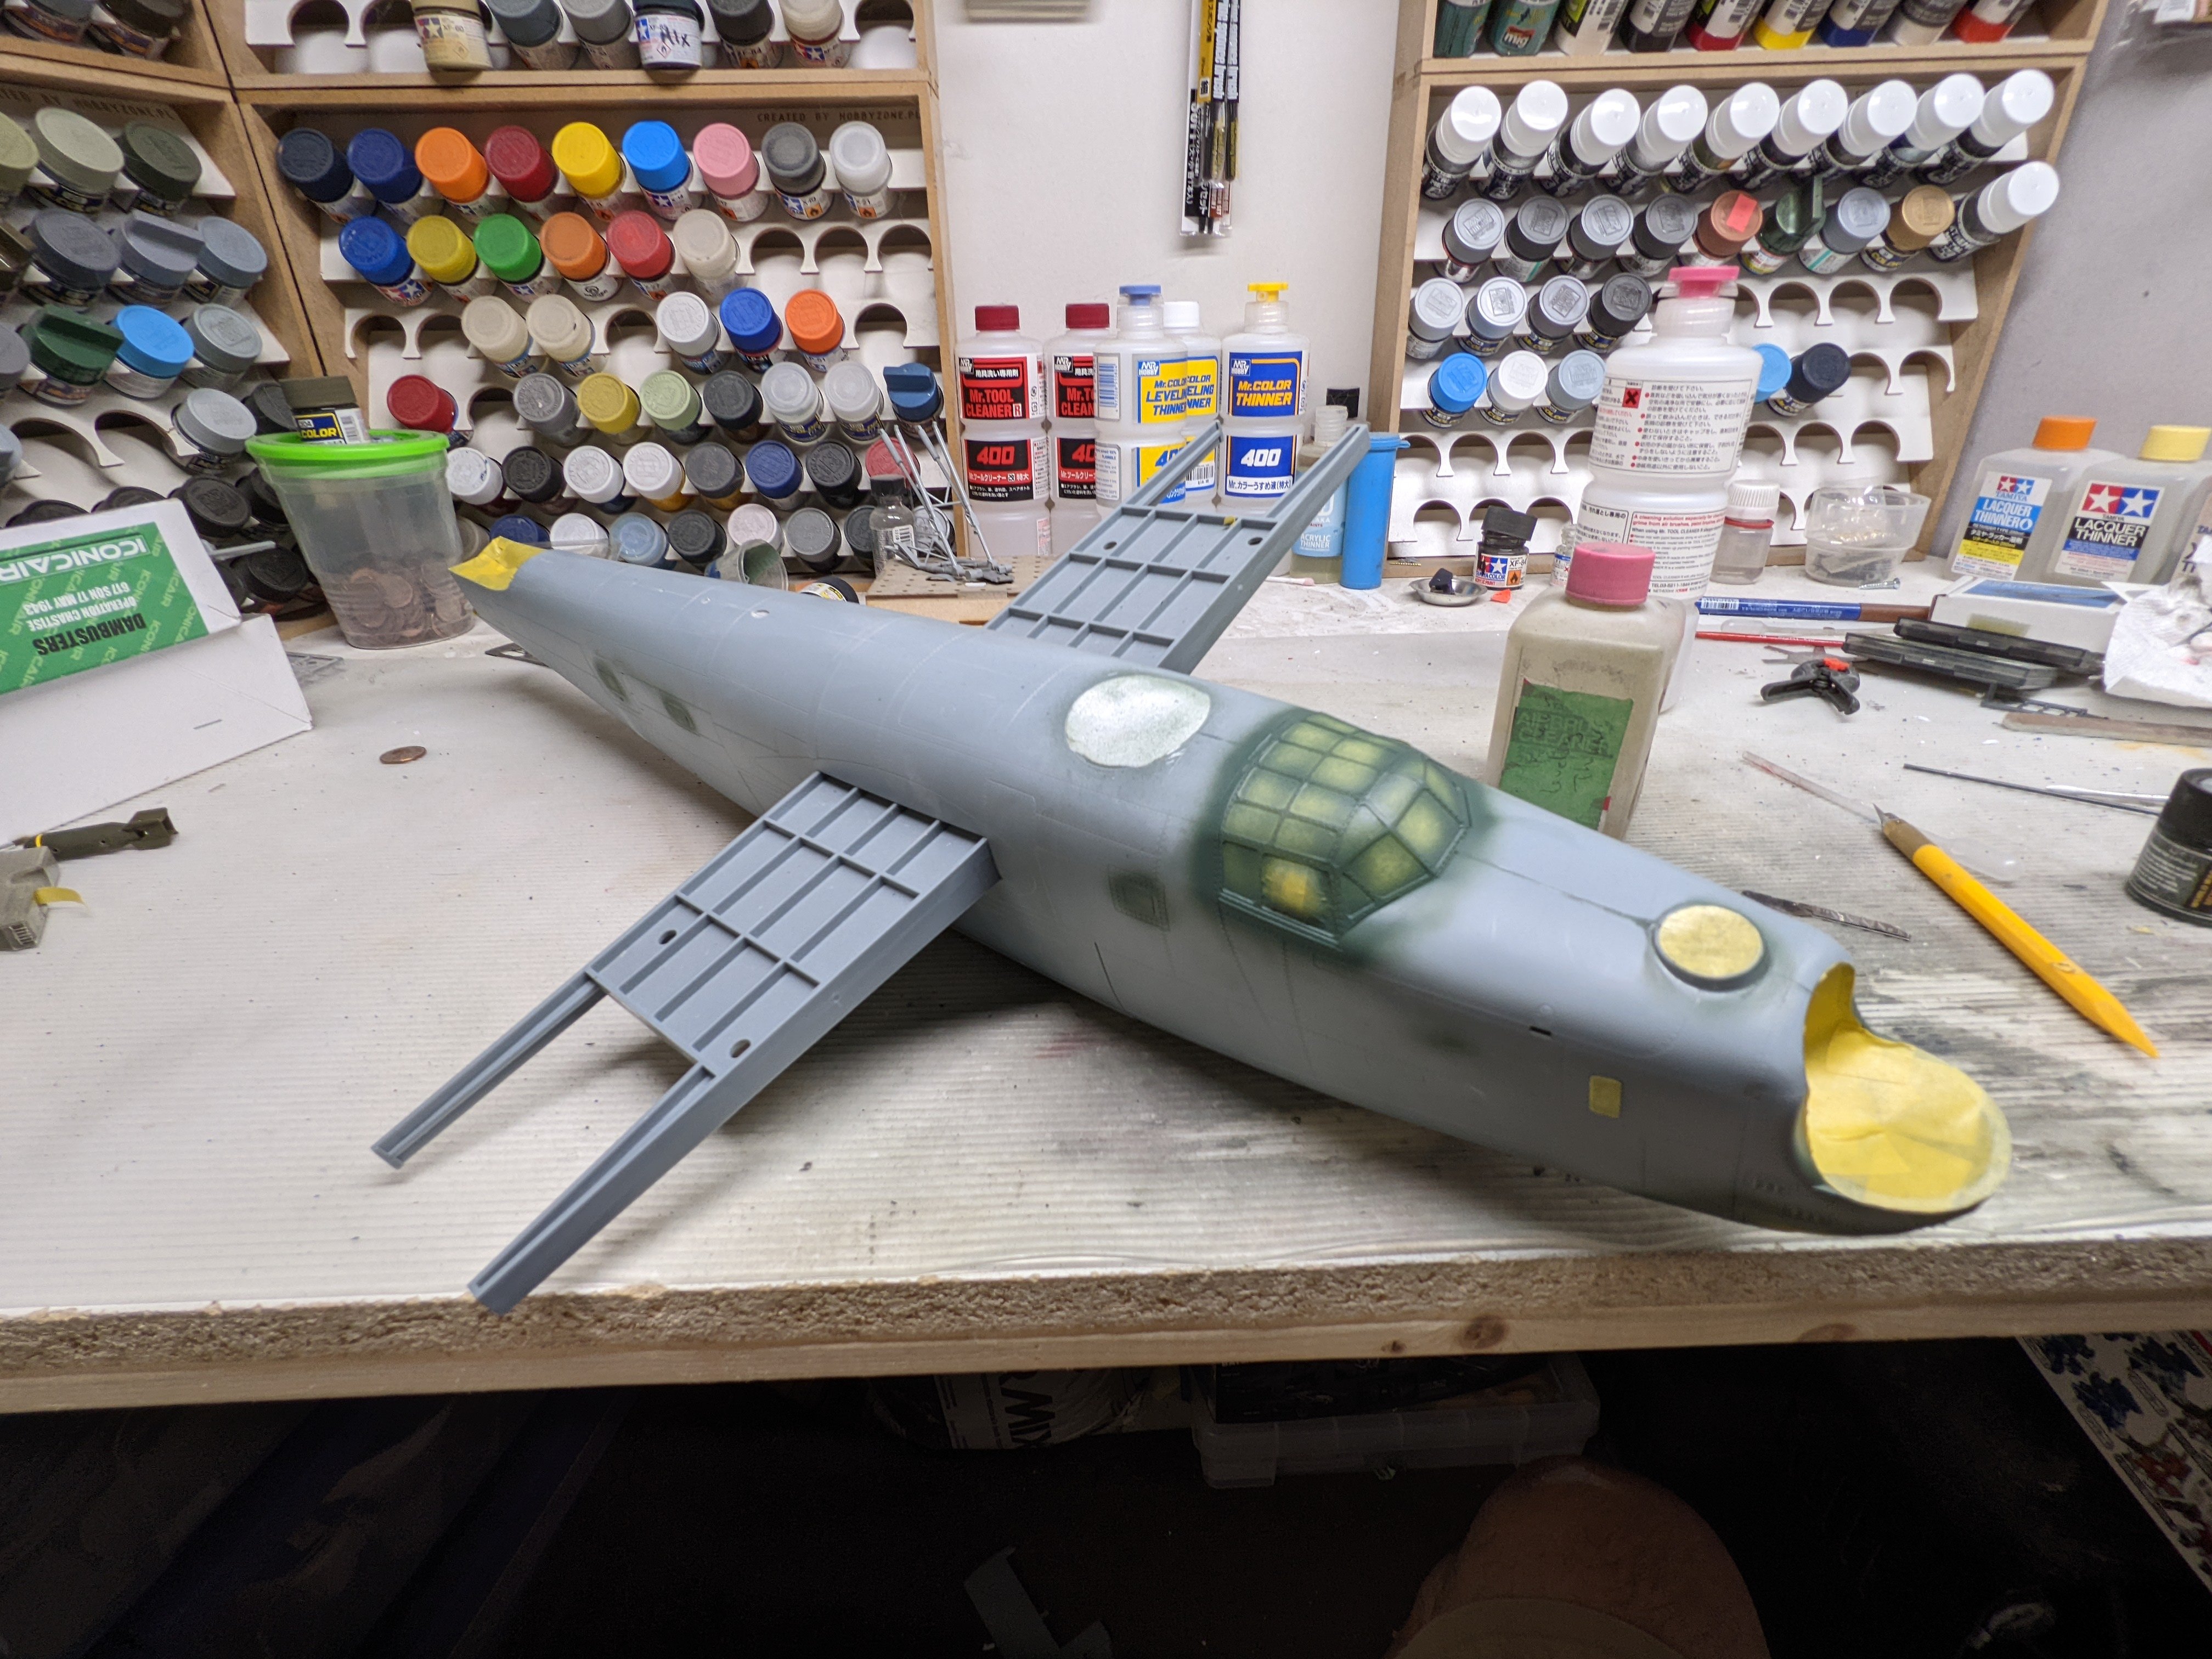
Thanks folks! It feels good to have this back in the bench. Well, it never actually left but got piled on at one end. Anyways, I taped up the openings in the fuselage and used the closed bomb bay doors to cover that section up. I then got a coat of green down over the window frames and then started priming the fuselage.

-
RCAF Liberator GR Mk VI
BlrwestSiR replied to BlrwestSiR's topic in LSM 1/35 and Larger Work In Progress
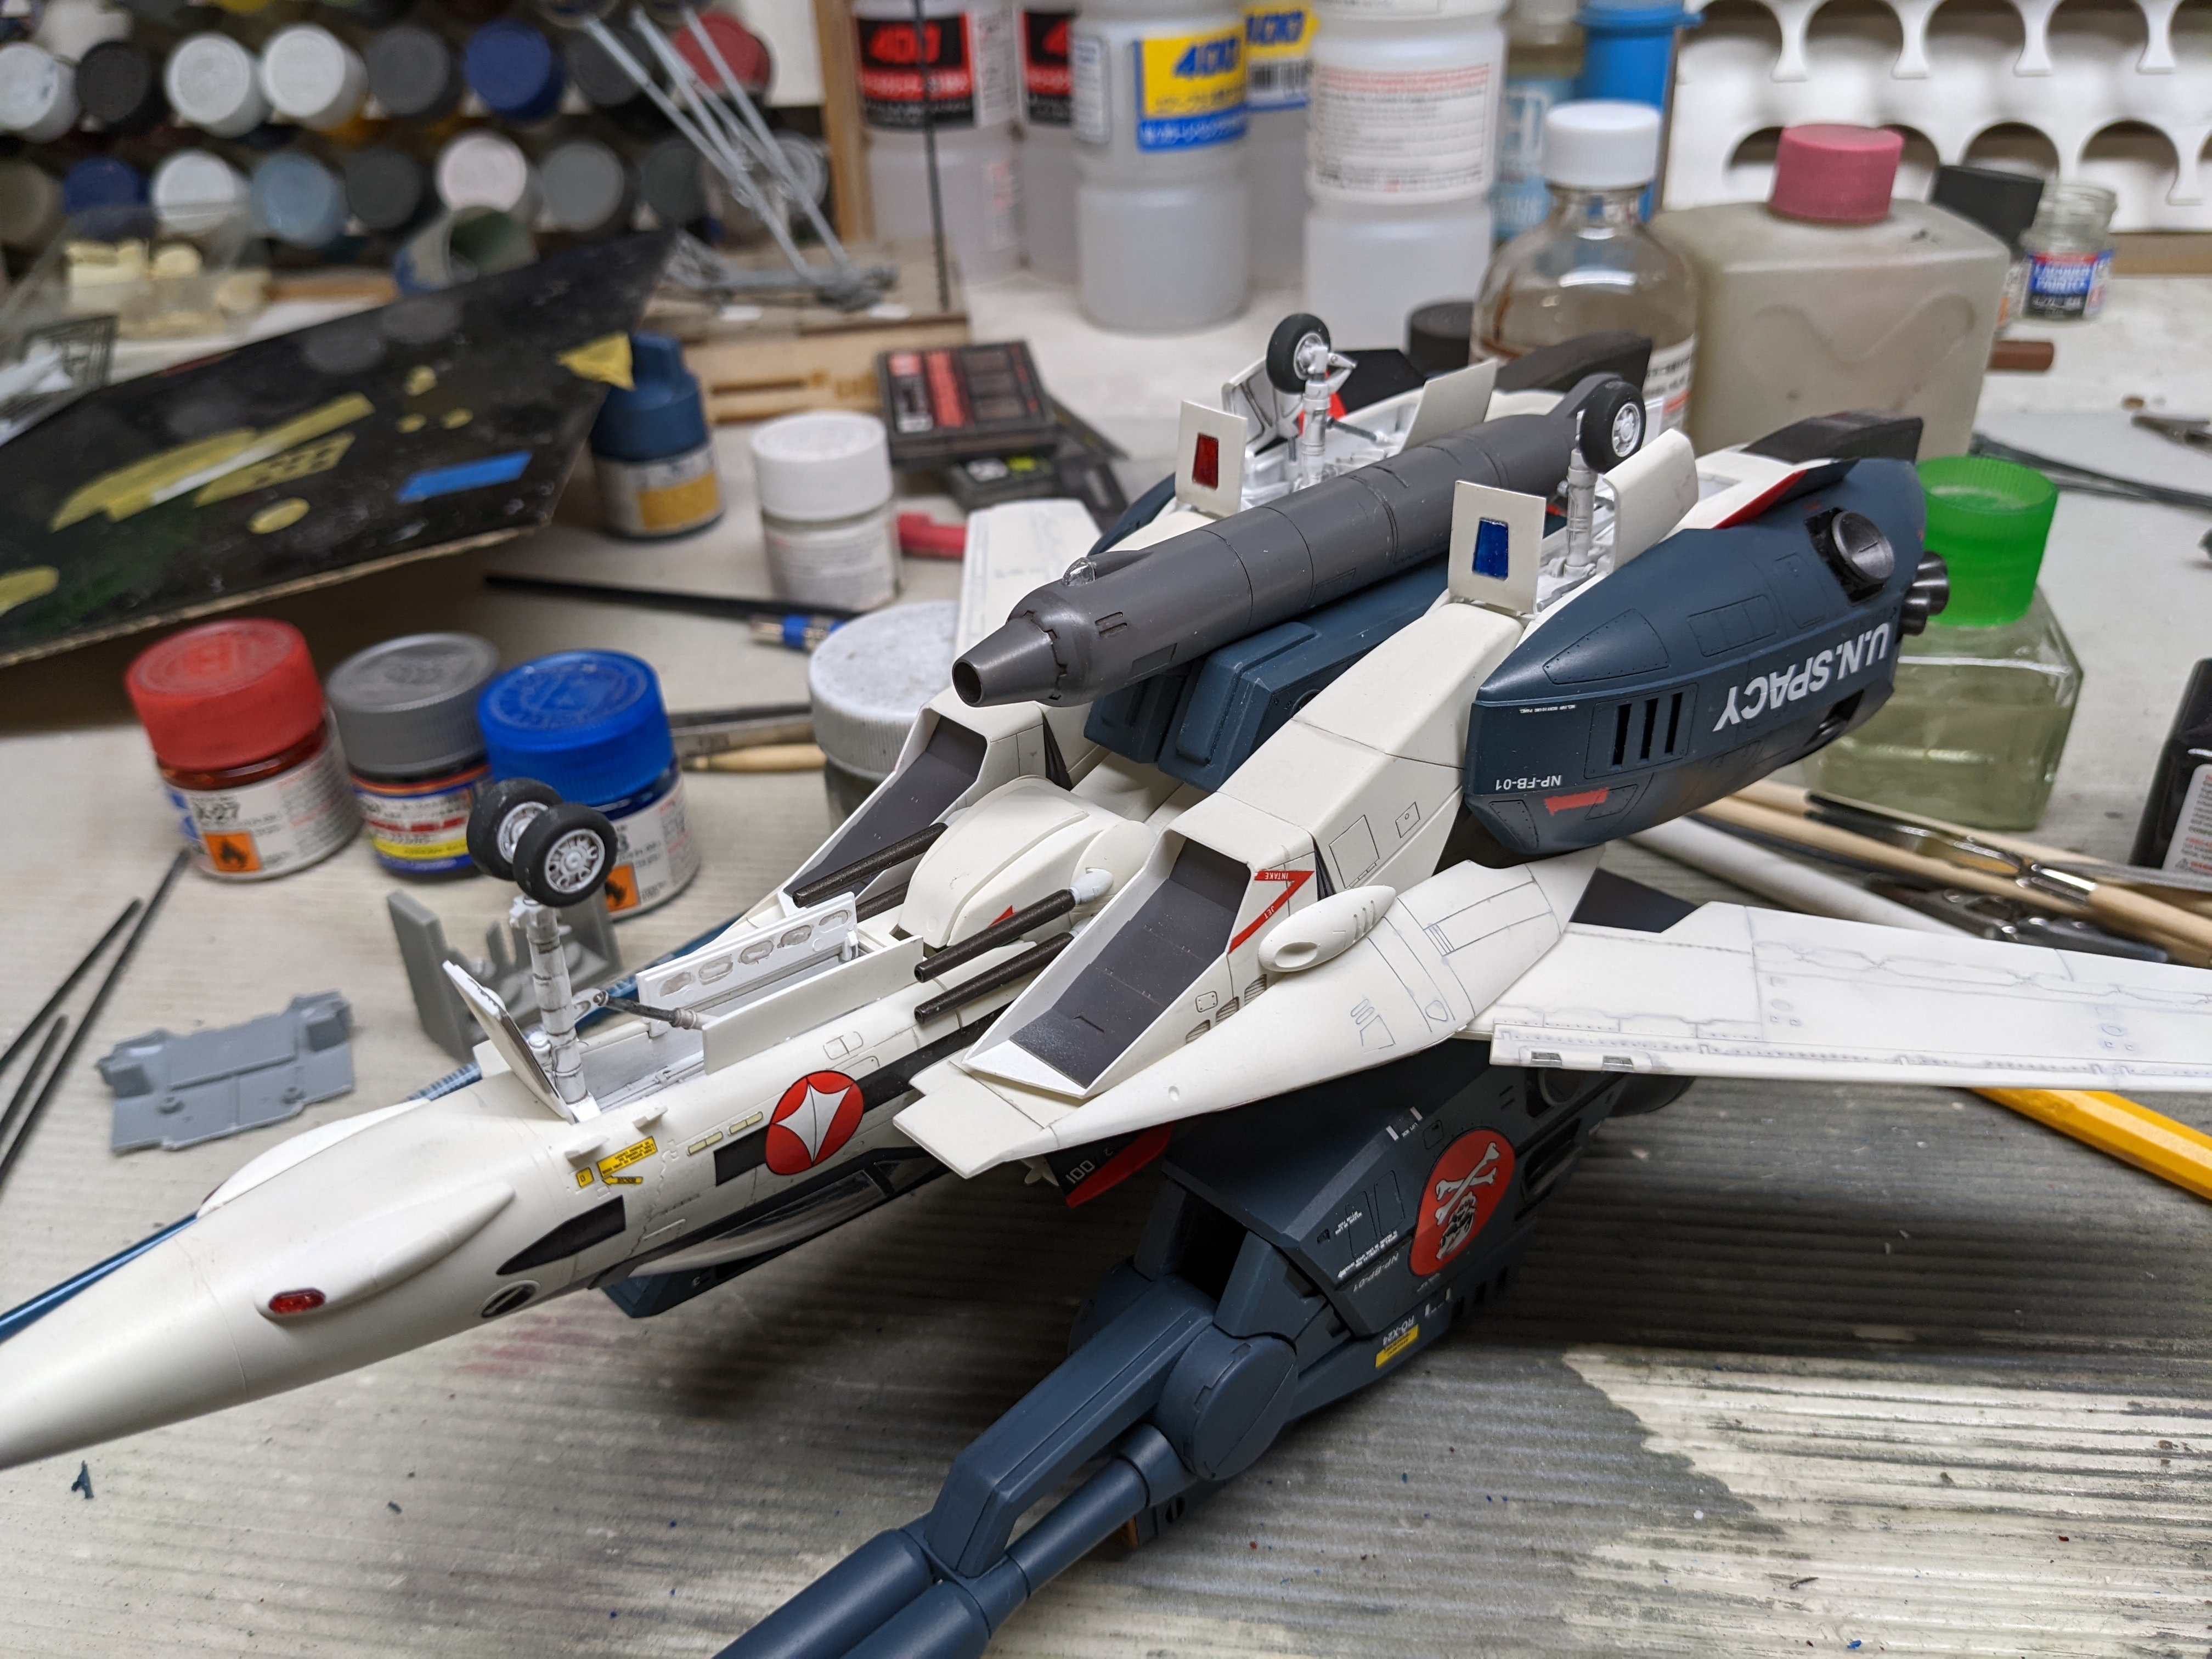
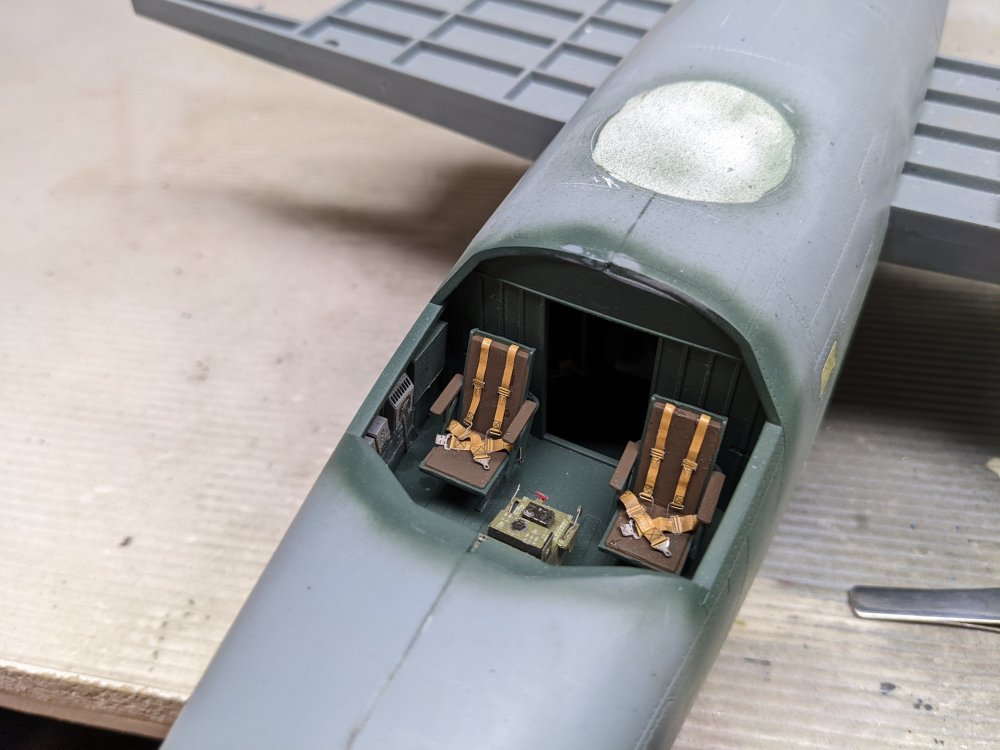
As mentioned, with the Strike Valkyrie finished it's time to get back to the heavies. First thing up was installing the flight crew's seats. With that done, time for the canopy. Hopefully tomorrow I'll have that masked and can start on the painting.

- 227 replies
-
- 10
-
-

-
What is on your bench right now ? Share a picture :)
BlrwestSiR replied to Martinnfb's topic in Modelling Discussion
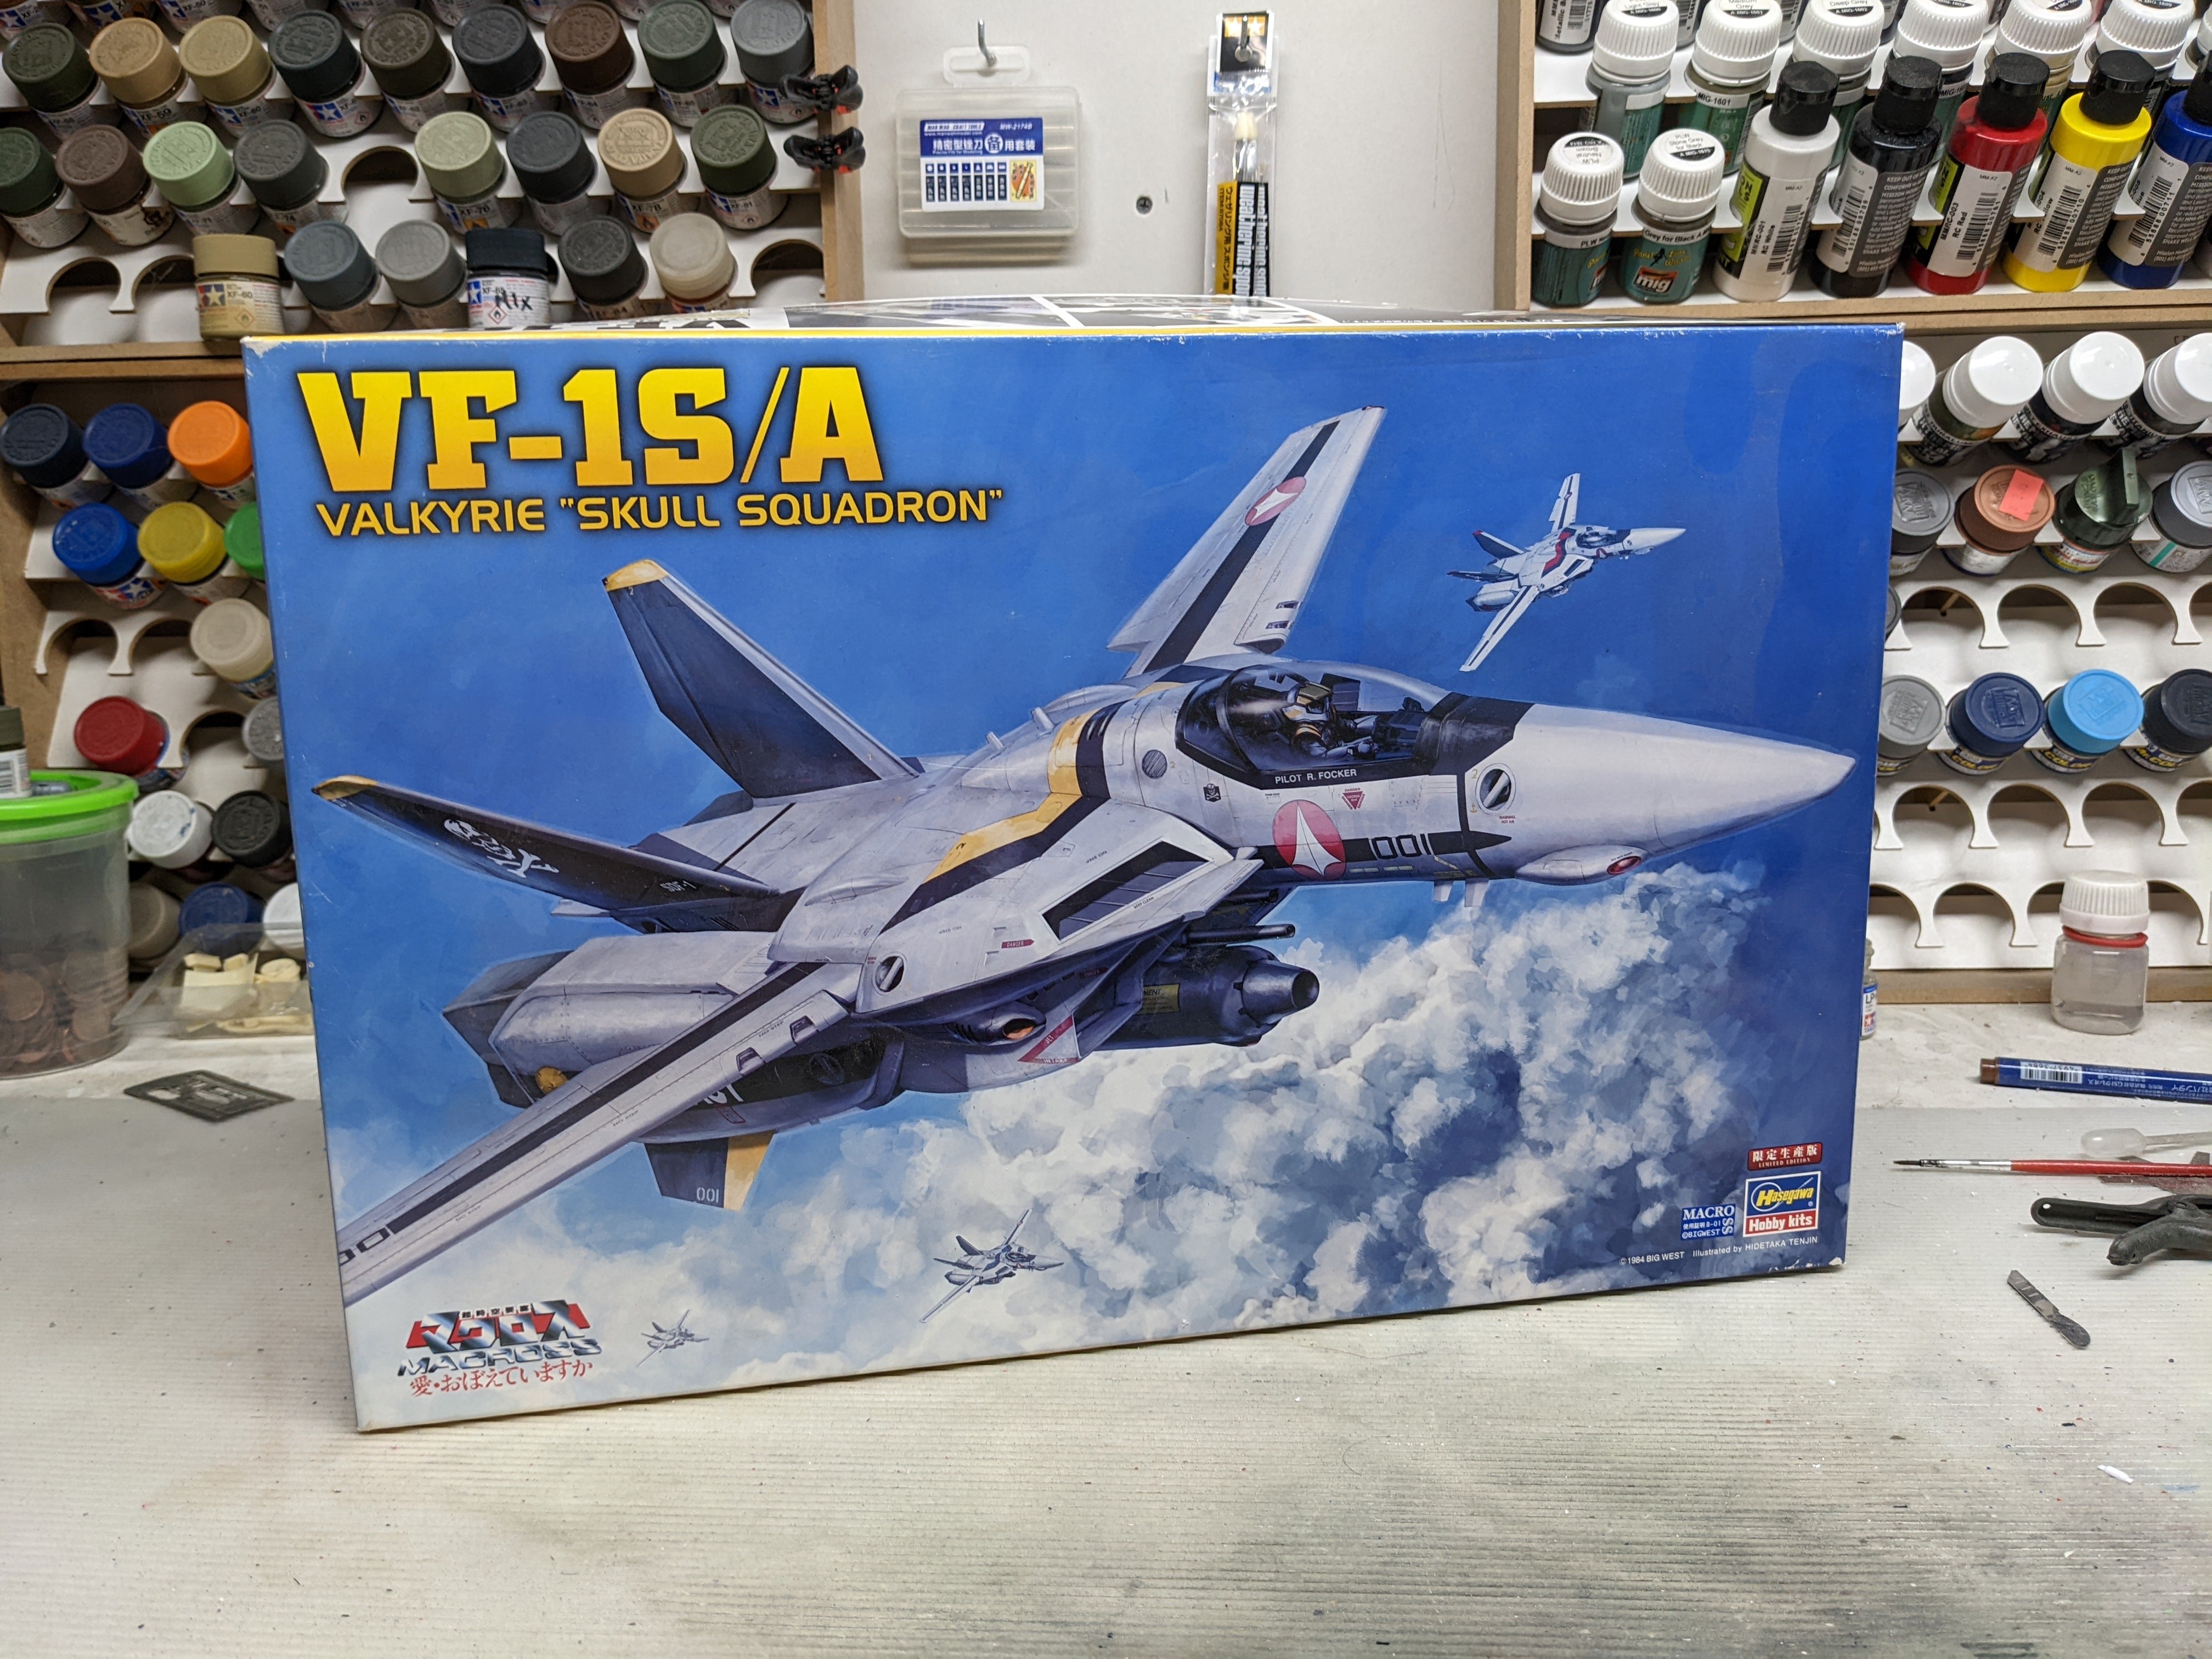
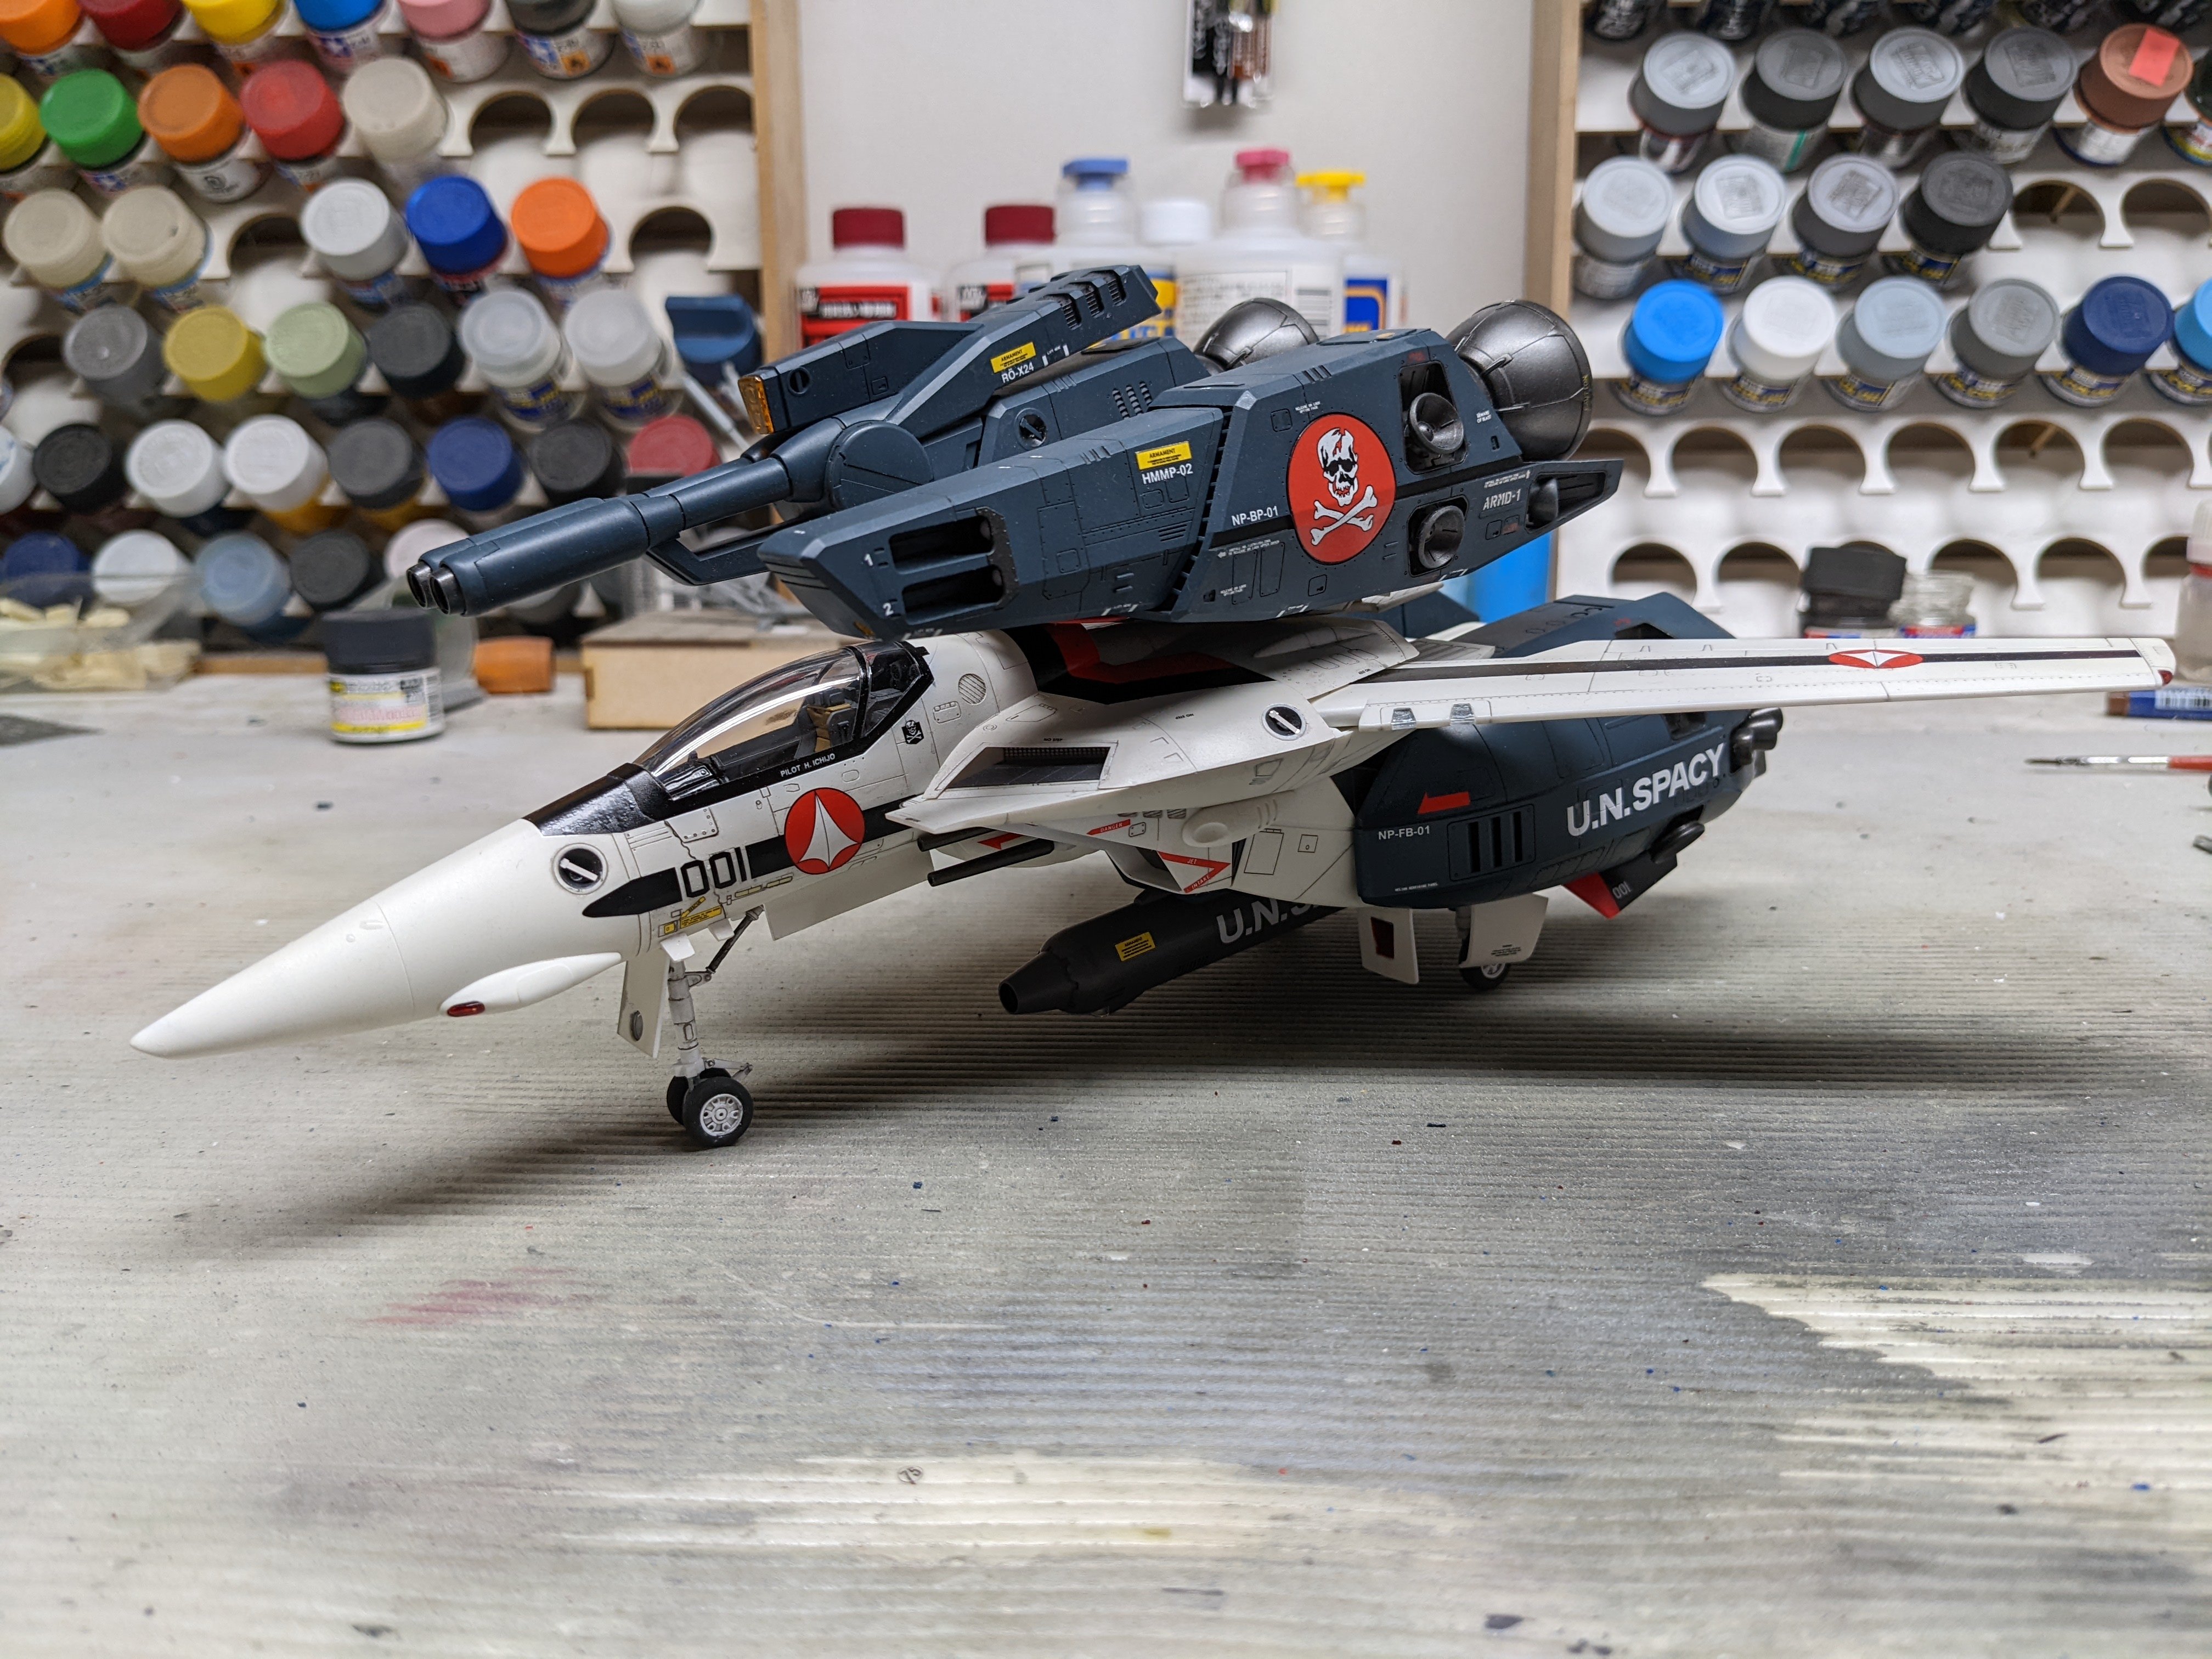
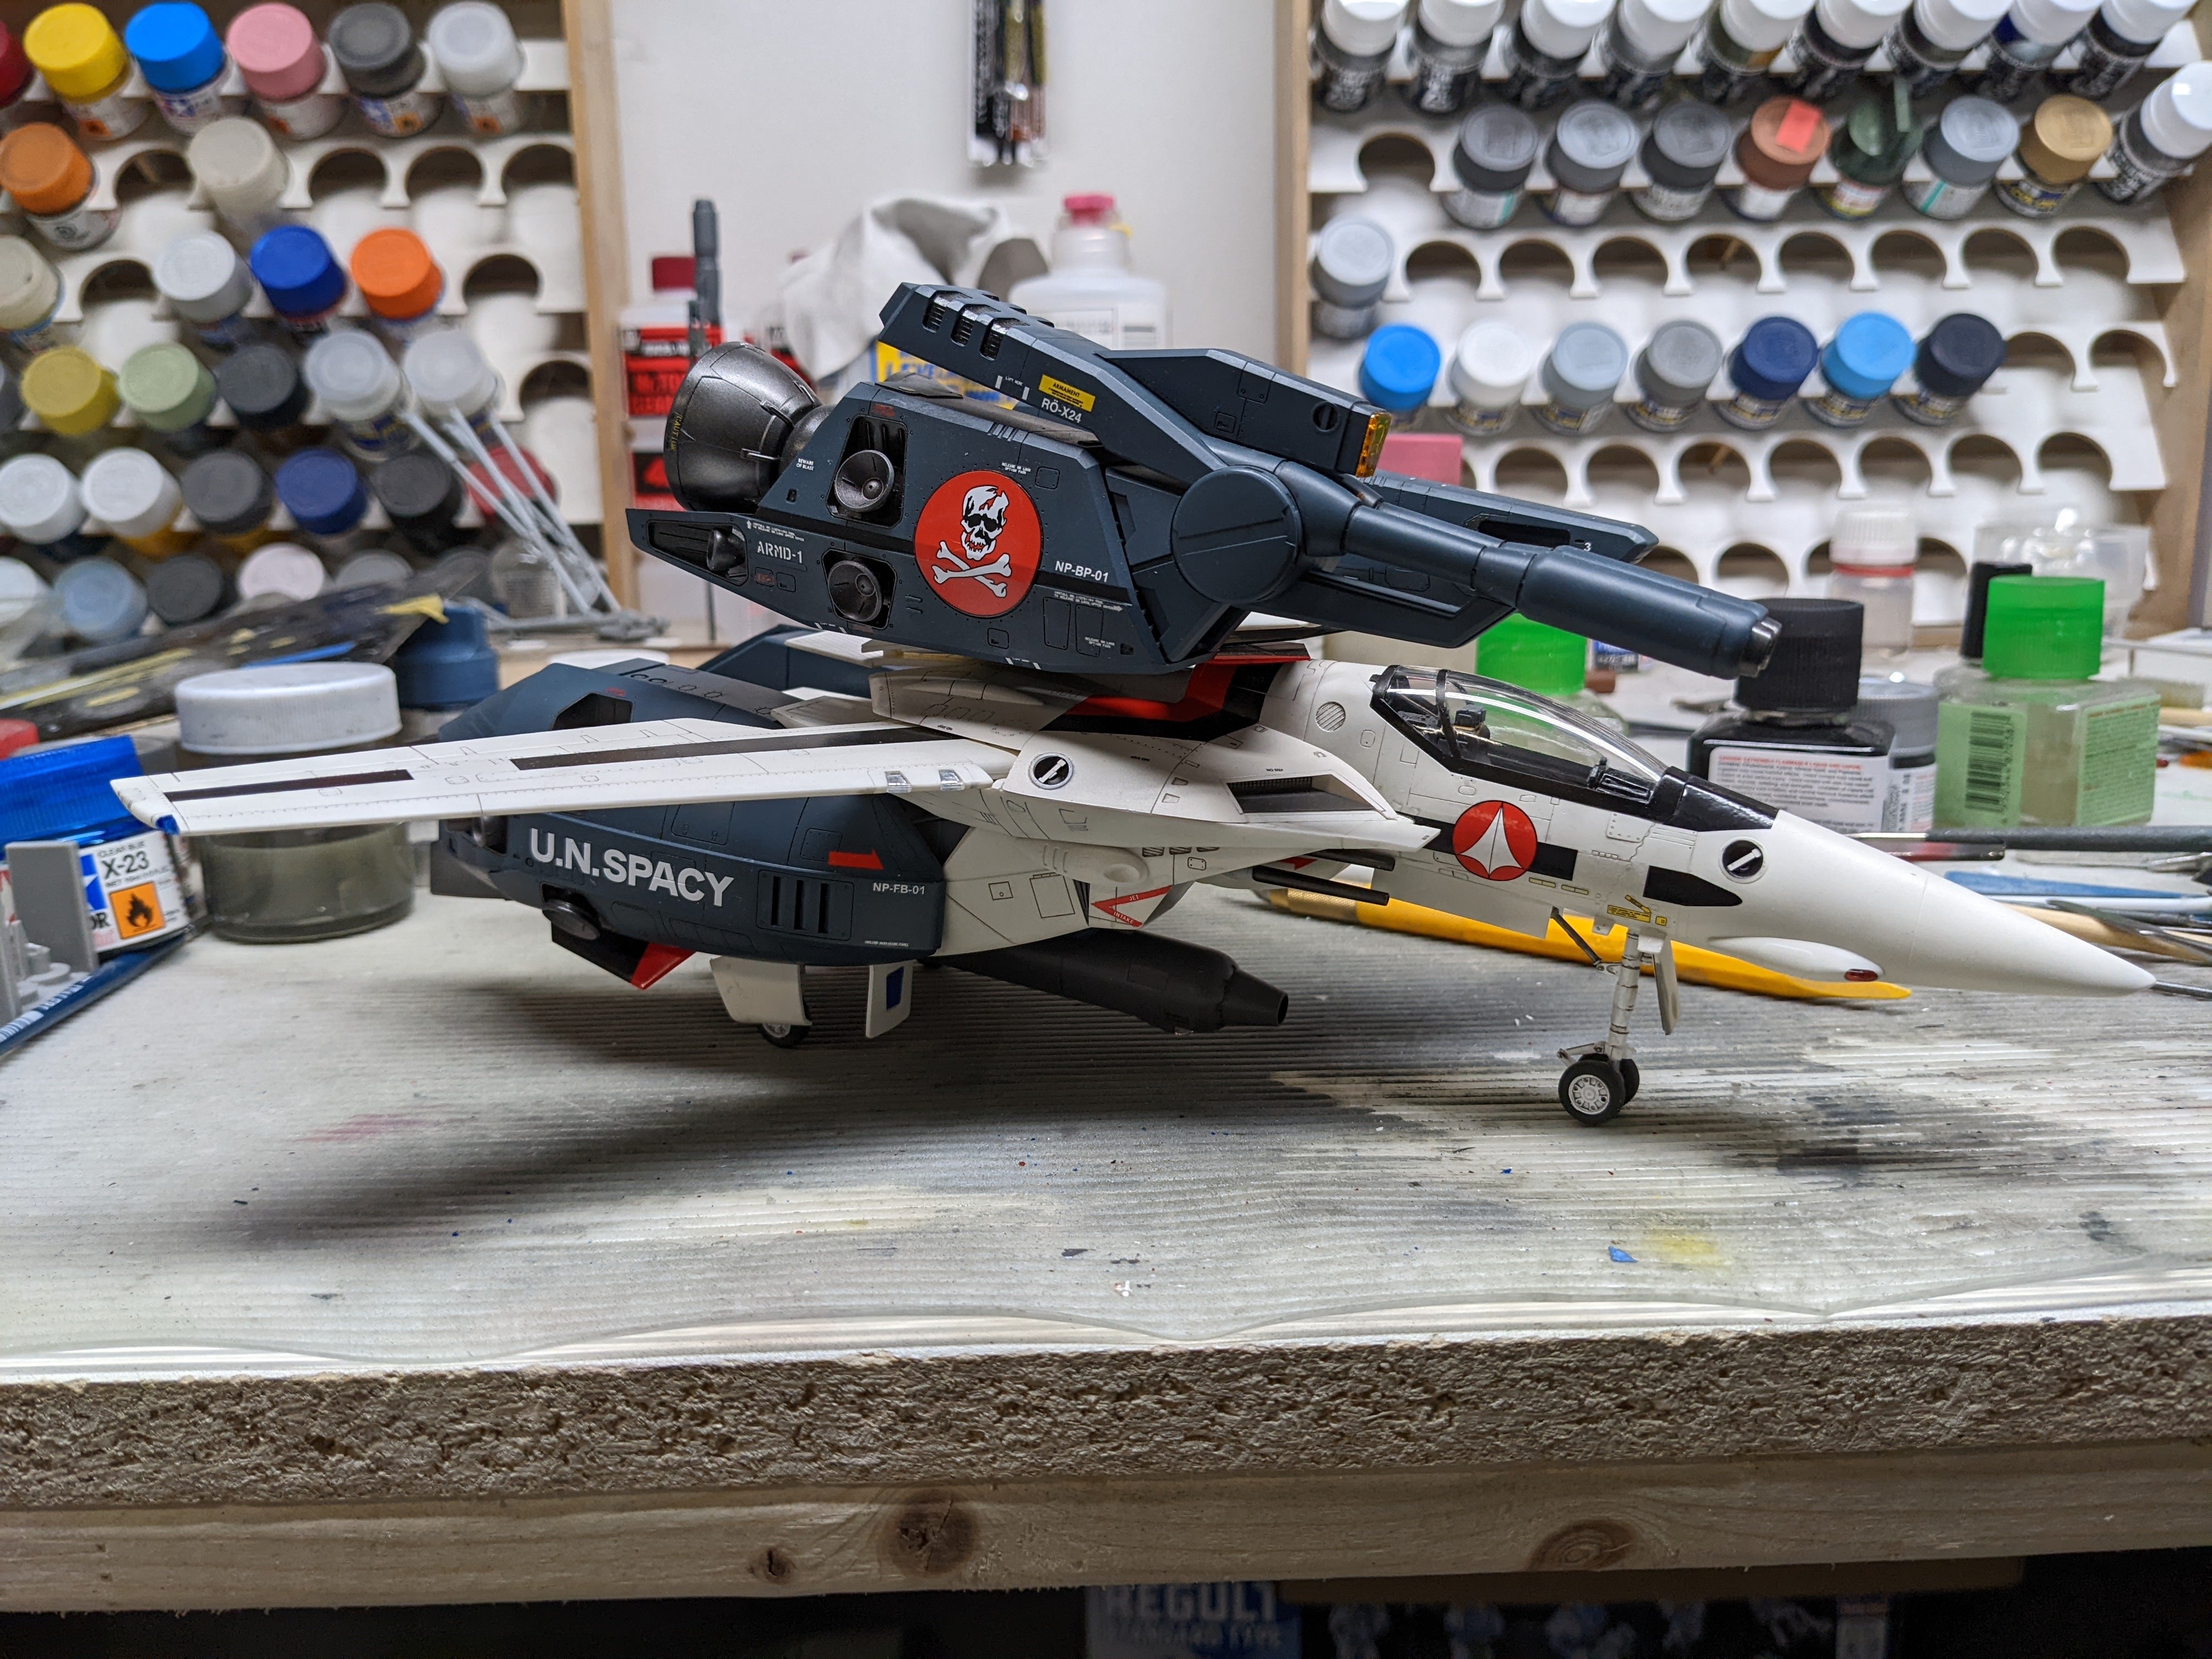
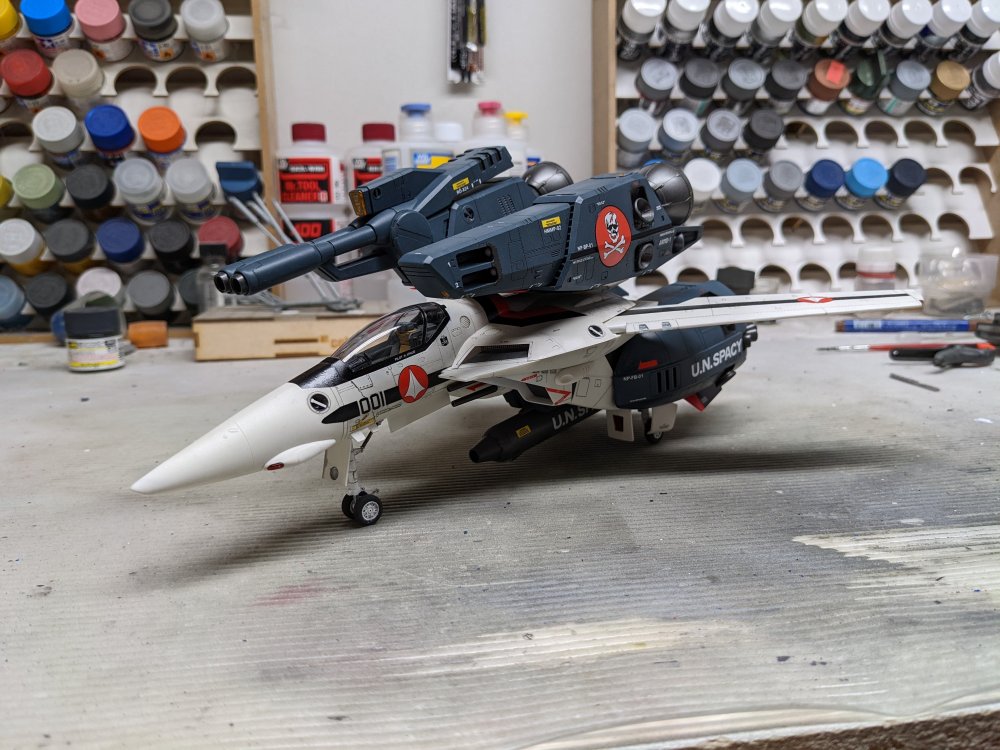
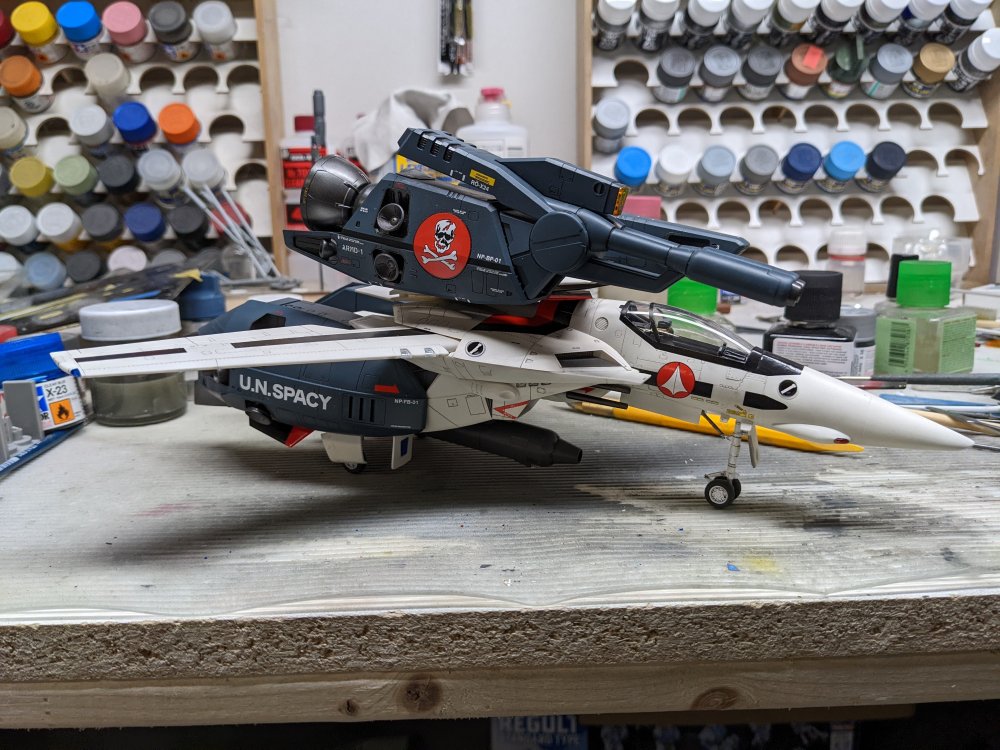
Thanks Hubert! The standard version of the Valkyrie is more like an F-14: Personally the Strike version is my favourite but it's certainly not a sleek looking plane. Here she is all done.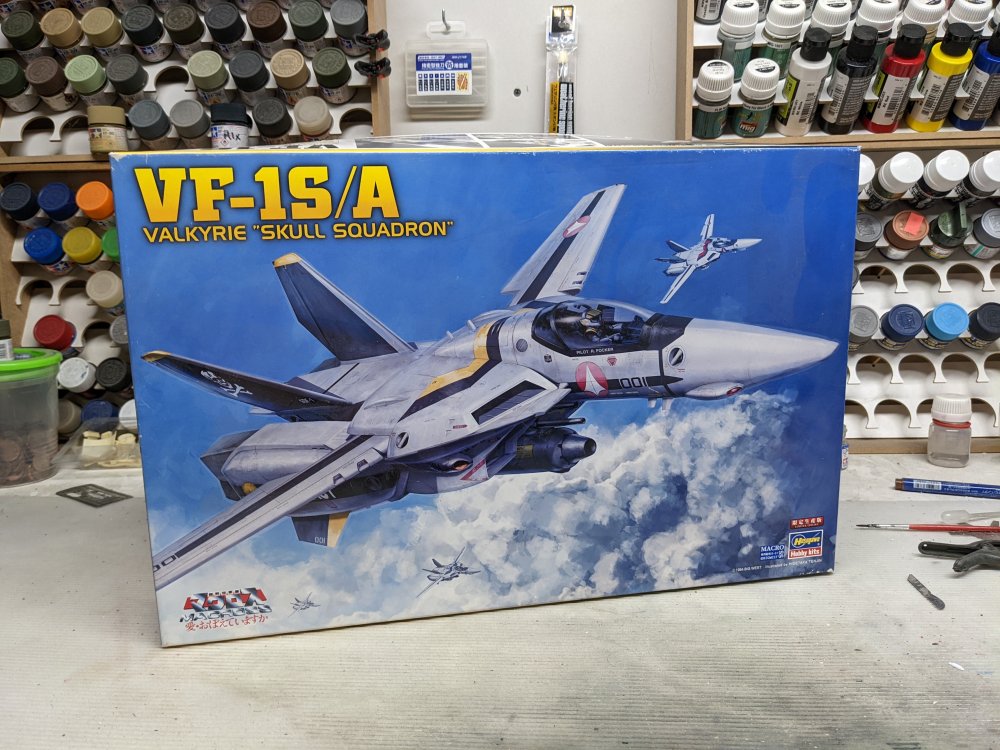

-
What is on your bench right now ? Share a picture :)
BlrwestSiR replied to Martinnfb's topic in Modelling Discussion
Thanks Peter! That's the plan, get this done and then back to the B-24. At least before I lose the canopy again. Speaking of getting done, I added the last few parts to the Valkyrie, mostly small details and the gun pod. I have a few decals left and then she's done. Carl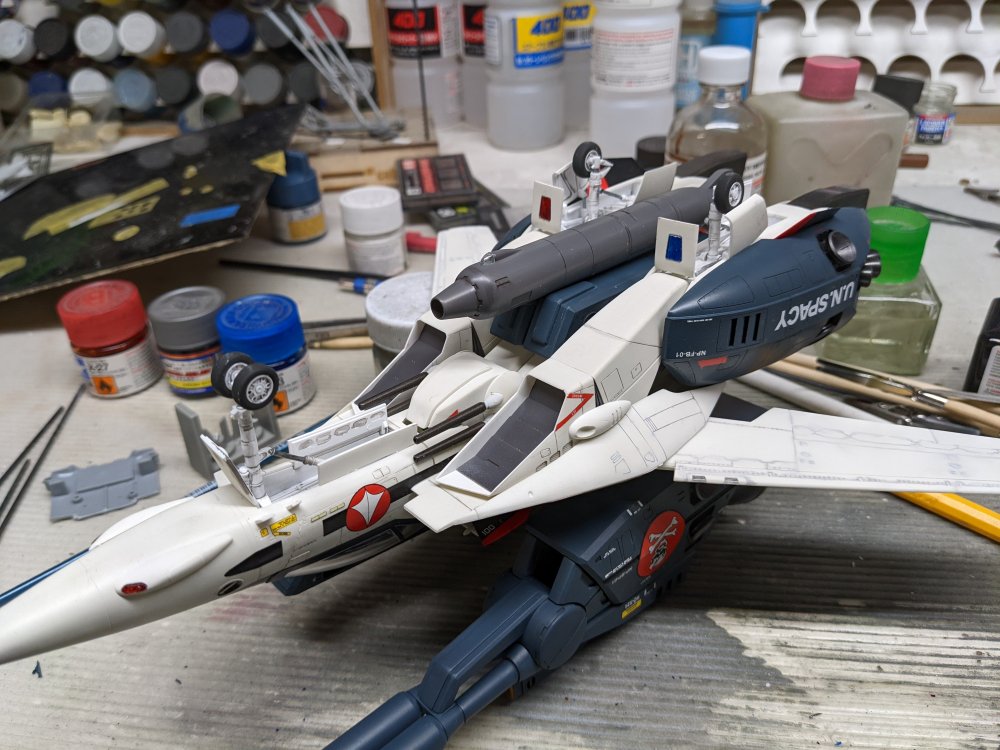
-
Forgot, the pic of Kaiser with the destroyed bucket reminded me of my parents' Shepherd Pippin. She had a knack for getting flip lid garbage cans stuck on her head.