NigelR32
-
Posts
407 -
Joined
-
Last visited
Content Type
Profiles
Forums
Events
Gallery
Everything posted by NigelR32
-

I must be crazy, B-24J on the bench.
NigelR32 replied to 1to1scale's topic in LSM 1/35 and Larger Work In Progress
+1 -
1/32 Lancaster build and improvements
NigelR32 replied to NigelR32's topic in LSM 1/35 and Larger Work In Progress
But.. all that NMF!!! -
1/32 Lancaster build and improvements
NigelR32 replied to NigelR32's topic in LSM 1/35 and Larger Work In Progress
Already done that thanks Ron, however, I'm sure yellow over blue is correct, it's certainly more common and I've found at least a couple of pics from wartime with yellow over blue. I guess, back at the factory an assembler had a set of gauges and some wires in a harness fashion and put it all together, maybe some got it different to others? I dunno?? -
1/32 Lancaster build and improvements
NigelR32 replied to NigelR32's topic in LSM 1/35 and Larger Work In Progress
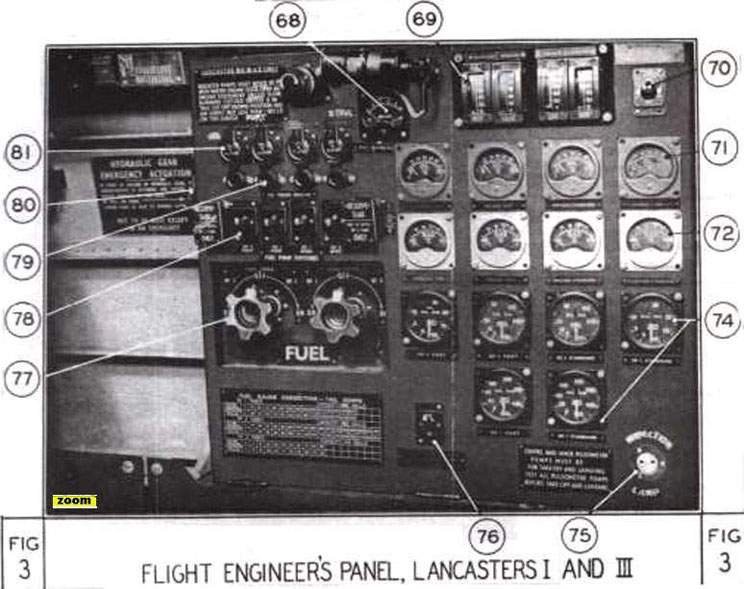
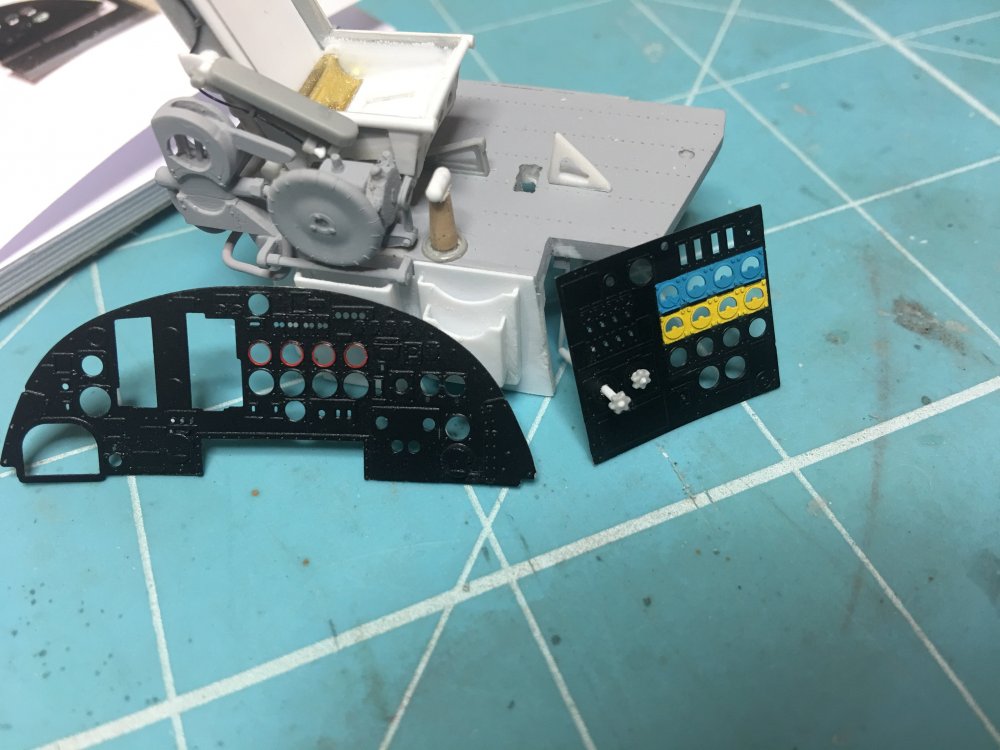
Thanks Ron, Thats just the point I'm making.. the black and white pic I have shown is from a manual for the B.1 and III. The images you have shown, just like most on the net shows the yellow on top, but they are all restorations and not even photo's in some instances. Still, I changed it anyway.. That took some masking!!!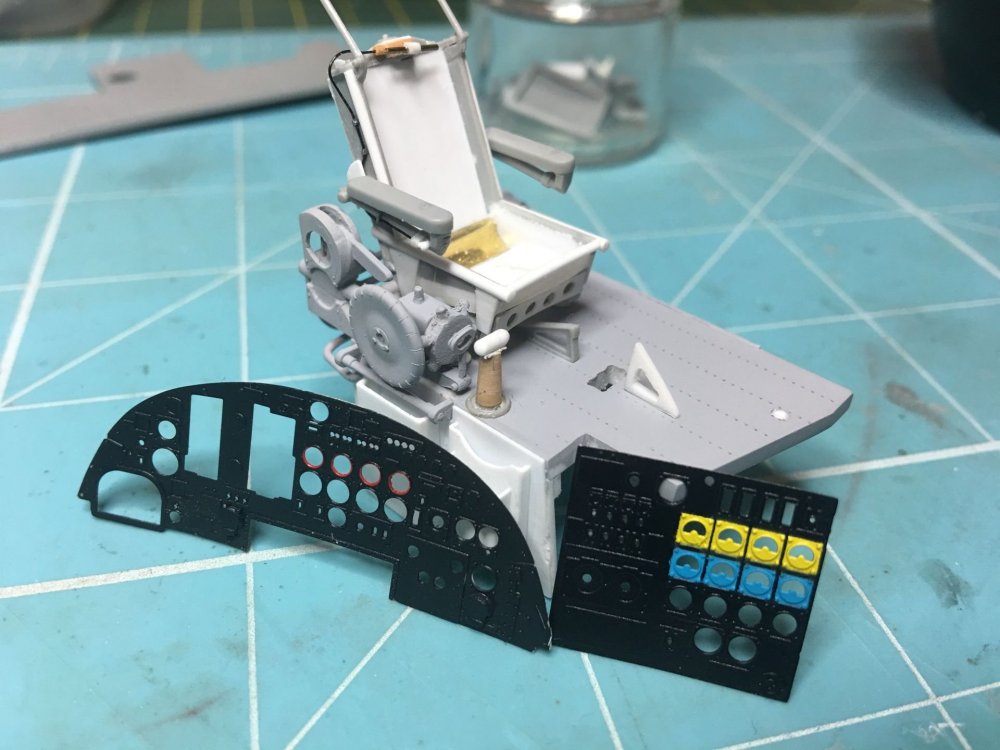
-
1/32 Lancaster build and improvements
NigelR32 replied to NigelR32's topic in LSM 1/35 and Larger Work In Progress
In the attached pic we can see that I've done the yellow below the blue on the gauge faces on the engineers panel. I used an old pic from a Lanc manual and also referred to the Eduard set which has yellow below blue and was readily at hand when it came to painting time. To my horror, I noticed I had got them inverted, ie, most images show the yellow above the blue? Can anyone, ( @Martinfb ) please confirm I am right or wrong please?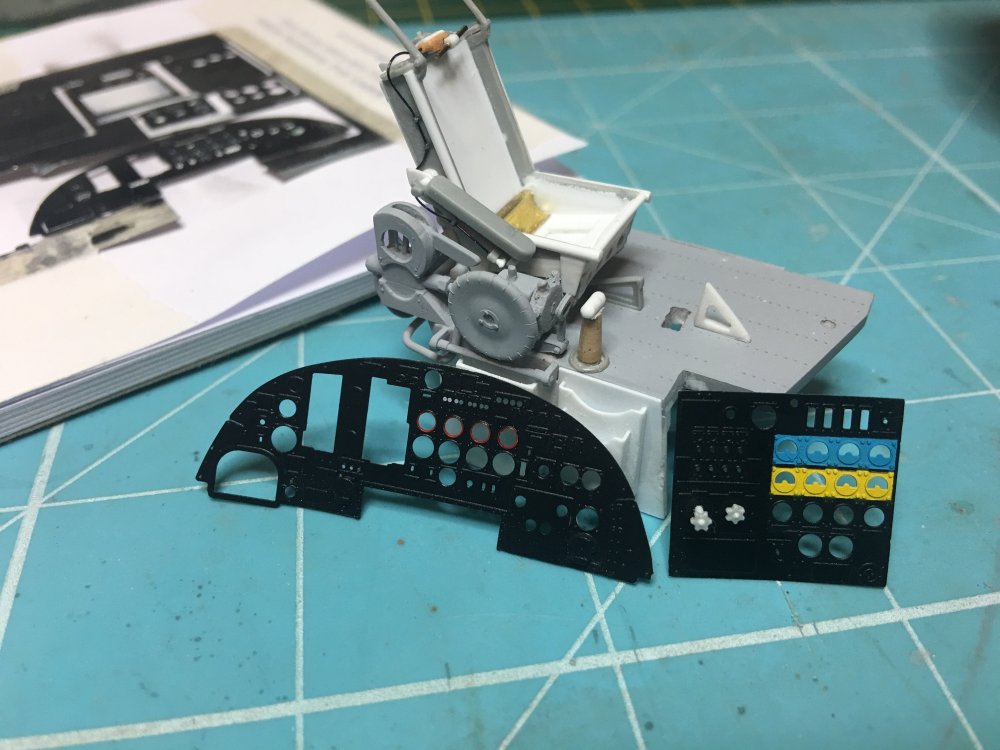
-
Great job Harv. These 229's always look so out of proportion to my eyes with that massive nose wheel and the raked stance.
-
1/32 Lancaster build and improvements
NigelR32 replied to NigelR32's topic in LSM 1/35 and Larger Work In Progress
I'm looking at these pics Martin, and am wondering if i need to replicate the fuel tanks? I cant see anything here??? -
1/32 Lancaster build and improvements
NigelR32 replied to NigelR32's topic in LSM 1/35 and Larger Work In Progress
Started some work on the lovely Airscale IP upgrade today. I'm pretty pleased so far... Note the fuel cocks are cut from the original kit parts and glued onto rod to give a 3D effect to the panel. they will be fitted correctly once the panel is built. More Decals are to go on yet... JUST NOTICED>> THINK I GOT THE BLUE AND YELLOW UPSIDE DOWN ON THE GAUGES??
-
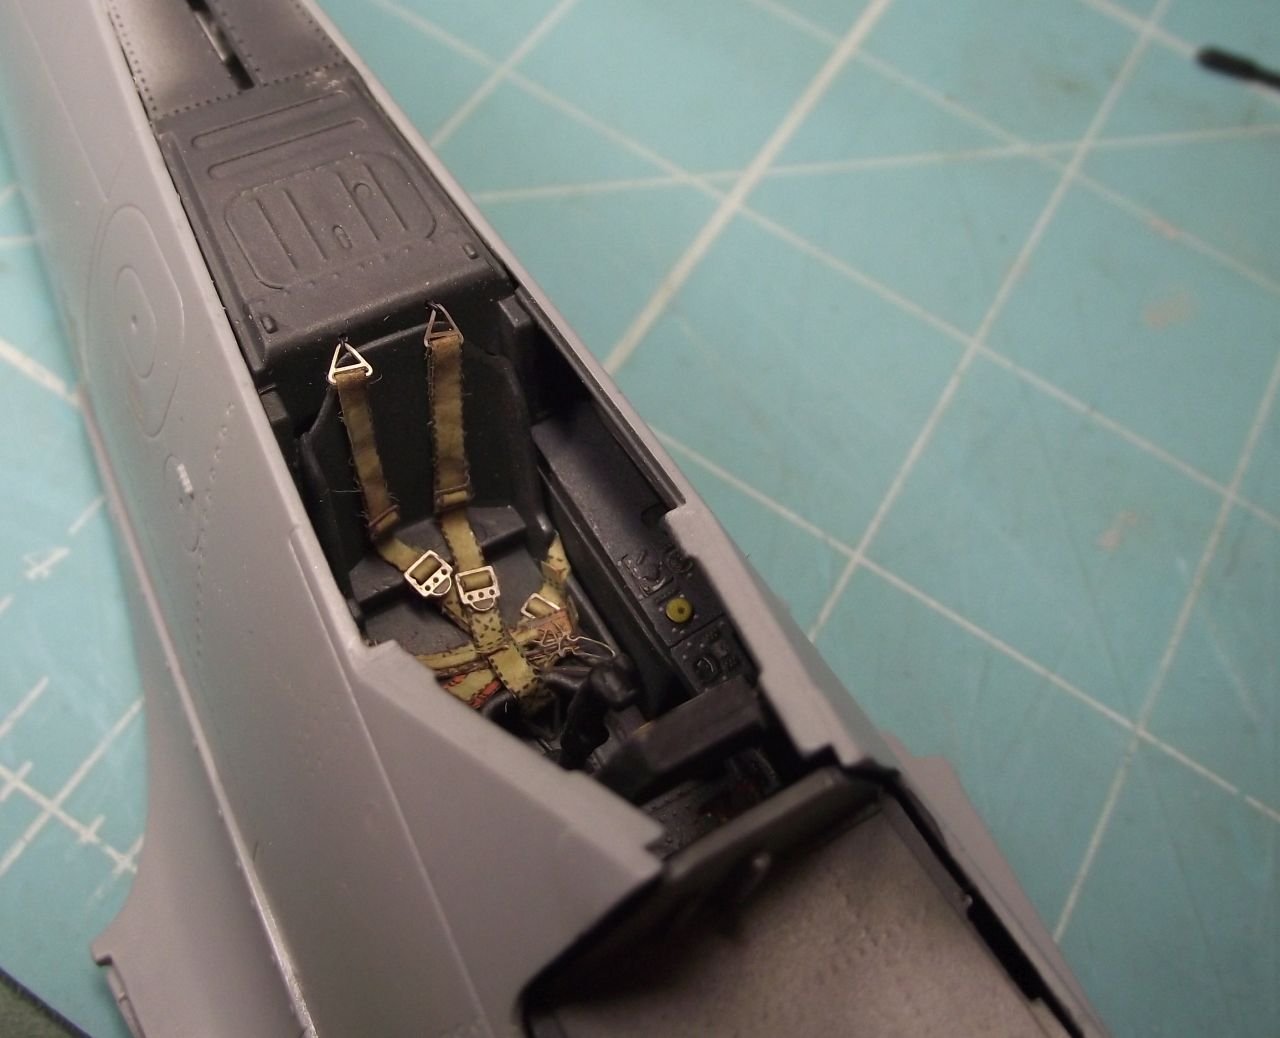
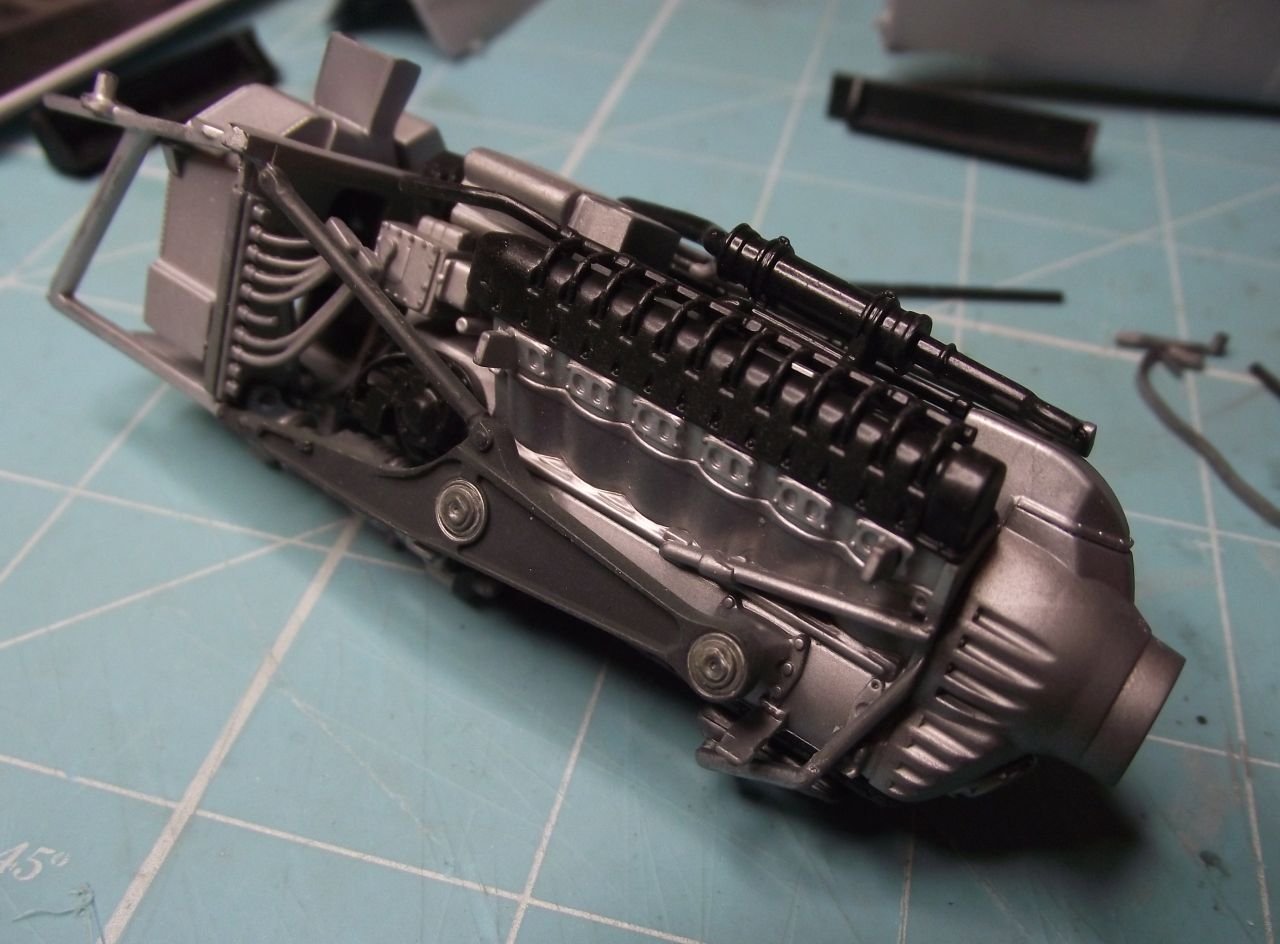
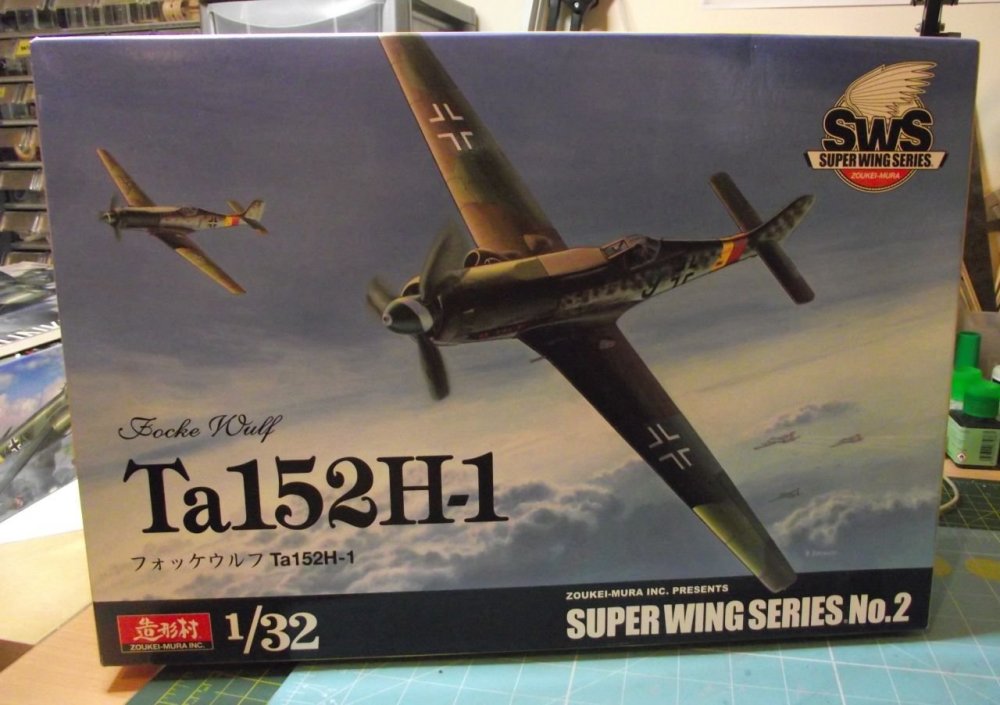
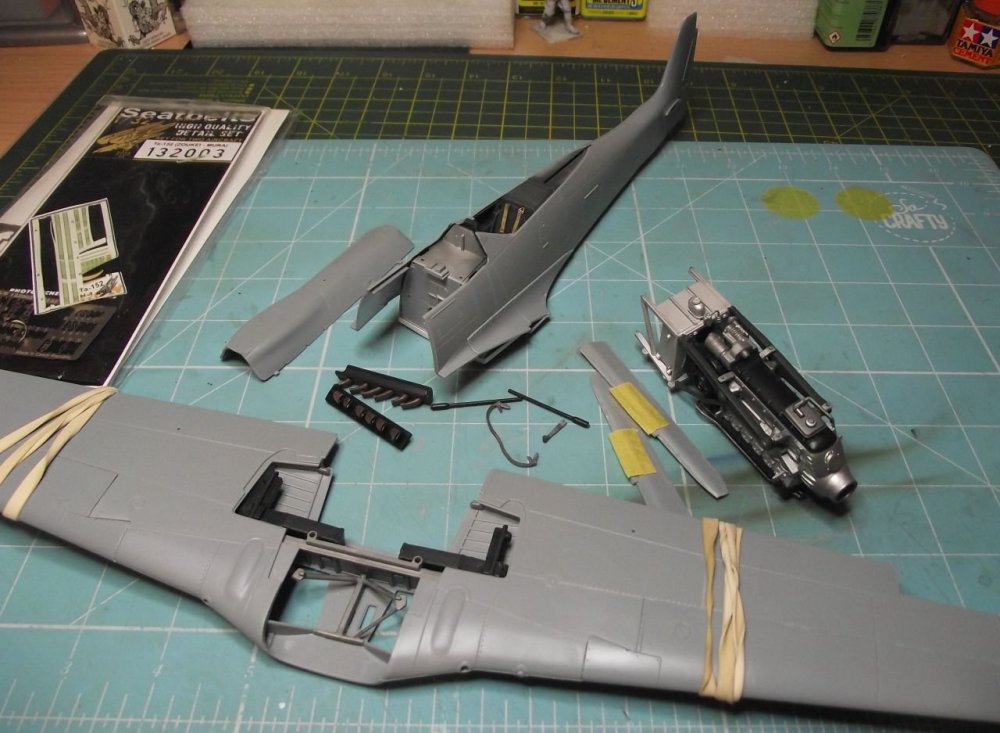
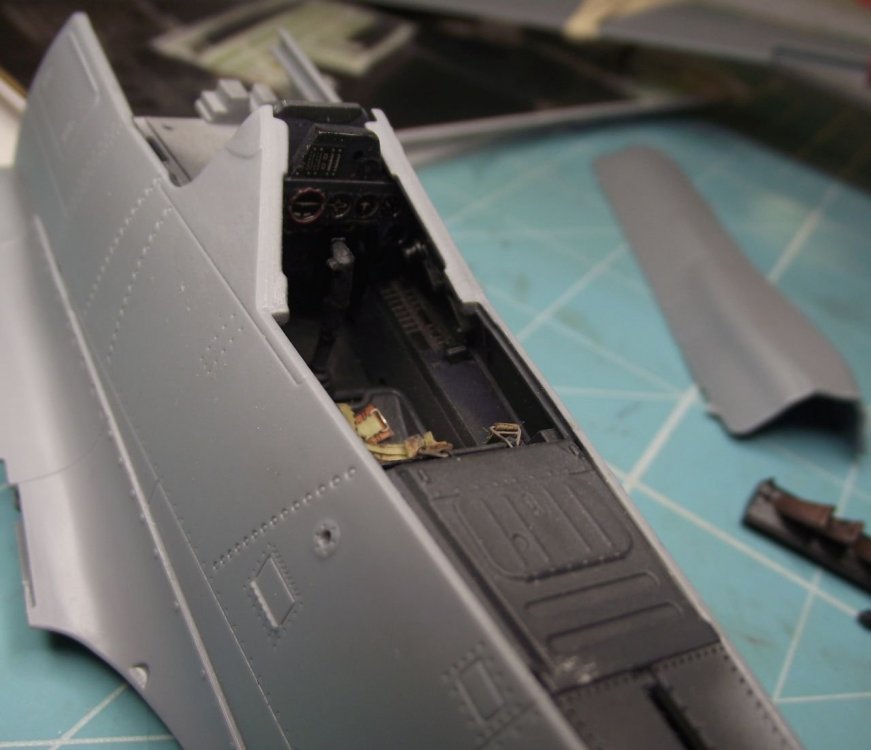
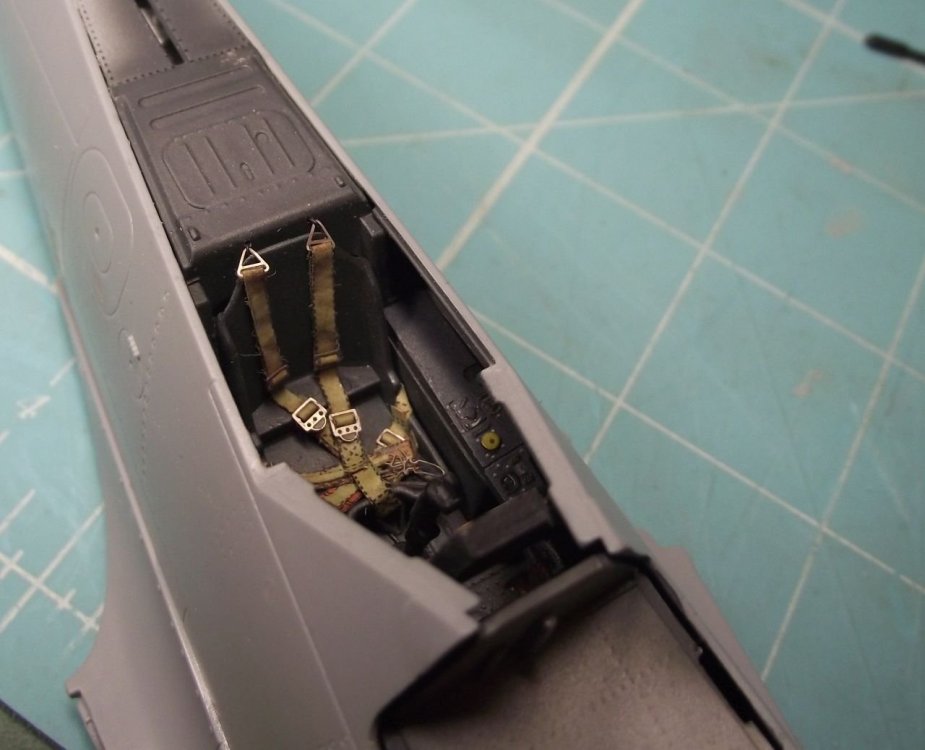
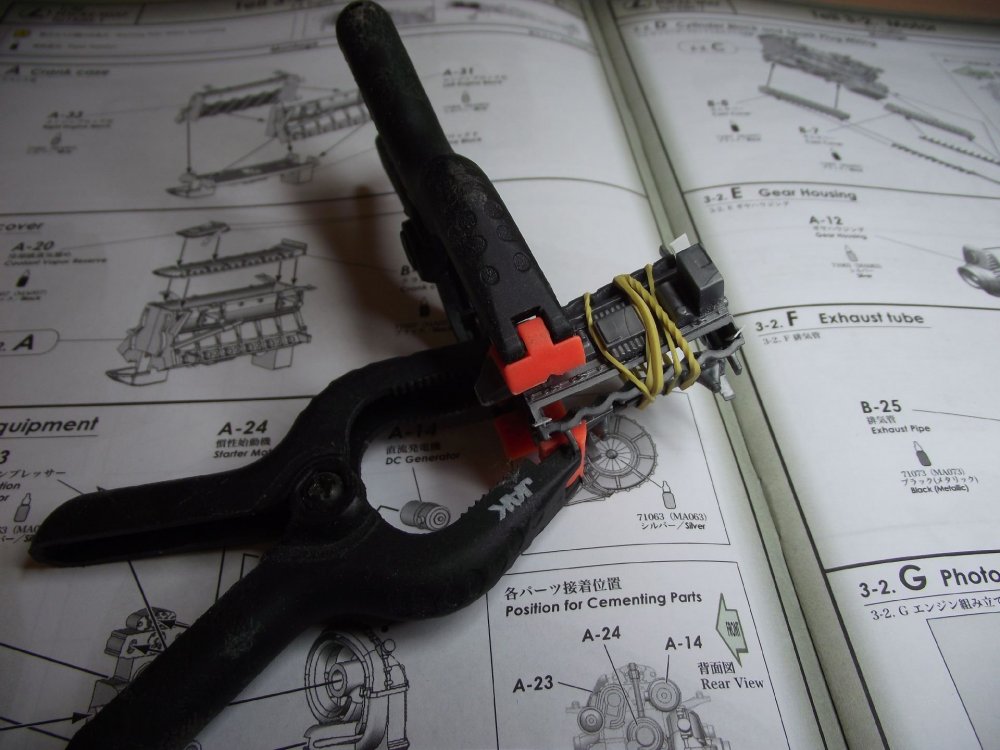
Anybody mind if I join in on this one? I have this ZM Ta152H-1 which I started many moons ago and became disollusioned by the fit, so I opened the box today after seeing this thread.. this is what I found.. I seem to have been using plastic card to try and sort things before giving up?? But I at least got the cockpit done and buttoned up.. I do love HGW belts you know... Not quite sure why i've used glossy paint on the engine?? Still, there she is, probably 40% finished? Found this old pic of the engine assembly.. looks like the fit was good.. NOT!! Is it OK if join in on the fun and get advice from all you Luftwaffe experts out there?


-
Keep em coming Ernie.. looking good mate!!
-
1/32 Lancaster build and improvements
NigelR32 replied to NigelR32's topic in LSM 1/35 and Larger Work In Progress
Ah.. ok.. that explains why the fuel tanks are red in my Tamiya Mossie. I was going to ask, but didnt want to hear the answer you might give me if I got it wrong?? Thanks again Martin. Your pictures are very much appreciated. -
1/32 Lancaster build and improvements
NigelR32 replied to NigelR32's topic in LSM 1/35 and Larger Work In Progress
If you watch the video at 7:35 you'll see the book, the title and the isbn number Ron.. -
1/32 Lancaster build and improvements
NigelR32 replied to NigelR32's topic in LSM 1/35 and Larger Work In Progress
Thanks for posting these great pics Martin. I have a question.. I have always assumed fuel tanks in the WW2 period were red, yet I've seen many pics of Lanc tanks in green? Were the Lanc tanks not self sealing, as I believe it was the self sealing aspect that caused them to be red? -
1/32 Lancaster build and improvements
NigelR32 replied to NigelR32's topic in LSM 1/35 and Larger Work In Progress
I haven't seen a single reference that shows them closed? As mentioned by Martin, the fuel tanks will be seen through them, which i can easily replicate.. if I can be bothered?? -
1/32 Lancaster build and improvements
NigelR32 replied to NigelR32's topic in LSM 1/35 and Larger Work In Progress
They ARE in the same orientation with regard to the modified area. Calm down man.. theres no need to shout. -
1/32 Lancaster build and improvements
NigelR32 replied to NigelR32's topic in LSM 1/35 and Larger Work In Progress
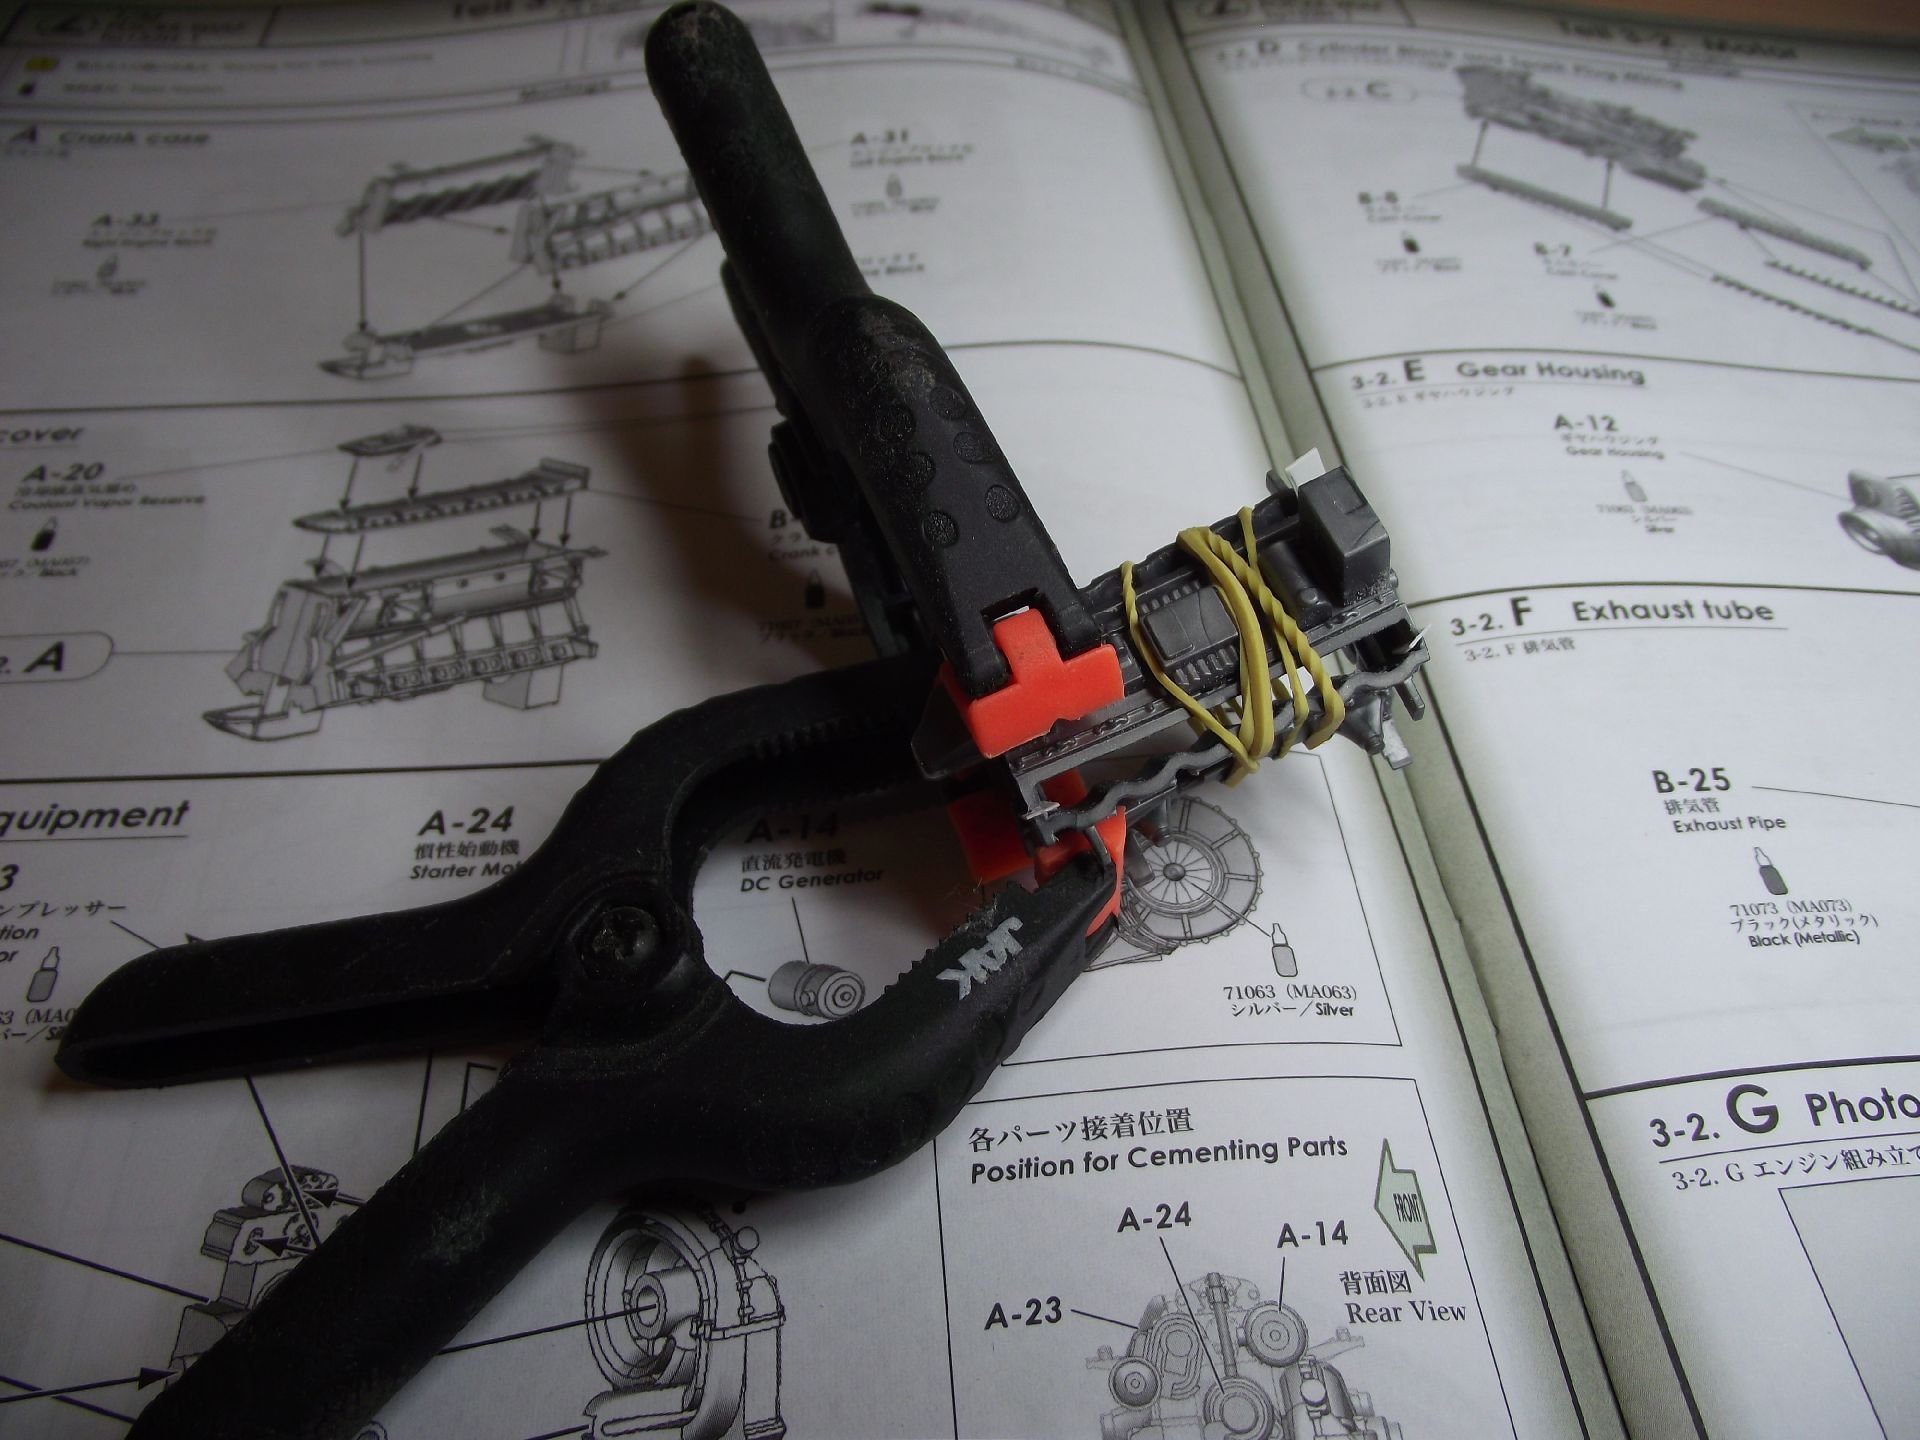
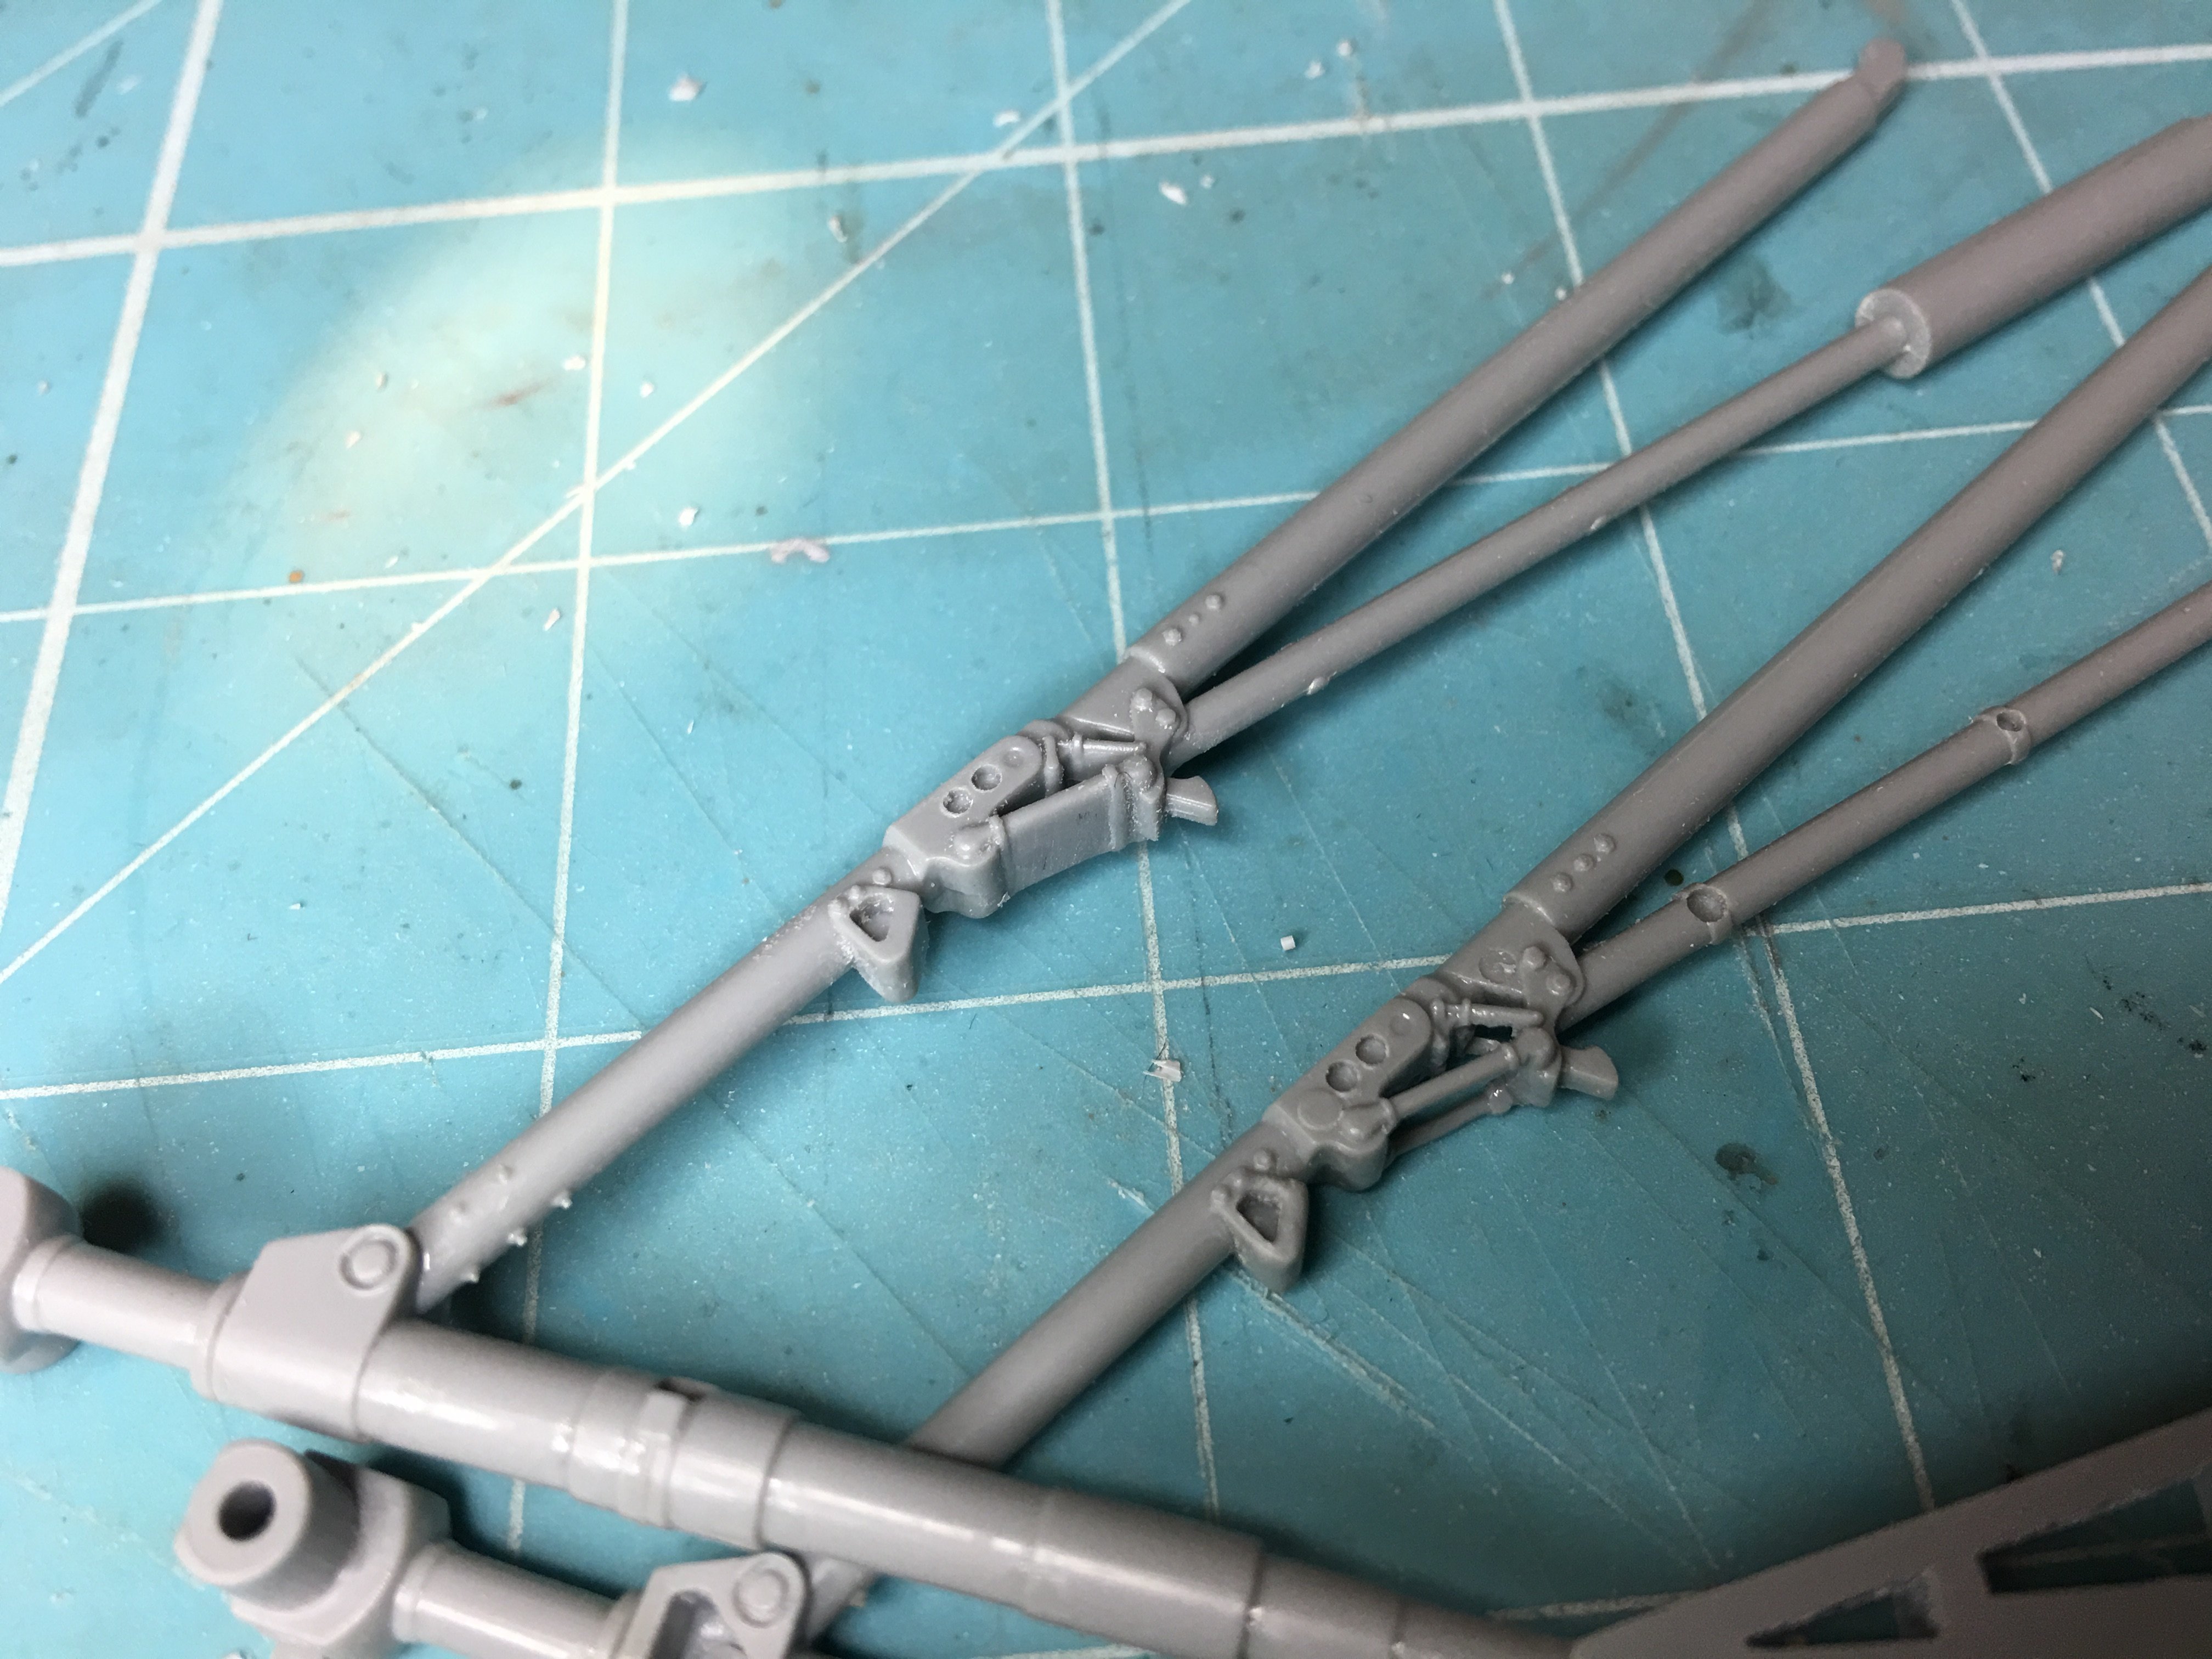
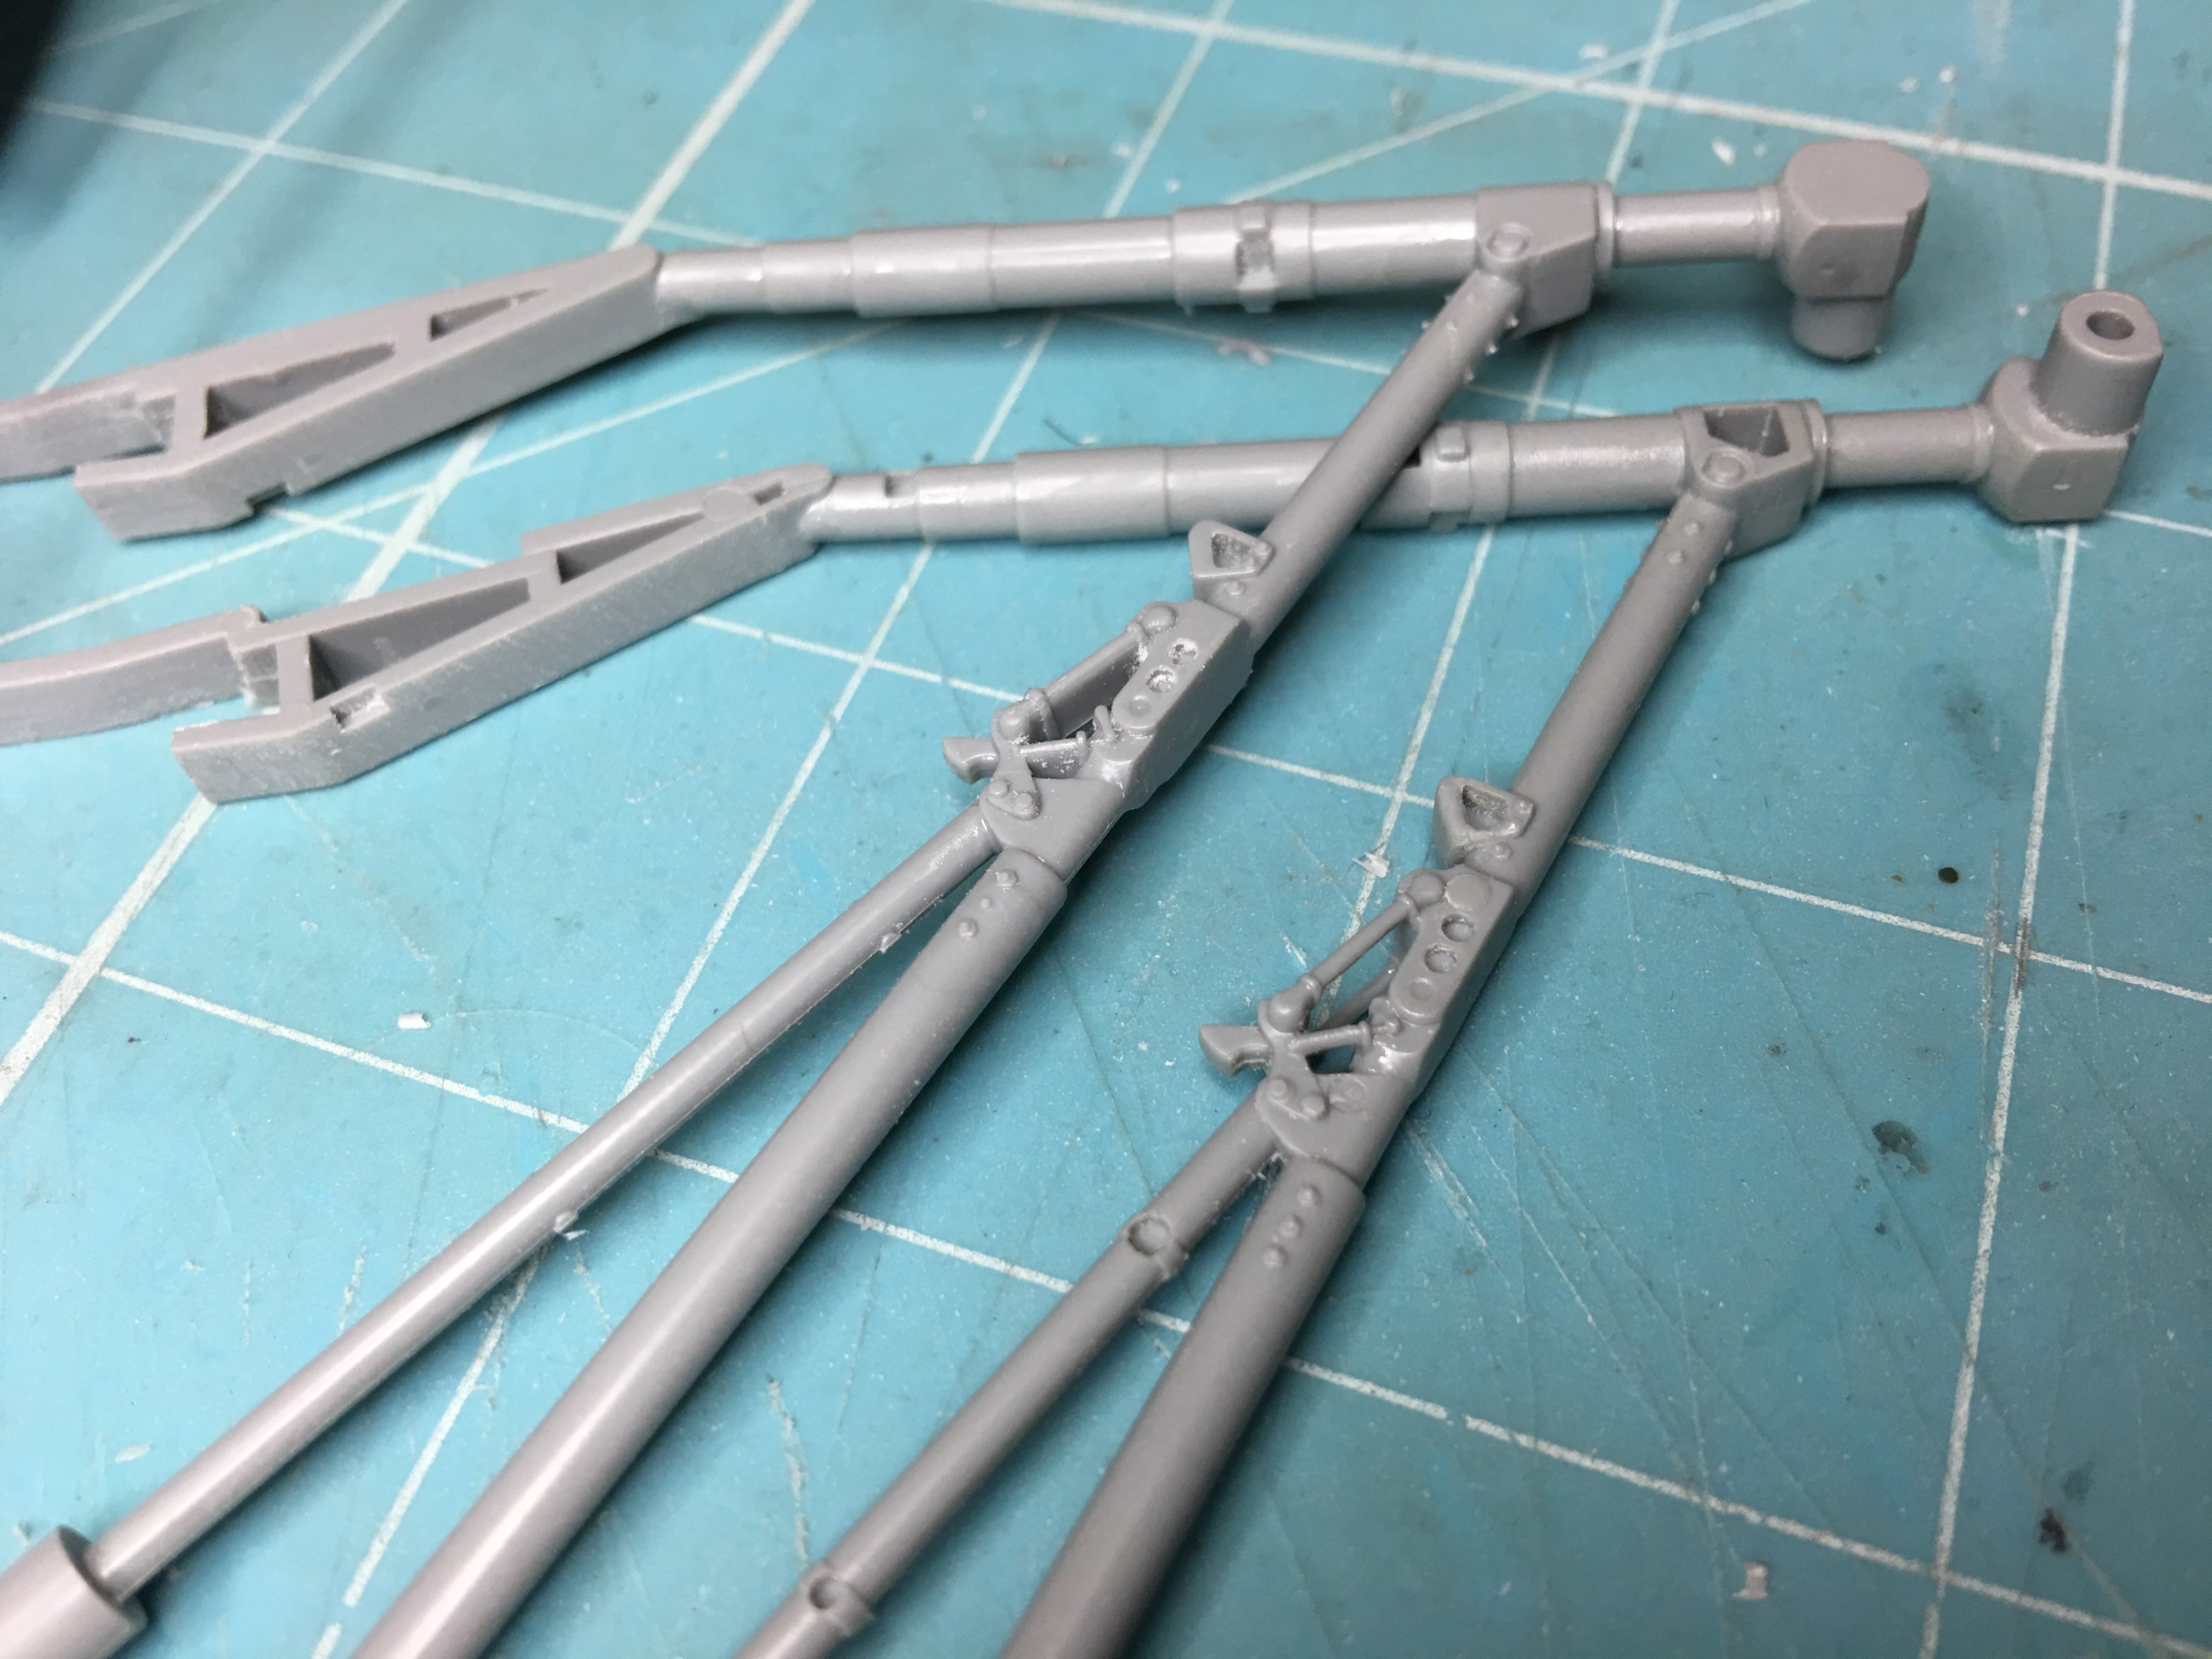
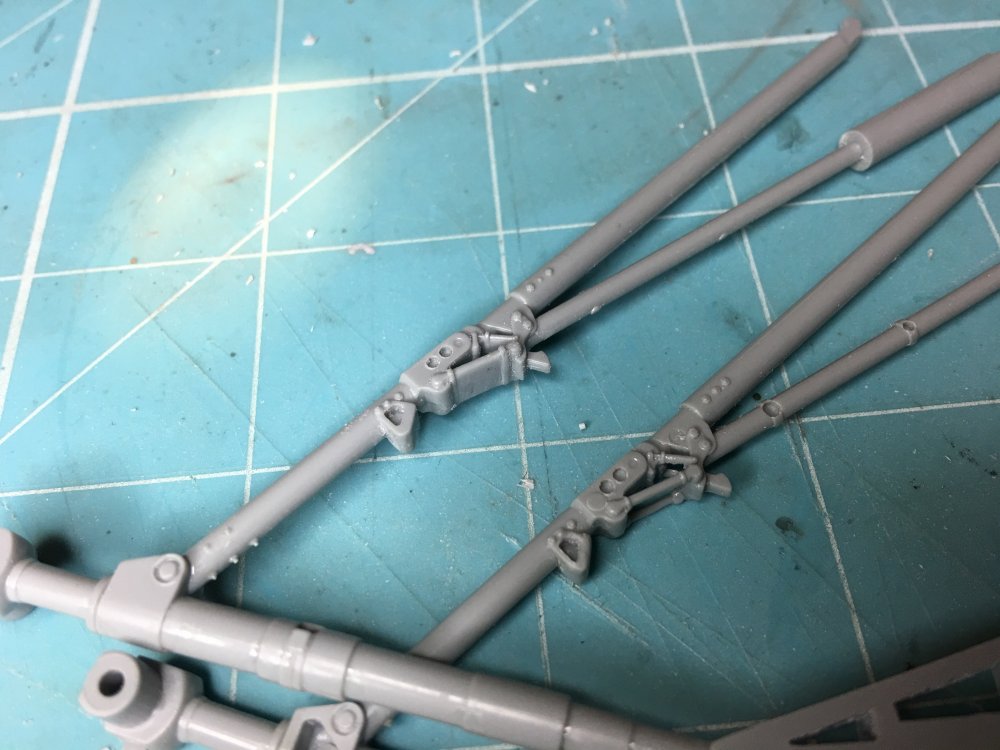
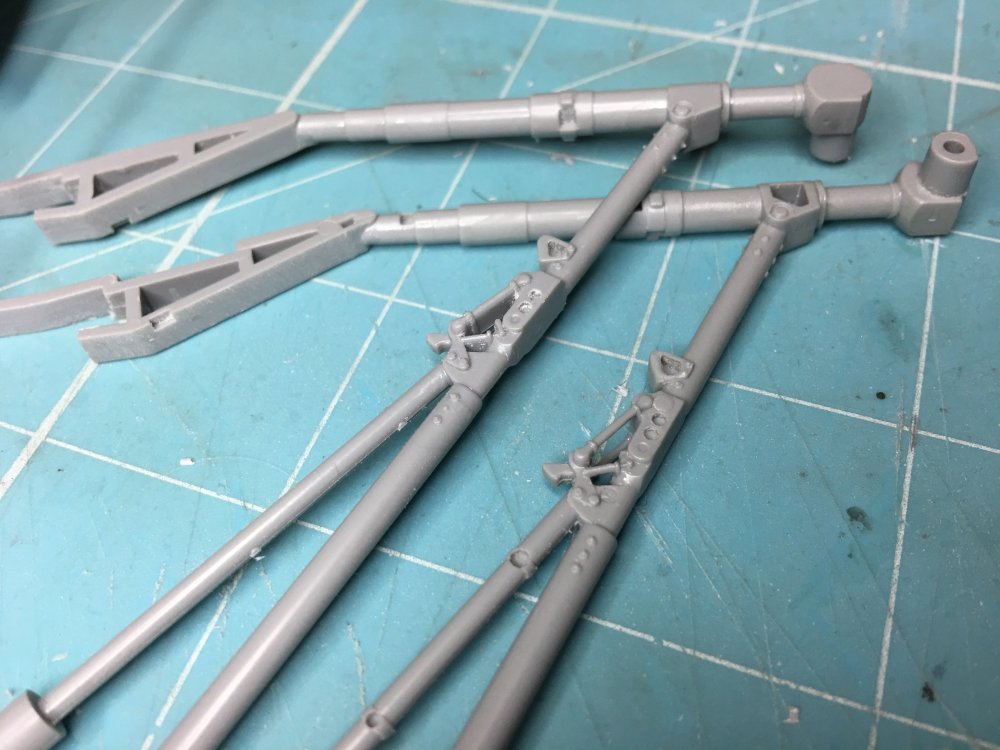
In each photo they are in the same orientation with regard to the bit that is modified. In the middle of each pic there is a folding linkage.. in each pic the top part is stock and the bottom is modified. The stock part is a lump of plastic, the modified part has fine rods which are carved out of the lump. -
1/32 Lancaster build and improvements
NigelR32 replied to NigelR32's topic in LSM 1/35 and Larger Work In Progress
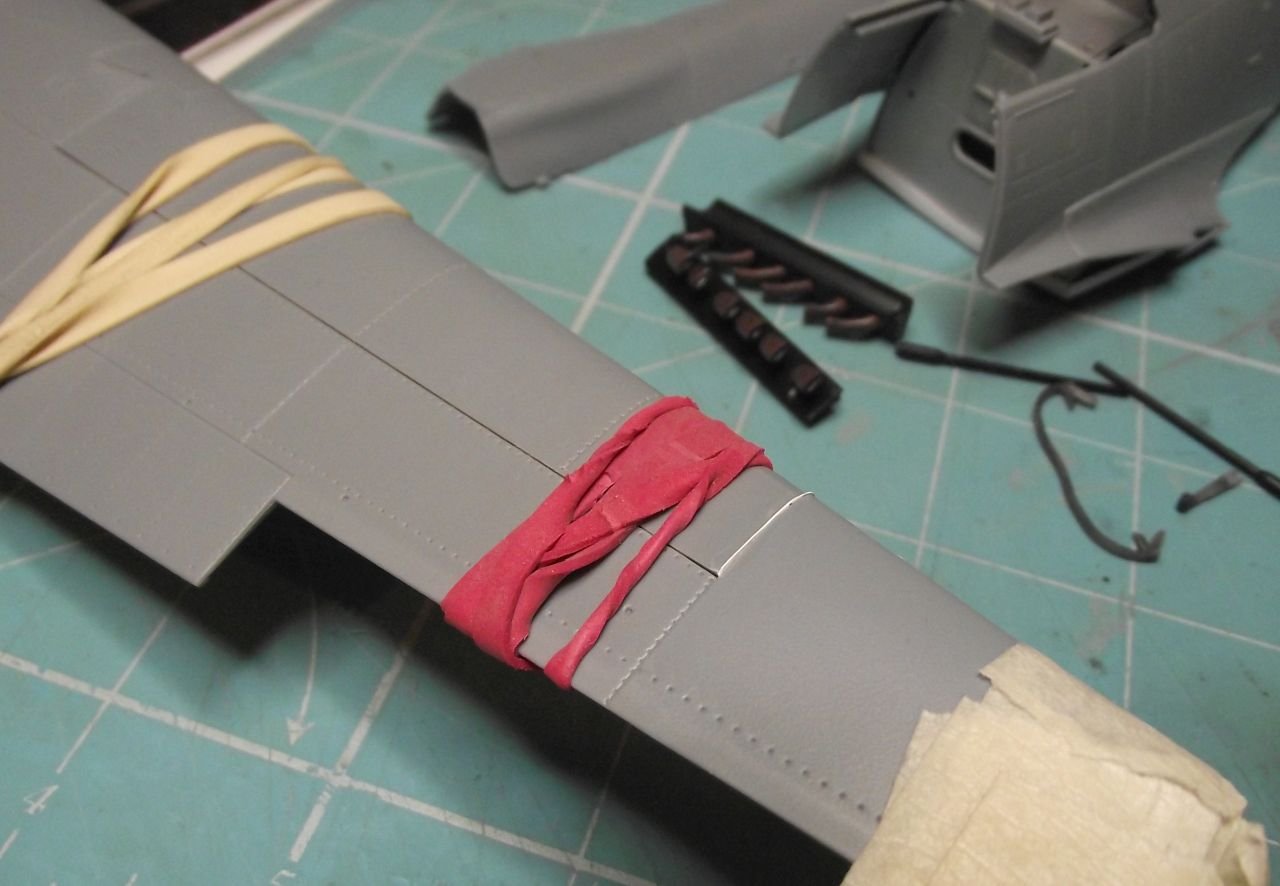
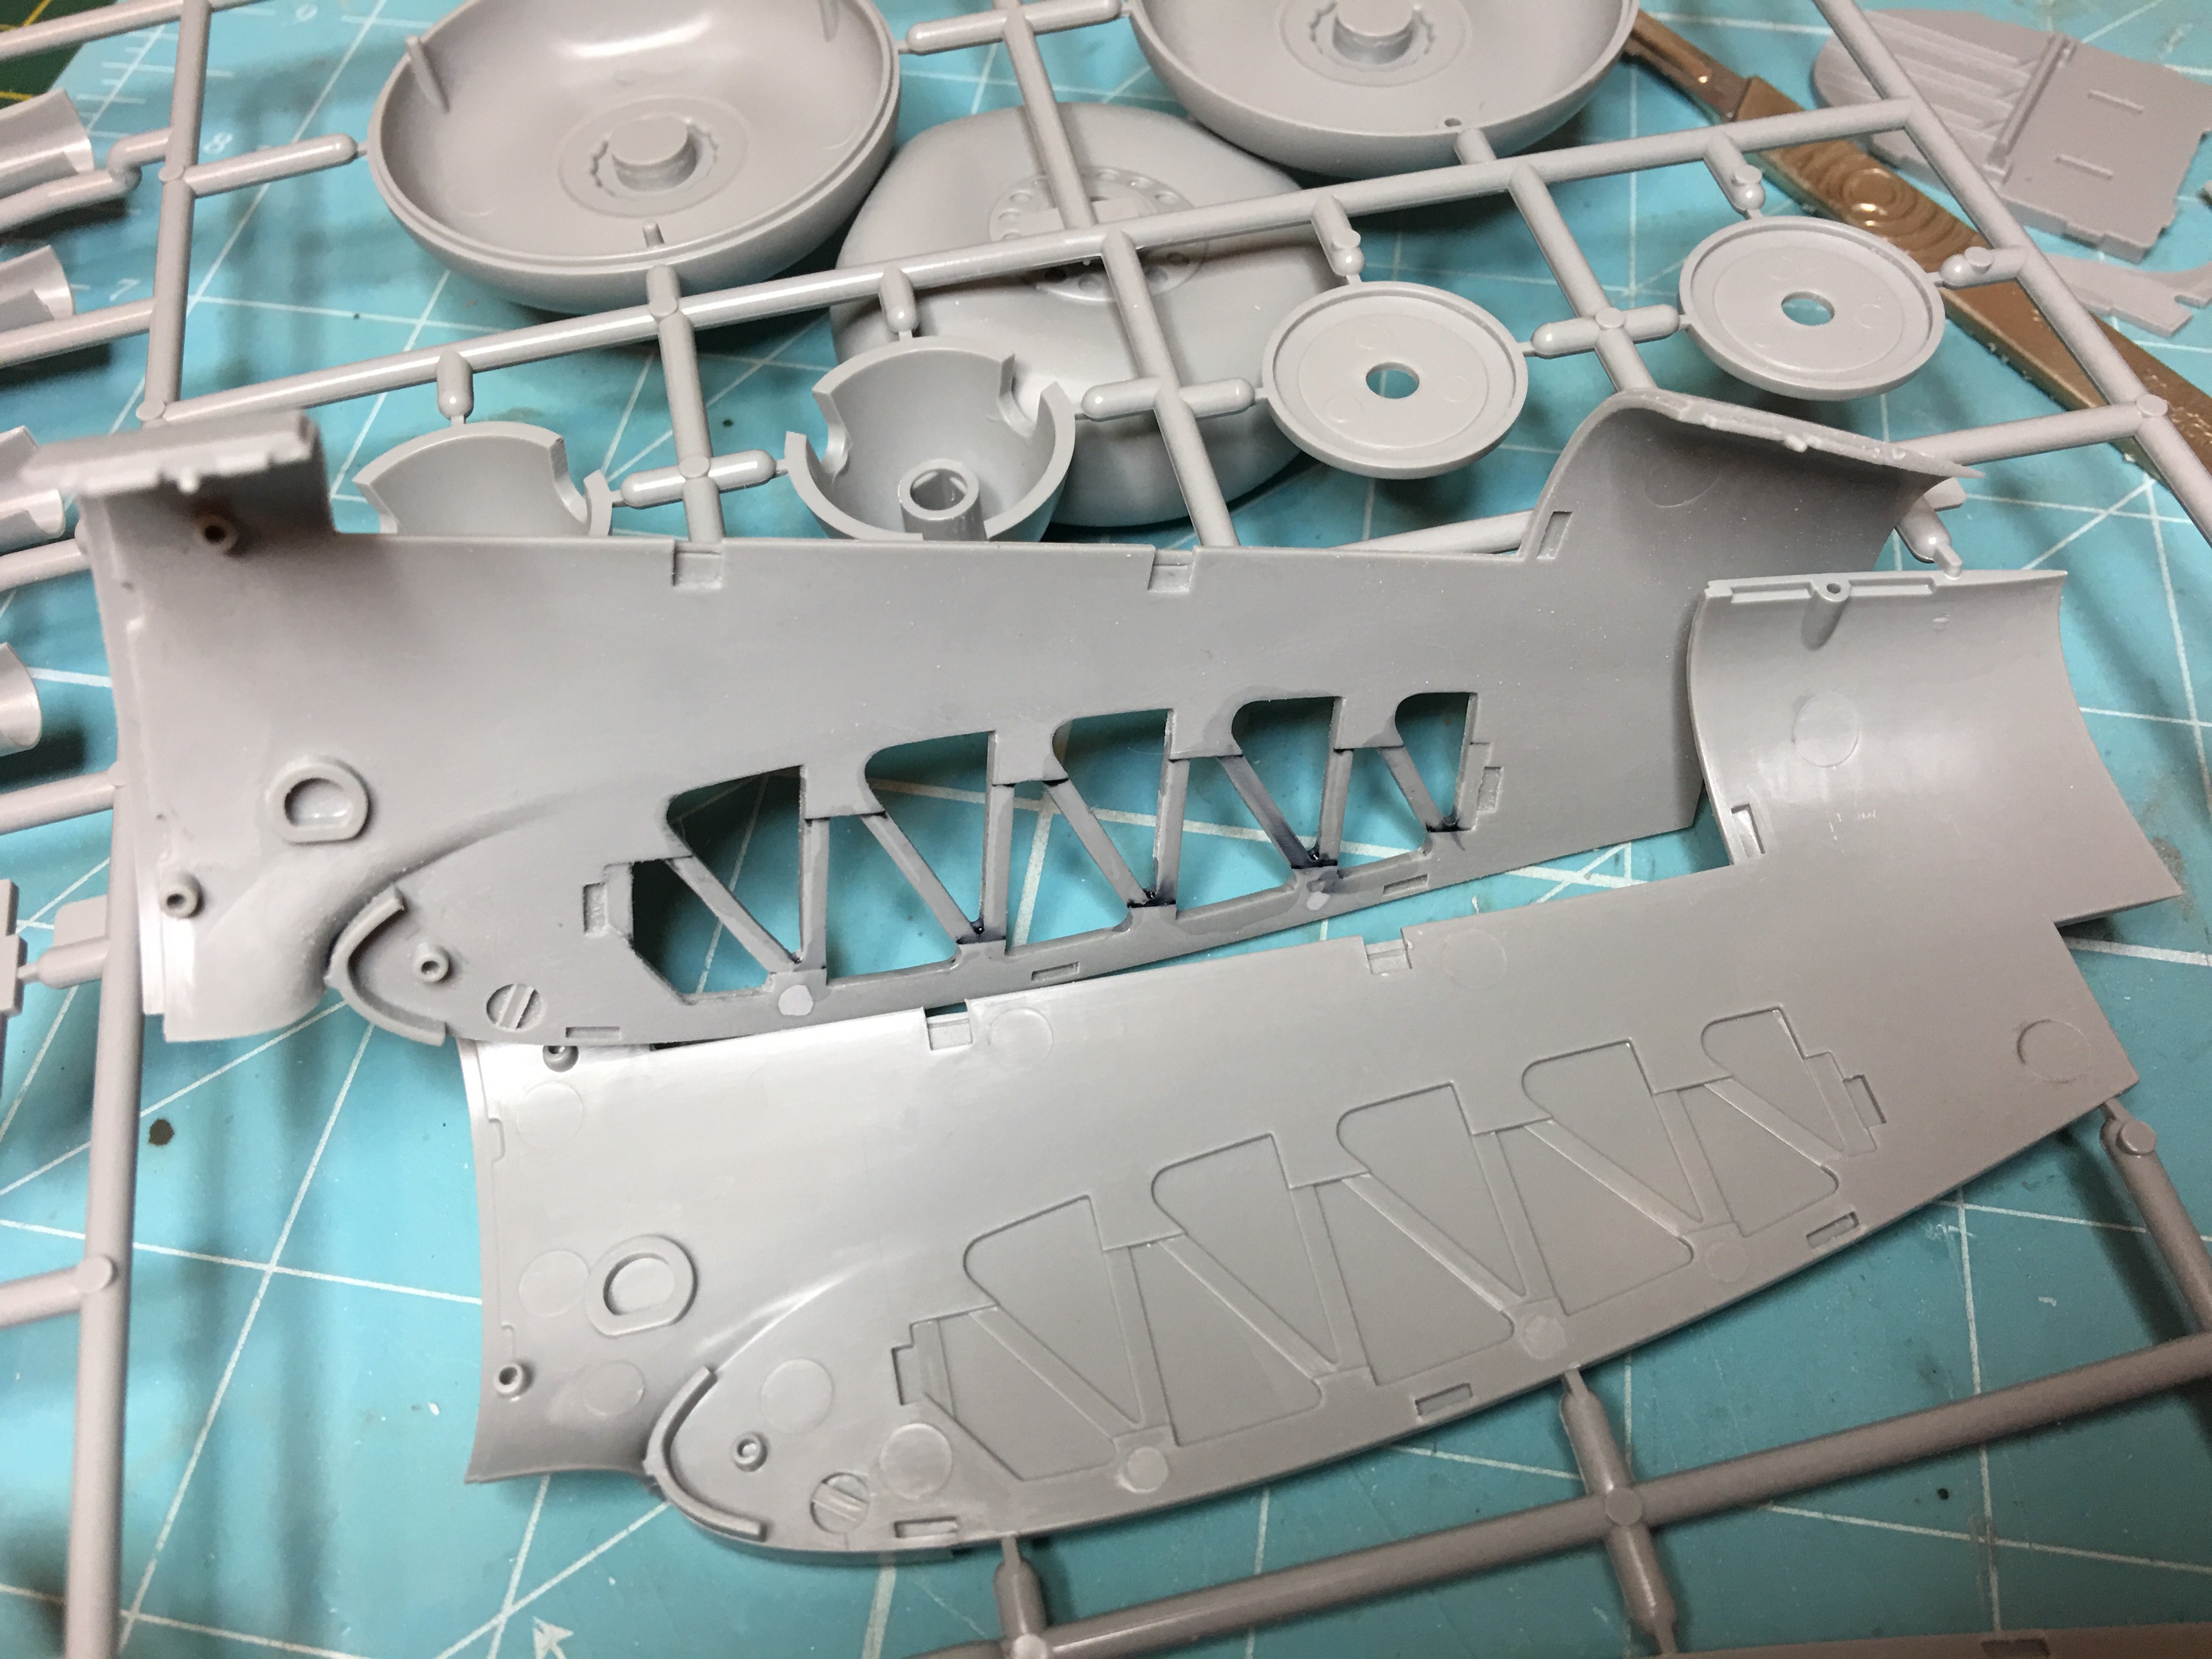
Today I've been playing with the U/C bays and legs. I'll put a video up later on my channel if the newer modellers want to see it in moving pics rather than just the end result.. First job was to open up the framework in the ribs, visible up in there. This is pretty time consuming, but it makes a huge difference and is more accurate than the kit OOB. Next up were the main gear legs. First remove the brace which would not be fitted on an aircraft ready to go out on a mission, which mine is.. it's Night time May 16th 1943 and shes off to drop a cylinder off at a Dam or something?? Then i thought I'd improve the look of the moulded "lump" where the linkage folds and carries the locking mechanism to hold the gear up in the nacelle. Upper leg in the picture is as per kit but with brace removed. Lower is with the block drilled and trimmed to suit. It's a massive improvement for a scale look and I feel doesnt weaken the leg at all. Does this kit need Brass U/C legs?? What do you think? I think not.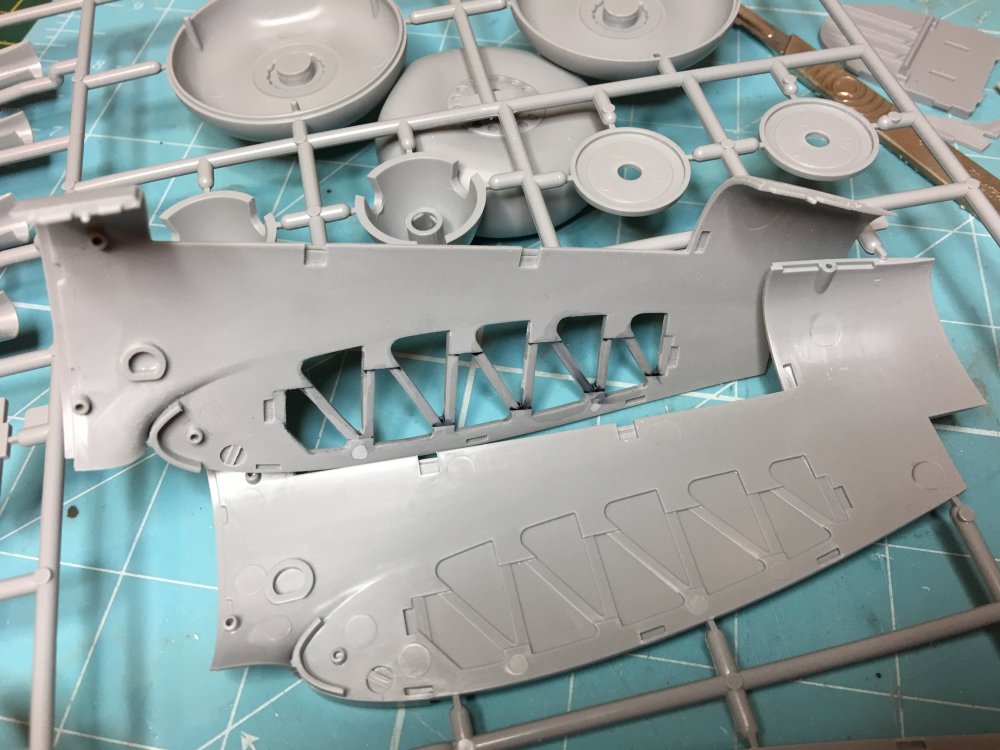
-
1/32 Lancaster build and improvements
NigelR32 replied to NigelR32's topic in LSM 1/35 and Larger Work In Progress
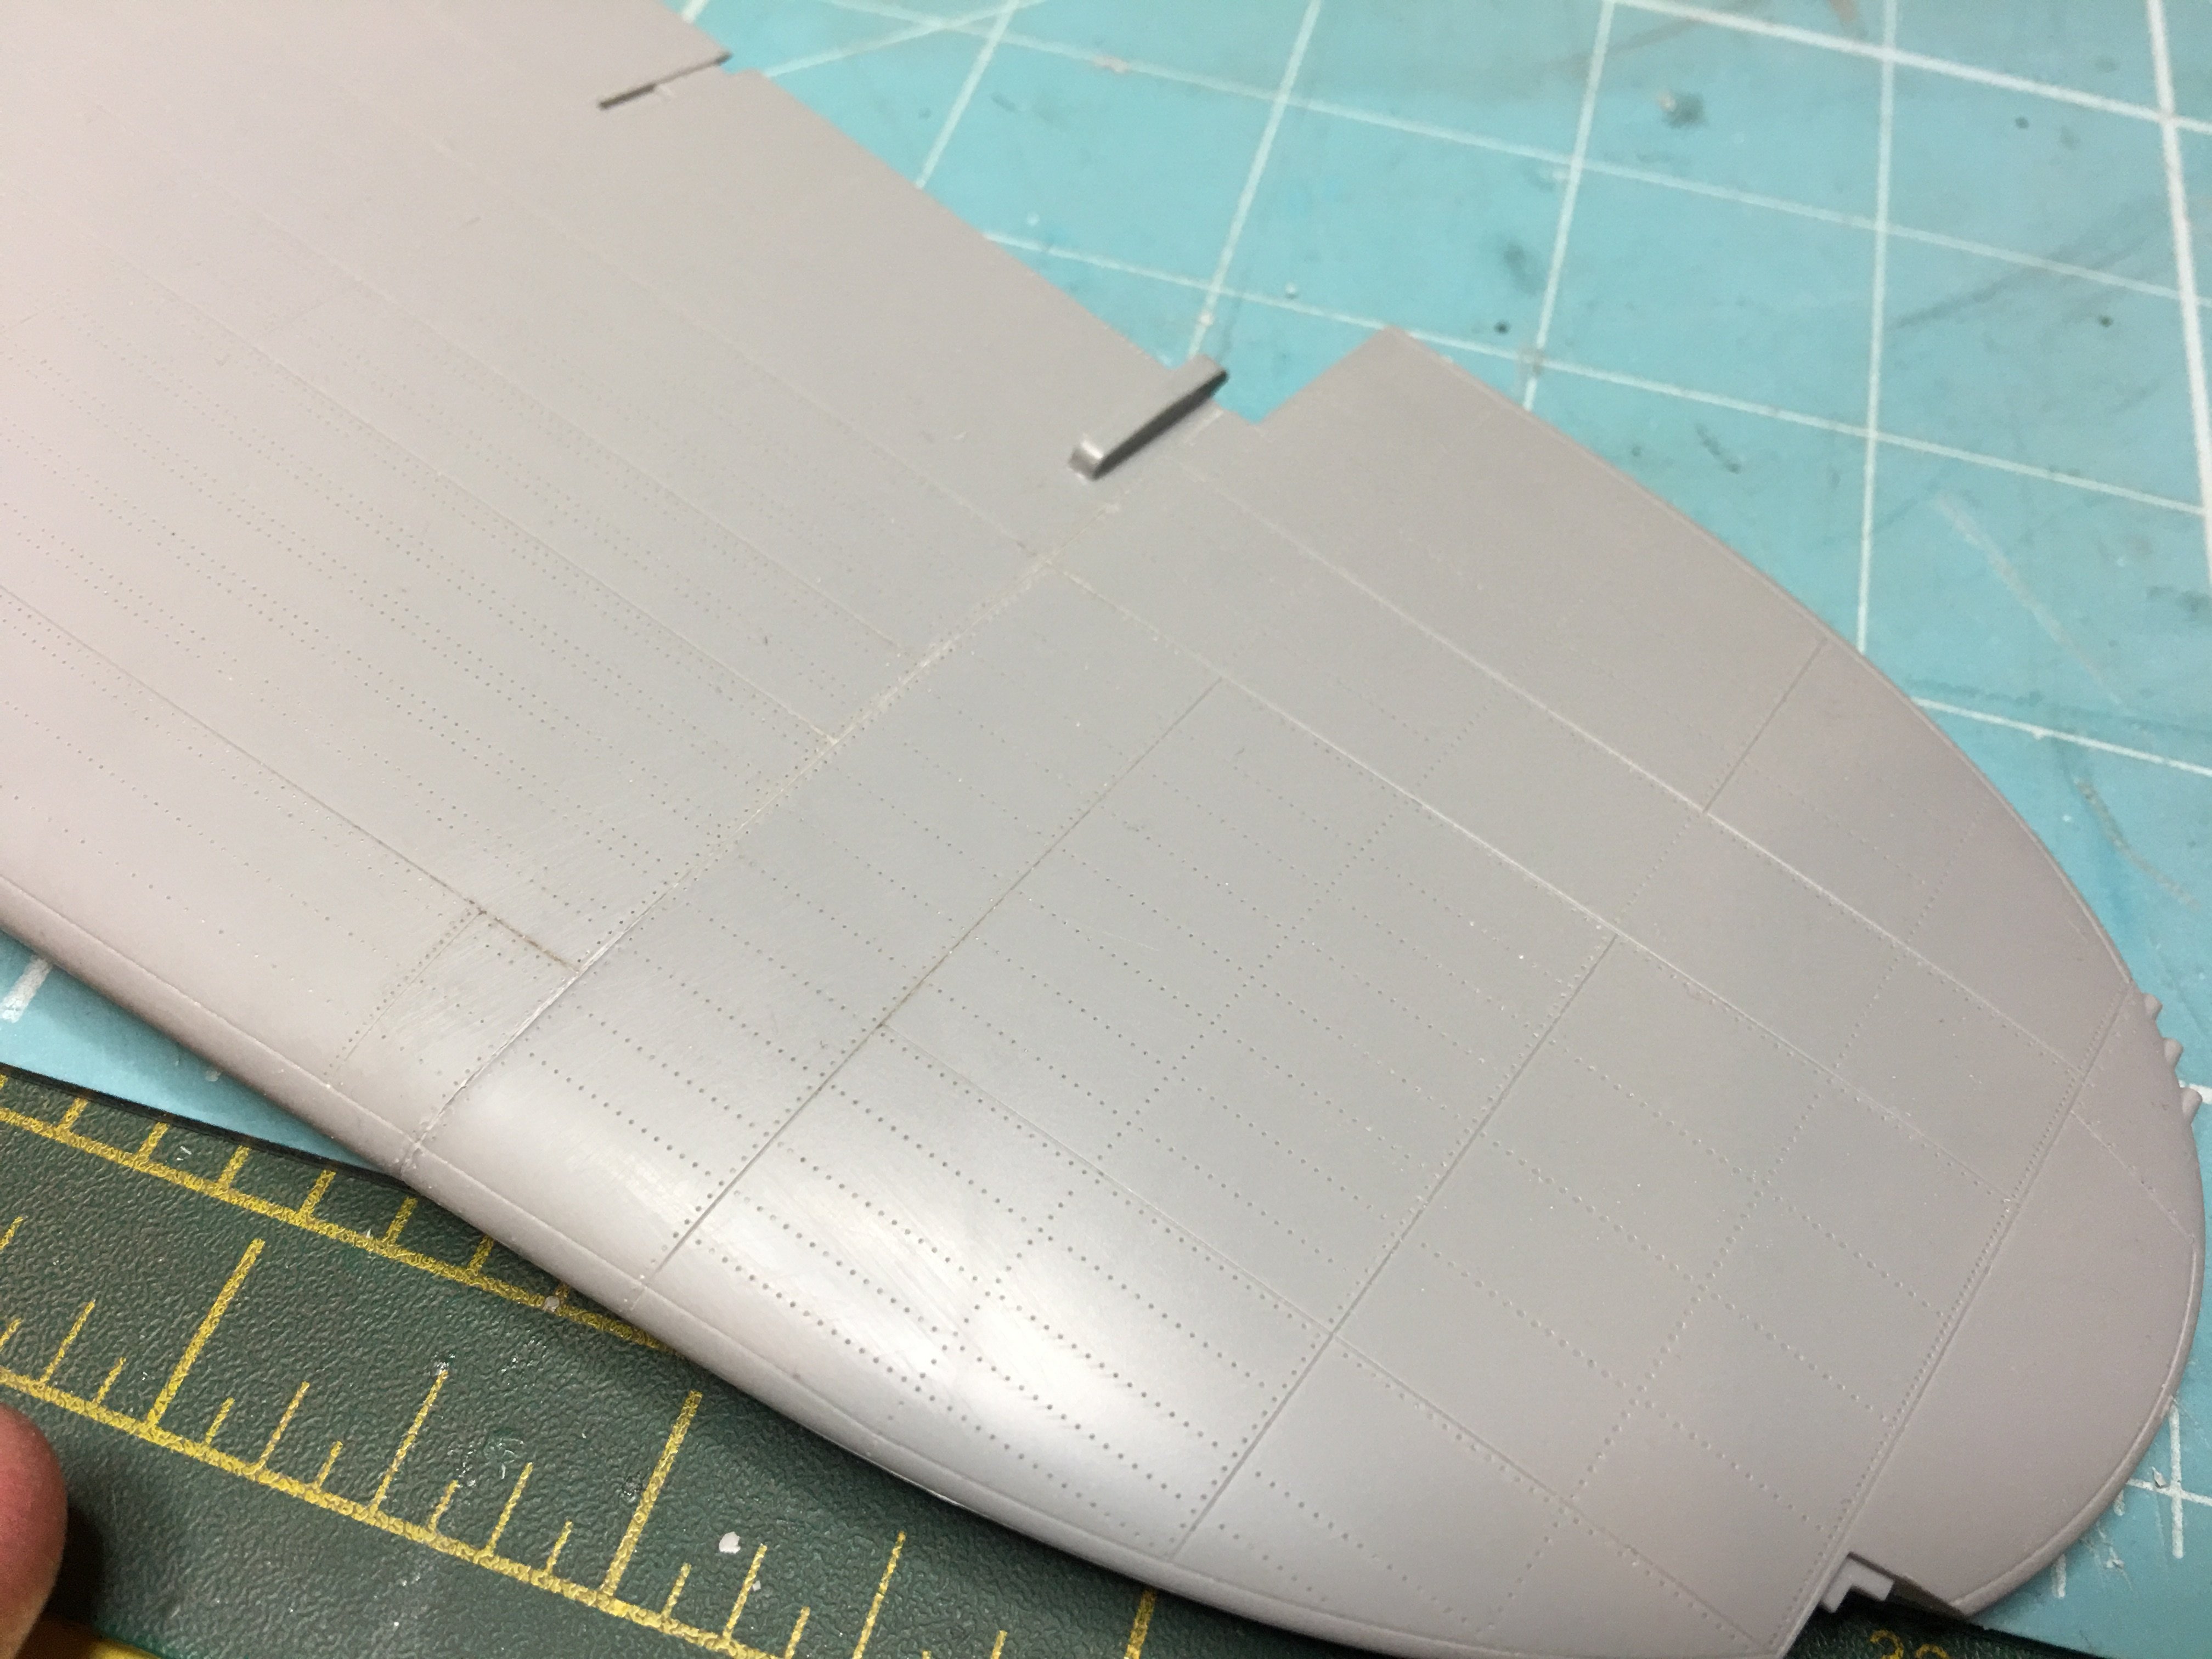
I've been banging away at the HK Lanc yesterday and today and have done the wing tips now.. wow, a LOT of work. Video is up on my channel showing how I got what I think is a great fit. I've also opened up the landing lights, which, considering both the Airfix and Revell kits have these as bowls with clear parts in 1/72 scale, at 1/32 scale they really should be better!! Interestingly, due to the mould shift that has made the upper surface of my Port wing wafer thin, the underside is thick enough to allow these to be cut!! I'm now testing with different clear solutuions to get a realistic light. I don't want to use the AM clear lights because I want to show a bulb in there.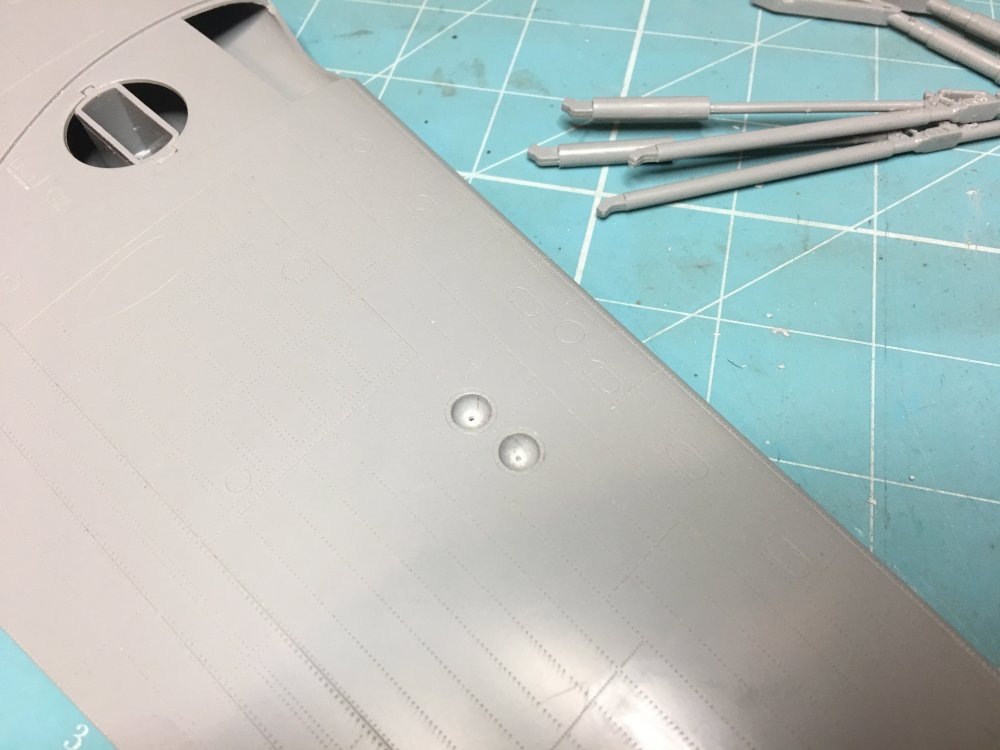

-
1/32 Lancaster build and improvements
NigelR32 replied to NigelR32's topic in LSM 1/35 and Larger Work In Progress
Thanks Peter. Shhhh.. that's 1/72 scale. You musn't mention that one on here... -
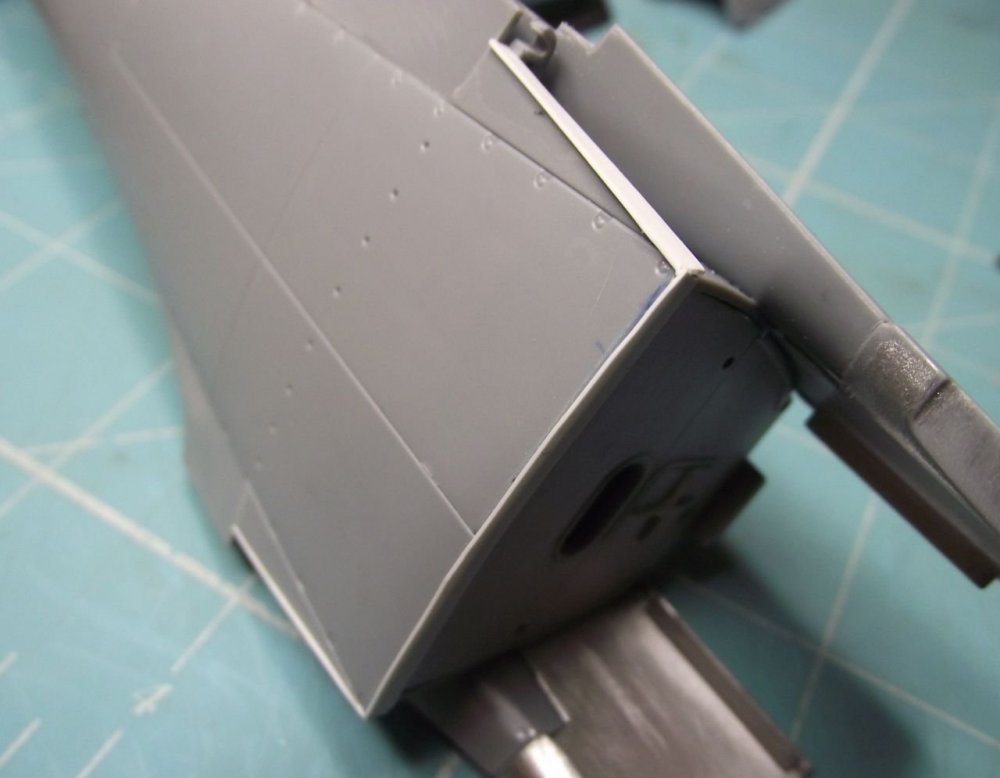
Thanks for this info Mr 1 to 1 scale. Very valuable. I would like to ask.. you were having doubts about the mods you'd made to your bulkhead behind the cockpit. Is the bulkhead as pictured above now the final correct solution? If so, I think I'll copy you if you dont mind.
-
HK Models 1/32 Lancaster Hints, Tweaks and Tips,
NigelR32 replied to NigelR32's topic in Modelling Discussion
This is my issue with Eduard of late. They just seem to enhance what the kit gives you rather than correct it. In the old days they used to correct stuff, like on the Trumpy F105 cockpit floor height and removing the blocks in the Me262 wheel bays. -
If you dont build em, you dont have to look at em..
-
This is the first I've heard of that issue? Care to pass on some detail on what is actually missing from where?
-
The blanking panel is in the kit. It's part U1. There are also spare antennae in the kit on sprue P.
-
I've solved the turret problems... I haven't built them.