GusMac
-
Posts
2,978 -
Joined
-
Last visited
Content Type
Profiles
Forums
Events
Gallery
Everything posted by GusMac
-

What is on your bench right now ? Share a picture :)
GusMac replied to Martinnfb's topic in Modelling Discussion
Thanks, it's the Zoukei Mura F4D kit. It's the first ZM kit I've built and I have to say I'm impressed. I know their 1/32 kits are said to over-engineered but this seems sensible and goes together very nicely. -
What is on your bench right now ? Share a picture :)
GusMac replied to Martinnfb's topic in Modelling Discussion
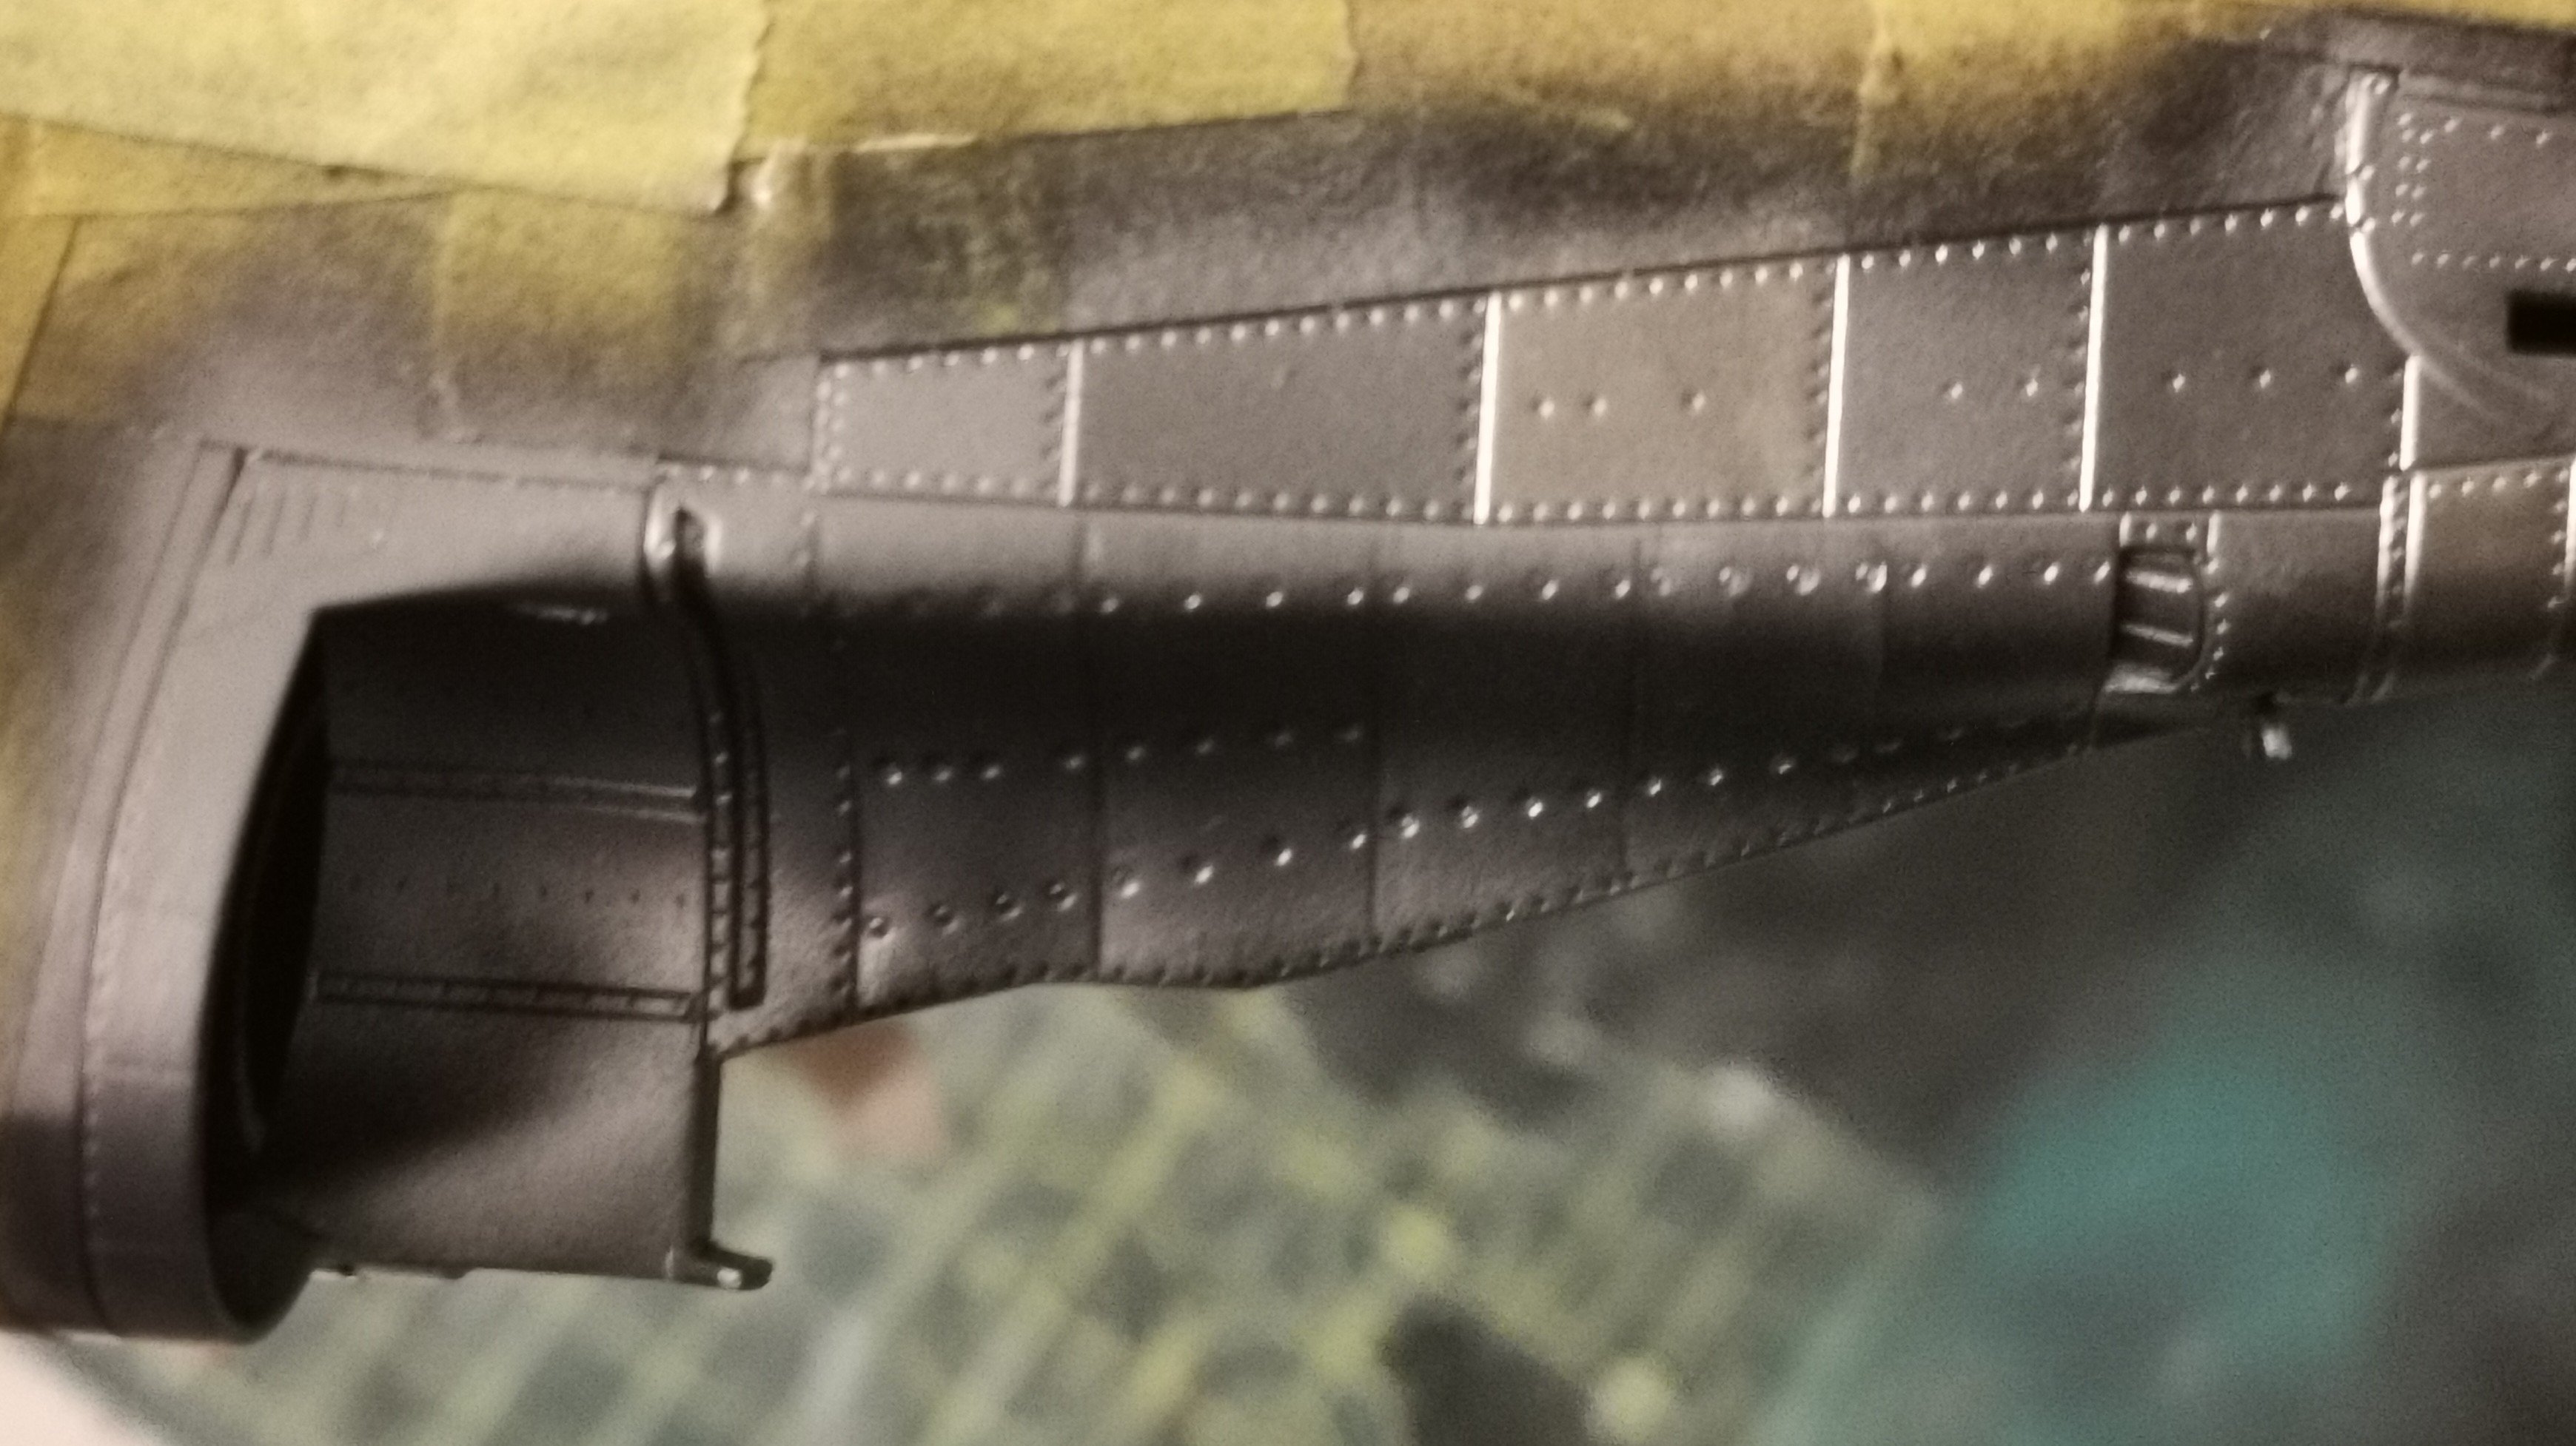
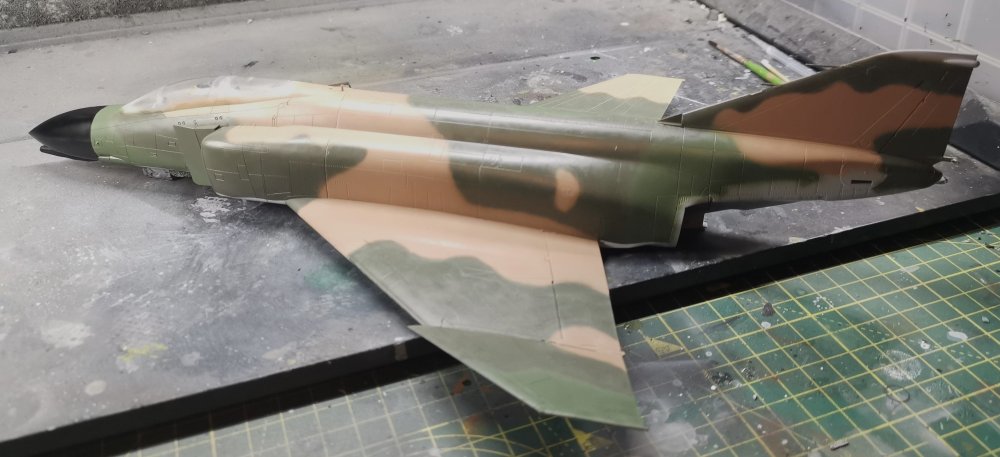
Got the base colours down for the metallics at the rear. Xtreme Metal aluminium, dark aluminium, duralumin and steel over Tamiya LP1. Just waiting for some new paints and then we can dirty everything to make it look used.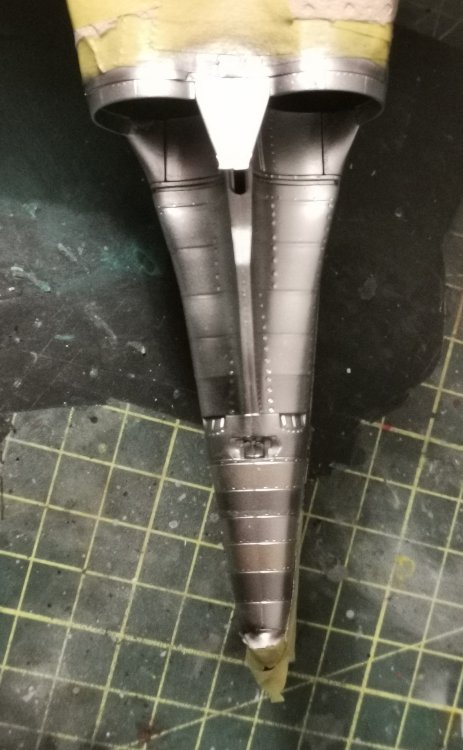

-
Sorry to hear all the grief that has befallen you and Joy, Ernie. I hope you're back on an even keel and everything is getting sorted especially your home. Take your time and just settle-in slow
-
So sorry to hear the news about your son Hubert. That really is a terrible hand to be dealt to have ALL and AML simultaneously. I hope the transplant improves things. Best of luck for your move back to France.
- 15 replies
-
- 3
-

-

-
- grumman duck
- j2f-3
- (and 4 more)
-
What is on your bench right now ? Share a picture :)
GusMac replied to Martinnfb's topic in Modelling Discussion
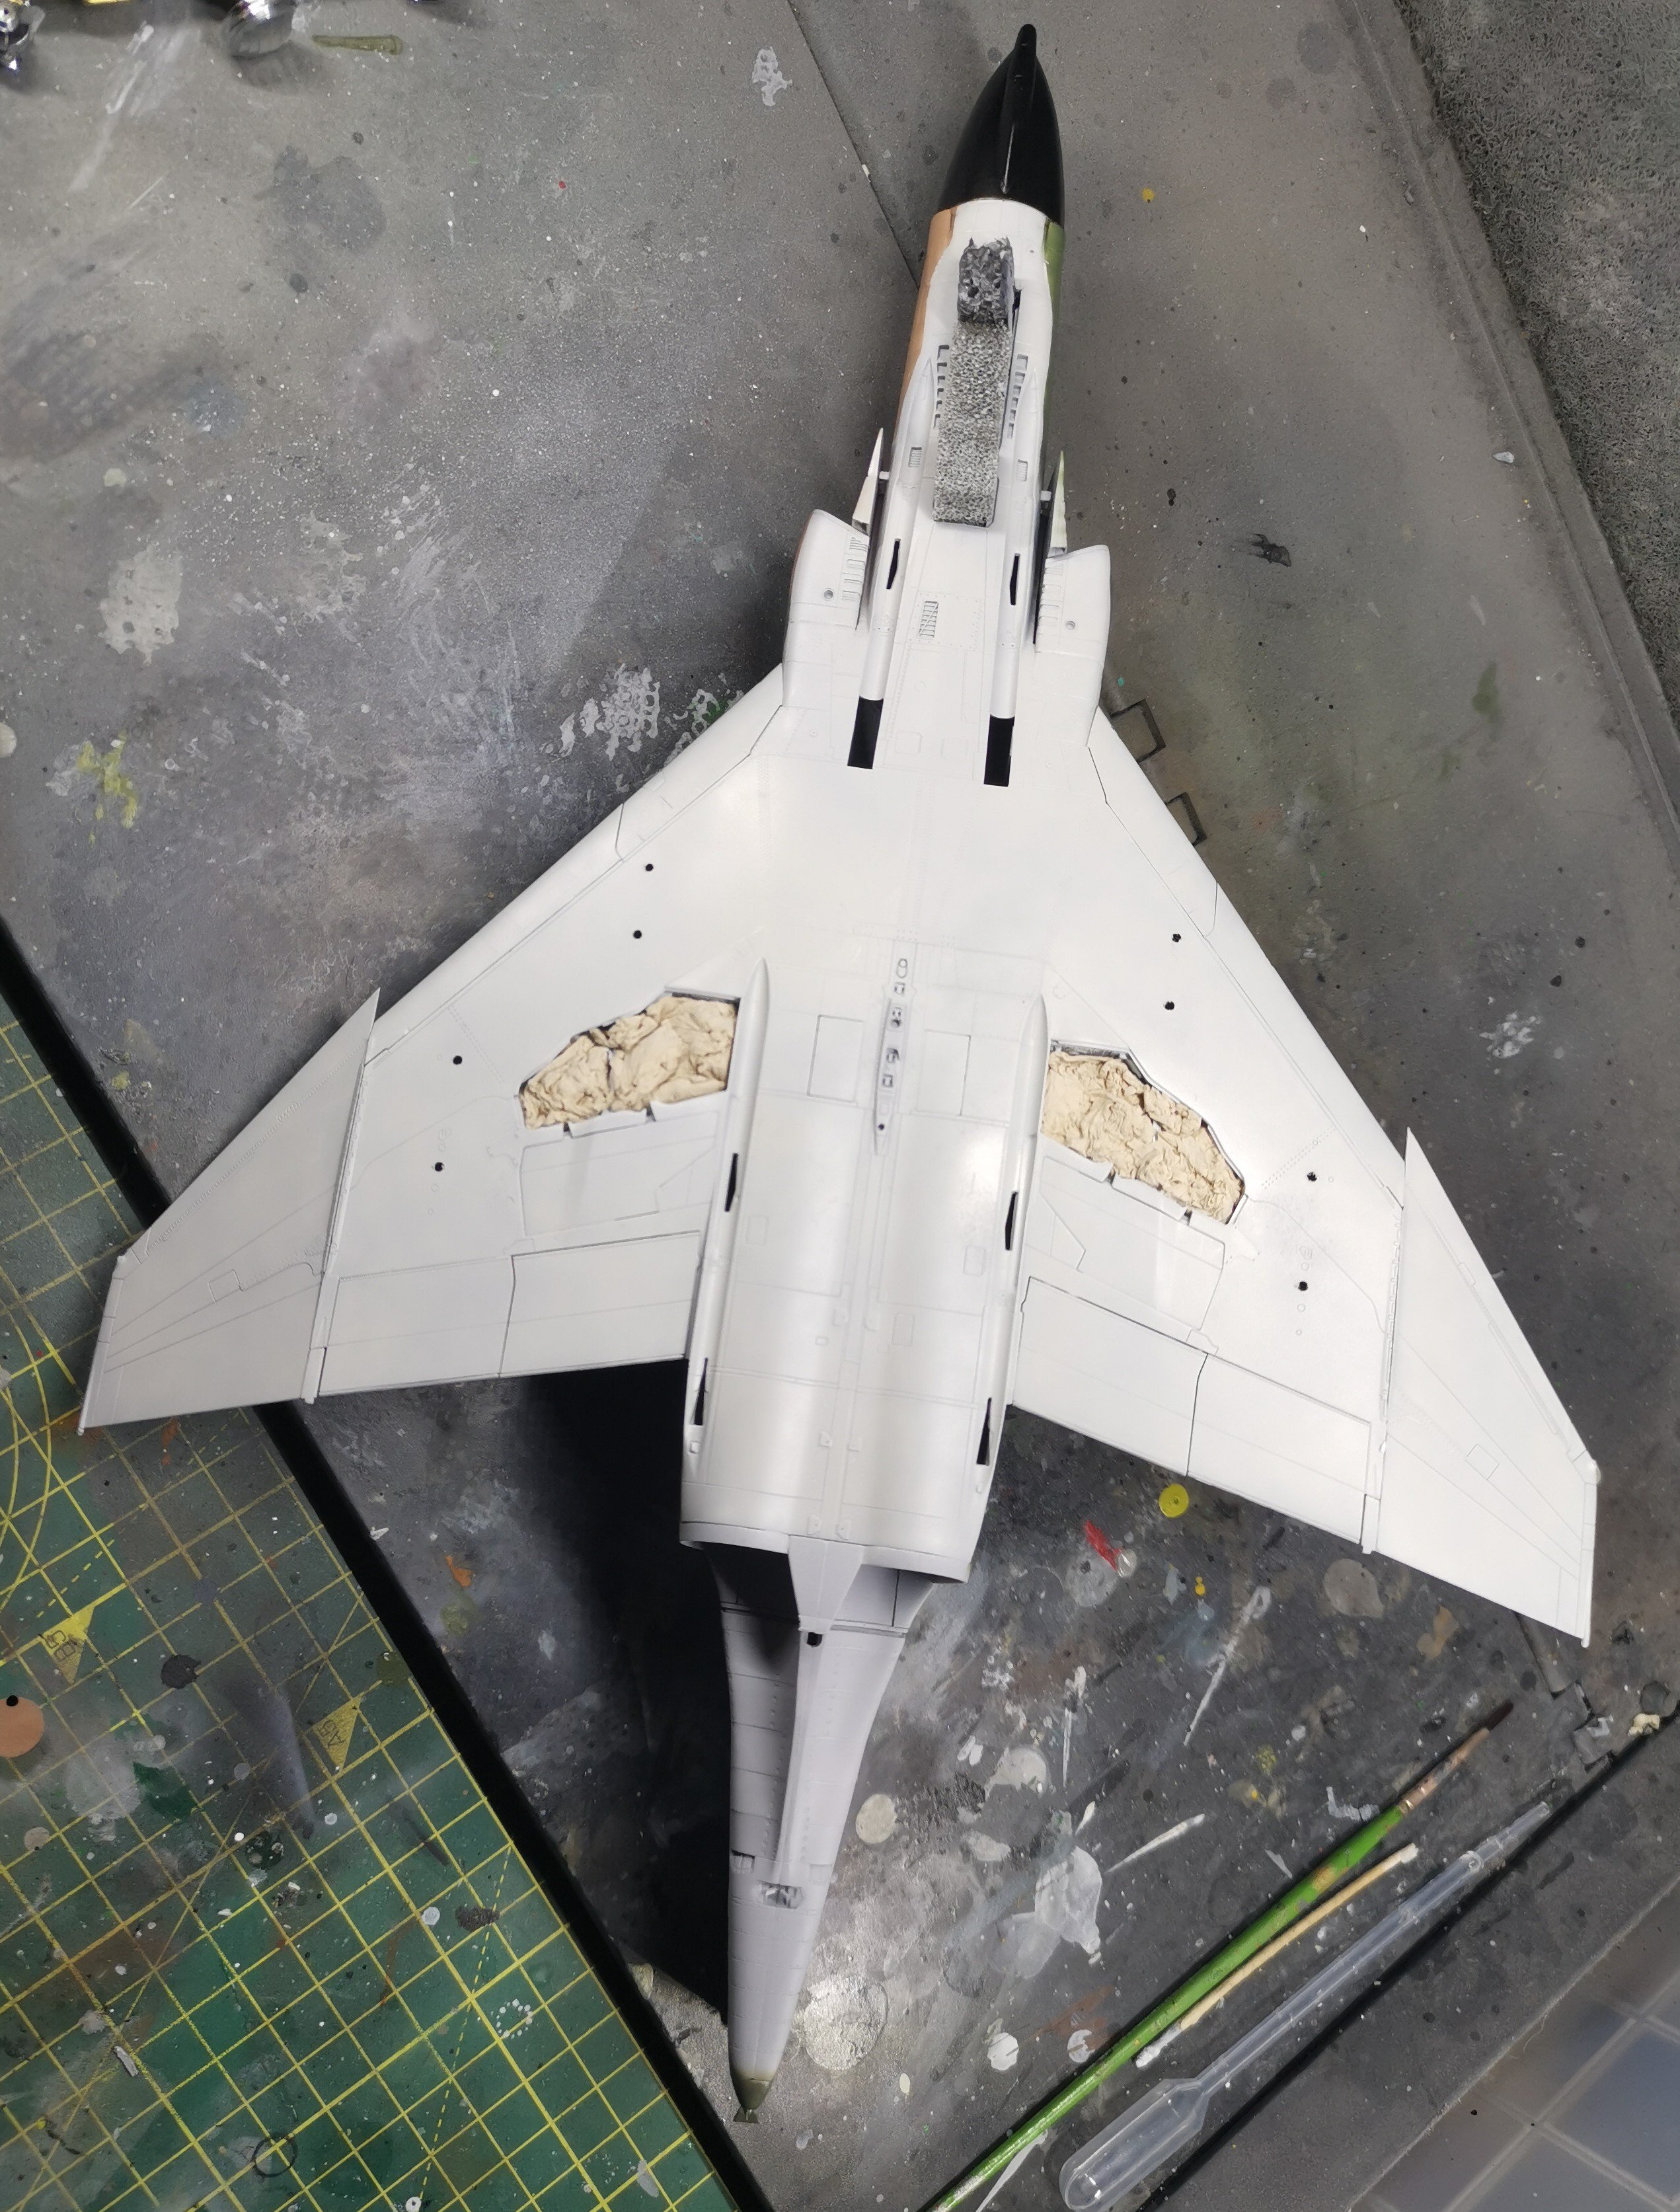
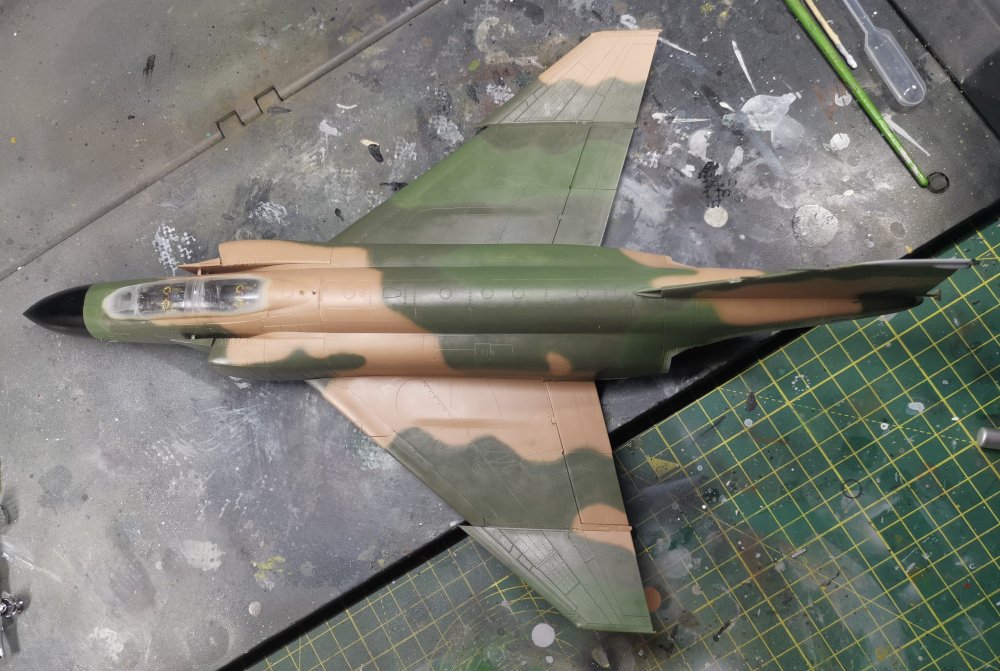
Got the basic painting done on the F4D. All done with MRP and free-handed to give the new H&S airbrush (and me) a bit of a test. I sometimes forget how easy the MRP is to use. Next up is all the fun masking around the rear and on the tail for a coat of Tamiya LP black as a base for the metallics.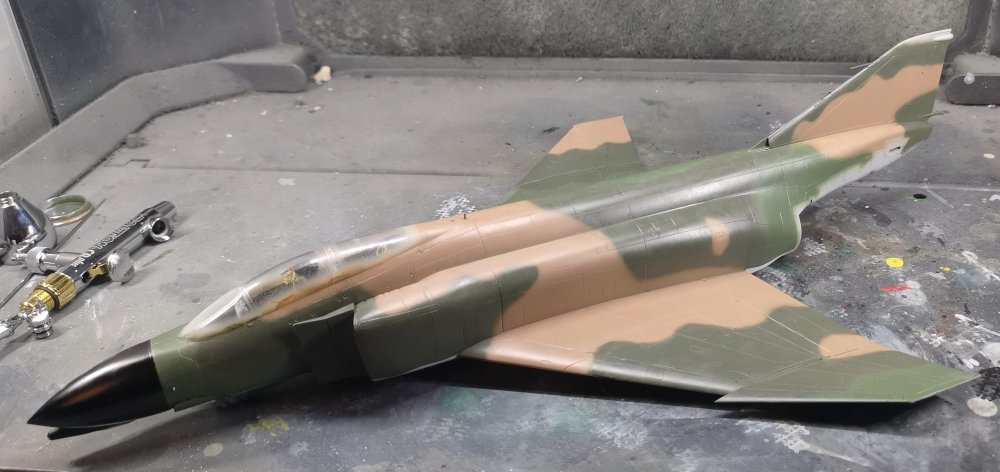

-
Now that would be a mash-up. Two great films.
-
1/16 Panther Conversion
GusMac replied to Daniel_Roxy's topic in LSM 1/35 and Larger Work In Progress
Nice work, the new turret looks great. -
1/32 P.1101 at Oberammergau / Build review
GusMac replied to JeroenPeters's topic in LSM 1/35 and Larger Work In Progress
Big Willy and Little Willy?? -
The Legend - Lotus 72D - Tamiya 1/12
GusMac replied to DocRob's topic in LSM 1/35 and Larger Work In Progress
SHINY! Looks great Rob and as others have said, that's a nice recovery on the numbers. -
The Legend - Lotus 72D - Tamiya 1/12
GusMac replied to DocRob's topic in LSM 1/35 and Larger Work In Progress
All the angst was worth it Rob as that looks great -
1/16 scale R/C A-13 Cruiser III MK1
GusMac replied to Blimp's topic in LSM 1/35 and Larger Work In Progress
Looks brilliant. The 'in progress' shots really do emphasise that these early British cruiser tanks were really just boxes of rivets on wheels. -
Damn, that Me410 is waving at me again..... must resist
-
Trumpeter P-47D Razorback
GusMac replied to crazypoet's topic in LSM 1/35 and Larger Work In Progress
Yes, the fit of the gun inserts is always woeful on the Trumpy P47s. I've generally always tried to get them aligned as well as possible and try to hide the mess that leaves on the underside where it's less visible. -
Might have to use this is my next presentation at work!
-
Looks great, nicely worn look
-
What is on your bench right now ? Share a picture :)
GusMac replied to Martinnfb's topic in Modelling Discussion
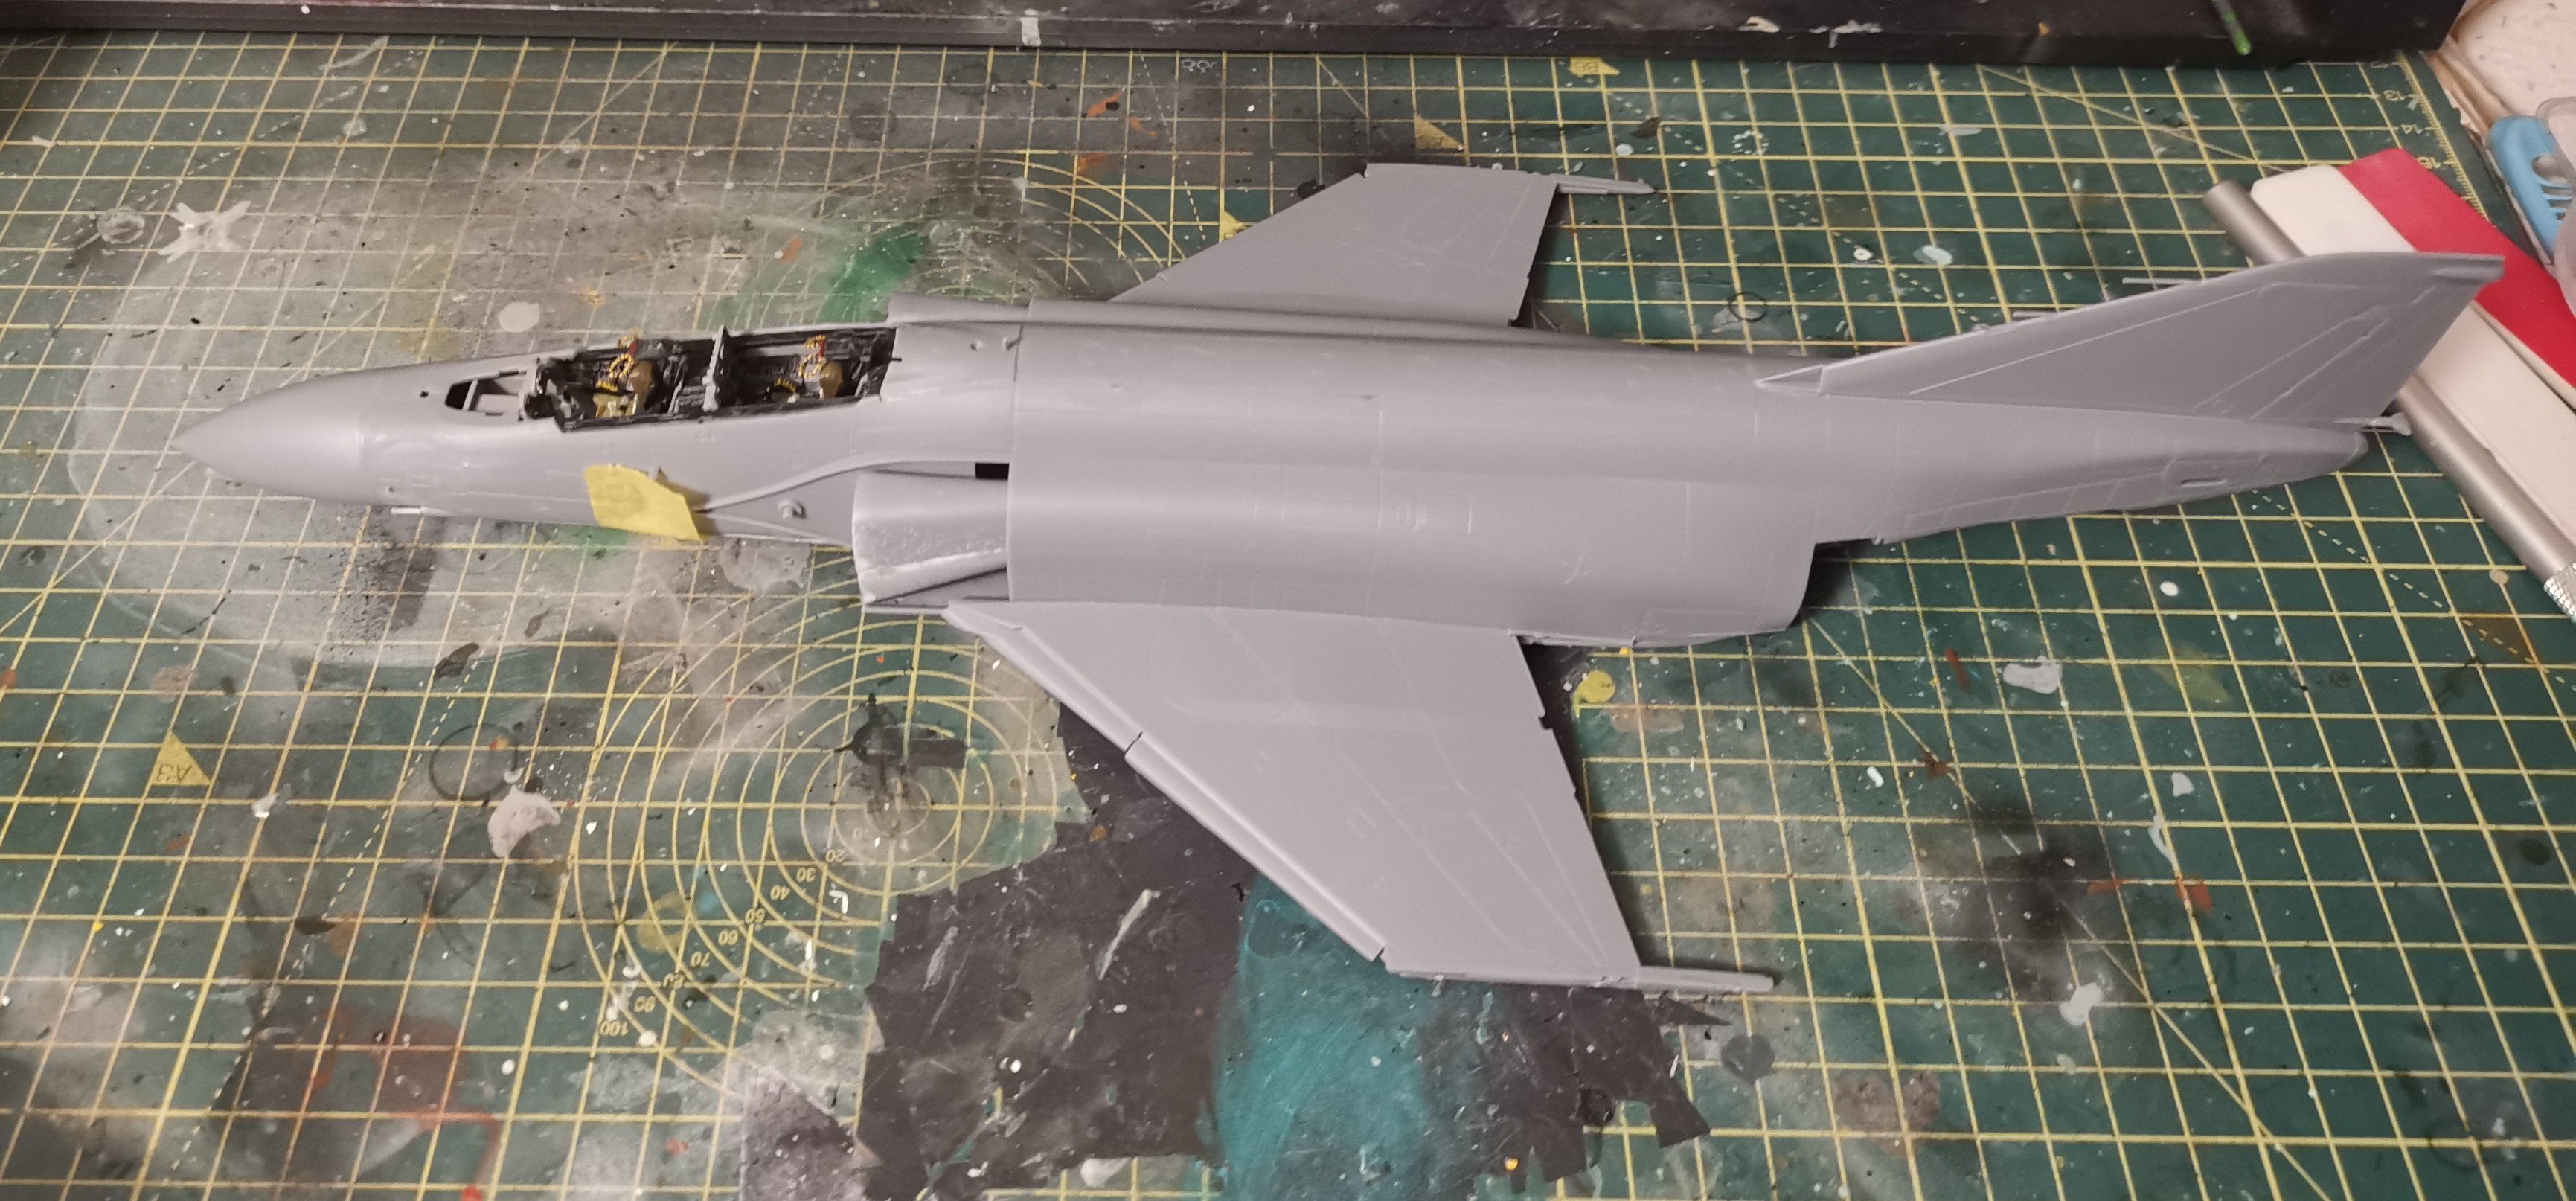
Bench time has been very limited recently as my father has been ill and sadly passed away last Wednesday. Did manage to grab some time yesterday just as a distraction from everything else that's needing taken care of and making sure mum is okay. Got the fuselage joined to the wings and as everyone has said, the fit is pretty stellar. No filler needed here. The tape is just to hold a little paint mixing cup over the nose actuator which you have to install stupidly early in proceedings.

-
Sorry to hear that. I love having pets around but this is always the hardest part. Never gets easier.
-
1/32 P.1101 at Oberammergau / Build review
GusMac replied to JeroenPeters's topic in LSM 1/35 and Larger Work In Progress
Great reference material and just in the nick of time before you printed it -
What is on your bench right now ? Share a picture :)
GusMac replied to Martinnfb's topic in Modelling Discussion
+2 on that -
That's a sizeable hole in the ozone layer right there!
-
What is on your bench right now ? Share a picture :)
GusMac replied to Martinnfb's topic in Modelling Discussion
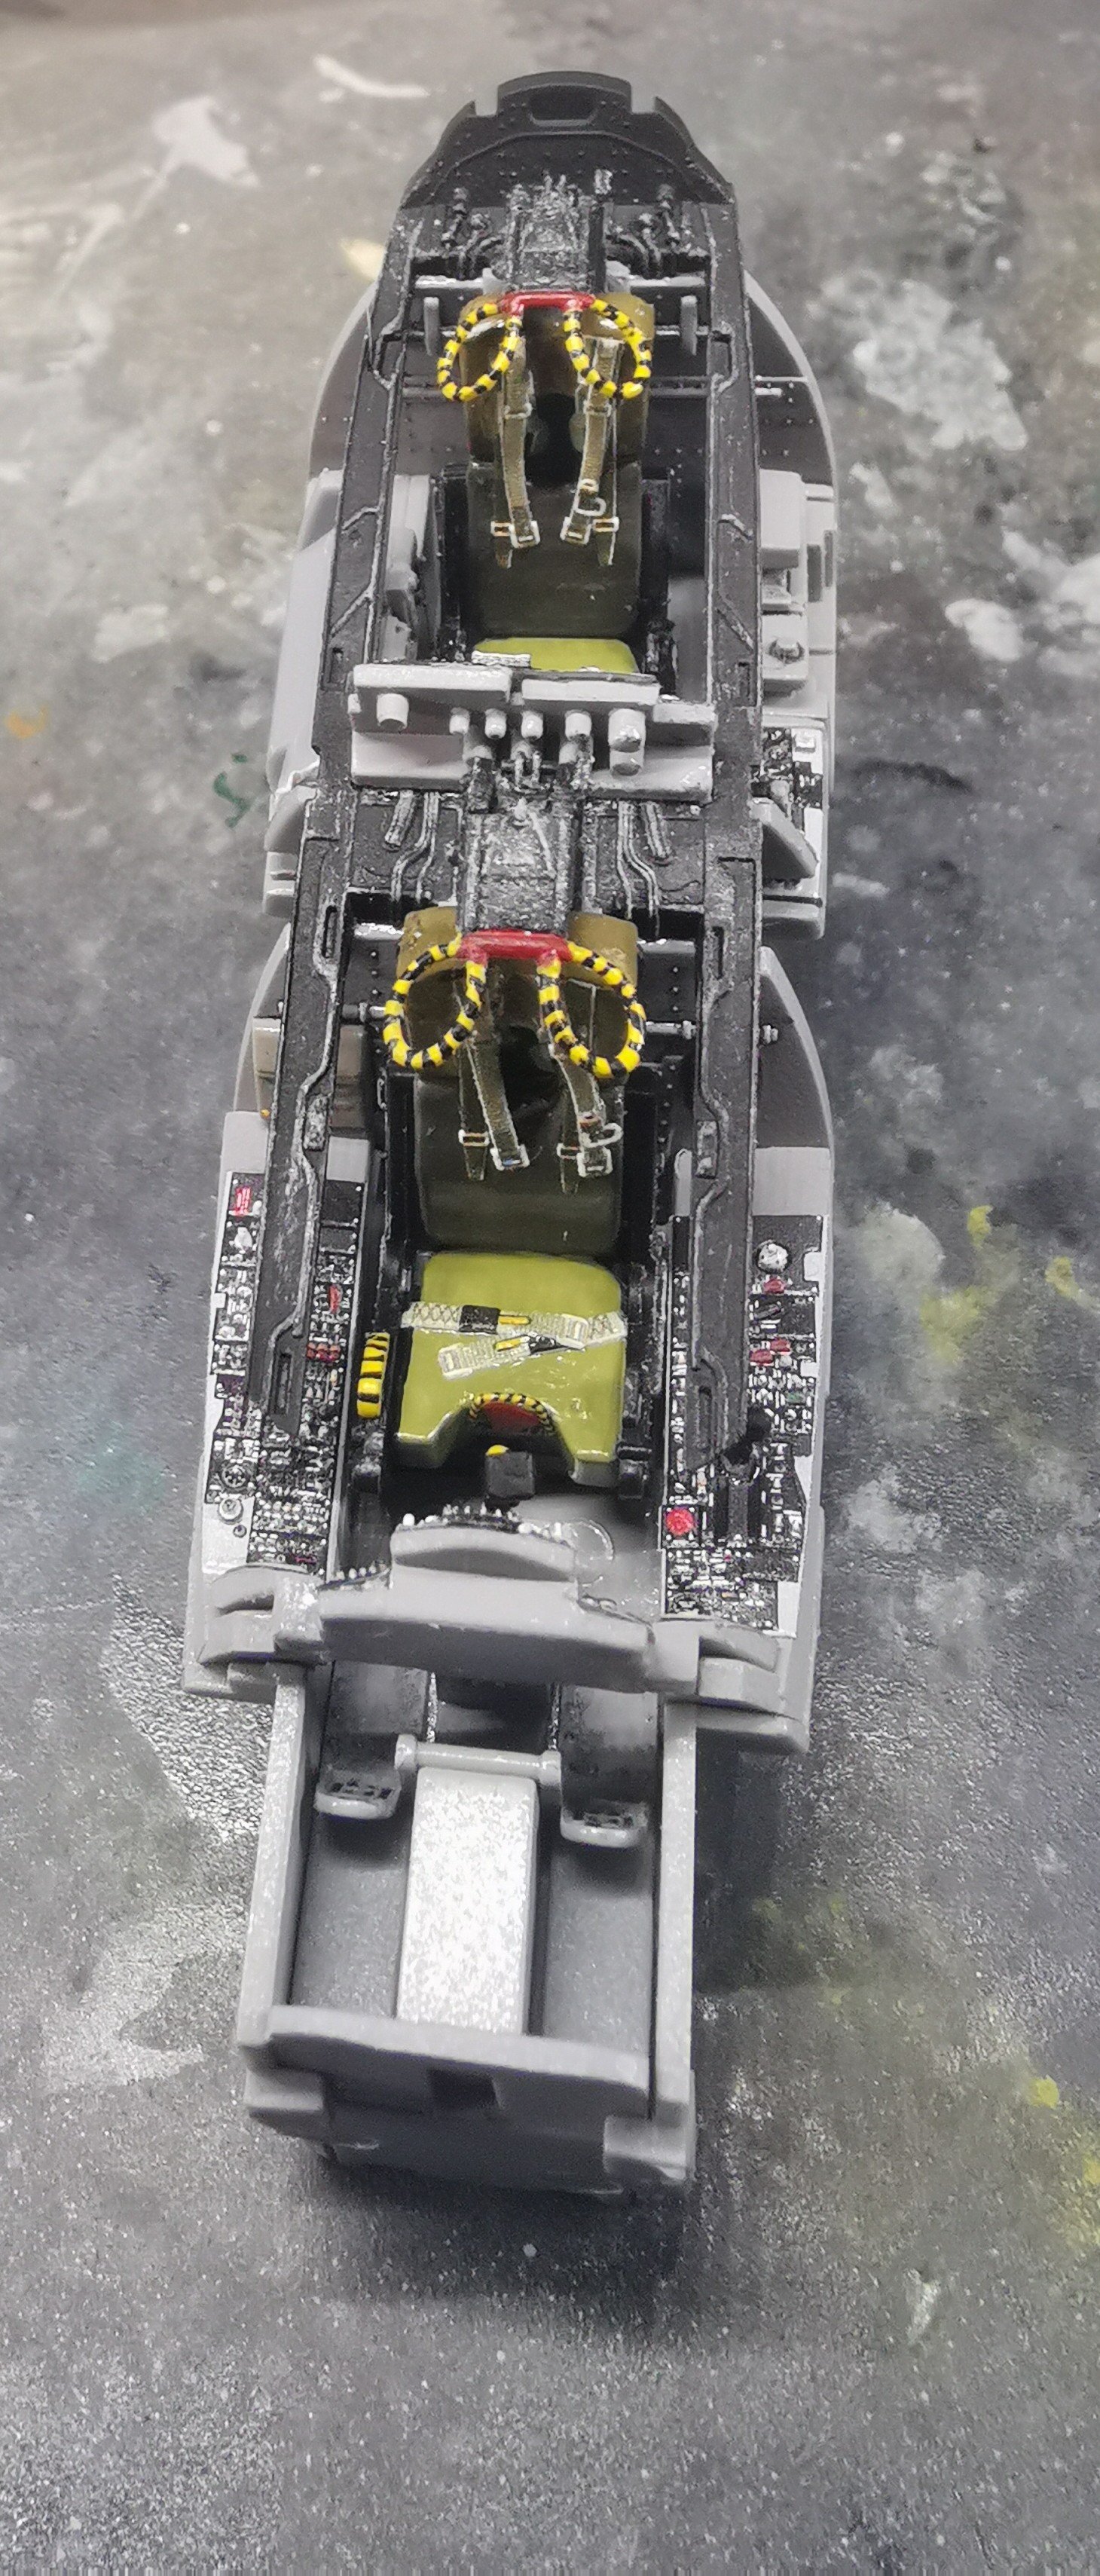
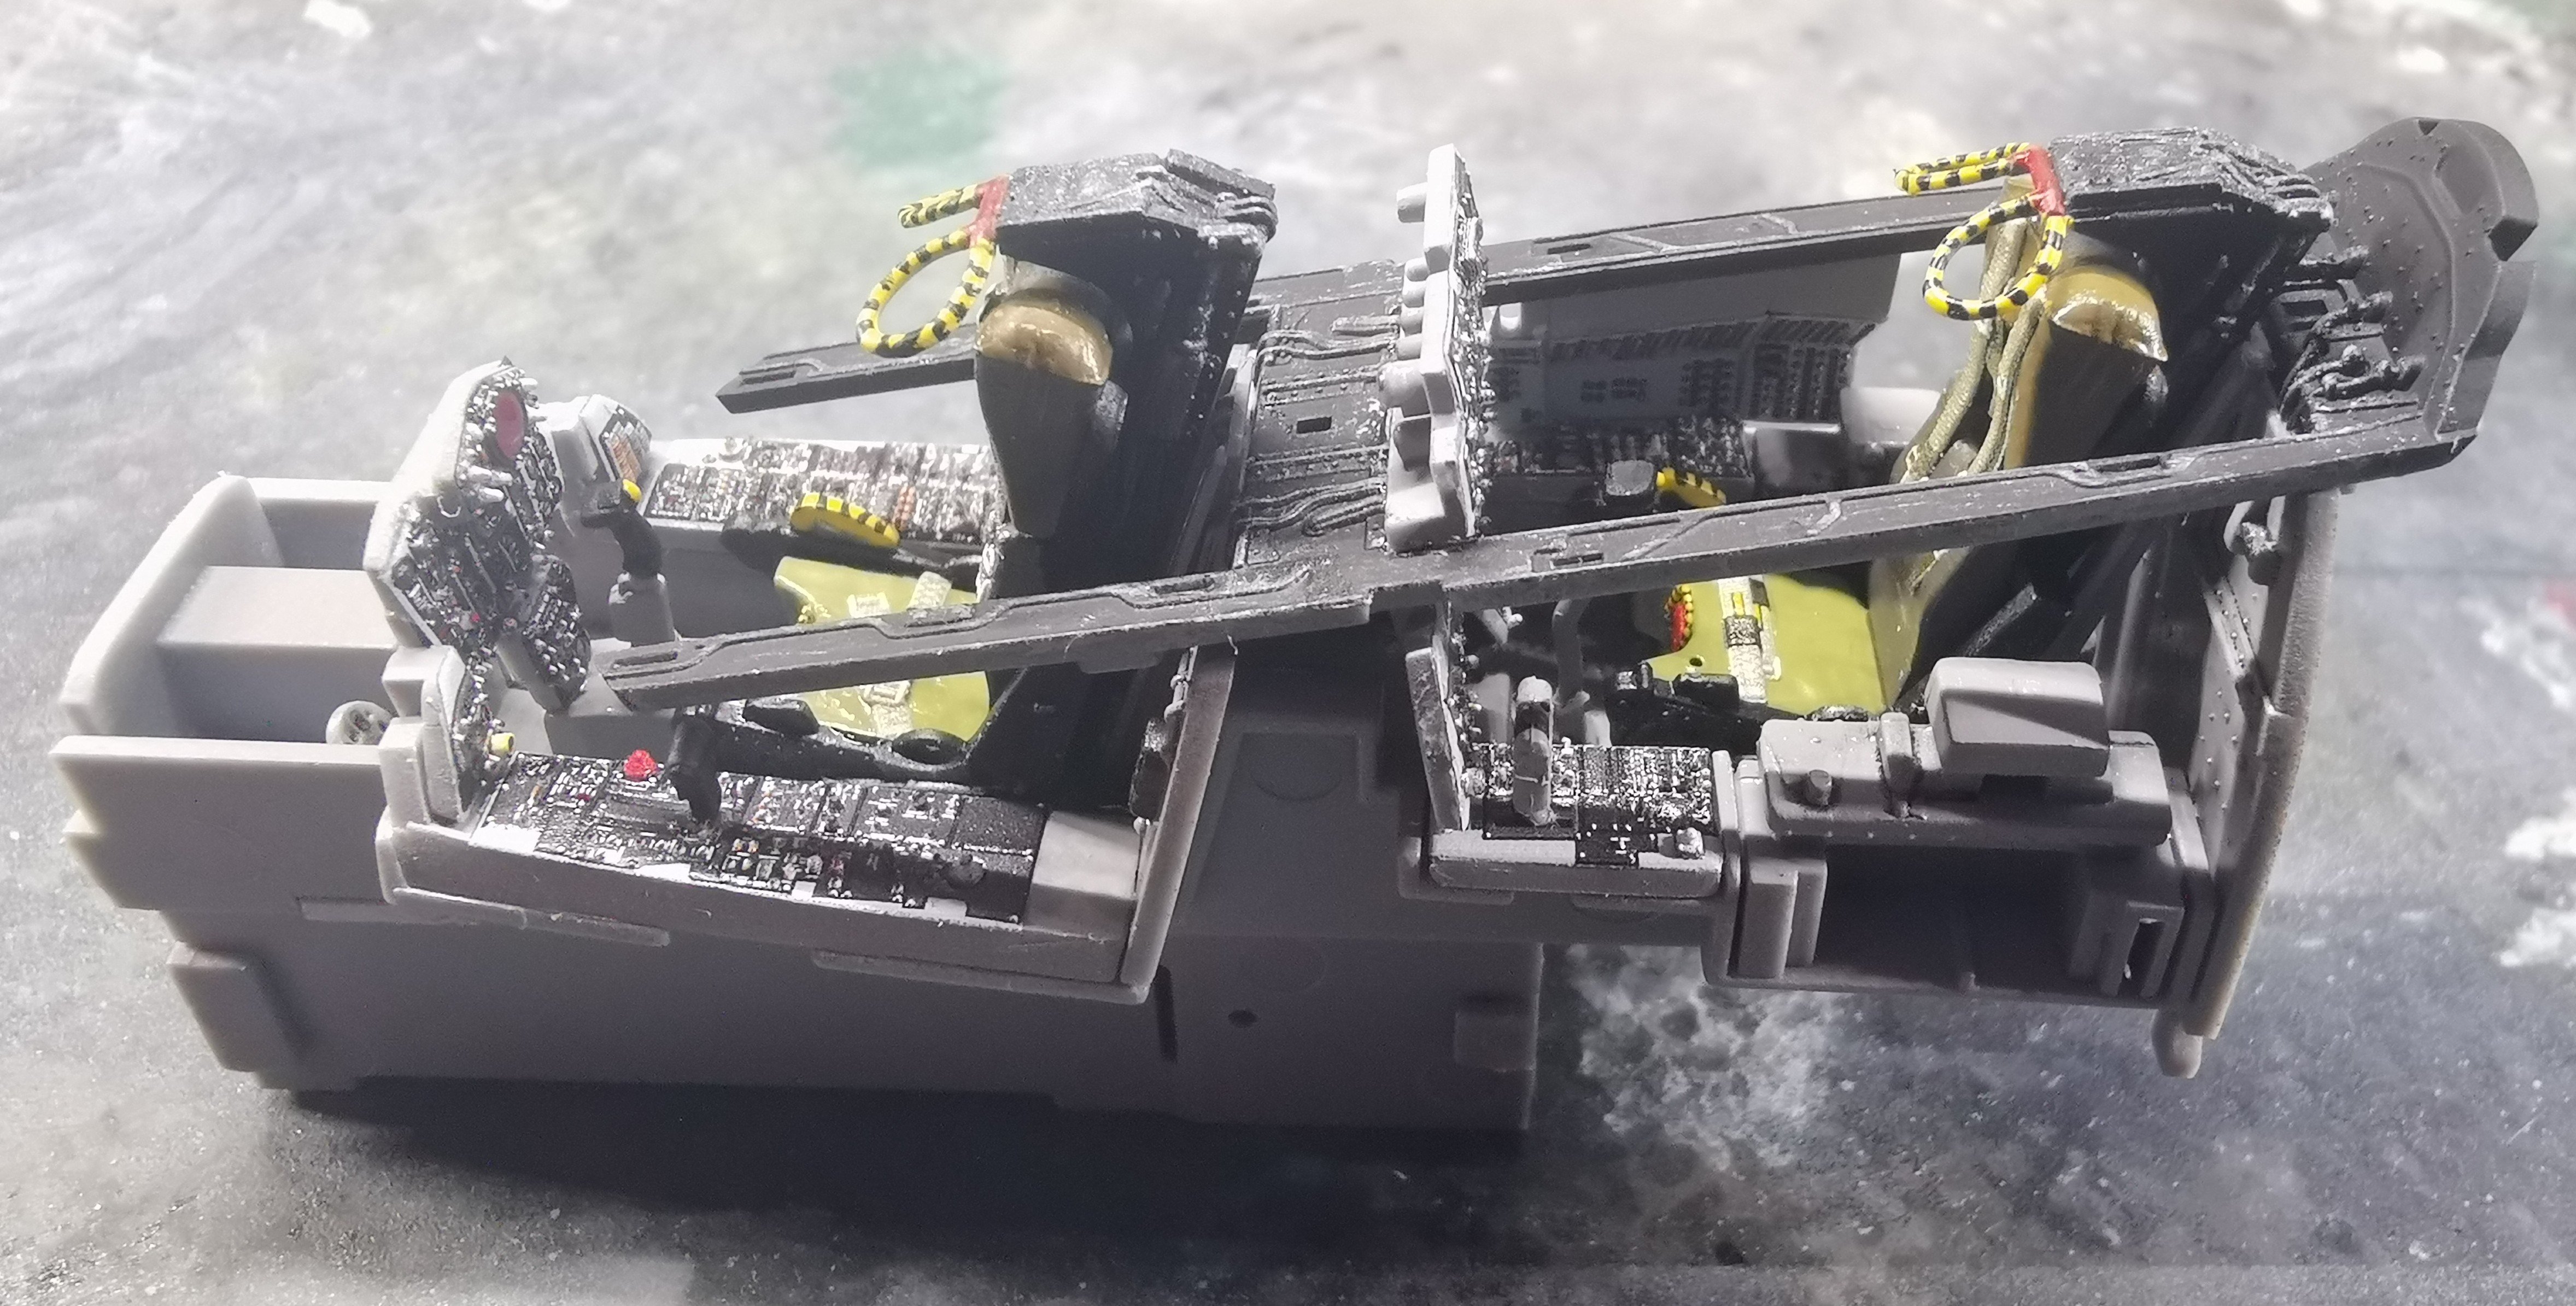
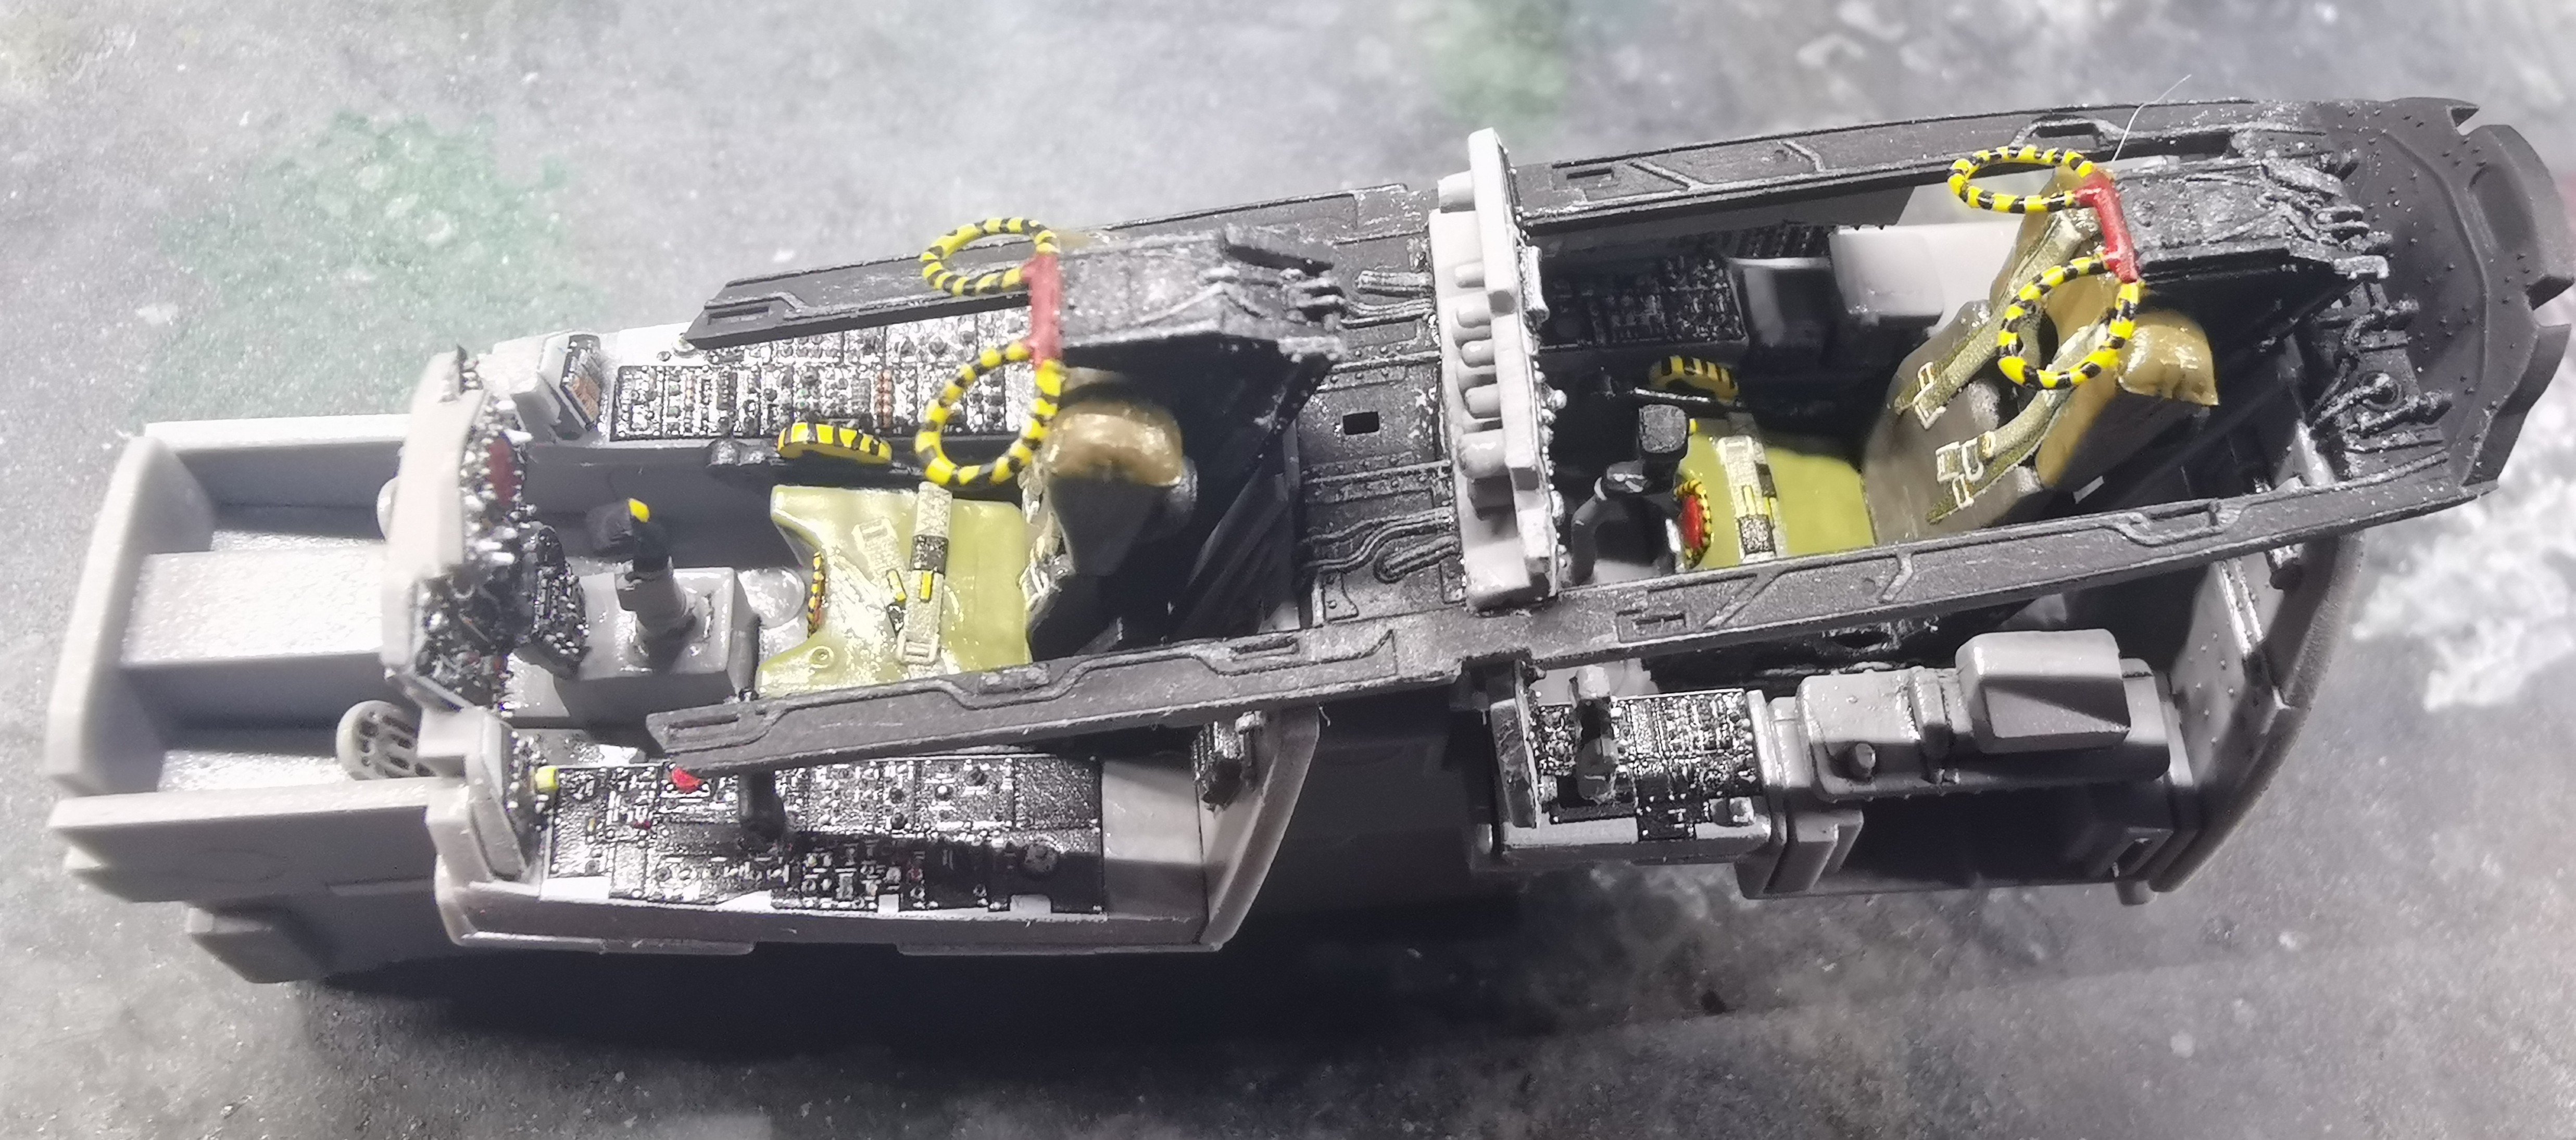
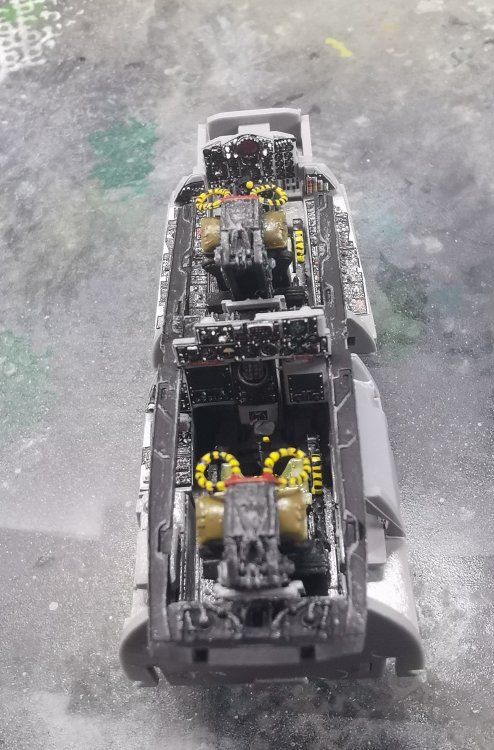
Made a start on the next build, the ZM F4D in 1/48. Got the cockpit done so far with the Quinta detail set and everything fits nicely so far. Hopefully getting the fuselage halves together is as smooth.


-
Have had first hand experience of that one!!
-
Anyone else got Duelling Banjos going through their head??
-
Looks like a Minecraft cat!
-
Trumpeter P-47D Razorback
GusMac replied to crazypoet's topic in LSM 1/35 and Larger Work In Progress
I've built two Trumpy P47s and those panels are always a complete pain. I'd say that's a very decent effort to get them as smooth as that.