GusMac
-
Posts
2,991 -
Joined
-
Last visited
Content Type
Profiles
Forums
Events
Gallery
Everything posted by GusMac
-
Peter has certainly indicated that it's his intention over on LSP. However, I think it depends on him having success with the 3D modelling
-

What is on your bench right now ? Share a picture :)
GusMac replied to Martinnfb's topic in Modelling Discussion
How is the Tamiya kit Carl? I built the Bronco one a few years back and it was a nice kit although some fiddly part choices. -
Looks great.
-
Leopard 2A7V. From Static kit, to RC. Hopefully!
GusMac replied to Meter rat's topic in LSM 1/35 and Larger Work In Progress
Innovative stuff, looking forward to seeing how it progresses. -
Built a few of those as a kid. Always remember the multi-coloured sprues which meant some of my earliest efforts didn't even get painted.
-
Didn't know the Aussies used these!
-
I like the two tone scheme, provides nice visual interest and seems quite plausible
-
1/1 Revi16 restoration
GusMac replied to JeroenPeters's topic in LSM 1/35 and Larger Work In Progress
Wow, that looks brilliant Jeroen. If I didn't know, I don't think I'd be able to tell that wasn't 100% original. -
I agree with Hubert that your weathering looks great, on this and the Abrams. Your wire brush technique gives a very realistic look, so I think, as Hubert says, it's maybe just some 'different' subjects that you need.
-
Nice detail on the panel given the scale.
-
Absolutely brilliant Martin. The wood effect looks far better than any decal could.
-
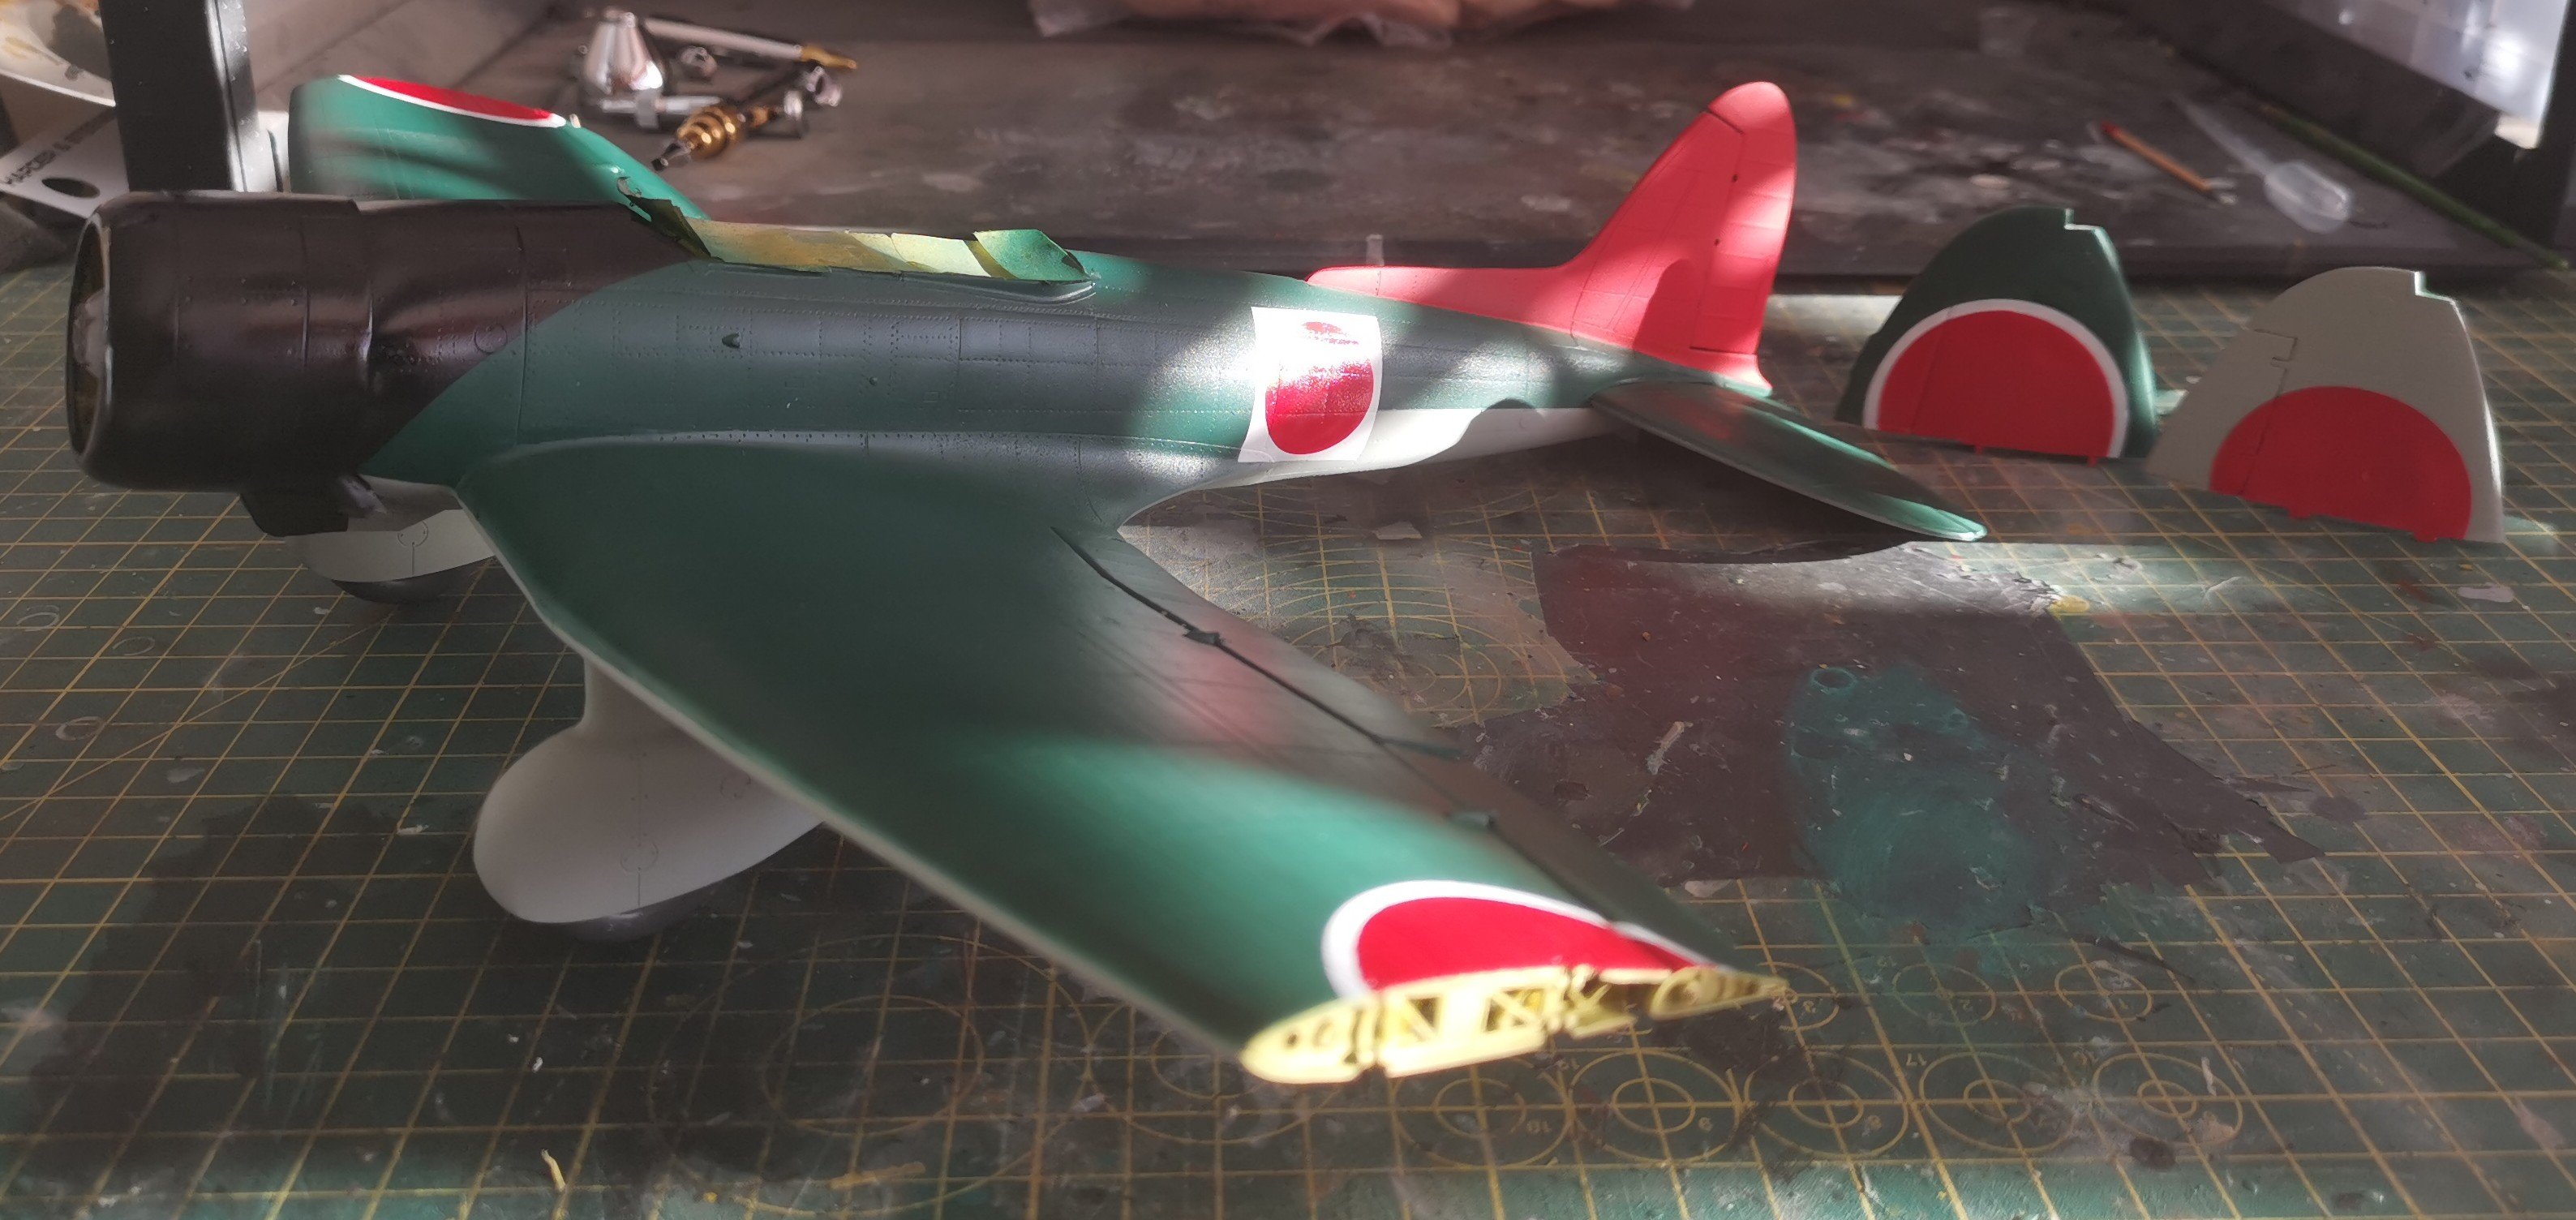
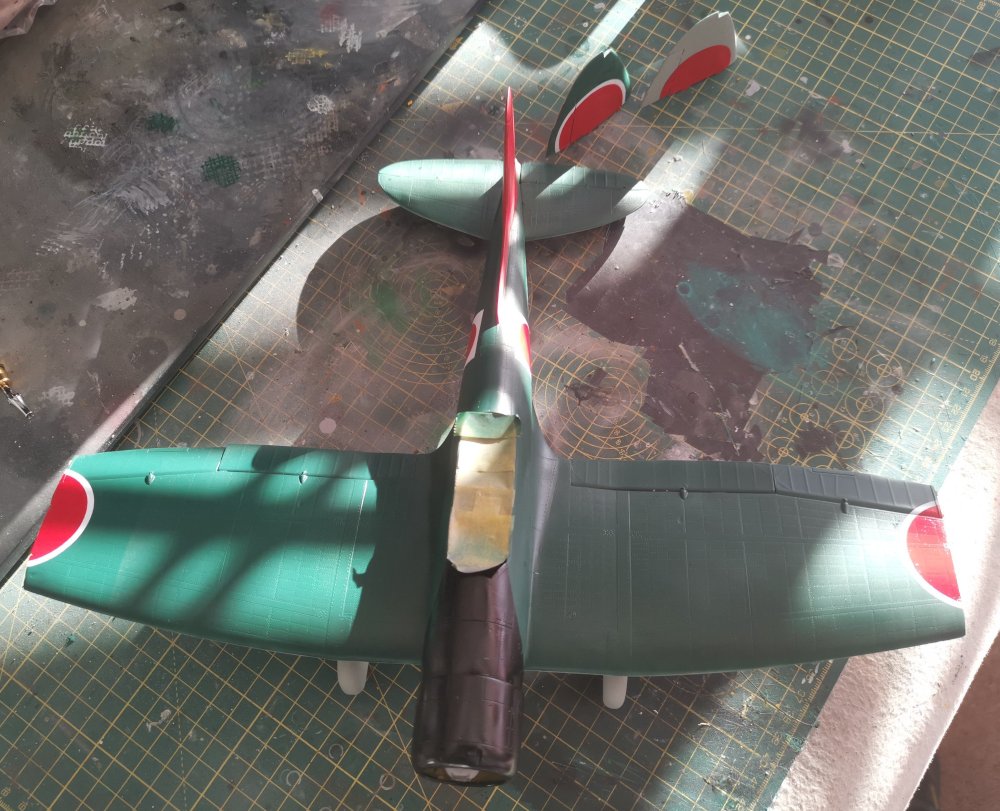
Back from our summer holiday, so got some time at the bench to try out the Dspiae circle cutter on the hinomarus. Clever clogs having decided to go with the folded wings had made this a bit more complicated but we got there with a bit of fiddling. Next is a gloss coat and then onto some weathering and the decals.

-
Have a great day Carl.
-
What is on your bench right now ? Share a picture :)
GusMac replied to Martinnfb's topic in Modelling Discussion
Wow, they even look a step up from Friuls. Very impressive. The chromed look would be fine if you fancy doing a pimped Magach! -
$50 kit plus another $10 worth of putty there Martin!
-
John Michael Osbourne passed away yesterday (age 76)
GusMac replied to Martinnfb's topic in General Discussion
Another chunk of my childhood gone. As PW says there will be one helluva party somewhere with Oz and Lemmy reunited. Always liked the fact he was, and remained, a proud Brummie and didn't try to pretend he was something he wasn't like Joe Strummer or Damon Albarn. -
Just realised I hadn't posted an update on this for a while but progress has been made. Main painting is done and just started masking for the white squares for the fuselage hinomarus. Also realised I'll need to buy a circle cutter as the templates I have don't go large enough for the wing markings. Any suggestions for a decent one?


-
Have to say I still prefer the original Blue Oyster Cult version.
-
1:32nd scale Caudron G.3 (Anzani engine)
GusMac replied to sandbagger's topic in LSM 1/35 and Larger Work In Progress
Amazing work and a perfect example of why I've never gone near a biplane kit! -
1/35 Takom King Tiger ....sort of
GusMac replied to PanzerWomble's topic in LSM Armour Finished Work
Nice weathering and finish. The figure's hair isn't blond enough for Robert Shaw! 😁 -
RFI "War Orphan" Sword 1/72 Arado Ar 196
GusMac replied to PanzerWomble's topic in Non LSM Ready for Inspection.
Looks like your experiment with the chipping was successful, very nice finish -
Cute.
-
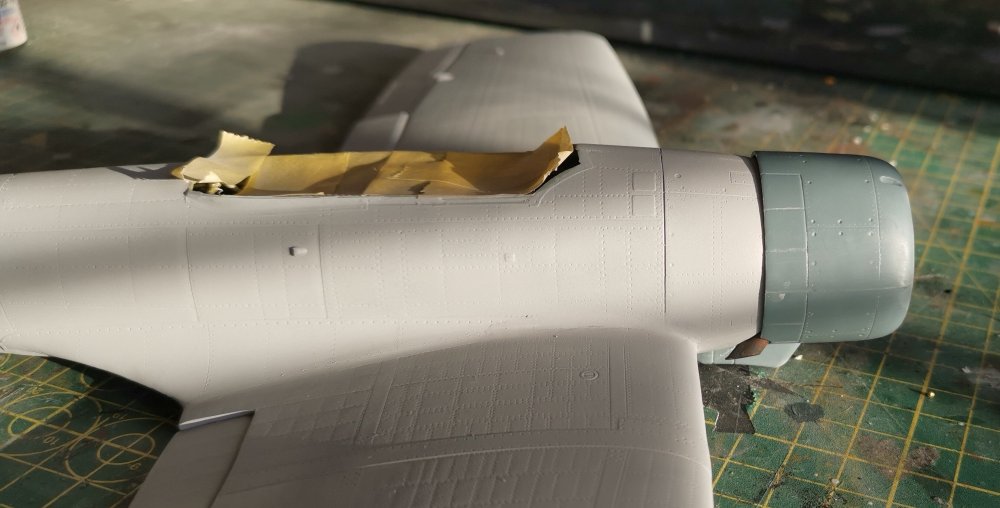
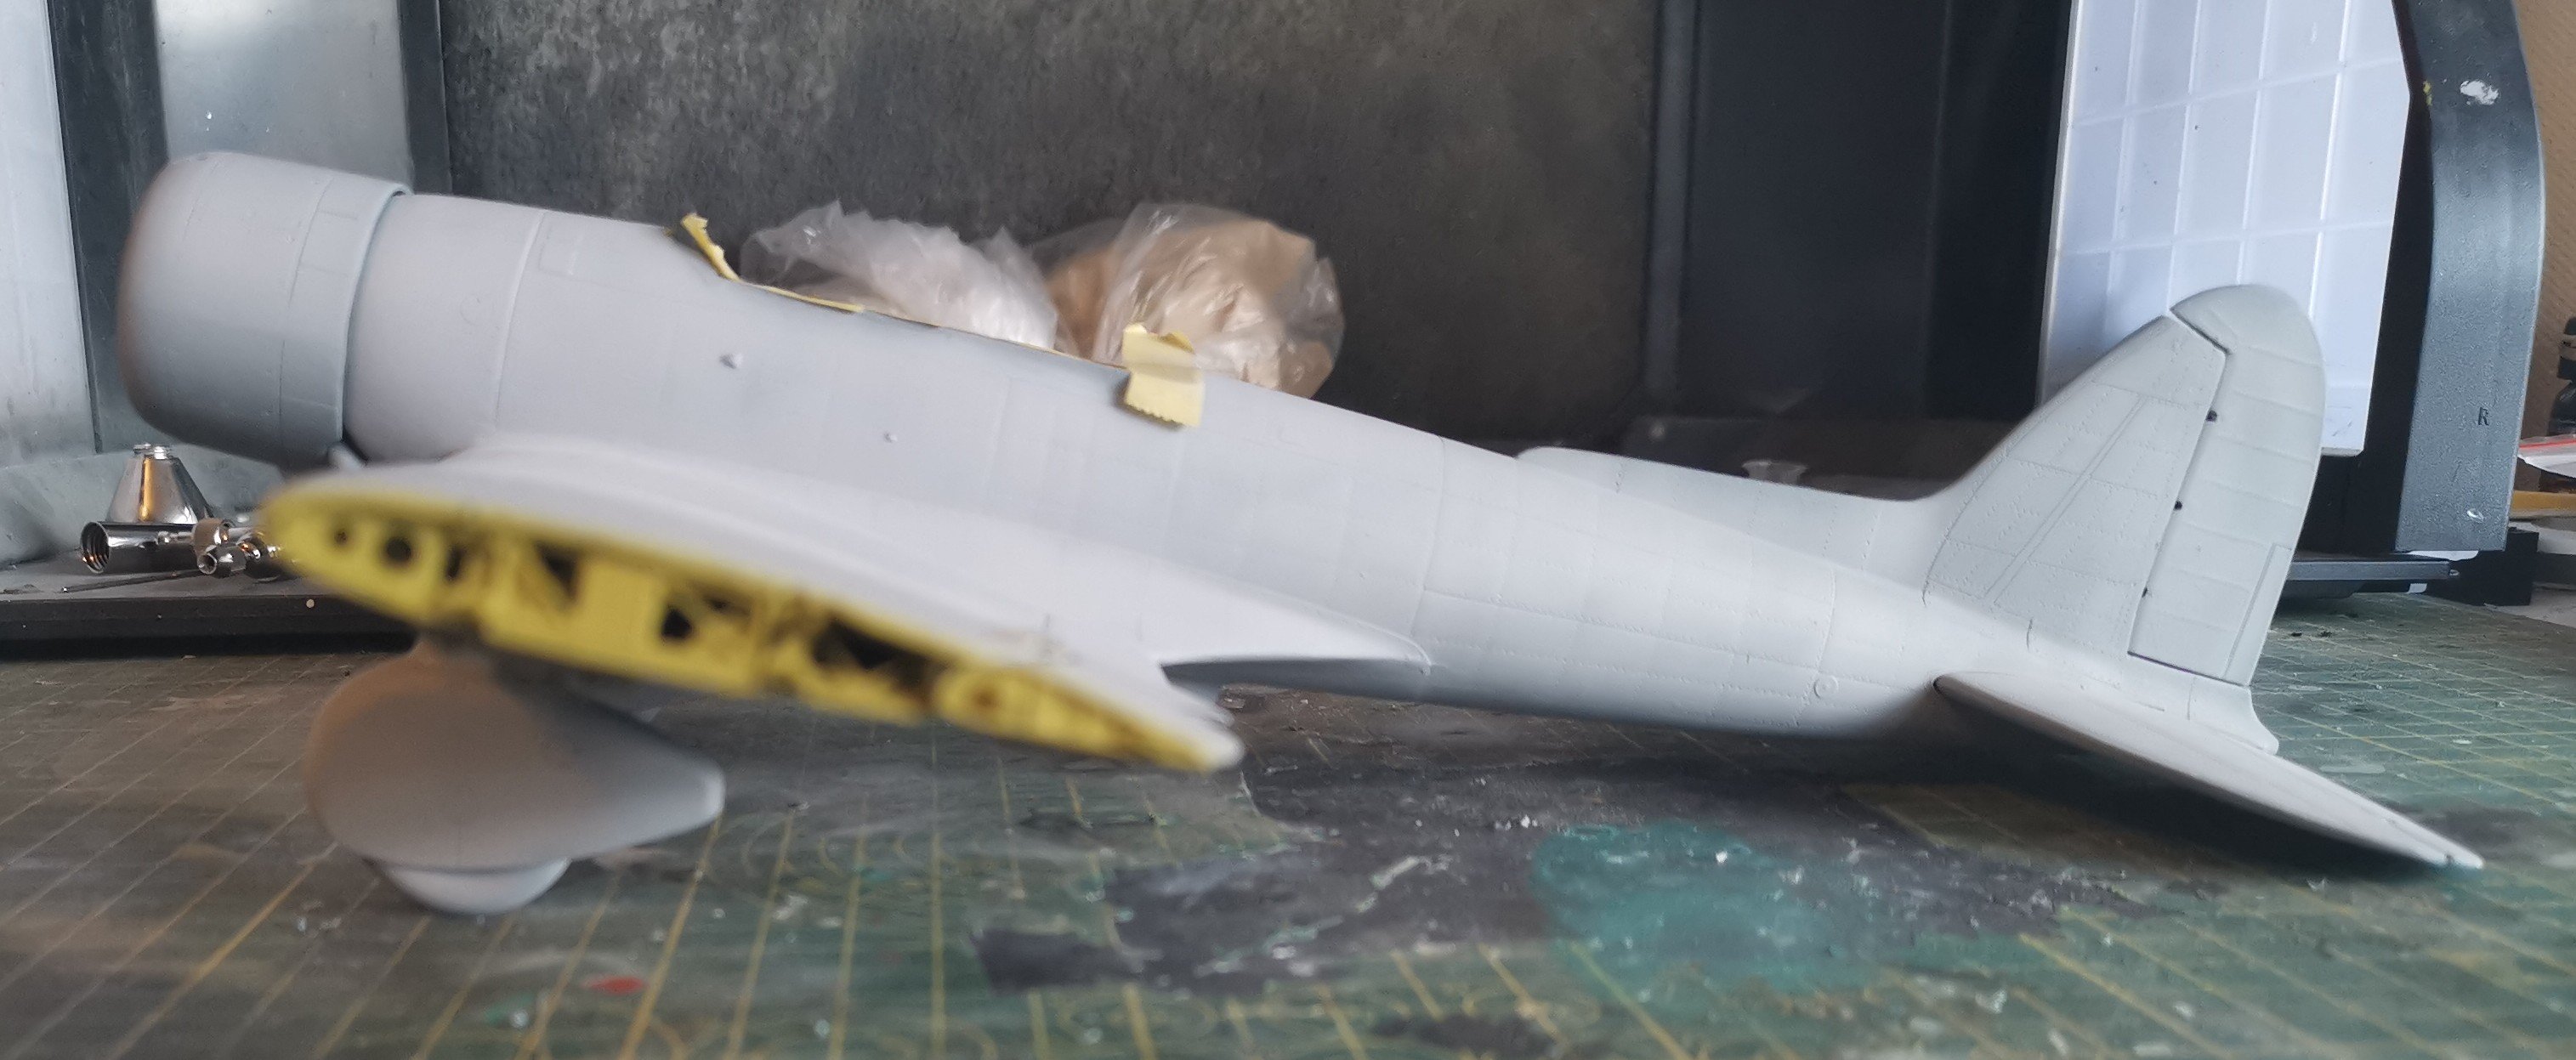
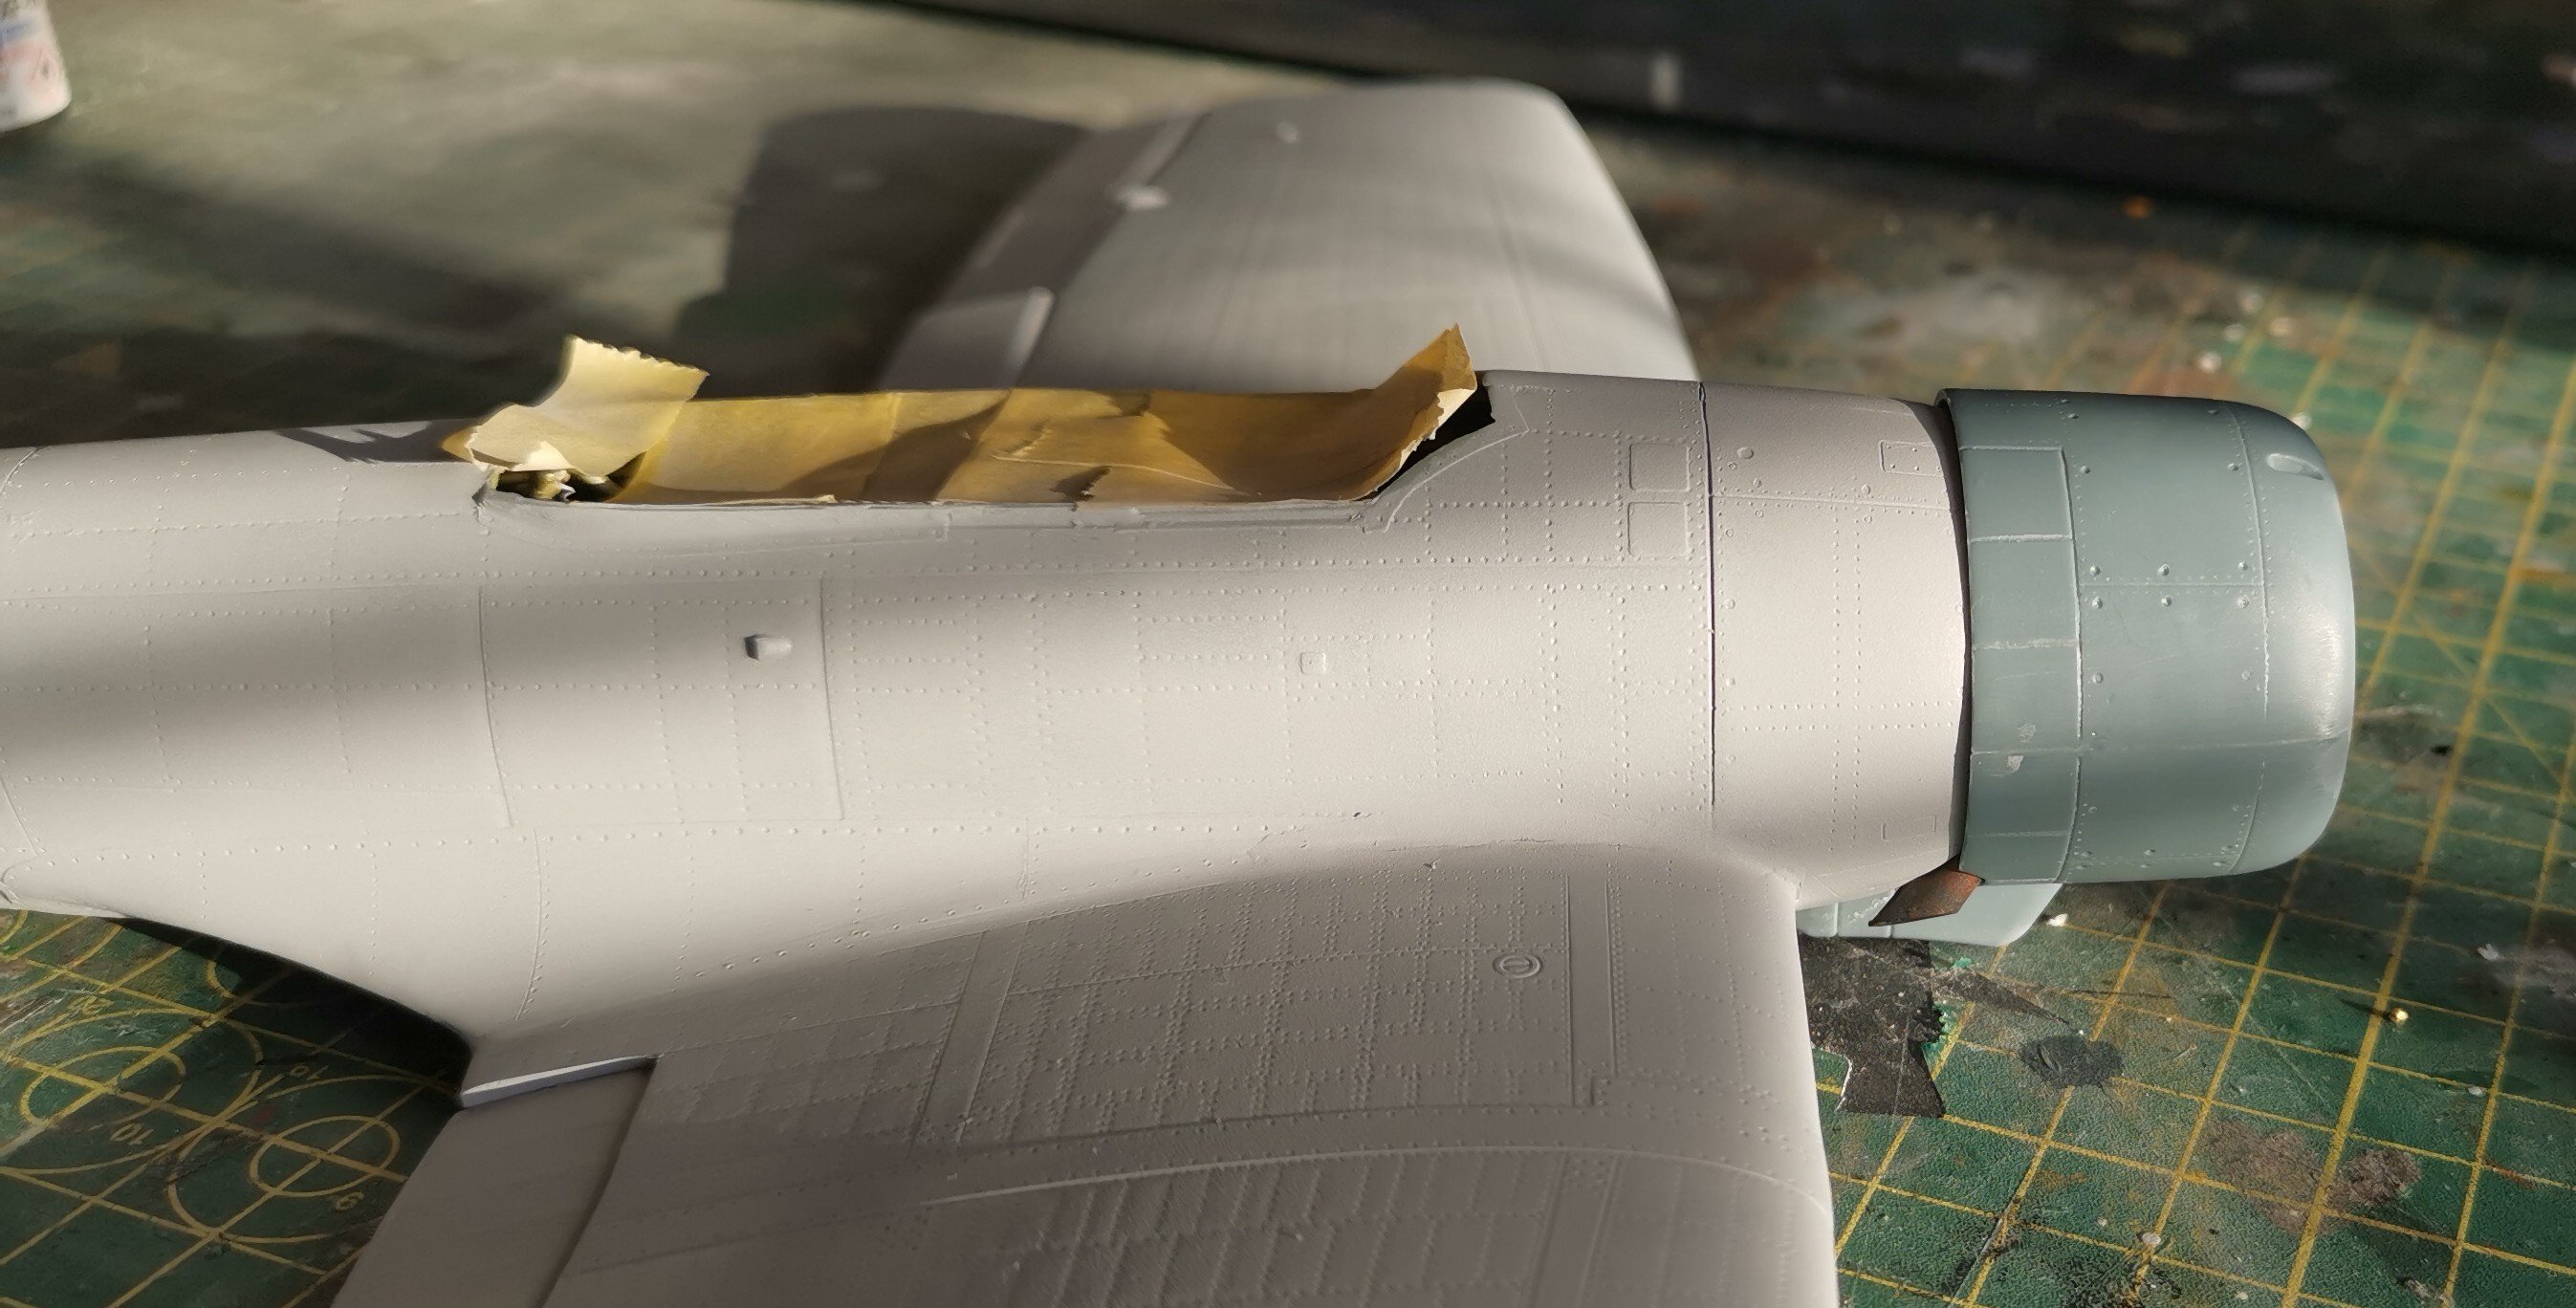
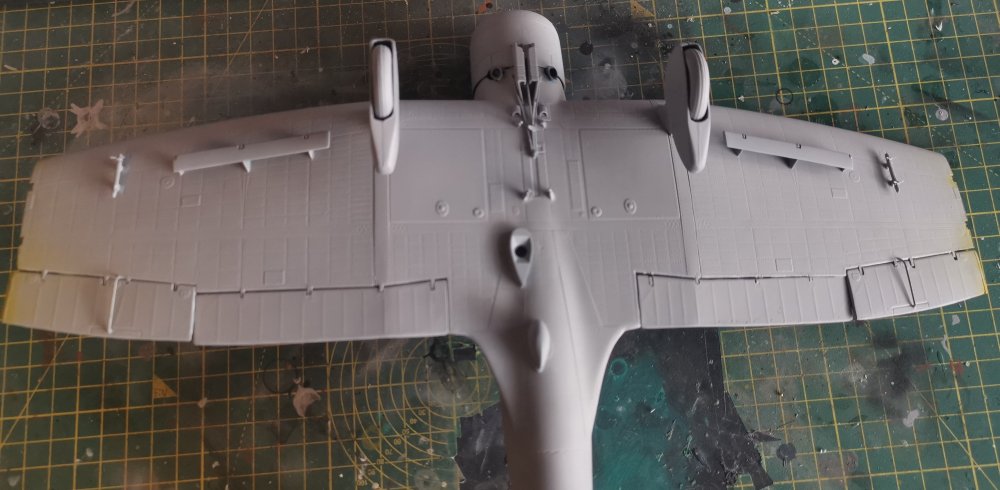
So, all the final bits are attached to the underside - wheel spats, dive brakes, bomb cradles, etc. Primed all of these and now we're ready for the painting. Not entirely sure which grey is best for the underside but I'm going to try Tamiya XF-12 IJN Grey for a trial. Happy to be corrected if I'm barking up the wrong tree.

-
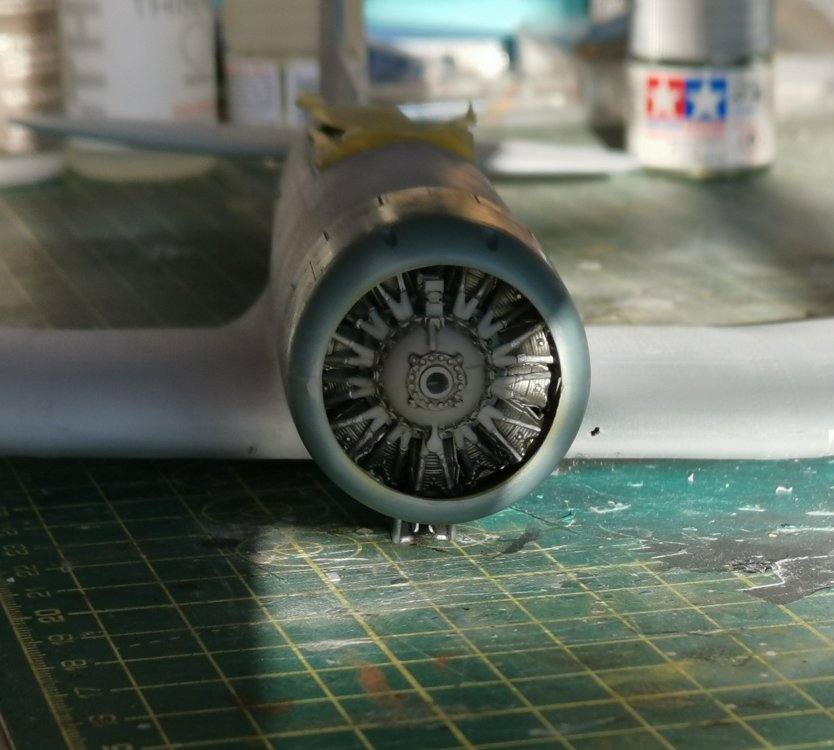
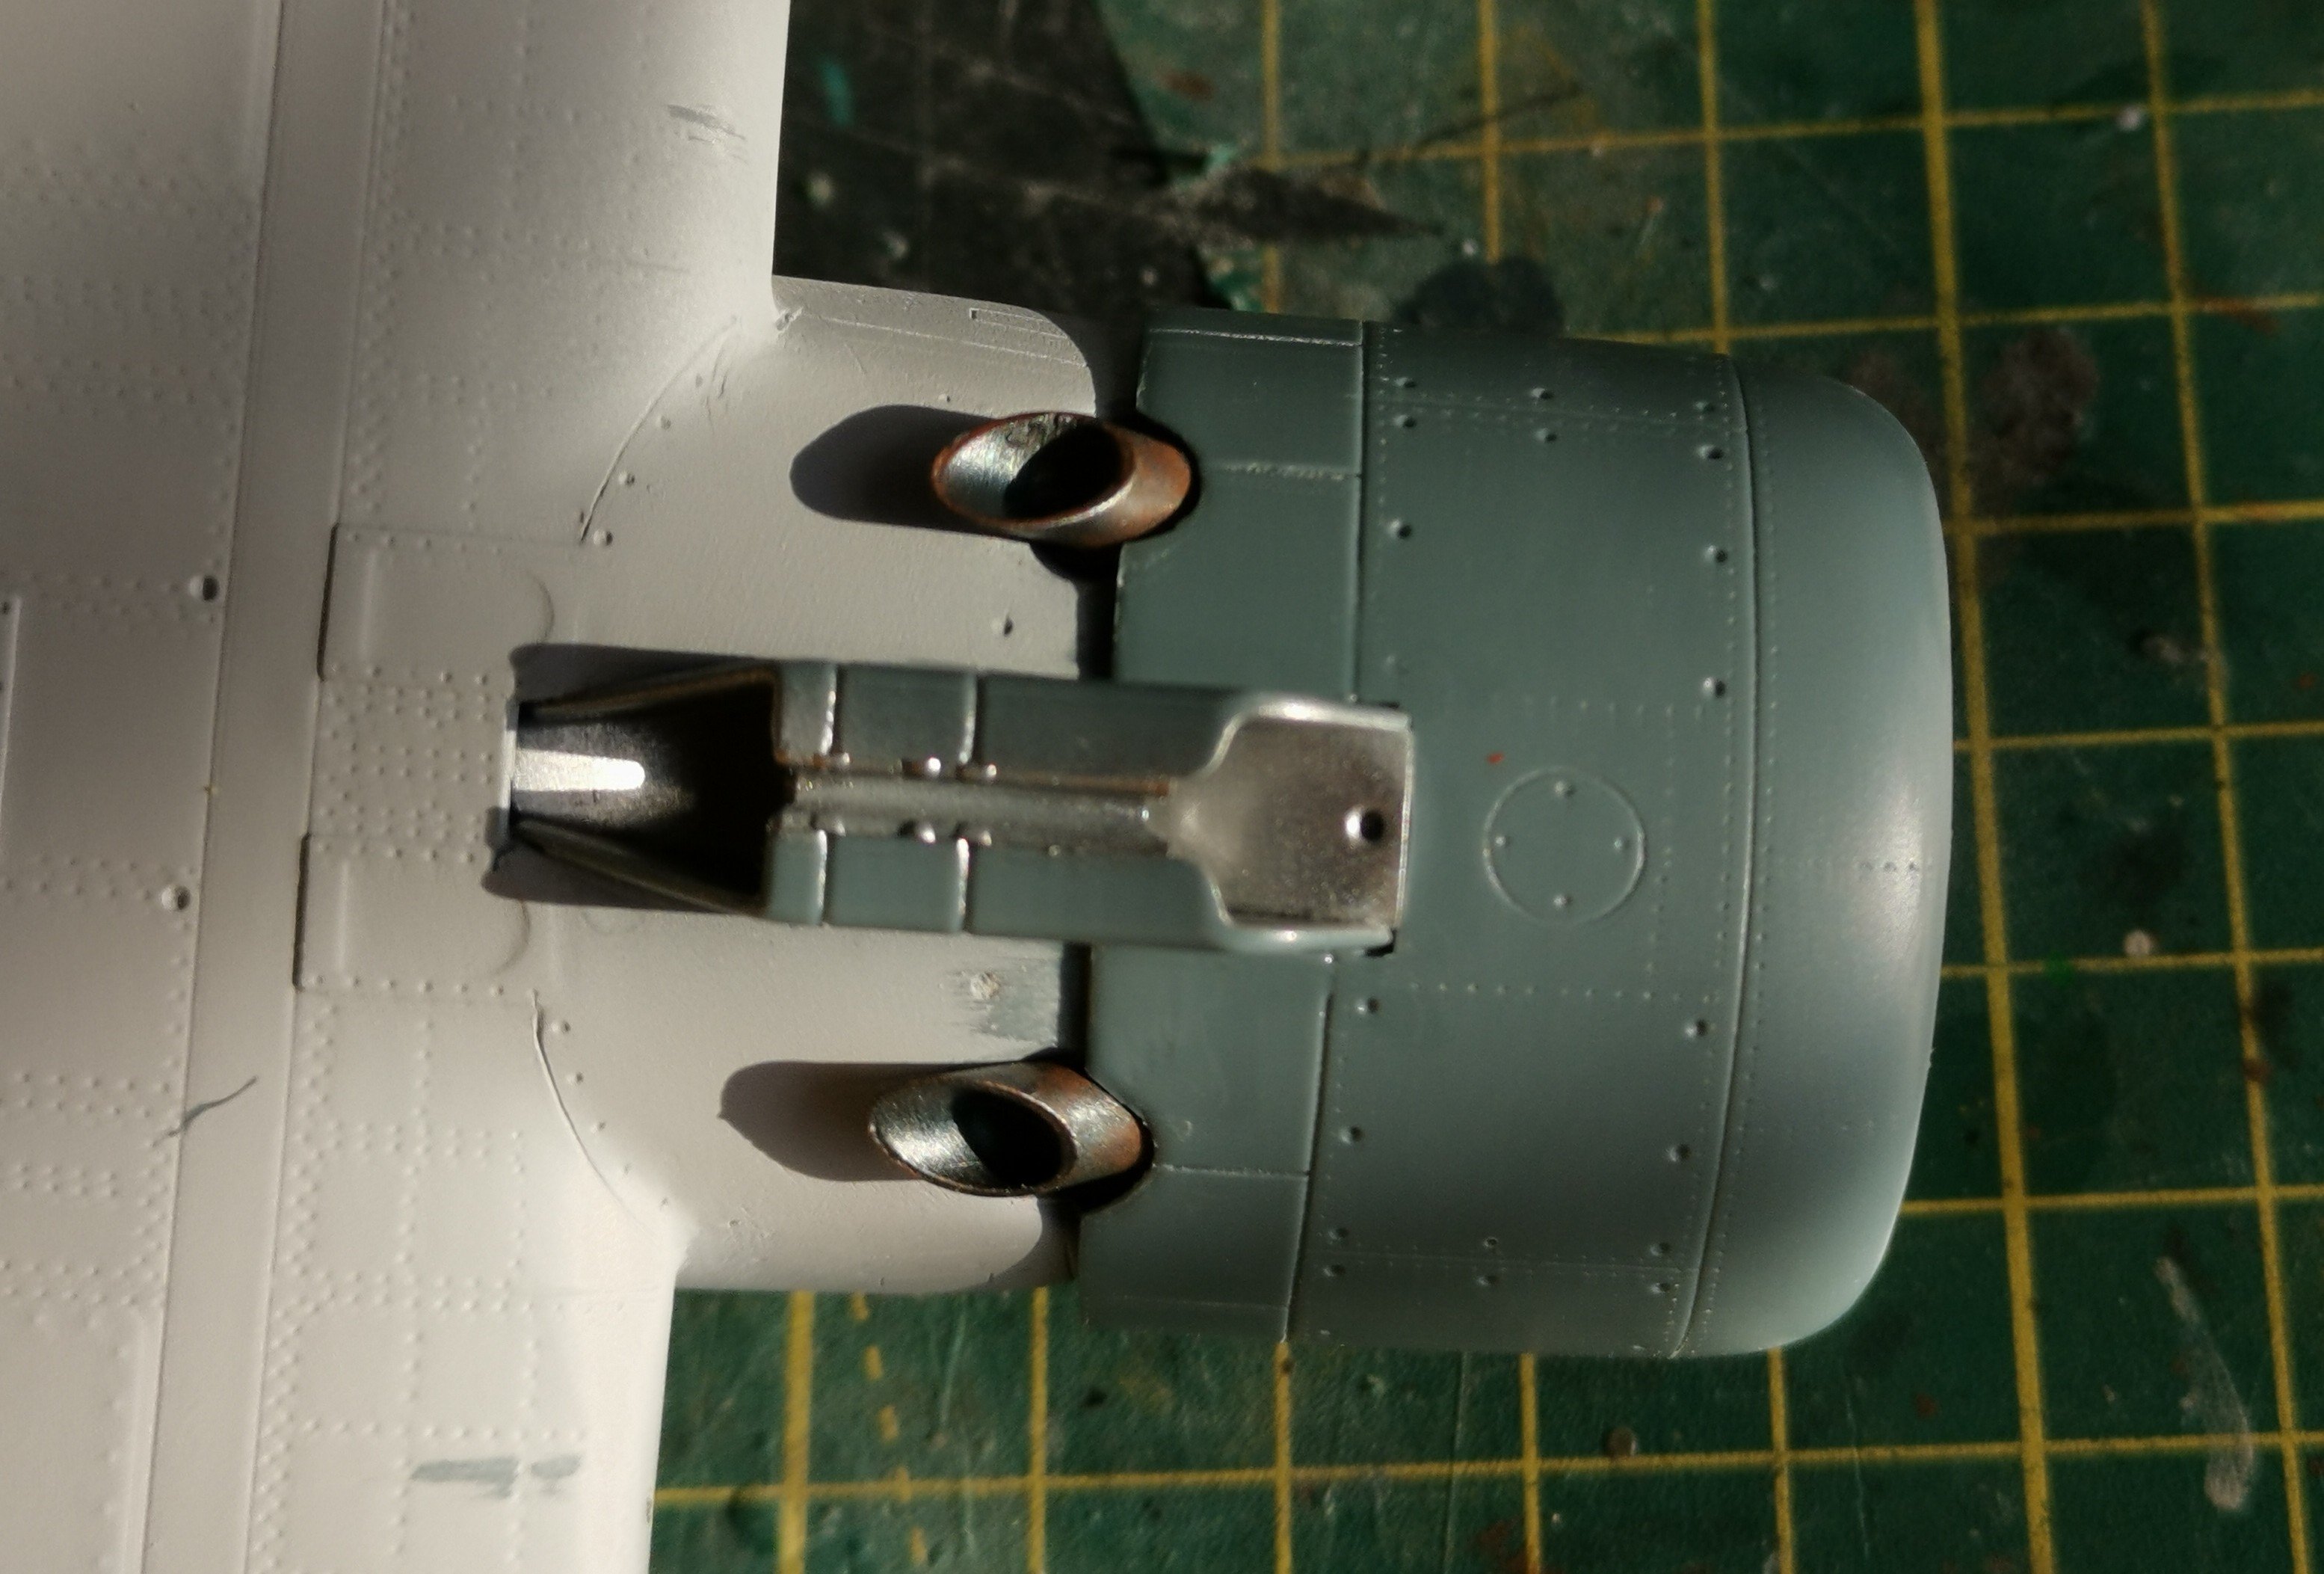
My best advice Dennis would be to bookmark Ernie's build and follow his recommendations. Certainly for this portion of the build it's definitely a big improvement on the instructions. Definitely a fun build though and it's certainly going to be something different in the display case.
-
Followed Ernie's advice and with a bit of fiddling we have a decent result I think. Definitely don't think I'd have got as nice an outcome if I'd followed the instructions.