JeroenPeters
-
Posts
4,867 -
Joined
-
Last visited
Content Type
Profiles
Forums
Events
Gallery
Everything posted by JeroenPeters
-

1/32 ME-262A-2a/U2
JeroenPeters replied to JeroenPeters's topic in LSM 1/35 and Larger Work In Progress
Hi, i 3d design most of what i print myself. Sometimes i buy a model, but then i usually heavily modify it. And sometimes i use ai to generate something, but that will be mostly figures.. -
1/32 ME-262A-2a/U2
JeroenPeters replied to JeroenPeters's topic in LSM 1/35 and Larger Work In Progress
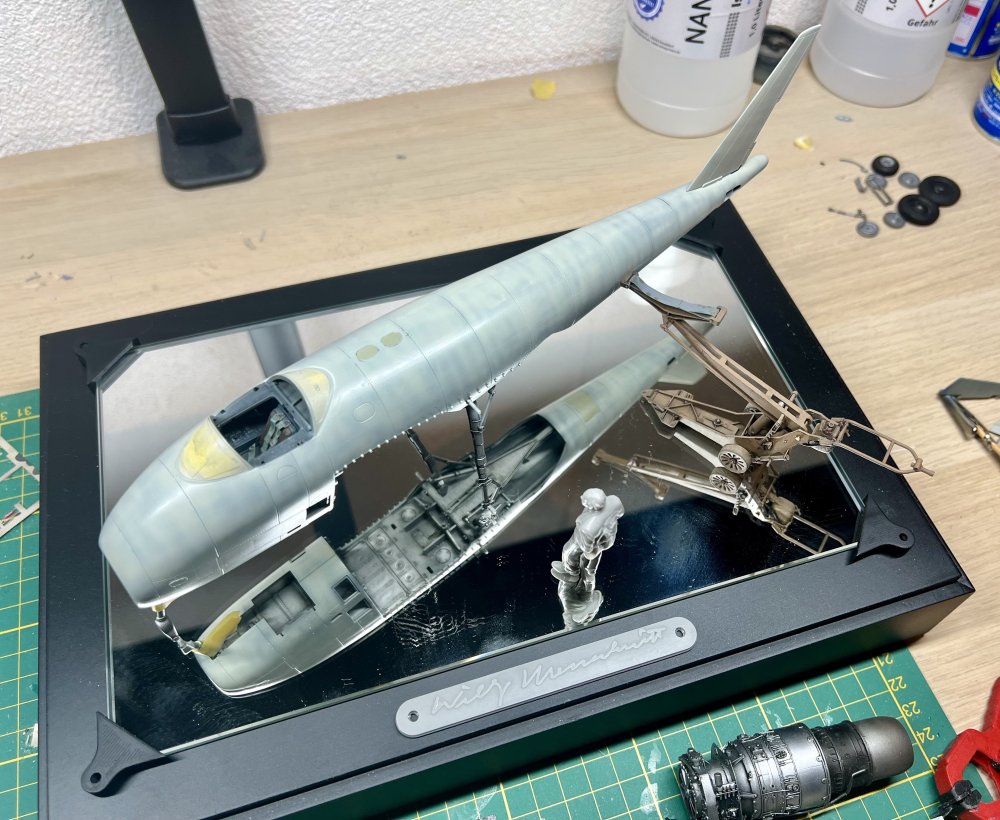
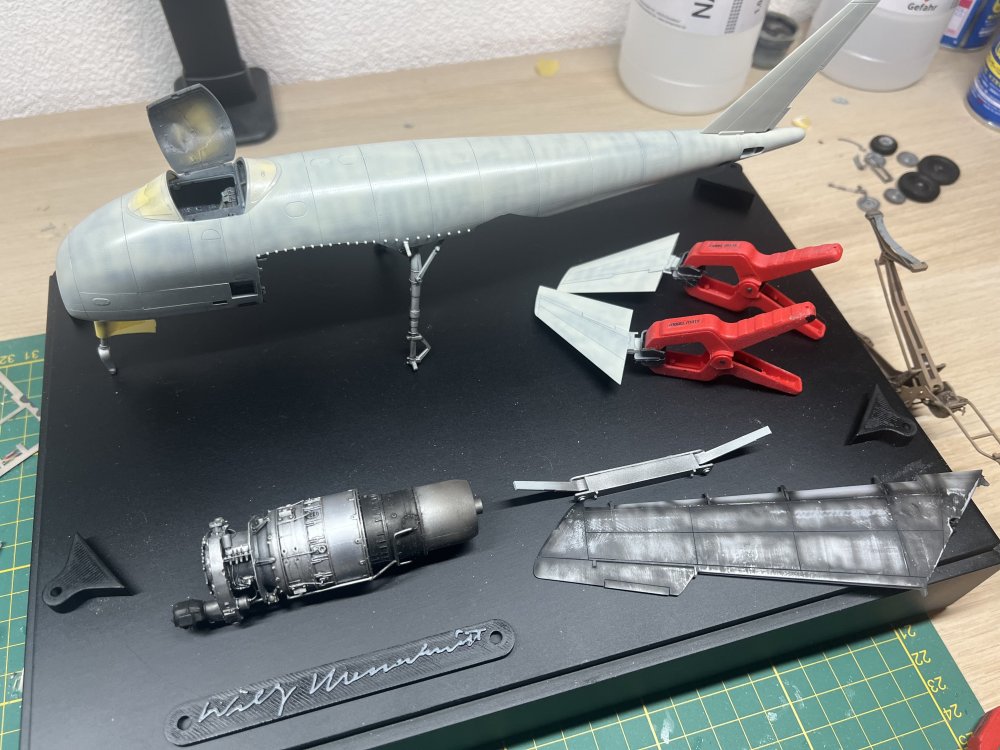
Figuring out what base to use. I prefer undersized. Not sure about groundwork yet. I have some me262 parts, like this jumo004 fan blade. Trying to find a way to incorporate it. We’ll see.

-
1/32 ME-262A-2a/U2
JeroenPeters replied to JeroenPeters's topic in LSM 1/35 and Larger Work In Progress
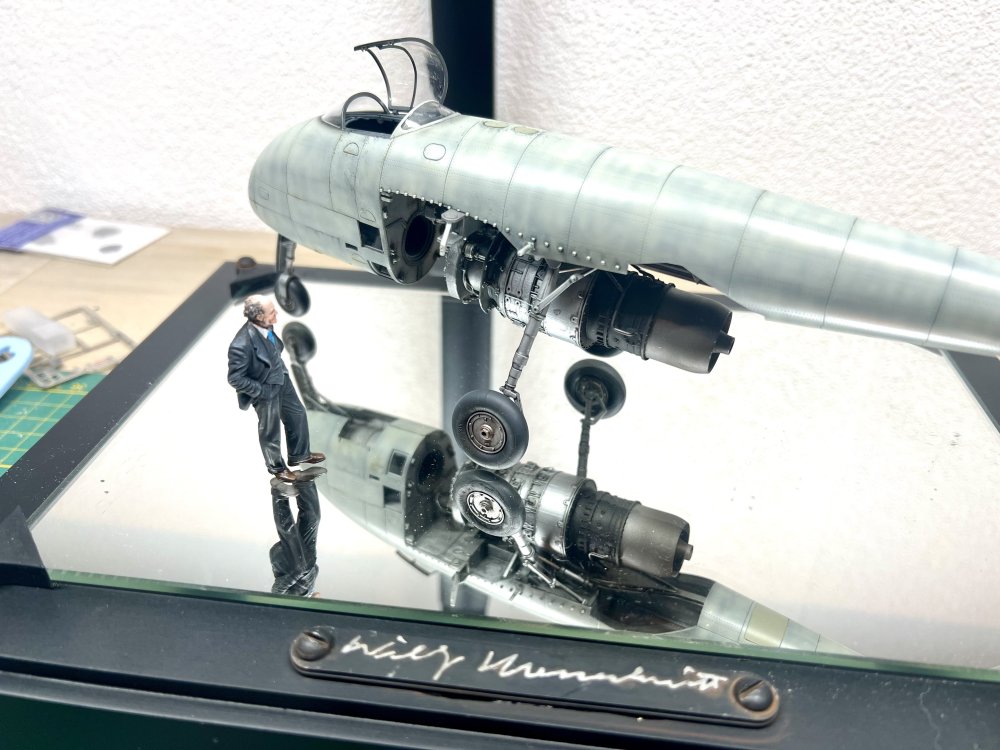
So… with the side tracking p.1101 out of the eay it’s back to this project. I might make it as the V555. 555 stands for tge last 3 digits of the Werknummer. Nothing more. It will be crawled upon and examined by US soldiers after it belly landed. We’ll see!


-
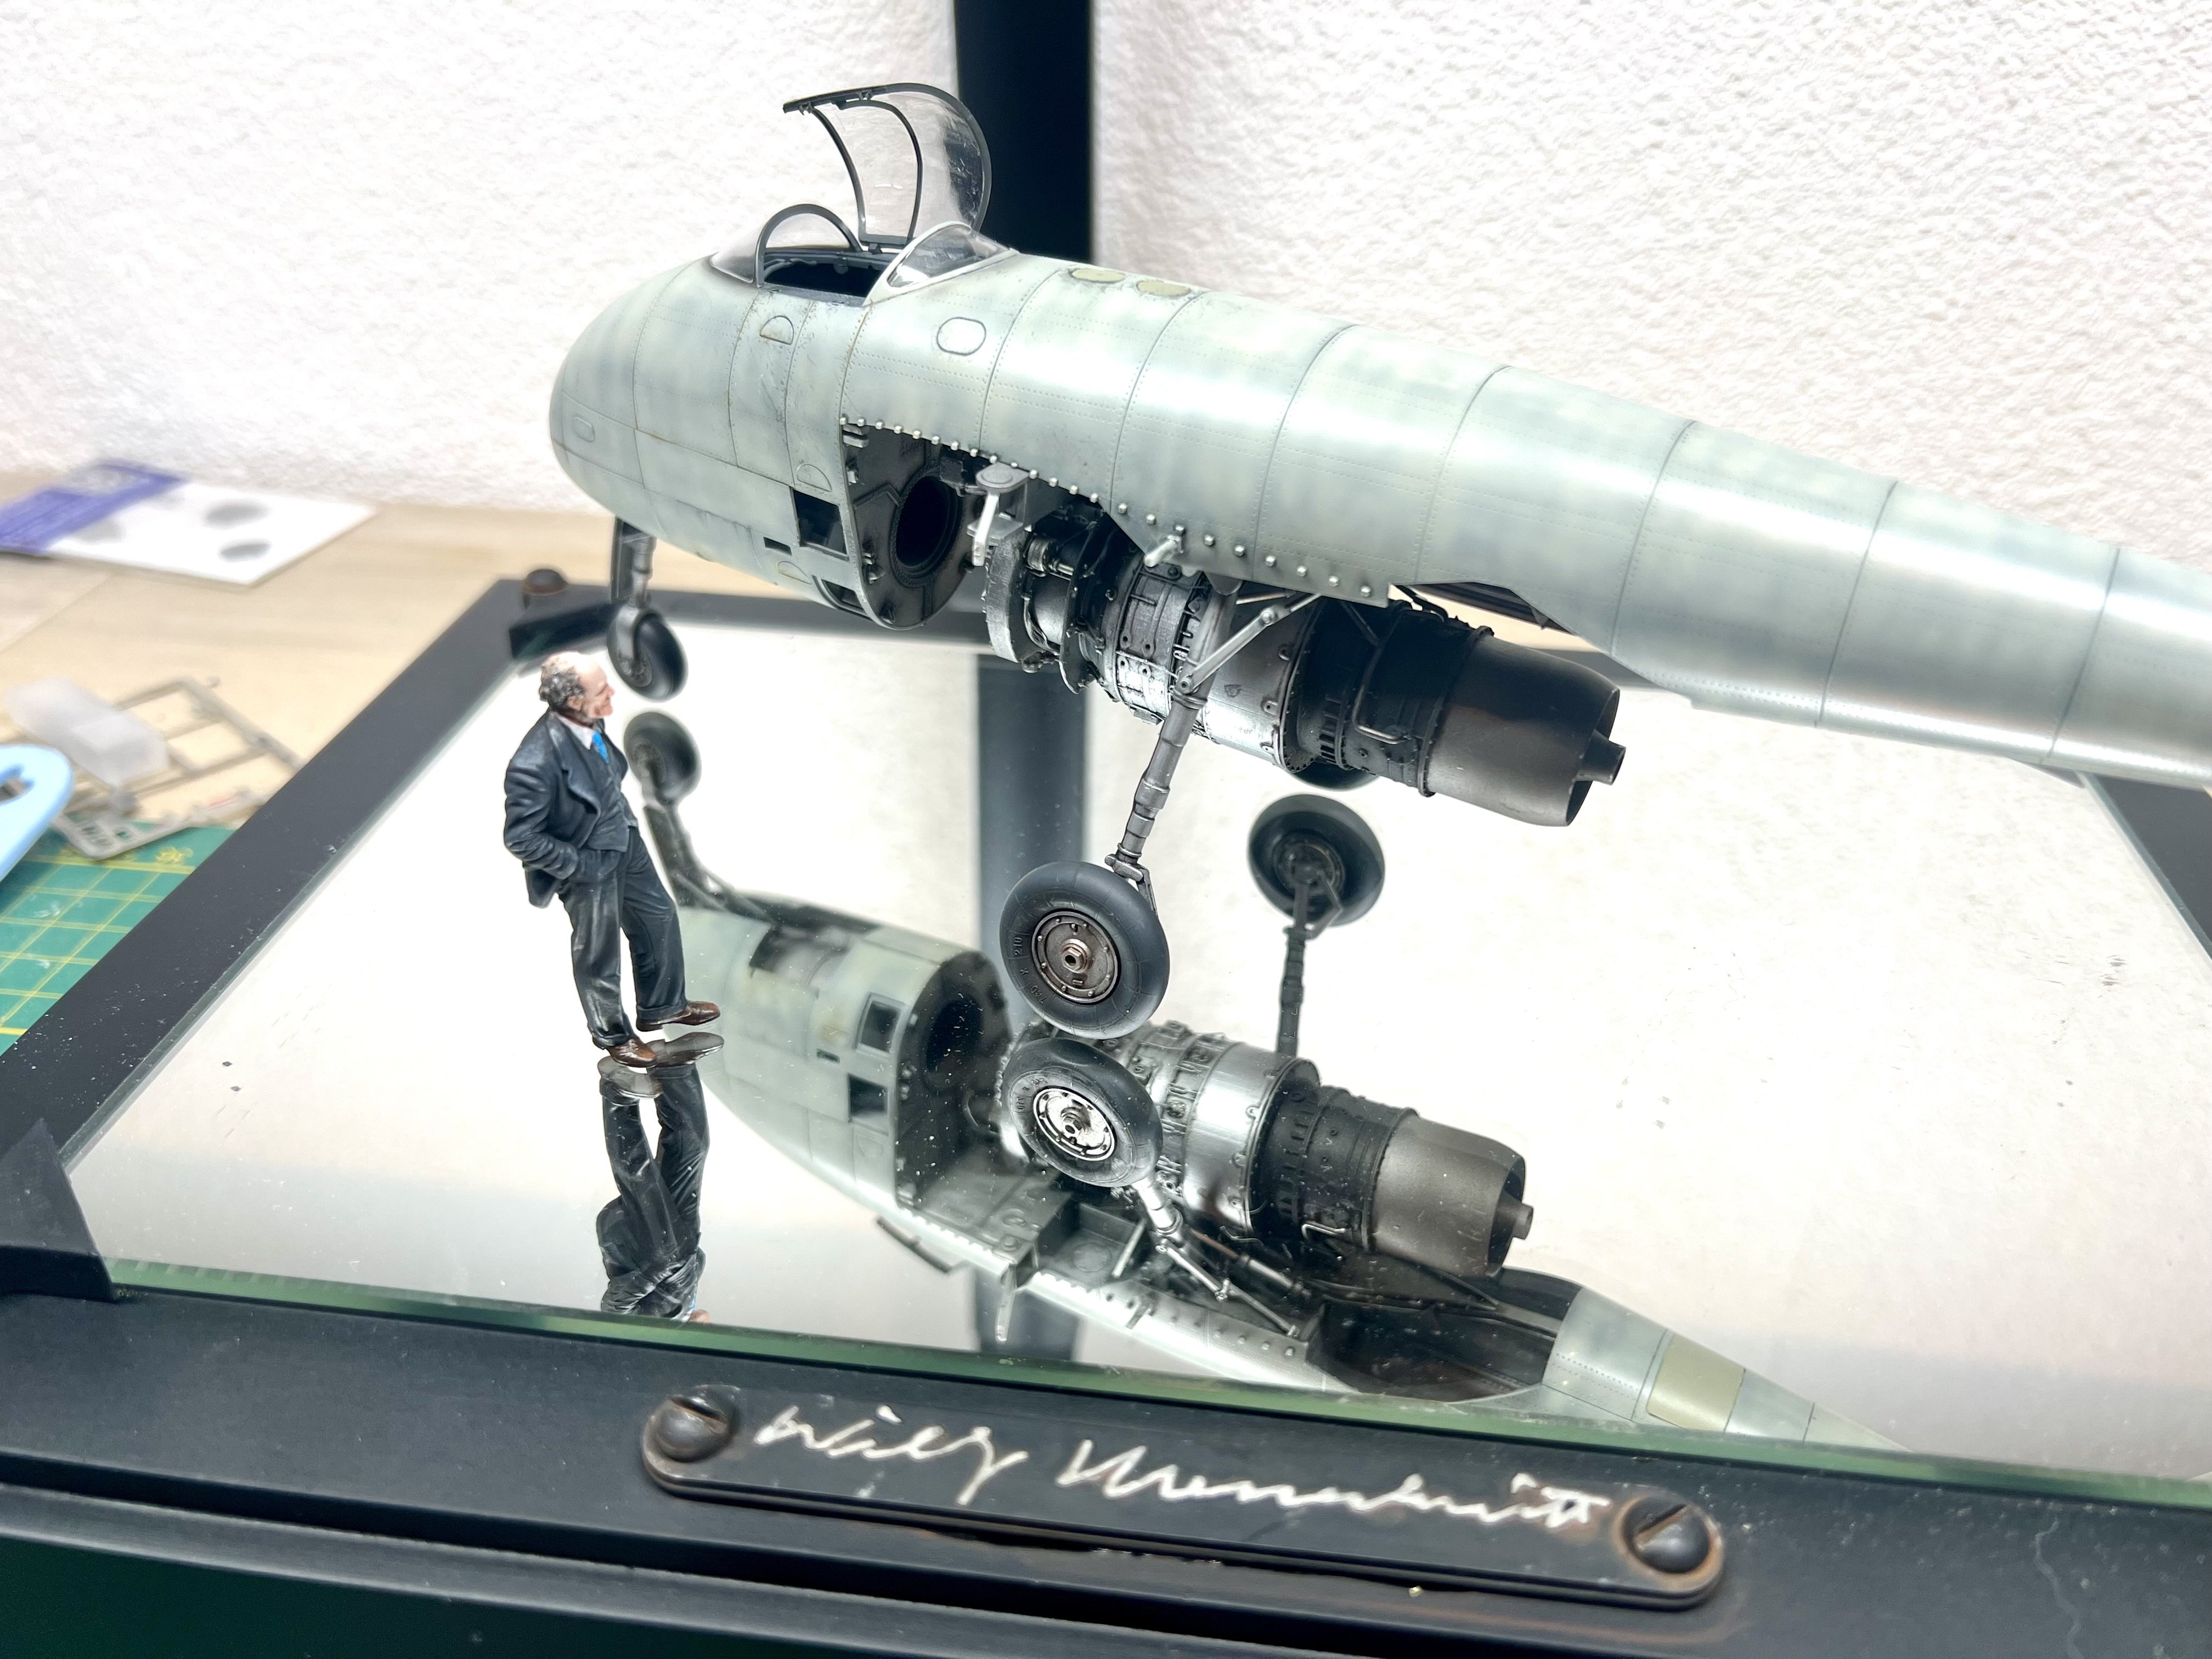
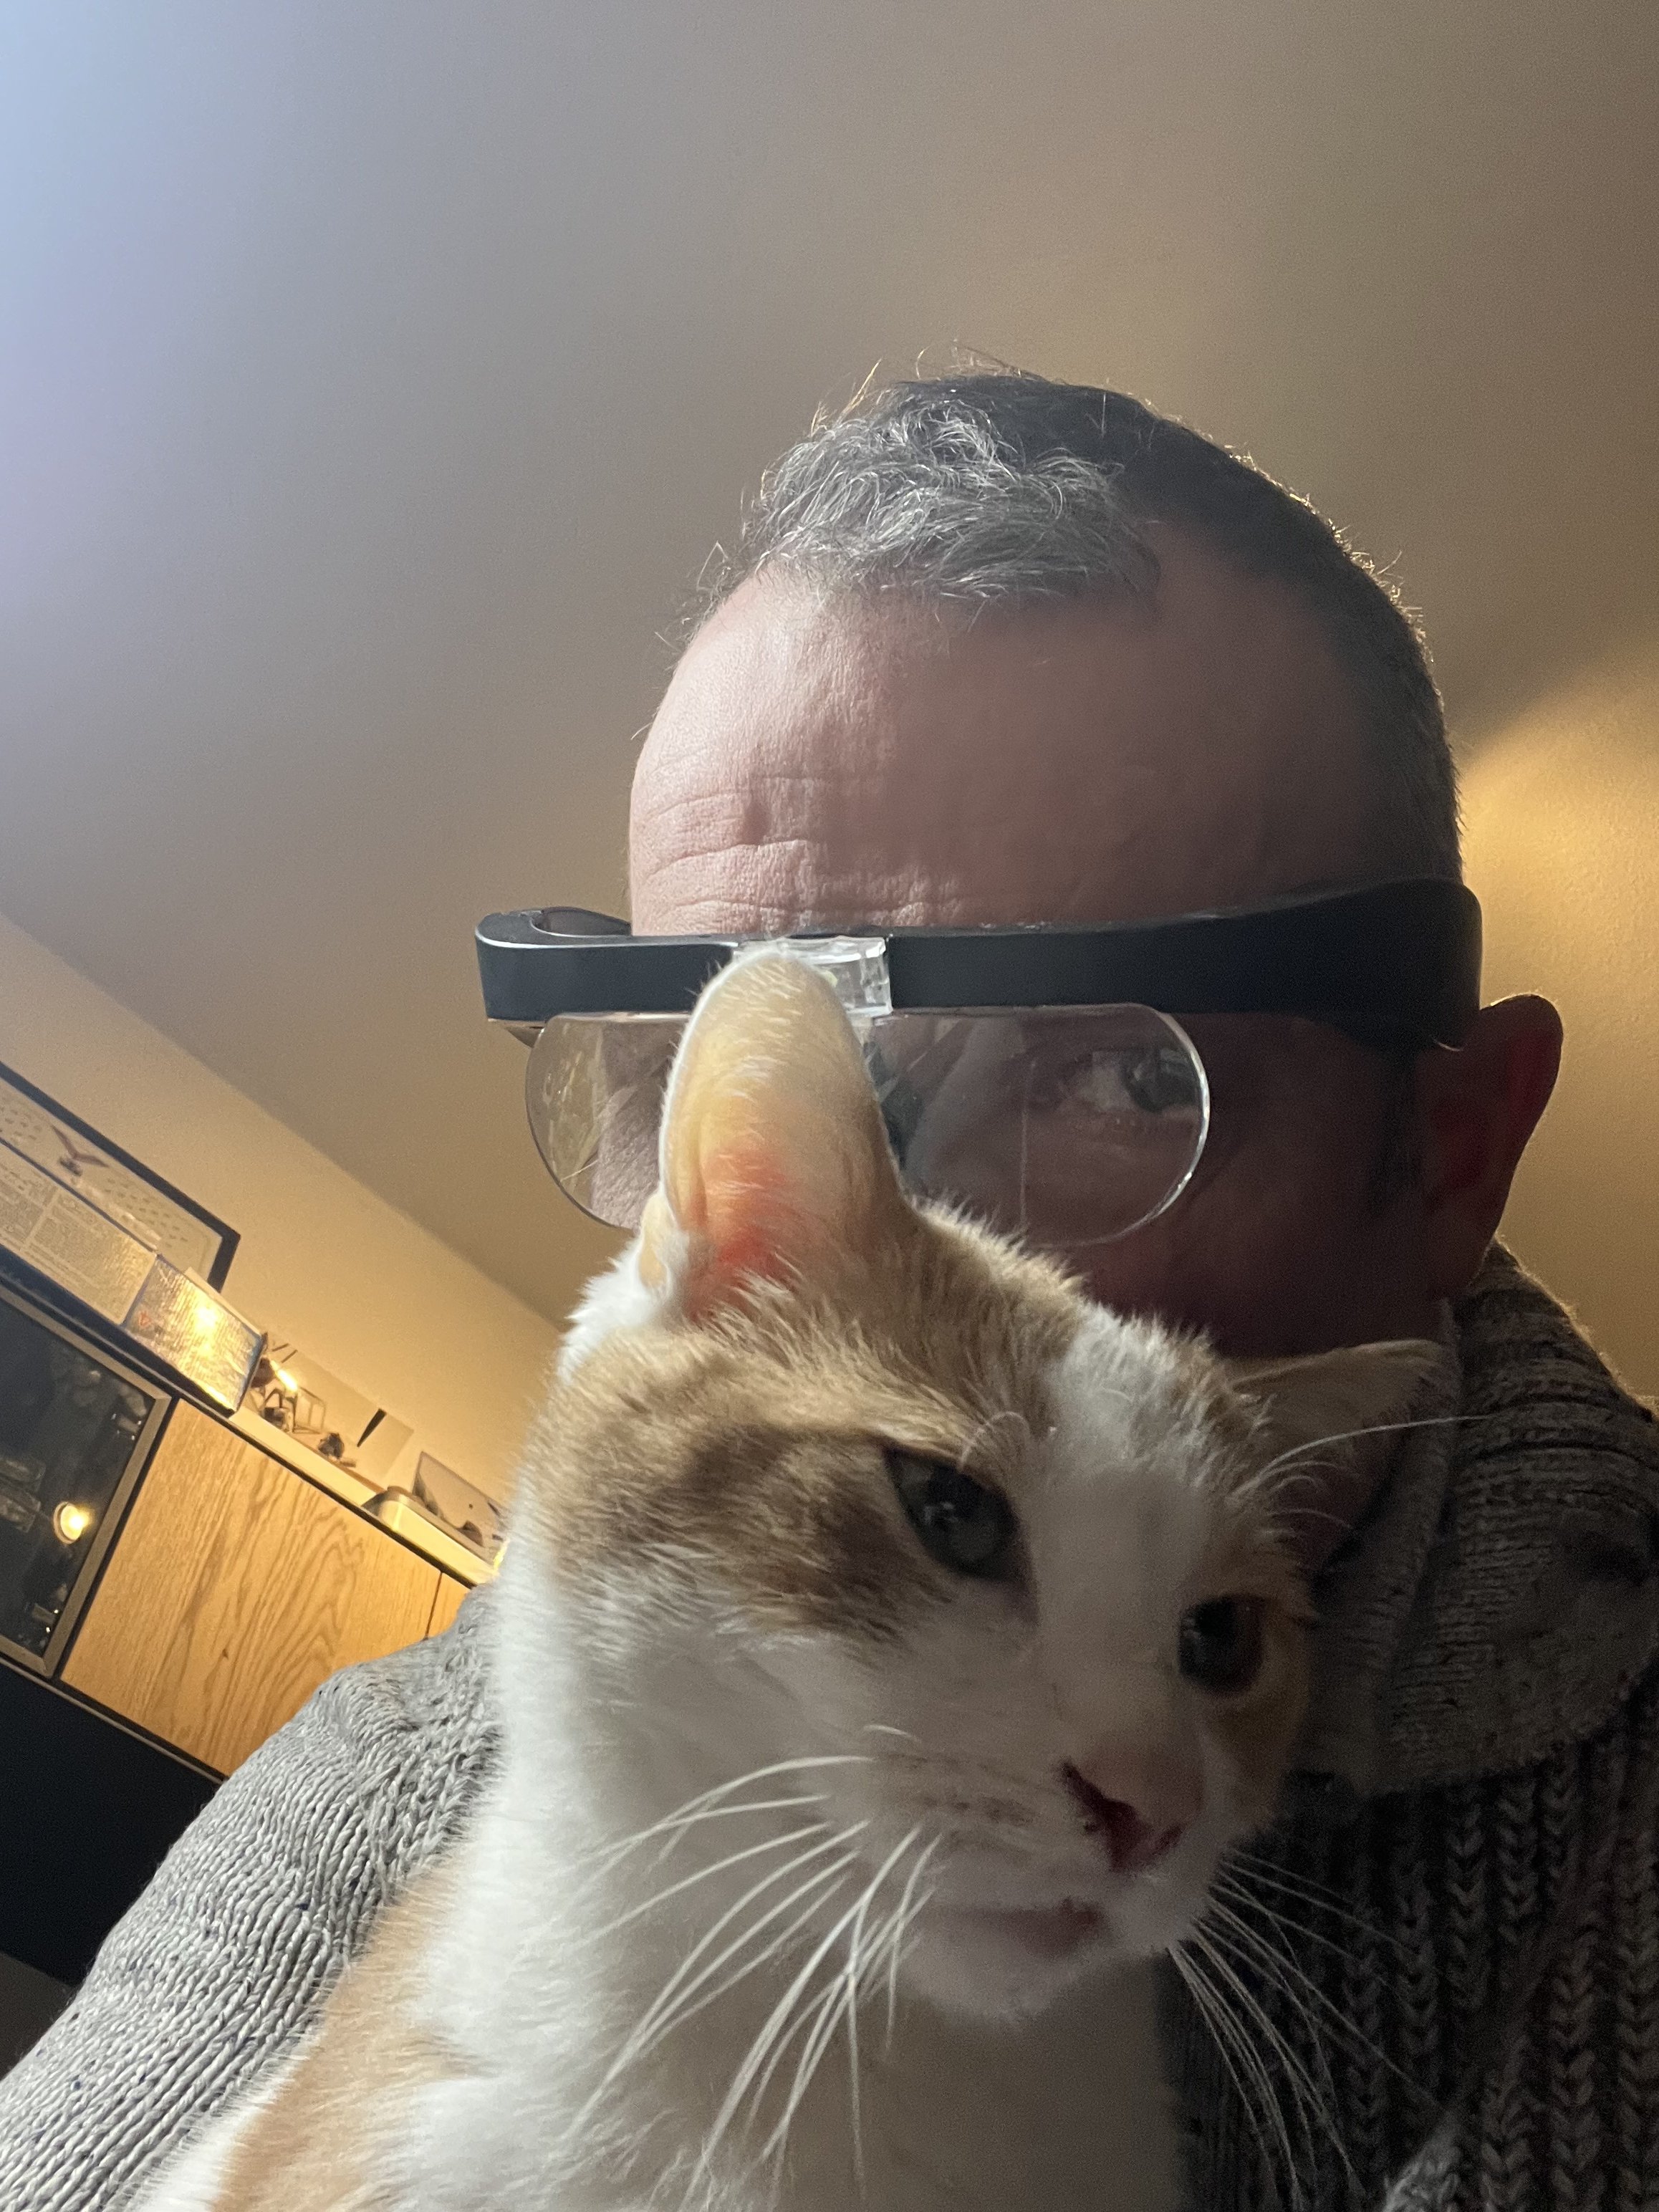
Willy approves Almost done.
-
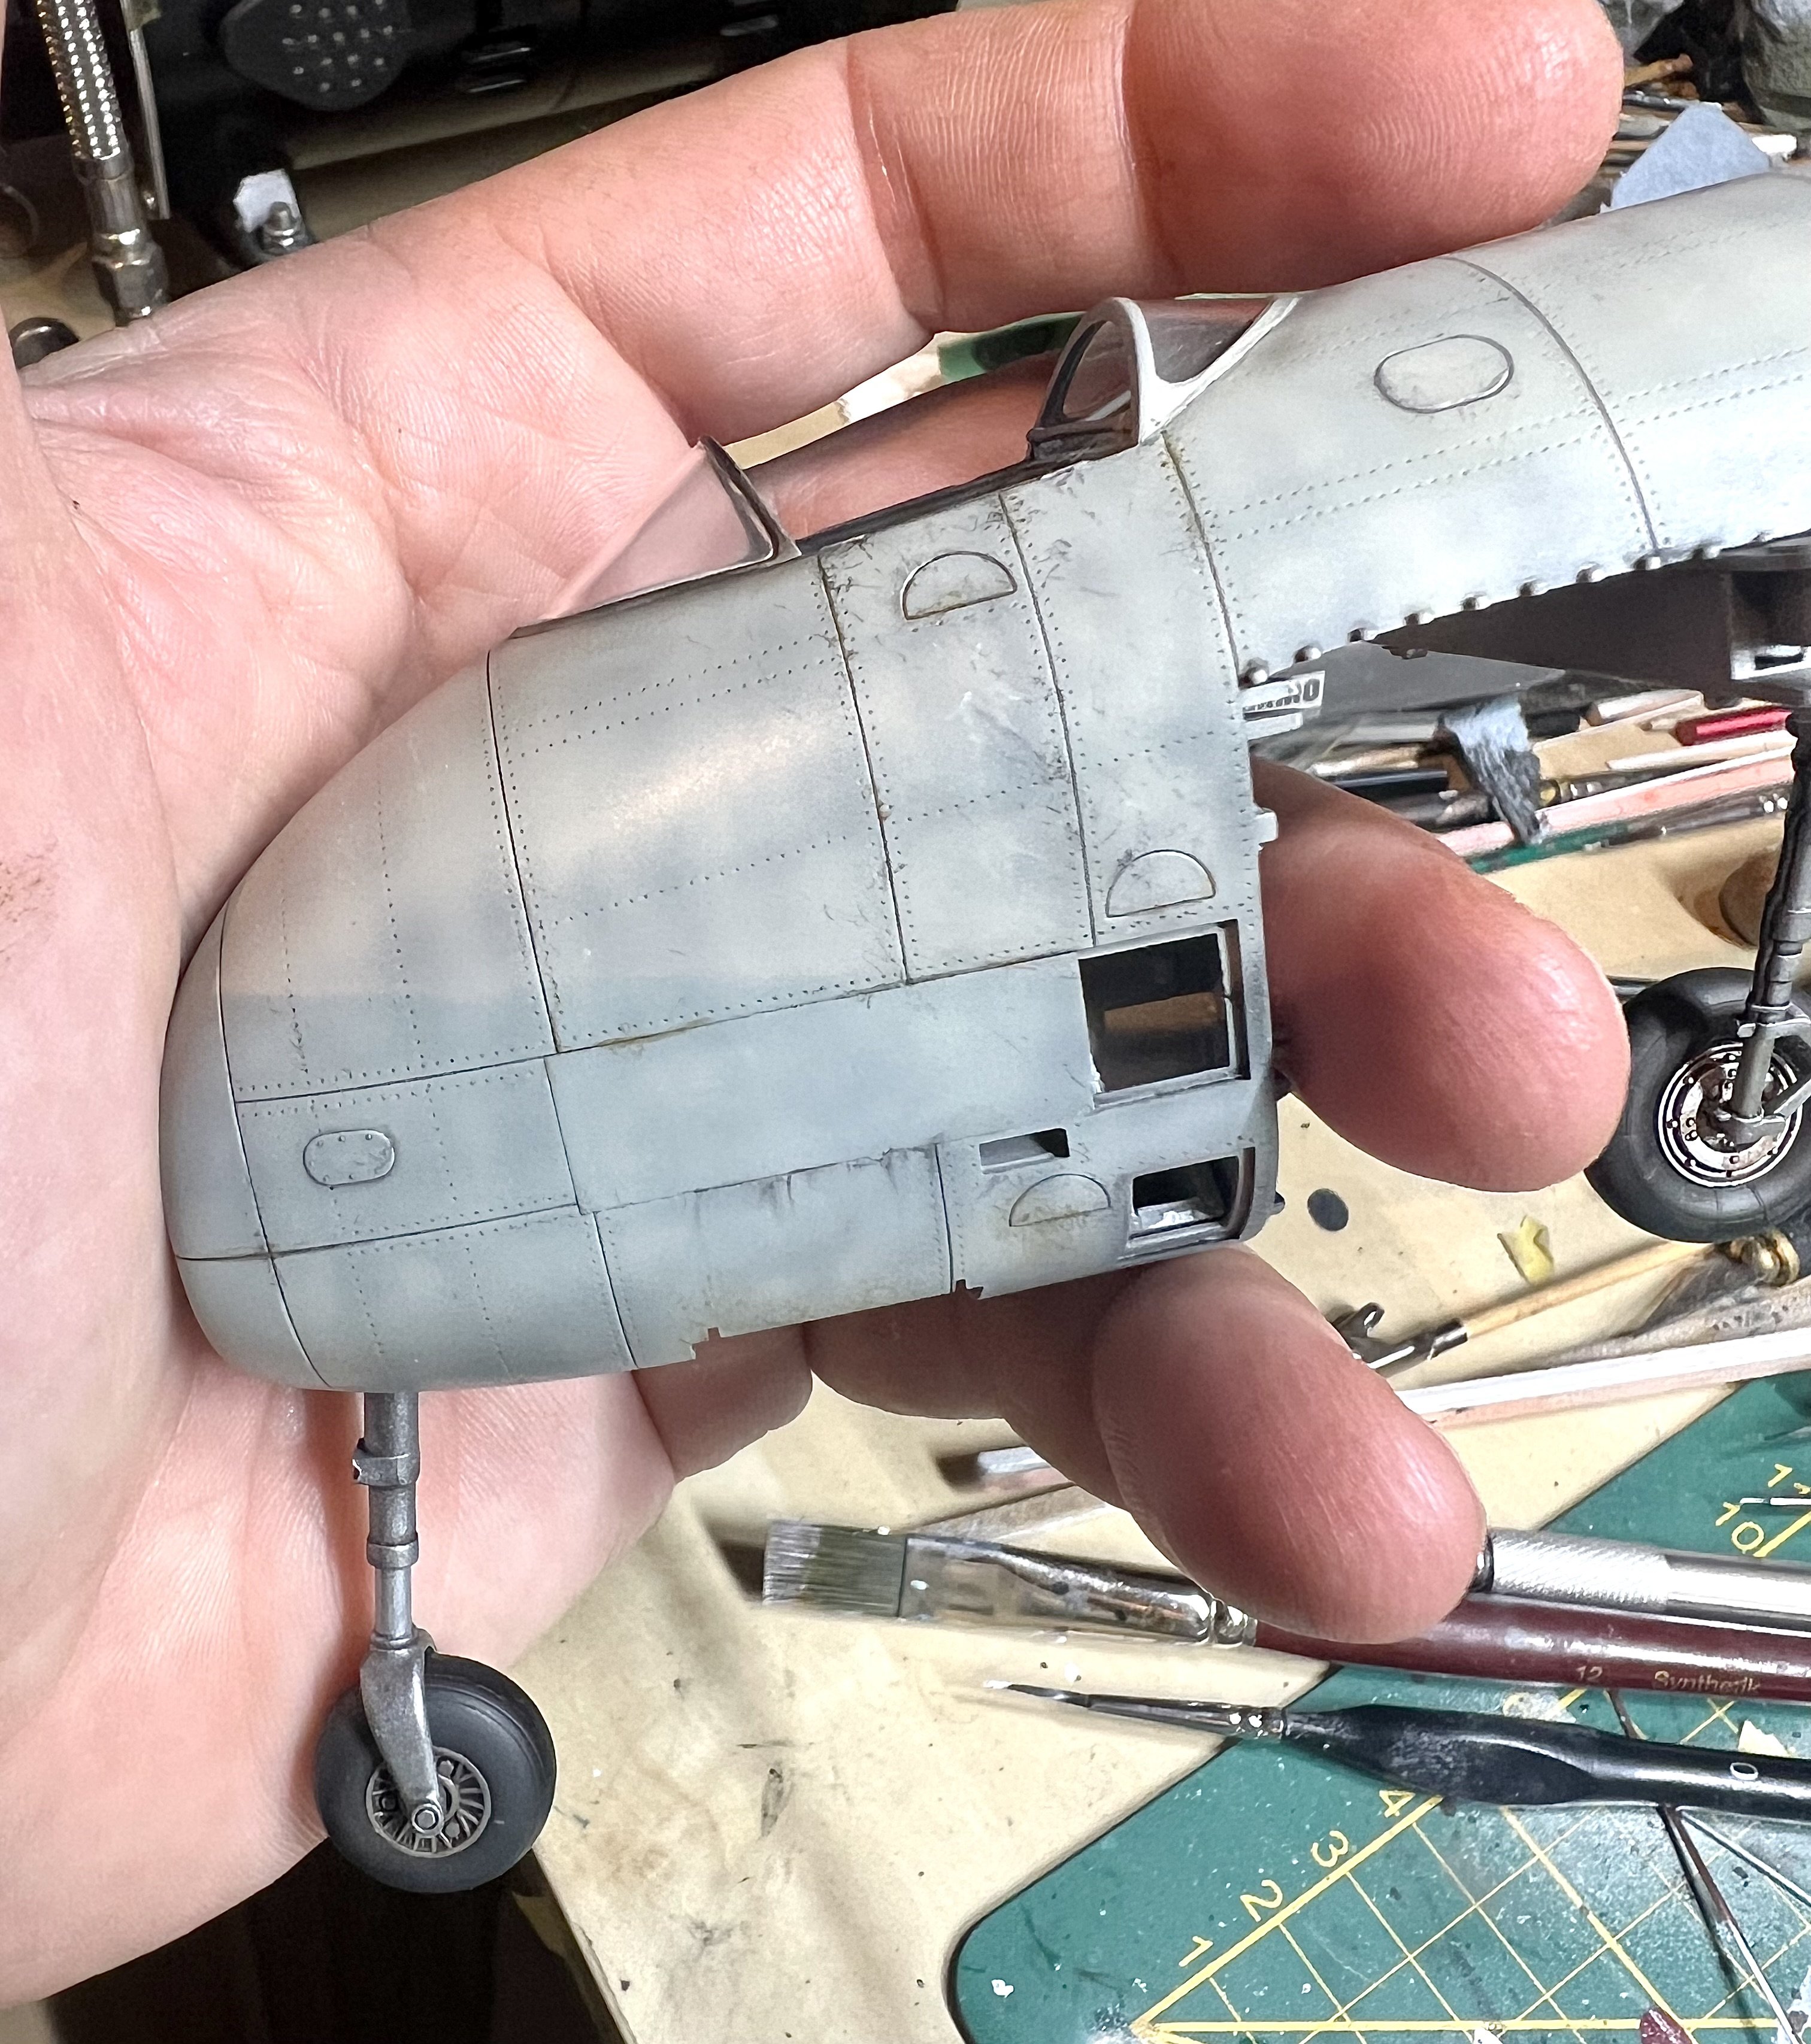
Weathering should be kept to a bare minimum but i can’t help myself. IMG_4934.mov

-
Some careful dry fitting and testing the composition

-
The locks on the canopy were a bit chunky. I cut them off and installed a rail from photo etch and 2 photo etch clamps. Not historically correct perhaps, but more interesting

-
Step by step.
-
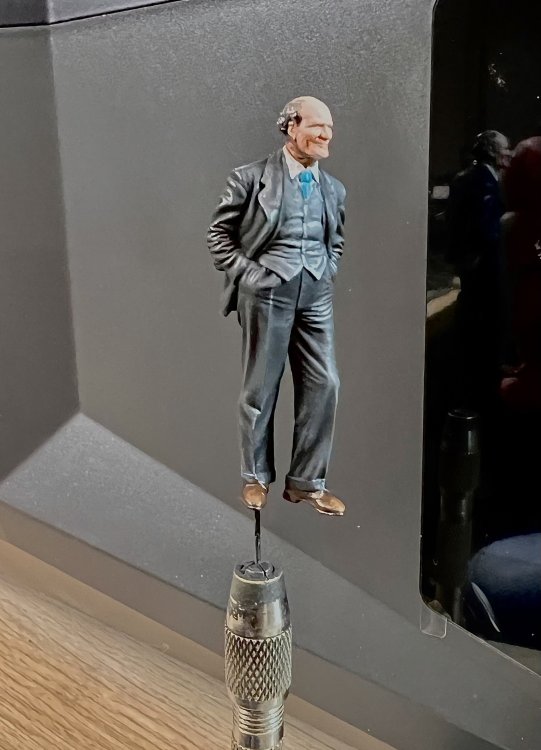
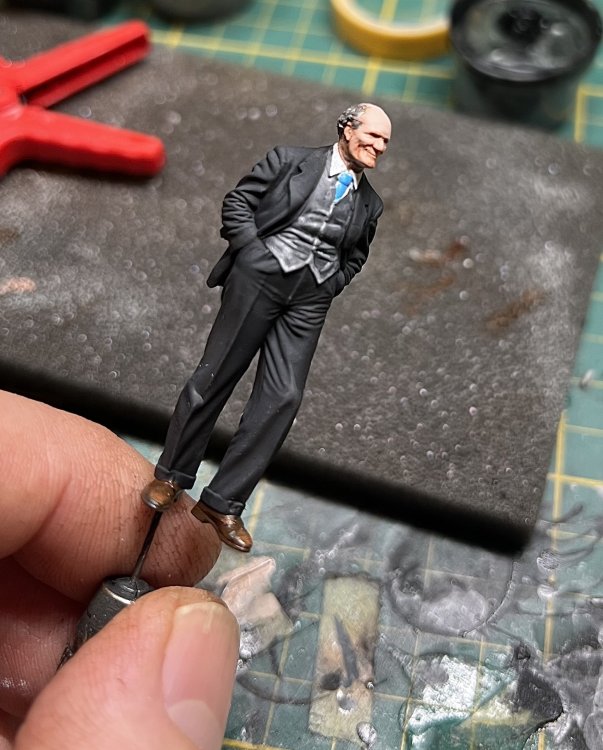
Started painting the Willy figure. This is absolutely not my strength but it’s something i’d like to learn. Using an oil set from AK for the flesh. These are the first colours.
-
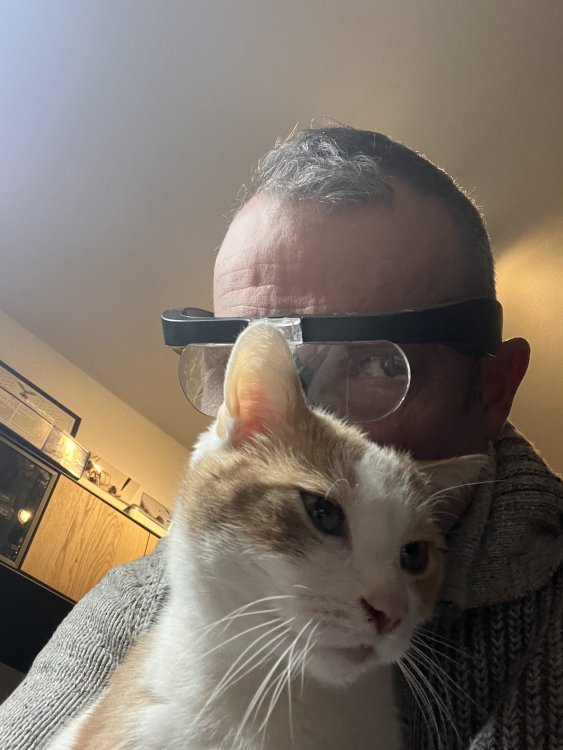
Applying washes is a challenge with El Cato around.


-
Sprayed some crosses with 1manarmy.

-
Getting there.

-
Rlm74/75 camo down.

-
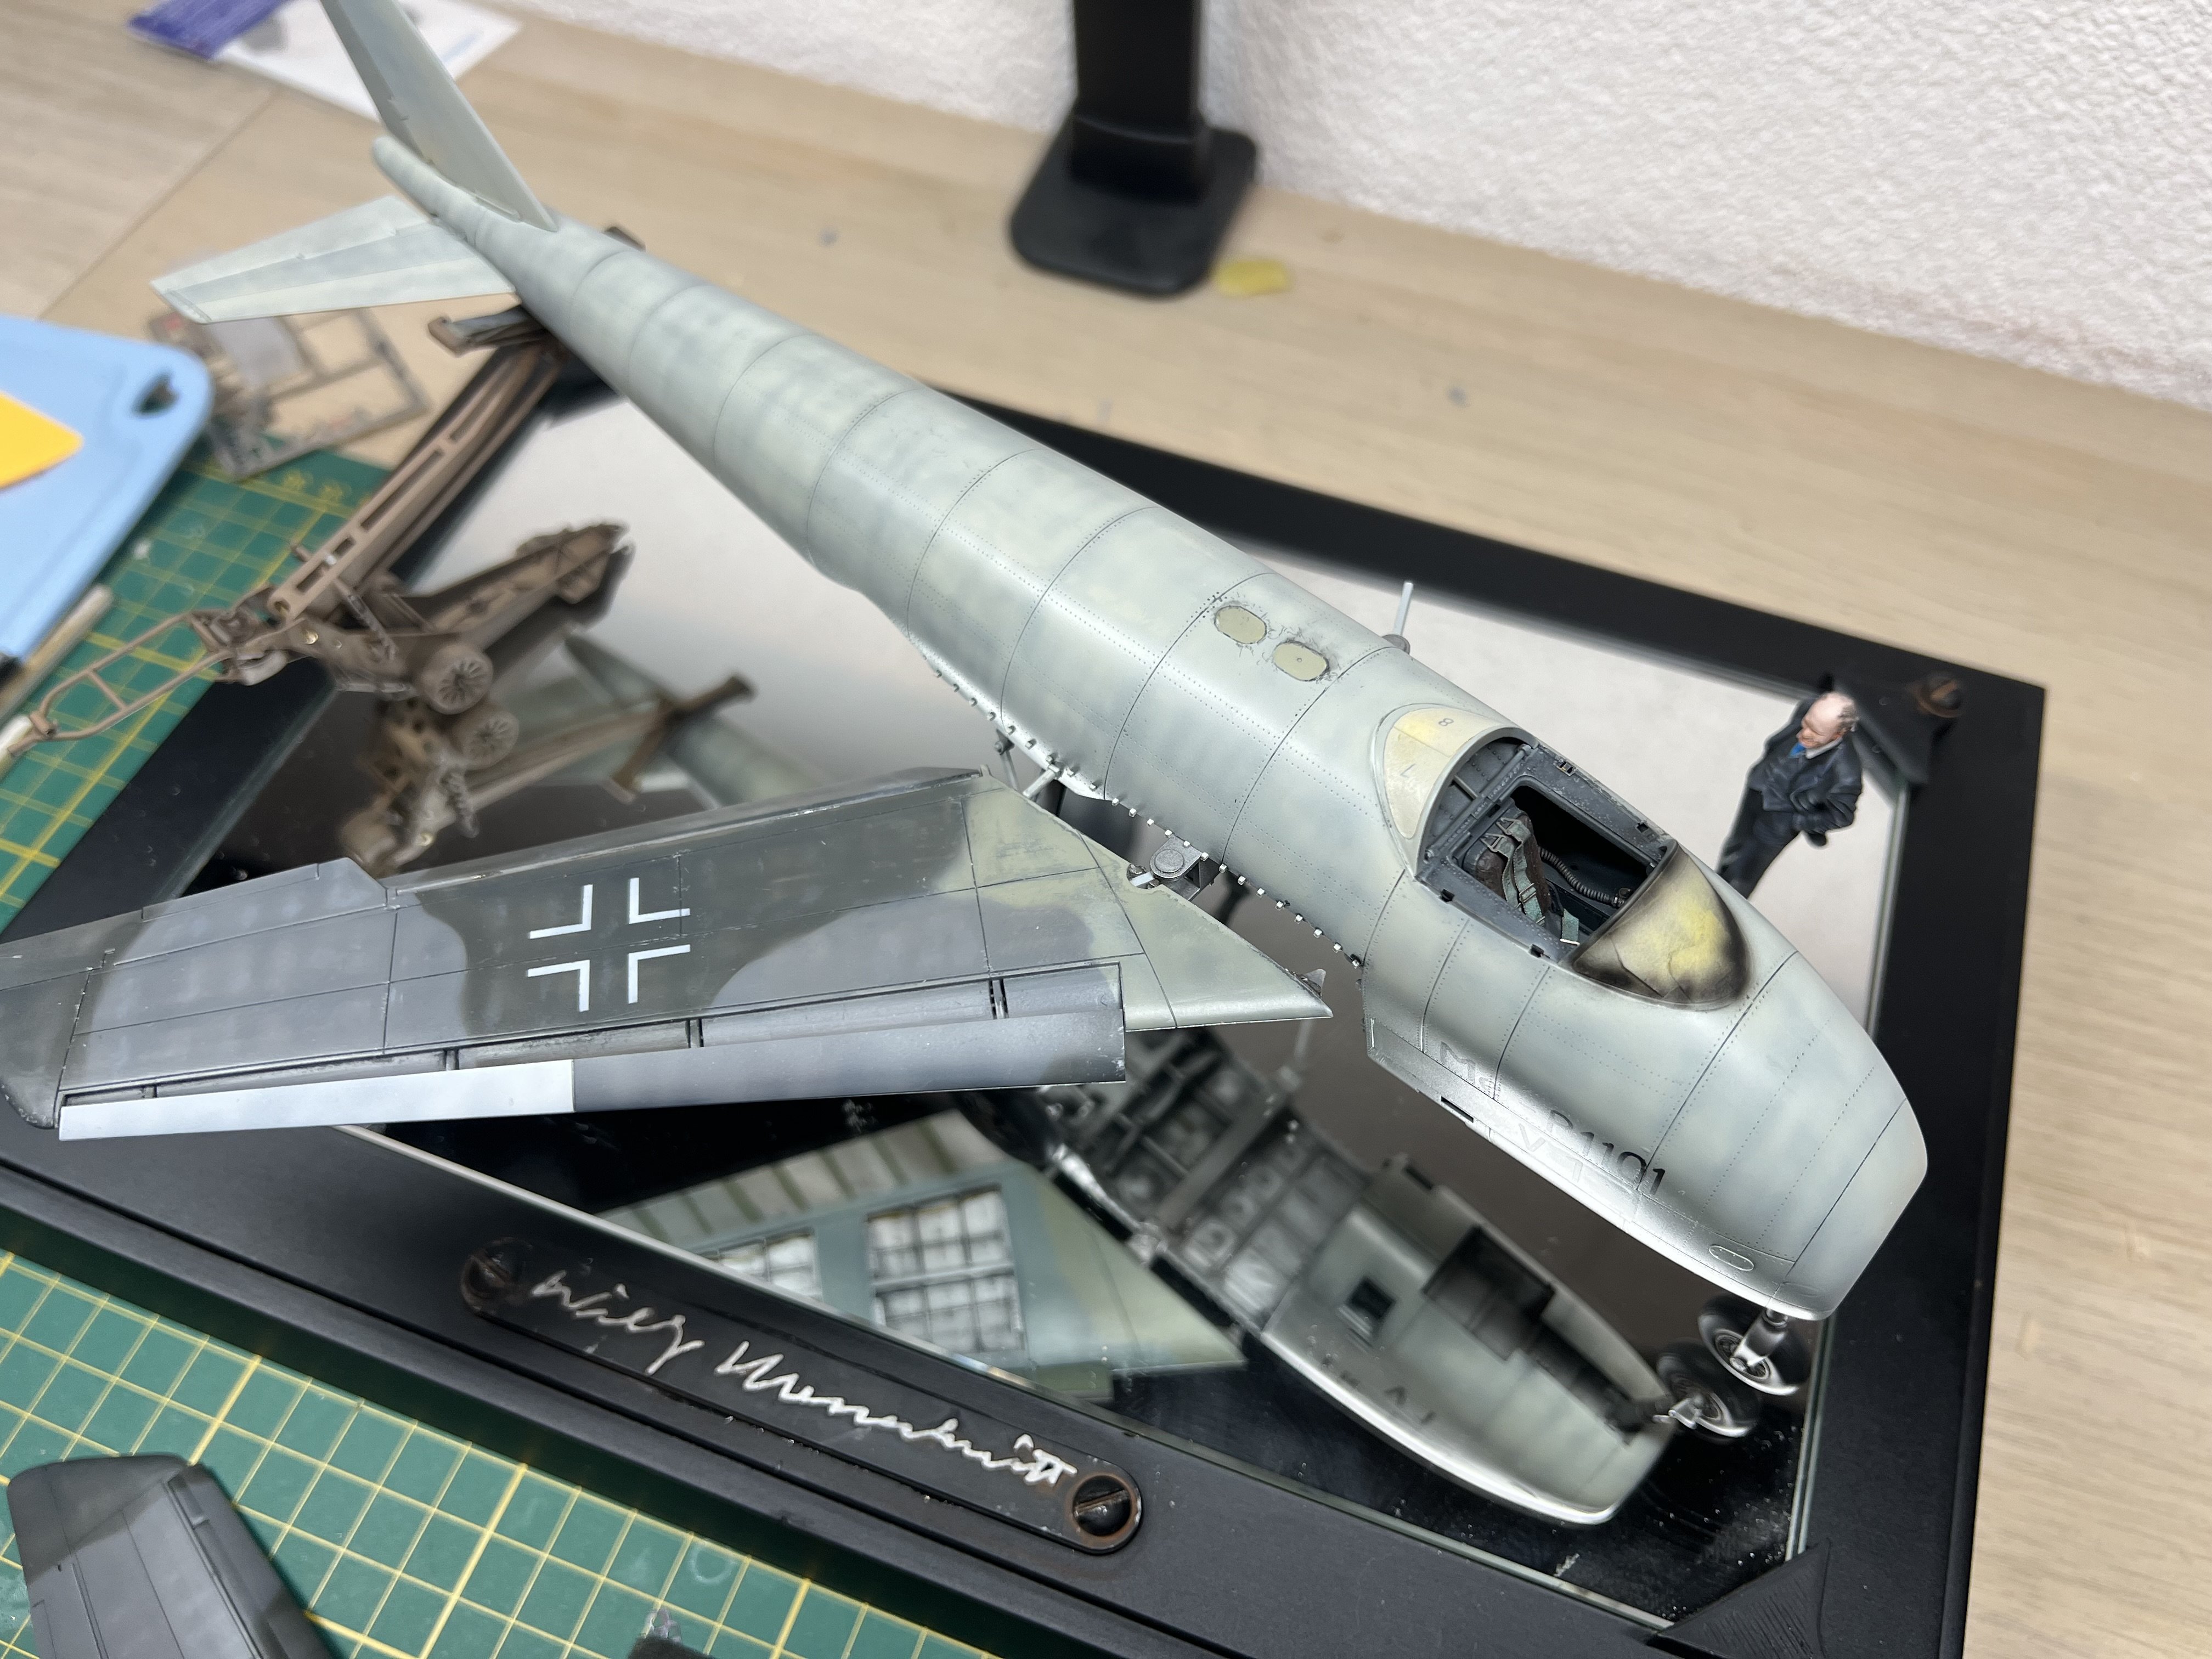
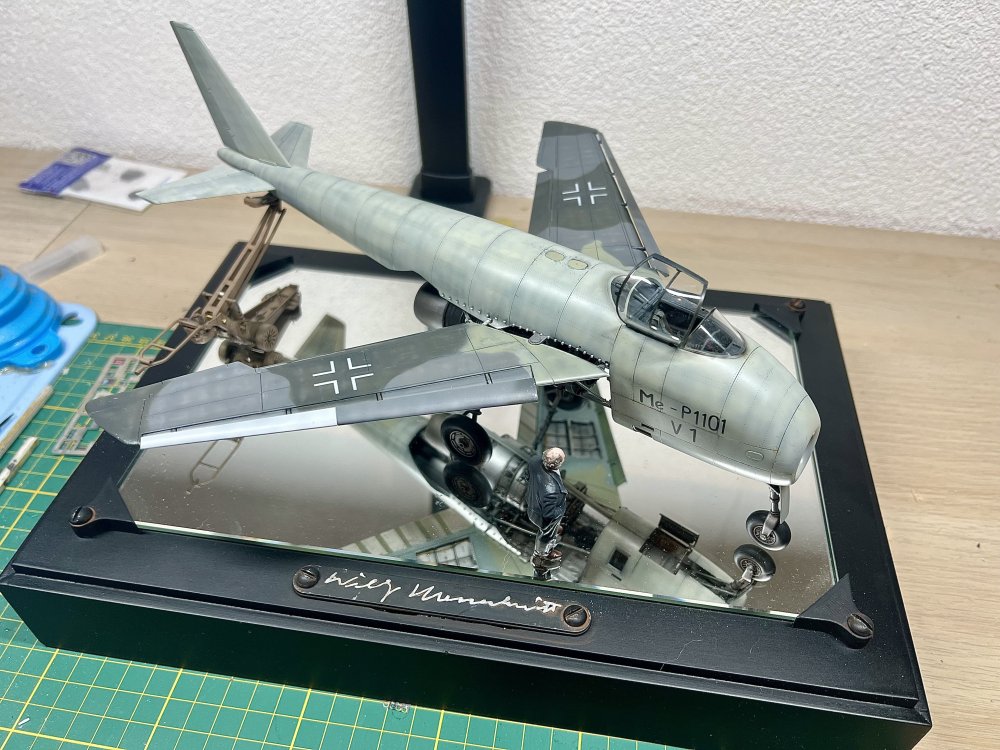
The base is almost done. Also sprayed the Me P1101 V1 lettering on the fuse. Still studying photo’s to determine the colour of the outside canopy frame. Looks like Rlm66 in some pics. You really need to decide at what stage you model this airframe. In the hangar during construction. Or after it has been towed outside. Or after the US tried to restore it.

-
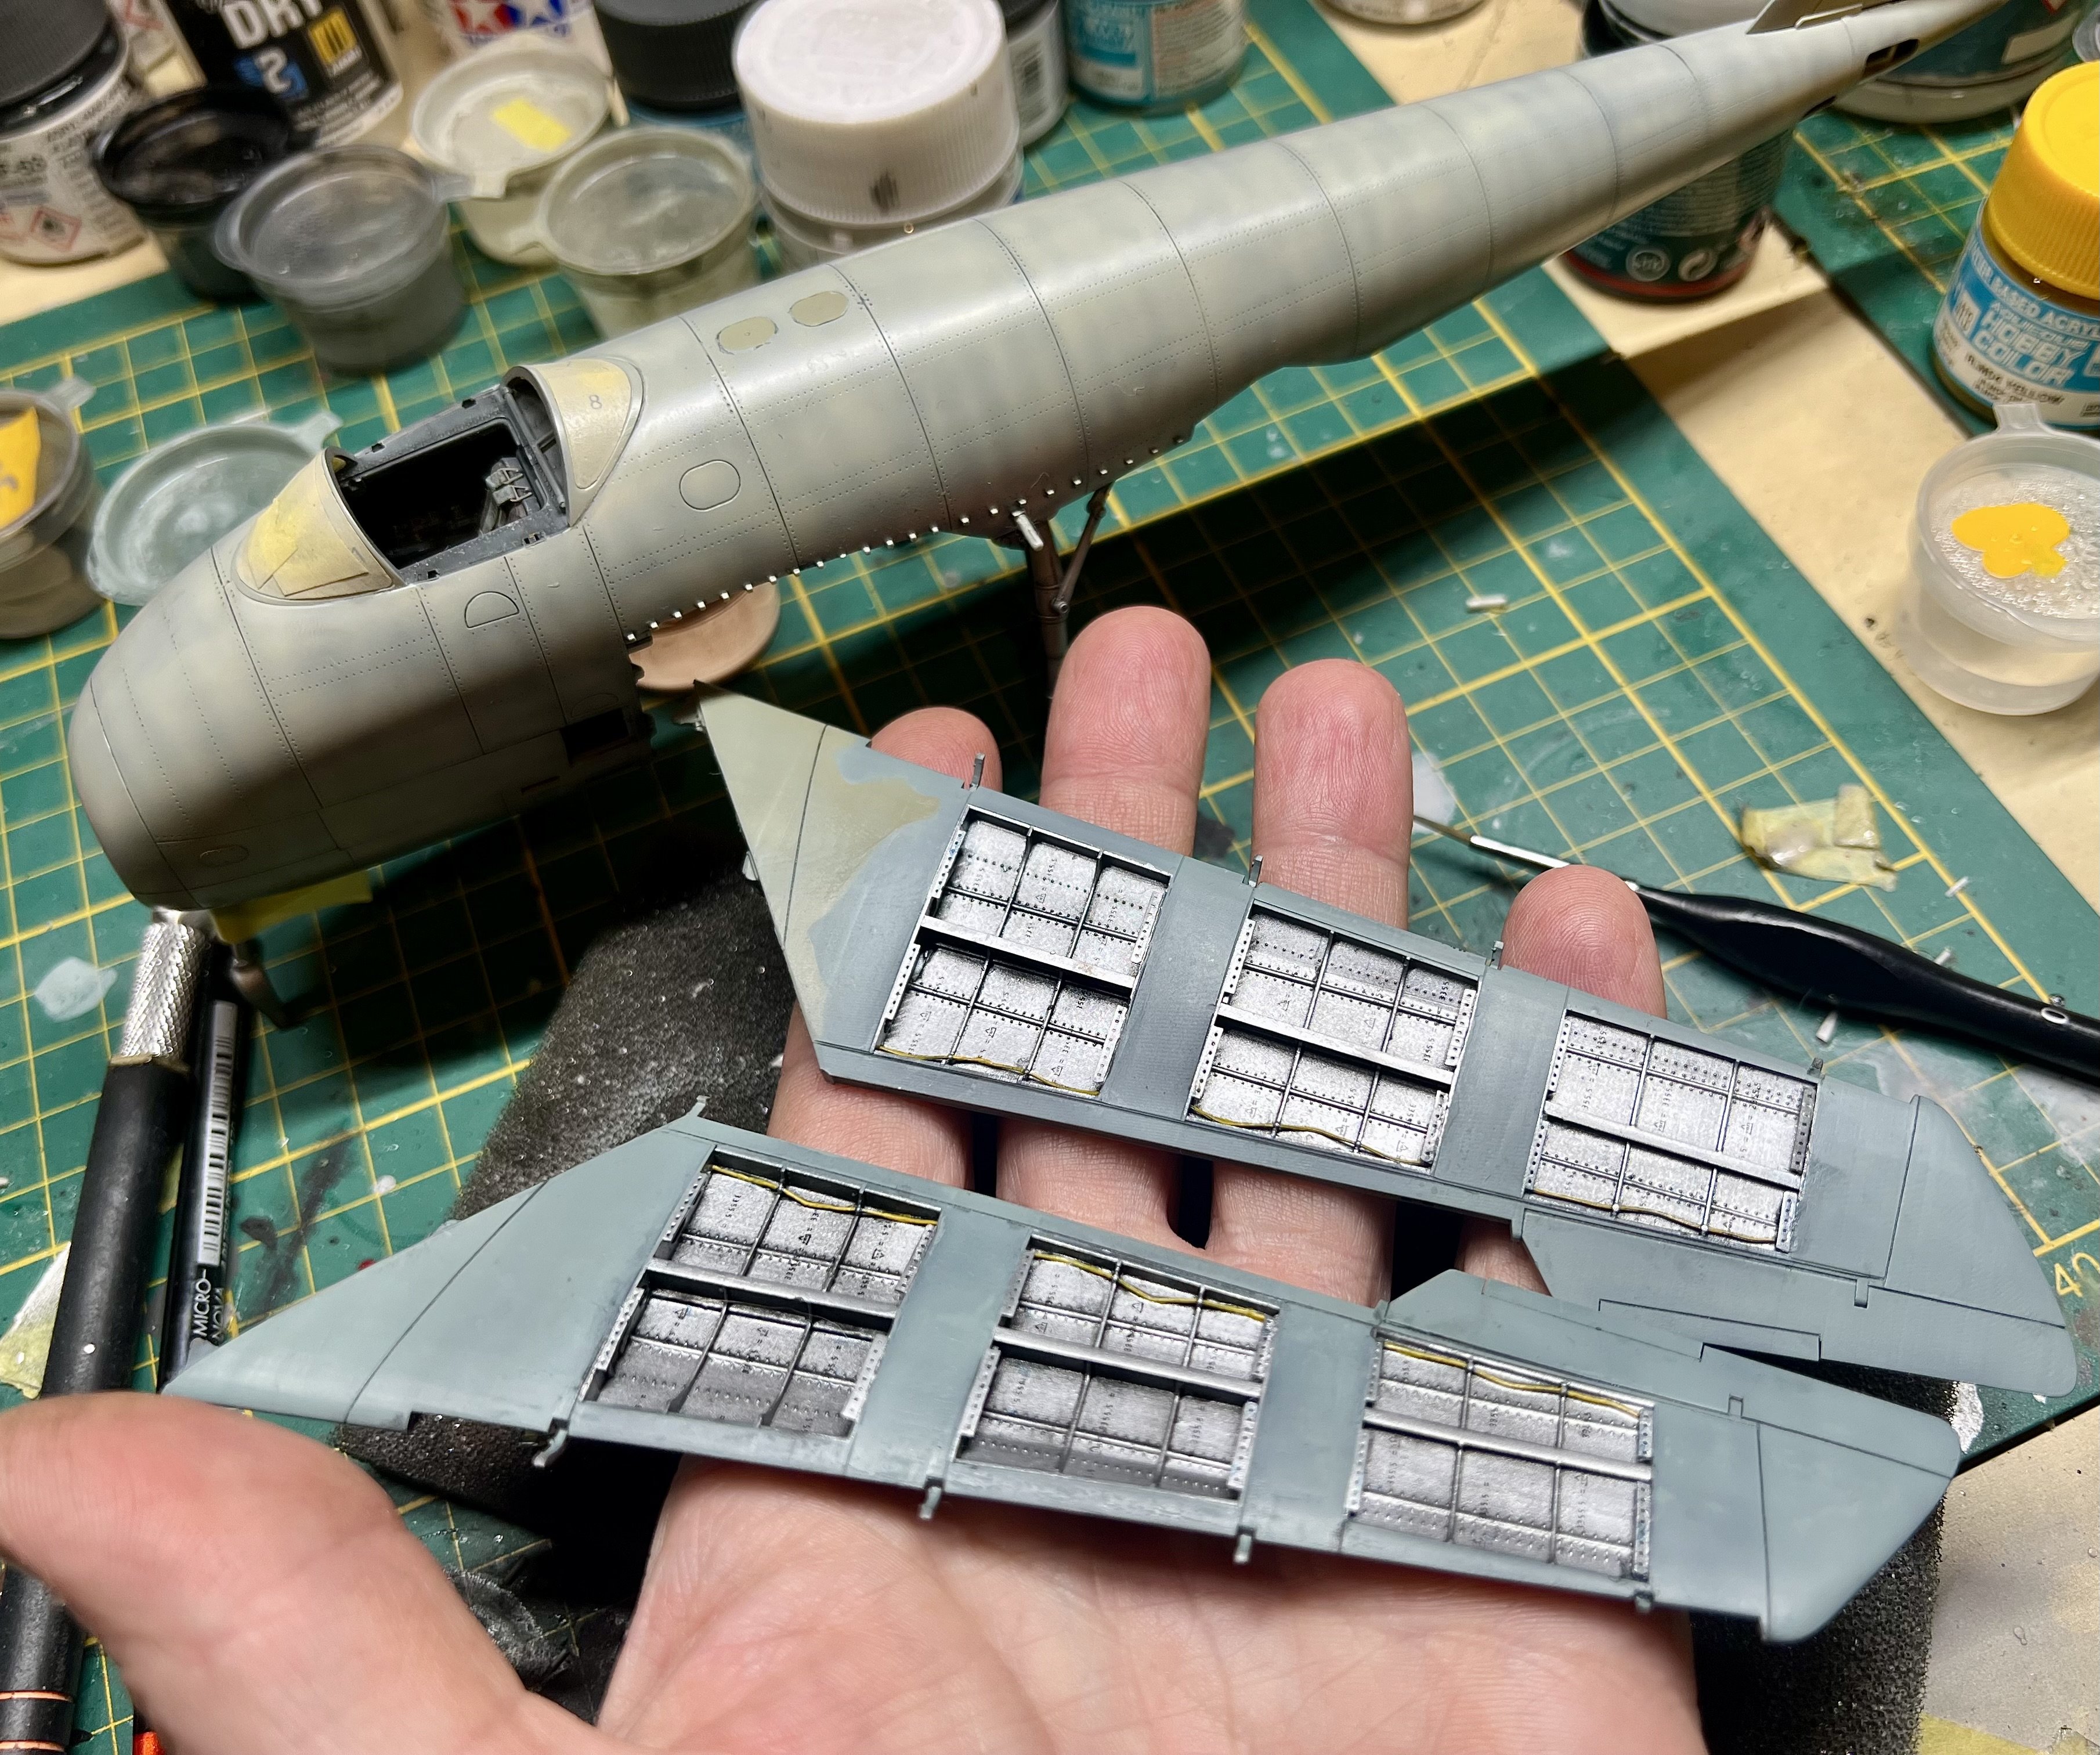
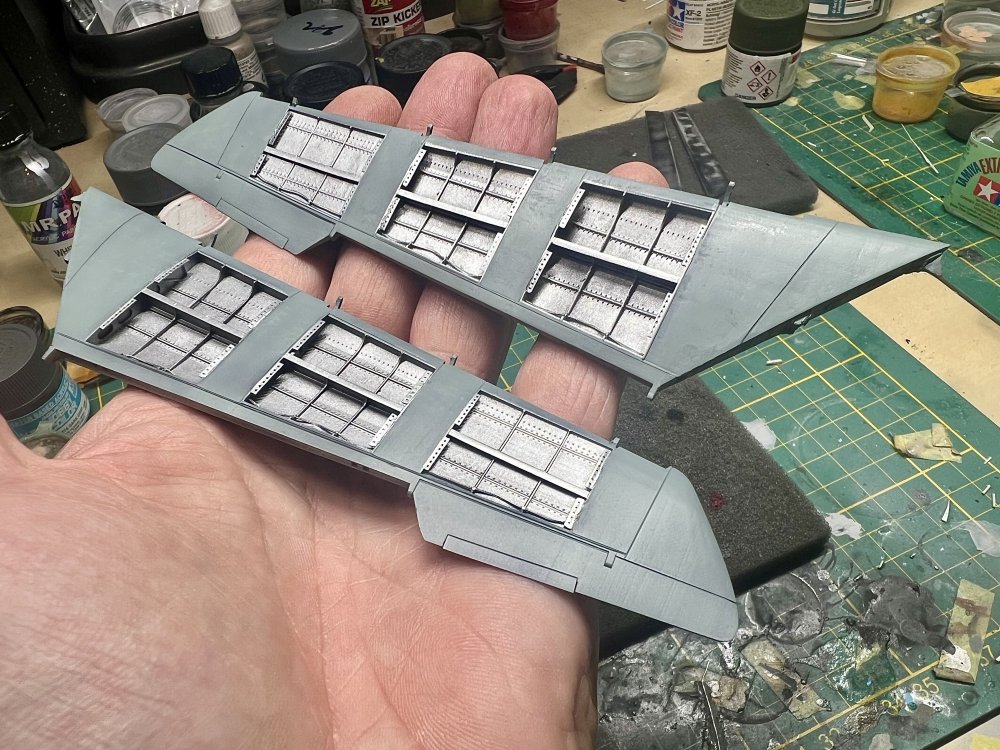
Working on the 2nd wing. All masked with fluid mask.

-
That was indeed a challenge. I used liquid mask to seal it all in
-
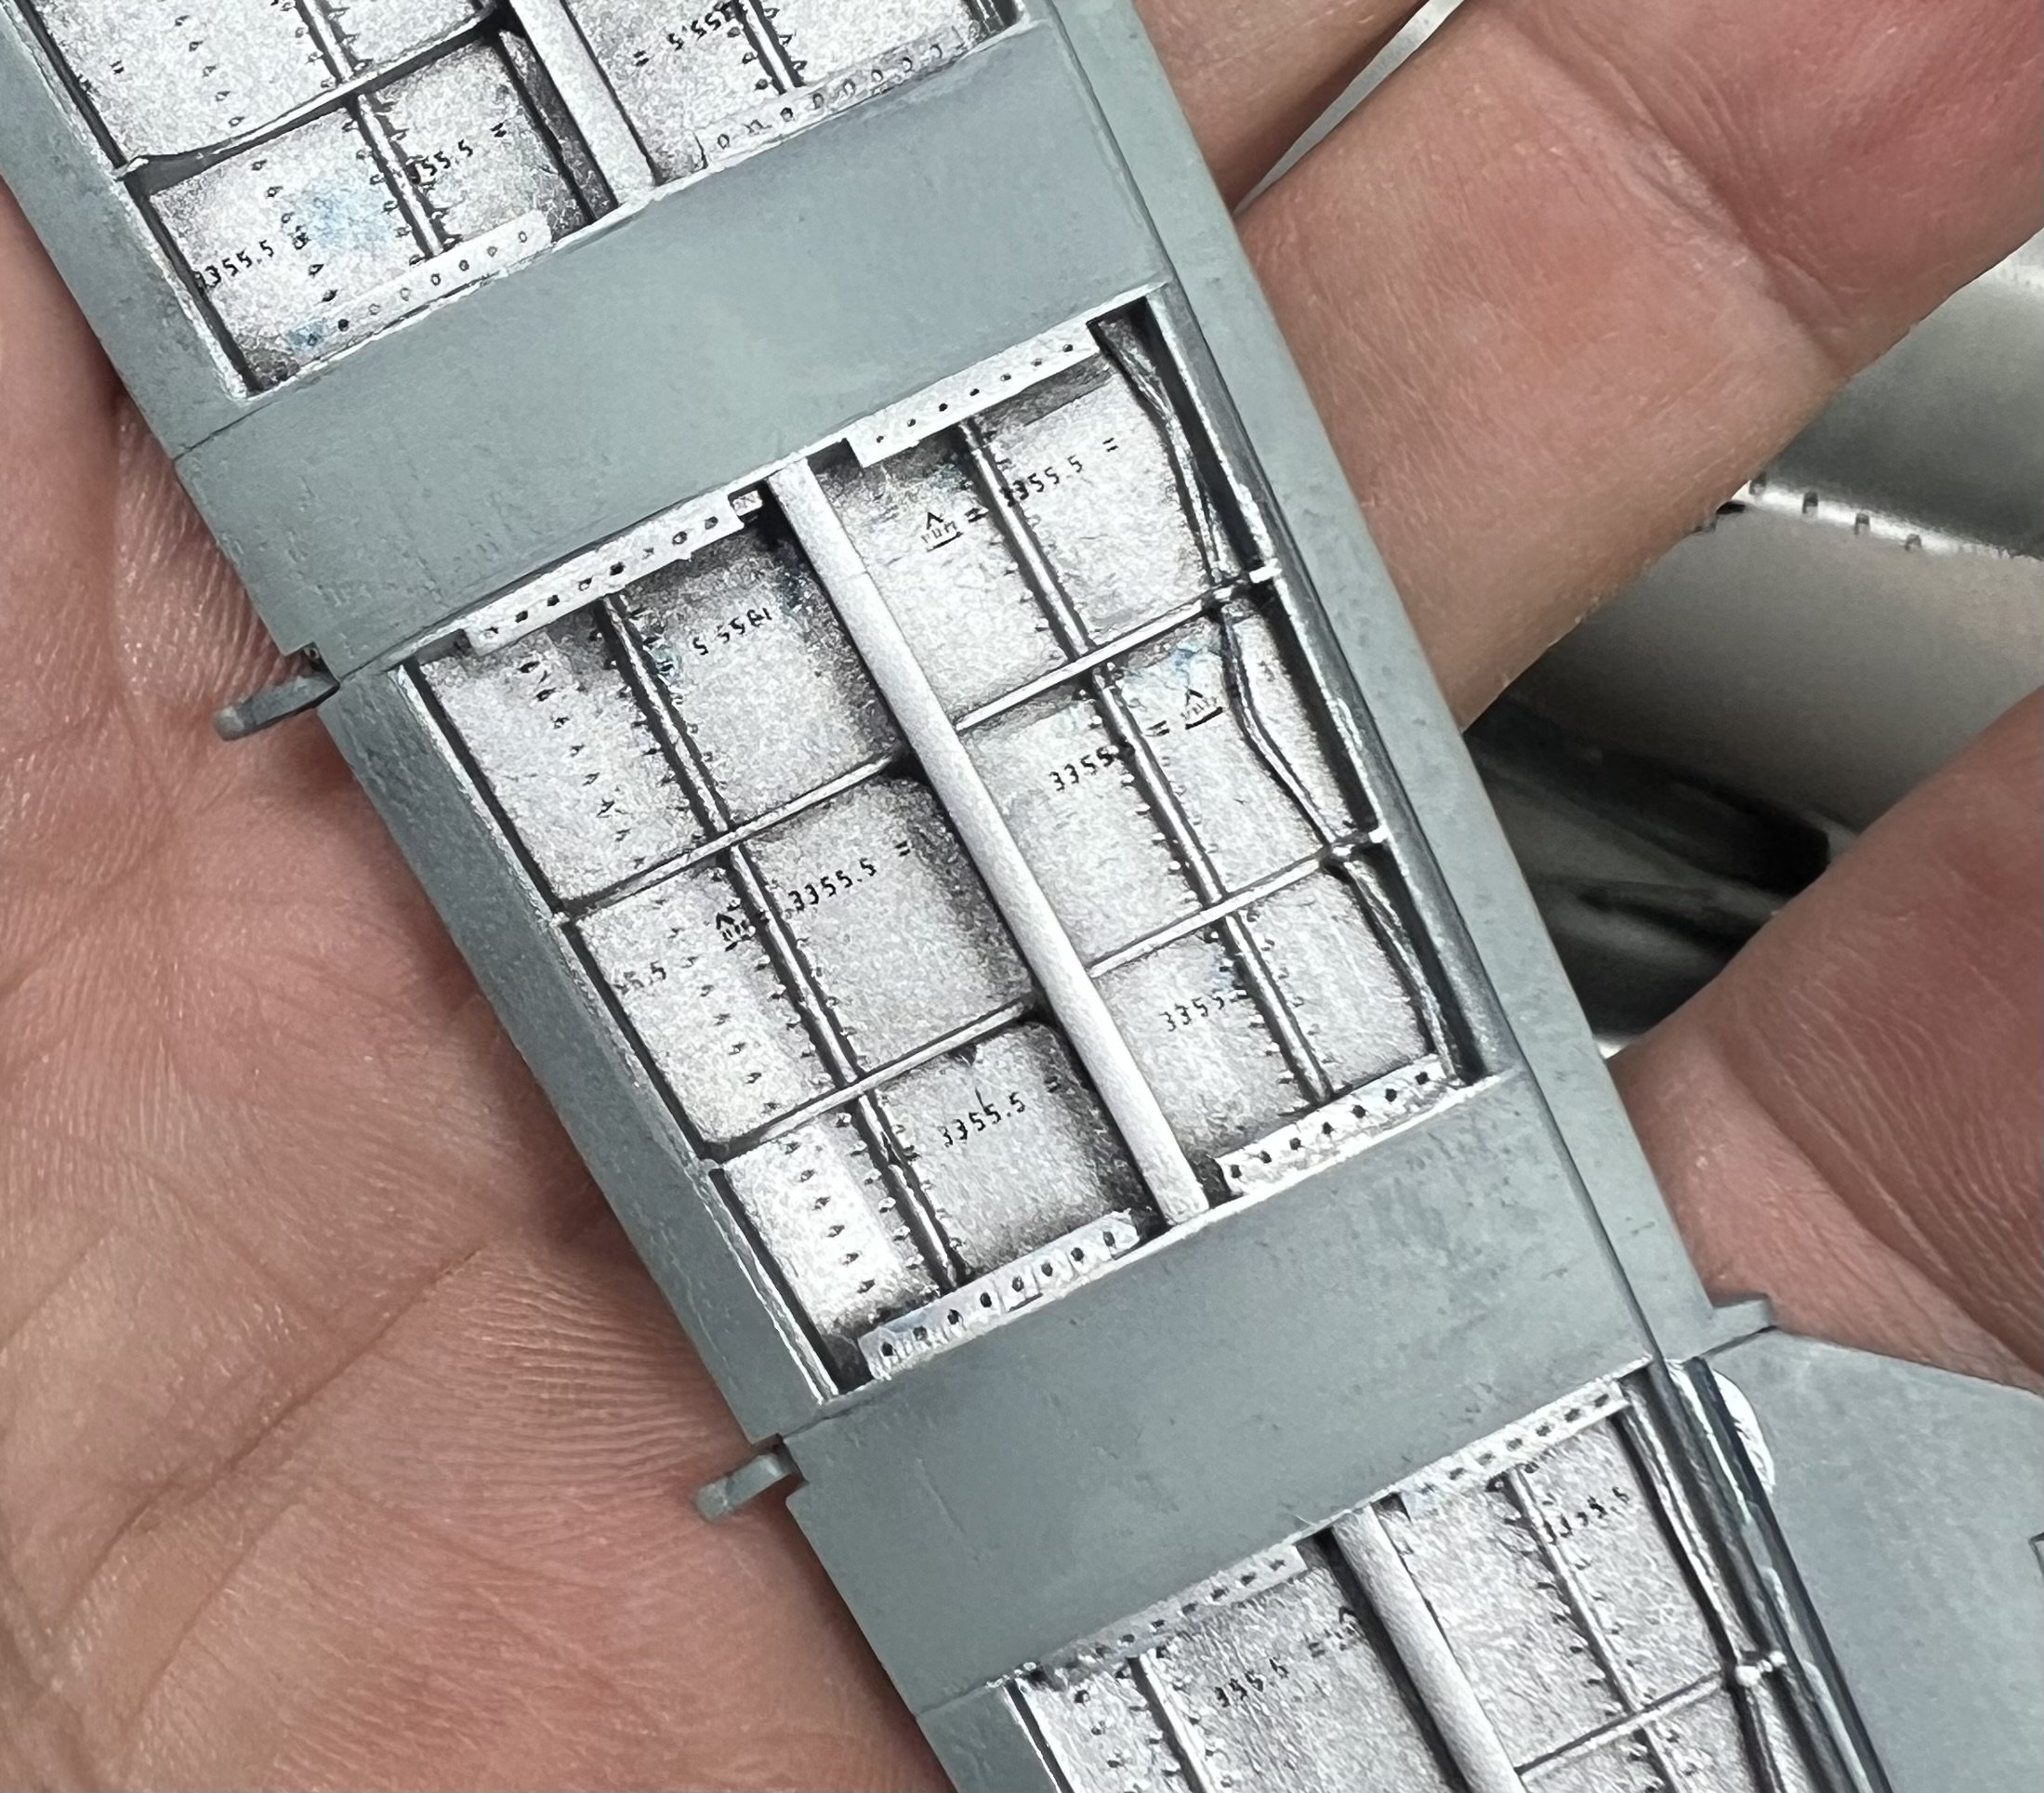
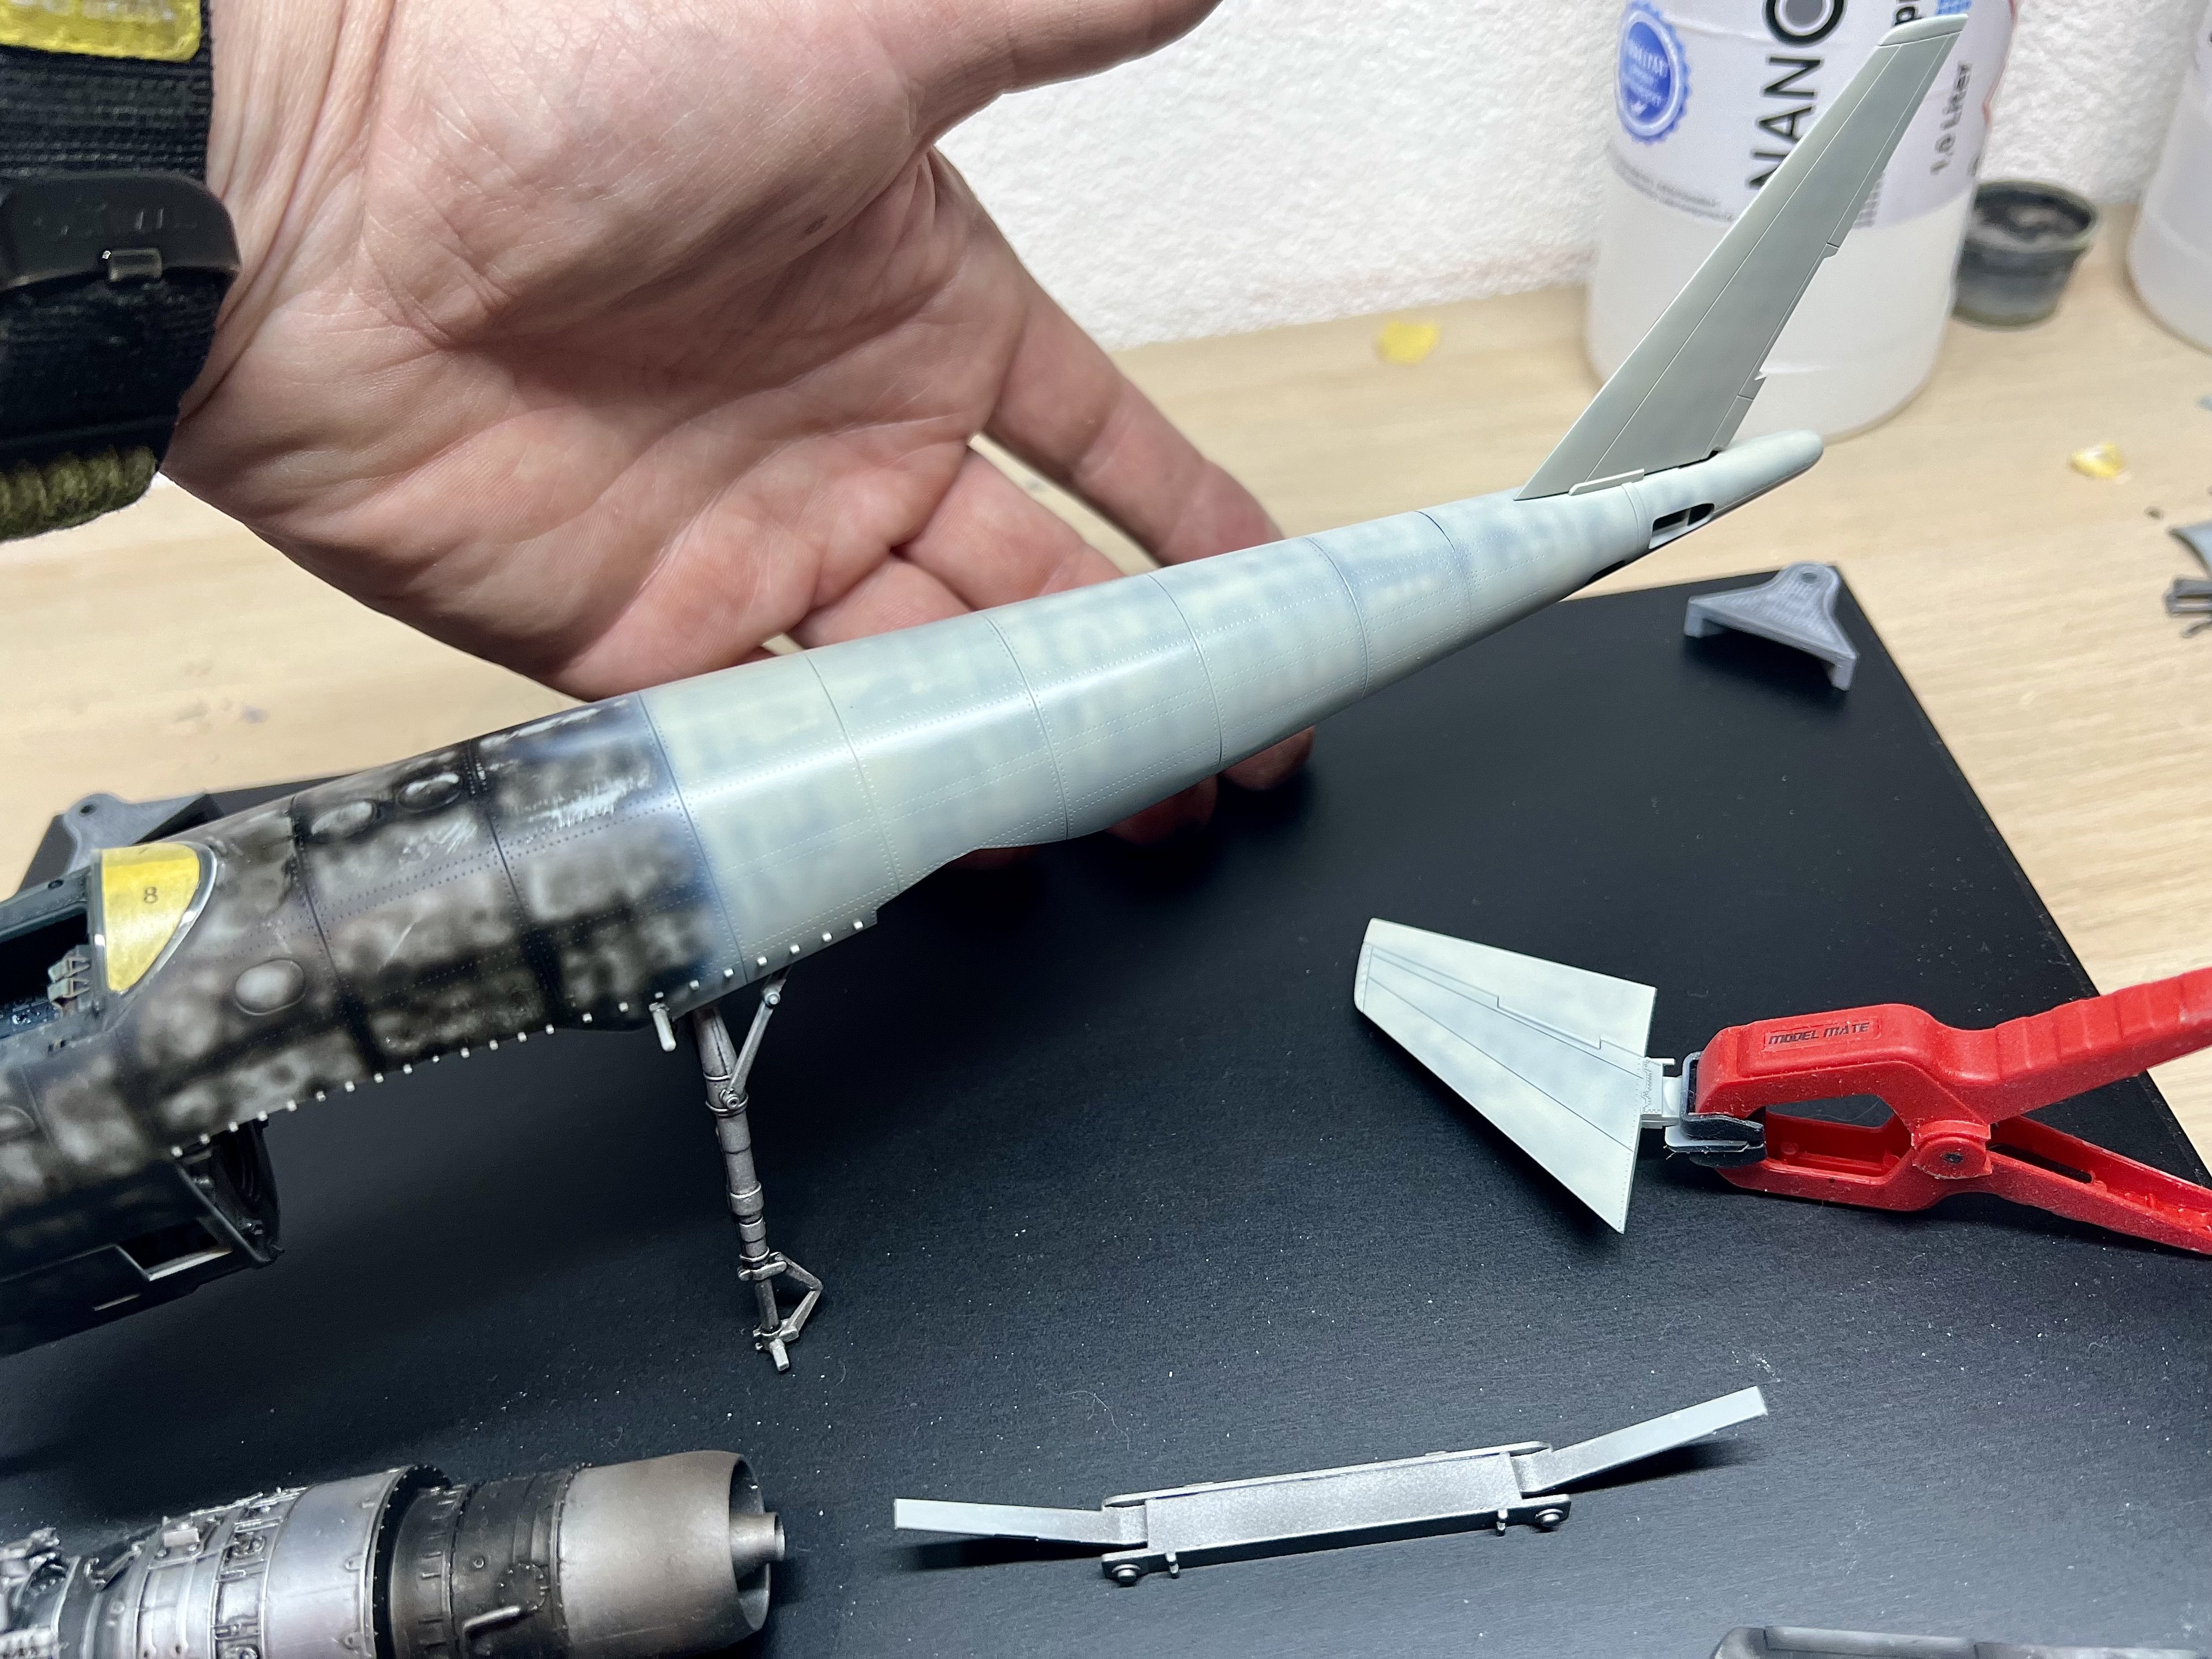
Using the excellent 1manarmy masks to spray the Duralumin stamps.

-
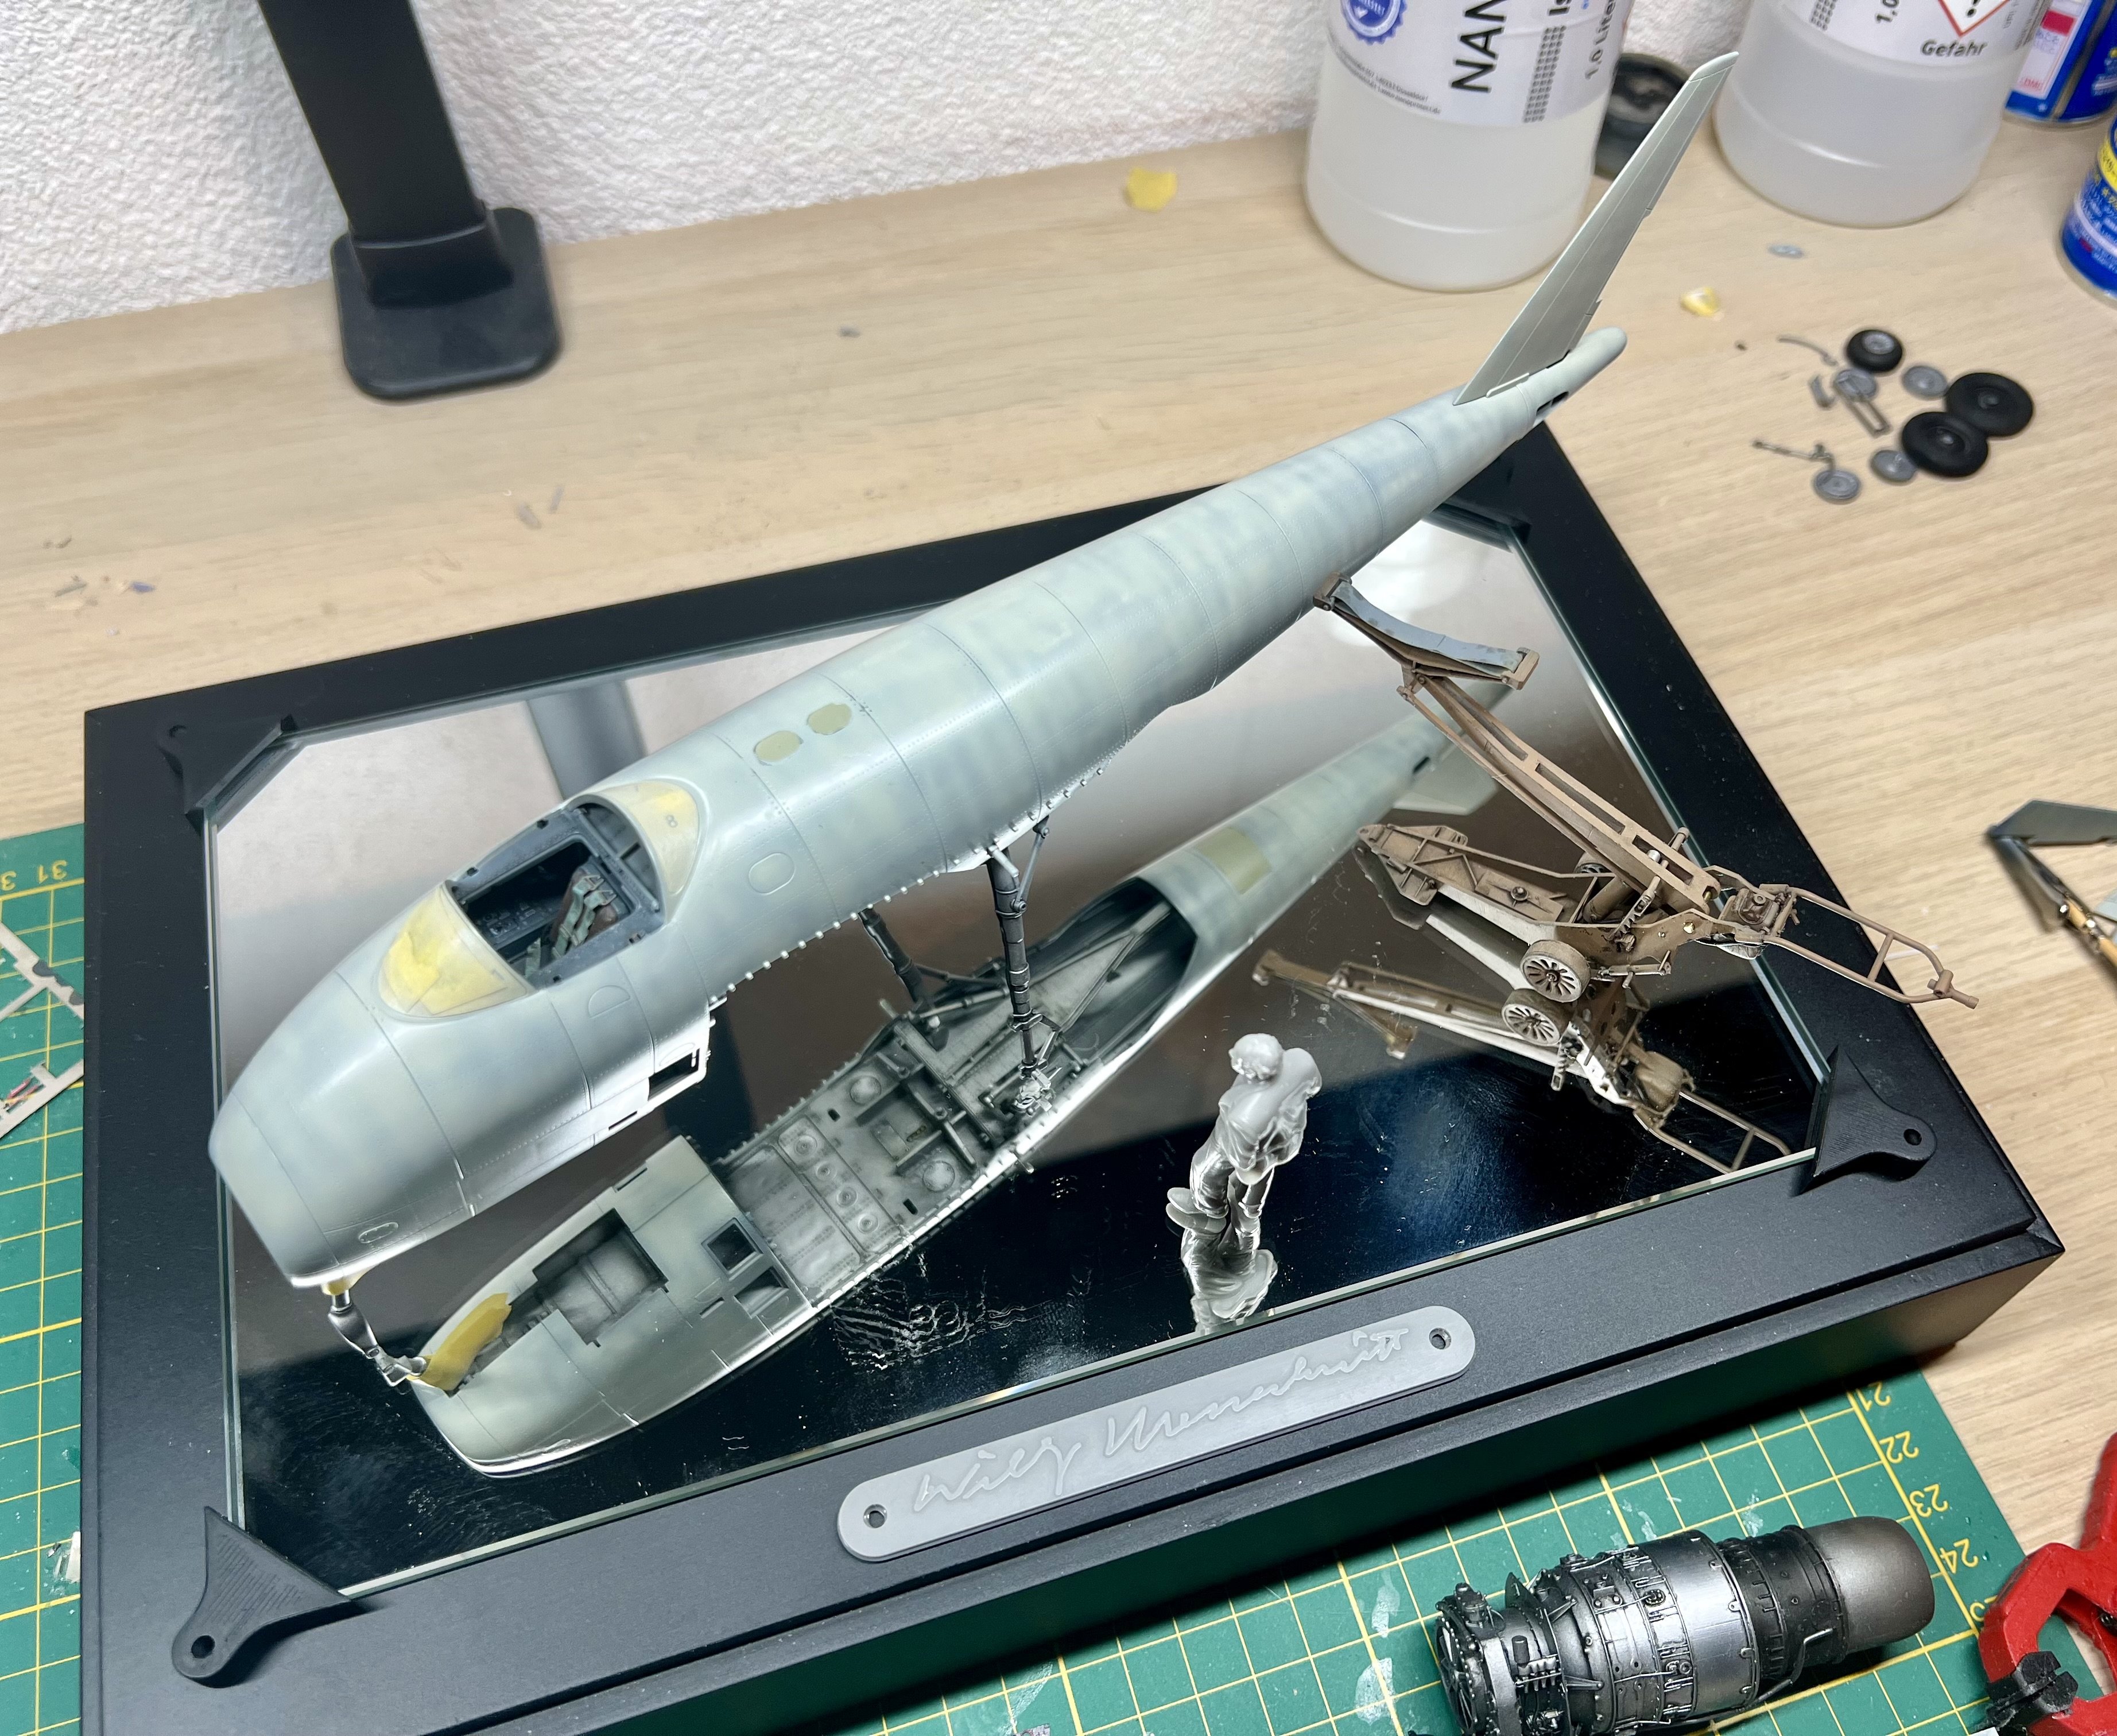
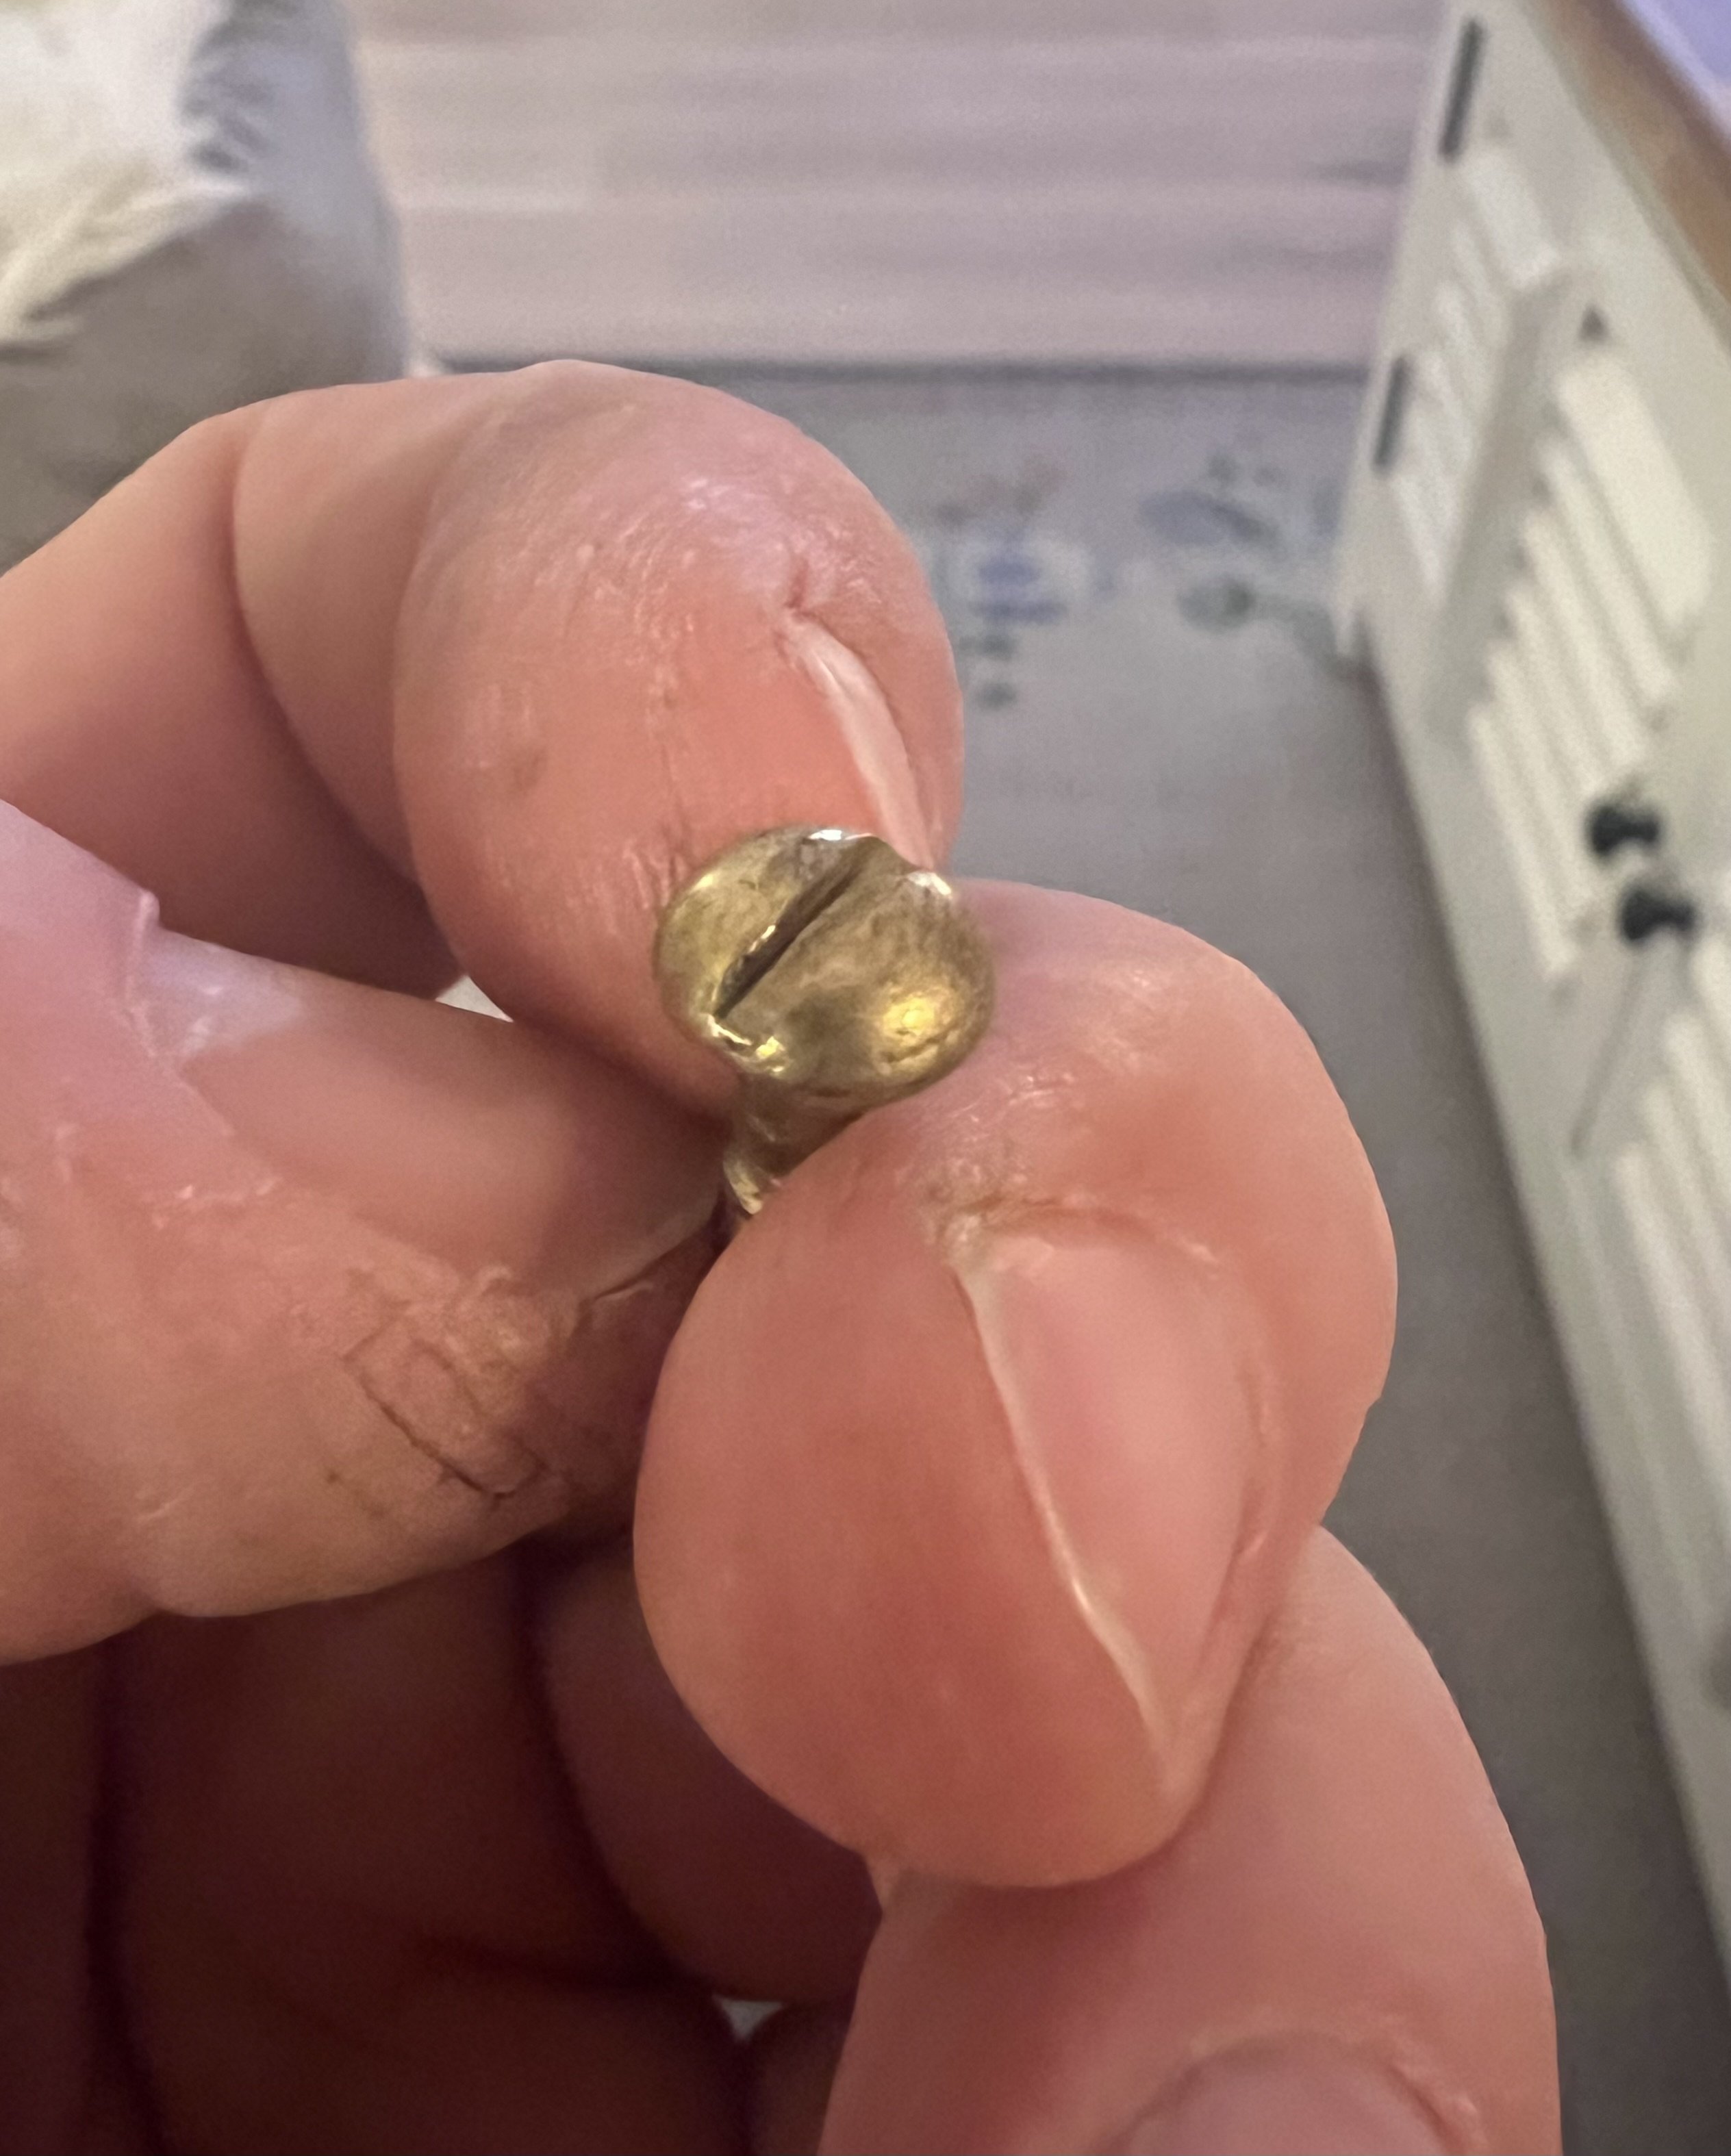
Recieved the mirror. Perfect fit with the 3d printed corners. Also went to a special hardware store to but round head screws to fit with the era and Luftwaffe theme.

-
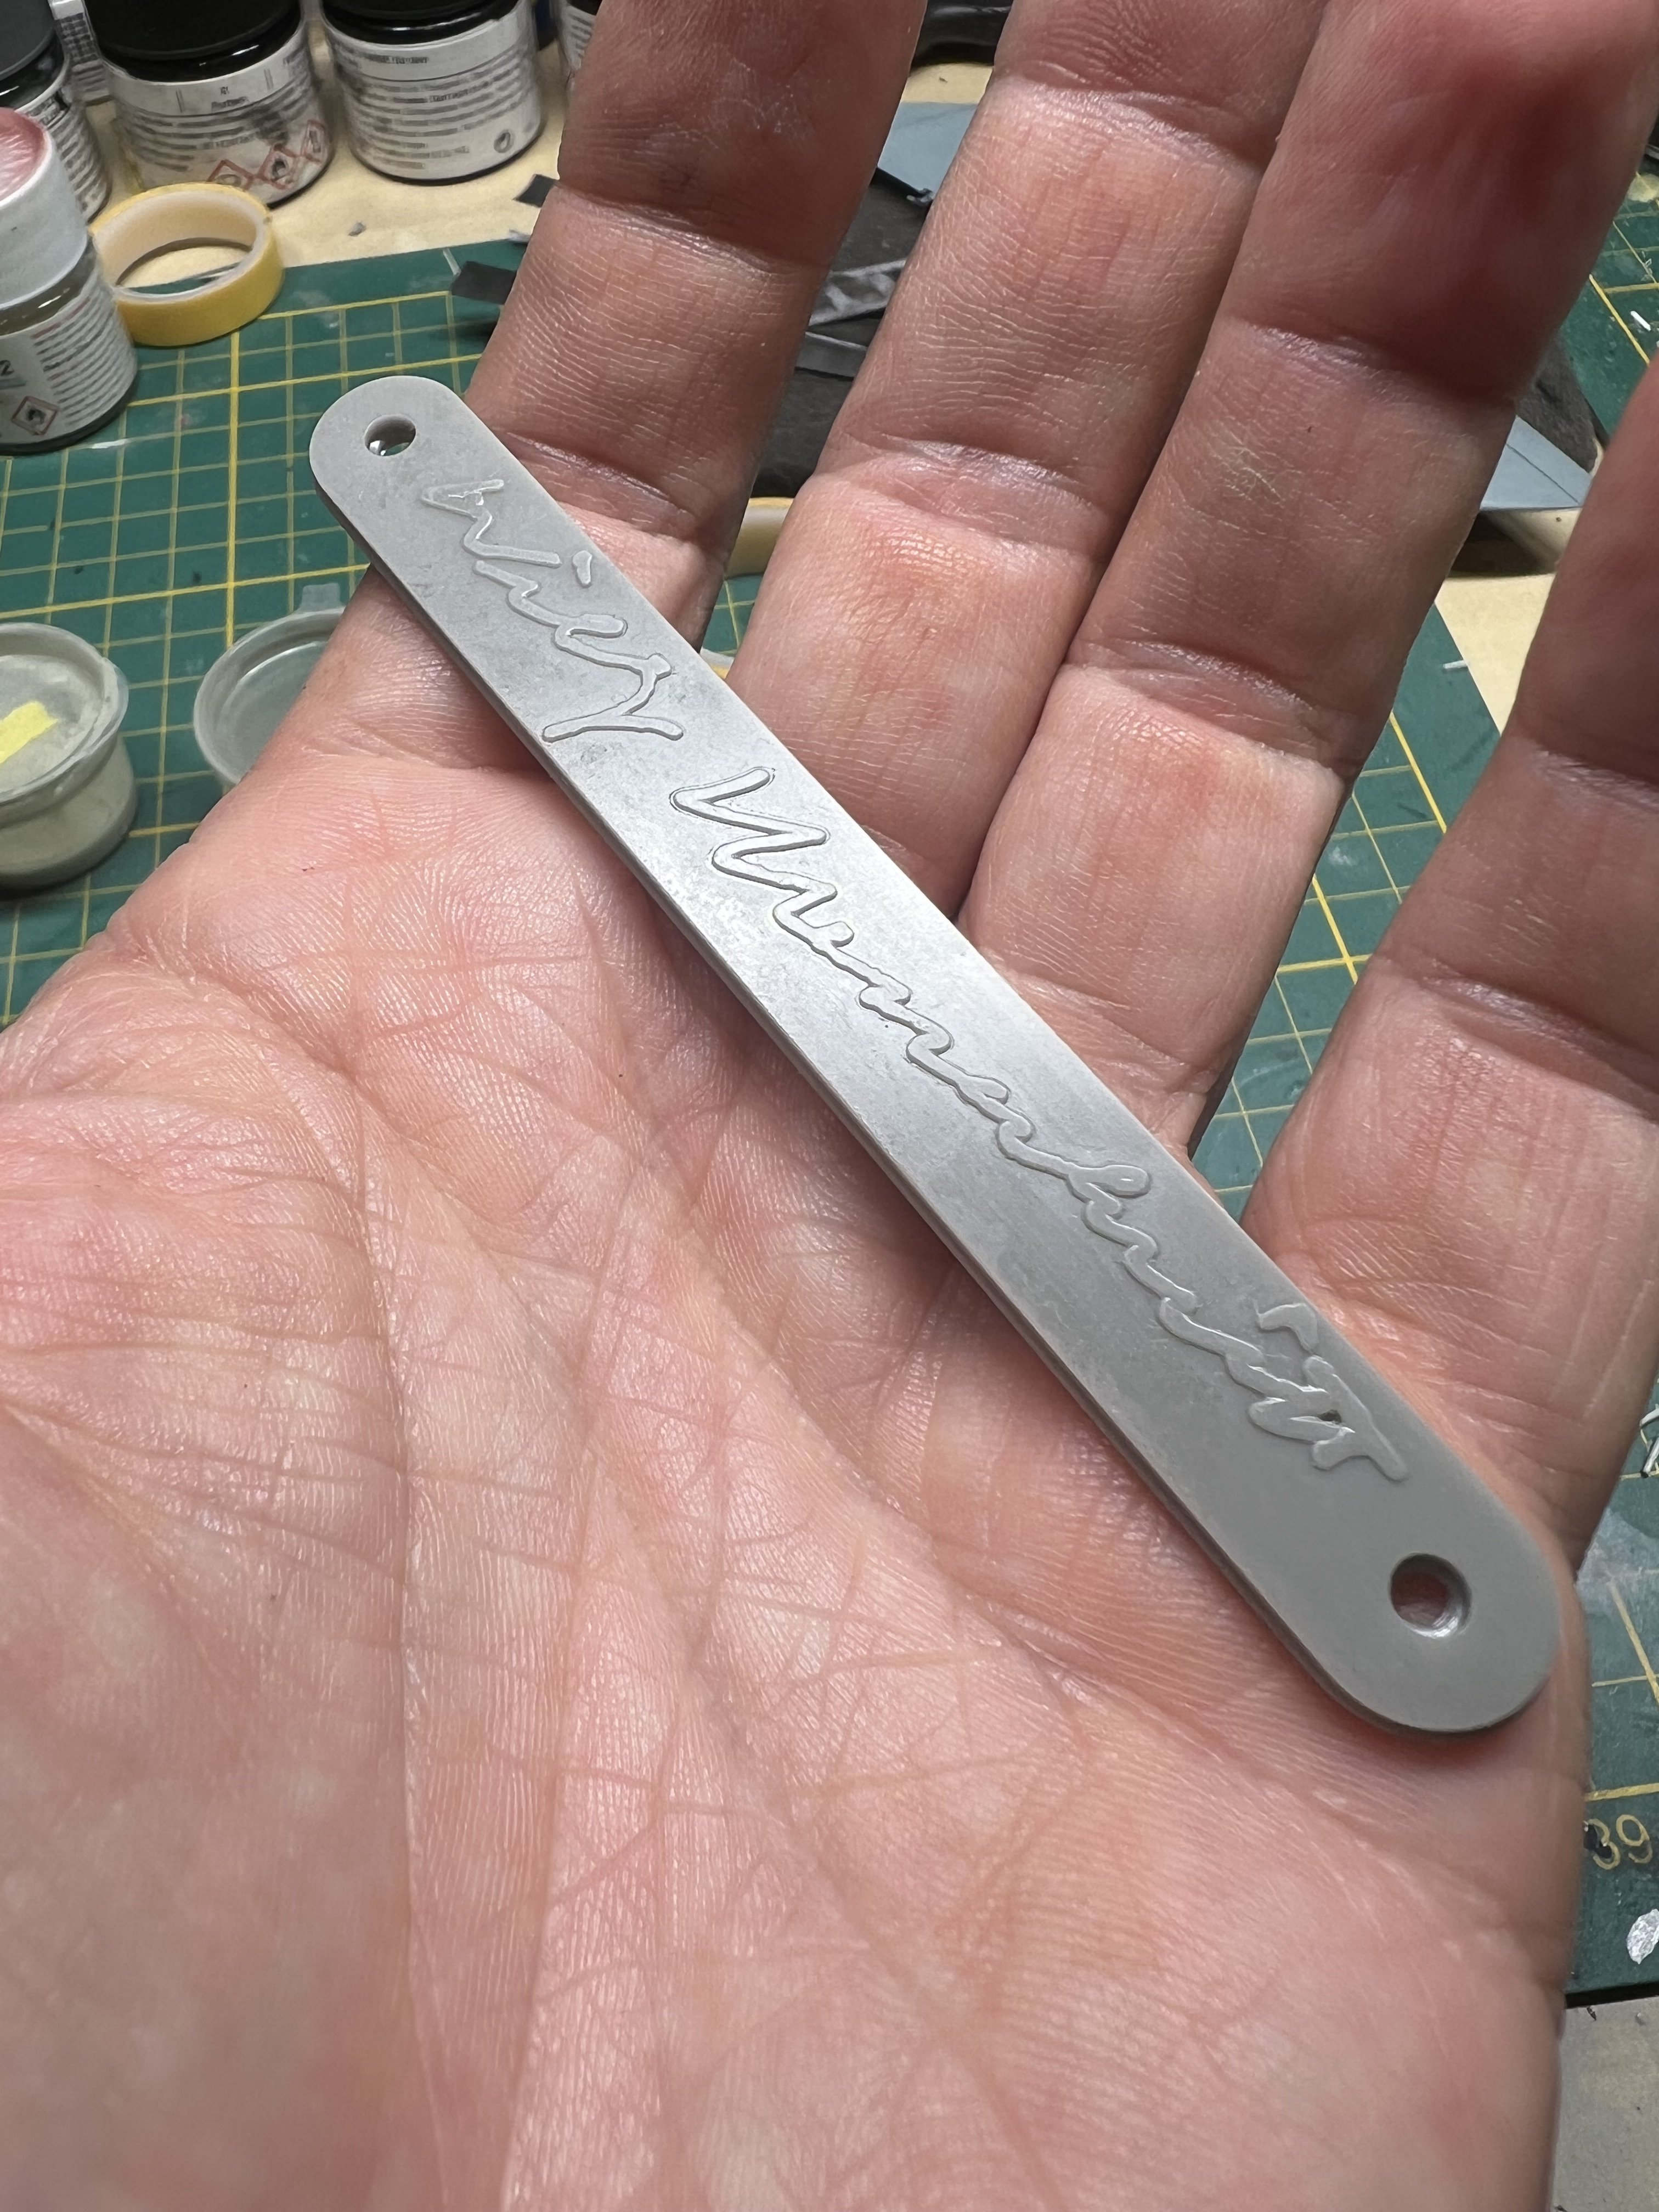
Wasnt happy with the PLA printed name badge, so i reprinted it with resin. Much better ofcourse.

-
Fuse done.
-
Mixed the very lightened faded Rlm02. Pretty pleased.

-
All masked up. Inside and outside.

-
Using the Artscale excellent inside and outside canopy masks.


-
Quite liking this! I love the Re4. I made the resin HPH version years ago.
-
Where it took a dozen print tries with the Anycubic, the Elegoo is a first time right. Amazing printer. So far.. The resin i now use is Inslogic. Best resin so far. I might use the new wings i printed :))