JeroenPeters
-
Posts
4,867 -
Joined
-
Last visited
Content Type
Profiles
Forums
Events
Gallery
Everything posted by JeroenPeters
-
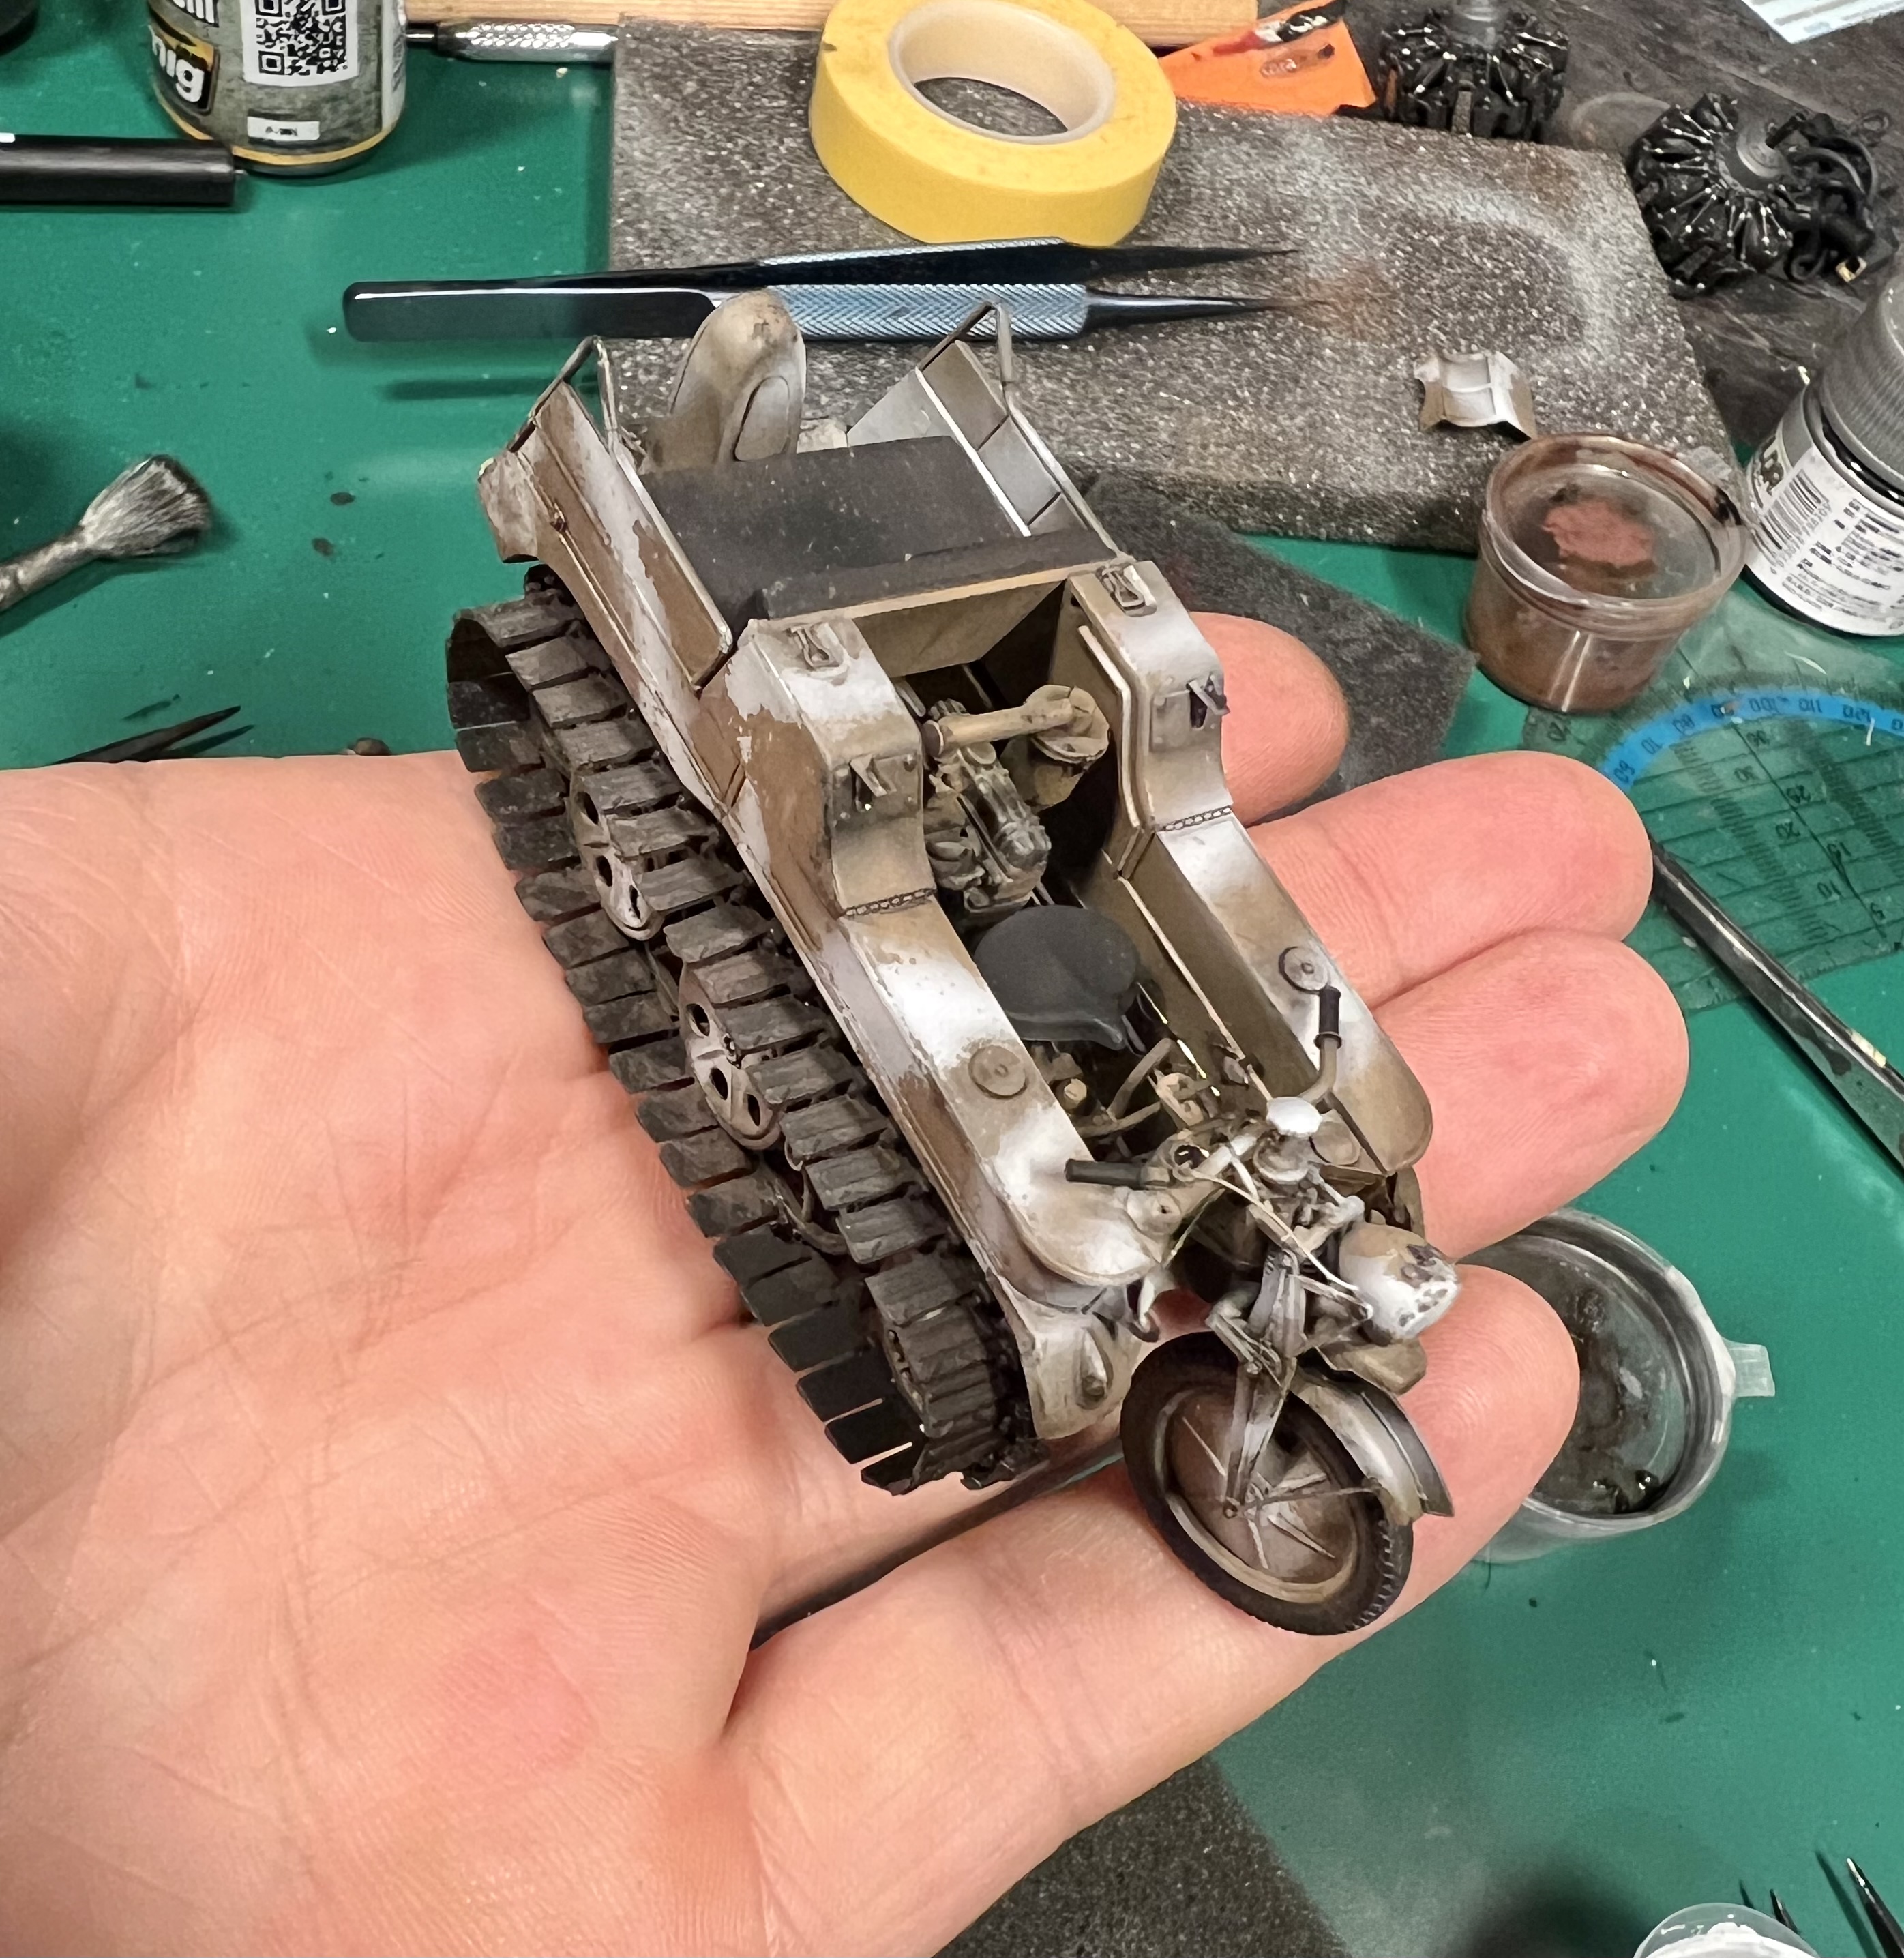
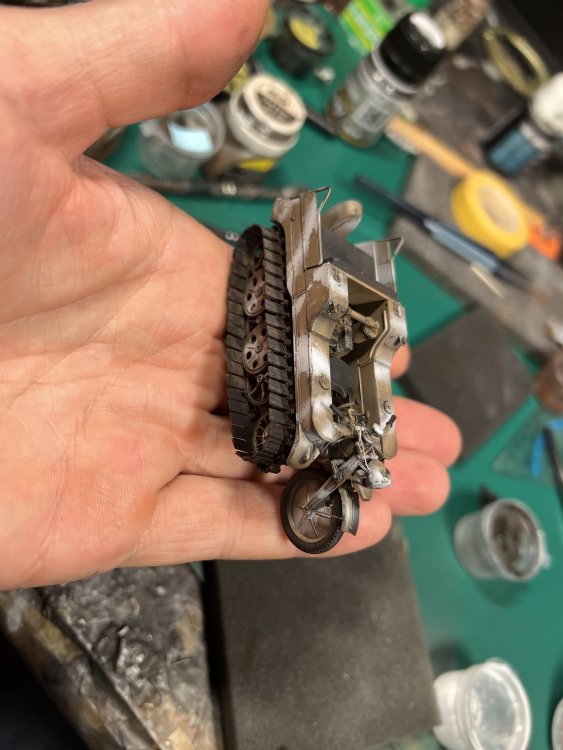
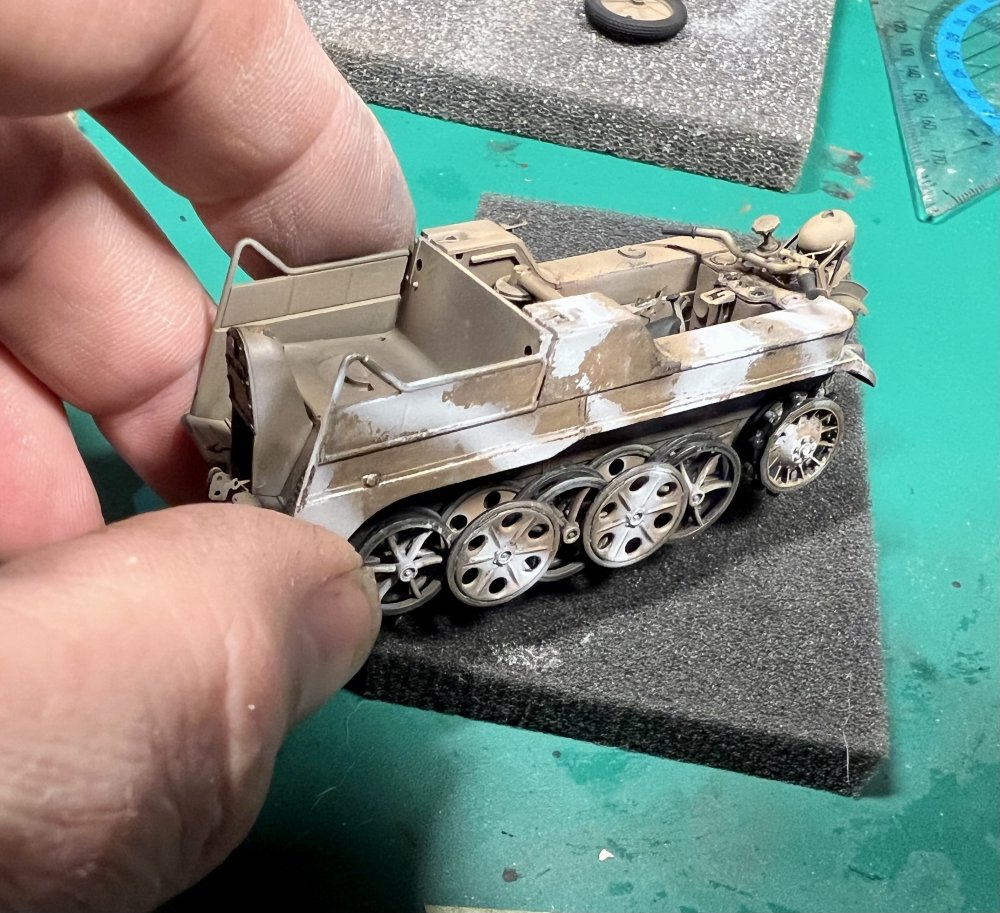
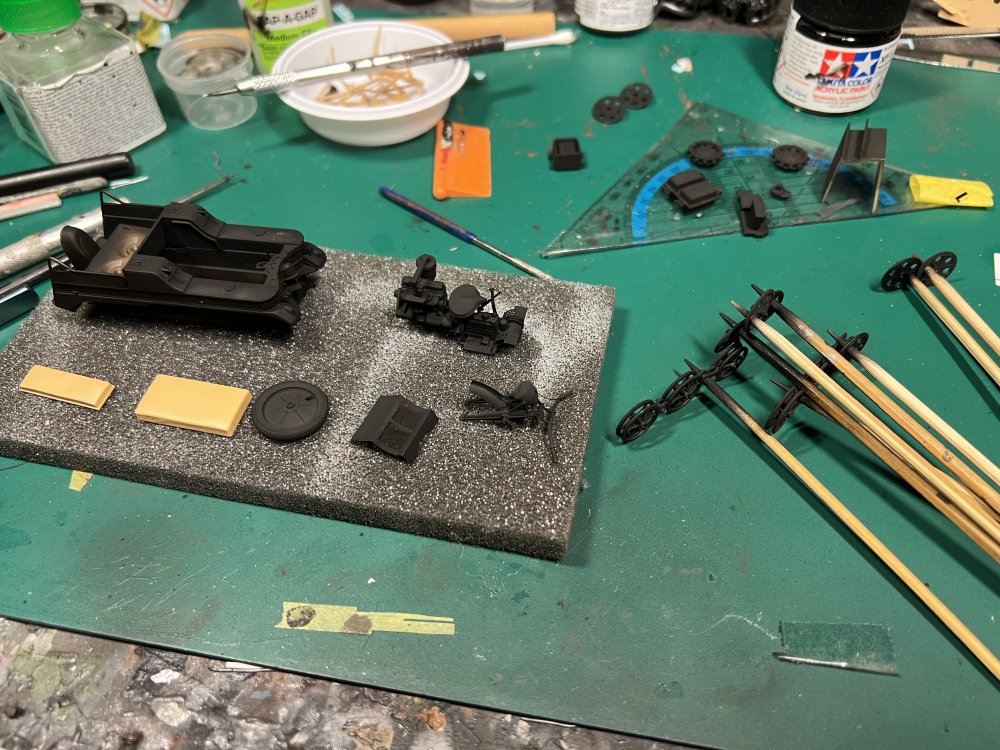
Aaalmost done. Well… with the Kettenkraftrad that is. The tracks were a proper pain in the ass. They are lovely detailed but the connections are so loose, it’s almost impossible to fix the entire track.

- 256 replies
-
- 10
-

-

-
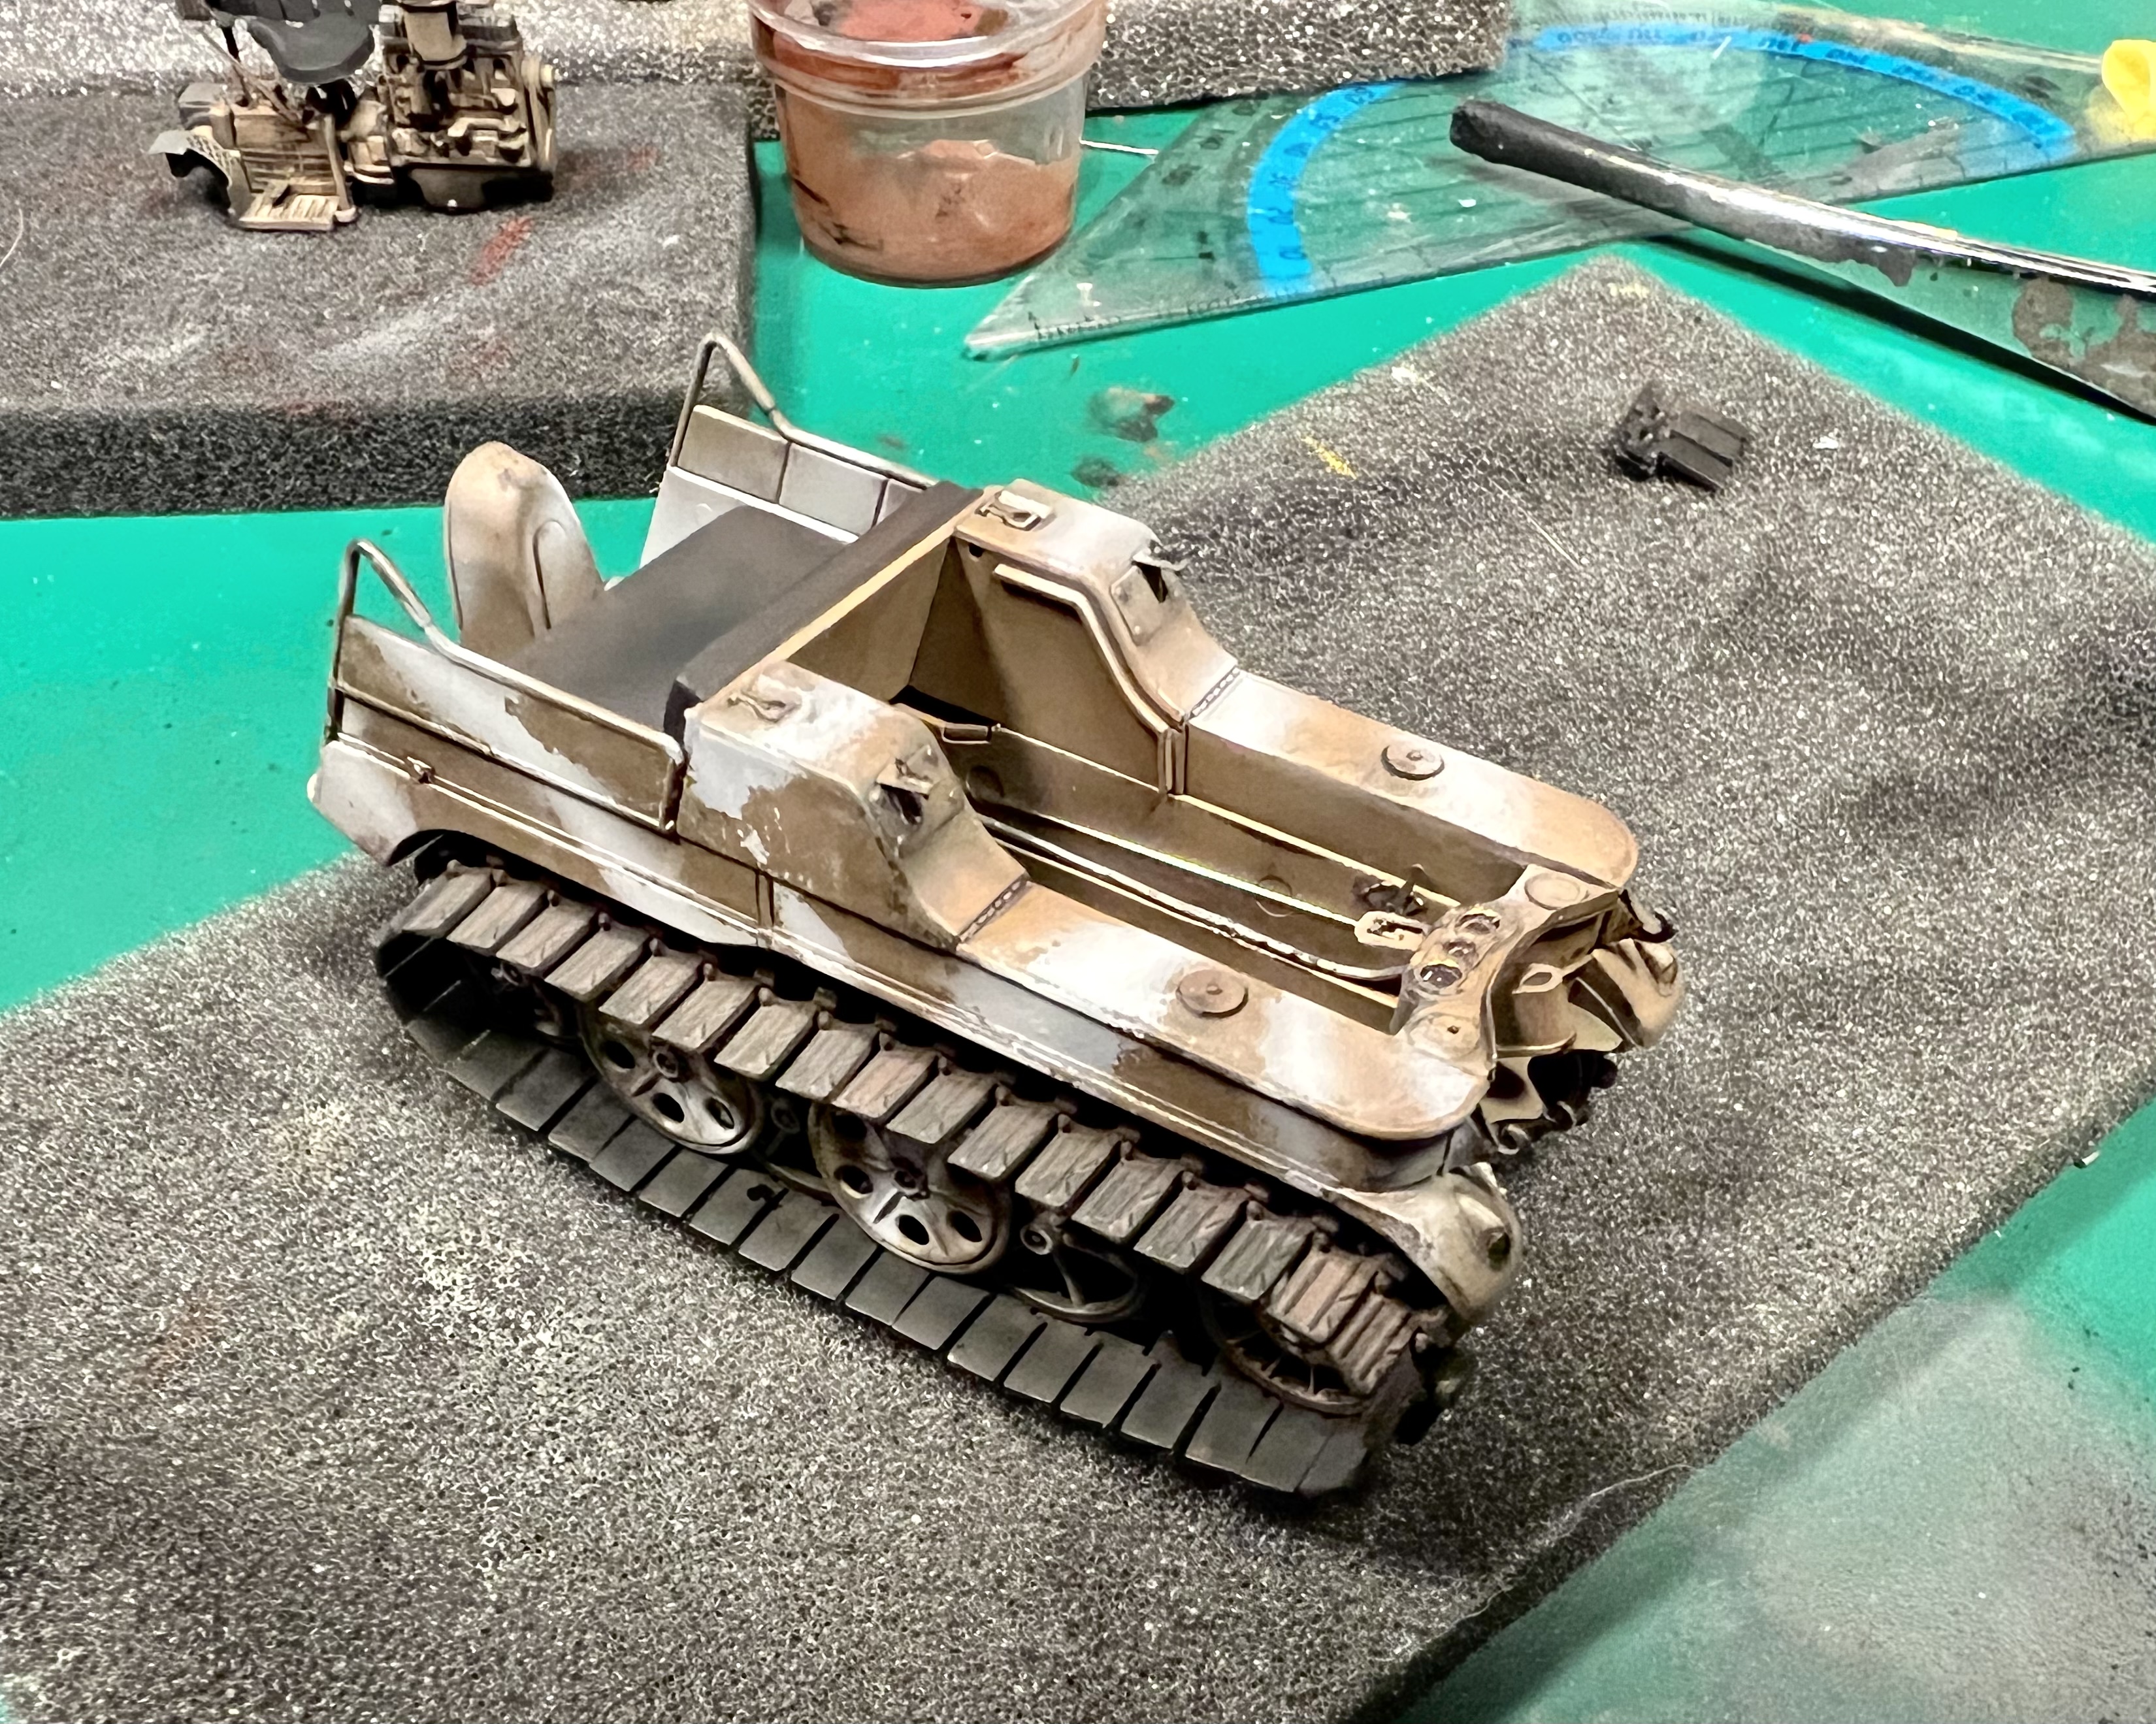
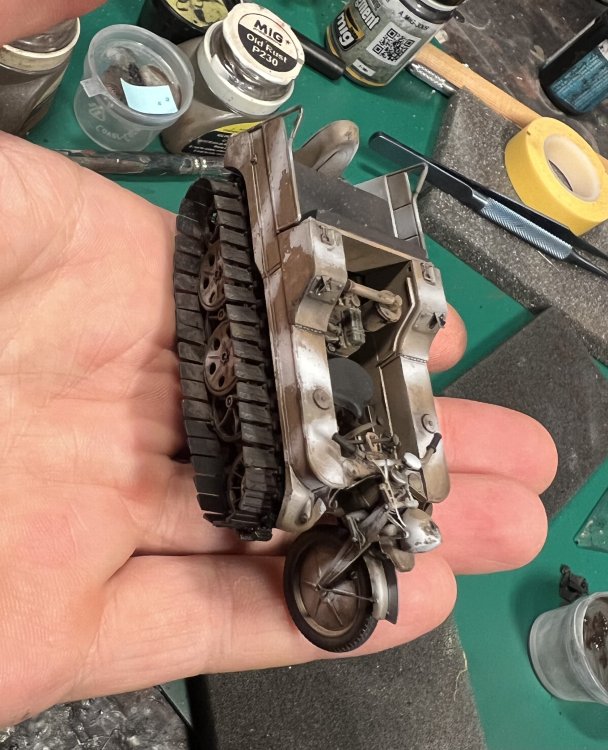
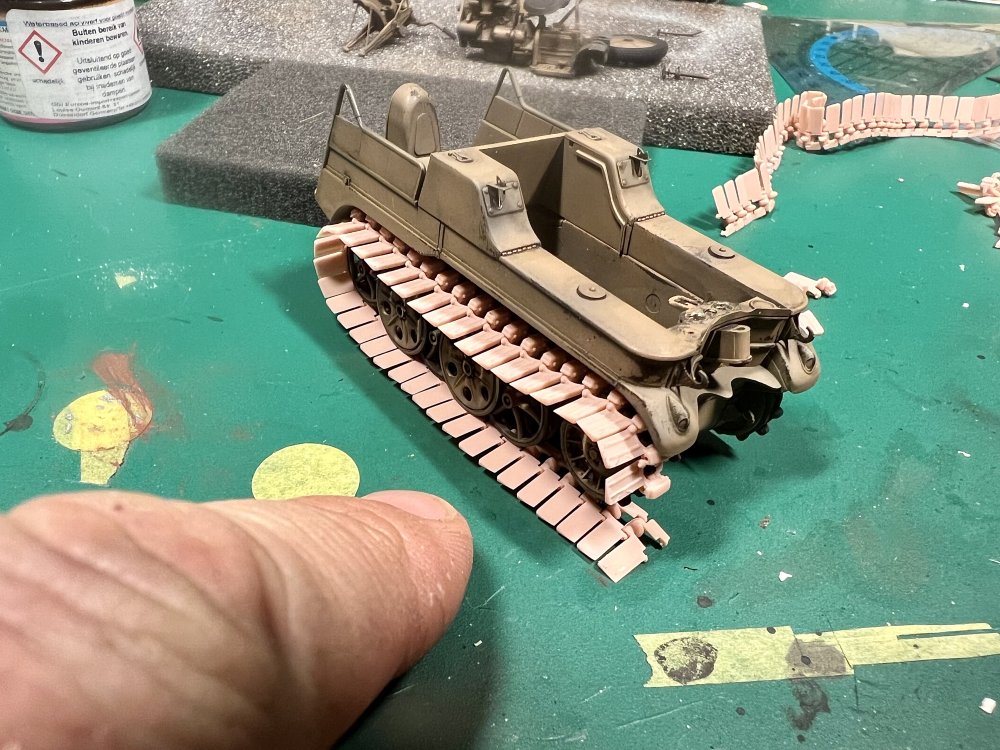
One track on. Really tight fit. Add one link and it’s waaay to loose. This took me an hour! Kept seperating on me.

- 256 replies
-
- 10
-
-
More

- 256 replies
-
- 12
-
-
-
- 256 replies
-
- 10
-
-
-
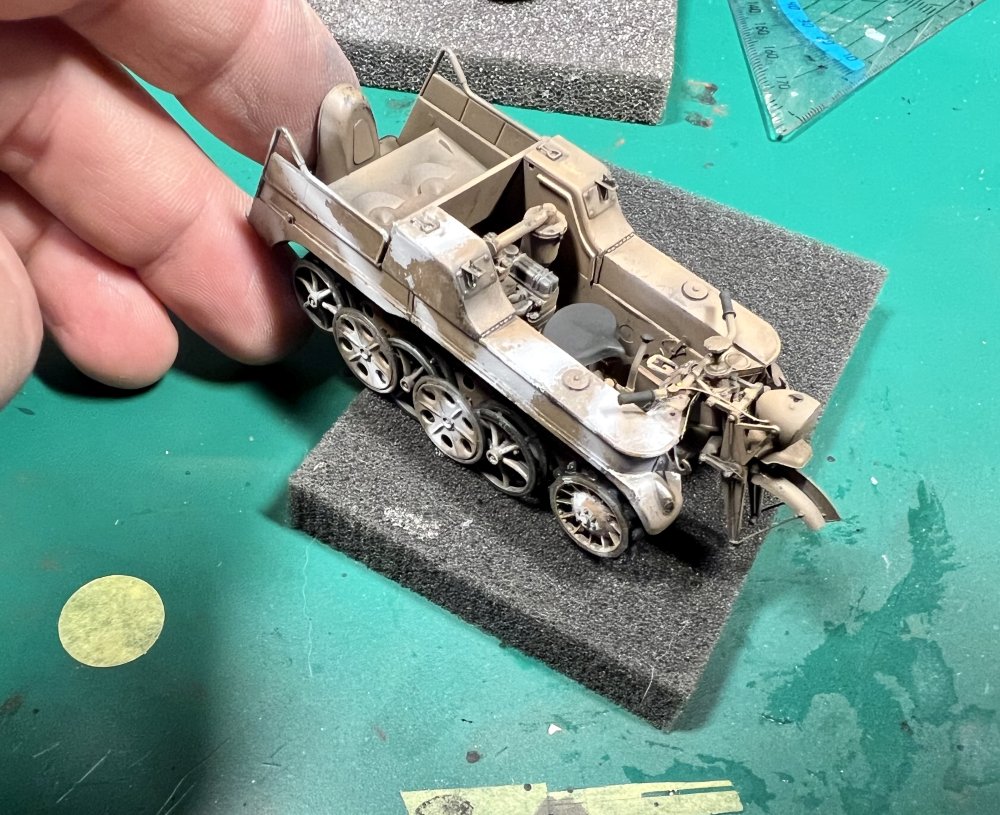
They are! Here’s the first winter camo on.
-
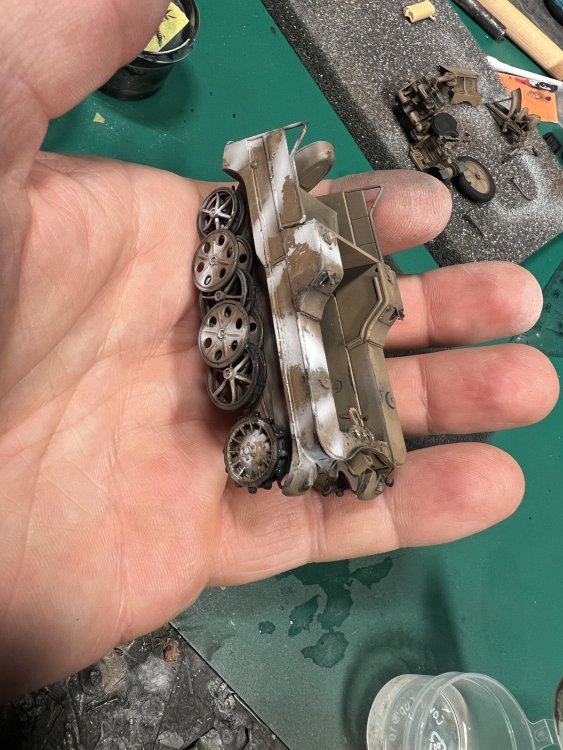
Carefully fitting the tracks. Very fiddly!

-
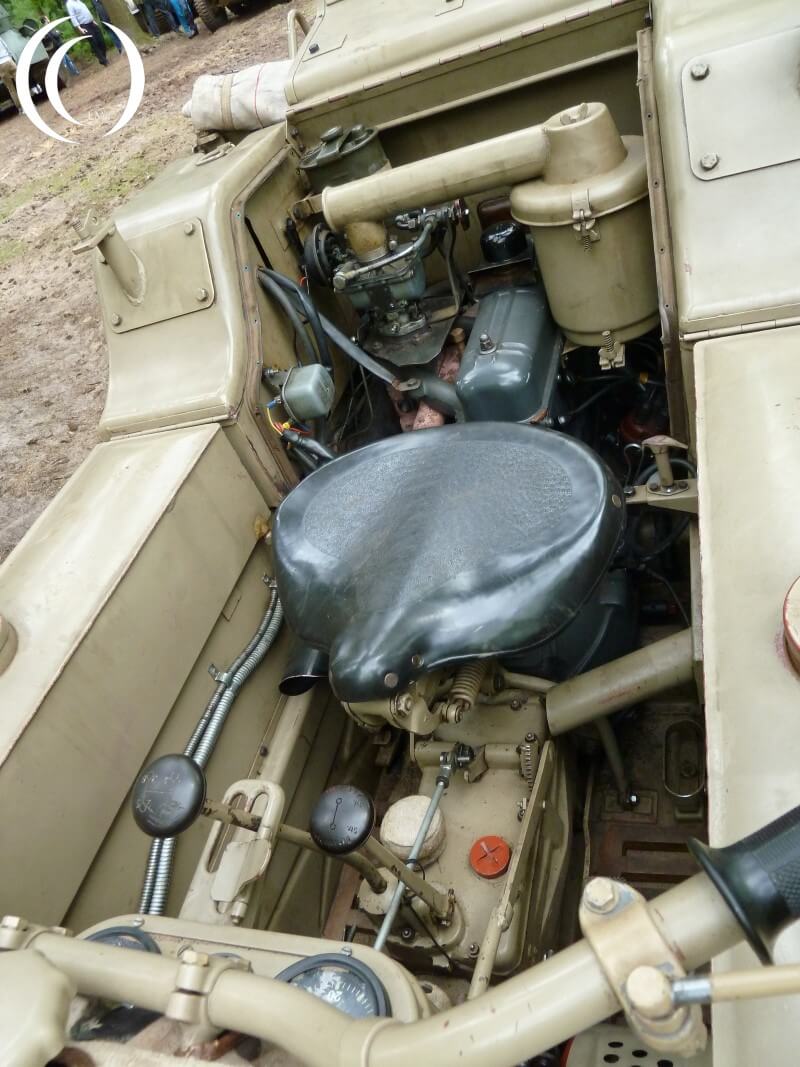
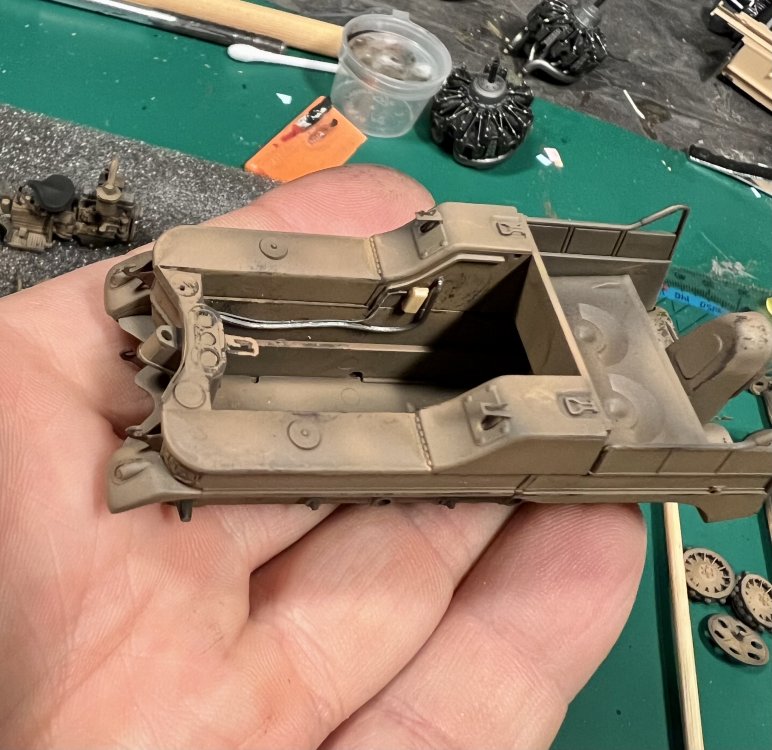
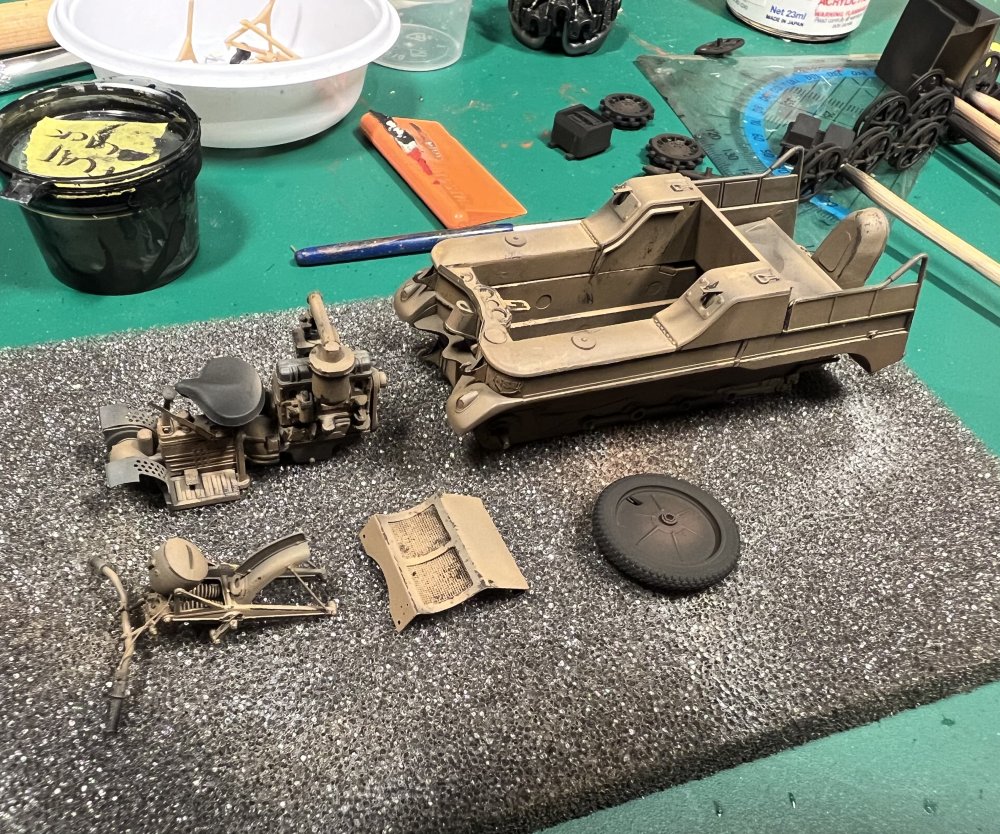
Adding wiring and details to the interior.
-
And more
-

-
Second layer of dark brown. Followed by hairspray and sandgeld.
- 256 replies
-
- 10
-
-
-
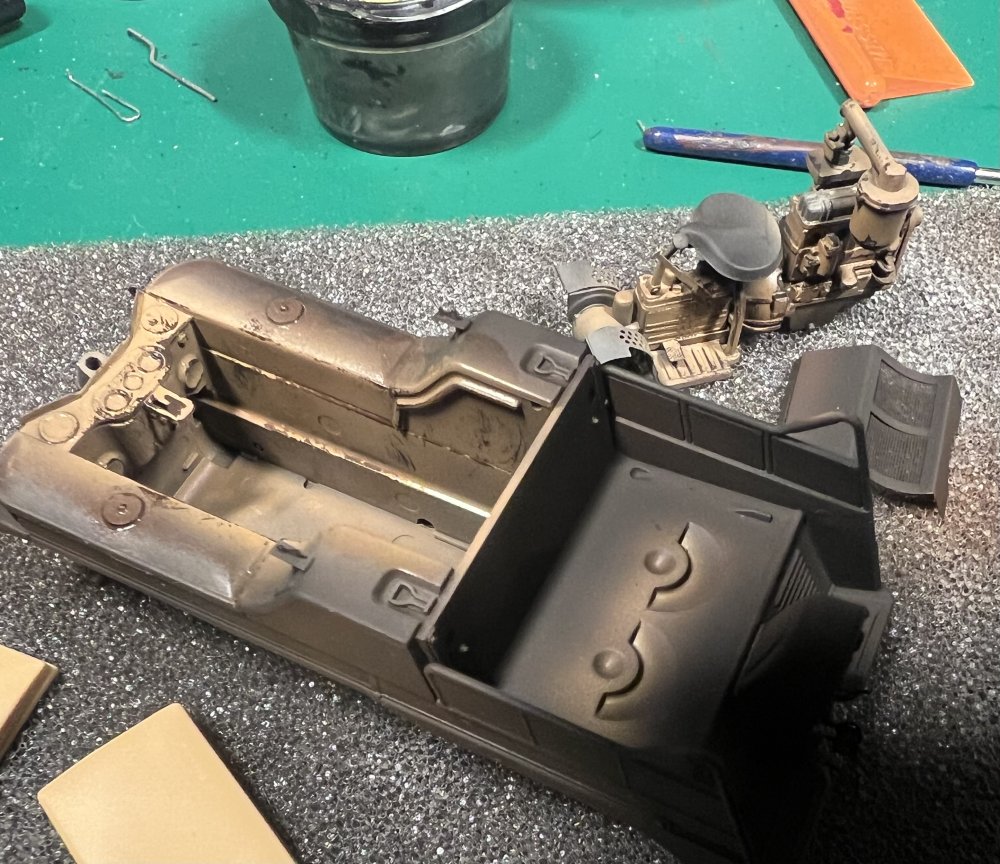
Paint base is on
- 256 replies
-
- 10
-
-
-
More work done.
- 256 replies
-
- 13
-
-
-
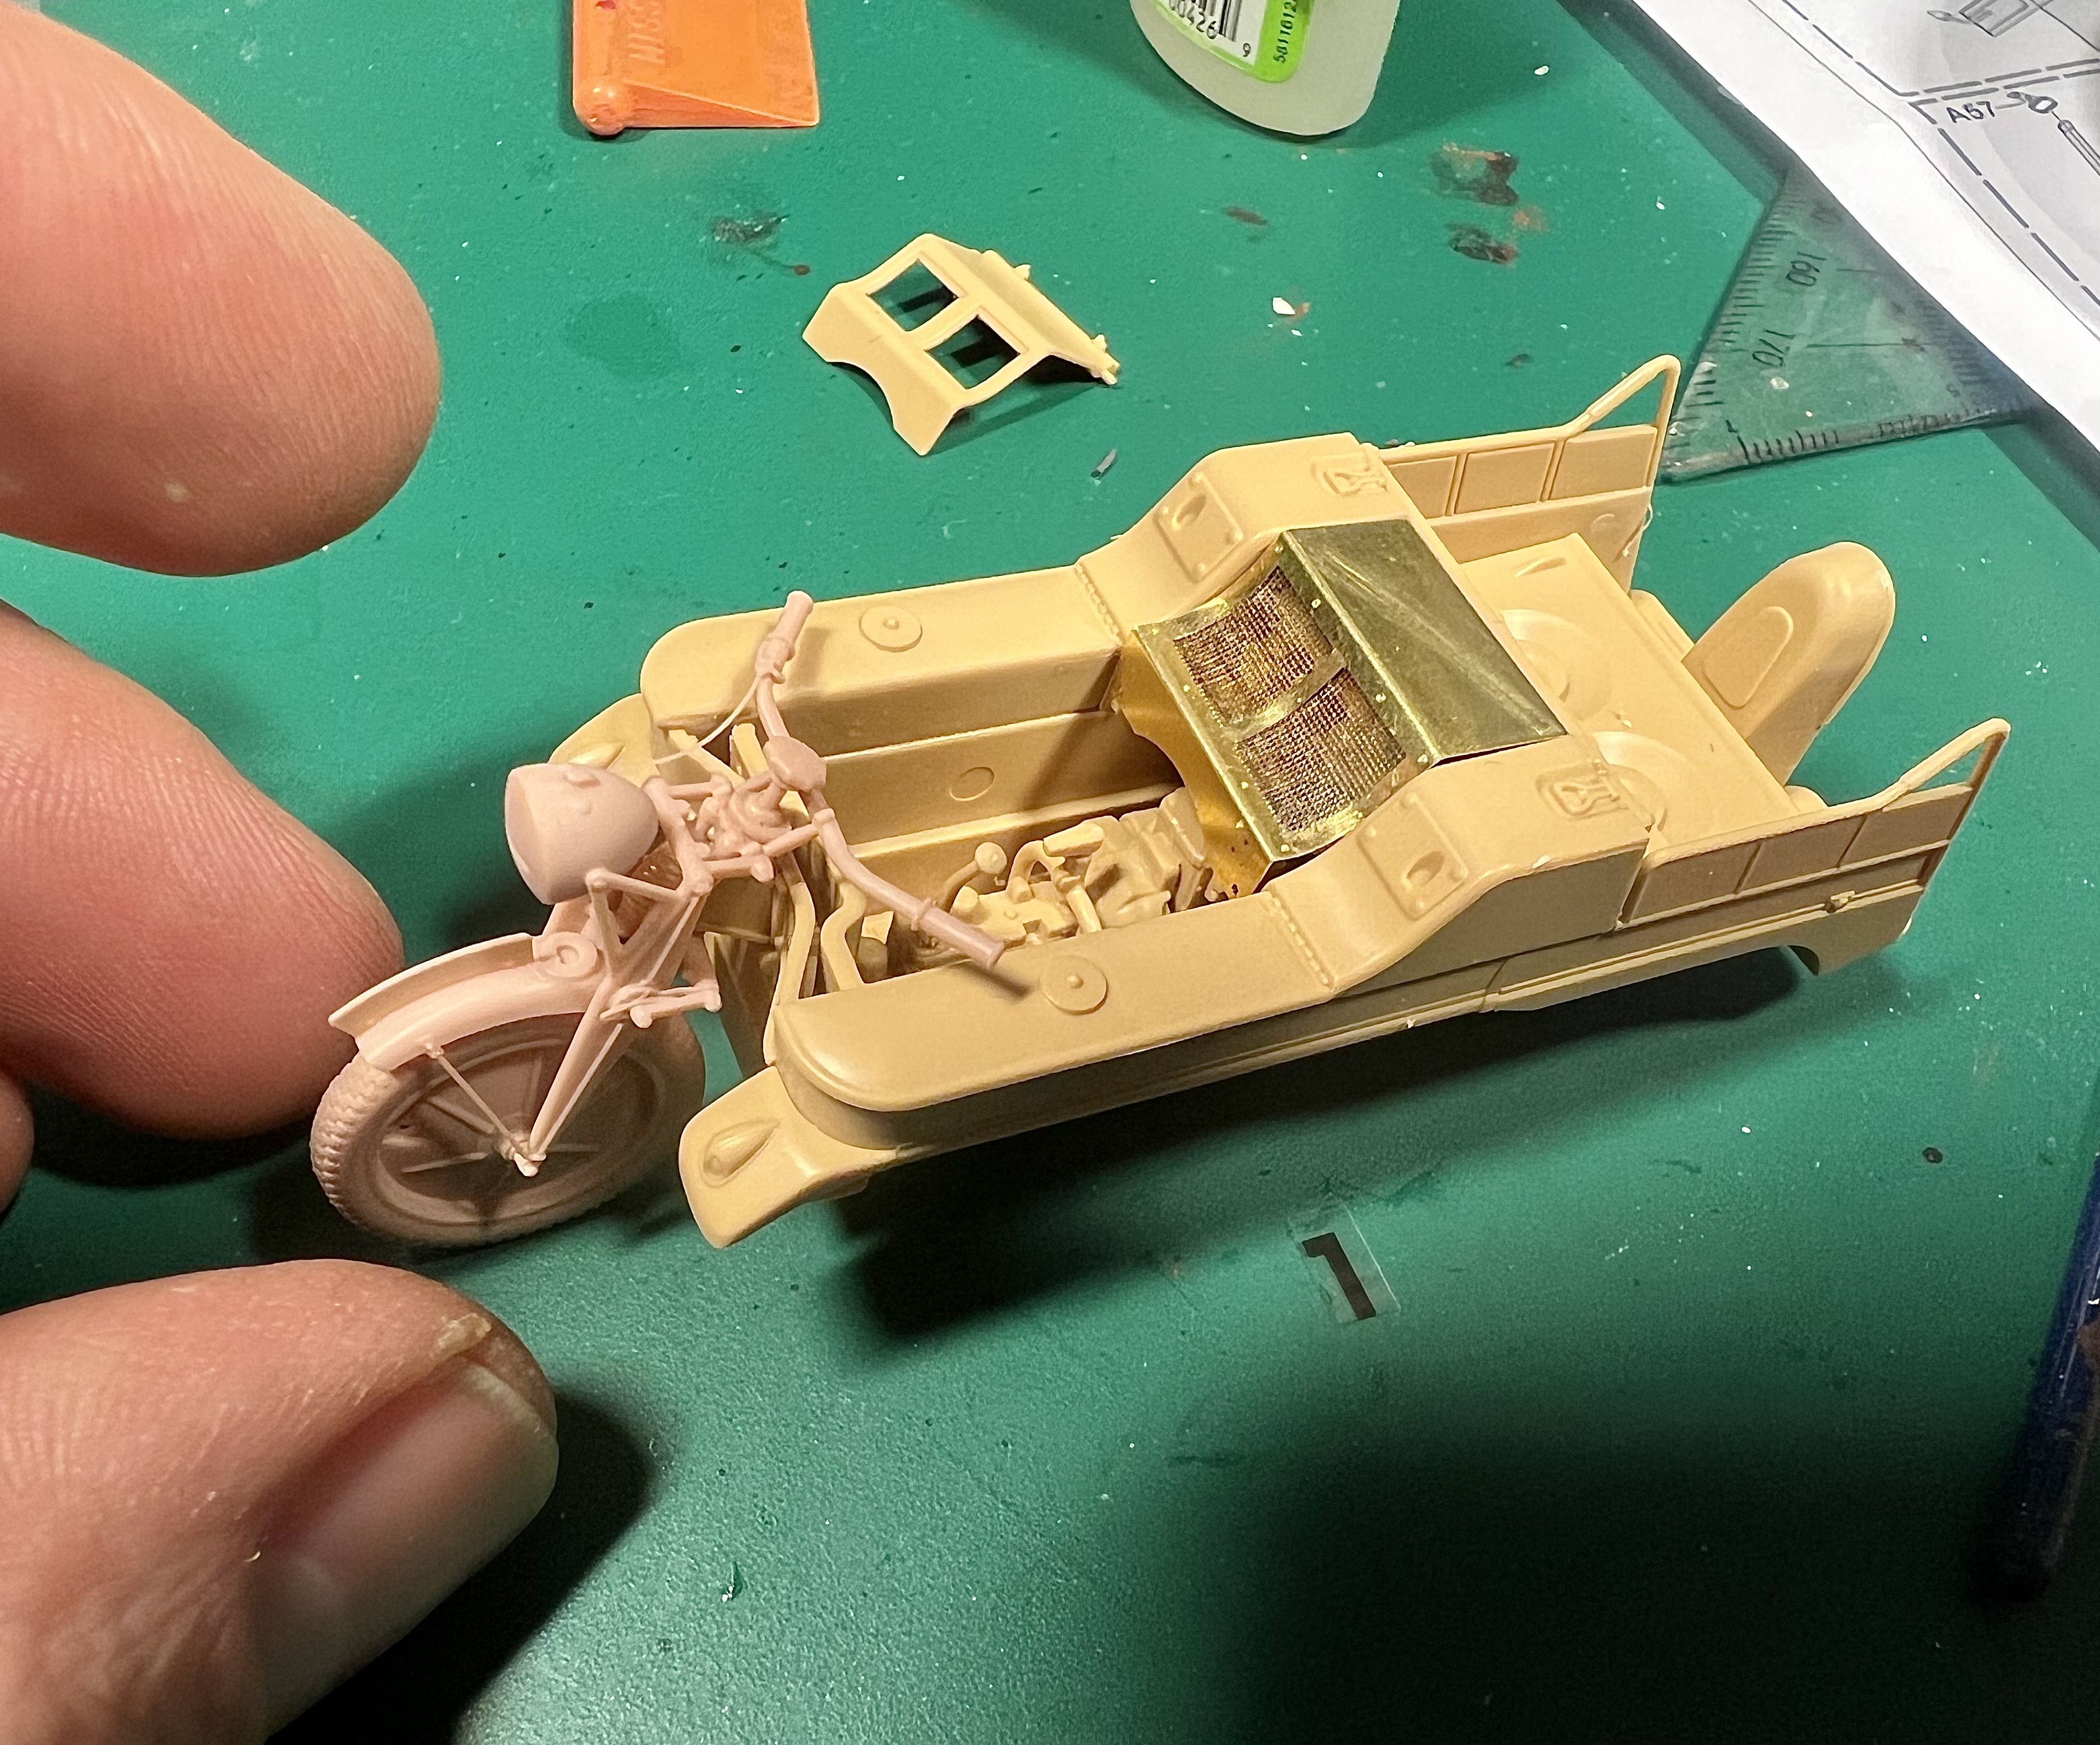
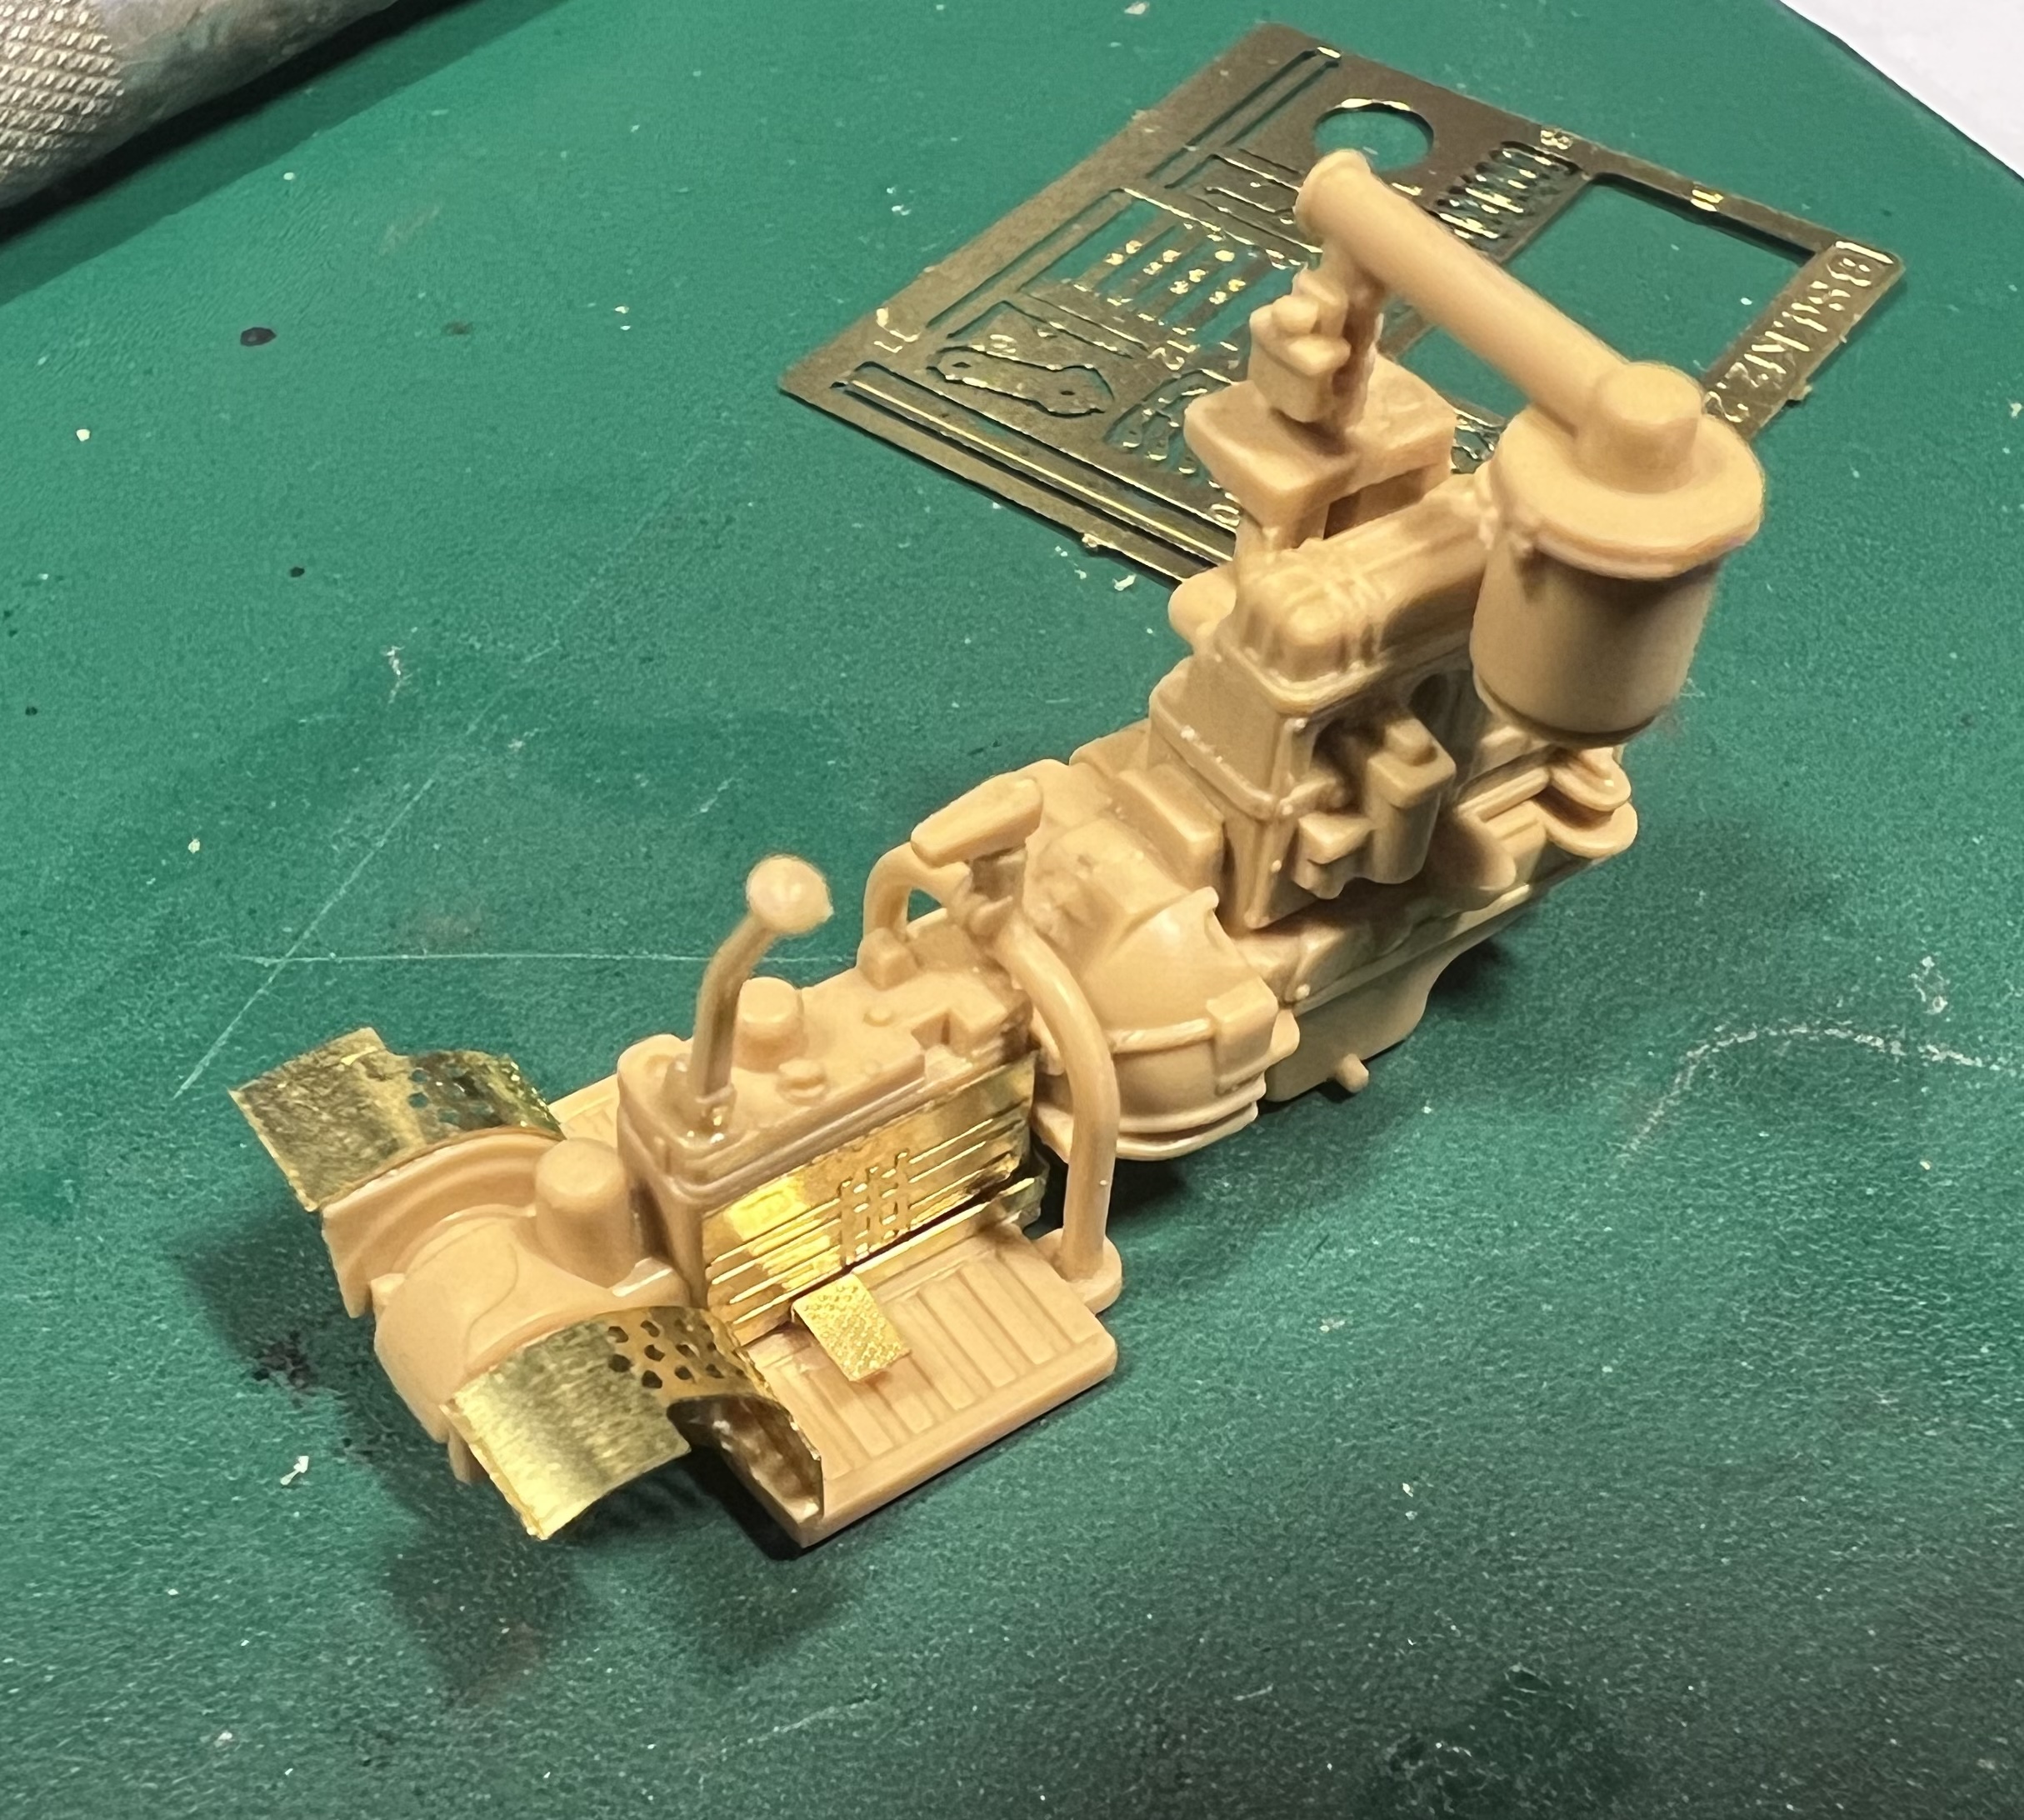
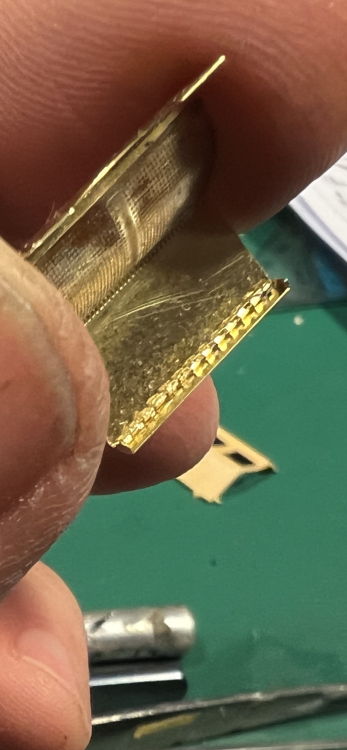
More photo etch
- 256 replies
-
- 12
-
-
-
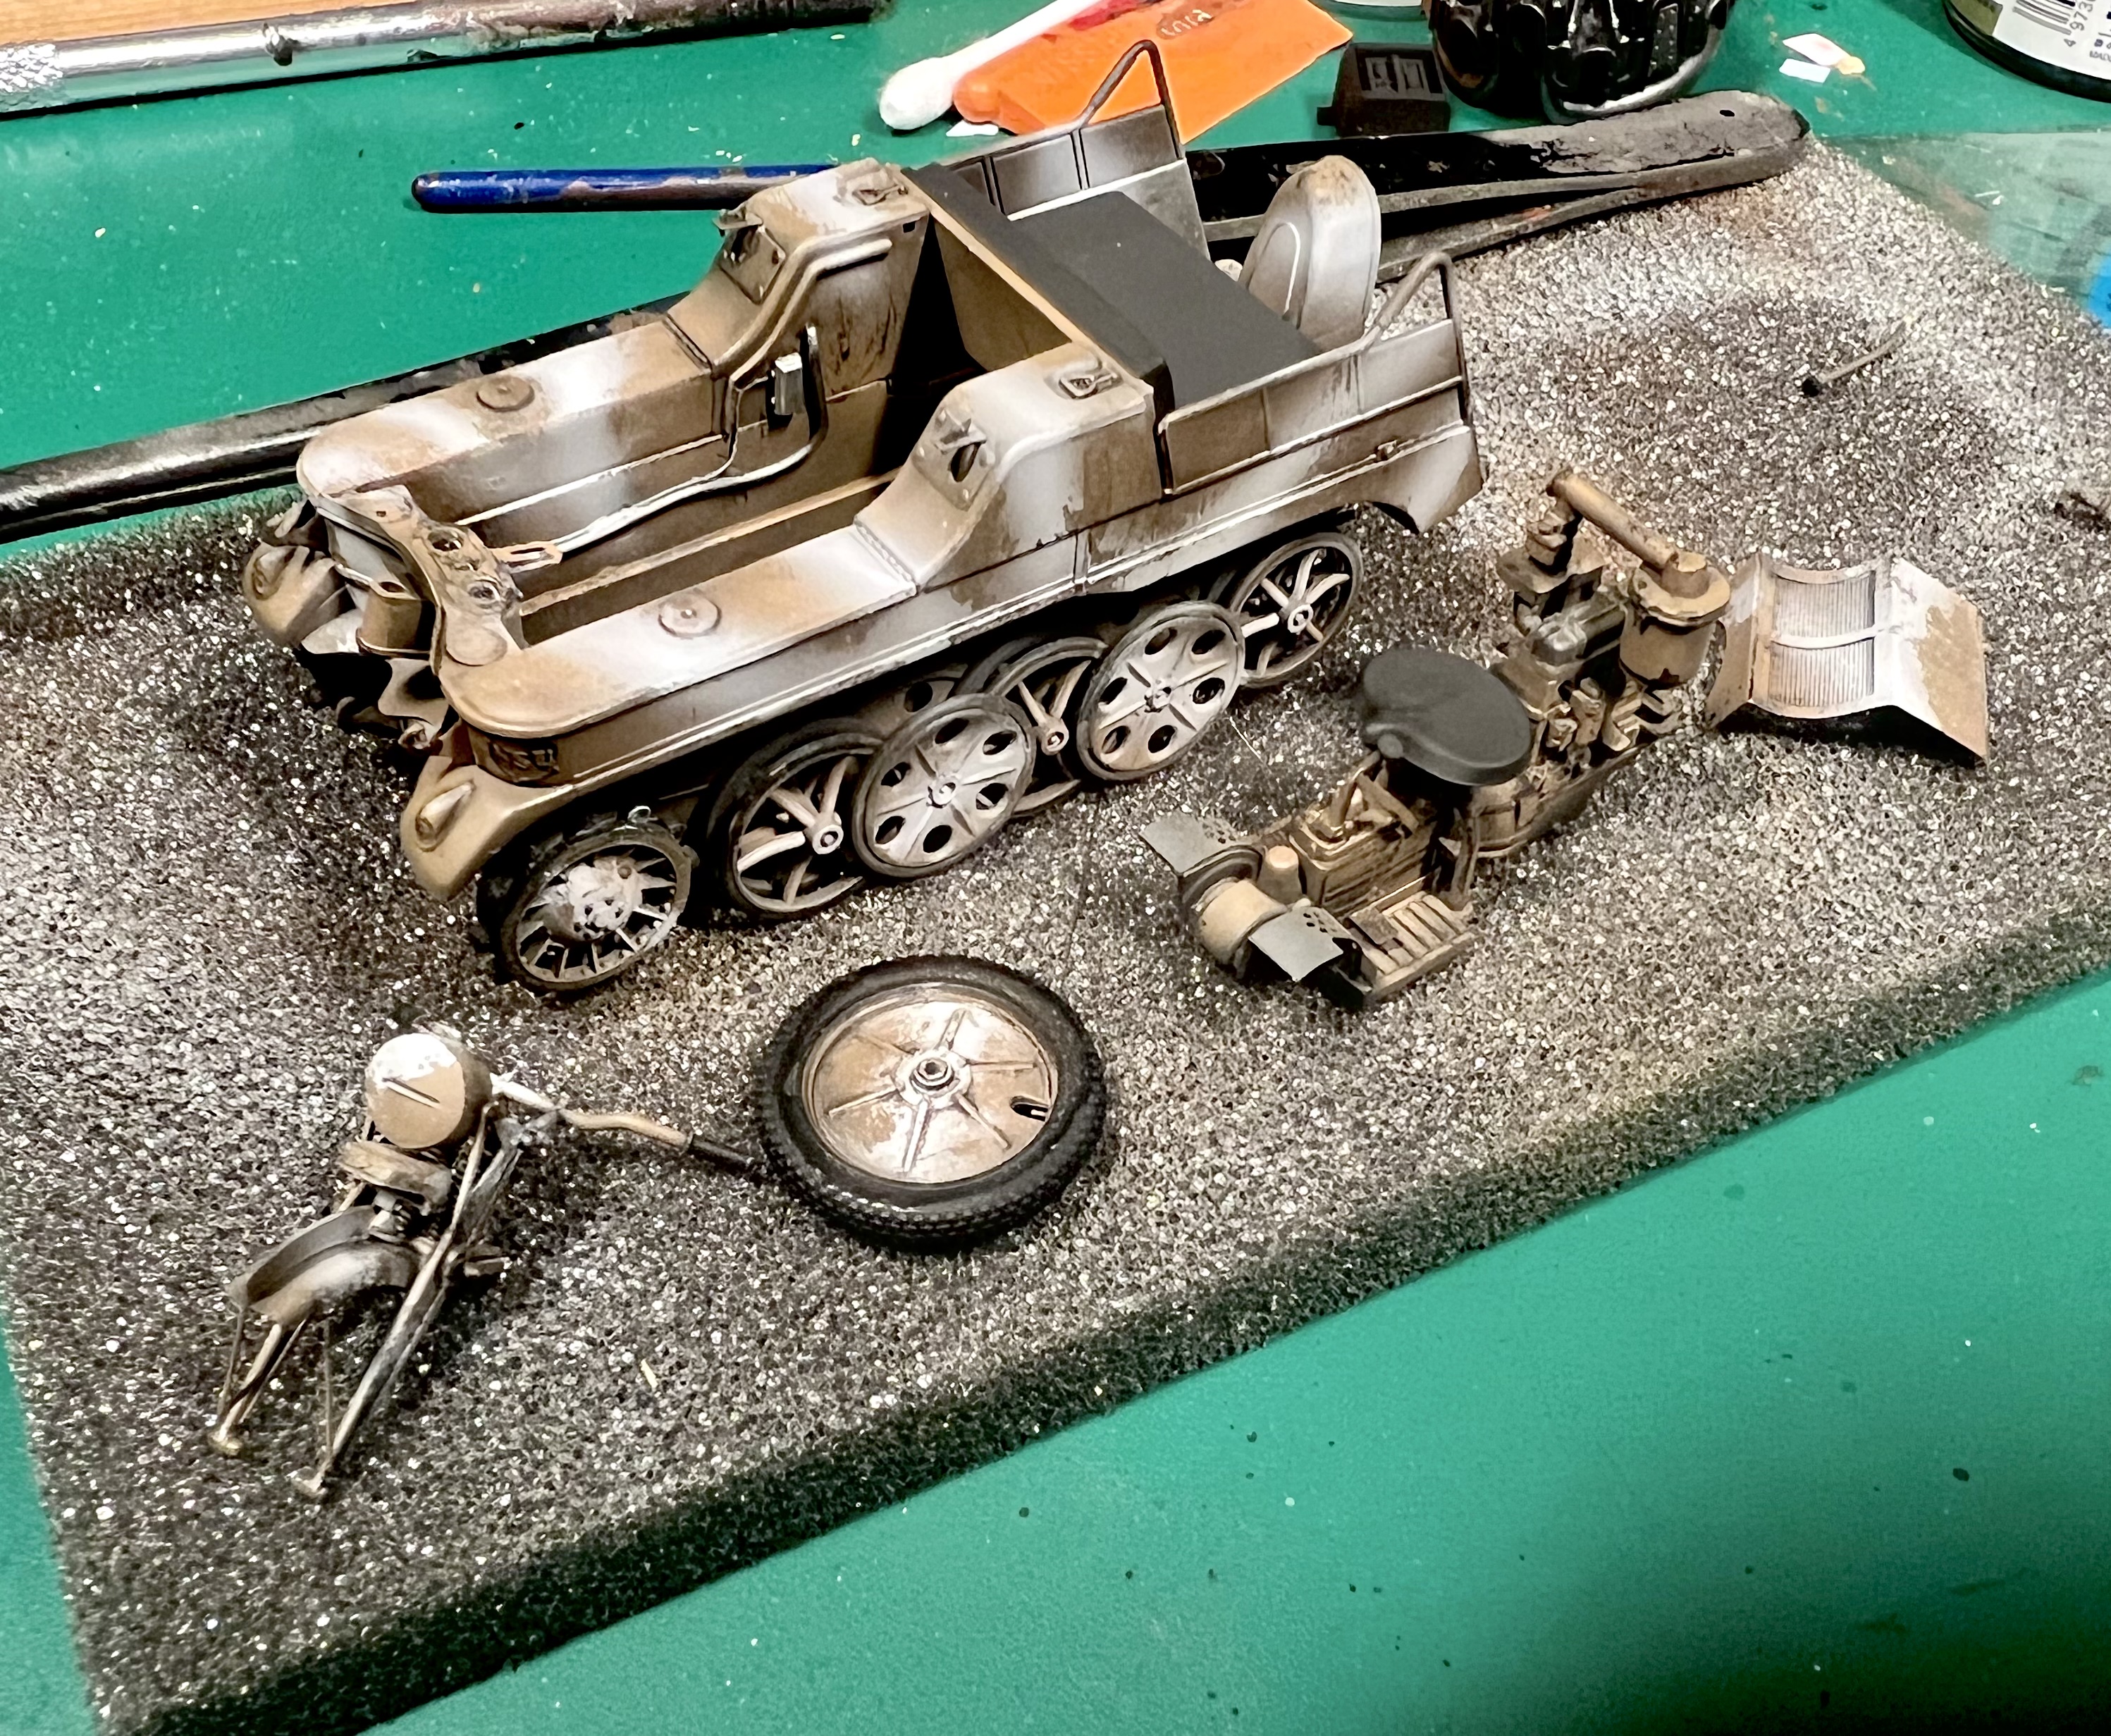
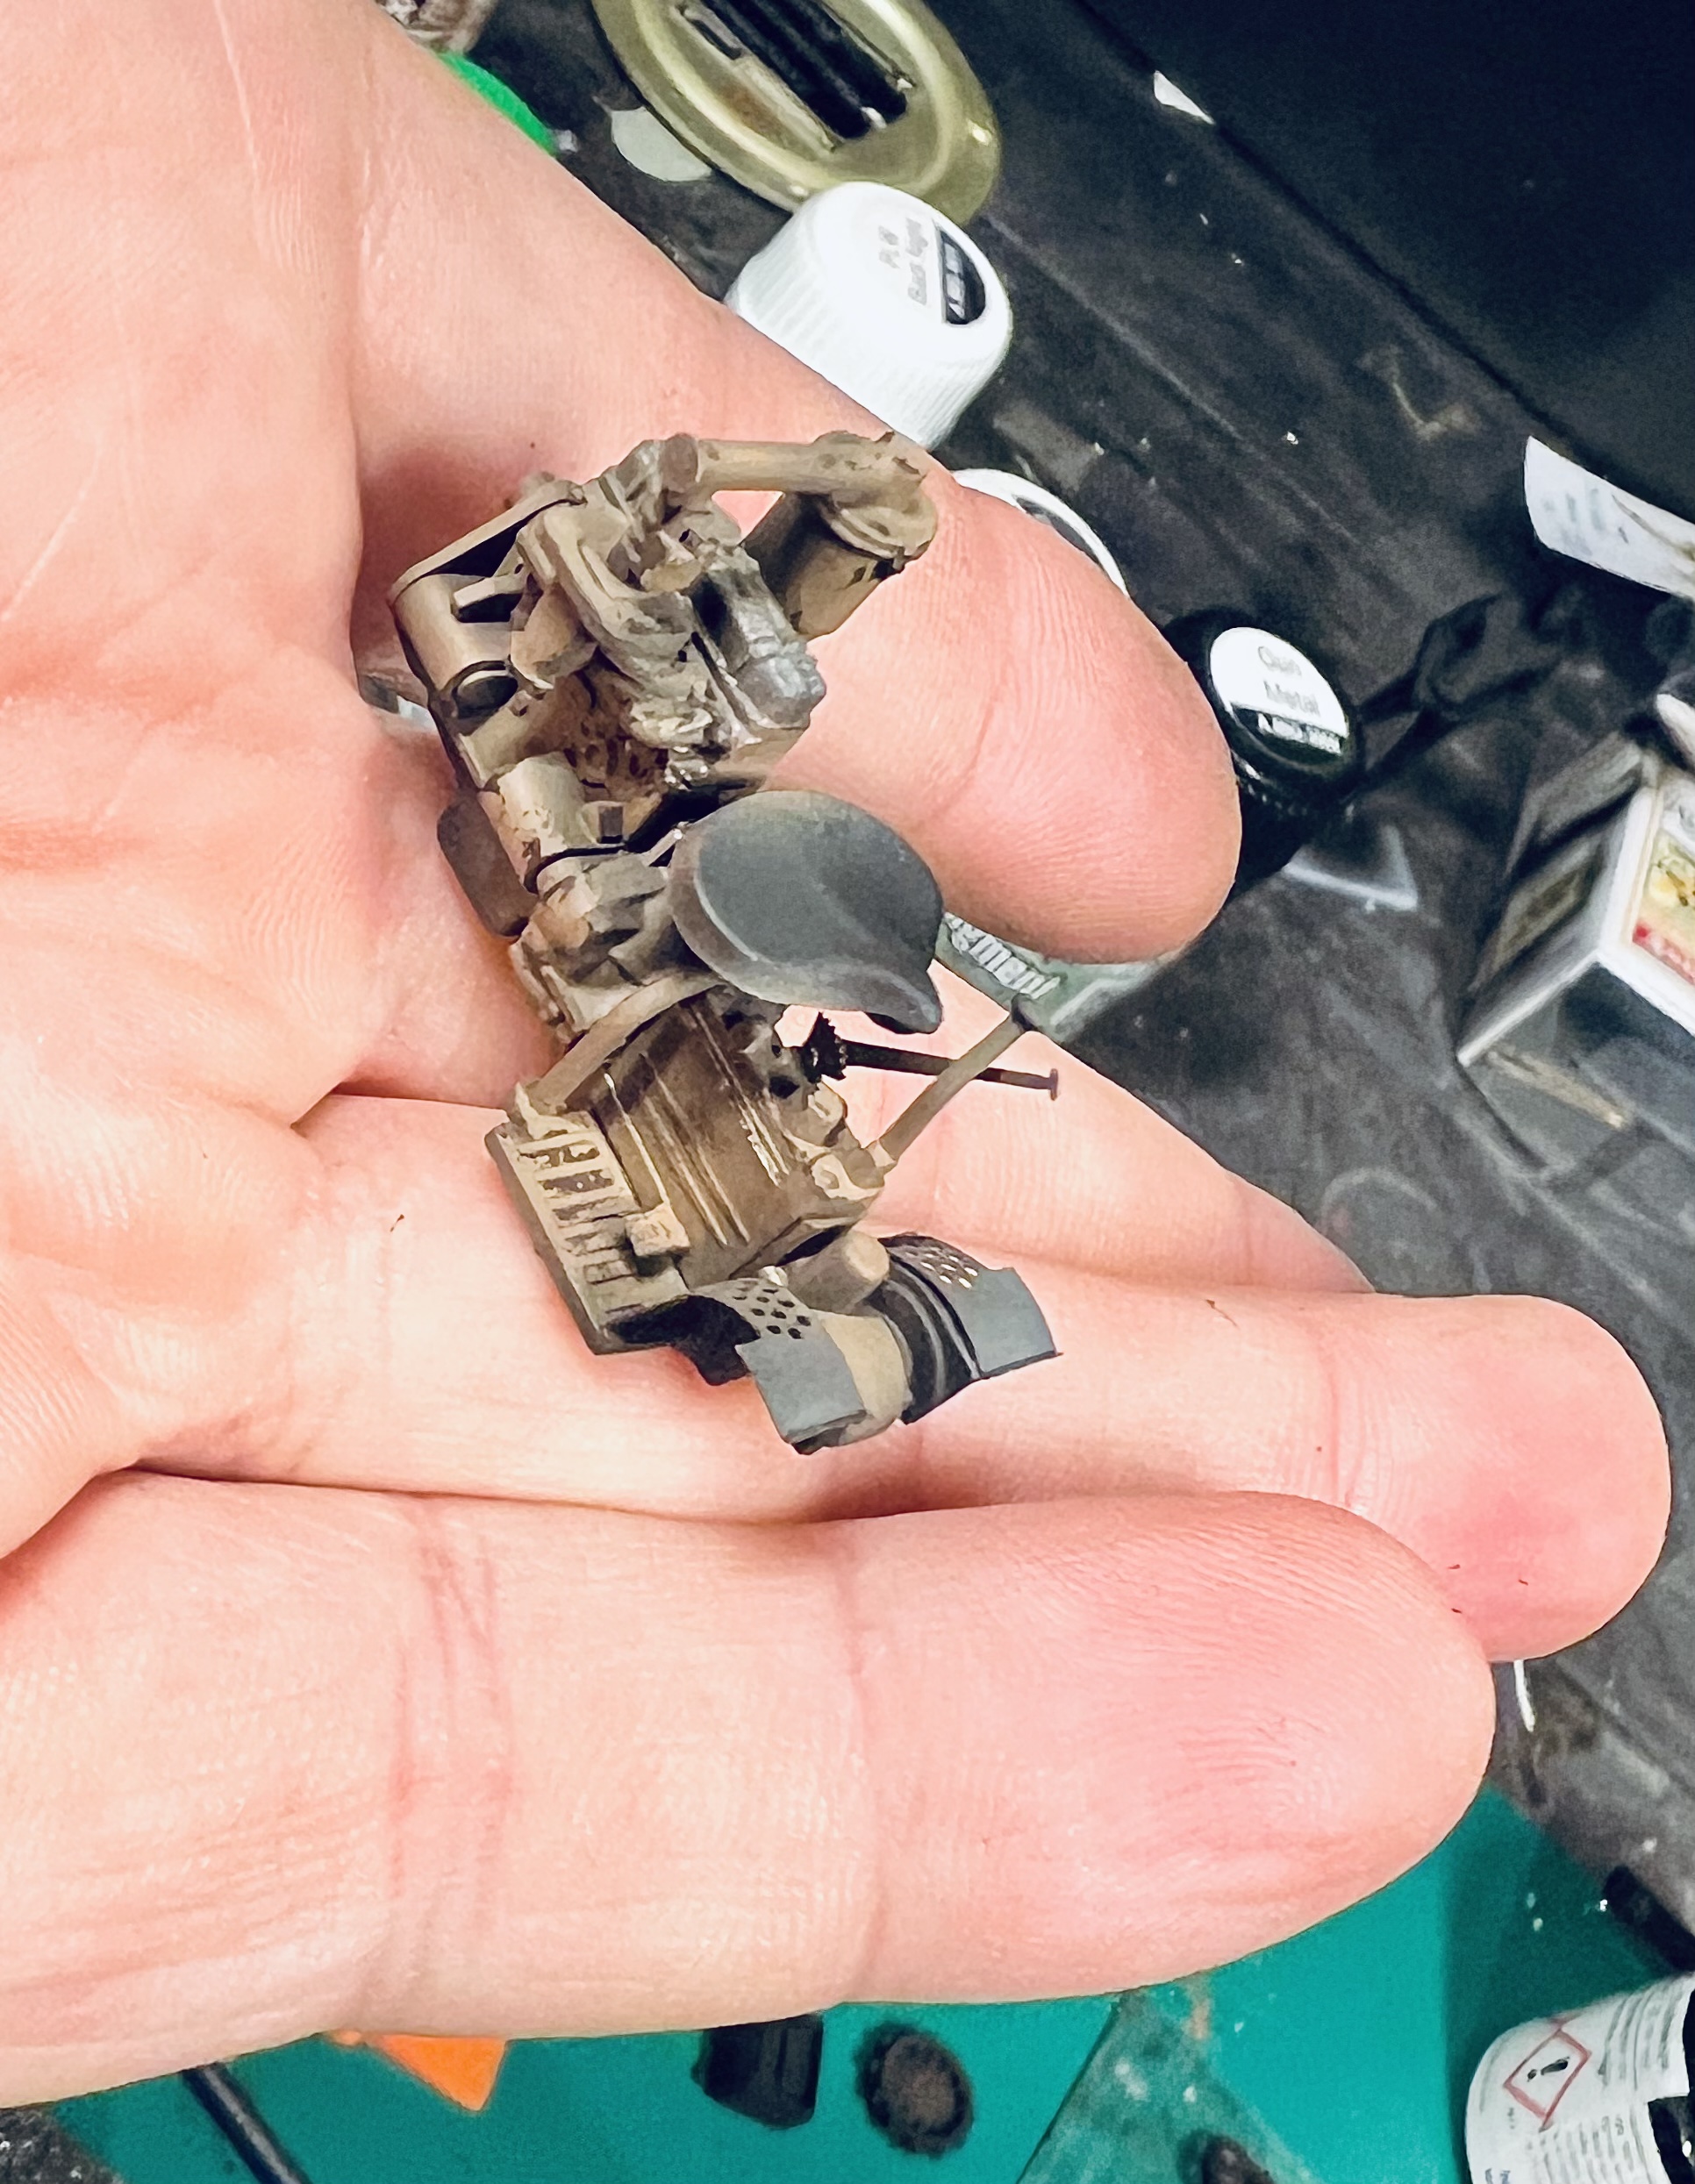
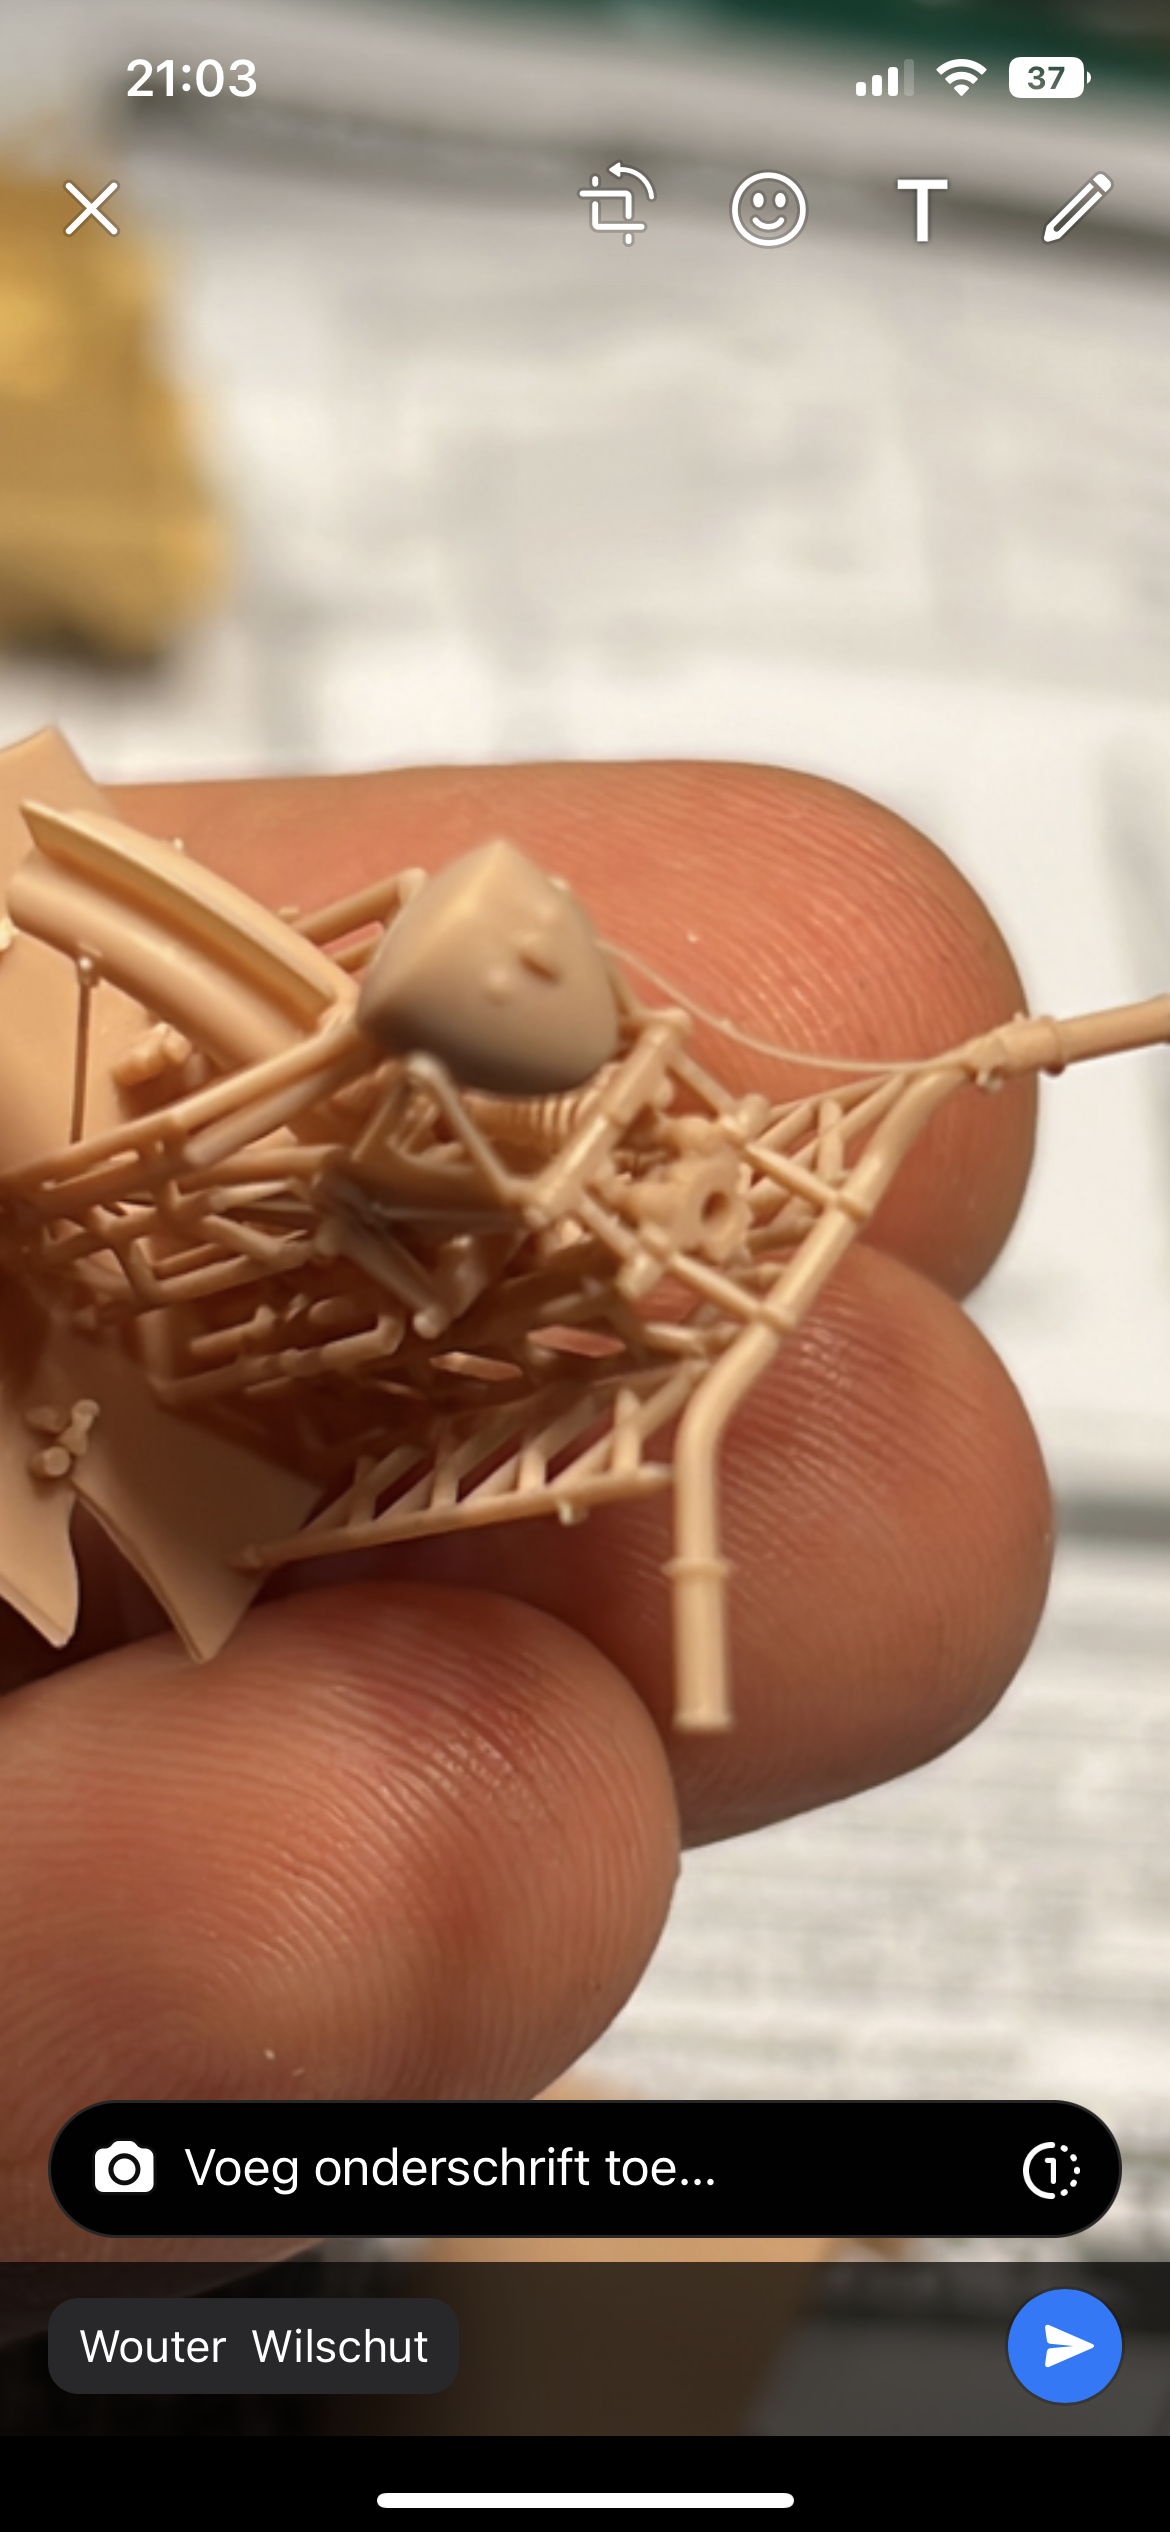
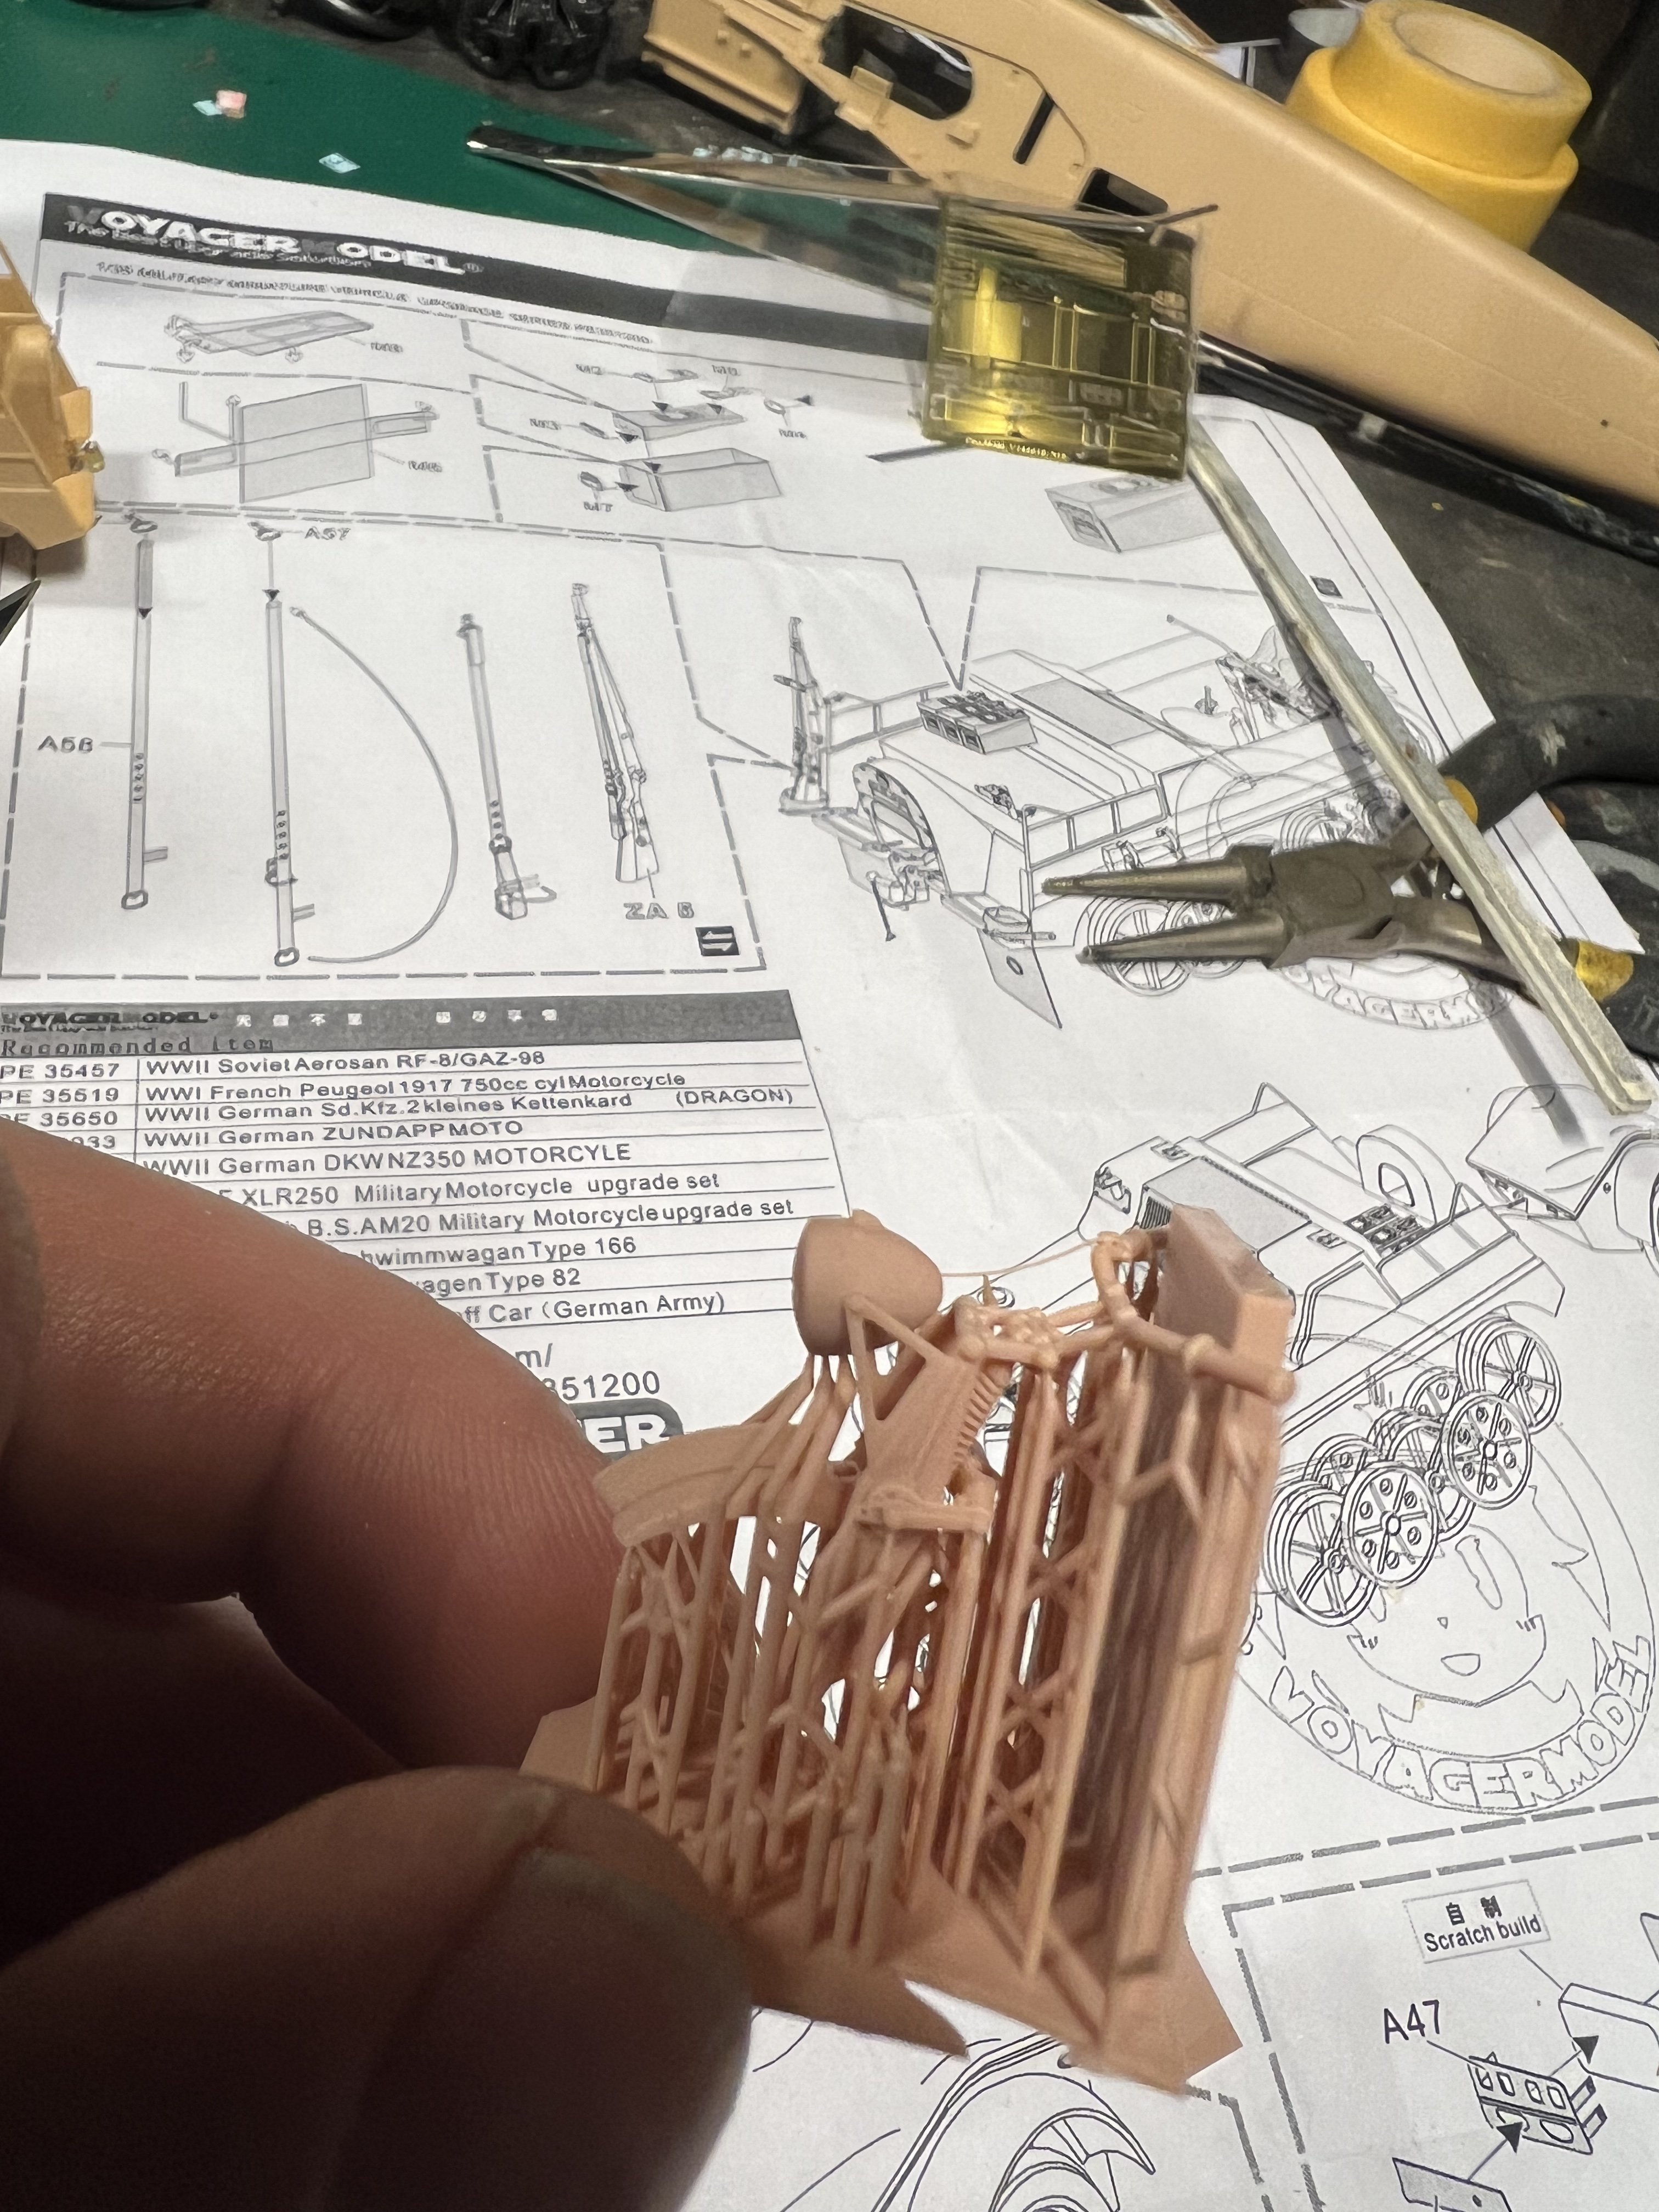
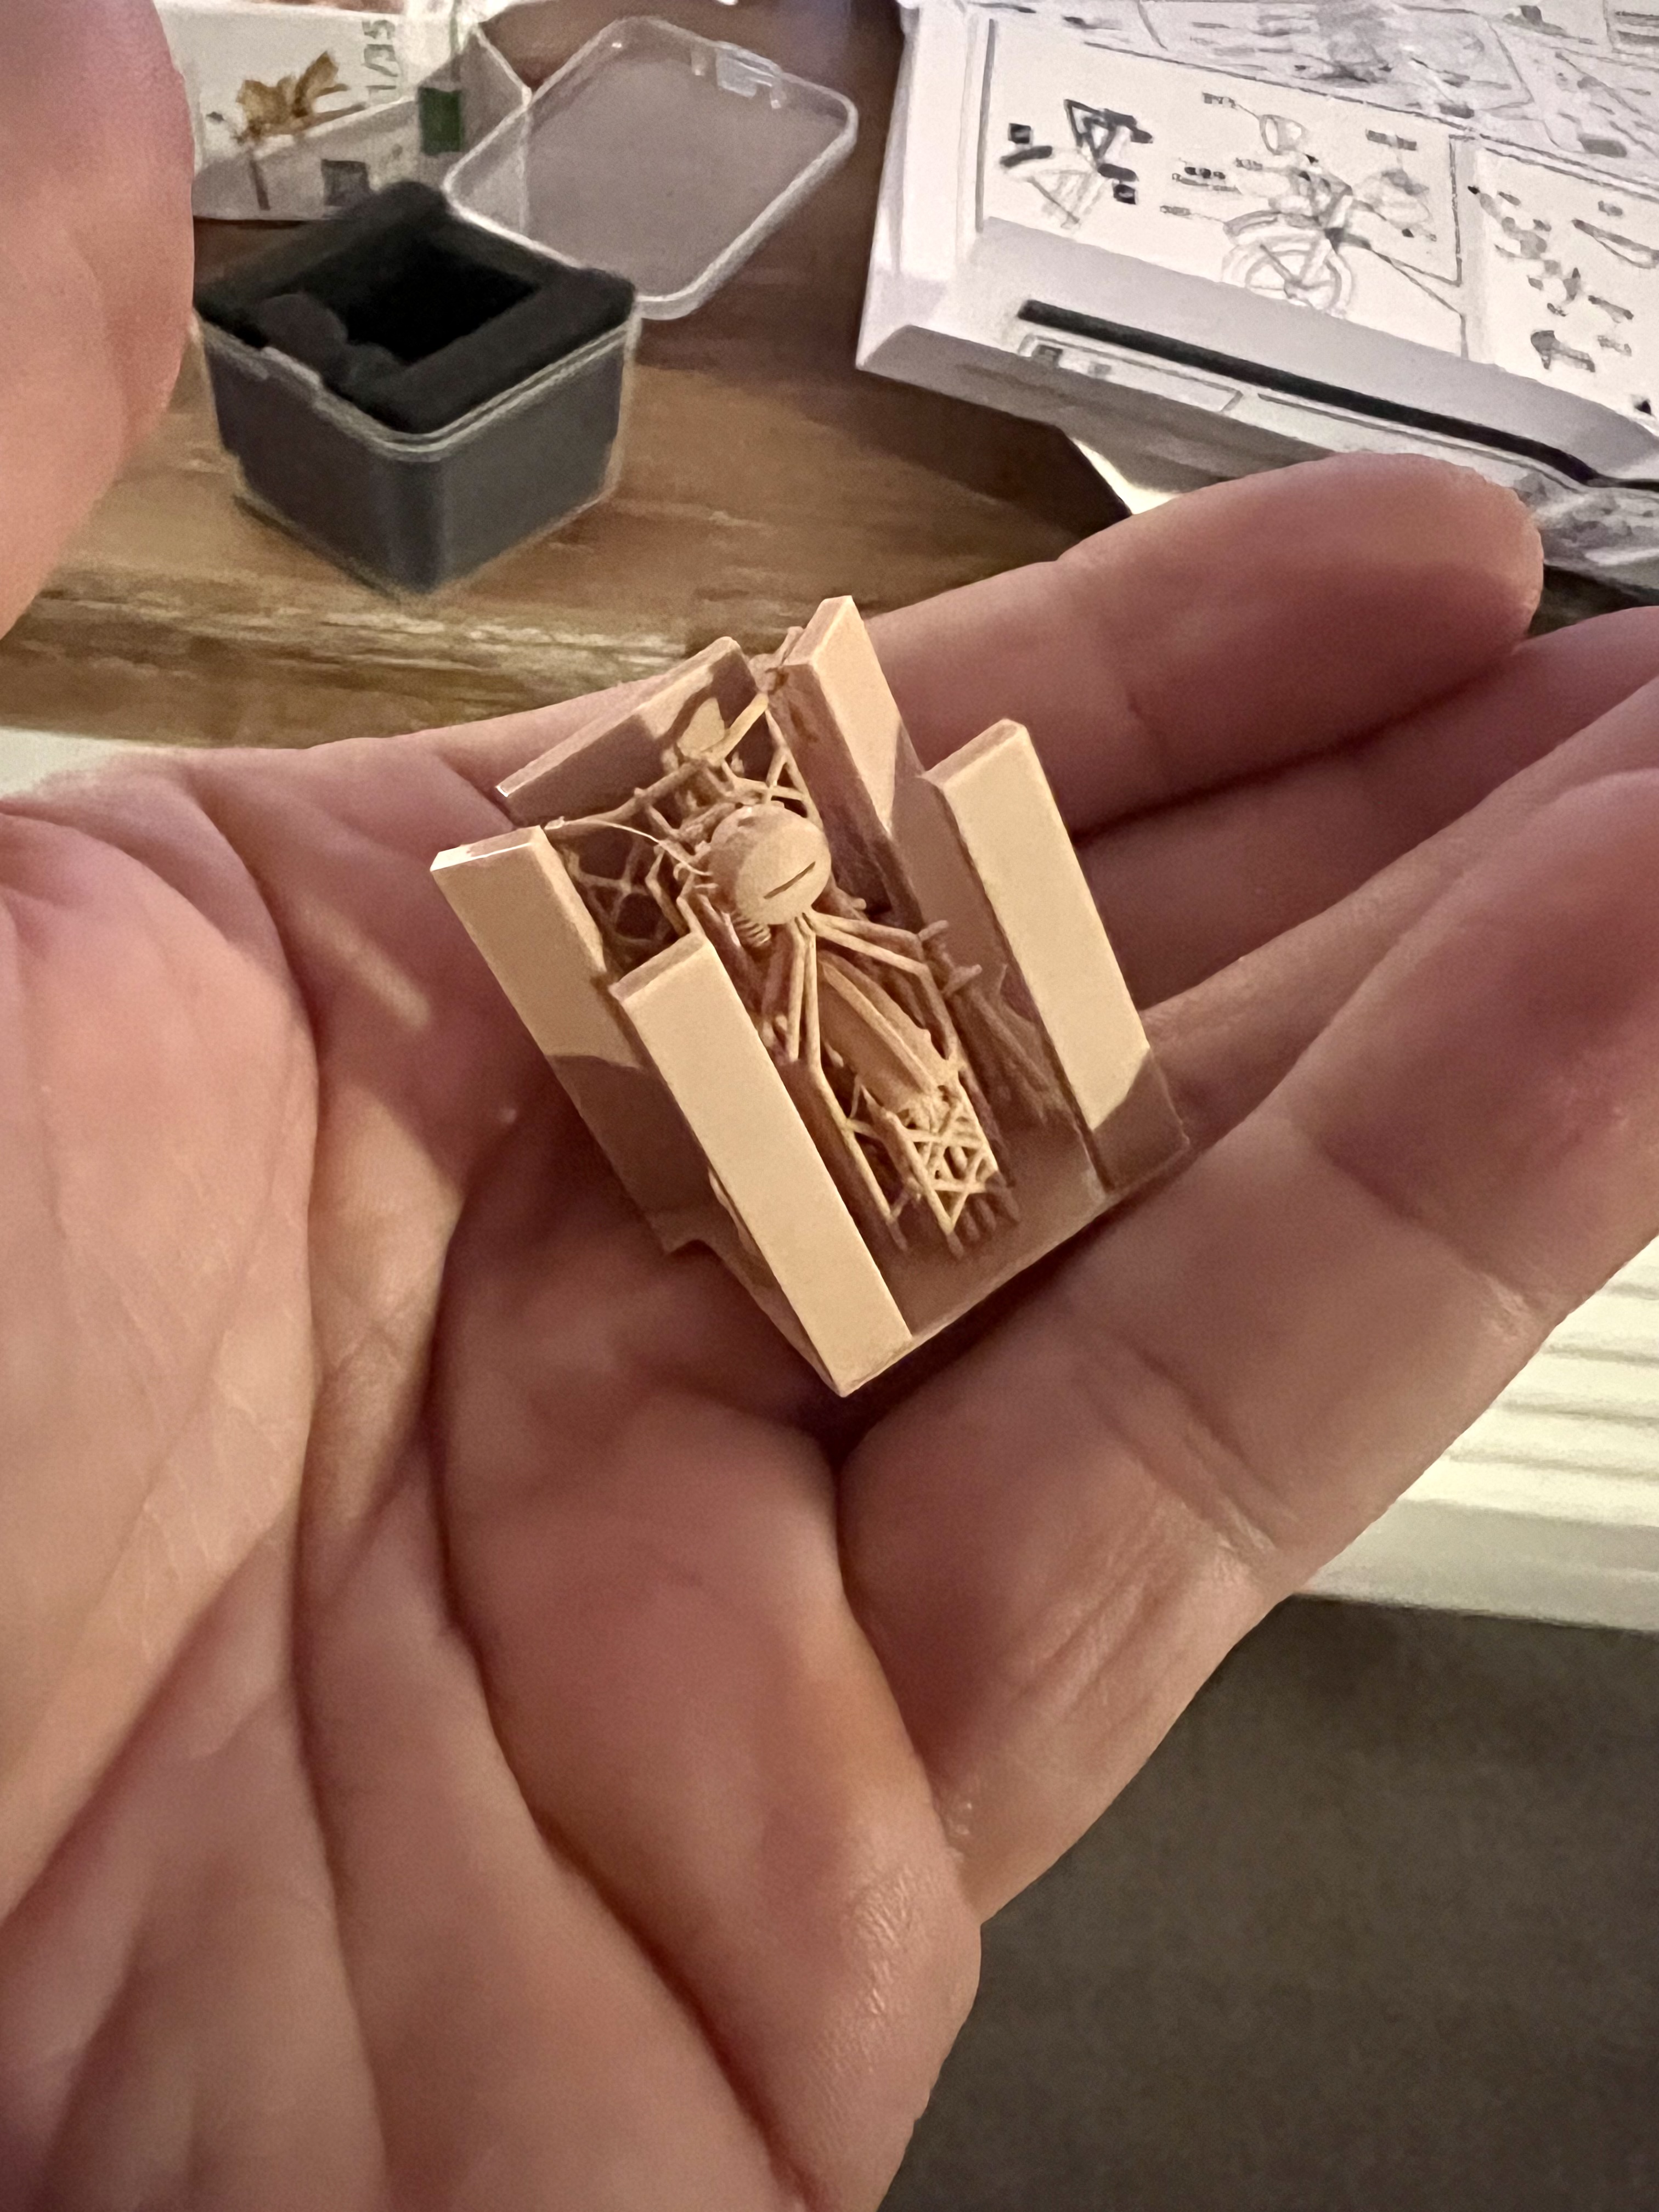
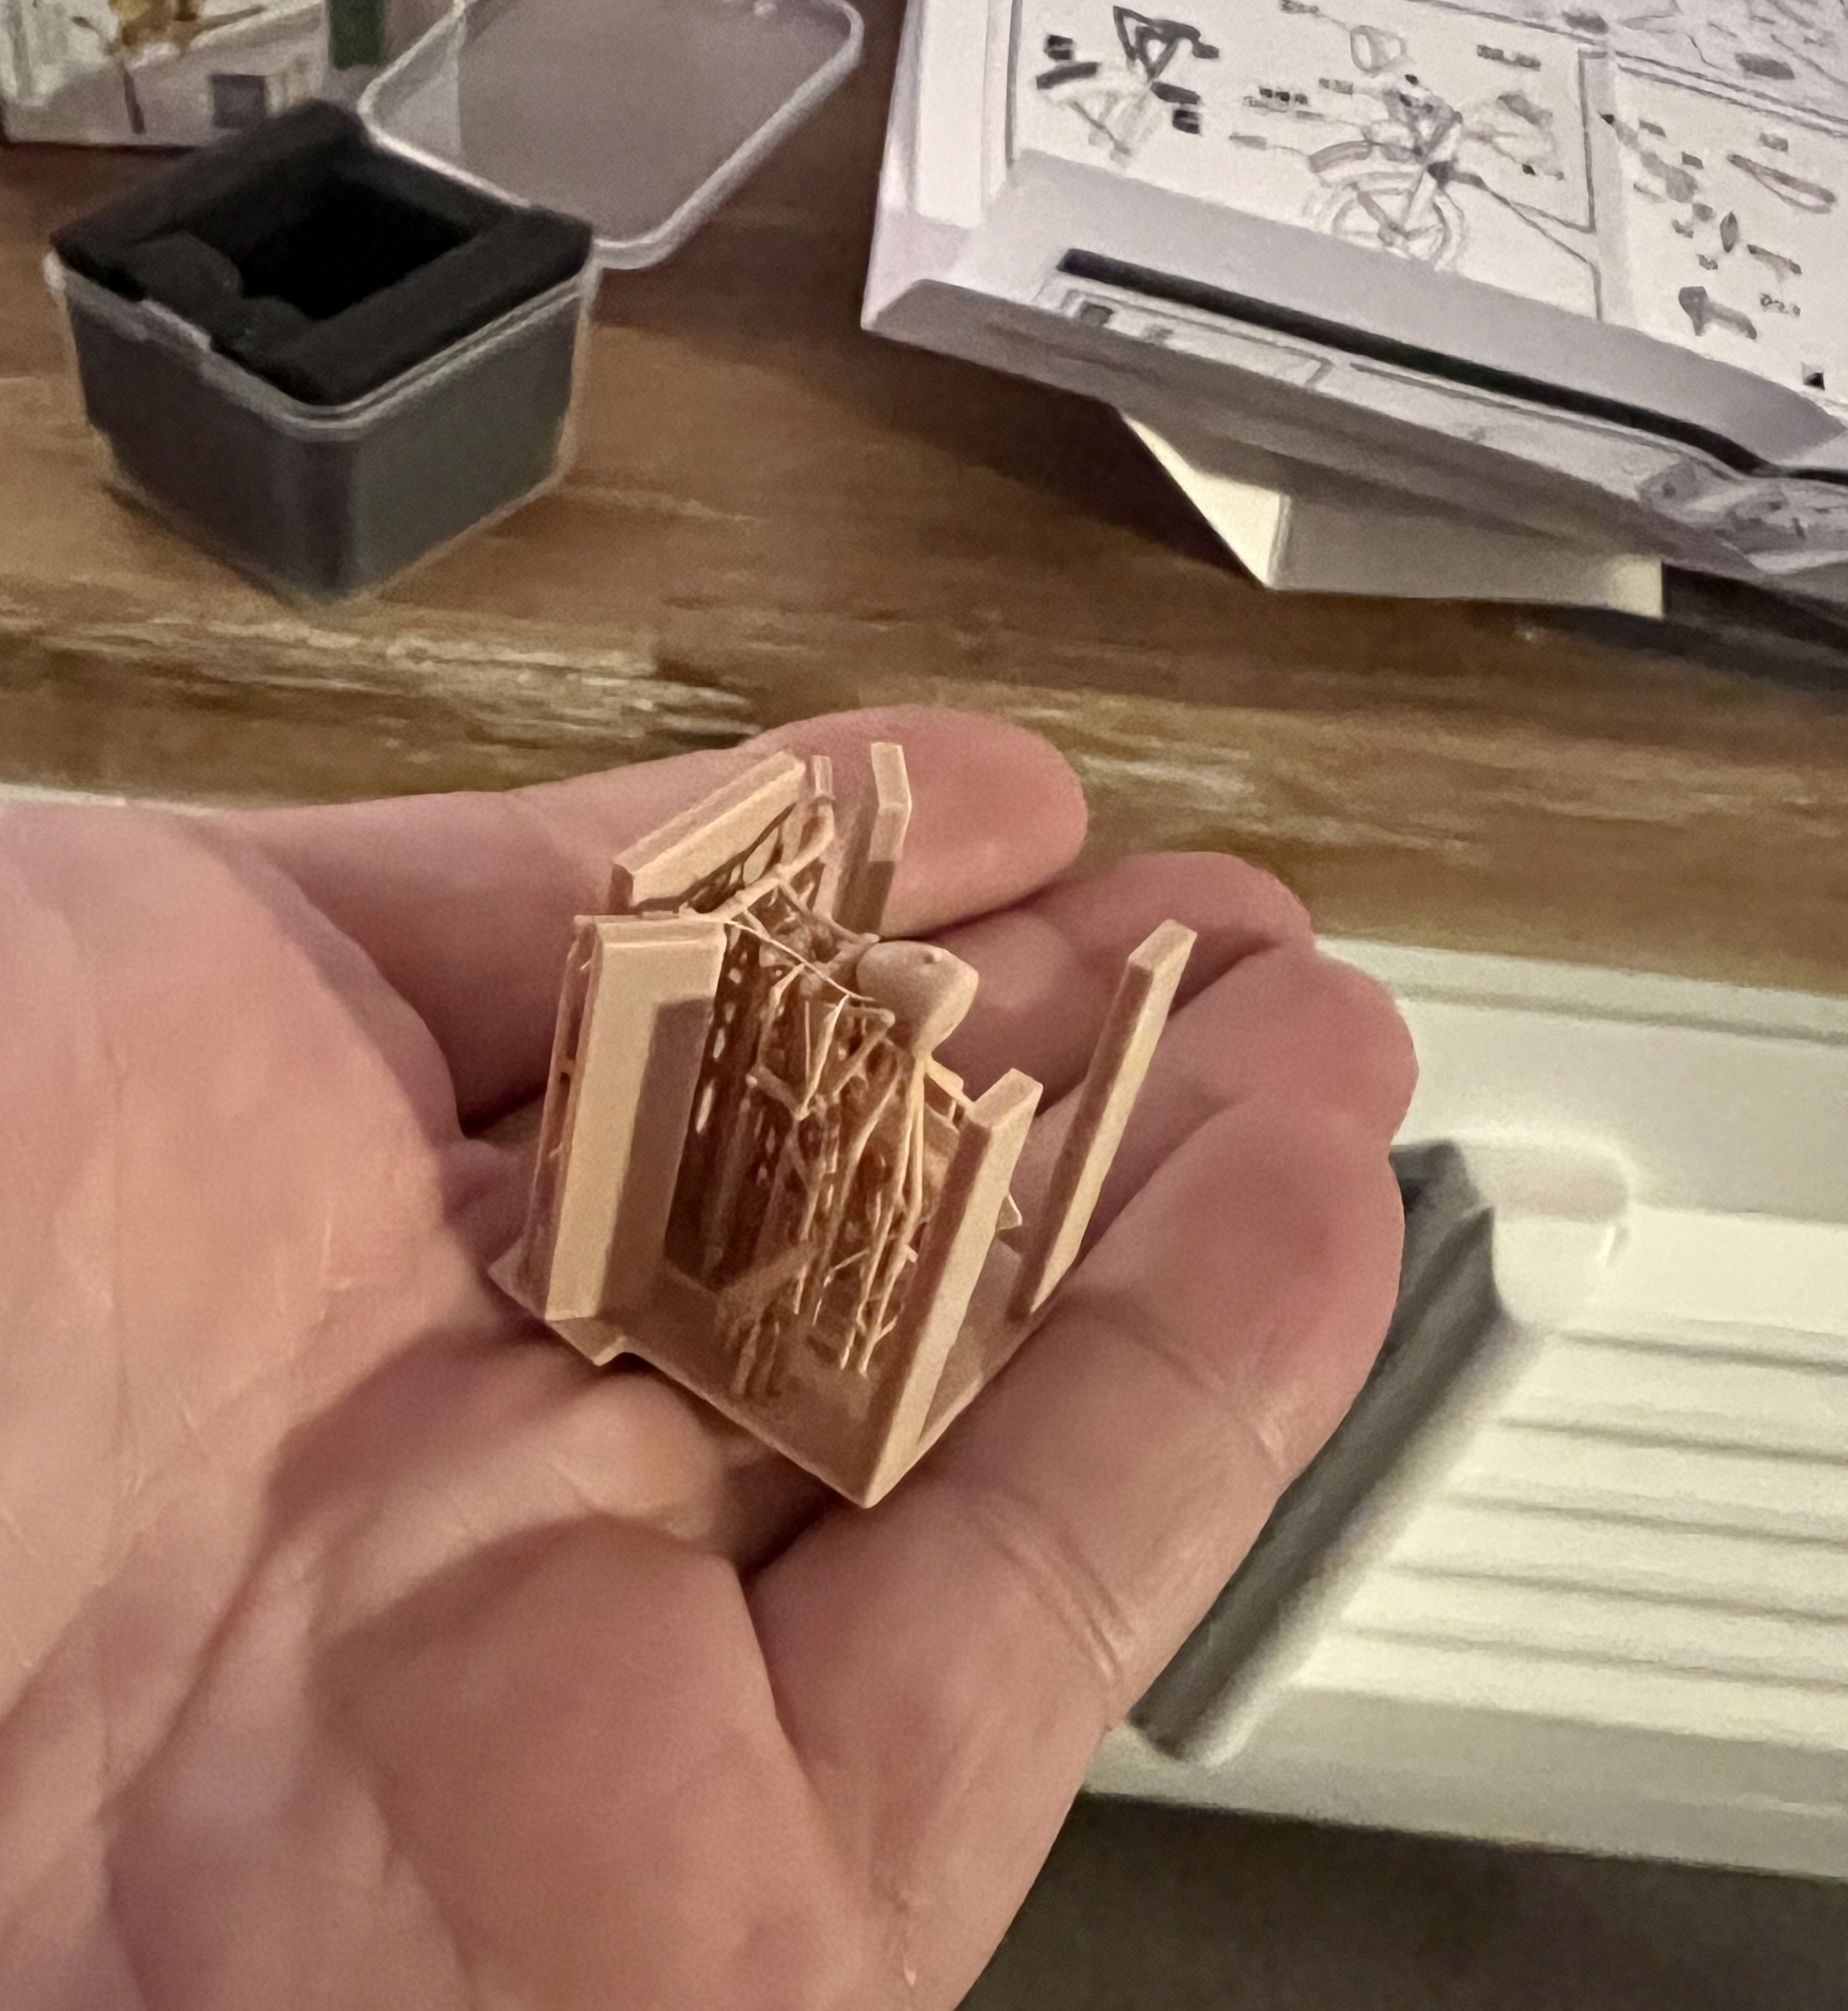
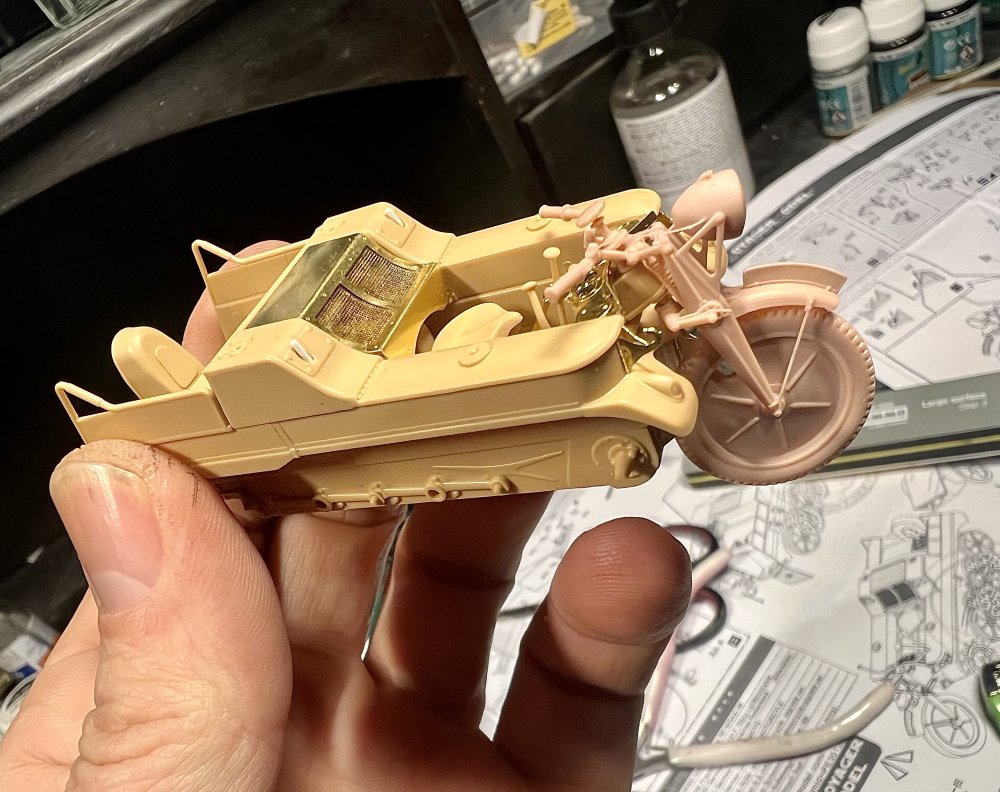
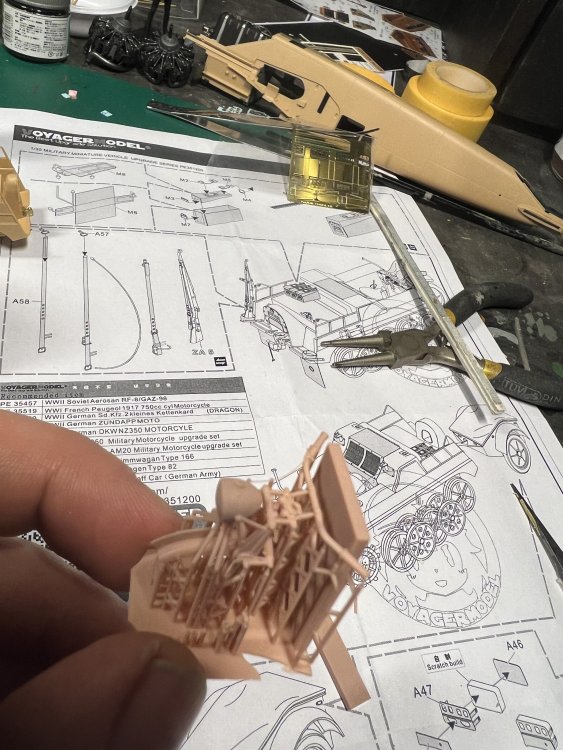
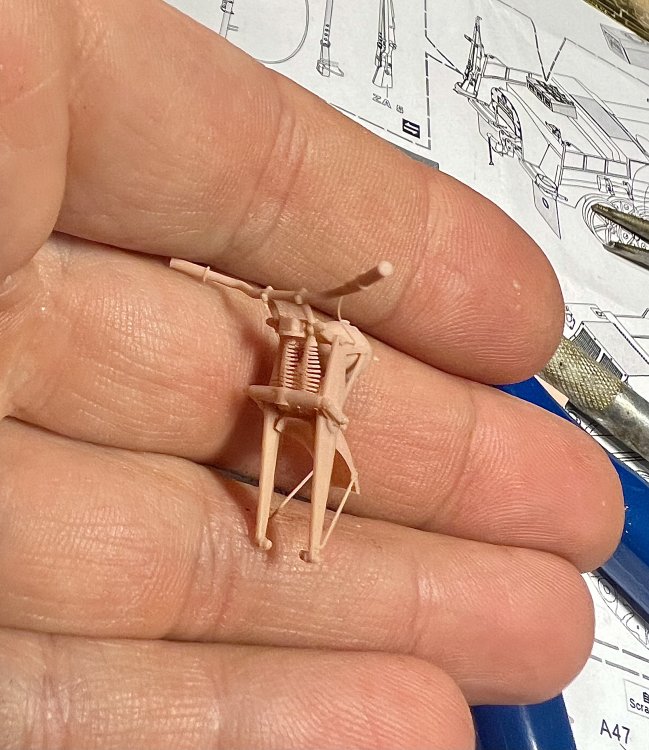
Getting the 3d printed front fork free from the supports was daunting. But it worked great.


- 256 replies
-
- 13
-
-
-
It does!
-
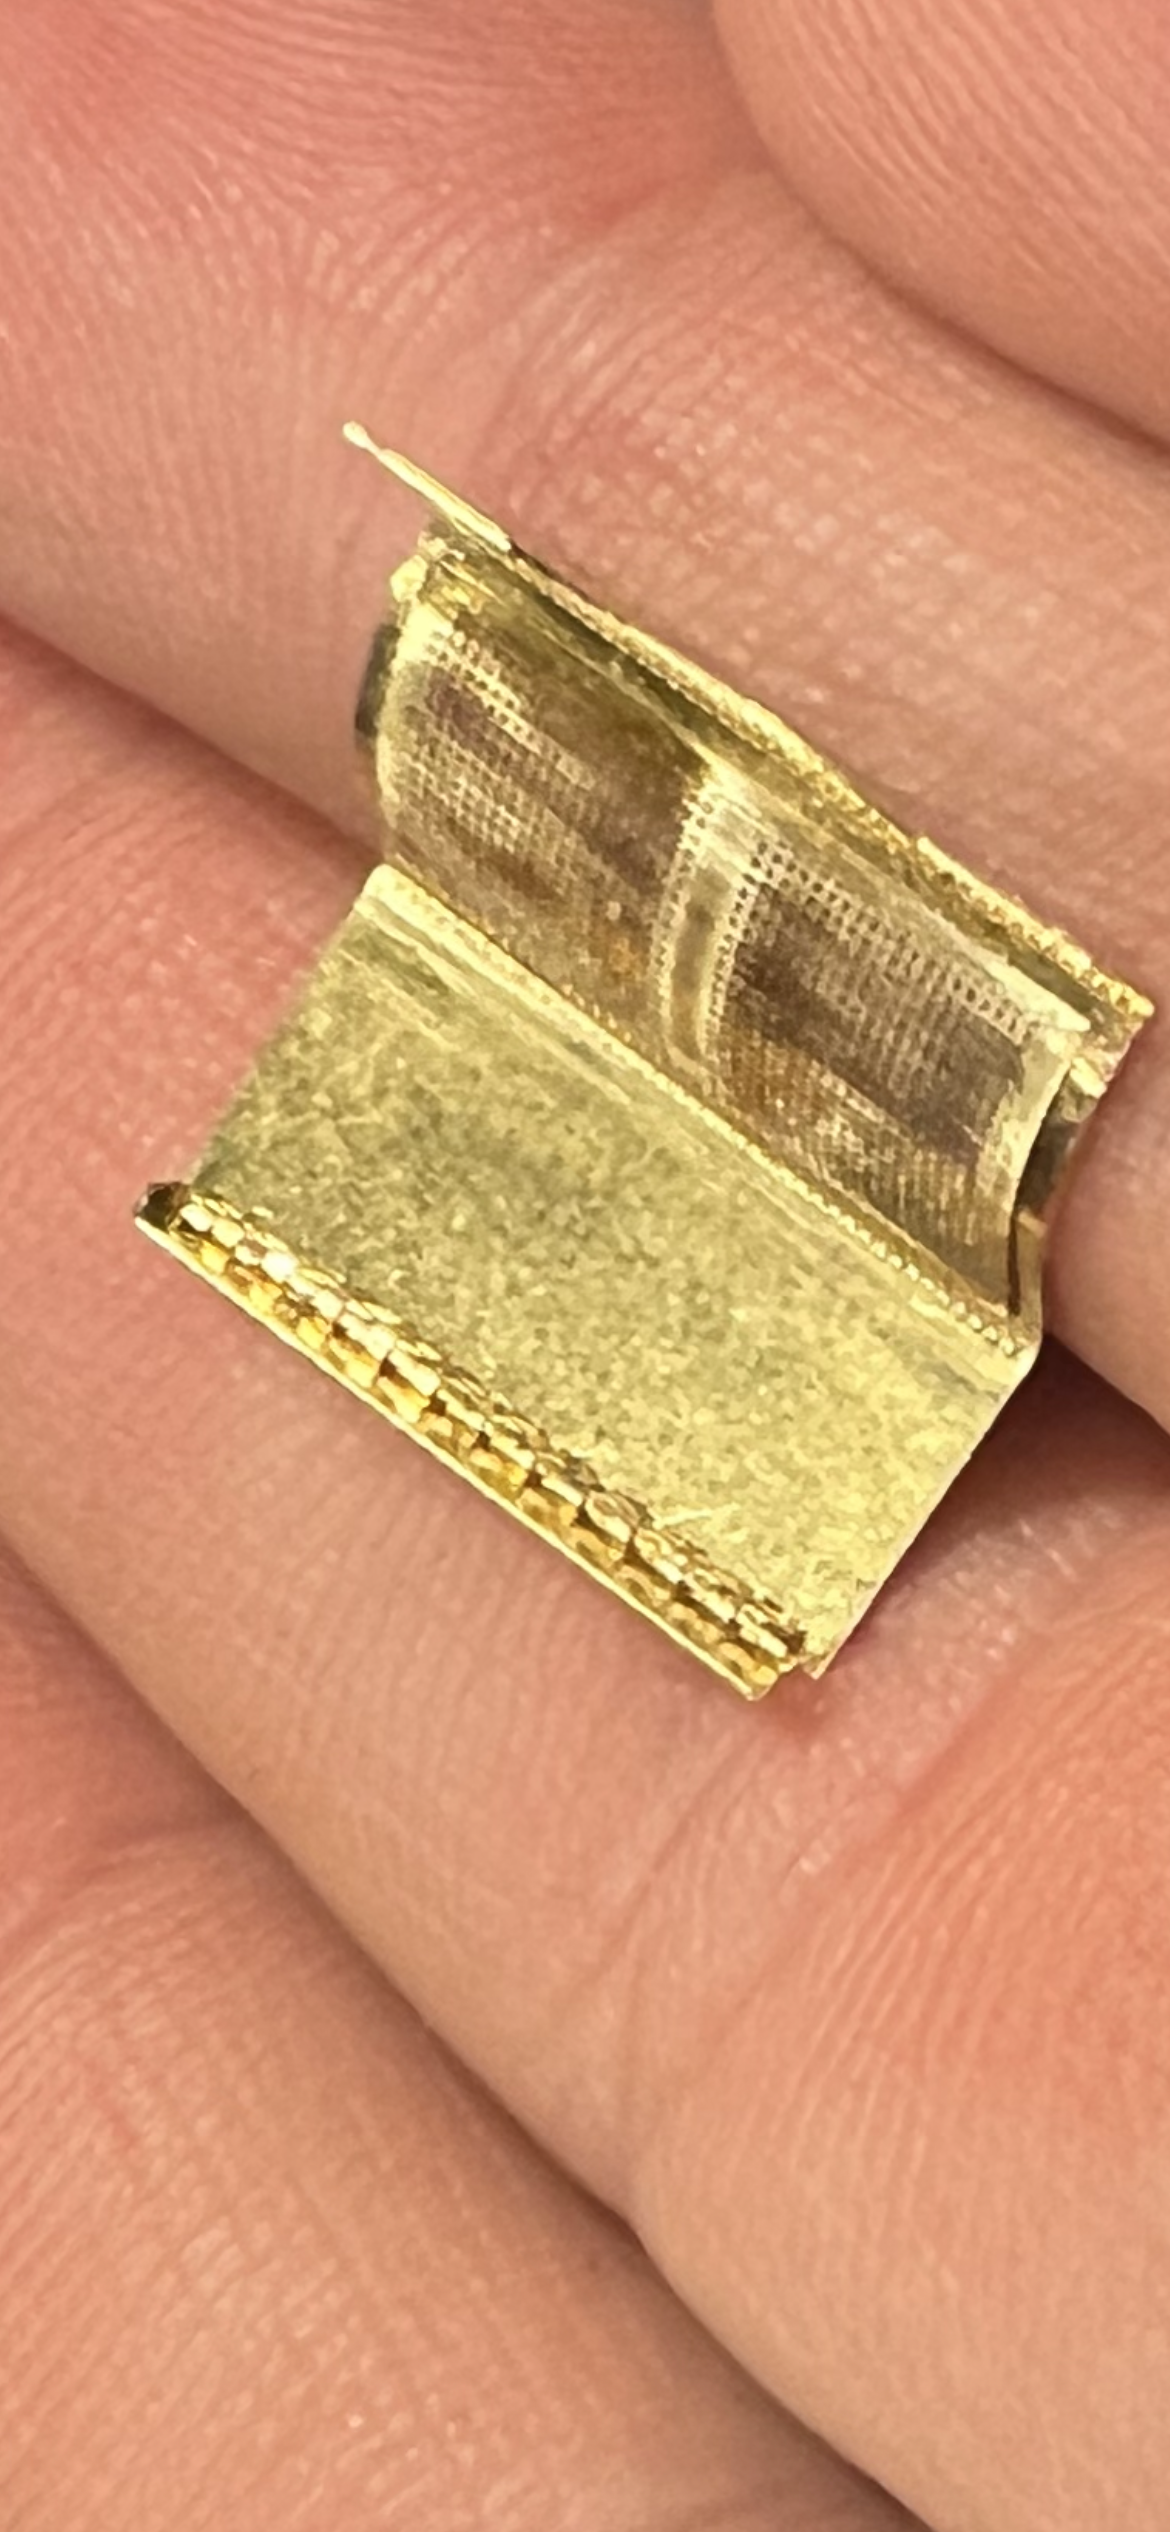
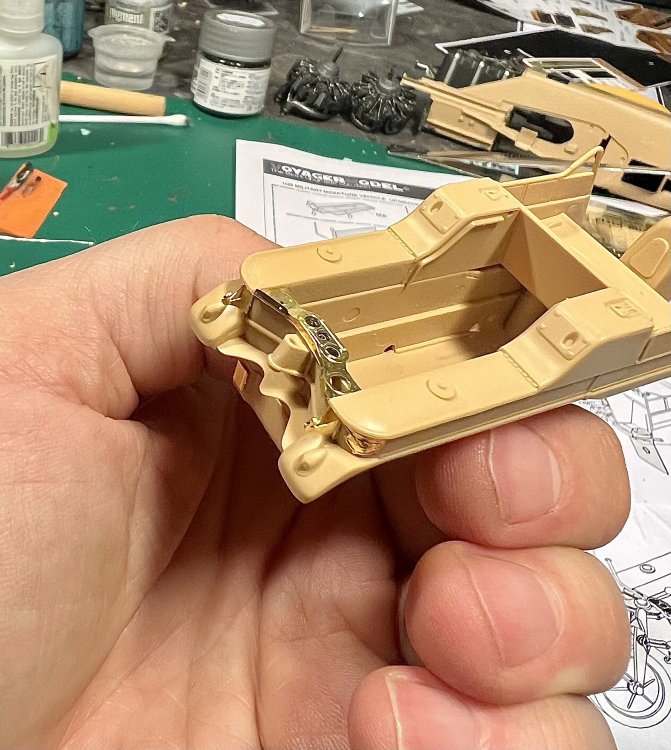
Spent the evening fiddling with PE for the Kettenkraftrad. the hinge on the engine cover took most of my time.


-
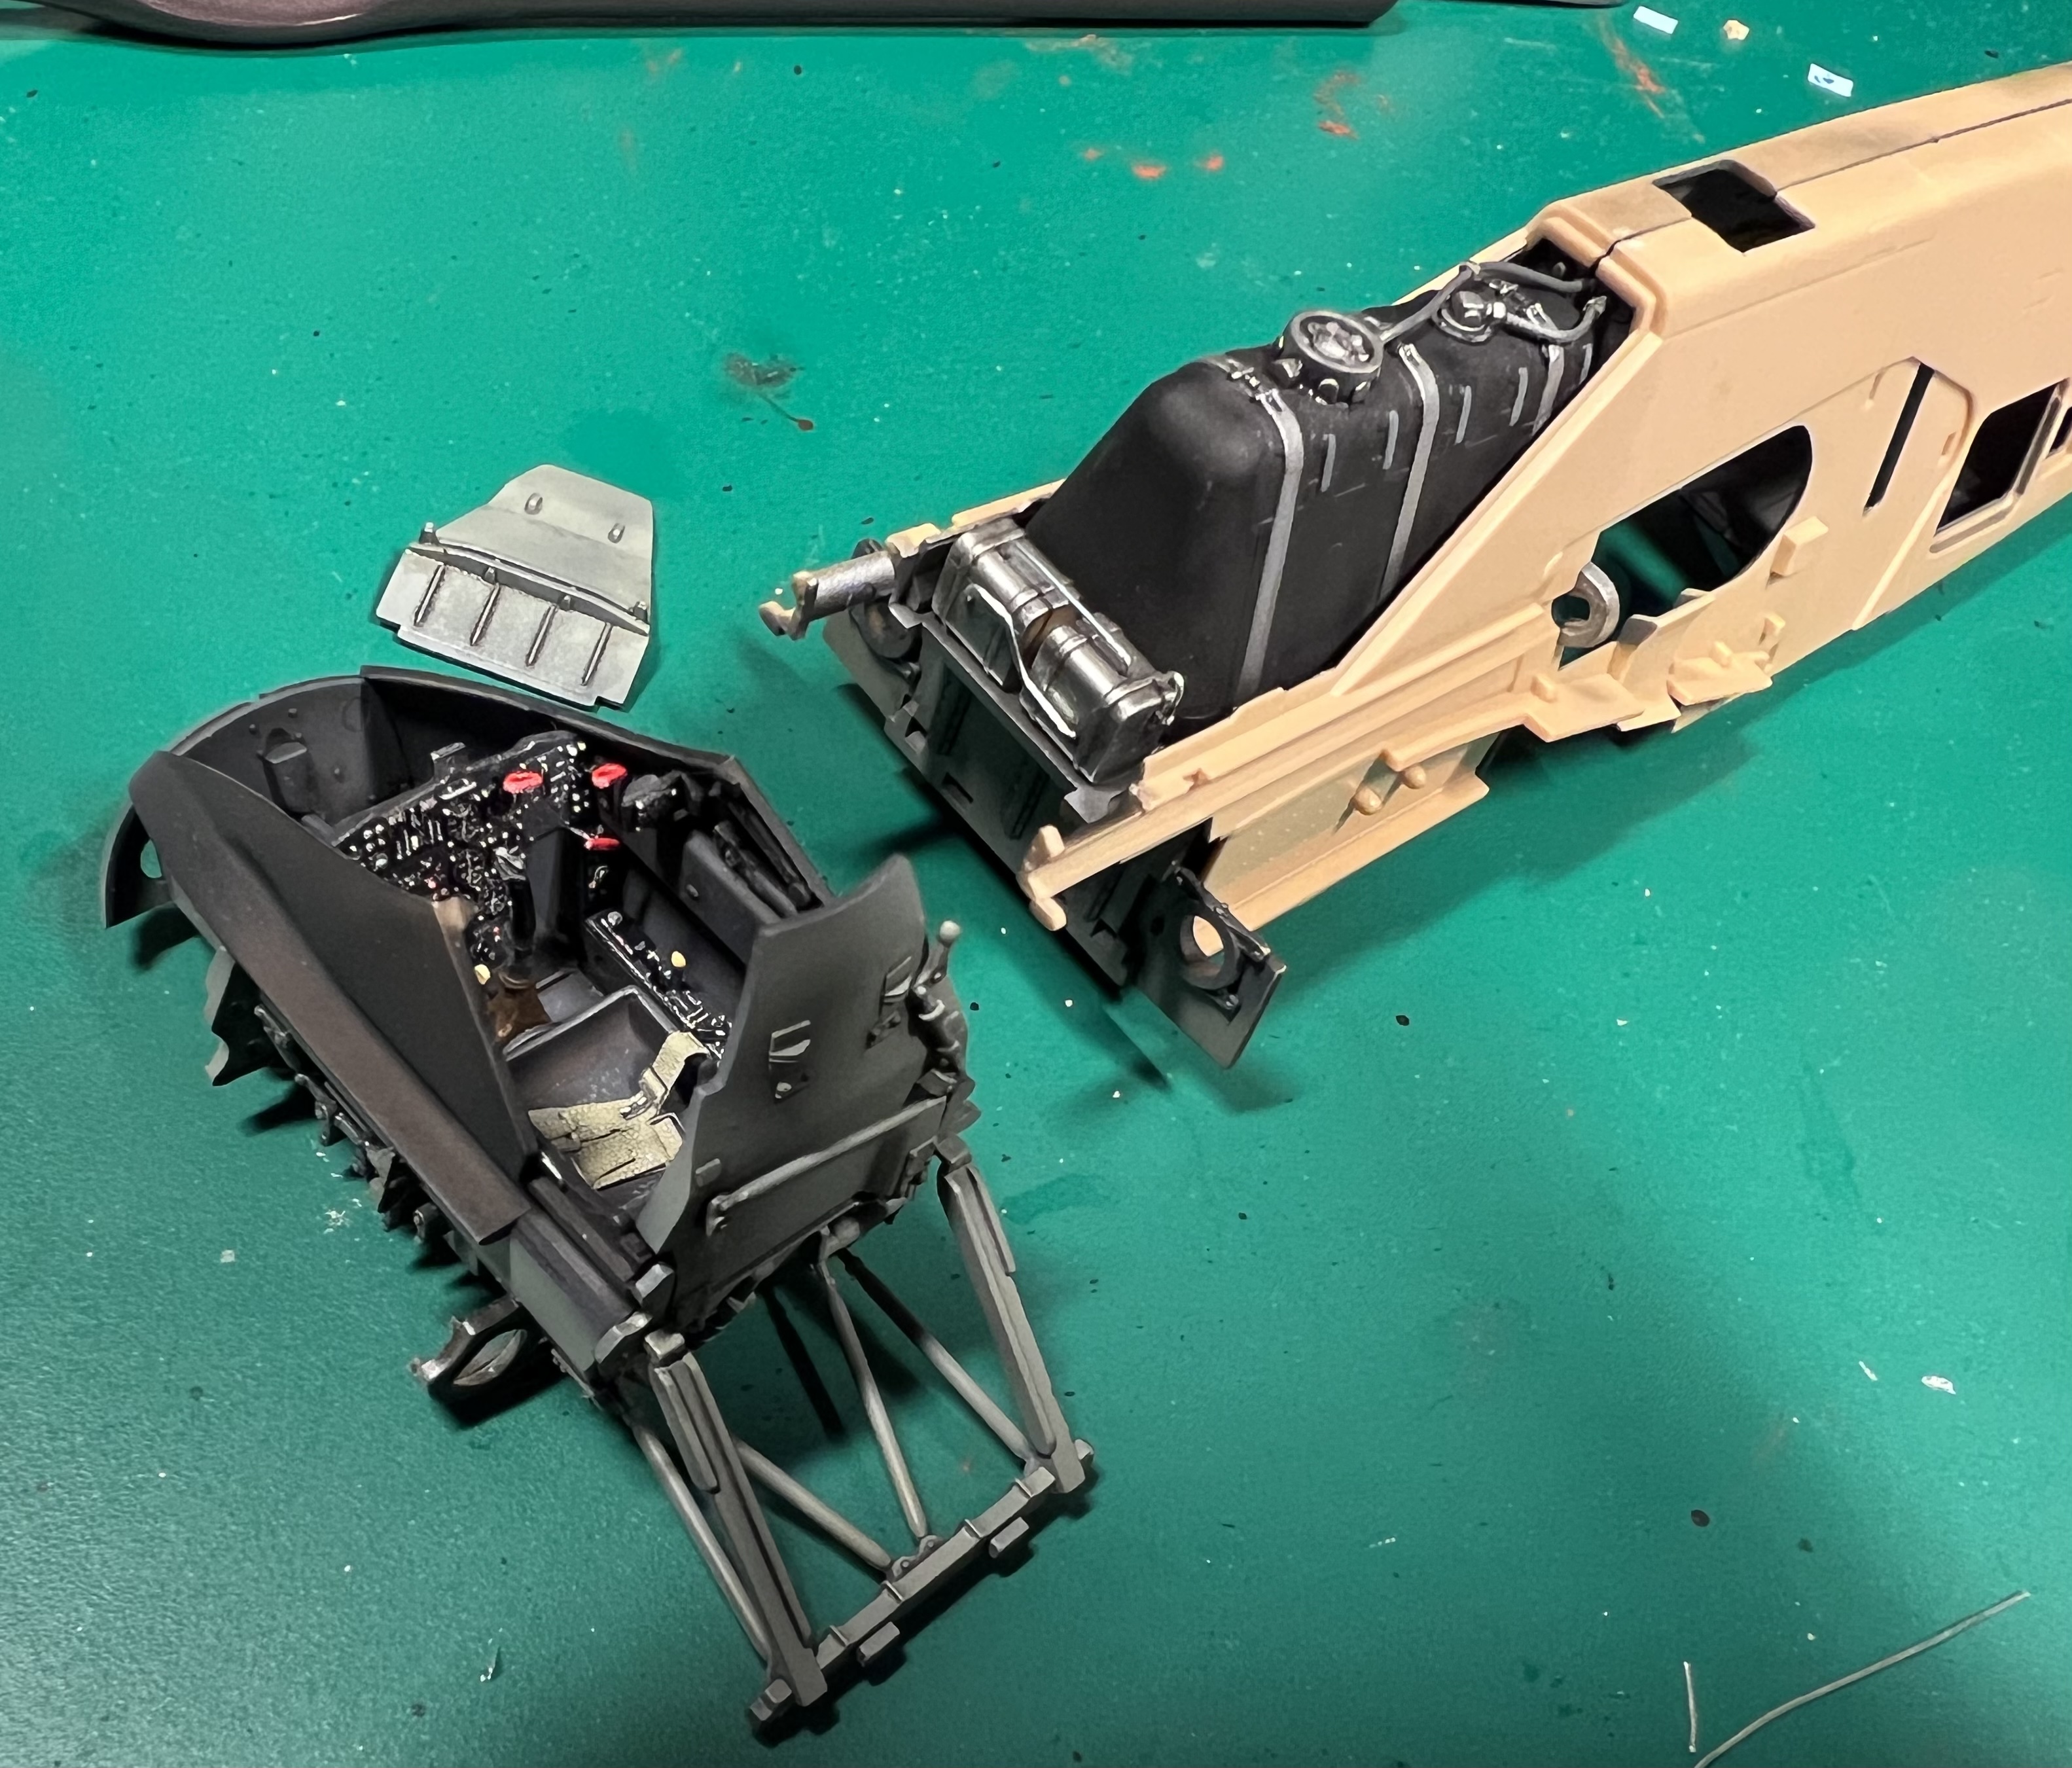
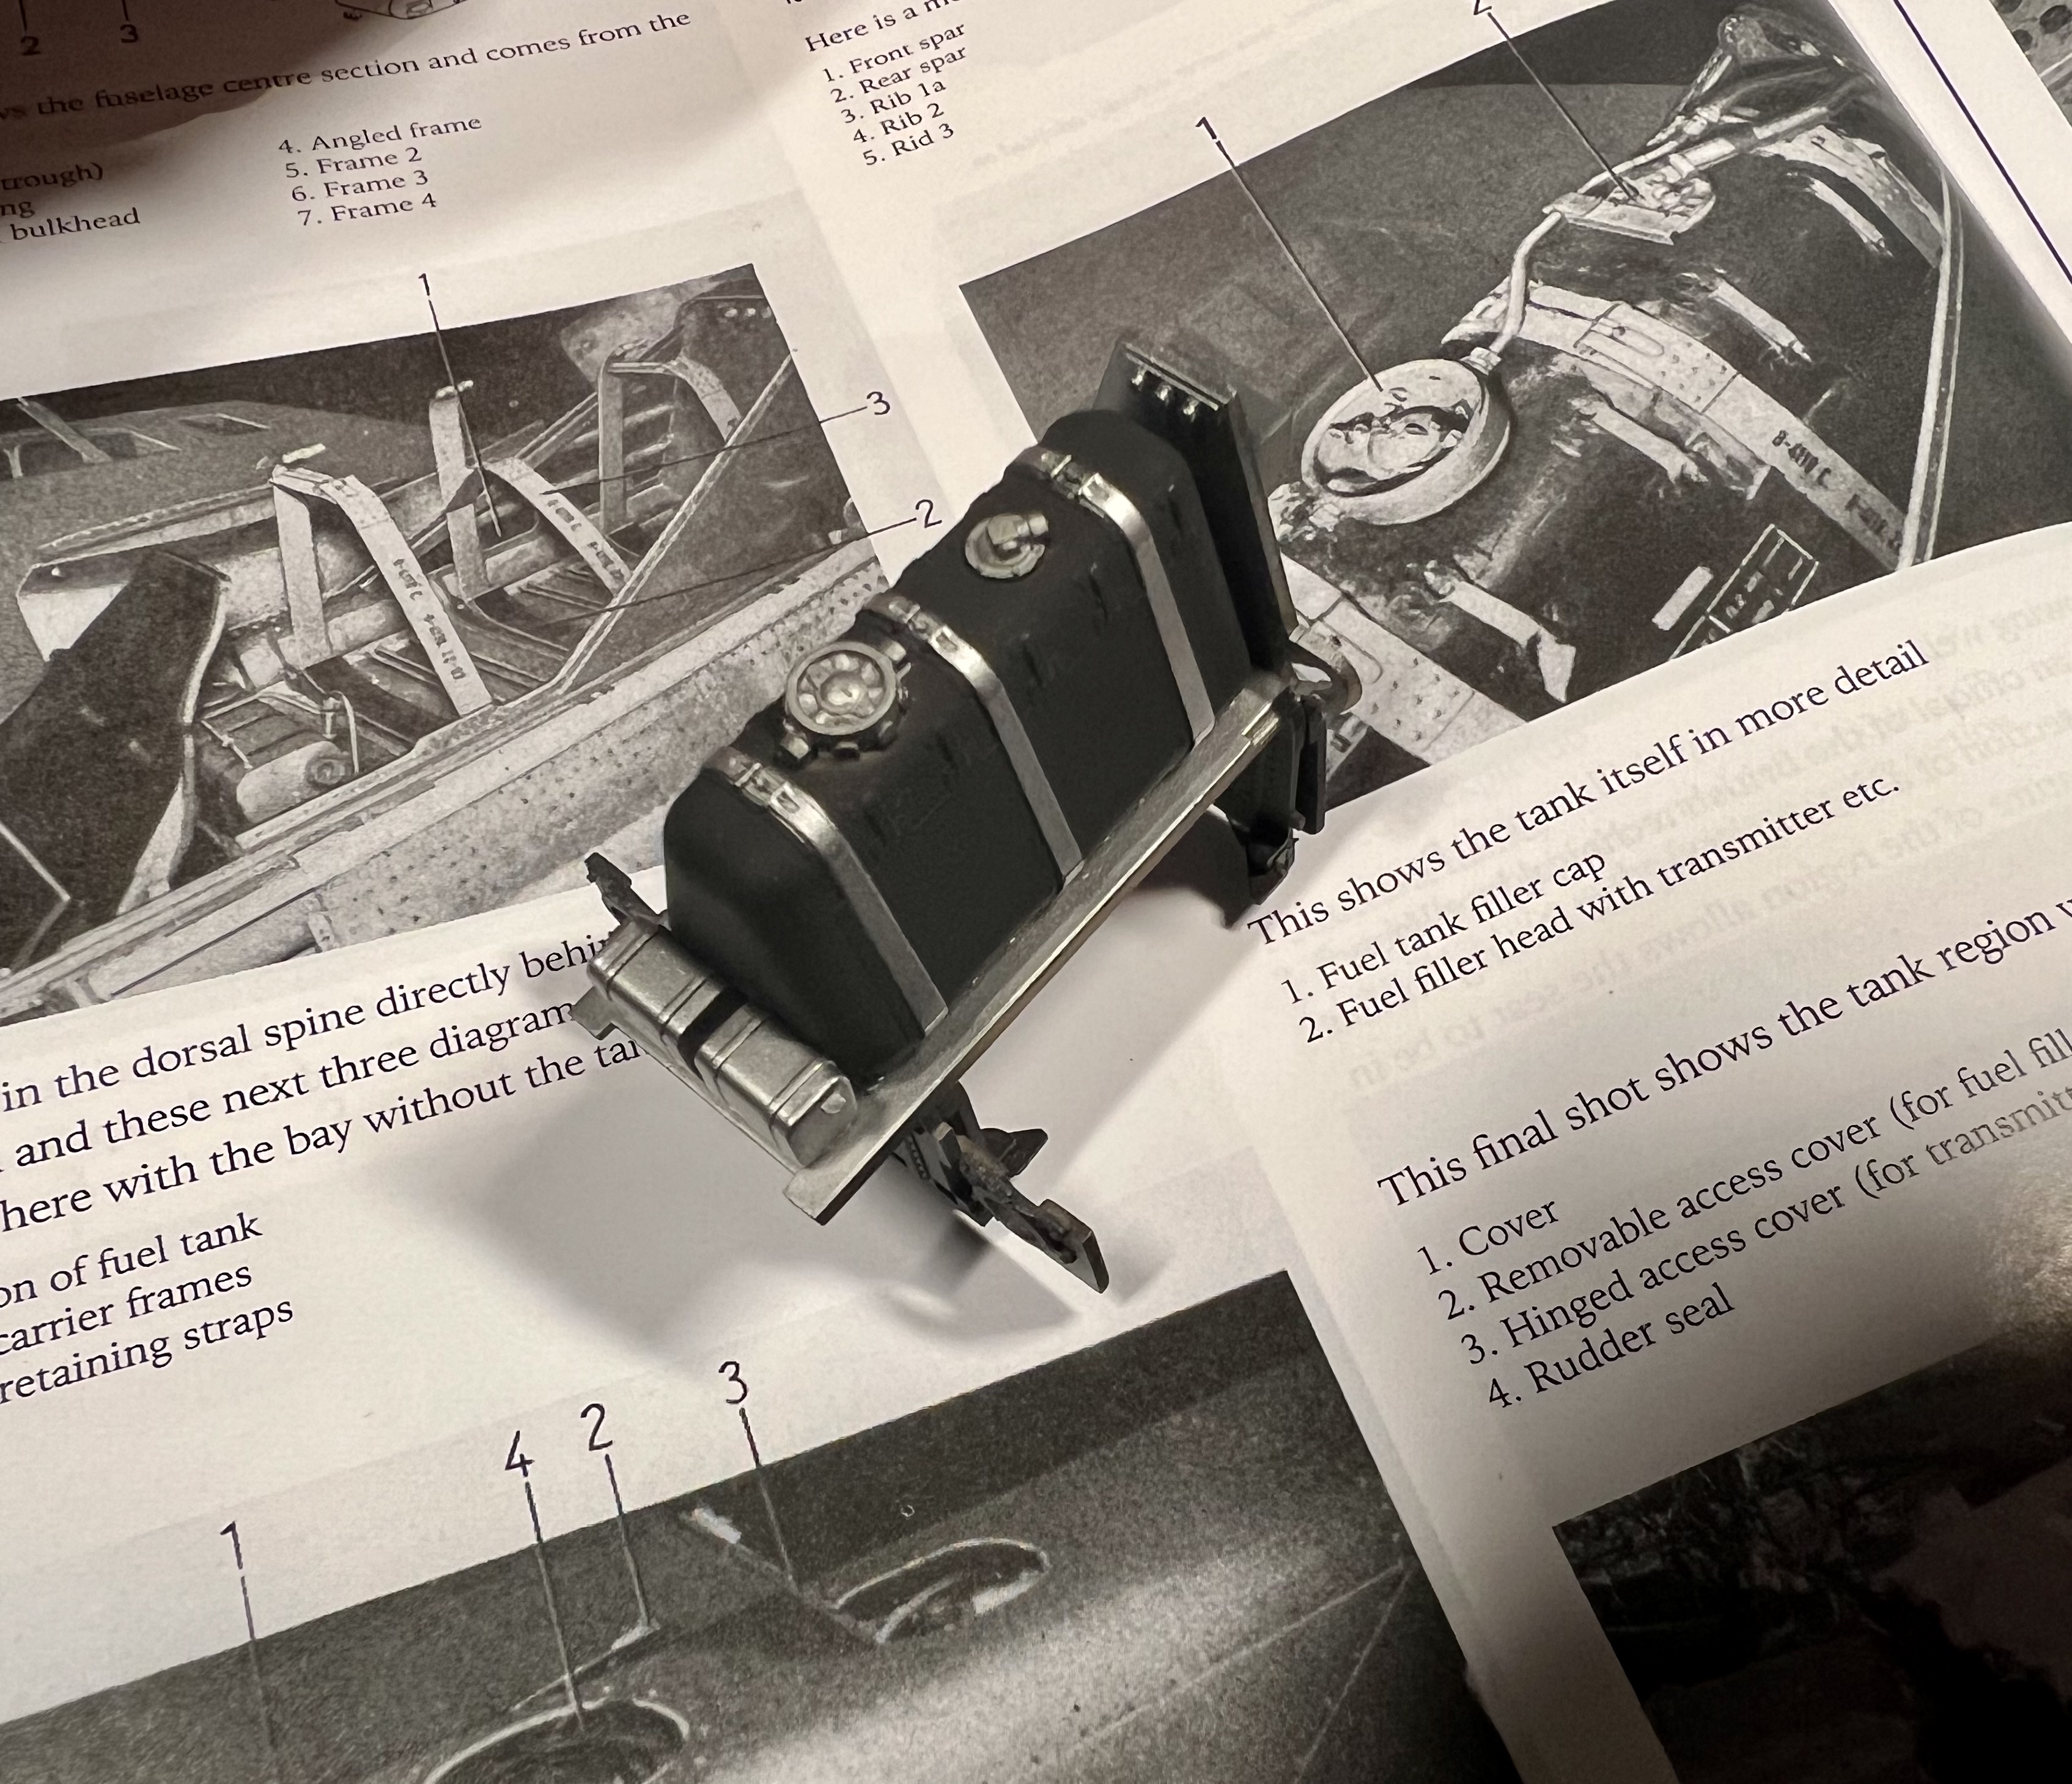
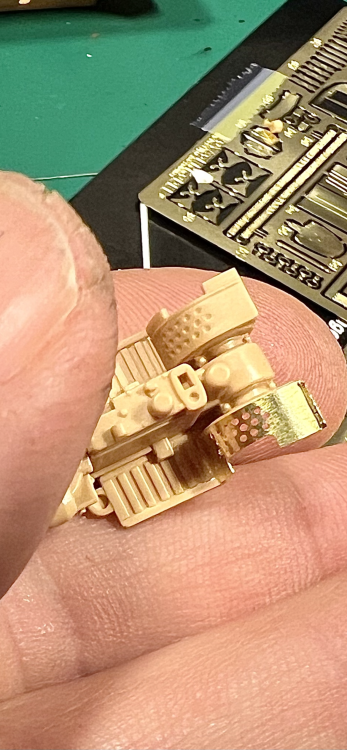
Adding details to the fuel tank.

-
More work on the insides. Adding extra detail to the main fuel tank. Only basic colours so far.

- 256 replies
-
- 12
-
-
-
You really need to plan your spraywork on this one. Here’s another session. There really are a lot of pin marks but i’m only eliminating the visible ones.
-
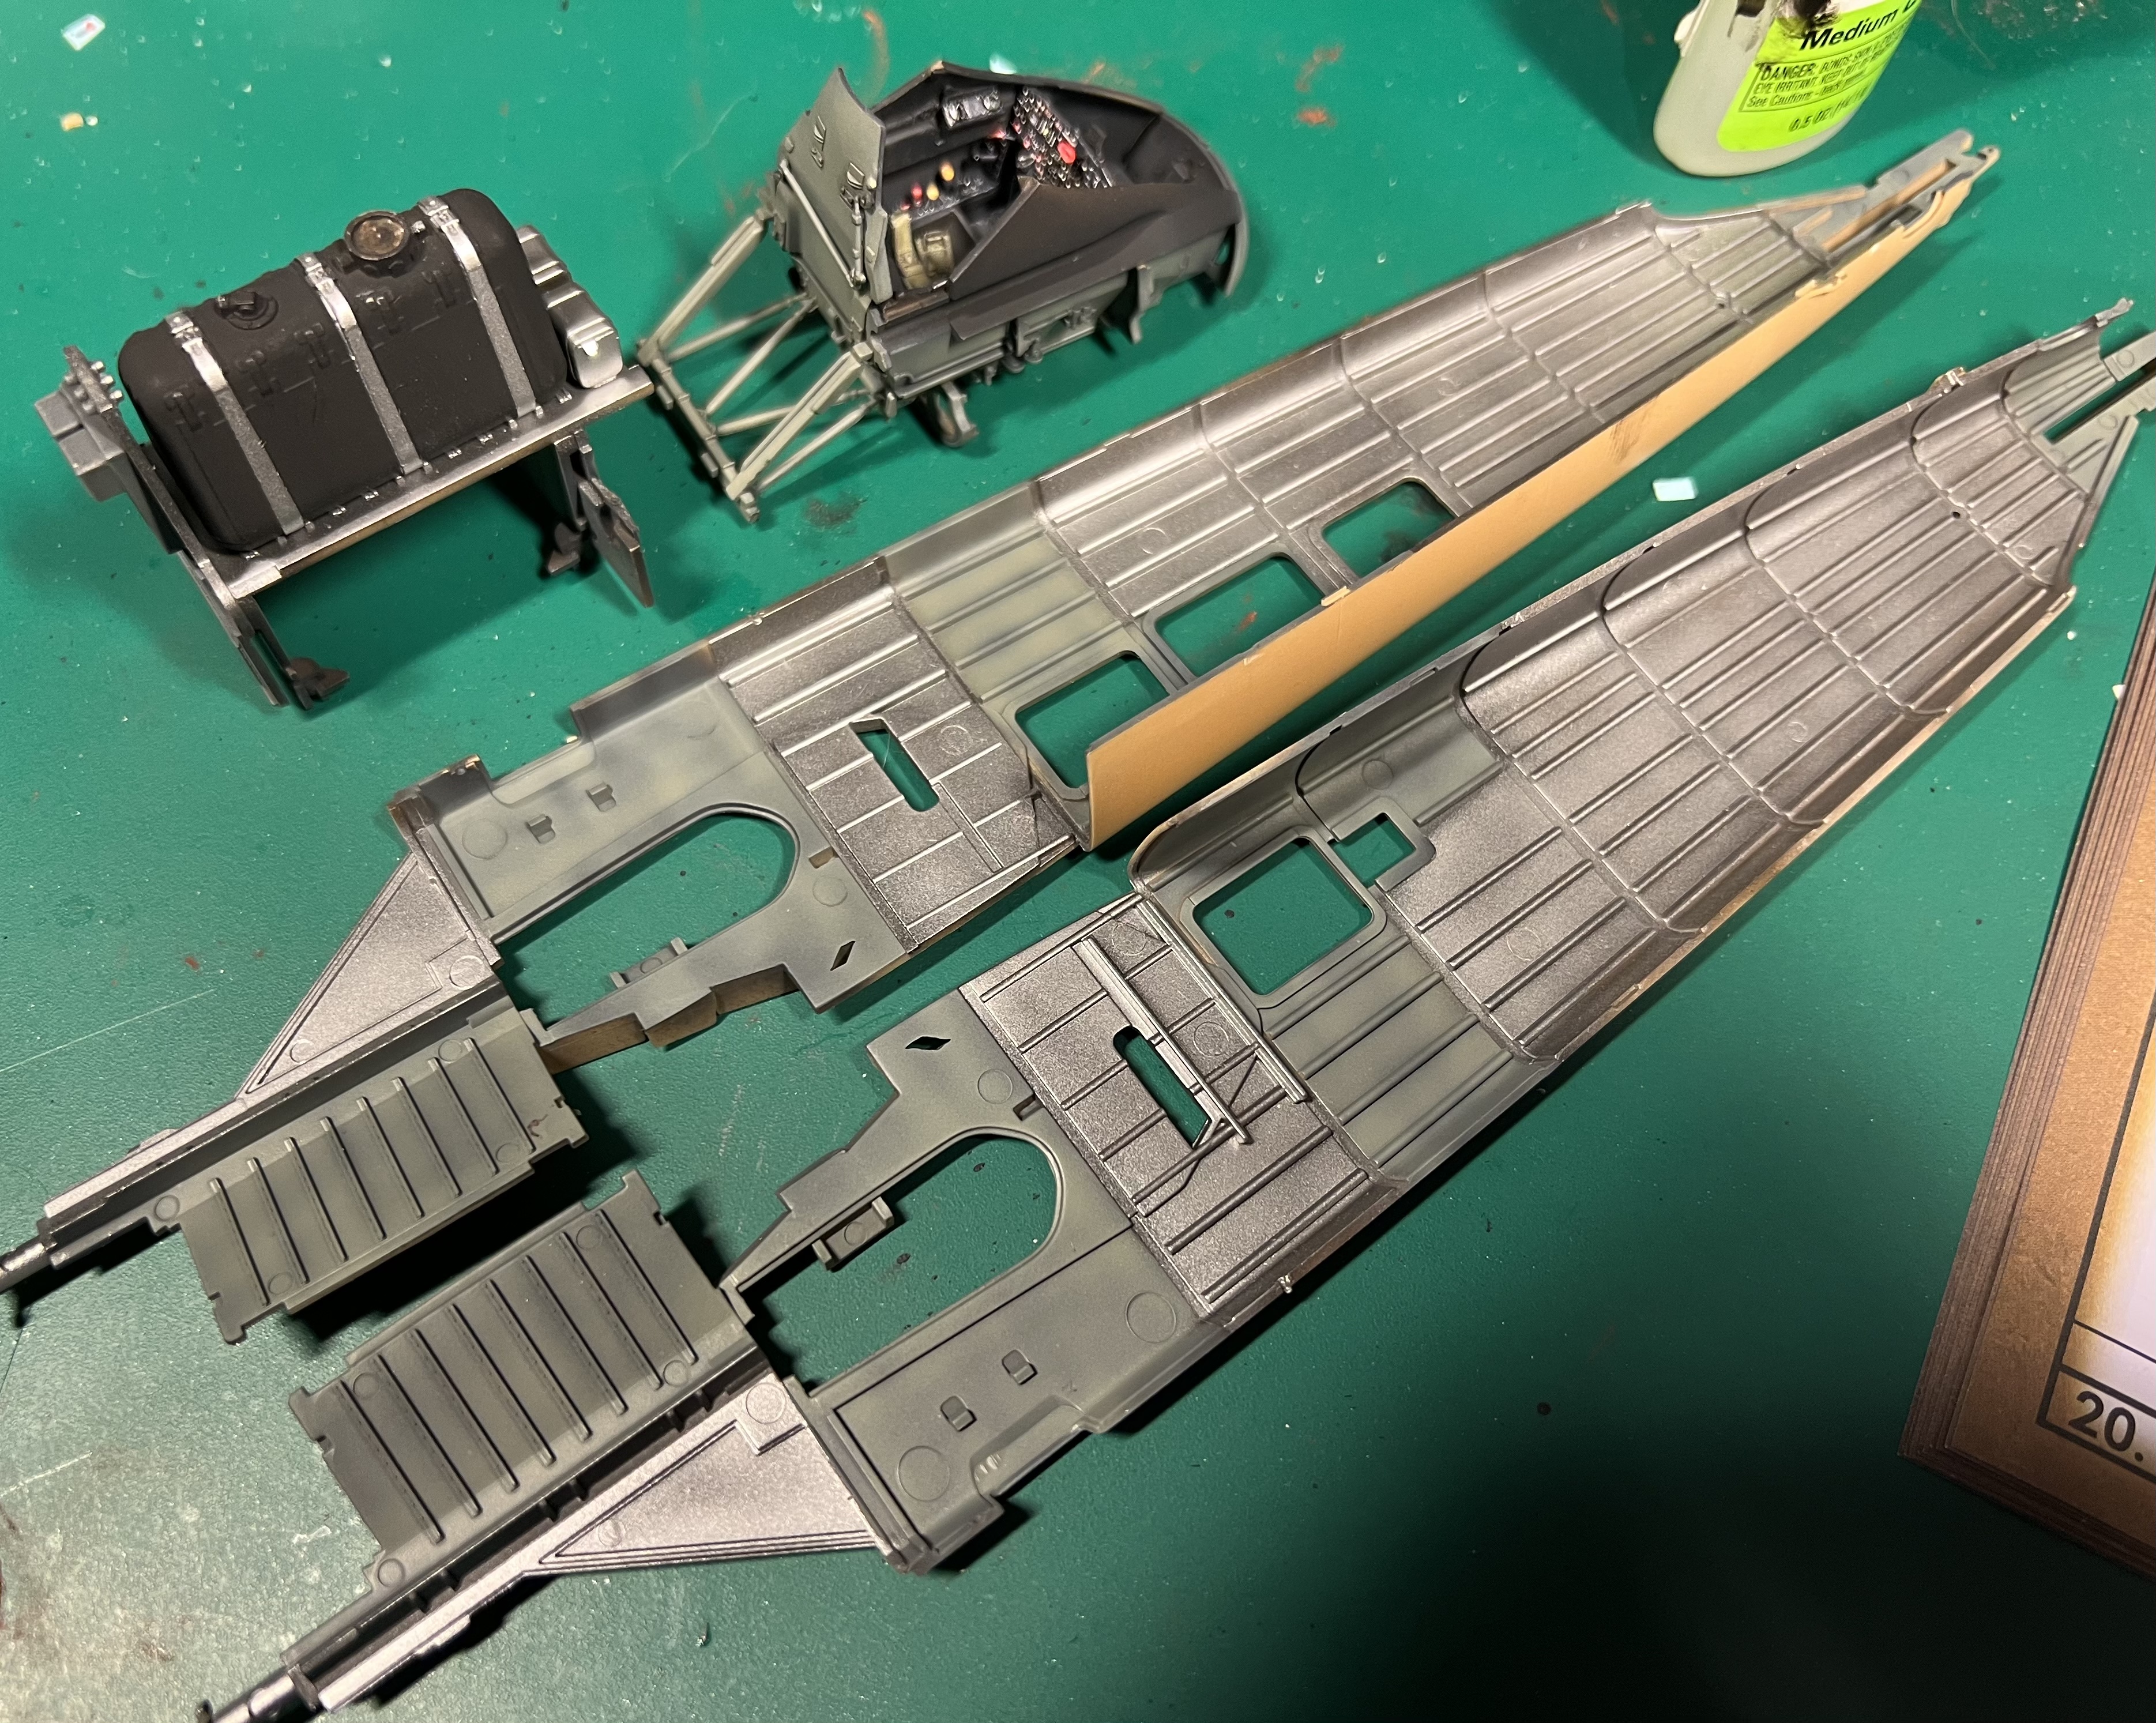
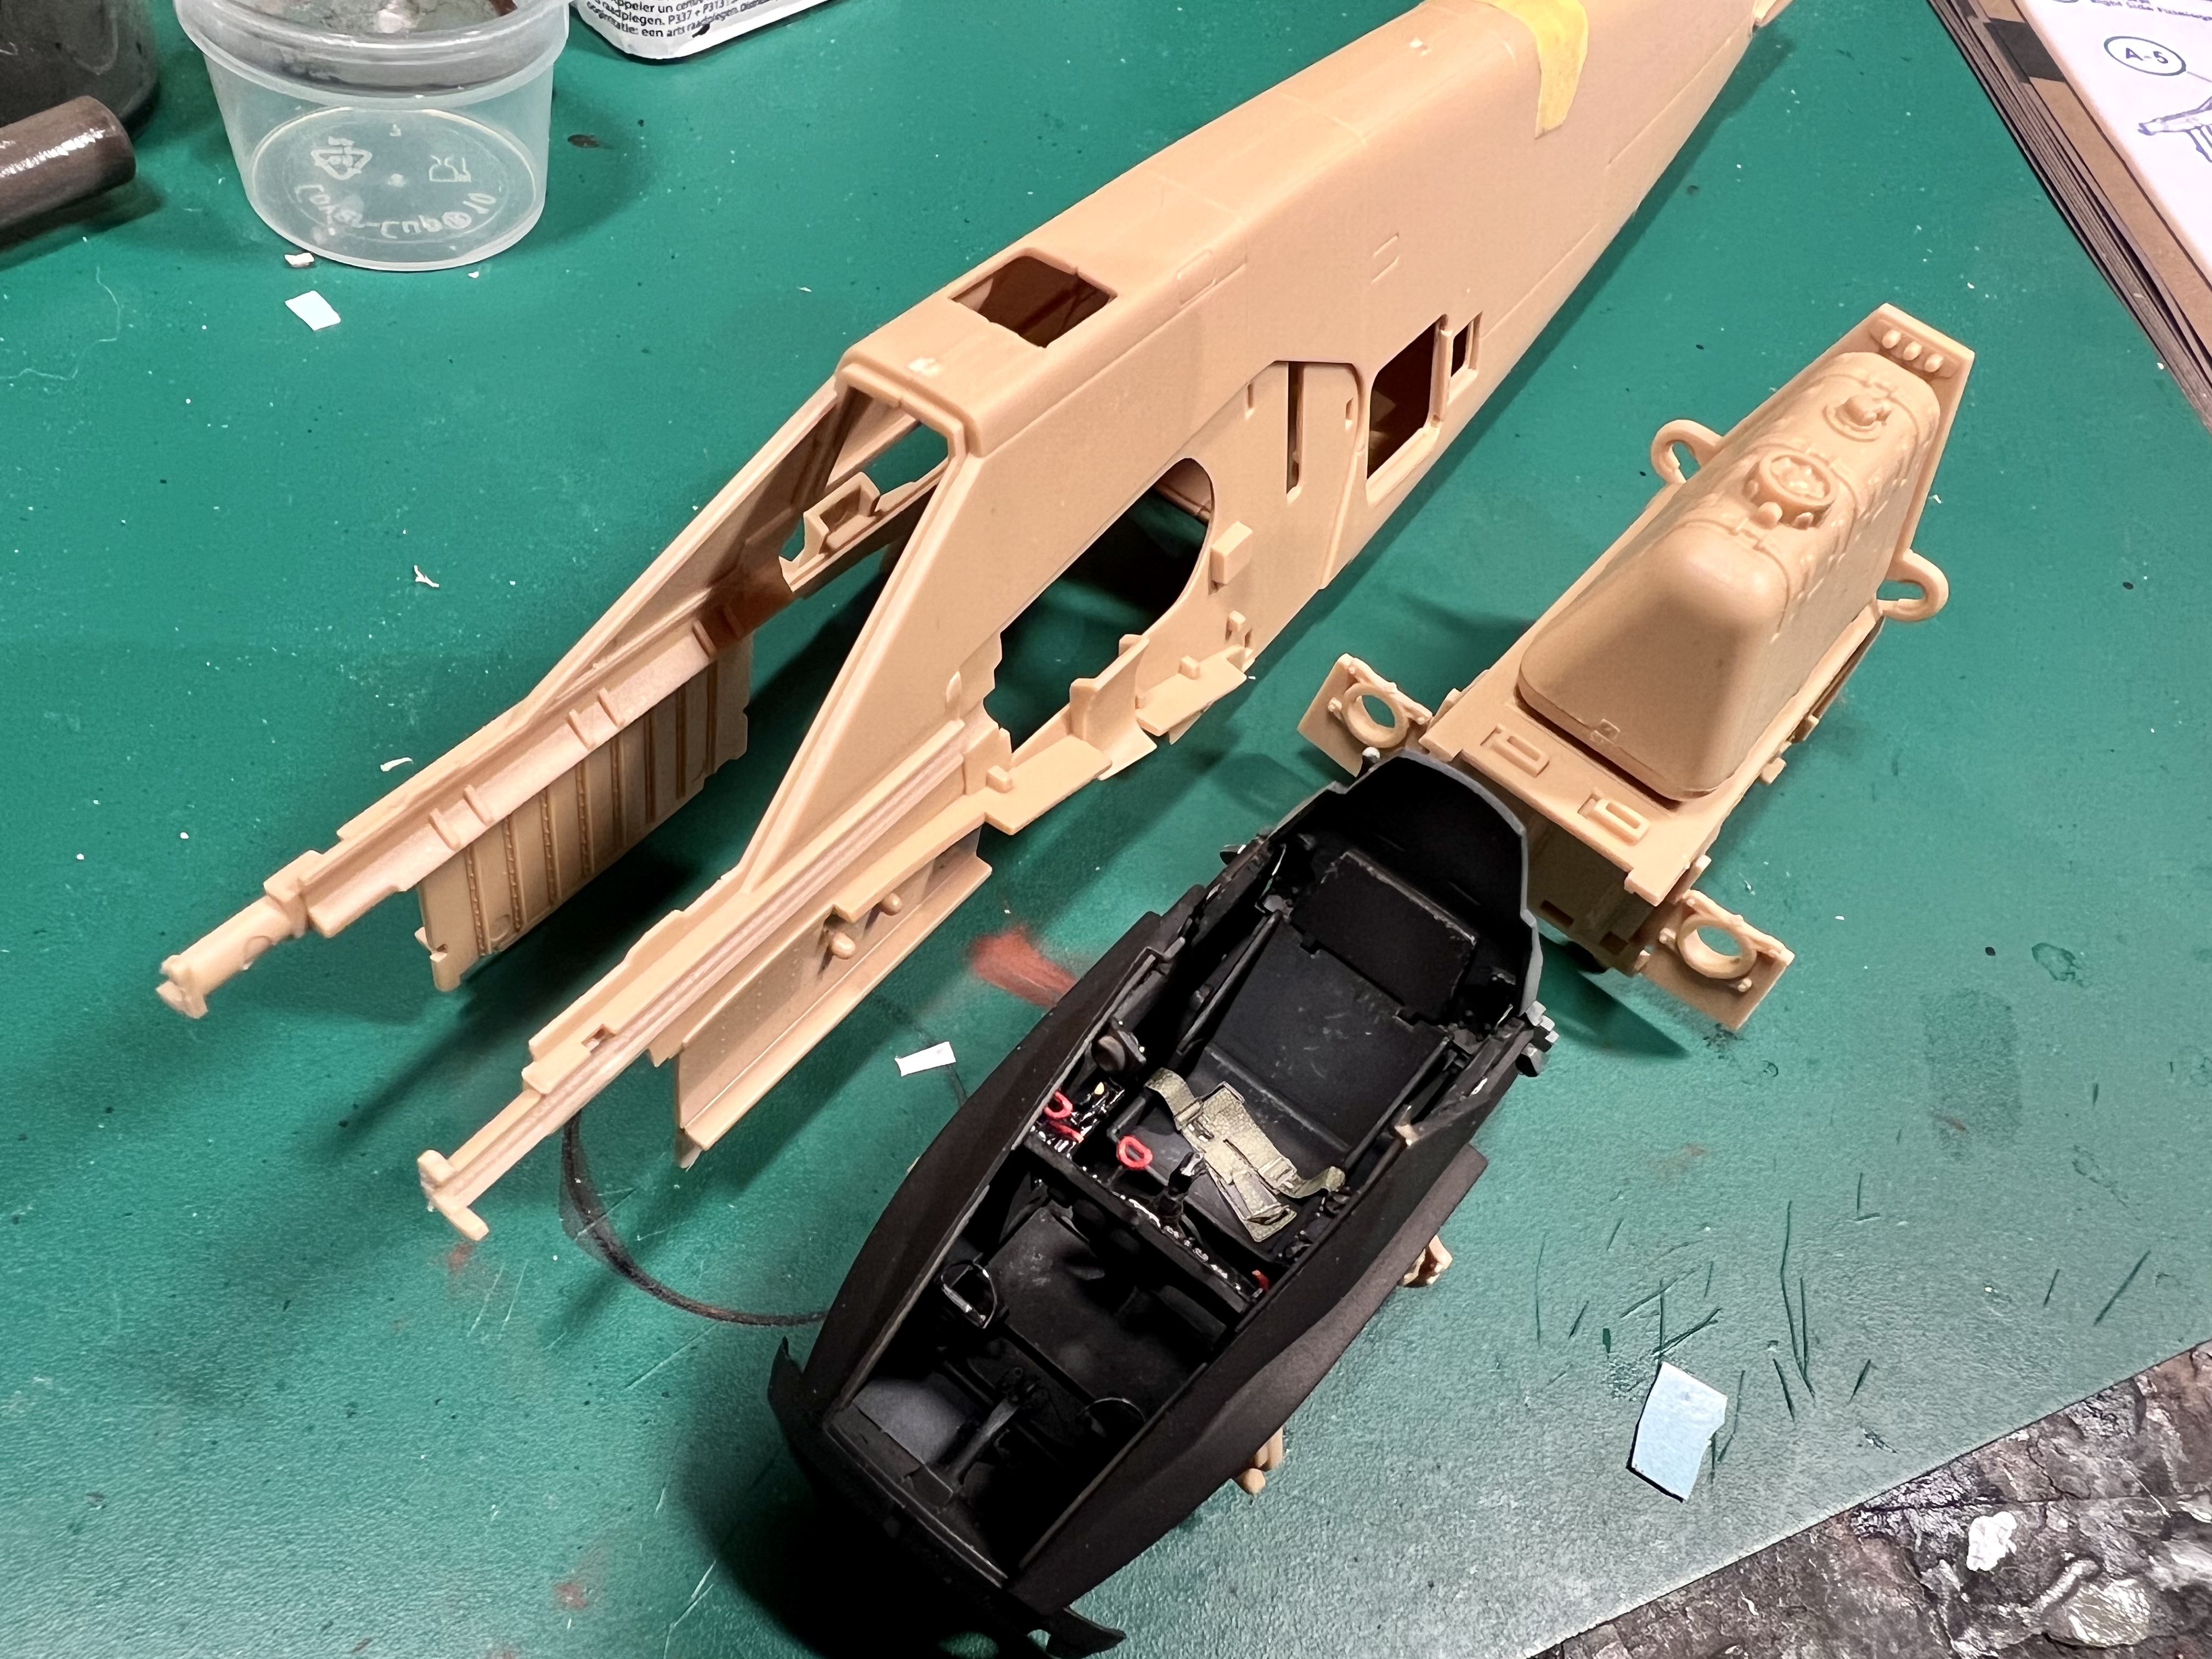
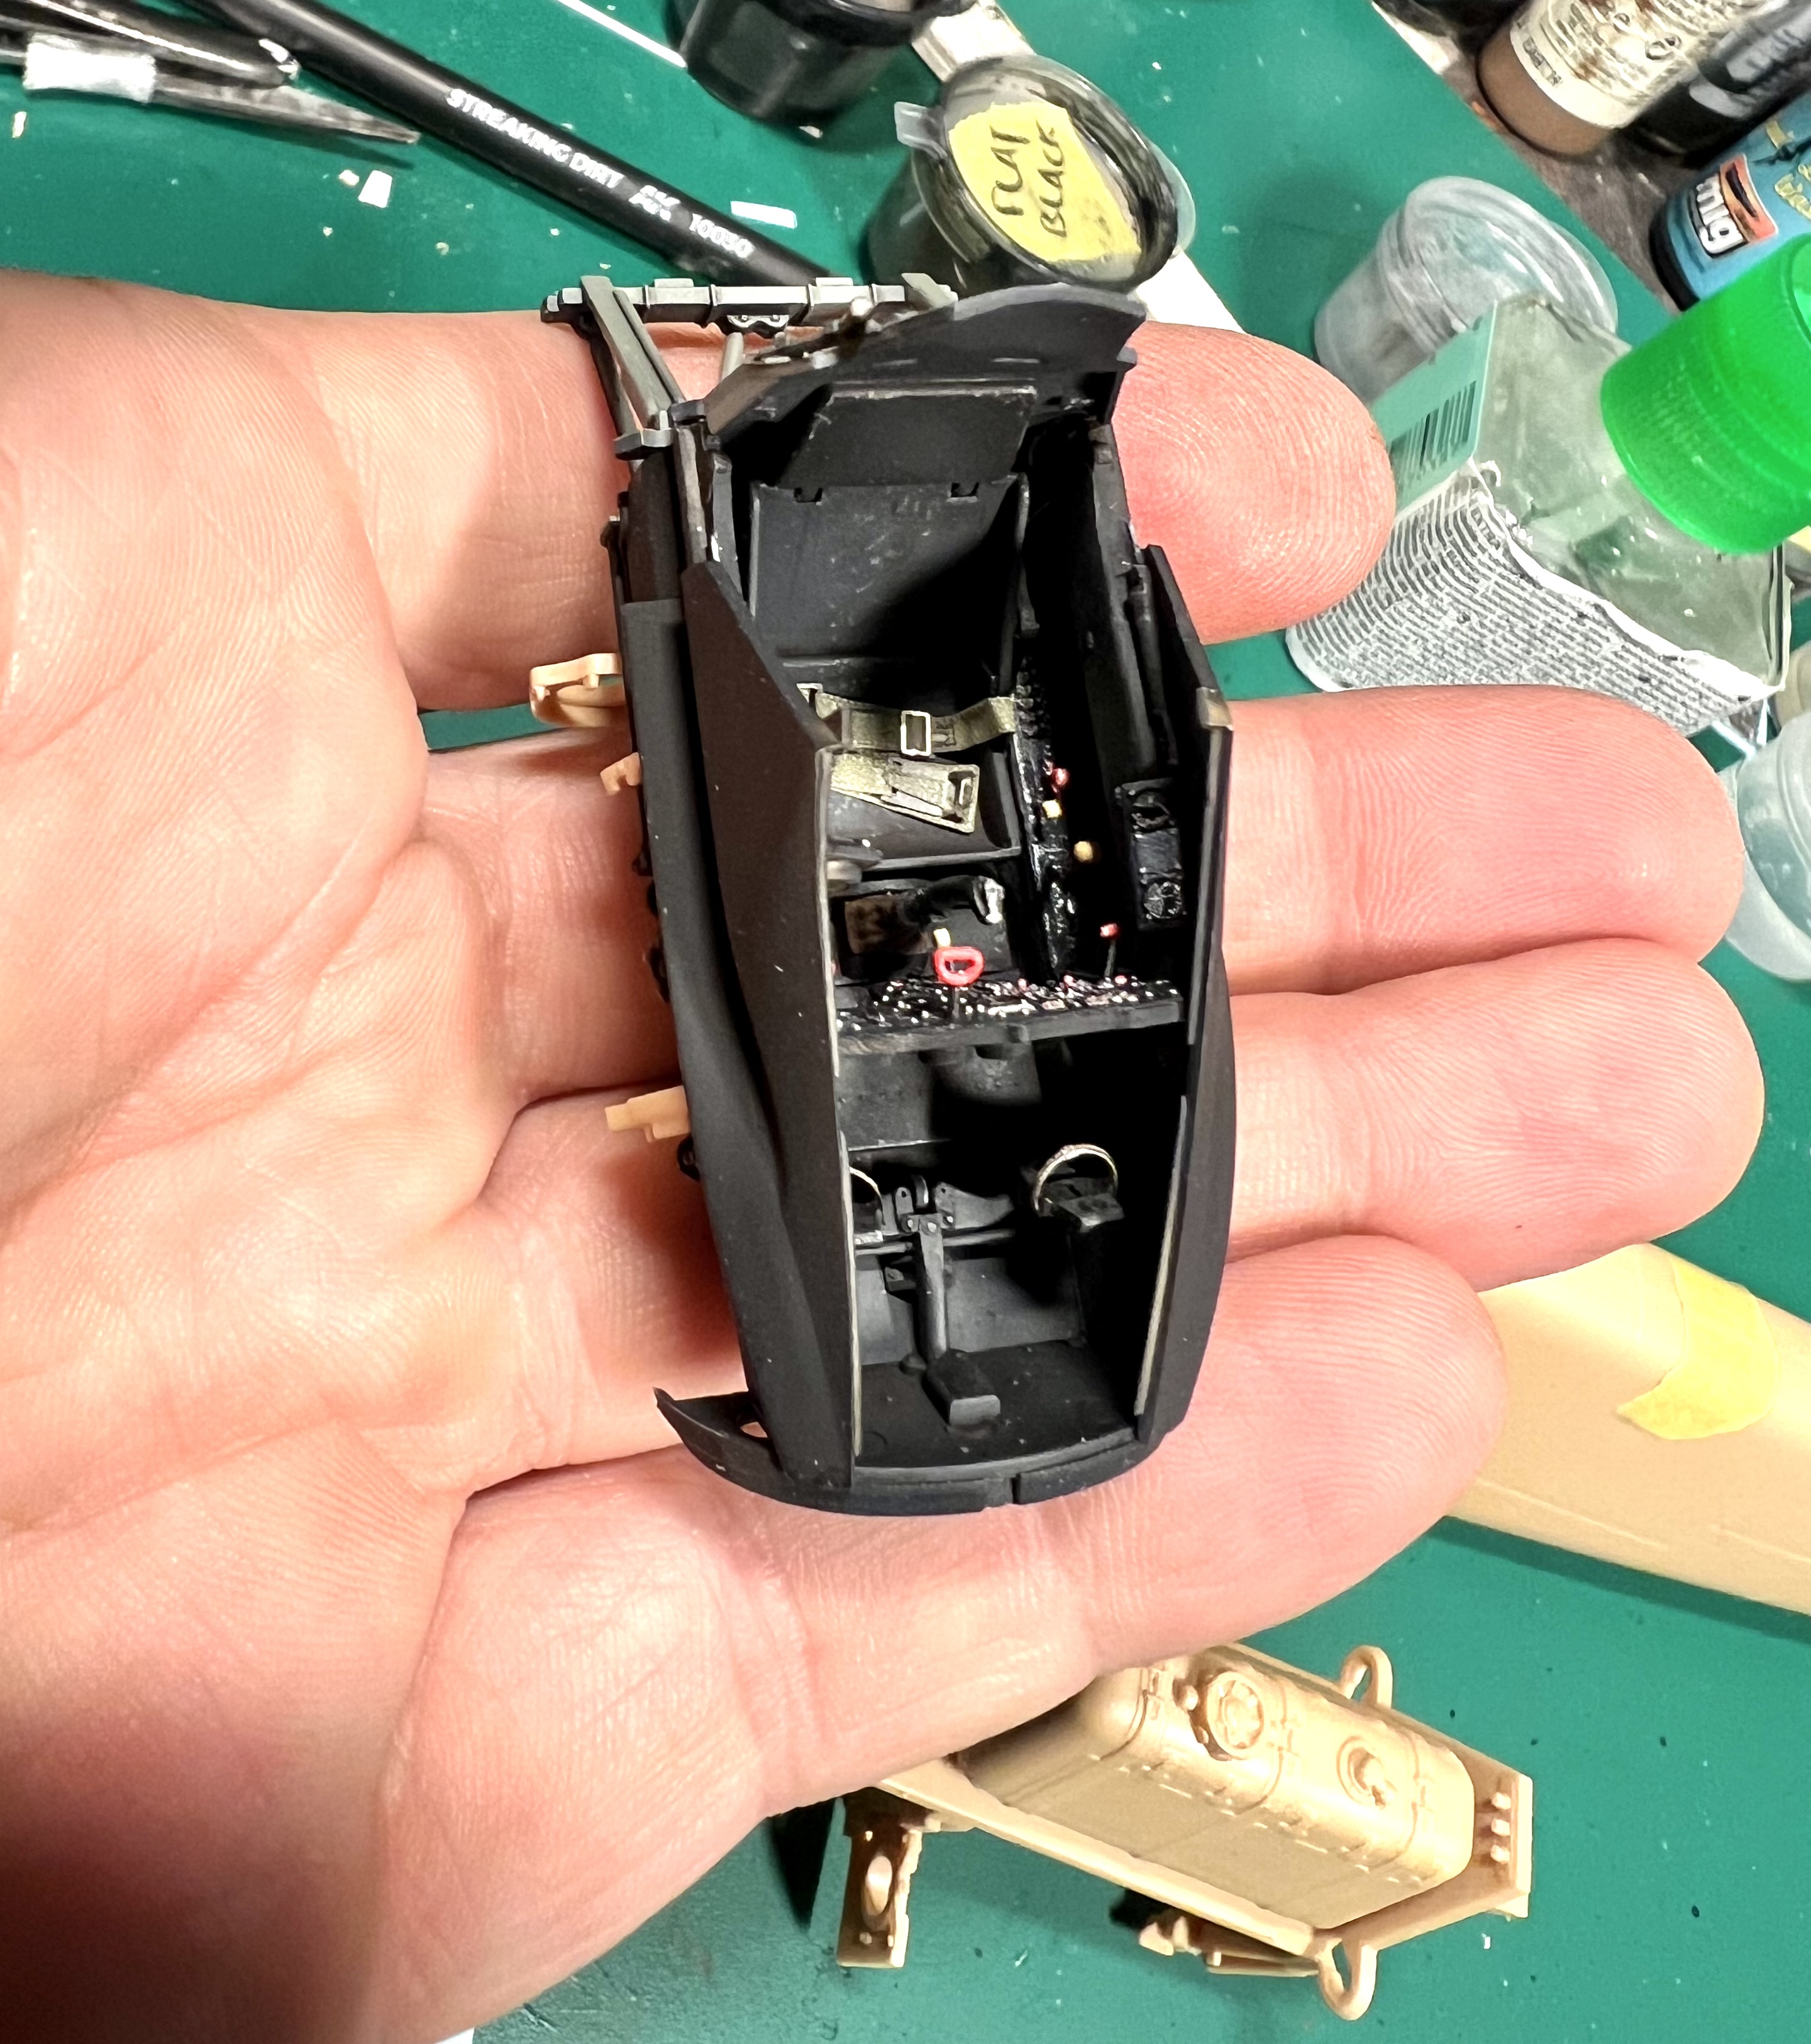
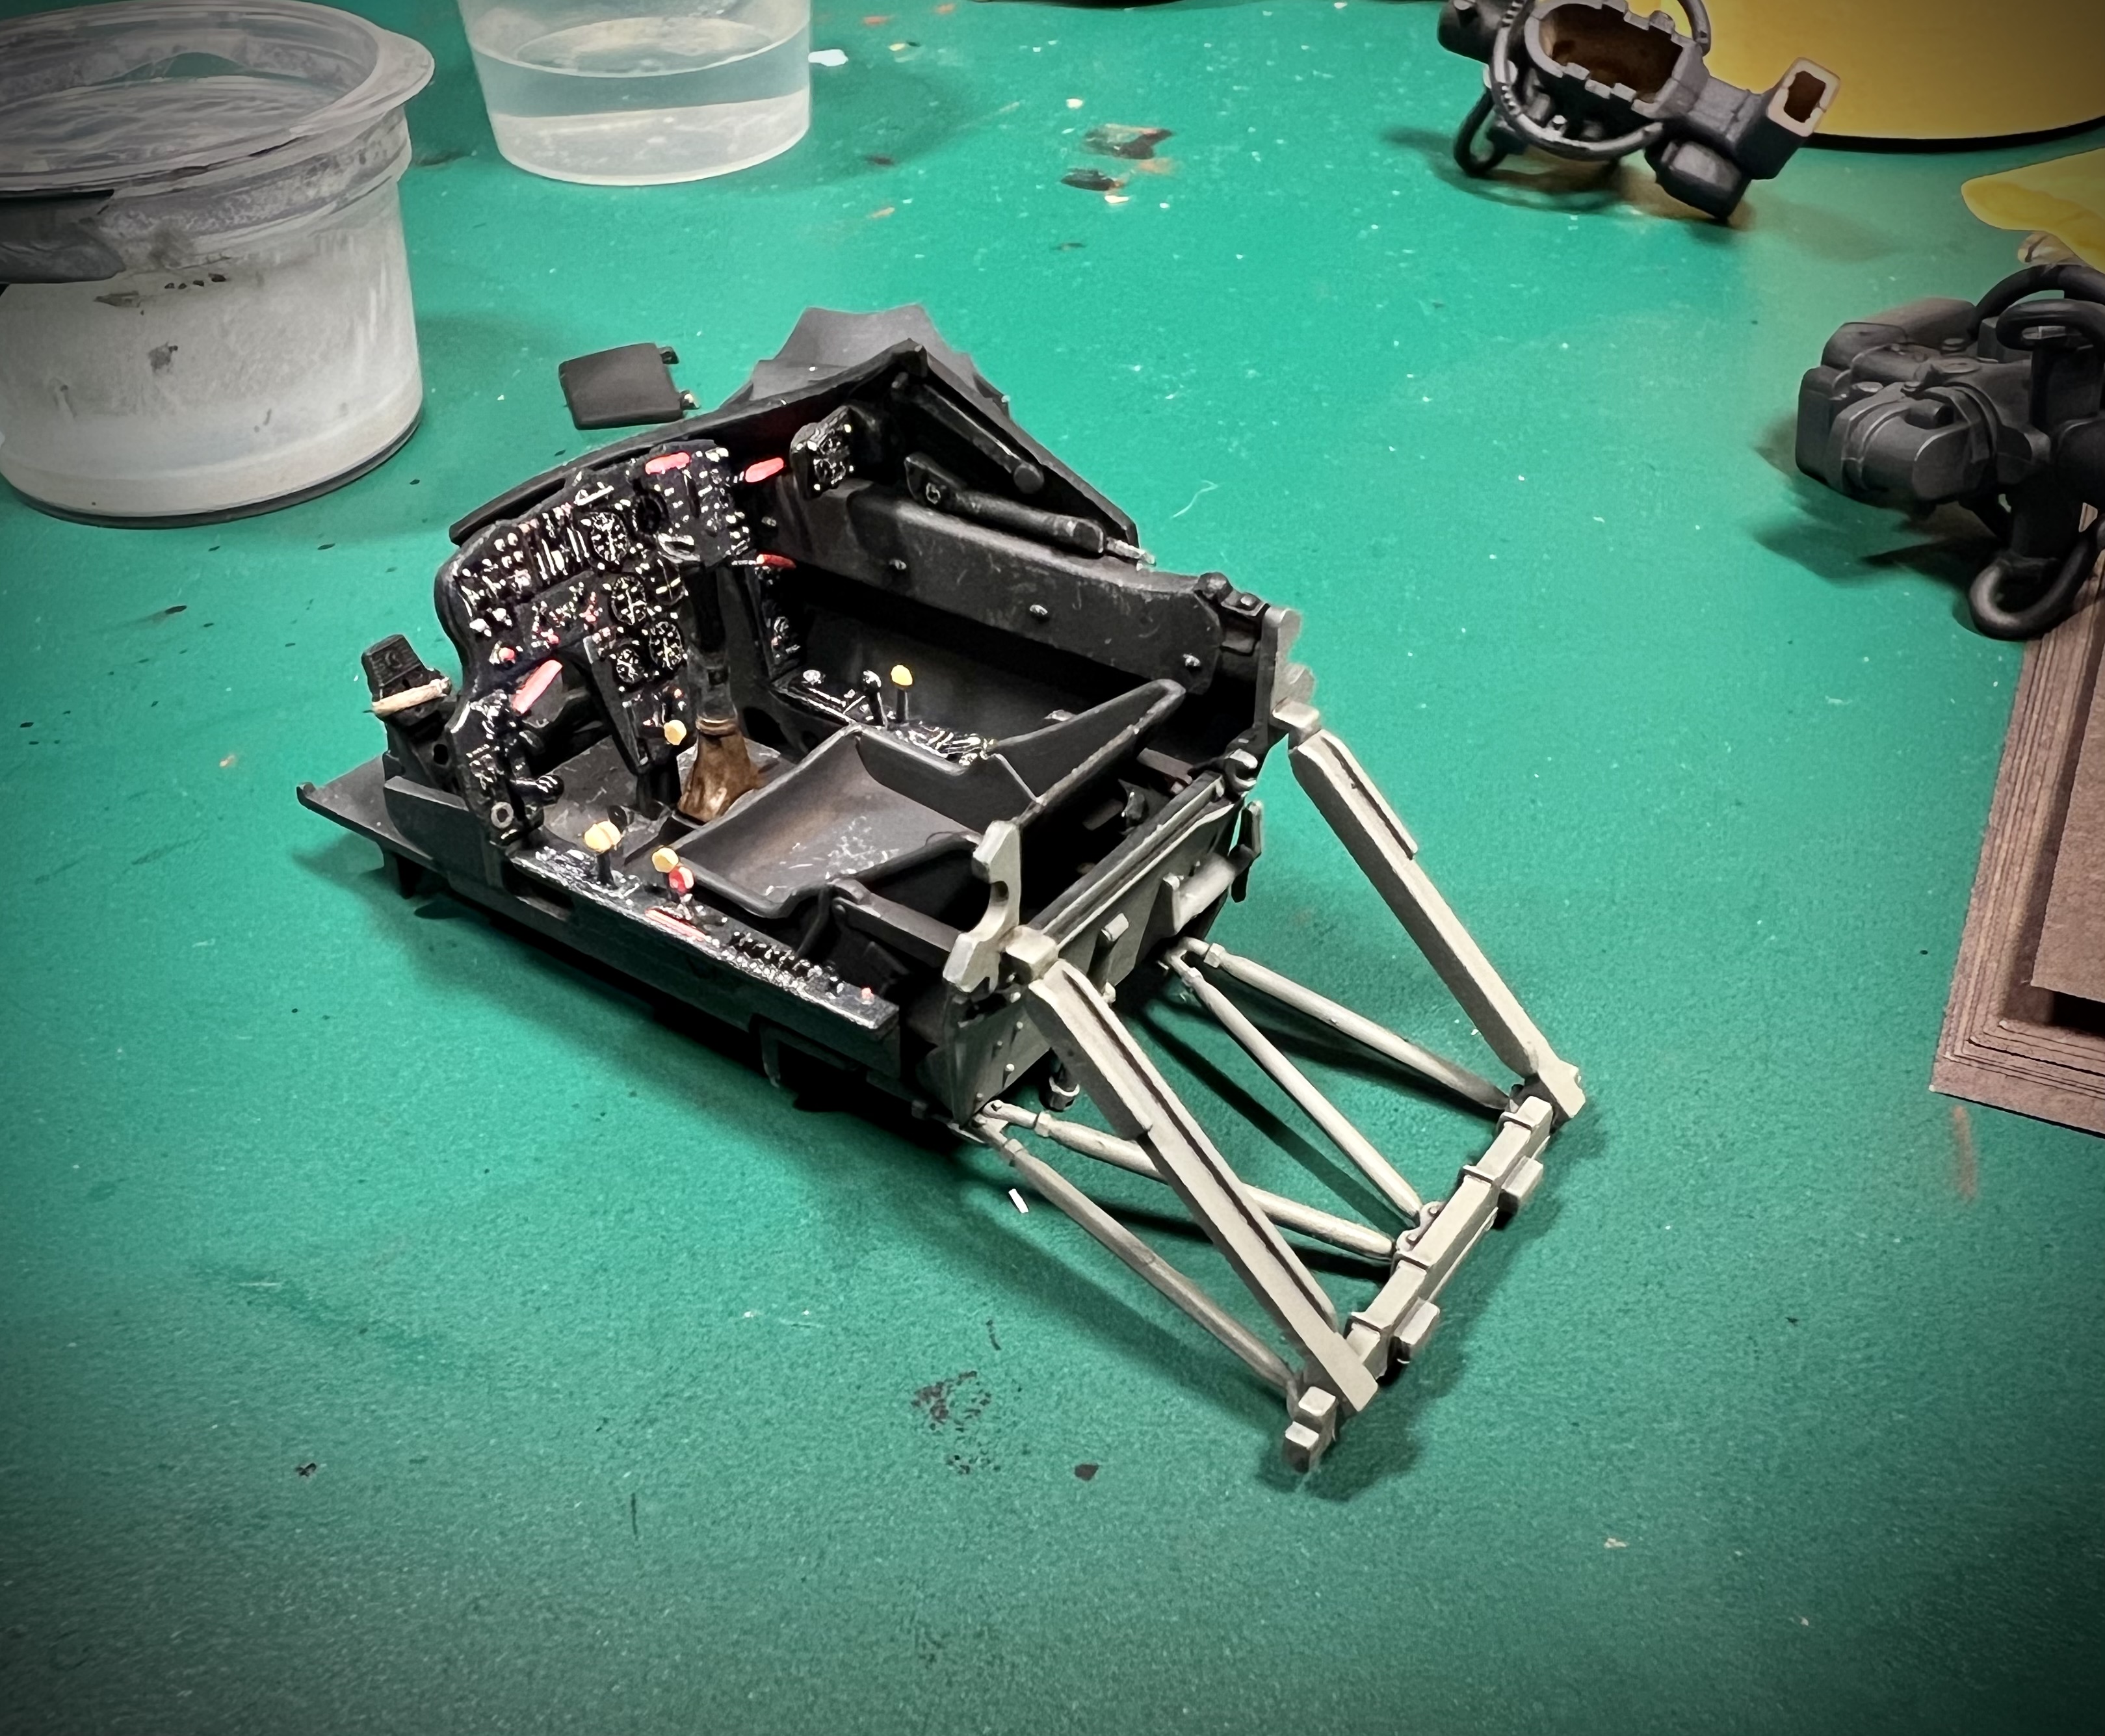
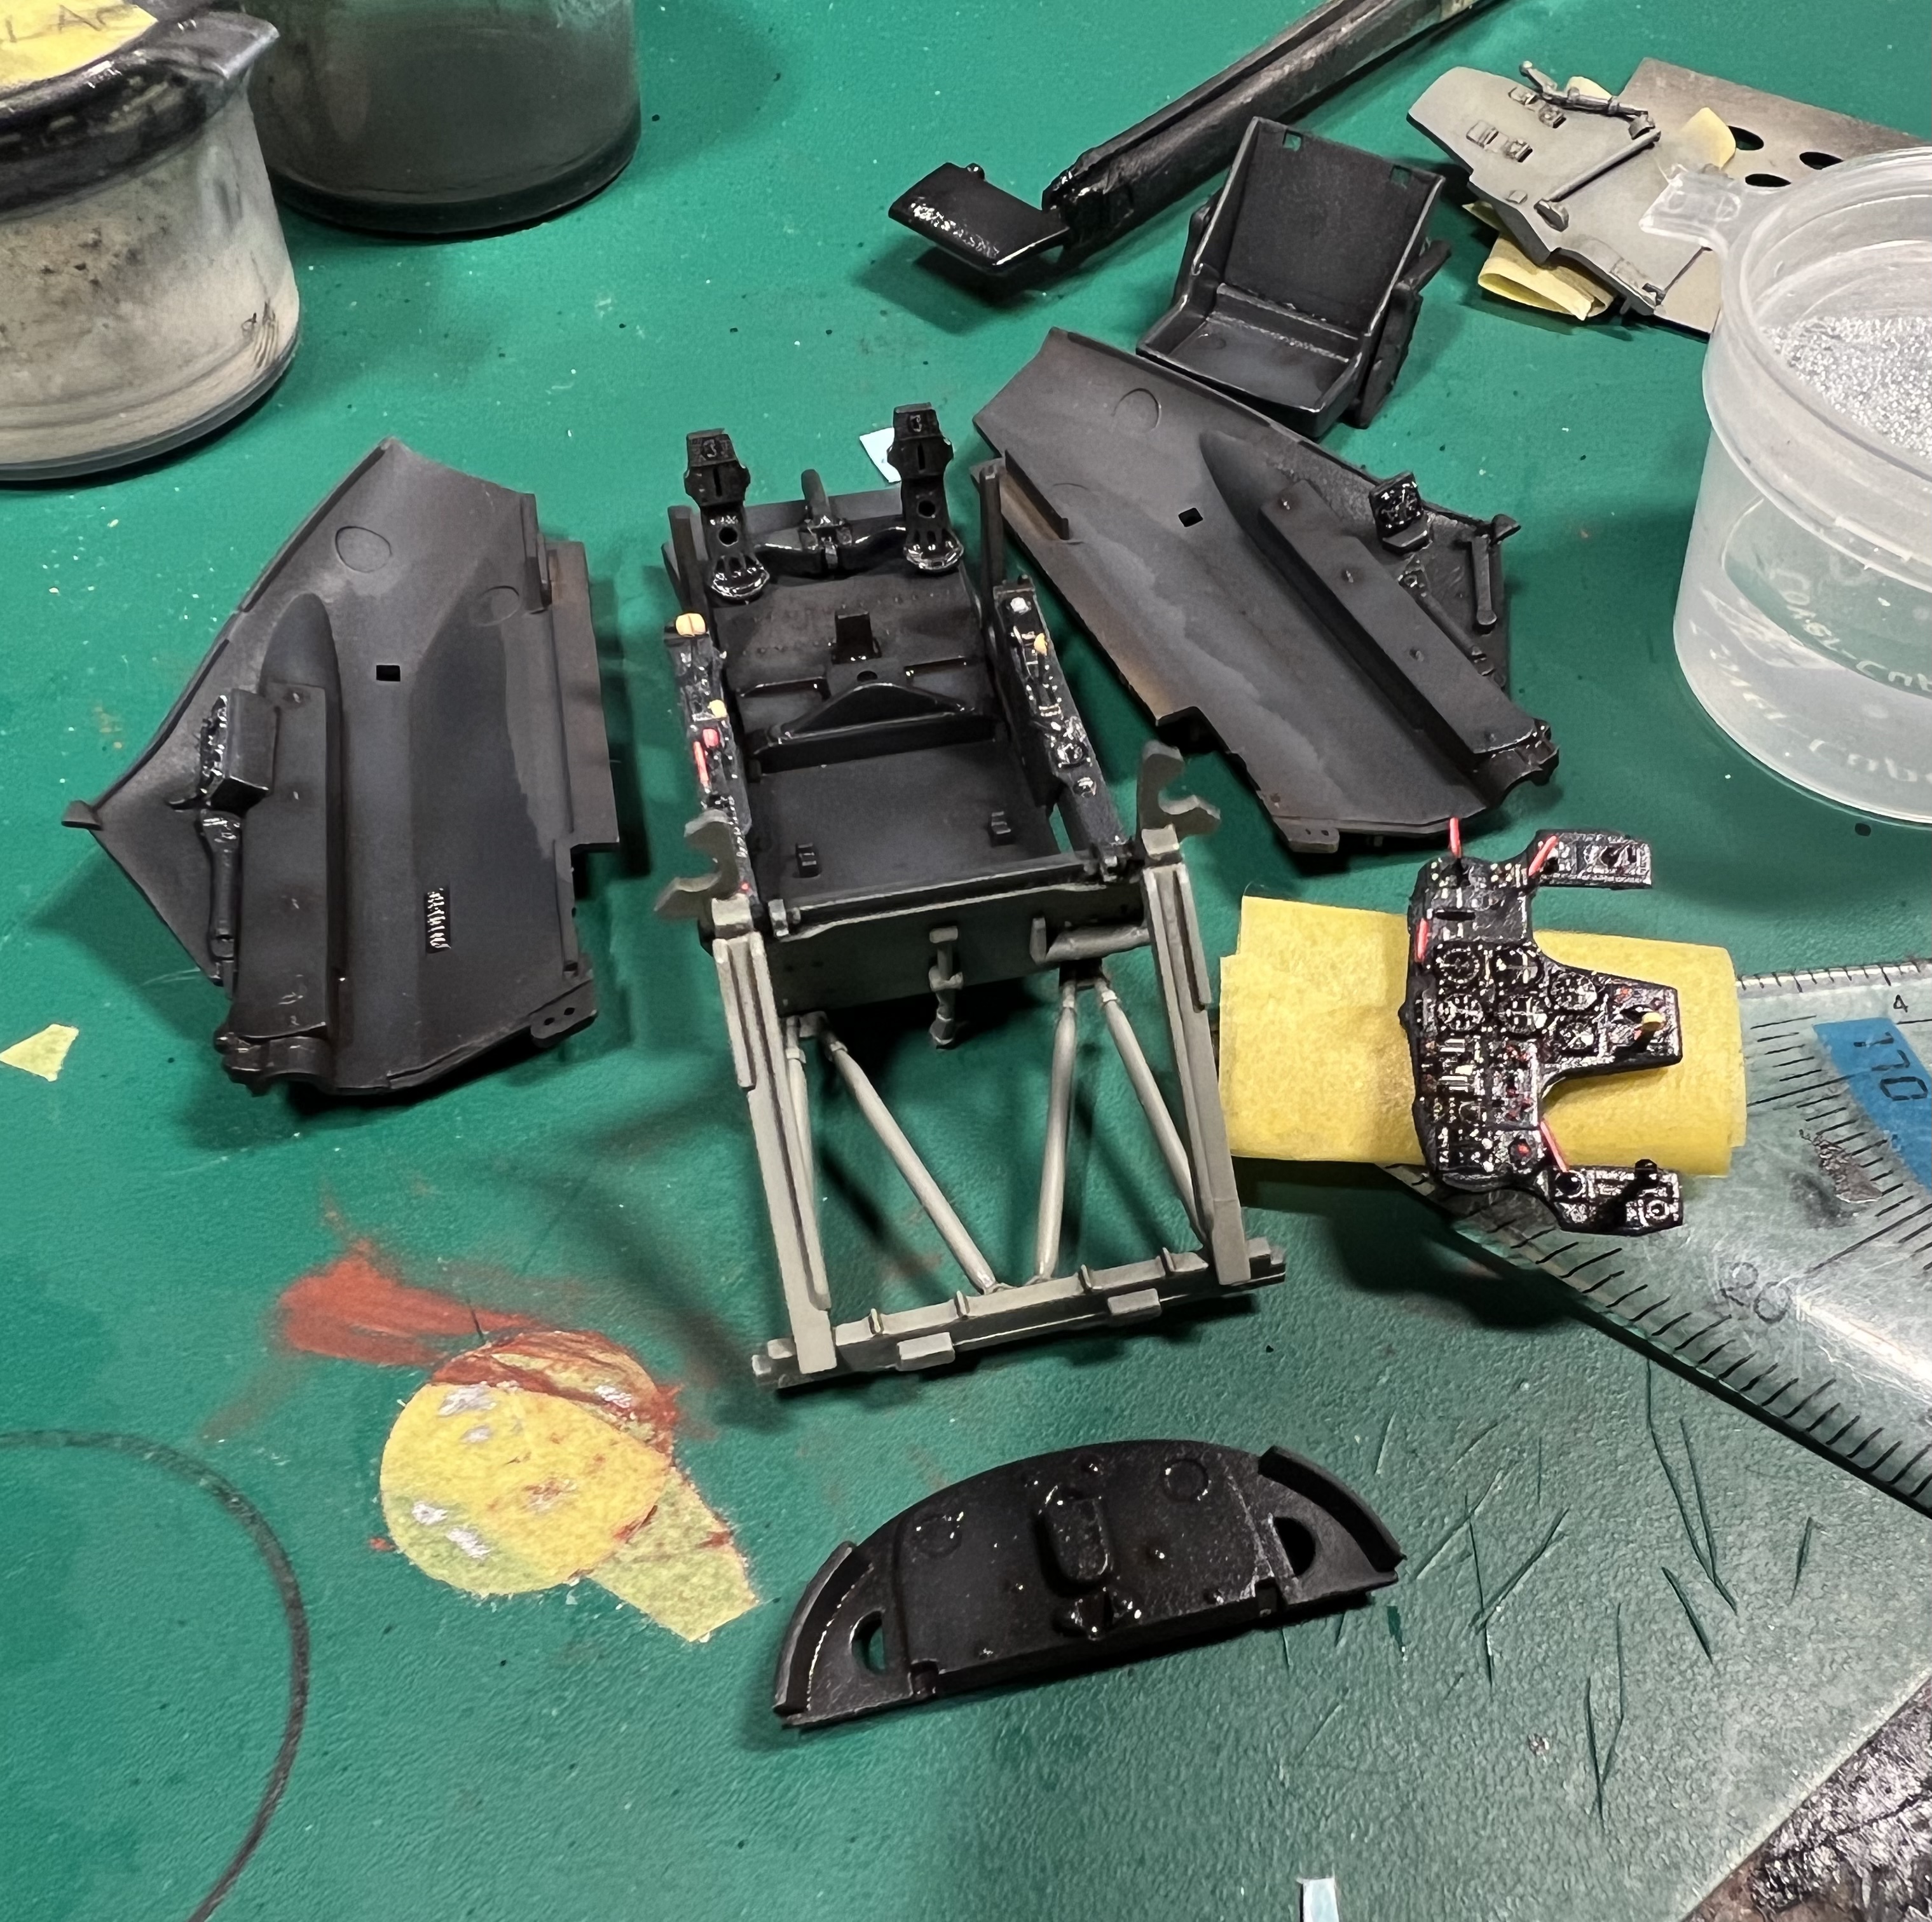
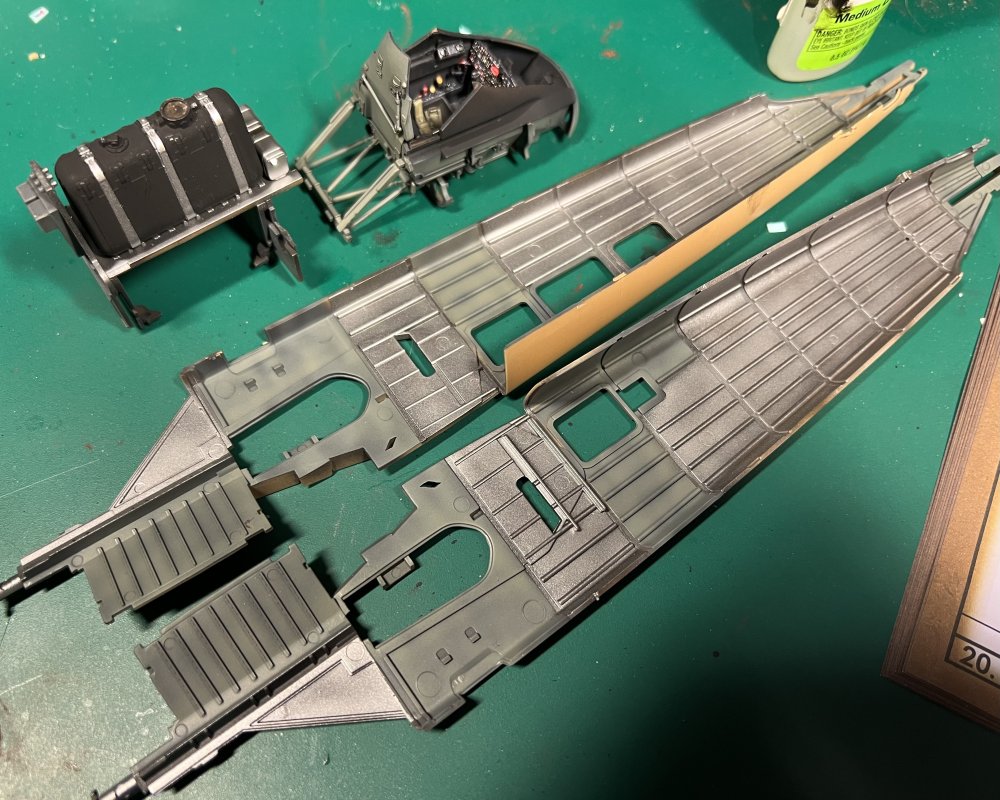
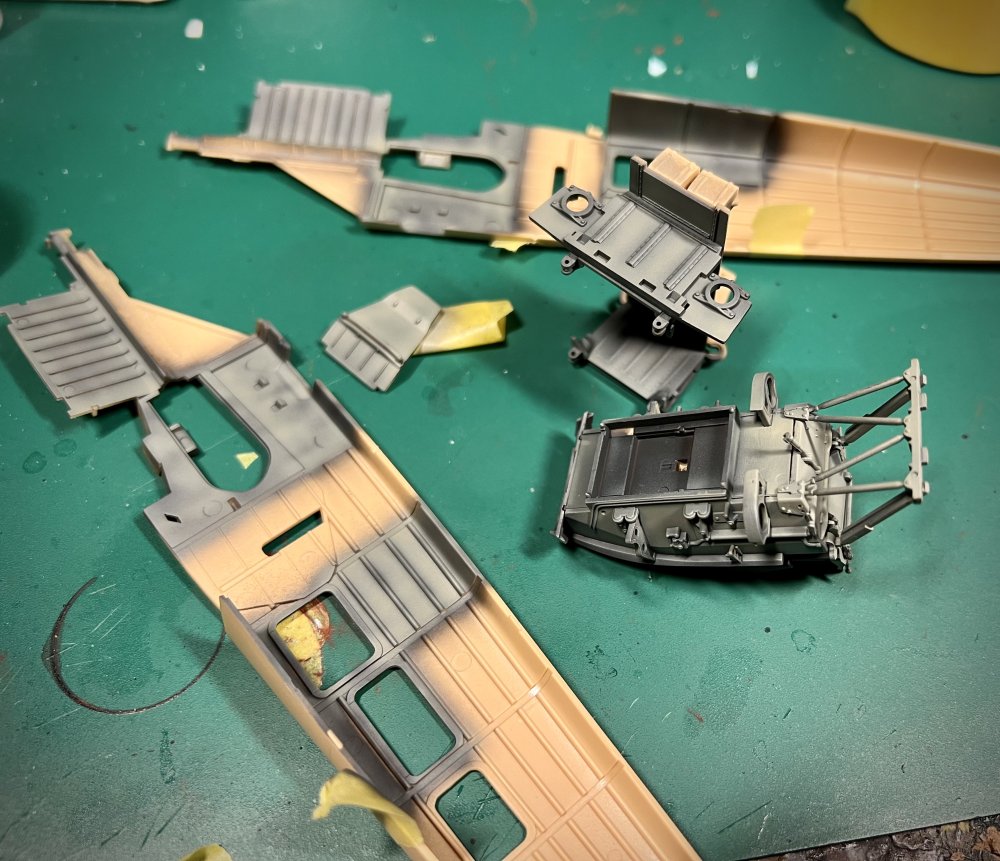
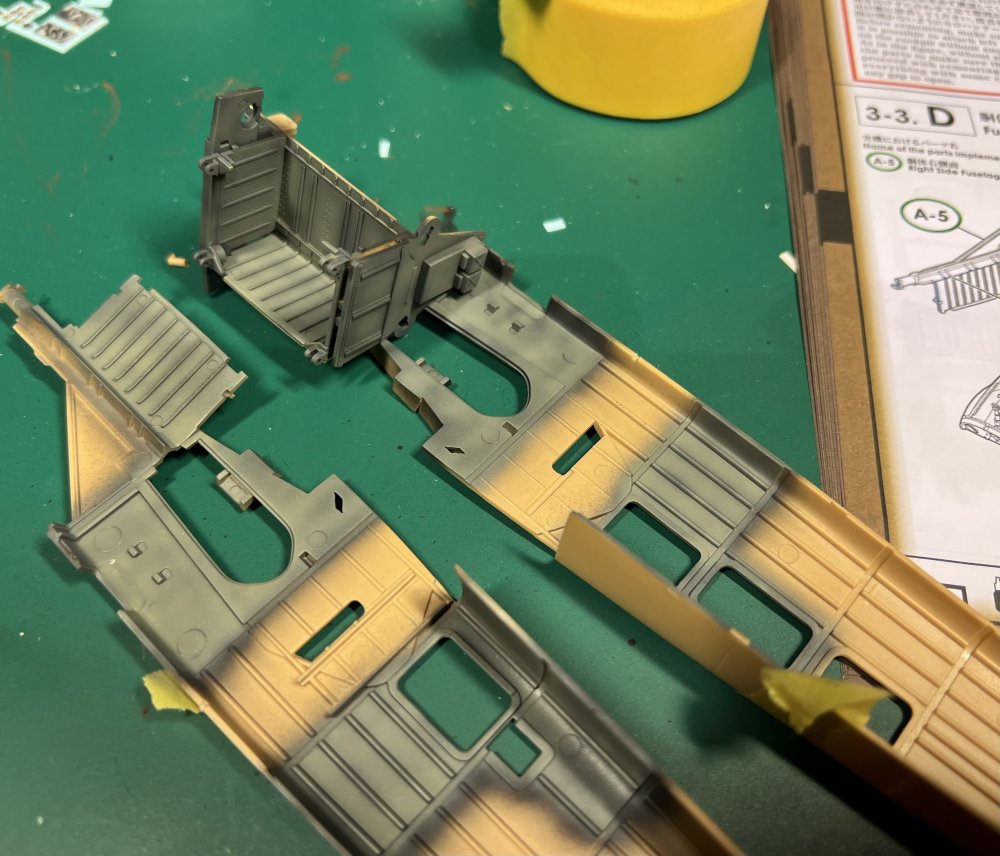
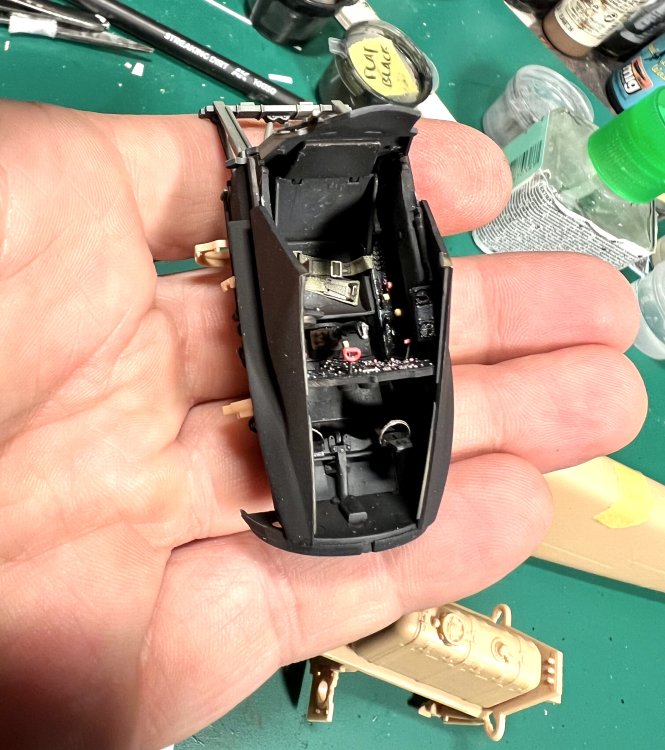
Jumping from kettenkraftrad to hs129. Added seatbelts. The shoulderstraps need more research. They go through the armoured seat. Attached to cables. Kinda like the spitfire seatbelts.

- 256 replies
-
- 11
-
-
-
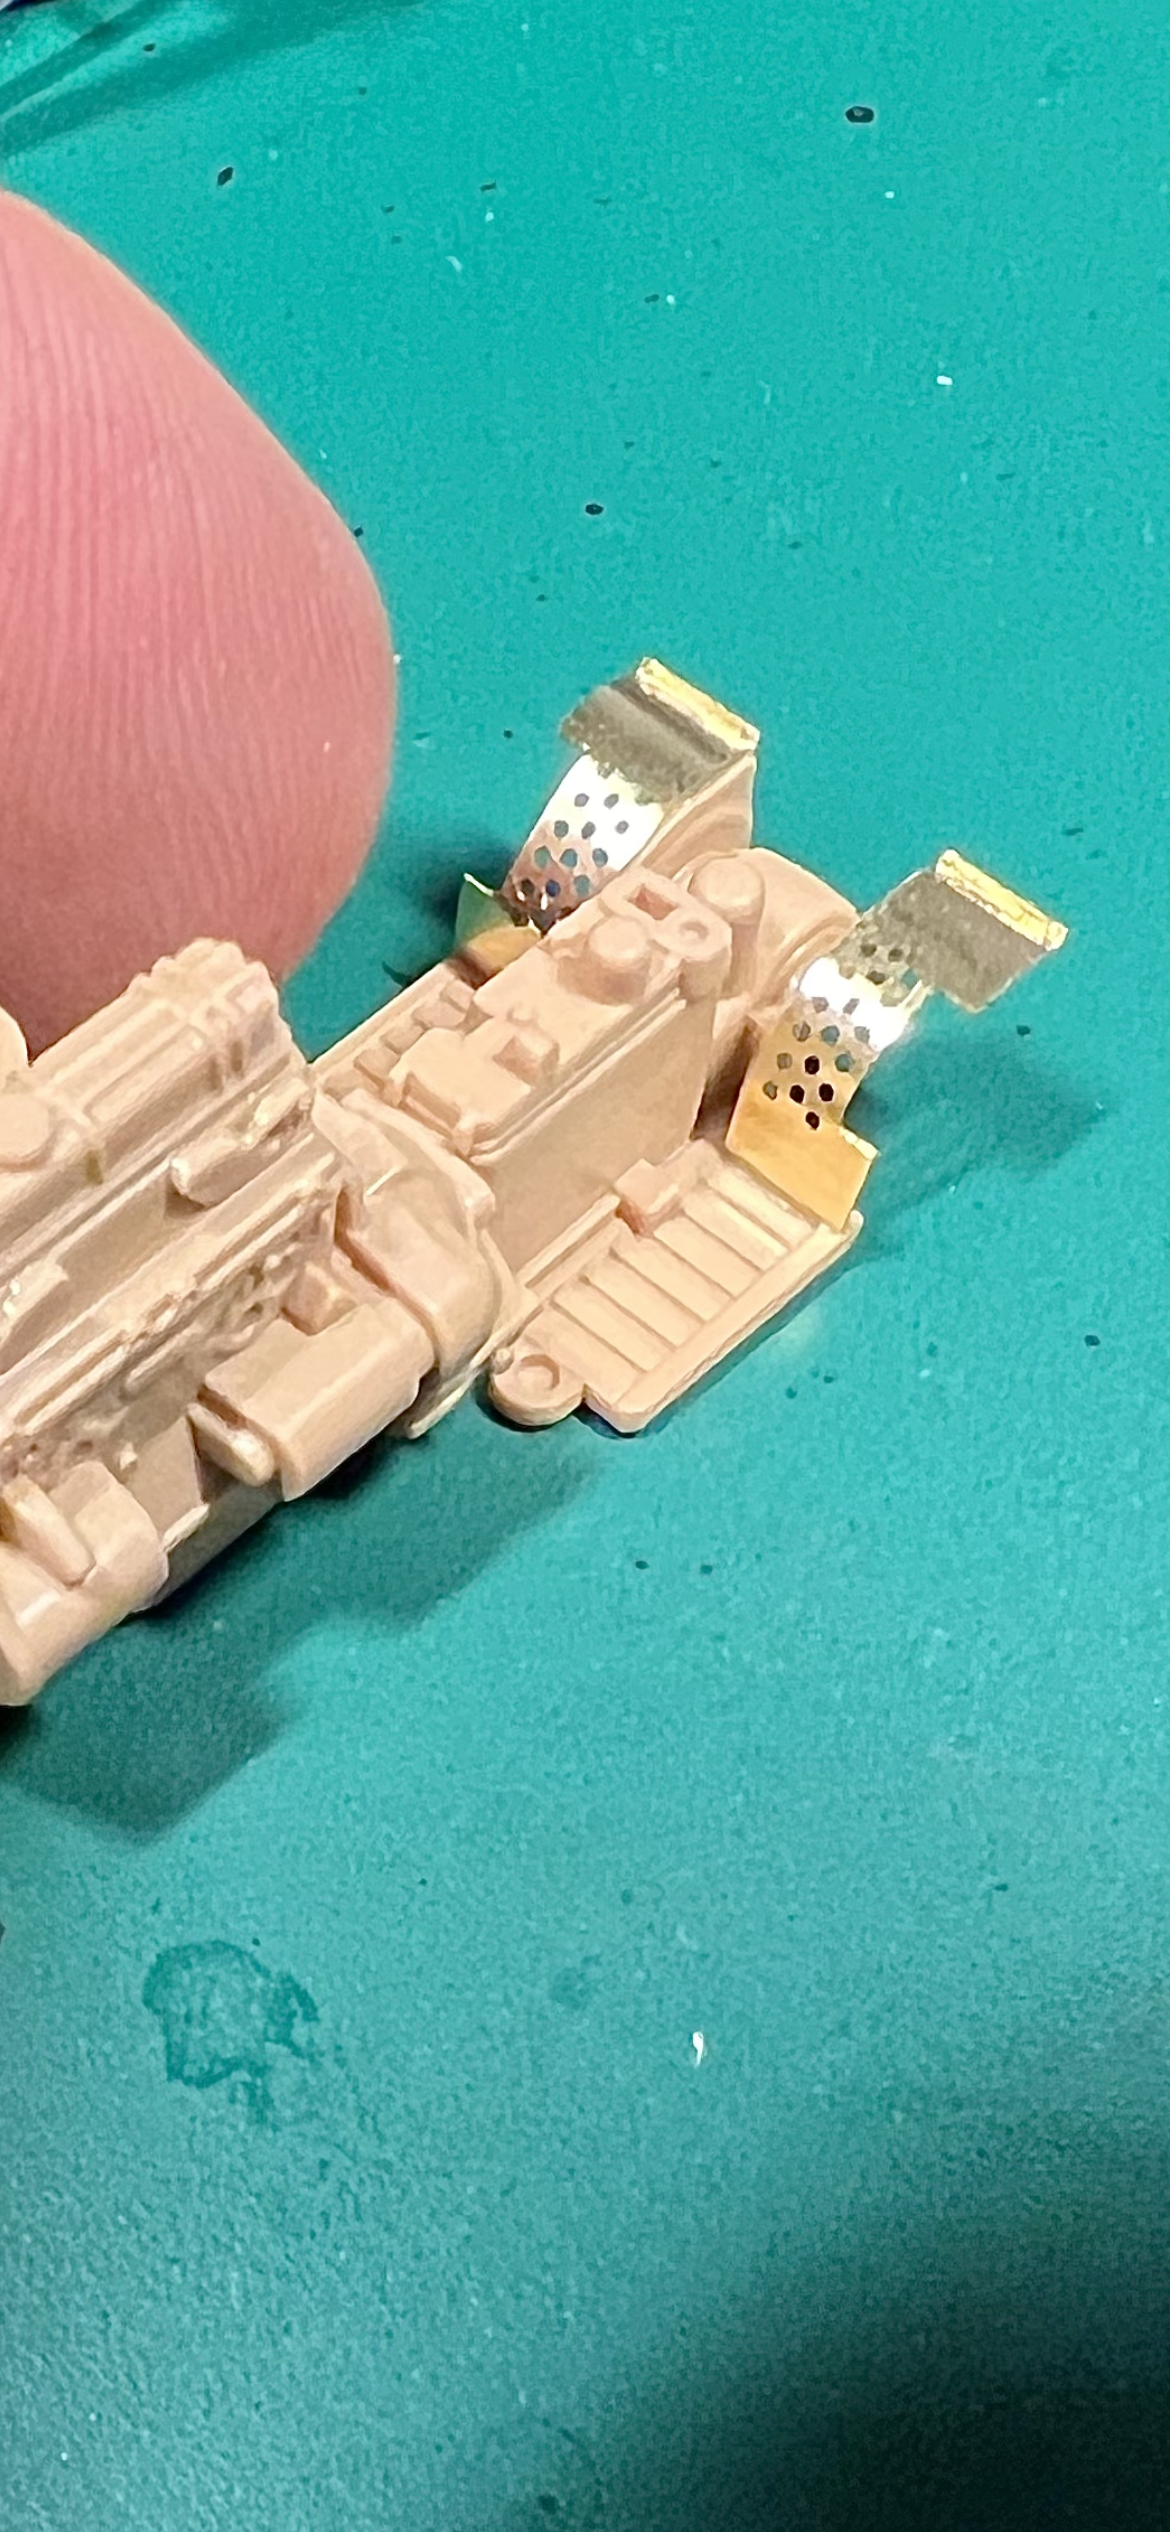
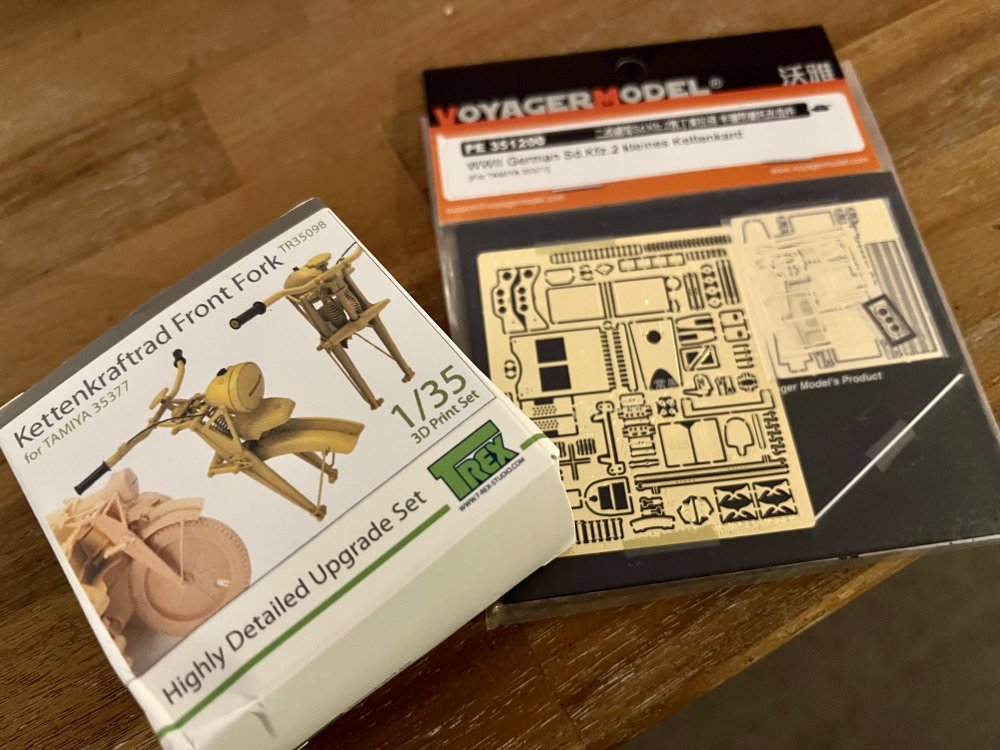
Work on the kettenradkraft. Voyager photo etch. Known for their micro parts and derails.

- 256 replies
-
- 11
-
-
-
Pitwork

- 256 replies
-
- 12
-
-
-
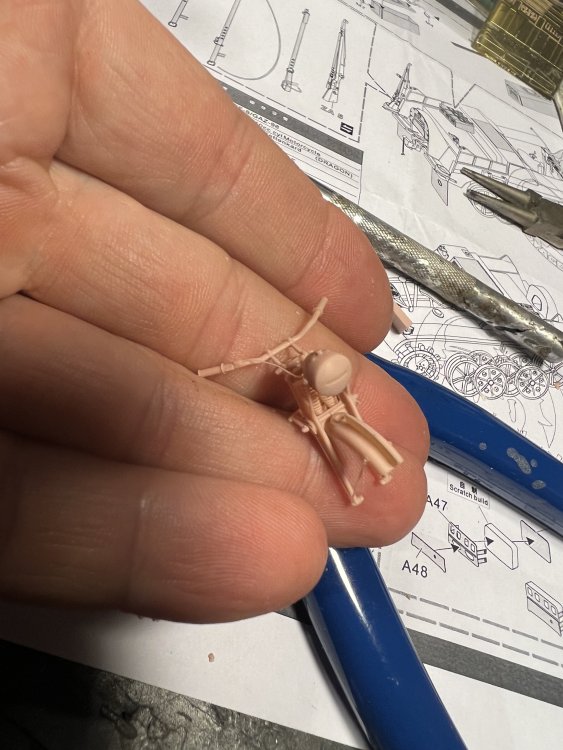
The 3d printed frontfork is amazing…


-
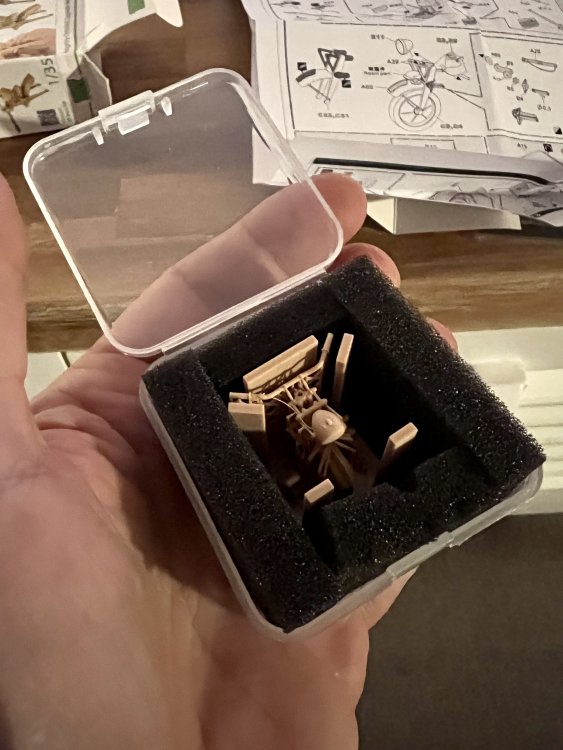
This should do it for the kettenkraftrad… A +100€ micro model. OMG
-
First washes on the pit