JeroenPeters
-
Posts
4,867 -
Joined
-
Last visited
Content Type
Profiles
Forums
Events
Gallery
Everything posted by JeroenPeters
-

Fw190A-8 3/JG1 crash Vreeland
JeroenPeters replied to JeroenPeters's topic in LSM 1/35 and Larger Work In Progress
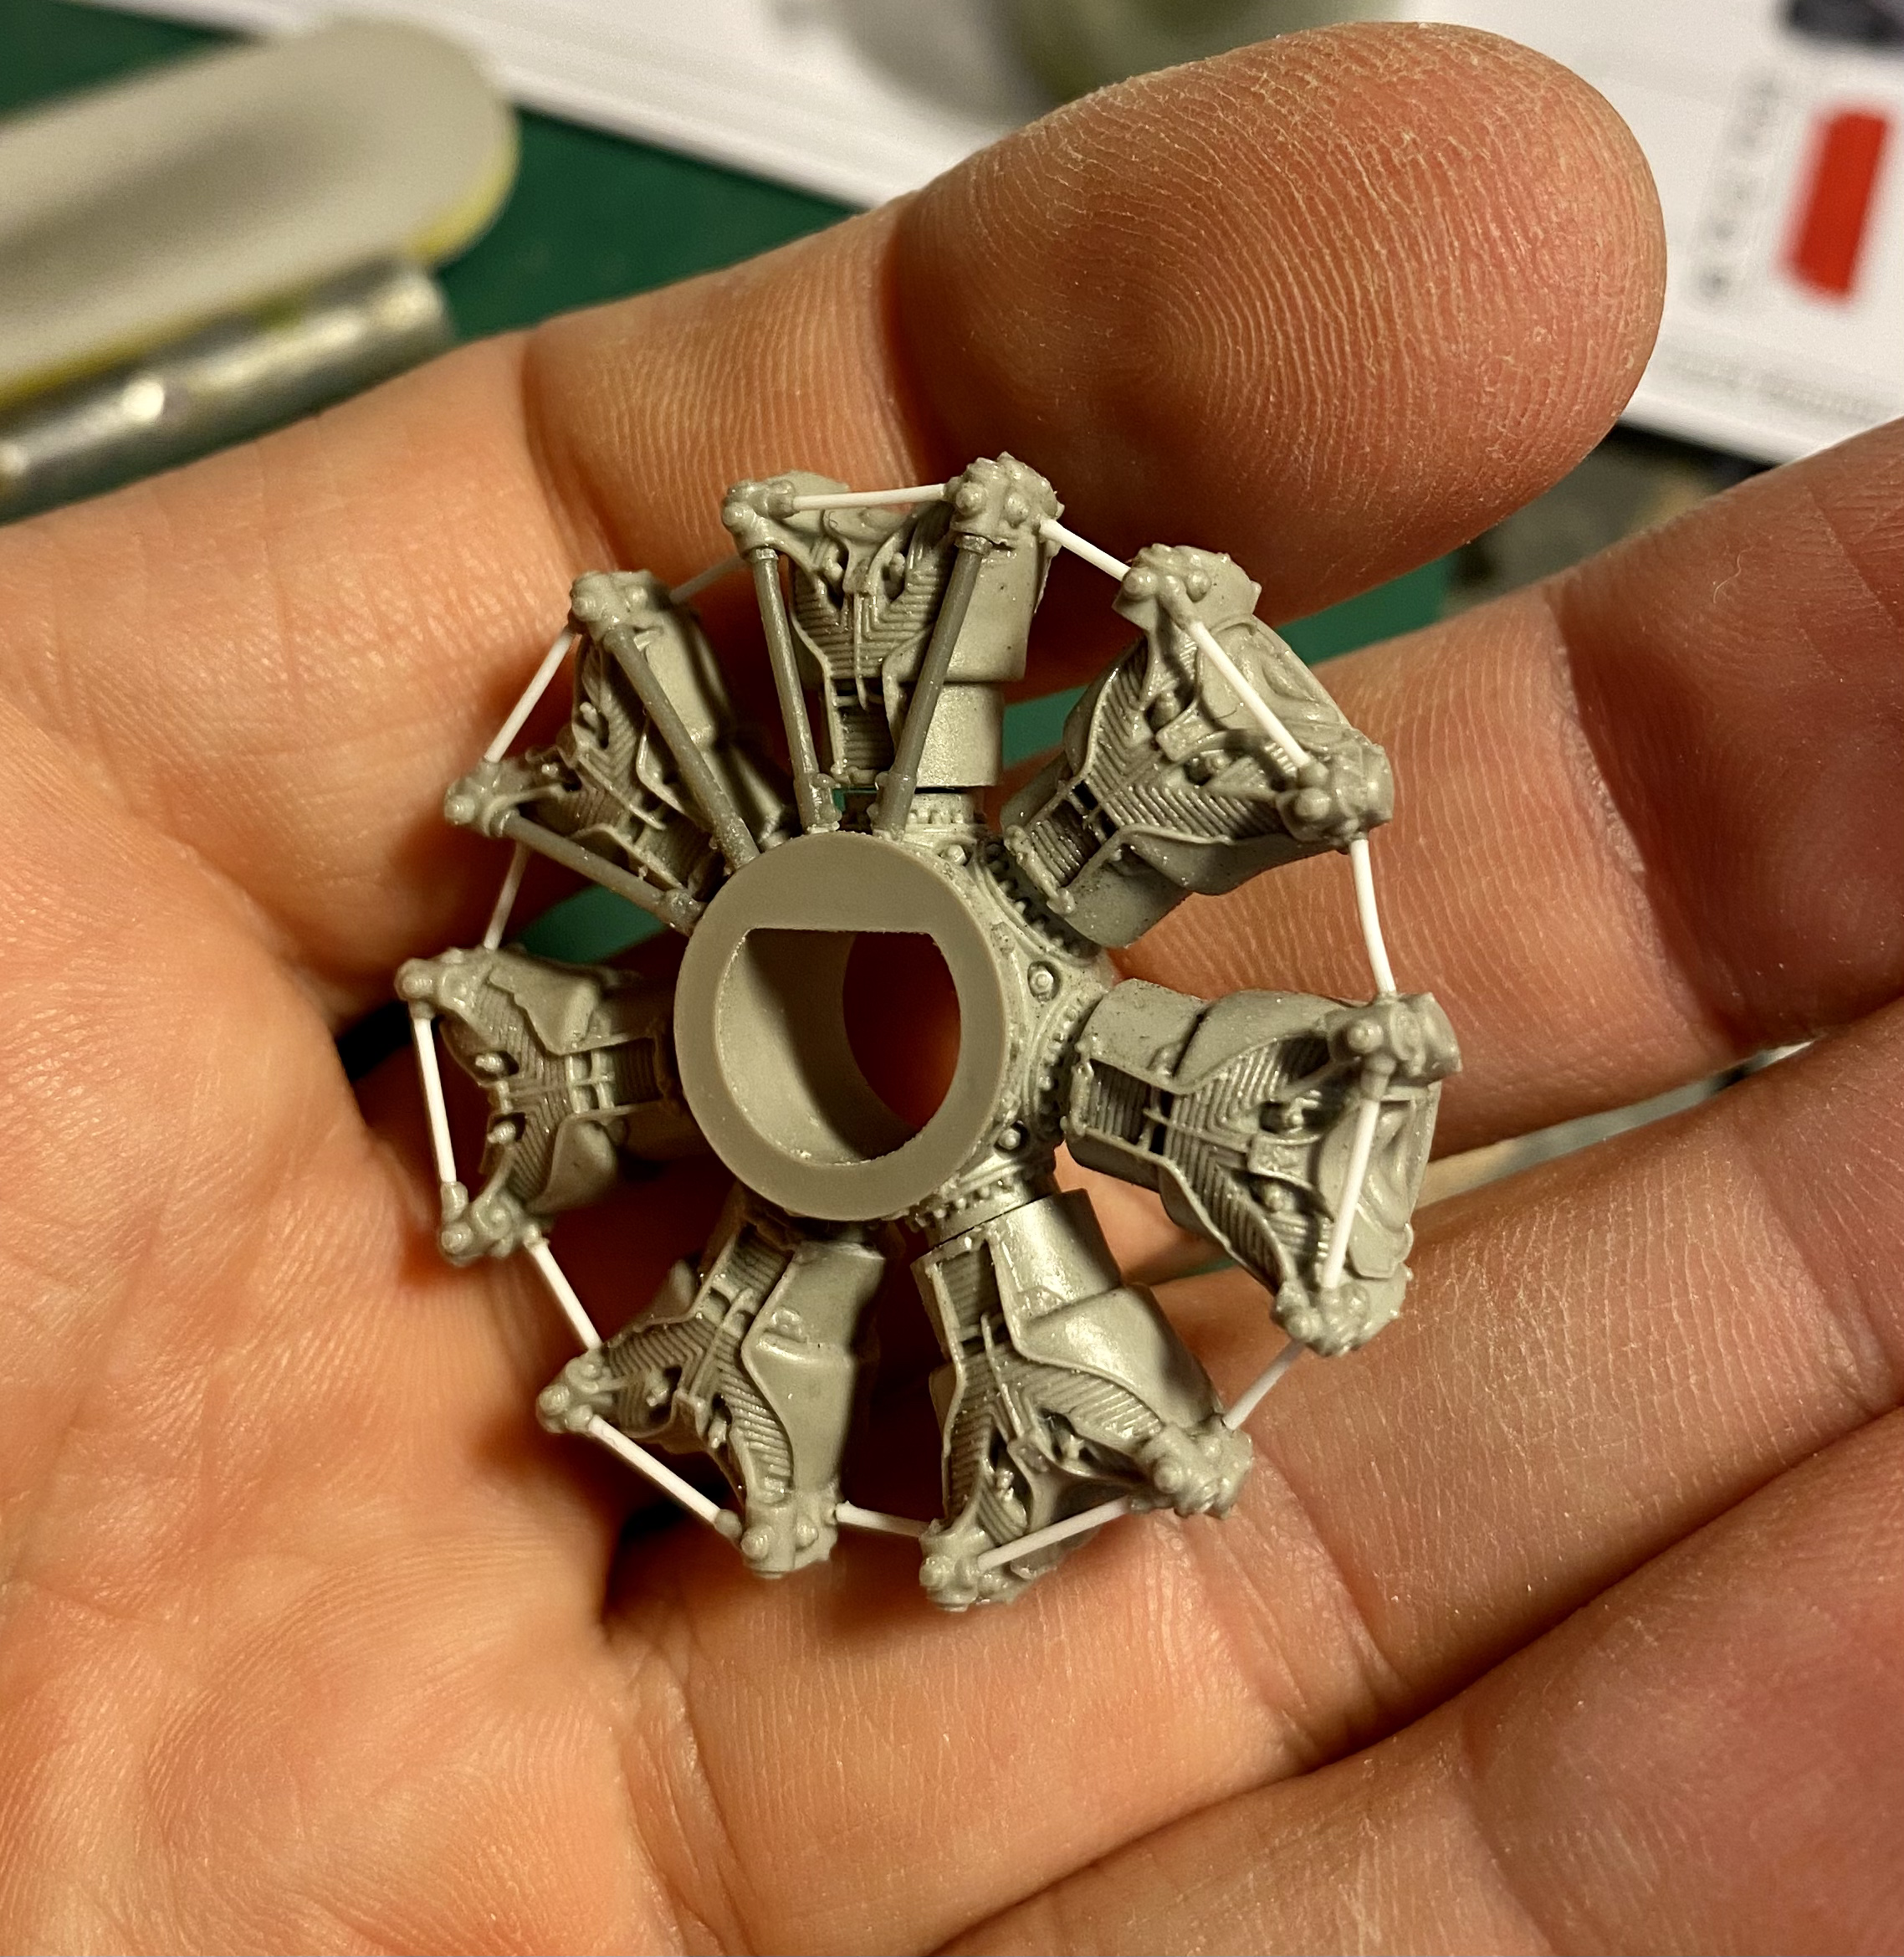
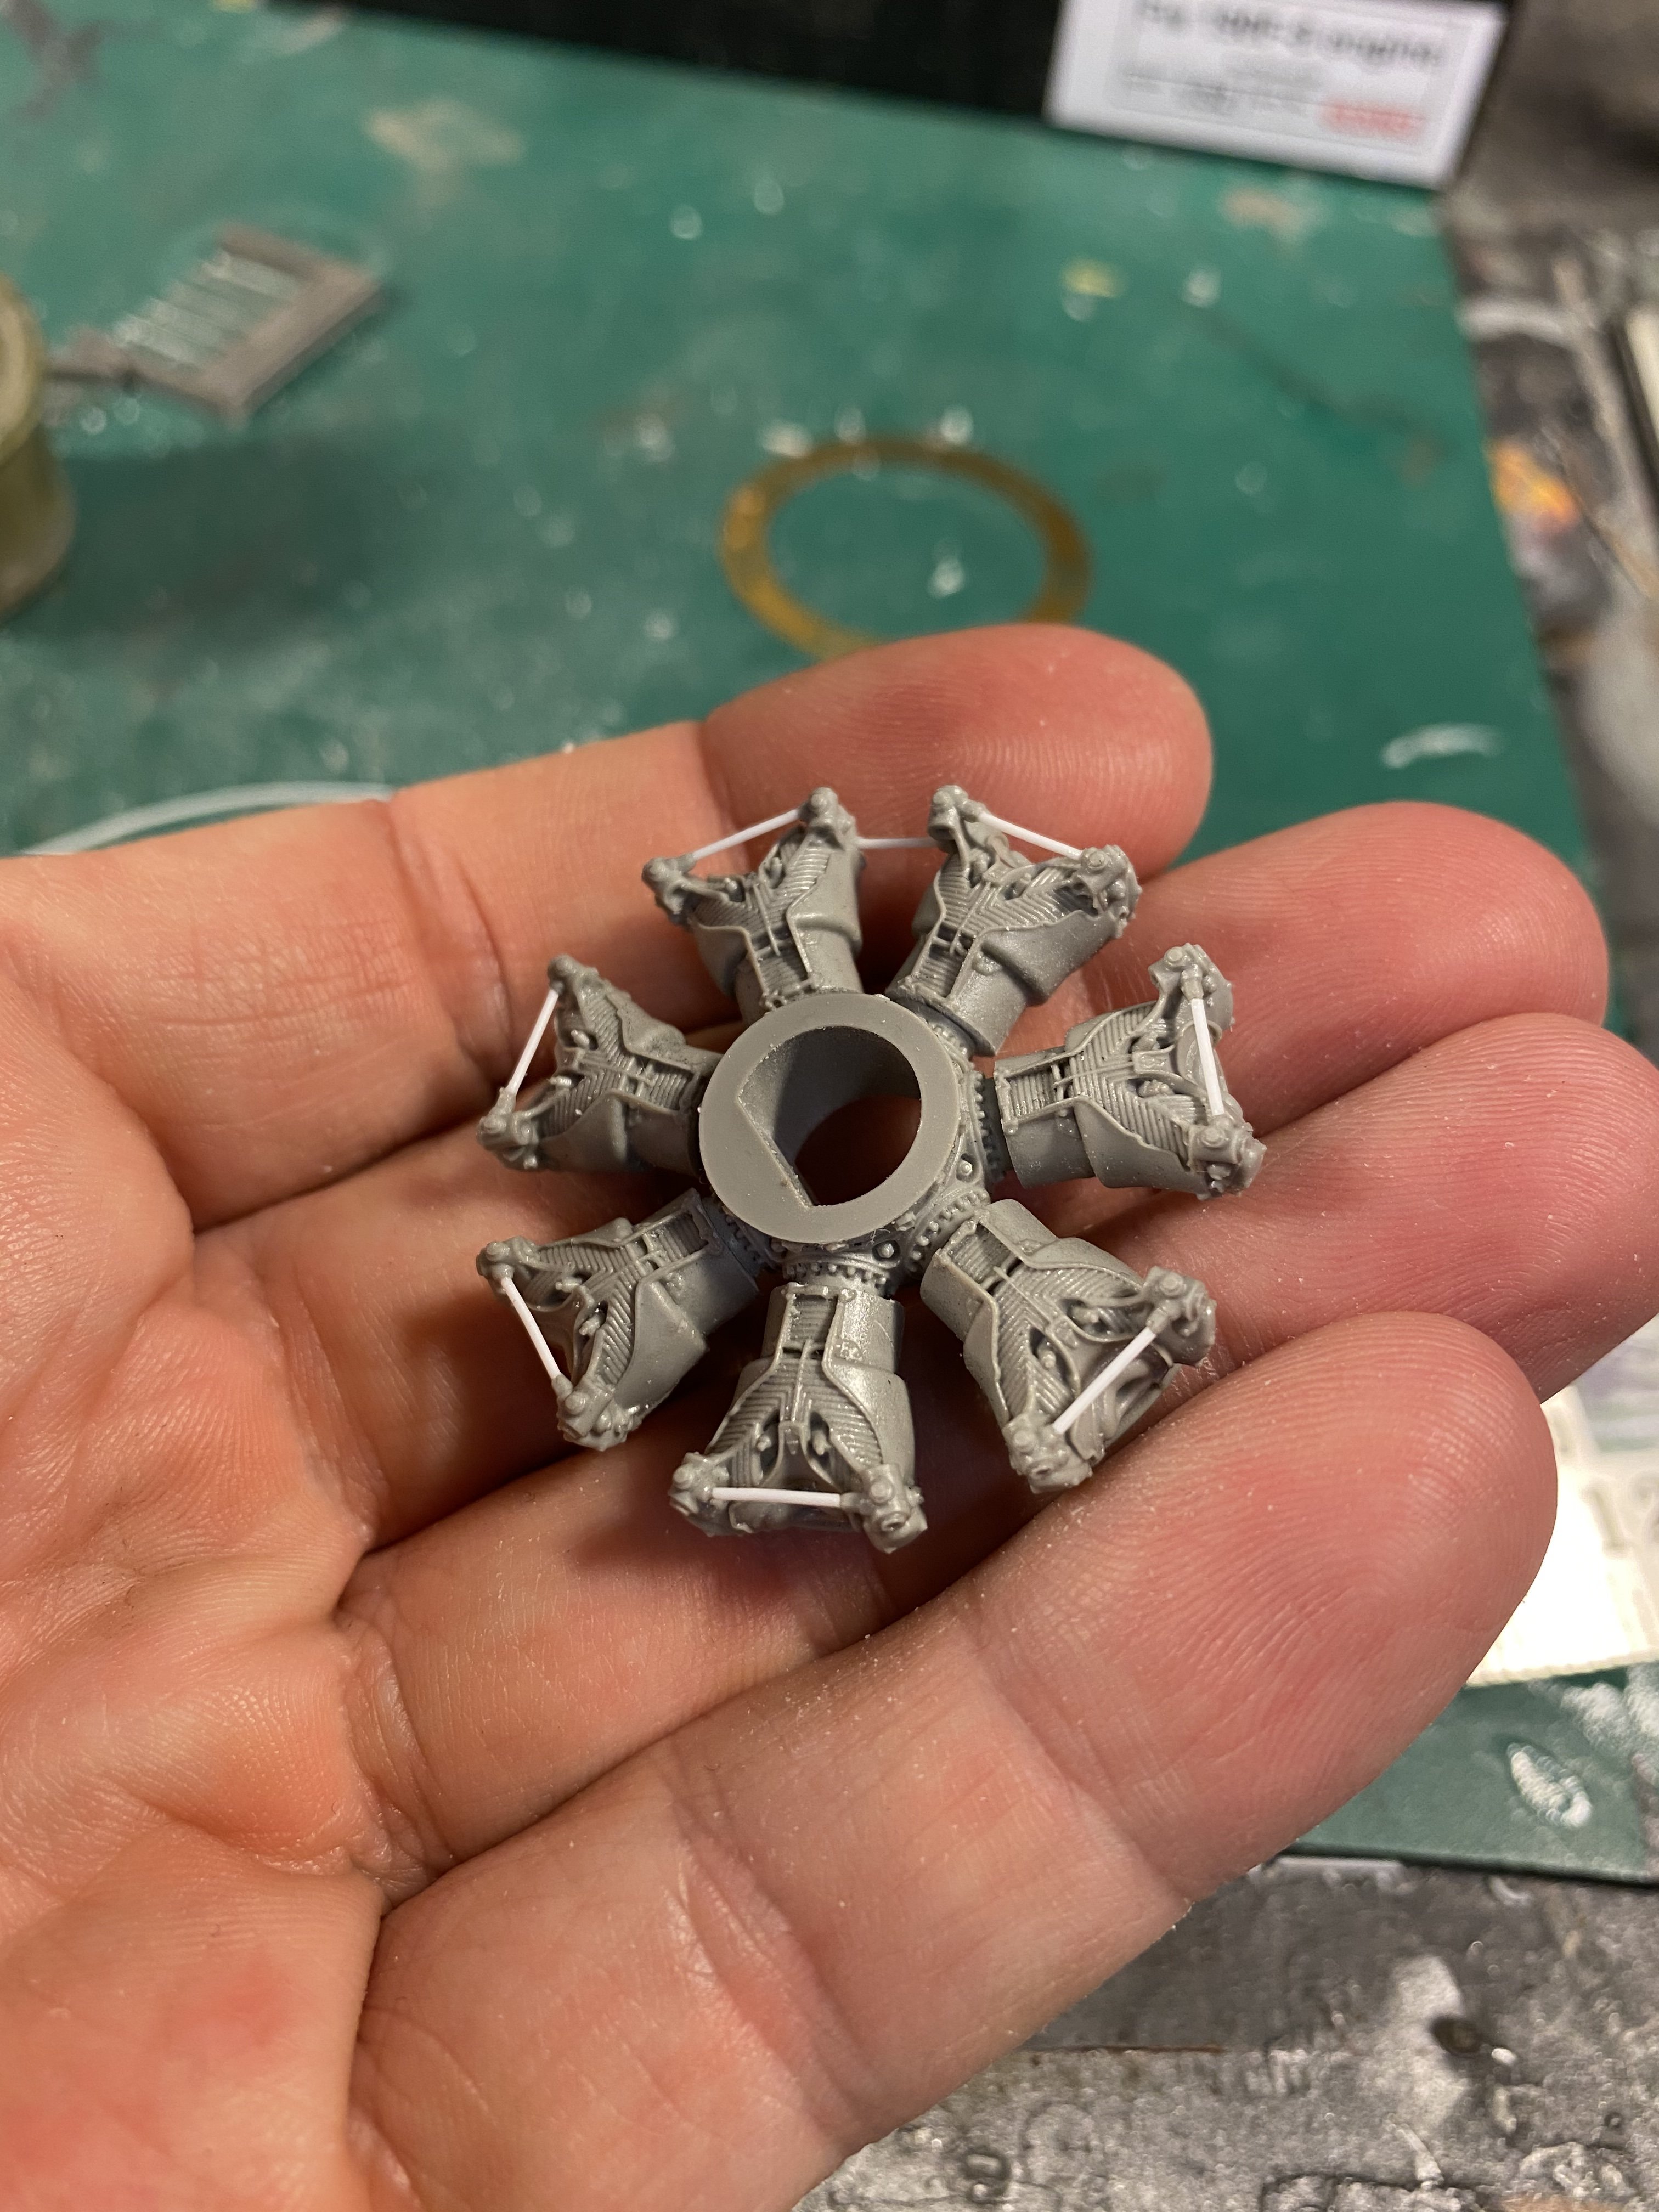
So i learned that the pushrods go in before you glue the cilinders. No problem to correct but it could have gone easier.
- 344 replies
-
- 11
-

-
Fw190A-8 3/JG1 crash Vreeland
JeroenPeters replied to JeroenPeters's topic in LSM 1/35 and Larger Work In Progress
Thnx! I used 0,4mm greencard rod. Cut them to length as per instructions (6,1mm) and they fit tight and stay secured even without glue. -
Fw190A-8 3/JG1 crash Vreeland
JeroenPeters replied to JeroenPeters's topic in LSM 1/35 and Larger Work In Progress
Small steps on the engine. This set is a model in itself!
- 344 replies
-
- 13
-
-
Fw190A-8 3/JG1 crash Vreeland
JeroenPeters replied to JeroenPeters's topic in LSM 1/35 and Larger Work In Progress
Pffff.. this was made especially for the Revell kit so might need less surgery. On the other hand: it is Aires so might need more. -
Fw190A-8 3/JG1 crash Vreeland
JeroenPeters replied to JeroenPeters's topic in LSM 1/35 and Larger Work In Progress
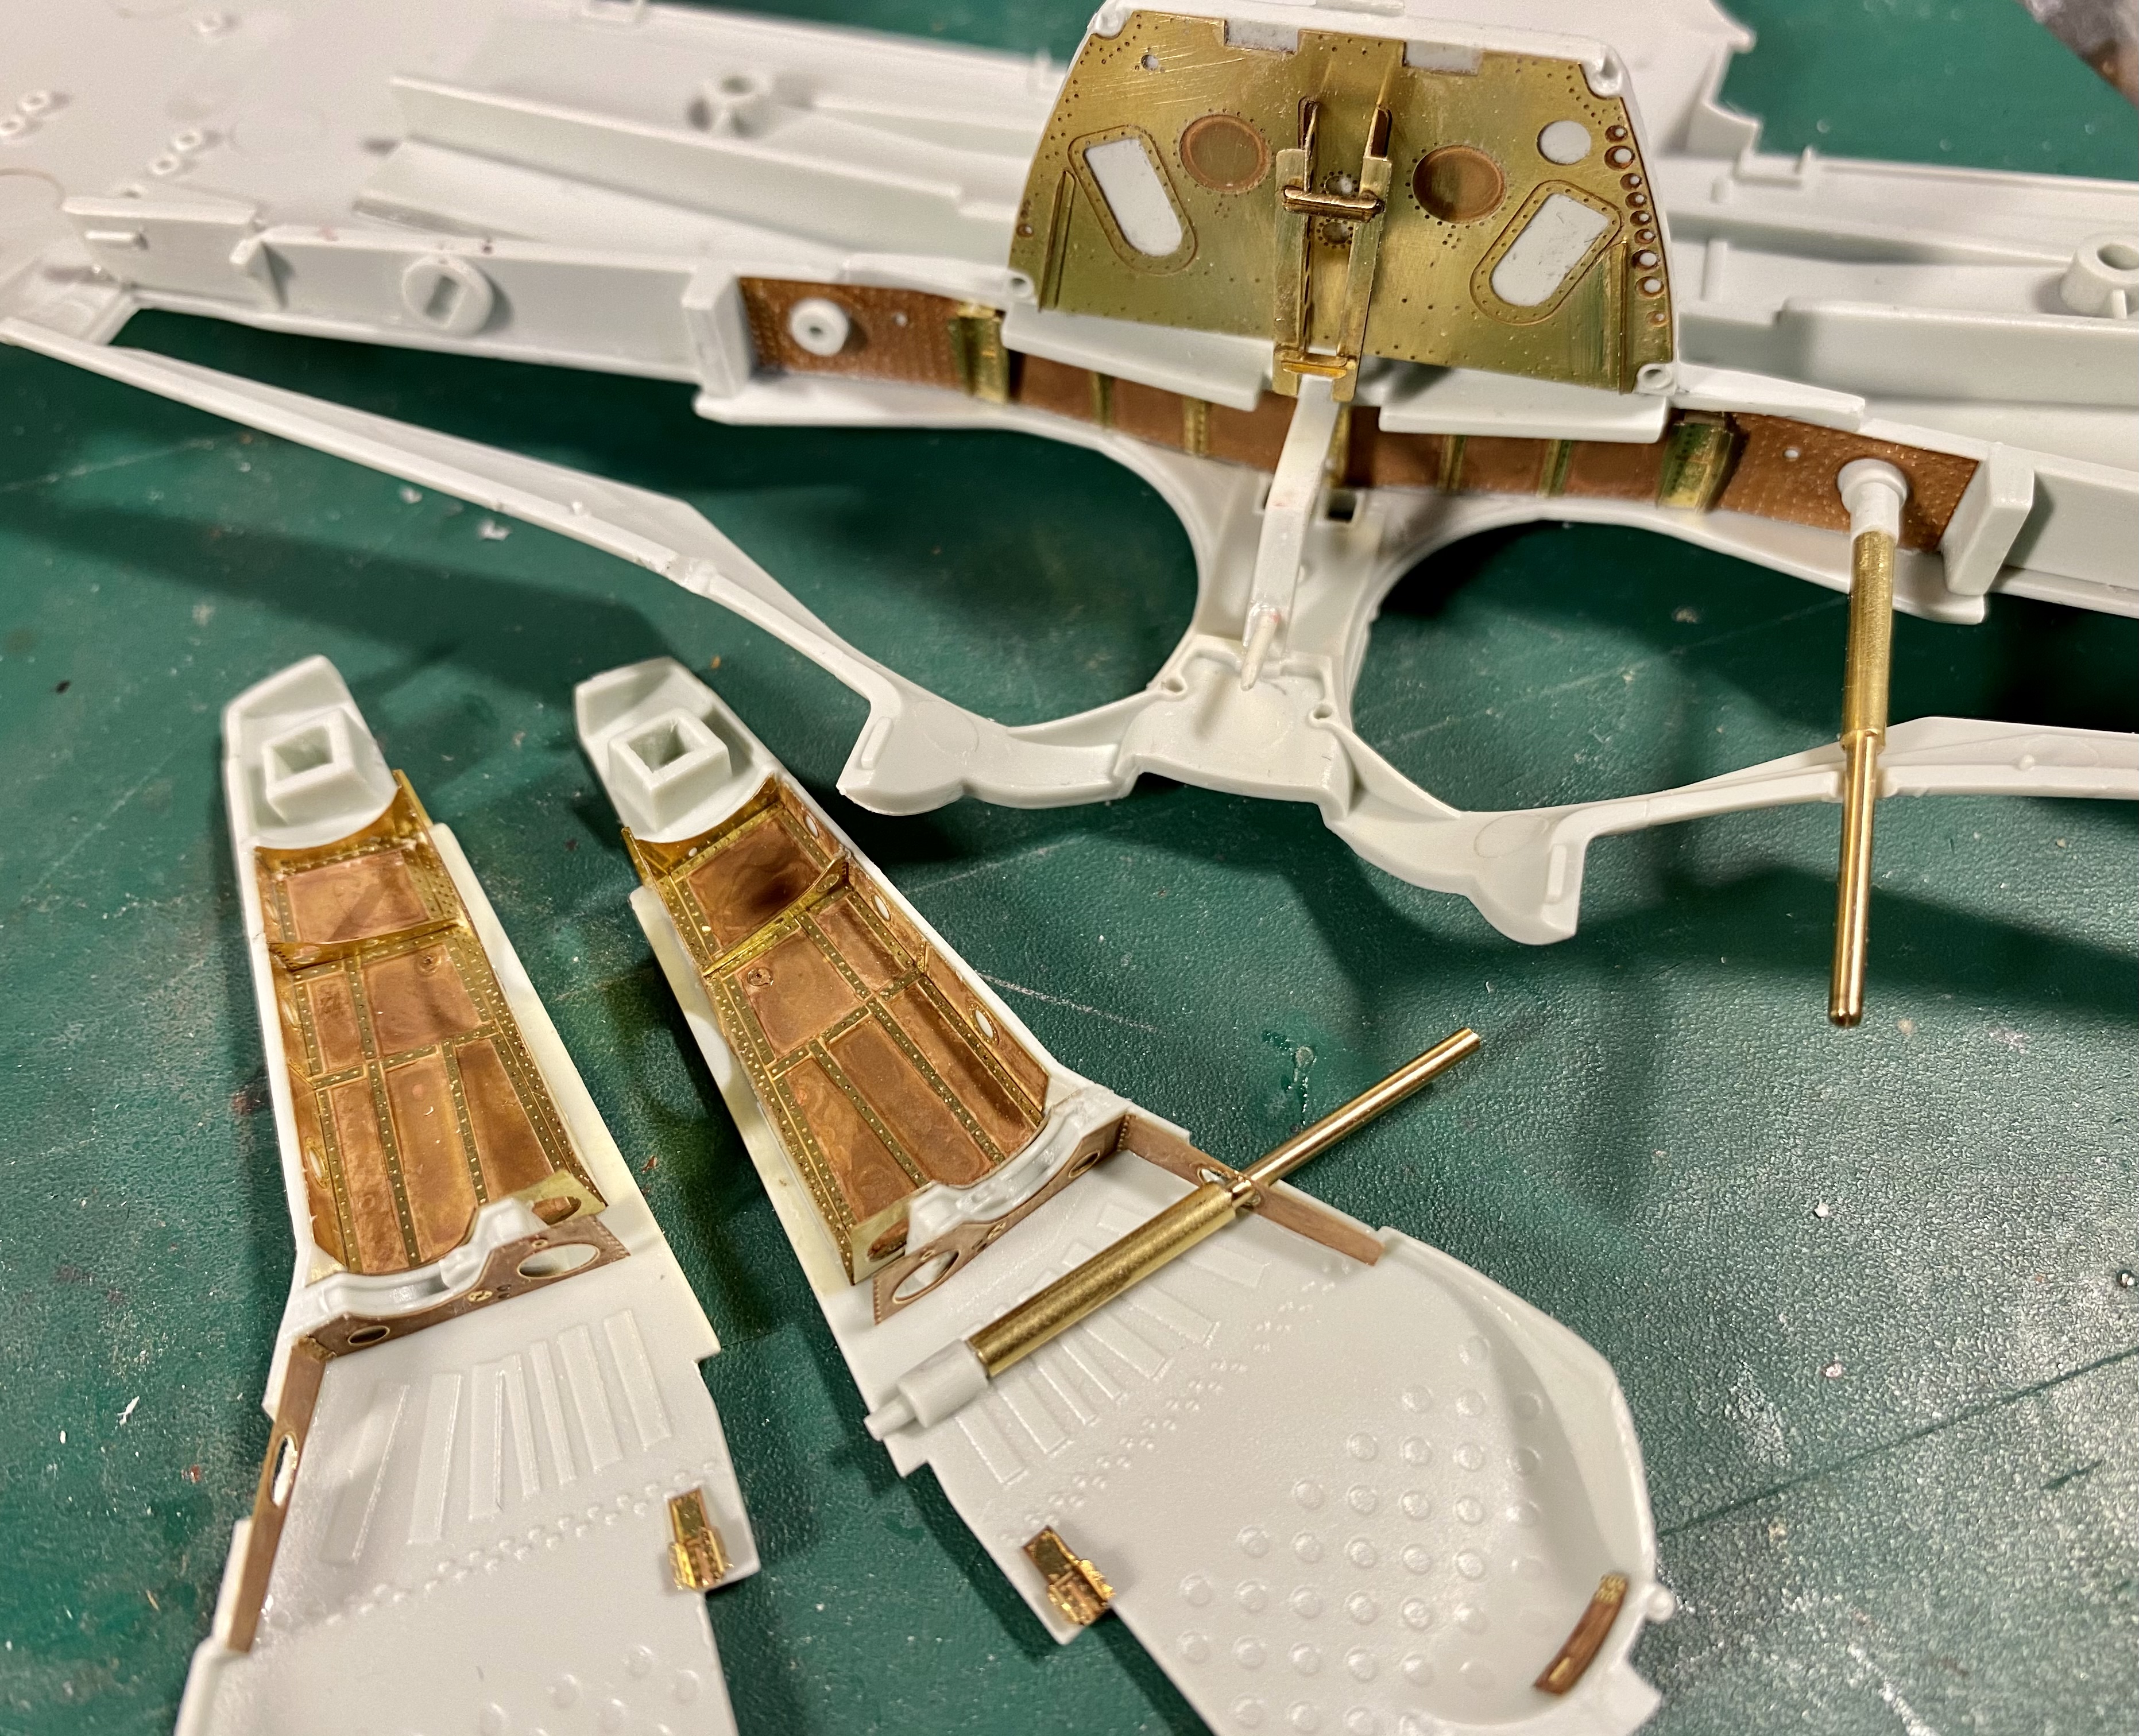
So I couldn’t really understand why Eduard did not produce the wingroot mg151 gun bays. Found Aires does so ordered it: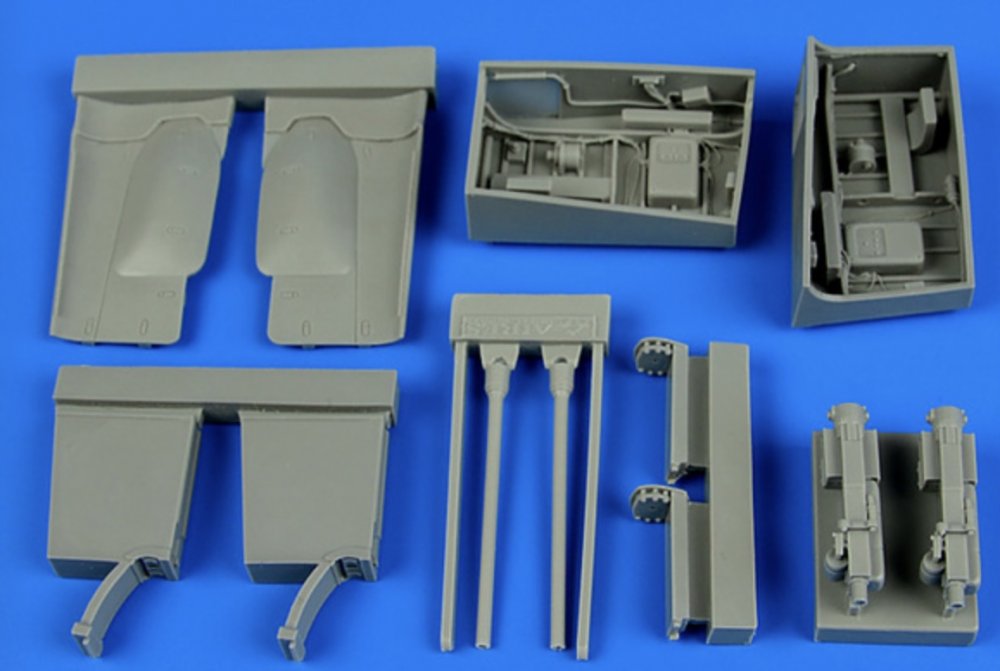
-
Fw190A-8 3/JG1 crash Vreeland
JeroenPeters replied to JeroenPeters's topic in LSM 1/35 and Larger Work In Progress
Hi Jamme!!! how are you? -
Fw190A-8 3/JG1 crash Vreeland
JeroenPeters replied to JeroenPeters's topic in LSM 1/35 and Larger Work In Progress
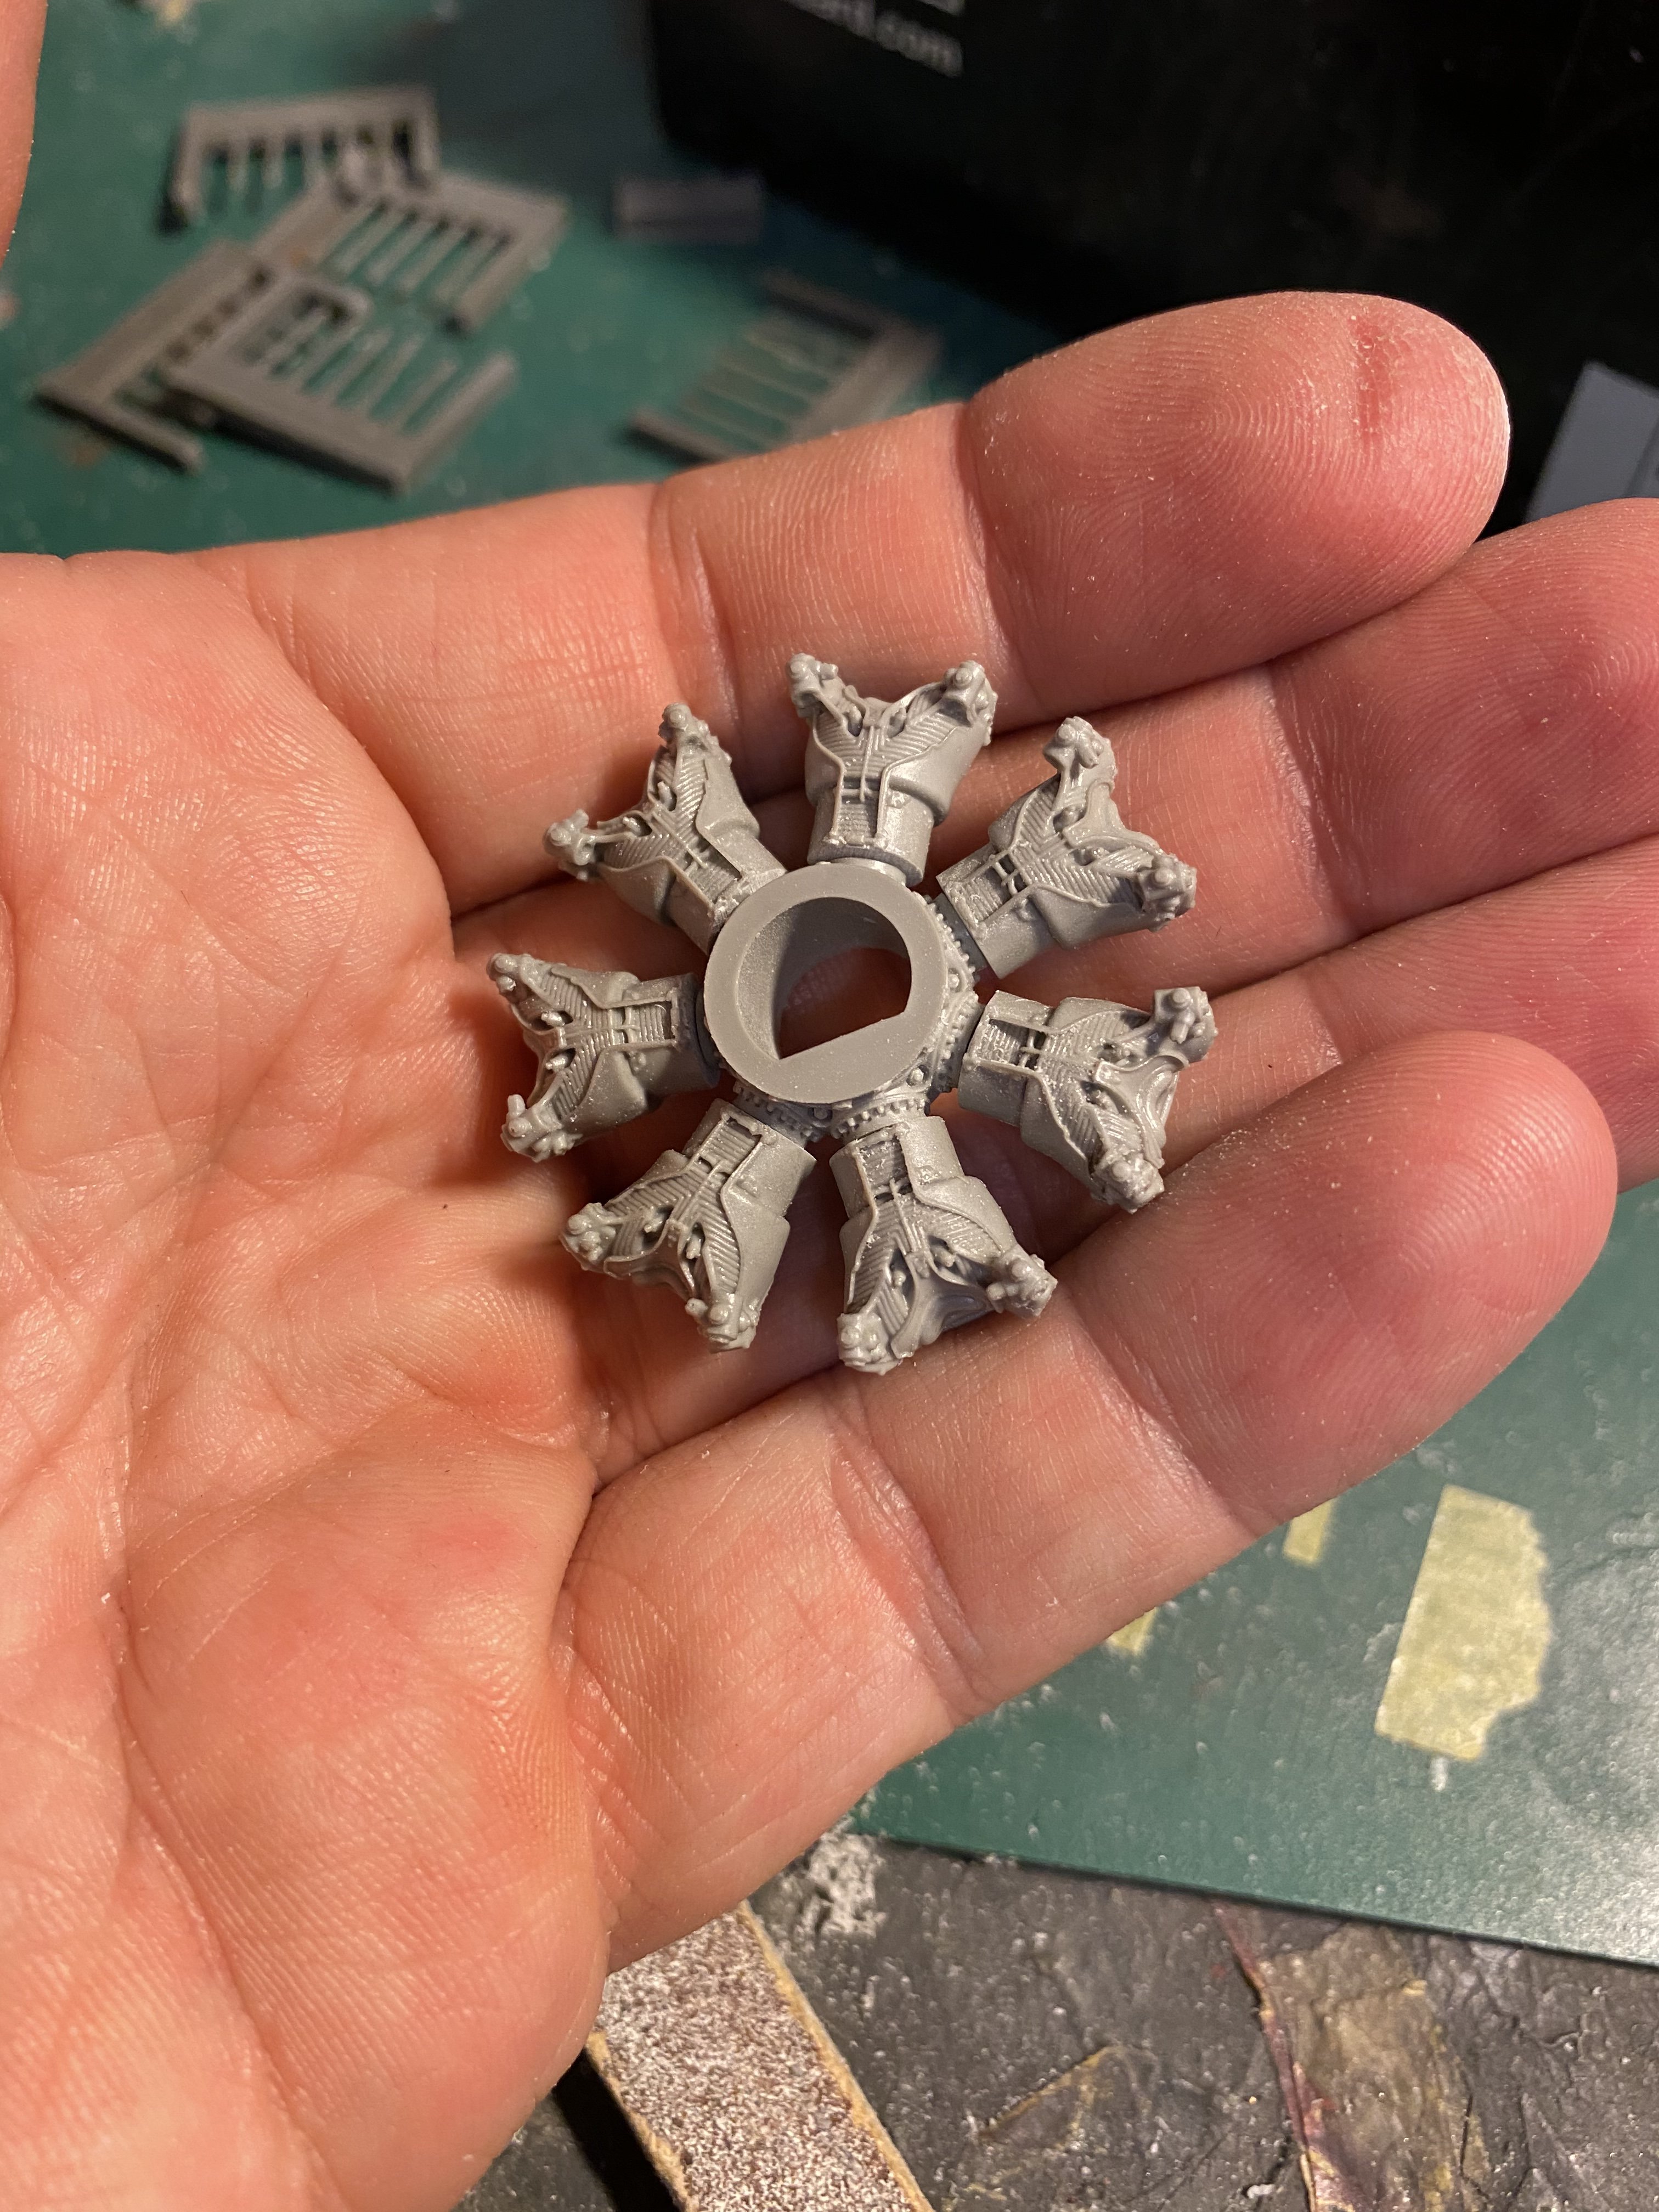
Started work on the engine. A lot of sawing but the fit is great.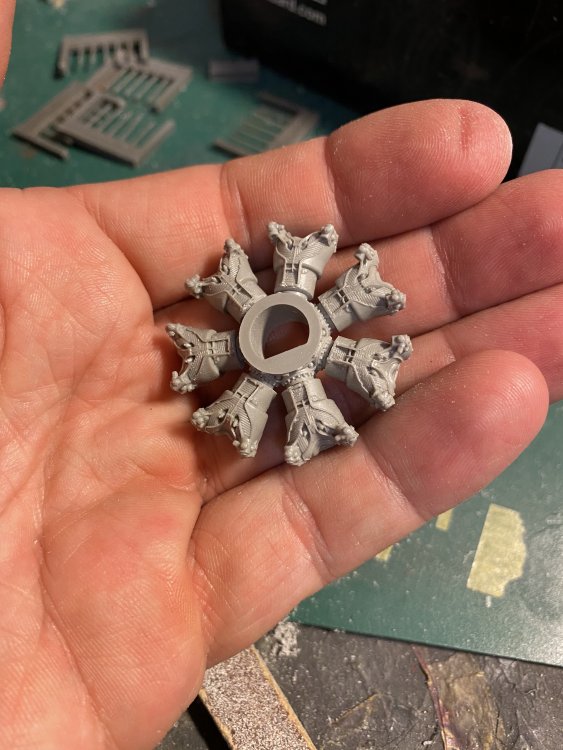
- 344 replies
-
- 10
-
-
Very nice!!
-
Fw190A-8 3/JG1 crash Vreeland
JeroenPeters replied to JeroenPeters's topic in LSM 1/35 and Larger Work In Progress
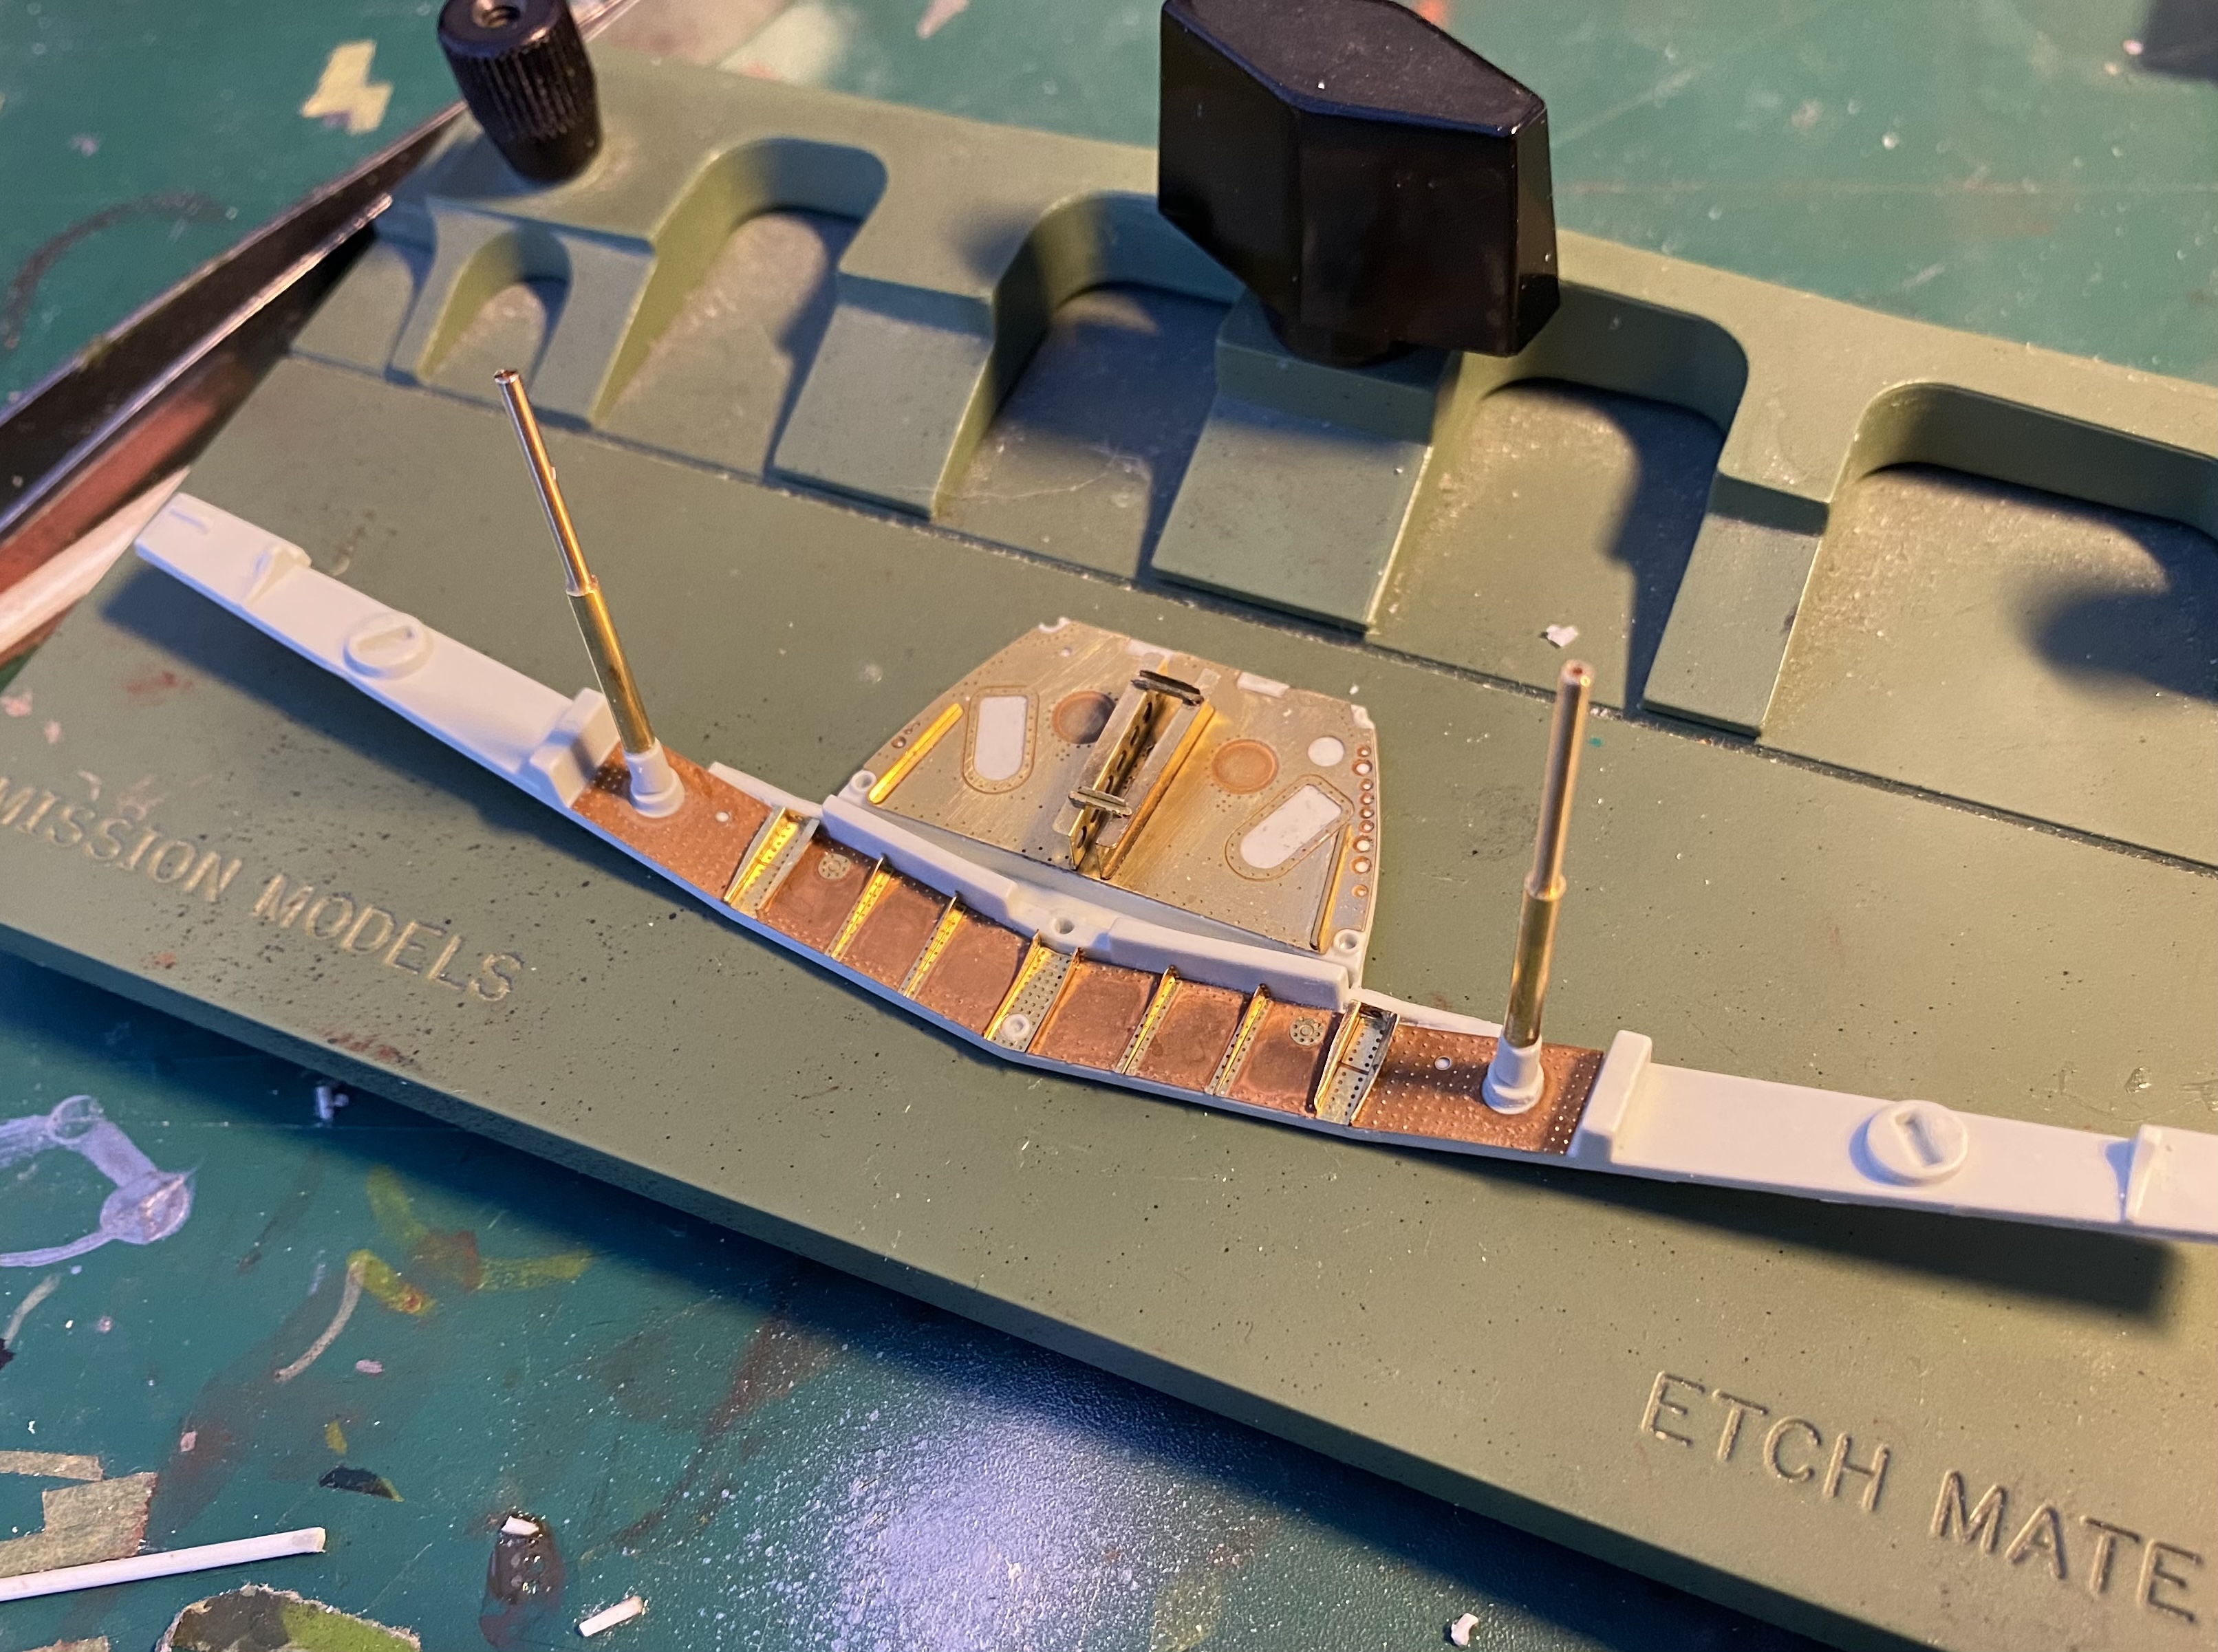
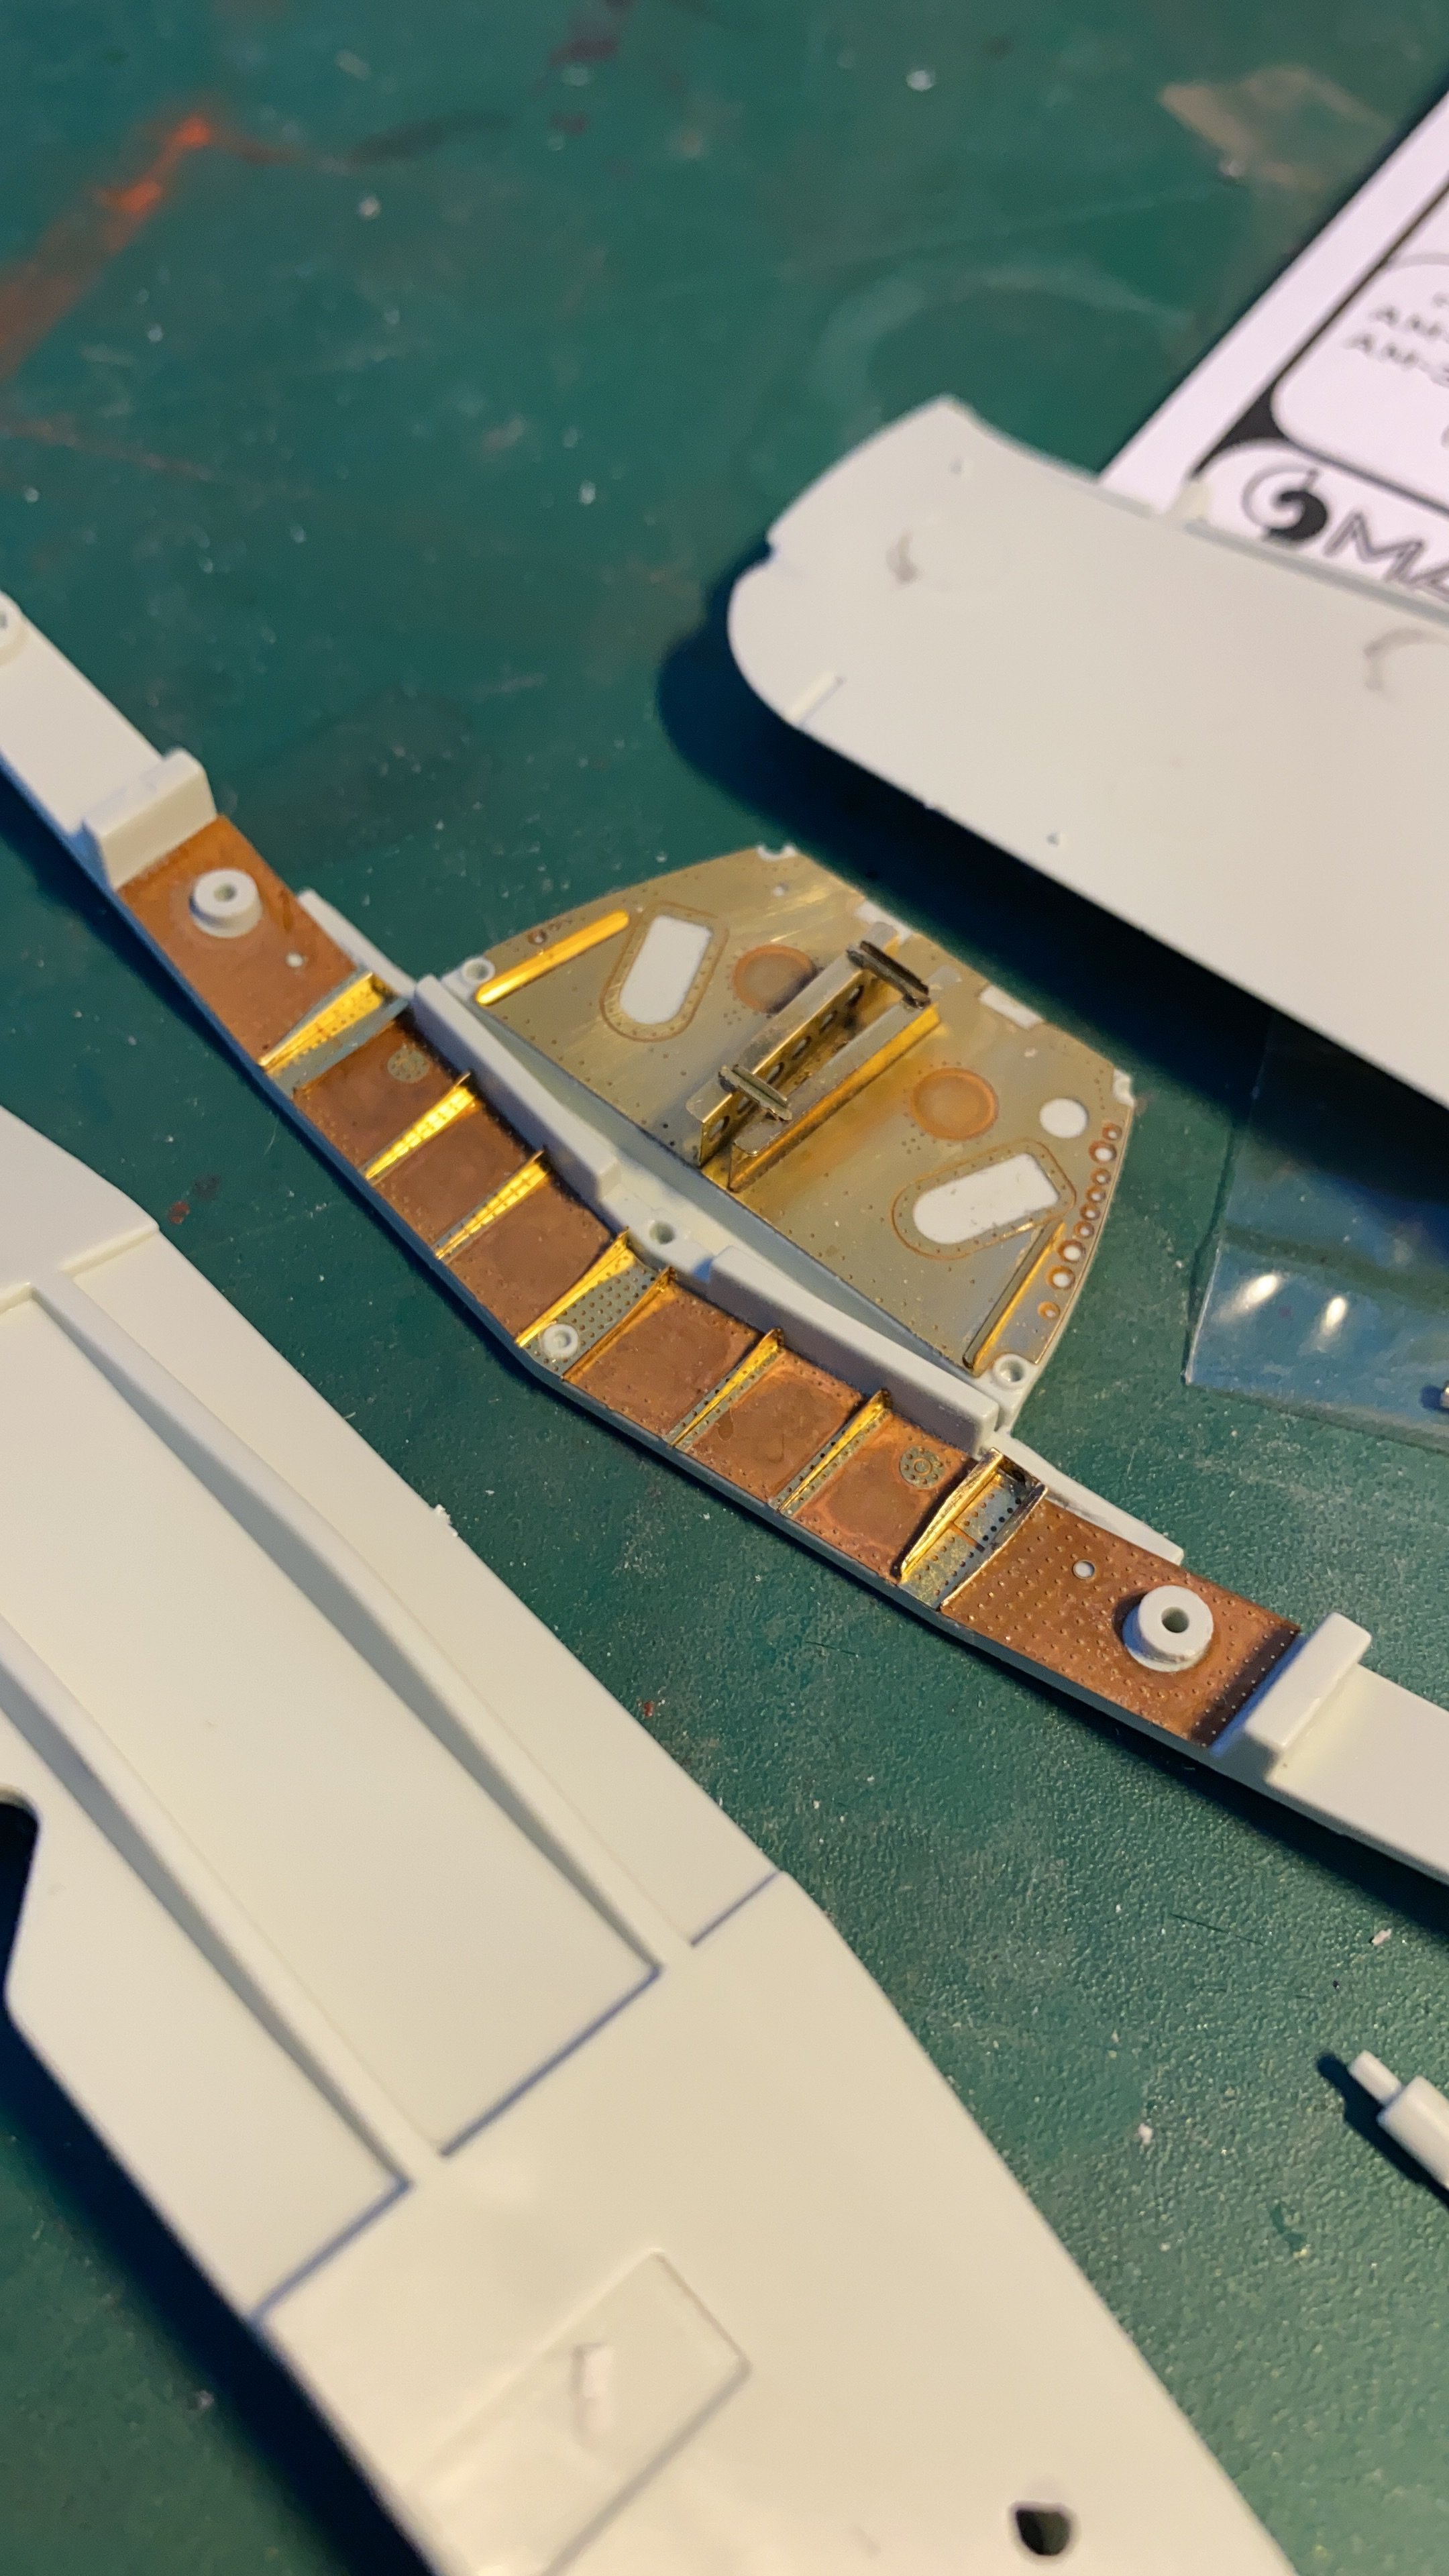
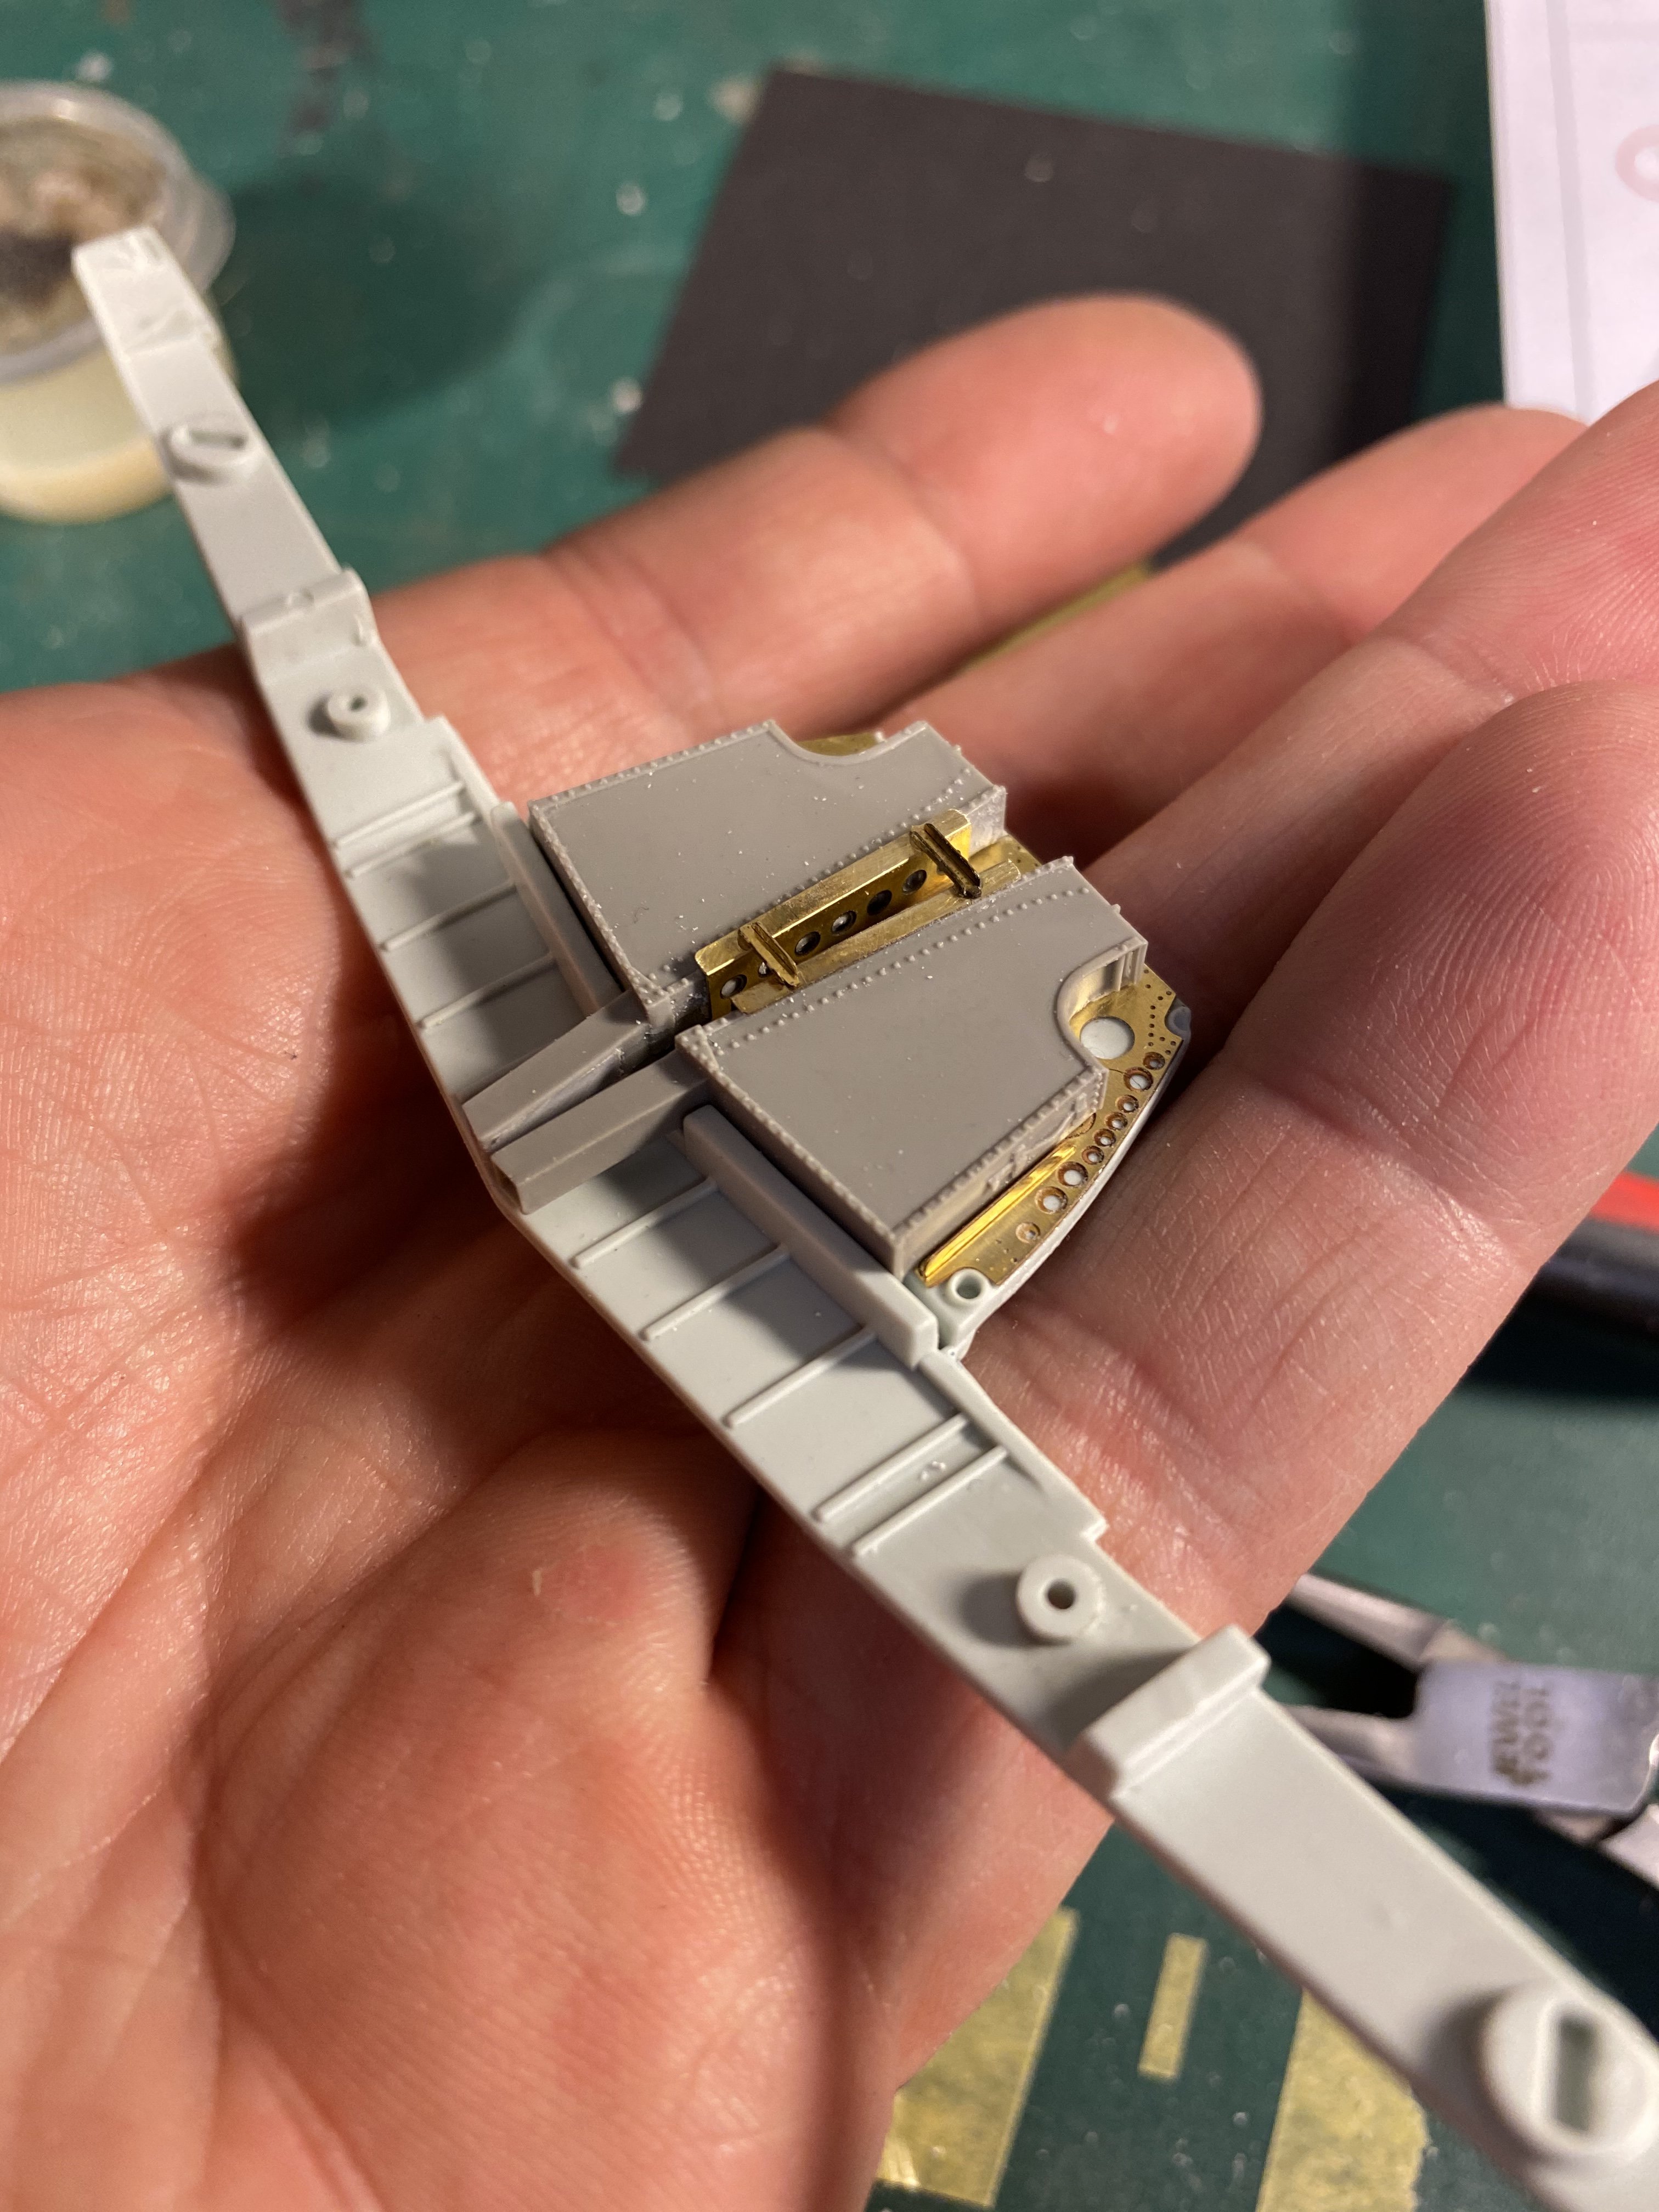
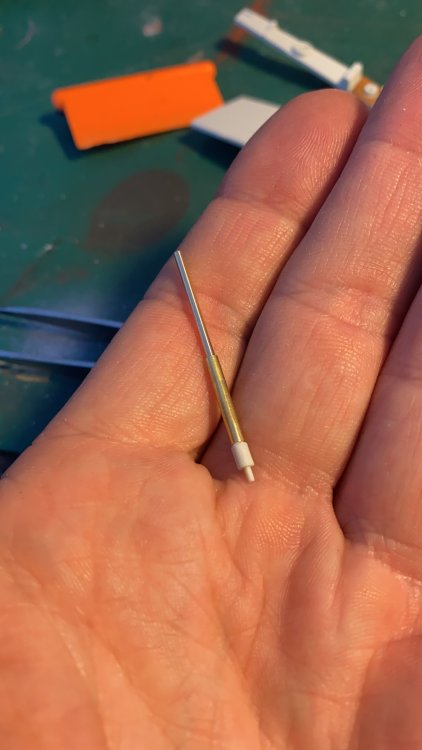
Thnx guys. Small steps. The wheelbay is tricky. Make sure to widen the holes for the mg151’s in the Eduard set a teeny bit. Otherwise the master barrels won’t fit through. You really need to plan the sequence here in subassemblies. In other news: my 285€ Iwata TR1 died on me last week. The screw thread of the nozzle in the brush somehow got damaged. This is not covered by the 5 year warranty. Needle and nozzle not covered. The airbrush store is trying to fix it. If not: i’ll buy a new one.
-
Fw190A-8 3/JG1 crash Vreeland
JeroenPeters replied to JeroenPeters's topic in LSM 1/35 and Larger Work In Progress
Nope. Collect at the door. Again. Managed to replace the kit Mg151 barrels with the Master ones’. The Eduard wheelbay upgrade is fiddly, but then again: so am i.
- 344 replies
-
- 12
-
-
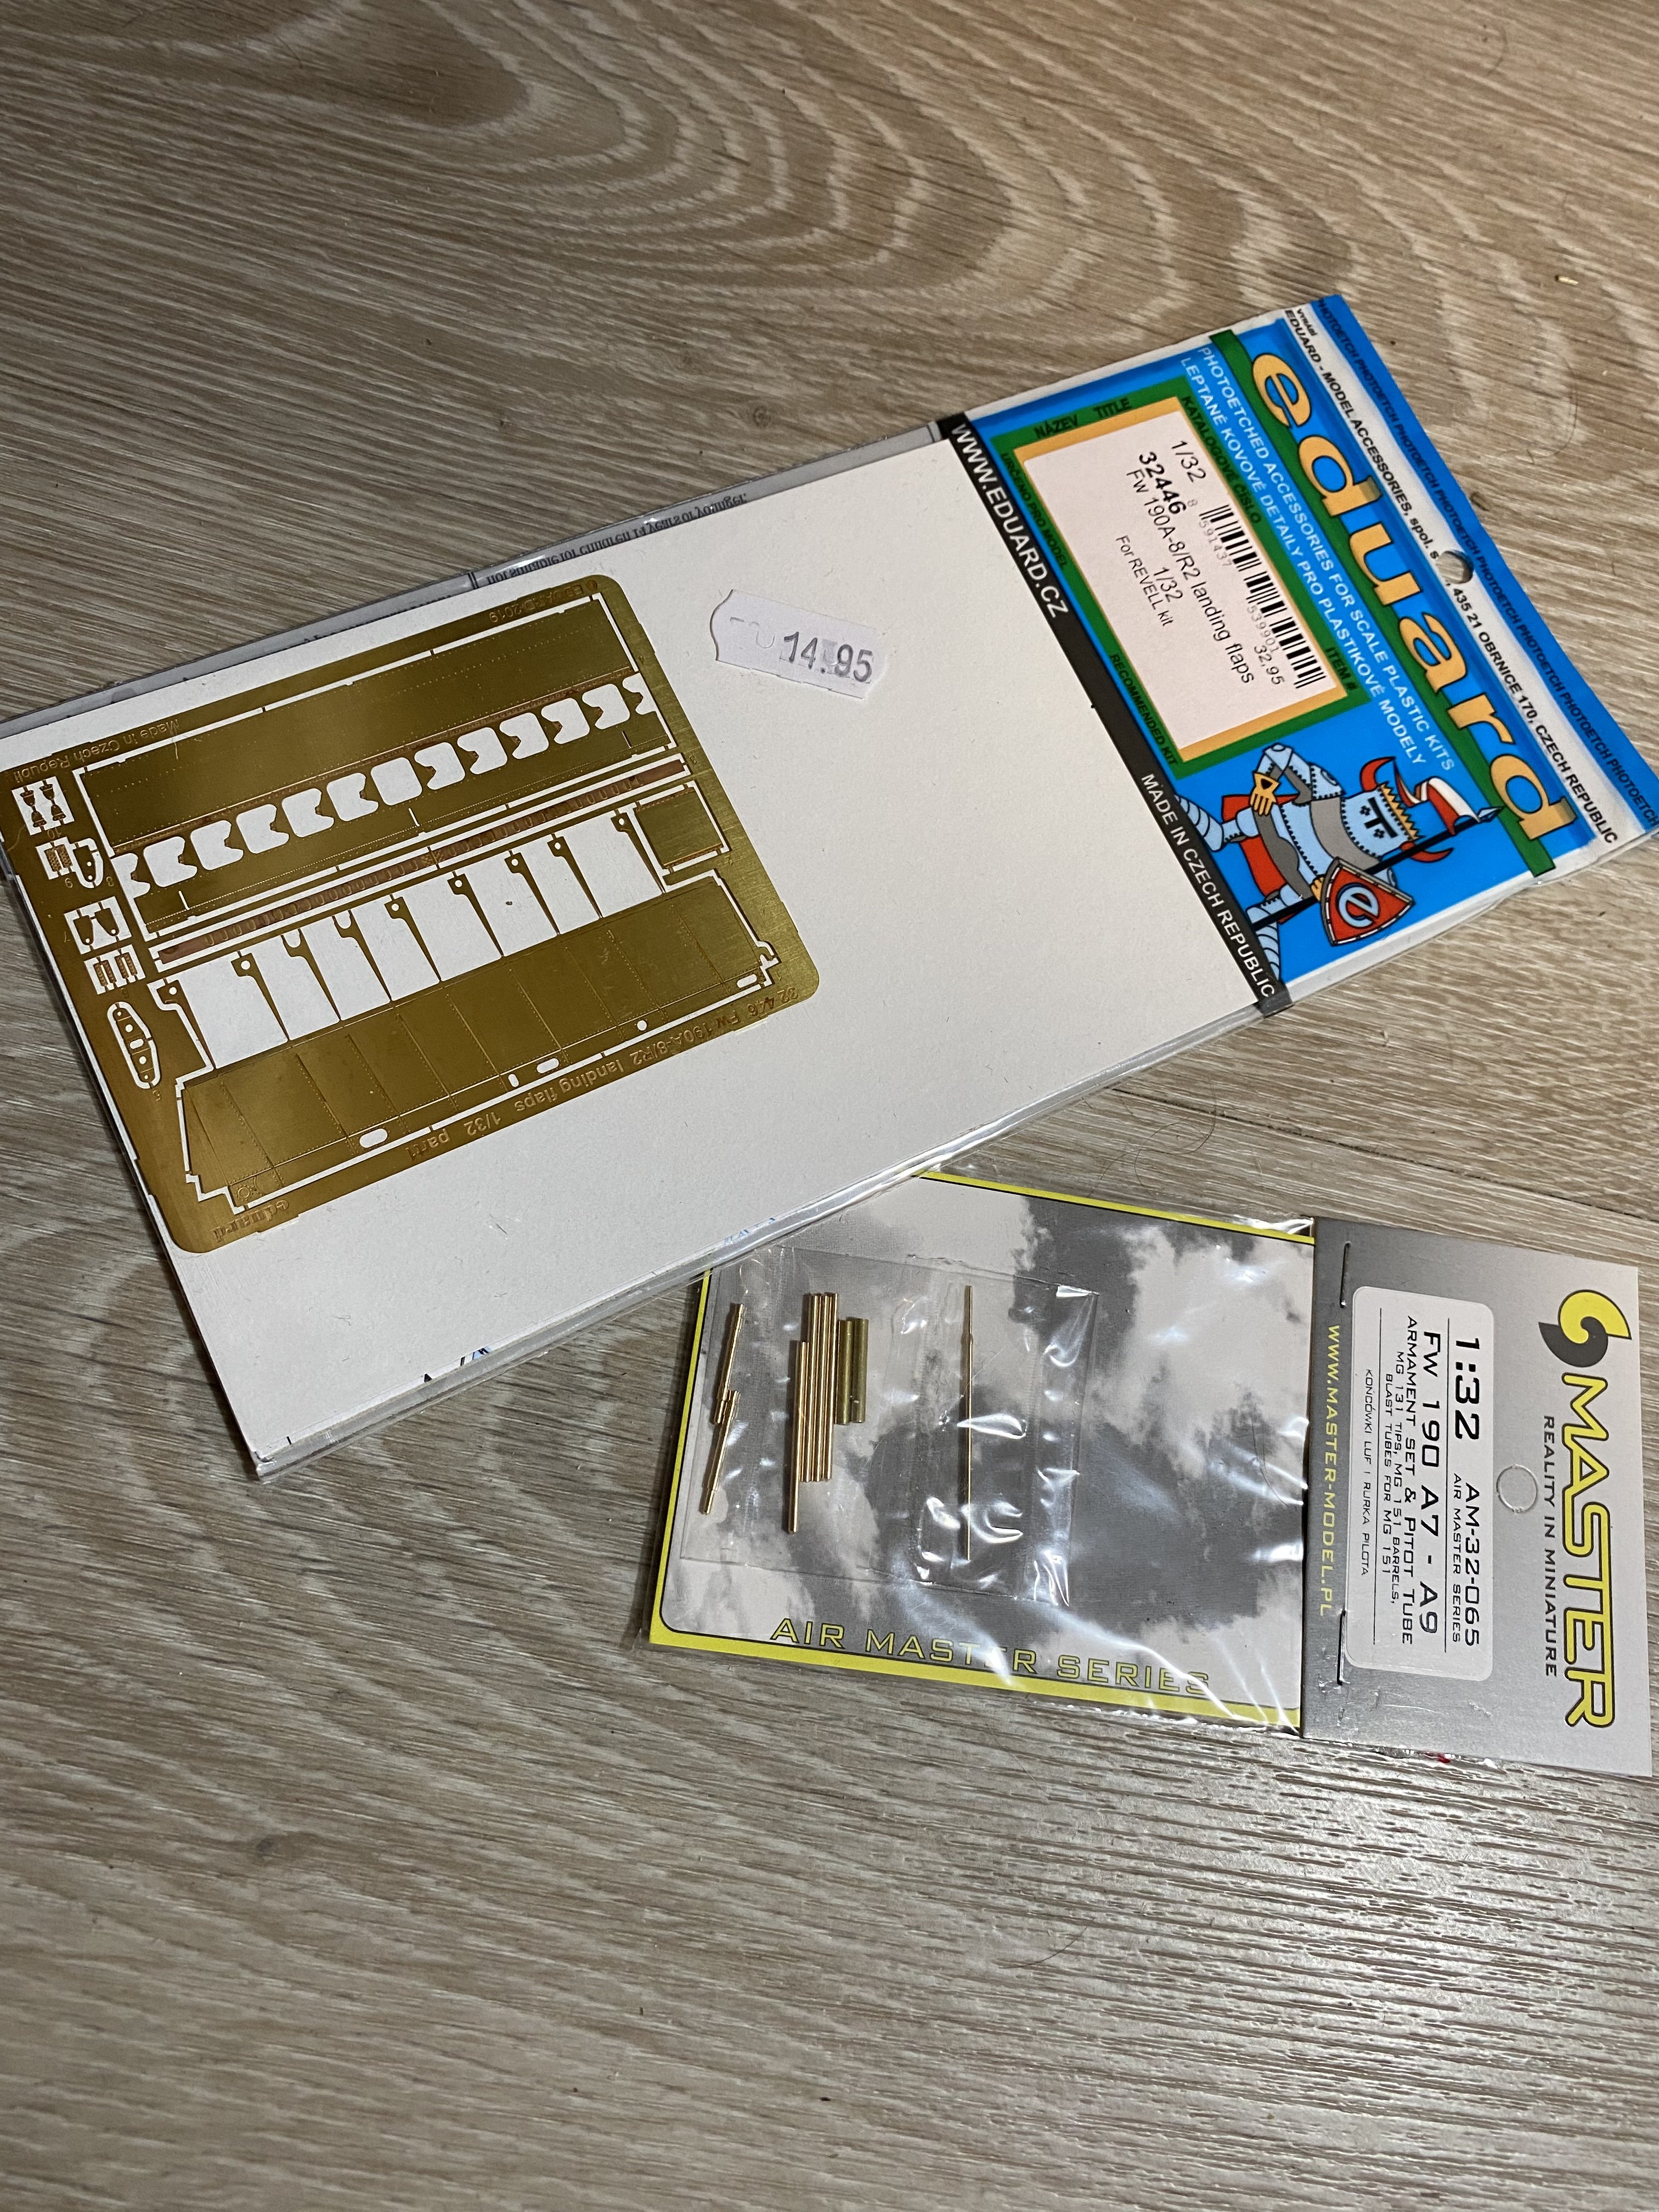
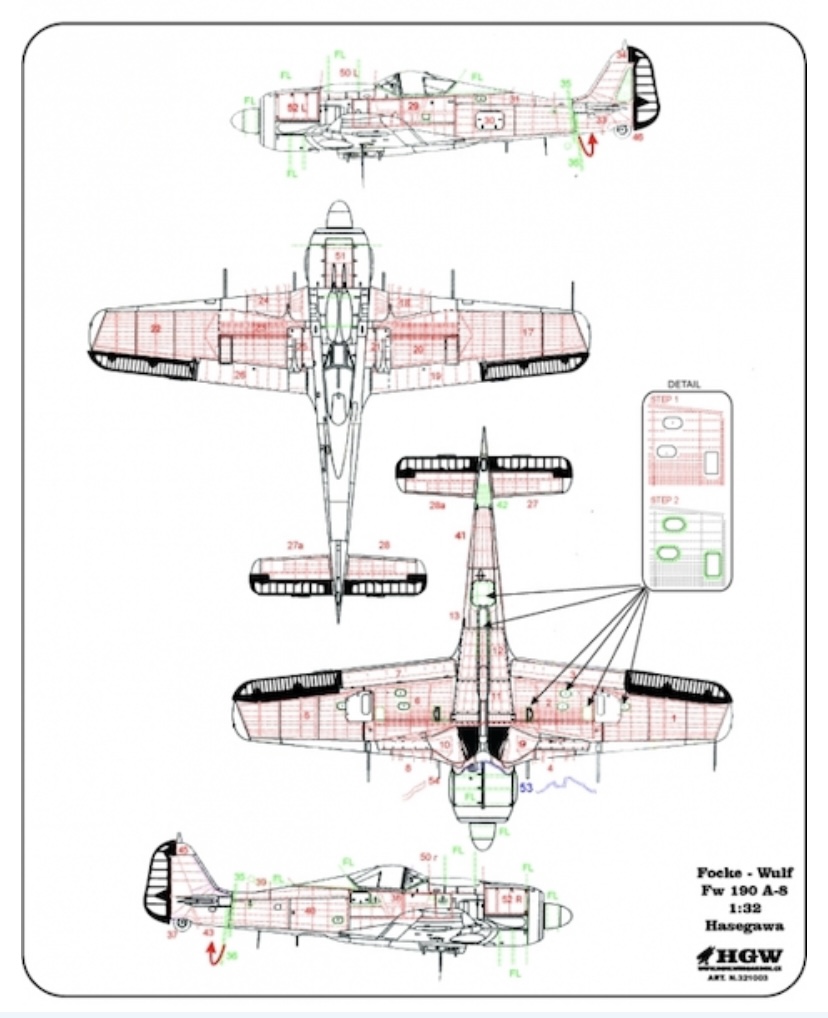
Fw190A-8 3/JG1 crash Vreeland
JeroenPeters replied to JeroenPeters's topic in LSM 1/35 and Larger Work In Progress
Bought a few more sets today. Eduard flap set, master barrels and the HGW wet transfer decals.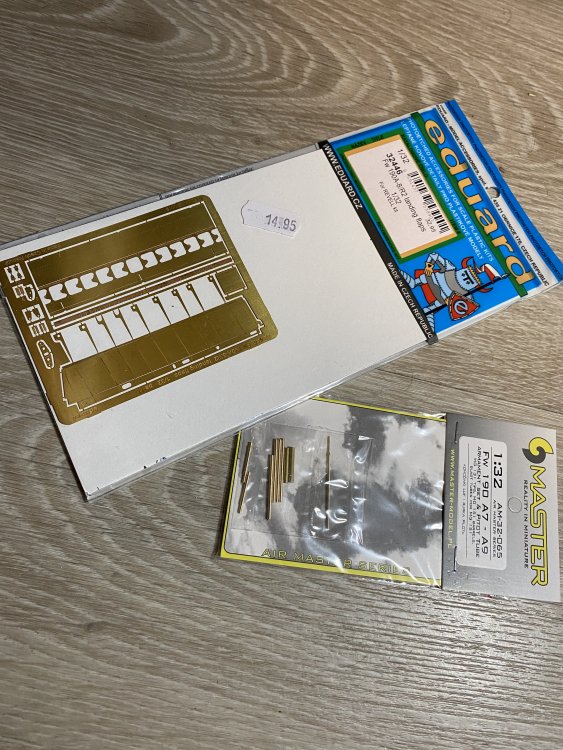
-
Fw190A-8 3/JG1 crash Vreeland
JeroenPeters replied to JeroenPeters's topic in LSM 1/35 and Larger Work In Progress
First parts of the Brassin ammo and gunbay. Lovely stuff!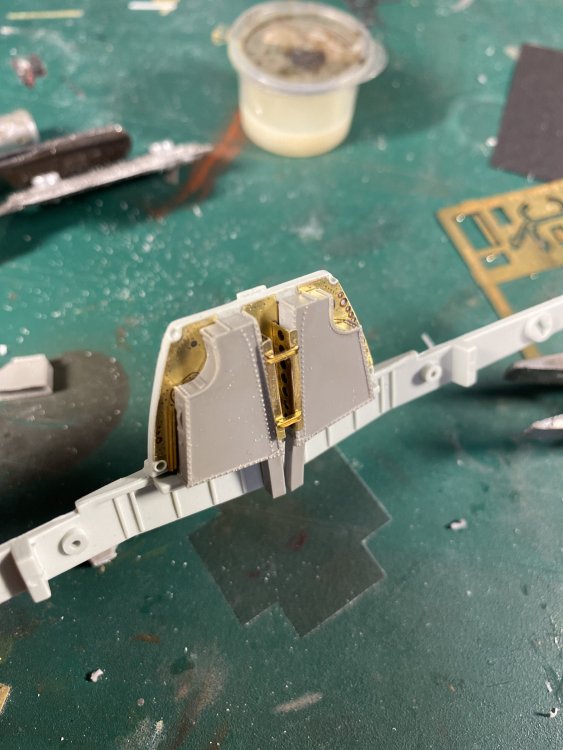

- 344 replies
-
- 13
-
-
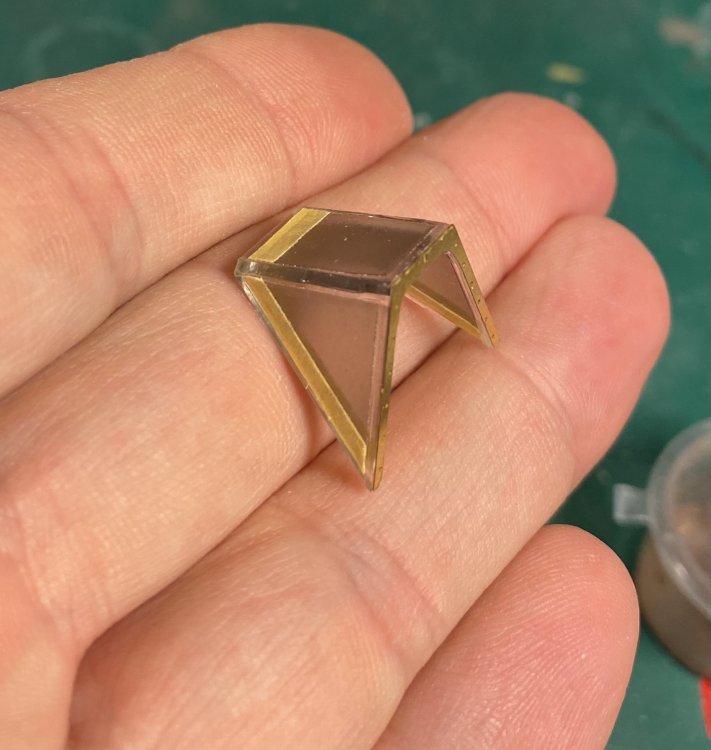
Fw190A-8 3/JG1 crash Vreeland
JeroenPeters replied to JeroenPeters's topic in LSM 1/35 and Larger Work In Progress
For some reason the HGW inside and outside masks are too small. So had to add some additional masking tape. Eduard cockpit combing added too.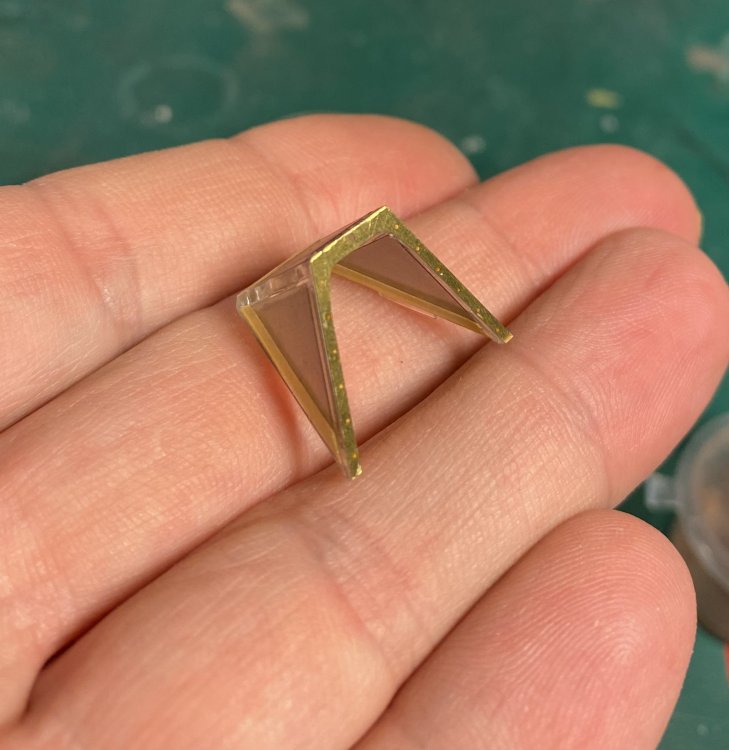
-
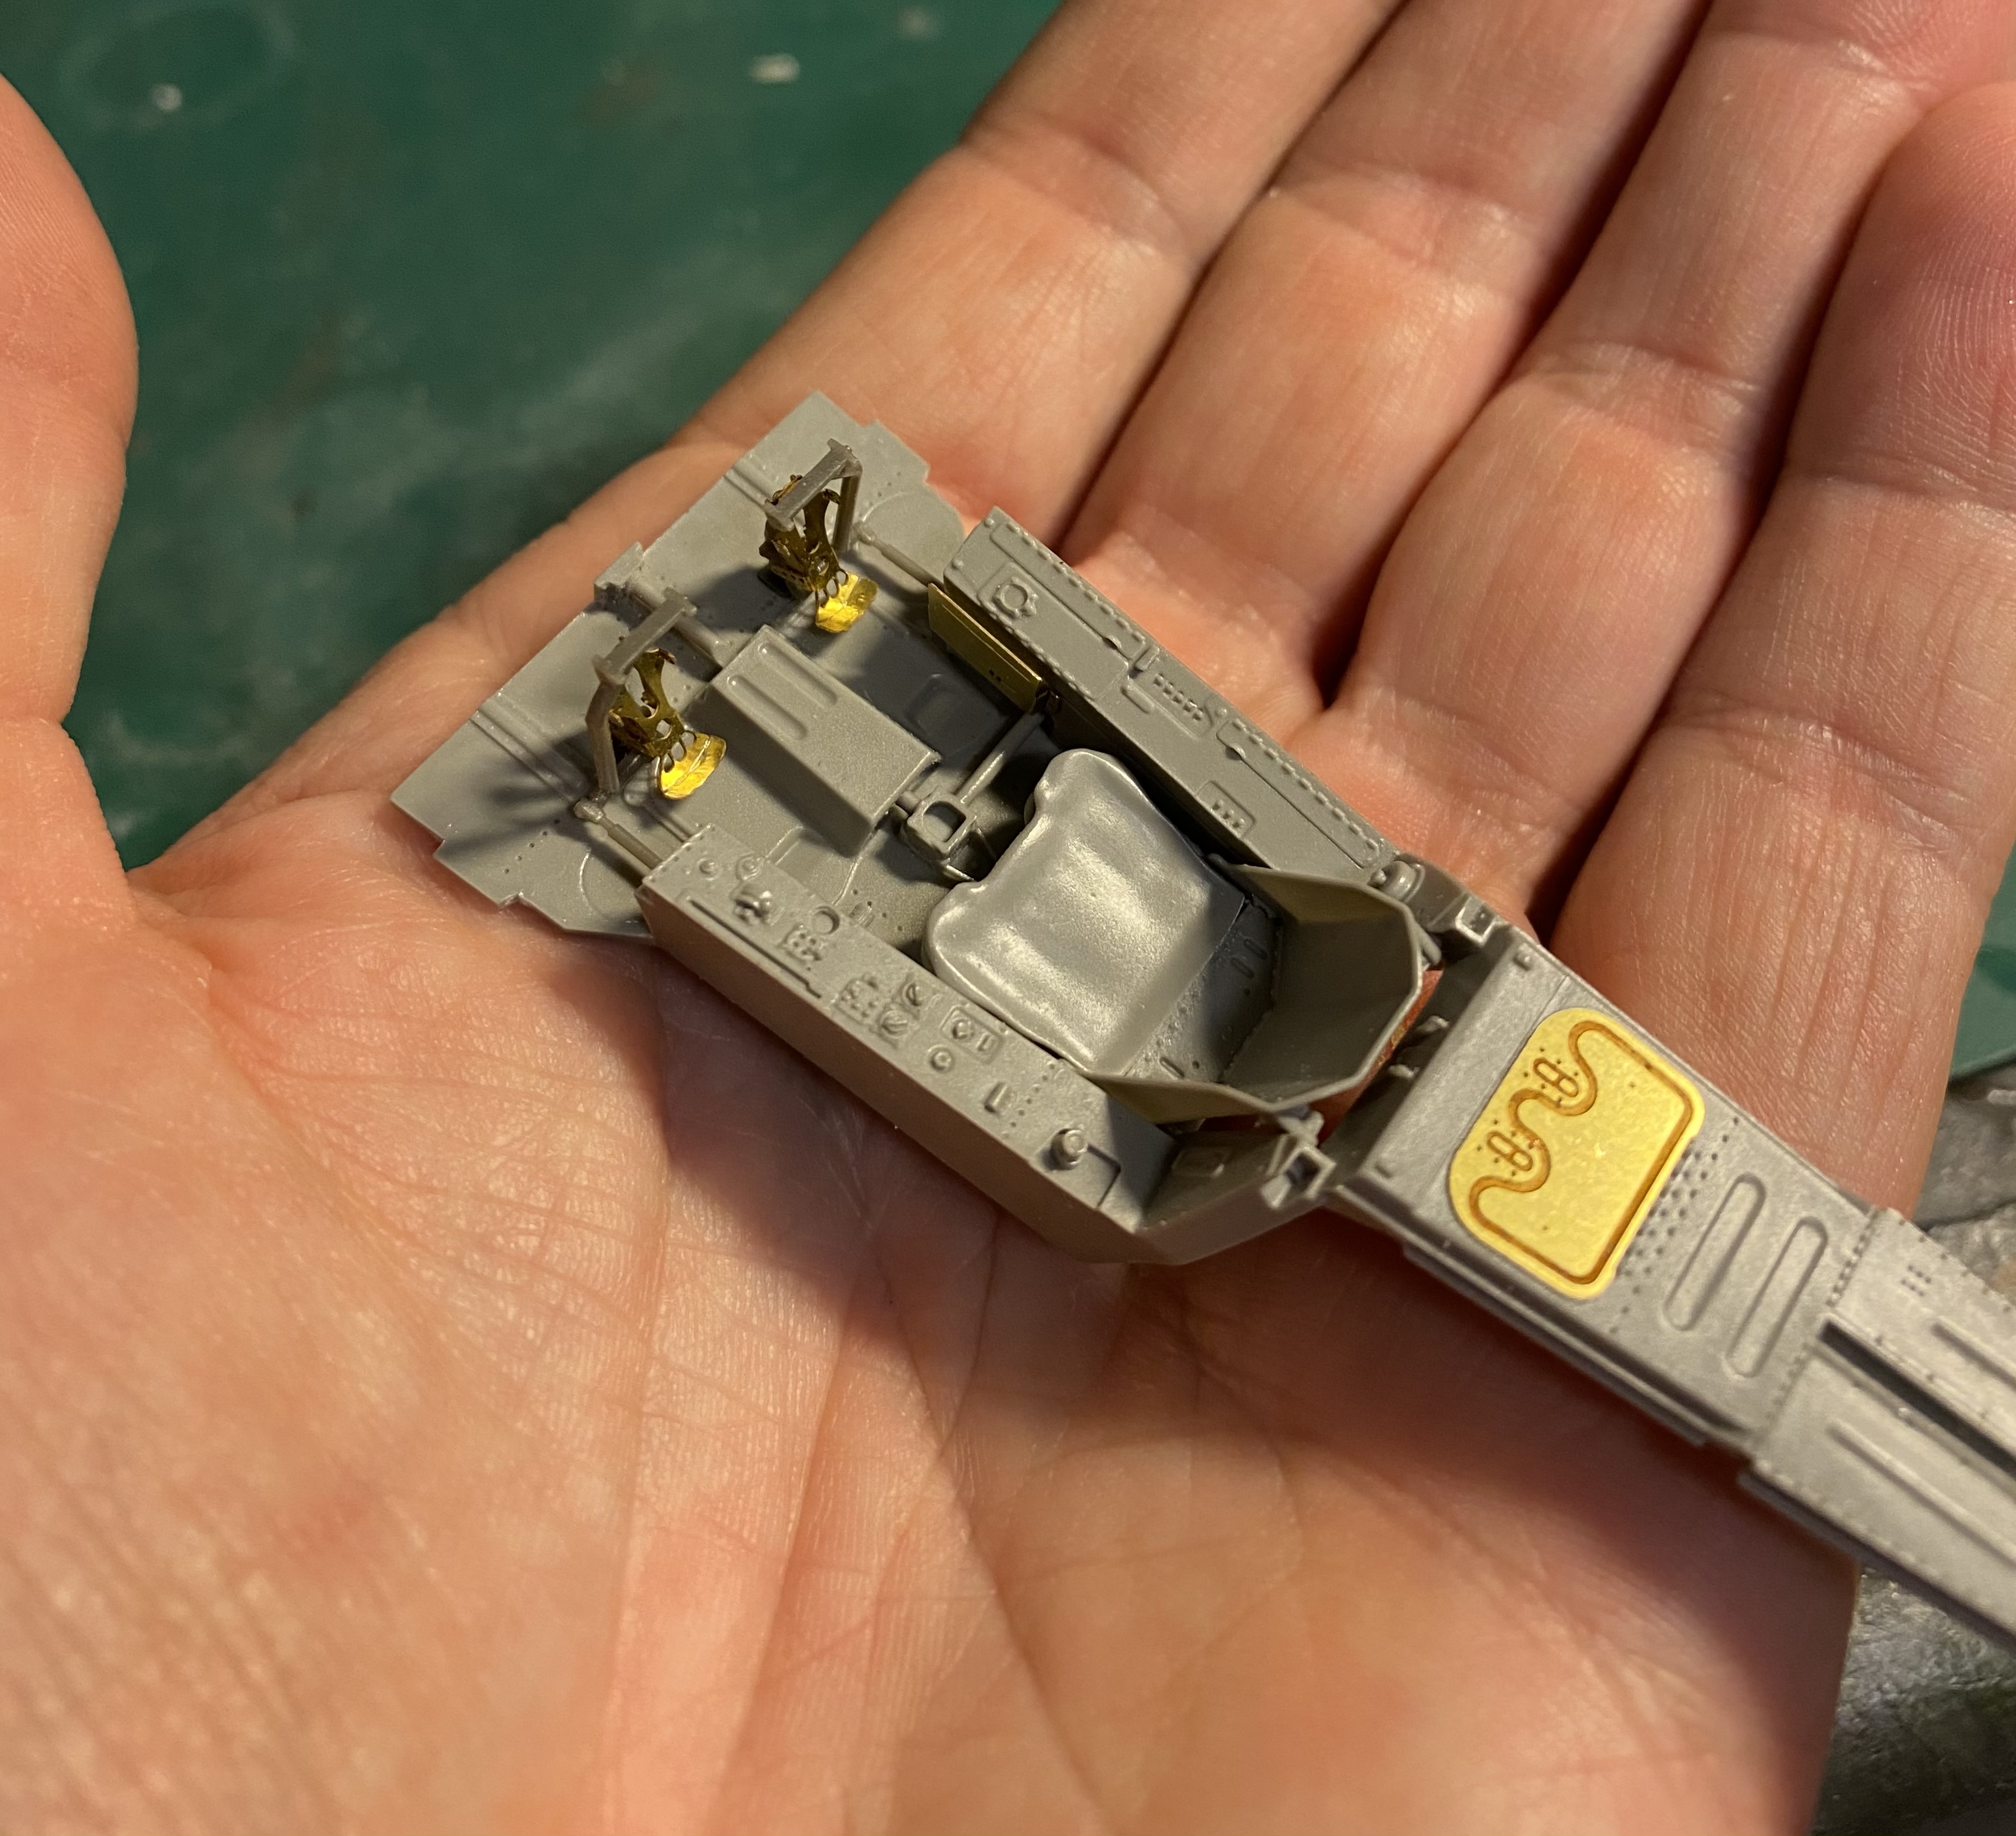
Fw190A-8 3/JG1 crash Vreeland
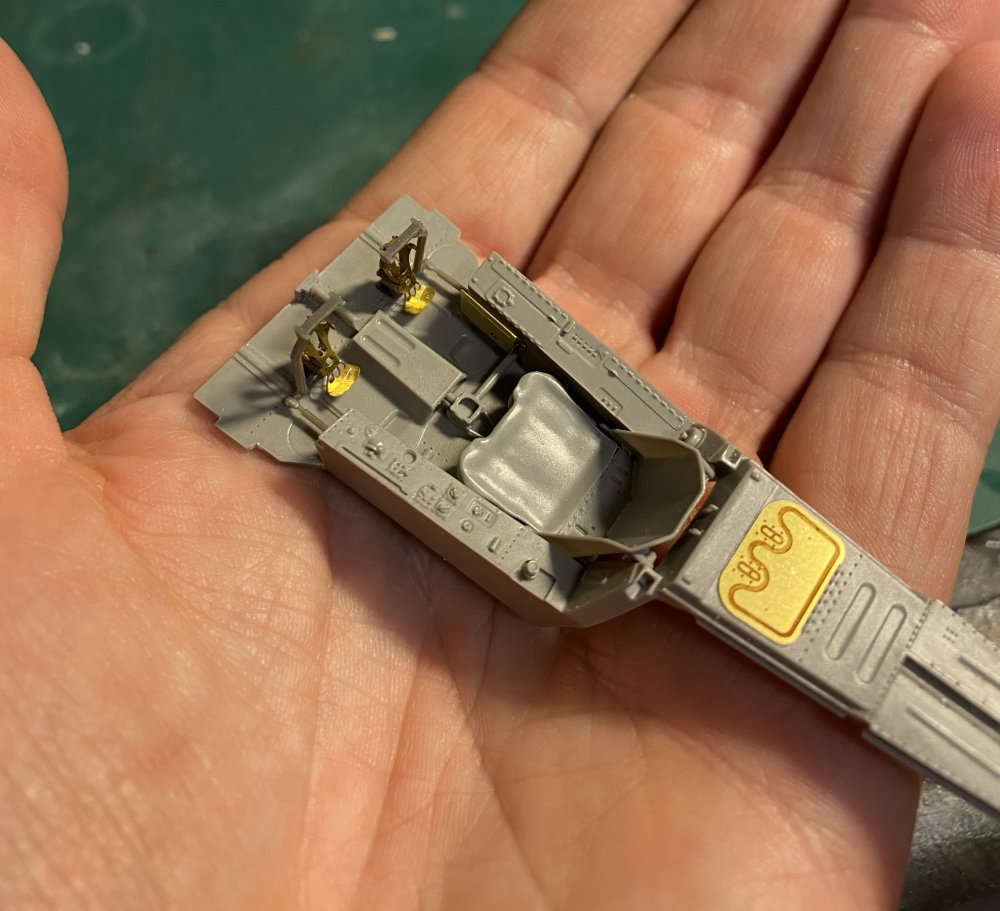
JeroenPeters replied to JeroenPeters's topic in LSM 1/35 and Larger Work In Progress
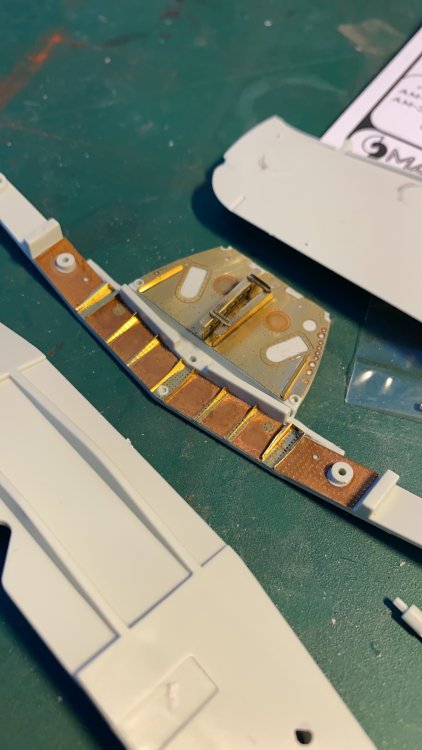
Small steps on the pit. It is a great improvement over the Revell pit.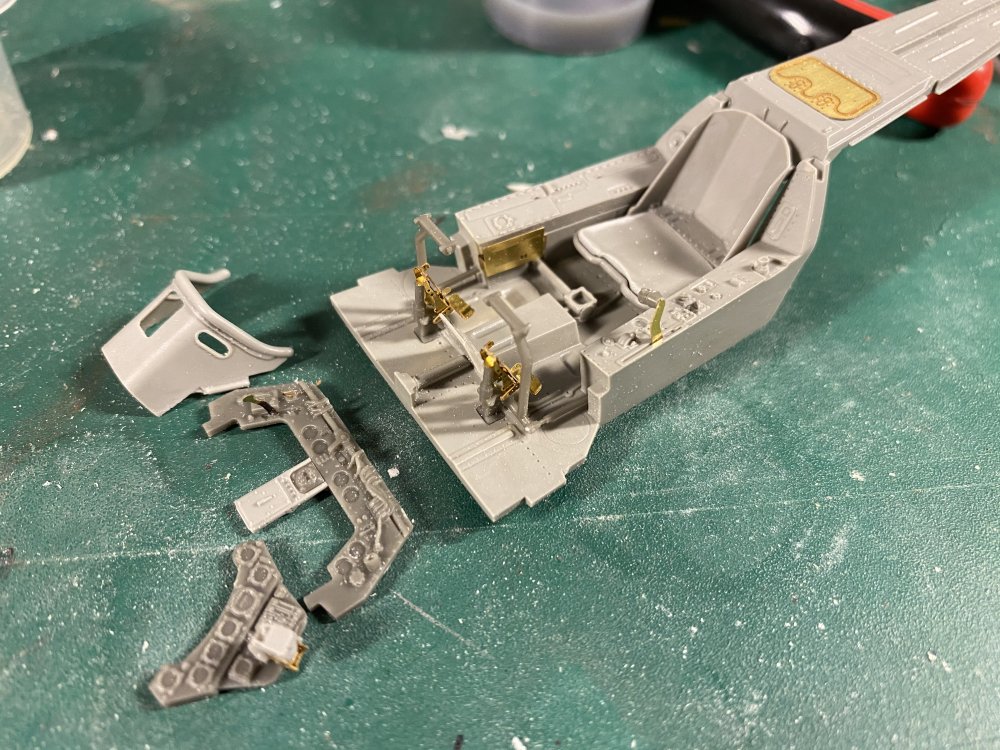
- 344 replies
-
- 12
-
-
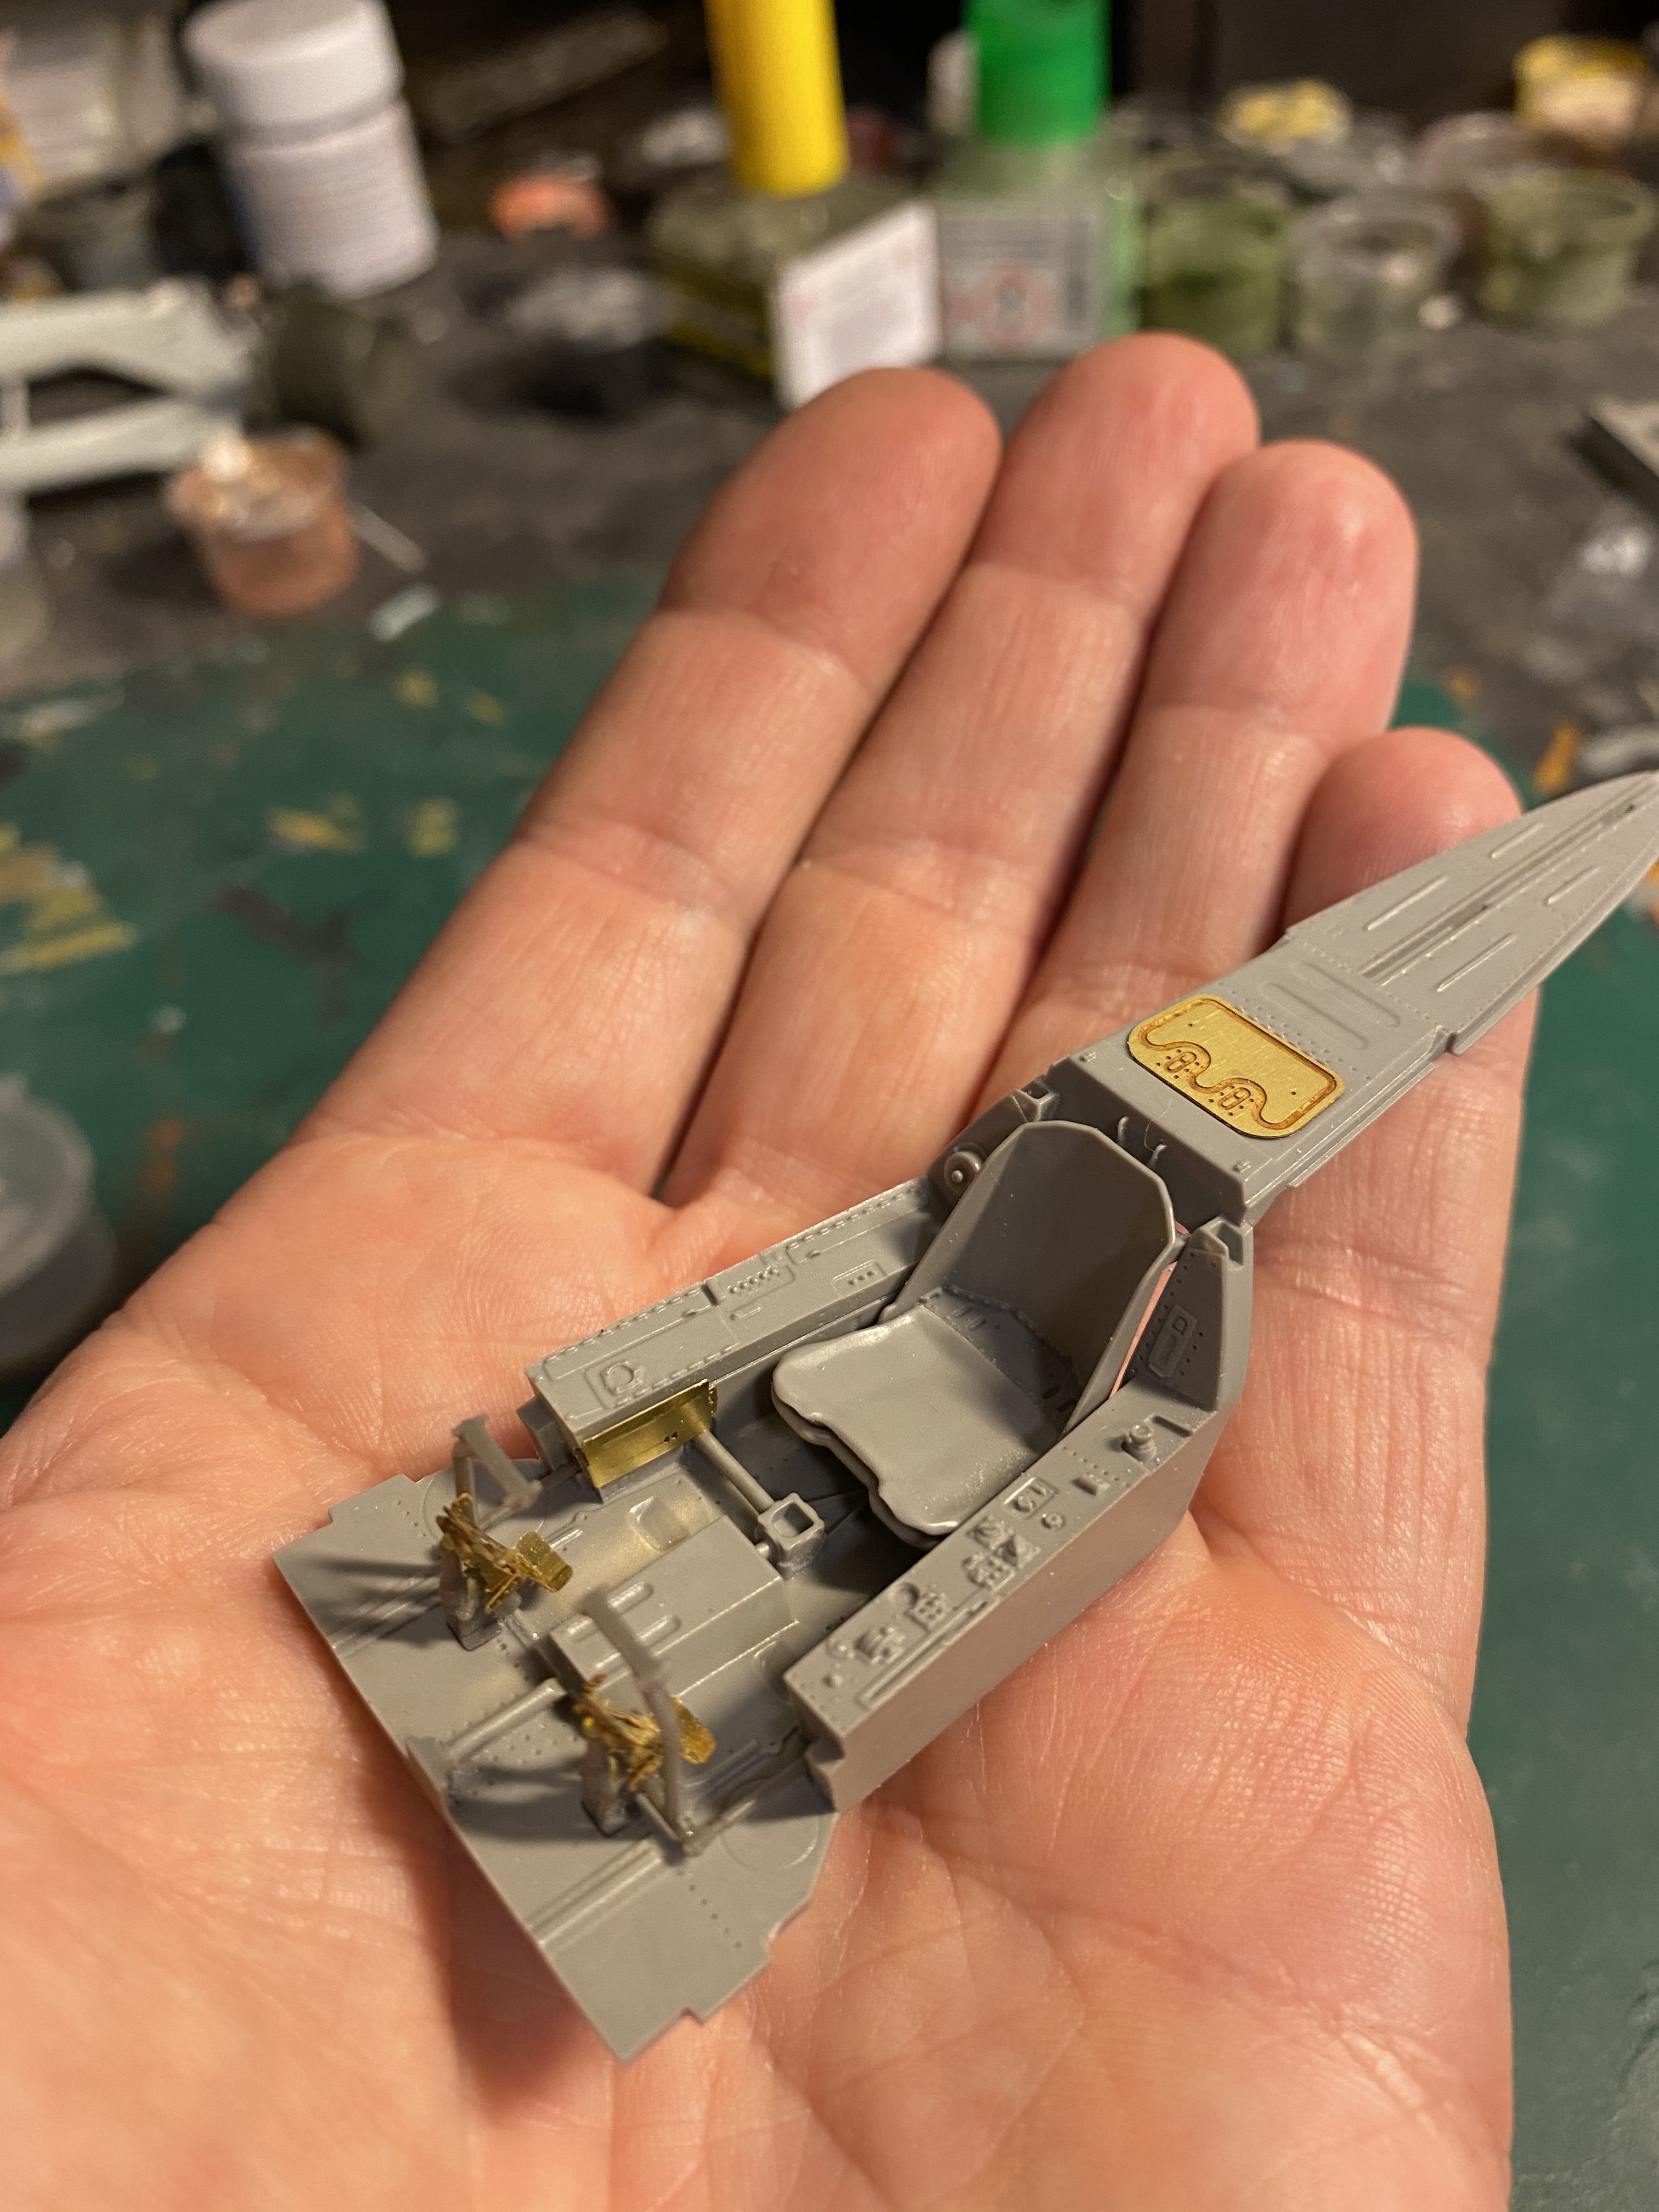
Fw190A-8 3/JG1 crash Vreeland
JeroenPeters replied to JeroenPeters's topic in LSM 1/35 and Larger Work In Progress
Did a click & collect today at the aviation megastore i live 20min away from. Went perfect! Now have all the HGW sets as well. First parts on the Brassin pit. Excellent detail. I might add a Yahu panel. Not sure yet.
- 344 replies
-
- 14
-
-
Fw190A-8 3/JG1 crash Vreeland
JeroenPeters replied to JeroenPeters's topic in LSM 1/35 and Larger Work In Progress
Hi Alan, yes but strange enough i have found no less than 3 different werknummers... This being one of them. -
Fw190A-8 3/JG1 crash Vreeland
JeroenPeters replied to JeroenPeters's topic in LSM 1/35 and Larger Work In Progress
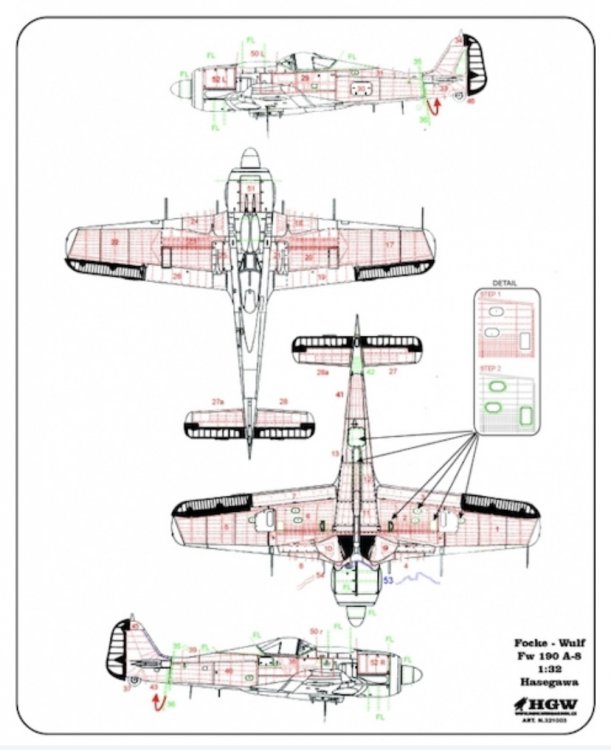
Just ordered the HGW postive rivets, canopy masks and seatbelts. Lord have mercy...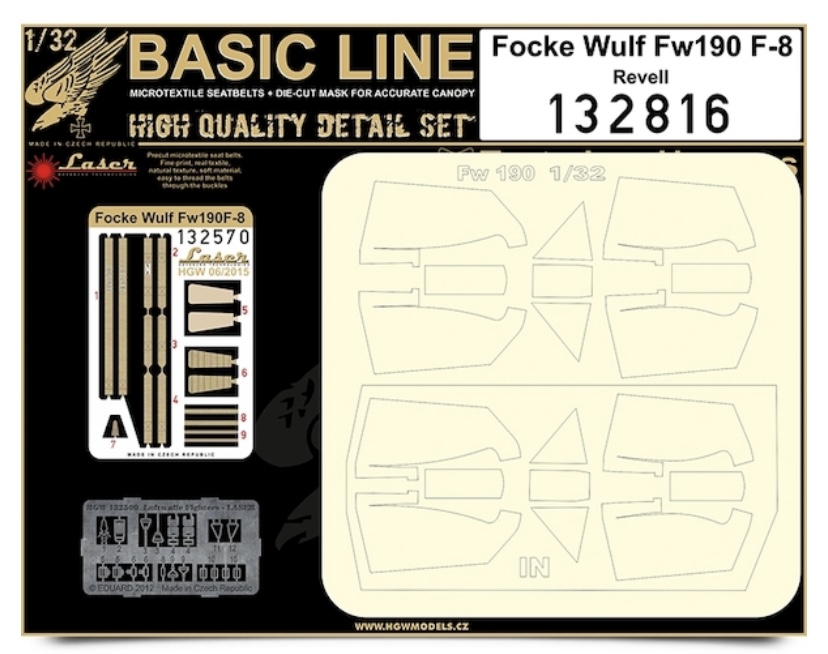
-
Fw190A-8 3/JG1 crash Vreeland
JeroenPeters replied to JeroenPeters's topic in LSM 1/35 and Larger Work In Progress
The gap behind the rear deck is on my brassin set as well. Need to fix that.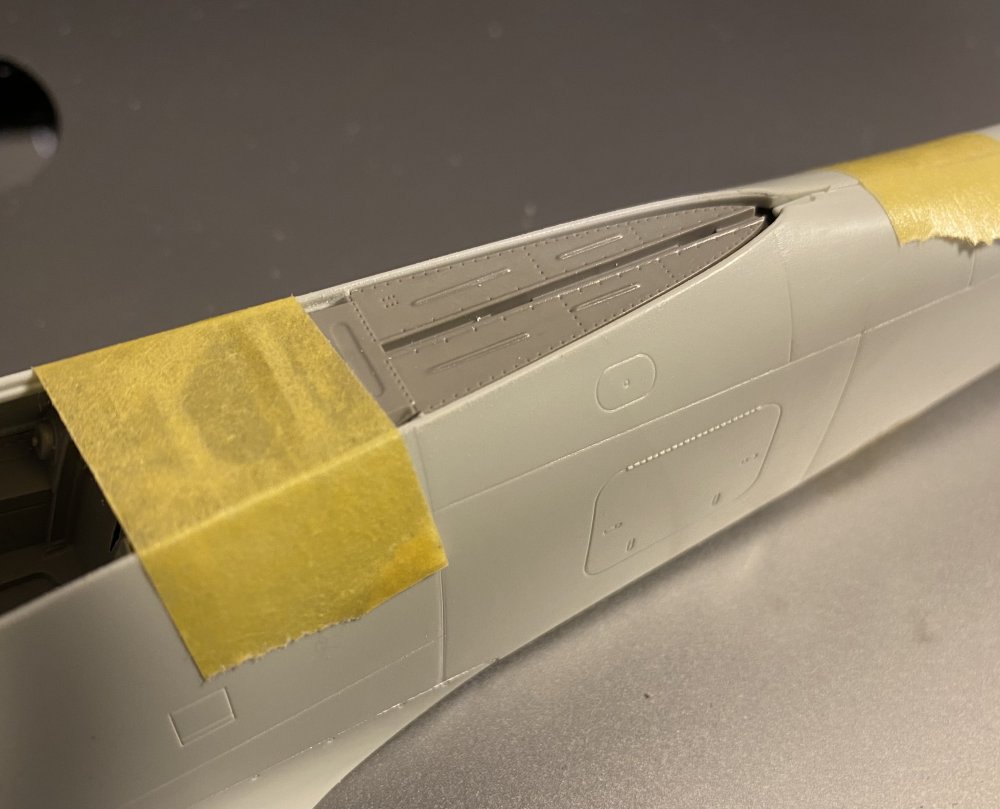

-
Fw190A-8 3/JG1 crash Vreeland
JeroenPeters replied to JeroenPeters's topic in LSM 1/35 and Larger Work In Progress
Please do! Especially from 3/JG1. Thnx! -
Fw190A-8 3/JG1 crash Vreeland
JeroenPeters replied to JeroenPeters's topic in LSM 1/35 and Larger Work In Progress
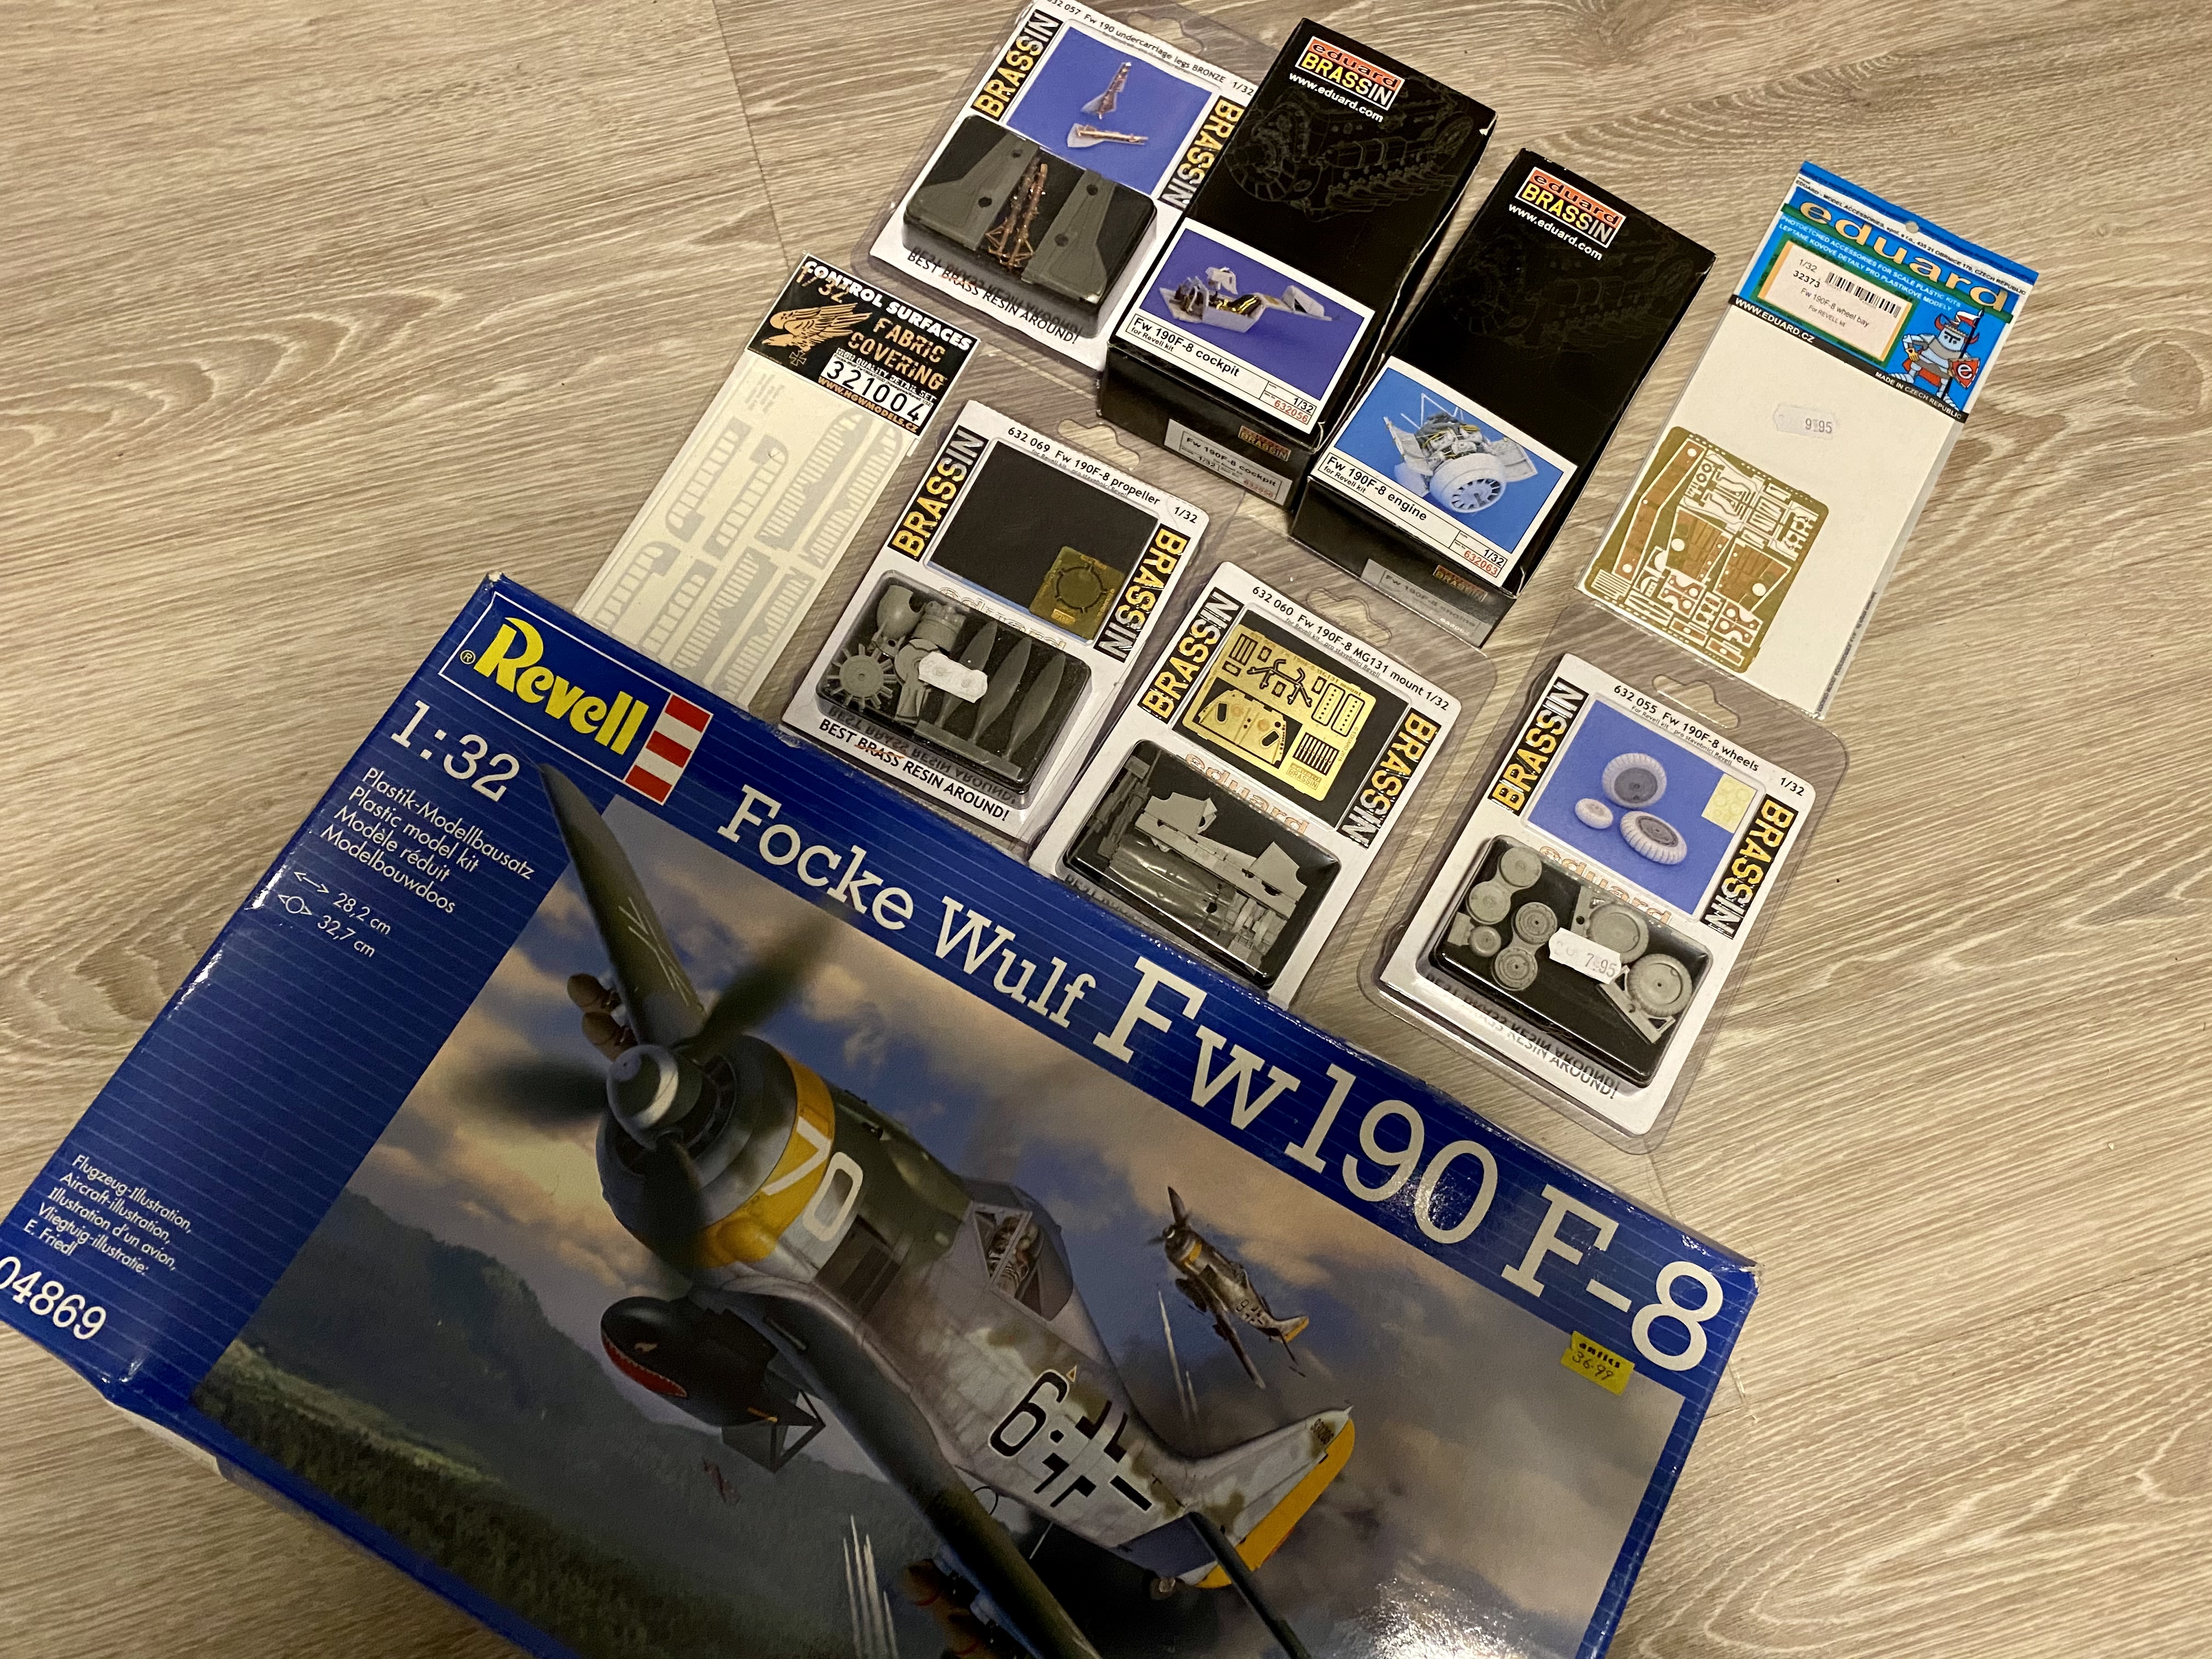
I spent last night roaming the internet and my books. Indeed. My guess is that the scheme is exactly like this one. No checkered or striped nose. Red band. Yellow 6. Perhaps with black outline. And maybe a white twirl on the spinner. -
Cees... has done it again. Screw up all my plans and distract me with a new months long project. Operation Bodenplatte. January 1, 1945. Hans-Jürgen Kilian of 3/JG1 crashed near the small village Vreeland (very close to my house). Information on Kilian and his plane are scarce but slowly I’m getting an idea of hoe his yellow 6 fw190a8 plane looked. I have a shitload of AM ready for this build. Cees gave me a piece of the aileron. Yes! Here we go!


- 344 replies
-
- 15
-
-
Glad he is on the rise...
-
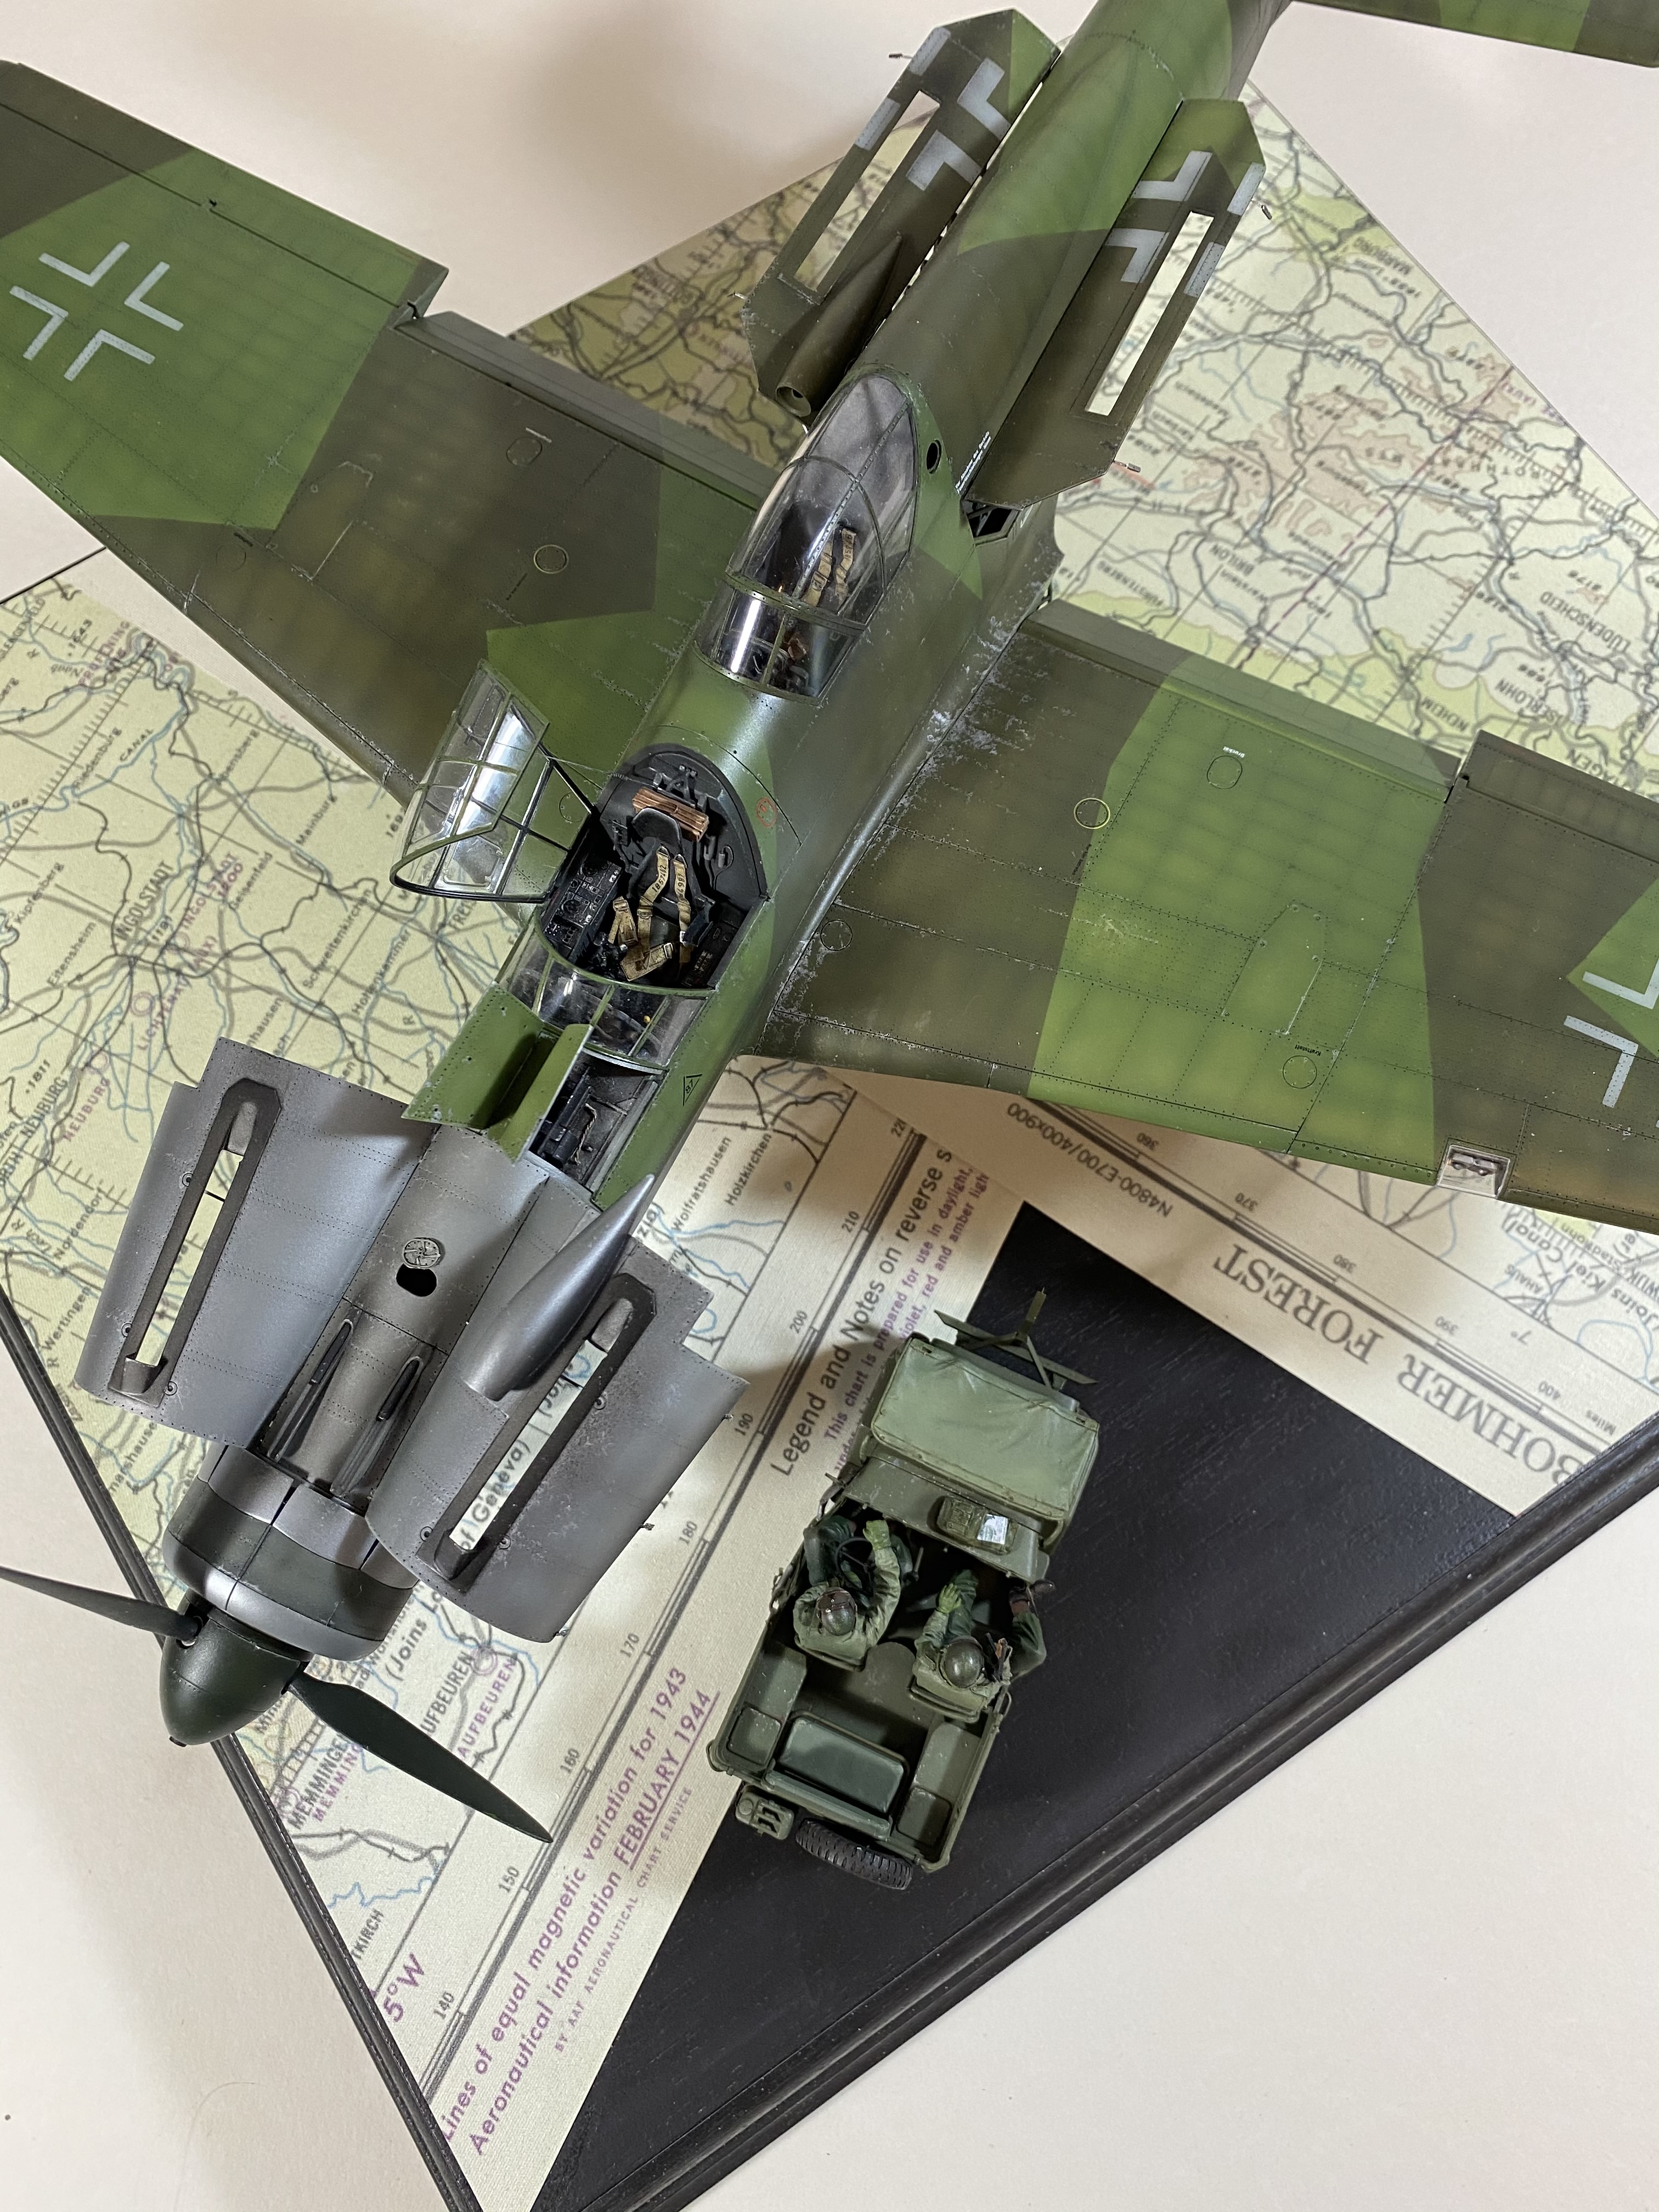
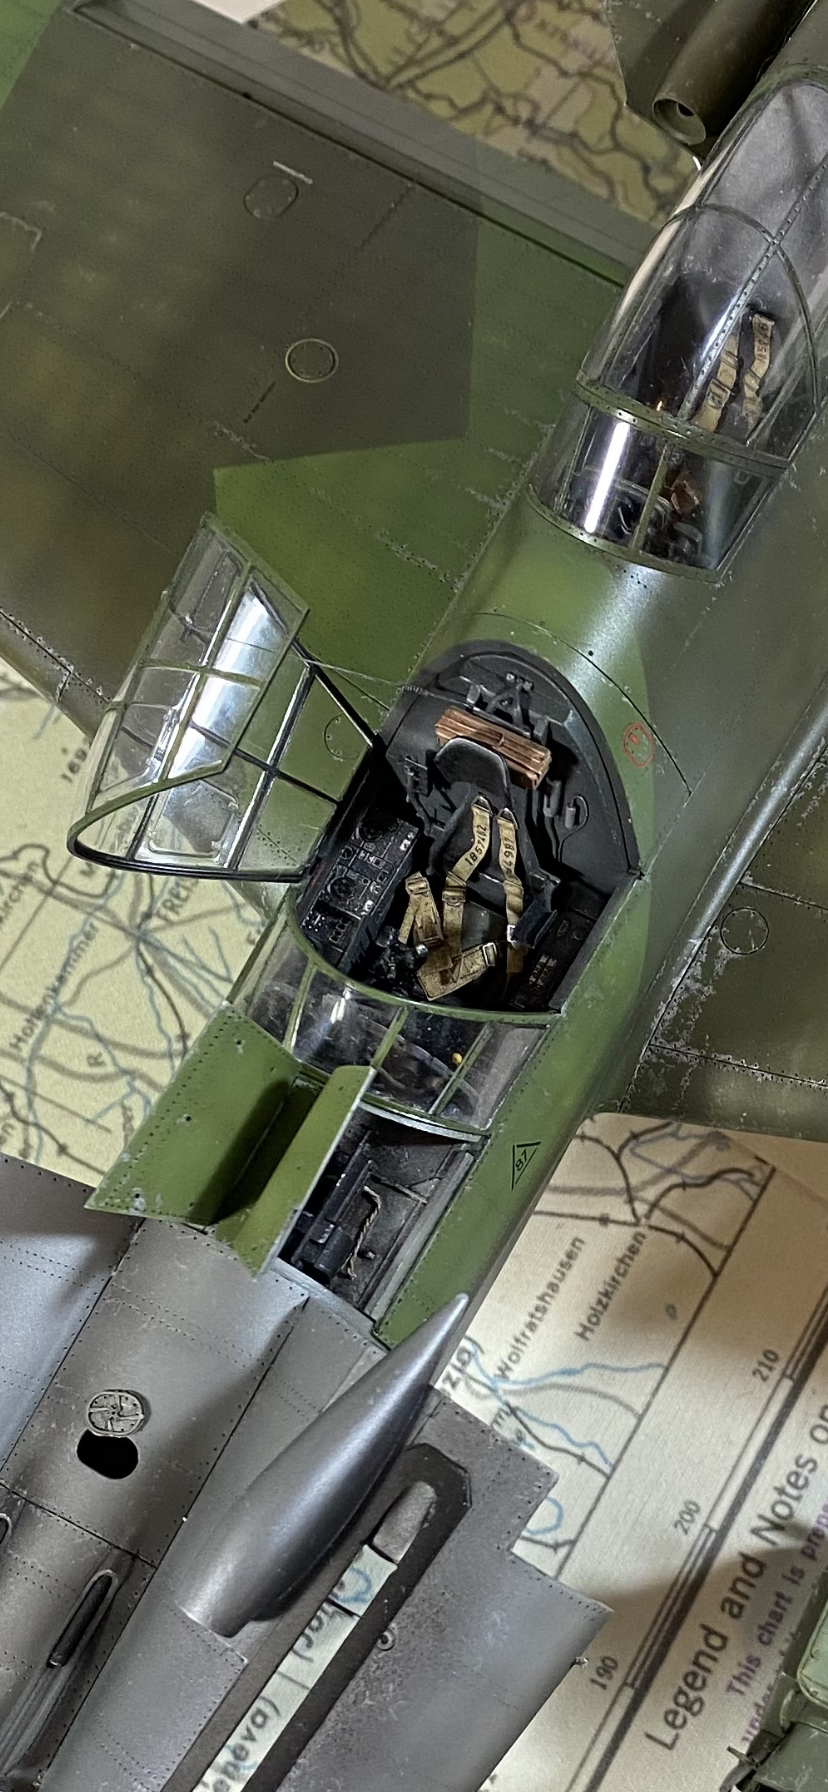
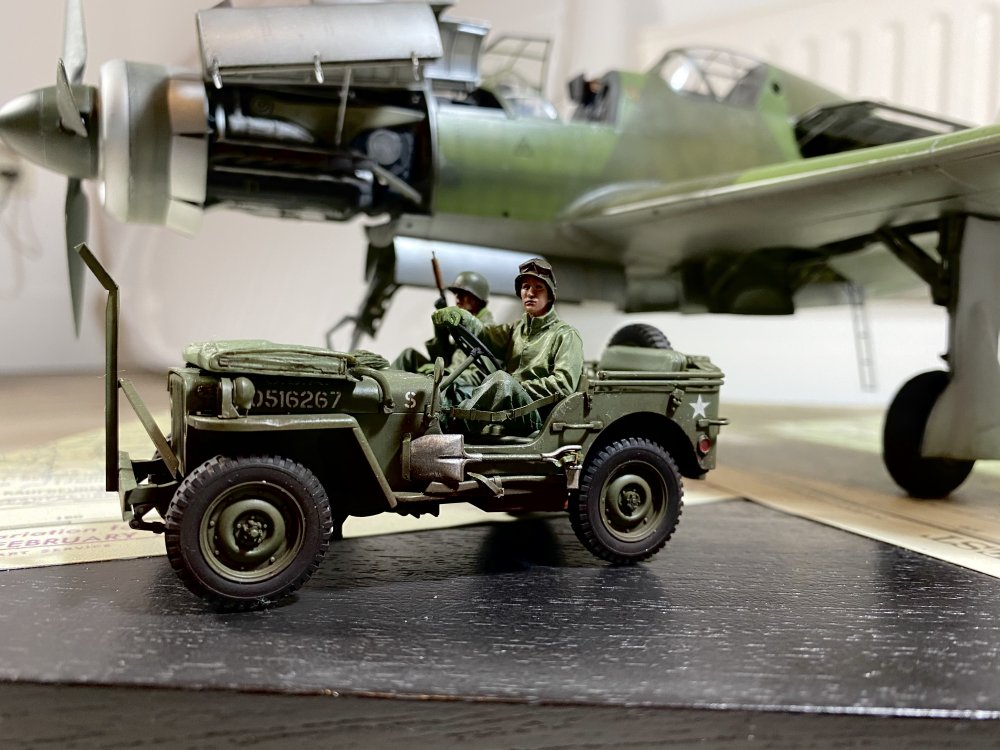
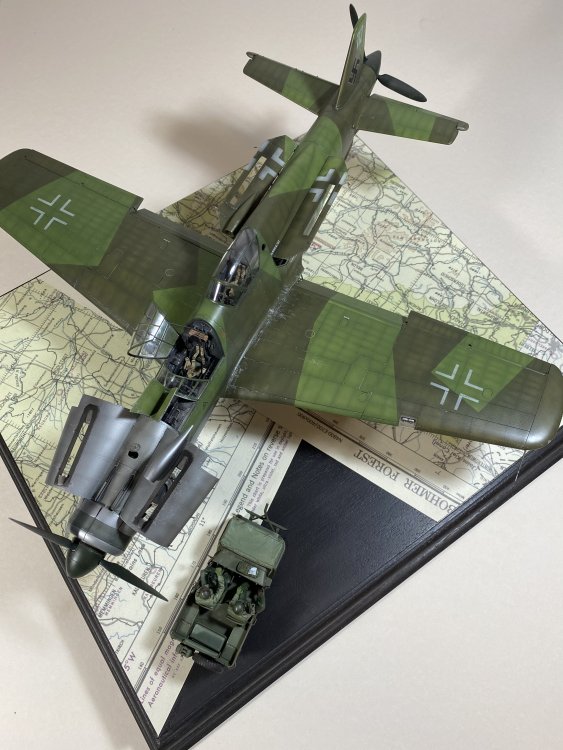
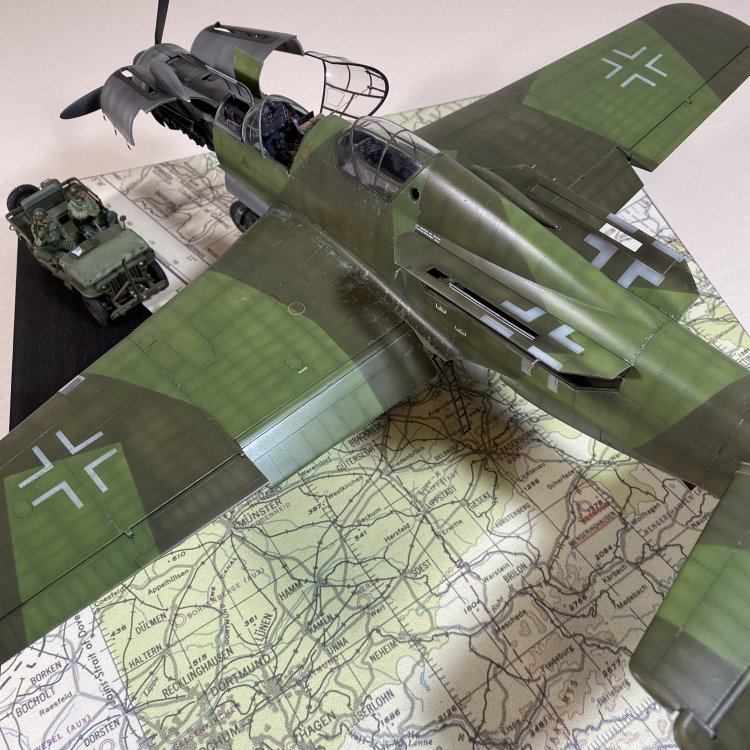
HK Models Do-335 A-12
JeroenPeters replied to JeroenPeters's topic in LSM 1/35 and Larger Work In Progress
Aaand she’s done! more pics soon.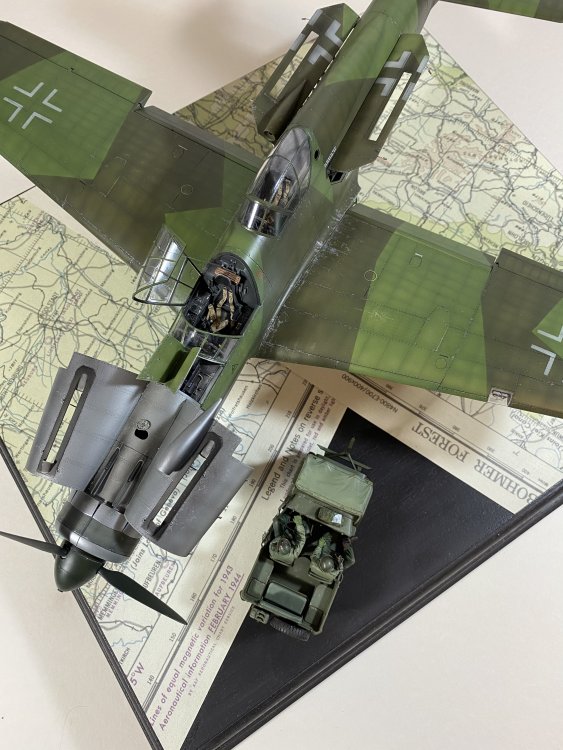

-
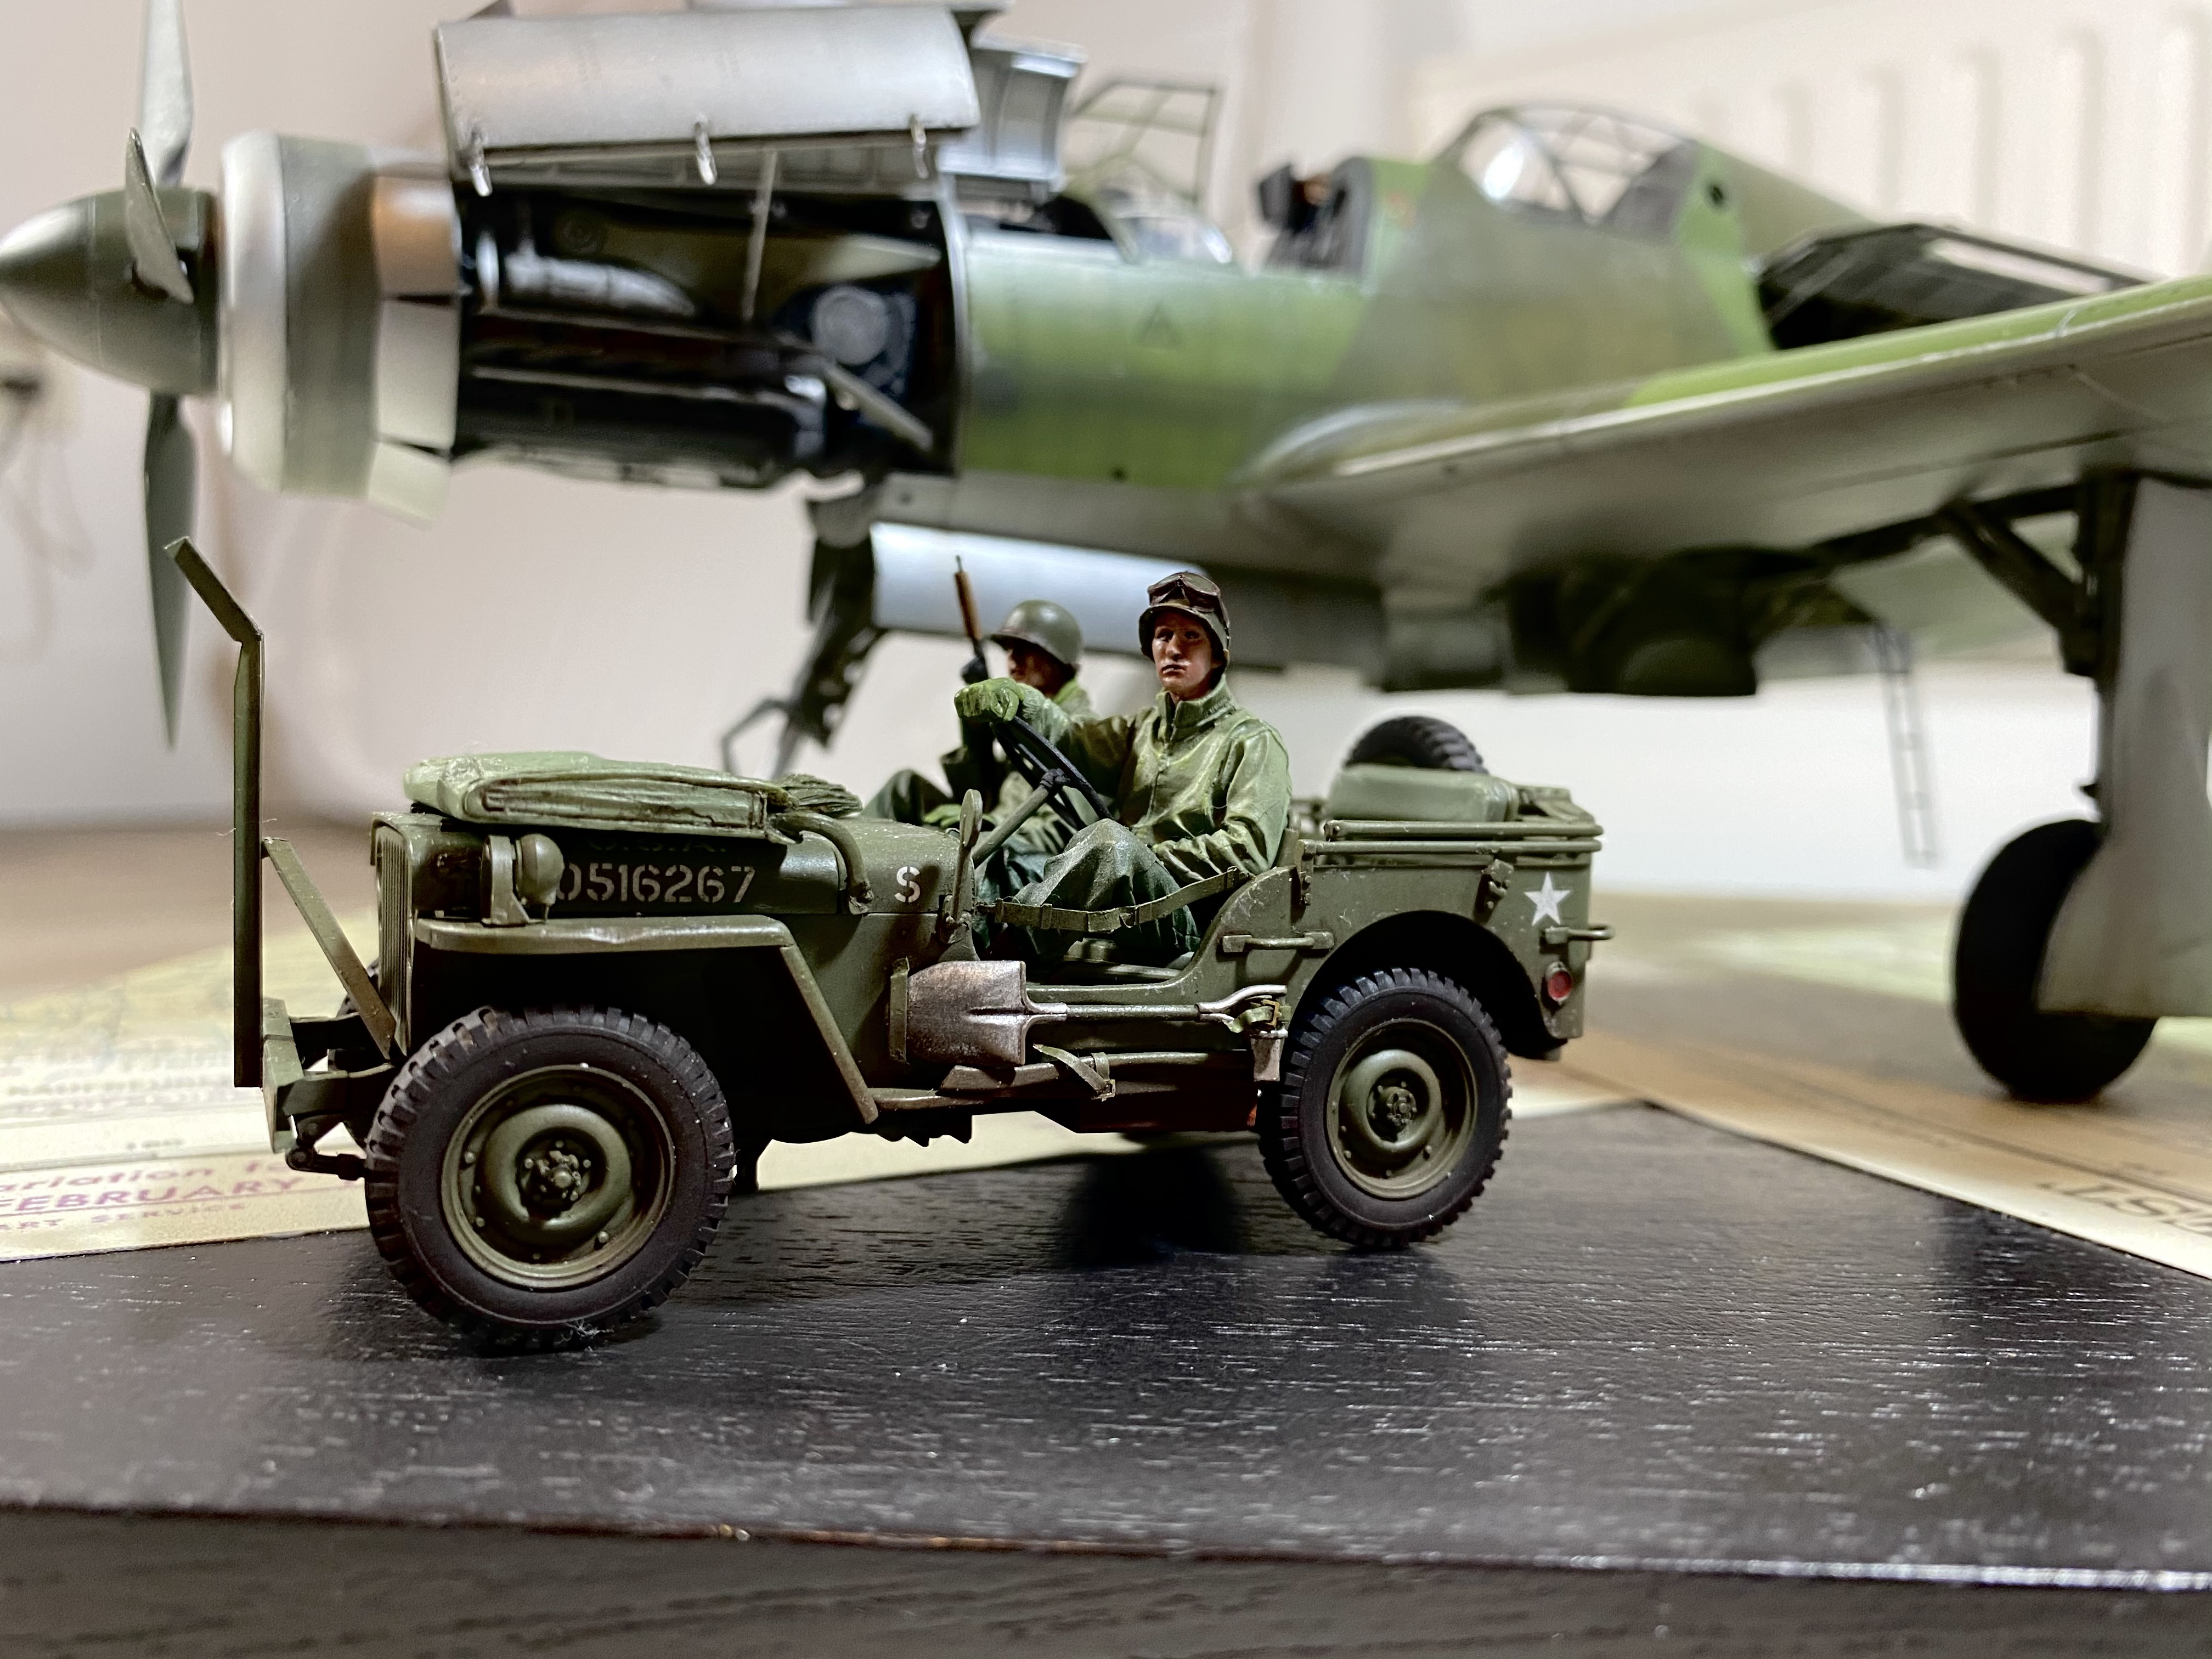
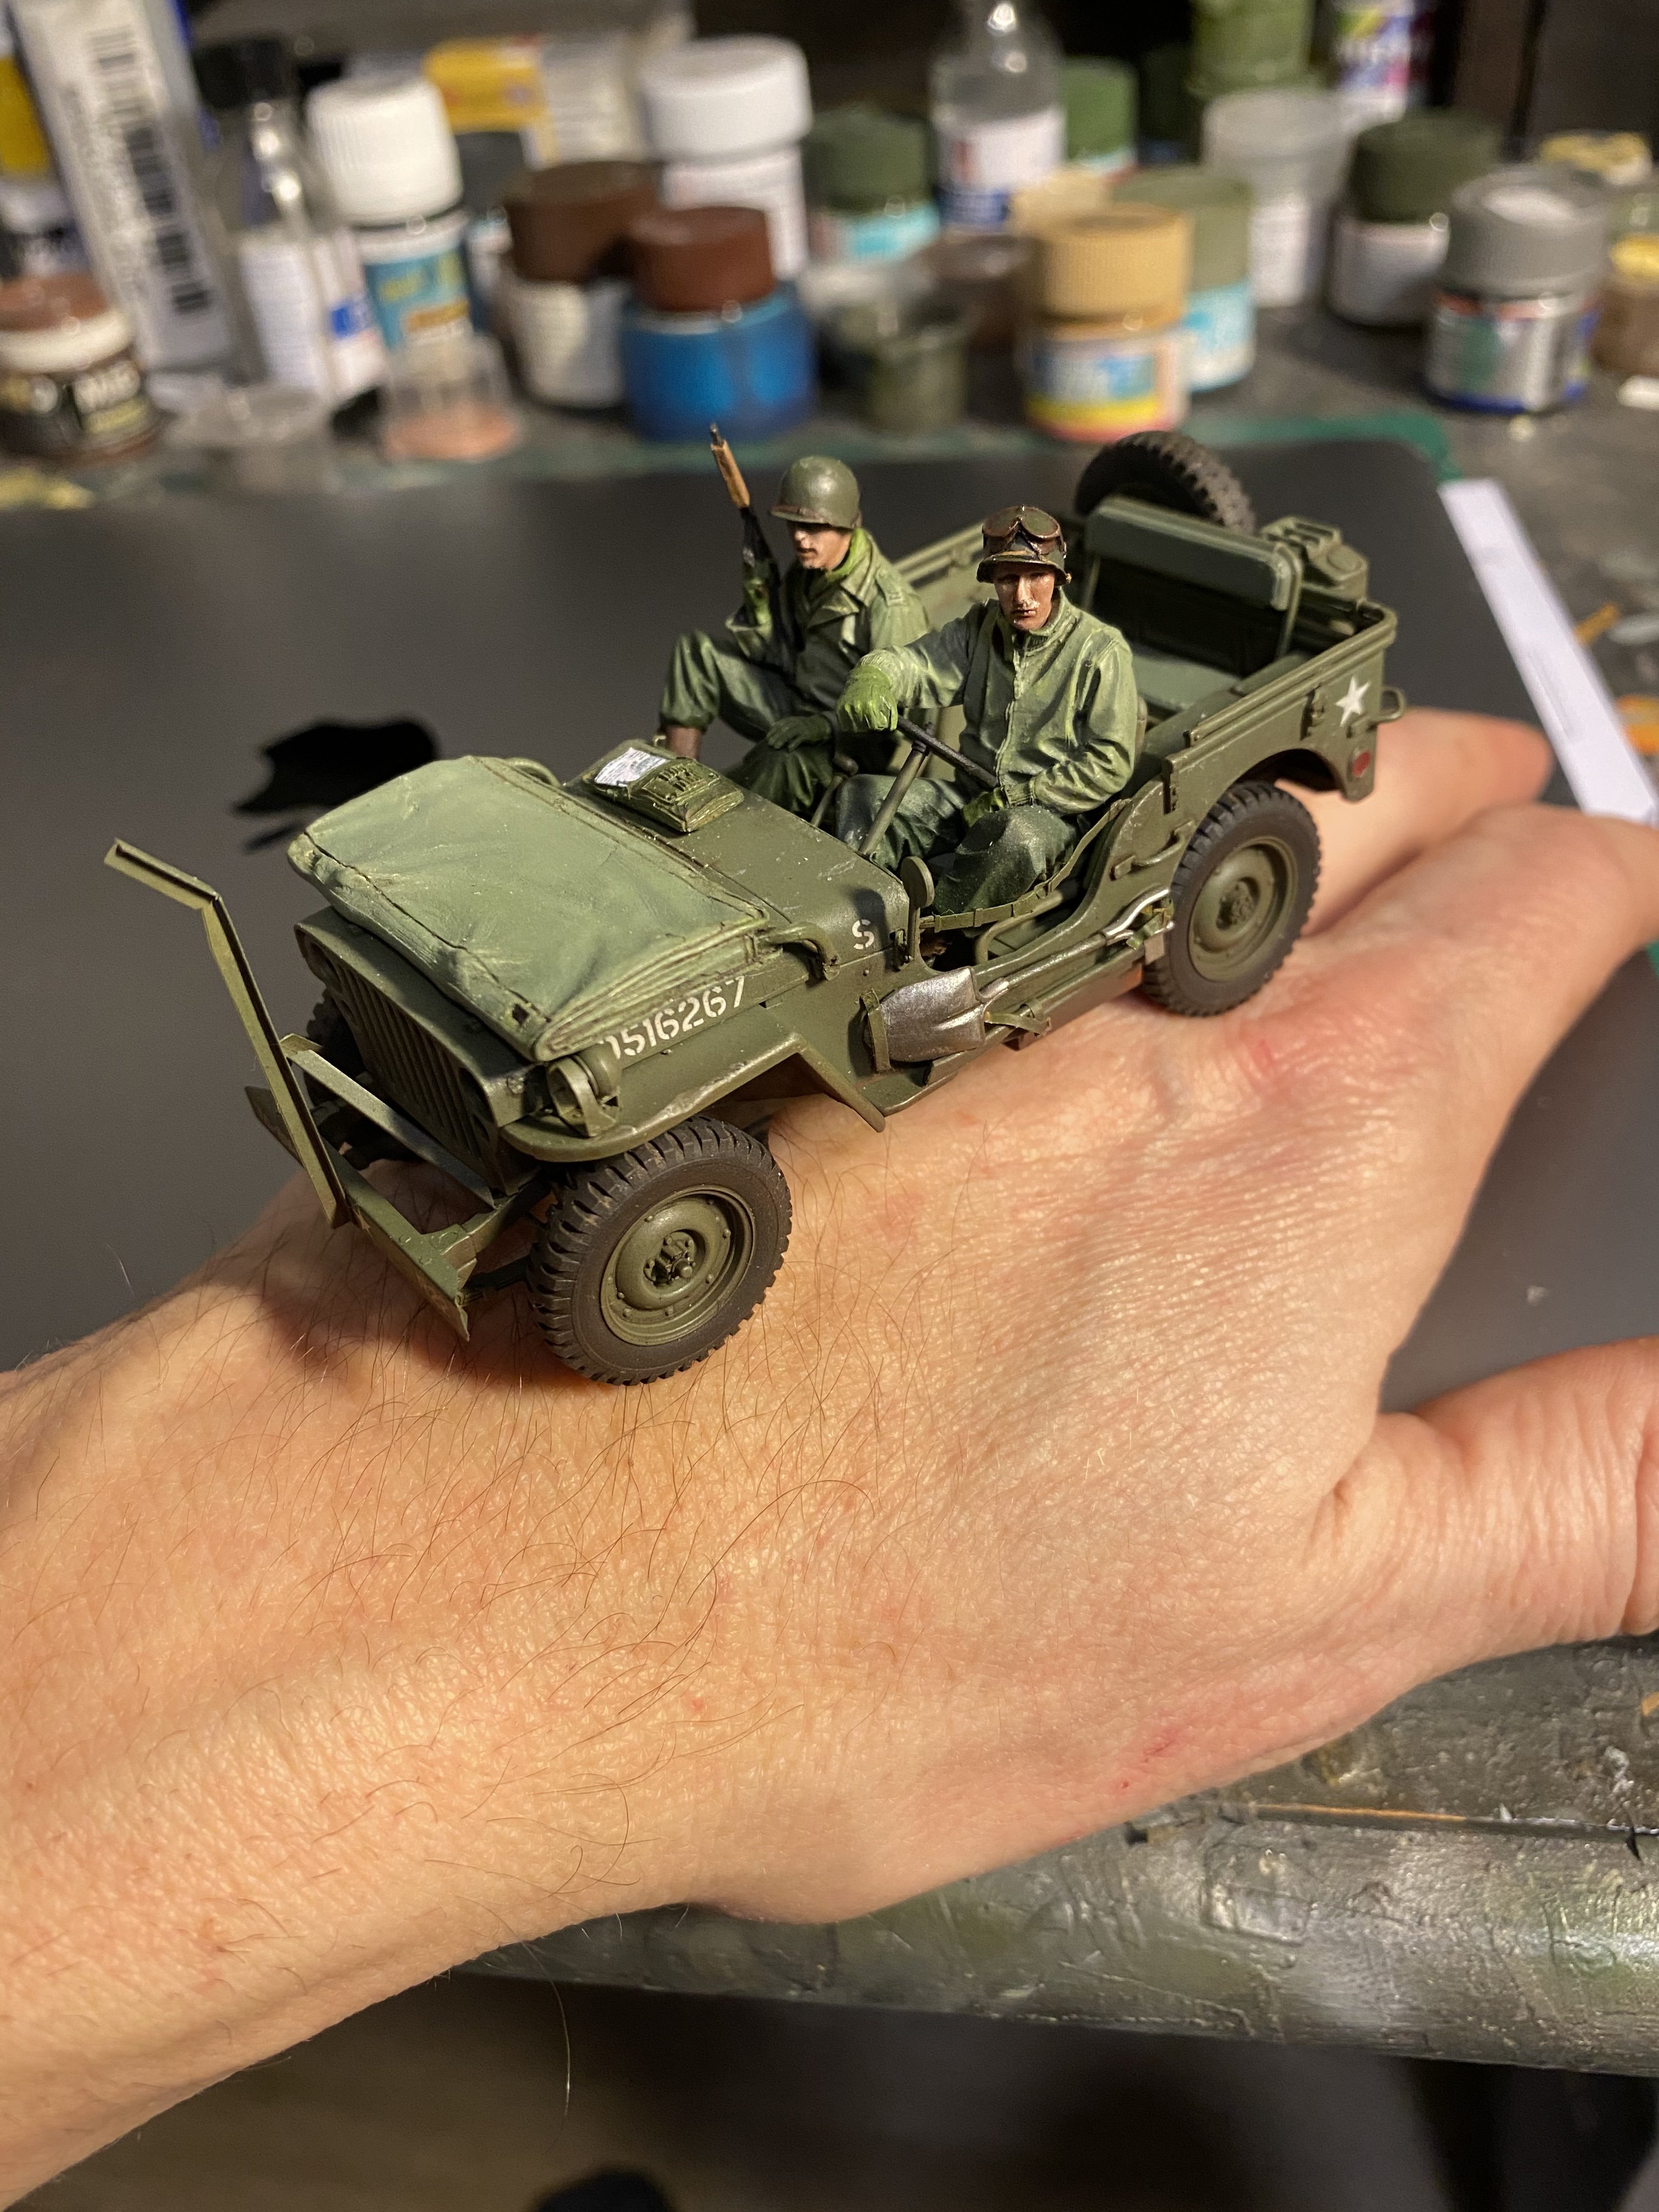
HK Models Do-335 A-12
JeroenPeters replied to JeroenPeters's topic in LSM 1/35 and Larger Work In Progress
Aaaalmost there. Heads are aded to the figures. The AK oils worked great on the faces.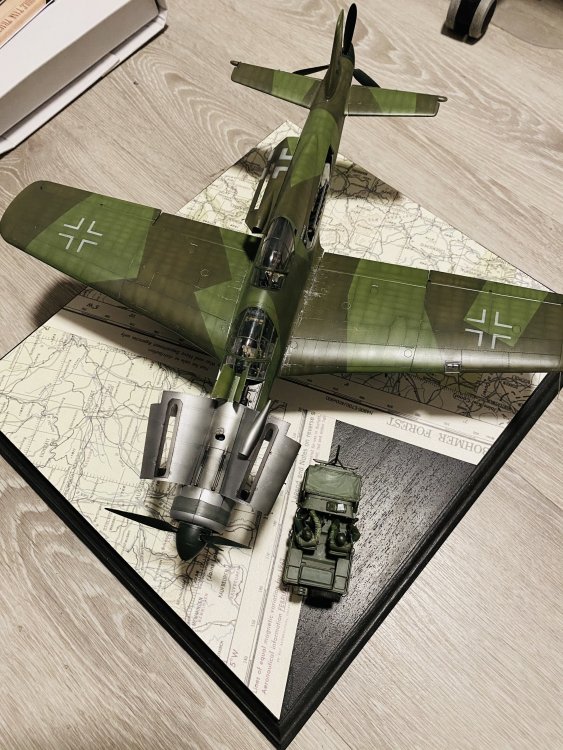

-
“Dinghy” Young’s “Dambusters” Lancaster
JeroenPeters replied to Wingco57's topic in LSM 1/35 and Larger Work In Progress
Very nice. Interesting sequence in building and painting, but at least you get to spray some colour before building the entire bugger!