JohnB
-
Posts
7,296 -
Joined
-
Last visited
Content Type
Profiles
Forums
Events
Gallery
Everything posted by JohnB
-

Special Hobby F-80C saved from SOD
JohnB replied to JohnB's topic in LSM 1/35 and Larger Work In Progress
Like night and day! Thanks. 😀 -
Looks good Peter. 😃
-
Special Hobby F-80C saved from SOD
JohnB replied to JohnB's topic in LSM 1/35 and Larger Work In Progress
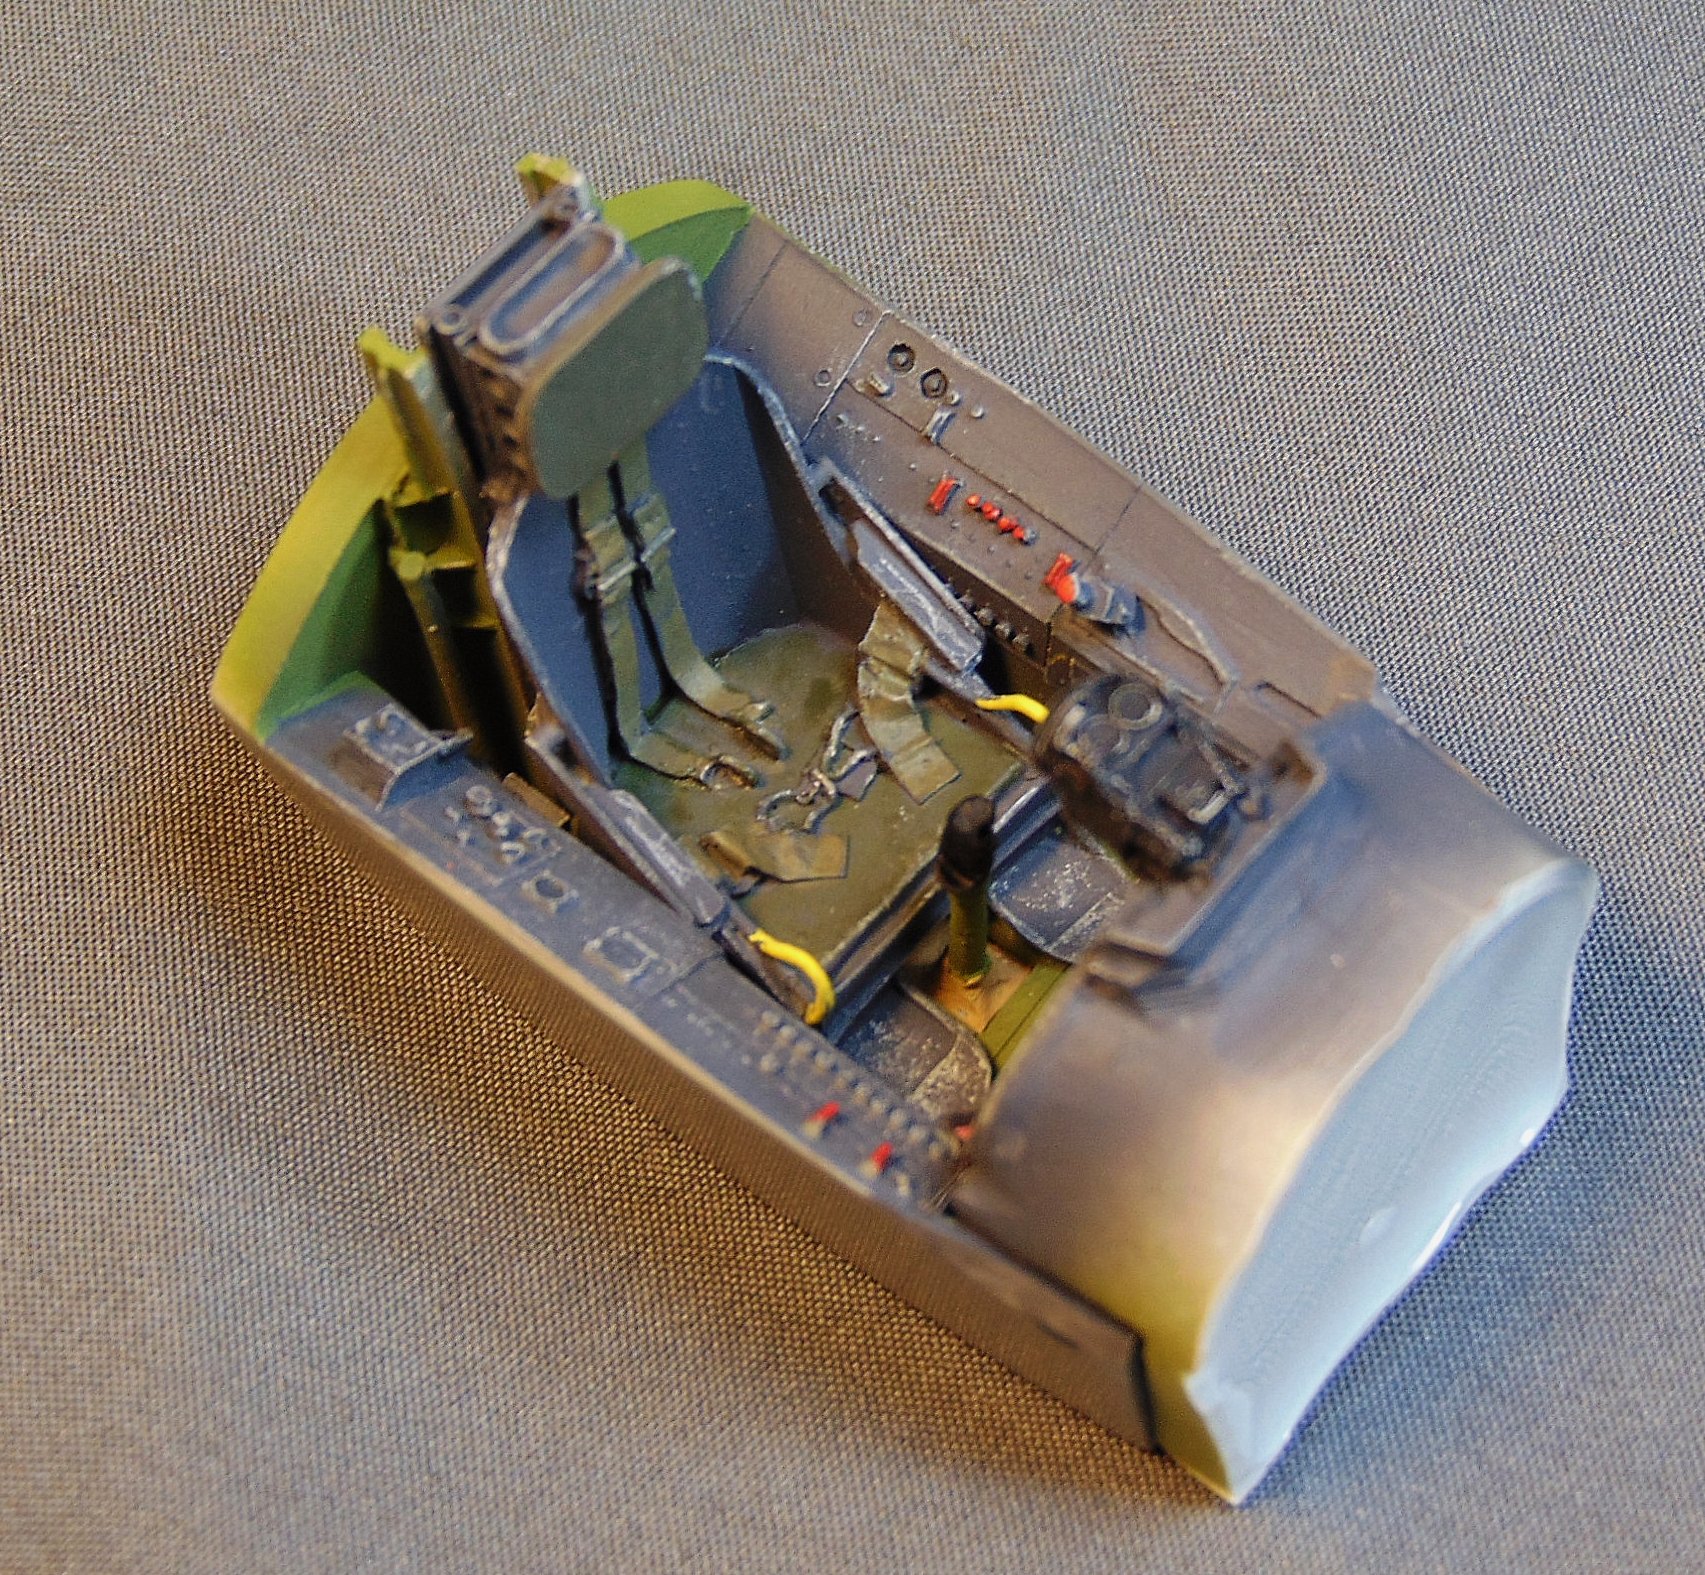
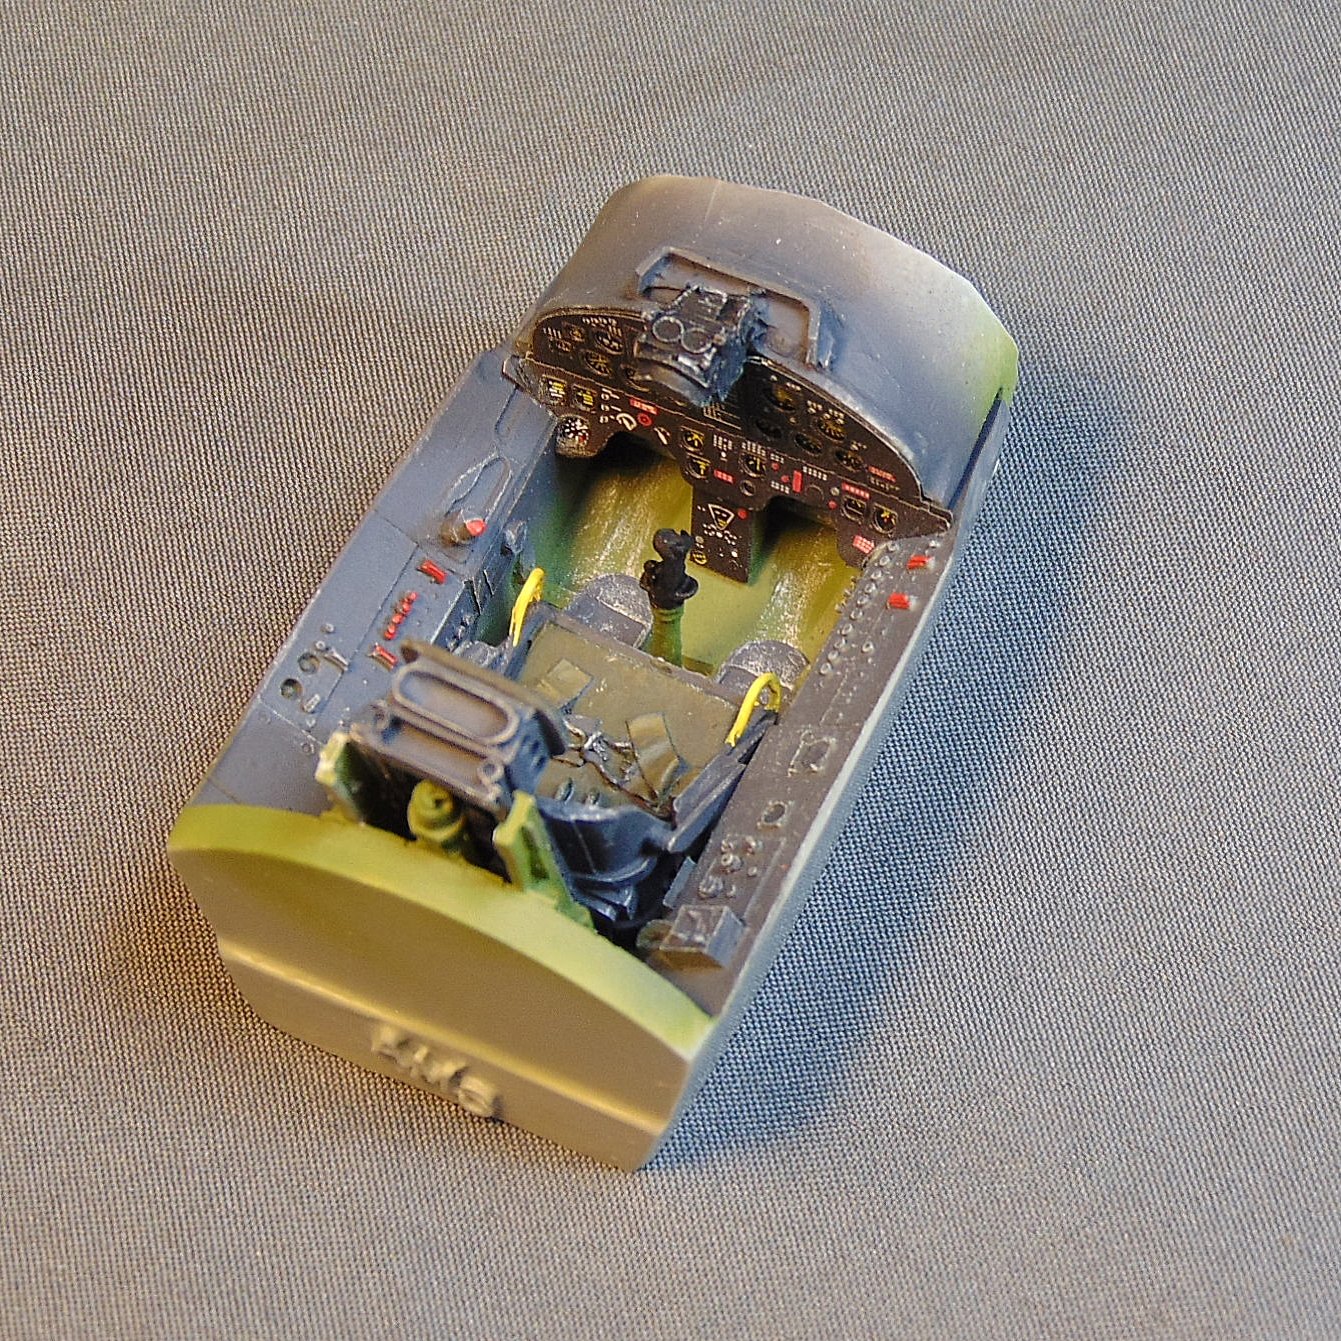
AMS cockpit about done other than some gun sight details. Not glued together just yet.

-
Special Hobby F-80C saved from SOD
JohnB replied to JohnB's topic in LSM 1/35 and Larger Work In Progress
Yes, Special Hobby/Czech Massah. 🙃 -
Special Hobby F-80C saved from SOD
JohnB replied to JohnB's topic in LSM 1/35 and Larger Work In Progress
Yes indeed Hubert. I've built a couple of these plus a T-33 and they all had the high cuss factor intakes. At least I know what I'm in for! LOL 😀 -
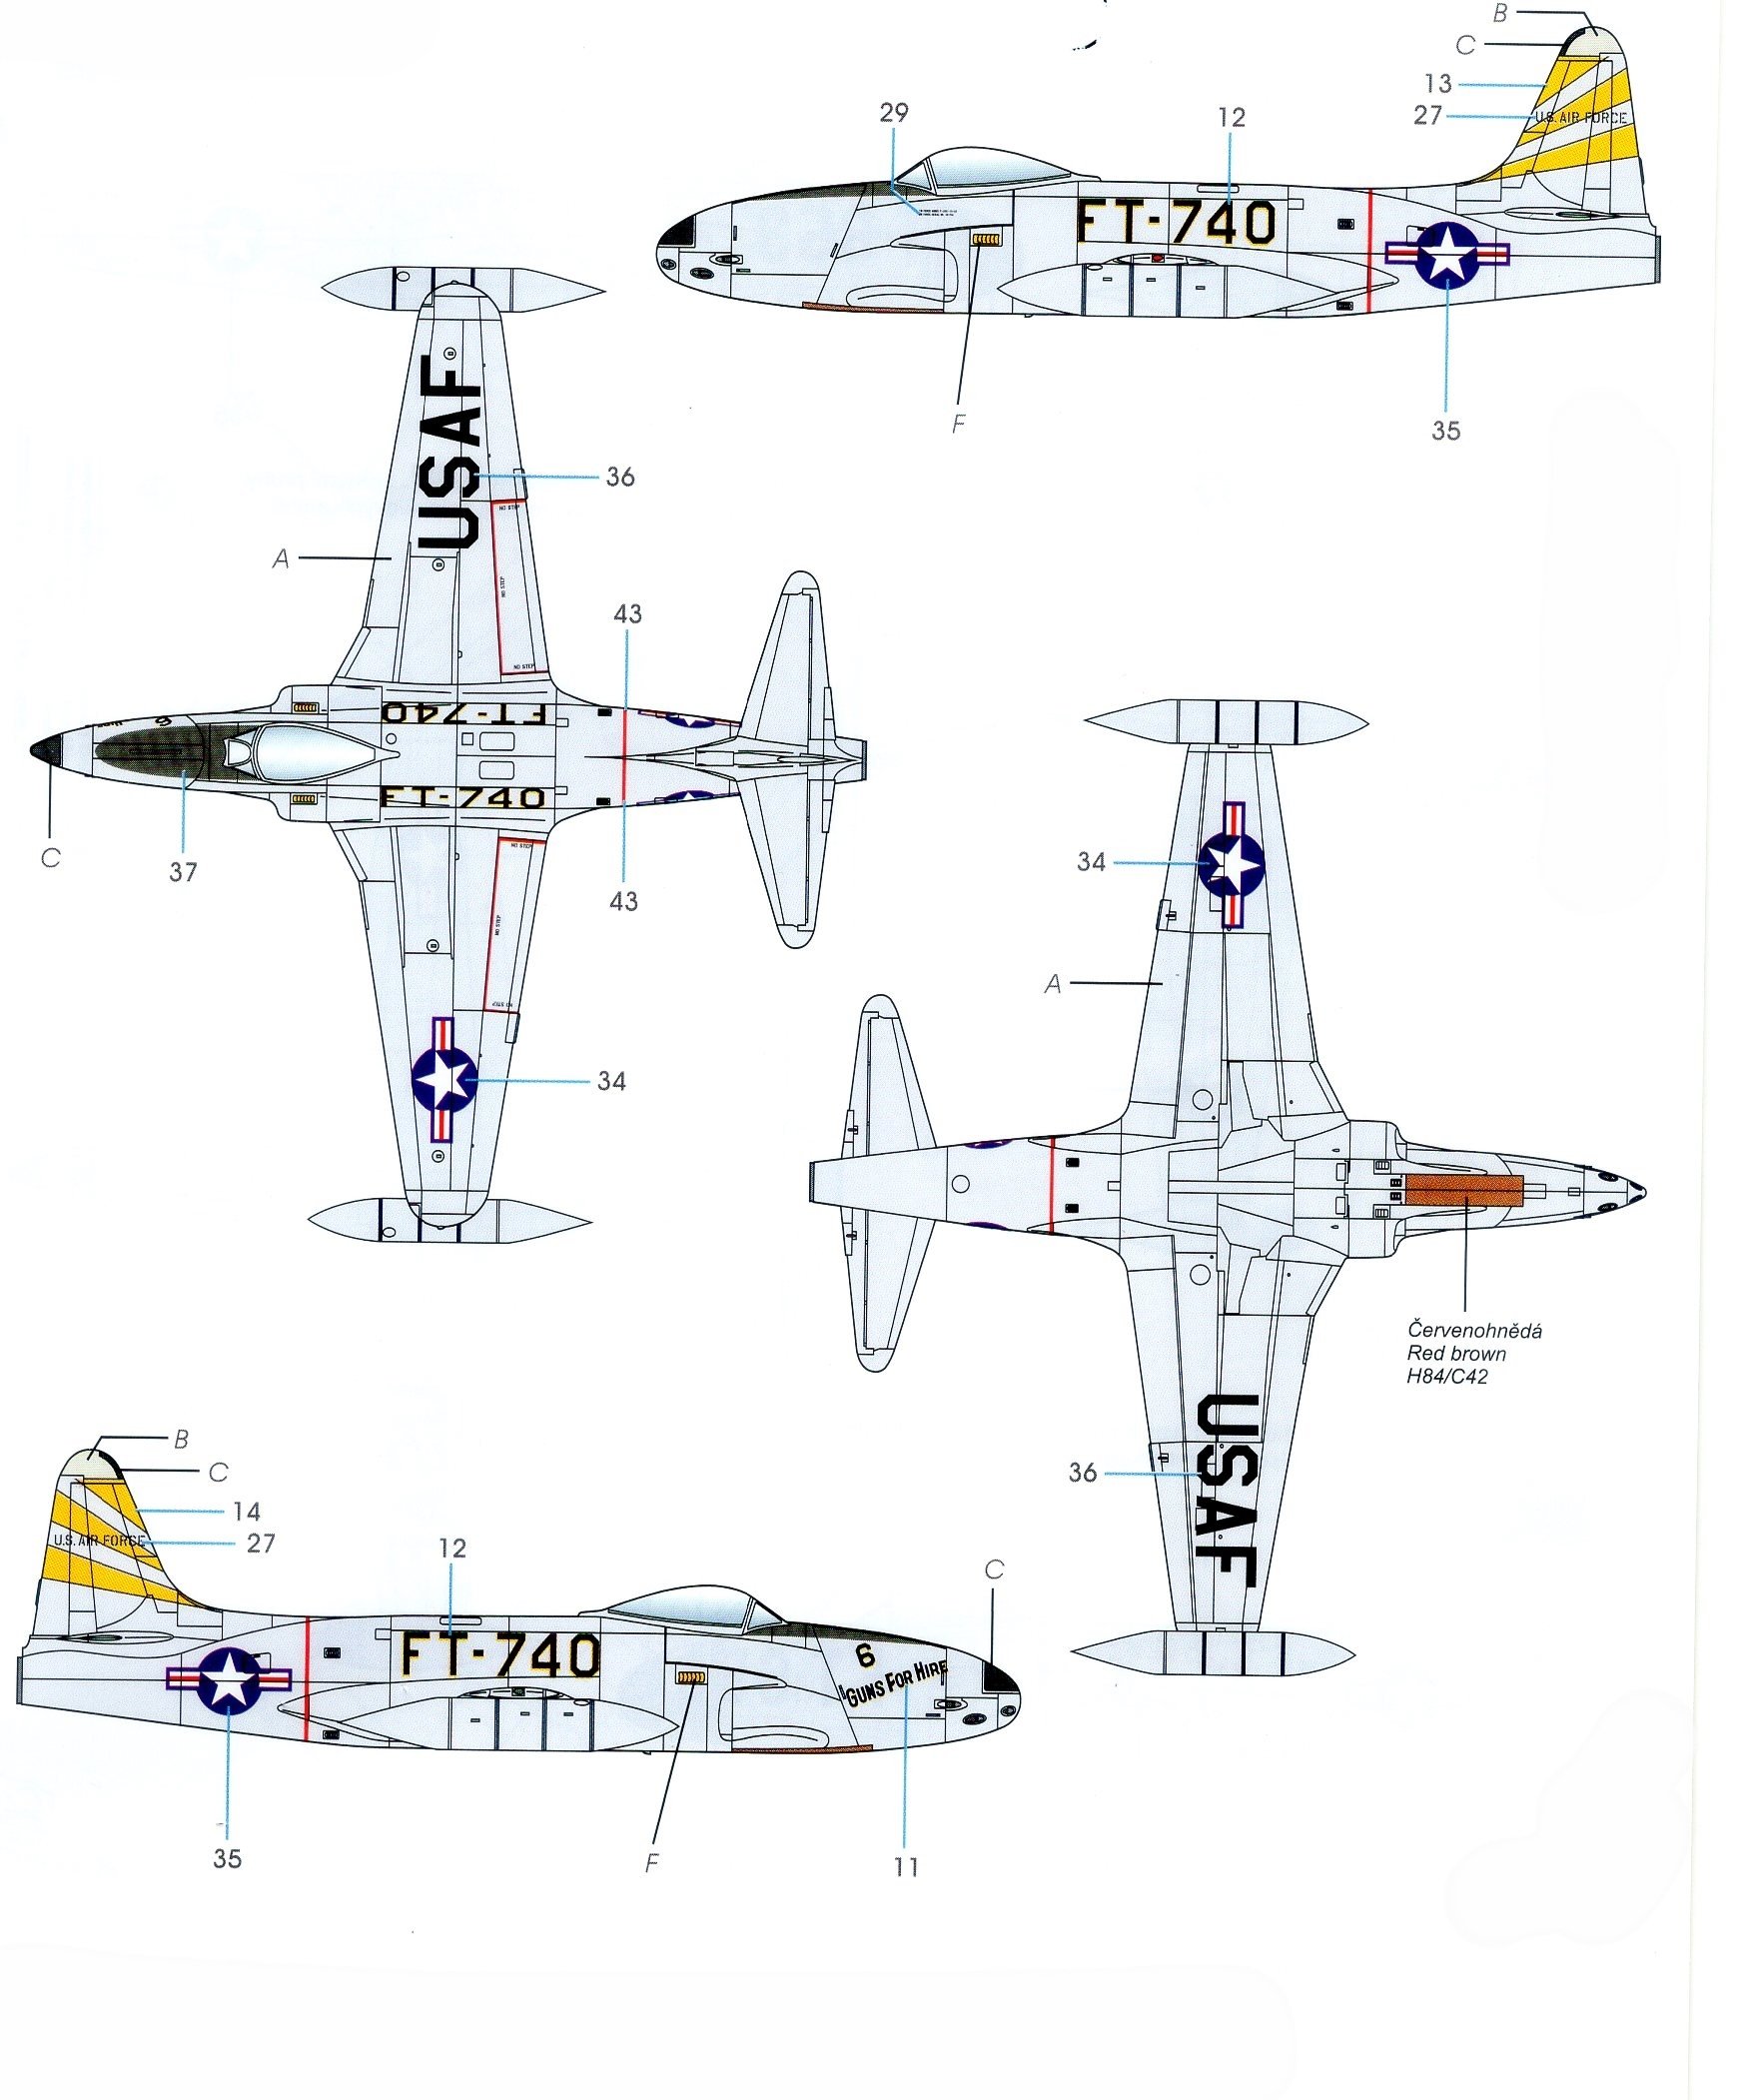
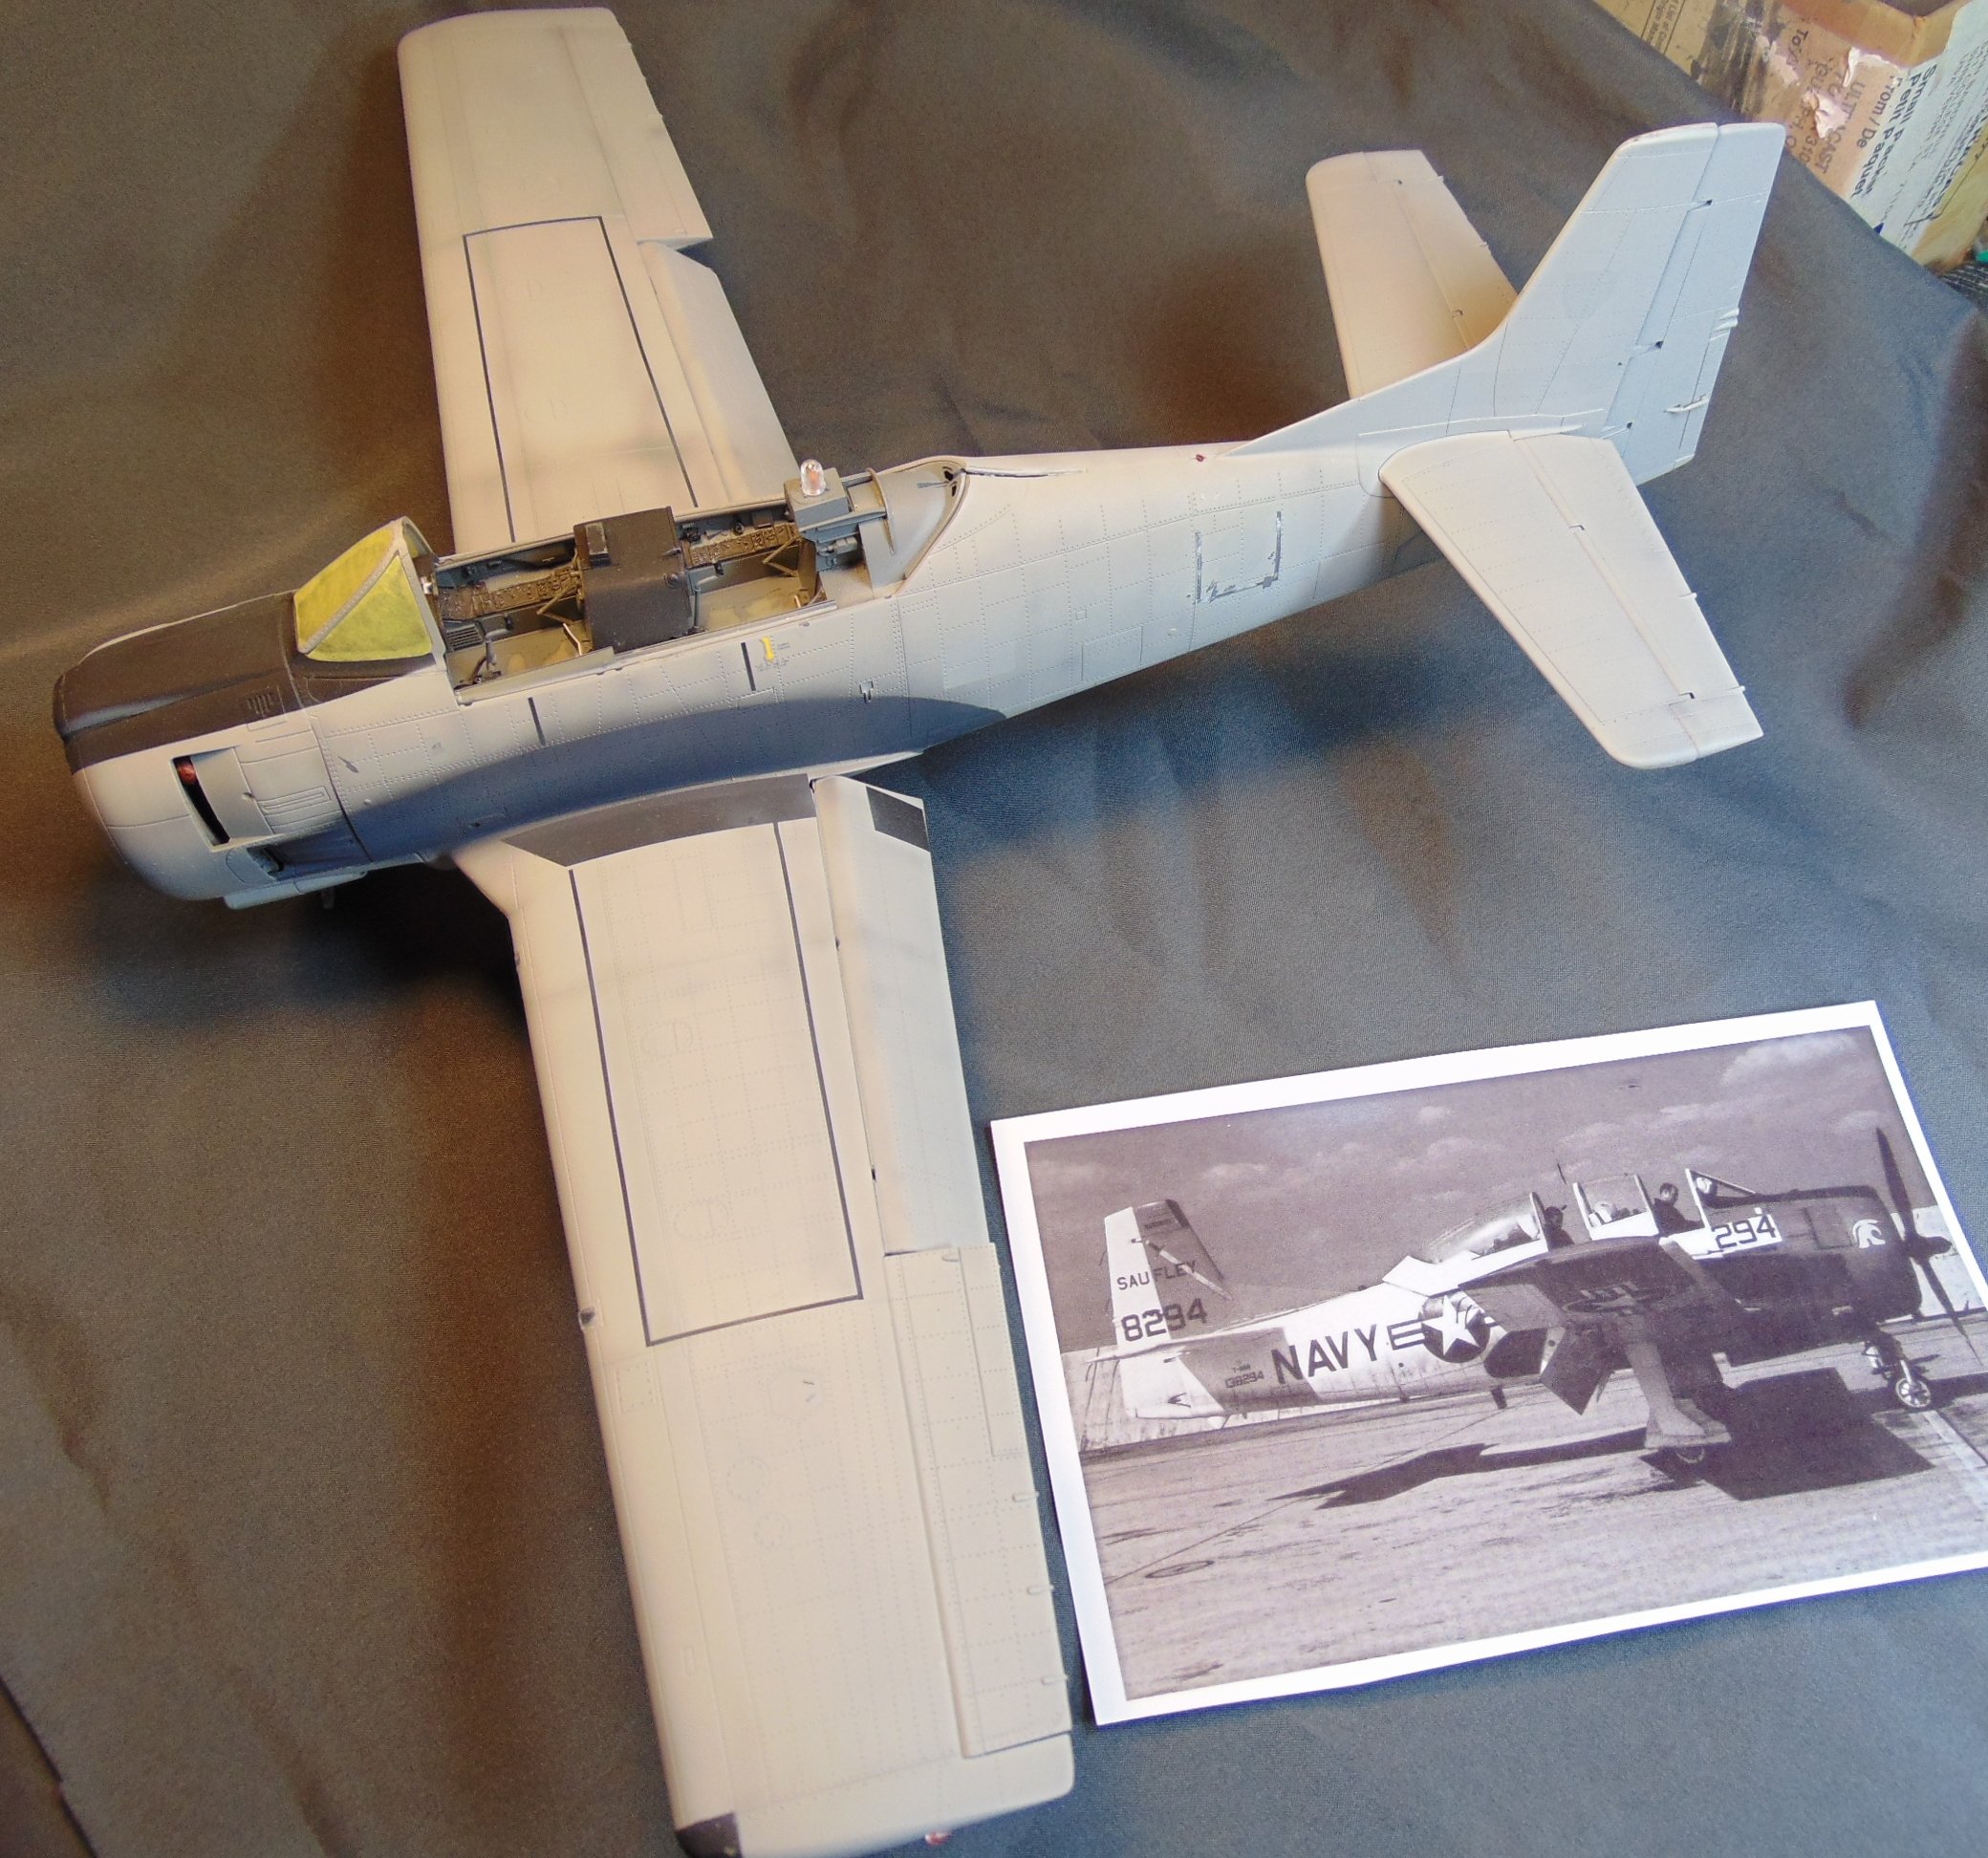
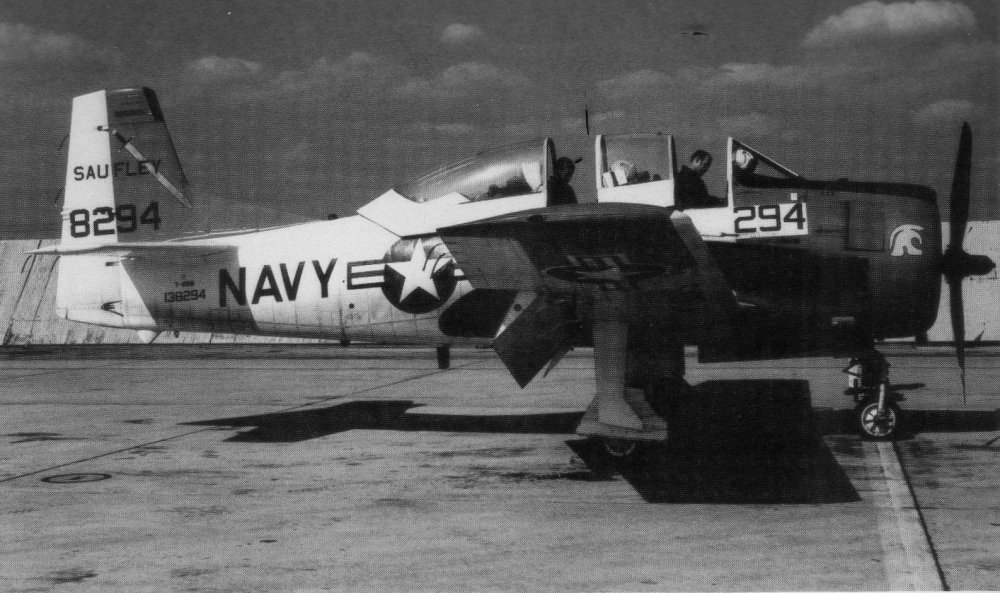
I've decided to start this build next. Tentatively I will do it in this scheme. I'm well along on the AMS after market cockpit and will soon post a couple of photos. 🙂

-
Thanks Chris! I'm pleased that you like the way it turned out. 🙂
-
I have my fingers crossed this build will turn out well but we will see. 🙂
-
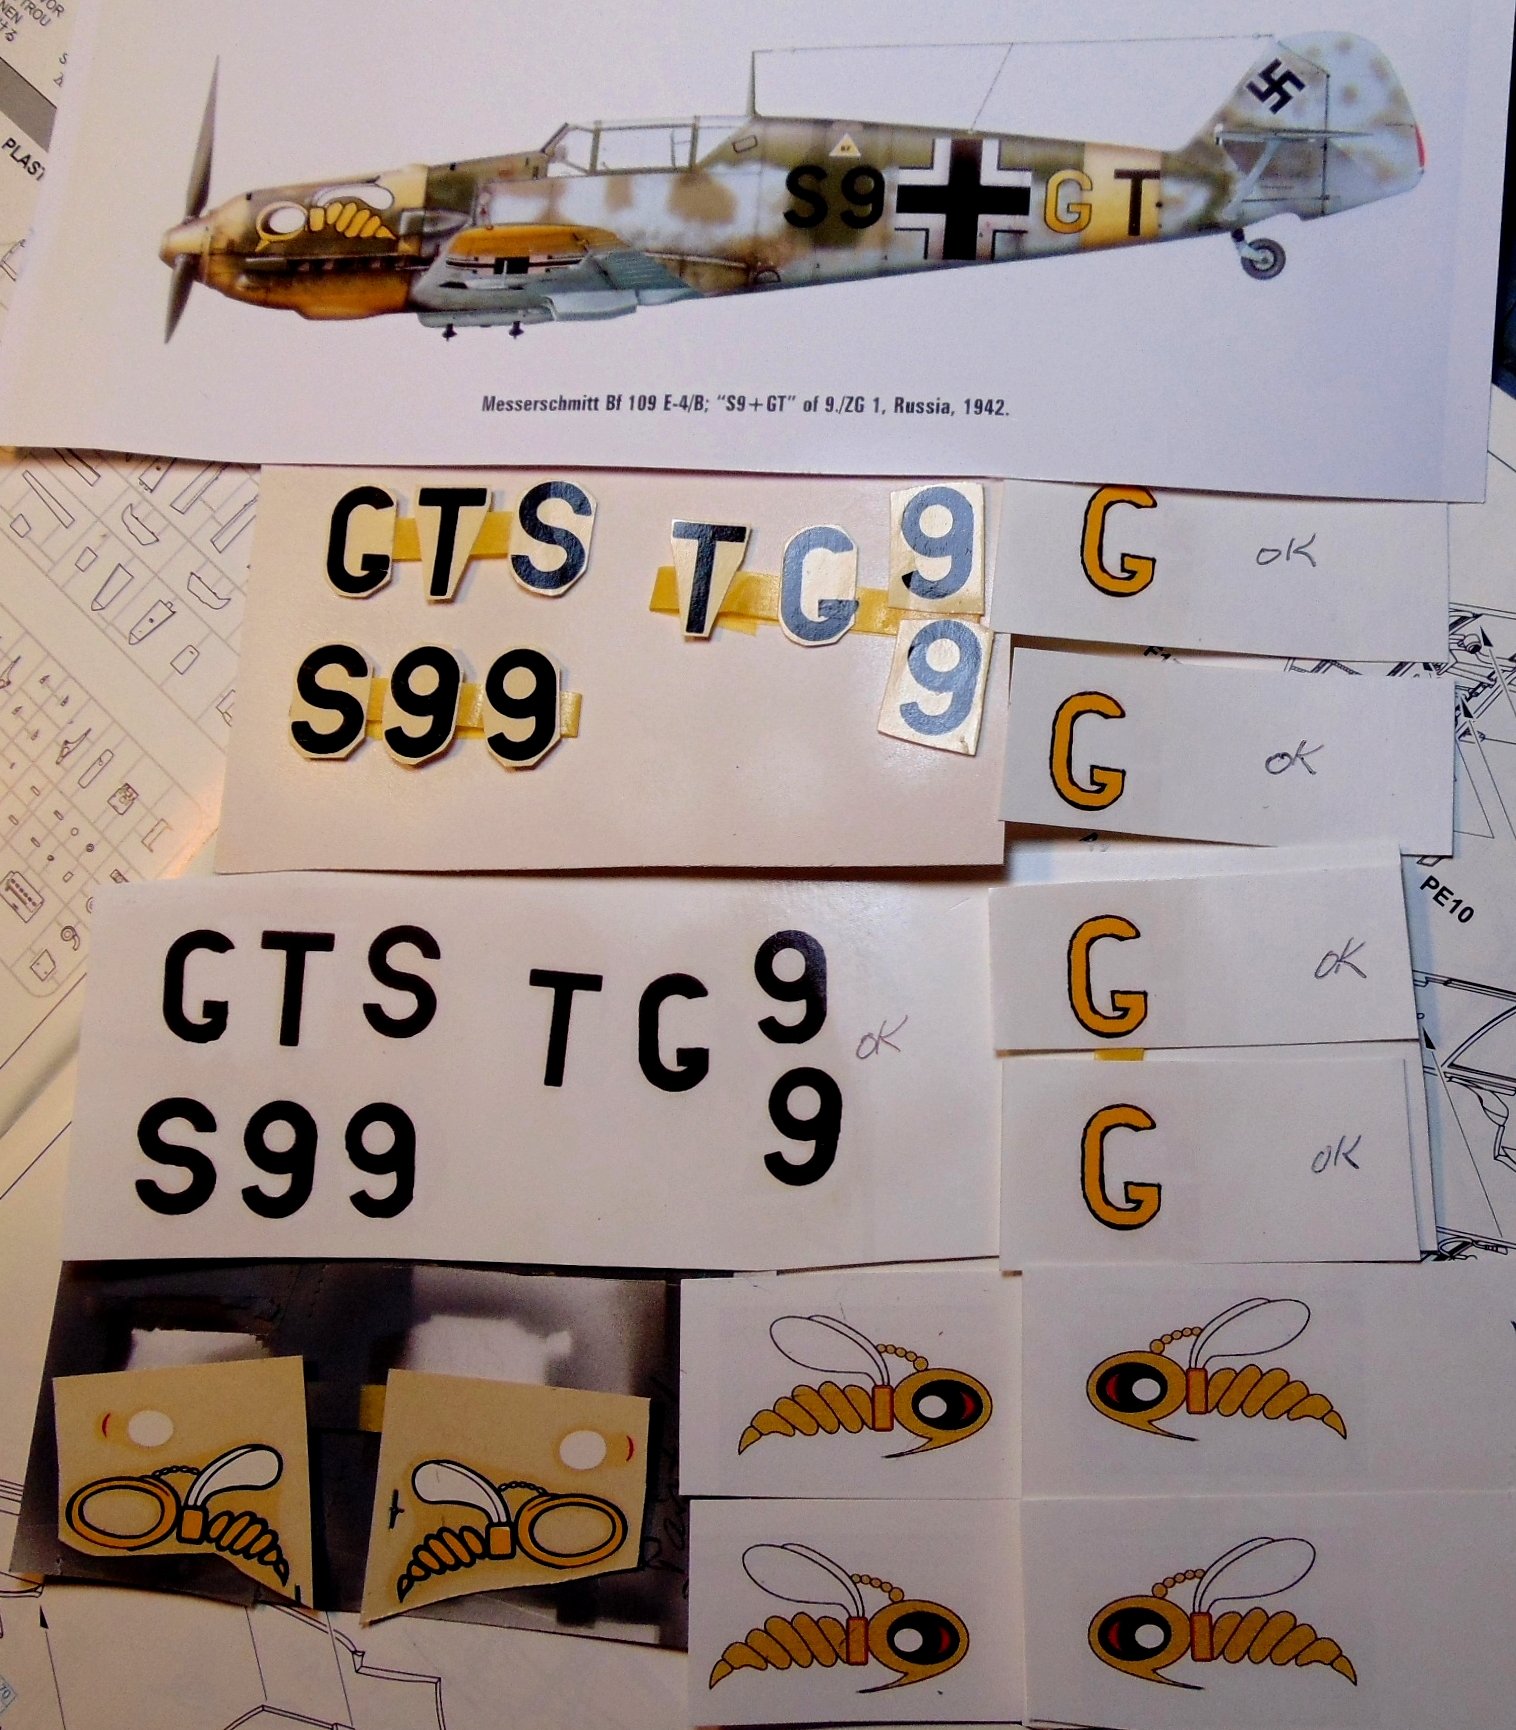
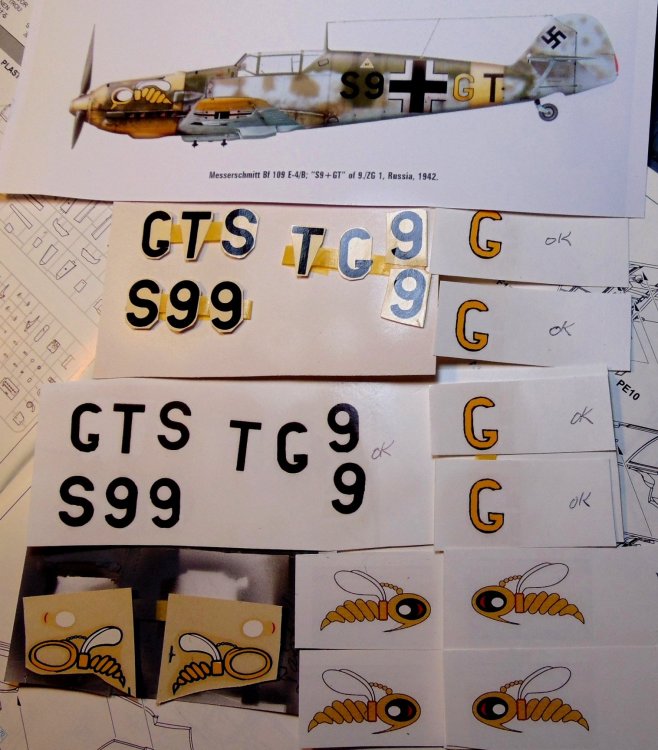
My intentions are to build this one using some "home grown" decals using my computer and printer. I was able to find the needed markings, in various scales, in my decal stash and was able to re-size and print them out via my computer and photo editor apps. I think they are all the right size, etc now so I can get started on the build. This is the a/c I plan to model. Too many high cuss factor problems when trying to get the fuselage halves together. When it FINALLY snapped into place the bottom of the instrument panel fell off. I won't go into a lot of detail but suffice it to say one problem led to another and another, etc. I don't need the aggravation and frustration so I decided to SOD it and move on to something else. Unknown at this time.

-
Good looking cockpit there Peter. Nice work. 🙂
-
I'm glad you like it Martin, thanks! I think it turned out well. 🙂
-
Thanks Kevin. 🙂
-
I'm glad you like it Peter, thanks.
-
All done. https://forum.largescalemodeller.com/topic/20223-t-28-rework-rfi/
-
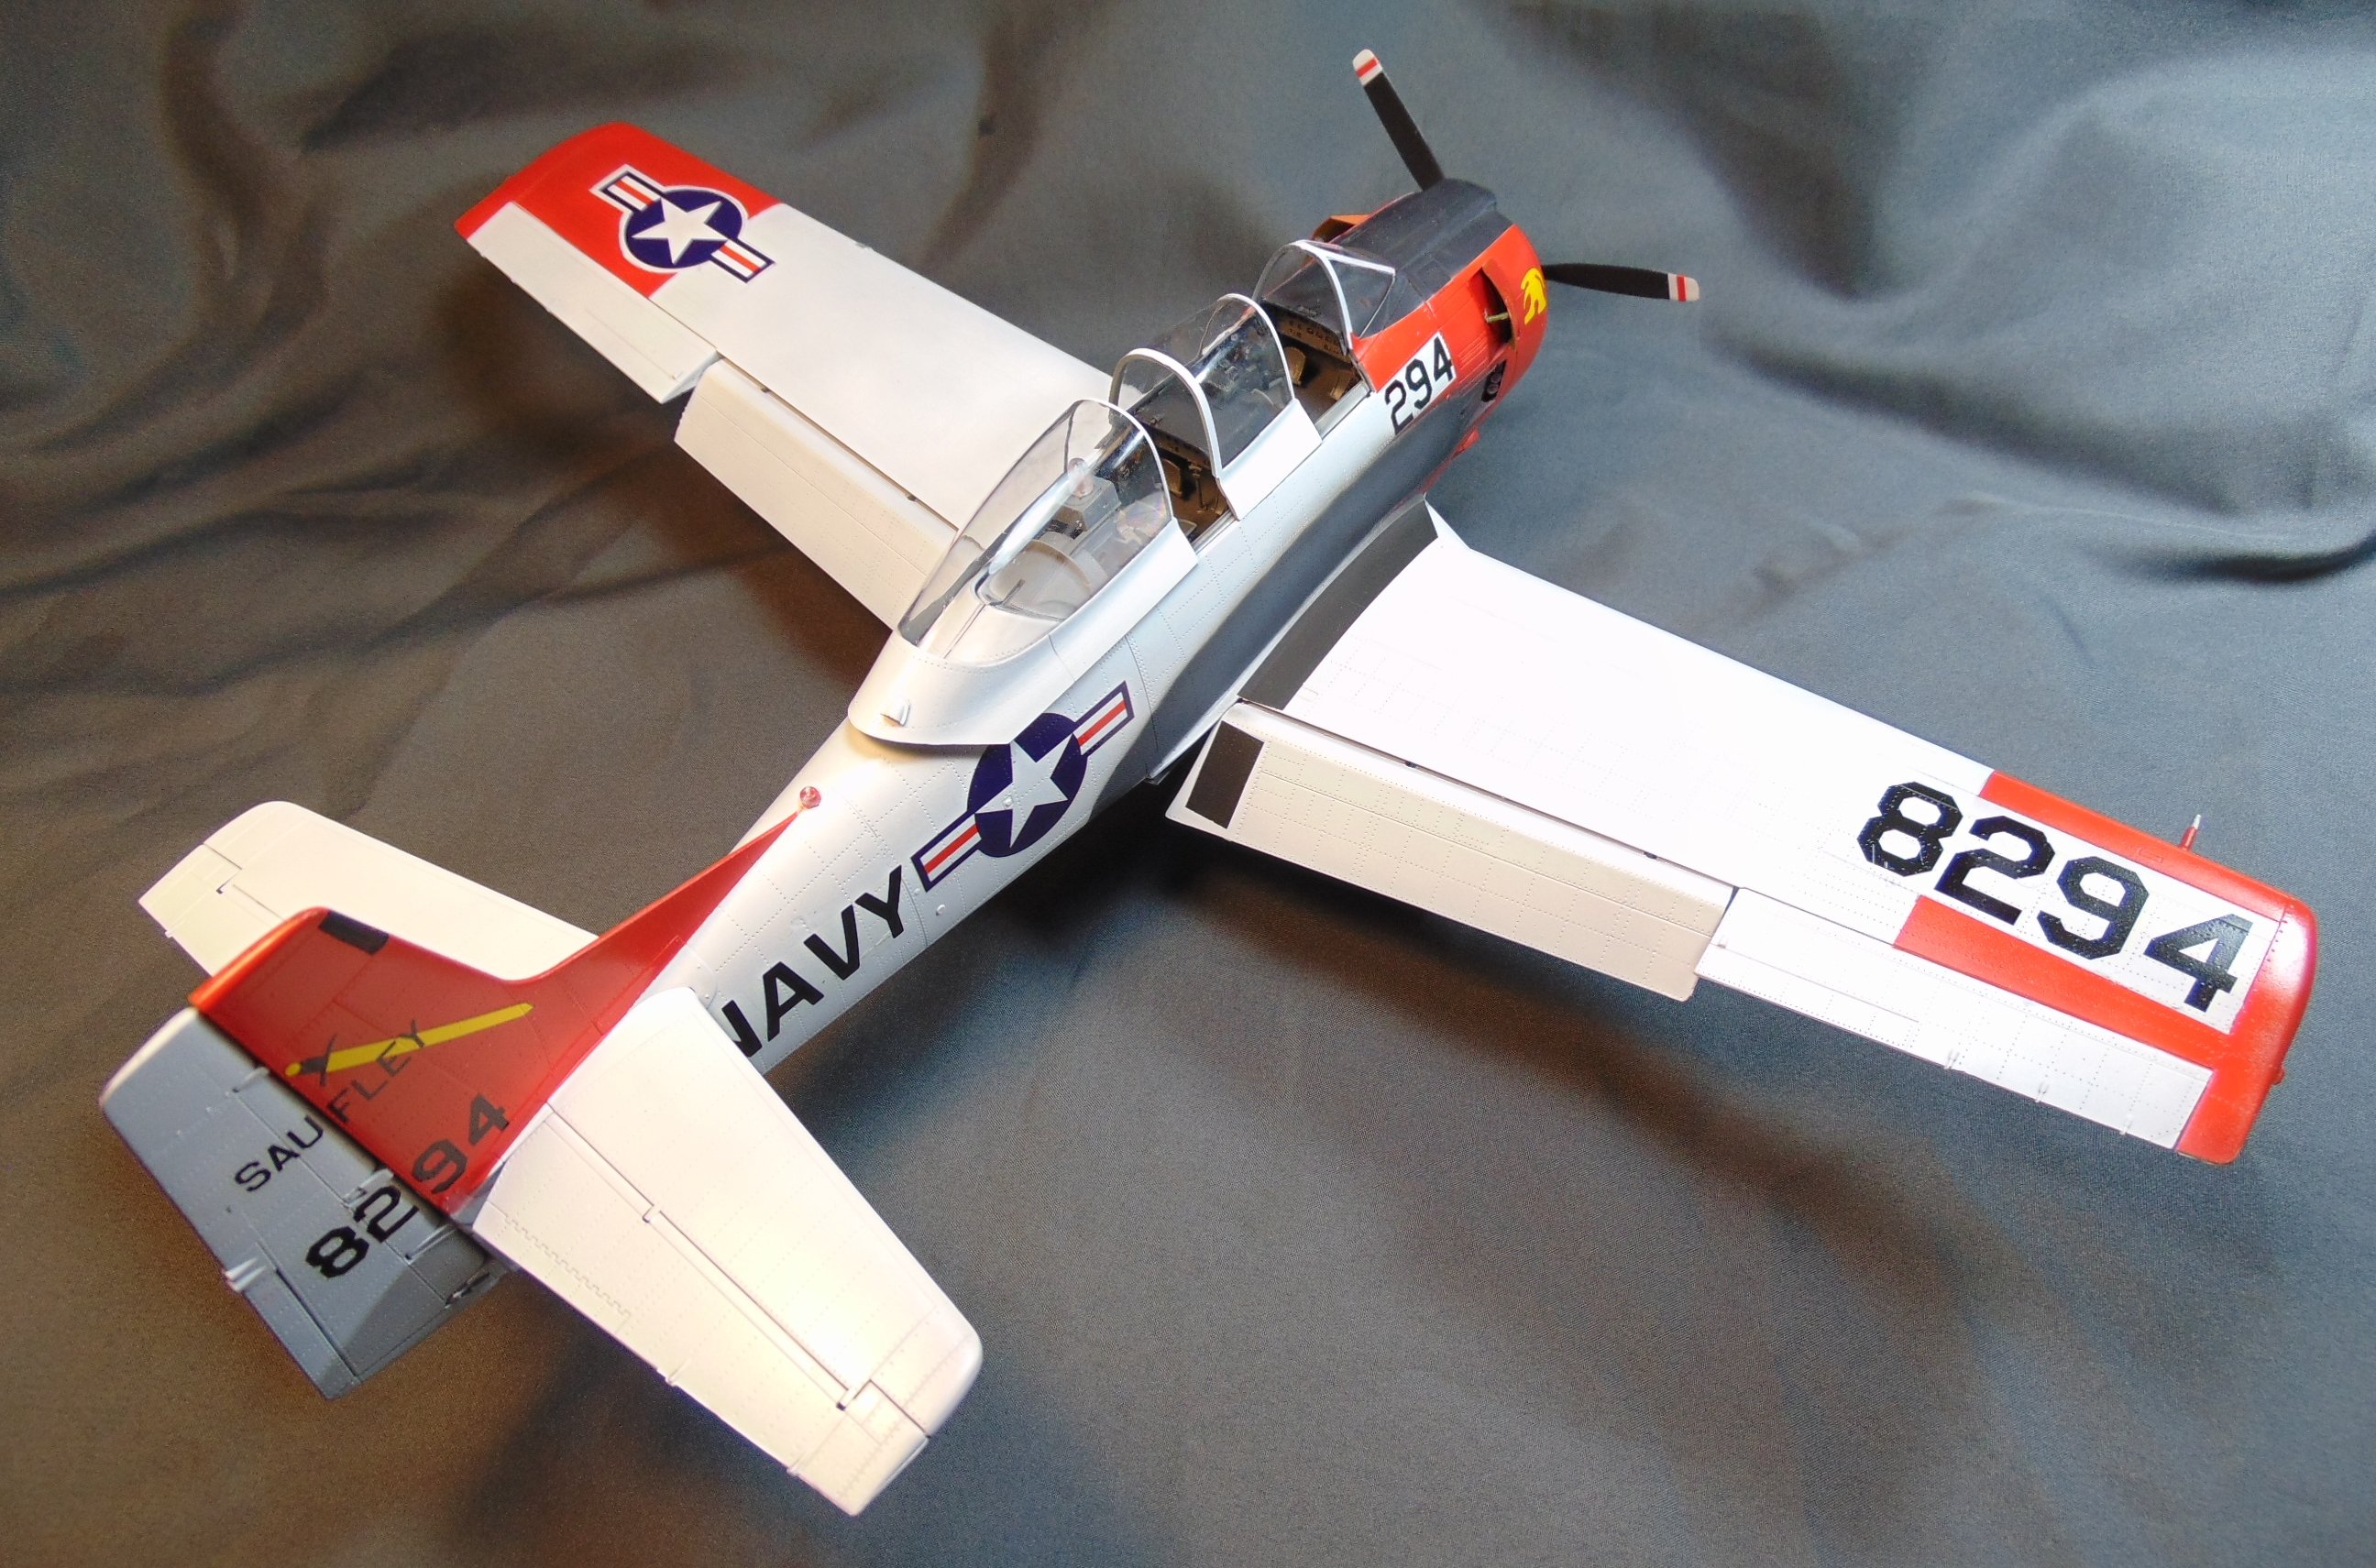
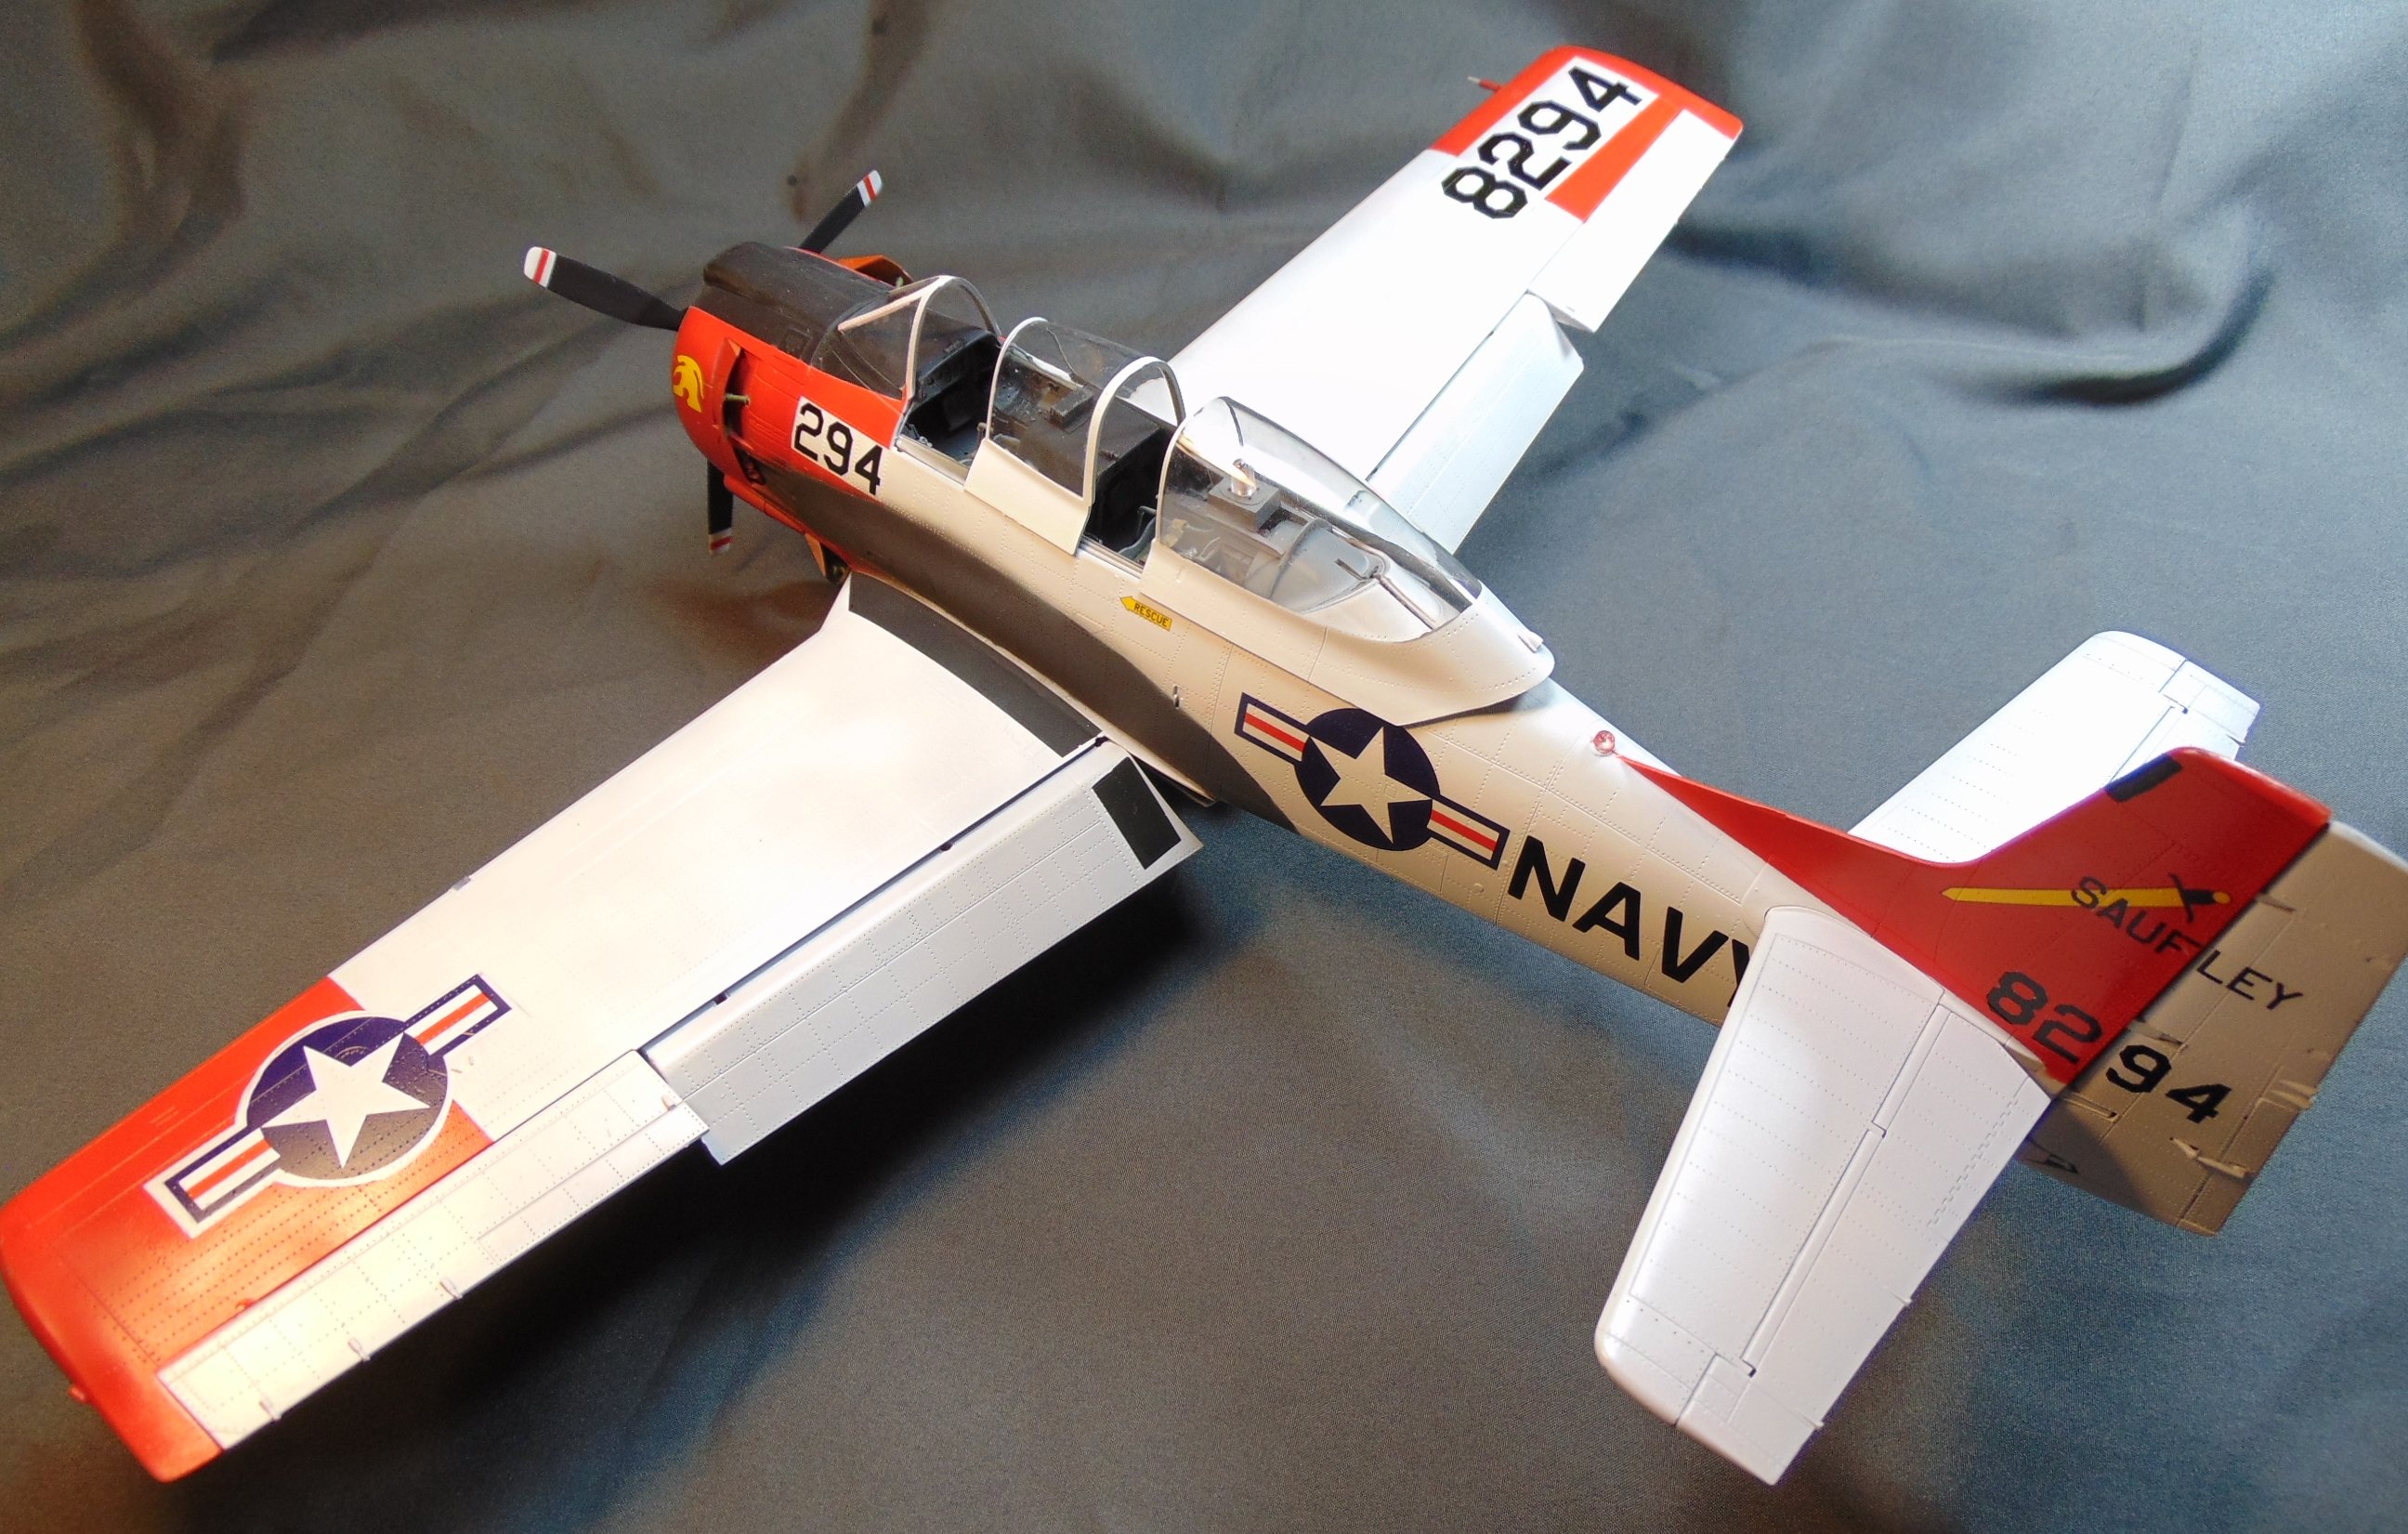
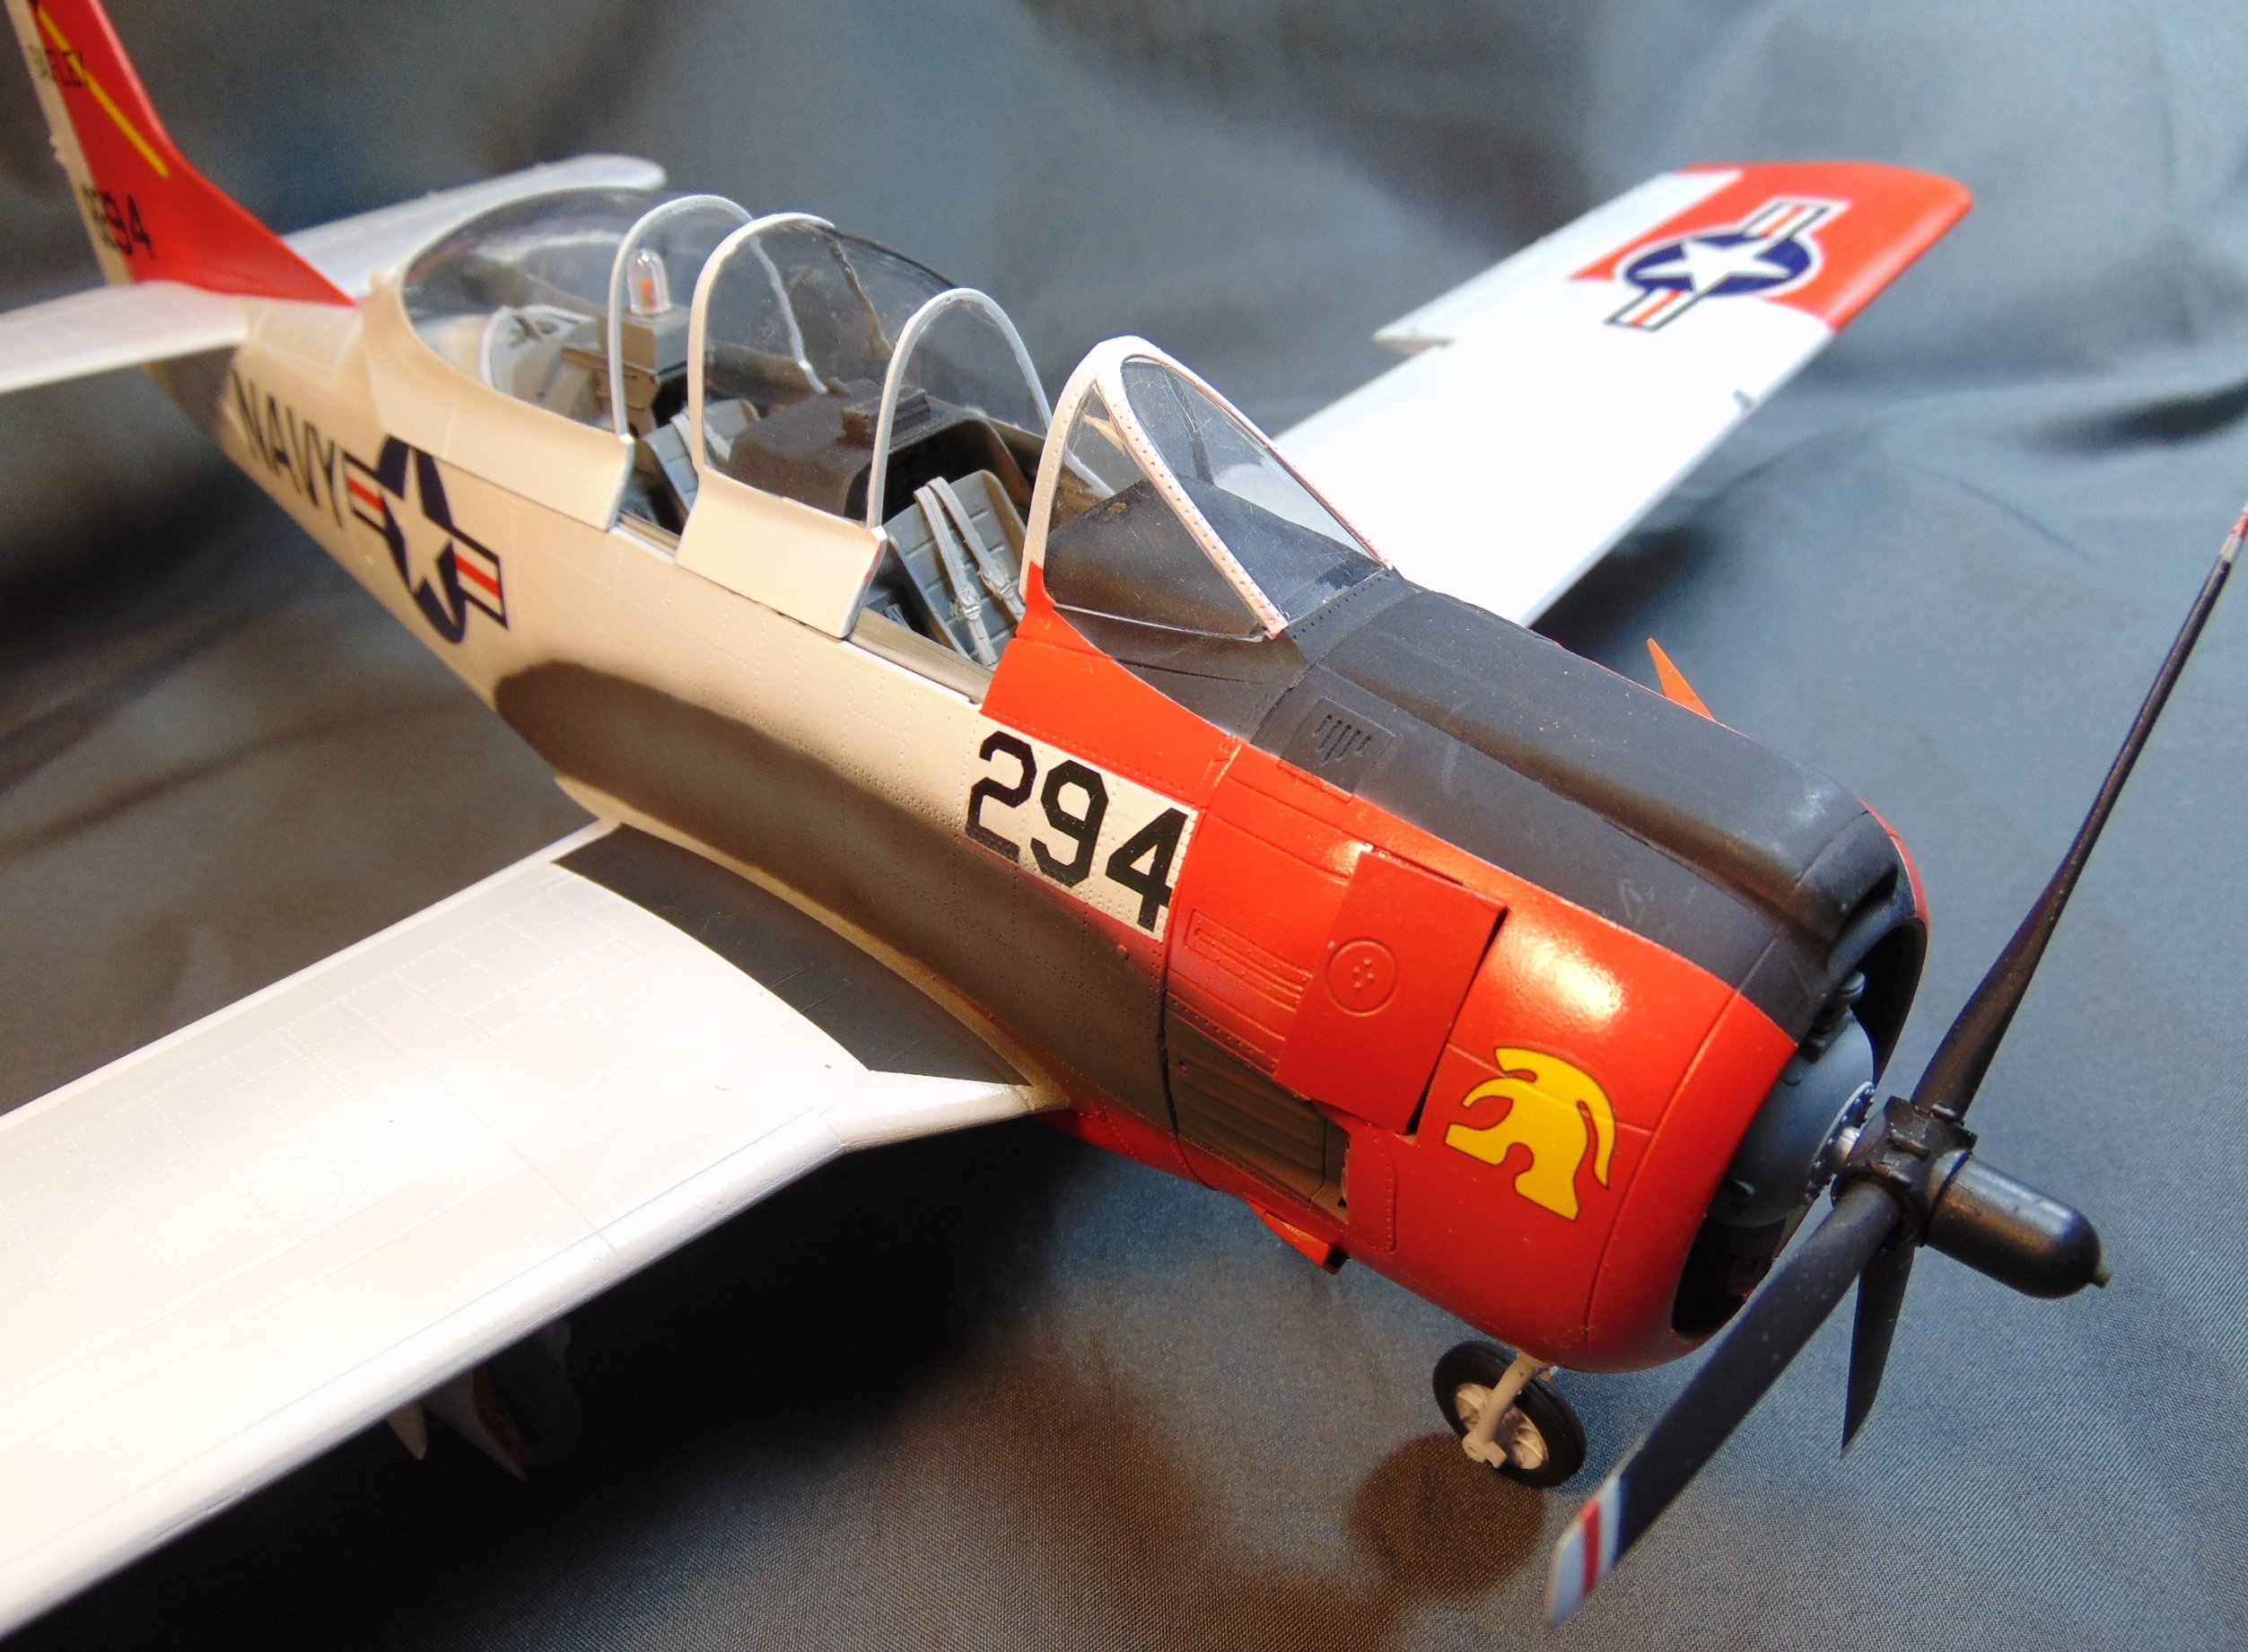
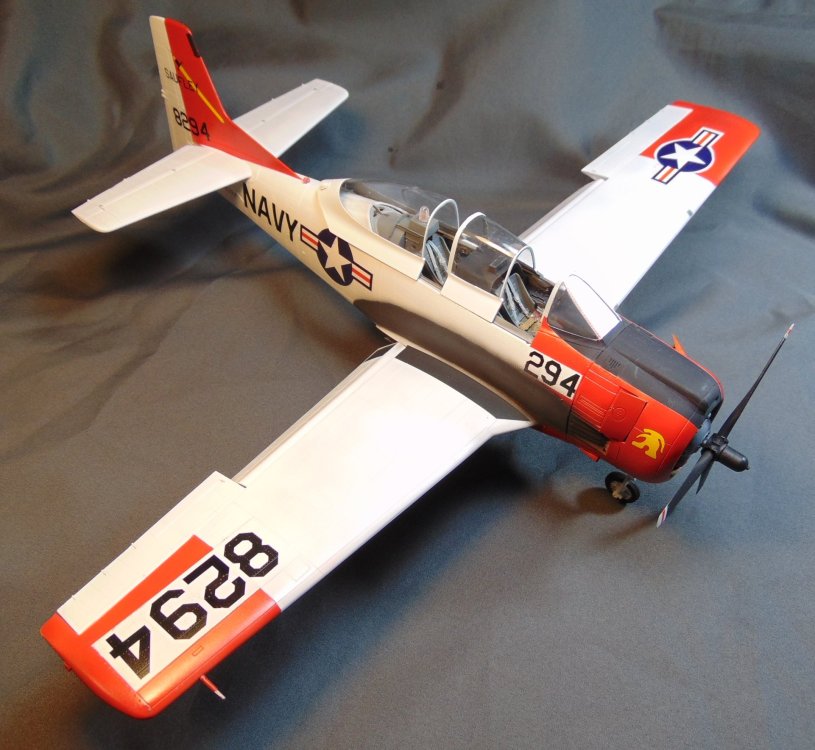
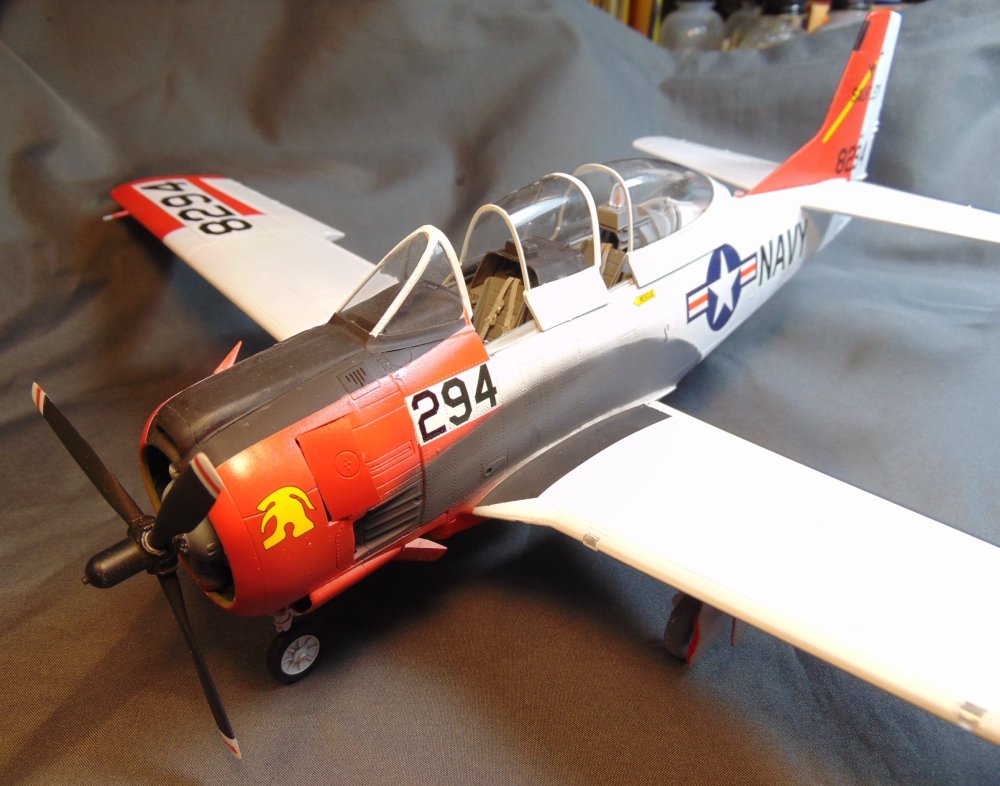
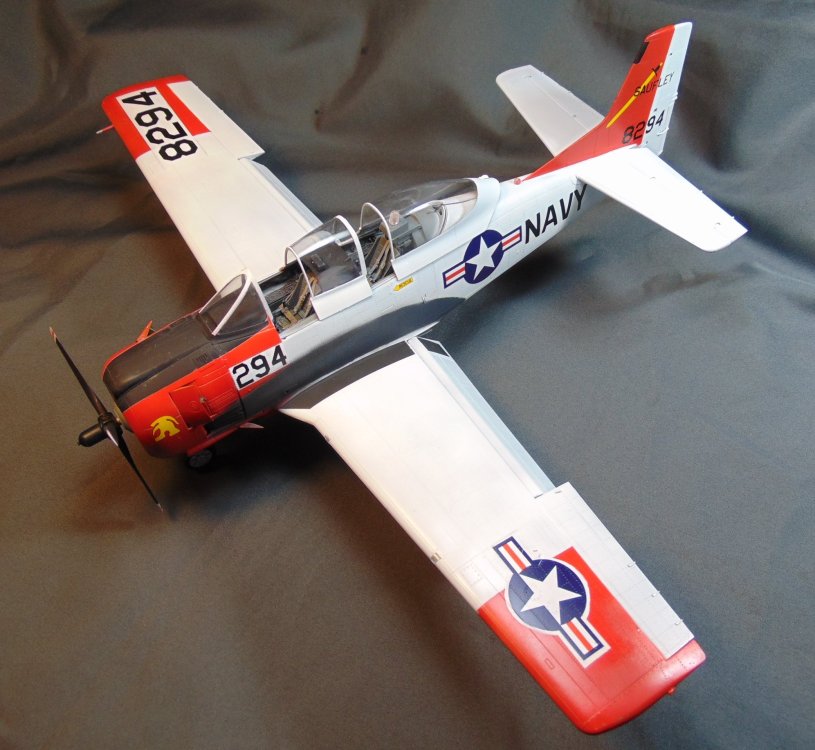
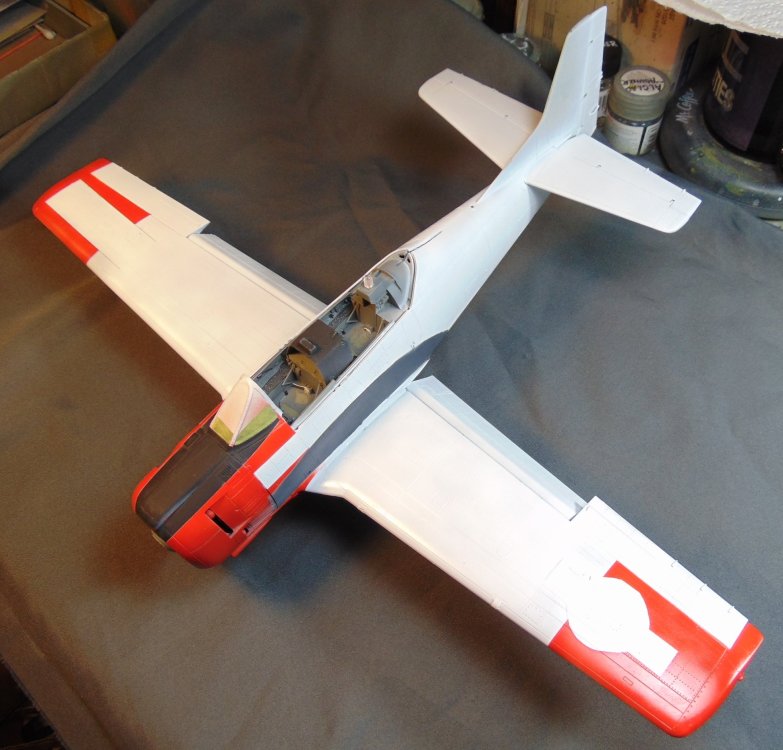
Finished with this one. The red/orange and white color scheme certainly is a eye catcher! Since this model was already built as a RLAF AT-28D the rework didn't take a lot of time. I removed all of the under wing bombs and rockets, the gun sight, and the behind the seats armor. A cleanup in various spots and it was ready for repainting. I used Tamiya gloss white, Testor's gloss white (when I ran out of Tamiya gloss white). The red/orange was a mix since that color, FS28913, isn't available any where (as far as I could determine). I added some Testor's gloss yellow to some Testor's gloss red to get the color I wanted which I compared to a FS595a paint chip. The decals are a mix of some KH kit decals and others from my decal stash. I'm pleased with the way it turned out and I hope y'all like it too. As usual, click on the 1st photo, etc. Thanks!!!


-
Very likely Peter. It's coming right along. 😀
-
Decaling is under way. 🙂

-
Thanks Peter. Fingers crossed it turns out nice. So far so good!
-
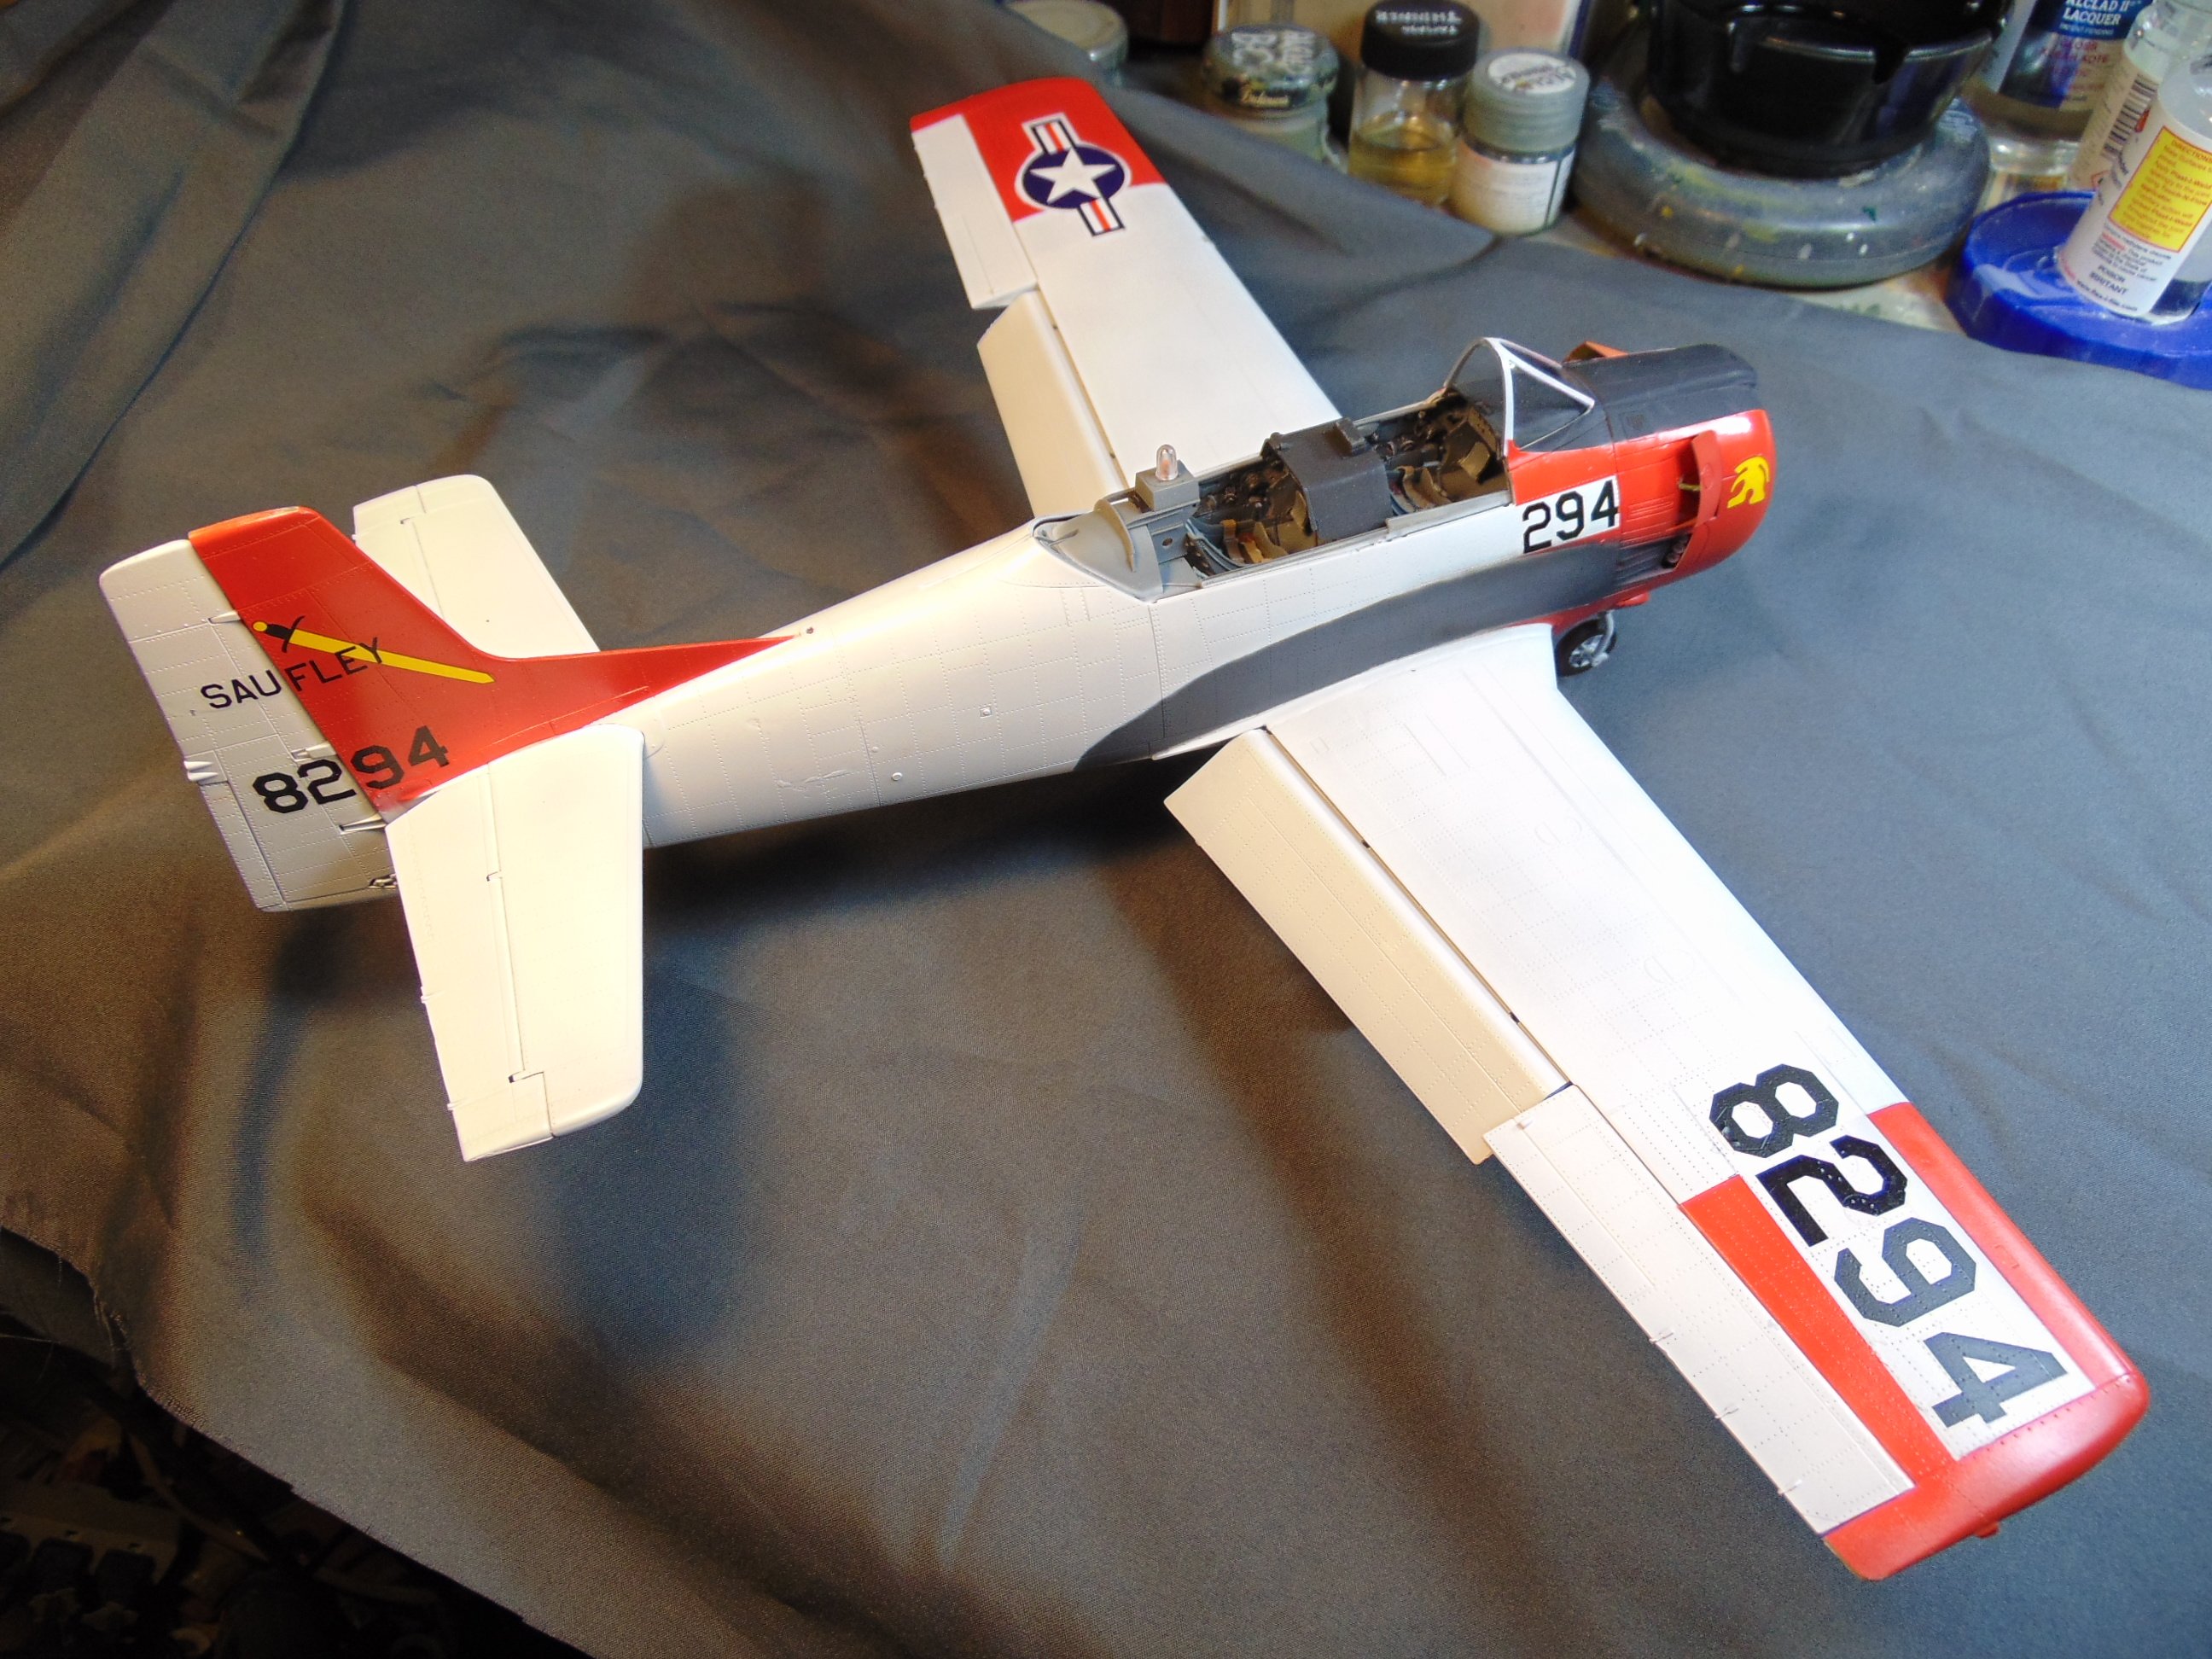
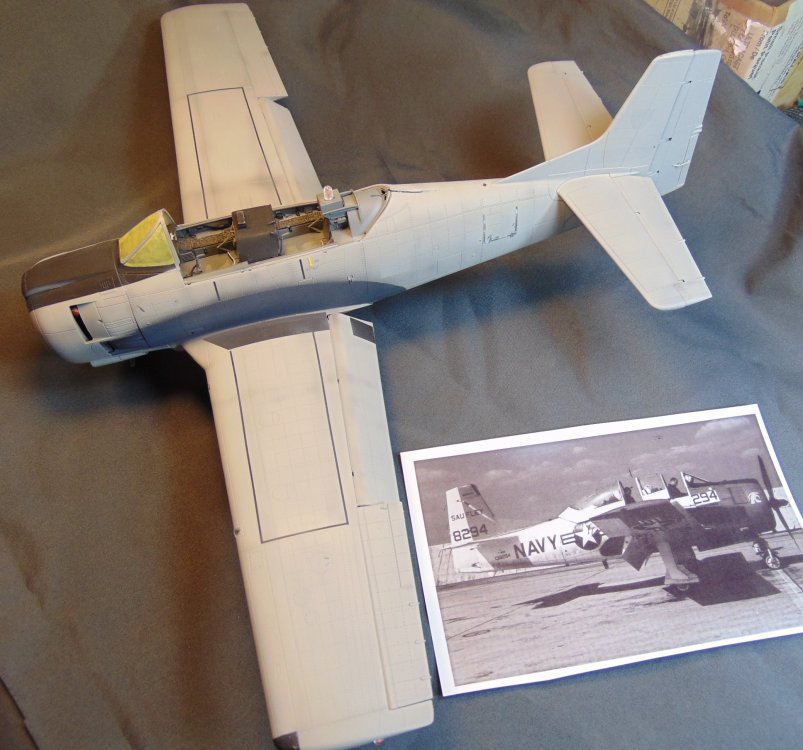
I decided to re-do this model in USN colors. Got a nice start. I had to remove all the underwing pylons and fill the mounting holes first. Then on to masking off the canopy and getting the rest of the model ready for painting gloss white.
-
Hasegawa P-40E Darwin RFI
JohnB replied to JohnB's topic in LSM 1/32 and Larger Aircraft Ready for Inspection
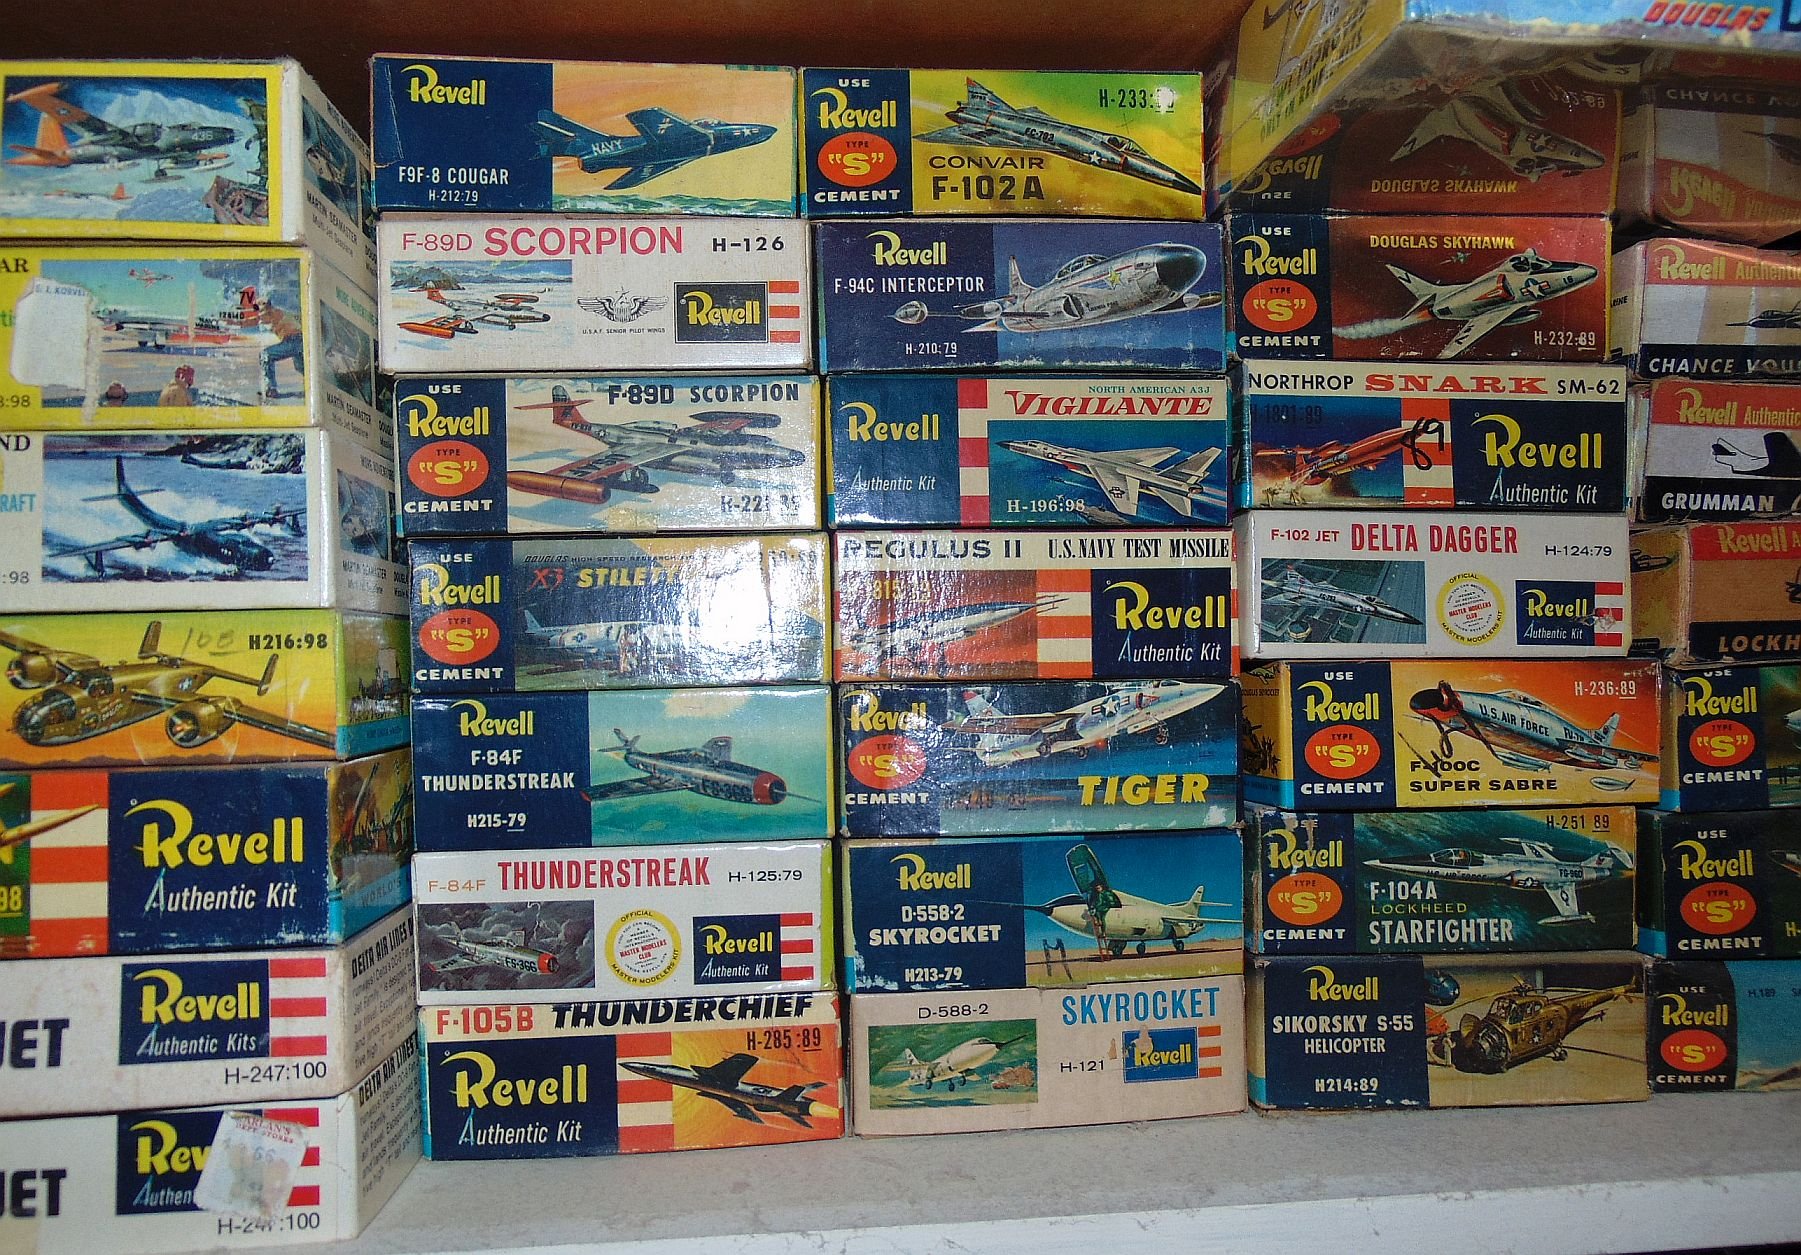
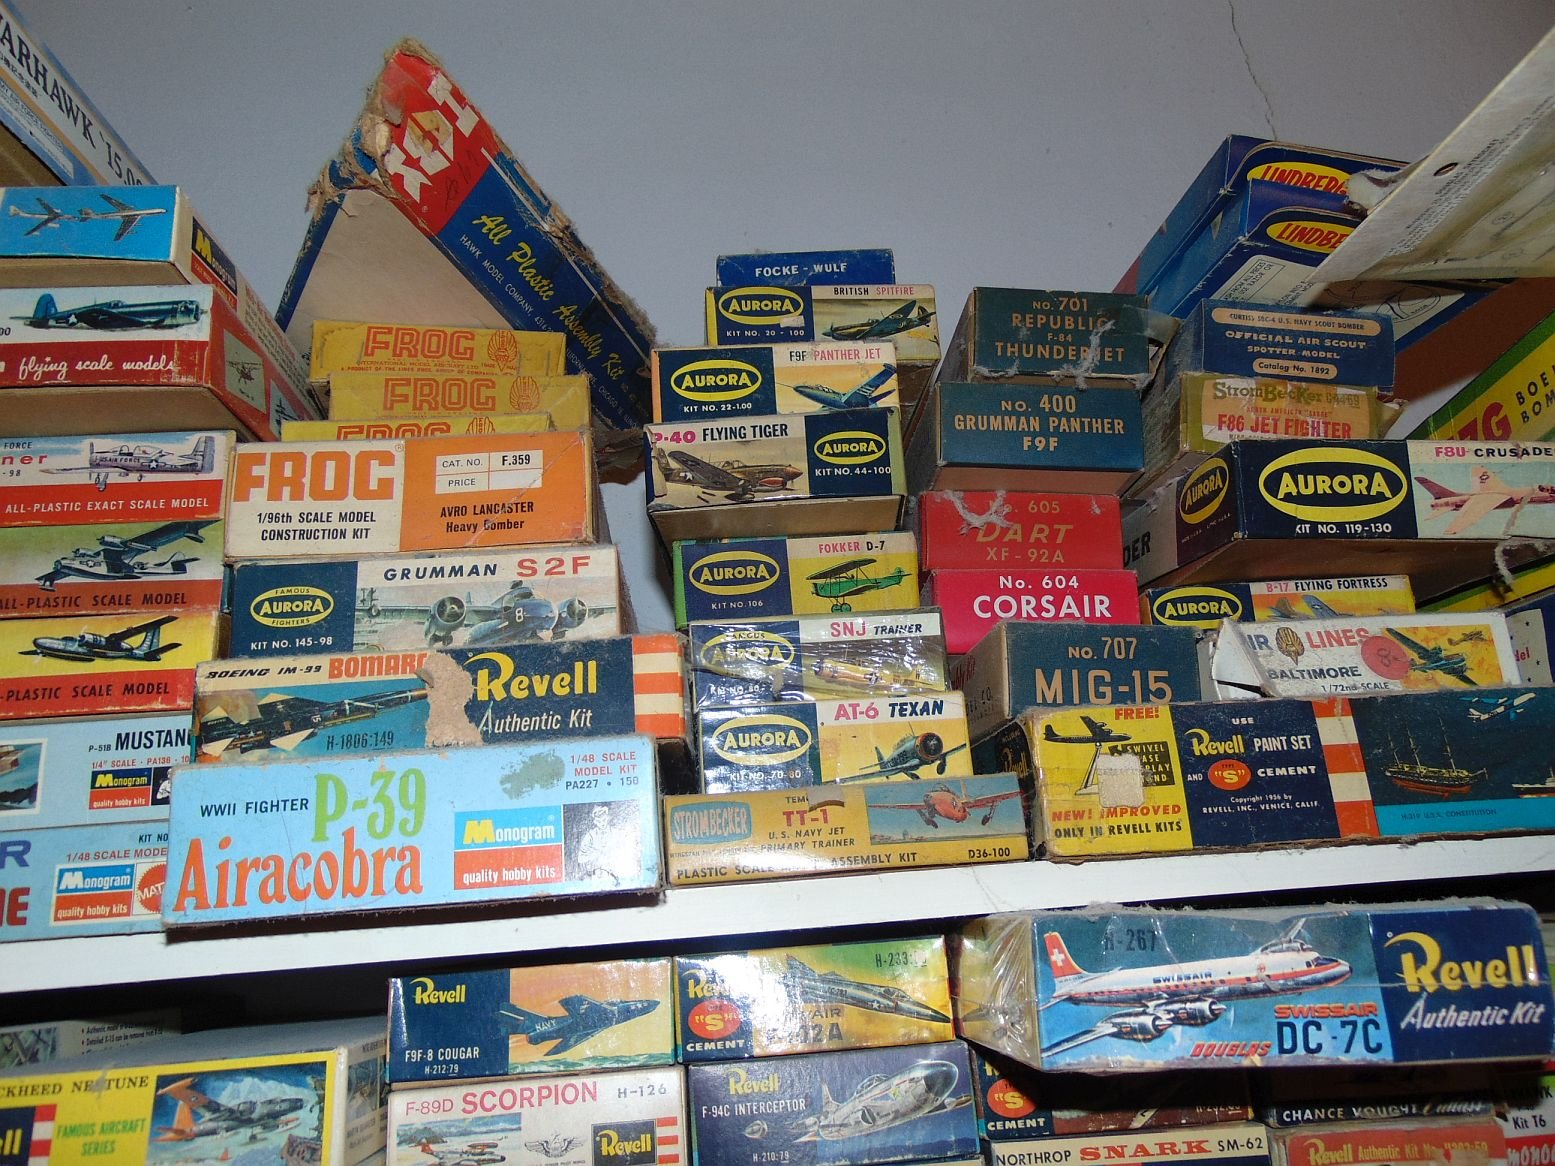
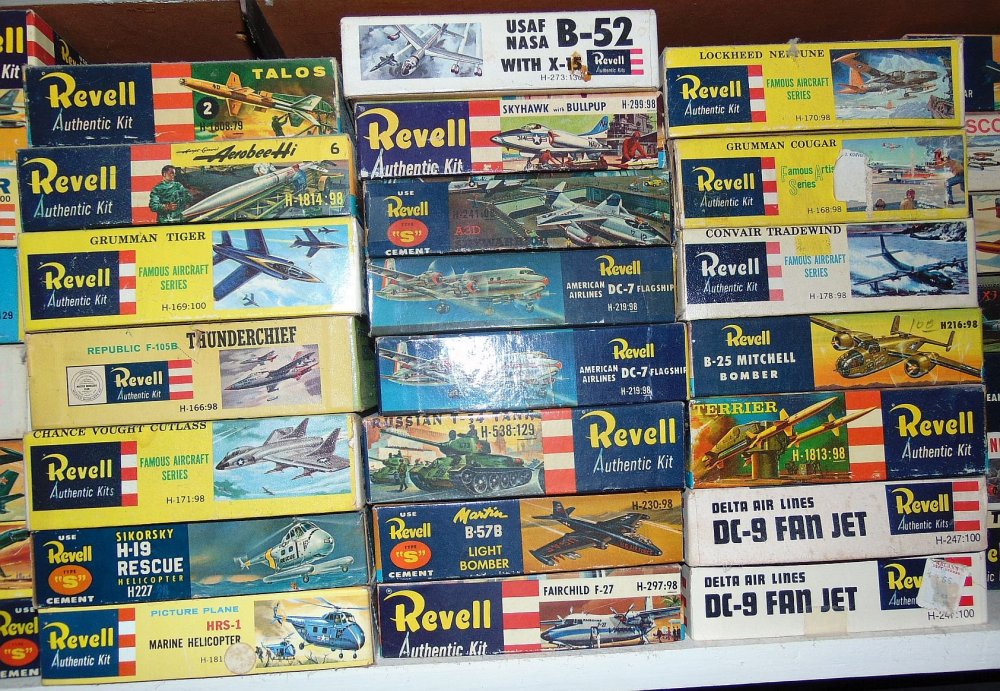
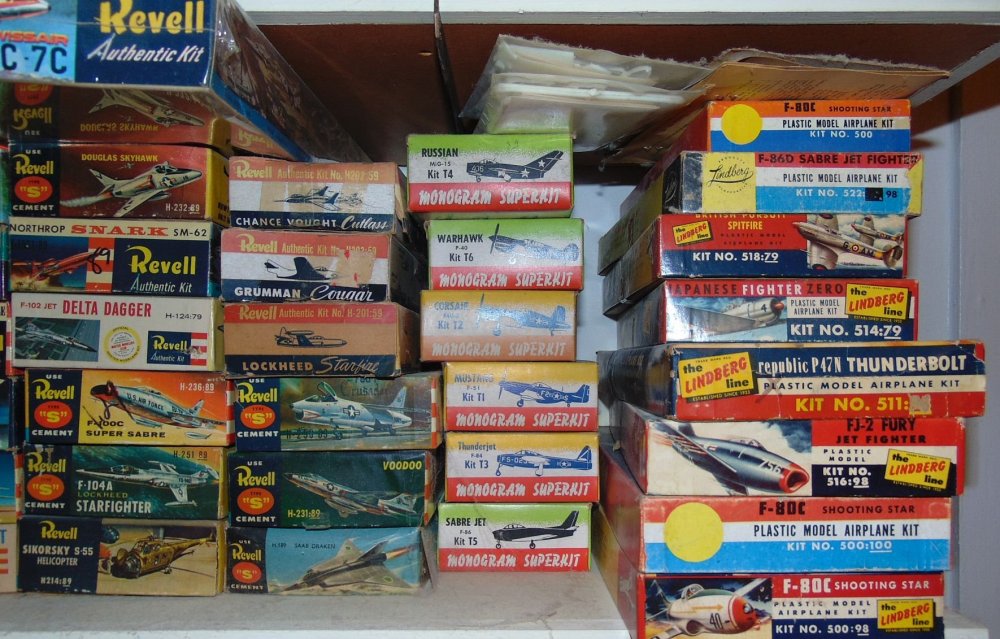
Conundrum for sure! If I built it I have no doubt I'd be kicking myself later on. What I will have to address sooner or later is what to do with all my built-up's and collection of oldies. Here's a couple of shots of my oldie collection.

-
Hasegawa P-40E Darwin RFI
JohnB replied to JohnB's topic in LSM 1/32 and Larger Aircraft Ready for Inspection
Thanks Scott. Those Trumpeter P-40's really are bad. I got a P-40F and it's terrible in my opinion. Maybe the B is better since it has different dimensions, etc. Lots of things wrong with the rest of them that I won't go into but you can find some build reviews on line that detail those although I did see one over on the "other site" where the guy (whom I know) said the kits were great. I wondered what he'd been smoking...... I have a Hasegawa "N" that is the 15,000 anniversary version that came with all the various nations markings. I've been tempted to build it lately but I just can't bring myself to do it since it's so hard to find and when you do find one it's costly. I guess I'd sell it but it wouldn't be cheap LOL. -
Hasegawa P-40E Darwin RFI
JohnB replied to JohnB's topic in LSM 1/32 and Larger Aircraft Ready for Inspection
Thanks Dennis. Very much appreciated. -
Hasegawa P-40E Darwin RFI
JohnB replied to JohnB's topic in LSM 1/32 and Larger Aircraft Ready for Inspection
I'm pleased you like the P-40 Peter, thanks. -
Hasegawa P-40E Darwin RFI
JohnB replied to JohnB's topic in LSM 1/32 and Larger Aircraft Ready for Inspection
Thanks Chris, I'm pleased you like the way it turned out. 😀 -
Hasegawa 1/32 P-40E Darwin 1942
JohnB replied to JohnB's topic in LSM 1/35 and Larger Work In Progress
Finished with this one. https://forum.largescalemodeller.com/topic/20218-hasegawa-p-40e-darwin-rfi/