
Martinnfb
-
Posts
11,650 -
Joined
-
Last visited
Content Type
Profiles
Forums
Events
Gallery
Everything posted by Martinnfb
-

GUY ON A BUFFALO - I will be out for a while.
Martinnfb replied to Martinnfb's topic in General Discussion
-
-
GUY ON A BUFFALO - I will be out for a while.
Martinnfb replied to Martinnfb's topic in General Discussion
Thank you everyone.
-
Congratulations Ernie ! Well done !
-
GUY ON A BUFFALO - I will be out for a while.
Martinnfb replied to Martinnfb's topic in General Discussion
Thank You Harvey, it means a lot. I still packing up, can't find my favourite toy -
Finishing the Fisher AD-5W Guppy.
Martinnfb replied to Clunkmeister's topic in LSM 1/35 and Larger Work In Progress
I should have seen this coming LOL -
Gentleman as many already know , I was accepted to join a training program for your favourite law enforcement agency. I am departing tomorrow morning and it seems that I might not have spare time to participate on the forum the way I did. So keep the shenanigans going and I will peek in once I get a chance to exhale .
-
White 6 ton 6x6 cargo truck frame making
Martinnfb replied to Clunkmeister's topic in D-Day 75th Anniversary Group Build
Vehicles are fun. -
Ho229 at the Udvar-Hazy Center
Martinnfb replied to JeroenPeters's topic in LSM 1/35 and Larger Work In Progress
-
1/32 Trumpeter F6F-5 Hellcat
Martinnfb replied to Ryan's topic in LSM 1/35 and Larger Work In Progress
-
well the Nationals cost me a bit more than spending money
Martinnfb replied to Clunkmeister's topic in General Discussion
That sucks, but you discovered what was happening in time to take action and on the same token you verified reliability of your employees . Still sucks. -
Thinking of a new build, but different.
Martinnfb replied to Clunkmeister's topic in Modelling Discussion
It's always lurking in the deepest shadows of your mind -
Thinking of a new build, but different.
Martinnfb replied to Clunkmeister's topic in Modelling Discussion
-
Thinking of a new build, but different.
Martinnfb replied to Clunkmeister's topic in Modelling Discussion
useful photographs Oil canning ?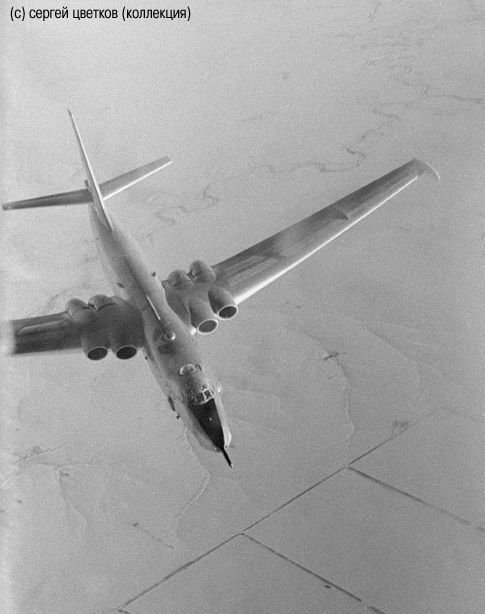


-
Relic Polywood pieces from a BF-109 G10
Martinnfb replied to antonio argudo's topic in Modelling Discussion
Fantastic examples of late war colour, Thank you for sharing Antonio. Cheers Martin -
Thinking of a new build, but different.
Martinnfb replied to Clunkmeister's topic in Modelling Discussion
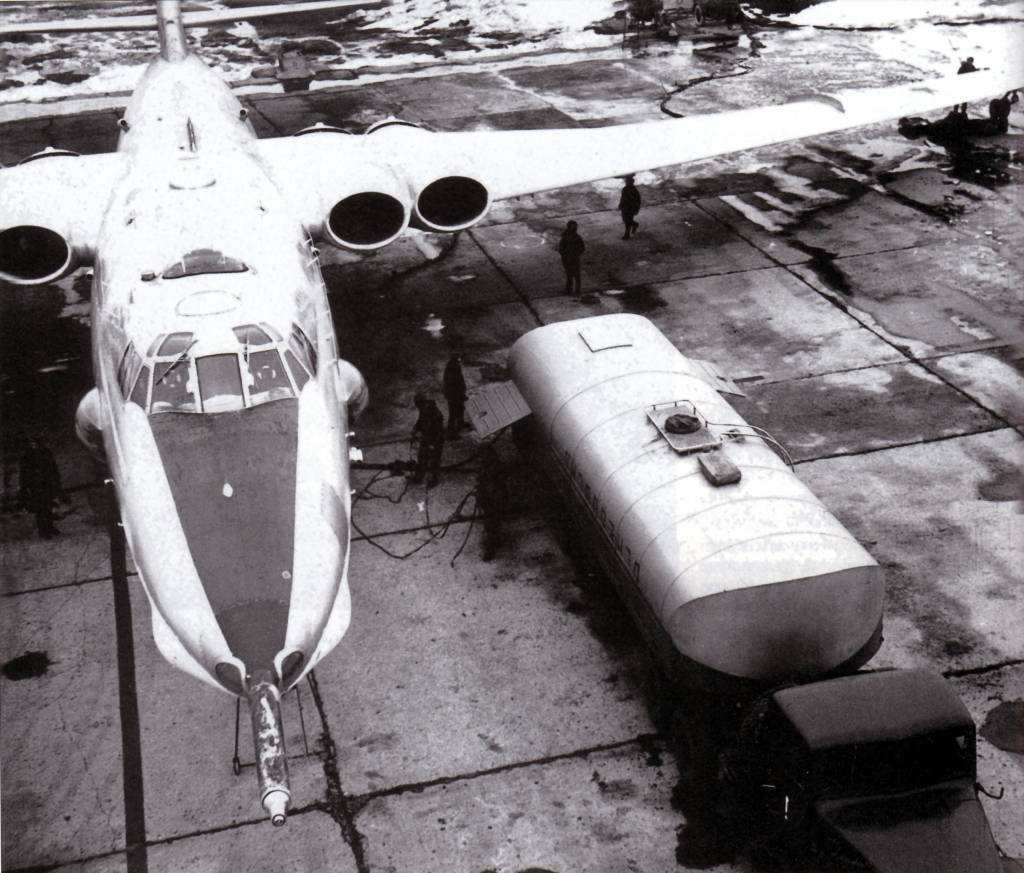
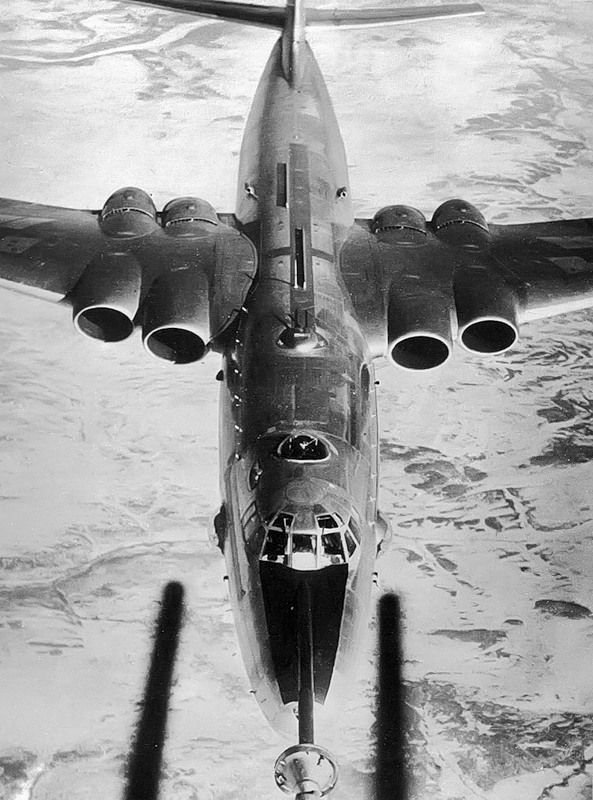
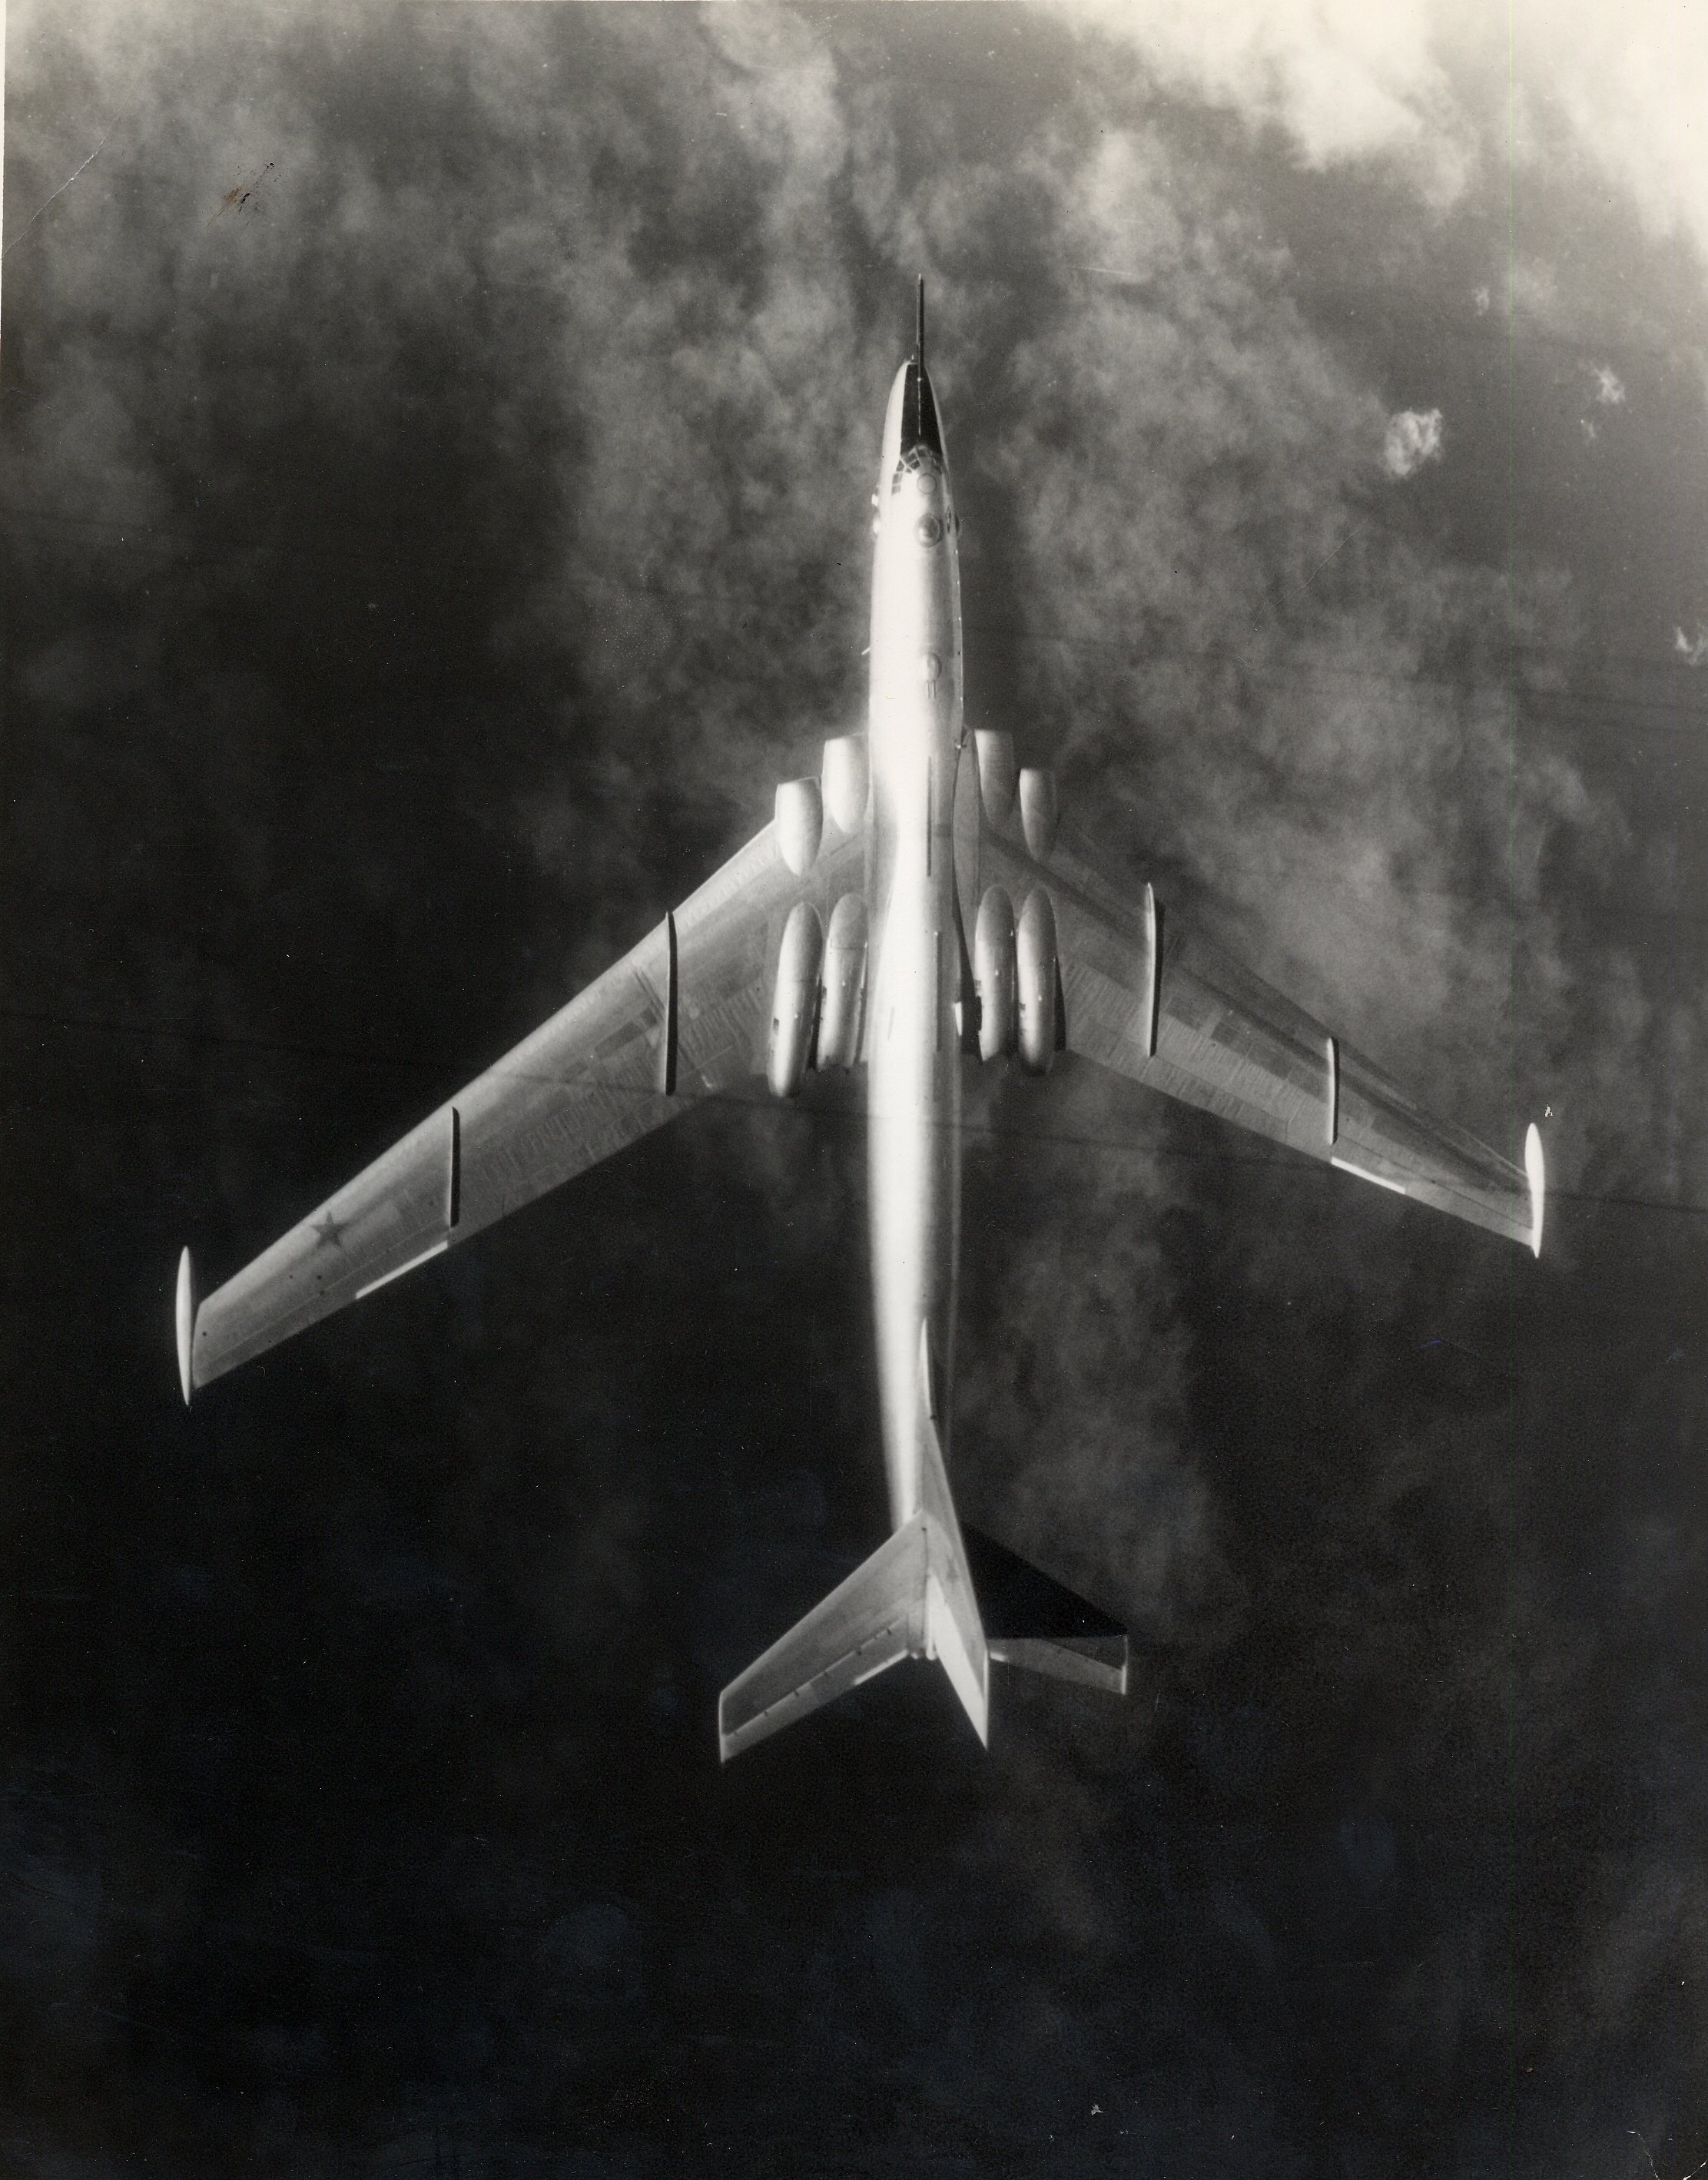
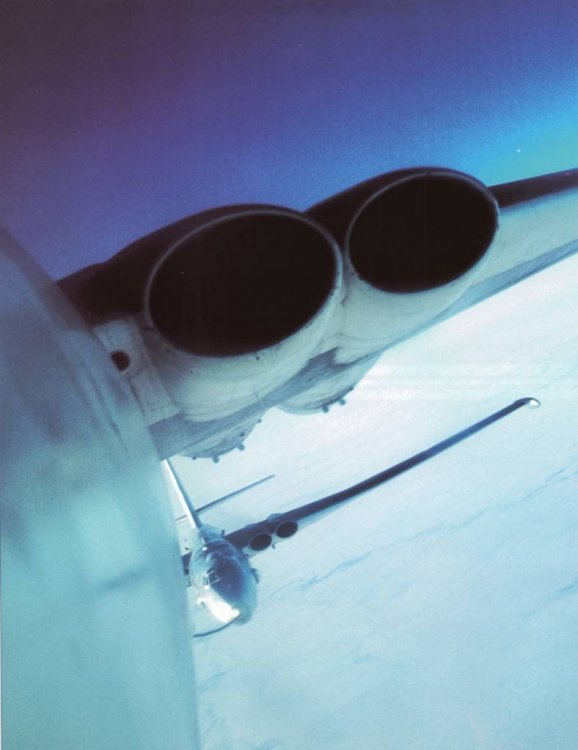
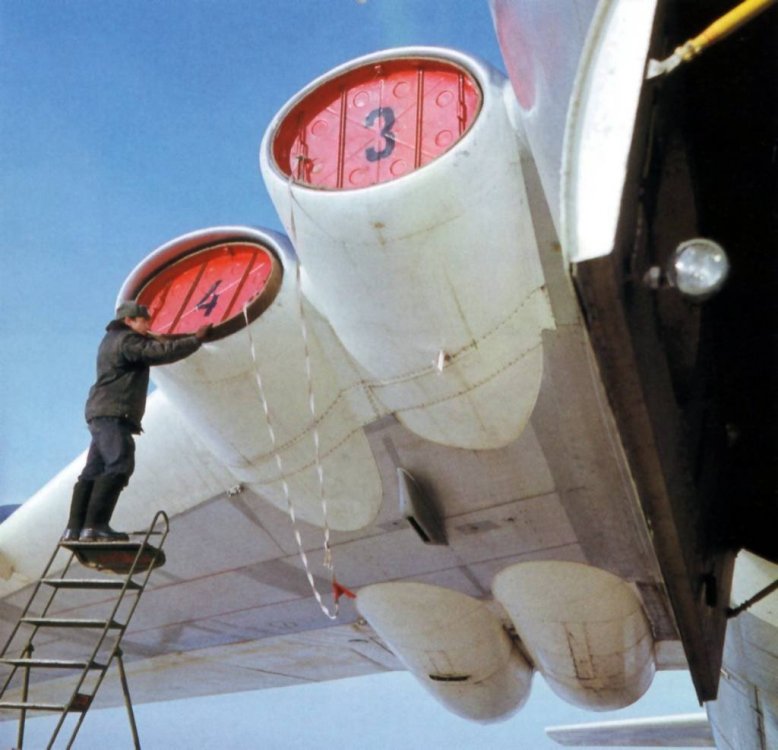
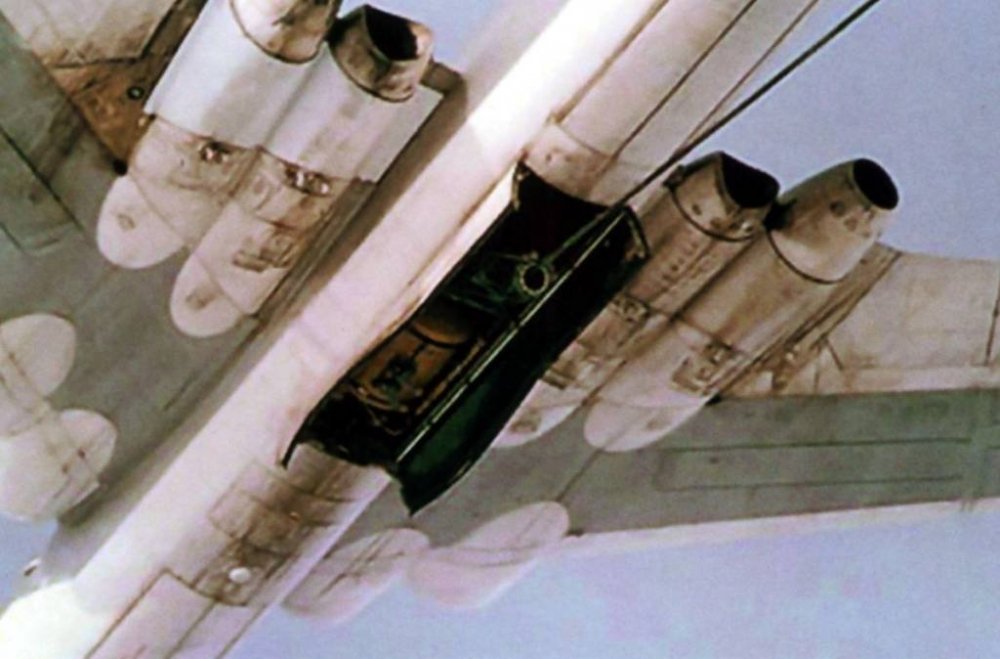
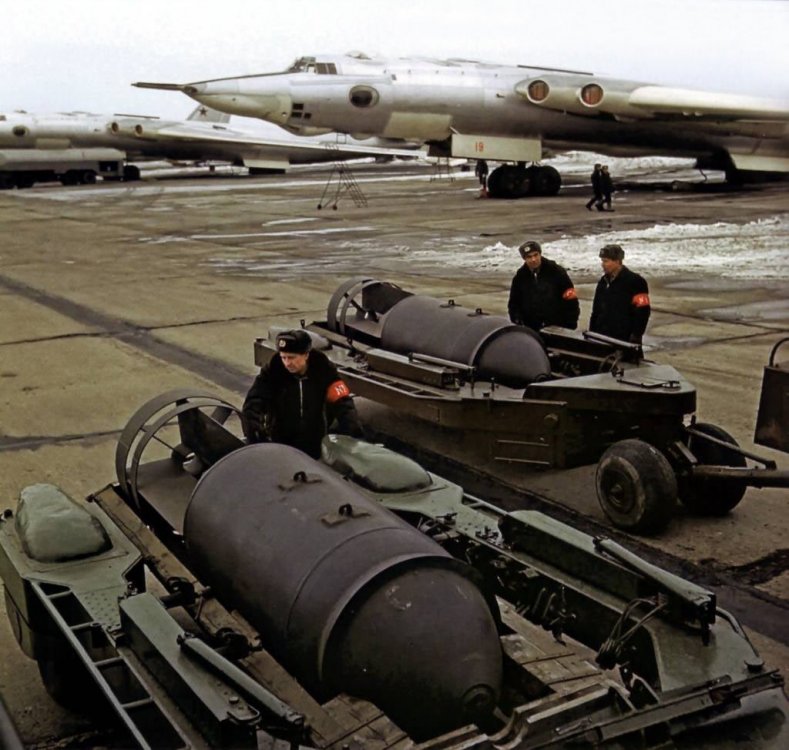
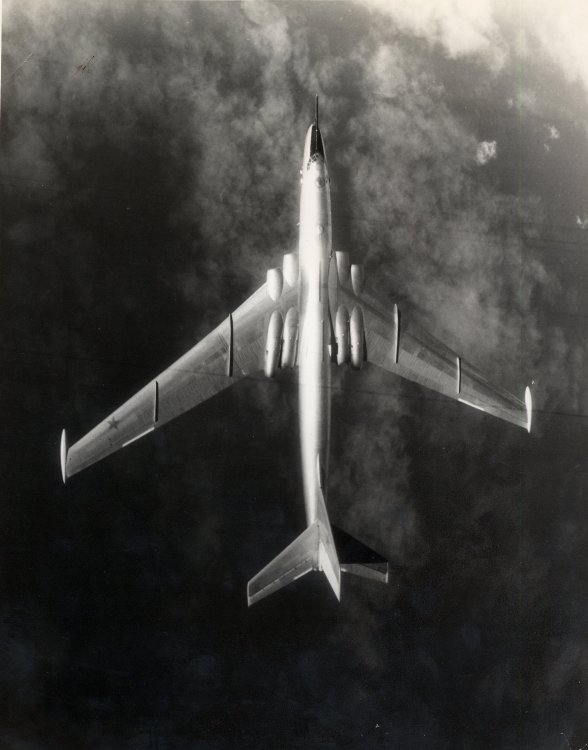
Myashcheiev M-4 was very progressive design heavily influenced by "German " research data. It's role had changed throughout it's long career so as the requirements of the Soviet military doctrine at the time of the Cold War, so it wasn't complete flop. https://en.wikipedia.org/wiki/Myasishchev_M-4 -
Thinking of a new build, but different.
Martinnfb replied to Clunkmeister's topic in Modelling Discussion
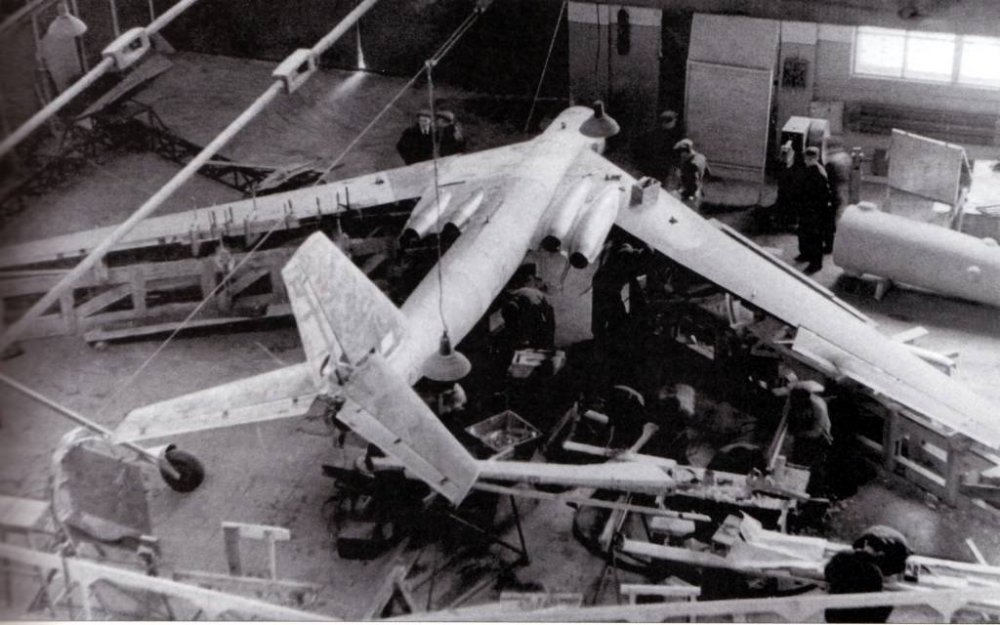
Early one -
Thinking of a new build, but different.
Martinnfb replied to Clunkmeister's topic in Modelling Discussion
-
Thinking of a new build, but different.
Martinnfb replied to Clunkmeister's topic in Modelling Discussion
-
Thinking of a new build, but different.
Martinnfb replied to Clunkmeister's topic in Modelling Discussion
This type screams "nuclear annihilation" all the way. Great choice!
-
-
Some horsing around is definitely a part of the game
-
Not likely, I will be busy sharpening my crayons while preoccupied with another silly things , like running, studying criminal code, cleaning my boots, ironing the pillow case and did I mention running ?
-
What is on your bench right now ? Share a picture :)
Martinnfb replied to Martinnfb's topic in Modelling Discussion
Those jack stands are huge -
What is on your bench right now ? Share a picture :)
Martinnfb replied to Martinnfb's topic in Modelling Discussion
Camouflage. Or the lack of it