CrankyCrafstman
-
Posts
1,358 -
Joined
-
Last visited
Content Type
Profiles
Forums
Events
Gallery
Everything posted by CrankyCrafstman
-
 WELL! I got screwed out of it at the very last second!...aaaggghhh!!!! RonG
 -
I'm still top bidder Ron G
-
You got it buddy
-
That would be cool, also I imagine that the instrument panel would be a lot simpler. Ron G
-
It's not gone yet, I think the problem is you can't see it from were you are at. I placed a bid on it if I win I will let you know, you'll get first dibs for all the help you gave me on the Mossie. Ron G
-
Hey Capt. It still allows you to bid, so I placed a bid, if I win I will put it up for sale on here. Ron G
-
Hey Anthony found this on Ebay https://www.ebay.com/sch/i.html?_nkw=1%2F24+scale+beaver+kit&_trksid=p2380057.m4084.l1313.TR1.TRC0.A0.H0.X1%26%23x2f%3B24+scale+be.TRS0 Ron G
-
2nd Annual LSM Christmas raffle and winners list
CrankyCrafstman replied to Clunkmeister's topic in General Discussion
Hey Ernie put me down, I'm in. I'll dig through my stash and see what I have to donate a kit snd some squadron books. Ron G -
Thinking about 3d printing a P&W R-985 1/24
CrankyCrafstman replied to CrankyCrafstman's topic in Modelling Discussion
Hey Ernie It my be awhile, as I have to rebuild the cad model, and I have to learn a new, to me, cad system Rhino inorder to do it. Yes the Kittyhawk R-985 is a very nice model of this engine. Ron G -
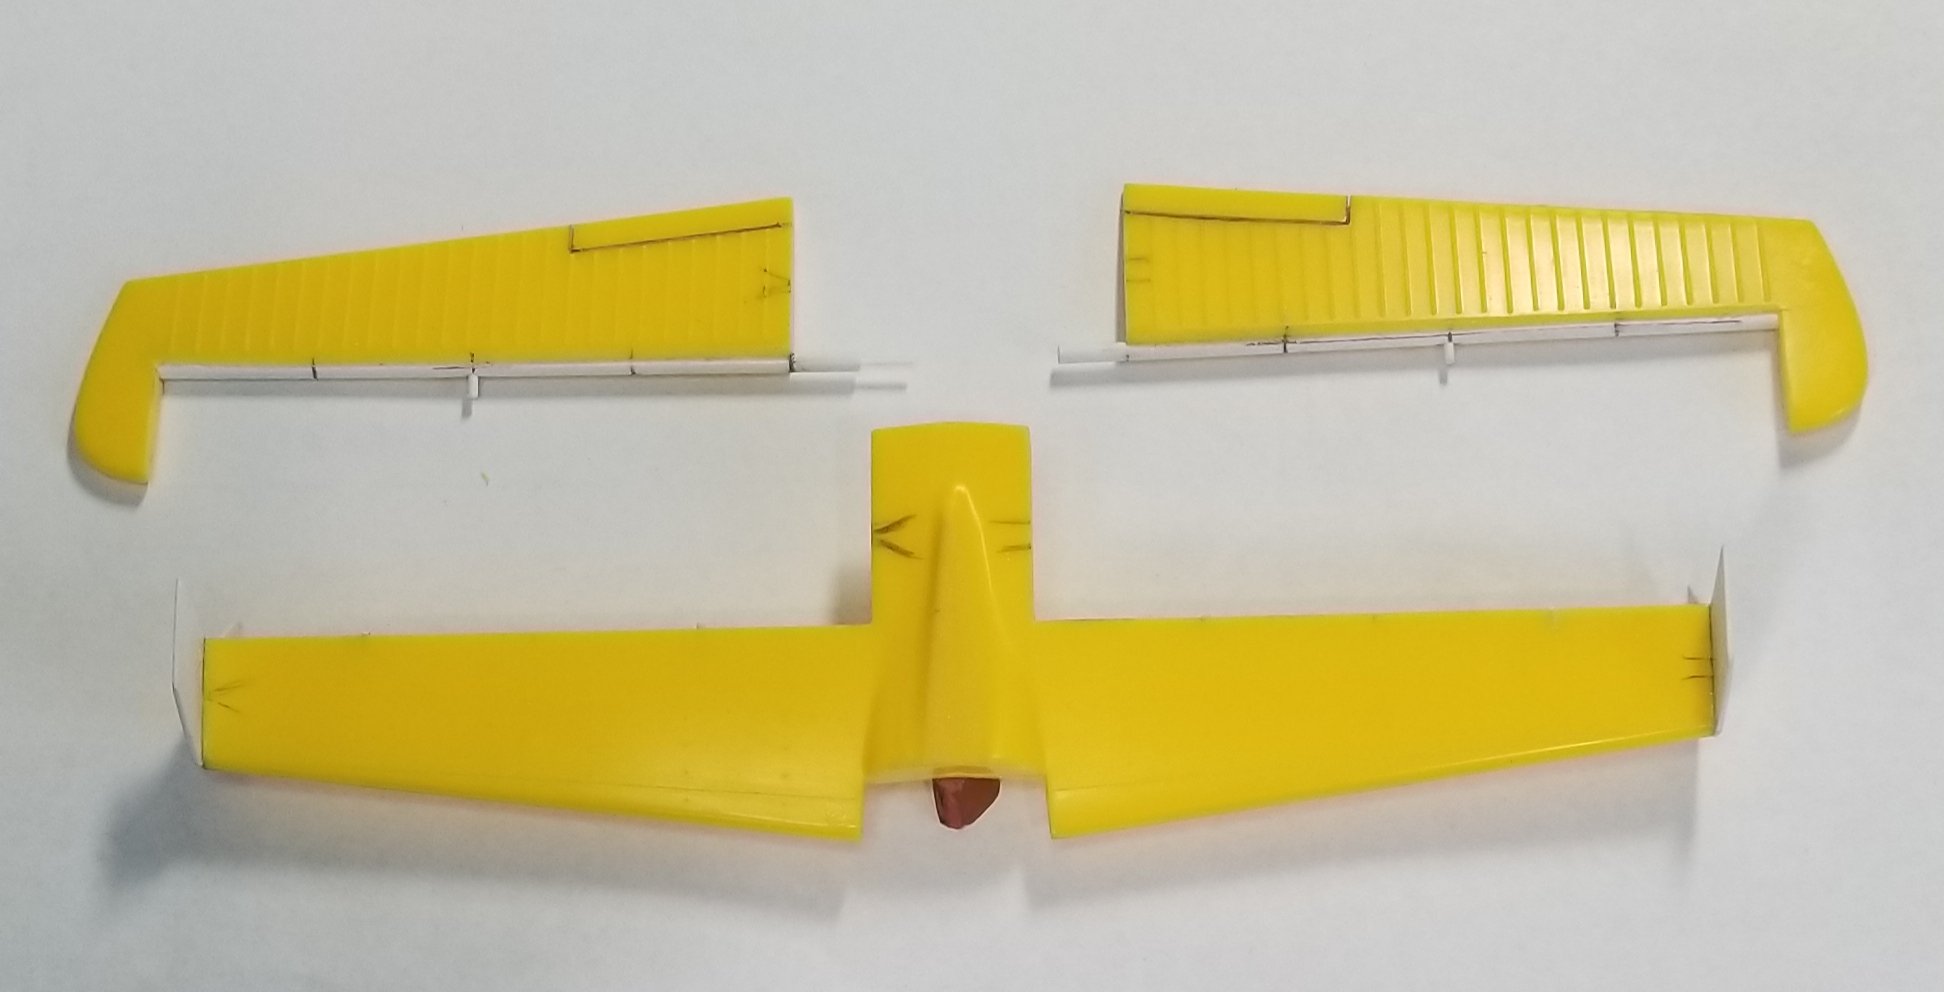
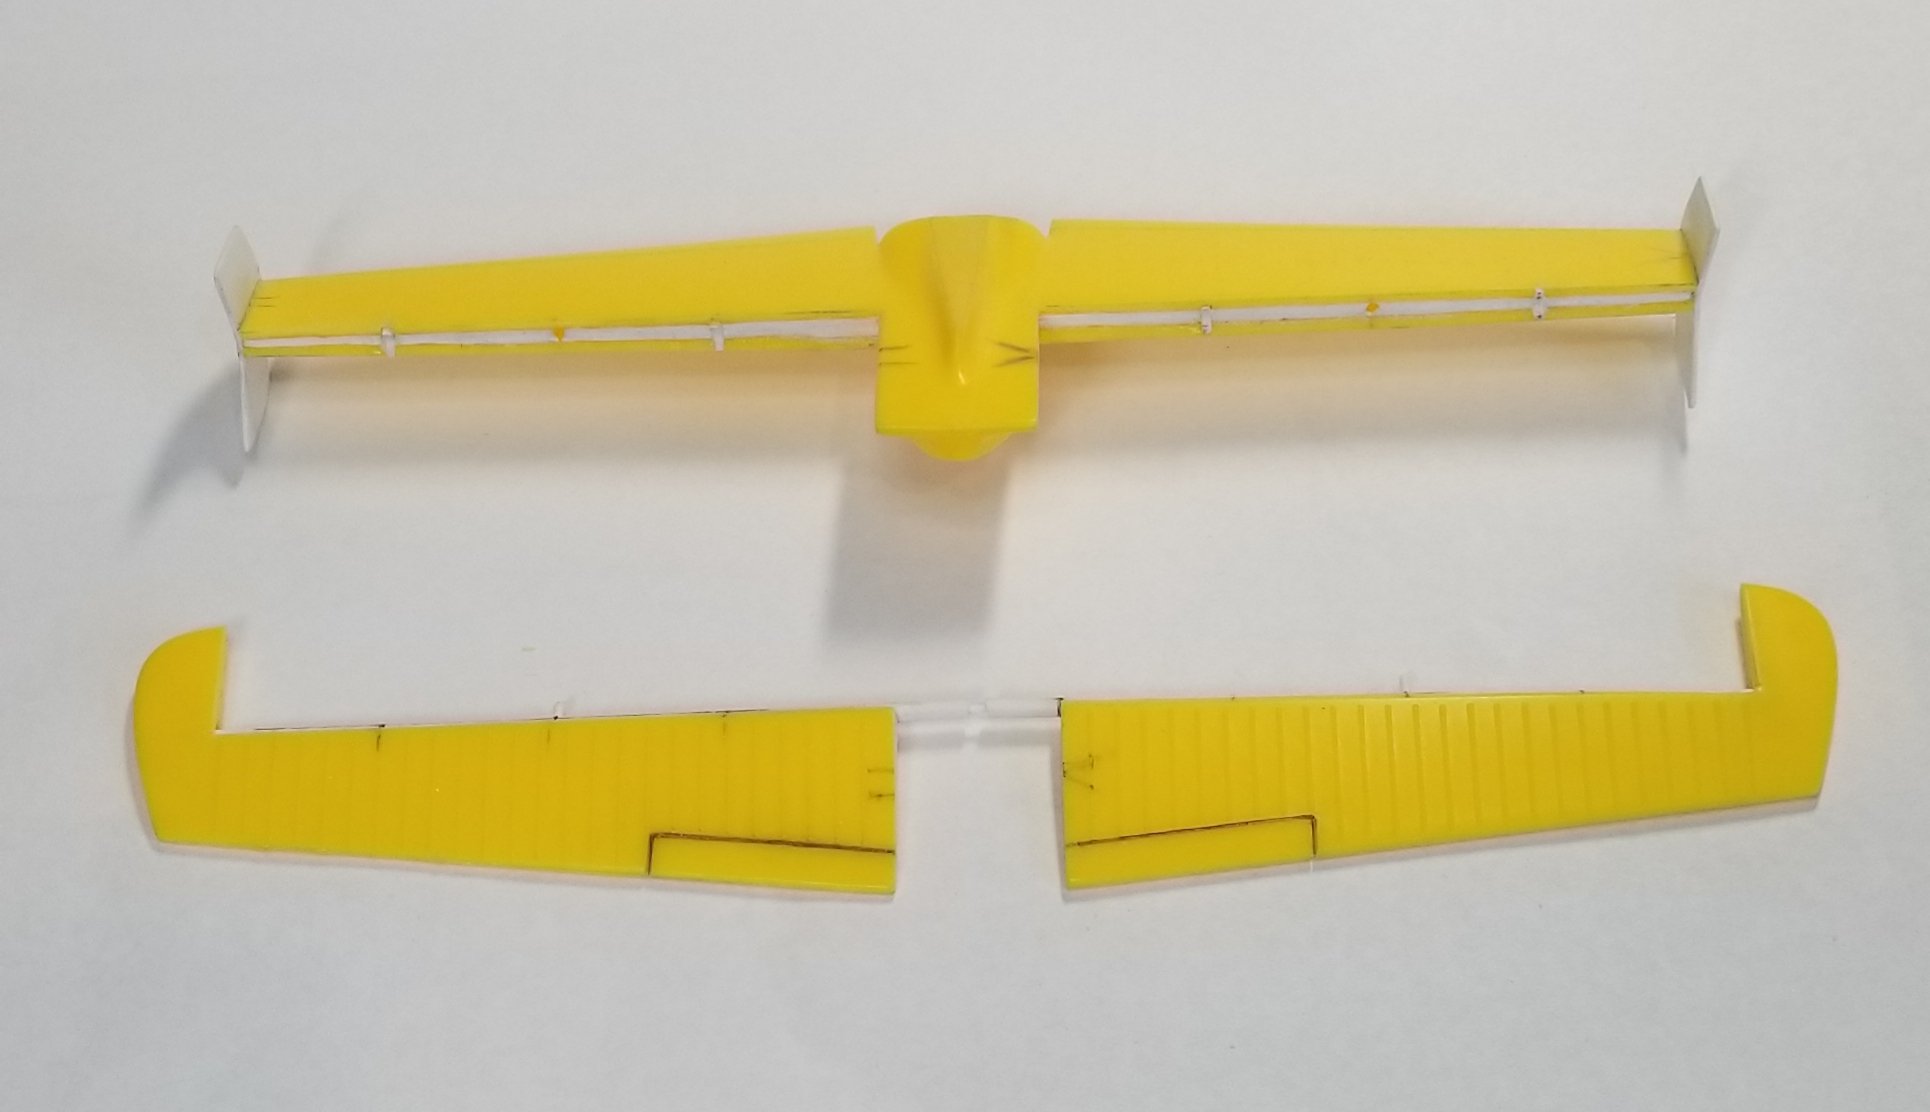
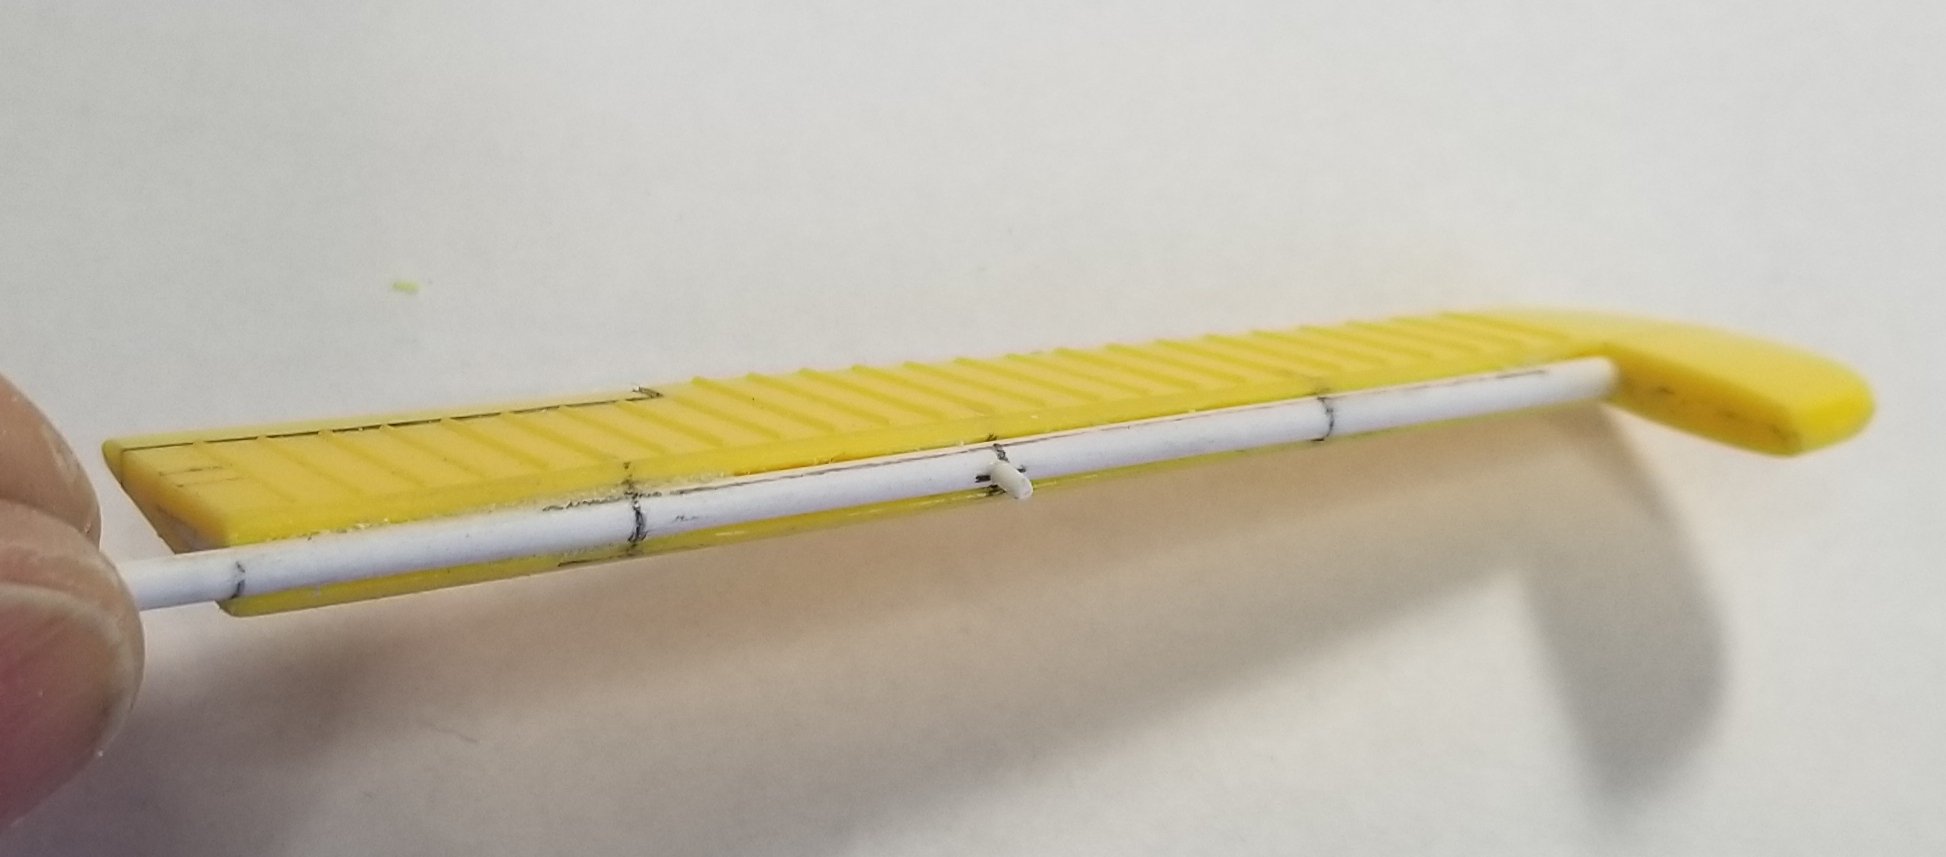
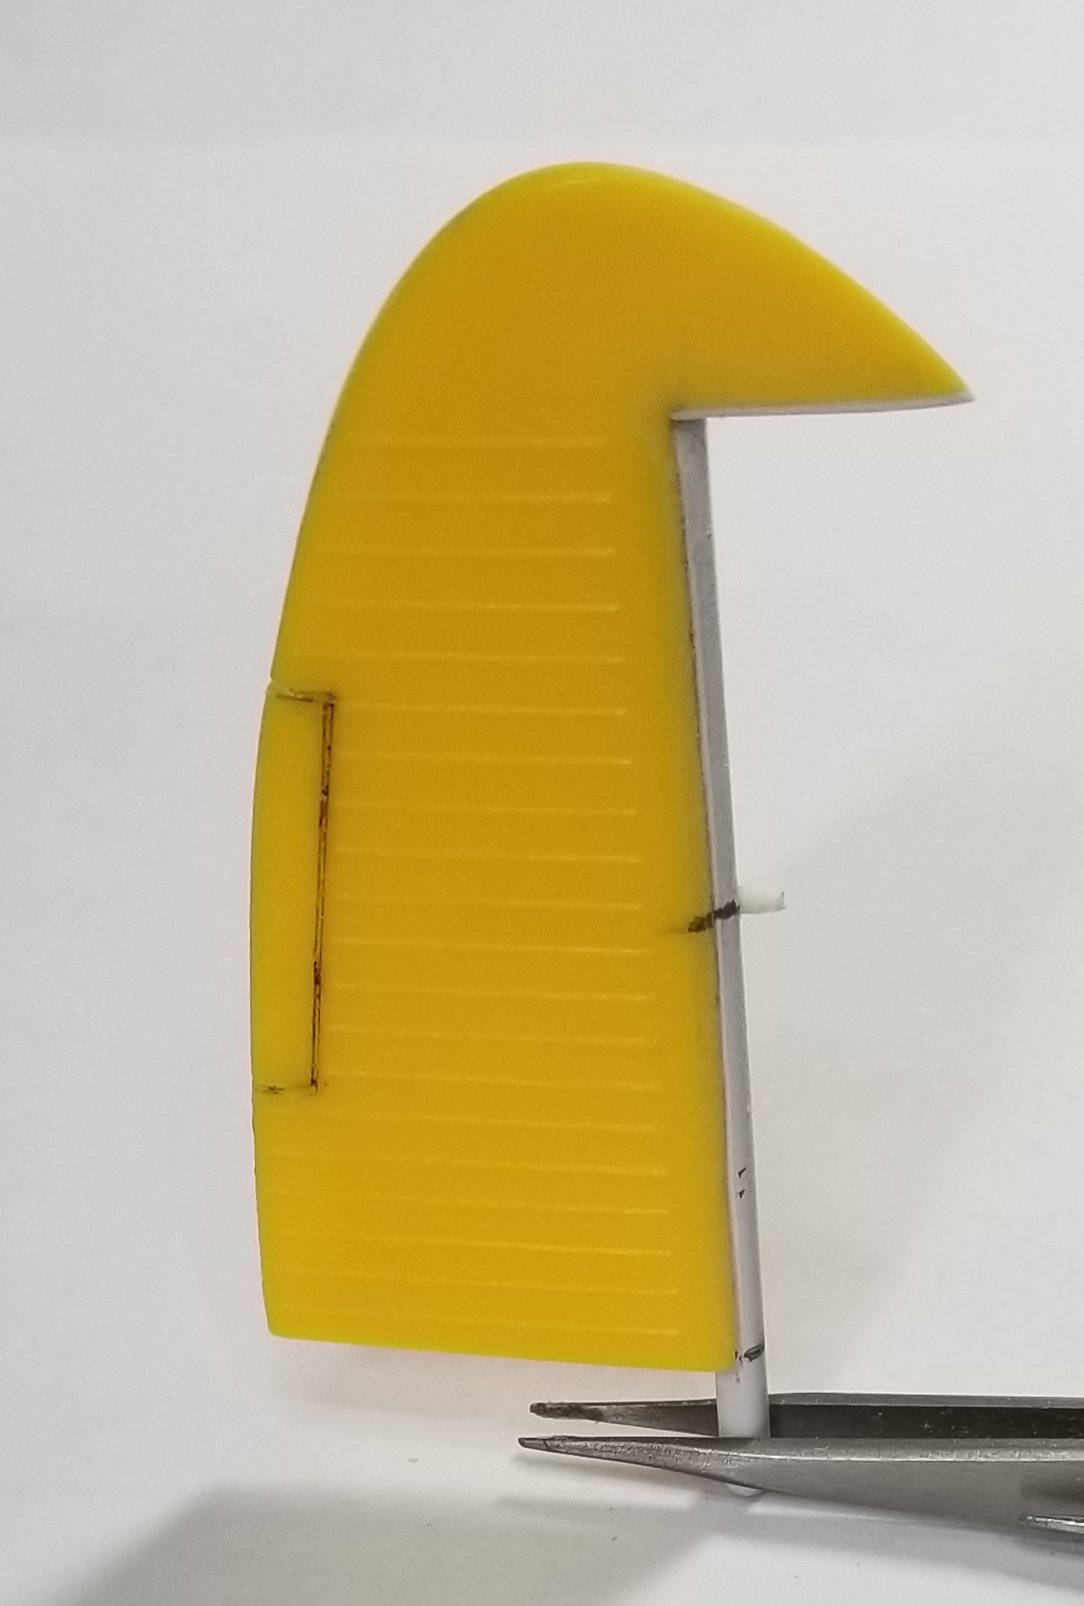
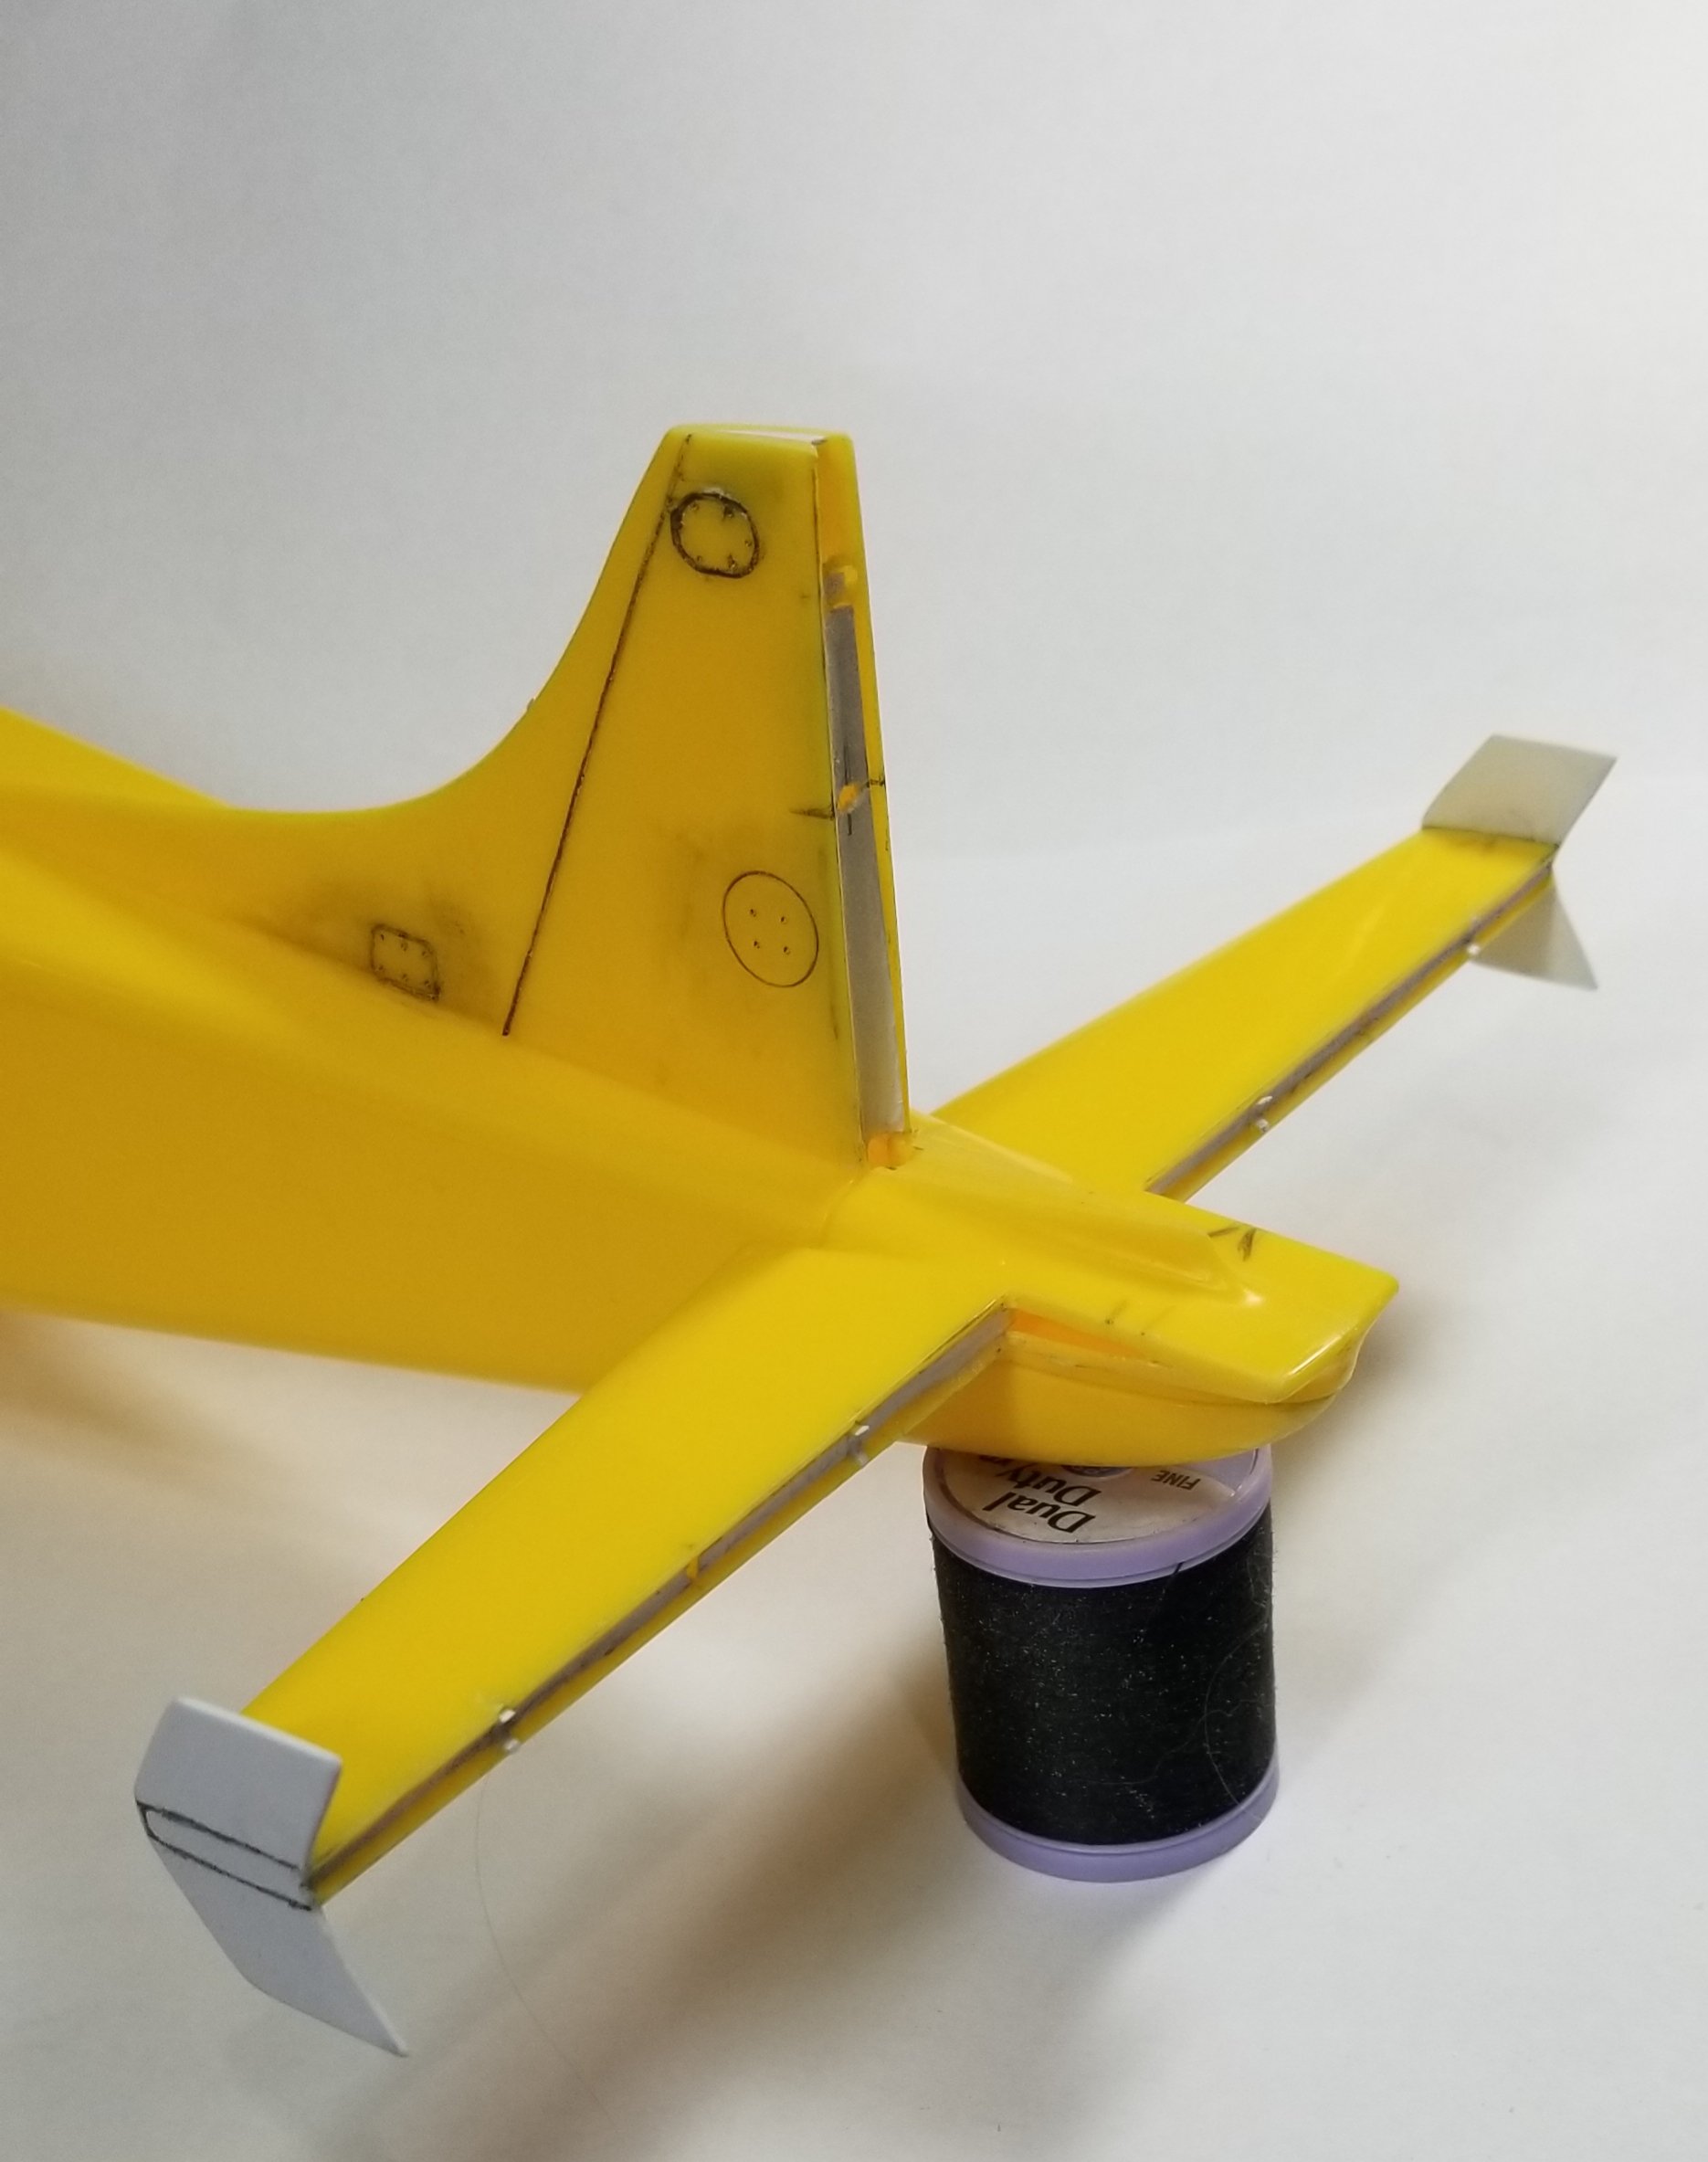
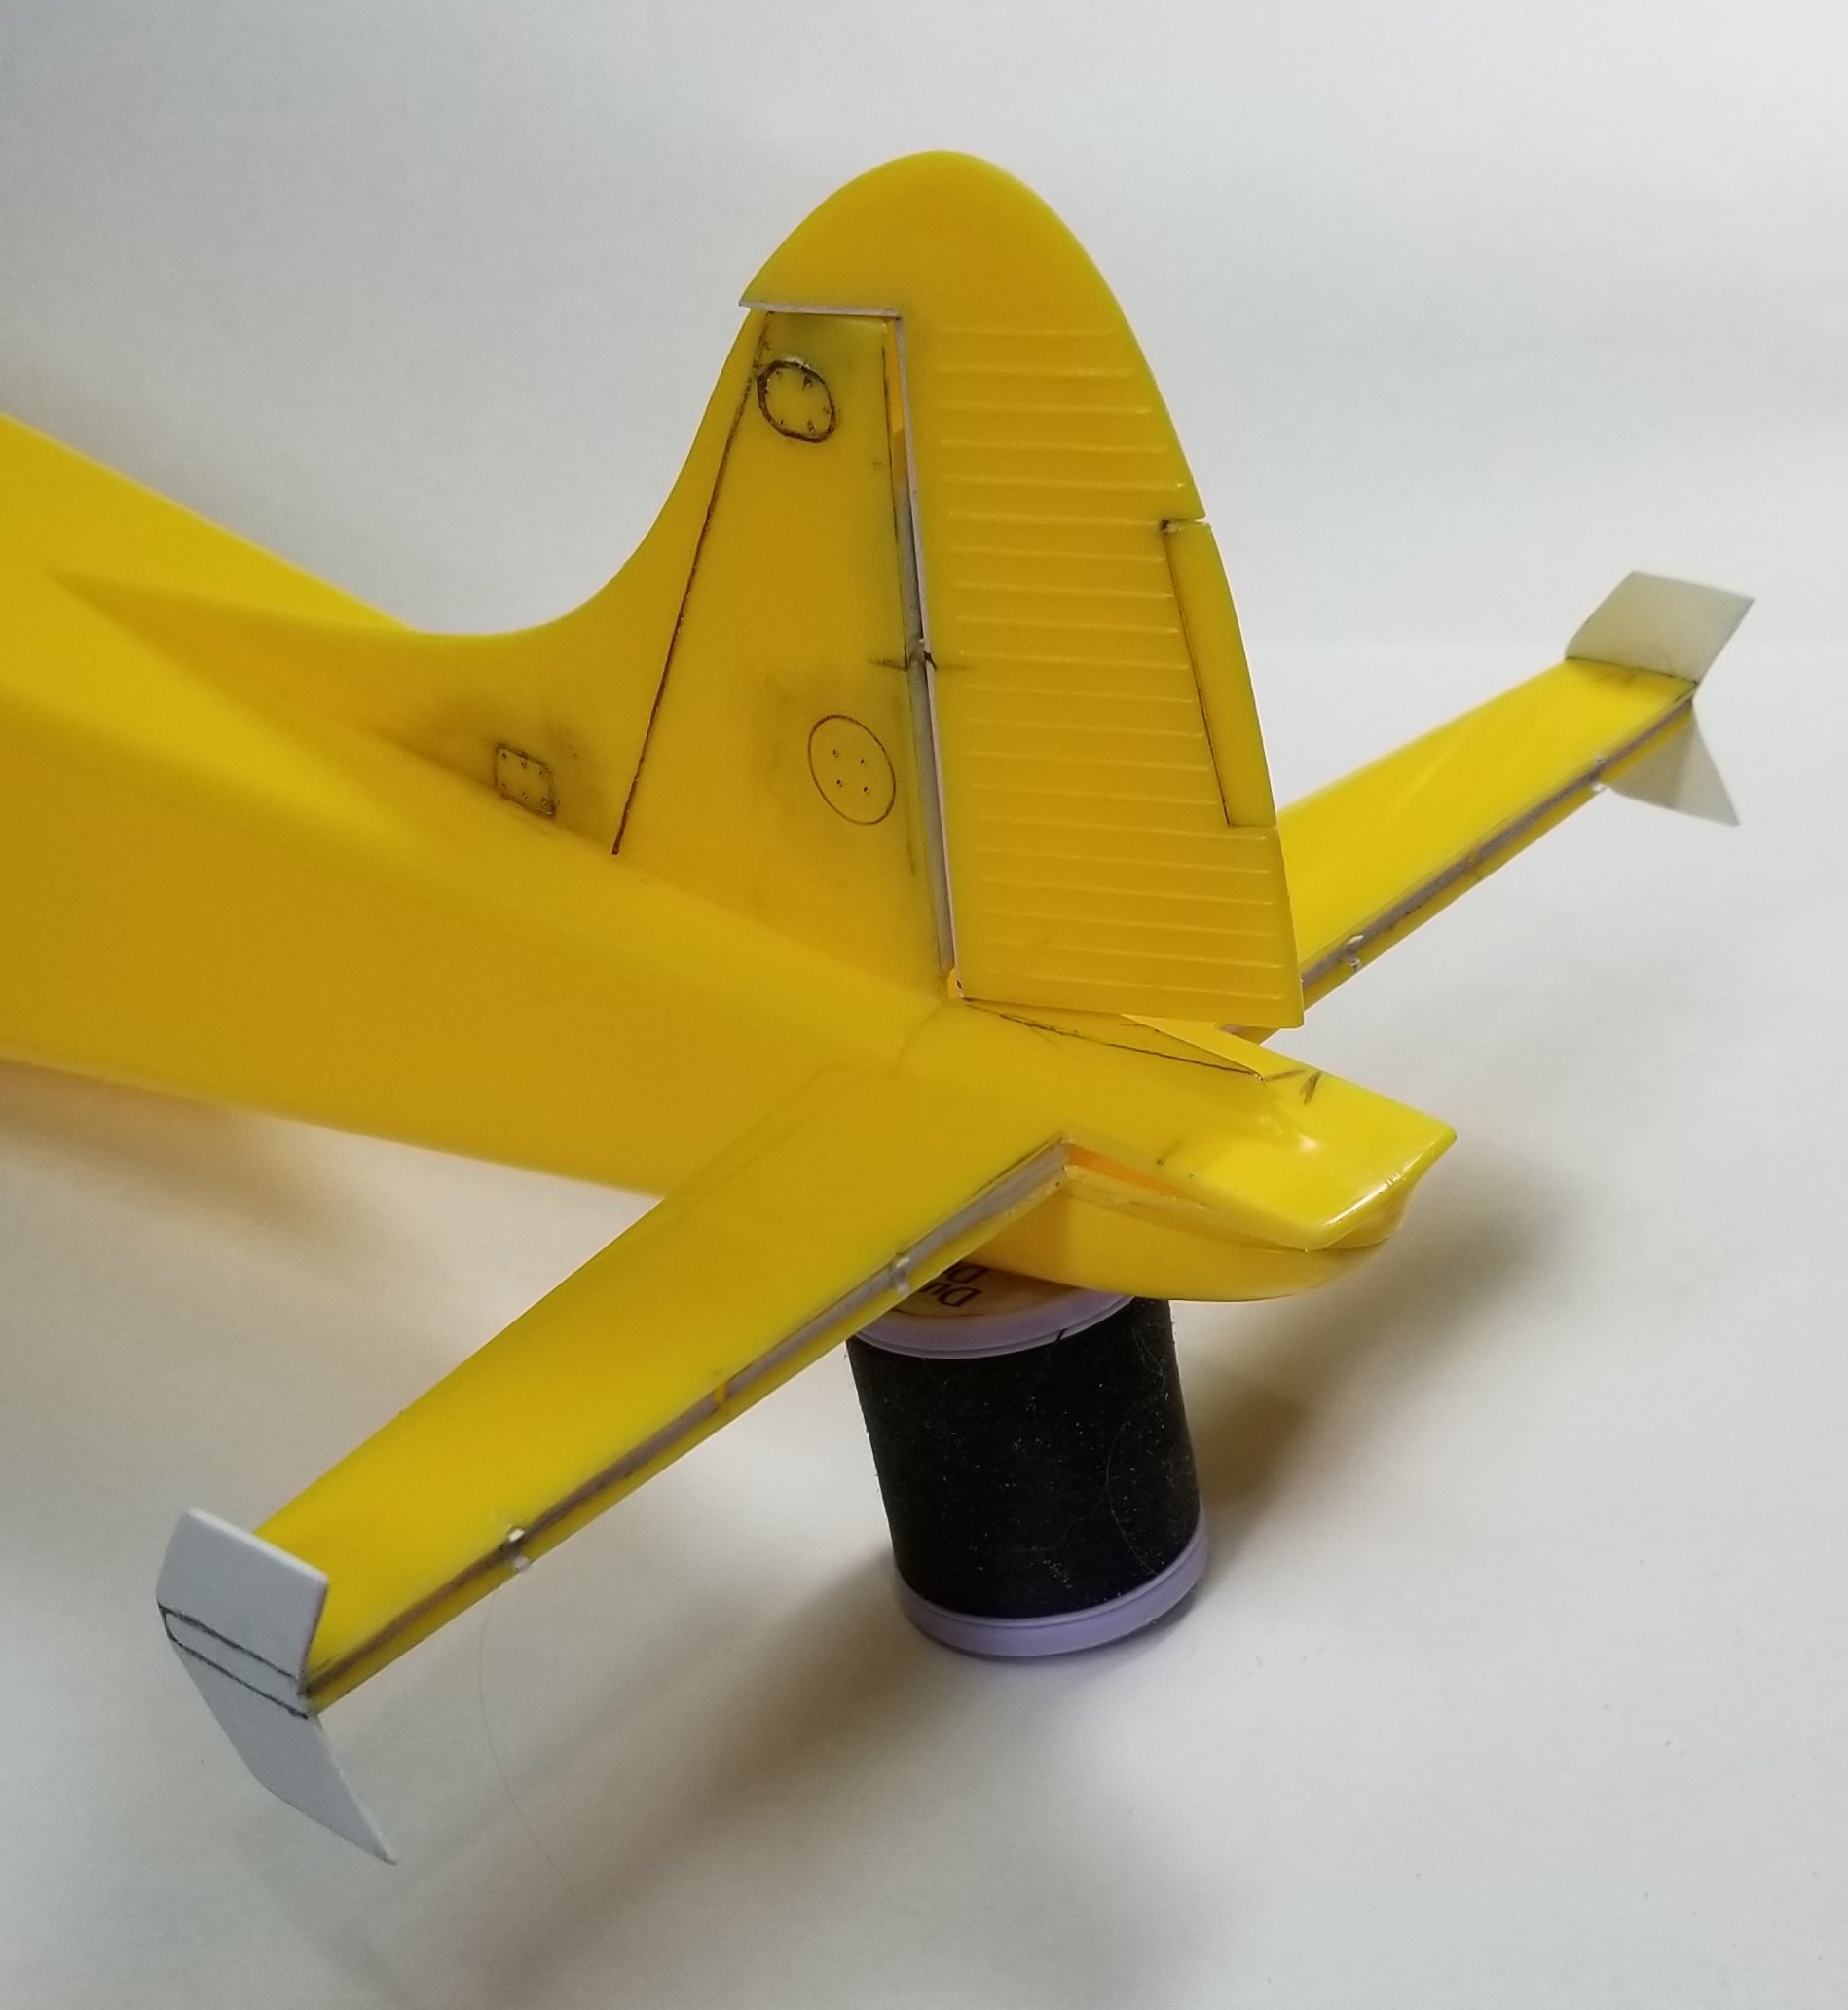
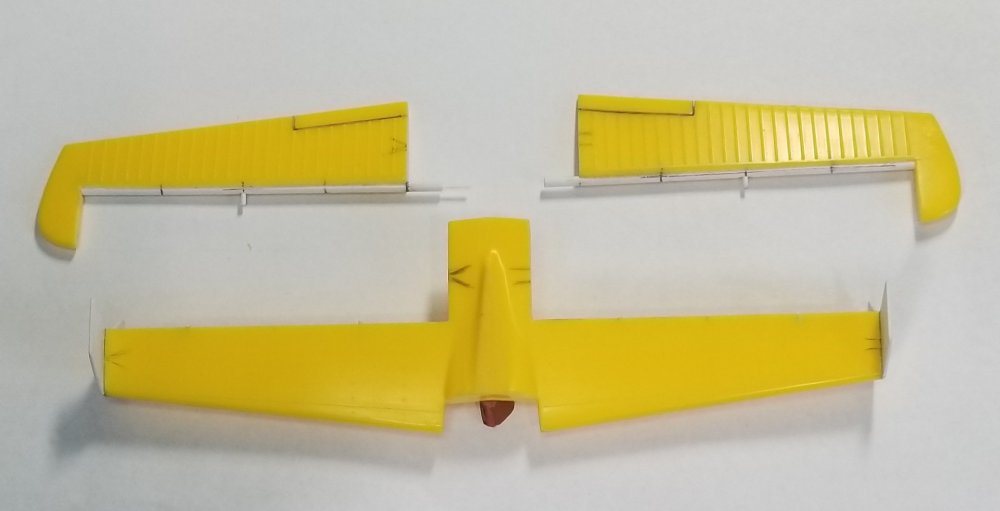
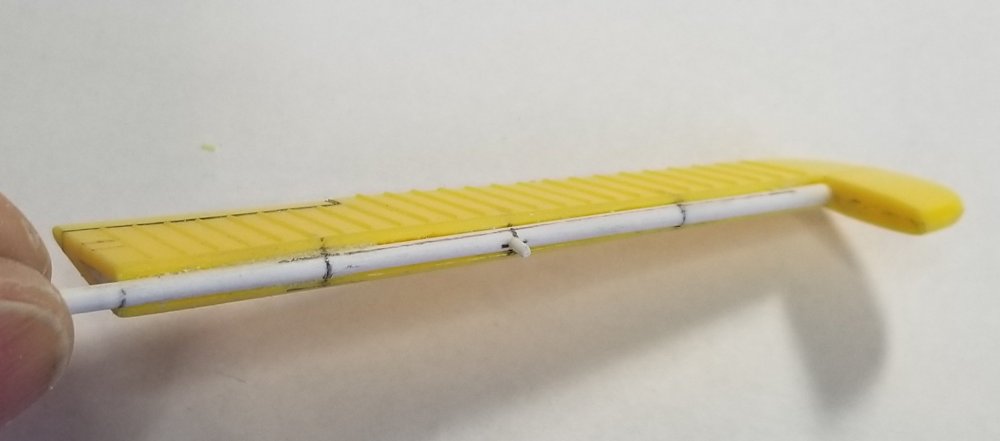
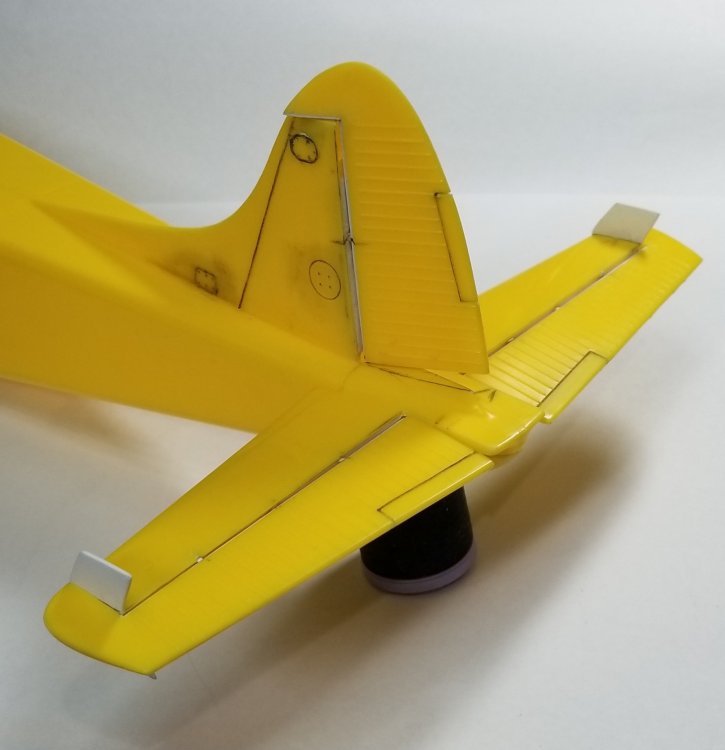
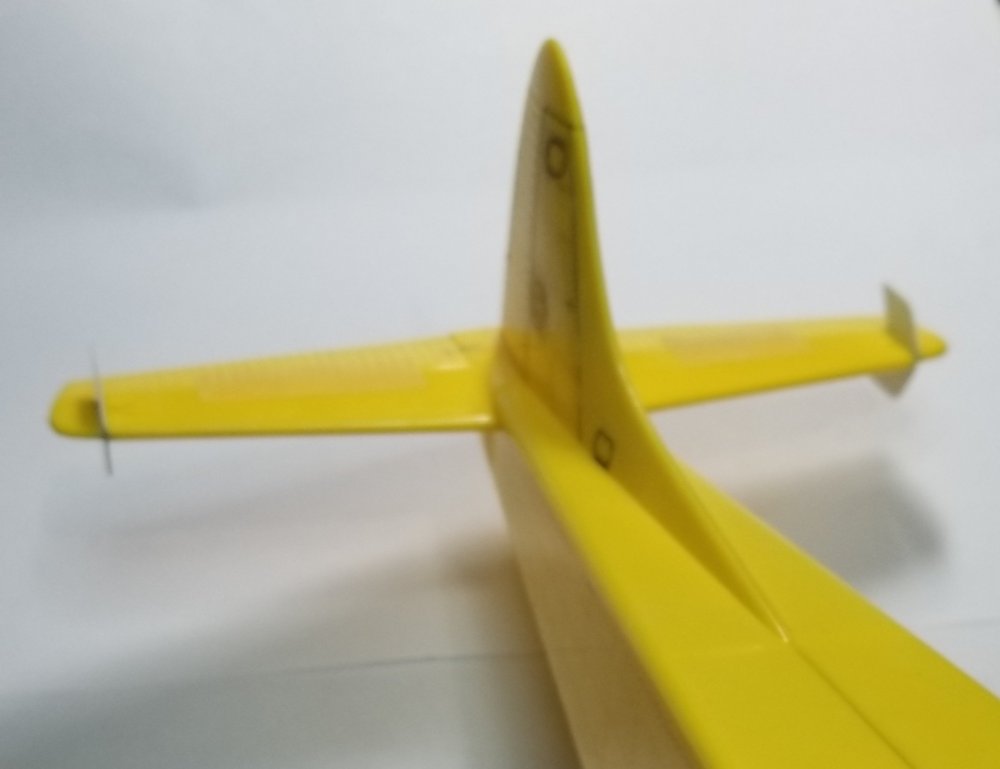
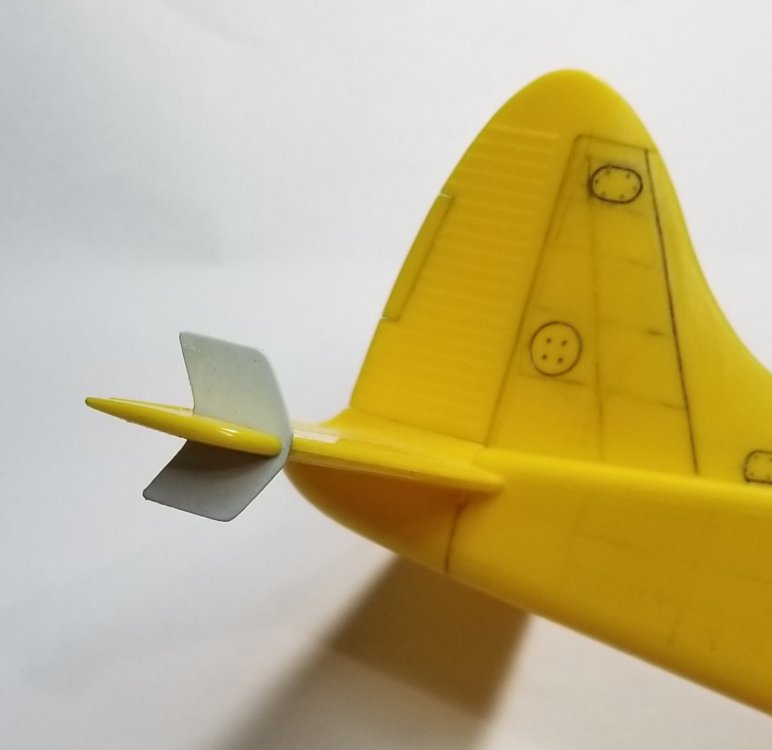
Got a little more done. I started on the rudder and some more work on the tail planes. Here are some pictures. I made the pivoting part of the tail planes. Another view showing the tail planes. View showing the pivoting area of the tail planes. Here's the rudder. View of the rear of the plane. Same view with the rudder attached. Same view with the rudder and tail planes. I also started the cutouts for the wing landing lights. I have to make clear covers for these. I have some lights from a 1/48 scale p-47 with lenses that I'm going to use for the landing lights, there just the right size to fit inside of the wing. Well that's all for know. Be back when I get some more done. Ron G


-
Keep hunting Ebay you never know one might pop up.
-
HobbyBoss A-26 Invader: Holy Thread Drift, Batman!
CrankyCrafstman replied to Clunkmeister's topic in General Discussion
Ernie, you da man! -
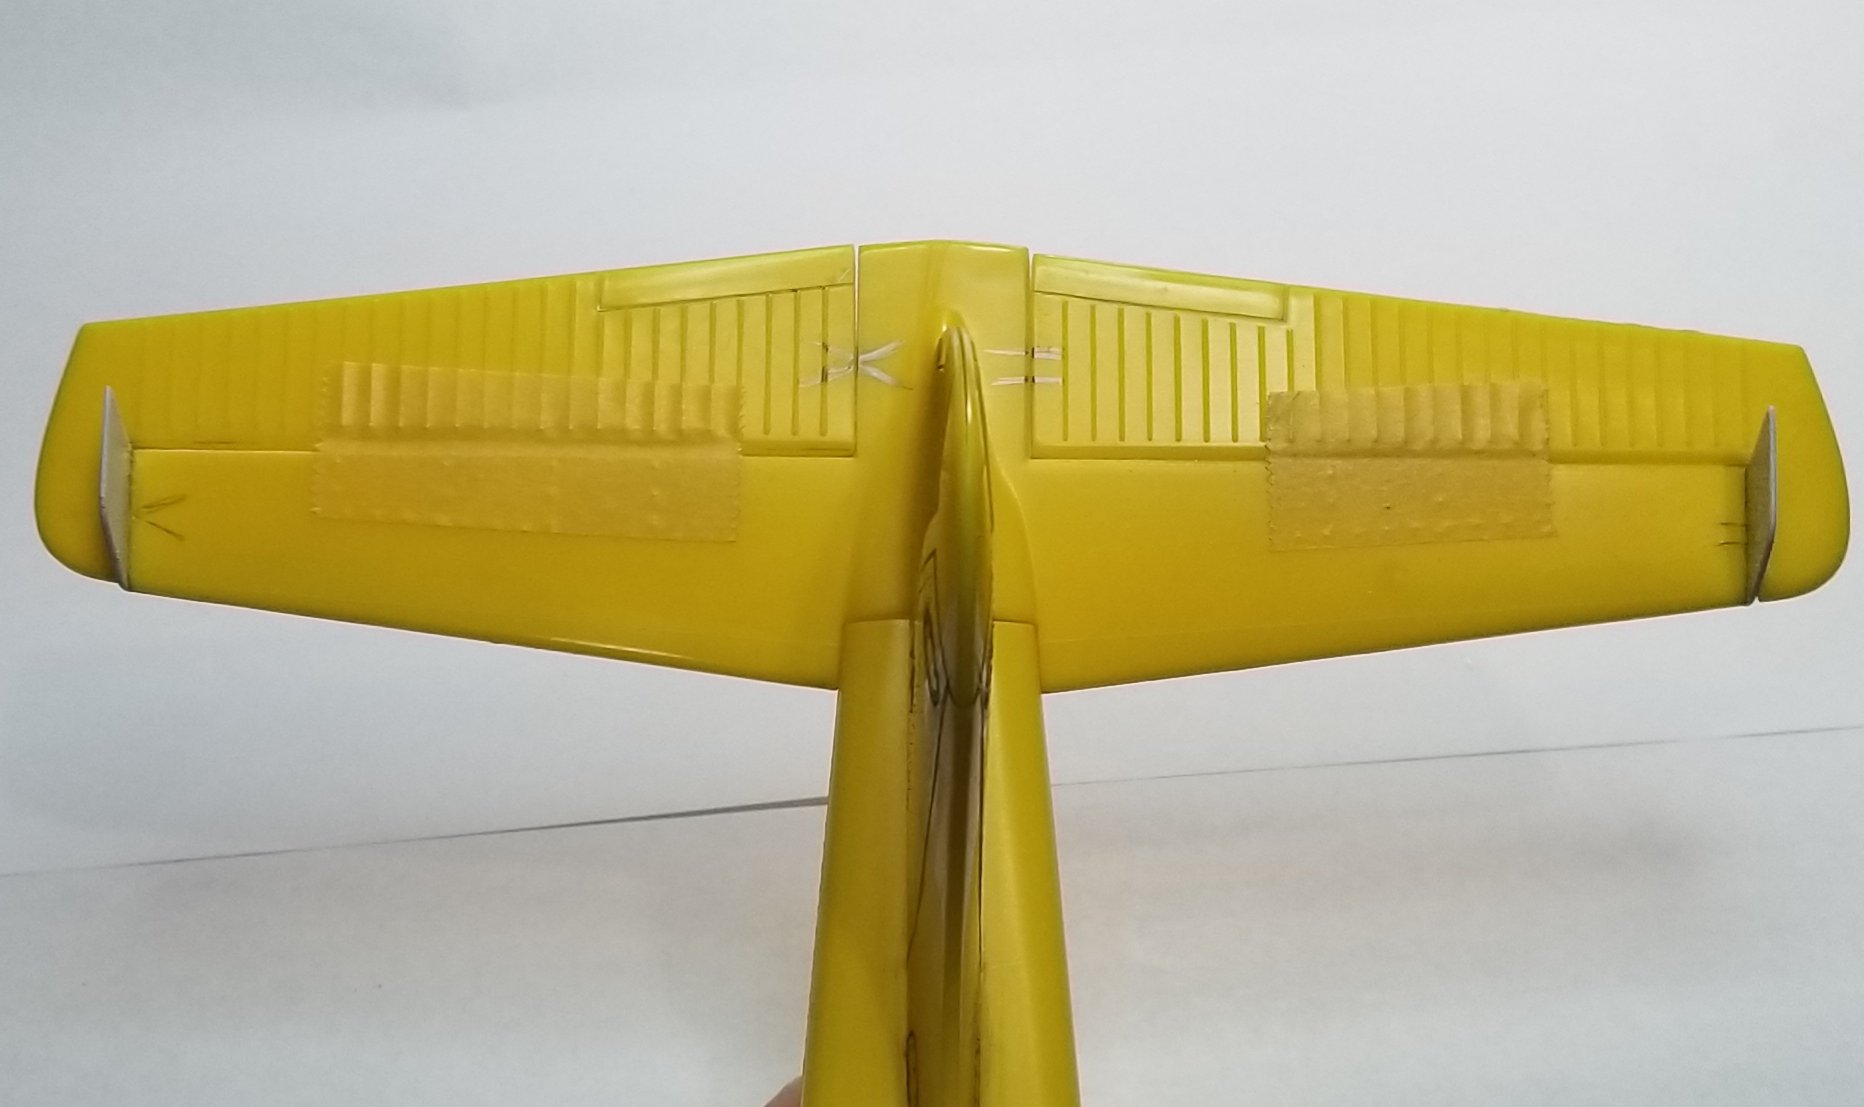
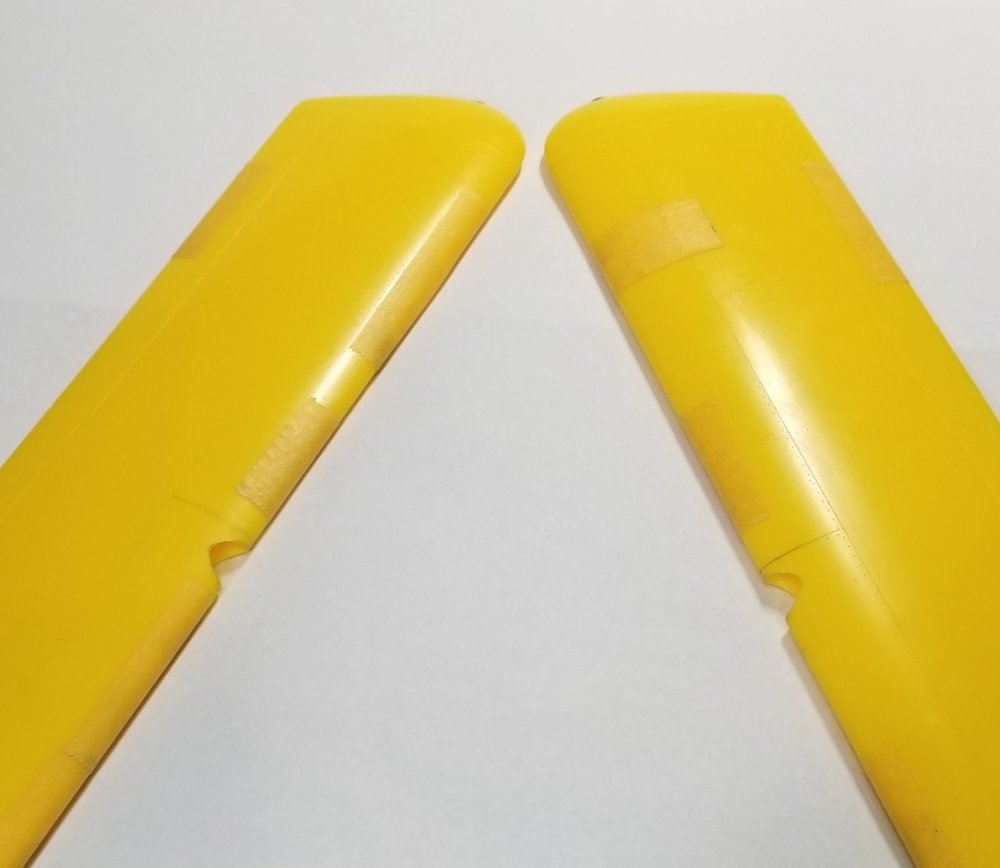
Got a little more done on the Beav' today. Got the elevators cut out and the angular stabilizer fins on the tail planes. well that's it for know. Be back soon. Ron G

-
Thinking about 3d printing a P&W R-985 1/24
CrankyCrafstman replied to CrankyCrafstman's topic in Modelling Discussion
As I said the file has alot of descripencys in it. Outside things attached to inside things holes or gaps that aren't supposed to be there, etc., etc. So try it at your own risk. It can be fixed, but it will take alot of work and a huge amount of time. Ron G -
Hey Anthony There was one on Ebay, it was the white plastic one, same model just different plastic. It was going for $60.00 US plus shipping the last I saw it. If its still available GRAB IT! They are extremely rare. Ron G
-
Thinking about 3d printing a P&W R-985 1/24
CrankyCrafstman replied to CrankyCrafstman's topic in Modelling Discussion
Yeah, when it works it prints super smooth parts, has a very fine resolution, that is when it works. We're having trouble with it right know, tge resin is sticking to the print platform (it has to in order to start the print). That's why were thinking about getting the new model, but like I said it's $4,000 bucks + and we can't swing at the moment. Ron G -
Thanks Jeff Those will come in handy when I get to that part of the build. Ron G
-
Looking good Ernie
-
Thinking about 3d printing a P&W R-985 1/24
CrankyCrafstman replied to CrankyCrafstman's topic in Modelling Discussion
Second print was also a flop The file if tge engine has ALOT! of discrepancies in it that make it almost impossible to print. My son has been working on it, but he doesn't have the CAD modeling experience that I have. So I need to learn how to run Rhino, since thats the cad program my son has, and delve into it and see if I can fix it or if I have to remodel it. So project is on hold till I can resolve this issue. Sorry Ron G -
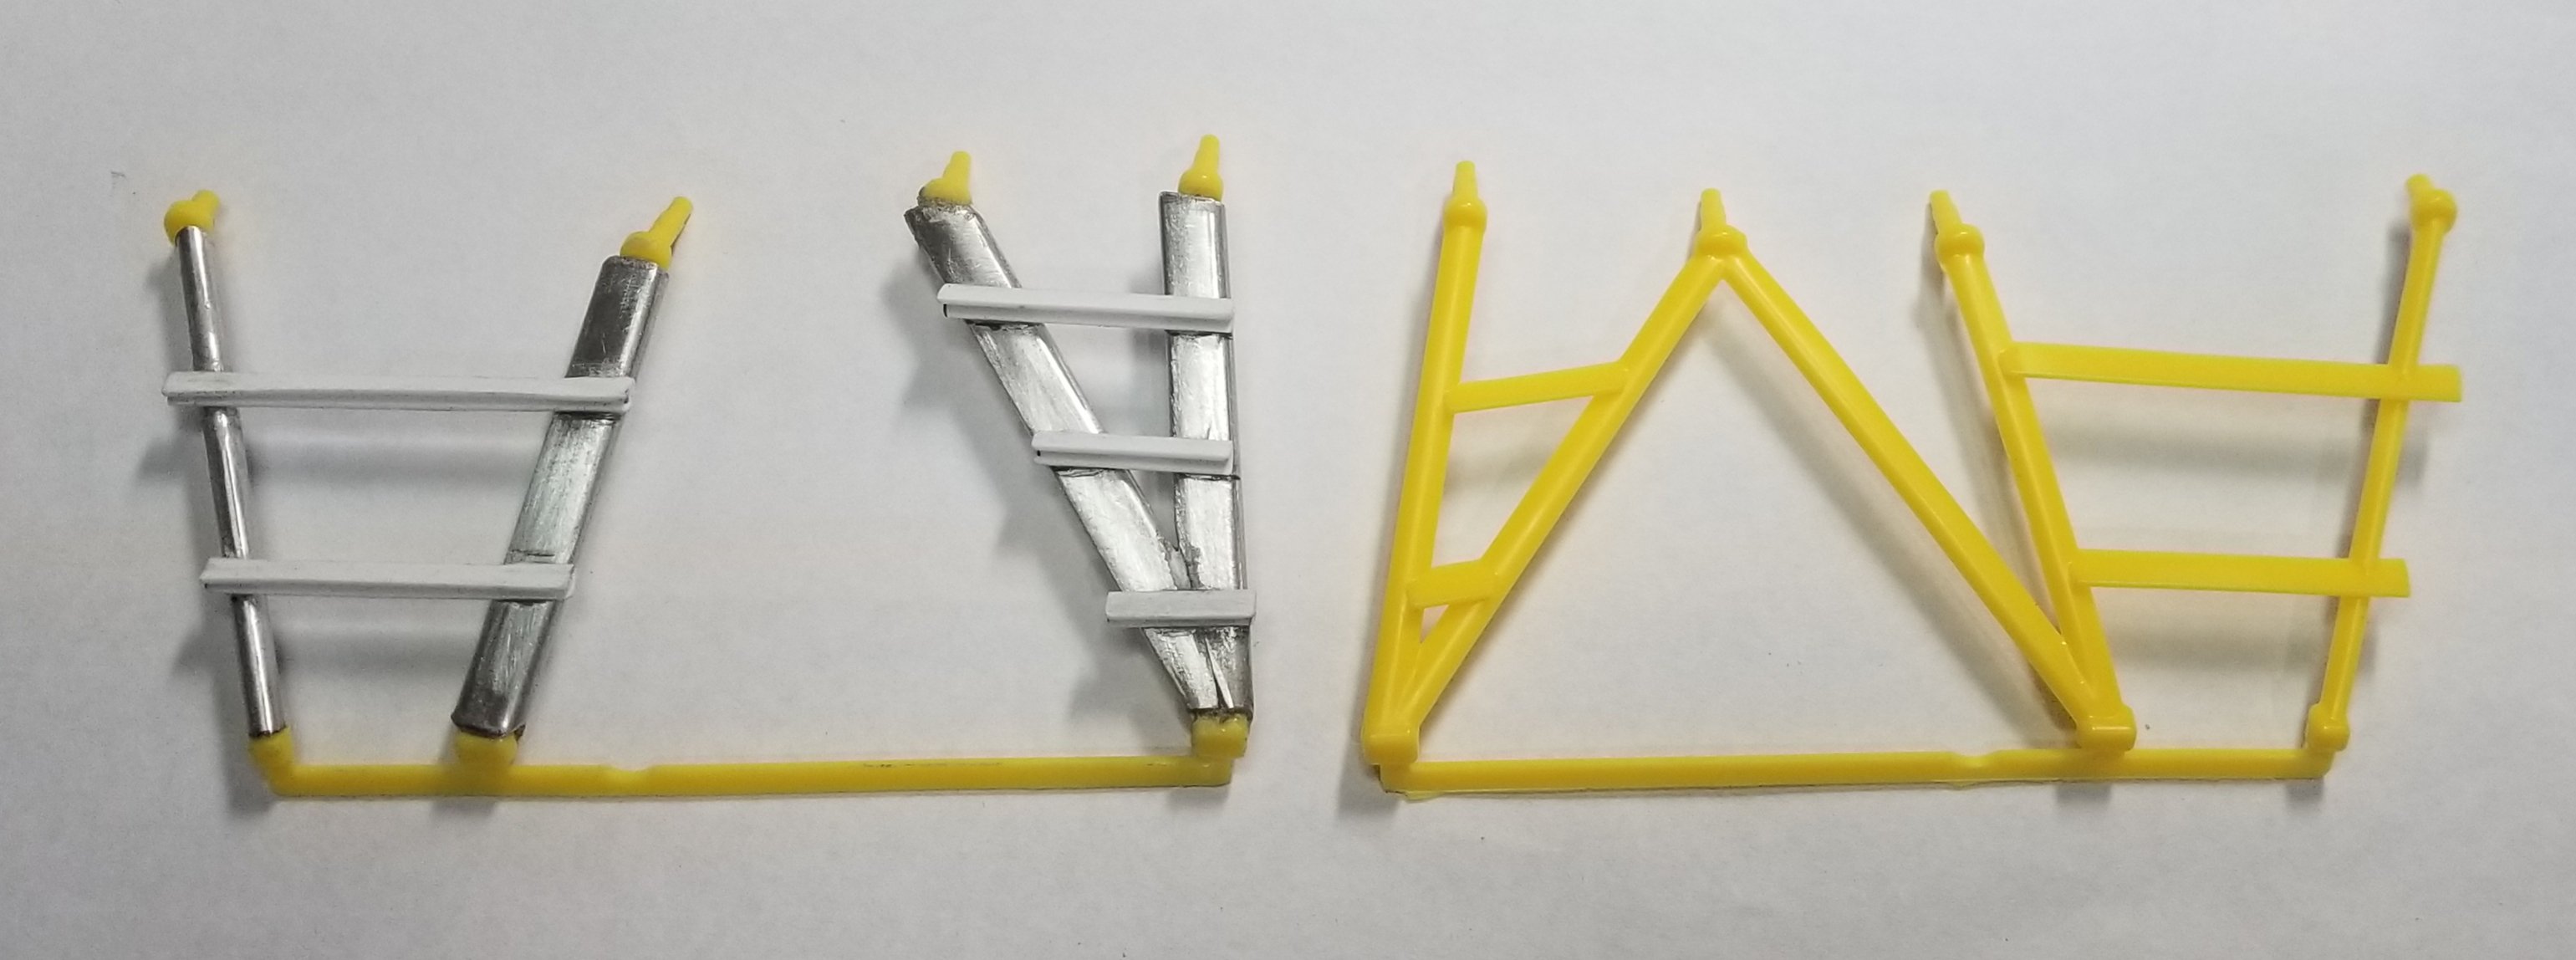
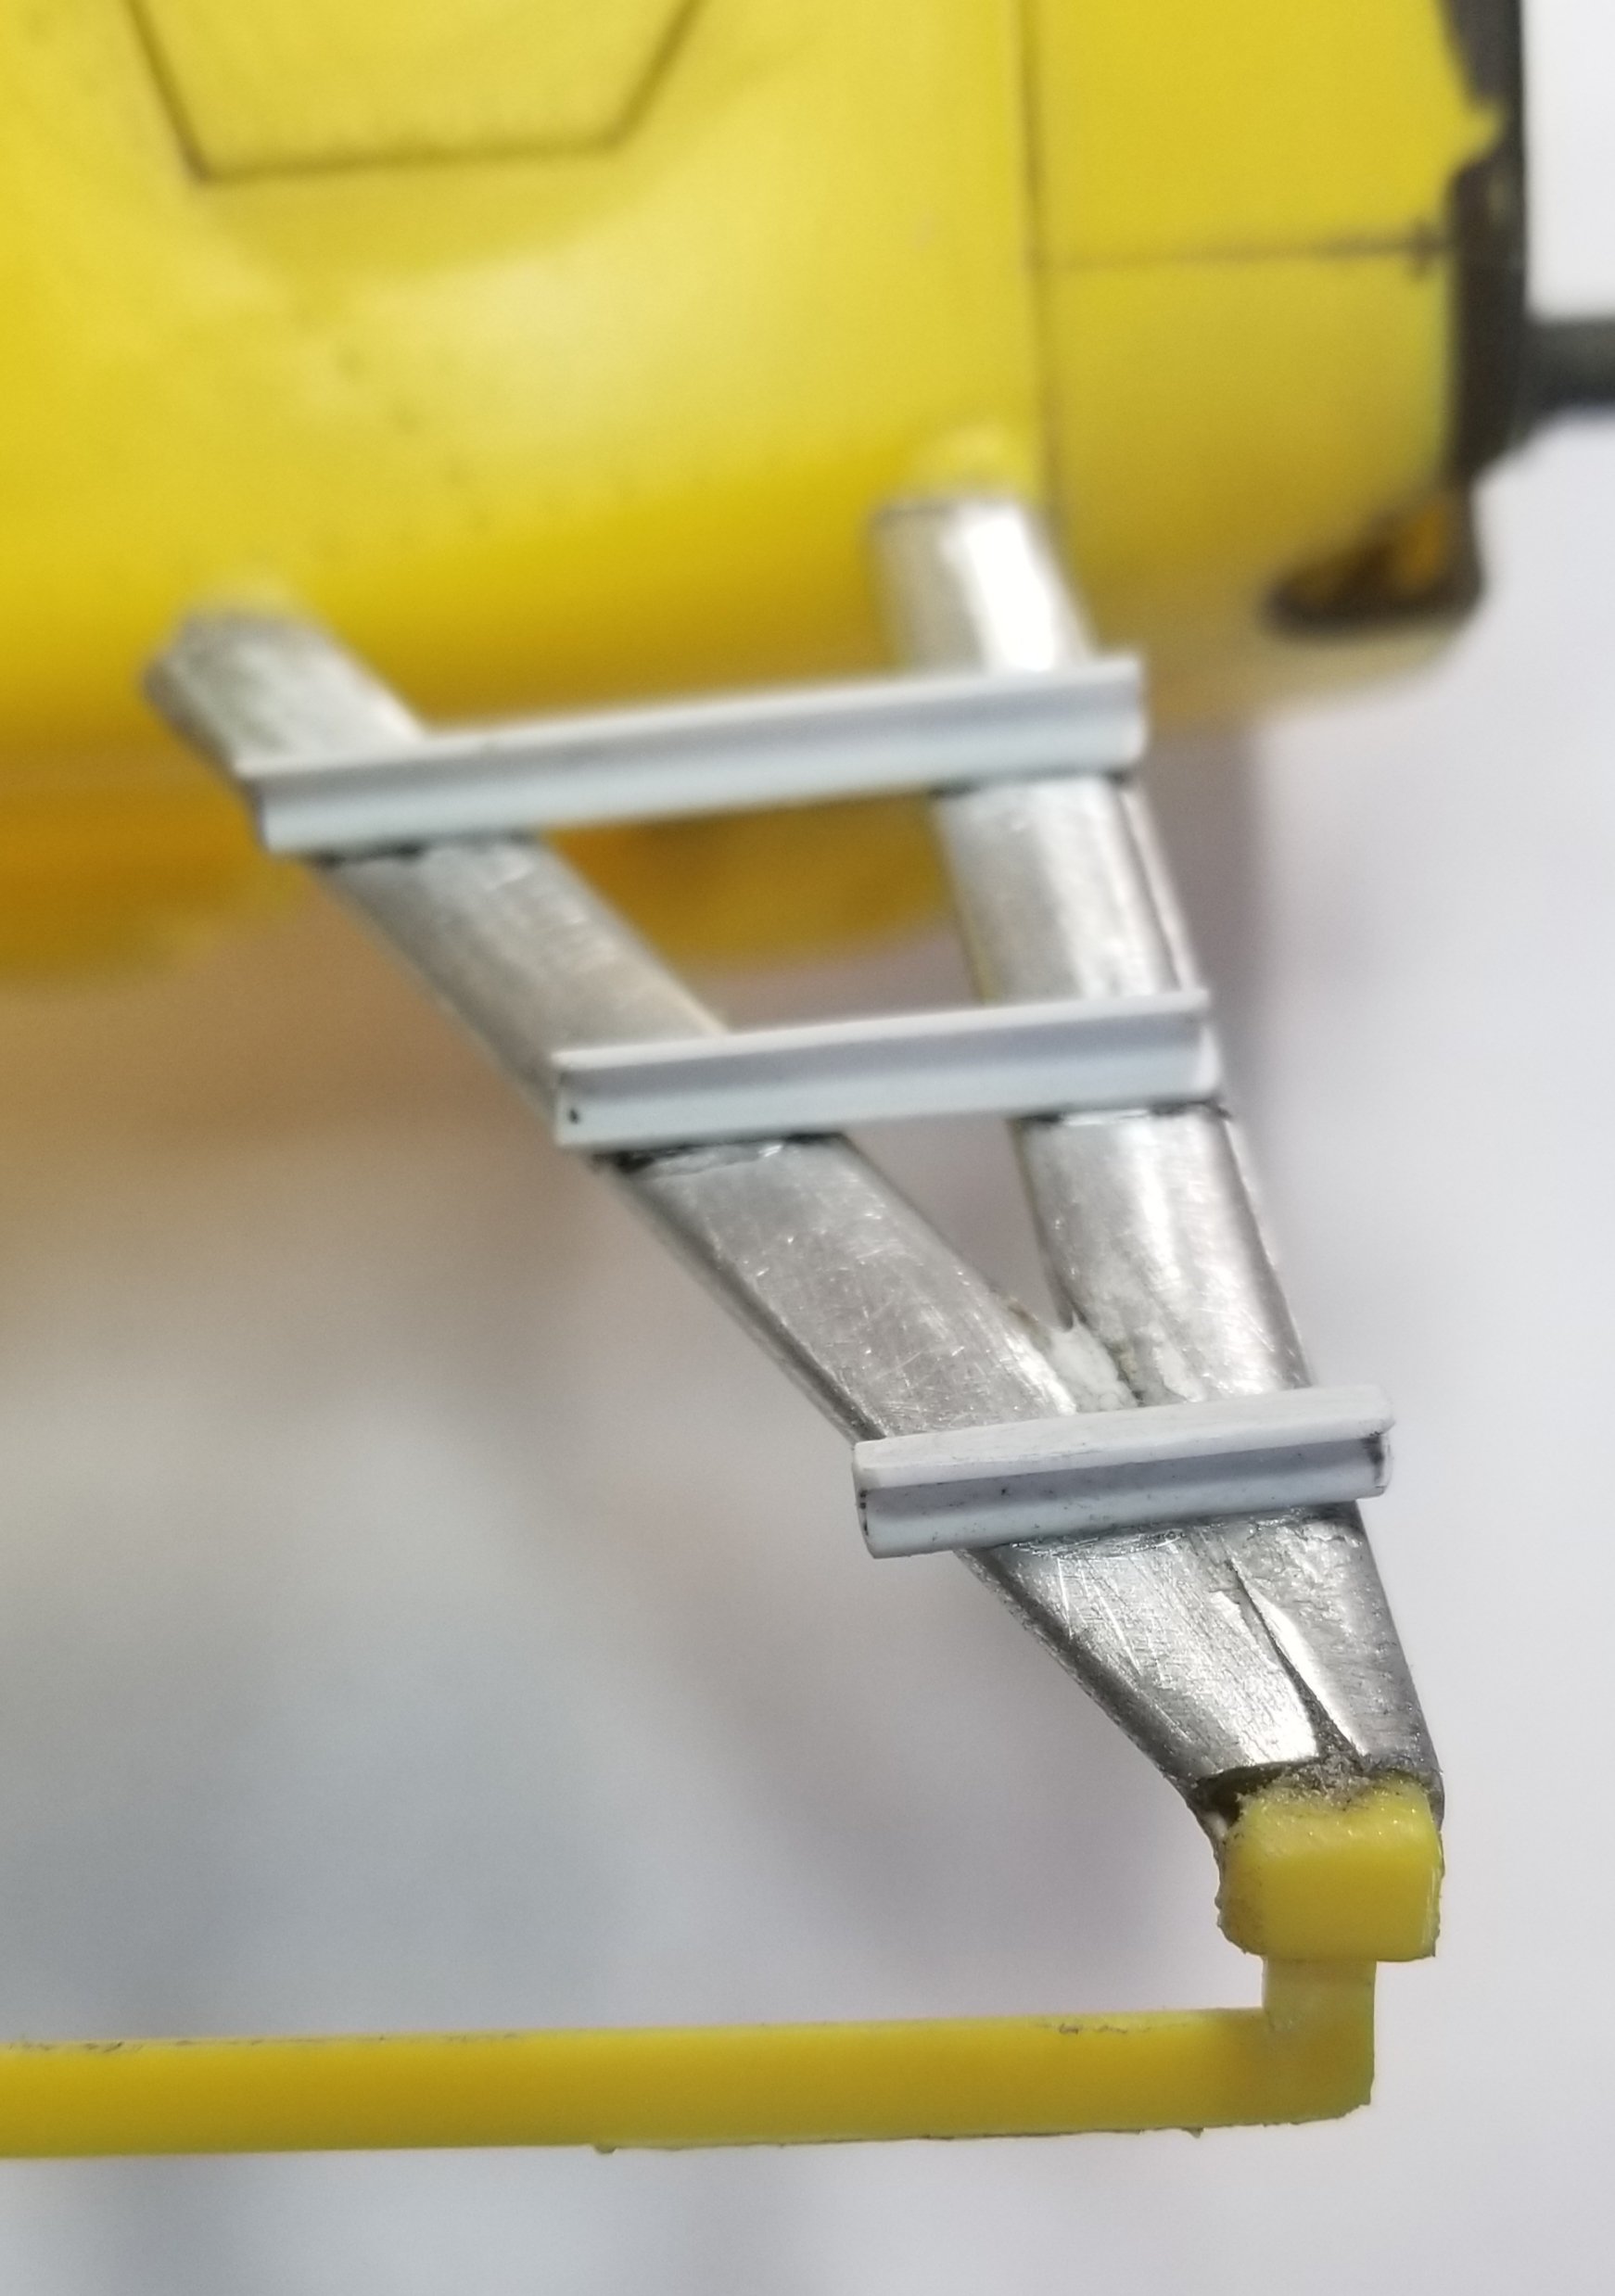
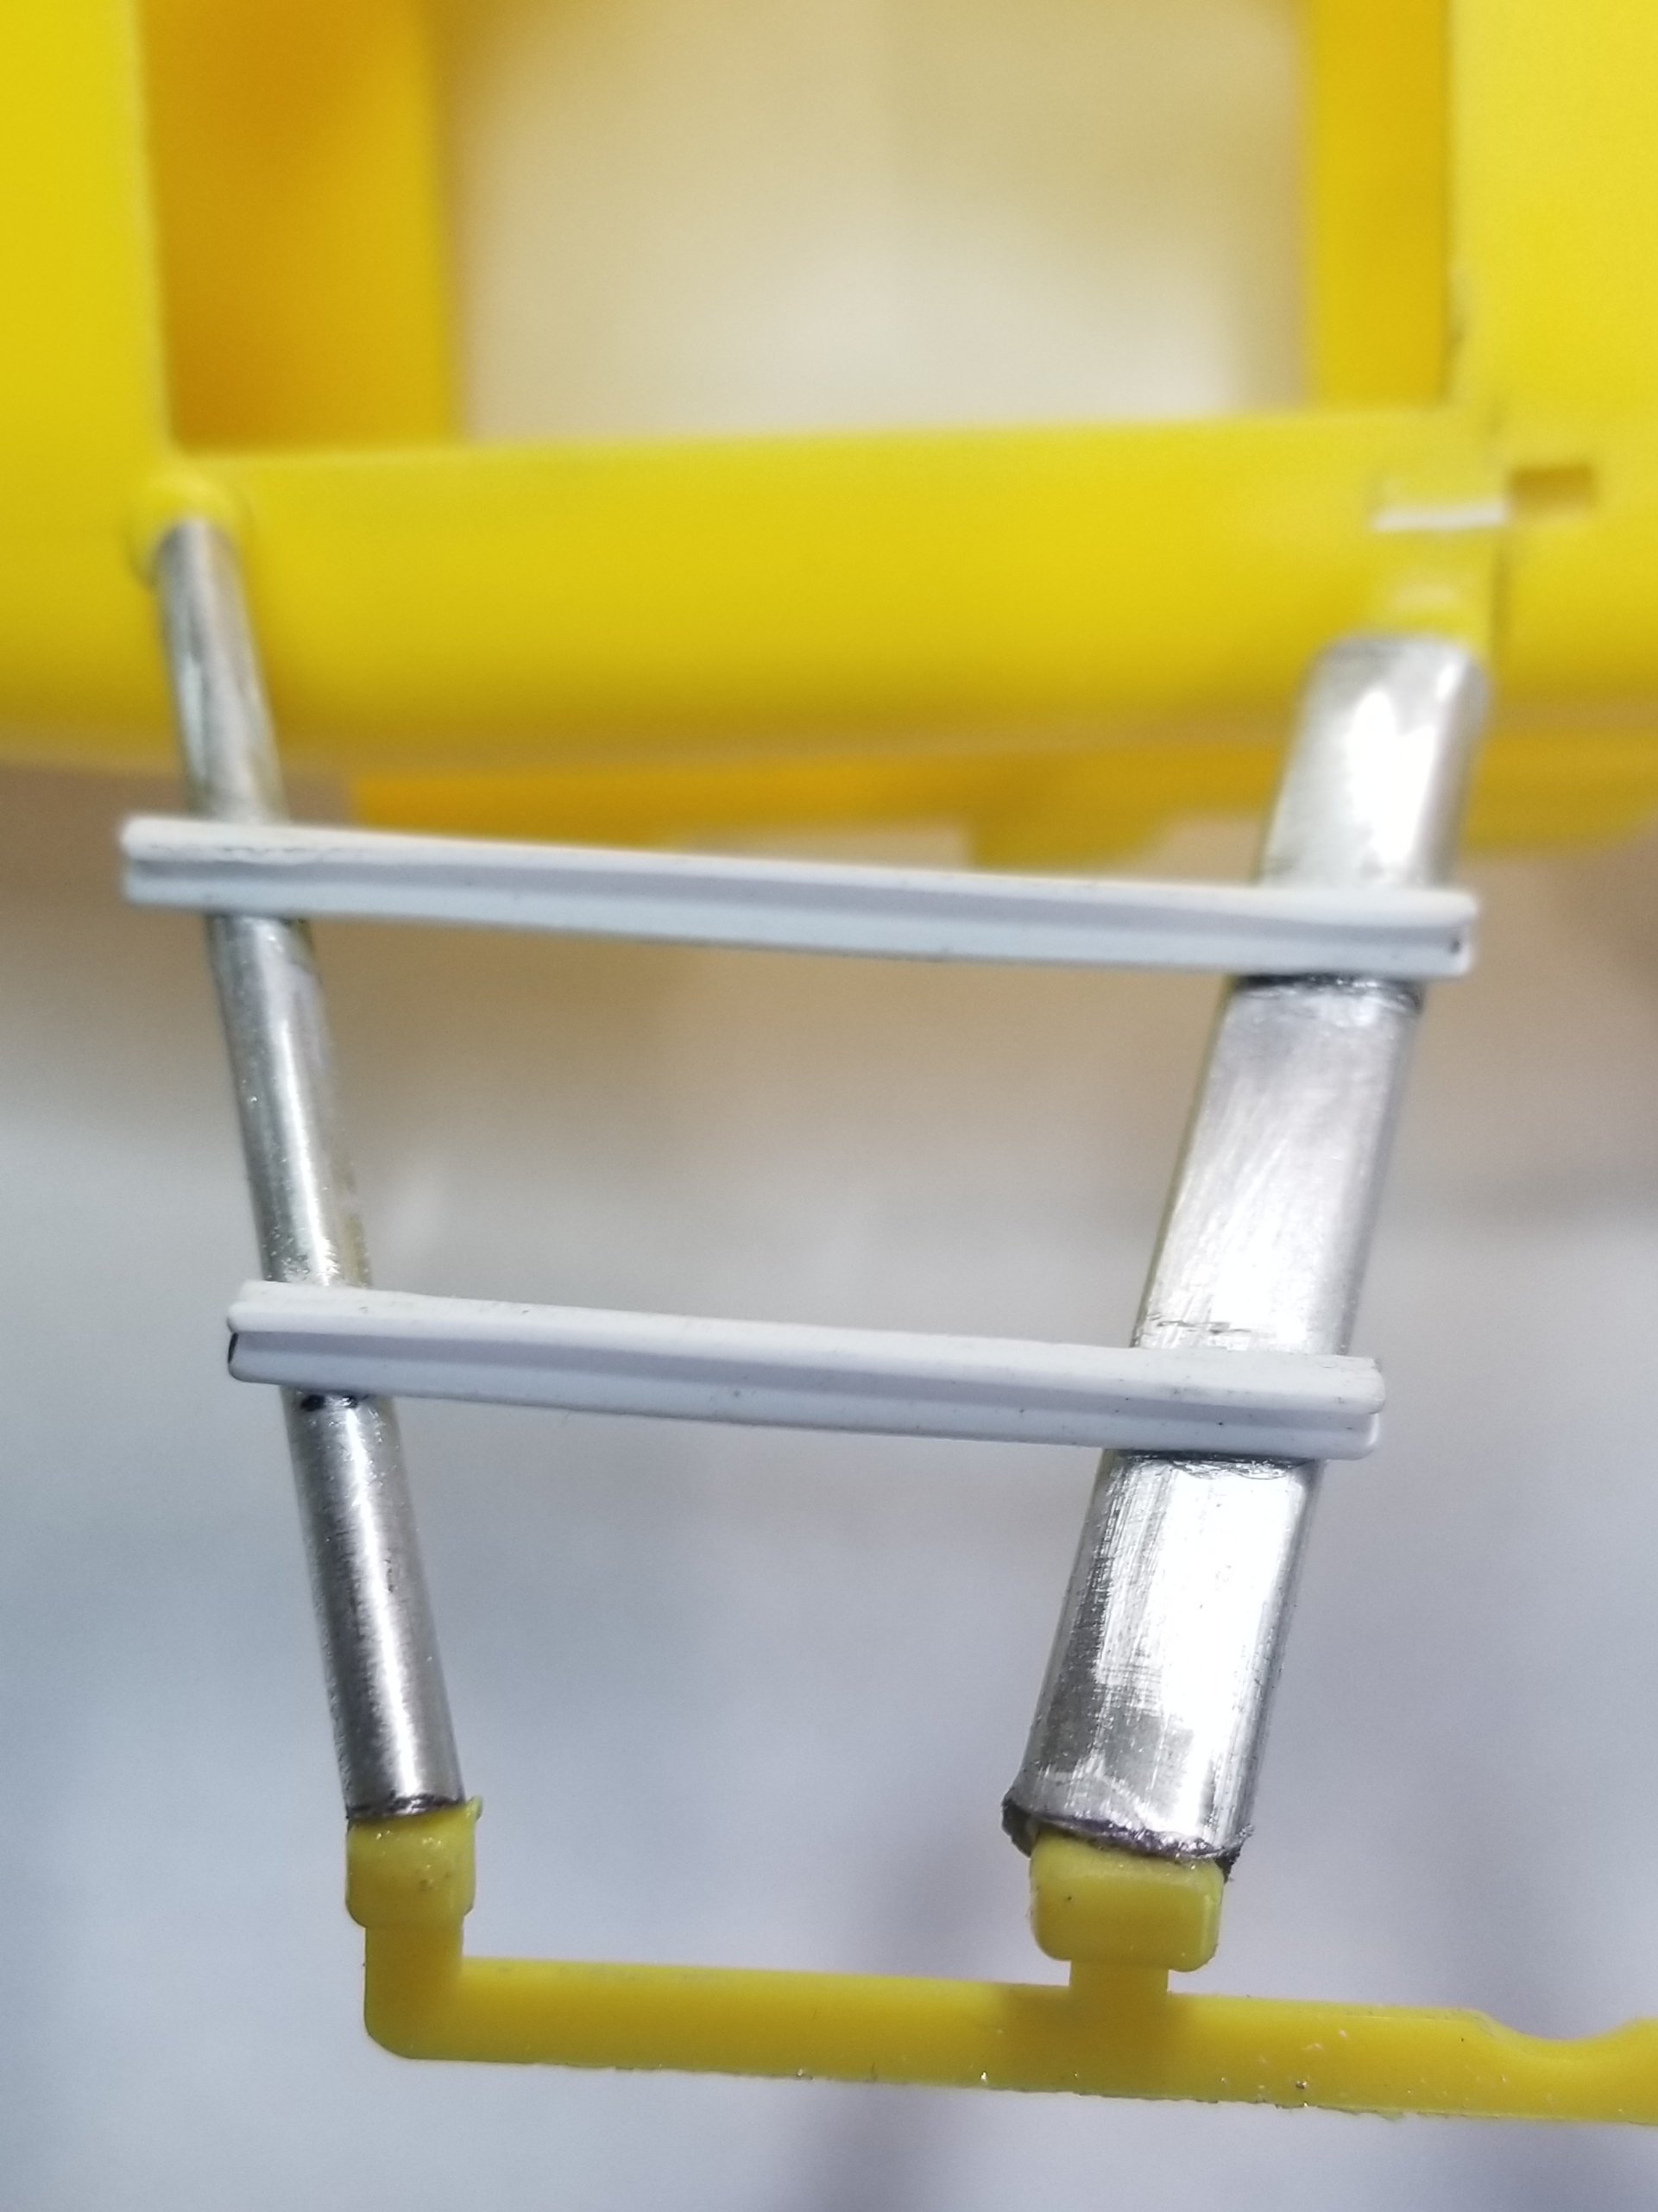
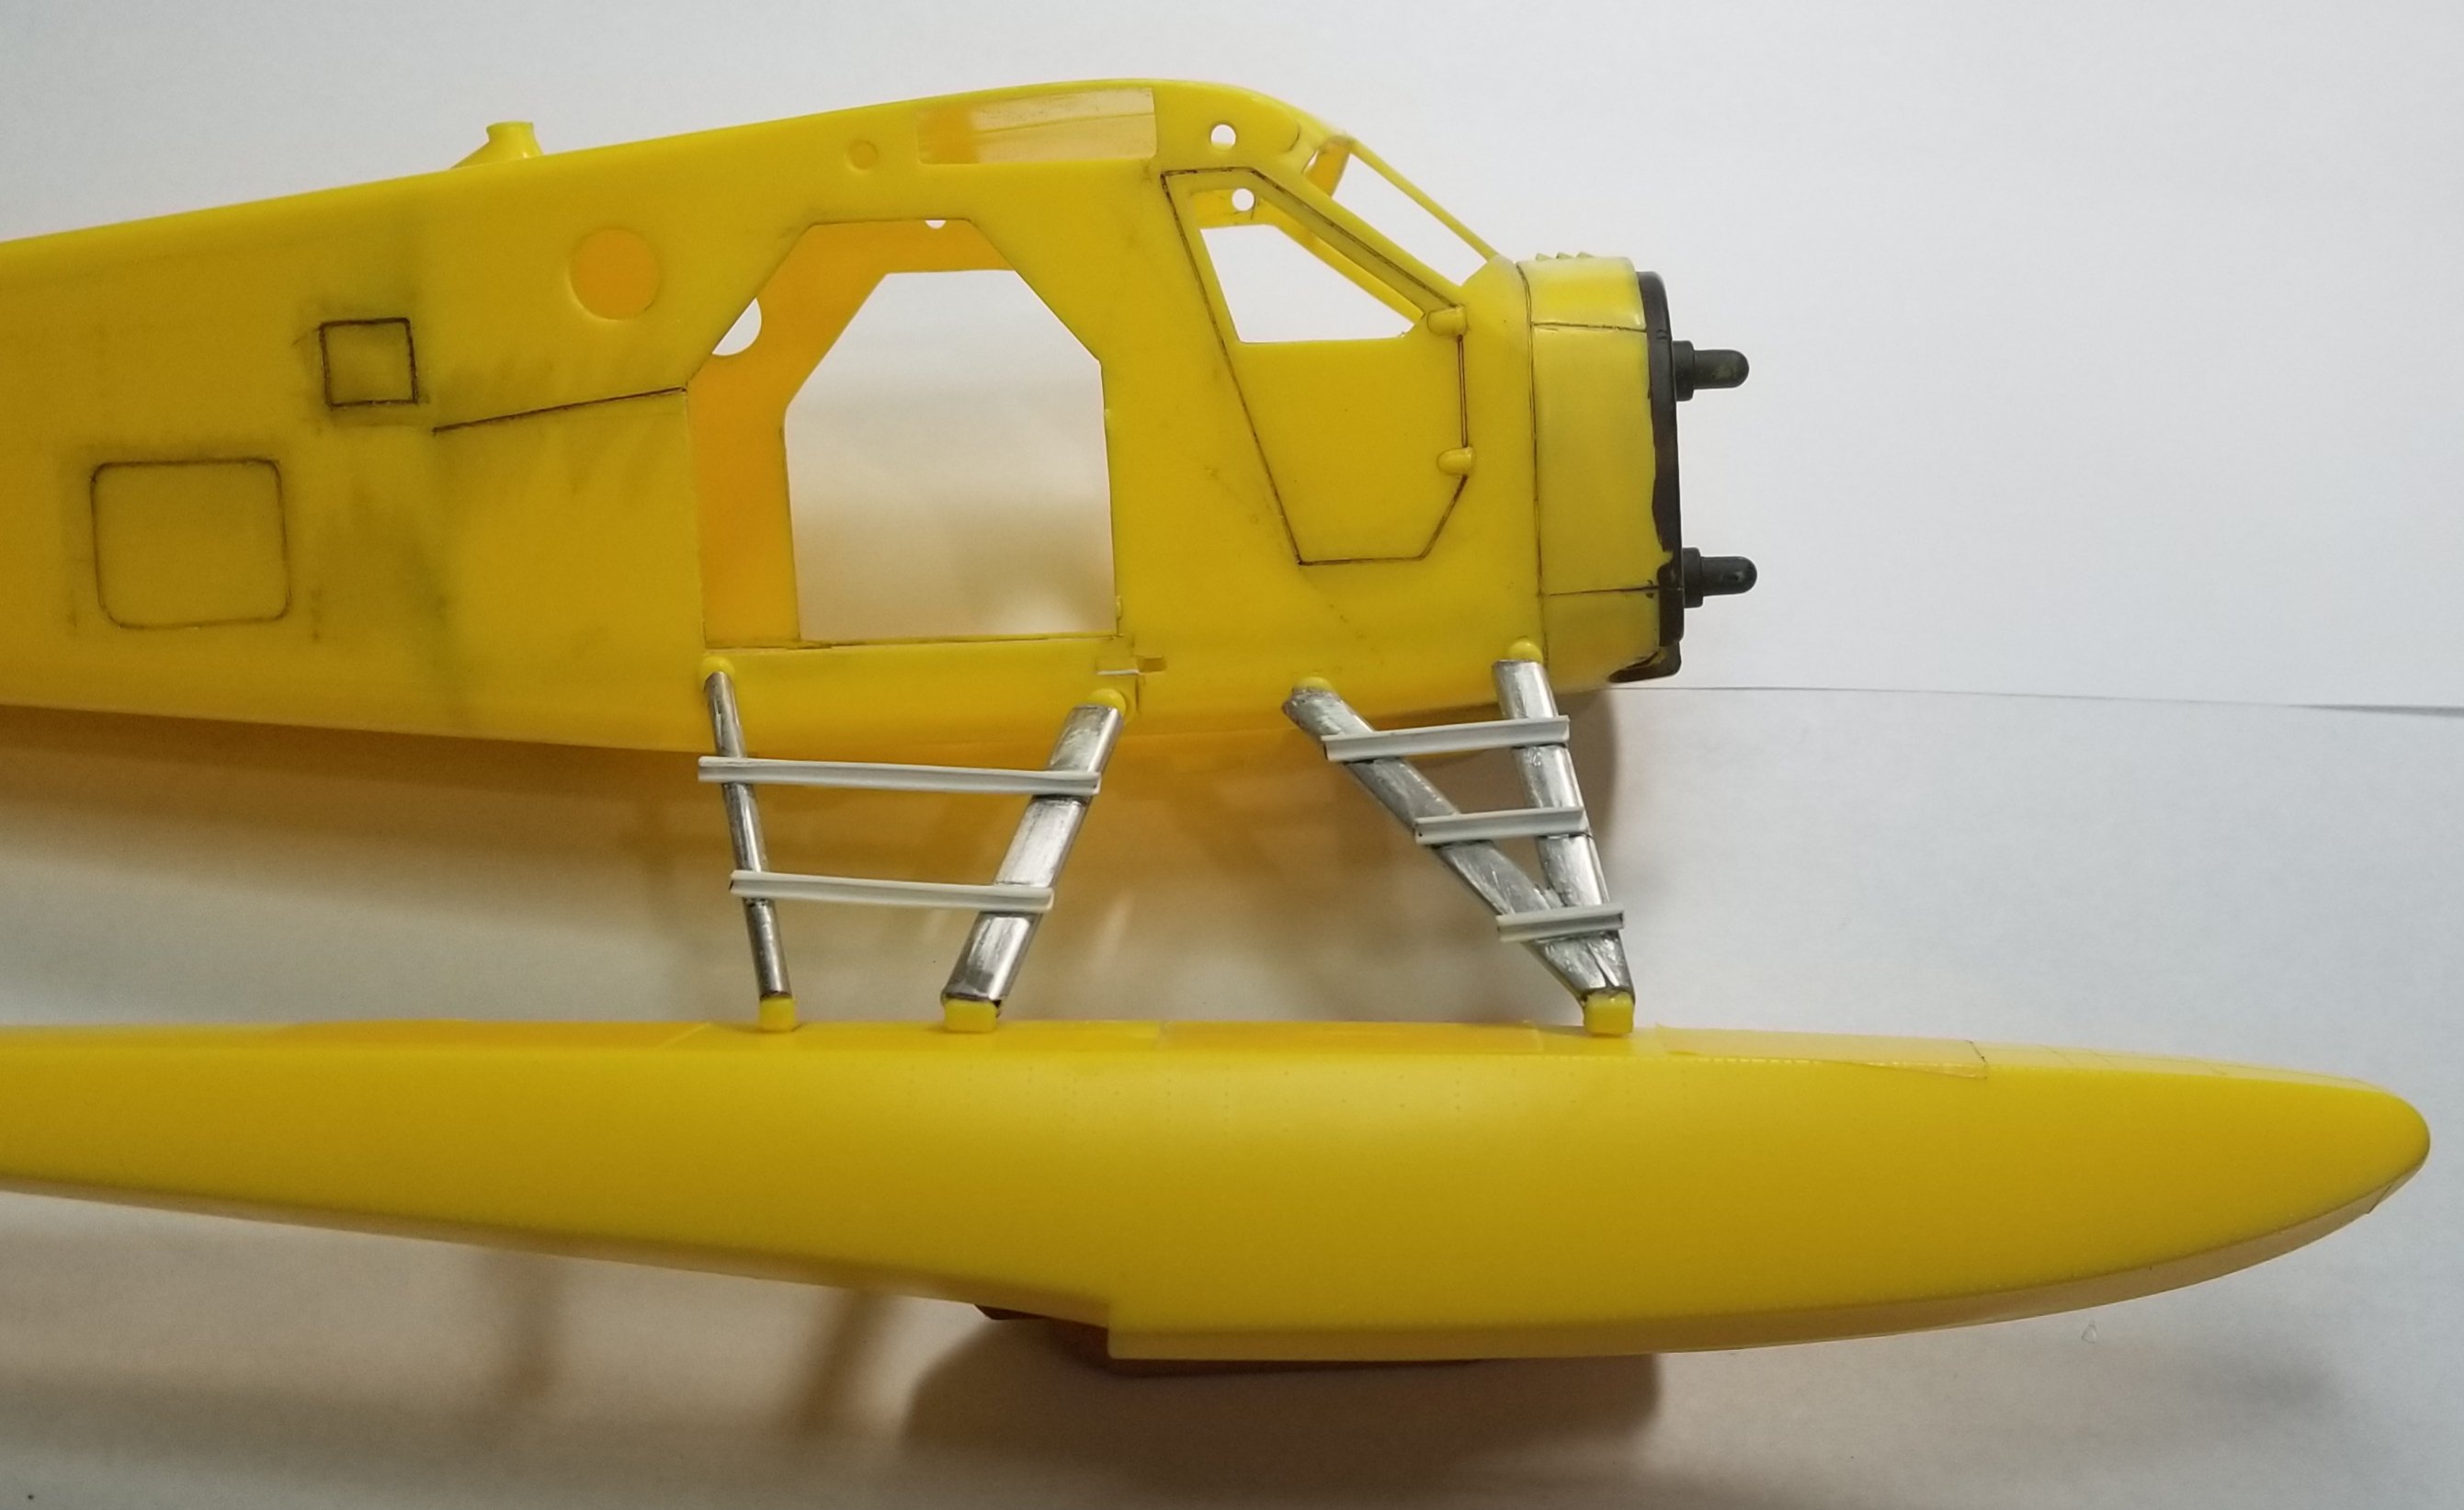
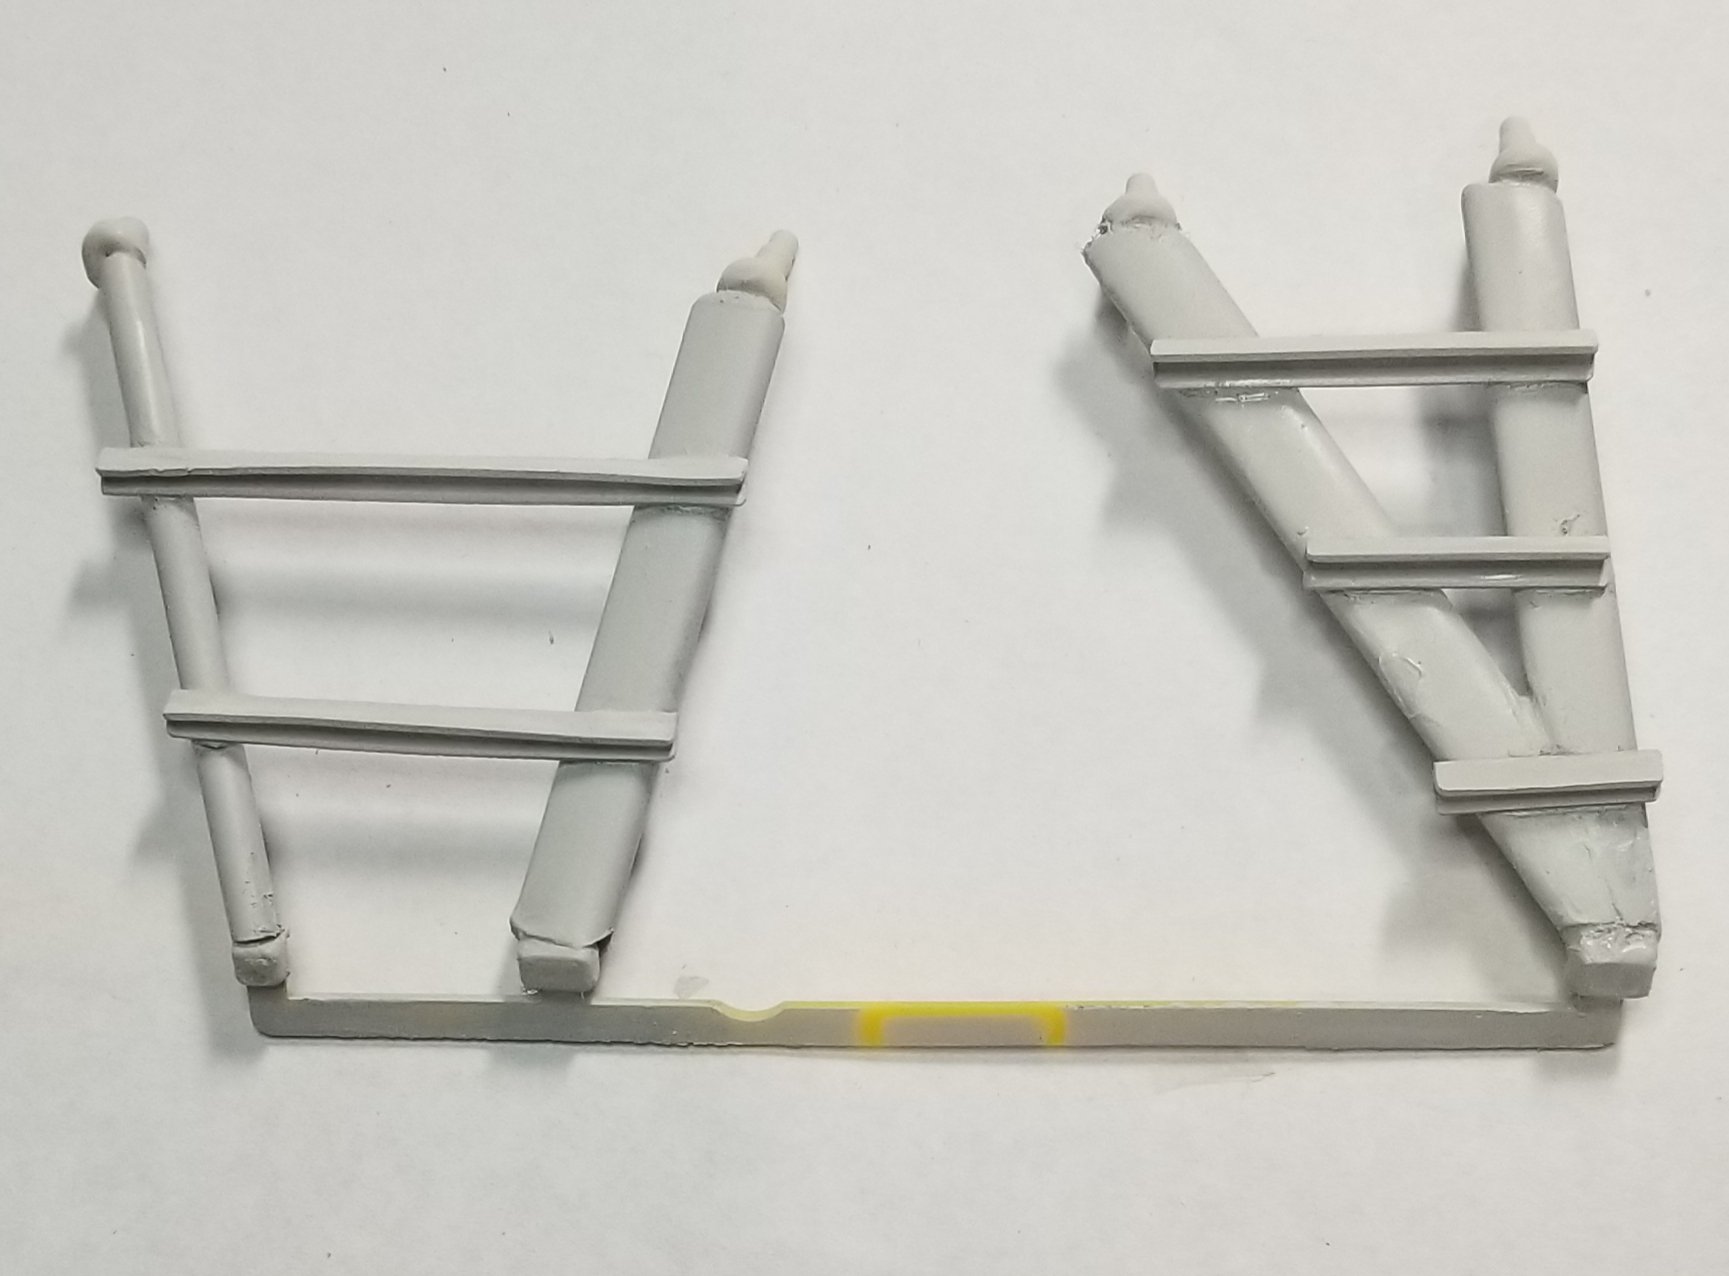
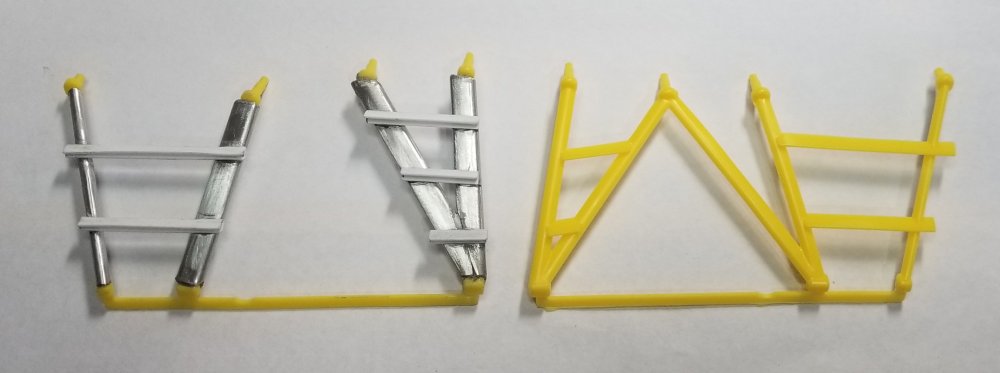
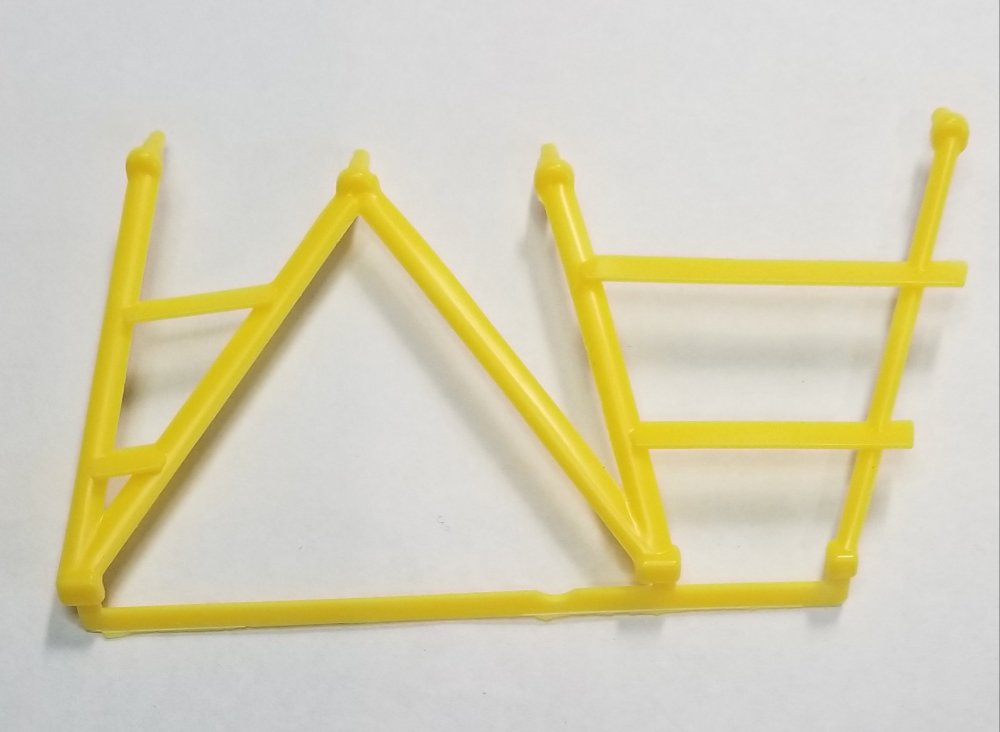
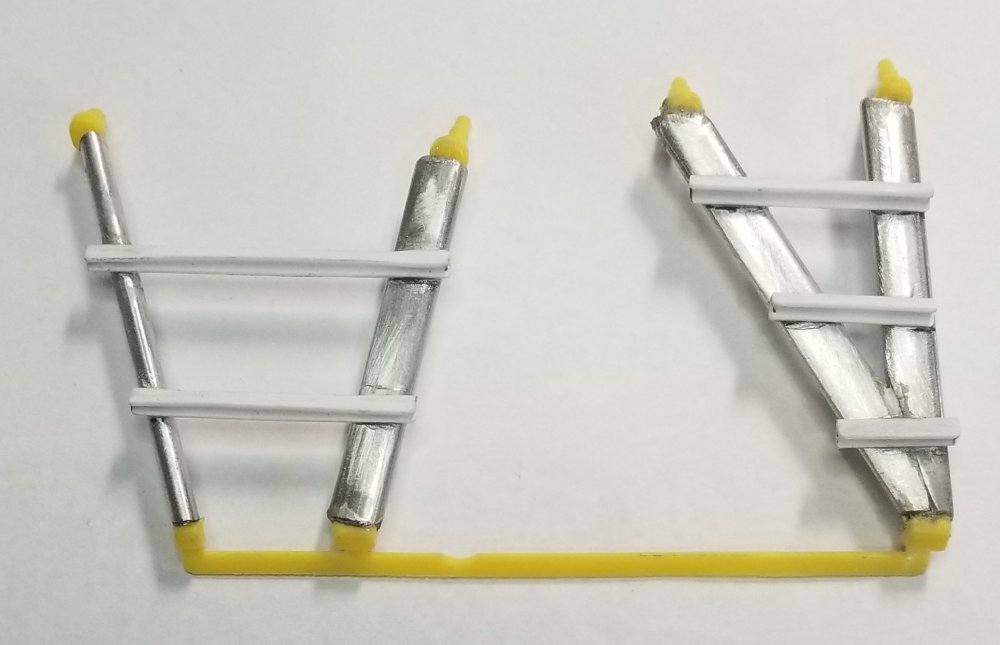
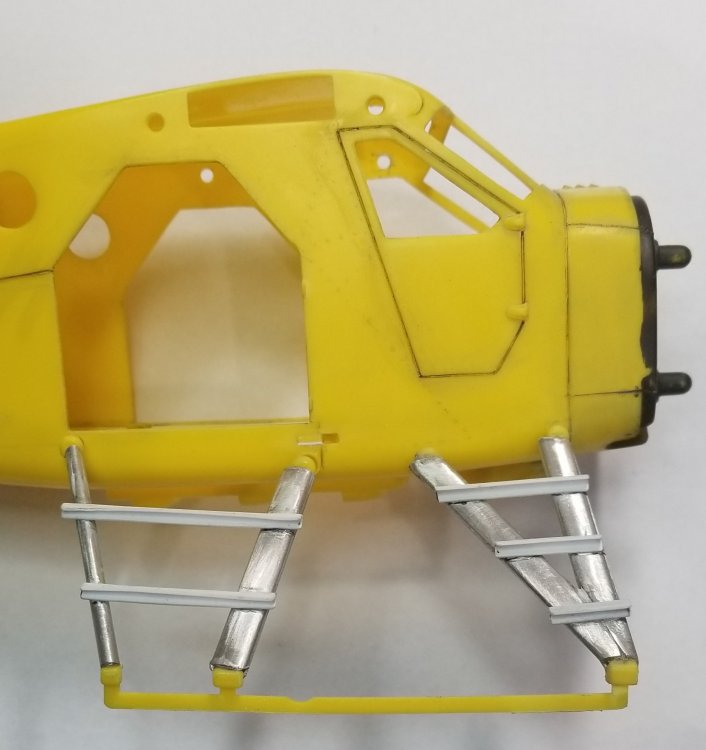
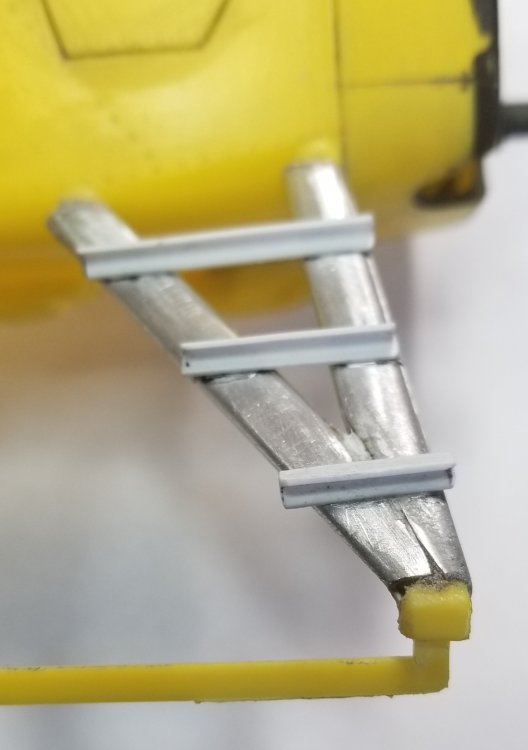
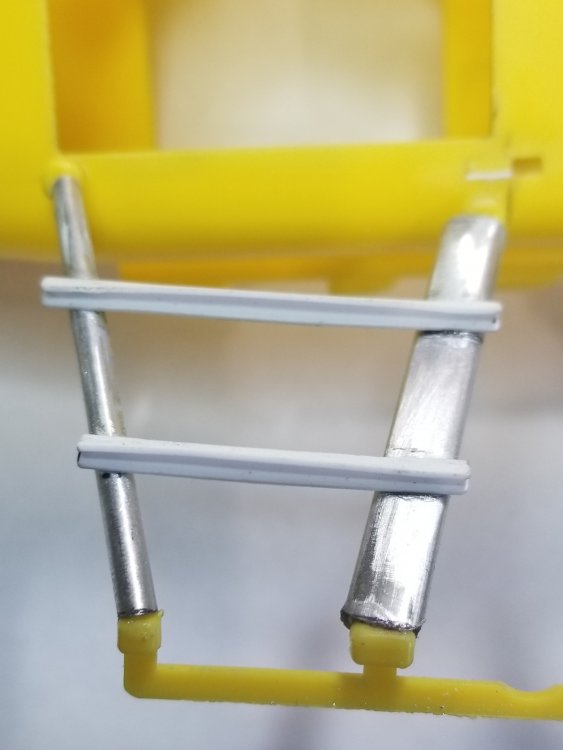
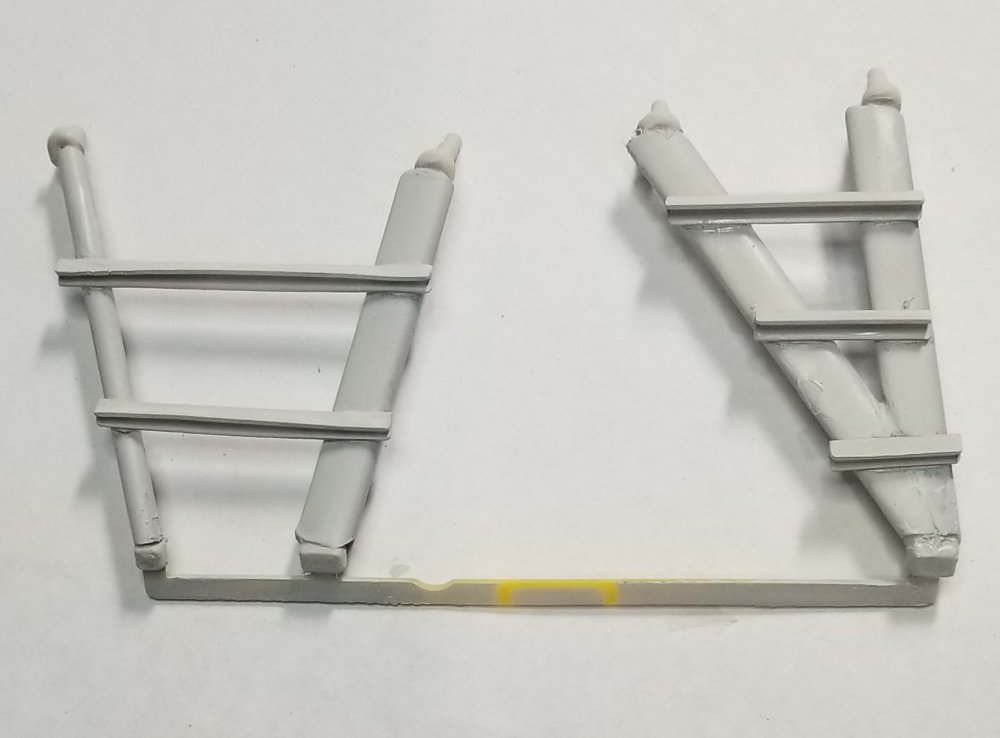
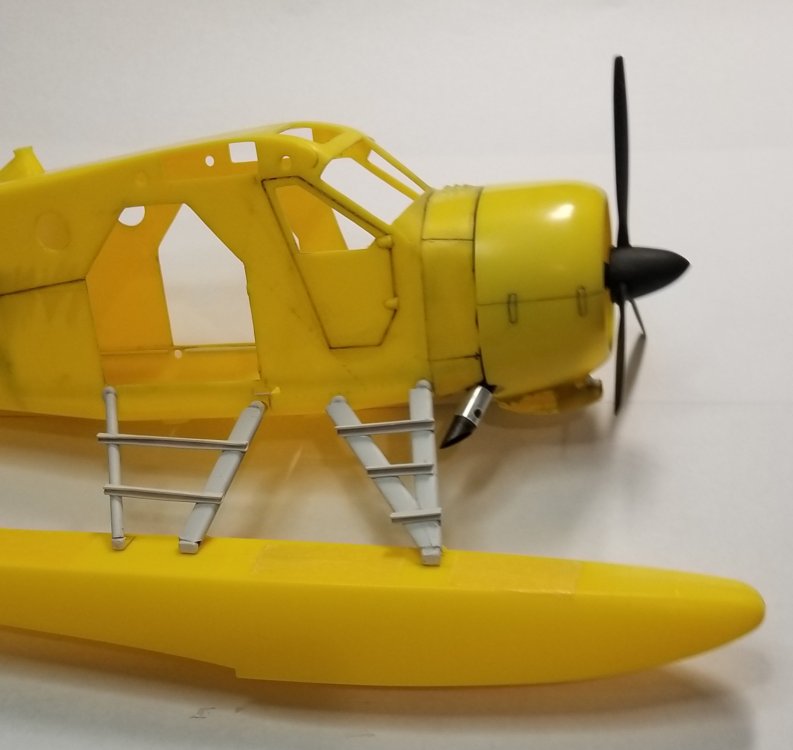
Just a little more accomplished. I got the Starboard side of the float support struts done. Here are some pictures. These are the float support struts. Port on the right and Starboard (modified) on the left. Port support strut as it comes in the kit. Starboard support strut modified. I used some 1/4" wide aluminum airfoil tubes for the front three supports and a piece of 1/8" diameter aluminum tube for the rear support strut. I used 1/8" x 1/8" plastic angle, rebent to the correct angle, for the steps. Every thing is held together with CA super glue. Here they are attached to the fuselage. close-up of the front support. Close-up of the rear support. View showing them with the float attached. First coat of grey primer. Here's another view showing the support and float. Now I have to make the other side and rig them. All for now be back when I get some more done. Ron G

-
Thinking about 3d printing a P&W R-985 1/24
CrankyCrafstman replied to CrankyCrafstman's topic in Modelling Discussion
Formlabs, form2 it's a resin printer. Ron G -
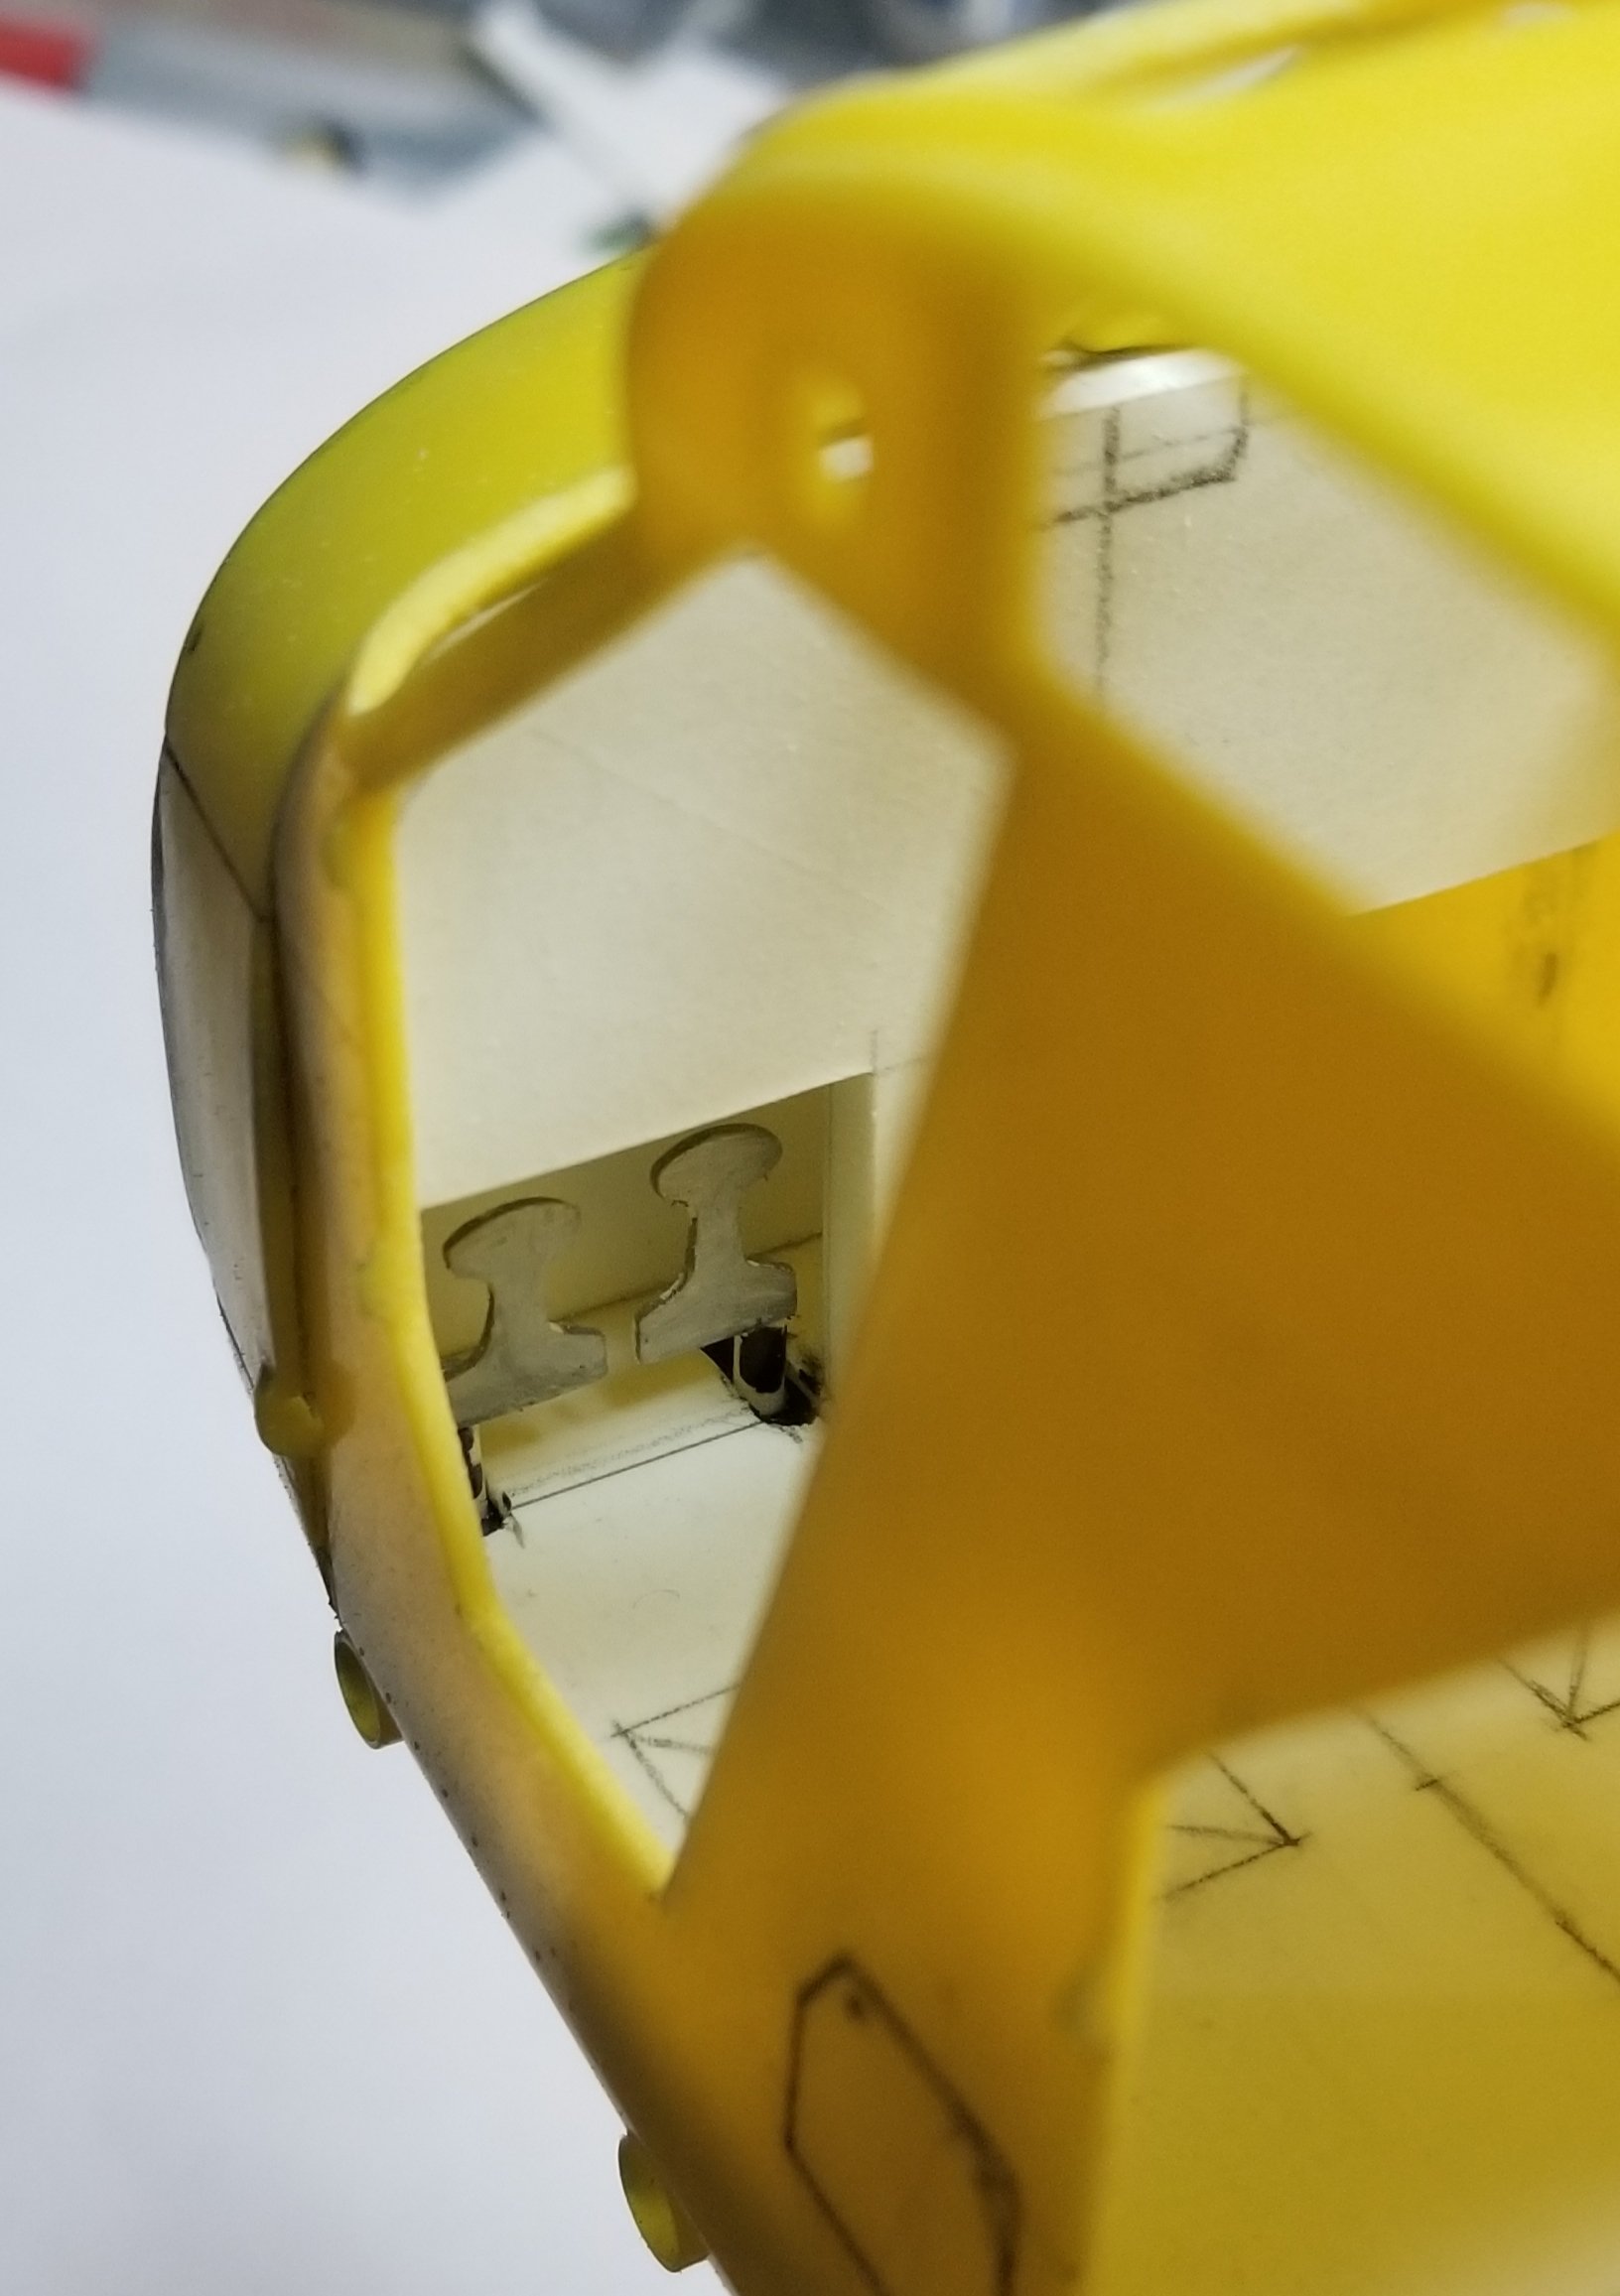
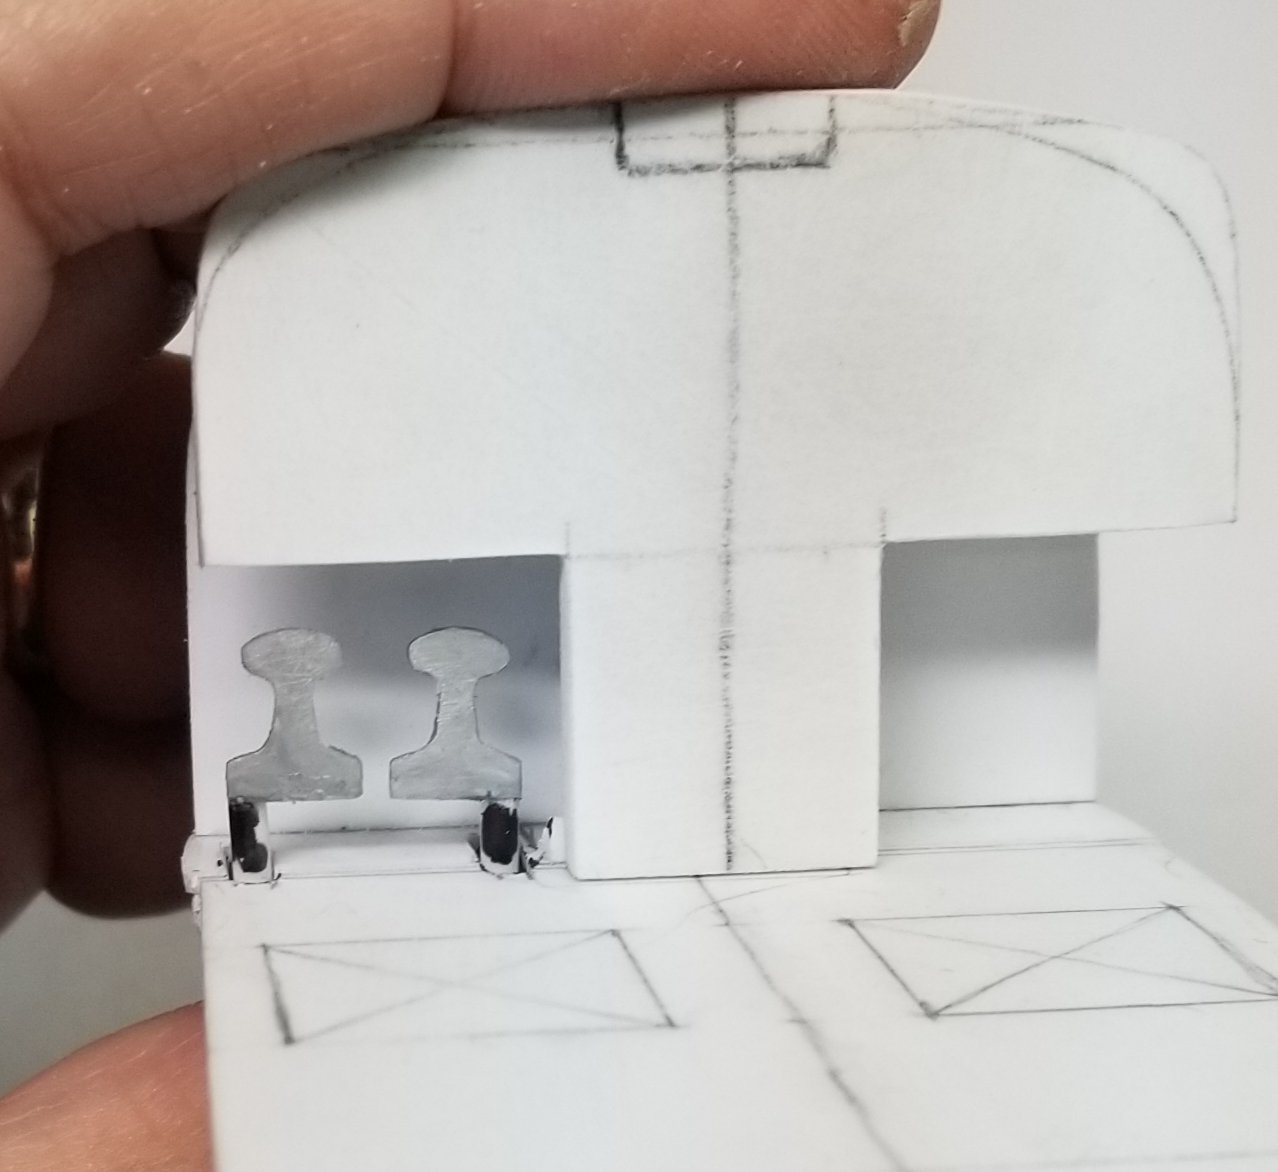
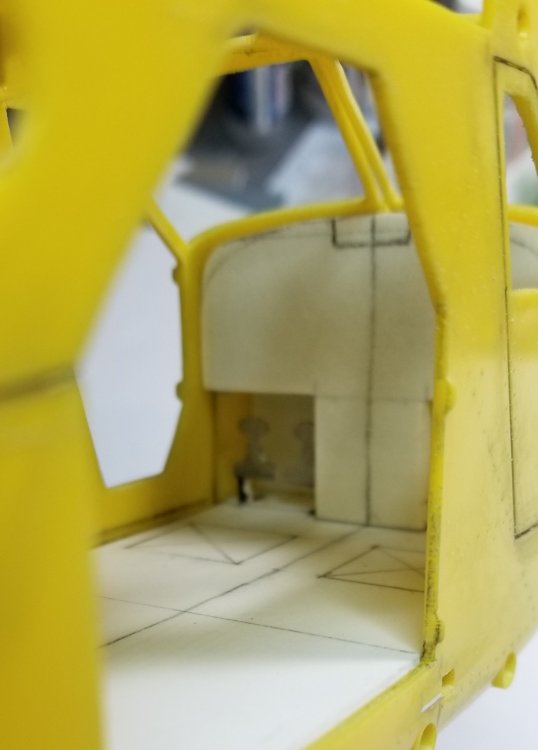
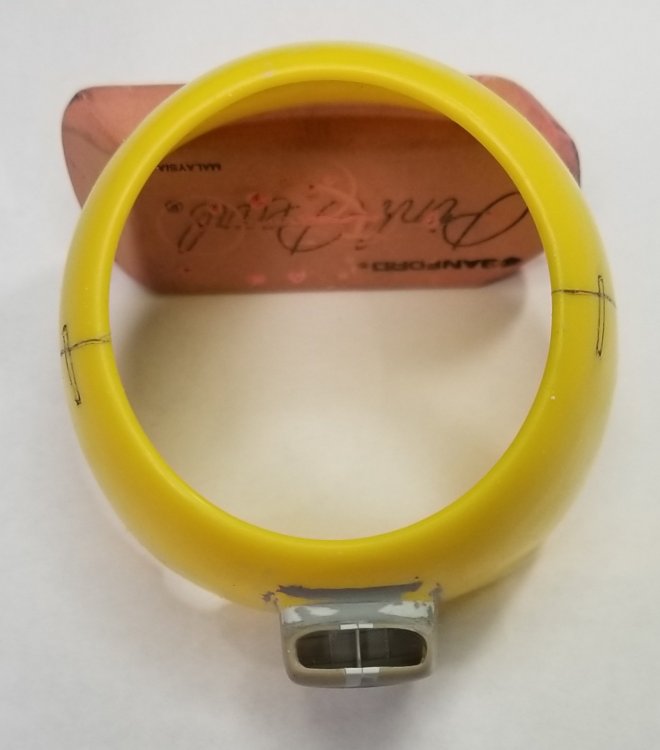
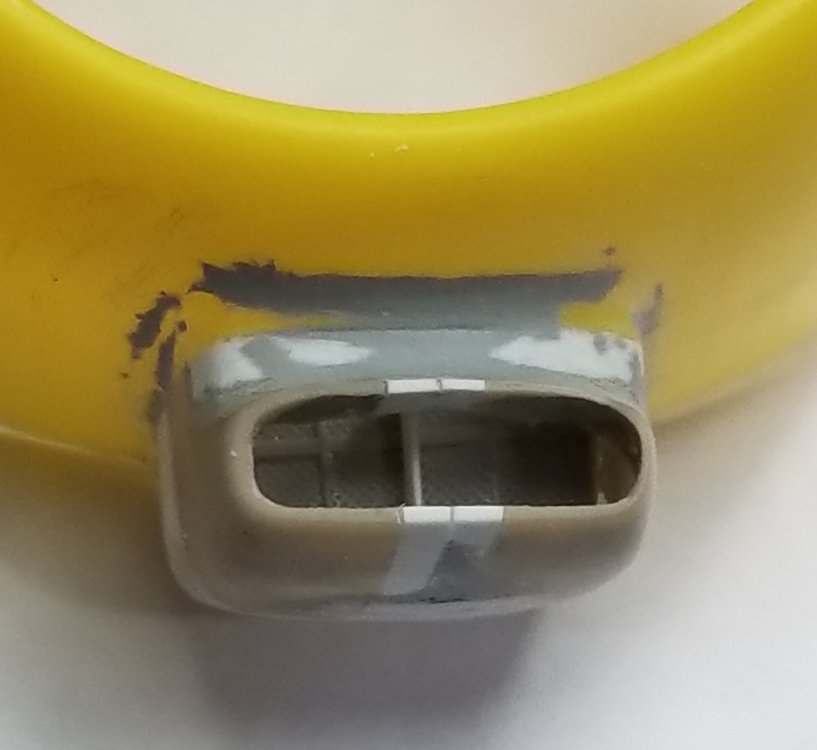
Got a little more done. I started on the instrument panel, right now it's just the basic shape. I scratched up some rudder pedals, tgere not perfect but there the right shape. I did some work on the lower carburetor intake scoop. Here are some pics. heres a shot through the pilots door. shot through the starboard cargo door. these are the pedals and the instrument panel. added the vane in the center. and a filter screen. Thats it for know. Ron G


-
Thinking about 3d printing a P&W R-985 1/24
CrankyCrafstman replied to CrankyCrafstman's topic in Modelling Discussion
Well the first print didn't work we're not sure if it was the printer or the file so we are investigating it. Stay tuned for more info Ron G -
Thinking about 3d printing a P&W R-985 1/24
CrankyCrafstman replied to CrankyCrafstman's topic in Modelling Discussion
I've already got it into an STL format. Since it's not my property I won't be giving out the STL file, don't want any legal problems. I will be selling the printed models, it my take a while my printer is on it's last legs, need new one and it's $4,000.00 bucks! Ron G -
Cool Hubert This model stops at the intake tubes and intake manifold, no carburetor or accessories, also no exhaust. You know that there is an excellent R-985 in 1/32 scale in the Kittyhawk Kingfisher kit. Ron G