BlrwestSiR
-
Posts
9,225 -
Joined
-
Last visited
Content Type
Profiles
Forums
Events
Gallery
Everything posted by BlrwestSiR
-
Nice IP panel. I finally found a Red Fox set for my copy. Glad it looks to be worth it as the upgrade is very impressive. The seat looks great too. Carl
-
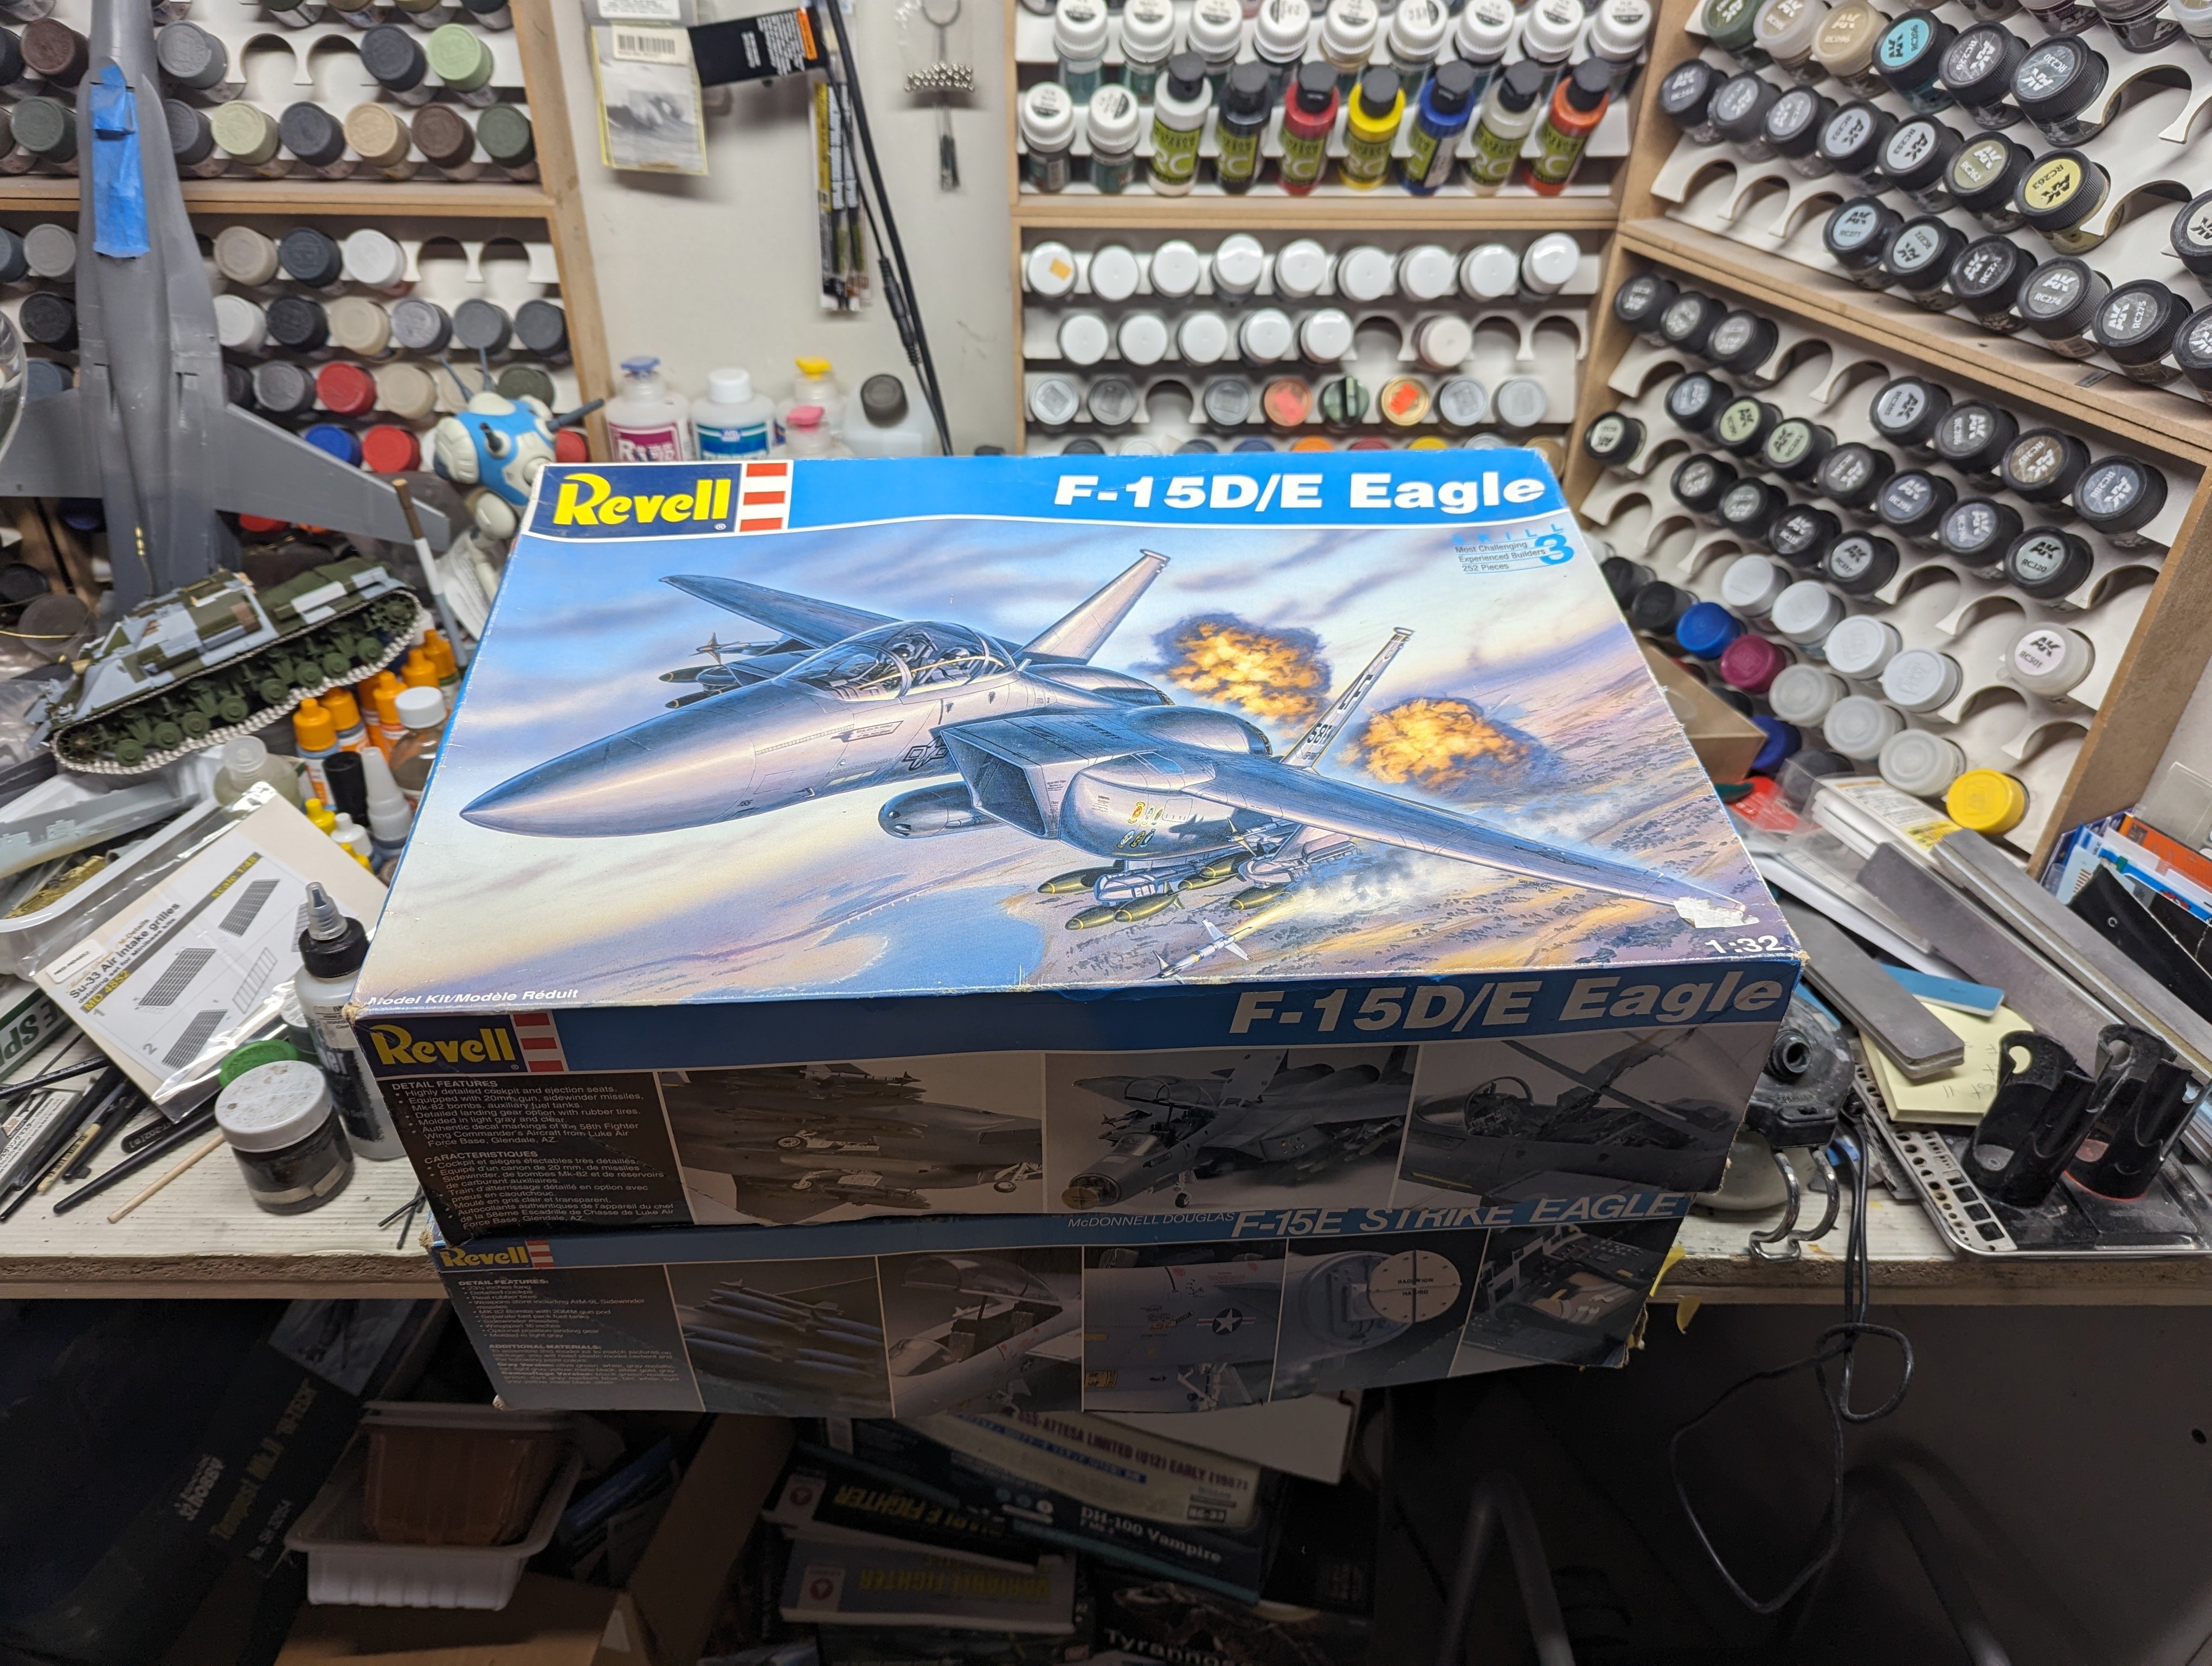
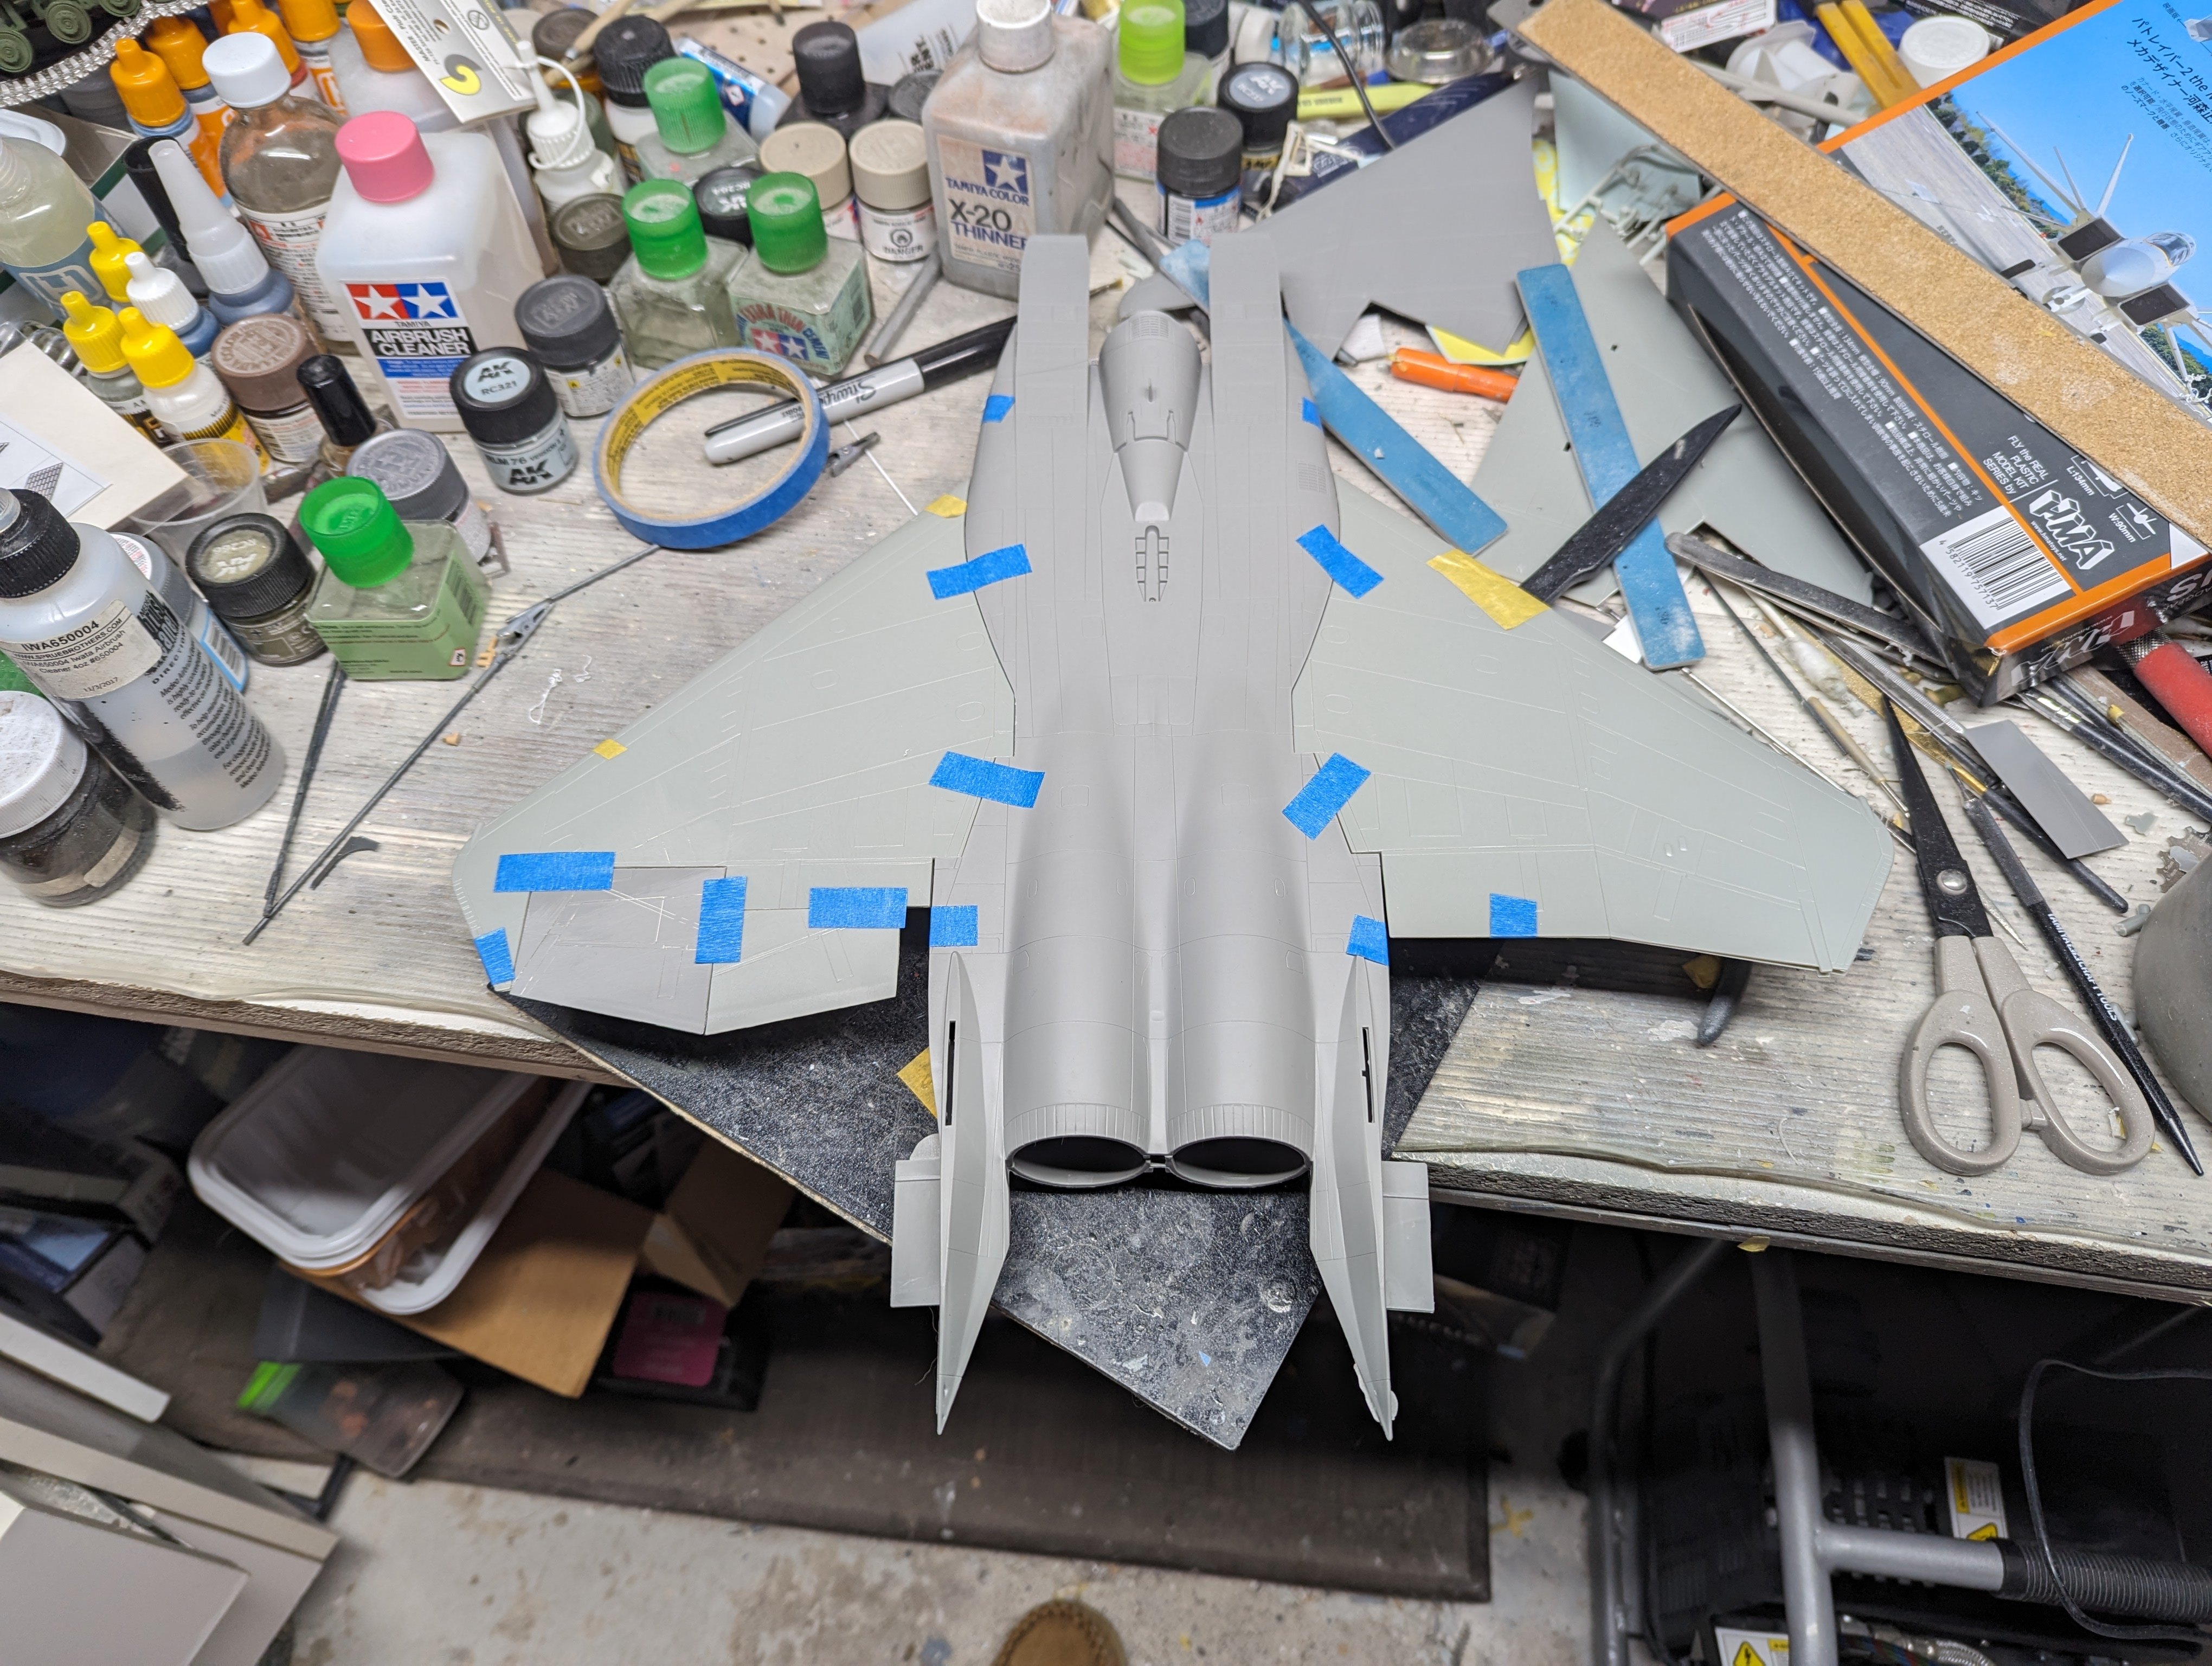
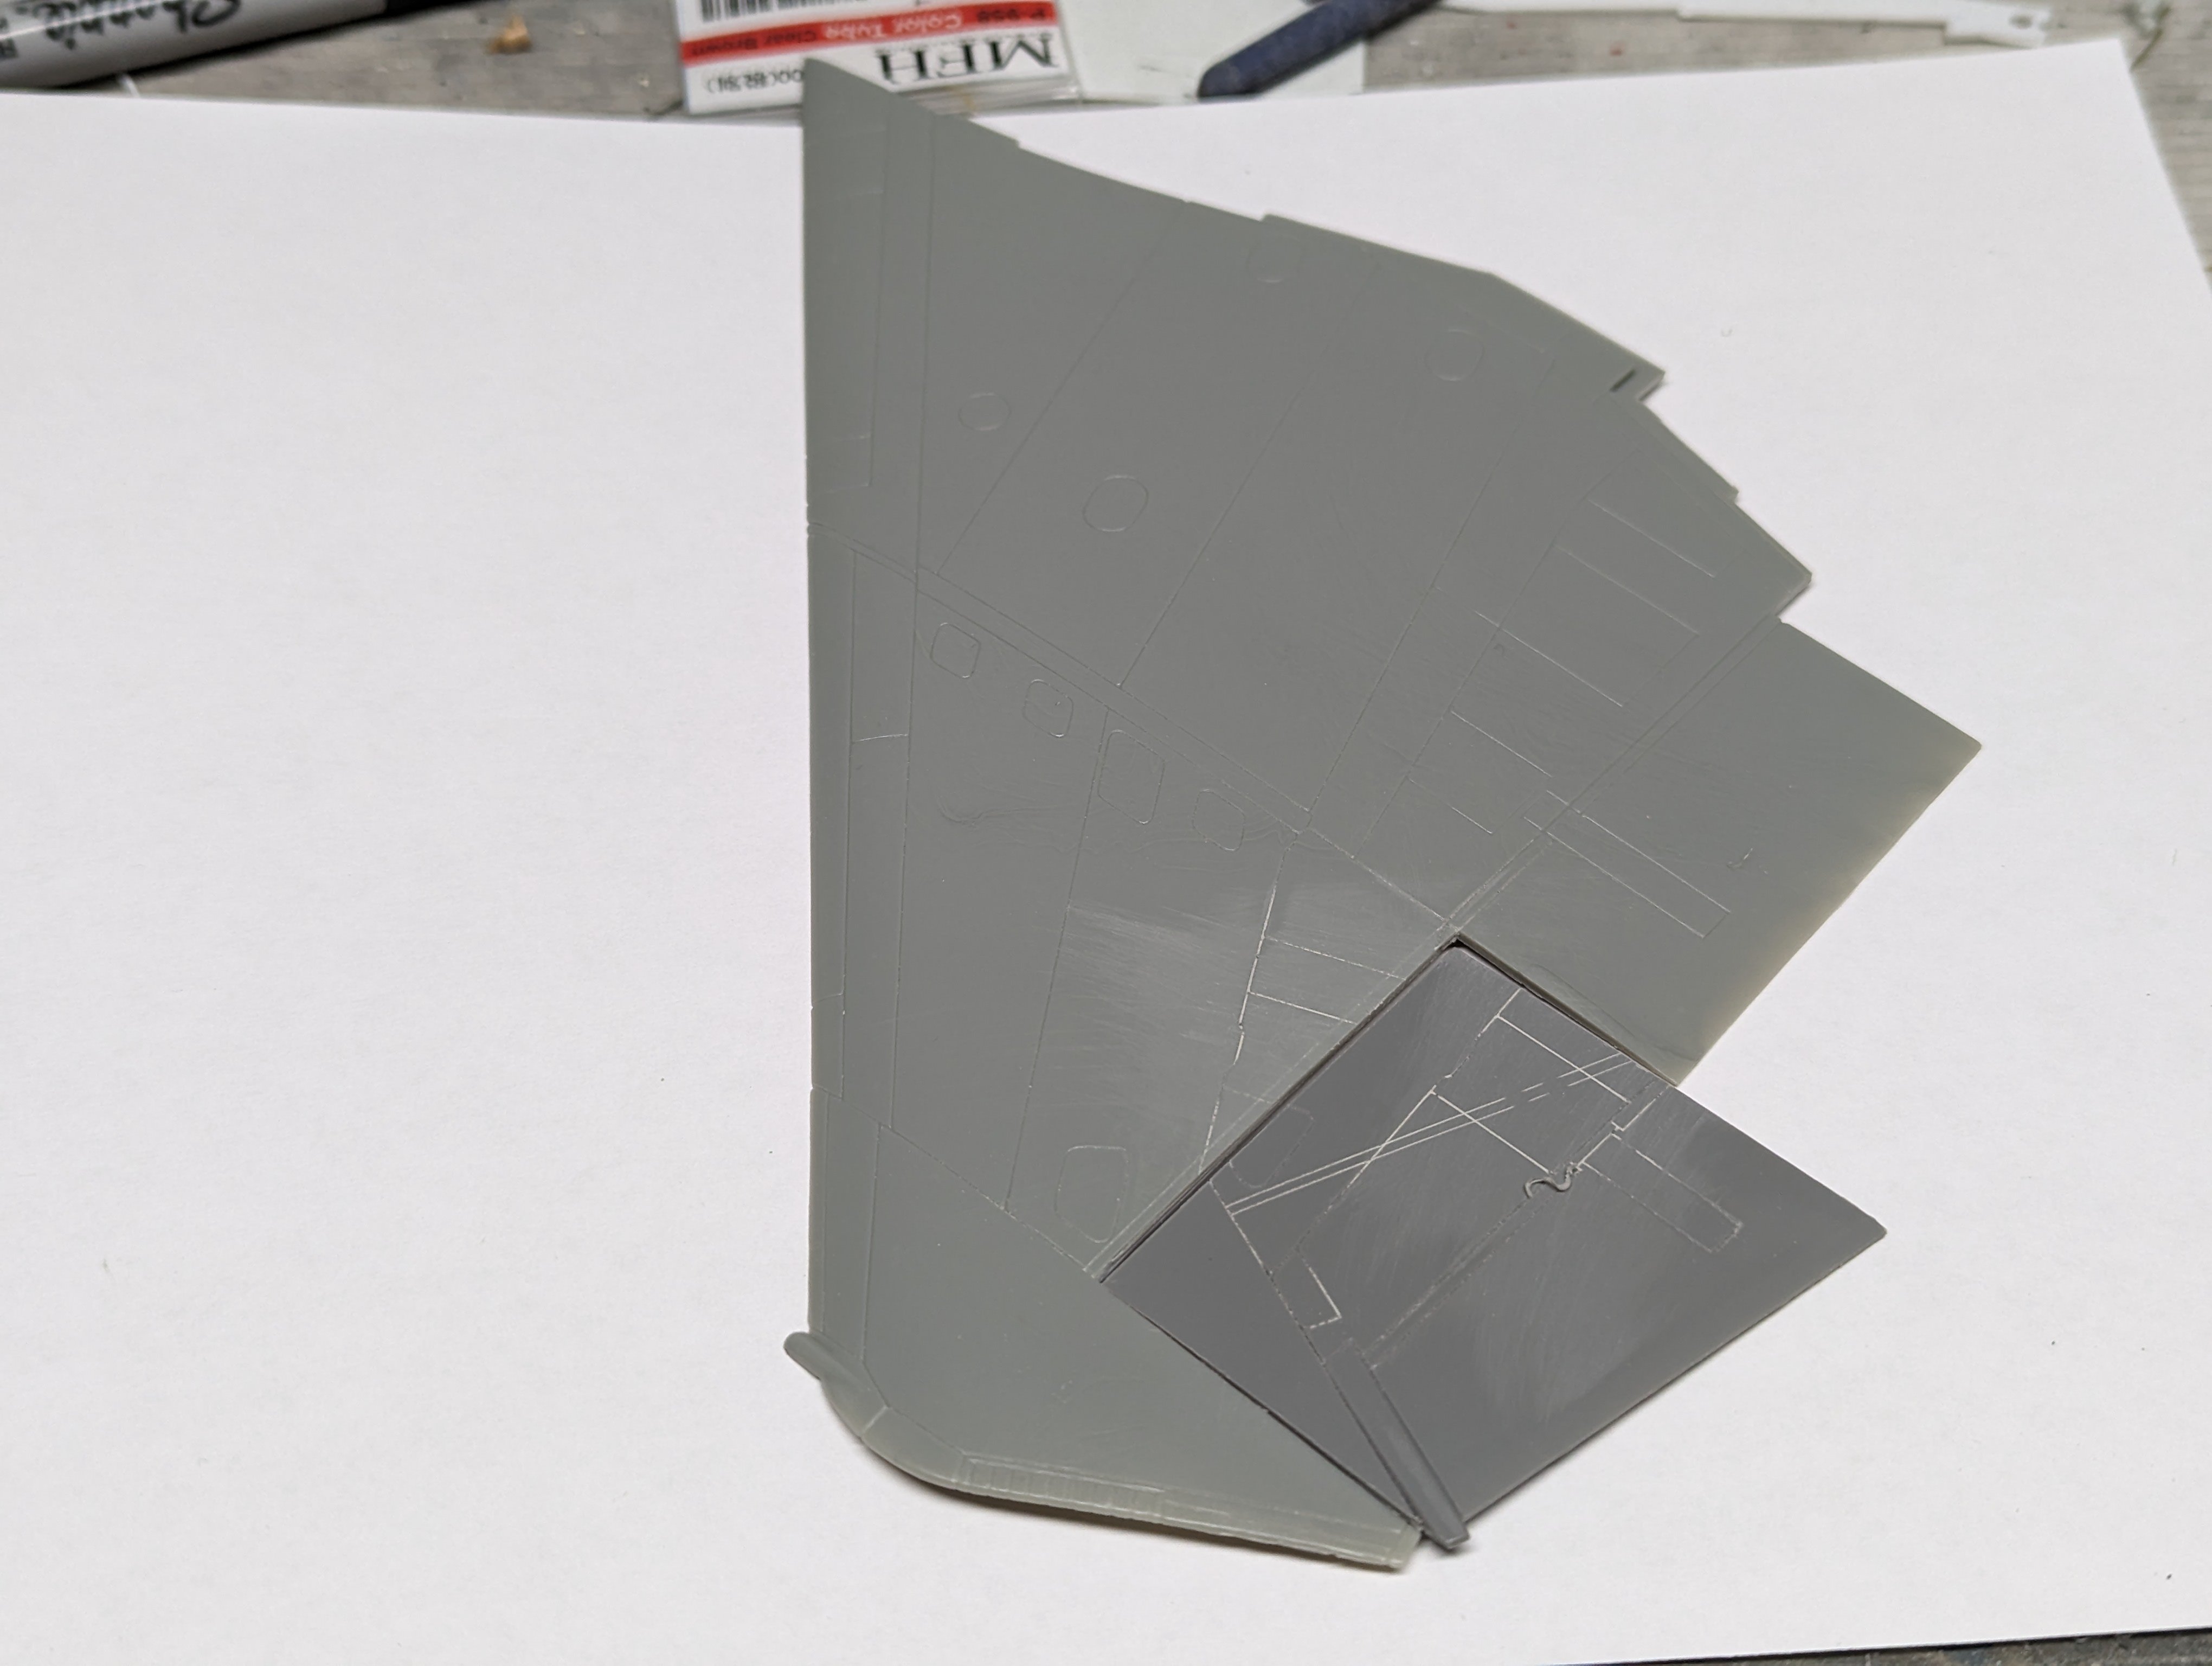
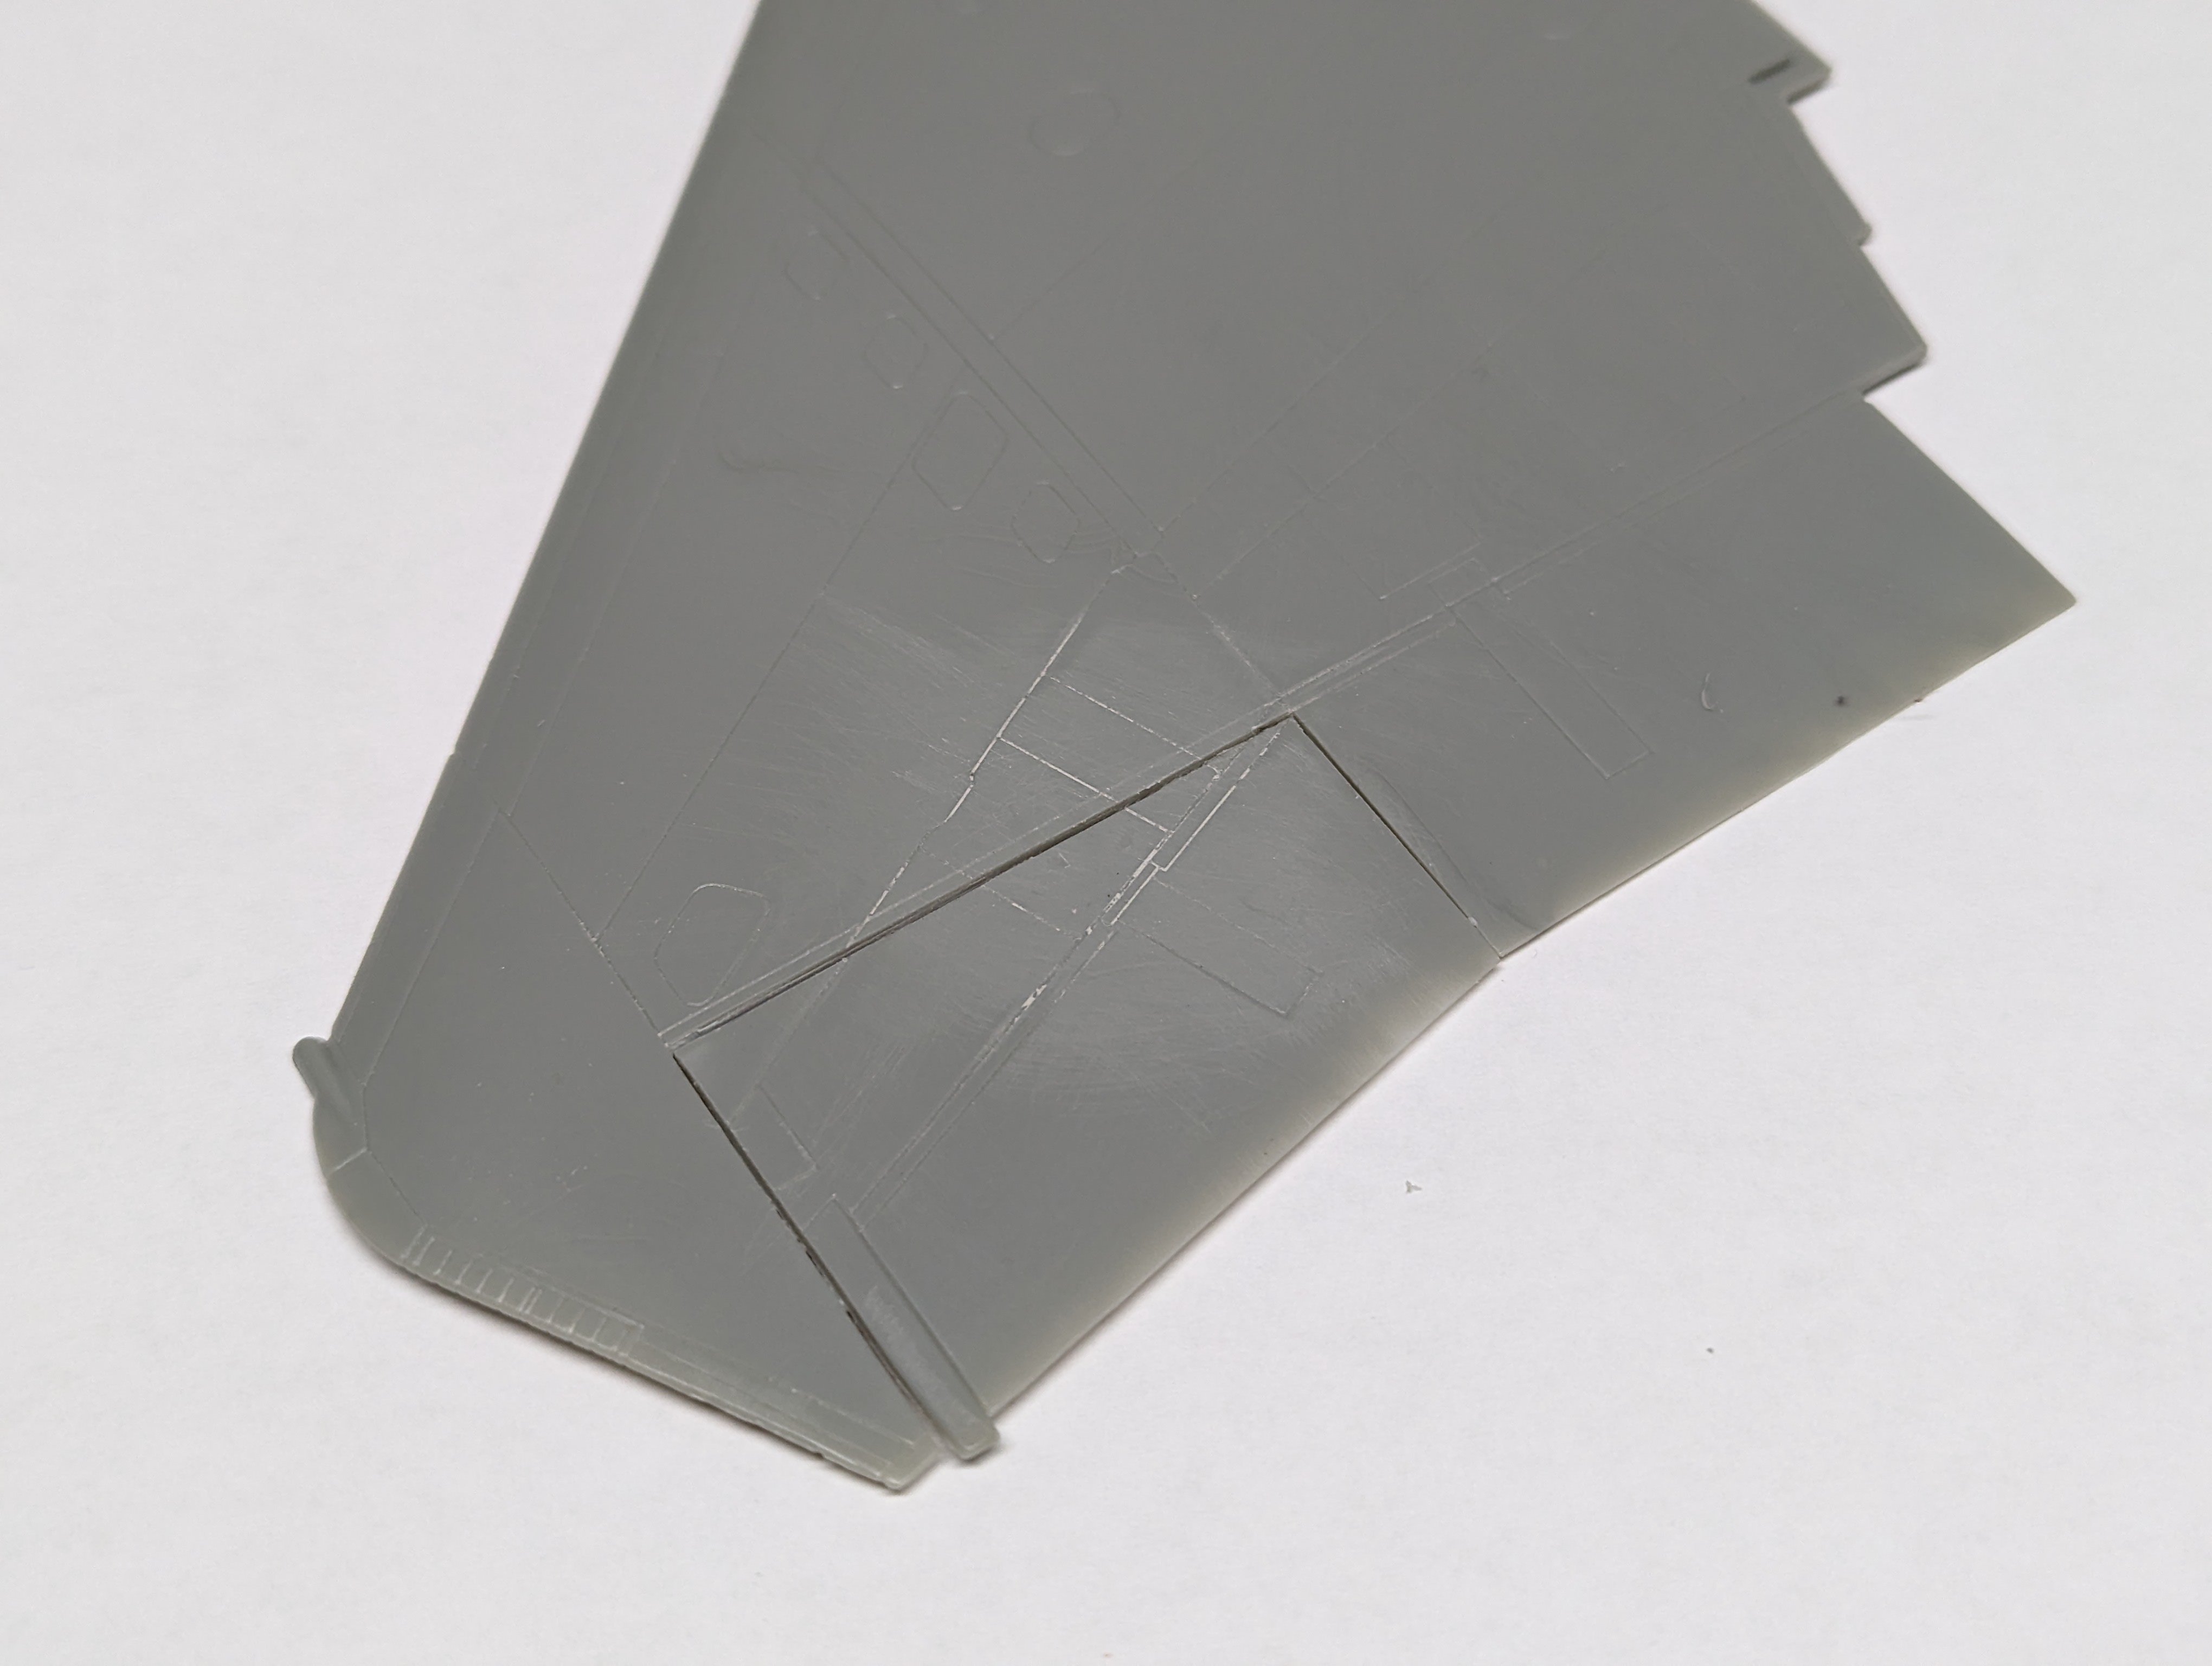
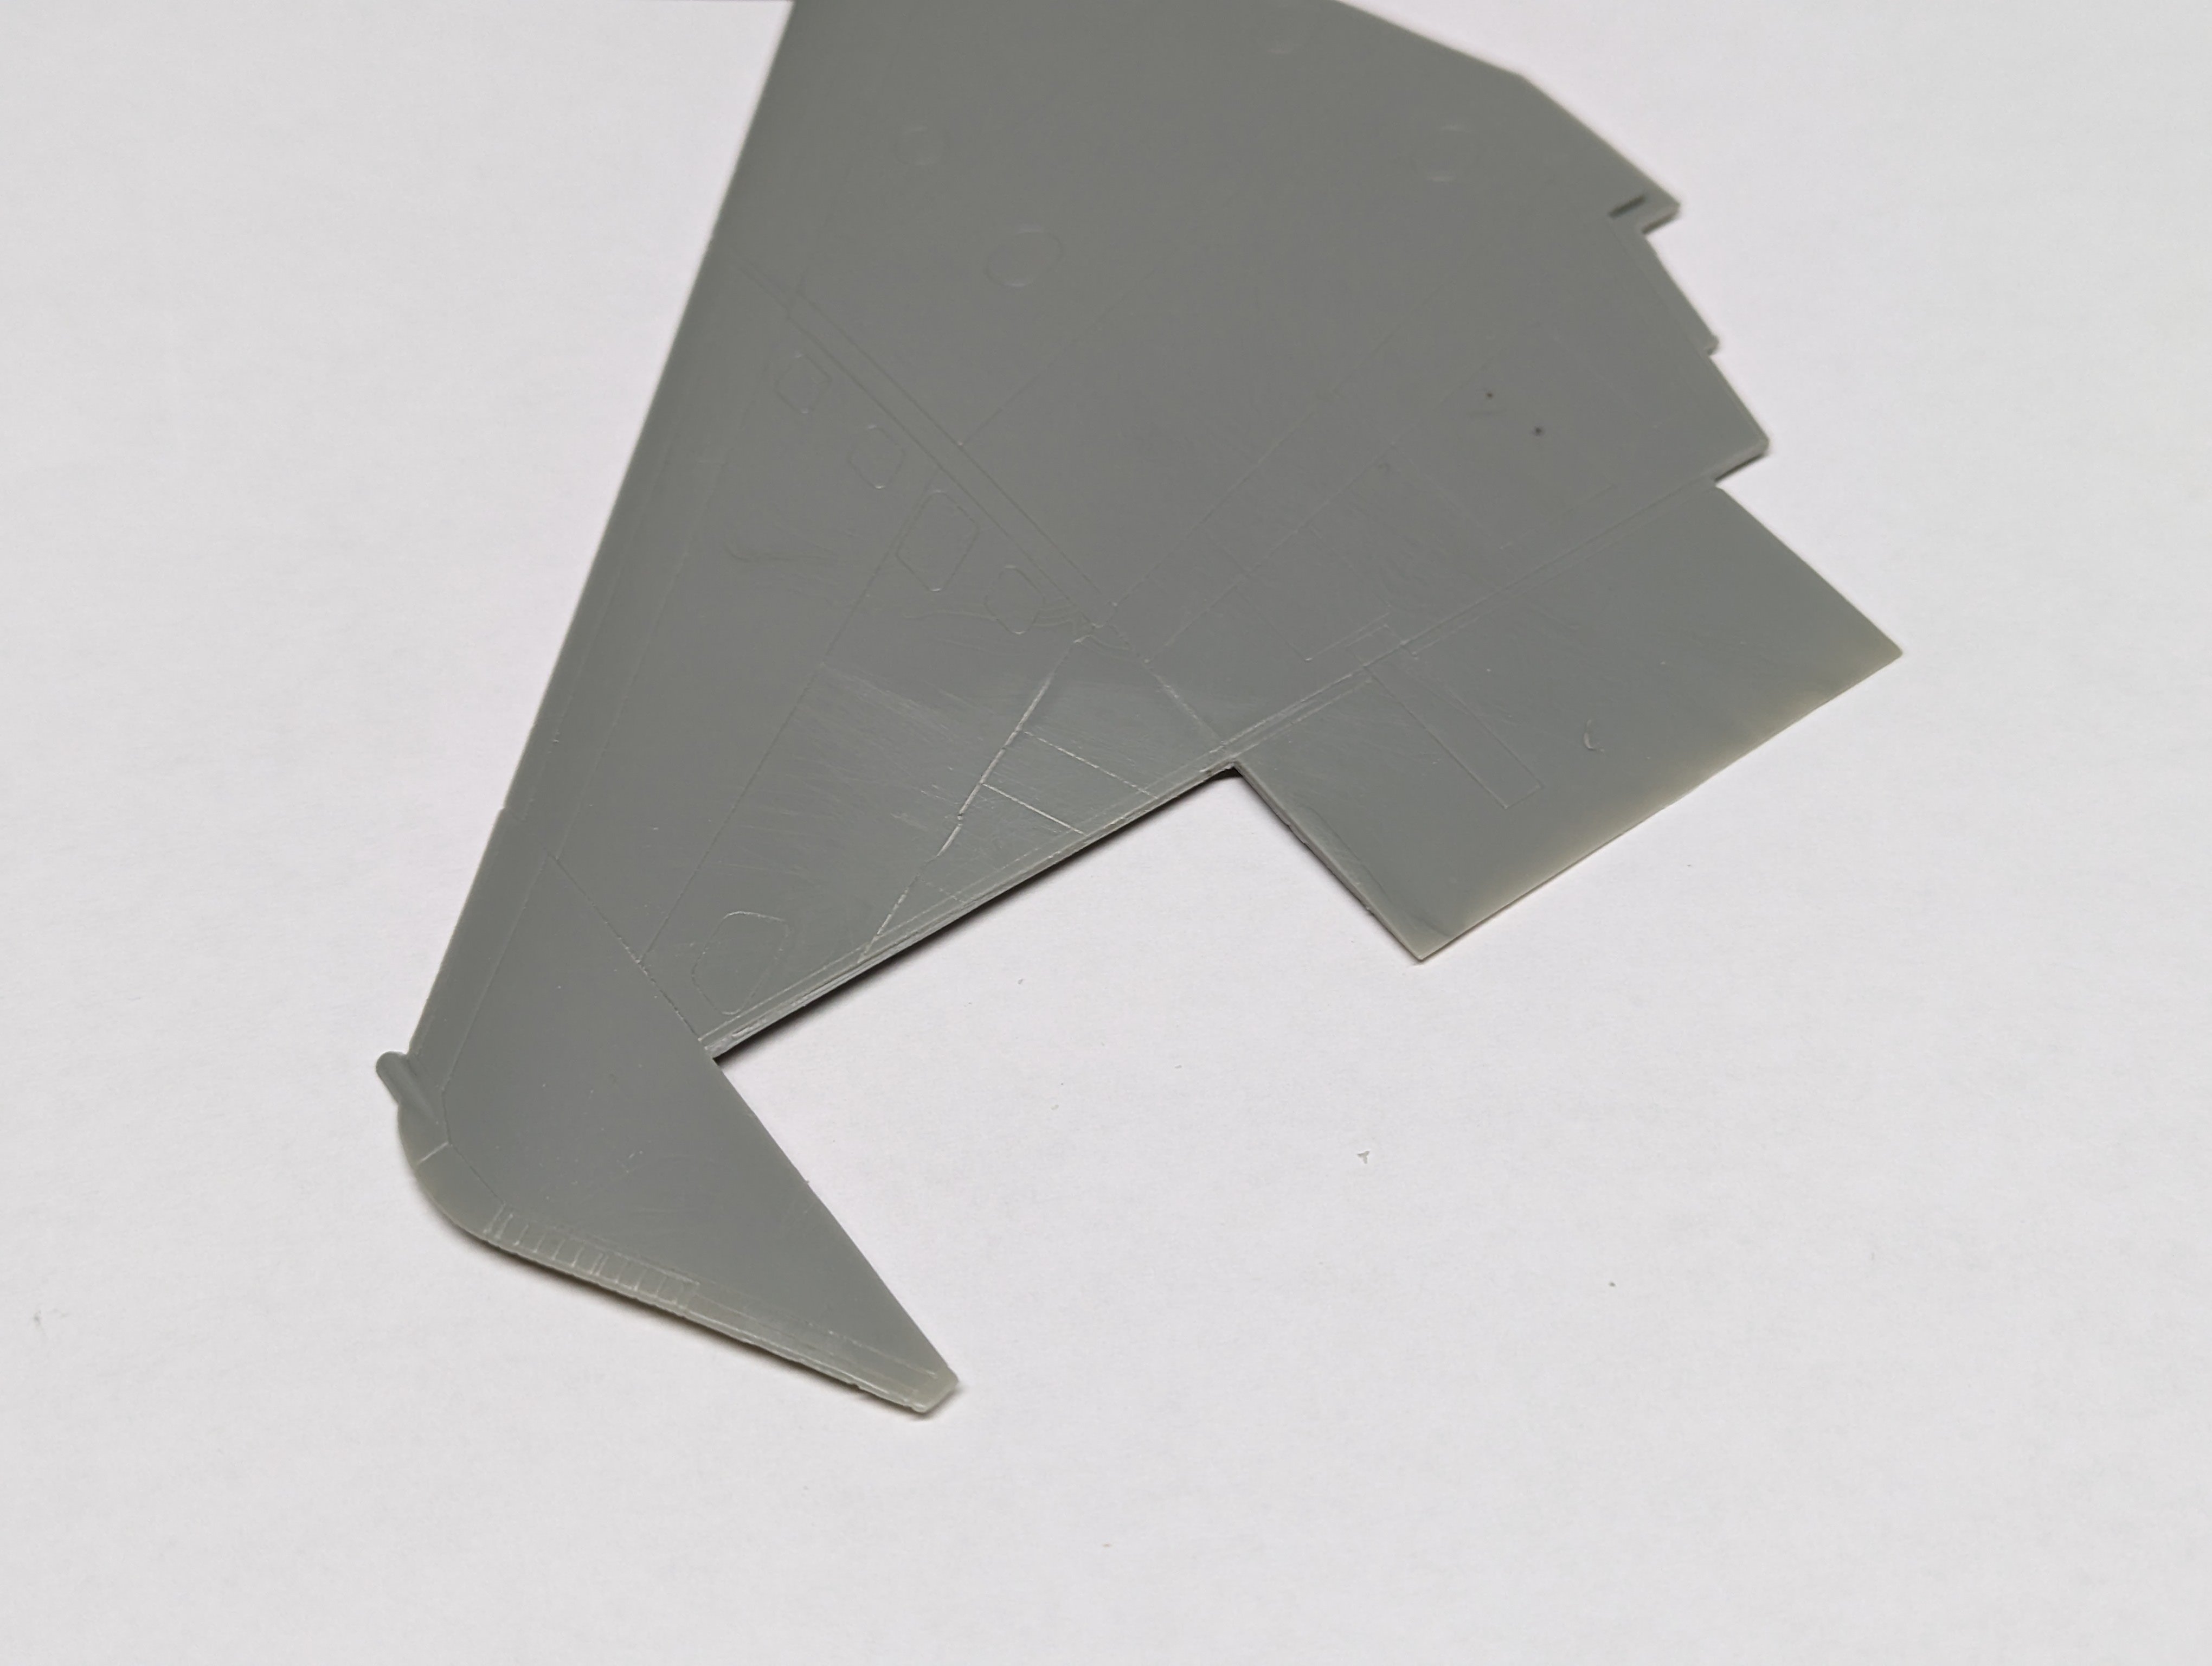
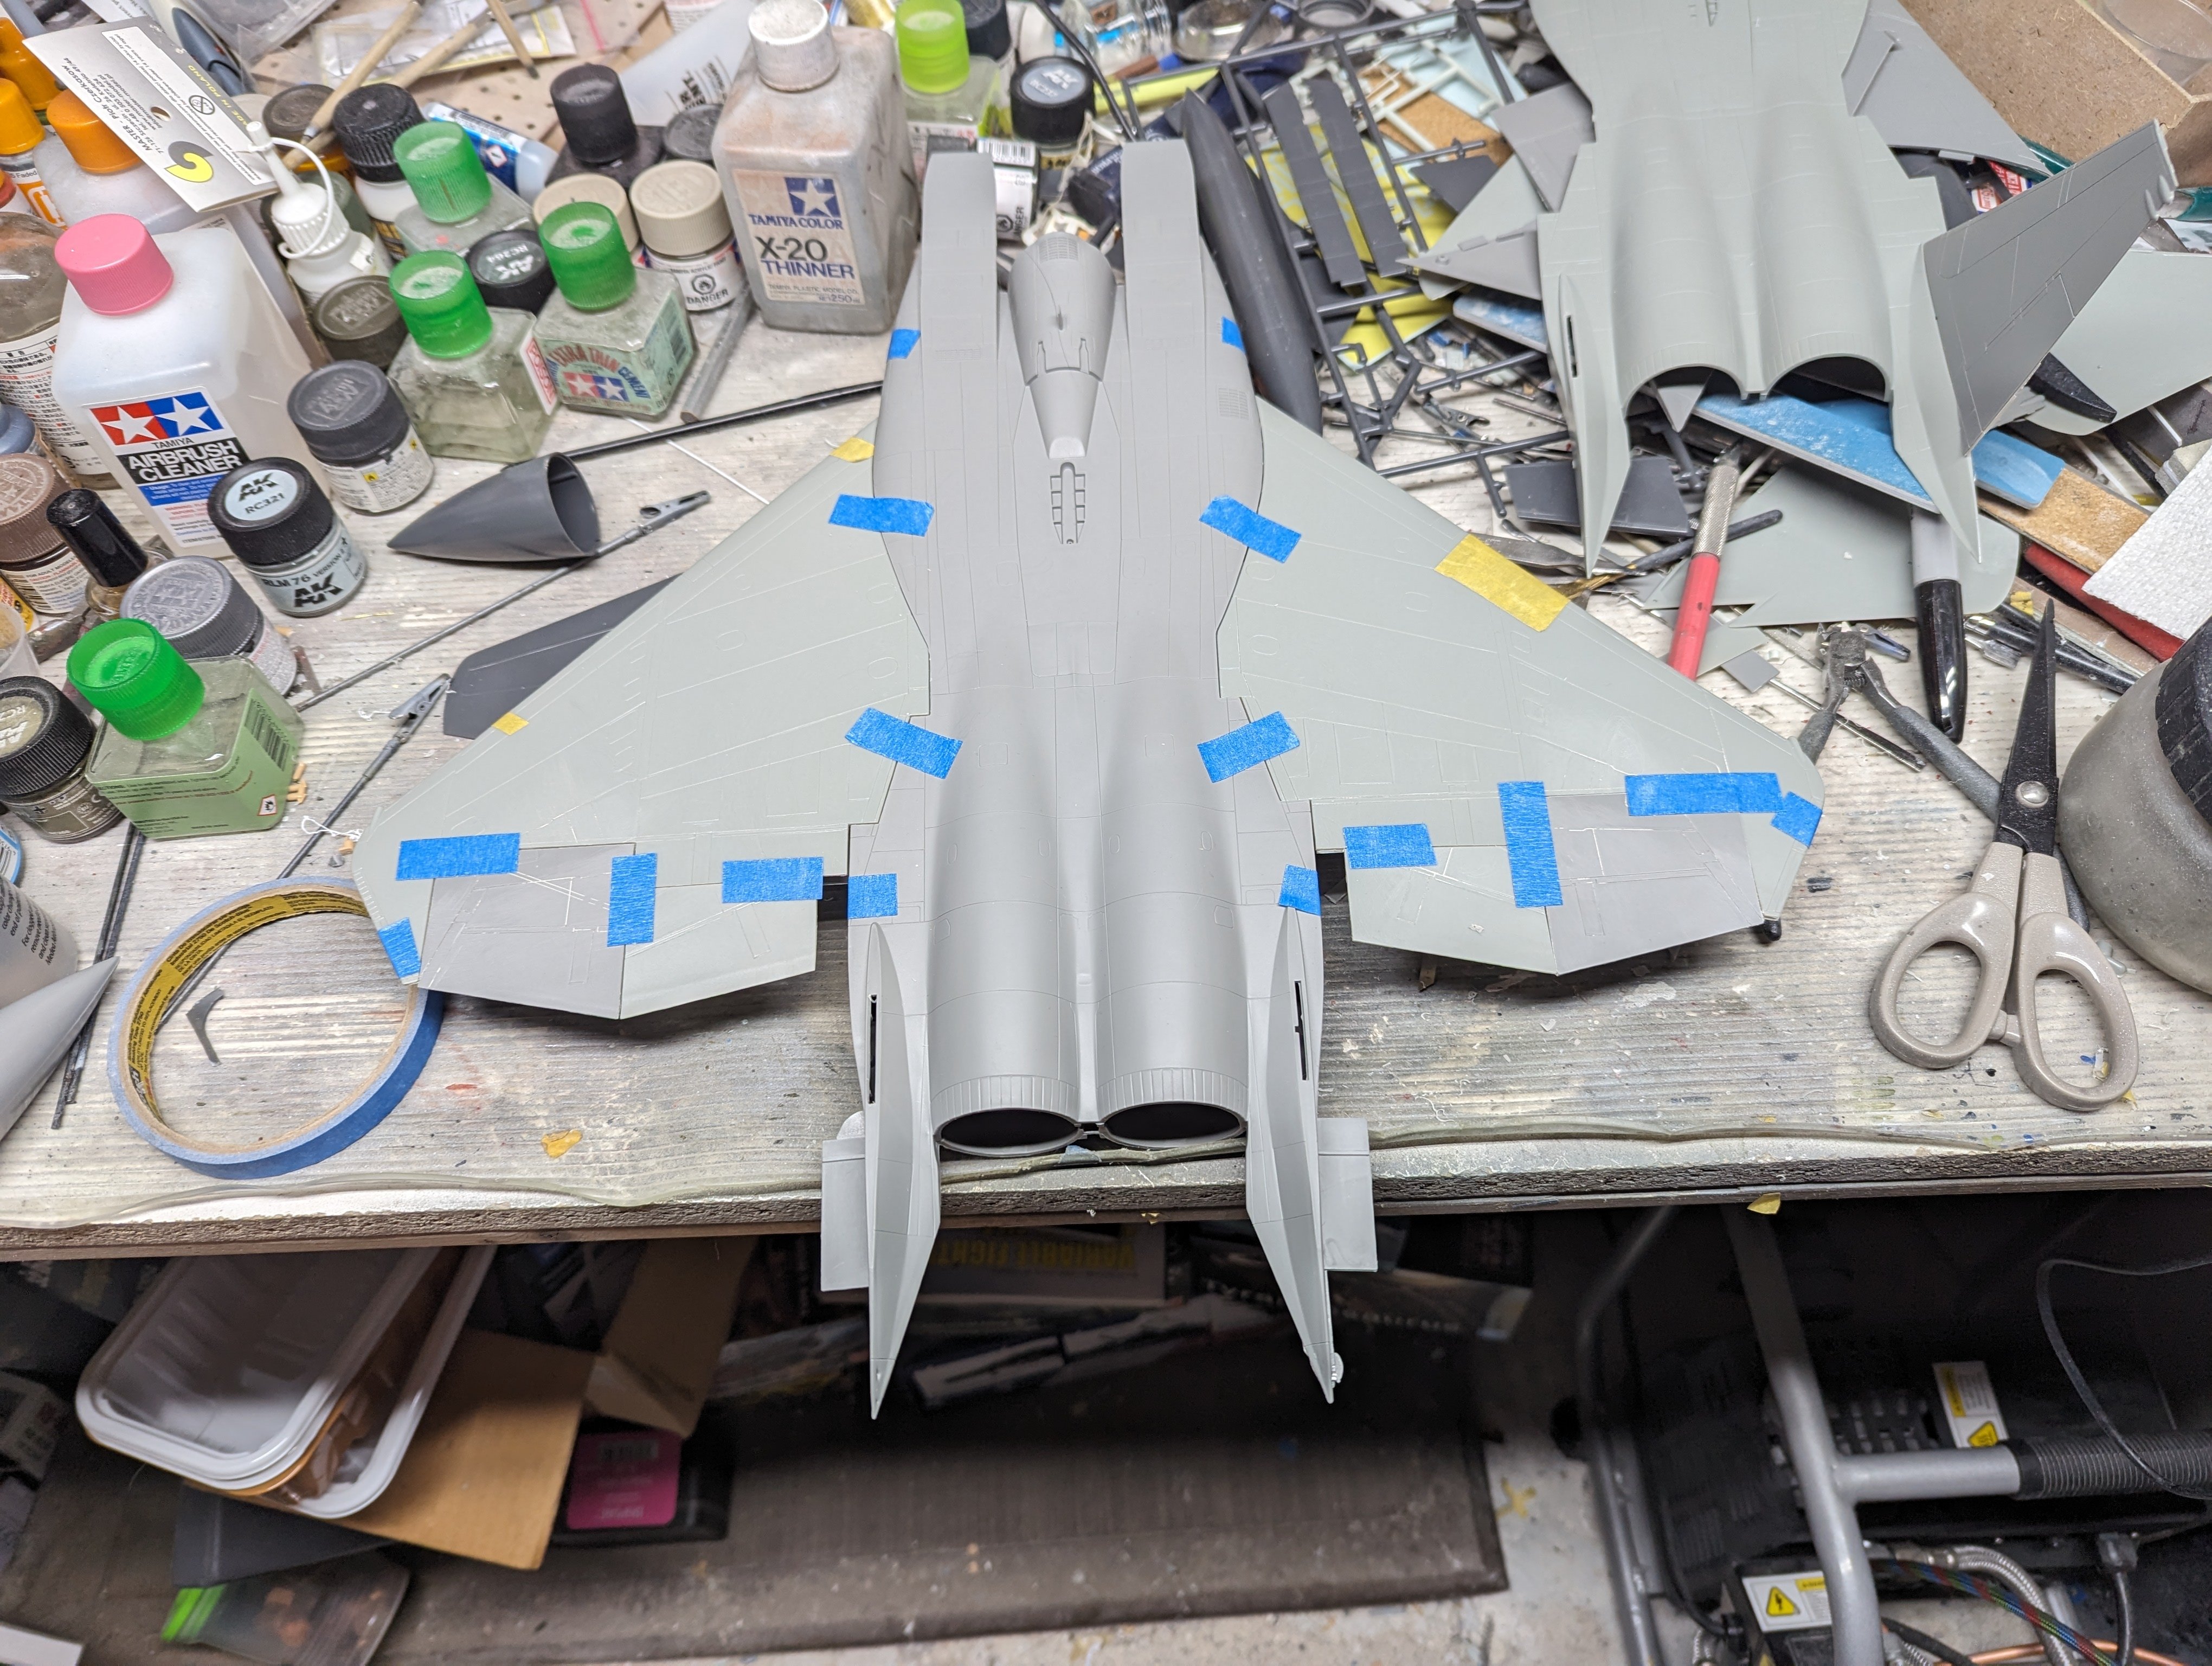
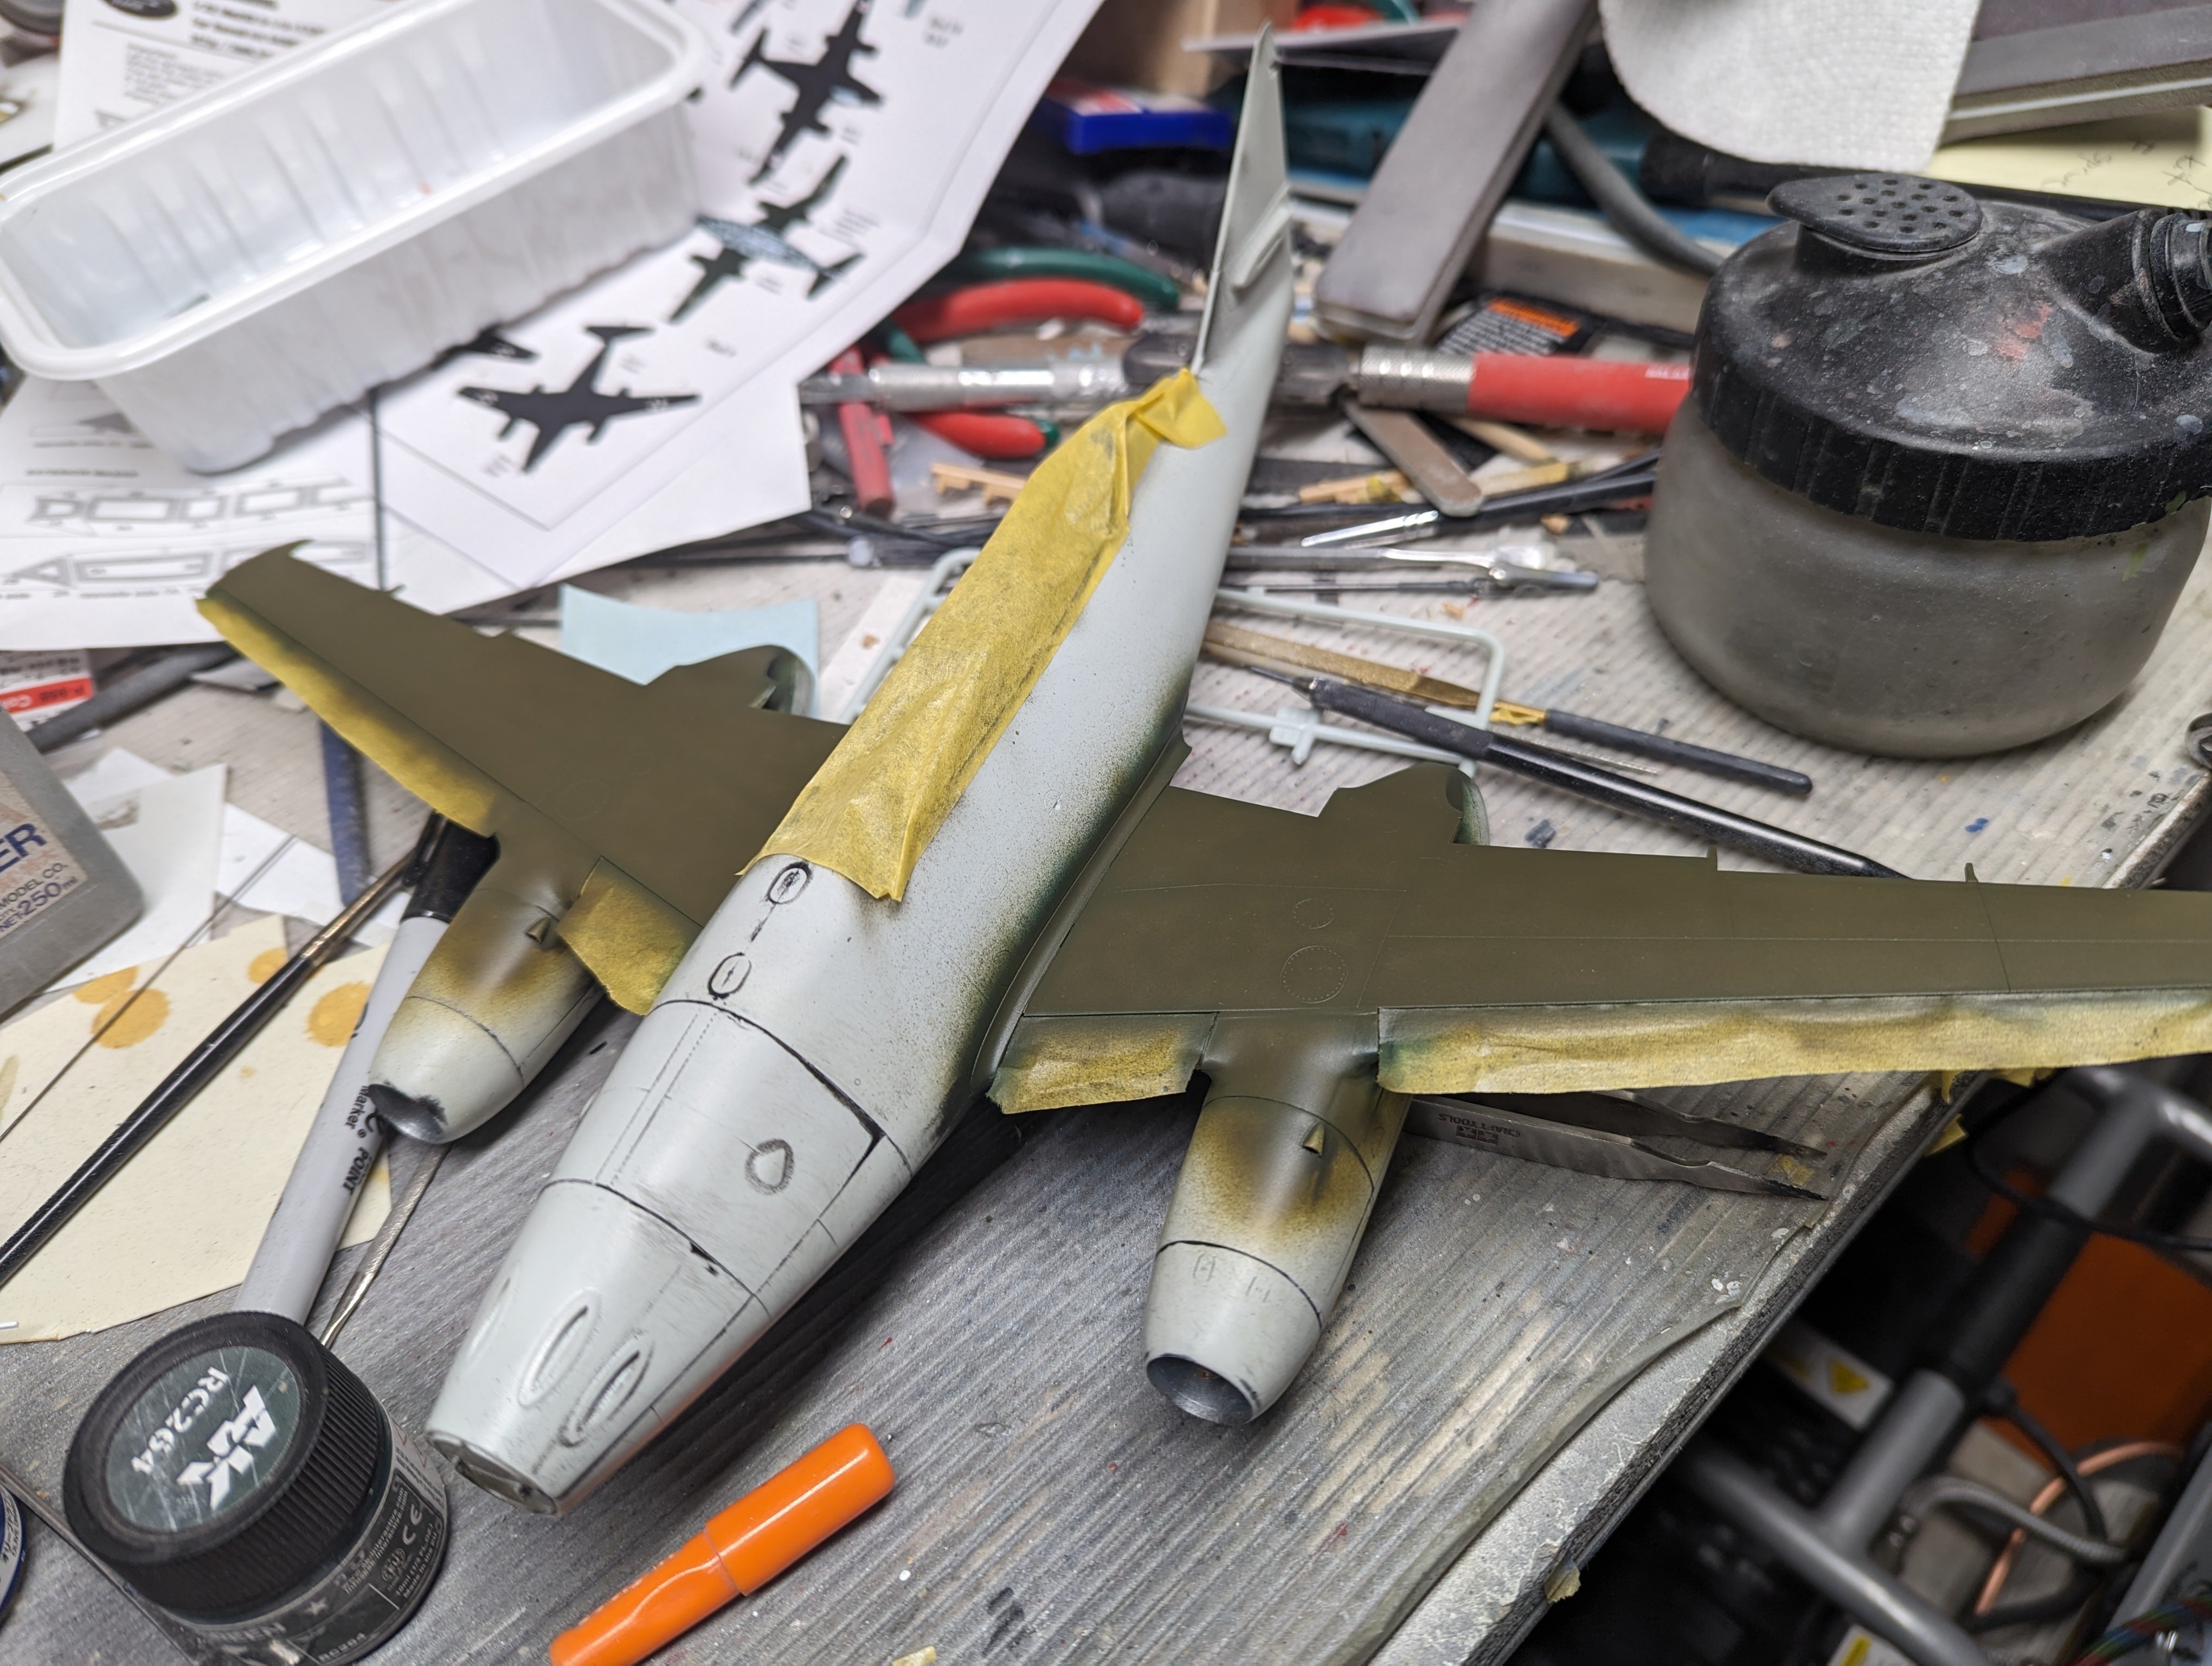
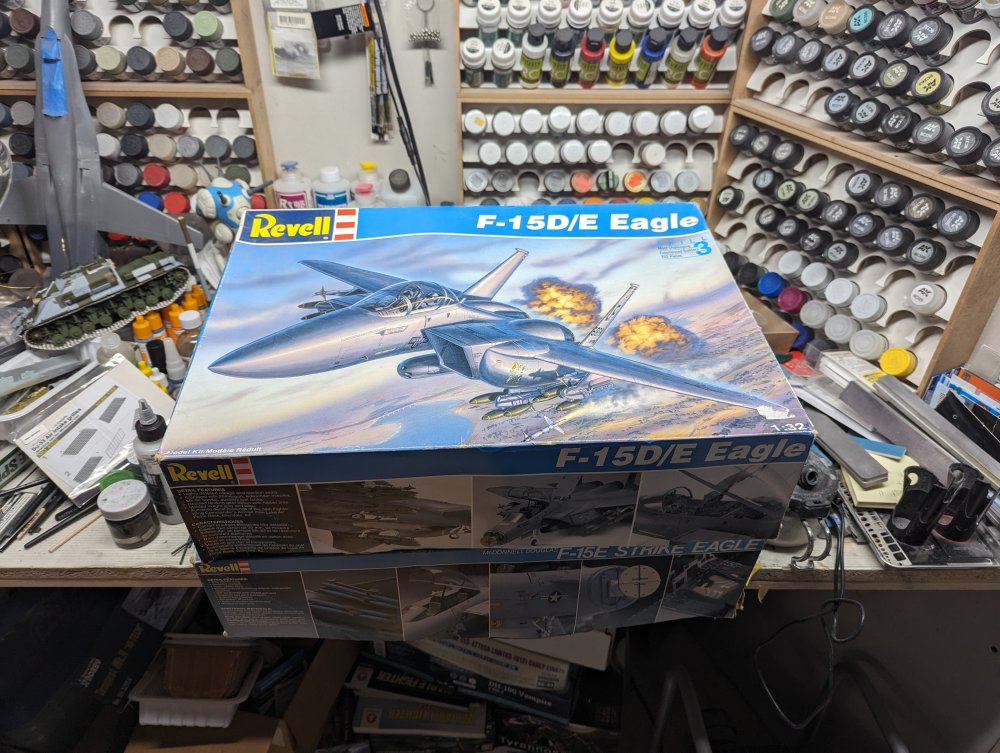
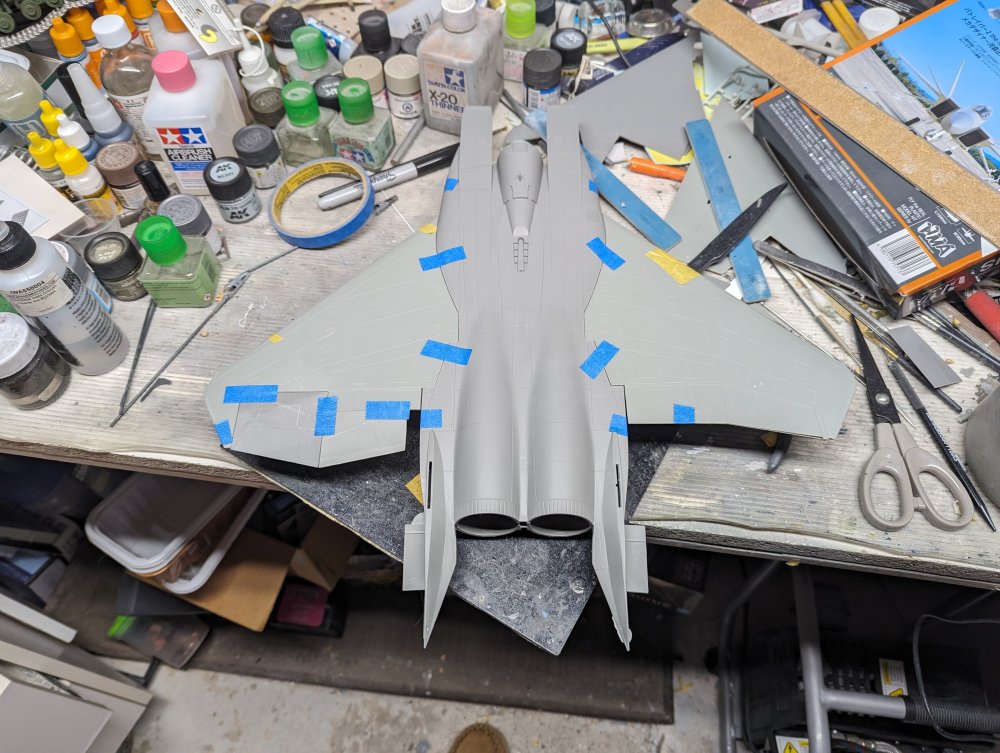
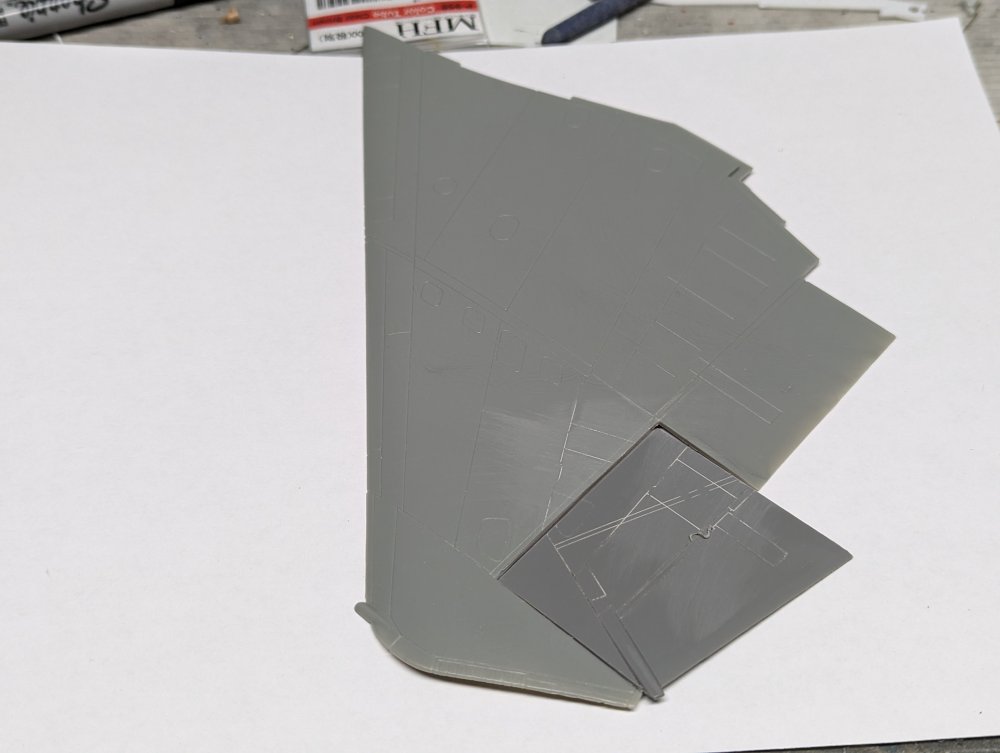
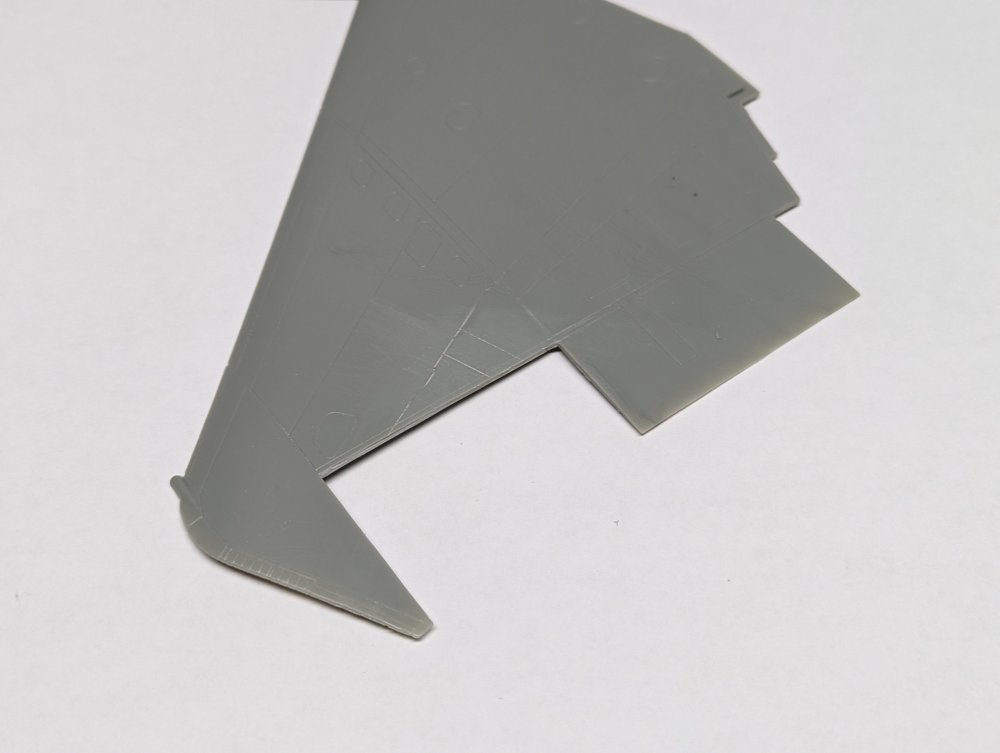
Back in 1993, a Japanese anime film called Patlabor 2 came out. It's based in the near future and has a fair bit of mecha action and some great military stuff but it was mostly about political intrigue. One scene really stuck with me and that's when the antagonist hacks into the JSDF and convinces them they're under attack. A pair of F-15 Kai fighter are sent to intercept. The Kai is based on several advanced prototypes of the F-15 that were actually built and flown, just not with all of these features at the same time. Anyways, I've wanted to build one of these for a long time. I need a break from the 262 so I figured why not. I'm starting with a pair of Revell F-15 Strike Eagles. I got them cheap and I figured that the JASDF would have updated some of their two seaters. I started with the main wings. They should be an easy mod to the F-22 shape. I scribed in the section I wanted to remove. Popped it out. Using a second upper wing , I cut out the new panel. This way I keep the correct airfoil profile. Compared to the stock wing. I then repeated this three more times for the other wing halves. This took about 90 minutes so that was good.


- 187 replies
-
- 11
-

-
 The engine nacelles were definitely not an easy part of the build so I know what you went through.
 -
On a plane like the He111 I would definitely consider masks if they're available. So many tiny windows....
-
Thanks Martin ! I have an AM radar set from Master but the details are different so I'm trying to decide what to do. I may just replace the vertical poles with wire and leave it at that.
-
Sky King's Songbird: Update: 3/2/24 - SOD .. BINNED
BlrwestSiR replied to Peterpools's topic in The Great Twins Broup Bluild
Wow Peter, sounds like quite the challenge ahead of you. Sometimes we just don't have the choice if it's the only game in town. Knowing what you're getting into ahead of the build should help at least with the frame of mind. -
Sometimes with the amount of her fur on my bench, it wouldn't surprise me if she did.
-
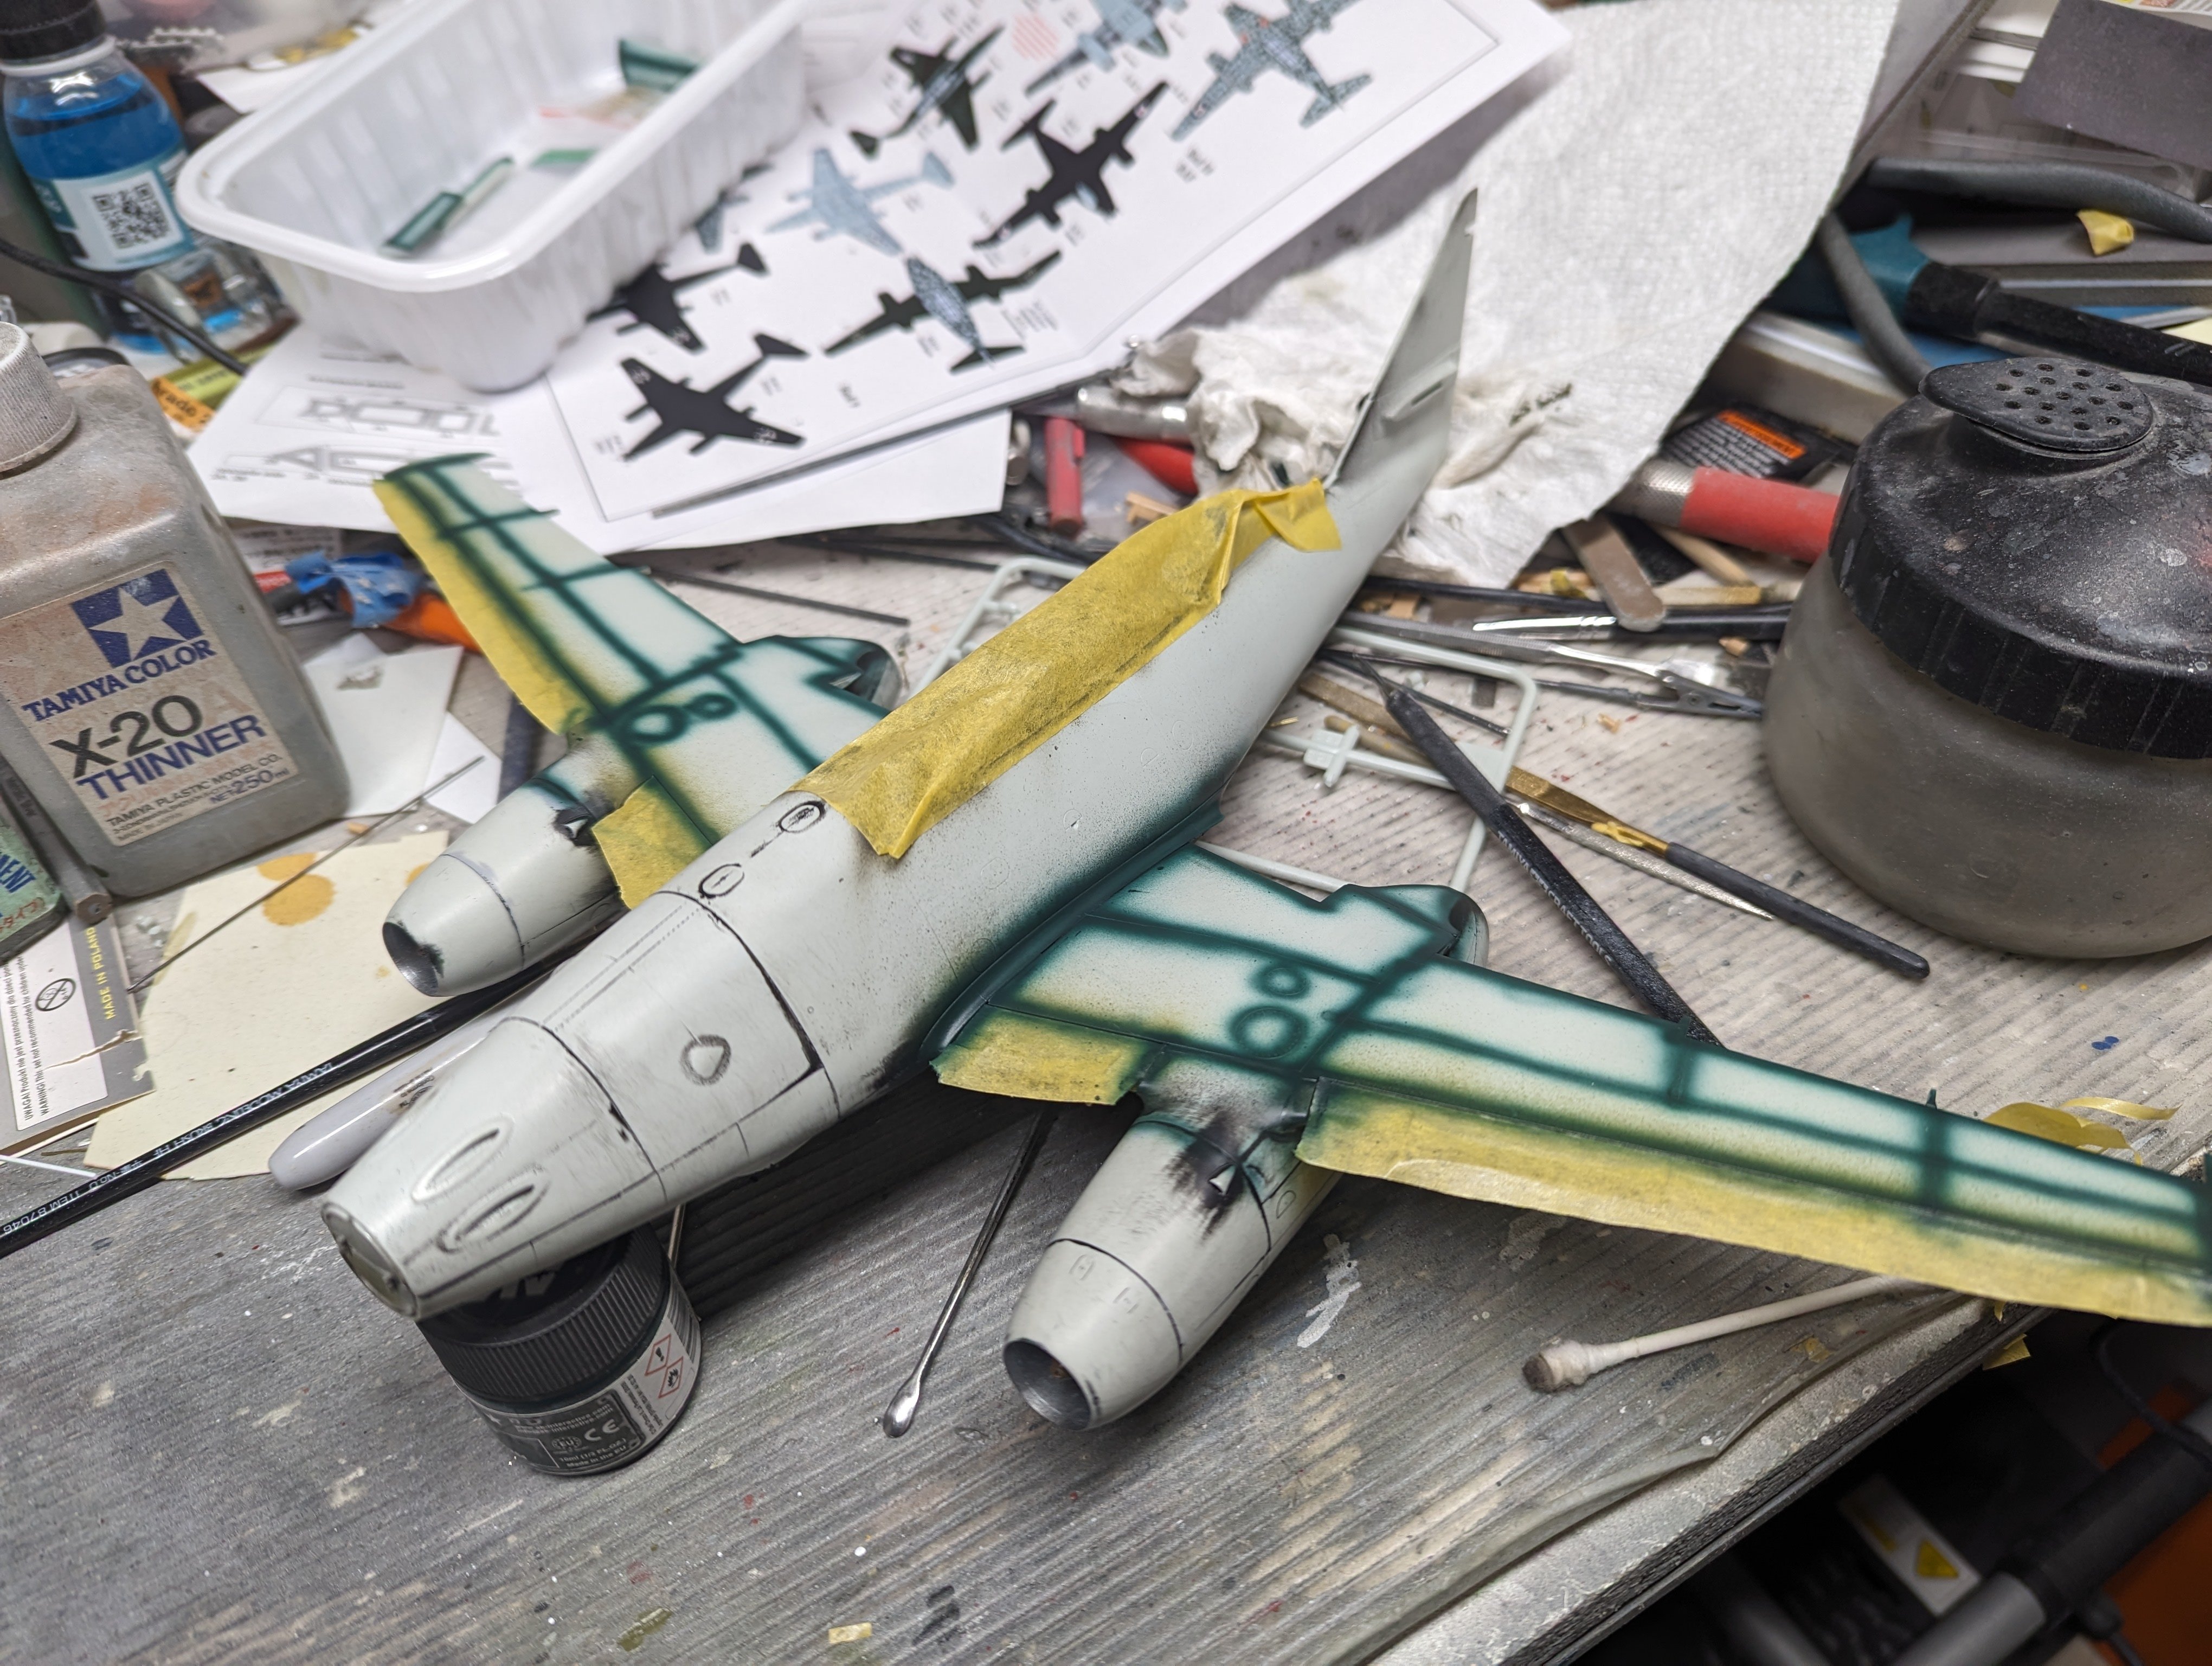
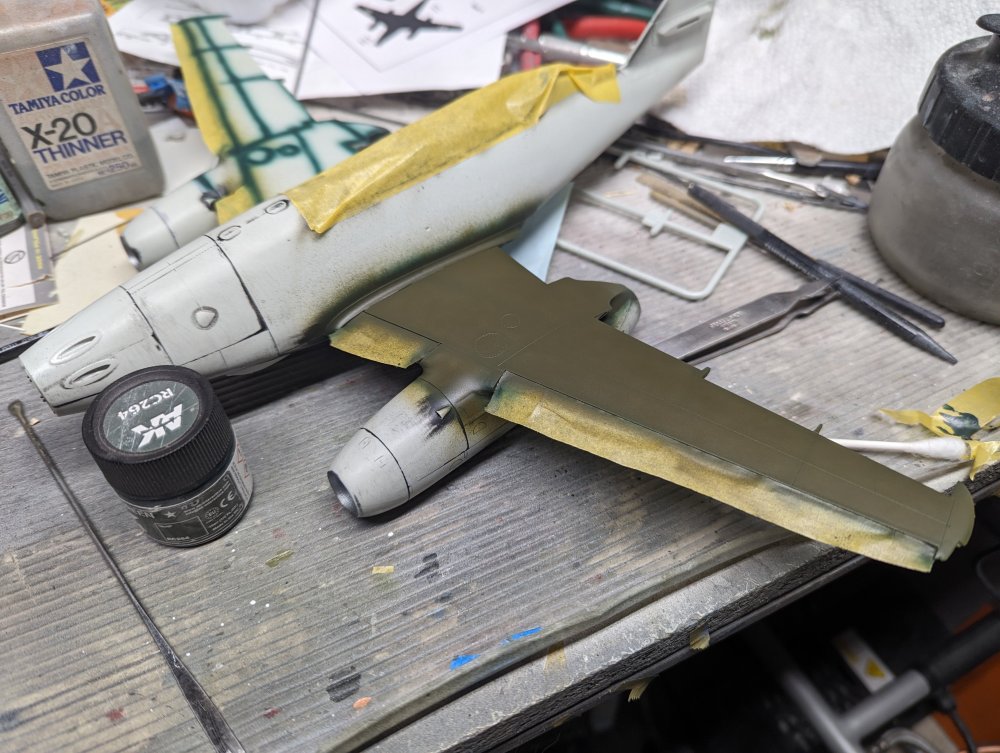
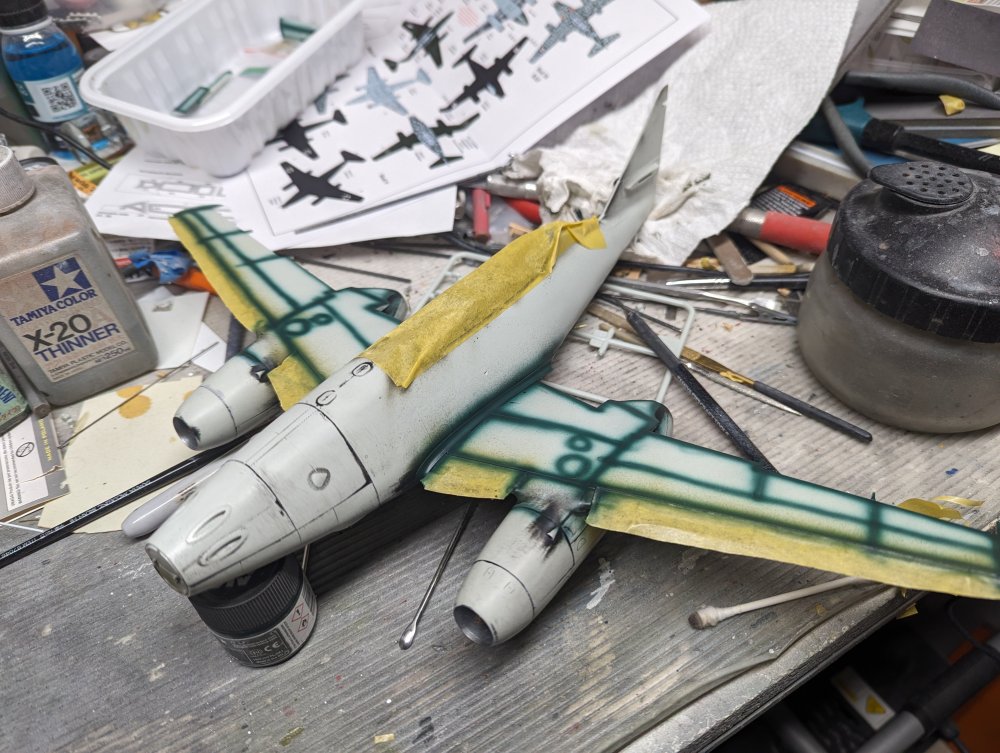
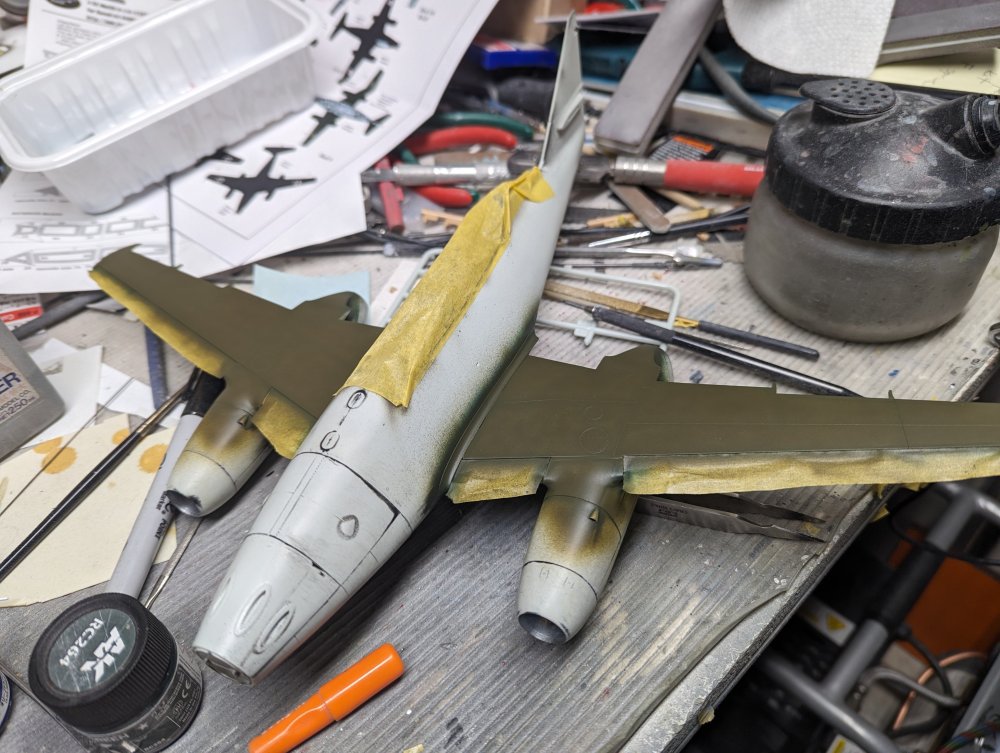
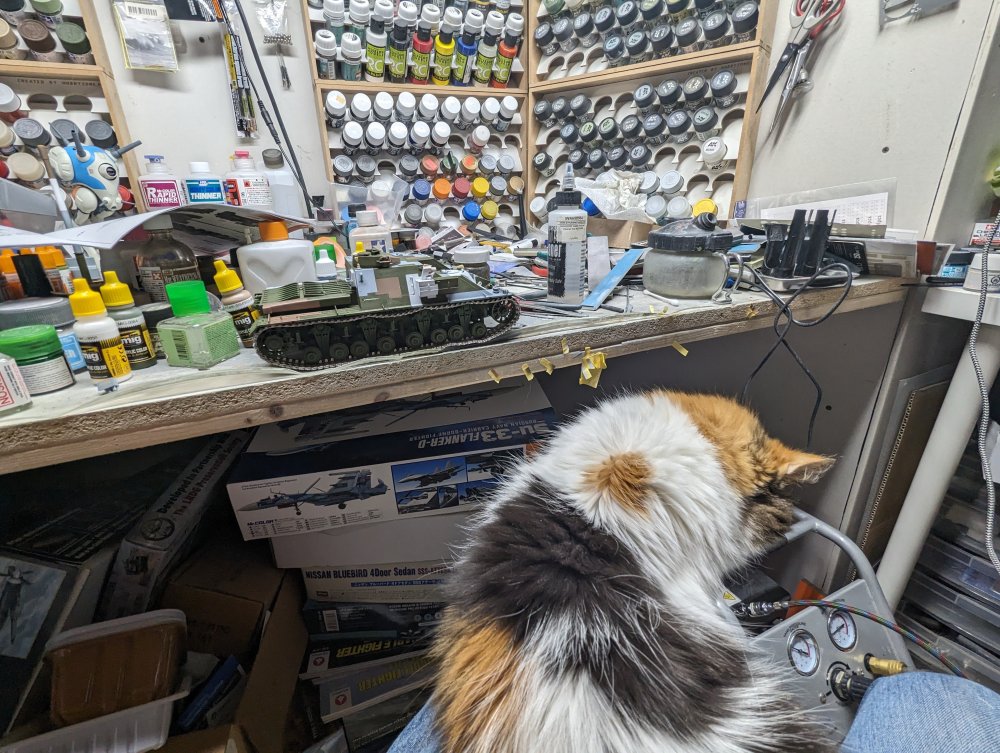
With the canopy masked inside and out, I painted the inside in RLM66. While I had the airbrush out, I decided to start on the 262. I preshaded the wings. Then it was time for some RLM83. The pre-shading is still there, just a bit subtle which is what I wanted.

-
Peter, it's nice to have additional options for .asking these days like you said.
-
LSM Modelling News 2023 merged Fran and Artful69’s threads
BlrwestSiR replied to Fran's topic in Modelling Discussion
When you look at your pic and then the one I posted, that is one tall blonde... -
LSM Modelling News 2023 merged Fran and Artful69’s threads
BlrwestSiR replied to Fran's topic in Modelling Discussion
The rare 2 seater variant. -
Nice find in the stash. The bombs looks great.
-
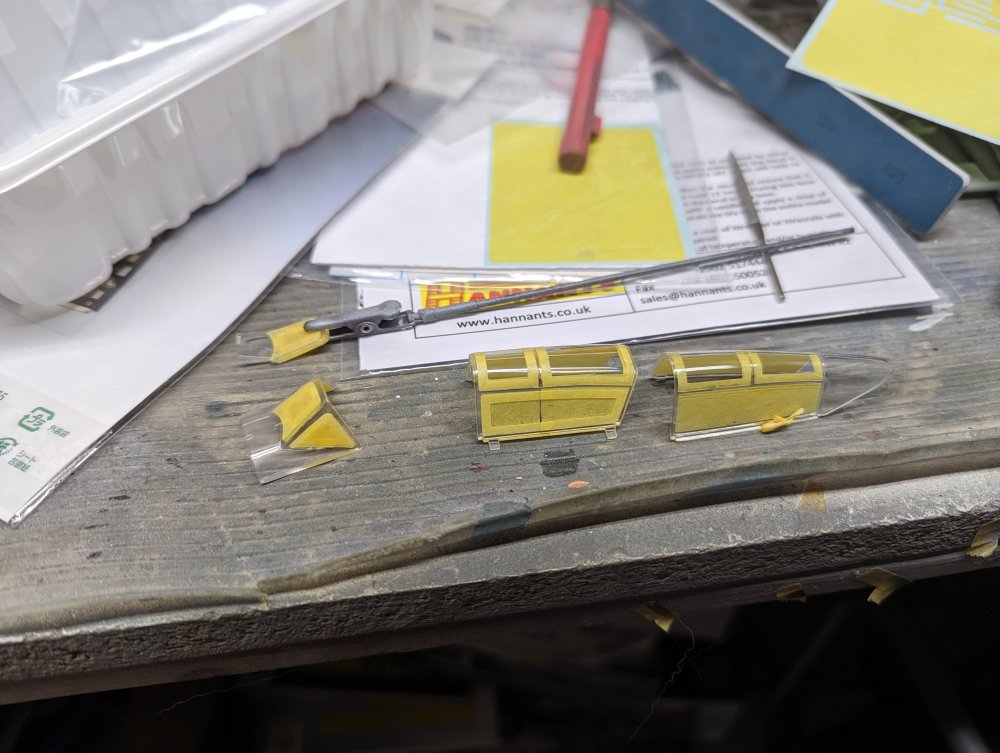
Time for an update. I finally received my paint masks and decals for the build. So I spent some time today starting on the canopy masks. They're made by New Ware and are precut. I picked the inner and outer set since I'm planning to have the canopy open. The New Ware masks work nicely. The fit is good and I like the option of being able to mask the inside.
-
Just don't do that near your wife's ankle! What glue did you use for the gear? I have some 1 min epoxy I'll use for that sort of thing. Not as fast as CA but stronger and you have time to finesse the fit.
-
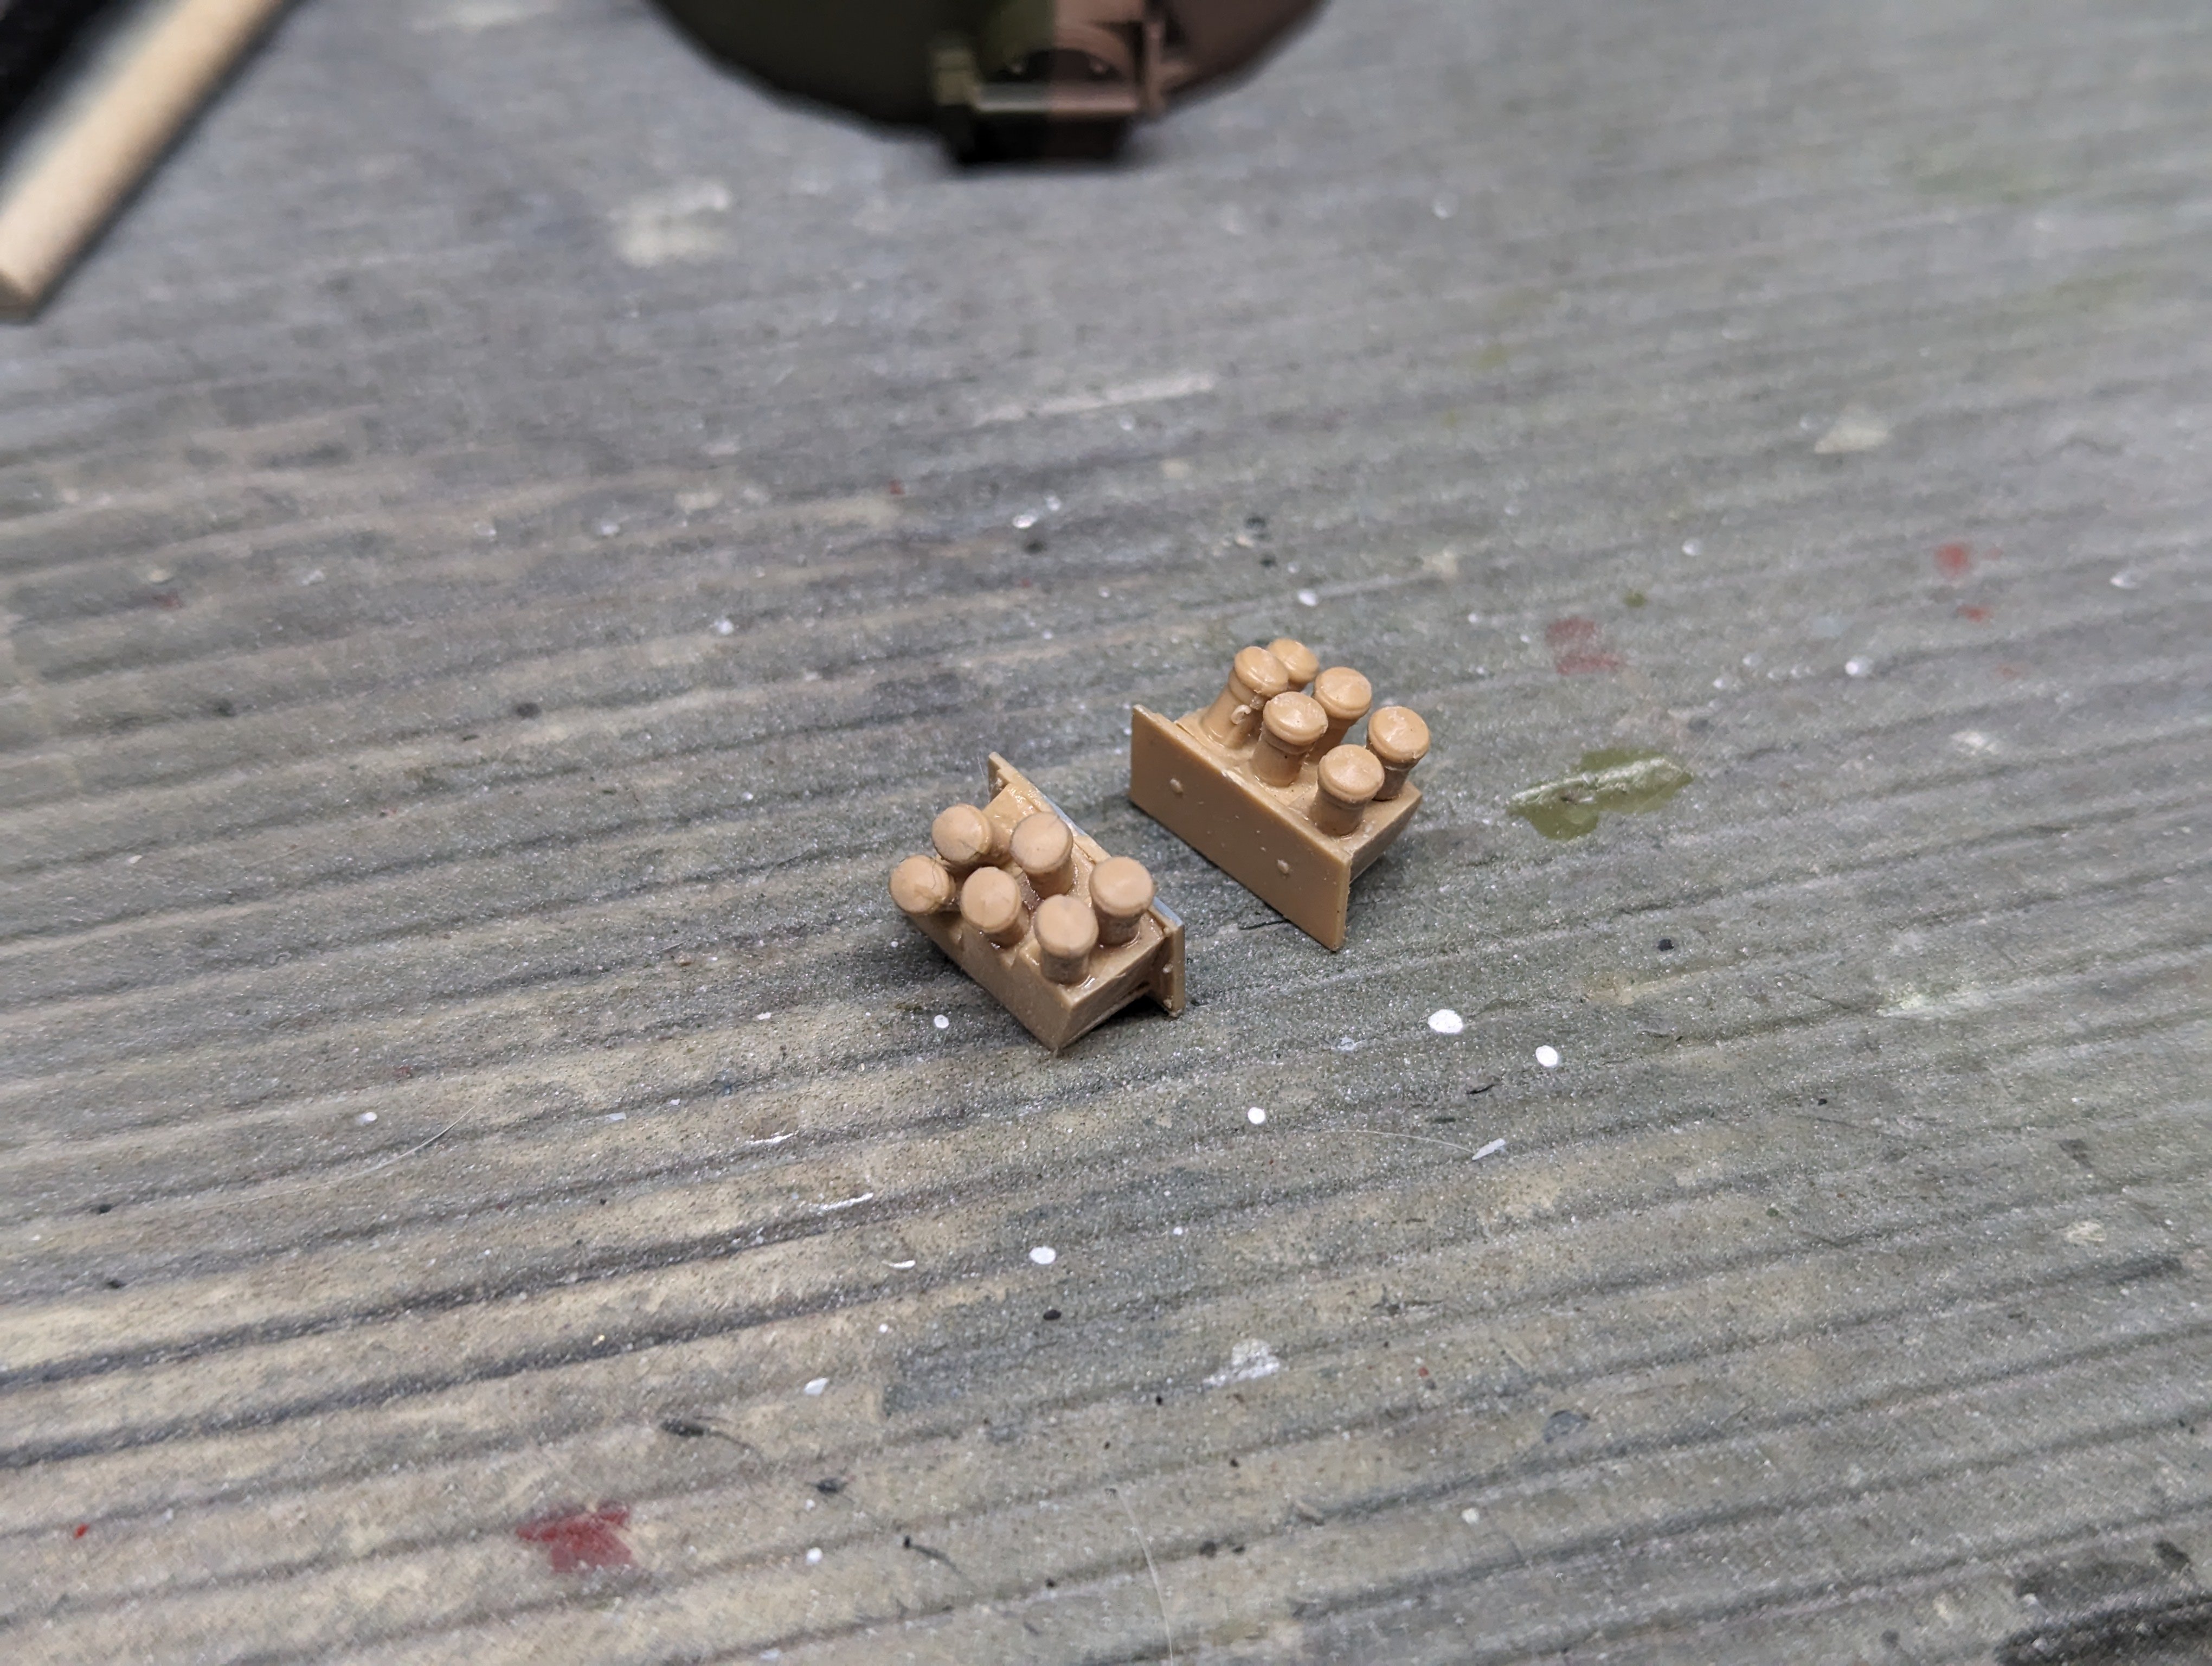
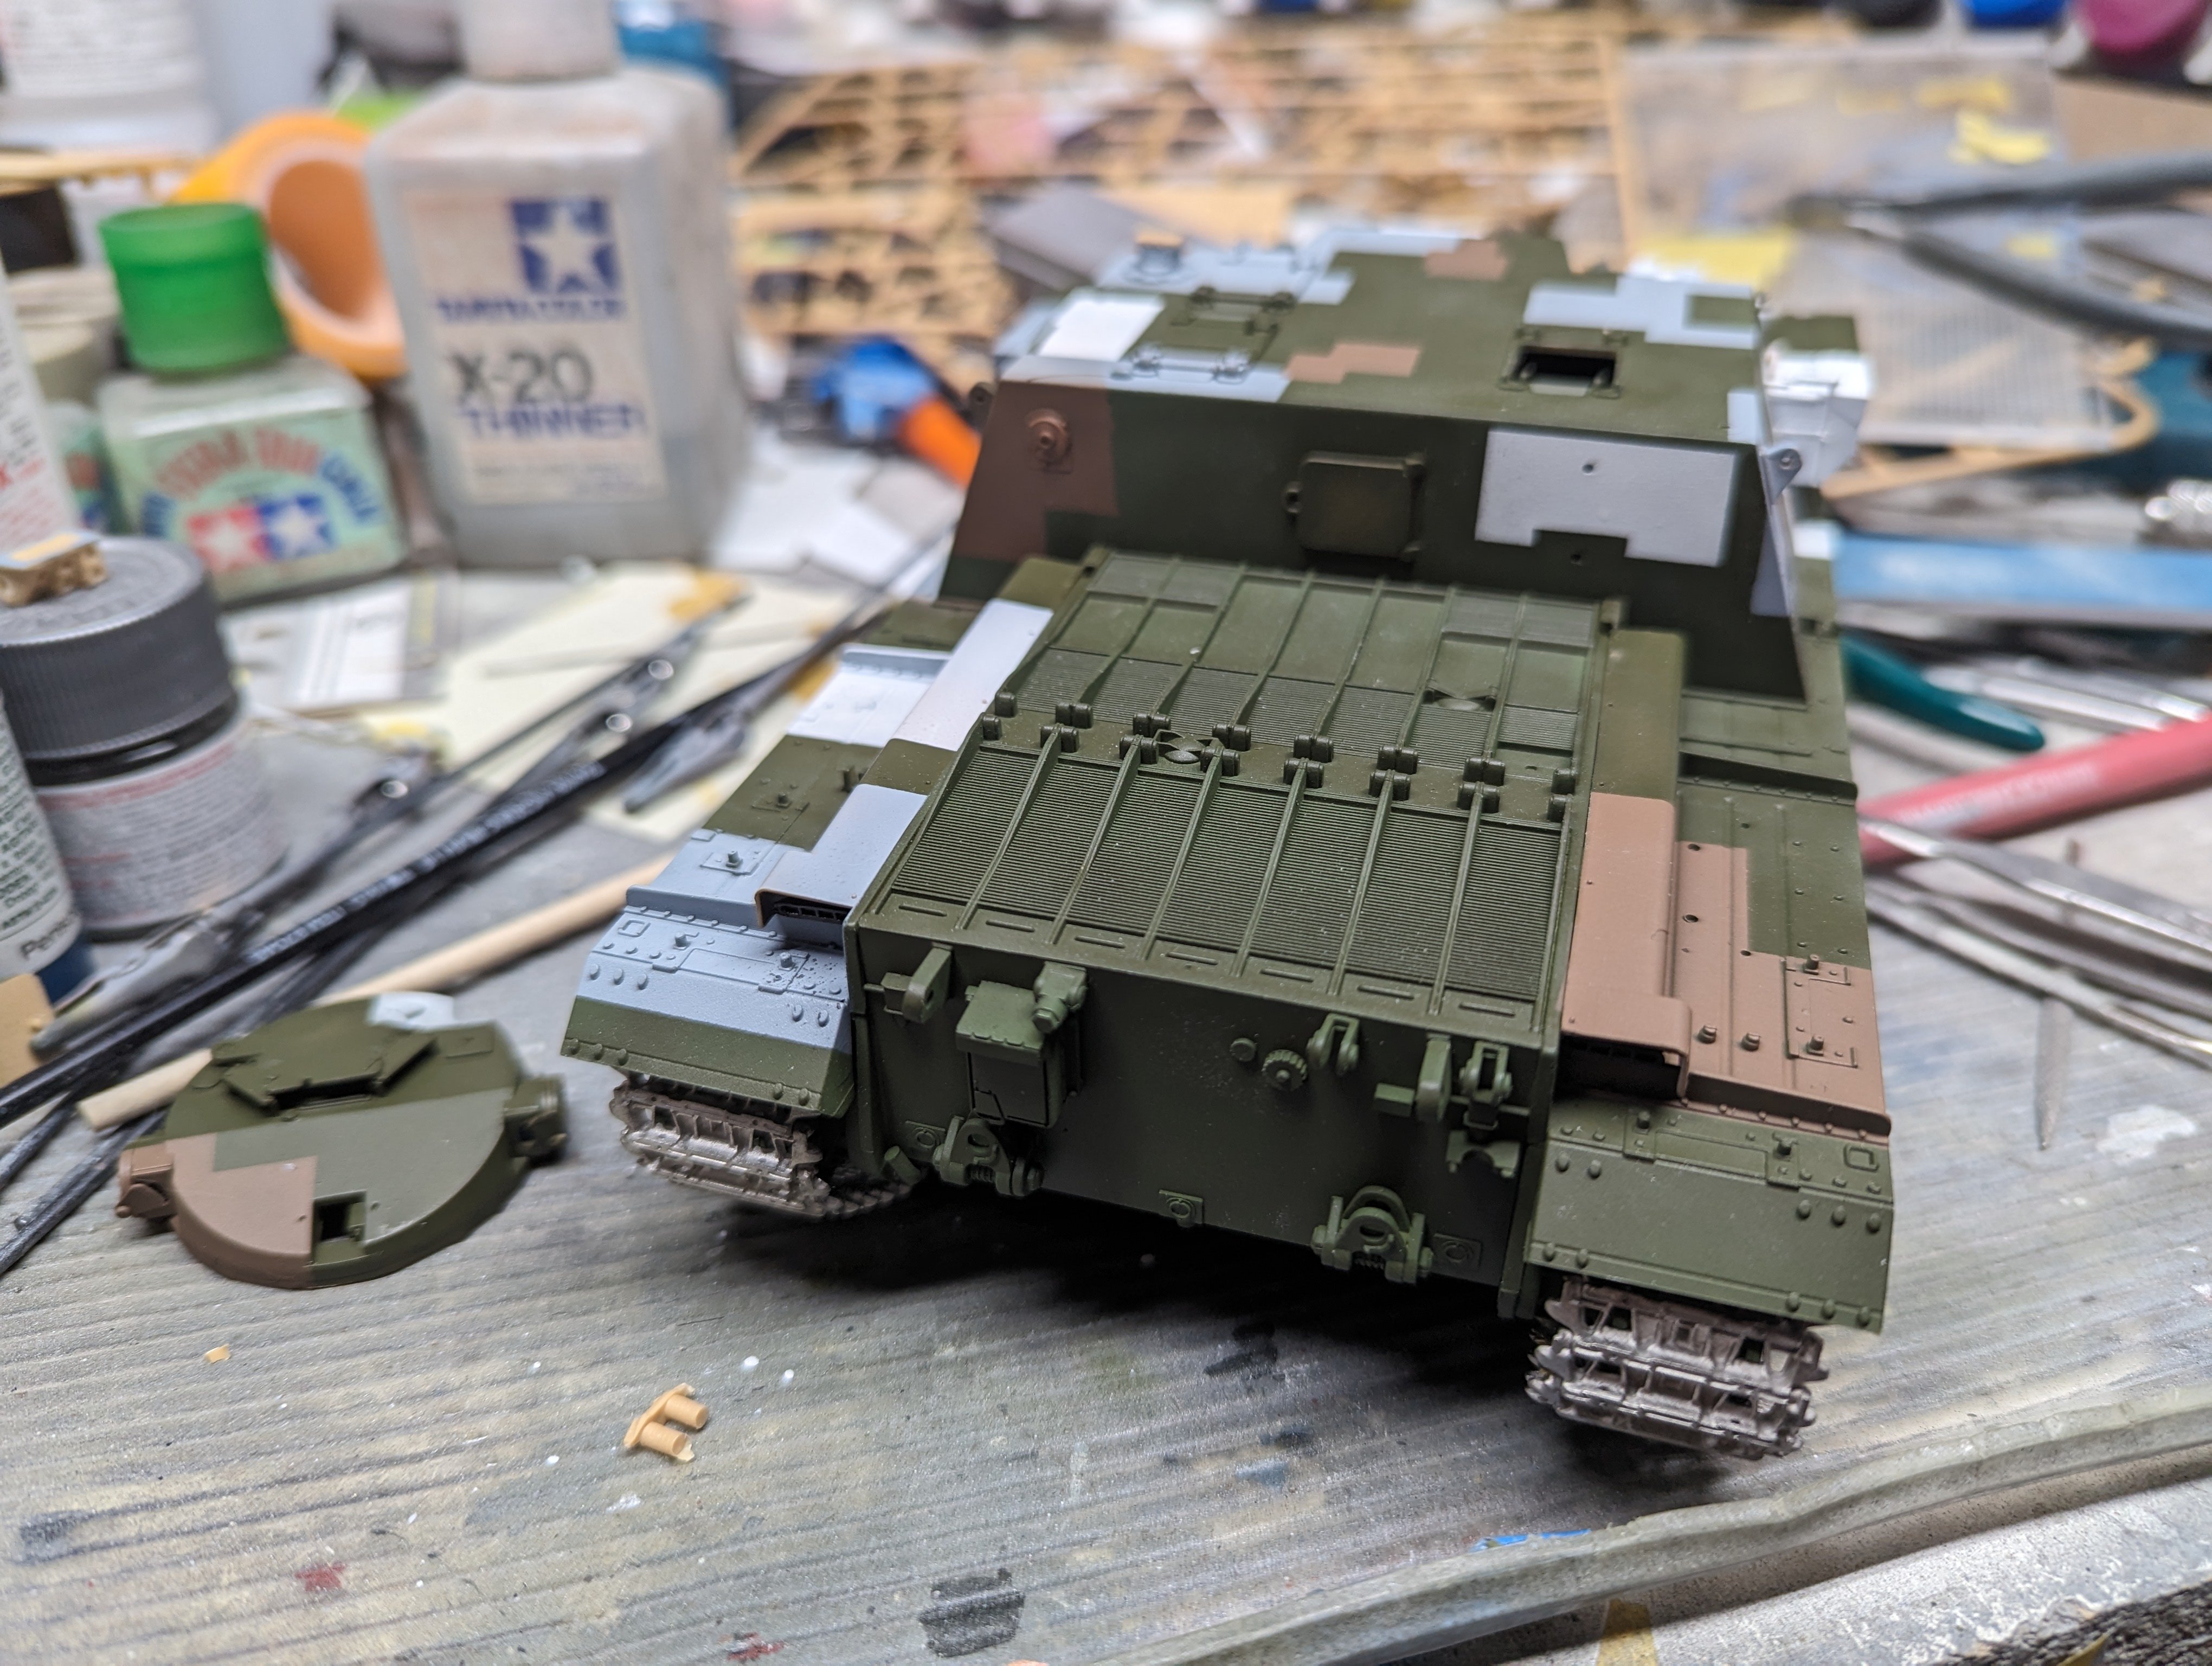
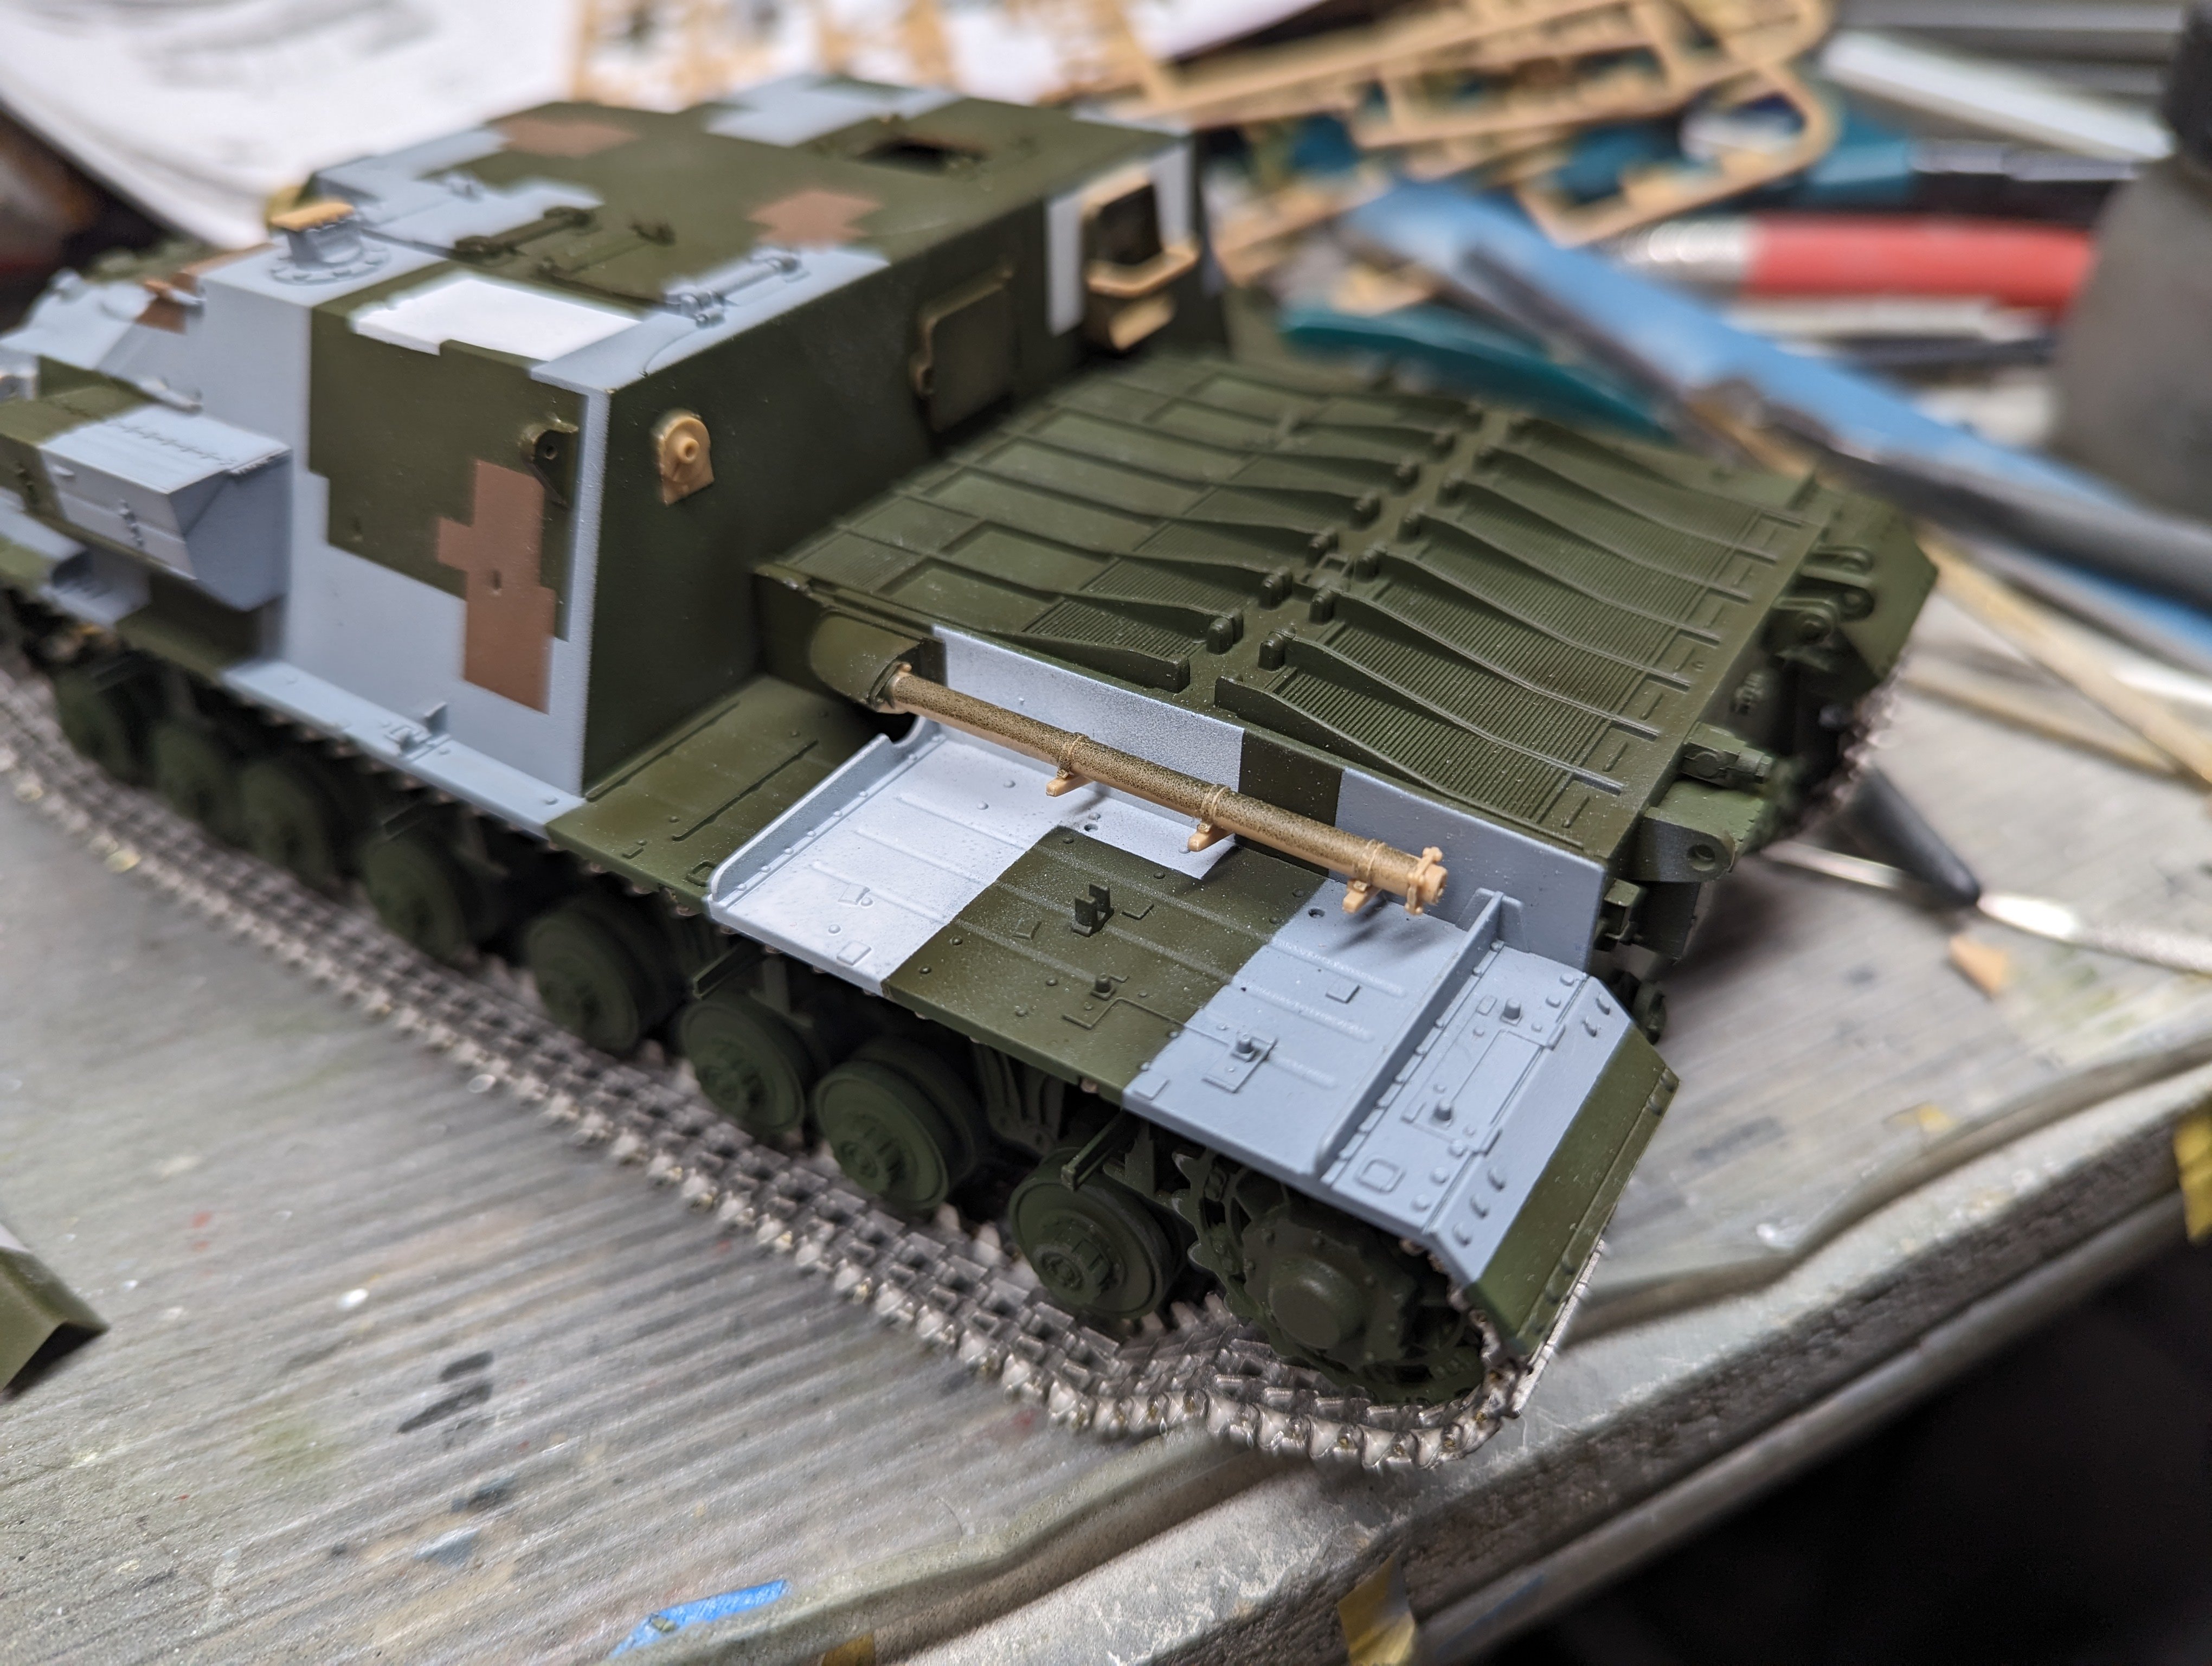
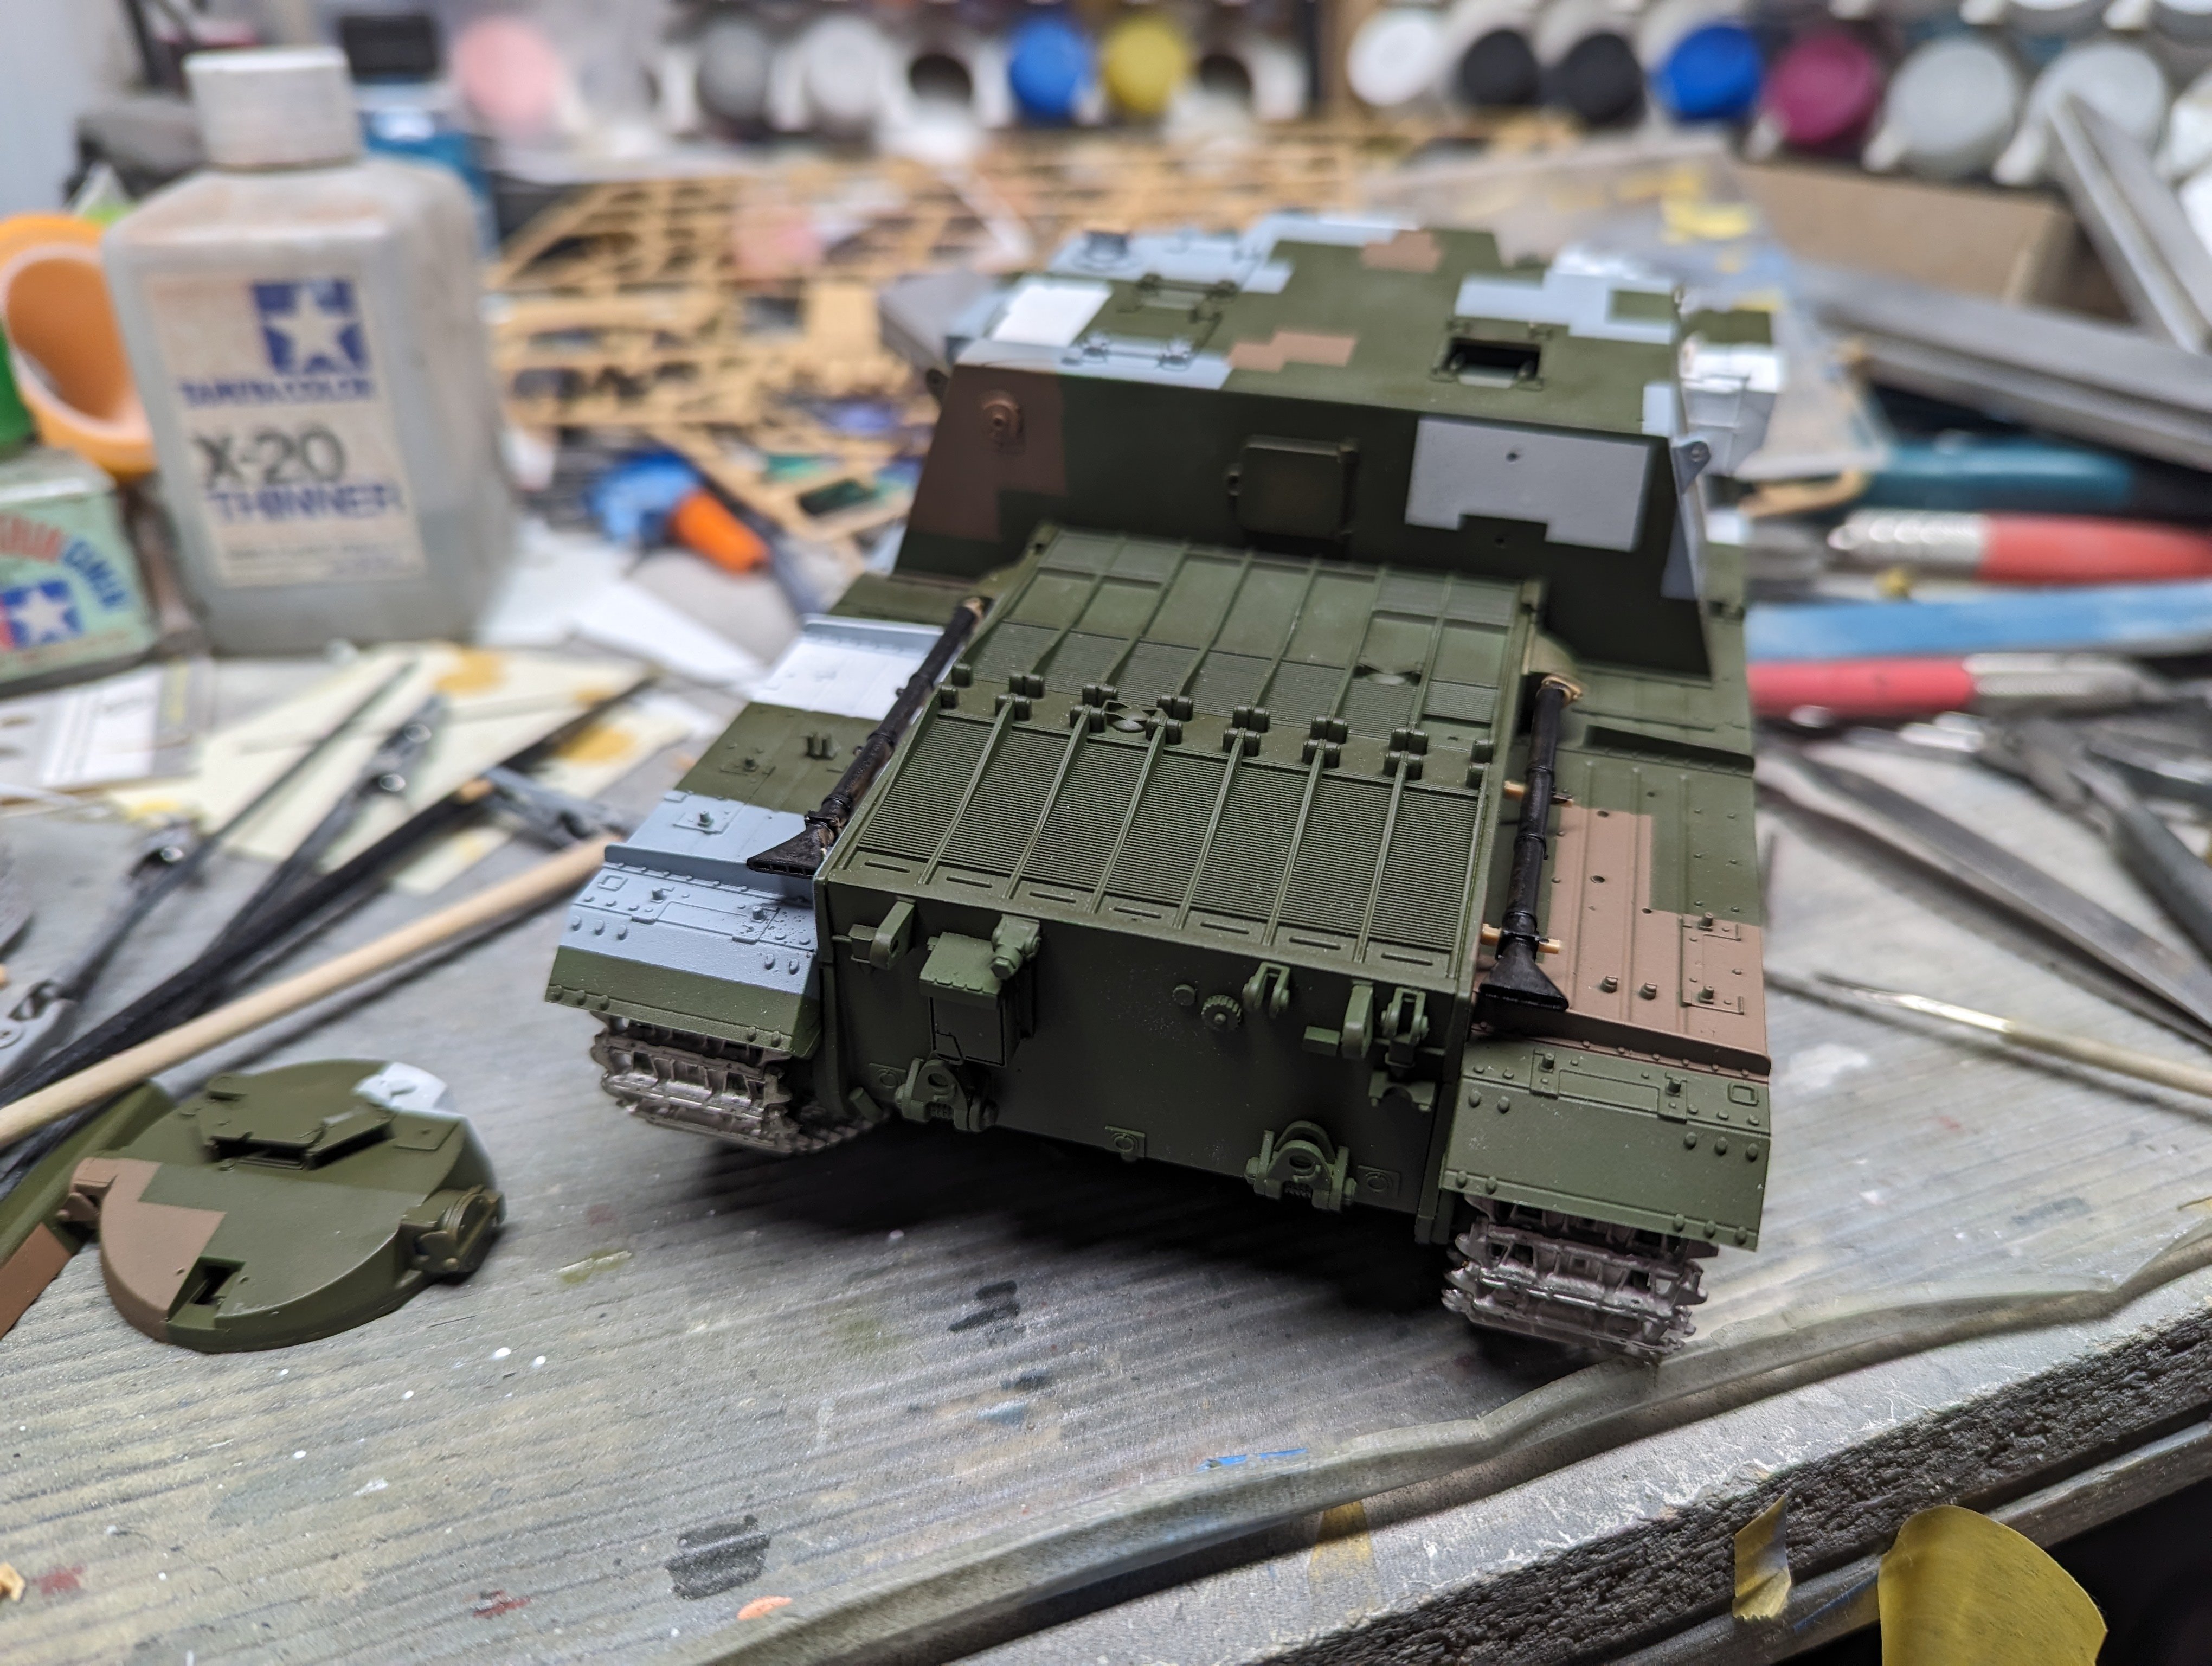
A bit more progress on the Badger. The exhausts are multi part and a bit fiddly, probably the most so of any assembly yet on the kit. I ended up losing one of the brackets that the exhaust pipe sits on. Sadly I didn't have my usual carpet monster lap cat to catch it for me. There's 3 per side and they are covered so no one will notice. With a quick coat of paint. Followed by their covers. The smoke launchers were next. Okay, these were more fiddly than the exhausts. Guess I spoke too soon.


-
I didn't have any Chieftains to climb on as a kid since Canada didn't use them. Just an Easy 8 Sherman and a Lancaster to play under.
-
MiniArt P-47D Thunderbolt: COMPLETED 2/13/24
BlrwestSiR replied to Peterpools's topic in LSM 1/48 Work in Progress
Great job Peter. The assembly, paint and decal work don't show any of the issues you may have had. Nice to see the comparison with the Tamiya kit and they both look great side by side. Carl -
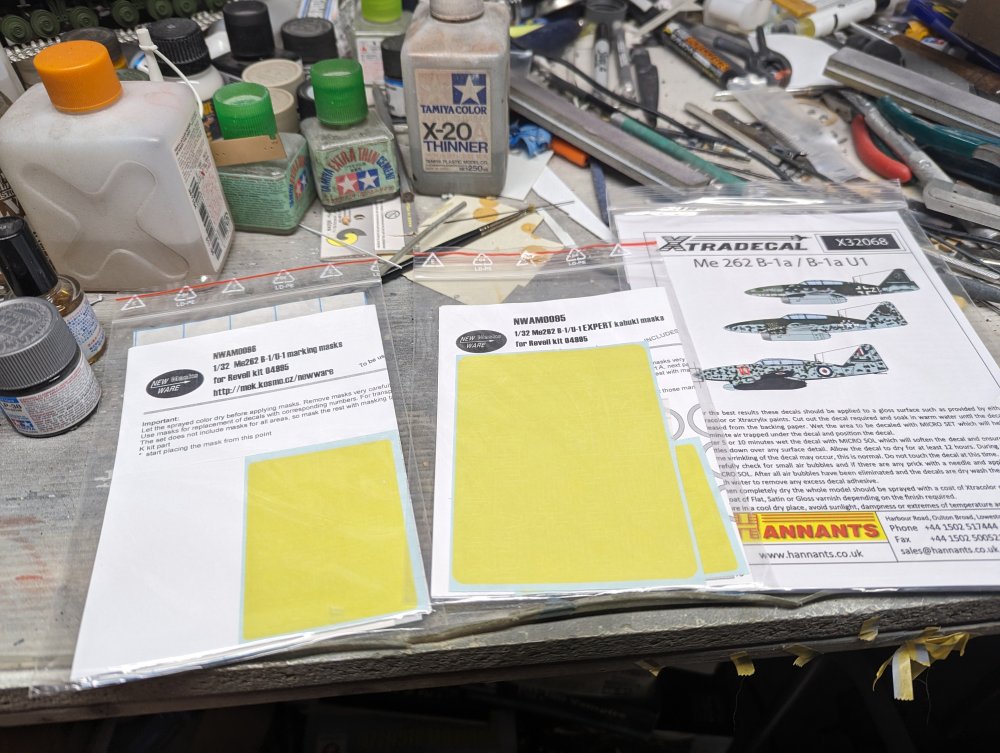
My package from Hannants finally arrived. Now I have the missing pieces for my 262 build. I also got some Spitfire decals. Perfect for that recent addition to the stash.


-
Honestly guys, if you saw how I build sometimes you'd think there was a 5 year old at the bench. I mean, half the time there's a cat in my lap. Like right now.
-
LSM Modelling News 2023 merged Fran and Artful69’s threads
BlrwestSiR replied to Fran's topic in Modelling Discussion
Speaking of the A-10, it looks like AFV Club has the perfect accessory coming-out for the kit: a detailed GAU-8 cannon
-
That's my plan.
-
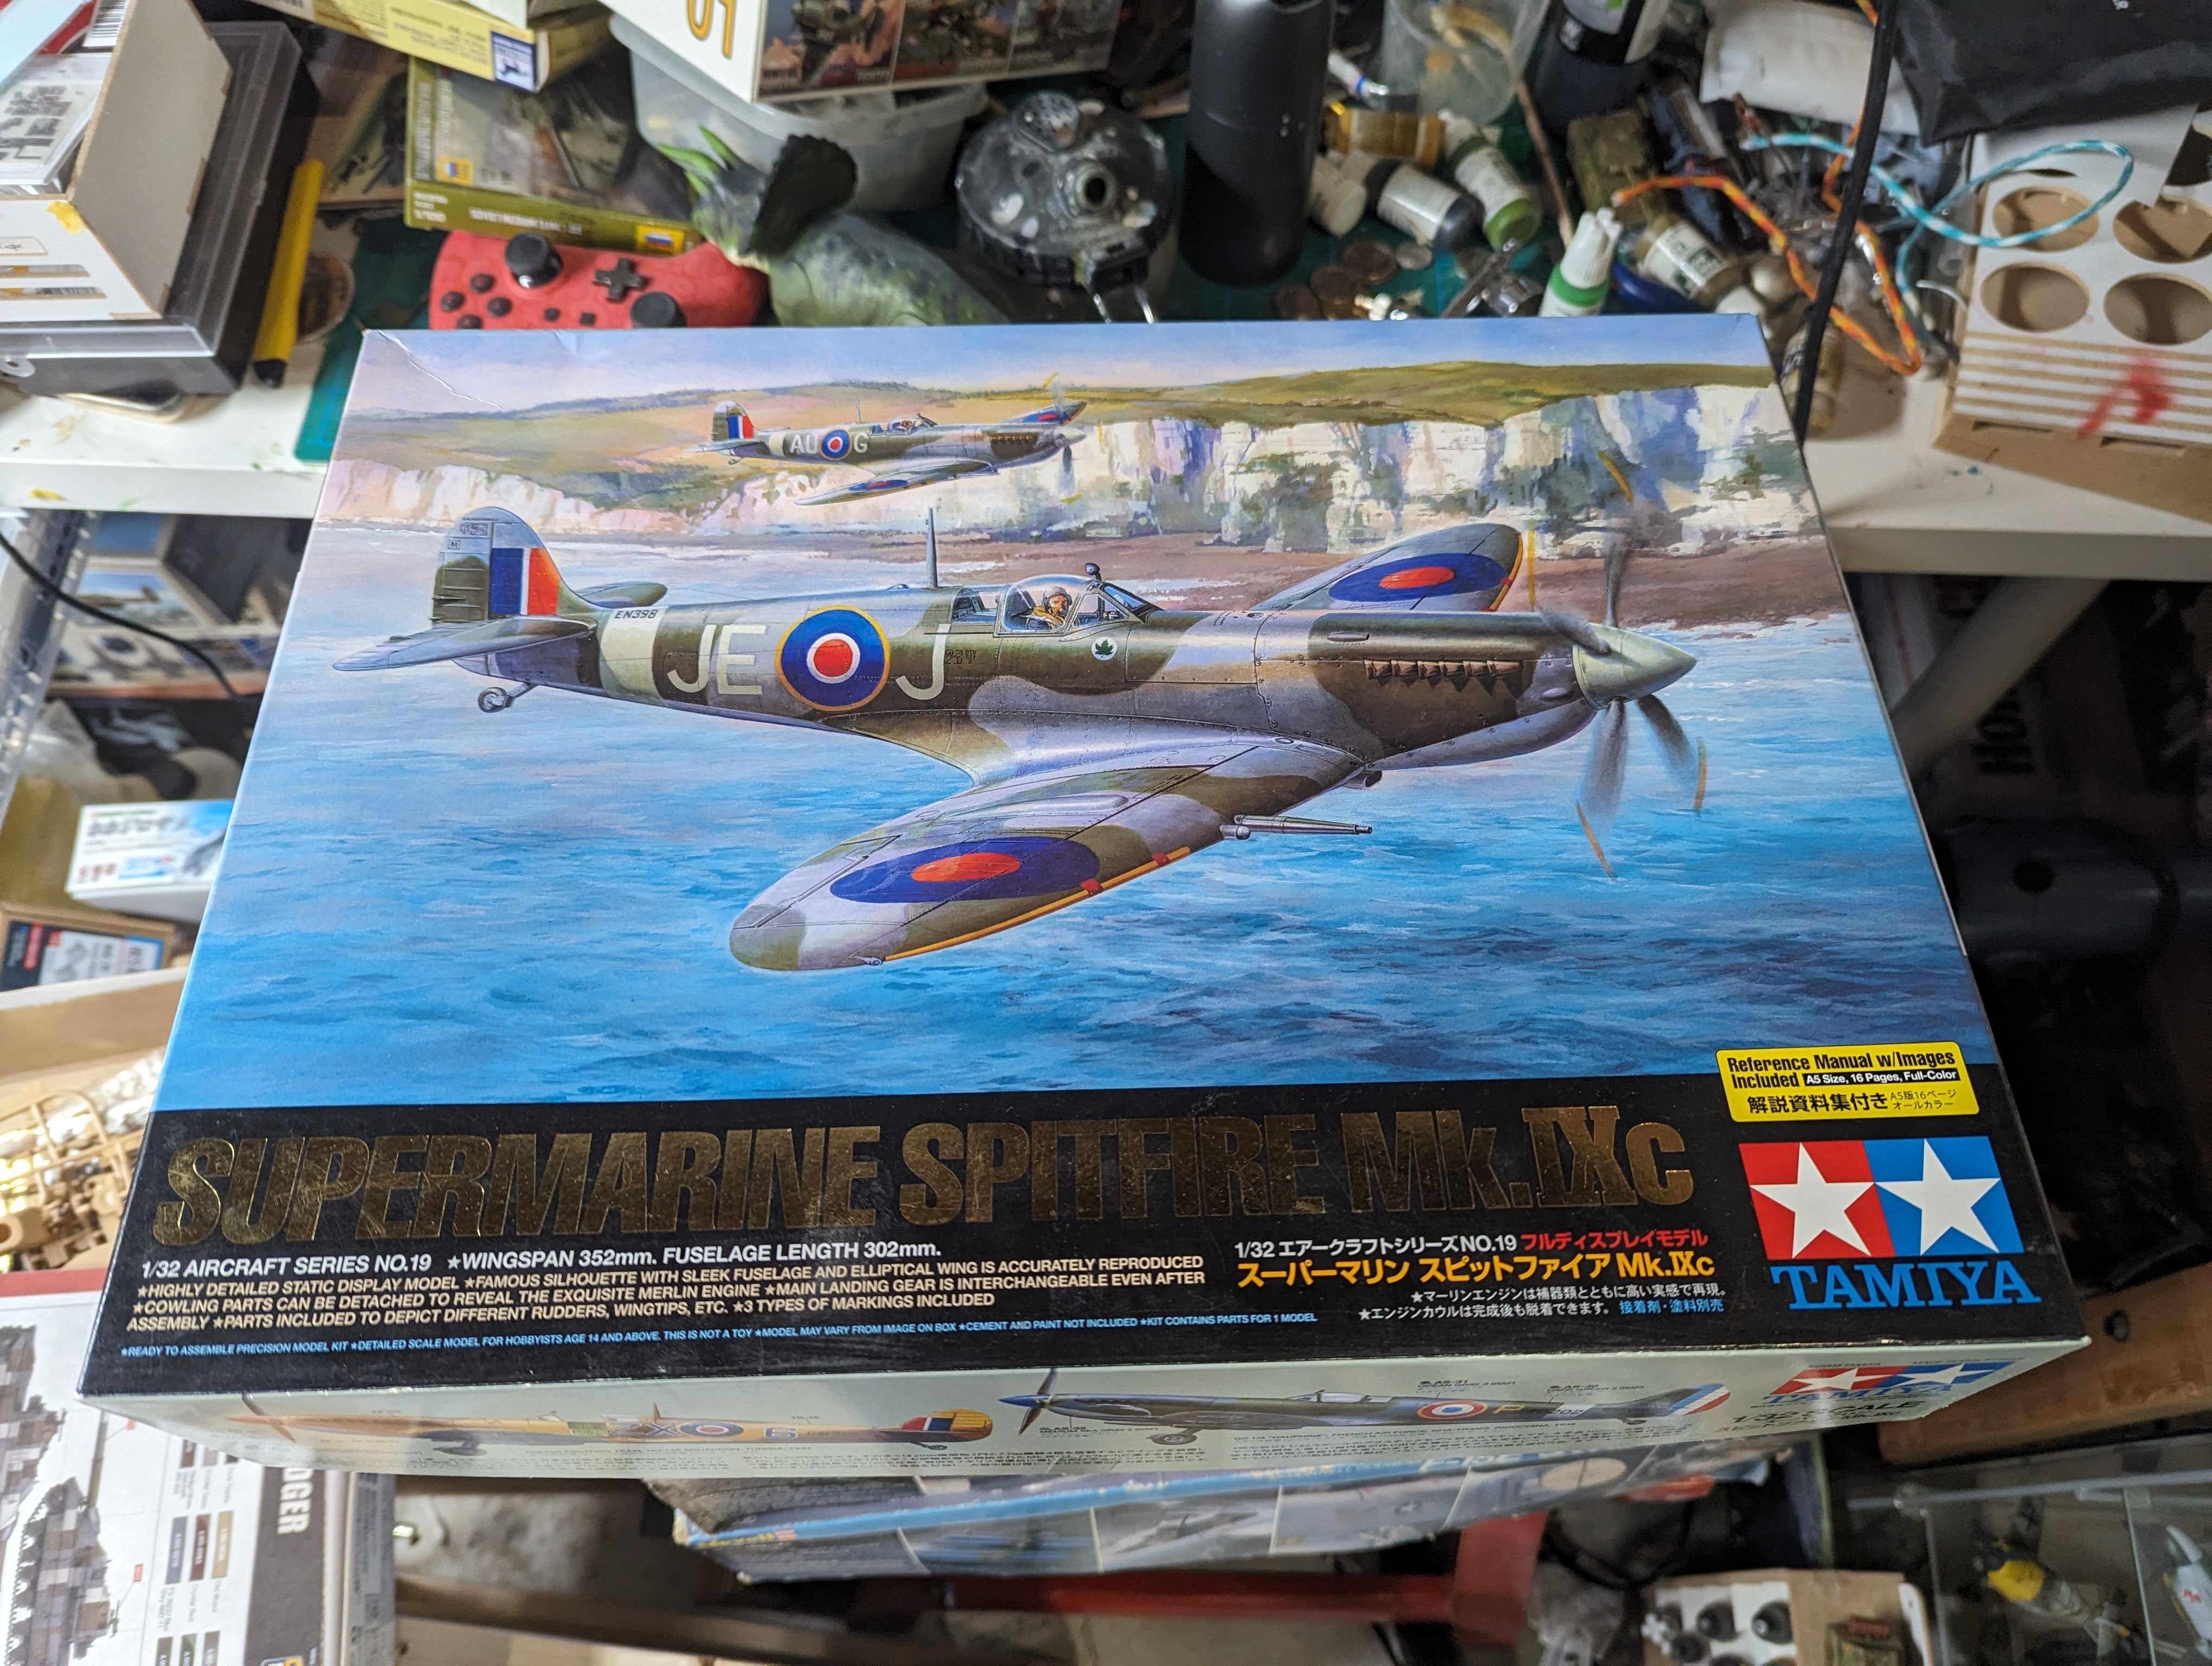
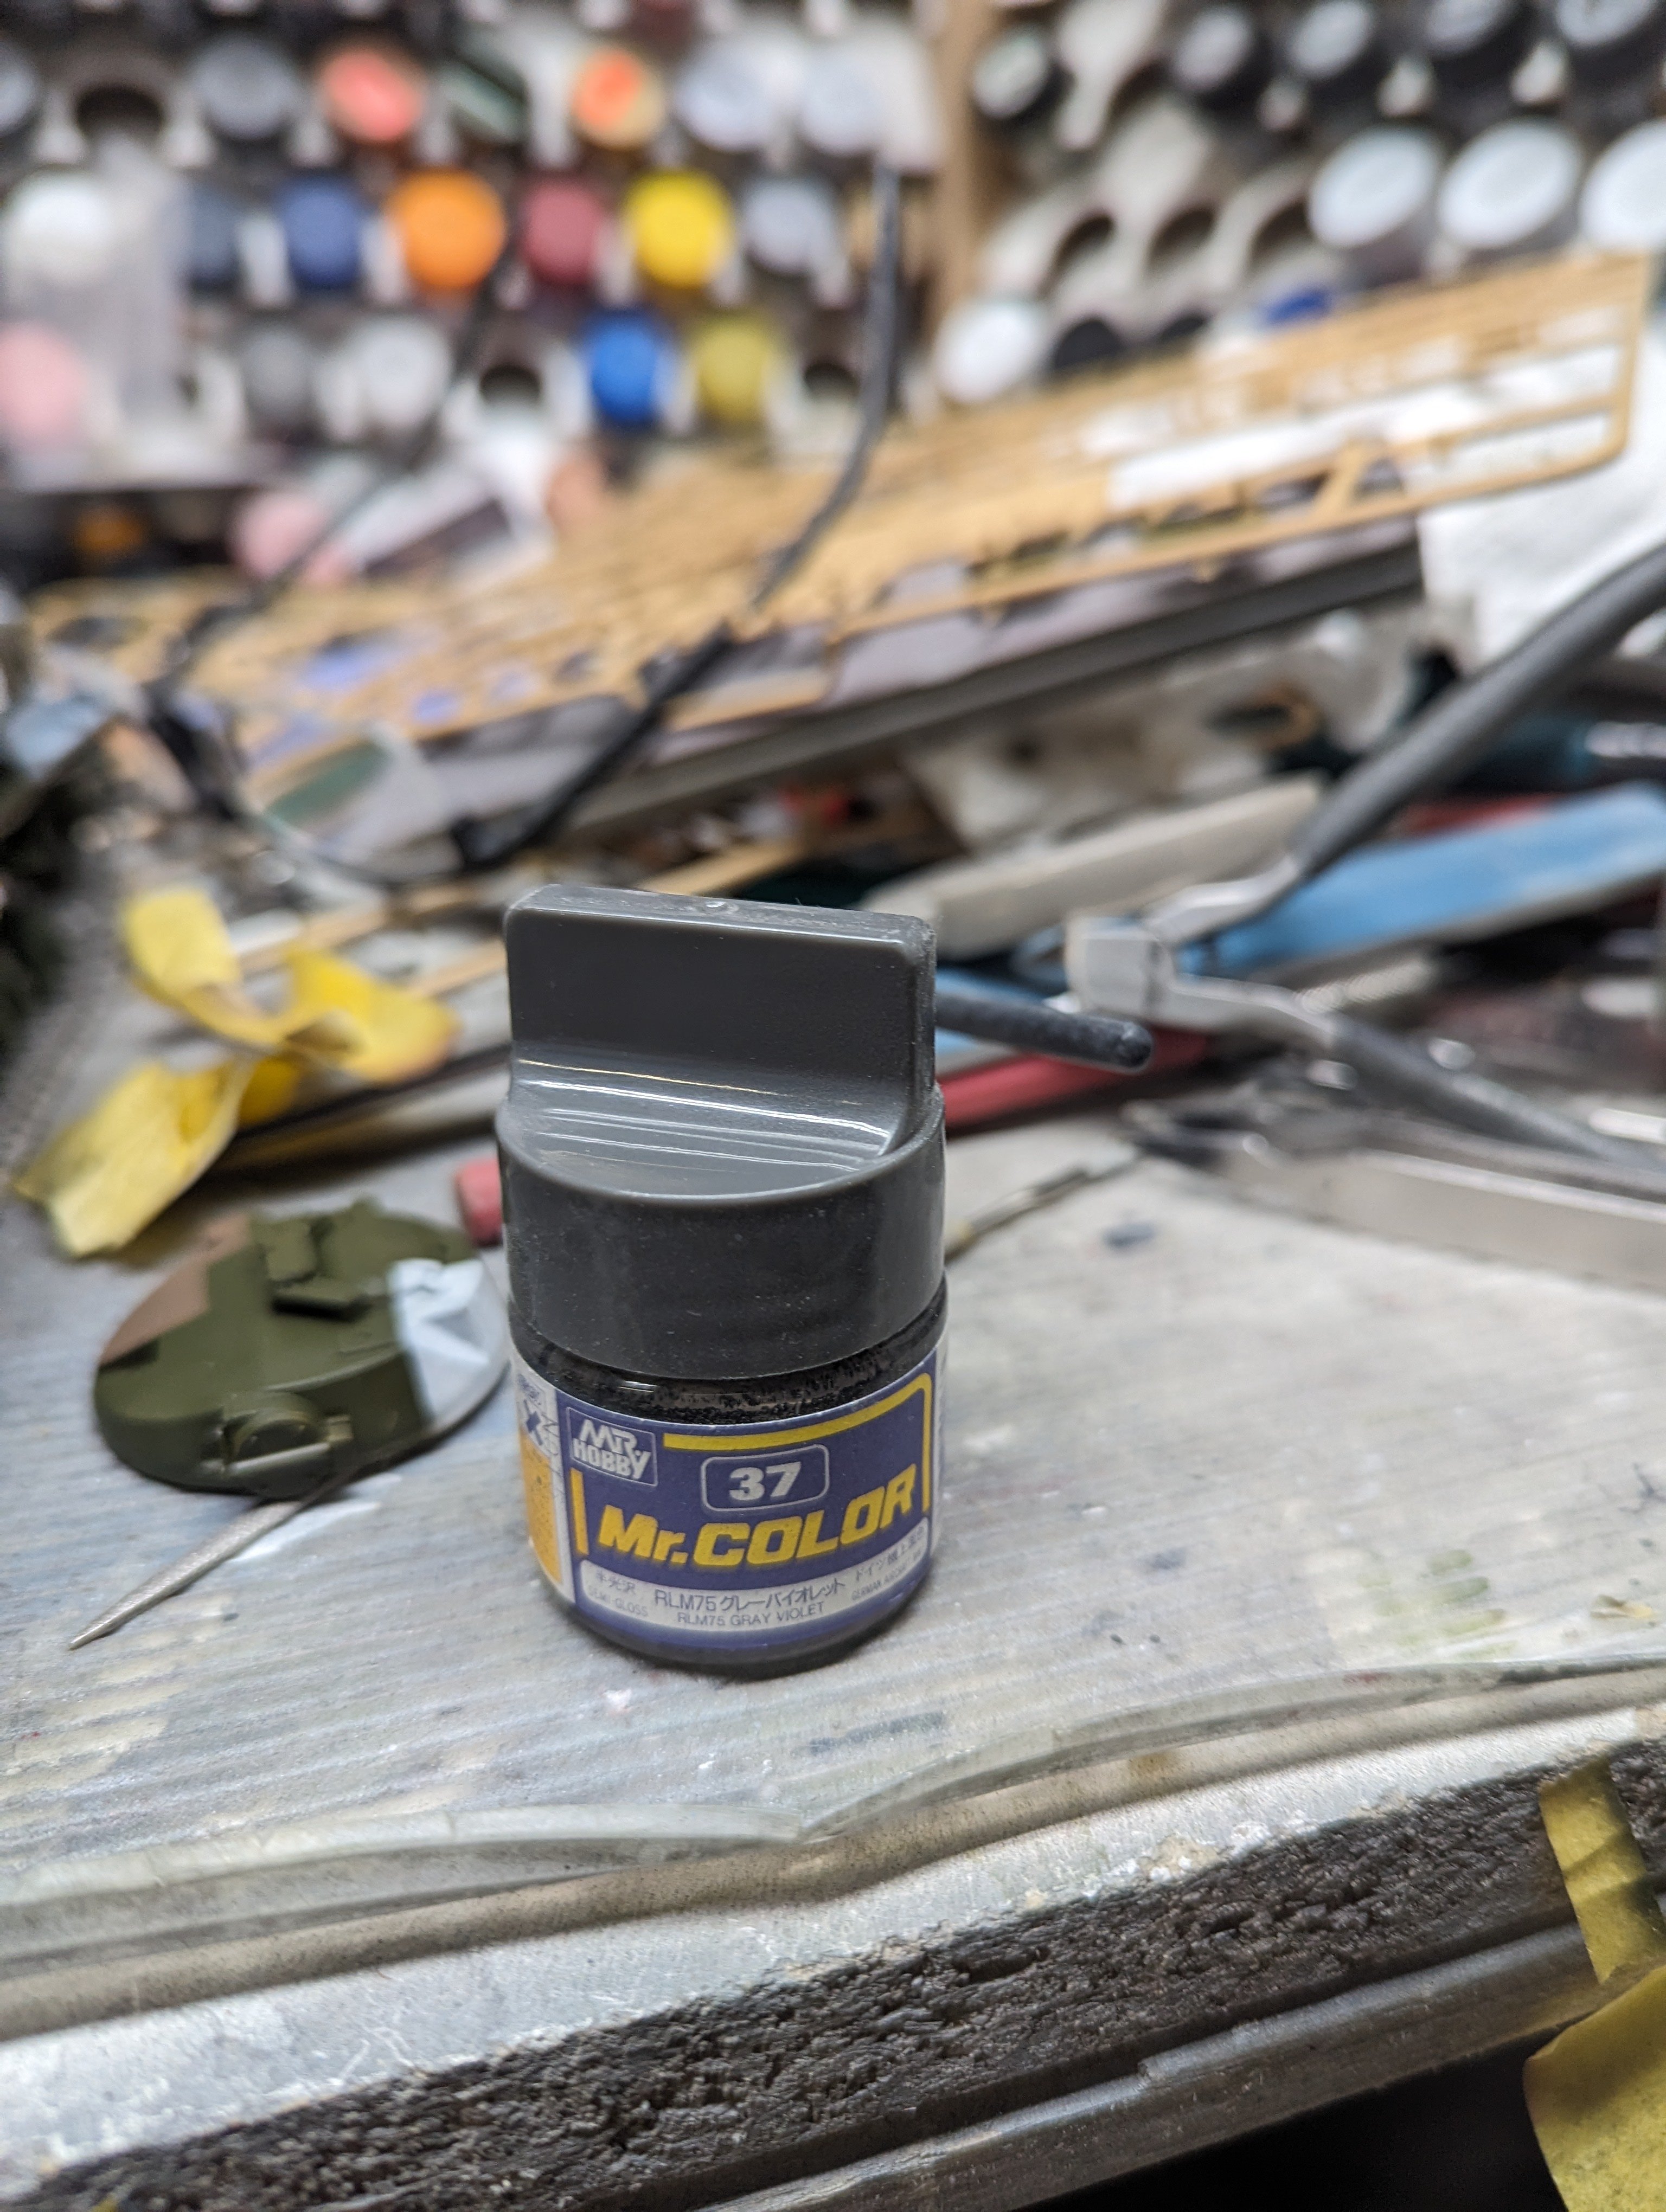
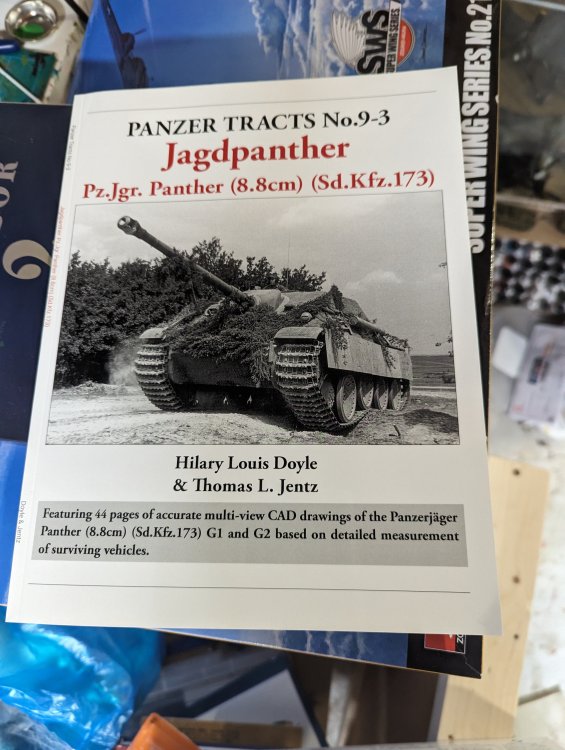
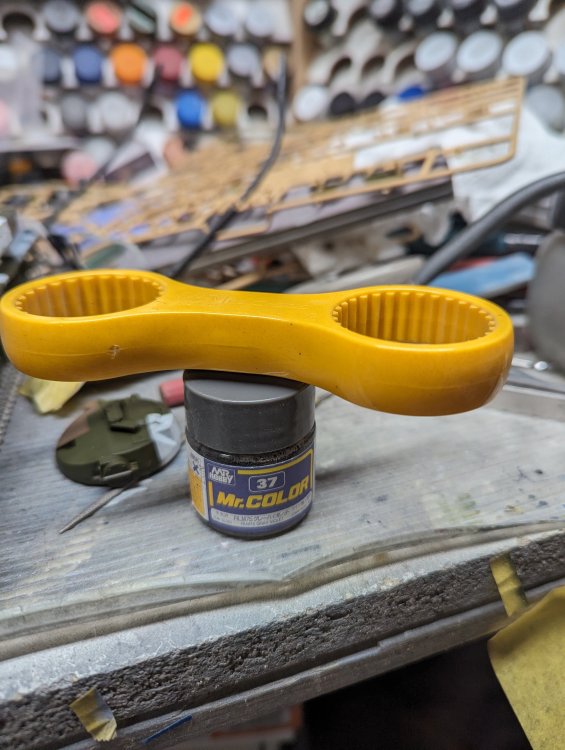
Talking to Martin lately, he's been trying to downsize his stash a bit. In doing so, he's helped to make mine bigger! The Spitfire section of my stash has grown by another as a result. In other news, I received another book in the mail. A very handy tool to have around. It'll also open the really old style Mr Color bottles with the big tab on the lid.


-
AEG G.IV - Creature of the Night - WNW 1/32
BlrwestSiR replied to DocRob's topic in The Great Twins Broup Bluild
Very nice paintwork Rob. I haven't tried the salt method yet but might need to give it a go at some point. -
1/32 Westland Whirlwind
BlrwestSiR replied to JeroenPeters's topic in LSM 1/35 and Larger Work In Progress
Amazing work Jeroen and great research there Gunnar. I am definitely sticking with OOB for mine... -
Jeff, they're very nice engines. I have the same set for one of my Mossies. I've read there is an issue in that apparently they're the wrong type of Merlin for the Mossie. Something to do with details on the supercharger. I'm not sure how visible it is. That being said, it's not going to stop me from using them once I get to that build.