KevinM
-
Posts
2,986 -
Joined
-
Last visited
1 Follower

Recent Profile Visitors
29,782 profile views


-
What is on your bench right now ? Share a picture :)
KevinM replied to Martinnfb's topic in Modelling Discussion
That looks cool and well done!! -
Looks very convincing and well done with what looks like a very fine soft edge.
-
1/16 Takom Willys 1/4 Ton 4x4 G503 MB Jeep
KevinM replied to Axeman's topic in LSM 1/35 and Larger Work In Progress
Nice and glad that it placed for ya! -
That's a nice looking P-40 John!
-
Huge Huey .....get yer 'Nam on
KevinM replied to PanzerWomble's topic in LSM 1/35 and Larger Work In Progress
That looks real good Guy liking it alot! -
1/24 trumpeter a6m2 “rufe” floatplane
KevinM replied to Irishman1's topic in LSM 1/35 and Larger Work In Progress
Looks good. -
She looks a mix Martin brindle's is popular from TX though good to see a playmate
-
Guys appreciate the heart felt words while it was hard I was Thankful to God for letting me have her for the period of time that I did.I am driving some today and I can see in my mind her at my feet while watching TV looking over back going "scratch my ass daddy" she had such a beautiful personality/disposition.It's no more when I am icing a scotch when she is to the right she launches(get fingers clear) for that ice cube and when on the L/side I could drop it in her mouth.Hannah use to like licking my hair at night if I had to much gel or hairspray she go " let me fix that daddy!" and start licking my hair and ear till I say "That's Good" which for everything met enough and she stop. My wife wants to get a smaller dog I want another Cur.Well she's been looking all day and she came out to the shop to show me a pic of a Cur male that belongs to one of the members at the Local TV station I said"got to be a female".The wife comments that's not the reason I am showing you this everywhere I look Curs keep popping up "maybe it's God's way of telling get a Cur?"
-
What is on your bench right now ? Share a picture :)
KevinM replied to Martinnfb's topic in Modelling Discussion
You know Paul I think they changed the formula some while still strong not like the ole stuff. -
My Wife cried her eyes out I handled it better than my last one to put down Gus but I have been anticipating this event for 10 days now.I told the vet I would like another like her color and all her name will be Anna.The Cur's have such a wonderful demeanor but fearless to perceived threats hell last night she got up briefly at a knock and started barking....her job was not done...it finished this morning.
-
Well guys she did not get any better"all dogs go to heaven"
-
Nice work Rob really looks sweet and the part
-
What is on your bench right now ? Share a picture :)
KevinM replied to Martinnfb's topic in Modelling Discussion
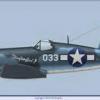
Not sure about the color intermediate blue Guy saw another build in 1/72 it looked good.The actual callout was Dark Sea Grey and the blue had a grey tint before the gloss maybe the flat will tone it down? -
P-40F conversion Grey Matter resin
KevinM replied to JohnB's topic in LSM 1/35 and Larger Work In Progress
Well it gave you a nice coat it looks from here.John I use that Mr Level leveling thinner on enamels,lacquer and acrylics(Tamy) even Future Floor wax. -
What is on your bench right now ? Share a picture :)
KevinM replied to Martinnfb's topic in Modelling Discussion
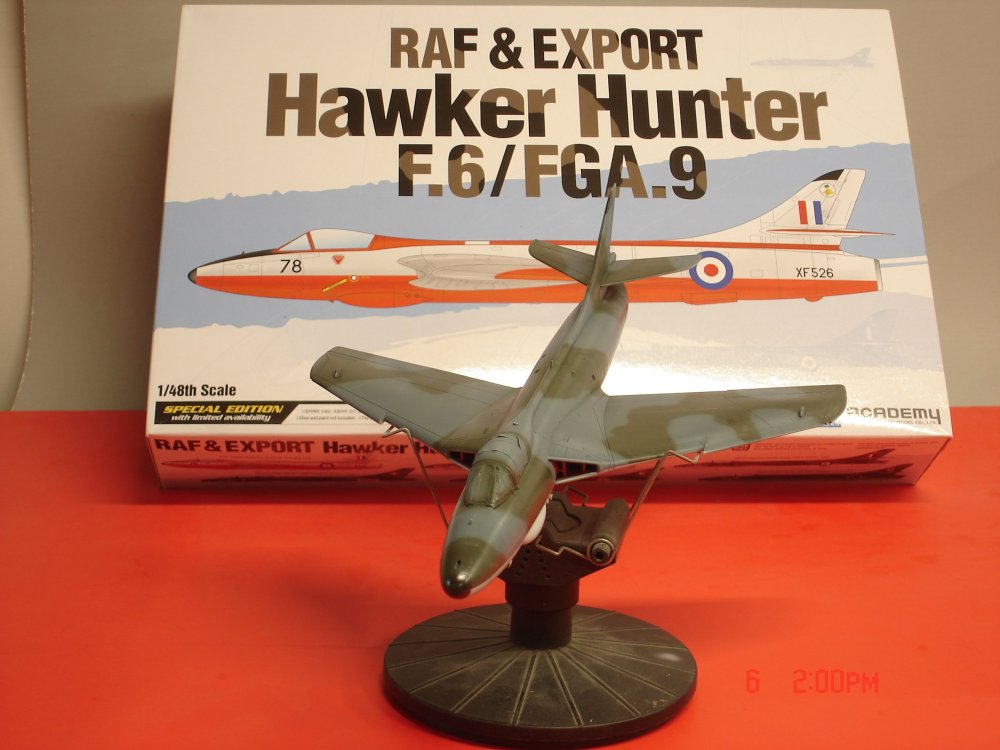
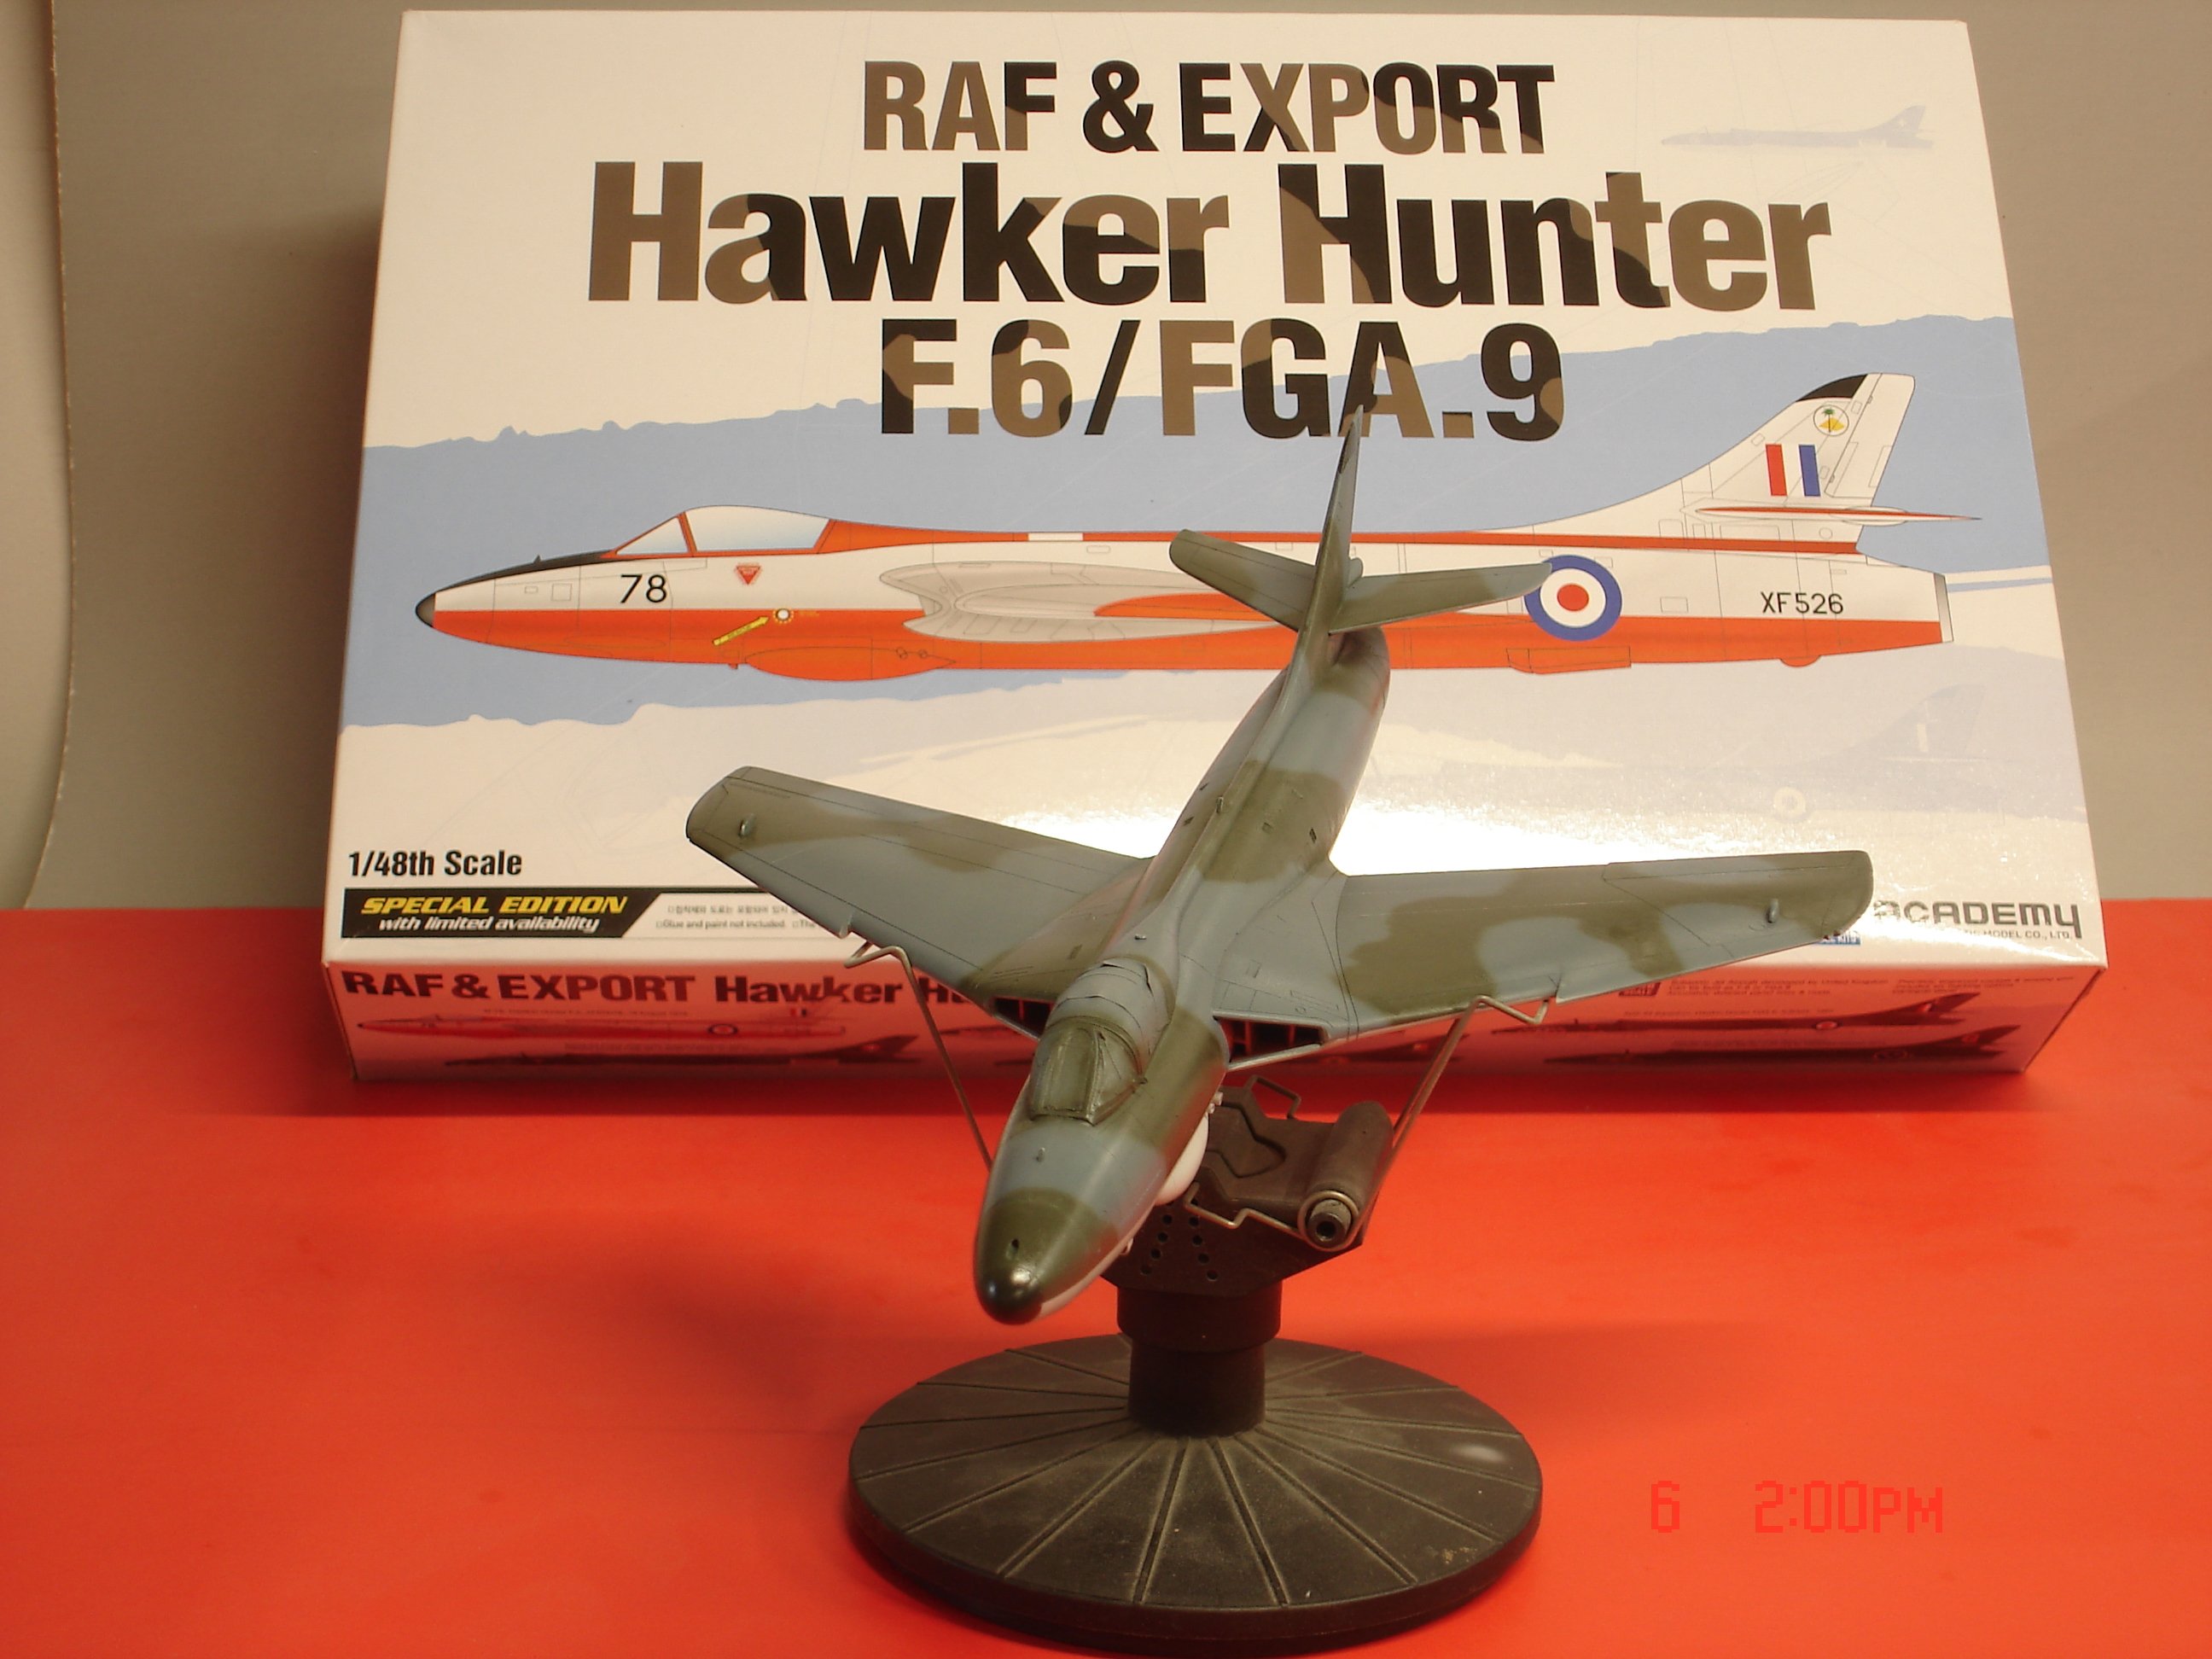
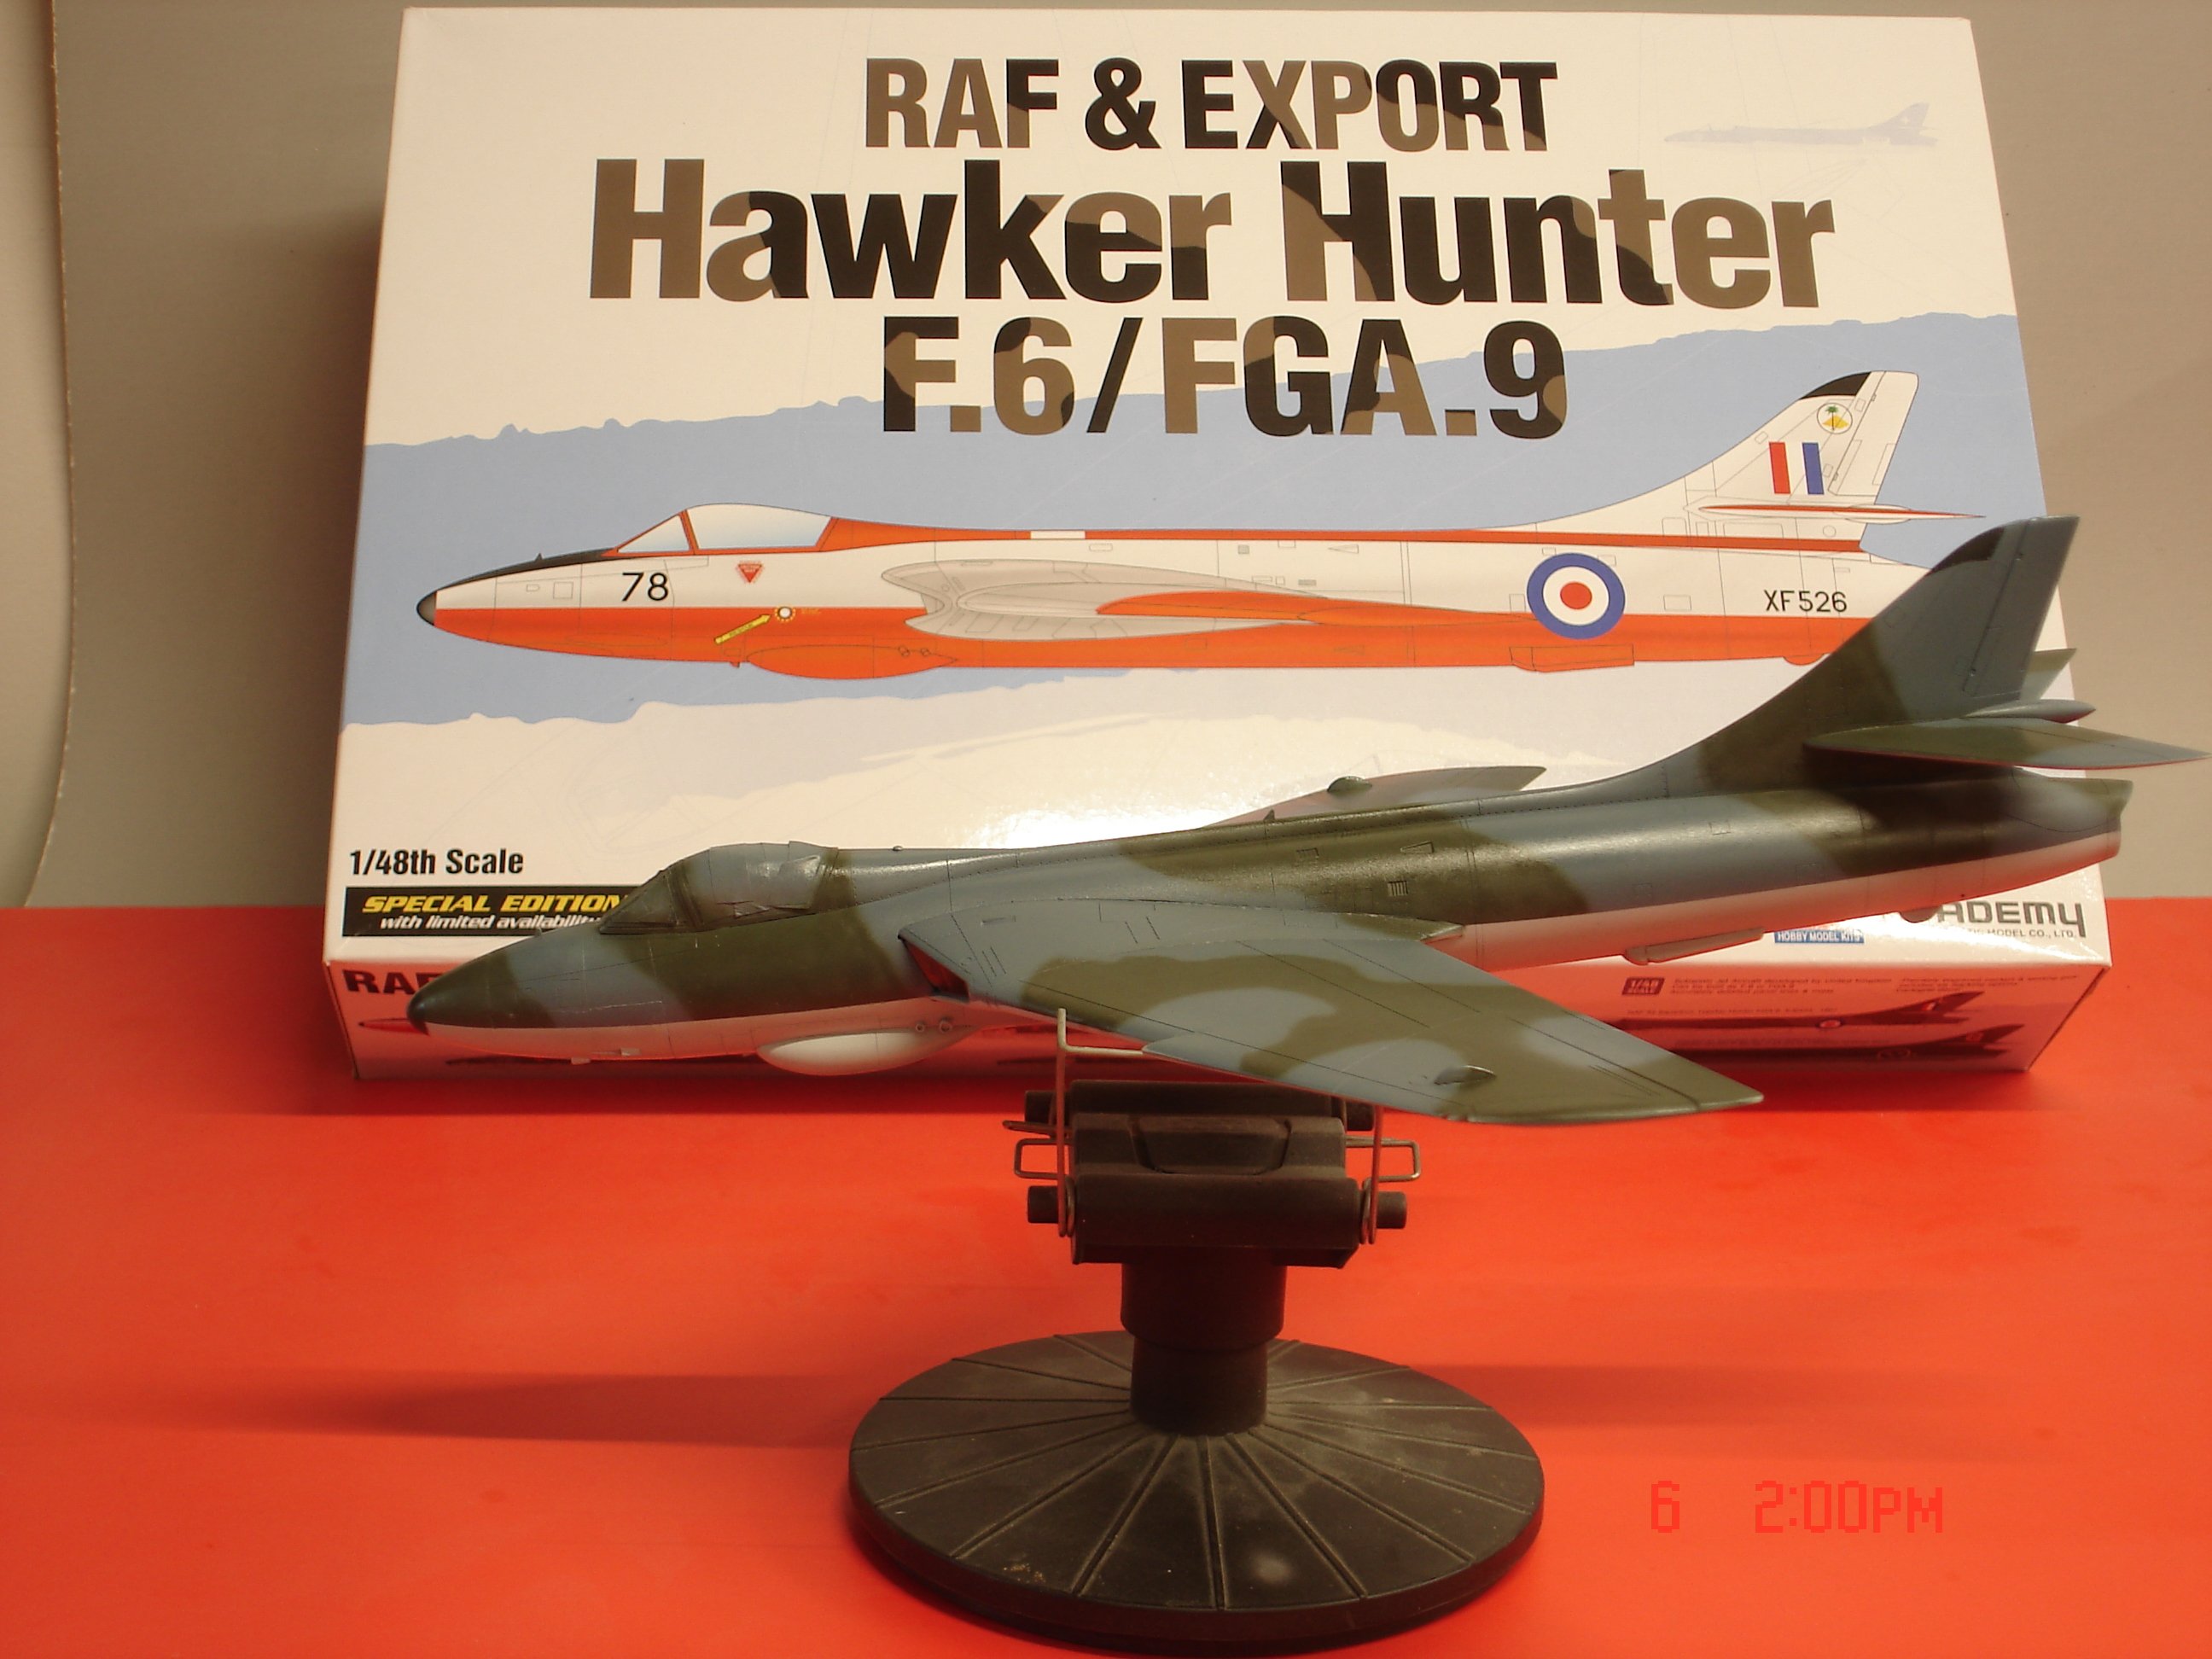
The hunter painted and glossed free hand on the camo.