
The Great LSM Twins Group Build ends July 3, 2024
×

CANicoll
-
Posts
976 -
Joined
-
Last visited
Content Type
Profiles
Forums
Events
Gallery
Everything posted by CANicoll
-

Northrop P-61A „Bleck Widow” 1:48 GWH
CANicoll replied to Kriss's topic in LSM 1/48 Work in Progress
Love this aircraft!! Beautiful job on your build. -
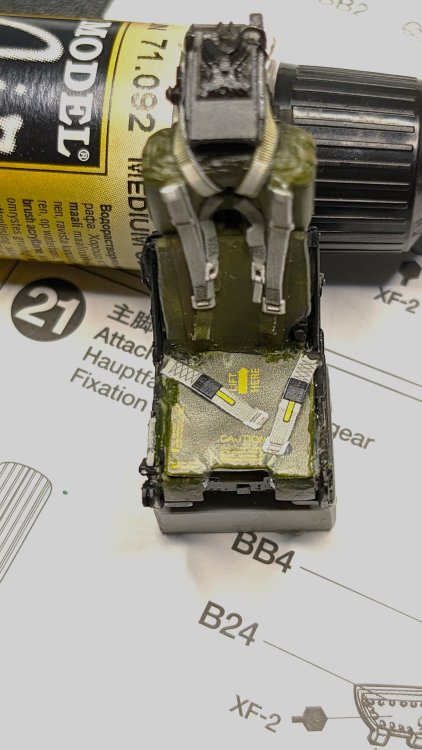
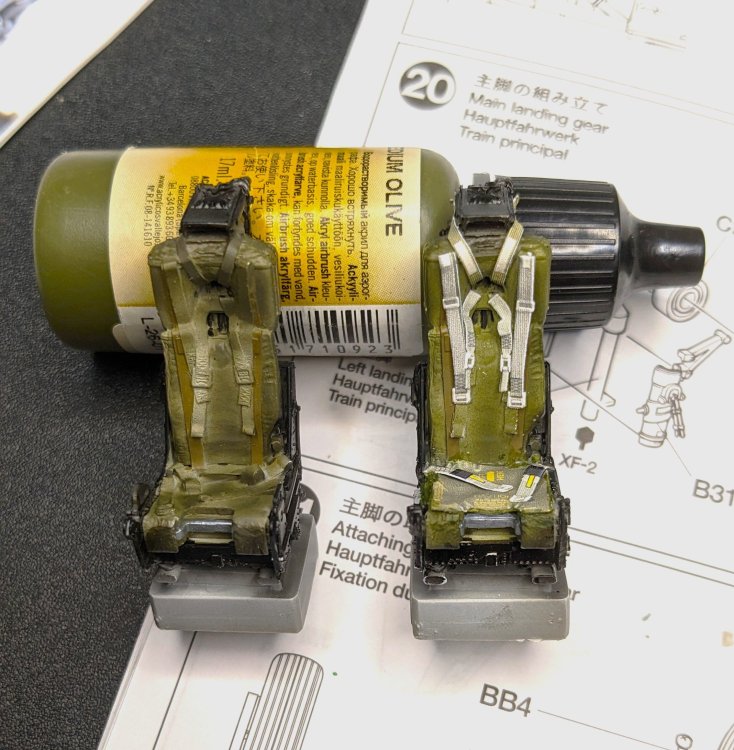
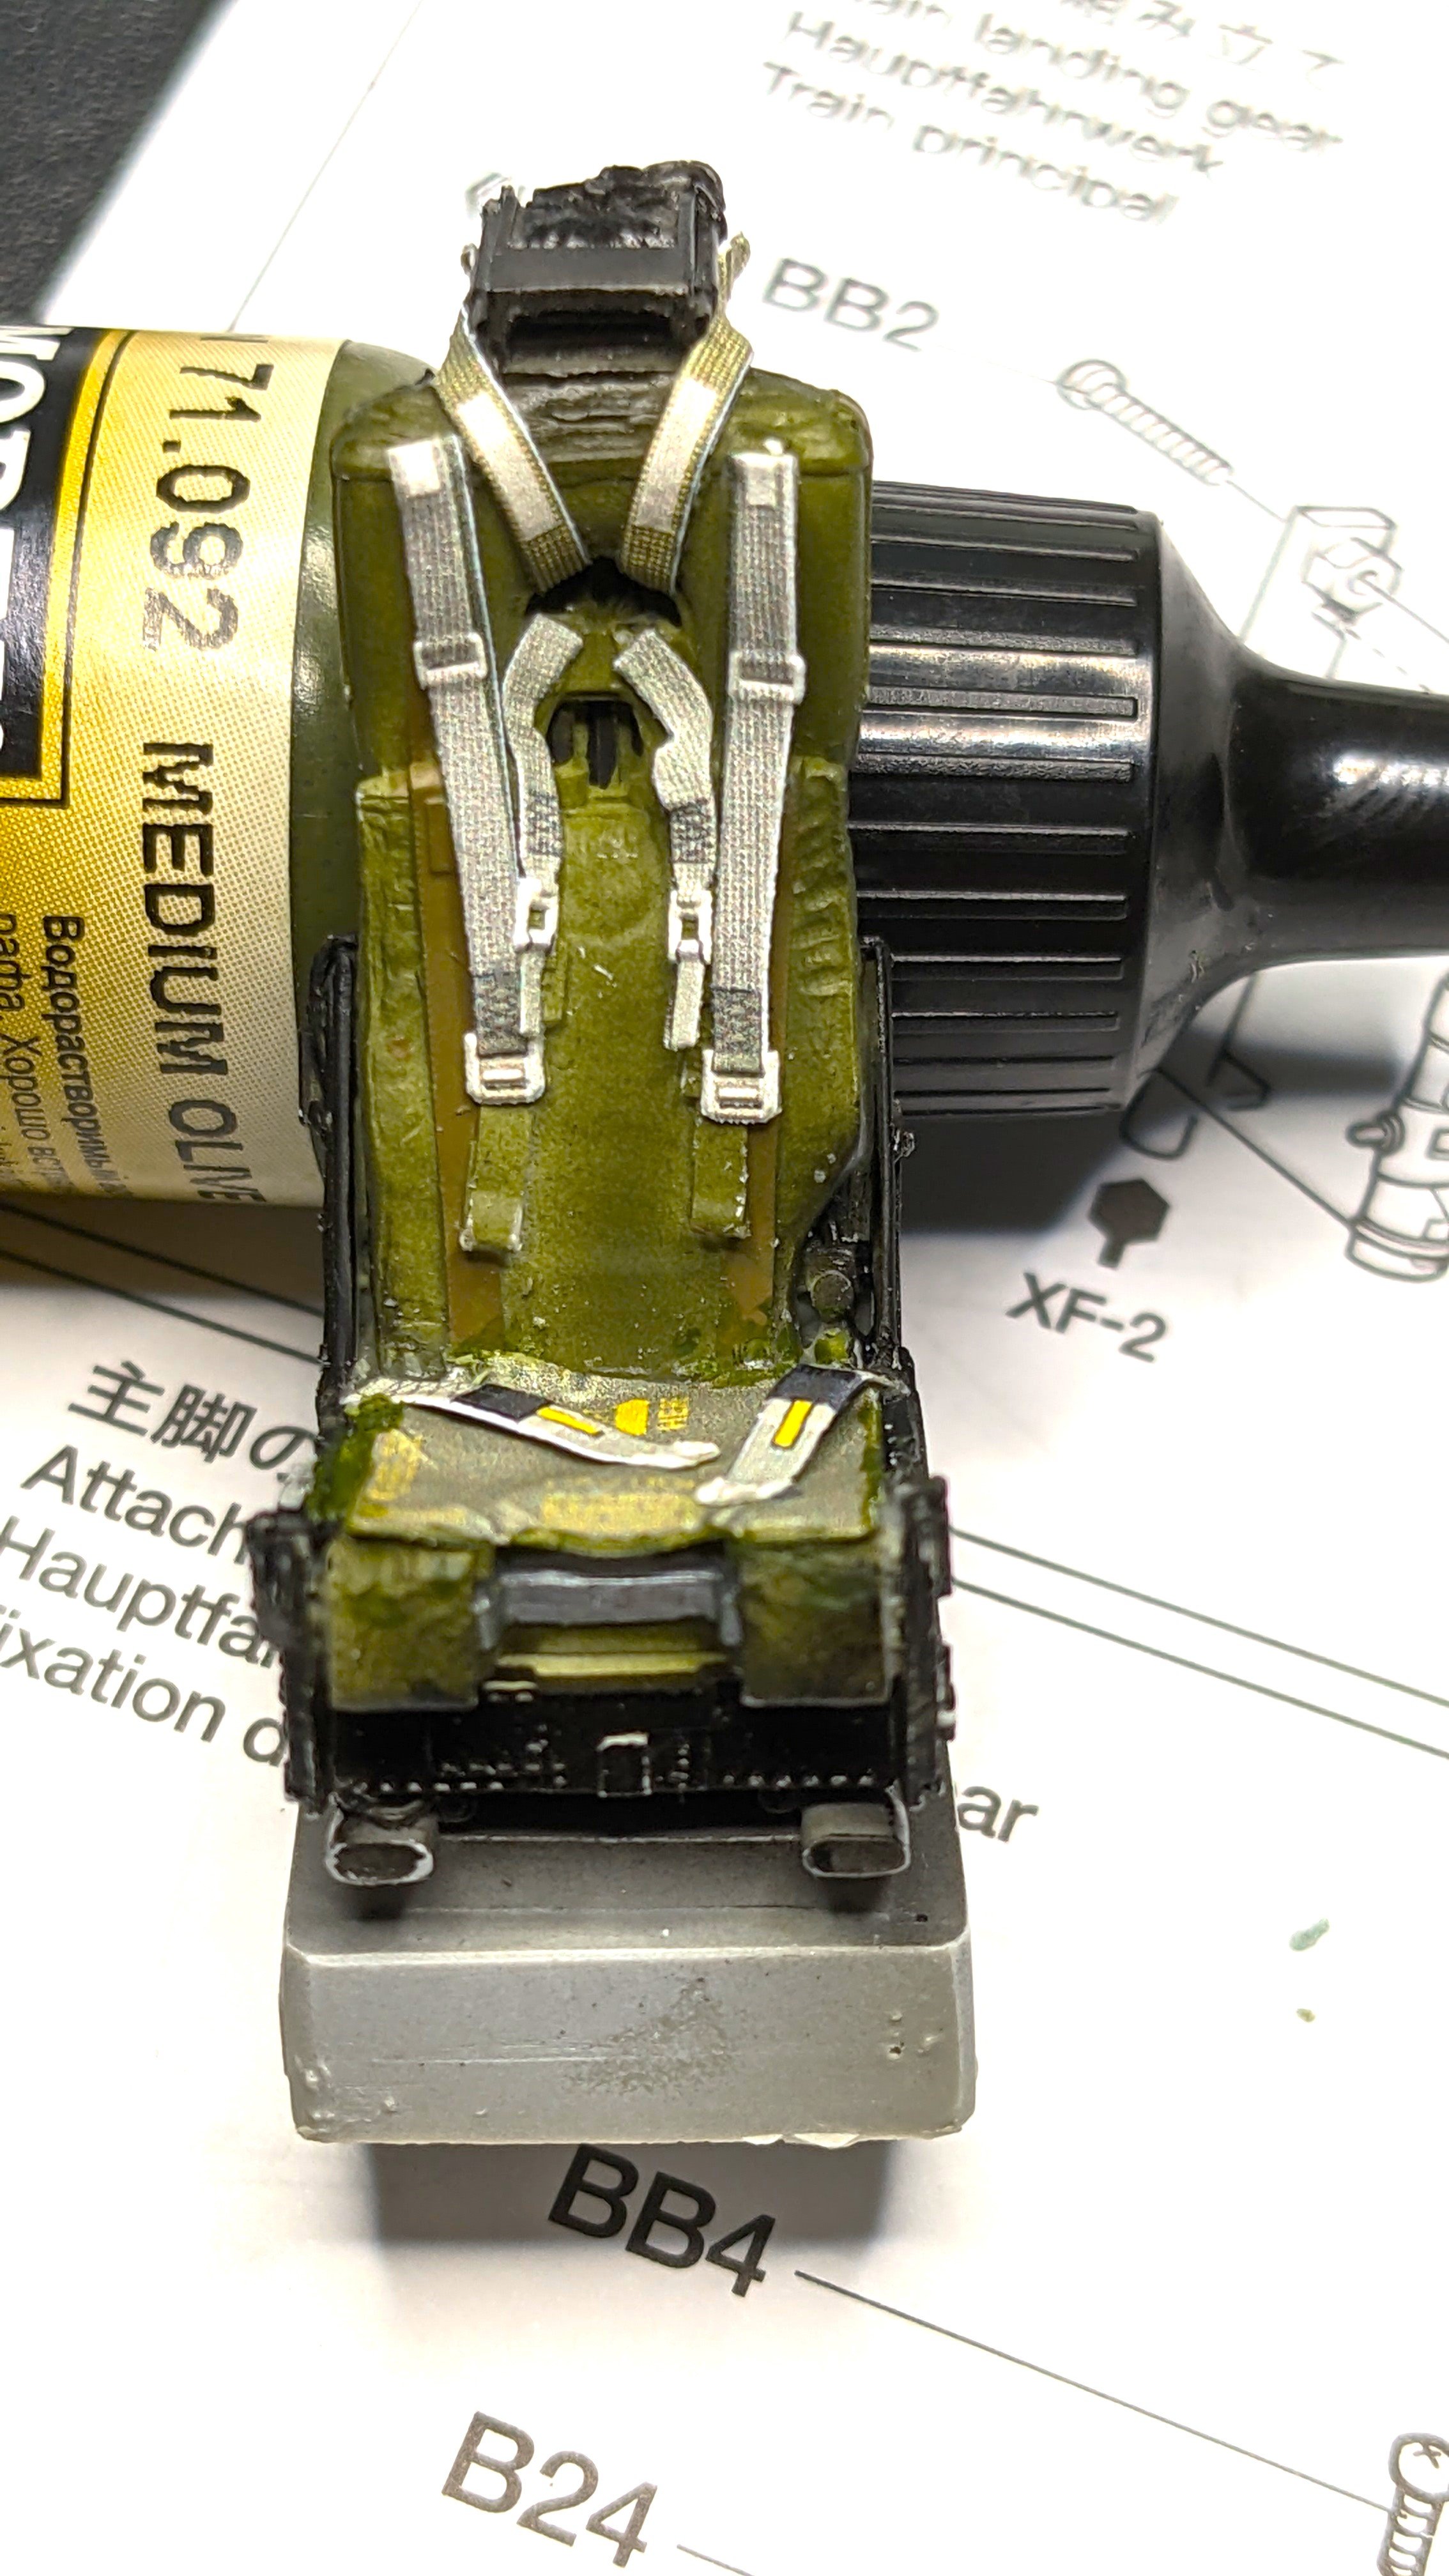
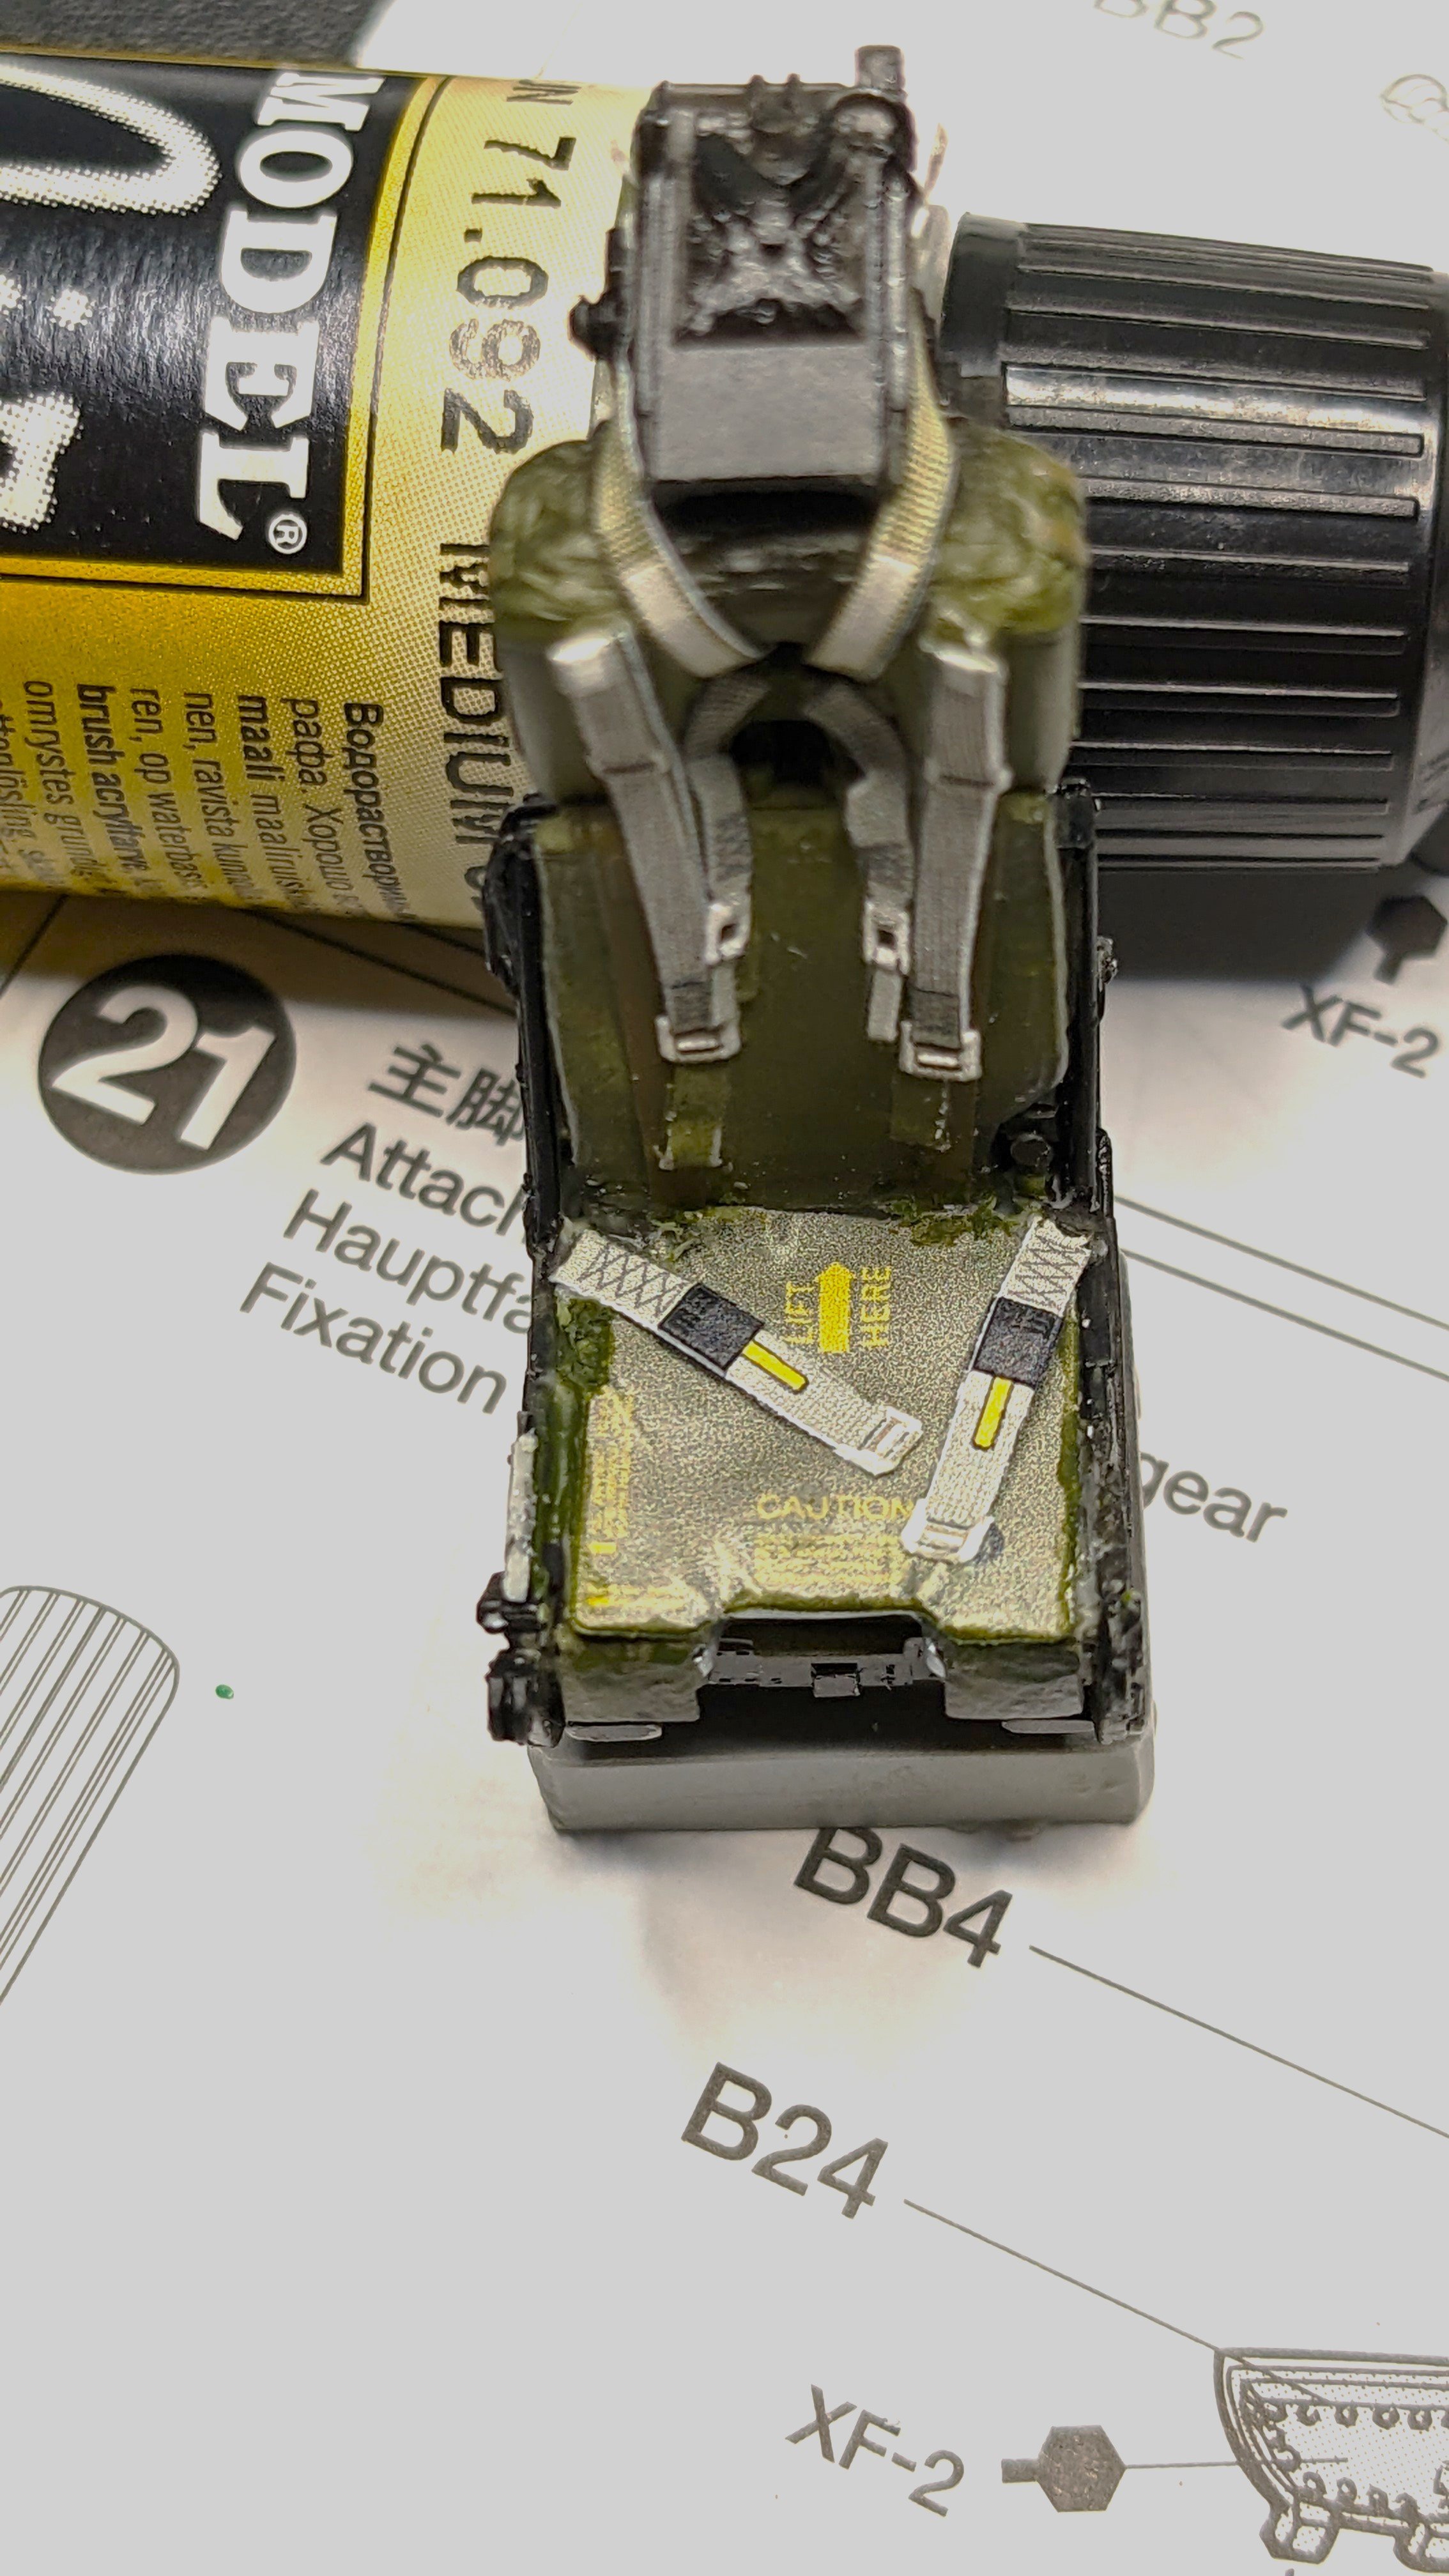
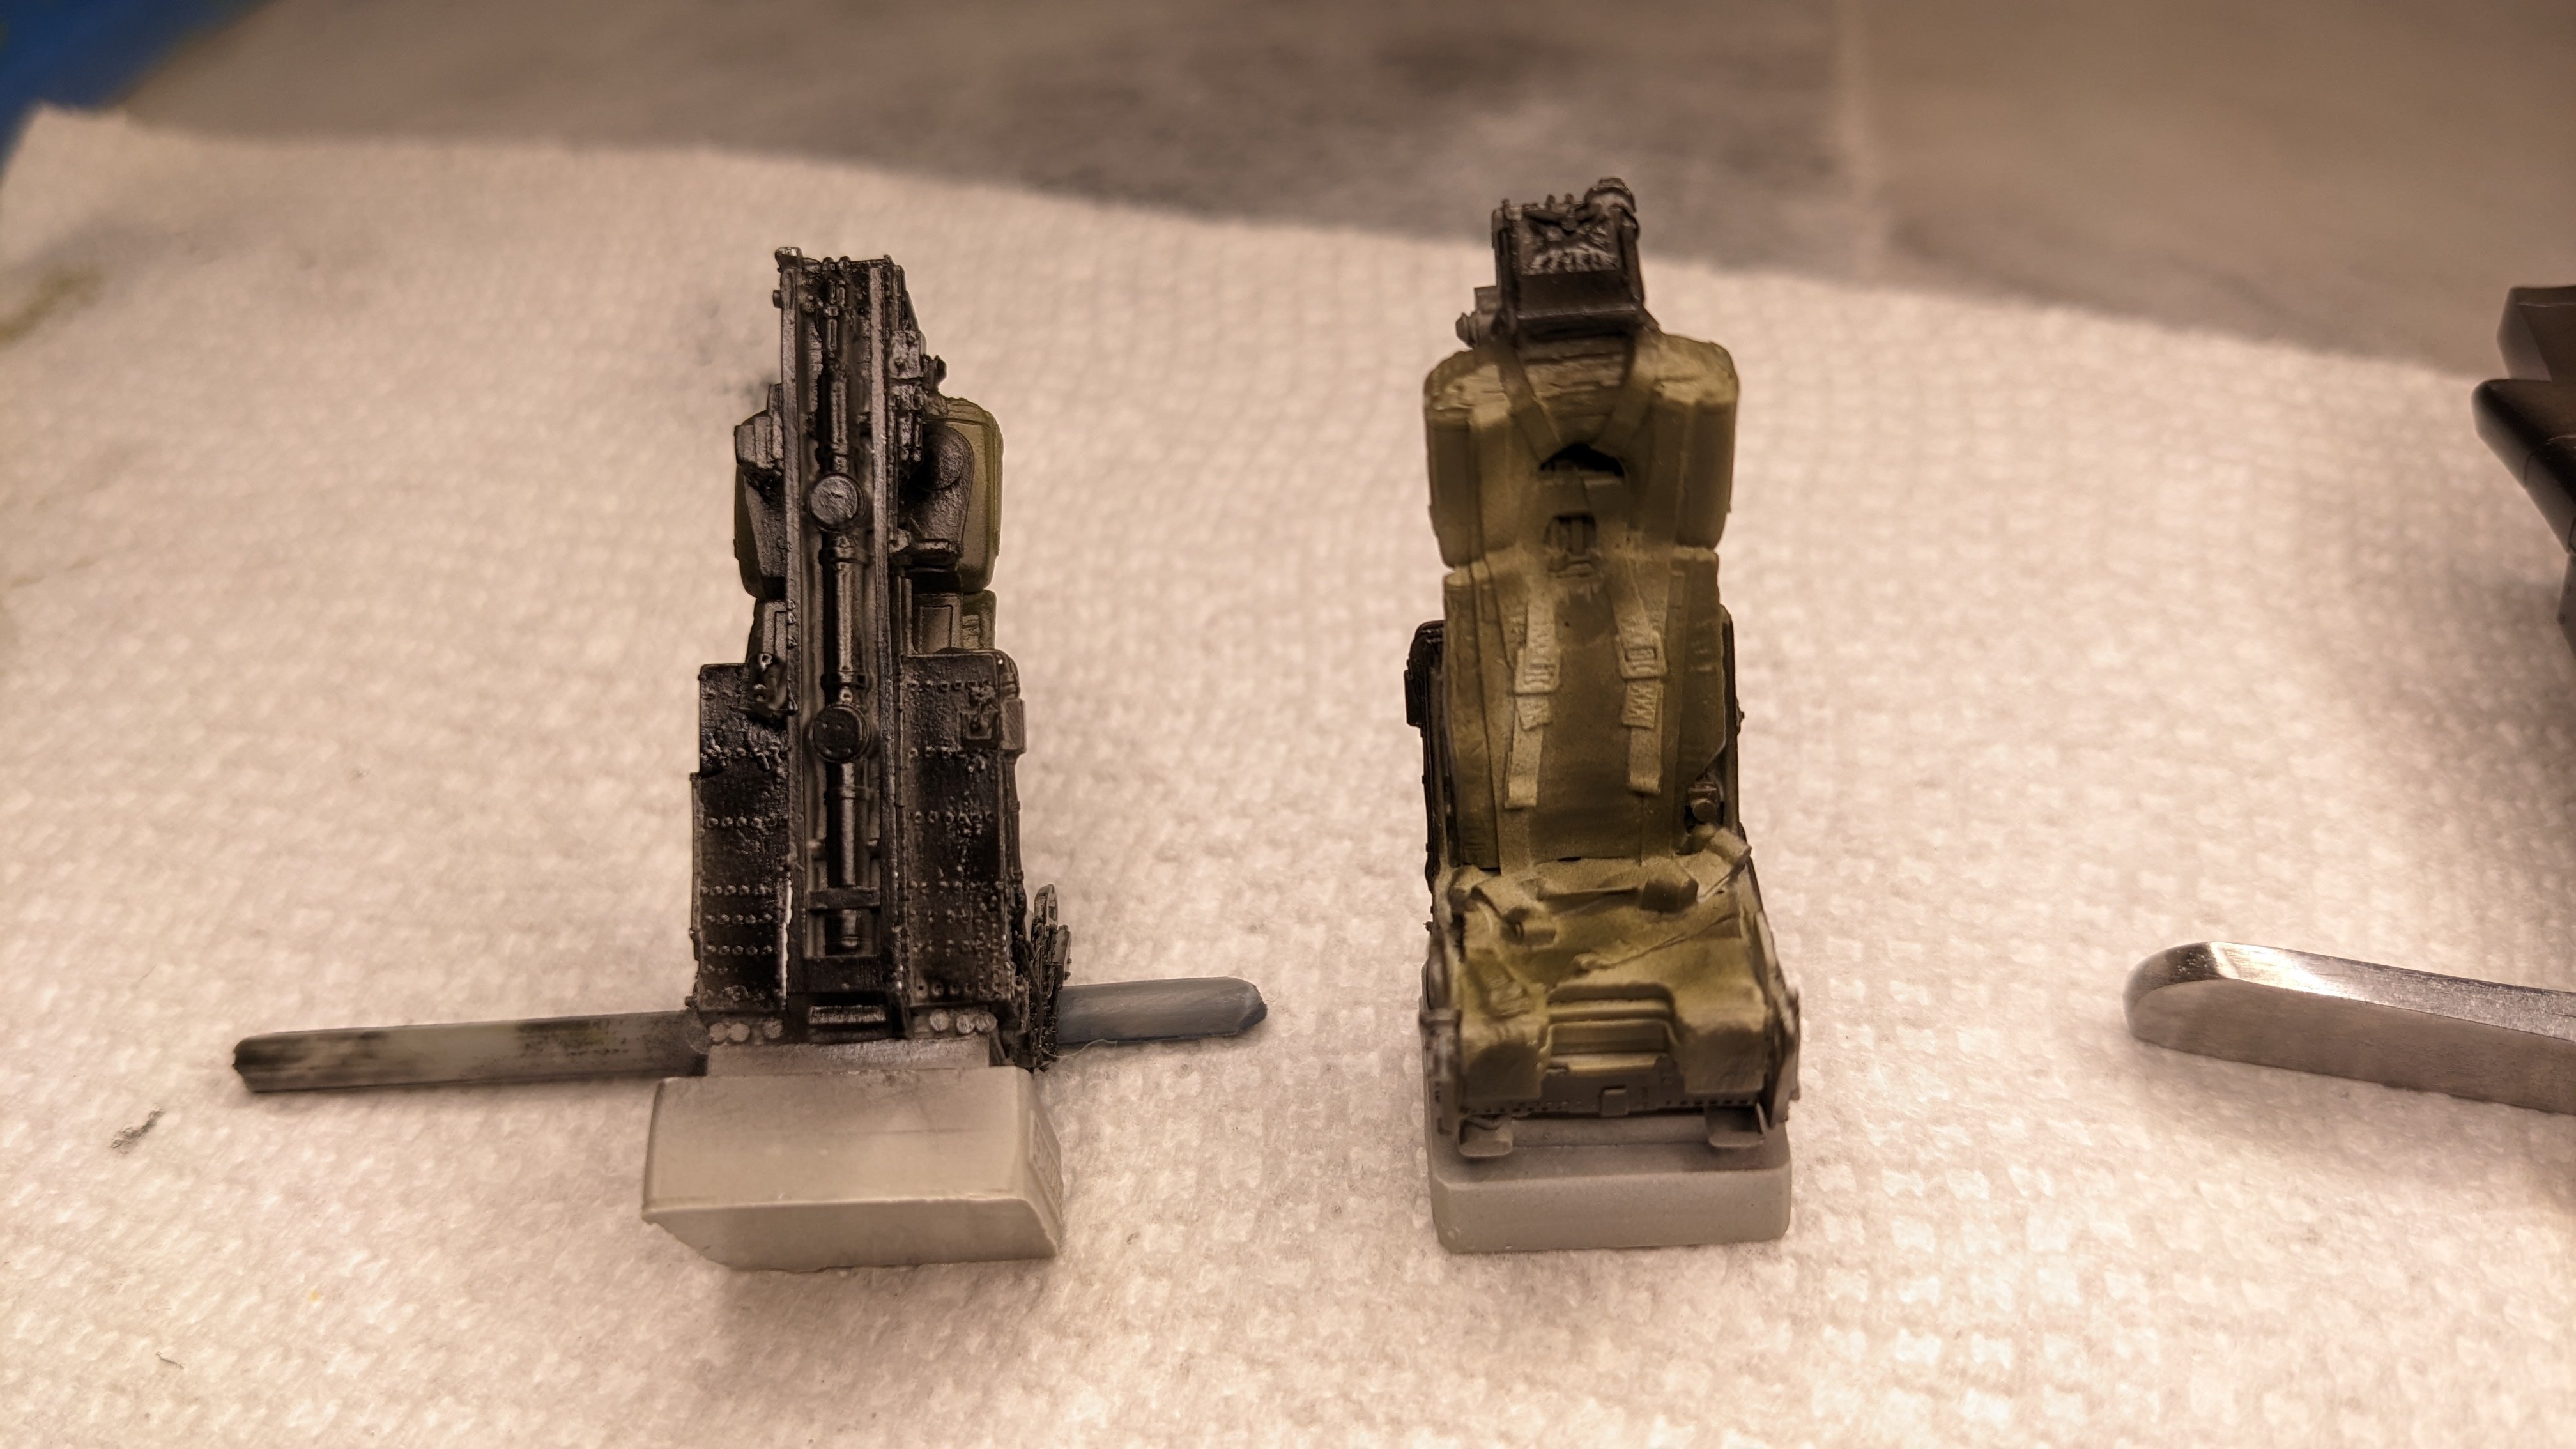
The Reid Air Stencils showed up today. OMG, what did I do? I'll post some pictures tomorrow of the instructions, which are incredibly detailed. It may take longer to apply the stencils than to actually build the plane... Worked on some seams for the Sparrow missiles but almost afraid to do Primer 2.0 as I'm sure there are still seams to work. But did assemble the main landing gear (white metal core) and then went to work on the seats, seeing how the Quinta 3D belts might work on the resin seats. Here are the two seats, with the Quinta belts and seat pad installed on the seat to the right. To be fair, I had not really painted the other belts yet but I do like the detail and the contrast. Using the seat pad required cutting/shaving the seat belts, losing that 3D effect of the resin belts. But the Quinta pad and belts Look pretty good. The resin belts are of a very different configuration than the Quinta set but to the eye, still looks pretty good. I can still shave off the part of the resin belts that shows below the Quinta belts. Still some detail painting and need to install the Quinta ejection handles but fairly happy with the look. Especially to the eye. More to come!

-
Huge, help, thanks! I have both....
-
Looking SB to replace the vinyl tires which NEVER seem to age well, and came across the intake covers, which are made for the Revell and the Tamiya kits, respectively. Neither will likely fit the GT Resin intakes, correct?
-
Any thoughts on the ICM 1/48 B-26 Marauder? Is it worth $100?
CANicoll replied to CANicoll's topic in Modelling Discussion
Ok, I'm in... Agree with Carl on the AM decals. -
Carl, Excellent comment, thanks. My plan is to mask the raised sections and then spray a darker metallic color in-between, and then go with some heat-stressing effects if I can work that up.
-
I love this aircraft but the old Monogram kit is, well, old. This is "New Tool" but has anyone put hands-on yet? Flory did a review and they like it but have not built it yet. 335 pieces? But looks like it could use some engine work as well as a new IP and resin tyres but holy cow that is a lot of pieces, including framing inside that likely will never see the light of day. Of course, when has THAT ever stopped us??
-
Thanks Peter! I have had some really good luck with the Vallejo Metal paints, but just had the itch to try the MRP on this tail. Definitely will be doing some masking and I'm sure this will hold up very well. Mark, thanks!! If I can get ahead of the seams on the missiles and drop tanks I'll be in heaven. Most of that was my own doing, I'm sure - not being careful enough with lining up the halves.
-
Zoukei-Mura P51D Mustang SWS No 4.
CANicoll replied to Bomber_County's topic in LSM 1/35 and Larger Work In Progress
Beautiful job!! Putting your build thread away for future reference. Thanks! -
Peter, that is beautiful! The markings are incredible and the plane looks amazing. 370??? Wow...But the plane looks terrific. Love the panel washes as they really make the plane pop. I have that set of the AK Enamel Paneliner washes which I want to try out on this build and write a review on. I hope it comes out half as nice as your work.
-
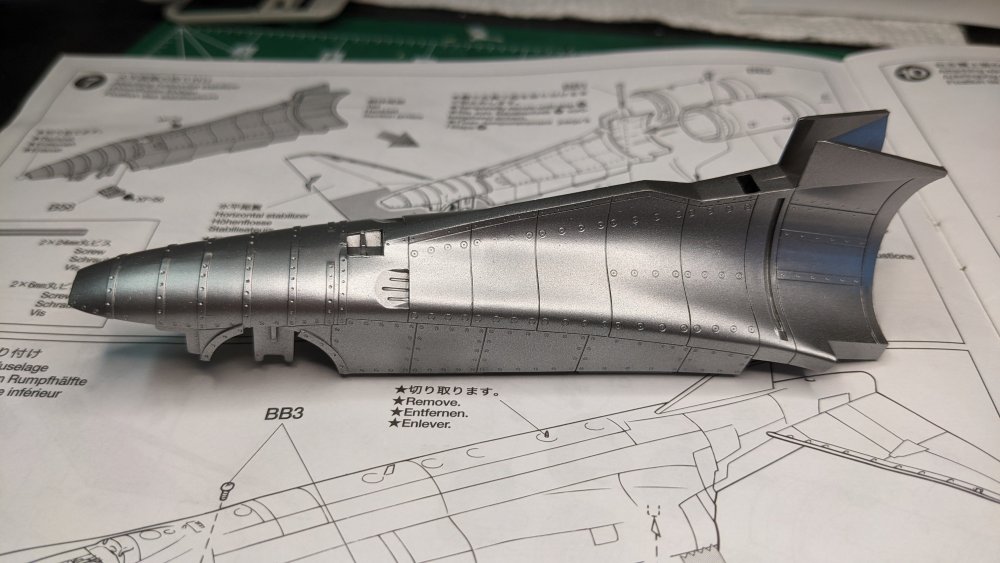
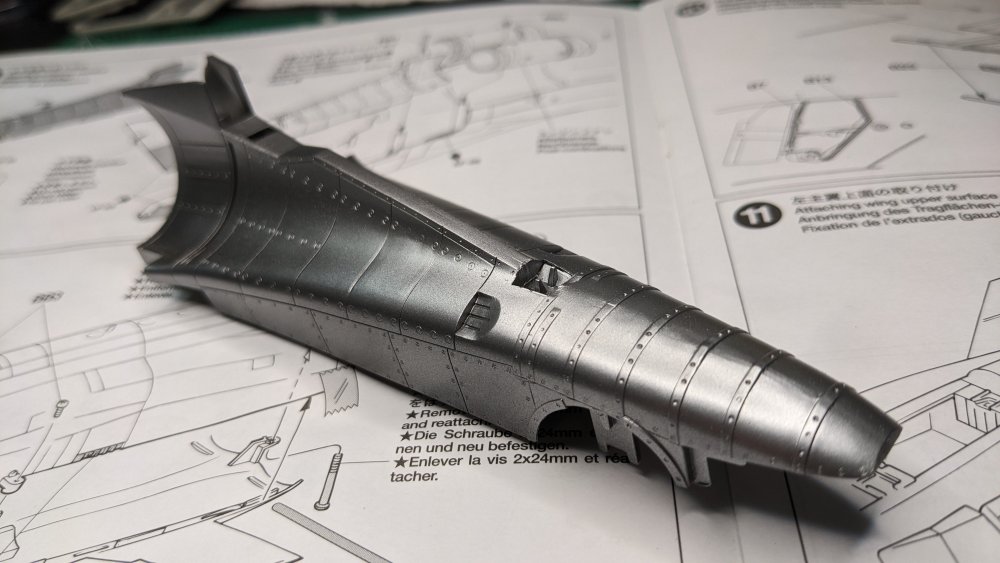
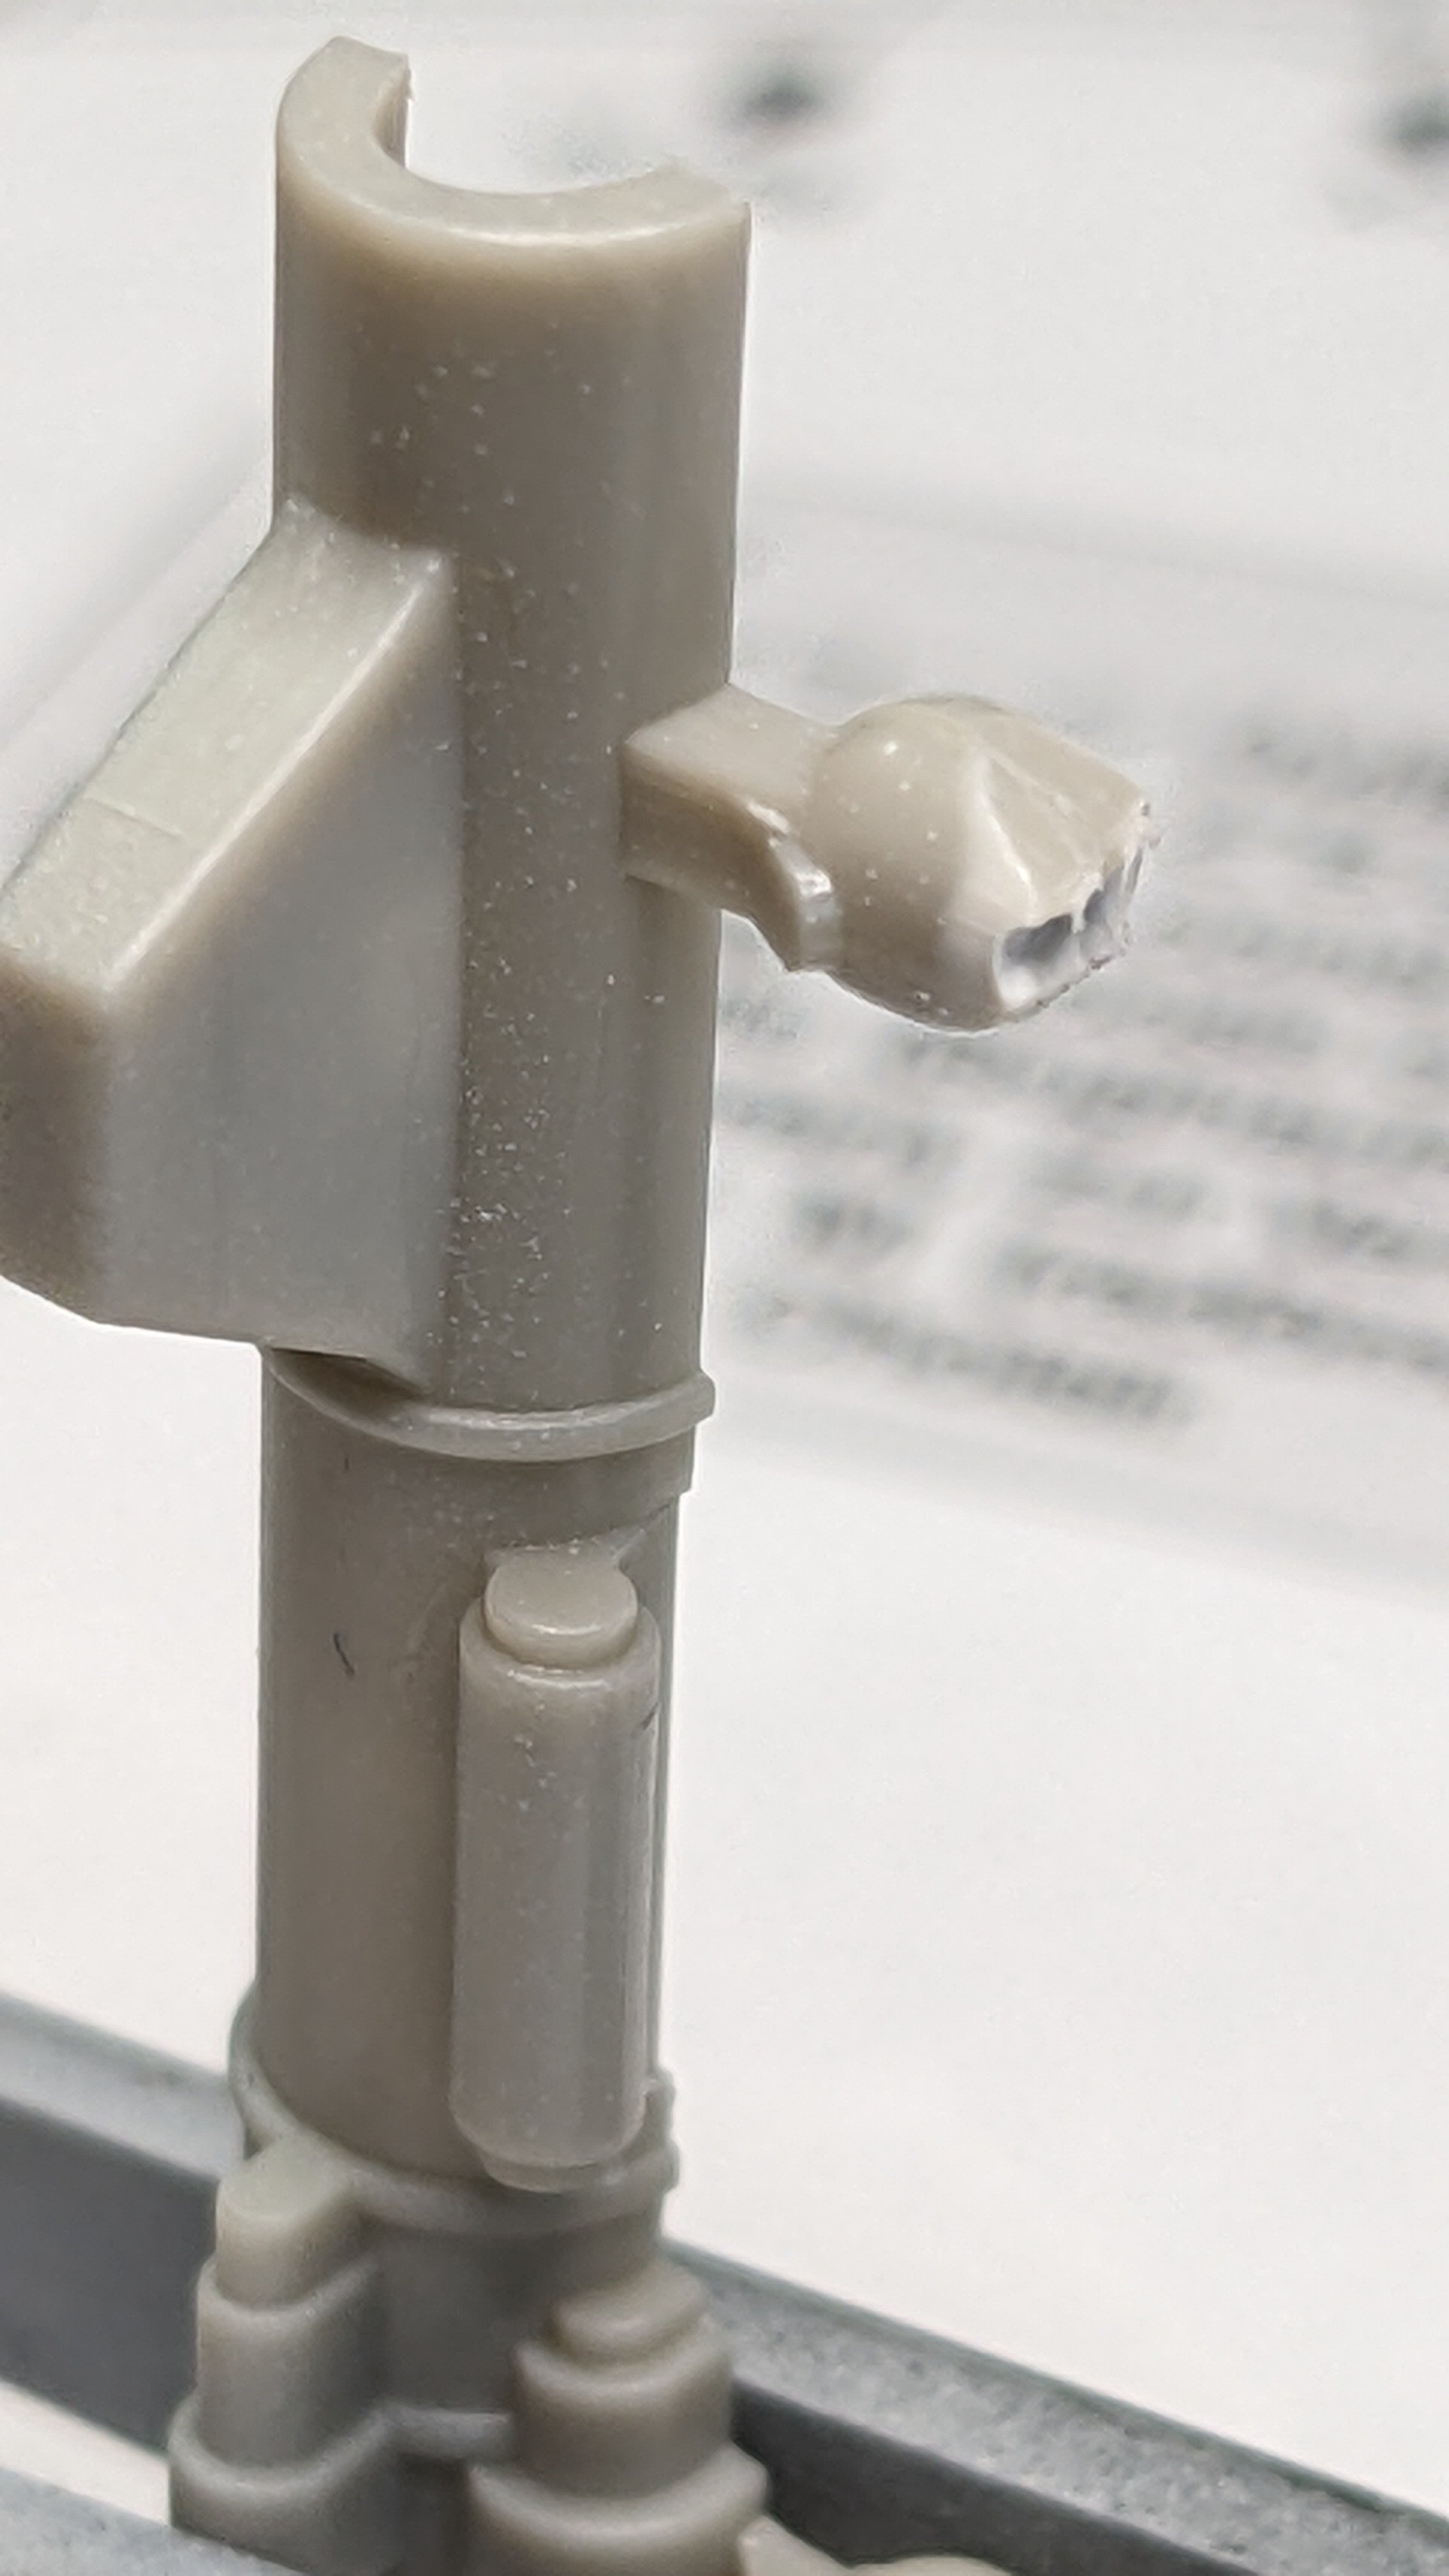
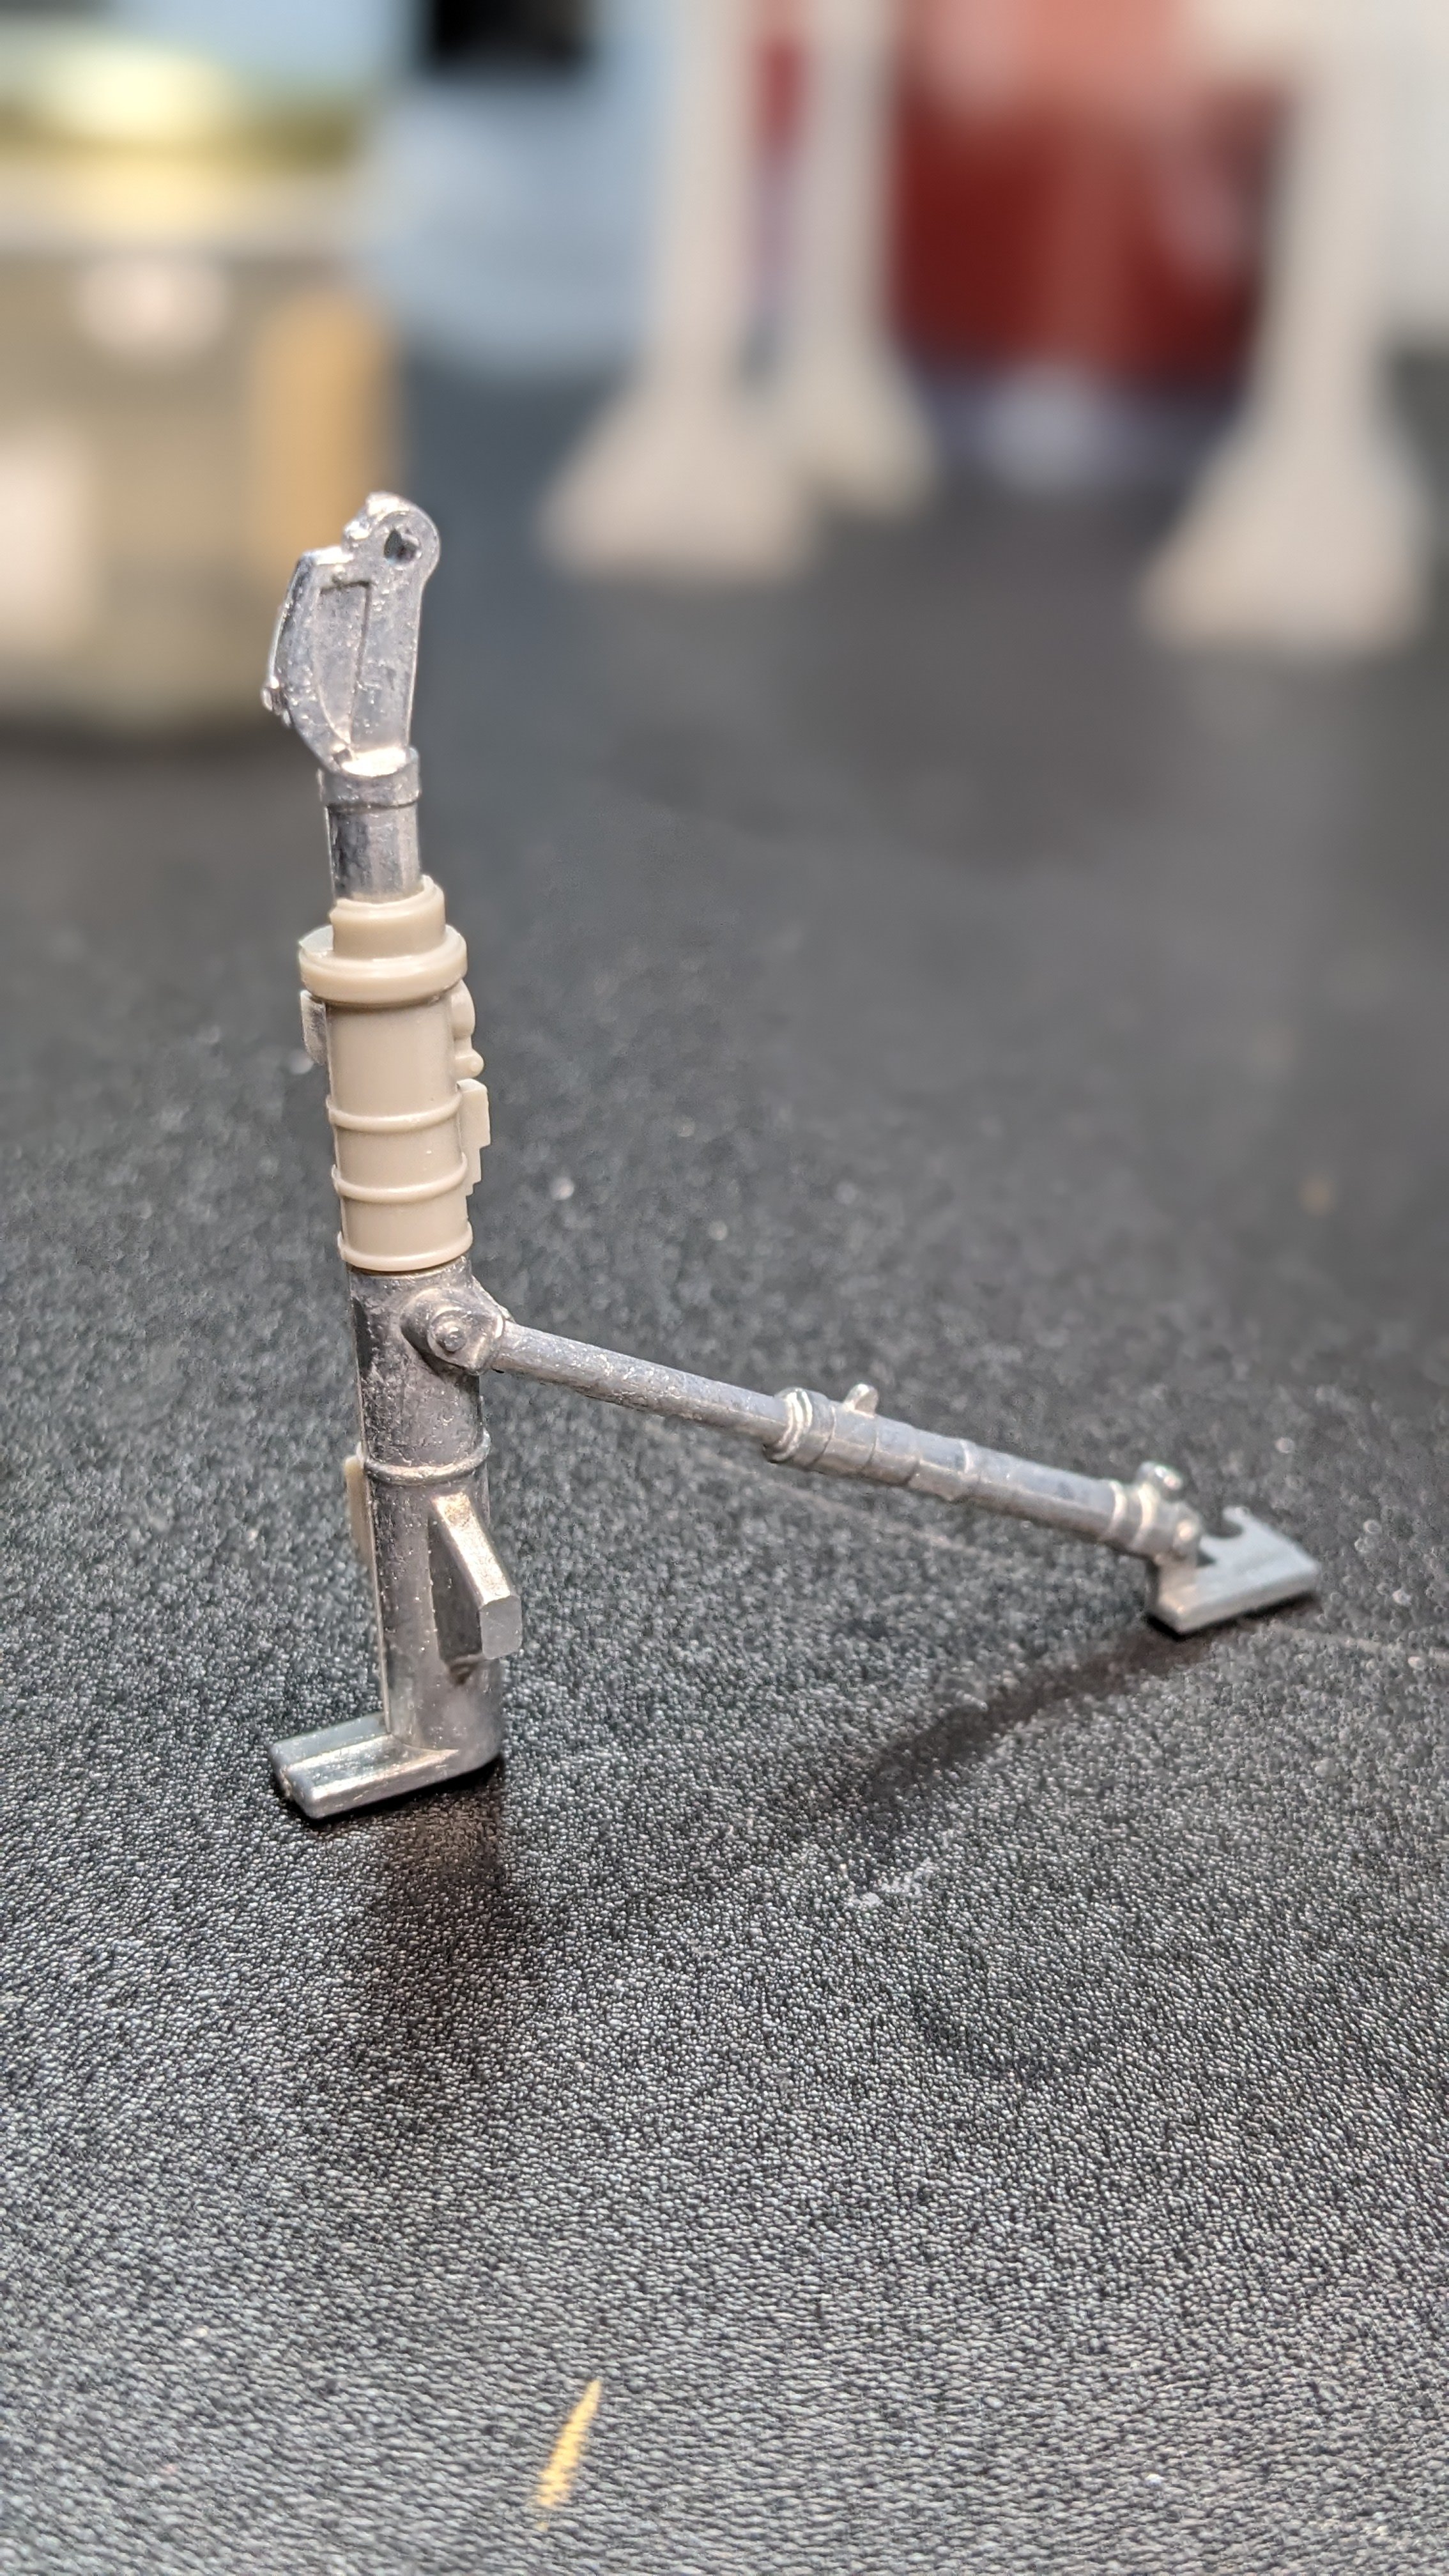
After looking at a pile of seams I need address, I thought I'd work on some other pieces. A little disappointed in some of Tamiya's engineering of this older kit, for example, there is a huge sprue attachment point on one of the landing gear parts. They definitely have gotten a LOT better. The kit came with a white metal nose gear strut. Interesting!! Here is the nose gear strut with some of the styrene parts attached. What I was really happy with is the MRP Fine Silver I applied over the Vallejo Gloss Black primer base. Sprayed in several (6-8) light coats with a couple of slightly heavier coats at the end. MRP sprays so beautifully - this time at about 14 psi using my Iwata HP-CS and a .3 needle. Now to work on some masking and shading.


-
Does someone have a good paint reference for the metal tail? I thought I had found someone who had done a really nice job on their F-4, and detailed the masking and paints they used, but now I can't find it. Thanks in advance!!
-
Thanks Peter. I started using a pair of side-cutters to clip off the numb flush with the part, but once in a while this still happens. I guess that is why we have putty, right? Definitely the primer shows the warts and all but is useful to showing exactly where work is needed. I do like that Vallejo gloss primer. Not as one-step as the MRP primer, but probably a bit less costly. I used the MRP Fine White Primer on some pieces and went through about half a large bottle of that. Thanks for the warning about the Quinta seatbelts. I may then look at doing just the shoulder belts as the lap belts are pretty folded up on the seats.
-
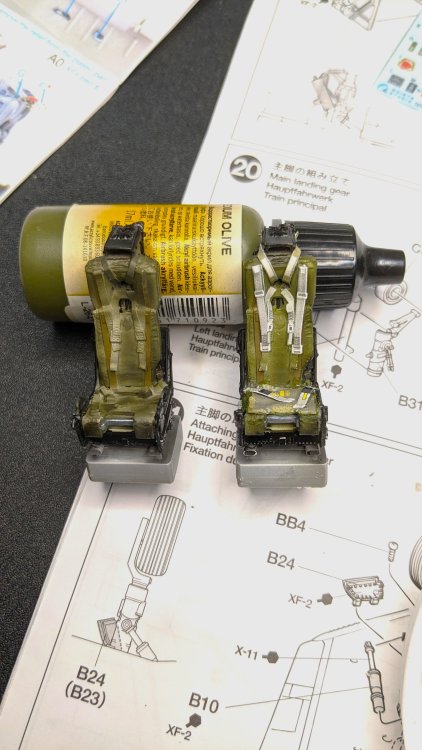
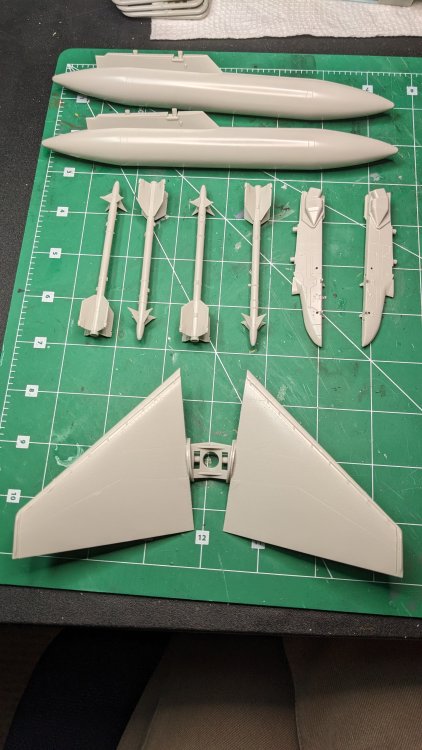
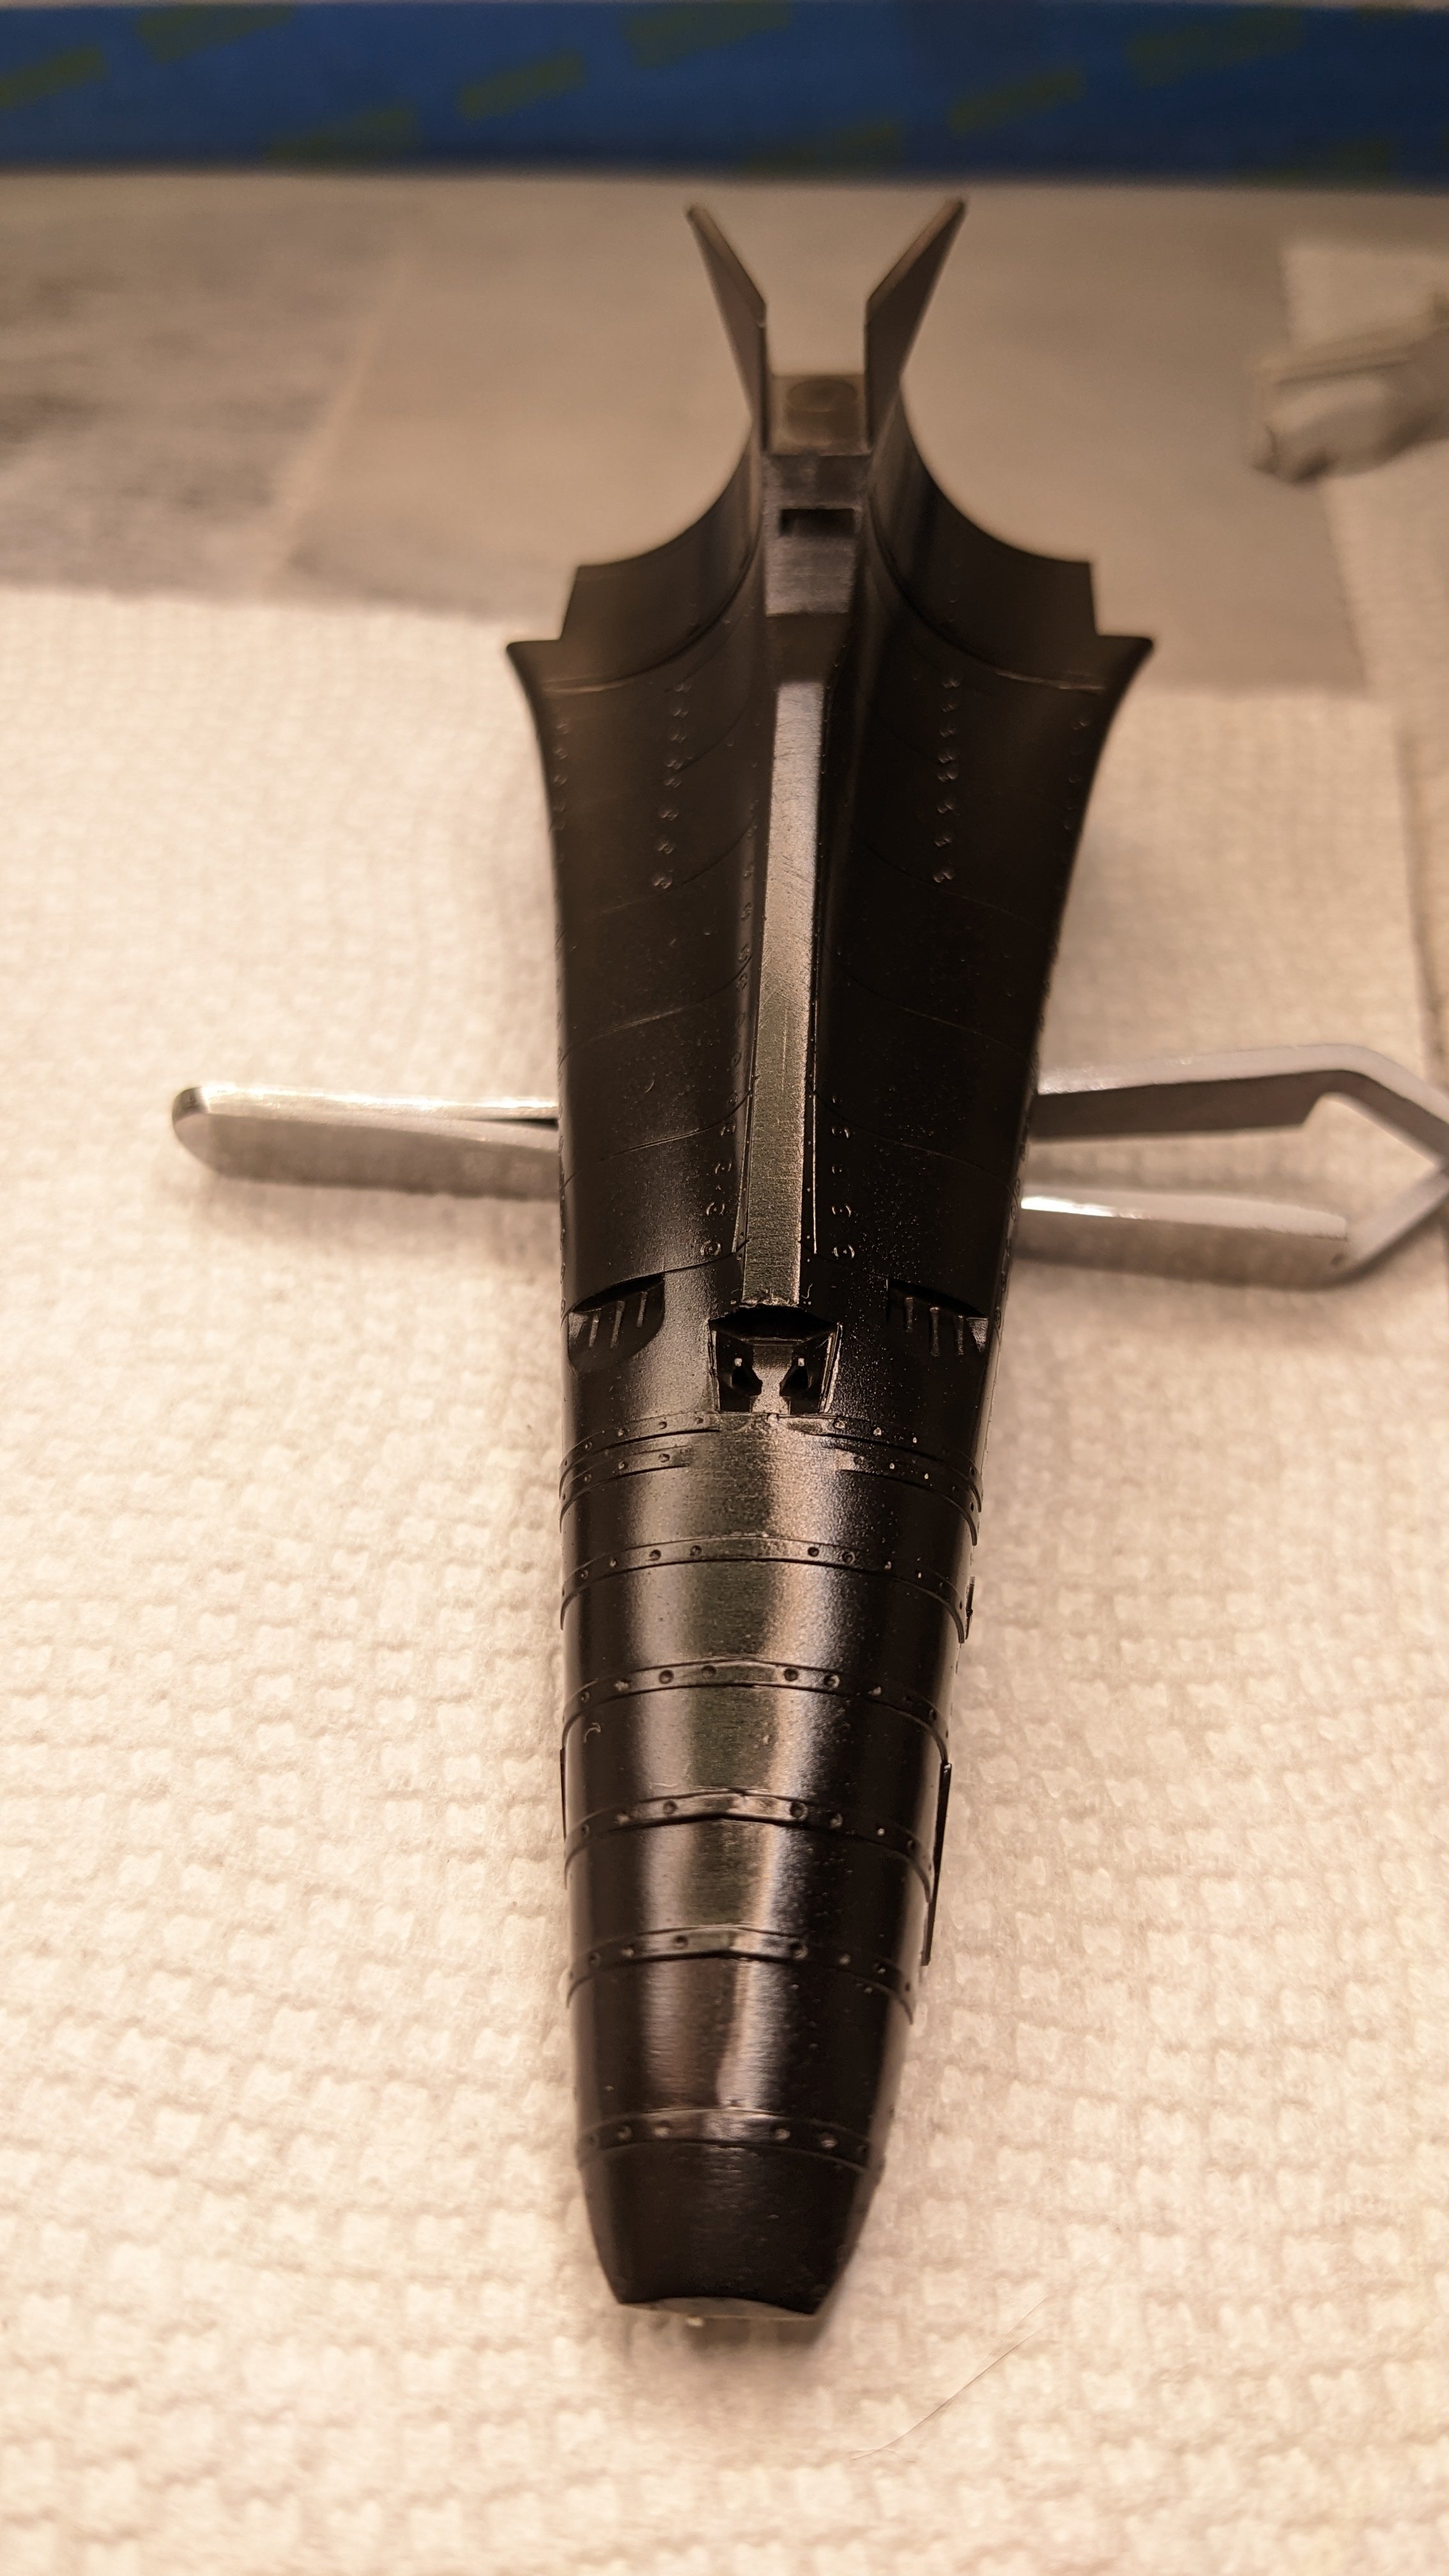
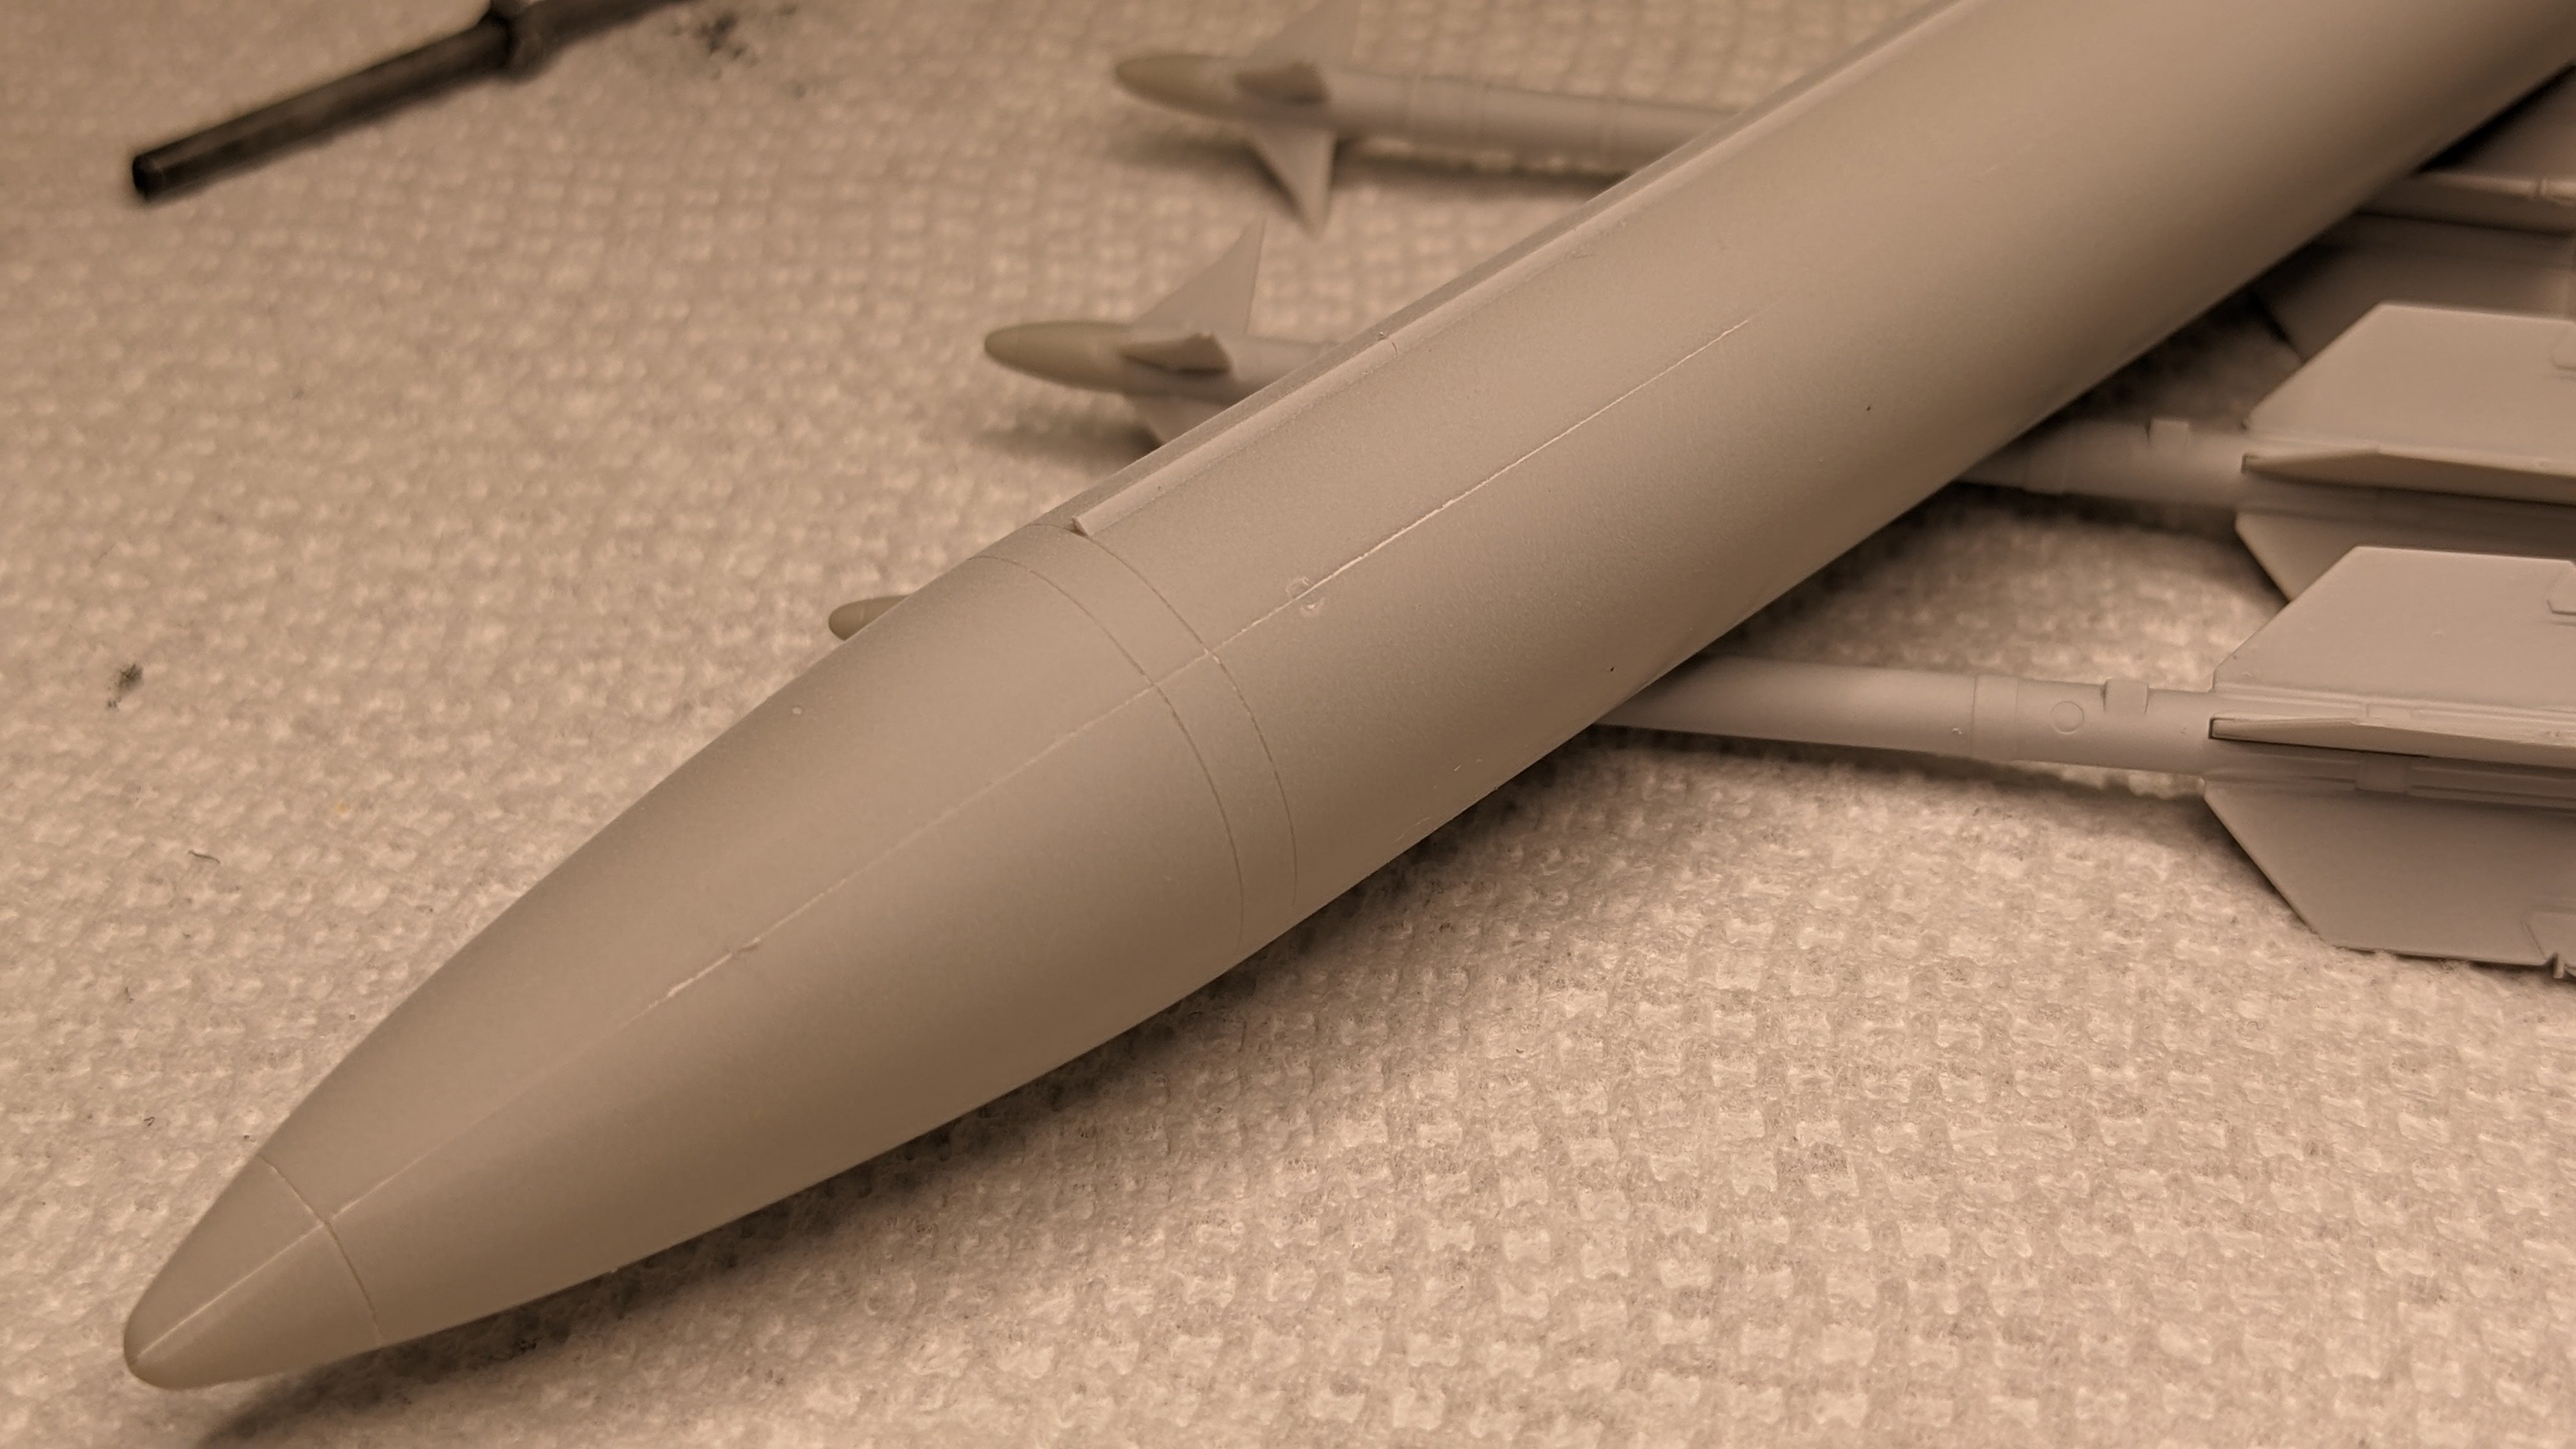
Making progress but not a lot to show. However, I'm disappointed at my lack of skill in dealing with seams. Ugh. I thought I put pieces together better than what I'm seeing on the Sparrow missiles and on the fuel tanks. Bummer. But Primer doesn't lie! Primed 31 pieces tonight after assembling the Sparrow and Sidewinder missiles. Not a pretty picture... This is AFTER I thought I sanded the seam. And this happened on a sidewinder: So a lot of work left to do on some of these seams. But did make a bit of progress on some other bits. Primed the tail with Vallejo Gloss Black primer which arrived not too long ago. I really like this gloss primer. I put it on very lightly, taking up to 8-10 passes to get the final result. But it is VERY smooth and metallics over the basecoat seem to come out nicely. This was ONE mold line that I did a reasonable job on. Also started on the resin seats, first with a mix of Olive Drab (40%) and Green Drab (60%) on the seat cushion, The frame is Vallejo Gloss Black Primer. Somehow, the paint looks more complete to my eye - not so much in the picture. Will start picking out details tomorrow and see about merging some of the Quinta 3D decals for some seat details. Will see how the Quinta seatbelts work over the resin belts. More tomorrow (I hope).


-
Yeah, that is what I am thinking too, especially since the masks are mostly the bands around the missiles. I would think that would be MUCH easier to just decal. Different if they were fuselage bands like on the nose of your F-14, but even then, a high-quality decal is hard to beat. Yours looks fantastic.
-
Peter, looking terrific! One trick I've tried on small print things is to take a picture of it, then enlarge it and either print it or display it on the computer screen. I plan on doing that with the stencils for the F-4. Good luck! Chris
-
I can't decide if the painting will be faster or slower than decaling....
-
Peter, I swear, there are more decals for the missiles than for an entire P-51D including stencils!! Also picked up a mask set which provides for painting the stripes on the missiles. That may be a bridge too far for me actually. We will see.
-
Making Progress... Look what showed up! A HUGE thank you to Tamiya USA for their quick turnaround sending a Free Sprue N for this kit. No clue where the original one went, but certainly not their fault. Been working on the other bits, including the drop tanks and the sidewinders. A fair bit of seam and ejector pin work on the missiles took some time. I still have a bunch of seam work to do on the drop tanks and the nose. Not to mention making the vent that Carl pointed out. A bit more difficult since the halves are put together, but not impossible by any means. The number of parts involved is interesting - each missile is five pieces = 20. The rails have 8 pieces each = 16. Thirty-six on the armament, so far! Mustangs and Spitfires don't really have to deal with that!!
.thumb.jpg.37e7ee6a588e1082d66ff41c9a388dad.jpg)
-
Nice work! Question - the yellow highlighting on the instructions. Is that something you do?
-
That bombsight is amazing! I've built my fair share of 1/48 B-17s and the detail you packed into that little package is amazing. Impressive.
-
Need some Model Master enamel Dark Sea Blue
CANicoll replied to JohnB's topic in Buy, sell, swap, seek
John, I can count the number of enamels I have in my stash on one hand with fingers missing, sorry. HOWEVER, I do have a bottle of MM Acryl in DSB if you are interested. Not the same as an enamel, I'm sure. The bottle is a bit better than half full ( I just opened it to make sure it was ok ). Yours if you want it. Chris -
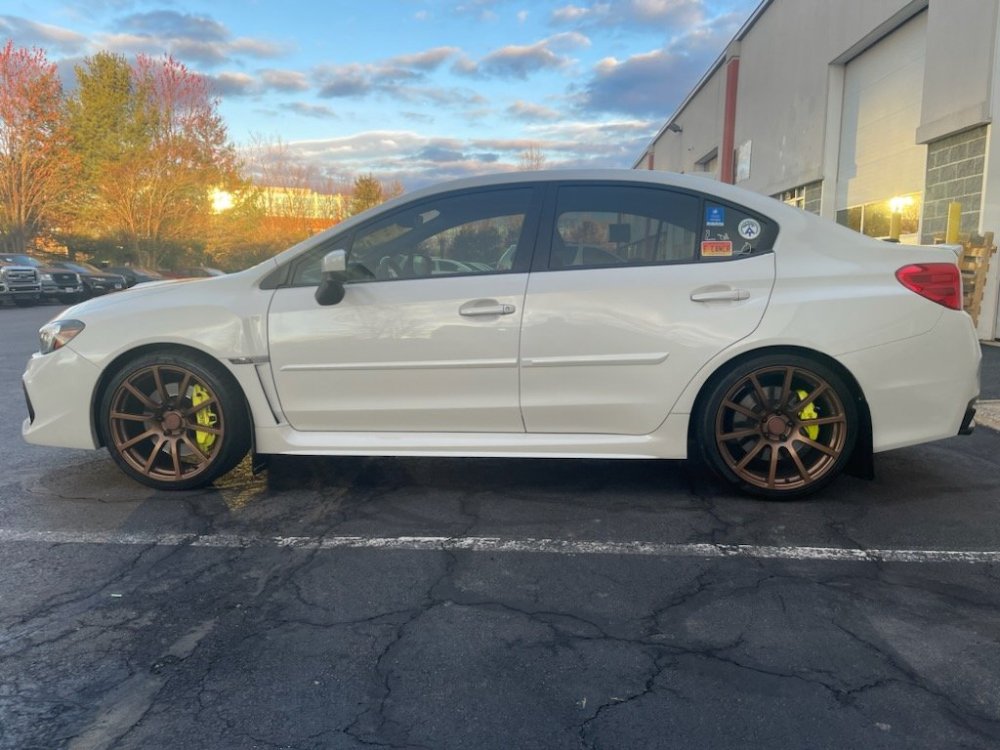
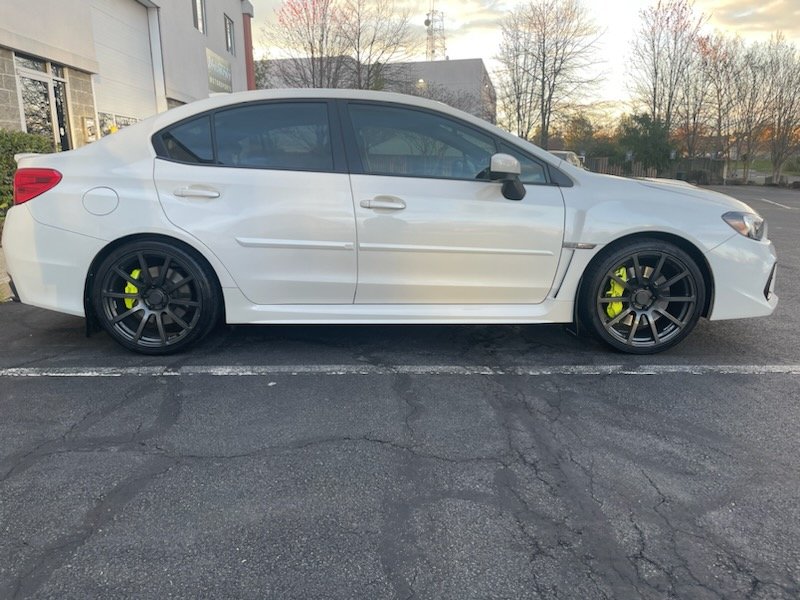
Martin, exactly!! Who says you have to have the same look on both sides of your car? Thanks! That upgrade over the stock brakes was $6k!
- 1,844 replies
-
- 2
-

-
- car related stuff
- anything about cars
- (and 6 more)
-
Taking a slightly different approach to new wheels. I really like the Bronze, but could not get a new set at a reasonable price. Gunmetal on the white car looks nice, too. Knew someone who did this exact setup, but an inch larger than my current 18x9.5 wheels. These are 19x9s. People only see one side at a time anyway, right?? Mach V Crucial Wheels - definitely shows off the 6pot Brembos to nice effect.
- 1,844 replies
-
- 3
-
-
- car related stuff
- anything about cars
- (and 6 more)
-
Not quite perfect as Alclad, but for an acrylic I think they do a pretty good job. You are probably more precise than I am on that. You have a terrific eye for detail and finish.


.jpg.e0e15042d613436bd79446f4de5cb5ad.jpg)

