CANicoll
-
Posts
1,928 -
Joined
-
Last visited
Content Type
Profiles
Forums
Events
Gallery
Everything posted by CANicoll
-

Revell FW-190F-8 completed
CANicoll replied to JohnB's topic in LSM 1/32 and Larger Aircraft Ready for Inspection
Ahh I agree. There is something to be said for individuality on the camo scheme. The Spitfire and F-4 Phantom II camo patterns are nice, but I like the splotches on the ME-262 and Bf-109s. -
Revell FW-190F-8 completed
CANicoll replied to JohnB's topic in LSM 1/32 and Larger Aircraft Ready for Inspection
Definitely a nice build, John and you have the historical photo as well which I always like, too. Why did you choose this particular AC? -
Cobra Coupe - Le Mans - Model Factory Hiro 1/12
CANicoll replied to DocRob's topic in LSM 1/35 and Larger Work In Progress
That is awesome! Even down to the Fram filter decal! That is really nice work - the photographs help see what you are doing. Thanks. -
Gotta love a free-hand camo pattern! Nicely done, Peter!
-
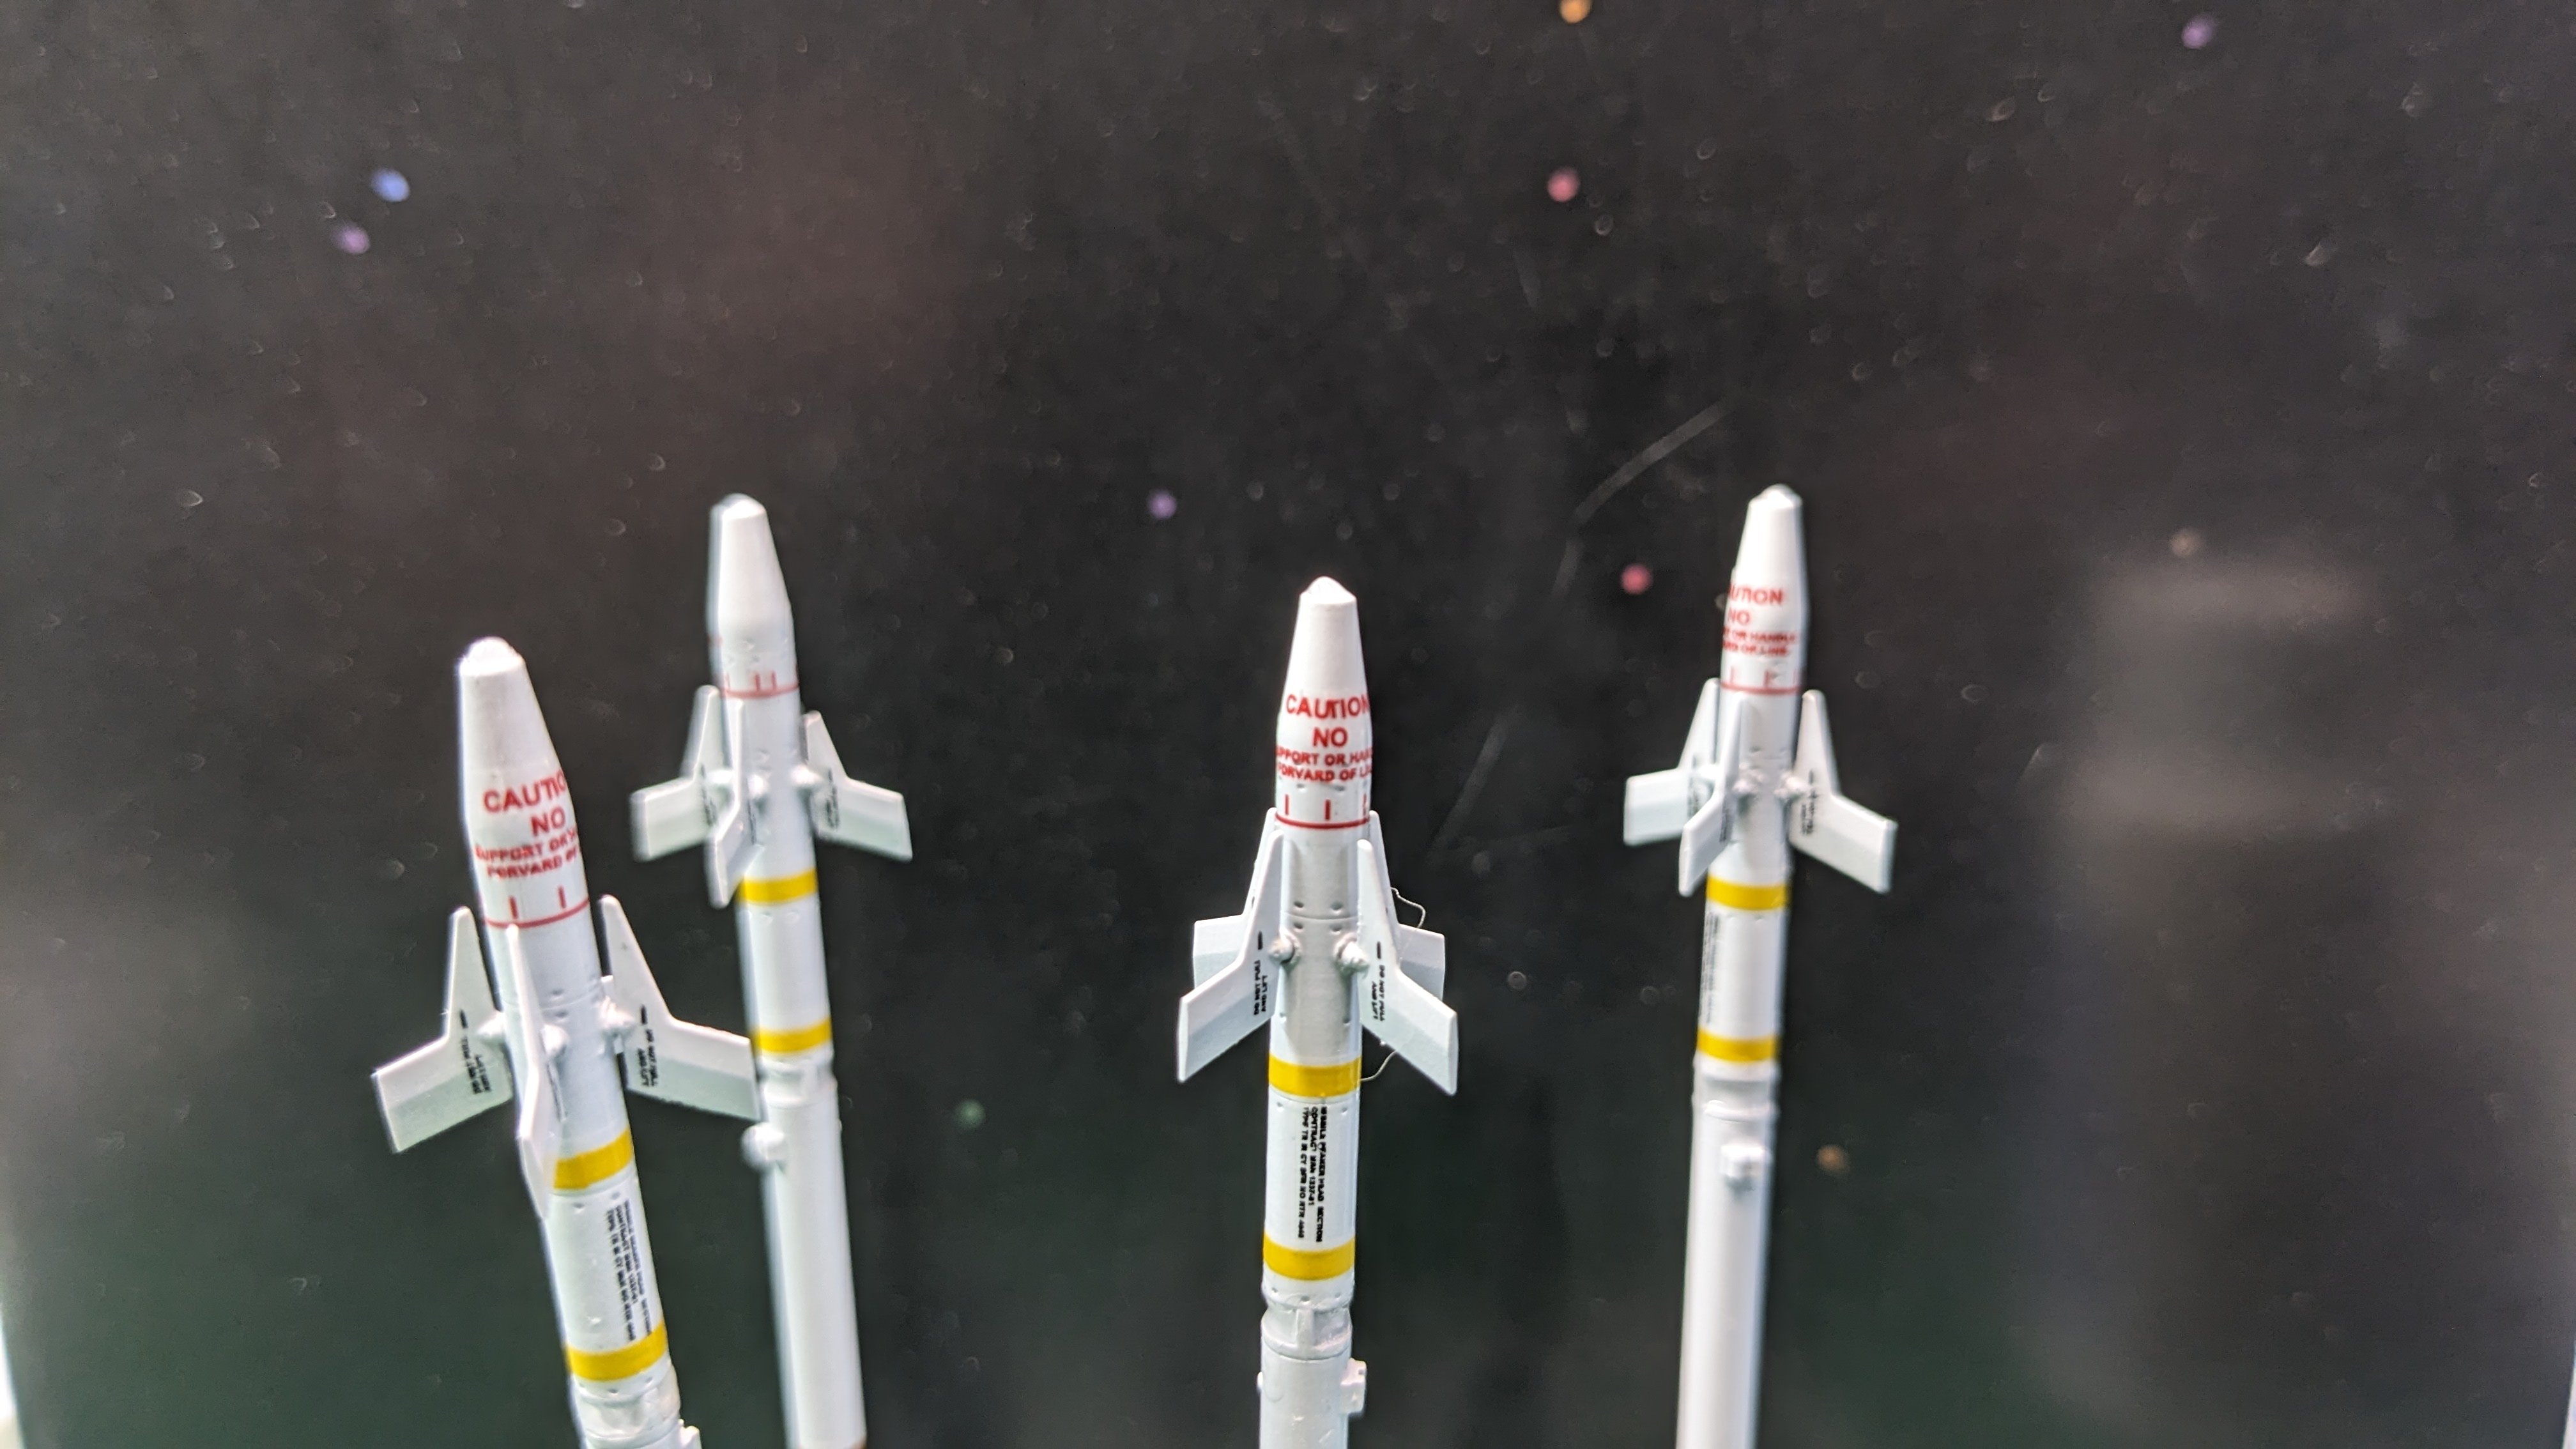
My MKK is YEARS old and quite thick so I should thin it some. Agreed on the clear Sidewinder bits. Or at least be a lot clearer on where to cut to remove the pieces. If I had more patience I would have shaved the pieces down - but at this point I don't want to spend a day at the bench doing that. Getting closer!
-
Rog, VERY COOL and Happy Birthday!!! Awesome seeing how your house is coming together. Very cool and looks very sturdy. Do you have a completion date in mind?
-
F-15DJ Kai or Eagle Plus- Finished!
CANicoll replied to BlrwestSiR's topic in The Great Twins Broup Bluild
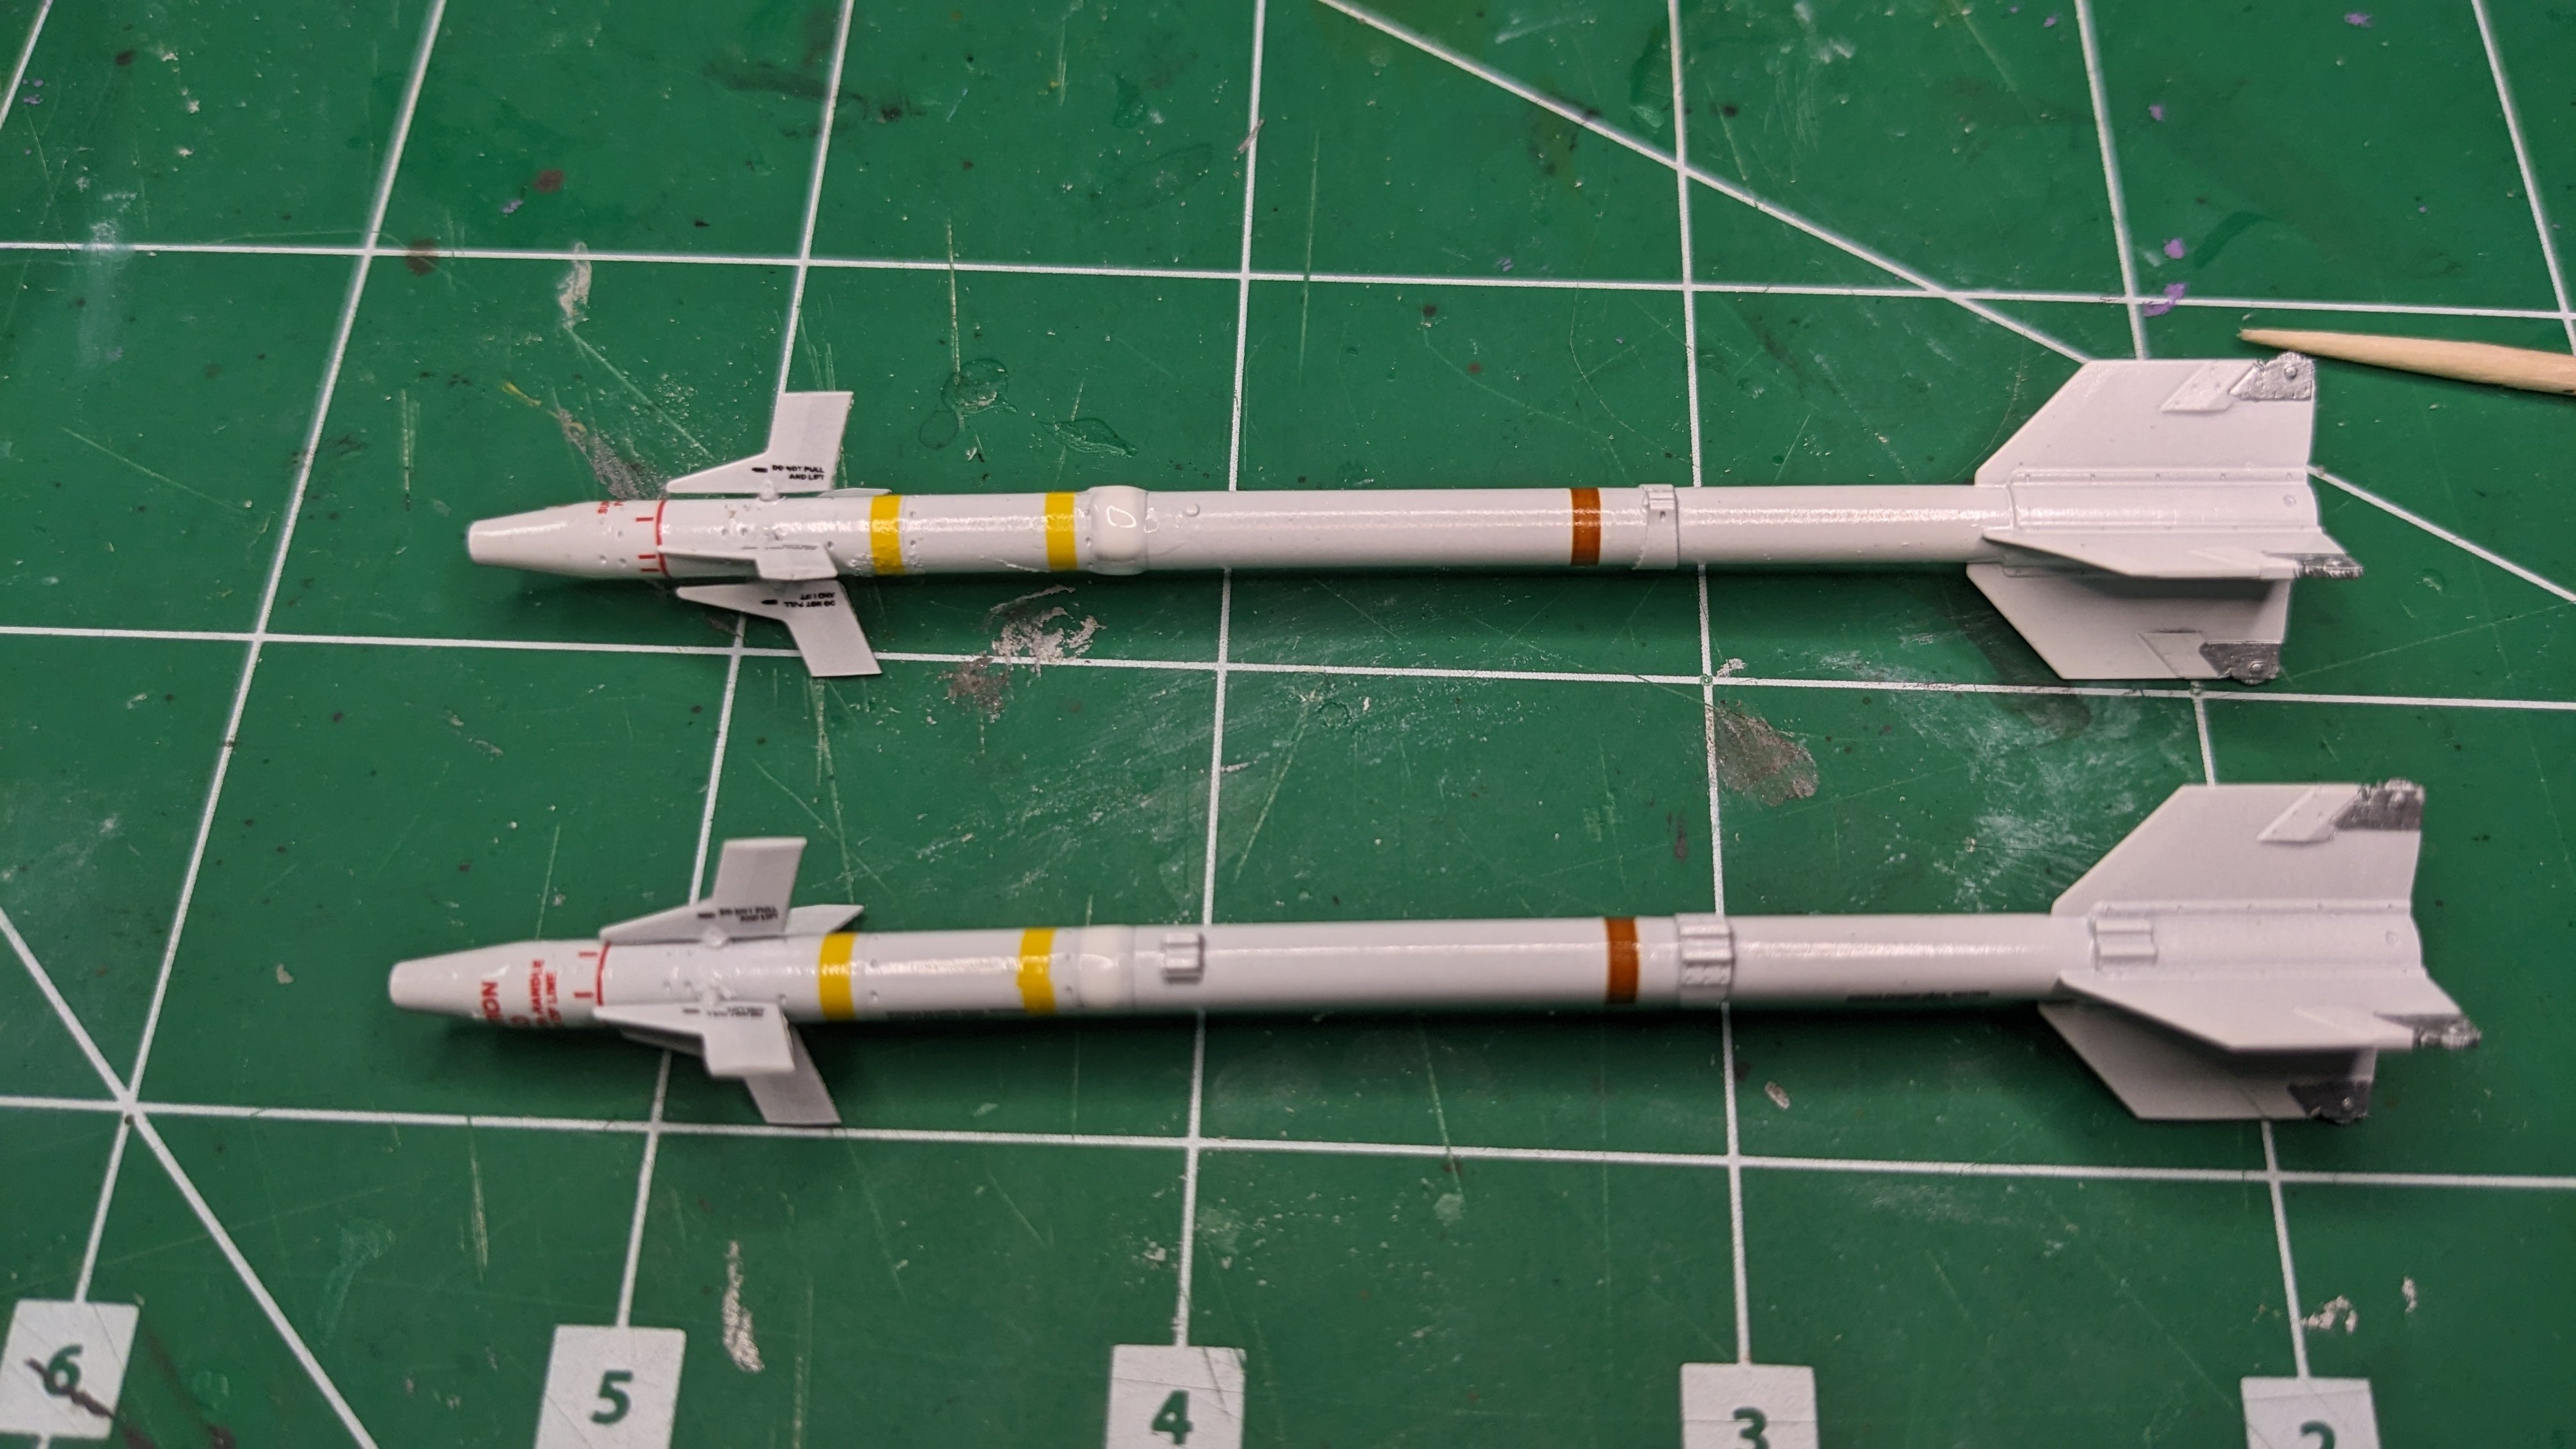
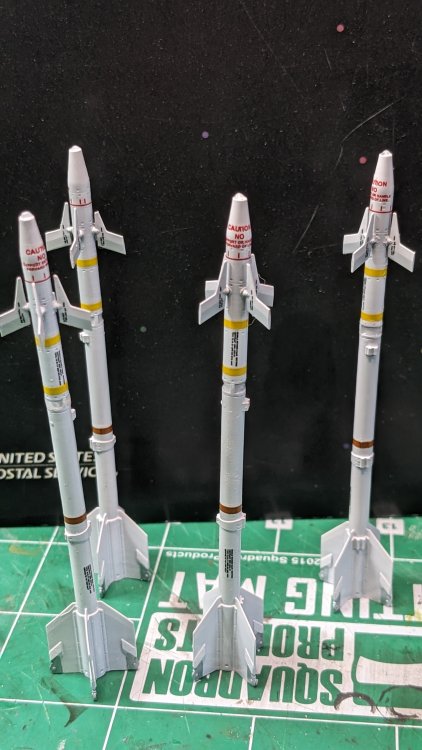
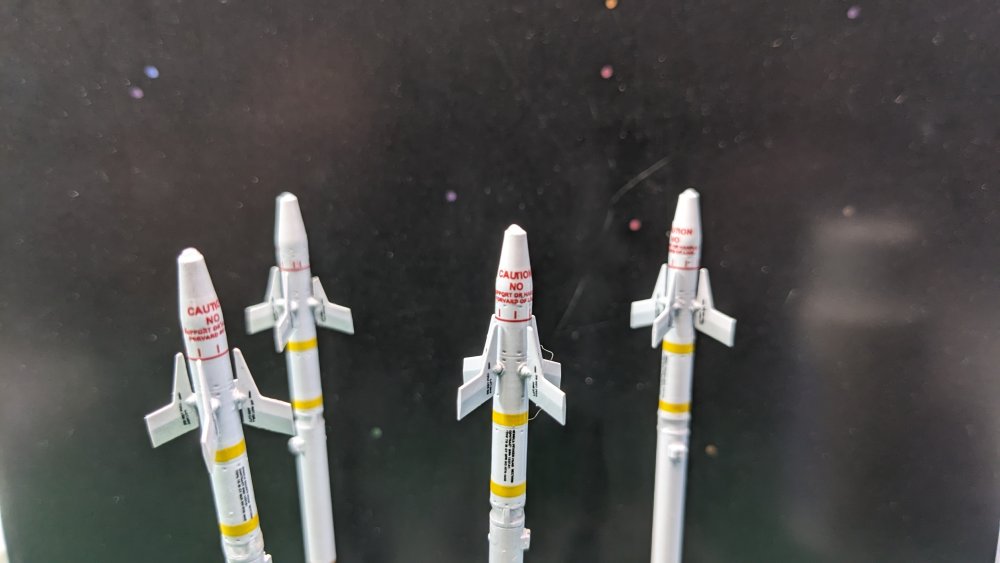
I feel your pain on the stencils!! The missiles look awesome! I will do a gray wash on mine as well... -
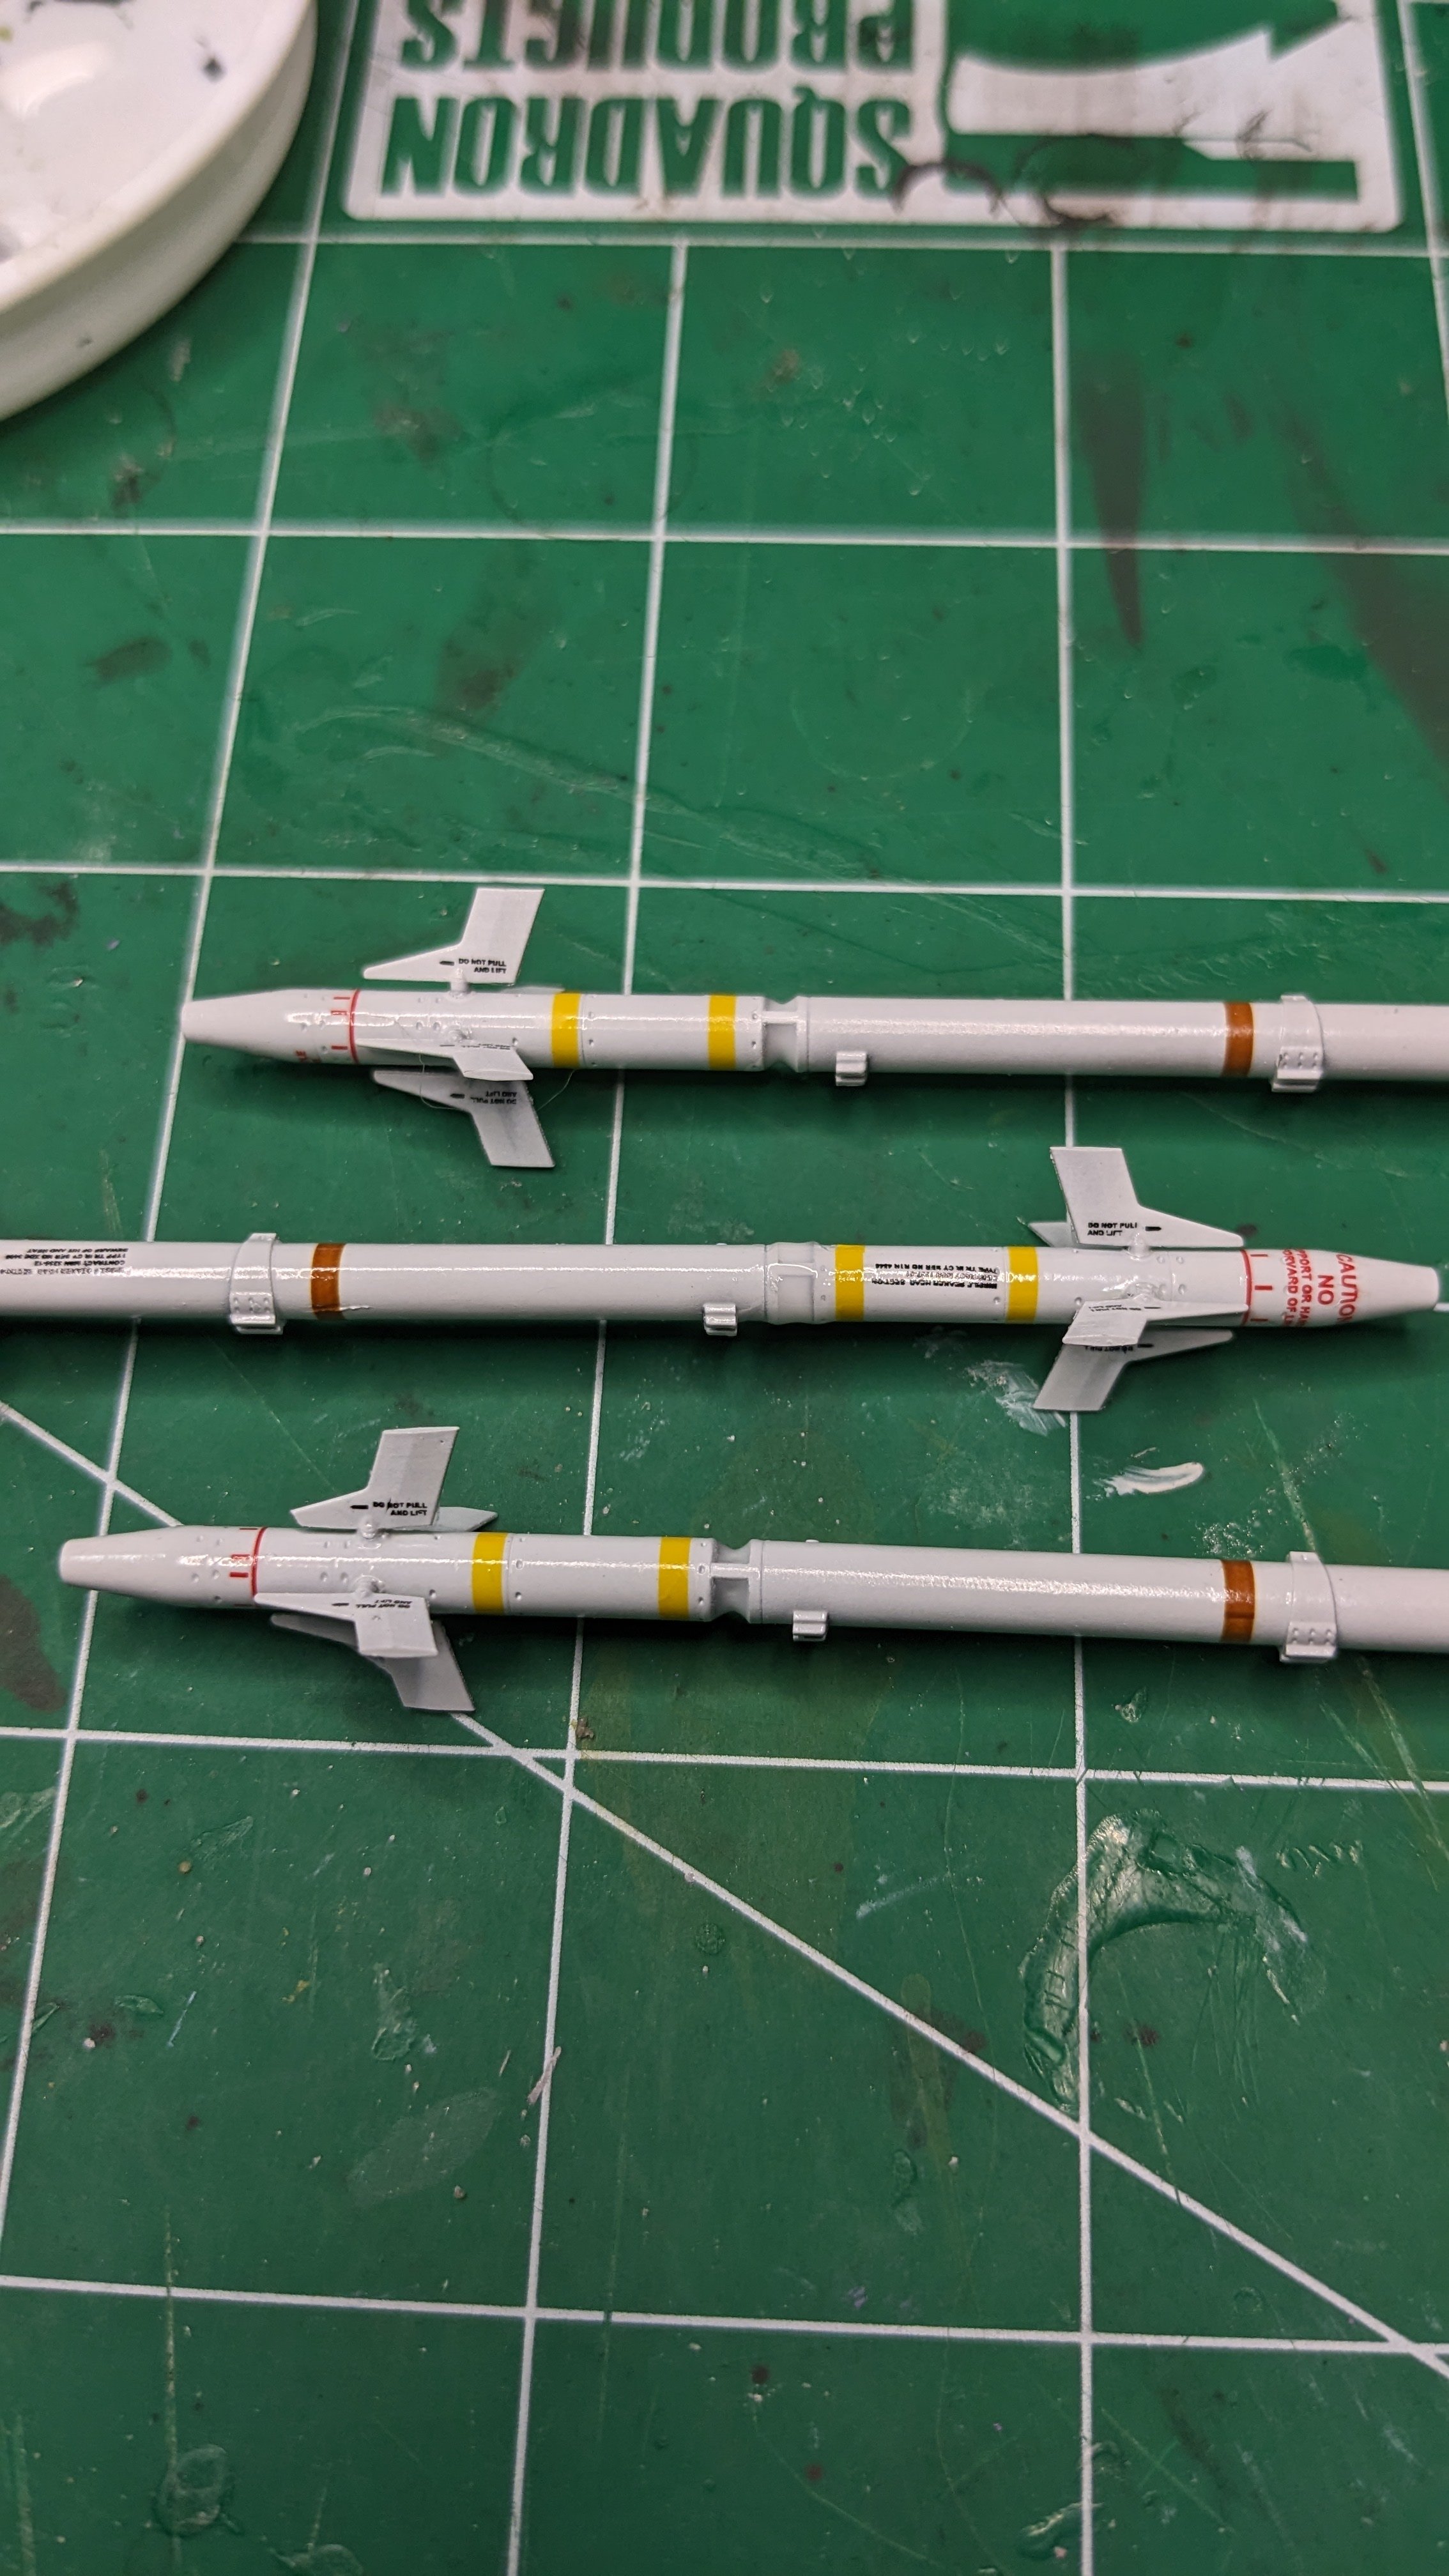
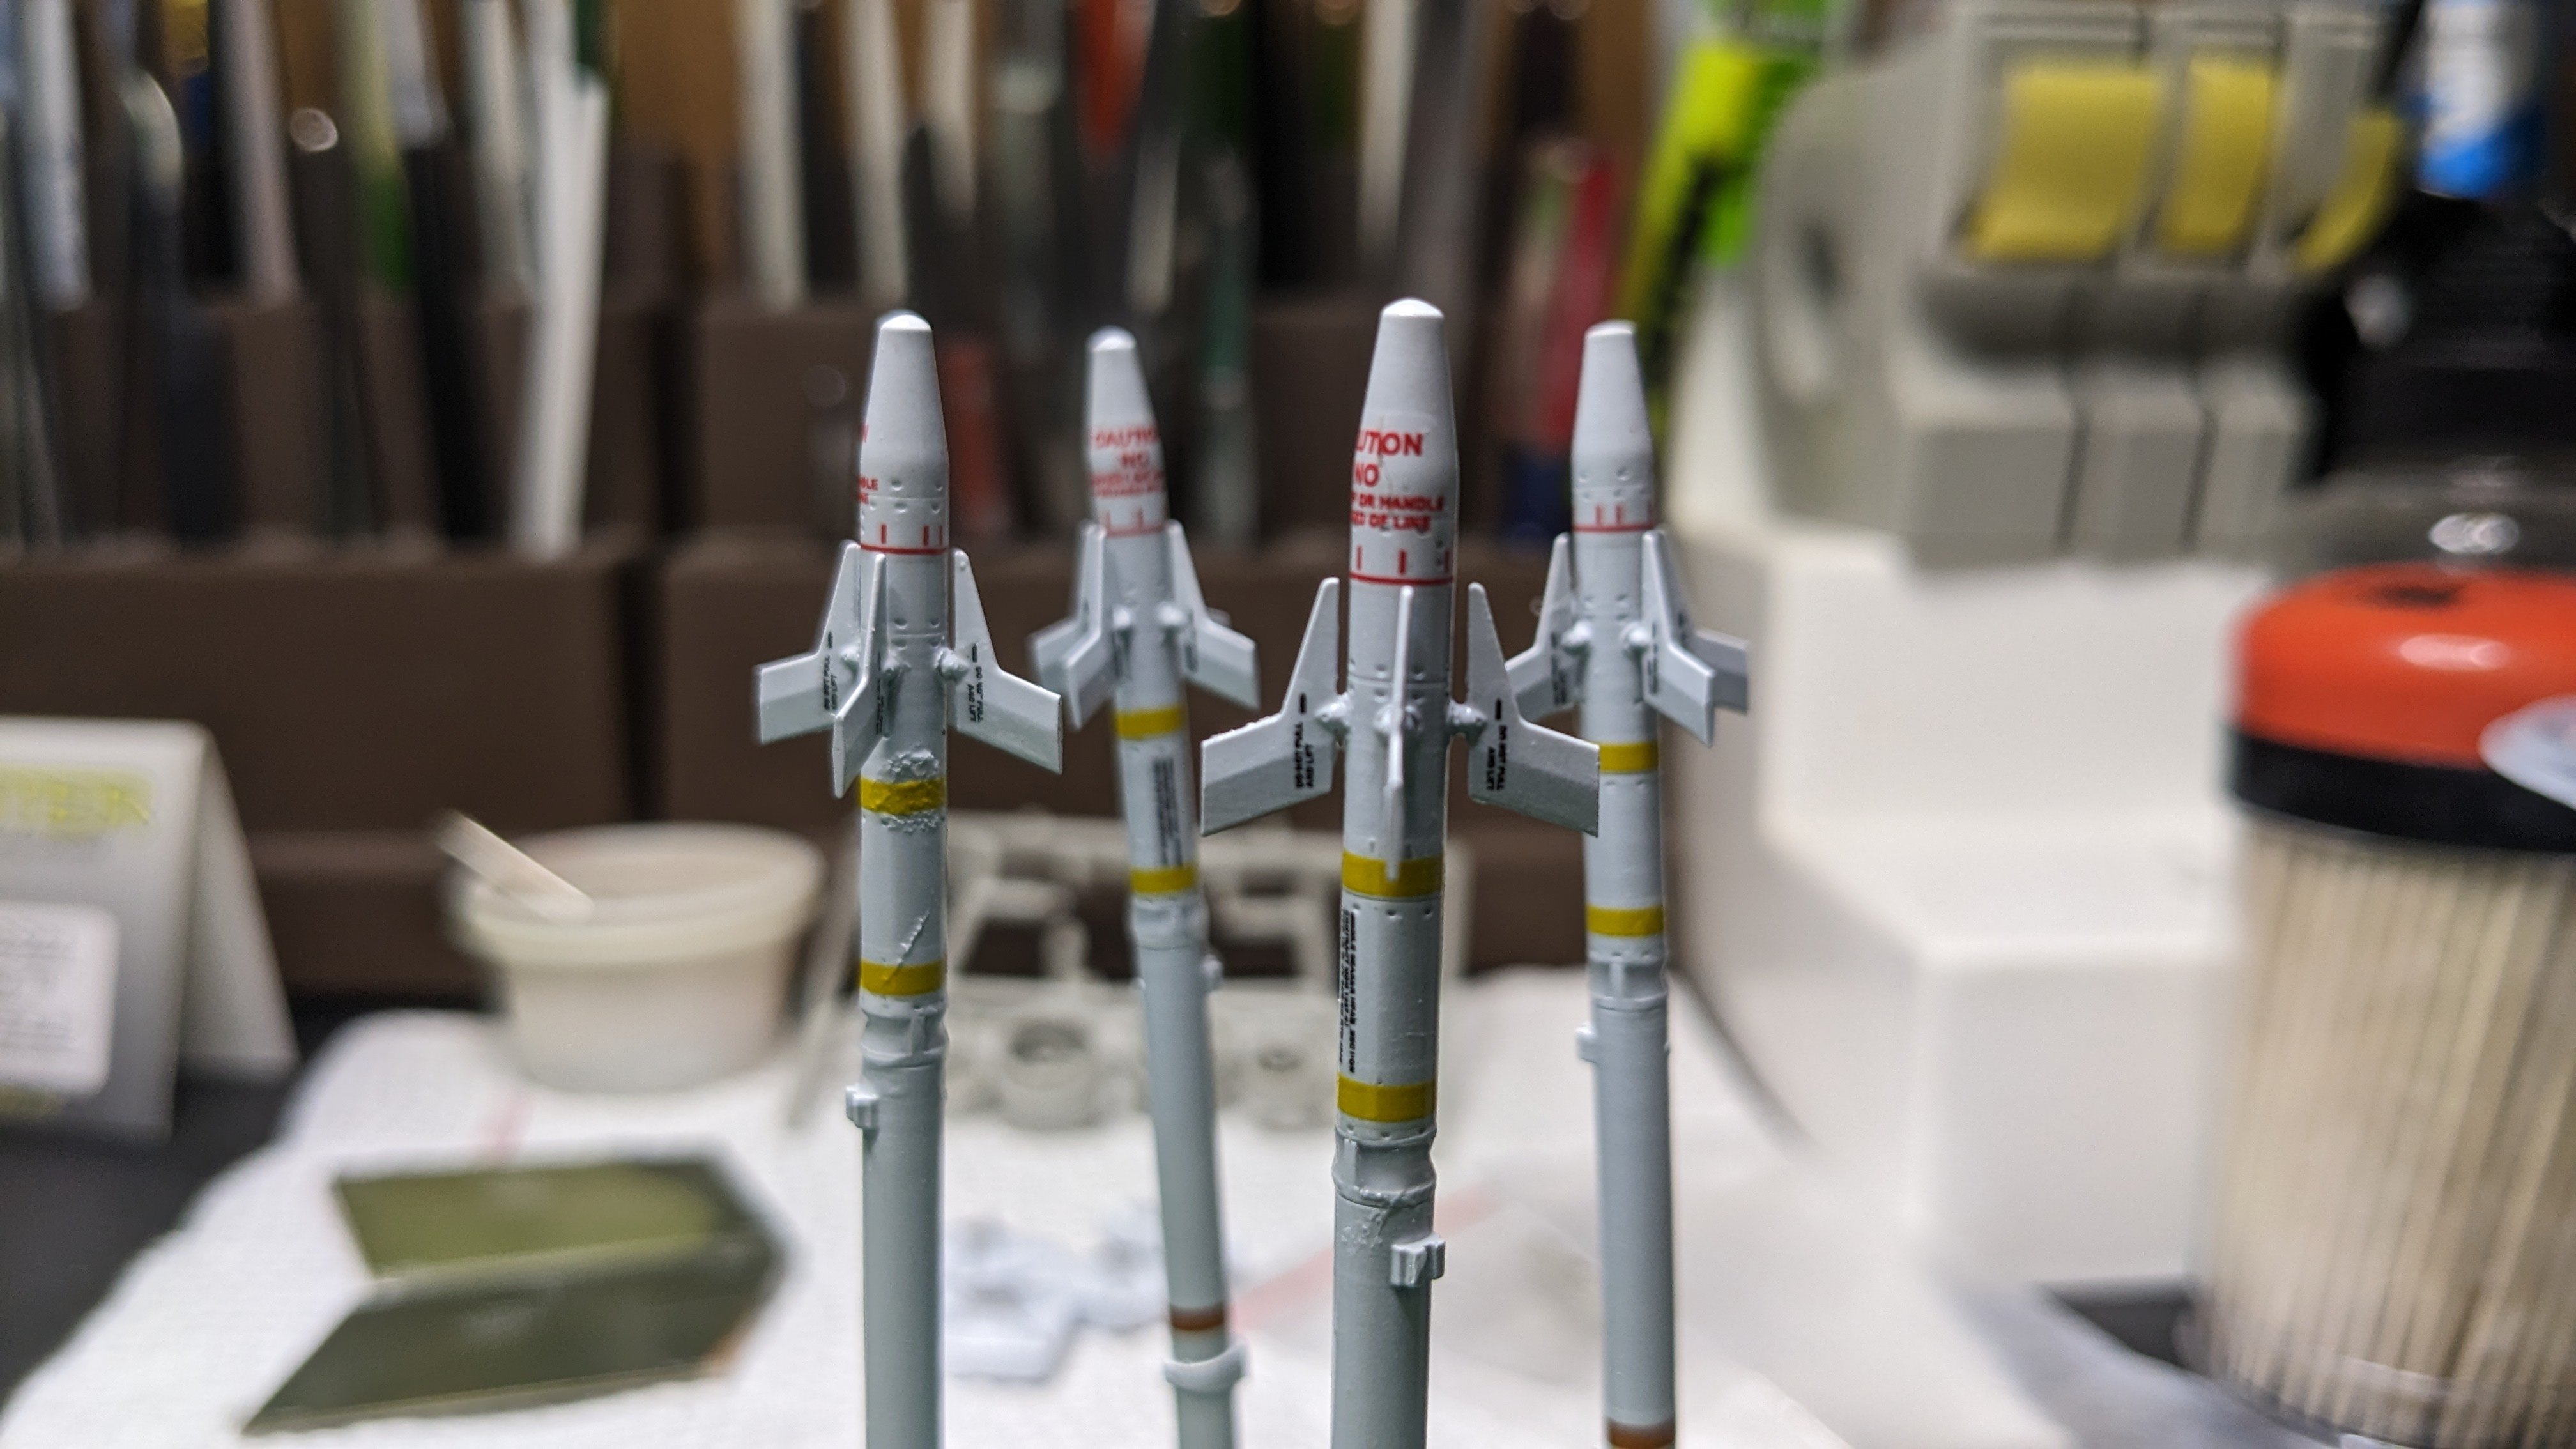
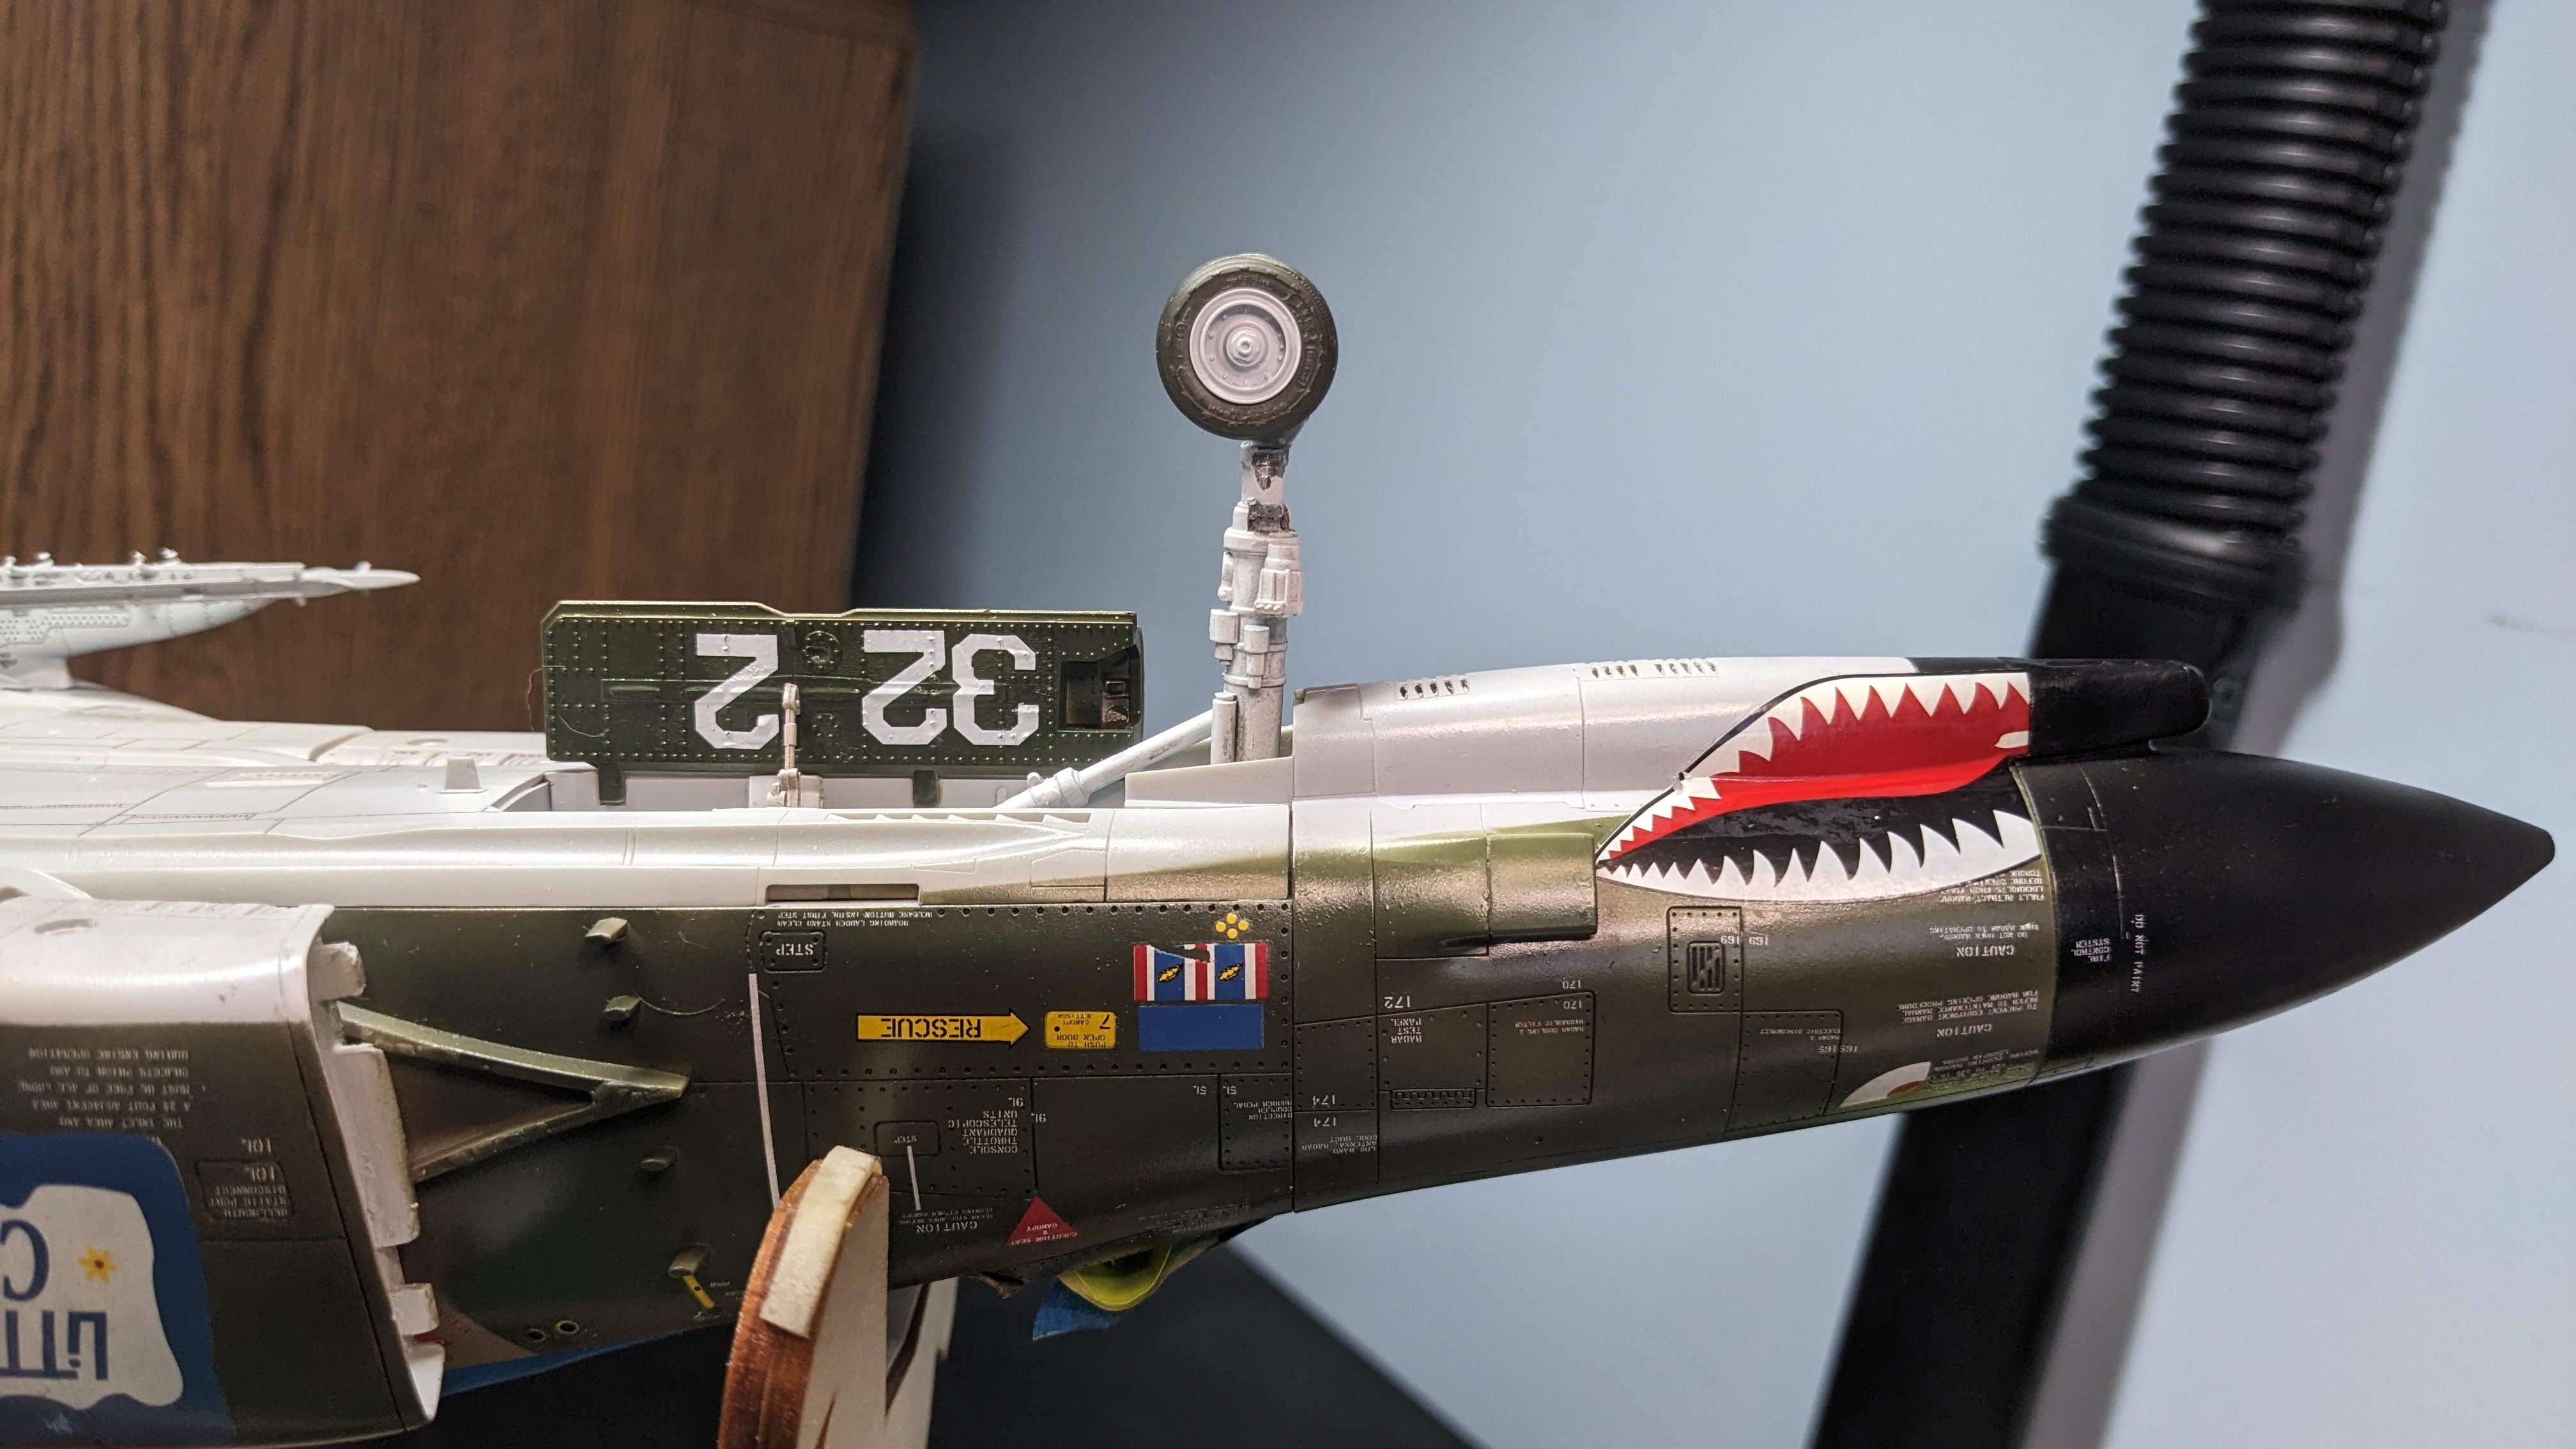
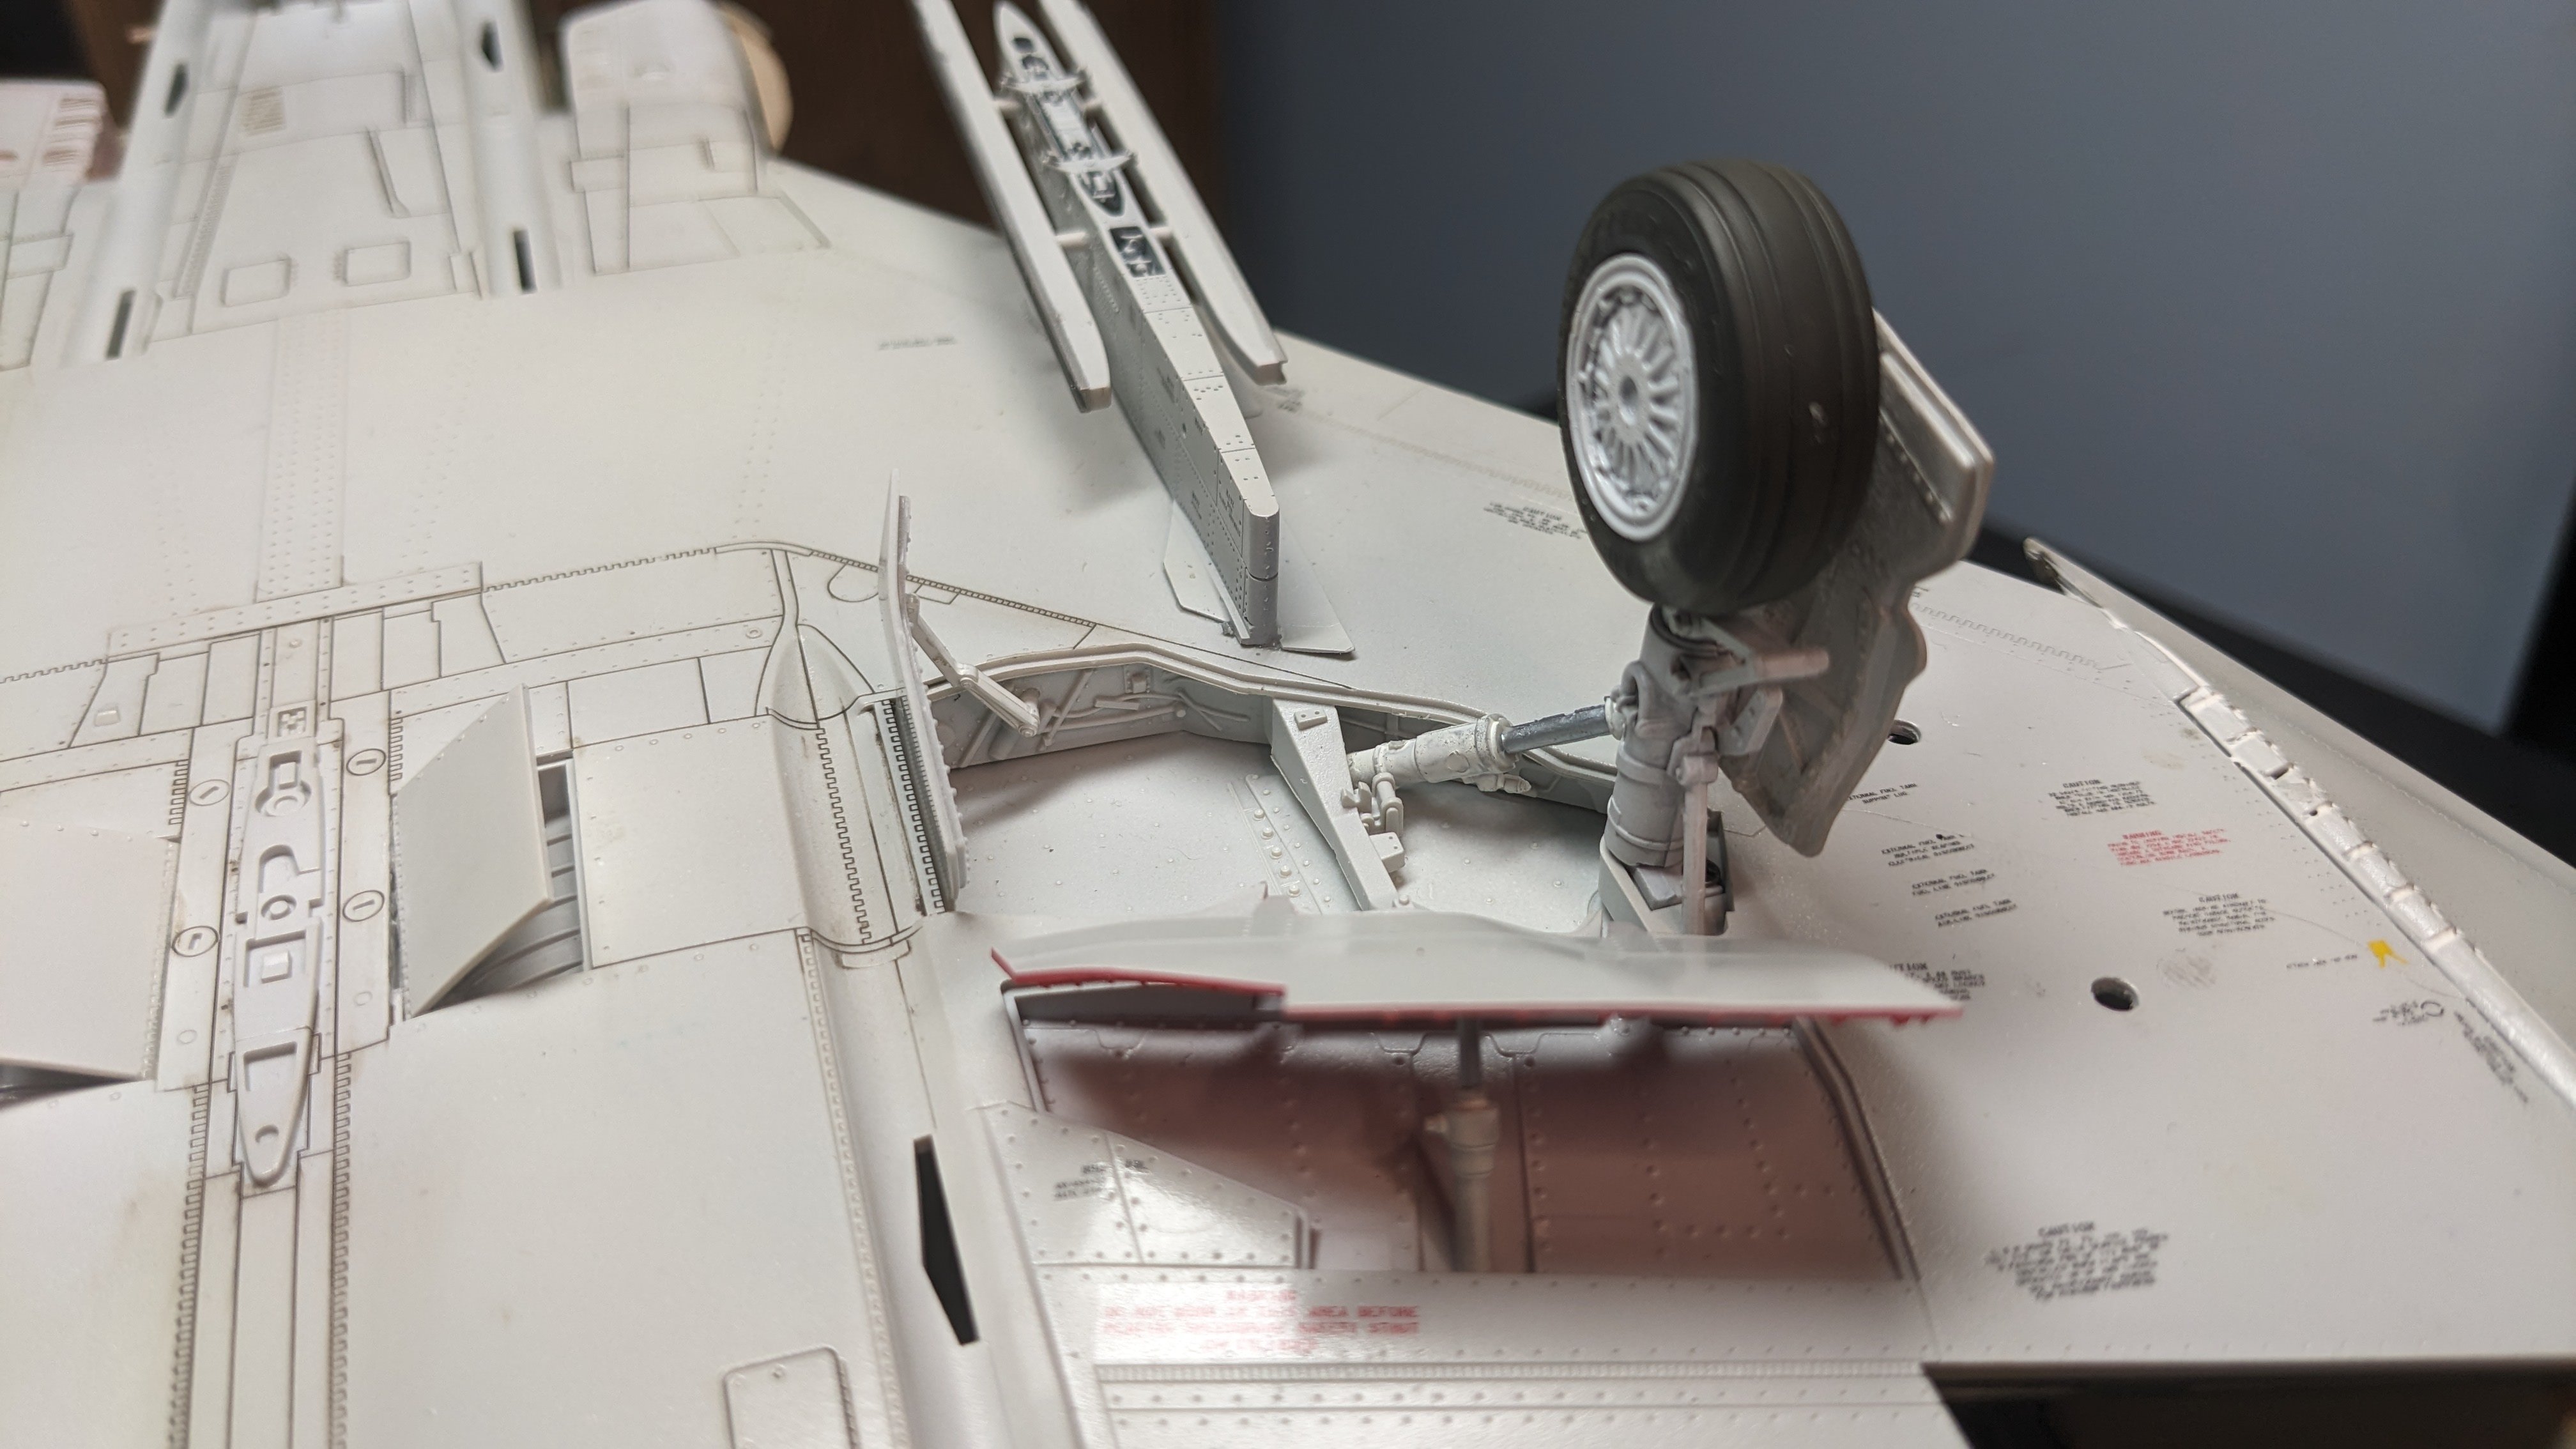
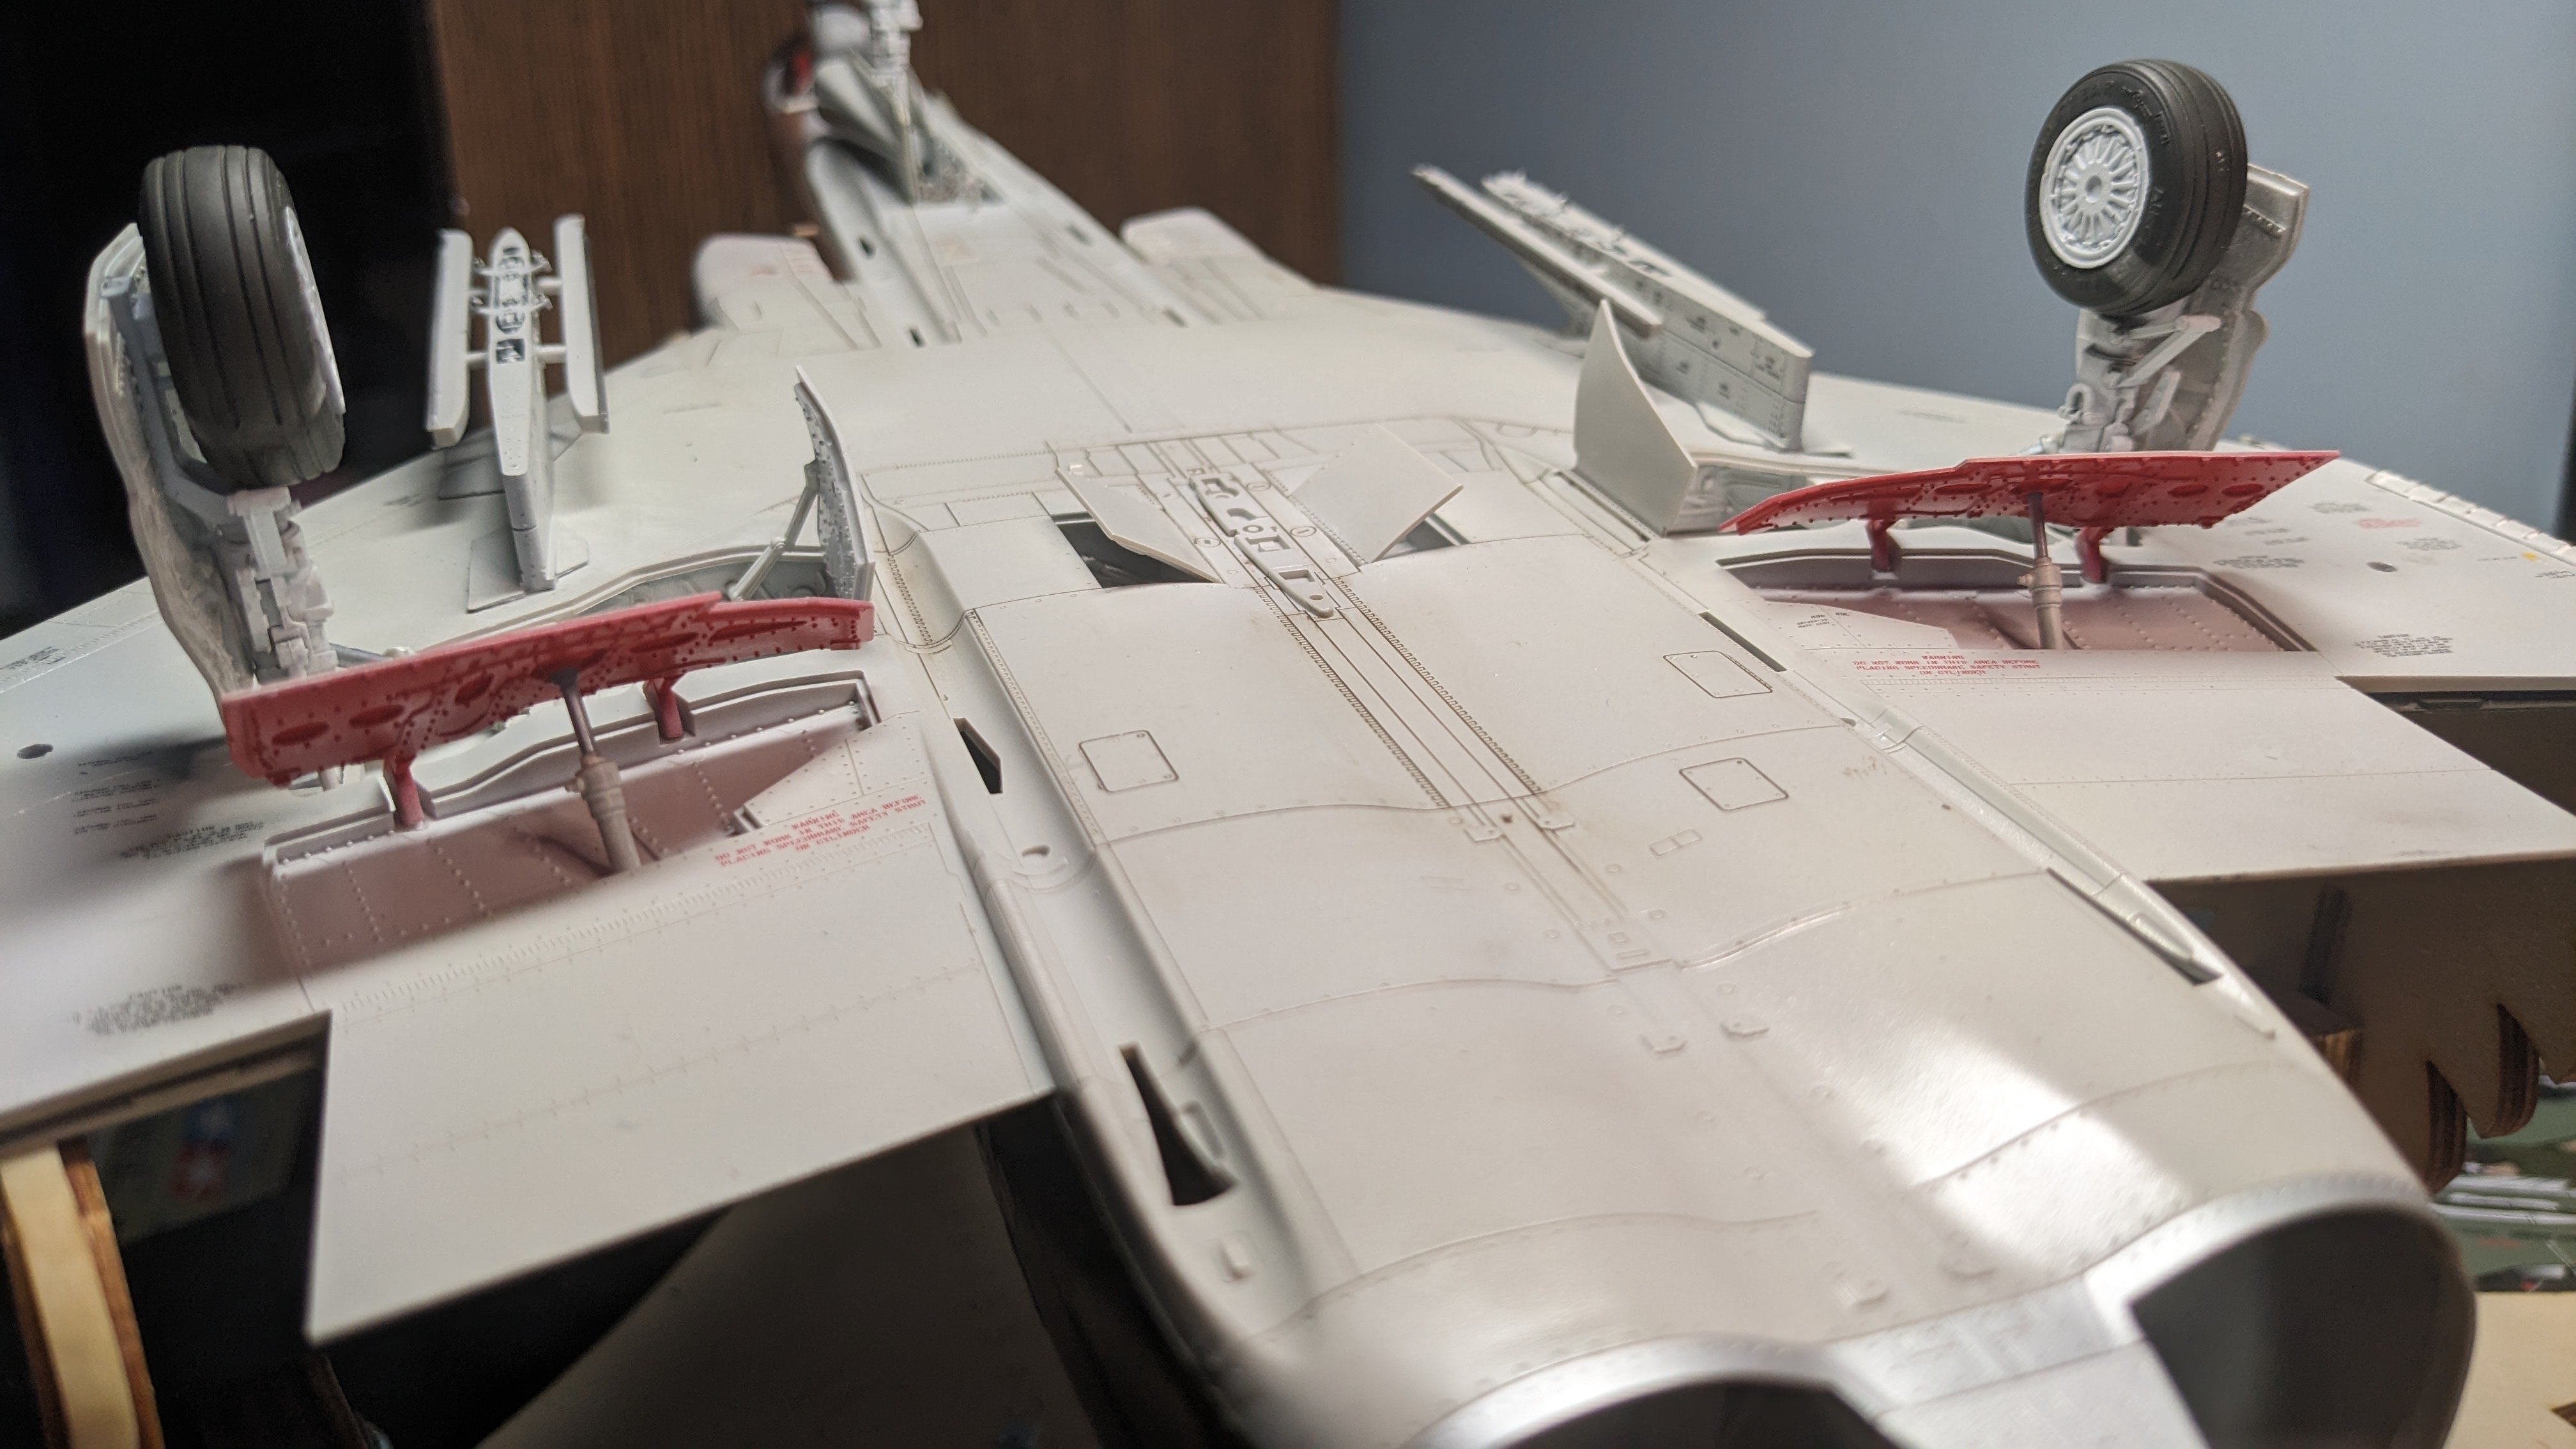
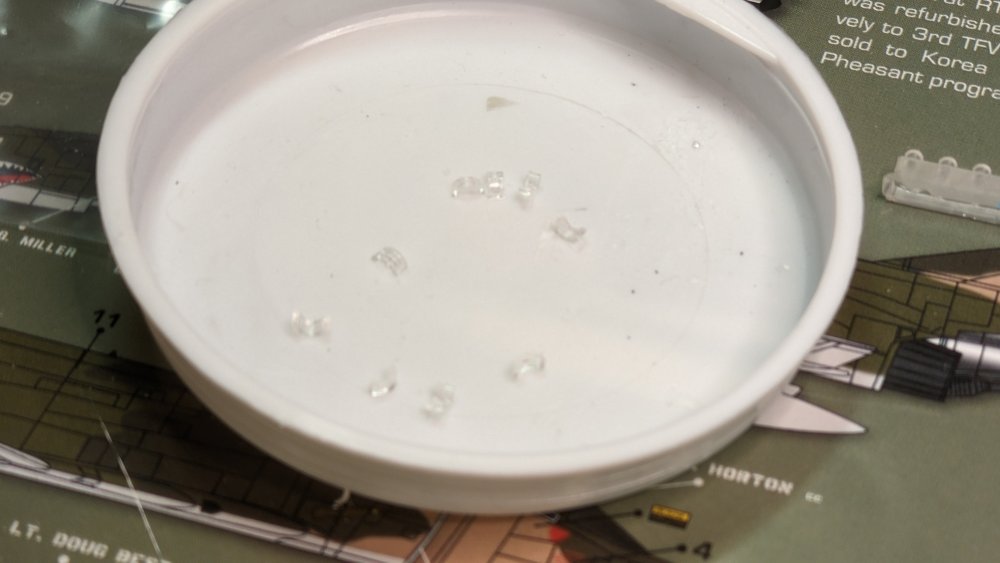
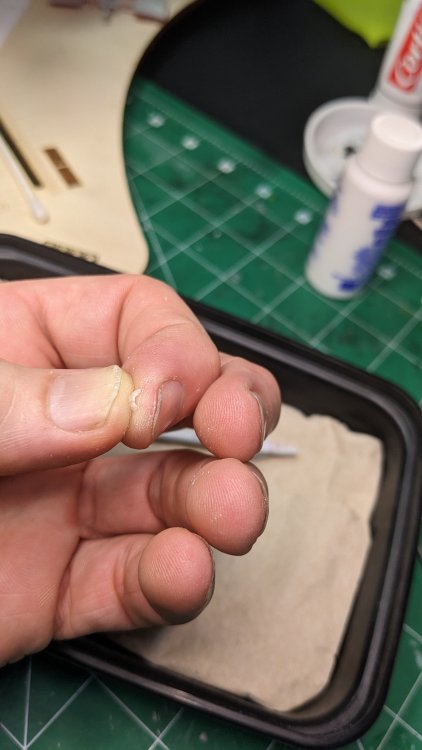
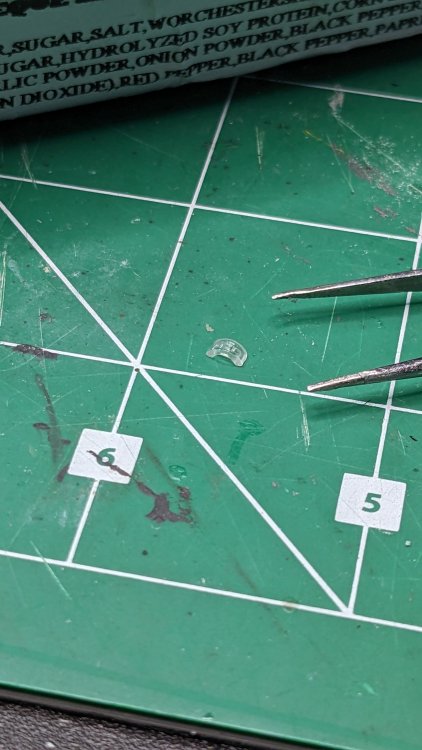
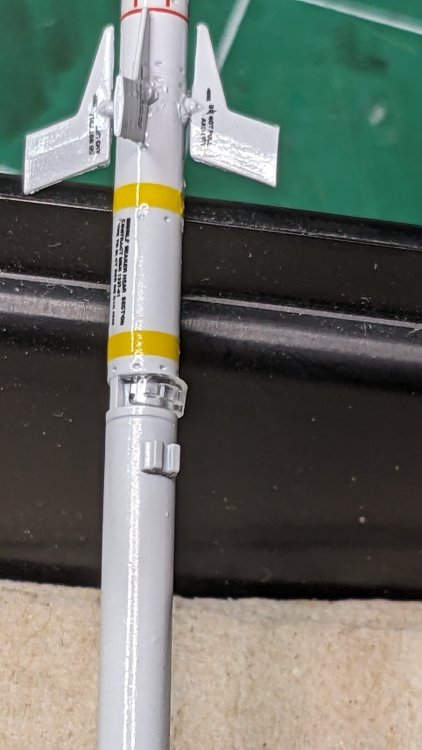
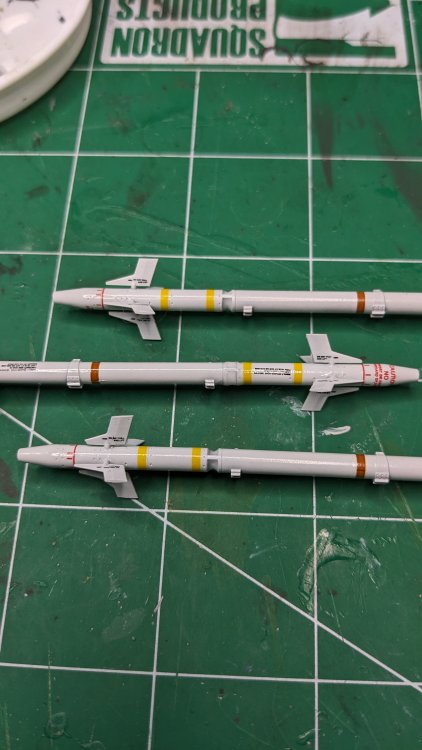
Another gotcha has popped up. Ugh. I thought it would be a simple matter to separate the clear pieces for the sidewinder bodies from the pouring blocks and then fit them to the missiles. No such luck. Those pieces are TINY. And very hard to hold. I guess I cut them a bit long from the block (and like an idiot I cut them all off the same time) so they are too wide to fit into the groove on the missile. This looks like it is almost there, but it took a very long time to get this close. And this was after spending a good 15 minutes doing my best to sand the edges to narrow the piece to fit. Given there are 8 of these, I was not looking forward to two hours of trying to sand these to fit. So got the bright idea to use Formula 560 and Micro Kristal Klear to made the clear parts. I figured I would try both and see which worked best. Top is Micro Kristal Klear and the bottom was Formula 560. The MKK was harder to use as it is pretty thick while the 560 was easy to apply right from the bottle. The downside is that the thinner 560 REALLY shrunk quite a bit. While the MKK hardly shrunk at all. The MKK is on the middle missile while the 560 are above and below. Also put a drop of MKK on the nose for the lens. The MKK is shrinking some, but not nearly as much as the 560. Going to let this completely cure overnight then tomorrow will hit it again. I can see where I mess up one of the Sidewinders... Will hide that best as I can! Updated: The MKK worked pretty well on the bodies. Added a bit more to the nose but I like the results. MKK does flatten out a bit over time. Working on the main gear flaps too. Wanting to get this build across the line, so paying a bit less attention to weather the underside. Also attached the nose gear door, which needed to be painted dark green and have the numbers added according to the Zotz decal sheet information. The sharksmouth decal went down very well, but it is a bit thick. But I like the look. Getting closer!!


-
Special Hobby F-80C saved from SOD
CANicoll replied to JohnB's topic in LSM 1/35 and Larger Work In Progress
Wow, that is fast progress. Agree with Carl - nice job on those intakes and the Alclad. Pretty shape to that aircraft, too. You are making the most of it, as usual. Glad to hear it was only a computer problem that kept you off line. Whew. -
Welcome back, Kai! Good to see your work again. Top notch stuff. Harv is busy on Facebook as well - lots and lots of updates there.
-
Sandbox or Tallies is catching my attention, but I do have ONE racer in the stash.... Unless you include the B-58 which set some speed records.... then I have two...
-
F-15DJ Kai or Eagle Plus- Finished!
CANicoll replied to BlrwestSiR's topic in The Great Twins Broup Bluild
Looking good!!! -
Ugh, been there, done that on both: the sanding gouges and primer lifting... Frustrating!
-
I like the theater idea - sand/desert/etc. Kind of a play on the Let's Get Wet GB. Also the racers idea - so many options. But the Tallies category has me intrigued... Multiple kills aircraft, multiple racer winner cars, multiple award winning whatever? Or am I missing the point of 'Tallies'? Could be!!
-
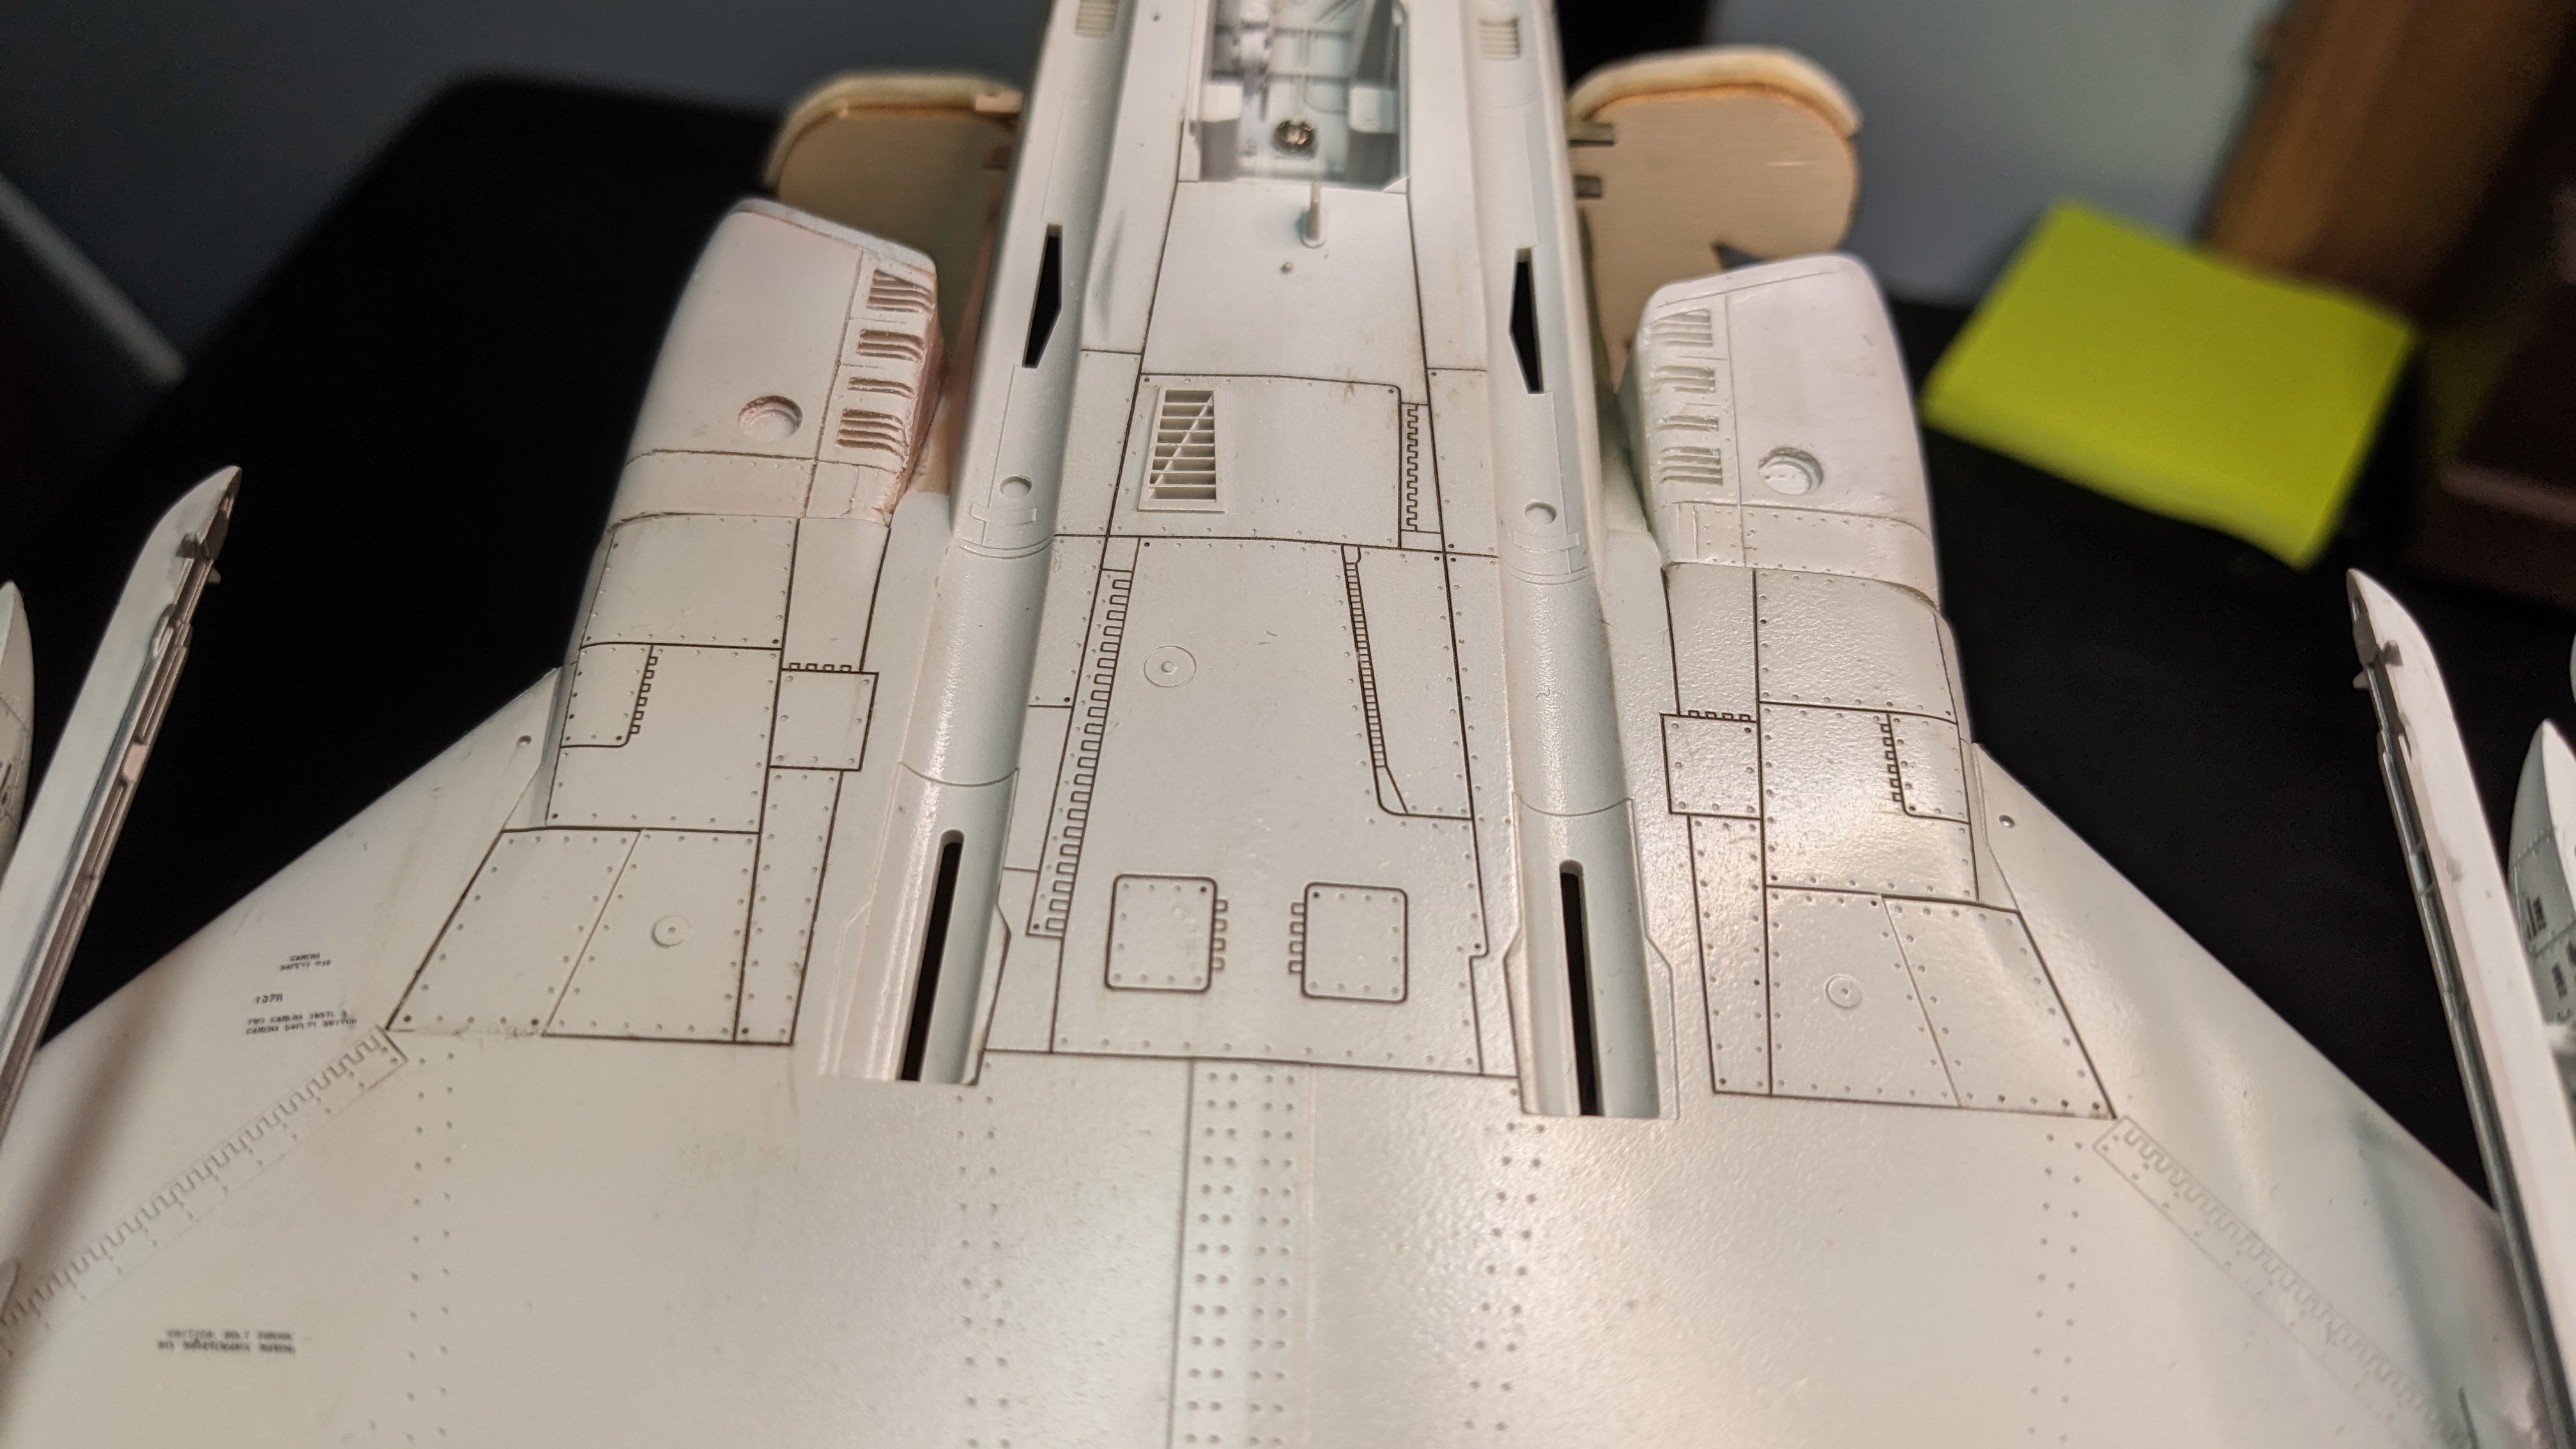
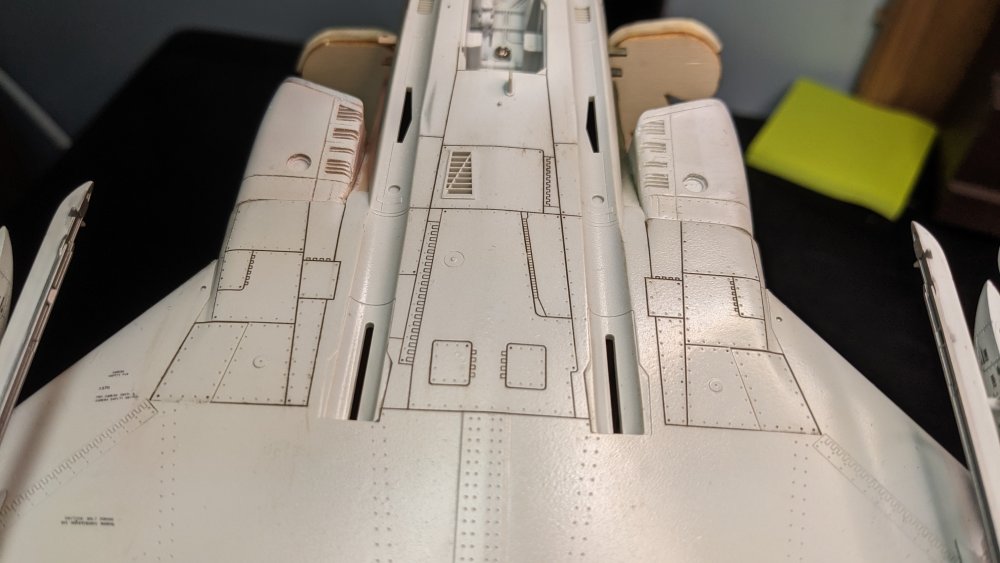
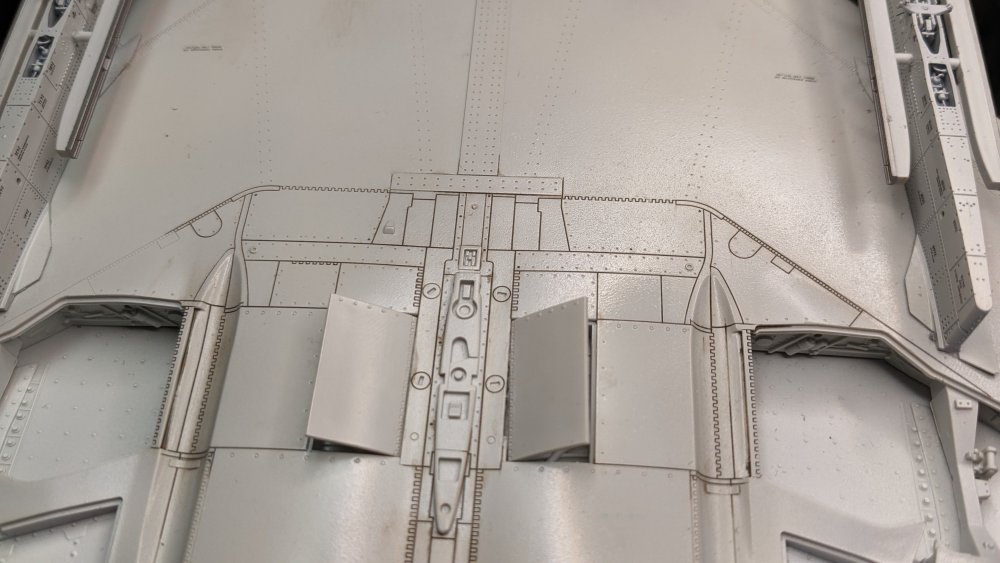
Thanks Peter. I have a few of the Flory washes, too and do like them. As you pointed out, they are very easy to use. Carl, I actually have two of the MIG washes and really like them, too. I thought for this build I'd try the AK Paneliners but am doing the brown shade on the underside and am a bit happier with that so far. Thinking a medium gray would be perfect (which ironically would be the MIG Neutral wash I have...) I did kind of forget that I have so many different washes. So am going to have to rearrange my shelves to put the washes all together. Out of sight, out of mind! Quick look at the underside so far: Lines are started but not the rivets.
-
Just gotta love the shape of the Spitfire. The ill-fitting engine cowling panels are kind of a plus, given the fit on the actual aircraft. Looking forward to your paint work - quite the collection! Always had an affinity for the Polish squadrons, too.
-
It is a really nice thing about this community. Nice people!
-
I think the shift will be that the main parts of the kits, fuselage and wings especially, might come from the major vendors while the smaller (and faster and less expensive to print) pieces are done at home on your 3D printer. I know of someone who tried to print a 1/32 fuselage and wings and had lots of problems with warping. Most of those machines are not built to print such large pieces.
-
Peter, Looking forward to your build as well - nice subject!
-
Carl, interesting you said that - in the bottle it looks more brown than black, but on the plane and the paper towel it is definitely black. I would have preferred a browner PLW and thought it might dry more brown. But it is ok. Now on my 1/48 build will definitely go for more of brown PLW. I had four to choose from, plus making my own...
-
That is what I find interesting, is trying to layer it. Thanks for sharing!
-
LSM Modelling News 2023 merged Fran and Artful69’s threads
CANicoll replied to Fran's topic in Modelling Discussion
I think a large-scale B-58 would be very interesting (and break the bank...) -
His last post was for his P-40 on the 18th.
-
Very interesting and the models help add scale. Still watching the static grass....